PlayStation 5
Alan Wake Episode 2 Collectibles Guide
Game Guide
Alan Wake Episode 2 Collectibles Guide for PS5
Welcome to our Alan Wake All Collectibles Guide for PlayStation 5. In this guide, you will find a detailed description of the location of all Manuscripts (including the pages only available in Nightmare difficulty), Coffee Thermoses, Signs, Can Pyramids, Supply Chests, TV Shows, and Radio Shows; Optional Trophy opportunities are also listed. Check out our Alan Wake Trophy Guide for help unlocking the rest of the trophies.
Alan Wake Episode 2 Collectibles
Sheriff’s Station
Coffee Thermos #15 – At the start of the chapter walk into the room Alice is in. There is a coffee thermos on the desk next to her. Can’t miss it.
Manuscript #11 – Head into Alan’s office which is next to Alice’s on the right. On his desk is a manuscript page.
Manuscript #12 – Picked up at the same time as the page above.
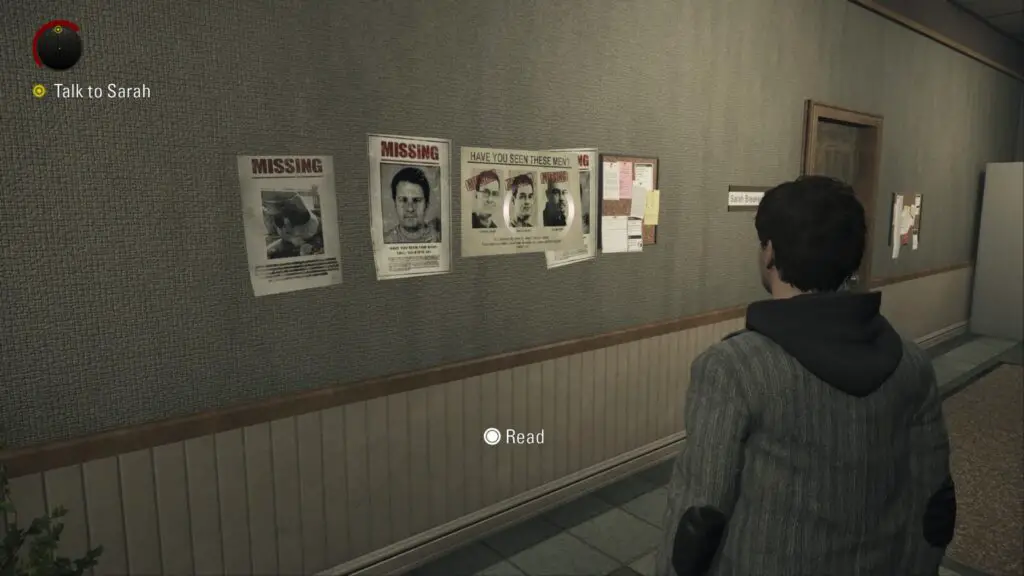
Sign #2 – In the police station hallway is a series of missing person posters. There are 3 lined up next to each other; two that feature only one person, and one that features three. You will have to read both the three-person poster and the one-person poster next to it for it to count.
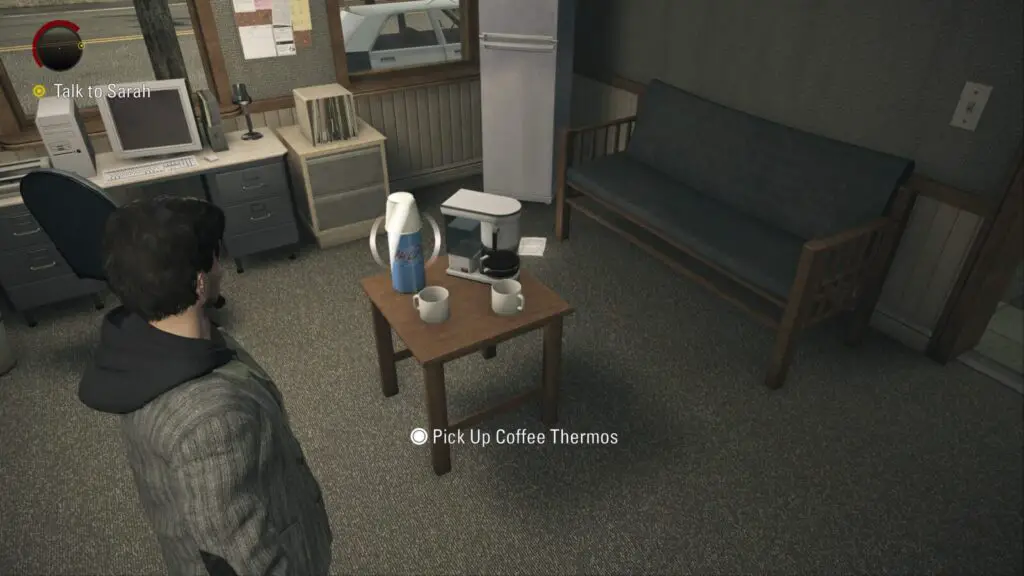
Coffee Thermos #16 – After collecting your phone from Sheriff Sarah Breaker head towards the holding cells. The room directly to the right of the holding cell doors will have a coffee thermos sitting on a small table.
Manuscript #13 – On the ground next to the above coffee thermos.
Manuscript #14 – Inside the third holding cell on the bed.
Radio Show #3 – In the parking lot behind the police station is a radio sitting on a loading bay.
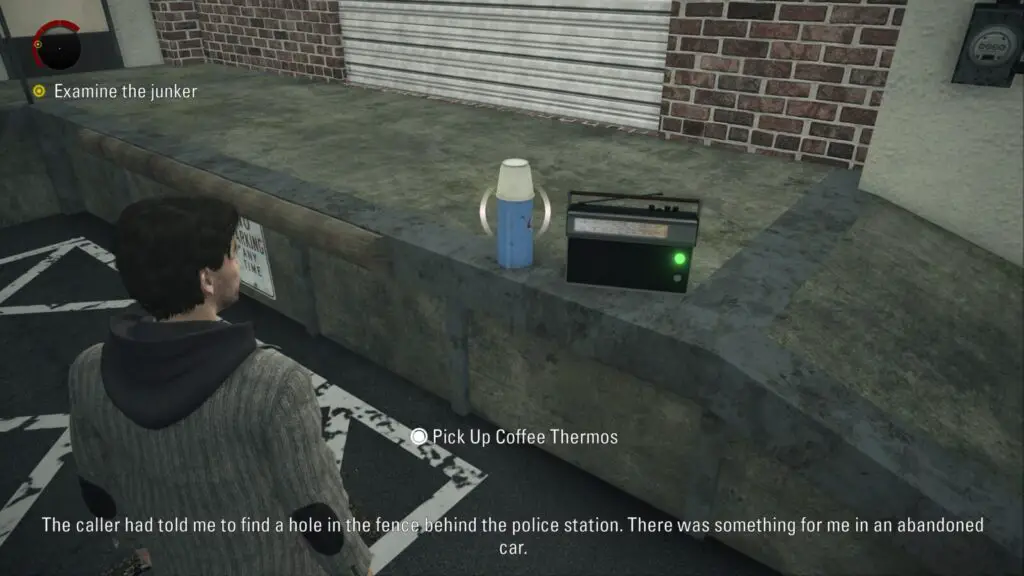
Coffee Thermos #17 – Next to the above radio is a coffee thermos. Can’t miss it.
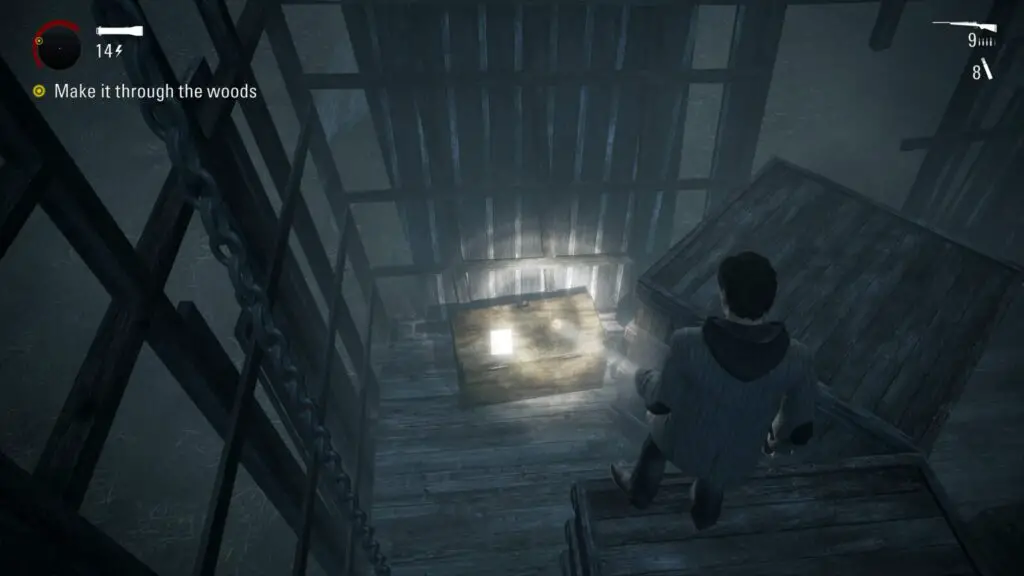
Manuscript #15 – When you kick down the wooden boards to access the rusty truck behind the police station, look directly ahead of you and you will see a page sitting on a rock.
TV Show #3 – When you head back inside the police station a TV will automatically turn on and start playing a video clip.
Elderwood National Park
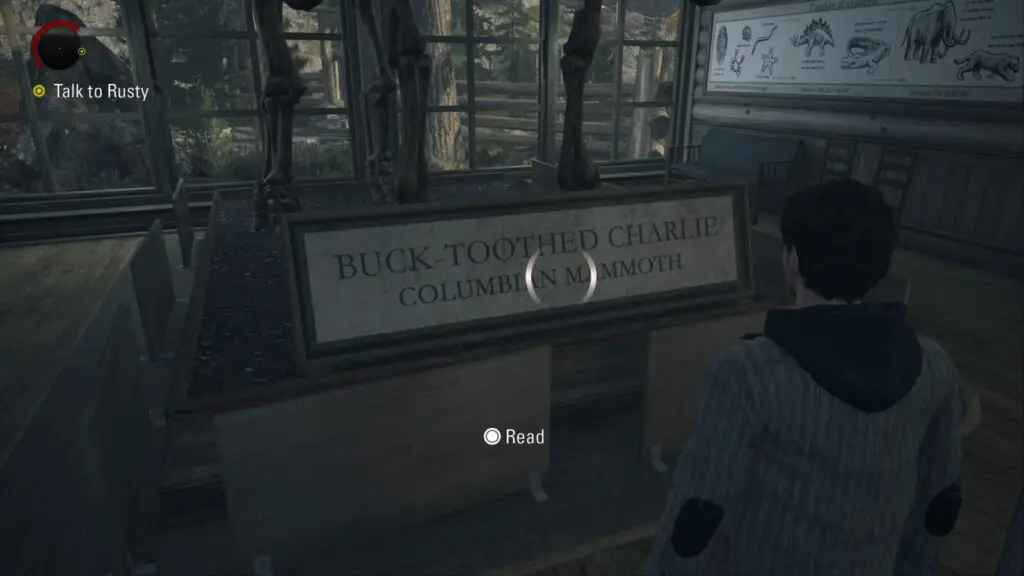
Sign #3 – After the cutscene that closes out the police station portion of this chapter you will be stood inside a building with a giant Mammoth skeleton in the lobby to your left. Read the sign underneath it.
Coffee Thermos #18 – Head towards where Barry is standing and you will spot a second counter that connects to the kitchen. Inside the kitchen is a coffee thermos.
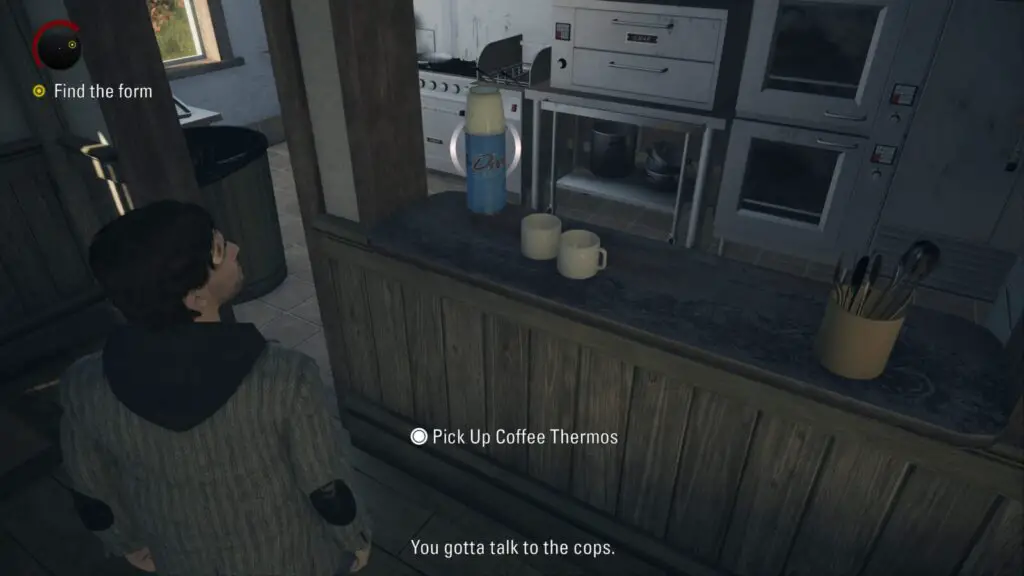
Coffee Thermos #19 – After another cutscene, Barry and Alan will be inside the cabin they just rented. Downstairs in the kitchen is another coffee thermos.
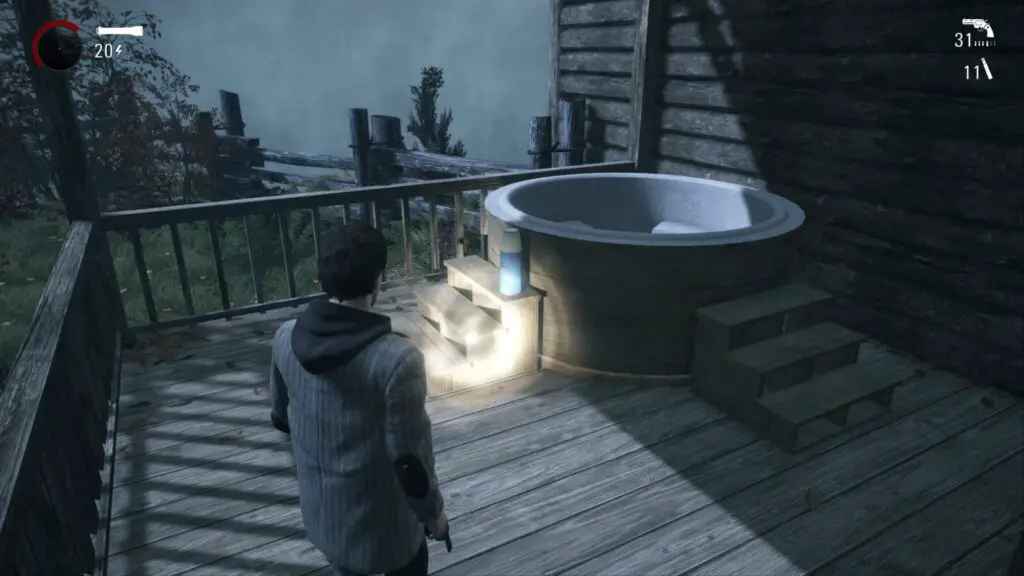
Coffee Thermos #20 – Leave the cabin and go around to the back where the well is. On the porch by the hot tub is a coffee thermos. This thermos can also be acquired at the end of the chapter when you return to the cabin.
Manuscript #16 – Walk down the stairs outside the cabin and you will find Barry’s truck with a manuscript page on the ground next to it.
Radio Show #4 – Head down the trail until you come to an empty cabin on your right. Inside on a desk is a radio.
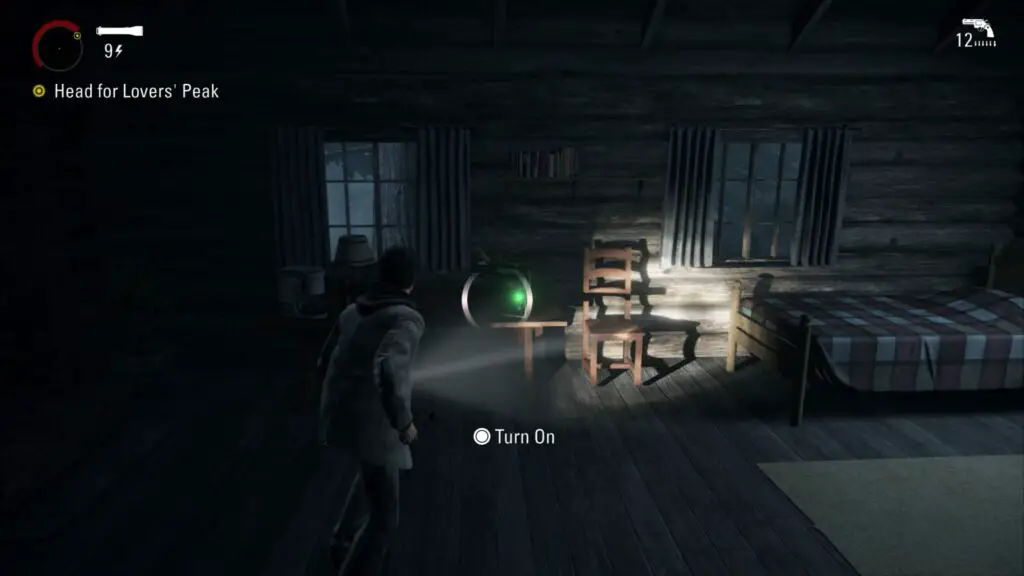
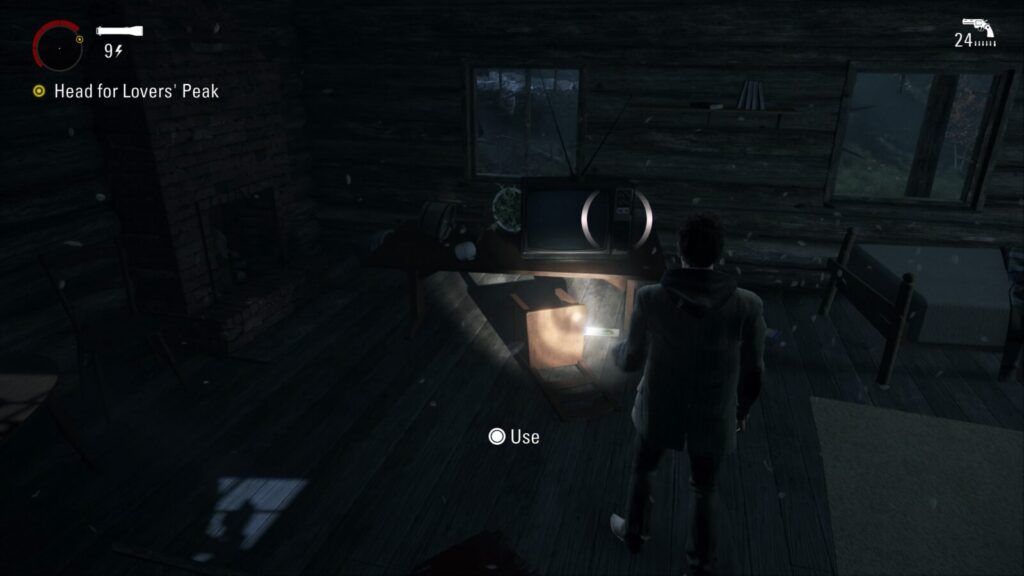
TV Show #4 – Head back down the trail and you will come to another empty cabin. Kick the door in and inside on a table is a TV with another Night Springs episode.
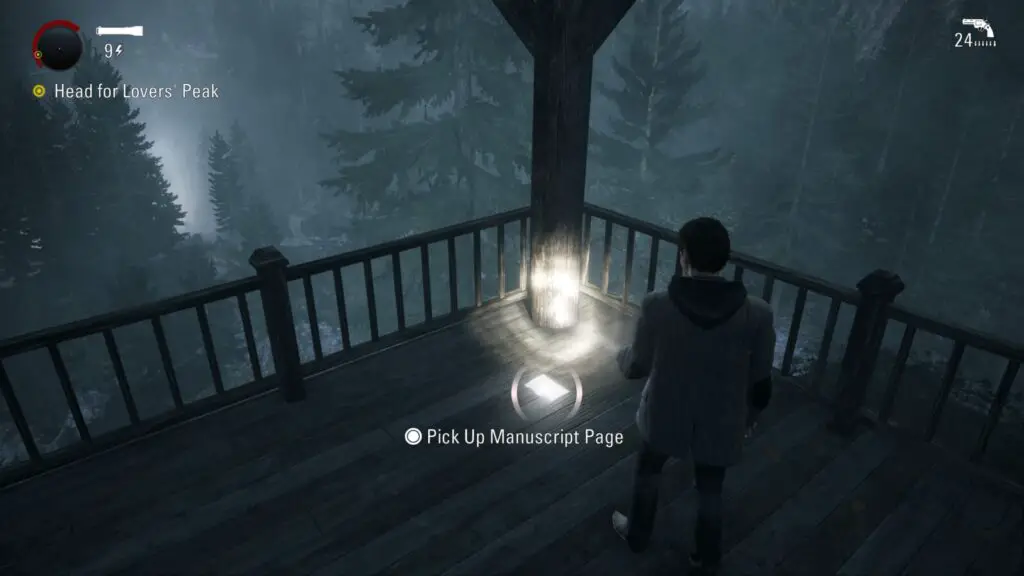
Manuscript #17 – Back on the trail you will come to a blue phone booth to your right. Next to it is a trail that leads up to a wooden gazebo. On the ground inside the gazebo is a manuscript page.
Manuscript #18 – Another manuscript page can be found in the back of a car just a few feet away from the above phone booth.
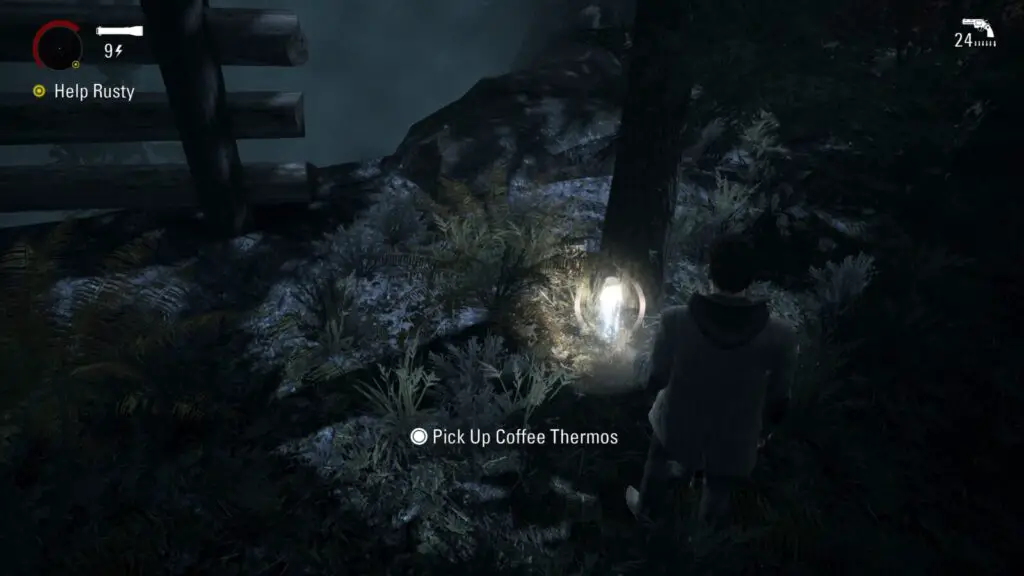
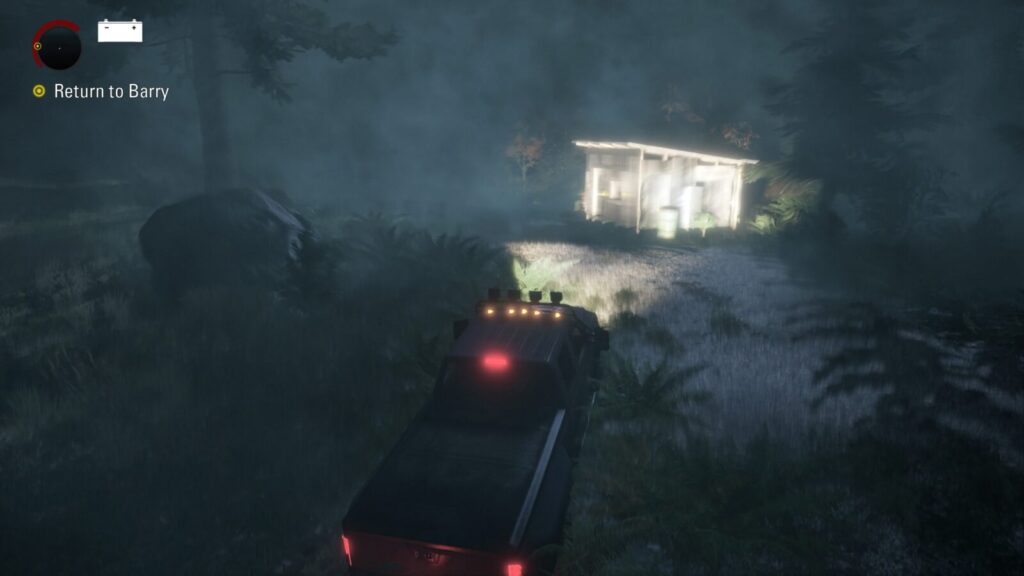
Coffee Thermos #21 – As you approach the ranger office where Rusty is you will hear a commotion and a car slowly rolling to a stop. Just behind where the car stopped is a wooden shed with a coffee thermos inside.
Manuscript #19 – A manuscript page can be found on the edge of a short rock wall at the entrance to the park ranger office
Coffee Thermos #22 – Head behind the park ranger office and look for a tree. There will be a coffee thermos sitting on the ground beside it.
Manuscript #20 – Head inside the park ranger’s office once you retrieve the keys from Rusty. Inside, on the floor, in front of a door is a manuscript page. It’s hard to miss.
Manuscript #21 – After defeating Rusty, Barry will call you on your cell phone. Shortly after you will come to a picnic table with a manuscript page sitting on it. It’s hard to miss.
Sign #4 – After crossing a small wooden bridge you will see a sign that points to the Lover’s Peak trail. Instead of following it, look to your left and enter “Moonshine Cave”. There is a sign at the back of the cave.
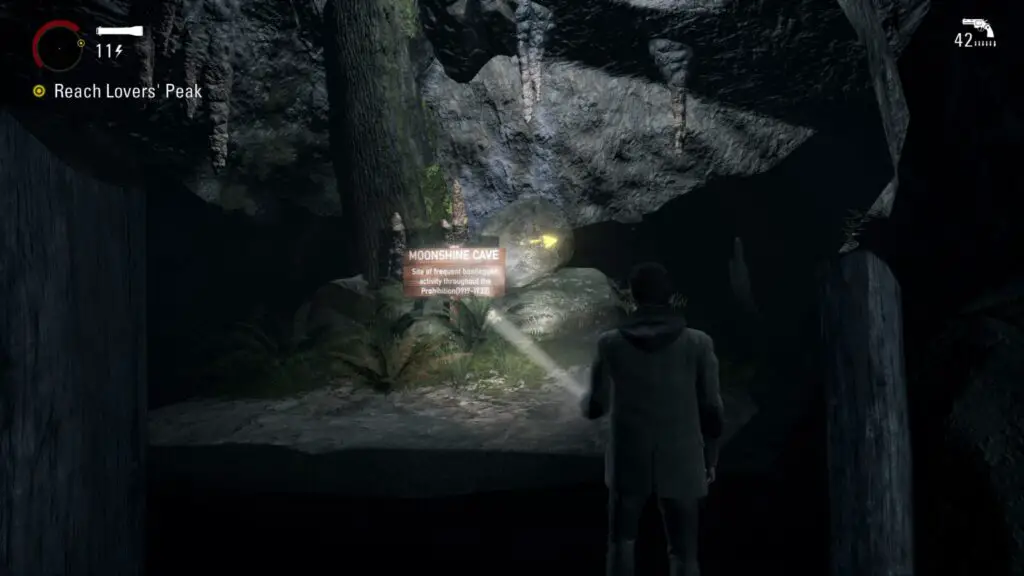
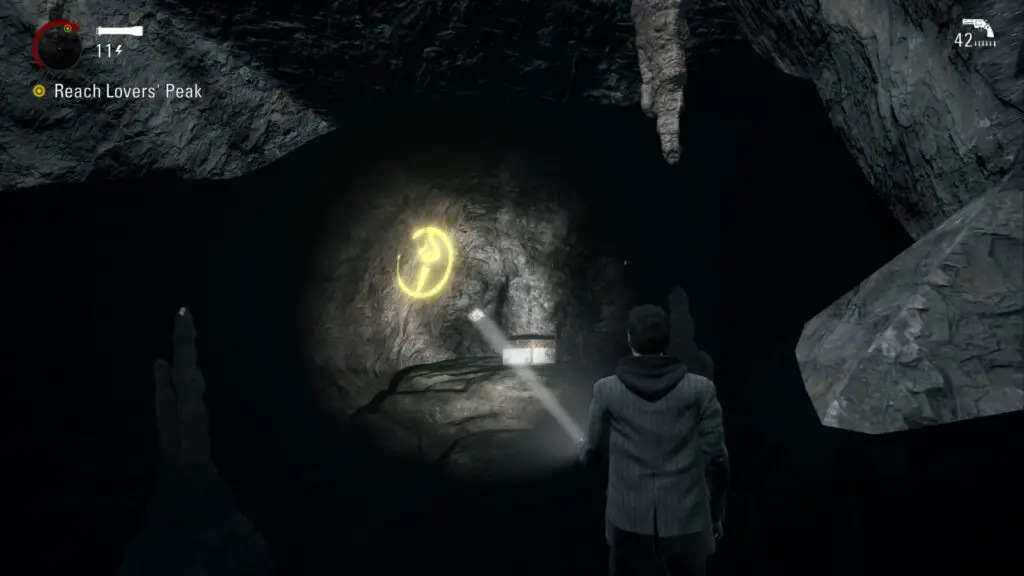
Supply Chest #5 – At the very back of Moonshine Cave near the sign.
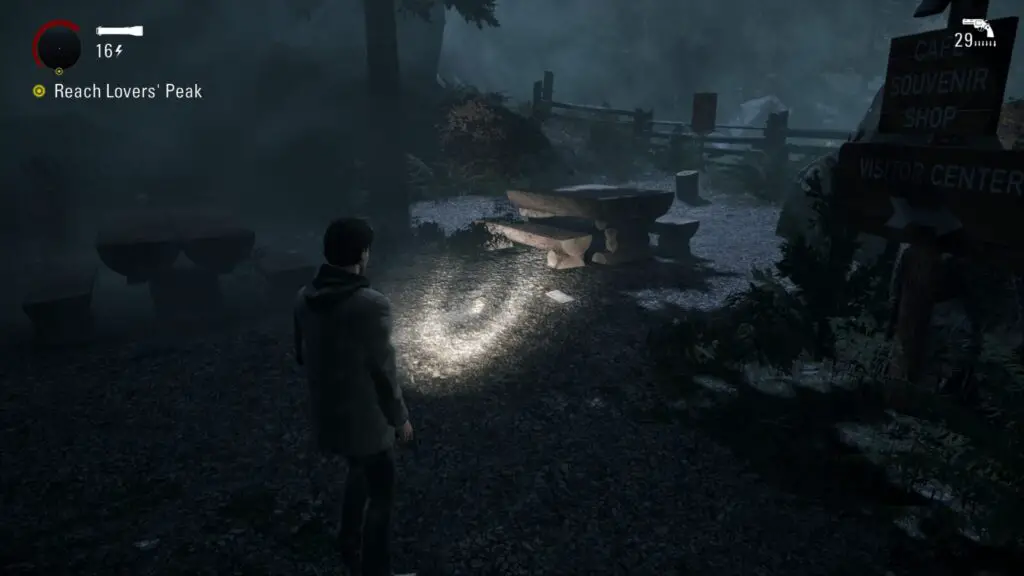
Manuscript #22 – Go back to the main trial and when you cross another bridge you will see another Lover’s Peak sign, take the path to the right that leads away from the trail. It will end at a picnic table with a manuscript page on the ground.
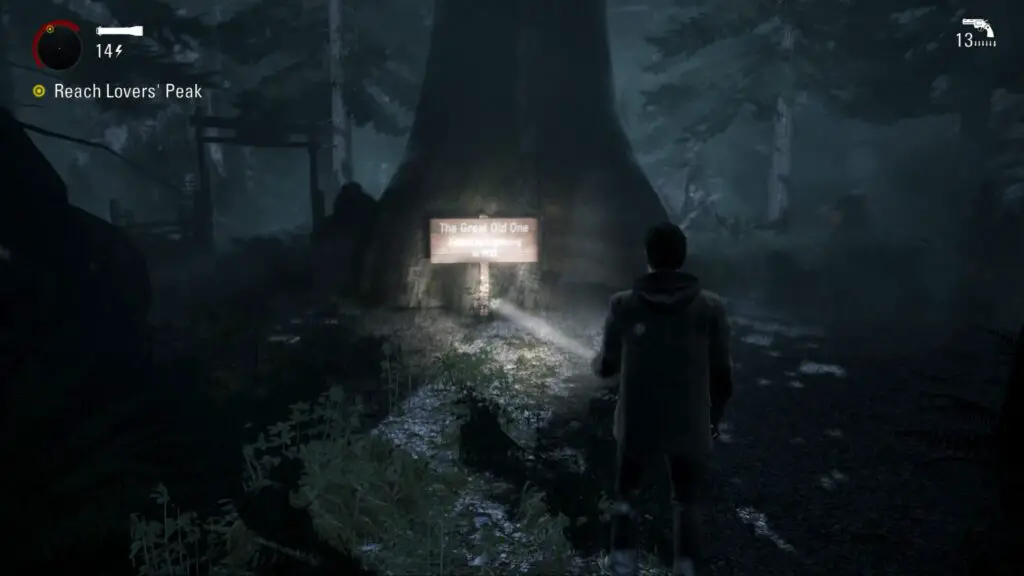
Sign #5 – Following the trail to Lover’s peak, you will encounter a large enemy that emerges from a hollowed-out tree. In front of the tree is a sign that says “Great Old One”. You can press ![]() to read the sign.
to read the sign.
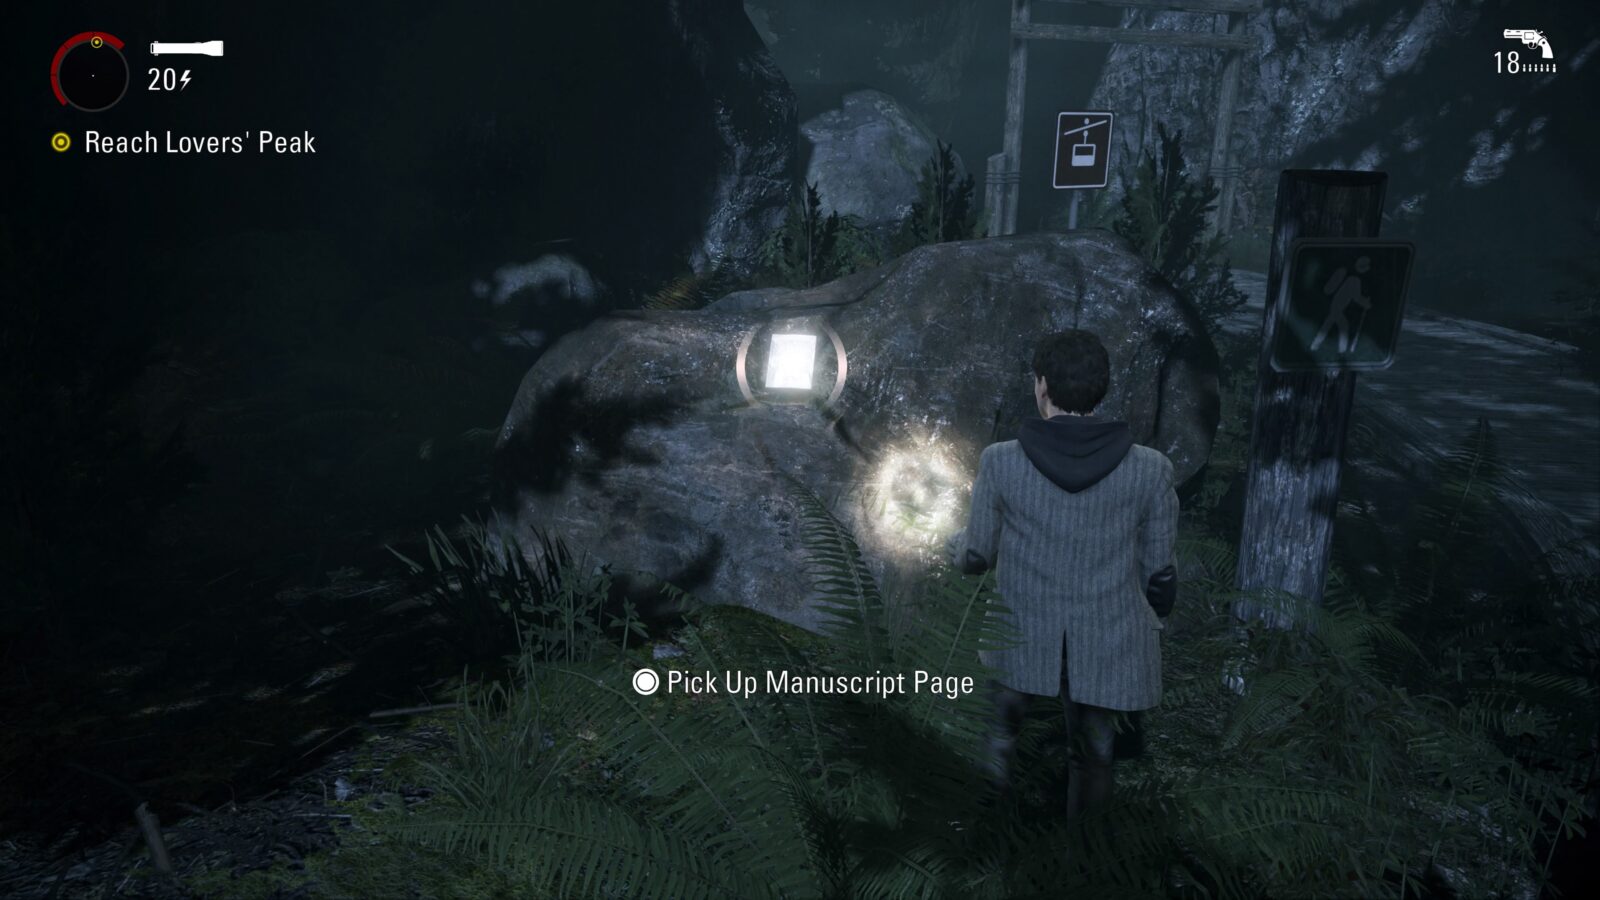
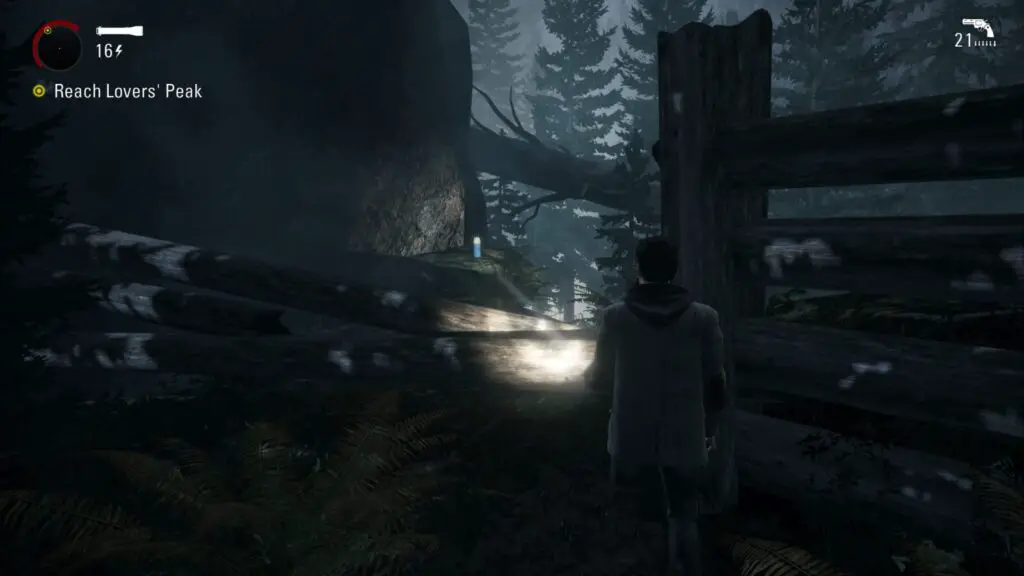
Manuscript #23 – After crossing another bridge with a light at the other end and a generator to turn the light back on once it goes out, walk forward a few steps and you should see this page on the ground. You shouldn’t miss it; it’s on the ground right in front of a Lover’s Peak sign.
Coffee Thermos #23 – After picking up the above page look to your right. You should be able to see a broken phone booth. Go past the phone booth and jump the broken log fence behind it to find this thermos sitting on a rock.
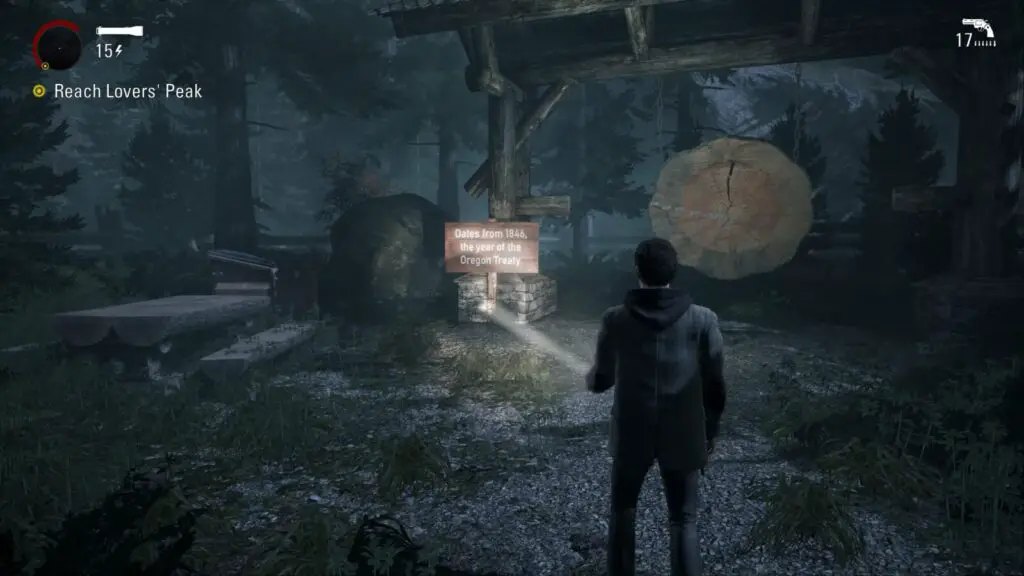
Coffee Thermos #24 – Eventually you will come to the trail end and see a big wooden gate that is blocked by some logs. Turn to the right and follow the trail away from the gate to find a thermos in a picnic area.
Sign #6 – Right near the above thermos is a readable sign. It can be found next to the large tree ring hanging nearby.
Manuscript #24 – After jumping the fence to the left of the blocked wooden gate you will spot this page on a rock directly in front of you.
Coffee Thermos #25 – When you finally get to the top of Lover’s Peak you will see an archway with a heart symbol. To the right of the arch is a map board and behind it is a coffee thermos.

Supply Chest #6 – After the cutscene atop Lover’s Peak turn around and walk across the stone bridge next to the wooden struts. In the cave, there is a chest.
Manuscript #25 – After the Lover’s Peak cutscene you will see a manuscript page on the ground directly in front of you.
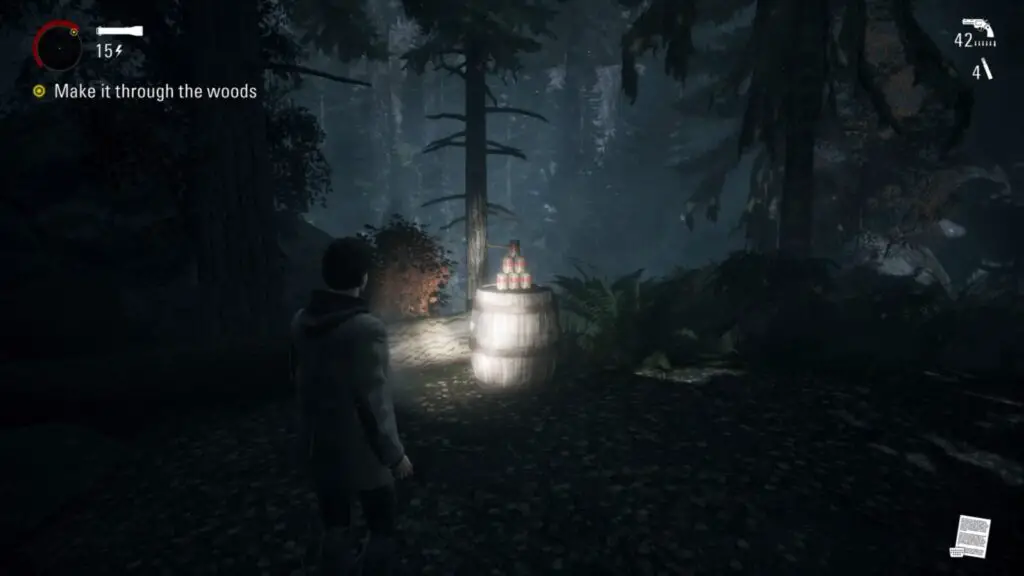
Can Pyramid #3 – Keep to the left, near the cliff edge, while traversing the trail scattered with bear traps and you will eventually come to a wooden barrel with some batteries and revolver ammo. To the right of this barrel is a can pyramid sitting on an adjacent barrel.
Manuscript #26 – Look near the cliff edge where the can pyramid was and you will see a fallen tree. Just behind this tree is a well-hidden manuscript page. Be careful picking it up as you might fall off.
Coffee Thermos #26 – You will reach a generator that you can use to activate a Safe Haven light. There will be two cabins around this light. Search the one closest to the generator and you will find a thermos.
Manuscript #27 – The second cabin at this Safe Haven light will have a manuscript page on the floor near a doorway.
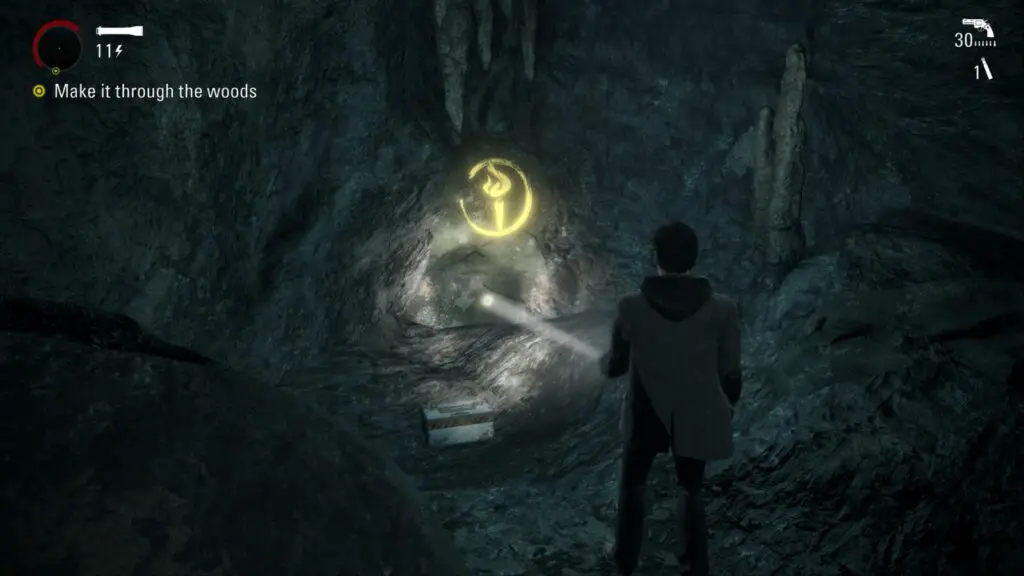
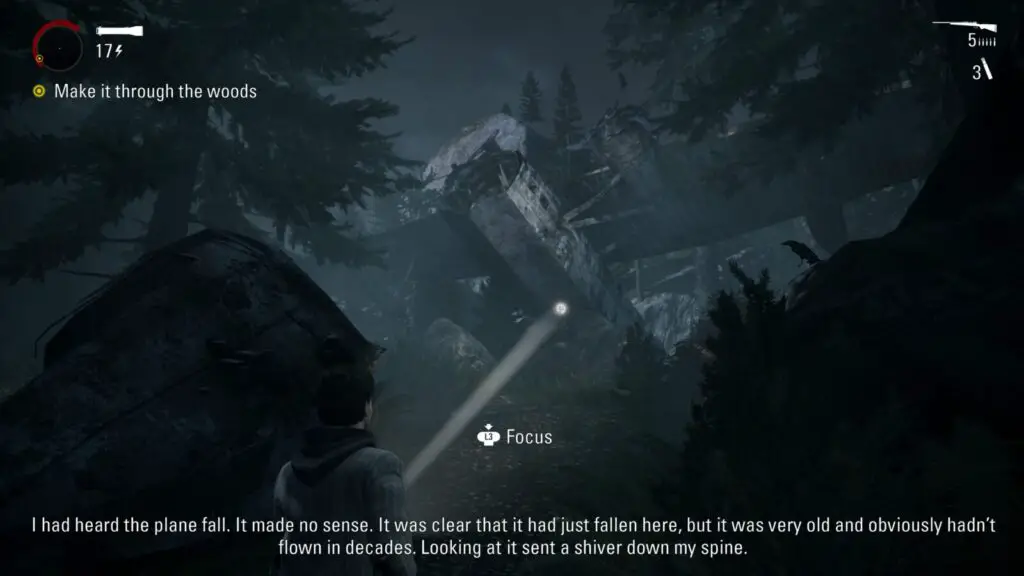
Supply Chest #7 – Drop down from the previous Safe Haven light and you will be able to focus ![]() on an old plane wreckage. Walk to the tail and enter the plane. Walk to the front where the cockpit would be and the plane will start to tip. Once it’s finished tipping, exit the plane and return to the tail end. You should be able to see some rocks that you can climb to get onto the wing. At the end of the wing is a chest.
on an old plane wreckage. Walk to the tail and enter the plane. Walk to the front where the cockpit would be and the plane will start to tip. Once it’s finished tipping, exit the plane and return to the tail end. You should be able to see some rocks that you can climb to get onto the wing. At the end of the wing is a chest.
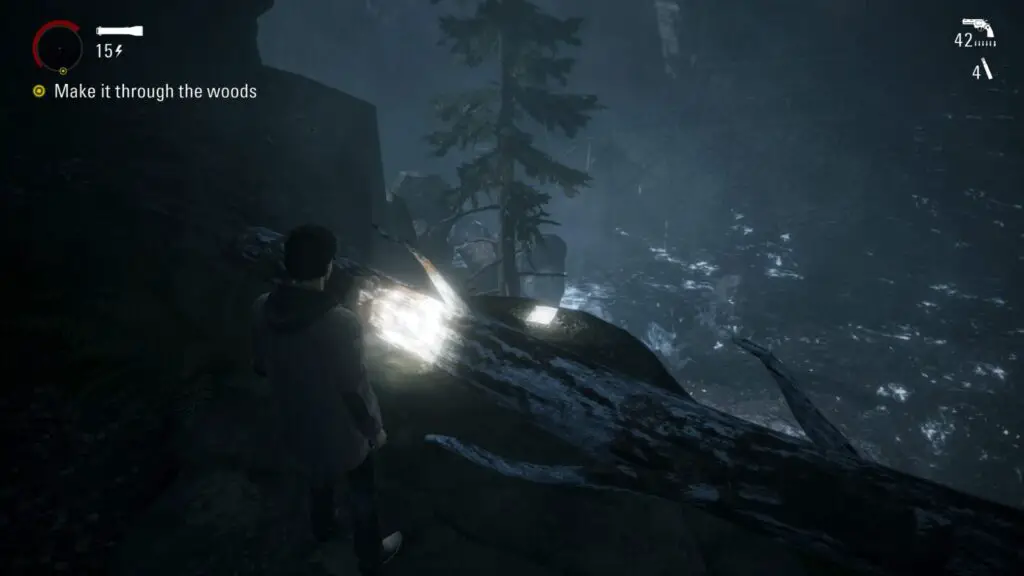
Coffee Thermos #27 – When you reach the next Safe Haven light with a generator, walk towards the cliff edge and up the peak so you can get a good view of the mill across the water. To your right will be a second peak and on top of it will be a coffee thermos.
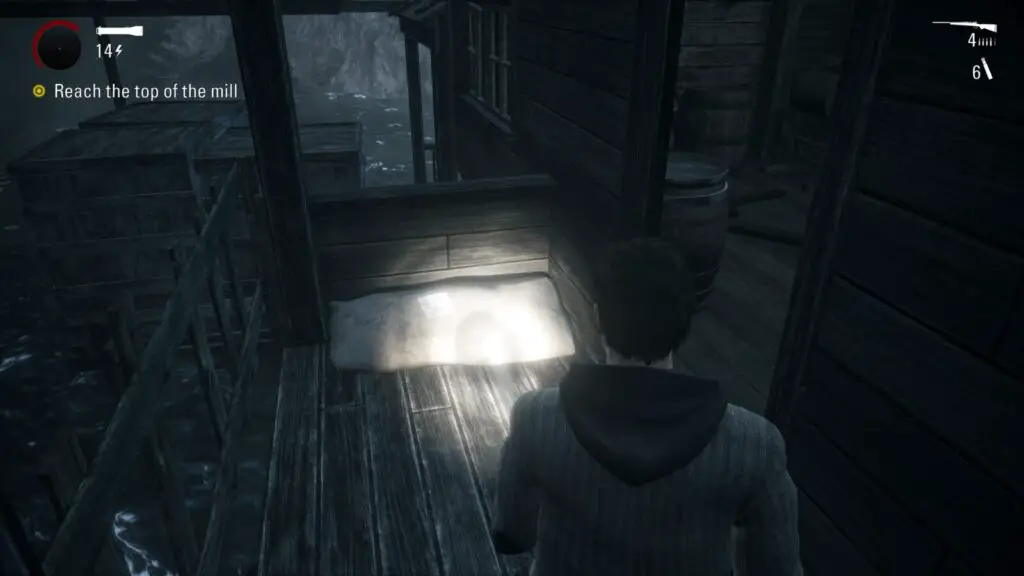
Manuscript #28 – When you get inside the mill go upstairs until you’re on the second to last floor. You should be able to enter a room that connects to a small balcony. There’s a page on the balcony.
Manuscript #29 – Go up to the very top floor of the mill and you will see a counterweight that you can kick off a ledge. This will bring a wooden elevator up to your level that you can use to jump the gap to the next page. It’s sitting on some sacks and is directly in your path.
Coffee Thermos #28 – The very next room after the above page will have a coffee thermos inside that’s hard to miss.
Manuscript #30 – After exiting the mill you will see a hidden message on a nearby box that reads “the darkness wears her face”. To the left is a rundown shack. Go inside and use the crates to jump up and over the blockage to reveal a really well-hidden manuscript page.
Coffee Thermos #29 – After progressing on the main route for a bit you will come to a camp site. On a picnic table at the entrance of the camp site is a thermos. You can’t really miss it.
Manuscript #31 – At the camp site is a manuscript page. It’s by a red bin at the entrance of the public restrooms.
TV Show #5 – Once you pick up the garage keys in the men’s public restroom the TV inside will automatically turn on.
Coffee Thermos #30 – Once you get access to the truck locked in the garage drive out and onto the road. Turn right and follow the road to a roadblock. There is a thermos on the ground in front of an overturned truck.
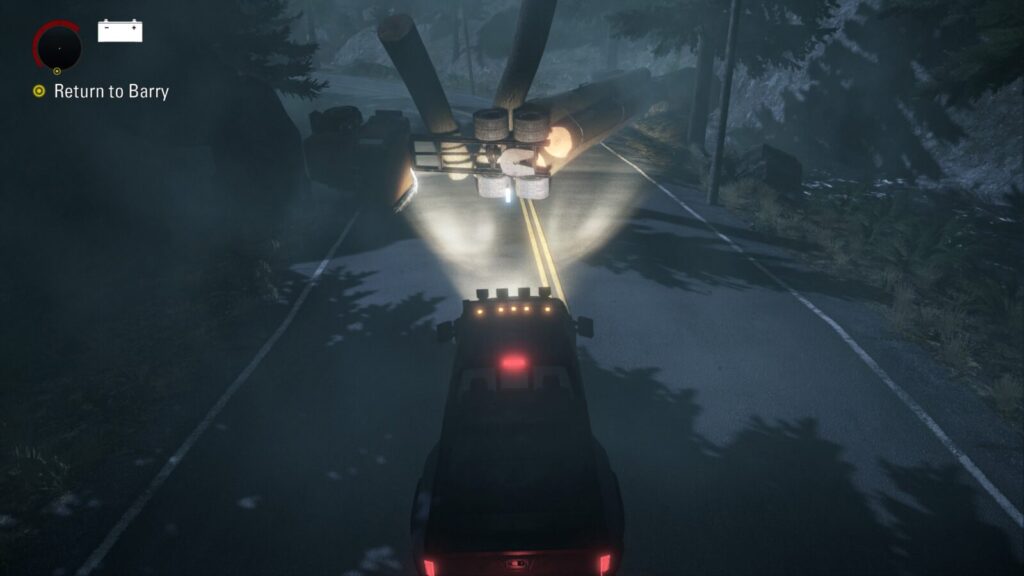
Supply Chest #8 – Following the road after getting in the truck you will encounter a logging truck blocking the road. Drive off the road to the right and you will see a shack and some yellow arrows pointing to it. Inside is a chest.
Can Pyramid #4 – After driving a bit further on the road you will reach a bridge. Instead of crossing the bridge, turn left and head to a Safe Haven light nearby. On the picnic table under the light is a can pyramid.
Coffee Thermos #31 – Just before the road ends you will come to another logging truck. Behind it on a picnic table is a thermos.
Manuscript #32 – At the very end of the road will be some roadblocks and a tunnel. Inside the tunnel is a manuscript page.
Manuscript (NIGHTMARE) #4 -Right at the end of the chapter just after you receive another phone call from the kidnapper, you will come across a nightmare manuscript page on the dirt road leading to Alan’s rented cabin.
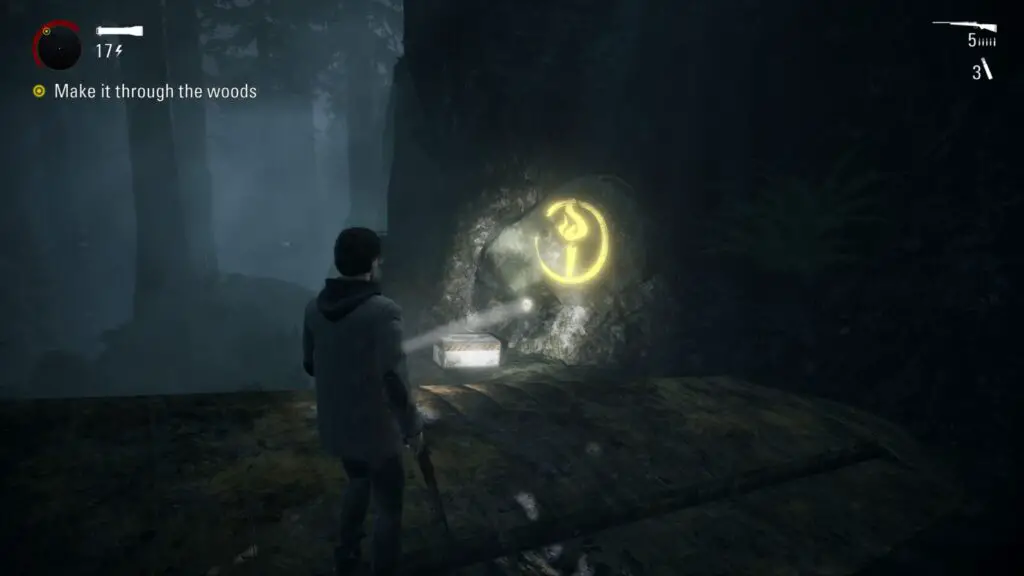
Supply Chest #9 – Once you find yourself back at the cabin Alan and Barry rented out you will be attacked by birds. While fighting them off, go behind the cabin to find a hidden yellow marker on the rocks near the well. You can also pick up Coffee Thermos #20 if you missed it earlier.
Thank you for choosing PlatGet as your source for Alan Wake Episode 2 Collectibles Guide; consider checking out our other guides!
Follow us on Twitter @GetPlat or Instagram @platget for updates on new reviews and guides, as well as small anecdotes about our platinum journeys.