PlayStation 5
Alan Wake Episode 4 Collectibles Guide
Game Guide
Alan Wake Episode 4 Collectibles Guide for PS5
Welcome to our Alan Wake All Collectibles Guide for PlayStation 5. In this guide, you will find a detailed description of the location of all Manuscripts (including the pages only available in Nightmare difficulty), Coffee Thermoses, Signs, Can Pyramids, Supply Chests, TV Shows, and Radio Shows; Optional Trophy opportunities are also listed. Check out our Alan Wake Trophy Guide for help unlocking the rest of the trophies.
Alan Wake Episode 4 Collectibles
Cauldron Lake Lodge
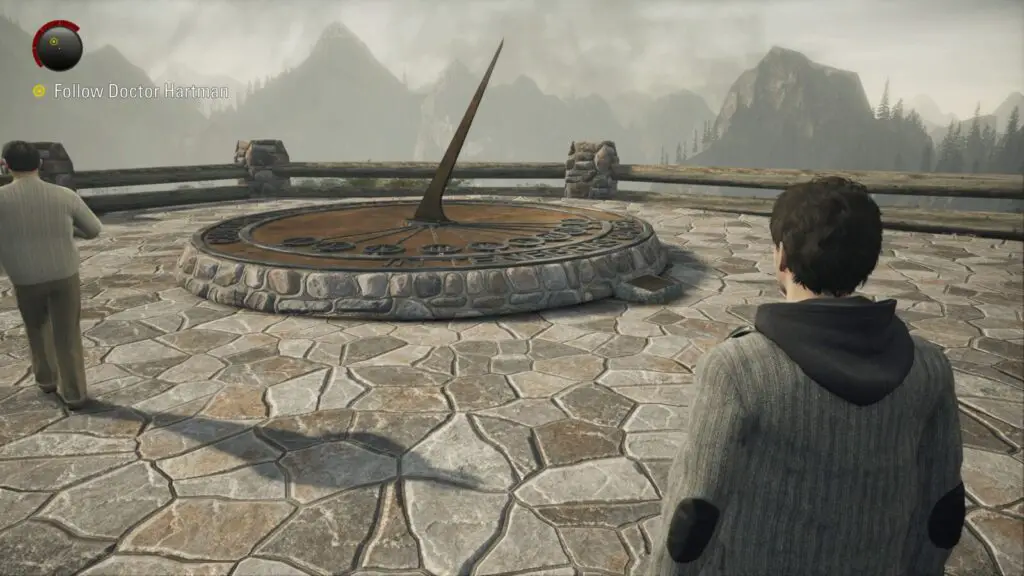
Sign #10 – At the start of the chapter, Alan will be taken on a tour of Cauldron Lake Lodge. While outside, you will see a huge sundial on an overlook. Doctor Hartman will take you there as part of the story.
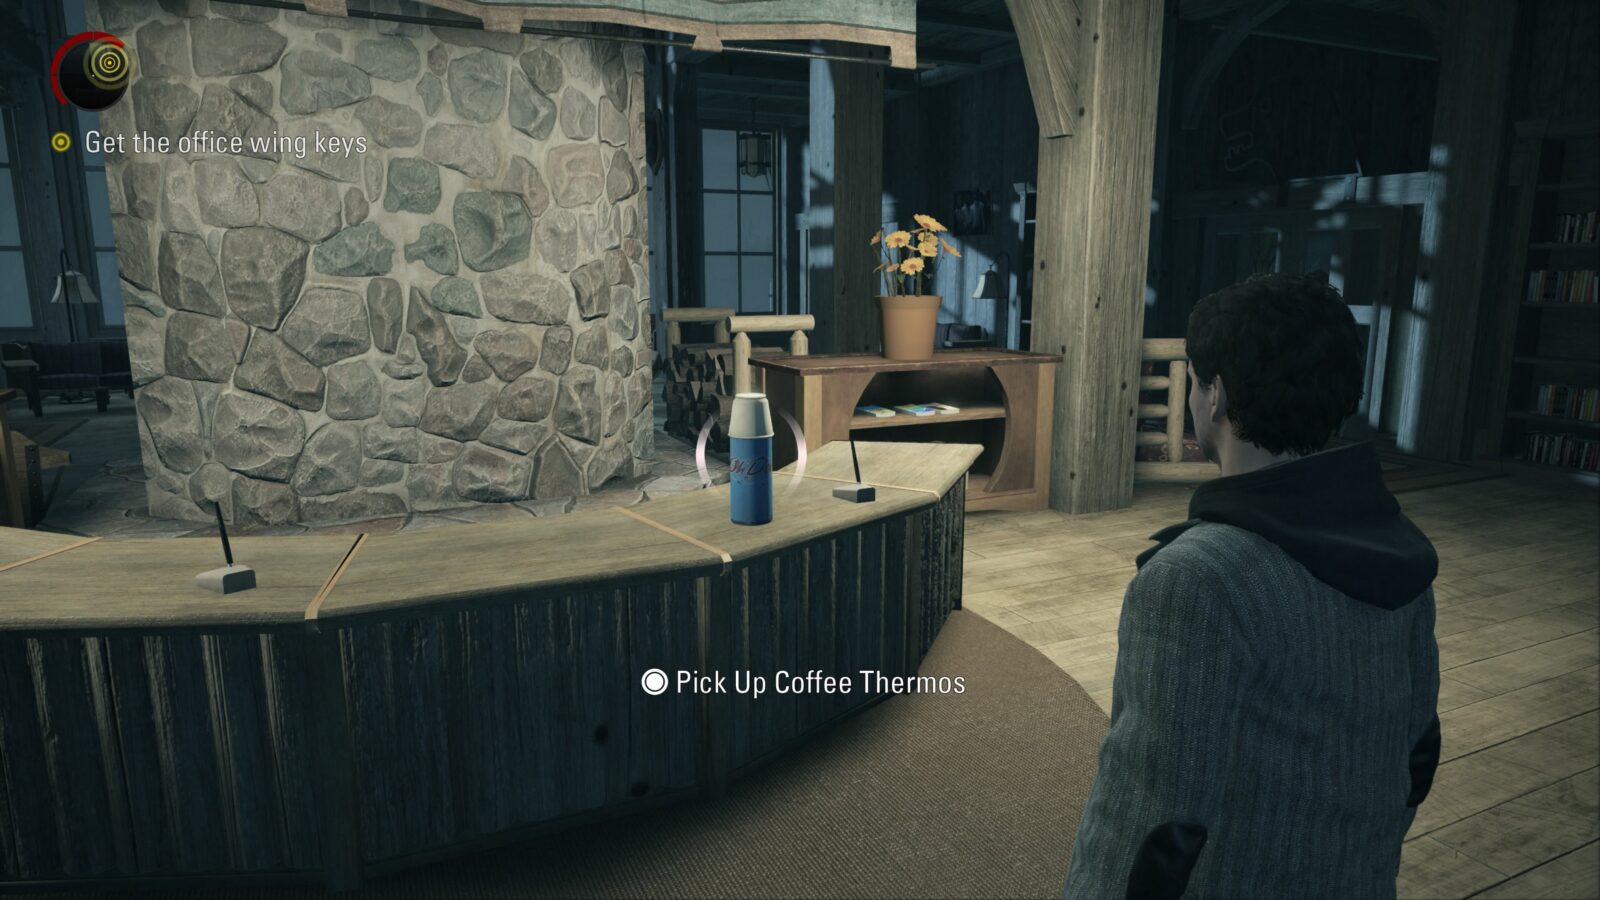
Coffee Thermos #52 – When you go back inside and meet a character called Emerson, check the reception desk for a coffee thermos behind the large open fireplace in the middle of the room.
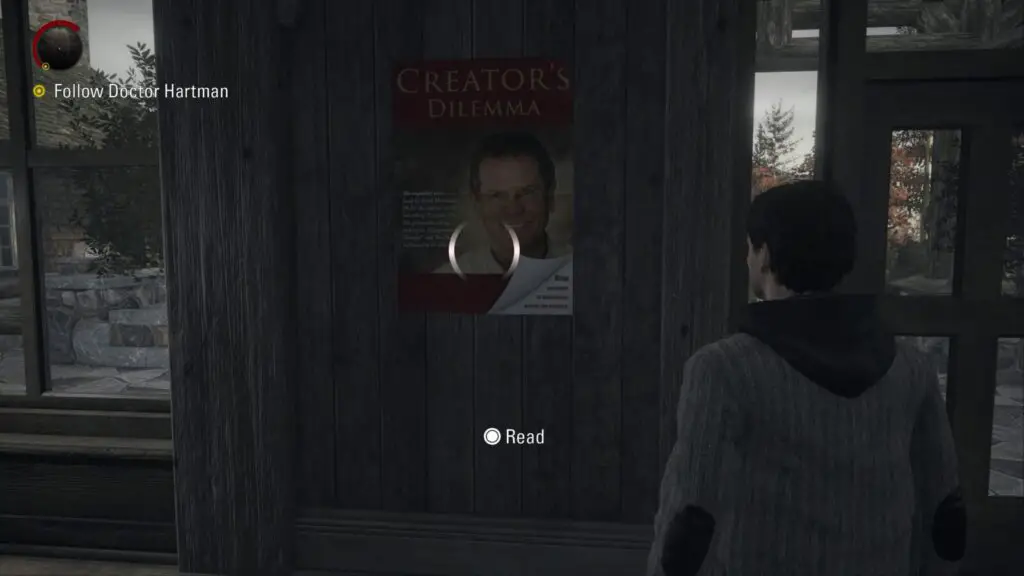
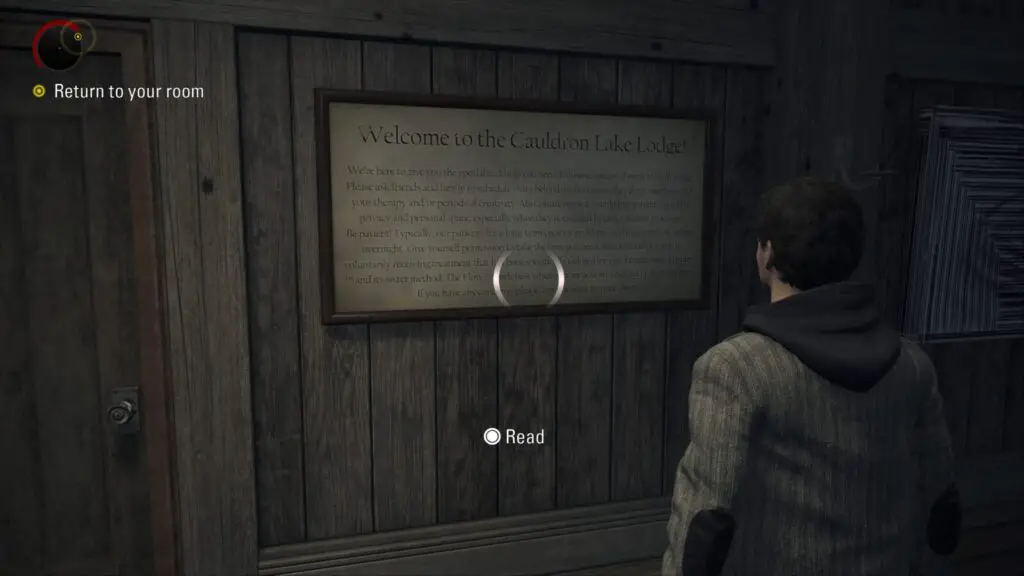
Sign #11 – On a wall opposite the reception desk by the main doors is a readable sign with Dr. Harman’s face on it.
Sign #12 – Follow Dr. Hartman into the hallway and he’ll re-introduce you to the Anderson brothers. On the wall directly opposite that room is a readable sign.
Manuscript #55 – This manuscript page is automatically added to your collection during a cutscene.
TV Show #9 – While returning to Alan’s room, a TV will flicker on as soon as you walk up the stairs in the main hall.
Coffee Thermos #53 – After the TV has finished playing its clip run to the right and follow the walkway to the large glass window. There is a coffee thermos on the handrail there.
Manuscript #56 – After the cutscene in Alan’s room finishes, head back to the main hall and you will see this manuscript page directly in your path.
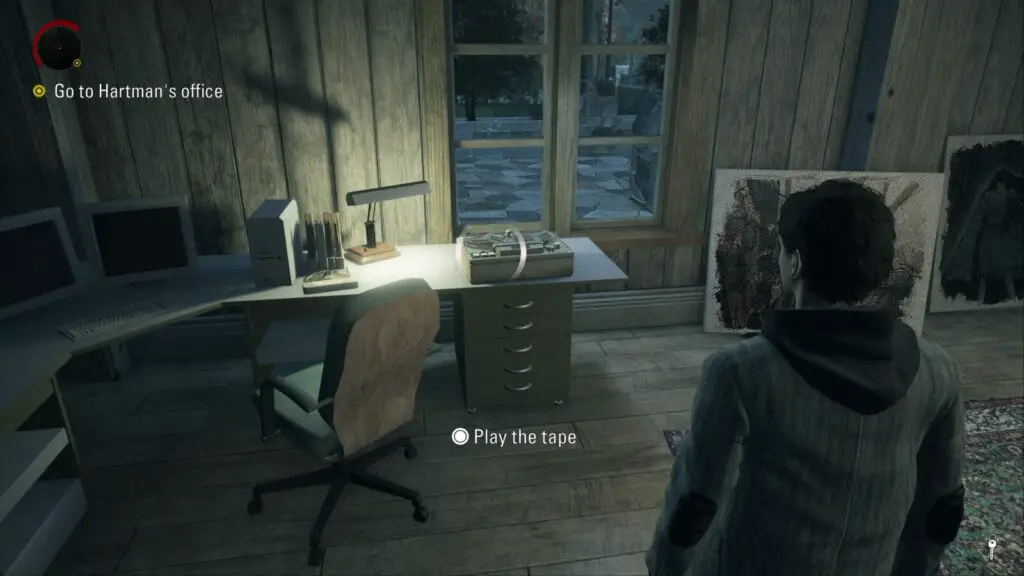
Optional Trophy “Medical Opinions” – While at Dr. Hartman’s lodge you can discover a tape player that offers some insight into Dr. Hartman’s goals. Go downstairs into the main hall and pick the keys up from the nurse that the Anderson brothers knocked out. Use them to open the locked double doors at the other end of the main hall. Take an immediate left into a room with large canvas paintings scattered around. There will be a tape player on a desk that you can play. You will have to listen to the tape player three times for the trophy to unlock.
Manuscript #57 – In the same room as Dr. Hartman’s tape recorder is a manuscript page on a wooden table in the far corner.
Coffee Thermos #54 – You’ll see this coffee thermos on a table behind Barry once you find him locked in a room.
Manuscript #58 – Automatically picked up during a cutscene.
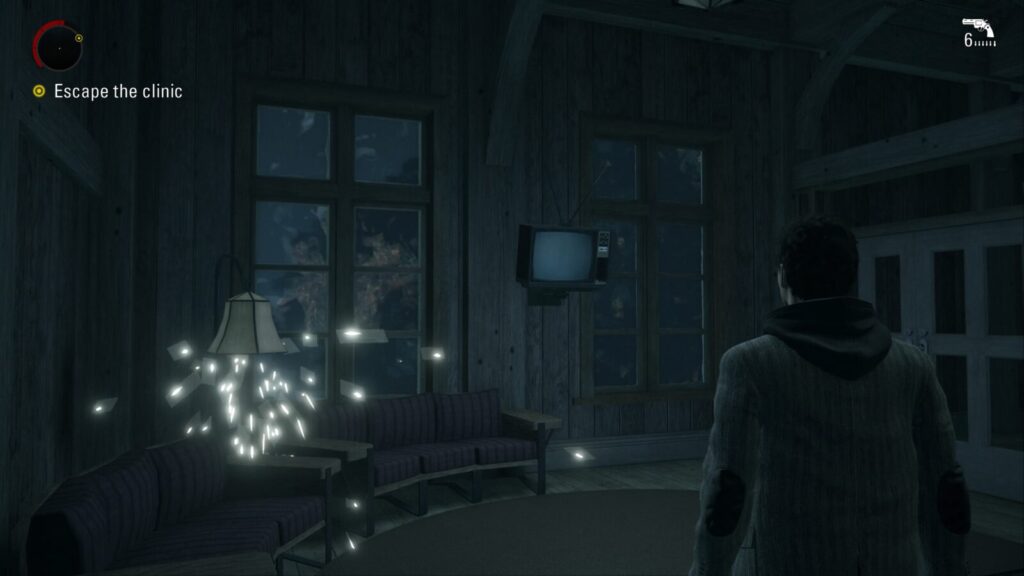
Optional Trophy “Boob Tube” – While escaping the lodge, you can earn a trophy for watching an episode of Night Springs. While making your way through the lodge while the darkness is attacking you, you will come to two possessed bear statues blocking your way. Use the flares from the previous room to clear the way and head into the next room. There will be a TV hanging from the wall in here that you can interact with to unlock the Boob Tube trophy.
Manuscript #59 – A manuscript page can be found in the same room as the Boob Tube TV. It’s on a chair by the door.
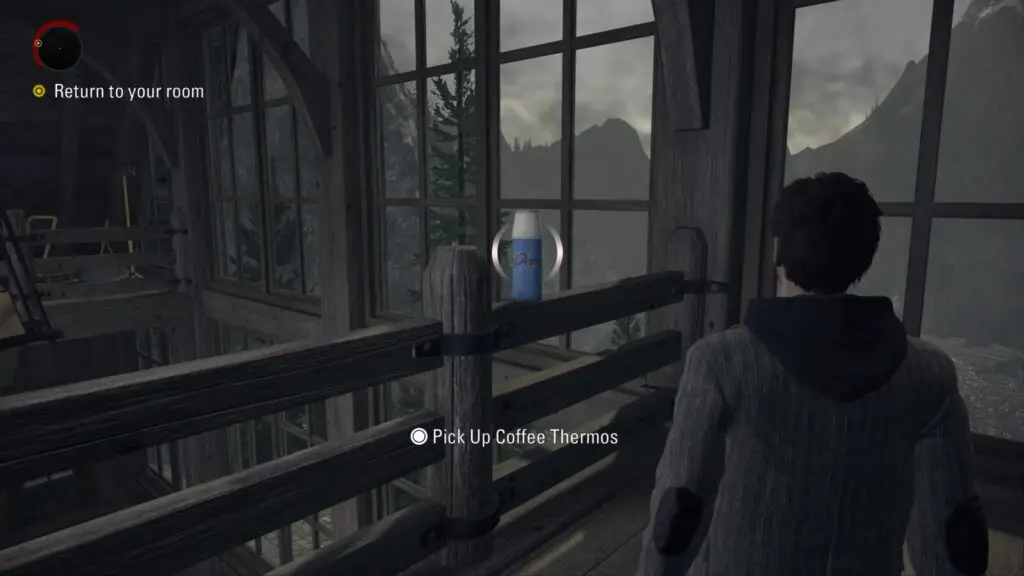
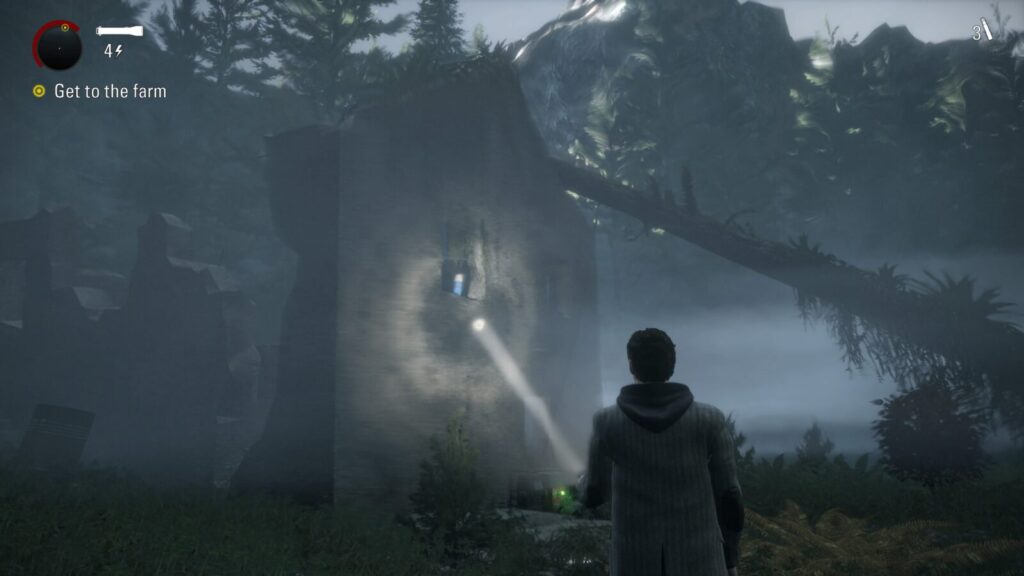
Coffee Thermos #55 – After using the possessed sphere to break open the doors in the lodge so you can escape, turn right and follow the path to a locked metal gate to find a thermos nearby.
Sign #13 – In the middle of the courtyard right after leaving the lodge is a stature with a readable sign at its base.
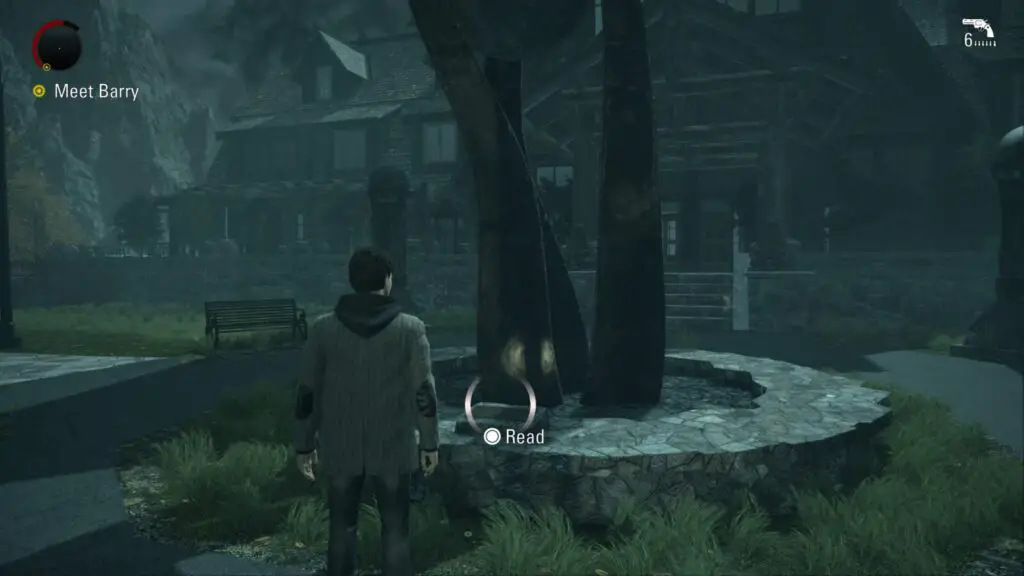
Manuscript #60 – Proceed through the maze (there’s only one route) and you will come across a tree with a manuscript page on the ground in front of it.
Manuscript #61 – At the end of the maze you will come to a pathed area with two black benches. You will have to head right to leave the maze, however, if you head left you will find a manuscript page on a bench.
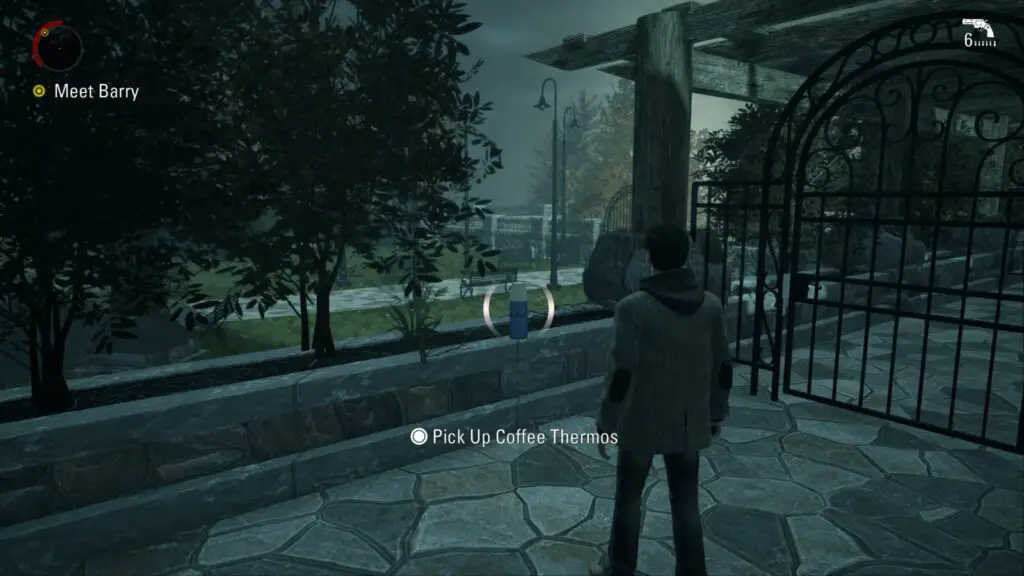
Coffee Thermos #56 – Once you leave the maze you will have to fight a miniboss. On the patio behind him is a coffee thermos.
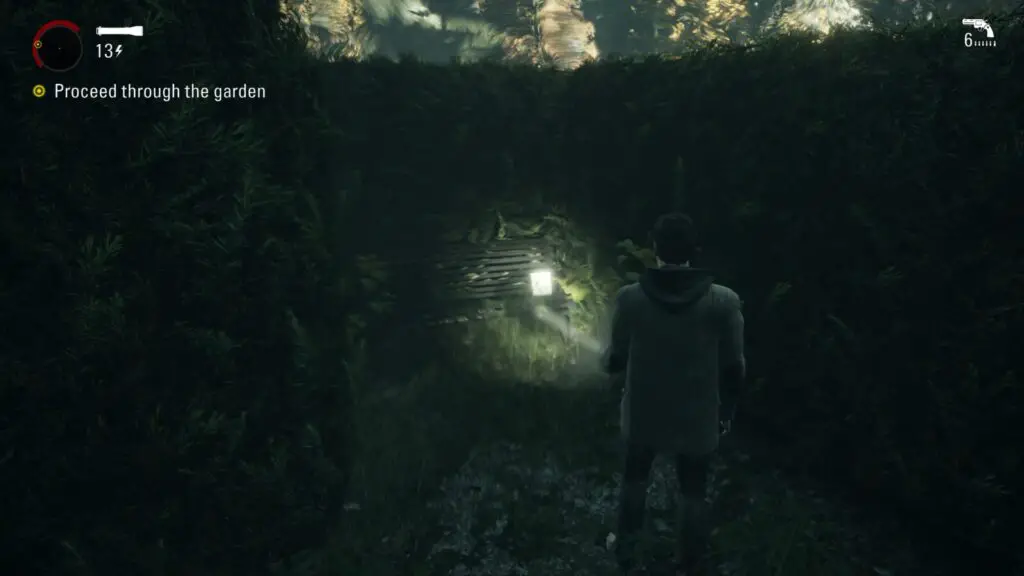
Manuscript #62 – Inside a shed next to a Safe Haven light is a shotgun and a manuscript page.
Manuscript #63 – After shining your light on a possessed gate you will find this next manuscript page at the top of some steps on the main path.
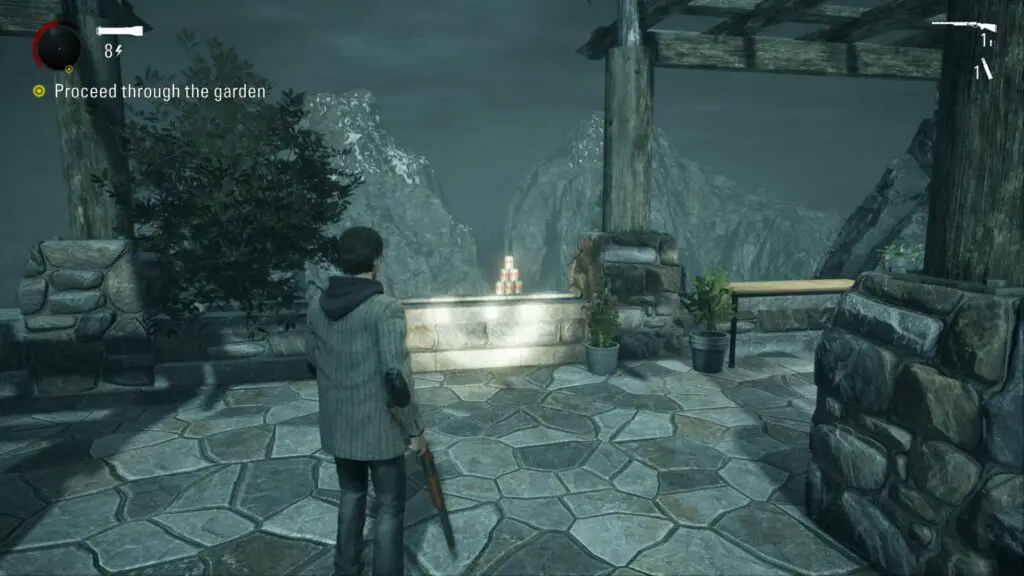
Can Pyramid #7 – Directly to the right of the above manuscript (or behind you if you’re looking down the steps), on a stone wall, is a can pyramid.
Supply Chest #15 – At the next Safe Haven light take a right and head to the cliff edge. Follow the edge until you get to a supply chest.
Coffee Thermos #57 – You’ll see this next coffee thermos in front of you when you get to the next Safe Haven light.
Manuscript #64 – Take a left from the above coffee thermos and follow the path until you see this manuscript page on a stone wall.
Farm
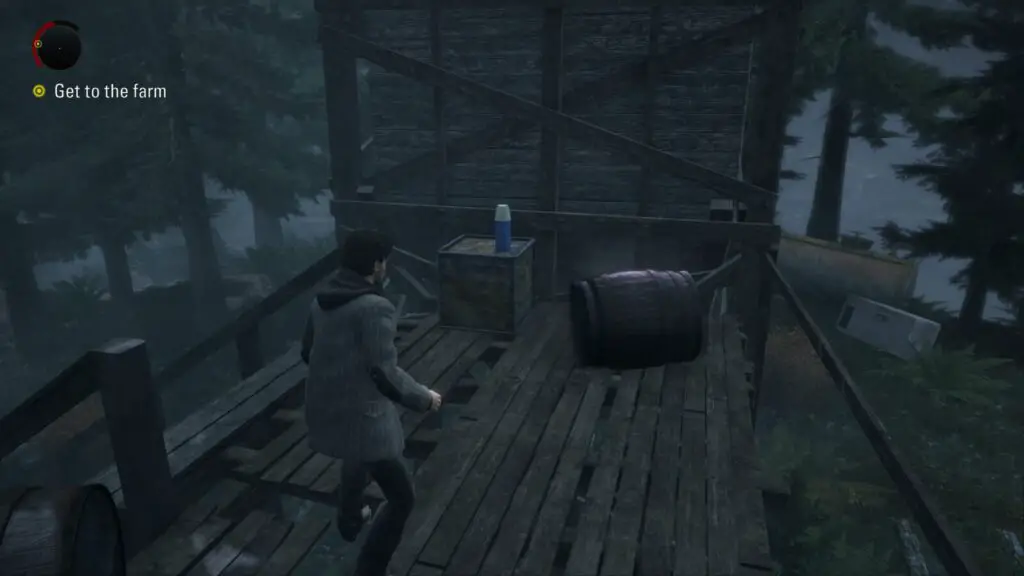
Coffee Thermos #58 – Proceed through the start of the second part of the chapter until you reach the entrance to a mine. You will be attacked by several possessed objects and there will be a small light you can turn on to the right of the mine. Directly opposite the mine entrance is a long wooden ledge you can walk along to the end. The coffee thermos is sitting on a crate at the end.
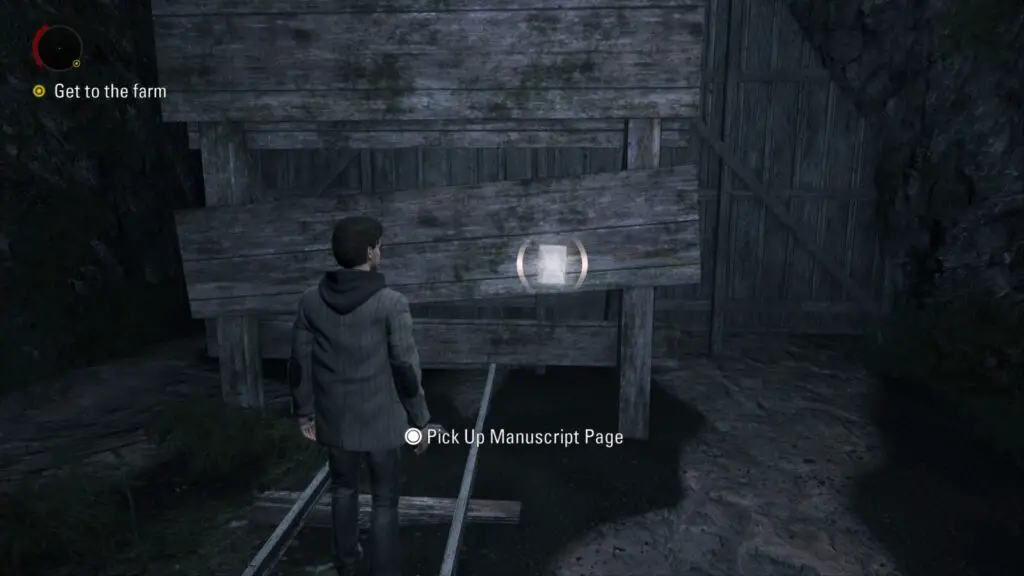
Manuscript #65 – Enter the mine and walk all the way to the back to find a manuscript page pinned to a wooden wall.
Manuscript #66 – On the ground next to the generator you have to use to create a light. Can’t miss it.
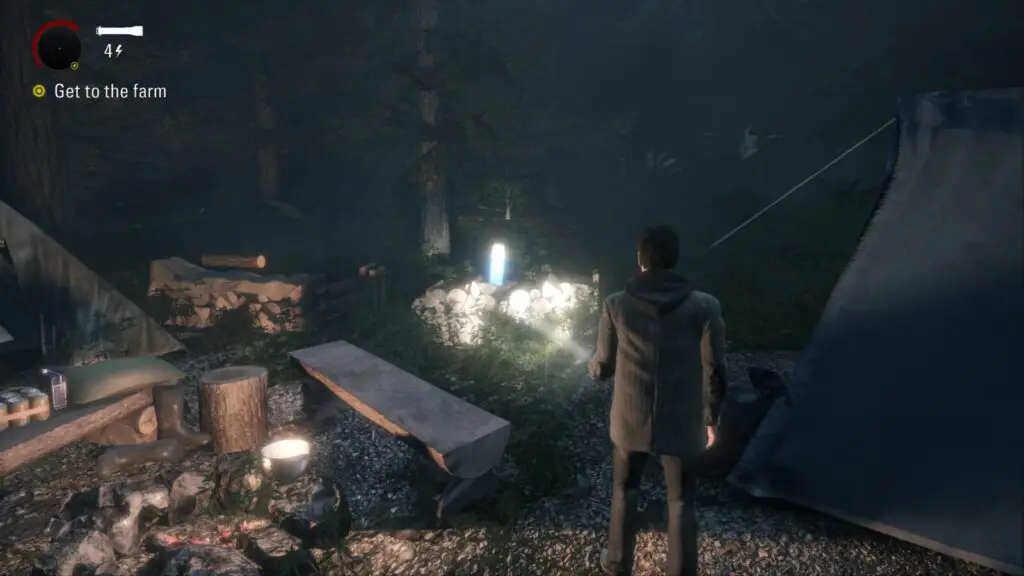
Coffee Thermos #59 – After witnessing a car driving towards Anderson’s farm you will come across a campsite with a heavy-duty flashlight. There is a coffee thermos in plain sight here.
Manuscript #67 – Dropped by the light. Couldn’t miss it if you tried.
Manuscript #68 – You will reach a very dilapidated concrete building with a generator outside. On the ground next to the generator is a page.
Coffee Thermos #60 – Use the stairs to the left of the concrete house and you will be able to reach the coffee thermos that is sitting above the generator.
Coffee Thermos #61 – Fight your way to the cabin that the car was heading to earlier. Inside the kitchen, to the left, is a coffee thermos.
TV Show #10 – Head upstairs to meet the man who was screaming. After, leave the room and TV will flash to life automatically.
Supply Chest #16 – Leave the cabin via the window the big guy smashed through, head right, and down the cellar stairs. There is a chest in the basement.
Manuscript #69 – Leave the cellar and head around to the left where the porch is. There is a page on the rug.
Coffee Thermos #62 – Jump in the truck and drive down the road a little ways until you see an old rusty tractor. The coffee thermos is in front of it.
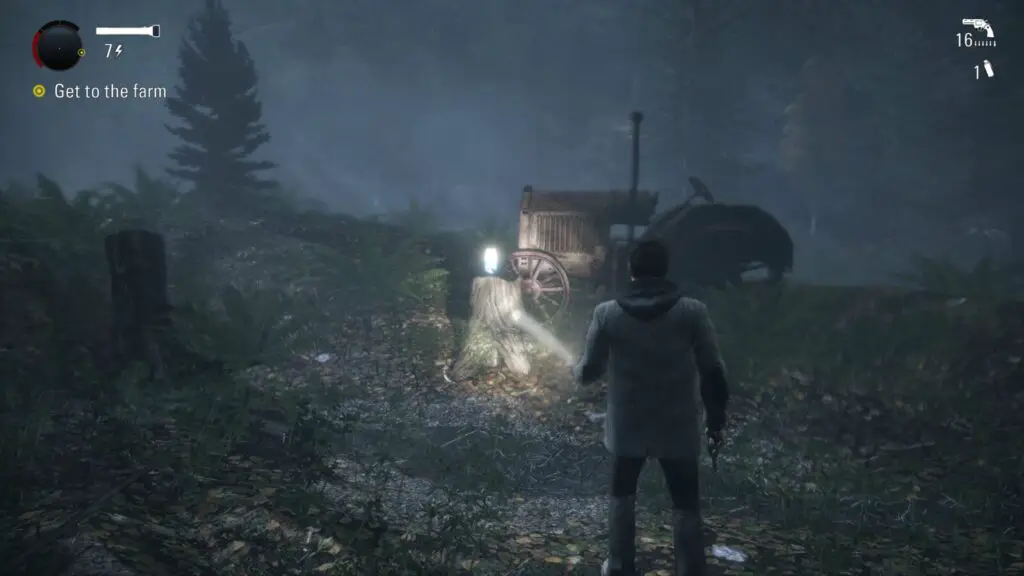
Coffee Thermos #63 – Drive down the dirt road until you reach a right turn (should only be a few seconds after the last thermos). Just before the right turn, drive the truck onto the grass to your right and you should see another rusty tractor with a coffee thermos sitting on a tree stump next to it.
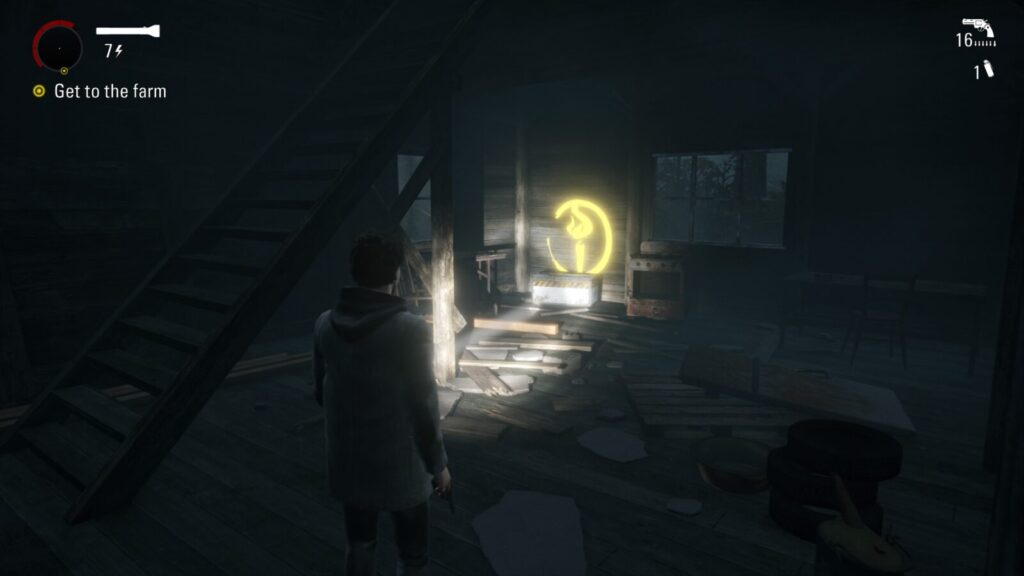
Supply Chest #17 – Get back on the dirt road and drive up to the cabin on the left, ignoring the right turn, and go inside. There is a supply chest in the far right corner.
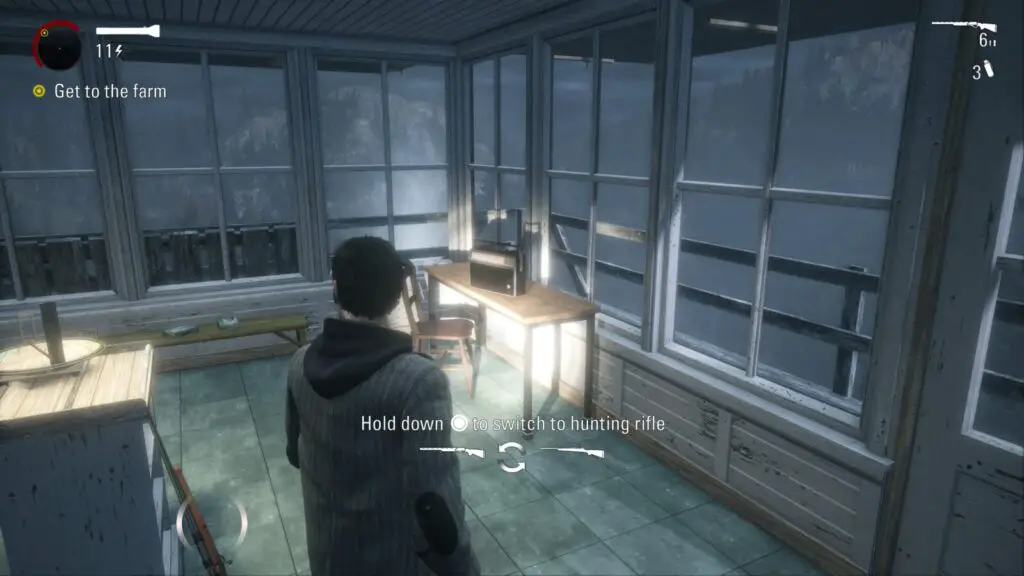
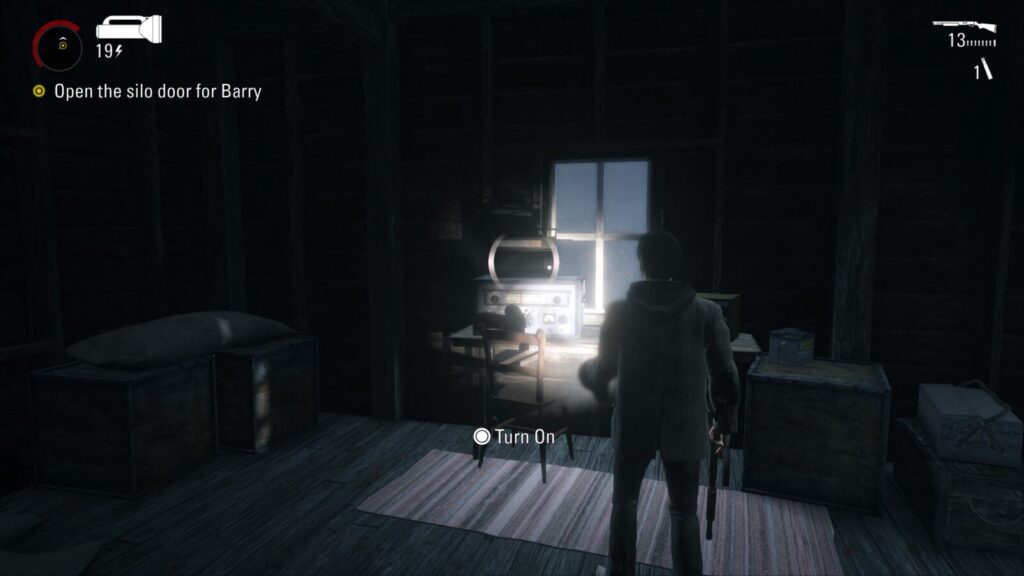
Radio Show #10 – Follow the dirt road up the hill and you will come to a watchtower on your right. Leave the car and go up the stairs to the watchtower. Inside is a radio.
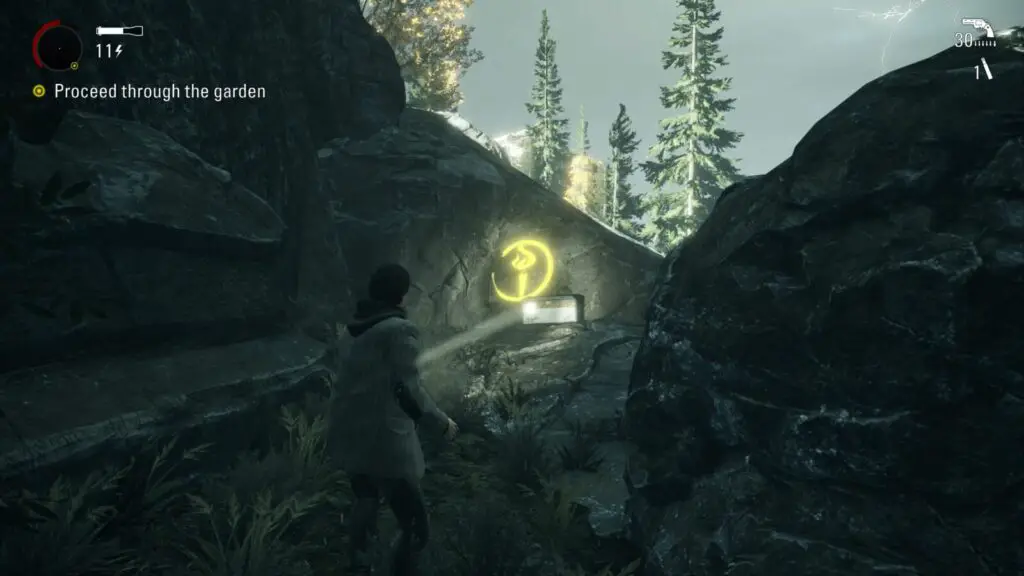
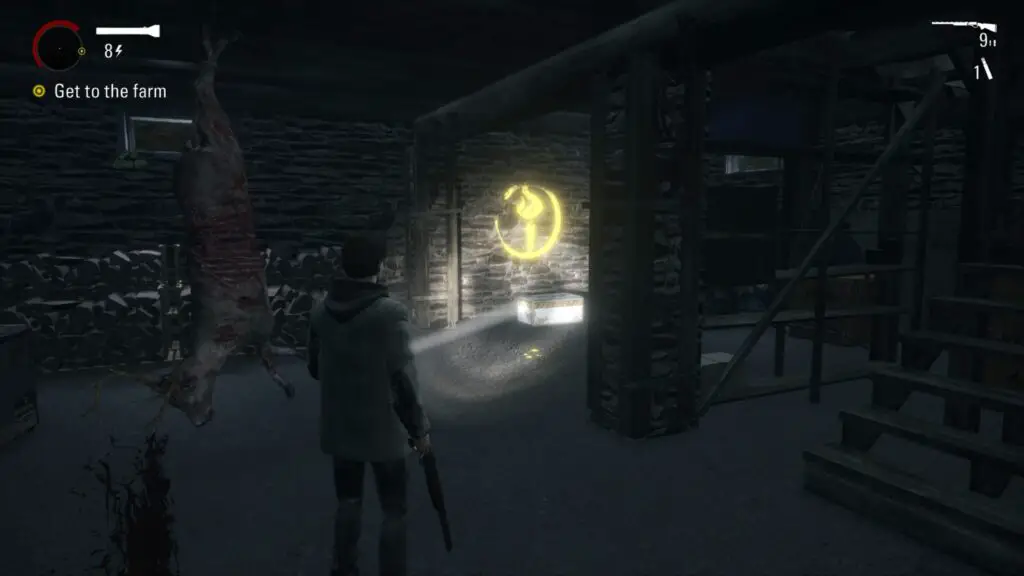
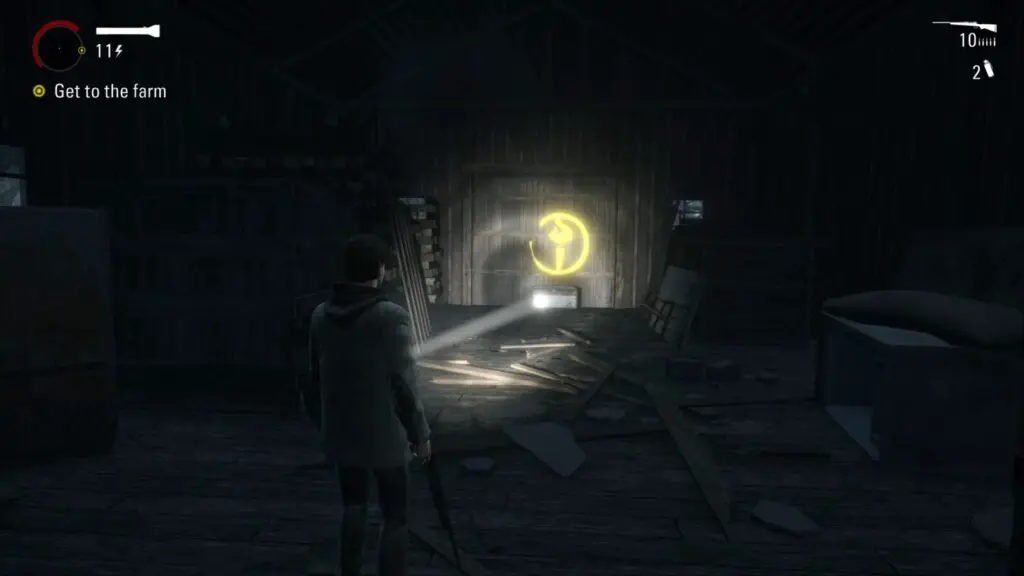
Supply Chest #18 – Proceed to Anderson’s farm and you will be forced to ditch the car and go on foot. After you reach the Safe Haven light, you will have to drop down into the farm on your left. Walk past the windmill towards the barn on your left (there will be a rusty tractor outside and when you get close you will see a hidden yellow marking). Inside is a supply chest.
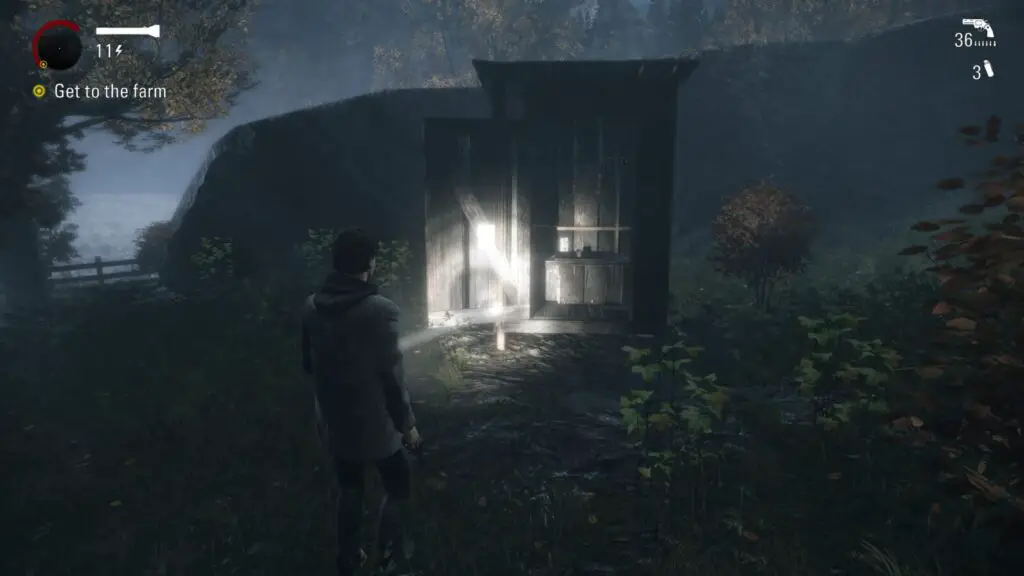
Manuscript (NIGHTMARE) #8 – Leave the barn with the supply chest and head right. You will see an outhouse with a nightmare manuscript page stuck to the door.
Coffee Thermos #64 – Head towards the stage and you will see a coffee thermos on some bleachers to your left.
Coffee Thermos #65 – After a brief cutscene with Barry, turn around and you will see this thermos.
Optional Trophy “Child of the Elder God” – While at Anderson’s farm you will be attacked by waves of enemies once you reach the concert stage. If you manage to survive the assault without letting your health drop below 50% you can unlock the Child of the Elder God trophy. Barry will periodically shine a light at the front-center of the stage that you can use to heal and create a checkpoint. Use flashbangs and the flare gun to dispatch large groups of enemies and the flashlight and shotgun for single enemies. If your health does drop below 50% you can press ![]() and select “Restart Checkpoint” to try again. If you’re successful, Child of the Elder God will unlock after the fight is over.
and select “Restart Checkpoint” to try again. If you’re successful, Child of the Elder God will unlock after the fight is over.
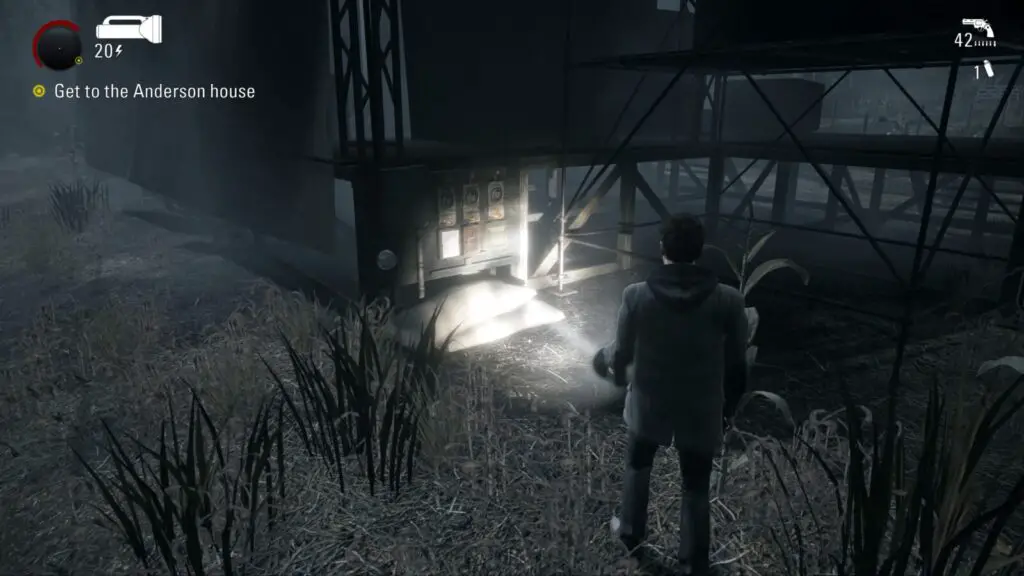
Manuscript #70 – Head around to the back-right side of the stage and you can find a manuscript page stuck to a circuit breaker.
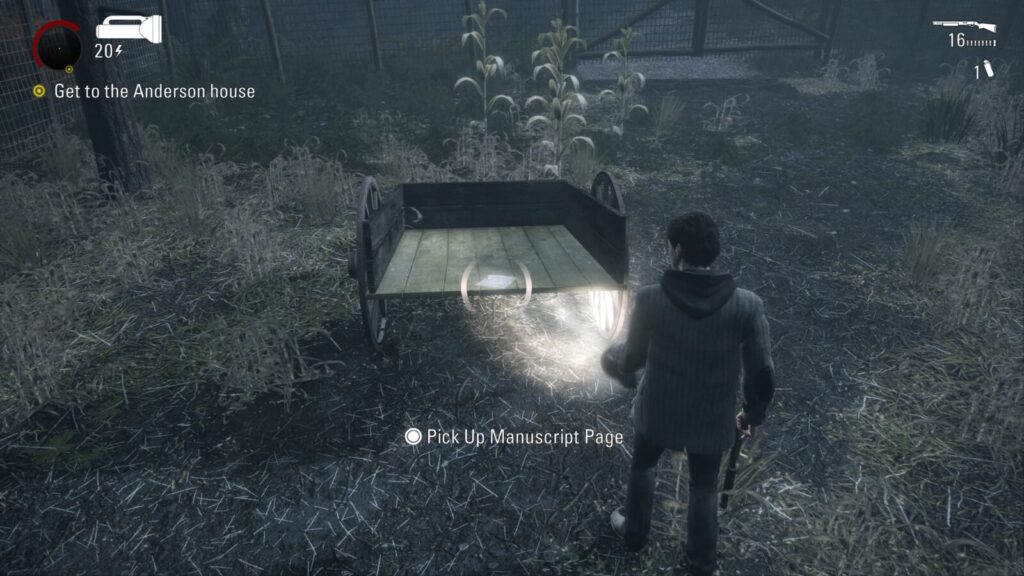
Manuscript #71 – When Alan and Barry get to the cardboard cutout in front of a barn look to your right. You will see a field with a rusty tractor in the far corner. Behind the tractor is a wooden cart with a page on it.
TV Show #11 – Inside the barn is a TV sitting on top of a metal shelf with some shotgun and revolver ammo on the ground in front of it. Turn the TV on to watch an episode of Night Springs.
Coffee Thermos #66 – Behind the TV in the far right corner on some hay is another coffee thermos.
Manuscript #72 – Upstairs in the barn is a manuscript page on a prop. It’s in your main path.
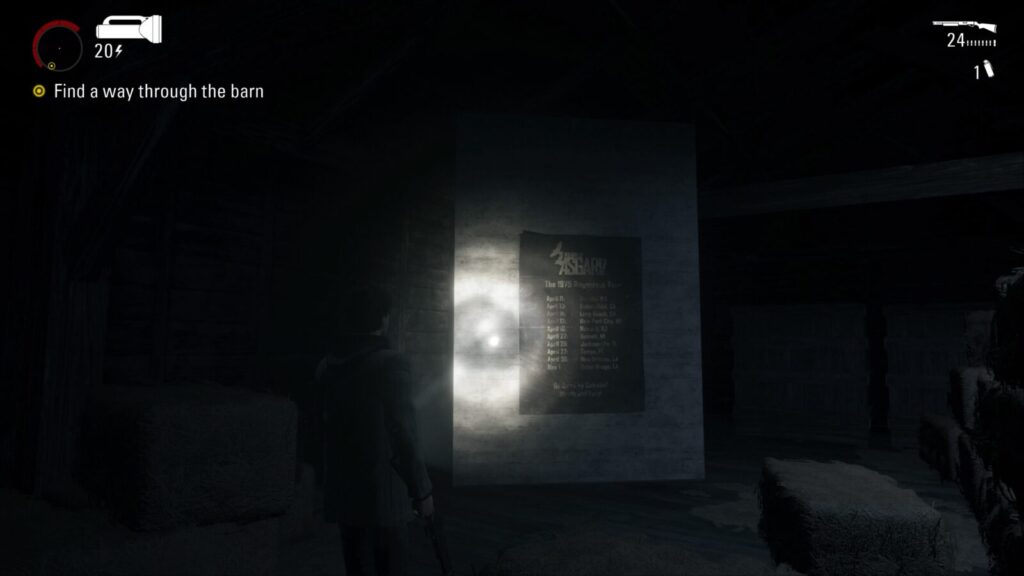
Sign #14 – Ignore the green button you have to press to progress the story and run past it. You will see a readable tour poster.
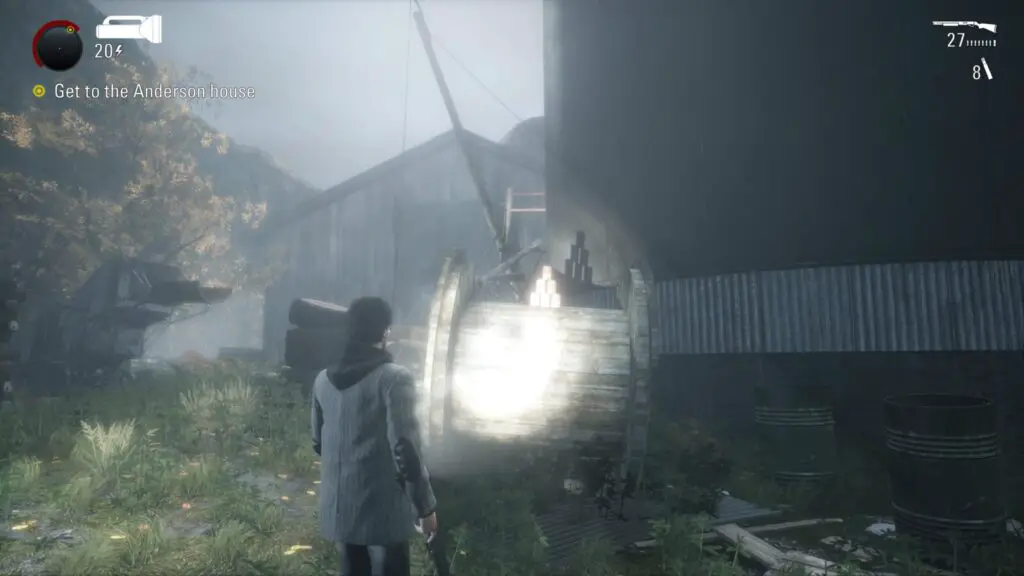
Can Pyramid #8 – After exiting the barn you will see some electric wires. At the second wire is a large wooden spool for things like rope or cable. On top of the spool is a can pyramid.
Coffee Thermos #67 – Enter the next building with Barry and climb the stairs to the third floor to find a thermos on a shelf.
Radio Show #11 – The last radio show in the game can be found by climbing the ladders on the very top floor. There will be a radio on a desk by a window.
Coffee Thermos #68 – As soon as you enter Anderson’s house check the white door to the right. There is a thermos inside.
Coffee Thermos #69 – Check the counter in the kitchen of Anderson’s house for another thermos.
Manuscript #73 – Head upstairs and this manuscript page will be directly in your path.
The Night it All Began
The Night it All Began doesn’t feature any collectibles.
Thank you for choosing PlatGet as your source for Alan Wake Episode 4 Collectibles Guide; consider checking out our other guides!
Follow us on Twitter @GetPlat or Instagram @platget for updates on new reviews and guides, as well as small anecdotes about our platinum journeys.