PlayStation 5
Alan Wake Episode 3 Collectibles Guide
Game Guide
Alan Wake Episode 3 Collectibles Guide for PS5
Welcome to our Alan Wake All Collectibles Guide for PlayStation 5. In this guide, you will find a detailed description of the location of all Manuscripts (including the pages only available in Nightmare difficulty), Coffee Thermoses, Signs, Can Pyramids, Supply Chests, TV Shows, and Radio Shows; Optional Trophy opportunities are also listed. Check out our Alan Wake Trophy Guide for help unlocking the rest of the trophies.
Alan Wake Episode 3 Collectibles
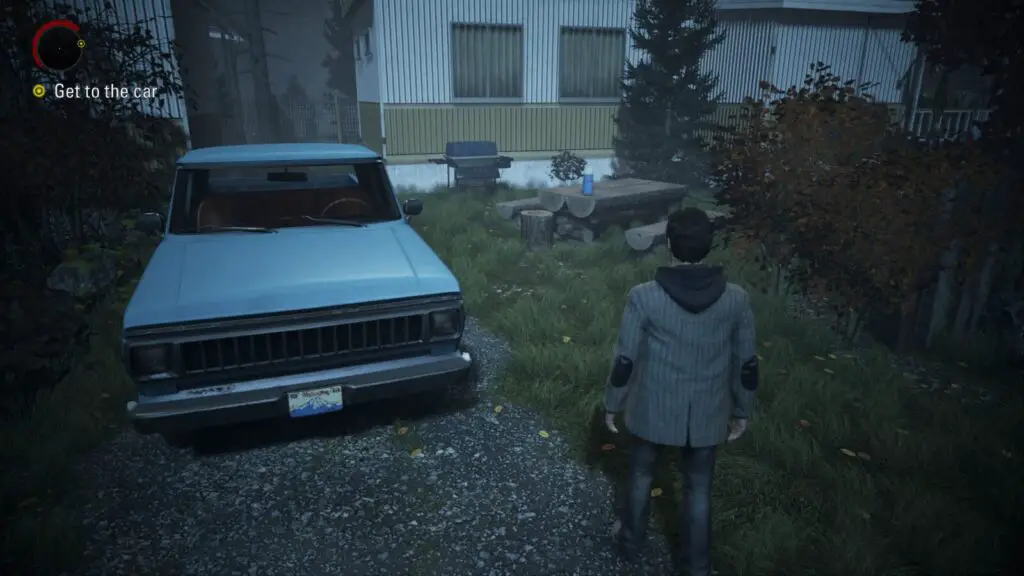
On the Run
Coffee Thermos #32 – At the start of the chapter when the man taking you to Rose mentions the boat that crashed in the middle of the trailer park, turn right and look towards the blue pickup truck. The thermos is on a picnic table nearby. You can also collect it on the way out.
TV Show #6 – After the cutscene where you meet Rose you will be in a pink room and the TV will turn on automatically.
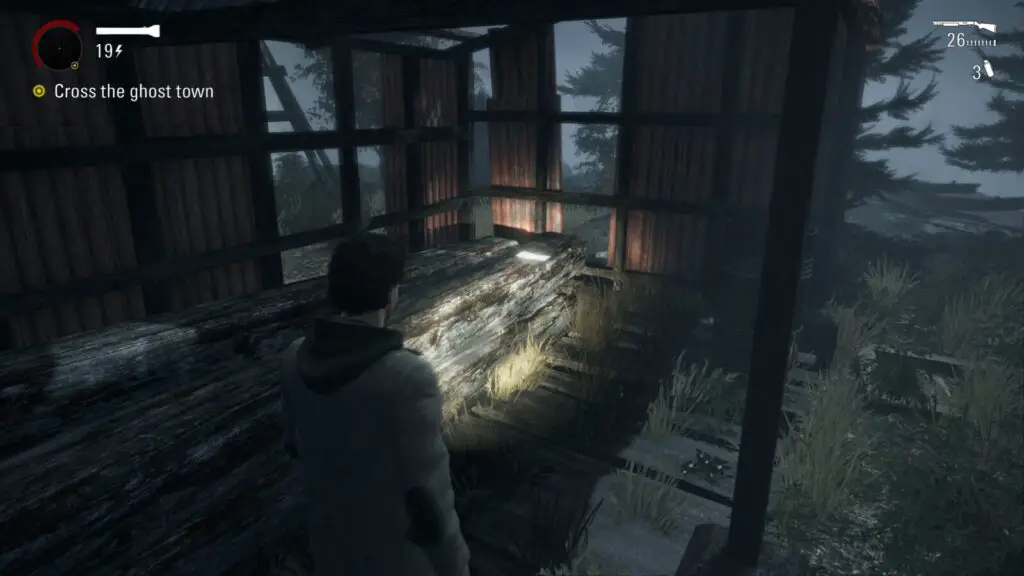
Coffee Thermos #33 – A thermos is sitting inside Rose’s cabin on the counter in the kitchen.
Manuscript #33 – As you exit Rose’s trailer you will see this manuscript page on the ground in front of you. Can’t miss it.
Radio Show #5 – As you retrace your steps through the trailer park, you will come to some wooden steps leading to the door of a raised trailer. On the wooden platform at the top of the steps is a radio.
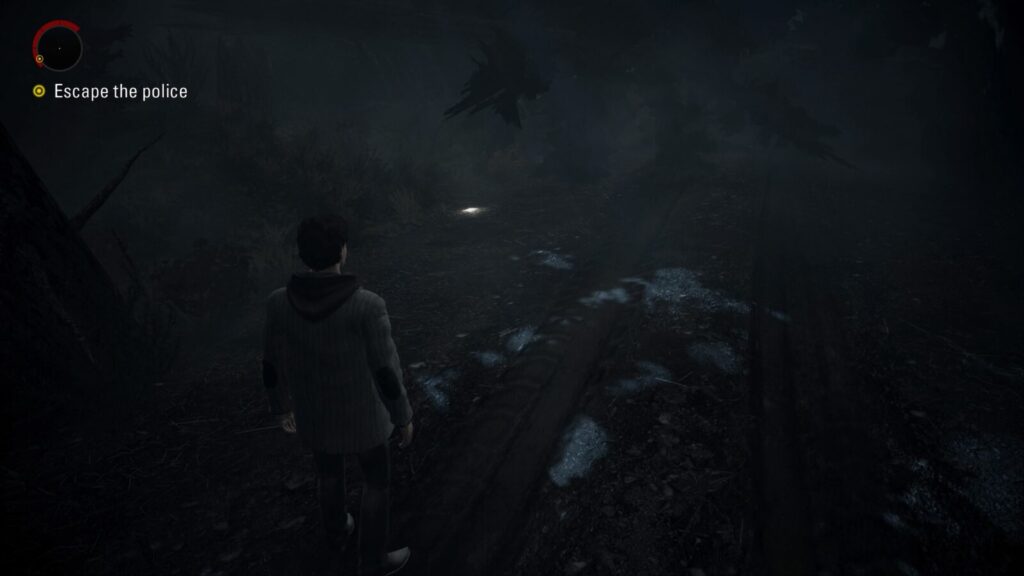
Manuscript #34 – As you run through the forest while evading the police you will get to a point in the trail where you drop down a small ledge. On a rock, a few meters ahead of you is a page.
Manuscript #35 – Shortly after the previous manuscript page you will witness a police car violently crashing onto your screen. When it’s over, face the car and turn right. Follow the dirt road to the end to find a page on the ground near a tree.
Coffee Thermos #34 – When the helicopter is taken out by a flock of birds head to the watchtower at the end of the path. There’s a thermos inside.
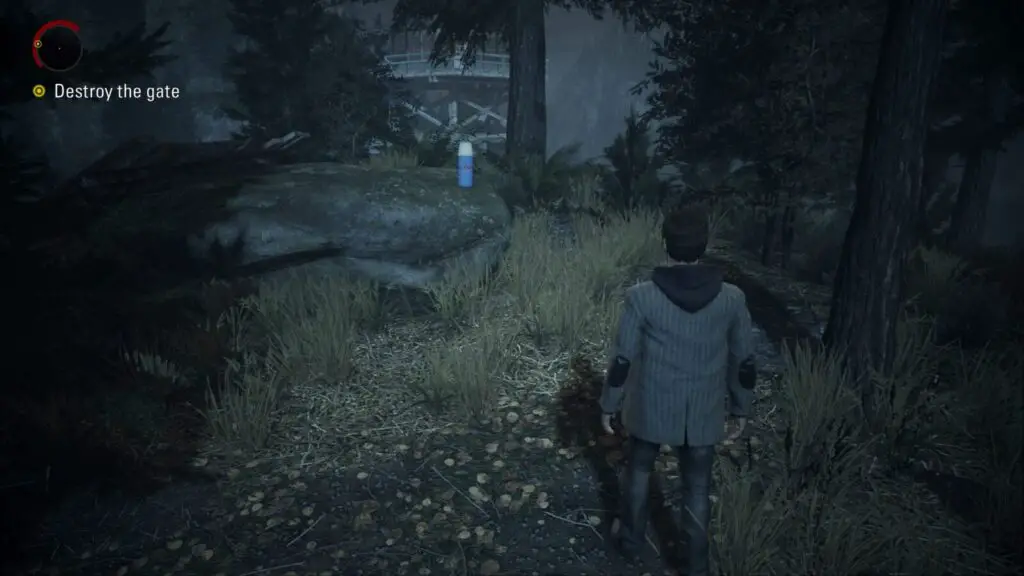
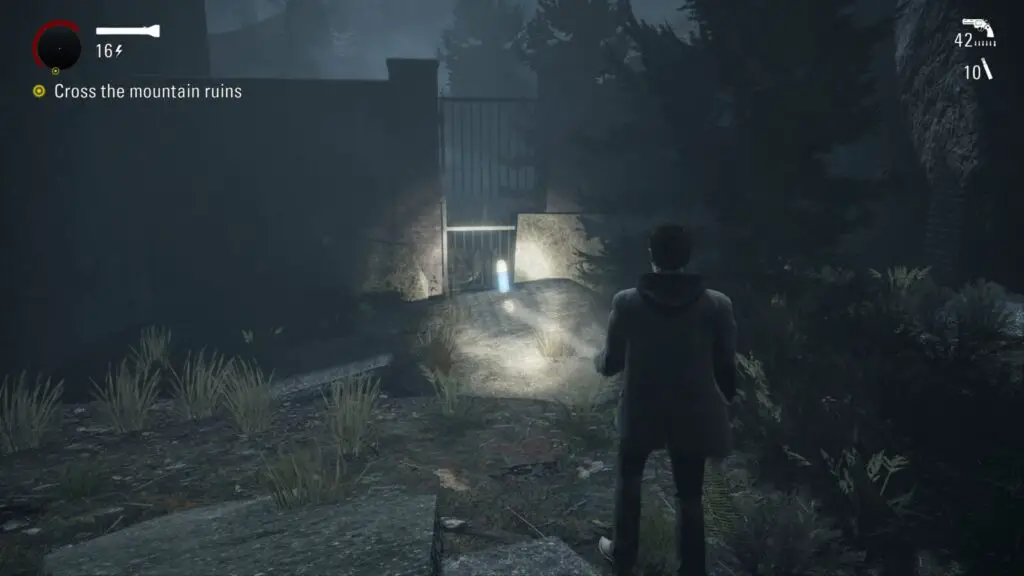
Coffee Thermos #35 – After the watchtower, you will be greeted by a shadowed gate. Up the path to the left is a large searchlight and behind it is a wooden ramp leaning against a rock. The thermos is on the rock.
Radio Show #6 – After picking up some flashbangs and making it to a Safe Haven light you will see a radio sitting on a wooden crate next to some more flashbangs.
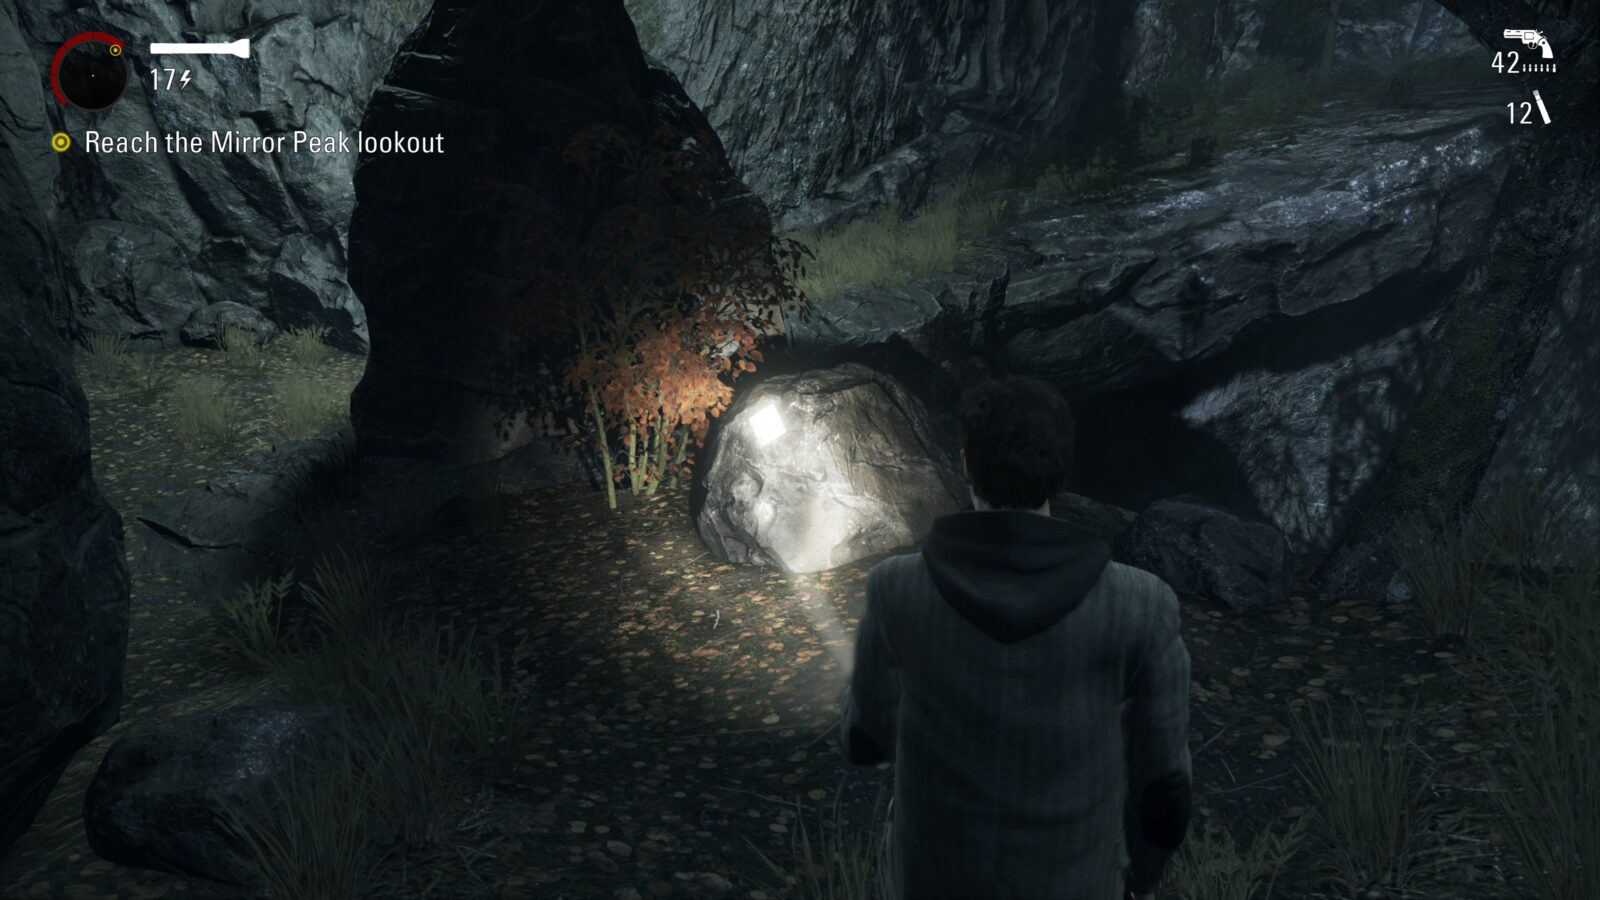
Manuscript #36 – Cross the wooden bridge just past the Safe Haven light and look to your right. You should be able to see the page sitting on the edge of a rock cliff.
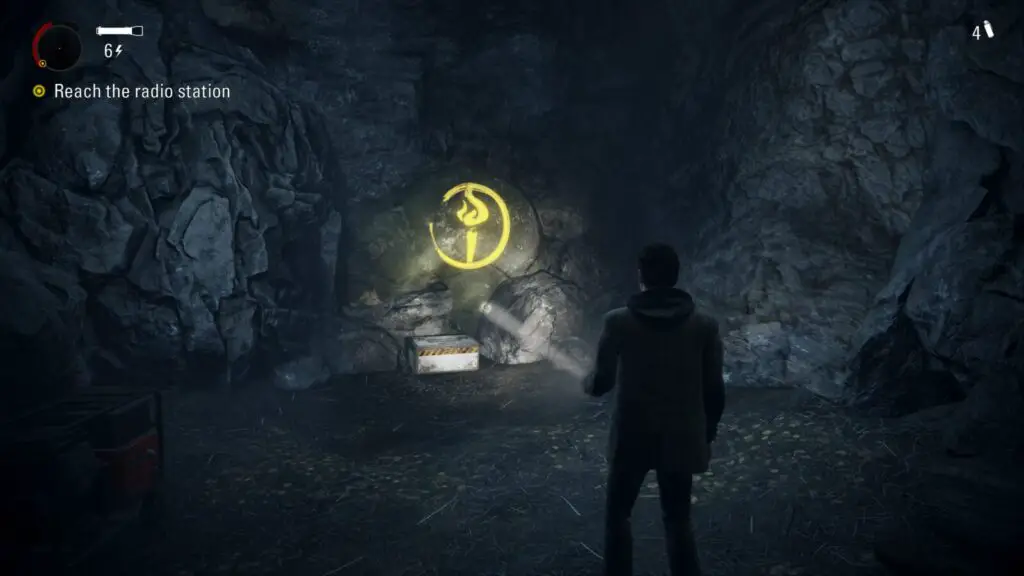
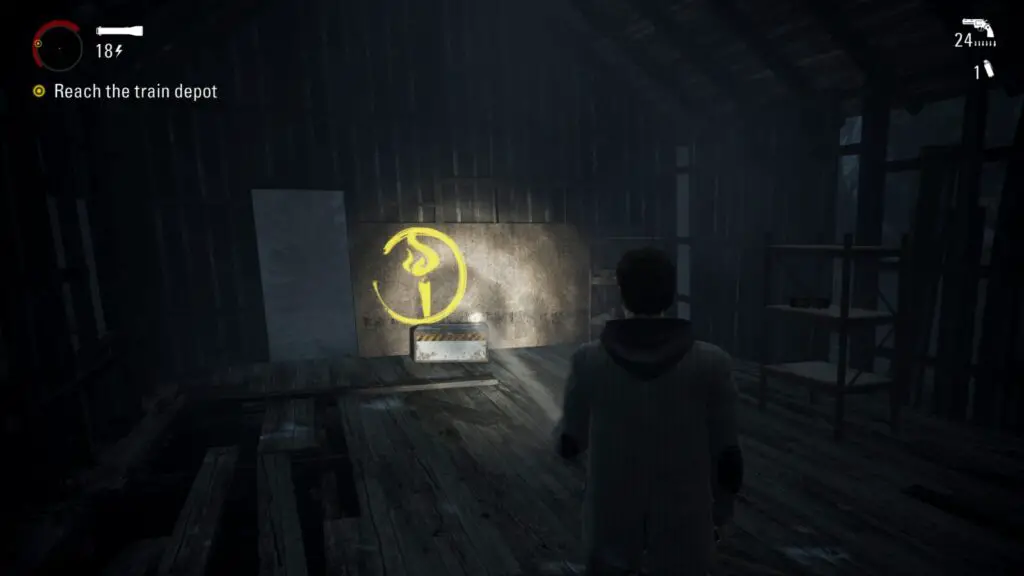
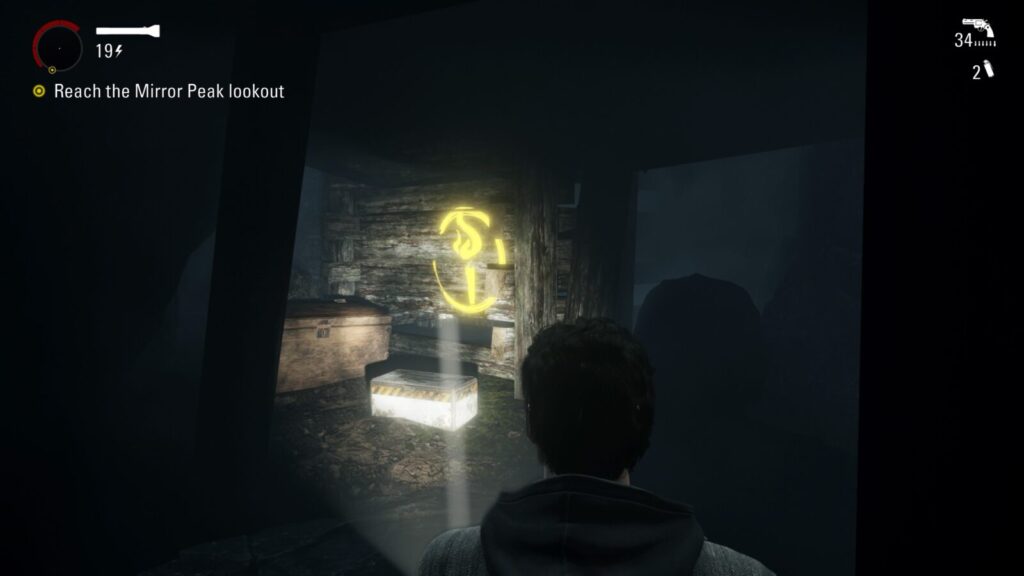
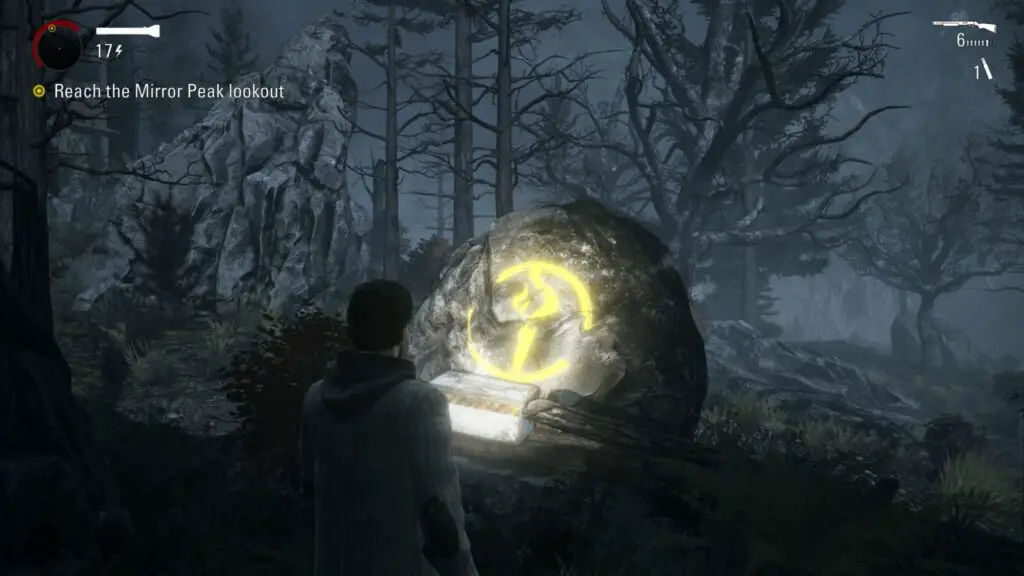
Supply Chest #10 – Follow the main path and keep checking the rocks on the right. One of them will have a hidden yellow arrow pointing to a cave with a chest inside. If you reach the police car you’ve gone too far.
Coffee Thermos #36 – When you reach the radio station, before going inside check the billboards near the car. Underneath them is a thermos.
Radio Show #7 – This radio show will be automatically collected once you enter the radio station.
Manuscript #37 – This page is pinned to a wooden fence on the main path.
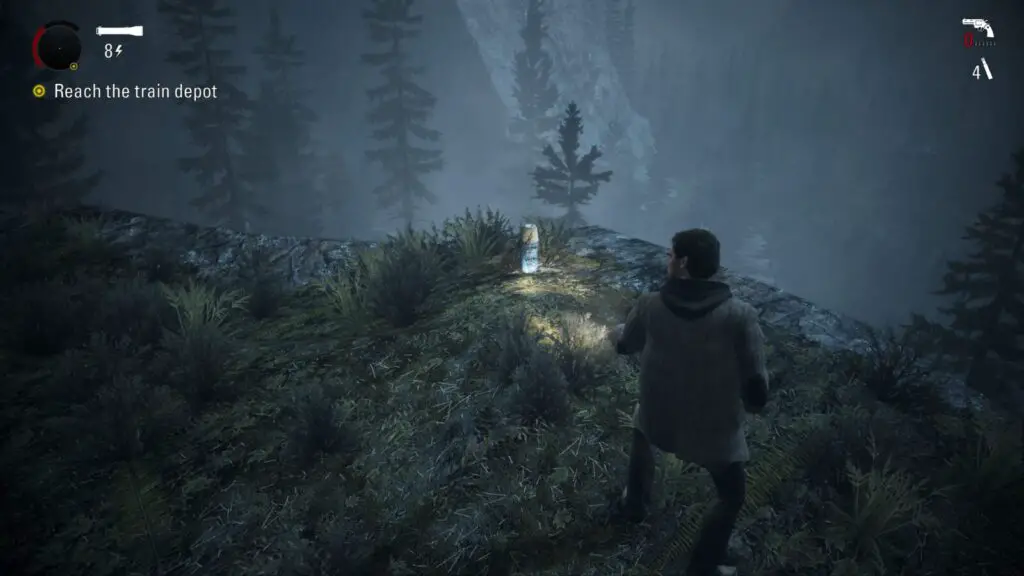
Coffee Thermos #37 – When you get to the generator that turns on a Safe Haven light, proceed forward, and to your right will be a path that leads up a mountain. At the top is a radio tower. At the very top, before you turn left towards the radio tower, walk onto the peak to your right. There is a thermos on the ground.
Manuscript #38 – On a stone block a the base of the radio tower at the top of the mountain.
Can Pyramid #5 – You will come to a shack with a shotgun and some ammo inside. When you pick up the shotgun, you will be ambushed by several enemies. Once you dispatch them, head to the small shelter behind the shack to find a can pyramid. You should unlock the Carny trophy once you knock over this pyramid. You don’t need to knock over any more cans from this point onwards.

Manuscript #39 – Get back onto the main path which is behind the shack that you found the shotgun in and were ambushed. Instead of following the dirt road to the left, take a right and find a manuscript page on a wooden gate at the end.

Coffee Thermos #38 – Follow the dirt road back to the main path and you will see a shelter to your right. Inside is a coffee thermos.
Manuscript #40 – On the main path you will see a small rock to your right with a hard-to-miss manuscript page sitting on it.
Manuscript #41 – This page is sitting on a tree stump on the main path. Impossible to miss.
Supply Chest #11 – Instead of taking a right when you come to the tree stump with the above manuscript page, head left and up a hill to a dilapidated wooden shack. Inside is a supply chest.
Manuscript (NIGHTMARE) #5 – After you cross under the bridge with the train tracks above you, you will come to a chain-link fence. Head right as soon as you get there and you will see a wooden stump with a manuscript page inside. The stump will be right above you as you exit the bridge and follow the trail.

Manuscript #42 – After the bridge, follow the trail and you will come to a ladder with an impossible-to-miss manuscript page on the ground next to it.
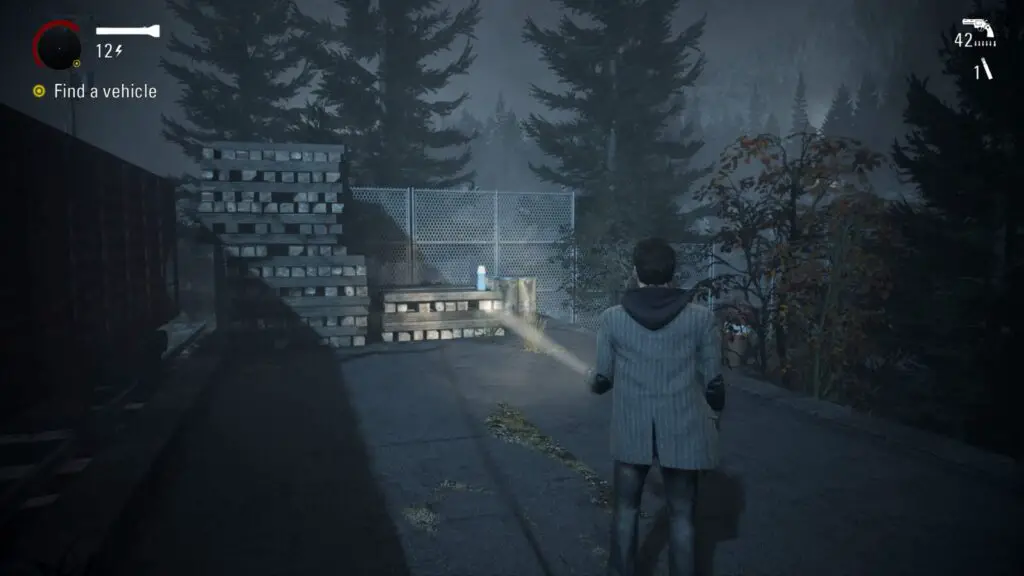
Coffee Thermos #39 – Climb the ladder and drop down the other side and you will see a coffee thermos on a wooden palette in front of you.
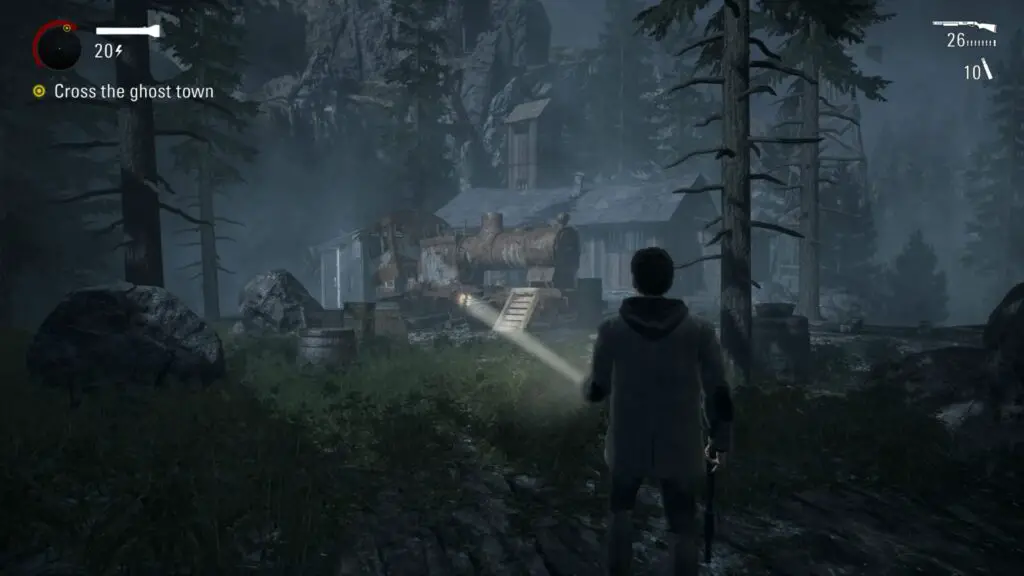
TV Show #7 – Inside the train depot upstairs is a TV on a table. You can’t really miss it.
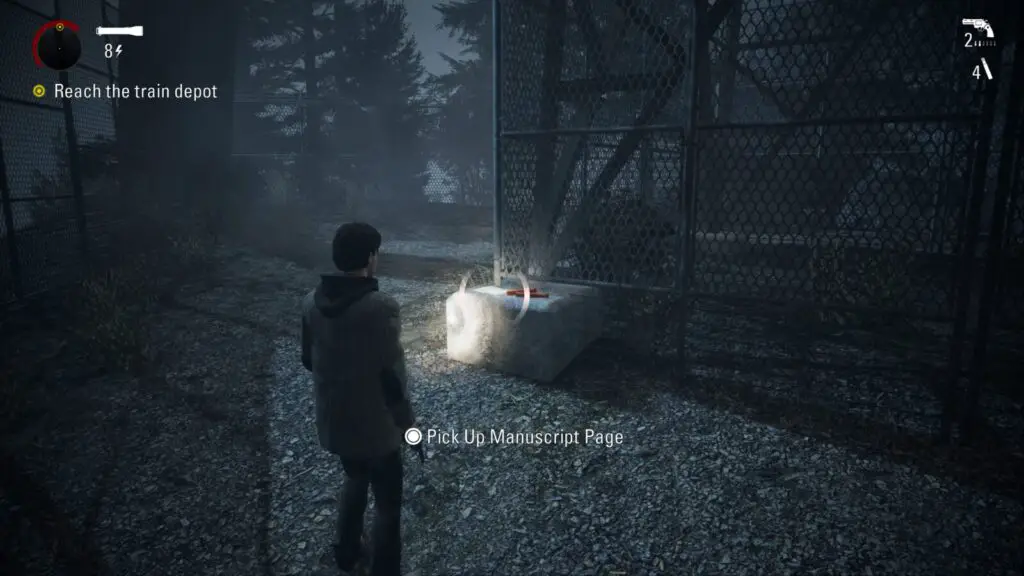
Manuscript #43 – This page can be found right in front of you as soon as you exit the door upstairs in the train depot.
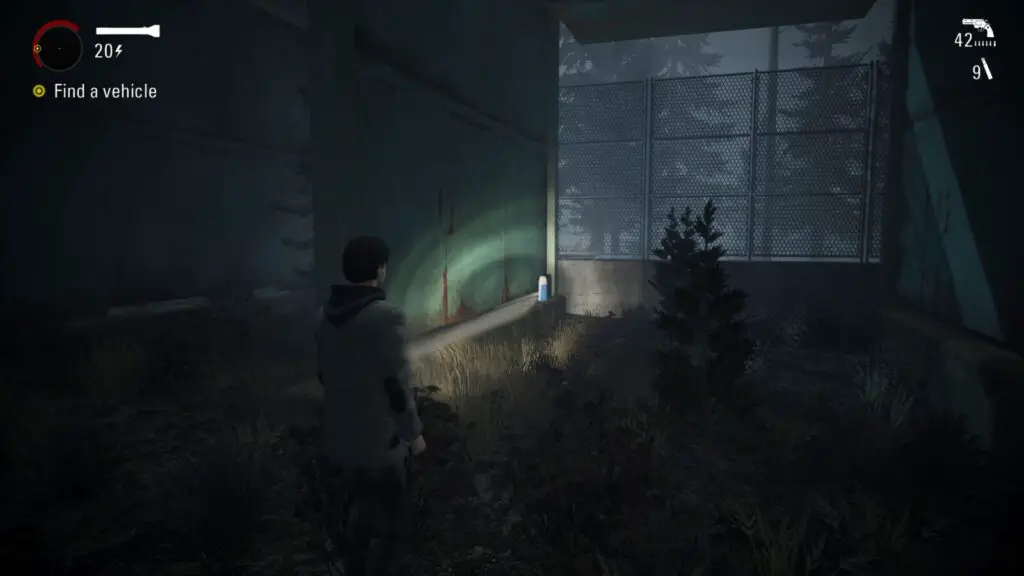
Coffee Thermos #40 – After fighting the bulldozer, press the button to open the gate and exit the area. Before entering the car, look to your right and you should see a thermos sitting on the base of the green silos(?).
Mirror Peak
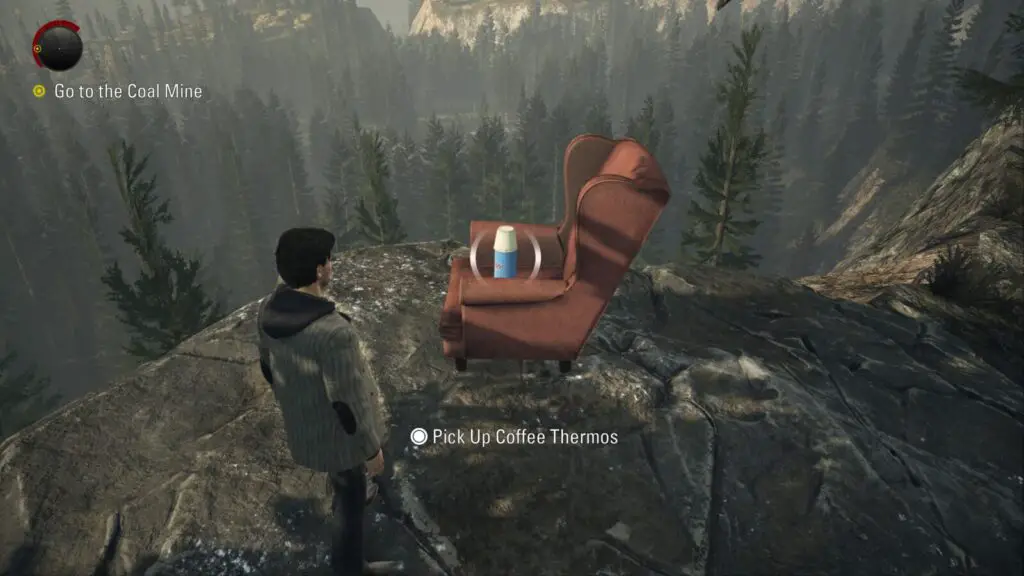
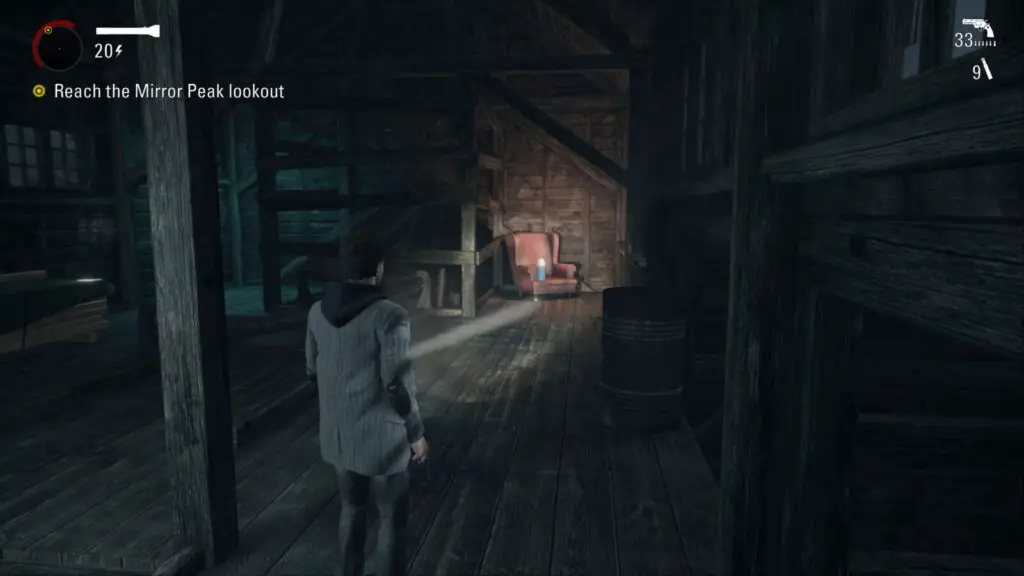
Coffee Thermos #41 – As you are driving in your truck you will come to a broken bridge. You will have to drive to the right to pass under it. However, park your car next to the stack of logs and head right towards the cliff edge. You will see a red armchair with a coffee thermos sitting on it.
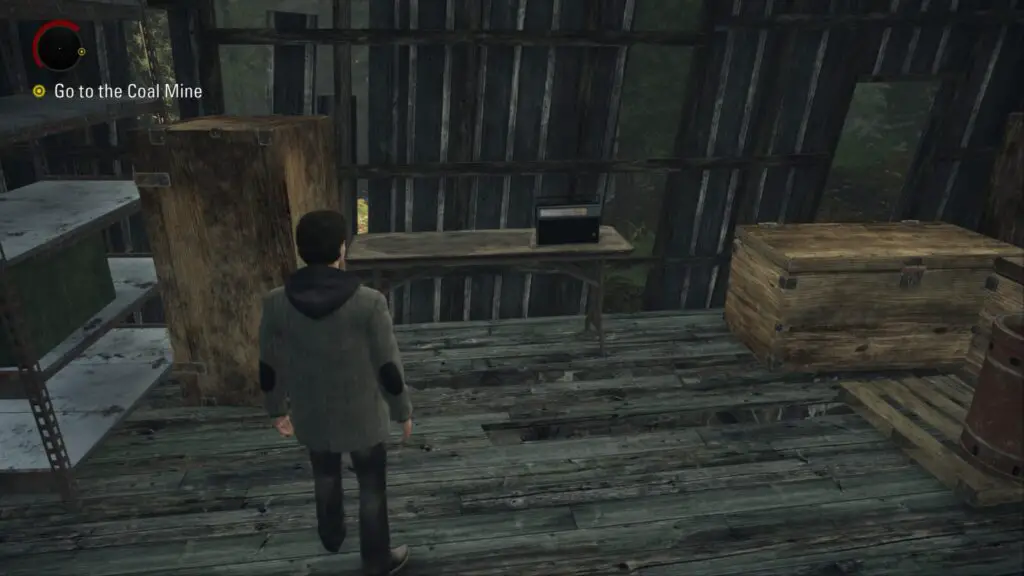
Radio Show #8 – Go under the broken bridge, and immediately to your right you should see some wooden stairs. Climb then to find a radio inside a shack at the top. You will also come to this shack if you keep driving as you will end up coming back on yourself.
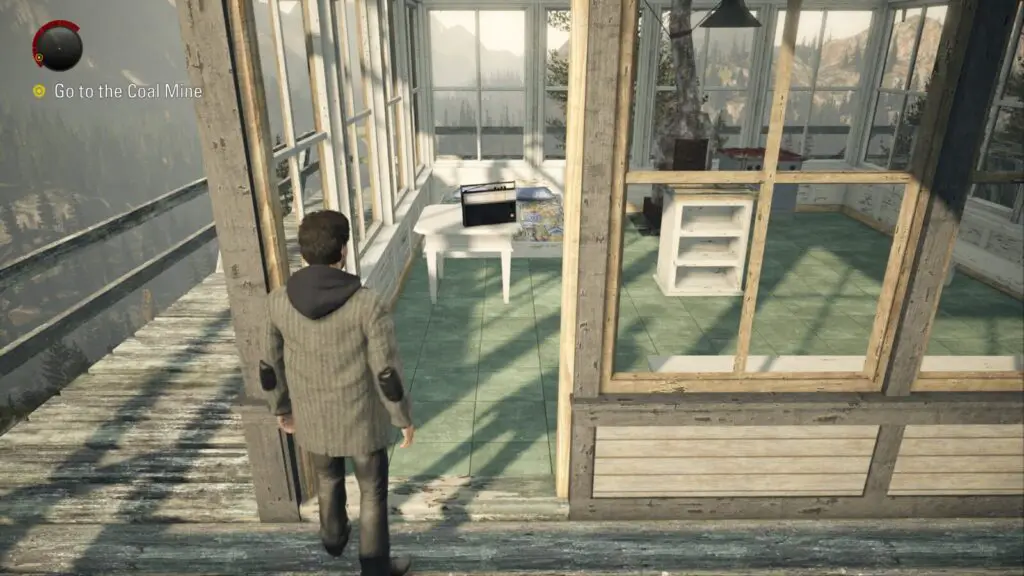
Radio Show #9 – Keep driving and you’ll come to a watchtower on your right. Climb the steps and inside you will find a radio.
Manuscript #44 – Get back in the car and very quickly you will see a red building on your left. Climb the stairs inside and at the top is a manuscript page.
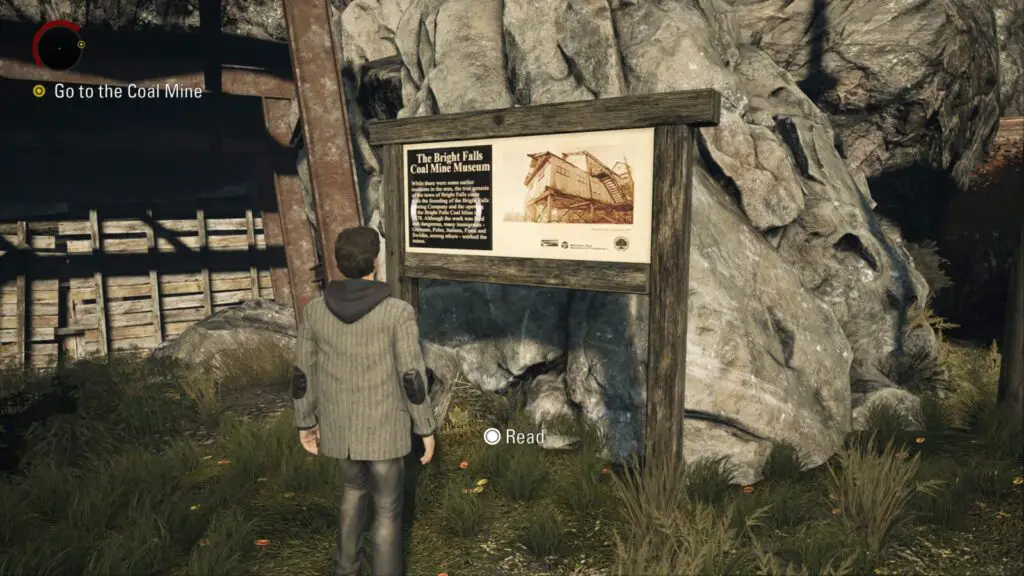
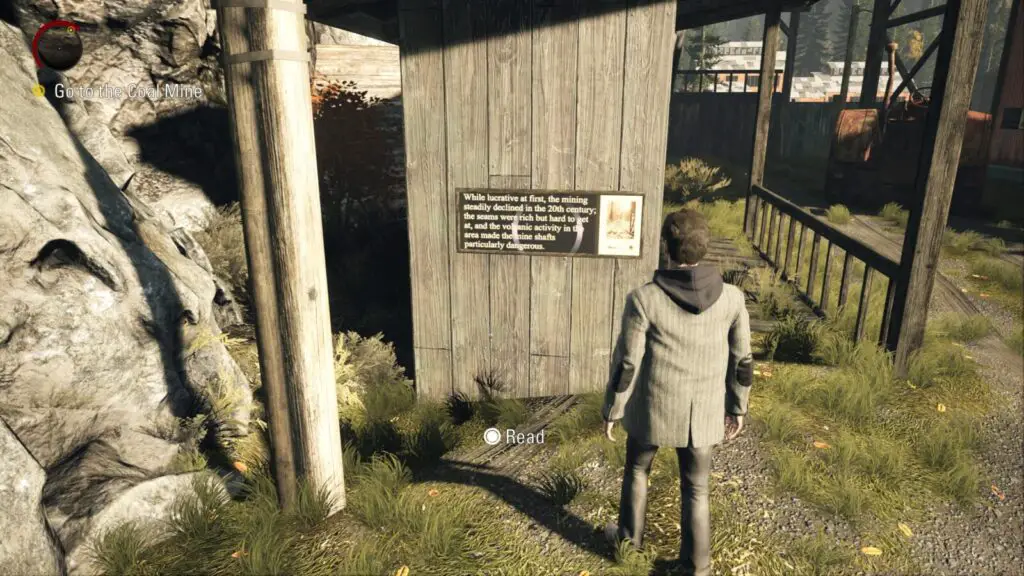
Sign #7 – When you reach the mine museum, get out of your car and look to the mine entrance to your left. There is a sign at the entrance that you can read. There is also another sign to the right of this one on the side of a shelter that you also must read.
Coffee Thermos #42 – Inside the mine entrance is a coffee thermos.
Manuscript #45 – This manuscript can be found directly in your path as you head towards the museum entrance.
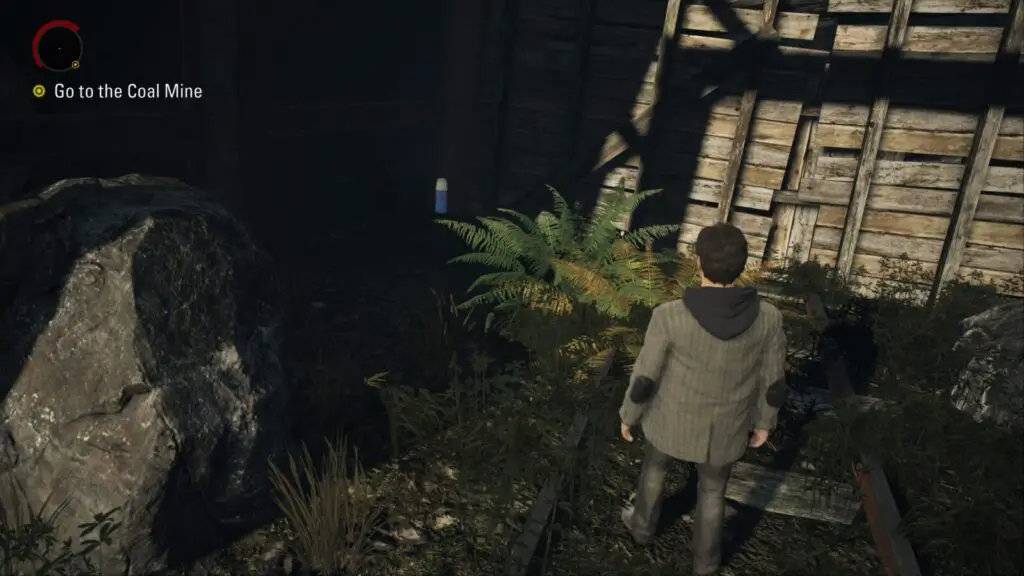
Coffee Thermos #43 – After the cutscene and phone call, jump down the chute directly in front of you. Near a green blinking light are some shelves with a coffee thermos and some supplies.
Optional Trophy “Meet the Deadline” – As soon as the cutscene ends inside the museum you will have 30 minutes to make it to Cauldron Lake. This is easily done if you ignore all collectibles from this point as they will slow you down considerably making the 30 minute time limit almost impossible to achieve. It’s recommended to leave this trophy for later.
Manuscript #46 – Jump down the trap door that opens after you press the button and you will see a manuscript page in your path. It’s on a piece of red-painted wood.
Manuscript #47 – After disabling the electric fence and climbing a ladder inside the building that it was blocking, you will find this manuscript page on a pile of wood to your left.
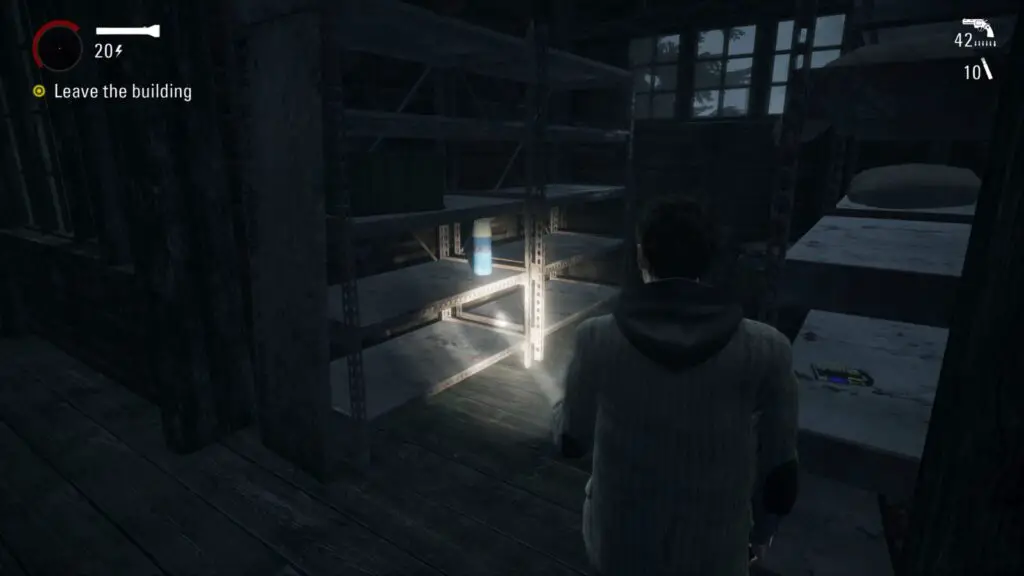
Coffee Thermos #44 – To the right of the above page you will see a red armchair with a coffee thermos.
Manuscript #48 – You will see this impossible-to-miss manuscript page on a rock to your left on the main path.
Supply Chest #12 – When you get to a fork in the path—the right path will lead to a Safe Haven light—take the left path up to a mine. At the back is a chest.
Coffee Thermos #45 – Leave the mine and head straight onto a wooden platform. At the end is a coffee thermos.

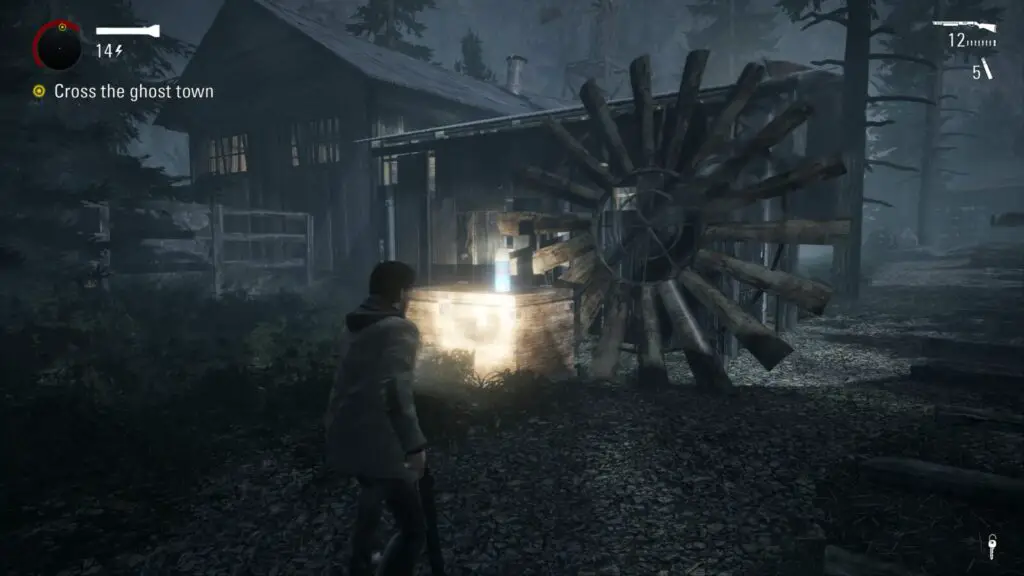
Coffee Thermos #46 – Head across the wooden bridge by the Safe Haven light and take a left. Follow the path and you will eventually see a red shack. Inside, on a table is a coffee thermos.
Manuscript (NIGHTMARE) #6 – Continue on the main path until you reach a wooden path. To your right is a ghost town and to your left on a rock is a nightmare manuscript page.
Manuscript #49 – At the beginning of the wooden bridge that leads into the ghost town. You can’t miss it.
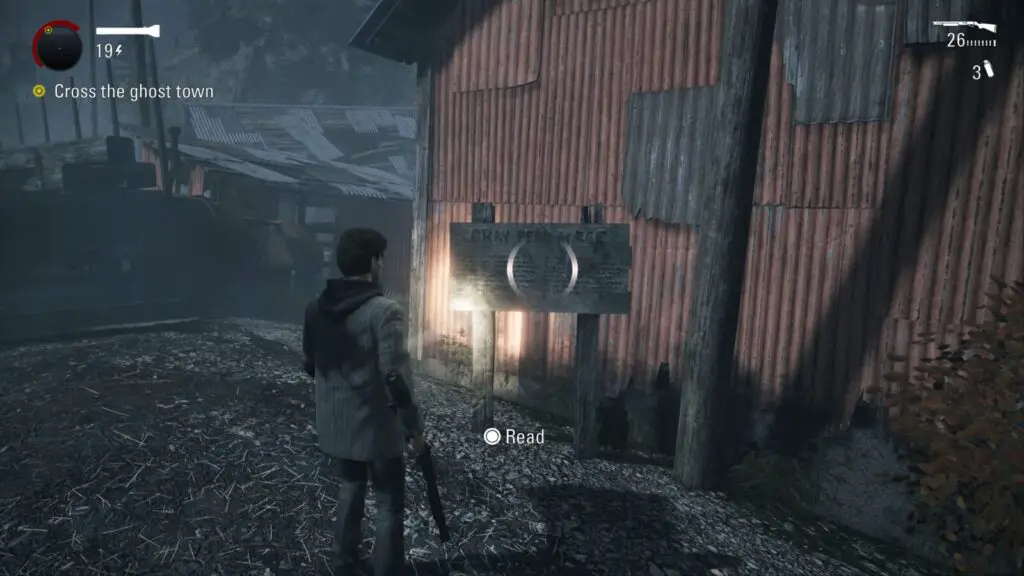
Sign #8 – Cross the bridge into the ghost town and you will immediately come to a readable sign on your right.
Coffee Thermos #47 – Pass under a wooden structure and take a right into a red broken-down building to find a coffee thermos.
Manuscript (NIGHTMARE) #7 – Opposite this building is a red shack on your left. Inside is a nightmare manuscript page.
Optional Trophy “Iron Horse” – Shortly you will be attacked by an old steam engine possessed by a poltergeist. Use only your torch to kill it to unlock the Iron Horse trophy.
Coffee Thermos #48 – After defeating the steam engine, look behind the small wooden shelter with the key inside to find a coffee thermos.
TV Show #8 – Once you unlock the door and step into the building after the steam engine fight, a TV will turn on automatically.
Supply Chest #13 – You’ll climb two ladders outside the building. After the second ladder, move up the hill a little bit and stick to your left. You will see hidden yellow marking leading you to a chest.
Manuscript #50 – When you drop into the mines, follow the path until you get to an open cave. Look to your left and you should find an opening that leads deeper into the mine (there will also be a hidden yellow message on the rock to the right of the entrance). Follow this path all the way until you get a little flashback of Alice being taken. Turn around and you will see a manuscript page sitting by a rock.
Manuscript #51 – Backtrack to the normal path and continue until you drop down into an area with chains hanging from the ceiling. The manuscript is on the ground to your left. It’s hard to miss.
Coffee Thermos #49 – After entering the hole where the big guy crashed through, you will spot this thermos to the left of the path. It’s really hard to miss.
Manuscript #52 – Once you exit the mines, take a right and follow the steps up to a ladder. Climb the ladder and you will see a manuscript page.
Can Pyramid #6 – After the cable car crashes climb the hill and check the cable car platform where you were headed to find a can pyramid on the handrail.
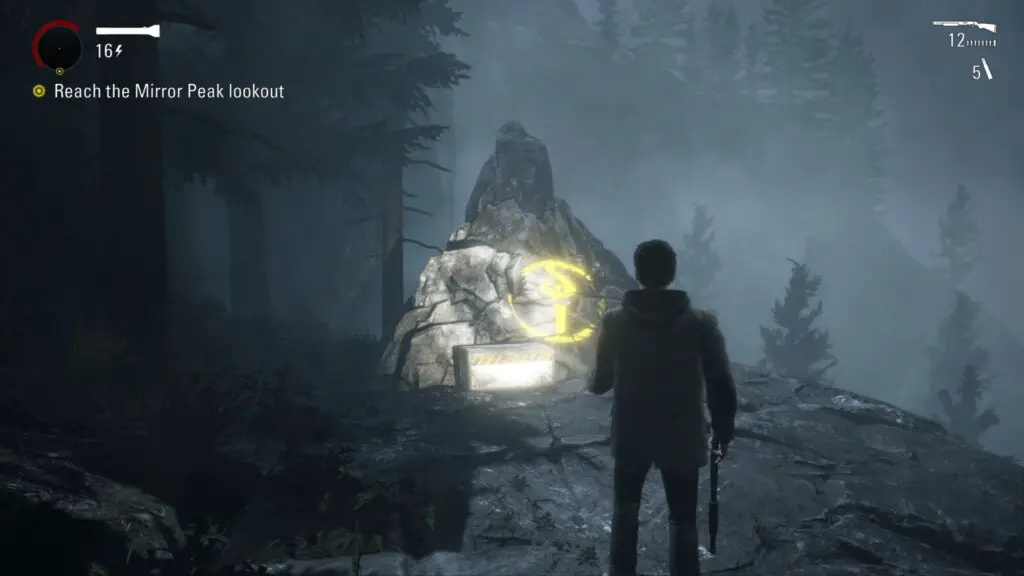
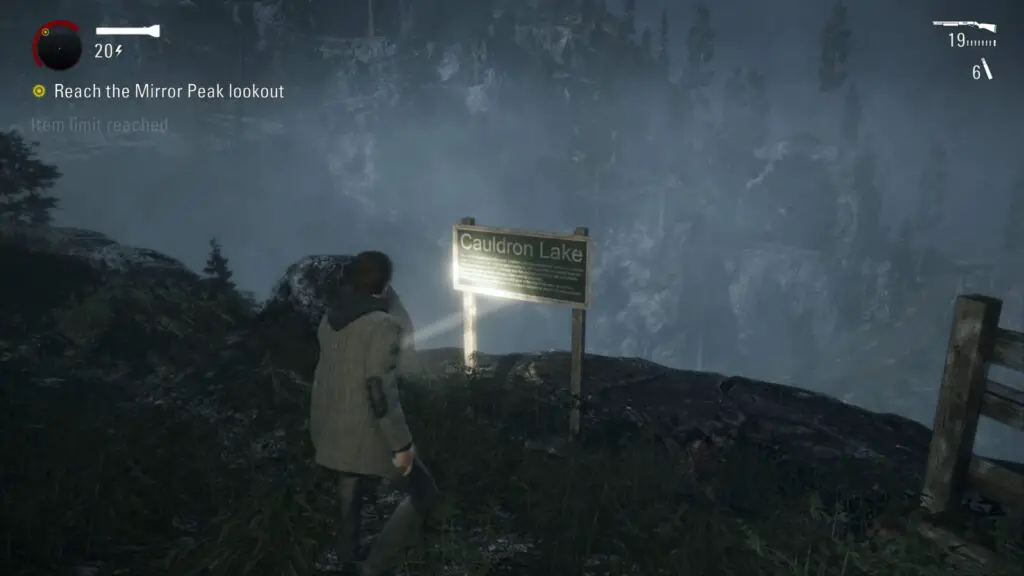
Sign #9 – At the very next Safe Haven light is a readable sign that for Cauldron Lake.
Coffee Thermos #50 – Immediately after crossing the suspension bridge where you are ambushed, turn left and check the cliff edge for a thermos. You probably saw it while crossing the bridge.
Supply Chest #14 – After crossing the suspension bridge you will come to a rock on your left that has a hidden yellow arrow. Look behind a large rock where the arrow is pointing and you will find a chest.
Manuscript #53 – You will reach a small broken wooden bridge and to the left of it is a manuscript page on a rock. It’s on the main path.
Coffee Thermos #51 – Shortly after the broken bridge you will enter a dilapidated concrete building via the basement. After fighting off the ambush inside and leaving the building on the second floor, head left and around the building towards a metal gate. On the ground next to it is a thermos.
Manuscript #54 – The last manuscript page in this chapter can be found on some wooden stairs directly in your way on the main path.
Thank you for choosing PlatGet as your source for Alan Wake Episode 3 Collectibles Guide; consider checking out our other guides!
Follow us on Twitter @GetPlat or Instagram @platget for updates on new reviews and guides, as well as small anecdotes about our platinum journeys.