PlayStation 5
Alan Wake Episode 1 Collectibles Guide
Game Guide
Alan Wake Episode 1 Collectibles Guide for PS5
Welcome to our Alan Wake All Collectibles Guide for PlayStation 5. In this guide, you will find a detailed description of the location of all Manuscripts (including the pages only available in Nightmare difficulty), Coffee Thermoses, Signs, Can Pyramids, Supply Chests, TV Shows, and Radio Shows; Optional Trophy opportunities are also listed. Check out our Alan Wake Trophy Guide for help unlocking the rest of the trophies.
Alan Wake Episode 1 Collectibles
A Writer’s Dream
Coffee Thermos #1 – When you have control of Alan Wake for the very first time, head down the road towards the bridge at the end. The game will want you to head right and away from the bridge. However, if you walk up to the bridge you will see the first coffee thermos.
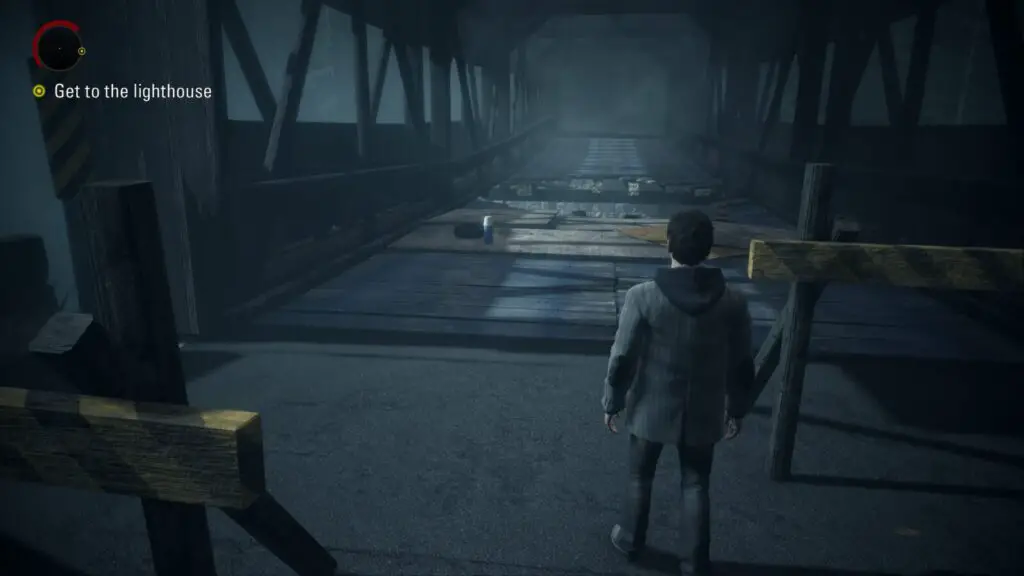
Can Pyramid #1 – The first can pyramid can be found when the hovering light in the sky explains combat to Alan Wake. There will be an enemy standing in front of a wooden gate for the purpose of the tutorial. Look to the right of this enemy and you will see a can pyramid sitting on a wooden fence. Use the revolver to shoot the cans over.
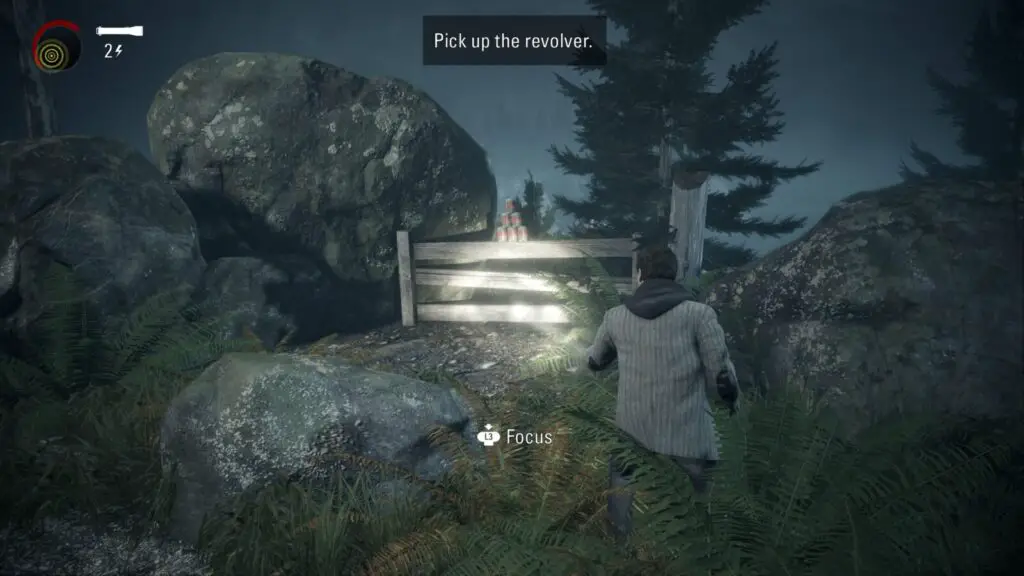
Coffee Thermos #2 – Shortly after receiving the revolver you will come to a Safe Haven light with a red emergency box attached at the base. Do not jump down the ledge to your right. Instead, turn around and you will see some steps leading down into an old concrete pillbox. Inside is a thermos.
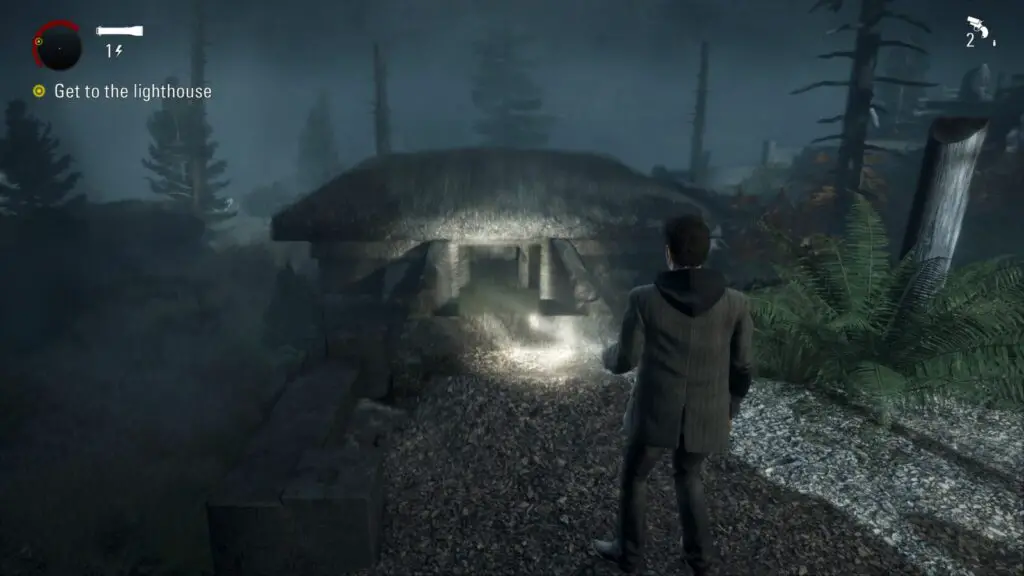
Coffee Thermos #3 – After running from the tornado across the bridge towards the lighthouse look to your right and you will notice a thermos sitting on a bench. It’s hard to miss as you will see it while running across the bridge.
Welcome to Bright Falls
Optional Trophy “Drink ‘Em Both Up” part 1 of 2 – After a cutscene, Alan Wake and his wife, Alice, will visit a diner to pick up some keys. Inside, sitting in a booth is two old rockers; the Anderson brothers. Talk to them and one of the brothers will ask that you play his favorite song on the Jukebox behind where he is sitting. Walk up to the jukebox and press ![]() . You will get a chance to play the same song on this jukebox again in chapter 5 which you will need to do to unlock Drink ‘Em Both Up.
. You will get a chance to play the same song on this jukebox again in chapter 5 which you will need to do to unlock Drink ‘Em Both Up.
Coffee Thermos #4 – Behind you (while standing at the jukebox) will be a coffee thermos that’s very hard to miss.
Coffee Thermos #5 – After a cutscene at the diner, Alan and Alice will be standing looking at the cabin on the lake. Immediately turn around and follow the trail back up towards the car. Right in front of the car will be a thermos.
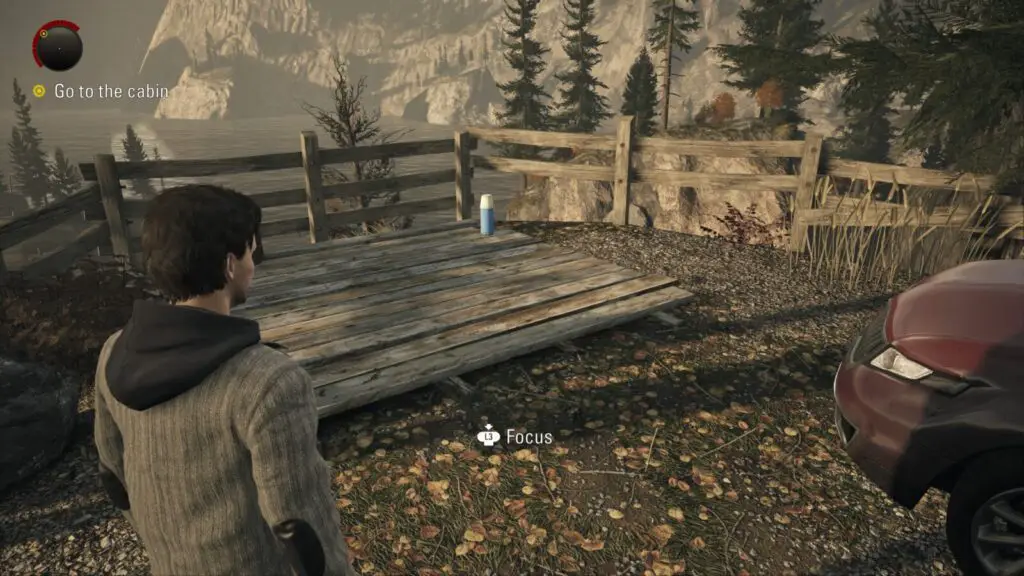
Coffee Thermos #6 – Enter the cabin and head to the kitchen. A thermos will be sitting on the work surface.
Radio Show #1 – Leave the cabin via the back door near the kitchen and look on the ground to your right. A radio will be sitting near some stairs. Press ![]() to listen to the radio show.
to listen to the radio show.
Waking Up to a Nightmare
Manuscript #1 – Automatically acquired during a cutscene.
Manuscript #2 – Automatically acquired during a cutscene.
Manuscript (NIGHTMARE) #1 – Shortly after the cutscene where Alan Wake finds two pages of his manuscript you will encounter a lumber mill. To get into the lumber mill you must climb a fallen tree. However, before you climb the tree, look to your left to find this page on a nearby collapsed tree. This page will only appear on Nightmare difficulty.
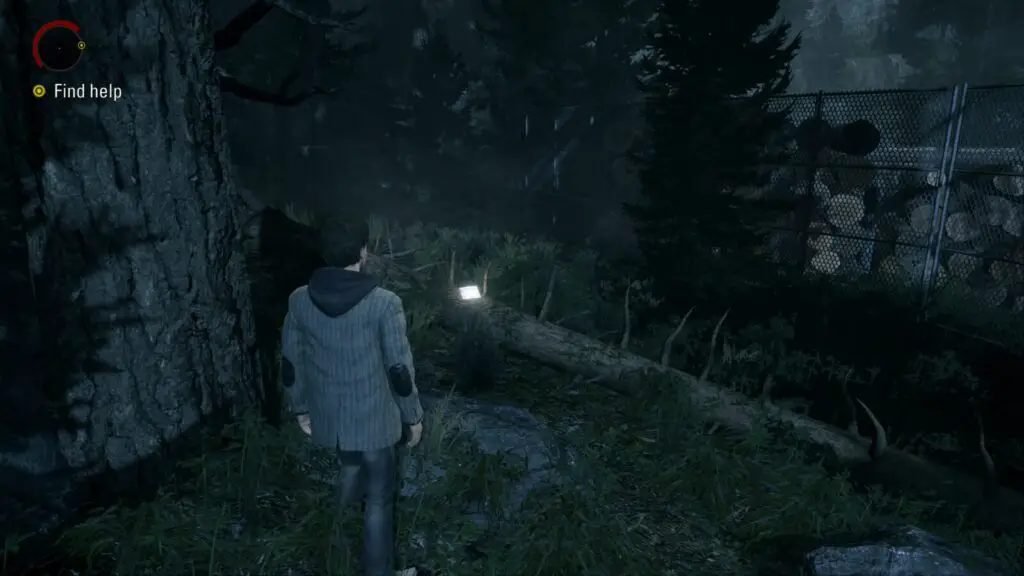
Coffee Thermos #7 – After the cutscene where Carl Stucky appears run towards the yellow log loader right in front of Alan. To the right of this log loader is a truck. The thermos is on the ground by the back wheels.

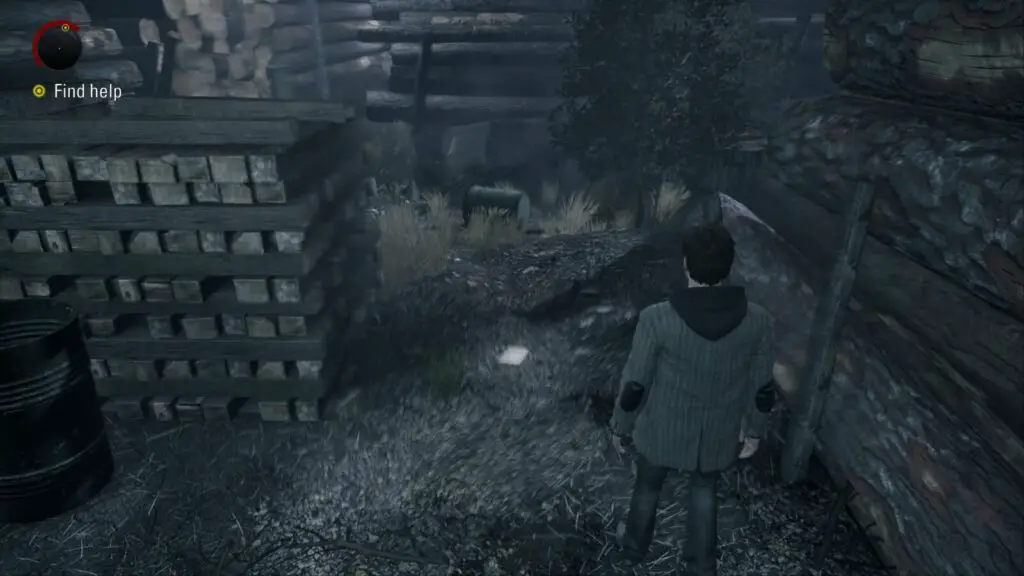
Manuscript #3 – While facing the truck, turn around and run forward until you hit the stack of logs blocking your way. On the ground to your left is a manuscript page.
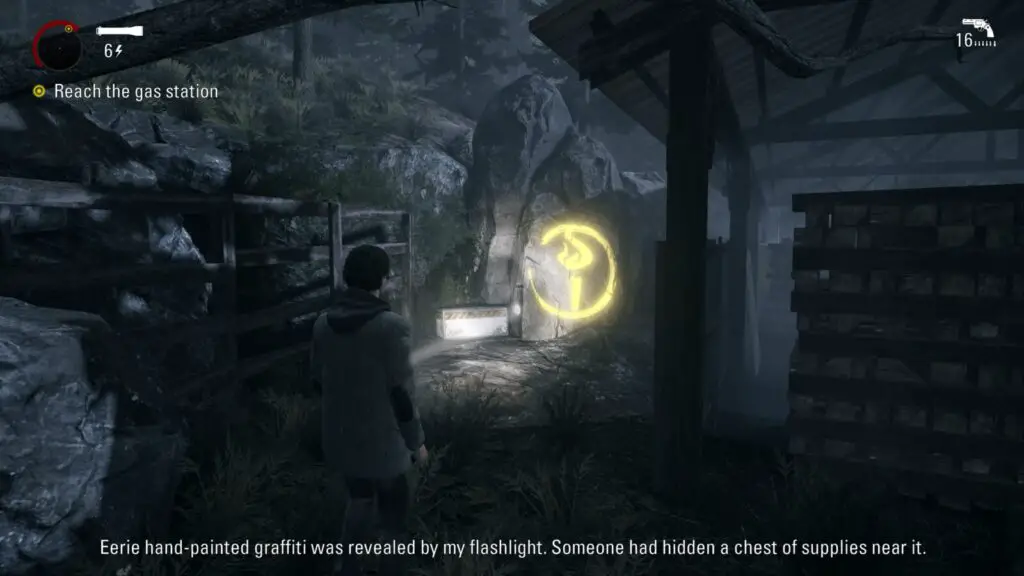
Supply Chest #1 – After escaping the cabin that Carl Stucky is trying to push down the cliff, walk towards the wooden gates in front of you and dispatch the two enemies that attack you. Look to your left to find a truck loaded with logs. Go to the back of the truck and look to your right to reveal a supply chest. You can also use your flashlight to reveal hidden yellow paint that guides you towards supply chests.
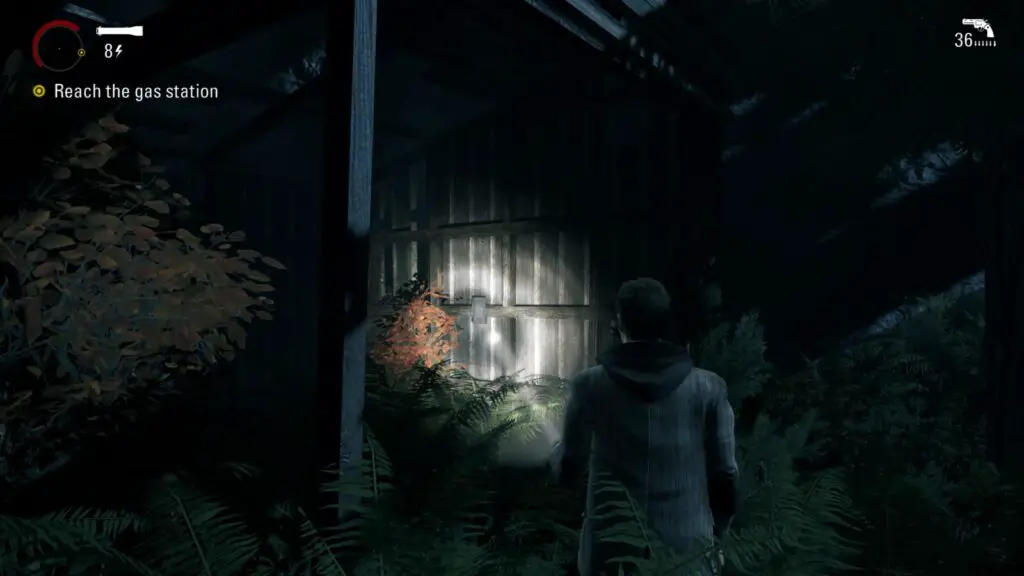
Manuscript #4 – You will come to what looks like a large yellow tree harvester when a single enemy attacks you. Kill the enemy and then look to your left up a hill to find a hut with a manuscript page.
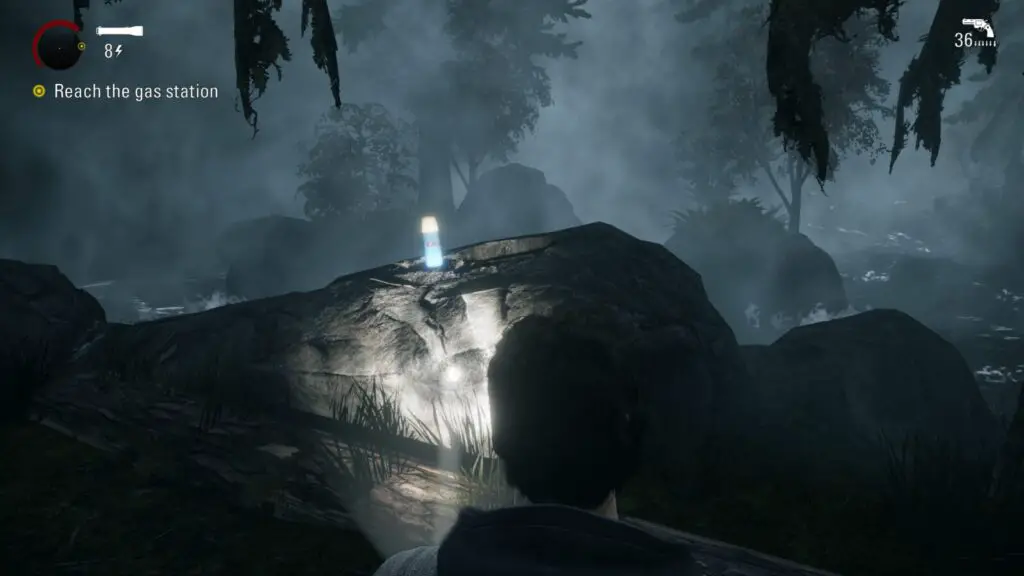
Coffee Thermos #8 – After crossing a large moss-covered log above a river head left until you come to a thermos sitting on a rock.
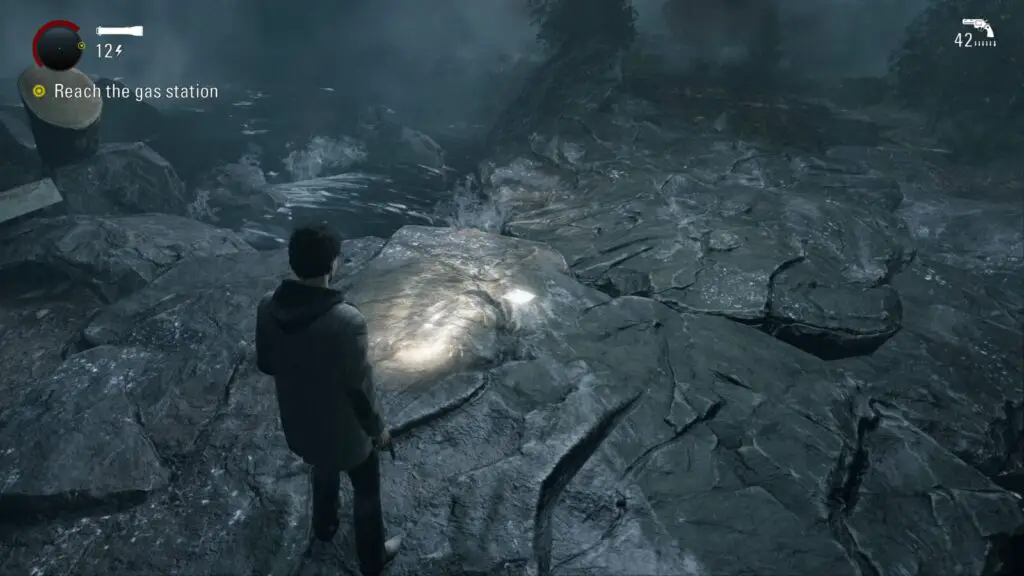
Manuscript #5 – Head back to where you crossed on the moss-covered log and this time head all the way right until you can see some smaller logs that can be crossed. Next to the logs is a barrel and a flat wooden box with a page on top.
Manuscript (NIGHTMARE) #2 – Follow the natural path and this Nightmare manuscript page will be laying in your path. It’s virtually unmissable.
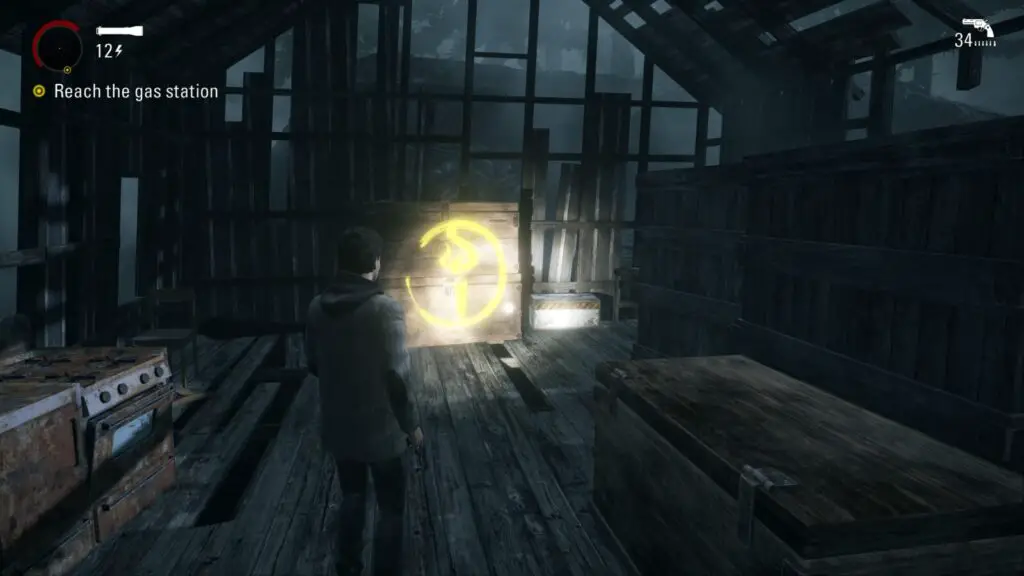
Supply Chest #2 – Once you leave the river area you will come to another lumber yard. At the entrance to this yard is a sign that reads “caution”. Just beyond this sign is a tree stump that reveals a yellow mark when you shine your light on it. Follow the yellow markings and they will lead you up a ladder on a stack of logs and then to a shack on top of a small rocky peak nearby. The chest is inside the shack.
Coffee Thermos #9 – When you reach the broken wooden stairs with the red blinking box nearby, head to the left of the stairs where the stack of logs is. On the left of the logs, sitting on a rock is a thermos.
Manuscript #6 – Next to the generator you must power up to escape the lumber yard there is a shack with a sign that reads “Biltmore Logging Co”. Inside on a desk is a manuscript page (and a shotgun if you feel like doing a bit of damage).
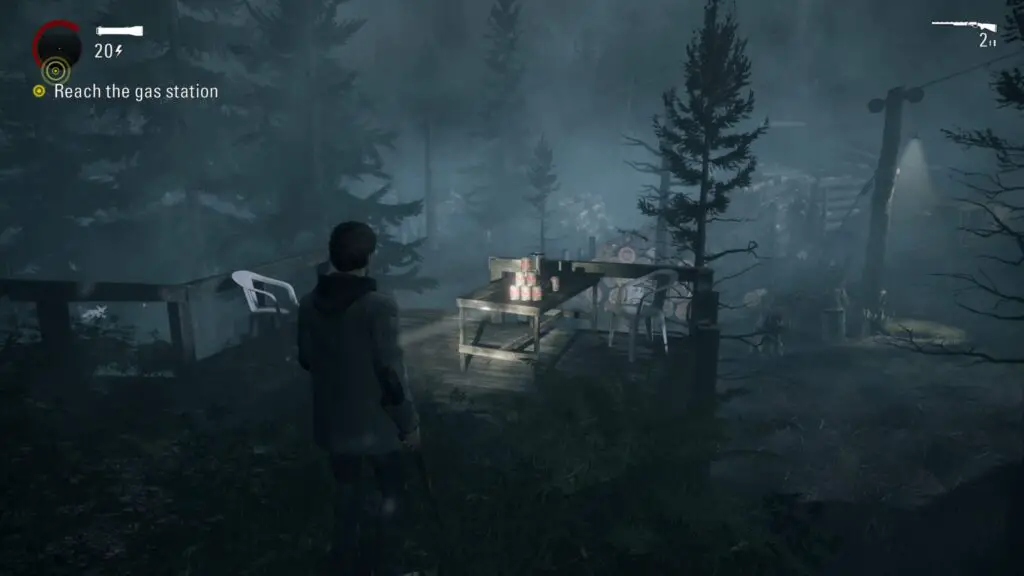
Can Pyramid #2 – Walk across the log bridge you made after firing up the generator and head right towards the top of the broken stairs. The can pyramid is on a table there.
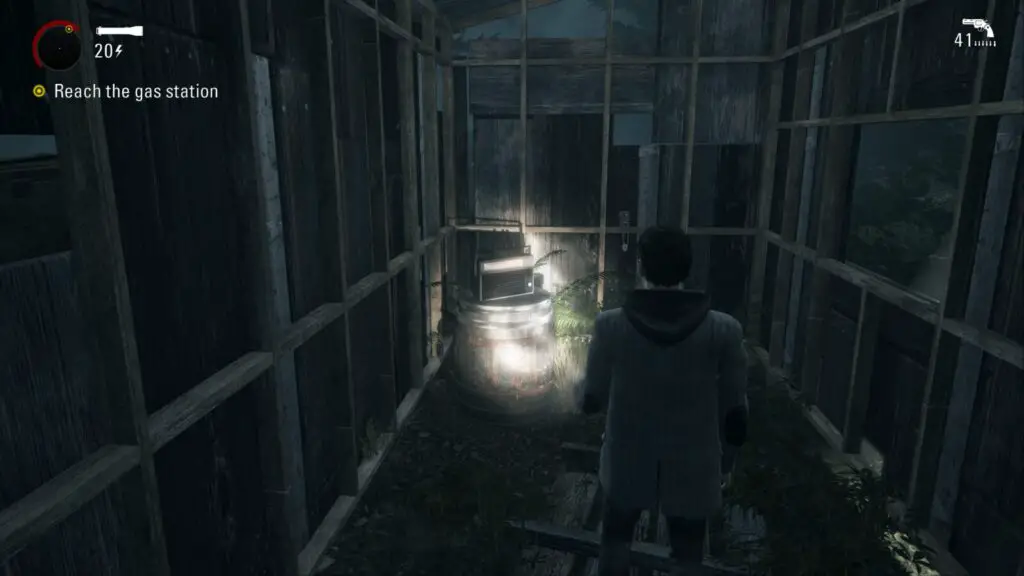
Radio Show #2 – Nearby the broken stairs is a Safe Haven light right outside a small wooden shack. Inside is a radio on a wooden barrel.
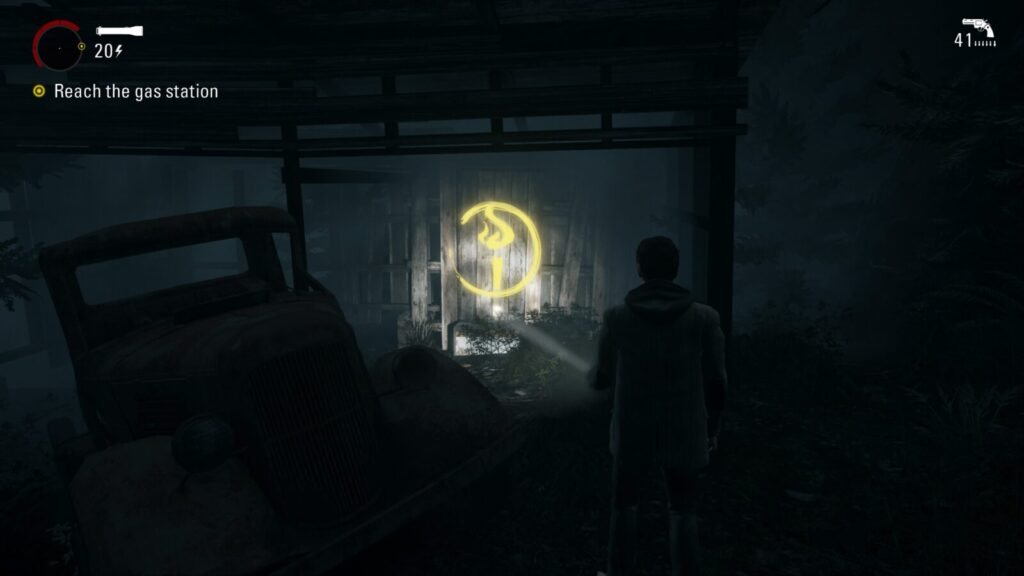
Supply Chest #3 – Behind the wooden shack with the radio inside is a rusty truck and a more derelict shack. Inside is a supply chest.
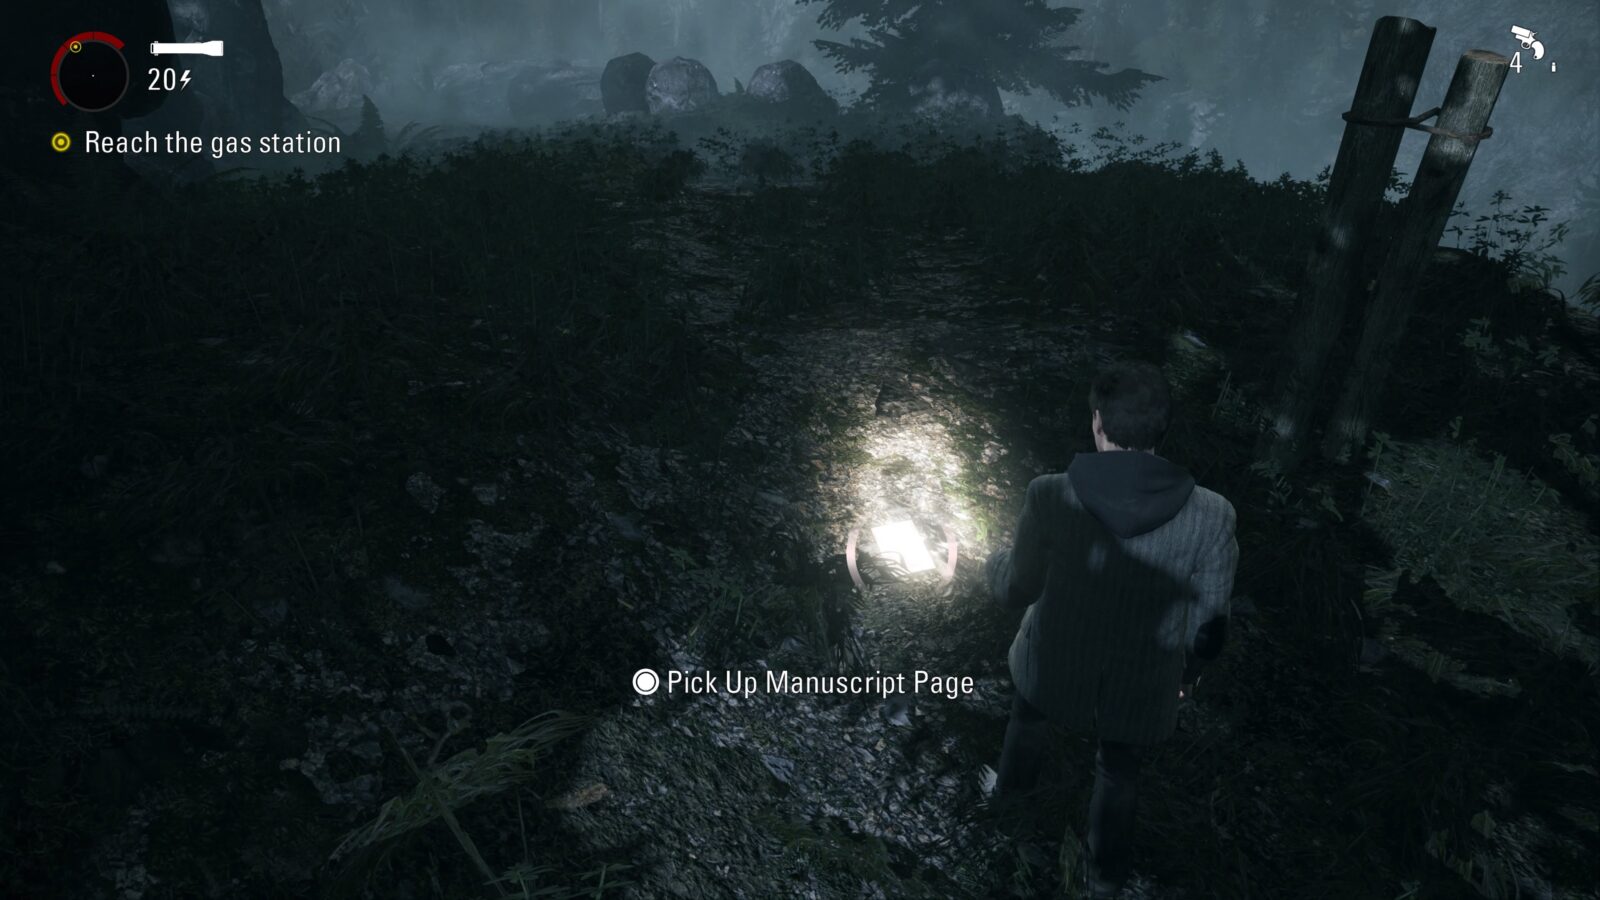
Manuscript #7 – On the floor next to two wooden posts just beyond the Safe Haven light by the shack. You can’t miss it.
Coffee Thermos #10 – Continue down the hill a little bit and you will see a coffee thermos on the cliff edge to your right. It’s hard to miss.
Coffee Thermos #11 – When you get to the generator that you can interact with to create a Safe Haven light, put the generator to your back and look for a tall dead tree that’s leaning slightly to the right. Head towards it and look behind it to find a barrel laying on the ground near a big rock. Next to the barrel is a thermos.
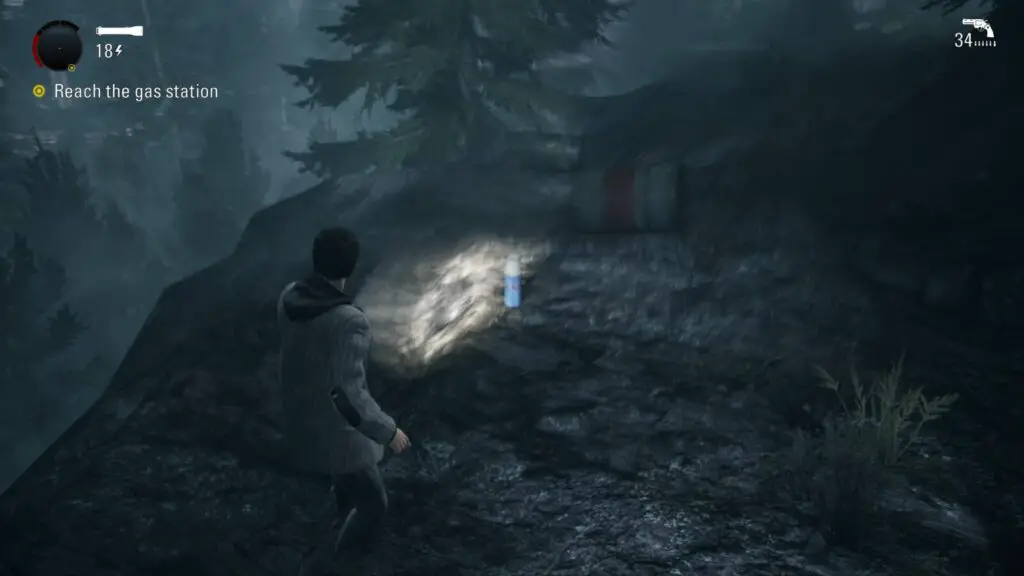
Manuscript #8 – Continue on the main path after the generated Safe Haven light and you will find this manuscript page on the floor. It’s hard to miss.
Supply Chest #4 – When you drop down a small ledge and can see a large yellow tree loader in front of you, turn left and head up the hill. There will be a tree stump with a yellow mark on it pointing towards the chest. If you hit the metal gate, just turn to your right and you should see the chest.
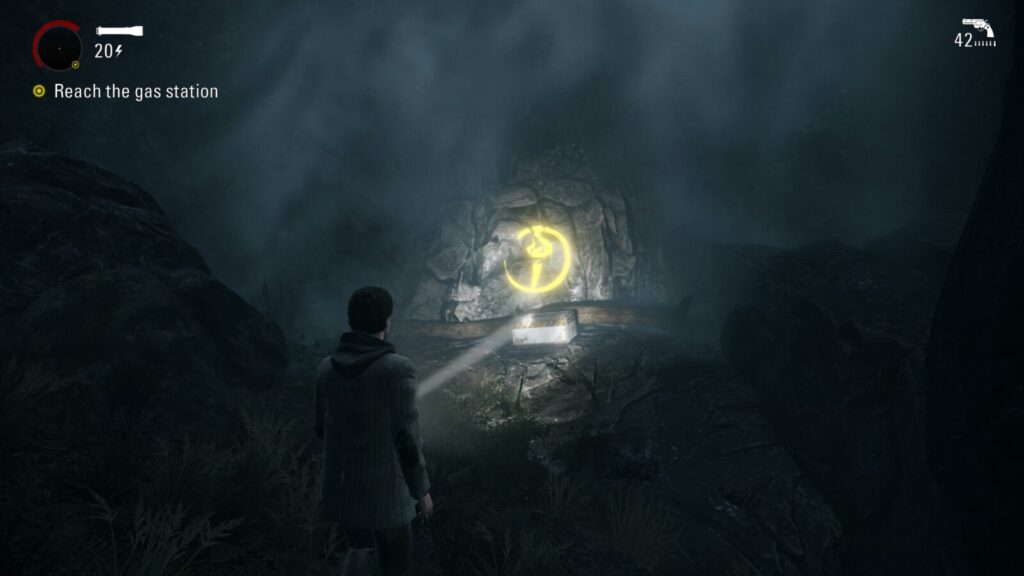
Manuscript #9 – On the floor in front of the metal gate to the final lumber yard in this chapter. It’s impossible to miss.
TV Show #1 – Inside the security cabin to the right of the 3rd lumber yard gate is a TV. Go inside and interact with it to see an episode of Night Springs (fans of The Twilight Zone will enjoy these episodes).
Coffee Thermos #12 – After fighting Stucky and his boys walk forward toward the crane. The coffee thermos will be sitting on the crane tracks to the right.
Manuscript #10 – At the gas station is a large deer float intended for use at the upcoming “Deerfest”. On the ground beneath the float is a manuscript page that is very hard to miss.
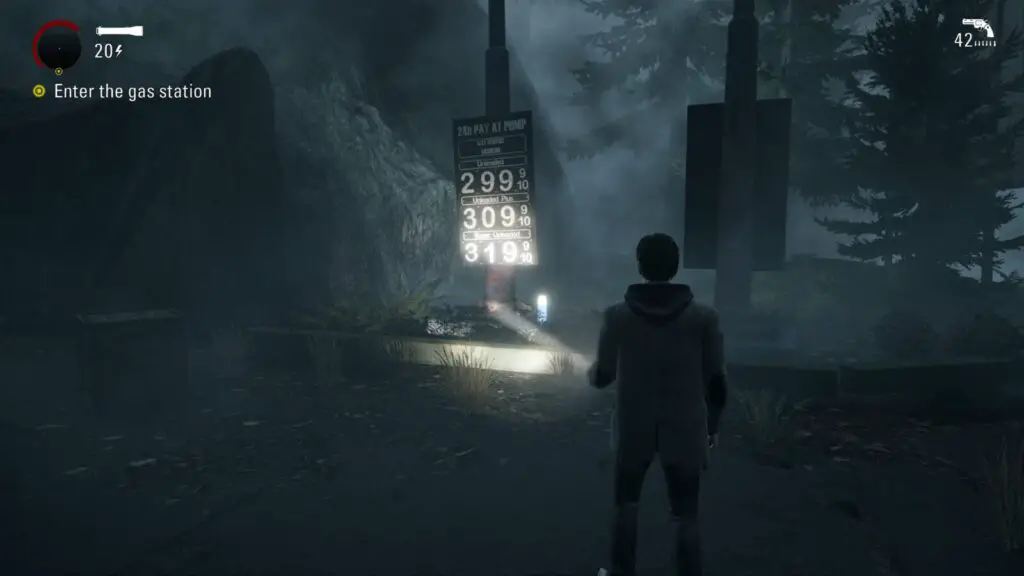
Coffee Thermos #13 – On the other side of the deer float at the gas station is a black sign that says “24h pay at pump”. On the ground in front of the sign is a thermos.
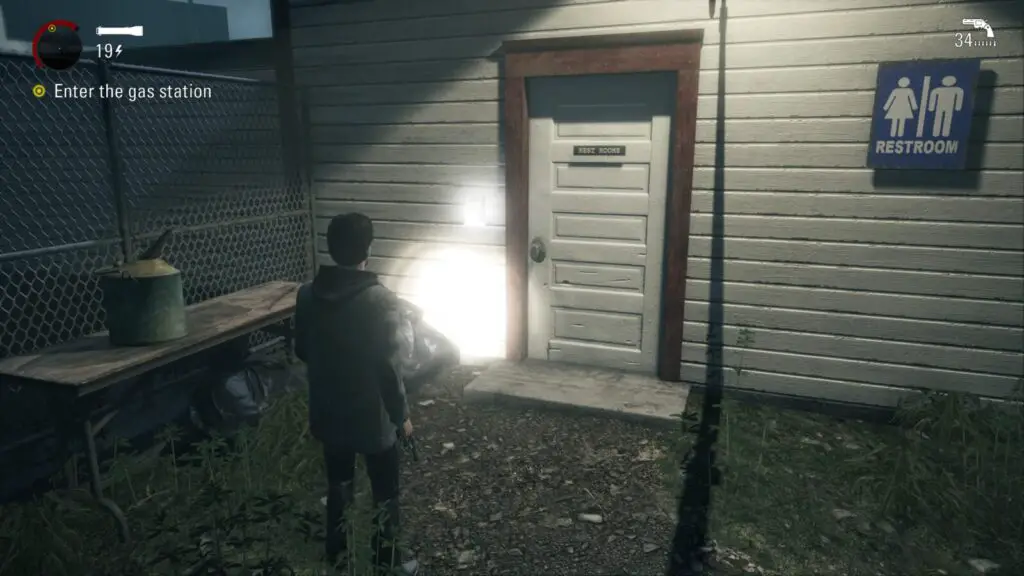
Manuscript (NIGHTMARE) #3 – Go behind the gas station and look on the wall to the left of the restroom doors to find a nightmare manuscript page. You may have seen it at the beginning of the chapter if you held ![]() to focus on the gas station.
to focus on the gas station.
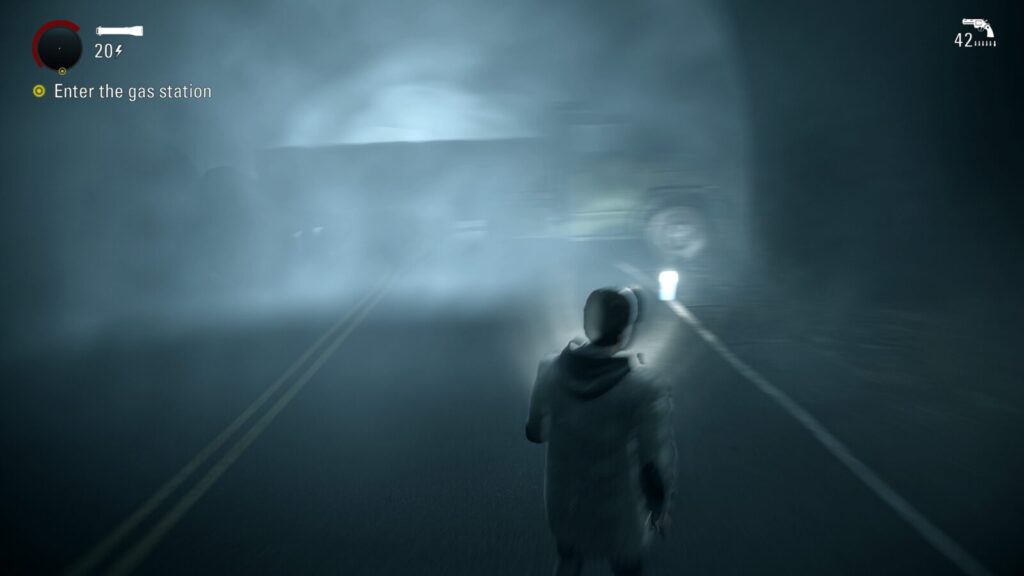
Coffee Thermos #14 – Instead of going inside the gas station, head onto the road and follow it to the left towards a blocked tunnel. On the ground next to a large truck is a thermos. Warning: You might get ambushed by some enemies while traveling on the road.
TV Show #2 – When you head inside the gas station a TV will flicker to life and automatically play a clip.
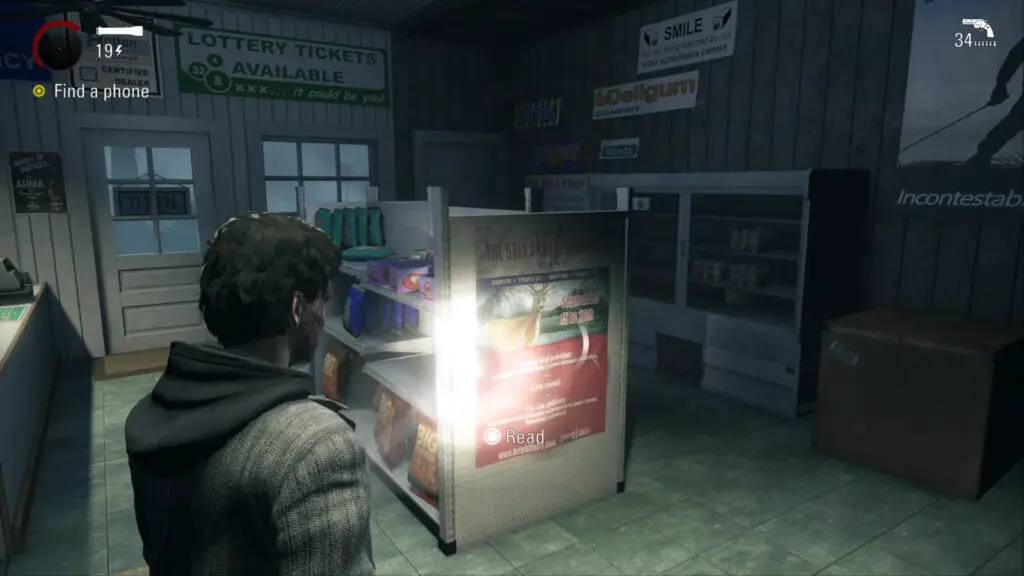
Sign #1 – Inside the gas station on the end of a shelf is a sign about the 68th Annual Deerfest.
Thank you for choosing PlatGet as your source for Alan Wake Episode 1 Collectibles Guide; consider checking out our other guides!
Follow us on Twitter @GetPlat or Instagram @platget for updates on new reviews and guides, as well as small anecdotes about our platinum journeys.
Discussion
We've Partnered with NordVPN

