
PlayStation 5
Final Fantasy VII Rebirth Trophy Guide


General Info
FAQ
How long does it take to beat Final Fantasy VII Rebirth and unlock all trophies?
Around 150-200 Hours.
How difficult is it to beat Final Fantasy VII Rebirth and unlock all trophies?
Very Hard (9/10).
Does Final Fantasy VII Rebirth have online trophies?
No.
Does Final Fantasy VII Rebirth have difficulty-specific trophies?
Yes, Of Hardy Stock .
Does Final Fantasy VII Rebirth have missable trophies?
No.
Does Final Fantasy VII Rebirth have glitched trophies?
No.
What is the minimum number of playthroughs required to unlock all trophies in Final Fantasy VII Rebirth?
Two; One on Easy, Normal, or Dynamic and then one more on Hard with New Game Plus. You may also need to do some Chapter Select Cleanup..
Does Final Fantasy VII Rebirth have a Platinum Trophy?
Yes.
Trophy Guide
Final Fantasy VII Rebirth Trophy Guide and Road Map for PlayStation 5
Welcome to our Final Fantasy VII Rebirth Trophy Guide! Final Fantasy VII Rebirth is the long-awaited sequel of Final Fantasy VII Remake, a Triple-A cinematic remake of the critically acclaimed Final Fantasy VII. Rebirth roughly covers the events that take place between Midgar and Disc 2 of the original PlayStation game.
As a game, you’ll be immersing yourself into one of the best JRPG games ever made, with gorgeous visuals, epic combat, and a mindblowing soundtrack, you really don’t find much better these days. Unfortunately, though, Trophy Hunters like you and I are faced instead with an indomitable task; up to and over 150 long hours in what turns out to be one of the most difficult Final Fantasy games to date.
While the majority of the game and the majority of its trophies make for a pleasant and overwhelmingly enjoyable first 50-ish hours, a mere handful of intimidating trophies take the remainder of the trophy journey from 0-60 faster than you can say “Kweh!”
Phase One | Complete the Game on Easy, Normal, or Dynamic Difficulty + Side and Intel Objectives
In this first phase of your Final Fantasy VII Rebirth Trophy Journey, you should just focus on completing the story on any difficulty as well as any Quests or Intel Missions you discover along the way. The more of this side-content you do now, the easier things will be moving forward with much less backtracking and cleanup. That said, nothing is missable, fortunately, so you can really play freely throughout this phase and just get a feel for how you’d like to enjoy your first playthrough!
I should warn you, though, leaving Intel Missions until later can result in you being too strong to properly tackle them later, especially the Combat Intel, so keep that in mind as you consider what side-activities to do.
There are a few other things that I recommend doing while you play, one of which is to ensure you have an “Assess” Materia equipped and begin Assessing every new enemy you come across. Not only will it simply help you to know each enemy’s weaknesses and how to Pressure them, but it’ll also help massively with some of the objectives Chadley will be giving you.

You may also want to be aware of Phase 2’s Chapter Specific Trophies. These trophies are semi-missable as you’d need to replay a chapter via chapter select to reattempt them. It’d save you a lot of time to address those trophies during your first playthrough.
Another thing I’d recommend having at the back of your mind are weapon proficiencies. At some point, you’ll need to reach max proficiency with every weapon. To significantly reduce this grind, you could be actively trying to reach max proficiency with every weapon you acquire as and when you do. This sounds like a lot of work, but it doesn’t take much to reach max proficiency so it’ll just take a few minutes of your time whenever you equip a new weapon. See Weapons 101 for details on how to max out your weapon proficiency.
Unmissable Story Trophies
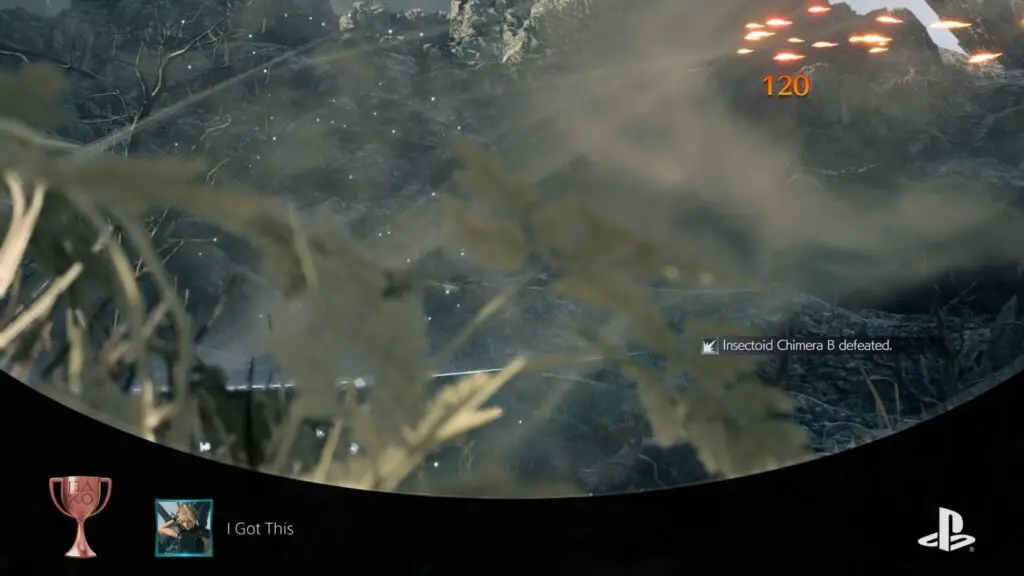
I Got This
Win a battle.
Completely unmissable, you’ll win your first battle as Cloud during the prologue, after which you’ll receive the “I Got This” trophy.
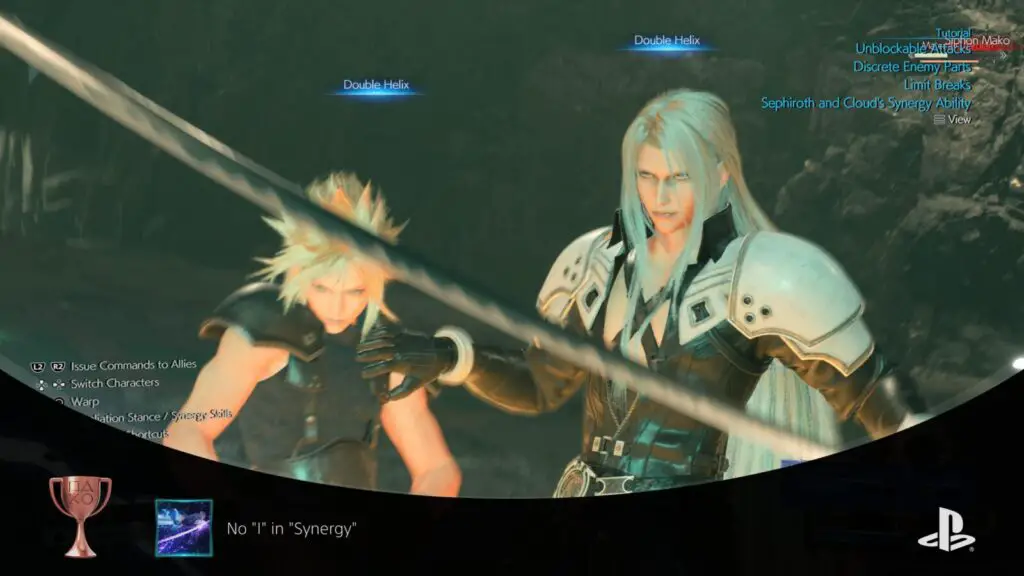
No "I" in "Synergy"
Use a synergy ability.
You must use a Synergy ability during the first Boss Fight, alongside Sephiroth in the Prologue. This acts as a tutorial and introduction to the new ability type, and will unavoidably cause the No “I” in “Synergy” Trophy to unlock.
Never Meet Your Heroes
Complete Chapter 1.
“Never Meet Your Heroes” unlocks automatically at the end of the first Chapter.
Swampy Situation
Complete Chapter 2.
“Swampy Situation” unlocks automatically at the end of Chapter 2.
Make Mine Black
Complete Chapter 3.
“Make Mine Black” unlocks automatically at the end of Chapter 3.
The President’s Commendation
Complete Chapter 4.
“The President’s Commendation” unlocks automatically at the end of Chapter 4.
Cryptic Cameo
Complete Chapter 5.
“Cryptic Cameo” unlocks automatically at the end of Chapter 5.
Fun in the Sun
Complete Chapter 6.
“Fun in the Sun” unlocks automatically at the end of Chapter 6.


The Price of Progress
Complete Chapter 7.
“The Price of Progress” unlocks automatically at the end of Chapter 7.
Worth the Weight?
Complete Chapter 8.
“Worth the Weight?” unlocks automatically at the end of Chapter 8.
Crying Out
Complete Chapter 9.
“Crying Out” unlocks automatically at the end of Chapter 9.
Stars Fell from My Eyes
Complete Chapter 10.
“Stars Fell from My Eyes” unlocks automatically at the end of Chapter 10.
You’re Not Murasaki
Complete Chapter 11.
“You’re Not Murasaki” unlocks automatically at the end of Chapter 11.
Hearts Out, Dukes Up
Complete Chapter 12.
“Hearts Out, Dukes Up” unlocks automatically at the end of Chapter 12.
I’m Here for You
Complete Chapter 13.
“I’m Here for You” unlocks automatically at the end of Chapter 13.
Confluence of Worlds
Complete Chapter 14.
“Confluence of Worlds” unlocks automatically at the end of Chapter 14.
Phase Two | First Playthrough Cleanup
It’d be best if you earned the majority of the trophies in this phase of our Final Fantasy VII Rebirth Trophy Guide during your Main Story playthrough, but it’s understandable if you still have a fair amount of cleanup left. It’s a lot to keep track of, after all, and there are a few things that aren’t available until you’ve finished the story.
Take the time now to mop up anything you have left from your first playthrough. This may involve revisiting previous chapters via chapter select, or you can actually access a good majority of things by revisiting Chapter 13 and using Fast Travel from there.
Chapter Specific Trophies

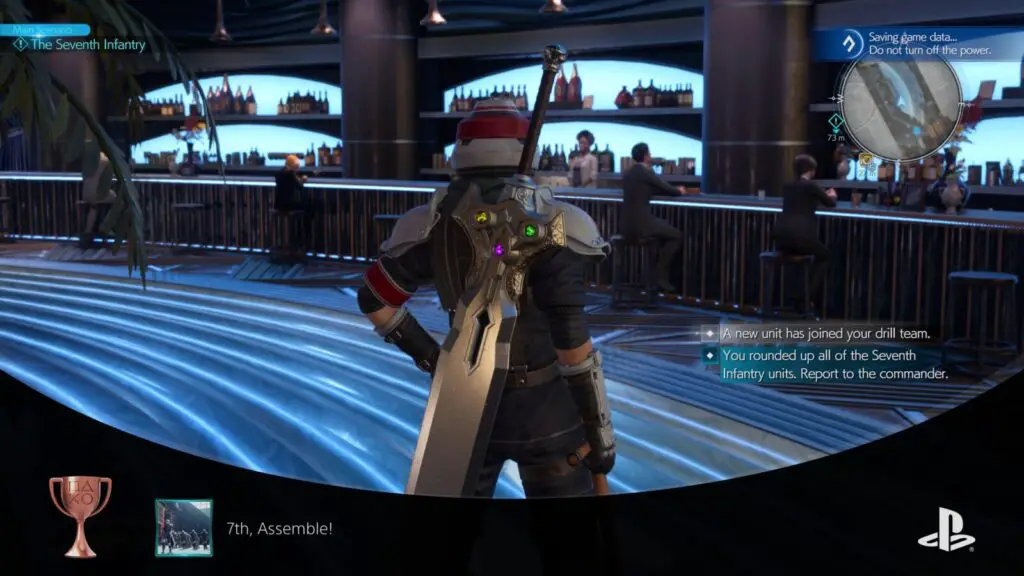
7th, Assemble!
Recruit all Midgar 7th Infantry units for the parade in Junon.
During the events of Chapter 4 in Junon, you’ll need to find at least 5 Infantry Units in order to put on a Parade that will progress the story.
To unlock the “7th, Assemble!” trophy, you must find all 10 infantry units before speaking to the Commander and beginning the Parade.
If you happen to start the parade before you have all 10 units, you will need to replay this chapter via Chapter Select to have another chance at accomplishing this.
Once you have all 10 units, try to put on the best parade you can to unlock Stealing the Show.
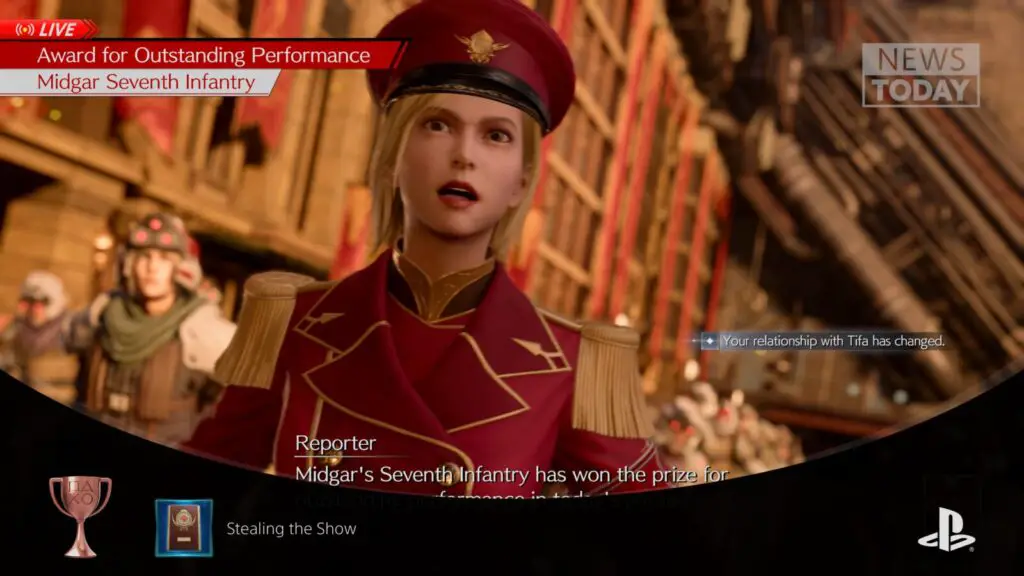
Stealing the Show
Win the prize for outstanding performance in the Junon parade.
During Chapter 4, after you have finished gathering the Infantry Units needed for 7th, Assemble!, report to the Commander outside near the huge hangar door once you have all 10 Units.
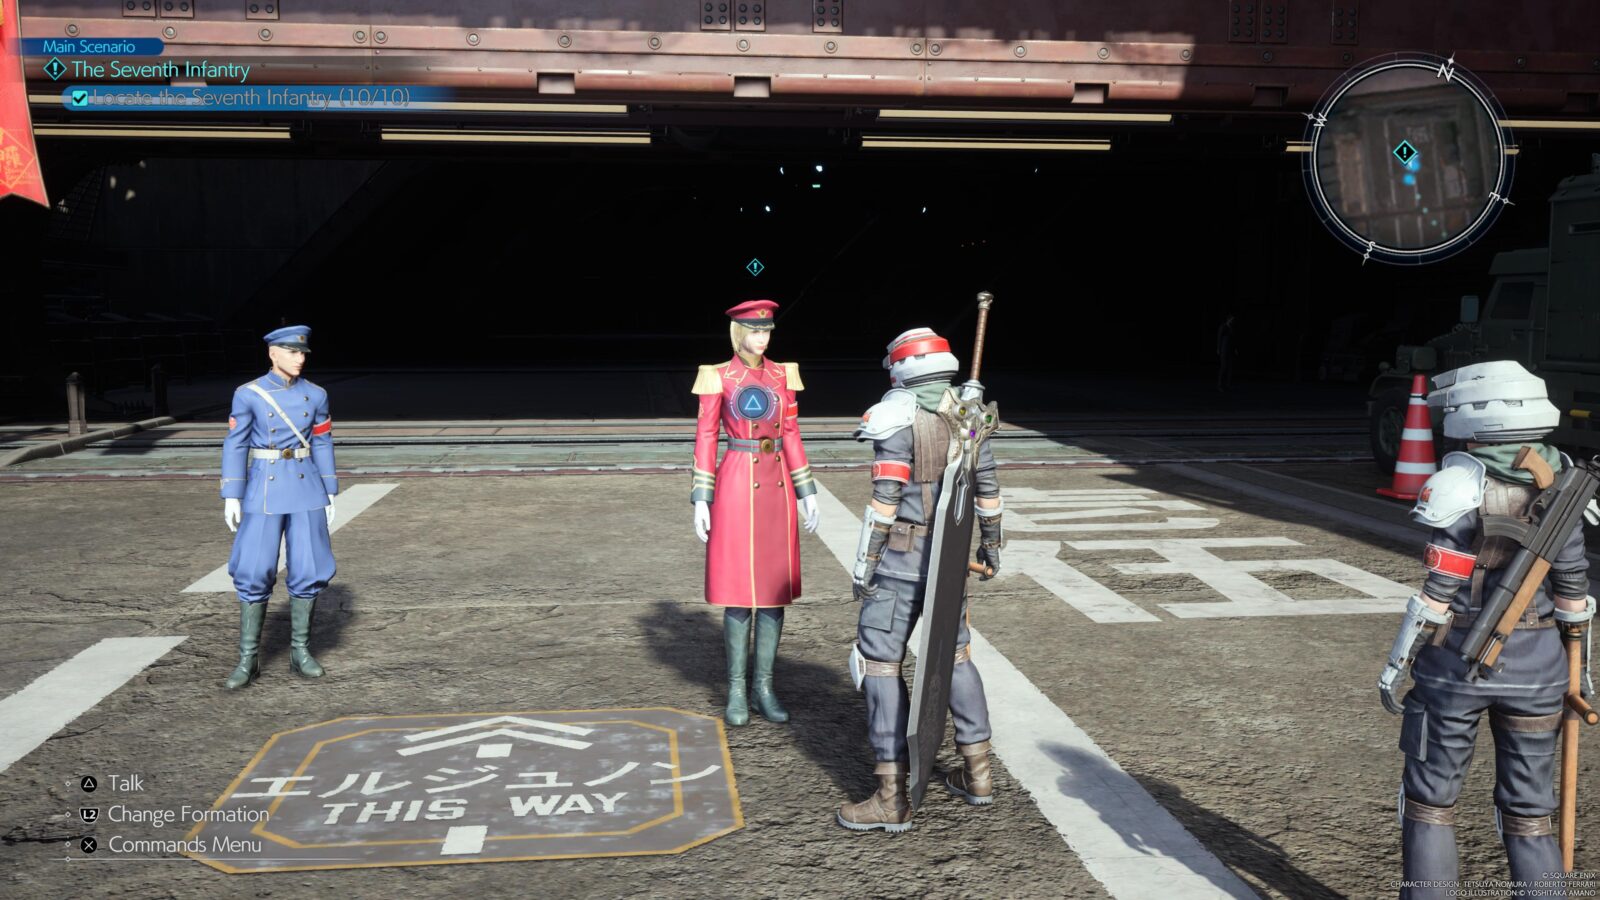
There, ask to “Adjust Drill Team Formation,” then place them in the following formation:
Cloud <<< Grenadiers < Grenadiers <<< Riot Troopers < Riot Troopers <<< Flametroopers

This makes all three phases of your parade performance 3-star difficulty, but will maximize your performance score.
Once done, I strongly recommend that you save the game (to load in case you fail the parade) and also play the tutorial until you’re comfortable. When ready, though, tell the Commander you’d like to start the parade.
The actual parade is a QTE sequence similar to the Honey Bee Inn in the previous game. There’s a bright light swirling around the parade, which will pass through QTE prompts and you need to press the indicated button when the shining light comes into contact with the prompt. A perimeter border will close in around the prompt indicating the appropriate timing. Try to activate each prompt as the outer border comes into contact with the icon’s rhomboid container.
Yellow prompts require you to mash the indicated button until you reach the next prompt. Blue prompts require you to hold the indicated button until the next prompt.
Do your best to hit every prompt with your best possible timing and simply keep retrying the parade until you achieve a perfect score. You can miss one or two prompts per round, but to achieving an Outstanding score you’ll need to hit pretty much every prompt perfectly.
Once you’re done, you won’t get your results or your trophy right away, as there are some cutscenes that will play. During them, a winner will be announced and if you did well enough you’ll receive the trophy when the results are shown.
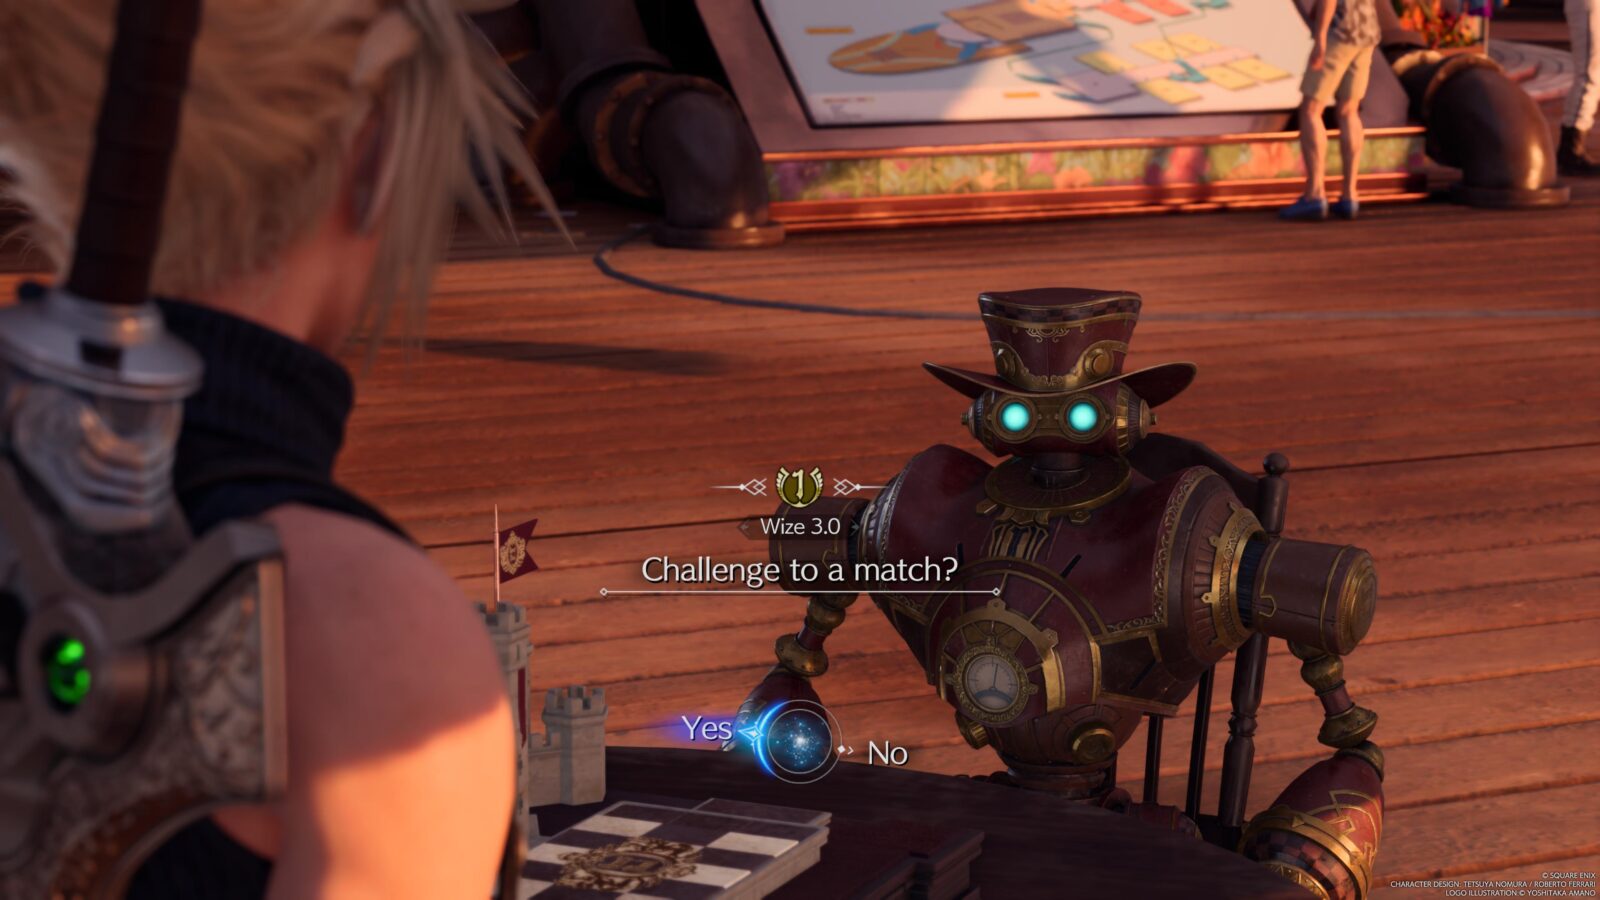
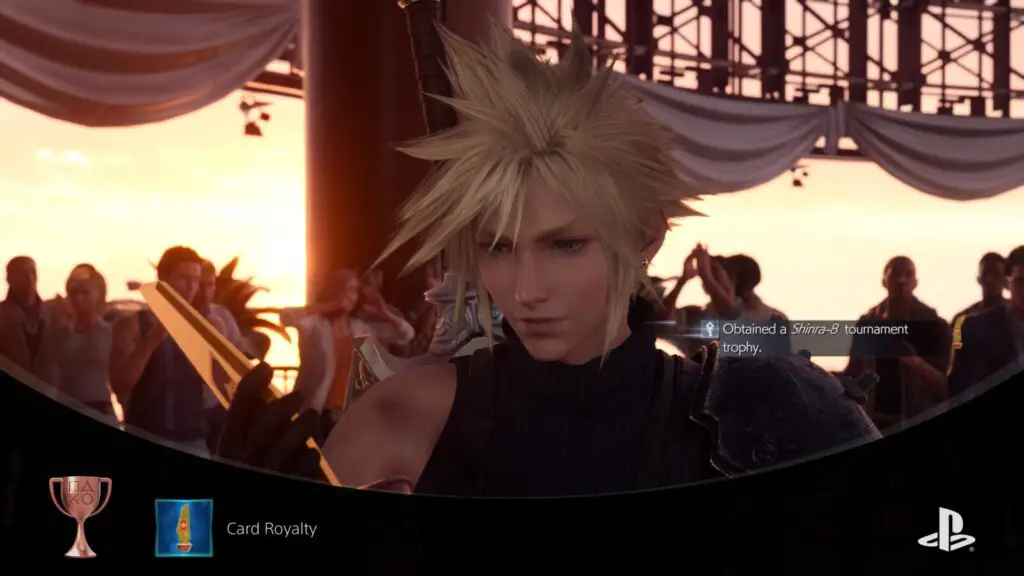
Card Royalty
Win the Queen's Blood tournament held on board the Shinra-8.
During Chapter 5, while traveling on the Shinra-8 Ship, there’s a Queen’s Blood tournament that occurs as part of the story.
You can technically lose these matches and even forfeit, but if you want the “Card Royalty” trophy, you’ll need to win every match and beat all 6 opponents.

You can pause in the middle of a Queen’s Blood match and select “Restart” to begin the minigame again without any penalty, but I also recommend making a manual save between each match just in case.
Once you’re crowned the victor following the surprise 6th match, you’ll receive the Card Royalty trophy.
Critically Acclaimed
Receive a review of S or higher for your performance in Loveless at the Gold Saucer.
During Chapter 12, on your return visit to the Golden Saucer, you’ll need to perform a show at the Golden Theater in the Event Square. Akin to the dance sequence at the Honey Bee Inn in Final Fantasy VII Remake and the parade from Stealing the Show, you will need to complete a QTE sequence and will be scored on your performance.
Unlocking the Critically Acclaimed trophy requires that you achieve at least an S rank. This might sound intimidating, but you can actually achieve a score of up to SSS rank, so you’re not actually going for perfection.
Fortunately, you’ll be given the opportunity to practice before the main event and you can do so infinitely, so I’d advise you take advantage of that to get used to what’s in store. A manual save here wouldn’t be a bad idea either.
You should note that while you’re able to make certain choices throughout the event, none of them matter or affect your score, you just need to make sure you hit every QTE to the best of your ability.
Side Quest and Intel Trophies
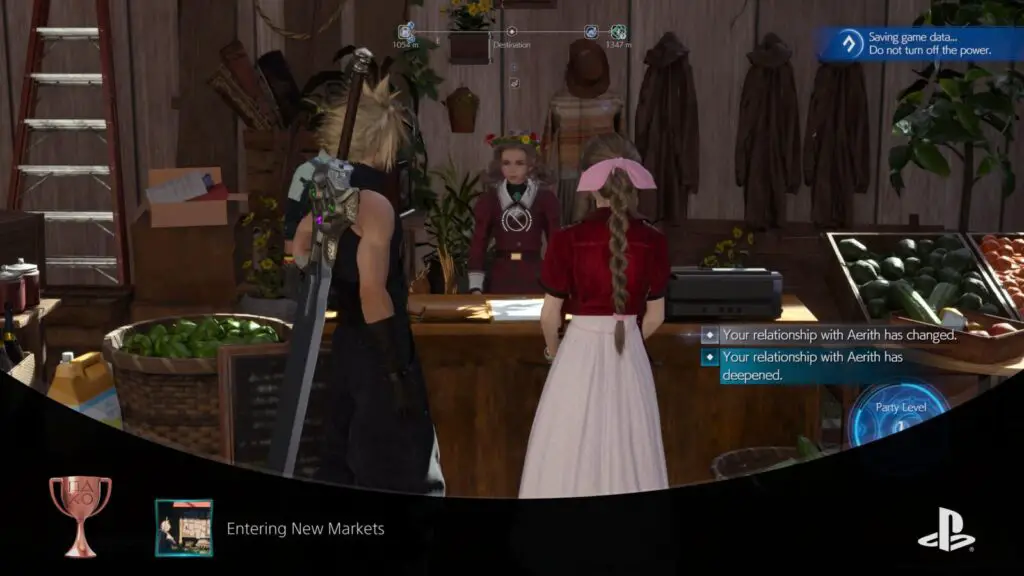
Entering New Markets
Complete a quest.
Upon completion of your first Side Quest, you’ll unlock the “Entering New Markets” trophy. You’ll be introduced to Side Quests at Bill’s Chocobo Farm during Chapter 2.
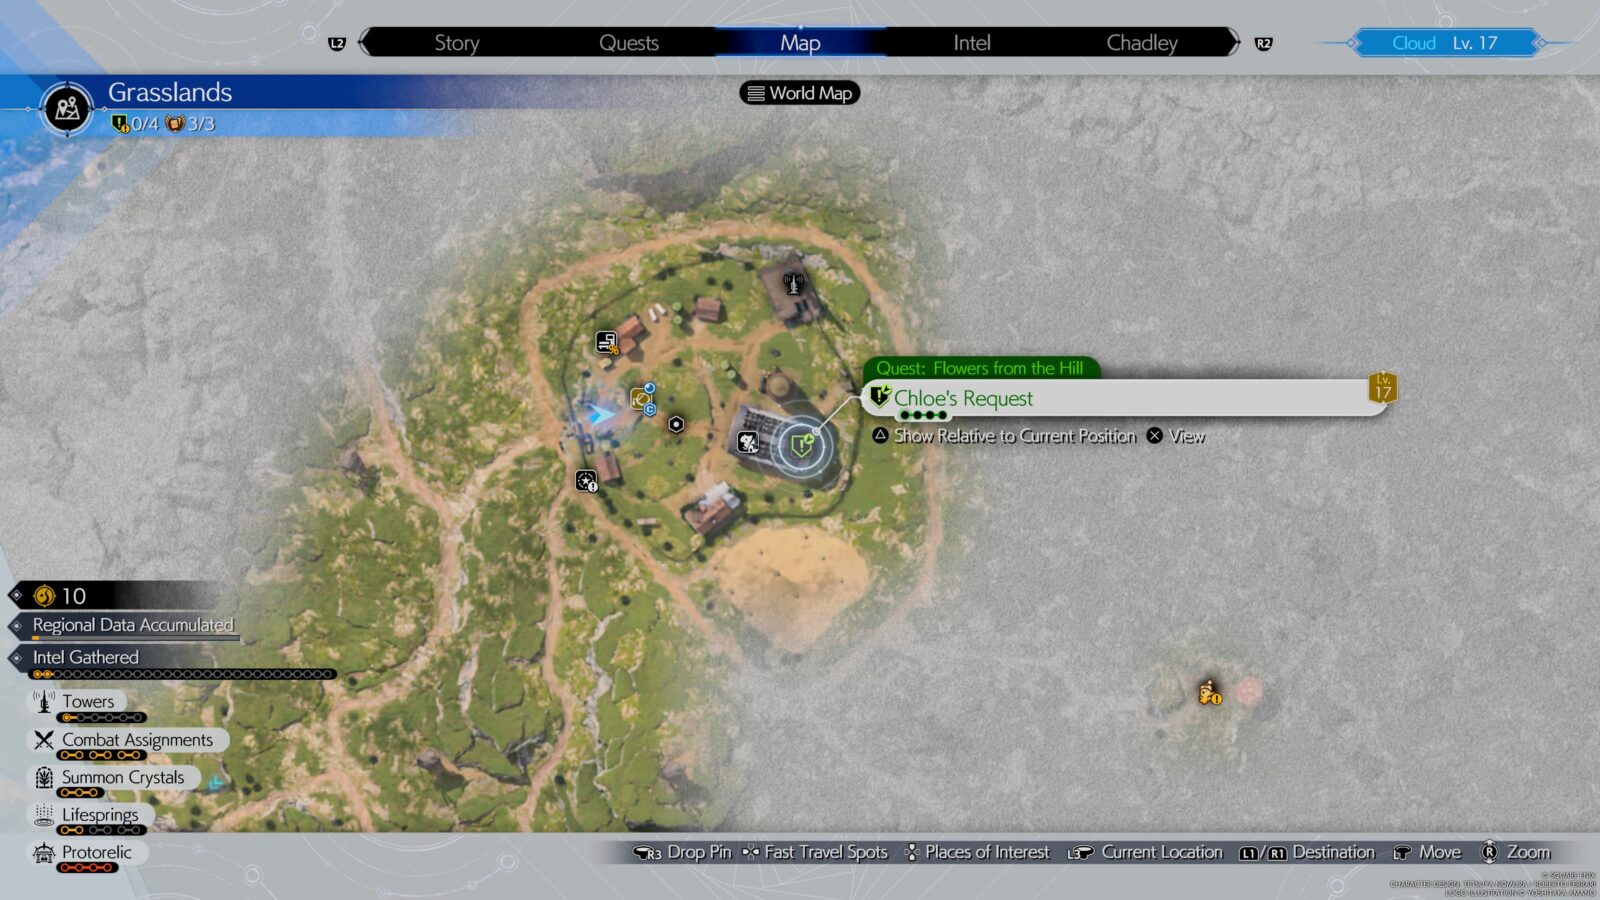
The first Quest you receive is “Flowers from the Hill” for Chloe at the Chocobo Farm.
Intelligence Aide
Gather world intel at five separate locations.
Intel Missions are marked on the map as soon as they are discovered and are easy to find thanks to their vibrant yellow icons.
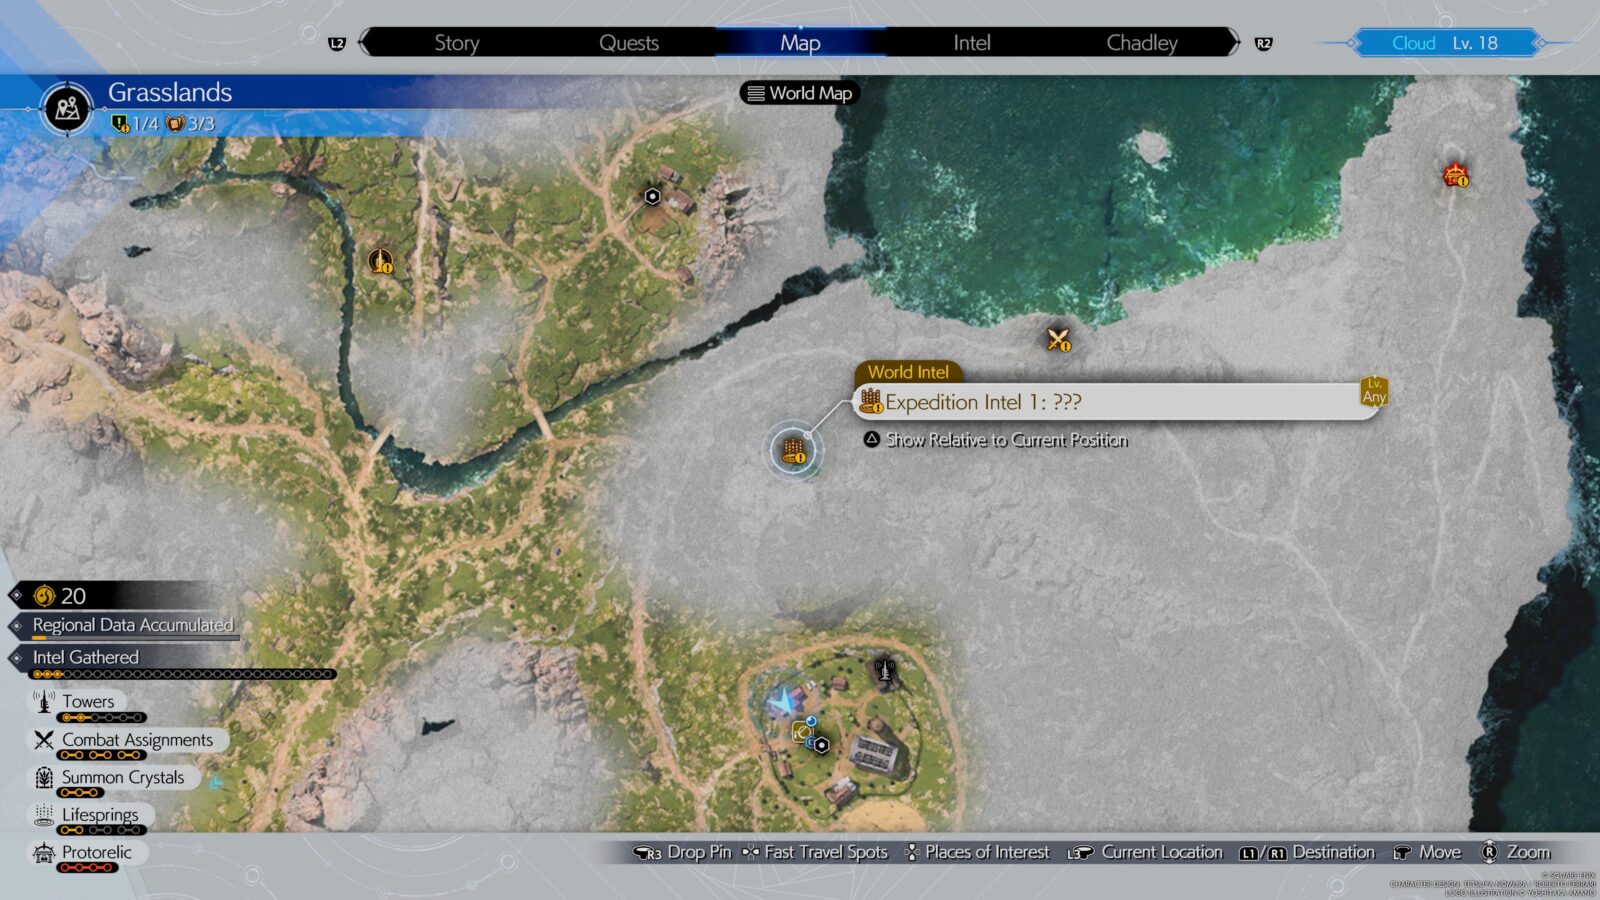
The main Intel Missions you should begin with are the “Activation Intel” missions. In these, you will activate a tower which pings all other nearby Intel Missions on your map!
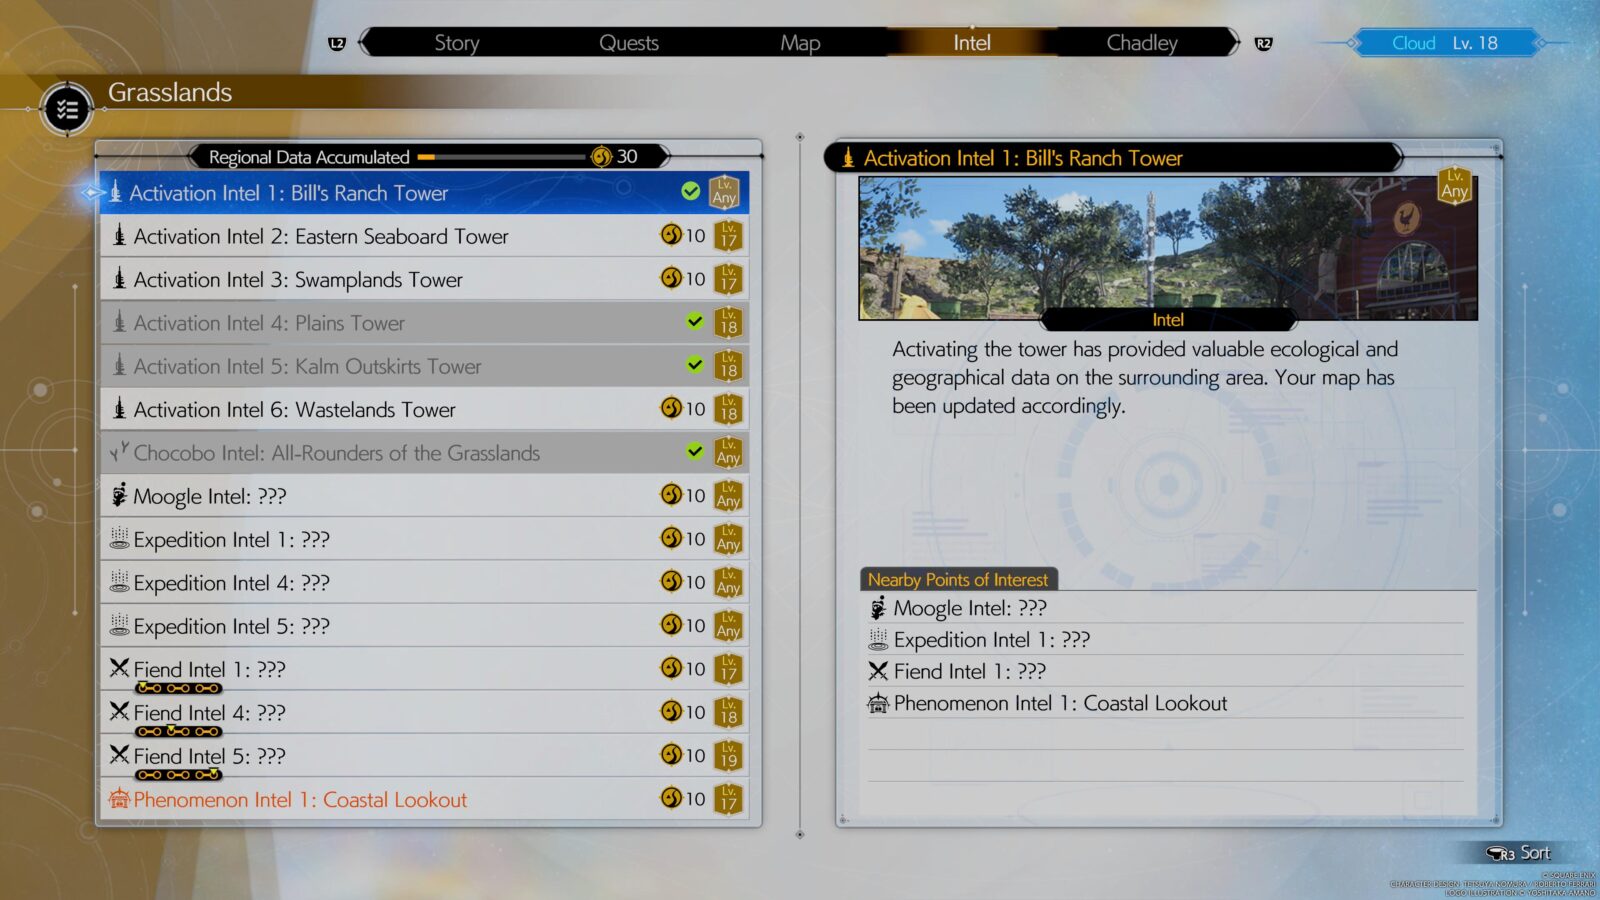
The Intelligence Aide trophy will unlock when you’ve completed any 5 Intel Missions, including Activation Intel, Fiend Intel, Expedition Intel, and more. The fun won’t stop there, though, as you’ll need to complete a further 45 for Intelligence Specialist and every Intel Mission in at least one region for Director of Regional Intelligence.
I recommend completing every Intel Mission still, though, as you’ll need to for other trophies, particularly Materia Completionist.

Intelligence Specialist
Gather world intel at fifty separate locations.
After earning the Intelligence Aide trophy, continue on to complete a further 45 Intel Missions and you’ll receive the “Intelligence Specialist” trophy.
You will actually need to complete far more than just 50 for rarer trophies like Materia Completionist.
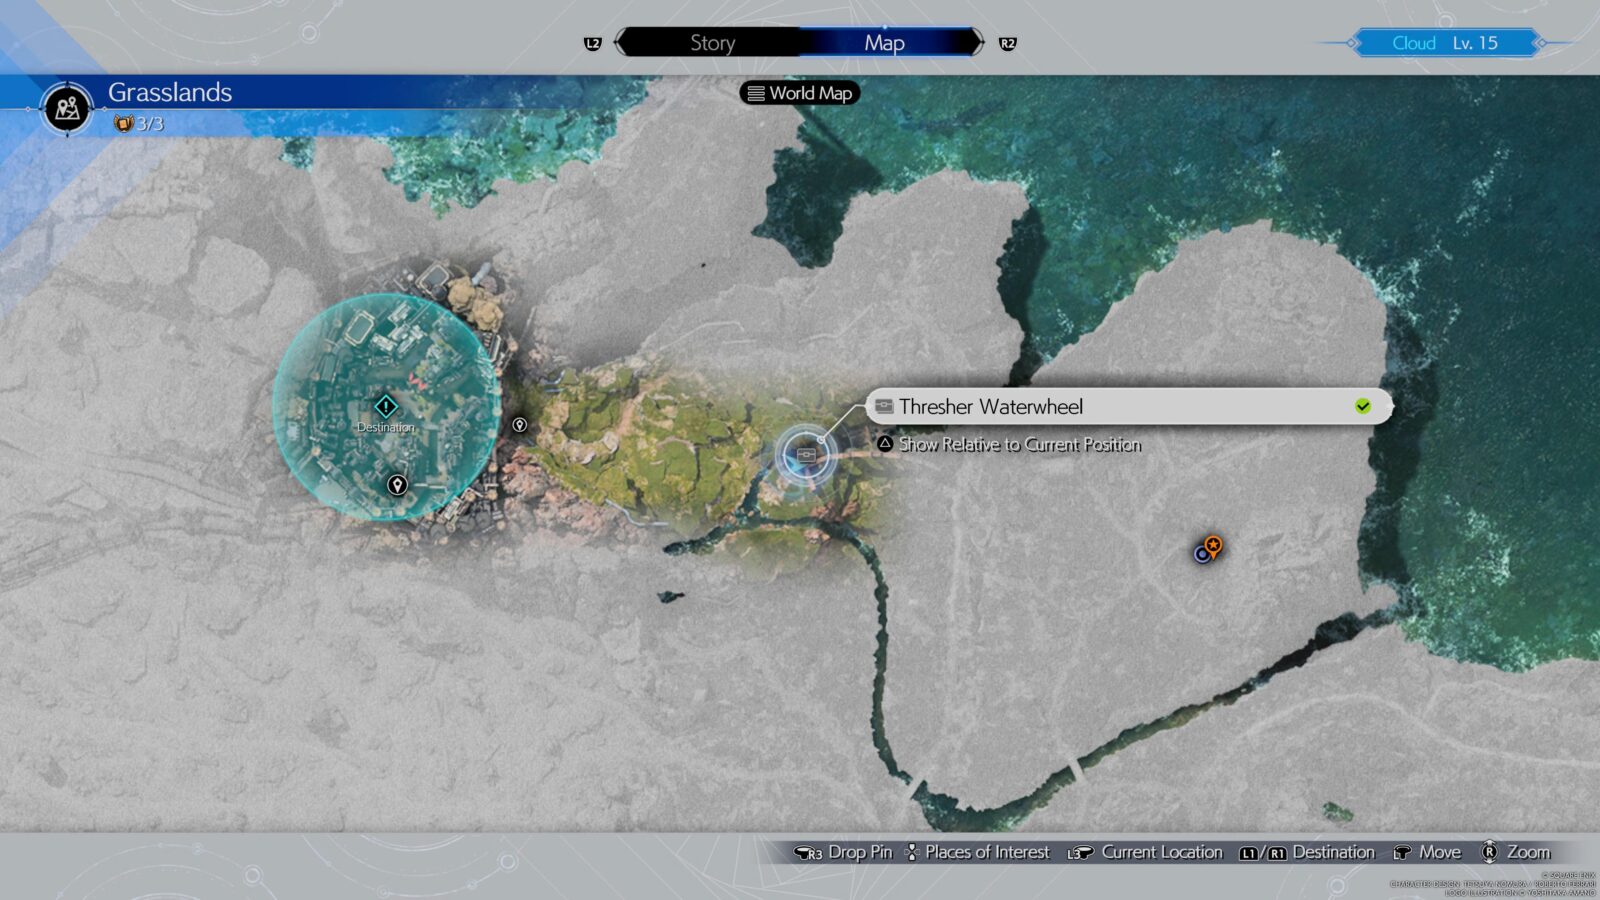
Director of Regional Intelligence
Gather all pieces of world intel in a region.
To unlock the “Director of Regional Intelligence” Trophy, you must complete every Intel Mission (See Intelligence Aide) in a single Region, such as the Grasslands Region.
You’ll actually need to do this in every region anyway in order to unlock rarer trophies like Materia Completionist.
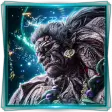
You Work for Me Now
Defeat a summon in battle and obtain its materia.
You will unlock new Summon Materia anytime that you beat a Summon in Chadley’s Battle Simulator.
These summons are typically much too strong to defeat when they first become available, but by completing “Divine” Intel Missions, you can unlock incrementally easier versions of the fight.
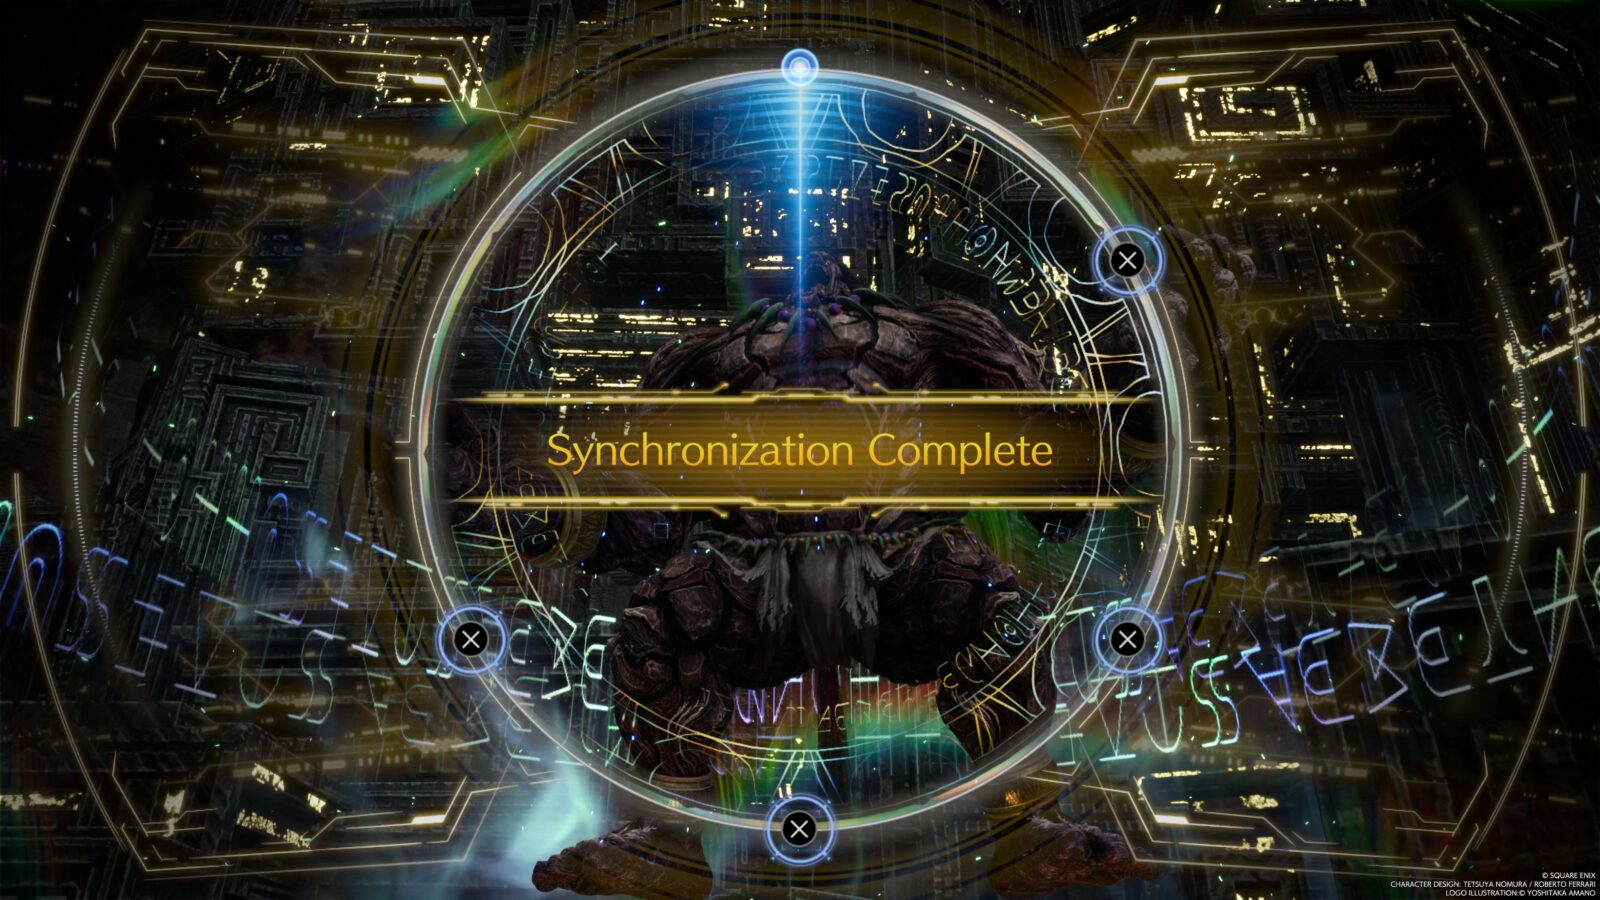
The Titan Summon Materia is the first one you can unlock via Chadley and if you first complete all three of the Divine Intel Missions in the Grasslands before fighting him, you can take his power down by three levels, making the fight significantly easier.
Whether you weaken it entirely, a little bit, or not at all, defeat the Titan in Chadley’s Combat Simulator to receive the Titan Summon Materia as well as the “Your Work for Me Now” trophy!
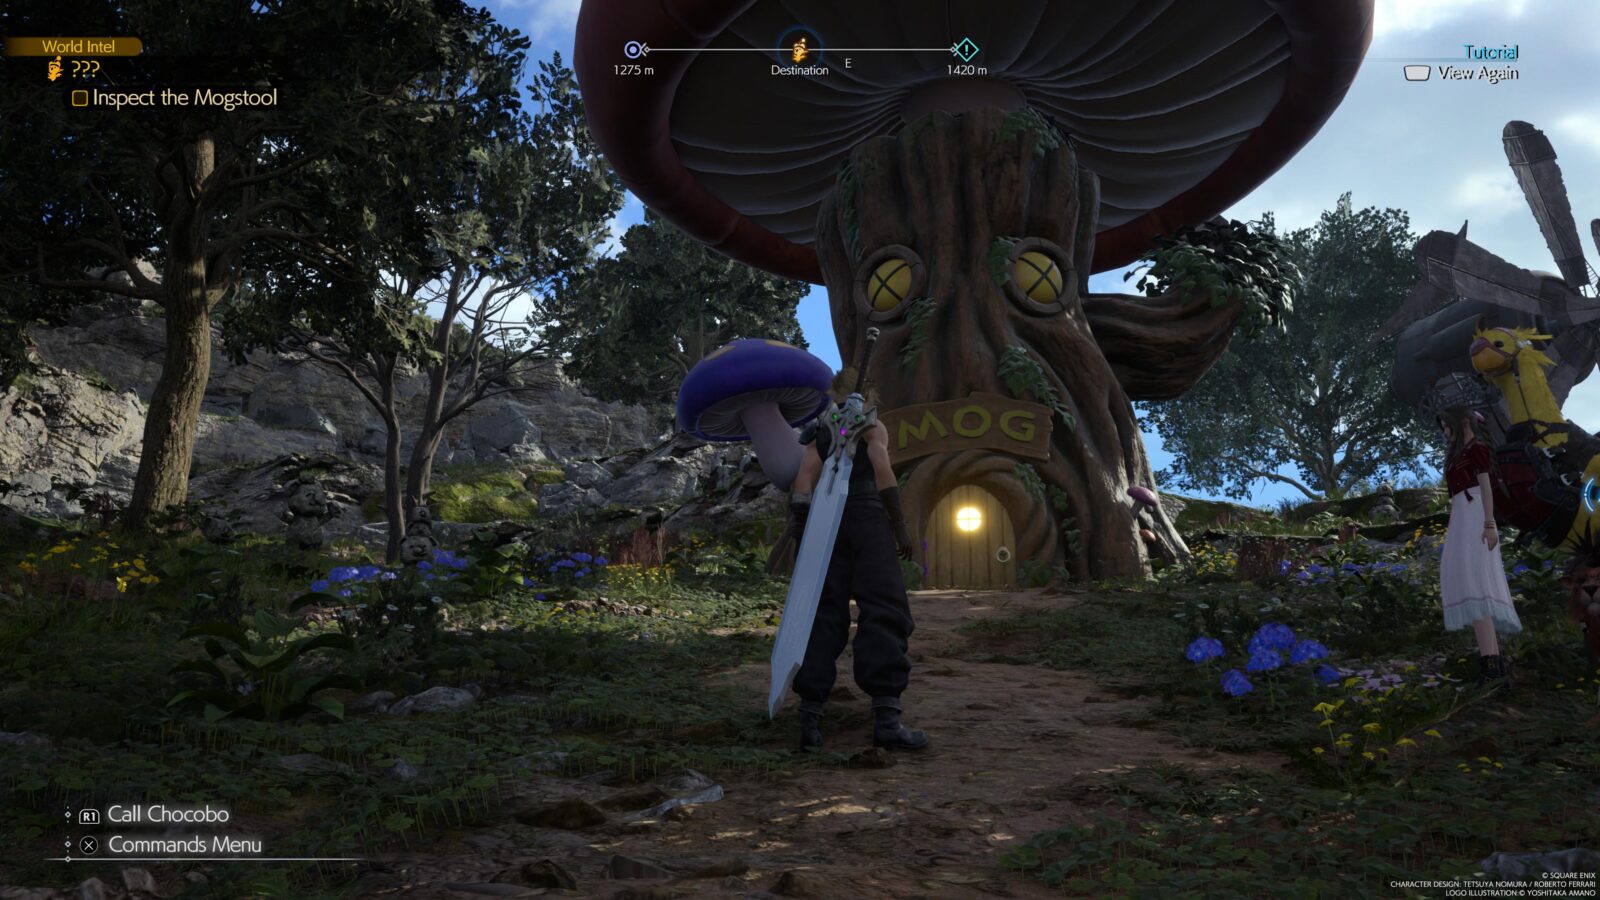
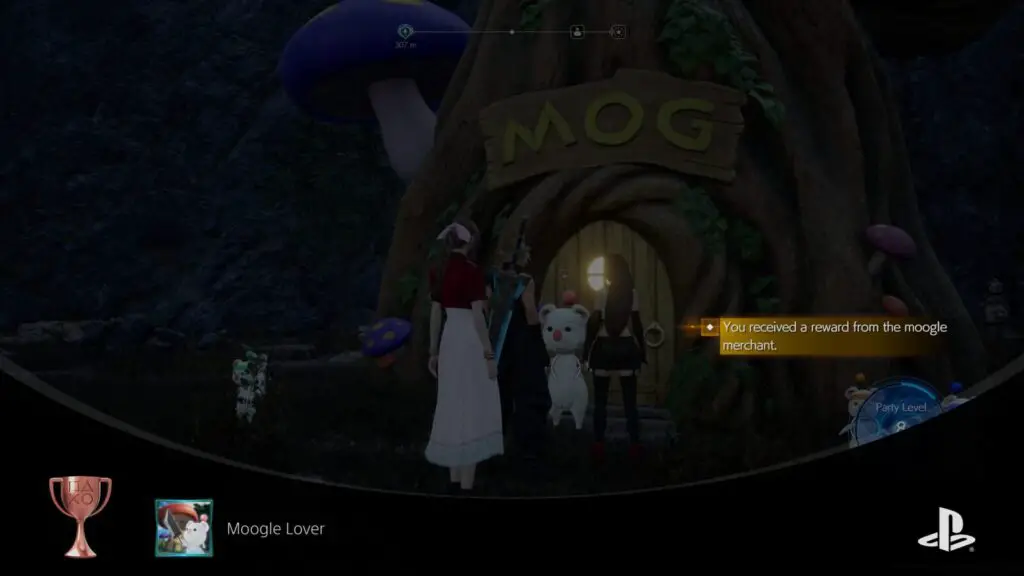
Moogle Lover
Max out your moogle emporium merchant rank.
In each region, one of the Intel Missions you must complete will be a Moogle Emporium. These are large mushroom/trees with doors on the front of them, reminiscent of the door to Winnie the Pooh in Kingdom Hearts.
When you step inside, you’re transported to a Moogle Minigame where you must get each of the six Moogles into the fenced area around the tree at the center. You must avoid their attacks, as you can only take damage three times before you fail.
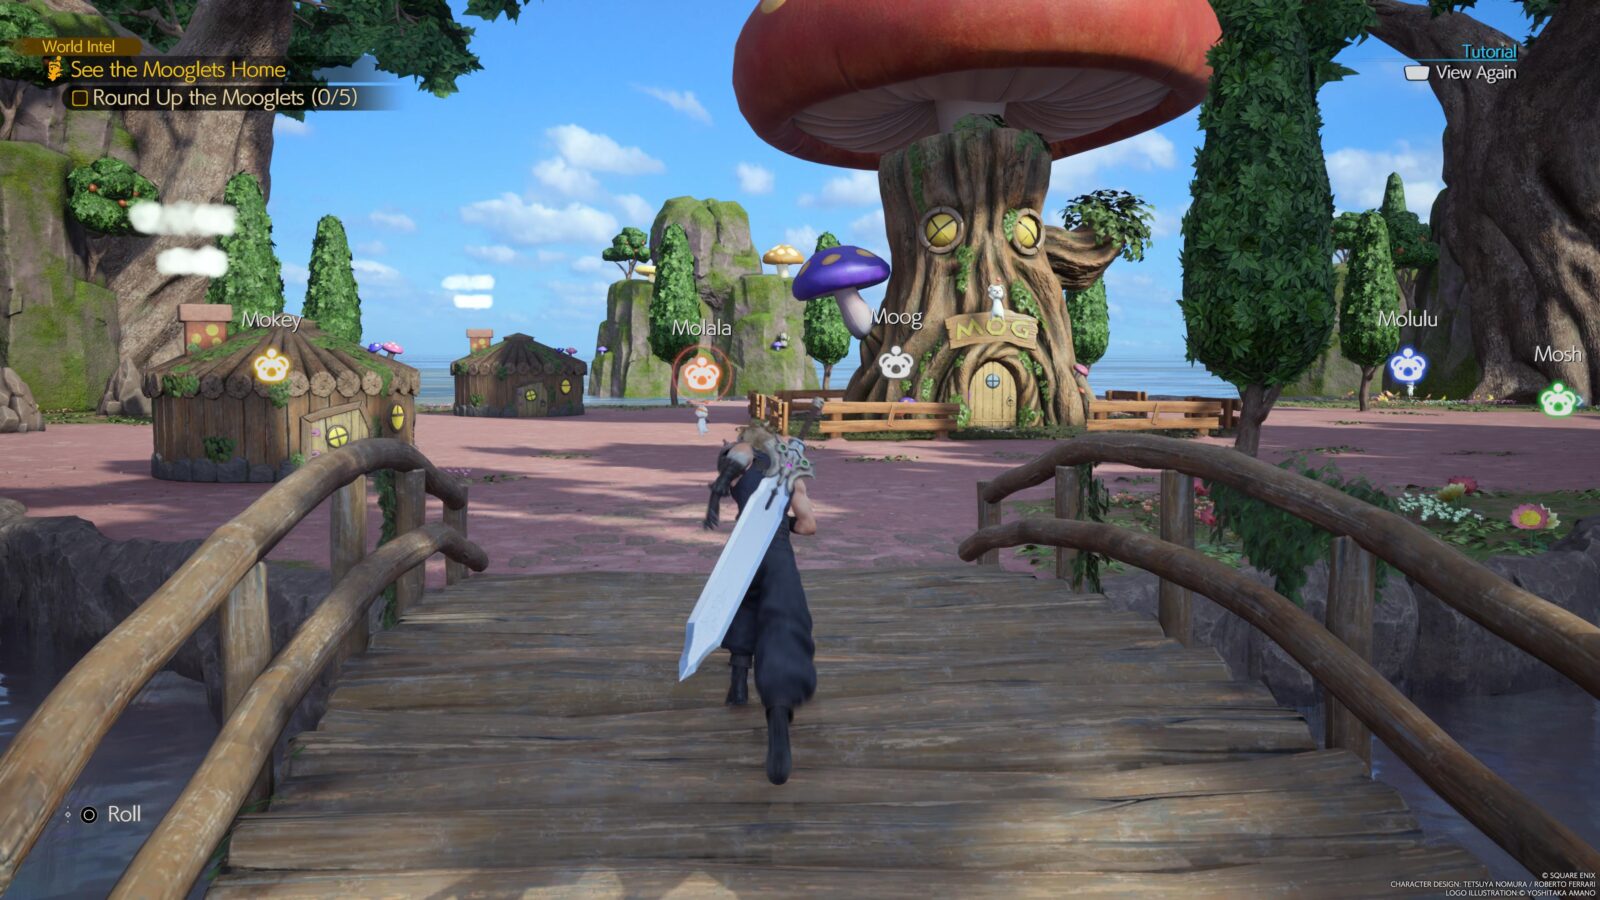
Fortunately, if you fail a lot, the game will offer you an option to reduce the difficulty and there’s no penalty for using it, so go wild!
In later stages, you’ll see little tornadoes in the area. If you trick a Moogle into flying into a tornado, it’ll become stunned. While stunned, you can walk right up to a Moogle and pick it up with ![]() . This is a lot easier than just trying to make them run away from you in the right direction.
. This is a lot easier than just trying to make them run away from you in the right direction.
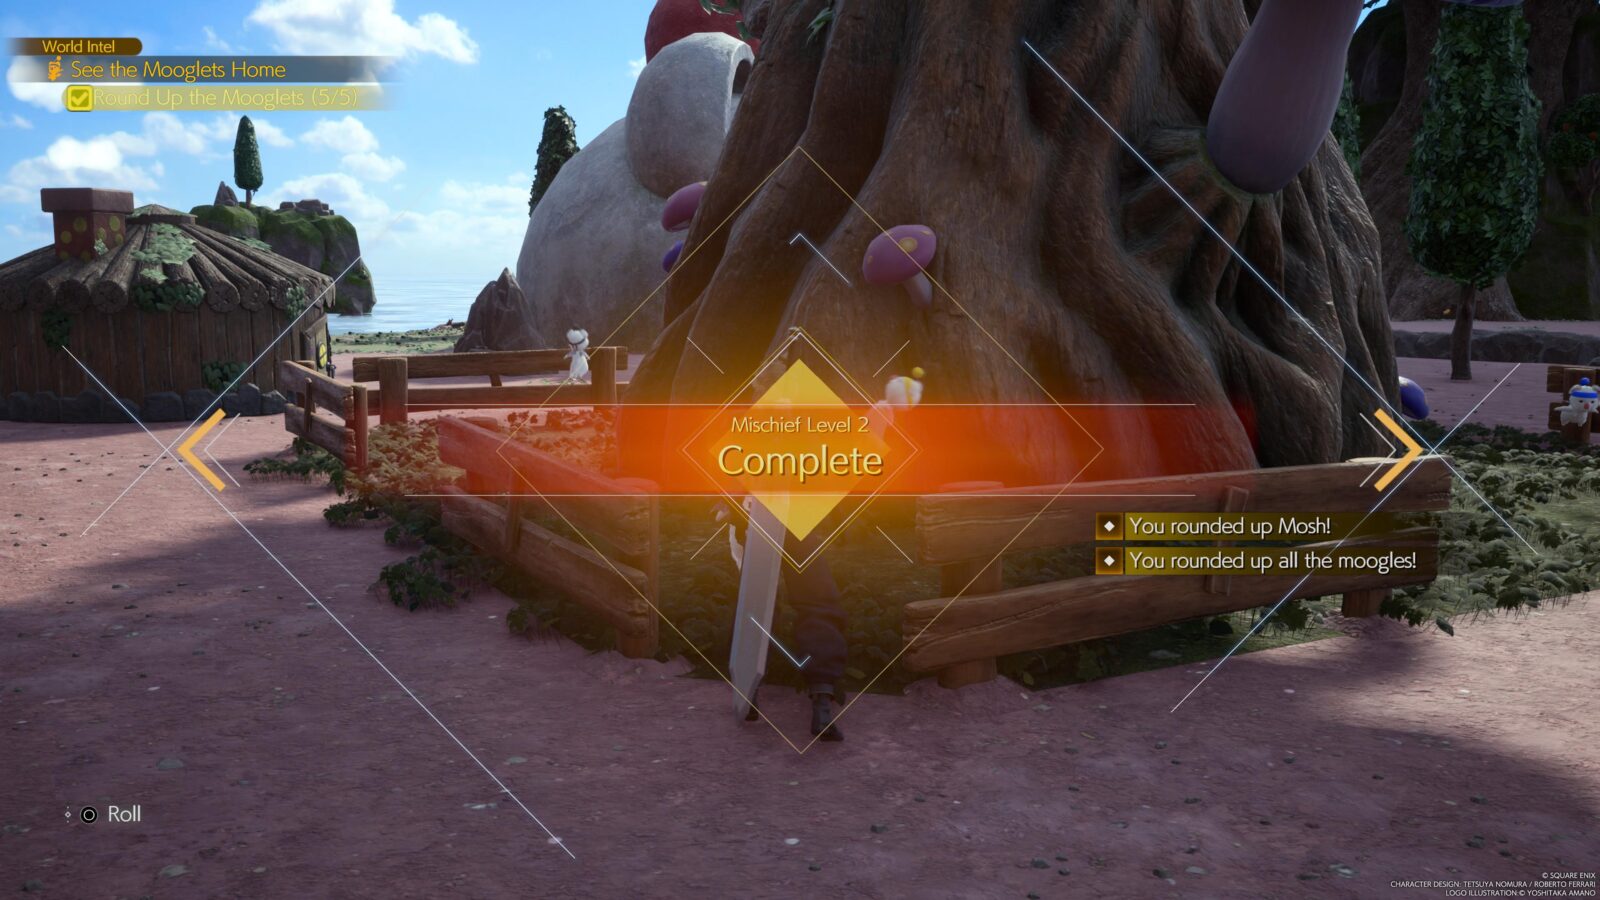
When you have completed all 6 of these minigames, you’ll unlock the “Moogle Lover” trophy.
Completing them will also increase the range of available items in the Moogle Shop, which you can purchase using Moogle Medals. Moogle Medals are typically found in breakable boxes all throughout the game, especially near Intel objectives like the towers.
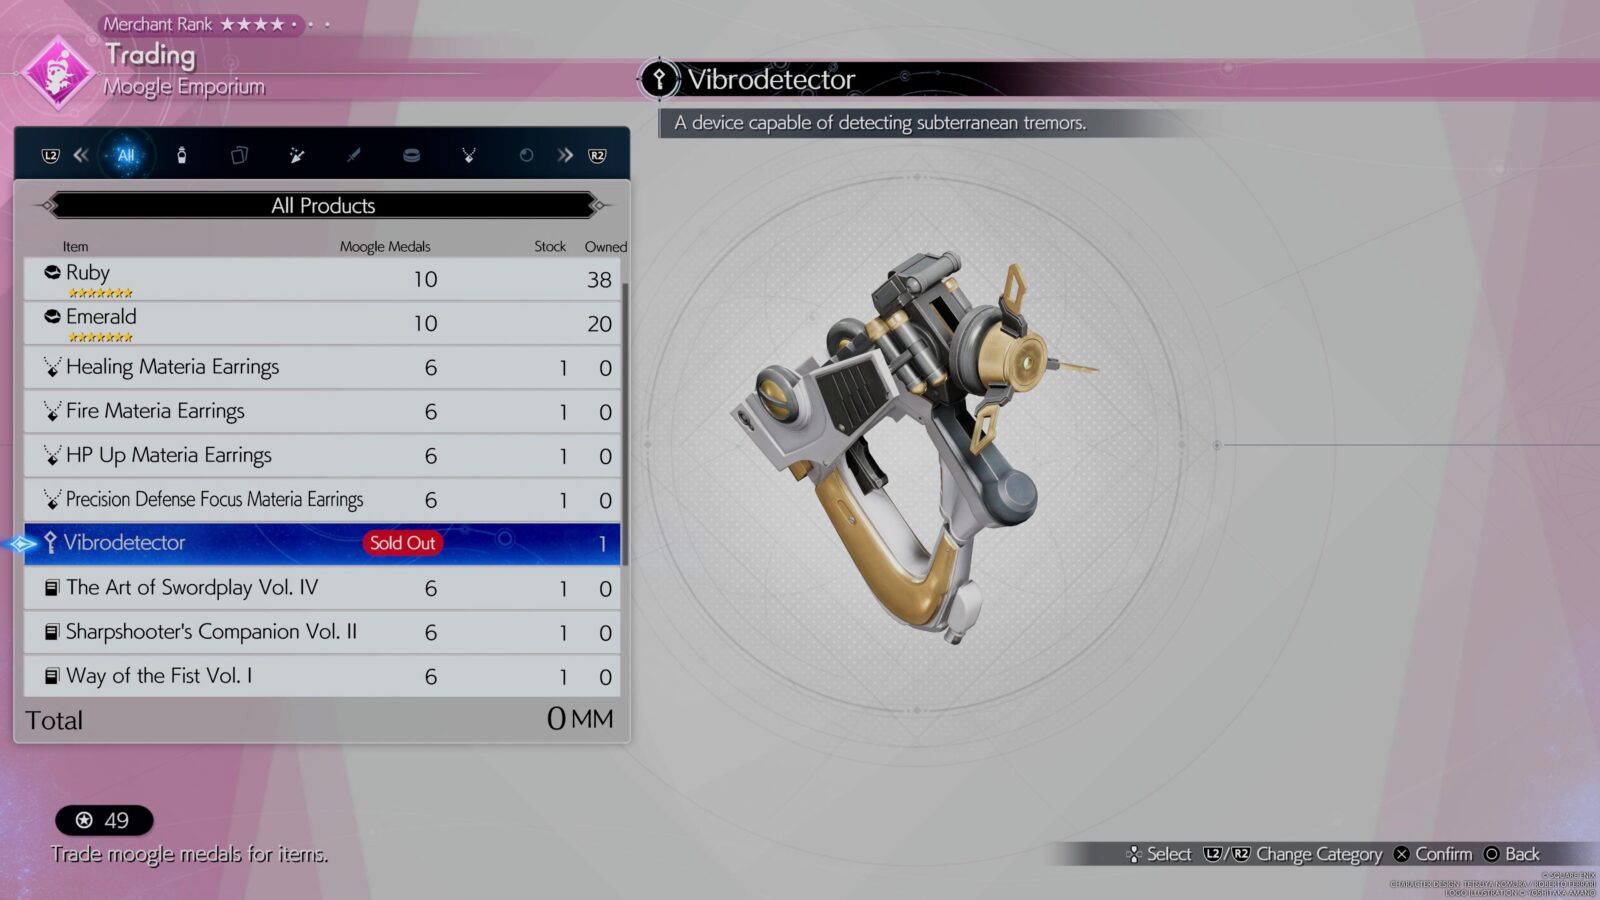
I strongly recommend you prioritise buying the “Vibrodetector” item and any manuscripts before spending your medals on anything else, as these will be needed for other trophies.
Founder's Bonus
Obtain a protorelic in the grasslands.
Part of the Intel Missions in each Region will involve recovering a “Protorelic;” special relics imbued with memories of the past. Recovering these Protorelics involves completing a series of Protorelic Intel Missions. Each new mission is marked on the map as and when you complete the previous one, until you’ve finally completed them all and recovered the relic.
Doing this in the Grasslands region will unlock the “Founder’s Bonus” trophy.
Fort Condor Commander
Obtain a protorelic in the Junon region.
As part of the Intel Missions in the Junon Region, you’ll need to complete several sequential Protorelic Intel Missions. In the Junon Region, these involve playing through the “Fort Condor” board game at several locations in the region. This is a returning minigame from the original 1997 game and is just as much fun as it was back then, although some of the challenge has been removed.
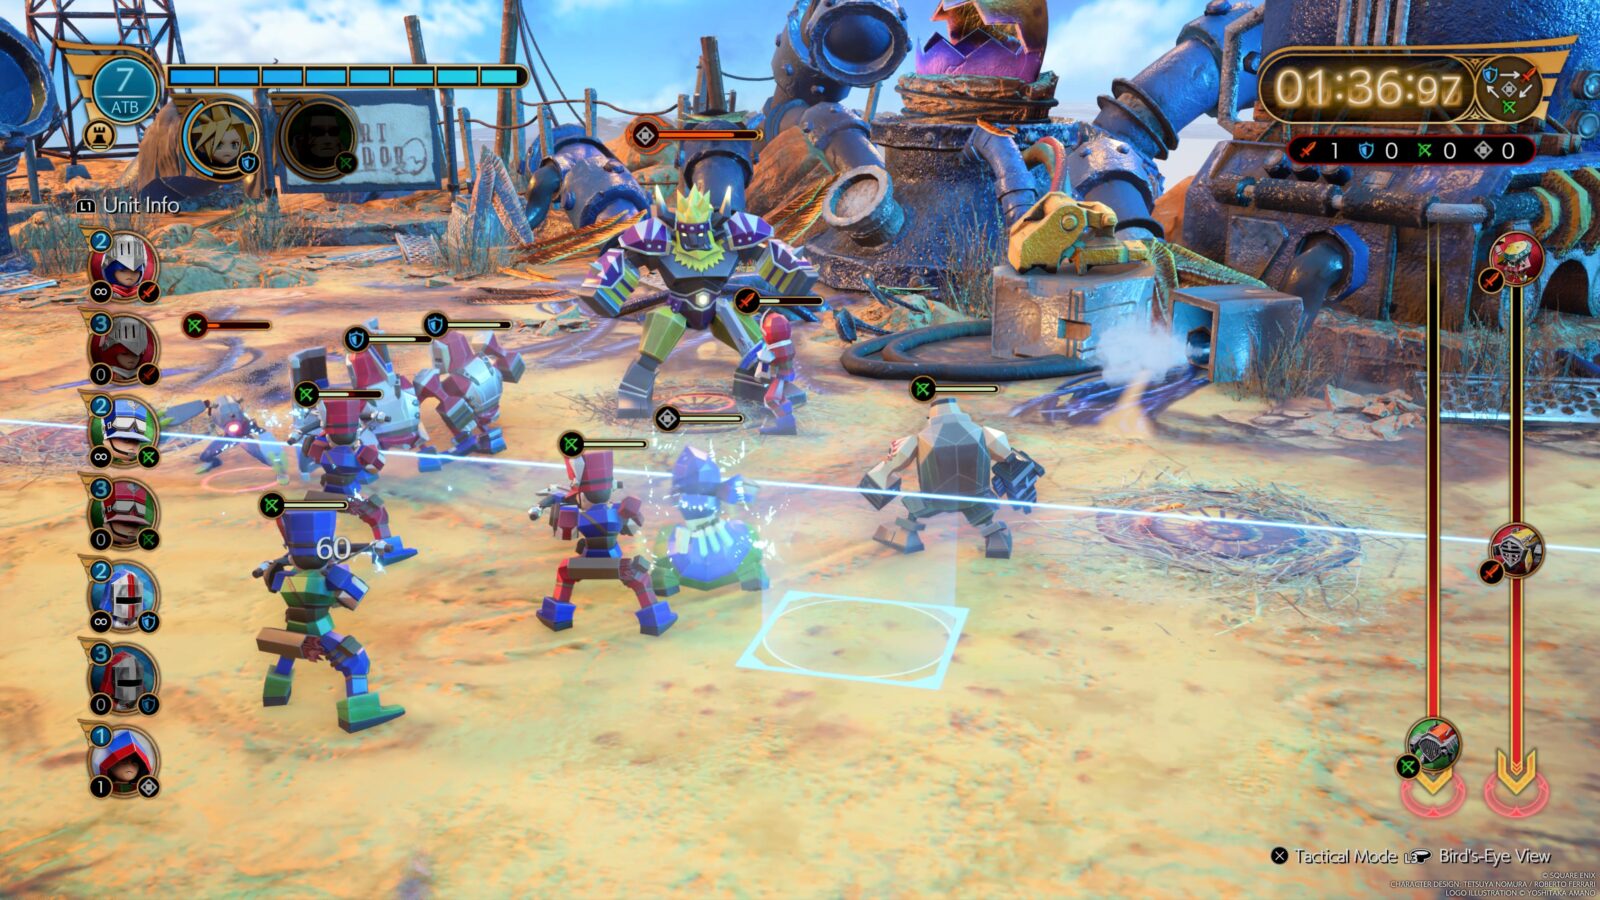
Complete all Protorelic Intel Missions in the Junon Region to unlock the Fort Condor Commander trophy. You’ll need to complete this minigame’s Hard Mode for 7-Star Hotel, which you could do right away or leave until later.
Cactuar Crusher
Obtain a protorelic in the Corel region.
The Phenomenon Intel Missions in the Corel Region are centered around mysterious Cactuar Fortresses. Though you’ll be able to begin completing these Phenomenon Intel Missions from Chapter 9, you won’t be able to complete the final one until the end of Chapter 12, so you might as well leave these until then.

You’ll need to complete all of these Intel Missions in the Corel Region to unlock the Cactuar Crusher trophy, which involves playing a minigame called “Cactuar Crush.” You’ll eventually need to complete the Hard Mode version of this minigame for 7-Star Hotel, so get familiar.
Honorary Turk
Obtain a protorelic in the Gongaga region.
Much like the Phenomenon Intel Missions you completed for Founder’s Bonus, the Phenomenon Intel Missions in the Gongaga Region are story-based combat encounters rather than puzzles or minigames.
As such, you just need to make your way from location to location as and when they appear on your map until you’ve completed all Phenomenon Intel Missions in the region, unlocking the Honorary Turk trophy.
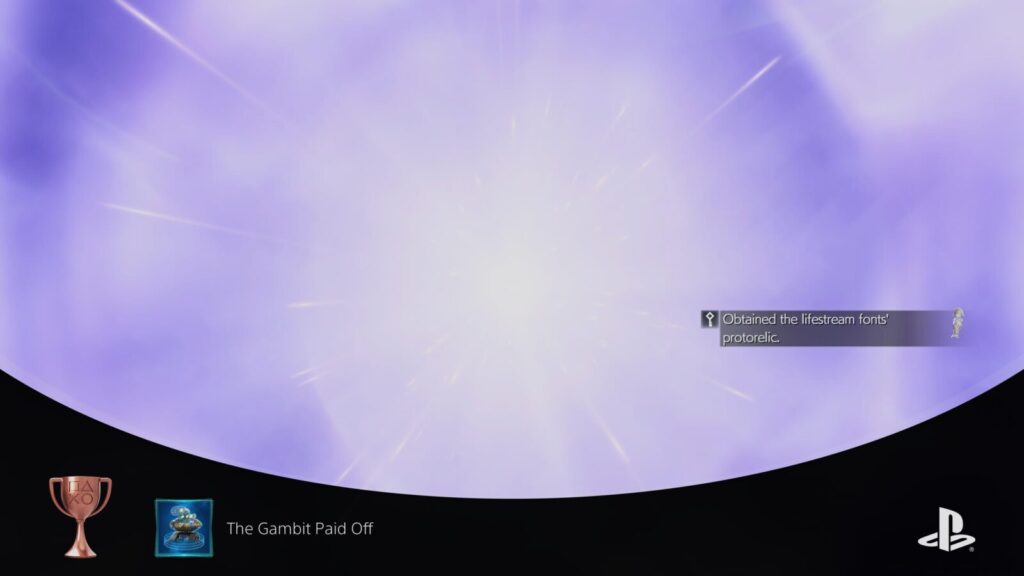
The Gambit Paid Off
Obtain a protorelic in the Cosmo Canyon region.
The Phenomenon Intel Missions you need to complete in the Cosmo Canyon region in order to unlock “The Gambit Paid Off” all center around the “Gears & Gambits” Minigame. In this minigame, you must program robots with what are essentially if statements. For example; “Foe: Airborne | Gravity Shot” translates to “If Foe is Airborne, use the Gravity Shot ability.”
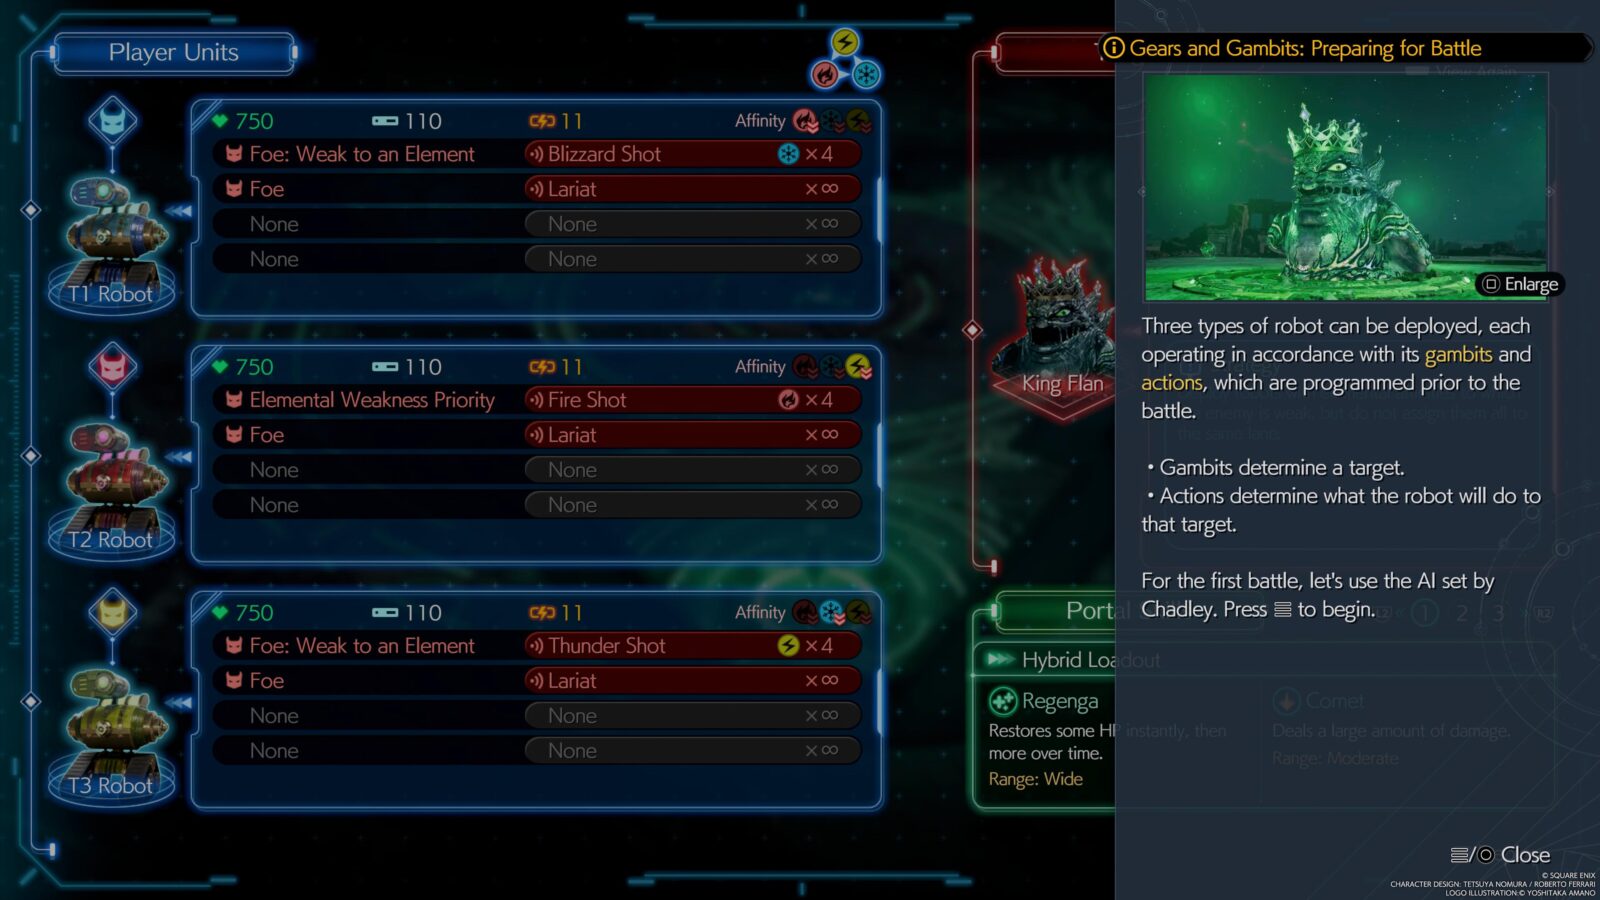
After setting up to 5 different cause-and-effect rules to each robot, you can commence the battle. You’ll then need to try and defeat the boss at the center by sending robots at him.
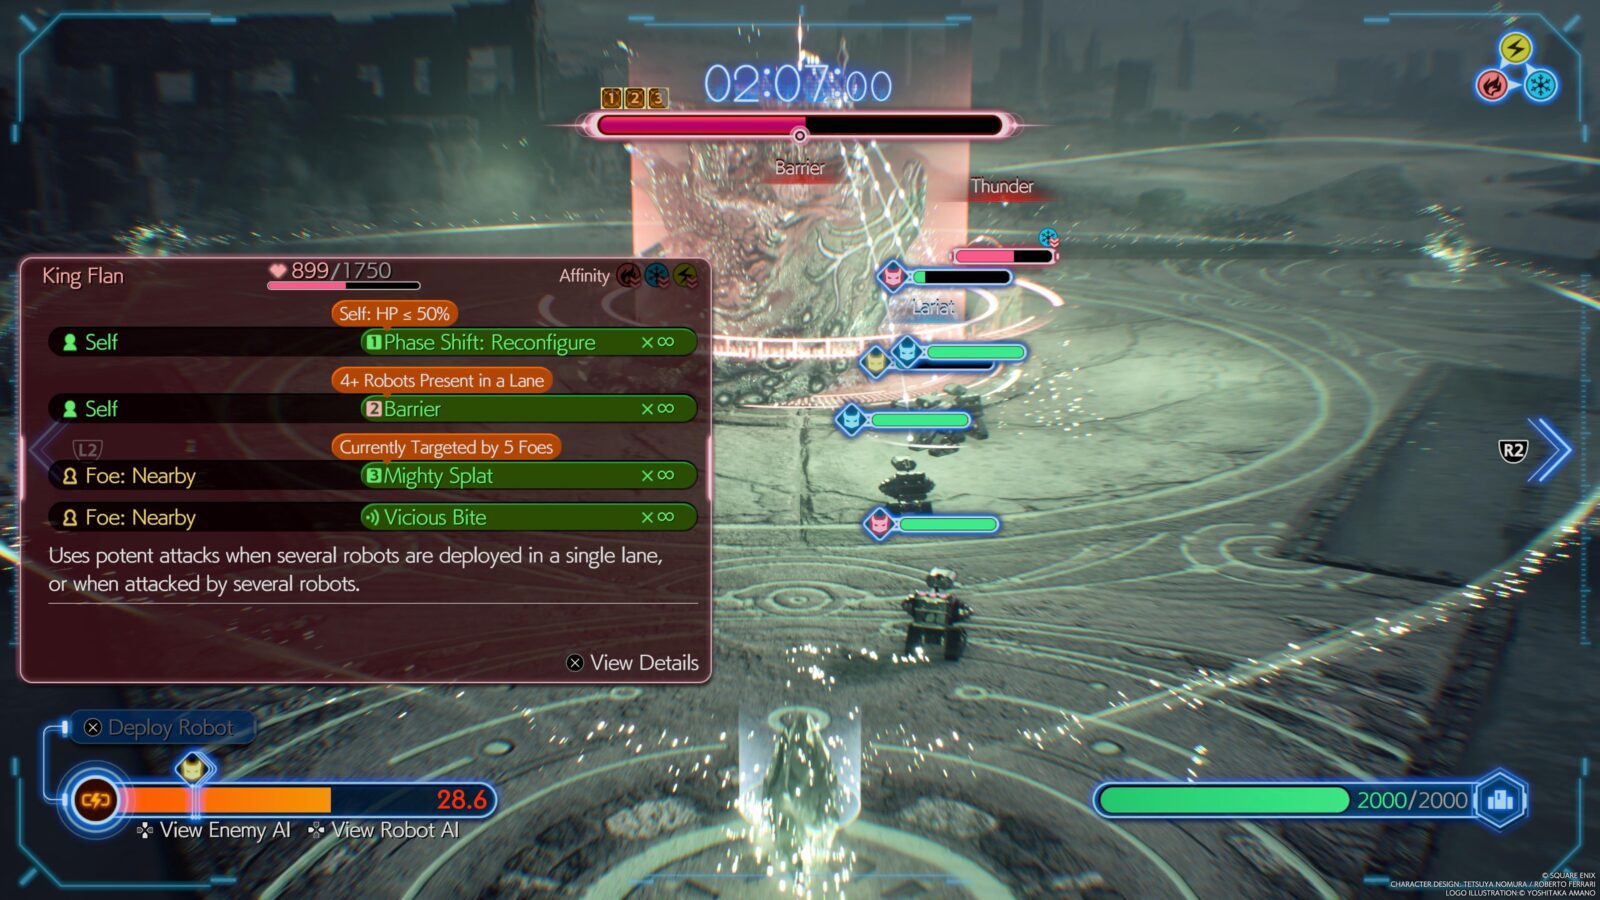
The boss will send weaker enemies at your portals, too, and you’ll need to defend them from being destroyed by sending robots out in defense. Choosing a robot with an elemental attack matching the enemy’s weakness (displayed above their health bar) will help you quickly take care of them.
Complete all Phenomenon Intel Missions in Cosmo Canyon to receive the region’s Protorelic along with this trophy.
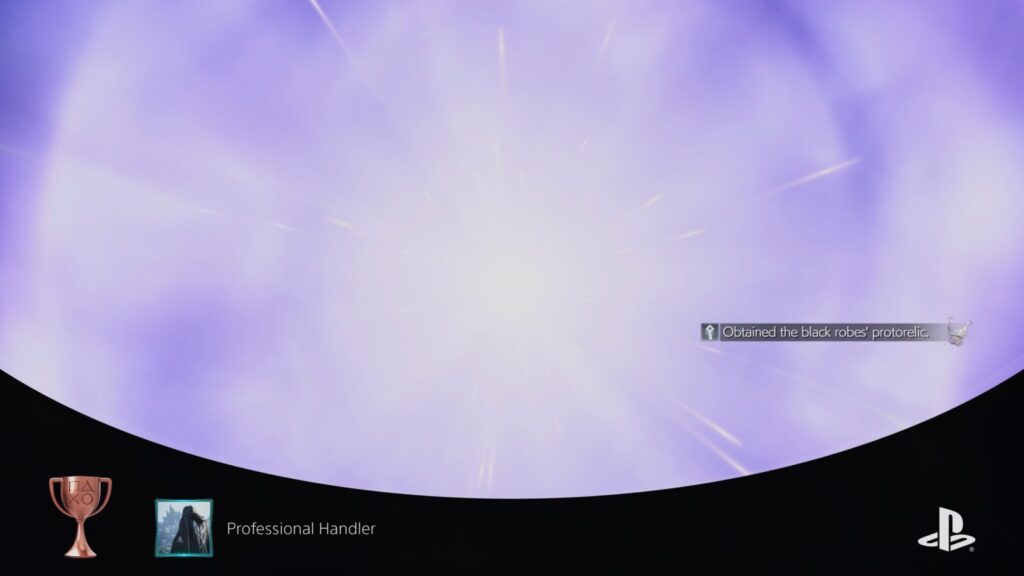
Professional Handler
Obtain a protorelic in the Nibel region.
As with Founder’s Bonus and Honorary Turk, the Phenomenon Intel Missions you need to complete in the Nibel Region are just story-based combat encounters. Make your way to each marker as and when they appear on the map and follow the robed individuals (the painfully slow robed individuals) until they lead you to a Mako Facility that you need to let them into.
Insie, there’ll be another scripted fight. Complete each battle until you eventually recover the Nibel Region’s Protorelic and receive the Professional Handler trophy.
Materia Completionist
Develop all possible materia together with Chadley.
When speaking to Chadley, you have the option to Develop Materia. You can do so using Intel Points you’ve gathered in a region. These points are region-specific and Chadley has a different set of Materia available for each region (though you can browse all region stores when talking to him with ![]() /
/![]() and don’t need to travel to a different region).
and don’t need to travel to a different region).
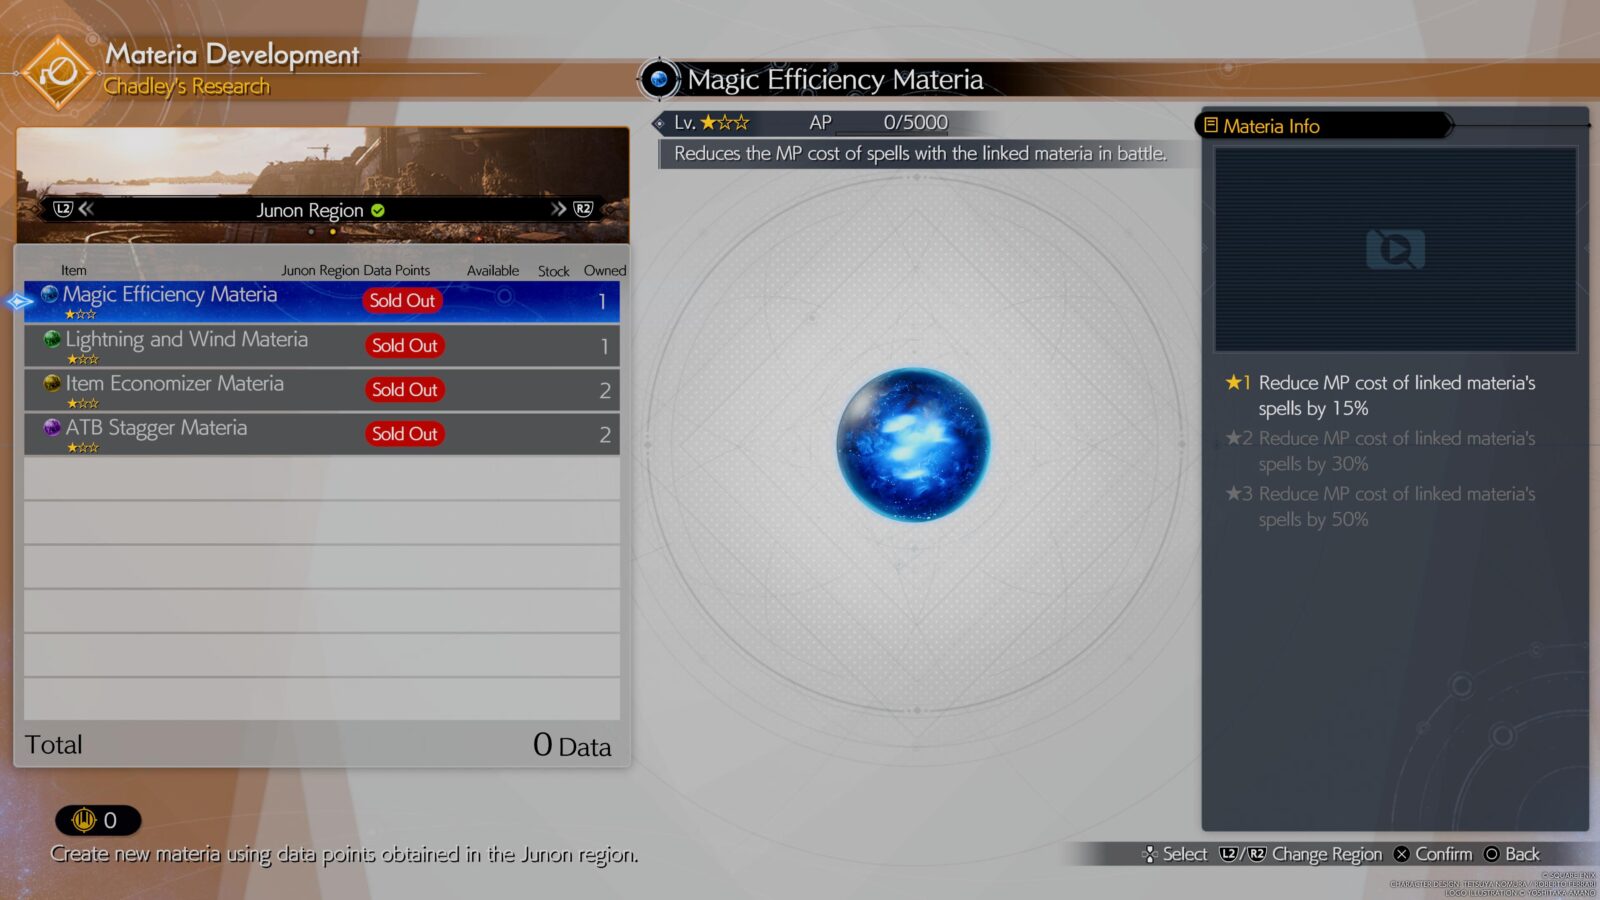
Essentially, he has just enough Materia for you to spoend all available intel points in all available regions. Simply put; you’ll need to complete every single Intel Mission to attain all of the points required.
Once done, though, visit Chadley at any of the many locations he appears throughout the game and Develop every possible Materia until you’ve spent every Intel point from every region.
My Job Here Is Done
Complete all quests.
To unlock the “My Job Here is Done” trophy, you need to complete every single Side Quest in the game. Side Quests are marked on your map as and when they become available in the form of green icons. Most of these can be accepted from Noticeboards in the region, too.
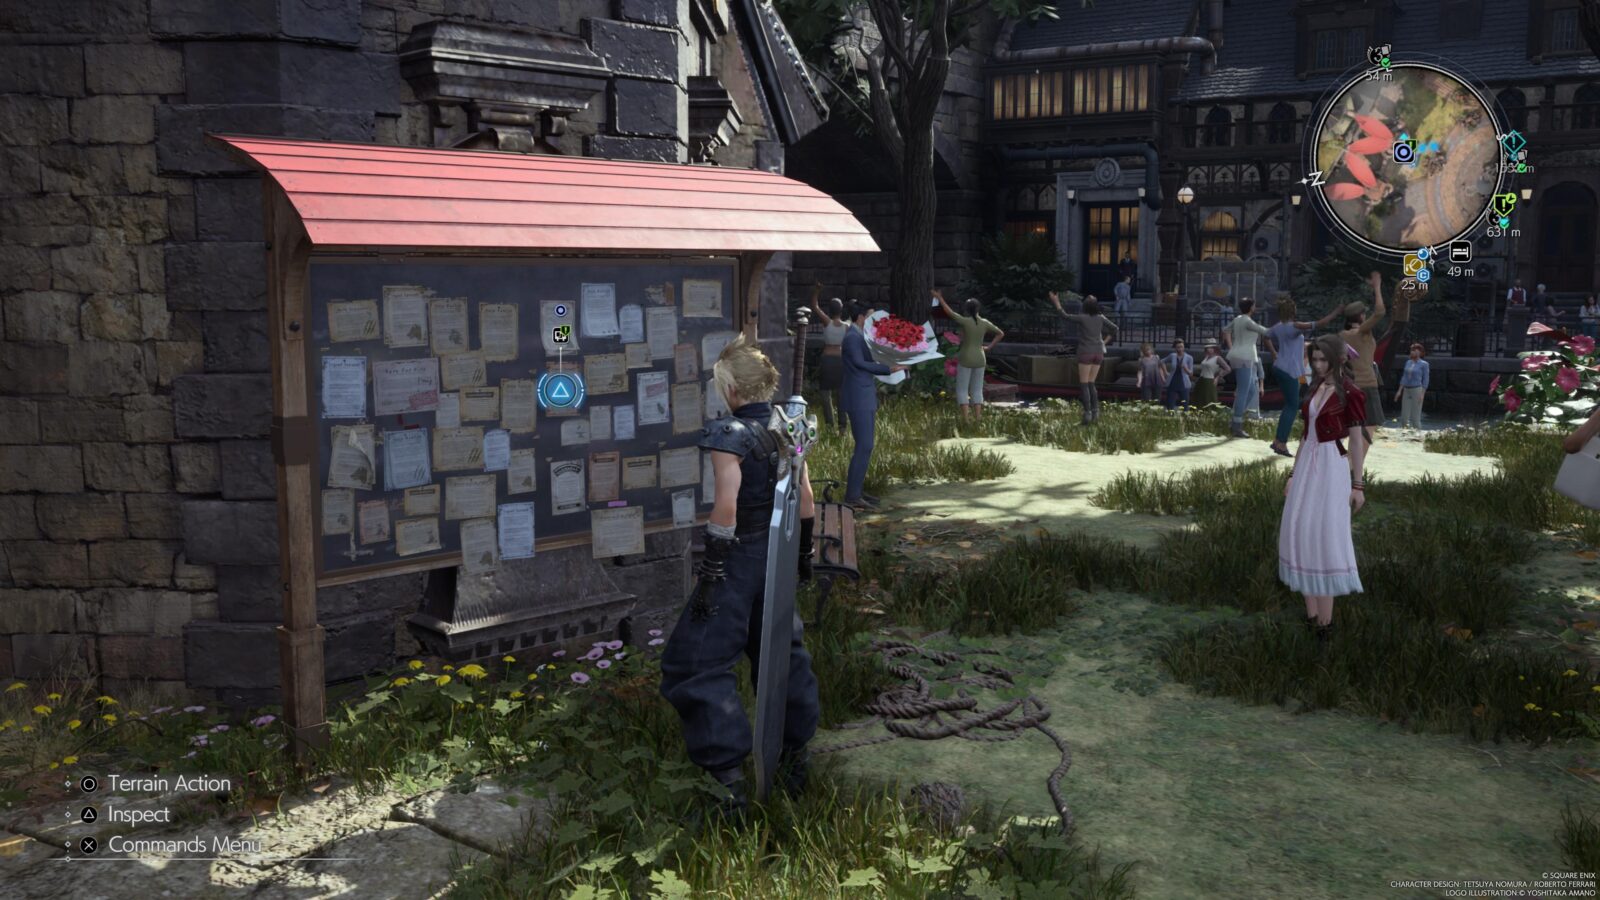
It’s recommended that you complete these as and when they appear just to reduce cleanup, but you can also address all of these in the postgame.
Once you’ve completed every Side Quest that’s available, you’ll receive a final Side Quest to become the Ultimate Party Animal. This Quest is very important as it unlocks a lot of Minigame modes and levels that you’ll need for the Minigame Trophies below. On top of that, you’ll receive this trophy when you complete it too.
Minigame Trophies
New Blood
Raise your Queen's Blood rank.
You will unlock the Queen’s Blood Card Game in Kalm during Chapter 2. Once you have your deck, you can then begin challenging other players around town and beyond. To raise your Queen’s Blood Rank for the first time, you must defeat three Queen’s Blood players.
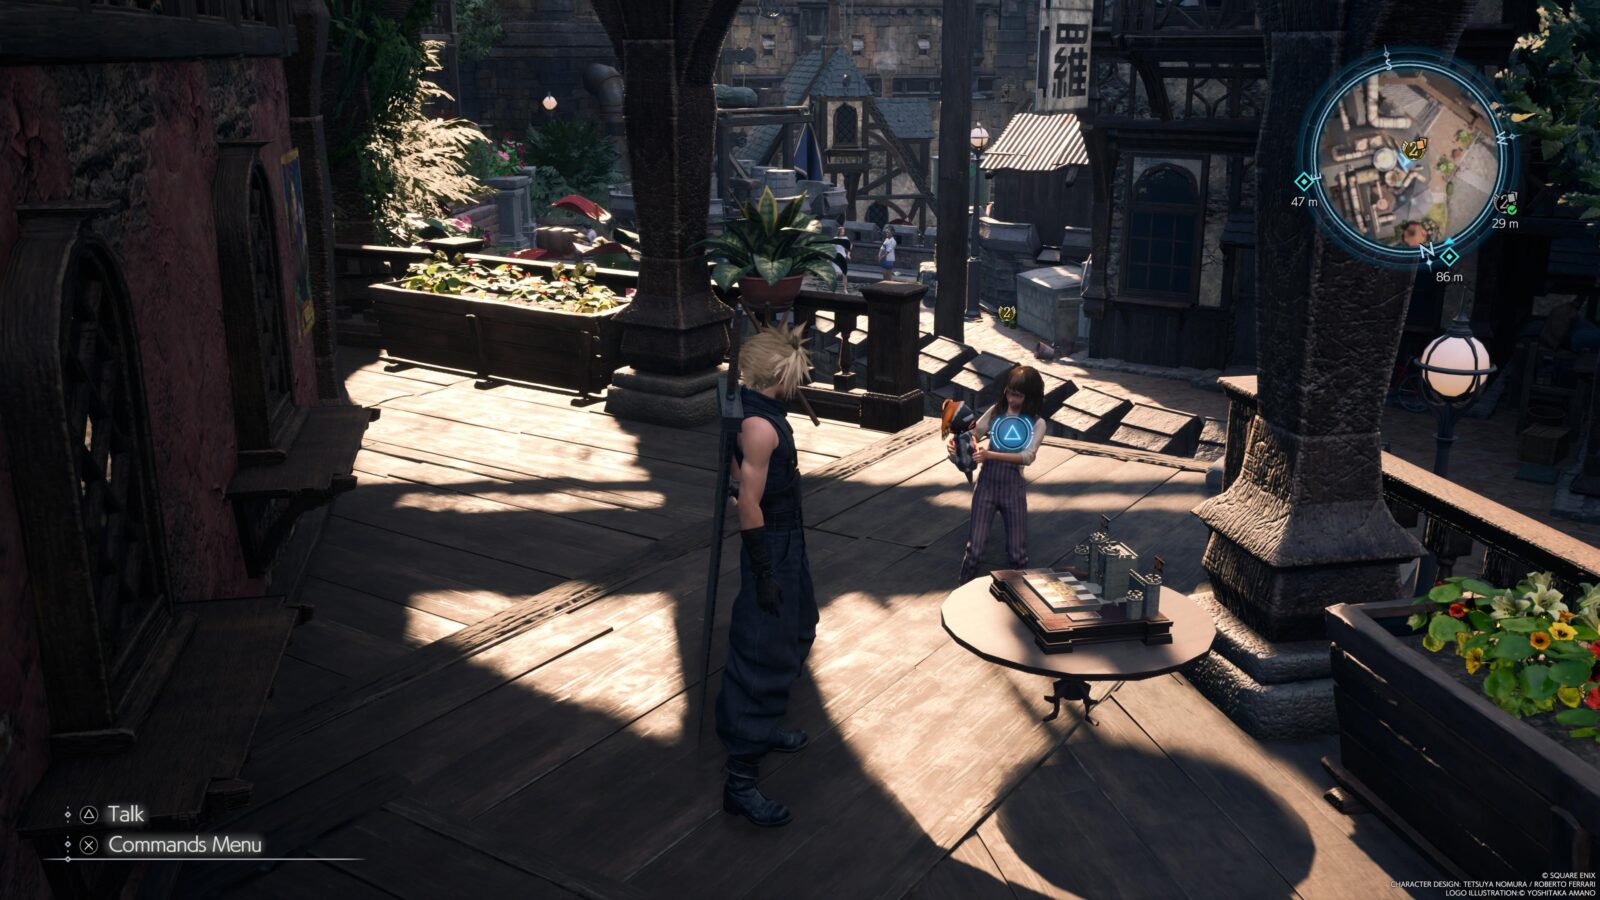
Once you do, you will receive the New Blood Trophy!
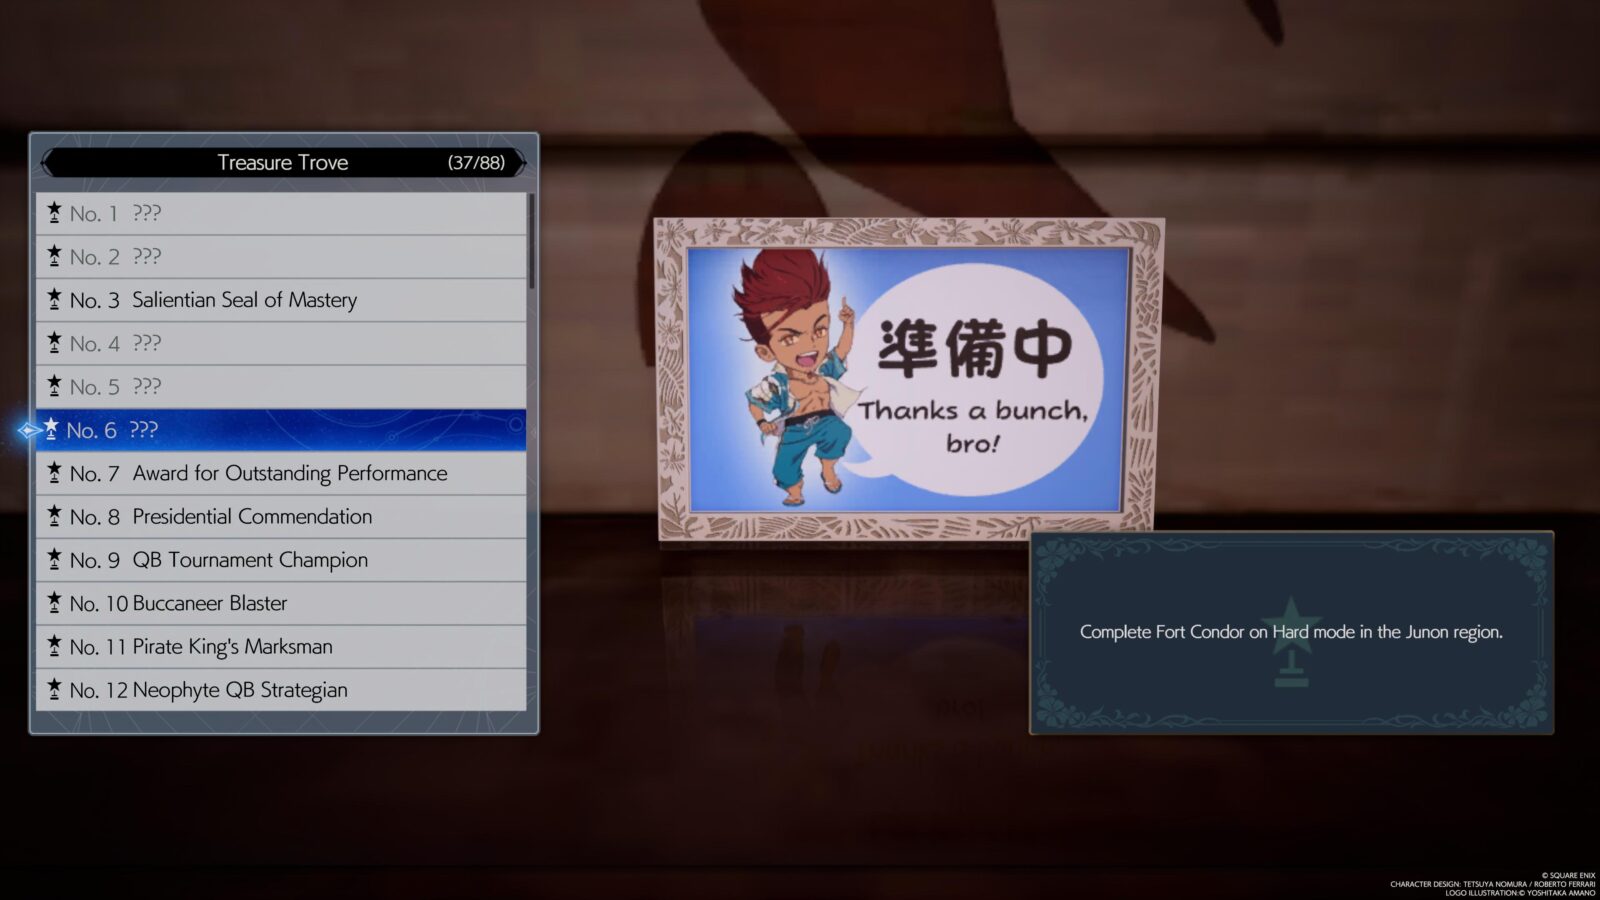
1-Star Startup
Donate 10 items to the treasure trove at Johnny's Seaside Inn.
1-Star Startup unlocks after donating 10/88 total items to Johnny’s Treasure Trove at his Seaside Inn. See 7-Star Hotel for more info.

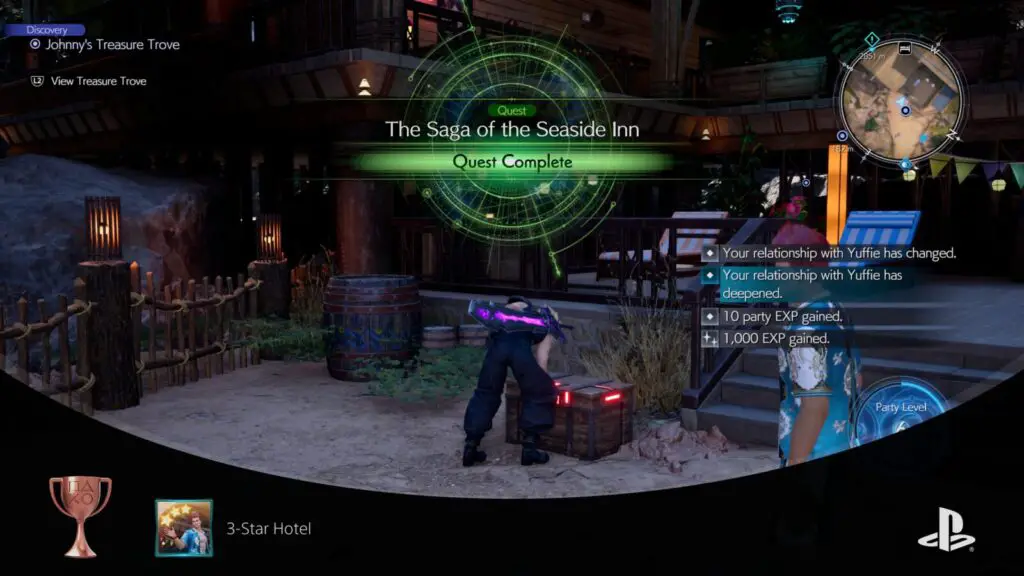
3-Star Hotel
Donate 30 items to the treasure trove at Johnny's Seaside Inn.
3-Star Hotel unlocks after donating 30/88 total items to Johnny’s Treasure Trove at his Seaside Inn. See 7-Star Hotel for more info.

5-Star Hotel
Donate 60 items to the treasure trove at Johnny's Seaside Inn.
5-Star Hotel unlocks after donating 60/88 total items to Johnny’s Treasure Trove at his Seaside Inn. See 7-Star Hotel for more info.
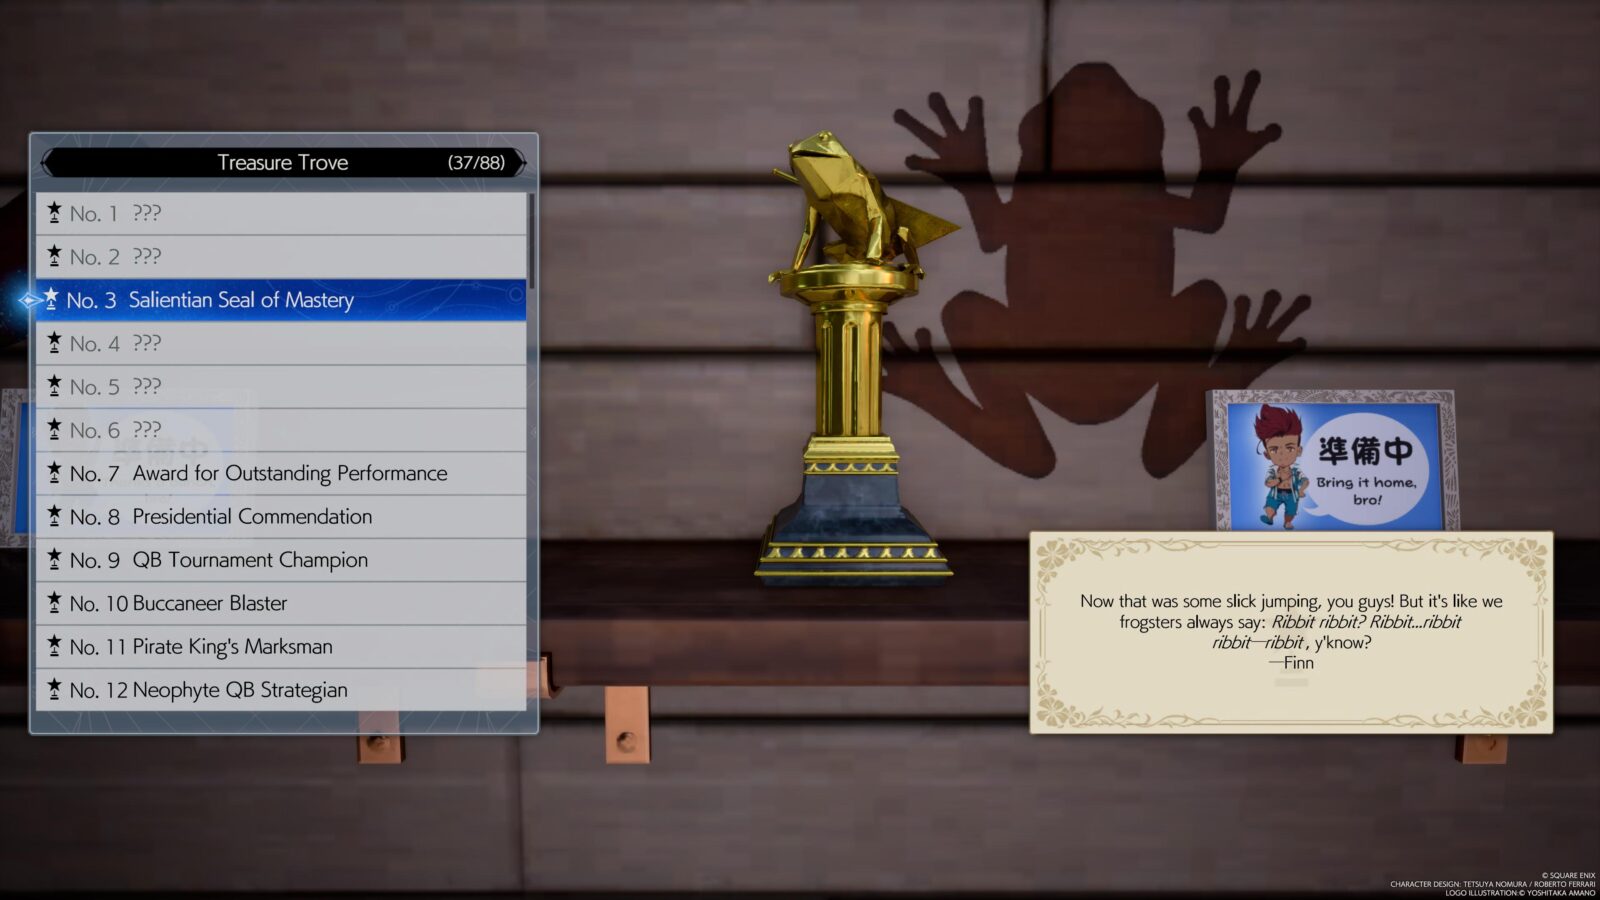
7-Star Hotel
Inform Johnny that you have donated all possible items to his treasure trove.
7-Star Hotel unlocks after donating all 88 possible items to Johnny’s Treasure Trove at his Seaside Inn.
I’ve put this trophy here in this phase of our Final Fantasy VII Rebirth Trophy Guide because I highly recommend that you do as much of it as you can here and now. That said, a lot of the minigames are gruelling and I don’t blame you if you want to leave them until last. Do what you can now and then feel free to leave anything that you find particularly unpleasant until later in your trophy journey.
You’ll note that some of the collectibles listed below require you to complete a chapter-specific minigame or event, you can still acquire them through chapter select without penalty or difficulty, though.
| # | Method of Acquisition |
|---|---|
| 1 | Secure top rank in Chocobo races during Chapter 2. |
| 2 | Secure top rank across all three Glide de Chocobo contests in Chapter 10. |
| 3 | Reach top rank in the leapfrog endurance challenge from Chapter 4. |
| 4 | Secure top rank in Hard mode of the leapfrog contest. |
| 5 | Attain top rank in the dolphin minigame during Chapter 12. |
| 6 | Finish all Fort Condor minigames on Hard difficulty. |
| 7 | Earn the top prize for “Outstanding” performance at the Junon parade. |
| 8 | Simply finish Chapter 4. |
| 9 | Triumph in the Queen’s Blood tournament in Chapter 5. |
| 10 | Secure top rank in the initial Pirate’s Rampage contest in Chapter 6. |
| 11 | Achieve top rank in the second Pirate’s Rampage (Ghost Ship) event in Chapter 6. |
| 12 | Solve all easy card puzzles at the Card Carnival. |
| 13 | Solve all advanced card puzzles at the Card Carnival. |
| 14 | Complete all collection puzzles at the Card Carnival. |
| 15 | Finish all skill drills at the Card Carnival. |
| 16 | Secure top rank in the Run Wild minigame in Chapter 6. |
| 17 | Achieve top rank in the Run Wild time trials in Chapter 6. |
| 18 | Defeat Jules in the sit-up competition during Chapter 6. |
| 19 | Achieve top rank on Normal in the G-bike minigame at the Gold Saucer. |
| 20 | Secure top rank on Hard in the G-bike minigame at the Gold Saucer. |
| 21 | Overcome the first three challengers in 3D Brawler at the Gold Saucer. |
| 22 | Defeat the first five adversaries in 3D Brawler at the Gold Saucer. |
| 23 | Vanquish the final challenger in 3D Brawler at the Gold Saucer. |
| 24 | Attain top rank in Space Rangers on Normal at the Gold Saucer. |
| 25 | Secure top rank in Space Rangers on Hard at the Gold Saucer. |
| 26 | Complete all bronze-level Chocobo Racing tracks at the Gold Saucer. |
| 27 | Finish all silver-level Chocobo Racing courses at the Gold Saucer. |
| 28 | Win the Gold Cup in Chocobo Racing at the Gold Saucer. |
| 29 | Triumph in the Platinum Cup in Chocobo Racing at the Gold Saucer. |
| 30 | Solve all easy card challenges at Wonderment Square in the Gold Saucer. |
| 31 | Solve all advanced card challenges at Wonderment Square in the Gold Saucer. |
| 32 | Complete all survival card challenges at Wonderment Square in the Gold Saucer. |
| 33 | Finish all normal 2-player challenges at the Muscleheads Colosseum. |
| 34 | Complete all hard 2-player challenges at the Muscleheads Colosseum. |
| 35 | Finish all normal 6-player challenges at the Muscleheads Colosseum. |
| 36 | Complete all hard 6-player challenges at the Muscleheads Colosseum. |
| 37-43 | Achieve S-Rank in Chapter 12 events. Once for each character. |
| 44 | Achieve the highest rank in Desert Rush in Chapter 8. |
| 45 | Attain top rank in Desert Rush on Hard mode. |
| 46-48 | Complete all stages of Beast Battlegrounds trials in Chapter 8. |
| 49 | Finish all Cactuar mini-games on Normal, available by Chapter 12. |
| 50 | Complete all Cactuar mini-games on Hard mode. |
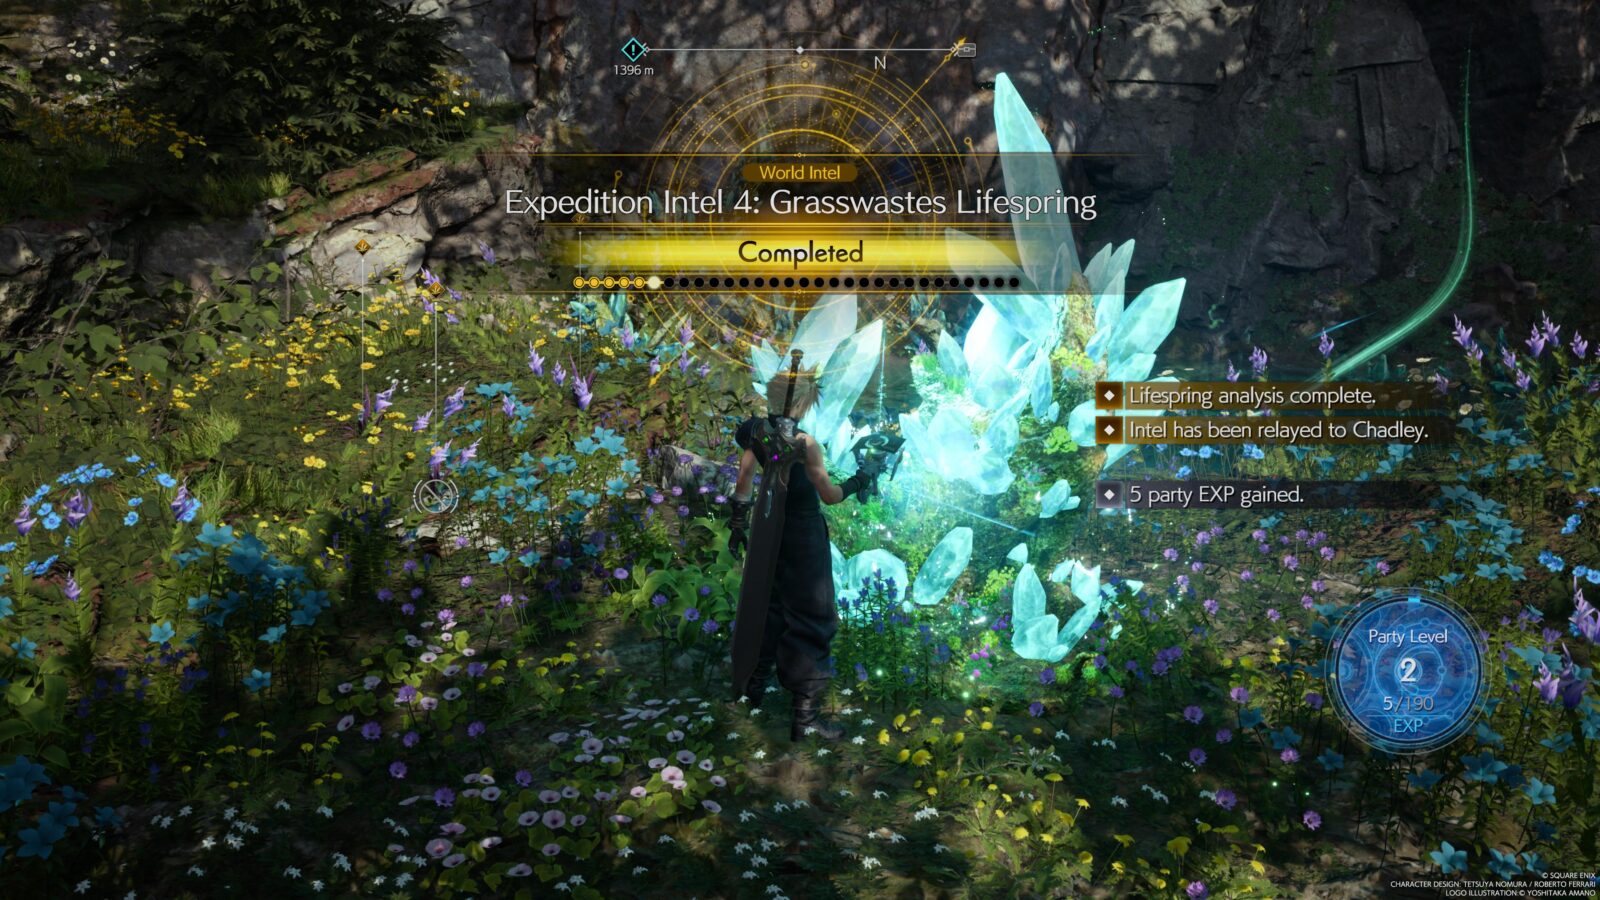
| 51 | Restore all lifesprings. |
| 52-55 | Complete Shinra AI battles on Normal and Hard, as well as Chadley’s Normal, Brutal, and Legendary Simulations. (You might want to leave these until you’ve mastered the game through your Hard Mode Playthrough) |
| 56 | Successfully perform the first 6 piano songs with an A rank or higher. |
| 57 | Complete all 7 photography quests. |
| 58 | Defeat the Shadowqueen in the Queen’s Blood board/card game. |
| 59 | Win all Ultimate mini-games, earning the Ultimate Party Animal title. |
| 60-65 | Dig up one minifigure per region using your Chocobo Scent and Search abilities to pilfer rabbithole stashes. |
| 66 | Finish all Moogle Intel Missions. |
| 67 | Simply finish Chapter 5. |
| 68 | Smash ten boxes during the Cait Sith Throwing Minigame on the Elevator in Chapter 11. |
| 69-85 | Acquire through GP purchase at the Gold Saucer, though they can’t be bought until you’ve finished specific 3D Brawler levels, so go complete all of those first. |
| 86-87 | Secure with GP at the Gold Saucer, no additional conditions. |
| 88 | Capture the perfect photo when prompted during Chapter 4. |
You can get a closer look at the collectibles, which ones specifically you need, as well as their unlock conditions and whether they’re available to you yet by going to Johnny’s Seaside Hotel in Costa del Sol and pressing ![]() .
.
Polygonal Prizefighter
Defeat Sephiroth in 3D Brawler.
To achieve the “Polygonal Prizefighter” trophy, you must excel in 3D Brawler, mastering dodging and attacking using the analog sticks, and beat every single opponent. Including the additional opponents added once you’ve attained “Ultimate Party Animal” by completing the Ultimate Minigames in Chapter 13.
You’ll be introduced to 3D Brawler when you first arrive at the Gold Saucer and will be able to access it inside Wonderment Square after that. There’s a limited selection of opponents at first but by Chapter 13 you should be able to gain access to the full range.
Don’t be afraid to do practice runs just to get a feel for each opponent’s attack patterns. In particular, the combo attacks they fire off always come from a pool of set patterns for each character, so by practicing and memorizing these patterns you can gain a huge upper hand.
Piano Virtuoso
Play all six Piano Outreach Association songs well enough to receive remuneration.
There are six pieces of sheet music you can find in Final Fantasy Rebirth. All of them are found on Pianos dotted around the world, and all of those are easily found in plain sight along main objective and side quest routes.
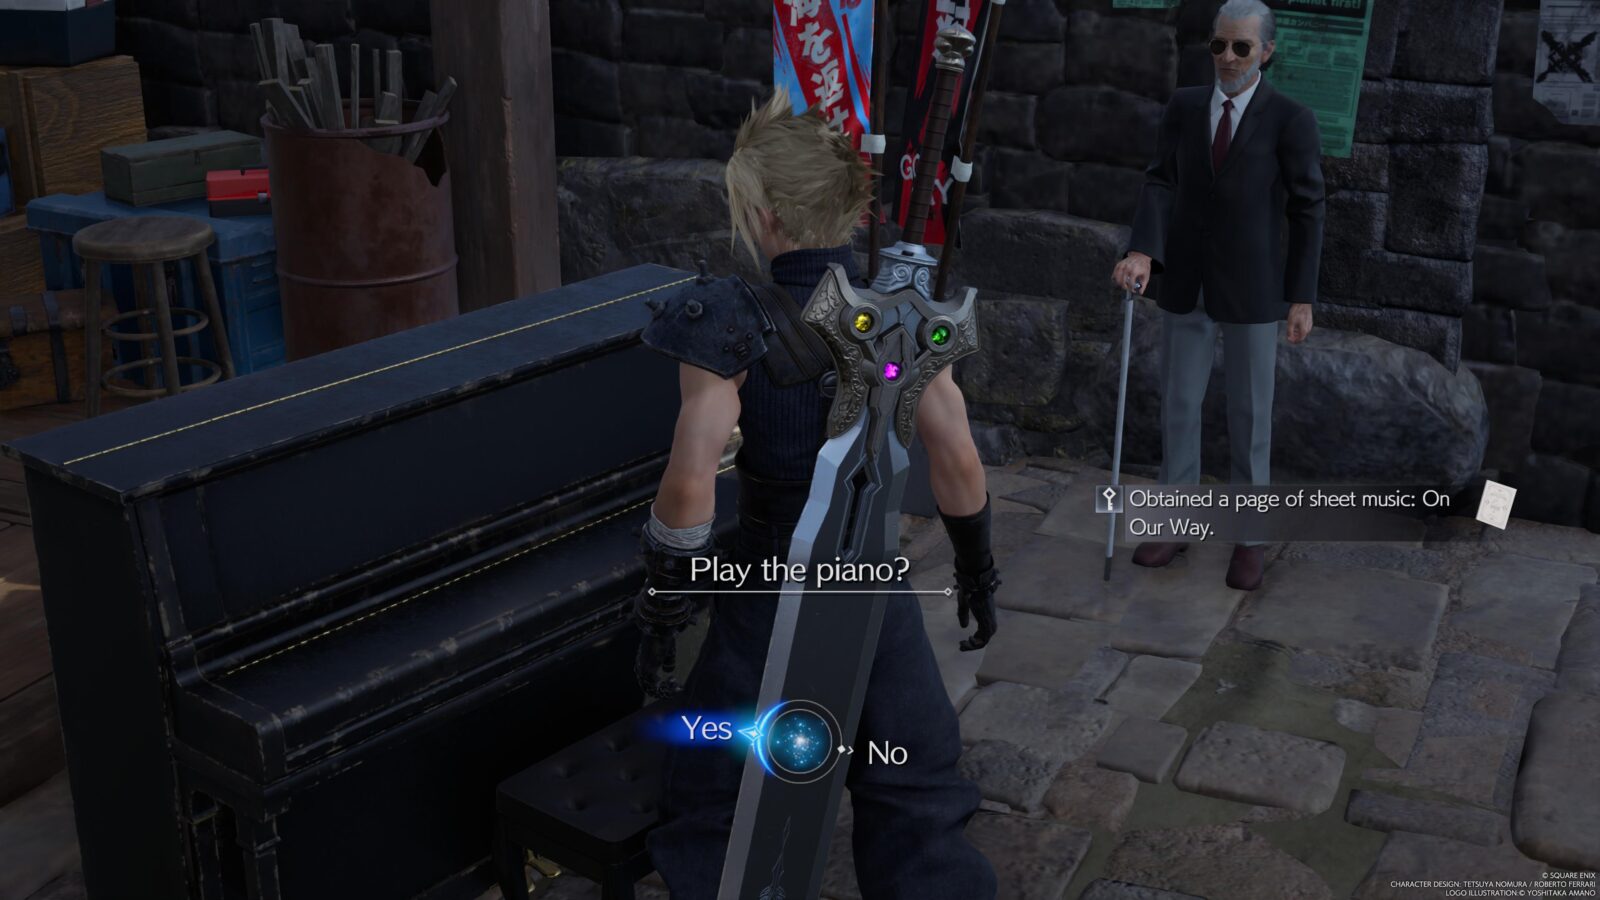
Next to most of these pianos, you will also find an NPC with a musical note icon indicating his location on the map. When speaking to him, you can receive a different reward for each piece of music you score at least an A-rating on.
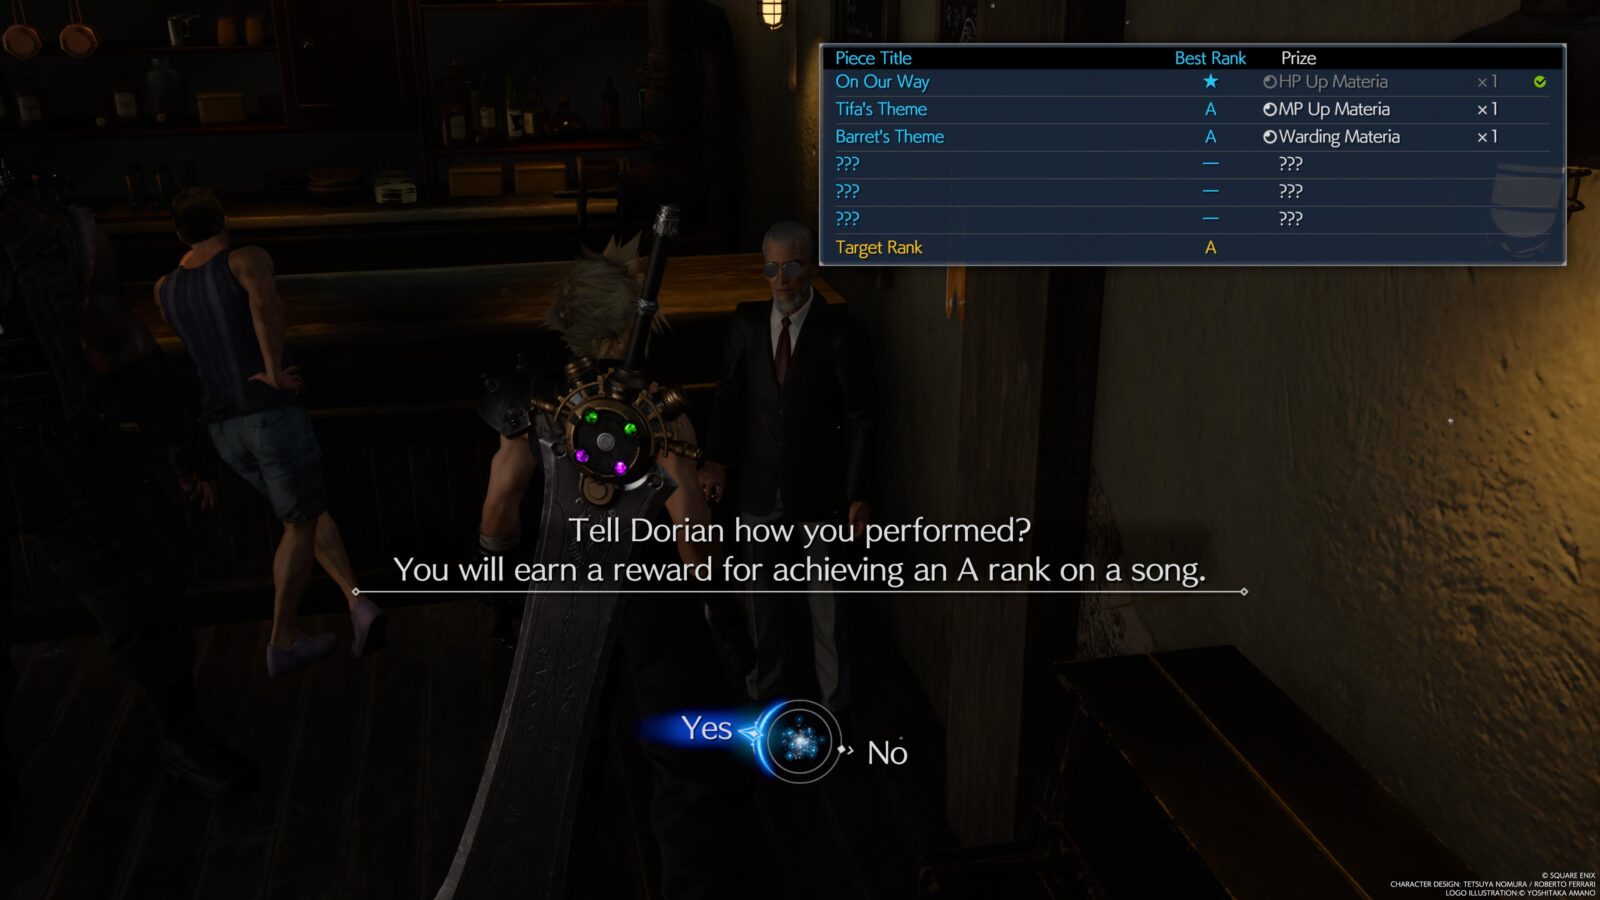
You will need to first find all six pieces of music and then play them all on any of the Pianos found in the world to a high enough standard that you receive an A-rating at the end of the rhythm minigame. When done, speak to Dorian next to a Piano and ask him to reward you for your achievements. When you have every one of the prizes he offers, you’ll unlock the Piano Virtuoso trophy and receive a Level 4 Healing Materia as a bonus.
| Chapter | Piece Name | Location | A-Rating Reward |
|---|---|---|---|
| 4 | On Our Way | Crow’s Nest, Junon region | Level 2 HP Up Materia |
| 6 | Tifa’s Theme | Hotel, Costa del Sol | Level 2 MP Up Materia |
| 7 | Barret’s Theme | North Corel | Level 2 Warding Materia |
| 9 | Cinco de Chocobo | Village, Gongaga | Level 2 Steadfast Block Materia |
| 10 | Two Legs? Nothin’ To it | Cosmo Canyon | Level 2 Empowerment Materia |
| 11 | Aerith’s Theme | Nibelheim. Complete the ‘My White-Haired Angel’ Quest. | Level 3 Binding Materia |
Hall of Famer
Win all chocobo races.
You’ll be introduced to the exciting world of Chocobo Racing during Chapter 8 and will need to complete a race to progress the story.
After doing so, you can return to the Golden Saucer and participate in further races (with more available from Chapter 12)! There are several races available and you will need to complete every single race, not including the Platinum Cup. The Platinum Cup is something you’ll do as part of the “Ultimate Party Animal” questline. It is required for other trophies, just not this one.
Here’s a few tips for winning your Chocobo Races:
- Stick with Piko, the default Chocobo. The boost ability is invaluable and her stats are well-rounded!
- You can pretty much use any gear and should pay attention to the abilities each piece of gear bestows upon your Chocobo to see which ones suit your playstyle. However, the stats you should prioritise are Speed and Acceleration.
- If you’re a precise and technical racing game driver then max out your speed, but if you tend to drive more aggressively then acceleration might suit you better so you can always catch up after going offroad, or hitting another driver.
- Focus on collecting blue balloons in your first couple of laps and build your speed to 10. This way you’re consistently moving as fast as possible and not relying on short bursts of speed to get you through.
- At speed level 10, focus on red balloons over yellow ones as a long-lasting boost from Piko’s ability is more useful that small bursts. Though, you should really be collecting any and all balloons.
- Drifting with
 around corners can be beneficial in many ways:
- Drifting into rows of balloons at the right angle can allow you to collect several at a time.
- Drifting around corners allows you to maintain speed and avoid slowing to turn.
- A well-maintained drift is converted into a short burst of speed when you begin moving straight ahead again.
- The Platinum Cup is no joke and the AI are very clever. You’ll need to employ some extra tactics to win:
- Cut corners where you can, using
 speed boosts and/or Drift Boosts to avoid being slowed when cutting corners is a great way to get ahead fast.
 - Save at least one boost at all times incase you get caught off-road for any reason or need to cut a corner.
- Drift as much as you can. The tiny speed boosts will all stack up to a healthy lead.
- The best gear for the Platinum Cup is: Hyperion’s Helmet, Mystical Neckwrap, and Mystical Anklets.
- Cut corners where you can, using
After completing all of the Bronze, Silver, and Gold Races in Gold Saucer from Chapter 12 onward, you’ll receive the “Hall of Famer” trophy.

Miscellaneous Exploration Trophies
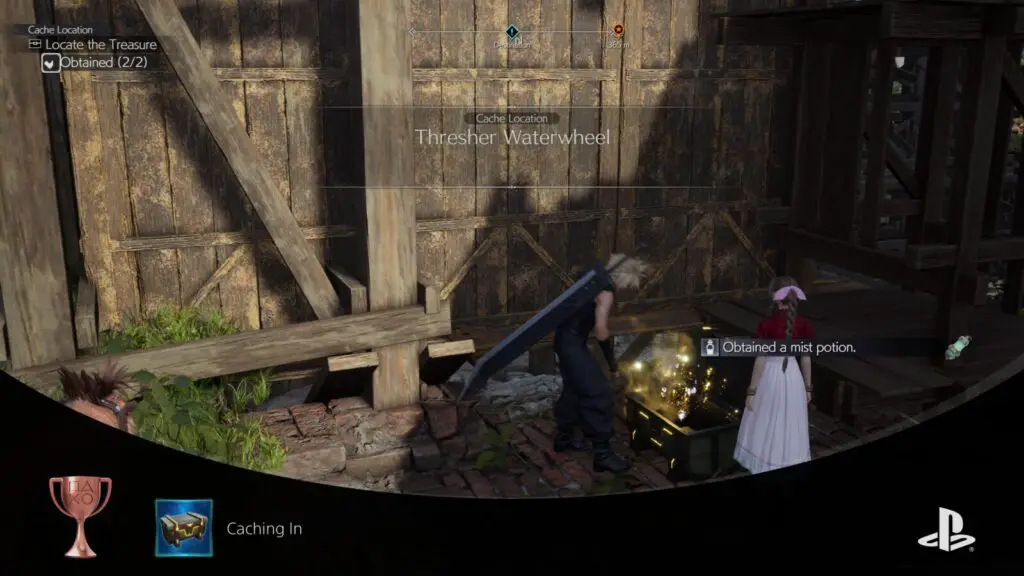
Caching In
Complete your search of a cache location.
“Cache Locations” are points of interest in the open-world areas that contain a set number of treasure chests, which are typically not too difficult to find.
To unlock the “Caching In” trophy, you merely need to locate all chests in a cache location for the first time.
You can see Cache Locations in areas that you have defogged on the map—indicated by treasure chest icons.
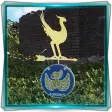
I Brake for Chocobos
Repair three chocobo stops.
Throughout your adventures in Final Fantasy VII Rebirth’s Open World areas, you’ll come across blue bus stops that are a bit run-down. These are Chocobo Stops.
Sometimes, while you’re exploring, you’ll come across a small baby Chocobo wearing a plant bulb. This Chocobo will lead you to any nearby Chocobo Stops.
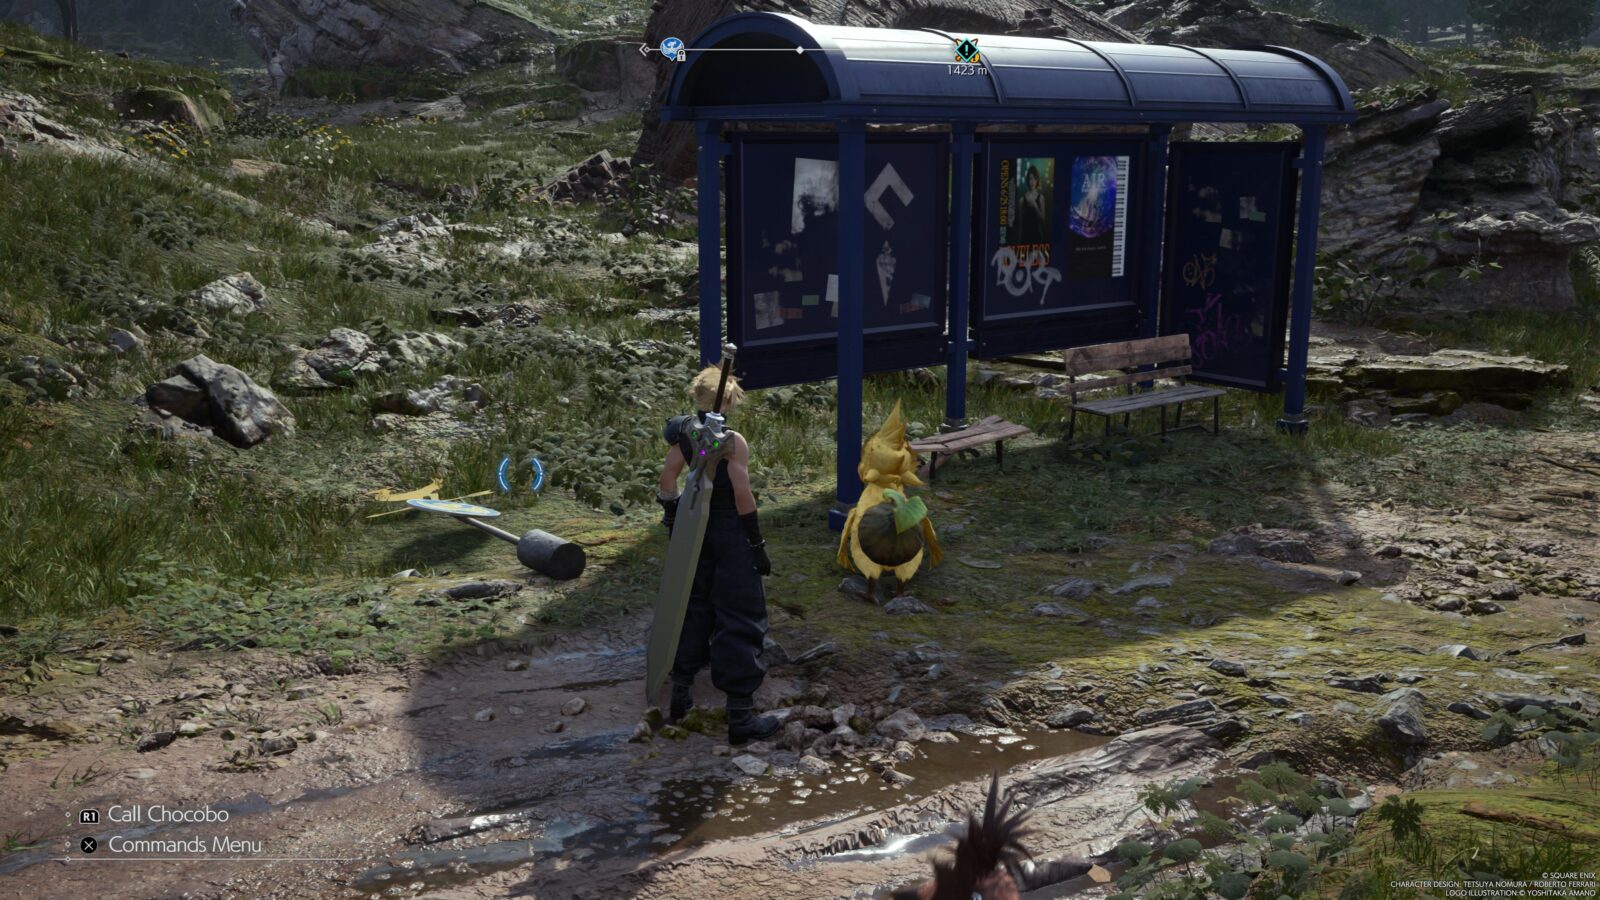
When you get to a Chocobo Stop for the first time, you can hold ![]() on the sign to stand it back up and reactivate the Chocobo Stop as a Fast Travel Location on the map! It’s extremely beneficial to activate as many of these as you can.
on the sign to stand it back up and reactivate the Chocobo Stop as a Fast Travel Location on the map! It’s extremely beneficial to activate as many of these as you can.
After you’ve activated your first three Chocobo Stops, the “I Brake for Chocobos” trophy will unlock!
Expert Ex-kweh-vator
Use a chocobo to find two treasures buried by rabbits.
Once you’re able to ride on a Chocobo from Chapter 2 onwards, you’ll sometimes notice a “?” icon appearing above the Chocobo’s head while you’re riding it in the open world areas.
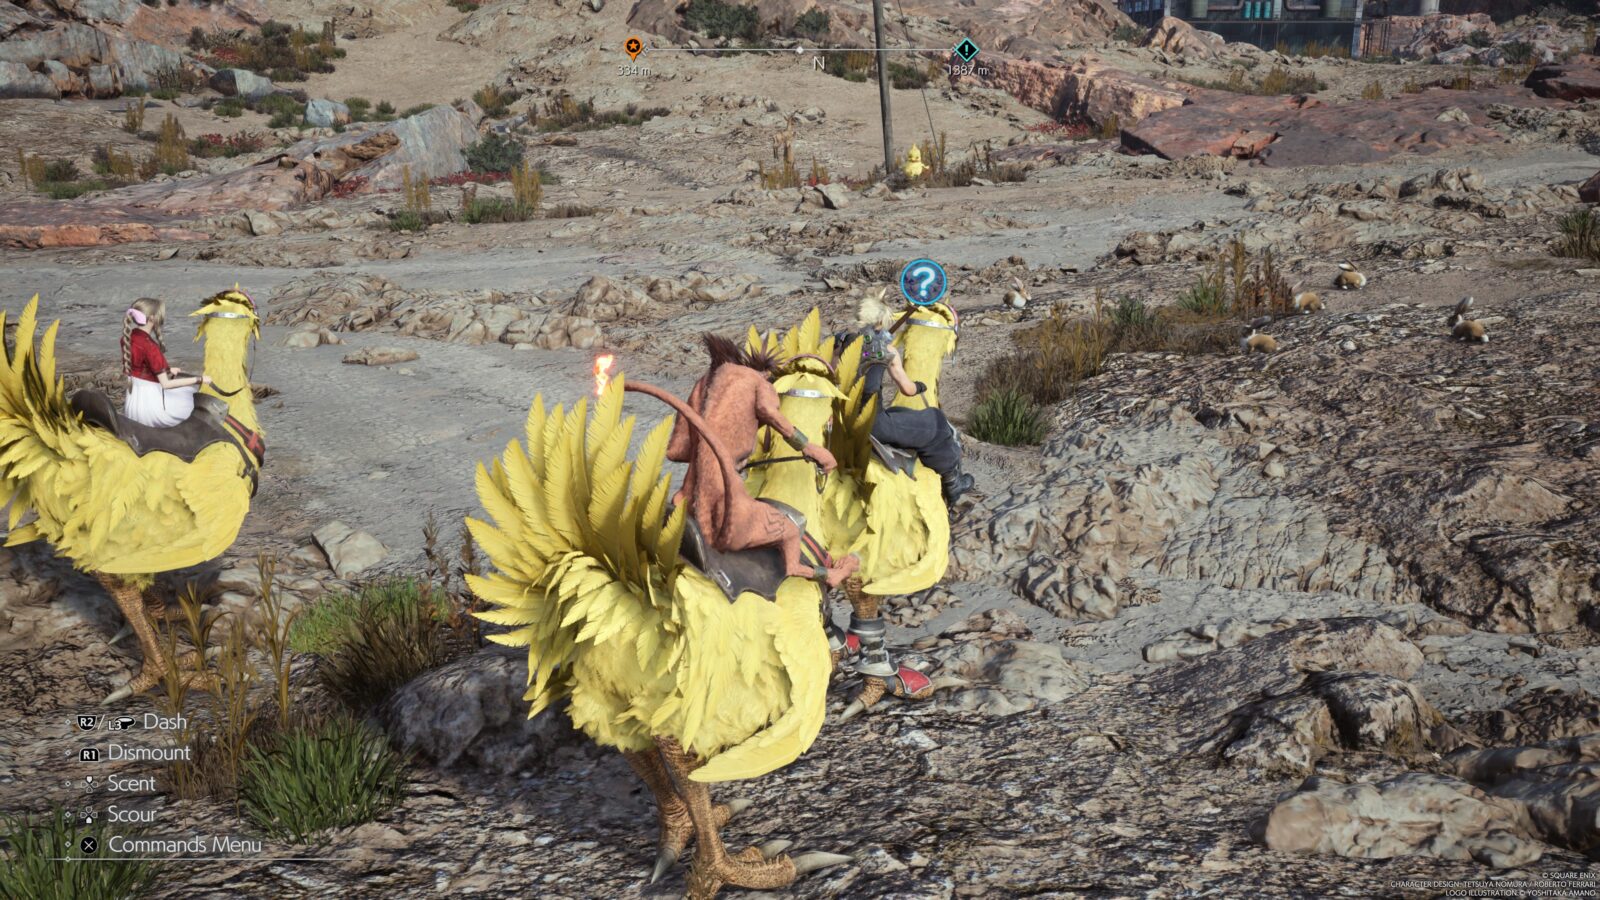
When this appears, hold ![]() to have your Chocobo begin smelling the air around it for the source of its intrigue. As you do this, a small blue arrow indicator will appear on the perimeter of the “?” icon. Use this to scope out the area and get yourself closer to the source of the smell.
to have your Chocobo begin smelling the air around it for the source of its intrigue. As you do this, a small blue arrow indicator will appear on the perimeter of the “?” icon. Use this to scope out the area and get yourself closer to the source of the smell.
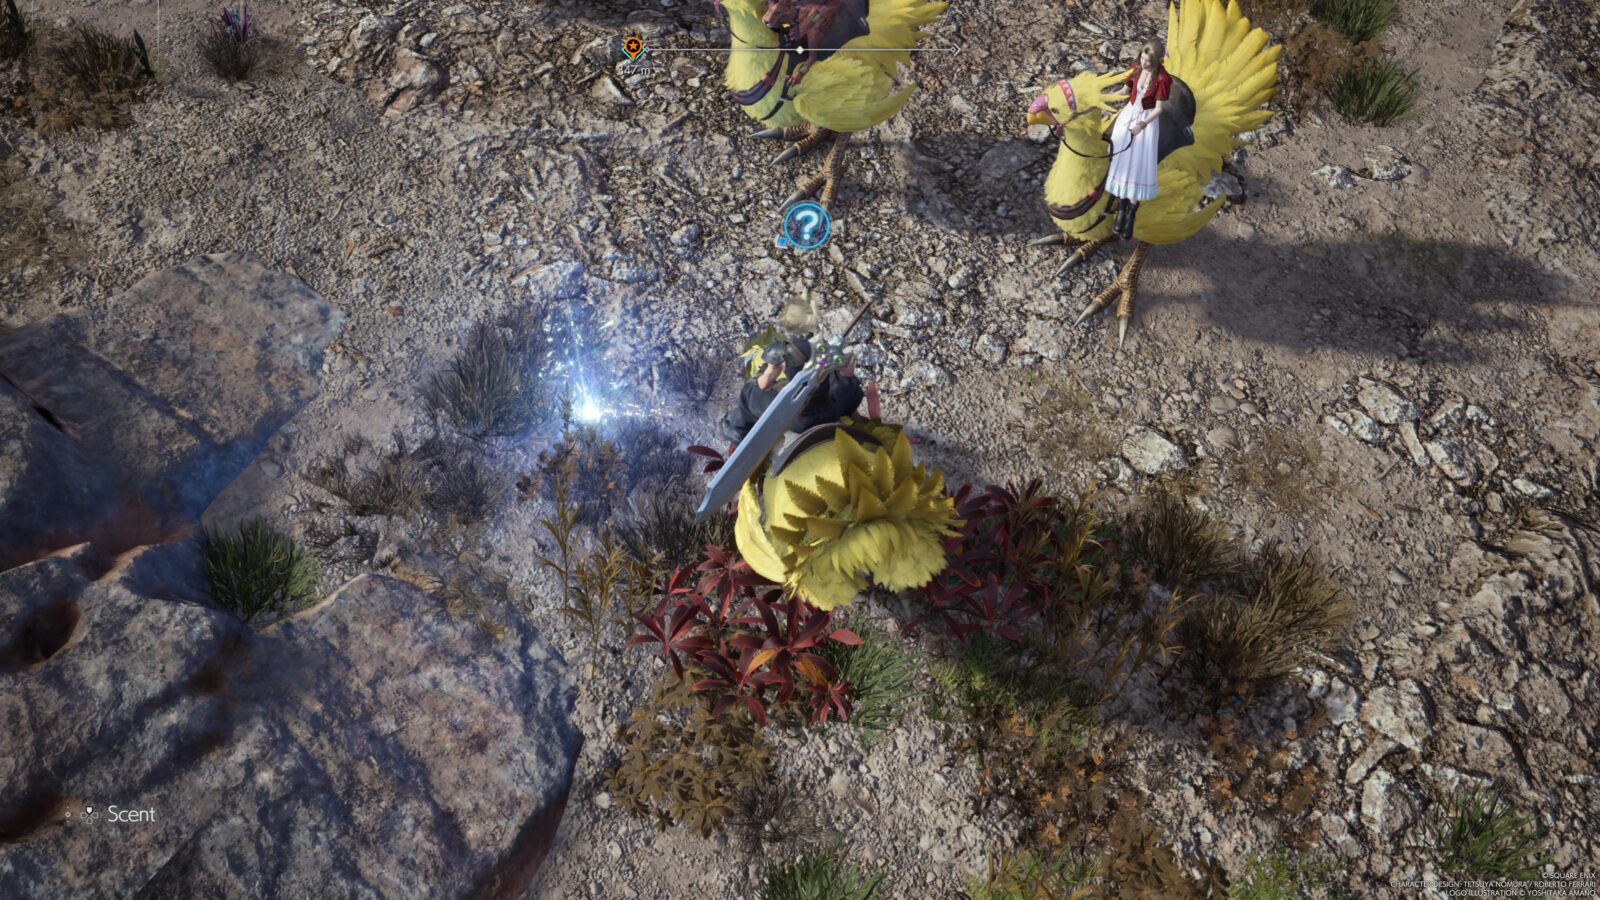
Once you are close enough, looking in the direction of the source, and holding ![]() , yuou’ll see the ground begin to sparkle in a particular spot.
, yuou’ll see the ground begin to sparkle in a particular spot.
Approach this location and hold ![]() while standing over it to have your Chocobo dig into the ground. It will find a small treasure and add it to your inventory.
while standing over it to have your Chocobo dig into the ground. It will find a small treasure and add it to your inventory.
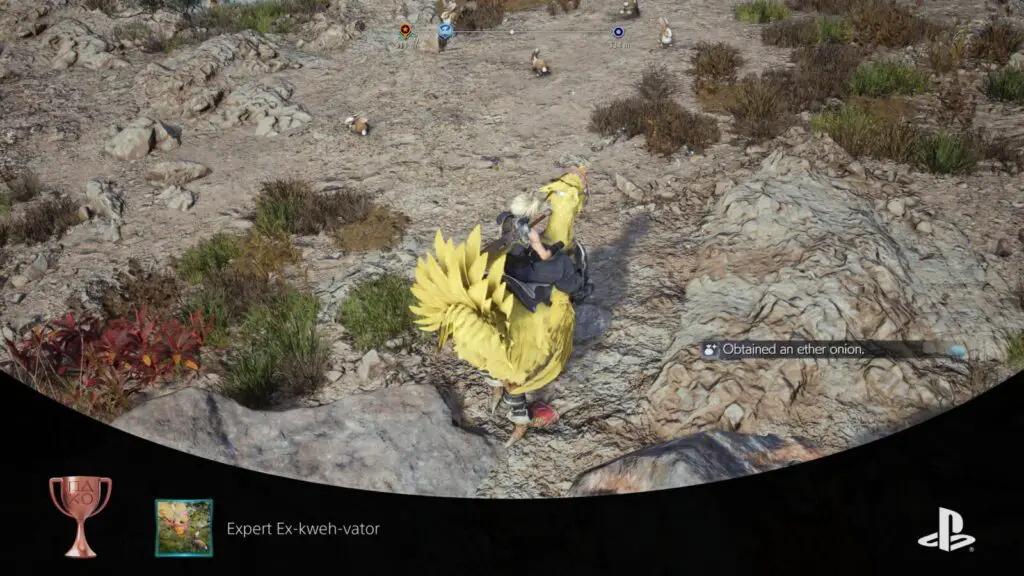
You’ll do this a few times throughout the game, especially for the “Excavation” Intel Missions which actually require you to use a Chocobo in this way to acquire the relevant intel. Regardless, you’ll need to do this twice specifically on random patches near rabbits in the open world to get the “Expert Ex-kweh-vator” trophy to unlock.
Miscellaneous Combat Trophies
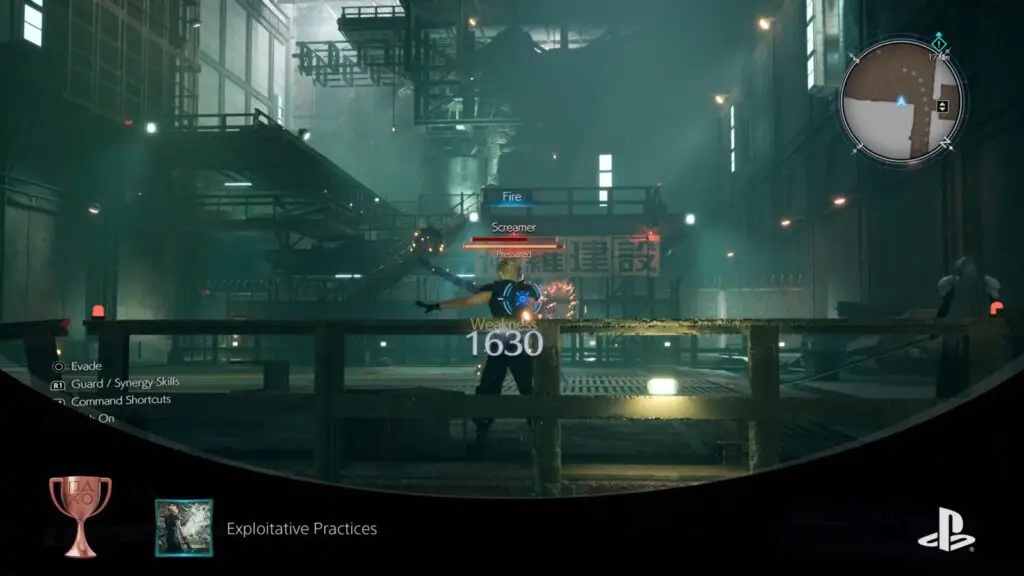
Exploitative Practices
Exploit an enemy’s weakness.
In Final Fantasy VII Rebirth, most enemies have at least one elemental weakness. For example; Screamers are weak to fire magic.
The first time that you use an attack on an enemy that deals additional damage because of an elemental weakness, you will unlock the Exploitative Practices trophy.
This is extremely likely to occur naturally, even on an easy difficulty playthrough in which you’re not paying much attention. Besides that fact, though, you’ll need to get familiar with and comfortable exploiting weaknesses in combat if you have any hopes of making it through the optional bosses, combat simulations, and hard difficulty playthrough.
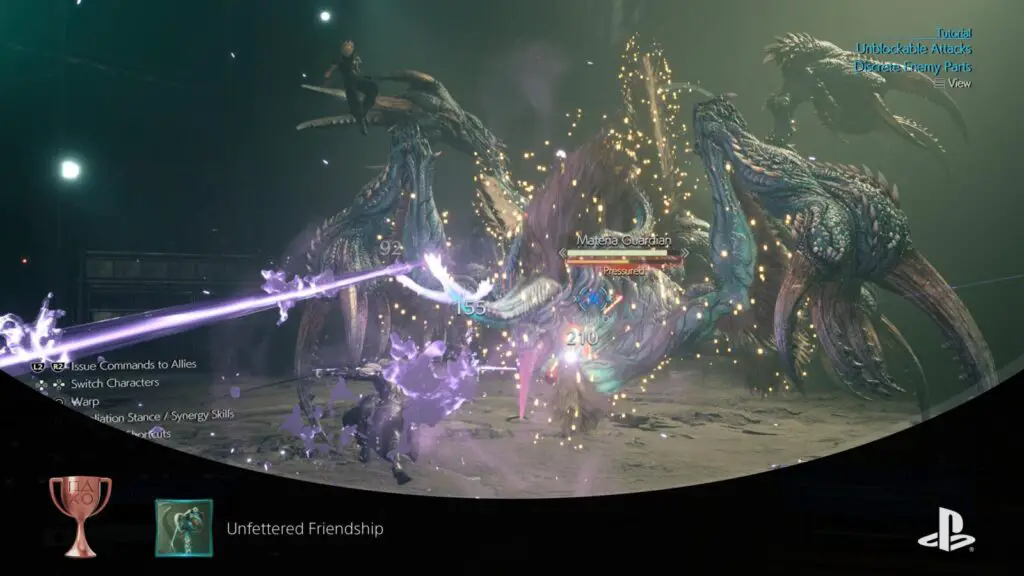
Unfettered Friendship
Free a bound ally.
Sometimes, party members will get “Bound” by enemies. This basically means their movement has been restricted by them being grabbed or trapped in some way. That ally will then no longer be able to move or attack until they are freed.
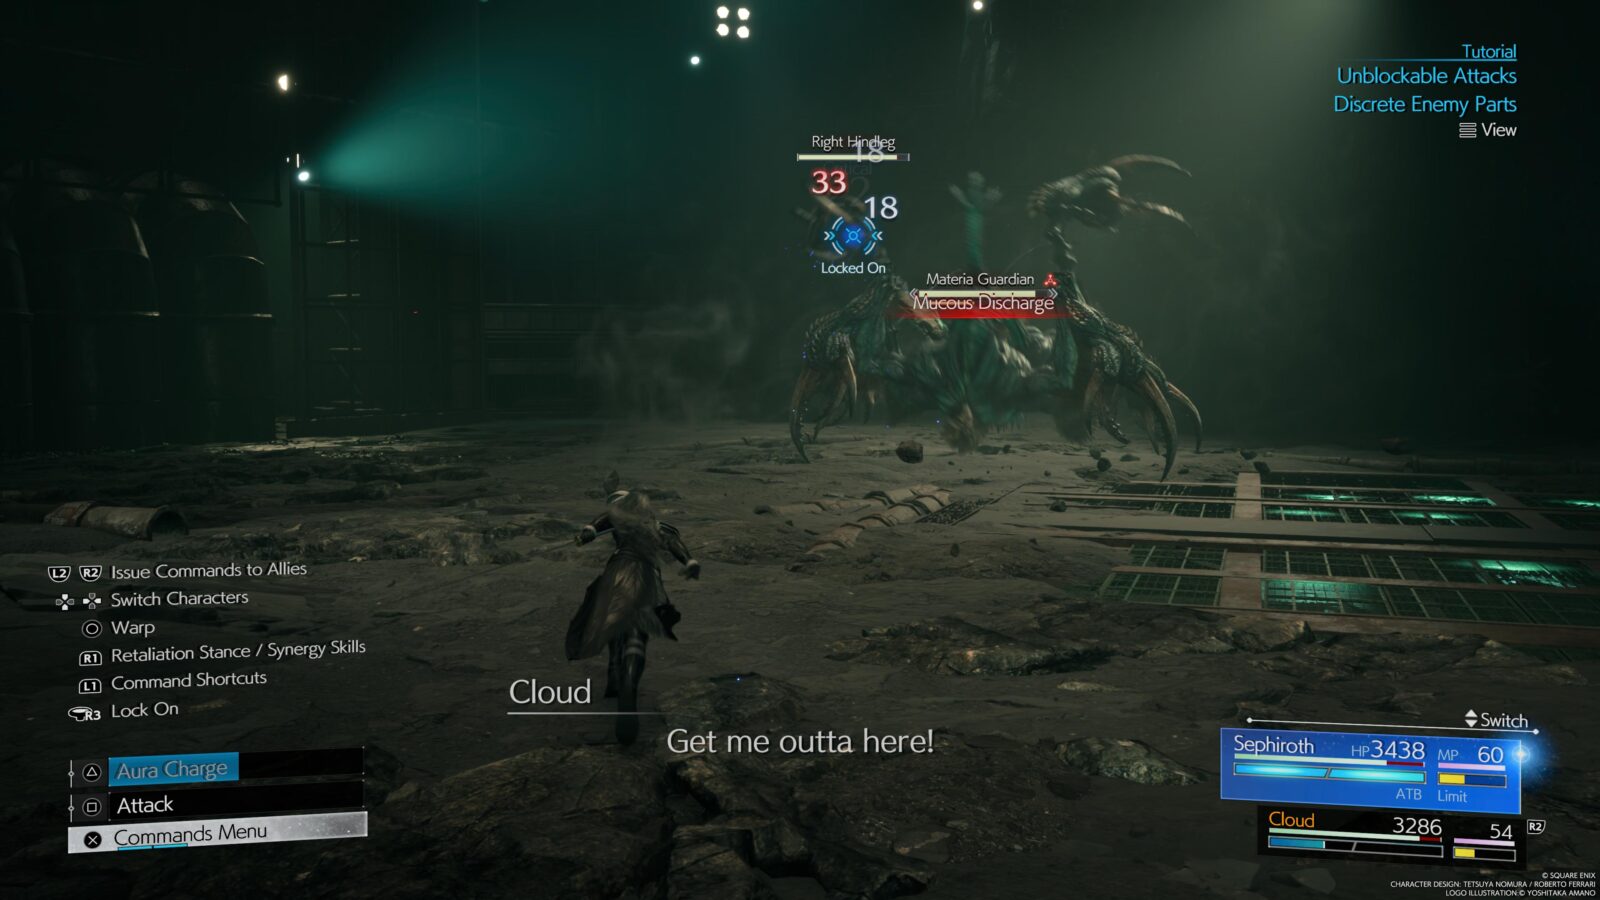
You can free the ally by targeting (![]() ) the enemy or appendage that has hold of your ally and then defeat, break, or stagger it to free them. The first time you do this, which is likely to happen even naturally, you’ll unlock the Unfettered Friendship trophy!
) the enemy or appendage that has hold of your ally and then defeat, break, or stagger it to free them. The first time you do this, which is likely to happen even naturally, you’ll unlock the Unfettered Friendship trophy!
If you are playing as the bound character, use ![]() or
or ![]() to switch to a different character and then free yourself.
to switch to a different character and then free yourself.
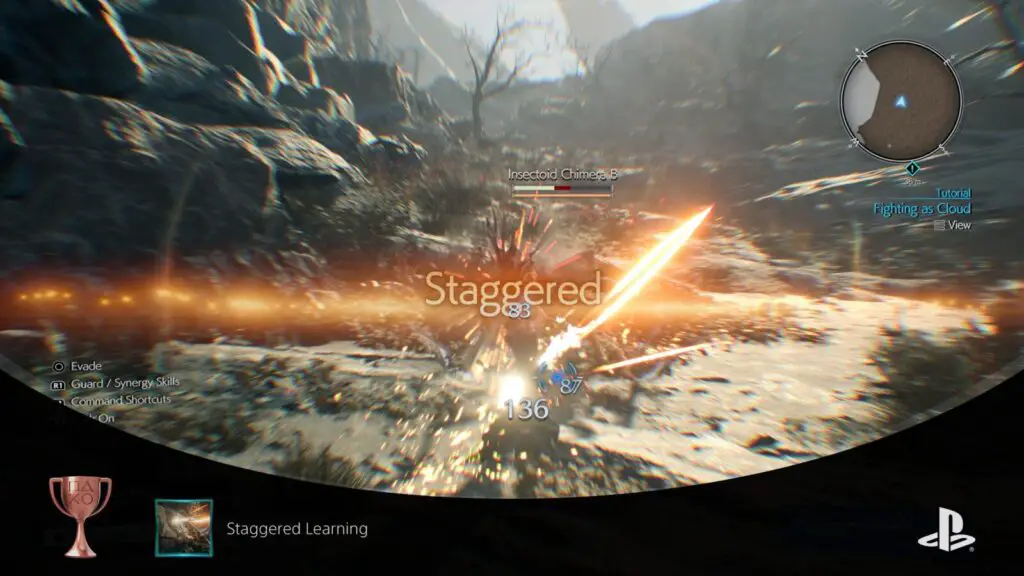
Staggered Learning
Stagger an enemy.
To unlock the “Staggered Learning” trophy, you just need to build up an enemy’s stagger meter until it becomes staggered. This is the orange gauge under each enemy’s health bar.
Certain abilities, such as “Focused Thrust,” can stagger an enemy faster than others. That said, unlocking this trophy is a given as it’s not only bound to happen in at least one of the hundreds of fights you’ll complete, but it’s practically a necessity for higher difficulty battles.
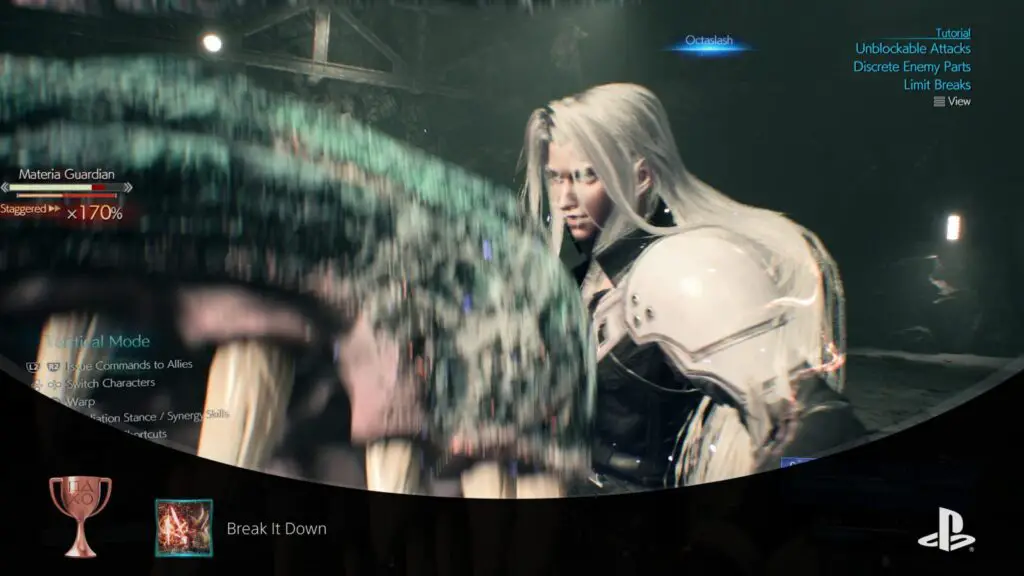
Break It Down
Use a limit break.
Once a character’s Limit gauge (lower-right orange gauge) is full in combat, you can use one of their Limit Break Abilities; powerful attacks that do not use up ATB.
To do so, simply open the Commands Menu with ![]() and then select any of the attacks under “Limit.”
and then select any of the attacks under “Limit.”
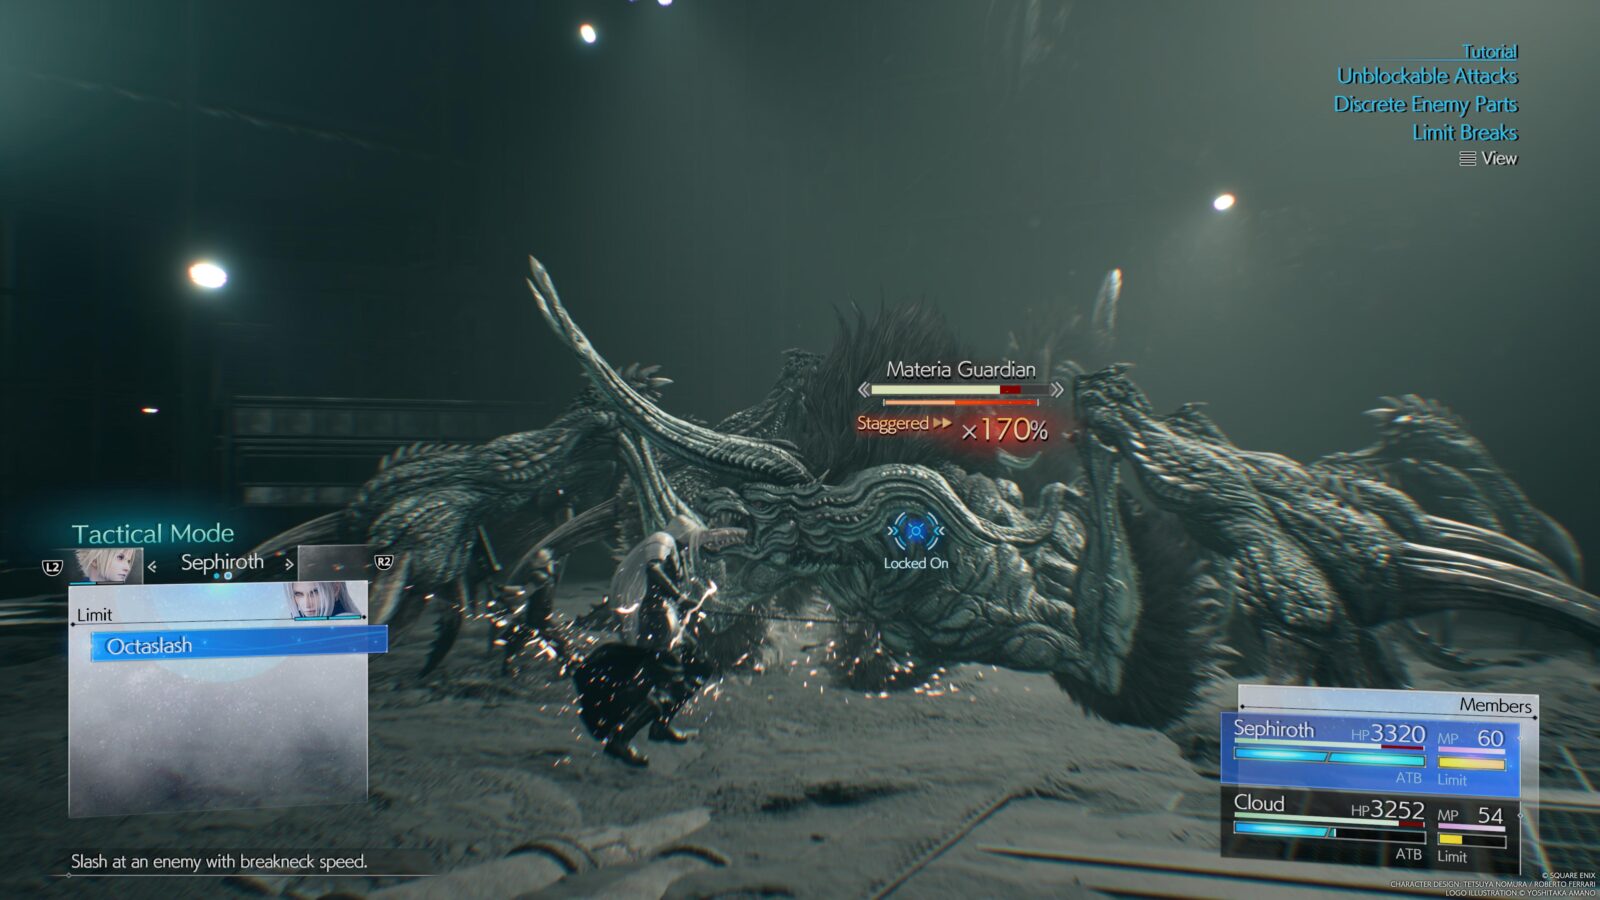
You’ll no doubt use these a lot, so unlocking “Break It Down” the first time you use one is likely to happen naturally and early in your trophy journey.
The gauge fills up whenever you take damage, stagger an enemy, or damage a staggered enemy.
Fledgling Summoner
Invoke a summon.
In the “Materia & Equipment” menu, you can equip at least one Summon Materia per character and, in fact, some characters have these equipped by default at the start of the game.
When you stagger an enemy in combat, a “Summon” timer will appear above the party info in the bottom-right corner of the HUD. When this timer is full, the “Summon” option will appear in the Commands Menu. In here, you can activate any Summon Materia equipped on the active character. Depending on the summon, you will need either 1 or 2 ATB to activate the Materia, but it’s almost always worth it for how devastatingly powerful these Summons can be.
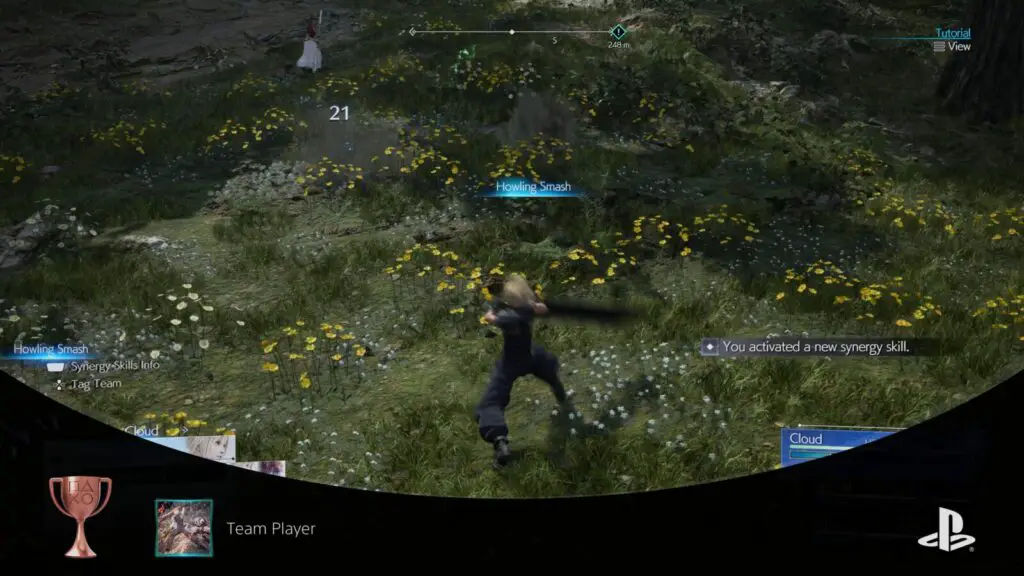
Team Player
Use a synergy skill.
Synergy Skills are different to Synergy Abilities in that you activate them on the fly in combat rather than via the “Synergy Abilities” option in the Commands Menu.
Once you have unlocked a Synergy Skill by upgrading your characters’ folios, you can activate them in battle by holding ![]() and then pressing one of the face buttons displayed in the bottom left corner.
and then pressing one of the face buttons displayed in the bottom left corner.
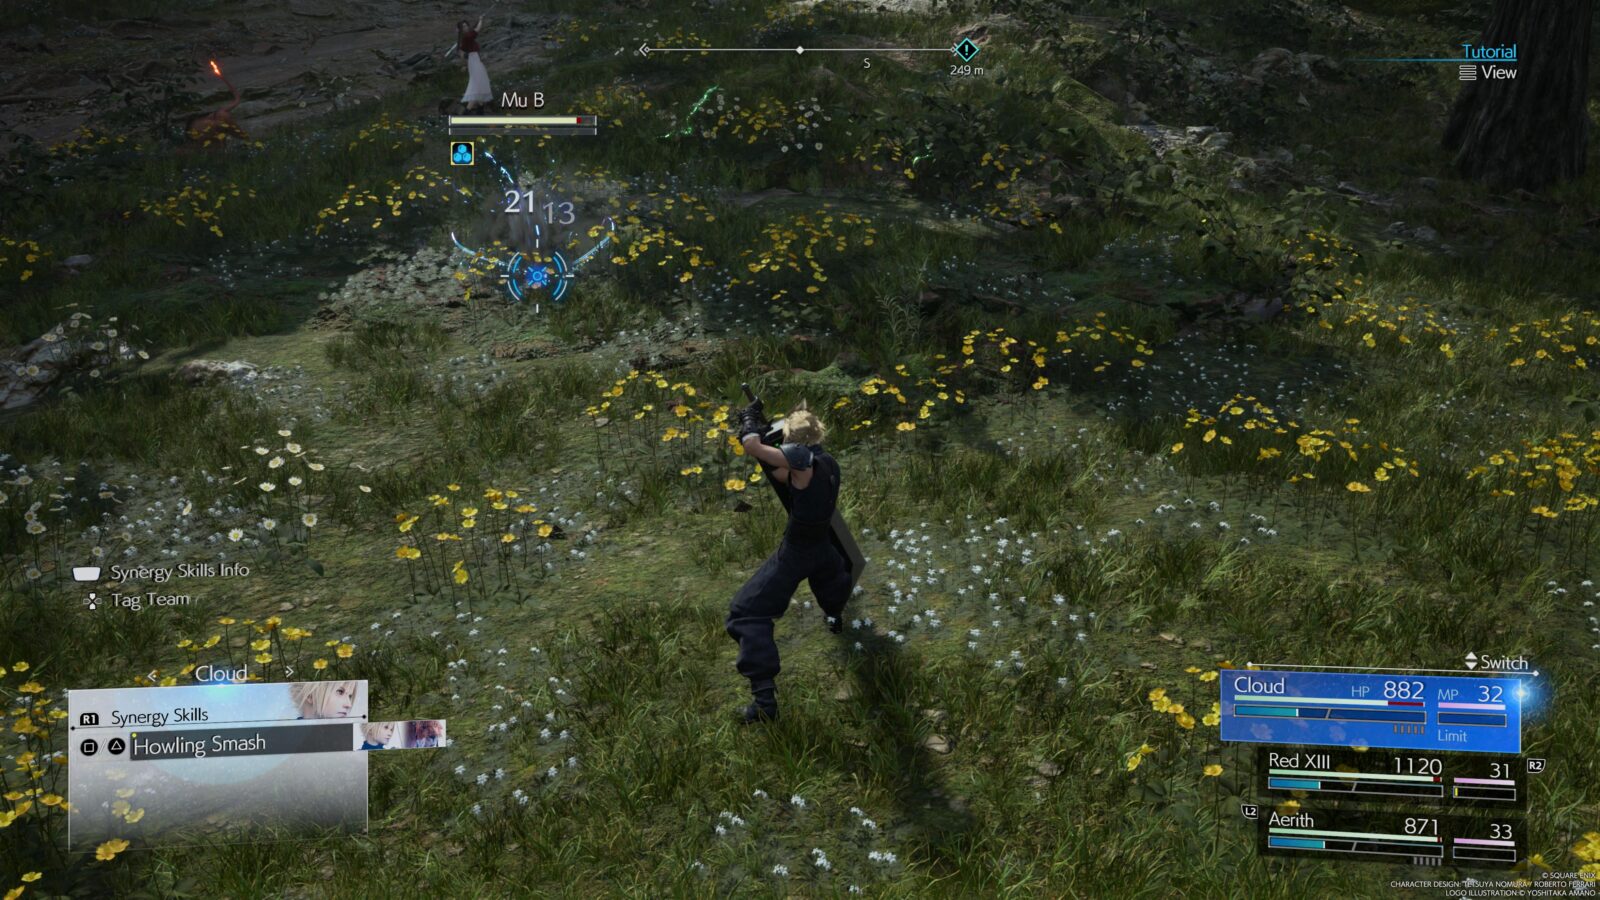
When you do this for the very first time, you will unlock Team Player, regardless of the outcome.
Are You Not Entertained?
Complete all bouts in the Musclehead Colosseum.
At Golden Saucer’s Battle Square, you can access an area called the Musclehead Colosseum. Here, you can partake in what are essentially just more Combat Trials/Combat Simulations. You’ll have a list of bouts to choose from, each of which will need to be completed either as a team of two, or two teams of three.
You’ll first get access to it on your initial visit to the Gold Saucer, but can later return after finishing the main story to access an even broader range of bouts.
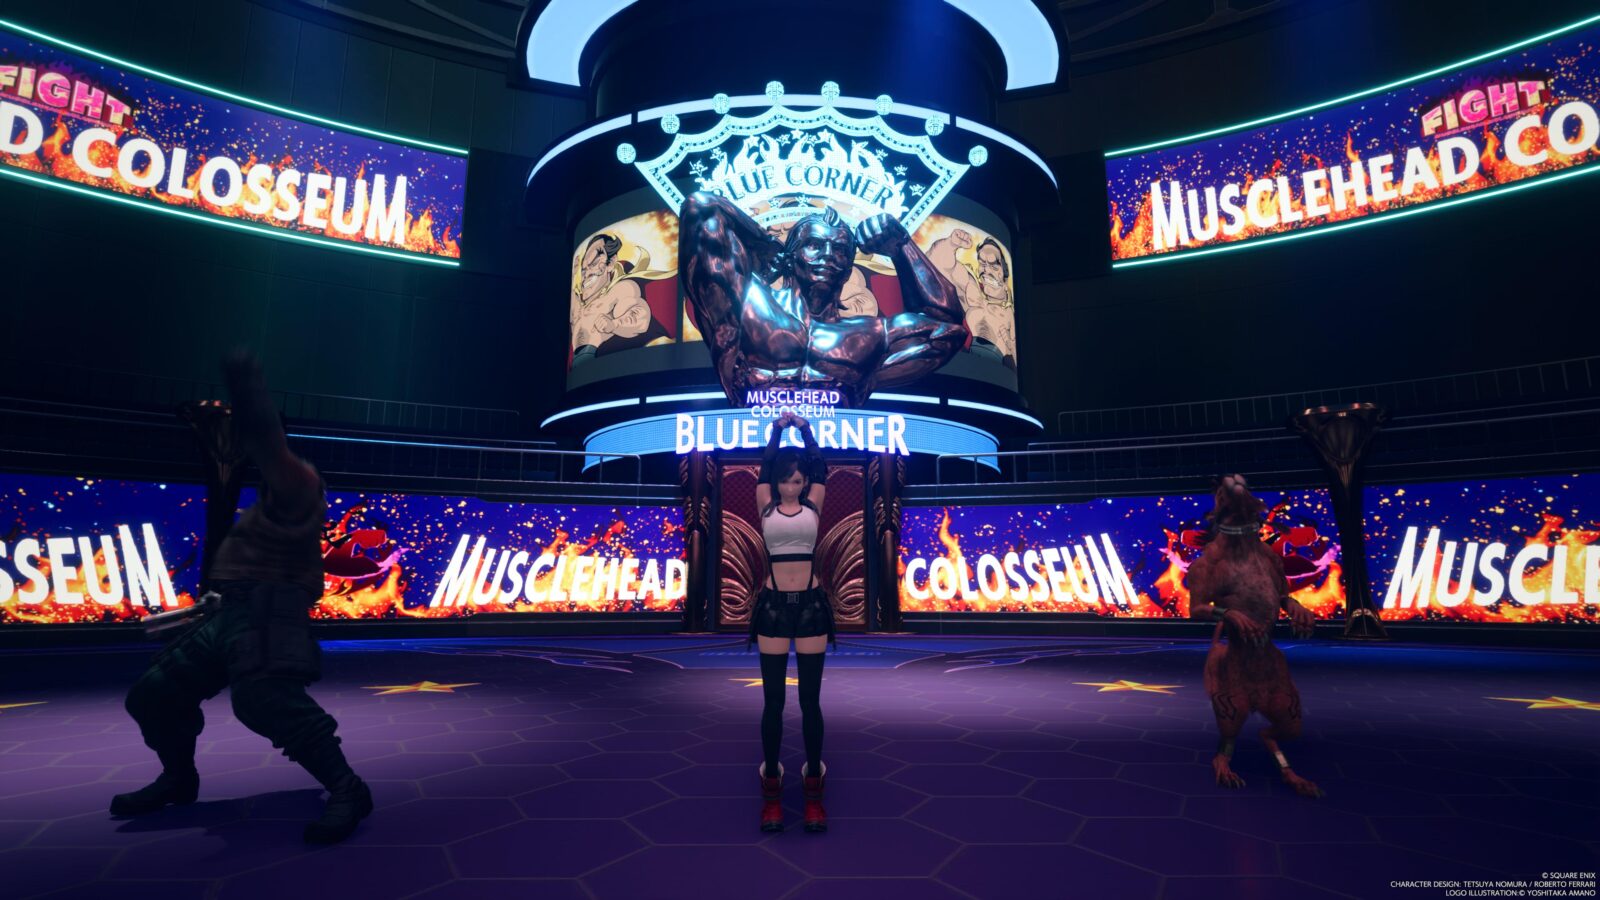
You will need to complete every single one of these battles to unlock the “Are You Not Entertained” trophy, but you’d probably want to do this anyway for the EXP it’ll give you towards Grind It Out.
Staggering Success
Deal 300% or more damage to a staggered enemy.
The “Staggering Success” trophy is a returning trophy requirement that was also present in Final Fantasy VII Remake. Unfortunately, achieving it takes a considerable amount more effort than before.
Firstly, you need to acquire a very special “Plumose Rod” weapon for Aerith. To get it, complete the “Lament of the Damned” Side Quest in Nibel. This gives you access to Hojo’s Combat Simulations. When you complete all 8 of these Shinra Combat Trials, a room will open containing a purple chest, inside which you can find the weapon in question.
Once you have the Plumose Rod, make sure she has this equipped or mastered, giving her access to the “Ray of Judgement” ability.
When ready, put Tifa and Aerith in your party and then enter a fight with a boss that has a lot of HP. A good example would be the Alexander Summon Combat Simulation. Play it on the harder difficulties to make Alexander more resilient, giving you plenty of time to pull off this trophy.
Spend the first few moments of the fight building the ATB meter for both Aerith and Tifa. When both are full, switch to Tifa and start using your ATB to activate the “Unbridled Strength” ability two times. Tifa’s ![]() attack will change then to “Rise and Fall.”
attack will change then to “Rise and Fall.”
With all that set up, you now have a limited amount of time before Tifa’s Rise and Fall ability times out, so keep an eye on that as you begin pressuring and staggering your opponent. Once they are staggered, immediately make Aerith cast “Ray of Judgement” and then mash ![]() with Tifa to use Rise and Fall, followed by Omnistrike. Lastly, using the ATB Tifa should have built back up by now, activate a final True Strike attack if you have it, trigger another Unbridled Strength attach, or just keep mashing
with Tifa to use Rise and Fall, followed by Omnistrike. Lastly, using the ATB Tifa should have built back up by now, activate a final True Strike attack if you have it, trigger another Unbridled Strength attach, or just keep mashing ![]() .
.
The Damage Bonus applied to the staggered opponent should increase up to and above 300%. If you successfully manage to do this, then the “Staggering Success” trophy will unlock immediately.
Miscellaneous Gear & Party Trophies
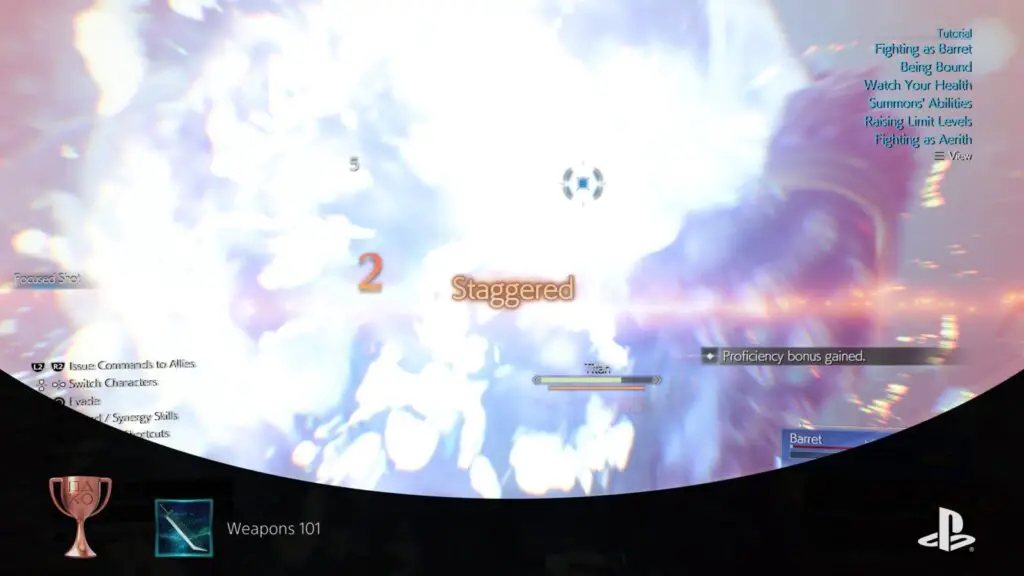
Weapons 101
Max out a weapon ability’s proficiency.
In Final Fantasy VII Rebirth, every weapon you acquire for either Cloud or his Companions will have a “Proficiency” objective. To view this, open the ![]() menu then go to “Inventory”>”Weapons.”
menu then go to “Inventory”>”Weapons.”
In here, you’ll see all of the weapons your party owns, even the ones that are not equipped. Each one will have an “Ability” which is highlighted in the right-hand panel on this screen. To raise your proficiency with that ability, you simply need to use it in battle.
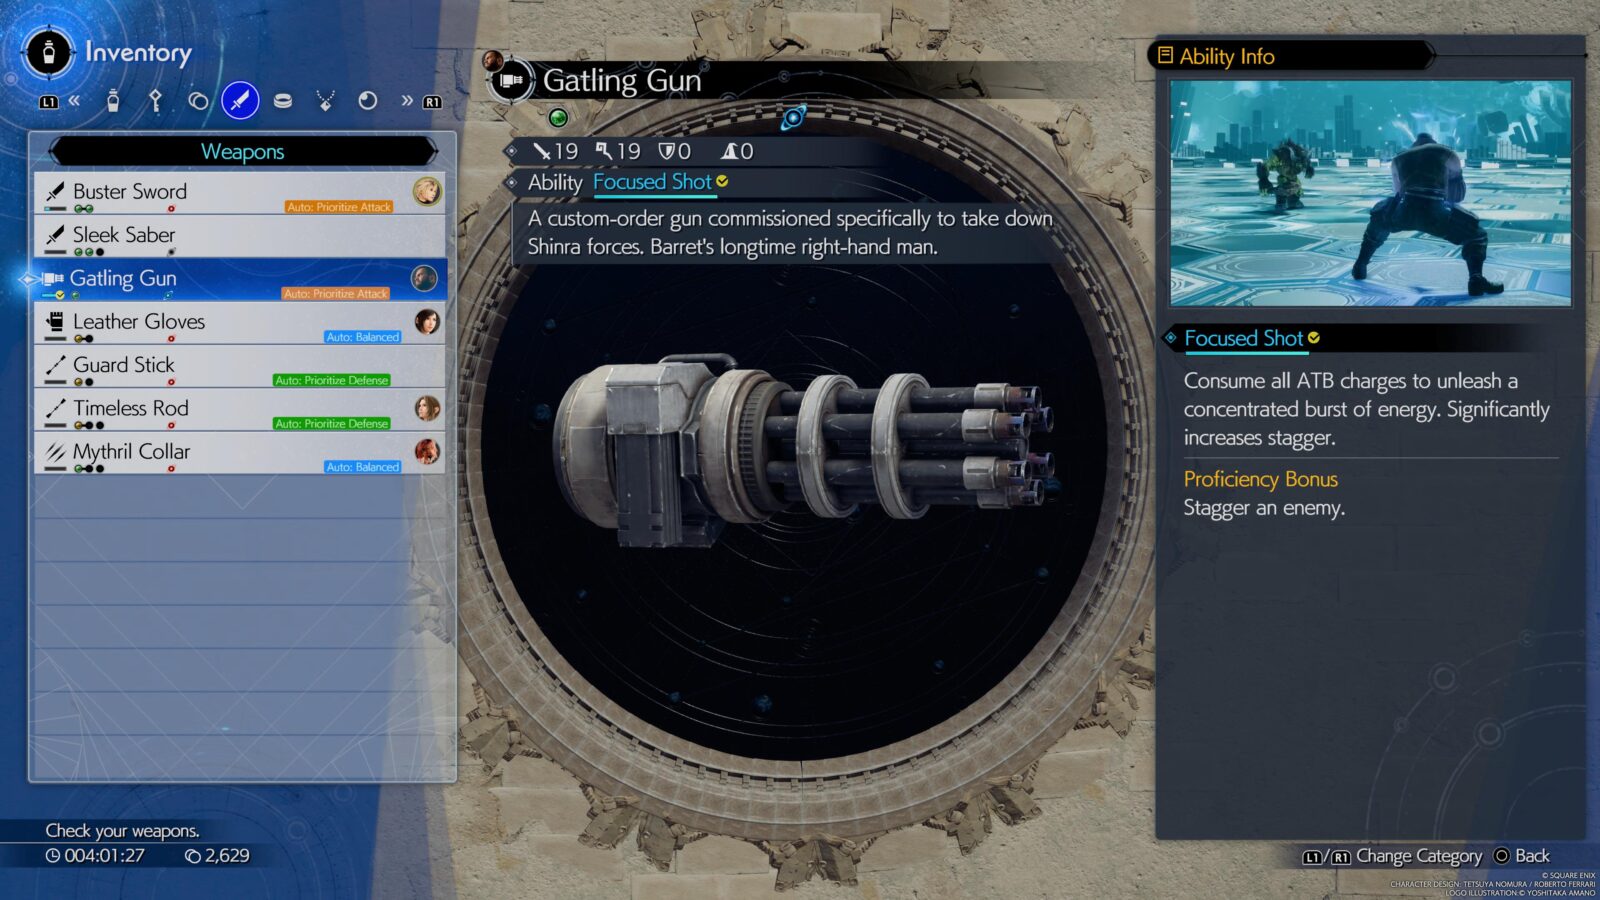
For example, the “Buster Sword” you get by default for Cloud comes with the “Focused Thrust” ability and by using it in battle you will gradually improve its proficiency.
Once you’ve filled the proficiency for any weapon for the first time, the Weapons 101 trophy will unlock.
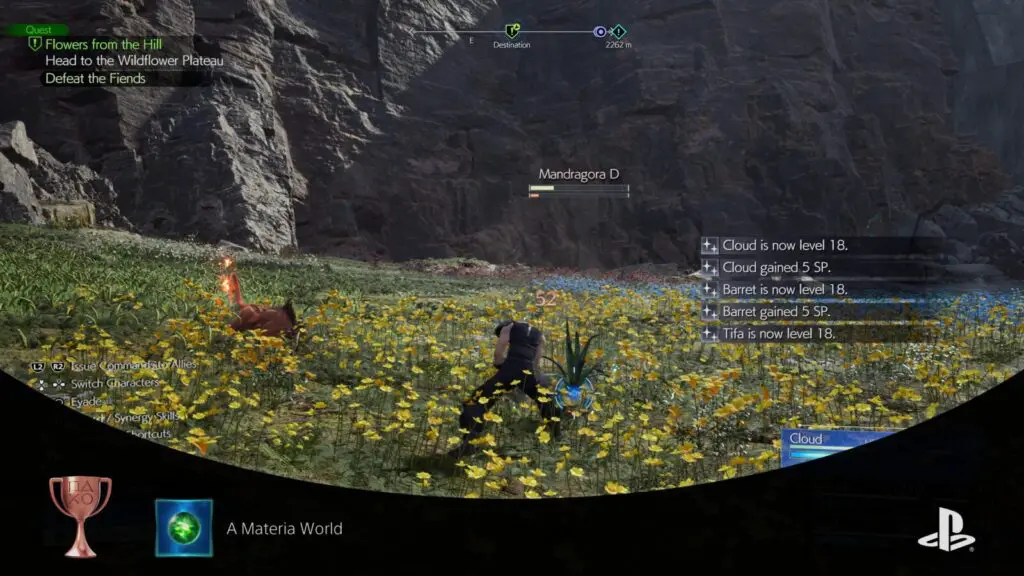
A Materia World
Level up an orb of materia.
When you win a battle in Final Fantasy VII Rebirth, you will receive AP as one of the battle rewards. AP is applied to equipped materia and used to increase their level. When an orb of materia levels up for the first time, you will receive the “A Materia World” trophy.
Grind It Out
Attain level 70 with a character.
As you may have guessed, the level cap in Final Fantasy VII Rebirth is 70. To unlock the “Grind It Out” trophy, you need to reach this level cap with at least one character.
After the story, all quests, all intel missions, and a majority of the other side-content, you should be well on your way to level 70. Chances are, you will only need to grind a few more levels to finish things up.
Whatever the case, it’s highly recommended that you reach the Level Cap before attempting Hard Difficulty for Of Hardy Stock.
Well-Rounded
Master all weapon abilities and limit breaks, including those found in folios.
To unlock the “Well-Rounded” trophy, there’s a few things you need to do:
- Acquire Every Weapon
- Most of the weapons in the game appear along the main path in purple chests, but any weapons that you happen to miss from there will appear in Equipment Shops at the end of the game anyway. Other weapons will come to you either through story progress, mini-game shops, or by completing side-content for other trophies.
- Reach Max Proficiency with Every Weapon
- Long story short; complete the requirements of the Weapons 101 trophy, but for every single weapon (once you have them all). It helps to be working on this all throughout your playthrough.
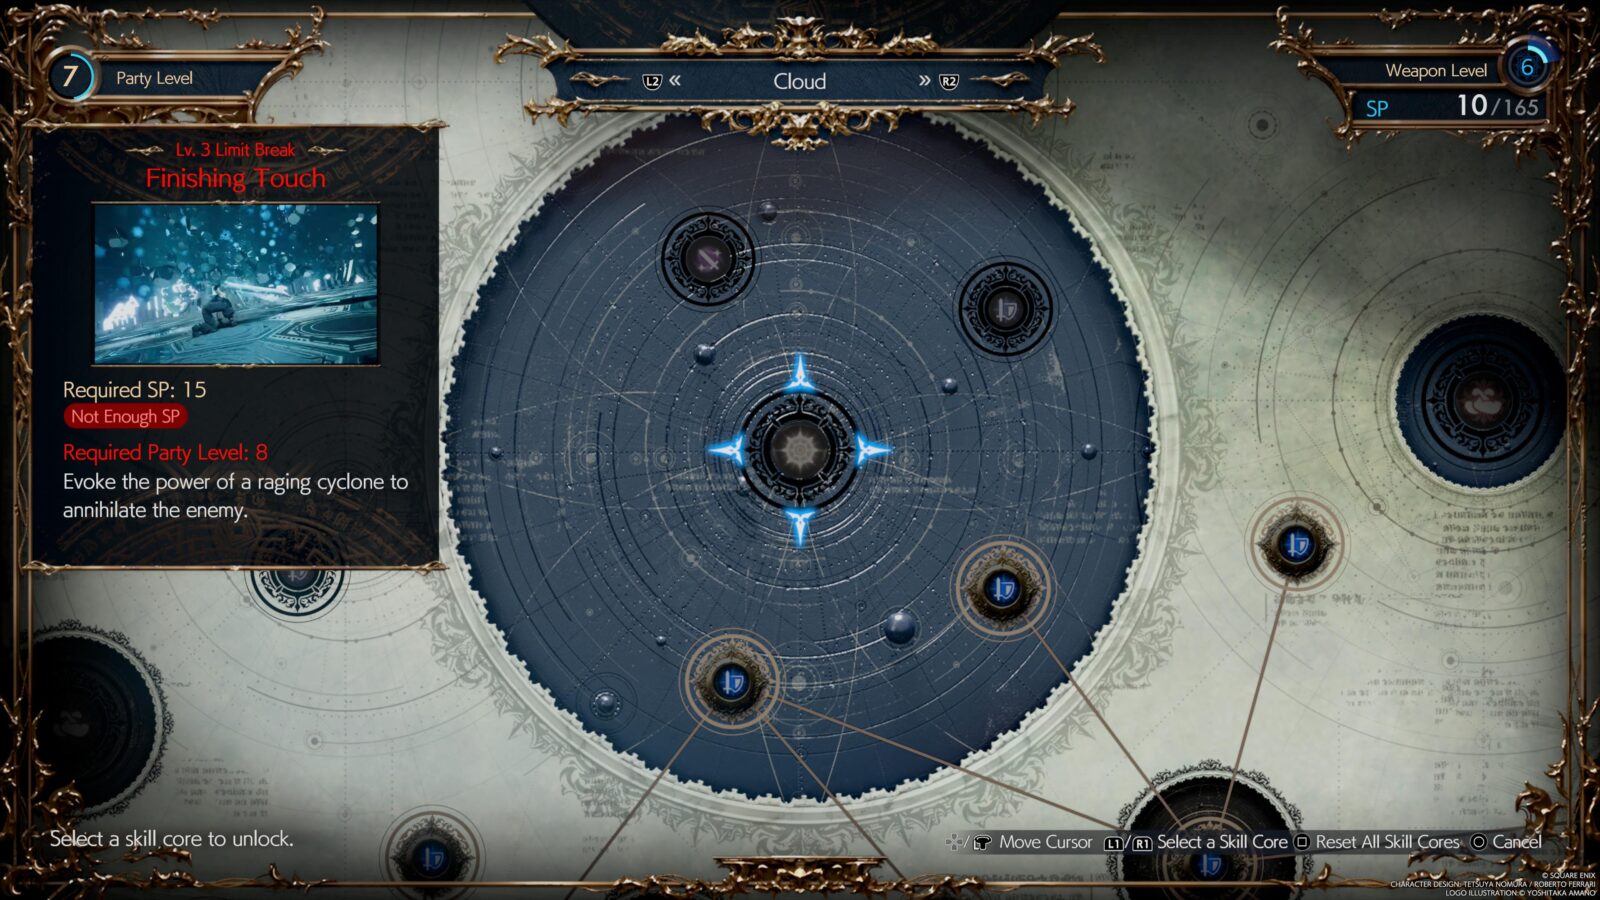
- Unlock Every Character’s Level 3 Limit Break & Elemental Ability Node
- You essentially need to purchase every purple node (which count as weapon skills) and the Level 3 Limit Break node in every character’s Skill Folio.
- You can respec your characters’ Skill Folios if needed by pressing
 on a purchased skill node or holding
  to reset them all at once.
 - You should purchase any Folios sold at the Gold Saucer and the Moogle Emporium (Moogle Lover) for the additional Skill Points they’ll afford you, but you’ll also get most of your points from story and side-content progress.
Once you’ve done everything I listed above, the trophy’s as good as yours.
Secret Boss Trophy

Bladesman of Legend
Defeat Gilgamesh.
To face Gilgamesh, you must first unlock the Founder’s Bonus, Fort Condor Commander, Cactuar Crusher, Honorary Turk, The Gambit Paid Off, and Professional Handler trophies. After unlocking all of those by completing the Phenomenon Intel Missions in all regions, you will also need to have defeated all of the Summons in Chadley’s Combat Simulator, effectively unlocking each summon’s materia for your own use.
Once done, you will be able to travel to the new area called “Gilgamesh Island.” There, you’ll find three new Phenomenon Intel Missions that you could not access before. Each of these missions involves a brutal battle against two summons at a time, as outlined below:
| Intel Mission | Summons to Fight |
|---|---|
| “The Bladesman of Legend Intel” | Titan & Bahamut Arisen |
| “The Genji Armaments Intel” | Phoenix & Kujata |
| “The Isle Out of Space-Time Intel” | Alexander & Odin |
After making your way through this gruelling gauntlet and making it to the other side in one piece, Gilgamesh will finally see you as a worthy rival.
Head to the final waypoint and defeat Gilgamesh in battle on any difficulty to unlock the “Bladesman of Legend” trophy.
Phase Three | NG+ Hard Difficulty Playthrough
It’s finally time. Everything up to now has essentially been preparation for this. Your Hard Difficulty Playthrough.
Just as with Final Fantasy VII Remake, you’re in for a difficult time here, albeit things are arguably more difficult this time around.
As with the previous title, you still want to be extremely conservative with your MP and save before every encounter so you always have something to go back to if things go south; which is liable to happen. A lot.
You can still take advantage of Gotterdammerung if you go out of your way to acquire it before you head in, but you’ll find its utility has been reduced quite significantly because Limit Breaks aren’t quite as useful anymore. On top of that, HP Up and MP Up Materia don’t provide anywhere near as much of a buff as they did before.
Not to mention all the times the game forces you to play as more challenging technical characters like Red XIII and Cait Sith. All this is to say; you’re in for a pretty brutal challenge. But if you get this trophy, you’ll know you earned it!
Complete Final Fantasy VII Rebirth on Hard Difficulty
Of Hardy Stock
Complete all chapters on Hard difficulty.
After you have completed the game on any of the three original difficulties, you’ll gain access to Hard Difficulty, which you can select when replaying chapters via Chapter Select. To unlock the “Of Hardy Stock” trophy, you’ll need to replay and complete the story objectives in all Chapters with Hard Difficulty active.
This is a significant challenge and it will be the ultimate test of your skill and ability. The only way to really make things easier is to have and equip the “Gotterdammerung” equipment, which you may remember if you’ve beat the previous game’s Hard Difficulty mode.
This item makes your Limit Break charge at blistering speed. Sadly, your Limit Break is less useful than it was in the previous title, but its utility still cannot be overlooked. Particularly because you receive a few i-frames when activating the ability which can help you avoid some truly devastating attacks.
Additionally, ensure that every single character has at least one of each of the following Materia:
- Healing
- Revival
- HP Up
- MP Up
Ideally, those materia should have all been fully upgraded to MAX for ultimate efficacy.
Phase Four | Clean Up Combat Simulations
You may or may not have completed some of Chadley’s Combat Simulations already as you played through the game, particularly just before your Hard Mode Playthrough.
Regardless of how many you’ve done, this fourth and final phase is where you’ll have to complete every single one. If you thought Hard Mode was difficult, prepare for a gruelling few hours ahead as you take on Final Fantasy VII Rebirth’s biggest challenge.
Legendary Combat Sim Trophies
Virtually Renowned
Complete all of Chadley's combat simulations.
Completing all of the Intel Missions (Side Quest and Intel Trophies) and Defeating Gilgamesh (Bladesman of Legend) will result in you having access to Chadley’s full range of Combat Simulations.
You will need to beat every single one of them to unlock the “Virtually Renowned” trophy. This makes it the hardest trophy in the game.
Not only will the Brutal Combat Simulation Challenges have you pushing your absolute limits, but the “Legendary” Combat Simulations are harder than the entire Hard Difficulty Playthrough. And there’s Nine of them.
Good luck, Trophy Hunter. You’ll need it.
PlatGet!
The Planet's Hope
Earn all FINAL FANTASY VII REBIRTH trophies.
After collecting every trophy in this Final Fantasy VII Rebirth Trophy Guide, the "The Planet's Hope " Platinum Trophy will unlock. Congratulations!
Thanks for Reading
Plat Get!
Thank You!
Thank You for choosing PlatGet as your source for this Final Fantasy VII Rebirth Trophy Guide.
Wondering what to complete next? Browse our complete guide selection or check out our friends at PlatPrices.com to filter the PS Store based on price, trophy difficulty, or completion time.
Got a question, some feedback, or just want to say thanks? Drop a comment in the discussion section below, we'd love to hear from you! No account required!!


