PlayStation 4
Final Fantasy VII Remake Trophy Guide


General Info
FAQ
How long does it take to beat Final Fantasy VII Remake and unlock all trophies?
60-70 Hours.
How difficult is it to beat Final Fantasy VII Remake and unlock all trophies?
Medium (5/10).
Does Final Fantasy VII Remake have online trophies?
No.
Does Final Fantasy VII Remake have difficulty-specific trophies?
Yes.
Does Final Fantasy VII Remake have missable trophies?
No.
Does Final Fantasy VII Remake have glitched trophies?
No.
What is the minimum number of playthroughs required to unlock all trophies in Final Fantasy VII Remake?
You will need at least 2 full playthroughs as well as some chapter select cleanup..
Does Final Fantasy VII Remake have a Platinum Trophy?
Yes.
Trophy Guide
FF7 Remake Trophy Guide and Road Map for PlayStation 4 & PlayStation 5
Final Fantasy VII Remake is one of my personal favourite games on PlayStation 4, and it will soon be joining us on PS5 in June with improved textures, raytraced lighting, and depth-creating fog effects. Additionally, this month Final Fantasy VII Remake is free on PlayStation Plus for PlayStation 4. So, what better time is there to dive head-first into this FF7 Remake Trophy Guide?
Using the Road Map/Trophy Guide fusion format which is common on this site, this FF7 Remake Trophy Guide will aim to offer you the smoothest route through the game, allowing you to avoid too much backtracking and keep your playthroughs to a minimum. The game is a fantastic time, but there are some parts which will really start to get to you if you have to replay them more than 3 times.
Multi-Platinum: If you have used this guide (or any other for that matter) to unlock all of the trophies in the PS4 version of Final Fantasy VII Remake you can upload your save data via an in-game feature and then download that same data on the PS5 version; Final Fantasy VII Remake INTERgrade.
Doing this while having any trophies on your PS4 save will automatically unlock them all again for the PS5 version!
Phase One – Complete the Story on Easy, Get Missable Trophies
Your best bet for phase one of this FF7 Remake Trophy Guide is to play on Normal difficulty, but you can play on Classic or Easy too if you prefer. Yes, you will need to finish the game on Hard Difficulty, but it’s essentially a New Game Plus mode and can’t be played until you have beat the game at least one time.
I recommend Normal Difficulty, because Hard Difficulty is actually really tough and the leap in difficulty from Easy to Hard can be overwhelming.
During this phase of our FF7 Remake Trophy Guide, there are a few Missable Trophies for doing optional side-activities, side-quests and more. You can always come back to earn these using Chapter Select, but I strongly recommend you go out of your way to complete them now during this phase so that you can streamline your trophy journey as much as possible.
Important Note: As part of the Missable Trophies, you’ll be trying to find all “Johnny Incidents” which must be done in a single playthrough, hopefully, this one. To ensure this is possible, make sure that during Chapter 9 you complete the “The Party Never Stops” and “A Dynamite Body” trophies and not “The Price of Thievery” and “Shears’ Counterattack”. Find out how this is done here.
Completing one set of side-quests in Chapter 9 will lock you out of completing the other, but only one set of side-quests will involve Johnny.
While completing this playthrough, you will want to complete every side-quest that you can for part one of the Dressed to the Nines trophy (See “Playthrough One” in our Dressed to the Nines Guide) and you will also need to do this for the Divine Gratitude trophy.
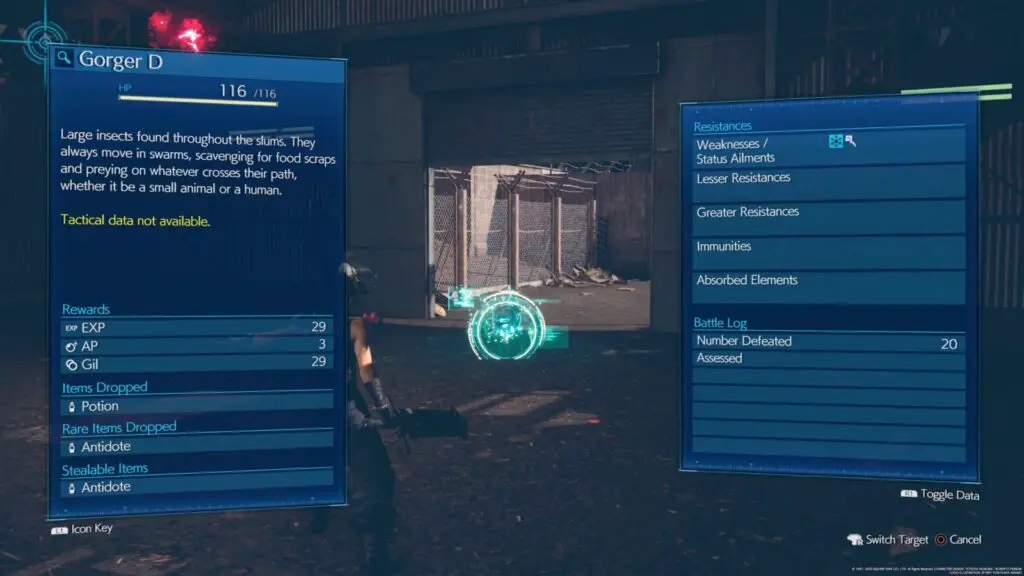
Try to complete as many of Chadley’s Battle Intel Reports as you can, too, for the Intelligence Agent trophy. As soon as you get the Assess Materia from Chadley, I strongly recommend that you keep it equipped, and use it on every new enemy you come across. You’ll be glad you did.
You will also want to collect every possible weapon throughout your playthrough to be able to unlock Weapons Expert, see that trophy for details on each weapon’s location.
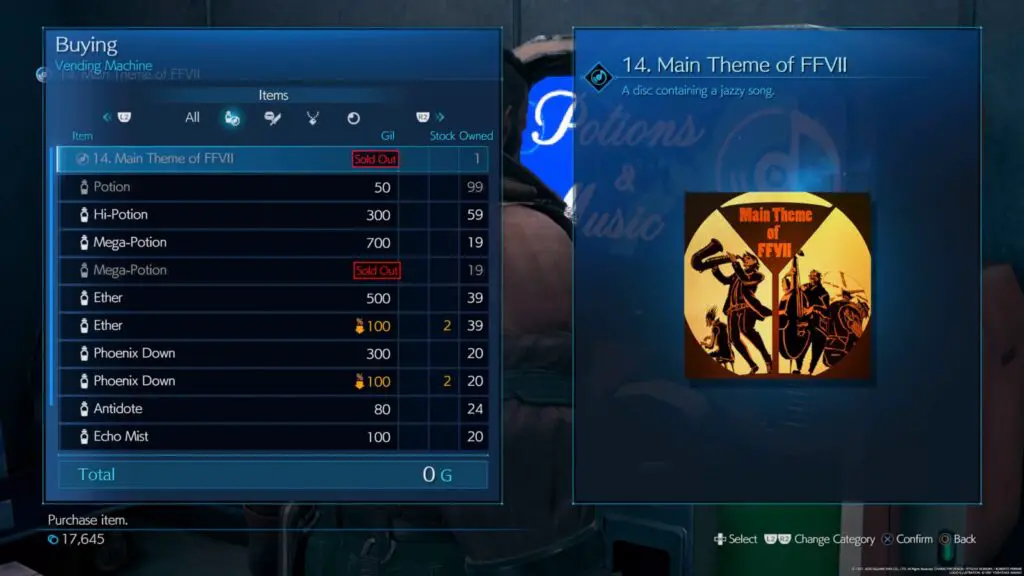
The only other thing you should look out for is the “Disc Jockey” trophy. There are quite a few records you will need to collect throughout the game and you should begin looking for them as soon as you can. You should check every vending machine and vendor you come across, and keep your ear out for new music because discs can often be found in jukeboxes and from NPCs next to gramophones. There’s a full location guide here though.
Unmissable Story Trophies
The following trophies in this section of our FF7 Remake Trophy Guide are all unmissable, so there’s no need for individual per-trophy instructions, as you can trust that they will unlock naturally. All you will need to do is reach and complete Chapter 18 during this phase and they will all unlock.

Onetime Gig
Complete Chapter 1.
Escape Artist
Complete Chapter 2.
Mercenary Endeavors
Complete Chapter 3.
Night on the Town
Complete Chapter 4.
Plan E
Complete Chapter 5.
Lights Out
Complete Chapter 6.
Trapped like Sewer Rats
Complete Chapter 7.
Reunited
Complete Chapter 8.

Say It with Flowers
Decorate the Leaf House with a floral arrangement
Never the Bride
Complete Chapter 9.

Snappy Dresser
Obtain three bridal candidate outfits.
Sewer Survivor
Complete Chapter 10.
Paranormal Investigator
Complete Chapter 11.
The Collapse
Complete Chapter 12.
Broken Dreams
Complete Chapter 13.
Picking Up the Pieces
Complete Chapter 14.

The Pizza in the Sky
Complete Chapter 15.
No Appointment Needed
Complete Chapter 16.
Emerging from Chaos
Complete Chapter 17.
Destiny’s Crossroads
Complete Chapter 18.
Combat Introduction Trophies
The following trophies in this section of our FF7 Remake Trophy Guide are intended as a way of introducing you to the combat system and encouraging you to understand various elements. For the most part, these are also unmissable, but I felt it would be better to offer up at least some small description for them just in case.
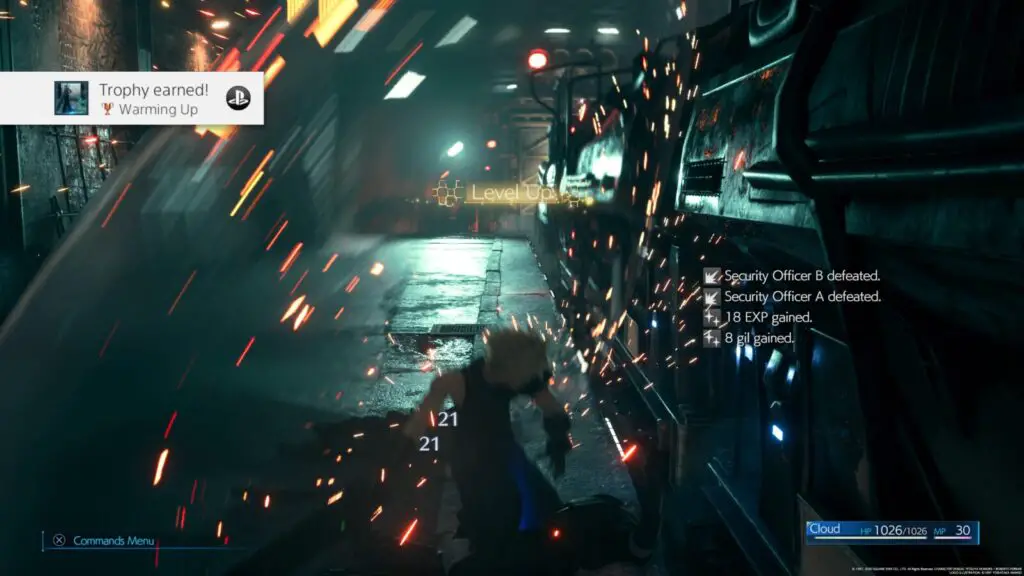
Warming Up
Win a battle.
All you need to do for this trophy is to defeat your first group of enemies. This will be the two Shinra Soldiers you fight right at the start of the game after doing sick backflips off the train.
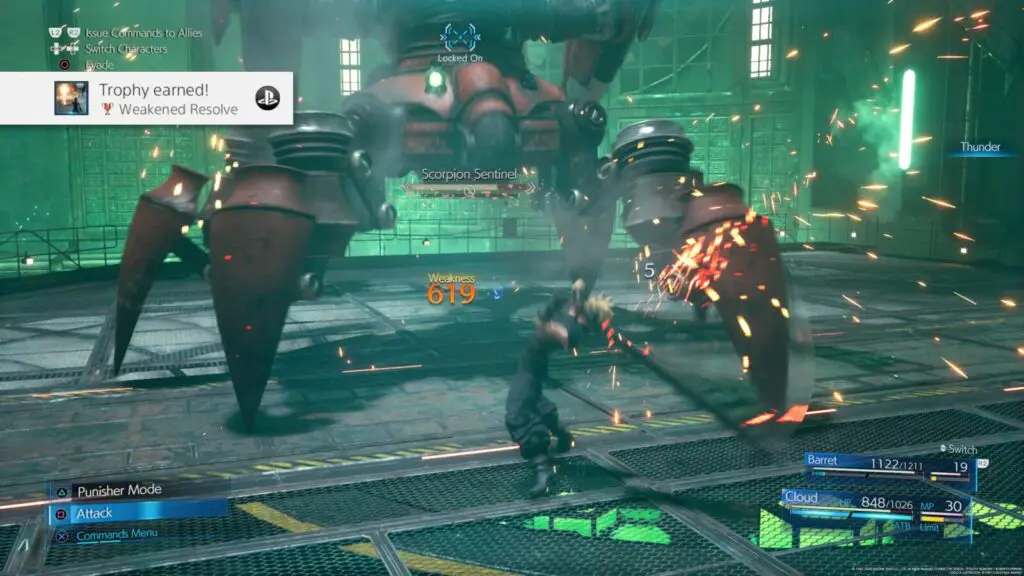
Weakened Resolve
Exploit an enemy’s weakness.
There are strengths and weaknesses in Final Fantasy VII Remake, in true JRPG fashion. By using the four types of elemental magic correctly, you can increase your damage output dramatically. This is something you will be doing a lot during your hard mode playthrough, but I find it hard to imagine you won’t do this at least once during your first playthrough.
Once you’ve used an elemental attack to exploit a weakness for the first time, you’ll unlock this trophy.
The four elements work as below:
- Fire attacks do extra damage against Ice and Human Enemies
- Ice attacks do extra damage against Fire and most Monsters
- Wind attacks do extra damage against Lightning and Airborne Enemies.
- Lightning attacks so extra damage against Wind and most Machines.
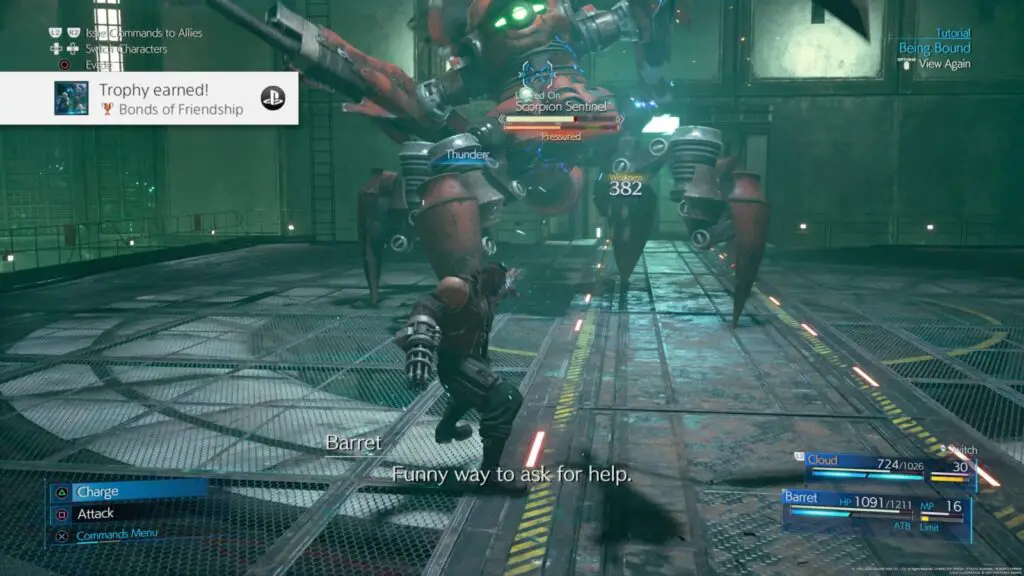
Bonds of Friendship
Free a bound ally.
Occasionally an ally will get grabbed by an enemy. This will be indicated by the word “Bound” in red. While bound, they will be unable to aid in battle, but you can free them by attacking the enemy who has hold of them.
Do this for the first time to unlock this trophy.
This is very likely to happen naturally but you can earn it as early as the first boss by standing in front of it and letting it grab you, then switching to your other character and attacking it.
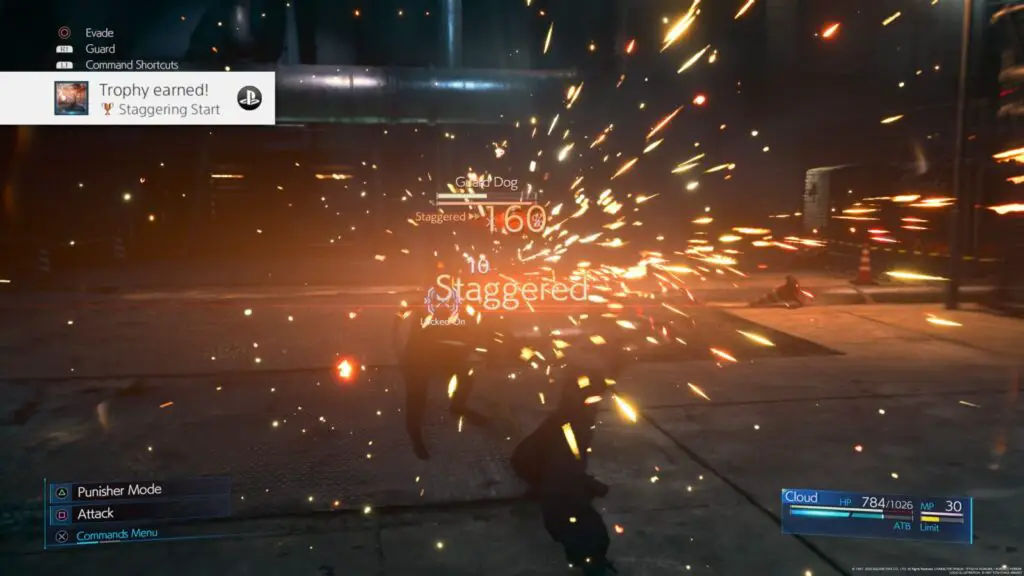
Staggering Start
Stagger an enemy.
Staggering is a huge part of the combat system in FF7R and is something you will be doing thousands of times, both intentionally and unintentionally. All you need to do for this trophy is to stagger an enemy for the first time, so you can feel confident in the knowledge that it will occur naturally.

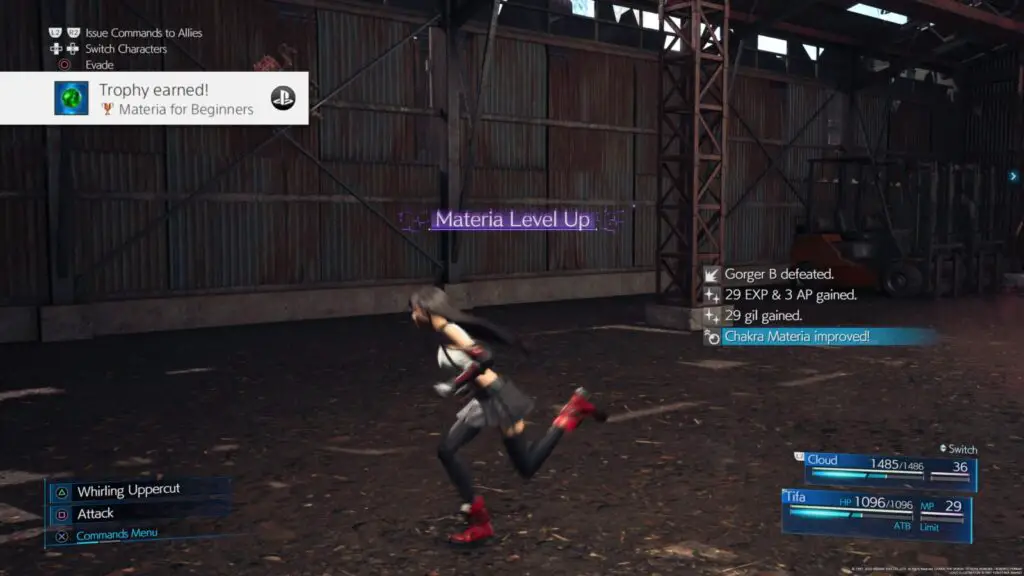
Materia for Beginners
Level up an orb of materia
This trophy will unlock naturally the first time you level up a materia, which should be shortly after meeting Chadley, while fighting enemies in the scrapyard.
Materia is something you will be using a lot, especially for your Hard Difficulty run, so there’s pretty much no chance of you not unlocking this.

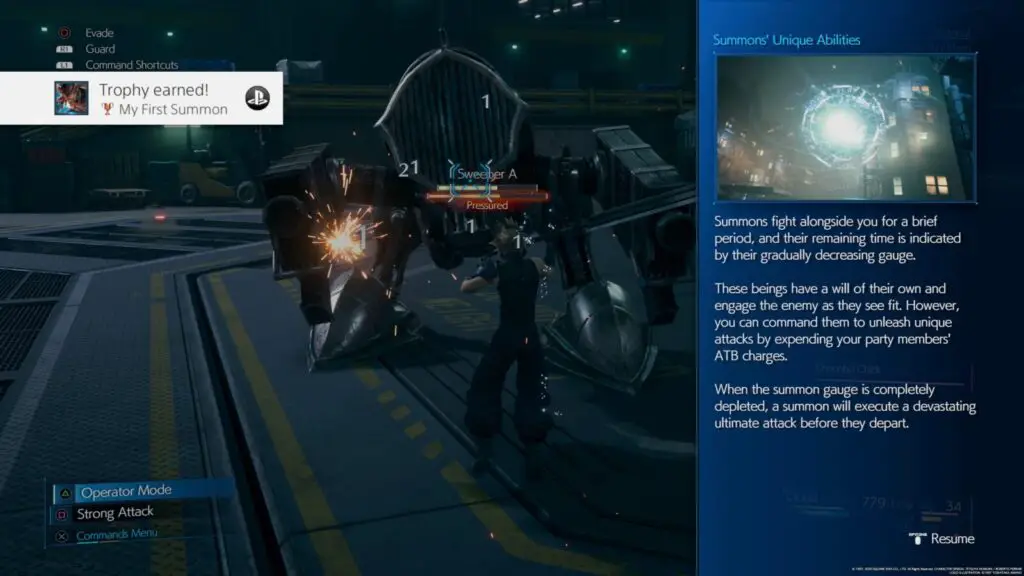
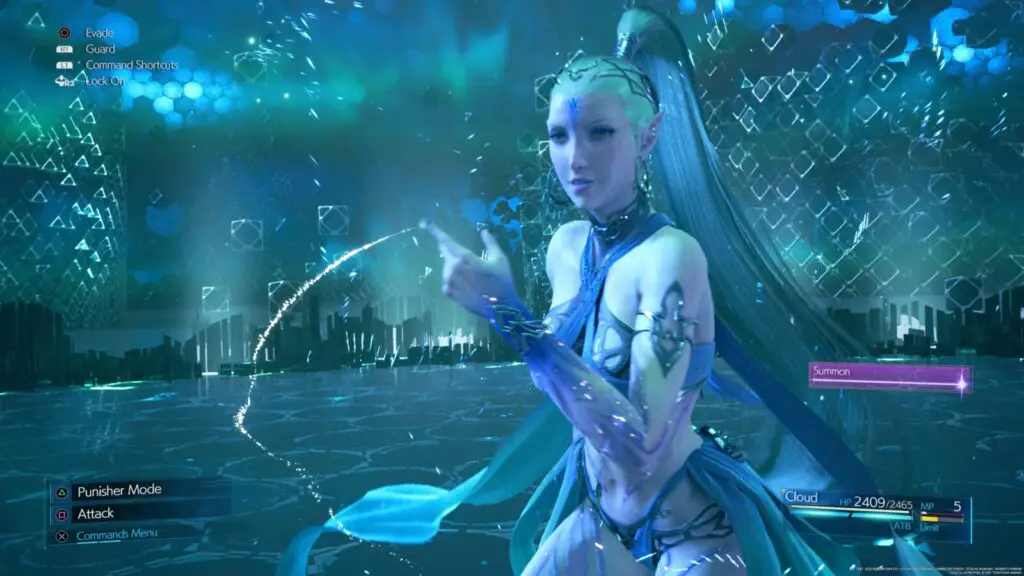
My First Summon
Invoke a summon.
The first time you receive a Summon Materia (unless you have a special/pre-order edition of the game which allows you to start the game with one) will be at the end of Chapter 3.
Once you have a Summon Materia, equip it to a character so that they can use it in battle. During long battles such as boss fights, a blue bar will begin to fill up at the top of the screen, which is the summon materia being charged. Once it is full, you’ll be able to activate the corresponding materia, summoning an ally creature who deals heavy damage.
Missable Trophies
The following trophies in this portion of our FF7 Remake Trophy Guide all involve completing optional side-activities. You can, of course, use chapter select to unlock any of these, but I strongly recommend that you take the time to complete them during this phase rather than needing to do extra back-tracking later.
Anything chapter-specific among the below trophies is listed in the order of the chapter they are available in, so you can work your way through the list with confidence that you’re not missing anything while completing your first playthrough.
My First Ability
Max out a weapon’s proficiency.
Weapons in Final Fantasy VII Remake have their own exclusive skill, which can only be used while that weapon is equipped at first. However, once you max out the proficiency rating on a weapon, the skill will become available to equip and activate with any weapon equipped.
Increasing the proficiency rating is as simple as using that exclusive ability during battle. For example, the Iron Blade weapon has an ability called “Triple Slash”.
The number of times you will need to do this varies depending on the weapon, but it is around 10 times, so not a lot.
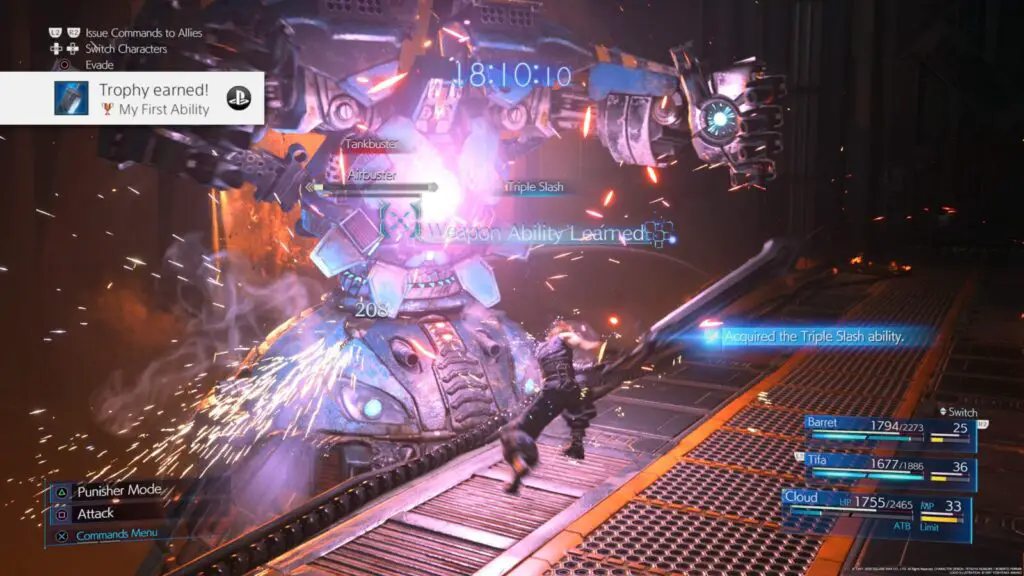
This trophy will unlock once you’ve maxed out proficiency for one weapon, but you will actually need max proficiency for every single weapon at some point to earn the trophy Weapons Expert.

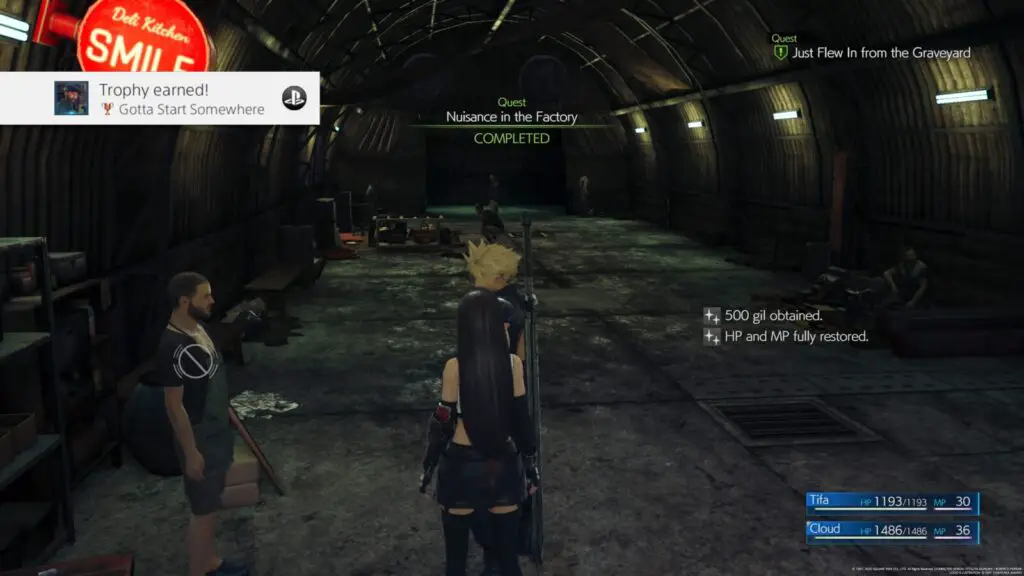
Gotta Start Somewhere
Complete a quest.
Quests (also referred to as Side Quests in this FF7 Remake Trophy Guide) become available during Chapter 3 of the game. They are completely optional, but if you hope to unlock Dressed to the Nines and Best in Business you will be completing as many of these quests as you can during this first playthrough.
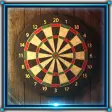
Heavenly Dart Player
Rise to the top of the Seventh Heaven darts leaderboard.
The Dartboard will be accessible during Chapter 3, when you’re left in the Seventh Heaven bar alone while the Avalanche members have a meeting on the floor below.
Unlocking this trophy will require beating Wedge’s high score of 8 darts by reaching the target score using just 7 darts. The lowst score you can achieve is 5 darts.
To do this, you will want to aim for the triple 20 on the board, which will give you 60 points, much better than the 50 points you get for a bullseye. Make sure you throw your darts while the crosshair is as small as possible, or your throw will be less accurate.
When you’re just one dart away from winning, the board will highlight winning sections in yellow so you should aim for those.
You can retry as many times as you like so just keep attempting this until you manage to beat Wedge’s score. If you do, he’ll give you a Luck Up Materia at the end of Chapter 4.
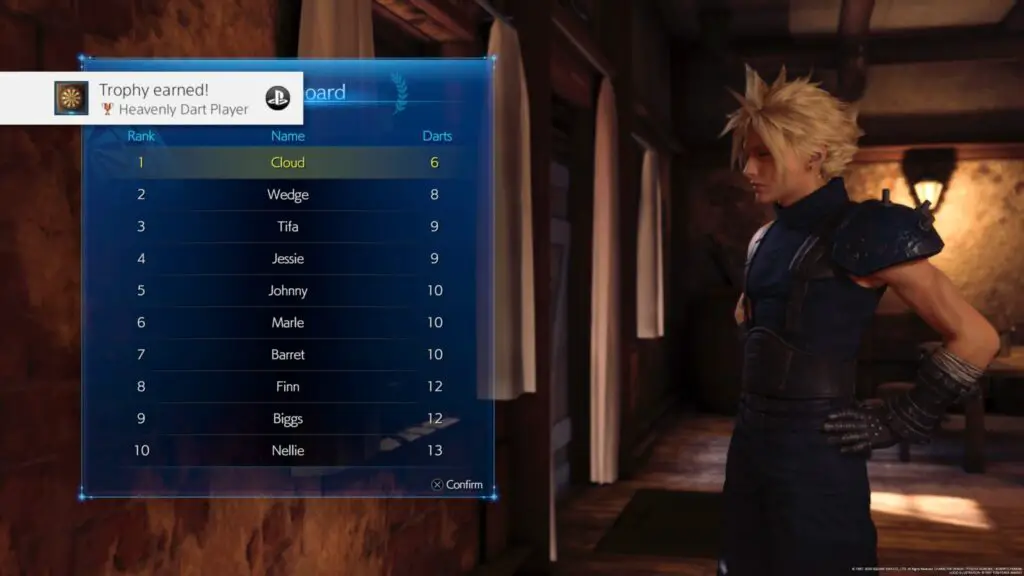

Biker Boy
Get praised by Jessie at the end of the motorcycle mini-game.
This trophy can be earned in Chapter 4.
At the start of this chapter, there’s a minigame where you’ll be riding a motorbike with Jessie. The only requirement for this trophy is that you reach the end of this sequence with at least 75% of your HP intact (naturally, this is easier on Easy difficulty).
If you are successful, you’ll get a small cutscene with unique dialogue at the end of this sequence, as well as the trophy. However, if you are not successful, worry not as you can simply use chapter select to try again during phase two of this FF7 Remake Trophy Guide.

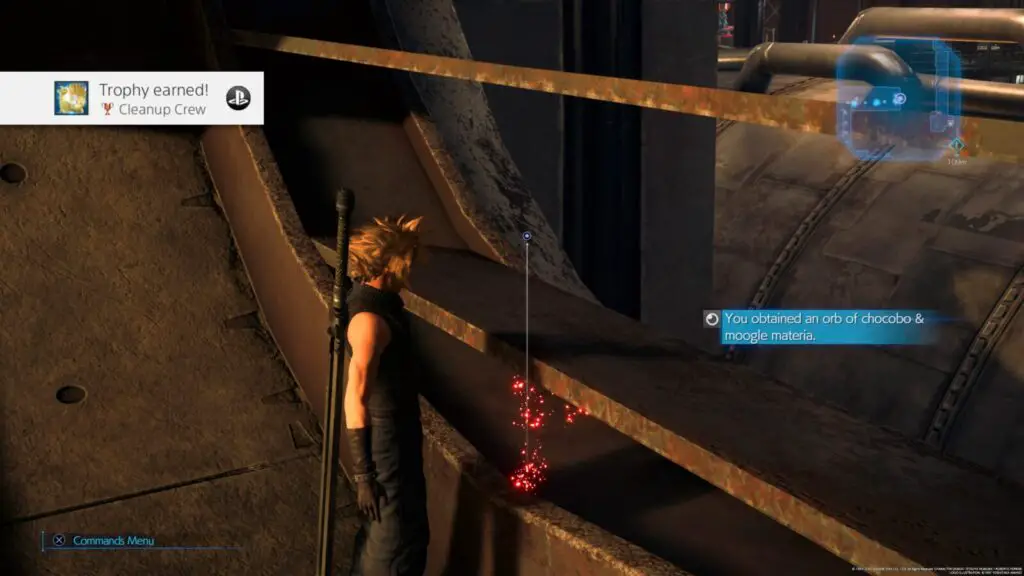
Cleanup Crew
Obtain the Chocobo & Moogle materia.
This trophy can be earned in Chapter 6, by finding the red Chocobo & Moogle Summon Materia.
Once you have deactivated all 3 Sun Lamps in Chapter 6, you’ll be ready to go down to Mako Reactor 5. However, you should go and grab this materia before leaving. Look at your map with ![]() and you’ll see an unexplored area to the west.
and you’ll see an unexplored area to the west.
Inside, you’ll find a vending machine which is selling a disc you will need for the Disc Jockey trophy. Just past that vending machine is a door leading to a secret challenge room. Here, you’ll have just one minute to defeat all enemies and reach the generator so you can stop the timer. If you’re successful, you’ll be able to access a ventilation shaft through a nearby door, which leads to the red summon materia you need.

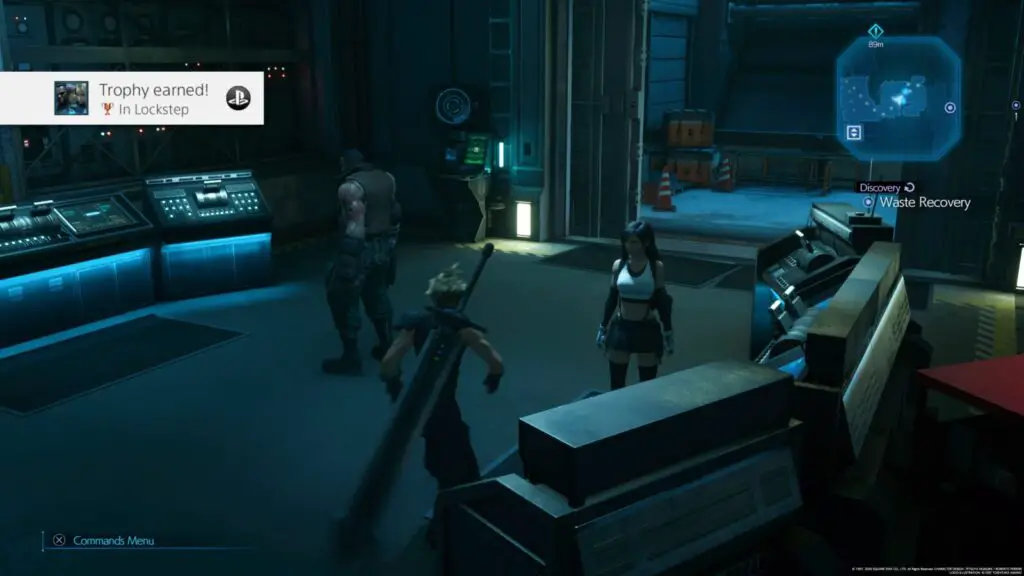
In Lockstep
Bypass the delta-level security lock in Mako Reactor 5.
During Chapter 7, you’ll be able to earn this trophy within the “Security Ops” room of the “Front Gate” floor, which you’ll reach shortly after disposing of various machine parts which will affect the upcoming boss.
In the aforementioned Security Ops room, you’ll find a purple “Discovery” objective, pointing to a computer panel nearby. Interact with it to begin. Barrett will point out that the large door leads to the “Treasure Vault” and then the group will agree to attempt opening it.
To open the door, you will need to pull/push the two levers using ![]() and
and ![]() in perfect time with Tifa. The difficulty is that you must do this three times without making any mistakes or the sequence will reset.
in perfect time with Tifa. The difficulty is that you must do this three times without making any mistakes or the sequence will reset.
Just keep practicing until you’re finally successful and the trophy will unlock as soon as the lever puzzle is over, you don’t actually need to enter the treasure vault. Though, why wouldn’t you?

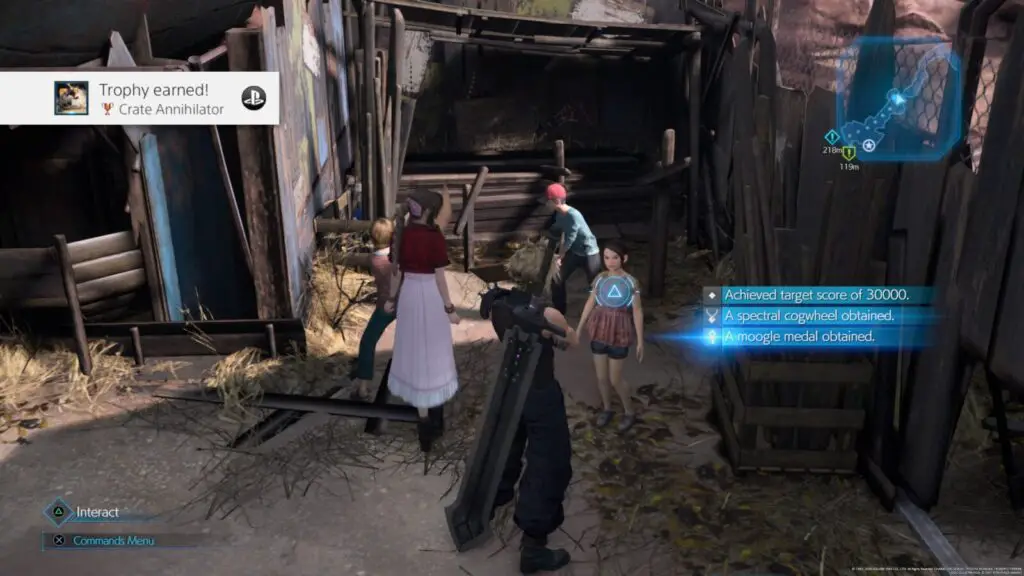
Crate Annihilator
Complete all Normal difficulty Whack-a-Box challenges.
This trophy can be earned during Chapter 8, but you must first complete a side quest called “A Verified Hero” for the “Whack-a-Box” Mini-game to become accessible.
Once you’ve completed “A Verified Hero” talk to the NPC a second time to start the challenge, where you’ll need to beat the high score of 30,000. This can be quite difficult, so I’d recommend you focus on hitting every red extra-time box that you can find to extend the timer as much as possible, and also use the “Triple Slash” ability on the tougher 1,500-point boxes. Triple Slash is an ability specific to the Iron Blade.
Here are a few more tips:
- The “Braver” ability can also be useful for the larger boxes.
- Don’t waste time on 1,500-point boxes which aren’t blocking your path. There are some which are off to the side, and the ratio of time lost to points gained doesn’t make it worth the effort.
- Don’t try to clear every box in an area, focus on hitting extra-time boxes and large clusters of boxes for maximum efficiency.
- Holding
 will do a 360-slash which will destroy yellow boxes in one hit and blue boxes in two.
After a few attempts you’ll surely be able to pull it off and unlock this trophy.

Summon Slayer
Defeat a summon in battle.
The earliest you can unlock this trophy is in Chapter 8. The only way to battle Summon enemies is via Chadley’s VR Missions.
To unlock the first of these battles (against Shiva) you will need to complete your first 4 intel reports for Chadley. As you’ll be attempting to complete them all for Intelligence Agent, you should hopefully have more than 4 completed by Chapter 8.
Fight and defeat Shiva in Chadley’s VR Combat Simulation to unlock this trophy.

If you happen to fight Fat Chocobo, Leviathan, or Bahamut instead this trophy will still unlock, but Shiva is the first available Summon fight.

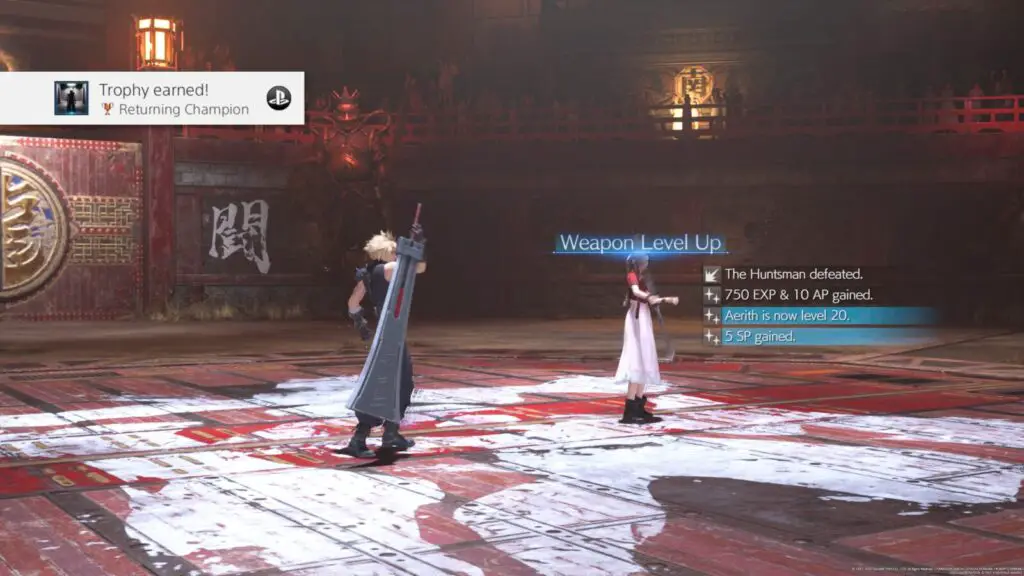
Returning Champion
Emerge victorious from a colosseum sparring session.
This trophy can be earned in Chapter 9, once you have defeated the Hell House enemy in the Colosseum.
On your way out, one of the colosseum staff will tell you that you can return any time if you want to fight more enemies. This is the only time you can complete Aerith’s Colosseum Challenges which you will need to do at some point anyway for the Ultimate Weapon trophy, so you should do that right away.
Upon completing any of the colosseum challenges, Aerith’s or otherwise, you’ll unlock this trophy. You can also unlock it by returning during Chapter 14 if you wish, but Aerith’s challenges won’t be available then.

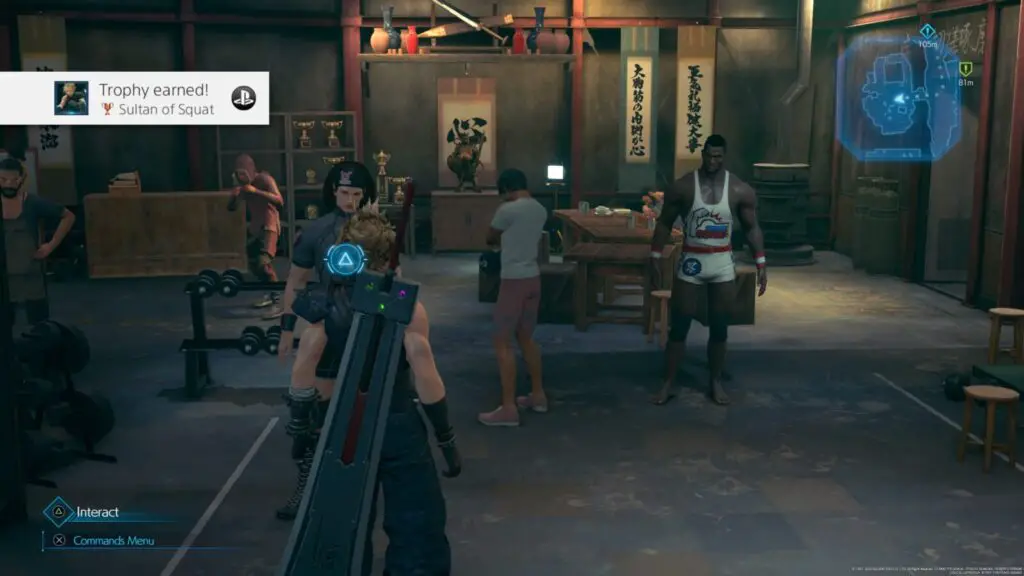
Sultan of Squat
Complete all squat challenges.
You can unlock this trophy by playing the squat minigame in the gym during Chapter 9, but you will first need to complete the “Burning Thighs” side-quest.
You will need to beat the “Pro” difficulty challenge by pressing ![]() ,
, ![]() ,
, ![]() , and
, and ![]() in the correct order with the right timing to perform more squats within the time limit than your rival.
in the correct order with the right timing to perform more squats within the time limit than your rival.
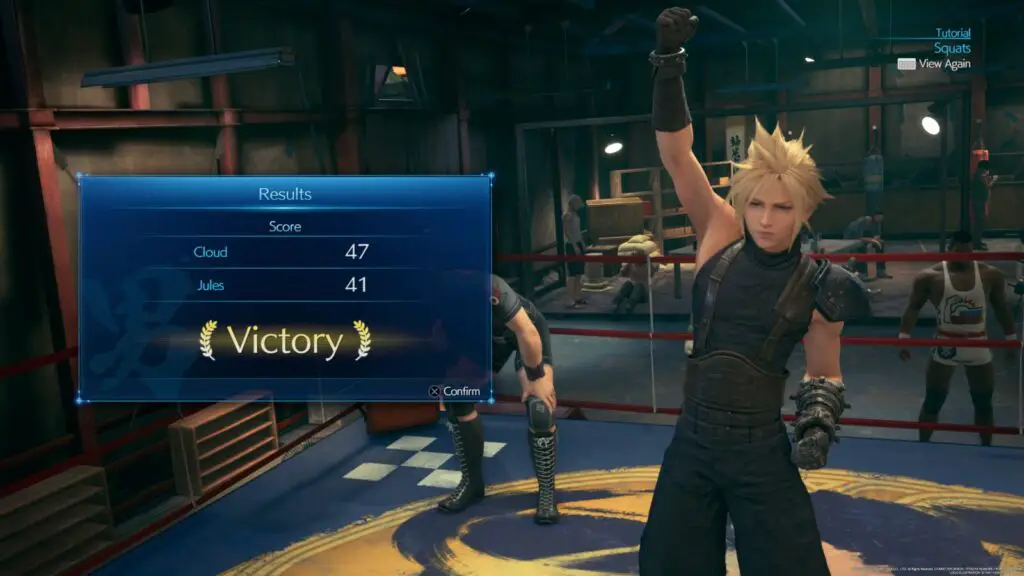
Successfully completing the Pro difficulty Squat minigame will unlock this trophy.

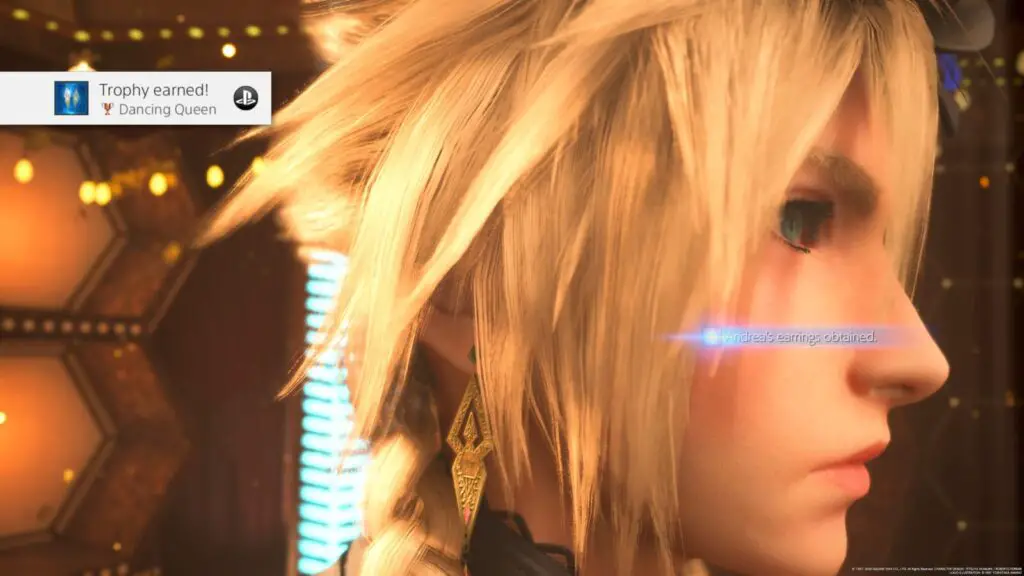
Dancing Queen
Received a gift from Andrea for being a dance superstar.
You may like to make a backup save before entering the Honeybee Inn at the end of Chapter 9, because if you miss this trophy you will need to play through the entirety of Chapter 9 again, and it’s a very long chapter. That being said, you’ll need to play through it at least three times for the Dressed to the Nines trophy, giving you plenty of opportunity to earn this trophy.
At the end of Chapter 9, you’ll enter a dancing minigame of sorts inside the Honeybee Inn. You will need to press the on-screen button prompt with the best possible timing to earn as many “Great” ratings as you can.
Honestly, the sequence isn’t difficult at all and it’s very likely you’ll achieve this on your first attempt, especially due to the fact that the game gives you a small tutorial beforehand.
If you do well enough, Andrea will give you an item and the trophy will unlock.

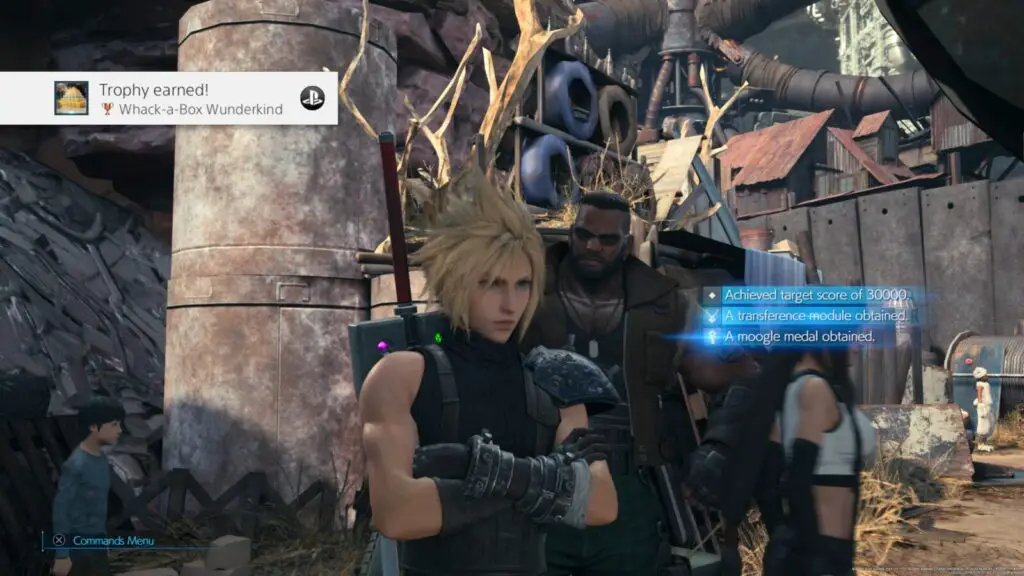
Whack-a-Box Wunderkind
Complete all Hard difficulty Whack-a-Box challenges.
Despite the misleading trophy description, you do not need to be playing the game on Hard Difficulty to earn this trophy.
This trophy can be unlocked in Chapter 14. You will need to revisit the NPC in the children’s hideout and then speak to them to attempt the new “Pro Challenge”.
The strategy here is the same:
Focus on hitting every red extra-time box that you can find to extend the timer as much as possible, and also use the “Triple Slash” ability on the tougher 1,500-point boxes. Triple Slash is an ability specific to the Iron Blade.
- The “Braver” ability can also be useful for the larger boxes.
- Don’t waste time on 1,500-point boxes which aren’t blocking your path. There are some which are off to the side, and the ratio of time lost to points gained doesn’t make it worth the effort.
- Don’t try to clear every box in an area, focus on hitting extra-time boxes and large clusters of boxes for maximum efficiency.
- Holding will do a 360-slash which will destroy yellow boxes in one hit and blue boxes in two.
Again, you’ll likely need to go a few rounds as practice, but once you have figured out a route that works for you, you’ll be able to pull it off no problem.

Peeress of Pull-Ups
Complete all pull-up challenges.
You will be able to unlock this trophy during chapter 14, once you have completed the side-quest “Wavering Heart” at the gym. This will give you access to the pull-up challenge.
Much like Sultan of Squat, you will need to beat your rival on the Pro difficulty challenge to unlock this trophy. The controls are the same as the squat challenge, but the pattern you need to input with the face buttons will change each time.

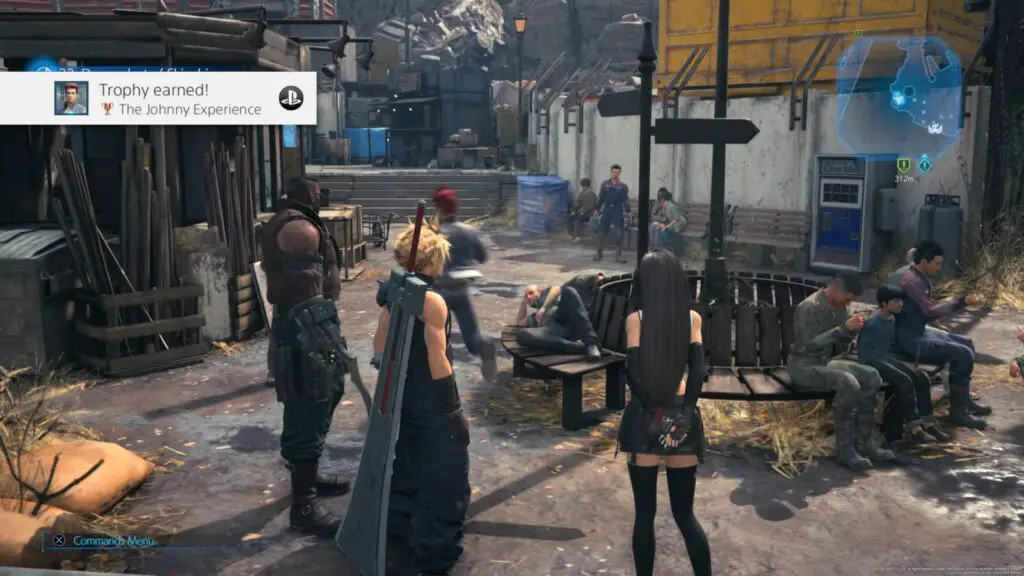
The Johnny Experience
Witness all Johnny-related incidents.
As part of the story in Chapter 3, you’ll have your first run-in with Johnny. Johnny is an obnoxious and chaotic red-head who seems to cause trouble wherever he goes, but many of your run-ins with him will be optional. In order to collect this trophy, you’re going to need to ensure you meet Johnny at every opportunity.

This has to be done in a single playthrough, so Chapter Select won’t cut it. For that reason I strongly recommend you do everything you need to in order to earn this trophy on your first playthrough. This will also align with my suggestions for your first playthrough towards the Dressed to the Nines trophy so you should be able to smash this trophy out no problem.
Here’s a breakdown of all the Johnny Incidents and how to trigger them:
- Your first Johnny Incident occurs during Chapter 3. It’s all part of the story so there’s no risk of missing it.
- Your next Johnny Incident won’t be until Chapter 9. As you make your way towards Don Corneo’s mansion, Johnny will come speeding past you, activating a Discovery quest. Chase him down and speak with him. Say “Yeah” when the option becomes available.
- This incident also occurs in Chapter 9. It’s tied to the side quest “The Party Never Stops”. Follow Johnny around throughout the quest until it is complete.
- The fourth Johnny Incident will occur another 5 chapters later in Chapter 14. There, you’ll find Johnny hanging around the Station and he’ll give you a side-quest called “Tomboy Bandit”. Complete the Side Quest.
- Be sure to return the stolen purse to Johnny after completing “Tomboy Bandit” for this final Johnny Incident.
Hopefully, you completed all 5 objectives within a single run, so the trophy will unlock once you’ve given him the purse, as he dashes away.
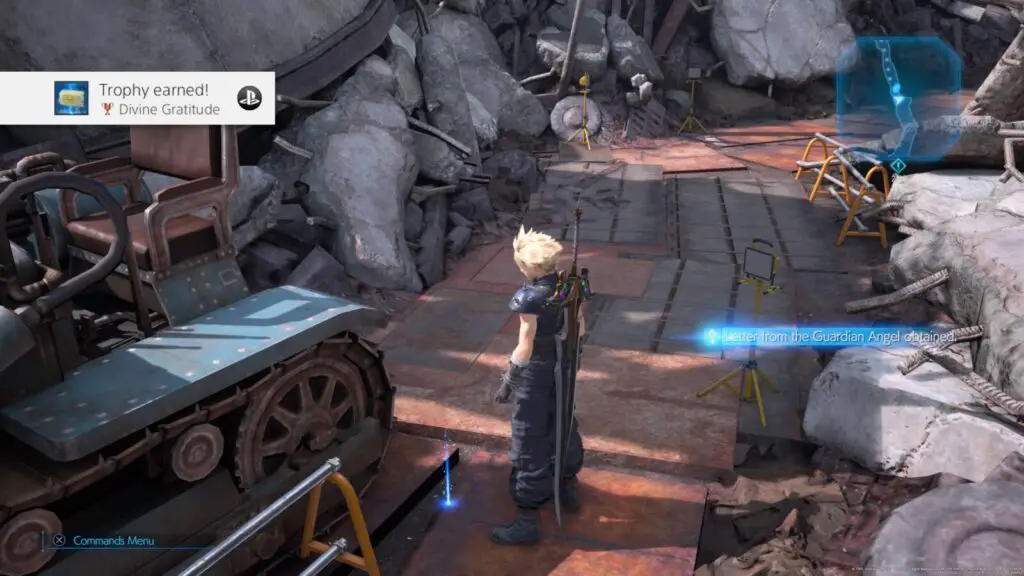
Divine Gratitude
Receive a letter from an angel.
To unlock this trophy, you must complete every possible side-quest in the game during a single playthrough. This isn’t strictly possible, so the actual number you need to complete is 24/26 (because you can only complete 3/5 in Chapter 9 without chapter select).
If you’ve successfully completed 24 side-quests by the end of Chapter 14, you will see a letter on the side of the path leading to Chapter 15. You can find it in the narrow scrap-filled path leading up to the wall with “Avalanche” spray-painted onto it.
You’ll get a warning letting you know that you’ve reached a point of no return if you get too close to the aforementioned spray-painted wall, which should act as a reminder for you to double-check you grabbed the letter and, consequently, the trophy.

Music Collector
Collect 3 music discs.


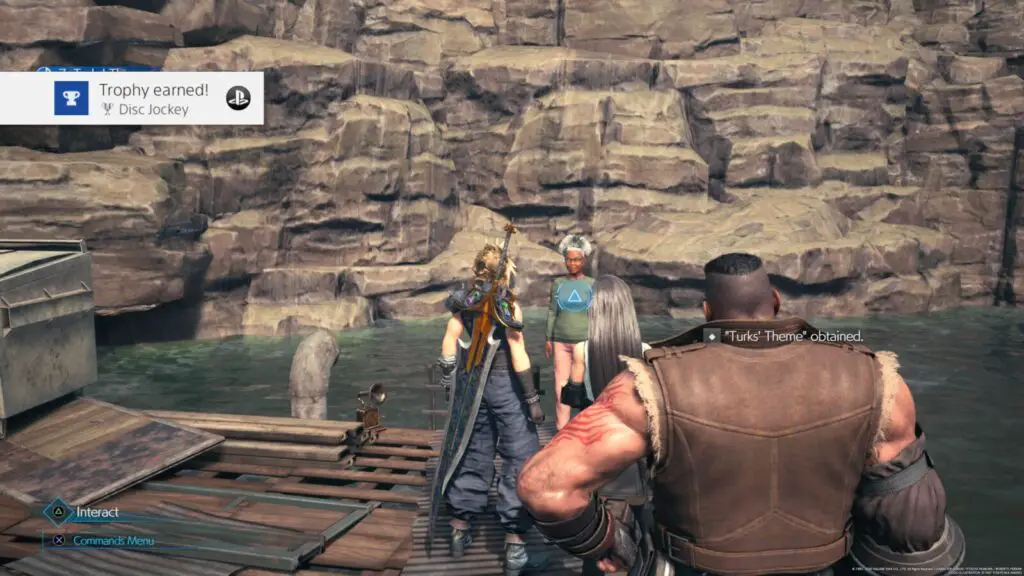
Disc Jockey
Collect all music discs.
The two trophies above require you to collect Music Discs. There are 31 Music Discs in total and “Disc Jockey” will require you to collect them all. This means that “Music Collector” (awarded for collecting 3 Music Discs) is guaranteed to unlock.
Obviously, if you miss any Music Discs, you can use Chapter Select to find them. The Chapter Select menu will even show you how many Discs you have not collected in each Chapter.
However, if you use this list, you should be able to collect them all in your first playthrough, avoiding any backtracking. The list is written in chronological order.
| Name | Chapter | Location |
|---|---|---|
| Disc 03: Tifa’s Theme | 3 | The First Music Disc you receive, found in the Jukebox at Seventh Heaven. |
| Disc 01: The Prelude | 3 | Purchase this Disc from the Item Shop Vendor during Chapter 3. |
| Disc 04: Barret’s Theme | 3 | Sold at a food stall by the Sector 7 train station. You can revisit this station once you have unlocked Side Quests. |
| Disc 27: Hip Hop de Chocobo | 3 | Sold by a man standing next to a gramophone next to a club. You can find it by heading down the path to the right of the bar, where you follow Johnny after first meeting him. |
| Disc 28: Stamp | 5 | In the “Former Rail Yard” area, shortly after a fight with some flamethrower turrets, you’ll find yourself in a break room with a bench and a Vending Machine, you can buy this disc there. |
| Disc 18: Electric de Chocobo | 6 | After switching off the three Sun Lamps, before taking the elevator to the next area, press |
| Disc 02: Bombing Mission | 7 | This disc is also purchased from a vending machine, found in a room in the “Front Gate” area, after a sequence where all three characters must interact with 3 switches at the same time to progress. |
| Disc 21: Cait Sith’s Theme | 8 | Once you arrive at the Sector 5 Slums Train Station with Aerith, look for a vending machine next to a bench, you can purchase this disc there. |
| Disc 25: Tango of Tears | 8 | After dropping flowers off at the Leaf House with Aerith, you’ll be given some free time to explore. The next building over to the left of the Leaf House has a jukebox inside with this music disc. |
| Disc 19: Costa del Sol | 8 | Buy this from the Materia store in the Sector 5 Slums. |
| Disc 20: Gold Saucer | 8 | Buy this from the Moogle Shop in the Children’s Secret Hideout. It will cost 1 Moogle Medal. |
| Disc 22: Cosmo Canyon | 9 | In the Collapsed Expressway area, you’ll need to use a giant robotic arm to help Aerith cross the rubble. After doing this for a second time, you’ll find a vending machine at the end of the path, where the road is collapsed. You can buy this disc there. |
| Disc 10: Honeybee Inn | 9 | Buy this disc from the Item Shop in Wall Market. |
| Disc 17: Farm Boy | 9 | Go north from Chadley’s location and head up the stairs, there’s a bar up here with several girls hanging out on a porch. Nearby, there’s a girl playing this music quite loudly, dressed as a Cowgirl. Talk to her and she’ll give you this disc. |
| Disc 08: Under the Rotting Pizza | 9 | South of the hotel in Wall Market, you’ll find a small street with a Jukebox on it. Interact with the Jukebox to get this disc. |
| Disc 29: The Midgar Blues | 9 | Opposite the gym, there’s a Karaoke Bar. Approach the stage and speak to the man singing Karaoke and he’ll give you this disc. |
| Disc 26: Let the Battles Begin! -REMAKE- | 9 | This disc is very missable. You may want to make a manual save here. When you go to the Honeybee Inn for the story, three of the waitresses will offer you a dance tutorial in preparation for the next part of the story. In order to unlock this disc, you need to get a perfect score. That’s 10 “Great” ratings. If you don’t get a perfect score, just retry repeatedly until you’re successful, before proceeding. |
| Disc 11: Don of the Slums | 9 | Once Cloud, Tifa, and Aerith are together again towards the end of this chapter, go to the Don Corneo-shaped vending machine at the back of the room. There, you can purchase this disc. |
| Disc 09: The Oppressed | 10 | Once you have drained the water in Aqueduct 1, you’ll be able to progress into the next room. There, you’ll find a vending machine which sells this disc. |
| Disc 06: Let the Battles Begin! | 11 | Just outside of the Control Room’s eastern-most entrance inside the train yard, there’s a Vending Machine next to a Bench. There, you’ll be able to buy this disc. |
| Disc 15: On Our Way | 13 | At the “Evergreen Park” playground, after exiting the tunnels, you’ll find many merchants selling wares. Here, you’ll need to purchase this disc from the Item Shop. |
| Disc 14: Main Theme of FFVII | 13 | In the Underground Test Site B1 Break Room, there’s a vending machine which is hard to miss. The disc can be purchased there. |
| Disc 23: Descendant of Shinobi | 14 | Next to Johnny at the Sector 5 Train Station. Can also be found during Chapter 8. |
| Disc 07: Turk’s Theme | 14 | On the long path between Sector 6 and Sector 5, there’s a small off-shoot path that leads to a lake and then loops back around to the main path. Here, there’s a woman staring over the lake and she’ll give you this disc if you speak to her. |
| Disc 16: Good Night, Until Tomorrow | 14 | Go inside the Hotel in Wall Market and speak with the old man in a white shirt standing next to the reception desk. He’ll give you this disc. |
| Disc 12: Fight On! | 14 | Buy this disc from the souvenir shop in the Colosseum entrance hall. |
| Disc 30: Stand Up | 14 | Down the left side of the Honey Bee Inn entrance, there’s an alleyway where you’ll find a woman. Speak to this woman and she’ll give you this disc. |
| Disc 24: Wutai | 14 | Head down the path leading west between the Colosseum and Corneo’s Mansion. There, you’ll find a man playing music. Speak to him and he’ll give the music to you on disc. |
| Disc 13: The Case | 14 | While making your way through the sewers, the story will take you through a small room containing a bench and vending machine. Buy this disc from the vending machine. |
| Disc 05: Lurking in the Darkness | 15 | In the Collapsed Sector 7 Plate area at “65M Above Ground Level” and near some stairs where your objective marker is, there’s a Vending Machine selling this disc. |
| Disc 31: Scarlet’s Theme | 16 | In the Combat Simulator Lounge at Shinra HQ. Next to the Combat Simulator, there’s a vending machine selling this disc. |
Phase Two – Chapter Select & Optional Level Grind
You have a few main objectives in this second phase of our FF7 Remake Trophy Guide;
- Firstly, you should take a moment to mop up any of the Missable Trophies from Phase One which you missed, by using chapter select.
- You will need to use chapter select to complete Playthrough Two from our Dressed to the Nines Guide, where you’ll replay Chapter 3, Chapter 8, and Chapter 9. This will bring you one step closer to the Dressed to the Nines trophy you’ll be earning in Phase 3. You will also earn Best in the Business here if you complete the two quests in Chapter 9 that you couldn’t complete before.
- Also, use chapter select to complete any remaining Battle Intel Reports for Chadley to unlock the Intelligence Agent trophy.
- You’ll need to use the Enemy Skill Materia you earn from Chadley’s Battle Intel Report #16 to learn abilities from 4 different enemies. Again, Chapter Select will make this easy. You’ll earn Master of Mimicry and That’s the Smell.
- Use the improved Combat Simulator in Chapter 17 to level up your characters to Level 50, making you more prepared for the Hard Difficulty playthrough in Phase Three of this FF7 Remake Trophy Guide.
- Use the Combat Simulator in Chapter 17 to learn all Weapon Abilities for the Weapons Expert trophy.
- Defeat Pride and Joy in the Hard Difficulty Combat Simulator. We have an excellent guide for this here. This will earn you the Ultimate Weapon trophy and give you an item that will be infinitely helpful for Hard Difficulty.
Complete all Side-Quests

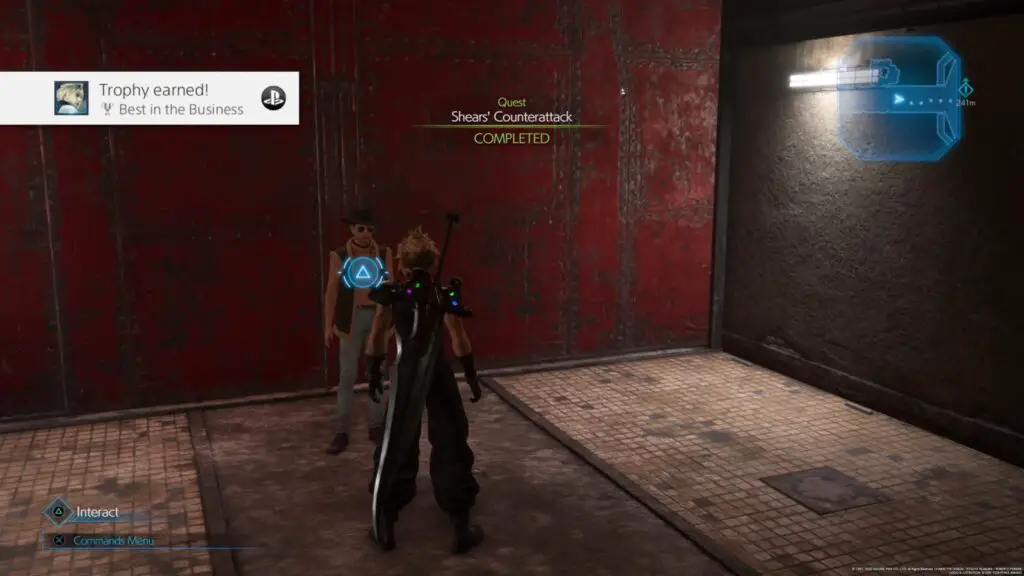
Best in the Business
Complete all quests.
In order to unlock this trophy you will need to complete all 26 side quests in the game. The reason this trophy is part of Phase 2 is that it is impossible to complete in a single playthrough. You can only complete 3 of the 5 side quests in Chapter 9 at any given time, meaning you’ll need to return using Chapter Select to complete the remaining 2.
Below you’ll find a miniature side quest guide to help you find and begin each of the 26 quests. Note that quests are typically marked on the map at a green exclamation mark icon, so you should frequently check your map with ![]() to look for new side quests.
to look for new side quests.
Chapter 3 Side Quests
- Chadley’s Report
- Lost Friends
- Rat Problem
- On the Prowl (First complete Rat Problem)
- Nuisance in the Factory
- Just Flew in from the Graveyard (First complete Nuisance in the Factory
Chapter 8 Side Quests
- The Mysterious Moogle Merchant
- Weapons on a Rampage
- Paying Respects (First, complete Weapons on a Rampage)
- Kids on Patrol
- A Verified Hero (First, complete Kids on Patrol)
- The Angel of the Slums (First, complete A Verified Hero)
Chapter 9 Side Quests – Always Available
- Burning Thighs
Chapter 9 Side Quests – Route One
If you activate these side quests, the side quests in route two will not be available in this playthrough. I recommend you do these side quests in your first playthrough as they include Johnny Incidents.
To start these quests, you must do the following:
- When Sam at the Chocobo ranch (first place you approach when you reach Sector 6 / Wall Market) asks you to describe Tifa, say “She’s in great Shape”.
- After this, you’ll head towards a Pagoda at the top of some stairs and you’ll see Johnny come speeding past you. Go follow him! Once you catch up, choose the dialogue option “Yeah”.
- There’s a guy standing outside the hotel in Wall Market, speak to him and select the dialogue “How much?”
- Now speak to the receptionist within the hotel and select “Yes”.
- Now head to the Pagoda you were walking towards when you saw Johnny, there you’ll be told to “speak to the trio”.
- Start with the Honeybee Inn, since you’ll just get turned away at the door.
- Now go and speak to Sam again outside the Chocobo Ranch, he’ll want to flip a coin, pick “No Deal”
- Now go and speak to Madam M at her Massage Parlour, choose the “Poor Man’s Course” for 100 Gil.
- After the massage, speak to Madam M and Aerith will ask how her dress looks, just say “It’s alright”.
- Lastly, complete “Underground Colosseum” objective.
Then, when you speak with Madam M, she’ll give you the following two side quests, from Sam:
- The Party that Never Stops
- A Dynamite Body
Chapter 9 Side Quests – Route Two
If you activate these side quests, the side quests in route one will not be available in this playthrough. To start these quests you must do the following:
- When Sam at the Chocobo ranch (first place you approach when you reach Sector 6 / Wall Market) asks you to describe Tifa, say “She’s great at handling the books”.
- This time, make sure you don’t talk to the Hotel receptionist, or the guy stood outside.
- When you’re heading towards a Pagoda at the top of some stairs and you see Johnny come speeding past you, ignore him. Don’t follow him, don’t talk to him, just keep on going to the pagoda where you’ll be told to “speak to the trio”.
- Start with the Honeybee Inn, since you’ll just get turned away at the door.
- Now go and speak to Sam again outside the Chocobo Ranch, he’ll want to flip a coin, pick “Heads”
- Now go and speak to Madam M at her Massage Parlour, choose the “Luxury Course” for 3000 Gil.
- After the massage, speak to Madam M and Aerith will ask how her dress looks, just say “Looks comfortable”.
- Lastly, complete “Underground Colosseum” and “Parting Ways” objectives.
Then, when you speak with Madam M, she’ll give you the following two side quests, from herself:
- The Price of Thievery
- Shears’ Counterattack
Chapter 14 Side Quests
- The Power of Music (See Disc Jockey for Music Disc locations)
- Malicious Goons
- Wavering Heart
- Chocobo Search
- Missing Children
- Tomboy Bandit
- Secret Medicine
- Subterranean Menace
- Corneo’s Secret Stash (We have a guide specifically written for this side quest. Go check it out!)
You should hopefully have completed 24/26 of the game’s side-quests and thus earned yourself the Divine Gratitude trophy by the time you reach this phase of our FF7 Remake Trophy Guide, which will leave just the two side-quests in Chapter 9 that you couldn’t complete before.
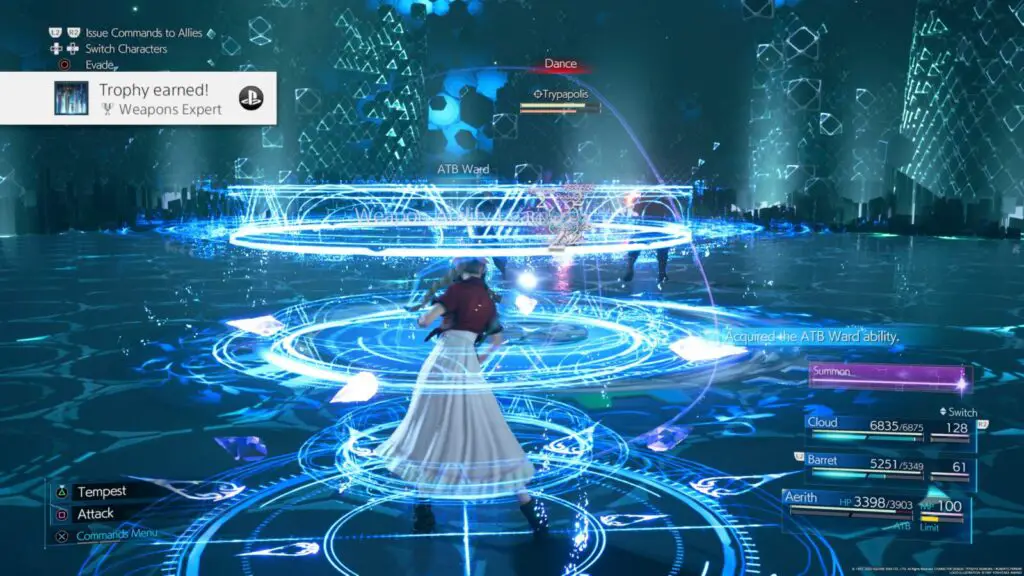
Weapons Expert

Weapons Expert
Learn all weapon abilities.
For this trophy, you’re going to need to learn the abilities from all 24 weapons in the game. Learning an ability is as simple as maxing out your proficiency with the related weapon.
To reach 100% proficiency with a weapon, you’ll first need to equip it. Then, during combat, you’ll find the weapon’s exclusive ability in the Abilities menu. By using the ability, you’ll increase proficiency a small amount. Reaching 100% typically takes around 10 uses of a weapon’s specific ability.
Of course, before that, you’ll actually need to find them all. Below you’ll find a list of all 24 weapons and where they’re found.
Cloud’s Weapons
| Weapon | Ability | Location |
|---|---|---|
| Buster Sword | Focused Thrust | Cloud’s default weapon. |
| Iron Blade | Triple Slash | You’ll get this as part of the story in Chapter 3. |
| Nail Bat | Disorder | You’ll get this as a quest reward for completing the side-quest “Kids on Patrol” in Chapter 8. |
| Hardedge | Infinity’s End | You can purchase this from the Weapon Shop in Wall Market during Chapter 9. |
| Mythril Saber | Blade Burst | You can purchase this from the Weapon Shop in Wall Market during Chapter 14. |
| Twin Stinger | Counterstance | You will find this in a purple chest during Chapter 17, after using Red XIII to cross a gap via pods sticking out of the wall. It’s in fairly plain sight. |
Tifa’s Weapons
| Weapon | Ability | Location |
|---|---|---|
| Leather Gloves | Divekick | Tifa’s default weapon. |
| Metal Knuckles | Overpower | You’ll get this as part of the story in Chapter 5. |
| Sonic Strikers | Focused Strike | You will find this in a purple chest during Chapter 7, in the area titled “Mako Reactor 5 – B5 Connecting Passageway. It’s hard to miss. |
| Feather Gloves | Starshower | After draining the water in Aqueduct 1 during Chapter 10, return to the area where the water was and you’ll find a purple chest containing these gloves. |
| Mythril Claws | Chi Trap | You’ll get this as part of the story in Chapter 13. |
| Purple Pain | True Strike | During Chapter 16, you’ll be in control of Tifa at a certain point, who is using the light fixtures hanging from the ceiling to jump across to a reception kiosk. As part of the story, she falls off and you need to climb onto a nearby car to make your way up to a ladder. Don’t climb the ladder without first heading for the Purple chest containing these gloves. You can reach it by jumping to some hanging bars to the right of the ladder. |
Barret’s Weapons
| Weapon | Ability | Location |
|---|---|---|
| Gatling Gun | Focused Shot | Barret’s default weapon. |
| Light Machine Gun | Lifesaver | You’ll get this as part of the story in Chapter 6. |
| Big Bertha | Maximum Fury | You can purchase this from the Weapon Shop at the Evergreen Park Playground in both Chapters 13 and 14. |
| Steel Pincers | Charging Uppercut | You can purchase this from the Moogle Emporium in the Children’s Hideout during Chapter 14. |
| Wrecking Ball | Smackdown | You’ll get this as a quest reward for completing the side-quest “Subterranean Menace” in Chapter 14. |
| EKG Cannon | Point Blank | After talking to the Mayor in Chapter 16, speak to his butler “Hart”, who will give you this weapon in exchange for 10,000 gil. |
Aerith’s Weapons
| Weapon | Ability | Location |
|---|---|---|
| Guard Stick | Arcane Ward | Cloud’s default weapon. |
| Silver Staff | Sorcerous Storm | You can purchase this from the Moogle Emporium in the Children’s Hideout during Chapters 8 and 14. |
| Arcane Scepter | Fleeting Familiar | You’ll get this as a quest reward for completing either one of the “A Dynamite Body” or “Shear’s Counterattack” side-quests in Chapter 9. |
| Mythril Rod | Ray of Judgement | In the “Switchyard 2 (Section C)” area during Chapter 11, you’ll find a purple chest if you go down a path to the right instead of going up the ladder to the left where your objective leads. |
| Bladed Staff | Lustrous Shield | To earn this trophy, you’ll need to equip “Steal” materia before fighting the Chapter 11 Boss “Eligor”. This will give you access to the “Steal” ability which you are going to need to use on Eligor. You’re not guaranteed to get the weapon on your first attempt, you’ll need to repeatedly use the ability multiple times until you’re lucky enough to get the Bladed Staff. |
| Reinforced Staff | ATB Ward | You will find this in a purple chest during Chapter 17, right at the beginning of the level. It’s in plain sight and hard to miss. |
Once you have all 24 weapons and have successfully upgraded their proficiency levels so as to learn all 24 abilities, the trophy will unlock.
Complete all Combat Intel

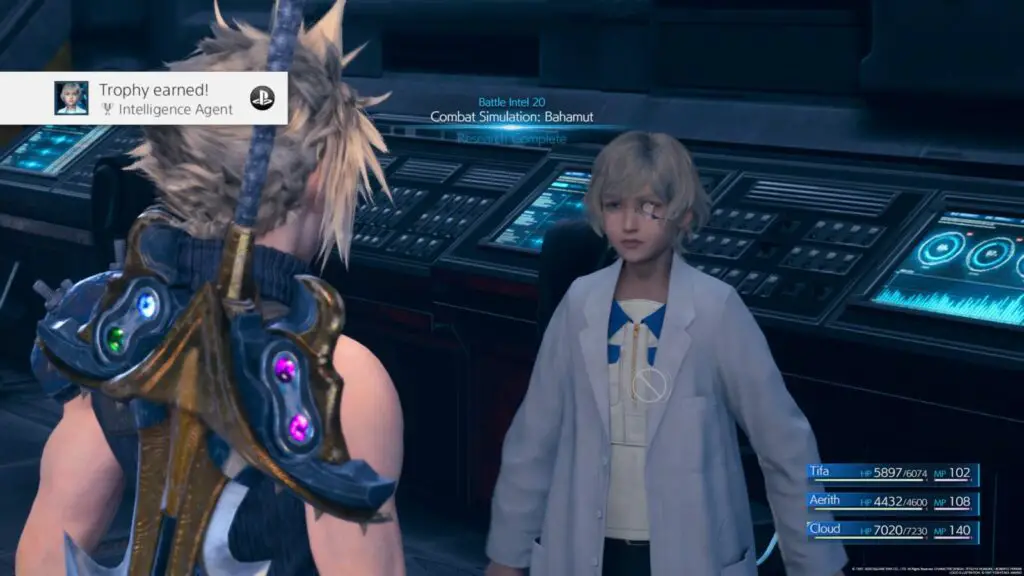
Intelligence Agent
Complete all battle intel reports.
You will find Chadley in all major settlements in the game;
- Sector 7 Slums in Chapter 3
- Sector 5 Slums in Chapters 8 and 14
- Wall Market in Chapter 9
- Near the Shinra VR Combat Simulator in Chapter 16
- Hojo’s Lab when you replay Chapter 17 from chapter select.
Chadley will give you more passive side-quests with objectives called Battle Intel Reports that you can complete throughout your many playthroughs of the game. Some of them will require you to complete battles within a battle simulation, and these are affected by the game’s difficulty setting so you can change this if you find yourself struggling.
Here are all 20 battle intel reports and how best to complete them:
| Intel Name | Intel Requirements |
|---|---|
| 1. Monster Bio Pt. 1 | Equip the Assess Materia that Chadley will give you and then use it in combat under “Abilities” when you have 1 ATB bar charged up. Do this on two different enemies to complete the report. |
| 2. Magic Elements Pt. 1 | You will need to use Fire, Ice or Lightning attacks on an enemy who is weak to that element, once for each element. |
| 3. The Stagger Effect Pt. 1 | While enemies are staggered, use unique |
| 4. The Stagger Effect Pt.2 | Stagger 15 different enemies. This is bound to occur naturally. |
| 5. Combat Simulation: Shiva | You will need to fight the Shiva summon inside Chadley’s Combat Simulation. You’ll be given the Shiva Summon Materia for this. |
| 6. Monster Bio Pt. 2 | Using the Assess materia again, Assess 10 new enemy types. |
| 7. Magic Elements Pt. 2 | Once again, use magic attacks to exploit enemy weaknesses, but this time you will need to exploit the elemental weaknesses of 15 different enemy types. |
| 8. The Manipulation Technique | Defeat multiple enemies (2 or more) with one attack. This is likely to happen naturally. |
| 9. Monster Variants Pt. 1 | Defeat 3 unique varieties of monster enemies. This is also likely to happen naturally. |
| 10. Combat Simulation: Fat Chocobo | You will need to fight the Fat Chocobo summon inside Chadley’s Combat Simulation. You’ll acquire the Fat Chocobo Summon Materia for this. |
| 11. Monster Bio Pt.3 | Time to whip out the ol’ Assess Materia again. This time you’ll need to assess 20 new enemy types. |
| 12. The Stagger Effect Pt. 3 | For this one, you’ll need to increase the stagger damage bonus to 200%. See the trophy Staggering Feat for a good method. Or, if you’d rather not wait until later in the game, here’s a guide to doing it sooner. |
| 13. Refocus Analysis | To complete this report, simply charge and activate Aerith’s default Limit Break “Refocus” two times. |
| 14. The Stagger Effect Pt. 4 | Simply stagger 40 enemy types. This is likely to happen naturally. |
| 15. Combat Simulation: Leviathan | You will need to fight the Leviathan summon inside Chadley’s Combat Simulation. You’ll acquire the Leviathan Summon Materia for this. |
| 16. Monster Bio Pt. 4 | You’ll need to use the Assess Materia to assess a whopping 30 more enemy types. If you’ve been doing this since the start as I suggested at the top of this FF7 Remake Trophy Guide, then you shouldn’t have too much trouble. Once you’ve completed this report, you can begin working on the Master of Mimicry trophy, using the Enemy Skill Materia which you’ll receive. |
| 17. Weapon Abilities | You’re going to need to learn all 24 weapon abilities for the Weapons Expert trophy, but all you need to do for this report is to learn just 16 of them. |
| 18. MP Consumption | For this report you’re going to need to level all 12 different types of magic materia to their maximum level. You will earn AP at the end of each fight which will go into the currently-equipped Materia and work towards levelling them up. The AP Up Materia will speed this process up if equipped. The Materia are as follows: 1. Fire Materia 2. Ice Materia 3. Lightning Materia 4. Wind Materia 5. Poison Materia 6. Cleansing Materia 7. Healing Materia 8. Revival Materia 9. Barrier Materia 10. Binding Materia 11. Subversion Materia 12. Time Materia |
| 19. Monster Variants Pt. 2 | Just defeat 10 unique varieties of monster enemies. This will likely occur naturally. |
| 20. Combat Simulation: Bahamut | You will need to fight the Bahamut summon inside Chadley’s Combat Simulation. You’ll acquire the Bahamut Summon Materia for this. |
The trophy will unlock once you’ve completed all 20 Intel Reports.
Deal 300% Stagger Damage

Staggering Feat
Deal 300% damage to a staggered enemy.
Note: The 600% stagger you achieve on a boss during Chapter 18 does not count for this trophy, unfortunately.
Getting 300% stagger can seem like a pretty daunting task, but it’s actually not too difficult with the use of Tifa’s many stagger-increasing skills and abilities.
I would recommend doing this against the Fat Chocobo boss in Chadley’s Combat Simulator as it stays staggered for much longer than any other enemy in the game. You will need to do this on either Normal or Hard difficulty, though, because if you deal this much damage to it on Easy difficulty you’ll surely defeat it before you can reach 300% stagger.
You’ll also want to have learned the “True” strike ability, which comes from the “Purple Pain” weapon. See the Weapons Expert trophy for details on where this is found.
Here’s how I managed it:
- Before the enemy is staggered, charge up two ATB charges and then use Tifa’s “Unbridled Strength” ability two times. This will upgrade her
 attack to a move called “Rise and Fall”.
 - Begin careful not to use your attacks yet, charge up another two ATB charges in preparation.
- Stagger Fat Chocobo.
- While it is staggered, hit it with “Rise and Fall” , which will then become Omnistrike.
- Hit it again with Omnistrike , which will become Whirling Uppercut once again.
- Now, use your 2 ATB charges to use Tifa’s True Strike ability twice.
- Continue attacking with Whirling Uppercut to charge up more ATB and also increase stagger damage by 5% per hit.
- If necessary, unleash one final True Strike attack once you have an ATB charge.
The trophy should unlock once you’ve completed the above combo on Fat Chocobo.

Note that Aerith’s “Ray of Judgement” ability can increase stagger damage percentage quite a lot, so you can try using that if you want, but it isn’t necessary.
Learn All Enemy Skills

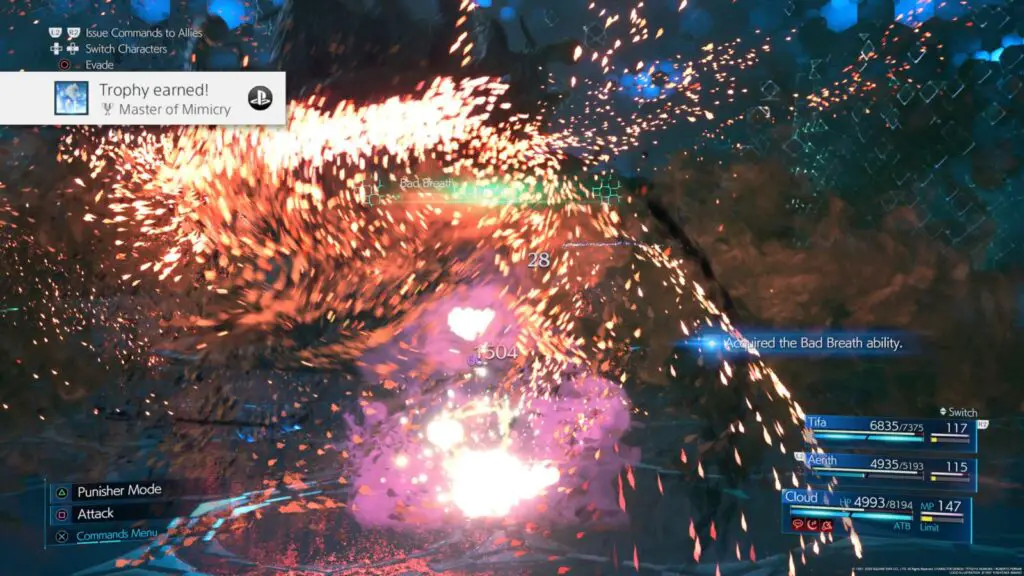
Master of Mimicry
Learn all enemy skills.
To begin learning Enemy Skills you’ll first need the “Enemy Skill” materia, which is given to you by Chadley once you complete the “Monster Bio Pt. 4” Intel Report.
The way that the Enemy Skill materia works is that you will learn an enemy’s skill if you’re attacked with it while the materia is equipped. Don’t panic, though, there’s actually only 4 skills that you can learn this way.
Below you’ll find details of each skill and where best to unlock it.
Algid Aura
Algid Aura can be learned from the Cerulean Drake enemy when it hits you with the Icy Aura attack. There are 3 places to find a Cerulean Drake:
- During the Side-quest “Just Flew in from the Graveyard” in Chapter 3.
- In the Train Graveyard after defeating the Phantom Boss in Chapter 11.
- In the Colosseum challenge “Two-Person Team vs. Team Payback”, which can be accessed from either Chapter 9 or Chapter 14.
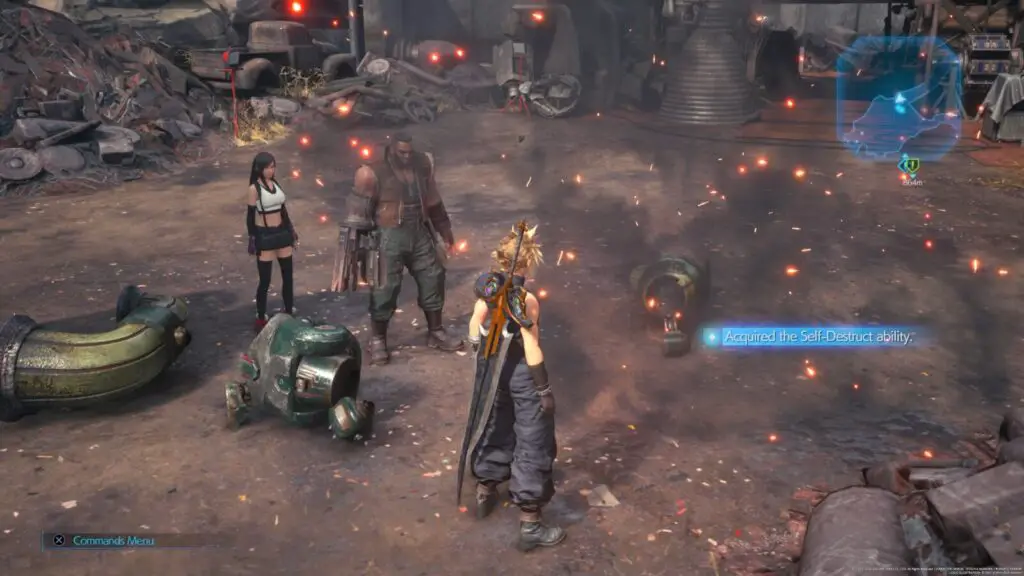
Self-Destruct
Self-Destruct can be learned from two different enemies; Bomb (using Apoptosis) and Smogger (using Self-Destruct).
The Bomb enemy can be most easily found in the following two locations:
- In the Colosseum challenge “Two-Person Team vs. Team Payback”, which can be accessed from either Chapter 9 or Chapter 14.
- In the Hard Mode-only Shinra VR Combat Simulation challenge “Three-Person Team vs. Monsters of Legend”, which can be accessed in Hojo’s lab when replaying Chapter 17 from Chapter Select.
The Smogger enemy can be most easily found in these two locations:
- In the scrapyard at the Sector 5 Slums, as a random encounter. Accessible during Chapters 8 and 14.
- In the Shinra Tower VR Combat Simulation challenge “Three-Person Team vs. Team Ragbag” accessible in Chapter 16 and Chapter 17.
Spirit Siphon
Spirit Syphon can be learned from the Phantom enemies when they use Essence Drain. There are two places where you can easily find a Phantom for this:
- During the Chapter 14 side quest “Missing Children” you’ll need to fight a group of Phantoms at the graveyard.
- In the Shinra Tower VR Combat Simulation challenge “Cloud/Tifa/Barrett/Aerith vs. SOLDIER Trainees”, accessible during Chapter 16 and Chapter 17.
Bad Breath
Bad Breath can only be learned from the Malboro enemy, when it uses the Bad Breath attack. The Malboro is both difficult to reach and slightly tricky to defeat. It can only be fought via the Shinra Combat Simulator at Hojo’s Lab in Chapter 17 while playing the game on Hard difficulty. You’ll come face to face with it at the end of a long 5-wave challenge called “Three-Person Team vs. Monsters of Legend”. You’ll want to use this Hard Combat Simulator Guide to see you through the fight.
If you succeed in defeating it, you’ll also earn this trophy:

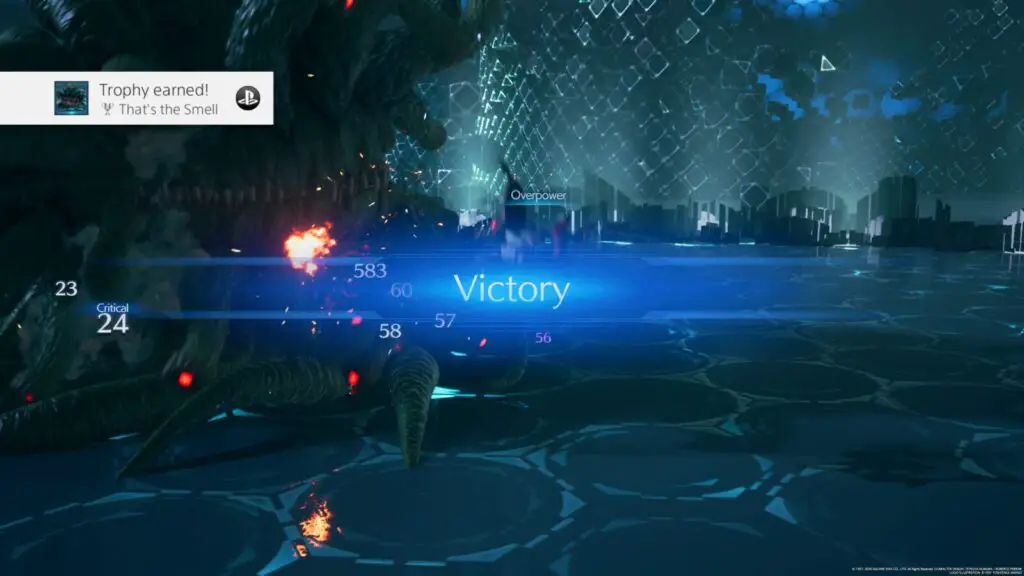
That’s the Smell
Defeat a malboro.
As you’ll need to let the powerful Malboro hit you with its Bad Breath attack for the Master of Mimicry trophy, it can be quite difficult to defeat in that same attempt. The Bad Breath attack will hit you with a whole stack of negative effects. So, it may be that you need to fight it twice, once to defeat it for this trophy, and a second time to let it hit you with Bad Breath.
Either way, this Hard Difficulty Combat Simulator Guide will help you reach and defeat it at the end of the challenge called “Three-Person Team vs. Monsters of Legend” found in the Hard Mode Chapter 17 Combat Simulator.
Defeat Pride and Joy


Ultimate Weapon
Defeat the Pride and Joy prototype.
After defeating Malboro in the Hard Mode Combat Simulator, don’t abandon our Hard Difficulty Combat Simulator Guide just yet! You’ll need it to complete the “Three-Person Team vs. Top Secrets” combat challenge next.
In this brutal combat simulation you will need to defeat Shinra, Fat Chocobo, Leviathan, and Bahamut again just to reach the challenge’s final boss; Pride and Joy. Luckily, the Pride and Joy fight is actually a lot easier than the hard difficulty Leviathan and Bahamut fights, so if you can just reach it you should be A-OK!
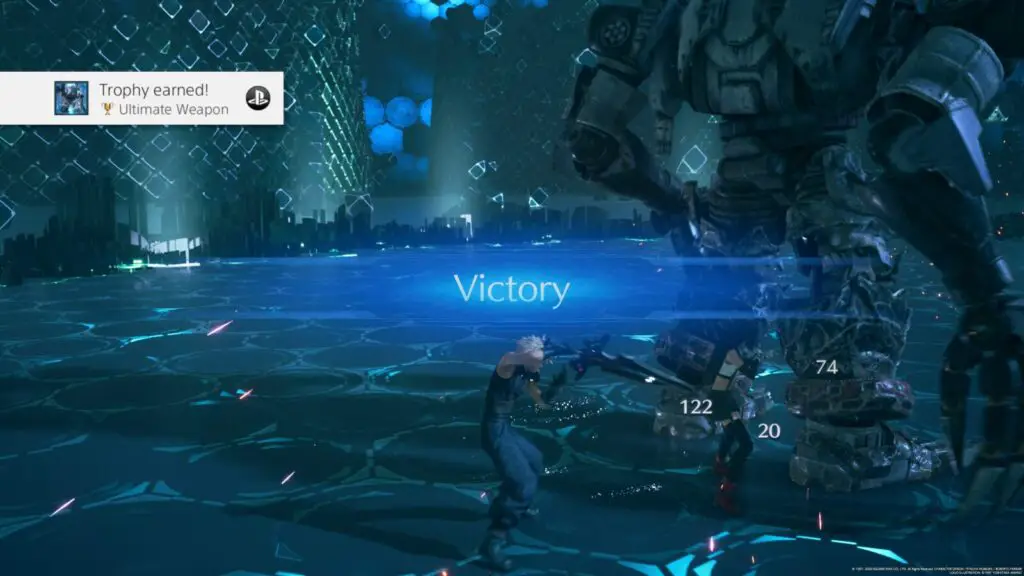
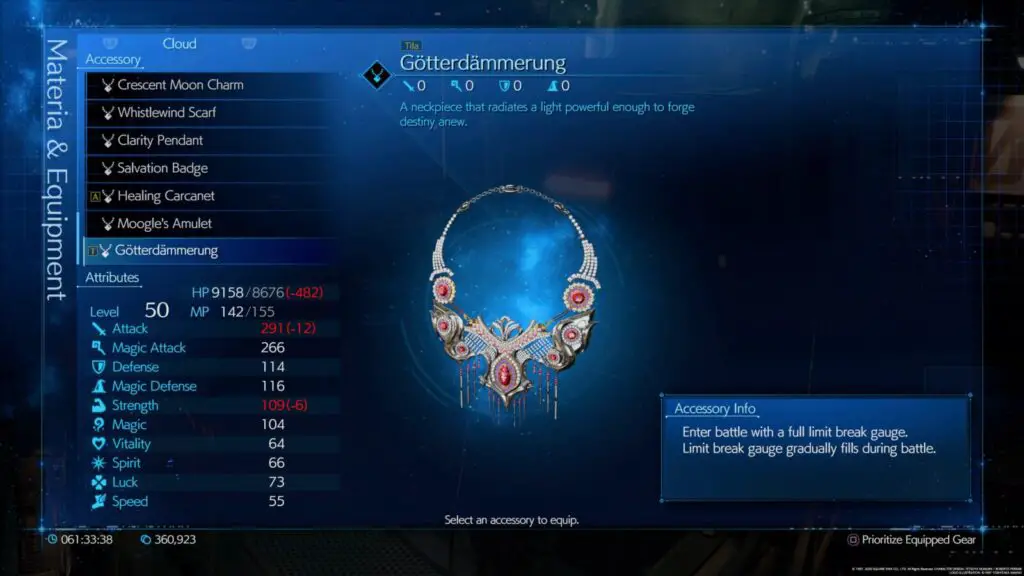
Defeating the Pride and Joy boss will not only earn you this uncommon trophy, but it’ll result in you acquiring the Gotterdammerung item, which is going to make your Hard Difficulty playthrough quite a bit easier as it will let you start each fight with a full Limit Break charge, great for quickly dispatching groups of standard enemies, and starting off boss fights by decimating a large chunk of their health.
Reach Level 50

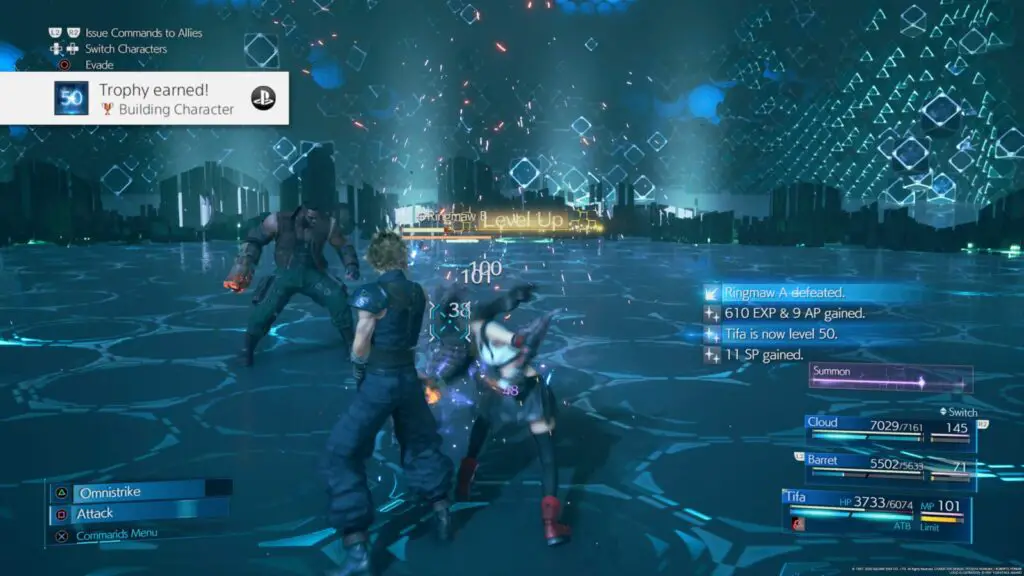
Building Character
Attain level 50 with a character.
You can do this at any point in this phase of our FF7 Remake Trophy Guide, and will most likely want to do it before taking on Malboro and Pride and Joy, but you’ll definitely want to do it ahead of your Hard Difficulty playthrough.
Essentially, you’ll need to reach Level 50 with just one character, but I recommend that you try to do it with the other 3 characters too, ensuring you’re as prepared as possible for the difficulties ahead.
You can earn an EXP Up Materia from the Shinra Combat Simulator in Chapter 16 which will give you a 4x EXP bonus, making this process much quicker. I’d then recommend that you use the Combat Simulator or Colosseum as a way to grind EXP.
If you want to risk it, and go into your Hard Difficulty playthrough without first reaching level 50, then you’ll definitely reach it just a short ways in. This trophy is essentially unmissable in that sense.
Phase Three – FF7 Remake Hard Difficulty Playthrough & No Side Quests
For this final phase of our FF7 Remake Trophy Guide, you will need to finally complete the game on Hard Difficulty. Via Chapter Select, once you’ve beat the game on any difficulty, you’ll be able to replay any chapter on Hard Difficulty. Your main goal here will be to complete all 18 chapters one final time on that increased difficulty.
With all side-quests and misc trophies out of the way, you can just focus on beating the game’s 18 chapters again as quickly as possible, no need to complete side-content or look out for collectibles or anything, just make a beeline for the final boss.
Speaking of bosses, they’re the hardest part of this game’s hardest difficulty by far and will give you a lot of grief. Luckily, I have prepared a lengthy Hard Mode Boss Guide which will not only advise you on the best strategy for defeating each boss, but it will teach you the best loadouts for each fight, how much MP to preserve, which Summon to use, and more. I’m not one to toot my own horn, but it’s a pretty good guide.
All Bridal Dresses

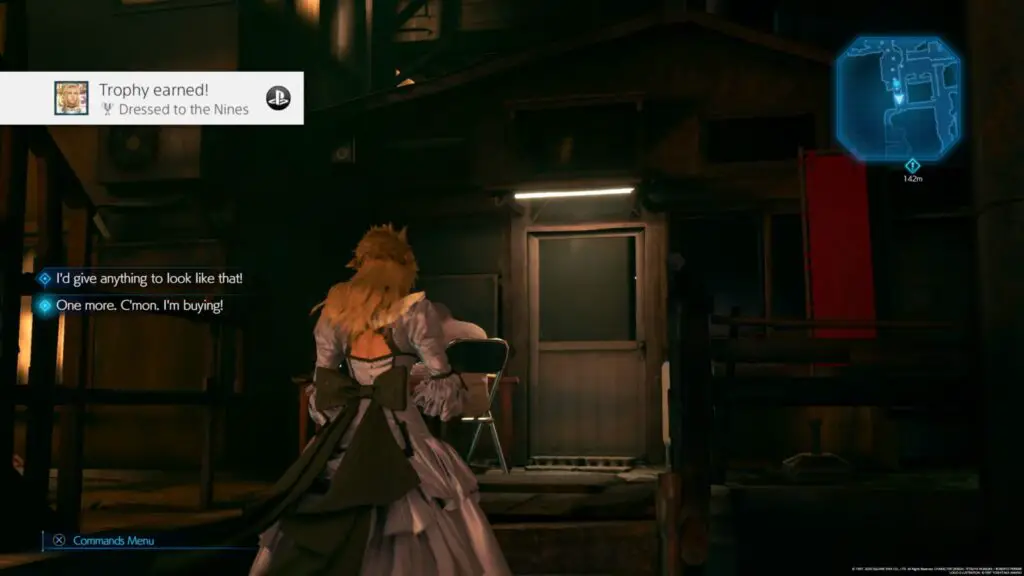
Dressed to the Nines
Obtain all nine bridal candidate outfits.
Now that you’re working your way through Hard Difficulty, it’s time for the instructions under “Playthrough Three” in our Dressed to the Nines Guide. This is actually the easiest of the three and the best for Hard Difficulty because you’re going to want to complete zero side quests.
Once you’ve done that, you’ll unlock this trophy at the end of Chapter 9, provided you’ve been following along with the road map. If not, refer to the Dressed to the Nines Guide, which will tell you everything you need to know!
Hard Difficulty Trophy

Hardened Veteran
Complete all chapters on Hard difficulty.
Once you work your way through our Hard Mode Boss Guide and make your way to the end, all bosses defeated and all 18 chapters complete on Hard Difficulty, you’ll be blessed with this very respectable trophy.
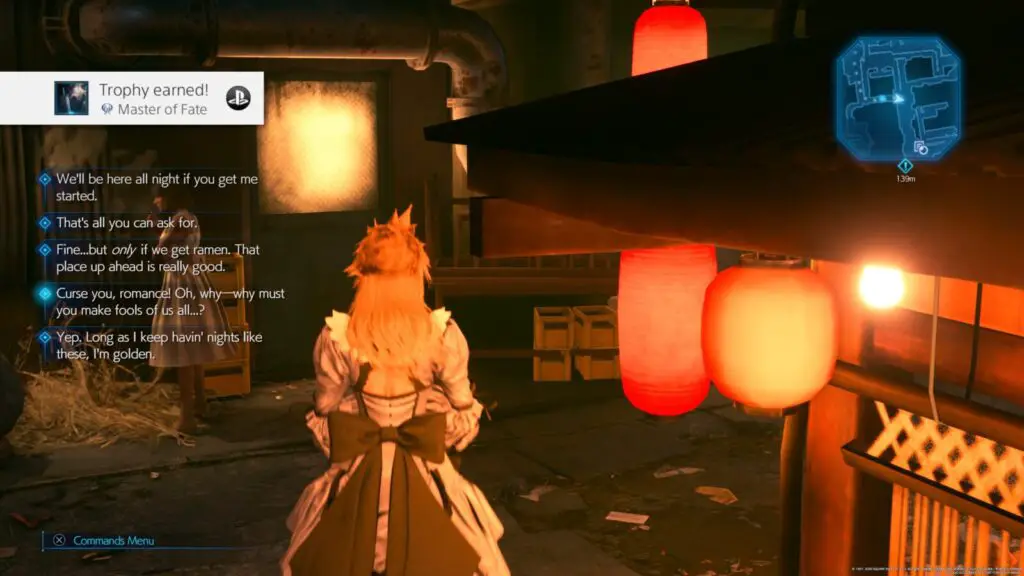
Plat Get!

Master of Fate
Earn all FINAL FANTASY VII REMAKE trophies.
Once you have earned every other trophy in this FF7 Remake Trophy Guide, you can enjoy the pride of having this Platinum Trophy in your collection!
Thank you for choosing PlatGet as your source for an FF7 Remake Trophy Guide, consider checking out our reviews and other guides, such as our Final Fantasy VII Remake Platinum Review.
Follow us on twitter @GetPlat or Instagram @platget for updates on new reviews and guides, as well as small anecdotes about our platinum journeys.