PlayStation 4
Voice of Cards: The Forsaken Maiden Trophy Guide


General Info
FAQ
How long does it take to beat Voice of Cards: The Forsaken Maiden and unlock all trophies?
About 20-25 hours.
How difficult is it to beat Voice of Cards: The Forsaken Maiden and unlock all trophies?
Medium (5/10).
Does Voice of Cards: The Forsaken Maiden have online trophies?
No.
Does Voice of Cards: The Forsaken Maiden have difficulty-specific trophies?
No.
Does Voice of Cards: The Forsaken Maiden have missable trophies?
No.
Does Voice of Cards: The Forsaken Maiden have glitched trophies?
No.
What is the minimum number of playthroughs required to unlock all trophies in Voice of Cards: The Forsaken Maiden?
One.
Does Voice of Cards: The Forsaken Maiden have a Platinum Trophy?
Yes.
Other Useful Guides:
Voice of Cards: The Forsaken Maiden Card Collection Guide
Trophy Guide
Voice of Cards: The Forsaken Maiden Trophy Guide and Road Map for PlayStation 4
Welcome to our VoC: The Forsaken Maiden Trophy Guide. VoC: The Forsaken Maiden is the sequel to VoC: The Isle Dragon Roars, a unique type of RPG from Square Enix which all takes place in the form of a card game. The story is told through a Game Master similar to how a Dungeons & Dragons game might pan out.
Though this game is a part of the Voice of Cards series (of which I hope there will be many more), you do not need to have played The Isle Dragon Roars to be able to enjoy the completely separate story in The Forsaken Maiden.
The trophy list is very similar for both Voice of Card games and the trophy journey is actually incredibly similar, so if you have already earned the VoC: The Isle Dragon Roars Platinum Trophy, you should have a good idea of what to expect going into this sequel.
Phase One – Play Until You Have All Four Maiden’s Relics
In this initial phase of our VoC: The Forsaken Maiden Trophy Guide, you just want to focus on reaching Chapter 4 of the story, that’s our main objective here. The story will take you to each of the four islands to retrieve special relics from each island’s Maiden.
By Chapter 4, you will have all four relics and will need to return to the Heart’s Domain for a third time. At this point, you should stop.
Until then, though, allow yourself to get lost in the story. That being said, you should vigilantly explore every nook and cranny to make your Trophy Journey a lot easier in the long run.
In order to ensure you earn as many trophies as possible during this phase of our VoC: The Forsaken Maiden Trophy Guide, you should aim to overturn every card you see on the board whenever exploring, including water cards while you’re out at sea. This way, you will uncover secret areas, shops, characters, encounters, and events.
Through this cathartic process, you will be able to ensure that very little goes overlooked and you’re able to not only learn a lot about the game and its world but also uncover most of the optional content which might just lead to a trophy or two.
That being said, there’s a New Game Plus feature that carries over everything except any cards you’ve revealed on the board. Your collection, cards, and character stats will all be preserved, making it very useful for mopping up anything you might have missed in your first playthrough. Let that give you some peace of mind in the knowledge that cleanup is not too extraneous of a process if you wish to go through this first playthrough completely blind.
To help ensure you have an easier time with cleanup later in your journey, I’ve prepared a few things for you to look out for:
- By using
 to move the camera, you can highlight the cards around you. You can press
  to jump to the highlighted card if it is one you have visited before. Knowing this will help you to thoroughly explore every dungeon and area without needing to slowly backtrack and fight countless enemies along the way. That being said, it may benefit you not to use this jump feature, so you have an excuse to grind some extra exp and fight monsters more often for their Flipside Stories (see Master of Monsters).
 - Often you will find that an Event will repeatedly occur back-to-back while you’re exploring the same area. This is often because there are other options to try and potentially new rewards to earn. You should try to avoid making the same choice multiple times as you may be missing out on something new.
- Every time you discover a new enemy (except bosses) stay in the area and try to defeat more until you’ve killed one three times. When done, you’ll see a pop-up after the fight about unlocking the monster’s flipside story. Check our list of Monsters here.
- There is a trophy called Filthy Rich! which you’ll need to unlock at some point. This trophy requires you to have 50,001 gold in your purse at one time. To make this trophy easier, avoid spending money as much as possible throughout your playthrough. Use items found from Monsters and in Chests to keep your team equipped. You can then spend money as much as you like once you’ve unlocked Filthy Rich!
Unmissable Story Trophies

The Tale of Departure
Completed the Tale of Departure.
Complete your objectives on Omega Island and board your ship to unlock the Tale of Departure trophy after a short cutscene. This is unmissable.
The Tale of the Azure Maiden
Completed the Tale of the Azure Maiden.
Complete your objectives on the South Isle, the Heart’s Domain, and the Seabed Temple to see a cutscene and unavoidably earn The Tale of the Azure Maiden trophy.
The Tale of the Crimson Maiden
Completed the Tale of the Crimson Maiden.
Conclude your business on the West Isle to see a cutscene summarising the chapter’s events. The Tale of the Crimson Maiden trophy will unlock at the end.
The Tale of the Ivory Maiden
Completed the Tale of the Ivory Maiden.
Complete your objectives on the North Isle and you’ll eventually trigger a cutscene recapping the chapter’s events. At the end of it, you’ll receive The Tale of the Ivory Maiden trophy.
The Tale of the Onyx Maiden
Completed the Tale of the Onyx Maiden.
Head to the East Isle and complete the story objectives there and a cutscene will play, summarizing the chapter. When the cutscene ends, The Tale of the Onyx Maiden trophy will unlock.
Phase Two – Revisit Characters & Collect Relics
Stopping at Chapter 4 of the story is more of just a suggestion than anything else. There are no missable trophies so you’ll still be able to mop up these trophies later on even if you have finished the main story completely.
The main reason why I think it’s wise to collect these trophies during this Phase of our VoC: The Forsaken Maiden is that some of them will result in you getting very powerful weapons to equip on your protagonist. This will be of immense use to you throughout the rest of the game as the battles start to get tougher.
Once you have all the trophies listed here, move on to Phase Three and collect the remaining story trophies.
Revisit & Relic Trophies
Empty Mutterings
Talked to Hyd, lingering at the altar of the Seabed Temple.
After you’ve completed the Second Chapter and unlocked The Tale of the Azure Maiden trophy, return to the Seabed Temple on the South Isle and go to the Altar.
There, you will find Hyd. Land on his card to trigger a small piece of dialogue and unlock the Empty Mutterings Trophy.


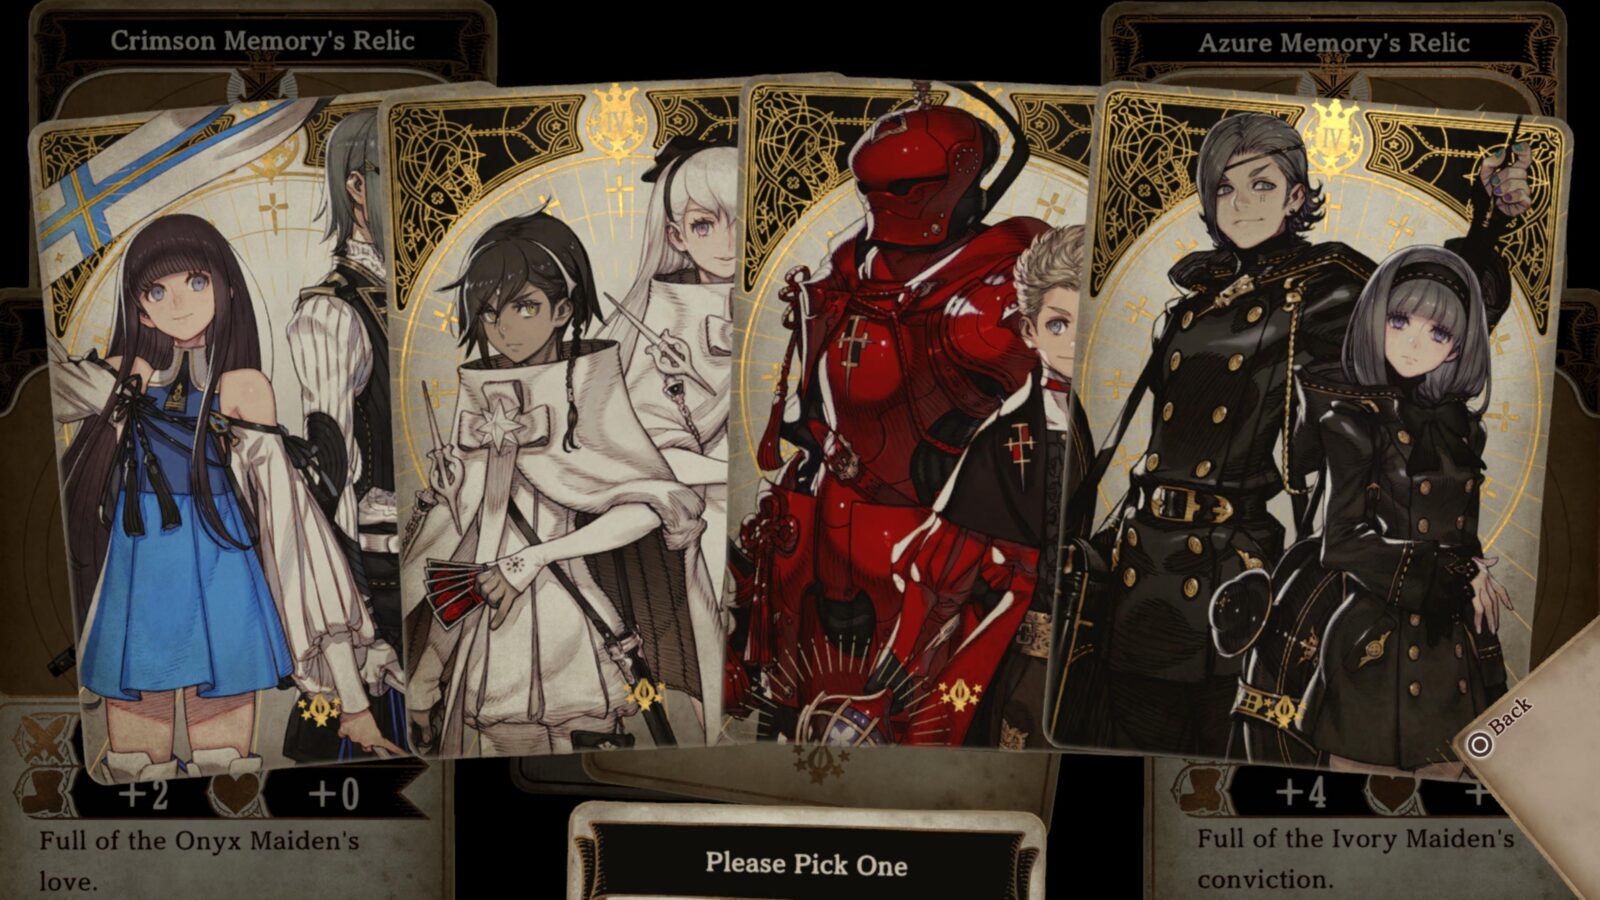
Azure Spirit’s Relic
Obtained the Azure Spirit’s Relic.
Once you’ve acquired all four relics from each of the islands, return to the Seabed Temple on South Isle and approach the altar on the lowest floor.

Laty will place the Azure Memory’s Relic on the altar and it will transform into the Azure Spirit’s Relic, unlocking the trophy in this process.
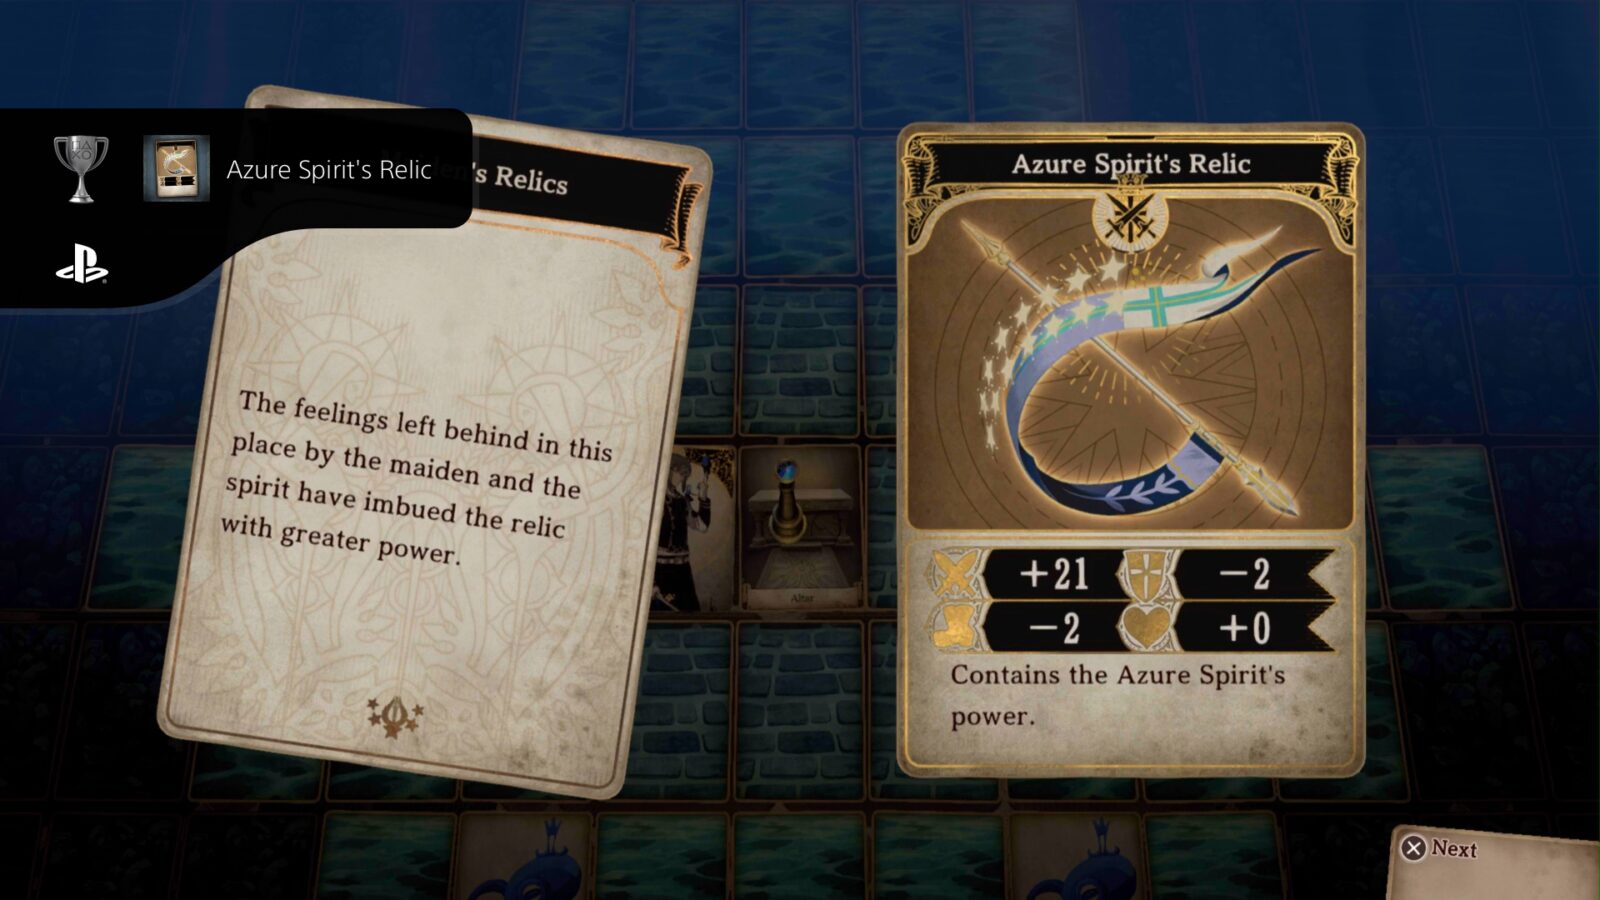
This weapon is required for the Weapon Collector trophy.
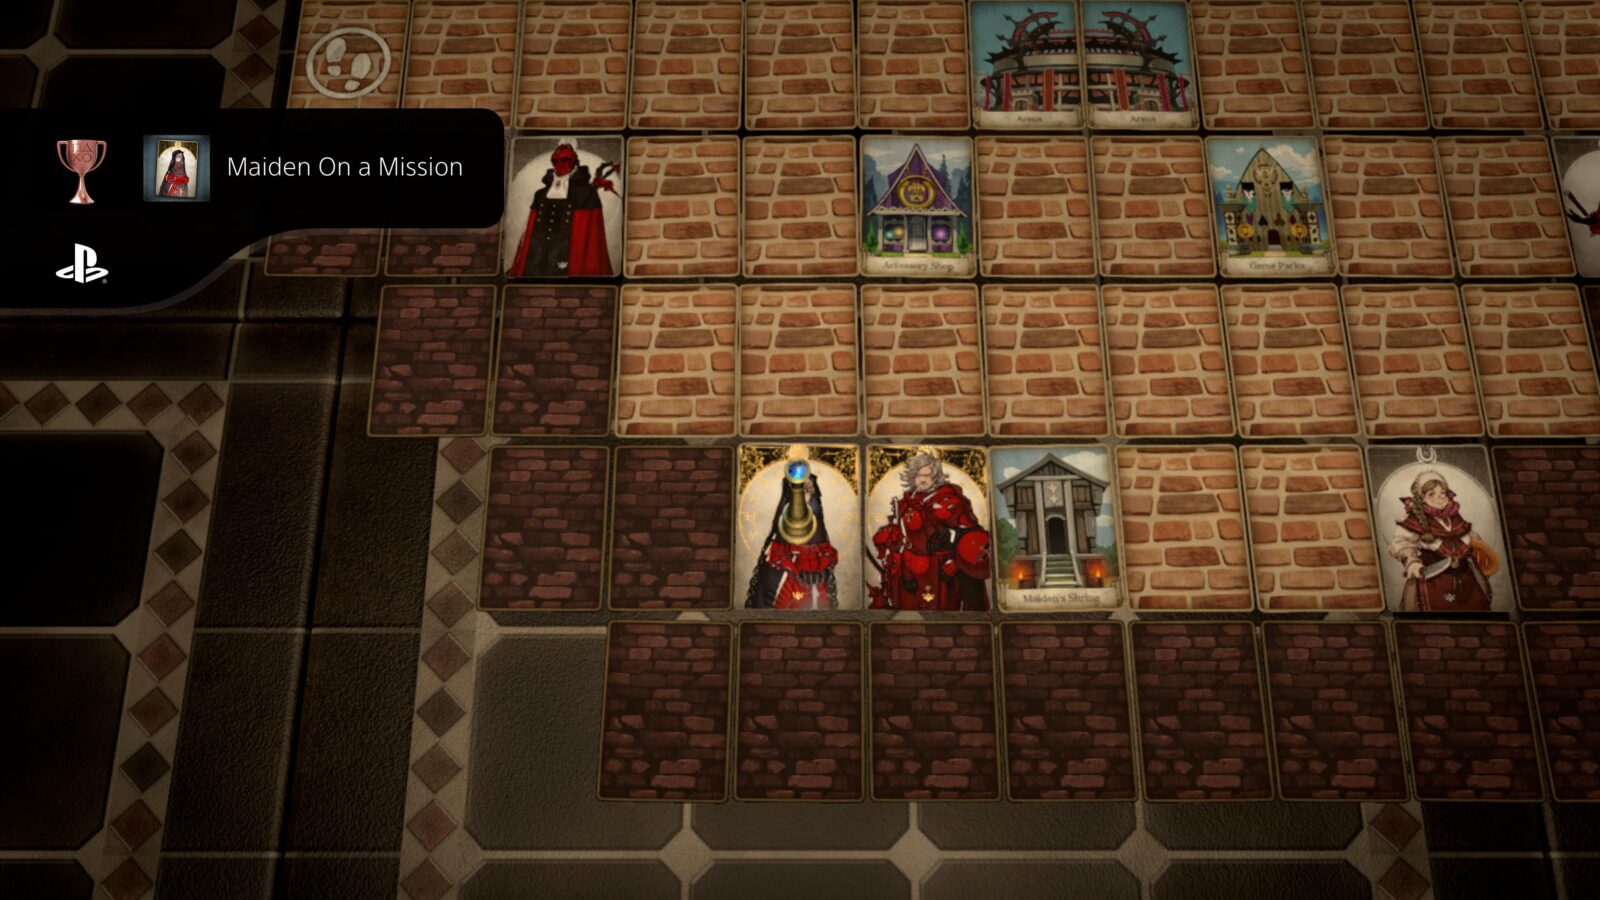
Maiden On a Mission
Met L’via, the determined maiden of the Heroes’ Dominion.
Once you’ve completed the game’s third chapter, and unlocked The Tale of the Crimson Maiden trophy, head back to the West Isle and enter Heroes’ Dominion.
Head to the south side of the town and you’ll see the Crimson Maiden standing aside Gladio. Land on her card to trigger a small piece of dialogue and unlock the Maiden on a Mission Trophy.
Crimson Spirit’s Relic
Obtained the Crimson Spirit’s Relic.
Once you’ve acquired all four relics from each of the islands, return to Heroes’ Dominion on West Isle and enter the Arena. Do not enter any tournaments just yet. Instead, approach the Arena Receptionist.

He will offer to show you the town’s Maiden Shrine for 1 gold. Accept the suspiciously low offer and he’ll take you straight there.
Laty will place the Crimson Memory’s Relic on the altar and it will transform into the Crimson Spirit’s Relic, unlocking the trophy in this process.
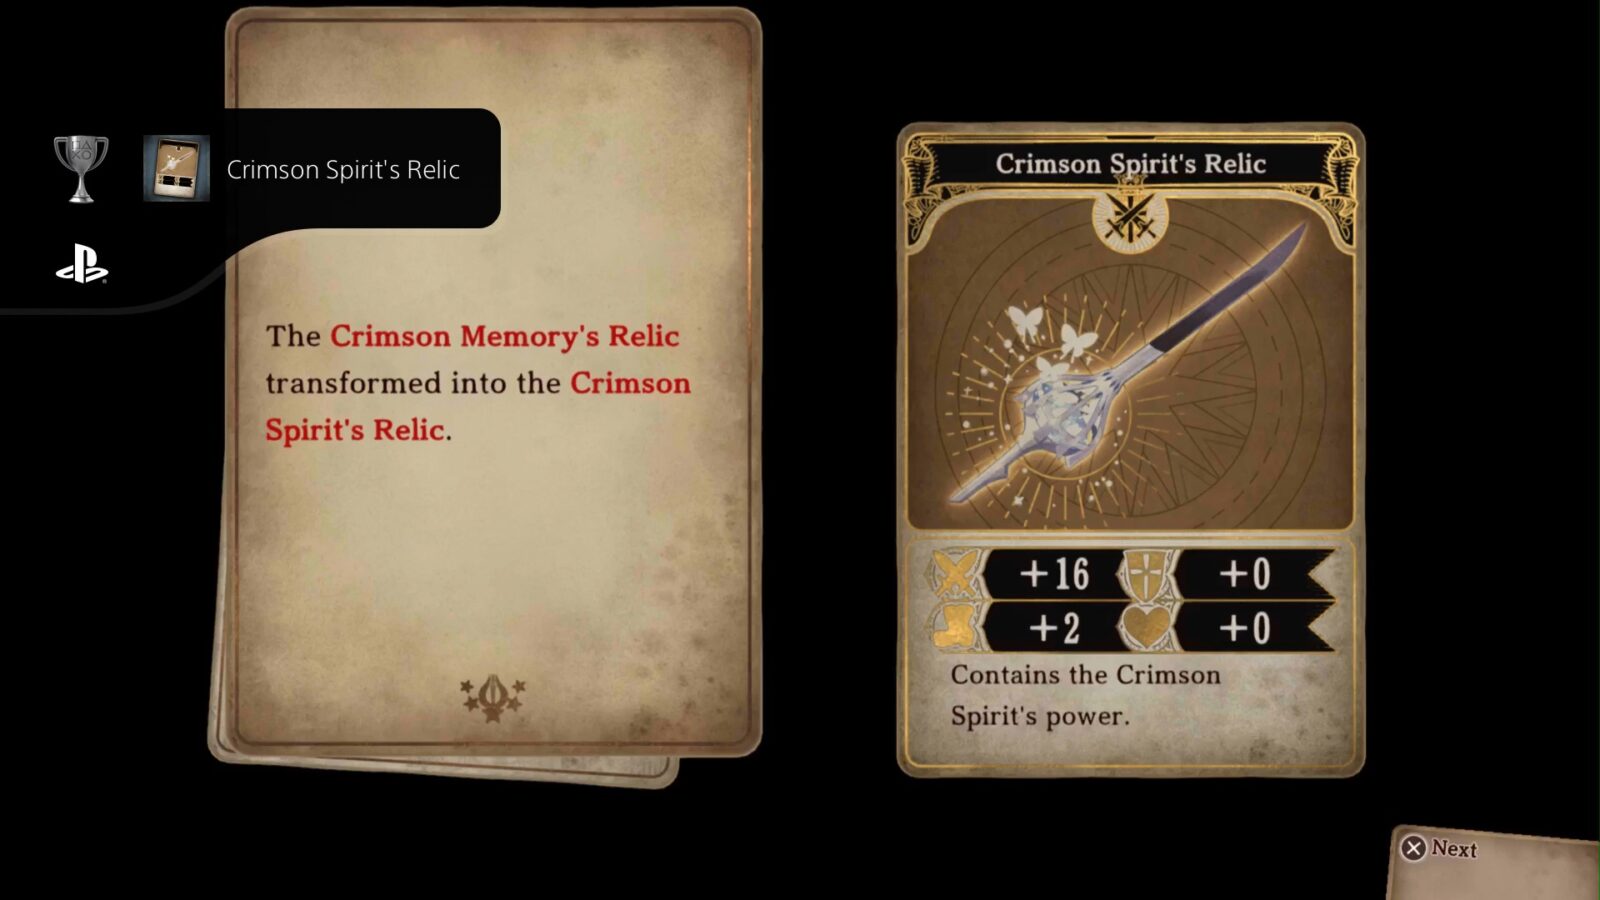
This weapon is required for the Weapon Collector trophy.
Strange Friends
Met the young women serving as Alabaster City’s maiden and attendant.
After you’ve acquired The Tale of the Ivory Maiden trophy by completing The Ivory Maiden’s Chapter, return to Alabaster City at any time and look for the two NPCs with gold cards.
Near the Armorer in the southwest, you’ll find the Ivory Attendant, speak to her briefly and then move north.
By the palace at the top end of Alabaster City, you’ll find the Ivory Maiden. Speak to her too and the Strange Friends trophy will unlock.

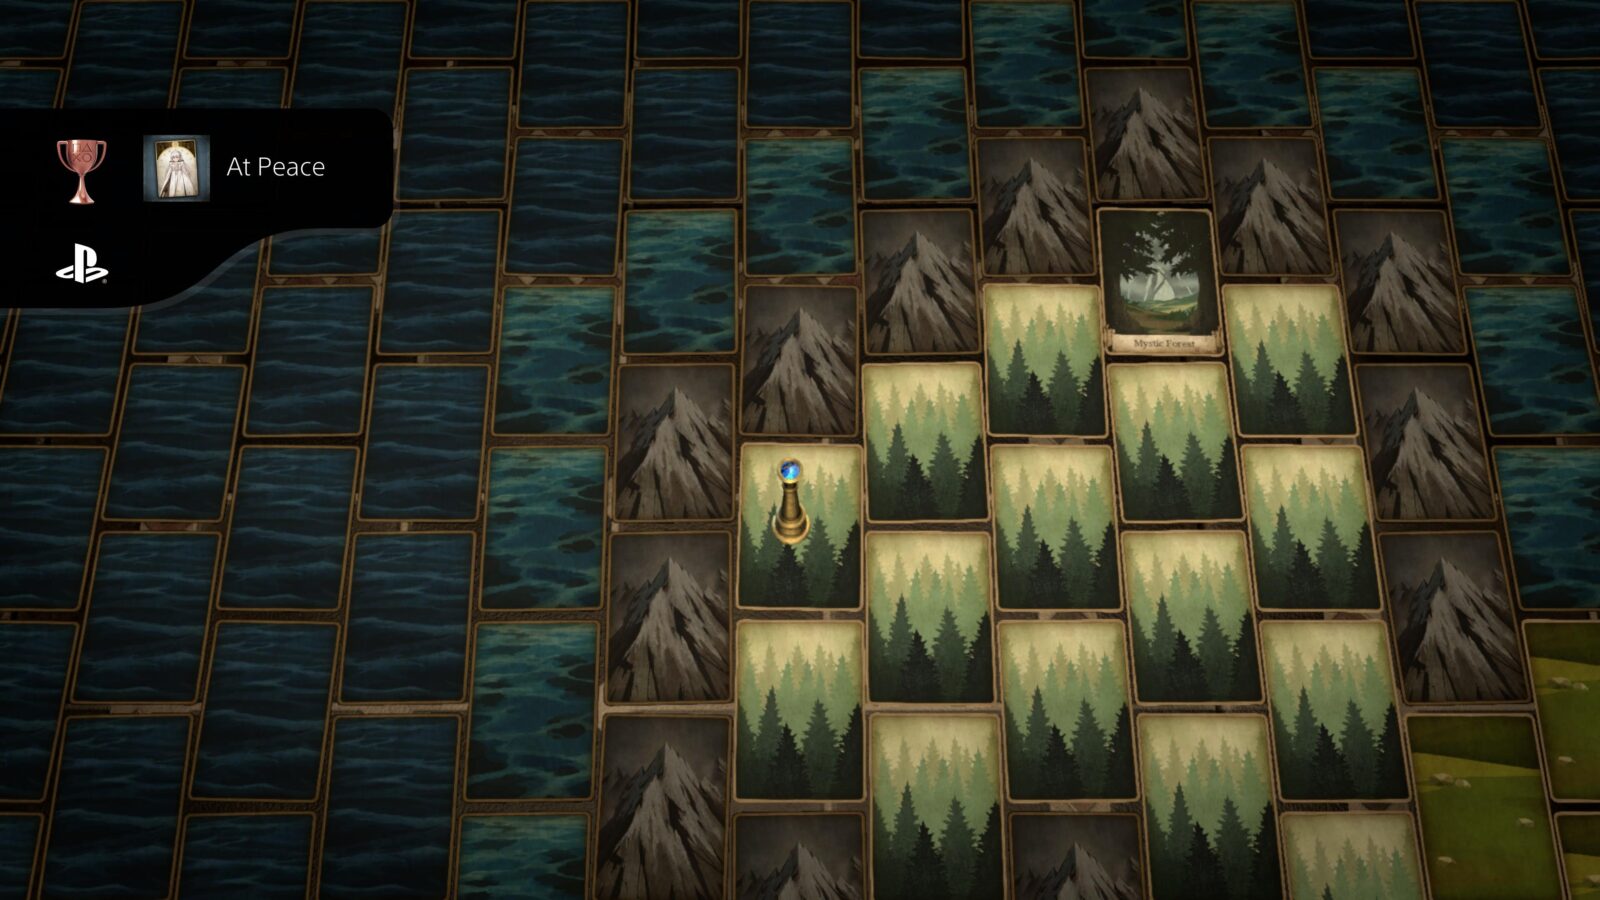
At Peace
Found a fallen masked youth on the North Isle.
Once you have completed The Ivory Maiden’s chapter and unlocked The Tale of the Ivory Maiden trophy, travel up to the northwest corner of North Isle, near the Mystic Forest.
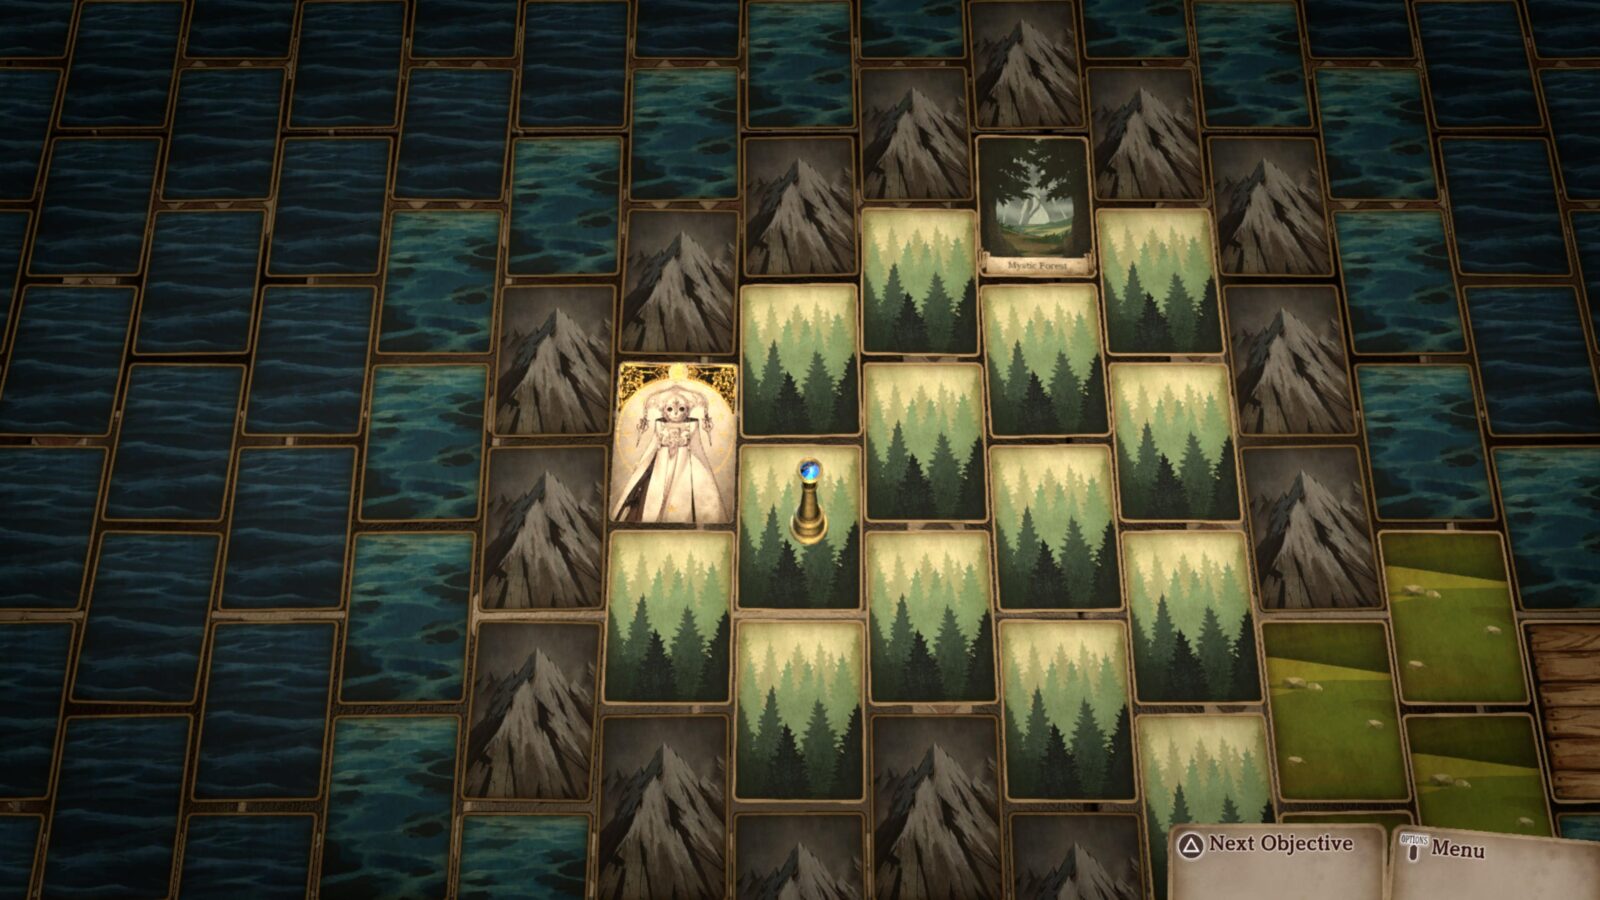
There, you will see a masked NPC, dressed in white. Land on this card to learn more about a familiar character and unlock the At Peace trophy.
Ivory Spirit’s Relic
Obtained the Ivory Spirit’s Relic.
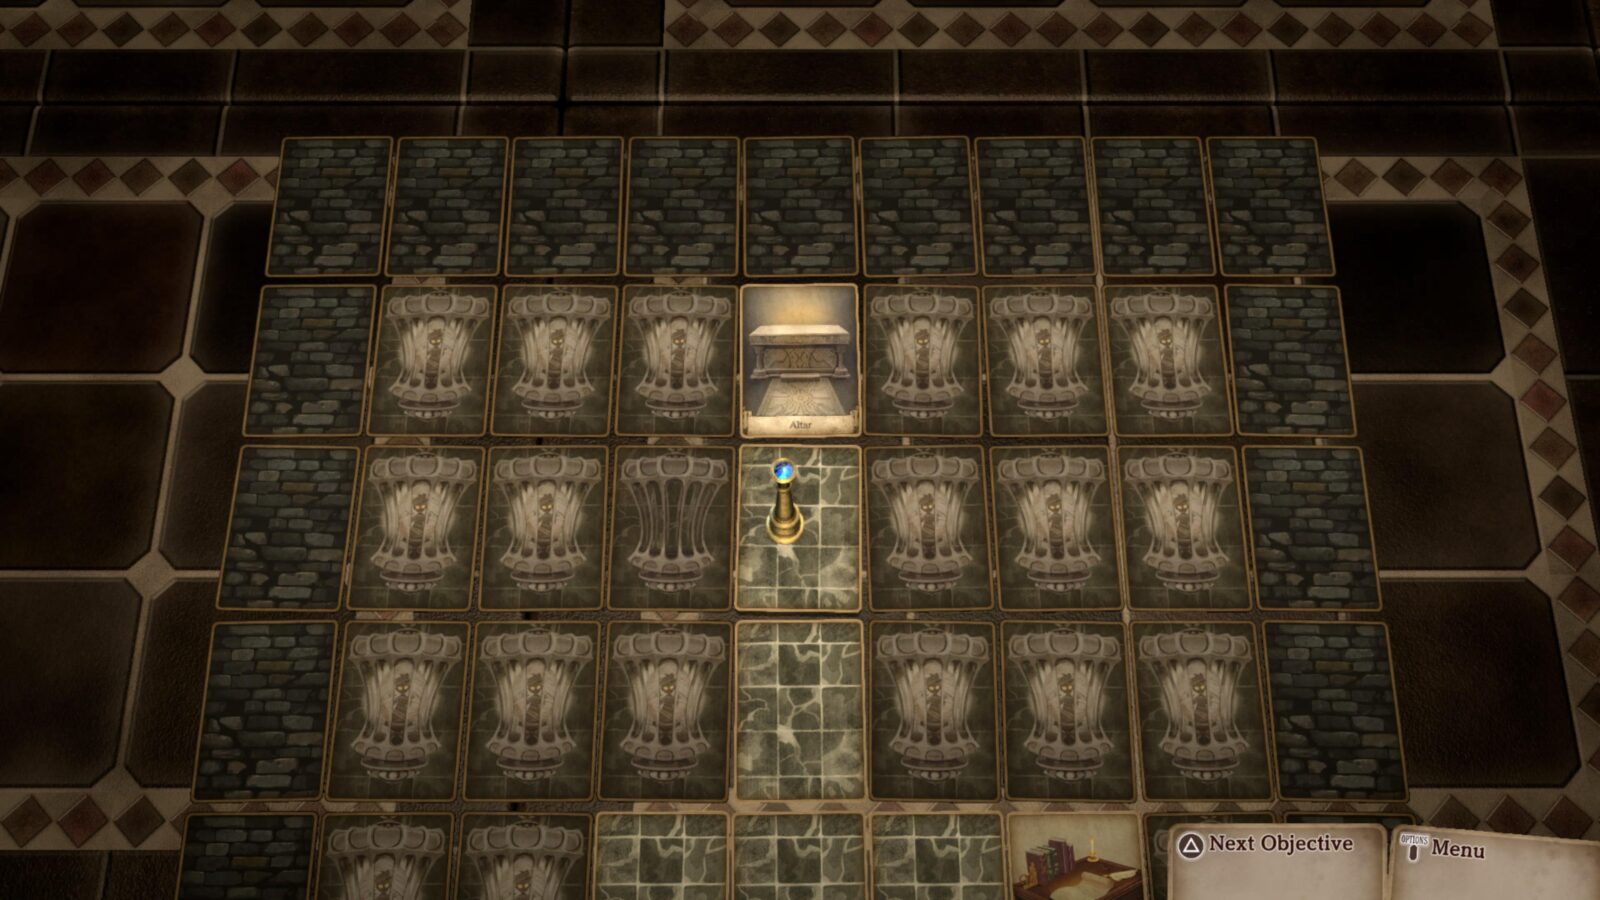
Once you’ve acquired all four relics from each of the islands, return to North Isle and go into Alabaster City. Use the underground passage beneath the Maiden Shrine at the north end of town to return to the Foundation.
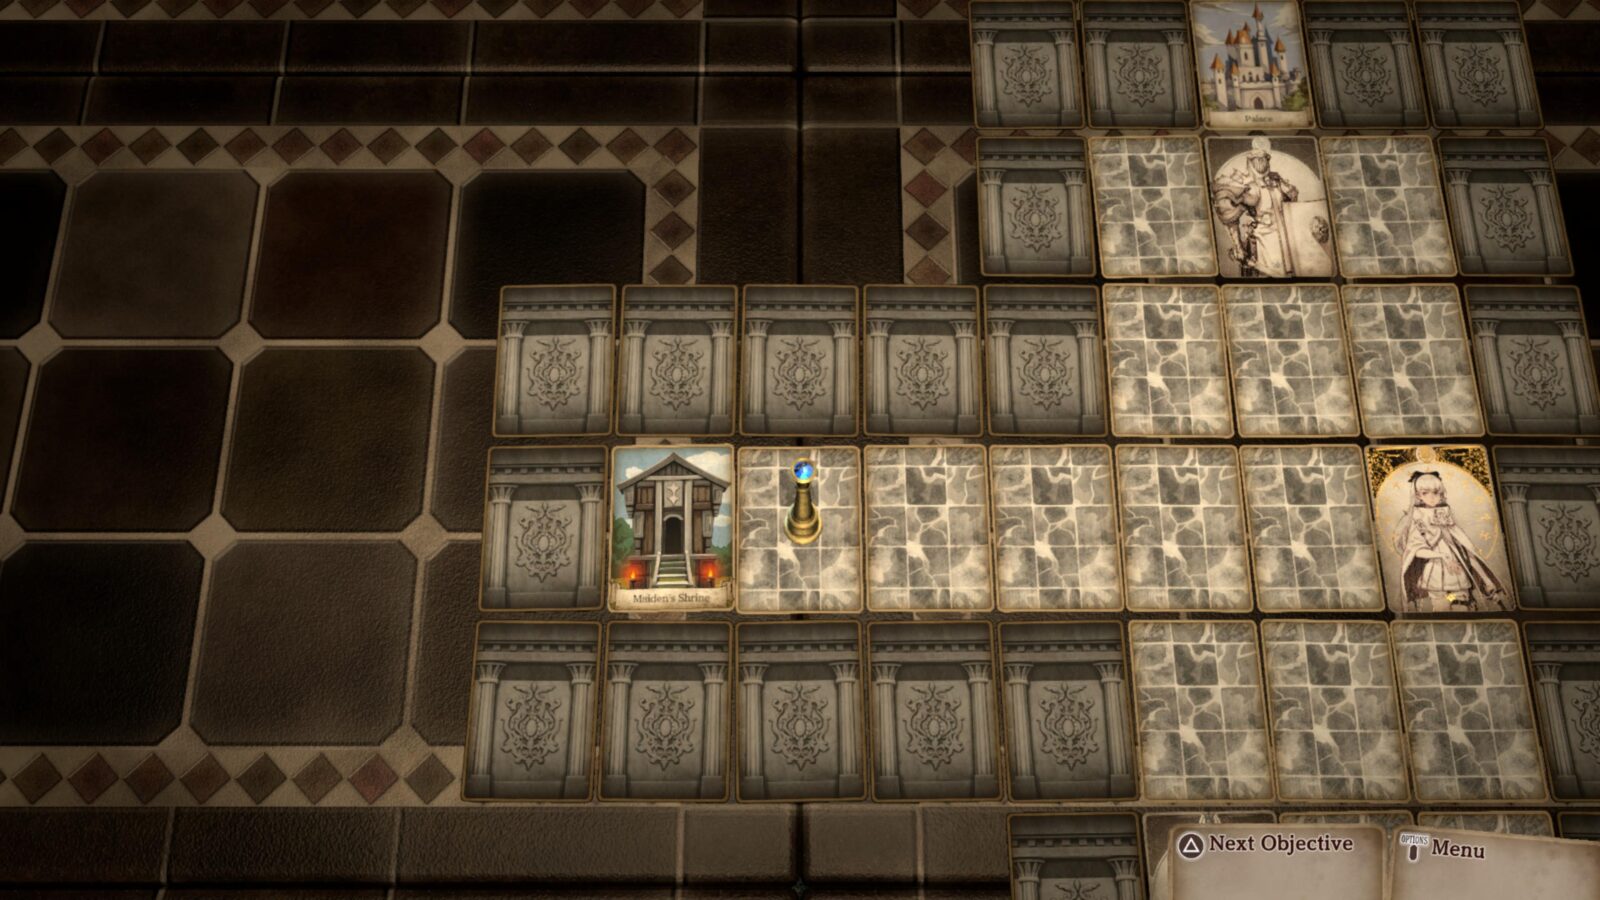
Don’t worry, you won’t need to evade guard patrols this time and can use ![]() to jump quickly through the facility. Make your way to the Altar on Foundation: B4 and place your piece on the altar card.
to jump quickly through the facility. Make your way to the Altar on Foundation: B4 and place your piece on the altar card.
Laty will place the Ivory Memory’s Relic on the altar and it will transform into the Ivory Spirit’s Relic, unlocking the trophy in this process.
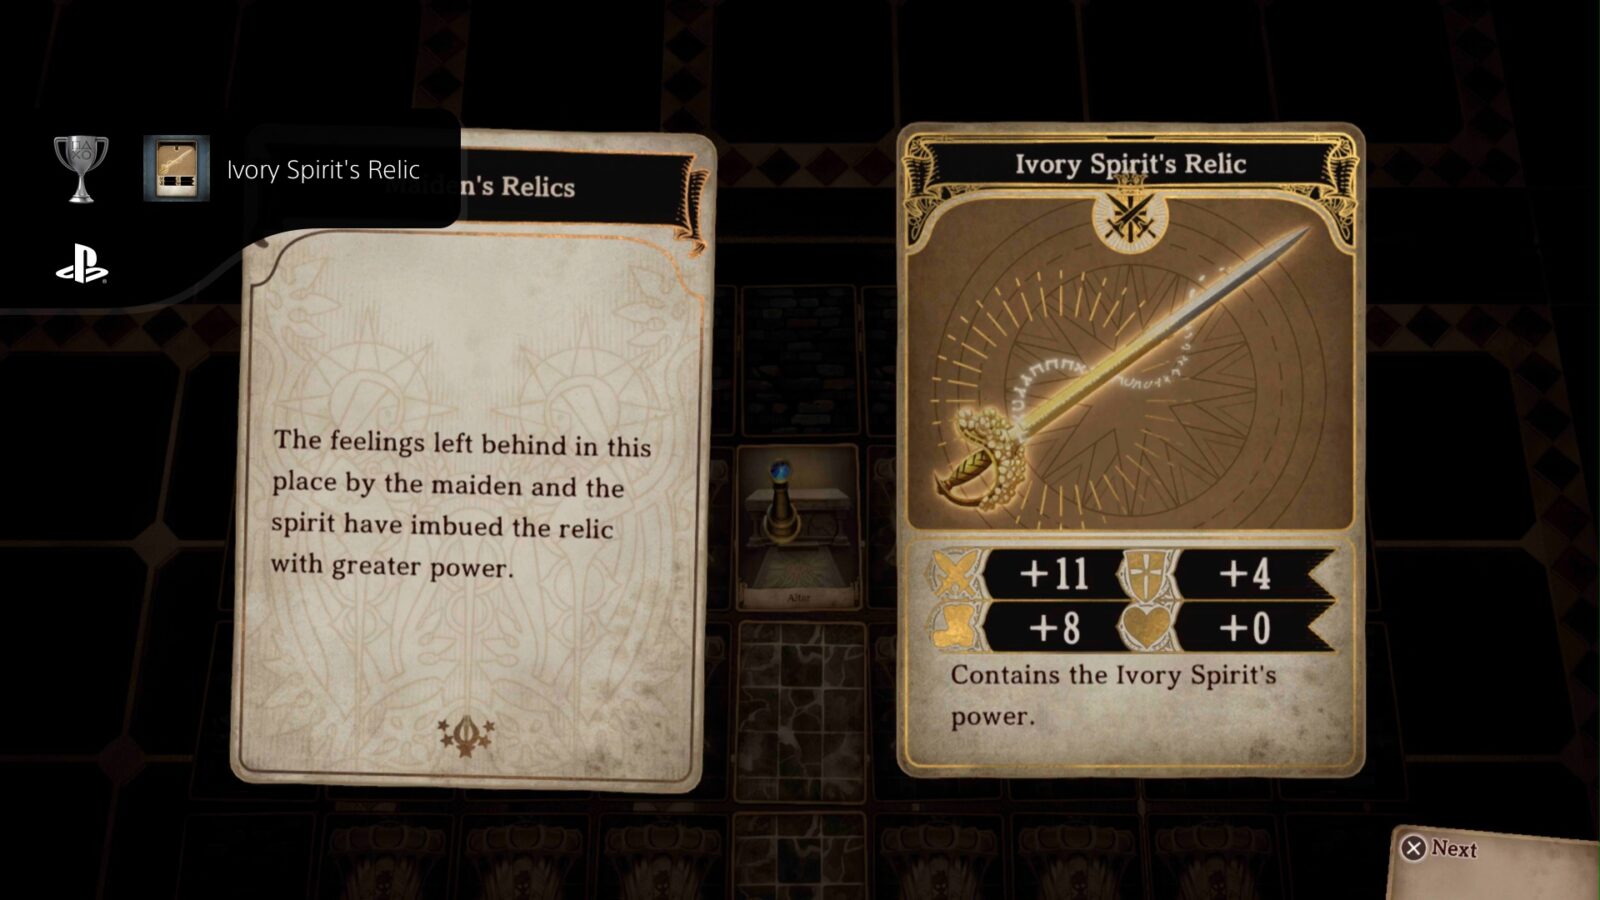
This weapon is required for the Weapon Collector trophy.
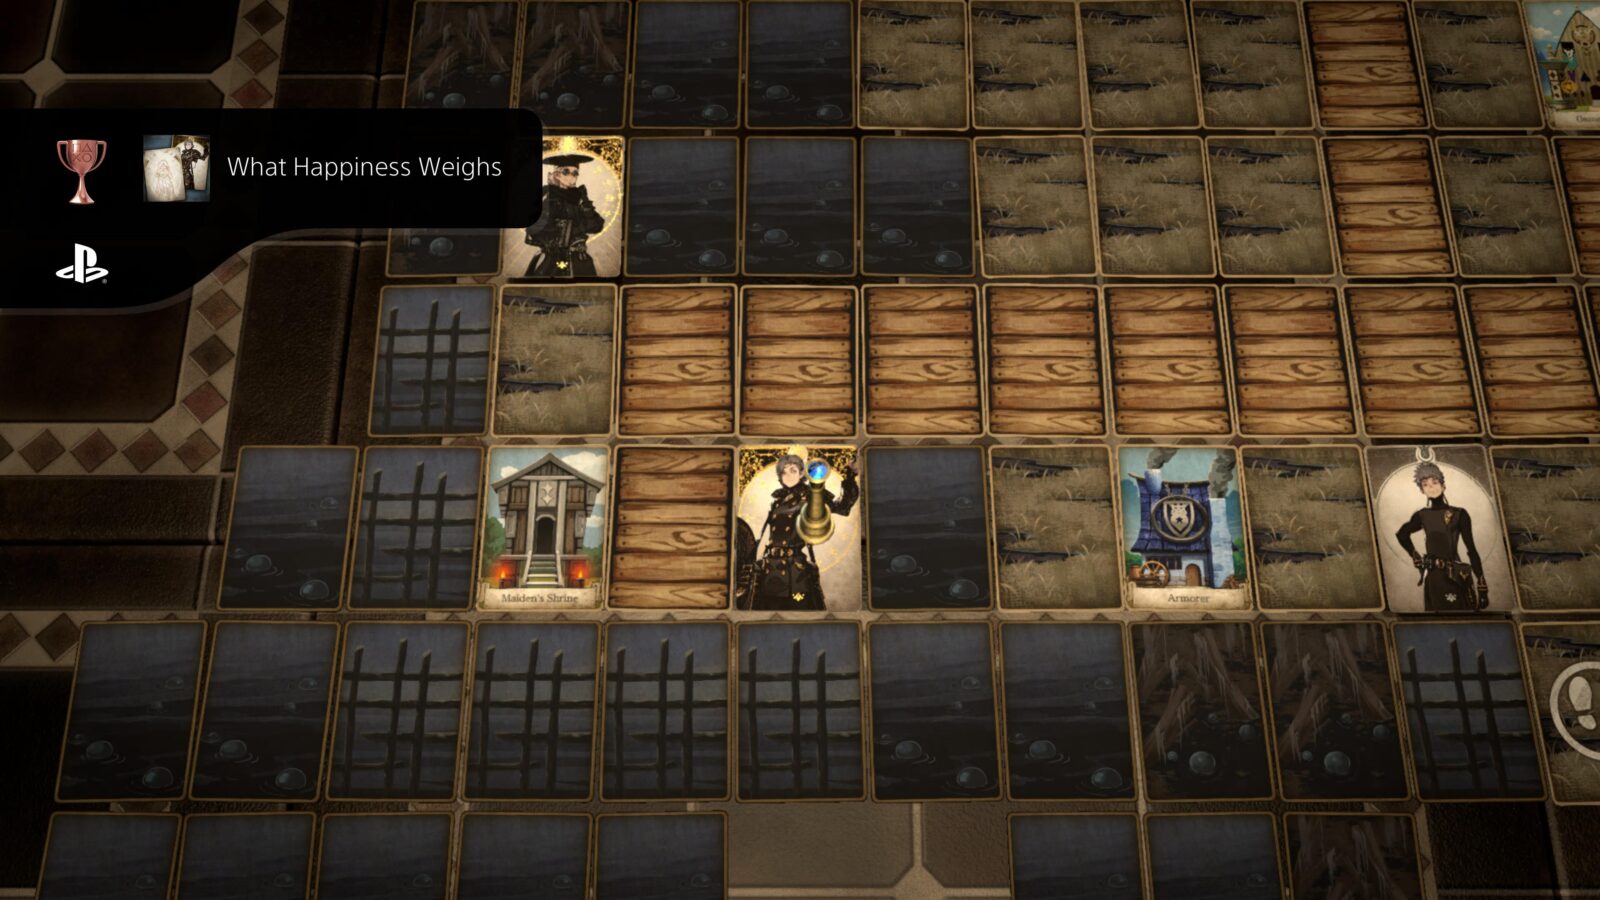
What Happiness Weighs
Talked to Blight, cradling his newborn in Fenmoss.
After you’ve concluded The Onyx Maiden’s chapter and unlocked The Tale of the Onyx Maiden trophy, return to Fenmoss on the East Isle.
There, look for Blight, standing next to the Maiden’s Shrine in the southwest corner. Land on his card for a bit of dialogue and then the What Happens Weighs trophy will unlock.
Onyx Spirit’s Relic
Obtained the Onyx Spirit’s Relic.
Once you’ve acquired all four relics from each of the islands, return to the Wicked Wetlands on the East Isle. Go through the path on the north side to enter the “Nest” area.
Land on the Altar card at the far north end of this area to proceed.
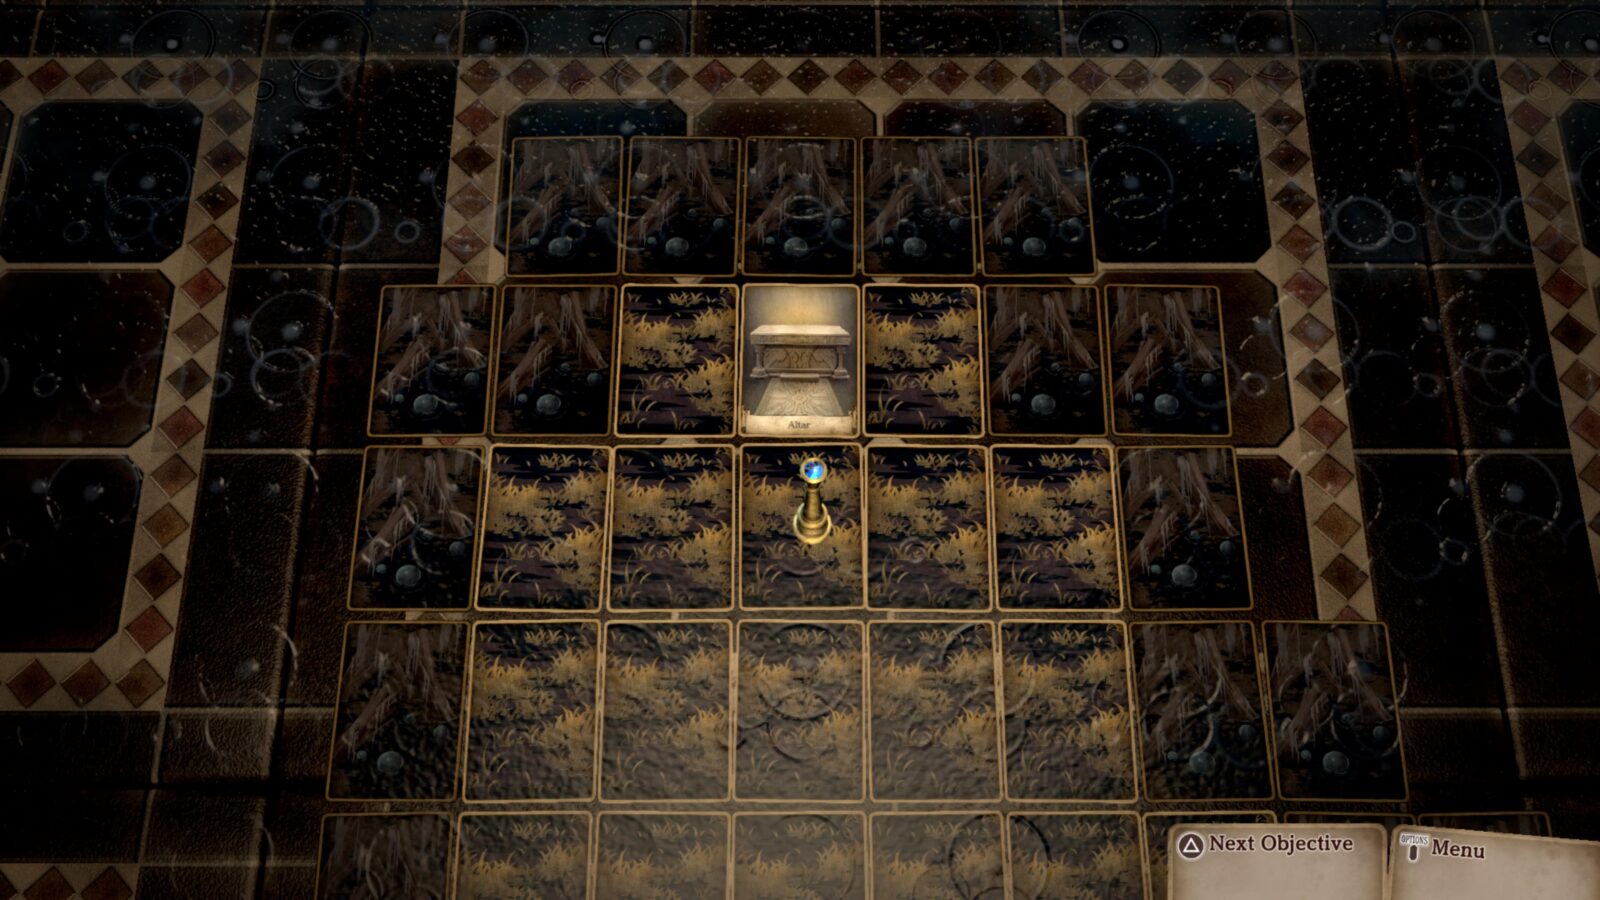
Laty will place the Onyx Memory’s Relic on the altar and it will transform into the Onyx Spirit’s Relic, unlocking the trophy in this process.
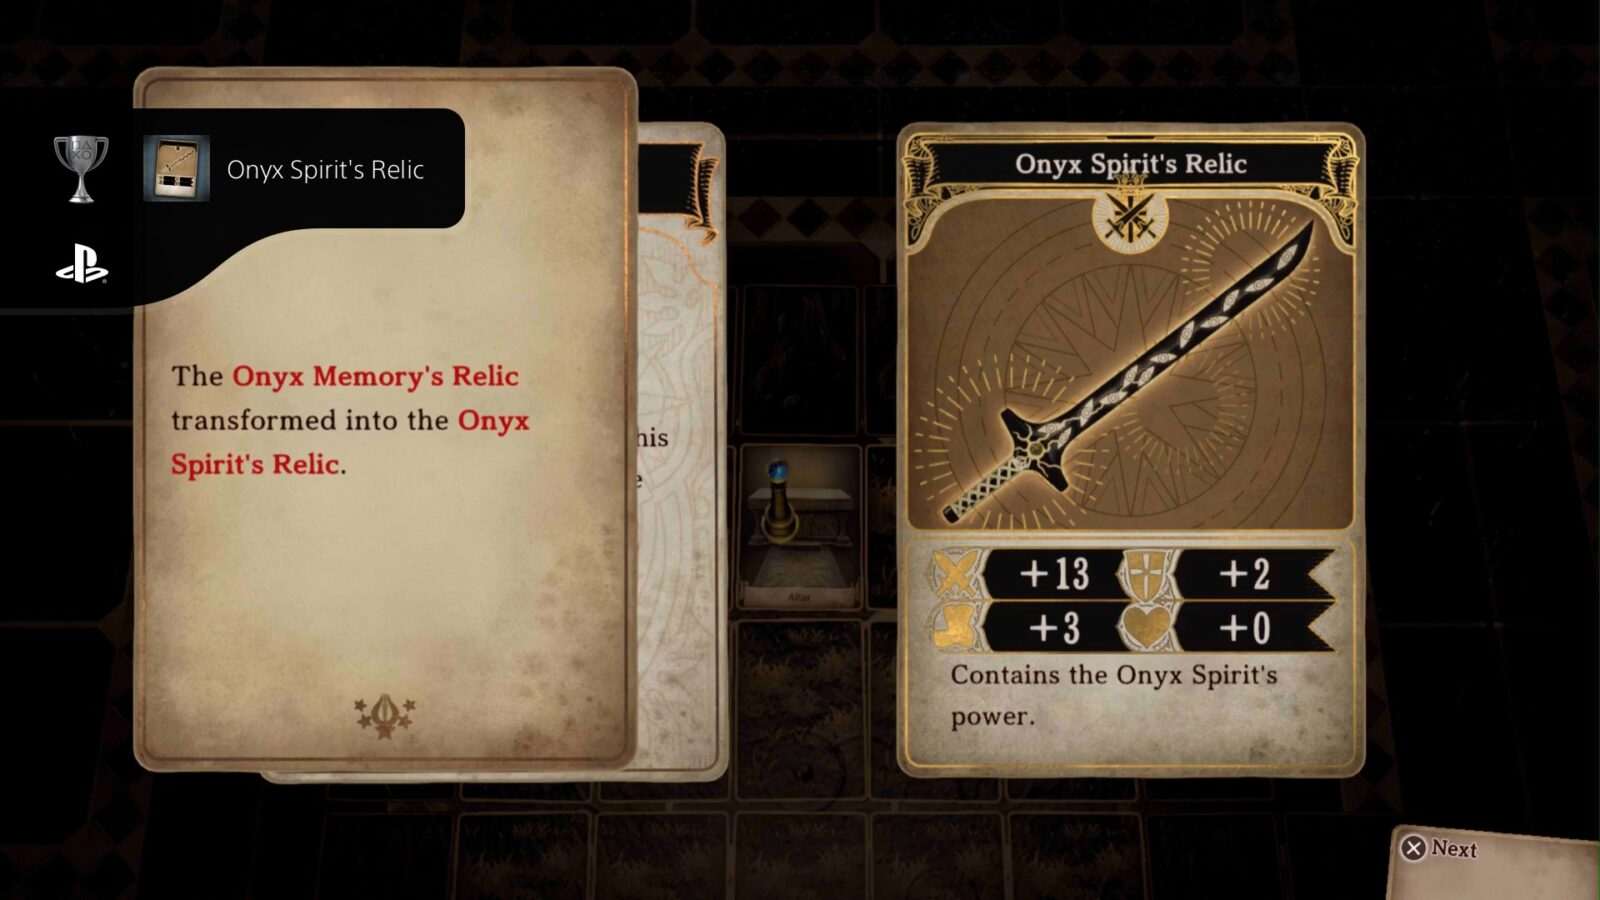
This weapon is required for the Weapon Collector trophy.
Phase Three – Finish the Story & Complete Side Quests
With what should now be a relatively full arsenal of decent weaponry at your disposal, you’re safe to resume with the objectives of Chapter 4 and see things through to the main story’s penultimate moments.
There are also some Side Quest Trophies that I recommend picking up here. You can either do so before continuing the story, if you want some experience, gold, and more powerful gear.
Otherwise, feel free to leave them until the story is complete. After you finish the story, you’ll be returned to the main menu and when you try to continue, all of your available saves will be from long before the final boss fight. Don’t worry, this is normal. The game remembers that you have completed it.
Load your newest save and you’ll be able to freely explore the Heart’s Domain and the rest of the map as though nothing happened.
One trophy, The Abyssal Sea, is in reference to a Side Quest that you can only take on after beating the game at least once, so you’ll need to leave that for last regardless. It involves what is genuinely the hardest battle that the game has to offer, so make sure you’re fully prepared for that.
Remaining Unmissable Story Trophies
The Tale of Omega Village
Completed the Tale of Omega Village.
Once you have all four Maiden’s Relics, head to Omega Isle to complete further objectives. At the end of this chapter, a cutscene will play and you will receive The Tale of Omega Village trophy.

The Tale of the Heart’s Domain
The Tale of the Heart’s Domain will continue…
The story is not yet over once you’ve saved the day and defeated the Isle Eater, unlocking The Tale of Omega Village trophy.
After the cutscene, you’ll be instructed to go to the 2nd floor of the Spirit Spire and check on Lac, which leads to you eventually entering Heart’s Domain again.
The Fate of the Heart’s Domain trophy will unlock at a certain point in the story while you’re exploring the Heart’s Domain, after a cutscene.

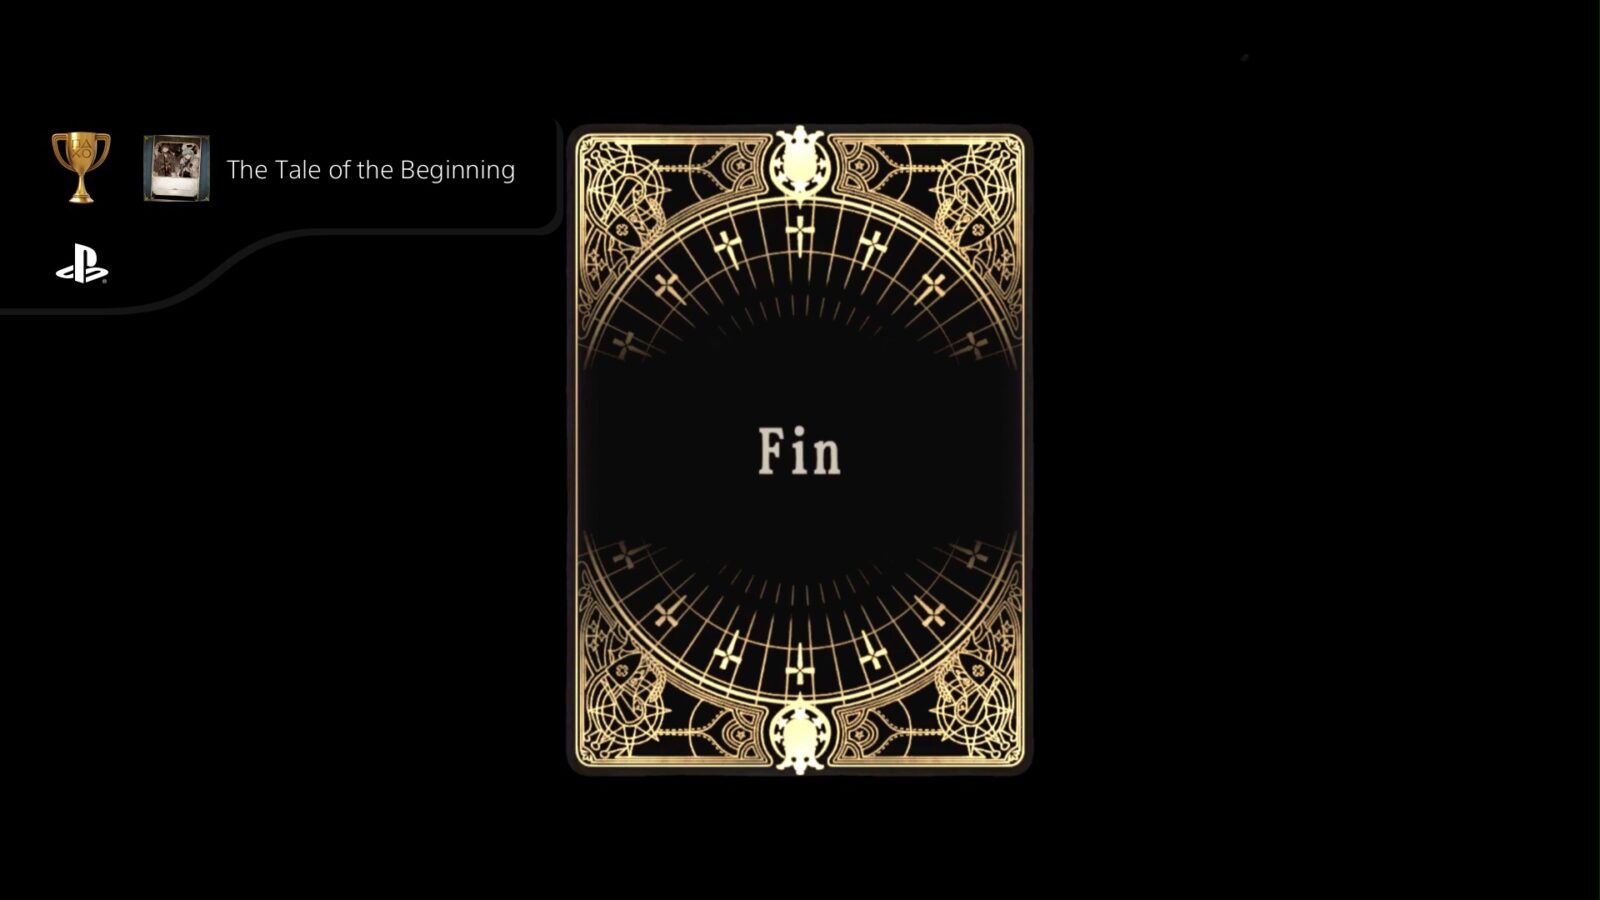
The Tale of the Beginning
Completed all tales.
At the very end of the game, after the final boss fight and the credits, there will be a short sequence where you must play as a young boy and learn a bit more exposition before the game ends for good.
At the end of this sequence, you will unlock The Tale of the Beginning trophy.
Side Quest and Event Trophies
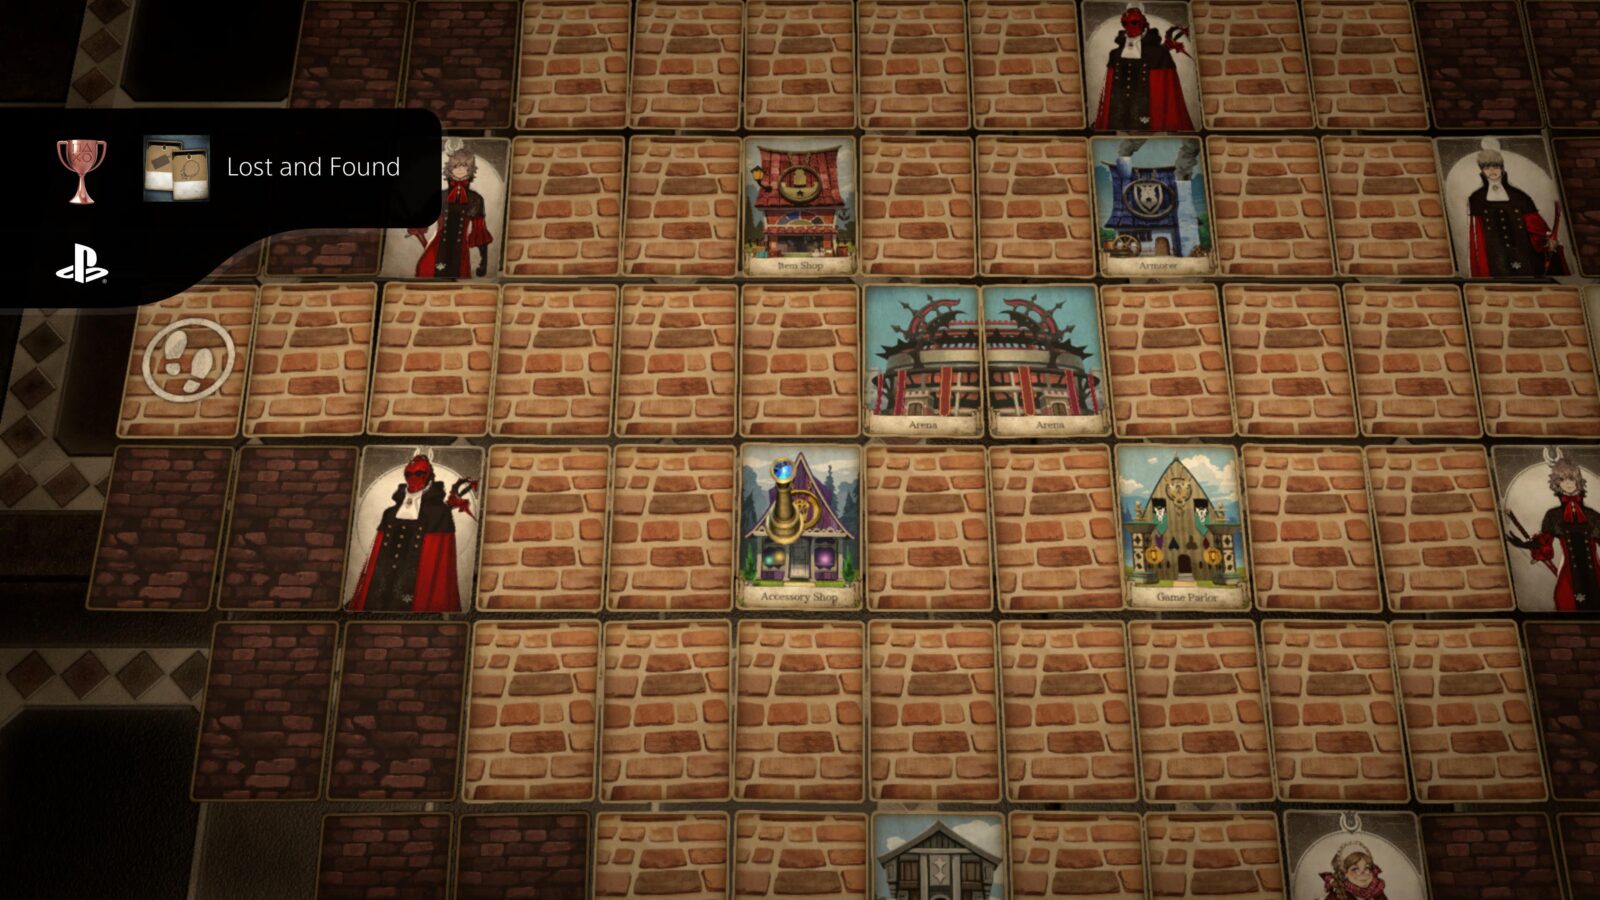
Lost and Found
Returned the lost items found in Coveton and Heroes’ Dominion to their rightful owners.
There are two lost items you will need to deliver in order to unlock the Lost and Found trophy.
While on the South Isle, explore until you encounter an event in which you find a pleasant-smelling Parcel, intended for Coveton.
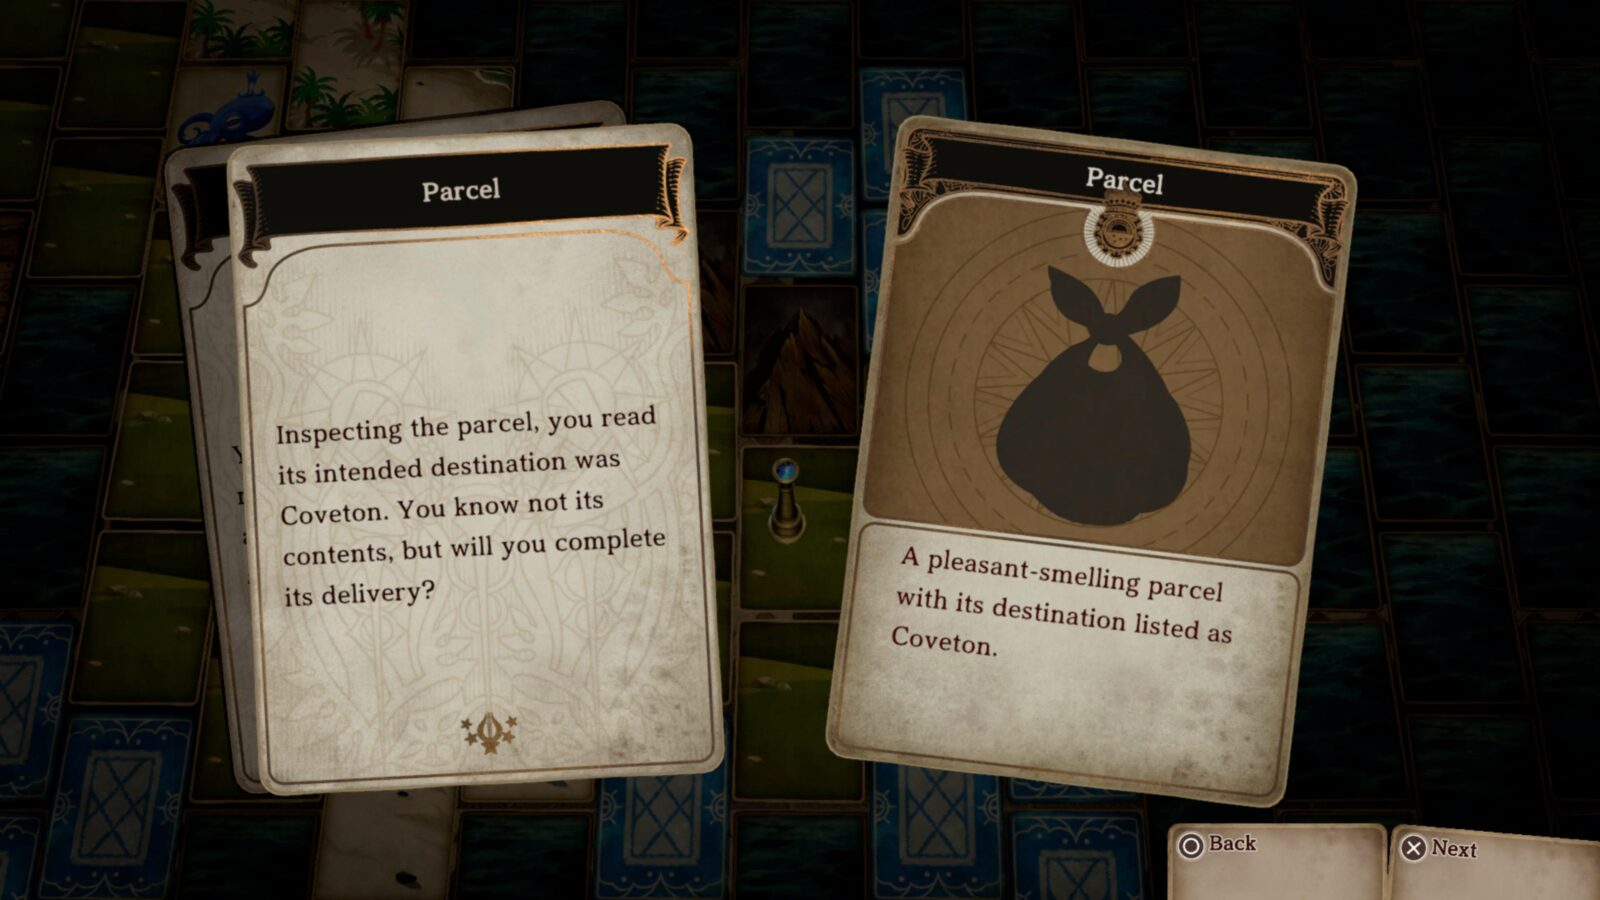
Take it to Coveton and deliver it to the Well-Dressed Villager next to the Inn.

Next, while on the West Isle, explore until you encounter a necklace laid on the ground. Choose to “Let Laty Wear It” and then continue exploring the West Isle.
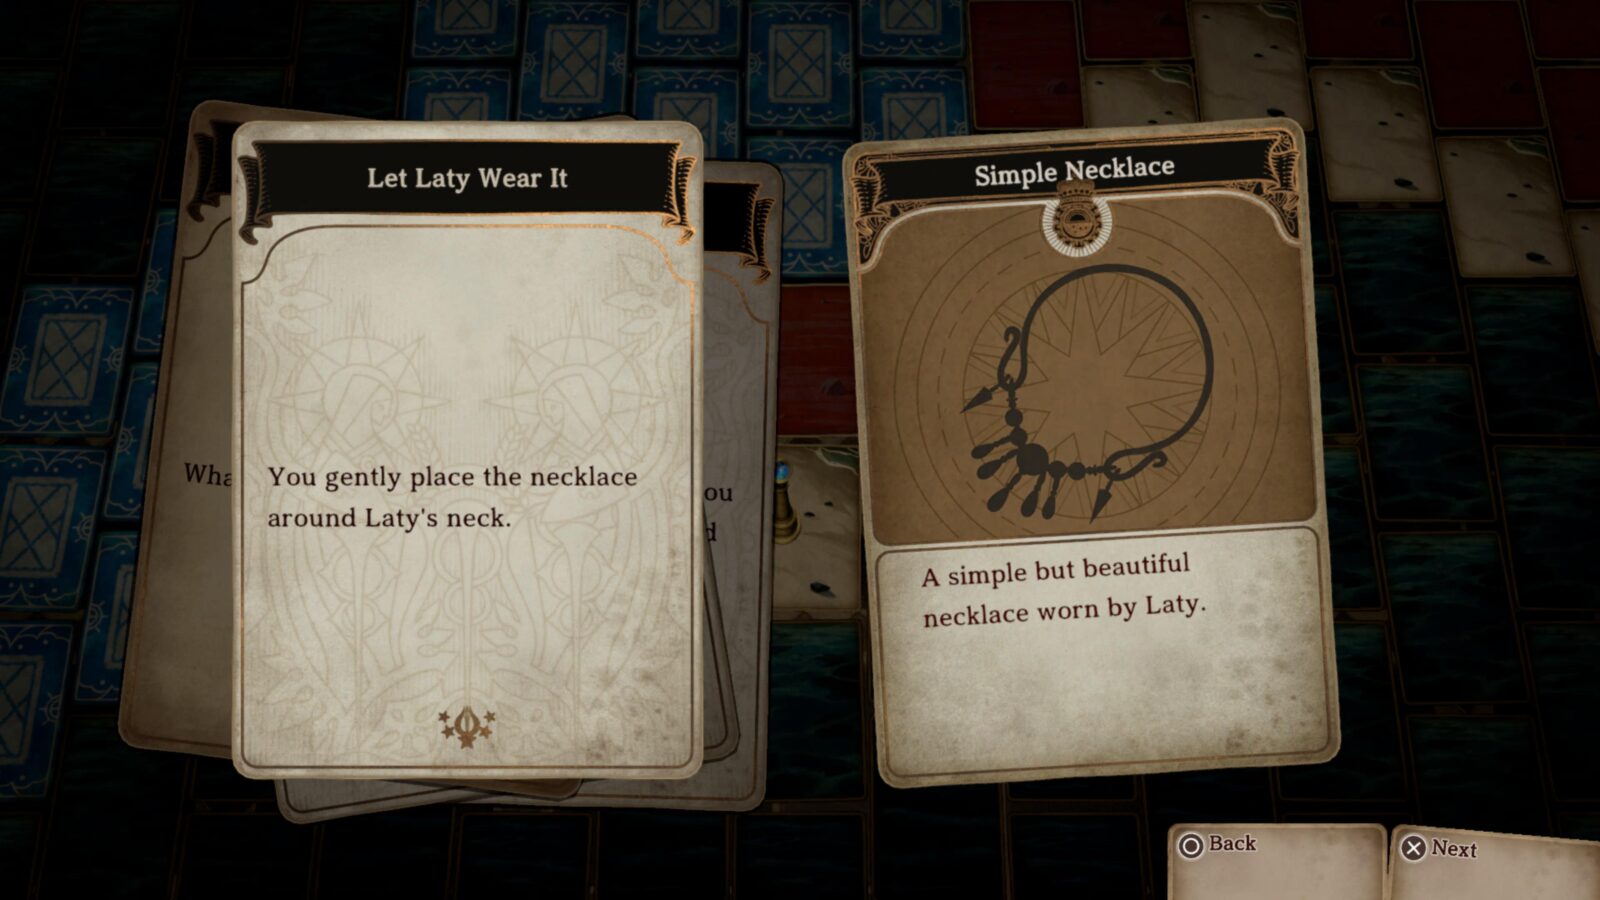
Eventually, another event should occur in which a thief appears and tries to take the necklace, forcing you into battle with him. Defeat him and he will ask for the necklace so that he can return it to the Accessory Shop in Heroes’ Dominion. Give him the necklace.
When he leaves, you’ll find a charm on the ground.
Go to the Accessory Shop in Heroes’ Dominion to deliver the charm to the thief and you’ll receive a Gemstone Ring in return.
If you have complete both Event chains, the trophy will unlock.
The Champion
Emerged the victor of the arena’s open tournament.
Once you’ve completed the game’s third chapter, and unlocked The Tale of the Crimson Maiden trophy, head back to the West Isle and you will be invited to take part in the Arena’s Open Tournament in Heroes’ Dominion.
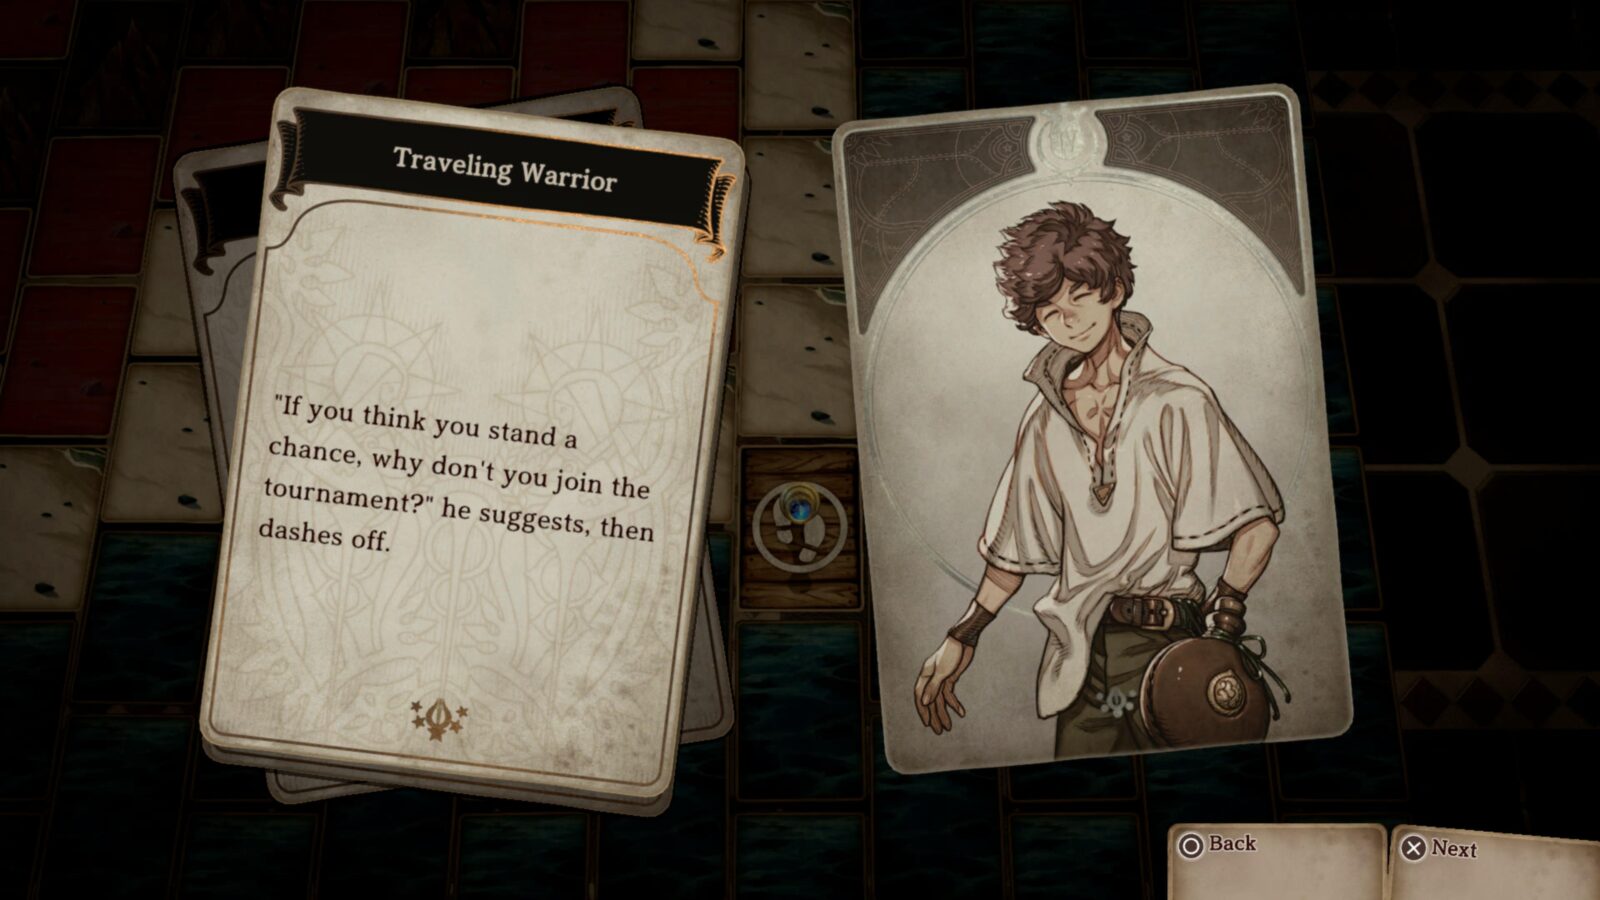
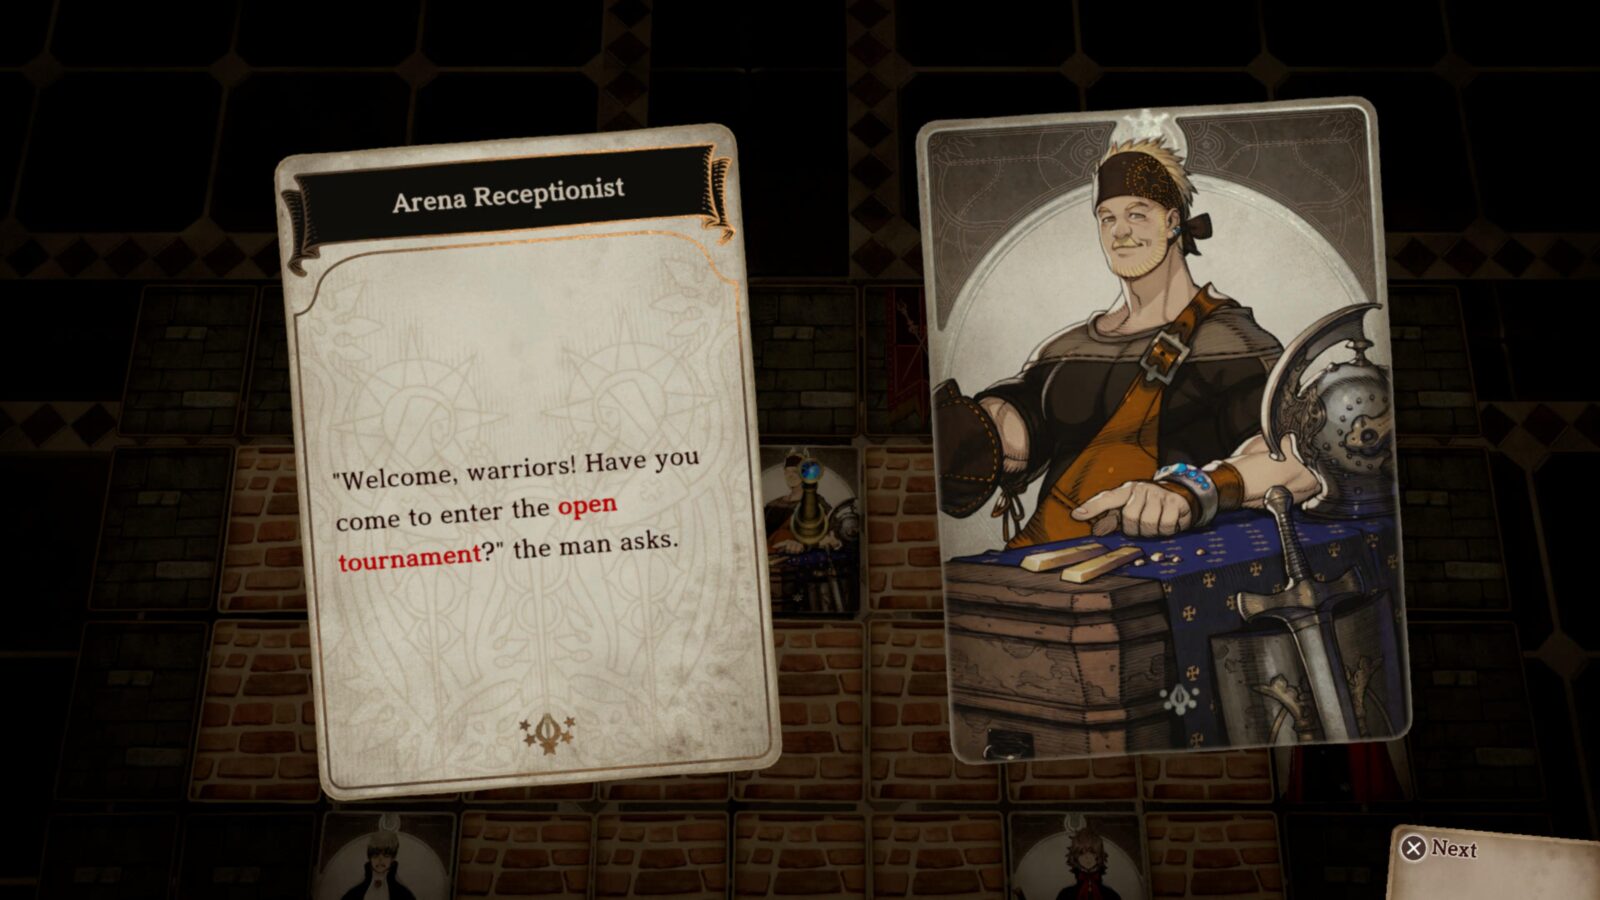
Go to the arena and land on the Arena Receptionist card to trigger the event.
The battles here are very difficult indeed and you’ll want a highly-levelled and well-equipped team before you choose to take them on.
Below are the battles you’ll need to be victorious in:
- Hot-Blooded Housewife (120 HP)
- Old Fellow (150 HP), Wind Wasp (90 HP), Wind Wasp (90 HP)
- Arena Receptionist (300 HP)
That final battle with the Arena Receptionist is one of the hardest battles in the game so you’ll definitely want to be well-equipped for that. He has an attack which attacks your whole party and is typically strong enough to KO them all at once if you’re ill-prepared.
You should focus on using Laty as a Healer while dealing damage with the protagonist. Just keep chipping away at the Receptionists health a bit at a time. He can’t heal himself so as long as you can keep your protagonist alive and keep dealing damage then you’ll make it through fine.
Equip Laty with the Double Heal skill for those rare occasions where you have excess gems for a quick +30HP.
Complete all three battles in the arena to unlock the “The Champion” trophy and receive the “Champion of the Sea” armor.

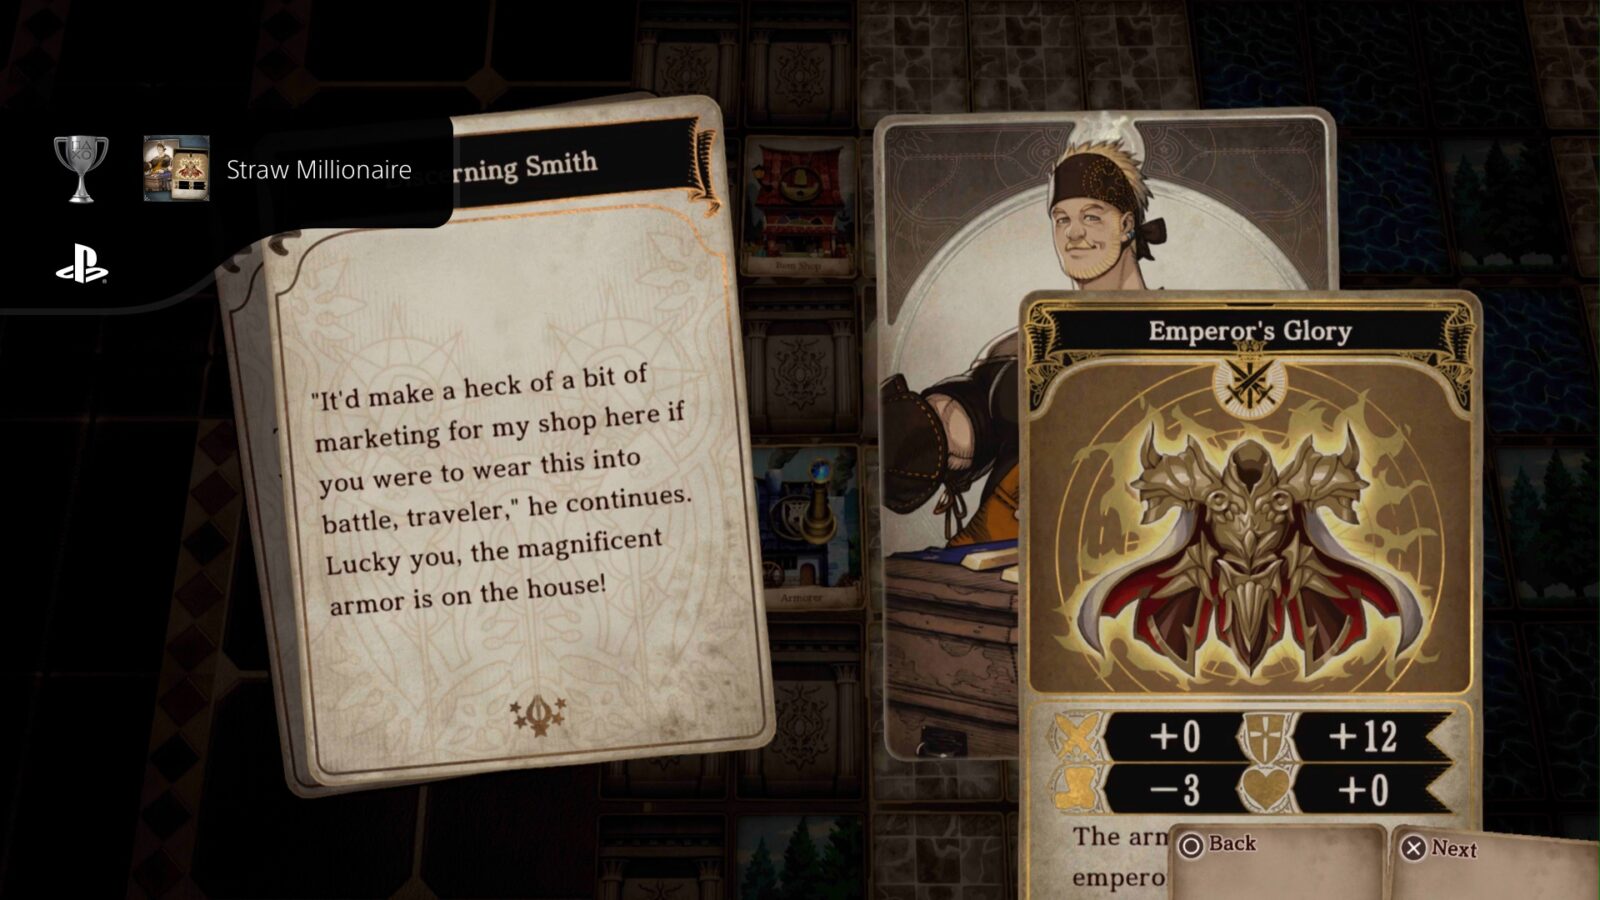
Straw Millionaire
Had the armorer in Alabaster City craft a piece of equipment for you.
The Armorer in Alabaster City can craft a unique piece of armor for you only if you have Silvery Ore. To acquire the Silvery Ore, you will need to complete a series of trades, starting with the Sea Grapes item. You will need to complete this trophy for the Weapon Collector trophy.
Follow the instructions below for each required item:
Where to find the Silvery Ore in The Forsaken Maiden
Explore North Isle until you trigger an event where a woman with a twisted ankle needs help.
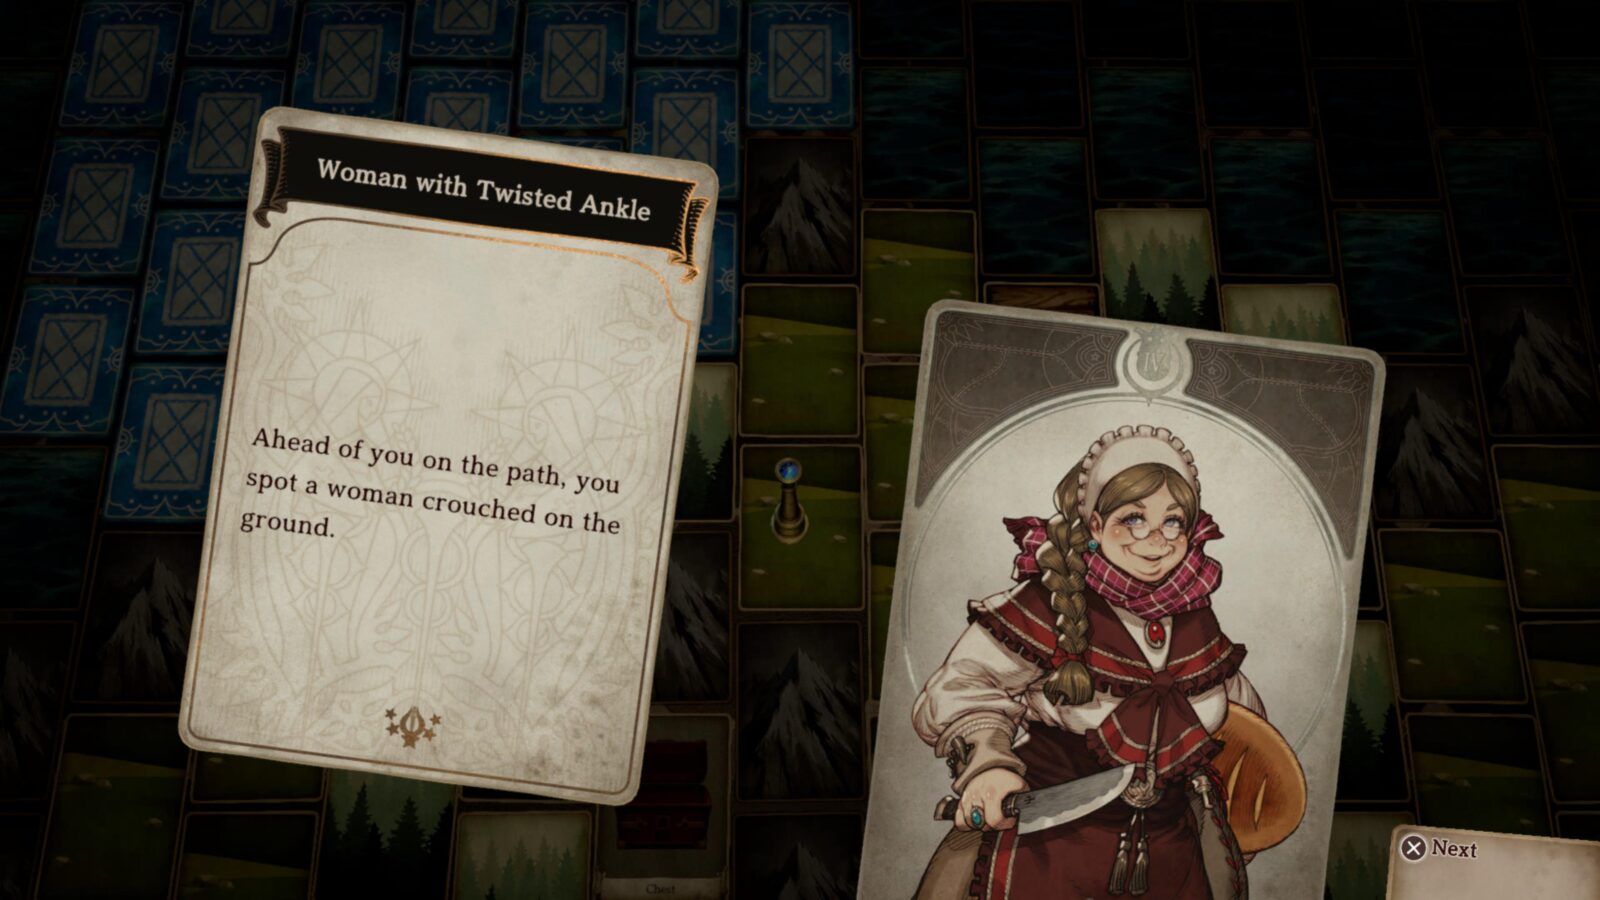
Offer her a Salve for her woes and she’ll thank you with the Sea Grapes item.
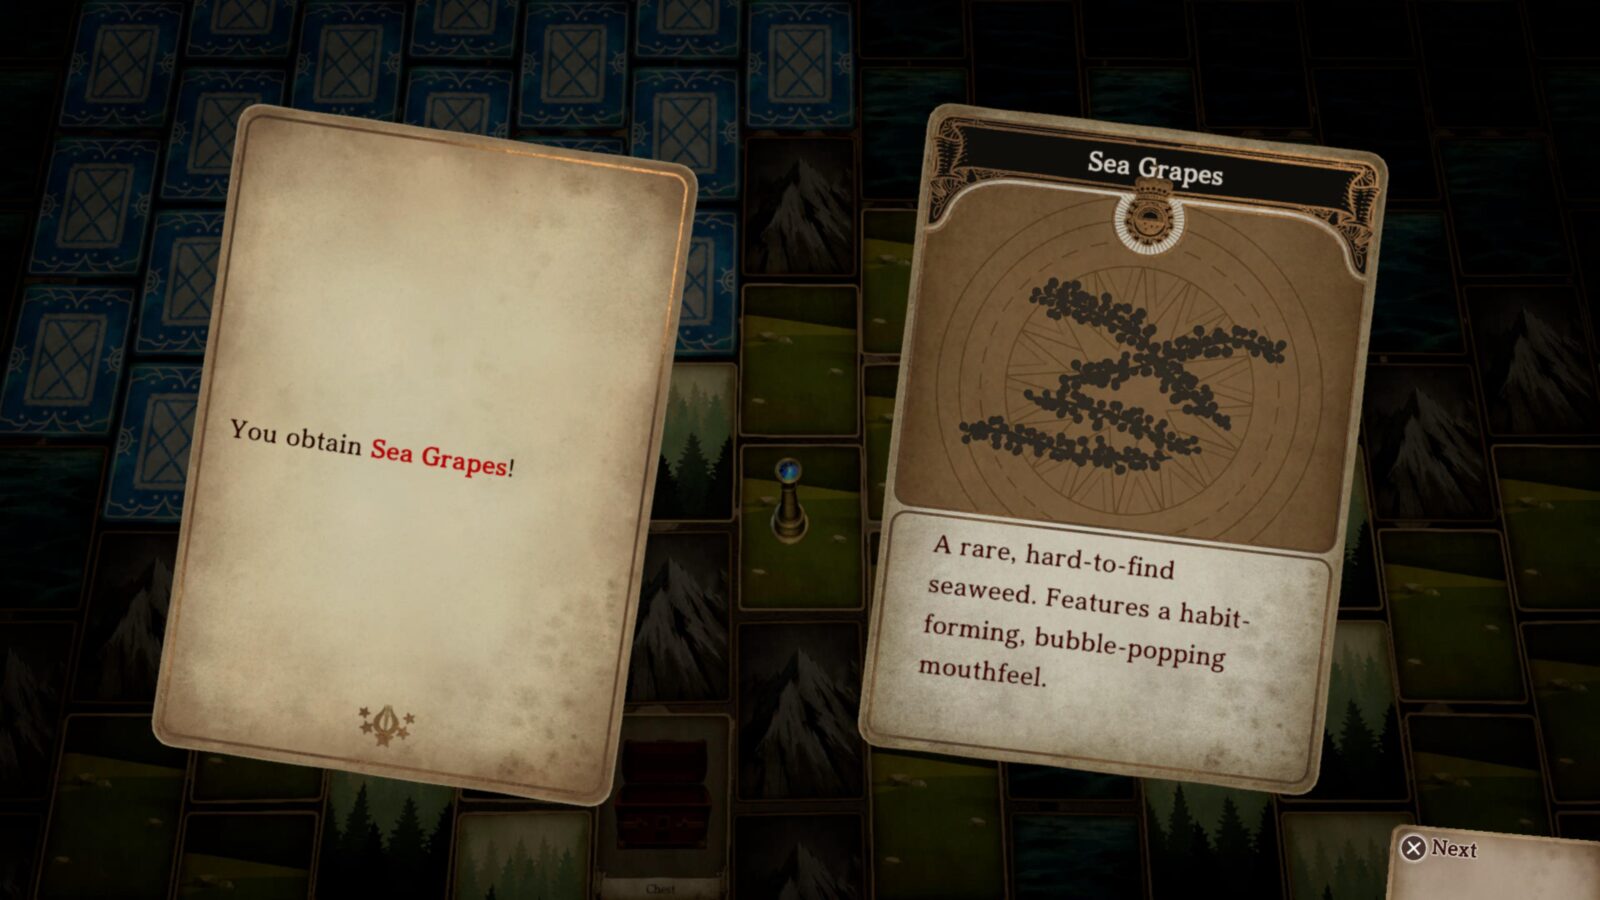
Look for a Ship surrounded by rocks in the Northeastern part of the sea. On board, you will find a Fisherman who is desperate for some Sea Grapes.
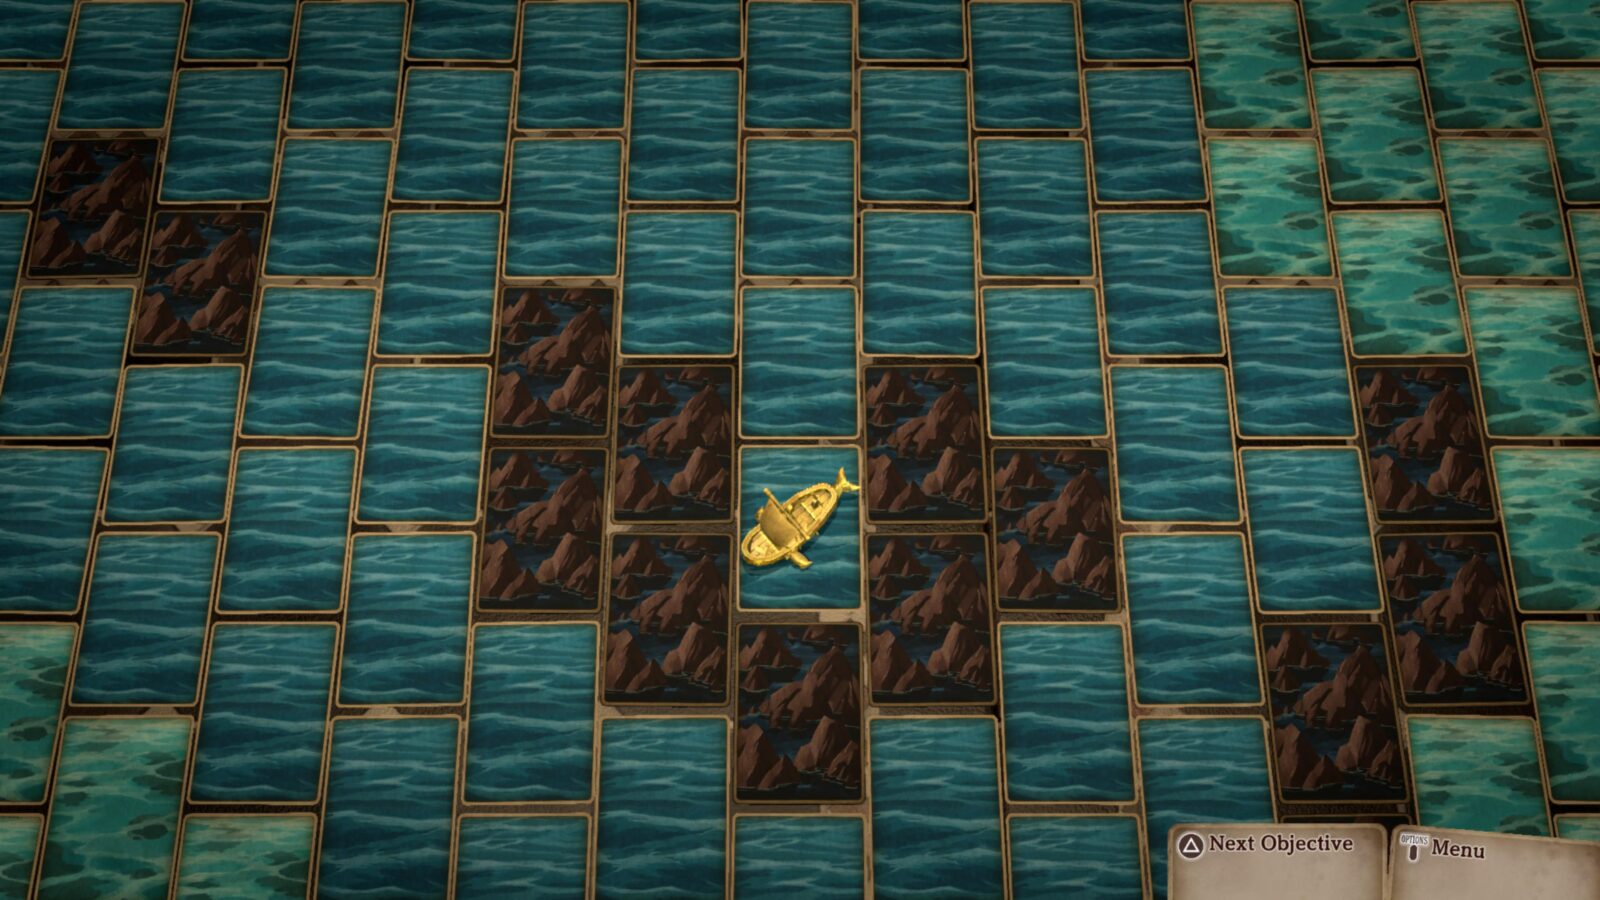
Give the Sea Grapes to him, and he will give you a Bent Stick in return.
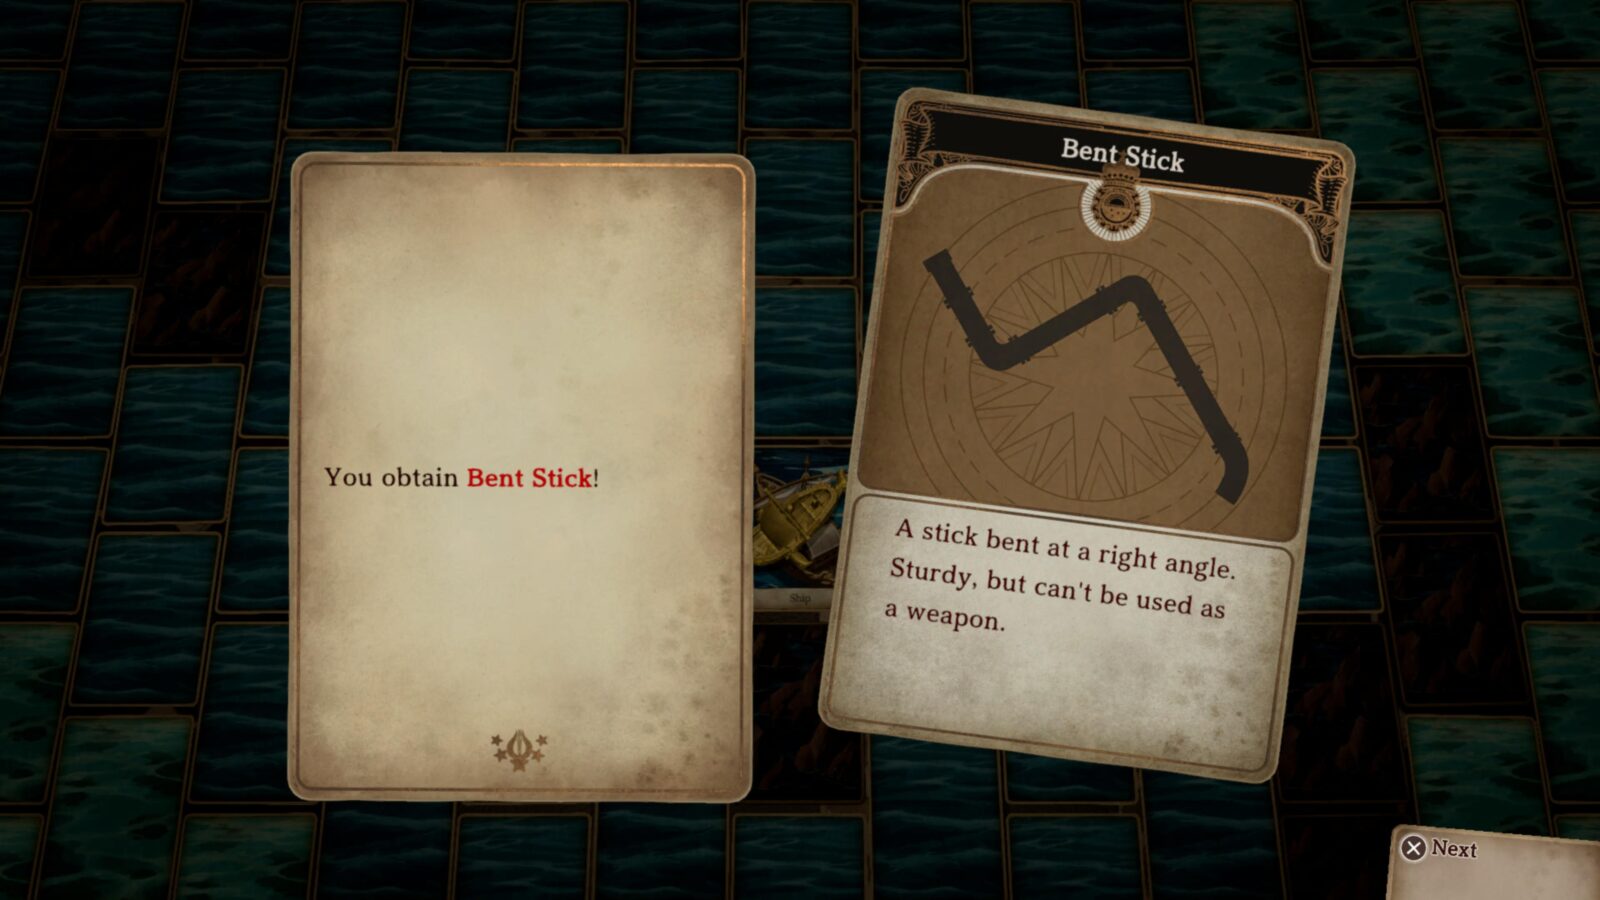
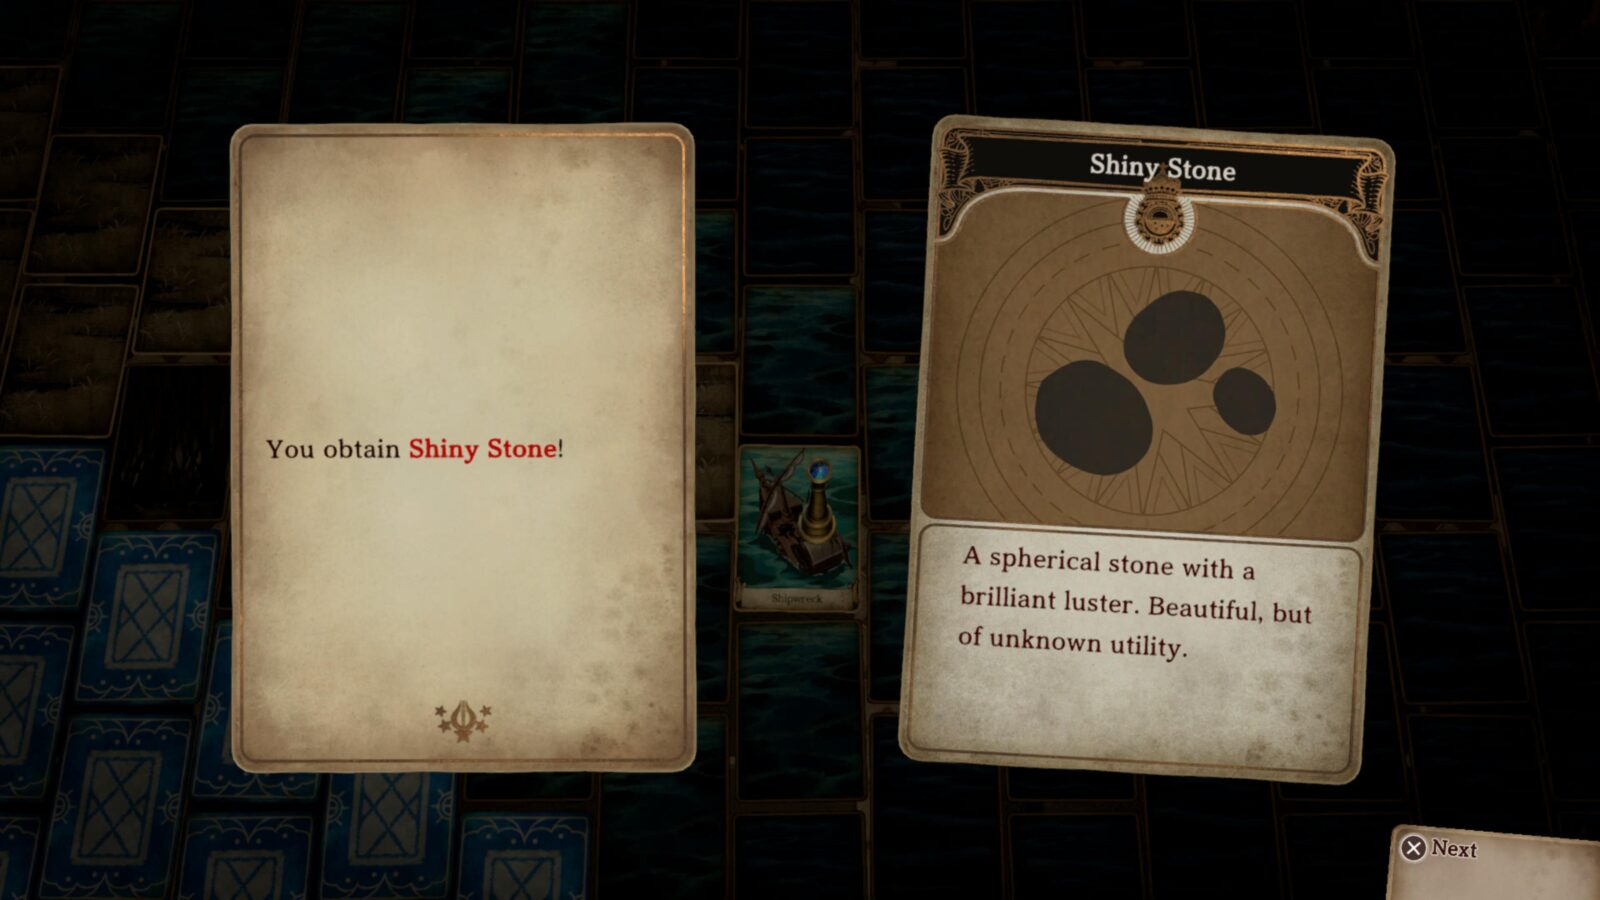
On the Northeastern coast of East Isle, you’ll be able to find a Shipwreck.
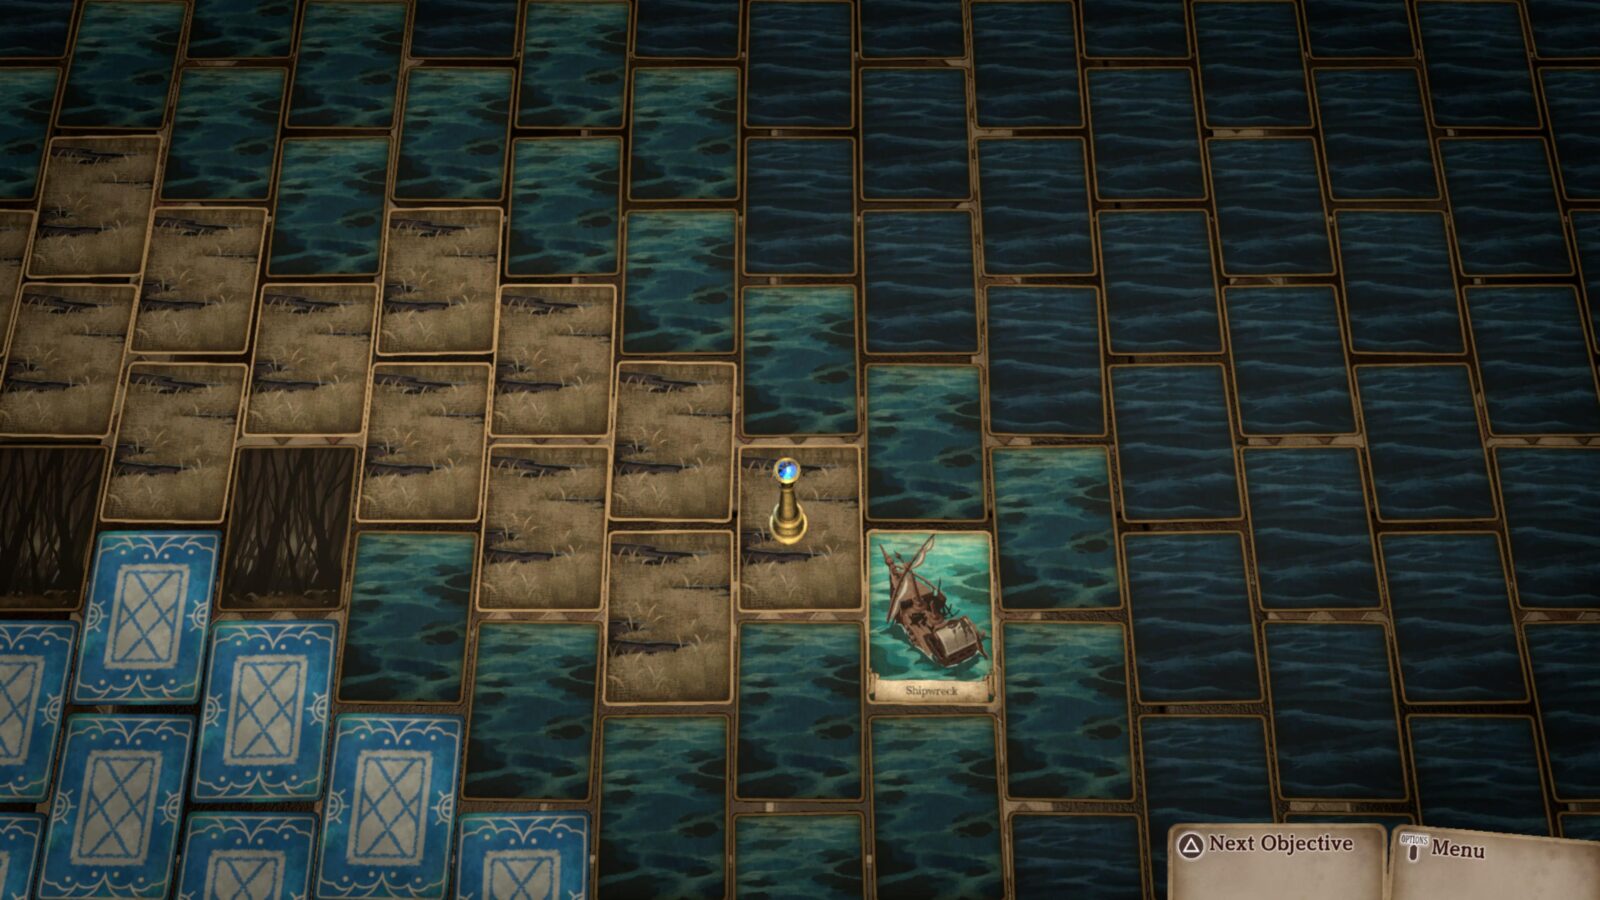
Enter the Shipwreck where you can trade the Bent Stick to receive a Shiny Stone.
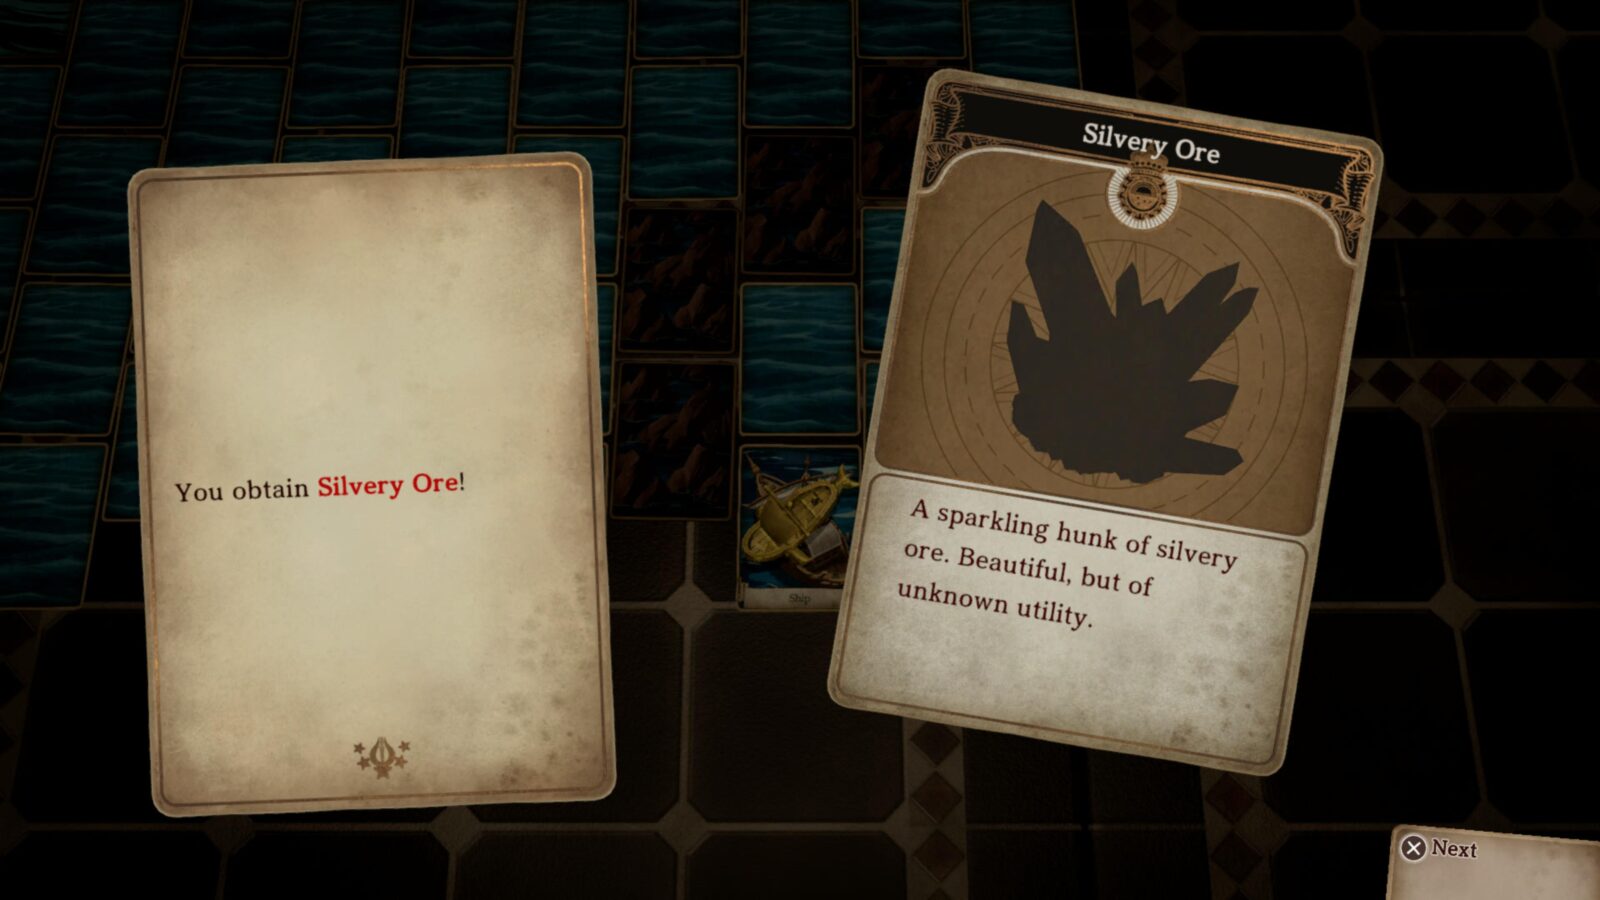
Lastly, make your way to the very Southeastern corner of the ocean. There, you should find a ship tucked away behind some rocks.
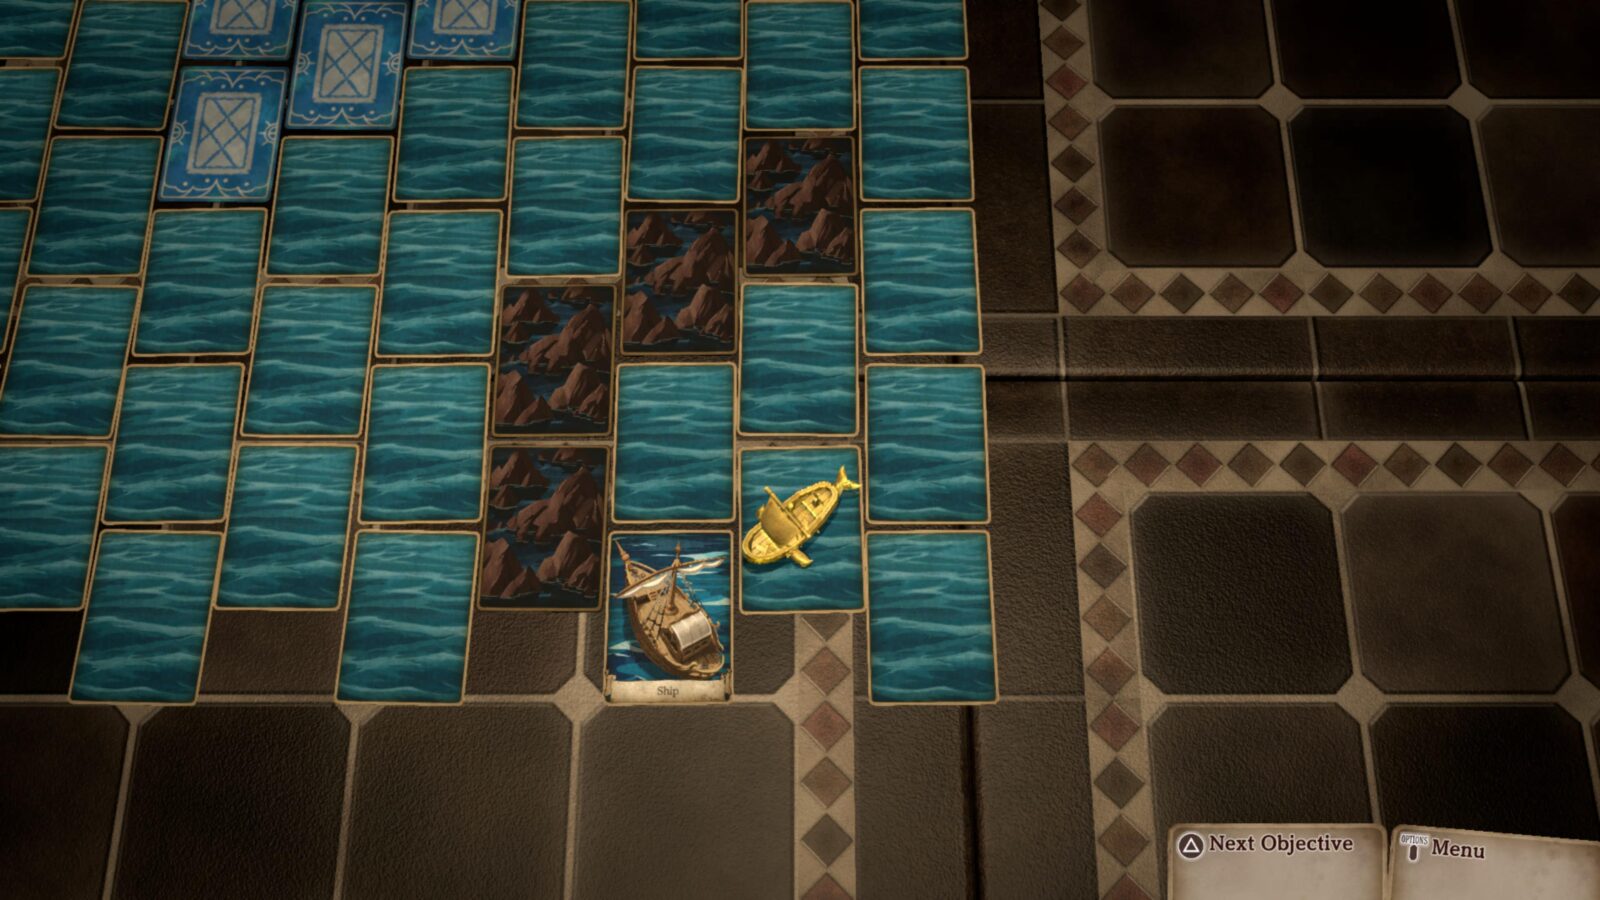
Land on the ship and trade the man your Shiny Stone in exchange for some Silvery Ore.
Once you have the Silvery Ore return to the Armorer in Alabaster City and give him the items. In return, you’ll receive the Emporer’s Glory armor and the Straw Millionaire trophy.
The Abyssal Sea
Prevented the Isle Eater from rising anew in the Dread Sea.
After you complete the game’s story for the first time, you will be informed of a “hidden event” which is now available in the Southeastern Seas.
The exact location of this event was originally not accessible, due to a ring of whirlpools that couldn’t be cleared.
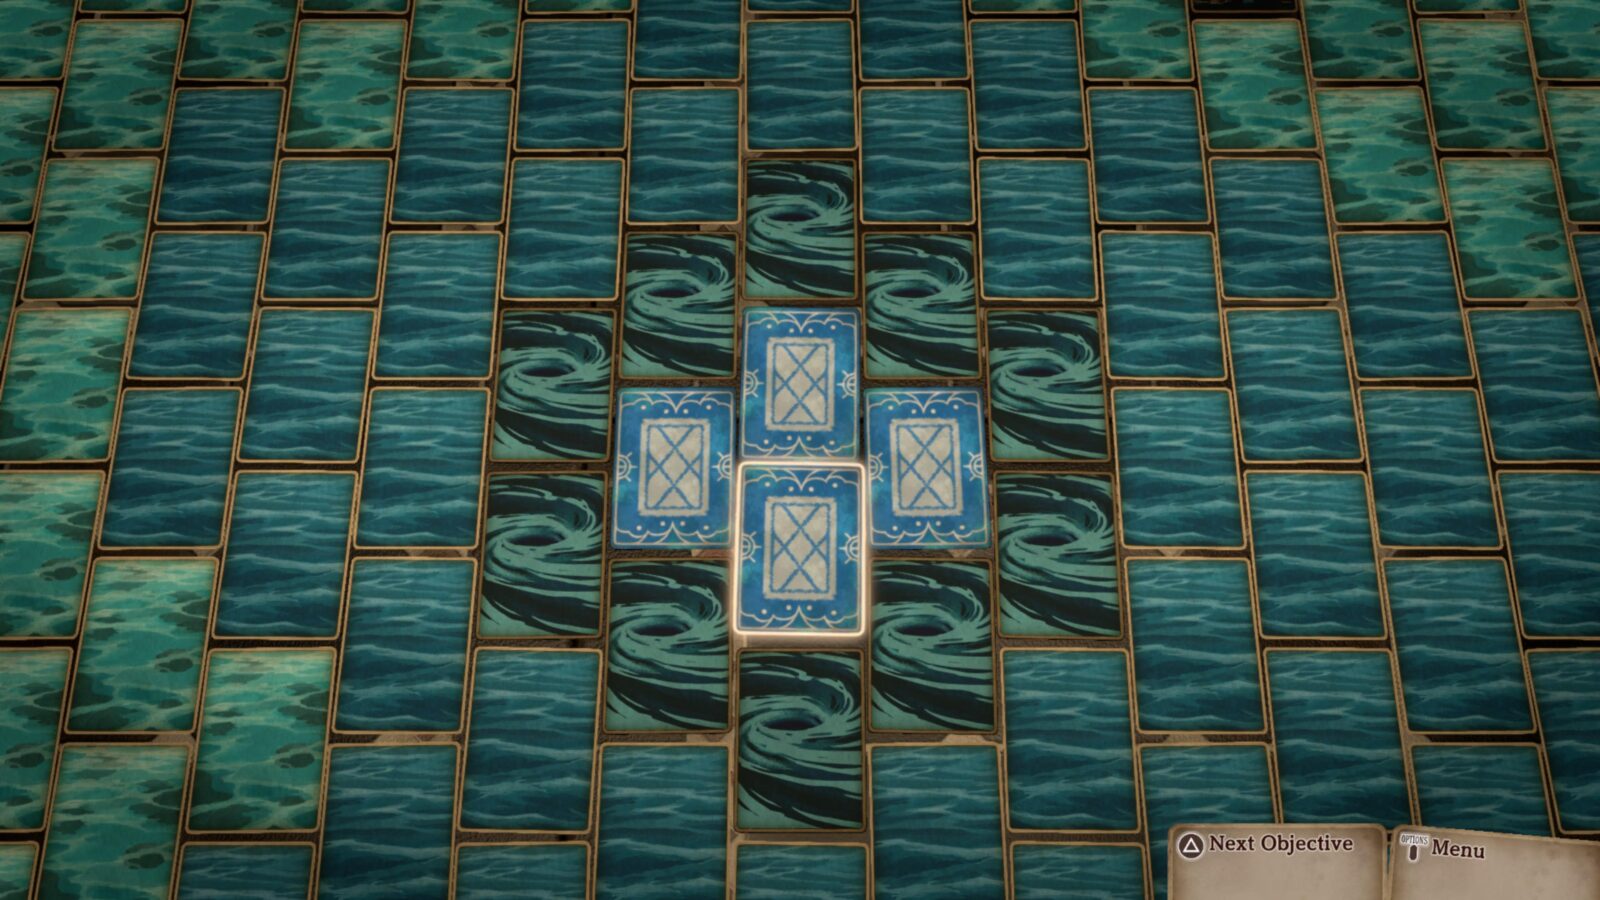
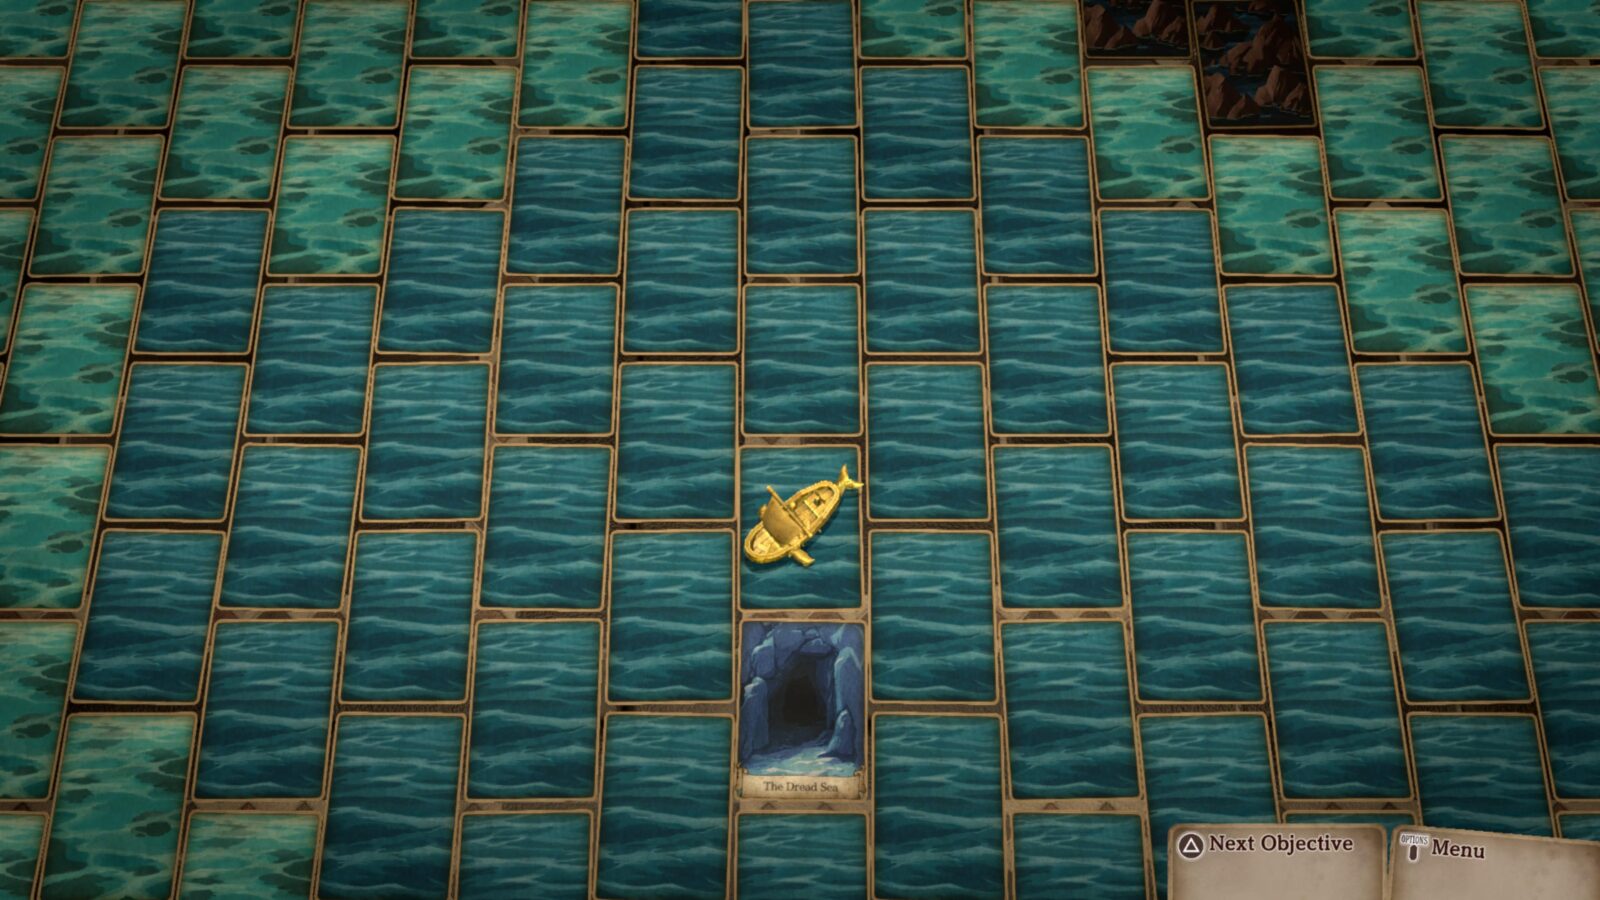
With the game complete, however, this ring is now clear, revealing the location card called “The Dread Sea.”
Note that if you choose to do this optional boss in a New Game Plus save, you will need to gain access to the east sea to reach The Dread Sea.
Head to that location to face the Isle Eater again. This is undoubtedly the hardest fight in the entire game. Do not take it on until your entire party is level 30, you have the best gear you can find, and you’re prepared for a very long and patient fight.
To help you, here are the specifics of my party setup, used to defeat the creature:
You will be allowed to choose Maidens to help you before each fight. I recommend the Azure Maiden and her Ward because they have extra water resistance by default. You can also use Phila’s Heal+ ability when needed.
Both my protagonist and Laty were level 30 (max level) and had the following setups:
Barren (Protagonist)
Equipment: Azure Spirit’s Relic, Emperor’s Glory, Waterstay Ring II
Skills: Stab, Air Thrust, Tempest, Thunderstrike, Double Heal
Laty
Equipment: Eternal Maiden’s Relic, Heavenly Guardian, Waterstay Ring II
Skills: Charge Spell, Guardian, Heal+, Thunderstrike, Double Heal
You should also bring with you a plethora of healing items. I took 10 Omnipanacea, 20 Quality Omnisalve, 5 Supreme Salve, and 15 Inspirilixir with me—a full inventory.
Defeating the Ancient Scourge
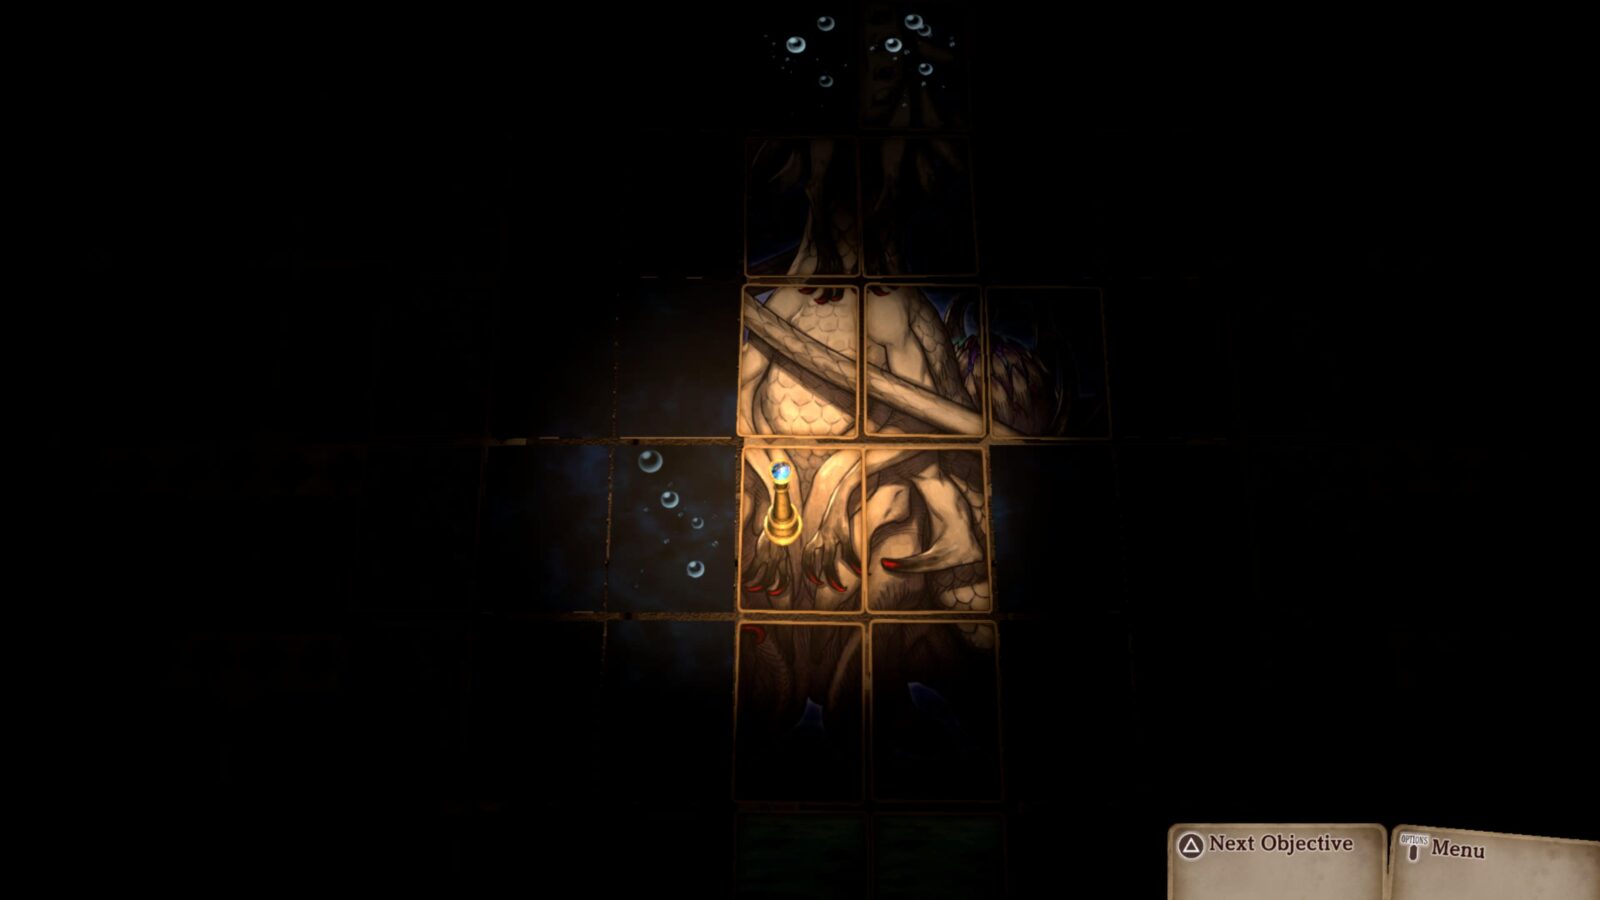
Once you’re prepared, head into the Dread Sea to find a large cavern, within which the Isle Eater is healing from your earlier battle.
The Ancient Scourge fight is a lot like the final boss. Before you can fight it by landing on one of the head cards, you need to look for other fights in the grid of cards and complete those first.
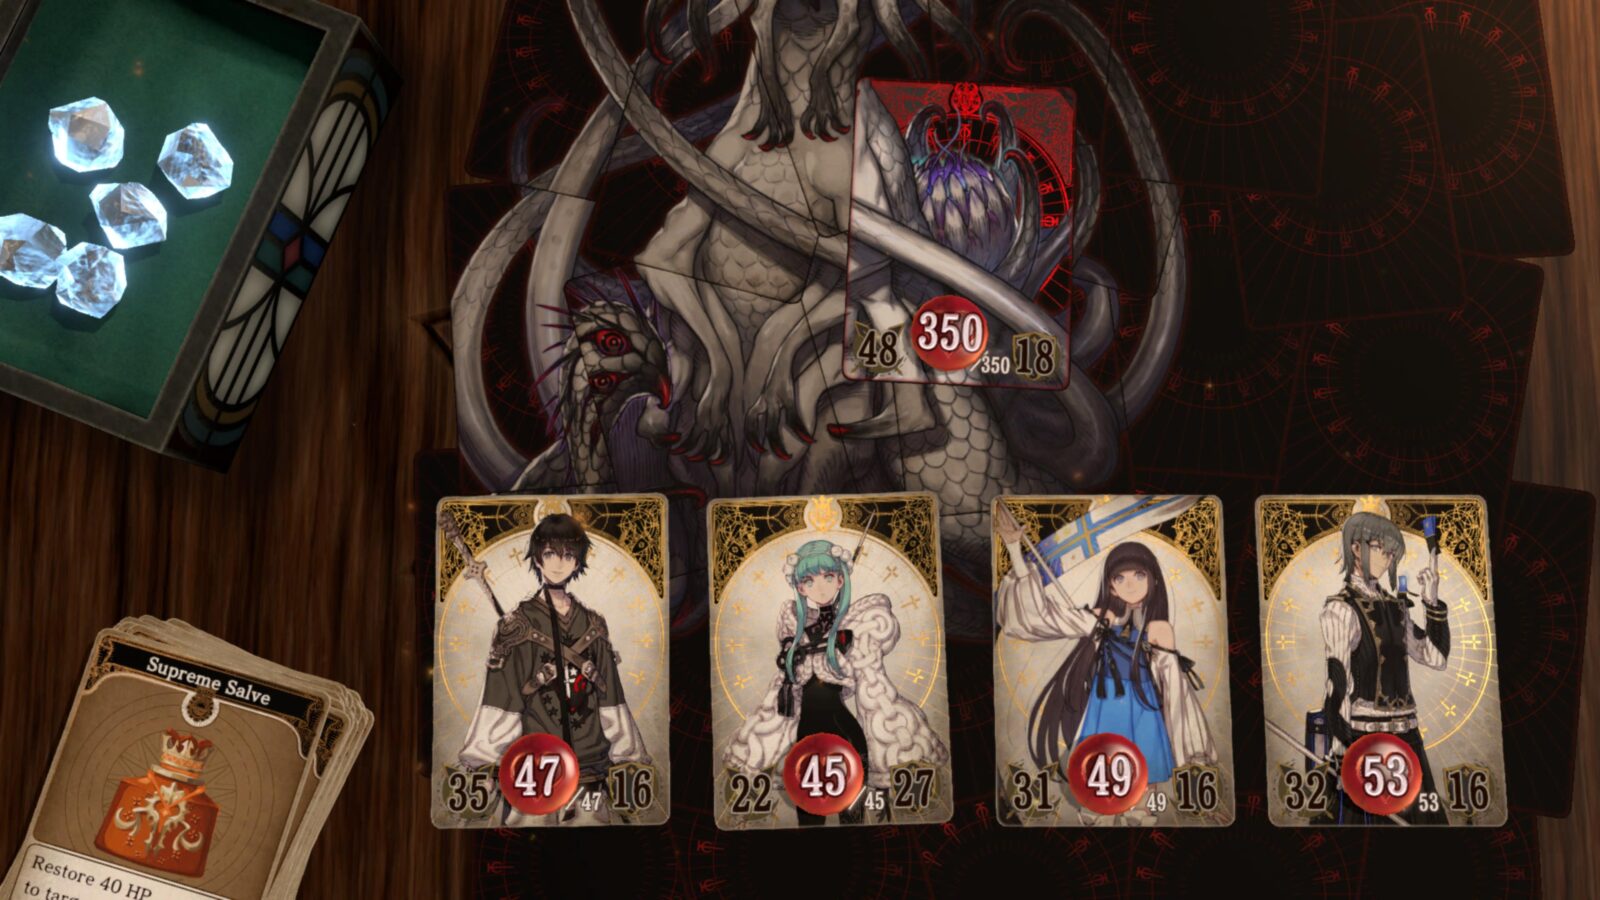
Look for cards that have bubbles rising up from them, each of these cards has a mini-boss fight on it, and you will need to complete both before you can fight the Ancient Scourge boss.
The Miniboss fights are all against tentacle cards on the Scourge. The tentacle on the left has 300 HP and the one on the right has 350. Take on each one very patiently and expect a challenge.
The final fight with the actual scourge is against 2 cards, each of which has an incredible 500 HP. It is unquestionably the hardest fight in the game and will take you a good hour or more to slowly whittle down to 0HP.
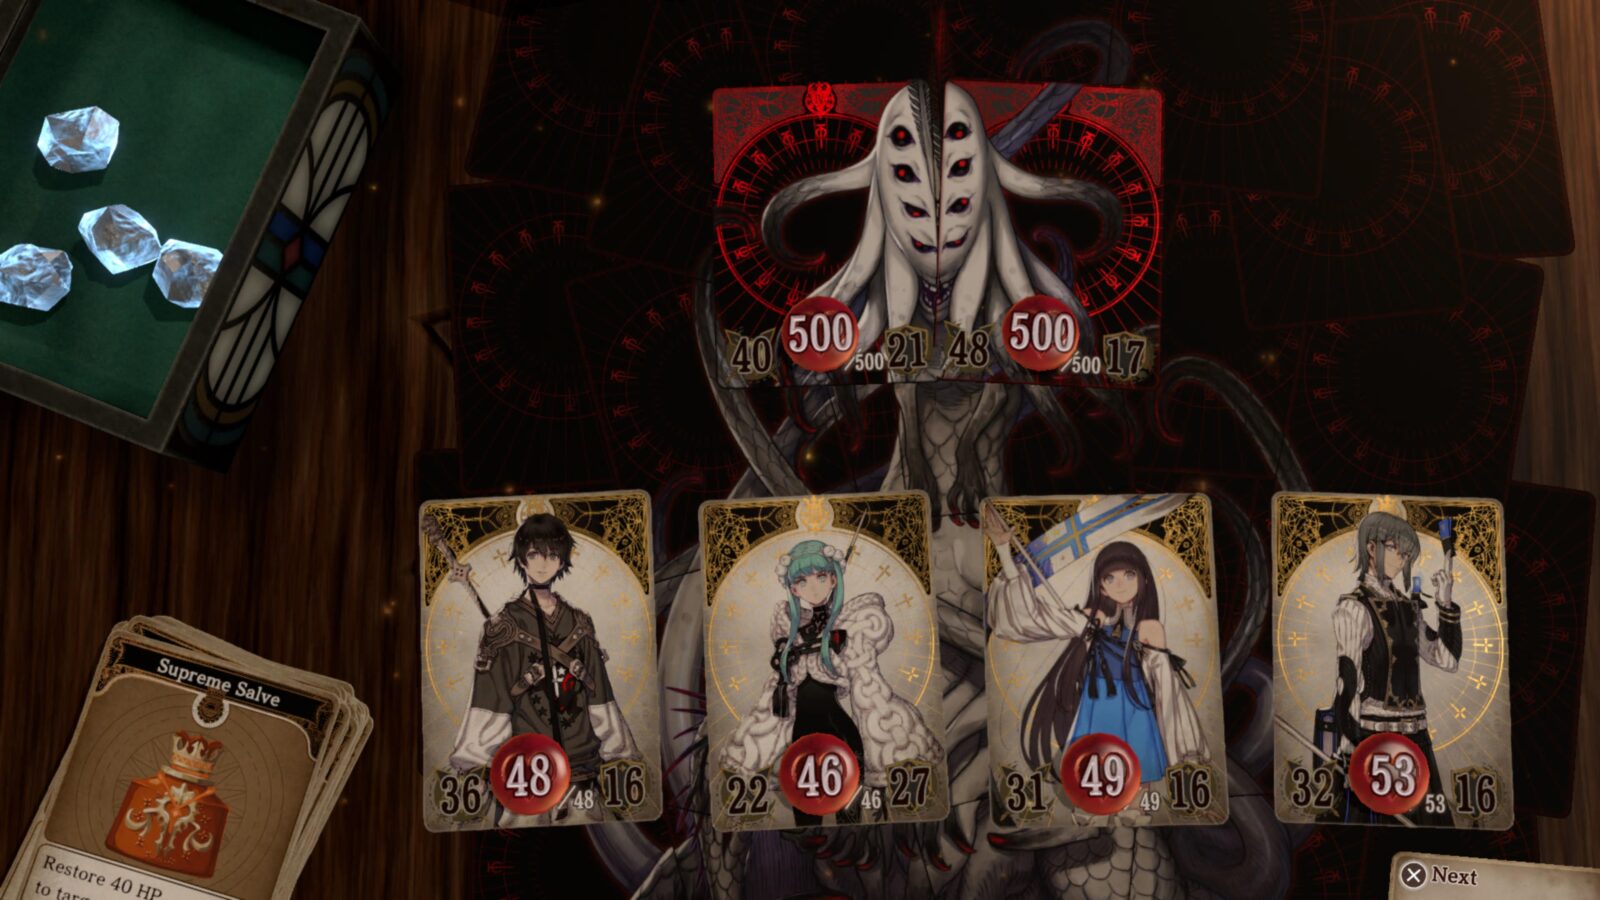
Focus on taking down the right head card first because it has lower defence and higher attack, and remember to just stay patient and follow the tips below:
Focus mostly on healing. Use heal spells on party members as soon as they’ve taken a hit. Try your very best to keep everyone at 100% HP constantly. Don’t be afraid to use items, too. The boss has an attack that deals 35 Damage minimum, so try to keep everyone above that.
If any of your party members get Cursed, use Panacea or Omnipanaea to get rid of that immediately so that you can safely heal them.
In all of these battles, including the Scourge itself, you should do the following with each character at each turn:
- Protagonist: This is your main damage dealer. Just a little bit at a time. Use your Air Thrust skill, or Stab if you’re desperate for gems.
- Laty: Always heal. Use Heal+ on individual characters, or Double Heal if the whole team needs more HP. Once every three turns you should be able to use Guardian to boost your defence.
- Phila: Mostly use Stab to get a few extra hits in. Always use Heal+ if someone needs healing, though.
- Hyd: Use “Assault” to reduce the enemy’s attack. This doesnt work on the left tentacle or the left head card. Otherwise, just use Stab.
It is very possible that you will start to run out of Inspirilixir about halfway through the battle. When this starts to happen, let Phila and Hyd stay down and focus on keeping the Protagonist and Laty alive. Their water resistance and good healing abilities should be enough to see you through the final half of the fight.
When you finally defeat the optional boss, you’ll receive a new custom avatar and The Abyssal Sea trophy.
Phase Three – New Game Plus & Cleanup
In this final phase of our VoC: The Forsaken Maiden Trophy Guide, you will just want to clean up any remaining trophies. You can do this either in your main save that you used to complete the game, or using the New Game Plus save you will need to make for the Powered Up trophy.
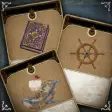
In New Game Plus, you will keep your collection progress, all of your equipment, your character levels, and money. You will also receive the Evilbane Ring, which prevents most random enemy encounters from happening, so you can freely explore and re-experience the story without getting attacked every 2 minutes.
I would only recommend using your New Game+ save to mop up the remaining trophies if you haven’t already made a point of exploring as much as possible during your initial playthrough. If you’ve already uncovered most of the map in all areas then you would be better off sticking with your current save, where you’ve already made a lot of progress.
Start a New Game Plus Save

Powered Up
Began a game using saved data carried over.
After you’ve completed the game at least once, select “New Game” from the Title Screen and you’ll see that you can carry data from your completed save into the new one.
As soon as you select “Yes” on the screen shown above, you’ll be given the “Powered Up” trophy. You will also then receive the Evilbane Ring, which you need for the Weapon Collector trophy.

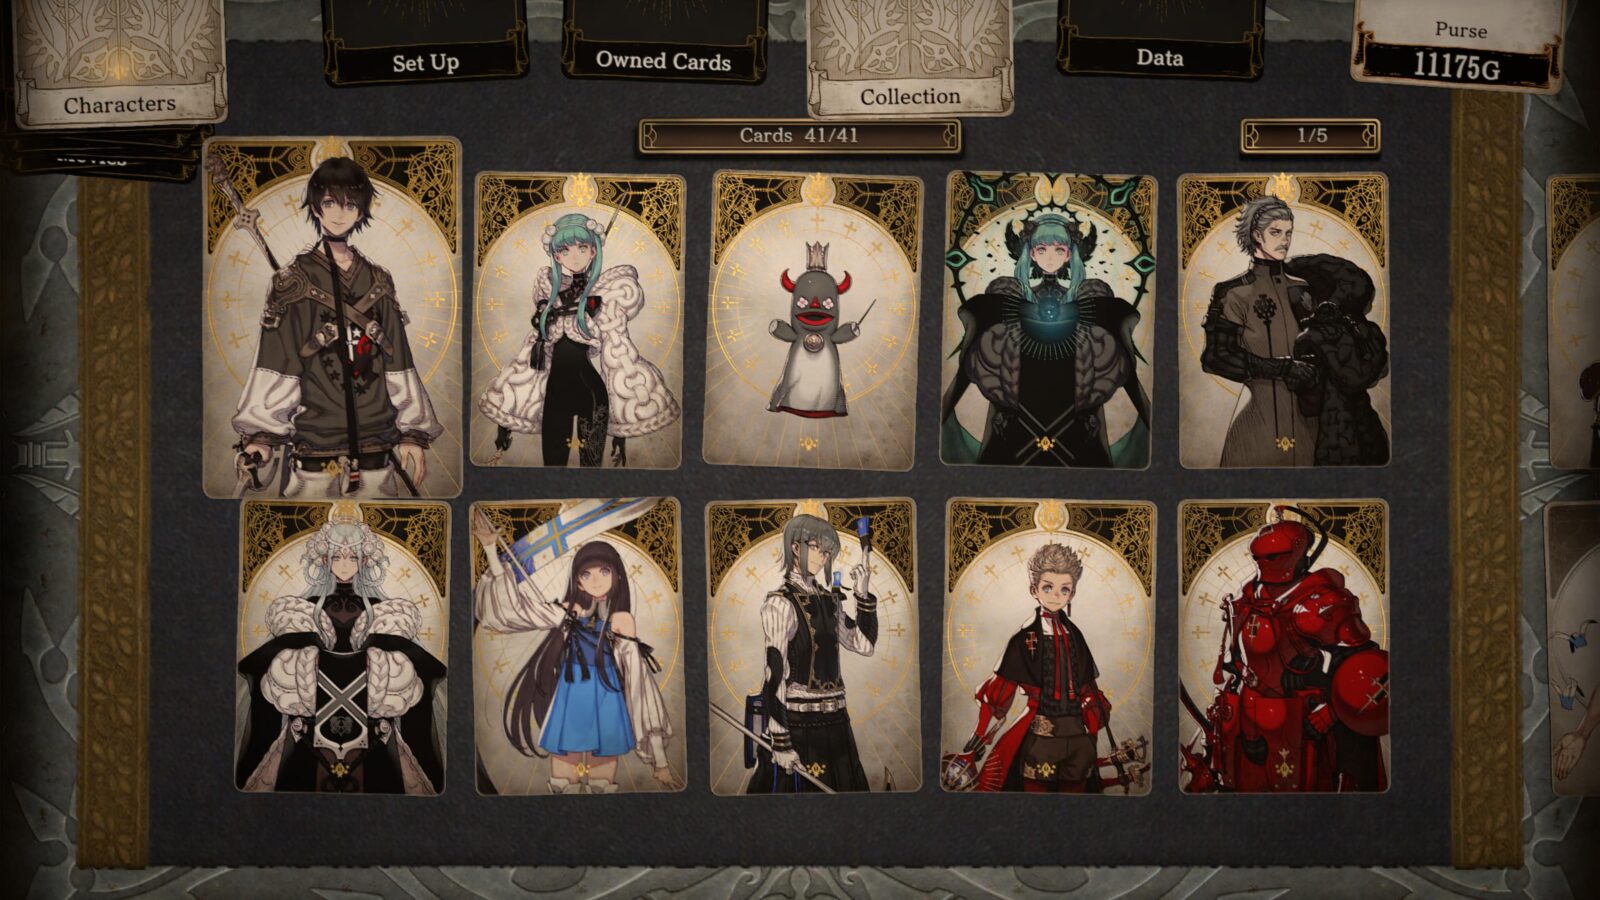
Complete Your Card Collection
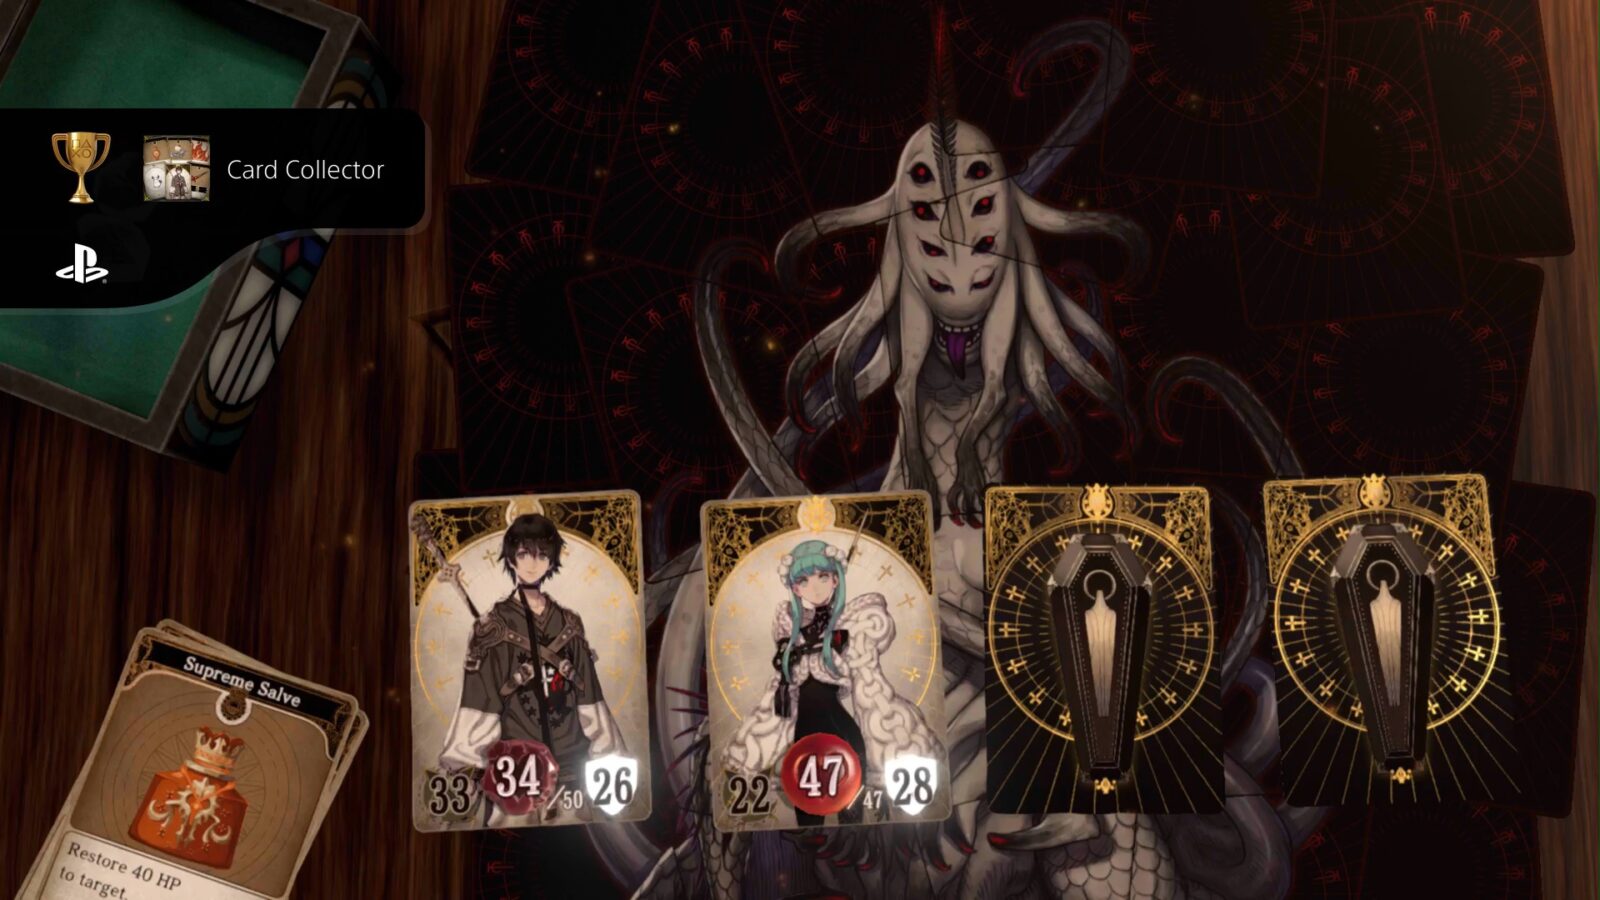
Card Collector
Completed your collection.
To unlock the Card Collector trophy, unlock the Item Collector, Weapon Collector, Antique Collector, Character Fanatic, Jack-of-All-Trades and Master of Monsters trophies.
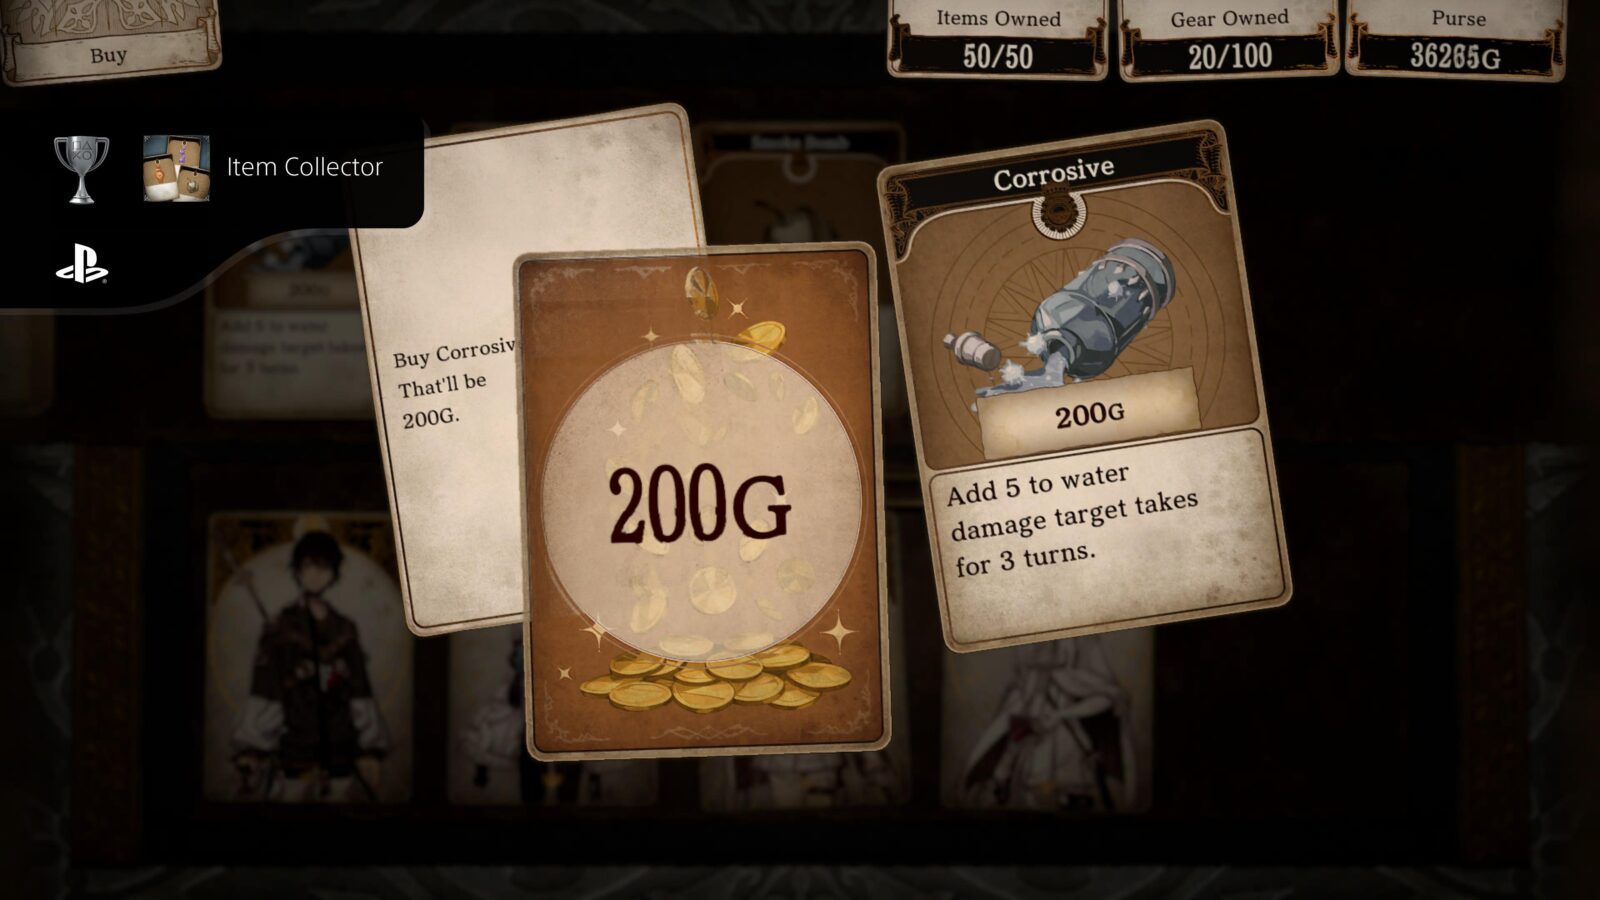
Item Collector
Collected all item cards.
Your Item Card collection is likely to be completed naturally. It consists of healing and battle items which, for the most part, are easily found between Apothecary and Item Stores, Chests, and Monster Encounters.

To help you complete your collection, if you need it, I have prepared a separate guide for Where to Find all Item Cards in Voice of Cards: The Forsaken Maiden.
Once you have acquired all of the items at least one time to add them to your collection, the Item Collector trophy will unlock.
You can check your Item collection from the “Collection” tab in the ![]() pause menu.
pause menu.
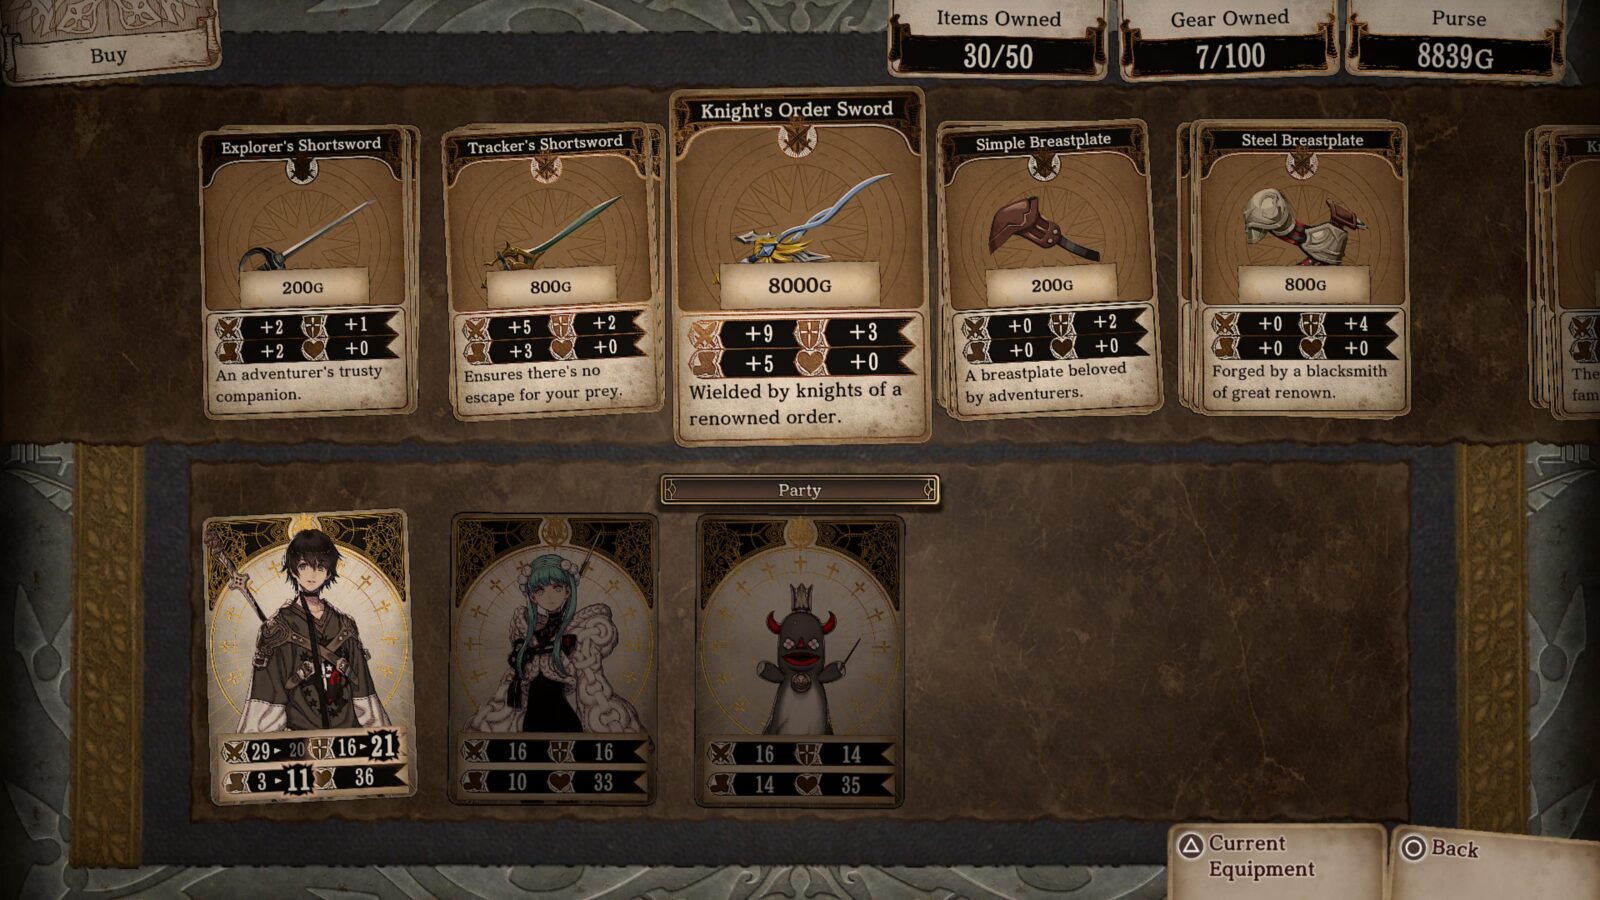
Weapon Collector
Collected all equipment cards.
To unlock the Weapon Collector trophy, you will need to collect not only every weapon in the game, but also every armor and accessory too. Most of these can be purchased from armorers, but there are a few more difficult-to-acquire pieces of equipment hidden throughout the game.
We’ve prepared a separate guide on Where to Find all Equipment Cards in Voice of Cards: The Forsaken Maiden, consider using that if you find yourself missing a few.
Upon completion of the equipment card collection, the Weapon Collector trophy will unlock!
Antique Collector
Collected all key item cards.
The Key Item Card Collection consists of all story-related items that cannot be missed. As long as you finish the game at least once, the Antique Collector trophy is as good as yours.
Character Fanatic
Collected all character cards.
Character cards are not necessarily party members, the Character collection found in the “Collection” tab of the ![]() pause menu consists of all key characters you will meet throughout the story. I would advise you to ensure you speak to every person possible whenever you visit a town to ensure you don’t miss any cards.
pause menu consists of all key characters you will meet throughout the story. I would advise you to ensure you speak to every person possible whenever you visit a town to ensure you don’t miss any cards.
You will likely unlock this trophy naturally throughout the course of the story and while in pursuit of other trophies tied to optional objectives.
If you reach the end of your trophy journey with this being one of the only trophies you still need, then I would suggest revisiting each town to speak to everyone and make sure nobody was missed.
Note that this trophy won’t unlock unless you have the Flipside story for every character too. Again, you can ensure you get these by visiting every town and speaking to everyone, but you need to make sure you go to every shop in every town too, to unlock the Blacksmith, Item Shop Girl, Apothecary, Innkeeper, Game Parlor Reception, and Carriage Master flipside stories.
We’ve also prepared a guide on Where to Find all Character Cards in Voice of Cards: The Forsaken Maiden. Using the table within, identify which Character cards you are missing, and then follow the instructions to acquire each card.
With a complete Character Card collection, you’ll unlock the Character Fanatic trophy.

Jack-of-All-Trades
Collected all skill cards.
The Jack-of-All-Trades trophy is highly likely to unlock throughout the course of the game. As your characters level up, they will each learn new skills at certain levels.
VoC: The Forsaken Maiden is unlike its predecessor in that you don’t have a permanent team for the whole game. Your party will change with each chapter, but each of these temporary characters will come equipped with their full skill set. This means you just need to unlock the Skills that the Protagonist, Laty and Lac can learn.
By the time every permanent character on your team is Level 27, you should have learned enough skills to complete the Skill Card collection and unlock the trophy.

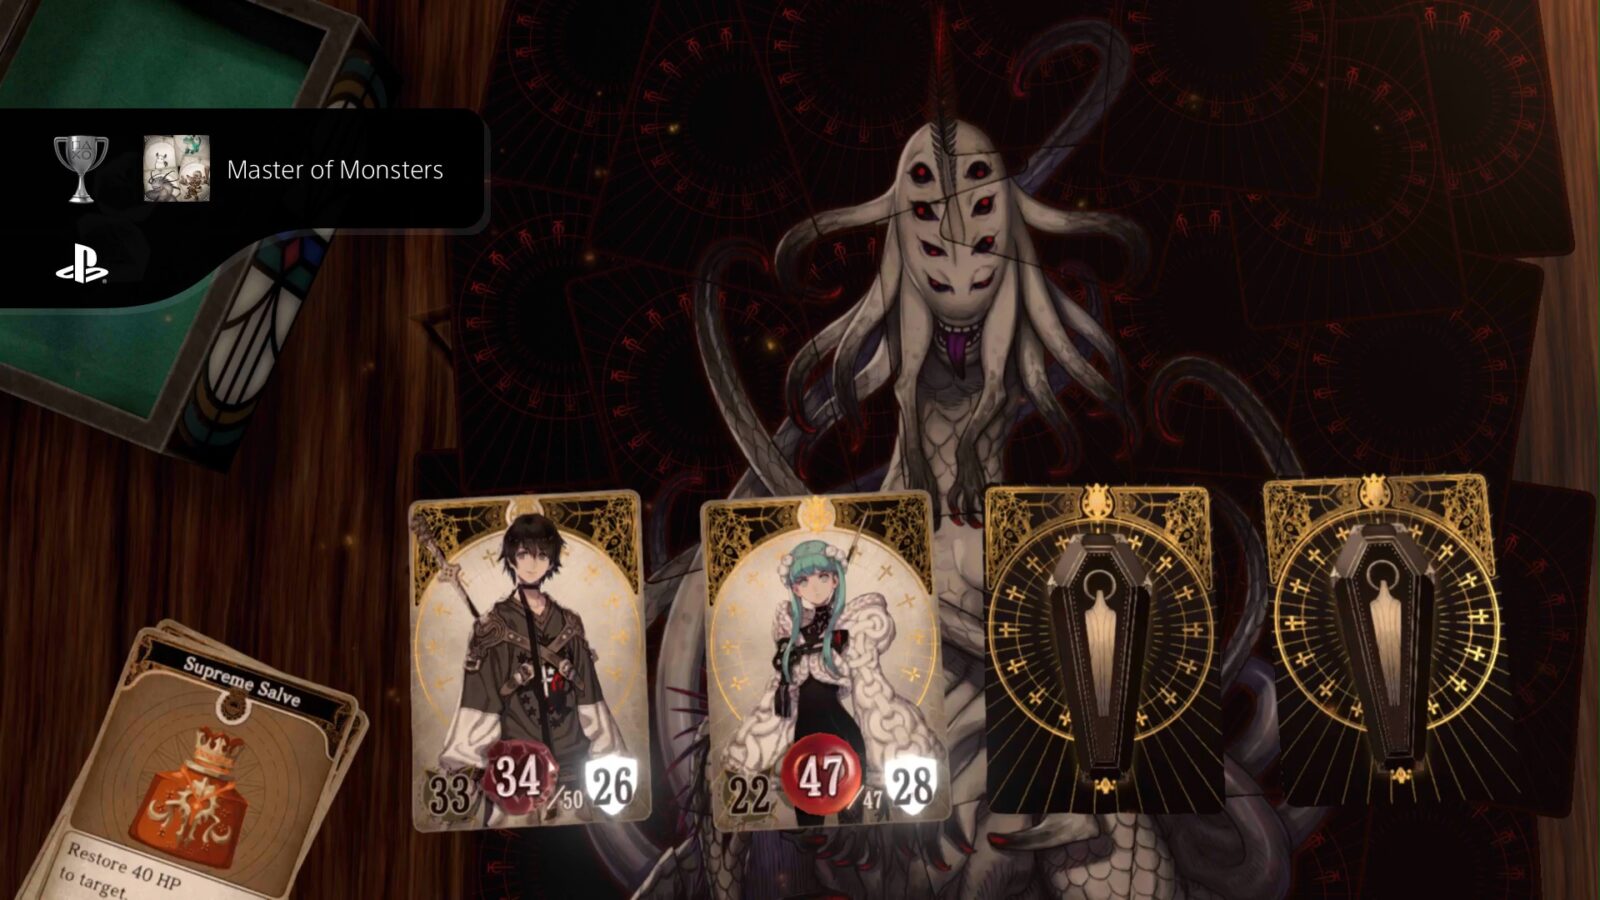
Master of Monsters
Collected all enemy cards.
Fighting Monsters will add their cards to your Monster Card Collection. This collection should be fleshed out naturally throughout the course of the story, both through boss encounters and random encounters occurring as you explore.
Bosses only need to be fought once to unlock their card and their flipside story. However, for every other monster you will need to fight each one several times to unlock their flipside story. You’ll be informed after a fight whenever you complete a flipside story for a new monster, but you can also just check in your collection which ones you can’t yet flip over.
It can be hard to keep track of where all of these different monsters spawn, so to help with that we prepared a separate guide on Where to Find all Monster Cards in Voice of Cards: The Forsaken Maiden.
Once your Monster Card collection is complete, and you have acquired all 48 cards as well as their flipside stories, the Master of Monsters trophy will unlock.
Game Parlor Trophies
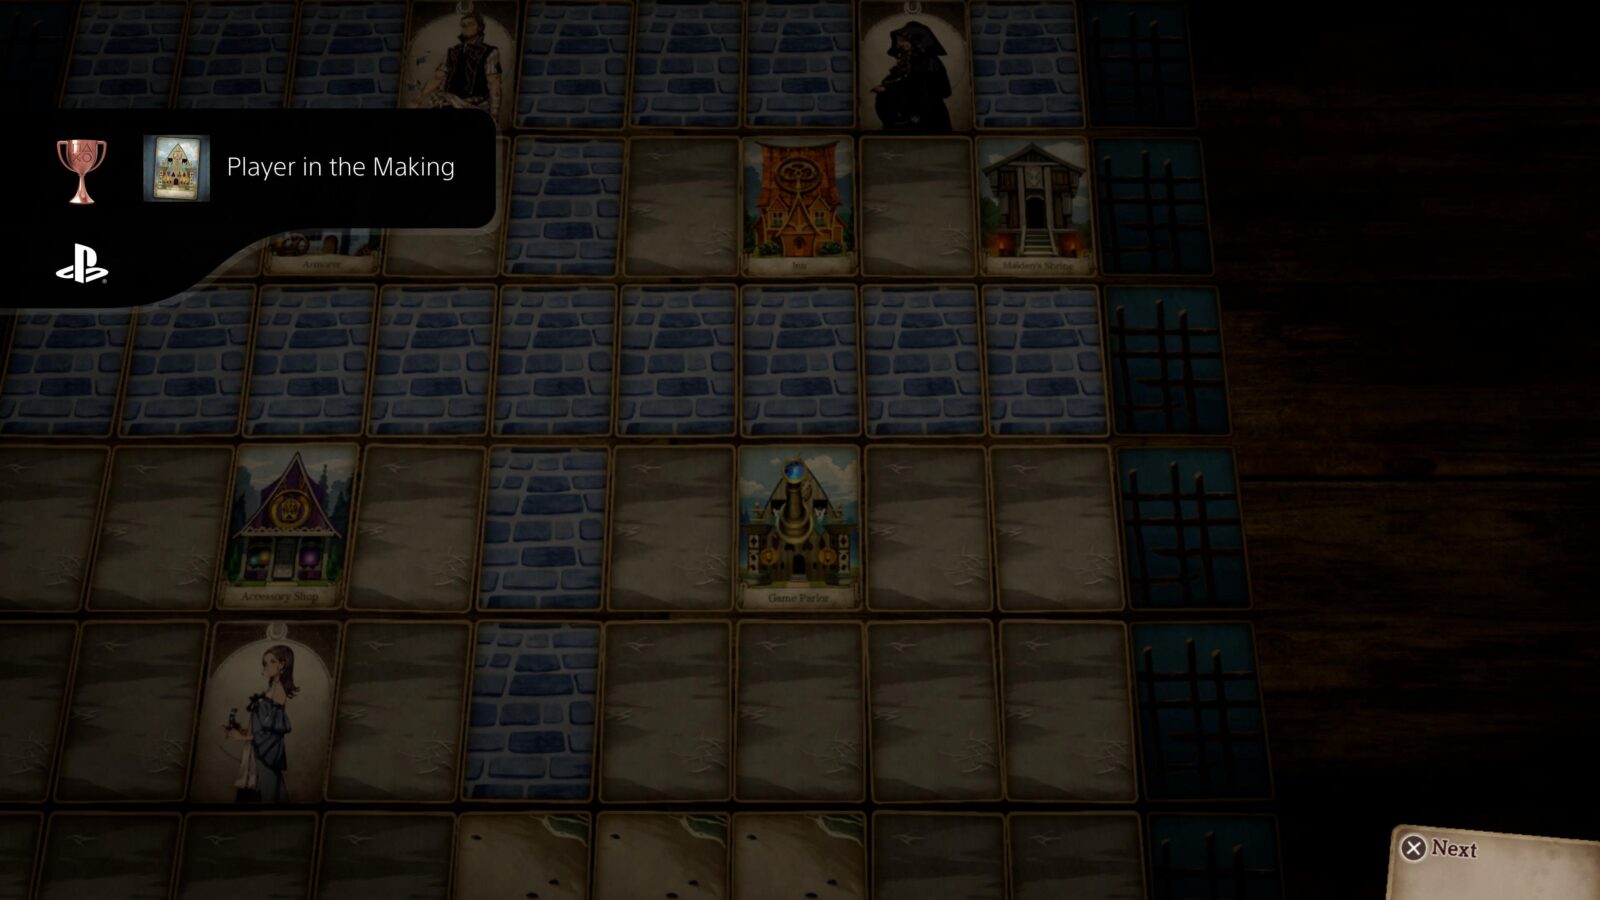
Player in the Making
Played at a game parlor for the first time.
At first, only the “Simple” rules will be available, but you will unlock others by playing matches with each ruleset. It’s possible to earn this and all other game parlor trophies as early as Coveton, the second town in the game.
Win or Lose a game under any set of rules at a game parlor for the first time and you’ll unlock the Player in the Making trophy.
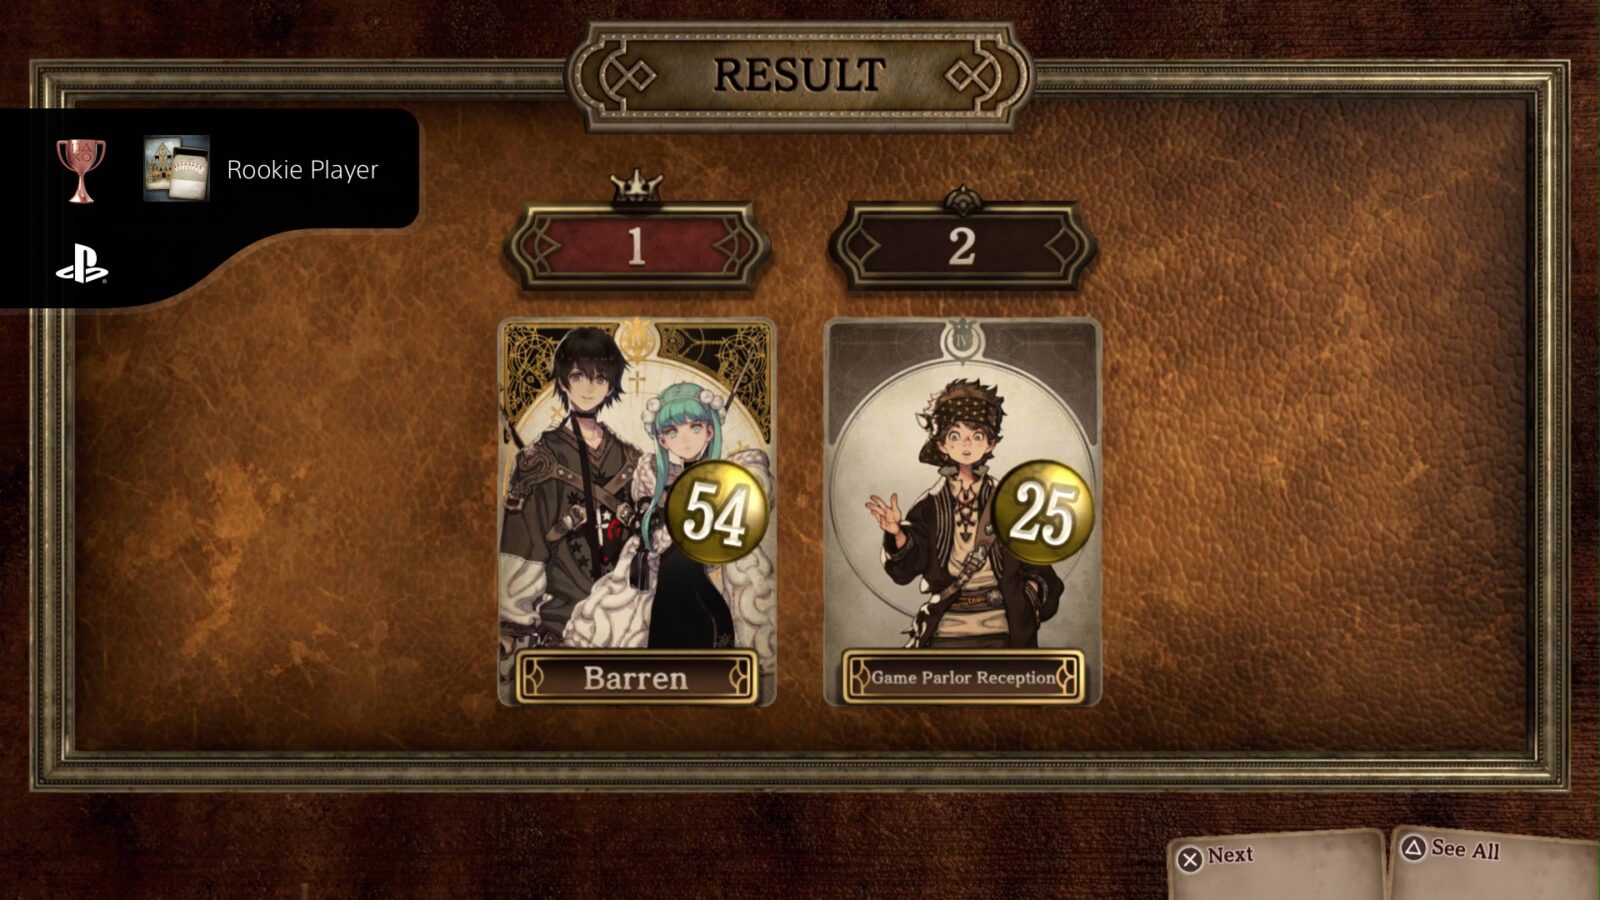
Rookie Player
Won a round on Simple at the game parlor.
See Player in the Making for information on Game Parlors.
The Simple rule set is the first set of rules available to you in the game parlors. It can be attempted as early as your first visit to Coveton.
The Simple rules restrict the cards to those numbered 1-8 and are for a single opponent.
To earn points you must be able to complete a set of 2-3 cards which are the same number, or 3 cards that are consecutively numbered. If you’re unable to complete a set, your drawn cards are added to the pot.
Cards from the pot can be used to complete a set in combination with those in your hand.
If you have more than one card in your hand at the end of a turn, you must select cards to be moved to the pot. You should keep the highest-numbered card in your hand to prevent your opponents from using it to earn a high score. An Ace has a value of 1.
The number of points you receive is equal to the total sum of the numbers on the cards in your compiled set. You must have the highest score once the number of available cards reaches 0 in order to win. The number of remaining cards can be seen in the top-left corner.
You can only keep three sets until the end of the match. Naturally, you should keep your highest-scoring sets and discord your lowest-scoring ones.
Win a game of cards using the Simple rule set for the first time to unlock the Rookie Player trophy. You will receive a cosmetic reward for winning and unlock access to the Add Skills rule set.
Seasoned Player
Won a round on Add Skills at the game parlor.
The Add Skills ruleset is unlocked when you win or lose a match with the Simple ruleset active. See Rookie Player.
This ruleset is the same as Simple but with the addition of skill effects. When sets with matching numbers are formed, a skill will be activated. Some skills will benefit you whereas others will hinder your opponent. This simple mechanic serves to effectively shake up the gameplay, making things quite unpredictable.
The effect which will be activated is written clearly on each card.
Additionally, these rules extend the number of players to three, pitting you against two opponents.
Win your first game of cards at the parlor with the Add Skills ruleset active to unlock the Seasoned Player trophy.

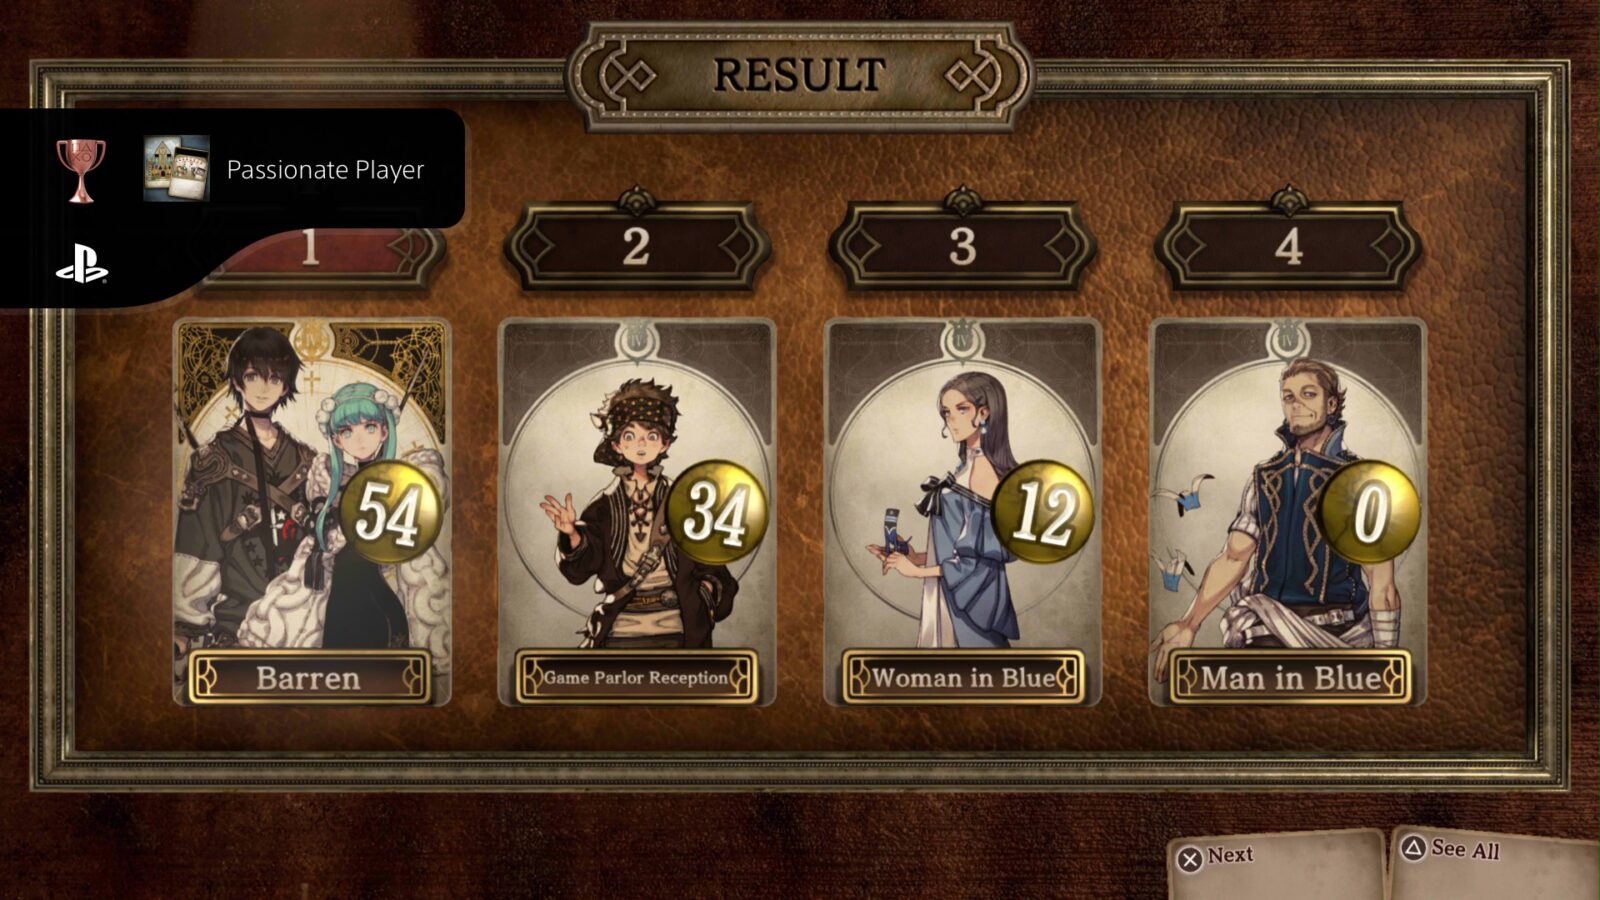
Passionate Player
Won a round on Add Events at the game parlor.
The Add Events ruleset is unlocked when you win or lose a match with the Add Skills ruleset active. See Seasoned Player.
This ruleset further improves the game by allowing Event cards to be drawn at the start of every turn. These event cards are similar to Chance cards in Monopoly; there’s a chance they will either benefit or hinder the player who draws the card.
Additionally, Skill cards are still active in this ruleset and the pool of cards is increased to include all cards with a value of 1-10. You will also need to face off against three opponents as the ruleset includes the maximum number of players; 4.
Win your first card game with this ruleset active and the Passionate Player trophy is all yours.
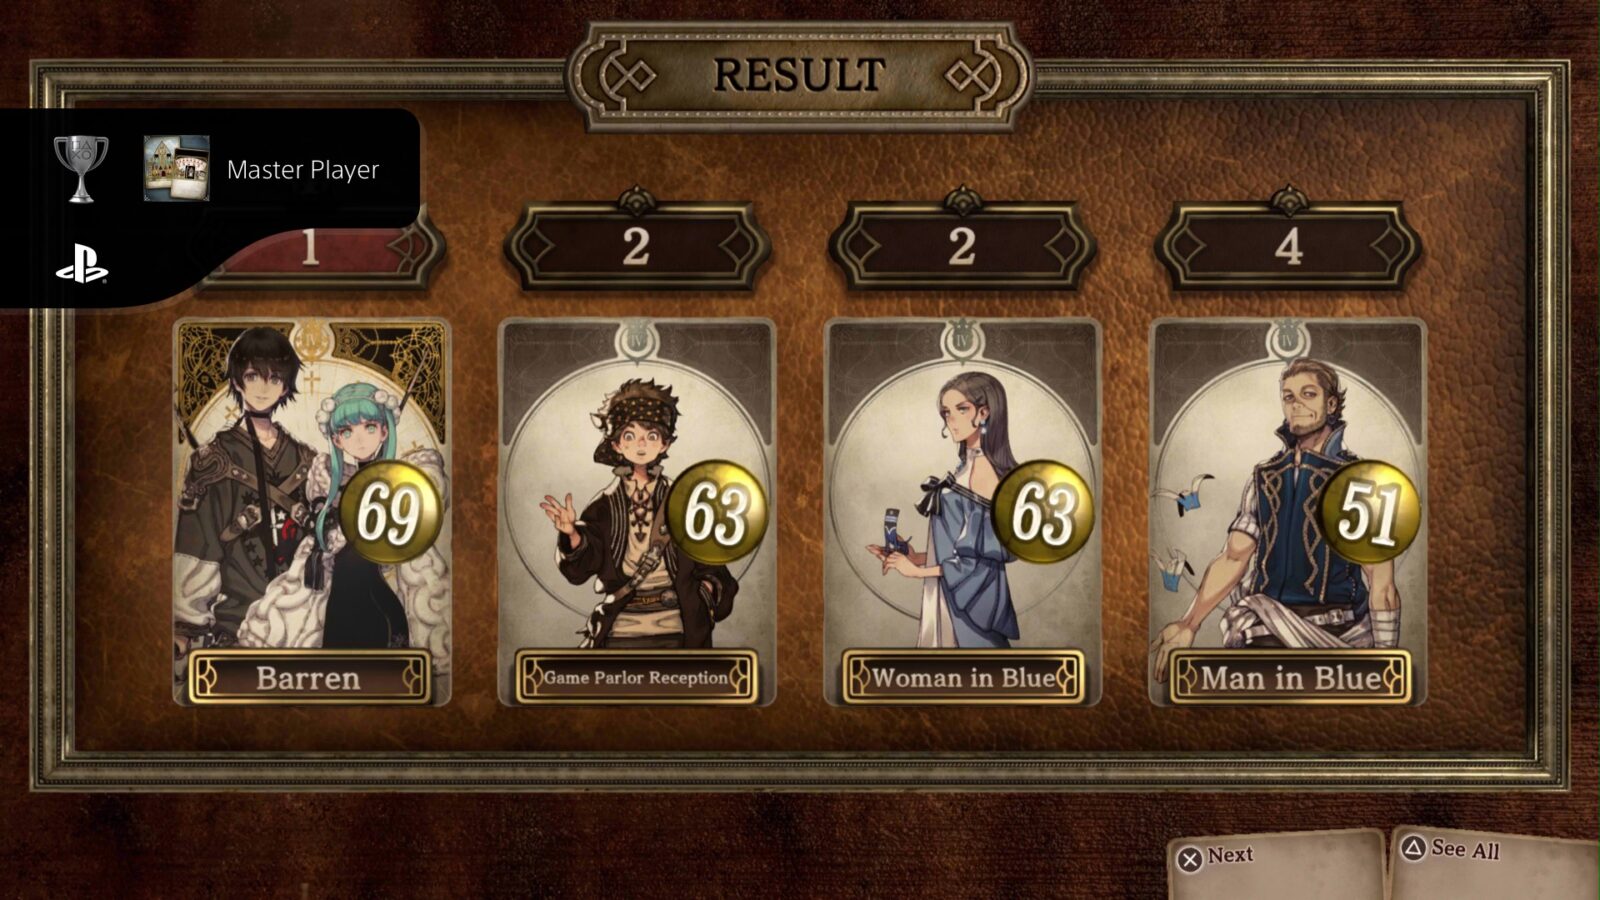
Master Player
Won a round on Include All at the game parlor.
The Include All ruleset is unlocked when you win or lose a match with the Add Events ruleset active. See Passionate Player.
The Include All ruleset includes all the features of all previous rulesets but now the pool of available cards includes “Face” cards; Jack (11), Queen (12), King (13), and Joker.
The Joker card causes every player to pass one of their sets to the player on their right, causing absolute chaos as I’m sure you can imagine.
This ruleset is the most unpredictable in the game and so you’ll really need to rely quite heavily on luck in order to win, but when you do win your first Include All card game, you’ll unlock the Master Player trophy.
Misc Trophies
Filthy Rich!
Obtained more than 50,000G.
This trophy requires you to have at least 50,001 gold in your purse at one time. This is a non-cumulative trophy so simply earning over 50,000 gold over the course of your journey will not be sufficient.

I would recommend that you do not spend any money at all where you can avoid doing so. Most of the time useful equipment can be found in chests and at the end of Monster Battles, so you can certainly keep your team well-equipped if you’re really checking every card on the board as we’ve advised.
Naturally, you may run into the occasional fight that you’re struggling with, so don’t be afraid to spend a bit of money on supplies whenever you really need to, but ultimately; the less money you spend, the easier your trophy journey will be.
If you leave this trophy until last, you may find yourself farming gold from Monsters for several hours after beating the game.
If you do need to farm gold, you can get about 1,000 gold per fight from the enemies on Spirit Spire: 4th Floor, in Heart’s Domain at the end of the game.
Interestingly, once I was done with the endgame grind to Level 30, I had 99999 Gold and couldn’t earn any more.

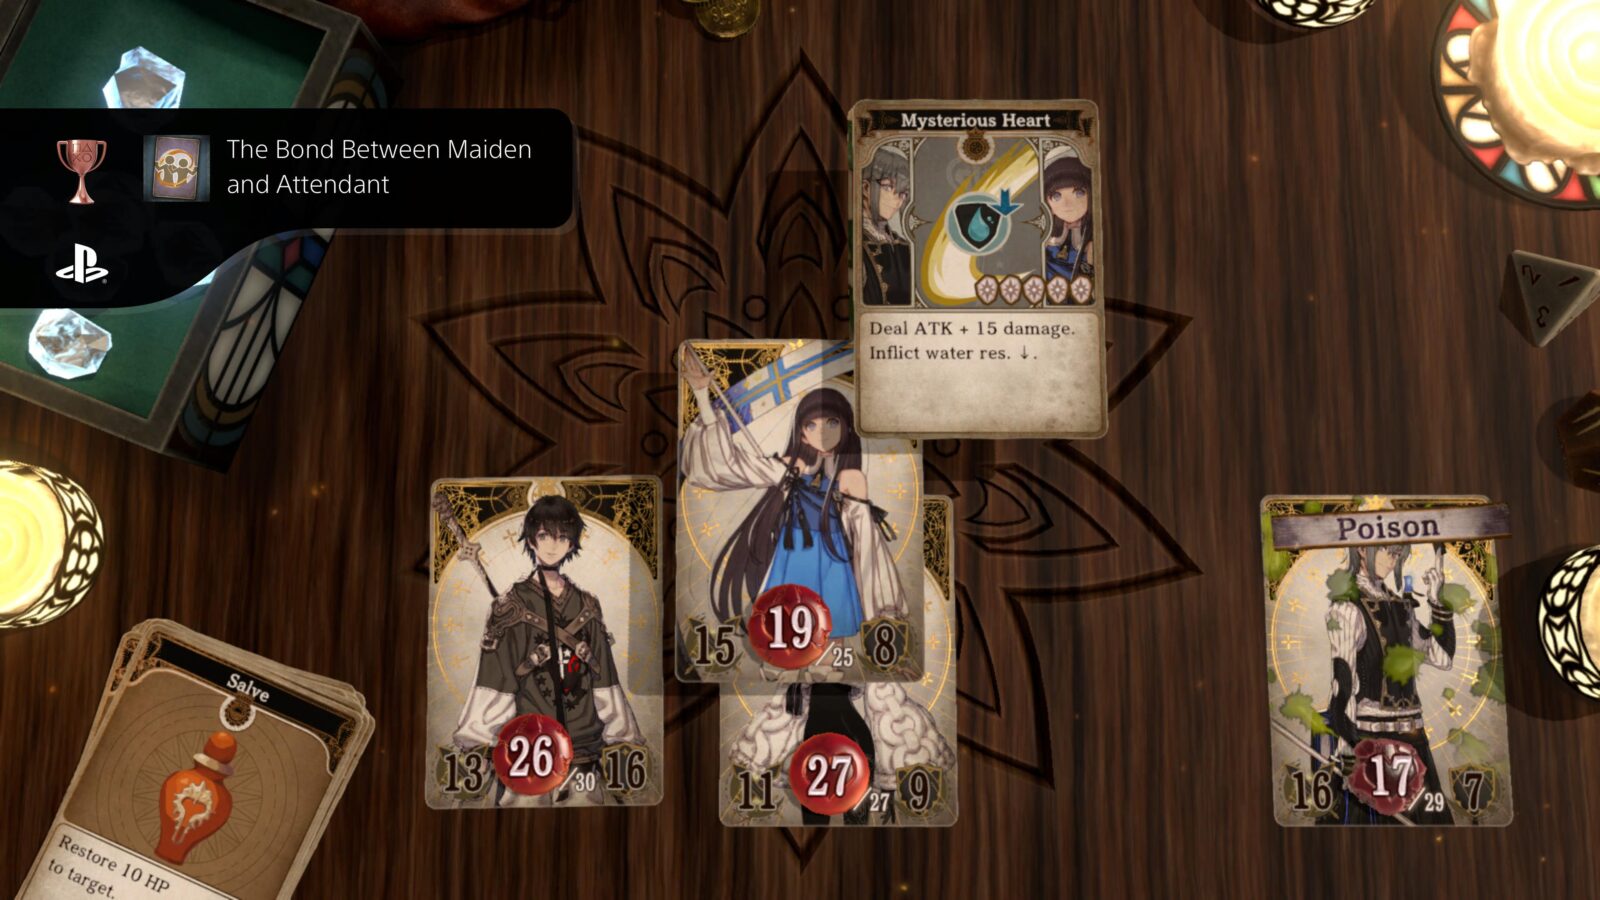
The Bond Between Maiden and Attendant
Used a Link Skill.
Some characters have “Link” skills with each other. To use these links skills, both characters on the card need to be present in your party. These skills typically deal a lot of damage but require a lot of gems.
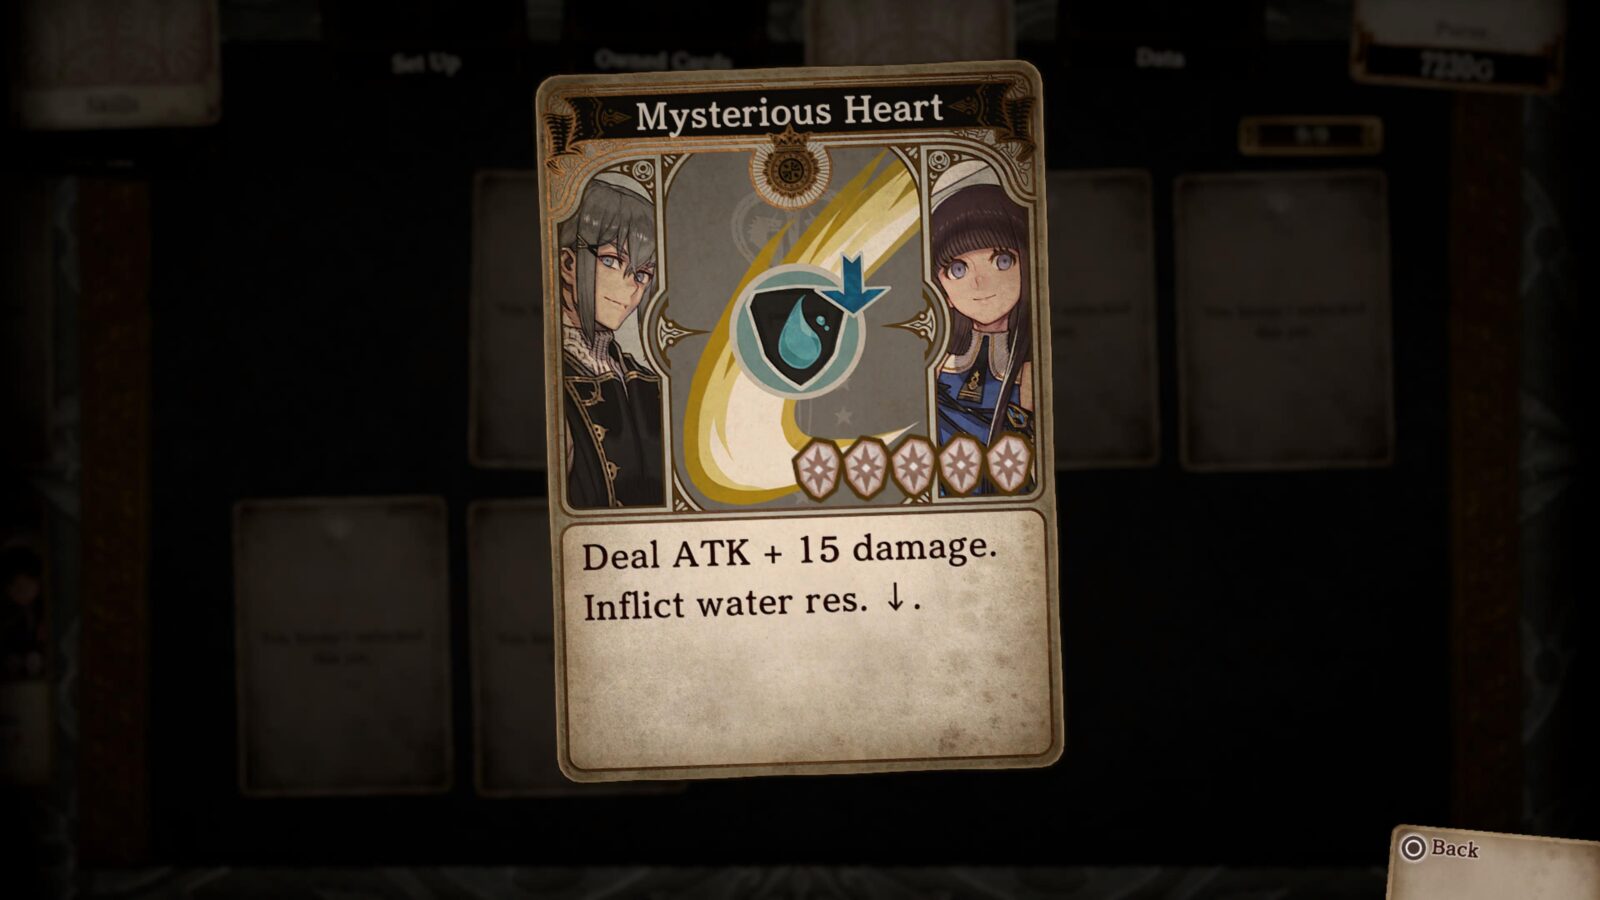
The first time you’ll be able to use a Link Skill is when Phila and Hyd join your party on the South Isle. When these two characters are together in battle, they will get access to Mysterious Heart (Phila) and Northern Cross (Hyd) Link Skills.
Use either of them (or any other character’s link skill) at any point in the game and the “The Bond Between Maiden and Attendant” trophy will unlock.
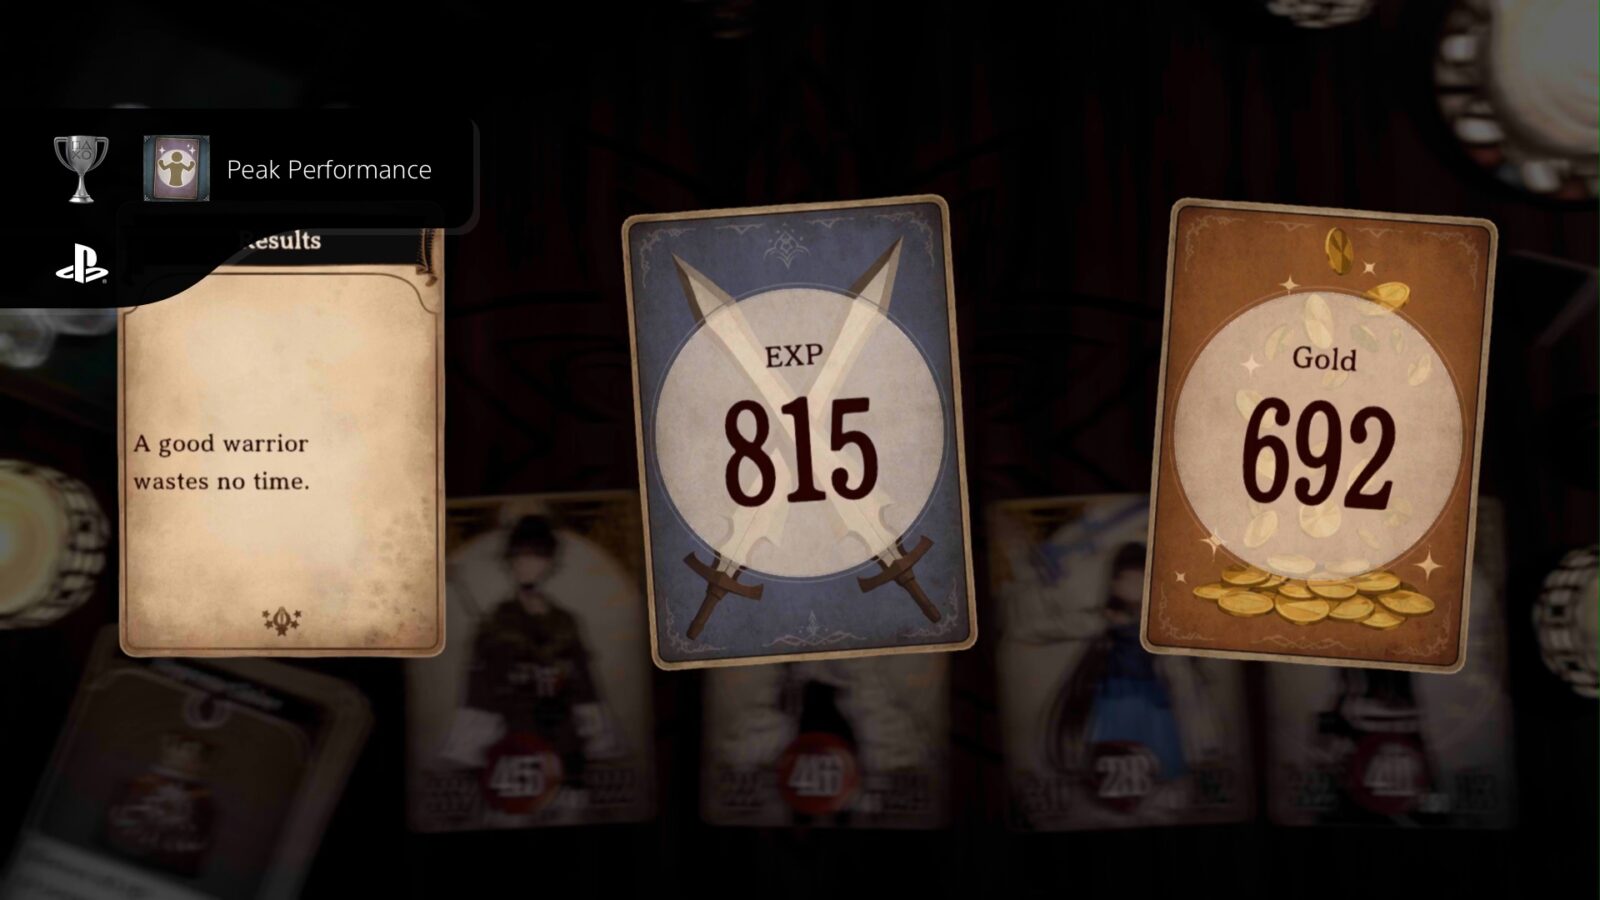
Peak Performance
Reached MAX LV with one character.
The maximum level that any character can reach is Level 30. This should happen naturally as you work your way through the final chapter, but if you have been avoiding encounters and fleeing a lot, then you may not have earned enough exp throughout the course of the game to achieve max level.
In that case, you might need to grind exp a little bit, which can be done in a New Game Plus save if you wish, but the enemies are weaker at the start of the game, offering less exp.
My advice is to go to the Heart’s Domain and grind exp from Spirit Spire: 4th Floor, where each battle results in over 1000 XP.
Either way, when you do finally earn enough experience to raise one of your party members’ level to 30, you will unlock the Peak Performance trophy.
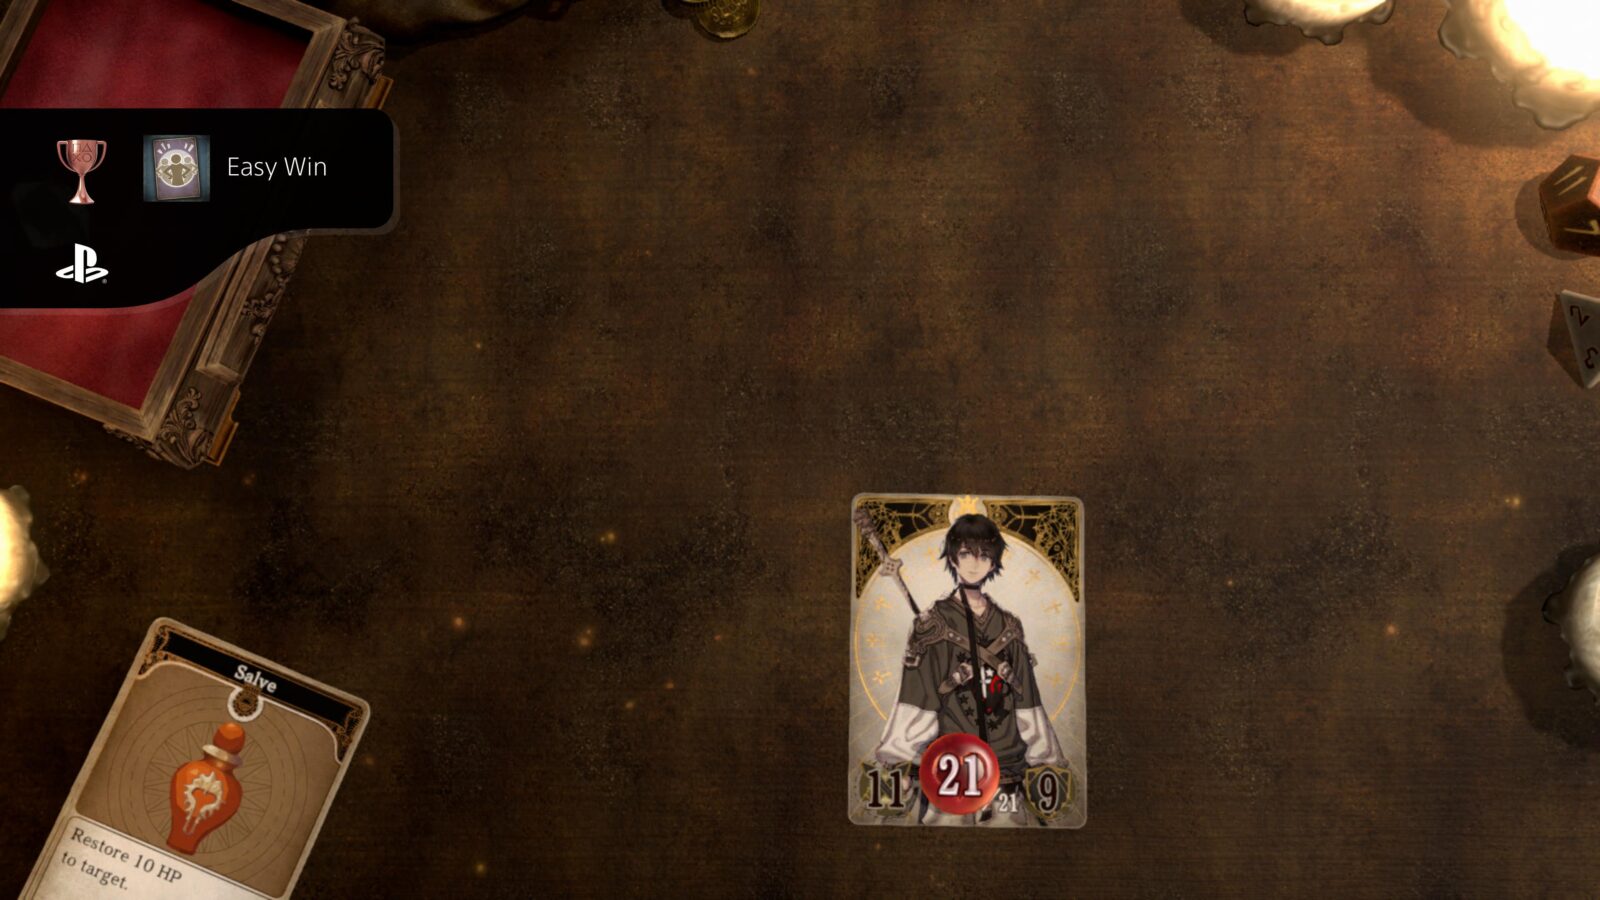
Easy Win
Defeated all enemies without taking any damage.
To unlock the Easy Win trophy you must simply complete any conflict without any of your party members taking any damage at all.
This trophy has an incredibly high chance of occurring naturally throughout your playthrough, but if you are somehow unlucky enough to beat the entire game without ever earning it, you should start a New Game Plus save and fight enemies at the start of the game.
You’ll be so overpowered that you’ll defeat them before they even get a chance to attack you.
The very first fight in the game is where I earned this trophy. By hitting the enemy with an “Air Thrust” attack I was able to defeat it in one hit before it got a turn to attack.
Battle Tactics
Struck foes with elements they are weak to thrice in a single battle.
In Voice of Cards: The Forsaken Maiden, certain enemies are weak to certain elemental attacks.
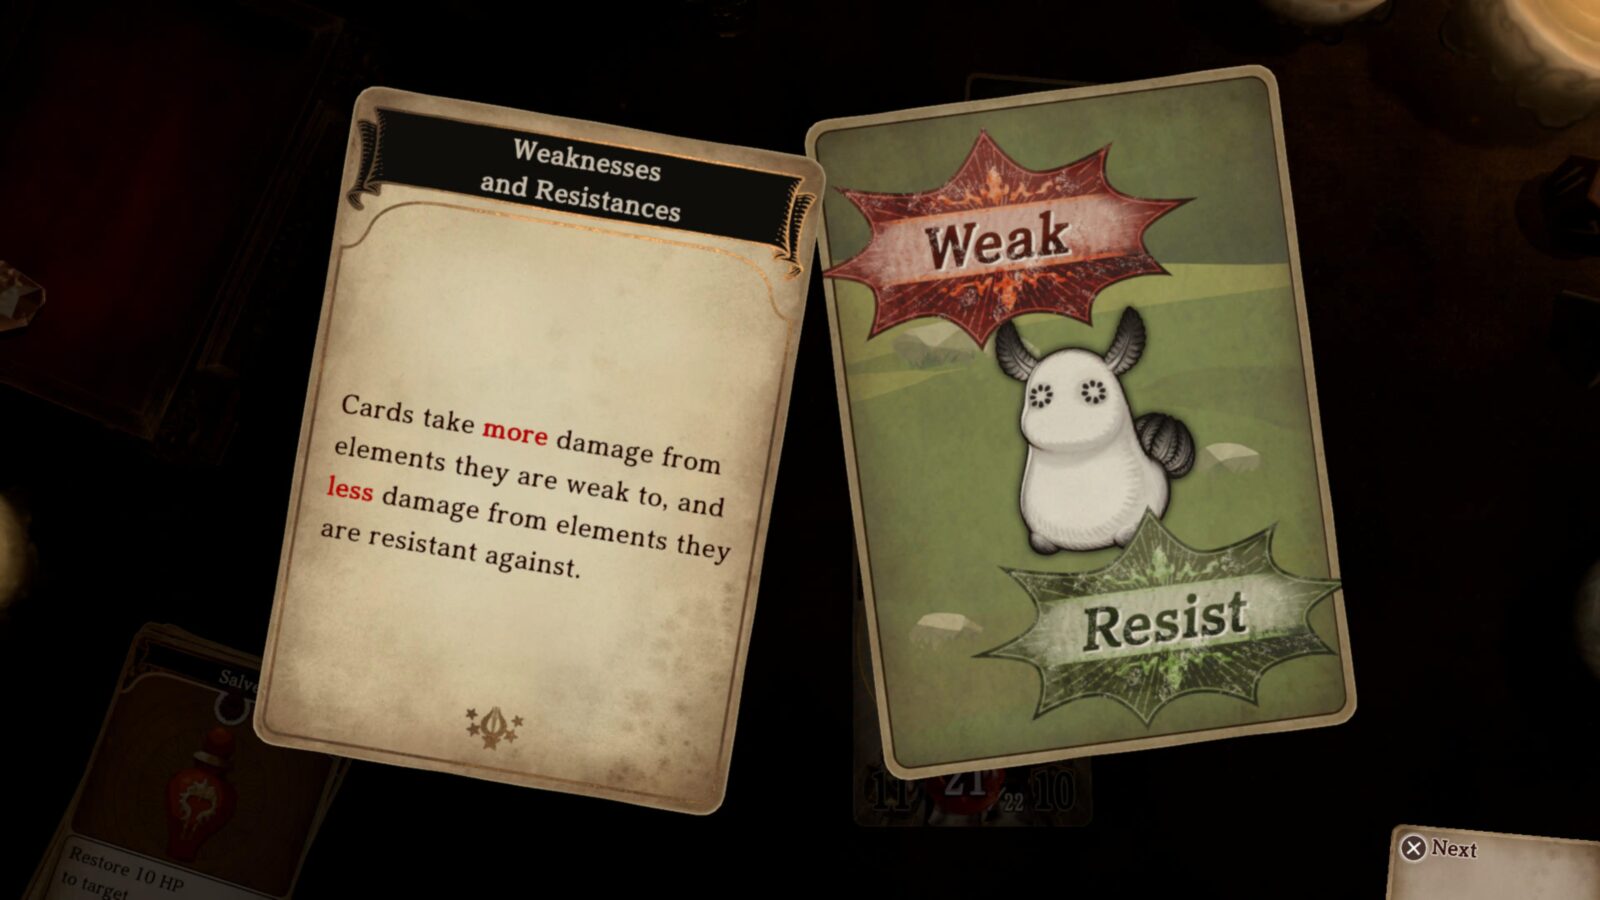
To unlock the Battle Tactics trophy, you need to land 3 elemental attacks on enemies who are weak to that element in a single fight. The difficulty here, especially early in the game, is that often you can defeat enemies in a single hit with attacks that they are weak to.
This won’t be an issue once you’re further into the game, however, where you’ll begin to fight tough enemies who can take up to and over three attacks that they’re weak to. Additionally, you will occasionally have fights against three enemies at once. If you land an elemental attack they’re weak to on all three enemies then the trophy is as good as yours.
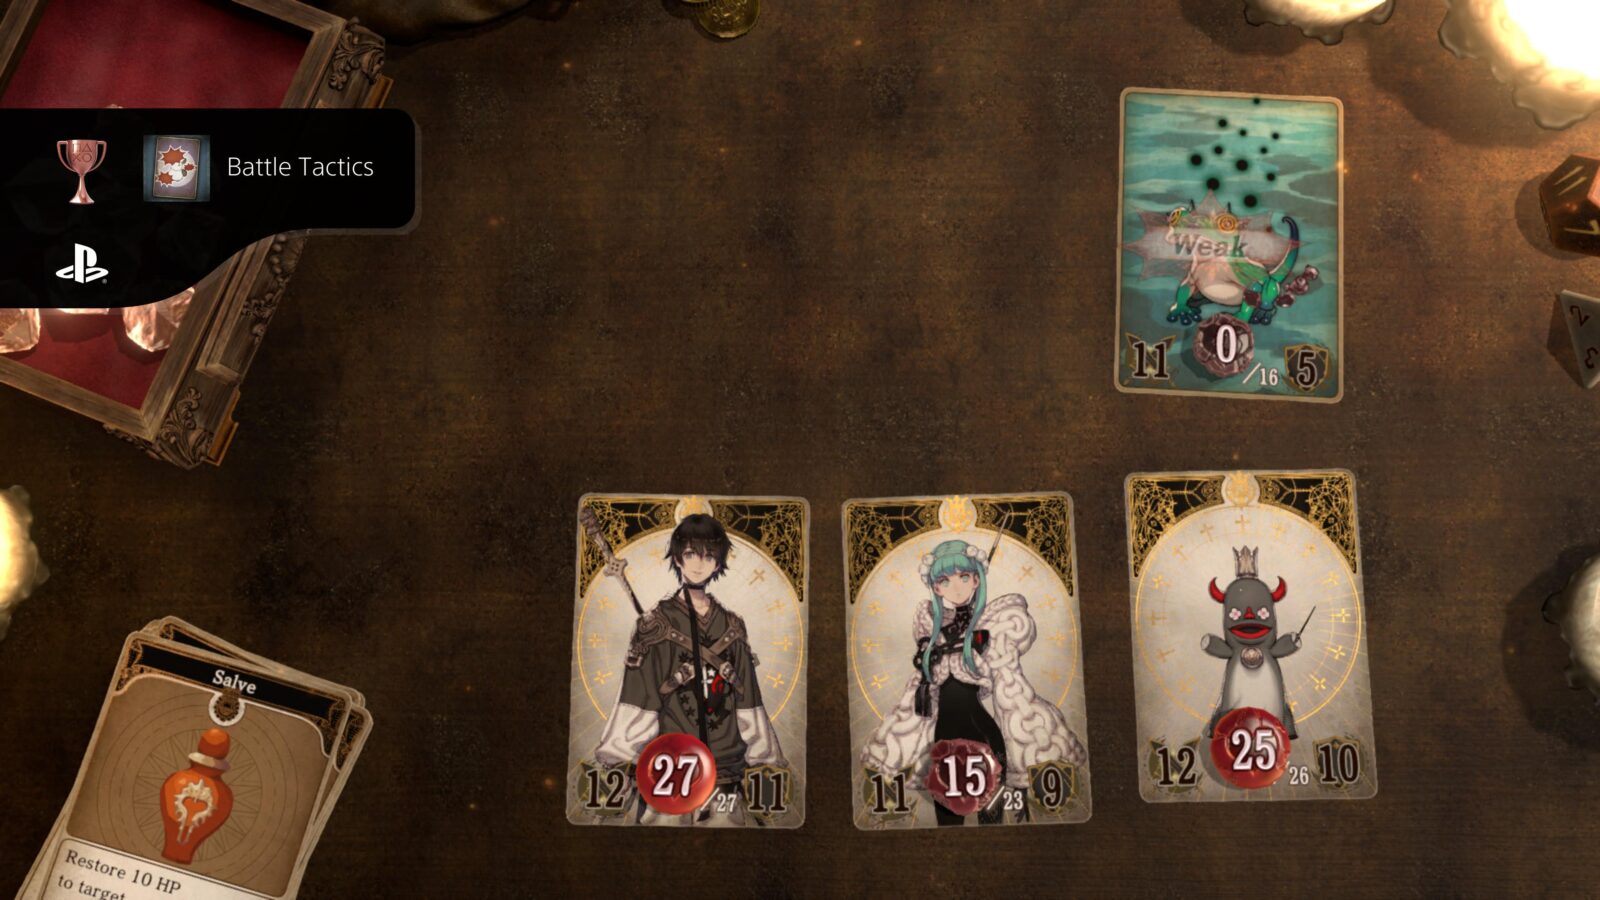
A good place to do this is in the ocean, as there are a lot of water-type enemies there who are weak to Laty’s electric spells.

The truth of the matter is that you’ll most likely earn this trophy naturally. Using elements to your advantage is a huge part of the game’s combat system and you’d frankly be a fool not to make use of it at every opportunity.
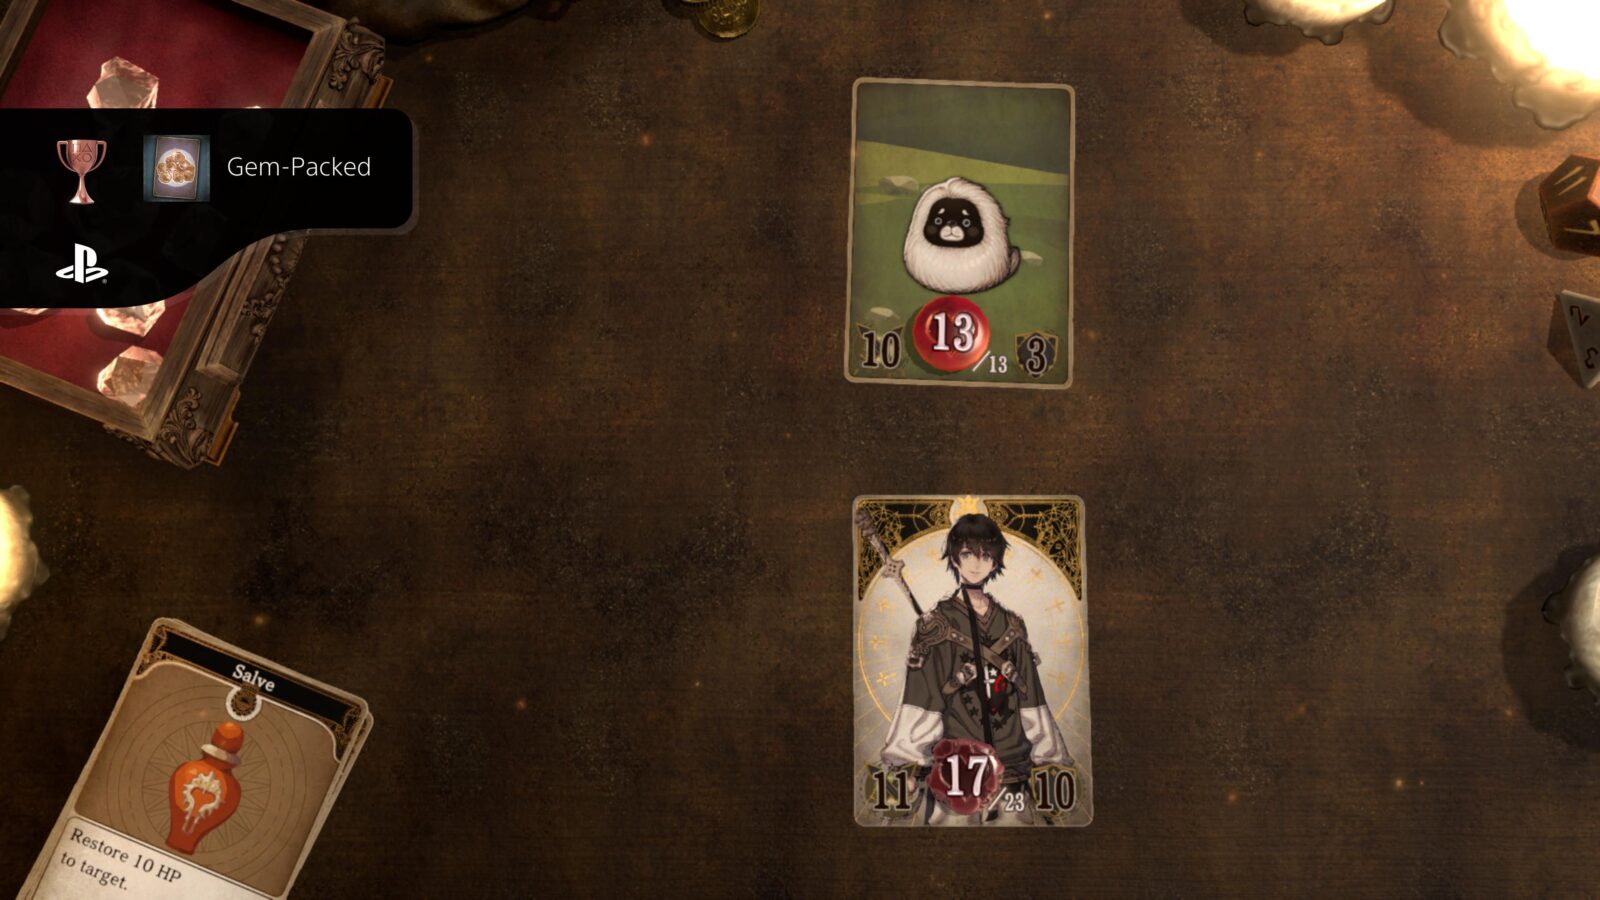
Gem-Packed
Saved up the maximum amount of gems.
Gems are used during battle to activate stronger skill cards. You can see the gem cost of a skill in the bottom-right corner of the card’s graphic.
You will acquire an extra gem each turn and can even generate gems with some abilities, such as the “Charge Spell” skill, or just the “Charge” option.
To unlock the Gem-Packed trophy, you will need to have 10 gems at once. This can be done as early as your very first fight. Just spam the “Charge” option until your Gem Box is full.

Once you have 10 Gems in your Gem box (top-left of the game board) the Gem-Packed trophy will unlock.

Live and Let Live
Successfully fled a battle.
At any time during battle, you may press ![]() to attempt to flee. This isn’t possible during all battles, but you can do this in most wild encounters.
to attempt to flee. This isn’t possible during all battles, but you can do this in most wild encounters.
When you attempt to flee, a couple of cards will come up, letting you know the chances of you escaping and what you will need to roll in order to be successful. The weaker the enemies you’re fighting, the easier it is to get away.
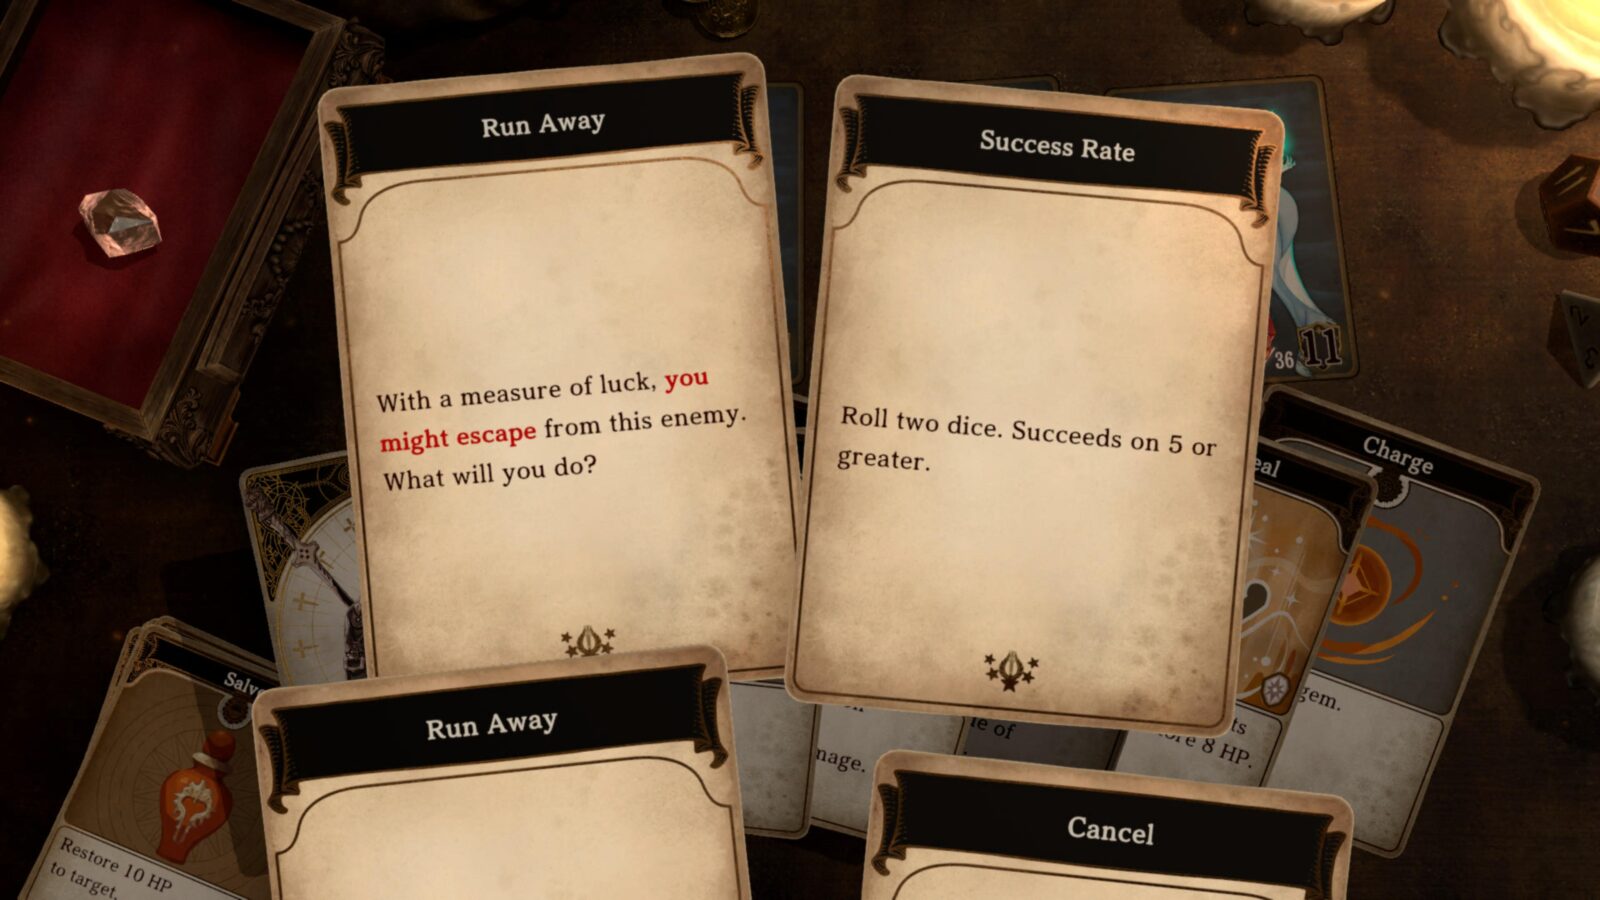
Successfully escape any encounter using the flee mechanic to unlock the Live and Let Live trophy.

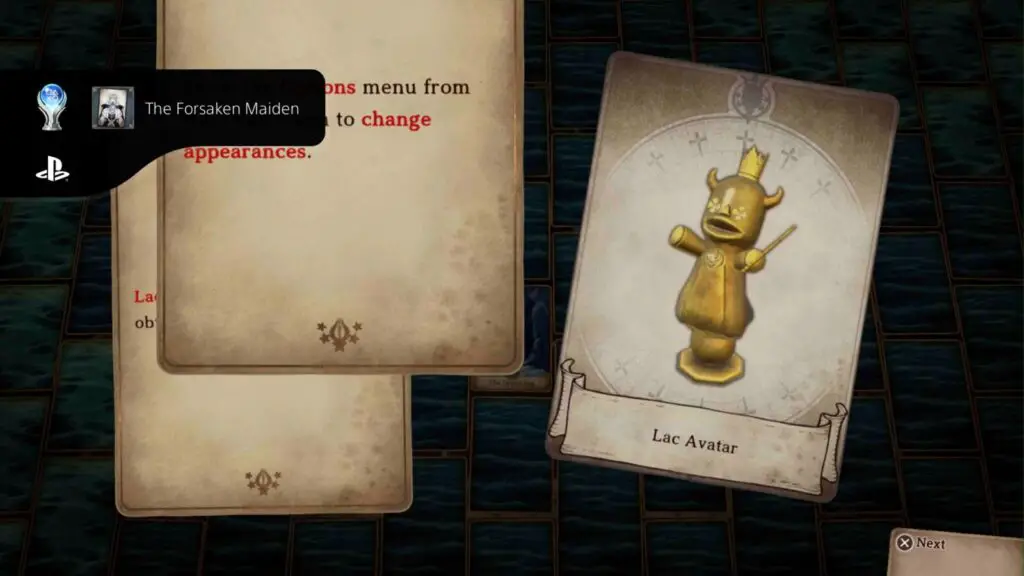
Plat Get!

The Forsaken Maiden
Earned all achievements.
Once you have acquired every other trophy in this Voice of Cards: The Forsaken Maiden Trophy Guide, the “The Forsaken Maiden” platinum trophy will unlock.
Thank you for choosing PlatGet as your source for a VoC: The Forsaken Maiden Trophy Guide. Consider checking out our other guides!
Follow us on Twitter @GetPlat or Instagram @platget for updates on new reviews and guides, as well as small anecdotes about our platinum journeys.