PlayStation 4
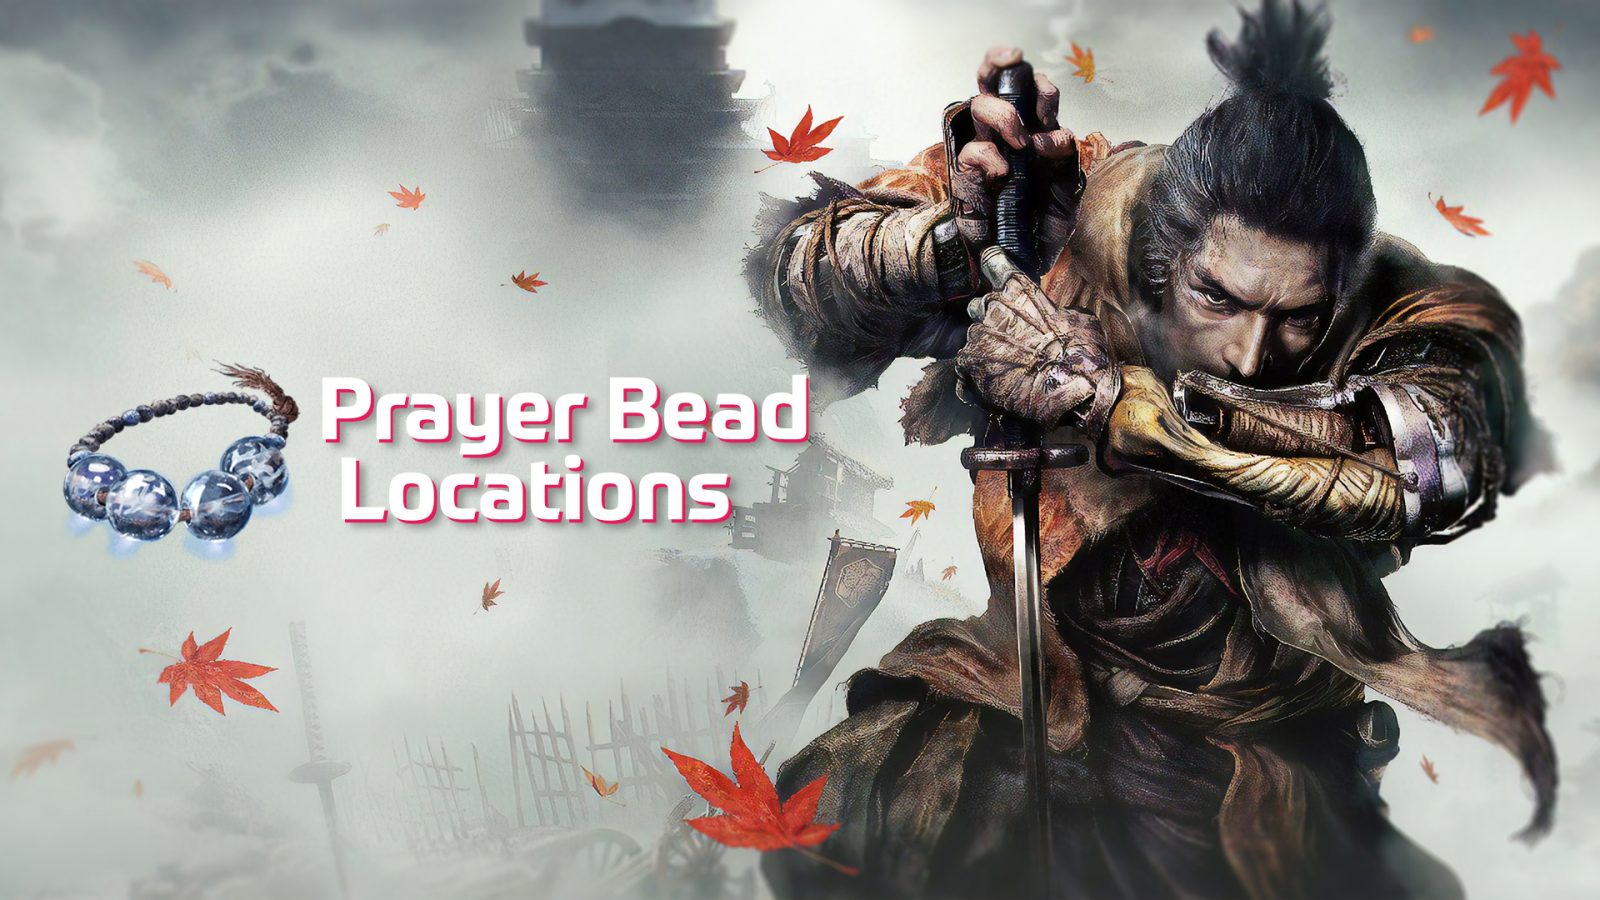
Sekiro: Shadows Die Twice Prayer Beads Locations Guide
Game Guide
Where to Find All 40 Prayer Beads in Sekiro: Shadows Die Twice
Check out my Sekiro: Shadows Die Twice Trophy Guide for a full breakdown of the Platinum Journey and for more guides like this one!
There are 40 Prayer Beads to be found in Sekiro. Prayer Beads will let you increase your Vitality and Posture. Once you have 4 Prayer Beads, you can visit a shrine and select “Enhance Physical Attributes”. You will have to fight bosses in order to get most Prayer Beads, however, some can be found hidden in places. Don’t worry if you miss some of them, you can continue to collect them in New Game+.
Below is a list of all the Prayer Beads organised by Name of Location / Name of Idol with a brief description of where to find them, and an image or two for the more complicated/hidden beads.
Warning: After beating both the Corrupted Monk and Guardian Ape, a lot of minibosses will despawn, thus making it impossible to collect all Prayer Beads. Make sure you collect every Prayer Bead you can before you fight these two bosses.
Before Corrupted Monk & Guardian Ape
Prayer Bead #1
Ashina Outskirts / Outskirts Wall – Gate Path
Just beyond this Idol is a miniboss called “General Naomori Kawarada”. Beat him and he will drop the Prayer Bead. Can’t really miss him.
Prayer Bead #2
Ashina Outskirts / Outskirts Wall – Stairway
Just beyond this Idol is a giant miniboss called “Chained Ogre”. Beat him and he will drop the Prayer Bead. Can’t miss him as he’s right between you and your next location.
Prayer Bead #3
Ashina Outskirts / Outskirts Wall – Stairway
After beating the Chained Ogre, enter the building it was stood in front of. You should see a hole in the wall that overlooks a courtyard with many riflemen and a boss called “General Tenzen Yamauchi”. Dispatch the riflemen and then take on the boss for his Prayer Bead. Like Naomori Kawarada and the Chained Ogre, you can’t really miss him.
Prayer Bead #4
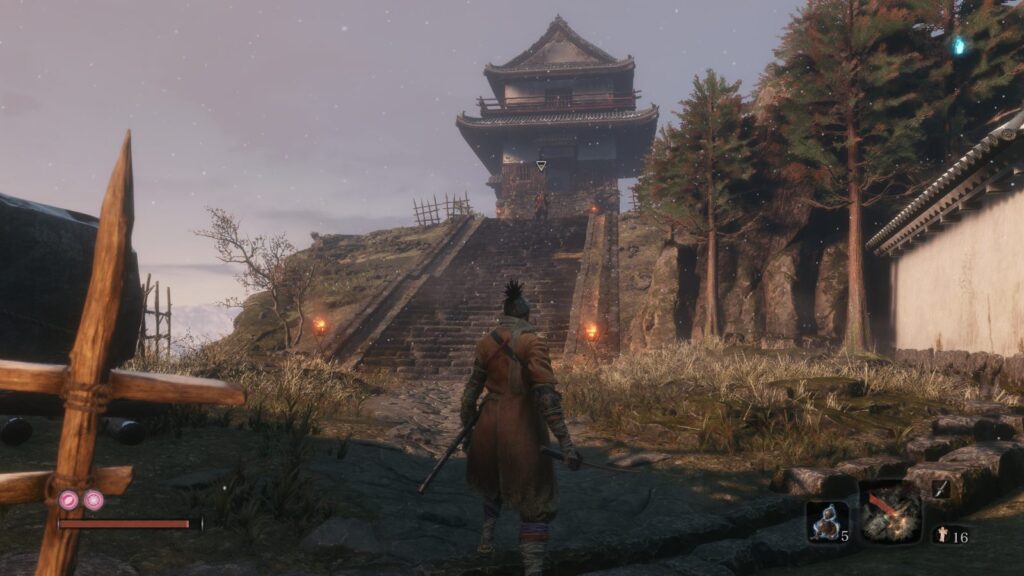
Ashina Outskirts / Ashina Castle Gate
Directly across from this Idol, and the battle arena where you fight Gyoubu Masataka Oniwa, you will see a set of stairs that lead to a building with a friendly NPC standing inside. If you look up, you should see a grapple point on a wooden beam. Keep climbing up until you get to the top, where you can see a hole in the ceiling. Jump through the hole where a chest awaits. Inside is a Prayer Bead.
Prayer Bead #5
Ashina Outskirts / Ashina Castle Gate
From this Idol, keep progressing forward until you come across a ridiculously large bull with flaming horns. It’s part of the story and as such is unmissable. Kill it and it will drop a Prayer Bead.
Prayer Bead #6
Hirata Estate / Estate Path
In order to unlock Hirata, you must first find an old woman in a derelict house in Outskirts Wall (before the Outskirts Wall – Stairway Idol) who will give you a bell—Chances are that you already found and spoke to her. Use the bell on a statue to the left of the Sculptor at the Dilapidated Temple, and you will now be able to go to Hirata Estate. Progress through Hirata until you cross a bridge guarded by two enemies with shields. On the other side of the bridge is a miniboss wearing white robes called “Shinobi Hunter of Enshin”. Defeat him and he will drop a Prayer Bead. This is also where you learn about the Mikiri Counter.
Prayer Bead #7
Hirata Estate / Main Hall
Shortly after this Idol, you will encounter a miniboss called a large “Juzou the Drunkard. Defeat him and this Prayer Bead is yours.
Prayer Bead #8
Hirata Estate / Audience Chamber
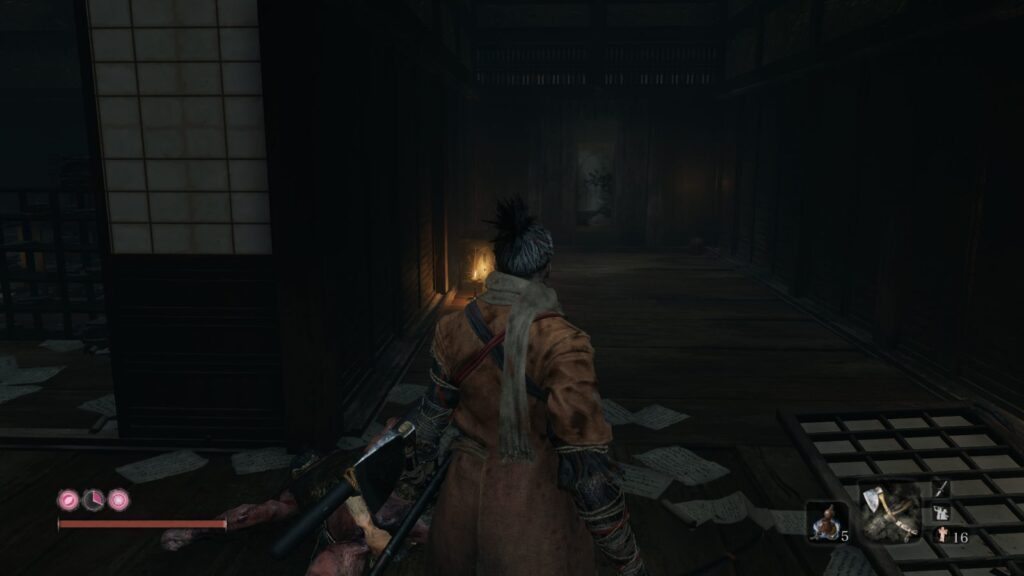
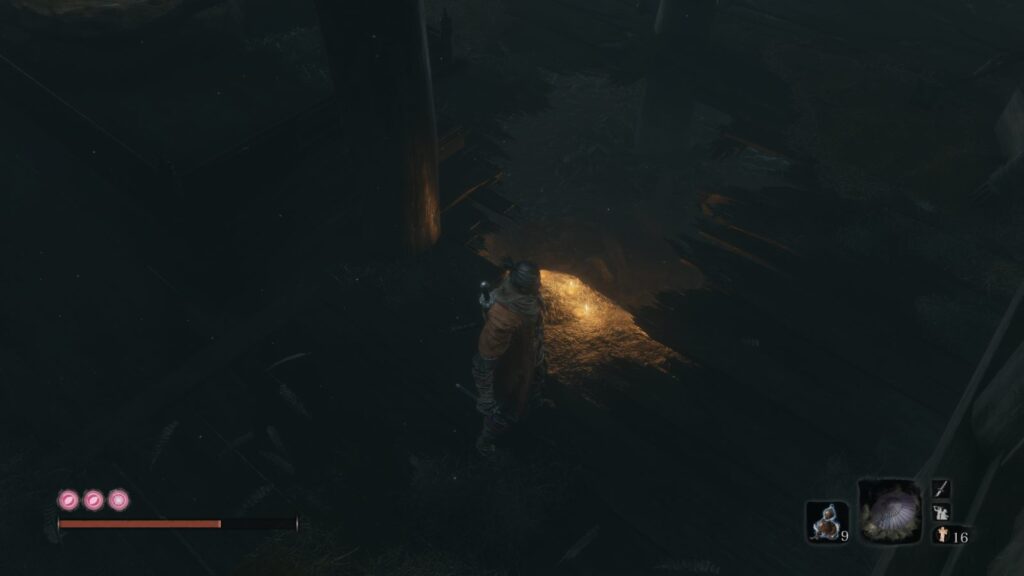
After killing Juzou the Drunkard, you will enter a building with another Idol. From this Idol, turn around and you will see a screen door, smash through it and you will see two guards patrolling a corridor. To the right of these guards (with your back at the Idol) is a banner on a wall that you can press ![]() on to reveal a hidden room. In this room is a chest that contains a Prayer Bead.
on to reveal a hidden room. In this room is a chest that contains a Prayer Bead.
 on this wall
Prayer Bead #9
Ashina Castle / Ashina Castle
From the Idol, head to the top of the long stairway where there are 4 riflemen waiting and a miniboss called “General Kuranosuke Matsumoto”. Take out the riflemen first and then back away until the boss returns to his idle position. Use the rooftops to sneak up behind him and perform a stealth takedown on him to make the fight easier. After you kill him, he will drop a Prayer Bead.
Prayer Bead #10
Ashina Castle / Ashina Reservoir
From the Ashina Castle Idol, head left and grapple to a tree stump and follow the path until you get to the Ashina Reservoir, Idol. From here you can follow the same stealth route as the prologue so you can get inside the watchtower where Kuro was waiting (if you get spotted just run back to safety and rest at an Idol to reset the enemies). From inside the tower, you can get behind a miniboss called “Shikibu Toshikatsu Yamauchi” to perform a stealth takedown to make the fight easier. Defeat him and he will drop a Prayer Bead.
Prayer Bead #11
Ashina Castle / Ashina Reservoir
From this Idol, there will be a gap to the right (if you’re pointing at the big double doors next to the idol) which will lead to the ditch where you first started (there will be a man looking down into the pit). Jump into the pit and move forward until you meet a miniboss called “Lone Shadow Longswordsman”. You can look down on him from a hole in the ceiling and, if you’re lucky, jump down on top of him to get a stealth takedown to make the fight easier. Defeat him and he will drop a Prayer Bead.
Prayer Bead #12
Ashina Castle / Abandoned Dungeon Entrance
Right next to this Idol is a merchant that will sell you a Prayer Bead for 1,400 Sen, you can’t really miss him. If you don’t have enough money, you can farm it from some mobs nearby.
Prayer Bead #13
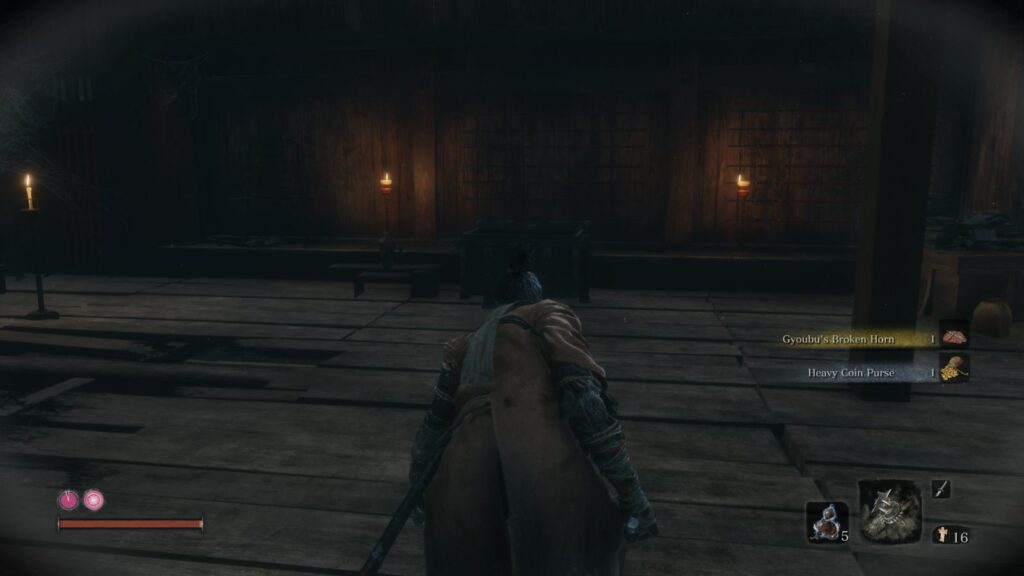
Ashina Castle / Upper Tower – Antechamber
Head up the stairs next to this Idol to the next floor. In a large open room there will be a smaller room off to the right with two samurai sitting down (there’s a hole in the ceiling here where you’ll need to head anyway). Kill these two enemies and on the back wall, between two sets of armour, is a wall with a banner that you can press ![]() on to reveal a hidden room. Inside is a Prayer Bead.
on to reveal a hidden room. Inside is a Prayer Bead.
Prayer Bead #14
Ashina Castle / Upper Tower – Ashina Dojo
Next to this Idol is a Dojo with a miniboss called “Jinsuke Saze”. Defeat him and he will drop a Prayer Bead.
Prayer Bead #15
Senpou Temple, Mt Kongo / Shugendo
After this Idol, you will come across a bridge with an armoured miniboss (unmissable) called “Armoured Warrior”. You must defeat him by breaking his posture and throwing him off the bridge. Once he’s dead, he will drop a Prayer Bead (the game will automatically pick it up for you).
Prayer Bead #16
Senpou Temple, Mt Kongo / Temple Grounds
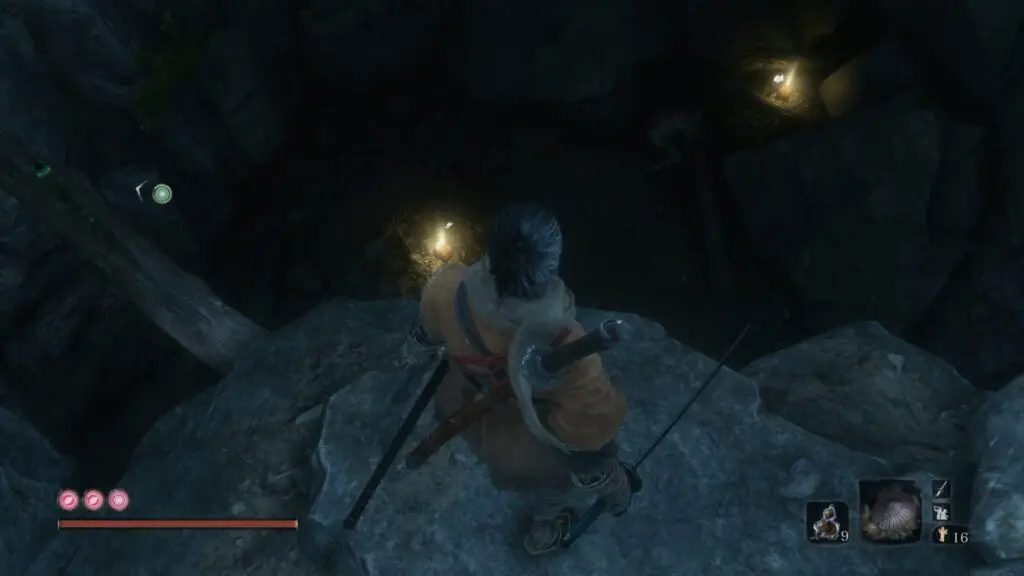
From this Idol, jump to the rooftop underneath the rocky ledge, then head to the next rooftop. On the right side of this rooftop, you can jump down to another building, inside this building is a miniboss called “Long-Arm Centipede Sen’un”. Defeat the 3 enemies on the beams above him first, then jump and perform a stealth takedown on the miniboss. While he is recovering, take out the last enemy and focus on defeating Sen-un. After beating him, he will drop a Prayer Bead.
Prayer Bead #17
Senpou Temple, Mt Kongo / Temple Grounds (Unobtainable before beating Corrupted Monk)
You will need to defeat the Corrupted Monk before you collect this one. From this Idol, if you look down, you will see a pond with some Treasure Carp swimming around in it. Once you have the ability to breathe underwater, jump in and press ![]() to dive. There will be a Buddha statue holding a Prayer Bead.
to dive. There will be a Buddha statue holding a Prayer Bead.
Prayer Bead #18
Ashina Depths / Ashina Depths
From this Idol, walk forward until you see the Poison Pool. There should be a statue on your right and a cave opening directly across from you. In the opening of this cave is the miniboss “Snake Eyes Shirahagi”. Take out some of the mobs around the area as they will make the fight much harder. Kill her and she will drop a Prayer Bead.
Prayer Bead #19
Ashina Depths / Poison Pool
Behind Snake Eyes Shirahagi is a cave. Go inside and grapple up to your left where you will need to crouch to enter a tunnel. You will notice, halfway through, that you can stand up again. Look to your left and jump up to a tall cave. Climb up until you reach a statue. On top of this statue’s head is a Prayer Bead.
Prayer Bead #20
Ashina Depths / Hidden Forest
Beyond this Idol is a forest which is covered in thick fog. At the back of this area is a building. Looking at the building, behind you and to the left is a tree that you can grapple to. To the left of this grapple point is a wall you can shimmy on and to the right is a miniboss called “Tokujiro the Glutton”. He will have a few lethal monkey friends with him. Take them out first then run away until Tokujiro returns to his default position so you can get a stealth takedown on him. Once you defeat him, he will drop a Prayer Bead.
Prayer Bead #21
Ashina Depths / Mibu Village
Beyond this Idol is a woman playing a stringed instrument called “O’Rin of the Water”. She will attack you if you talk to her or walk past her. Defeat her (Divine Confetti is pretty useful against her) and she will drop a Prayer Bead.
Prayer Bead #22
Ashina Depths / Water Mill
Beyond this Idol, just before the Corrupted Monk boss fight, is a group of enemies all crowded around a building. If you crouch, you can sneak under the building on the right side and use a shinobi door underneath to get inside. Once inside, leave the building via the opening in the wall, and grapple to the attic above. Inside is a Prayer Bead on a shrine.
After Corrupted Monk
Remember: After you beat the Corrupted Monk, you will have the ability to Dive underwater with ![]() . Backtrack all the way to Prayer Bead #17 at Senpou Temple, Mt Kongo / Temple Grounds and collect it.
. Backtrack all the way to Prayer Bead #17 at Senpou Temple, Mt Kongo / Temple Grounds and collect it.
Prayer Bead #23
Ashina Depths / Mibu Village
Just beyond this Idol is Mibu Village. On the right of the village is a lake that you can dive in. At the bottom of the lake is a treasure chest with a Prayer Bead inside.
Prayer Bead #24
Sunken Valley / Under-Shrine Valley
From this Idol, turn around and walk a little bit until you see a grappling point on your left, across a large gap. There are two riflemen that you can kill and a wall that you can double jump on next to them. Clum up and follow the ledge until you come across some sort of shrines. The Prayer Bead will be at the base of one of the shrines, in the snow.
Prayer Bead #25
Sunken Valley / Sunken Valley Idol
Just after this Idol is a miniboss called “Snake Eyes Shirafuji”. The fight is identical to Snake Eyes Shirahagi. Defeat her and she will drop a Prayer Bead.
Prayer Bead #26
Sunken Valley / Gun Fort
You will eventually come to a room with a miniboss called “Long-Arm Centipede Giraffe”. This fight is identical to Long-Arm Sen’Un, except this guy is all alone which makes it a touch easier. Defeat him and he will drop a Prayer Bead.
Prayer Bead #27
Sunken Valley / Gun Fort
In the same room you killed Long-Arm Centipede Giraffe, you will see a statue in the middle. To the left of this statue is a hole in the floor. In this hole, you can crouch and crawl through a tunnel which will lead to a grapple point above you and to the left. Grapple up and you will see even more grapple points, keep following these until you reach a dead end with some enemies and poisonous geckos. On the floor is a golden pick up, which is actually a Prayer Bead.
After Corrupted Monk & Guardian Ape
Prayer Bead #28 & #29
Ashina Depths / Poison Pool
Now that you’ve killed the Guardian Ape, you can head back to the Poison Pool Idol in Ashina Depths and head into the cave that Snake Eyes Shirahagi was guarding. At the end is the Undying Guardian Ape. Defeat it, again, for two Prayer Beads. After you deplete one of the Undying Guardian Ape’s health orbs, a smaller ape will join the fight which makes things a little harder. You can try and take it out as soon as possible (it’s quite a lot slower and weaker than the Undying Guardian Ape), or you can just kill the Undying Guardian Ape and the second ape should run off.
Prayer Bead #30
Ashina Castle / Upper Tower Antechamber
Head into the next room and you will see an opening in the middle. Jump down this hole and you will see another Chained Ogre. Defeat it and it will drop a Prayer Bead.
Prayer Bead #31
Ashina Castle / Great Serpent Shrine
You can find this shrine by crossing the bridge near the Old Grave Idol. Follow the path to the Great Serpent Shrine and you will find a miniboss called “Lone Shadow Masanaga” waiting for you. Defeat him and he will drop a Prayer Bead.
Prayer Bead #32
Ashina Castle / Upper Tower Dojo
In the dojo opposite this idol is a new miniboss called “Lone Shadow Vilehand” that will drop a Prayer Bead. If you sneak in, you can see an enemy on the left, get behind him and use the Puppeteer Ninjutsu Arts to get him to fight alongside you during this boss fight.
After Owl Tower Fight
Warning: Make sure you choose to break the Iron Code, and to say loyal to Kuro. If you choose to forsake Kuro, you will end the game, which will lock you out of Fountainhead Palace, and make it impossible to collect the rest of the Prayer Beads. Also Make sure you follow the steps for the Purification Ending so you can enter a new version of Hirata Estate.
Prayer Bead #33
Hirata Estate / Bamboo Thicket Slope
You will spawn here on your first visit. Just up ahead from you is a miniboss called “Lone Shadow Masanaga” (the same one from before). Defeat him a second time and he will drop a Prayer Bead.
Prayer Bead #34
Hirata Estate / Main Hall
You will get to fight Juzou the Drunkard a second time. After beating him, he will drop another Prayer Bead.
Prayer Bead #35
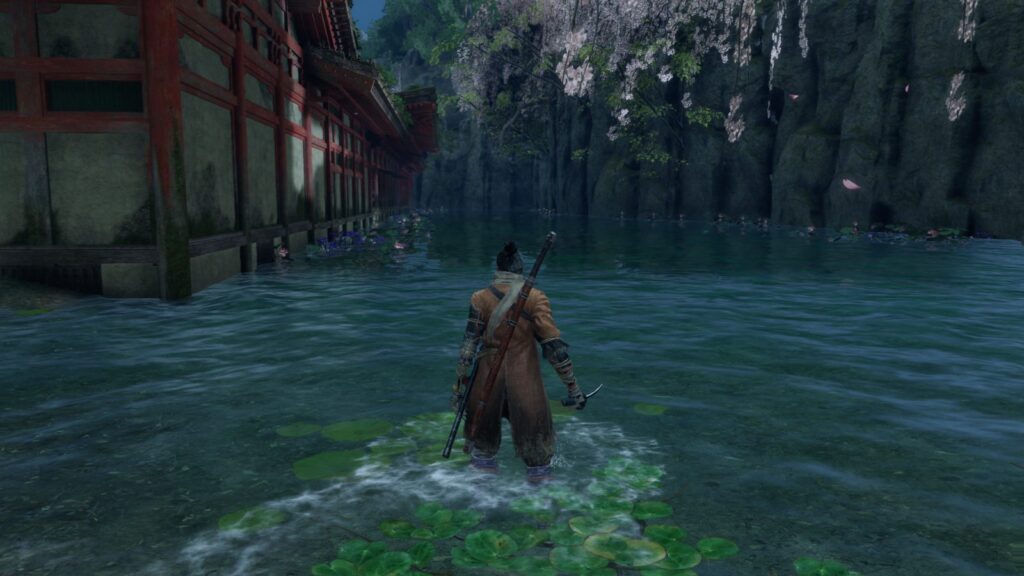
Fountainhead Palace / Mibu Manor
From the Mibu Manor Idol, turn around and head to your right. At the back of this area is the “Sakura Bull” miniboss. You can instantly break it’s posture by sneaking up behind it and using the Firecracker Prosthetic Tool. Defeat it and it will drop a Prayer Bead.
Prayer Bead #36
Fountainhead Palace / Great Sakura
On a limb of the Great Sakura, is an enemy that throws lightning at you which has made swimming in the lake impossible. Get close to him and kill him (he’s not very difficult) and he will drop a Prayer Bead.
Prayer Bead #37
Fountainhead Palace / Great Sakura
After killing the lightning enemy, you can safely swim in the lake. Dive in and head to the right of the lake, at the bottom is a chest that contains a Prayer Bead.
After Defeating the Divine Dragon
After defeating the Divine Dragon, Ashina will be on fire, some Idols will be locked, and new minibosses will have spawned.
Prayer Bead #38
Ashina Castle / Ashina Reservoir
Just beyond this Idol is a miniboss “Shume Masaji Oniwa”. He will have a regular enemy with him. You can sneak up behind him with the help of Gachiin’s Sugar and use the Puppeteer Ninjutsu Technique to have him fight with you to make the fight easier. After you defeat the miniboss, he will drop a Prayer Bead.
Prayer Bead #39
Ashina Castle / Upper Tower Dojo
Head back towards the Upper Tower Antechamber Idol, but turn around and the bottom of the stairs (before you get to the middle area with the hole that leads to the bottom of the tower). You will see some screen doors that you can smash through. At the end of the hallway is a miniboss called “Ujinari Mizou”. Defeat him and he will drop a Prayer bead.
Prayer Bead #40
Ashina Castle / Old Grave
There should now be a bridge at the bottom of the Old Grave area that you can cross. It leads towards the Ashina Outskirts – Stairway Idol. In the middle of a courtyard will be a new miniboss called “Shigekichi of the Red Guard” and several new enemies. You might want to take out all the additional enemies and leave the area before taking on Shigekichi. Defeat him and he will drop a Prayer Bead.
Thank you for choosing PlatGet as your source for this guide, consider checking out our reviews and guides! Hopefully, this guide helped you earn the Platinum. If not, then return to the Sekiro: Shadows Die Twice Trophy Guide and continue your journey!
Follow us on twitter @GetPlat or Instagram @platget for updates on new reviews and guides, as well as small anecdotes about our platinum journeys.