PlayStation 4, PlayStation 5
Death’s Door Trophy Guide


General Info
FAQ
How long does it take to beat Death's Door and unlock all trophies?
15 Hours.
How difficult is it to beat Death's Door and unlock all trophies?
Easy (3/10).
Does Death's Door have online trophies?
No.
Does Death's Door have difficulty-specific trophies?
Yes.
Does Death's Door have missable trophies?
Does Death's Door have glitched trophies?
No.
What is the minimum number of playthroughs required to unlock all trophies in Death's Door?
Two is recommended (though, it can be done in one).
Does Death's Door have a Platinum Trophy?
Yes.
Trophy Guide
Death’s Door Trophy Guide and Road Map for PS4 & PS5
Welcome to our Death’s Door Trophy Guide. Death’s Door is an Isometric Action-Adventure RPG that can be easily described as Soulslike, though you don’t lose all your souls upon death. You play as a Reaper bird that is tasked with killing three Giant Souls and claiming, well, their souls. However, nothing is ever simple and your first assigned soul ends up being stolen and now you have to track it down and take it back. Death’s Door is available on PS4 & PS5.
Phase One – Complete the Story & Missable Trophies
Phase one of our Death’s Door Trophy Guide is all about just seeing the story through to the end—there is actually a secret ending, but we’ll discuss that in Phase Two—while also making sure to grab the missable trophies as they appear.
There are only two missable trophies that you really should keep in mind; these are Meal for a King and Hot Pot. Both trophies can only be acquired during specific boss fights and as such, if you fail to collect them at the moment they present themselves, you will have to start another playthrough.
The rest of the missable trophies can easily be tackled after completing the game and are labeled as “Semi-Missable” to reflect this. The only way you can truly miss these trophies is if you forget to complete them before taking on the secret ending; you will have to start a second playthrough in order to have another shot at them.
Story/Missable Trophies


Conga Line
Have a gang of 10+ forest spirits follow you
Whilst in the very first area—The Grove of Spirits—you will spot a few tiny yellow fellows standing on walls and such. These are the Forest Spirits that the trophy is talking about. They will naturally follow you as you approach them, however, you can scare them off by swinging your sword (![]() ) in their direction. To unlock Conga Line, walk around The Grove of Spirits and gather any Forest Spirit that is accessible—around 8—and then head to the boss arena at the end. The Forest Spirits can’t enter the boss arena but will wait for you at the entrance. Defeat the boss and after a small cutscene, you will have an additional 8 Forest Spirits following you. Take the new group of Forest Spirits over to the boss arena entrance and introduce them to the old group.
) in their direction. To unlock Conga Line, walk around The Grove of Spirits and gather any Forest Spirit that is accessible—around 8—and then head to the boss arena at the end. The Forest Spirits can’t enter the boss arena but will wait for you at the entrance. Defeat the boss and after a small cutscene, you will have an additional 8 Forest Spirits following you. Take the new group of Forest Spirits over to the boss arena entrance and introduce them to the old group.


Crow Gamer
Beat the game
Crow Gamer will unlock after you have defeated all three of the major bosses and the final Lord of Doors boss.

Hot Pot
Set Grandma’s pot on fire
During the fight with the Urn Witch, she will hop into a large pot and try to squash you with it. After a few missed attempts she will disappear inside the pot and it will fall over and start to spin. Projectiles will be hurled out of the opening of the pot. To unlock Hot Pot, use your flame ability and shoot a ball of fire into the opening of the pot as it spins around. The projectiles she’s firing are quite slow so you have plenty of time to shoot a fireball and dodge away.

Meal for a King
Feed the Frog King an explosive treat
Whilst fighting the Frog King he will tilt the stage you are on and try to vacuum you into his mouth. To unlock Meal for a King wait for him to tilt the stage, and begin his vacuous sucking and throw a bomb in his direction. The vacuum will launch the ball into the back of his throat and blow up leaving him stunned for a bit.
Upgrade Trophies


Cremation
Upgrade the fire ability

Demo Crow
Upgrade the bomb ability


Hawk Eye
Upgrade the arrow ability
Phase Two – Reach 100%
During Phase Two of our Death’s Door Trophy Guide you will have to spend a few more hours hunting down every Shiny, Weapon, Shrine, Seed, and Planter as well as collecting 7 Tablets to unlock the True Ending.
As there are no more bosses to face this phase can go pretty smoothly and will be over faster than you think especially with the help of our Shiny and Shrine guides.
Collectible Trophies

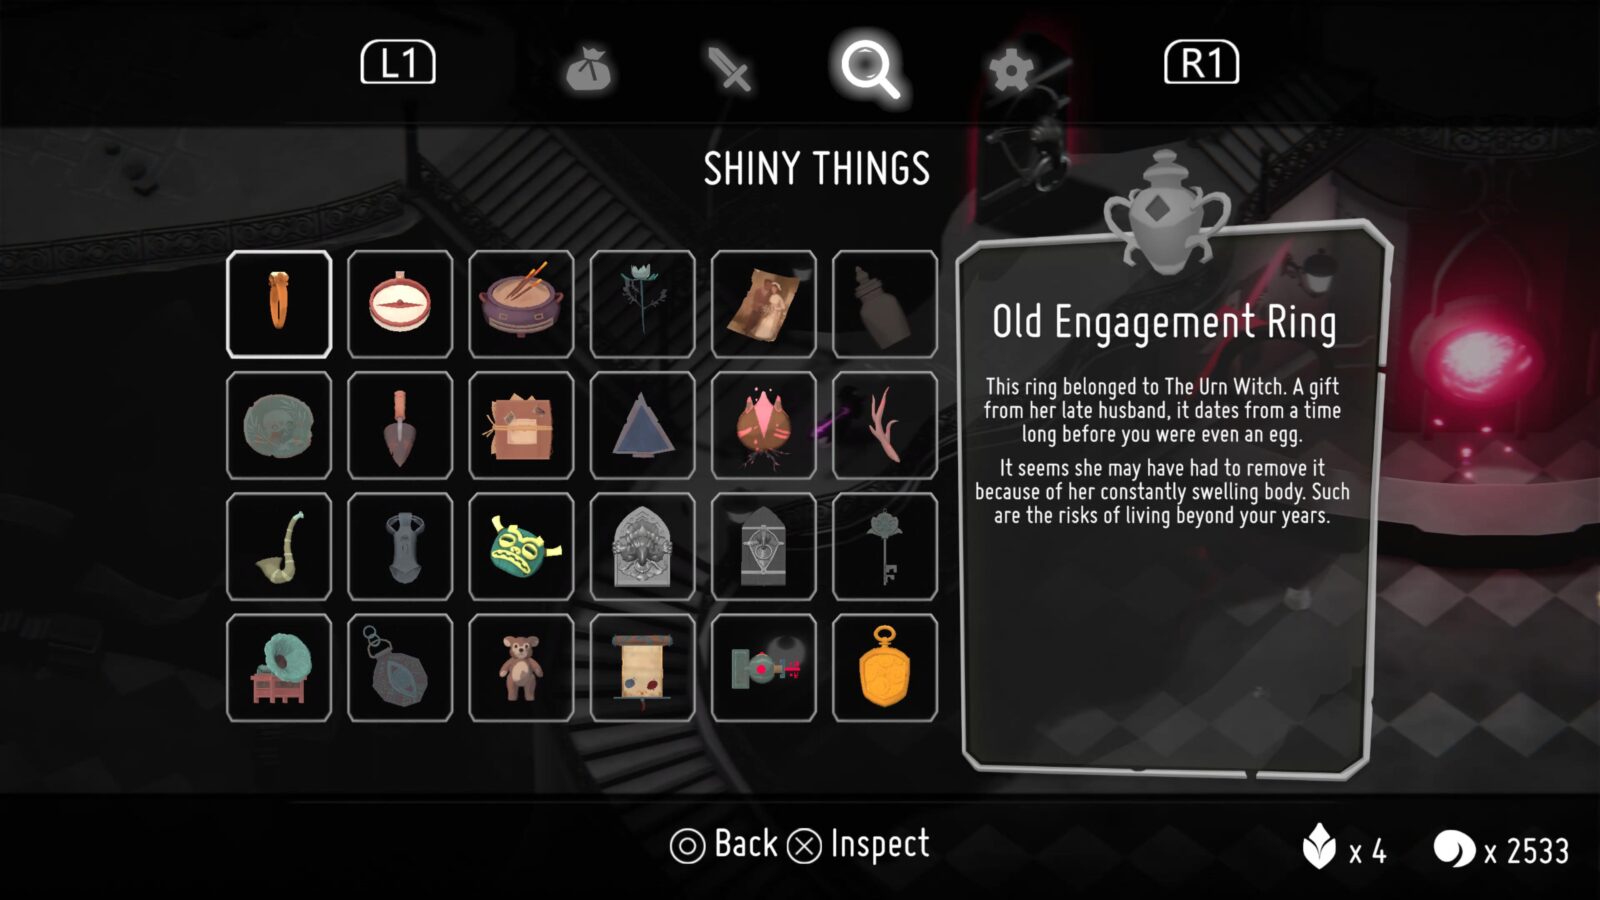
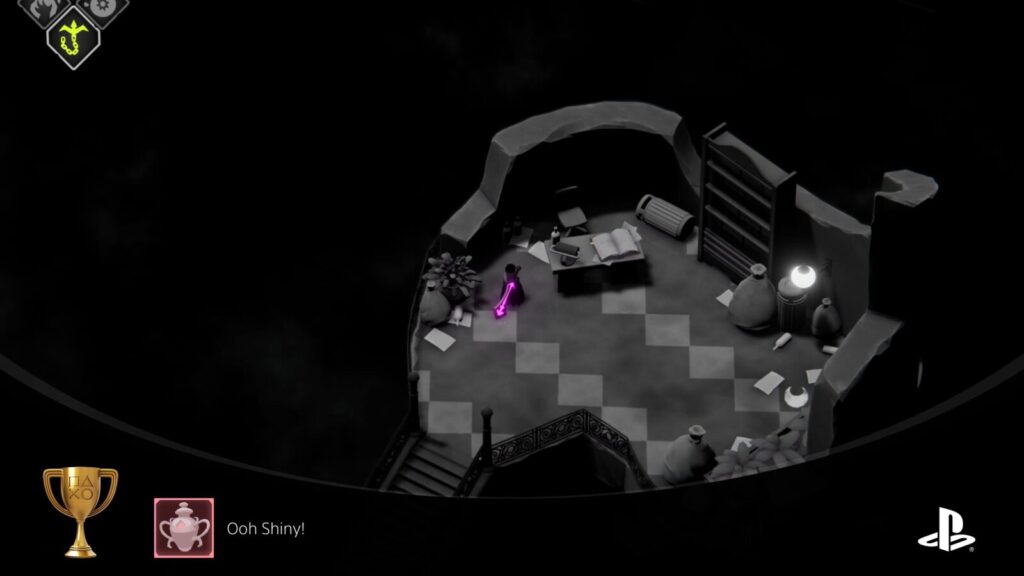
Ooh Shiny!
Collect all shiny things
There are 24 “Shiny Things” to find in Death’s Door. See this guide for how to find them all.

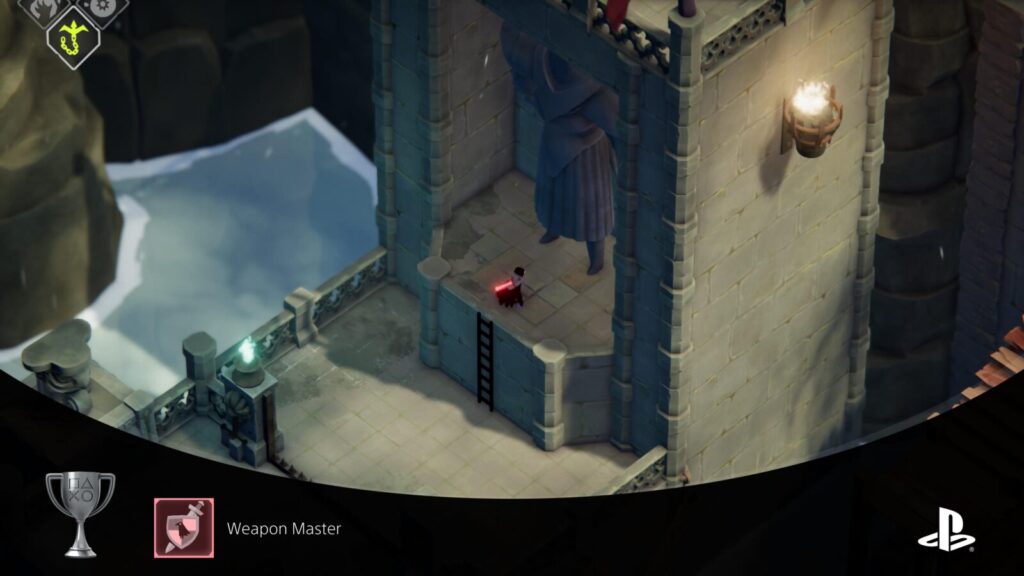
Weapon Master
Collect all weapons
There is a total of 5 weapons to be found in Death’s Door, though one of them is the default weapon and therefore is already found at the start of the game. All apart from the Reaper’s Greatsword can be found from natural progression through the game’s “dungeons”. To acquire the Reaper’s Greatsword, you must solve a small puzzle in the Stranded Sailor region. See the solution below.
First head to the left of the Stranded Sailor pub and use the grapple points to reach a wooden pier. At the top of this pier is a statue behind a locked gate and at the base of the statue is the weapon. You will have to uncover 4 hidden holes around the map and hit a switch inside. Read the placard to your left for the first clue. It will read ” There are weaknesses in the walls that the eye can’t see… Beneath a wooden walkway, a secret lies for thee…“
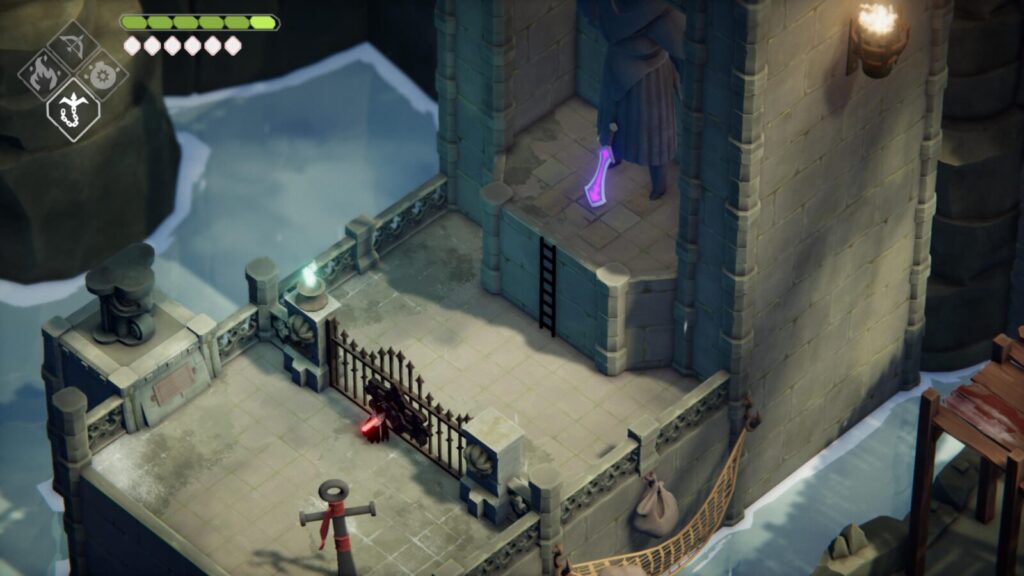
Travel to the spot in the picture below and use your bomb to reveal the hole in the wall. Go inside, hit the switch, and read the next placard.
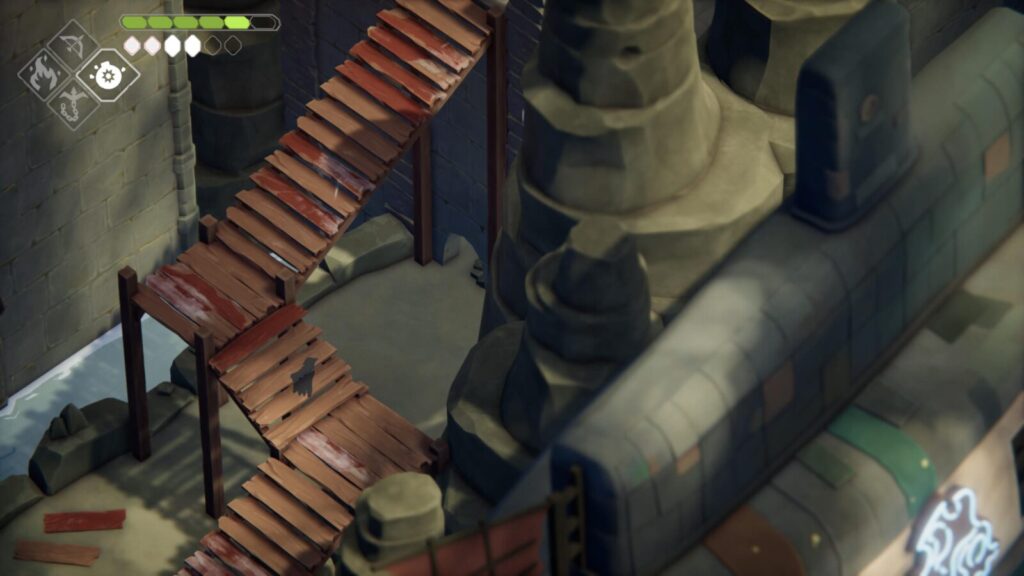
Travel to the spot below for the next switch and clue.
Travel to the third spot and hit the switch.
Finally, travel to the last spot and hit the switch. Once you have you can return to the statue where the Greatsword is waiting.

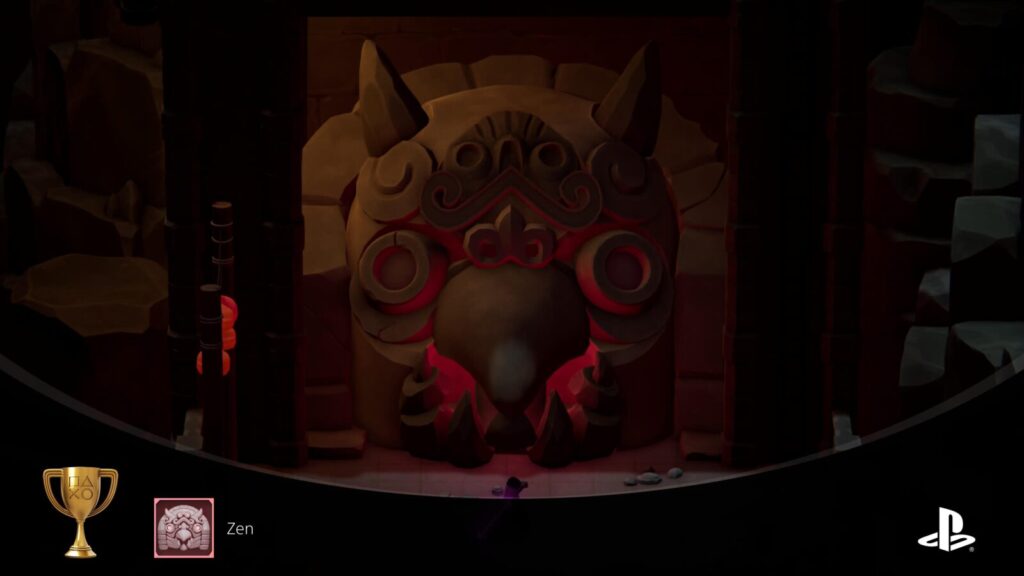
Zen
Find all shrines
There are 16 Shrines—8 Vitality, and 8 Magic—to find in Death’s Door. See this guide for how to find them all.

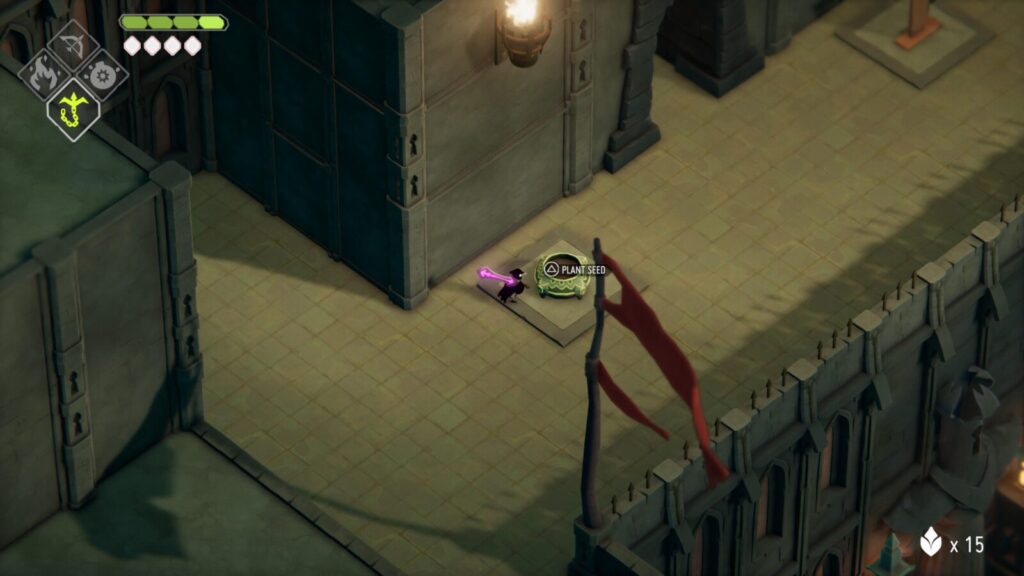
Reap what you sow
All seeds collected and planted
Throughout Death’s Door you will find a bunch of seeds out in the open or hiding in breakable wooden boxes. There are 50 of them in total and they can be used with planters that are strategically littered in the Dungeon areas. Once you plant a seed a flower will grow and you can use it to restore your health once per flower until you rest them via dying or leaving through a death door. Pothead’s trowel can be used to see if you have any uncollected seeds in that area. The trowel will glow blue if there are still seeds you haven’t found.
Misc Trophies

Plot Head
Access Pothead’s secret garden
You will have to access Pothead’s secret garden to collect his trowel for Ooh Shiny!

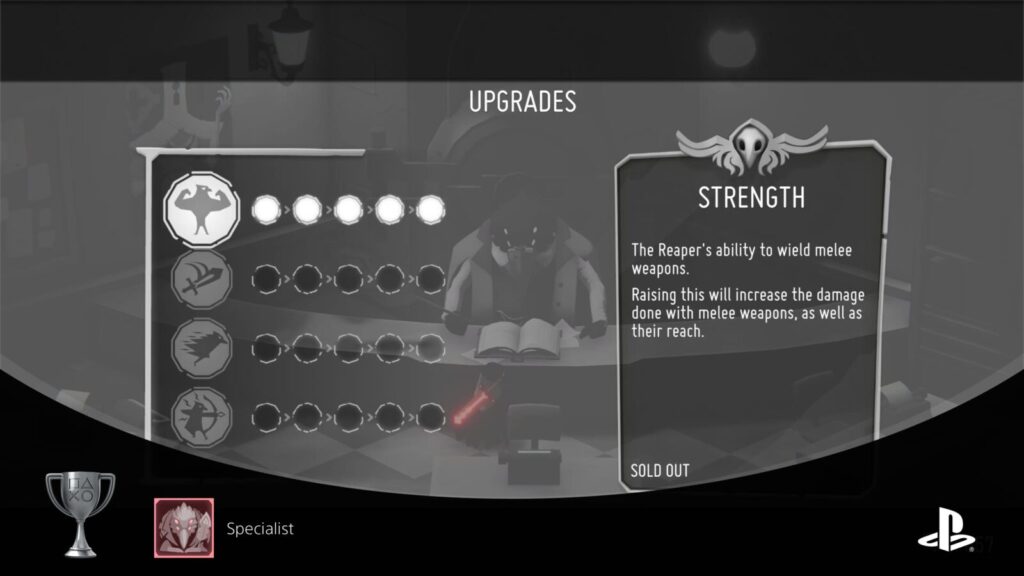
Specialist
Max out any of the 4 stats
You can use the souls you collect to upgrade your stats. It’s unlikely you will collect enough souls to max out every single stat in one playthrough unless you spent several hours grinding on one area. Out of all the stats, I would advise you to max out the strength stat as it increases your damage output.
Once you have maxed out Strength, it’s advised to spread your next stat upgrades out evenly while you go for Big Spender.

Big Spender
Purchase 12 stat upgrades
See Specialist

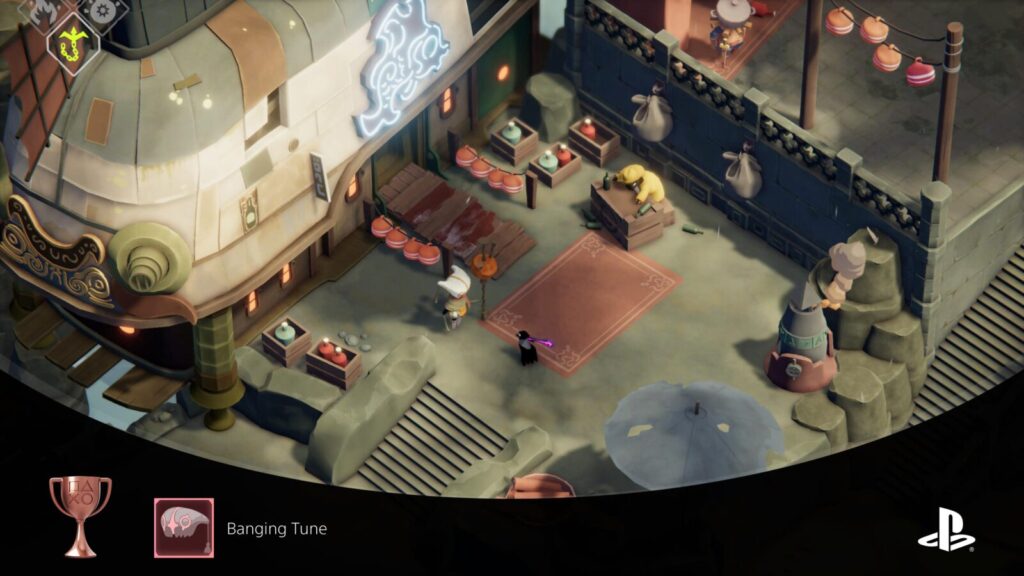
Banging Tune
Listen to Barb’s magnum opus
Upon reaching the Stranded Sailor you will quickly bump into an NPC you can talk to. She is called Barb and will be on a quest to write her magnum opus. She will then follow you through the region as you make progress. To unlock Banging Tune, talk to Barb at every opportunity, and once you have defeated Betty return to the Stranded Sailor to speak to Barb one last time.

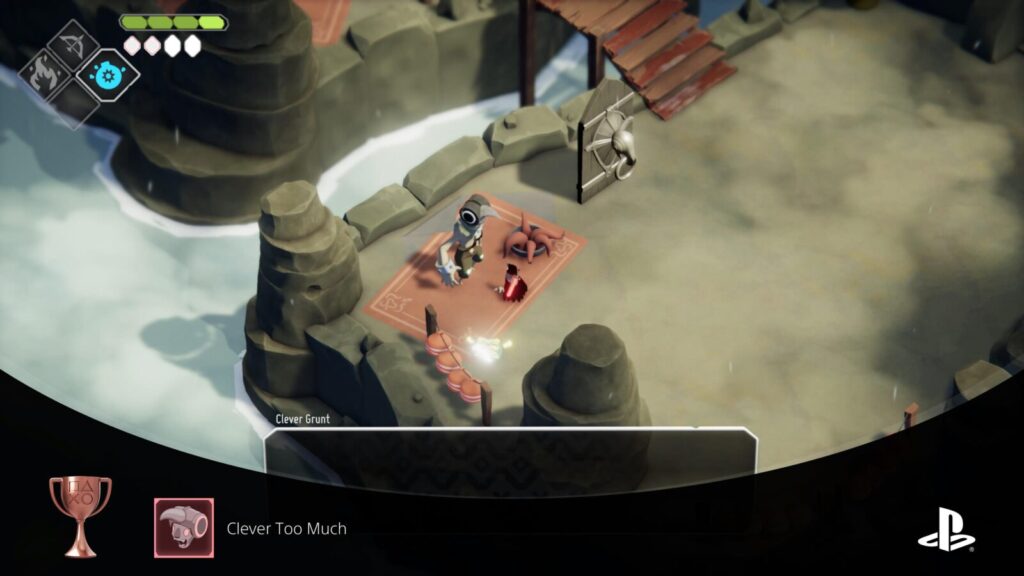
Clever Too Much
Gain a devoted fan
Once you make it inside the Mushroom Dungeon you will see a series of prison cells. Inside one of them is a friendly NPC you can talk to. After you unlock the bomb ability you can then return to this NPC and use the bombs to set him free. Later, once you have reached the Stranded Sailor you can meet this NPC a second time. To unlock Clever Too Much talk to the NPC at the Stranded Sailor after freeing him in the Mushroom Dungeon.


Squid Soup?
Accept Jefferson’s Soup
Upon reaching the Stranded Sailor for the first time you can talk to Jefferson inside the pub and he will offer you some soup. Just say yes and Squid Soup? will unlock.

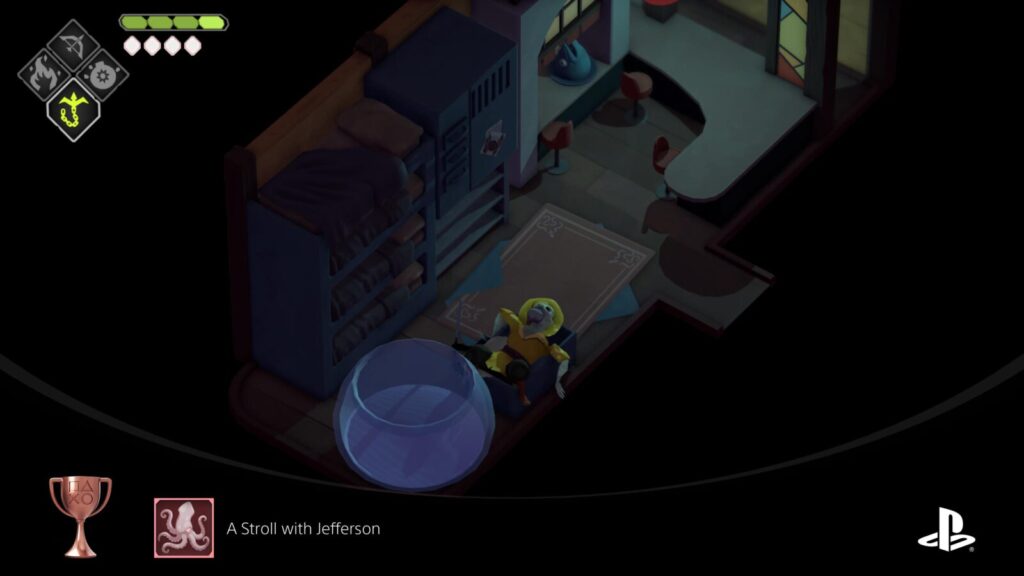
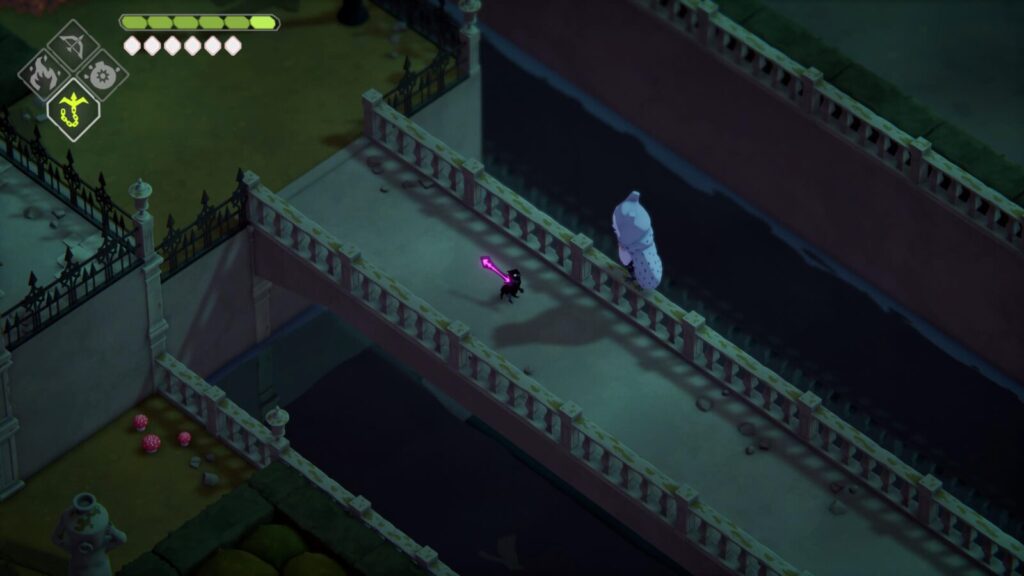
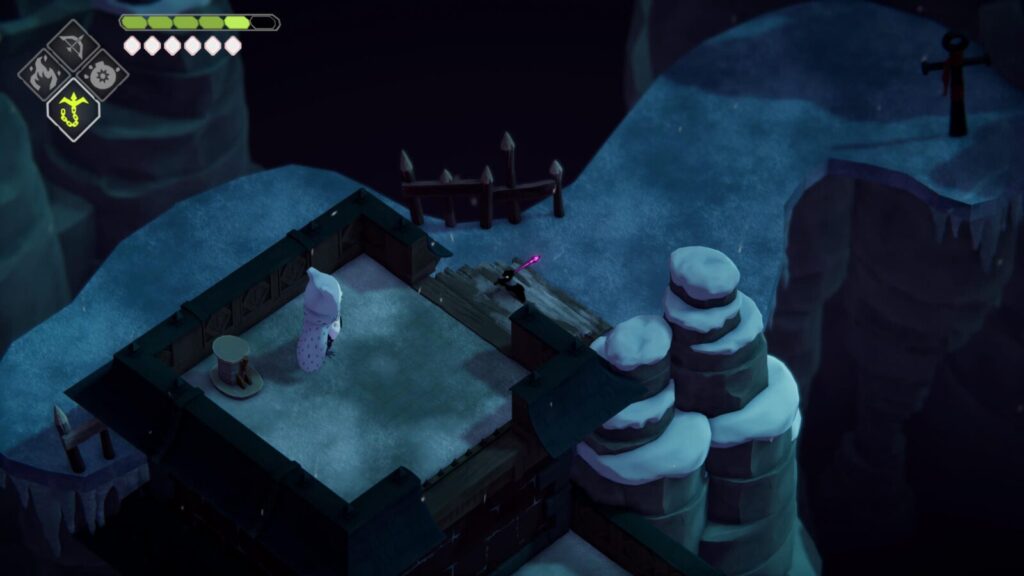
A Stroll with Jefferson
Take a midnight stroll with Jefferson
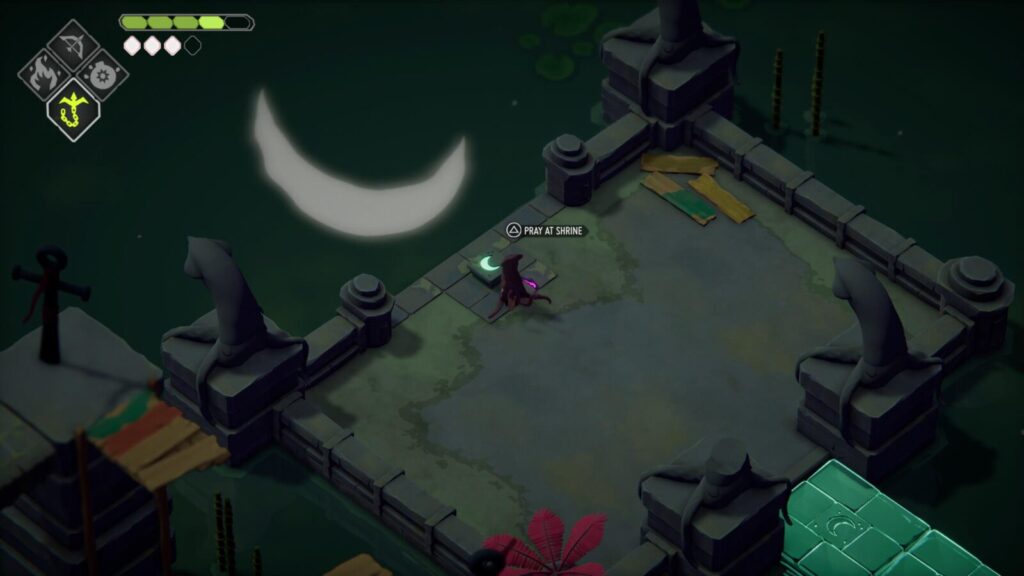
This is a long trophy that can be a bit tedious. You will have to already have collected the Teddy Bear Shiny and flipped the time of day to night. Speak to Jefferson to give him the Teddy Bear and let him jump on your back. You will now have to fight your way to the Flooded Fortress and you cannot use the Death Doors. Once you have reached the Flooded Fortress you will spot some glowing platforms because of the moon’s glow. Follow the platforms all the way to the end and you will find a button you can press to receive a tablet piece.
A Stroll with Jefferson will unlock the very second Jefferson jumps on your back but you will need to head to the Flooded Fortress for a tablet piece anyway so it’s better to do it while you have Jefferson with you.

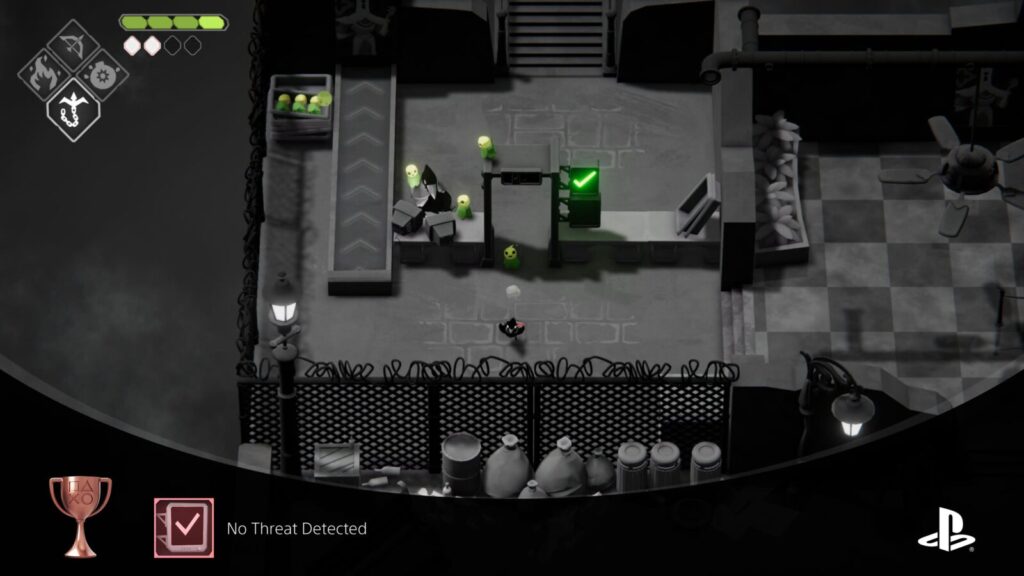
No Threat Detected
Get a forest spirit through security.
Sometime after defeating the Urn Witch you will notice little forest spirits hanging around the Hall of Doors. Simply have one follow you and walk through the detector near the entrance for No Threat Detected to unlock.

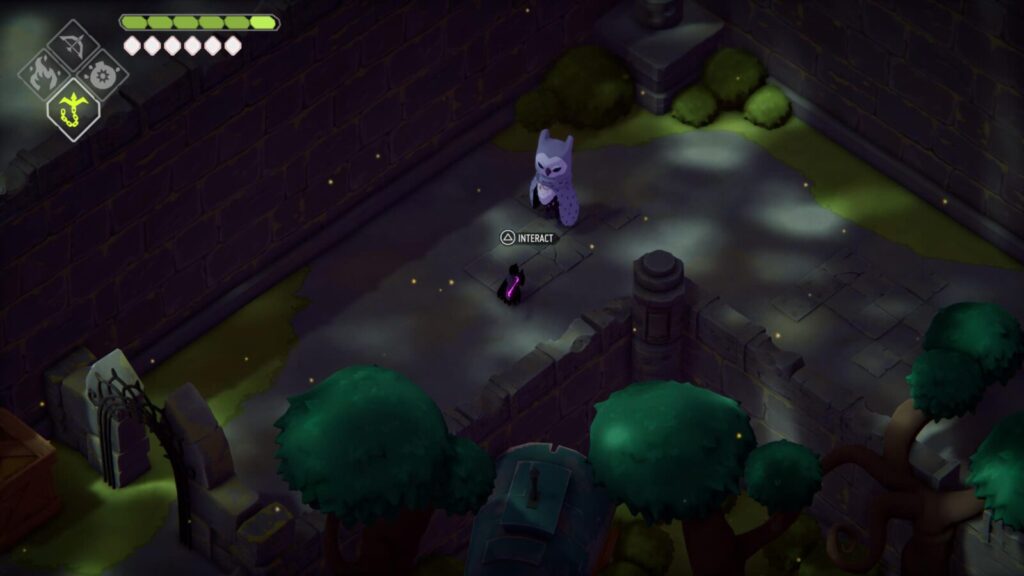
In Caw-Hoots
Meet with 3 owls
Three owls will appear in the Estate of the Urn Witch, Overgrown Ruins, and the Old Watchtower regions once you have hit the bell in the Lost Cemetary and flipped the time of day to night. The Owls themselves are large and easy to spot while exploring.

A True Ending
???
To get to the true ending you must 100% the game. This means finding all the shinies, shrines, finding and planting all seeds, collecting all 7 of the tablets, and defeating the Grave Digger.
You can find a guide on collecting all the Shinies and Shrines in the Misc Trophies section. The seeds and plant pots are all out in the open—apart from some seeds hiding in breakable wooden boxes—and don’t require any special guidance in finding them all. However, the 7 tablets you must find in order to unlock the true ending can be a bit difficult.
Tablets
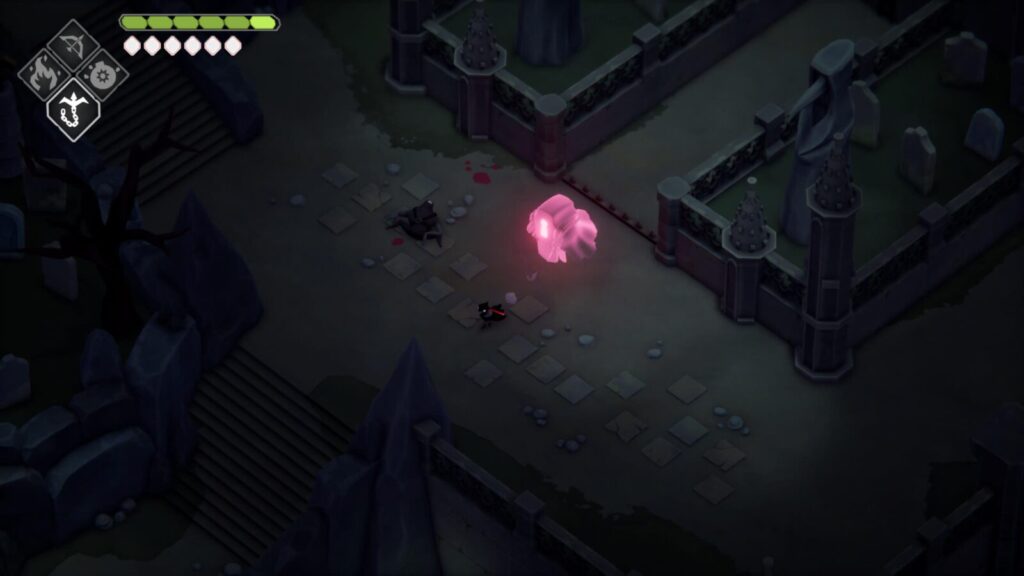
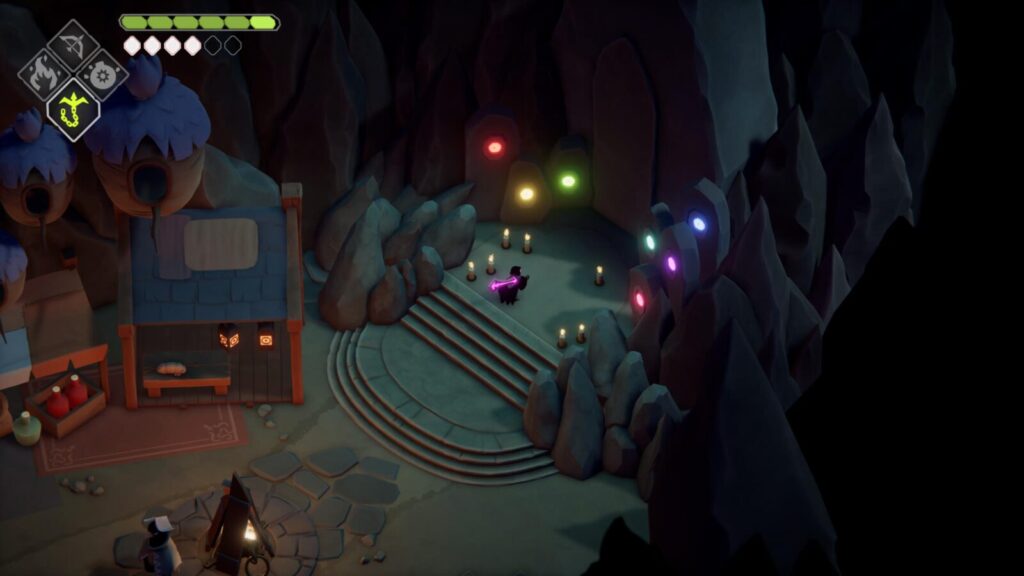
#1 – In the Lost Cemetary you will begin to see red ghosts floating about—once you have switched the time to night by hitting the bell in the belltower—and when you approach them they will begin to follow you. You will have to guide them to statues of the Lord of Doors in order to unlock a door at the very Southern part of the map. Once inside you will be able to collect a tablet piece.
#2 – Talk to all 3 of the Owls that appear in the Estate of the Urn Witch region during the night. See In Caw-Hoots
#3 – During the night the water will be reduced in the Overgrown Ruins. If you head to where you first entered the region via the rope lift and look to the South you will see a chest that you can now get to.
#4 – Collect and plant all 50 Seeds to unlock Pothead’s door in his secret garden. You will likely already have access to his garden from collecting his Trowel shiny.
#5 – At night give Jefferson the teddy bear shiny and he will jump on your back for a ride. You will have to take him all the way to the Flooded Fortress from the Stranded Sailor without using the Death Doors. See A Stroll with Jefferson
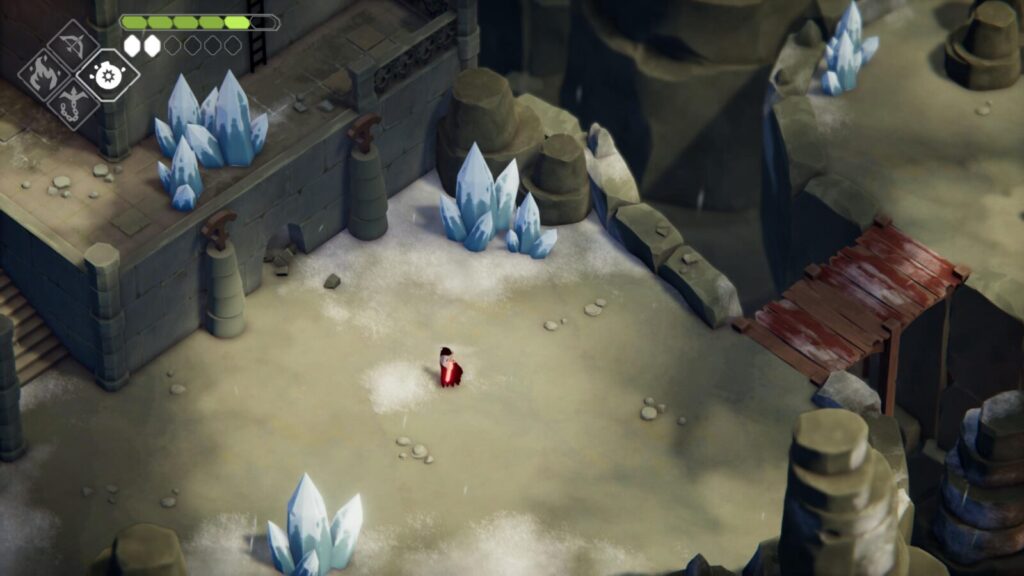
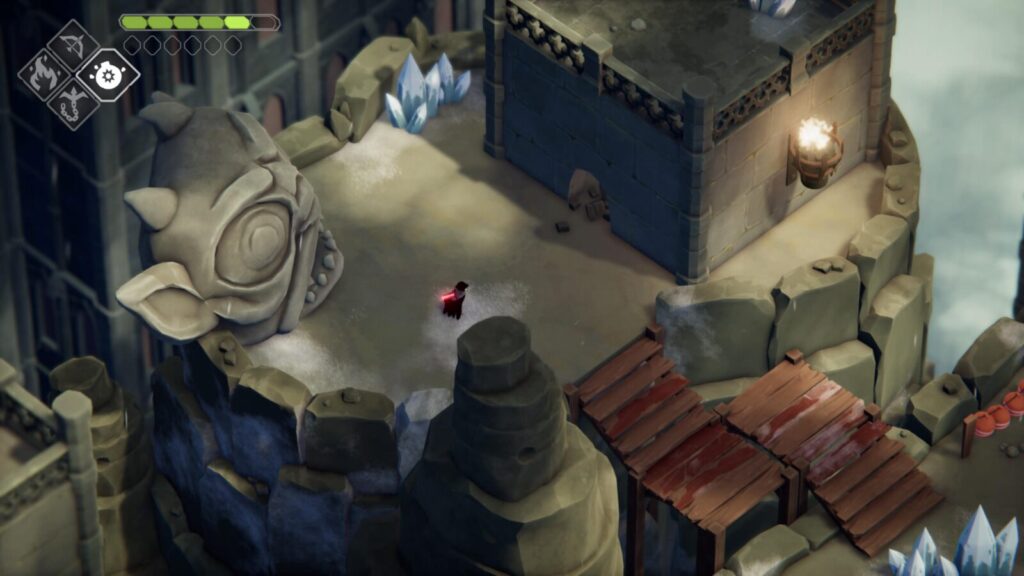
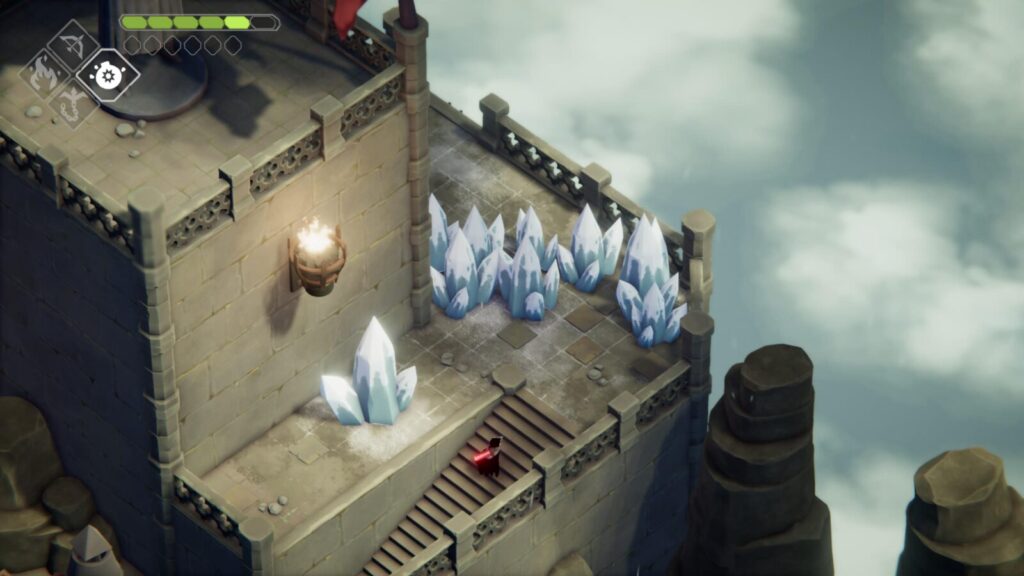
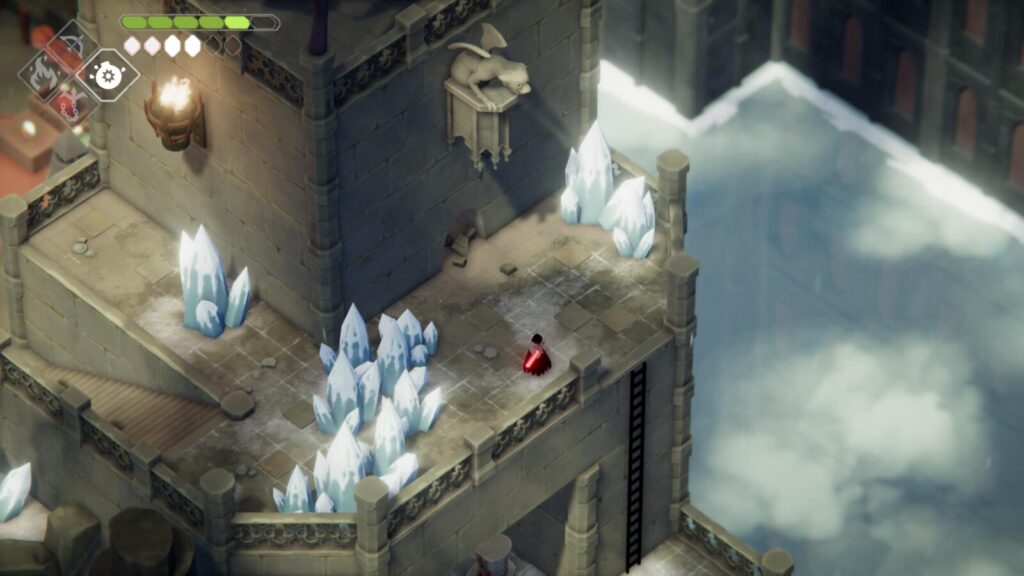
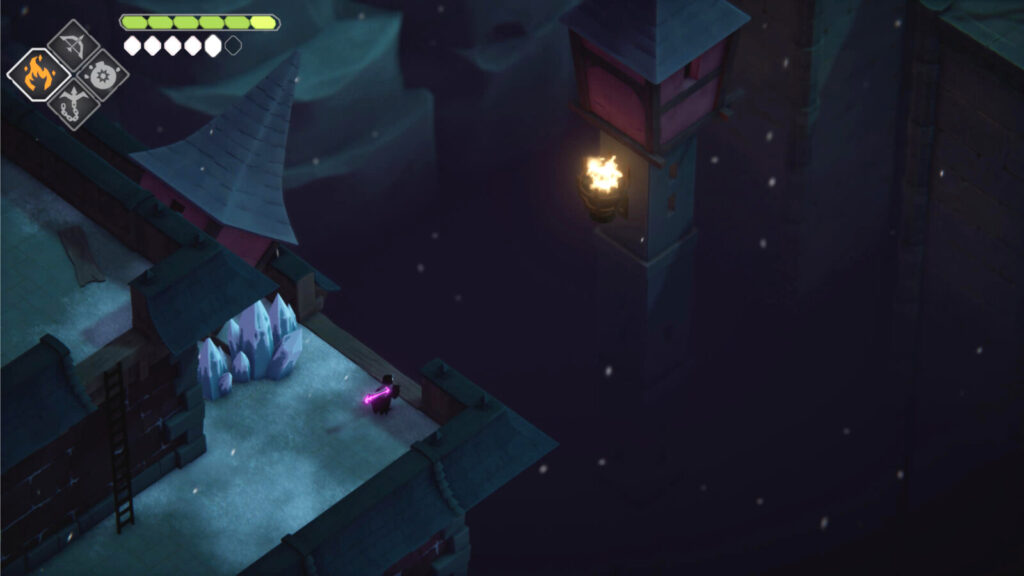
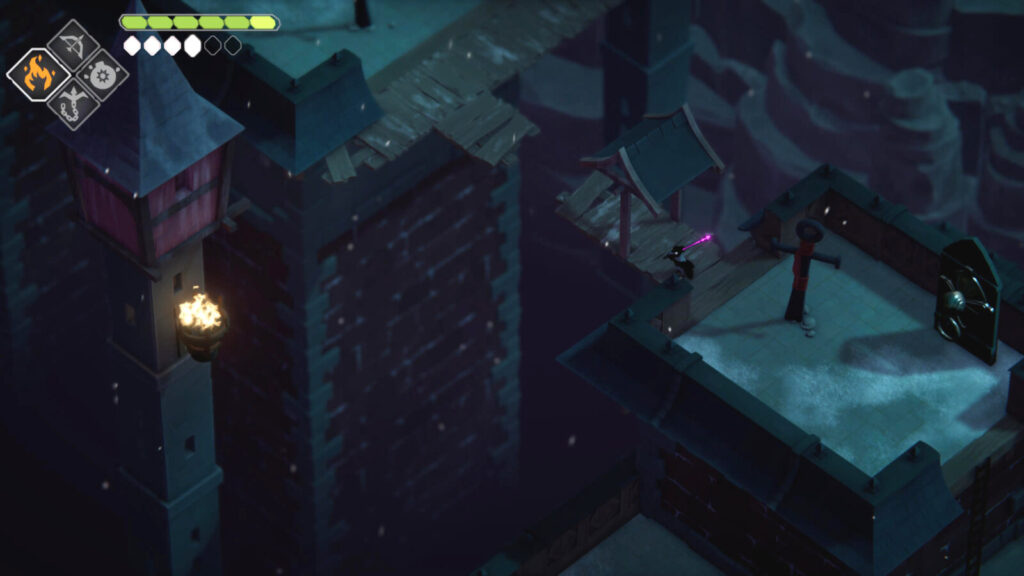
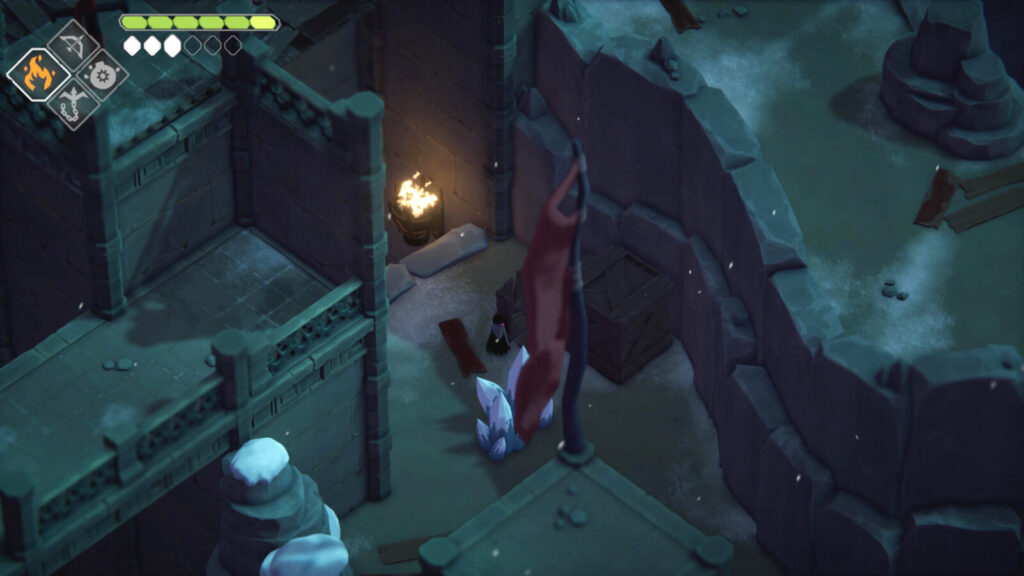
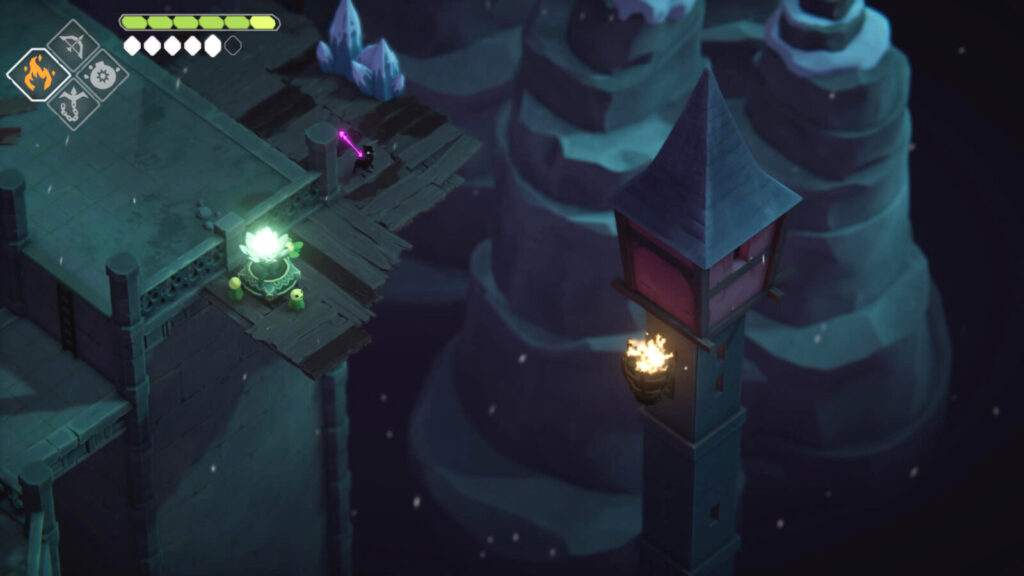
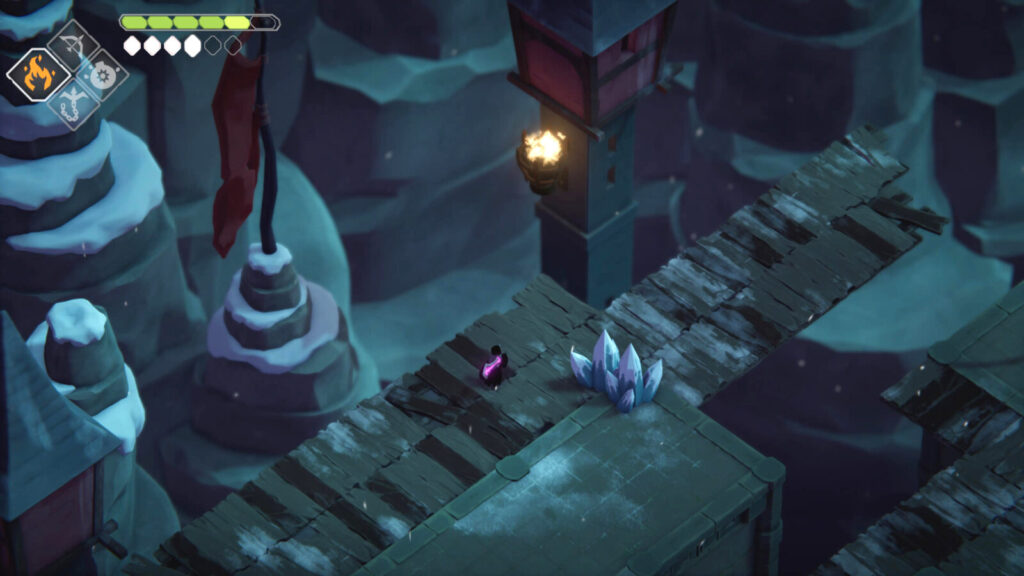
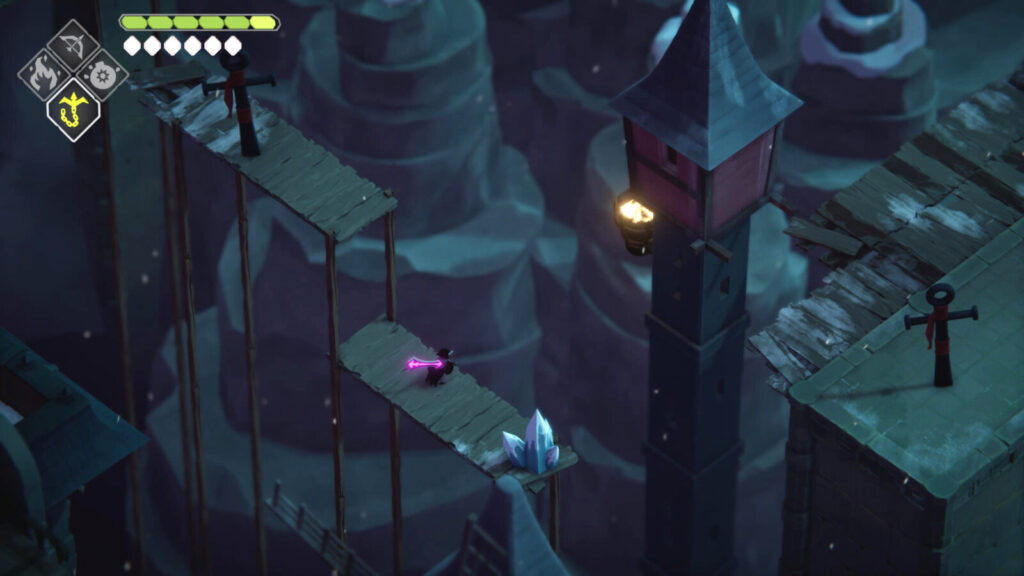
#6 – You will need to light 6 braziers in the Old Watchtowers region to unlock a door to the very East that is guarding the tablet. See the images below.
#7 – Defeat the Gravedigger in the Lost Cemetary. You can only challenge the Gravedigger once you have collected all 24 shinies.
The True Ending
Once you have collected all 7 tablets you must go to the Free Crows and head to the very back of their camp to unlock the true ending.


Lord of Chores
100% Complete the game
You will unlock Lord of Chores after witnessing the true ending.
Phase Three – Beat Death’s Door Using Only the Umbrella
If you didn’t already beat the game with the umbrella in the first phase of our Death’s Door Trophy Guide it would be time to do so now. Having already completed the game at least once you should have an idea of where to go and what to do. The only difference with this playthrough is that you can ignore all shrines and shinies if you want. I would still advise that you put all souls into attack damage as the umbrella does 0.5 damage compared to the starting weapons’ 1 damage. This means it will take at least twice as many hits to defeat a boss.

Academy of Umbrellas
Beat the game only ever using an umbrella as your melee weapon
You will likely already have picked up the Discarded Umbrella on your previous playthrough while collecting all weapons for the Weapon Master trophy but to reiterate, you can find the Discarded Umbrella by heading down the steps to the left of the very first door that opens for you at the start of the game in the Hall of Doors. Follow the stairs leading up instead of taking the curve stairs down and head forwards towards the urn in the middle of the platform. From here there will only be one way to go; left. Take the path left and you will spot the Discarded Umbrella propped against a street light.

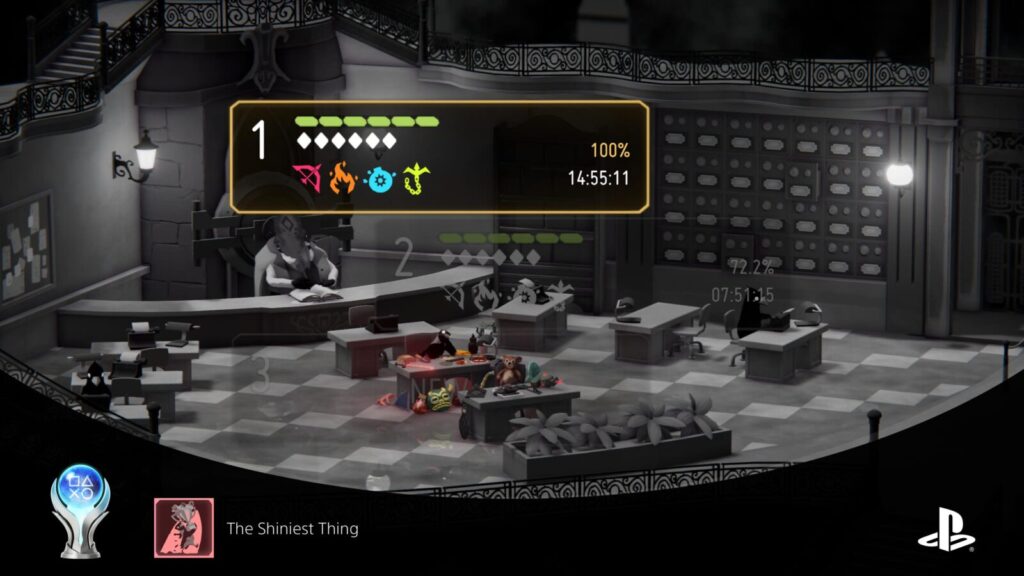
Plat Get!


The Shiniest Thing
Obtain all trophies and reap the ultimate reward
Once you have acquired every other trophy in this Death’s Door Trophy Guide, you will reap the ultimate reward—a sweet Platinum Trophy. Congratulations, Beakface!
Thank you for choosing PlatGet as your source for Death’s Door Trophy Guide. Consider checking out our other guides!
Follow us on Twitter @GetPlat or Instagram @platget for updates on new reviews and guides, as well as small anecdotes about our platinum journeys.