PlayStation 4, PlayStation 5
Death’s Door All Shinies Guide
Game Guide
Death’s Door All Shinies Guide for PS4 & PS5
Welcome to our Death’s Door All Shinies for PS4 & PS5. In this guide, you will find a detailed description of the location of all collectible shinies in Death’s Door. Check out our Death’s Door Trophy Guide for help unlocking the rest of the trophies.
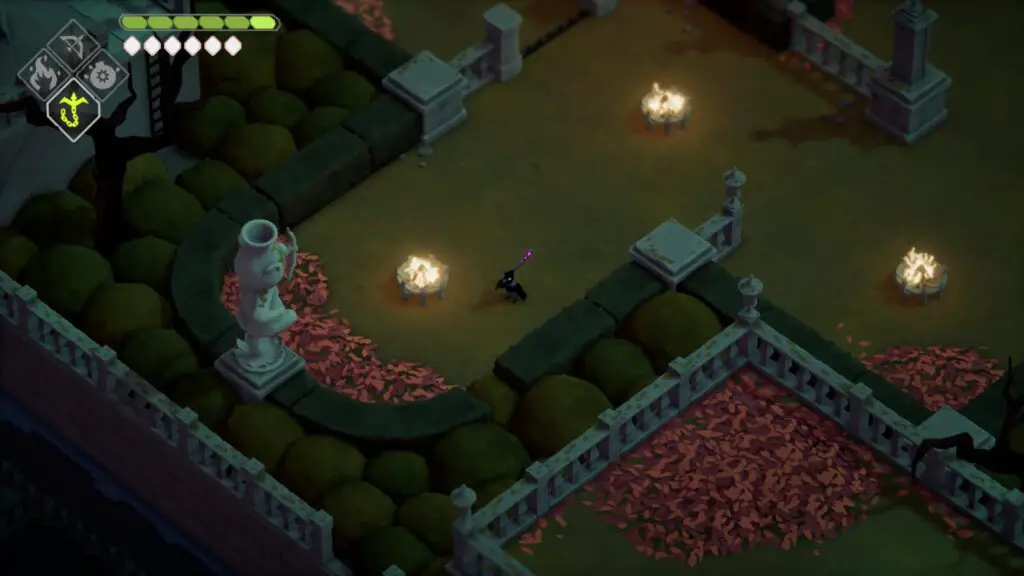
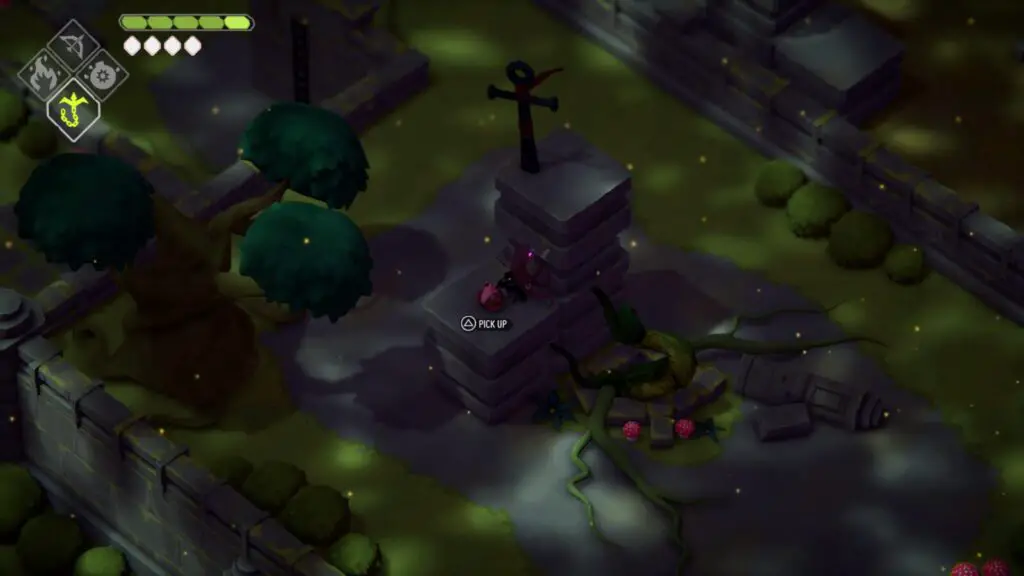
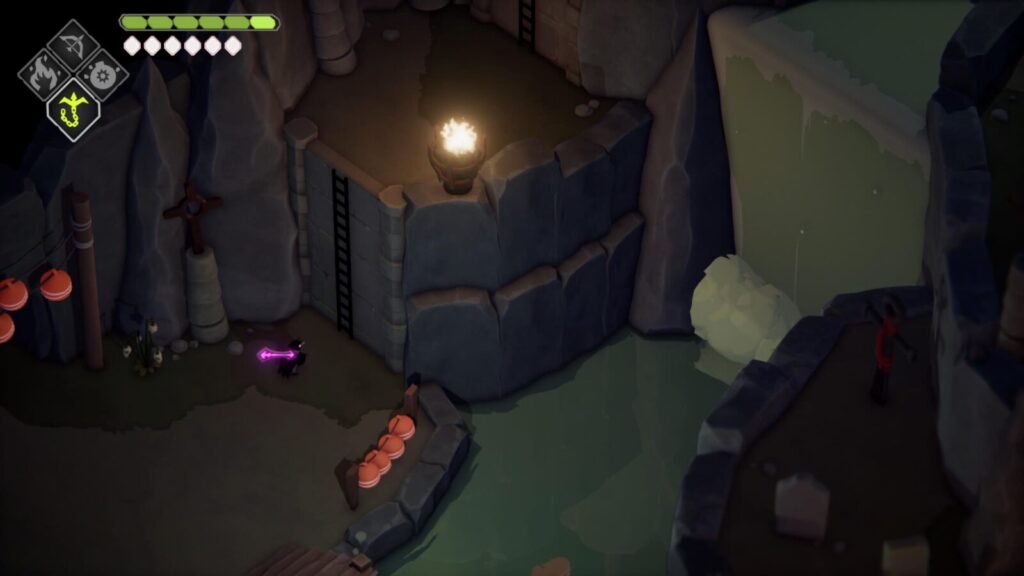
Lost Cemetary
#1 – Undying Blossom
From the Lost Cemetary door take a left and follow the path until you reach a circular building with a blue roof. When you approach the building the camera will rotate revealing a door. Inside is the Undying Blossom.
#2 – Incense
From where the large Death Door that requires three large souls to open is located in the Lost Cemetary, head away from the door in the direct opposite direction and drop down a ladder. The incense will be sitting on the roof of a building that is accessible via a wooden coffin lid.

#3 – Old Compass
From the Lost Cemetary door take a left and enter the building that leads down into the spider-infested dungeon. Head through the door to the North-East and follow the critical path (you will fight a miniboss) and climb the ladder that leads to the second floor. Head all the way South-West and you will reach the room you landed in when you first entered. Nearby the door you just came through is a Compass.
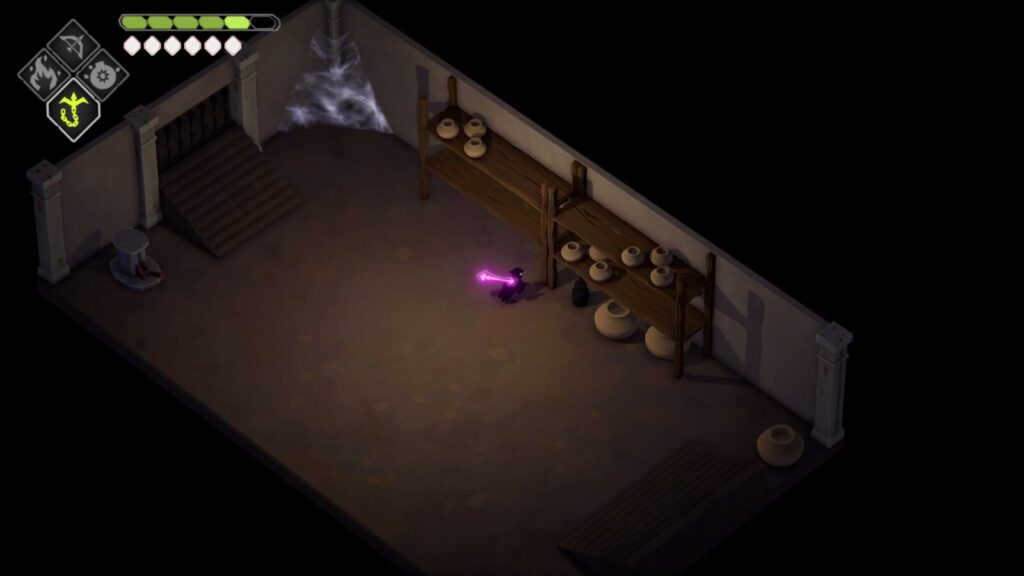
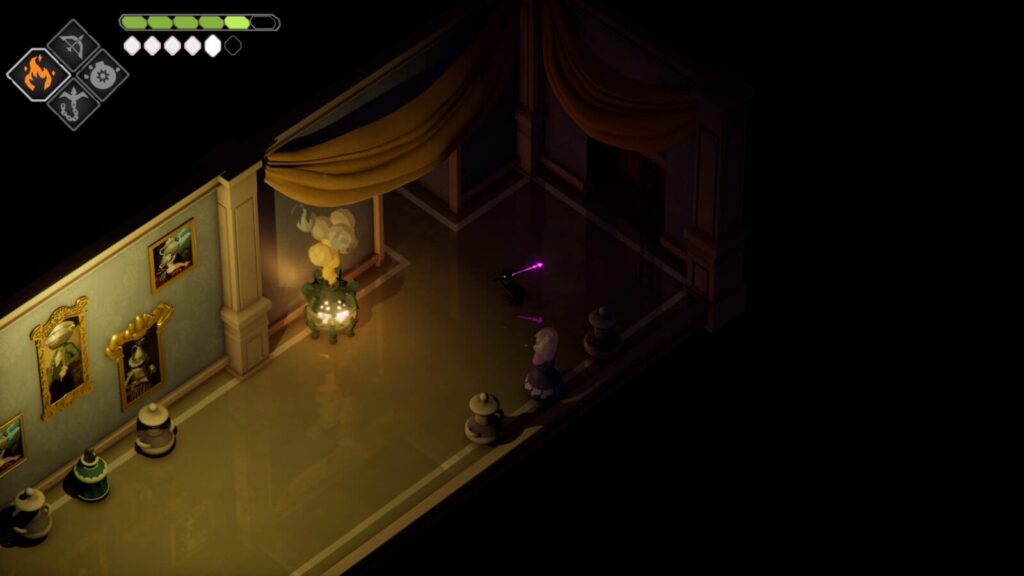
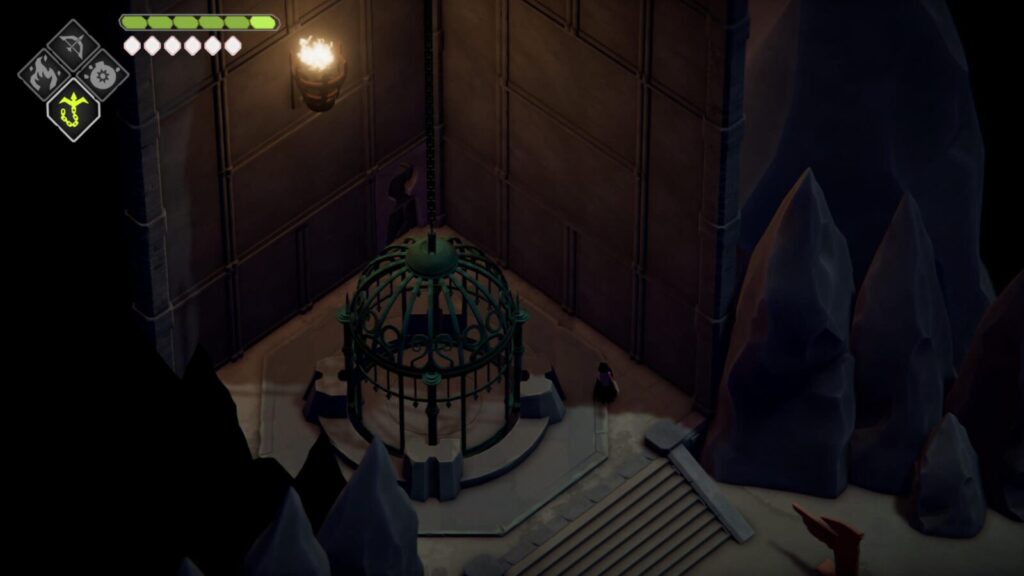
Estate of the Urn Witch
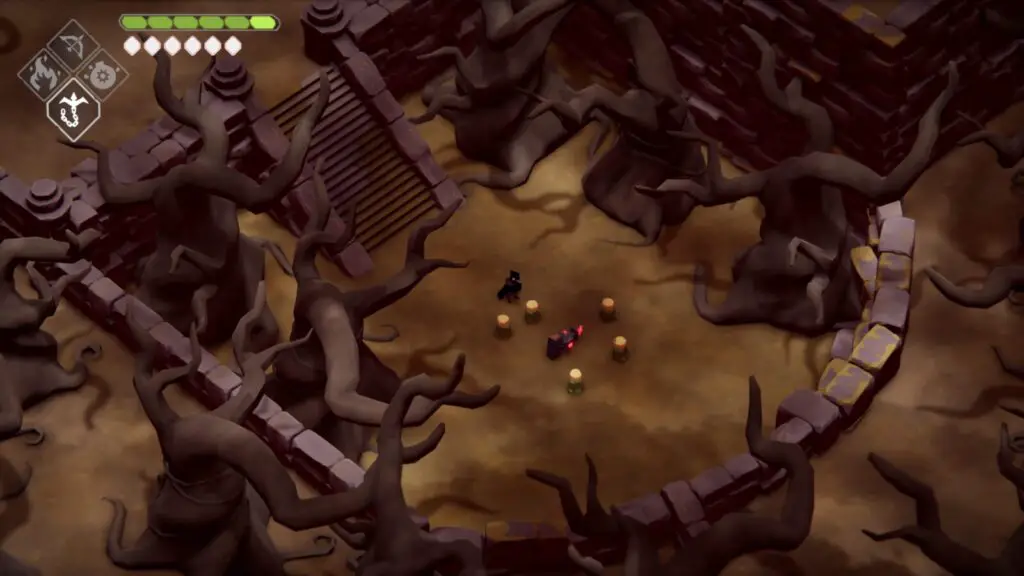
#4 – Sludge-Filled Urn
From the Death Door head North and take a left when you reach the fountain. Head left again and you will see a gap in the hedges that you can enter. Follow this and you will reach a ladder that you can climb up and you will see a broken statue and a grapple point in the distance. Use your grapple ability and then walk off the ledge and press ![]() to slam into the pipe entrance below. Follow the pipe and you will emerge and see another grapple point that leads to another pipe entrance. Keep following the path and you will eventually enter a combat encounter. The Urn will be just ahead in a room with some shelves and a lever to open a metal gate.
to slam into the pipe entrance below. Follow the pipe and you will emerge and see another grapple point that leads to another pipe entrance. Keep following the path and you will eventually enter a combat encounter. The Urn will be just ahead in a room with some shelves and a lever to open a metal gate.
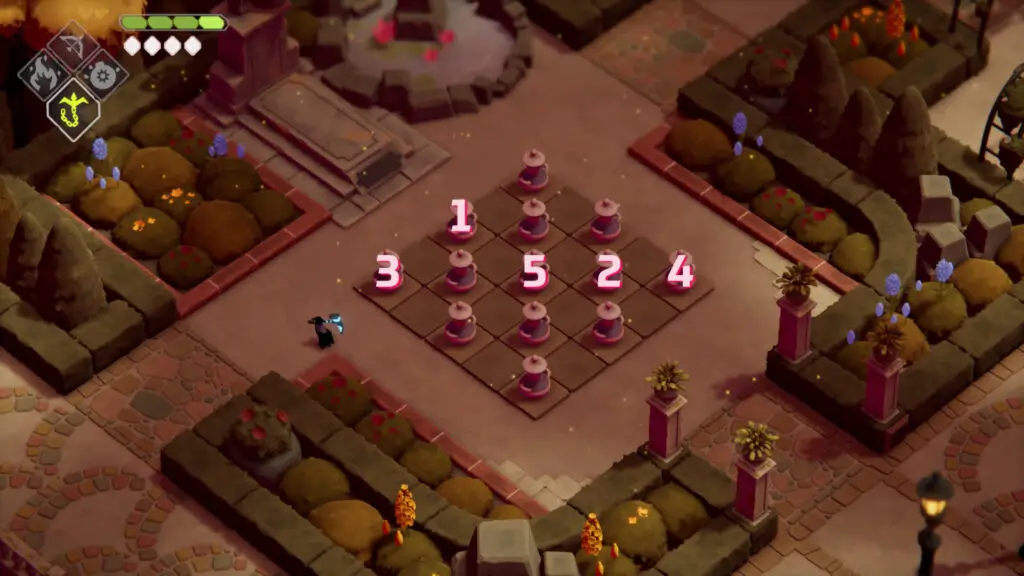
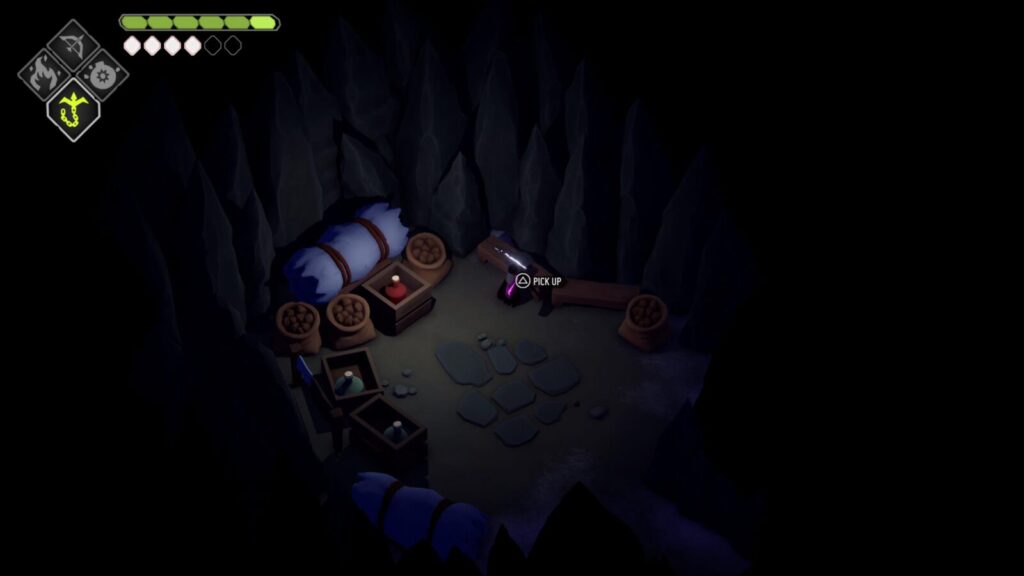
#5 – Rusty Garden Trowel
On the Western side of the Urn Witch’s garden is a series of pots arranged in a grid. You will have to smash them in a certain pattern to reveal a secret passage that leads to the Garden Trowel. See the picture below for the sequence.
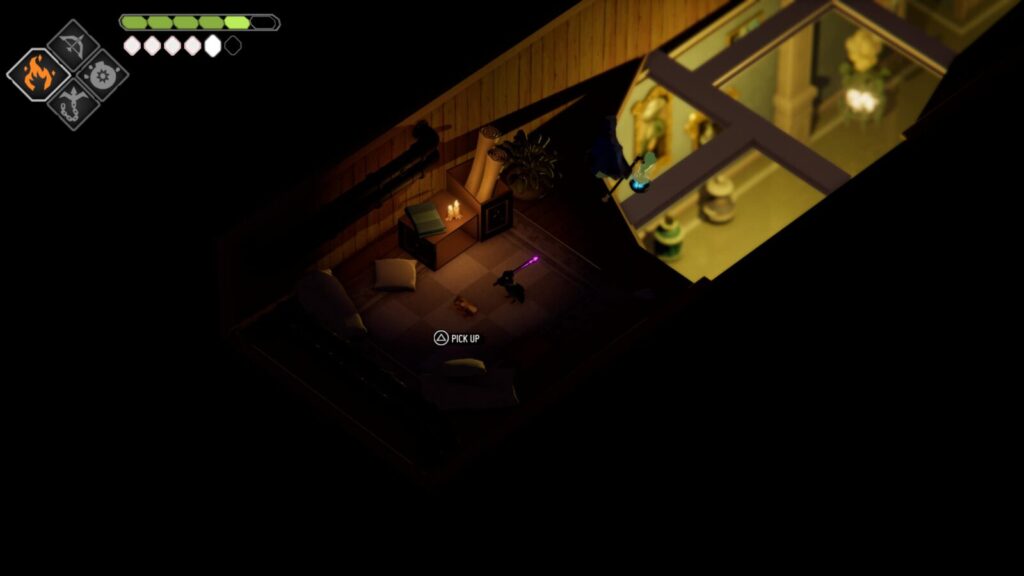
Ceramic Manor
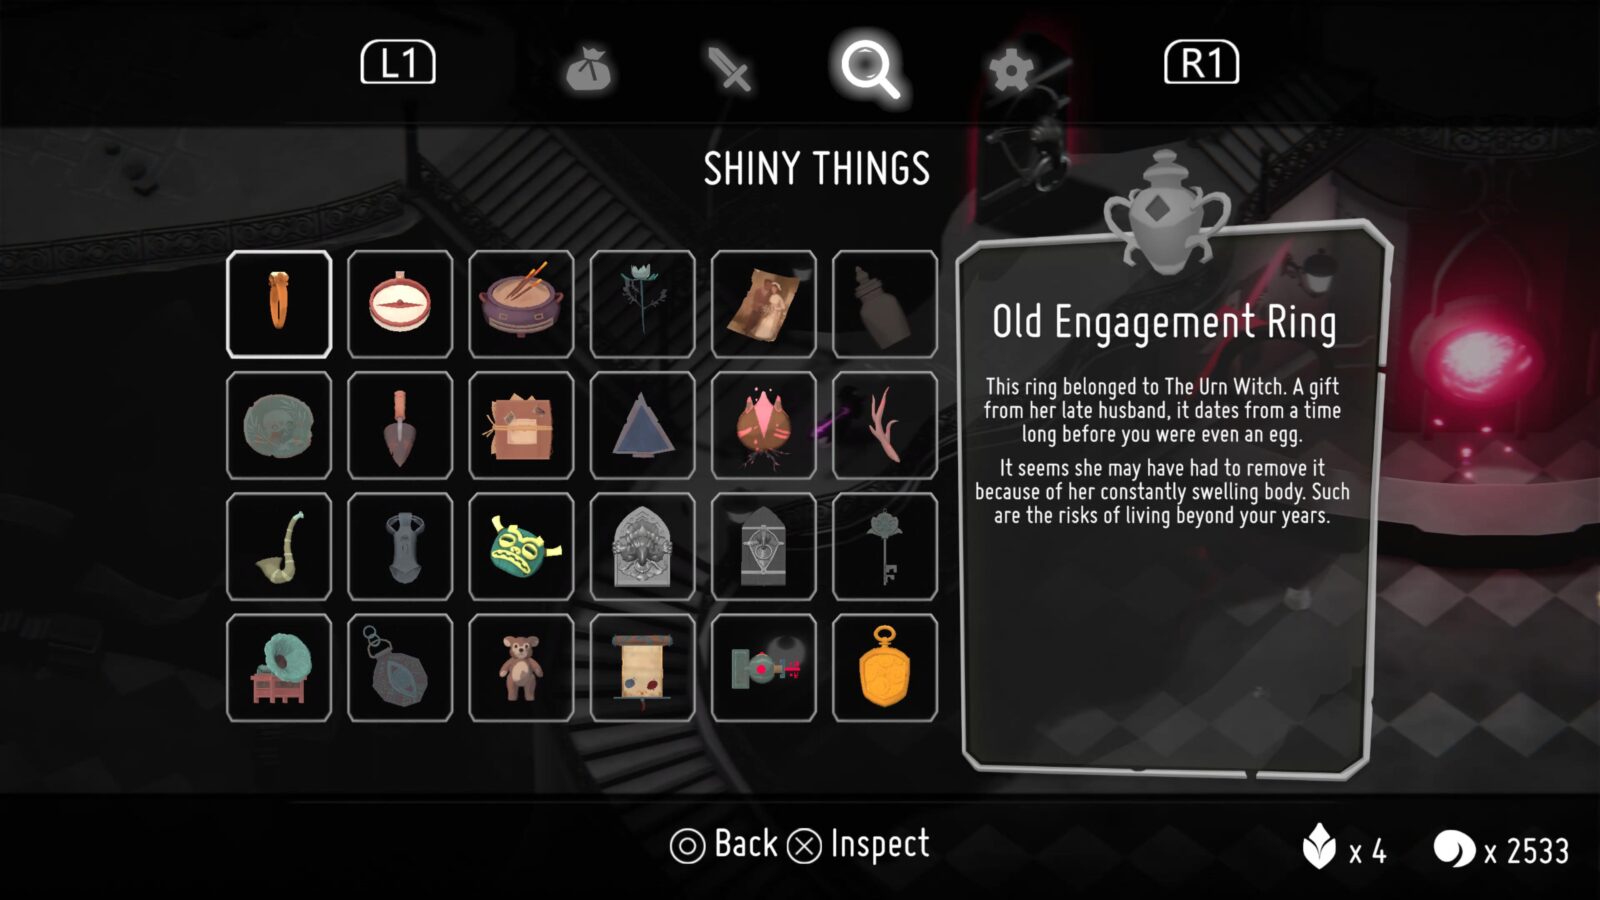
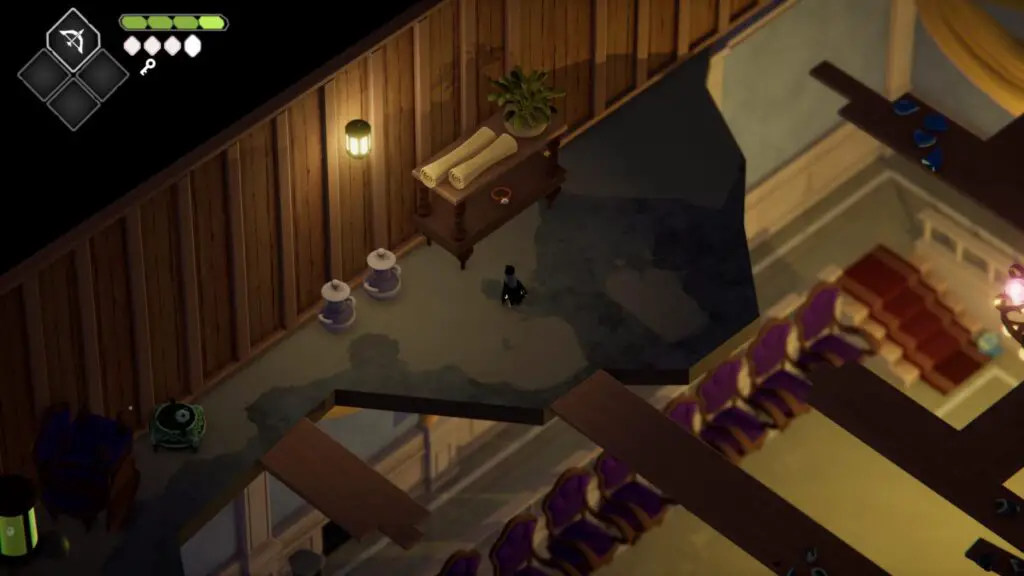
#6 – Old Engagement Ring
On the second floor of the Ceramic Manor is a large ballroom with a ladder that leads up into the rafters. Follow the wooden rafters and it will lead you to a table with an Old Engagement Ring sitting on it.
#7 – Old Photograph
On the second floor, in the Eastern wing is a hallway with an unlit brazer at the entrance. Use your fire ability to light it and a door will open revealing a ladder that leads up to the rafters.
Overgrown Forest
#8 – Magical Forest Horn
You have to find this horn to progress the story and as such should be unmissable.
#9 – Malformed Seed
In the Nort-Eastern part of the Overgrown Ruins is a cave entrance with a ladder above it. when you approach the ladder the camera will rotate. Atop the ladder, you can see a grapple point opposite the mouth of the cave. Grapple across and look for two more grapple points. At the end of the 3rd grapple point is a small ledge with the Seed.
Mushroom Dungeon
#10 – Corrupted Antler
In the Eastern chamber of the Mushroom Dungeon is a room with three unlit bonfires—one of them trapped behind a breakable wall—that you must light to unlock a green key. Once you have the key, leave the room and go back to the starting area with the large door you have to unlock to progress through the dungeon. This time head West into another room and then leave via the South exit. Immediately next to the entrance in this new room is a large breakable wall that you can use your bomb ability on. Inside is a Corrupted Antler.
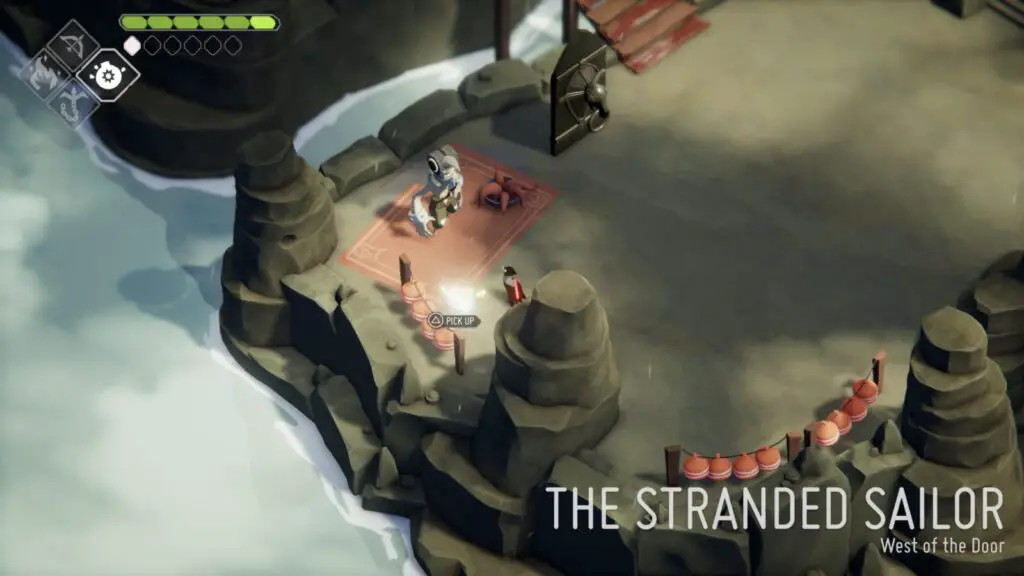
The Stranded Sailor
#11 – Grunt’s Old Mask
Can be found on the floor next to the prisoner you can free in the Mushroom Dungeon. It’s very hard to miss.
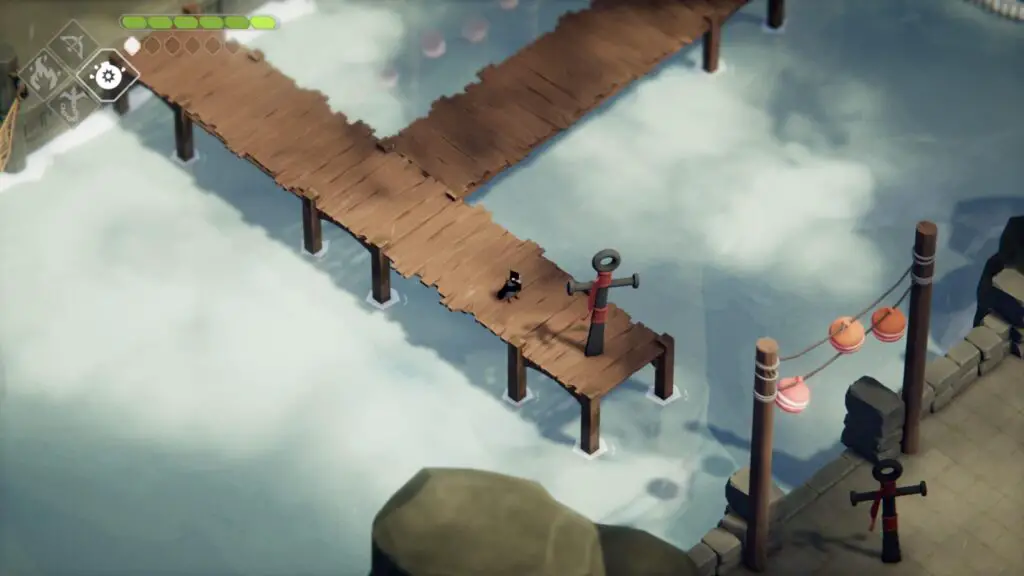
#12 – Ink-Covered Teddy Bear
Walk to the East away from the Stranded Sailor and you will come to some wooden piers. At the end of the pier is a grapple point that leads to a miniboss fight. After you kill the miniboss you will unlock a ladder that leads to the Teddy Bear.
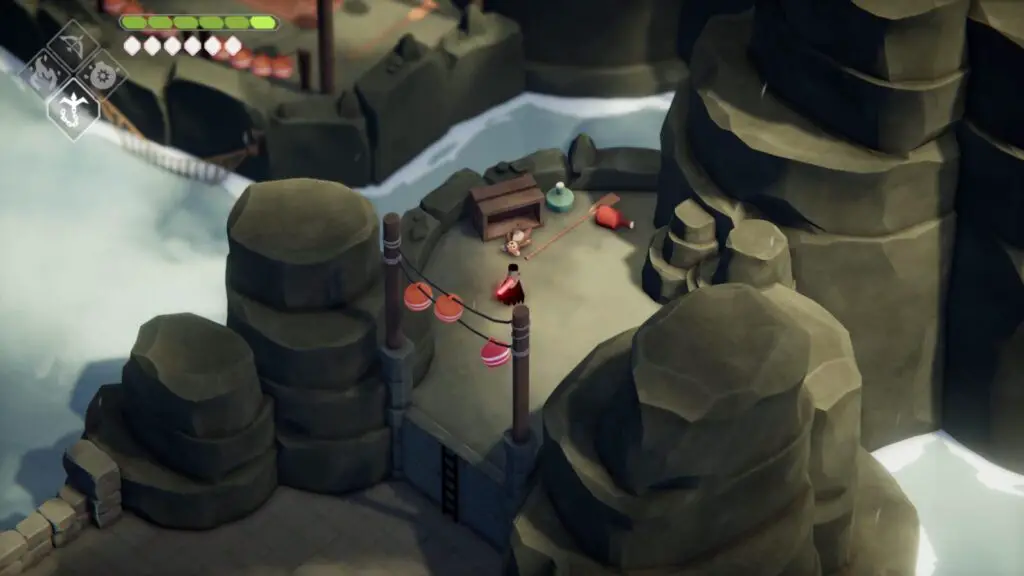
#13 – Captain’s Log
Walk East away from the Stranded Sailor and when you get to the wooden pier continue North-East through a stone cave to reach a small carpet and a furnace. On the carpet is the Log.
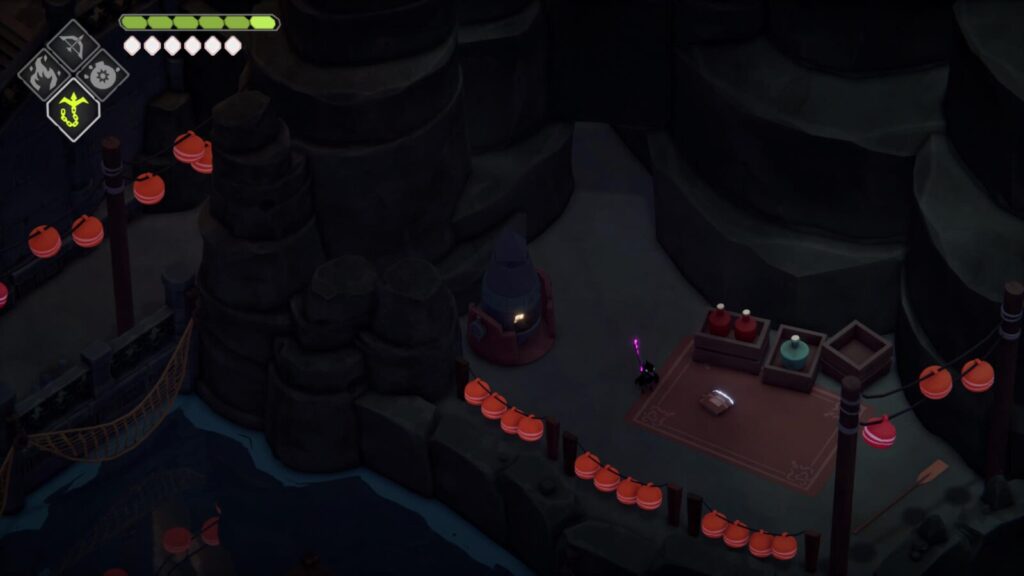
#14 – Token of Death
Walk up the stone steps next to the Stranded Sailor—back where you first entered this area—and enter the cave. Backtrace through the door to your East and then immediately climb the stairs to the North in this new area. There will be a waterfall between you and a grapple point. Climb the ladder and use the grapple to cross and search the wooden coffin for the Token.
Throne of the Frog King
#15 – Giant Arrowhead
After defeating the Frog King ( or “King of the Swamp, Guardian of the Flooded Fortress, Lord of His Domain, Ruler of All He Surveys, Champion of the People, Keeper of the Five Oaths. First of His Name, Second of His Other Name, He Who is Without Middle Initial or Mercy, Destroyer of All Those Who Would Question His Rightful Rule or Look at Him Askance, Eater of the Vanquished, Devourer of the Indolent, Guzzler of the Non-Committal. Bestower of Wrathful Opprobrium and Fount of Most Wondrous Beneficence. All Glory to Him and His Mace! Holy Basher of Toads NOT Frogs, but really what are Toads anyway? Like worse Frogs, right? Uglier too. Smartest Creature in All the Land, really clever like that Einstein guy but more handsome and- Okay, hit the word count” to use his full title.) climb the ladder at the back of the boss arena and you will find the Arrowhead.
Castle Lockstone
#16 – Death Contract
Enter the door to the East of the Death Door in this area and go behind the pile of discarded wooden doors. Follow the path and you will end up in a room with some shelves. The Contract is on the shelf to the right.
#17 – Ancient Crown
Enter the chamber to the left of the Death Door and head North through the arch. Climb the ladder up to the grapple points and head to the second grapple. Walk off the edge and slam into the pipe entrance below with ![]() . Follow the pipe away from the grapple points and it will lead through several rooms until it finally stops at the Crown.
. Follow the pipe away from the grapple points and it will lead through several rooms until it finally stops at the Crown.
Camp of the Free Crows
#18 – Shiny Medallion
Head towards the birdcage elevator that takes you to the boss lair at Camp of the Free Crows. Instead of entering the elevator, use a bomb on the keyhole shape on the wall at the back. Inside is the Medallion.
Hall of Doors
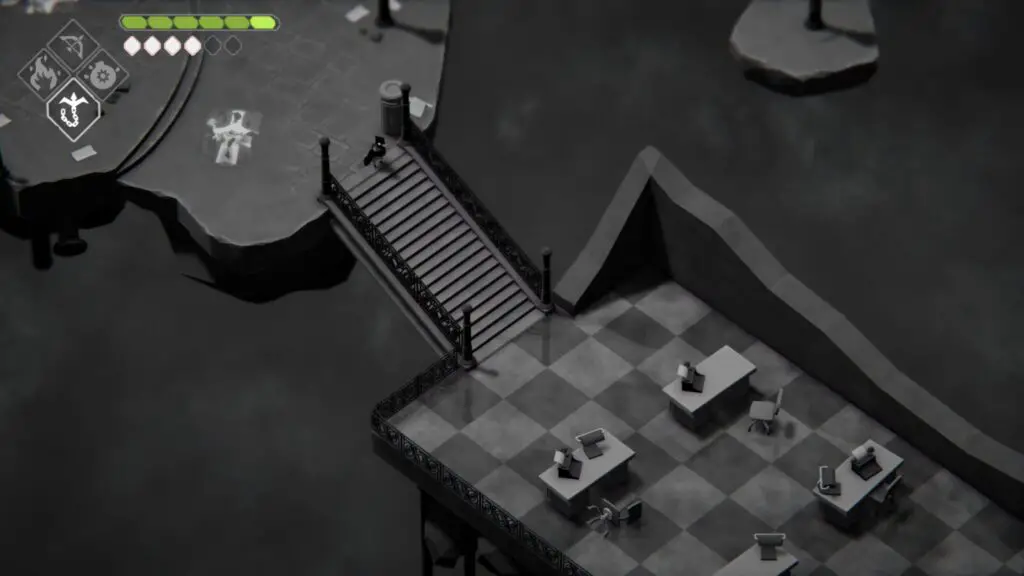
#19 – Modern Door Scale Model
Stand at the door to the Mushroom Dungeon and look to the right of the screen. You should see a grapple point. Use your grapple and follow the grapple points to the North. They will lead under some steps and then to a platform. In the office up some stairs on the platform will be the Modern Door Scale Model.
#20 – Ancient Door Scale Model
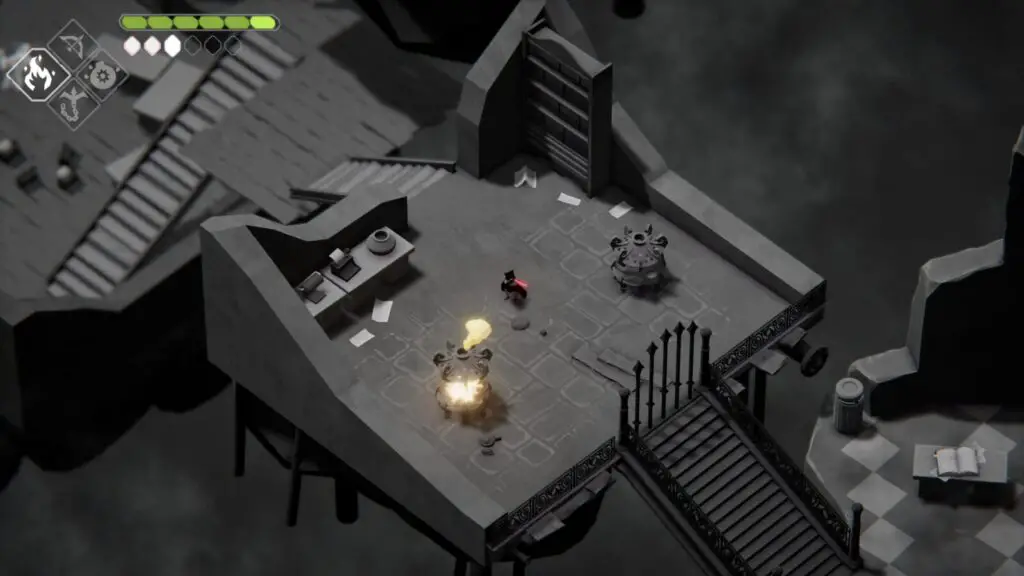
Inside the Hall of Doors take the stairs to the left of the office area—going back towards the area with the doors leading to The Old Watchtowers—and head south into an abandoned office area with four desks. Head up the wooden stairs at the end of this area and use your flame ability to set the two brazers on fire to open a gate. The Model is at the back of the next room.
#21 – Surveillance Device
Return to the area just outside the doors leading to The Old Watchtower and this time head North and use your bomb ability on the breakable wall. Inside the room is the Surveillance Device.
The Grove of Spirits
#24 – Makeshift Soul Key
Go to the Grove of Spirits and all the way East and down some stone steps towards a gap in the wall. You should notice a grapple point hidden amongst the dead trees to the South. Grapple to it and head East again and you will spot the Soul Key.
Hall of Doors (Endgame)
#22 – Rusty Belltower Key
You will need to defeat the final boss before you can get this key. After fighting the Lord of Doors you will be at the Camp of the Free Crows. Return to the Hall of Doors and search the ground where you killed the Lord of Doors for a shimmering key.

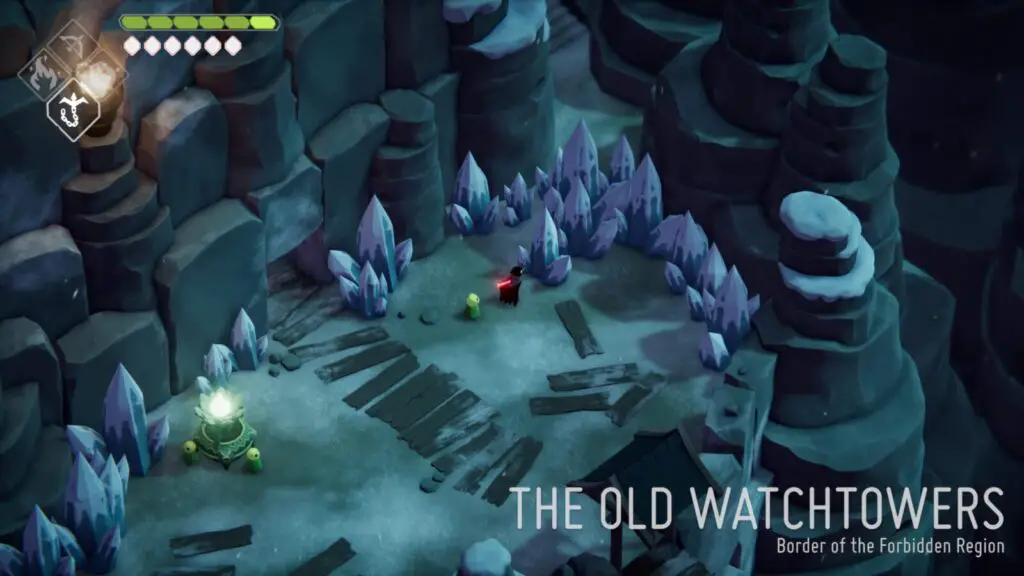
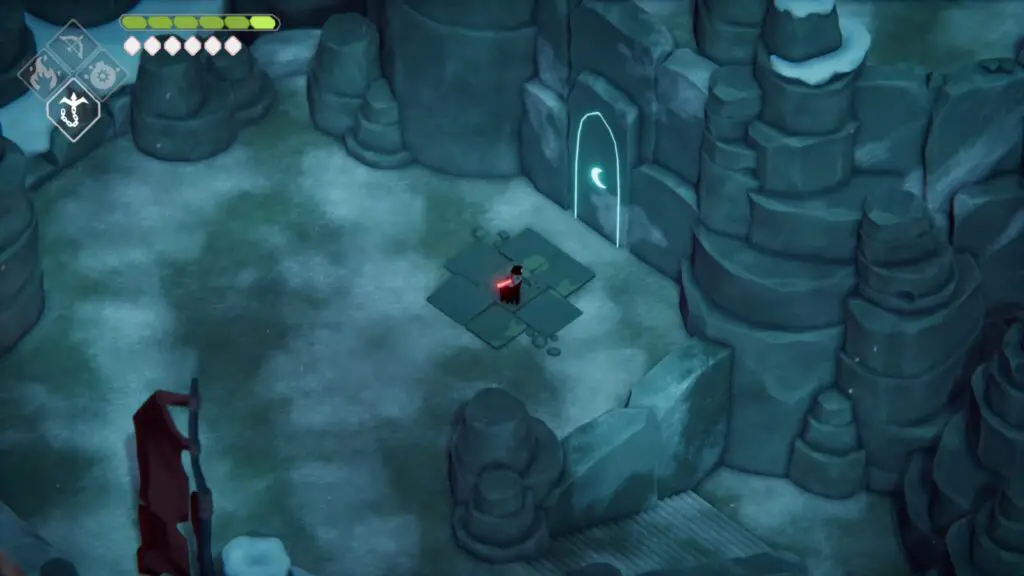
The Old Watchtowers (Endgame)
#23 – Mysterious Locket
After collecting the Rusty Belltower Key head to the belltower in Lost Cemetary and use the key on the gate. Climb the ladder and hit the bell at the top to turn the time of day to night. Head back to the Hall of Doors and enter the door that leads to Betty’s Lair. Leave via the South exit and smash the ice formation in front of the stairs. At the top of the stairs, you will see a moon door that you can interact with. Inside is the Locket.
Thank you for choosing PlatGet as your source for Death’s Door All Shinies Guide; consider checking out our other guides!
Follow us on Twitter @GetPlat or Instagram @platget for updates on new reviews and guides, as well as small anecdotes about our platinum journeys.