PlayStation 4, PlayStation 5
Death’s Door All Shrines Guide
Game Guide
Death’s Door All Shrines Guide for PS4 & PS5
Welcome to our Death’s Door All Shrines for PS4 & PS5. In this guide, you will find a detailed description of the location of all Vitality and Magic Shrines in Death’s Door. Check out our Death’s Door Trophy Guide for help unlocking the rest of the trophies.
Death’s Door Vitality Shrines
Lost Cemetary
#1 – Vitality #1
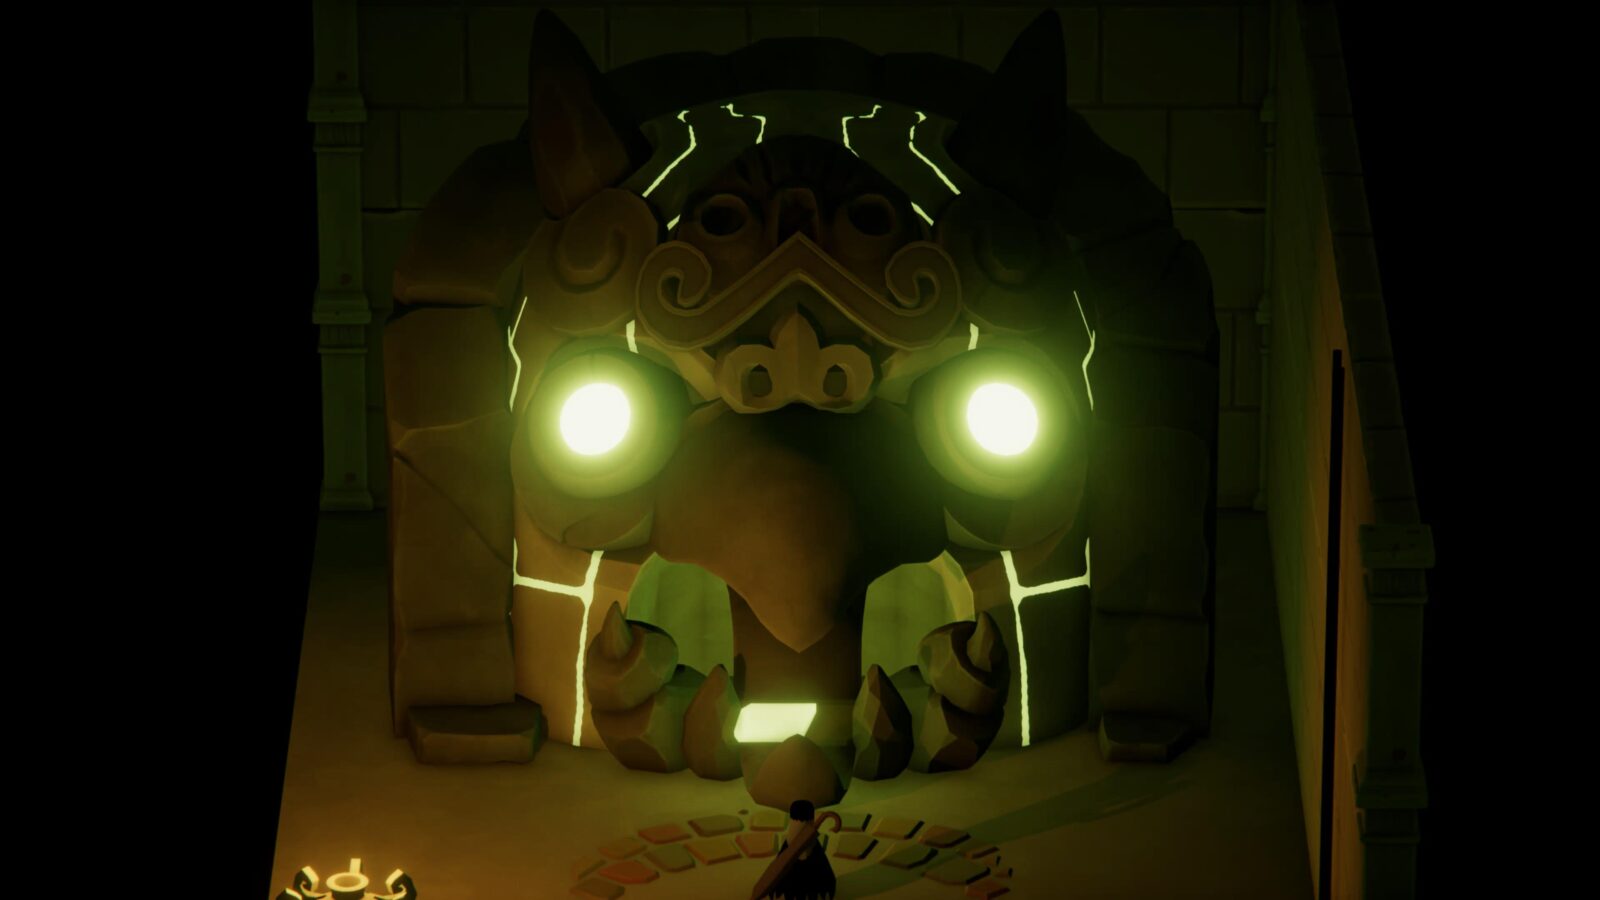
This shrine can be found by climbing the ladders immediately to the left of the Death Door in Lost Cemetary. At the top of the two ladders, take the bridge that leads south and take the wooden elevator down. Head behind the left side of the elevator and the camera should rotate to reveal a hidden path. Follow the path into the cave and you will see a shrine.
#2 – Vitality #2
You will need the Hookshot ability to get to this shrine. The quickest route is to head through the Forest of Spirits door and enter the white door that leads to the Lost Cemetary in the boss arena. Turn around and look for the grapple points just off in the distance. Follow the grapple points and they will lead you to a shrine.
#3 – Magic #1
You will need the Bomb ability to get to this shrine. Just outside the cave that leads to the Stranded Sailor is a ladder that leads down to some steps. Follow the steps and at the end of the path will be a Bomb wall. On the other side of the wall will be an Executioner Smough-like miniboss. Defeat him and continue until you reach the shrine.
Estate of the Urn Witch
#4 – Vitality #3
You will need the Flame ability to get to this shrine. To the right of the gardens outside of the Urn Witches manor is a square with an unlit bonfire at each corner (it’s just beyond where the Executioner Smough lookalike was). Use the Flame ability to light each of the four bonfires and it will open up a path to a shrine hidden in the bushes.
#5 – Magic #2
To the left of the Urn Witch’s mansion will be a row of hedges that you can get behind. This row of hedges will lead you down the side of the mansion and to a shrine.
Ceramic Manor
#6 – Magic #3
Inside the Urn Witch’s mansion in the bathroom will be a hidden door. To open the hidden door, look at the reflection of the objects in the floor. You should notice that two urns are in the reflection but not actually in the room. Swing your sword in their direction and they should break in the reflection which will open a door in the corner of the room. Beyond the door is a shrine.
Inner Furnace
#7 – Vitality #4
At the Death Door in the Inner Furnace, head right and proceed through the next room until you get to the first floating platform. Cross on the floating platform and use your Arrow ability to shoot another floating platform to your North-East. On the other side of this gap will be a ladder that will take you up a level that leads to some metal pipes that you can cross. At the end is a shrine.
Overgrown Ruins
#8 – Vitality #5
At the Nothern-most point in the Overgrown Ruins will be a breakable wall next to a large plant that spits explosive seeds. Next to the plant is a breakable wall and a drop. At the bottom of the drop is a mwtL circle. If you walk off the ledge and press ![]() in the air you will perform and aerial attack and slam through the metal circle into a sort of pipe. This pipe will lead to another metal circle that you can exit from. The shrine will be in a cave in front of the exit.
in the air you will perform and aerial attack and slam through the metal circle into a sort of pipe. This pipe will lead to another metal circle that you can exit from. The shrine will be in a cave in front of the exit.
#9 – Magic #4
In the settlement within the Overgrown Ruins is a ladder on the Northern wall. Climb it and follow the wall left and you will drop down to a grassy patch. Drop off the grassy patch to the West and the camera will reorient itself and reveal a shrine.
#10 – Magic #5
You will need to Hookshot to reach this shrine. At the entrance to the Overgrown Ruins is a large wooden door and two platforms. Under the platform to the left is a gap in the wall and a grapple point just off in the distance. Use your Hookshot to grapple across and activate a switch in the wall to reveal a stone path that lets you proceed further. Once on the other side of this mini-puzzle will be a combat encounter. Defeat the enemies and proceed forward to find the shrine.
Mushroom Dungeon
#11 – Vitality #6
You will need the Bomb ability to get to this shrine. In the Mushroom Dungeon in one of the rooms with a crow soul you need to unlock the big Death Door is a breakable wall. You will need to have completed the dungeon to get the Bomb ability first and come back later. Bomb the wall and on the other side is a small puzzle involving three unlit bonfires. Simply light all three at the same time and the iron gate will unlock and you can access the shrine.
Flooded Fortress
#12 – Magic #6
Proceed through the first section of the Flooded Fortress—before you unlock the Death Door in this region—until you reach two metal arches on a wooden walkway. There will be a branching path that leads North but will end and seem to be a dead end. However, if you use your Arrow ability and shoot it between the stone archway in the water you will hit a switch and a stone path will appear. The shrine is at the end of the path.
Stranded Sailor
#14 – Vitality #7
You will need the Hookshot ability to reach this shrine. To the left of the Stranded Sailor pub is a wooden bridge that you can cross. In the next area, you will see some wooden steps to your right (directly behind the Stranded Sailor) and some wooden steps that lead down to a grapple point. At this grapple point, you will want to use your Hookshot to get onto the next wooden platform and then onto a large square stone area. When you land on this stone area you will be immediately attacked. Defeat your attackers and Hookshot to the next area to find a shrine.
#15 – Magic #7
Go up the wooden stairs behind the Stranded Sailor and take a right when you reach a red rug with a furnace and some wooden boxed. Break through some ice shards and climb down the ladders (the camera will reorient). At the second ladder, walk off and immediately press ![]() . You will land in an underground pipe that will take you to the shrine.
. You will land in an underground pipe that will take you to the shrine.
Frozen Canyon
#13 – Vitality #8
You will need the Hookshot ability to reach this shrine. From the Camp of the Free Crows Death Door, head left. You will come to a wooden sign that points to the Frozen Canyon. Take the exit to the Frozen Canyon and use your Hookshot to get across the slippery ice tops while activating timed switches. This area can be a bit tricky at first but once you have the timing down you should get through without much issue. At the end of this area is a shrine.
Castle Lockstone
#16 – Magic #8
You will need the Hookshot ability to reach this shrine. Inside Castle Lockstone will be a room with some grapple points and a locked iron gate to the south. Behind the iron gate is a shrine. To open the gate, Hookshot the first grapple point and look on the North wall. There will be a lock-shaped whole that you can get through if you stand on the edge and press ![]() to dodge roll into it. Inside is a lever that will open the iron gate so you can get to the shrine.
to dodge roll into it. Inside is a lever that will open the iron gate so you can get to the shrine.
Thank you for choosing PlatGet as your source for Death’s Door All Shrines Guide; consider checking out our other guides!
Follow us on Twitter @GetPlat or Instagram @platget for updates on new reviews and guides, as well as small anecdotes about our platinum journeys.
Discussion
We've Partnered with NordVPN

