PlayStation 5
Steelrising Trophy Guide
General Info
FAQ
How long does it take to beat Steelrising and unlock all trophies?
About 30 hours.
How difficult is it to beat Steelrising and unlock all trophies?
Medium (5/10).
Does Steelrising have online trophies?
No.
Does Steelrising have difficulty-specific trophies?
No.
Does Steelrising have missable trophies?
Yes.
Does Steelrising have glitched trophies?
No.
What is the minimum number of playthroughs required to unlock all trophies in Steelrising?
Two.
Does Steelrising have a Platinum Trophy?
Yes.
Trophy Guide
Steelrising Trophy Guide and Road Map for PS5
Welcome to our Steelrising Trophy Guide. Steelrising is developer Spiders’ attempt at creating a Souls-like game. Although Steelrising doesn’t nail every aspect of a Souls-like or keep up with it consistently, the world is intriguing and the gameplay is serviceable enough that both veterans and newcomers to the genre will find something to enjoy.
Phase One – Beat Story Without Using Oil Burette & Get Royalist Ending
During this stage of our Steelrising Trophy Guide you will have to complete the game without using the Oil Burette while completing specific side quests to lock in the Royalist Ending. This sounds a lot harder than it actually is as you can still use other healing items to regain health as they do not void the Completionist trophy. If you’d prefer to acquire the platinum in a single playthrough you can choose not to complete side quests and create a back-up save file—uploading it to PS+ making sure the automatic back-up feature is disabled to prevent this save file from being overwritten—just before going to Versailles. You can then complete the story or side quests and revert to your back-up save file after to achieve the other ending.
One thing you should do during your first playthrough is complete all the Citizen Stories to unlock the Friend of the People trophy as well as collecting All Outfits for the Fashion Victim trophy and collect every Echo for the Résurgence and Saviour trophies.
Royalist Ending & Shield of the Cordeliers Trophy
The Royalist Ending is directly influenced by a series of side quests in which you have to complete in a certain way. Otherwise you will get the Incorruptible Ending or the third ending which doesn’t have a trophy associated with it. The following guide will take you through the process of unlocking the Shield of the Cordeliers trophy as well as how to unlock the Royalist Ending after as the steps for unlocking Shield of the Cordeliers will lock you out of the Royalist Ending. This means you will have to create a back-up save and upload to PS+.
During the first hour of gameplay you will reach Eugéne de Vaucanson’s Workshop where you will meet a character called La Fayette. After speaking with him you should search the workshop for a letter and pick it up. Immediately after you will head to the Horseless Carriage outside at which point you should read the message from Mirabeau in the Correspondence menu. Head to La Cite and complete the area to get the Grapple Hook ability ![]() +
+ ![]() .
.
After La Cite head to The Tuileries where you will meet Mirabeau. Make sure to ask Mirabeau about the death of the Dauphine to make progress on the Death of the Dauphine side quest. Finish The Tuileries area and acquire the Dash Ability ![]() +
+ ![]() and then head to Luxembourg.
and then head to Luxembourg.
While in Luxembourg you should head to Dr. Lemonnier’s Surgery and pick up the notes—after you defeat the main boss in the area—so you can question Bailly and Lavoisier later to progress the Death of the Dauphine side quest. Continue the story and after returning to and finishing Les Invalides head back to the Cordelier’s Convent and speak to Bailly and Lavoisier about the Doctor’s notes. It’s important that you do not go to Montmartre at this point as it could time-lock certain events which will mess with your side quest progress. Instead, talk to Necker and begin his side quest at which point you can talk to people in the Convent as per the side quest’s steps and then head to The Tuileries.
Progress through The Tuileries for Necker’s side quest and when you reach the King’s Office pick up the pistol outside the safe but do not loot the safe yet as it will void Necker’s Love Before Money trophy requirement. Instead you should immediately head to Mirabeau who is in the same building where you first met him. Confront Mirabeau but do not choose to “Threaten” him at any point during your dialogue with him.
At this point you should stop progressing the side quest and focus on the story. Once you have beaten the boss in The Bastille and have return to the Cordelier’s Convent you should complete the In Memory of the Dauphine side quest for the Queen. Do note that even though you have completed the side quest, the associated trophy—The Bodyguard—will not unlock until you visit Versailles and collect the three Echoes tied to the boss there. Once you complete the In Memory of the Duaphine side quest make a back-up save by quitting the game and uploading your progress to PS+. It’s important that you turn off auto-syncing for PS+ save files as your back-up will be overwritten and you will have to make a new playthrough.

The Mad Titan
Defeat the Royal Orpheus
The Mad Titan is a boss at the very end of the In Memory of the Duaphine side quest.
Now that you have a back-up save and you have finished The Bastille and In Memory of the Dauphine side quest you can now focus on completing side quests to unlock Shield of the Cordeliers.
The first quest you should complete is the Glory and Dishonour side quest for Mr. Marat. Talk to him and begin investigating the bloody mattress. Complete the side quest as normal until you get back to the Convent where you have to confront La Fayette. When given the choice, choose to “Refuse” him and then “Reveal the conspiracy” and finally “Give Manifesto”. Doing this will complete Mr. Marat’s side quest but also lock you out of the Royalist Ending which is why we backed up our save file earlier.

Apprentice journalist
Conduct a journalistic investigation for Marat, without wrongly accusing La Fayette
Upon completing Mr. Marat’s side quest Apprentice Journalist will unlock.
Next you can start Mirabeau’s A Family Affair side quest. Complete this quest as normal until you are asked to find his father’s wallet. To do this you will need to start Abbé Grégoire’s Nicolas Flamel’s Final Journey side quest. Progress through the story until you enter the workshop where you need to search for documents related to Nicolas Flamel. Collect all the documents as well as Mirabeau’s father’s wallet and continue with A Family Affair while leaving Nicolas Flamel’s Final Journey alone for now.

Automat at your service
Help Mirabeau solve his family problems
Automat at Your Service will unlock after completing Mirabeau’s side quest.
Complete Mirabeau’s side quest and then start Lavoisier’s Gunpowder Trail quest. Progress through this quest normally until you reach the gunpowder underneath the Bastille at which point you should choose to “Do nothing” (press ![]() ) when approaching the gunpowder.
) when approaching the gunpowder.

Traces of powder
Find Lavoisier’s powder and give a significant edge to the Cordeliers Club
Reporting back to Lavoisier after finding the gunpowder will unlock Traces of Powder.
Return to the Convent and start Robespierre’s Lanterns of the Dead side quest. Complete this quest normally but make sure you pick up the cannon ball in Montmartre before returning to the Convent as this can cause the quest to bug out and you will have to revert to your back-up save and start again.

Lanterns of the dead
Help Robespierre devise a plan to stop the Automats by forging an alliance with Laclos
Finish Robespierre’s quest line to unlock Lanterns of the Dead.
Now you can finish Necker’s Two Treasures quest by finding his wife and collecting the loot we left in the safe earlier. When you return to Necker make sure to tell him about his wife instead of the contents of the safe to unlock the Love Before Money trophy. It doesn’t matter who you give Necker’s money to after you finish his quest.

Love before money
Save Necker by finding his wife before his money
Choosing to tell Necker about his wife instead of his money will unlock Love Before Money.
Lastly, you can complete Julien Raimond’s Sleepless, Bailly’s Origins, Abbé Grégoire’s Nicolas Flamel’s Final Journey, and La Fayette’s For the Future of the Kingdom side quests normally. At which point the Shield of the Cordeliers trophy should unlock.

Abolishing slavery
Help Julien Raimond in his fight against slavery
Complete Julien Raimond’s quest line to unlock Abolishing Slavery.

Ludia
Follow Bailly’s advice to find out the truth about Ludia
Complete Bailly’s quest line to unlock Ludia.

The Old Alchemist
Conduct an investigation for Abbé Grégoire
Complete Abbé Grégoire’s quest line to unlock The Old Alchemist.

Conspiracy
Investigate the Orléanistes’ plot for La Fayette
Complete La Fayette’s quest line to unlock Conspiracy.

Shield of the Cordeliers
Help all the revolutionaries of the Cordeliers Club
To unlock Shield of the Cordeliers you must complete each of the side quests associated with the members of the Cordeliers Club found in the Convent in Luxembourg. This can be quite tricky as certain decisions could lock you out of the trophy such as choosing not to finish Mr. Marat’s investigation or starting Necker’s quest before Mirabeau’s which causes him to disappear from the game. If you’ve followed the Royalist Ending & Shield of Cordeliers Trophy guide this far then you should have the trophy unlocked. If for whatever reason you do not, I advise you to repeat the steps while making sure every side quest is marked as completed in your Journal.

Now to get the Royalist Ending. Download your back-up save from PS+ and start Glory and Dishonour. This time, choose to “Obey” La Fayette and “Don’t reveal conspiracy” to Mr. Marat. Start Gunpowder Trail and again “Do nothing” when you find it, complete Lanterns of the Dead and retrieve the cannon ball, complete For the Future of the Kingdom, and lastly you should finish Necker’s quest and give the money to La Fayette; it’s not clear if this is needed but it can’t hurt.
You should also complete Origins and part of Nicolas Flamel’s Final Journey—to get access Balsamo’s workshop—again while collecting Athenaïs’ Echoes as the very last one needed for the Résurgence trophy is located in Versailles.

The bodyguard
Discover the truth about the Queen’s son and save her from certain death
The Bodyguard doesn’t unlock until you visit Versailles and find the three echoes associated with the final boss. These echoes are quite easy to find as they are either on the main path or in an area—usually a dead-end—connected to the main path. If you have played enough Souls-likes then you will already know that exploring is very rewarding and as such you will have no issue finding these echoes.

Completionist
Finish the game without using the Oil Burette (after the tutorial)
This trophy desctription is misleading as using the Oil Burette during the tutorial will void the trophy. The game will tell you about the Oil Burette but you don’t have to use it to progress. Just ignore the tutorial and close any menus it might open (i.e. don’t equip the Oil Burette on your quick access bar during the tutorial) and you should get Complettionist after the final boss.


Royalist
Help La Fayette become the Lieutenant Général of young King Henri V’s kingdom
To unlock Royalist and help La Fayette become the Lieutenant Général you will have to complete a series of specific side quests in specific ways. Refer to the above guide for a detailed breakdown on the steps.

Collectable Trophies

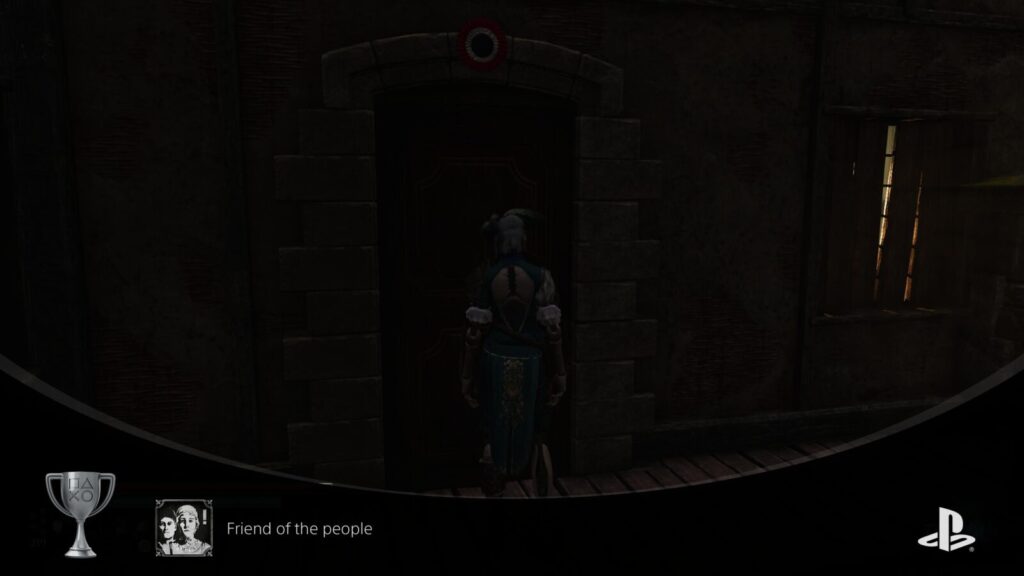
Friend of the people
Complete all citizen stories
To see find all citizen stories in Steelrising, check our Collectible Guide.

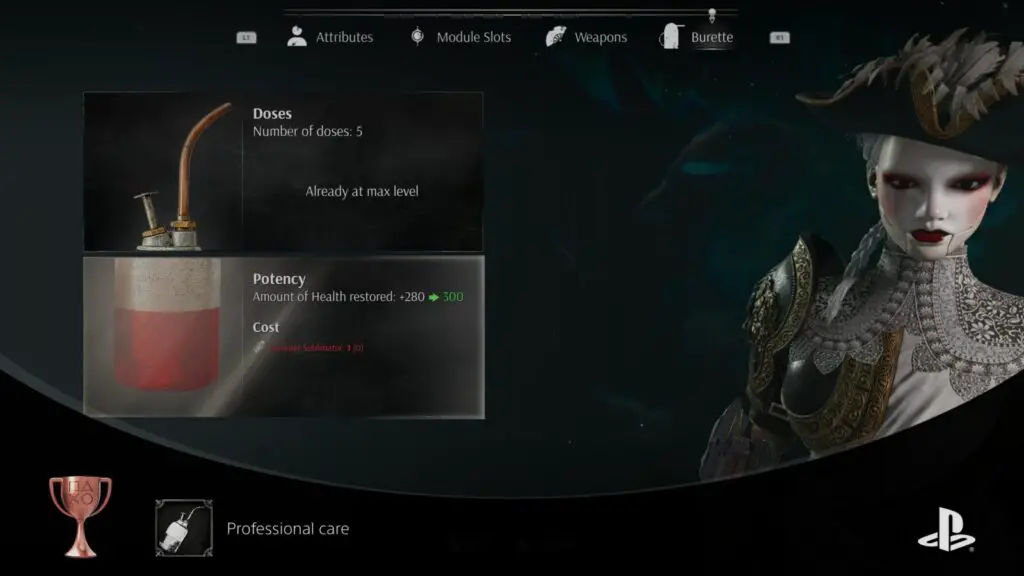
Professional care
Fully upgrade the Oil Burette (4x dosage, 4x effectiveness)
To find all Oil Burette upgrades in Steelrising, check our Collectible Guide.

Fashion victim
Acquire all outfits in the base game
To find all Outfits in Steelrising, check our Collectible Guide.

Résurgence
Collect all of Athenaïs’s echoes
Finding all of Athenaïs’s echoes in Steelrising is made significantly easier by the fact the 5 out of 7 of her echoes are found in the same side quest while the other two are on the main path. Make sure to explore every path and every room and you can’t miss an echo.

Missable Trophies

Stabiliser
Defeat all unstable Automats
Unstable Automats have a blue aura surrounding them which also locks down the Vestal preventing you from using them. Finding all the unstable automats will come naturally as you complete all side quests and and areas.

Saviour
Awaken the 7 characters bound to Titans
Awakening characters refers to finding 3 echoes associated to the characters trapped inside the Titans you defeat. Once you find the echoes and defeat the Titan you will awaken the trapped character. Awakening them all is important to receive their side quests for one of the endings so Saviour will most likely unlock then. Make sure to explore every path and every room and you can’t miss an echo.
Unmissable Trophies

Sailor
Reach Paris by boat
Sailor is a story mission and will unlock naturally.

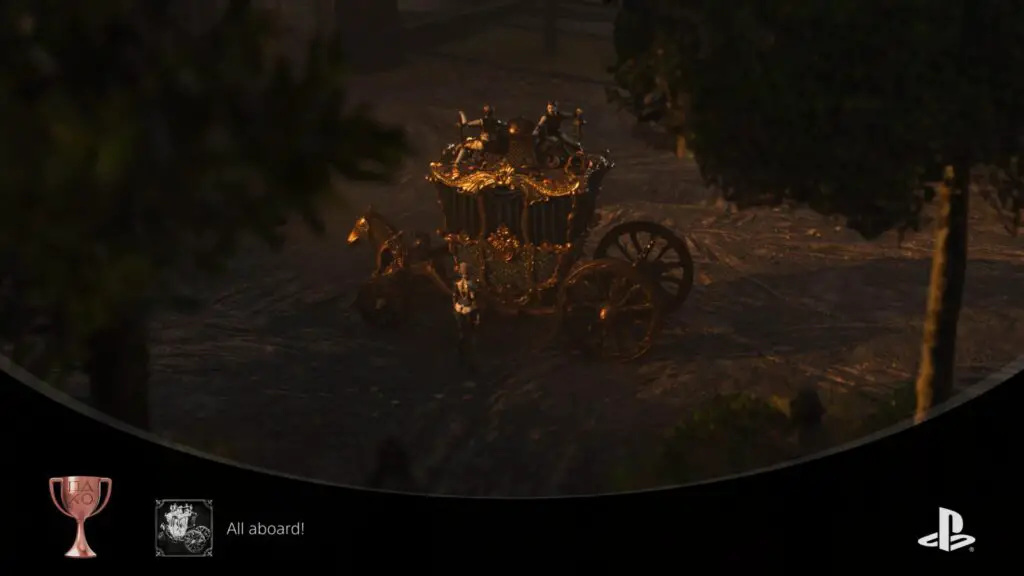
All aboard!
Obtain the horseless carriage
All aboard! is a story mission and will unlock naturally.

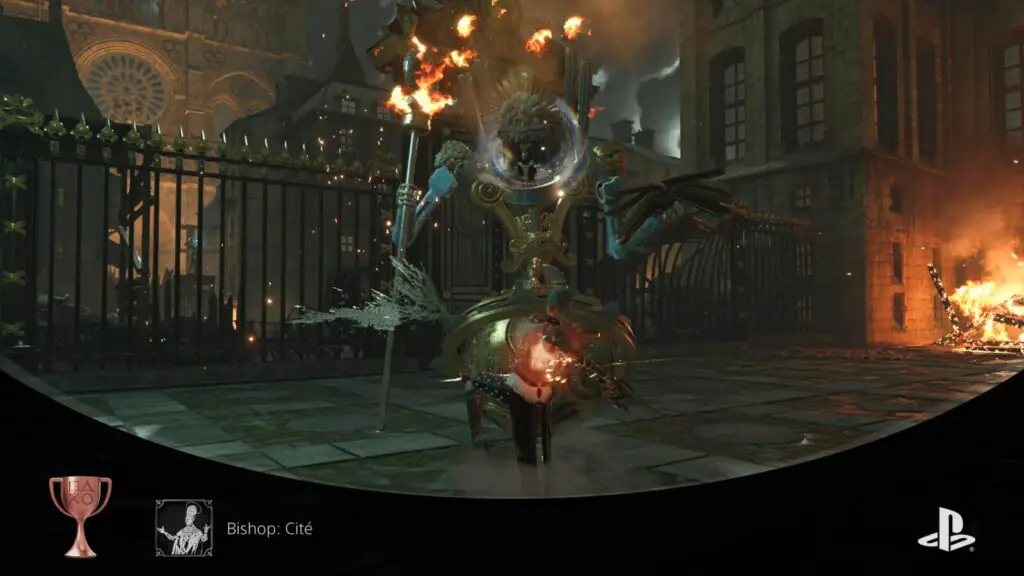
Bishop: Cité
Defeat the Bishop of the Cité
Bishop: Cité is a story mission and will unlock naturally.

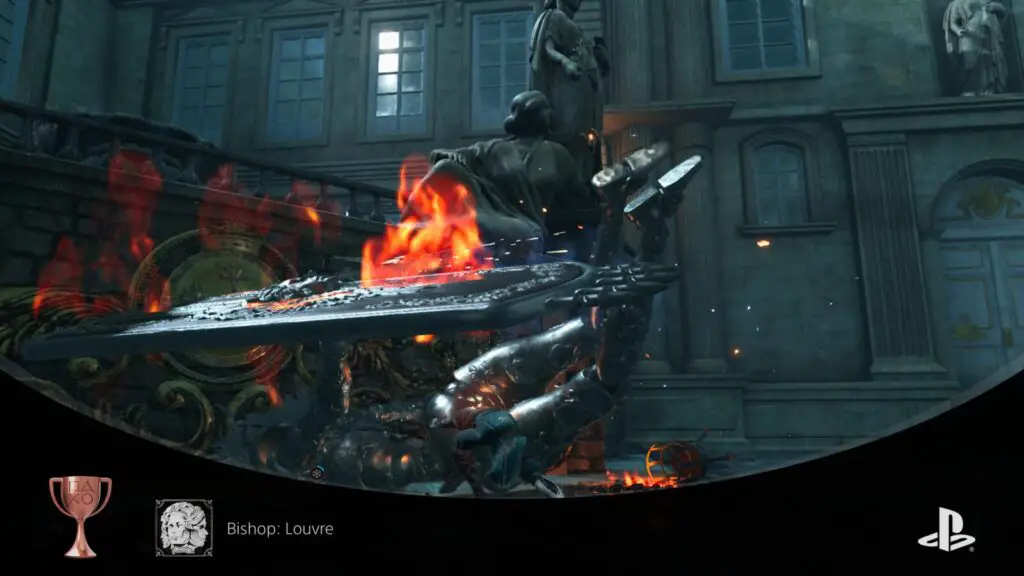
Bishop: Louvre
Defeat the Selenite of the Louvre
Bishop: Louvre is a story mission and will unlock naturally.

Rook: Luxembourg
Defeat the Alchemist of Luxembourg
Rook: Luxembourg is a story mission and will unlock naturally.


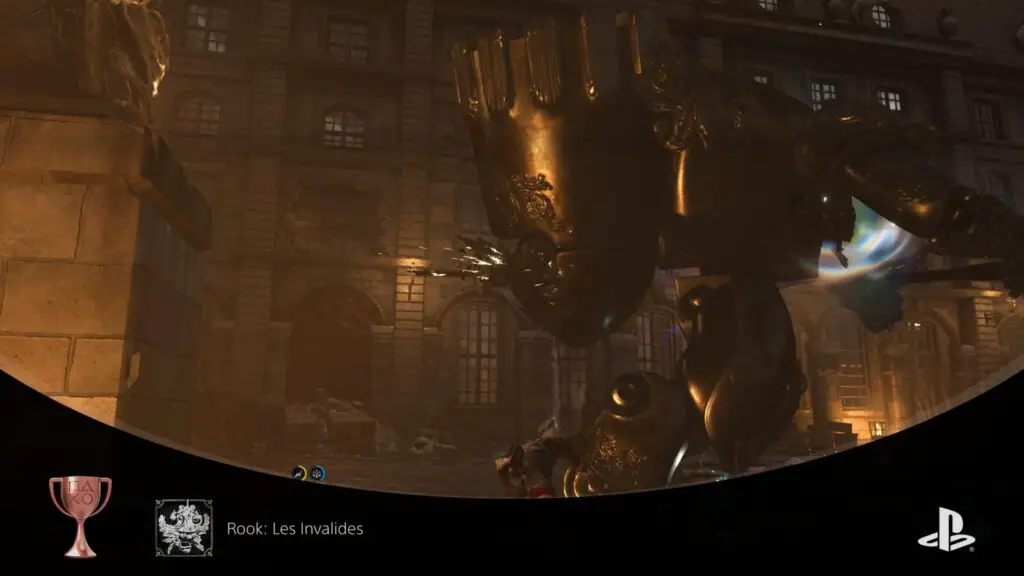
Rook: Les Invalides
Defeat the Treasurer of Les Invalides
Rook: Les Invalides is a story mission and will unlock naturally.

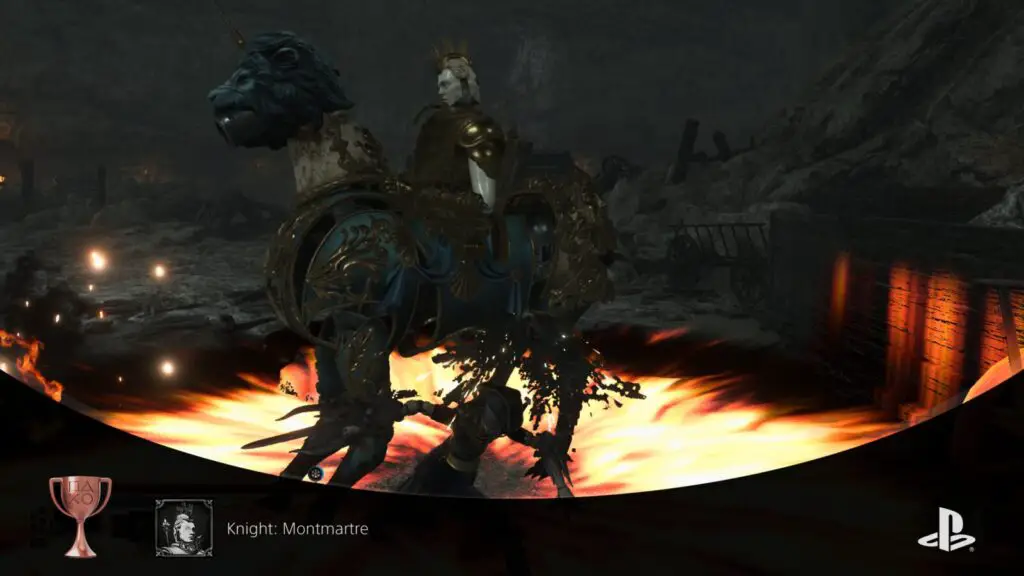
Knight: Montmartre
Defeat the Centaur of Montmartre
Knight: Montmartre is a story mission and will unlock naturally.

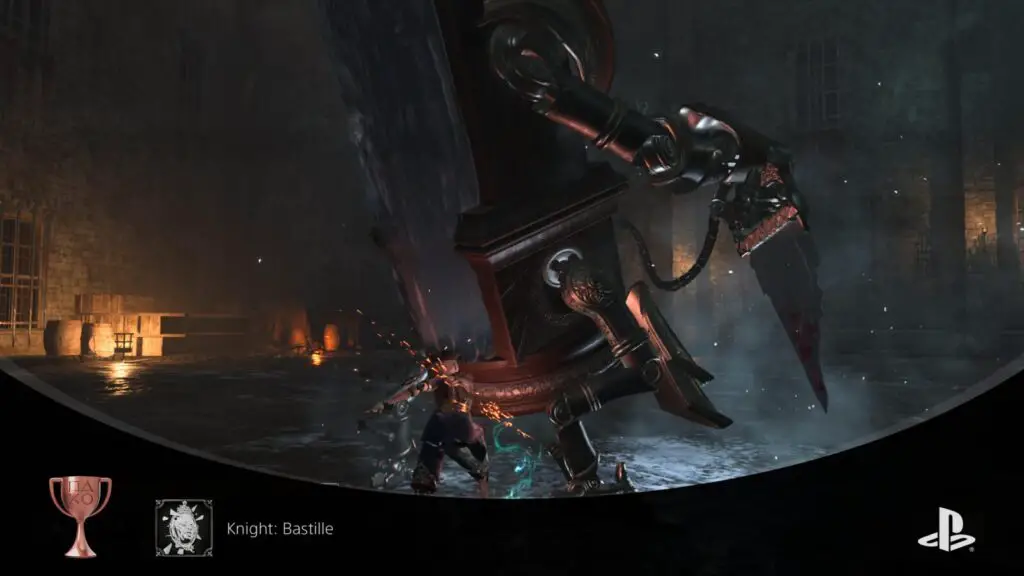
Knight: Bastille
Defeat the Executioner of the Bastille
Knight: Bastille is a story mission and will unlock naturally.

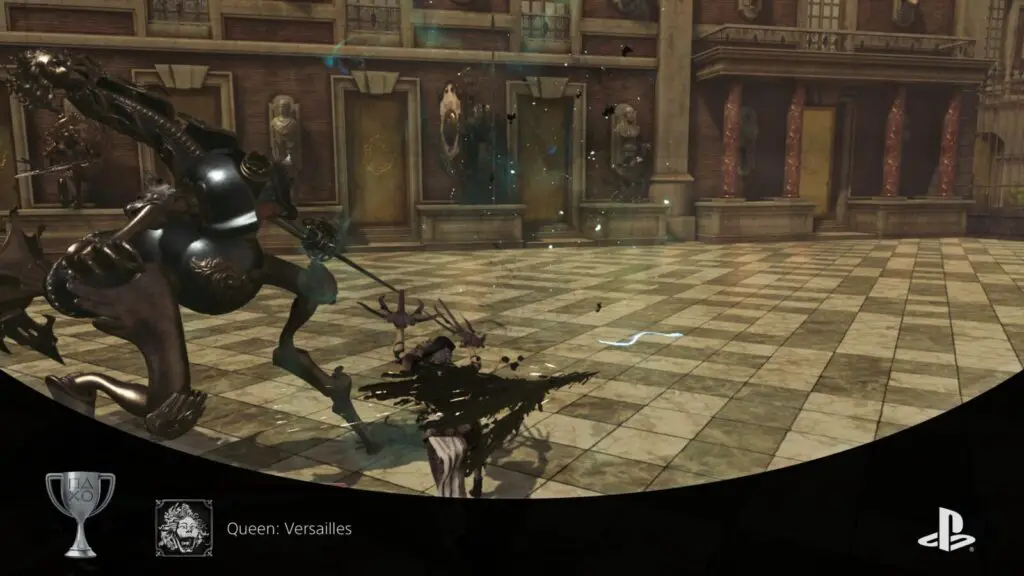
Queen: Versailles
Defeat the Iron Queen
Queen: Versailles is a story mission and will unlock naturally.

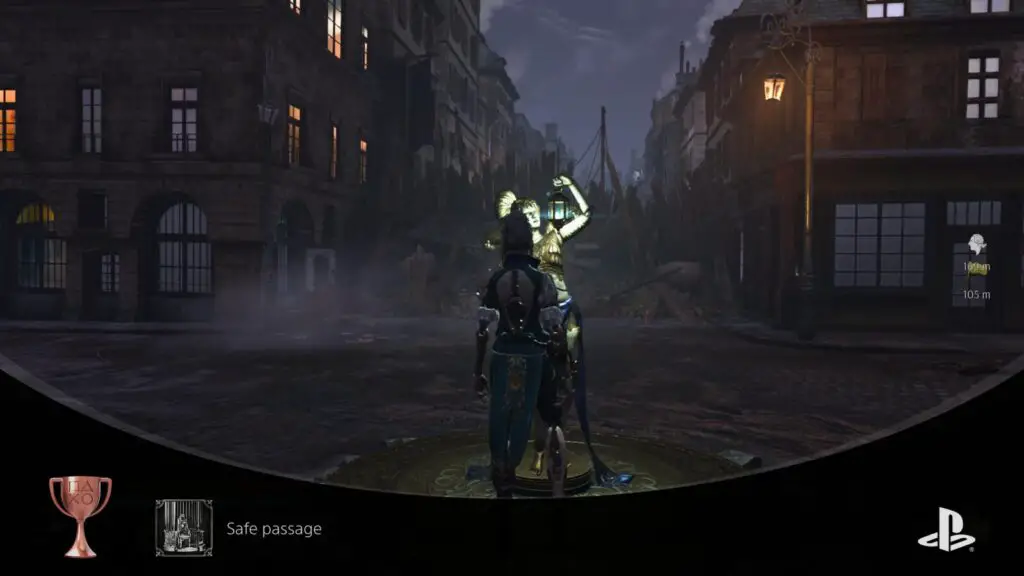
Safe passage
Activate 20 Vestals
Activating Vestals—like in any other Souls-like—will activate a checkpoint where you can reset the world, level up, and even buy things at the Boutique. The only way you could miss this is if you just never used Vestals throughout your entire playthrough.

Titan assassin
Defeat a Titan without using the Oil Burette
Titan assassin will unlock naturally for you while you attempt to beat the game without using the Oil Burette at all.


Technician
Equip 4 level 3 modules
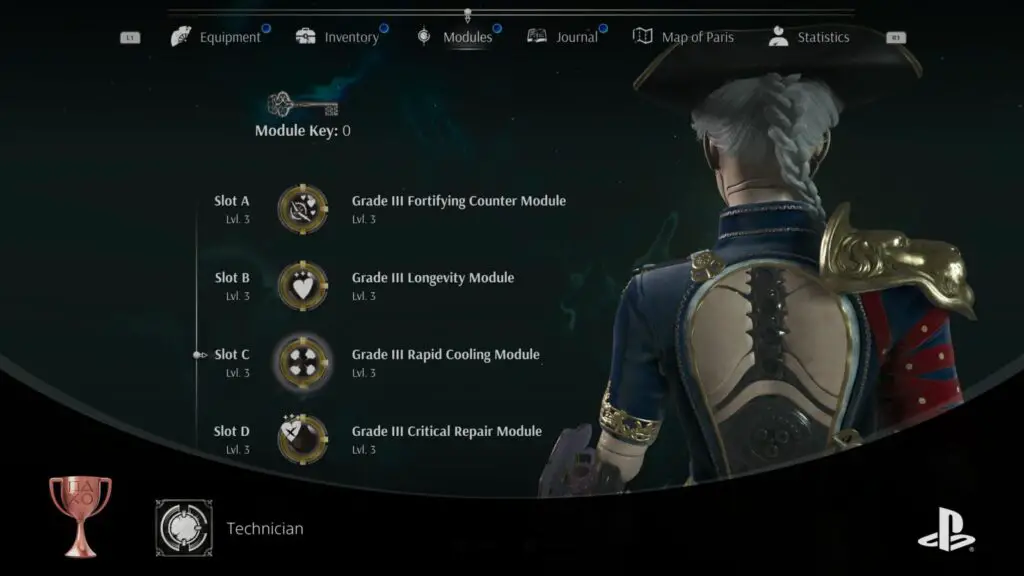
Modules in Steelrising act as a means to upgrade your stats. You can unlock and level up your module slots by finding Module Keys. Each Module slot needs 1 key to unlock, 3 keys to reach level 2, and 5 keys to reach level 3. The first module is already unlocked for you so you don’t need a key for that one but all together this means you need to find 25 keys to get 4 level 3 slots.
Phase Two – Get Incorruptible Ending & Clean Up
For the final stage of our Steelrising Trophy Guide you can download your back-up save—if you made one—and this time don’t complete any side quests in order to get the second ending. Along the way you should focus on unlocked the various Combat-Specific Trophies as well as Upgrading A Weapon From 7 Classes.
Versailles is a very good place to farm the last of the combat trophies as there is a Vestal with 4 low-ranked enemies standing idle around a fountain.
Upgrading A Weapon From 7 Classes

Blacksmith
Upgrade a weapon from each of the 7 classes to level 5
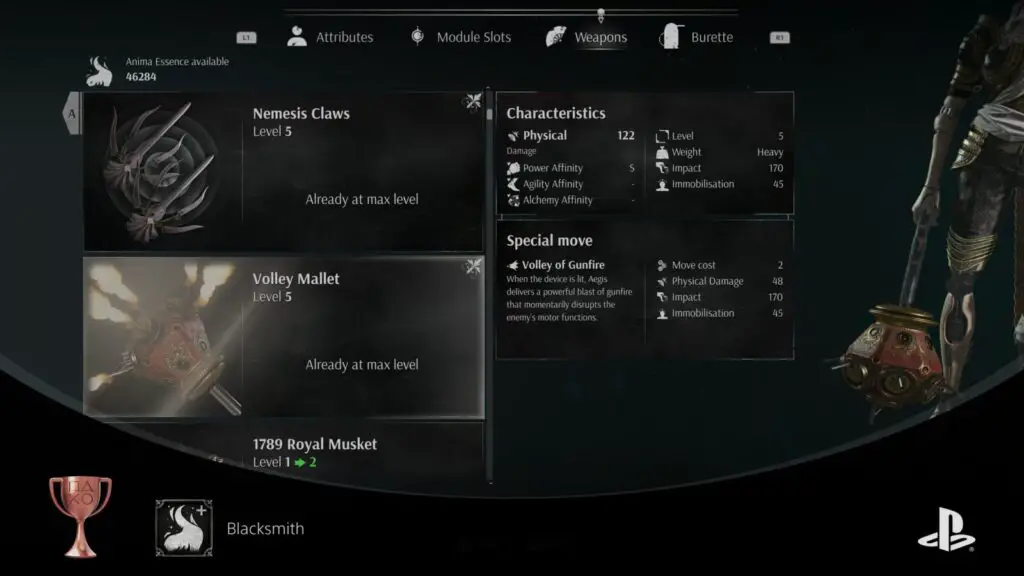
This trophy is a bit misleading as there are actually 8 classes of weapons but only 7 are needed. For whatever reason the Wheel weapons don’t count towards this trophy so make sure not to upgrade it at any point as the final upgrade material—orichalcum—is rare and there are only about 8 or 9 in the whole game. The classes needed are:
- Fans
- Guns
- Dual Blades
- Claws
- Maces
- Halberds
- Chains
Combat-Specific Trophies
The following combat-specific trophies can all be farmed in the same area. In the Versailles region there is a round courtyard directly next to a Vestal with 4 low rank enemies standing idle around it. Rest at the Vestal and then kill each of the 4 enemies and return to the Vestal to respawn them. You can repeat this until all of the trophies below are unlocked.

Grenadier
Defeat 25 enemies with grenades
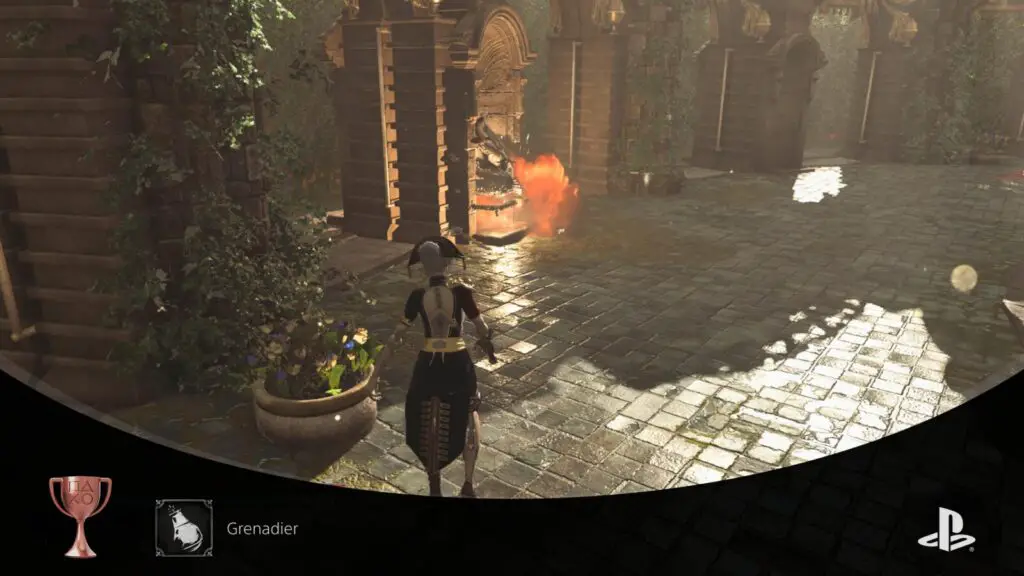
Grenades are quite powerful in Steelrising with the higher tier grenades being able to kill some low ranked enemies in a single hit. Use the boutique to stock up on grenades and use them to kill 25 enemies to unlock Grenadier.

Pyromaniac
Ignite enemies 100 times
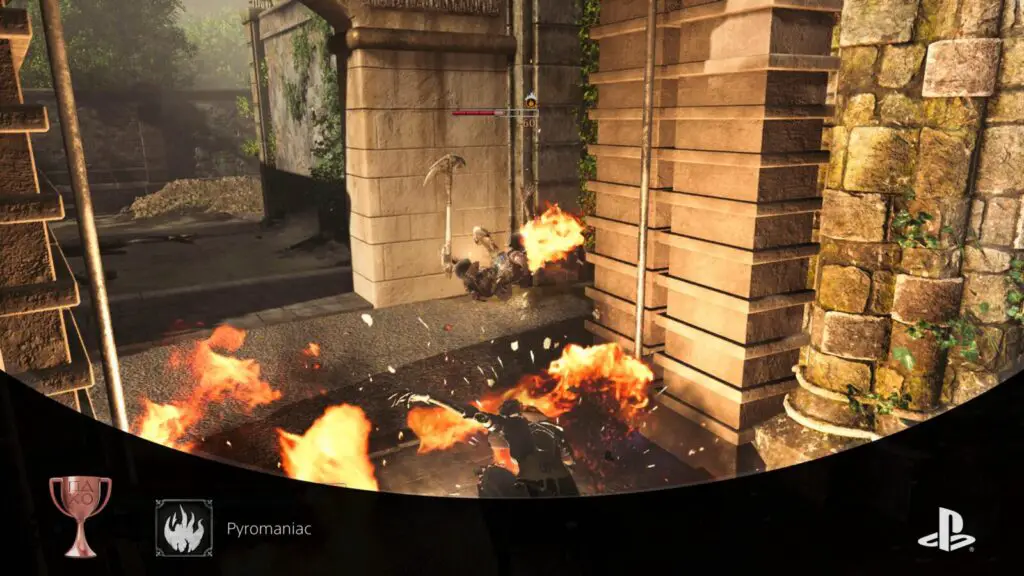
You can ignite enemies by throwing flame grenades at them and/or using weapons that can be buffed with flame damage by pressing ![]() . You need to be careful not to do too much damage to the enemy before they can be fully afflicted with flames damage. The best method I found for this was to use a flame grenade, buff my weapon, and then use only
. You need to be careful not to do too much damage to the enemy before they can be fully afflicted with flames damage. The best method I found for this was to use a flame grenade, buff my weapon, and then use only ![]() attacks to finish off filling up the flame counter.
attacks to finish off filling up the flame counter.

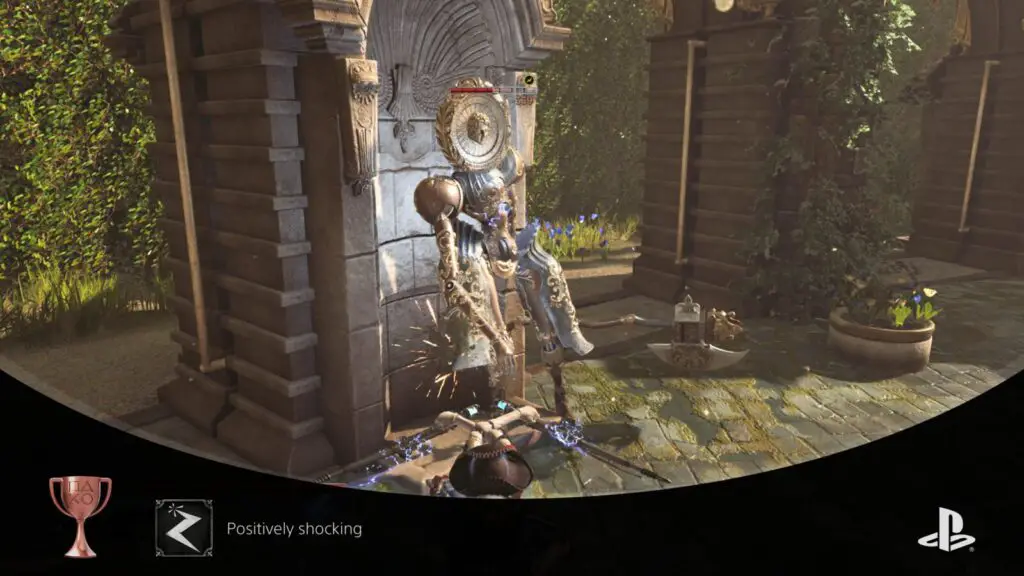
Positively shocking
Electrocute enemies 100 times
You can electrocute enemies by throwing fulmination grenades at them and/or using weapons that can be buffed with electric damage by pressing ![]() . You need to be careful not to do too much damage to the enemy before they can be fully afflicted with electric damage. The best method I found for this was to use a fulmination grenade, buff my weapon, and then use only
. You need to be careful not to do too much damage to the enemy before they can be fully afflicted with electric damage. The best method I found for this was to use a fulmination grenade, buff my weapon, and then use only ![]() attacks to finish off filling up the flame counter.
attacks to finish off filling up the flame counter.

Ms Freeze
Freeze enemies 100 times
You can freeze enemies by throwing frost grenades at them and/or using weapons that can be buffed with freeze damage by pressing ![]() . You need to be careful not to do too much damage to the enemy before they can be fully afflicted with freeze damage. The best method I found for this was to use a frost grenade, buff my weapon, and then use only
. You need to be careful not to do too much damage to the enemy before they can be fully afflicted with freeze damage. The best method I found for this was to use a frost grenade, buff my weapon, and then use only ![]() attacks to finish off filling up the freeze counter.
attacks to finish off filling up the freeze counter.


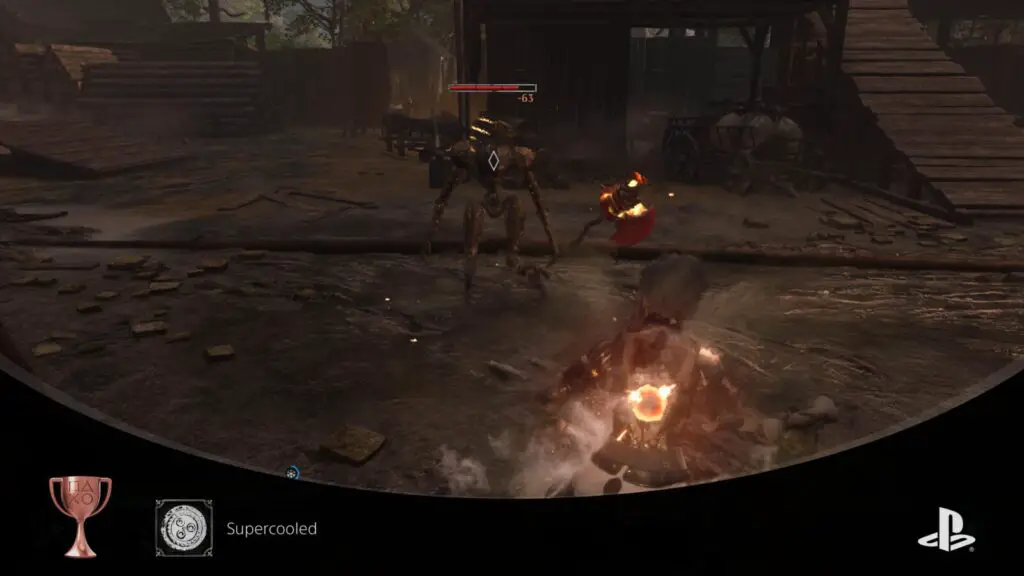
Supercooled
Use Rapid Cooling 50 times
Rapidly cooling occurs in Steelrising when you fully deplete the stamina bar and press ![]() while the stamina bar changes to white. Doing this will let you recover most of your stamina so you can continue your attack. A side effect is a frost meter will appear and the more you use rapid cooling the more it fills up. To unlock Supercooled you need to use rapid cooling 50 times.
while the stamina bar changes to white. Doing this will let you recover most of your stamina so you can continue your attack. A side effect is a frost meter will appear and the more you use rapid cooling the more it fills up. To unlock Supercooled you need to use rapid cooling 50 times.

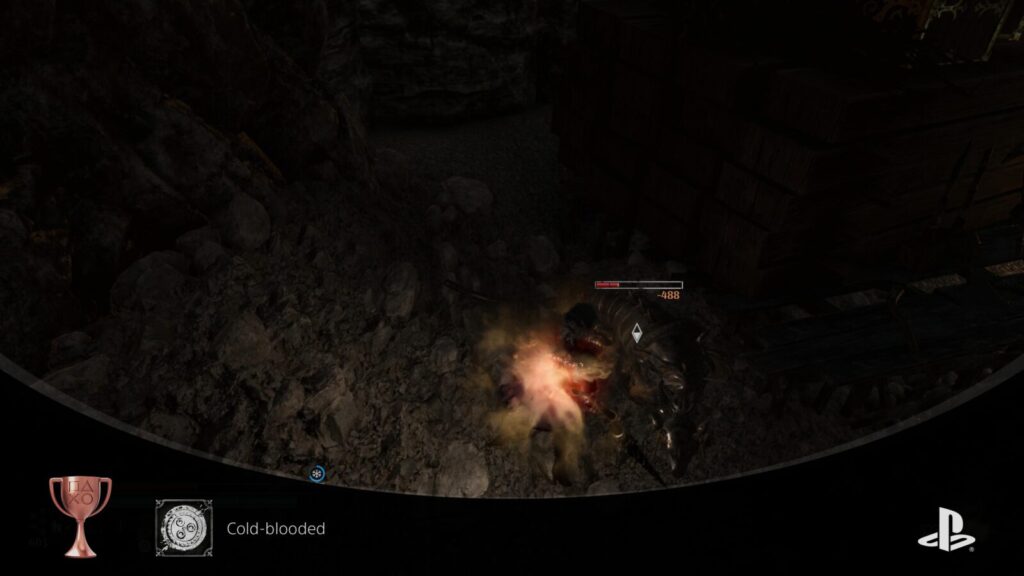
Cold-blooded
Perform 10 Perfect Cooldowns
Similar to Supercooled you must press ![]() when you run out of stamina but this time you need to it before it reaches the segmented area of the bar. Do this 10 times to unlock Cold-blooded.
when you run out of stamina but this time you need to it before it reaches the segmented area of the bar. Do this 10 times to unlock Cold-blooded.

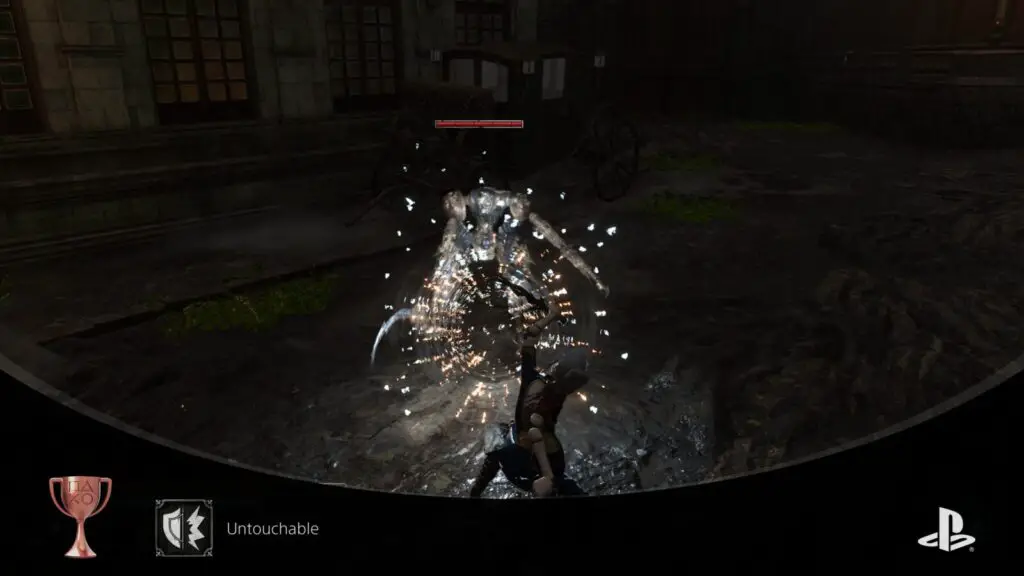
Untouchable
Perform 50 counterattacks
Only some weapons in Steelrising can parry or “counter attack” which means you’ll have to find or buy one before you attempt this trophy. Once you have a weapon with a counter attack ability find an enemy and press ![]() at the right moment to counter it. Do this 50 times and Untouchable will unlock.
at the right moment to counter it. Do this 50 times and Untouchable will unlock.

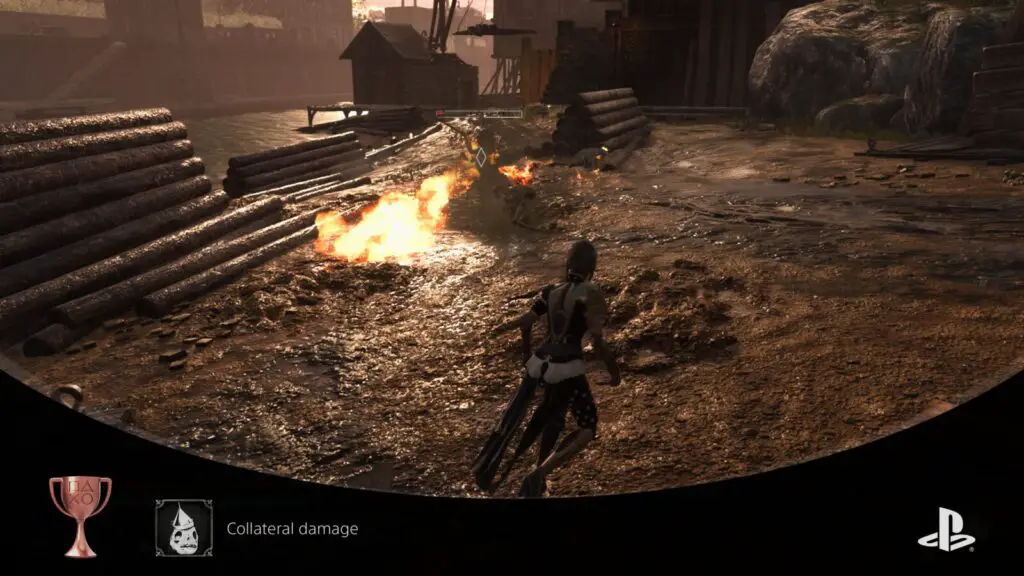
Collateral damage
Have an enemy be killed by a direct hit from another enemy 5 times
The best enemies to trick into attack others is the Acolytes with the double ball chains as they have a spin attack that has a wide range. Find an Acolyte with a few enemies surrounding them such as the one in Les Invalides at the start with the too dog enemies.

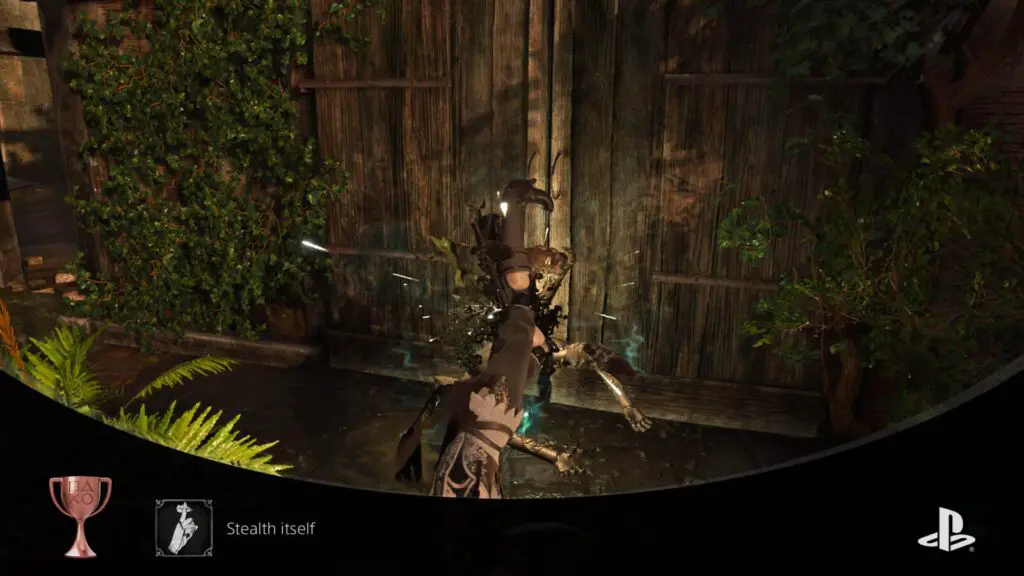
Stealth itself
Surprise 20 enemies with stealth attacks
Locking onto enemies and slowly walking up to them will let you perform a stealth attack by pressing ![]() or
or ![]() . Do this 20 times to unlock Stealth itself.
. Do this 20 times to unlock Stealth itself.

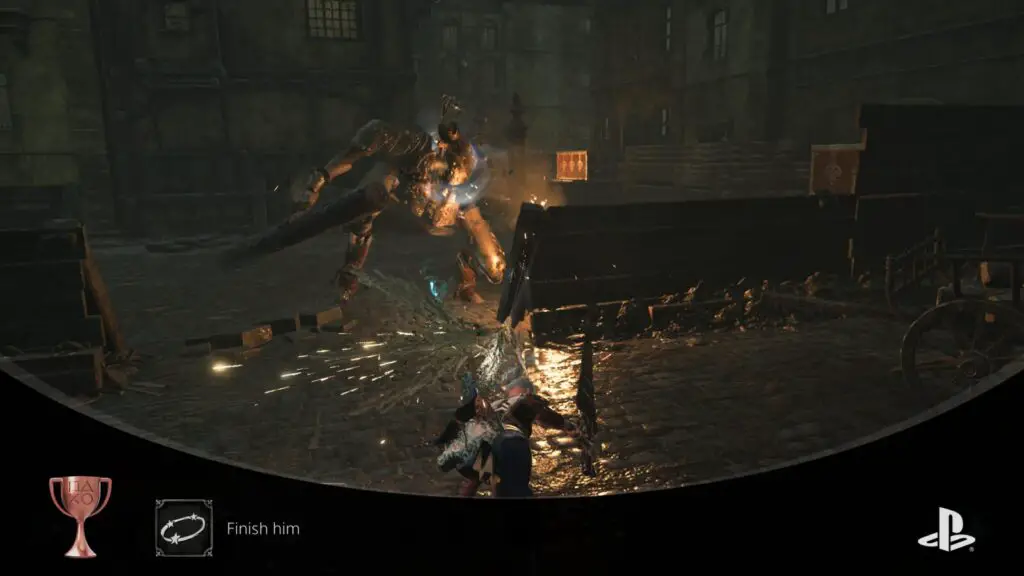
Finish him
Immobilise 70 enemies
As you fight enemies there will be a diamond shape at their core. This core will fill up as you deal damage Once it’s full the enemy will become immobilised. You may also add progress to this trophy by freezing enemies but this hasn’t been properly tested. Either way immobilise 70 enemies and Finish him will unlock.

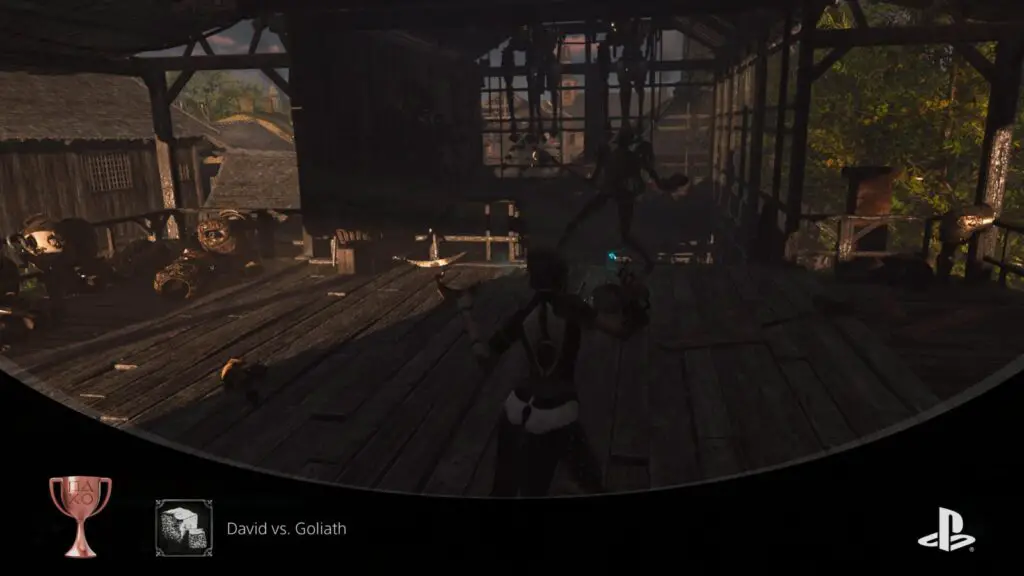
David vs. Goliath
Kill an enemy with a cobblestone
The easiest way to unlock David vs. Goliath is to visit a Boutique and by a large stack of cobblestone. Find an enemy and attack them with light attacks ![]() until they have one hit left in them. Switch to cobblestones and press
until they have one hit left in them. Switch to cobblestones and press ![]() repeatedly until the enemy does.
repeatedly until the enemy does.

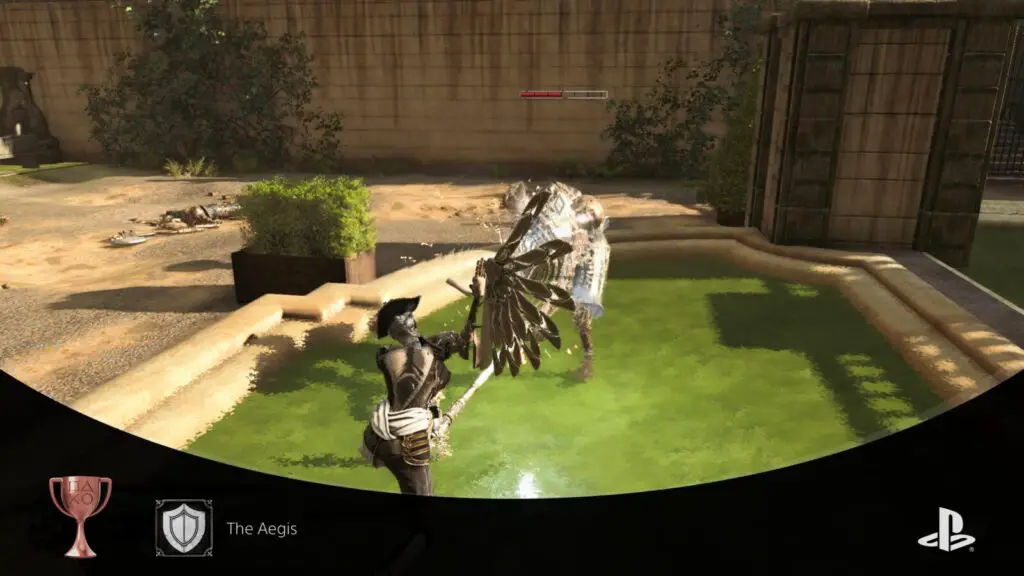
The Aegis
Block 50 attack impacts with a shield special move
Similar to Untouchable only some weapons can block. While using a weapon with the shield ability press ![]() before an enemy’s hit lands on you and you will block the attack leaving them open for a counter. Do this 50 times and The Aegis will unlock.
before an enemy’s hit lands on you and you will block the attack leaving them open for a counter. Do this 50 times and The Aegis will unlock.

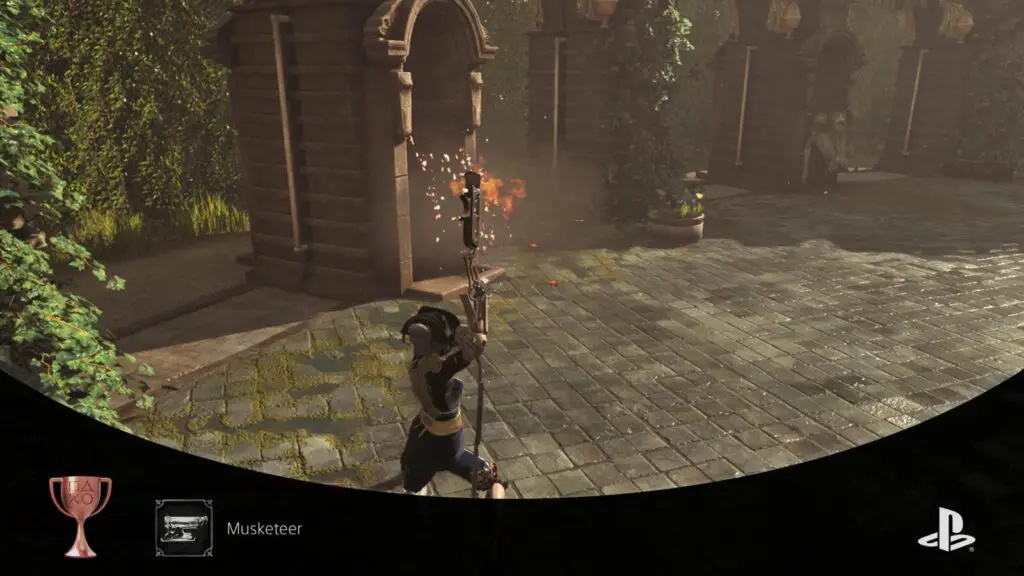
Musketeer
Kill 20 enemies with a ranged shot
Ranged shots don’t refer to the gun weapons but the ranged attack ability on some weapons. Pressing ![]() with a weapon’s ranged ability will shoot a single bullet that does a large amount of damage. Kill 20 enemies this way and Musketeer will unlock.
with a weapon’s ranged ability will shoot a single bullet that does a large amount of damage. Kill 20 enemies this way and Musketeer will unlock.

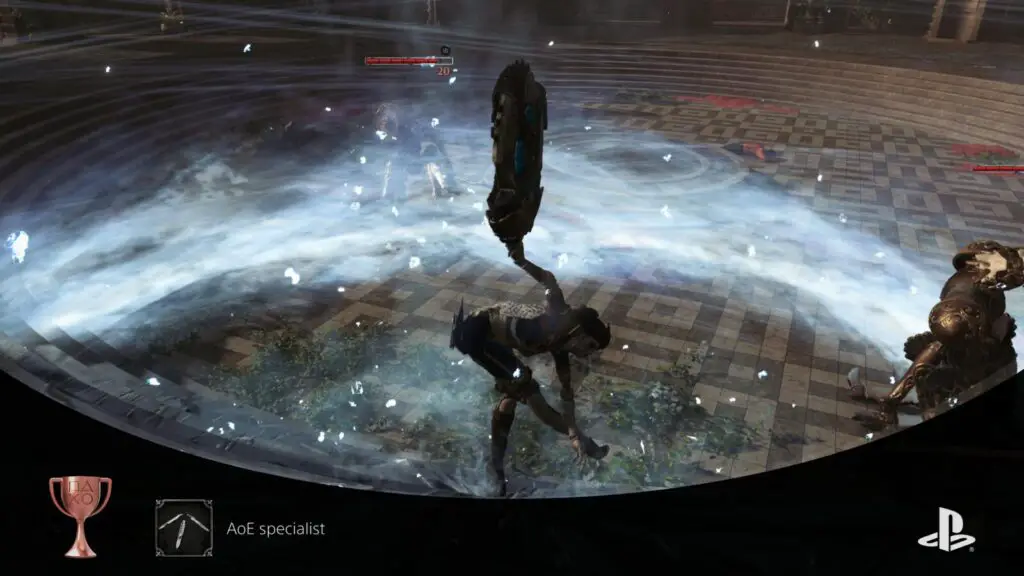
AoE specialist
Perform 10 attacks affecting 3 enemies at once
The best method for unlocking AoE specialist is to use a weapon with an area of effect ability as the ![]() attack. Find a group of three or more enemies and lure them towards you so you can hit all of them with a single
attack. Find a group of three or more enemies and lure them towards you so you can hit all of them with a single ![]() attack. You can also try using a chain weapon as they have wide sweeping attacks as default. After hitting 3 or more enemies in a single attack 10 times AoE specialist will unlock.
attack. You can also try using a chain weapon as they have wide sweeping attacks as default. After hitting 3 or more enemies in a single attack 10 times AoE specialist will unlock.

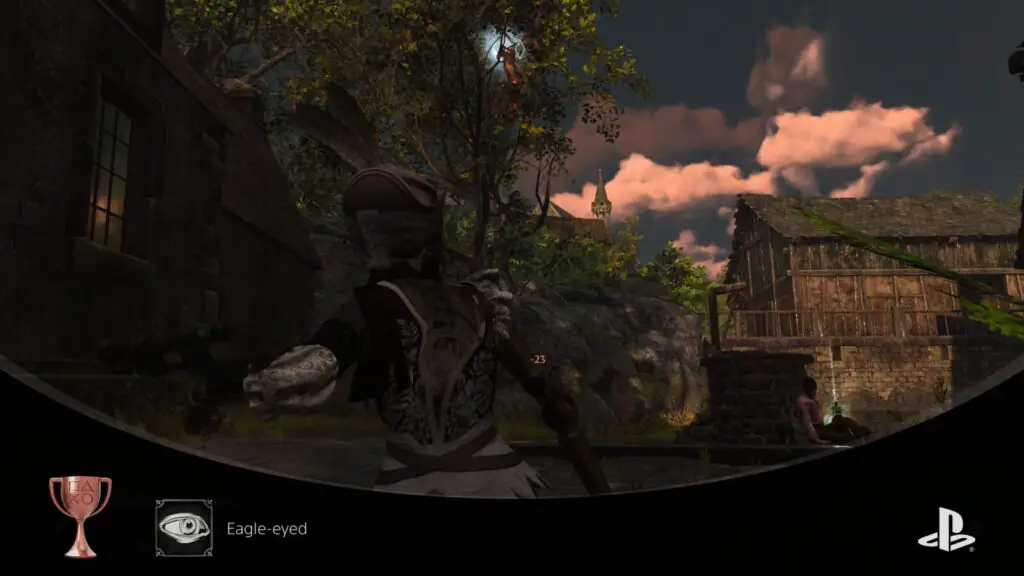
Eagle-eyed
Hit 20 hidden enemies
Hidden enemies refers to the medusa-like enemies that some times hump down from walls when you approach. The best area to do this is outside the first Vestal when visiting Les Invalides for the first time. Just beyond the vestal and to the right is a small wooden fence you can jump over into an area with a well. Equip a gun and jump over the fence being careful not to go in too far. Press ![]() to lock onto the enemy hiding in the tree above and press
to lock onto the enemy hiding in the tree above and press ![]() or
or ![]() to hit them. You don’t need to kill them for it to count, just knock them out of the tree. Return to the vestal and reset the area. Repeat the steps again and after the 10th enemy hit Eagle-eyed will unlock.
to hit them. You don’t need to kill them for it to count, just knock them out of the tree. Return to the vestal and reset the area. Repeat the steps again and after the 10th enemy hit Eagle-eyed will unlock.
Unmissable Trophies

Incorruptible
Help Robespierre carry out his plan to make him Consul of the Republic
Unlocking the Incorruptible ending is possibly the easiest trophy in the whole game as you only need to finish the story. That’s it, don’t do anything else such as side stories or even citizen quests. Just rush through the story and Robespierre will become Consul of the Republic all by himself.

Plat Get!

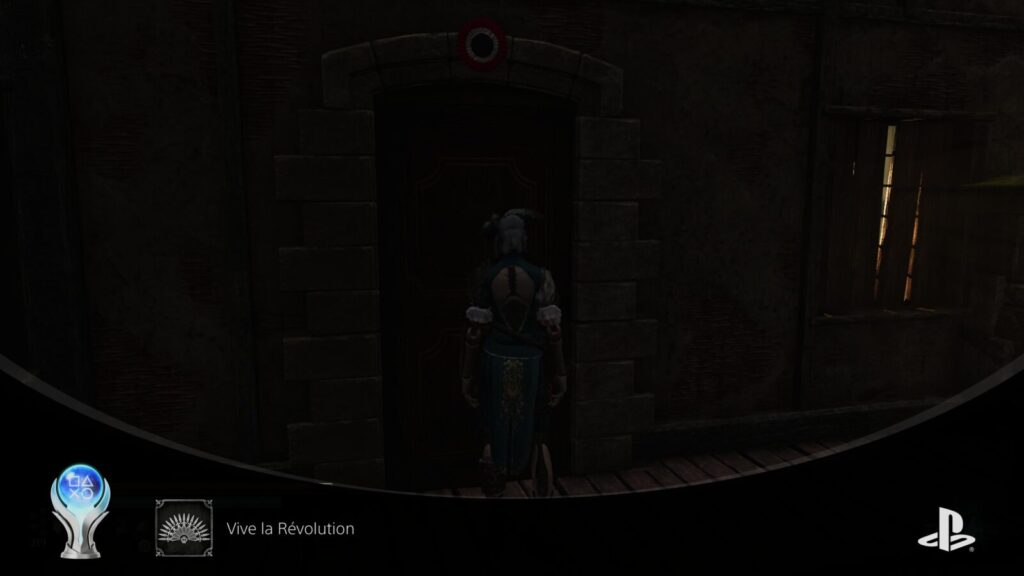
Vive la Révolution
Obtain all trophies
Once you have acquired every other trophy in this Steelrising Trophy Guide, the “Vive la Révolution” Platinum Trophy will unlock. Congratulations, Automat.
Thank you for choosing PlatGet as your source for Steelrising Trophy Guide. Consider checking out our other guides!
Follow us on Twitter @GetPlat or Instagram @platget for updates on new reviews and guides, as well as small anecdotes about our platinum journeys.
Discussion
We've Partnered with NordVPN

