PlayStation 4, PlayStation 5
Elden Ring Trophy Guide


General Info
FAQ
How long does it take to beat Elden Ring and unlock all trophies?
Around 60-100 hours depending on your skill and how much exploring you do.
How difficult is it to beat Elden Ring and unlock all trophies?
Easy (3/10).
Does Elden Ring have online trophies?
No.
Does Elden Ring have difficulty-specific trophies?
No.
Does Elden Ring have missable trophies?
No.
Does Elden Ring have glitched trophies?
No.
What is the minimum number of playthroughs required to unlock all trophies in Elden Ring?
One.
Does Elden Ring have a Platinum Trophy?
Yes.
Trophy Guide
Elden Ring Trophy Guide and Road Map for PS4 & PS5
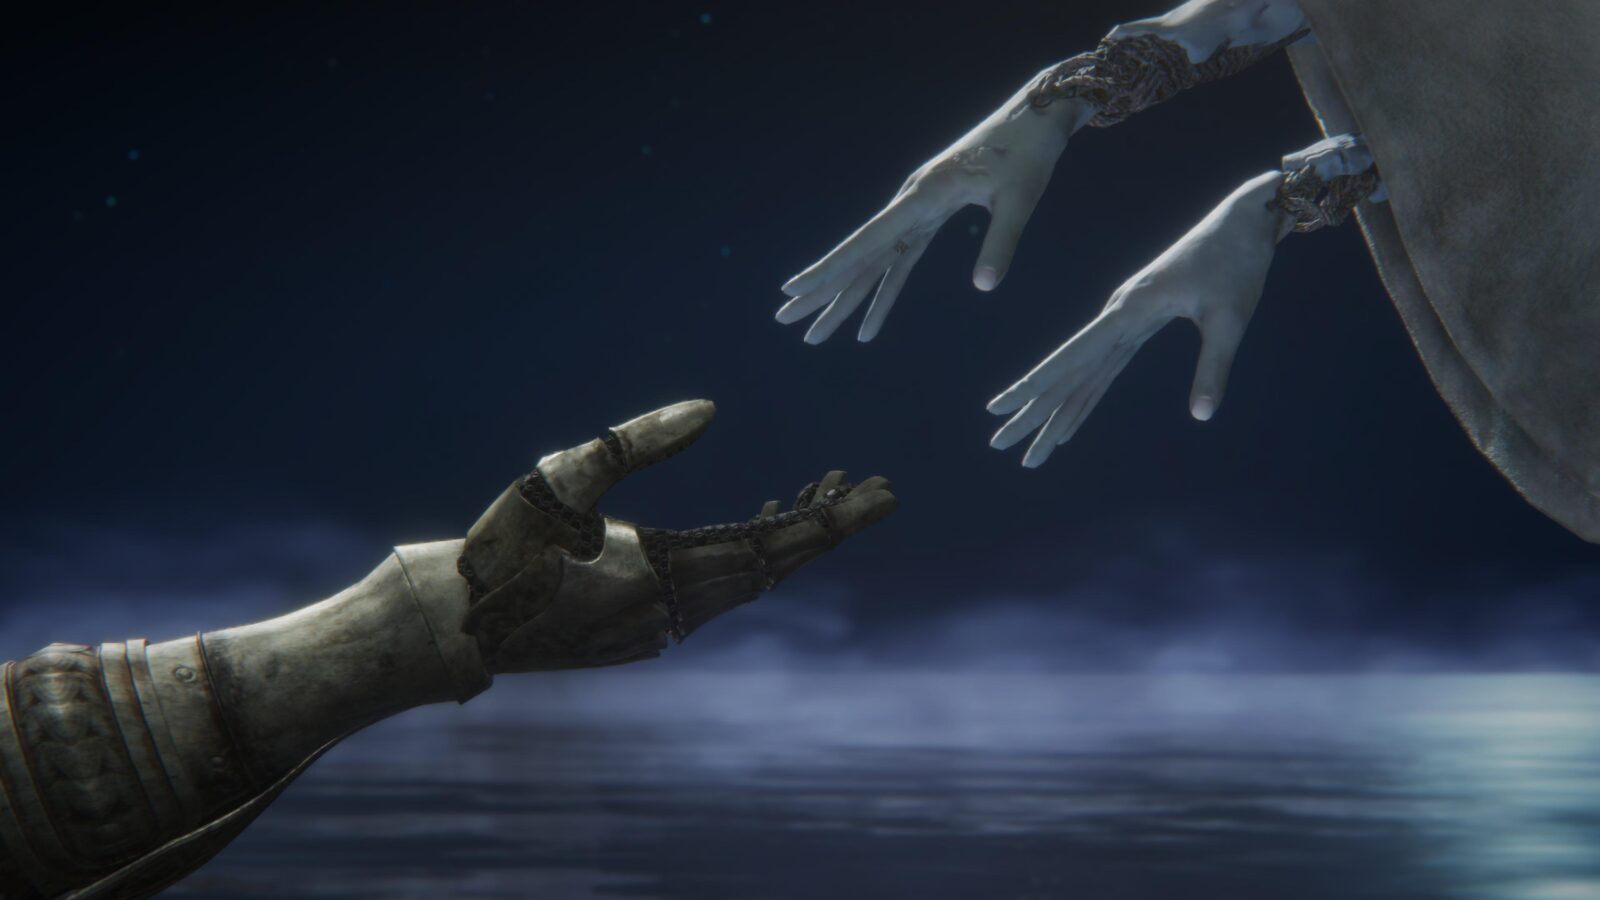
Welcome to our Elden Ring Trophy Guide. Elden Ring—the latest game from FromSoftware—is about a Tarnished—the player—as they travel the Lands Between felling bosses, dragons, and everything that moves in an effort to become the Elden Lord. The Lands Between is a huge sprawling location with plenty of caves, dungeons, and NPCs to discover. To aid the player in traversing this environment is an exciting new addition to the Souls format; Torrent—a Sprectral Steed that can be summoned at any time. Torrent is key to exploring the open world and reaching ledges and cliffs just out of reach; he can also be rode into battle. Elden Ring is available on PS4 & PS5.
Phase One – Explore Limgrave & Defeat Margit, the Fell Omen
For the first phase of our Elden Ring Trophy Guide, you should spend some time exploring every nook of Limgrave. It’s a large area and has plenty of hidden items and secret caves for you to discover. You can also find a handful of NPCs that will become important quest-givers later in the game. Of note is Ranni the Witch who you can find at the Church of Elleh Site of Grace after you talk to Melina and are given access to Torrent—your trusty spectral steed. Upon talking to Ranni she will give you a Summoner’s Bell which can be used to summon Ashen Remains (she will also give you the wolves Ashen Remains which are very helpful for new players). This will also start a long quest line that leads to one of the three endings in Elden Ring.
There will likely be a few places in Limgrave that you had to turn away from as the challenge would have been too high for your level which is fine.; you can come back later and tackle it once you’re more powerful. Once you have gotten your fill of Limgrave and leveled up enough to take on Margit, the Fell Omen, you can continue onto Phase Two. However, I would recommend you visit Murkwater Cave and fight—but spare—Patches so you can buy the item Margit’s Shackle (you will have to rest at a Site of Grace to get Patches to open his shop after you spare him) as it will help greatly when facing him.
Phase One Trophies


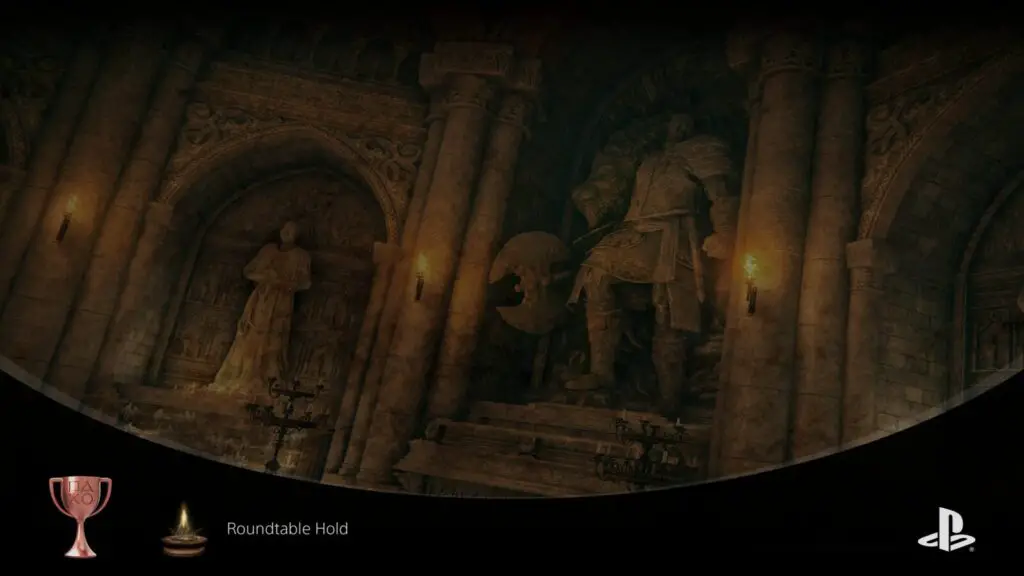
Roundtable Hold
Arrive at Roundtable Hold.
The Roundtable Hold is a friendly area where combat is disabled and various friendly NPCs will gather mostly to sell you thing and upgrade your gear. You will get invited to the Roundtable Hold either after you encounter Margit for the first time regardless of whether you defeat him or not making this the first trophy in your Elden Ring Platinum Journey. You can also get invited if you travel further than Limgrave, but this isn’t likely to be the case for most players.

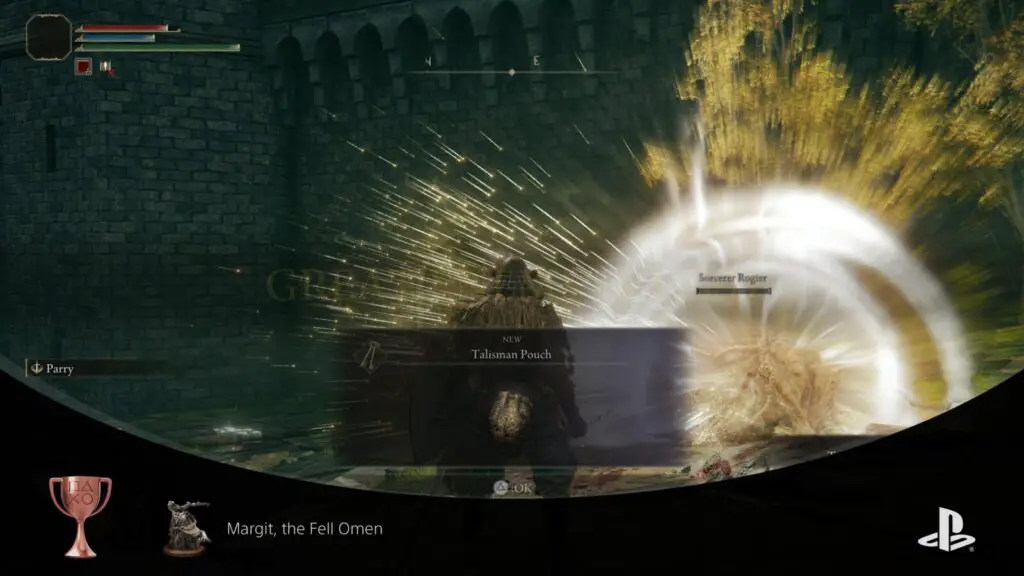
Margit, the Fell Omen
Defeat Margit, the Fell Omen.
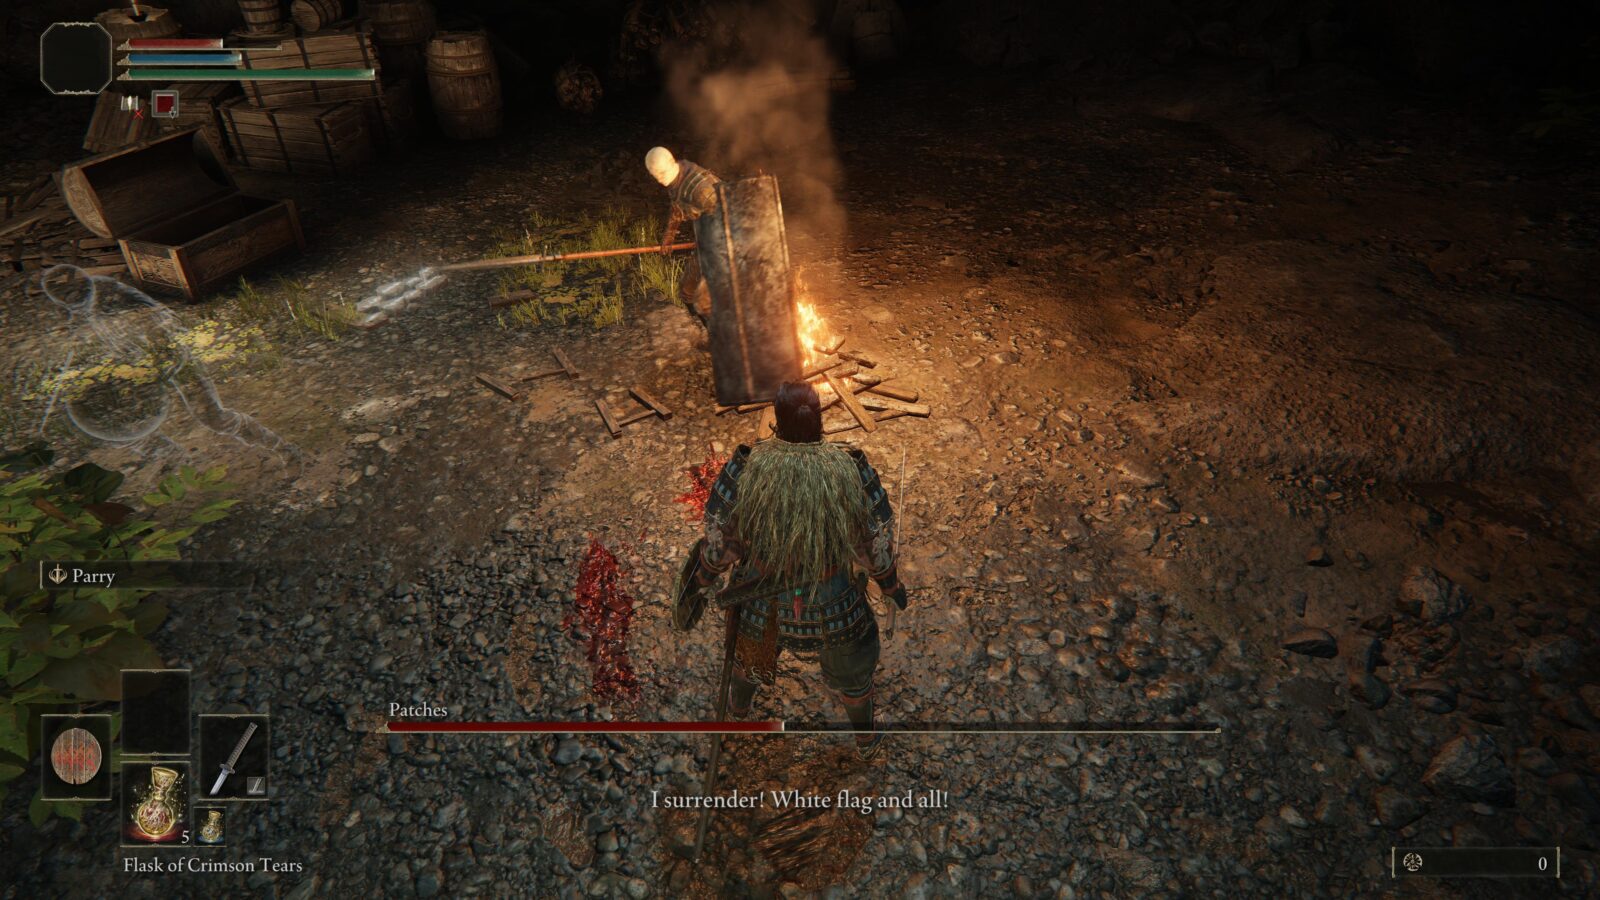
Margit, the Fell Omen is the first mandatory boss that players will face. He’s quite difficult for a first boss but is mostly a melee fighter and all his attacks can be avoided. To make things easier you can summon and NPC right outside the boss arena and even summon Ashen Spirits to help you. Using both will greatly take aggro away from you giving you time to plan your attack and heal. You can take things a step further by visiting Murkwater Cave before meeting Margit. You will get invaded by an NPC called “Bloody Finger Nerijus” which you will have to kill before you enter. Inside this cave you will be greeted by Patches after opening his chest. He will then attack you and you will have to fight back.
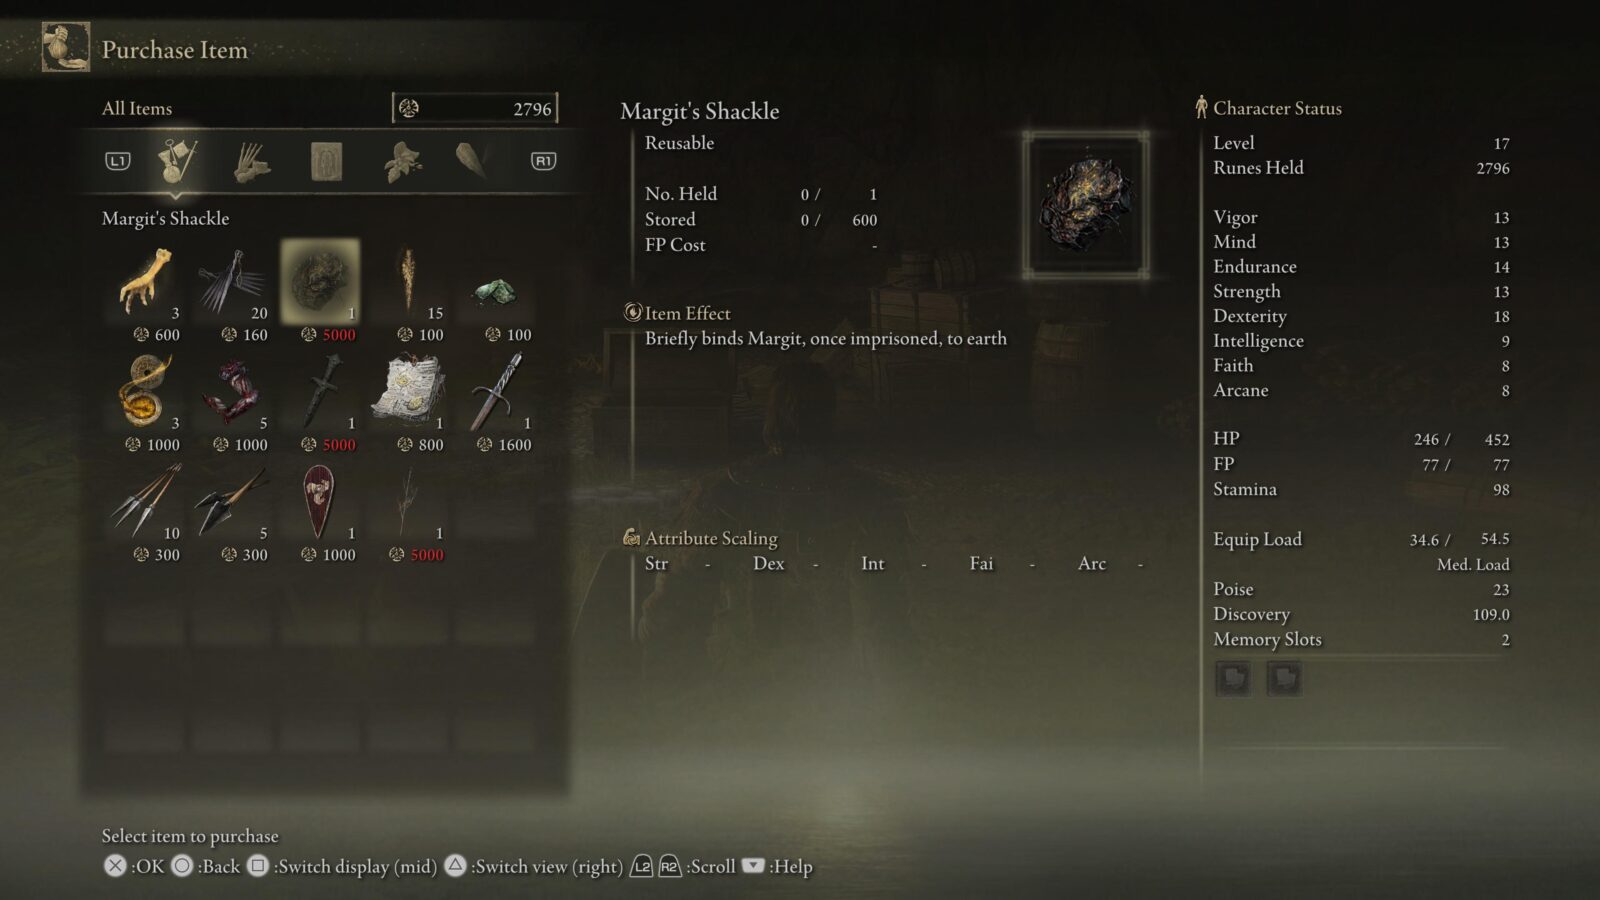
Patches has a spear and a shield and is fairly easy to defeat. When you reduce his health to 50% he will begin to cower and beg for forgiveness. Agree to spare him and talk to him until he mentions setting up a shop at which point you can leave and rest at a Site of Grace to reset the game world. Visit him again and he will now sell you items. The most valuable item you can buy at this time is called “Margit’s Shackle”. Buy it and equip it to your quick bar so you can press ![]() during battle to quickly use the item (you will have to press
during battle to quickly use the item (you will have to press ![]() to cycle to the item first). Using Margit’s Shackle will pin Margit to the ground for a few seconds letting you and your summons get some free hits in. When you defeat him, Margit, the Fell Omen will unlock.
to cycle to the item first). Using Margit’s Shackle will pin Margit to the ground for a few seconds letting you and your summons get some free hits in. When you defeat him, Margit, the Fell Omen will unlock.

Phase Two – Progress Until You Defeat Morgott, the Omen King
In Phase Two of our Elden Ring Trophy Guide, you will be making your way through the story and exploring each area as you encounter them until you beat Morgott, the Omen King who resides in Leyndell, Royal Capital. However, you will not be able to enter Leyndell until you have defeated two Shardbearer bosses and gathered their Great Runes. As you only need two Great Runes to remove the barrier at the entrance of Leyndell, you can skip Rennala, Queen of the Full Moon, and just defeat Godrick and Radahn. Though I would advise against this as Radahn—and the area he’s in—will be too difficult for you to face at this point in the game. You will have to face Rennala to unlock her trophy anyway so it’s best you defeat her before Radahn.
Once you have carved yourself a bloody path through the bosses and fought Morgott, the Omen King (and won, I hope) you will have access to the final area of the game—The Mountaintops of the Giants. This will make the next two phases in your Platinum Journey easier but don’t defeat any more bosses until Phase Five.
Phase Two Trophies


Shardbearer Godrick
Defeat Shardbearer Godrick.
Shardbearer Godrick can be found inside Stormveil Castle and is a mandatory boss. Stormveil Castle is a Legacy Dungeon and works exactly like players who have played previous FromSoftware games will expect it to. You will have to slowly progress through the castle defeating smaller enemies and discovering shortcuts, traps, and rooms with valuable items until you reach the boss arena.
Godrick himself can be a difficult challenge as he has some hard-hitting attacks and quite a bit of range. His first phase is mostly the same as Margit’s with similar attacks, however, he gets increasingly more dangers in phase two. Godrick will replace his left arm with that of a dragon’s head—as seen in the trailers—and will now have access to some devastating ranged fire attacks. Luckily he telegraphs these attacks rather openly which gives you time to recognize the threat and and get some distance from him. You can use your summons to reduce the difficulty.


Great Rune
Restore the power of a Great Rune.
After defeating Godrick, the Grafted you will claim his “Great Rune”. These runes hold a small power from the boss you defeated to get it and you can use a Rune Arc to activate that power to aide you in battle. However, before you can use a Great Rune you have to restore its power. To do this with Godrick’s Great Rune, you will need to head to the Divine Tower of Limgrave. To get to it you will need to head across the long bridge that extends from Stormveil castle—there are giants here that shoot arrows the size of skyscrapers as you try to cross the bridge.
At the very top of the Divine tower, you can interact with two giant fingers to restore Godrick’s Great Rune and unlock the Great Rune trophy.


Red Wolf of Radagon
Defeat the Red Wolf of Radagon.
Red Wolf of Radagon will be encountered as you make your way through Raya Lucaria. The Red Wolf of Radagon is a giant wolf that can summon weapons in its mouth to attack you with. It can also leap into the air and slam down on you as well as being rather fast in general. Though you can make the fight significantly easier if you summon your own trio of wolves to pull aggro so you can get some cheeky hits in here and there. Red Wolf of Radagon will unlock once you defeat it.


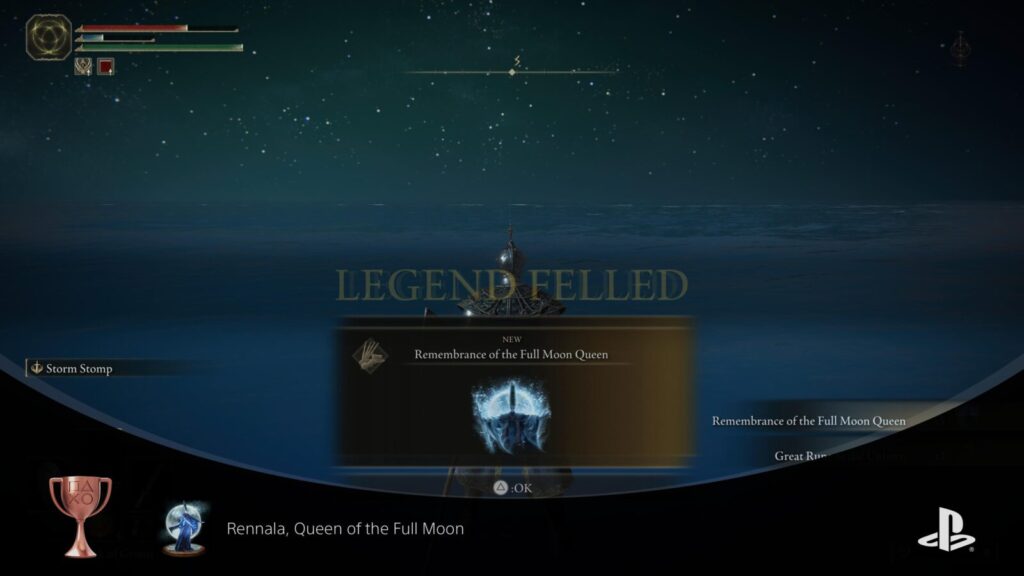
Rennala, Queen of the Full Moon
Defeat Rennala, Queen of the Full Moon.
Rennala, Queen of the Full Moon isn’t technically a mandatory boss as she can be skipped over and her Great Rune isn’t needed to enter Leyndell as you can get Radahn’s instead. However, since most players will naturally encounter her the chances are you will unlock this trophy during this phase.
Rennala’s first phase is similar to the Fool’s Idol boss fight in Demon’s Souls. Rennala will be hovering above while several smaller enemies try attack you on the ground. You will have to run around and look for the enemy that is shooting book projectiles at you and attack them to make Rennala fall to the ground. Once she does, you can run in and get some hits on her—as soon as she starts to glow gold, run away fast.
Rennala in phase two is a lot more dangerous. She will open the fight with a magic beam attack that can one-shot you if your Vigor is too low. She will also periodically summon ghostly enemies to fight you including a very large dragon. You will also find it hard to close the distance as she has a multitude of deadly ranged attacks. This is where your summons come in handy. As soon as you enter phase two, dodge her beam attack and immediately call in your summons—wolves are best at this stage—to keep her busy while you work your way towards her and get some hits on her. Once you defeat her Rennala, Queen of the Full Moon will unlock.

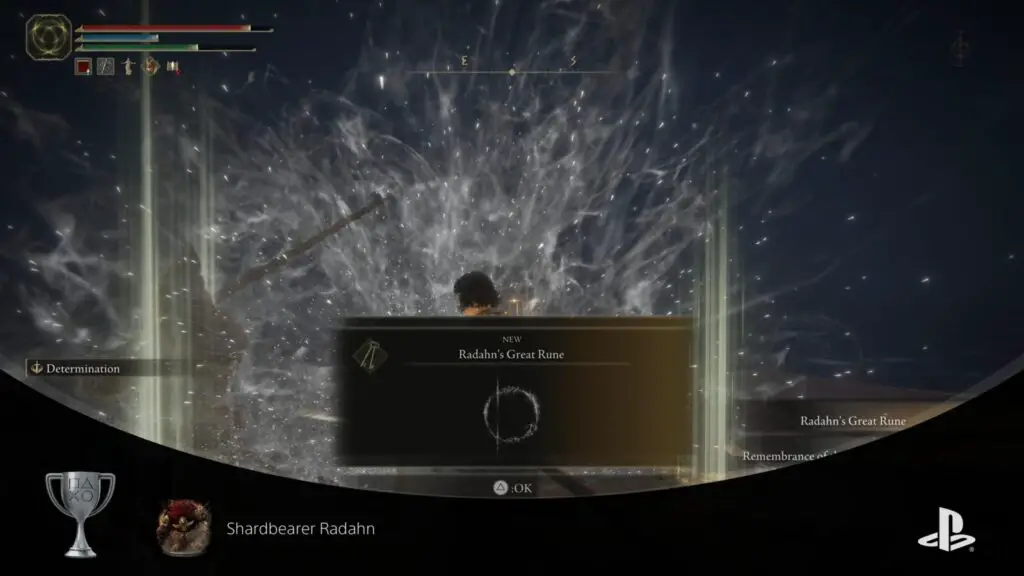
Shardbearer Radahn
Defeat Shardbearer Radahn.
Starscourge Radahn will be where many players will hit a roadblock in terms of difficulty. Technically Radahn can be skipped if you already have 2 Great Runes—one from Godrick and one from Rennala—as you only need 2 Great Runes to get into Leyndell. Though, it’s better to fight him while you can to get his armor set and weapons if you’re running a high END/STR melee build.
Getting to the fight isn’t very hard as you only need to head to the Impassable Great Bridge Site of Grace and use the teleporter nearby to be taken inside Redmane Castle. Once inside you can find a large area where several non-combative NPCs are gathered. An announcer will be standing atop some stairs and when you speak to him he will say the festival is about to begin and ask if you’re ready—say yes if you are.
Fighting Radahn is a big ordeal. He will shoot purple arrows at you as soon as you enter the arena and will continue to do so until you close the gap. However, when you begin to close the gap Radahn will switch from shooting purple arrows directly at you to aiming upwards and shooting a volley of normal arrows that track towards you. To make this even more frustrating, there are NPC summon signs scattered throughout the arena that you have to interact with if you want a bit of help. Your saving grace in this boss fight will be the fact that you can summon Torrent and NPCs can be summoned again after they die.
Halfway into the battle with Radahn, he will shoot up into the air and come crashing down in a blazing inferno. This attack is very easy to dodge while riding Torrent though it also signals the fight getting harder in general. Radahn will now use gravity magic to fight you. He will summon purple orbs that hover around him and he can shoot them at you or the NPCs—their tracking is very aggressive so you will have to press ![]() before they hit you to dodge them efficiently. However, is most brutal attack comes in the form of 4 purple meteors. If he has these meteors above his head it is okay to attack him, but as soon as he runs away to put distance between you; run, hide, or get ready to evade. When he does this he will let the meteors loose and they will likely be a one-shot kill at this point so you need to get ready to evade them or try and put a sand hill between you and Radahn just before he uses this attack.
before they hit you to dodge them efficiently. However, is most brutal attack comes in the form of 4 purple meteors. If he has these meteors above his head it is okay to attack him, but as soon as he runs away to put distance between you; run, hide, or get ready to evade. When he does this he will let the meteors loose and they will likely be a one-shot kill at this point so you need to get ready to evade them or try and put a sand hill between you and Radahn just before he uses this attack.

Godfrey the First Lord
Defeat Godfrey the First Lord.
Godfrey, the First Lord is a mandatory boss in Leyndell. You will fight him before you can reach Morgott as he is blocking the path directly to him. Godfrey isn’t a very hard boss and if you use your summons then you will be able to beat him easily as he’s not much of a threat. Players running a sorcery/incantation build will likely have an easier time with this boss fight.


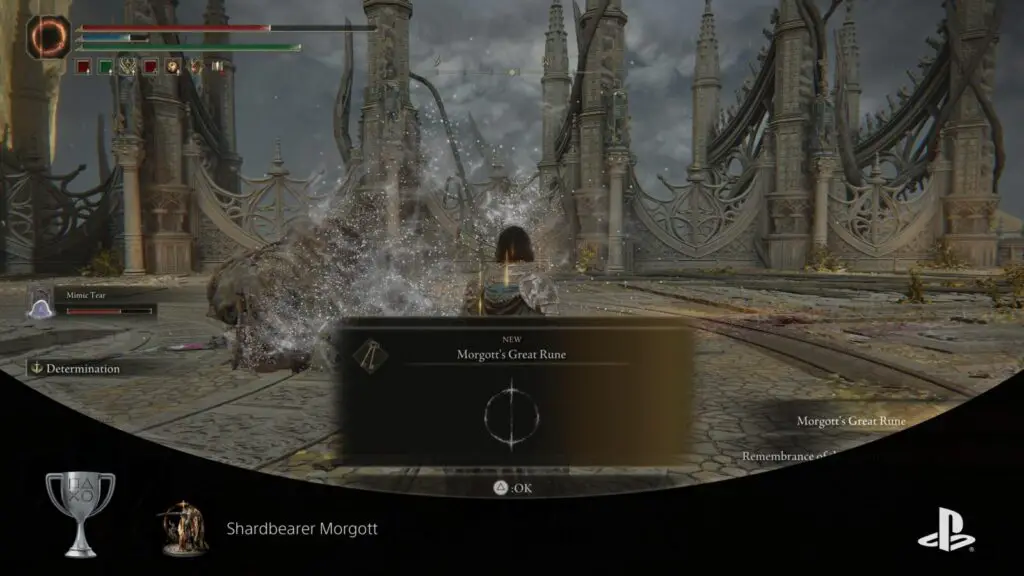
Shardbearer Morgott
Defeat Shardbearer Morgott.
Morgott is a mandatory boss and must be defeated in order to leave Leyndell and continue the story. Morgott uses a lot of holy attacks during this fight that have large Area of Effect. They all seem to have long wind up windows that let you evade them more effectively. If you use a summon like the Mimic Tear or the wolves during this fight then you will have Morgott’s aggro reduced to effectively 50% for the whole fight which lets you plan and prepare. Shardbearer Morgot will unlock once you have defeated him.
Phase Three – Complete Ranni’s Questline
This phase in our Elden Ring Trophy Guide is quite important as it will set up and secure two of the three endings. The very first step will be to Travel to Caria Manor to defeat Knight Loretta. From there you can talk to Ranni in Ranni’s Rise and complete her questline to set up the Age of Stars ending. There are a few steps to Ranni’s questline that you can take before defeating Radahn, however, in my testing it appears that you can ignore these steps and pick up the quest after Radahn is killed and the ground opens up in Limgrave.
- Check out our guide on How to Complete Ranni’s Questline in Elden Ring
Trophies from Ranni’s Questline

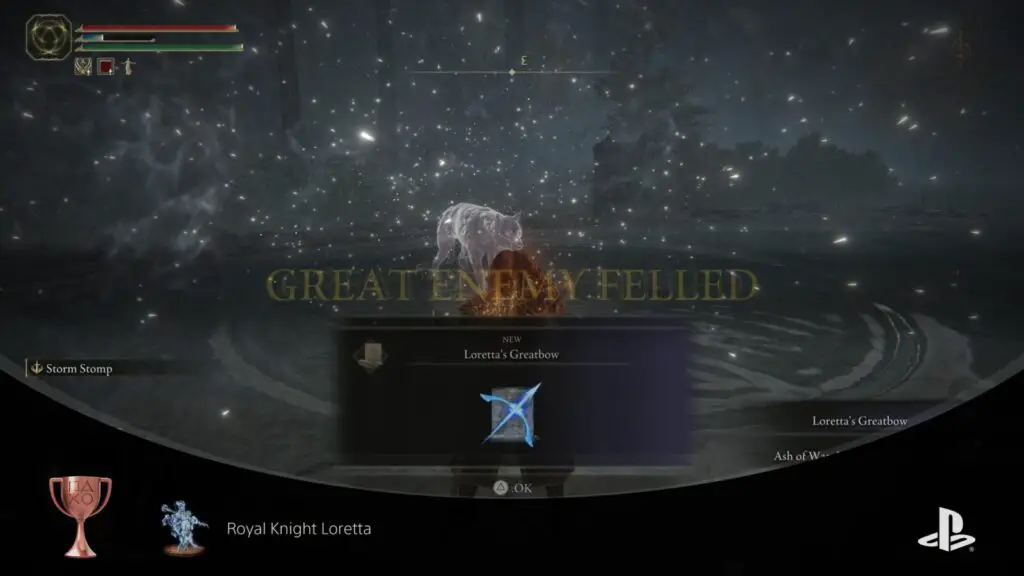
Royal Knight Loretta
Defeat Royal Knight Loretta.
Royal Knight Loretta is an optional boss you can encounter in Caria Manor. You will have to defeat her in order to exit Caria Manor and visit the Three Sisters where you can find Ranni’s Rise, Renna’s Rise, and Sevius’ Rise. Royal Knight Loretta is on horseback and can be quite mobile, however, if you use the wolves summon you can pin her down a bit better so you can get some good attacks in. She isn’t too difficult even if you’re under-levelled as all her attacks are telegraphed and easy to evade.

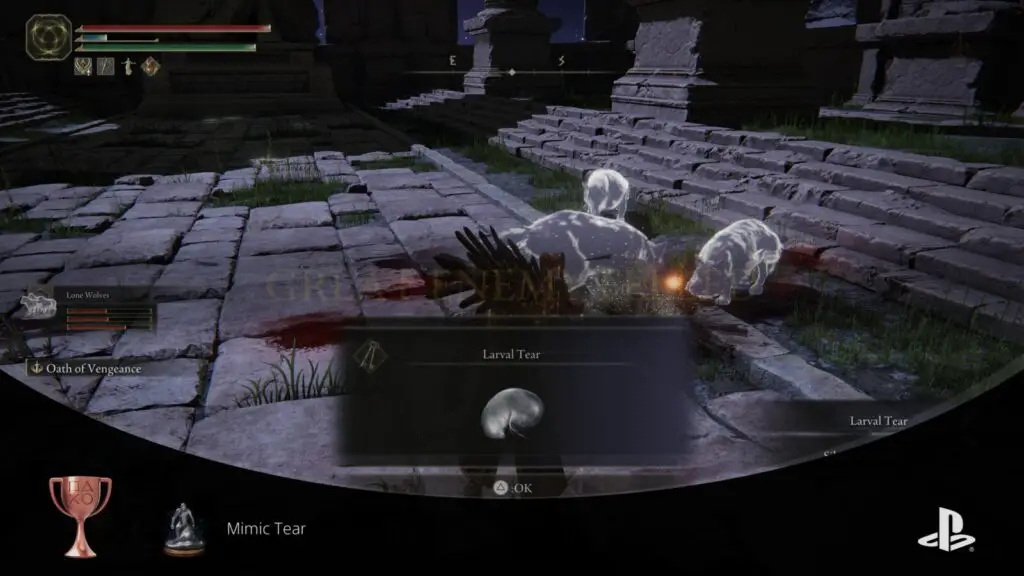
Mimic Tear
Defeat Mimic Tear.
The Mimic Tear is an optional boss fight. You will encounter it while completing Ranni’s questline. The Mimic Tear is a rather easy boss fight and will reward you with the Mimic Tear Legendary Ashen Remain which is very good in most boss fights. When you enter the boss arena the Mimic Tear will copy your character along with everything you have equipped and begin attacking you.

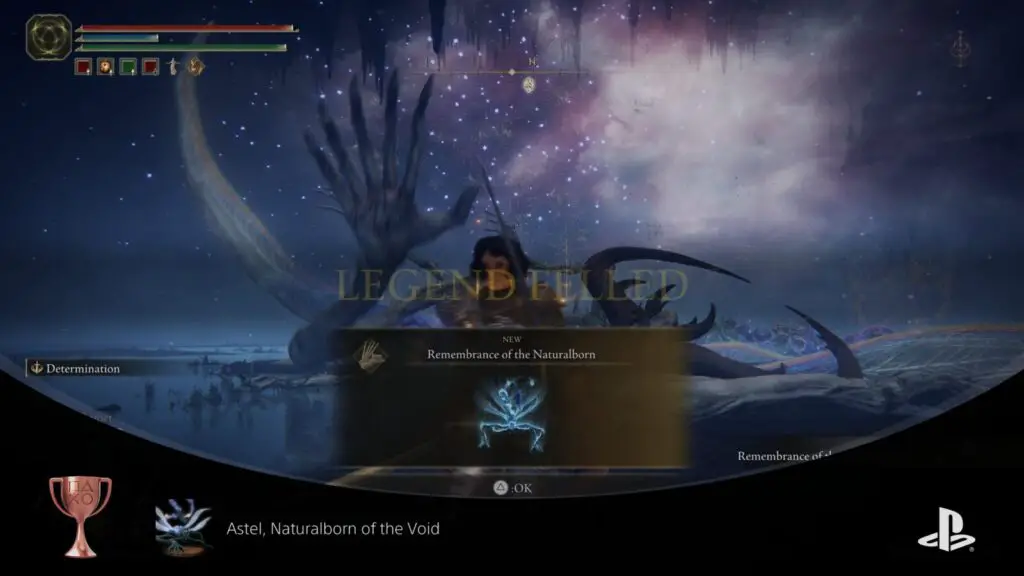
Astel, Naturalborn of the Void
Defeat Astel, Naturalborn of the Void.
Phase Four – Collect Legendary Items & Defeat Optional Bosses
During this phase of our Elden Ring Trophy Guide, you will be running around the Lands Between defeating optional bosses and exploring areas to collect the Legendary items. There are 9 Legendary Armaments, 8 Legendary Talismans, 7 Legendary Sorceries and Incantations (3 Incantations & 4 Sorceries), and 6 Legendary Ashen Remains to collect. You won’t be able to collect every Legendary Armament or Talisman during this phase as two of each weapon is locked behind the end game in Crumbling Farum Azula but all Sorceries, Incantations, and Ashen Remains are available as soon as you finish Leyndell.
Legendary Ashen Remains, Sorceries & Incantations Trophies

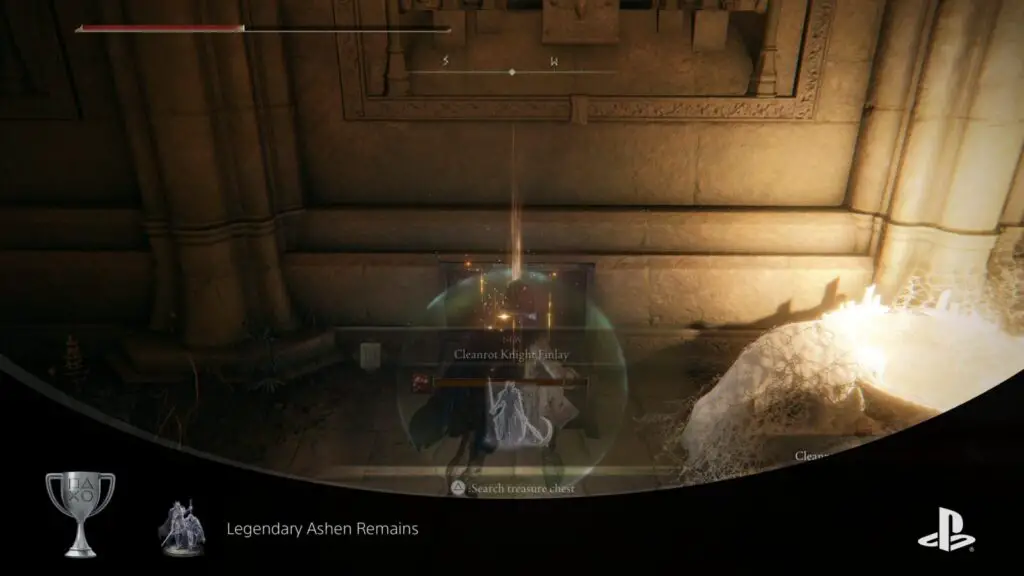
Legendary Ashen Remains
Acquire all legendary ashen remains.
See our All Legendary Ashen Remains guide.

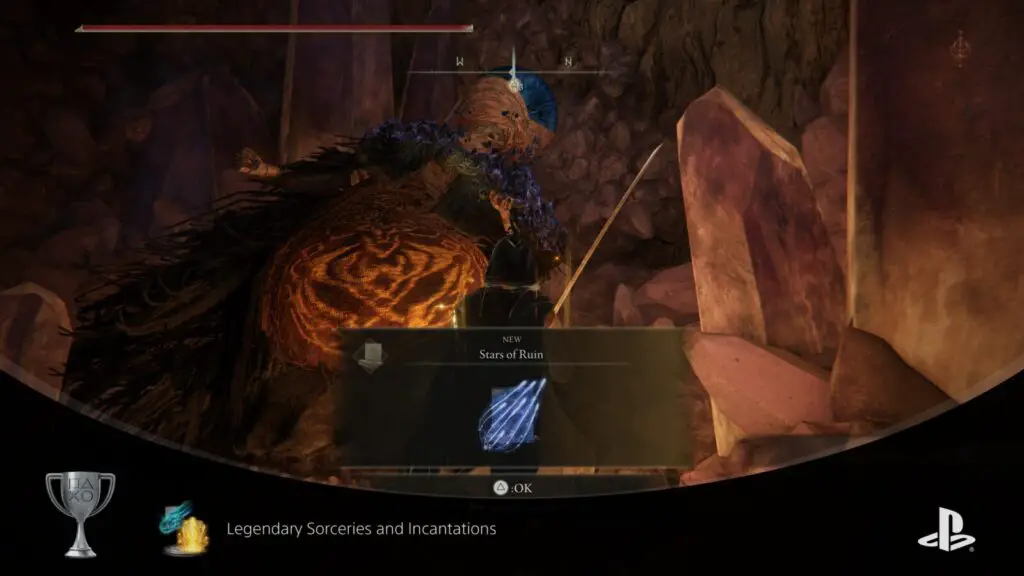
Legendary Sorceries and Incantations
Acquire all legendary sorceries and incantations.
See our All Legendary Sorceries and Incantations guide.
Optional Bosses Trophies

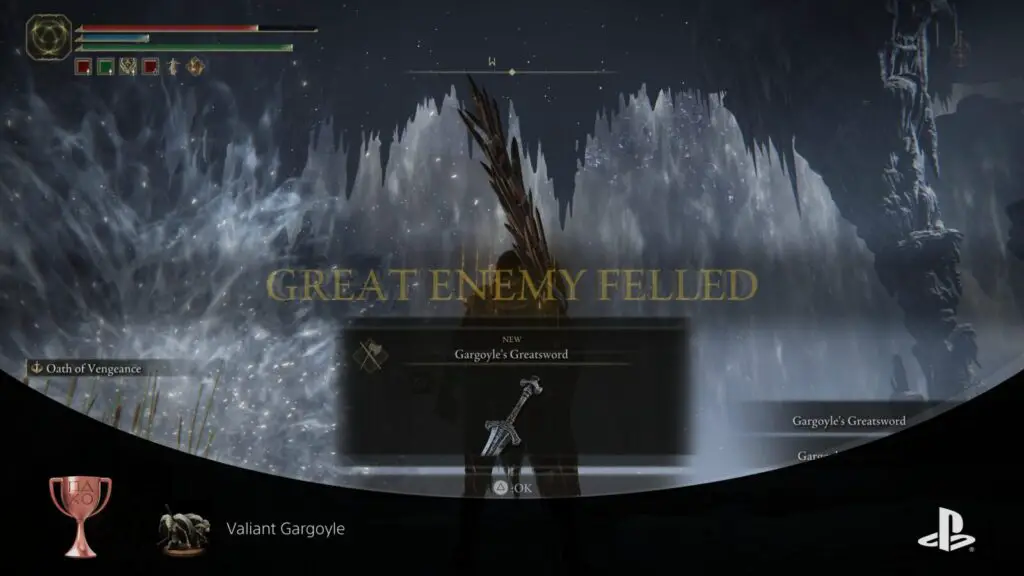
Valiant Gargoyle
Defeat Valiant Gargoyle.
Valiant Gargoyle is an optional boss you can encounter during Fia’s questline. To trigger Fia’s questline you will need to get the Clawmark of Death from Ranni’s questline and then speak to Fia in Roundtable Hold. She will give you a knife and ask to find the owner which is D. Speak to him and rest at the Roundtable Hold SoG to reset the world. A door will open to the left of where Fia’s room is and inside will be D’s corpse and Fia standing next to it. Now you will be able to go to Siofra River and head North towards Siofra Aqueduct to find a site of grace called Aqueduct-Facing Cliffs. From there you can progress forward to find the Valiant Gargoyle boss arena.
The Valiant Gargoyle is a difficult fight and about halfway into the fight another Valiant Gargoyle will enter the fight. This fight is only made marginally easier when using the Mimic Tear summon so you will have to learn the boss fight and how to evade each of their attacks.

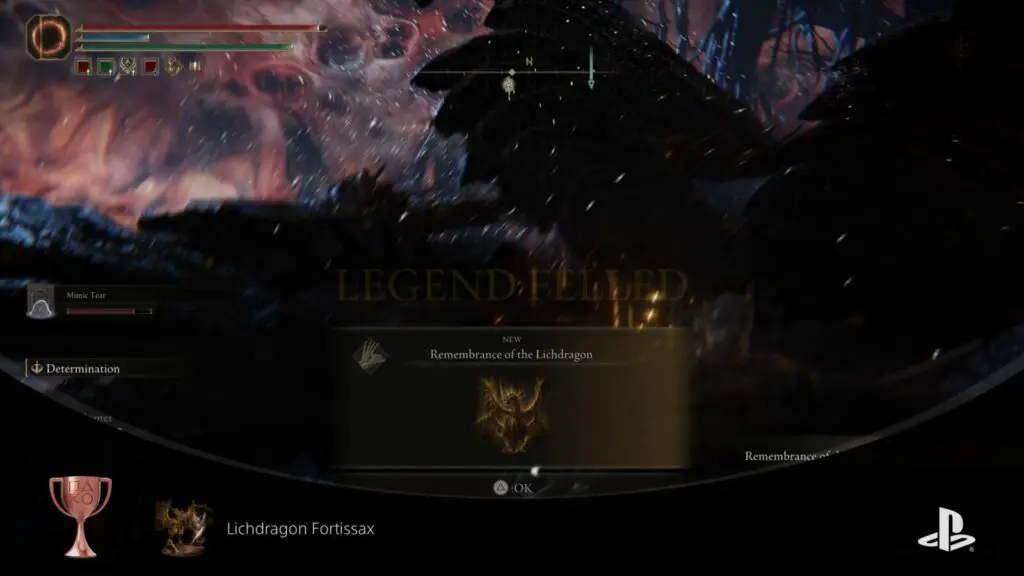
Lichdragon Fortissax
Defeat Lichdragon Fortissax.
Lichdragon Fortissax is an optional boss encountered during Fia’s questline. After defeating the Valiant Gargoyle you can find a coffin in the boss arena that you can press ![]() to climb into it and be teleported to Deeproot Depth. Climb the tree limbs in this area and head to a SoG called Across the Roots. Here you can find Fia who will summon three champions to fight you. After you dispatch them you can talk to Fia where she will ask if you’ve come to kill her. Choose “No, I want to be held” to continue the questline where you can give her the Cursemark of Death. Rest at the SoG again and now you will be able to interact with Fia as she sleep to fight Lichdragon Fortissax.
to climb into it and be teleported to Deeproot Depth. Climb the tree limbs in this area and head to a SoG called Across the Roots. Here you can find Fia who will summon three champions to fight you. After you dispatch them you can talk to Fia where she will ask if you’ve come to kill her. Choose “No, I want to be held” to continue the questline where you can give her the Cursemark of Death. Rest at the SoG again and now you will be able to interact with Fia as she sleep to fight Lichdragon Fortissax.
The fight is like any other dragon fight in Elden Ring except whenever you get close to Lichdragon Fortissax, you will begin to shimmer with red lightning. After a few seconds it will spark and cause damage to you unless you roll away from it before it sparks. You have to manage evading at the right time while you deal damage to the dragon which can be quite hard so summoning the Mimic Tear is a good strategy for beating him.

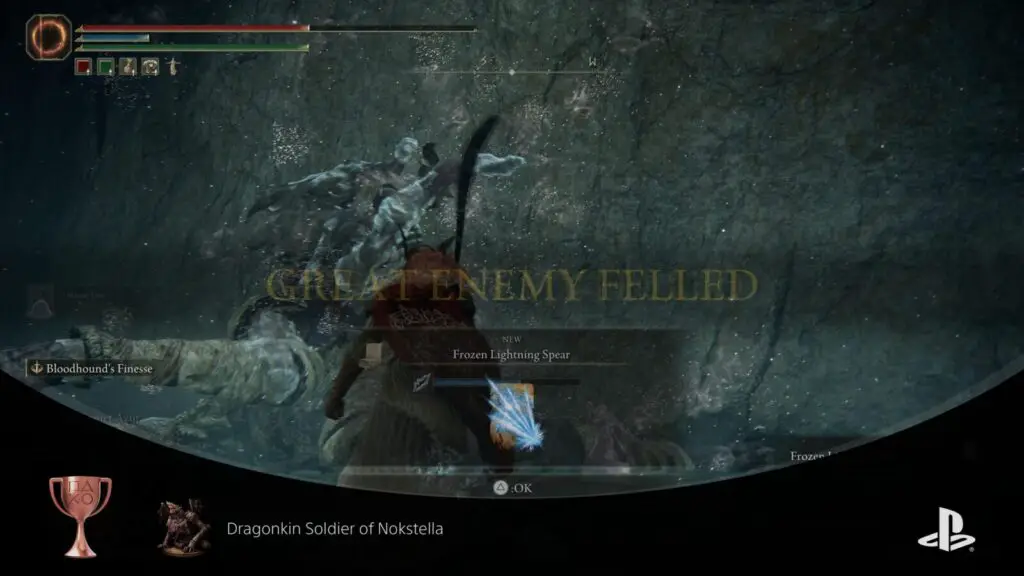
Dragonkin Soldier of Nokstella
Defeat Dragonkin Soldier of Nokstella.
The Dragonkin Soldier of Nokstella is an optional boss found near the Ainsel River Well SoG. This boss is a large humanoid creature with large but slow sweeping attacks that will be impossible to block for most players except those with high enough poise. It’s better to evade through these attacks or stay clear from them all together. Dragonkin Soldier of Nokstella has a phase two where his attacks become enhanced by frost.

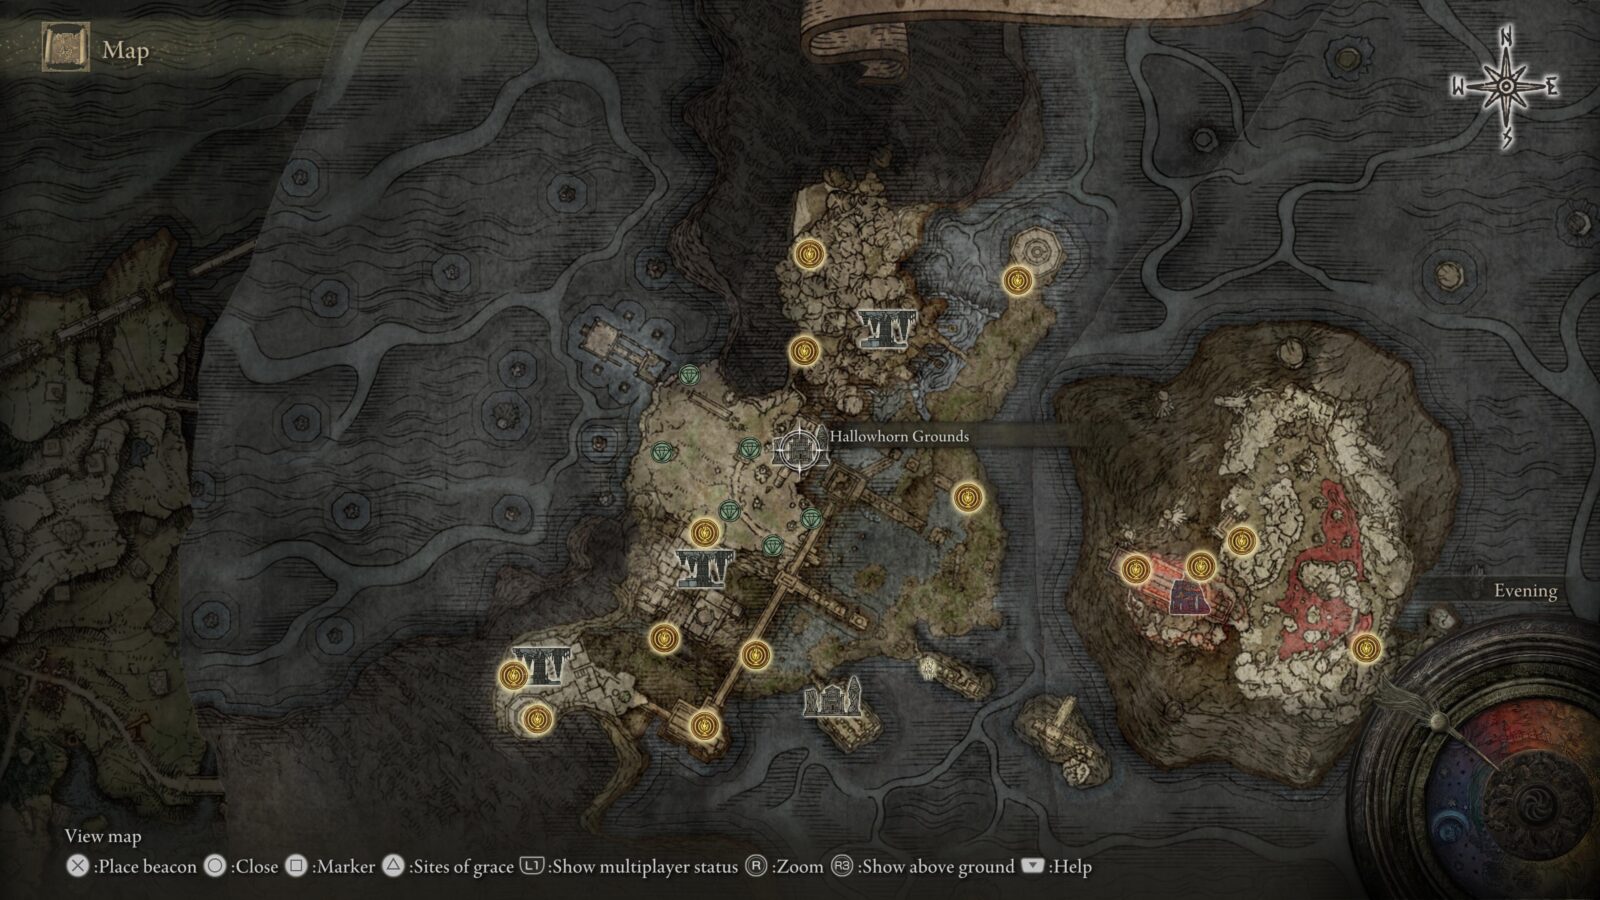
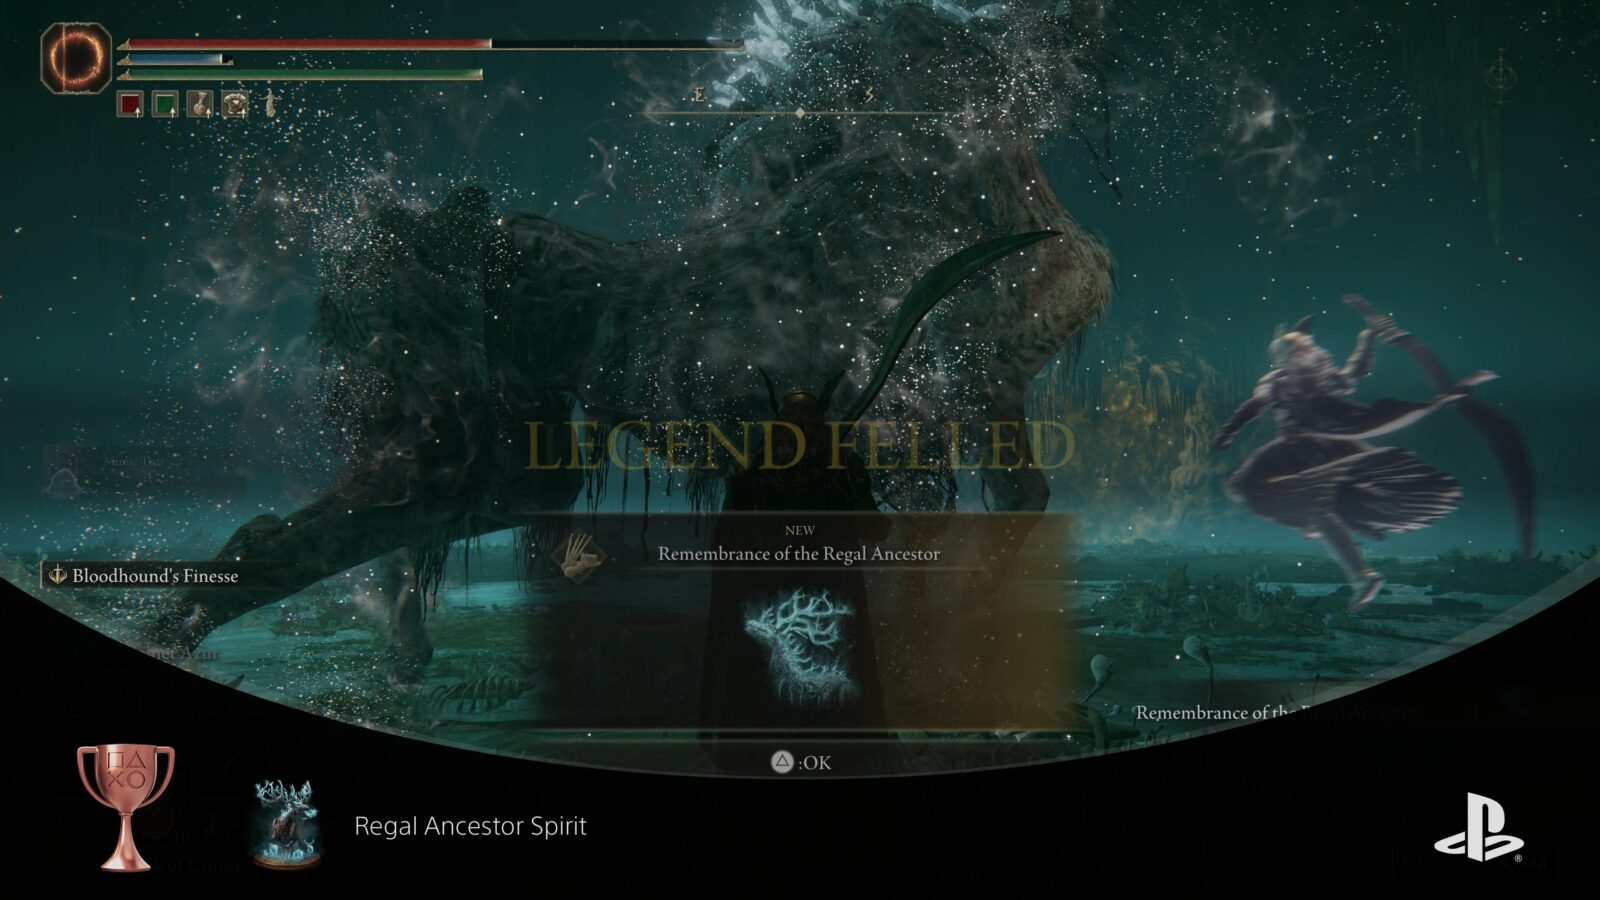
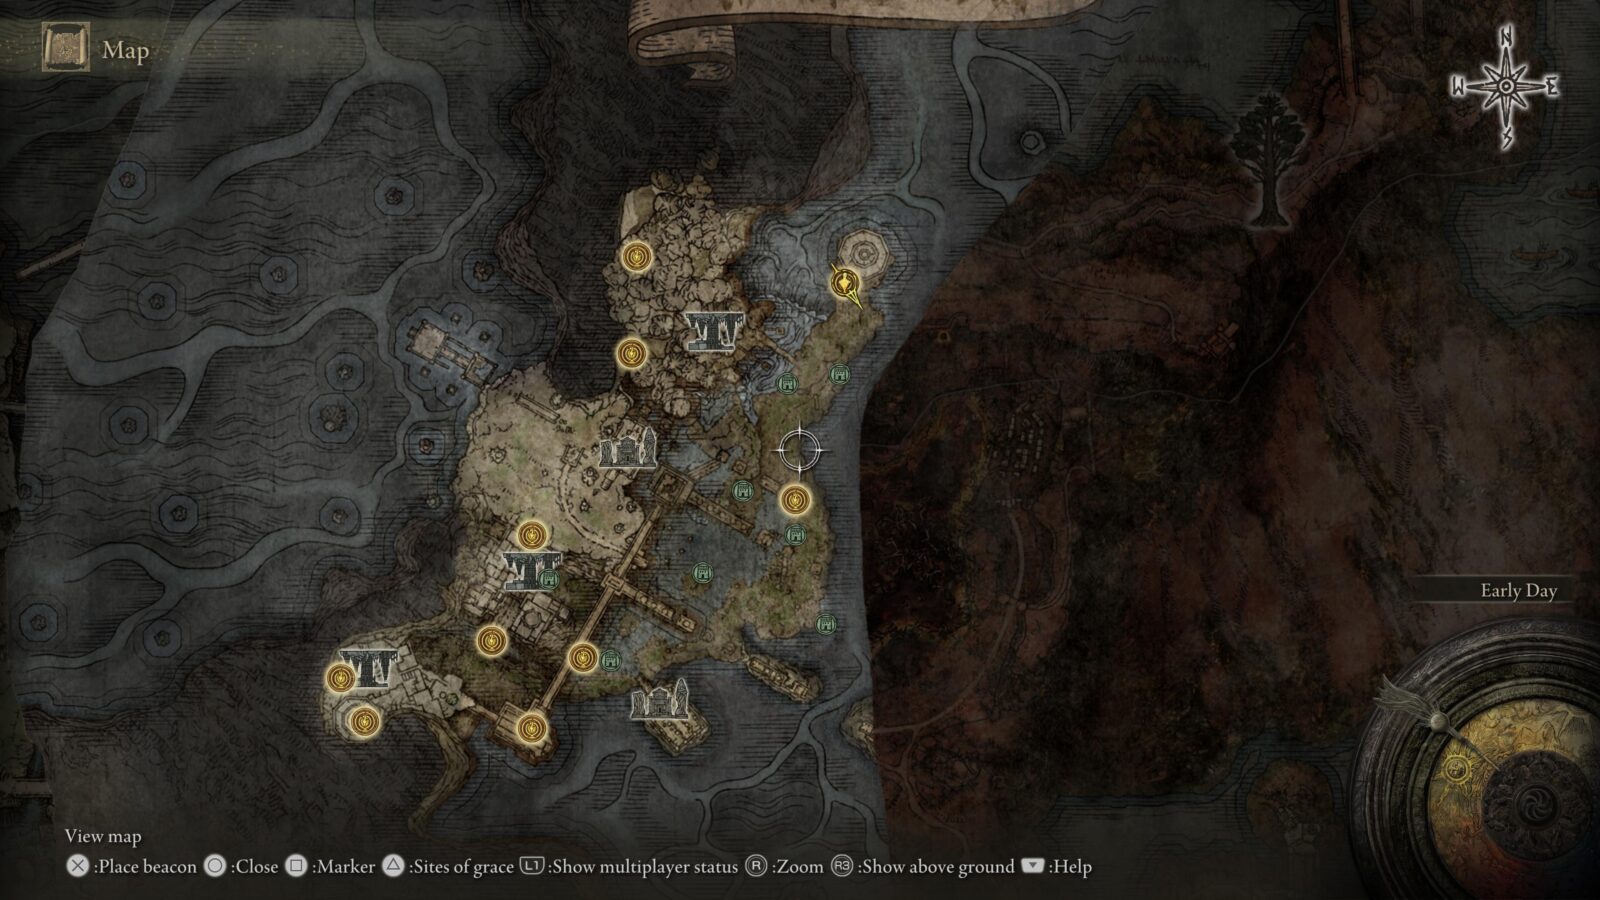
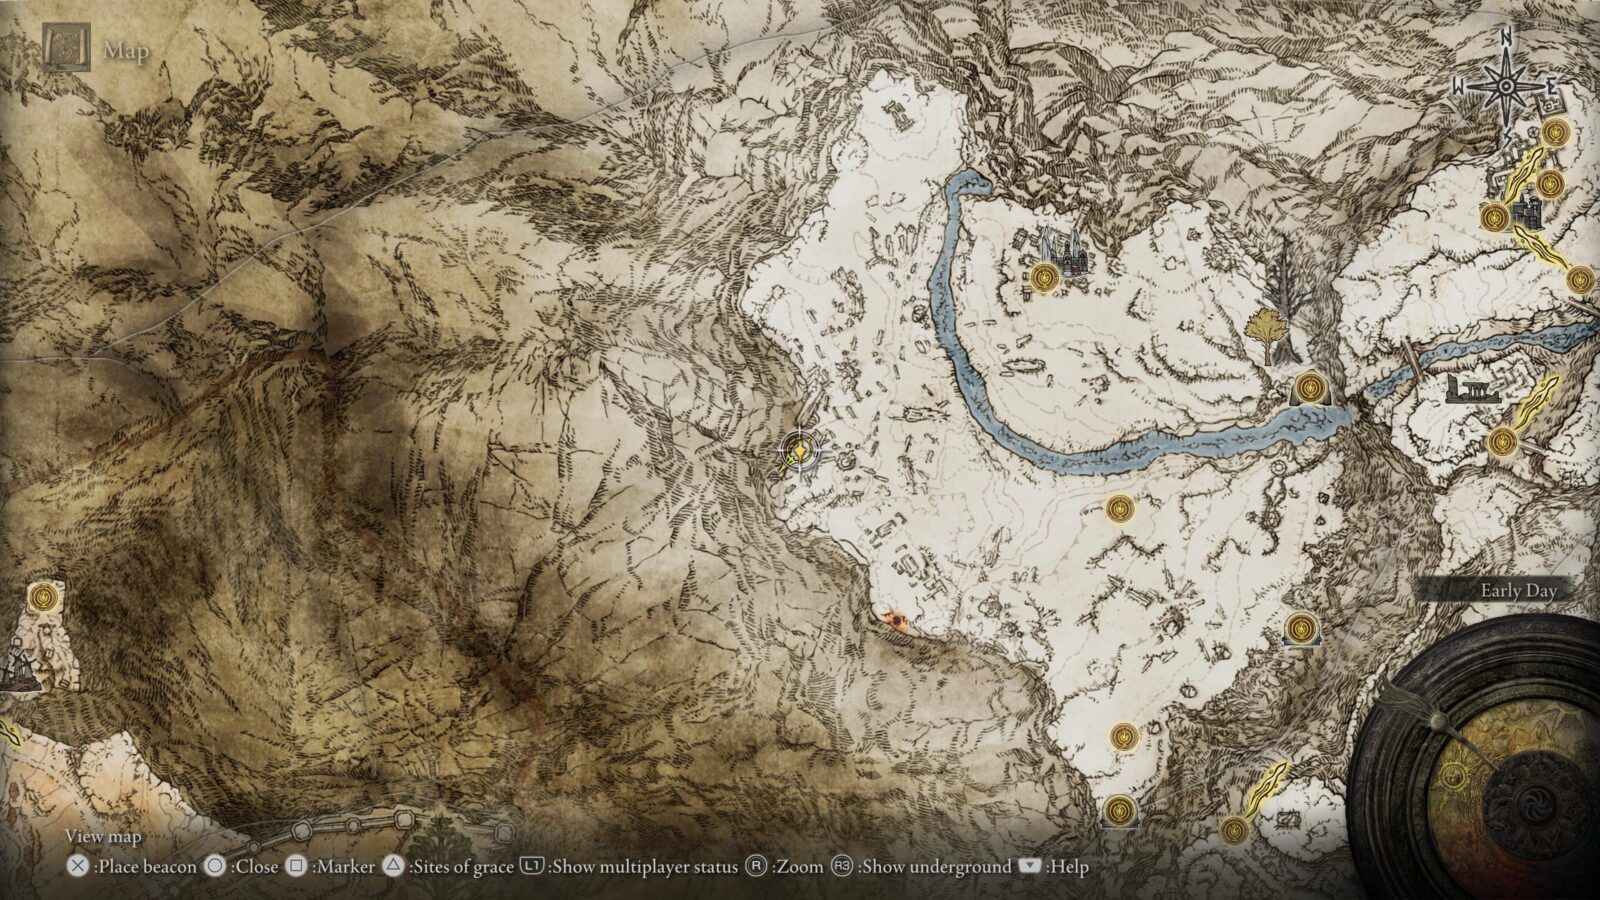
Regal Ancestor Spirit
Defeat Regal Ancestor Spirit.
Regal Ancestor Spirit is an optional boss in Siofra River. You first have to light six beacons in the area (see the image below for the locations of the beacons marked with the diamond marker) before you can interact with the large animal corpse found at Hallowhorn Grounds. Once all six beacons are lit and you interact with the corpse, you will be taken to a large boss arena to fight the Regal Ancestor Spirit. This fight is almost identical to the Ancestor Spirit fight—which also requires six beacons to be found and lit to spawn the boss. The main difference is that the Regal Ancestor Spirit will use an AoE attack that siphons health from any spirit creatures nearby

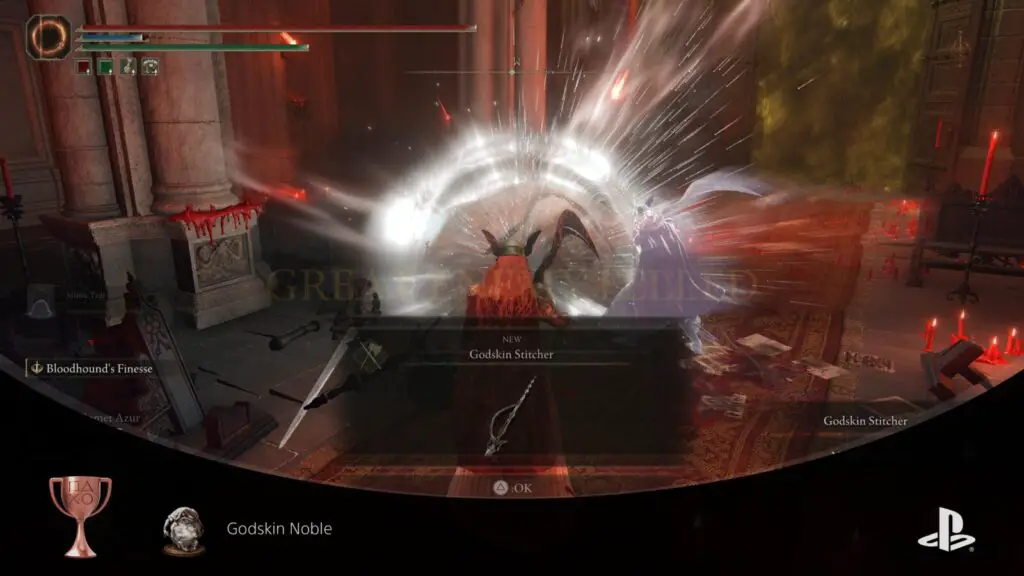
Goskin Noble
Defeat Goskin Noble.
Godskin Noble is an optional boss in the Volcano Manor area. To reach the Godskin Noble you will need to press ![]() on a wall in front of a corpse in the first room on the right inside the Volcano Manor itself to reveal a hidden passage. Follow the passage and it will take you to the Prison Town Church. From there you need to head right and progress through the area until you’re on the opposite side of the bridge that you can see on the very left of the area. There will be a level you can use to bring the bridge up connected the Prison Town Church and the Temple of Eiglay together. The Godskin Noble boss is inside the temple.
on a wall in front of a corpse in the first room on the right inside the Volcano Manor itself to reveal a hidden passage. Follow the passage and it will take you to the Prison Town Church. From there you need to head right and progress through the area until you’re on the opposite side of the bridge that you can see on the very left of the area. There will be a level you can use to bring the bridge up connected the Prison Town Church and the Temple of Eiglay together. The Godskin Noble boss is inside the temple.
This boss seems to be particularly weak against physical attacks and can be easily circled while getting off some quick attacks, however, he has combos that can be hard to evade so players should be on alert when close to him. The Godskin Noble possesses a Black Flame barrier that it can use to try and push you away from him, but this move is clearly telegraphed and easy to evade.

Magma Wyrm Makar
Defeat Magma Wyrm Makar.
The Magma Wyrm Makar is an optional boss found at the Ruin-Strewn Precipice Overlook near the Dectus Lift into Altus Plateau. You can completely miss this boss if you manage to find the two medallion pieces to activate the Dectus Lift though most players will likely have to face the Makar to gain entry into Altus Plateau.
Magma Wyrm Makar has devastating lava attacks that will shred your health if you get hit by them or step on the residue left on the floor post-attack. He also seems to have a higher health pool than most bosses fought leading up to this point. Use your summoned spirit to distract this boss and try to stay behind him and attack his back legs.


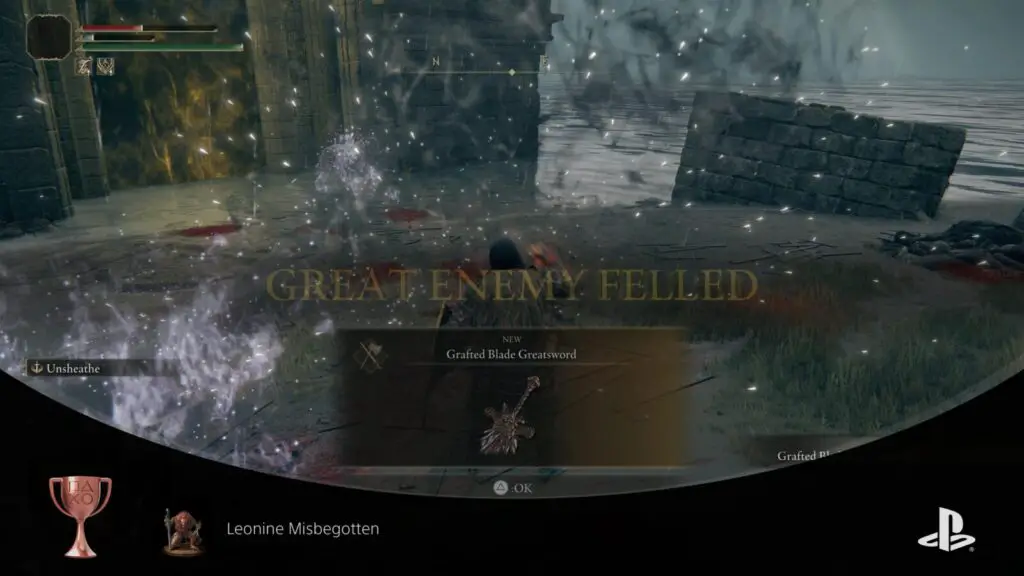
Leonine Misbegotten
Defeat the Leonine Misbegotten.
Leonine Misbegotten is an optional boss that can be found at the “Morne Moangrave” Site of Grace inside Castle Morne at the very South of Limgrave. Leonine Misbegotten is a very weak boss and most players will be able to defeat him without much hassle. Make sure to use the wolves summon to draw aggro away from you and to stun the boss letting you get some good hits in. Players will receive the Legendary Armament Grafted Blade Greatsword for defeating Leonine Misbegotten.

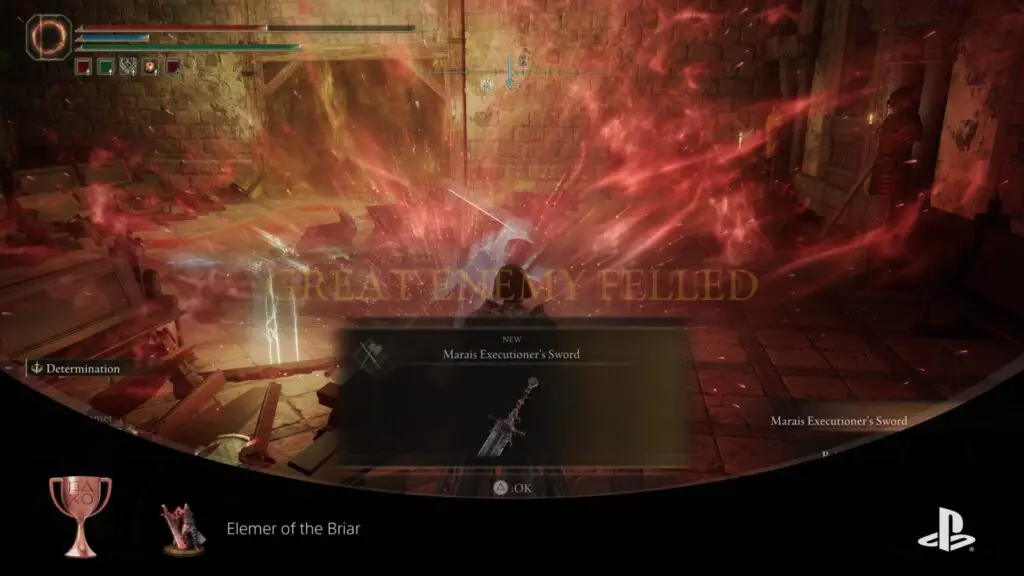
Elemer of the Briar
Defeat Elemer of the Briar.
Elemer of the Briar is an optional boss that can be found in the Shaded Castle in North Altus Plateau. The key to defeating Elemer of the Briar is to stay close to him as he won’t use magic attacks and close range. However, this can also be difficult for players with a low Vigor stat as he doesn’t really leave room to heal. Therefore, it’s advised to a summon such as the wolves to take some of the aggro off you so you can heal or drop back to mid/long range if you’re a ranged player. Players will receive the Legendary Armament Marias Executioner’s Sword for defeating Elemer of the Briar.

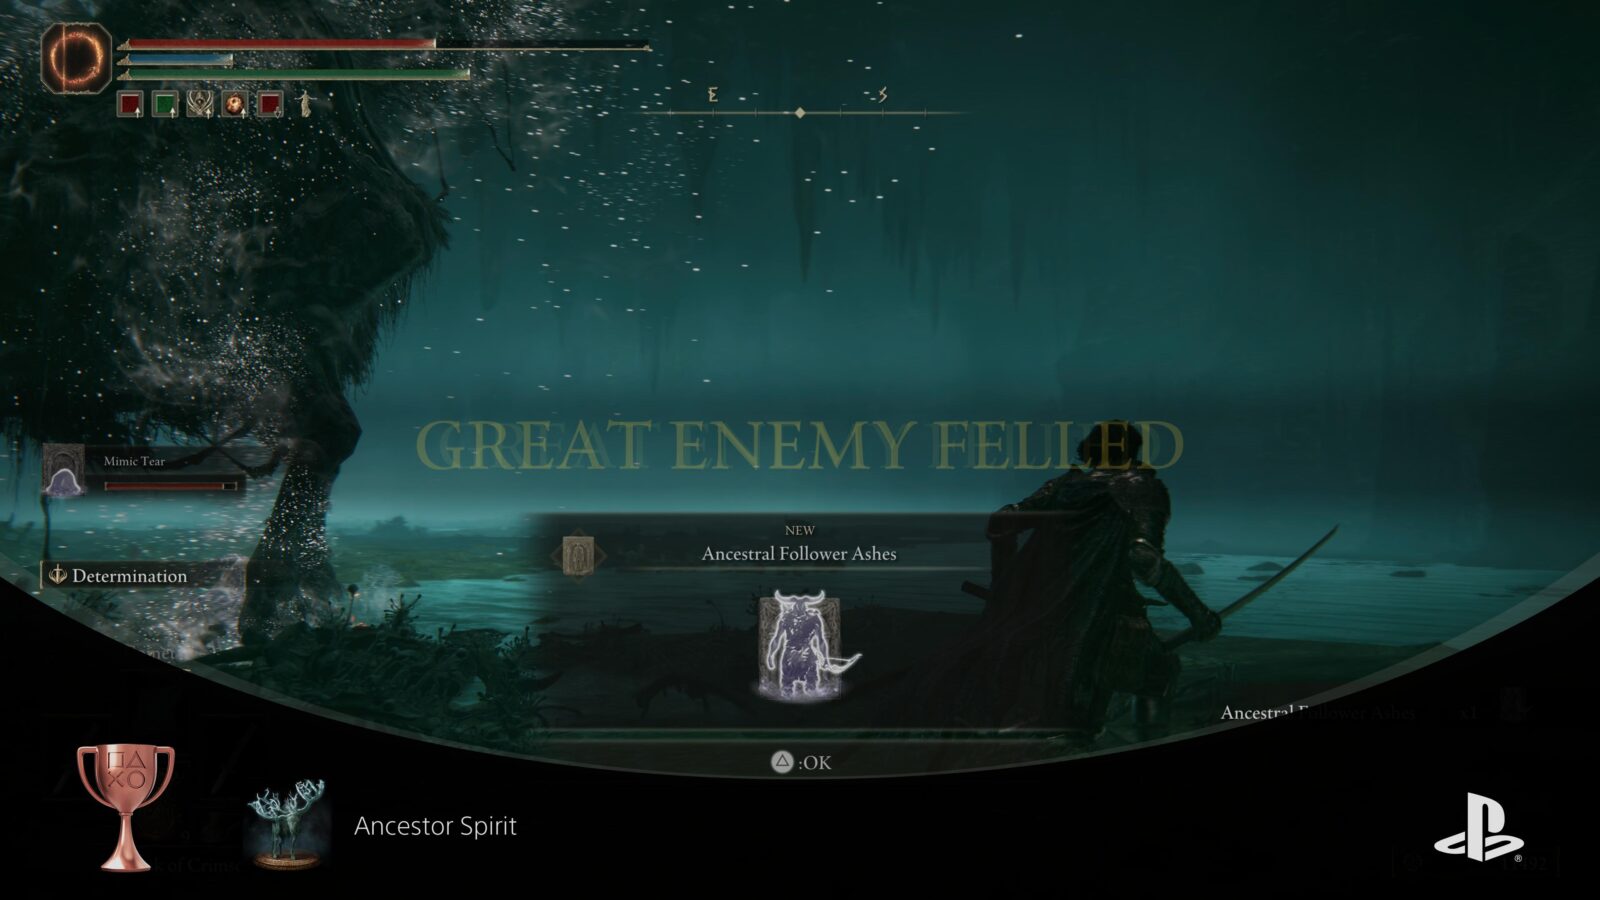
Ancestor Spirit
Defeat Ancestor Spirit.
Like the Regal Ancestor Spirit, the Ancestor Spirit is an optional boss that can only be fought once you have found and lit the six beacons in Siofra River. The fight is also near identical with the exception that the Ancestor Spirit doesn’t use the health steal AoE that the Regal Ancestor Spirit does making this fight easier and faster.

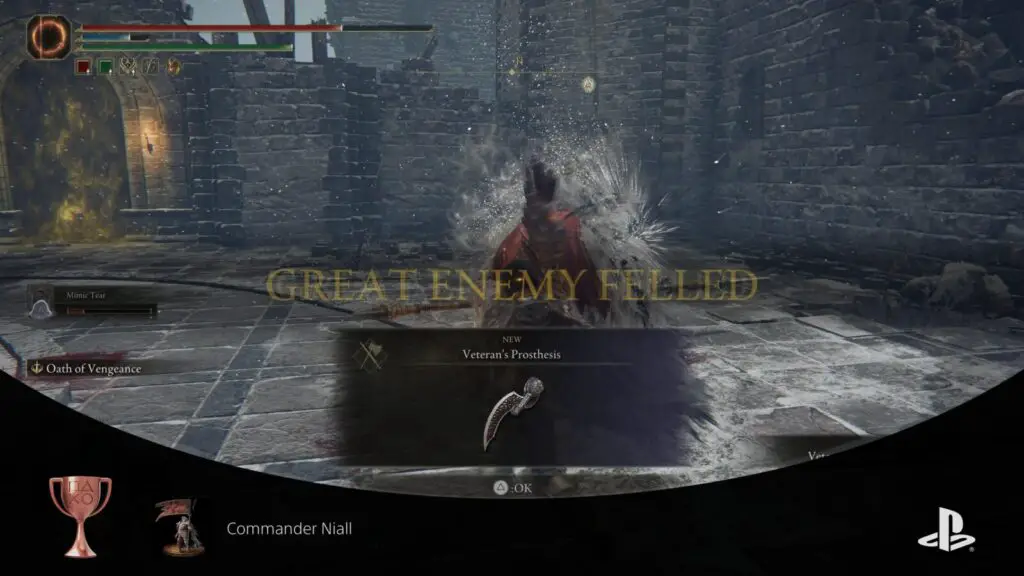
Commander Niall
Defeat Commander Niall.
Commander Niall is an optional boss that can be found in Castle Sol in the Mountaintops of the Giants area. Commander Niall will summon two enemies to fight alongside him at the very start of this fight. These summons are very deadly and do a lot of damage. It’s advised to upgrade your Mimic Tear summon to +10—if you have it and the means to upgrade spirit summons—to help deal with them. One both summons are dead, or at least the dual greatsword one, you can then focus on Commander Niall.
Commander Niall will use frost attacks and whirlwinds that can be devastating; he also has a lightning attack where he jumps into the air and slams down on top of you. It’s crucial to avoid being hit by these moves at all costs as they do incredible damage to the player. If your summon is still alive at this point you should try to rely on them to pull aggro so you can plan your next move. Players will receive the Haligtree Secret Medallion (left)—which can be used with the Haligtree Secret Medallion (right) to use the Grand Lift of Rold to reach the Consecrated Snowfield. This area will lead to Haligtree where you can fight Loretta, Knight of Haligtree and Malenia, Blade of Miquella—when defeating Commander Niall.
Optional Shardbearer Bosses Trophies

Shardbearer Rykard
Defeat Shardbearer Rykard.
Shardbearer Rykard is an optional Shardbearer boss that can be fought during a questline in Volcano Manor. Upon reaching Volcano Manor for the first time, talk to the woman sitting in the chair and pledge your allegiance to her cause. She will then send you on three quests to invade NPCs and kill them. After the third invasion you can then be introduced to Rykard.
The Rykard boss fight is somewhat of a gimmick boss fight. You will need to pick up a weapon nearby called Serpent-Hunter. This weapon has a long reach and does quite a bit of damage to Rykard.


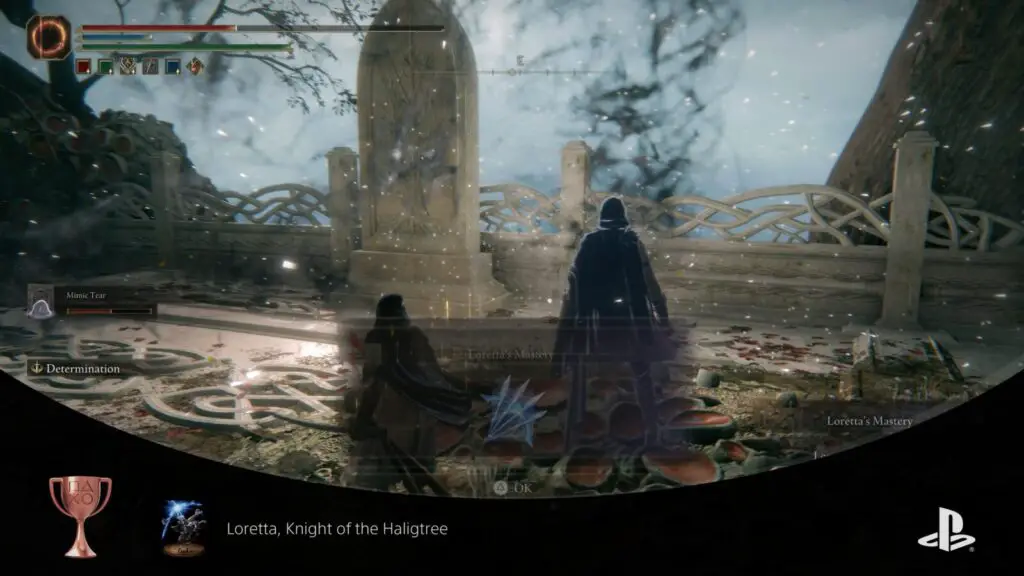
Loretta, Knight of the Haligtree
Defeat Loretta, Knight of the Haligtree.
Loretta, Knight of the Haligtree is an optional boss that can be found in Haligtree. To reach Haligtree you will need to have both halves of the Haligtree Secret Medallion which can be used at the Grand Lift of Rold to take you to the Consecrated Snowfield. You should already have the left piece from defeating Commander Niall so all you need to do is head to the Village of Albinaurics at the very bottom of Lirunia. Look for a pot along the stone wall just before the bridge into the village and then attack it to reveal a man inside. He will give you the second half of the medallion. Once you have both halves travel to Consecrated Snowfield.
From here you should head North to Ordina, Liturgical Town and complete the puzzle; you will have to interact with a Gaol to be teleported to a darker version of the town where you will have to find and light four statues. Once you have completed this puzzle you can climb the stairs at the back of the town to reach Haligtree.
Loretta, Knight of the Haligtree is similar to Toyal Knight Loretta except she will have some extra attacks and deals a bit more damage. She will be on horse back just like before and is very mobile. Mimic Tear +10 is excellent in this fight and you should rely on it to deal damage and pull aggro while you try to get behind Loretta and deal a few hits and then back off to let the Mimic Tear +10 do the same. Trade aggro and damage with your Mimic Tear +10 like this and you shouldn’t have much trouble dealing with Loretta.

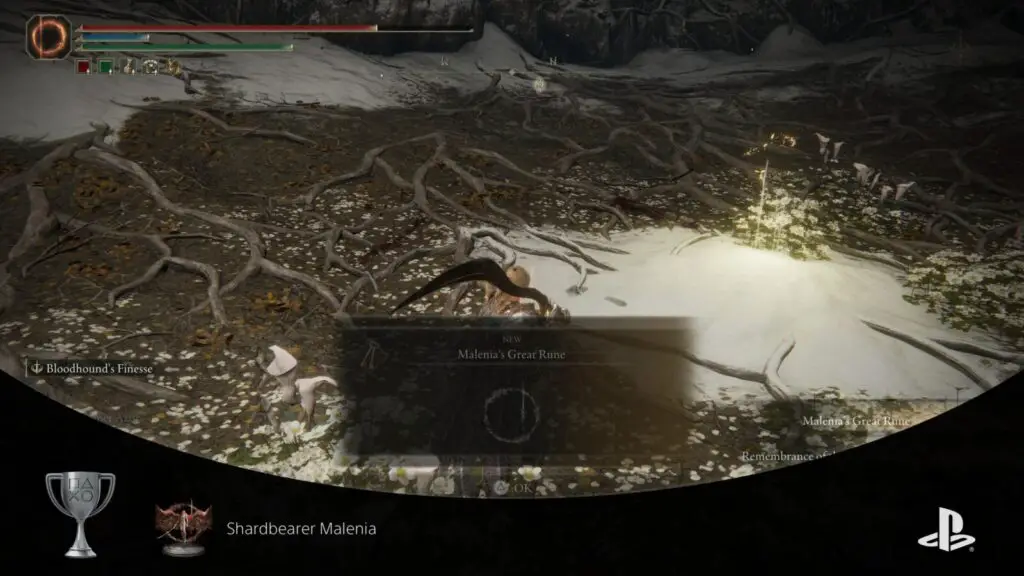
Shardbearer Malenia
Defeat Shardbearer Malenia.
Shardbearer Malenia is an optional boss in Haligtree. She is possibly the hardest boss in all of Elden Ring due to the fact that she heals with every hit she lands on you. She also has a near unavoidable three-hit combo which is almost always a guaranteed death if it connects with you. Create some breathing room after every hit so you can see what move she’s about to make; if she leaps into the air you will want to run away to try avoid her three-hit combo. Mimic Tear +10, a summon that can tank damage, or any summon that can reliably stun bosses is invaluable in this fight and will likely be the key to success.
Phase two of this fight adds new attacks that cause Scarlet Rot build-up. She will always start phase two by slamming down on your head and create a large red flower. If you walk into this flower Scarlet Rot will start building up and deal damage to you. When this happens it’s best to stay outside of the flower until it disappears and rely on your summon to deal damage. Malenia will also still try to do her three-hit combo in this phase so you will have to keep an eye out for that.

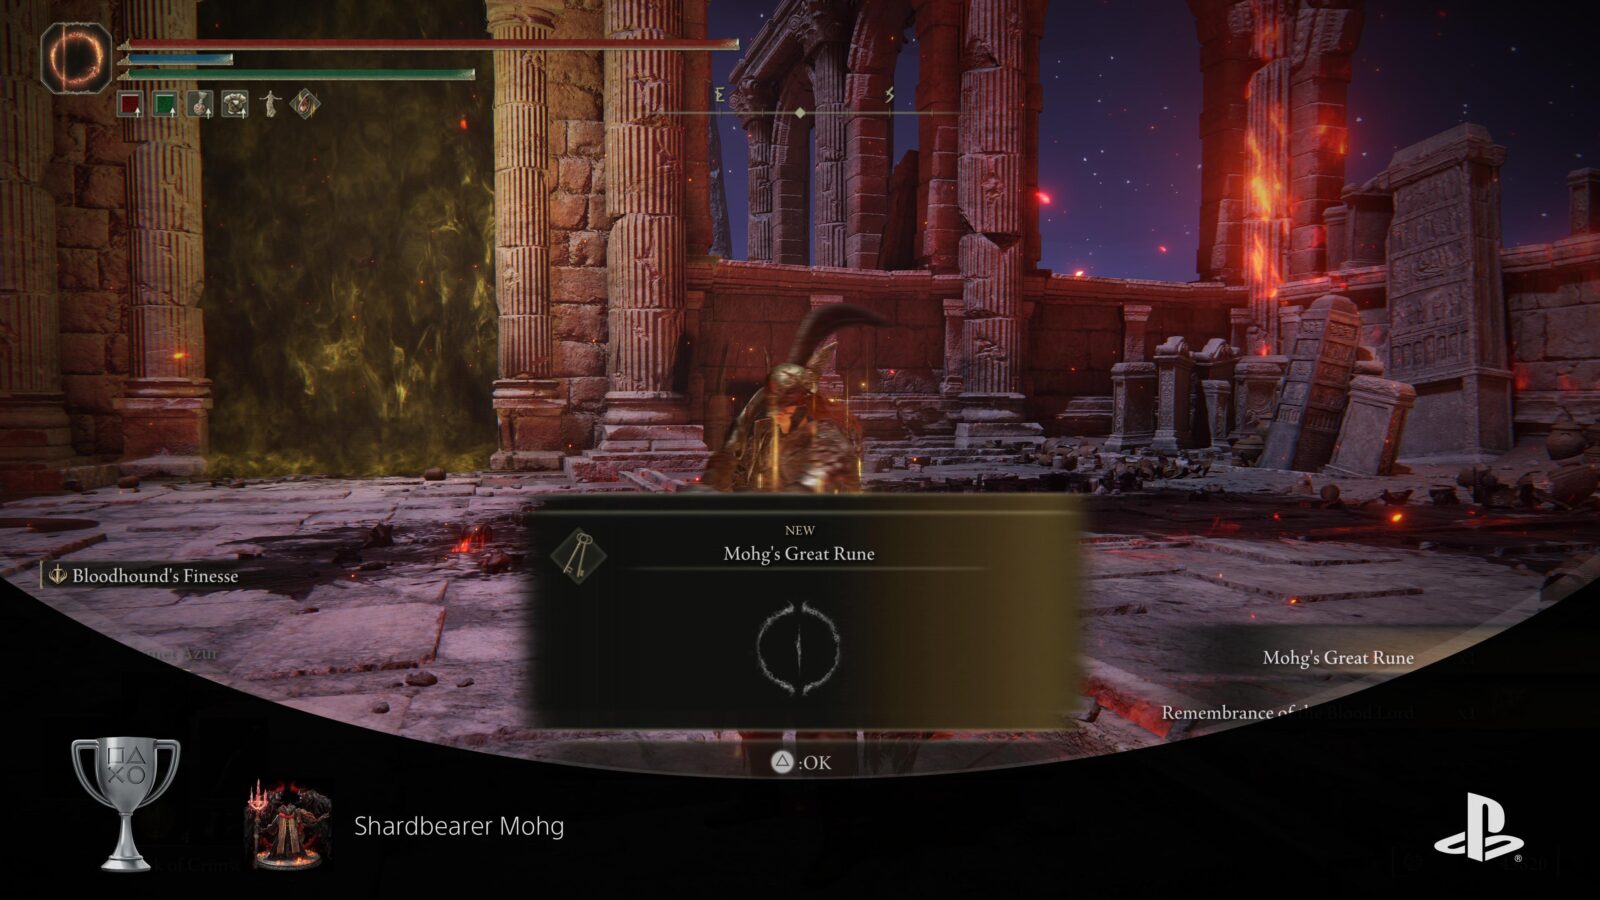
Shardbearer Mohg
Defeat Shardbearer Mohg.
Shardbearer Mohg an optional boss that can be found in Mohgwyn Palace which is a part of Sifora River. To get to this area you can complete Varre’s—the guy you met at the “First Step” Site of Grace—questline which involves invading players and pledging your loyalty to Mohg, or you can use the teleporter in the West of Consecrated Snowfields in the Moutaintops of the Giants area.
The worst move that Mohg posses can end your fight really fast. At around 25% health he will begin to lift his weapon in the air and shout “Tres, Duo, Unus” and a red ring will appear around the player with each word for a total of three. He will then shout “Nihil” and syphon a ton of health from the player. He will shout “Nihil” three times so it’s crucial to find a way to tank the damage. You can heal between each Nihil chant which is certainly viable but the best way to deal with it is to use the Wonderous Physick. if you equip the Purifying Crystal Tear on the Wonderous Physick which blocks the three counts of bleed so as soon as you notice him about to count, use the Wonderous Physick.
Phase Five – Collect Remaining Legendary Items, Defeat Maliketh, the Black Blade & Dragonlord Placidusax
We’re nearing the end of our Elden Ring Trophy Guide now. All that’s left to do is explore Crumbling Farum Azula, kill a few more bosses—some easier than others—before moving on to Phase Six. Crumbling Farum Azula becomes available at the end of the game once you have set fire to the Erdtree. Farum Azula isn’t a big area or too complex but it has some difficult enemies that you should look out for. It also has the last optional boss—Dragonlord Placidusax—which is easily missable so make sure you read the guide for that trophy when you land in Farum Azula.
You can also collect the last Legendary Armament here—Devourer’s Scepter—as well as one of the last Talismans—Old Lord’s Talisman. Both of these items can be acquired from the same place in Farum Azula just before the final boss arena where Maliketh, the Black Blade is waiting. The very last Legendary Talisman can only be picked up from Leyndell after defeating Maliketh. However, before you do fight and defeat Maliketh make sure you finish any business (i.e. collect the Bolt of Gransax) you have in Leyndell as after Maliketh is dead you won’t be able to explore it normally.
Crumbling Farum Azula Trophies

Fire Giant
Defeat Fire Giant.
The Fire Giant is a mandatory boss and can be encountered at the Foot of the Forge in the Mountainops of the Giants area. The Fire Giant has to be defeated for the player to reach the Forge of Giants in order to set the Erdtree ablaze. The Fire Giant himself isn’t too bad of a boss fight. He’s large and has plenty of reach but you can use Torrent in this fight so you should just focus on strafing attacks and let your Mimic Tear +10 or other summon pull his aggro. During phase two the Fire Giant will be on his hands and knees and well periodically roll around in an attempt to squash the player. This attack has a large effective area and is easier to dodge when not on horseback as you can use your i-frames from evading through it to negate the damage.

Erdtree Aflame
Use kindling to set the Erdtree aflame.
After defeating the Fire Giant you can climb the Forge of the Giants and rest at the Site of Grace there. Melina will appear before you and ask if you’re ready to set the Erdtree aflame. Choose “I’m ready” and Erdtree Aflame will unlock. When the Erdtree begins to burn Melina will disappear and you will be teleported to the final area of the game—Crumbling Farum Azula.


Godskin Duo
Defeat Godskin Duo.
Godskin Duo is a mandatory boss that you will come across naturally during your progression through Crumbling Farum Azula. The Godskin Duo boss can be quite tricky for some players as there are two bosses to fight—as the name would suggest. The reason this boss will be difficult is that both bosses have their own health bar as well as a shared health bar (which will be labelled as “Godskin Duo”). If you kill one of the bosses and their shared health bar still has health in it, the defeated boss will come back. This means you will have to either kill both close to each other or deal with one of them coming back. Though, if a boss comes back at the very end of the shared health bar they will both die regardless of how much health they have in their personal health bars.


Dragonlord Placidusax
Defeat Dragonlord Placidusax.
Dragonlord Placidusax is the final optional boss in Elden Ring as you can only fight it during the Crumbling Farum Azula section. To reach the boss you will have to lay down in a sort of divot in the ground to be teleported to the boss arena.
From the “Beside the Great Bridge” Site of Grace, us the lift that takes you to the church and exit. Keep walking forward toward the edge and look down. You will see a ledge you can drop down to. Follow the path to the end and you will see a bunch of old corpses curled up in rows of shallow holes. Look for an empty hole and stand inside it to see the ![]() prompt to lay down.
prompt to lay down.
Fighting Dragonlord Placidusax is made easier by equipping Boltdrake Talisman +2 and using the Golden Lightning Fortification incantation if you can. Like every other boss, use a reliable summon and you shouldn’t have too much trouble fighting this boss except for the fact that he’s a dragon and can be super mobile and has a large attack range.

Maliketh the Black Blade
Shardbearer Maliketh the Black Blade.
Maliketh the Black Blade is a mandatory boss that is found at the end of the Crumbling Farum Azula section. When you enter the boss arena the boss will be in a cloak and only have a small sword. He’s deceptively easy during this phase, however, he will change appearance at 50% health. He will adorn some new armor, a new sword, and will be dangerously more mobile. During phase two, Maliketh will periodically leap into the air and shoot red bleed arcs at the player before slamming down in a 360° motion. He does so much damage per hit that it’s likely your Mimic Tear +10 or other summon will die shortly into phase two so it’s advised to solo phase one and try find some time and room to summon your spirit as soon as phase two begins. This is quite a tricky and difficult boss but after a few attempts you should understand his move set enough that you can reliably evade most of this attacks.

God-Slaying Armament
Upgrade any armament to its highest stage.
Weapons in Elden Ring can be upgraded at the Roundtable Hold by visiting the blacksmith Hewg. You will need to use Smithing Stones as well as offering some Runes to upgrade weapons. Smithing Stones have tiers up to 8. Smithing Stone (1) can upgrade armaments to +3, Smithing Stone (2) can upgrade them to +6 and so on until +24. To get an armament to +25 you will need to hunt down an Ancient Dragon Smithing Stone.
Legendary Armaments require Somber Smithing Stones and can only be upgraded to +10. Similarly, to get a Legendary Armament to +10 you will need to use a Somber Ancient Dragon Smithing stone. Upgrading either a normal armament to +25 or a legendary armament to +10 will unlock God-Slaying Armament.

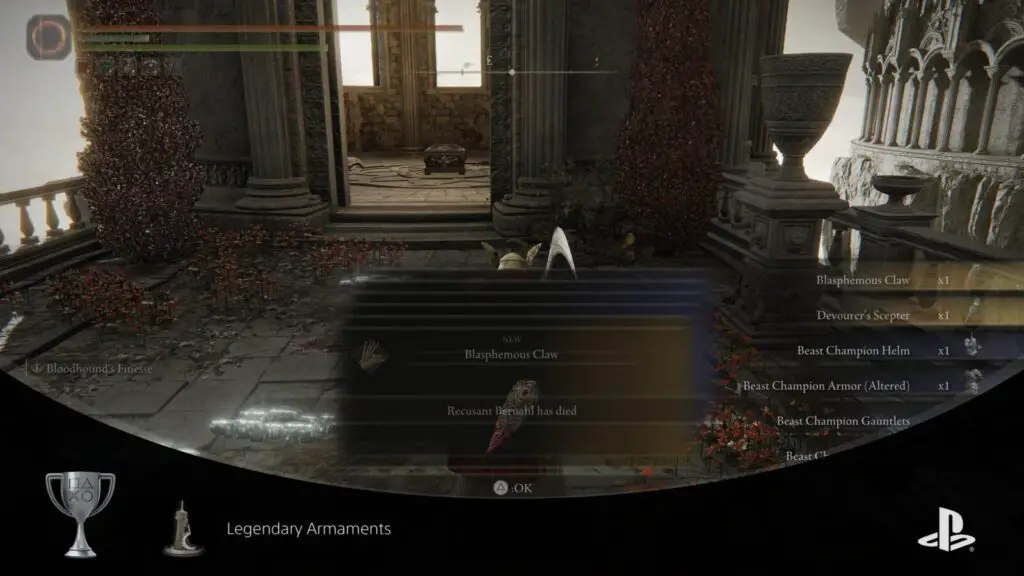
Legendary Armaments
Acquire all legendary armaments.
See our All Legendary Armaments Guide
Phase Six – Get All Endings
Our final phase of our Elden Ring Trophy Guide is a quick one. All you need to do is return to Leyndell and defeat the Elden Beast to reach the final decision of the game. But before you make that decision, make sure to backup your save file to PS+ or to a USB—for PS4 users. You can then use this backup save file to get all three endings.
As soon as you get to Leyndell, make sure you grab the very last Legendary Talisman before you go fight the last boss and get your endings. This talisman is only available during this stage of the game.
Phase Six Trophies

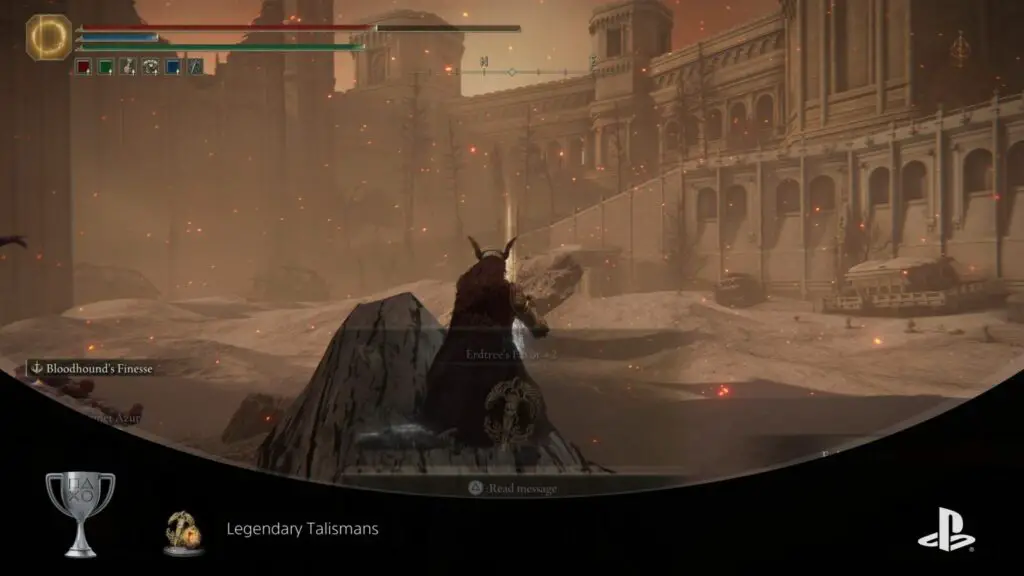
Legendary Talismans
Acquire all legendary talismans.
See our All Legendary Talismans Guide

Hoarah Loux the Warrior
Defeat Hoarah Loux the Warrior.
Hoarah Loux the Warrior is a mandatory boss that can be found in Leyndell after finishing Crumbling Farum Azula. Hoarah Loux is also known as Godfrey so you’ve fought his golden spirit before. He’s more deadly this time around, but isn’t as difficult as some of the bosses you’ve fought up to this point. He’s mostly a melee fighter and can be evaded quite easily. In phase two he will consume his lion spirit and become more aggressive, but again he’s a bit of a breeze.

Elden Lord Ending
Before you continue back up your save file to PS+ or a USB (PS4 users only). After each ending, download your save file so you can get the next ending.


Elden Lord
Achieve the “Elden Lord” ending.
To achieve the Elden Lord ending, approach Queen Marika’s crumbling corpse and interact with it. You maybe have a few options to select from but all options are just slight variations of the same ending. Choose the very first option if you want to be safe but after a brief cutscene Elden Lord will unlock.

Age of Stars Ending

Age of the Stars
Achieve the “Age of the Stars” ending.
To achieve the Age of Stars ending you will first need to have completed Ranni’s questline and placed the Dark Moon Ring on her finger. See our Ranni’s Questline guide. While standing at Queen Marika’s corpse you should be able to see a blue summon sign on the ground nearby. Use it to summon Ranni and a cutscene will appear. Age of Stars will unlock when the cutscene ends.

Lord of Frenzied Flame Ending

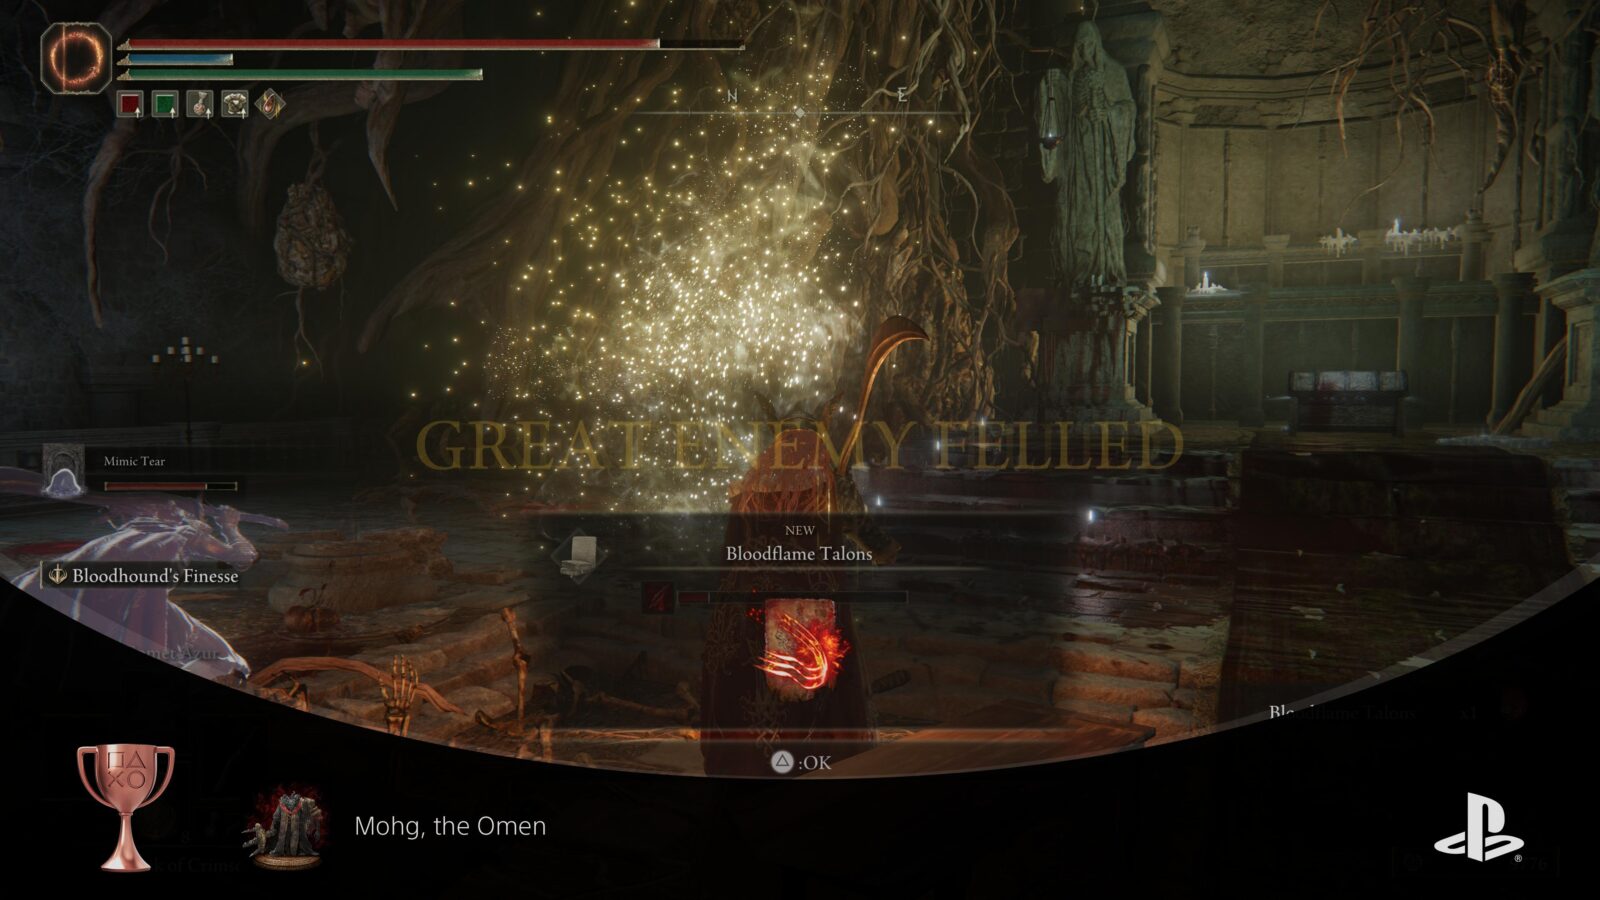
Mohg, the Omen
Defeat Mohg, the Omen.
Mohg, the Omen is an optional boss that can be found in Leyndell’s sewers. Players must kill him in order to access the Lord of Frenzied Flame ending, though they may have already defeated him at this point. It’s advised that if you fight him during an earlier phase do not go beyond the “Frenzied Flame Proscription” Site of Gace as doing so will lock you into the Frenzied Flame ending.
Mohg can be found in the sewers—which can also be accessed before Leyndell is covered in Ash—which is located South-West of the “Leyndell, Capital of Ash” Site of Grace. At the very bottom of the sewer will be a cathedral where Mohg, the Omen hangs out. This boss fight is a lot easier than his Shardbearer fight as he doesn’t seem to use the Nihil attack and mostly relies on his trident to inflict damage though he does have a blood-flame attack.

Lord of Frenzied Flame
Achieve the “Lord of the Frenzied Flame” ending.
To achieve the Lord of Frenzied Flame ending you first have to defeat Mohg in the sewers under Leyndell. After defeating the Elden Beast fast travel back to Leyndell’s sewers to fight Mohg—or where you defeated Mohg if he’s already dead. Either way once he’s dead approach the altar at the front of the cathedral to reveal a hidden passage. You will have to complete a rather frustrating platforming section to reach the ground below. Once you make it down, you will see some doors that you can’t open. To open them you have to remove all armor and weapons. Once inside a cutscene will play and you will become scorched (if you skipped to this section of the guide without completing any of the previous phases it’s important that you don’t open the doors and become scorched until after you’ve defeated the Elden Beast and backed up your save; it’s a permanent change and you will be locked into this ending for the rest of your playthrough). Once you have control return to Queen Marika’s corpse and become the Lord of Frenzied Flame.

Plat Get!


Elden Ring
Obtain all trophies.
Once you have acquired every other trophy in this Elden Trophy Guide, the “Elden Ring” Platinum Trophy will unlock. Congratulations, Foul Tarnished.

Thank you for choosing PlatGet as your source for an Elden Ring Trophy Guide. Consider checking out our other guides!
Follow us on Twitter @GetPlat or Instagram @platget for updates on new reviews and guides, as well as small anecdotes about our platinum journeys.