PlayStation 4
The Surge Trophy Guide


General Info
FAQ
How long does it take to beat The Surge and unlock all trophies?
50 Hours.
How difficult is it to beat The Surge and unlock all trophies?
Medium (5/10).
Does The Surge have online trophies?
No.
Does The Surge have difficulty-specific trophies?
No.
Does The Surge have missable trophies?
Yes.
Does The Surge have glitched trophies?
No.
What is the minimum number of playthroughs required to unlock all trophies in The Surge?
Two.
Does The Surge have a Platinum Trophy?
Yes.
Other Useful Guides:
The Surge Collectibles Guide
Trophy Guide
The Surge Trophy Guide and Road Map
Welcome to our The Surge Trophy Guide. In this guide, you will find strategies and tips for unlocking every trophy on your way to the platinum. We have broken the journey up into easily digestible phases with expert information packed into each one. With this, anyone should be able to conquer this game and its challenges.
The Surge Trophy Guide: Before You Begin
Unmapped & Unknown
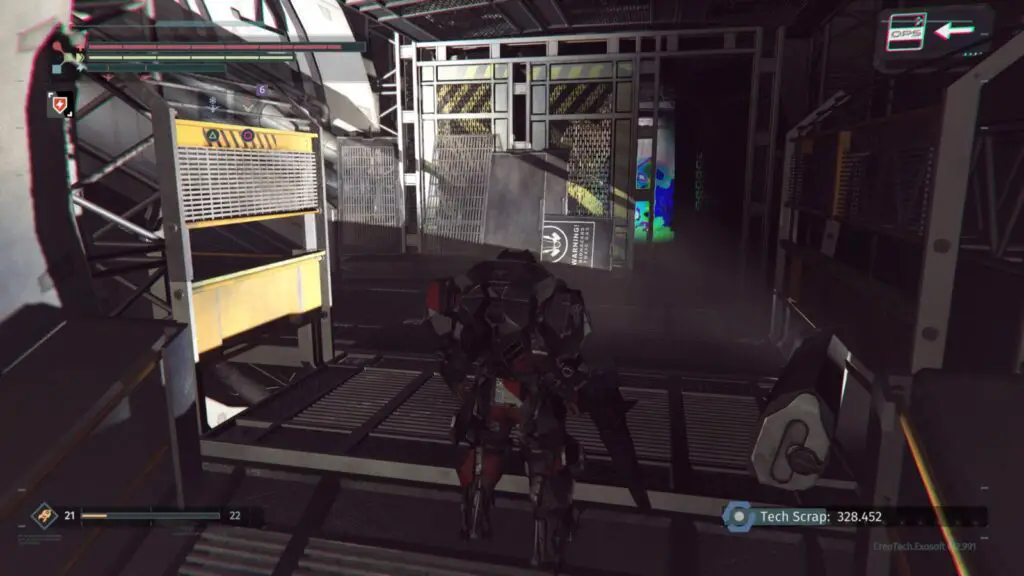
The Surge doesn’t feature any kind of map system beyond finding a physical map plastered on a wall in-game. This usually isn’t an issue in Soulslike games, however, The Surge’s level design is labyrinthian. There are numerous paths that lead all over each region. These paths often lead to dead ends or shortcuts that lead back to the OPS.
Similarly, there’s no real objective or objective tracker in The Surge. Each time you reach a new region and enter the OPS for the first time, Sally—One of the only NPCs you talk to more than once—will talk to you and give you a vague idea of what to do next. The best method to find your way in The Surge is to always head towards a lift or the region’s train station. While exploring, you will see signs on walls that point to lifts and train stations; head to them and use them as often as you can.
Fast Travel
The Surge doesn’t feature fast travel like traditional Soulslike games. However, if you have the “The Good, the Bad and the Augmented” DLC, you can use the Testing Chamber doors to quickly travel between regions. When you happen upon a Testing Chamber door while exploring, enter it and then you’re inside the chamber itself, leave via the same door to keep exploring. When you enter the Testing Chamber door, it unlocks as a fast travel point from within the chamber. This is a great help near the end of the game if you need to travel all the way back to an earlier region.
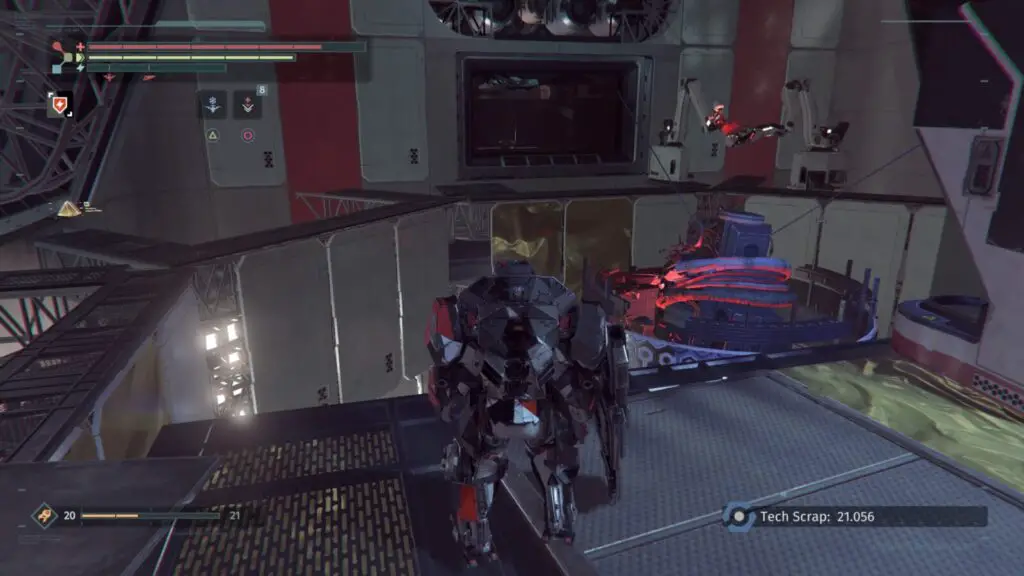
Tech Scrap Farming
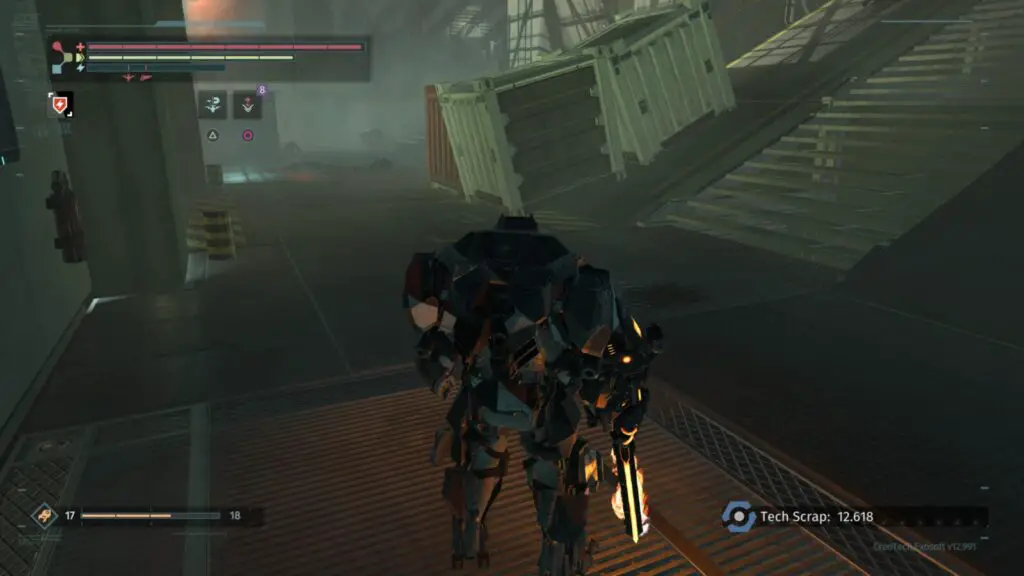
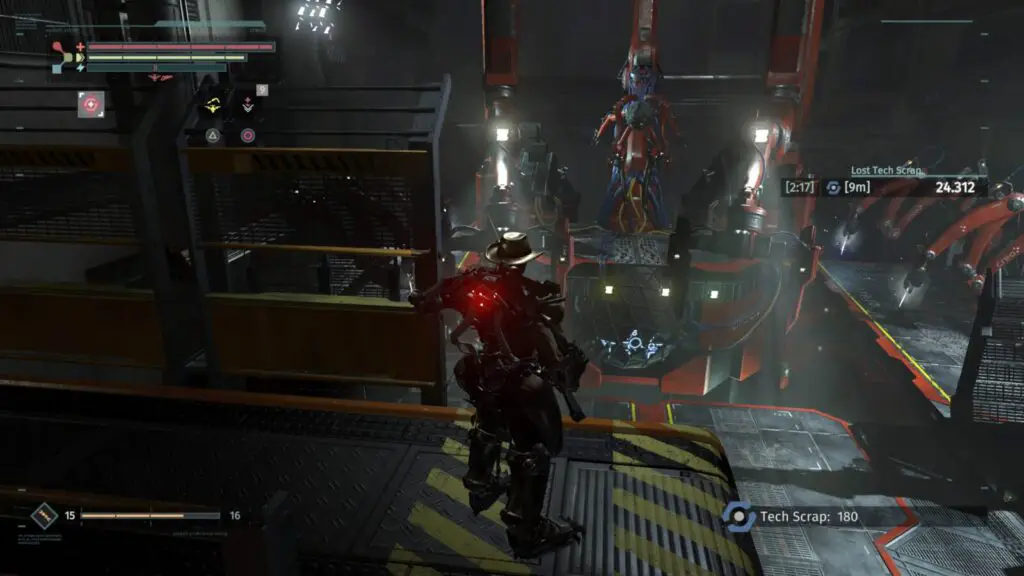
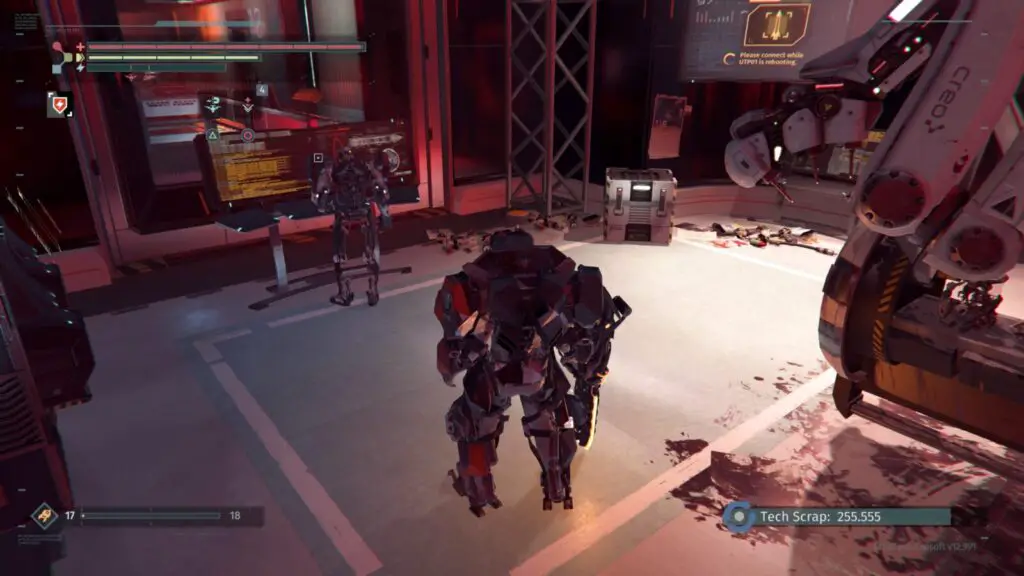
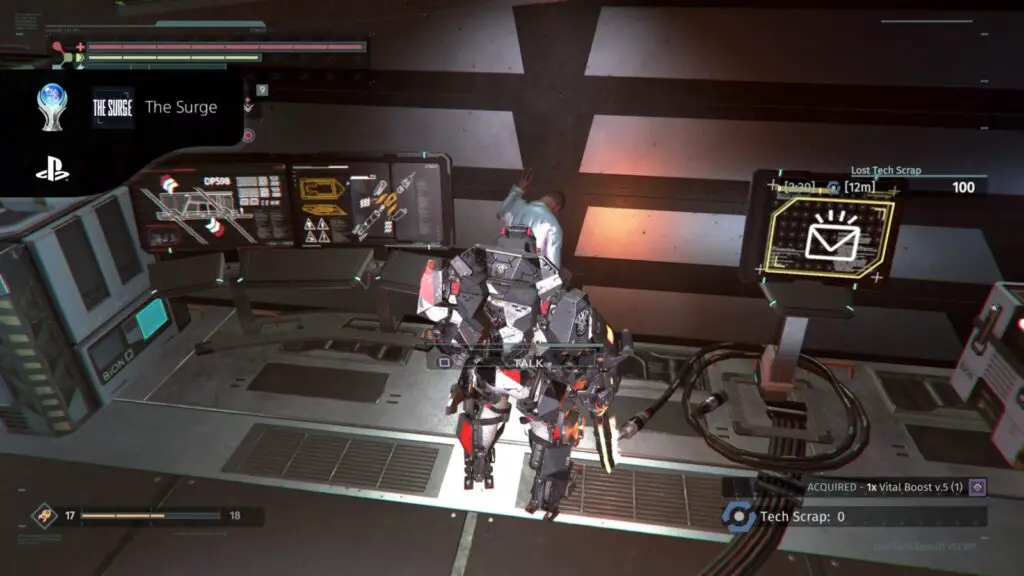
The Surge features an interesting hidden mechanic regarding your dropped Tech Scrap. When you die in The Surge, you drop your Tech Scrap—just like Souls in Demon/Dark Souls, Echoes in Bloodborne, et cetera—which you will then have to backtrack to in order to retrieve them. However, a 2:30 timer will begin when you respawn. When the timer reaches 0:00, you will lose your Tech Scrap. What the game doesn’t say is that when you kill an enemy, your timer increases allowing you more time to make it back to your dropped Tech Scrap. When your timer reaches 7:30, you will gain +75% Tech Scraps on top of what you dropped; this means that you can easily farm millions of Tech Scrap within the very first area.
To start, make sure you have a decent number of Tech Scraps. If you have any Scrap Piles in your inventory, consume them or go kill every enemy in the first area a few times to gather enough scraps. The more you have, the less time you spend farming.
- Get youself deliberately killed outisde the OPS
- Upon respawning, leave the OPS and kill the first human enemy
- Keep following that path while killing every enemy you see
- When you loop the first area and reach the OPS, go inside and reset the enemies
- When you reach 7:30, pick up your dropped scrap
- Repeat the above steps until you reach the Tech Scrap cap (9,999,999)
Phase One – Play Until the Last Boss
During this phase of our The Surge Trophy Guide, you should focus on exploring and fighting your way through the story while collecting as many audio logs and Ironmaus comics as you can find as well as defeating the smelting machines. Check out our Collectibles Guide if you’re struggling to find some.
You should also try to complete the Side Quests during your first playthrough, though you can attempt these in New Game+ if you’d rather just focus on finishing the story.
Phase One Trophies


Ony My Own Two Feet
Acquired your personal CREO Exo-Rig
On My Own Two Feet is unmissable and as such, will pop after you select your preferred Exo-Rig type.

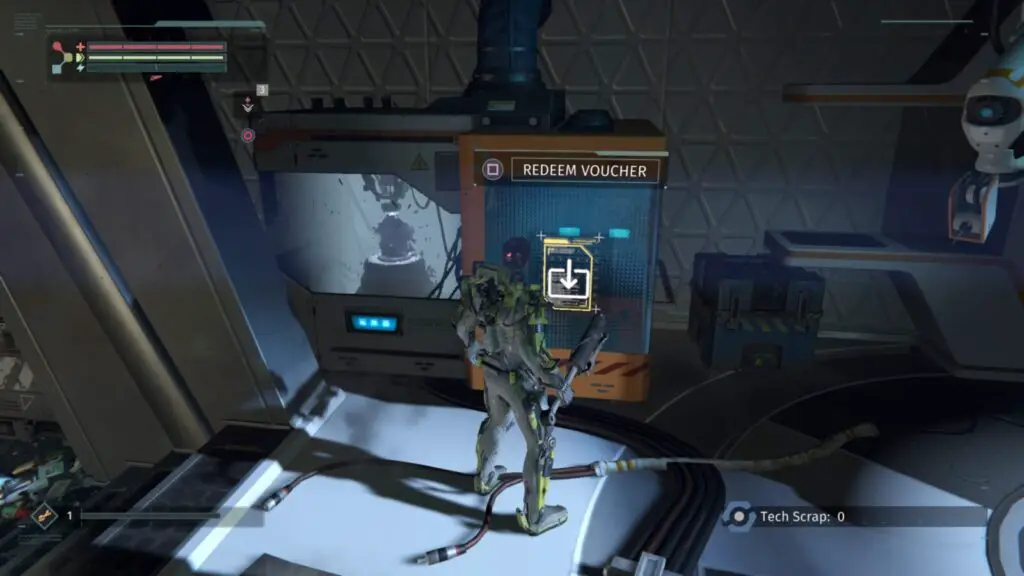
First Day on the Job
Acquired your selected job gear
At the start of the game, you can select from two different gear types. It doesn’t really matter which you choose since you can try out other types later.
To unlock First Day on the Job, play through the start of the game until you fix your Power Core at the MedBay. After fixing the Power Core, look to your immediate left for a Gear Terminal. Pressing ![]() on it will redeem a gear “voucher” for your selected gear type.
on it will redeem a gear “voucher” for your selected gear type.

I’ll Be Back
Died for the first time
In all honesty, unlocking I’ll Be Back is unlikely to be an issue for the majority of players. However, if you’ve gone as far as gaining every other trophy without dying even once, then swallow your pride and let an enemy kill you. It won’t hurt.

Sorry, I Dropped This
Found your lost Tech Scrap after dying
Like in other Soulslike games, when you die in The Surge your accumulated Scrap (i.e. Souls) will drop where your corpse hit the dirt. These can be gathered again later, however, there is a two-minute timer on your precious dropped scrap. When the timer reaches zero, your scrap will disappear.
To unlock Sorry, I Dropped This, die, and quickly run to where you flat-lined to collect your scrap. When stood over your dropped scrap, hold ![]() to pick it up.
to pick it up.

Butcher’s Bill
Cut each limb from human enemies at least once
The Surge, unlike most other Soulslike games, lets you target specific body parts on an enemy by locking on, ![]() , and then using the
, and then using the ![]() in any direction to select specific limbs. While you attack an enemy, you might notice a bar in the top left start to fill up. Once it reaches the saw icon, you can hold
in any direction to select specific limbs. While you attack an enemy, you might notice a bar in the top left start to fill up. Once it reaches the saw icon, you can hold ![]() to initiate a “cut”.
to initiate a “cut”.
To unlock Butcher’s Bill, cut off both legs, arms, and head from human enemies using the method above. This will require you to defeat at least 5 human enemies which shouldn’t be a problem as you will be killing many, many more over the course of the game.

OPERATOR
Acquired a full set of OPERATOR gear
One of the key reasons for attacking specific limbs on an enemy, despite the obvious weakness advantages, is to farm components and gear blueprints. When you lock onto an enemy with ![]() and target their limbs, you will notice some limbs are armored and some are not. Cutting the armored body parts from an enemy will drop components and, sometimes, gear blueprints specific to that limb.
and target their limbs, you will notice some limbs are armored and some are not. Cutting the armored body parts from an enemy will drop components and, sometimes, gear blueprints specific to that limb.
To unlock OPERATOR, kill enough human enemies and cut their armored body parts off to gather the blueprints and enough components to craft a full set of OPERATOR gear at the Gear Terminal in a MedBay.

GOLIATH
Acquire a full set of GOLIATH gear
To unlock GOLIATH, repeat the steps for OPERATOR when you find an enemy wearing Goliath-class armor and then craft a full set.

SENTINEL
Acquire a full set of GOLIATH gear
To unlock SENTINEL, repeat the steps for OPERATOR when you find an enemy wearing Sentinel-class armor and then craft a full set.

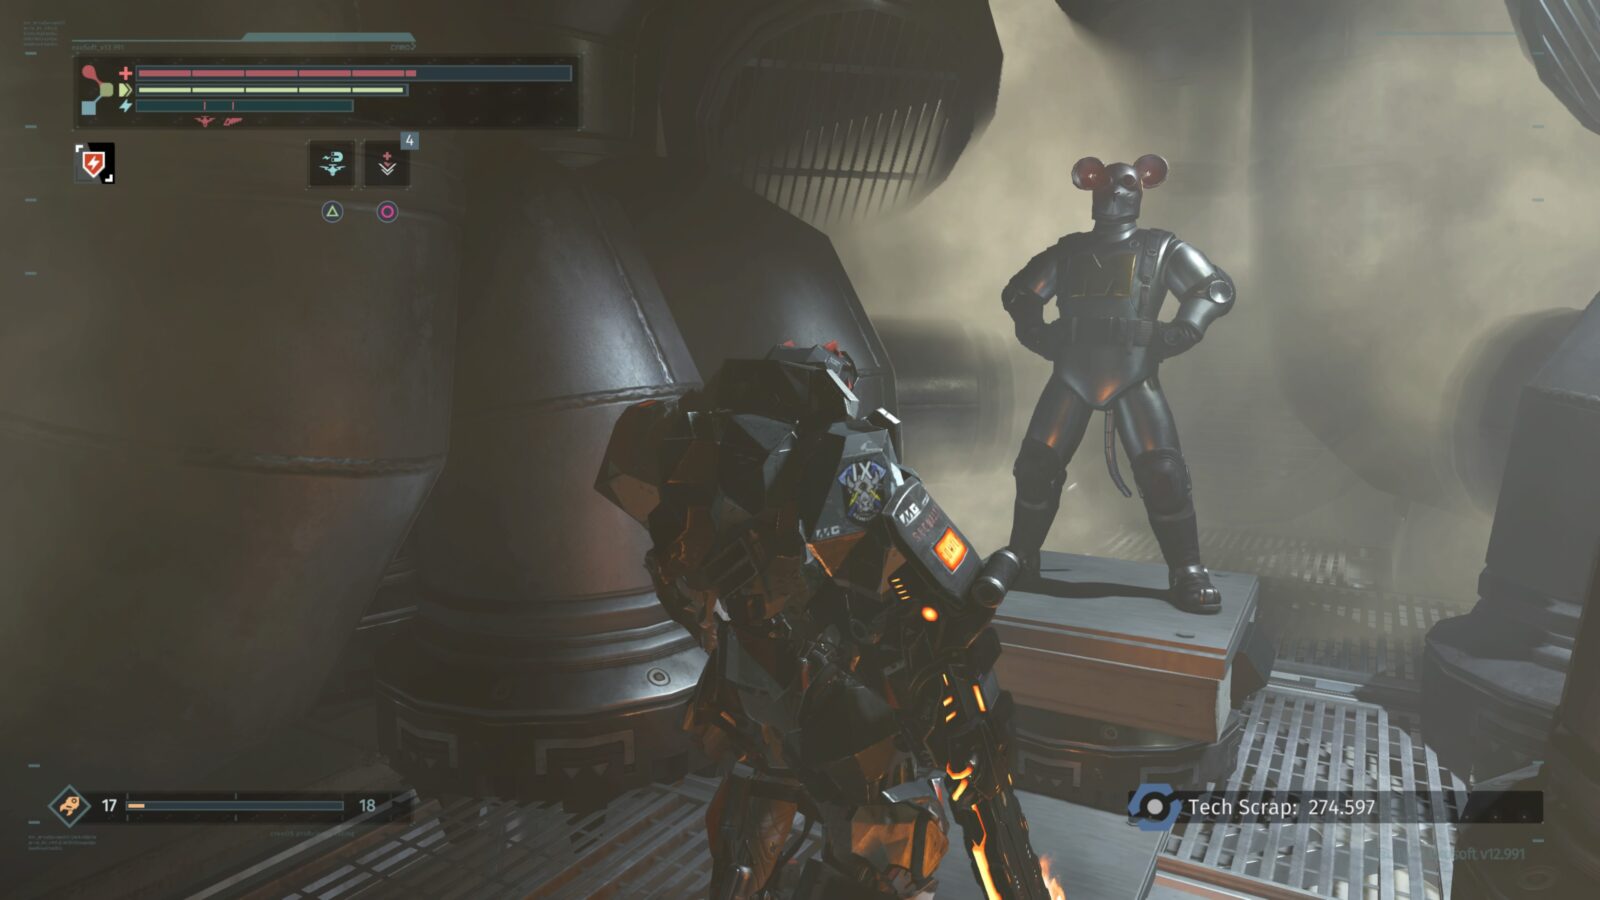
It’s Blue Light
Killed an enemy in a dark zone using the ASTir SpecterBite
The ASTir SpecterBite is the very first weapon you can obtain after visiting the OPS in the Abandoned Factory (1st region of the game). It’s a glowing single-rigged weapon.
To unlock It’s Blue Light, equip the ASTir SpecterBite and head down into the dark tunnels under the Abandoned Factory and kill the first enemy you see.

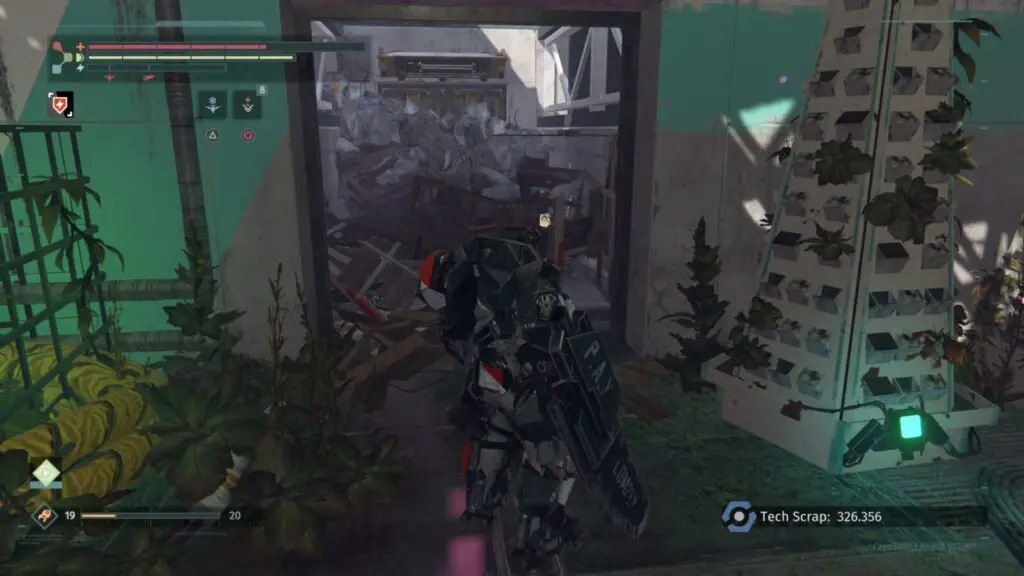
P.A.X
Defeated the Pacification Automation X
P.A.X is the first boss in The Surge, and, as such, isn’t all that hard to defeat. P.A.X is a large bipedal mech with two large swords. He’s deceptively agile and can leap across the battle arena with ease. He is, however, damaged so he mostly uses melee attacks despite having ranged weapons attached to him. Though, he does have missiles that he will fire once you fill up his second, the orange, bar.
To defeat P.A.X, you have to topple him and attack his head; his weak point. To do this, you can attack his feet when he tries to stomp you. If you’re lucky and can attack the foot that is still planted on the ground, he may fall over. However, a more reliable way of toppling him is to use his own missile barrage against him. Attack him until the orange bar filled up. When he leaps away to fire his missile barrage, quickly sprint over to him and get as far underneath him as you can. His missile will land on his head and he will fall over. Attack his head and repeat the process once he stands back up.

Hey Listen
Acquired your personal CREO companion drone
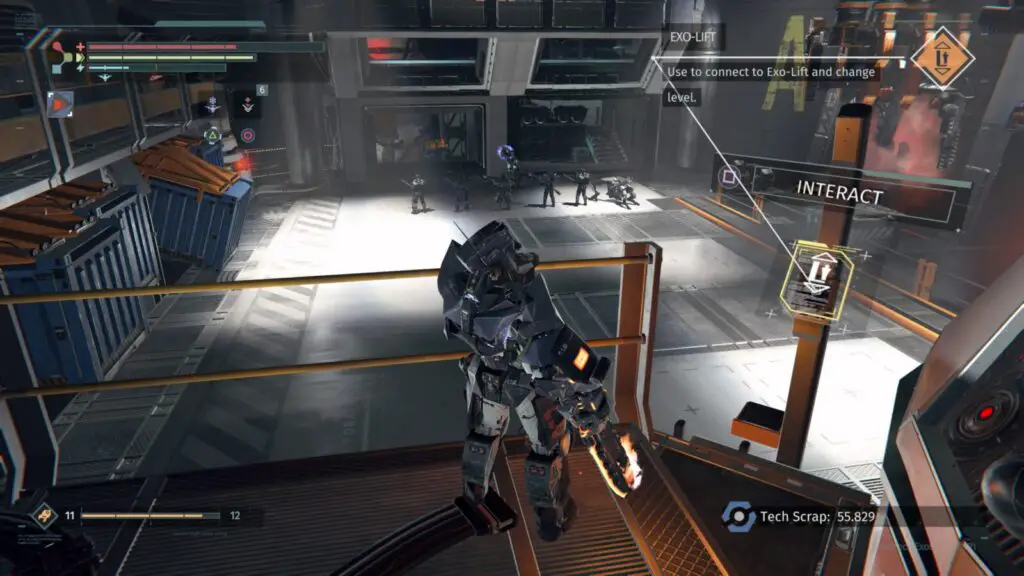
After defeating P.A.X, there will be an Exo-Lift nearby that leads to the Maglev station which will take you to a new location.
To unlock Hey Listen, interact with a drone console in this new location. A badly malfunctioning drone will appear and become your companion.


Jack of All Trades
Reach level 5 weapon proficiency in each of the weapon types
The Surge features a system called Weapon Proficiency. As your weapon proficiency grows, the more damage you do with that weapon type. Weapons with high proficiency scaling will deal more damage at the max level than weapons with low scaling at the same level.
To unlock Jack of All Trades, get each of the five weapon types to proficiency level five. The five weapon types are:
- One-Handed
- Staff
- Heavy-Duty
- Single-Rigged
- Twin-Rigged

Most Wanted
Provoked and defeated the security forces in Central Production B
Central Production B is the 2nd region in the game (and one you’ll keep coming back to throughout). There are two places that security forces show up; at the entrance to the Executive Forum, and the entrance to the Research & Development area.
To unlock Most Wanted, head down the path to the right of the OPS. You will go down some steps and directly opposite you are some steps leading up to the Executive Forum entrance. There are two security guards waiting there. Provoke them and defeat them. They have staffs, but can easily be managed with blocking and counter-attacking.

Infidel
Defeated the vending machine cult
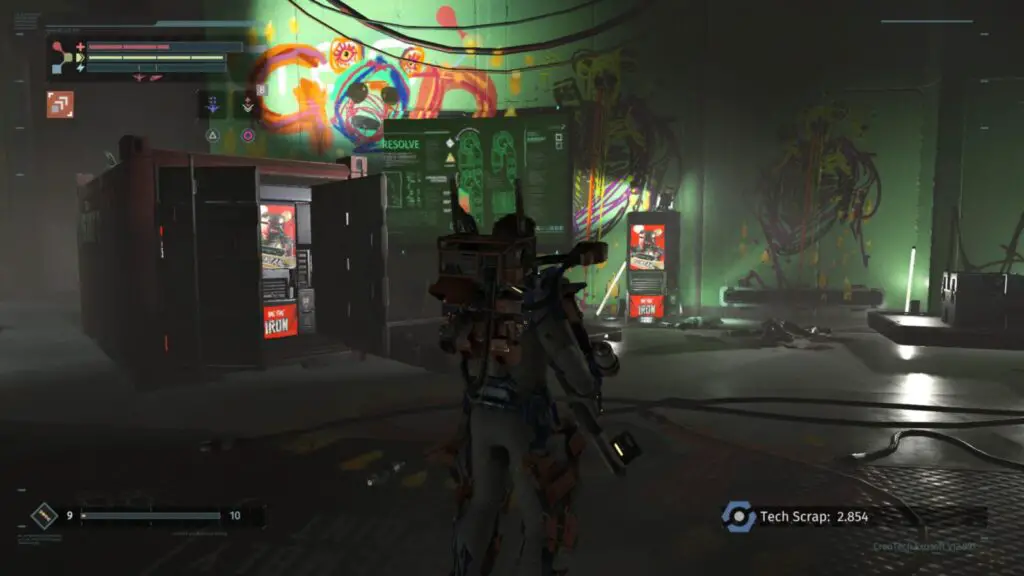
At the entrance to the Research & Development area (you go there after defeating Big Sister 1/3, but you won’t unlock this entrance until you’ve completed the R&D area so you need to defeat the cult before then) is a group of enemies gathered around shipping containers filled with vending machines. This is the “vending machine cult”.
To unlock Infidel, progress through Central Production B during your first visit until you cross a bridge with an enemy shooting at you from the other end.
Defeat the enemy and then proceeded down the stairs to the left of where he was just stood (there is usually 3 or more enemies in this area depending on where in the story you are). At the bottom of the stairs, take a right and head back up the stairs on the other side.
In this graffiti room is a bunch of enemies. The “vending machine cult”. Kill them and the trophy will unlock.

Firebug
Defeat the LU-74 “Firebug”
The “Firebug” is the 2nd boss in The Surge. It’s a hovering robot with 6 arms/legs. It has a very small move-set that is easily telegraphed.
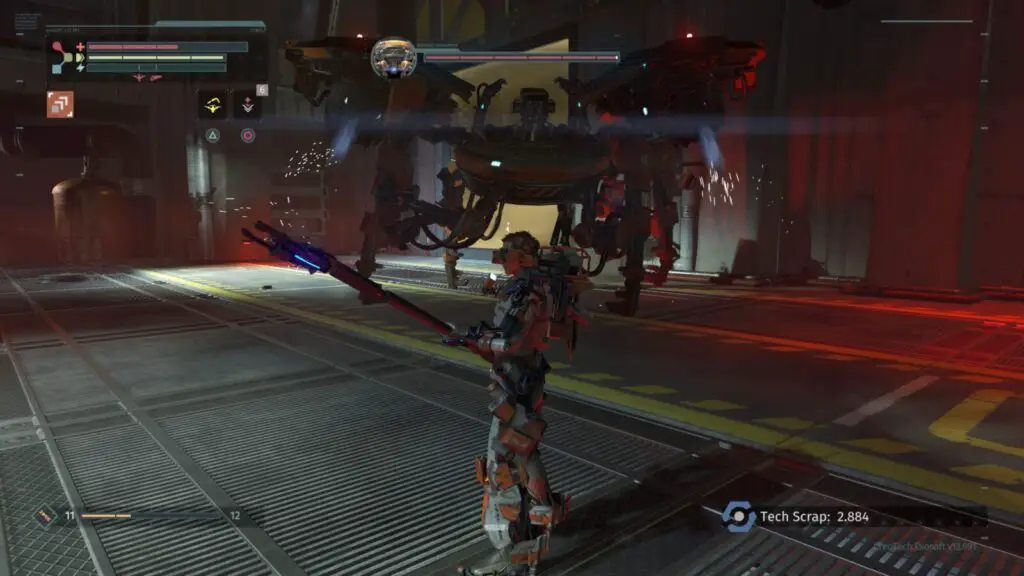
To defeat the Firebug, try to keep your distance so you can see its movement. When it stops and begins to hover a few feet higher, it’s probably getting ready to rush you which is most likely a 1-hit kill at this point in the game. This attack is easy to avoid, just sprint (hold ![]() ) or dodge (tap
) or dodge (tap ![]() ) to the left or right while and during its wind up animation and you should be clear of its strike area.
) to the left or right while and during its wind up animation and you should be clear of its strike area.
When it’s not trying to rush at you, it will slowly hover around the arena trying to close the gap. This is the best time to start your attack. When it’s hovering towards you, step close to it until it raises one of its arms/legs. Quickly dodge back once or twice as it slams the raised arm/leg back down. Then quickly jump back in and get one or two attacks off before backing up (![]() to initiate a jump attack is the best opener). Your goal is to do enough damage to the legs so that 3 of them fall off.
to initiate a jump attack is the best opener). Your goal is to do enough damage to the legs so that 3 of them fall off.
Eventually, the Firebug will spin its 6 legs and slowly approach you. You can walk backwards to avoid this during this first phase. He’s not particularly fast.
After you’ve hacked 3 of its legs off, it will go into phase 2. During this phase, the Firebug will try to crush you by “leaping” into the air and landing on you. This is easily avoided by just sprinting away from where you were stood.
Its move-set will be different now too. It will still try to close the gap, but instead of slamming its arms/legs on you, it will instead spin whichever one is closest to you. It will also use its jets to try to burn you.
The best method for this phase is to use hit-n-run tactics. Rush in with a jump attack and quickly dodge away. Keep your distance so that you can avoid its attacks.

I Choose You
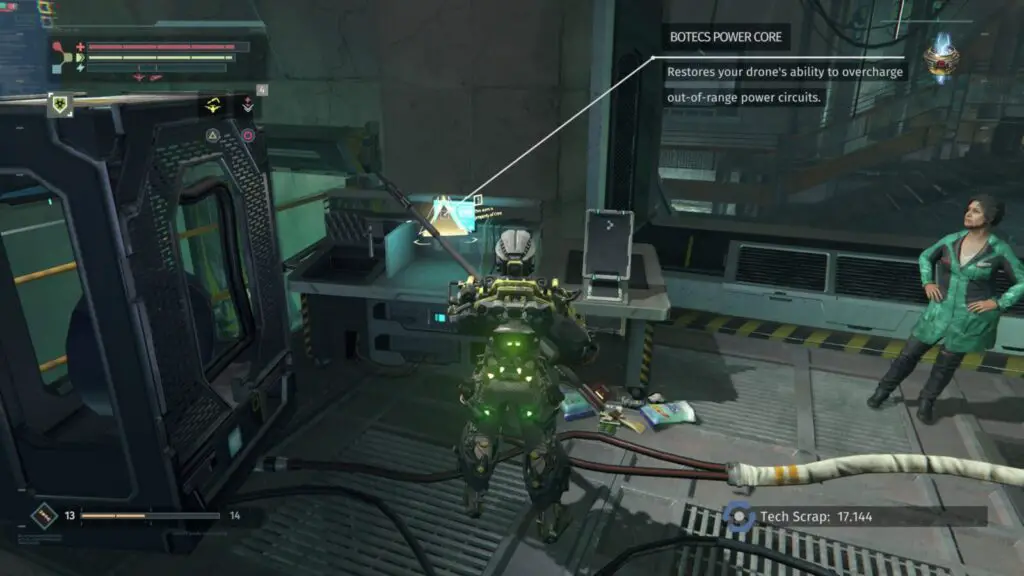
Found a BOTECS Power Core for your companion drone
This is unmissable (though it can be overlooked, you need it to progress to the next boss), you will find a BOTECS Power Core when you rescue Dr, Chavez in Resolve Biolabs. The Power Core is on the computer terminal to her left when you meet her.

Big Sister
Defeated the Big SISTER 1/3
Big Sister is the 3rd boss in The Surge. It’s a three-stage fight with the first stage being the easiest.
To defeat Big Sister, drop into the arena and begin the first stage. In this stage, you have to dodge two giant robot claws. They will lunge at you and you can dodge them by moving left and right (use ![]() if you need to). Periodically, the big ball at the end with the robot arms surrounding it will fire a laser the sweeps vertically towards you and will sweep back. You should also try to avoid this. After you’ve defeated both arms stage two will begin.
if you need to). Periodically, the big ball at the end with the robot arms surrounding it will fire a laser the sweeps vertically towards you and will sweep back. You should also try to avoid this. After you’ve defeated both arms stage two will begin.
When stage two begins, quickly run to the steps that lead into the next arena as the floor of the arena you were just fighting in will become electrified. This next arena will have 4 robotic arms with torches at the end. They are incredibly annoying and the camera does no favours for you. You can try to destroy them all, however, if you leave 2 intact, you will receive a really good v2.0 staff when you kill the boss. If you’d like to obtain this v2.0 staff, then I would recommend destroying the two robotic arms closes to the boss at the end as they can hit you while you fight the boss. Alternatively, you can run right past them and hug the central pillar the boss is connected to to avoid being hit by the two robotic arms and the bosses attacks (except for the slam attack).
Either way, when you make your way to the boss, you will first have to damage the central pillar until you are blown back. Once this happens, stand on the right of the central pillar and hug it as much as you can. The boss has an attack where it lands in the lower right and will sweep itself across the screen while flailing its arms. You can avoid this attack almost 100% of the time when you’re pressed up against the central pillar. Though, whenever the boss disappears up into the air, dodge away quickly as it’s about to slam down on top of you. You should attack directly after these slam attacks.

The Black Cerberus
Defeated the security chief of Echelon 9
Black Cerberus is the 4th boss in The Surge. He is a human with a big axe. He himself isn’t too complicated, however, he will summon several P.A.X bosses to fight when you damage him too much. Do not enter the arena when you first see him as he will have several recruits with him and they will all attack. Wait for him to finish his speech and they disappear before you being the fight.
To defeat Black Cerberus, fight him like you normally would any other human enemy. He’s fast and has heavy attacks, but you can easily dodge around him and use jump attacks to damage him reliably. When you’ve removed around 10-15% of his health, he will retreat from the arena and call in a P.A.X.
This P.A.X fight is pretty much the same as the first time you fought him, minus the salvo of missiles (instead he has a gun on his face that will fire 3 focused shots at you). Damage the P.A.X until you have filled up the orange bar. The P.A.X will not jump away and try to gun you down. This is important as there is a trick in this fight to make sure only one P.A.X is summoned. If you defeat the P.A.X as you normally would then Black Cerberus will keep calling them out when he takes too much damage. You can complete the boss fight like this, but it will be drawn out and basically come down to attrition. Instead, you can manipulate P.A.X to use his gun to destroy 2 large fuel canisters in this arena. One is located right next to the exo-lift and the other is directly opposite it (near where Black Cerberus retreats to).
Destroying the fuel canisters can be a bit tricky, but the general idea is to stand by the fuel canisters and wait until P.A.X shoots at you (his orange bar must be filled). Before the shot hits you, quickly dodge away and it should hit the fuel canister. It only takes one bullet to destroy it. You will then need to force P.A.X to move to the other side of the arena and do the same with the other fuel canister. Destroying both fuel canisters will also reward you with a v2.0 weapon.
Once P.A.X is dealt with, Black Cerberus will come back out. The fight stays mostly the same, but he appears to be a bit more aggressive this time around. Keep your distance and continue to use quick jump attacks to whittle his health down and he should pose no problem. Make sure you sever Black Cerberus’ right arm to ensure you get his arm gear for the Guard Dog trophy.

Guard Dog
Acquired the complete Black Cerberus gear and the MG Judge
In order to get the complete Black Cerberus gear and the MG Judge, you have to defeat the Black Cerberus boss and perform a sever-execution on his right arm. Killing him any other way will only reward you with his head, body, and leg gear. Severing his arm grants you his arm gear and the MG Judge. If you destroyed the 2 fuel tanks, you will receive the MG Judge v2.0.

Watchman
Received the security upgrade for your Exo-Rig
To unlock Watchman, after you have killed Black Cerberus, head into the service tunnel in the area that he kept retreating to during the boss fight. Inside this service tunnel is an overcharge point. Hold ![]() to initiate the overcharge.
to initiate the overcharge.

Gear Up
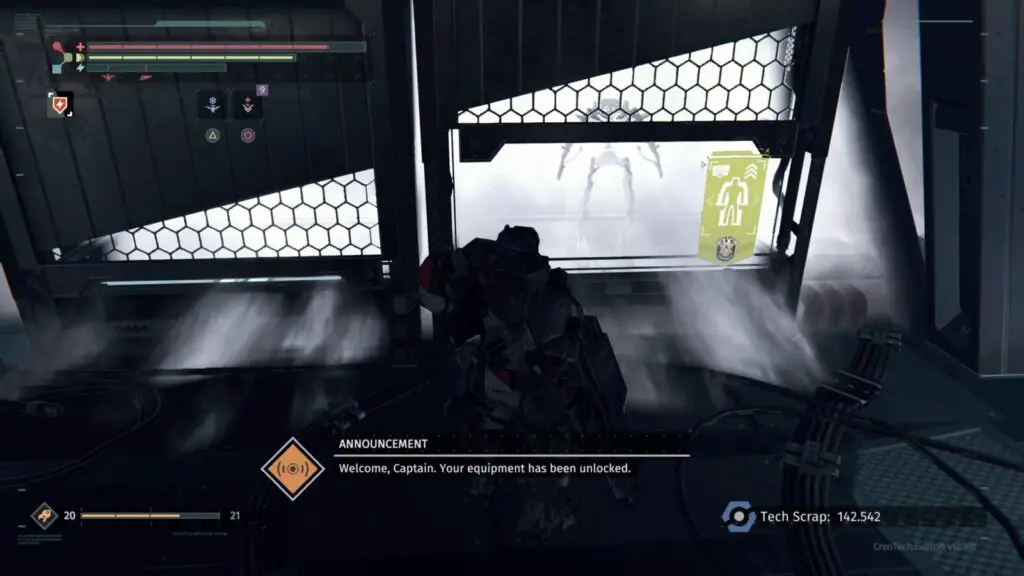
Enhanced your Exo-Rig for the first time
Though you need to enhance your exo-rig to progress the story, it’s not quite obvious where to pick it up so I’ve marked this trophy as “semi-missable” for that reason.
To unlock Gear Up, return to the OPS after you have defeated Black Cerberus. There is a glass case inside with a yellow icon featuring an exo-suit. You need to smash the glass with ![]() , and then you can hold
, and then you can hold ![]() to pick the item up. Then you need to access the MedBay and cycle to the “Rig” tab to equip the new exo-rig.
to pick the item up. Then you need to access the MedBay and cycle to the “Rig” tab to equip the new exo-rig.

Turing Test
Met Sally in person
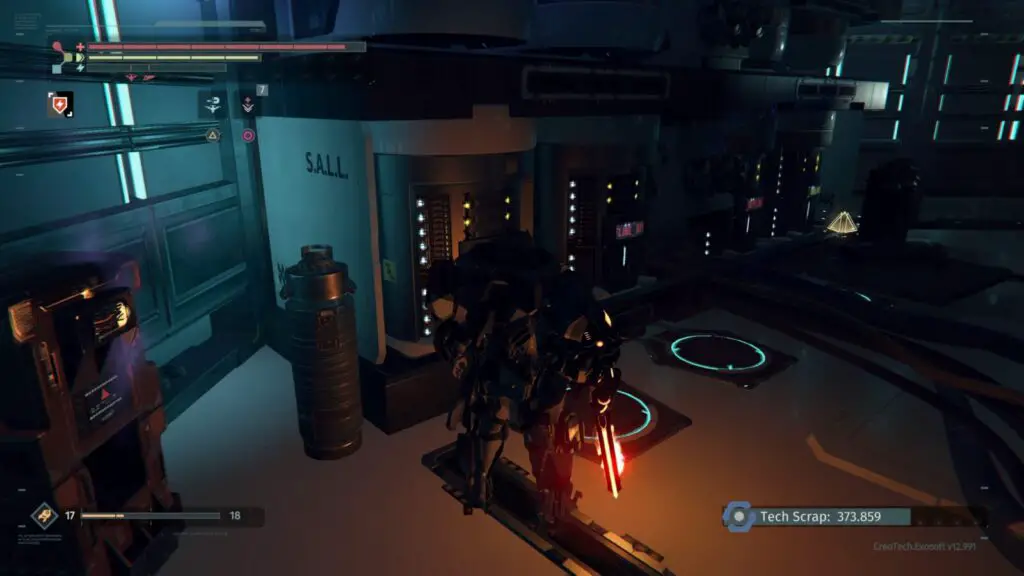
To the right of the stairs that lead to the Boardroom is a service tunnel with an exo-lift that leads to the server.
To unlock Turing Test, go to the back of the server room and look for a server rack that reads “S.A.L.L”. Get up close to it and a button prompt will appear telling you to hold ![]() . When you do, Turing Test will pop.
. When you do, Turing Test will pop.

CREO Killed the Video Star
Met Don Hackett
Don Hackett is the journalist that appears on the screens all throughout the game. He is located in the Executive Forum. There is a corridor directly opposite the exo-lift to the server room and the Boardroom. At the very end of the corridor is a room with a large green screen. Inside is Don Hackett.

Who’s in Charge Here?
Found the Board
Who’s in Charge Here? Is an unmissable trophy as you will need to discover the Board in order to progress to the next area. To unlock the Boardroom, you have to head down into the server room first (it’s located directly to the right of the Boardroom stairs).

Shall Not Pass
Defeated the guard at the NUCLEUS elevator
You must defeat the guard at the Nucleus elevator in order to progress with the story. Though it is entirely possible to lure him away and run the elevator; doing this would void the trophy so it’s essential that you defeat him. He will have a weapon similar to Black Cerberus and he will be accompanied by a robot dog.

Homo Machinalis
Killed Barrett after his transformation into Homo Machinalis
To unlock Homo Machinalis, return to the Research & Development area once you have unlocked the Nucleus—the final area of the game. Once you’re back in R&D, head to Dr. Barret’s lab where you found him before. He will now resemble the nanite enemies you’ve been fighting since first visited the R&D area. He will be non-hostile, however, if you hit him he will aggro and you can kill him.

Core Power
Reach a Core Power of 80
Tech Scrap that you collect from defeated enemies can be used at the MedBay to increase your Core Power. Increasing your Core Power will let you equip more gear and better implants. By the end of the game, providing you’ve been upgrading at every chance, it’s entirely possible that you are already Core Power level 80 or at least very close.
For an easier time unlocking Core Power, refer to the Tech Scrap Farming section at the top of this guide.

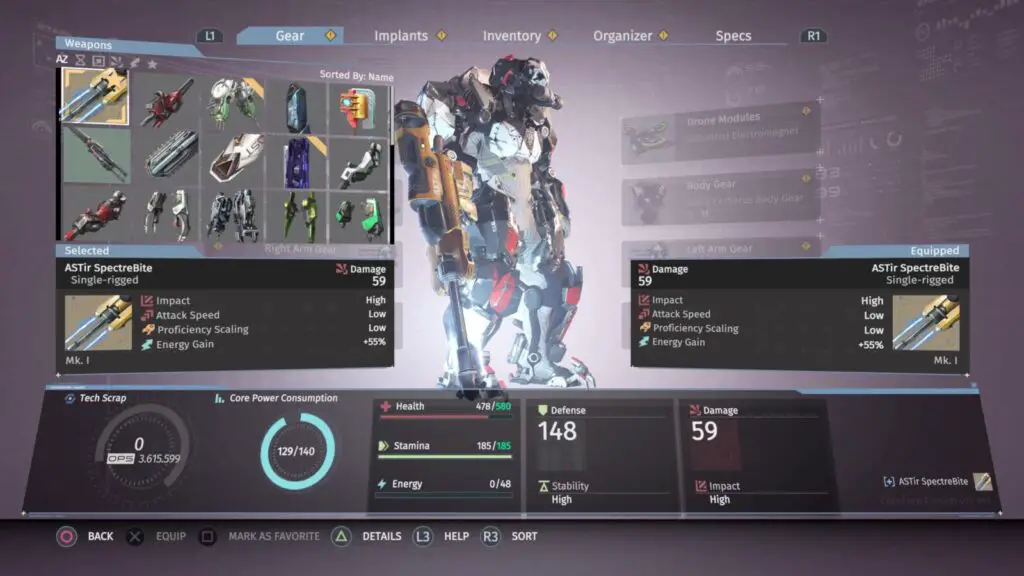
Right Tool for the Job
Upgraded a weapon using the Nano Core crafting component
See Man of Steel.

Man of Steel
Upgraded a full gear set using the Nano Core crafting component
To fully upgrade a weapon and gear set with Nano Cores, you first must have to upgrade them to mk IV using regular materials. Then use your Nano Cores to upgrade them to mk V. You will need 3 Nano Cores to upgrade a weapon, 1 Nano Core for each arm and leg (4 total), 3 Nano Cores for the body, and 2 Nano Cores for the head; meaning you need a total of 12 Nano Cores.
Nano Cores can be found in upright chests that require you to overcharge them. I recommend you get to Power Core level 85+ before you start hunting down Nano Cores.
The Nano Core chests themselves aren’t hard to find. There’s around 8 of them per playthrough which will give you more than enough to fully upgrade you armor and two weapons.
| Location | Core Power |
|---|---|
| Abandoned Production, Main Assembly Line | 55 |
| Central Production B, Material Depot | 75 |
| Central Production B, Conveyor Hub | 60 |
| Central Production B, R&D Entrance | 70 |
| Resolve Biolabs, The Laboratories | 80 |
| Research & Development, Utopia Project | 65 |
| Executive Forum, Server Room | 85 |
| Nucleus, Floor 3 | 50 |
Side Quest Trophies
Side quests in The Surge can’t be tracked, just like the main objectives, so the only way to really know when a quest is available is to talk to every NPC you find in a region. There aren’t many NPCs in The Surge who are friendly, so when you come across one, you’ll know. The names of these NPCs are:
| Name | Location(s) | Quest |
|---|---|---|
| Davey | Central Production B (Material Depot / OPS) | Pusher Man |
| Jo | Central Production B (Toxic Waste Disposal / Build Service Access), Research & Development (Top Floor) | Repeat Customer / Sunglasses at Night |
| Irina Beckett | Central Production B (Conveyor Hub) | Duty-Bound |
| Alec Norris | Research & Development (OPS) | Ghost in the Machine |

Pusher Man
Helped someone refill their supply of medicine
When exploring the Central Production B area, you will come to a large open room. In this room is a door that leads to the Testing Chambers (The Good, the Bad and the Augmented DLC) as well as a locked door with an overcharge point. When you approach the door, you will hear a voice asking for help. OVercharge the door and talk to the man inside. This is Davey.
Upon returning to the OPS, you should notice Davey is hanging around inside. Talk to him and he will ask you to deliver some medicine for him; this “medicine” is actually a Vital Injection v.3 implant. You can’t get it right now, but remember this when you visit the Resolve Biolabs (or if you’re doing this on New Game+ you will likely already have the Vital Injection v.3)
In the Resolve Biolabs area, you will eventually reach the climate labs. Inside one lab is a doorway blocked by big wooden crates. You can hear the thudding sound of an enemy repeatedly bashing his head on a wall behind these crates. Smash through them and kill the enemy so you can collect the Vital Injection v.3 implant from the floor. Return to Davey and complete the quest.

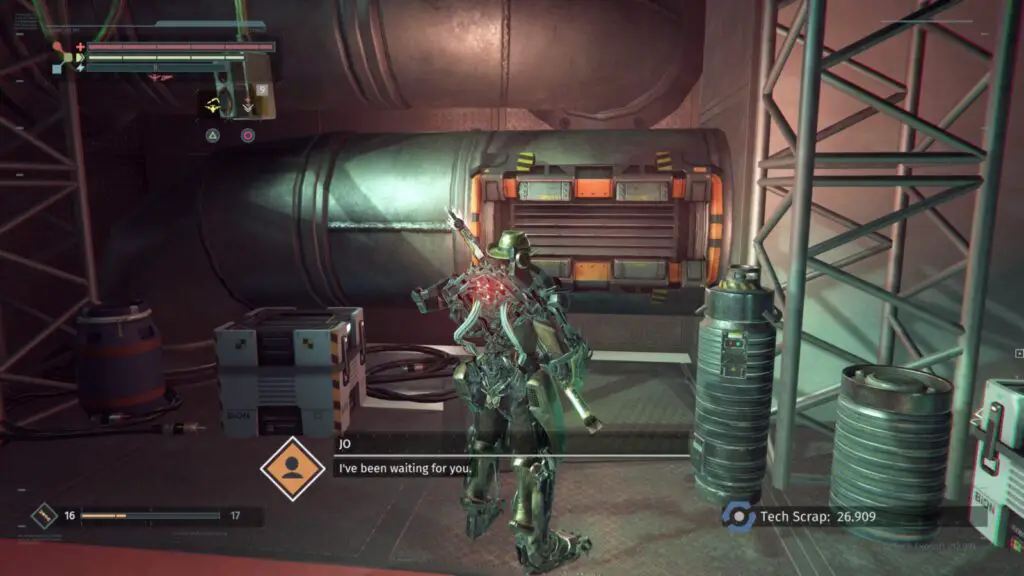
Repeat Customer
Gave Jo Tech Scrap three times
Upon entering the Toxic Waste Disposal sub-area inside Central Production B, you might hear a voice call out to you but there will be nobody around. The voice is coming from Jo who is inside a large pipe near the door you entered. Talk to the voice and she will ask for 5,000 Tech Scrap. Hand it over and carry on with the story.
The next time you encounter Jo will be just before the Big Sister boss fight on the staircase leading to the boss fight at the top of Central Production B. This time Jo will ask for 10,000 Tech Scrap.

The last time Jo will ask for scrap is on the top floor of the Research & Development area that overlooks the Exhibition Hall. She will again be in a pipe and ask for Tech Scrap. 15,000 this time.

Sunglasses at Night
Found yourself some sunglasses
To unlock Sunglasses at Night, instead of giving Jo scrap, ignore her completely. Then when you fall into the Research & Development area after the Big Sister boss fight, look for a hidden corridor behind a large metal sheet. In this corridor is a door that leads to Jo’s hideout, however, once you enter the corridor it will fill with poison. At the end of the corridor is a drone override point. Look at it and press ![]() to override it which will let you open Jo’s door. Inside on a table are some sunglasses.
to override it which will let you open Jo’s door. Inside on a table are some sunglasses.

Duty-Bound
Accompanied a lost soul on her quest to find herself
When you reach the Conveyor Hub in the Central Production B area, you can find an NPC sifting through some wreckage on the stairs (at the end of the pipe shortcut that leads to the OBS). Talk to her and she will ask for a weapon. Go find some security guards (the closest ones will be at the entrance to R&D) and kill them. Remember to sever their right arm to take their weapon. Take it to Irina and offer her the weapon. She will accept and you can go about your business as normal.
The next time you meet her, she will be stood on the walkway near the OBS in Central Production B. She will have a partially complete set of MG Gorgon gear. Talking to her will task you with giving her the rest of her gear. To do this, kill the security forces in the area and sever their arms, heads, legs, and bodies so that you have the MG Gorgon blueprints. Once you have them all, return to the OBS and craft them at the Gear Station. Give the pieces to Irina and move on.
Finally, you will meet Irina in a room near the beginning of the Executive Forum area. She will become violent and, unfortunately, you will have to fight and kill her thus completing the quest.

Ghost in the Machine
Accompanied a father and his little daughter on their way through the facility
Upon reaching the OPS in the R&D area, you will encounter an NPC called Alec Norris. He will ask you to find his daughter who has been missing since they were attacked and separated. To find her, you will need to progress through the area until you reach a broken window that you can climb through onto some metal beams. You will see an exo-lift and directly across from this is another broken window. Climb through there and it will lead to the missing Daughter.
Return to Alec Norris and his daughter should be with him. However, she is “damaged” and is in need of a new leg. Back in Central Production B’s Conveyor Hub, is the enemy you need to kill in order to find her a new leg. These enemies are the shield robots with 3 legs. Retrieve a leg and return to Alec Norris.
The last time you see Alec Norris will be in the OPS in the Nucleus area at the end of the game. He will inform you that he and his daughter are once again separated and you will have to find her again. Progress through the story until you manage to call the OPS up to the 3rd floor. While standing outside the OPS, you can see a red platform to your right. Jump onto it and you will be able to get under the OPS.
On this floor are some shipping containers. Behind two of them at the back is Alec Norris’ daughter, but you can’t get to her.
To get to her, you have to take the stairs to the right of this platform and follow the path. It will eventually lead to some drops that you must go down in order to reach the daughter. However,
Spoilers! Click to Show
Phase Two – Find All Remaining Collectibles & Finish Story
In this phase of our The Surge Trophy Guide, you should play through the Nucleus area until you unlock the door on Floor 1 that leads to the boss. However, rather than fighting it and ending your playthrough, you should instead backtrack to the beginning and gather any missing Audio Logs, Ironmaus Comics, and Shining Coins you may have missed.
Phase Two Trophies

Follow the White Rabbit
Found all of Mallory’s audio logs
There are 10 Audio Logs left behind by Mallory Stark. At least one of them is missable so it’s recommended that you prioritise finding them in your first playthrough or complete this trophy over two playthroughs.
Check out our Collectible Guide for the location of all of Mallory Stark’s Audio Logs.

Liberation
Found all audio logs about the infamous “Liberator”
There are 4 Liberation Audio Logs to find in The Surge. All of them can be collected at the end before beating the boss.
Check out our Collectible Guide for the location of all of the Liberation Audio Logs.

Raging Drones
Found all audio logs from and about Ferguson
There are 5 Raging Drones Audio Logs littered across The Surge. None of them are missable and all of them can be collected at the end before beating the boss.
Check out our Collectible Guide for the location of all of the Raging Drone Audio Logs.

Evolution Theory
Found all of Dr. Murphy’s audio logs.
There are 9 Audio Logs left behind by Dr. Murphy in The Surge. Every single one of his Audio Logs can be collected at the end before beating the final boss.
Check out our Collectible Guide for the location of all of Dr. Murphy’s Audio Logs.

Sniffing Around
Completed your Iron Maus comic collection
A total of 6 Iron Maus comics can be found in The Surge. They’re hard to spot because they don’t glow orange or have an indicator that they can be interacted with until you’re right next to them. Fortunately, they can all be collected at the end before beating the final boss.
Check out our Collectible Guide for the location of all of Iron Maus comics.

Melting Down
Defeat all five smelting machines
Smelting machines are large, yellow, and resemble excavators. They have a large arm at the front with a shovel-like grip, and their body is large and rectangular. They’re usually hidden, but the two in Central Production B are in the same area which is on the main path.
Check out our Collectible Guide for the location of all five smelting machines.


It Lives! It Sniffs! It Conquers!
Acquired the Iron Maus gear
To unlock the Iron Maus gear, you first need to collect 5 Shining Coins by defeating the 5 smelting machines in-game. Once you have all 5 Shining Coins, you need to travel to the entrance of the Research & Development area where you killed the vending machine cult. Once there, you can interact with an Iron Maus vending machine against a wall. It will take all 5 Shining Coins and the wall will open to reveal the Iron Maus gear.


For the Good of Mankind
Finish the game after corrupting the Utopia protocols
To unlock For the Good of Mankind, you need to find a room in the Nucleus region with a big holographic in the center of the room. There is a terminal nearby that you can interact with. Doing so will upload the virus to the Utopia protocol. This room isn’t really on the main route through this region so it can be easily missed.

To get there, you must get to Floor 2 of the Nucleus. From where the OPS is (you have to call it to Floor 2) head left and down some stairs. It will lead into a dark corridor. In this corridor is a poisoned room with a hole in the near left corner. Drop down the hole and follow the path until you reach this room. There is a path that diverges to the right and down some stairs that leads to an exo-lift; this is the main path and will take you to the train station. Once you’ve uploaded the virus, continue on the main path until you defeat the final boss.
The final boss can be daunting, however, the first stage is where you’ll experience most of the trouble. During this stage, you should keep your distance and practise your dodges to get the timing right when he swings his big arm or tail at you. After you successfully dodge one of his attacks, he will remain still for a few seconds letting you rush in and attack. Only get one attack off because he will very quickly hunker down and shoot spikes out at you. Repeat this until you remove about 2/3 of his health and then quickly run to the overcharge terminal at the back and use it. This will force him into stage 2.
Stage two is much like a regular fight with a human enemy, except the boss is much faster. Keep moving in circles and dodge his attacks until you find an opening, or you can block and counter-attack him for an easier time. The best method is to use your drones Electro Magnet module to stun him in place so you can get several hits off on him doing even more damage, back up and use your Electro Magnet again. Your energy should fill up just enough that you can use your drone after every combo.
Phase Three – New Game+
In the last phase of our The Surge Trophy Guide, you should start a New Game+ by selecting “Continue” on the main menu and loading up your completed save. Your goal in this phase is simple, play through the story and choose not to corrupt the Utopia protocols (or corrupt it depending on your choice from the previous playthrough)
You should also kill a boss with its own weapon such as P.A.X, have 50,000 Tech Scrap on you at one time, and defeat a boss while carrying 20,000 Tech Scrap. In New Game+ you will get a lot more scrap per kill than you did in your first playthrough which makes these two Tech Scrap trophies rather trivial.
The most important thing to look out for in this playthrough, if you haven’t already, is to upgrade a weapon and a set of armor to the max level by using Nano Cores. Nano Cores can be found from chests that require you to overcharge them. They typically have high Power Core requirements of 80+ which makes them rather hard to collect in your first playthrough unless you did the Tech Scrap Farming method.
Phase Three Trophies

Was That Yours
Defeated a boss with its own weapon
P.A.X is a very easy boss to defeat and he’s the first boss of the game so you can get this trophy unlocked very early in your second playthrough. P.A.X’s weapon is also very, very good.

Nothing to Lose
Carried more than 50,000 Tech Scrap
In New Game+ you should be collecting more Tech Scrap than you know what to do with so you shouldn’t have any trouble collecting 50,000 in one go.

Overconfident
Defeated a boss while carrying at least 20,000 Tech Scrap
Killing a boss with 20,000 Tech Scrap on you sounds a bit daunting, however, in New Game+ 20,000 Tech Scrap isn’t much at all so you should easily have at least that much saved up fairly early. The hardest part is killing the boss while having the Tech Scrap on you, but as long as you pick up any dropped scrap when you enter the arena after dying, you shouldn’t have a problem.

Brave New World
Finish the game without corrupting the Utopia protocols
Platget!
After the final cutscene, the last trophy will pop.


The Surge
Unlock all trophies
Once you have acquired every other trophy in our The Surge Trophy Guide, the platinum will unlock.
Thank you for choosing PlatGet as your source for The Surge Trophy Guide; consider checking out our other guides!
Follow us on Twitter @GetPlat or Instagram @platget for updates on new reviews and guides, as well as small anecdotes about our platinum journeys.