PlayStation 4
Horizon Zero Dawn – The Frozen Wilds Key Locations Guide
Game Guide
Where to Find the Tallneck, Bandit Camp, Hunting Ground, and Control Towers in Horizon Zero Dawn: The Frozen Wilds on PlayStation 4
This sub-guide is a branch of the main Horizon Zero Dawn – The Frozen Wilds Trophy Guide.
If you are looking for the Key Locations Guide for the Horizon Zero Dawn Base Game then click here.
As with the base game, the Tallneck is visible on the map from quite early on and all other key locations will be revealed once you override it. Regardless, I’ve provided this guide as it may prove useful in some way to somebody.
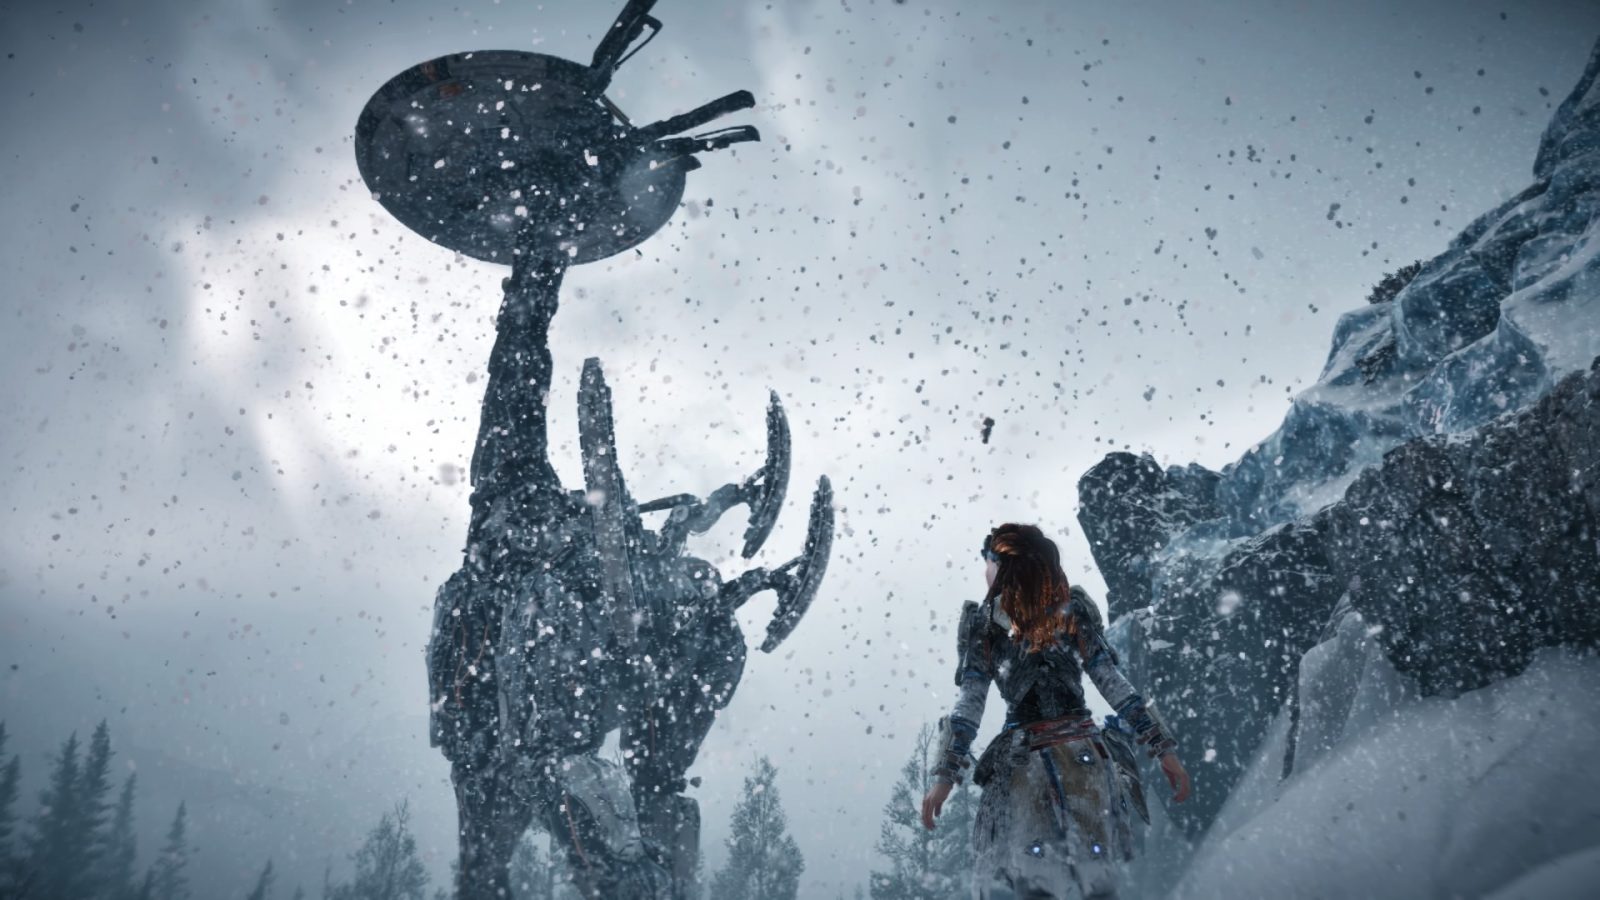
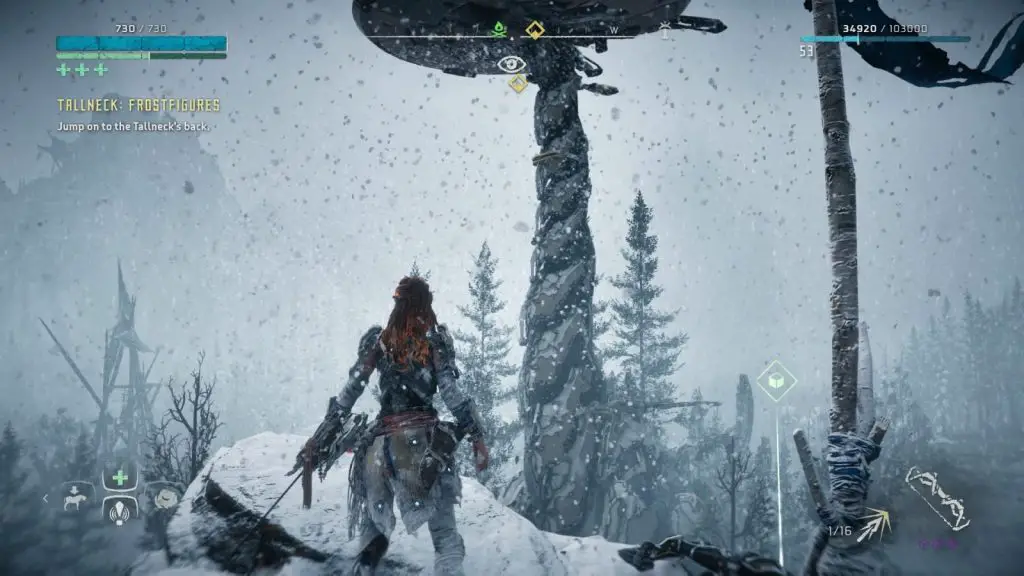
Where to find the Tallneck in The Frozen Wilds
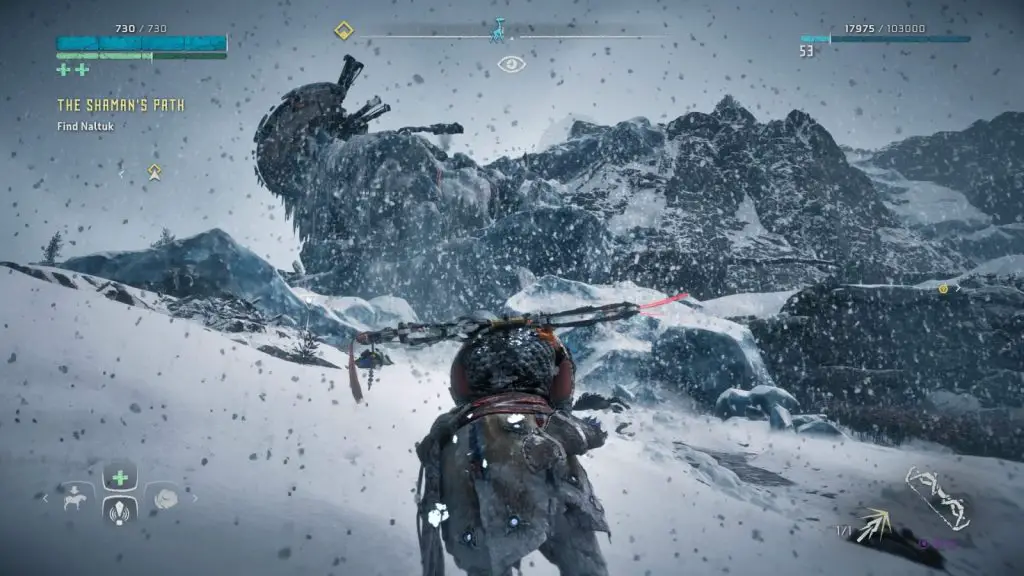
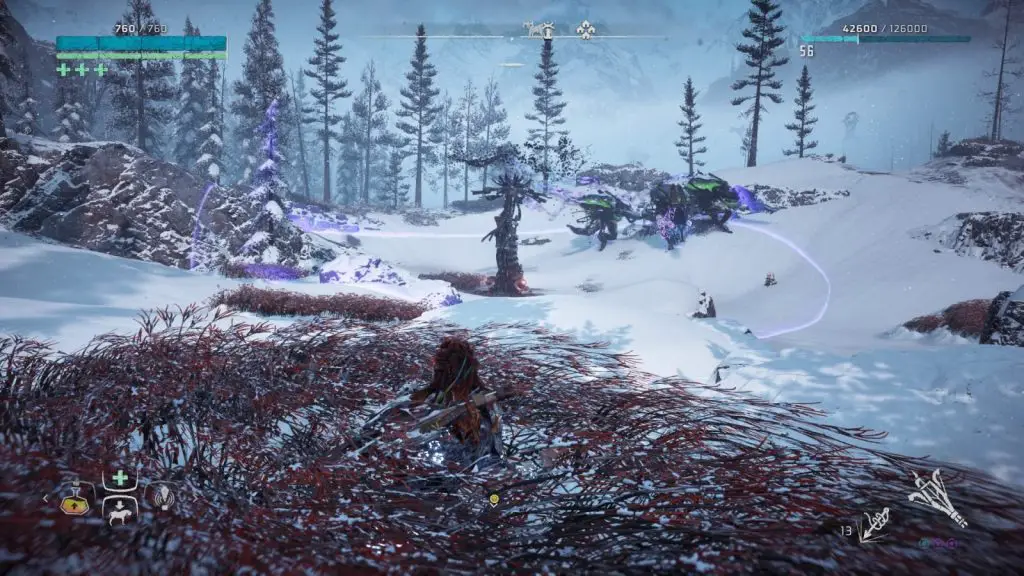
The Tallneck in the Cut is unique to other Tallnecks in that it has been knocked over and coated in ice and snow. It is covered in scavenger machines which are picking it clean of resources, but can still be used to reveal the map.
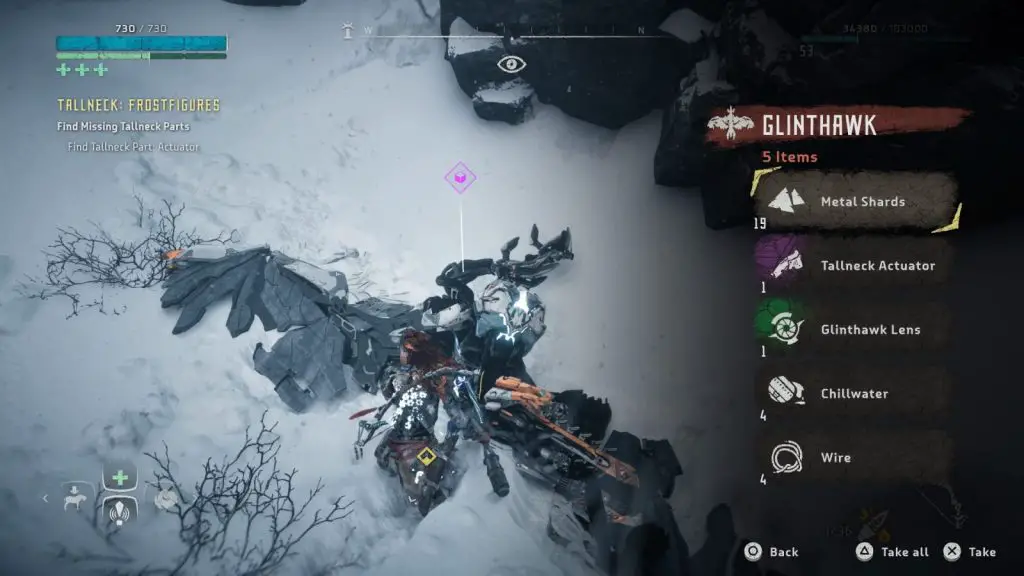
You will first want to get rid of the Scrappers and Glinthawks in the area before making the climb up the rock formation it has collapsed onto and making your way onto its disc-like head. There, you’ll be told that there are three major parts of the Tallneck missing:
- Array
- Stabilizer
- Actuator
You will need to find these three parts at the locations marked on the map and bring them back to the Tallneck in order to re-activate it and therefore reveal the rest of the map.
The parts are found pretty close by. At each of the three locations marked on the map you will find Scavenger machines. Defeat them all and then look for the one with a Purple item indicator above it then hold ![]() to search it for the part you need.
to search it for the part you need.
With all three in your inventory, return to the Tallneck and re-attach the three parts in each of the correct locations on the Tallneck to reactivate the machine. It will then begin walking around the area like all the other Tallnecks do.

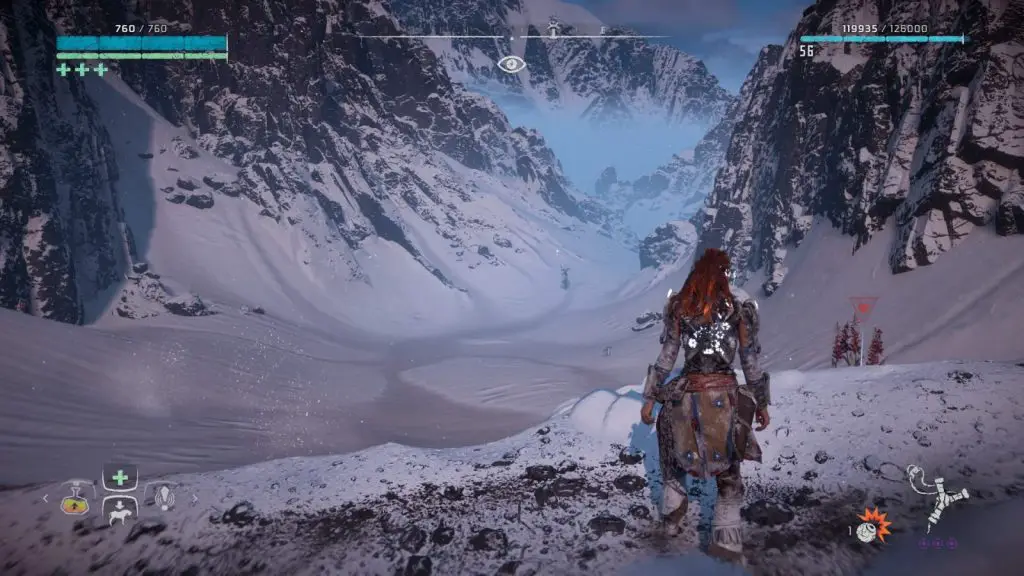
Head to one of the naturally-formed stone ramps in the area and use them to jump onto the Tallneck. From there you’ll be able to climb to its head, override it, and finally reveal the map.
Where to find the Bandit Camp in The Frozen Wilds
Stone Yield Bandit Camp
At the eastern side of the Cut, you will find the Stone Yield bandit camp northwest of the “Longreach” Banuk settlement. Though, you’re probably best approaching it by heading east from the Greycatch dam as it is a clearer and straighter route from there.
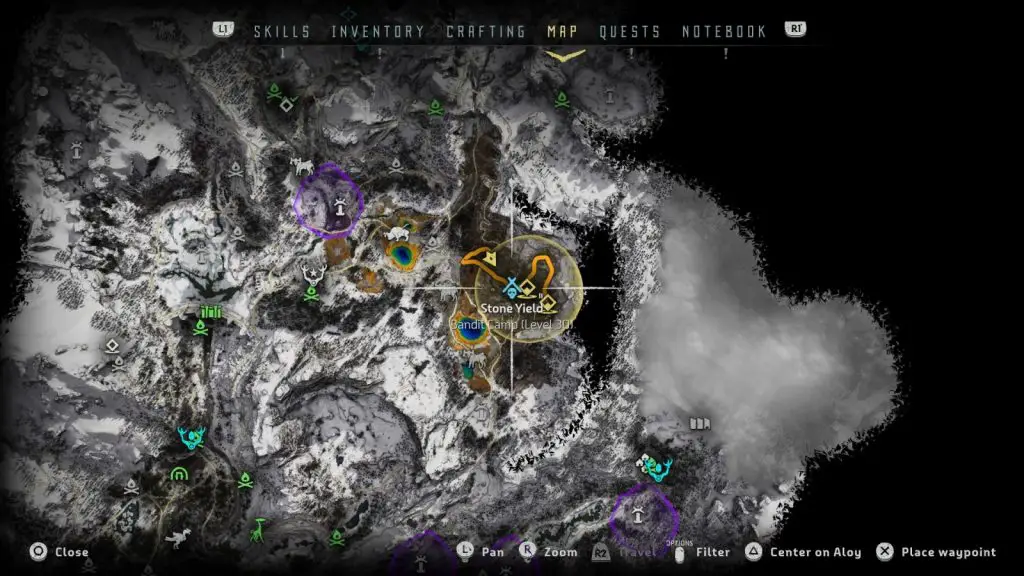
You will need to be about level 30 to take on this Bandit Camp. It is a pretty huge camp and even features a boss fight with the Bandit Leader who you can find at the top of the camp, uphill.
You’ll be awarded for your efforts with a flame-thrower weapon called “Forgefire”.
Where to Find the Hunting Grounds in The Frozen Wilds
Snowchant Hunting Grounds
The Hunting Grounds cannot be used until the side quest “The Shaman’s Path” has been completed. Further to that, the trial “Chieftain’s Trial” cannot be challenged until the side quest “For the Werak”
The trials available here are:
Control Trial – Kill Machines with the Stormslinger.
- Gold: 00:55
- Silver: 01:20
- Bronze: 20:00
Onslaught Trial – Kill the waves of Machines
- Gold: 03:30
- Silver: 05:00
- Bronze: 20:00
Chieftain’s Trial – Kill all Major Machines.
- Gold: 04:30
- Silver: 05:30
- Bronze: 20:00
There is an additional challenge available, Ikrie’s Challenge. To unlock it you will need to have completed the side quest “Survivor” and you can then access it by speaking to Ikrie at the Hunting Grounds.
Ikrie’s Challenge – Draw enemies close to Ikrie and kill them once she has frozen them with the blast sling.
- Bronze: 5 Frozen Machines Killed
- Silver: 8 Frozen Machines Killed
- Gold: 10 Frozen Machines Killed
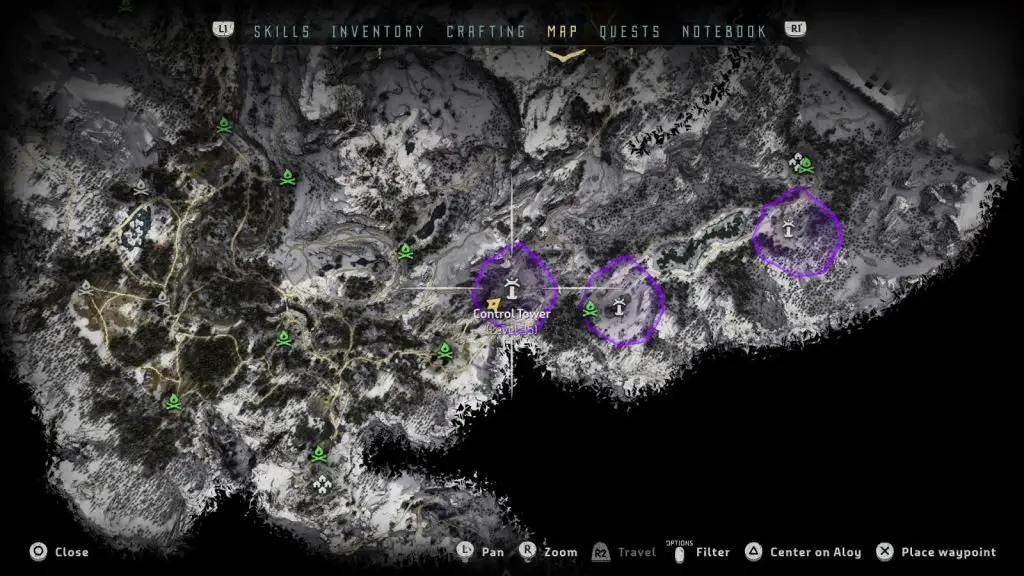
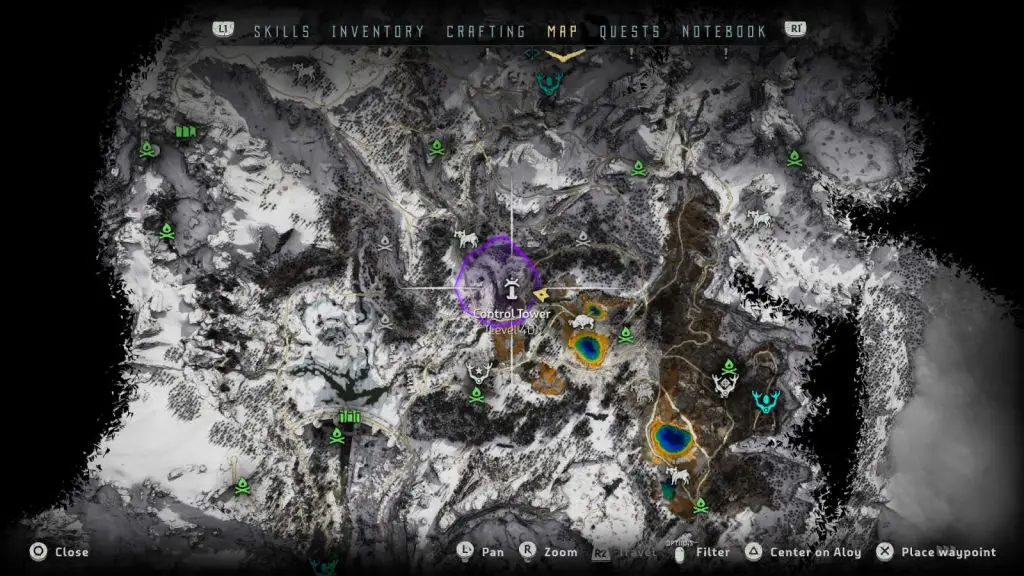
All Control Tower Locations
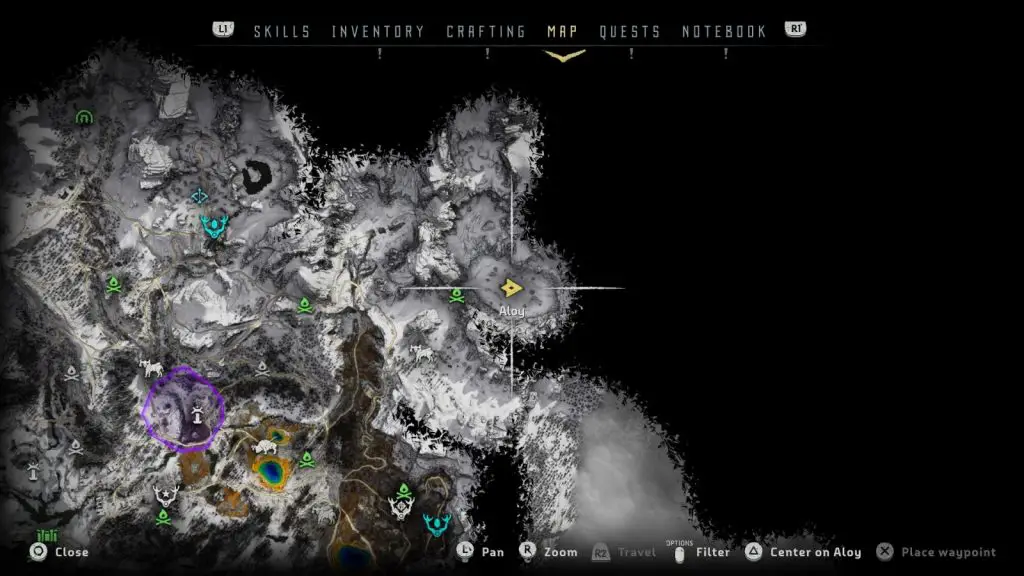
Much like the Corruption Zones, Control Towers have no specific name or identifiable traits other than their specific location on the map, so it will be difficult for me to reference them. Therefore, I will try to draw out a path from one to the next which makes the most sense, and number them accordingly.
If this point-to-point walkthrough-style approach doesn’t work for you, then at least you can still use your in-game map to cross-reference with my map screenshots and clearly see where each one is.
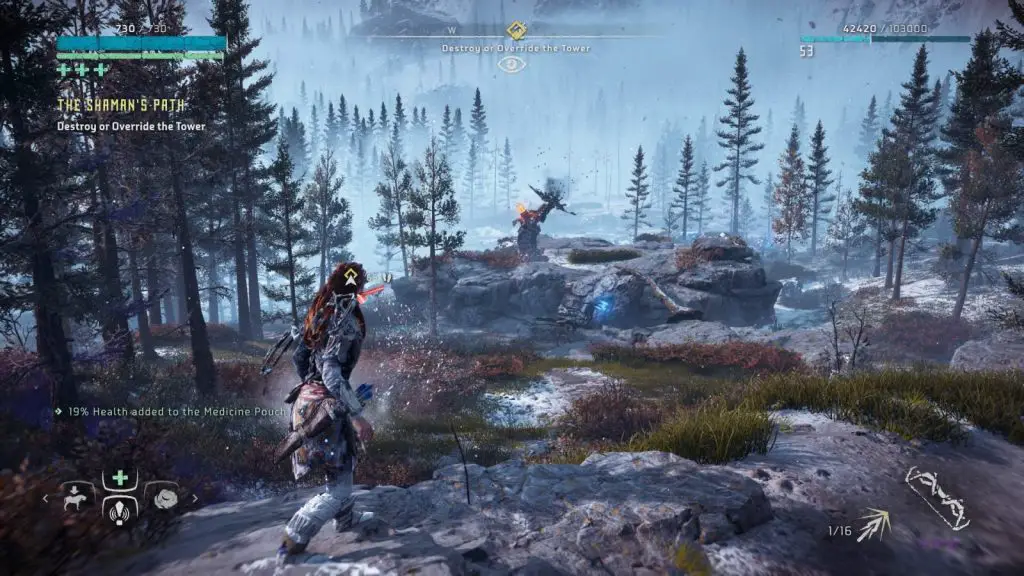
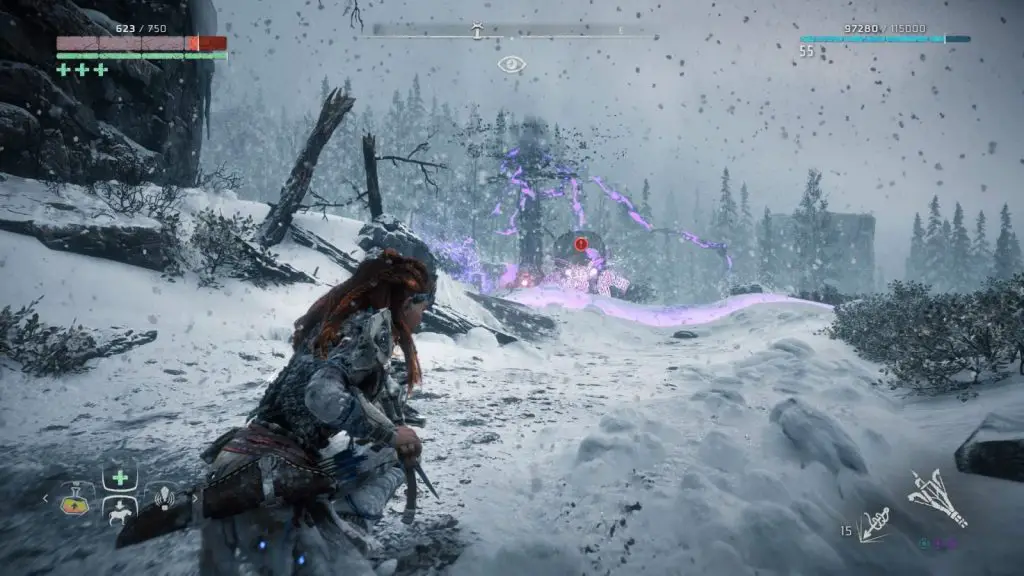
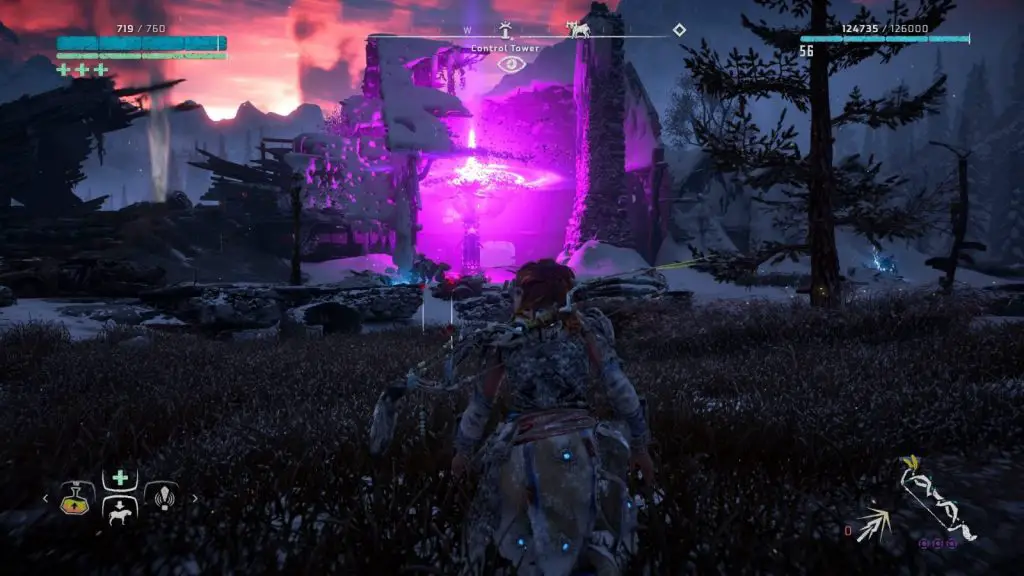
If you reach a Control Tower undetected, you will be able to override it. However, you can also simply destroy it from a distance with your weaponry, but will need to face the many machines surrounding it too. It’s up to you how you choose to approach these.
You can see all Contol Towers on your map, even if you haven’t visited them, they will just be slightly greyed out and very difficult to see if undiscovered, but they are there. Filtering the map to show only Control Towers may help you to see these better.
Control Tower #1
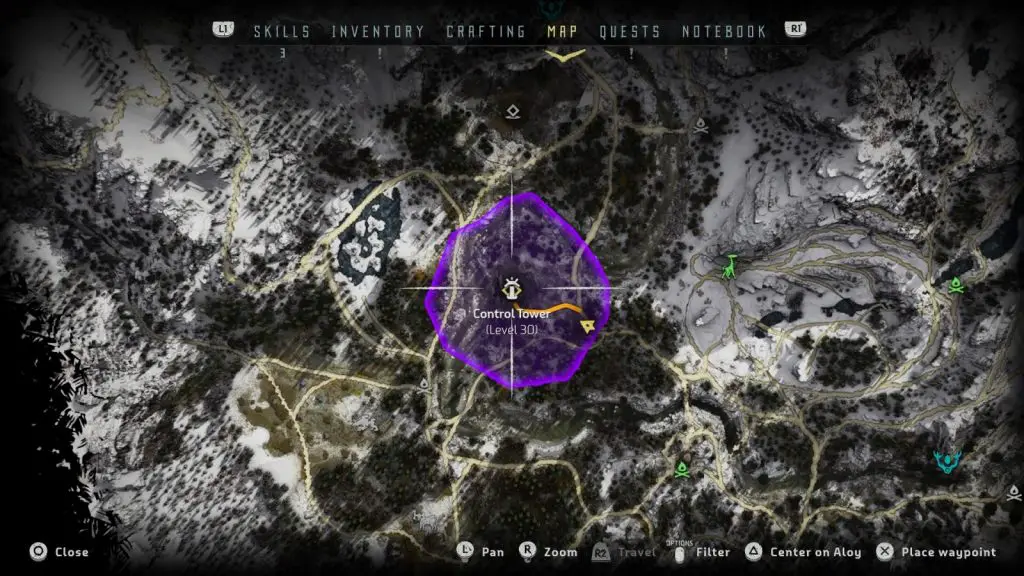
Your first control Tower will be introduced to you as part of the DLC Side Quest “The Shaman’s Path”. You will need to deal with this Control Tower in order to complete that Quest.
Control Tower #2
Also part of the Shaman’s Path quest, you will come across this one whilst making your way through the Shaman’s Path, near a campfire you will find towards the end.
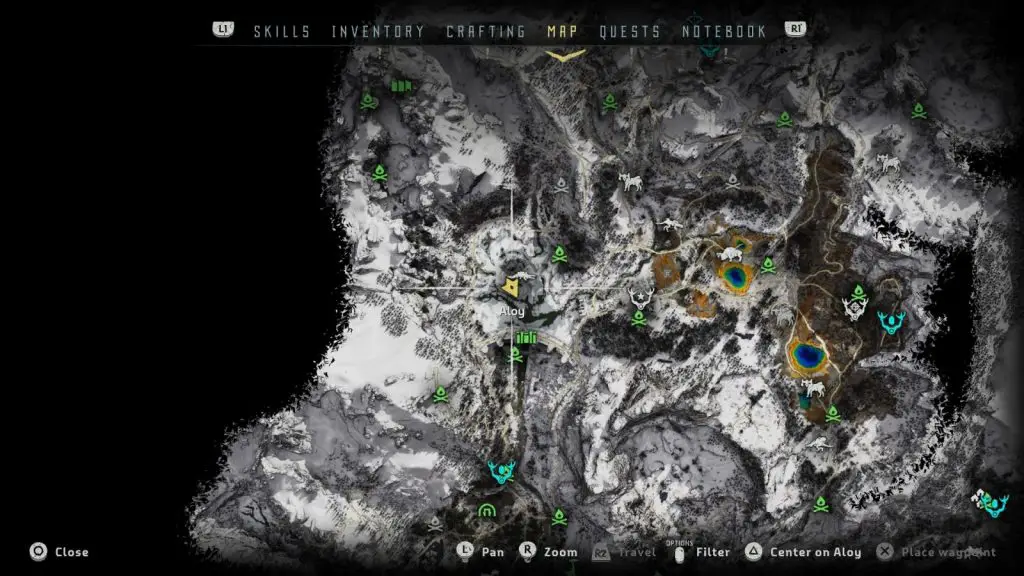
With those non-optional Control Towers now complete, I’ll attempt to draw out a convenient route for you which starts from Song’s Edge and snakes through the Cut from Control Tower to Control Tower.
Control Tower #3
Starting from Song’s Edge, head north along the path until it branches Eastwards and then follow it without branching off until you reach the campfire. At the campfire, keep heading east until the path splits into three possible paths. Take the northern-most path and it will lead you straight to this Control Tower.
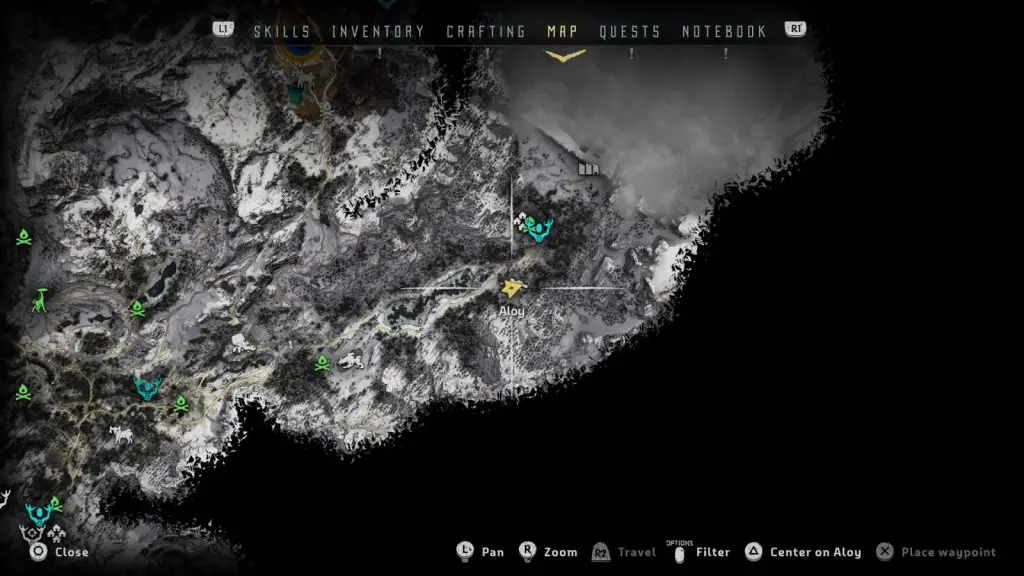
Control Tower #4 & 5
From the last Control Tower, head directly east and you will find the next Control Towers by a small frosty lake southwest of Longnotch, near a Campfire. If you happen to have the Side Quest “The Hunters Three” from Burgrend, this is where the hunters can be found.
There are two Control Towers here.
Control Tower #6
From the last location, continue east and a small amount north to find the next Control Tower. There’s a path running along the southern side of a long icy lake nearby, following this path will lead you straight to this Control Tower which is directly south of Longnotch.
Control Tower #7
For this next Control Tower you will want to backtrack a small amount, heading back to where Control Tower #3 was, which is now marked on the map as a Shellwalker site. From there, follow the path northeast-bound path up the mountain towards the Stone Yield Bandit Camp.
As long as you don’t stray from this path you will run into your next Control Tower in no time.
Control Tower #8
Continue north, past the Stone Yield Bandit Camp, you’ll see a north-bound path which snakes it’s way up the cliffside nearby, it’s best to follow this. We’re essentially aiming to reach the clearing in the northeast corner of the map, where you will find another Control Tower.
To reach it you’ll need to break away from the path and head throw a valley laden with heavy snow just after you have reached the top of the aforementioned cliffside path.
You’ll reach a campfire at the end of the valley with a small handhold near it which will allow you to climb into the clearing containing said Control Tower.
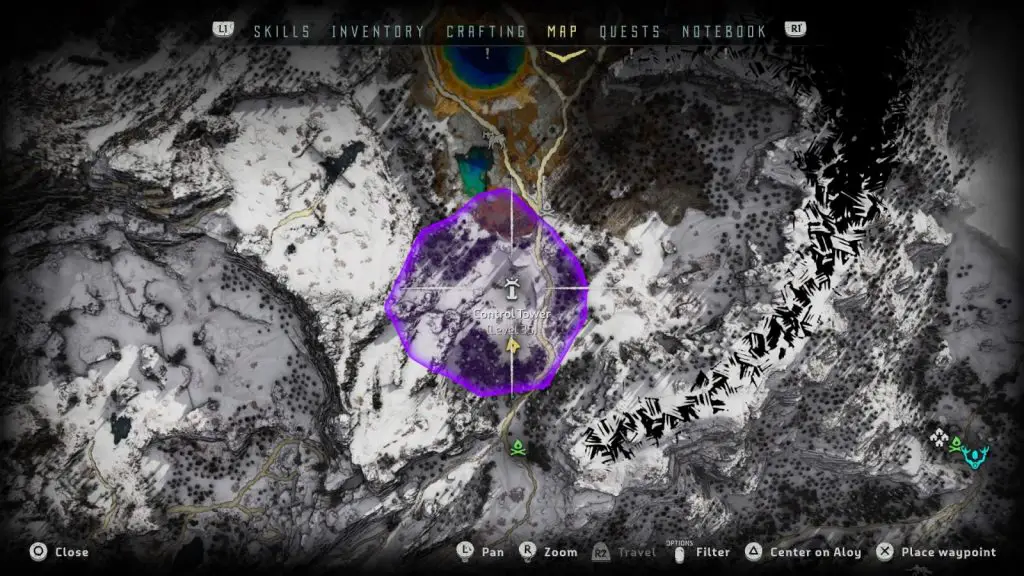
Control Tower #9
There are no more Control Towers this high up in the Cut, so it is time to make our way back down and head westwards. Our next destination is a crumbled lodge in the Hot Springs near the Animal Figurine Vendor.
If you have any campfire’s near here it would be easier to fast travel there than to make your way all the way back down the mountain again, but if you were to walk there, then you would head back down the same cliffside path you walked up earlier – north of Stone Yield Bandit Camp – and then take the westbound road at the bottom.
Control Tower #10, 11 & 12
Our final destination is just north of the “Greycatch” dam. Head west and a little bit south from the last Control Tower to reach it. Here you will find a lot more enemies than usual and three Control Towers to take down across the vast frozen lake.
Thank you for choosing PlatGet as your source for this guide, consider checking out our reviews and other guides!
Return to the main Horizon Zero Dawn – The Frozen Wilds Trophy Guide.
Follow us on twitter @GetPlat or Instagram @platget for updates on new reviews and guides, as well as small anecdotes about our platinum journeys.