PlayStation 4
Horizon Forbidden West Trophy Guide


General Info
FAQ
How long does it take to beat Horizon Forbidden West and unlock all trophies?
Around 30-50 hours depending how much optional side content you choose to enjoy.
How difficult is it to beat Horizon Forbidden West and unlock all trophies?
Easy (3/10).
Does Horizon Forbidden West have online trophies?
No.
Does Horizon Forbidden West have difficulty-specific trophies?
No.
Does Horizon Forbidden West have missable trophies?
Does Horizon Forbidden West have glitched trophies?
No.
What is the minimum number of playthroughs required to unlock all trophies in Horizon Forbidden West?
One.
Does Horizon Forbidden West have a Platinum Trophy?
Yes.
Trophy Guide
Horizon Forbidden West Trophy Guide and Road Map for PS4 & PS5
Welcome to our Horizon Forbidden West Trophy Guide. This masterpiece is the sequel to my all-time favorite game—Horizon Zero Dawn—and I cannot recommend it enough.
The Horizon Forbidden West Trophy Journey is very forgiving, encouraging you only to dabble in the side content that this massive 60-to-80-hour game has to offer, allowing you to grab the Platinum it in as little as 30 hours if you’re efficient about it.
Horizon Forbidden West Trophy Guide: Before You Begin
Missable Trophy
Horizon Forbidden West has one missable trophy; All Machine Types Scanned.
To avoid missing the trophy, you need to make sure you scan the Specter and Specter Prime bosses. They will only spawn during Story Quests and if you miss them you will need a new game save to reattempt the fights.
Both bosses are found in the final Main Story quest, called “Singularity”. Make sure you make a manual save before this quest so you can load it back up again if you miss your chance to scan these two machines.
To be clear, the Specter shows up multiple times throughout the story, but the Specter Prime is only found once. Singularity is the final chance to scan both of them.
All other Machines can spawn out in the open world and nothing else in the game is missable.
Game Difficulty
There are no difficulty-specific trophies so you are free to play the game on any difficulty you like. The lowest and easiest setting is “Story Difficulty,” if you’re looking for the fastest possible platinum completion this is the one you should pick.
You will also have a choice between “Explorer” and “Guided” Pathfinding settings. You can choose whichever you like without consequence.
“Guided” means that you will get several waypoints leading to an objective, like a trail of breadcrumbs. Useful in hard-to-navigate areas but pretty annoying when you want to leave the beaten path.
“Explorer” Pathfinding Waypoints are set on your destination and stay fixed there so that you can decide for yourself what route you’d like to take.
Your Difficulty and Pathfinding settings can be changed at any time from the “General” tab of the Settings option in the ![]() Pause Menu.
Pause Menu.
Phase One – Complete the Main Story until the mission “Singularity”
During this first Phase of our Horizon Forbidden West Trophy Guide, you’re free to just focus on the story up until the “Singularity” final mission. Dabble in other side activities as much as you like while you make your way across the map, the extra experience and resources will make your journey easier, and probably help you out later in the Trophy Journey.
The reason we’re playing the story only up until the “Singularity” Mission is so you can make a manual save to avoid missing any scans.
During this phase, it’s advised that you focus on buying all the skills in the Warrior Skill Tree before any others.
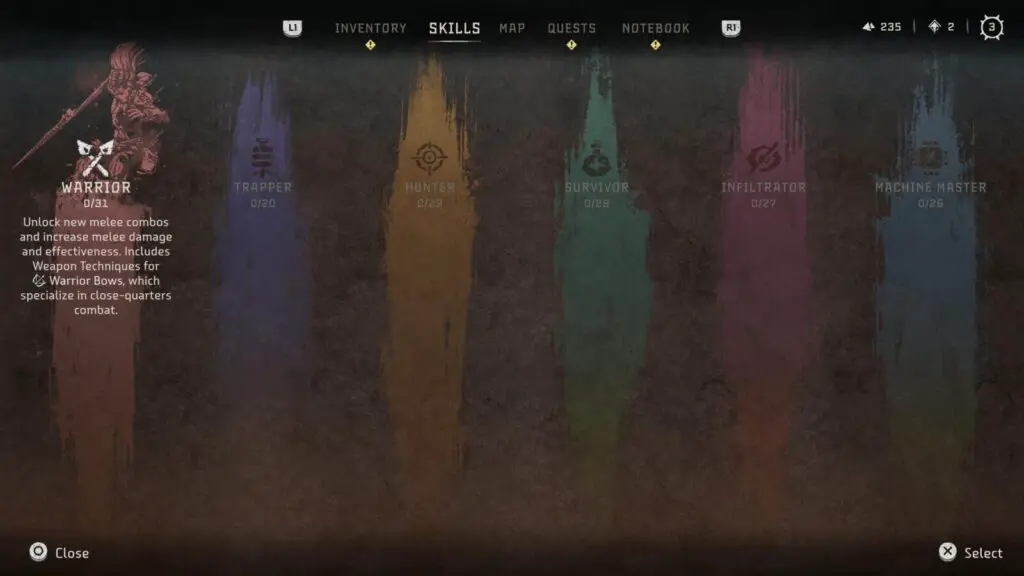
This will ensure that you have all of the Melee Combos required to unlock Defeat the Enduring later in your trophy journey. If you prioritize this you can prevent needing to farm more skill points in the future.
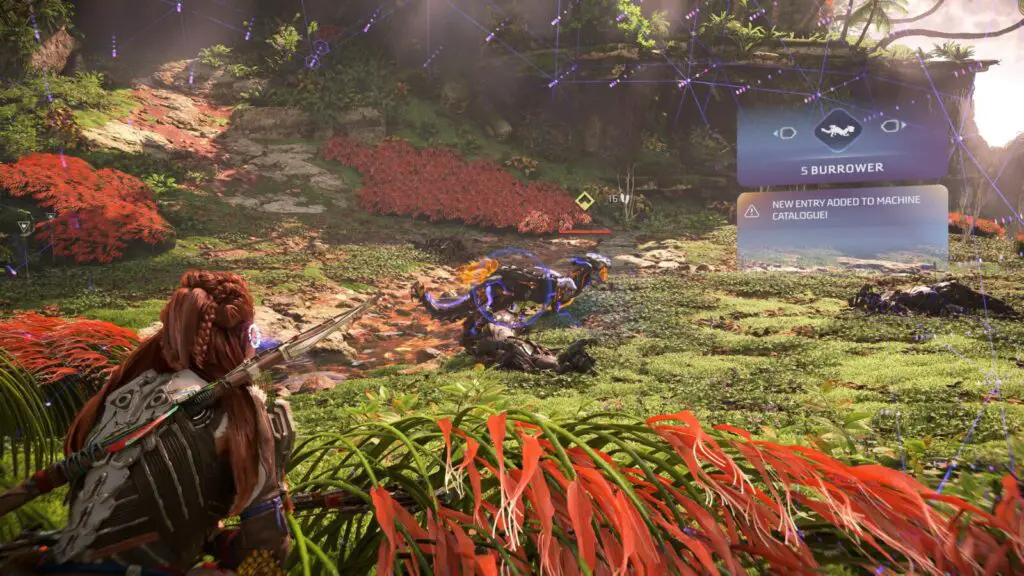
You should also take care to use your Focus ![]() to scan every new Machine you come up against. Only two of the Machine scans are missable, but you’ll make your life easier by scanning machines at every chance you get.
to scan every new Machine you come up against. Only two of the Machine scans are missable, but you’ll make your life easier by scanning machines at every chance you get.
Unmissable Story Trophies


Reached the Daunt
Arrived at the Daunt seeking passage into the Forbidden West.
After you complete the initial introductory mission and finally reach an area called “The Daunt,” the Reached the Daunt trophy will unlock. This trophy is unmissable.

Secured Passage to the Embassy
Cleared the way to the Embassy and reopened the Daunt.
Complete the Story Mission “The Brink” and the Secured Passage to the Embassy trophy will unlock. The Brink is a Main Quest and cannot be skipped, making this trophy unmissable.

Attended the Embassy
Survived the ambush at the Embassy and gained passage into the Forbidden West.
The Attended the Embassy trophy will unlock after you complete the Main Quest titled “The Embassy.” This is the mission that leads to you finally having free roam of the Forbidden West. It is a part fo the main story and so this trophy is unmissable.

Established the Base
Secured a base of operations and rebooted GAIA.
The Established the Base trophy will unlock towards the end of the Quest called “The Eye of the Earth.” This mission is an unavoidable part of the Main Story, making this trophy missable.

Recovered AETHER
Defended the Kulrut and recovered AETHER.
The Recovered AETHER trophy unlocks after you’ve completed the Main Story Quest called “The Kulrut.” Though you can choose when you do this quest, it is required for story progression, making this an unmissable trophy.

Recovered POSEIDON
Drained Las Vegas and recovered POSEIDON.
The Recovered POSEIDON trophy unlocks after you’ve completed the Main Story Quest called “The Sea of Sands.” Though you can choose when you do this quest, it is required for story progression, making this an unmissable trophy.

Recovered DEMETER
Encountered the Quen and recovered DEMETER.
The Recovered DEMETER trophy unlocks after you’ve completed the Main Story Quest called “Seeds of the Past.” Though you can choose when you do this quest, it is required for story progression, making this an unmissable trophy.

Recovered Beta
Followed Beta’s distress signal and brought her back to base.
You will unlock the Recovered Beta trophy once you complete the Main Story Quest called “Cradle of Echoes.” This Main Quest will start after you complete “The Kulrut,” “The Sea of Sands,” OR “Seeds of the Past.” Whichever you choose to complete first.
It is required for story progression and so this trophy is unmissable.

Discovered Faro’s Fate
Survived Thebes and befriended the Quen.
Completing the Main Story Quest “Faro’s Tomb” will cause the Discovered Faro’s Fate trophy to unlock. The Quest is required for story progression, making this trophy unmissable.
Flew on the Wings of the Ten
Flew into battle and vanquished Regalla.
You will unavoidably receive the Flew on the Wings of the Ten trophy when you complete the Main Story Quest called “The Wings of the Ten.”
Phase Two – Make a Save, Scan Specter & Specter Prime, Finish the Story
This phase of our Horizon Forbidden West Trophy Guide is just here as a reminder to make sure that you get the two missable Machine Scans.
Once the Mission “Singularity” starts, make a manual save file. You can use this to return to the start of the mission in case you miss the scans.
During this final mission, make sure you scan the Specter and Specter Prime machines. This way you won’t lock yourself out of collecting the All Machine Types Scanned trophy.
As explained, if you forget and miss one, load your manual save and try again.
Finish the Story


Discovered Nemesis
Put an end to the Zenith threat and discovered Nemesis.
Discovered Nemesis will unlock upon completion of the Main Story’s final Quest; “Singularity.”
Make sure you scan the Specter and Specter Prime Machines during this Quest as they won’t appear anywhere else.
Phase Three – Completing Horizon Forbidden West Side Quest & Activity Trophies
You don’t need to complete all side content in Horizon Forbidden West. In fact, you only really need to complete around 50% of the game’s total content to earn the Platinum.
For clarity, here’s a breakdown of the activities you’ll specifically need to complete:
| Activity | Completion Required | Trophy |
|---|---|---|
| Tallnecks | All Six Tallnecks need to be activated. | All Tallnecks Overridden |
| Arena | Just one Arena Challenge Set. The “Easy” set at least. | Completed Arena Challenge Set |
| Hunting Grounds | You will need to visit every Hunting Ground and complete all 3 challenges at each one (12 total) with at least a “Quarter Stripe” ranking. | Obtained 3 Stripes at All Hunting Grounds |
| Cauldrons | You will need to find and access the core of all 6 Cauldrons. | All Cores Overridden |
| Melee Pits | You will need to complete the melee challenges at all four Melee Pits in the game. | Defeated the Enduring |
| Rebel Camps | You will need to find all 6 Rebel Camps and defeat all of the enemies within. | Defeated Asera |
| Rebel Outposts | There are 17 Rebel Outposts in Horizon Forbidden West, but you will only need to clear 4 of them. | Completed 4 Rebel Outposts |
| Gauntlet Runs | There are 4 Gauntlet Runs available, but you will only need to complete 2 of them. | Won 2 Gauntlet Runs |
Additionally, the game contains a plethora of Side Missions you can take part in, but ultimately only a handful are required:
| Side Quest | Trophy |
|---|---|
| Thirst for the Hunt | Chose a Desert Commander |
| The Wound in the Sand | Chose a Desert Commander |
| The Gate of the Vanquished | Chose a Desert Commander |
| Shadow from the Past | Saved the Daunt |
| Shadow in the West | Saved the Daunt |
| The Twilight Path | Saved the Daunt |
| The Bristlebacks | Saved the Daunt |
| What Was Lost | Aided Kotallo |
| The Second Verse | Healed the Land-gods |
| Forbidden Legacy | Recovered Alva’s Data |
I strongly recommend that you focus on Overriding the Tallnecks first during this phase of your Horizon Forbidden West trophy journey if you haven’t already. That way, the full map will be revealed to you and it’ll be easier to find the activities you need to complete.
Once you’ve done that, you’re free to pick and choose any order to collect the trophies in this Phase of our Horizon Forbidden West Trophy Guide.
You will have a Flying Mount by this point in the game, so all side content is going to be very easy to reach.
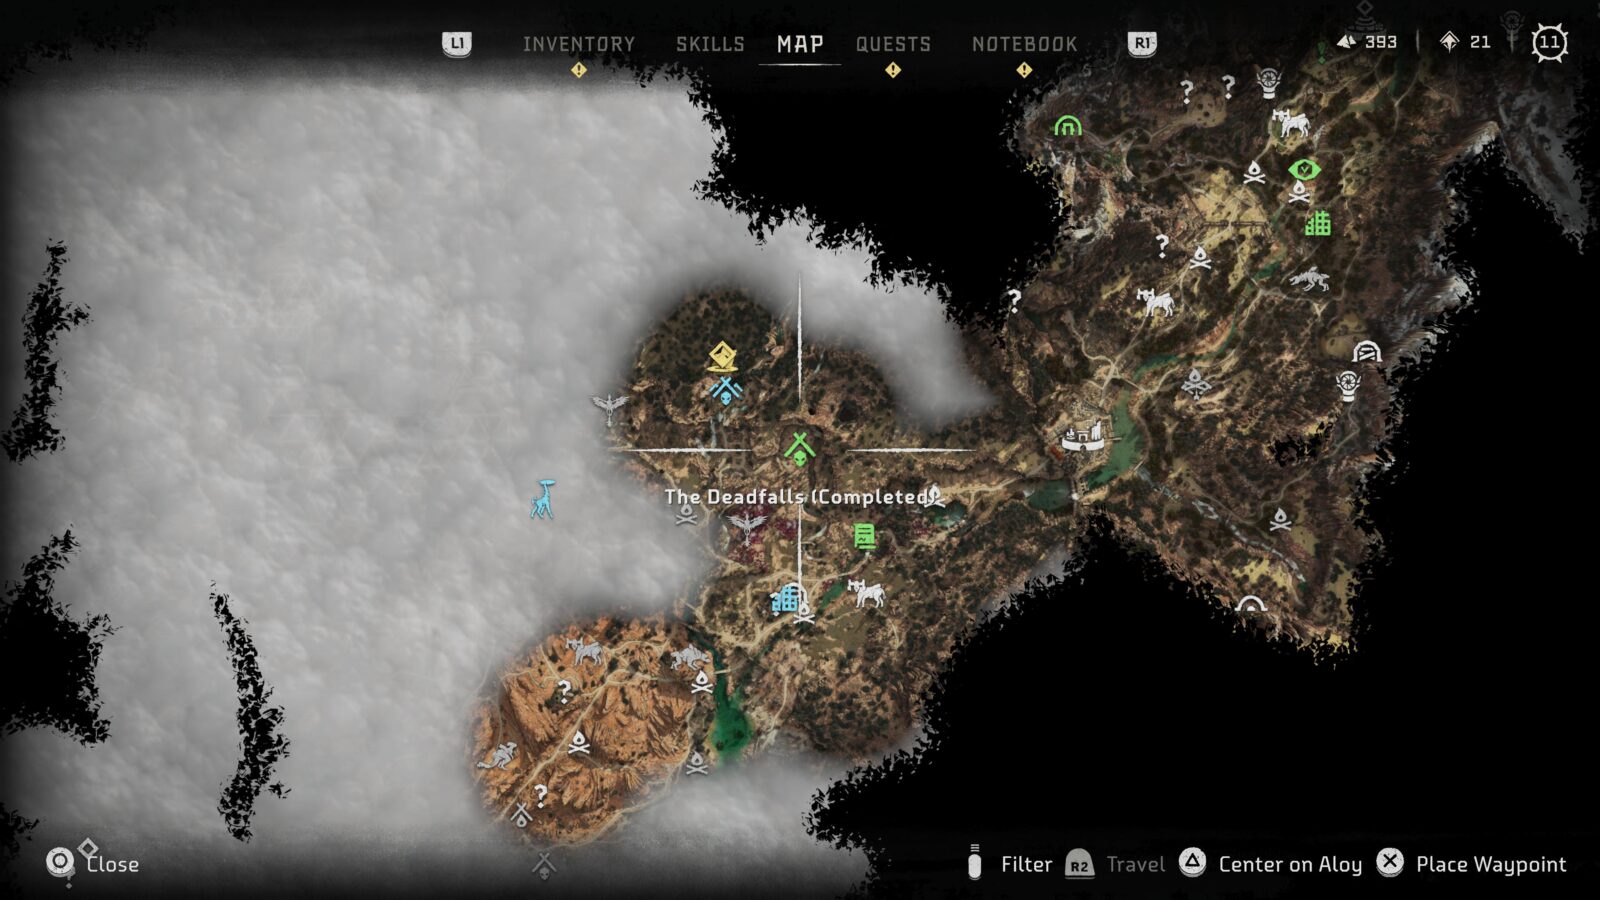
Override all Tallnecks

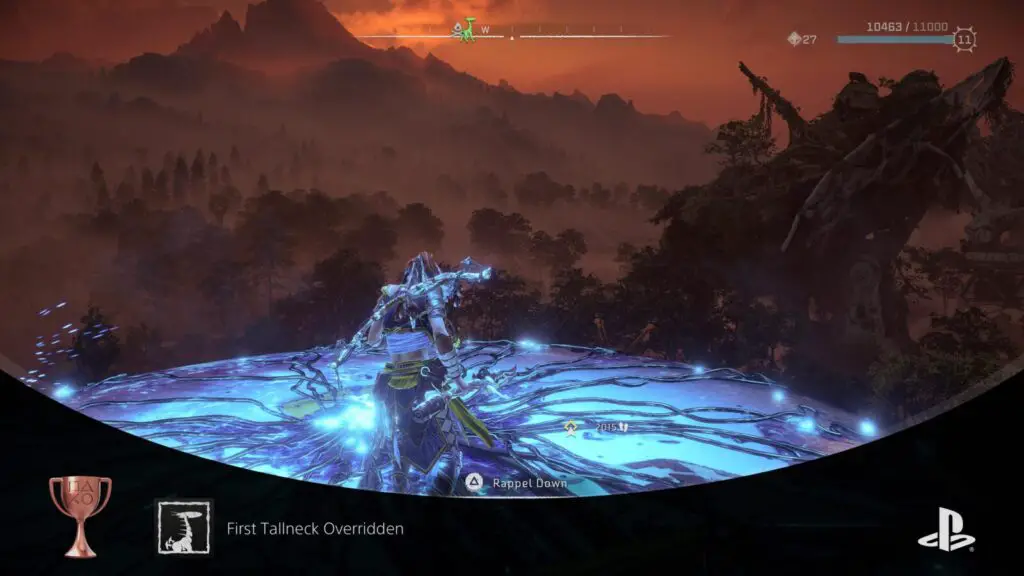
First Tallneck Overridden
Reached the top of a Tallneck and accessed its information.
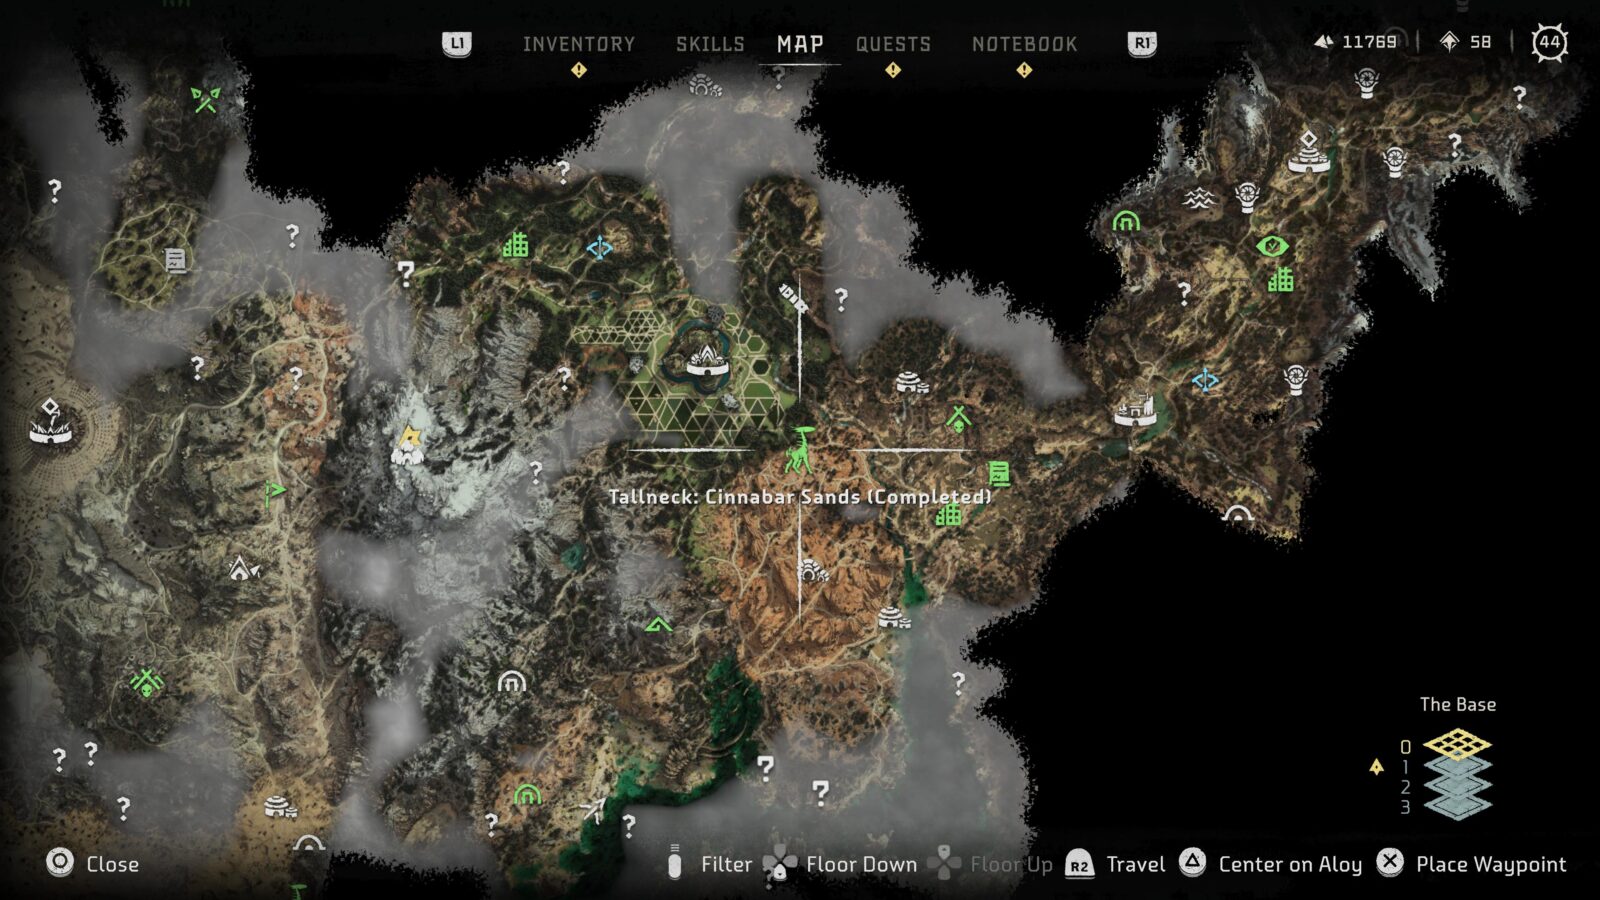
You will be introduced to Tallnecks as part of the story after you’ve unlocked the Attended the Embassy trophy, where all Tallnecks will be marked on your map. I recommend heading for the nearest one first; The Cinnabar Sands Tallneck.
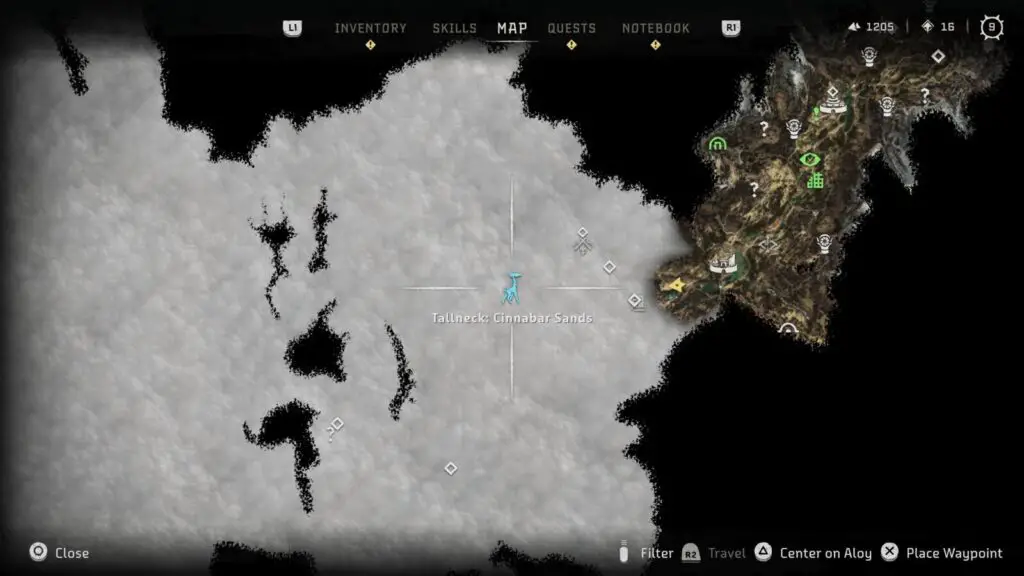
Head to its blue icon on the map and then use the environment to jump onto it. From there, work your way up to its head (if it’s not where you landed), where you can hold ![]() at the center to Override the Tallneck.
at the center to Override the Tallneck.
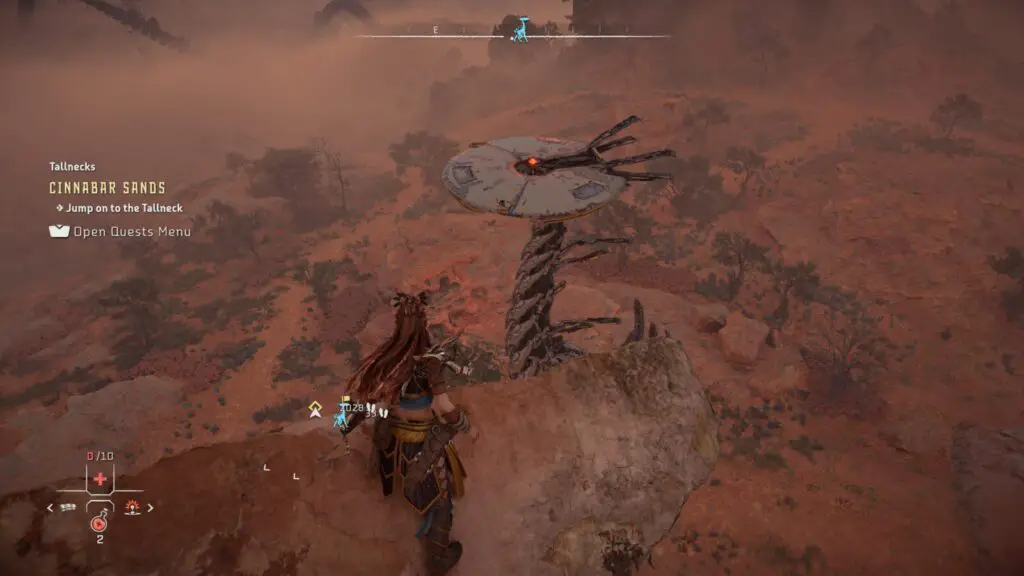
Overriding Tallnecks lets you get a good view of the surrounding points of interest, which are then added to the map! Overriding your first Tallneck will unlock the First Tallneck Overridden Trophy.
You’ll eventually need to Override all six Tallnecks for the All Tallnecks Overridden trophy.

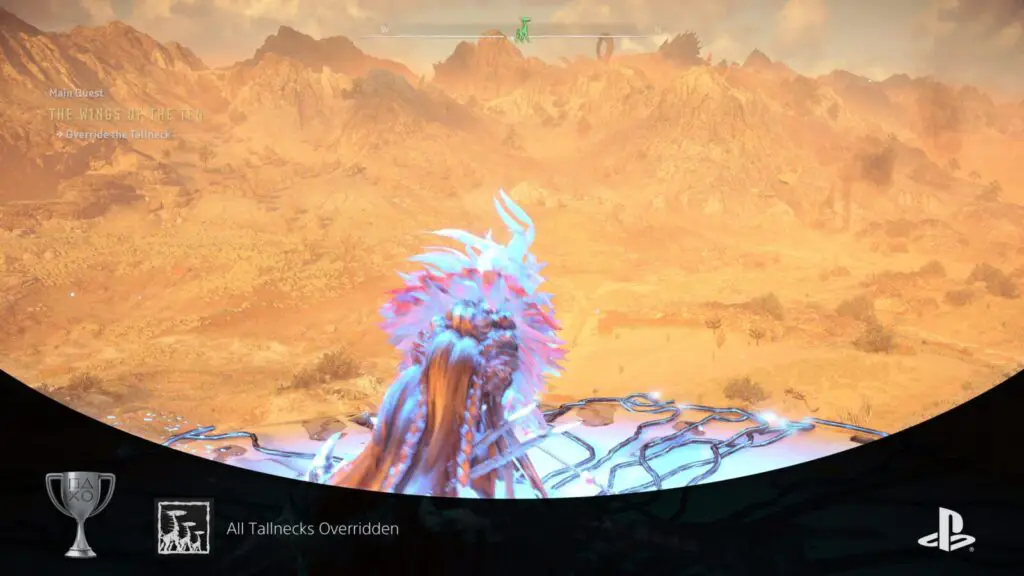
All Tallnecks Overridden
Reached the top of every Tallneck and accessed their information.
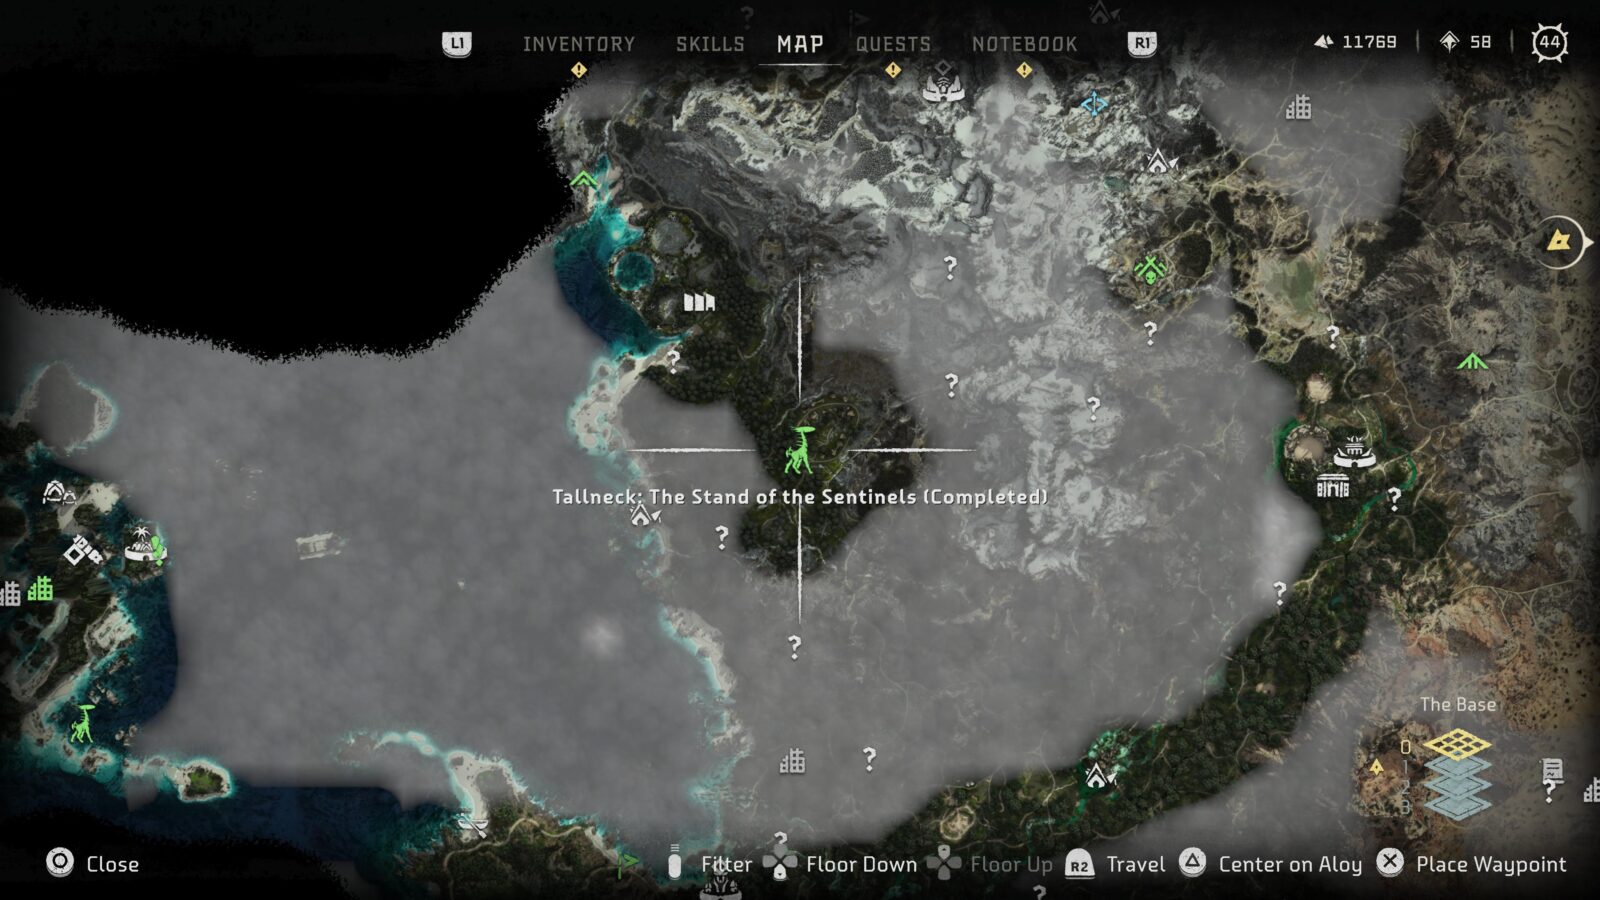
As you might expect, the “All Tallnecks Overridden” trophy will unlock once you have Overridden all 6 Tallnecks in Horizon Forbidden West.
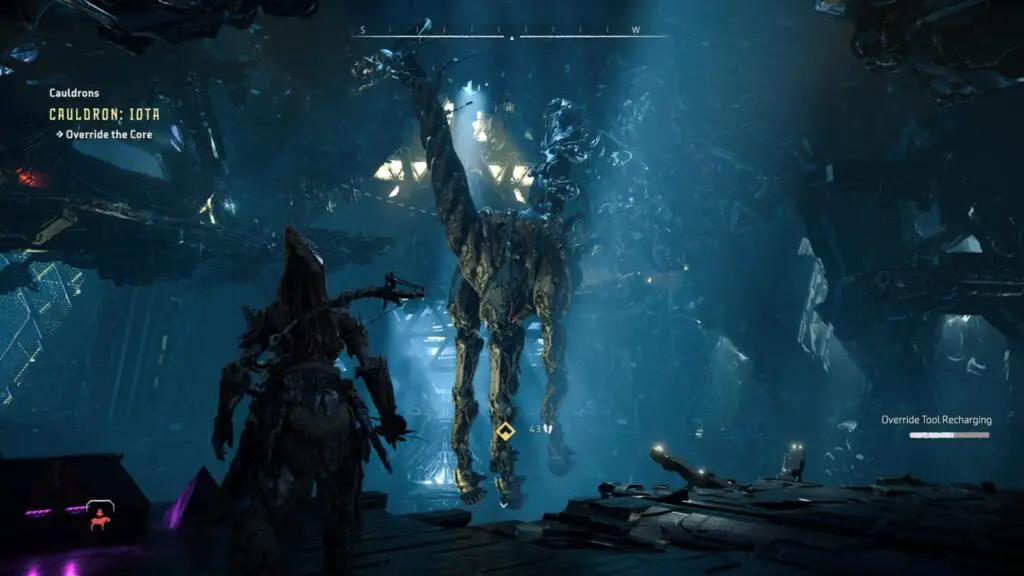
It’s worth noting that one of the Tallnecks is hidden inside IOTA Cauldron, and will be Overridden automatically as part of completing that Cauldron.
Another of the Tallnecks; “The Shining Wastes Tallneck” cannot be Overridden at first. It will be automatically Overridden as part of the story, so complete the Main Story Quests before attempting this trophy.
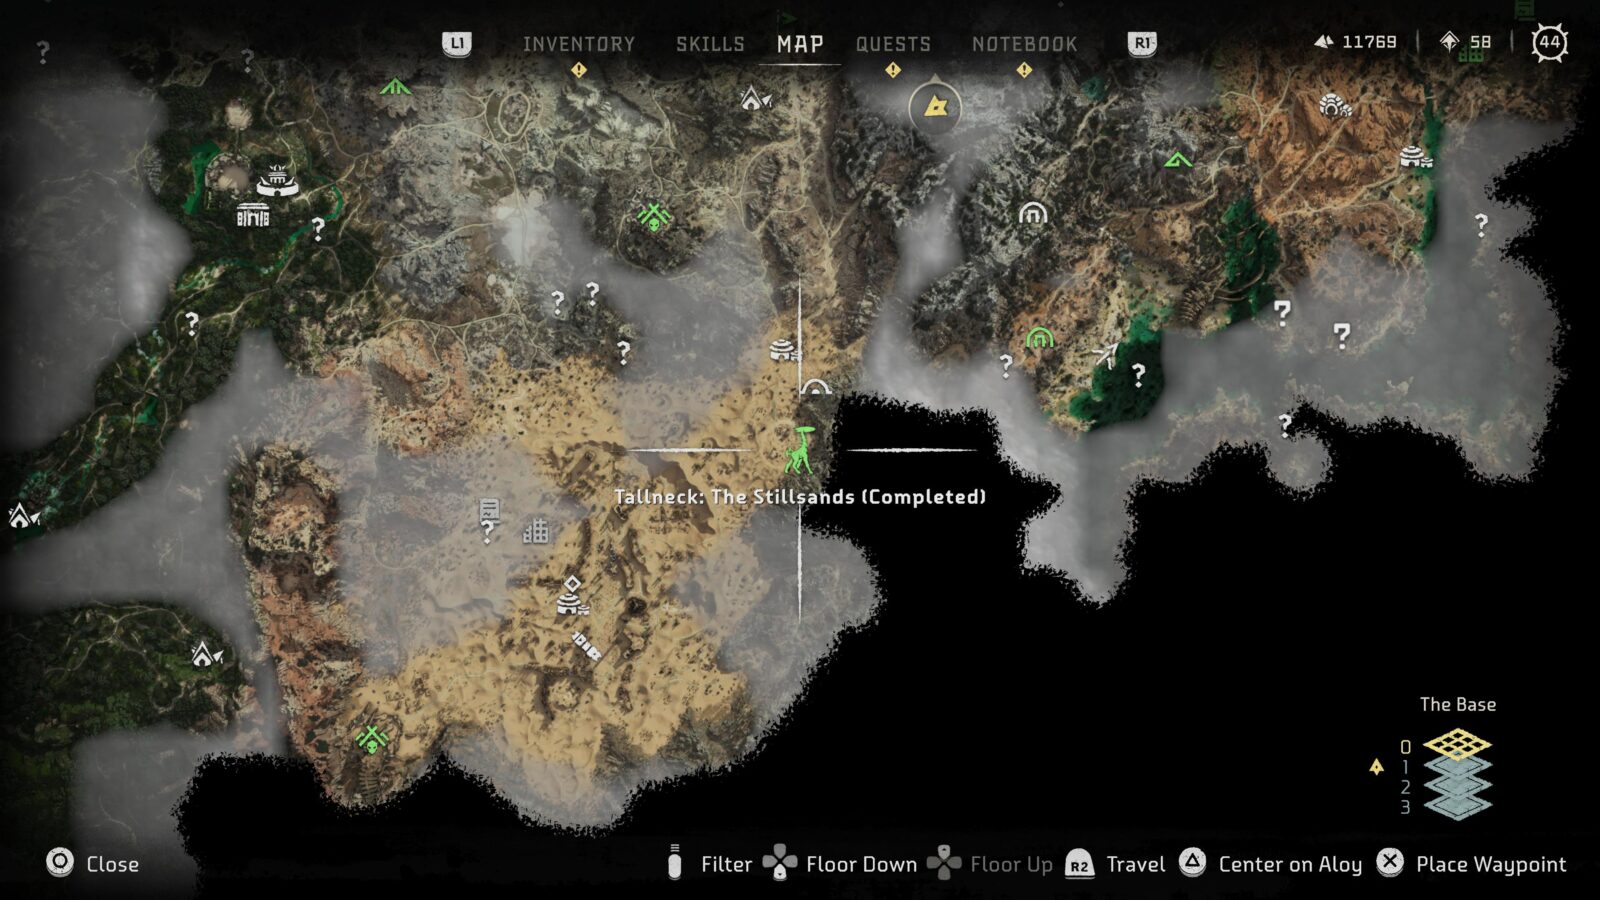

Override all 6 Tallnecks, including the one in Cauldron IOTA and the Shining Wastes Tallneck, and the trophy will unlock.
Side-Quest Storyline Trophies

Saved the Daunt
Resolved all of the problems troubling the Daunt.
There are just Four Side Quests you need to ensure you complete in the Daunt. There’s no time limit here and you can return to complete them at any time, even after completing the story. The Four Quests are “The Bristlebacks,” “Shadow from the Past,” “Shadow from the West,” and “The Twilight Path.”
You can either complete them as the opportunities present themselves or just focus on the main story and come back to the Daunt later to complete them.
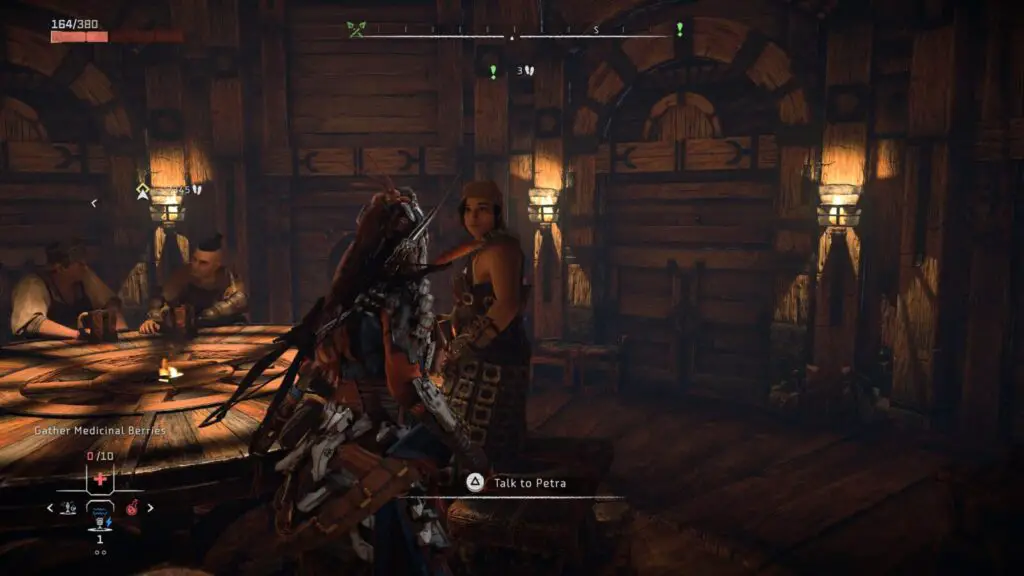
“The Bristlebacks” is a quest available in the “Chainscrape” settlement.
“The Twilight Path” is a side quest offered by Petra, also in Chainscrape.
You can get the “Shadow from the Past” quest from a Prisoner in the “Barren Light” settlement.
The “Shadow in the West” quest will start automatically once you complete the “Shadow from the Past” quest.

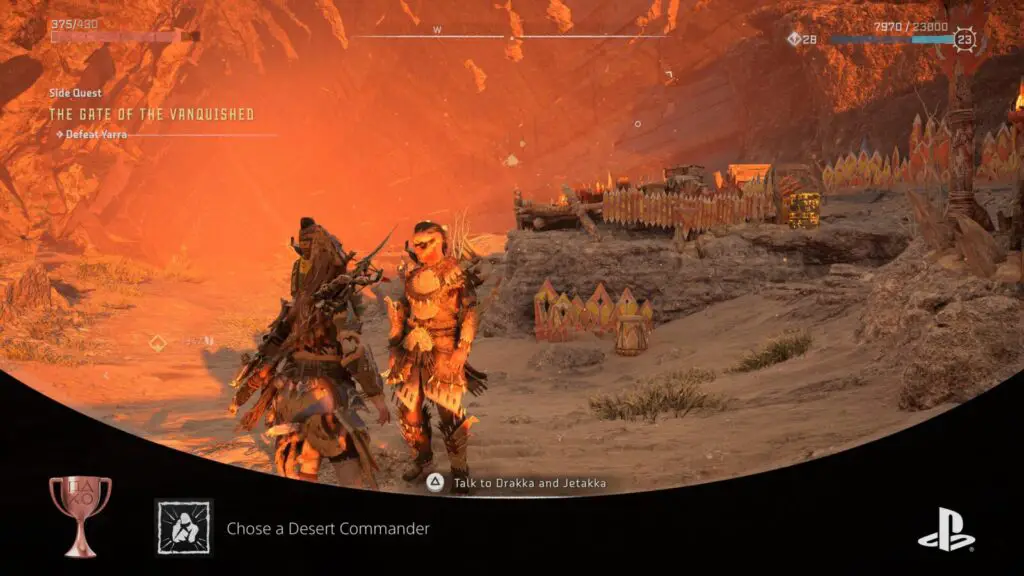
Chose a Desert Commander
Aided both Drakka and Yarra and chose the better candidate.
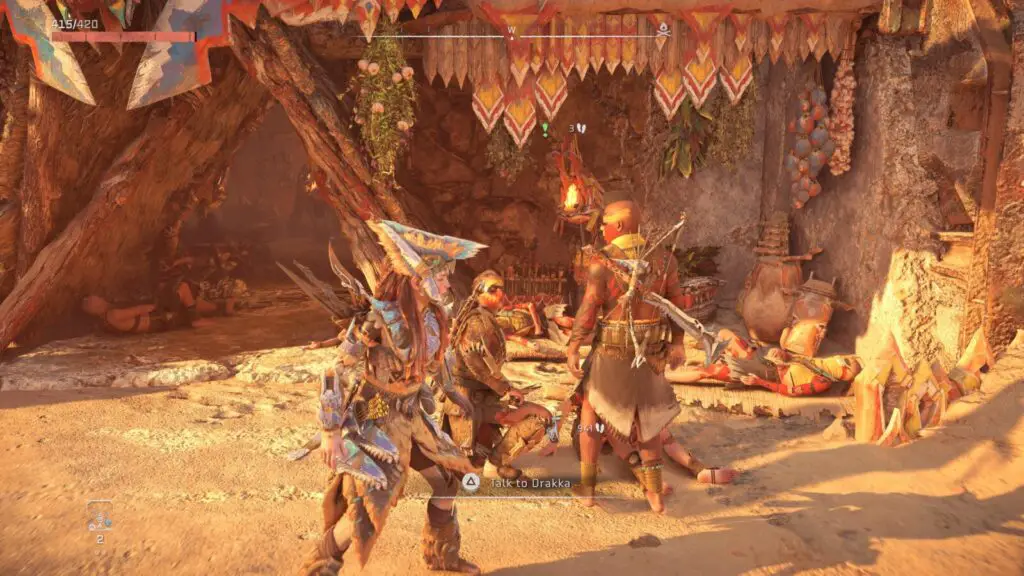
To unlock the Chose a Desert Commander trophy, you need to complete a series of three Side Quests; Thirst for The Hunt, The Wound in The Sand, and The Gate of the Vanquished.
After each one you complete, the next one in the series will start.
The first one, Thirst for The Hunt, can be started by speaking to Drakka in the Arrowhand Settlement.

Aided Kotallo
Helped Kotallo build and test a mechanized arm.
The Aided Kotallo trophy unlocks when you complete a Side Quest for Kotallo called “What Was Lost.”
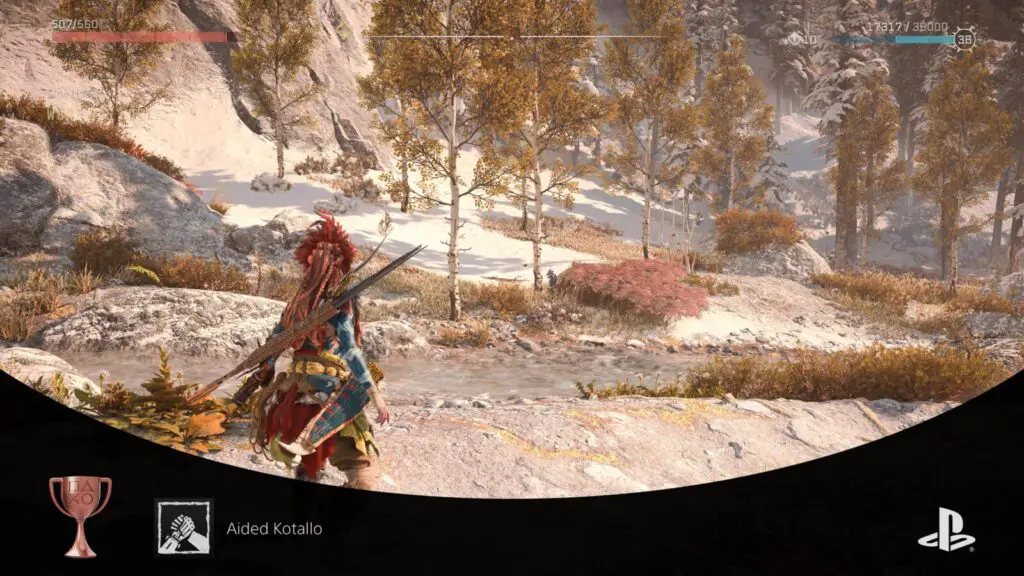
The Side Quest will be available from The Base after you’ve completed three Main Quests called “The Kulrut,” “The Sea of Sands,” and “Seeds of the Past.”

Healed the Land-gods
Helped Zo reboot the land-gods to save Plainsong.
The Healed the Land-gods trophy unlocks when you complete a Side Quest for Zo called “The Second Verse.”
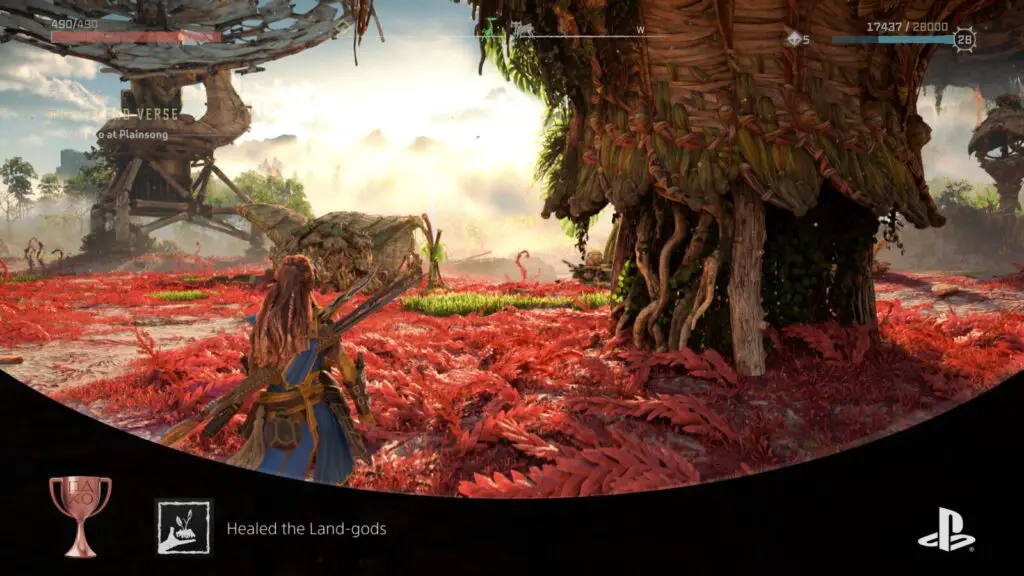
The Side Quest will be available from The Base after you’ve completed the Main Quests called “Cradle of Echoes.”

Recovered Alva’s Data
Helped Alva retrieve data to help the Quen.
During the Main Quest “Gemini,” a Side Quest called “Forbidden Legacy” will become available after you’ve spoken with Beta about Rost.
Go into Alva’s room at The Base and speak to her to start the Side Quest.

Complete the Forbidden Legacy Side Quest to unlock the “Recovered Alva’s Data” trophy.

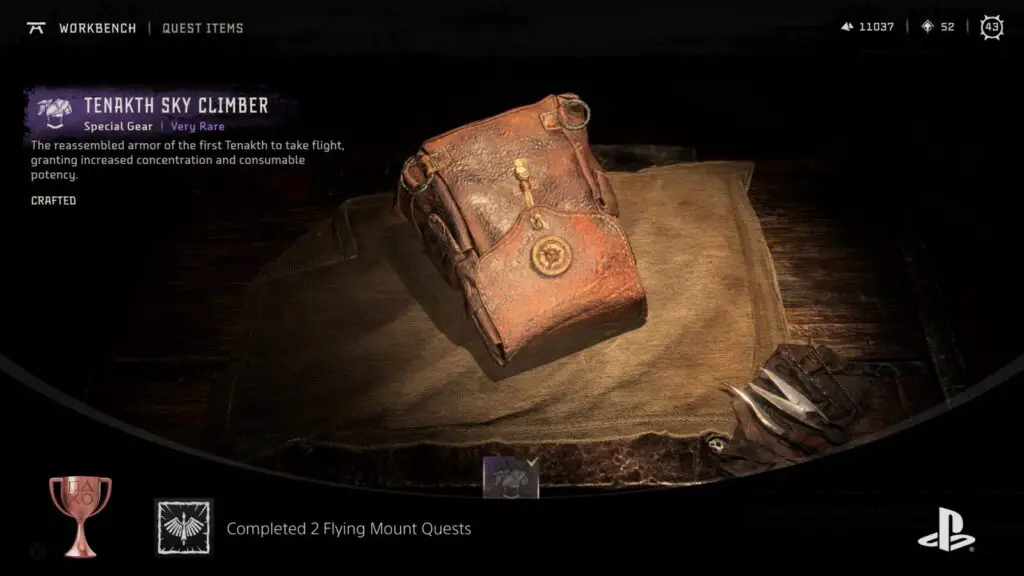
Completed 2 Flying Mount Quests
Completed 2 quests that required a flying mount.
There are 4 Errand Quests in the game which require a Flying Mount. You will have a Flying Mount after you complete the Main Quest titled “The Wings of the Ten.”
To unlock this trophy, however, you only need to complete 2 of the 4 available errand Quests:
| Flying Mount Quest | Quest Giver |
|---|---|
| Shining example | Marallo in Arrowhand |
| First to Fly | Serivva and Kettah in The Bulwark |
| The Way Home | Harriem and Kristia in Legacy’s Landfall |
| Tides of Justice | Cragella in Tide’s Reach |
Complete any of the 4 Errand Quests noted above and the trophy is yours.
Earn a Quarter Stripe at all Hunting Grounds

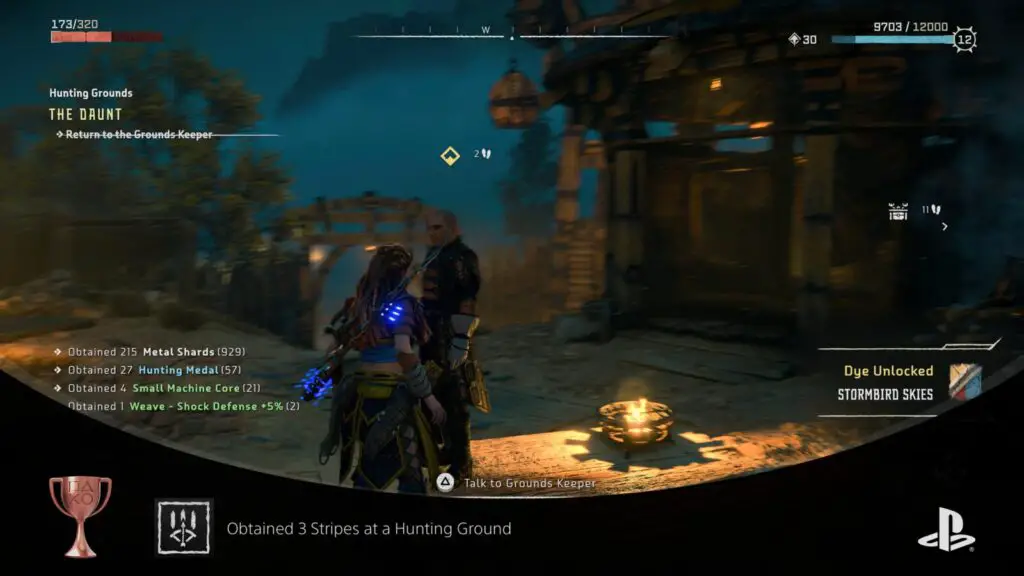
Obtained 3 Stripes at a Hunting Ground
Earned at least a Quarter Stripe mark in all three trials at one Hunting Lodge.
Hunting Grounds are areas where specific types of Machines cluster together in large groups, perfect for hunting practice. They are marked on the map with a bow icon.
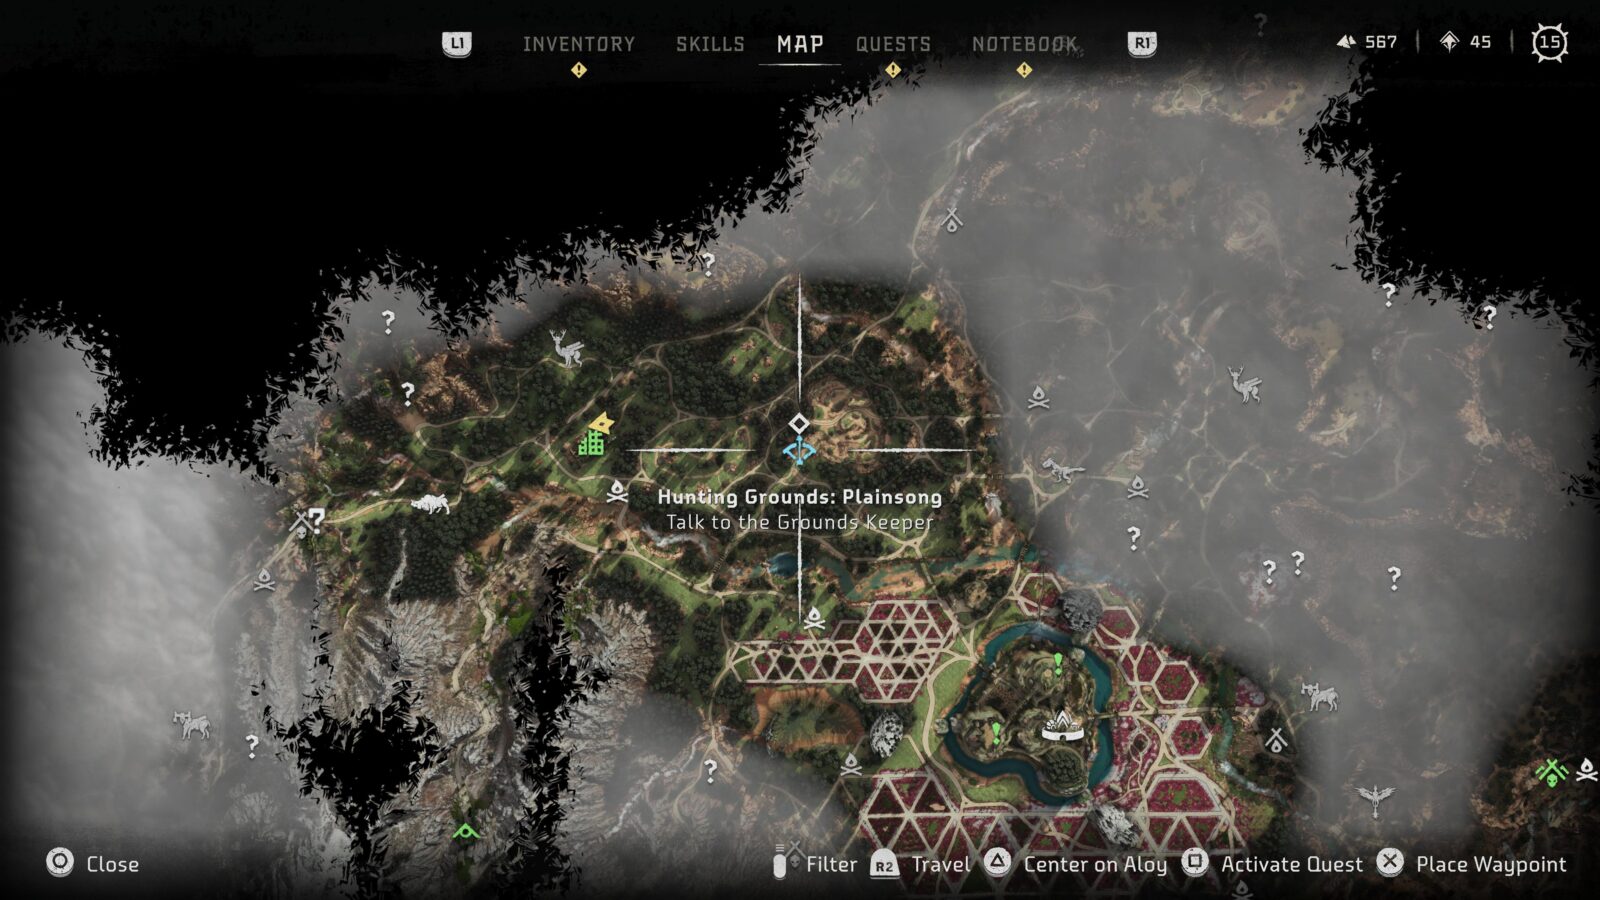
Offered at each of the four Hunting Grounds locations in Horizon Forbidden West you will find three Hunting Challenges, for a total of 12 hunting challenges available.
Each Hunting Challenge will require you to hunt a certain type of Machine under specific conditions. Depending on how quickly you complete each Hunting Challenge, you will be awarded stripes.
You will need to achieve at least a “Quarter Stripe” rating on every challenge at one of the four Hunting Grounds to unlock the “Obtained 3 Stripes at a Hunting Ground” trophy.

Obtained 3 Stripes at All Hunting Grounds
Earned at least a Quarter Stripe mark in all three trials at all Hunting Grounds.
For the Obtained 3 Stripes at All Hunting Grounds trophy, you will need to complete all 12 Hunting Ground Challenges in the game. There are 4 Hunting Grounds locations, each of which have 3 Hunting Challenges for you to complete.
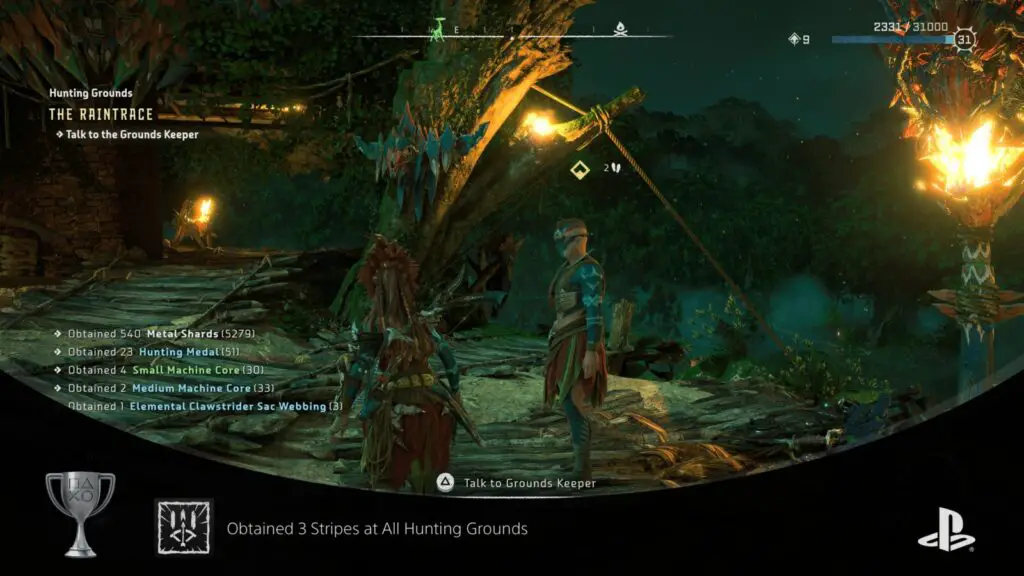
Earn at least a Quarter Stripe rating on every challenge by completing them in under 10 minutes at all four Hunting Grounds to unlock this trophy.
Some Hunting Ground Challenges require specific weapons. You can typically buy these weapons from the merchants at each ground.
Here are all of the Challenges available, their location, their objectives, and the time required for Quarter Stripe ranking:
| Challenge | Grounds | Objective |
|---|---|---|
| Tear Trial | The Daunt | Shoot Power Cell Components off Scroungers with Tear Ammo |
| Shock Trial | The Daunt | Overload Scrounger Power Cells with Shock Ammo |
| Shock and Trap Trial | The Daunt | Trigger environmental traps to kill Machines who are in a Shocked state |
| Silent Looting Trial | Plainsong | Loot 3 supply caches without alerting any Machines |
| Silent Strike Trial | Plainsong | Kill Machines without getting spotted using Silent Strike & Strike from Above |
| Silent Gliding Trial | Plainsong | Use Strike from Above to kill Machines while soaring overhead via the Shieldwing |
| Frost Trial | Sheerside Mountains | Destroy three brittle Bellowback sacks after using freeze ammo to freeze them. |
| Shredder Catch Trial | Sheerside Mountains | Charge up a Shredder shot by catching it three times. Fire a charged Shreddr shot to deal massive damage. Do this twice. |
| Plasma Blast Trial | Sheerside Mountains | Inflict the max Plasma Damage possible by overloading the Rollerback into the Plasma Blast state. |
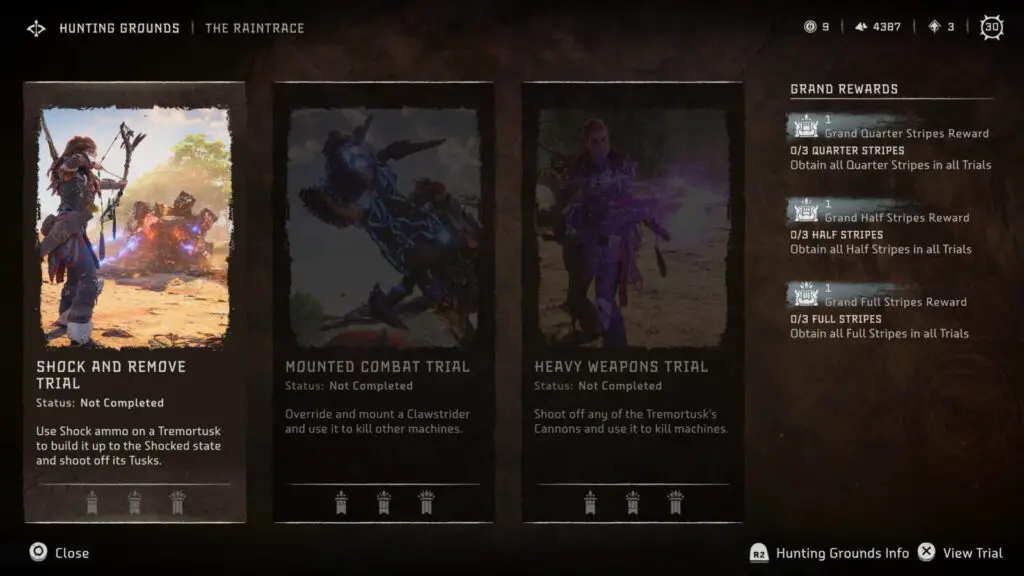
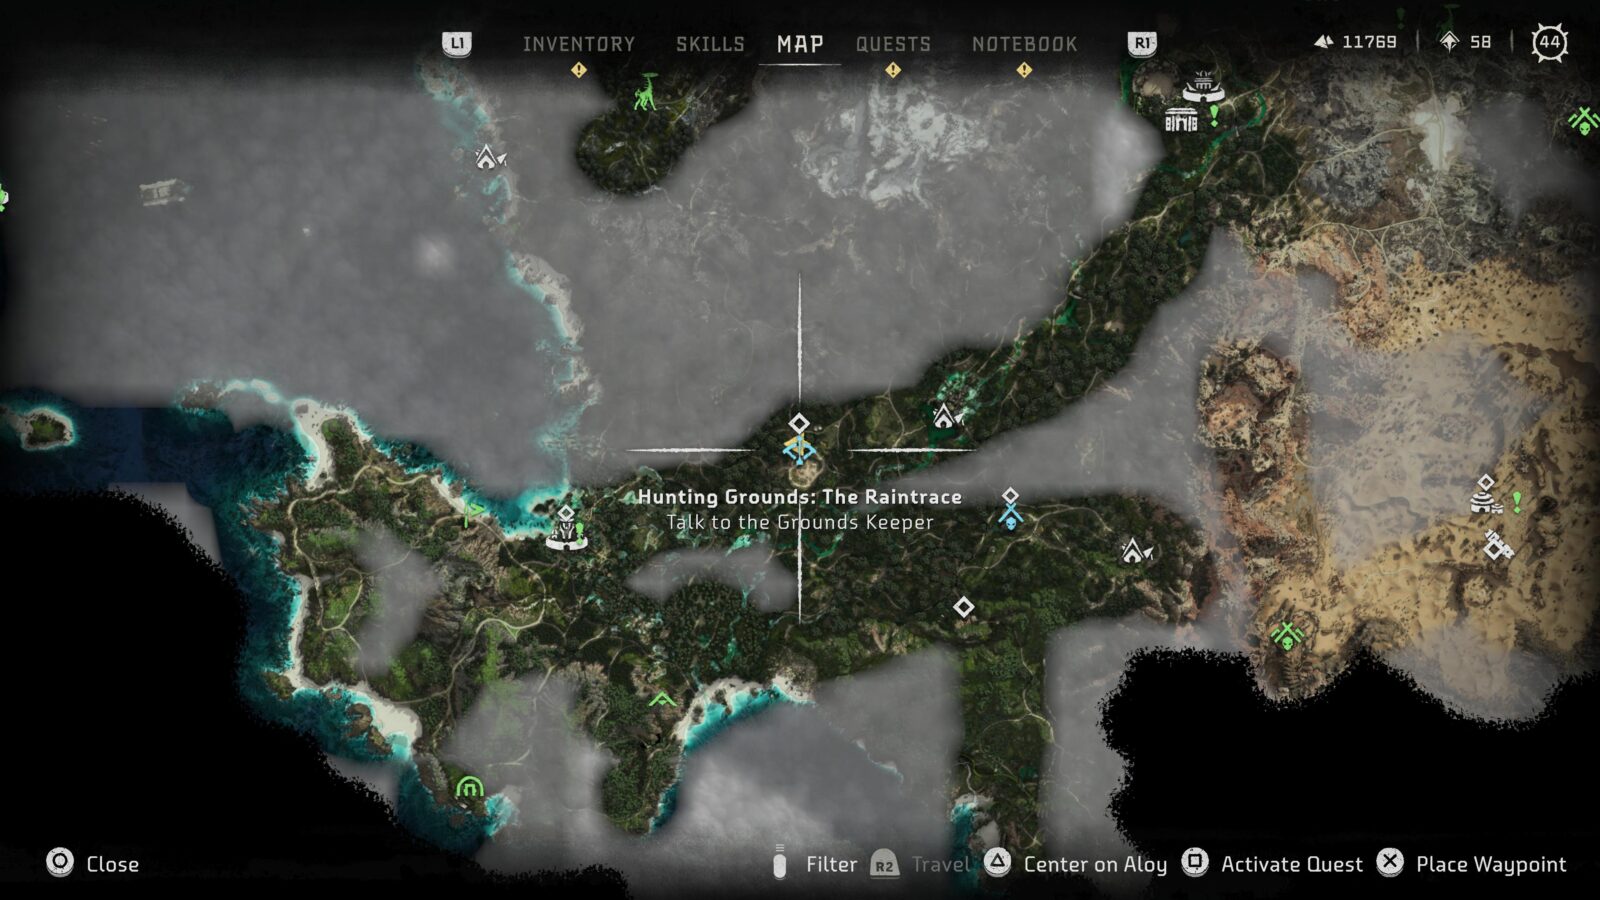
| Shock and Remove Trial | The Raintrace | You must use Shock Ammo to trigger a shocked effect on the Tremortusk. While it is stunned, shoot two of its four tusks off its face. |
| Mounted Combat Trial | The Raintrace | Requires the Clawstrider Override from Cauldron IOTA. Override a Clawstrider, mount it, and use it to take out the other two Clawstriders in the area. |
| Heavy Weapons trial | The Raintrace | Use Tear ammo to shoot the cannons off the Tremortusk’s back. Pick up the knocked-off Heavy Weapon and use it to kill the Tremortusk. |
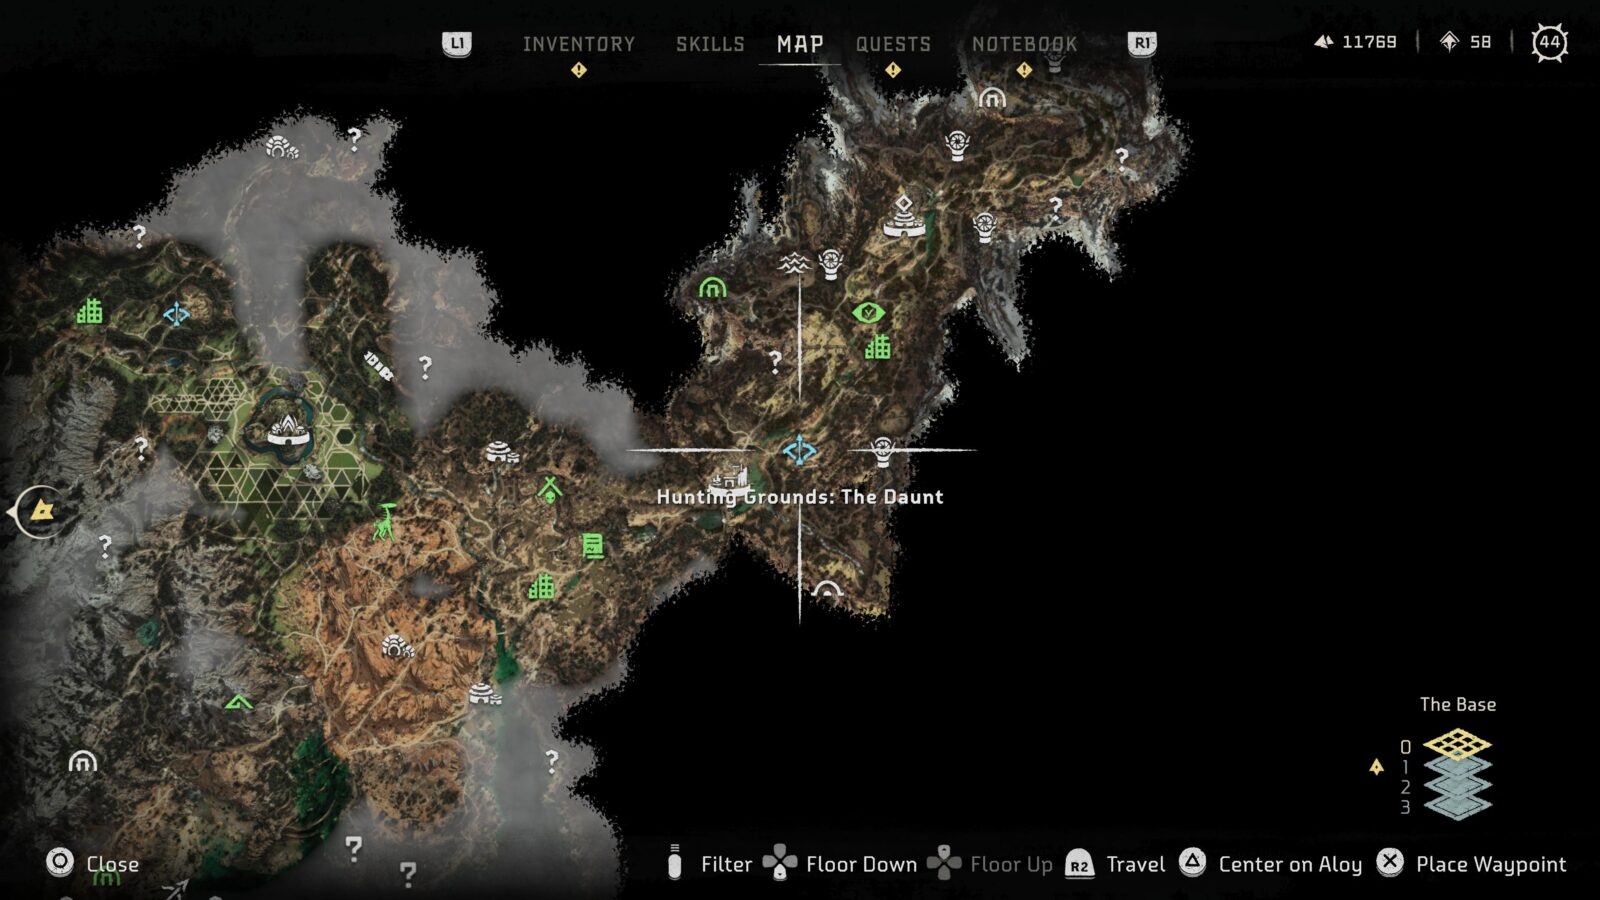
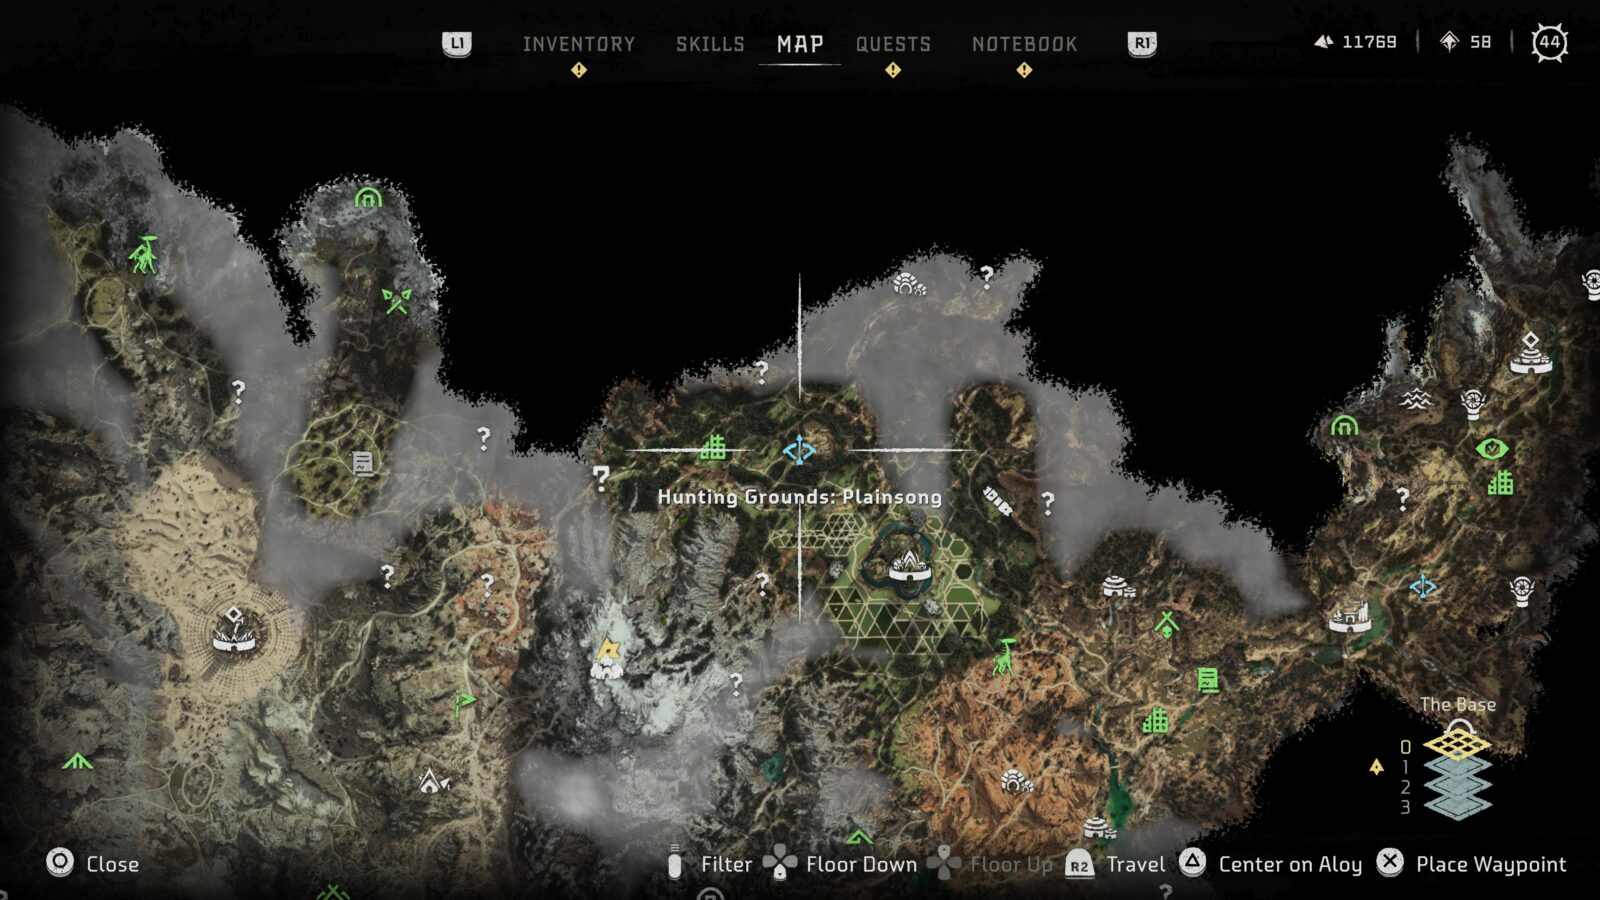
Hunting Grounds Locations

Complete all Rebel Camps

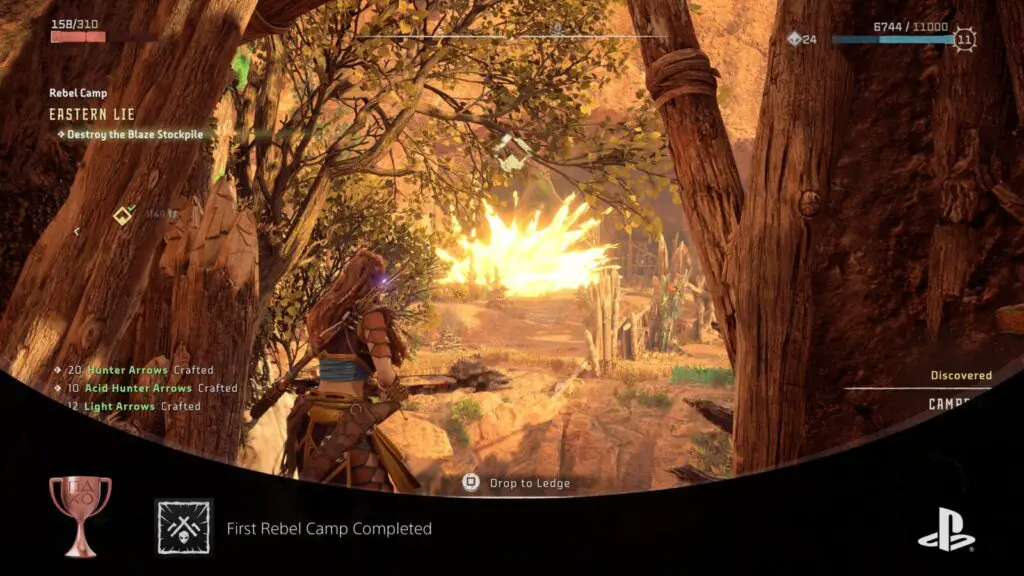
First Rebel Camp Completed
Completed key objectives in 1 Rebel Camp.
Rebel Camps can be found at blue icons which look like Rebel Outposts but with two extra shapes in the upper corners. They will also have “Rebel Camp:” in the name when you place your cursor over them.
To overtake a Rebel Camp you must head to the location in question and complete all objectives there (found under “Rebel Camps” in the “Quests” tab of the ![]() Menu.)
Menu.)
There are 6 Rebel Camps in Horizon Forbidden West and you will need to find and complete all 6 for the Defeated Asera Trophy.
Completing just one Rebel Camp will unlock the First Rebel Camp Completed trophy.

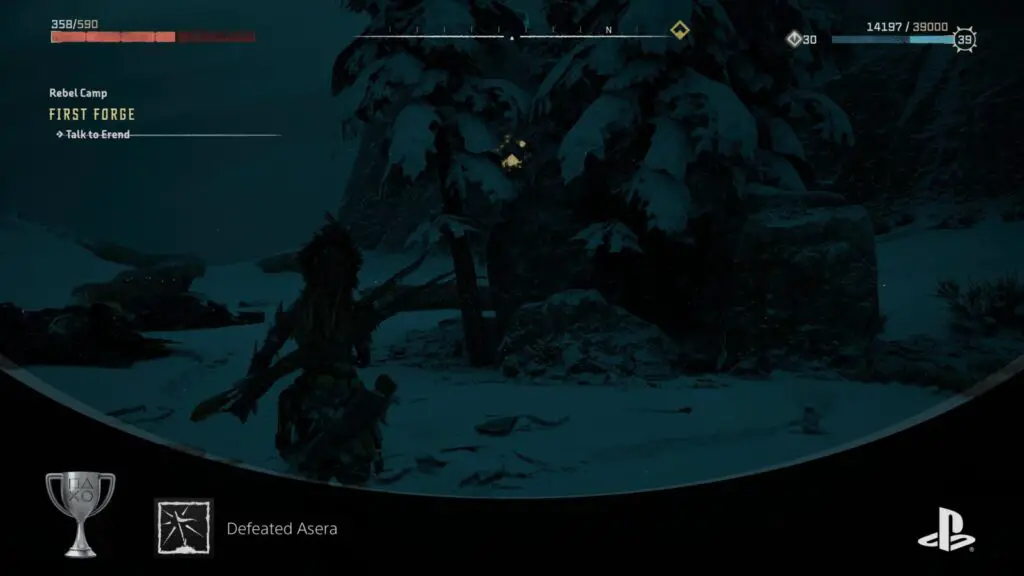
Defeated Asera
Investigated all Rebel Camps and helped Erend defeat Asera.
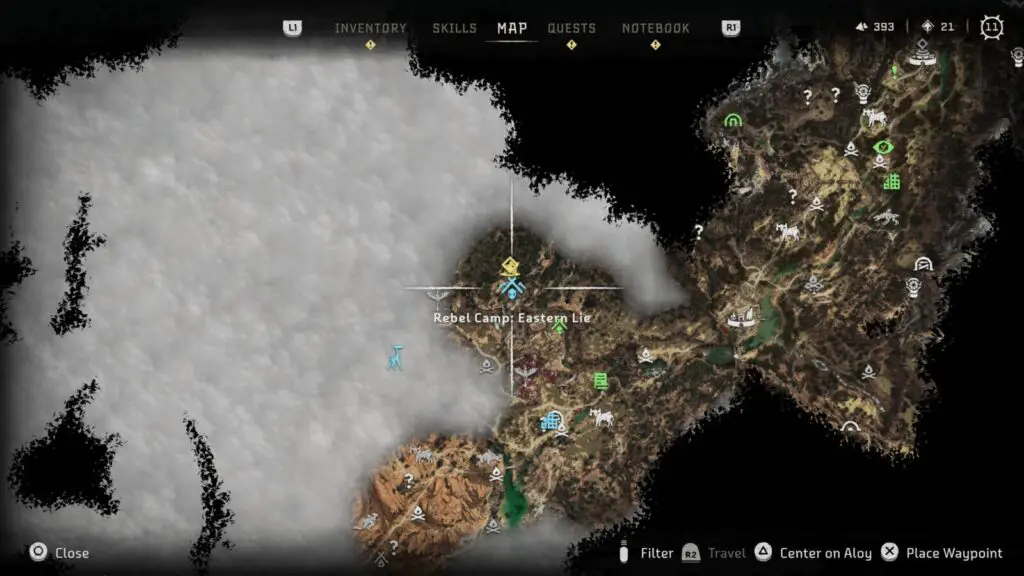
There are 5 Rebel Camps that you can complete at any time in Horizon Forbidden West. The 6th and Final one won’t be available until you’ve cleared the first 5.
Once you’ve cleared “The Eastern Lie,” “The Hive,” “Devil’s Grasp,” “Fenrise,” and “Breached Rock,” a Rebel Camp quest called “First Forge” will appear in your Quest Journal.
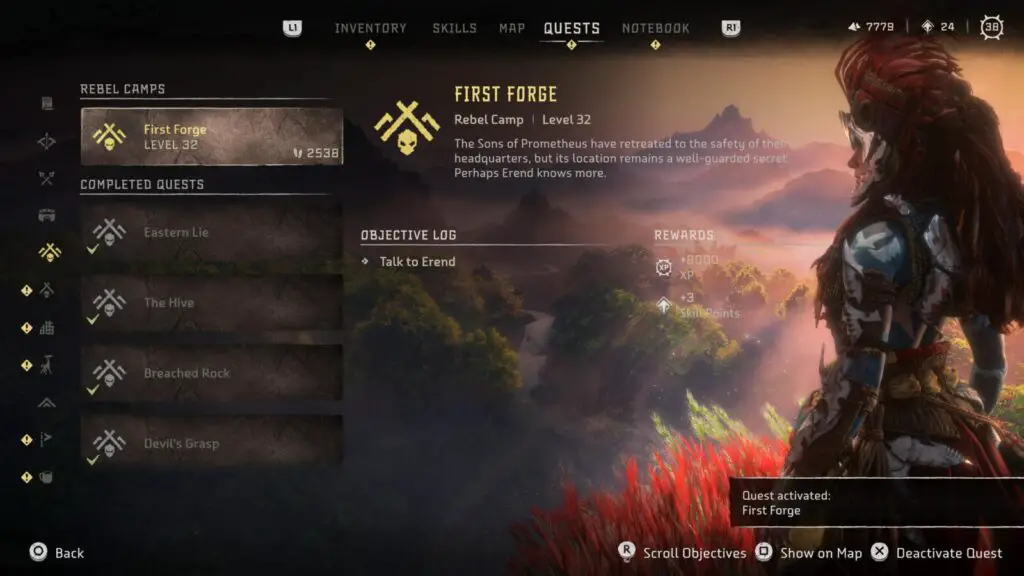
Track the “First Forge” quest and then go to meet with Erend and talk to him about the Sons of Prometheus. Follow the objectives and help Erend clear out the final Rebel Camp and the “Defeated Asera” trophy will unlock.
Clear all Cauldrons

First Core Overridden
Reached the Core of a Cauldron and accessed its information.
All Cauldrons will be marked on your map after you’ve unlocked Attended the Embassy. They each have a unique icon, but they are all triangular in shape.
To complete a Core Override you will need to make your way deep into a Cauldron, completing various platforming and traversal puzzles, to reach an Override Node. Typically, you will need to fight a boss of some kind before you reach the end.
You will unlock this trophy after completing a Cauldron for the first time, but you will need to complete all four optional Cauldron Cores to unlock All Cores Overridden.


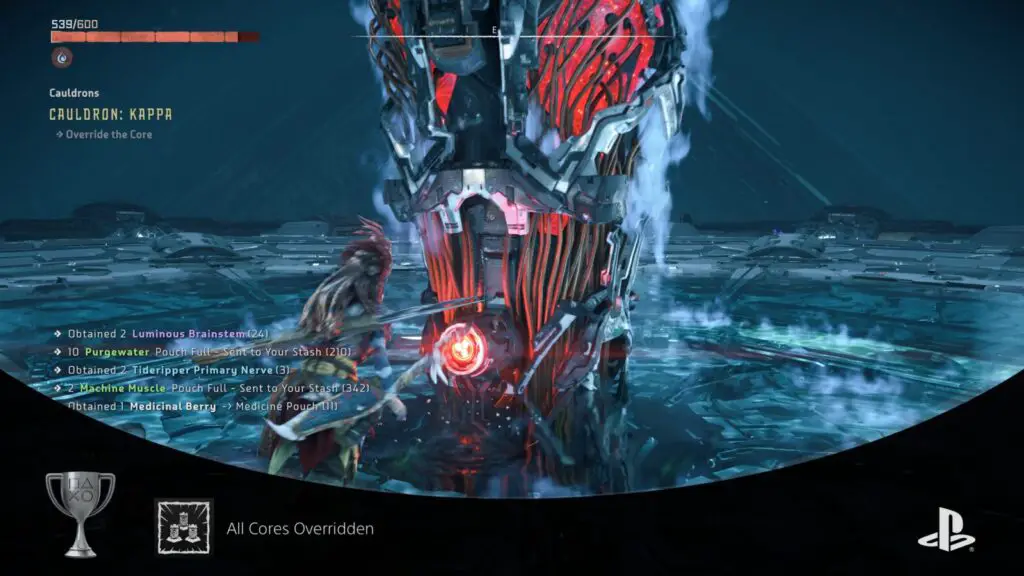
All Cores Overridden
Reached the Core of every Cauldron and accessed their information.
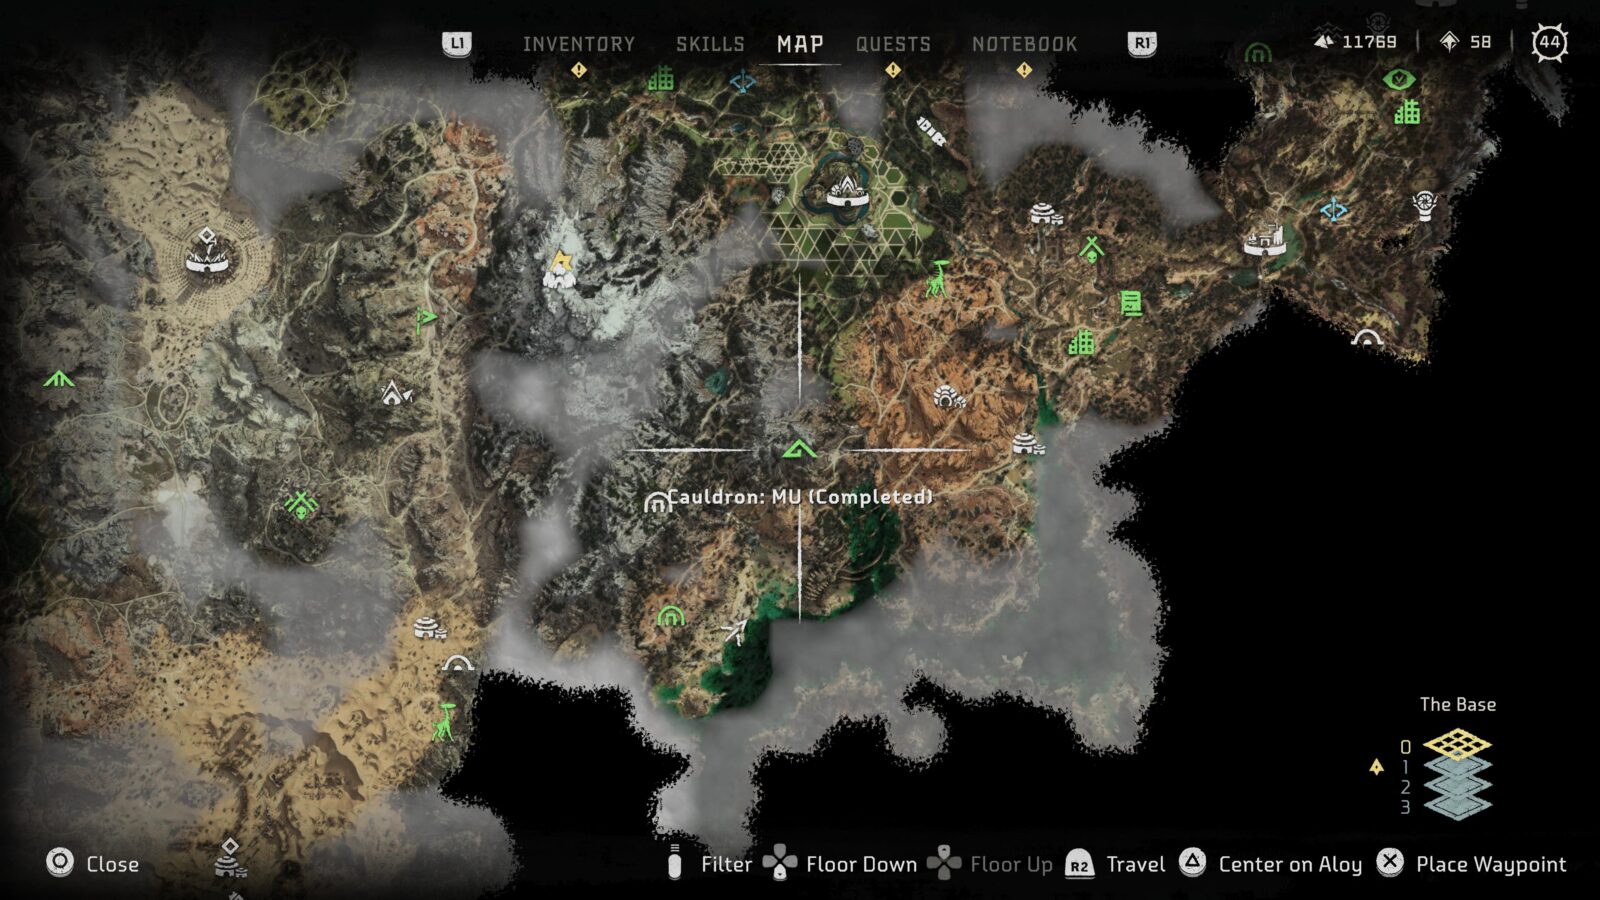
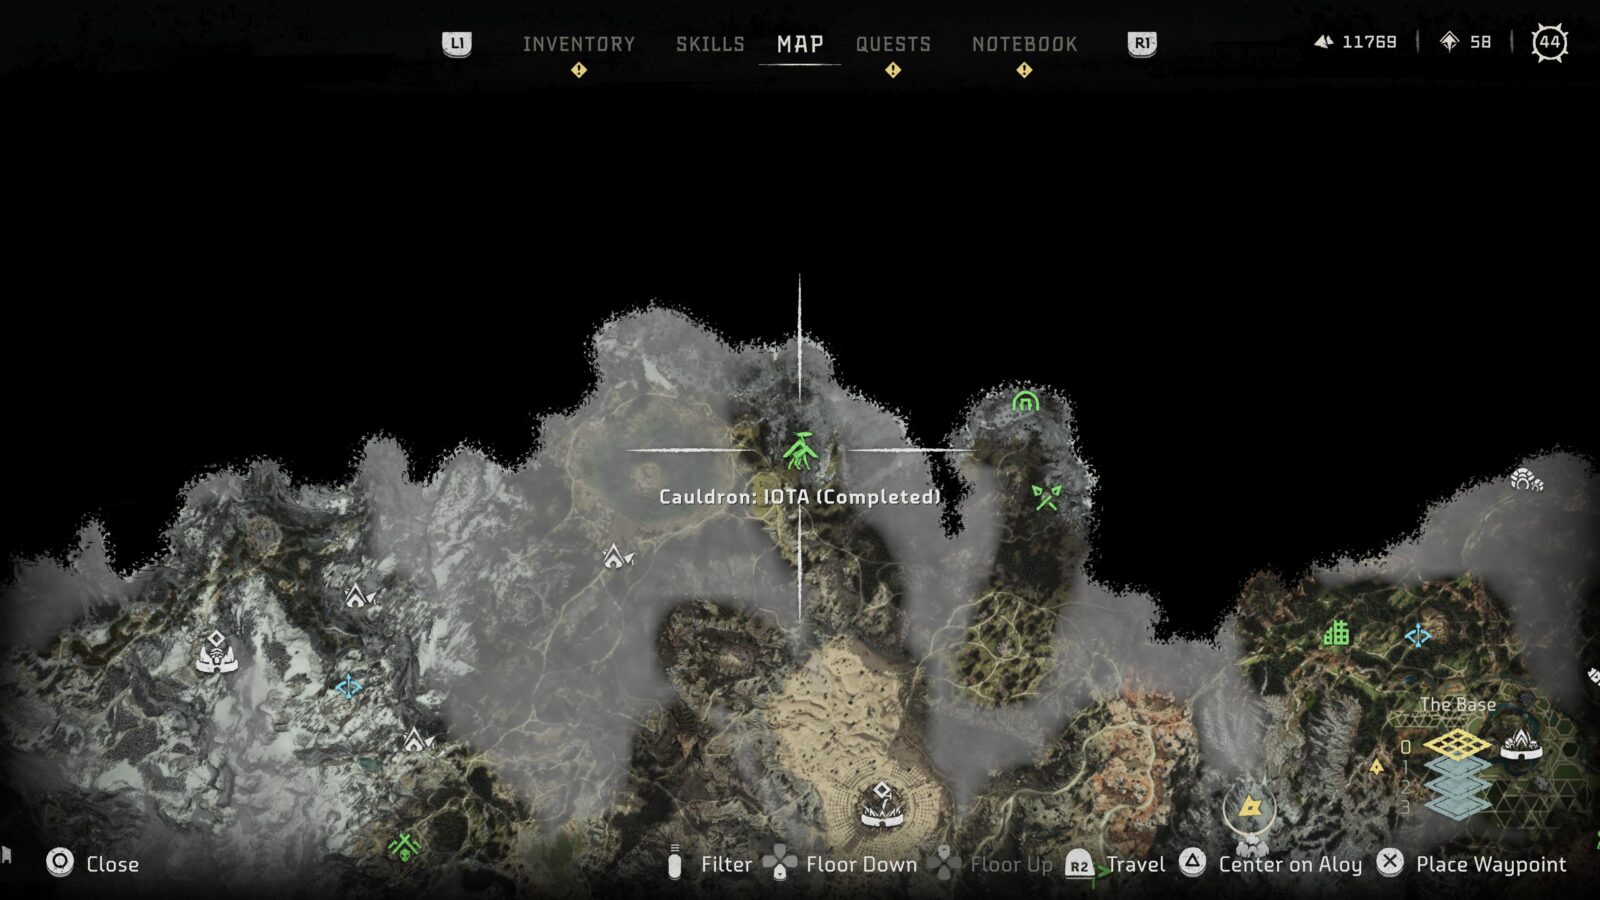
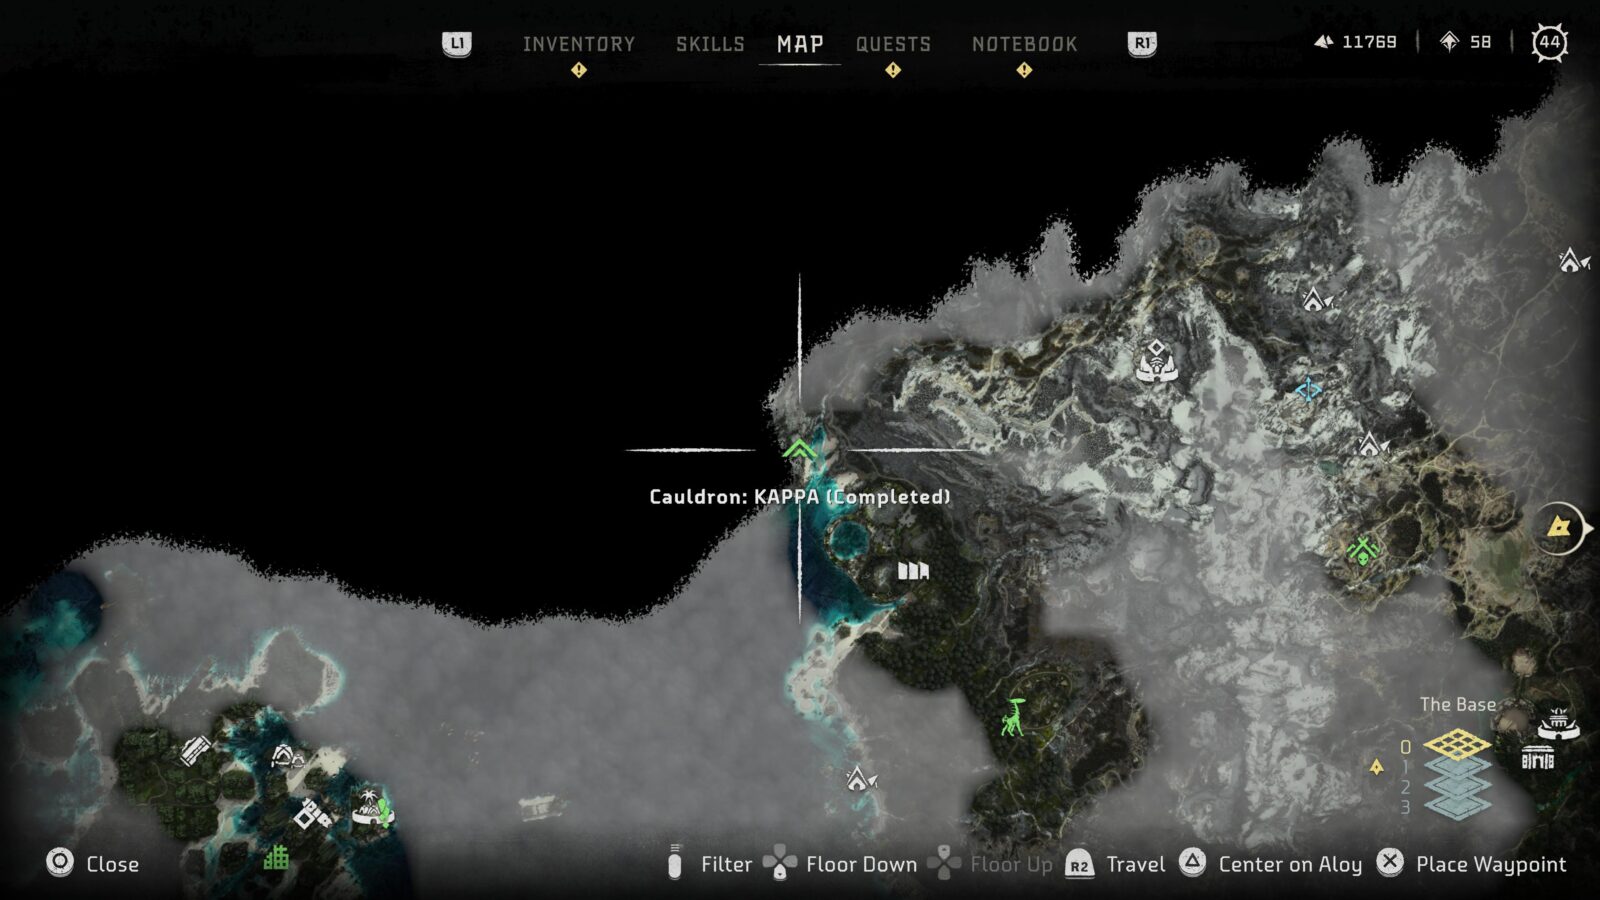
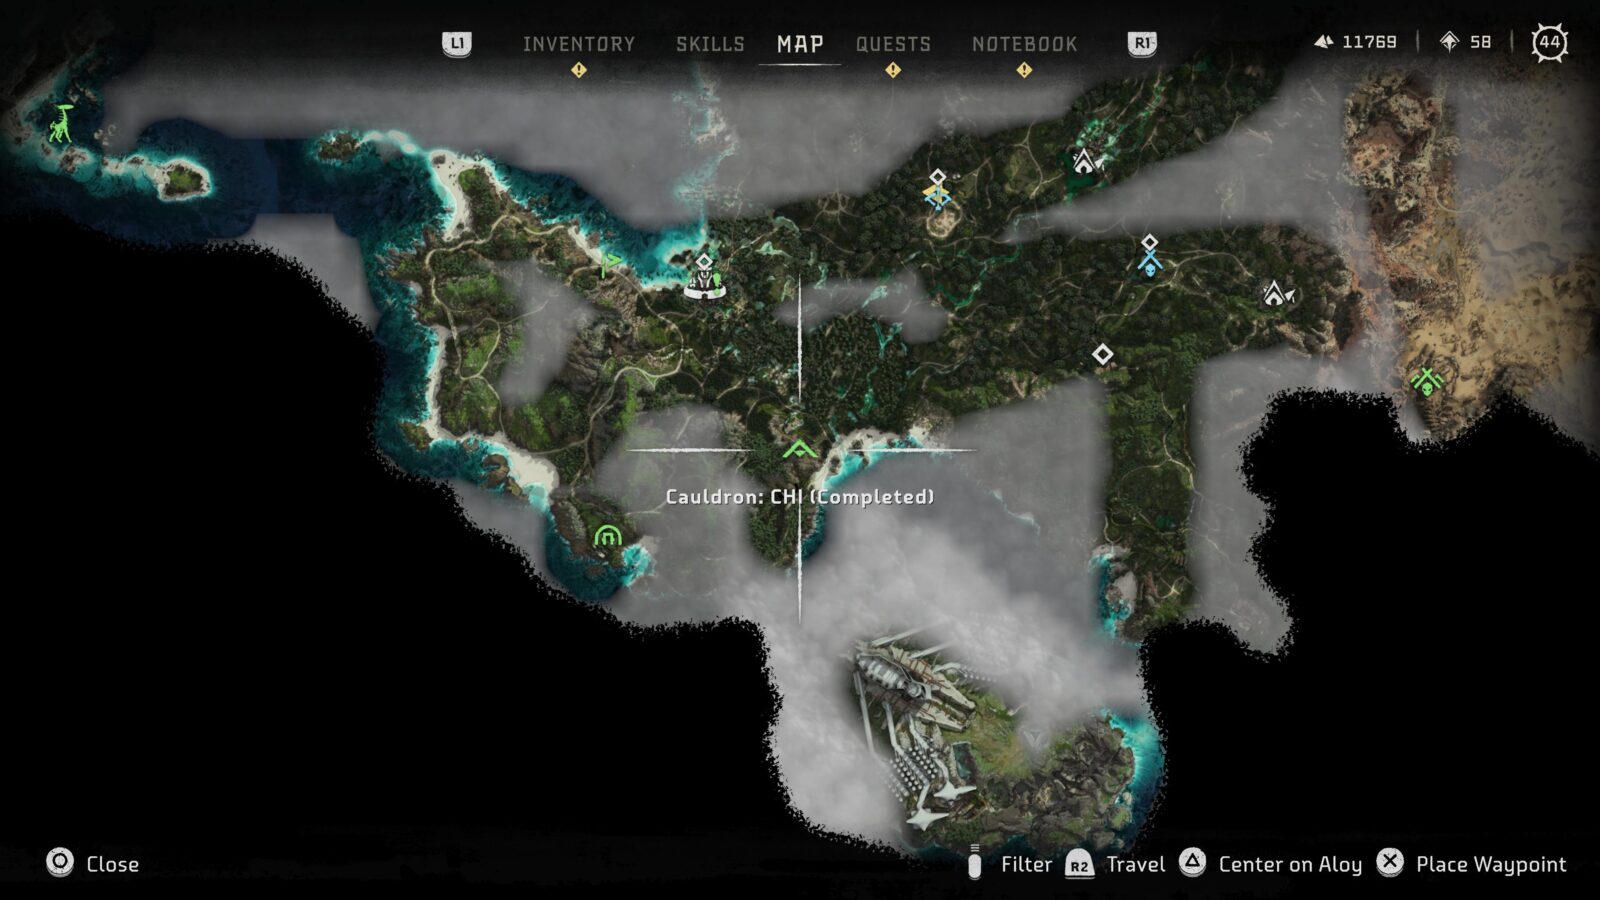
There are 6 Cauldron areas to complete in the game; Repair-Bay TAU, GEMINI, MU, IOTA, KAPPA, and CHI.
It’s worth noting that Repair-Bay TAU and GEMINI will both be cleared as part of the Main Story Quests “The Dying Lands,” and “Gemini” respectively. They are not required for the “All Cores Overridden” trophy. You can unlock this trophy without completing Repair-Bay TAU or GEMINI.
The others can be entered at any point once you have access to the full map.
Override the Cores in Cauldrons MU, IOTA, CHi, and KAPPA to unlock the All Cores Overridden trophy, and the ability to Override various machines, useful for the 10 Types of Machine Overridden trophy.
Each Cauldron Core you Override will give you the ability to Override different types of machines. Some Overrides will be corrupt, though, and you will need to craft the remainder of the override schematic at The Base.
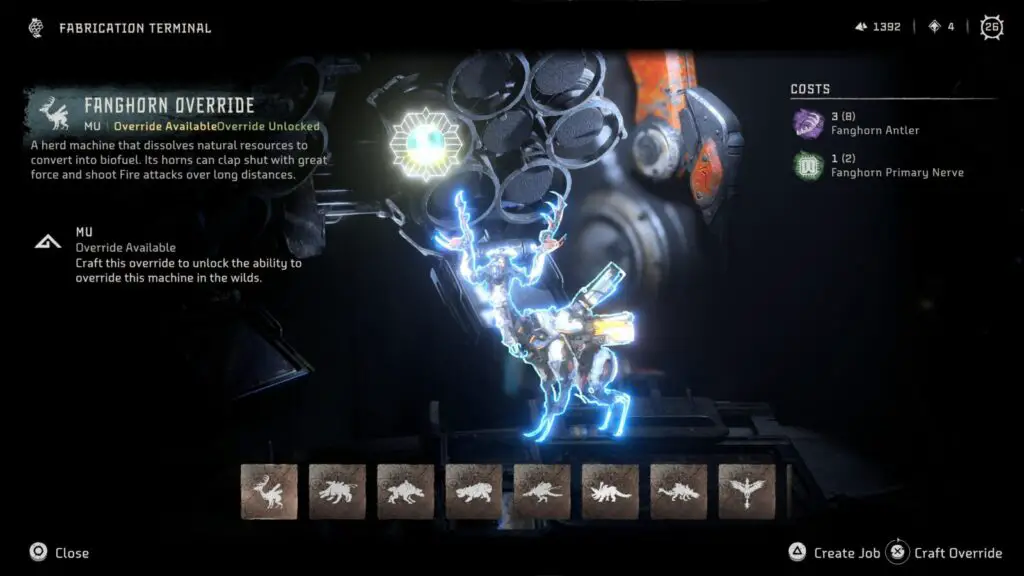
| Cauldron | Overrides | Corrupted Overrides |
|---|---|---|
| Repair Bay TAU | Bristleback (Mount) | Plowhorn |
| GEMINI | Sunwing | – |
| MU | Grazer, Burrower, Scrounger | Scrapper, Fanghorn, Widemaw |
| IOTA | Leaperlash, Lancehorn, Longleg, Clawstrider (Mount) | Glinthawk, Skydrifter, Bellowback, Ravager, Snapmaw, Rollerback |
| CHI | Redeye Watcher, Shell-Walker, Clamberjaw, Behemoth, Frostclaw | Spikesnout, Stalker, Shellsnapper, Scorcher, Fireclaw |
| KAPPA | Rockbreaker, Tideripper, Stormbird | Dreadwing, Thunderjaw, Slitherfang, Tremortusk, Slaughterspine |
Cauldron Locations
Complete all Melee Pits

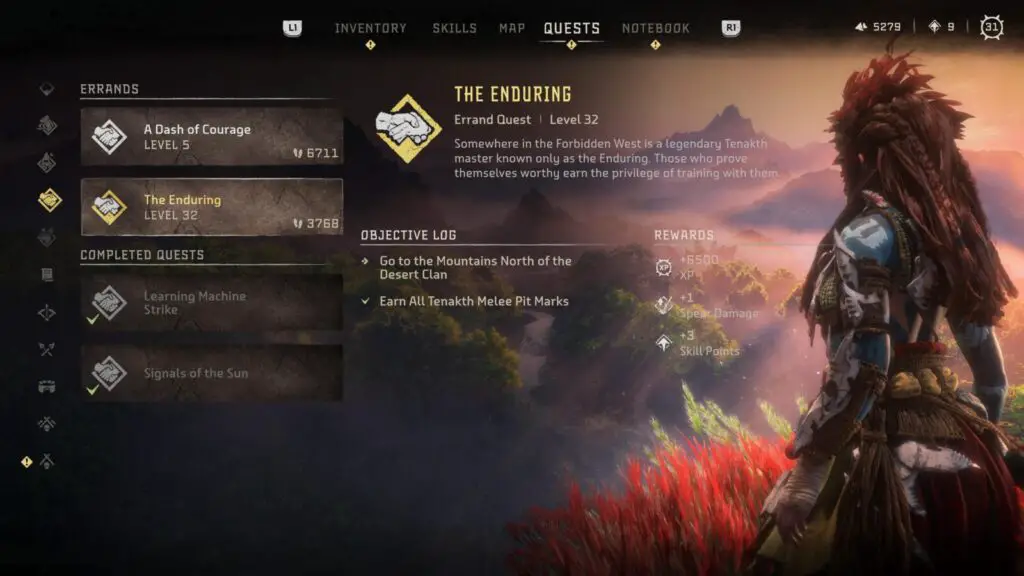
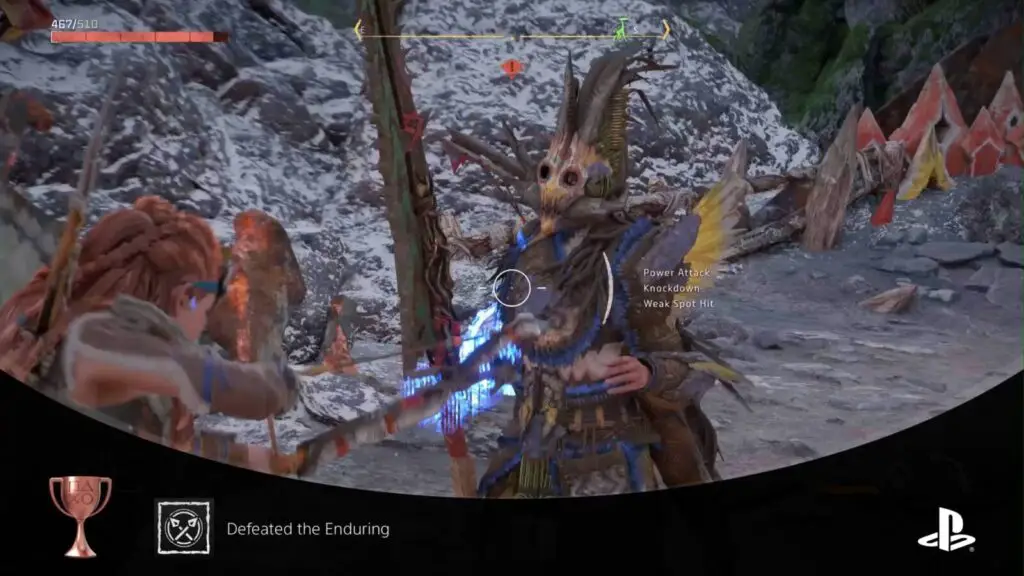
Defeated the Enduring
Defeated the Tenakth melee master known as the Enduring.
“The Enduring” is a legendary Melee Pit fighter and to face them you will need to work your way up through the ranks of the Melee Pits. There are four Melee Pits in Horizon Forbidden West, and you’ll need to complete all challenges at all four Melee Pits to face the Enduring.
Once all 15 Challenges have been completed, track the Errand titled “The Enduring” from the Quests tab of your ![]() menu and follow the objectives to face the Enduring.
menu and follow the objectives to face the Enduring.
Defeating the Enduring will unlock this trophy.
Melee Pits are found at blue crossed-spear icons.
The first is found in Chainscrape, the settlement in the Daunt, where you can learn all about Melee Pits by completing the available Tutorials.
Most Melee Pit Challenges require you to have unlocked skills from the “Warrior” Skill Tree. You will need to complete each fight within a set time limit.
Here’s a list of all Melee Pit Challenges, and requirements:
| Challenges | Location | Time Limit | Requirements |
|---|---|---|---|
| Block Breaker | Chainscrape | 01:00 | Block Breaker Skill |
| Resonator Blast | Chainscrape | 01:20 | Resonator Blast Skill |
| Pit Master Challenge | Chainscrape | 02:00 | Complete all other Chainscrape Challenges. |
| Warrior’s Wrath | Scalding Spear | 02:00 | Resonator Blast Skill |
| Aerial Punisher | Scalding Spear | 01:30 | Aerial Slash/Jump-Off Skill |
| Pit Master Challenge | Scalding Spear | 01:30 | Complete all other Scalding spear Challenges. |
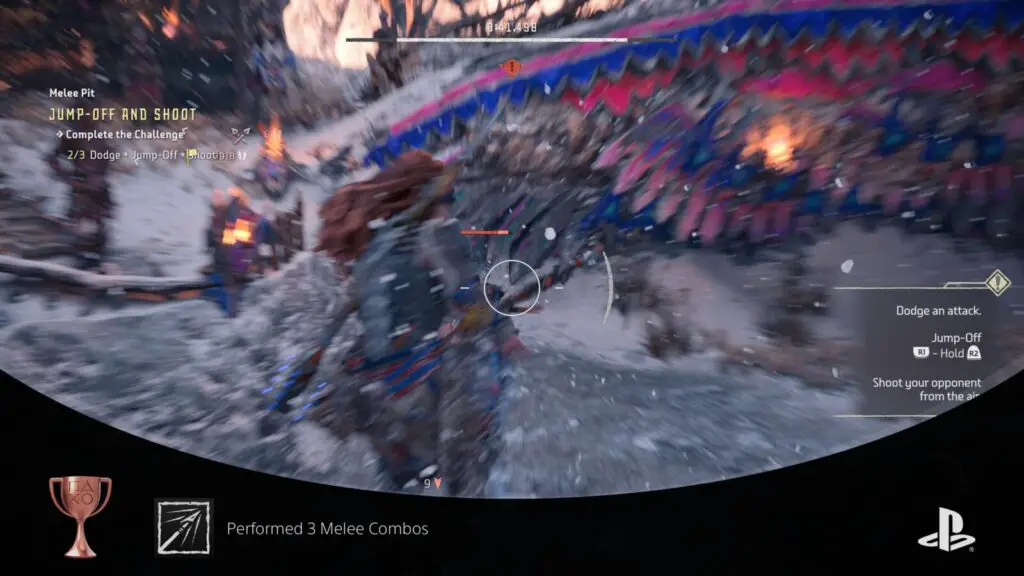
| Jump-Off and Shoot | The Bulwark | 1:00 | Aerial Slash/Jump-Off Skill |
| Seek and Strike | The Bulwark | 1:20 | Aerial Slash/Jump-Off Skill |
| Sustained Breaker | The Bulwark | 1:20 | Block Breaker & Halfmoon Slash Skills |
| Pit Master Challenge | The Bulwark | 2:00 | Complete all other Bulwark Challenges. |
| Destroyer Chain | Thornmarsh | 2:00 | Destroyer Skill |
| Reap and Clear | Thornmarsh | 1:30 | Spinning Scythe & Halfmoon Slash Skills |
| Energy Surge Chain | Thornmarsh | 1:20 | Energy Surge & Halfmoon Slash Skills |
| Power Rush | Thornmarsh | 1:30 | Nora Warrior & Halfmoon Slash Skills |
| Pit Master Challenge | Thornmarsh | 2:00 | Complete all other Thornmarsh Challenges. |
Complete all 15 Challenges, then complete the “The Enduring” Errand Quest, and the “Defeated the Enduring” trophy will be yours.
Other Activity Trophies

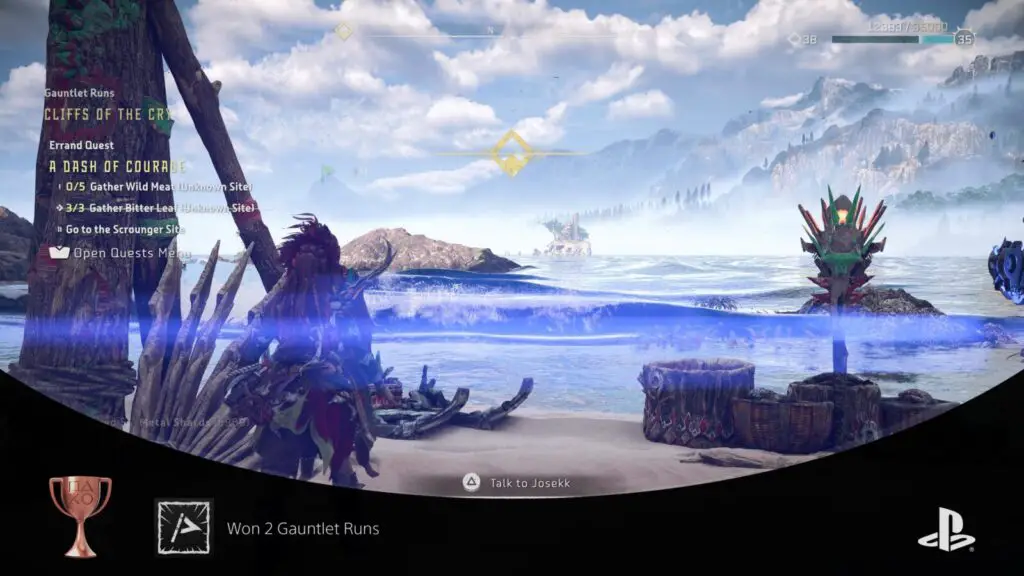
Won 2 Gauntlet Runs
Won first place in two different Gauntlet Runs.
Gauntlet Runs are a series of actually very fun races that need to be completed on a Mount.
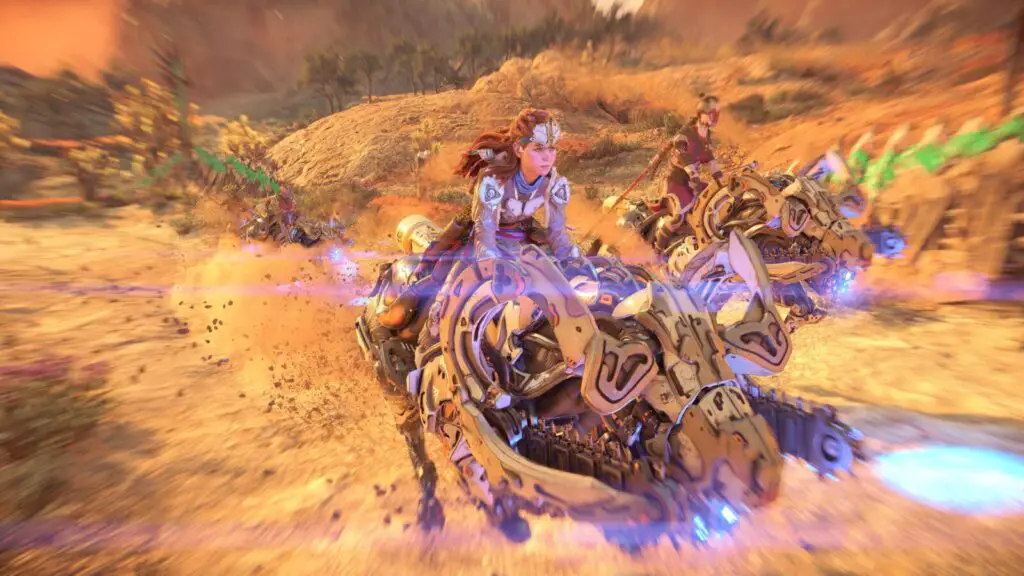
There are four Gauntlet Runs in the game, but you will only need to finish in First Place on the first 2 to unlock this trophy.
The first is found south-west of The Base, close to Arrowhand. Once you complete this one, the next one will be marked on your map (and added to the Gauntlet Runs section of your Quests tab in the ![]() menu).
menu).
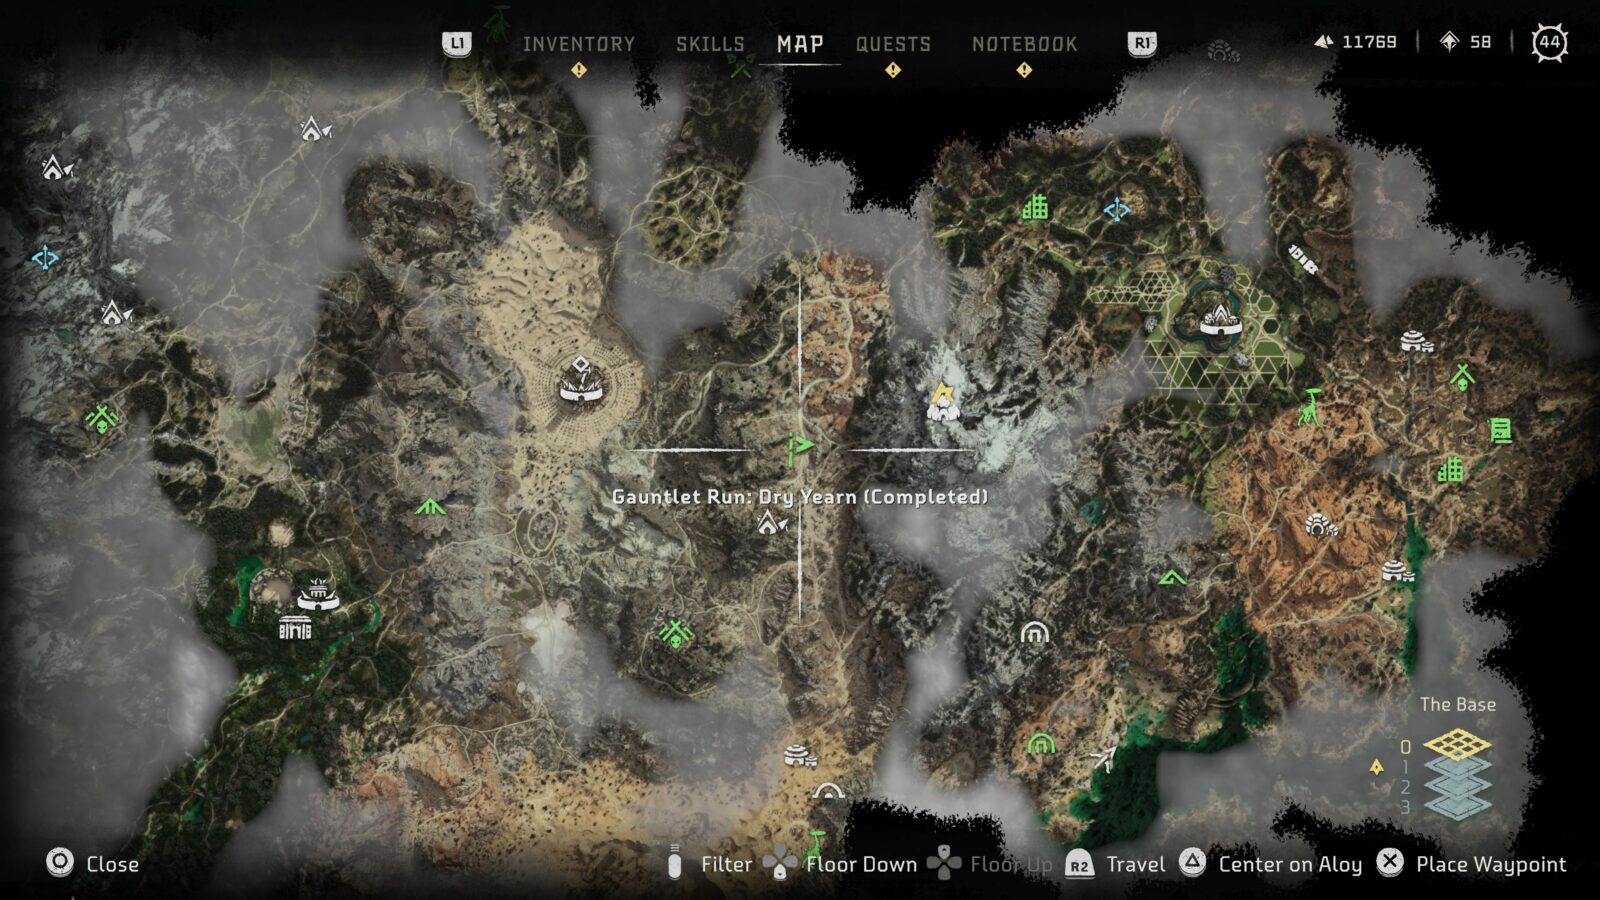
Finish in First Place on the “Dry Yearn” Gauntlet Run as well the subsequent “Cliffs of the Cry” Gauntlet Run to unlock the Won 2 Gauntlet Runs trophy.

Completed a Set of Salvage Contracts
Completed all contracts at a Salvage Contractor.
When you get to the “Barren Light” settlement in the Daunt, speak to a man there named Keruf, he will introduce you to Salvage Contracts, adding one to your Quest list in the ![]() menu.
menu.
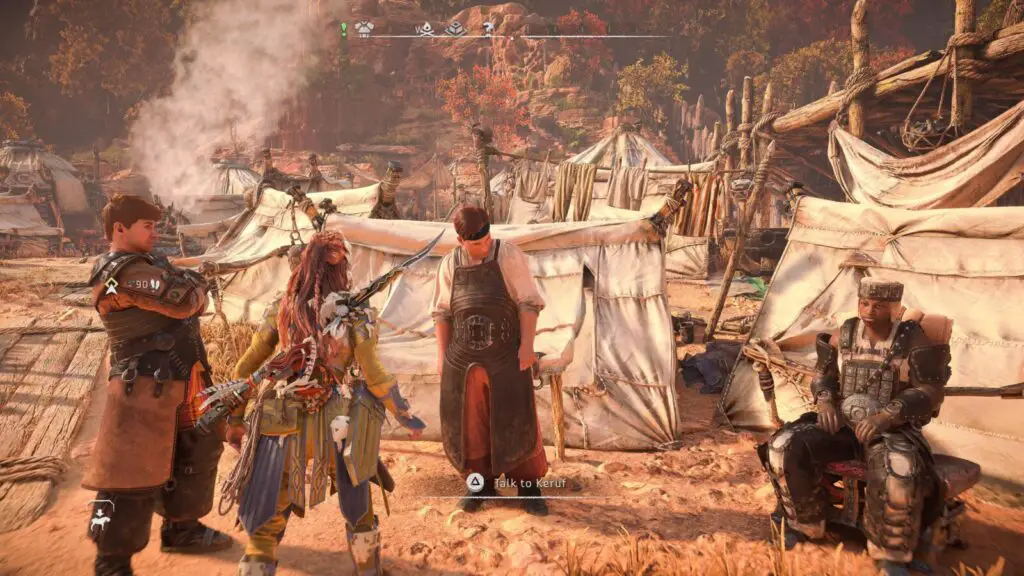
To unlock the “Completed a Set of Salvage Contracts,” you will need to complete every Salvage Contract for just one of these NPCs. The easiest being Larend, who is introduced as part of this quest.
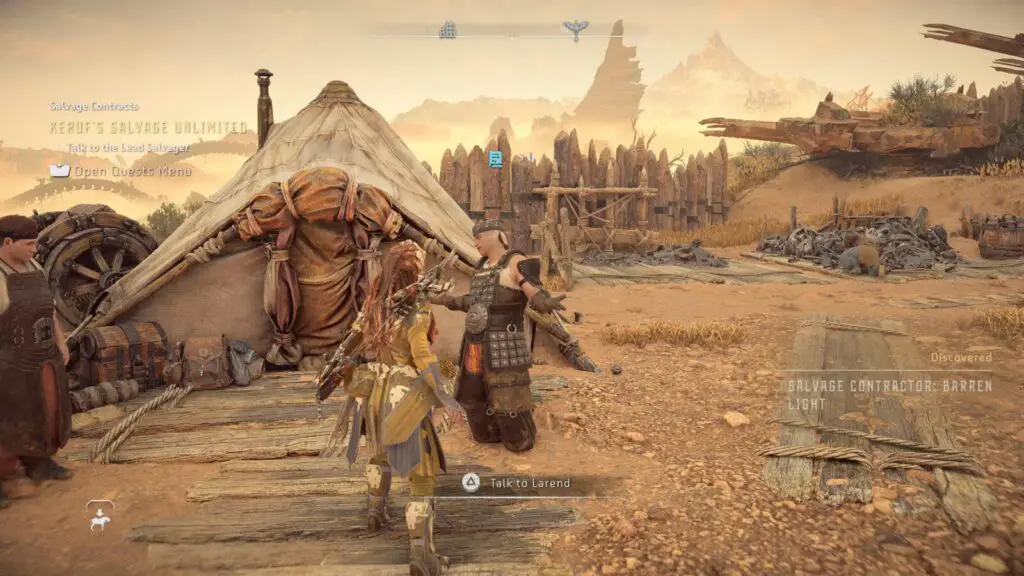
Once you’ve met Keruf, track the “Keruf’s Salvage Unlimited” contract in the Quests tab of your ![]() menu and complete the objectives to get started with Salvage Contracts.
menu and complete the objectives to get started with Salvage Contracts.
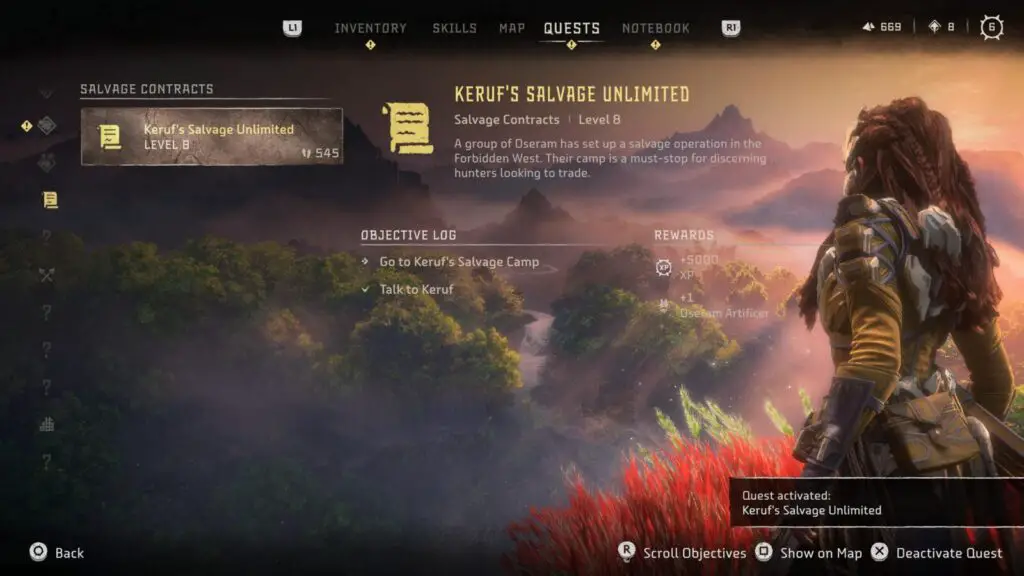
To progress the contract, you will need to be able to pass through the gates of the Daunt and into the Forbidden West proper. This will require you to progress the Main Story until you’ve unlocked Attended the Embassy.
From Keruf’s Salvage Camp, you can accept and hand in Salvage Contracts from Larend. Complete all of Larend’s contracts and the Completed a Set of Salvage Contracts trophy will unlock.

Larend’s Contracts are all Level 8 and are as follows:
| Contact Name | Objective |
|---|---|
| Convoy Ambush | Ambush the Shellwalker Convoy. Kill & Loot the Shellwalker. |
| Scavengers | Kill the Charger herd to bait some Scrappers. Kill & Loot the Scrappers. |
| Alarm Antennas | Kill the Scroungers and collect their Antenna components. |
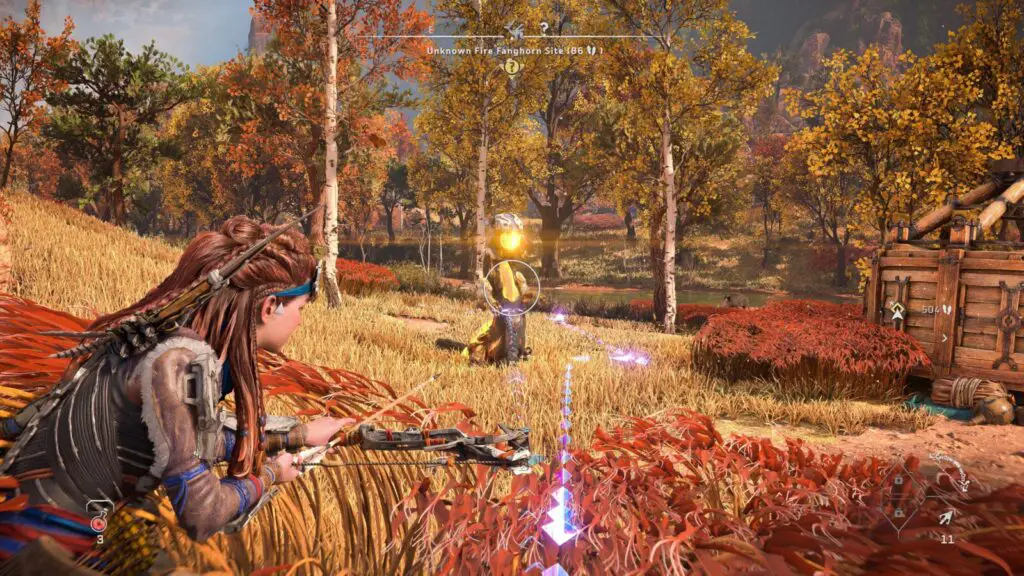
| Elusive Fanghorn | Track, Kill & Loot the Fanghorn. |

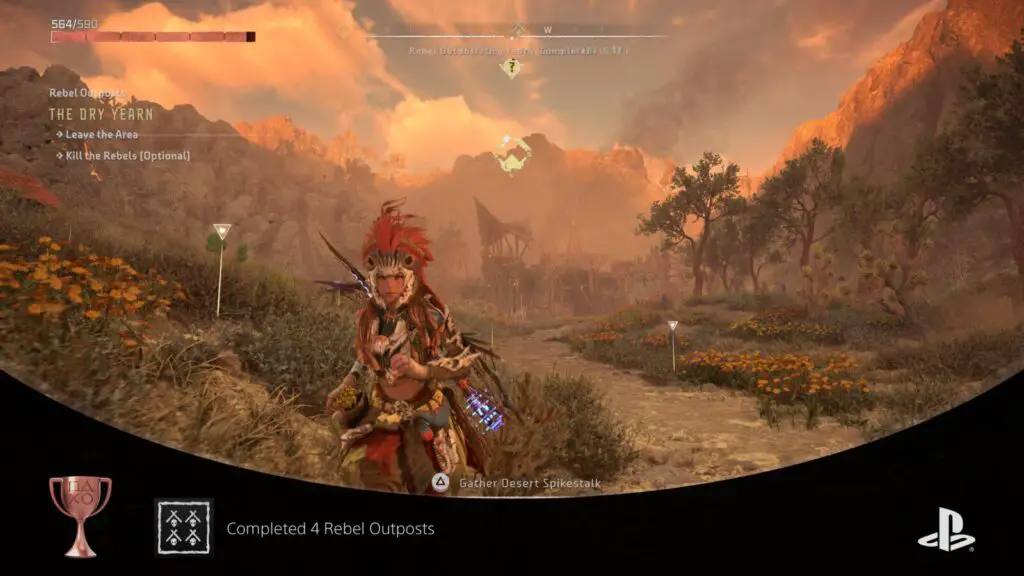
Completed 4 Rebel Outposts
Defeat the outpost leader and recovered the tags from 4 Rebel Outposts.
Rebel Outposts are small Rebel encampments that appear at Skull icons on the map. To complete them, you must defeat all enemies (including a tough Leader), and complete any additional objectives tied to the location such as looting the Leader.
Completed Rebel Outposts will turn green on the map.
There are 17 Rebel Outposts in the game, but you only need to clear 4 of them to unlock this trophy.

Completed Arena Challenge Set
Completed 1 Arena challenge set.
You will gain access to the Arena after the Main Story Quest titled “The Kulrut.” You can find it north of “The Memorial Grove” at a spot called “The Maw of the Arena.”
Speak to the Arena Master there and he will give you a Side Quest called “Opening the Arena.”
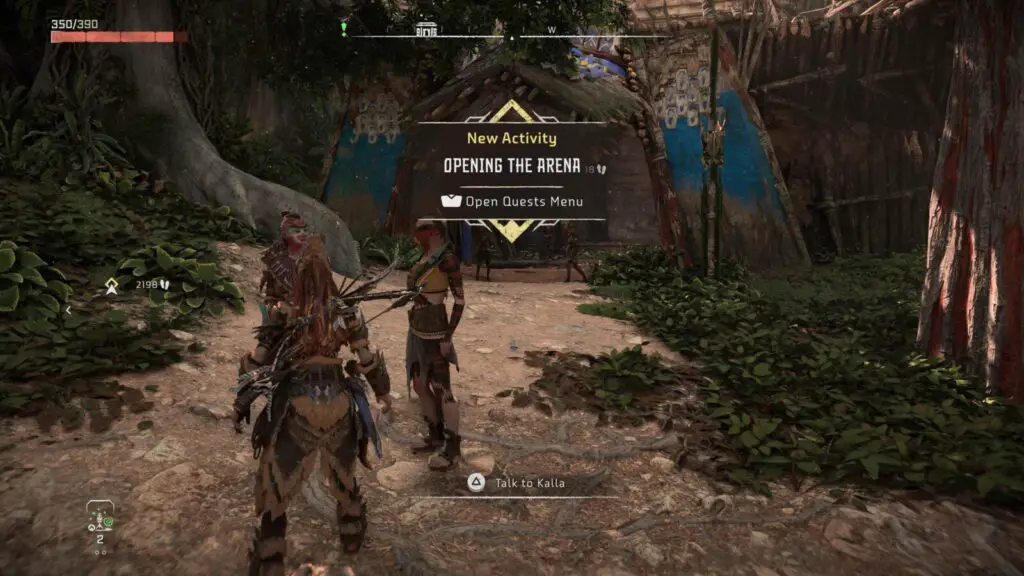
Complete the Side Quest and you’ll get access to the Arena Challenges.
The Challenges are broken up into “sets” by their difficulty. You just need to complete all challenges under one difficulty category and the “Completed Arena Challenge Set” trophy will unlock.
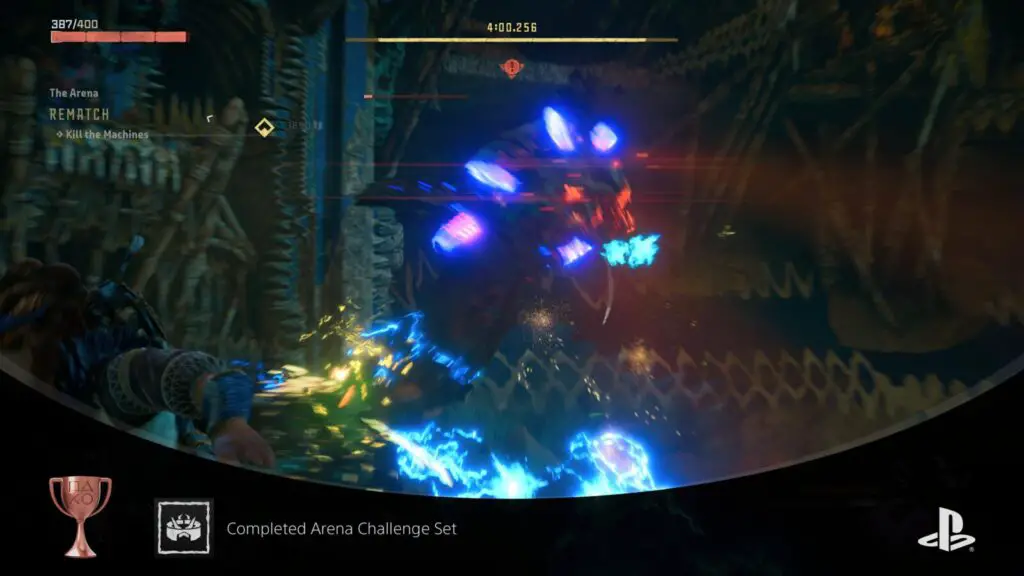
Just complete the four Challenges under “Amateur” and the trophy is yours.
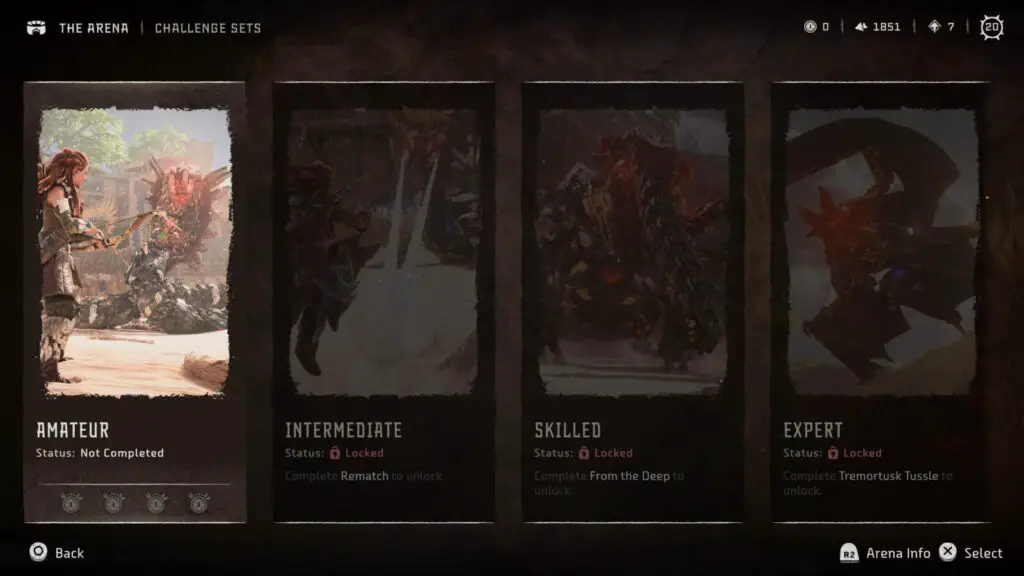
The challenges are as follows:
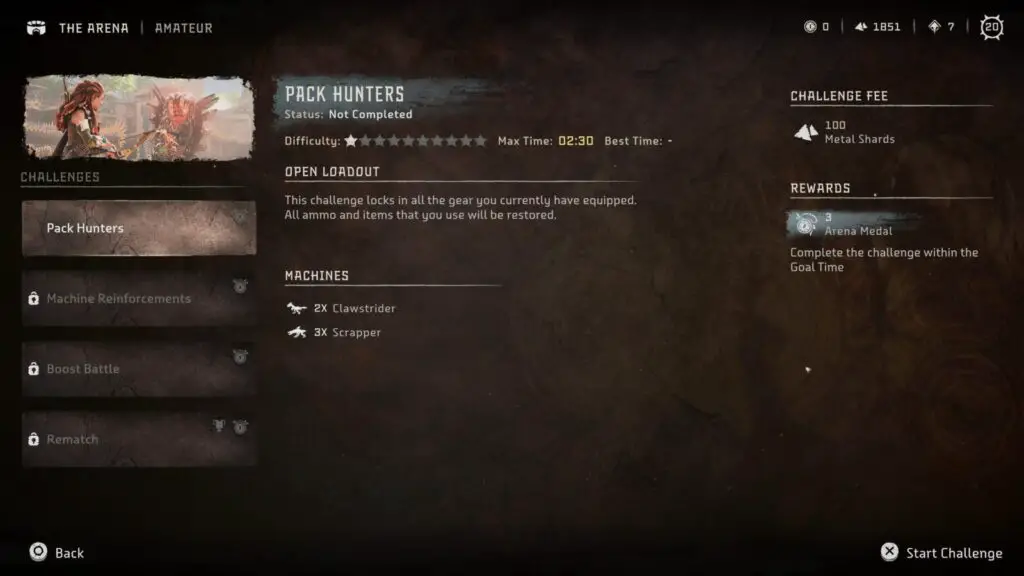
| Arena Challenge | Time Limit | Objective | Fee |
|---|---|---|---|
| Pack Hunters | 02:30 | Kill 2 Clawstriders and 3 Scrappers | 100 |
| Machine Reinforcements | 03:30 | Kill 1 Longleg and 1 Ravager. The Longleg will summon Scroungers and Burrowers. | 150 |
| Boost Battle | 03:00 | Kill 1 Rollerback and 3 Spikesnouts. | 150 |
| Rematch | 05:00 | Kill 1 Slitherfang | 250 |
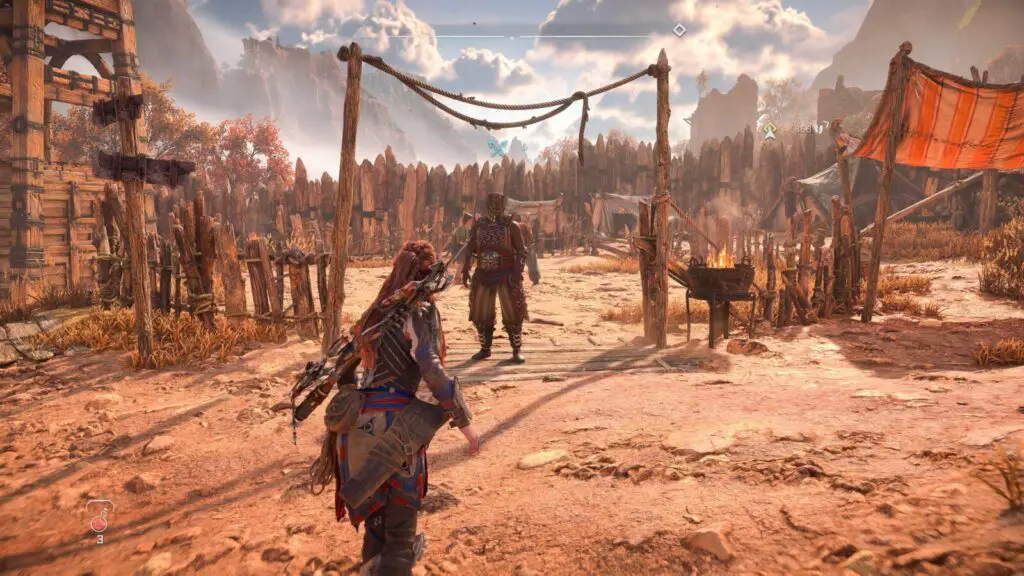
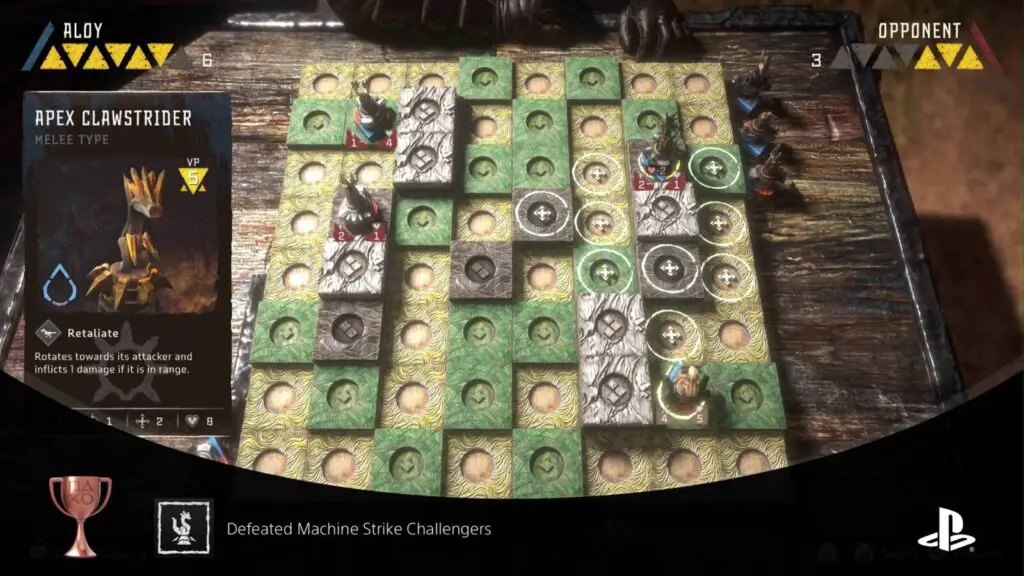
Defeated Machine Strike Challengers
Won a match against 2 different Machine Strike challengers.
Machine Strike is a board game you can take part in at various settlements throughout the game. You will need to win two of these minigames to unlock the Defeated Machine Strike Challengers trophy. I would recommend looking for Machine Strike Challengers marked as “Easy,” as they will require the least effort to complete.
The best two to face are the first two you’re likely to find. One of these is in the tavern at Chainscrape. This NPC will give you a spare set of pieces that she has, which will allow you to start playing the game.
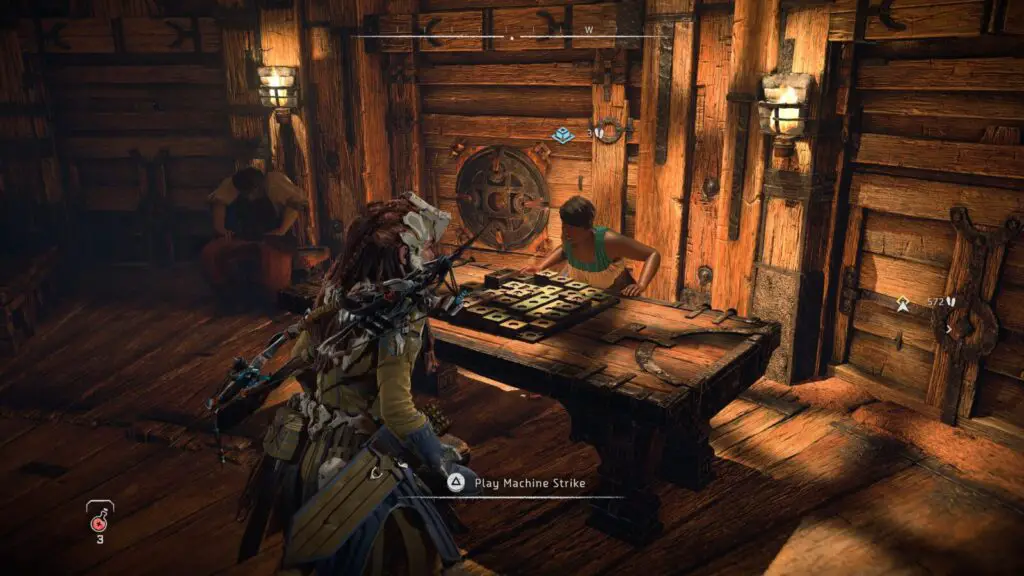
You’ll need to complete the Beginner’s Tutorial and then just need to beat her in one of the four available challenges. Just doing “Beginner’s Practice: Easy” will be enough.
The next Machine Strike game you should partake in is found near the tents at Barren Light, southwest of Chainscrape. This settlement is also in the Daunt.
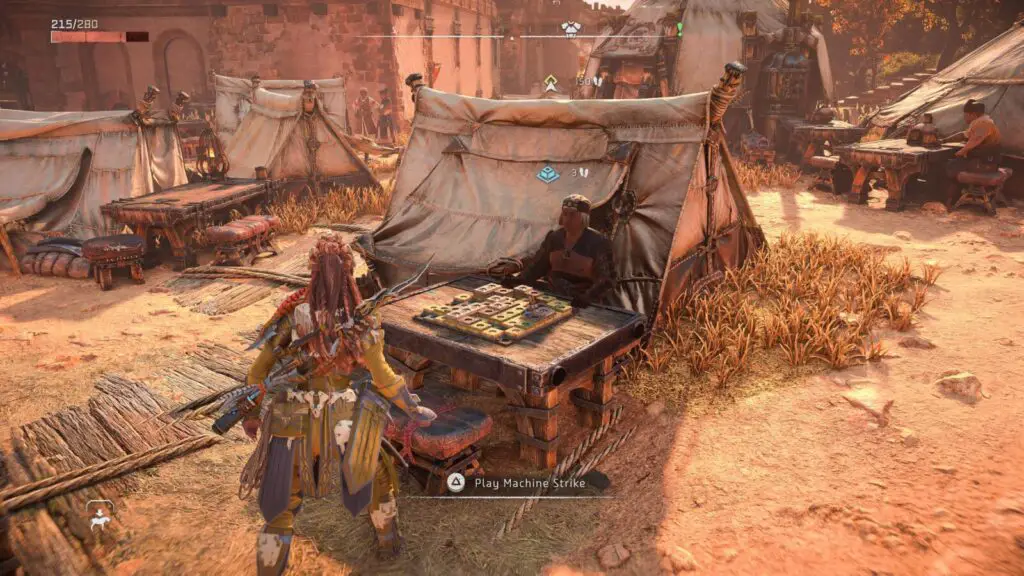
Complete the “First Board” challenge at the Barren Light Machine Strike board and that’ll be enough. If you’ve beat both players recommended in this Horizon Forbidden West Trophy Guide at least once (or any other two Machine Strike players) you will unlock the trophy.
Phase Four – Misc Trophies, Collectibles, and Enemy Cataloguing
Having completed all of the location-specific side-content in the third phase of our Horizon Forbidden west Trophy Guide, you should now only be left with some Miscellaneous objectives to complete, most of which will have happened naturally throughout your Trophy Journey so far.
Browse the remaining trophies below and cross off any that you have left.
Perhaps the biggest trophy you’ll need to acquire here is All Machine Types Scanned. Unless you’ve been scanning every Machine you saw throughout the game, you might have a long road of hunting and scanning ahead of you.
Miscellaneous Trophies
Complete a Long Glide
Glided uninterrupted for 60 seconds.
At a certain point in the story’s early moments, you will unlock the ability to glide by using the Shieldwing in mid-air with ![]() .
.
The “Completed a Long Glide” trophy requires you to glide through the air with the Shieldwing for 60 seconds without touching the ground or getting attacked.
This is achievable from some of the game’s highest vistas, but your best bet is to just wait until you have completed the Main Story Mission “The Wings of the Ten,” after which you will have access to a flying mount.
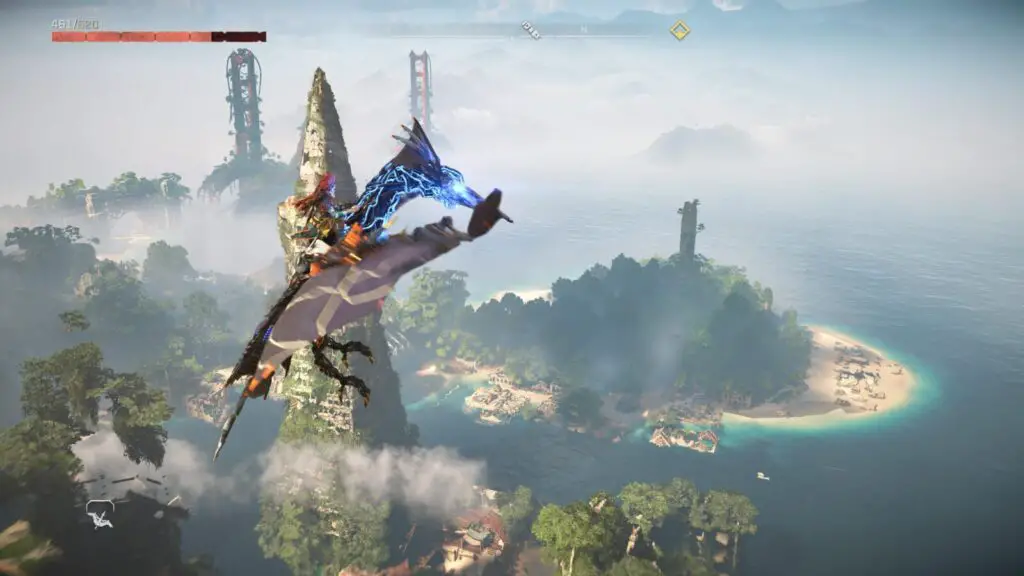
Use it to fly up (![]() ) until you hit an invisible boundary. From there, dismount with
) until you hit an invisible boundary. From there, dismount with ![]() and then hold
and then hold ![]() to begin gliding. Remain in the air for 60 seconds or more and the trophy should unlock.
to begin gliding. Remain in the air for 60 seconds or more and the trophy should unlock.

I had some difficulty with this, though, and the trophy didn’t seem to want to unlock when I started from a Flying Mount. If this happens to you, too, fly your Mount to the tip of the Mountain above The Base and then glide from there instead.
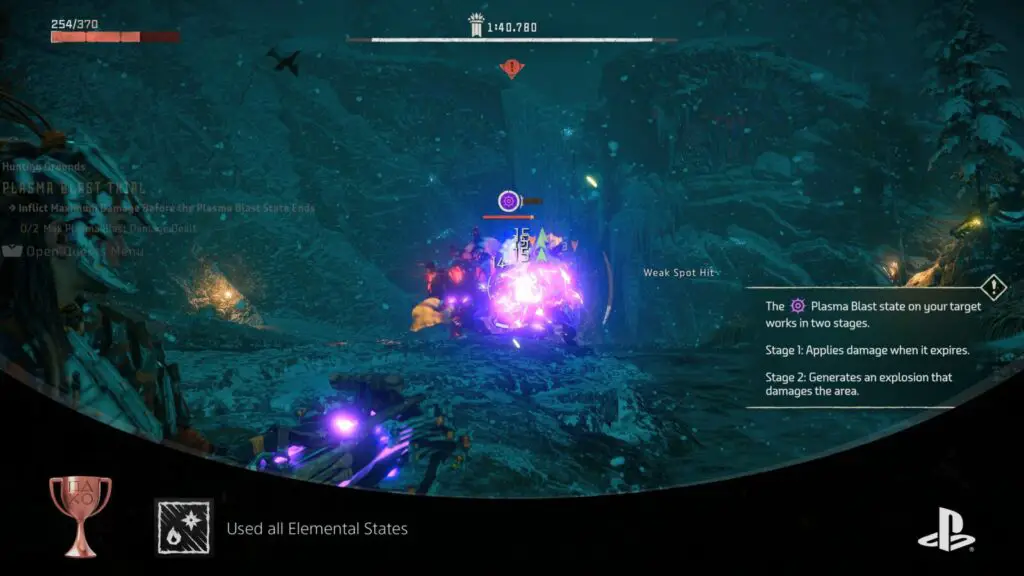
Used all Elemental States
Inflicted every elemental state on an enemy at least once.
To unlock the Used all Elemental States trophy, you will need to fully apply each elemental state to an enemy. There are two ways of going about this; you can either use weapons with elemental ammo, or target elemental weakpoints on Machines that cause elemental explosions when destroyed.
Either way, when you hit an enemy with an Elemental effect, a small icon will appear above them, which is also a gauge. The icon will be filled with more colour based on how close to entering an elemental state the machine is.
Fill the icon, and the icon will then be surrounded with a white gauge. This gauge indicates the cooldown of the state, which will end when the gauge reaches zero.
You will need to fully apply elemental states to machines using the 6 available Elemental Effects:
- Burning State (Fire)
- Brittle State (Frost)
- Shocked State (Shock)
- Corroding State (Acid)
- Plasma Blast State (Plasma)
- Drenched State (Purgewater)
Once you’ve applied each Elemental State at least once, the Used all Elemental States trophy will unlock.
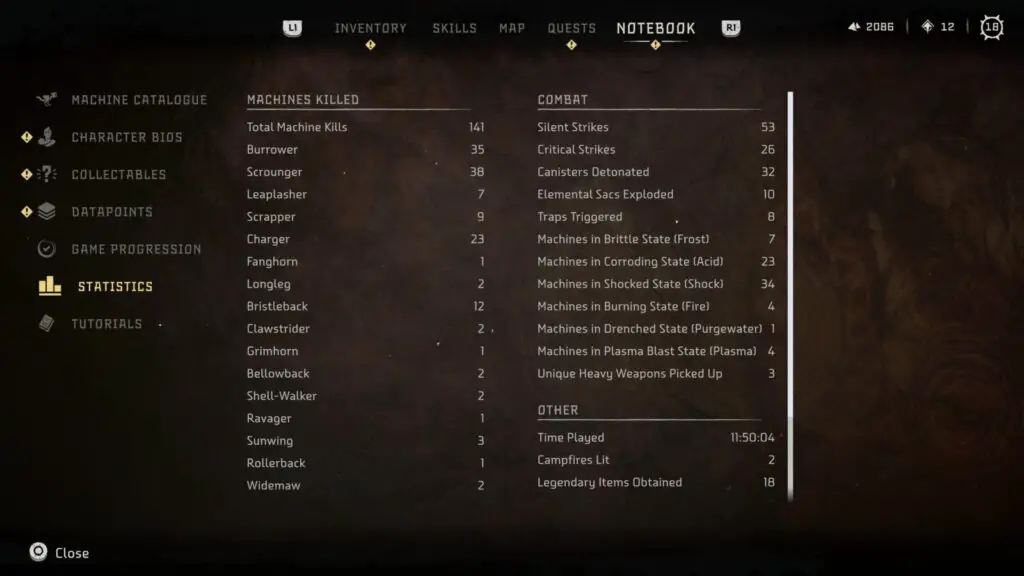
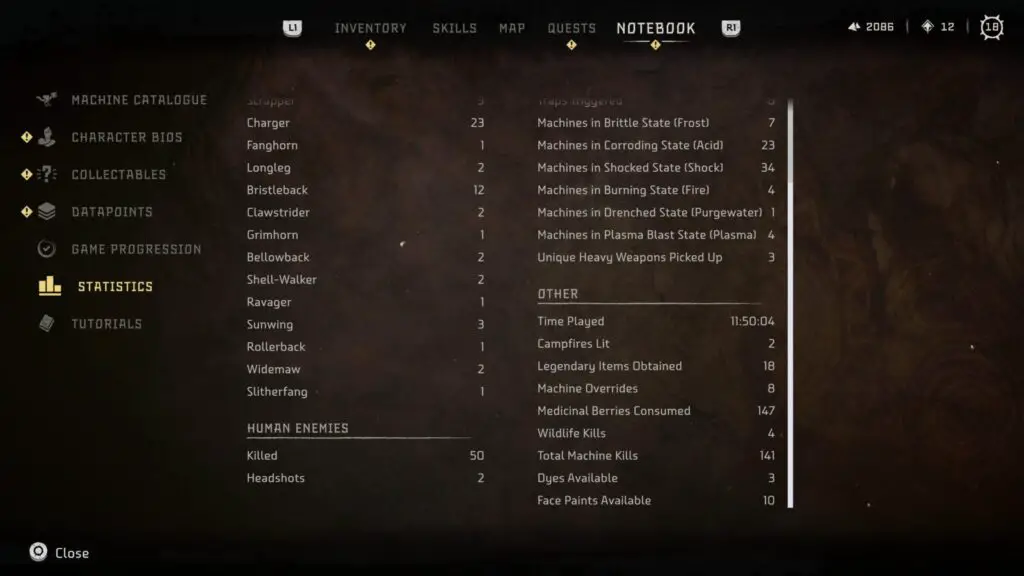
To track your progress, you can actually go to the “Notebook” tab of the ![]() menu and then go to “Statistics.” In there, look for your Combat Statistics, where you’ll see details on how many Machines you’ve affected with each type of Elemental State.
menu and then go to “Statistics.” In there, look for your Combat Statistics, where you’ll see details on how many Machines you’ve affected with each type of Elemental State.

Performed 3 Melee Combos
Successfully performed 3 different unlockable melee combos.
Melee Combos can be purchased in the “Warrior” Skill Tree in the “Skills” tab of your ![]() menu.
menu.
You just need to purchase three of these (although you’ll end up needing to purchase all of them for Defeated the Enduring) and then use each one at least once on an enemy.
You must hit an enemy with the combo, simply activating it won’t count.
Here are the available Melee Combos under the Warrior Skill Tree:
| Skill | Combo |
|---|---|
| Nora Warrior | |
| Block Breaker | |
| Spinning Scythe | |
| The Destroyer | |
| Energy Surge |
As you will need to use most of these for various Melee Pit Challenges, you will unlock this trophy naturally while working on the Defeated the Enduring trophy.

Stealth Killed 10 Machines
Performed a stealth kill on 10 machines.
The “Stealth Killed 10 Machines” trophy is fairly self-explanatory. You simply need to use the “Stealth Strike” ability on 10 Machines and kill them in one hit. Obviously, using Stealth Strike on larger machines will only deal a large amount of bonus damage, but it won’t 100% kill them.
Focus on using your Stealth Strike abilities on smaller Machines like Burrowers and Scroungers as these will die in a single Stealth Strike attack from the very start of the game. You will see a small skull icon next to the Silent Strike prompt only if the strike will kill the Machine, otherwise the skull won’t show.
To perform a Stealth Strike attack, you must press ![]() to enter a crouched stance and then use your surroundings to get close to a Machine that hasn’t yet spotted you. Once close enough, the Stealth Strike prompt will appear at the bottom of your HUD. Press
to enter a crouched stance and then use your surroundings to get close to a Machine that hasn’t yet spotted you. Once close enough, the Stealth Strike prompt will appear at the bottom of your HUD. Press ![]() to activate the ability and hit your foe with a surprise attack.
to activate the ability and hit your foe with a surprise attack.
This trophy is highly likely to unlock naturally because Stealth is such a big part of the game. The game’s introductory mission will even encourage you to use stealth against the machines you come across and if you successfully stealth your way through most of the encounters in that first mission you will unlock the trophy.


Tore off 100 components
Detached 100 components from machines.
Machines are covered in components that can be knocked from their body. When you scan a Machine with your Focus, these components are highlighted in yellow.
They can be knocked off with simple arrows if you manage to hit them enough times, but your best bet is to use a special type of ammo called “Tear” ammo.
Many weapons have Tear ammo, which deals minimal damage to Machines but is especially proficient at knocking components off of Machines if you accurately hit them.
That being said, components are constantly knocked off of Machines accidentally, especially when you use Melee or Explosive attacks, so there’s a very high chance that this trophy will unlock naturally without you even thinking about it.

Each time a single component is knocked from a Machine, you will see the text “Component Removed” on the right-hand side of your HUD.
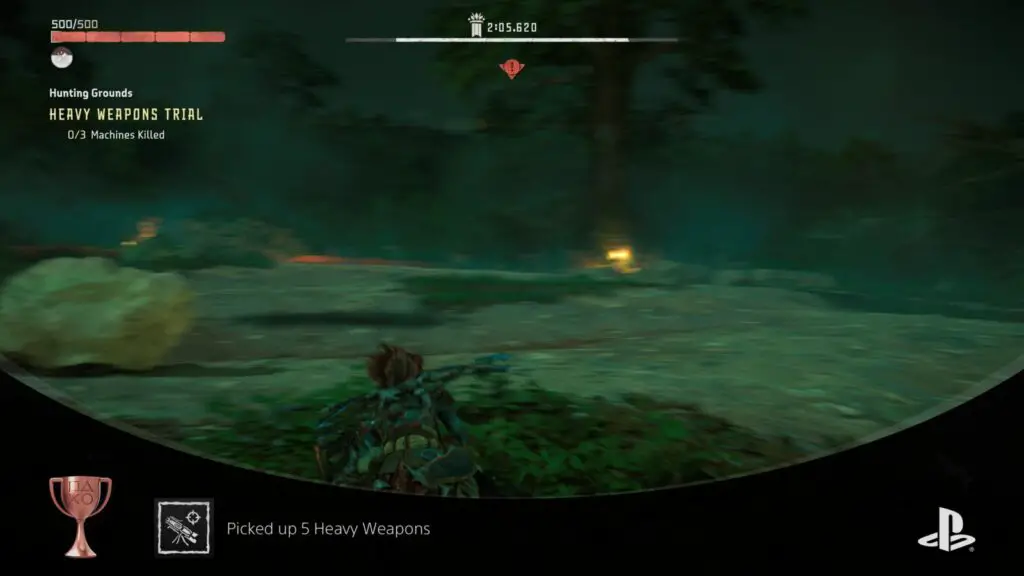
Picked up 5 Heavy Weapons
Picked up 5 different heavy weapons.
Heavy Weapons are large temporary weapons that can be acquired by knocking them off of Machines. As with the Tore off 100 components trophy, you can use Tear ammo to easily knock Heavy Weapons off certain Machines.
You’ll also find that there are many large human enemies at enemy bases and Rebel Camps that are carrying heavy weapons. These do not count. You must knock a Heavy Weapon from a Machine yourself for it to count towards the trophy.
To unlock the Picked up 5 Heavy Weapons you need to have equipped 5 unique Heavy Weapons. You don’t need to have got a kill with the weapon or even to have fired it, you simply need to pick up 5 unique Heavy Weapons.
Here are the 11 available Heavy Weapons and their source:
| Machine | Heavy Weapon |
|---|---|
| Stalker | Dart Gun |
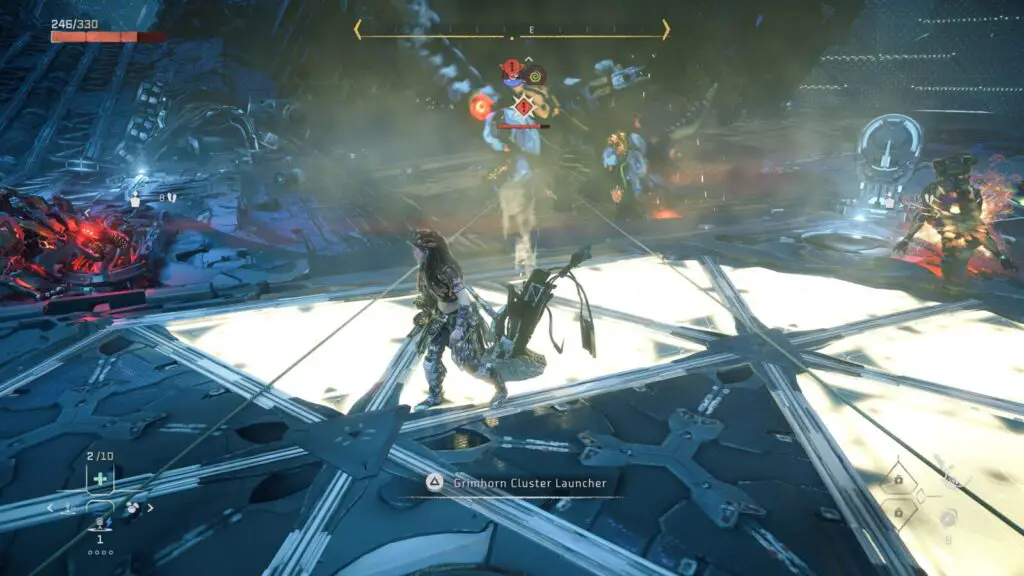
| Grimhorn | Cluster Launcher |
| Ravager | Ravager Cannon |
| Dreadwing | Bomb Launcher |
| Shellsnapper | Frost Blaster |
| Thunderjaw | Disc Launcher |
| Scorcher | Mine Launcher |
| Slitherfang | Shock Orb |
| Tremortusk | Shock Cannon |
| Tremortusk | Plasma Cannon |
| Slaughterspine | Plasma Spine Launcher |
| Specter | Pulse Cannon |

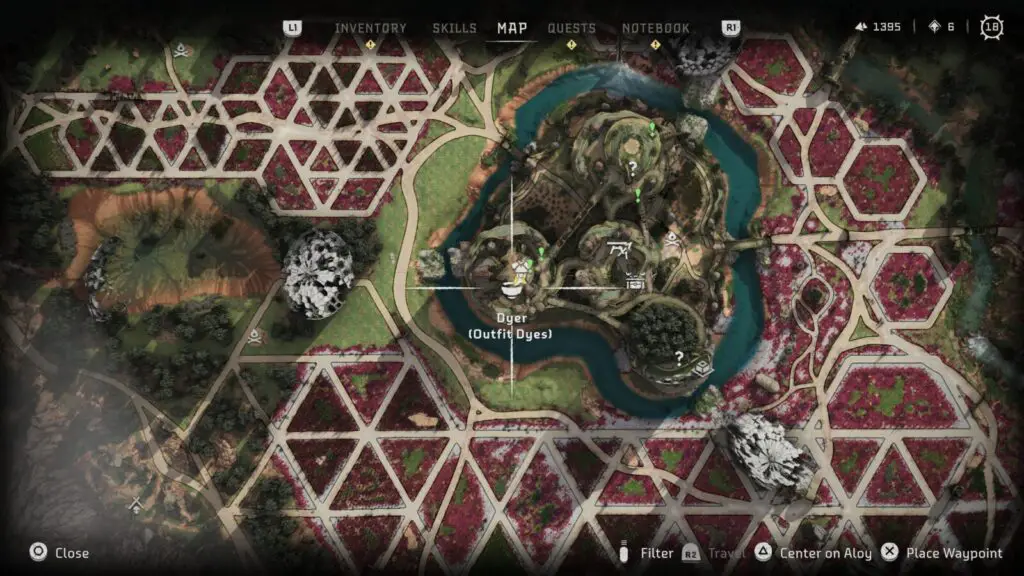
Used Dye Flowers
Used dye flowers to unlock and apply a new dye.
You can use Dye Flowers to make Dye at any one of three Dyer Merchants available in the game.
Dye flowers are any flowers which end in the name “Bloom” that you collect while exploring the world. For example, “Verdant Bloom” flowers.
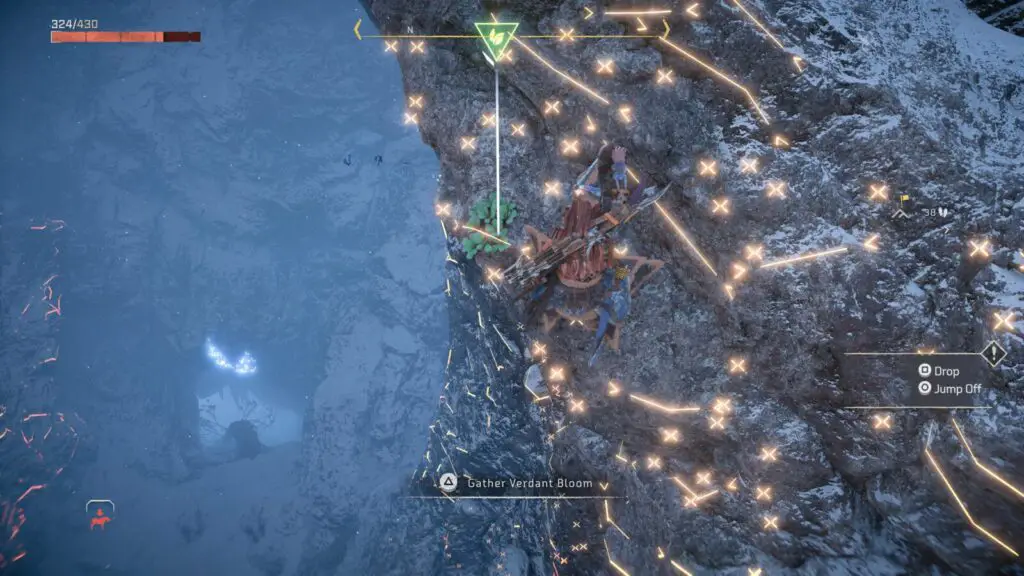
You collect them from the ground like any other resource, and they show up when you ping your surroundings by pressing ![]() . They’re mostly found on cliffside walls, so keep an eye out for them whenever you’re climbing somewhere.
. They’re mostly found on cliffside walls, so keep an eye out for them whenever you’re climbing somewhere.
Bring some Dye Flowers to either the dyer in Plainsong, the one in Scalding Spear, or the one in Thornmarsh.
From there, you can choose to change the color of any of your outfits via the use of these “Bloom” Dye Flowers.
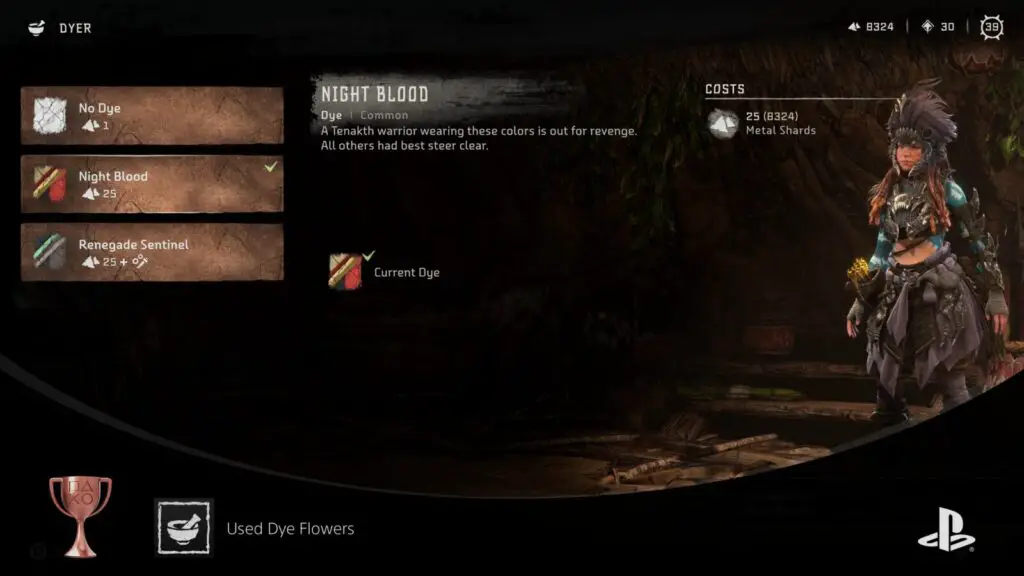
Note that there are some Dyes you can purchase without needing any Bloom flowers, but these don’t count towards the trophy.
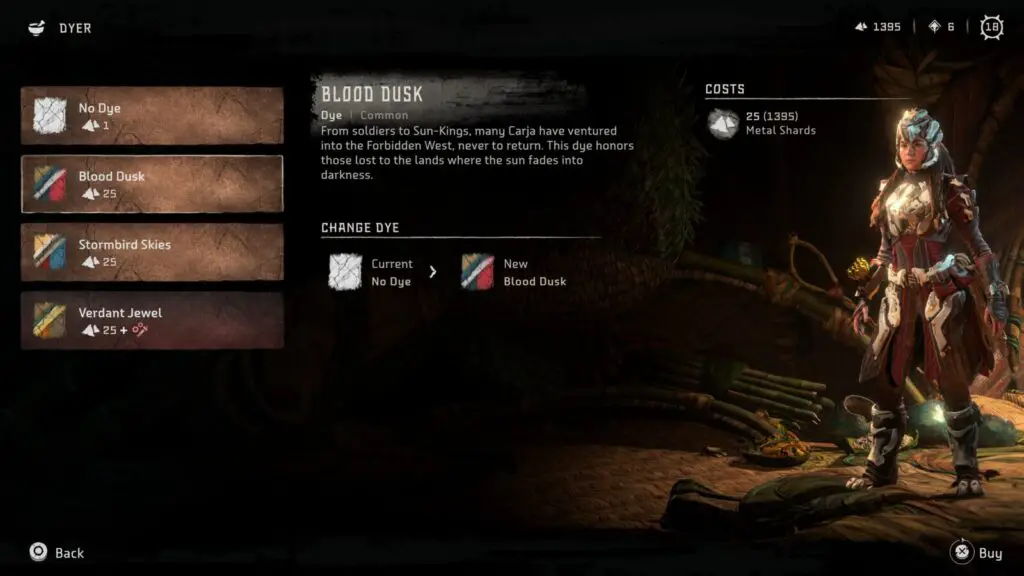
Purchase any Dye that requires Bloom Flowers in the “Costs” list, and the trophy will unlock.
Collectible Trophies

Obtained All Weapon Classes
Obtained 1 weapon from every weapon class.
There are just 9 different types of weapon that you can find in Horizon Forbidden West. They are as follows:
- Hunter Bow
- Sharpshot Bow
- Warrior Bow
- Boltblaster
- Tripcaster
- Ropecaster
- Shredder Gauntlet
- Sling
- Spike Thrower
To unlock “Obtained All Weapons Classes” you must acquire at least one of each different weapon type.

The easiest way to accomplish this is to purchase every new type of weapon that you can find from various merchants through the game. Good merchants to check with are those who hang out at Hunting Grounds locations.

Recovered 5 Different Collectables
Completed 1 Survey Drone, 1 Black Box, 1 Relic Ruin, 1 Vista Point, and 1 Signal Tower.
There are a total of 46 Collectibles in Horizon Forbidden West, but you will only need to acquire seven:
| Collectible Type | Available | Required |
|---|---|---|
| Relic Ruins | 9 | 3 |
| Signal Towers | 6 | 1 |
| Black Boxes | 12 | 1 |
| Vista Points | 9 | 1 |
| Survey Drones | 10 | 1 |
Once you have completed just one of each Collectible, you will unlock this trophy.
Relic Ruins are destroyed buildings from “The Old World,” and though only one is required for this trophy, you will need to complete 3 for Completed 3 Relic Ruins. In each one, you will need to solve a puzzle allowing you to reach and acquire a Relic.
Signal Towers are lighthouses which contain a special lens with value to a particular NPC. To start collecting Signal Towers, you should complete an errand called “Signals of the Sun,” which can be initiated by finding a soldier who’s dragging a corpse north of Barren Light in the Daunt.
Near the end of the errand, you’ll meet an Oseram woman who is eager to collect Signal Tower lenses. She will then ask you to collect one nearby, this is the only one you’ll need for this trophy.

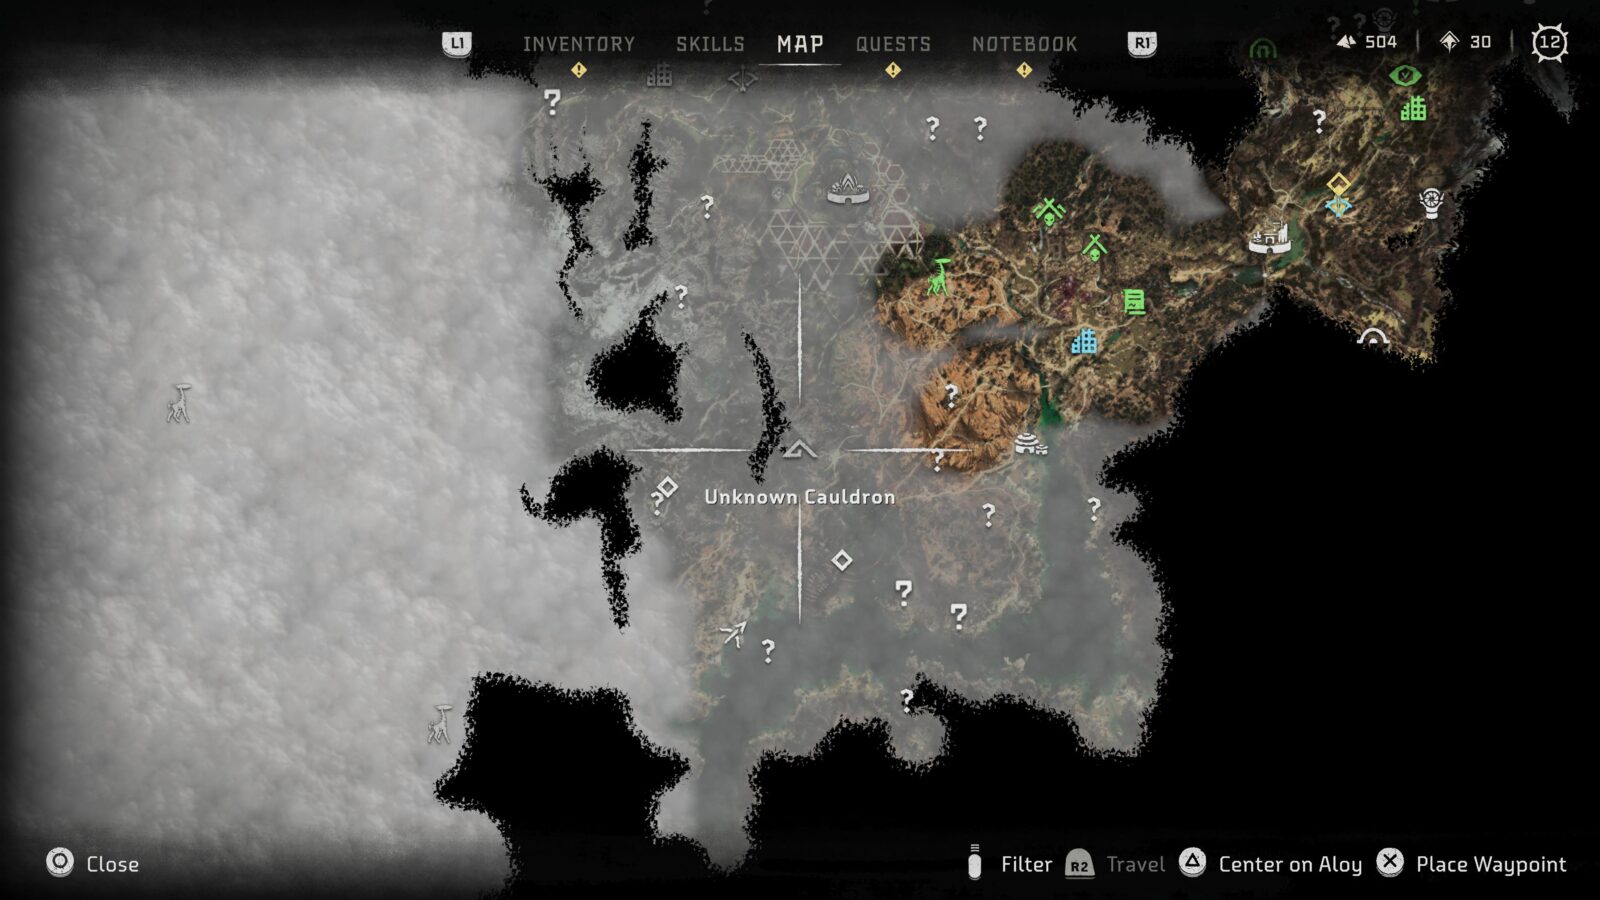
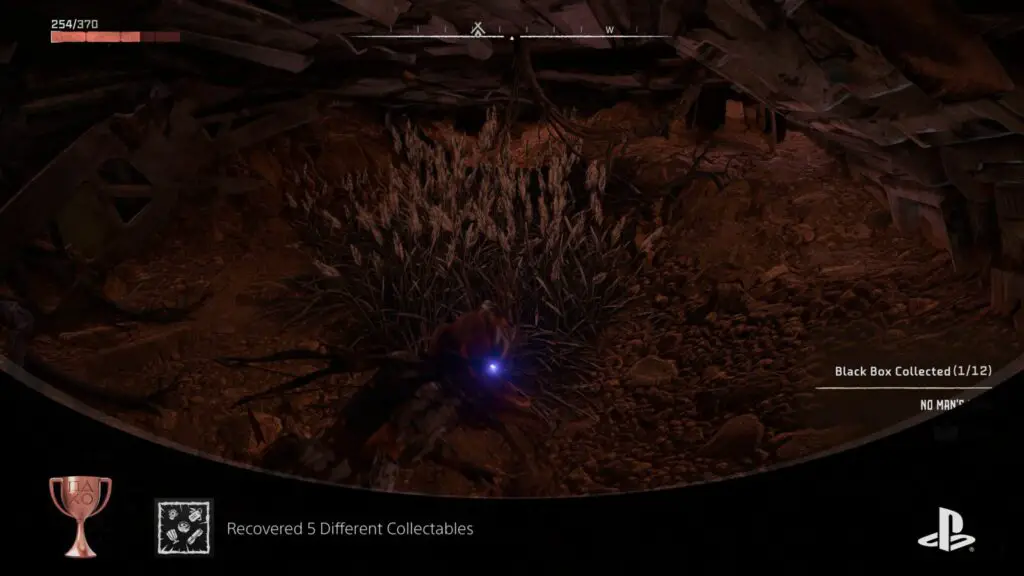
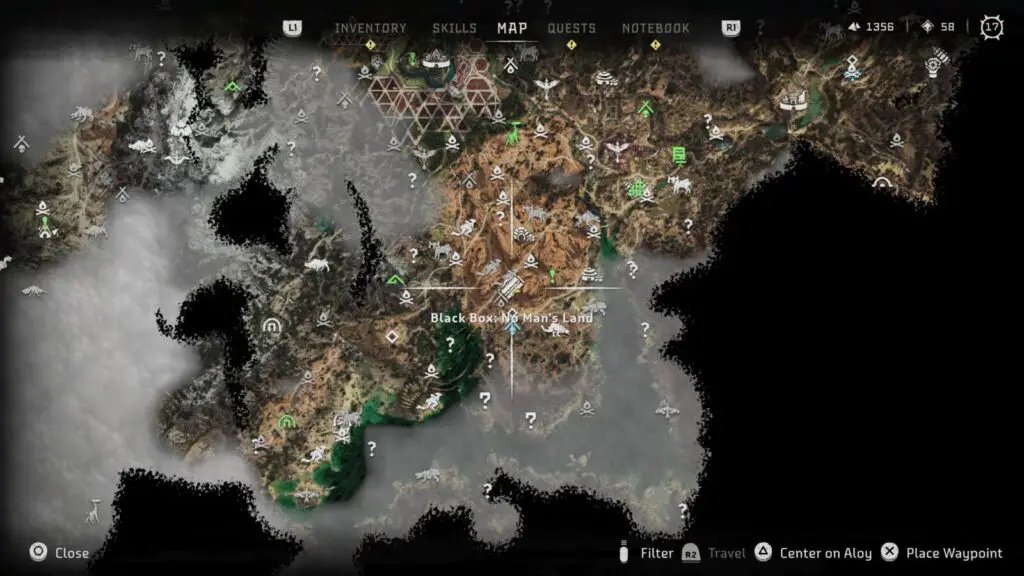
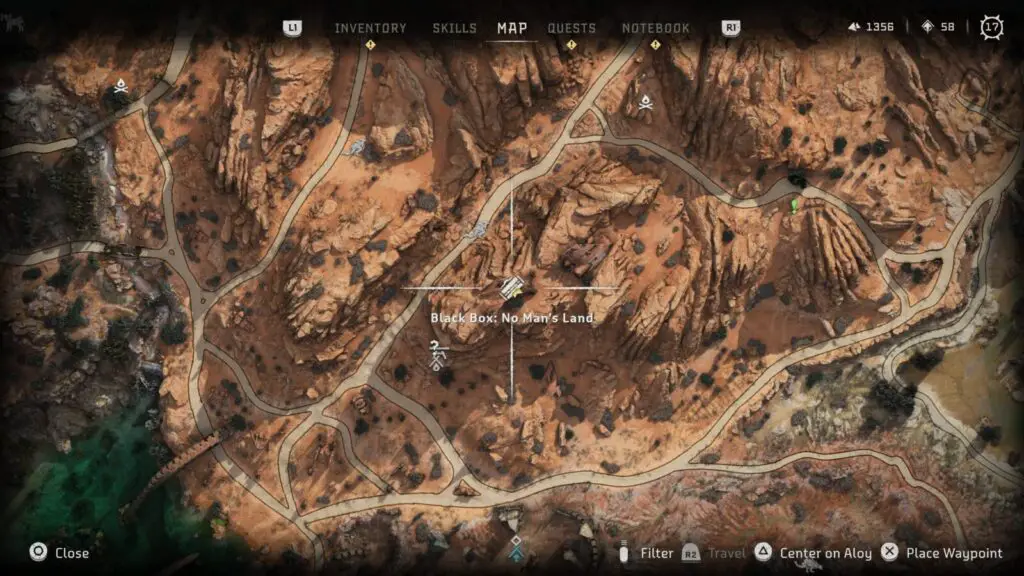
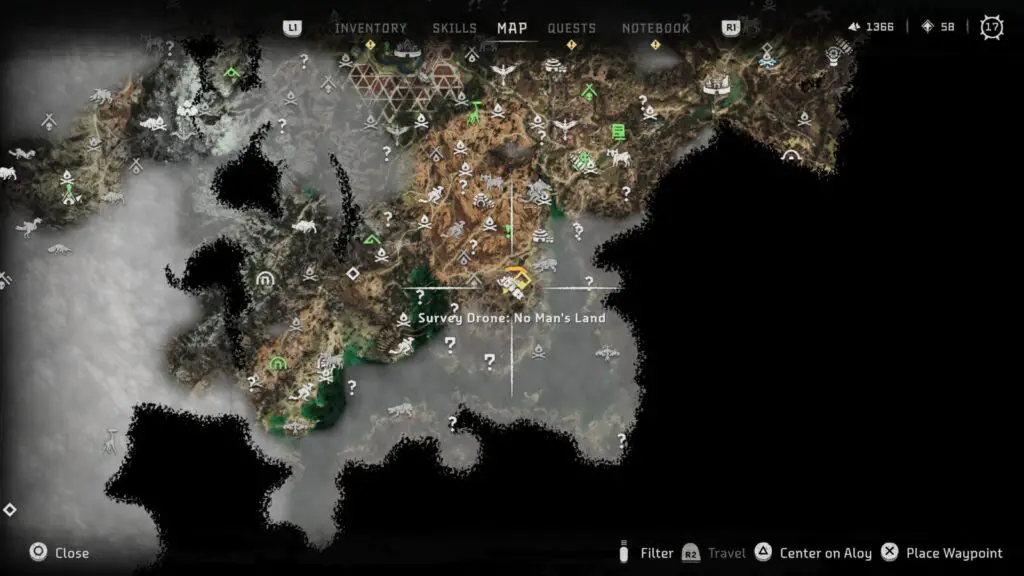
Black Boxes can be found in crashed airplane wrecks which are typically high up in the mountain ranges of the map. There are a total of 12 in the game, but you only need one for this trophy.
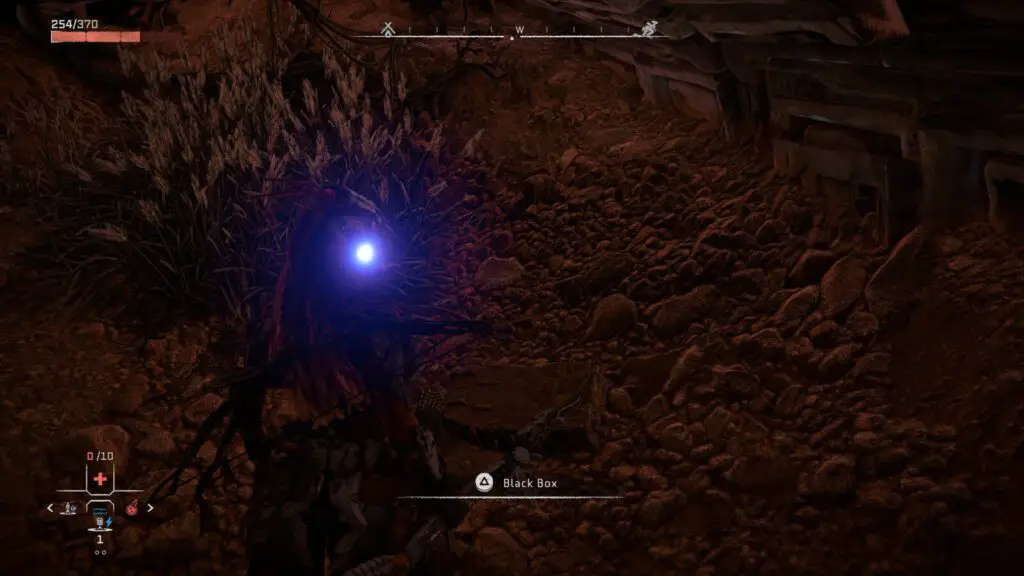
The easiest one to locate is this one in No Man’s Land:
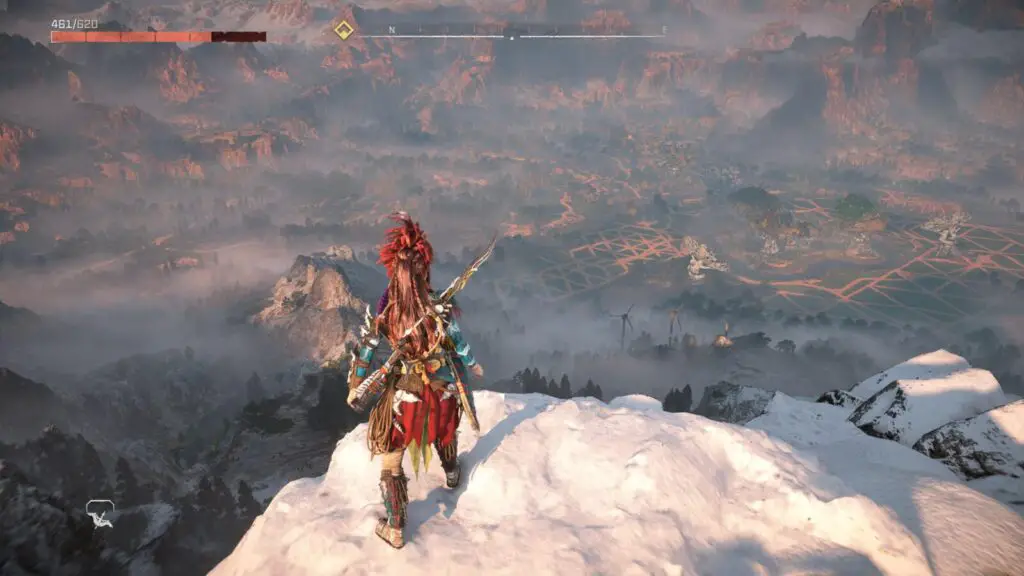
Vista Points are high Vantage Points from which you can survey your surroundings. They can be found at Eye-shaped icons which have a small “V” over the iris. There is one Southwest of Chainscrape which is easy to locate.
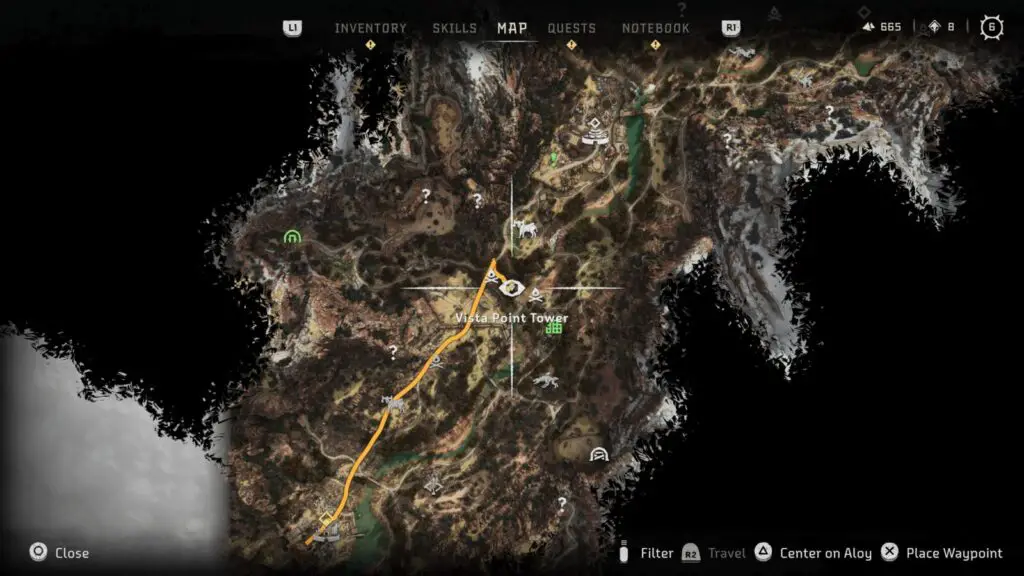
At each one, you will need to scan the purple pulse to bring up a hologram of a nearby location.
Line the Hologram up with your surroundings to complete the Vista and reveal some history about the location.

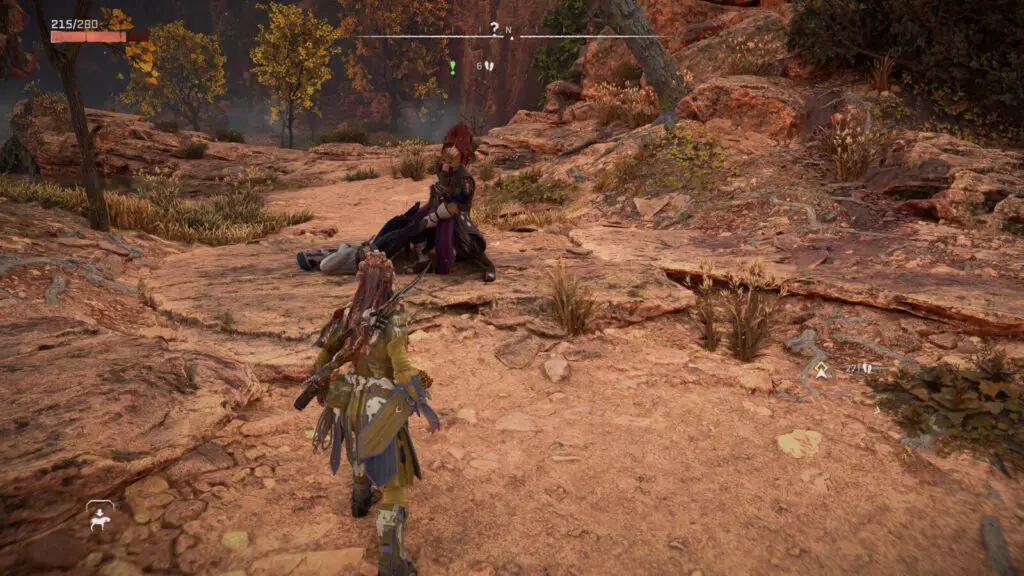
Survey Drones can be found throughout the map, following pre-set paths. They cannot be shot down, instead, you must find a location nearby which is high enough to reach the drone, and then jump to it.
Keep hanging onto the drone as it slowly falls to the ground, where you can loot its cargo. There are 10 Survey Drones in Horizon Forbidden West and you only need 1 for this trophy.
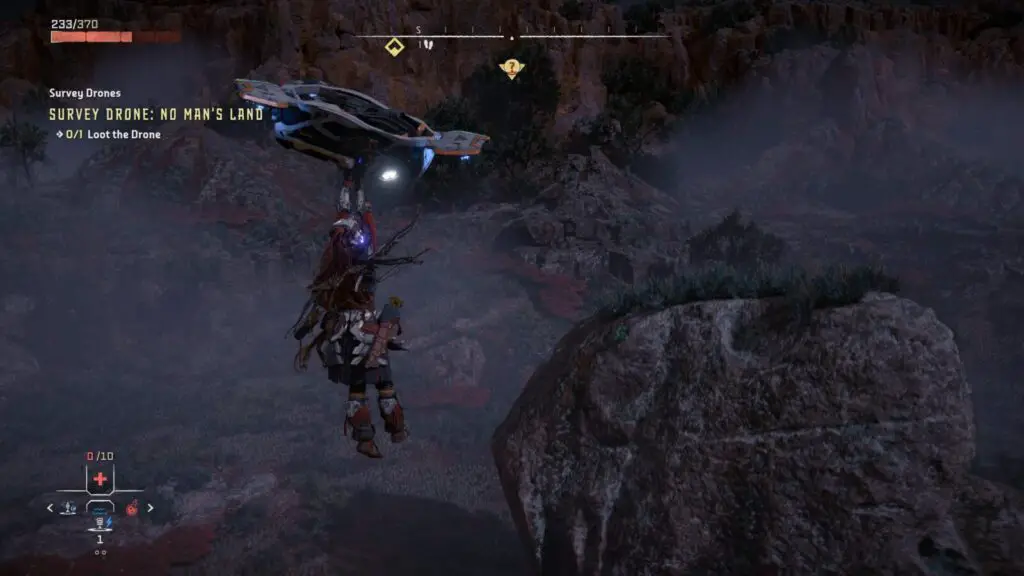
I recommend going to this exact location, from where you can jump to one:


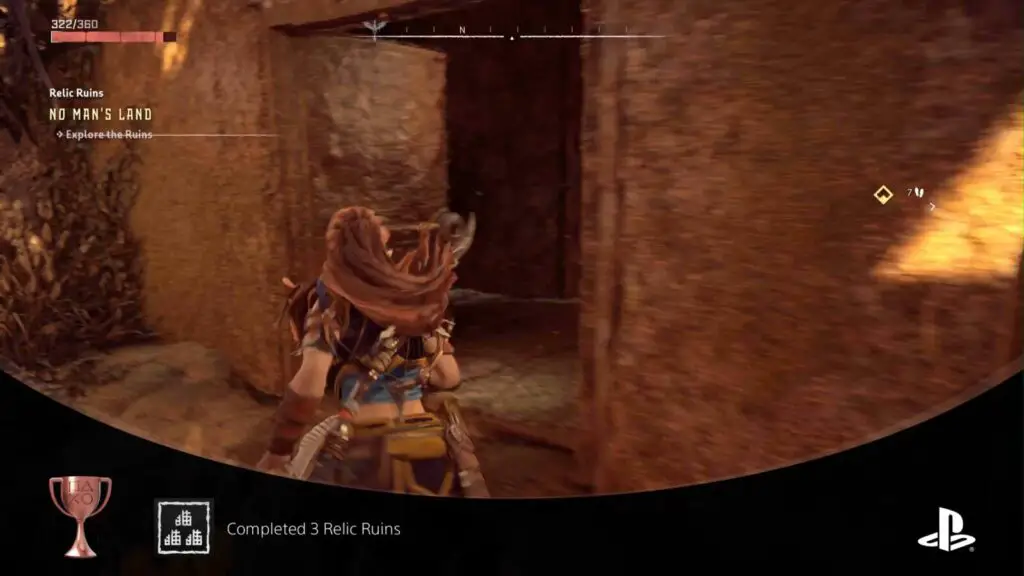
Completed 3 Relic Ruins
Discovered and completed 3 Relic Ruins.
“Relic Ruins” are ruined buildings from “The Old World.” Inside, there are plenty of resources to add to your inventory for crafting and upgrading.
They can be found at ruined building icons on the map, exactly like the ones shown in the Trophy Icon. You just need to find and explore three of these Ruined Buildings, and there are far more than 3 available in the game.
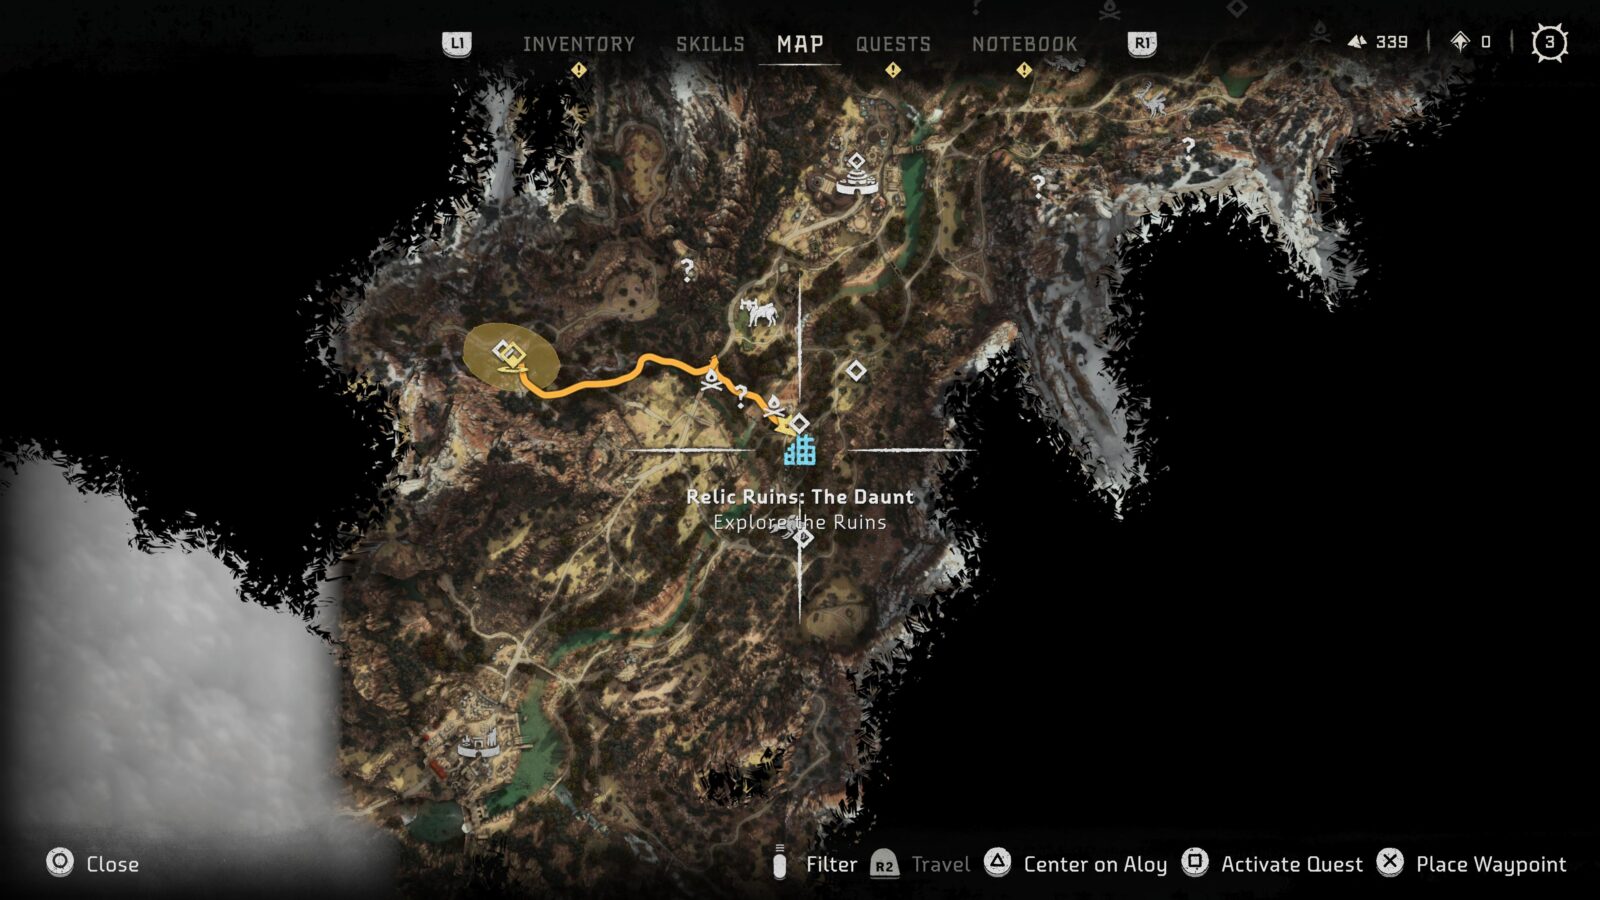
When you approach a Relic Ruin, it will be added to the “Quests” tab of your ![]() menu, under the “Relic Ruins” section, this will allow you to easily track and relocate any you happen to have passed by during your travels.
menu, under the “Relic Ruins” section, this will allow you to easily track and relocate any you happen to have passed by during your travels.
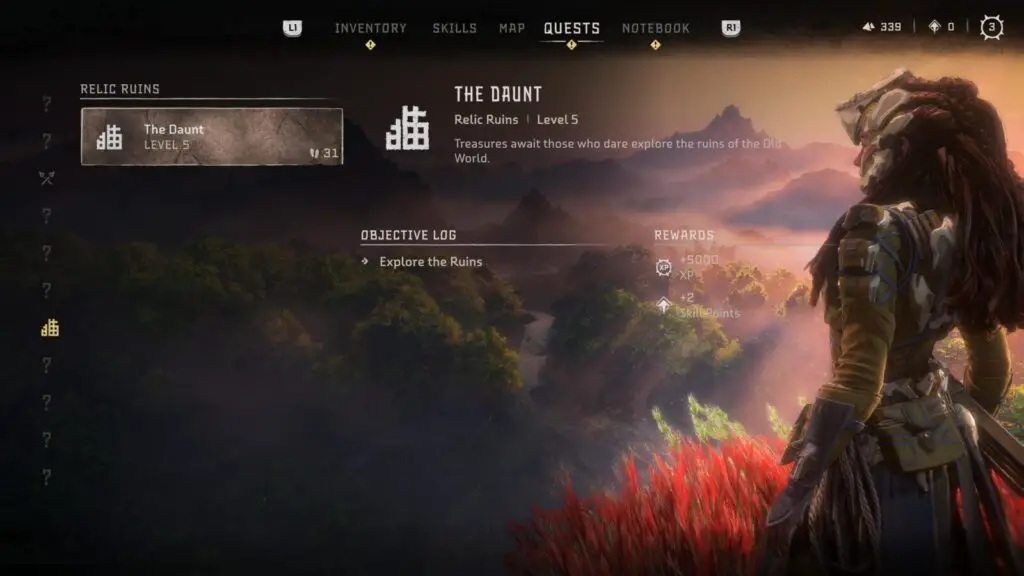
Each Ruin has a Relic “Ornament” hidden somewhere within it, and your objective will be to figure out how to reach and interact with it.
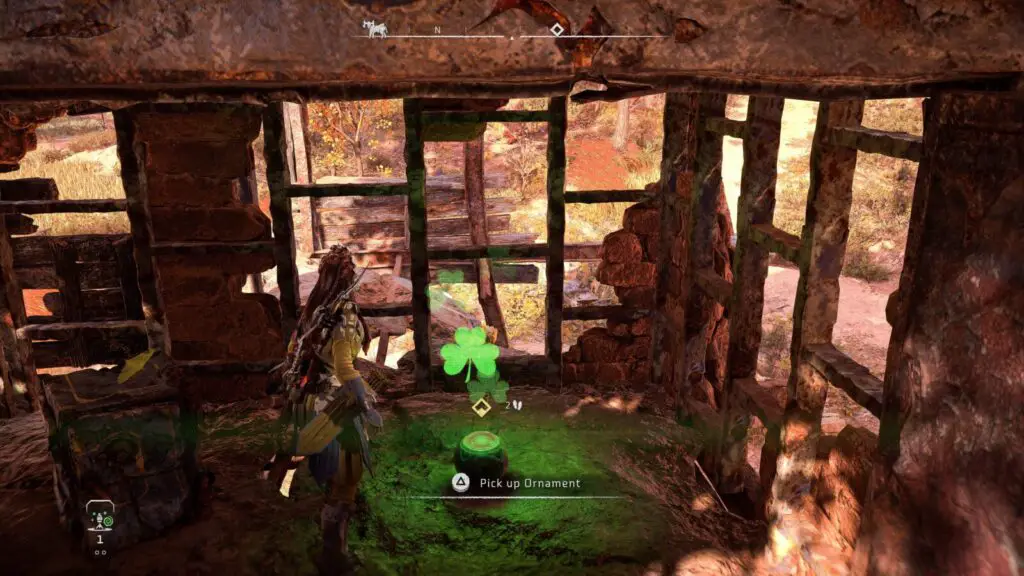
Complete the objectives for any three Relic Ruins in the game to unlock this trophy.
Enemy Cataloguing

All Acquisition Machines Killed
Killed at least one of every type of Acquisition machine.
To unlock the “All Acquisition Machines Killed” trophy, you will need to find and kill at least one of each of the 18 Machine Types under the “Acquisition” category.

You can track your progress by going to “Statistics” in the Notebook tab of the ![]() menu. There look for the “Machines Killed” stats to see which Machines you have killed at least one time.
menu. There look for the “Machines Killed” stats to see which Machines you have killed at least one time.
The Acquisition Machines consist of:
- Grazer
- Scrounger
- Scrapper
- Spikesnout
- Plowhorn
- Charger
- Lancehorn
- Bristleback
- Fanghorn
- Widemaw
- Glinthawk
- Snapmaw
- Sunwing
- Clamberjaw
- Rockbreaker
- Tideripper
- Frostclaw
- Fireclaw
Make sure to scan each Machine at least once for All Machine Types Scanned.

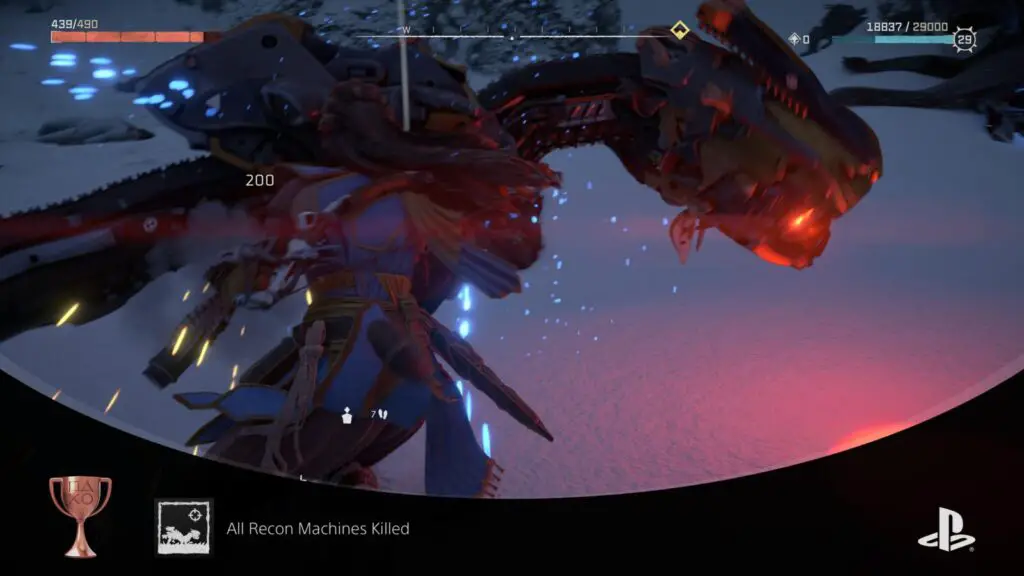
All Recon Machines Killed
Killed at least one of every type of Reconnaissance machine.
To unlock the “All Recon Machines Killed” trophy, you will need to find and kill at least one of each Machine Type under the “Reconnaissance” category. There are a total of 5, but you only need to kill 4 because Tallnecks cannot be killed.
You can track your progress by going to “Statistics” in the Notebook tab of the ![]() menu. There look for the “Machines Killed” stats to see which Machines you have killed at least one time.
menu. There look for the “Machines Killed” stats to see which Machines you have killed at least one time.
The Recon Machines consist of (excluding the Tallneck which you cannot kill):
- Burrower
- Skydrifer
- Longleg
- Redeye Watcher
Make sure to scan each Machine at least once for All Machine Types Scanned.
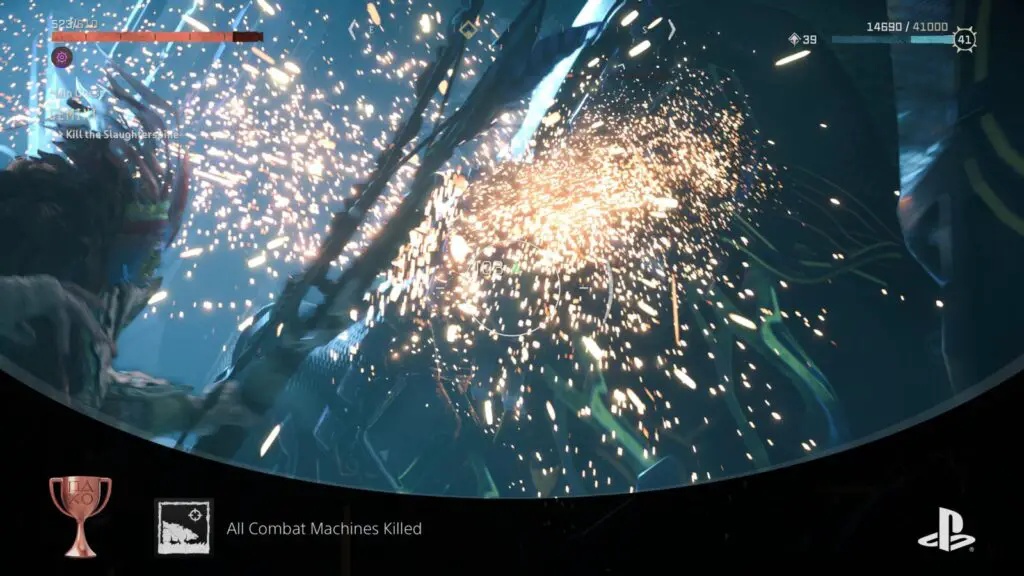
All Combat Machines Killed
Killed at least one of every type of Combat machine.
To unlock the “All Combat Machines Killed” trophy, you will need to find and kill at least one of each of the 15 Machine Types in the “Combat” category.
You can track your progress by going to “Statistics” in the Notebook tab of the ![]() menu. There look for the “Machines Killed” stats to see which Machines you have killed at least one time.
menu. There look for the “Machines Killed” stats to see which Machines you have killed at least one time.
The Combat Machines consist of:
- Clawstrider
- Corruptor
- Stalker
- Grimhorn
- Ravager
- Dreadwing
- Shellsnapper
- Stormbird
- Thunderjaw
- Scorcher
- Slitherfang
- Tremortusk
- Slaughterspine (Doesn’t appear until you complete the Story Quest “GEMINI”)
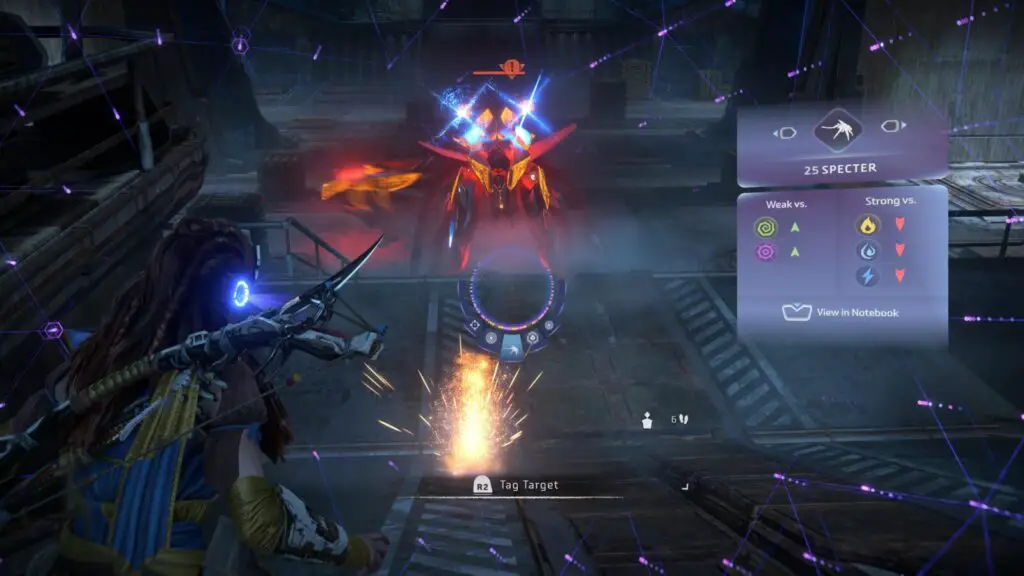
- Specter (Found in Story Missions, Singularity Story Mission is last chance)
- Specter Prime (Found in the Singularity Story Mission only) Not Required for this Trophy
Make sure to scan each Machine at least once for All Machine Types Scanned.

All Transport Machines Killed
Killed at least one of every type of Transport machine.
To unlock the “All transport Machines Killed” trophy, you will need to find and kill at least one of each of the 5 Machine Types in the “Transport” category.

You can track your progress by going to “Statistics” in the Notebook tab of the ![]() menu. There look for the “Machines Killed” stats to see which Machines you have killed at least one time.
menu. There look for the “Machines Killed” stats to see which Machines you have killed at least one time.
The Transport Machines consist of:
- Leaplasher
- Bellowback
- Shell-Walker
- Rollerback
- Behemoth
Make sure to scan each Machine at least once for All Machine Types Scanned.
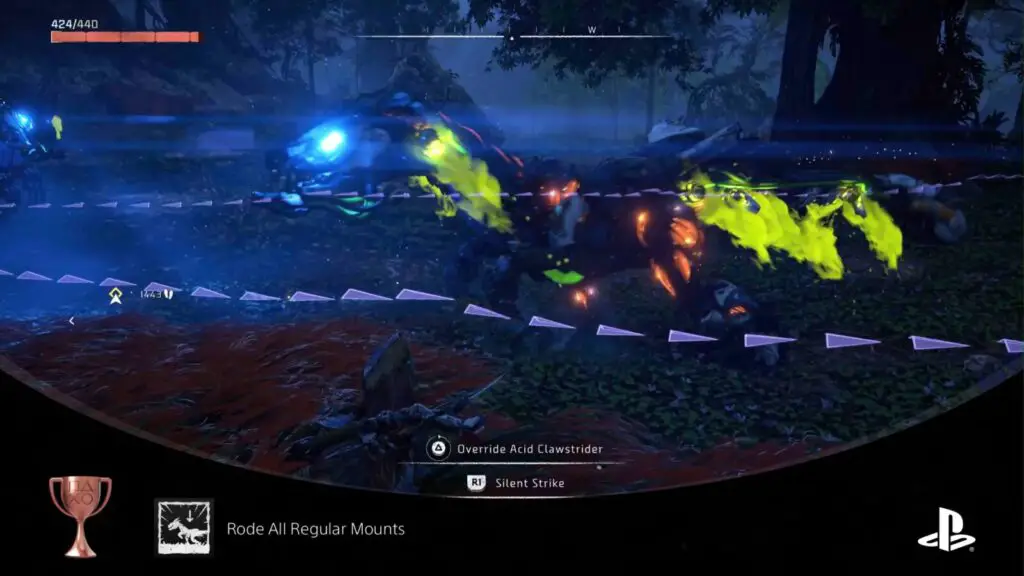
Rode All Regular Mounts
Rode a Charger, Bristleback, and Clawstrider.
A “regular” mount is a ground-based Machine you can use to cover distance quickly. There are just three that you will need to mount in order to unlock the Rode All Regular Mounts trophy; A Charger, a Bristleback, and a Clawstrider.
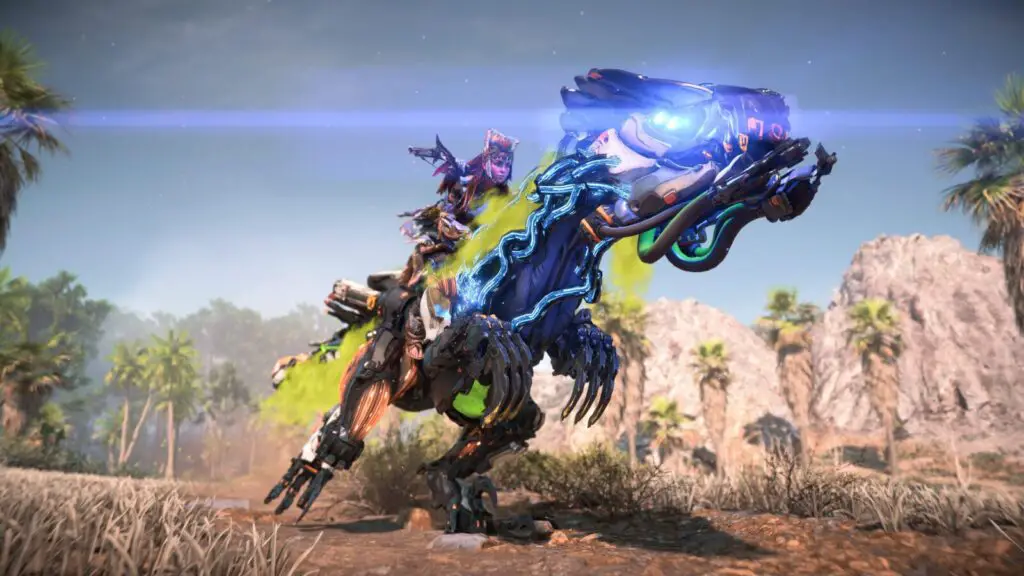
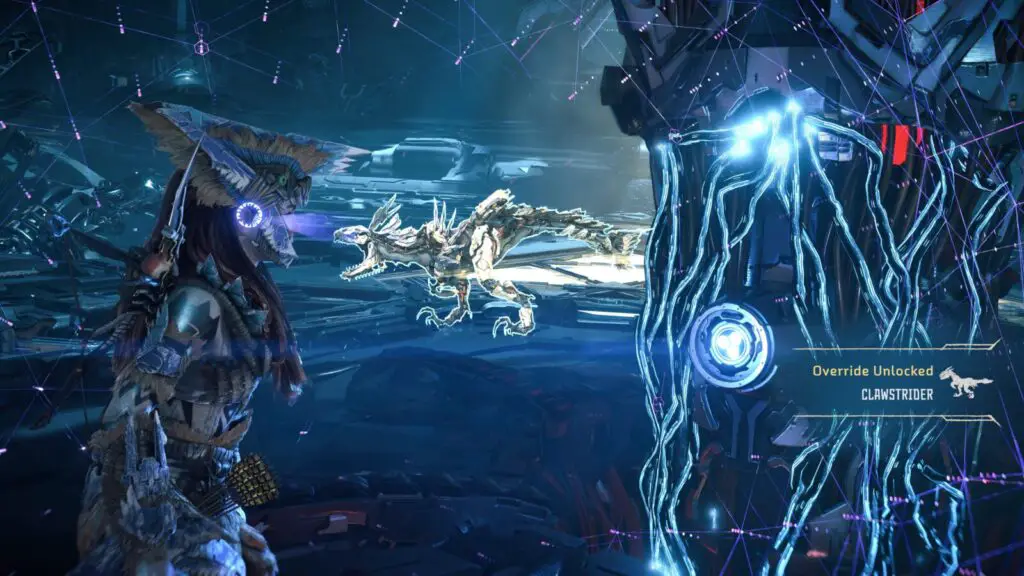
Before you can Mount a Machine, you first need to be able to Override them (See 10 Types of Machine Overridden). You will need to complete Cauldrons to gain the knowledge required to override new Machines, but you can Override Chargers from the very start of the game.
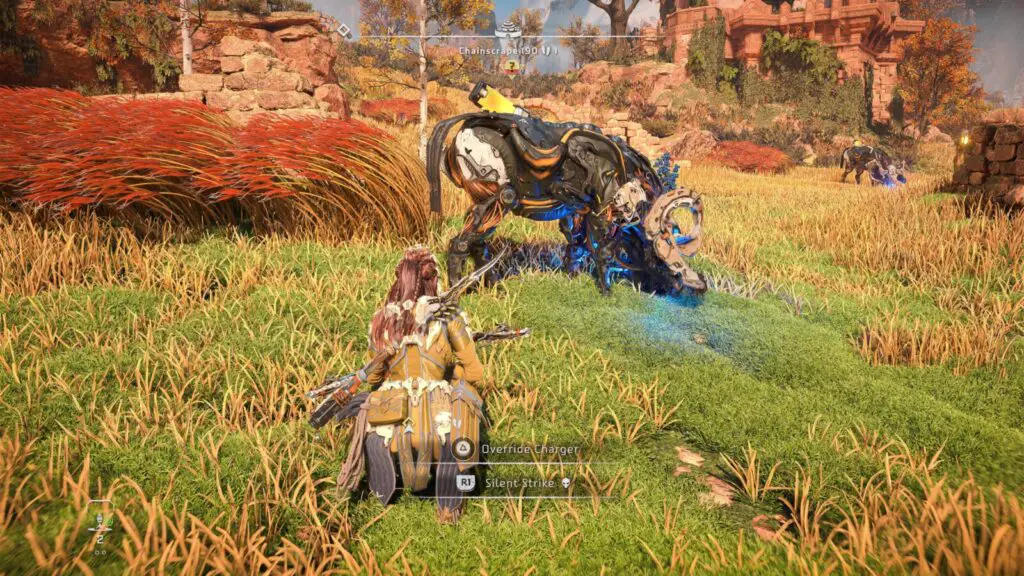
Just approach a Charger while crouched (![]() ) and unseen. When you get close enough the “Override”
) and unseen. When you get close enough the “Override” ![]() prompt will appear. Hold
prompt will appear. Hold ![]() to Override the Machine, making it friendly towards you, hostile towards enemy machines, and mountable.
to Override the Machine, making it friendly towards you, hostile towards enemy machines, and mountable.
Press ![]() next to an Overridden and Mountable Machine to ride it.
next to an Overridden and Mountable Machine to ride it.
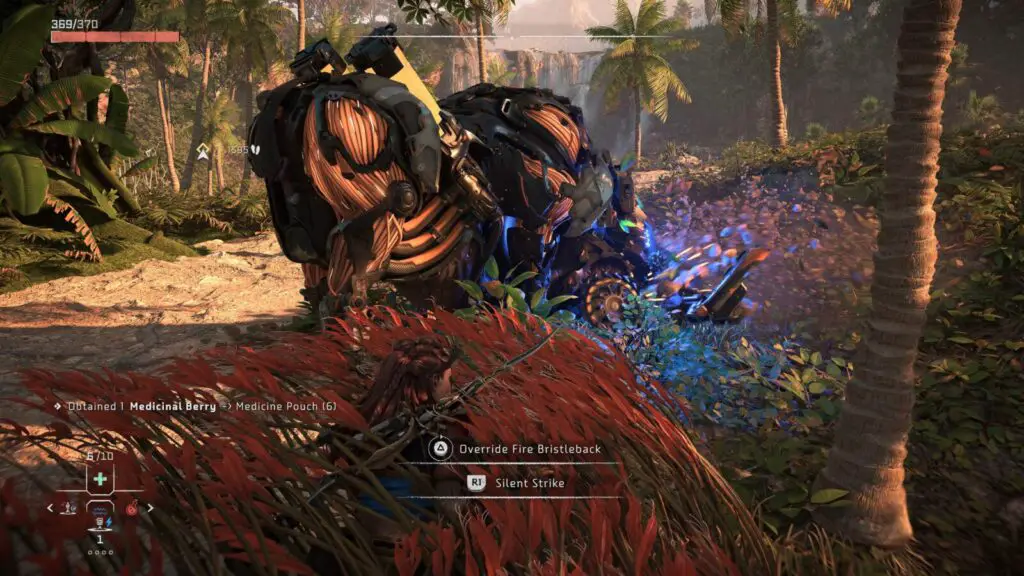
Bristlebacks can be overridden once you’ve overridden the core in “Repair Bay: TAU,” at the end of the Mission titled “The Dying Lands.”
Clawstriders can be overridden once you’ve overridden the Core in “Cauldron: IOTA.” This is an optional side-activity and is not part of the Main Story.
After you’ve mounted all three of these Machines one time each, then the trophy will unlock.
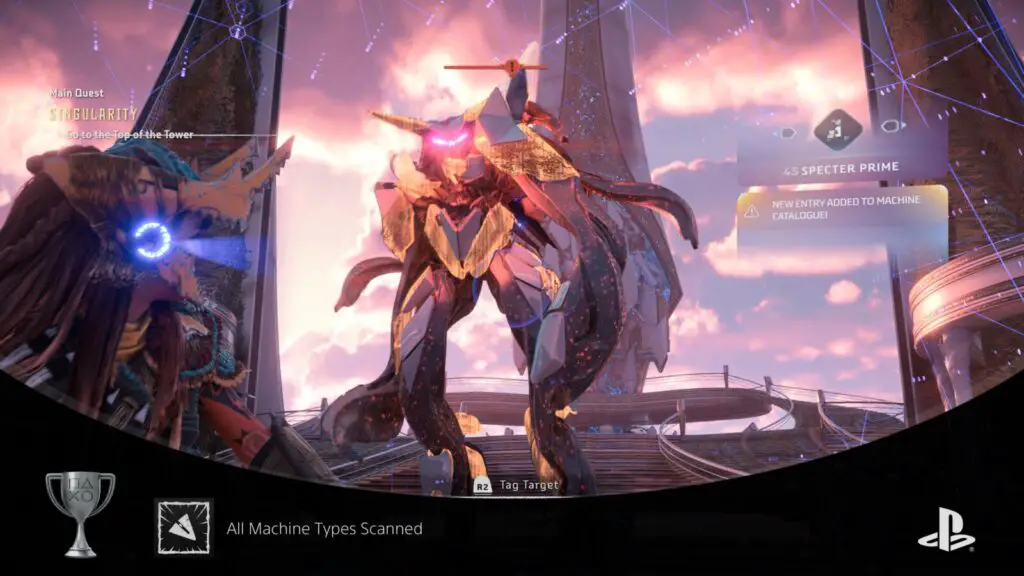
All Machine Types Scanned
Encountered and Focus scanned every type of Machine
You can find the Machine Catalogue in the ![]() menu, under the “Notebook” tab. To unlock the “All Machine Types Scanned” trophy, you will need to scan all 30 of the Machine Types in the game, thus populating the Machine Catalogue with information on each Machine.
menu, under the “Notebook” tab. To unlock the “All Machine Types Scanned” trophy, you will need to scan all 30 of the Machine Types in the game, thus populating the Machine Catalogue with information on each Machine.
Scanning a Machine is simply, just hold ![]() to activate the Focus, and then aim the reticule at a nearby Machine. It will automatically be scanned and added to the Catalogue after a short moment, provided you keep your reticule trained on the Machine will the scan completes.
to activate the Focus, and then aim the reticule at a nearby Machine. It will automatically be scanned and added to the Catalogue after a short moment, provided you keep your reticule trained on the Machine will the scan completes.

There are two missable scans; the Specter and the Specter Prime, both of which are found for the last time in the final story mission “Singularity,” but if you have been following this Horizon Forbidden West Trophy Guide closely, you should have created a manual save that can be used to return to this mission if you happen to forget the missable scans.
Every other Machine can be found in the open world even after completing the story.

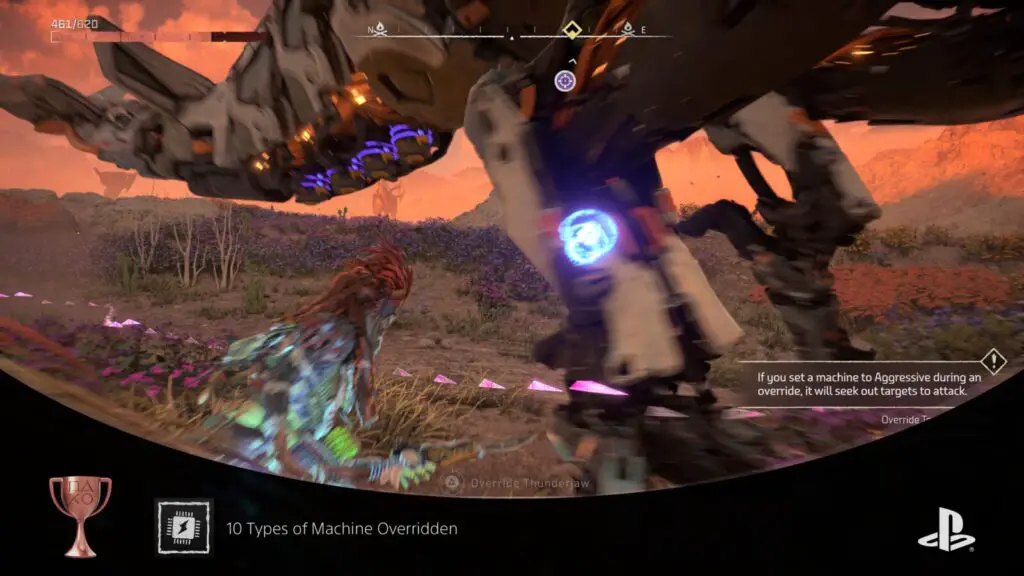
10 Types of Machine Overridden
Unlocked and used the overrides for 10 different types of machine.
To Override a Machine, you will first need to complete the related Cauldron. See All Cores Overridden for a list of all Cauldrons and the Overrides you can unlock at each one.
Note that some Overrides you receive are corrupted. These final overrides can be crafted at The Base but they will require various resources.
Still, if you choose not to craft any of the corrupted Overrides, there will still be more than enough Overrides for you to unlock this trophy.
Once you have the ability to Override 10 or more different Machine Types, you will then need to use the override ability on 10 unique Machines, thus unlocking the 10 Types of Machine Overridden trophy.
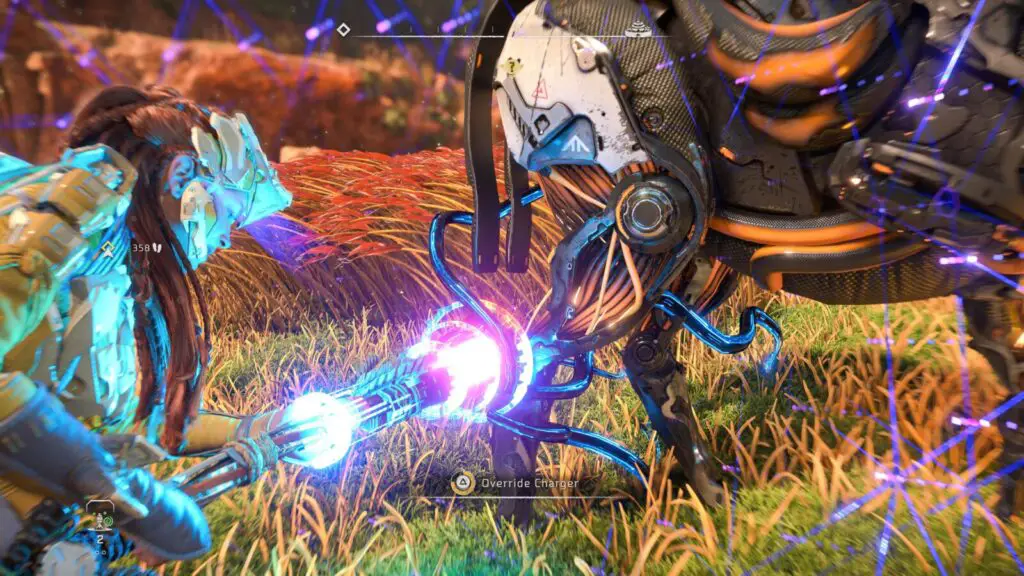
You can override a Machine by approaching it undetected. When you are close enough to a Machine that hasn’t spotted you, a ![]() Override prompt will appear.
Override prompt will appear.
Hold ![]() until the gauge fills up and the Machine will be Overridden, helping you in battles and/or letting you mount it.
until the gauge fills up and the Machine will be Overridden, helping you in battles and/or letting you mount it.
There are 3 ground-based Mounts in the game, which you will need to Override and mount at least once for the Rode all Regular Mounts trophy. That just leaves 7 others for you to find and Override.
Player Level Trophies

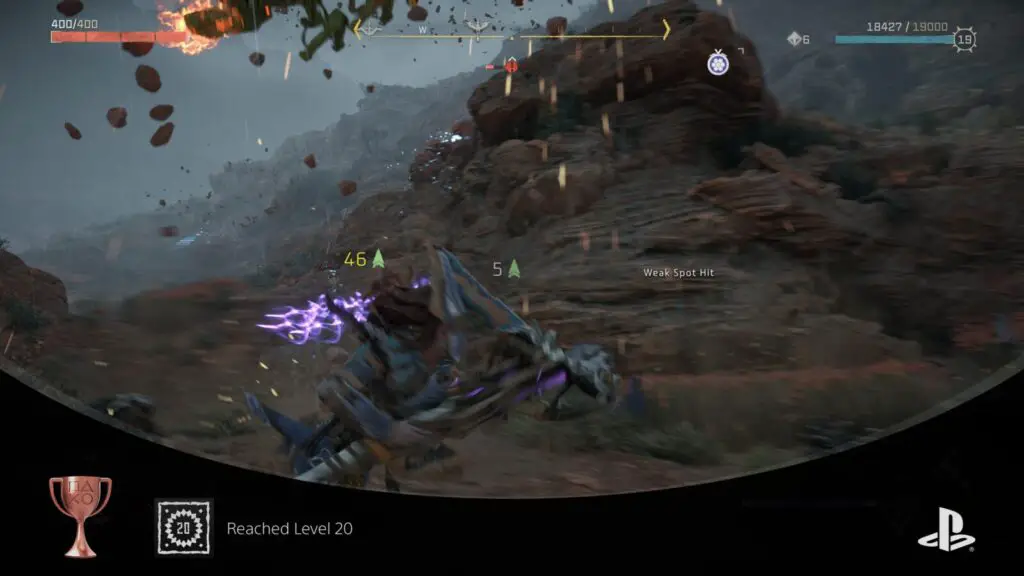
Reached Player Level 20
Reached player level 20.
Unlocks once you’ve earned enough EXP to reach Player Level 20. See Reached Player Level 50.

Reached Level 30
Reached player level 30.
Unlocks once you’ve earned enough EXP to reach Player Level 30. See Reached Player Level 50.


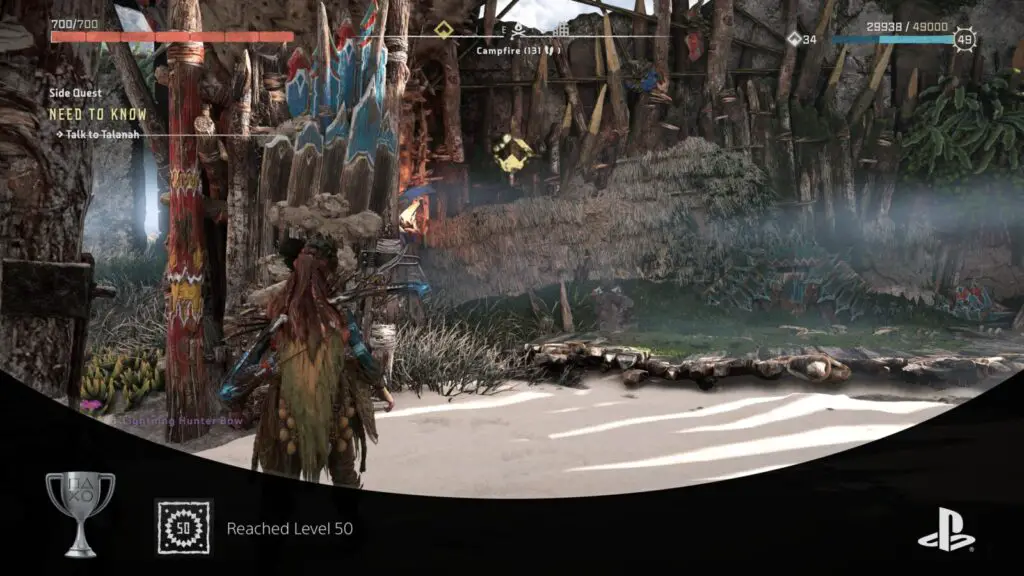
Reached Level 50
Reached player level 50
You can earn EXP in Horizon Forbidden West from pretty much everywhere. Completing Combat encounters both with humans and Machines, completing Quests and Side Activities, and even just discovering new locations through exploration.
Completing the Story Missions alone should give you enough EXP to reach around Level 25/30, so you should only need around 10-15 more Levels from side activities.
You’ll constantly be earning EXP as you play, making it quite realistic that you’d earn the Reached Level 50 trophy without really needing to go out of your way to farm/grind exp.
The activities which award the most EXP, though, are quests. Main and Side quests will give you quite a lot of EXP, so prioritise completing those if you find yourself in need of a bit more EXP towards the end of your Trophy Journey.
If you want to earn EXP really fast, though, you can switch the difficulty to “Story” and then go and take down some really big Machines, like Thunderjaws, Fireclaws, and Slaughterspines.
They will go down fairly easily on the game’s lowest difficulty setting, and you’ll get around 5,000 EXP for each one that you take down.
Player Upgrade Trophies

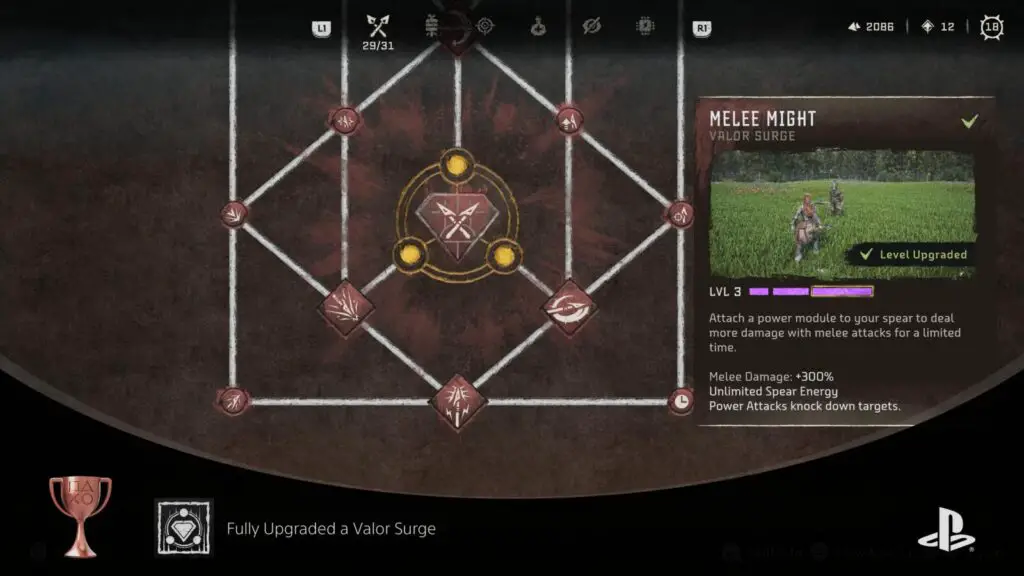
Fully Upgraded a Valor Surge
Upgraded a Valor Surge to its maximum level.
Valor Surges are special skills available through the skill tree. You will need to buy skills around a Valour Skill to unlock access to it.
Once you have unlocked access to a Valor Surge, you can press ![]() on it to equip it as your Surge ability. You can also upgrade it by holding
on it to equip it as your Surge ability. You can also upgrade it by holding ![]() on it to spend multiple Skill Points making the ability more effective.
on it to spend multiple Skill Points making the ability more effective.
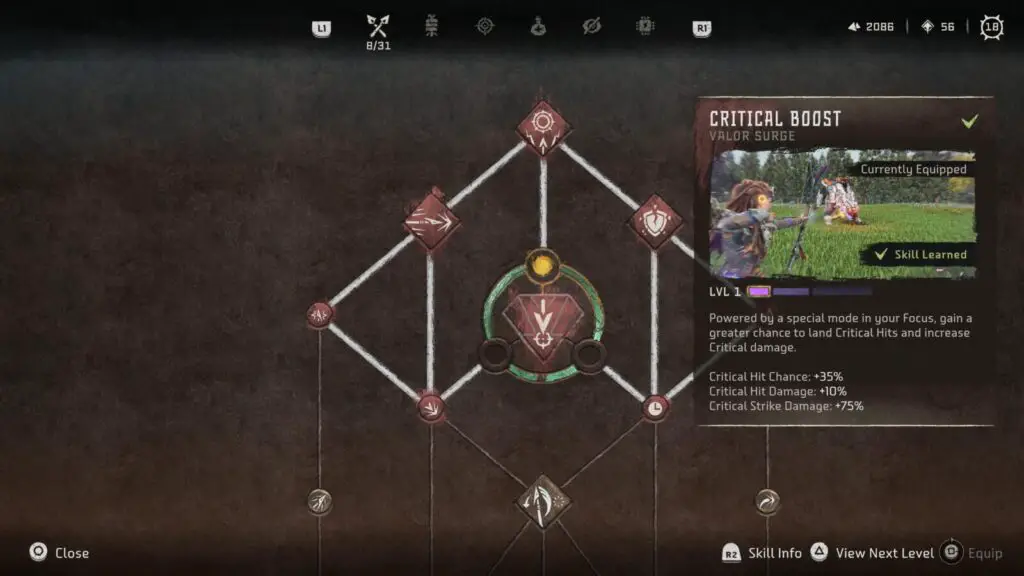
A Valor Surge ability can be upgraded three times in total before becoming maxed out. To unlock the “Fully Upgraded a Valor Surge” trophy, max out a Valor Surge ability of your choice.
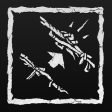
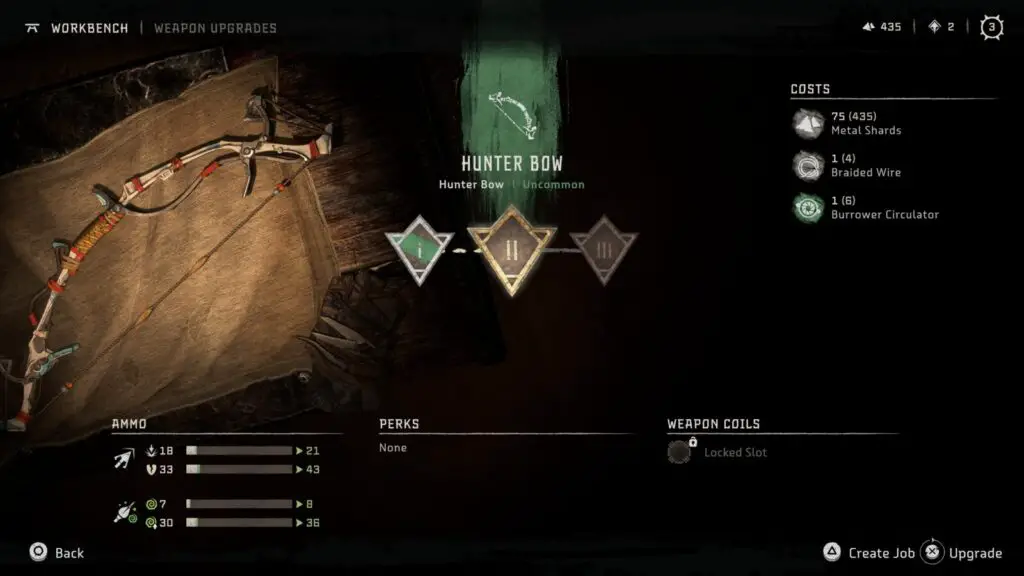
Upgraded 3 Weapons
Fully upgraded 3 weapons.
At Workbenches, you can use resources you’ve gathered to purchase upgrades for various pieces of equipment, including Weapons.
Green uncommon equipment has only three possible upgrade nodes and doesn’t require particularly rare resources to upgrade, so I recommend sticking to low-rarity Weapons if you want to acquire this trophy quickly.
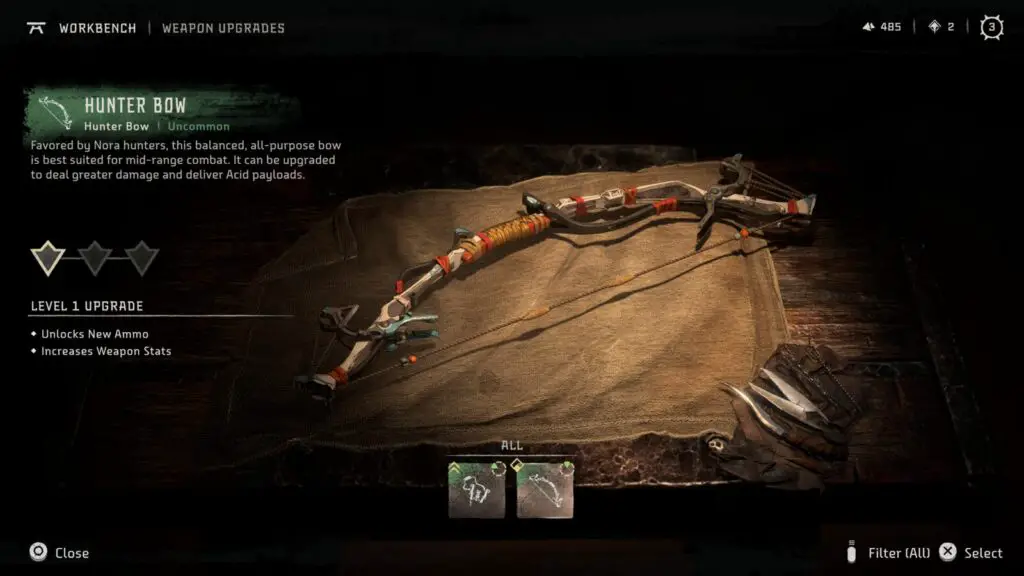
Use your resources to purchase all available upgrades for three Weapons to unlock the Upgraded 3 Weapons trophy.
When you’re looking at a weapon you would like to upgrade, if you don’t have the required parts you can press ![]() to create a job. This makes a short custom quest that will lead you directly to the source of the resources you need.
to create a job. This makes a short custom quest that will lead you directly to the source of the resources you need.
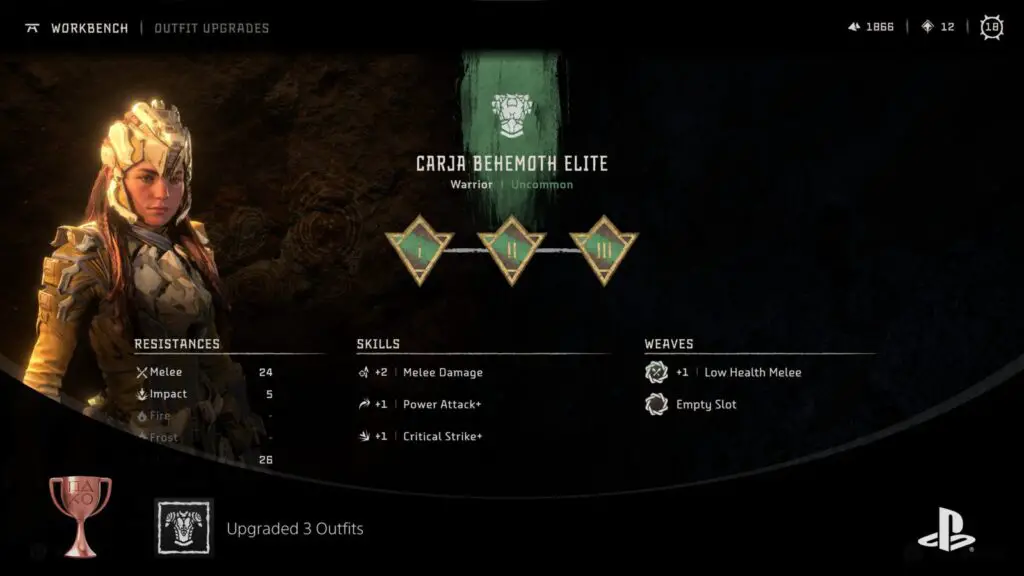
Upgraded 3 Outfits
Fully upgraded 3 different outfits.
When using a workbench, you can use resources you’ve gathered to purchase upgrades for various pieces of equipment such as Outfits.
Green uncommon equipment has only three possible upgrade nodes and doesn’t require particularly rare resources to upgrade so it is advised that you use those lower-rarity outfits for this trophy.
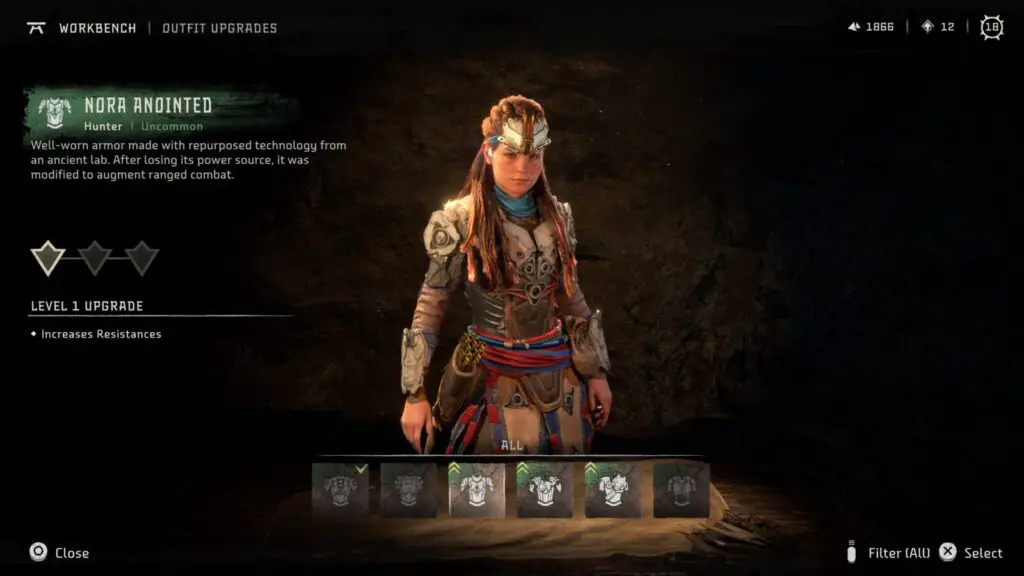
Use your resources to purchase all available upgrades for three Outfits in your inventory to unlock the Upgraded 3 Outfits trophy.
When you’re looking at an Outfit you would like to upgrade, if you don’t have the required parts you can press ![]() to create a job. This makes a short custom quest that will lead you directly to the source of the resources you need.
to create a job. This makes a short custom quest that will lead you directly to the source of the resources you need.
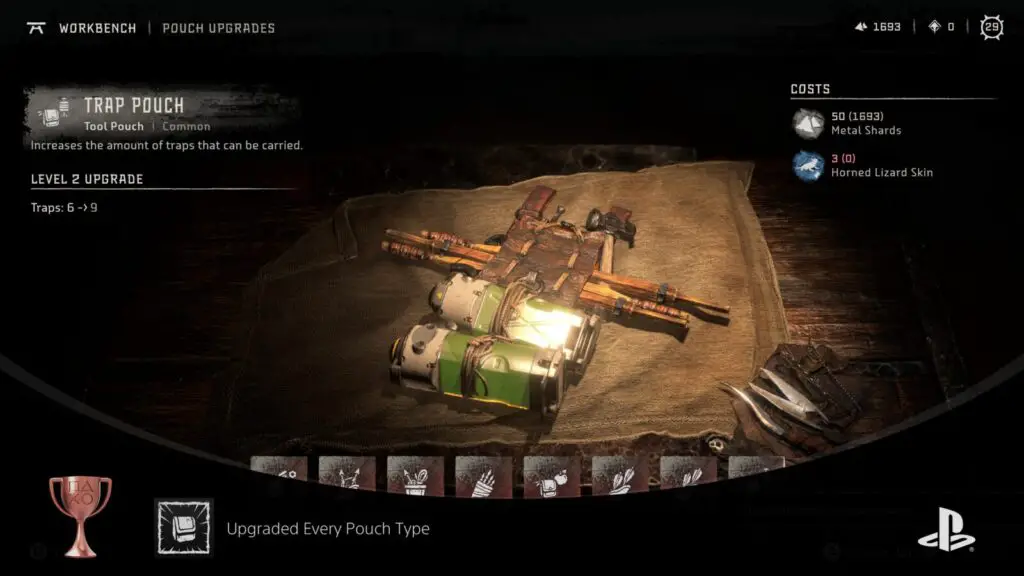
Upgraded Every Pouch Type
Upgraded the Food Pouch, Potion Pouch, Resource Pouch, Trap Pouch, and any ammo pouch at least once.
You can craft Puch Upgrades from Workbenches by using various resources. Pouch Upgrades tend to require organic resources from live animals rather than Machines.
If there’s a Pouch Upgrade you’d like to craft but you don’t have the required parts, press ![]() while viewing it to “Create a Job.” This will add a miniature Quest that you can follow to collect the resources you need.
while viewing it to “Create a Job.” This will add a miniature Quest that you can follow to collect the resources you need.
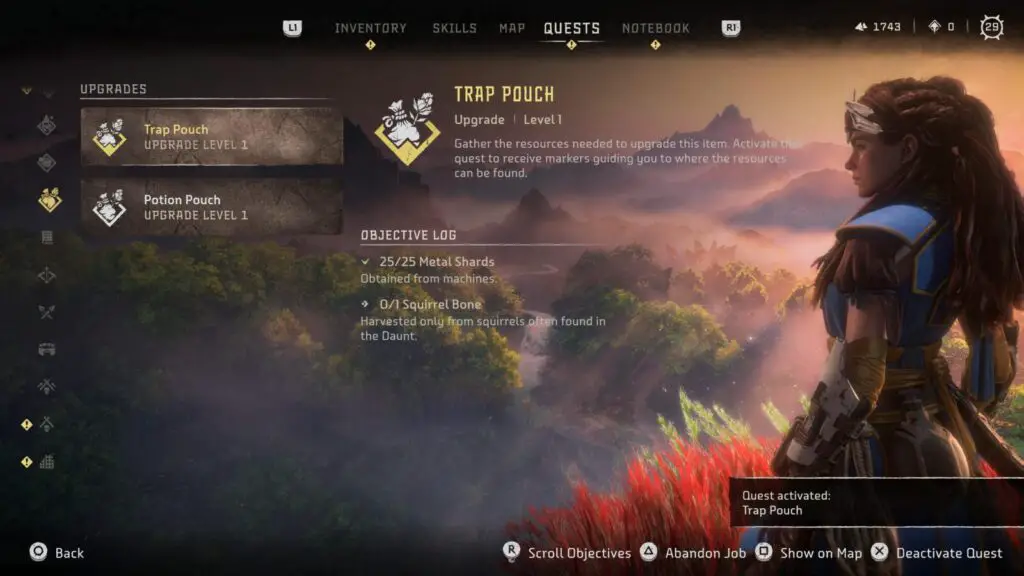
You can upgrade your Resource, Trap, and Ammo pouches from the start of the game, but there are two others that you can unlock.
The Food Pouch and its subsequent upgrades become available once you’ve purchased food from a Merchant, such as the Cooks in each Settlement.
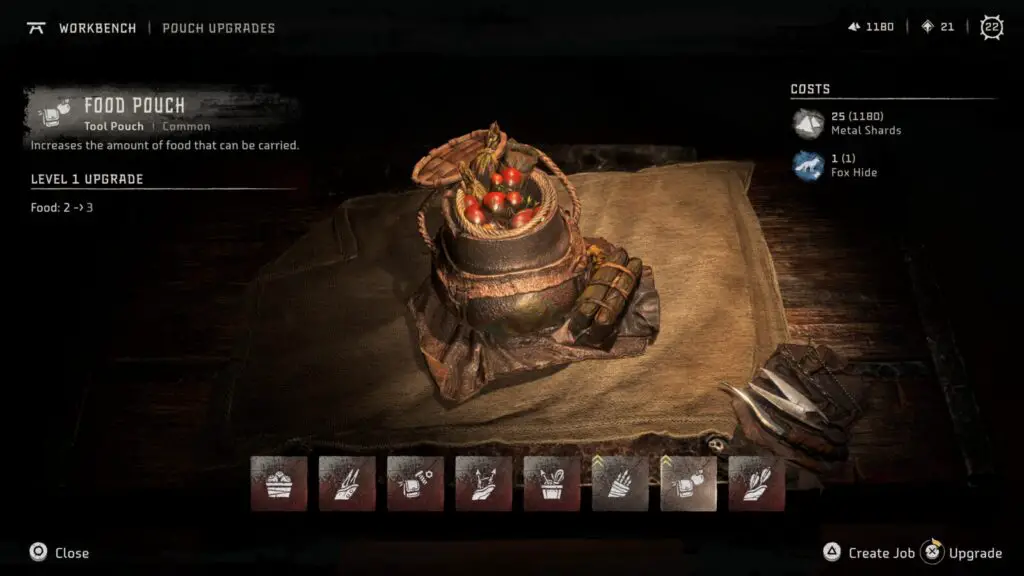
The Potion Pouch will be added once you buy a Potion from a Herbalist in any Settlement.
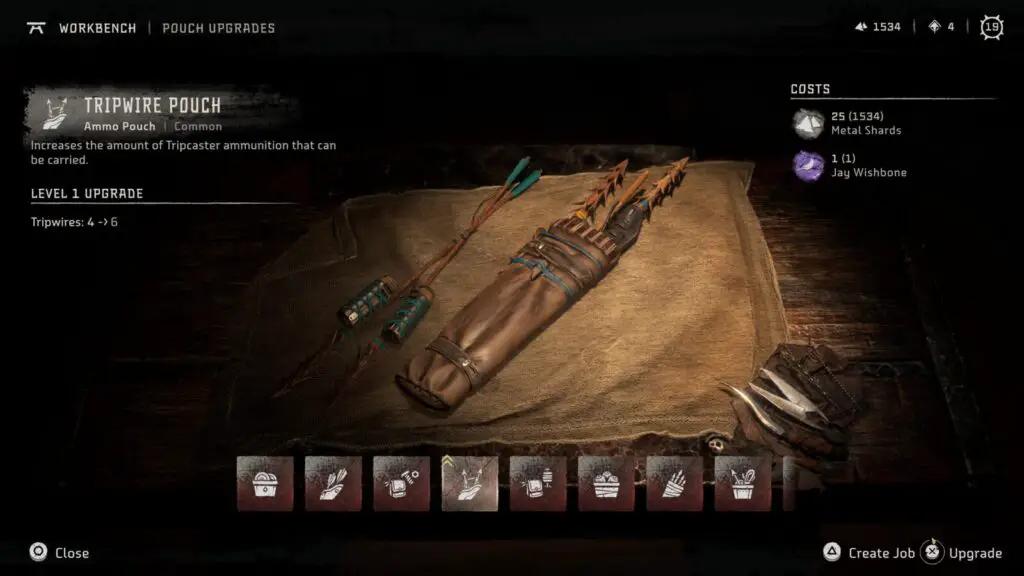
Note that each Ammo Pouch will be unlocked every time you get a new weapon. For example, if you acquire a Tripwire weapon, you’ll get access to the “Tripwire Pouch.”
All you need to do is upgrade the Food Pouch, Potion Pouch, Resource Pouch, Trap Pouch and any Ammo Pouch one time. You don’t need to buy all upgrades or upgrade every pouch.
Once done, the Upgraded Every Pouch Type trophy will unlock.

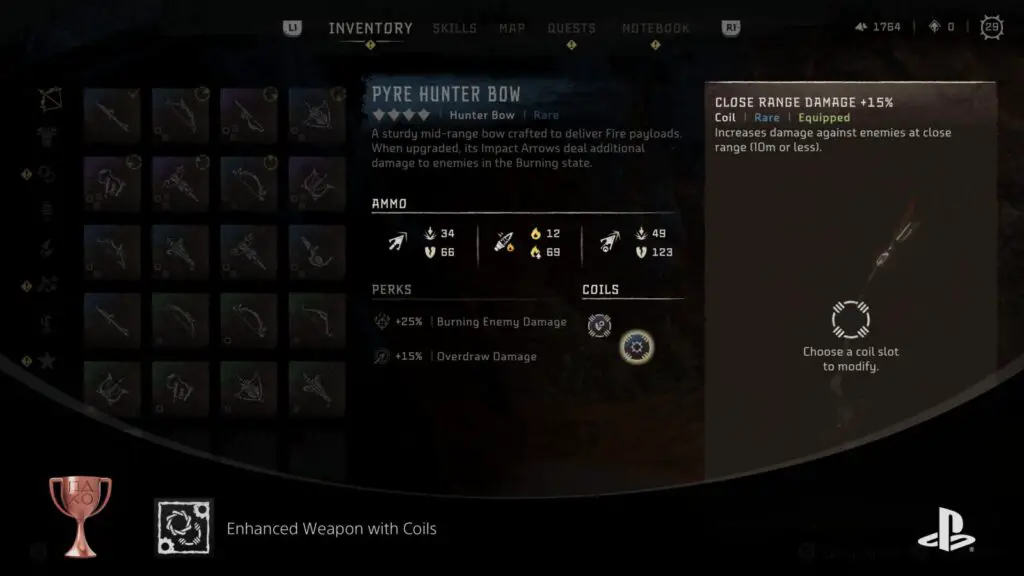
Enhanced Weapon with Coils
Equipped a weapon of any tier with 2 coils.
The Green (uncommon) Weapons have only a single slot for a Coil enhancement. To be able to equip 2 Coils, you will need a Blue (Rare) or Purple (Very Rare) Weapon. Both Rare & Very Rare Weapons have one Coil Slot by default.
Once you have either a Rare or Very Rare weapon, go to the Workbench and upgrade it until you gain access to the second Coil Slot, allowing you to put two Coil enhancements on it at the same time.
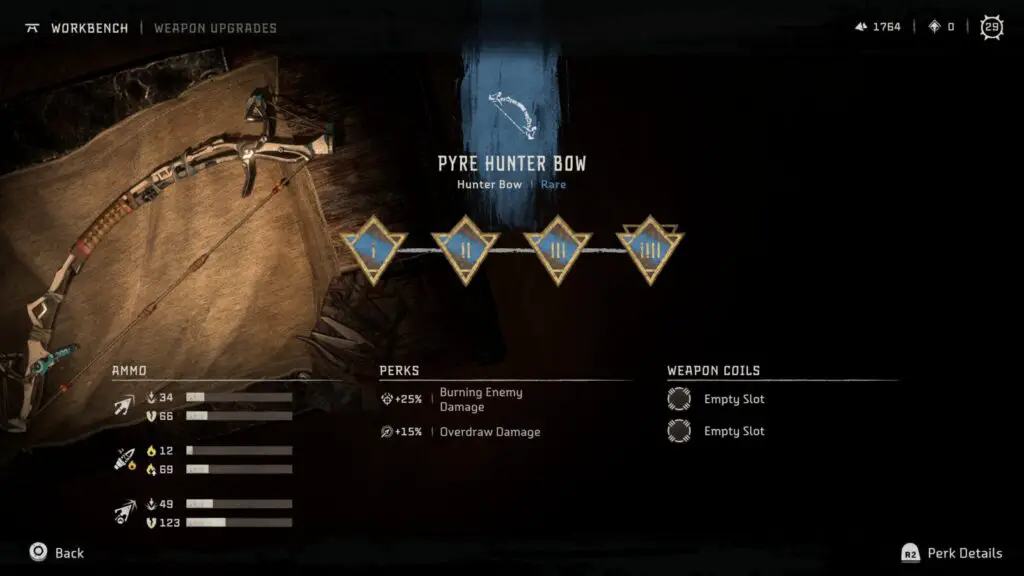
Alternatively, if you get your hands on a Yellow (Legendary) Weapon, you’ll be able to slot up to 3 coils in it without even upgrading.
When done, open the ![]() menu and highlight the fully-upgraded weapon in your inventory tab.
menu and highlight the fully-upgraded weapon in your inventory tab.
Press ![]() on it to open the “Edit Coils” menu and then place two coils from your inventory onto it. You can buy more Coils from Hunter Merchants and should frequently receive Coils by looting defeated Machines.
on it to open the “Edit Coils” menu and then place two coils from your inventory onto it. You can buy more Coils from Hunter Merchants and should frequently receive Coils by looting defeated Machines.
As soon as you have a weapon with two Coils on it, the trophy will unlock immediately.

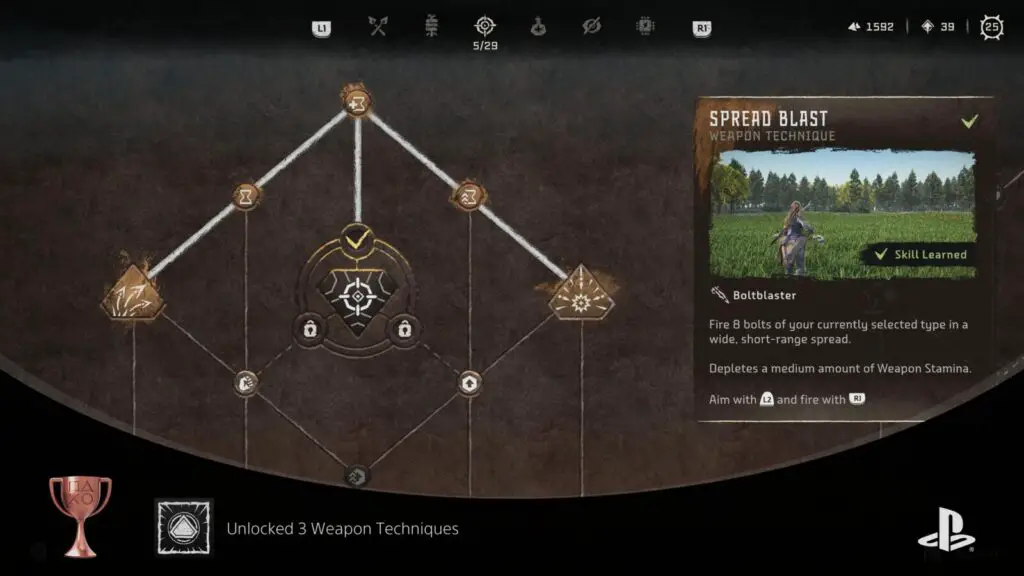
Unlocked 3 Weapon Techniques
Unlocked a Weapon Technique for 3 different weapon classes.
Weapon Techniques are special weapon-specific skills that you can buy from the Skills tab in the ![]() menu. They are medium-sized and shaped like upside-down diamonds.
menu. They are medium-sized and shaped like upside-down diamonds.
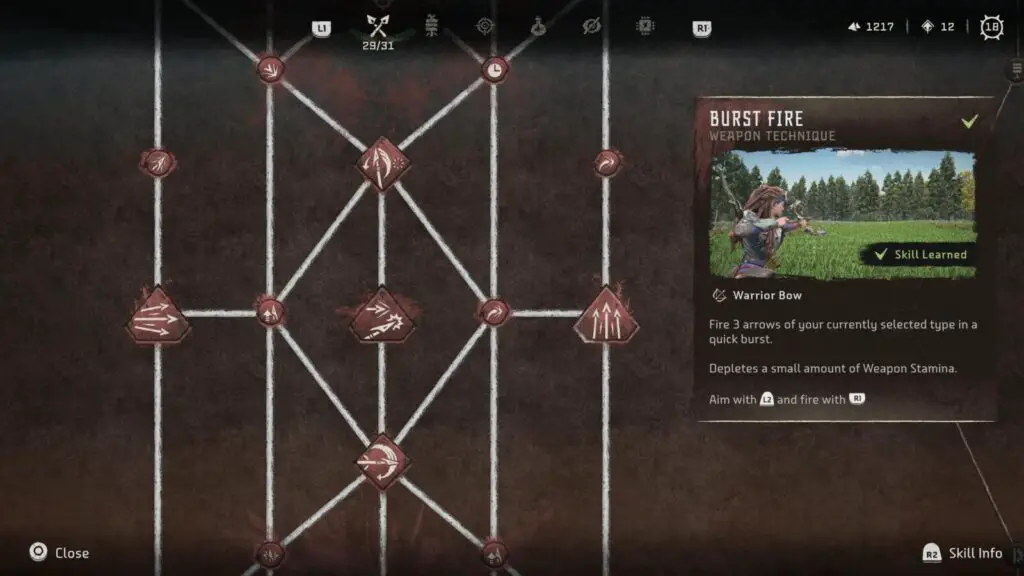
You will note that each Skill Category contains skills specific to one or two weapons. To unlock this trophy, however, you will need to use Skill Points to purchase Weapon Techniques for three different weapon classes.
The Weapon Techniques are distributed through the 6 different Skill Trees like so:
| Skill Tree | Weapon Techniques for… |
|---|---|
| Warrior | Warrior Bow |
| Trapper | Tripcaster & Ropecaster |
| Hunter | Hunter Bow & Boltblaster |
| Survivor | Blast Sling & Shredder Gauntlet |
| Infiltrator | Sharpshot Bow |
| Machine Master | Spike Thrower |
As you will need to buy almost every Warrior Skill Tree skill for The Enduring trophy, you will have Techniques for the Warrior Bow. You should look to the other Skill Trees for the final two Techniques needed to earn this “Unlocked 3 Weapon Techniques” trophy.
I recommend getting the top 5 skills in the Hunter Skill Tree, for just 7 Skill Points you can get a Weapon Technique for both the Boltblaster and the Hunter Bow, easily securing the trophy alongside your Warrior Skill Tree skills.

Skill Tree Learned
Learned all available skills on one tree.
To unlock the Skill Tree Learned trophy, you will need to buy every Skill and Valor Surge Upgrade in a single Skill Tree.
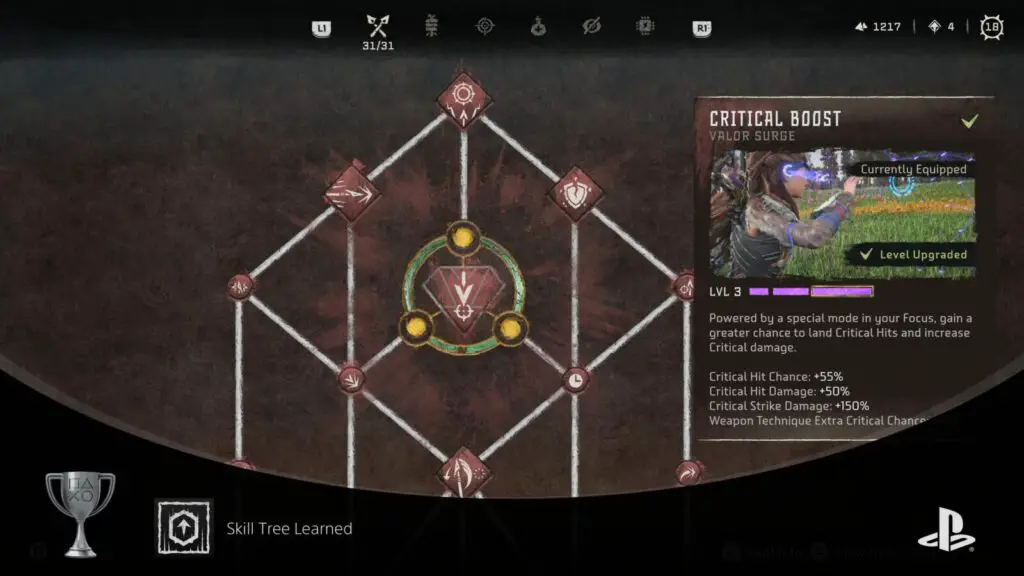
The cheapest Skill Tree you can do this with is the “Trapper” skill tree, which will only cost you 40 Skill Points.
However, since you will need to buy almost everything on the Warrior Skill Tree for the Enduring trophy you might as well buy the few remaining skills and Valor Surge upgrades needed to finish the whole Tree.
Plat Get!

All trophies obtained
Obtained all Horizon Zero Dawn trophies.
Once you have collected every other trophy in this Horizon Forbidden West Trophy Guide, you will automatically unlock the “All Trophies Obtained” Platinum Trophy.
Thank you for choosing PlatGet as your source for this Horizon Forbidden West Trophy Guide, consider checking out our reviews and other guides!
Follow us on Twitter @GetPlat or Instagram @platget for updates on new reviews and guides, as well as small anecdotes about our platinum journeys.