PlayStation 4
Horizon Zero Dawn Key Locations Guide
Game Guide
Where to Find all Tallnecks, Bandit Camps, Hunting Grounds, and Cauldrons in Horizon Zero Dawn on PlayStation 4
This sub-guide is a branch of the main Horizon Zero Dawn Trophy Guide.
Looking for the Frozen Wilds DLC Key Locations? We have a Horizon Zero Dawn: The Frozen Wilds Key Locations Guide.
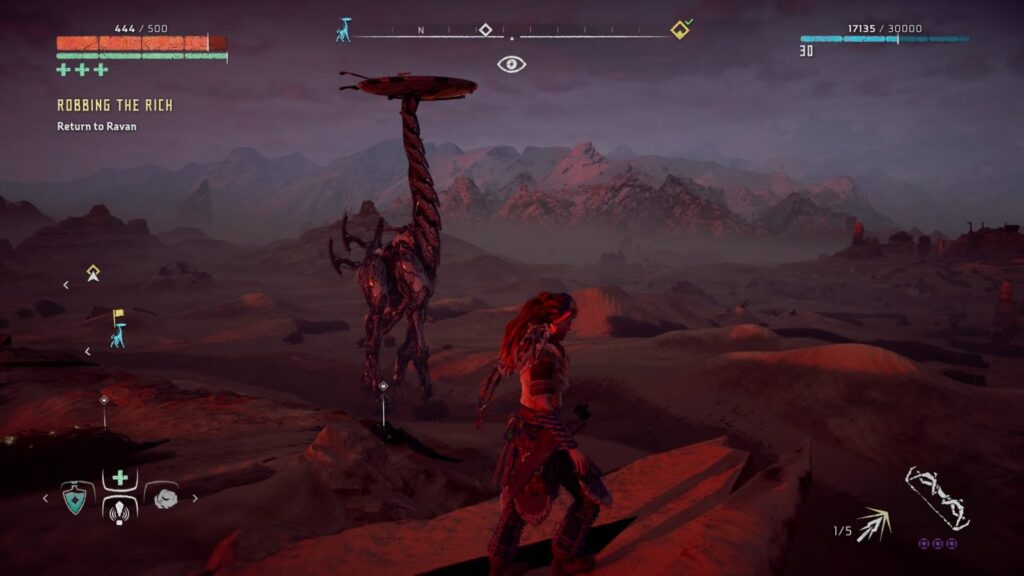
In Horizon Zero Dawn, all Tallneck locations will be marked on your map as soon as you find the first one in Devil’s Thirst, from there all you will need to do is Override all 6 and then the locations for all Cauldrons, Hunting Grounds and Bandit Camps will also be marked on your map. So, what I’m essentially saying is that this guide is pretty pointless.
For posterity, however, as you never know when something like this might be useful to someone, I have put this guide together regardless.
All Tallneck Locations
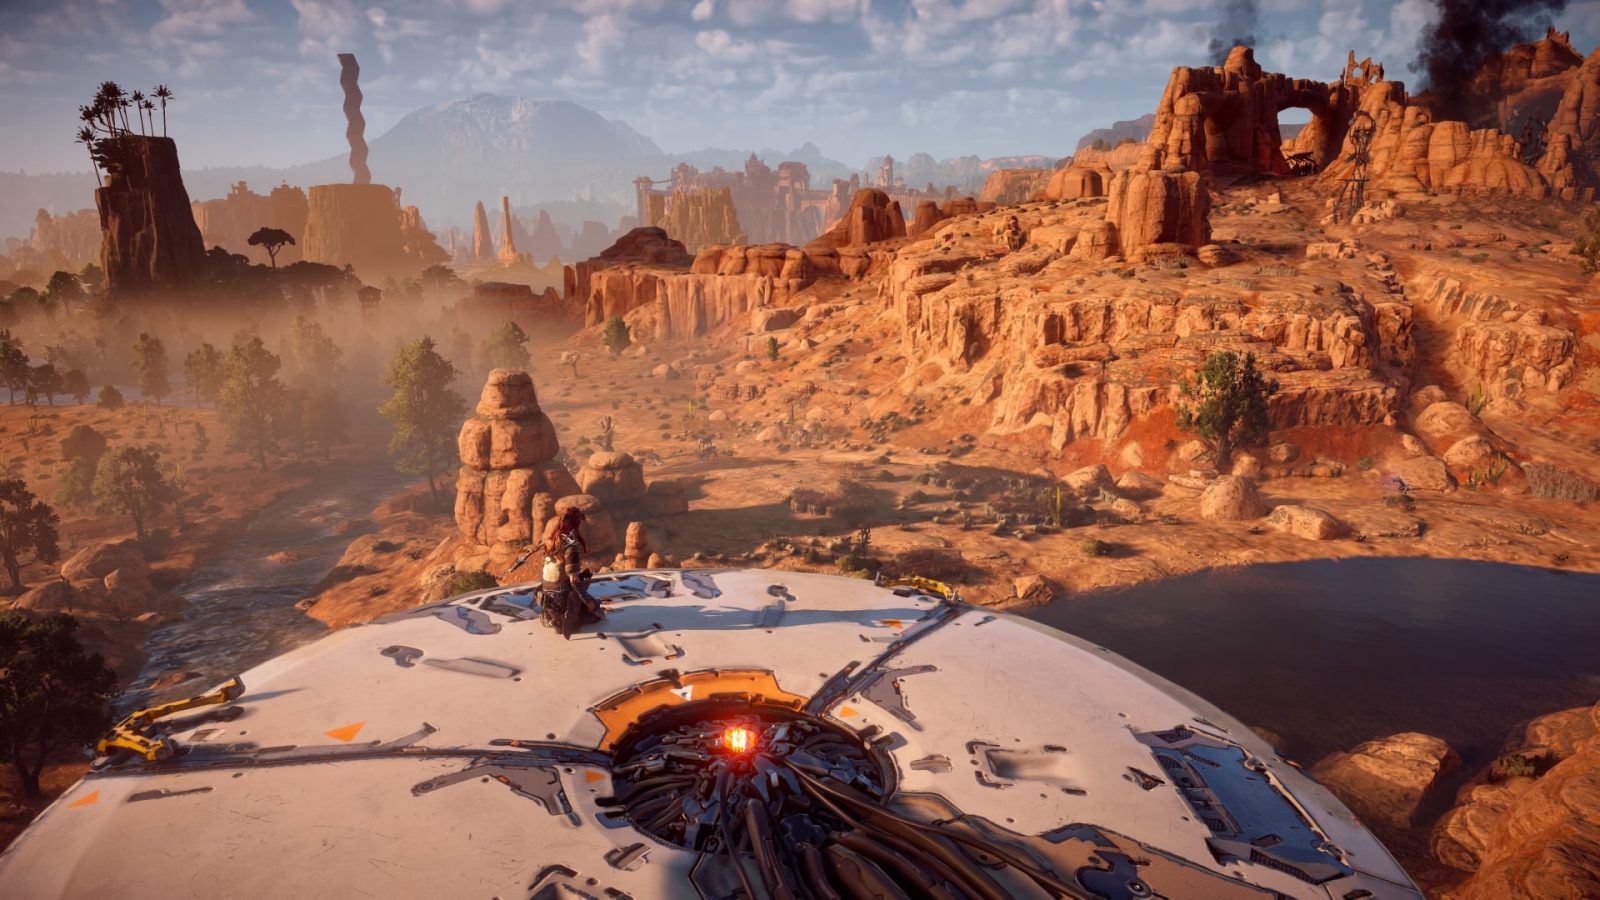
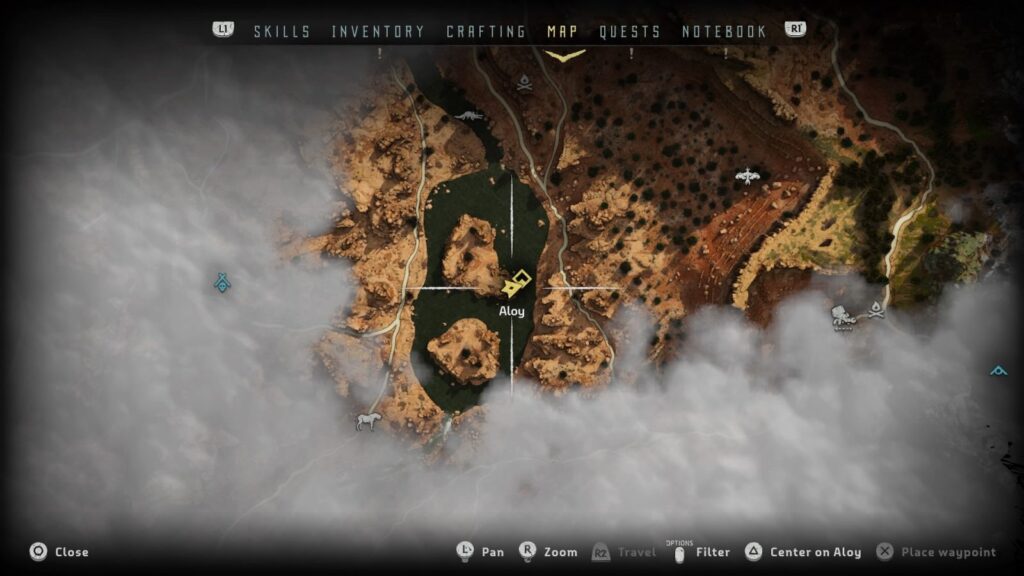
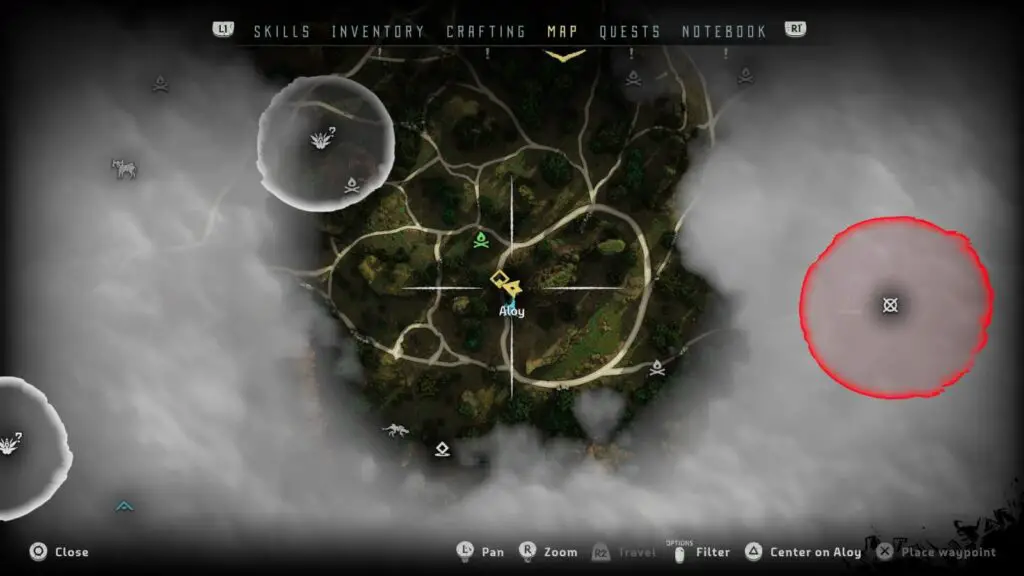
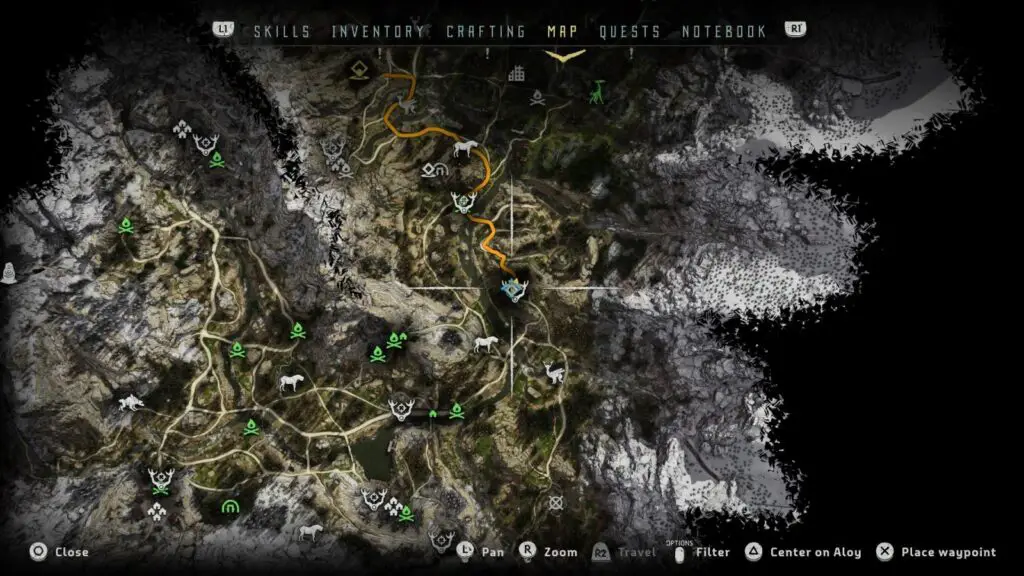
Tallnecks, despite some mild roaming, can be found in the same location each time you play the game and will be marked clearly on the map from the moment you find your first one. However, as they roam around their designated routes, the point at which you can most conveniently jump to the Tallneck will change.
For convenience, I’ll provide a screenshot of the location from which I jump to and override the Tallneck in my playthrough, but know that if you get a little impatient and want to try for something closer to the Tallneck’s current position, then you’re absolutely free to explore and experiment.
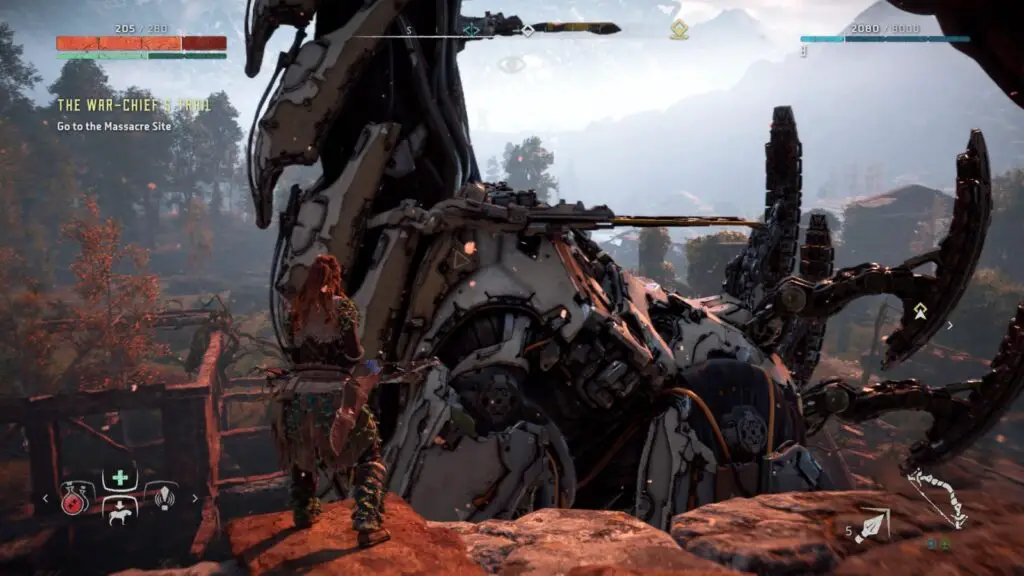
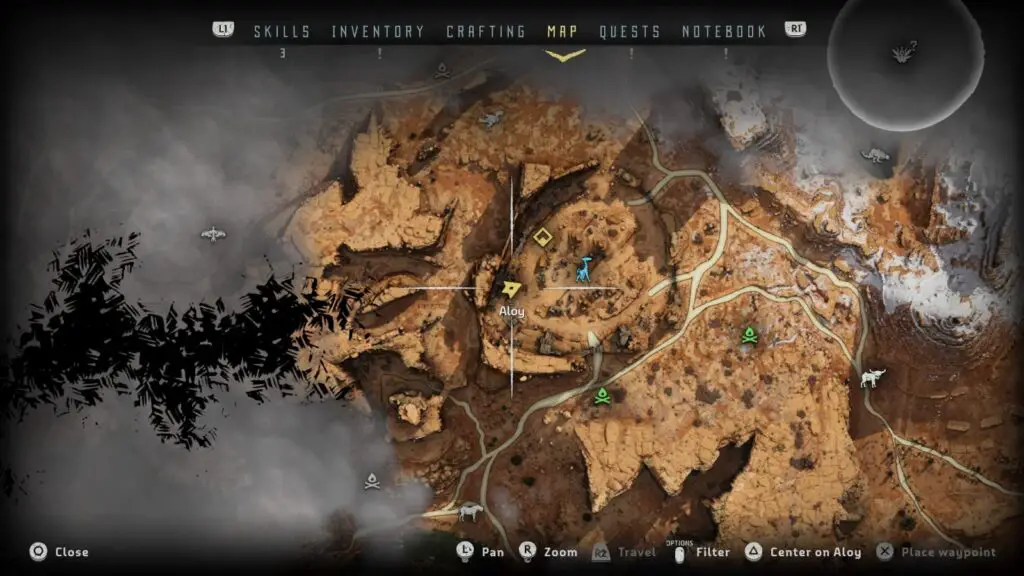
Devil’s Thirst Tallneck
This is the first Tallneck you will find and the game should begin gently nudging you towards discovering it once you have tested your ability to override machines on a Strider.
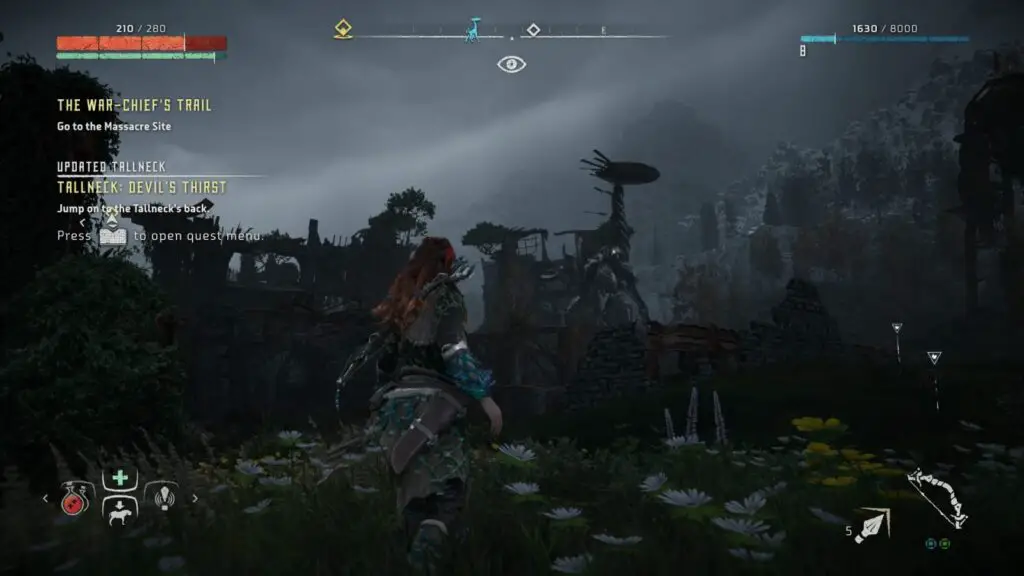
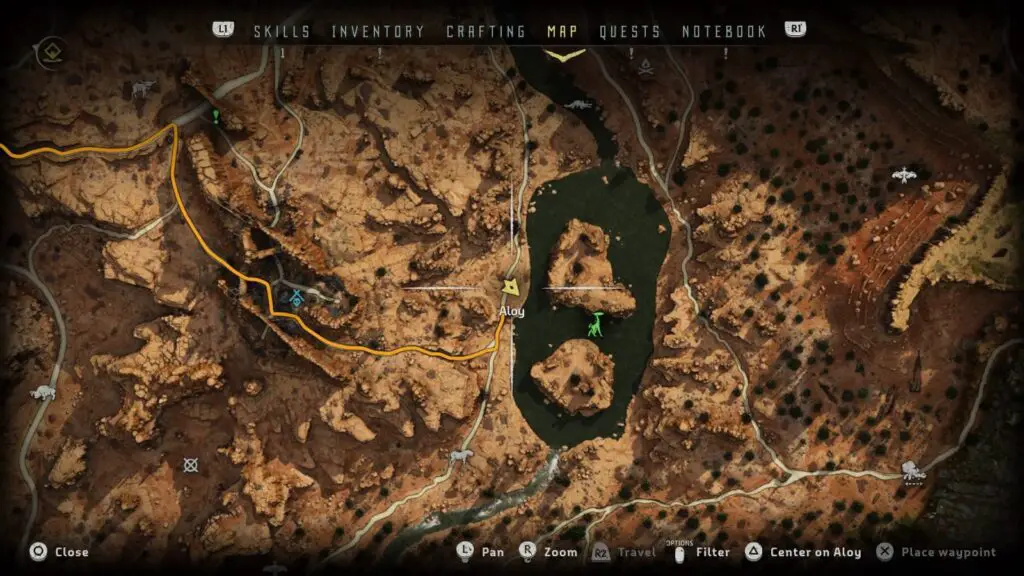
Near that location there’s a ruined city called Devil’s Thirst and Aloy will mention a signal nearby as you approach it naturally for the story. Use ![]() to detect the signal via your Focus and begin scanning it by hovering your crosshair over the signal’s origin point. This will mark your first Tallneck on the map.
to detect the signal via your Focus and begin scanning it by hovering your crosshair over the signal’s origin point. This will mark your first Tallneck on the map.
Approach the location and make your way to the top of the rubble in the location below:

This is one of a few places you can jump to the Tallneck from. Either wait for it here, or try and find something closer its current position along its route.
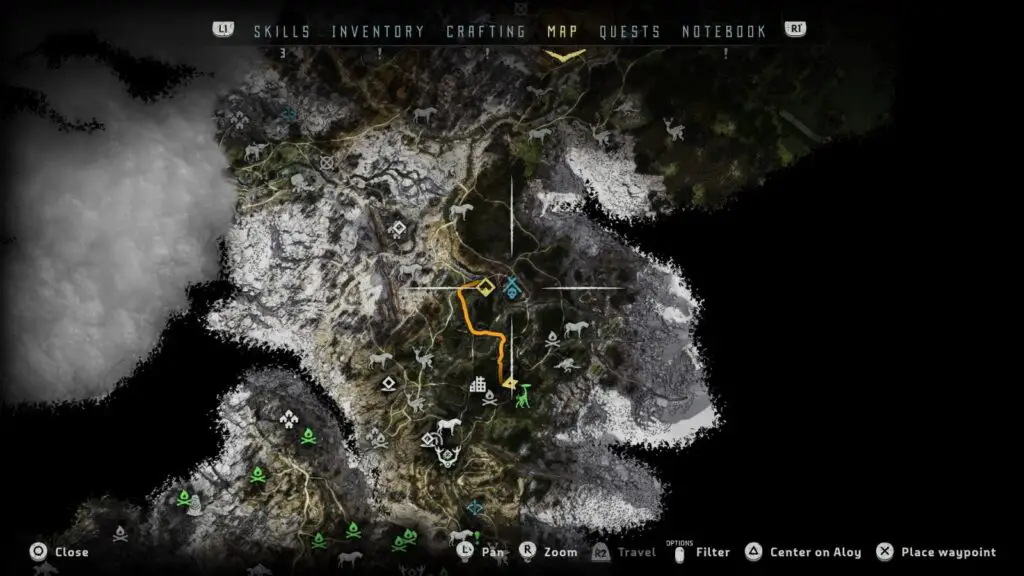
Copper Deeps Tallneck
Found slightly southeast of Daytower, you’ll likely want to head towards this Tallneck after first passing through Daytower on your way to Meridian.
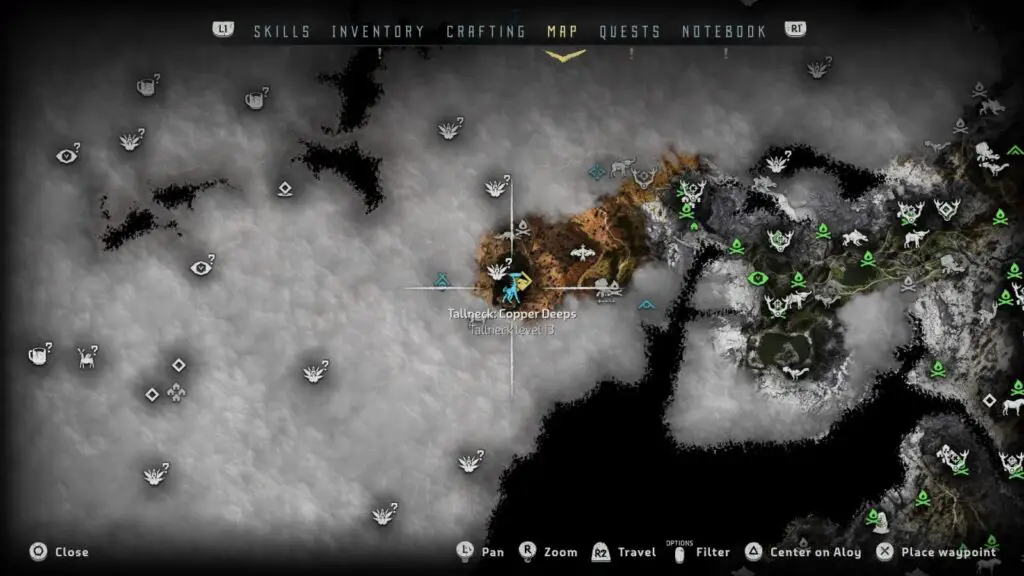
The Tallneck is patrolling around a small island which has a bit of a Snapmaw problem. There are various tall edges to this island from which you can jump to the Tallneck, here’s the one I stood at:
Then you simply just need to climb your way up and override the machine!
Sun-Steps Tallneck
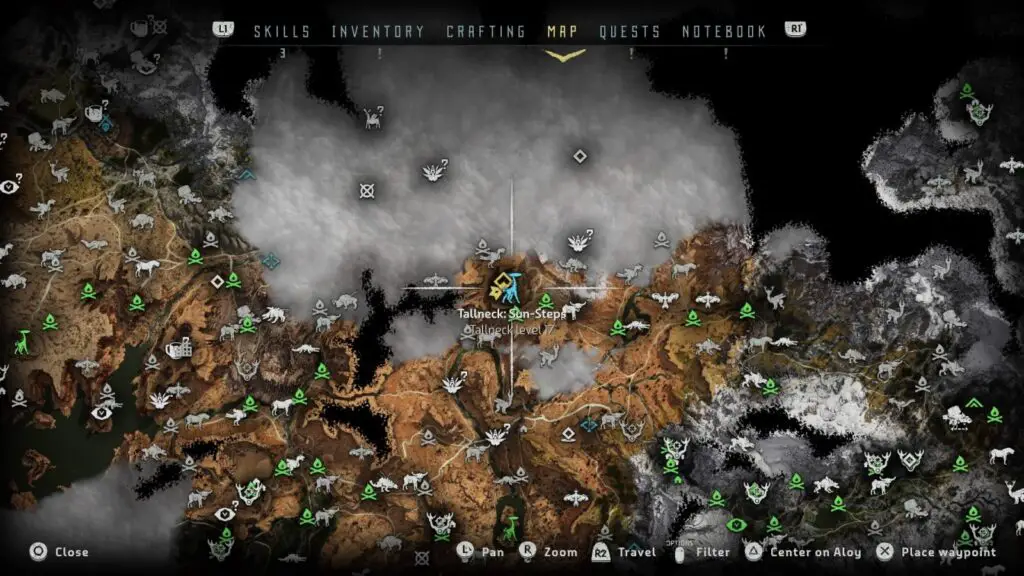
To the north of the Copper Deeps Tallneck, directly west from the Dawn’s Sentinel Gate, this Tallneck is patrolling a Quarry and involves some more complex traversal than some of the other Tallnecks which simply require you to walk up a ramp.
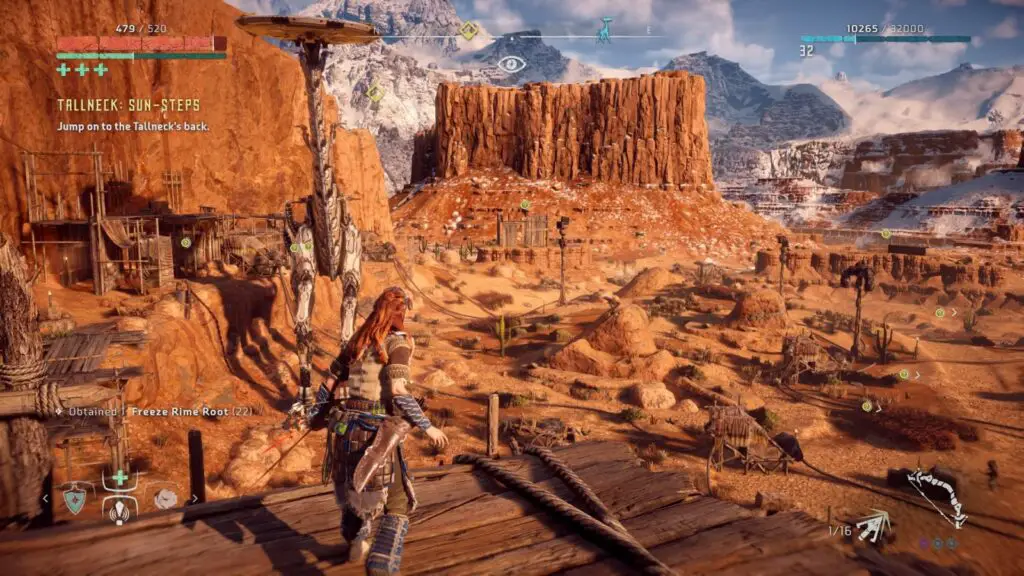
There are a few routes up the scaffolding here which will lead you to a great jumping-off point for reaching the Tallneck, but the site is crawling with human enemies (and a Corruptor)who you’ll likely want to clear out before you attempt to reach the Tallneck.
The scaffolding I used is on the western side of the quarry.
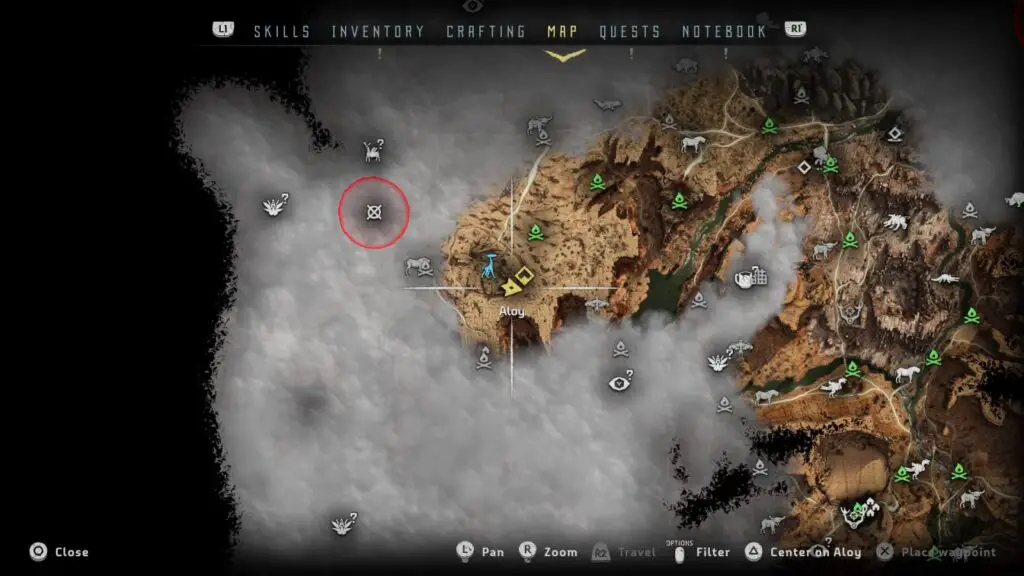
Rustwash Tallneck
This tallneck is found in the western-most reaches of the map, northwest of Meridian and southwest of Maker’s End.
This Tallneck is surrounded by enemy machines, including; RedEye Watchers, Tramplers, Fire Bellowbacks, and Ravagers. These machines can make it quite difficult to get to the Tallneck so I recommend taking them out methodically before approaching.
The Tallneck patrols around a raised stone platform upon which there are several jutting stone ramps which you can use to reach the Tallneck. You shouldn’t have any issue finding one of these, but the image below shows the location of the ramp I used.
Spearshafts Tallneck
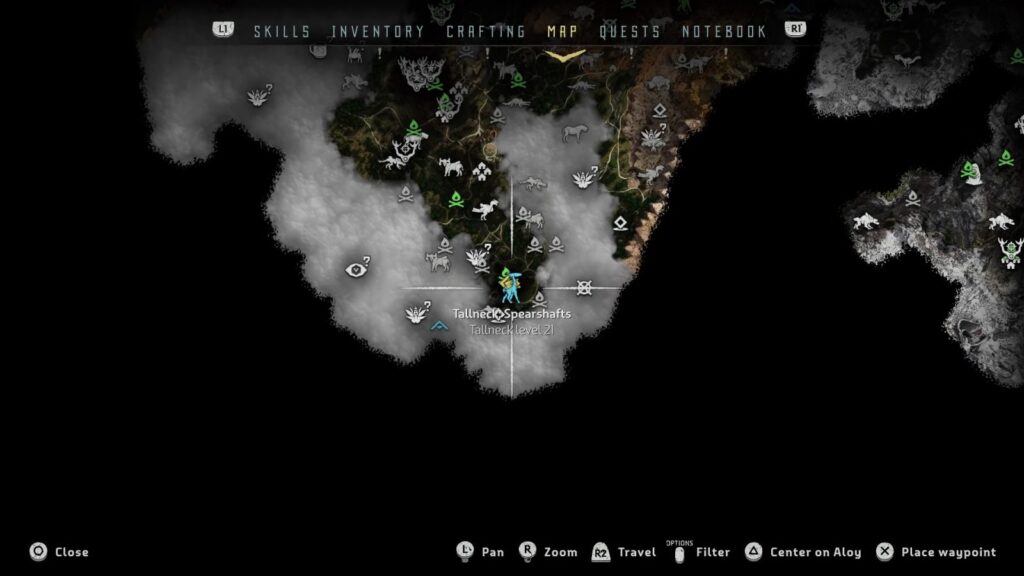
This Tallneck is found in the southern-most part of the map, far south of Meridian, near the location you will visit for the side-quest “Redmaw”.
When you approach this Tallneck you will see that it is circumnavigating a large naturally-formed stone structure which in turn is crawling with Longleg machines. There are a few places from where you can climb up the rock structure to the level where the Longlegs are, from there, there are plenty of places to jump to the Tallneck, but the image below shows whereabouts I ended up jumping on.
All Bandit Camp Locations
Devil’s Thirst
This first Bandit Camp quest will be given to you by an NPC called “Nil” who you will find at a green “!” icon near the Devil’s Thirst Tallneck. Activate the Bandit Camp Activity from the “Quests” menu to set it as your main quest, which you’ll then be able to follow the the camp’s location. Nil will then talk you through a very tutorial-like quest which will teach you about Bandit Camps.
At the end of said quest, the camp will be cleared.
Two Teeth
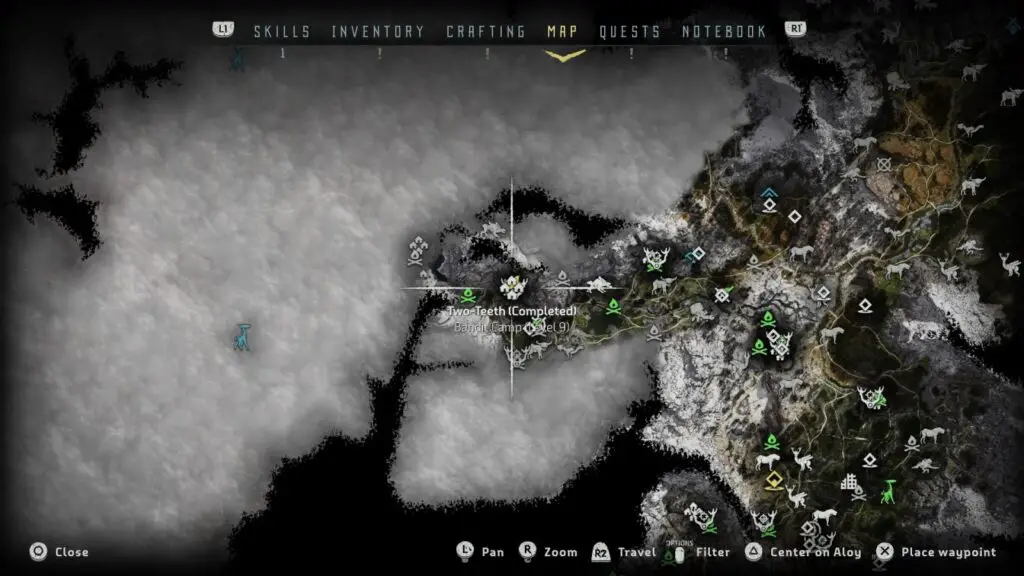
This Bandit Camp is found in the region West of Mother’s Crown and Hunter’s Meet, at the top of a large waterfall. You will need to be around Level 9 to clear this camp.
Gatelands
This Bandit Camp is found just west of the Copper Deeps Tallneck, up the hill. You should be able to see the black smoke clearly from the Tallneck and overriding the Tallneck will reveal the camp on the map. You will need to be around level 12 to clear this camp.
Blackwing Snag
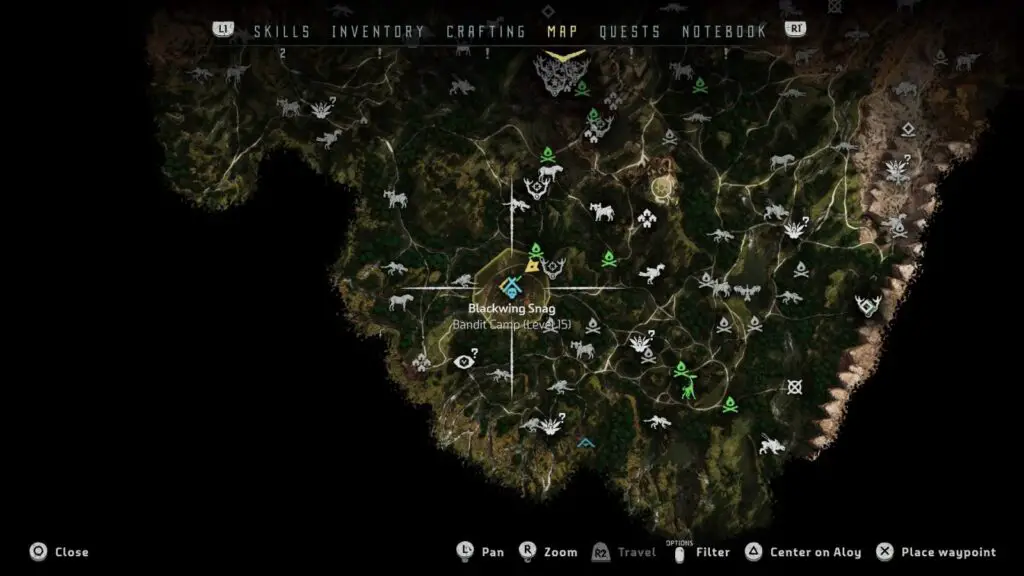
This Bandit Camp is found south or Meridian and northwest of the Spearshafts Tallneck. The grubby brutalist wooden structure is easily identified amid the lush jungle landscape. You will need to be around level 15 to clear this camp.
Shattered Kiln
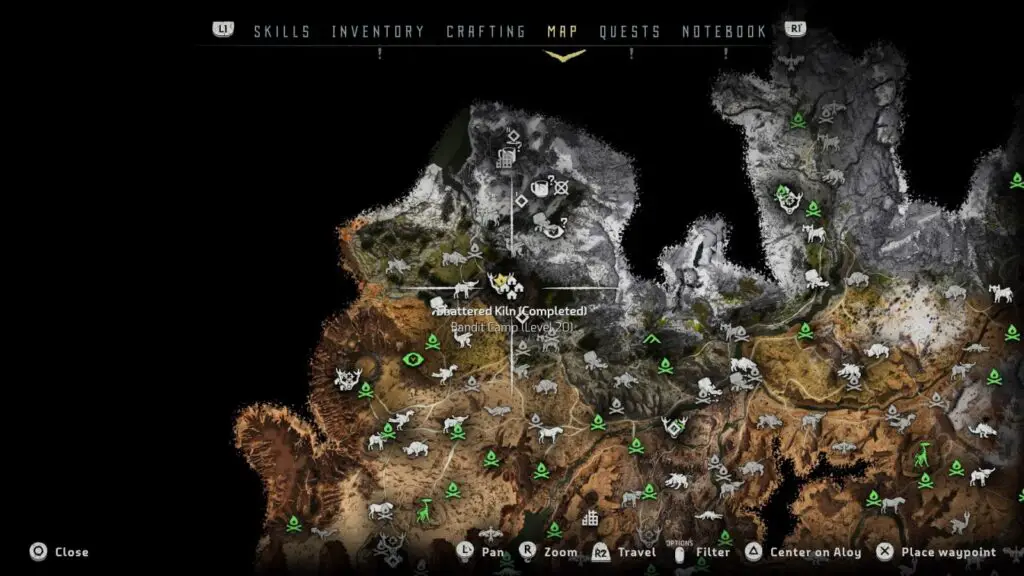
Found in the furthest northwestern reaches of the entire map, the Shattered Kiln Bandit Camp is south of Maker’s End and northeast of Sunfall. You will need to be around level 20 to clear this camp.
Hollow Fort

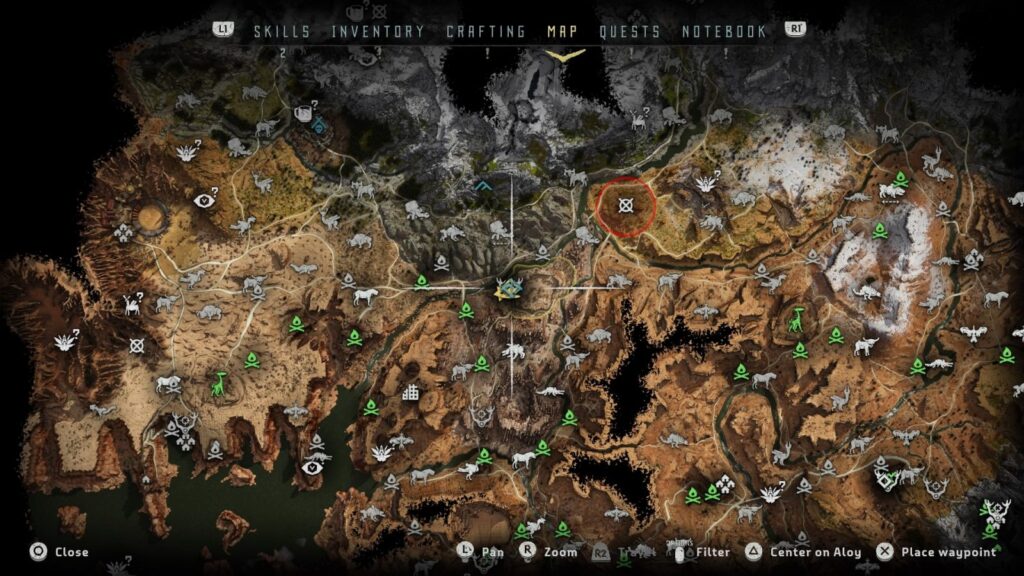
North of Devil’s Grief, just a short way into snow-covered territory, this camp can be found right at the eastern edge of the map. You will need to be around level 25 to clear this camp.
All Hunting Grounds Locations
Hunting Grounds will offer you a choice of three trials to attempt. You will be timed whilst attempting each trial and completing each trial in good time will mean you earn a “Blazing Sun” mark. You will want to earn a Blazing Sun for every trial in every Hunting Ground for the Platinum Trophy.
Nora Hunting Grounds
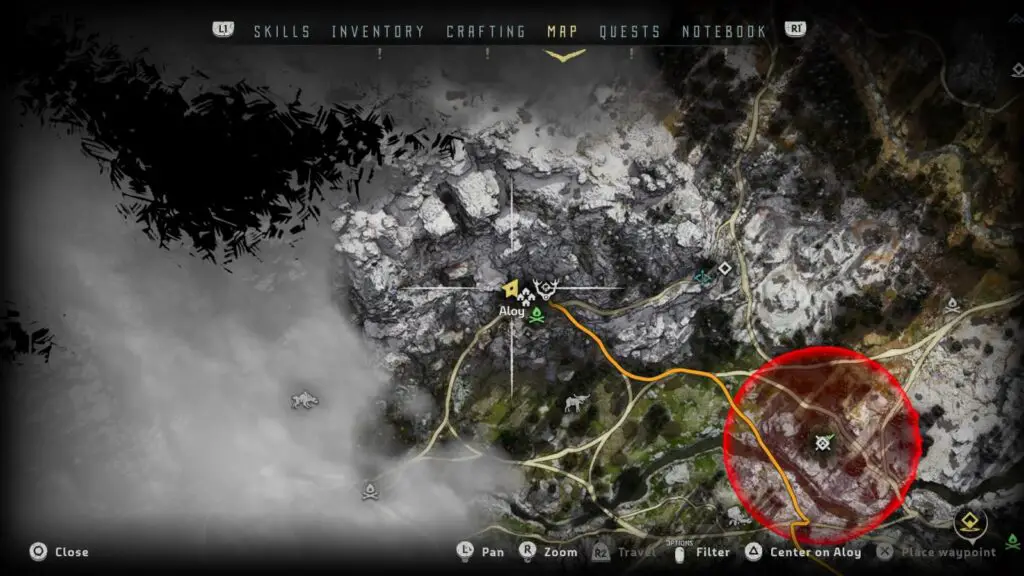
Likely to be the first Hunting Grounds you will find, the Nora Hunting Grounds are found in the Eastern territory, Northeast from Mother’s Cradle, but Southeast from Mother’s Rise.
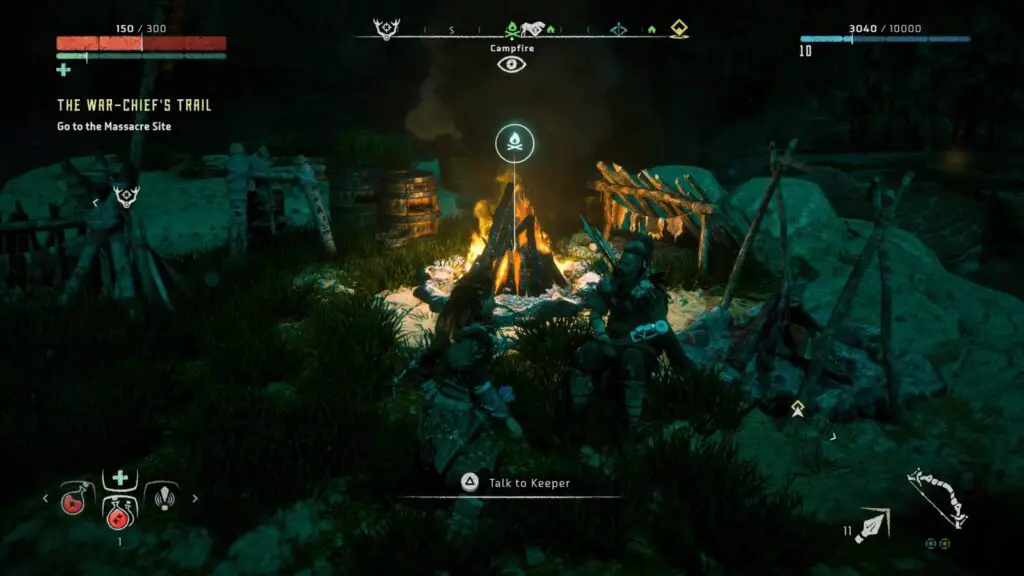
The Keeper is found atop a nearby cliff which you can climb using the various yellow ropes and handholds in the cliff face. He’ll be sitting by a Campfire.
The trials available here are:
Parts Alone Trial – Shoot parts off the backs of grazers.
- Blazing Sun: 01:30
- Full Sun: 02:00
- Blazing Sun: 20:00
Logpile Trial – Shoot logpiles to make them fall, crushing machines below.
- Blazing Sun: 02:00
- Full Sun: 05:00
- Half Sun: 20:00
Blast Wire Trial – Use your Blastwire and Carja Tripcaster to bring down Grazers.
- Blazing Sun: 03:00
- Full Sun: 06:00
- Half Sun: 20:00
Valleymeet Hunting Grounds
The Valleymeet Hunting Grounds are found just northwest of Mother’s Crown. There’s an uphill path from Hunter’s Gathering which leads directly to the Valleymeet Grounds.
The trials available here are:
Fire Fight Trial – Shoot Strider canisters using Fire Arrows.
- Blazing Sun: 00:40
- Full Sun: 01:20
- Blazing Sun: 20:00
Shock Trial – Stun Bellowbacks and Shoot Canisters off the Undersides.
- Blazing Sun: 01:00
- Full Sun: 02:00
- Half Sun: 20:00
Freeze Trial – Kill Machines which you have Frozen.
- Blazing Sun: 01:30
- Full Sun: 02:30
- Half Sun: 20:00
Greatrun Hunting Grounds
Only a short distance west from Daytower, the Greatrun Hunting Grounds are quite easy to find by simply following the path from Daytower to Meridian.
The trials available here are:
Parts Wrangling Trial – Tie Down Tramplers using the Ropecaster and then shoot off the “Processor” component on their undersides.
- Blazing Sun: 01:30
- Full Sun: 02:30
- Blazing Sun: 20:00
Pace Trial – Race Glinthawks to Watcher corpses.
- Blazing Sun: 01:30
- Full Sun: 02:00
- Half Sun: 20:00
Tie Down Trial – Tie Down Glinthawks using the Ropecaster.
- Blazing Sun: 02:00
- Full Sun: 04:00
- Half Sun: 20:00
Spurflints Hunting Grounds
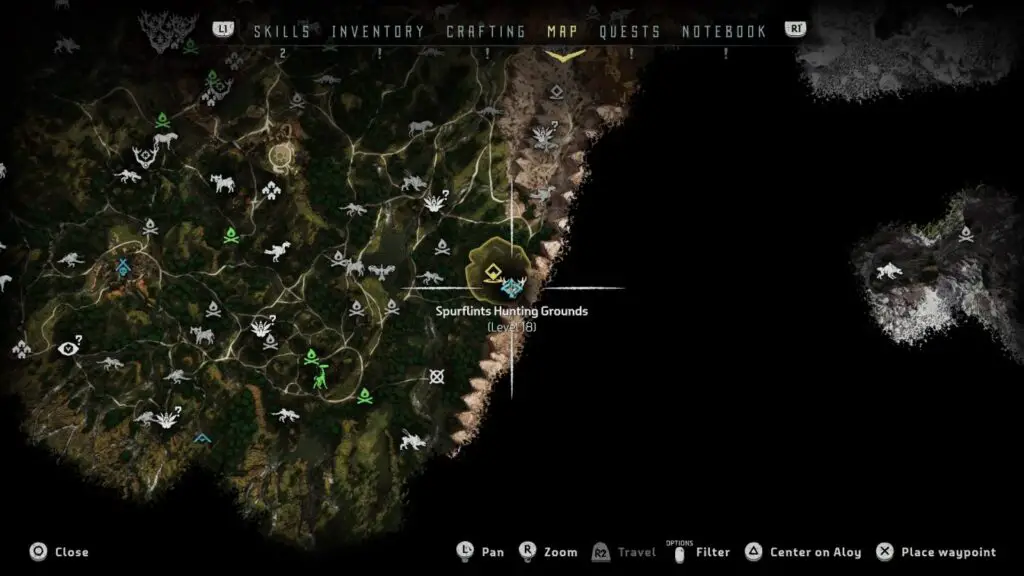
Down in the southern parts of the western half of the map, you’ll find the Spurflints hunting grounds northeast of the Spearshafts Tallneck, which will reveal its location on the map.
The trials available here are:
Watch Out Trial – Find and Kill Watchers without being spotted.
- Blazing Sun: 02:00
- Full Sun: 03:00
- Blazing Sun: 20:00
Stalker Kill Trial – Find and Kill Stalkers.
- Blazing Sun: 02:00
- Full Sun: 03:30
- Half Sun: 20:00
Sleight of Crate Trial – Loot Shell-Walker Crates.
- Blazing Sun: 01:05
- Full Sun: 01:30
- Half Sun: 20:00
Sun Furrows Hunting Grounds
In the northern-most section of the map’s western half, you’ll find Sun Furrows Hunting Camp slightly north-east of the “Dimmed Bones” ruins and a moderate distance west of the Sun-Steps Tallneck. This hunting grounds is by far the toughest and will ask you to fight powerful Ravagers and Thunderjaws.
You will want a lot of Tearblast ammo for these trials, as well as the ability to override a Ravager, which is learned from Cauldron Rho.
The trials available here are:
Ravager vs. Machines Trial – Remove and use a Ravager Cannon to Kill Machines.
- Blazing Sun: 01:10
- Full Sun: 02:00
- Blazing Sun: 20:00
Thunderjaw vs. Ravager Trial – Remove a Thunderjaw Disc Launcher and Use it to Kill Ravagers.
- Blazing Sun: 02:00
- Full Sun: 02:30
- Half Sun: 20:00
Ravager Control Trial – Override Ravagers and Kill the Thunderjaw.
- Blazing Sun: 02:40
- Full Sun: 04:00
- Half Sun: 20:00
All Cauldron Locations
Cauldrons are essentially huge factories where machines are “born”. You’ll need to work your way through each one, facing off against a few different machines as you try to solve various traversal puzzles to reach the central atrium of the Cauldron. There you’ll fight a boss which can be pretty tricky depending on the Cauldron.
Defeating the boss at the end of a Cauldron will leave you with the ability to override new machine types.
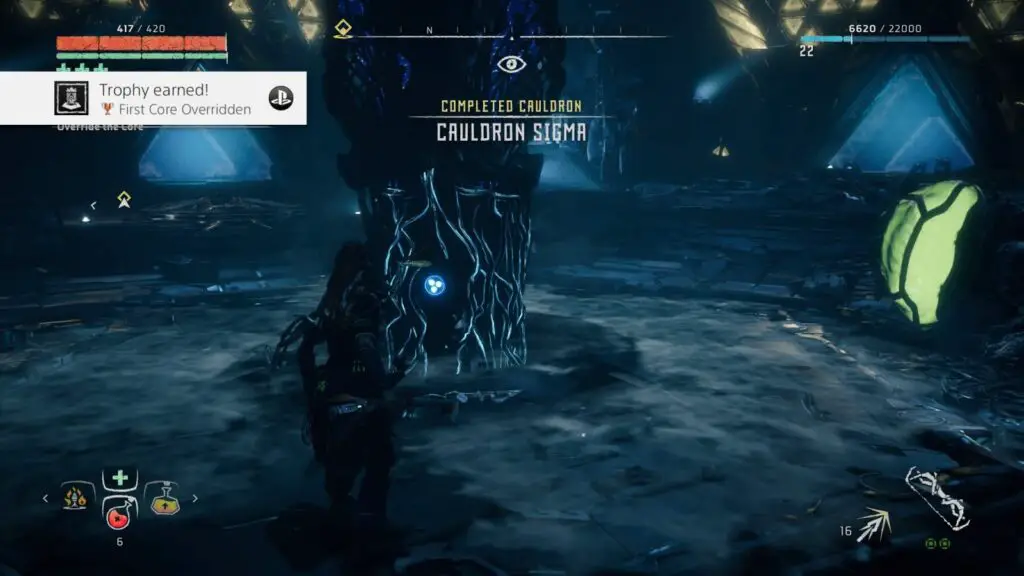
Cauldron Sigma
Your first mention of a Cauldron will come upon your first visit to Mother’s Crown. There, an injured resident will tell Aloy about the Cauldron and Aloy will then stubbornly pry more information from said NPC until Cauldron Sigma becomes available as a quest. The blue map marker should already be on your map if you have overridden the Tallneck in this area. The cauldron can be found just north of Mother’s Crown.

You will need to be at least Level 8 to complete this Cauldron. The boss is a Fire Bellowback accompanied by two Watchers and completing this Cauldron will allow you to override Grazers, Sawtooths, Lancehorns and Scrappers.
Cauldron Rho
Just south of Daytower, against the Western side of the mountain range dividing the map’s two halves, you’ll find Cauldron Rho. The way in is a long way below the entrance, and there is a route heading down there which starts at the torch to the left of the deactivated light bridge (when facing the entrance).
You will need to be at least Level 11 to complete this Cauldron. The boss is a Snapmaw accompanied by two Watchers and a Ravager which joins later. Completing this Cauldron will allow you to override Tramplers, Shellwalkers, Ravagers, Snapmaws and Longlegs.
Cauldron Xi
Way down at the southern edge of the map’s western half, you’ll find Cauldron Xi hidden amongst some trees. The Cauldron’s entrance is tucked away beneath various scaffolding and structures built by the Eclipse group who are holed up there. Take out the Eclipse warriors who seek to block your path and loot them to find the key for the wooden doorway at the back of the camp, on top of the scaffolding. There you’ll find two more guards and a route to the Cauldron entrance.
This Cauldron has one of the most interesting interiors because the ceiling has collapsed, allowing nature to gain a foothold as well as allowing the Eclipse group to occupy the Cauldron itself.
You will need to be at least Level 18 to complete this Cauldron filled with human enemies. There is no boss in this Cauldron. Instead, you will fight a group of eclipse warriors in the final Core room, including one warrior who is carrying a large heavy weapon called a “Deathbringer”.
With them defeated, override the core and another large group will appear. You will need to defend the core for 2 minutes as waves of Eclipse enemies, Watchers, and Scrappers enter the room. There will also be one Sawtooth at one point.
Completing this Cauldron will allow you to override Glinthawks, Freeze Bellowacks, Stalkers, Behemoths, and Fire Bellowbacks.
Be aware that you’ll need to fight your way back out of the Cauldron too.
Cauldron Zeta
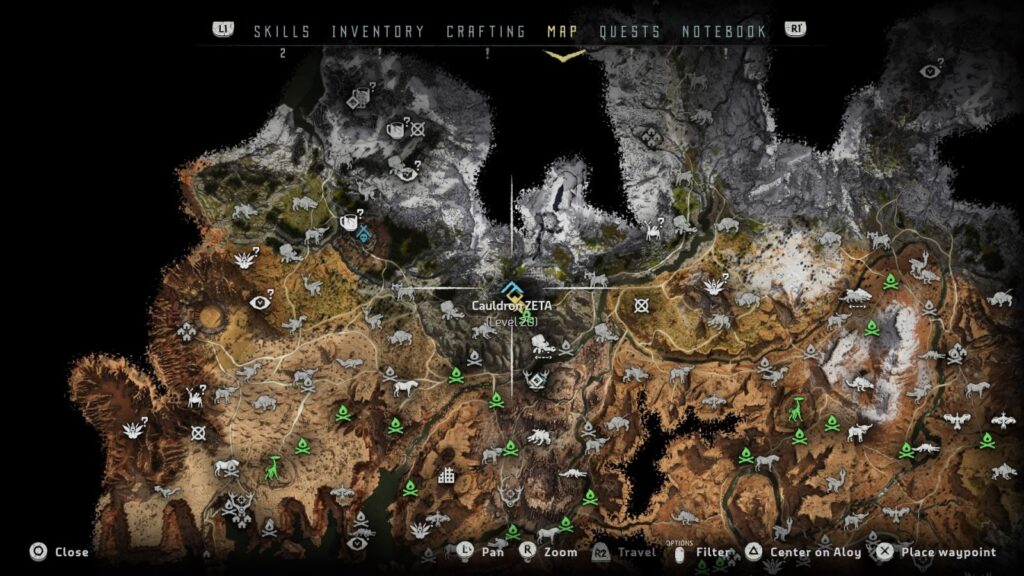
Cauldron Zeta is found at the top of the western-most half of the map, just north of the Sun Furrows Hunting Ground and northwest of the Sun-Steps Tallneck. There are 3 Stalkers guarding the entrance and you will need to climb a stone pillar to the left in order to reach your entry point, which is guarded by a RedEye Watcher.
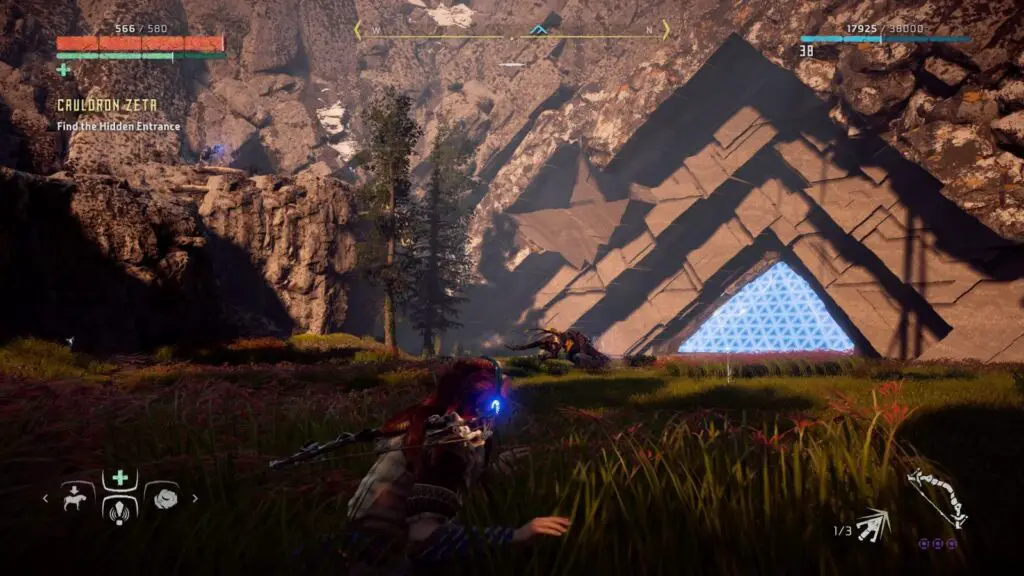
The Cauldron itself is one of the shortest and doesn’t contain any enemies other than the boss and two Watchers near said boss.
You will need to be at least Level 20 to complete this Cauldron. The boss is a Thunderjaw accompanied by two Watchers and completing this Cauldron will allow you to override Stormbirds, Thunderjaws, and Rockbreakers.
Thank you for choosing PlatGet as your source for this guide, consider checking out our reviews and other guides!
Return to the main Horizon Zero Dawn Trophy Guide.
Looking for the Frozen Wilds DLC Key Locations? We have a Horizon Zero Dawn: The Frozen Wilds Key Locations Guide.
Follow us on twitter @GetPlat or Instagram @platget for updates on new reviews and guides, as well as small anecdotes about our platinum journeys.