PlayStation 4, PlayStation 5
RE4: Separate Ways Trophy Guide


General Info
FAQ
How long does it take to beat Resident Evil 4: Remake - Separate Ways and unlock all trophies?
12 hours.
How difficult is it to beat Resident Evil 4: Remake - Separate Ways and unlock all trophies?
Medium (5/10).
Does Resident Evil 4: Remake - Separate Ways have online trophies?
No.
Does Resident Evil 4: Remake - Separate Ways have difficulty-specific trophies?
Does Resident Evil 4: Remake - Separate Ways have missable trophies?
No.
Does Resident Evil 4: Remake - Separate Ways have glitched trophies?
No.
What is the minimum number of playthroughs required to unlock all trophies in Resident Evil 4: Remake - Separate Ways?
Three.
Does Resident Evil 4: Remake - Separate Ways have a Platinum Trophy?
No.
Other Useful Guides:
RE4: Separate Ways – All Merchant Requests
Trophy Guide
Trophy Guide and Road Map for RE4: Separate Ways
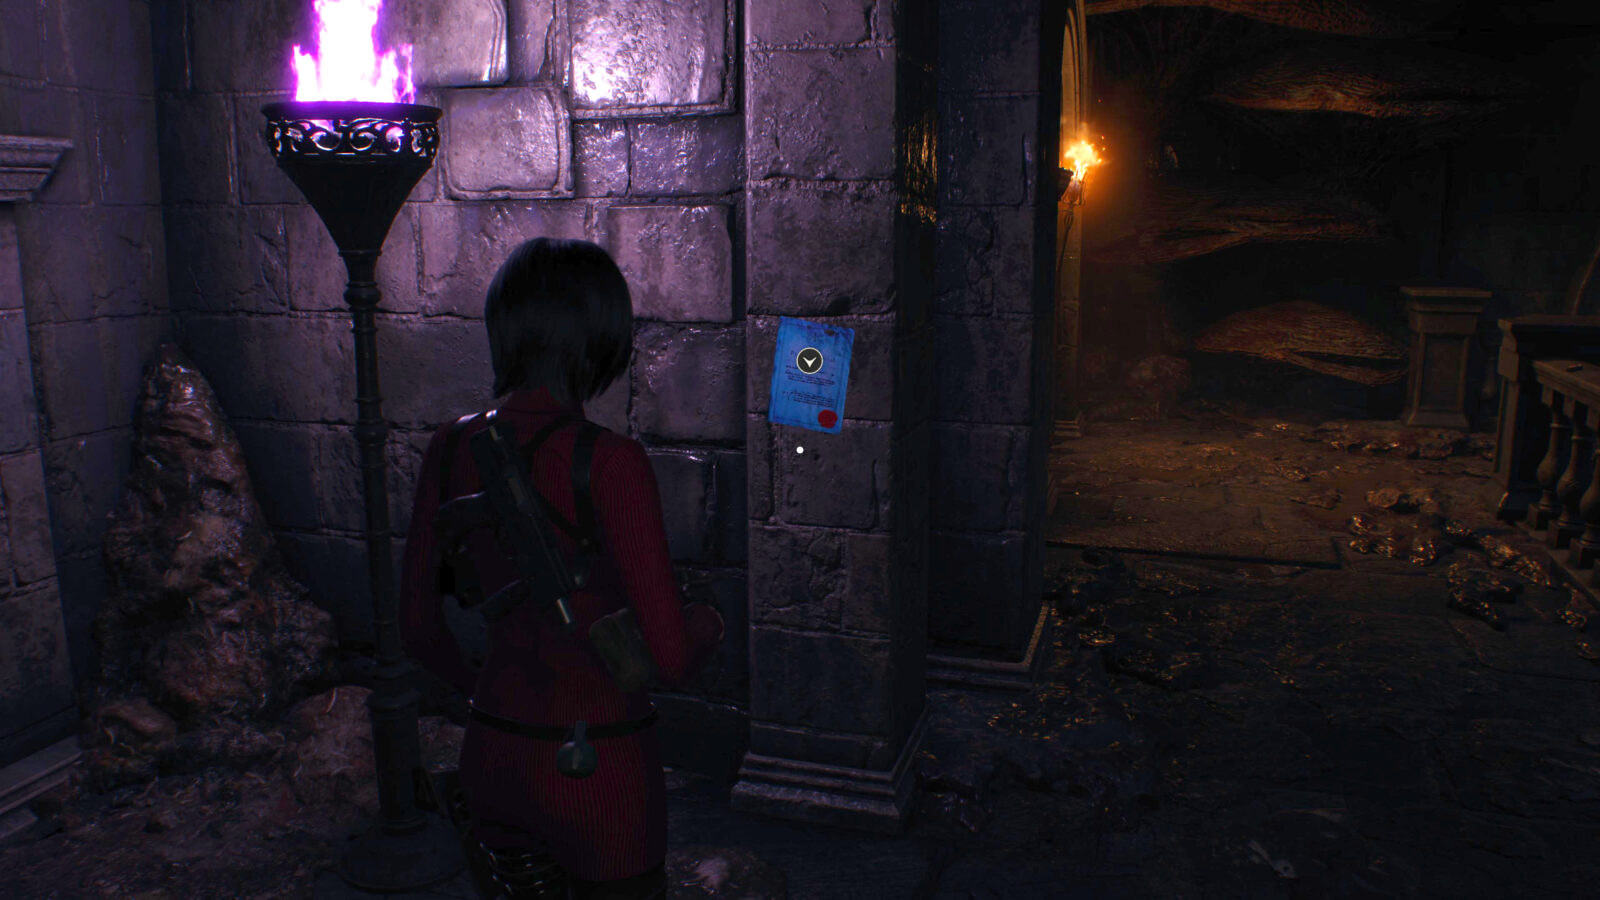
Separate Ways, the Ada-lead DLC for Resident Evil 4, adds a thrilling and immersive experience to an already exceptional game. Playing as Ada Wong offers a fresh perspective on the events of the main campaign, allowing players to unravel the secrets of the Resident Evil universe. Throughout the campaign, players will encounter familiar faces from the main game, as well as new adversaries. Ada’s storyline provides deeper insights into the overarching narrative of Resident Evil 4, shedding light on her motivations and her role within the complex web of events. So grab your Grapple Shot, prepare for stealthy maneuvers, and uncover the truth behind Ada Wong’s enigmatic journey.
Phase One - Play on Assisted or Standard & Complete All Merchant Requests
For the First Phase in our Separate Ways Trophy Guide it’s advised that you play on Assisted or Standard to get used to enemy layouts, combat encounters, item locations, and puzzle solutions. It’s also advised that you use this playthrough as preparation for your Professional New Game+ Playthrough in the next Phase. Part of this preparation is finding and completing all Merchant Requests as this will reward you with Spinels you can trade for useful items such as a Treasure map, as well as Treasure and Gems which you will need to build up your money to buy upgrades and/or weapons (such as the Infinite Rocket Launcher in New Game+ for 1.5m Pesetas). More importantly, finishing all 7 Merchant Requests will unlock the Elite Knife Bonus Weapon for all future playthroughs (must buy it from the Bonus Shop in the Main Menu once unlocked). The Elite Knife has infinite Durability which makes some of the harder difficulties a little bit more manageable.
There is no target rank for this playthrough so take your time, enjoy the game, and take a few more runs on Assisted/Standard to build up your pesetas for the Infinite Rocket Launcher if the idea of playing on Professional scares you bit. The Infinite Rocket Launcher makes even Professional difficulty a pushover. Either way this phase is the perfect time for you to get comfortable with the game since we will eventually need to move onto Professional difficulty.
Unmissable Story Trophies

Giant Slayer
Defeat El Gigante in Separate Ways
Ada fights El Gigante in Separate Ways while Leon, Luis, and Ashley are repelling the growing hoard outside the Manor. Defeating El Gigante isn’t too difficult, especially on Assisted and Standard. The strategy is the same as when Leon fights an El Gigante in the base game; deal enough initial damage to reveal the parasite on El Gigante’s back and then focus all your attacks on the parasite. Every now and then you can grapple onto the parasite to inflict melee damage by pressing ![]() when the prompt appears. There are also two building in the boss arena that you can grapple onto to give you a height advantage.
when the prompt appears. There are also two building in the boss arena that you can grapple onto to give you a height advantage.
Of course, if you have a Rocket Launcher in your inventory then you can 1-hit KO El Gigante.

"It" Kept You Busy
Defeat Pesanta in Separate Ways
Pesanta or “it” in Separate Ways refers to the U-3 boss that Leon fights in the 2004 Resident Evil 4 which was cut in the Remake. This boss can be quite intimidating at first but if you bring along the correct gear you can make this fight significantly easier.
I would recommend bringing along the Blast Bow or the upgraded Red9 for the first stage. During this stage Pesanta will try mainly try to close the gap and hit you with it’s tail, arms, or projectiles. Try to keep your distance and focus your shots on her head as her exposed brain is a weak spot.
For Stage Two I would definitely recommend bring along some Flash Bang Grenades as Pesanta (or technically just her tail) can summon a swarm of Novistadors during the fight; the Flash Bang Grenade instantly kills Novistadors. The tail can also drop little glowing pods that explode after a while; I would recommend you clear these by shooting them as soon as possible to clear up some space for your fight. What you’re aiming for in this fight is the large glowing weak spot on the tail’s… belly? The best opportunity to hit this weak spot is when the tail burrows into the ground and tries to get you with an attack you can easily dodge (the ![]() prompt will appear). After you dodge the attack the tail will raise from the ground and present the weak spot to you. Get off as much damage on it as you possibly can until it falls over stunned where you can press
prompt will appear). After you dodge the attack the tail will raise from the ground and present the weak spot to you. Get off as much damage on it as you possibly can until it falls over stunned where you can press ![]() to perform a melee attack. Repeat this process until the tail has died.
to perform a melee attack. Repeat this process until the tail has died.
Of course, if you have a Rocket Launcher in your inventory then you can 1-hit KO the boss (you’ll need two Rocket Launchers for this boss fight; one for each stage).

Had Enough of Preachers
Defeat Osmund Saddler in Separate Ways
Saddler is quite difficult to fight conventionally as he has a long range and a few devastating attacks. The key to beating him is keeping your distance and recognising when he’s about to fire his projectile attack or when he launches himself down the middle of the arena. Both of these attacks can catch you off guard the latter of which has a wide range to and will hit you even if you hide behind the pillars. Like with everything you should use the upgraded TMP to do damage from a distance until Saddler reveals his eyeball weakspot in his mouth at which point you should switch to a more accurate weapon like a pistol. After doing enough damage you can grapple melee him with ![]() .
.
Of course, if you have a Rocket Launcher in your inventory then you can 1-hit KO Saddler making this whole boss fight trivial.
Phase Two - New Game+ on Professional (A Rank)
Now for a slightly more challenging phase in our Separate Ways Trophy Guide. Professional difficulty.
Professional difficulty makes Enemies Stronger, removes autosaving (there is one autosave at the start of Chapter 1), limits Parrying with the knife to only perfectly timed Parries, unlocks all Weapon Modifications from the start. As you can see this makes things a little bit tougher. If you’re going into this Phase with just the weapons you had on you and upgraded from your previous Assisted/Standard playthrough then there are a few things you need to be wary of so check The Perfect Mission. However, if you bought the Infinite Rocket Launcher in Phase One for 1.5m Pesetas then ignore all these warnings and the strategies written in this phase as you can 1-shot absolutely everything. Just save at the end of every chapter (you’re limited to no more than 10 saves and under 4 hours for A Rank) and you should be finished with an A Rank in no time at all.
Difficulty-Specific Trophies

Capable Operative
Complete Separate Ways on Standard mode or higher
Capable Operative is stackable and will unlock if you complete Separate Ways on Hardcore or Professional.

Skilled Agent
Complete Separate Ways on Hardcore mode or higher
Skilled Agent is stackable and will unlock if you complete Separate Ways on Professional.

The Perfect Mission
Complete Separate Ways on Professional mode
The tips below will be written as if this is a new save and reference only the equipment you’d likely have at the time as there’s no way for me to know what you had going into a New Game+. So it goes without saying that you should substitute any gear mentioned with whatever you have on you and tweak any strategies to match your own playstyle and/or gear loadout. For example if you had a fully upgraded Shotgun in your previous save then going into this NG+ playthrough you’d substitute the referenced TMP with your shotgun; instead of reading “Use the TMP on the torso to deal damage” you would read “Use the Shotgun on the torso to deal damage” and so on.
I won’t be telling you when and which Treasures/Items to grab unless it’s a crucial part of the strategy so if you feel like you’re making good time loot whatever you want. We’re only aiming for under 4 hours in this playthrough.
Chapter 1 – Pesanta Fight & Outside Castle
- Use the TMP on the torso to deal damage as the spread is too wide for headshots and you will waste all your ammo. Use the Handgun to deal damage to the head as it is more accurate. There is more TMP ammo in the cabinets behind you when you start the fight so look for a good opportunity to safely collect it.
- Use your Flash Bang Grenade to quickly clear Pesanta’s shadow clones when they appear as they quickly surround you and deal insane damage.
- Take your time outside the Castle and stealth kill any enemies as this part can get messy if spotted. Stealthing through the first section outside the castle will mean you only need to destroy two catapults when you get spotted (unavoidable) near the castle gates.
- Shoot the barrels next to the crossbow enemies before climbing the ladder to the canon.
Chapter 2 – Brute/Ganado Ambush & Church/Village
- Lure the Ganados that burst through the gate towards the explosive barrel and shoot it as they begin to charge towards you leaving just the Brute. Guide him toward the bridge and use it to get some distance between you and him.
- On the other side of the gate use your Flash Bang or Frag Grenade to stun the enemies so you can run straight to the Grapple Point.
- Clear enemies in and outside of the Manor so you can better dodge the Brute that chases you.
- Run across the bridge while dodging the Brute and either Perfect Parry the arrow that the crossbow lady shoots at you or stun her if you’re confident enough and get within range of the Grapple Point.
- Ignore the Ganados heading towards the church as they are non-hostile due to the ringing bell.
- If you have trouble with the next Pesanta boss fight you can make a save at the Merchant.
- Upgrade your TMP and possibly buy the Shotgun.
Chapter 2 – Pesanta Boss Fight
- Keep your distance at all times and use your TMP on Pesanta. When stunned, melee her and quickly use the Shotgun to get 1-2 shots on her before she vanishes.
- Avoid the Shadow clone while continuing to keep Pesanta at a distance and use your TMP and Shotgun combo to deal damage. You can also use the Rifle to get a headshot if you’re confident.
- When the fog becomes thicker and Pesanta spawns even more Shadow Clones use a Flash Bang Grenade to clear them out. Use any Frag Grenades on Pesanta if you’re struggling.
Chapter 3 – Mendez Chase/Mr & Mrs Chainsaw/ El Gigante Boss
- When running away from Bitores Mendez you can run to the left and avoid the female ganado that tries to grab you after the first
 Grapple Point.
 - Just after the 2nd Grapple Point you will run down some metal steps into an area with some crates and such. There is a male ganado hiding behind some boxes on the left which can sometimes rush you. Use your shotgun to stun him so you can run by.
- Inside the Abandoned Factory you will be ambushed by a crowd of ganados when coming back from the basement. Among these enemies will be two chainsaw enemies. One of them is male and will be making his way towards you; it’s safe to ignore him. The other is a female and is waiting for you by the valve you have to turn to leave. Equip a flash bang and wait for her to come through the iron gate and then throw it. This will stun her long enough for you to turn the valve completely and leave. The timing for this section might be a bit tight but it is 100% doable.
- When fighting El Gigante you should stay on the ground until you have exposed his plagas parasite then move to the rooftops so you have a better line of sight.
- The TMP deals a lot of damage in this fight but the spread makes you miss quite a few shots so only use it on his body and switch to an upgraded pistol or rifle to damage the parasite.
- Flashbangs stun El Gigante so you can get some decent hits on his plagas without him moving around too much or trying to destroy the buildings in the arena.
Chapter 4 – Escorting Luis/Silver & Gold Puzzle/Courtyard
- At the start of the chapter you will encounter a group of enemies at the bottom of the spiral staircase before Luis runs into the fire. Don’t waste time trying to fight them here; just run around them or throw a Flash Bang and keep going.
- When you come across the Merchant in the Castle make sure to buy the Flash Bang Recipe. Flash Bangs are really useful for stunning large crowds so you can run by.
- Use your TMP on the suits of armour during the Silver and Gold Bottle puzzle and melee them to reveal their plagas parasites. Once the parasites are out you can throw a flash bang to insta-kill them. This is why it’s crucial that we can craft Flash Bangs.
- In the Courtyard you will have to avoid enemies while chasing down a red priest. Use your shotgun in this area as it’s quite powerful at close range. You can shotgun the red priest when you get to him and sometimes he will fall back against the wall where you can knife him for a quick kill. Otherwise you won’t lose much time if you chase him down since there are plenty of Grapple Points in the Courtyard that you can use as shortcuts.
Chapter 5 – Double Garrador Fight/U-3 a.k.a Pesanta Boss
- One of the only challenging parts in this chapter is the two Garradors you have to kill to open a locked gate. The easiest way to deal with them is to expose the parasites on their back with either the TMP or the Rifle with the Biosensor Scope and then throw a Flash Bang to kill the parasites. If they’re close together you can get lucky and kill them both in one Flash Bang.
- You can make a save at the Merchant directly after the Garradors if you need to.
- Make sure your TMP is almost if not fully upgraded, if you can, and then upgrade the damage and reload speed on the Crossbow before you fight U-3.
- At the start of the fight shoot as many arrows at U-3 as you can. Make sure to aim at her body and don’t give her time to breathe.
- As soon as you run out of ammo for the Crossbow switch to the TMP and shoot everything you have at her. If you run out of TMP ammo you can switch to the Shotgun or a pistol and aim for her head.
- For Phase Two of the U-3 Boss Fight make sure to re-equip your TMP and craft some Flash Bangs if you have none.
- Aim for the weakspot under the U-3 Tail’s body and use the TMP and Pistol combo to deal damage.
- If the Tail calls in some Novistadors use your Flash Bangs to stun them; this doesn’t kill them but it will give you breathing room to either focus on the boss or to dispatch them in relative safety.
Chapter 6 – Gondola Ride/Turret Nests
- Kill the enemies in the Amber Room. You can Flash Bang then and try to run away but they’re really aggressive and will chase you down relentlessly so it’s better to just clear them.
- Use a Flash Bang on the Elite and run by when you get close to the door into the factory area. This can be a bit tricky so it might be better to clear the area.
- Use a Rifle on the Gondola to quickly take out the enemies. You can also use a pistol if you’d rather preserve Rifle ammo since enemies seem to be intentionally weaker during this part.
- You can get through the Turret Nest section without killing a single enemy if you strategically use your Flash Bangs and the Red Barrells in the area to stun groups of enemies. This can be quite tricky so if you need you should make a save at the Merchant before dropping down into the encounter.
Chapter 7 – Saddler/RPG Run
- I would highly recommend buying the RPG from the Merchant if you have the necessary pesetas to do so as you can skip the Saddler boss fight.
- If you can’t get the RPG then you absolutely should have a fully upgraded TMP and either, an upgrades pistol or rifle.
- Saddler has quite a long range with his attacks. Make sure you give him some distance and get ready to parry his tentacles.
- Use the TMP on his torso to deal most of the damage and when the eyeball appears in his mouth quick to something that deals more accurate damage like a pistol or rifle.
- Saddler’s ranged attacks are quite devastating so make sure to stick close to a pillar or similar object to hide behind when he tries to hit you with one.
- Saddler’s lung attack can be quite difficult as it seems to cover the whole arena. However, if you just stand in the middle even though you know it’s coming you will see appear on screen. Press it as soon as you can and you should use your grapple to dodge it.
- During the section where you’re racing to the Red RPG for Leon, it’s advised that you ignore most enemies and just stun them with either your guns or a Flash Bang so you can run by them. The time limit here is quite forgiving but if you try to fight every enemy you will fail.
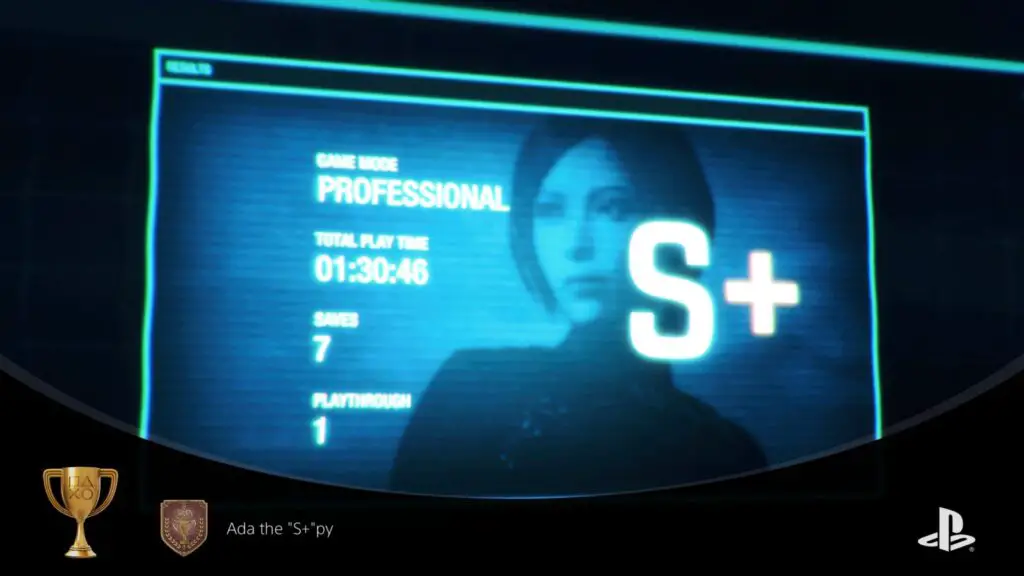
Phase Three - Finish Professional Mode with S+ Rank (new save|2h30m)
Finally, at the end of our Separate Ways Trophy Guide the only thing we have left to achieve is an S+ Rank on Professional.
There are a few caveats to achieving an S+ in Resident Evil and those are:
- You cannot make more than a certain number of saves, for Separate Ways this number is 10.
- You need to complete the game in a set time or less, for Separate Ways to get an S+ you must finish in less than 2 hours and 30 minutes.
- You must be playing on a brand new save. New Game+ locks you out of an S+ rank.
- Finally, if you have unlocked the Chicago Chopper and the Elite Knife Bonus Weapons, you can use them in your playthrough.
As mentioned in the last phase, Professional difficulty makes Enemies Stronger, removes autosaving (there is one autosave at the start of Chapter 1), limits Parrying with the knife to only perfectly timed Parries, unlocks all Weapon Modifications from the start.
I would recommend spending some of your 2h30m time limit on gathering treasures at the beginning so you can upgrade the damage of your weapons. You should also try to get enough Spinels to trade for an upgrade ticket if you’re using the Chicago Chopper. If you’re attempting this without using the bonus weapons then upgrading the TMP as much as you can in Professional is highly recommended.
Professional S+ Rank Trophy

Ada the "S+"py
Complete Separate Ways on Professional mode with an S+ rank
To achieve an S+ rank on Professional difficulty in the Separate Ways DLC for Resident Evil 4, you’ll need to focus on a few key strategies. Although these strategies seem like standard fare for a Survival Horror game it’s really important that you master them.
- Efficient Resource Management: Manage your ammunition, healing items, and other resources carefully. Only use them when necessary and try to conserve as much as possible. This will help you in tight situations and save time. Know what to pick up, what to use, and when to use it.
- Speed and Accuracy: Time is an important factor in achieving a high rank. Aim for headshots and try to eliminate enemies quickly and efficiently. Accuracy is crucial, as missed shots waste both time and ammunition. Also know when to avoid combat and how to stun enemies and run around them with some consistency. If you try to fight everything you will lose too much time.
- Memorize Enemy Locations: Knowing the enemy placements is vital. By memorizing their locations, you can plan your movements and take them down swiftly (without wasting time or resources) or avoid them completely.
- Utilize Ada’s Abilities: Ada Wong has unique abilities in the Separate Ways DLC. She can grapple to melee stunned enemies from a distance which is great for repositioning and crowd control. You can also get a Case Charm from the Merchant that lets Ada grapple shields from enemies.
- Memorise Puzzle Solutions: The DLC includes puzzles that need to be solved to progress. Make sure to memorise their solutions in order to solve them as quickly as possible. Write them down in a notebook if you need to.
- Plan Ahead: Plan your route and actions in advance. By having a clear strategy, you can minimize backtracking and optimize your progress through the DLC.
- Master the Timer: If you need a few minutes to plan ahead or get your bearings you can pause the game. Pausing using the
 button and watching cutscenes will stop the timer. Opening your inventory and listening to audio calls (these can be skipped by holding
  ) does not stop the timer.
Remember, achieving an S+ rank on Professional difficulty requires practice, patience, and precision. Be prepared to retry sections multiple times to improve your performance and optimize your strategies. Good luck!
The tips in The Perfect Mission will still be valid in this playthrough so make sure you adapt some of them into your own strategy.
Conclusion
Congratulations! By now you should be back to 100% trophy completion on Resident Evil 4, however, if you have yet to earn the Platinum Trophy in the Resident Evil 4 base game then make sure to check out our Resident Evil 4 Trophy Guide.
Thanks for Reading
Plat Get!
Thank You!
Thank You for choosing PlatGet as your source for this RE4: Separate Ways Trophy Guide.
Wondering what to complete next? Browse our complete guide selection or check out our friends at PlatPrices.com to filter the PS Store based on price, trophy difficulty, or completion time.
Got a question, some feedback, or just want to say thanks? Drop a comment in the discussion section below, we'd love to hear from you! No account required!!