PlayStation 4, PlayStation 5
RE4: Separate Ways – All Merchant Requests
Game Guide
Separate Ways – All Merchant Requests
There are 7 Merchant Requests that Ada can find and complete in Separate Ways with each request rewarding you with 6 to 10 Spinels each. Spinels can be traded with the Merchant for one-time-purchasable items such as a Treasure Map, Weapons, Healing Items, and Treasures. More importantly, once you find and complete all 7 Merchant Requests in Separate Ways you will unlock the Elite Knife Bonus Weapon. This is a knife with unlimited durability which will help you greatly on your subsequent playthroughs.
Chapter 2
Eradicate the Blue Medallions
Area: Cliff
Reward: Spinel x6
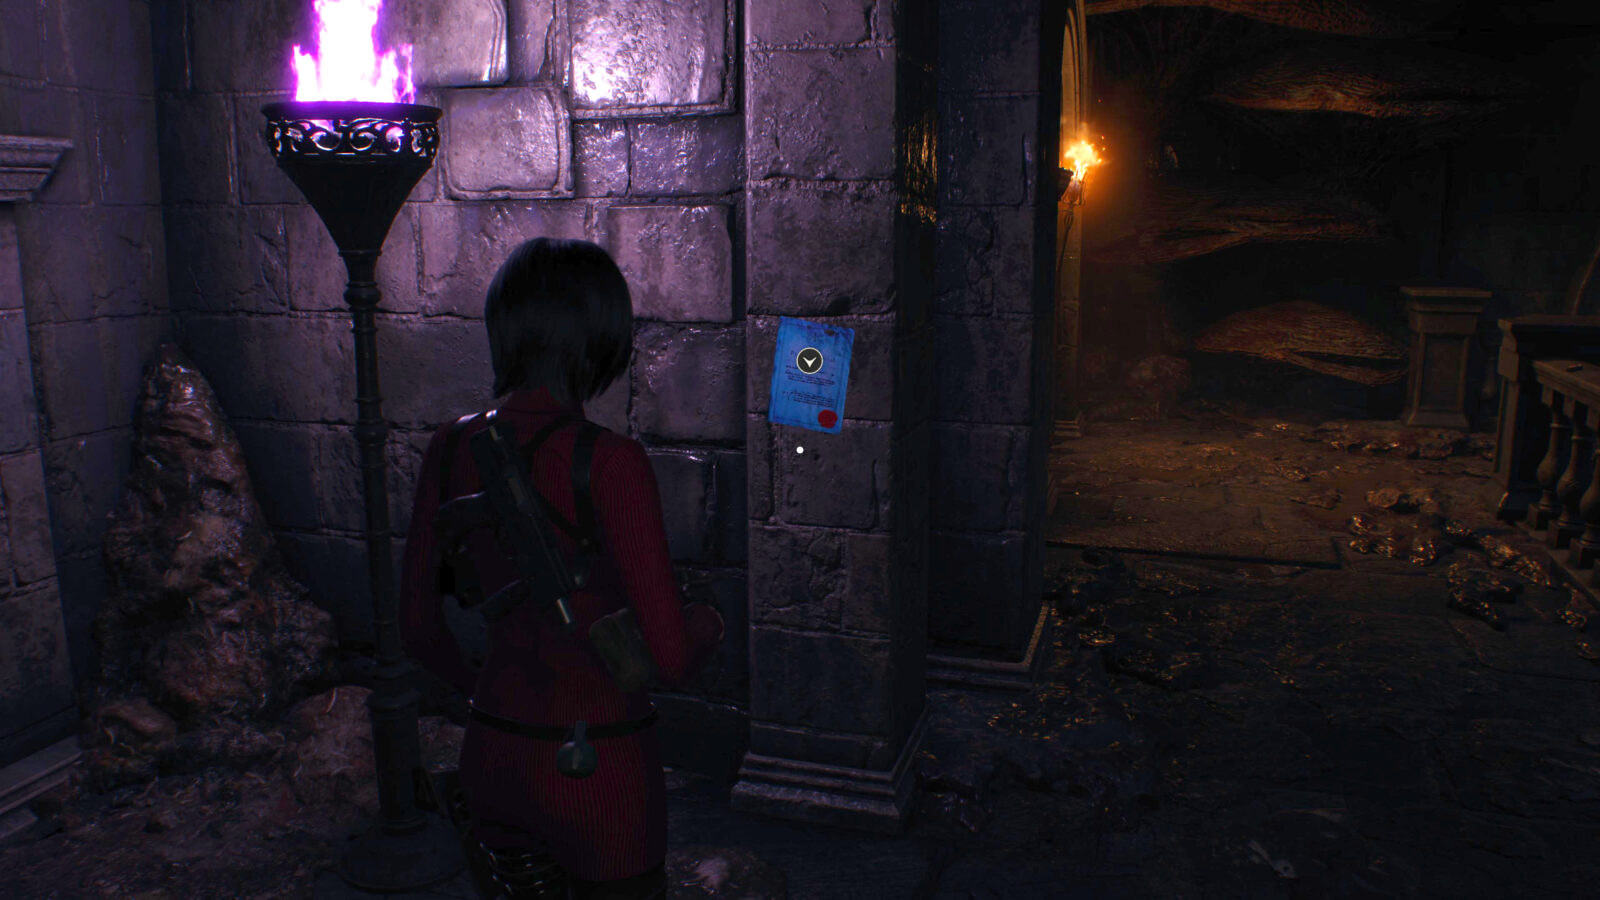
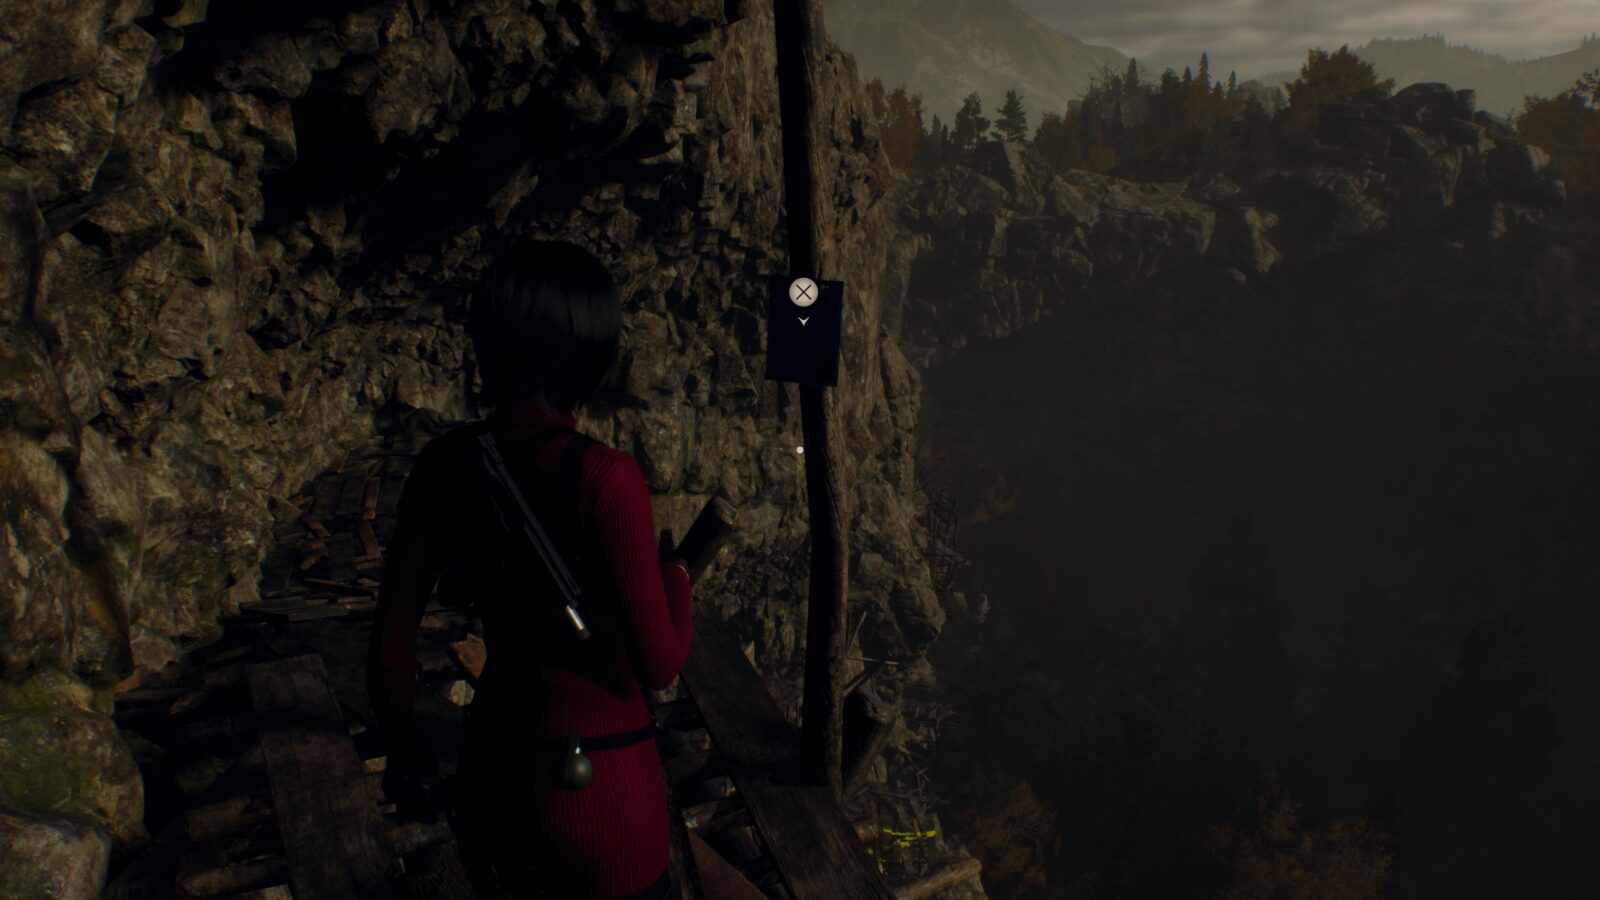
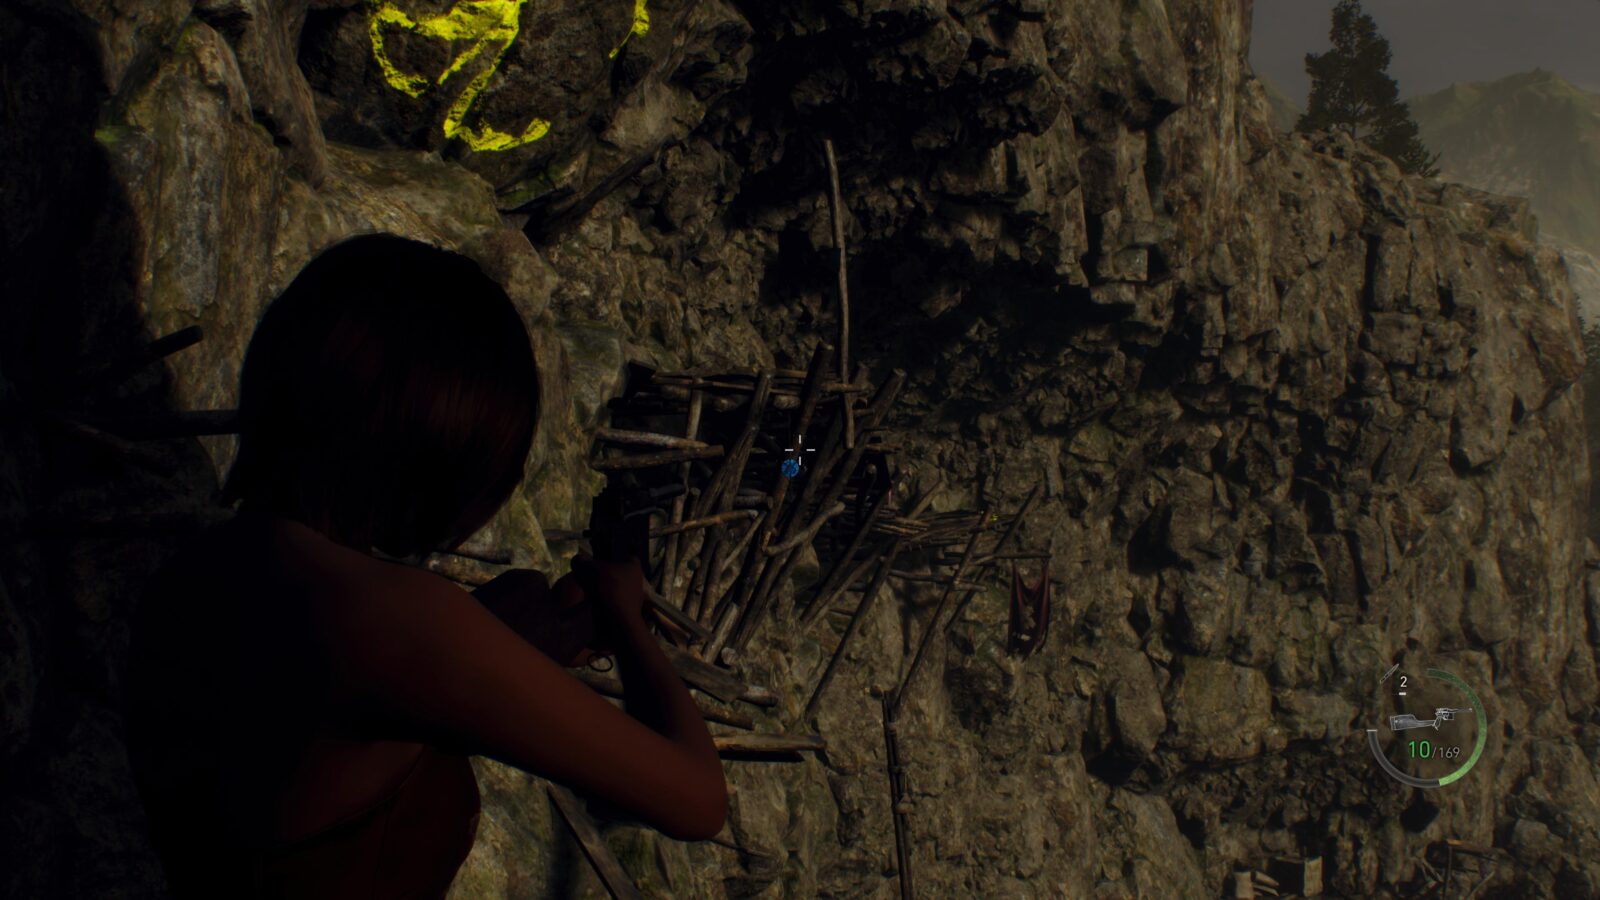
Eradicate the Blue Medallions is the first request you can find in Separate Ways. The exact location is at the Cliffs just before the Puzzle Door with the radial disk of symbols. From this Puzzle Door you can turn around and find a Grapple Point (![]() ) across the gap. On the walkway at the Grapple Point is a Merchant Request posted on a wooden post. For this Merchant Request you will have to find and shoot 4 Blue Medallions in the immediate area.
) across the gap. On the walkway at the Grapple Point is a Merchant Request posted on a wooden post. For this Merchant Request you will have to find and shoot 4 Blue Medallions in the immediate area.
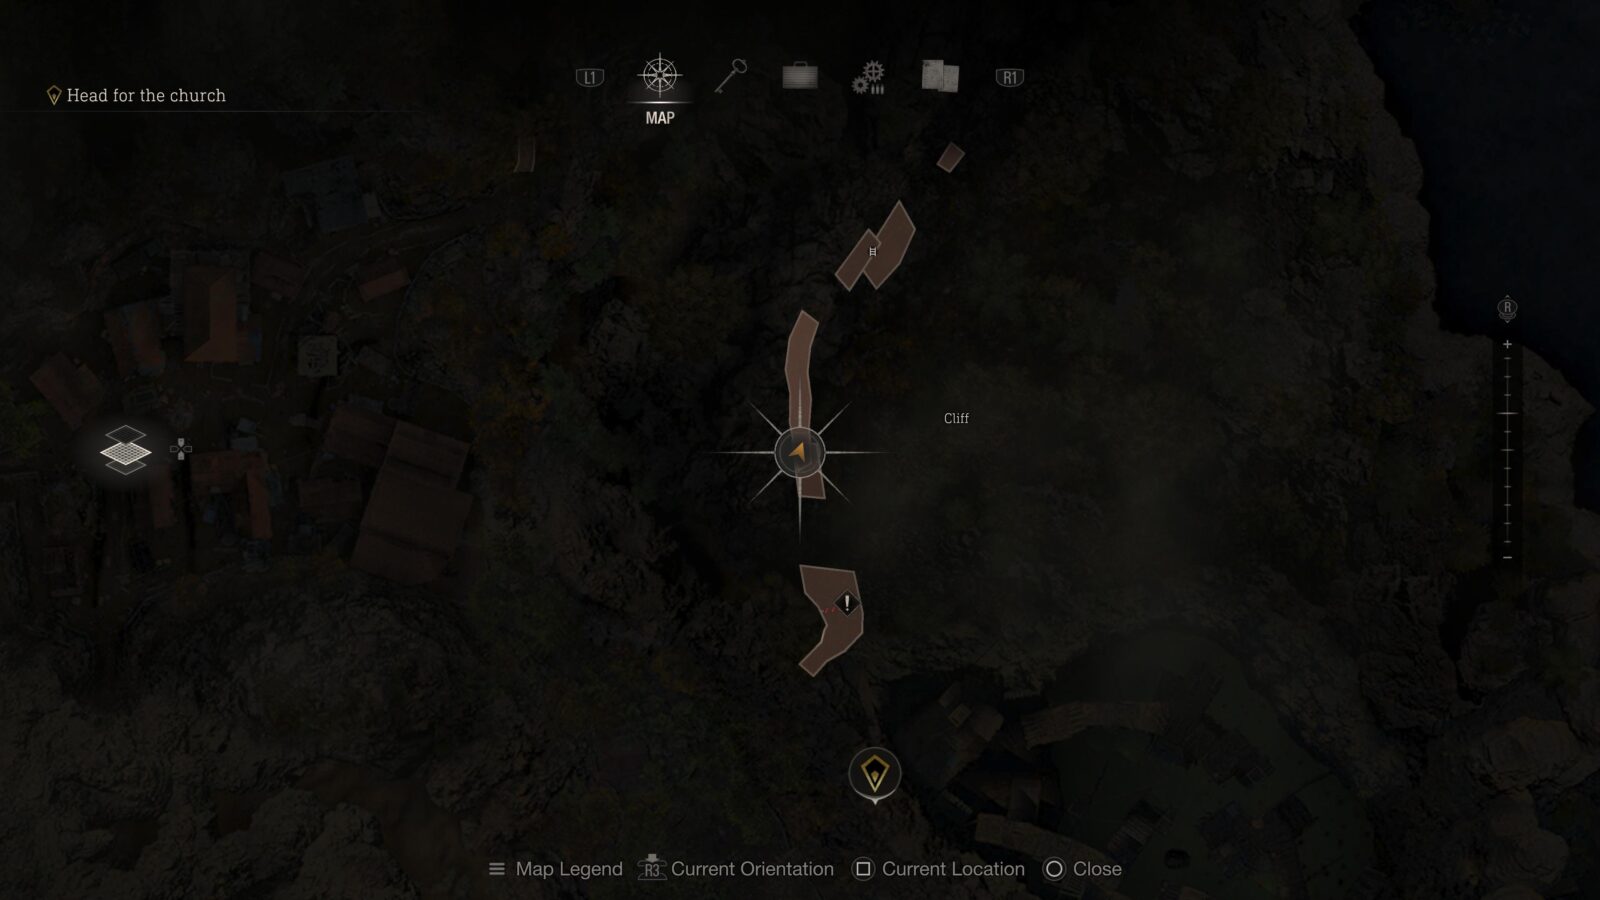
Medallion #1 – Can be seen when stood with your back to the Puzzle Door. It’s hanging from the walkway you grappled to to find the Merchant Request.
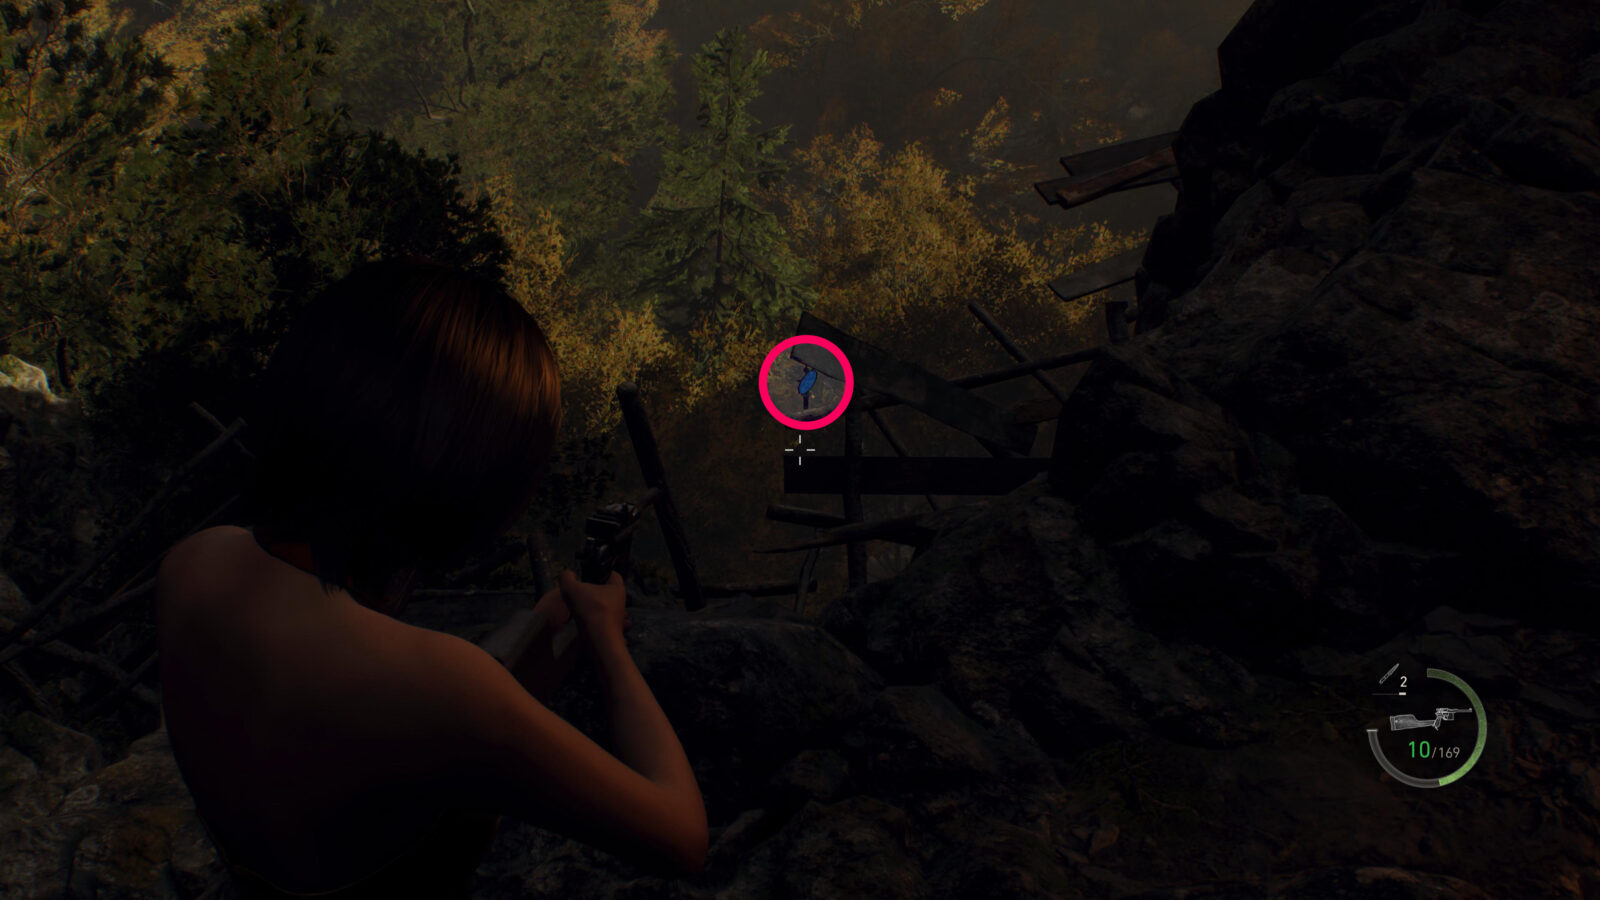
Medallion #2 – Can be found by walking to the edge of the cliff where the puzzle door is and looking down and to the right. It’s hanging from some wooden boards.
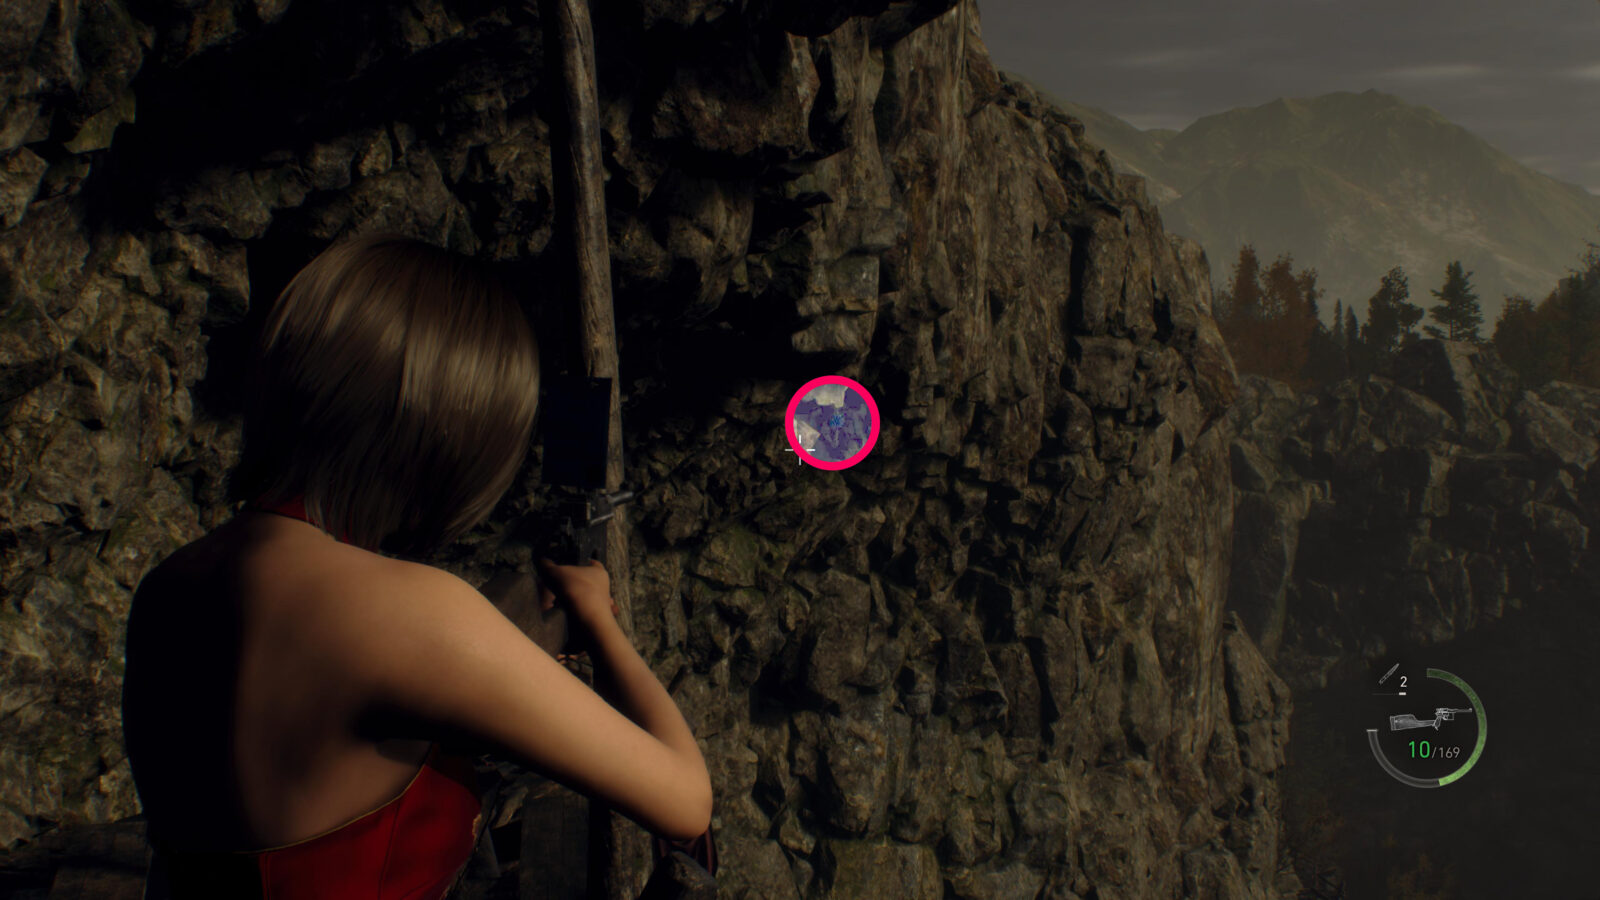
Medallion #3 – Grapple to where you picked up the Merchant Request and turn around and look at the cliff face to the left of the opening where the Puzzle Door is. You can see it hanging from an overhanging rock.
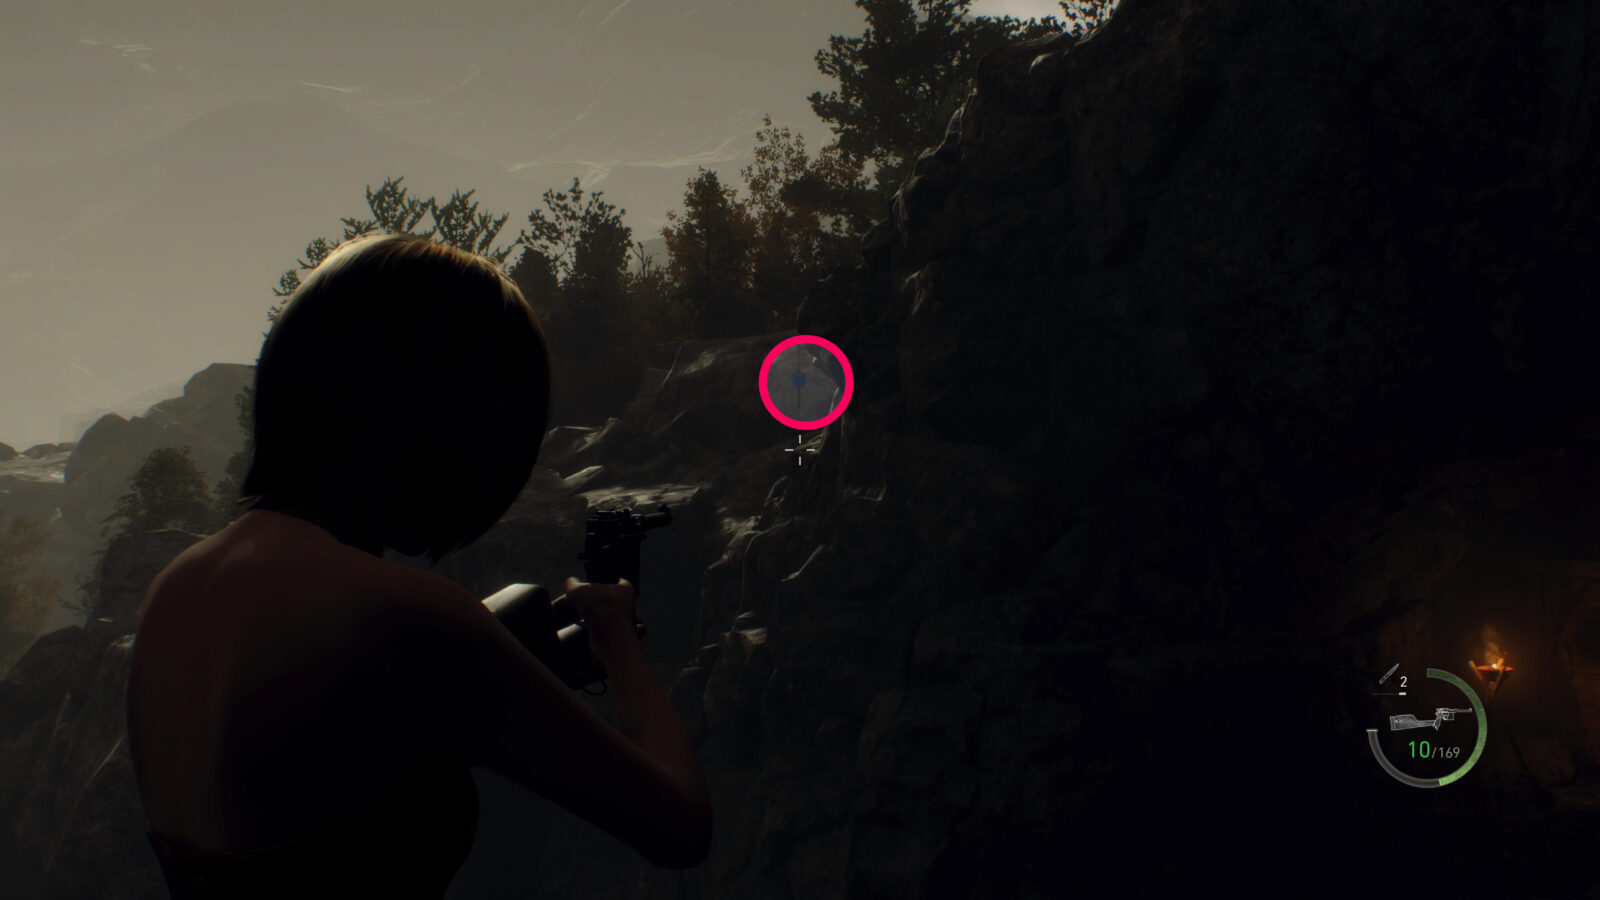
Medallion #4 – Turn around and stand by the wooden post where the Merchant Request page was found. Look at the rocks on the cliff face ahead of you (the Puzzle Door should be behind you) and you can barely see the blue medallion hanging in a shadow of some rocks.
Chapter 3
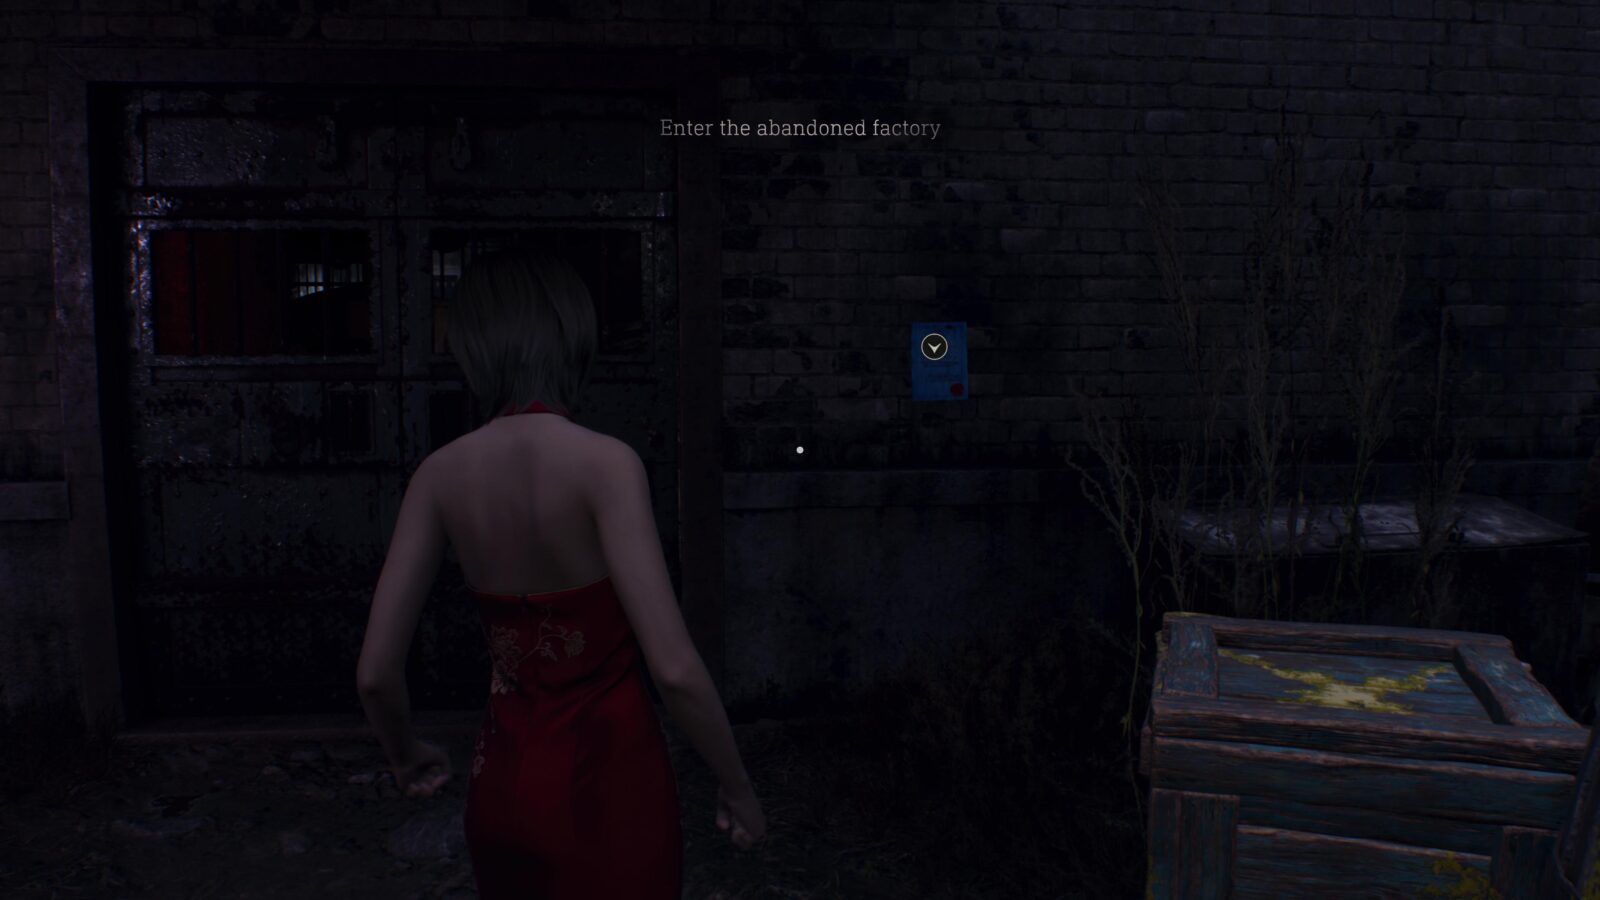
Jacket of All Trades
Area: Inside Abandoned Factory
Reward: Spinel x7
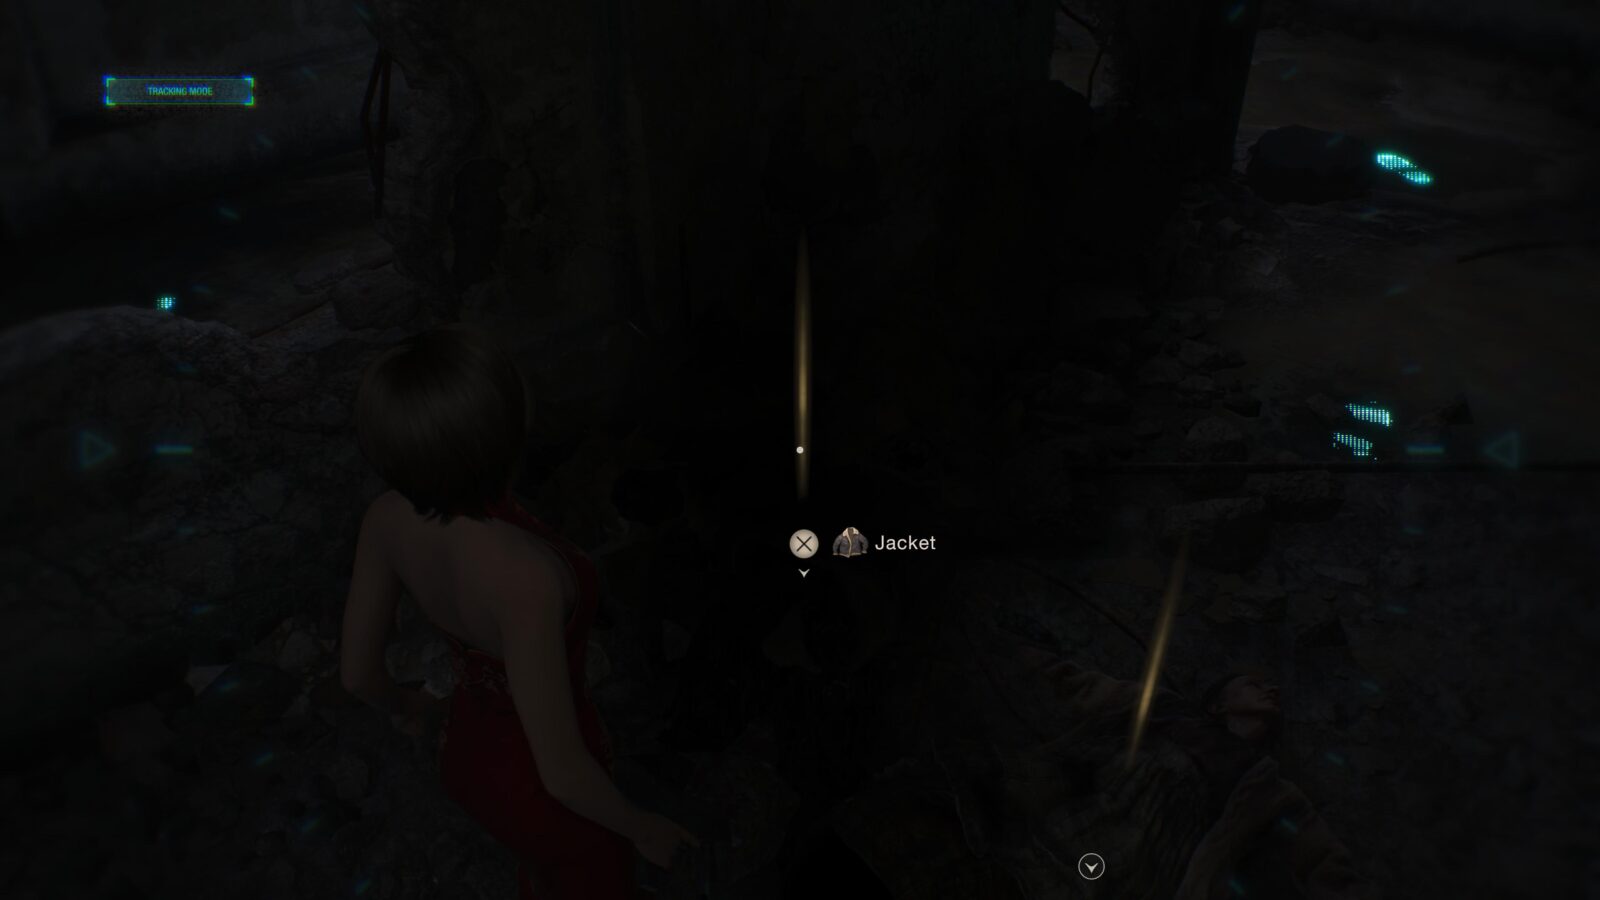
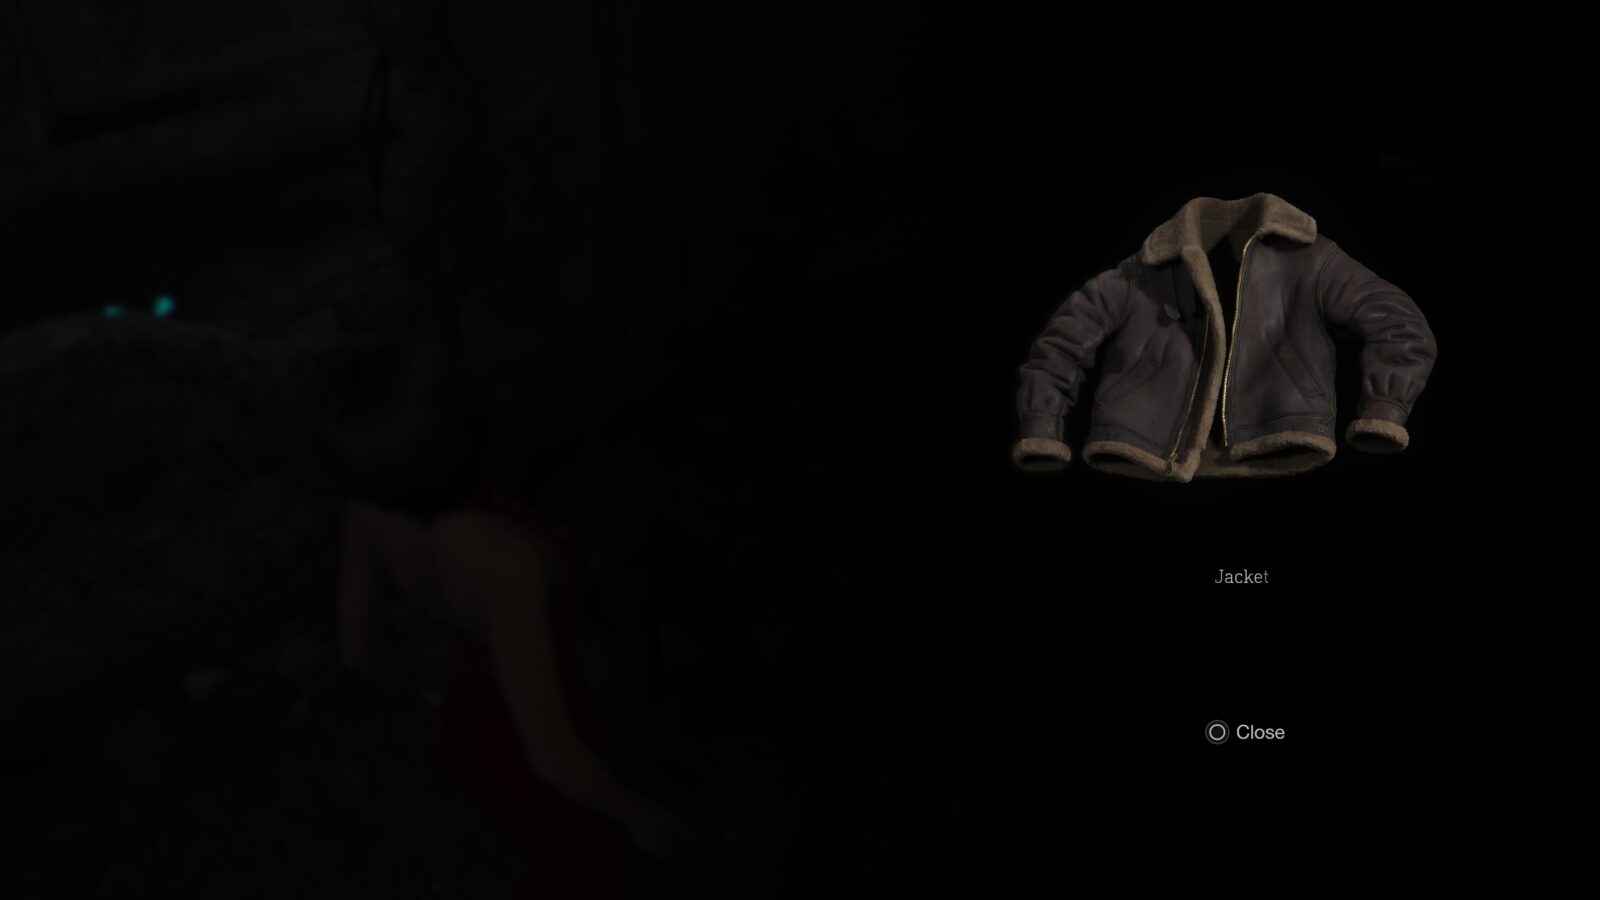
After running away from Bitores Mendez in the Chief’s House you will come across the Merchant outside the Abandoned Factory. On the wall to the right of the Abandoned Factory doors is a Merchant Request page. Read it and you’ll be asked to retrieve a Sheepskin jacker (I wonder who that could belong to?). Head inside the Abandoned Factory and you will find a Ganado wearing the jacket. Kill him and pick up the jacket so you can sell it to the Merchant to complete the request.
Chapter 4
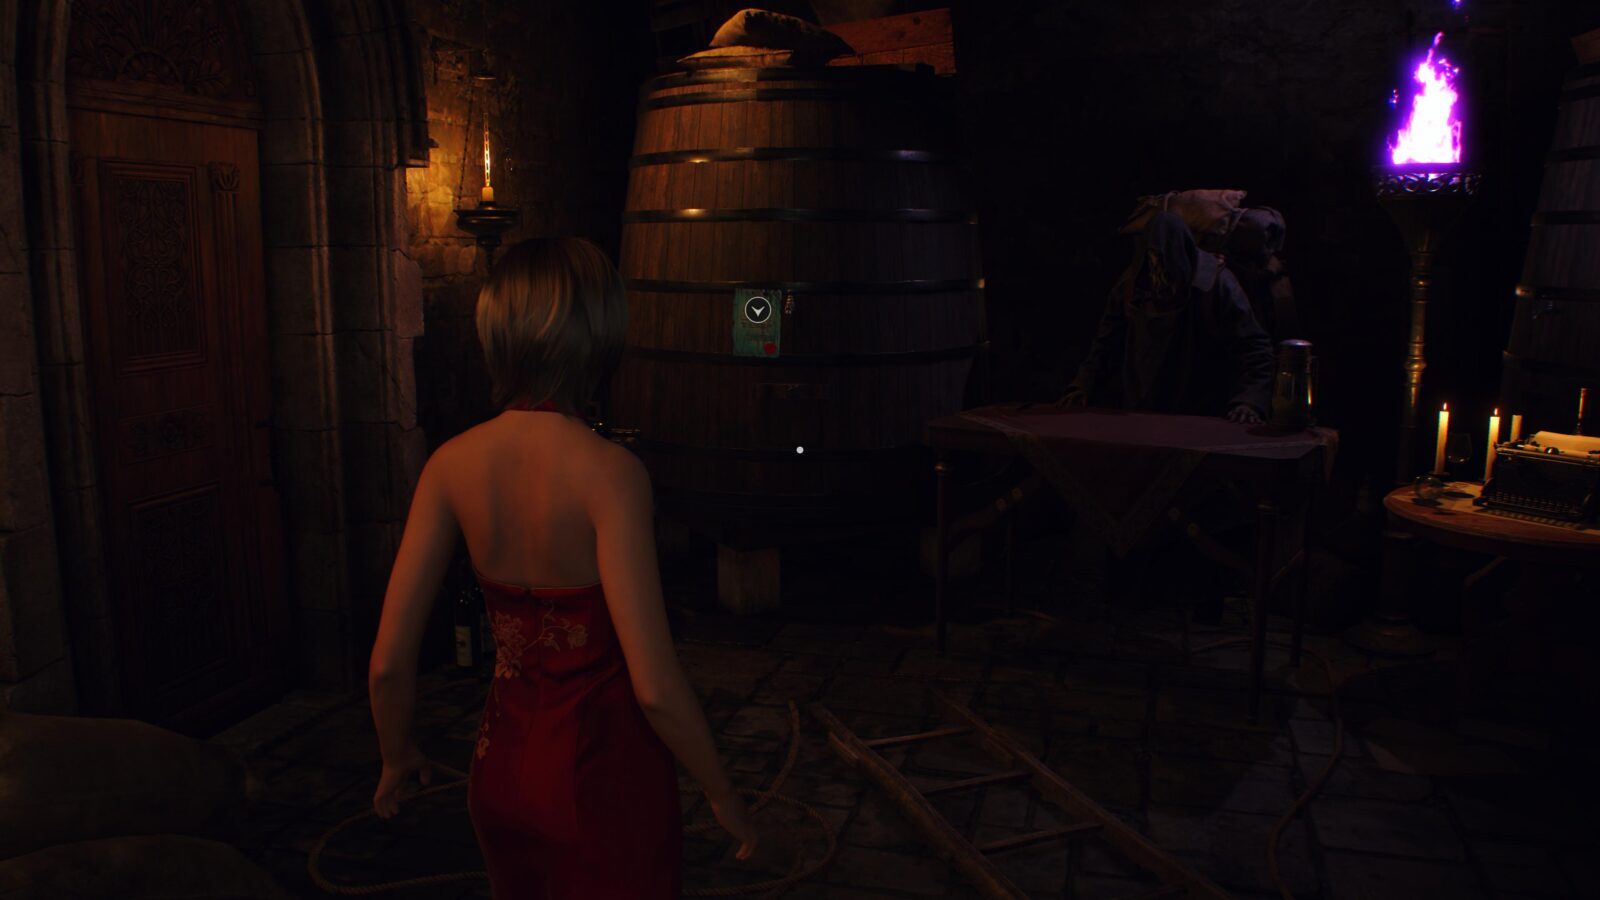
Eradicate the Blue Medallions 2
Area: Courtyard
Reward: Spinel x7
You can find this Merchant Request on a large wooden barrel to the left of the Merchant (2nd location) after the Silver & Gold Bottle puzzle. Like the previous Eradicate the Blue Medallions request you need to track down and destroy Blue Medallions; 5 in total this time.
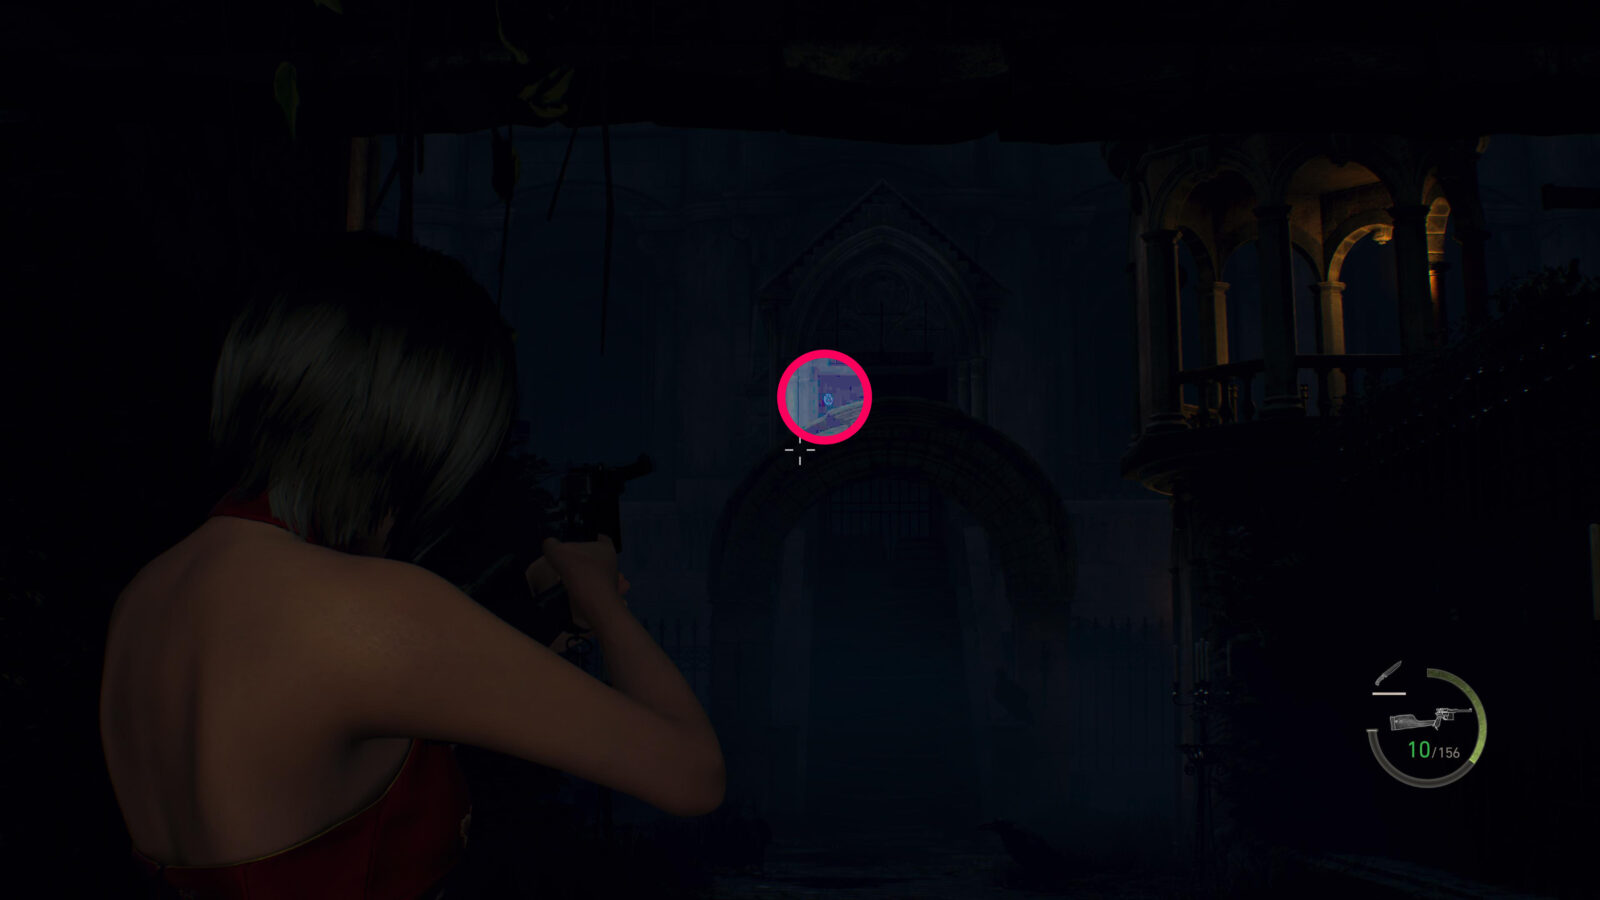
Medallion #1 – As you enter the Courtyard, where the maze is, you can find this medallion hanging above a stone archway at the other end of the Courtyard.
Medallion #2 – Walk into the middle of the Courtyard and a cutscene will play. Immediately turn around and look up at the stone bridge above you to find another medallion.

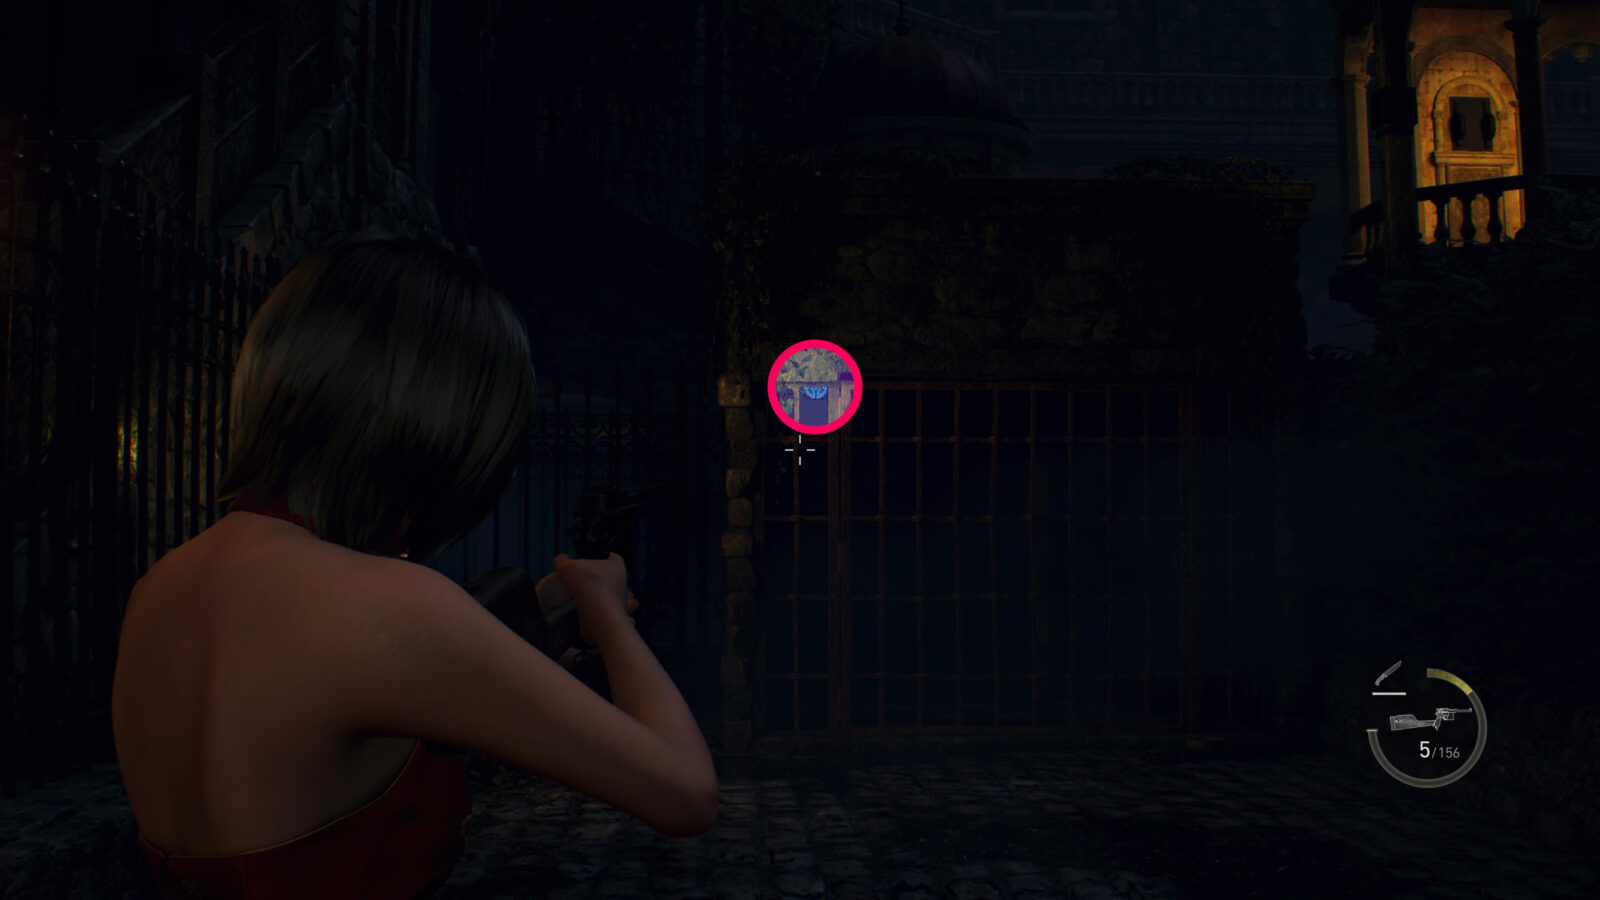
Medallion #3 – Grapple up to the bridge where you shot medallions #2 and go down the steps to your left. To your immediate left at the bottom of the steps is a cage with a blue medallion hanging from the ceiling.
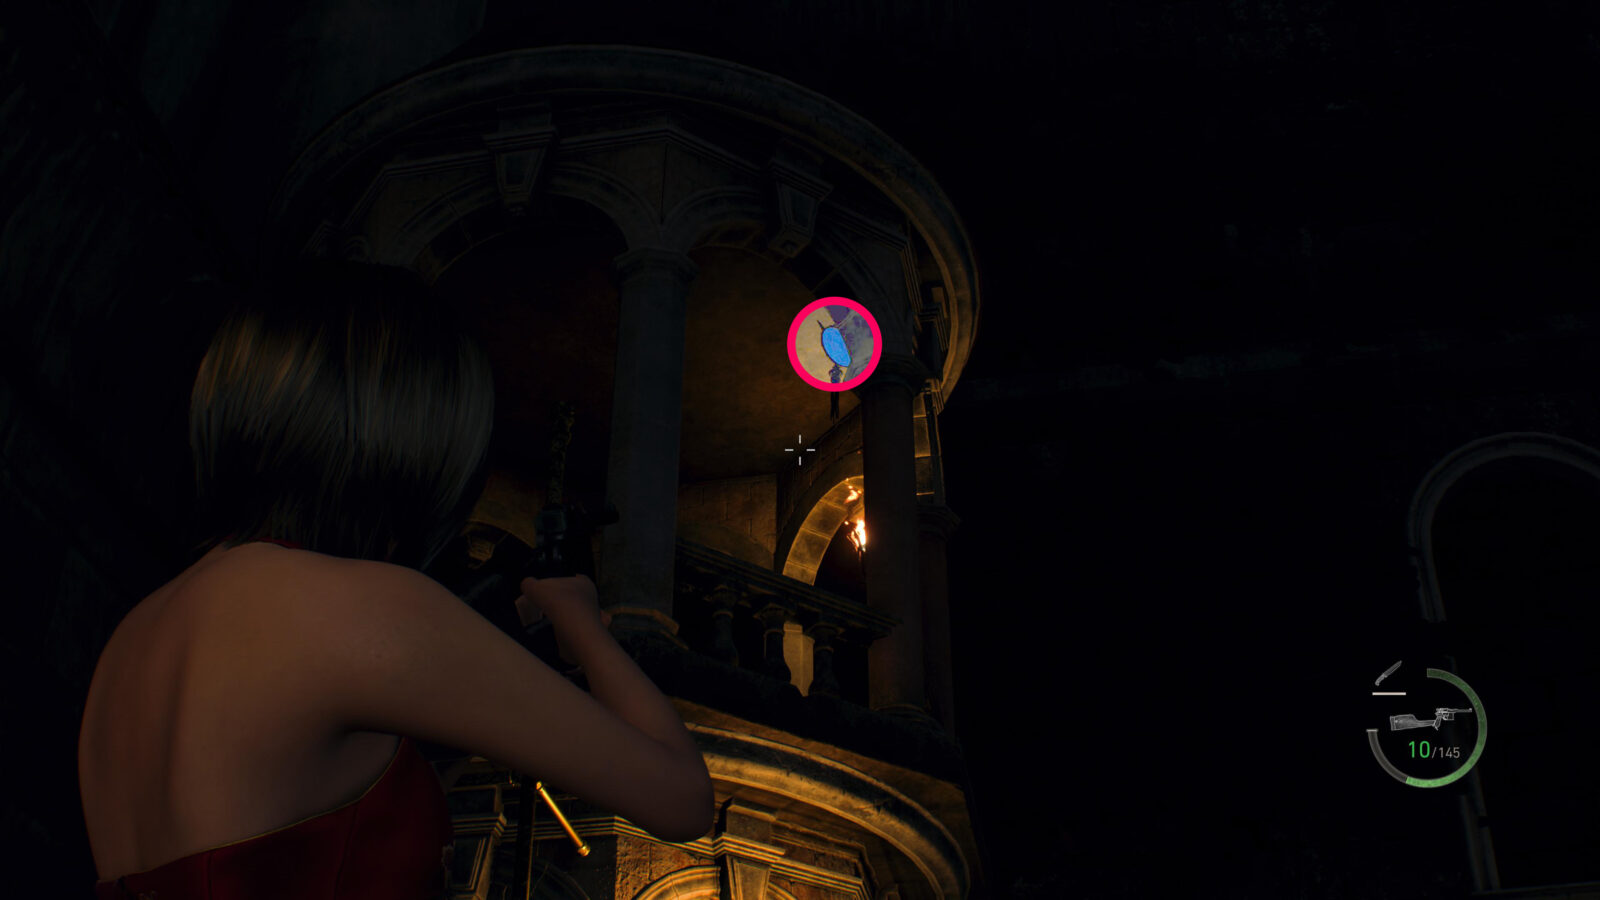
Medallion #4 – Look to your right after shooting medallion #3 and you can find a Grapple Point (furthest right Grapple Point. i.e. next to the back wall of the Courtyard). Use the Grapple Point and it should put you in front of a circular tower with a ladder. Hanging from the ceiling in the tower is a medallion.

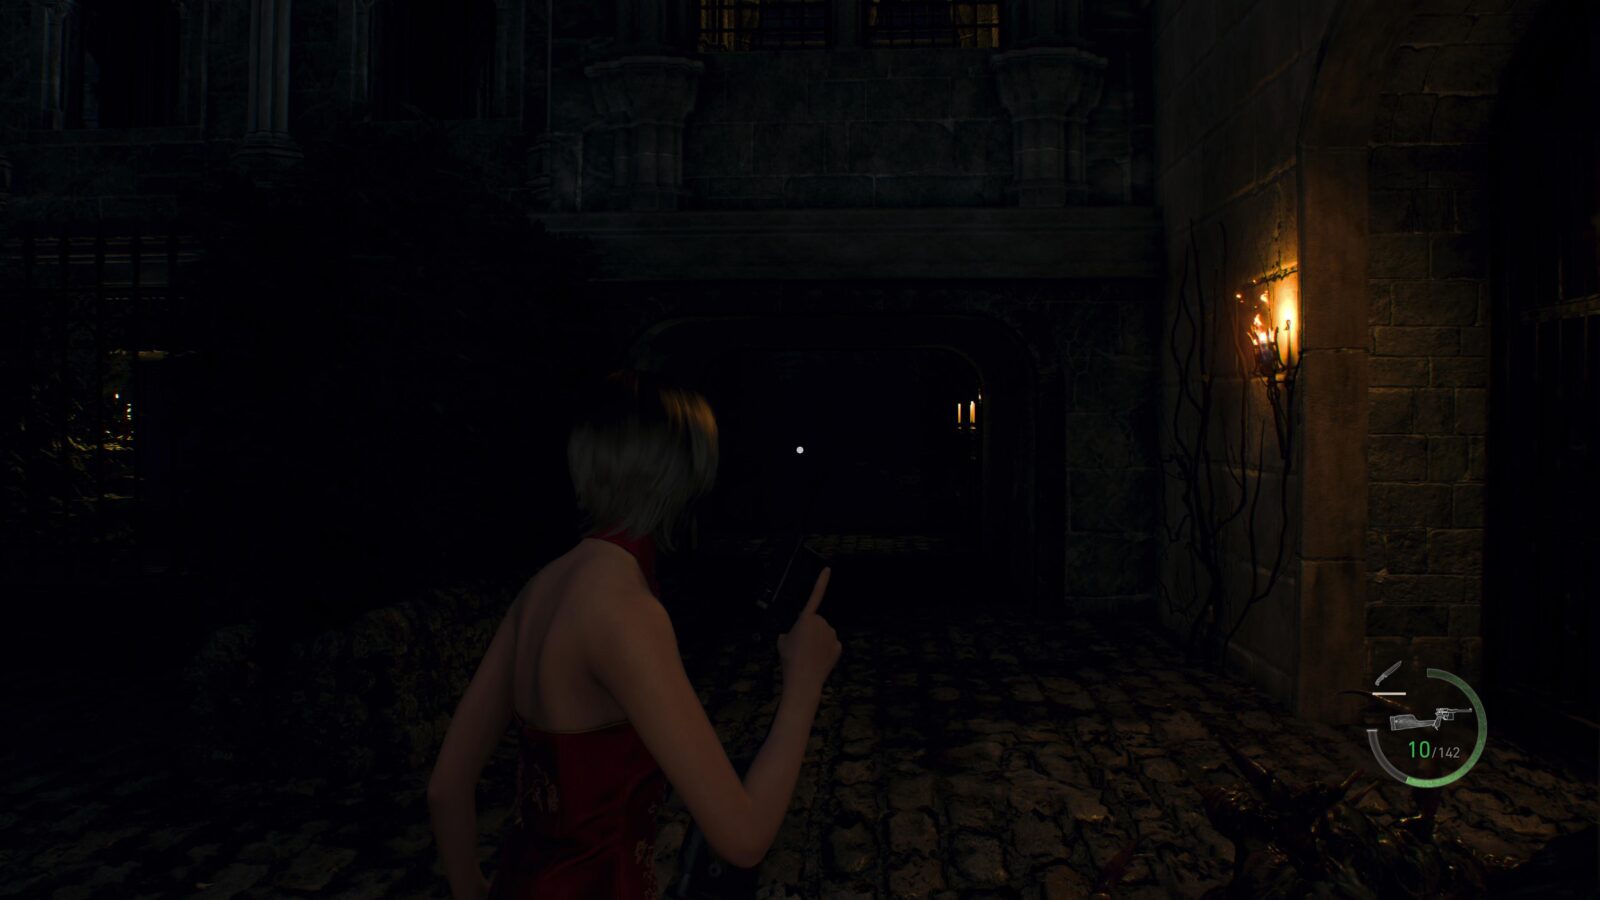
Medallion #5 – To the left of the circular tower is a path under a stone stair case. Walk under it and on the other side turn around and look up to find the last medallion.
Chapter 5
Lord of the Waterway
Area: Gregorio’s Waterway
Reward: Spinel x8
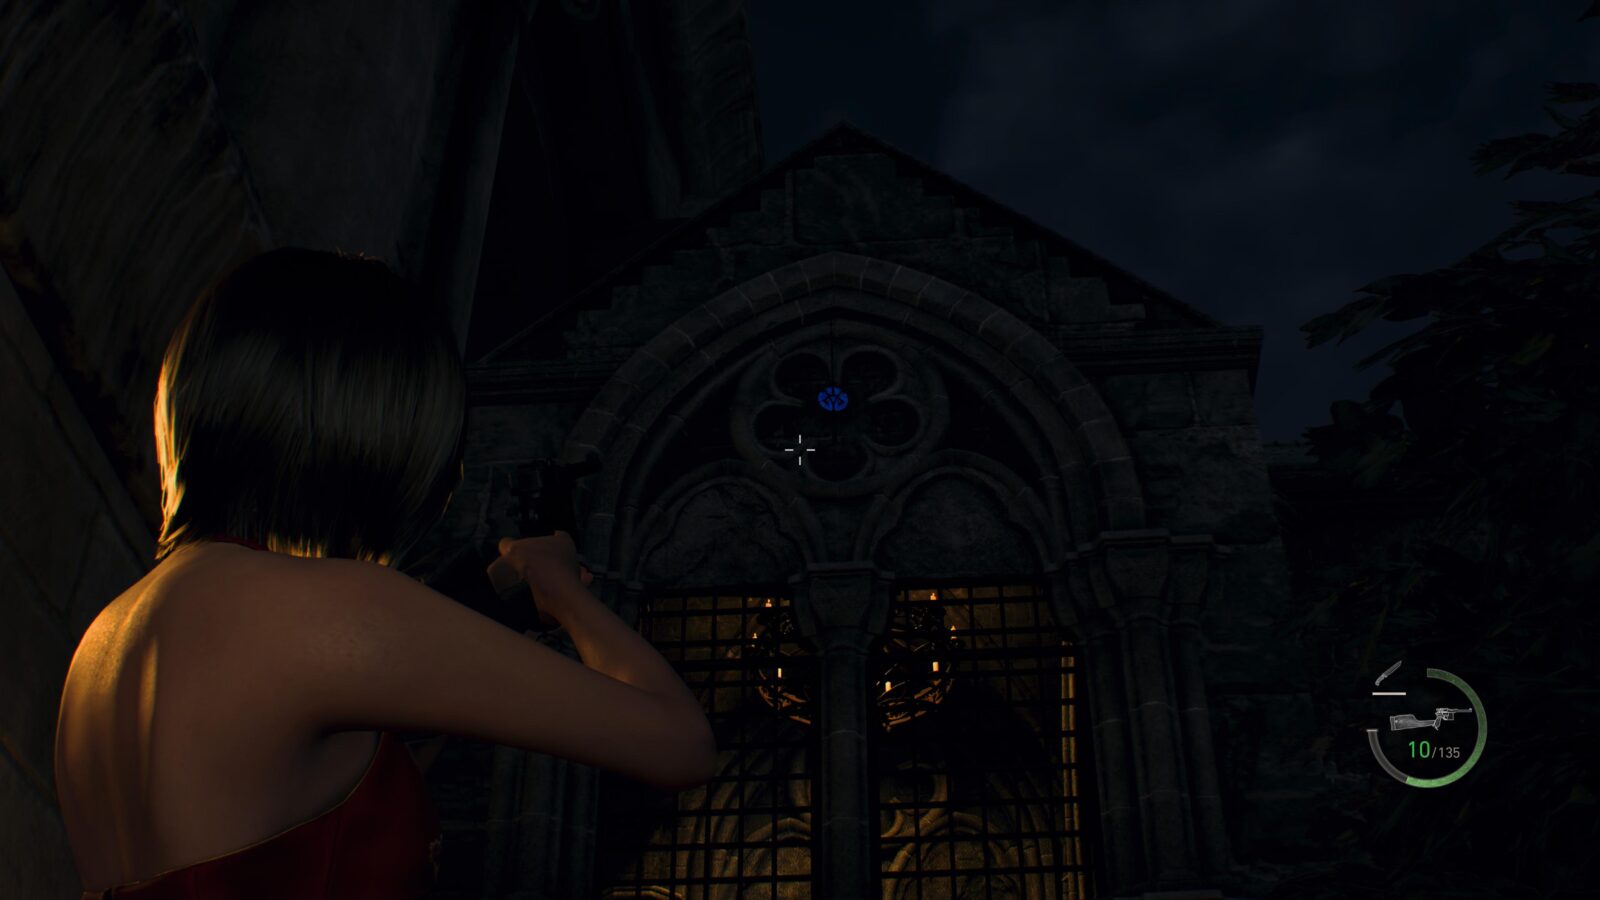
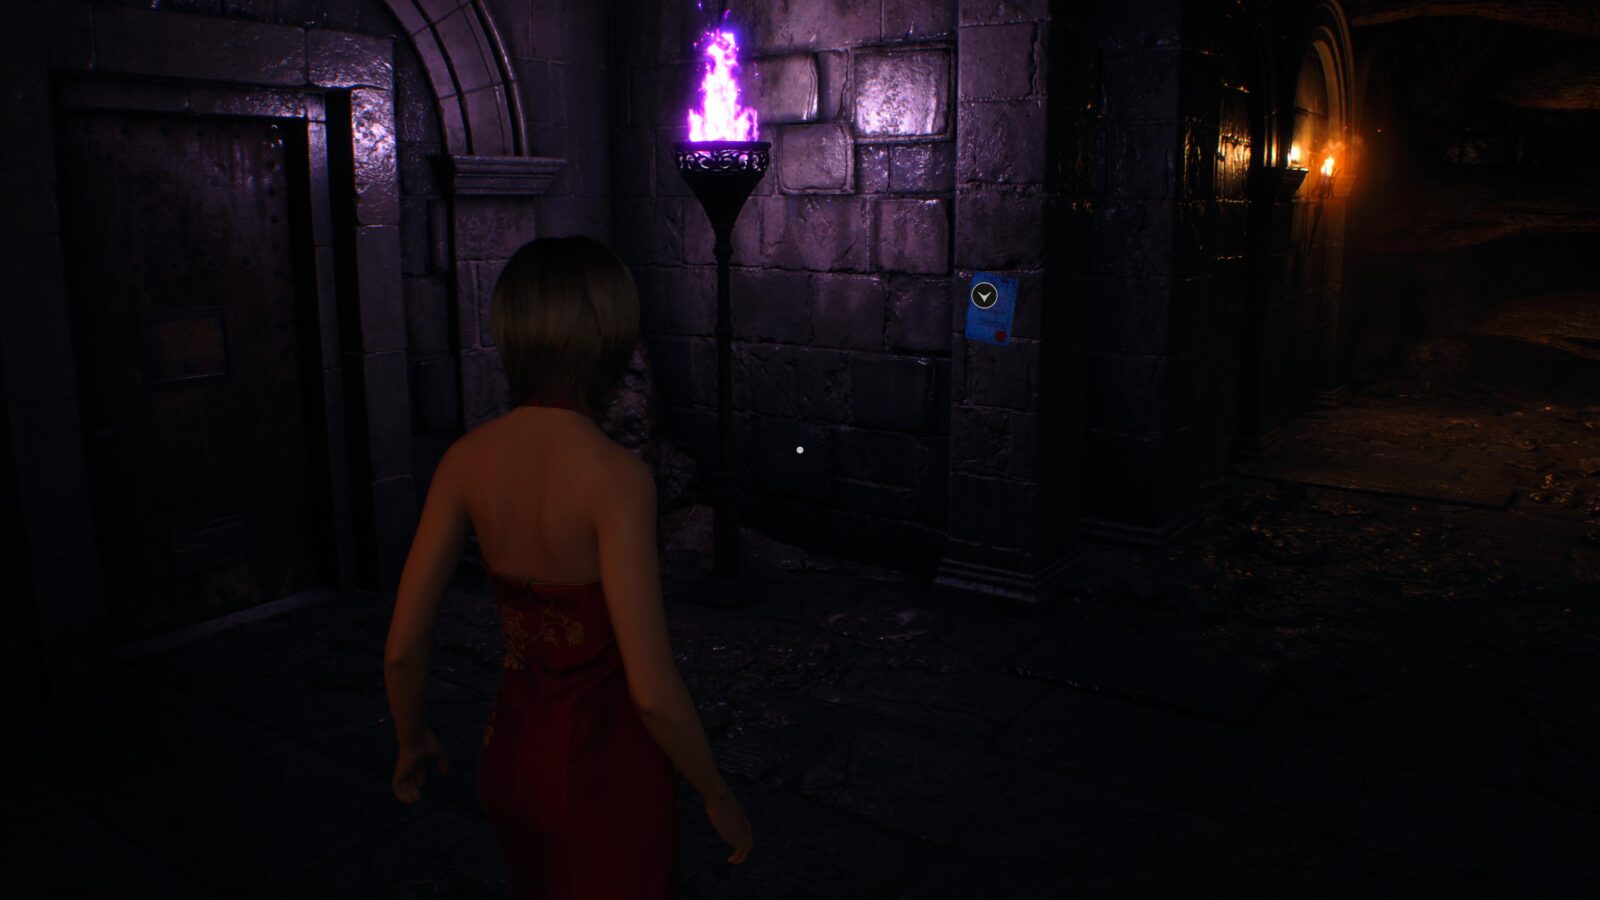
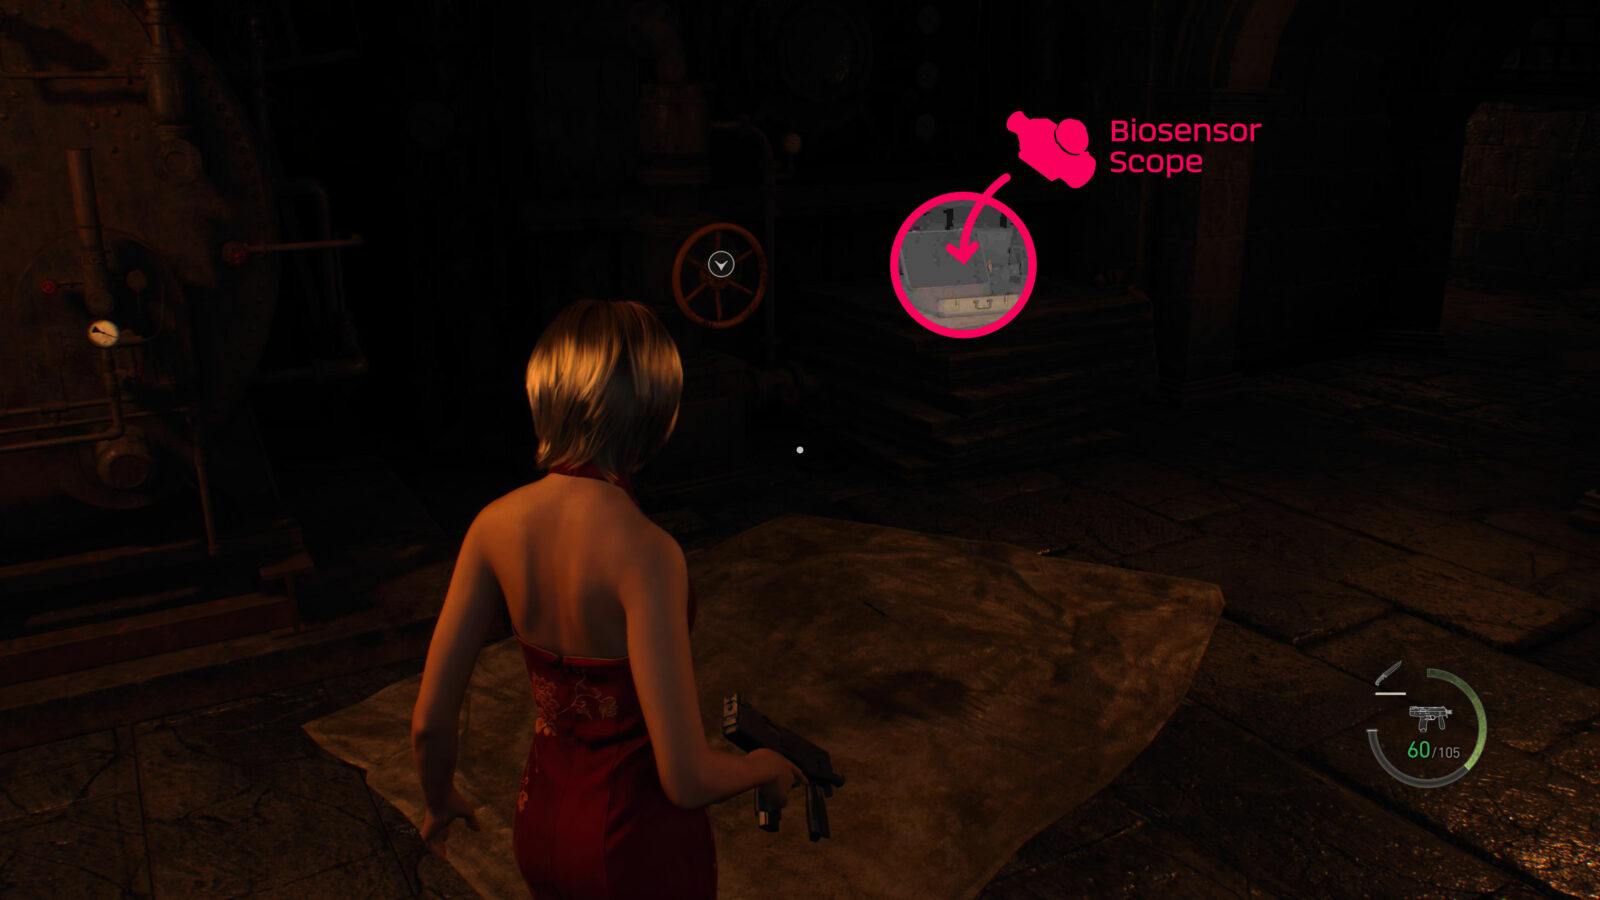
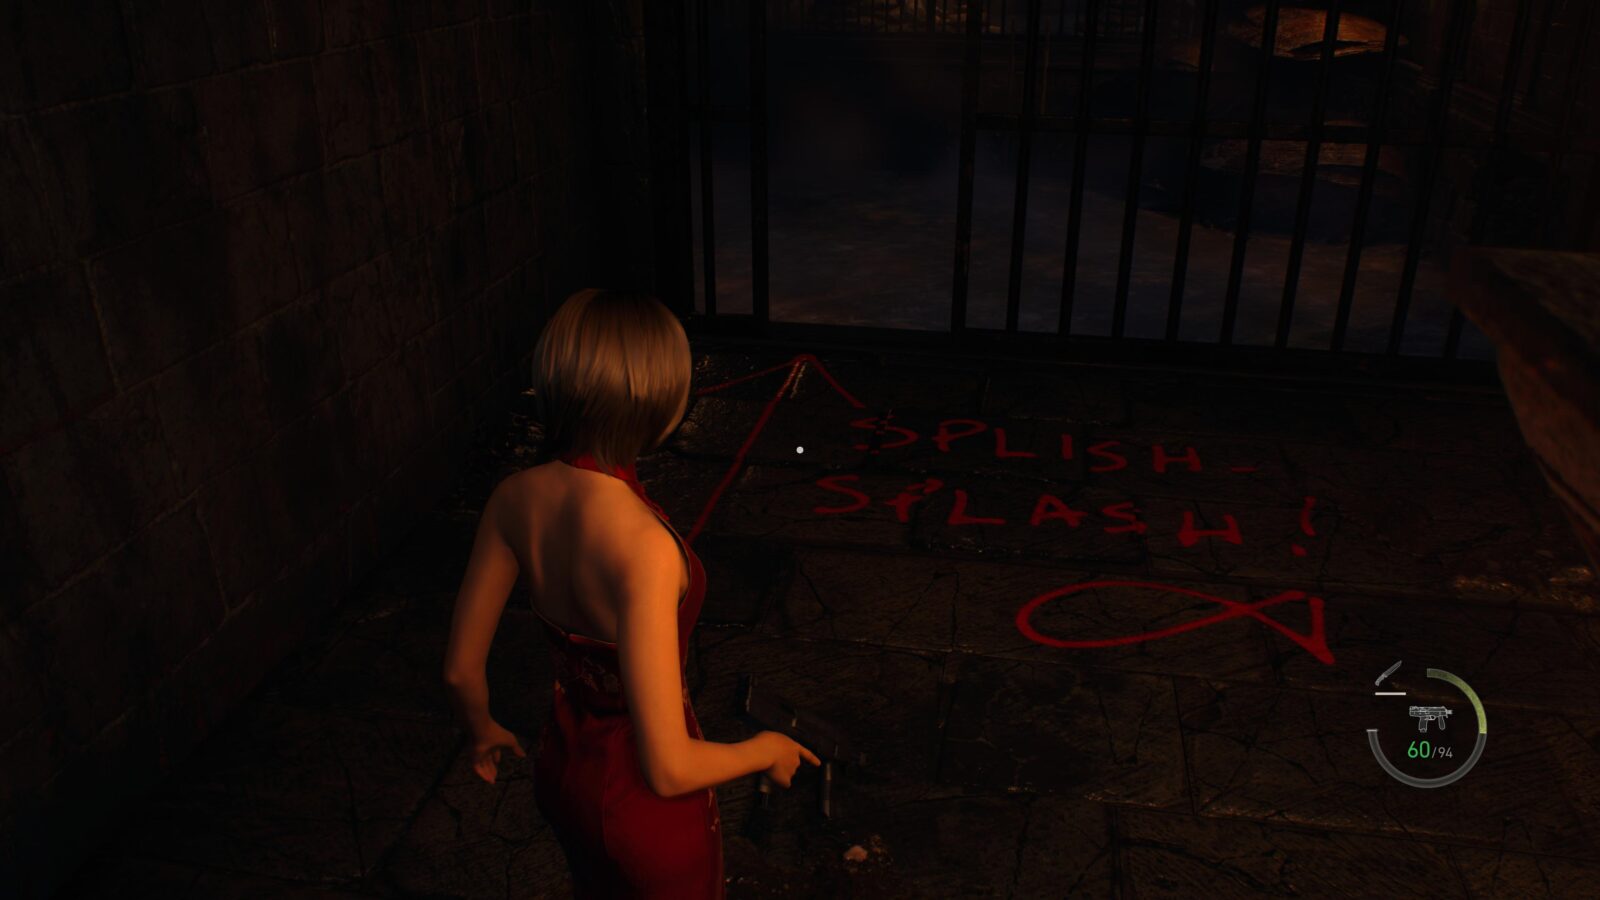
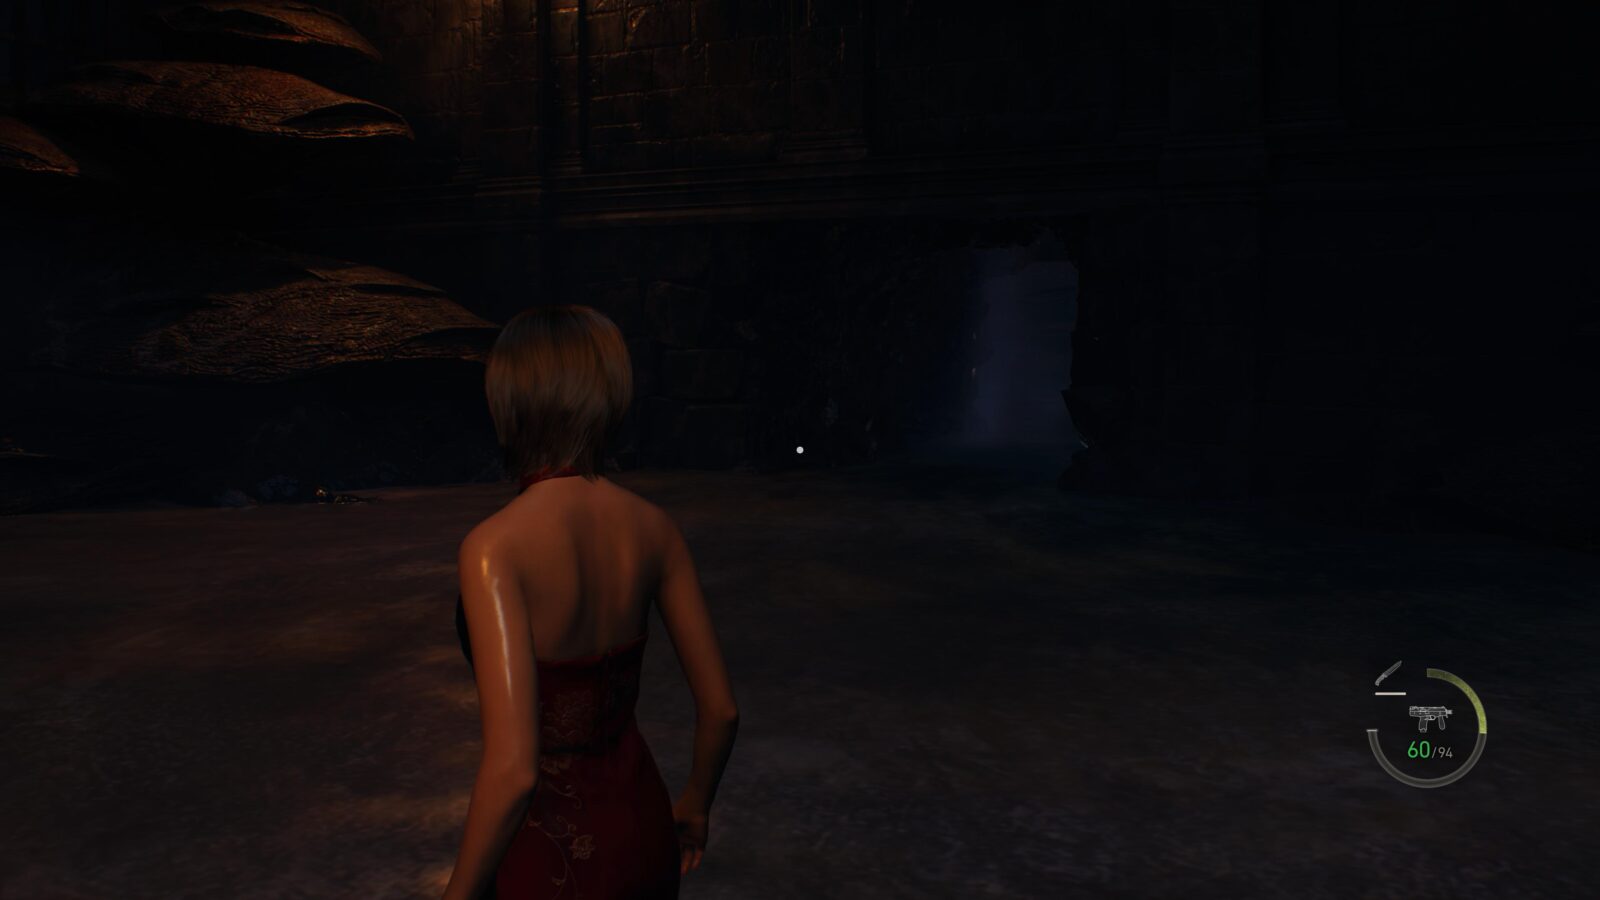
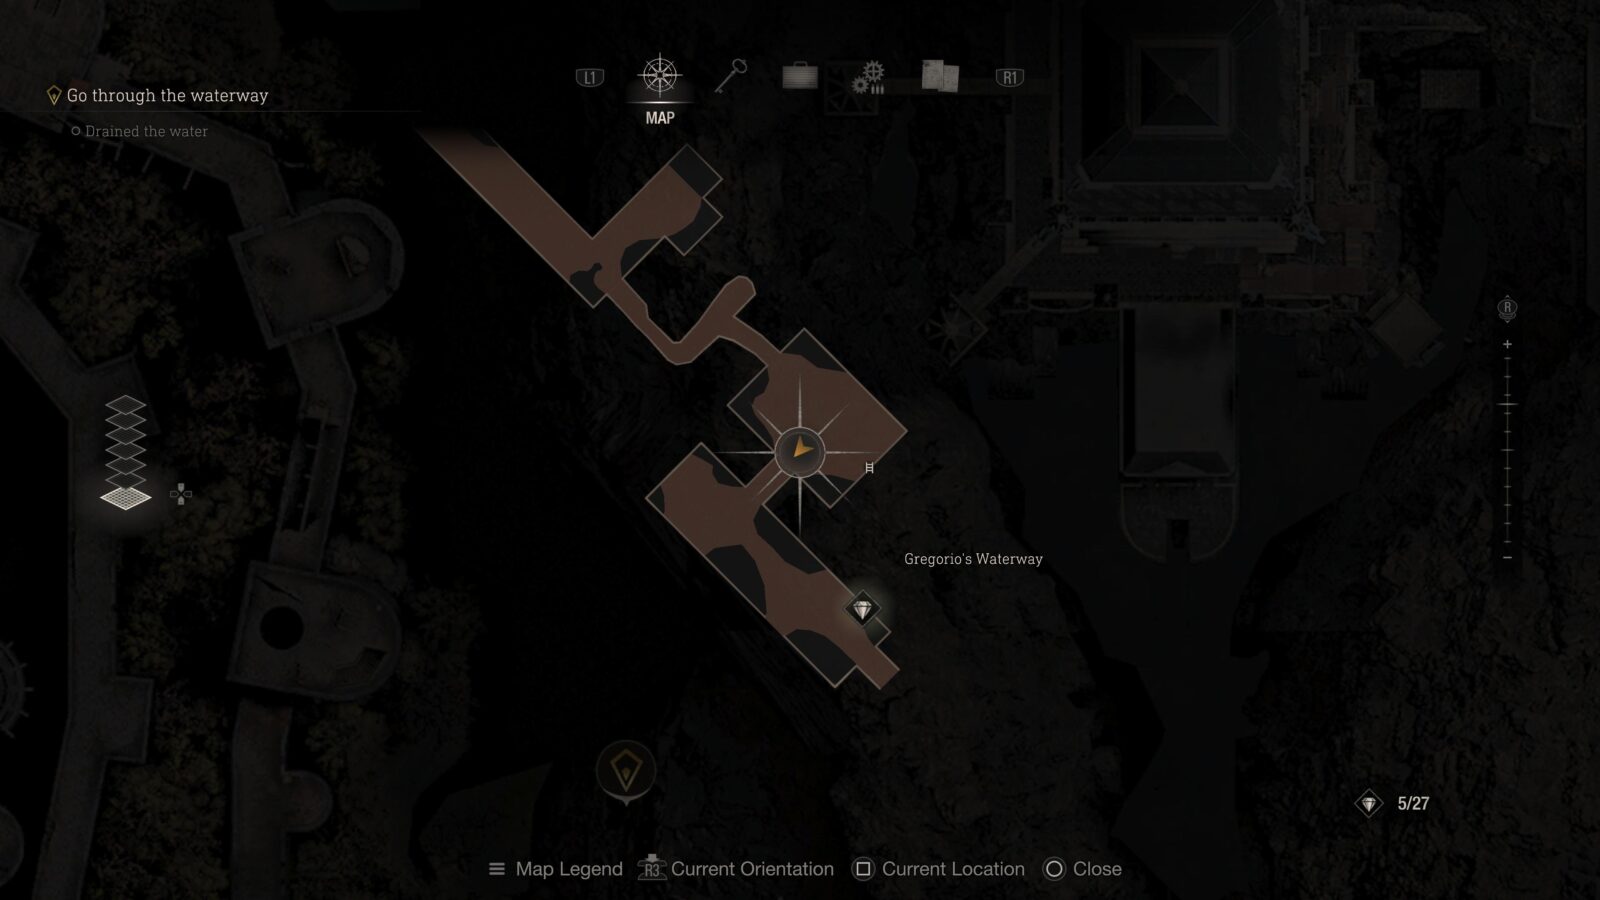
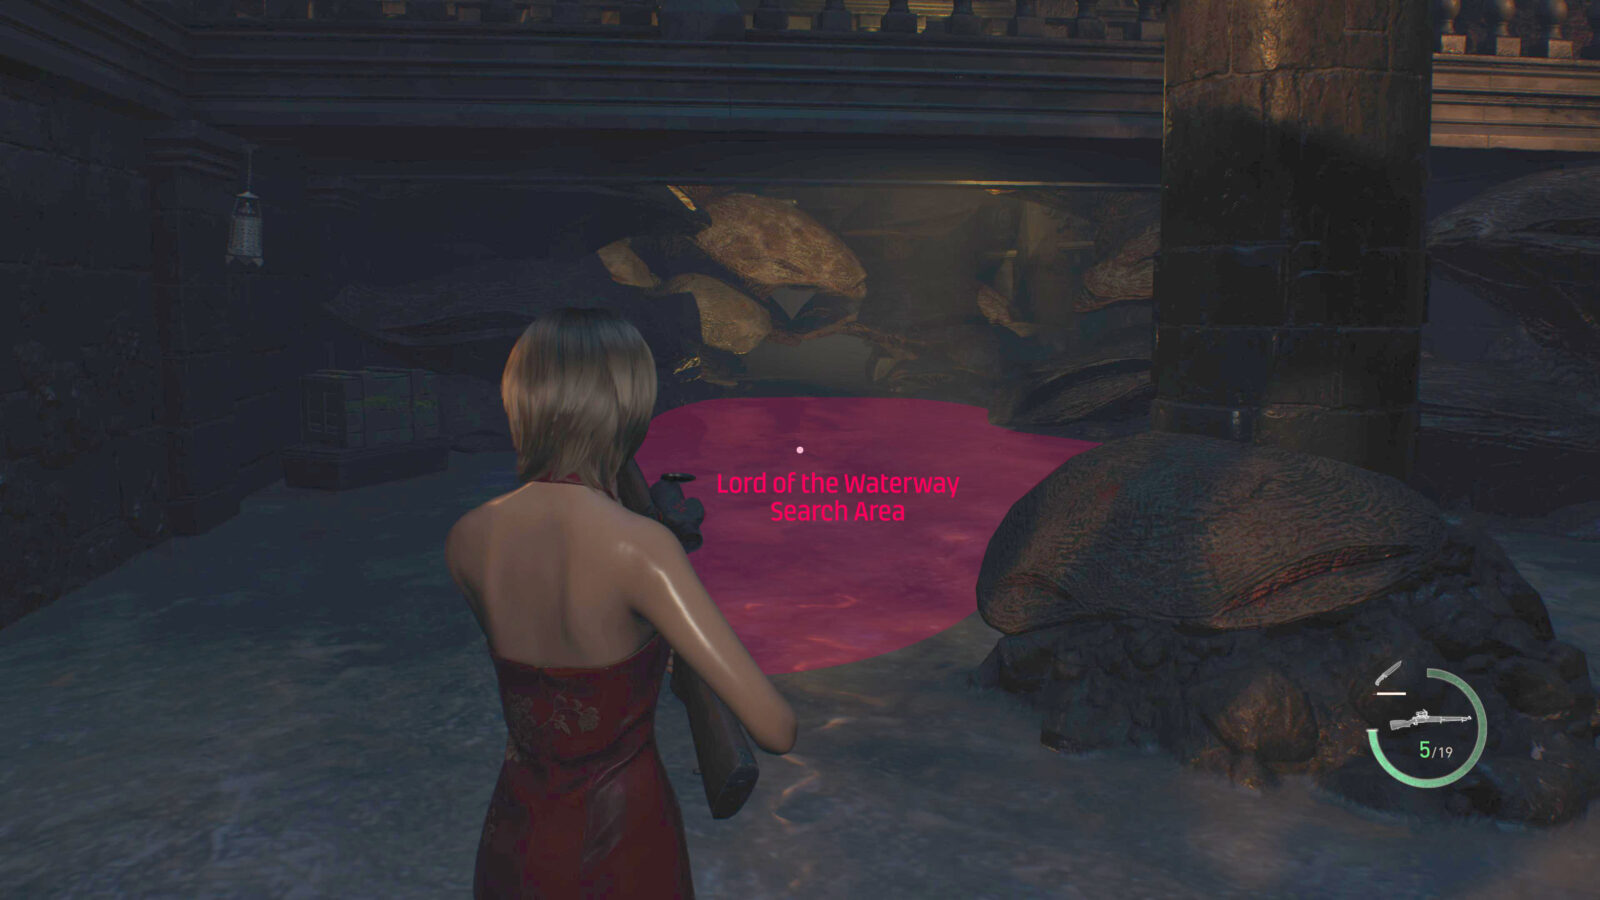
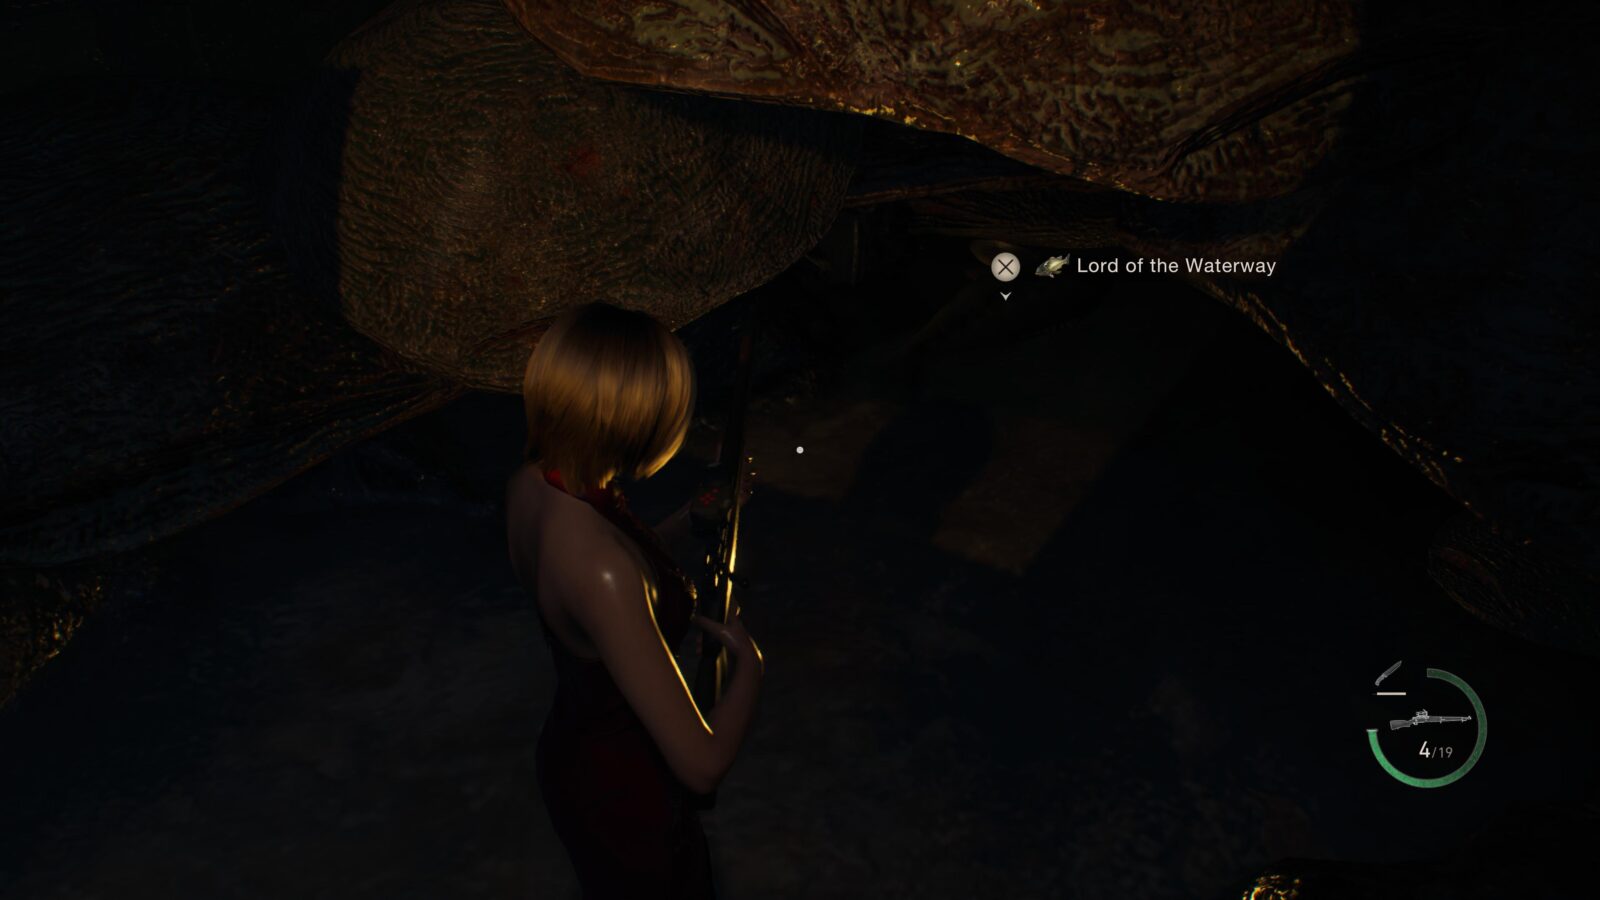
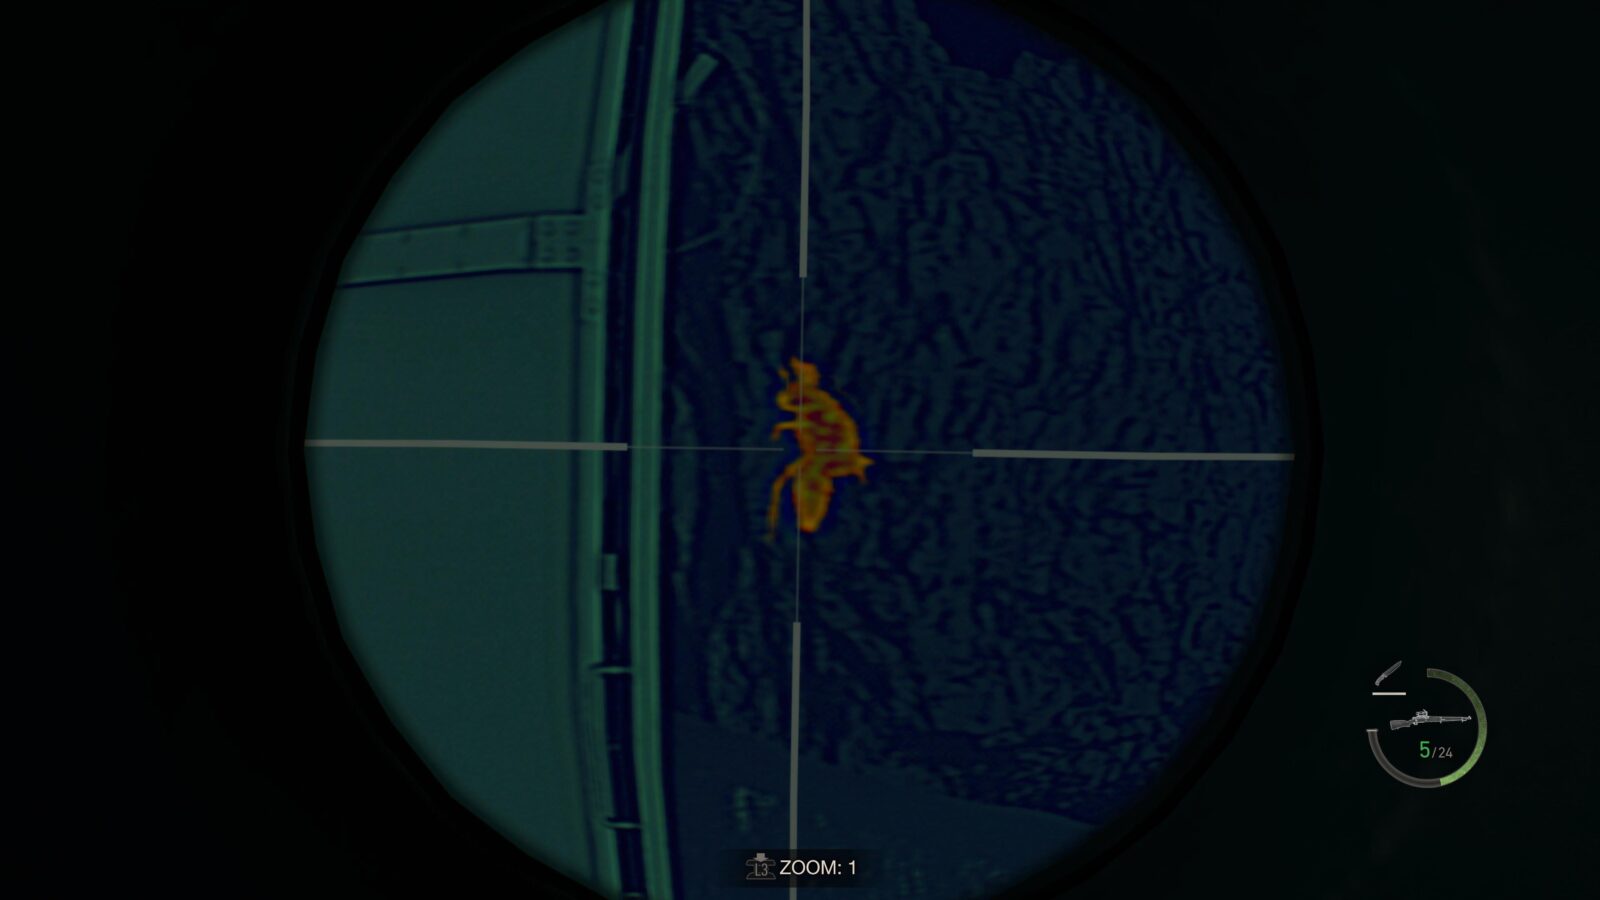
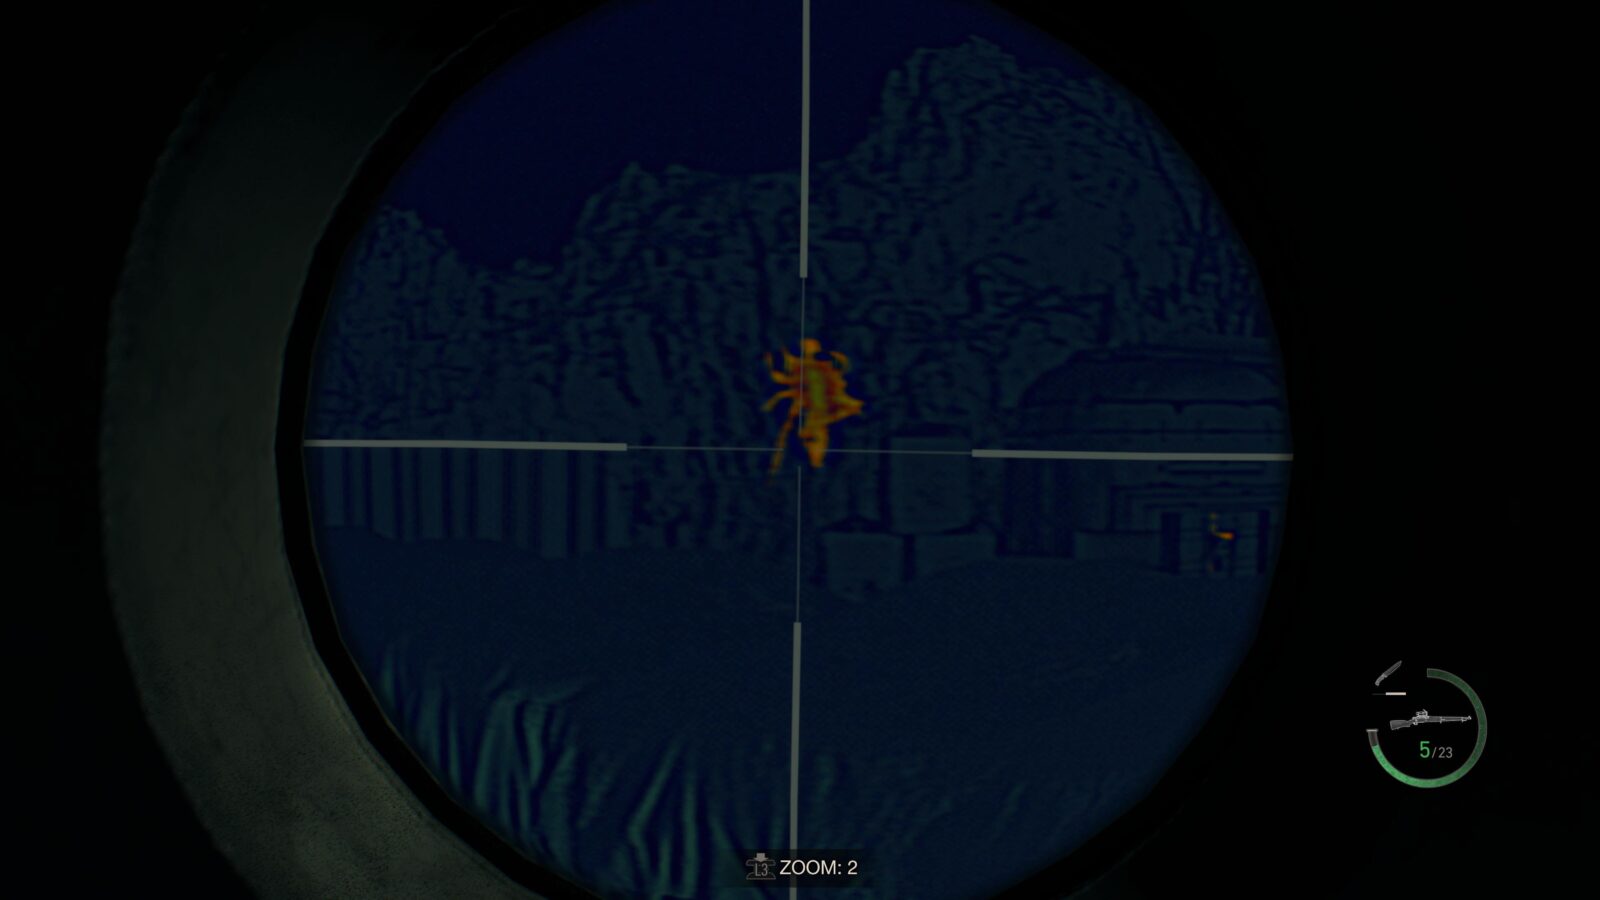
Shortly after the start of the chapter you will descend into Gregorio’s Waterway. Here you can find some Novistadors and a Merchant. On the wall outside the Merchant room is a Merchant Request page. For this request you need to find the “Lord of the Waterway” which is a large fish. For now you need to head to the valve to drain the water which is opposite the Merchant. Next to the drainage valve is a silver case with a Biosensor Scope which you can attach to your rifle, making spotting the fish rather easy. After draining the water proceed through the level until you’re back at the Splish Splash writing on the floor. With the water drained you can now jump down into the water and head through the opening to your right (you’ll be attacked by two Novistadors). Turn left and you will see a stone pillar in the middle of the path. Just beyond this pillar is the fish. For me it was swimming underneath the coral you need to crouch under to proceed. If you have the Biosensor Scope you can use it to spot the fish in the water without much effort.

Bug Buster
Area: Path of Penitence and Nearby Area
Reward: Spinel x8
After the U3 Boss Fight you will come across the Merchant once more. On a table to his left (our right) is another Merchant Request. This time we have to find and kill three Novistadors that are camouflaged and hiding in the surrounding areas. If you have the Biosensor Scope you can use it to spot these hidden Novistadors easily.

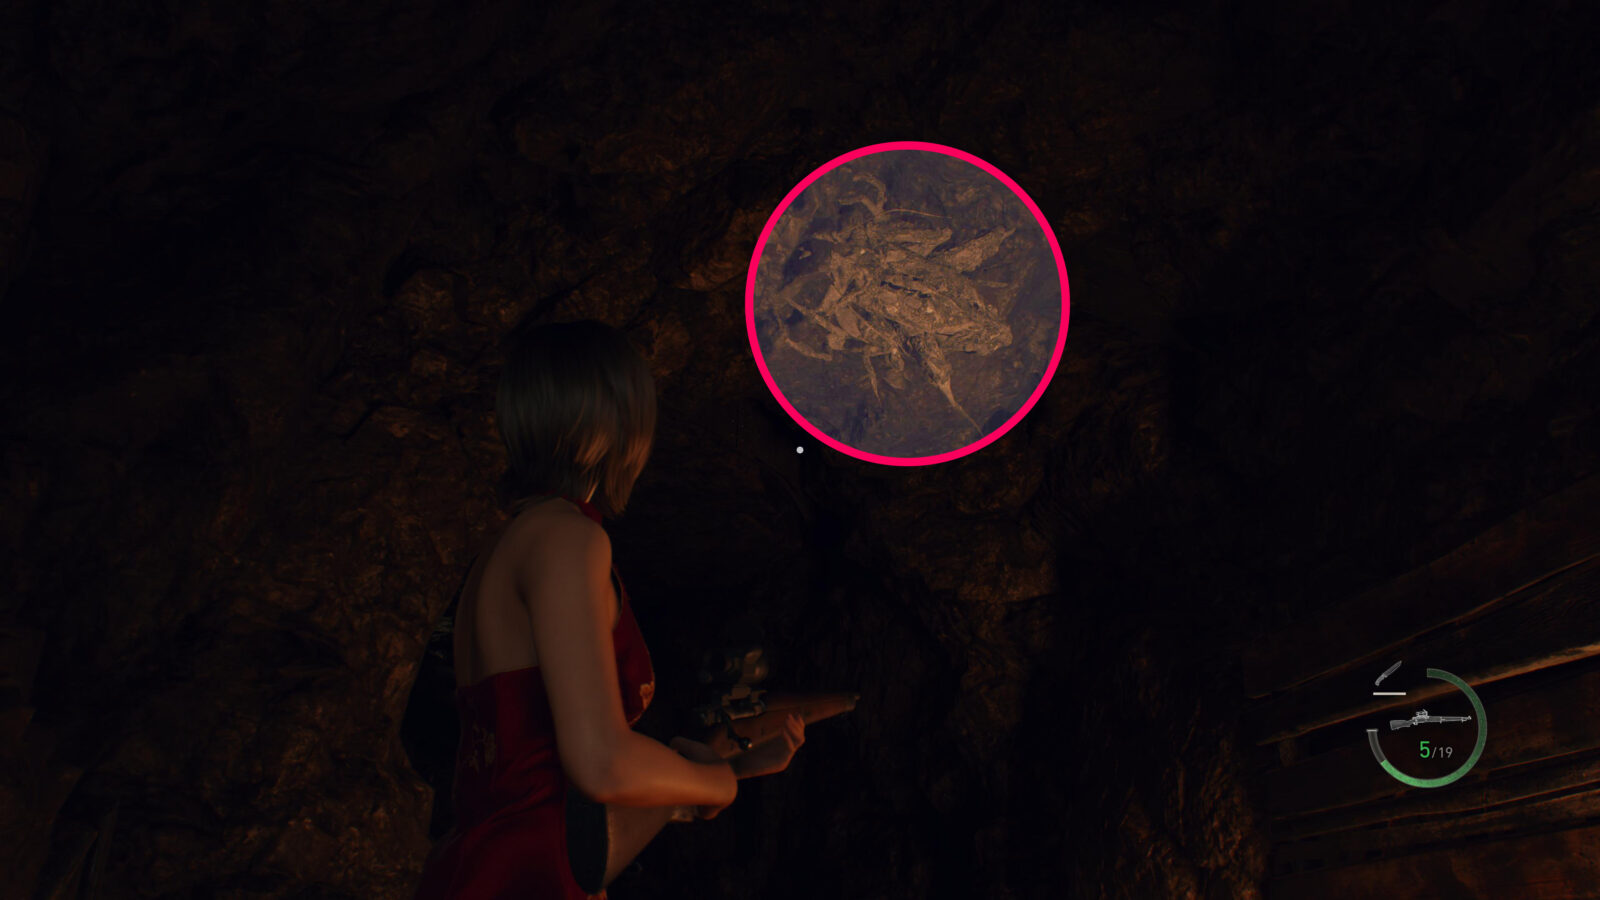
Novistador #1 – The first Novistador is close by. Progress through the tunnels a bit until you reach a yellow lever that activates a boulder raising mechanism. Pass through the first boulder and immediately look up at the tunnel roof to find a camouflaged Novistador.
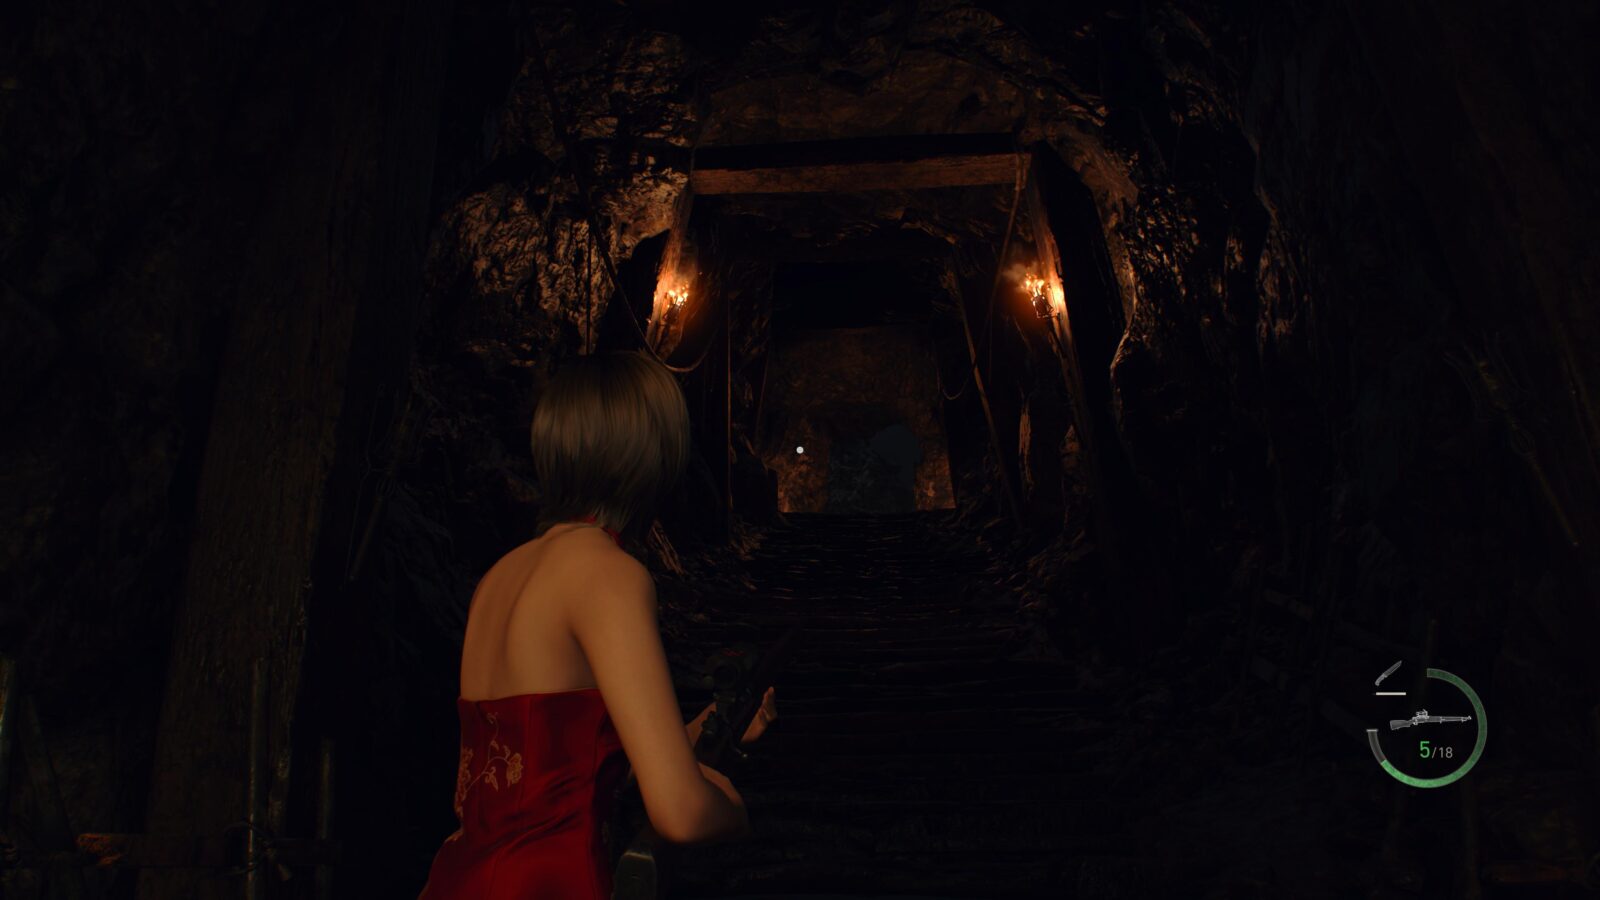
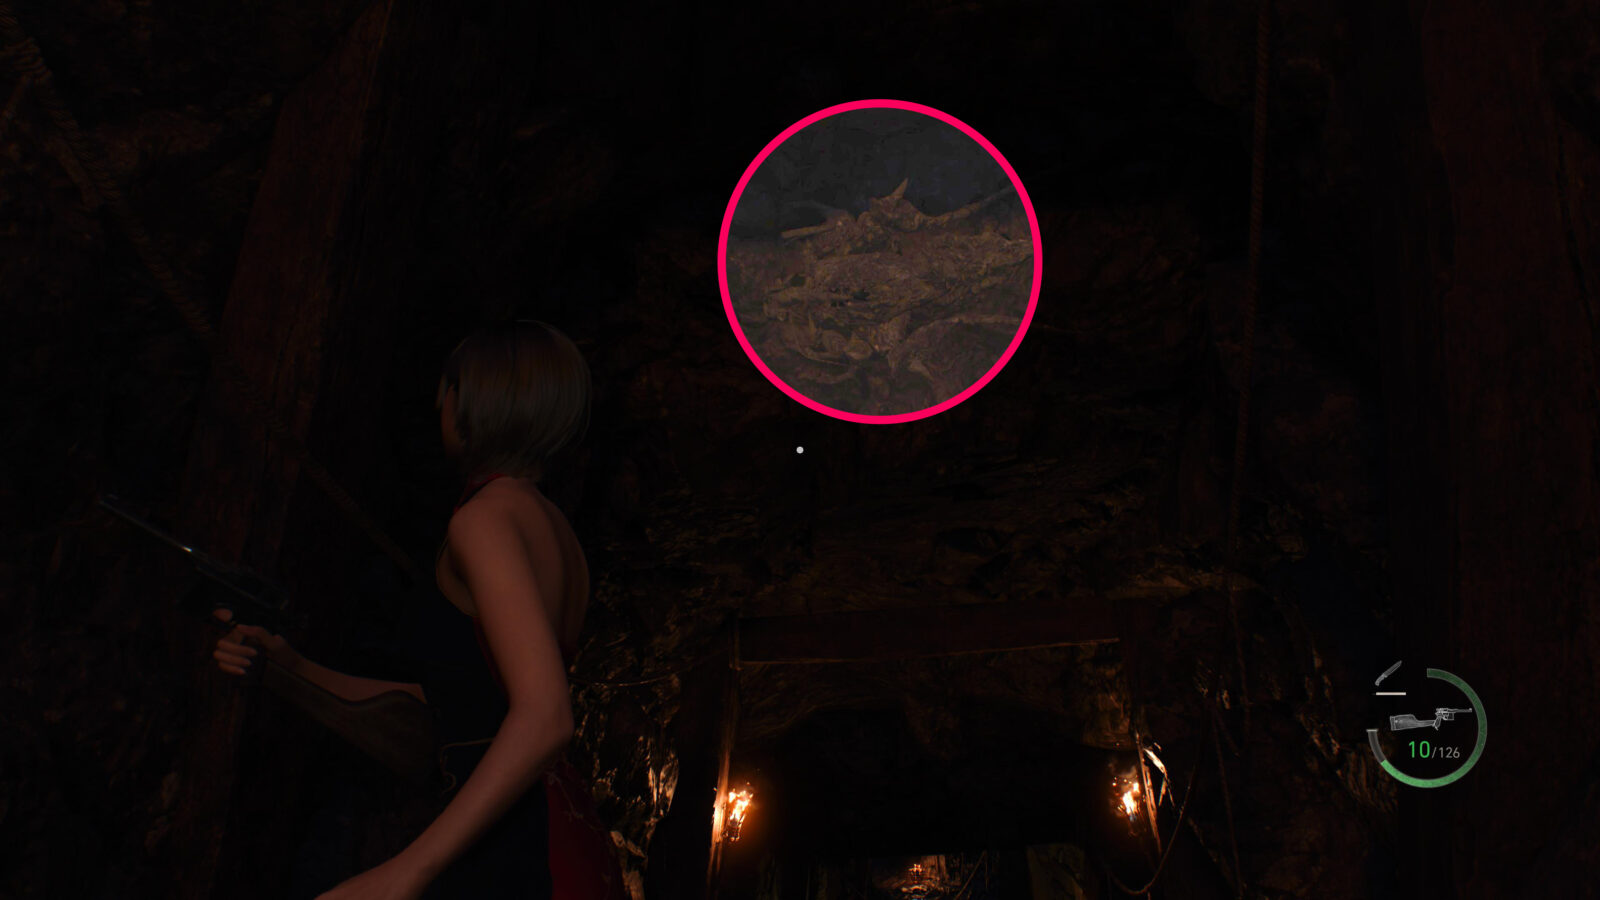
Novistador #2 – Make it passed the next two boulders and you will reach some stone steps leading outside. Halfway up these steps, turn around and look at the ceiling to find another hidden Novistador.
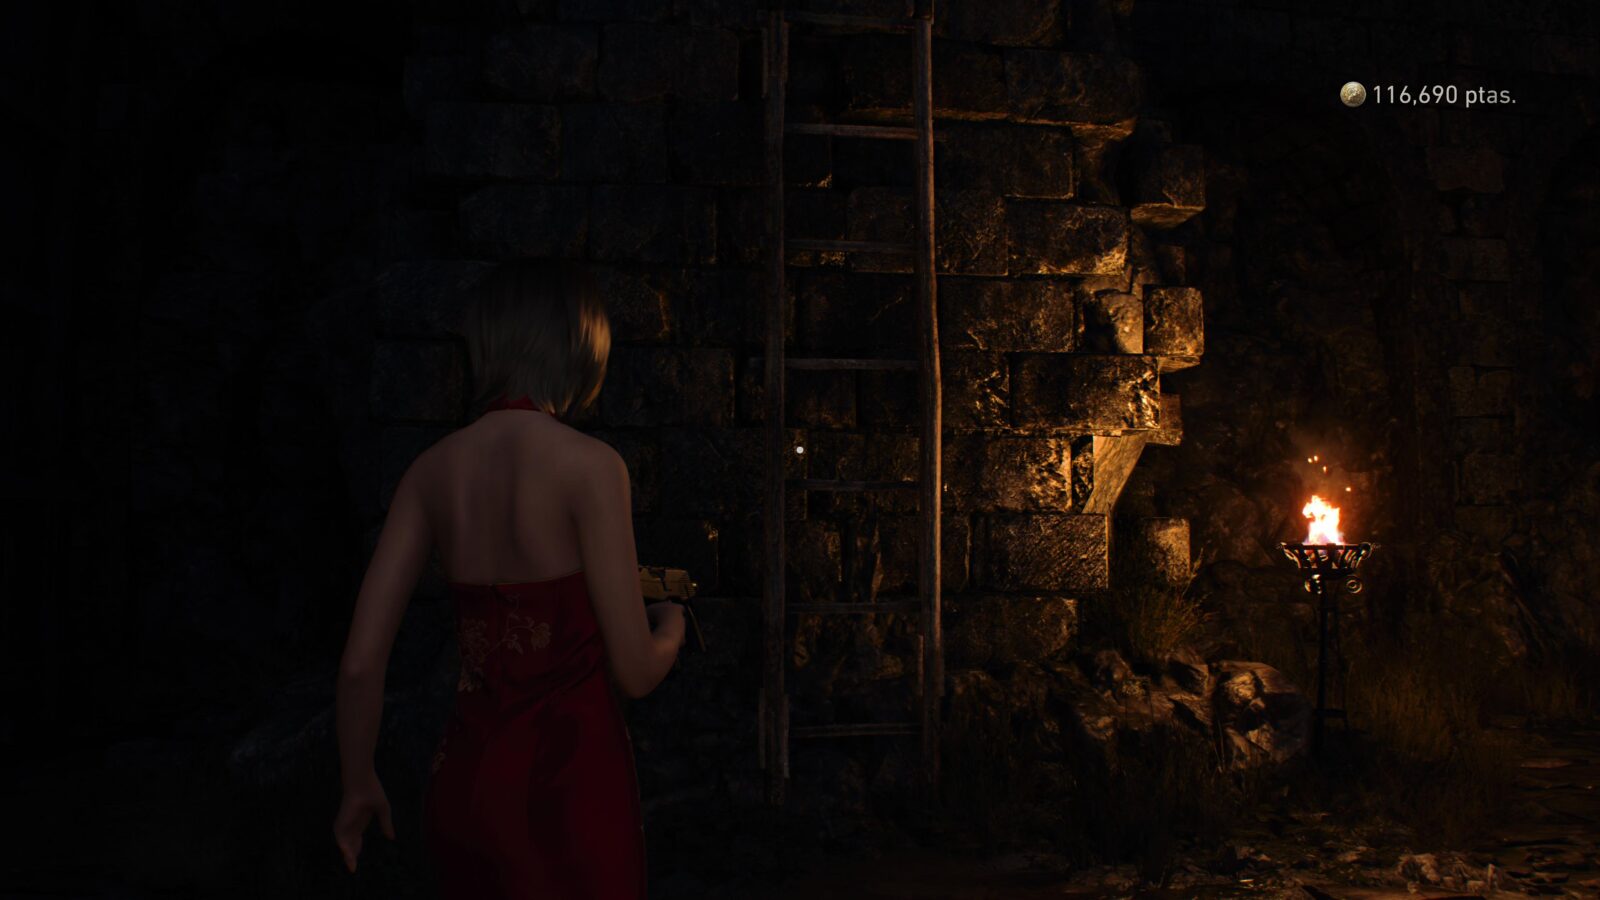
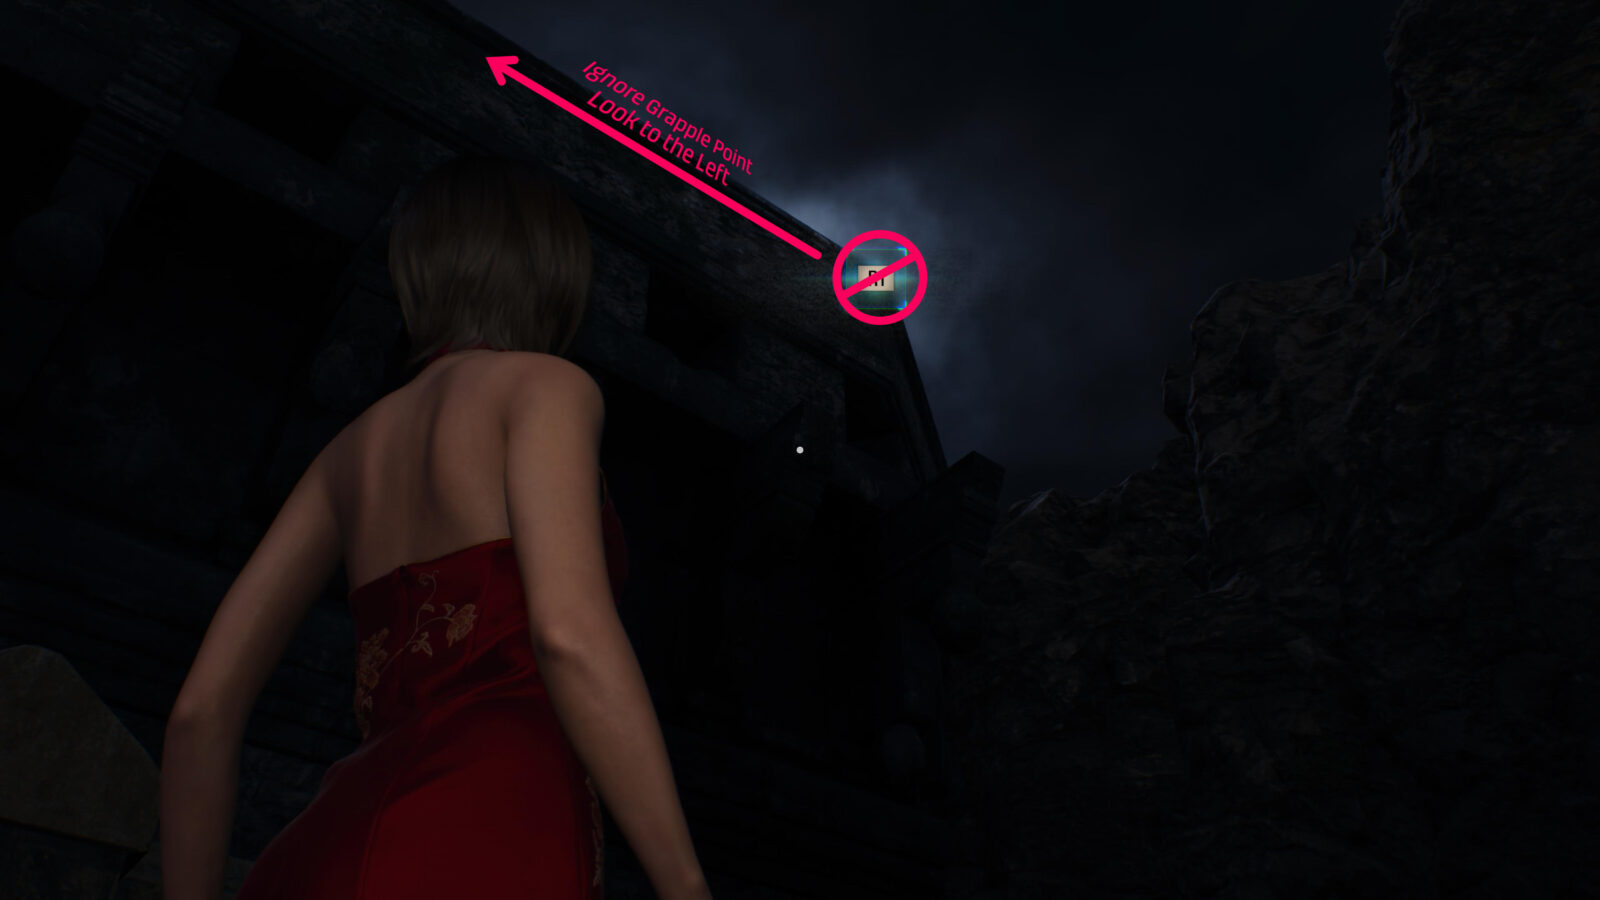
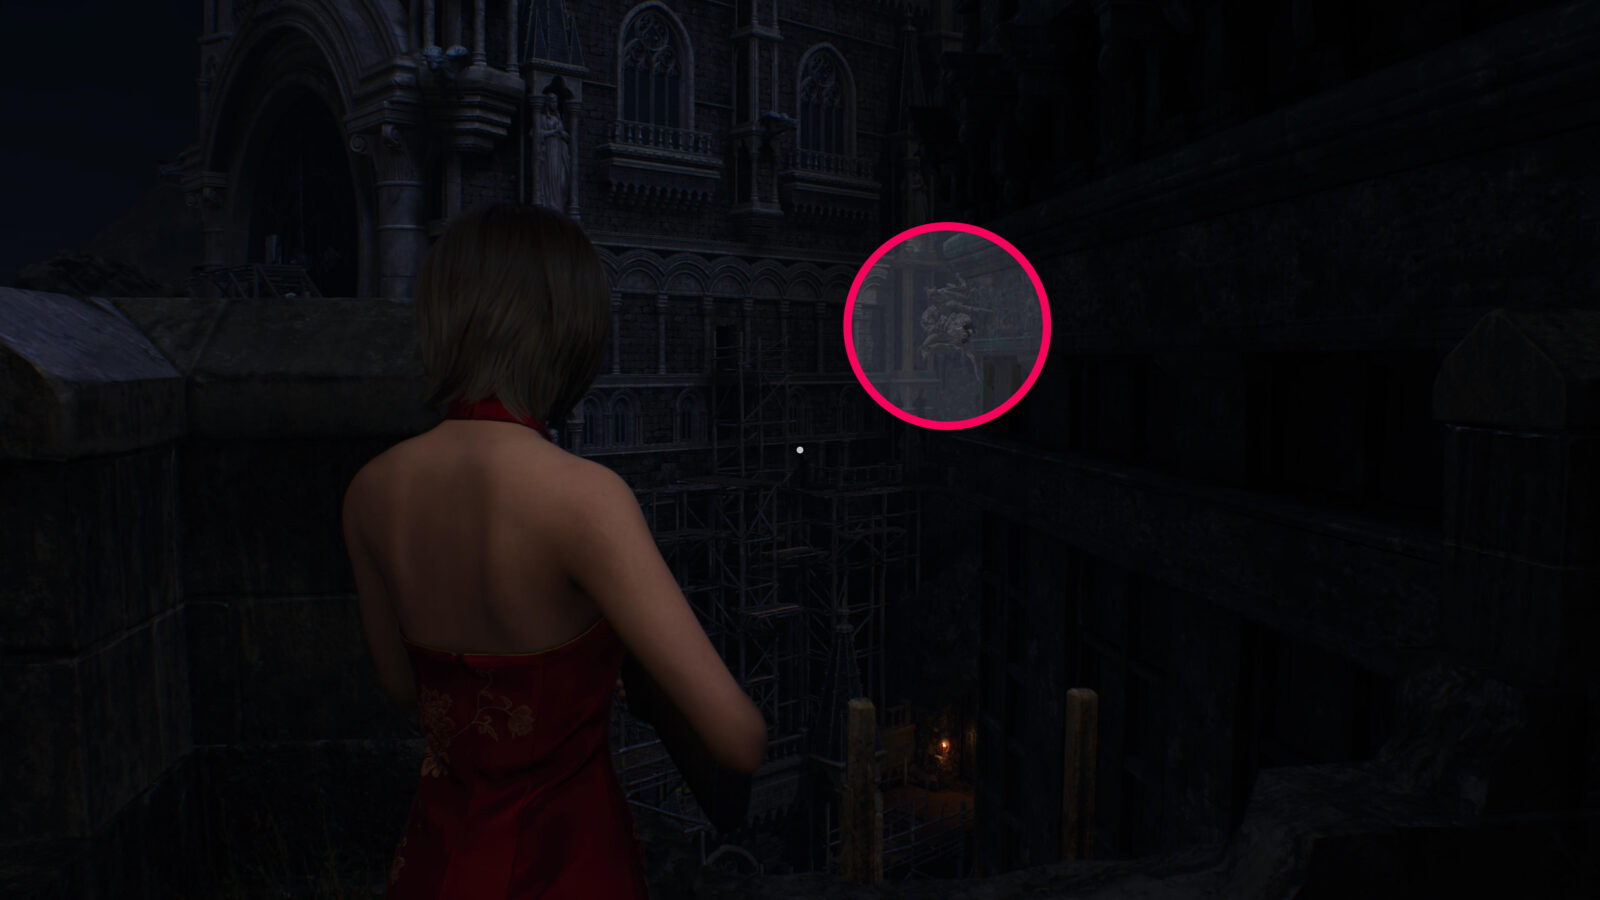
Novistador #3 – The last Novistador isn’t too far from the previous one. Keep going until you climb a ladder where at the top you are forced to look at a Grapple Point. Ignore it for a quick second and instead look at the building wall to your left to find a Novistador hiding by the edge.
Chapter 6
Beautiful Beetles
Area: Inside Facility 1
Reward: Spinel x10
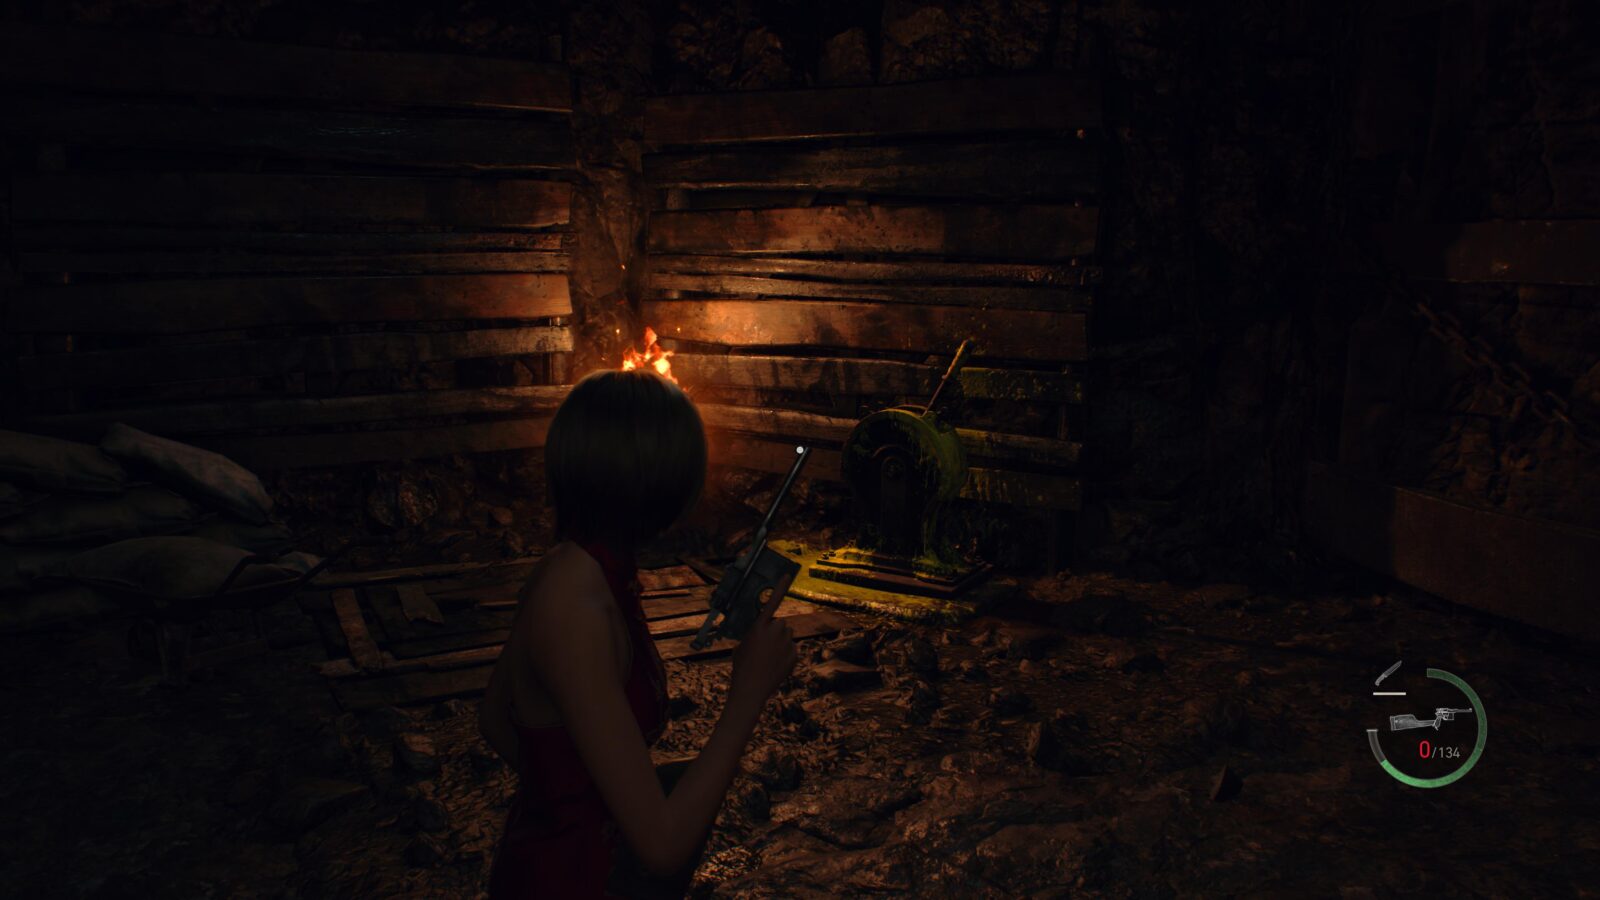
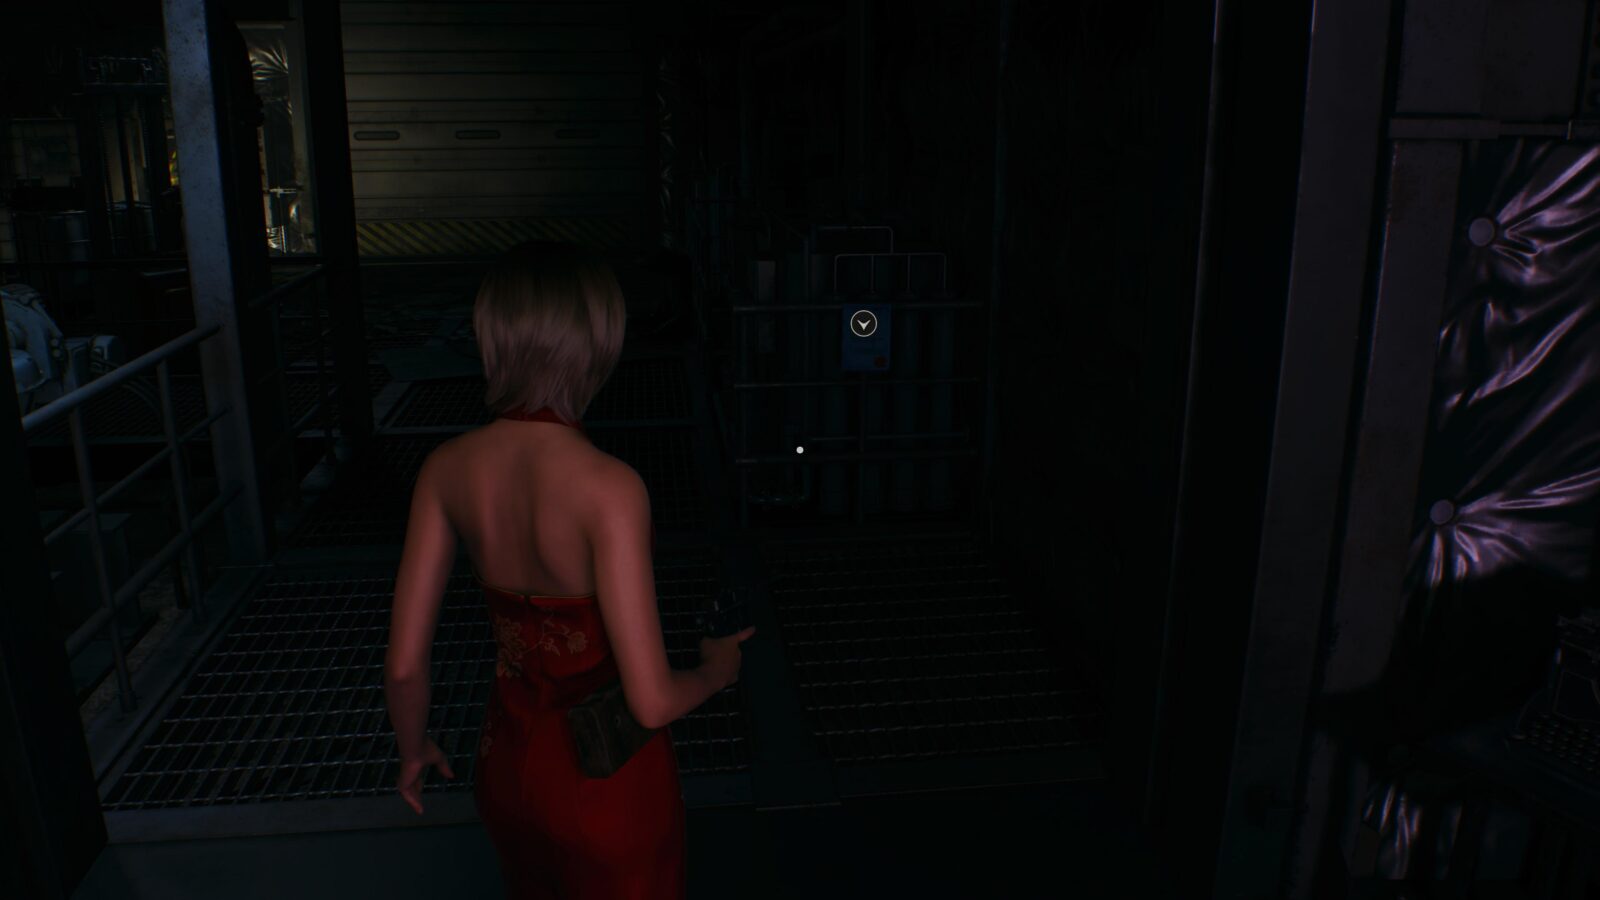
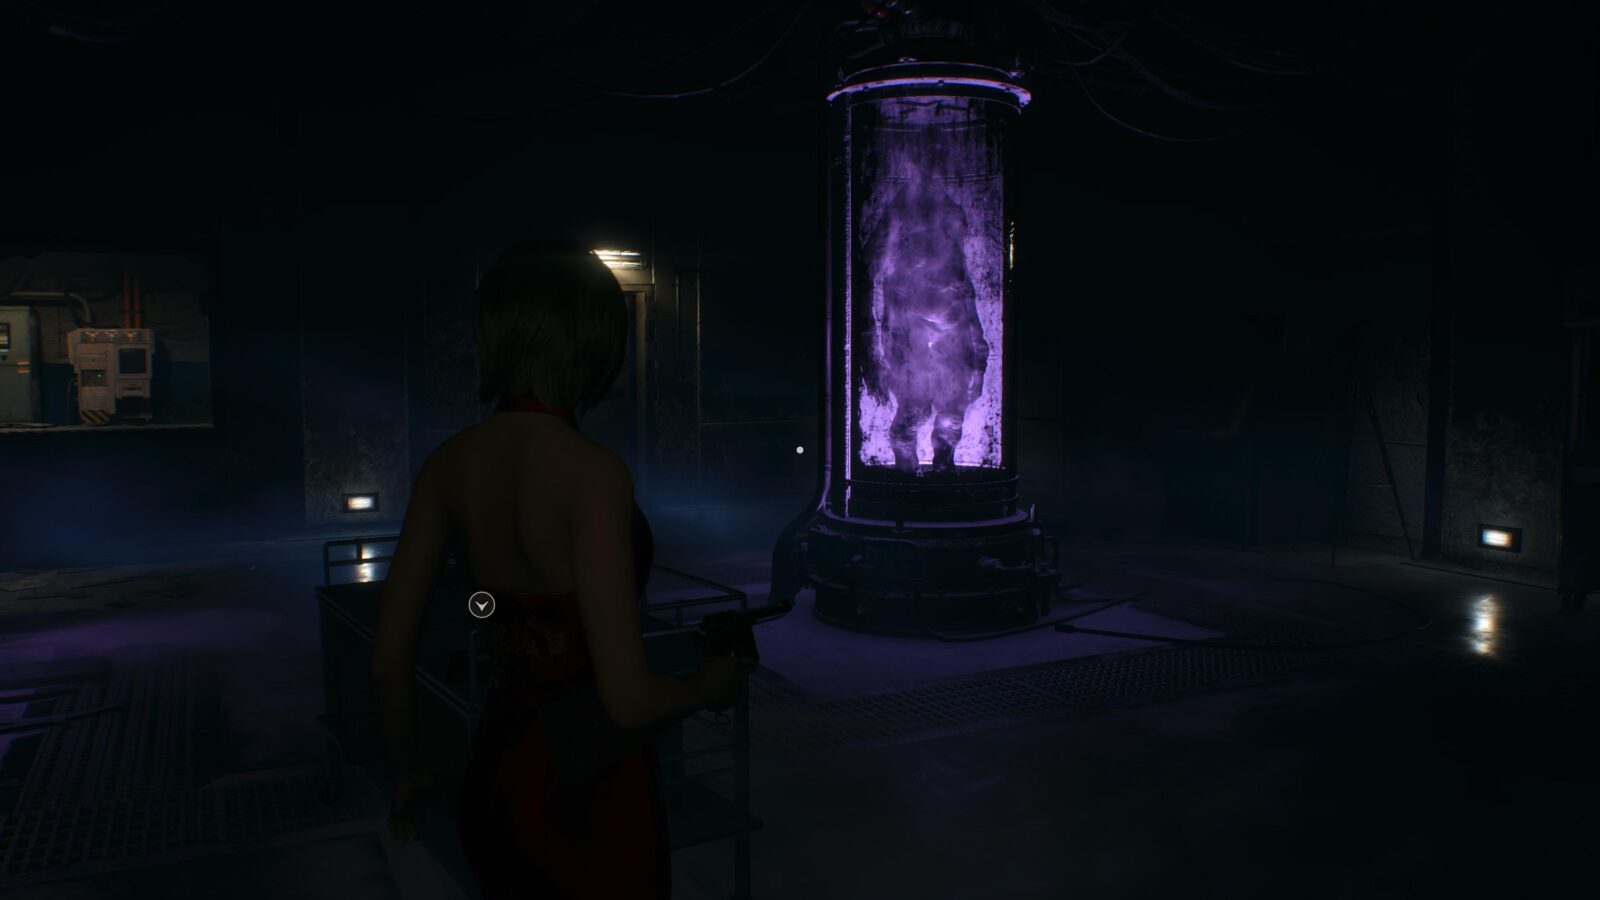
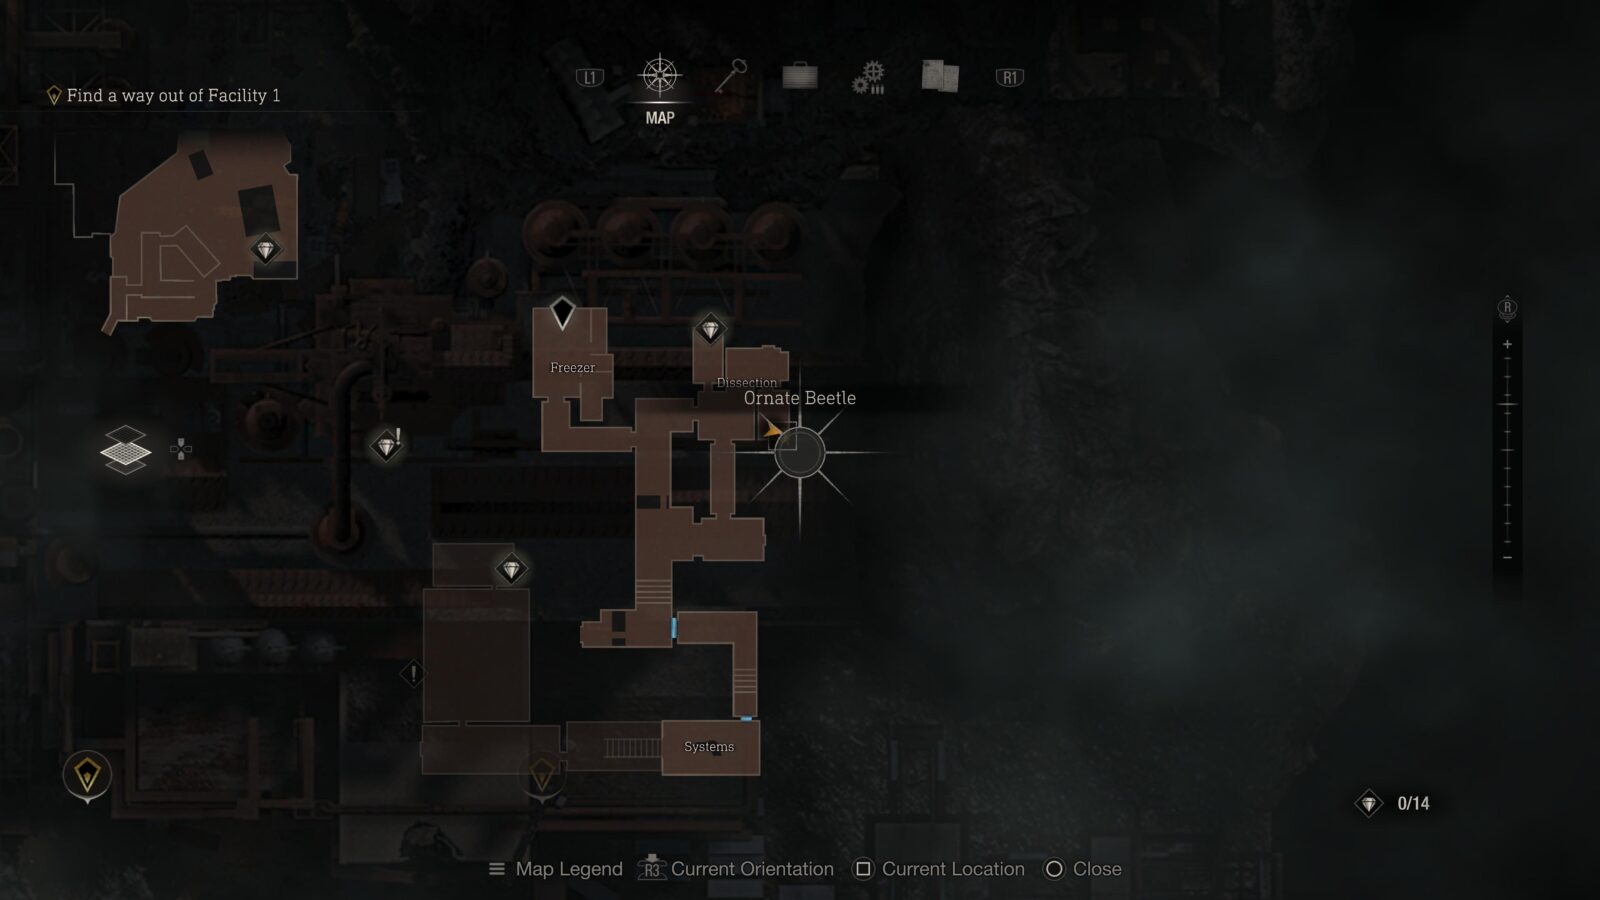
After entering the Facility a little bit into a Chapter 6 you will come across the Merchant for the second time. To the left of the Merchant will be a Merchant Request page posted on the side of some machinery. This request will mention two Ornate Beatle treasures which can be found in the Facility area.
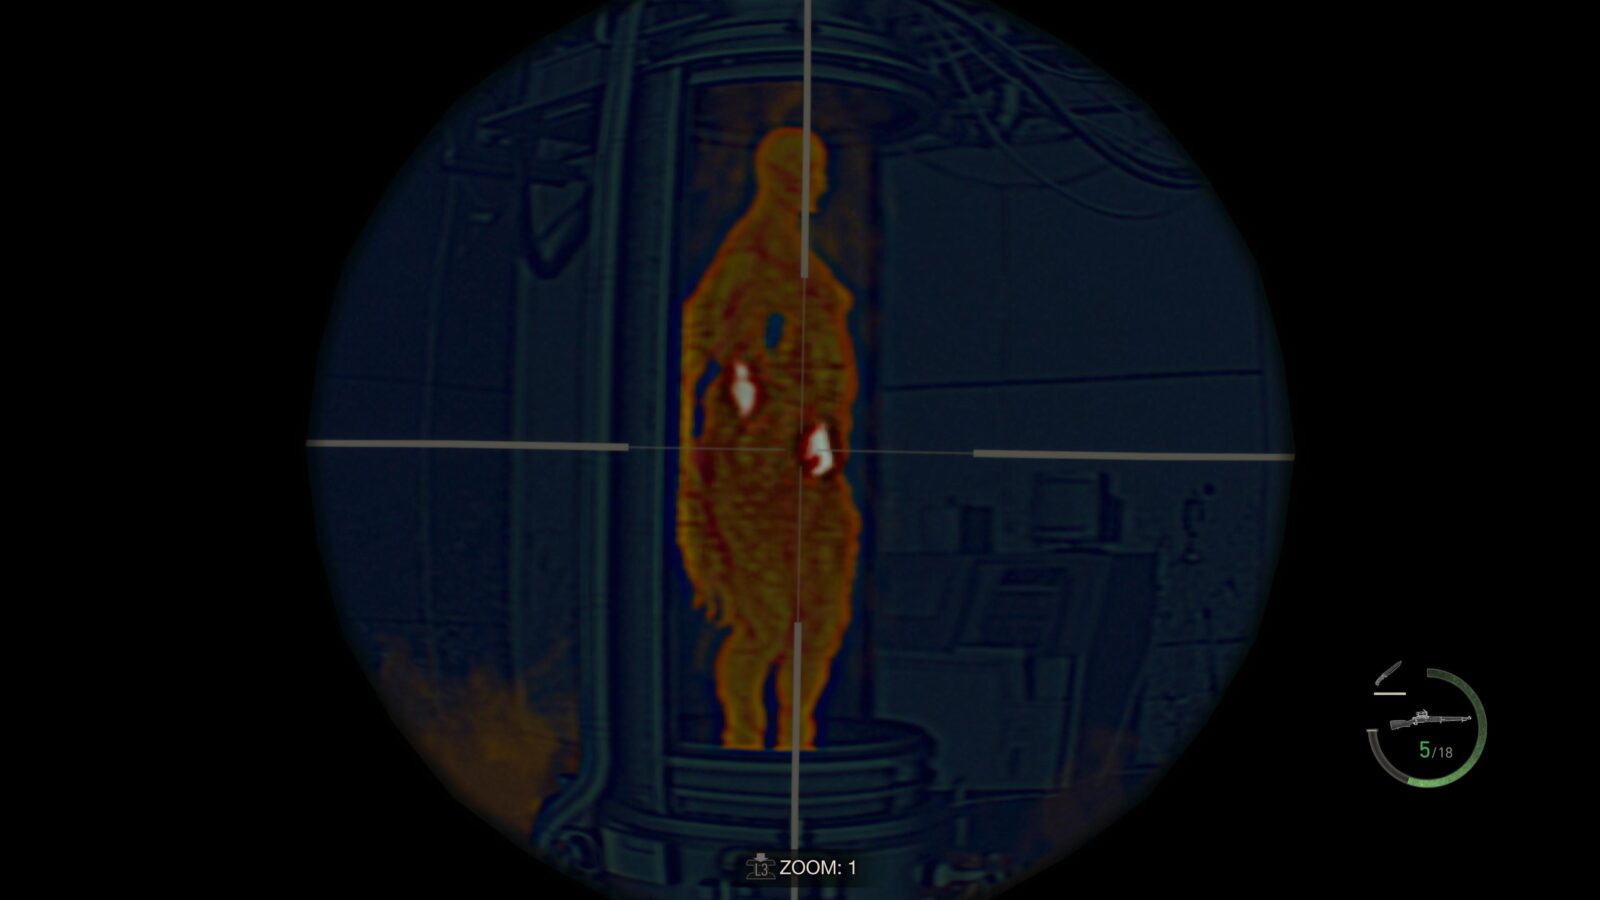
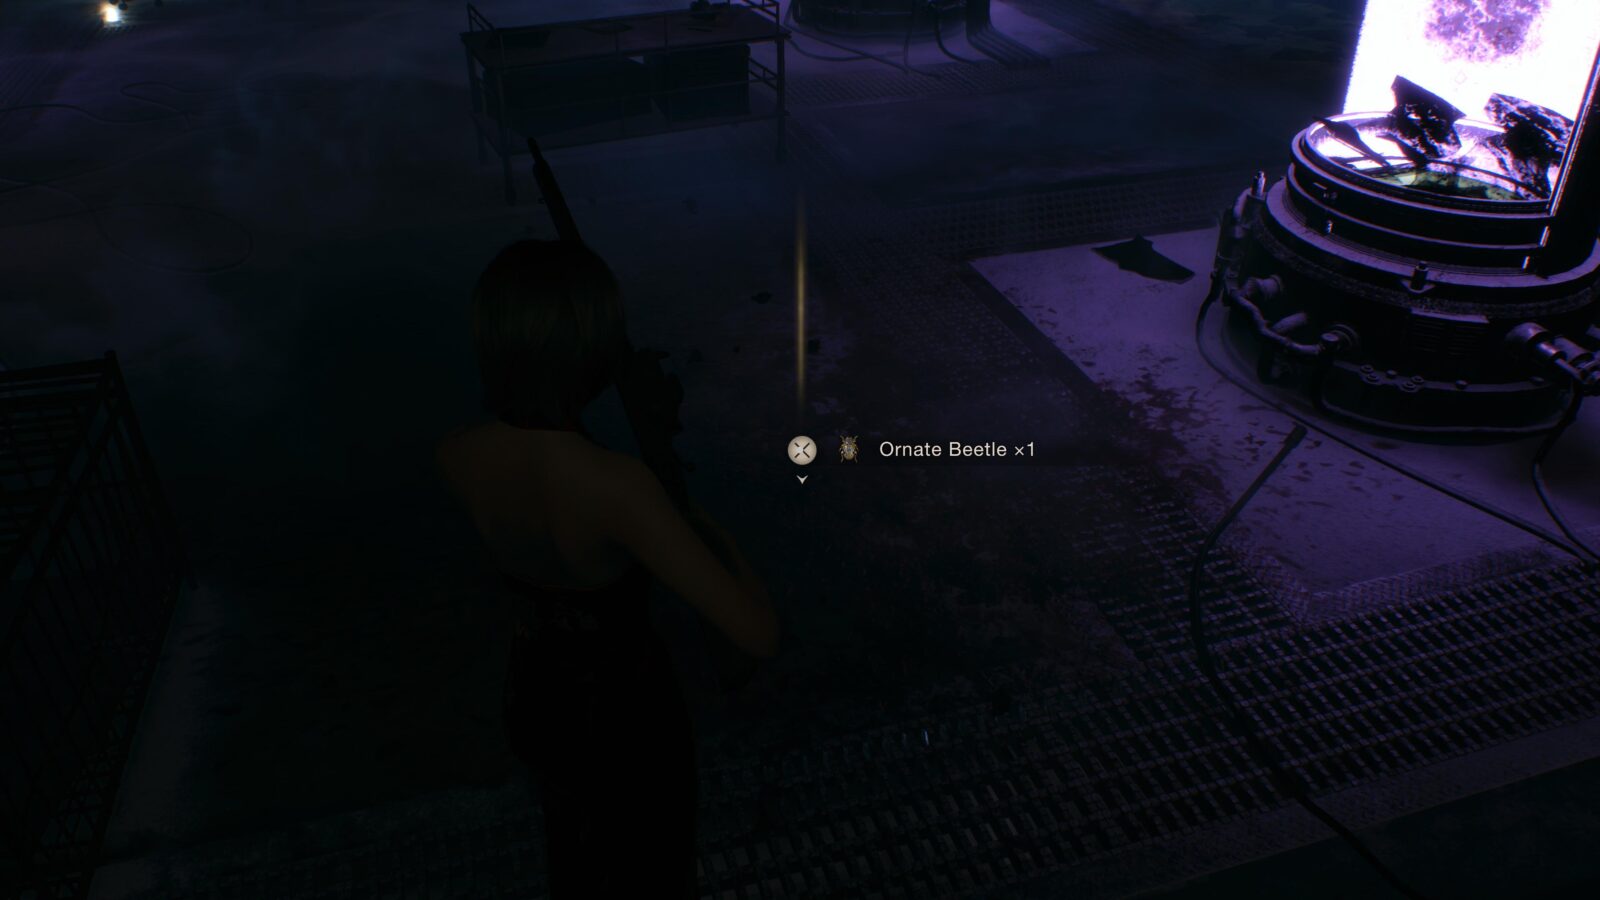
Ornate Beetle #1 – For this beetle you will need the Biosensor Scope as it’s lodged inside a Regenerador in the Incubation Lab. Kill the Regenerador inside the incubator and pick up the Ornate Beetle it drops.You can kill Regeneradors without the Biosensor Scope but it’s quite difficult and requires a lot of ammo. The Biosensor Scope allows you to see the parasites inside the Regenerador’s body. Kill all Parasites within a Regenerador will stop it from regenerating and it will die.
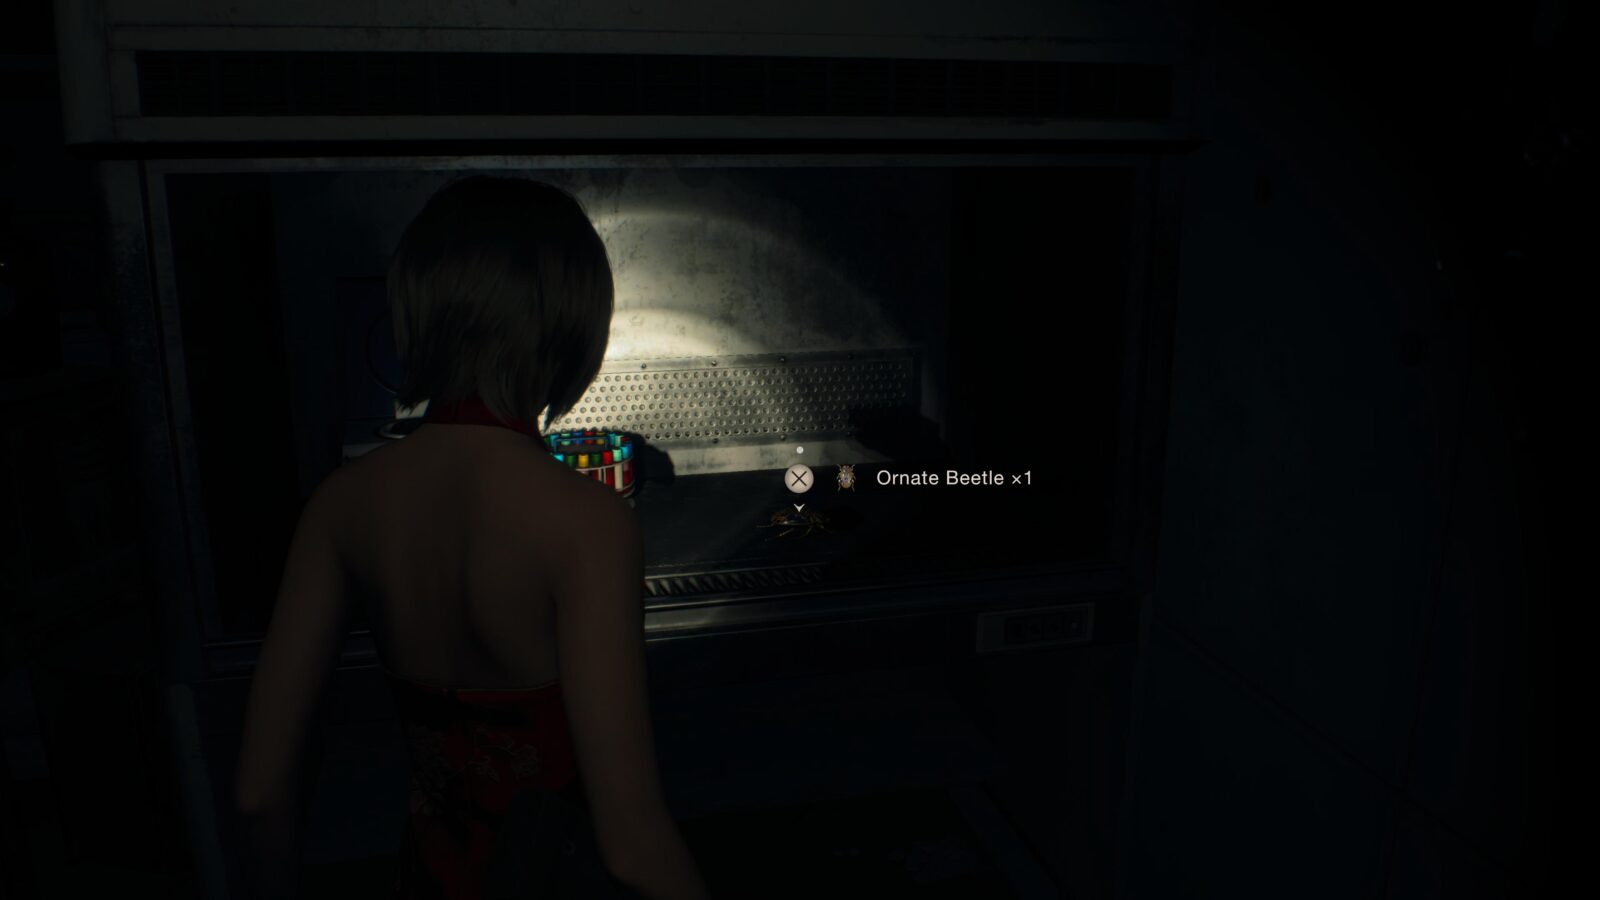
Ornate Beetle #2 – The next Ornate Beetle is behind some glass in a room in the Dissection area. There will be a Regenerador inside the room so you’ll have to kill it or lead it away so you can get inside and break the glass on a lab station in order to grab the Ornate Beetle.
Bug Buster 2
Area: Defensive Line
Reward: Spinel x9
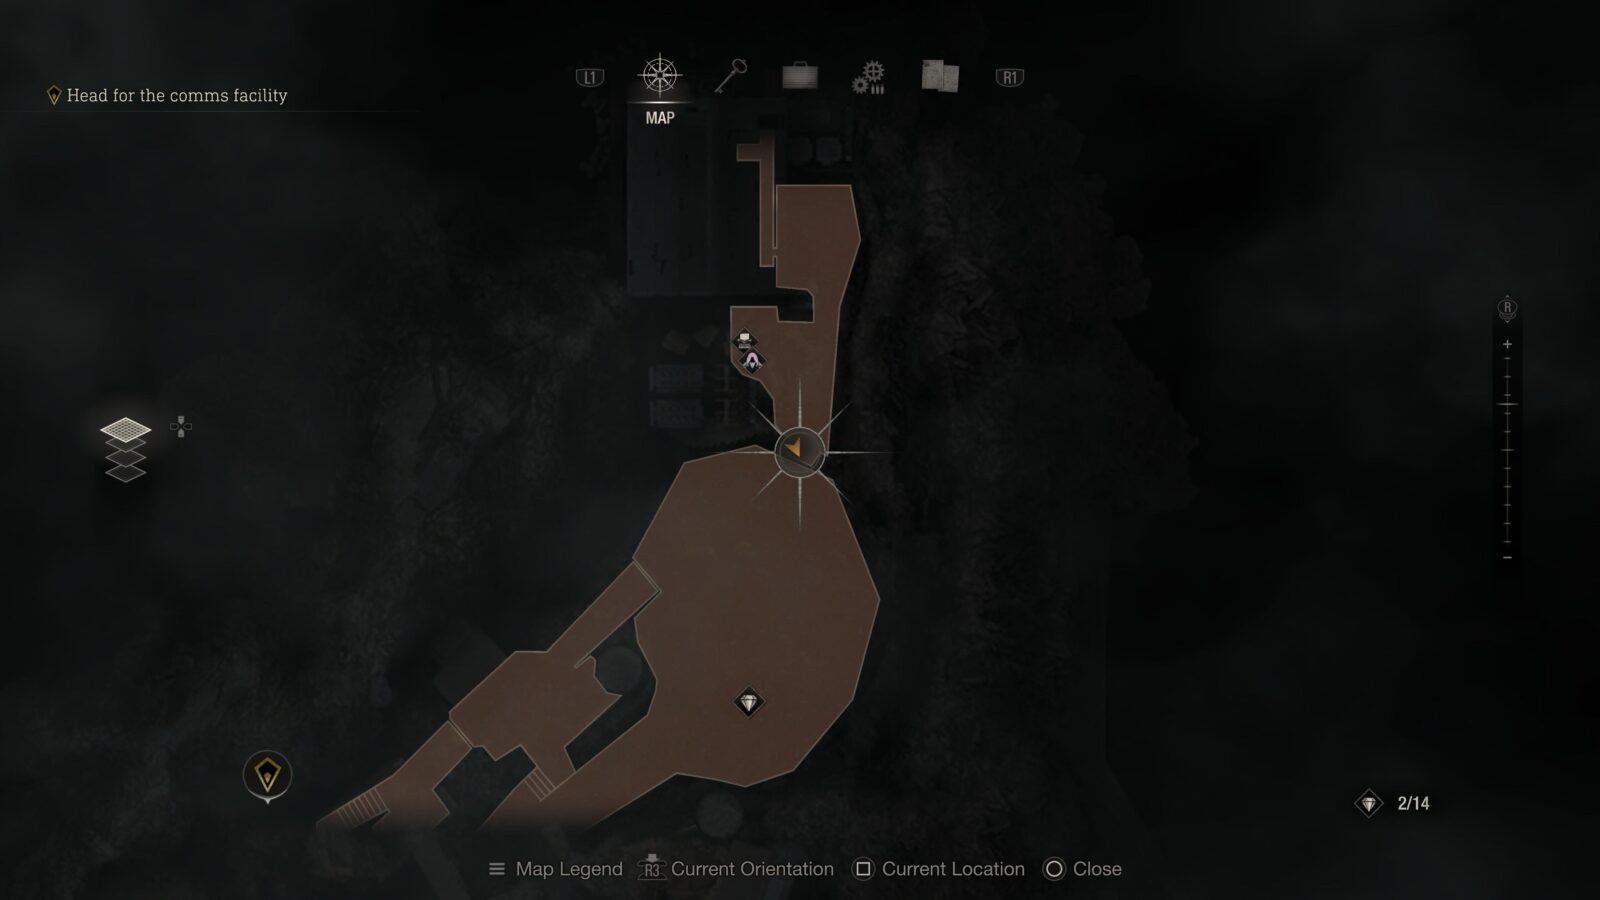
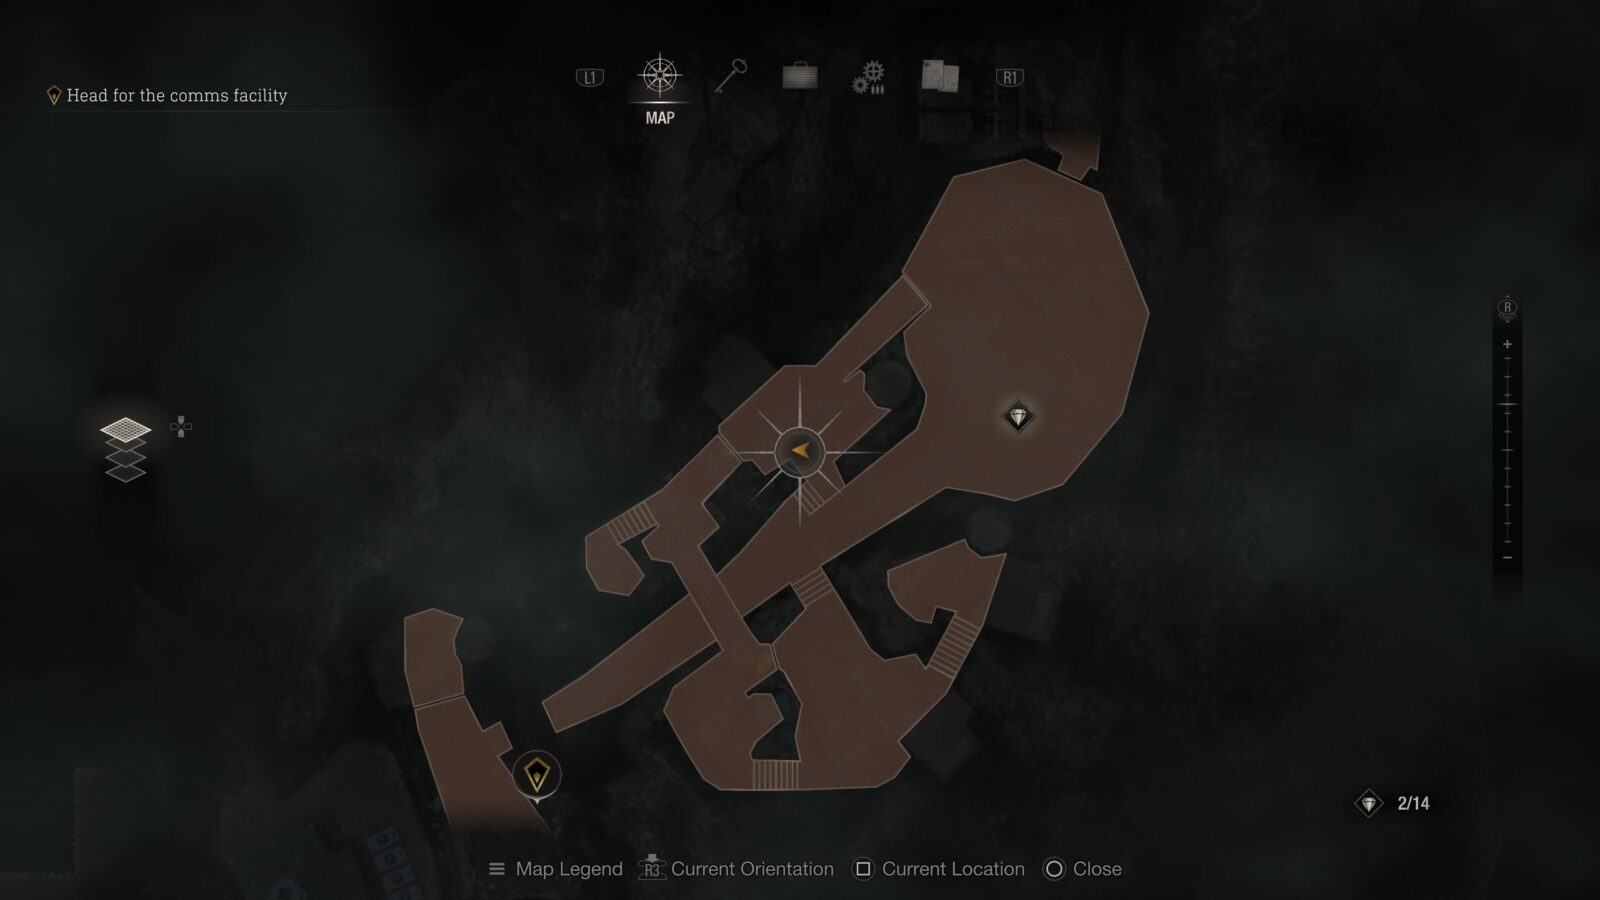
After riding the Gondola Lift (Cable Car) you will come across the Merchant yet again. On a wall to his left where you can see some red lasers will be the final Merchant Request page. This one is the same as the previous Bug Buster request. There are three camouflaged Novistadors in the immediate area that you need to find and kill. Again, this is much easier if you have a rifle with the Biosensor Scope equipped.
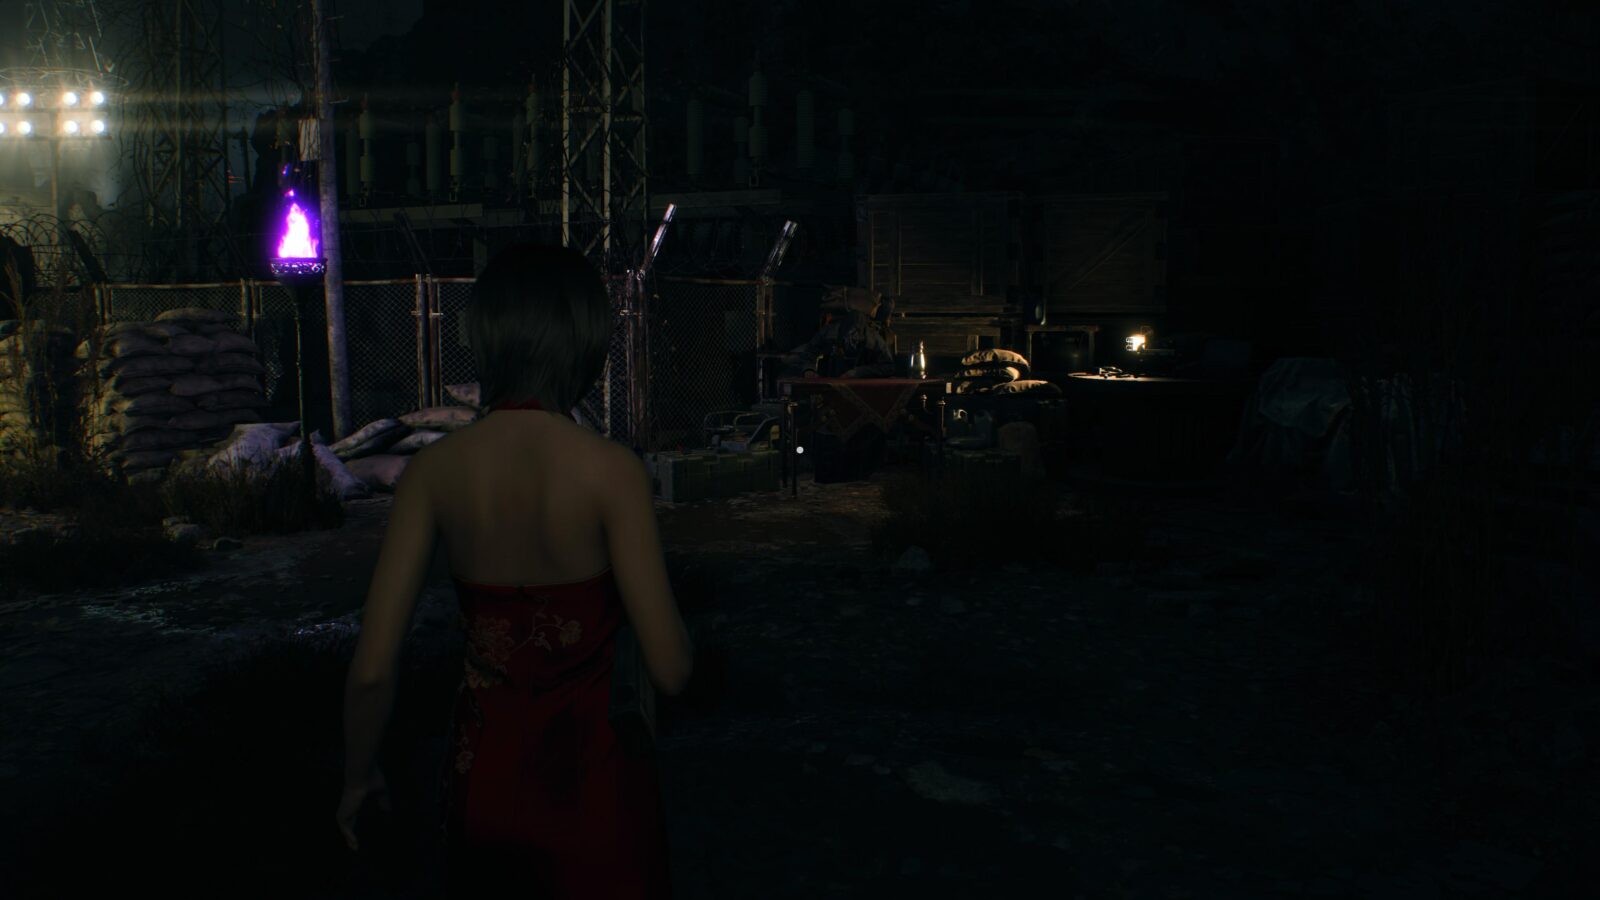
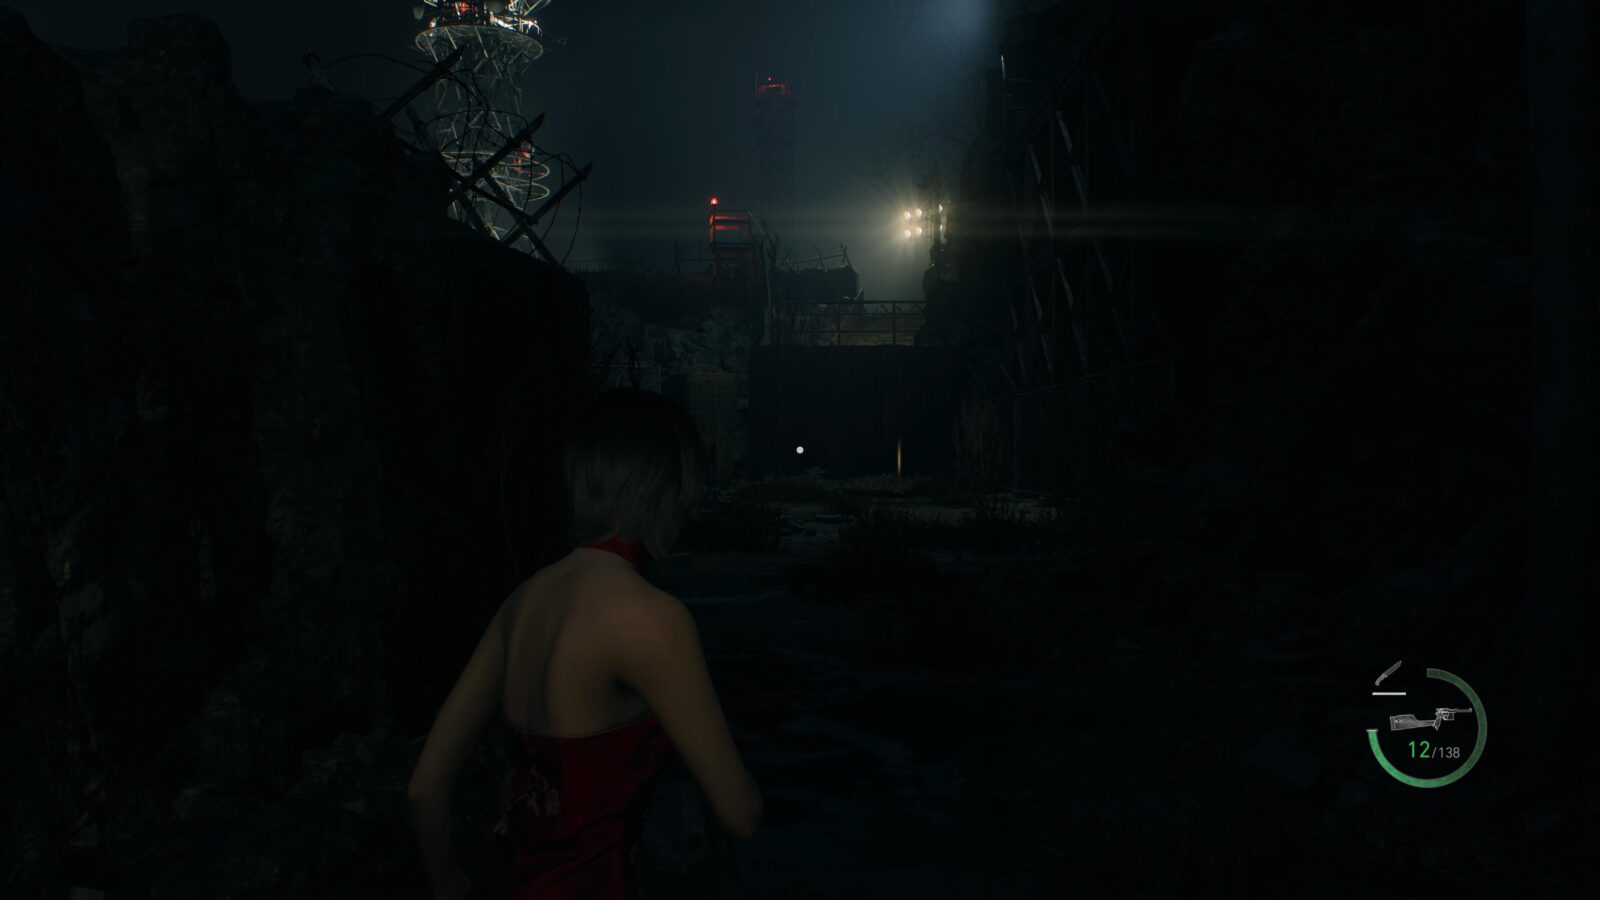
Novistador #1 – From the Scouting Point where you found the Merchant Request, look to your left and you can see a Novistador hiding on the rocky wall.
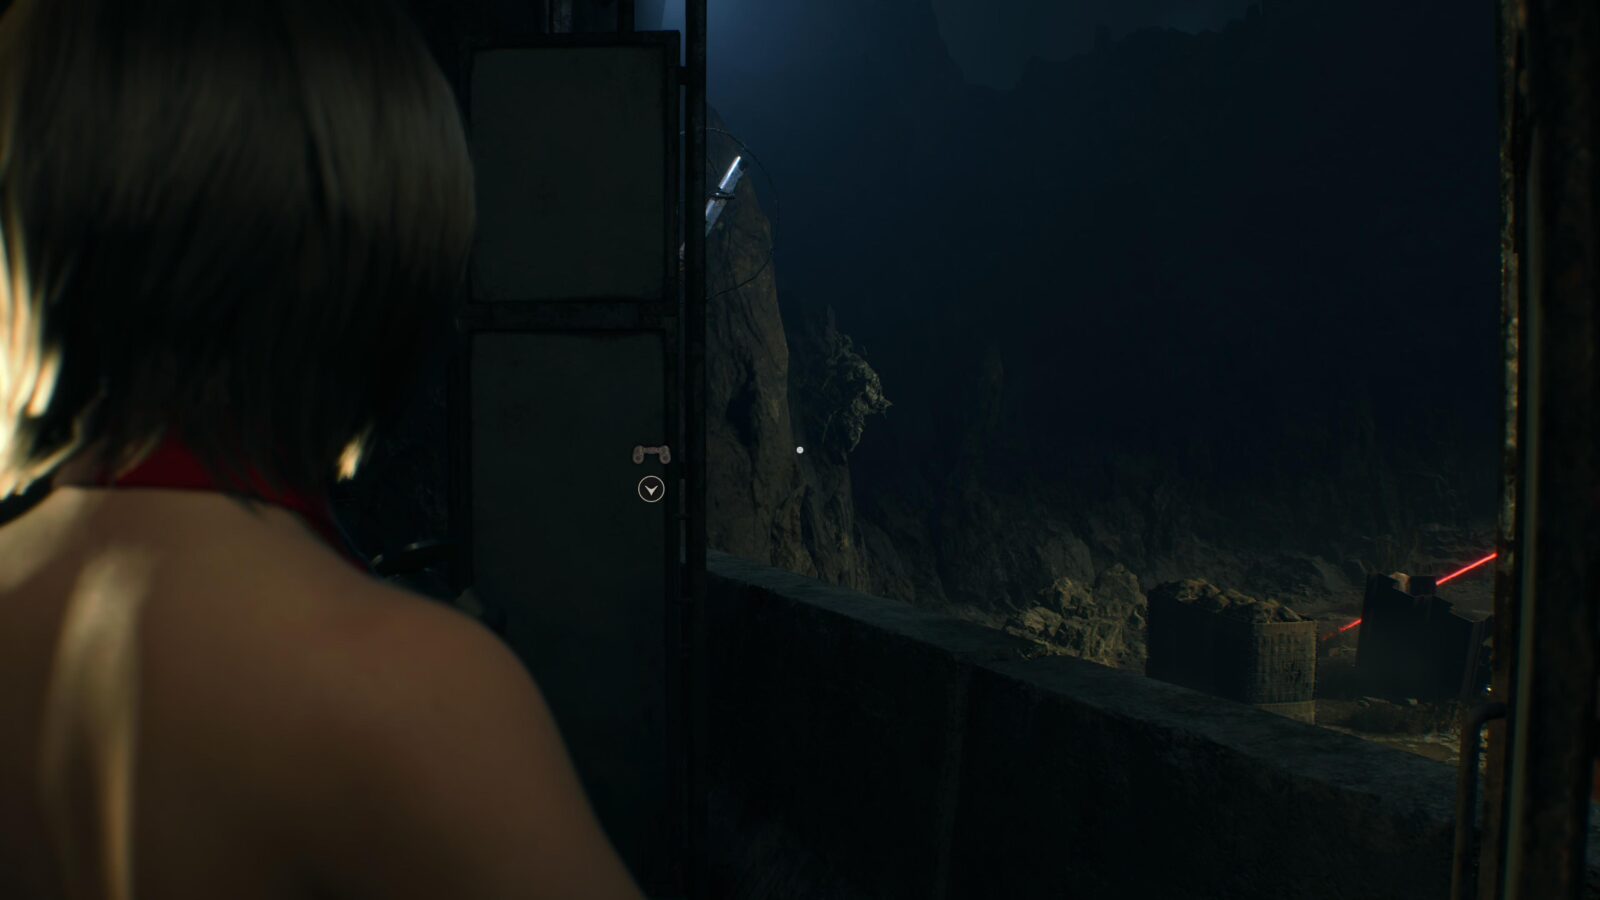
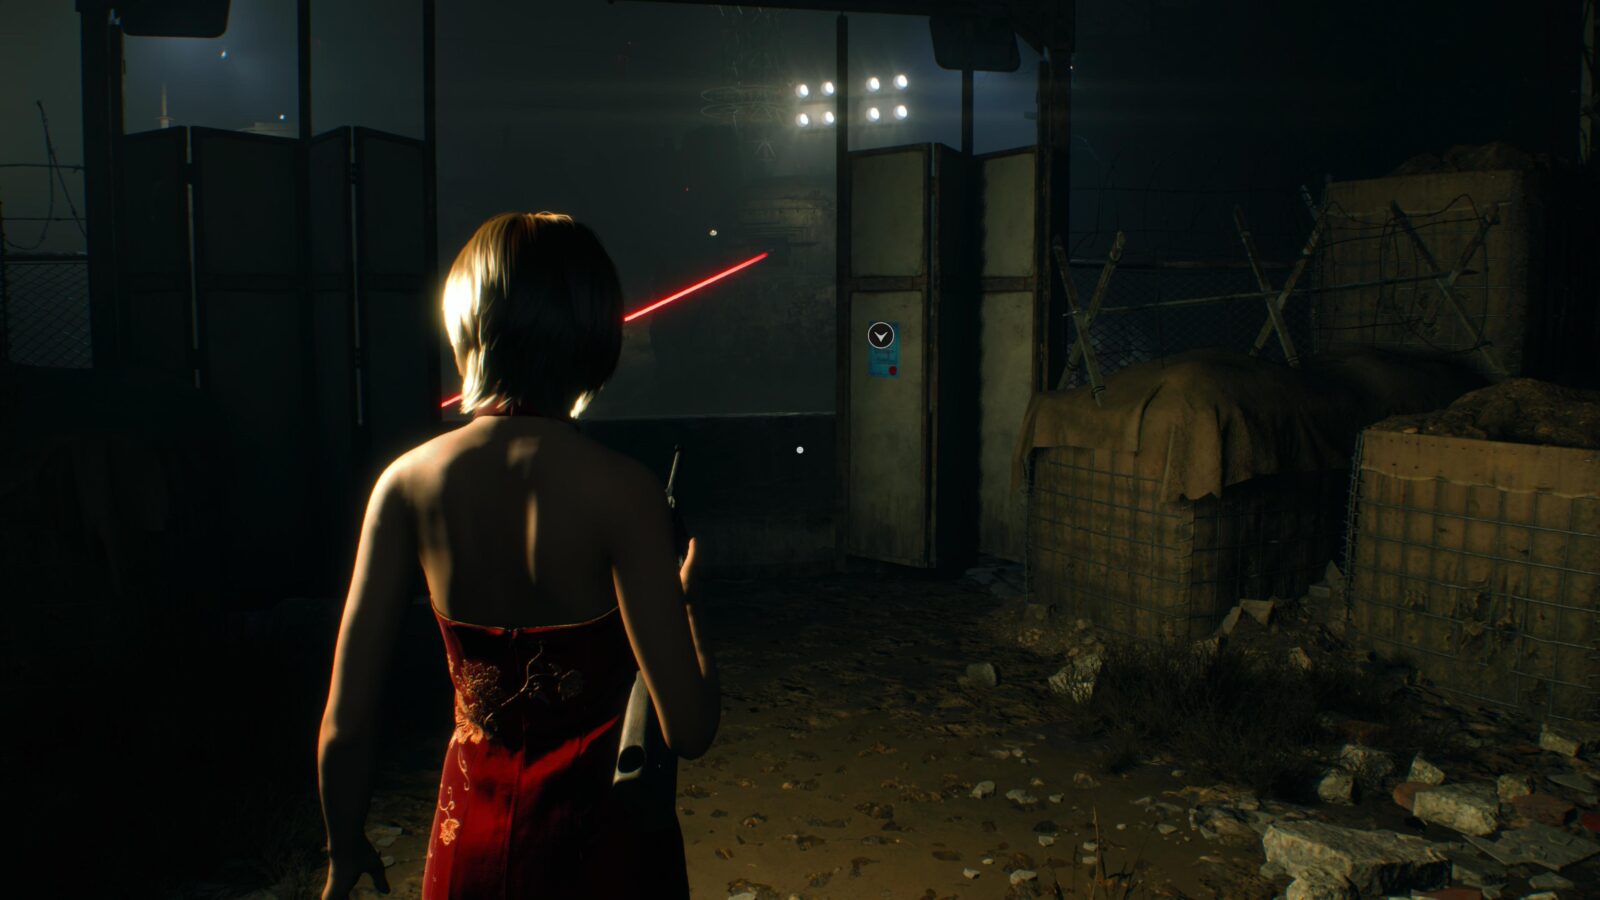
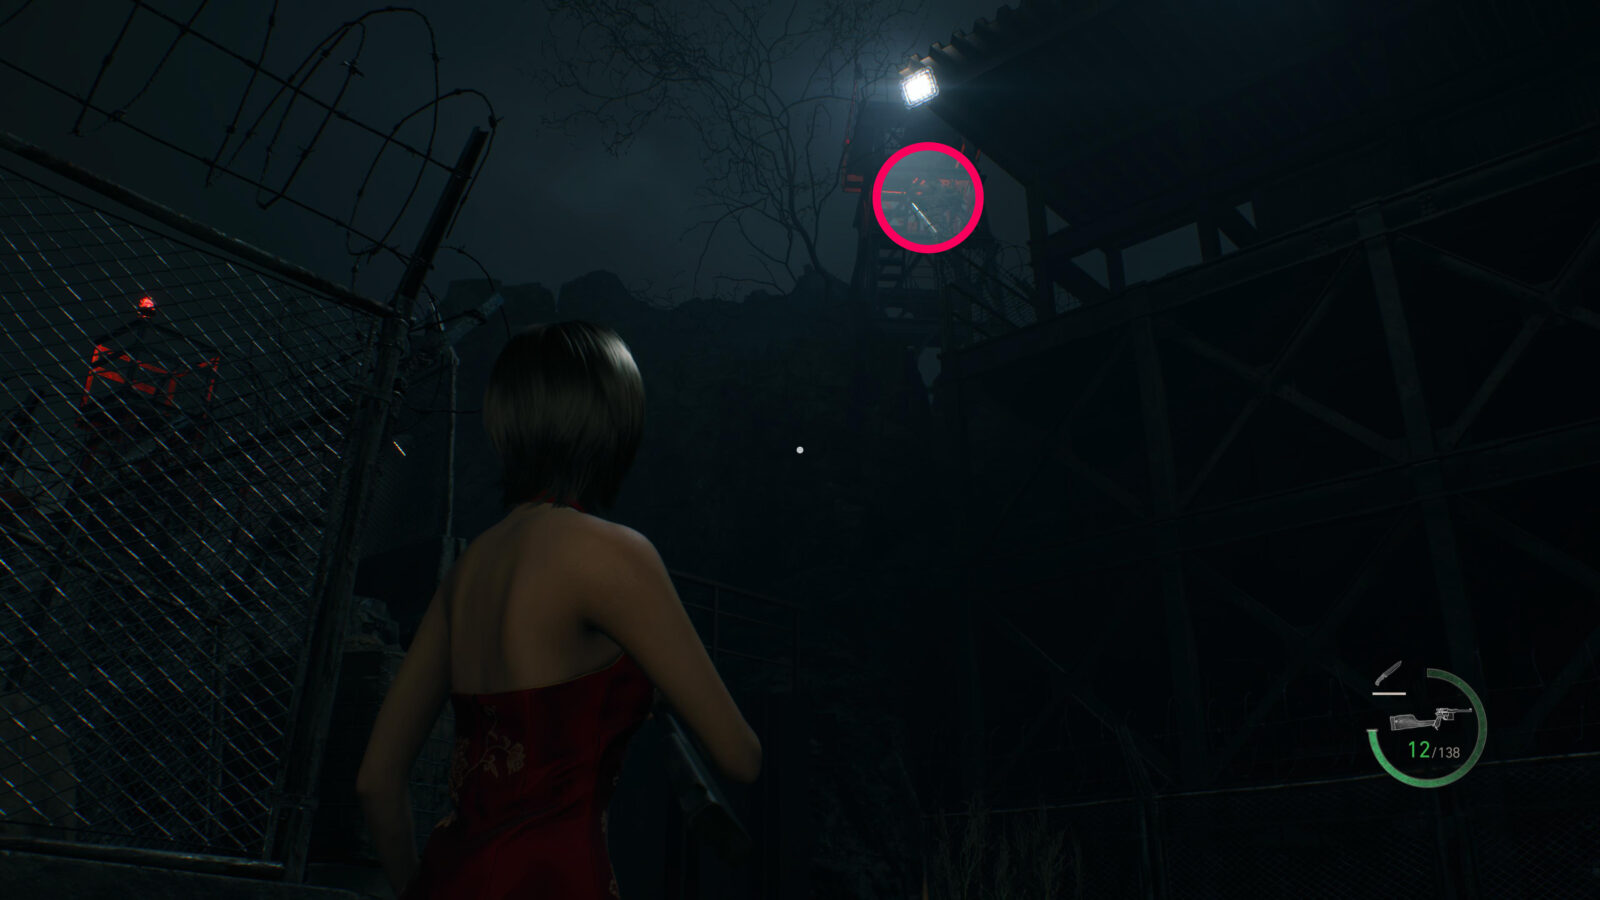
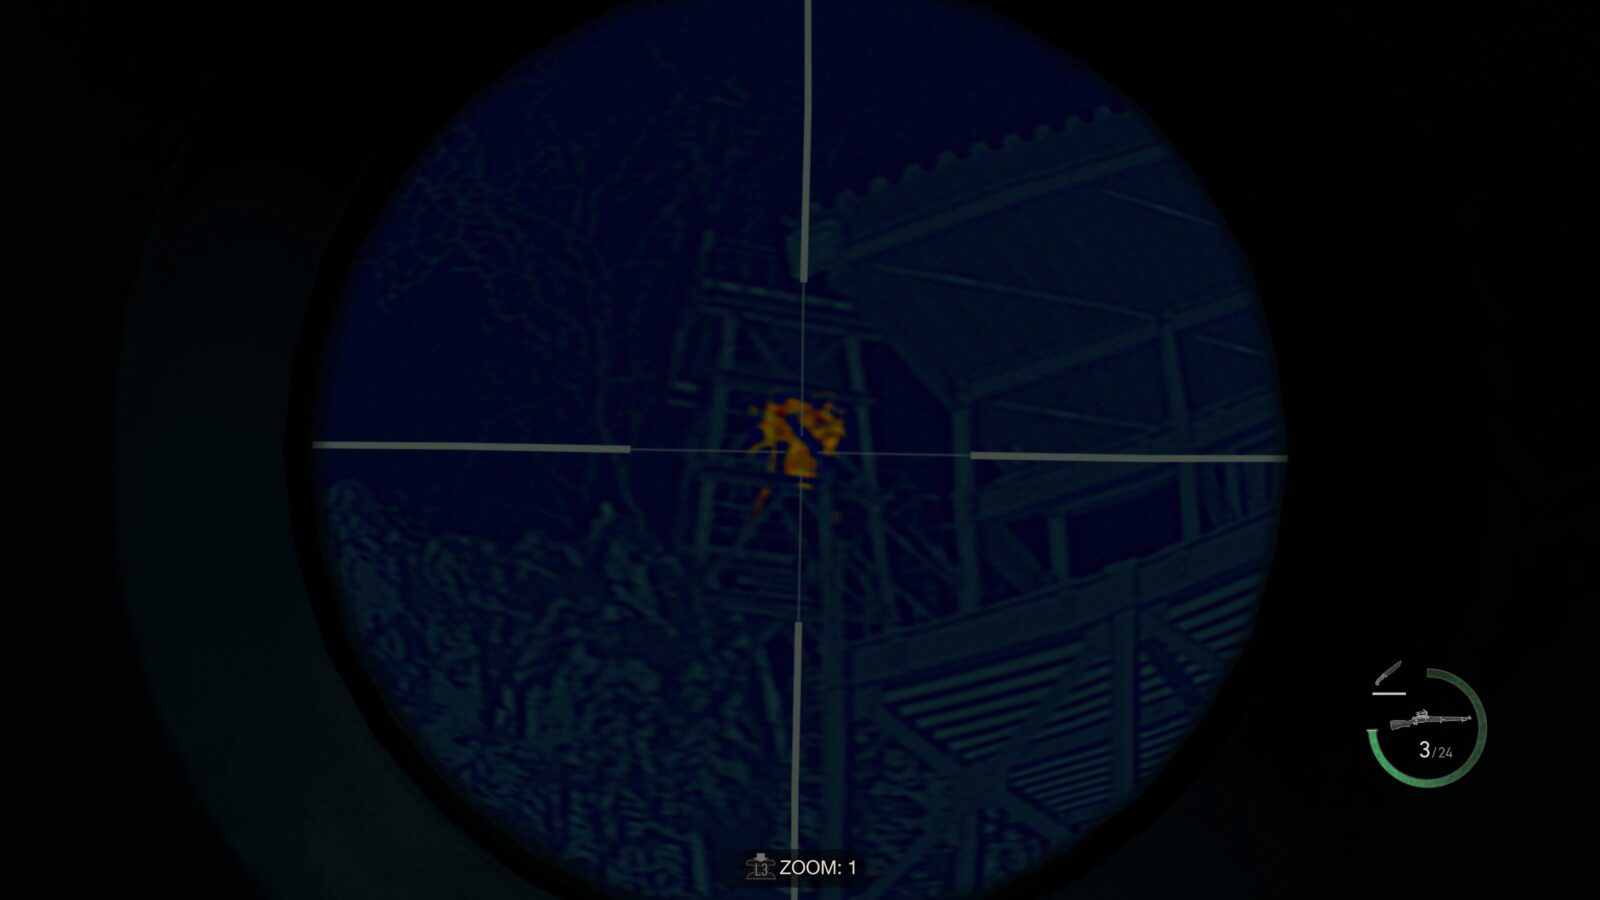
Novistador #2 – Jump over the barrier and you will be attacked by the turrets. You will have to use the cover in the area to make your way to the right side of the space where you will find a Grapple Point. Grapple up and take out the enemies in front of you. Walk forward until you see some sand barriers and a metal sheet wall in front of you. From here you can look up and to the right to find a watch tower with a Novistador hiding inside. This one can be tricky to find so make sure to use your Biosensor Scope.
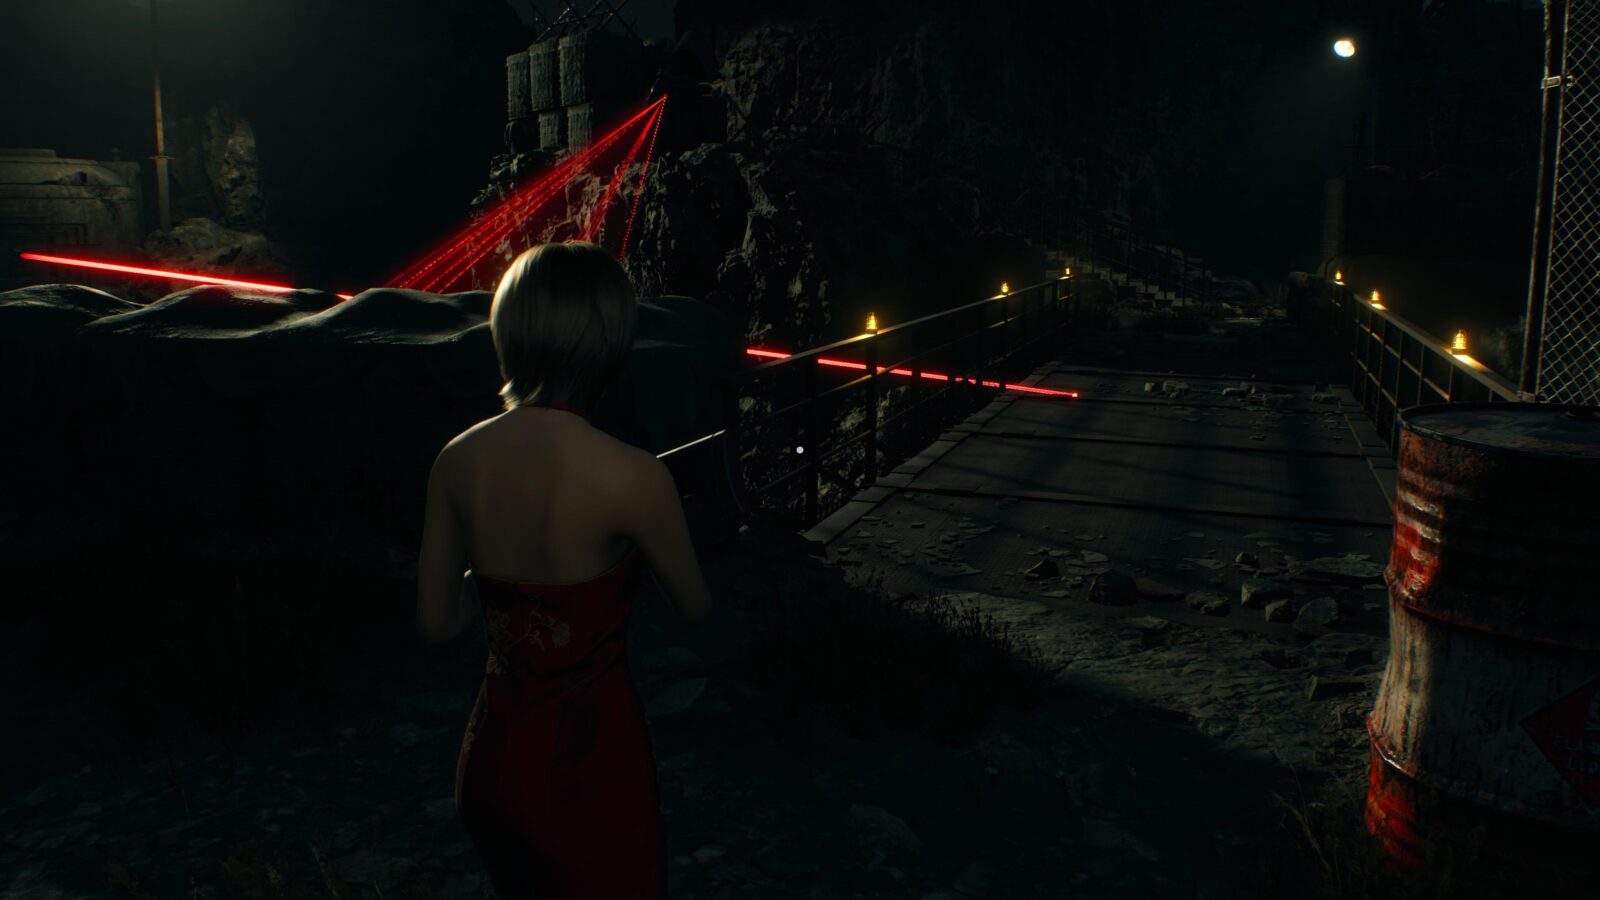
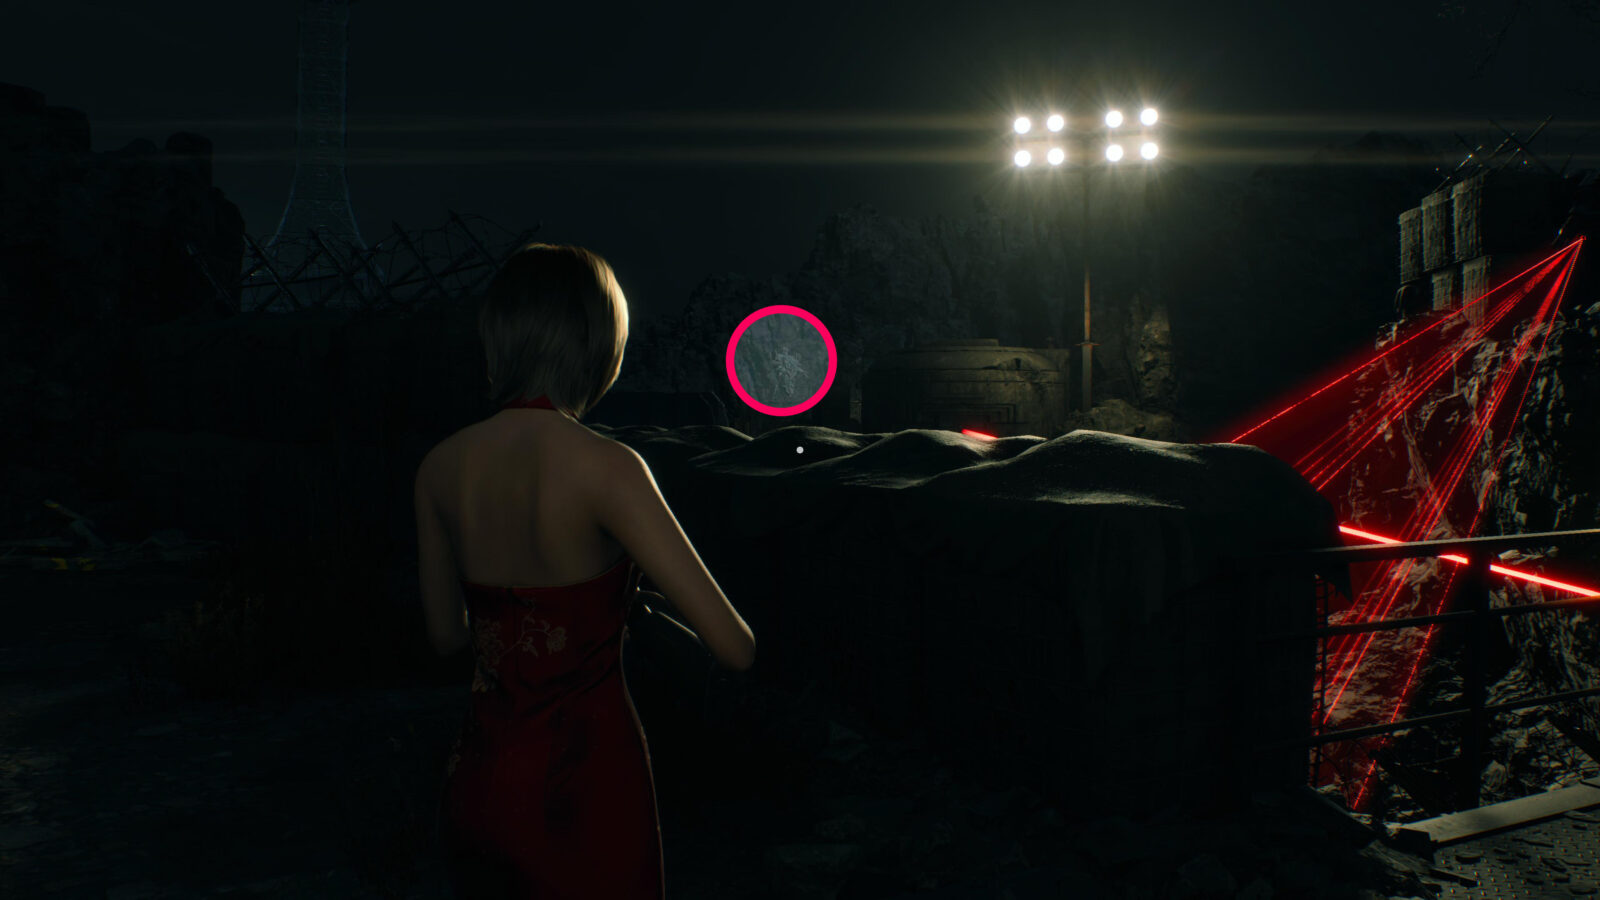
Novistador #3 – Just a bit further ahead you will come to a bridge with a laser sight slowly moving across it. This is after you have killed a bunch more enemies and moved an automated turret so you can progress. Once you see the bridge with the laser sight, turn to your left and look at the rocky cliff face behind and to the left of the pillbox where the laser originates from and you should see your final Novistador target.
This concludes our Separate Ways Merchant Requests Guide. After completing all 7 Merchant Requests in Separate Ways you will unlock the Elite Knife Bonus Weapon after the end credits. This knife has infinite durability and can be upgraded to increase it’s damage. This weapon makes playing on the higher difficulty modes easier as you can infinitely block chainsaw attacks as well as stealth kill enemies or knife them when they’re knocked over preventing them from getting back up stronger. Pair the Elite Knife with the Chicago Chopper, which can be upgraded with a ticket to have infinite ammo, and Professional Mode becomes almost trivial.
Thanks for Reading
Plat Get!
Thank You!
Thank You for choosing PlatGet as your source for this RE4: Separate Ways – All Merchant Requests.
Wondering what to complete next? Browse our complete guide selection or check out our friends at PlatPrices.com to filter the PS Store based on price, trophy difficulty, or completion time.
Got a question, some feedback, or just want to say thanks? Drop a comment in the discussion section below, we'd love to hear from you! No account required!!