PlayStation 4
Horizon Zero Dawn Collectables Guide
Game Guide
Where to Find all Ancient Vessels, Banuk Figures, Grazer Training Dummies, Metal Flowers, Power Cells and Vantage Datapoints in Horizon Zero Dawn for PlayStation 4
This sub-guide is a branch of the main Horizon Zero Dawn Trophy Guide.
Looking for the Frozen Wilds DLC Collectables? We have a Horizon Zero Dawn: The Frozen Wilds Collectables Guide.
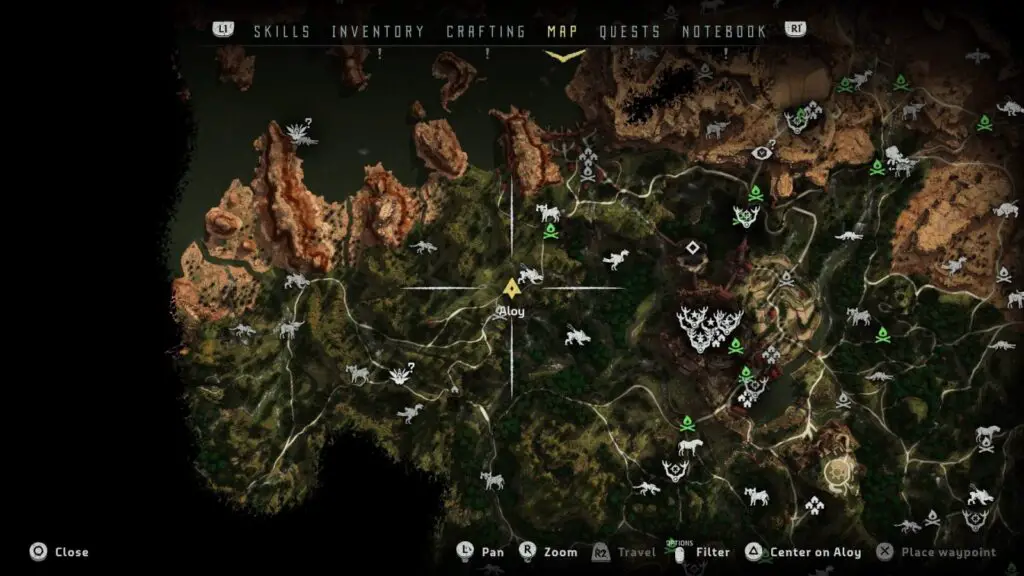
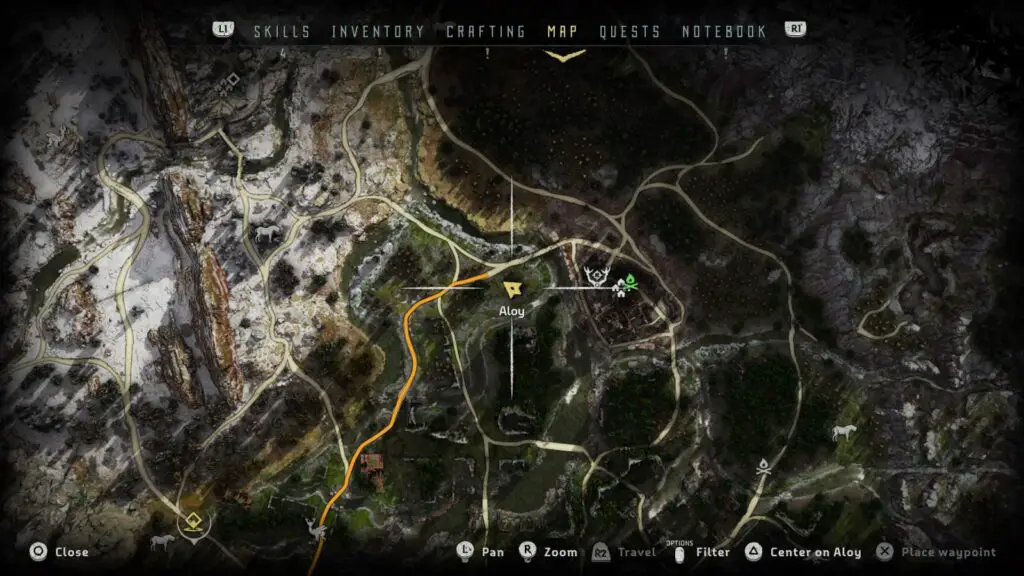
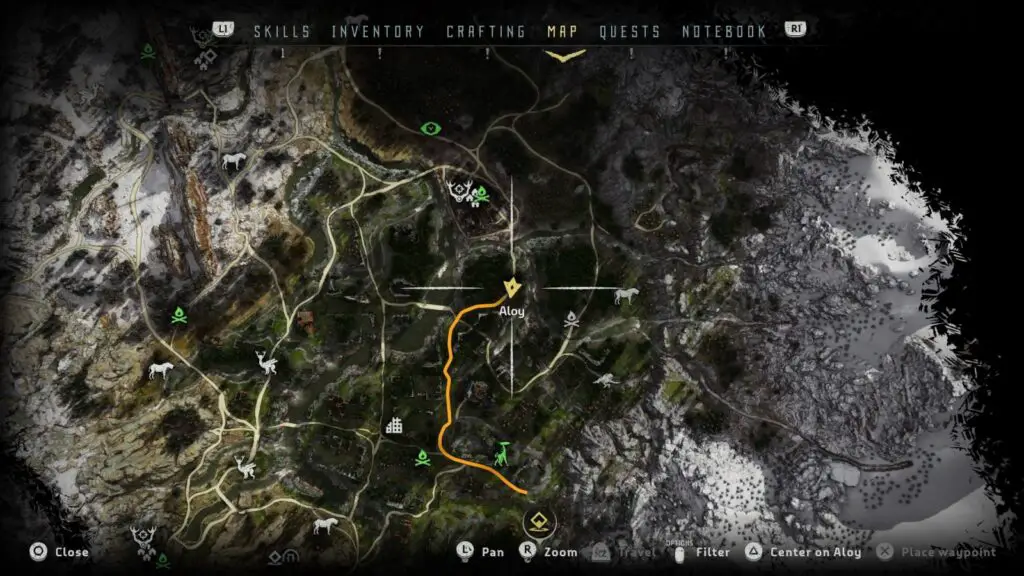
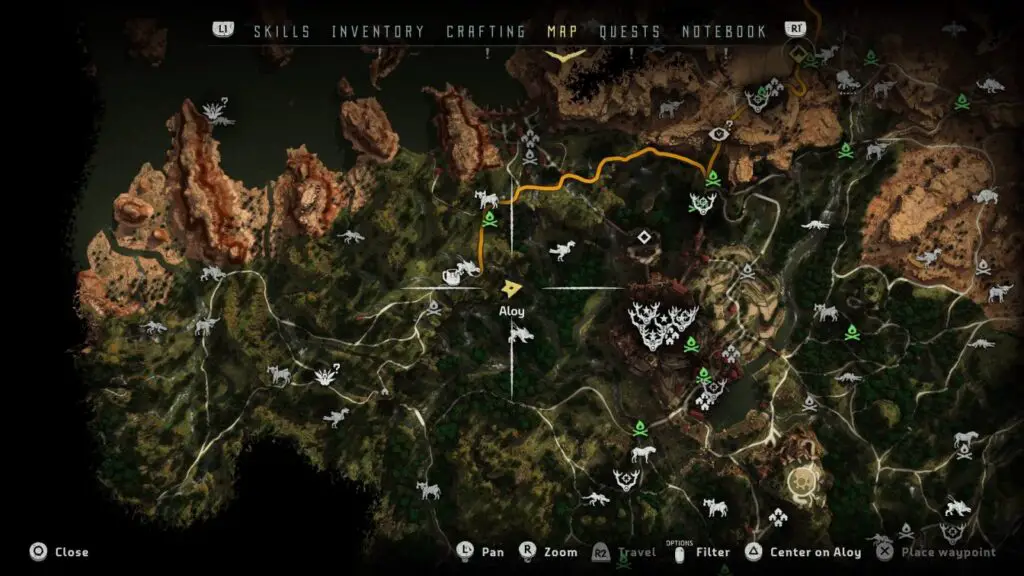
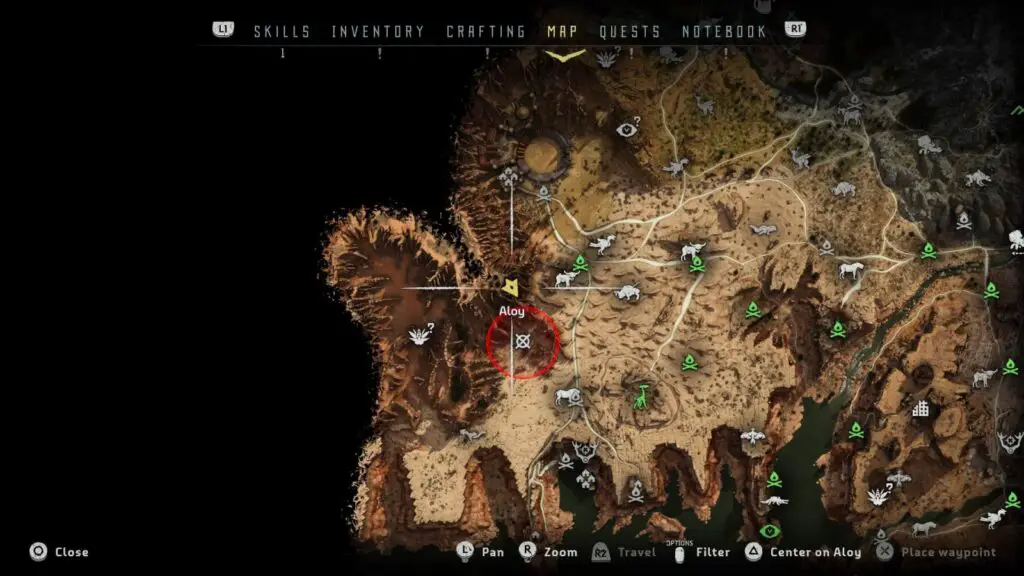
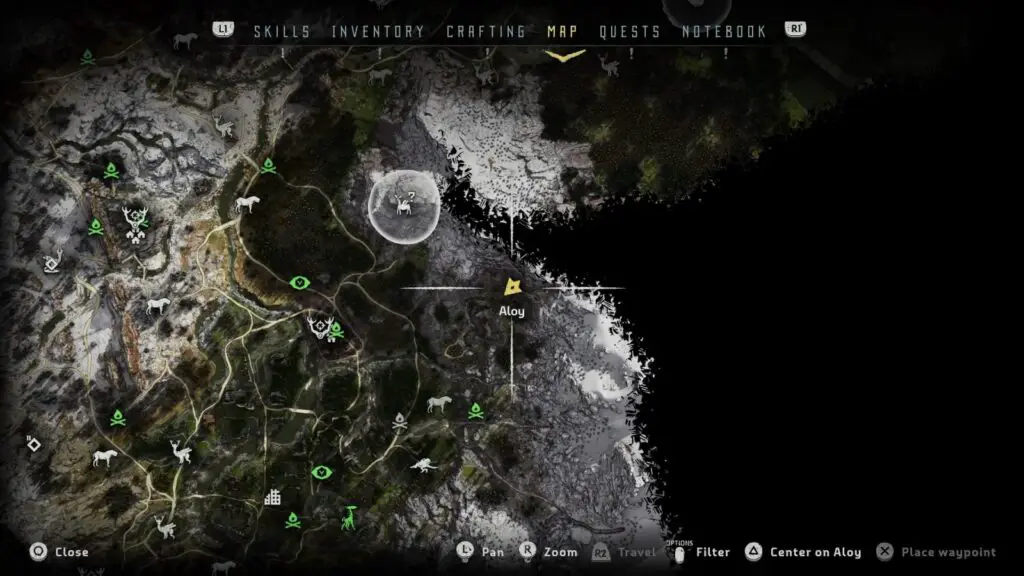
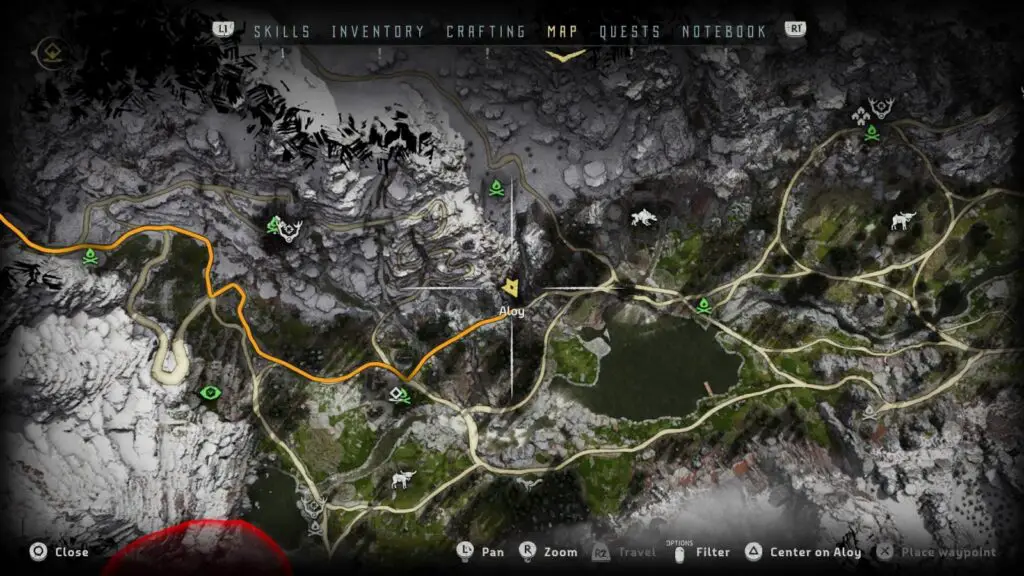
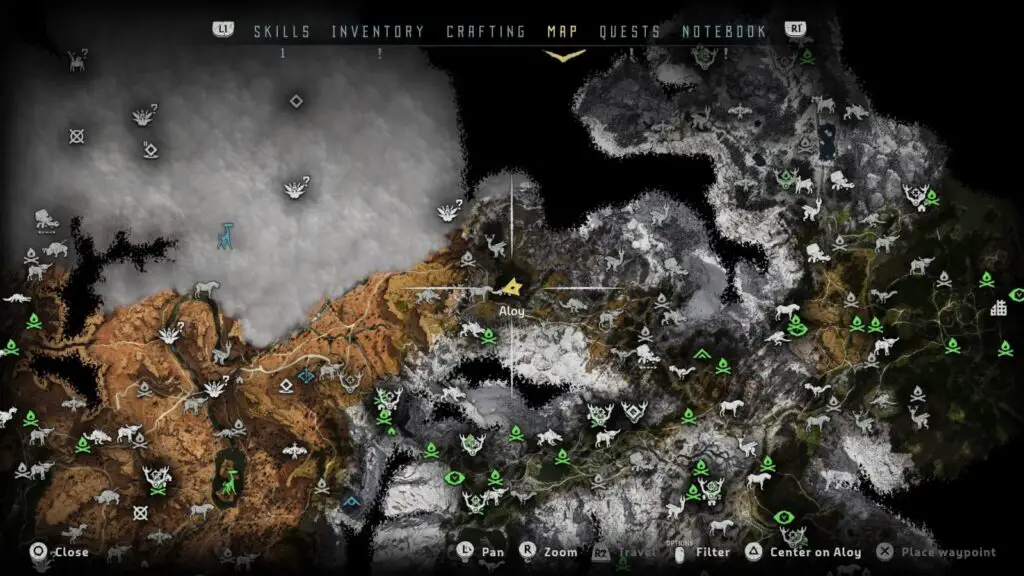
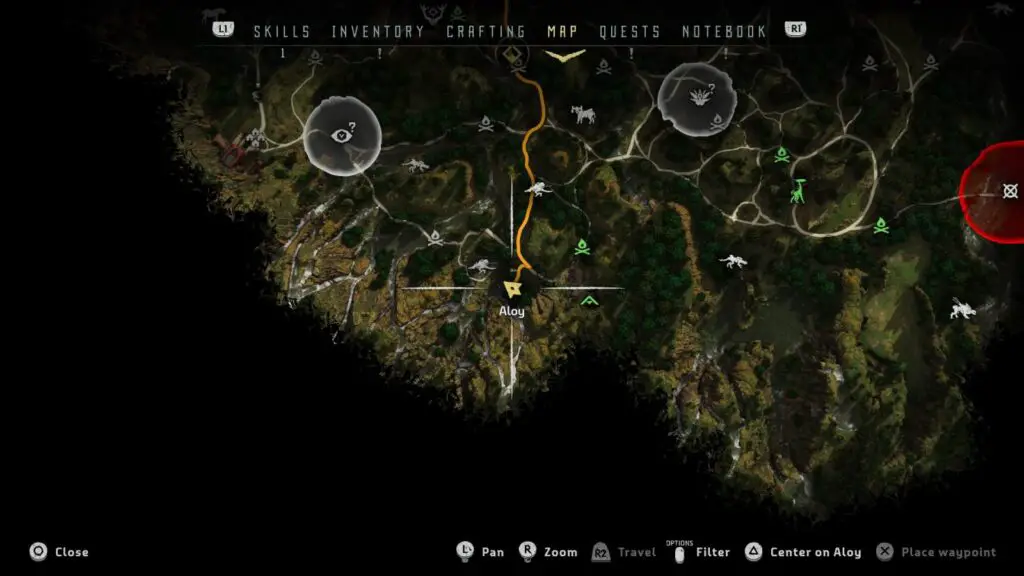
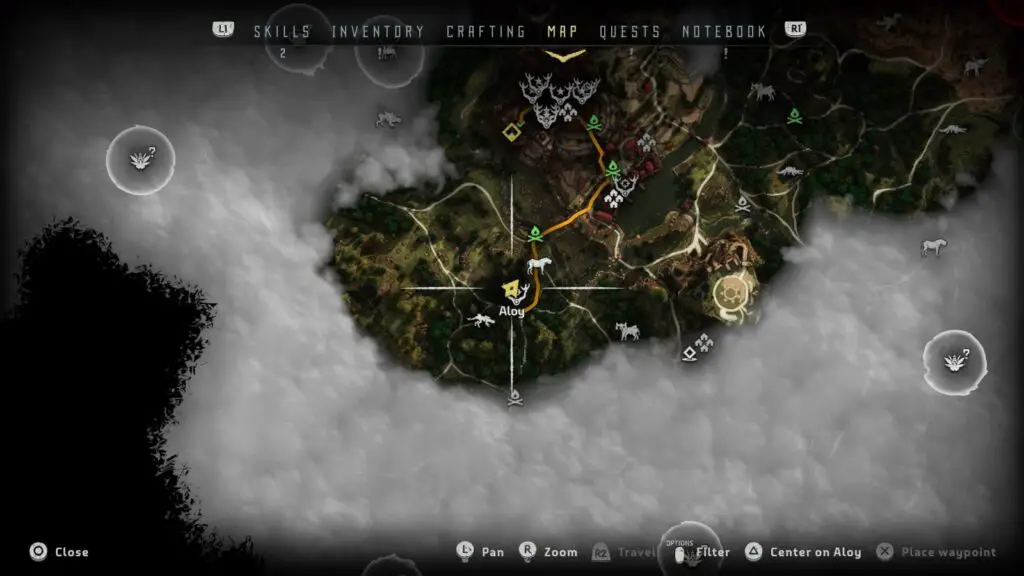
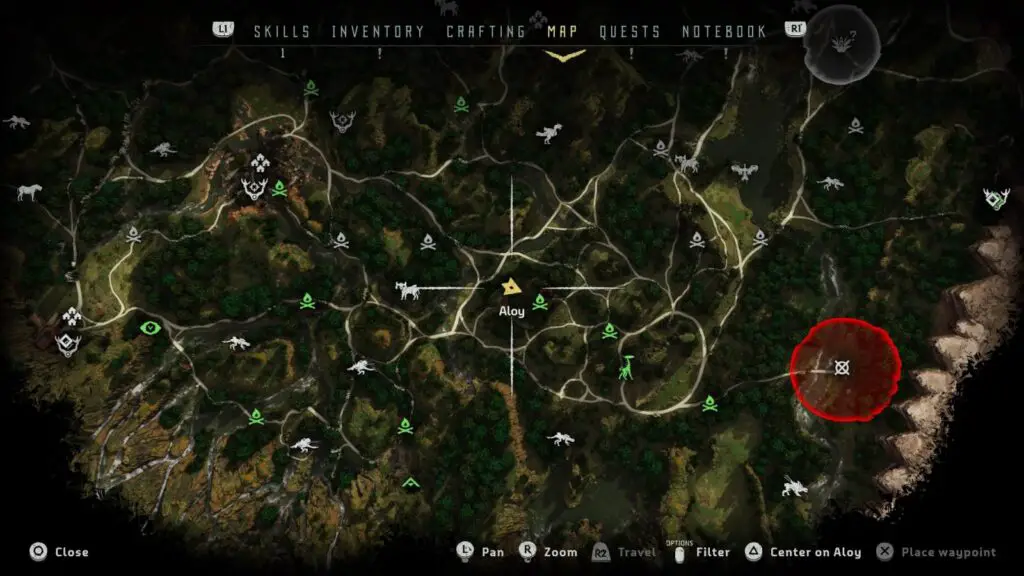
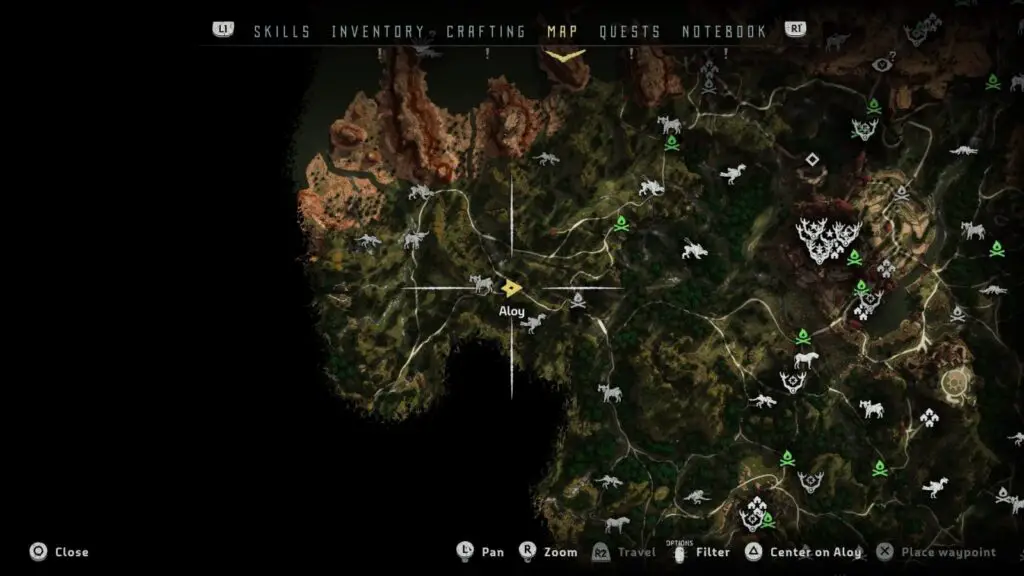
All of these collectables except the Power Cells can be tracked via the “Collectables” section of the “Notebook” tab in the touchpad menu. Power Cells can be found in the “Special Items” section of the “Inventory” tab, which also keeps track of quest items you’re carrying.
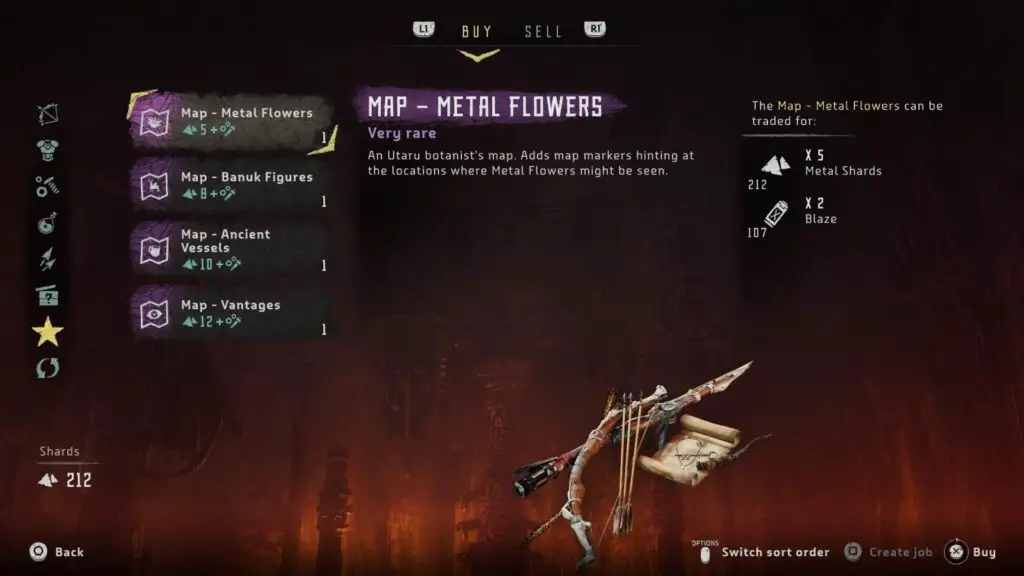
Many Merchants will sell maps revealing the locations of Metal Flowers, Banuk Figures, Ancient Vessels and Vantage Datapoints on your in-game map in the “Special Items” section of their stores. So, you have a choice, play the game as intended and use a small amount of resources to purchase maps from merchants, or use the guide below.
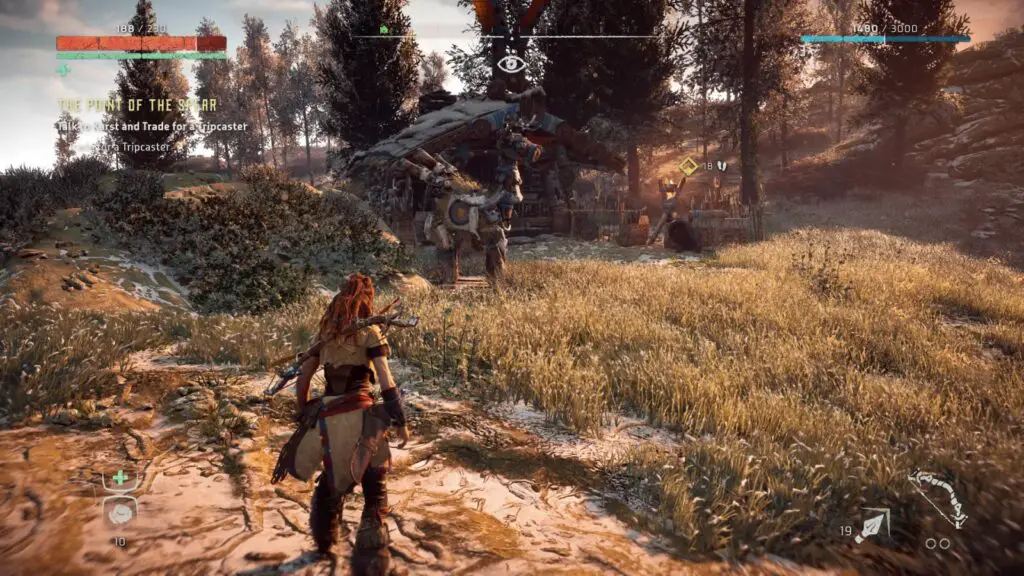
Note that there’s nothing in the game to tell you where Grazer Training Dummies are, so you’ll need this guide for those at the very least.
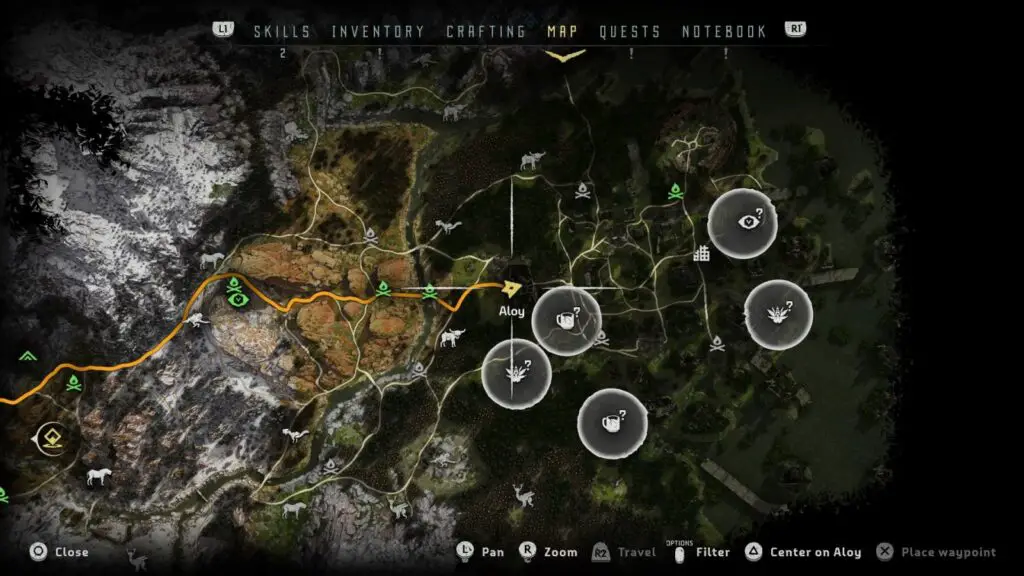
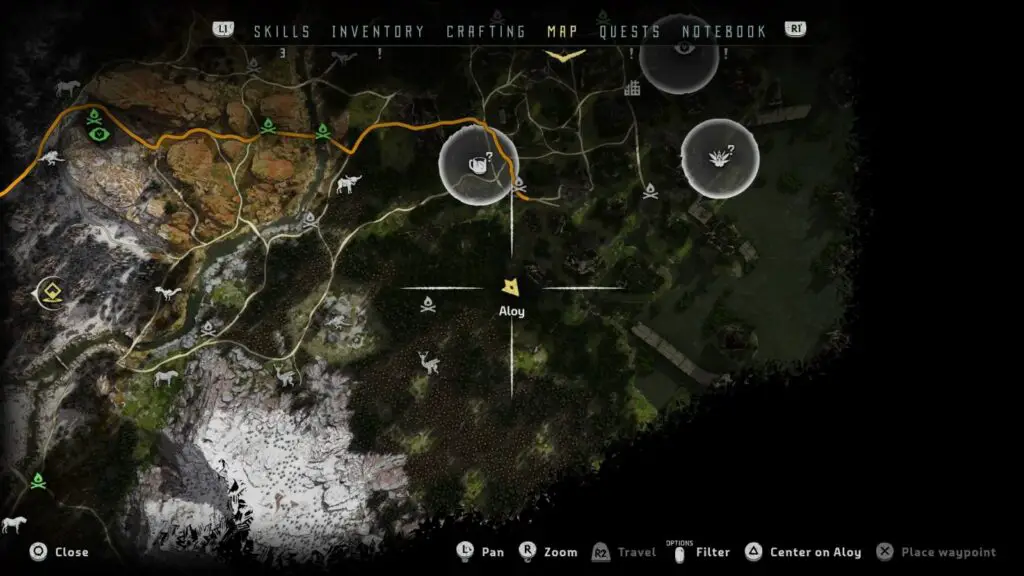
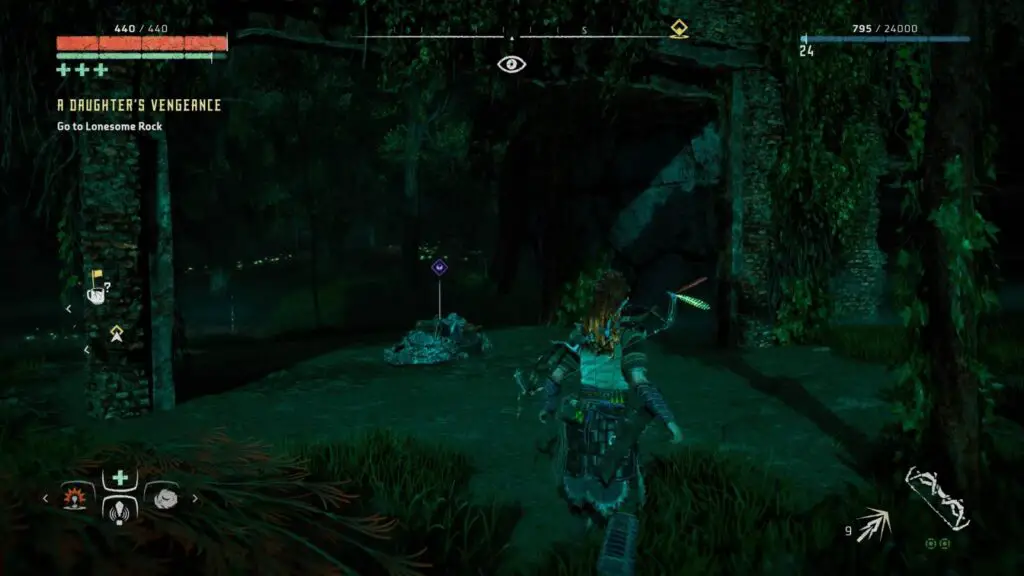
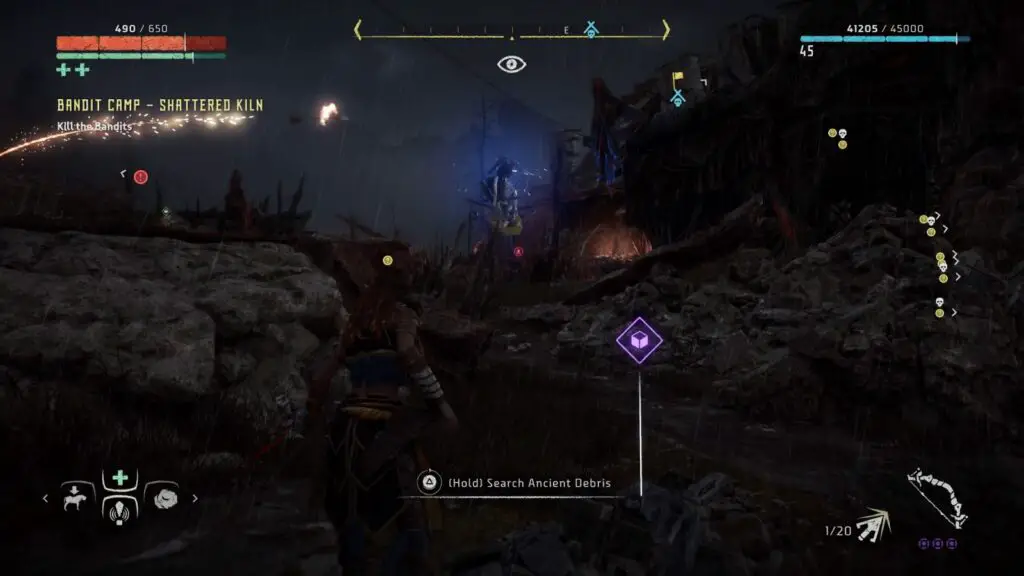
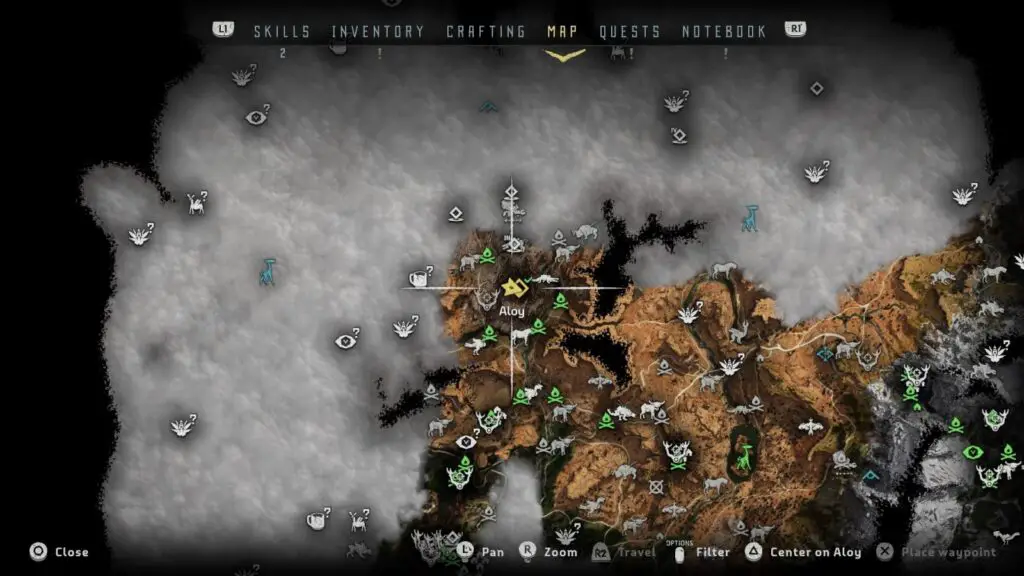
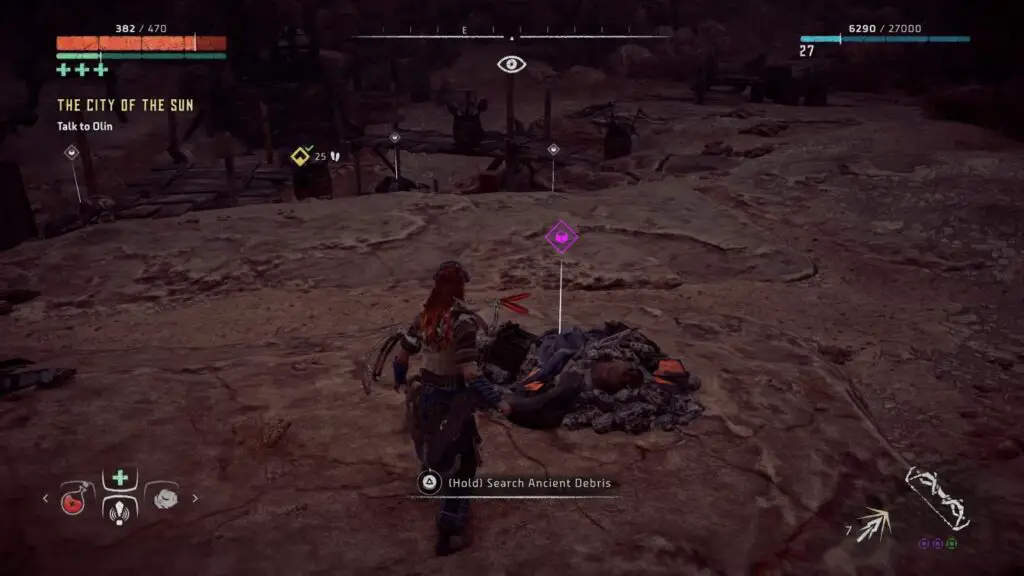
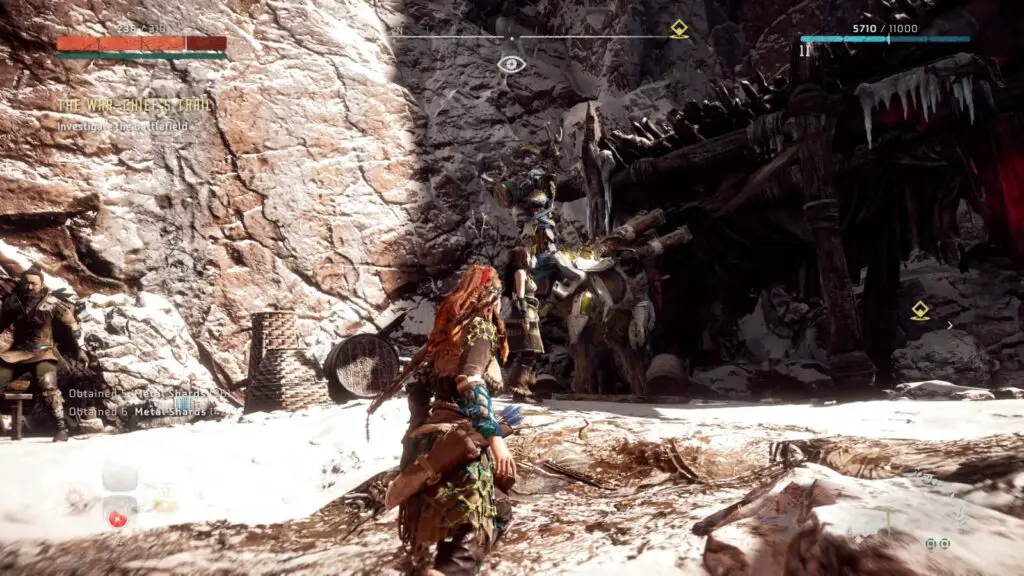
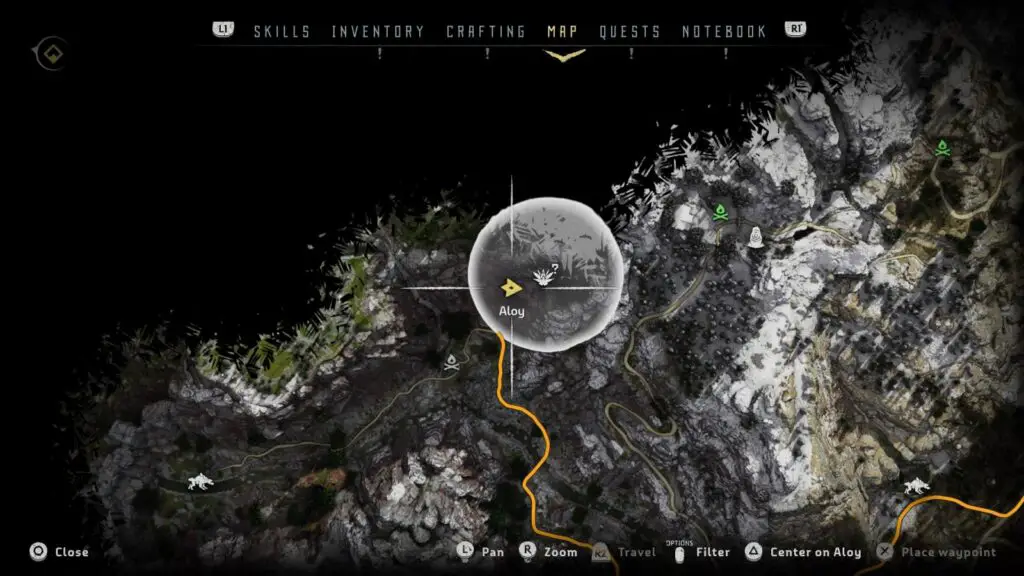
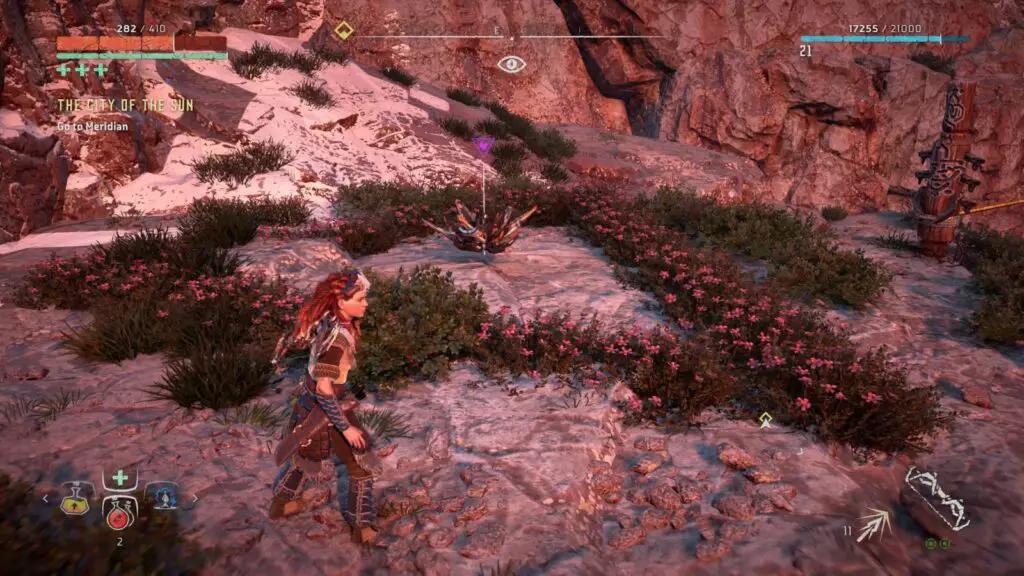
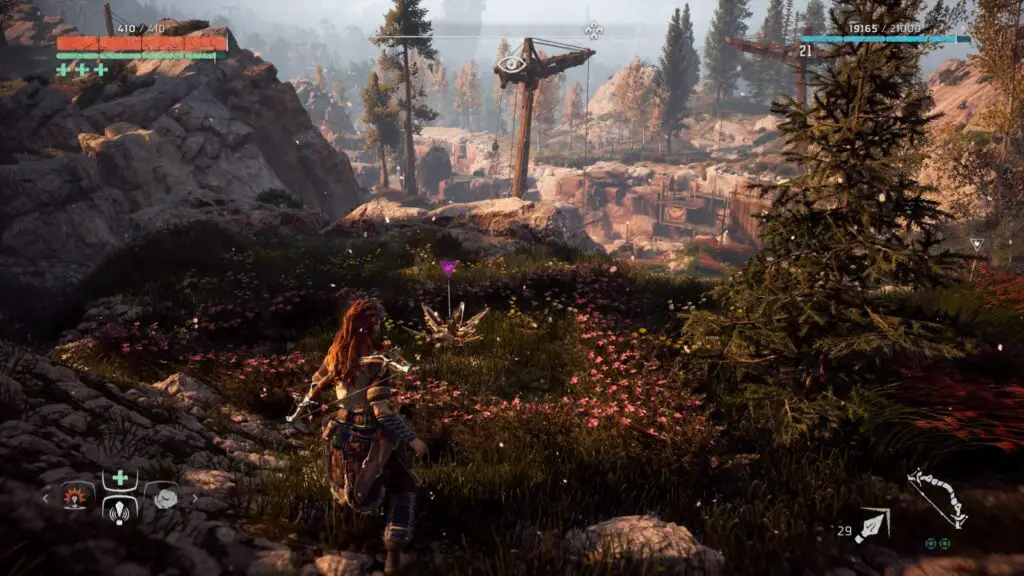
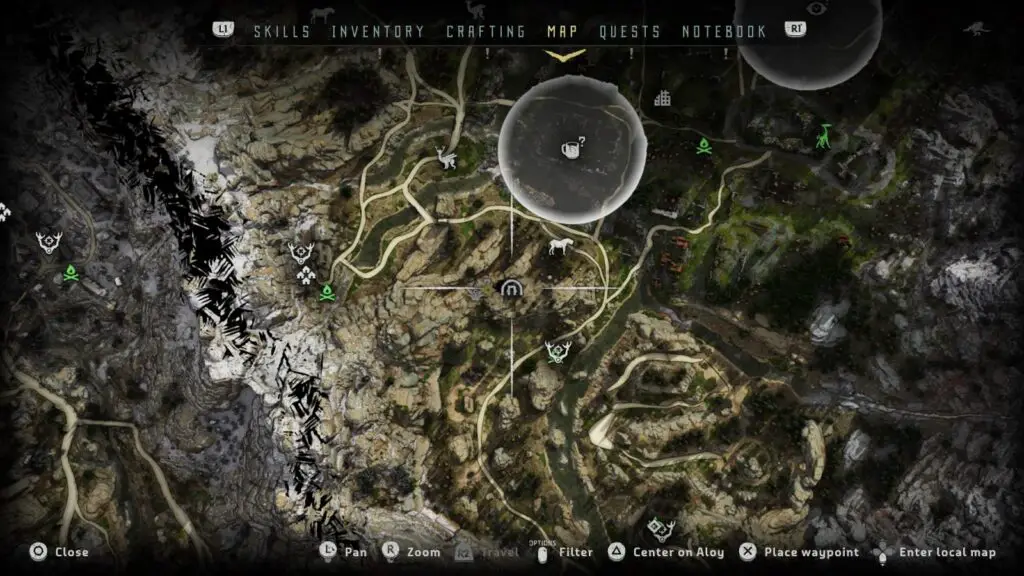
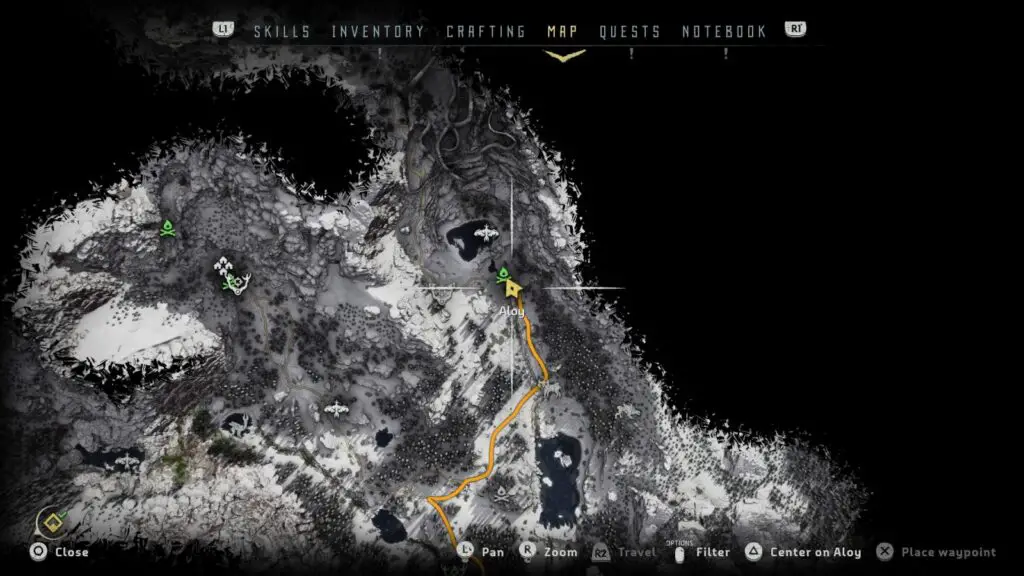
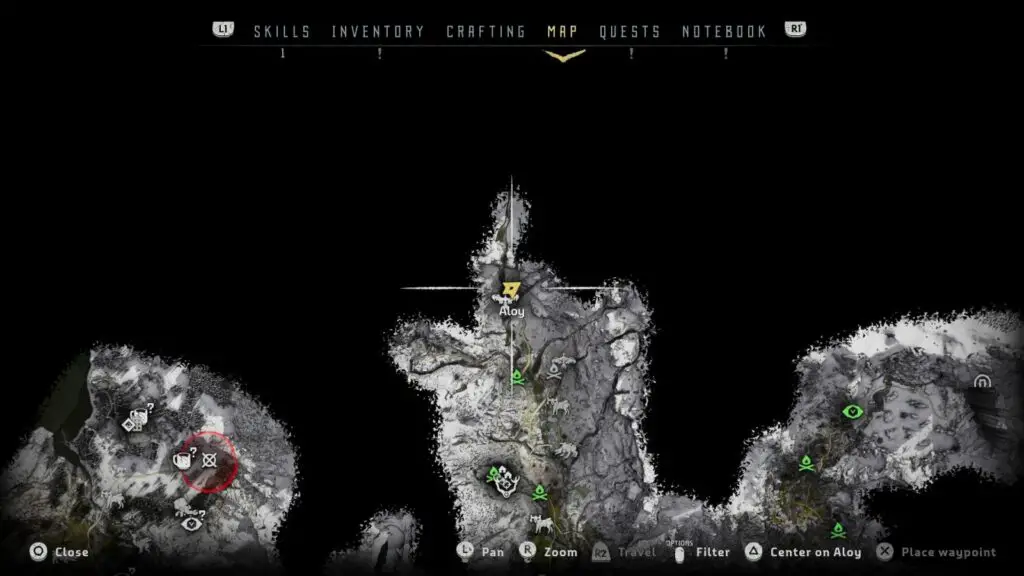
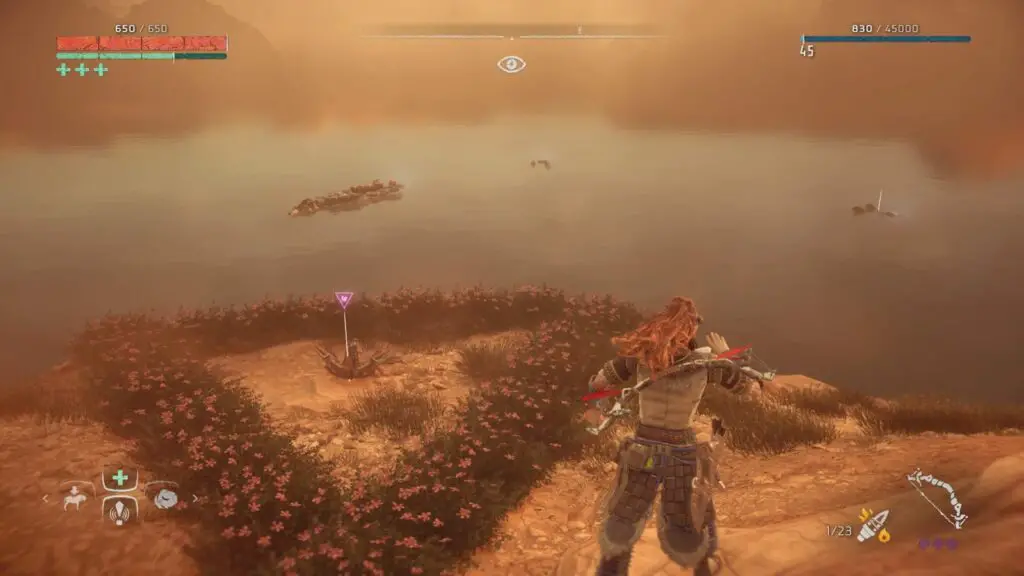
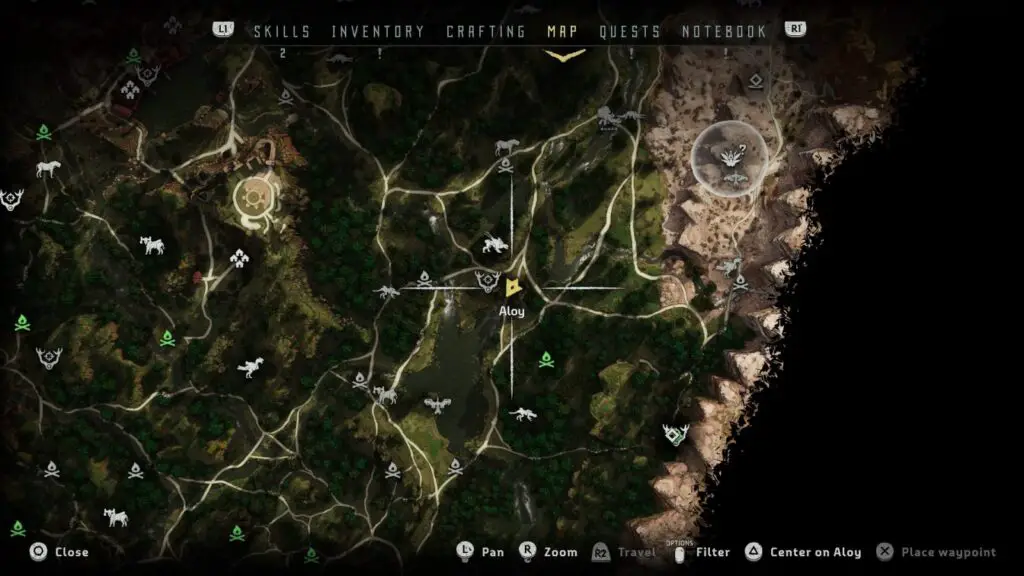
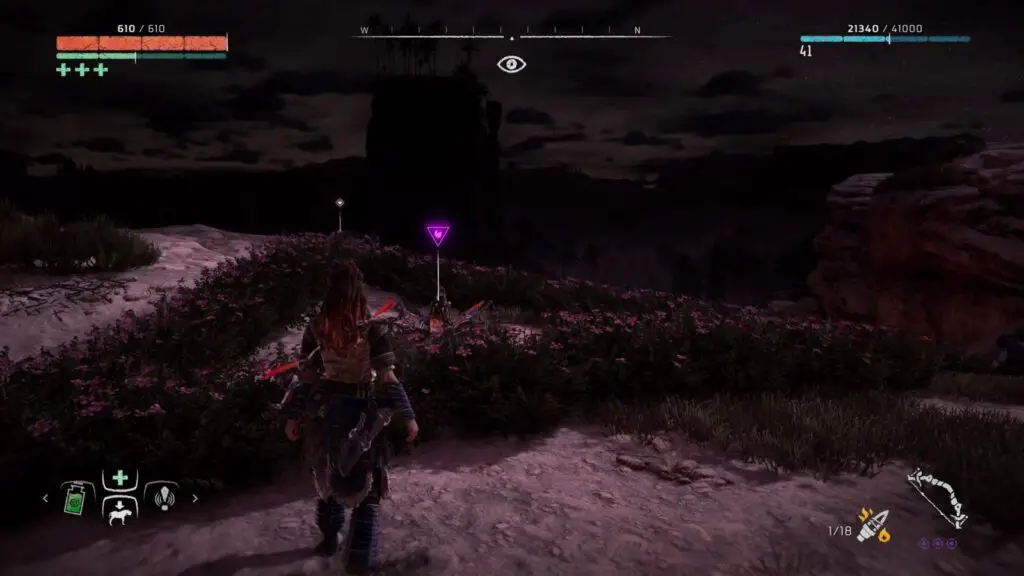
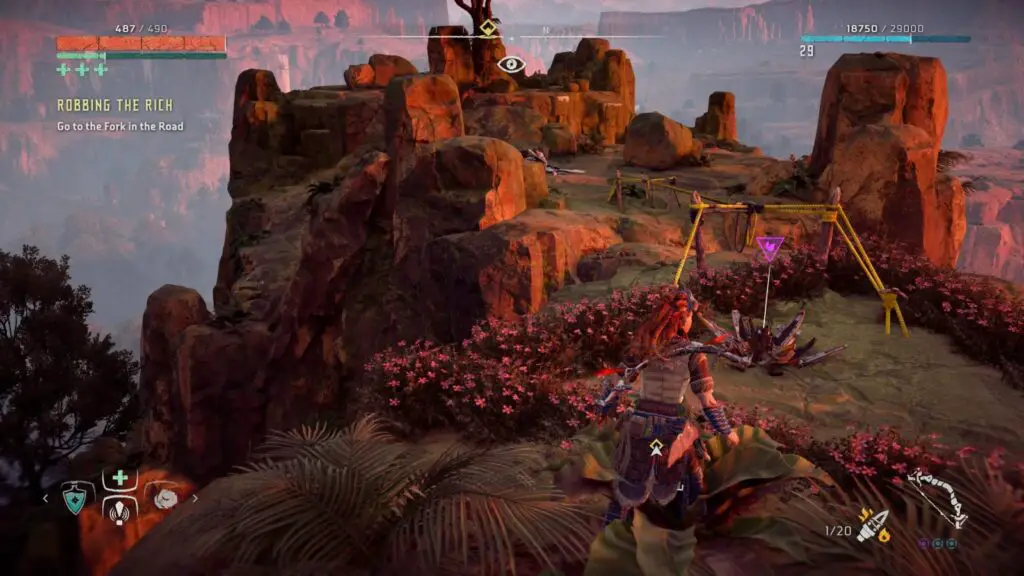
All Ancient Vessel Locations
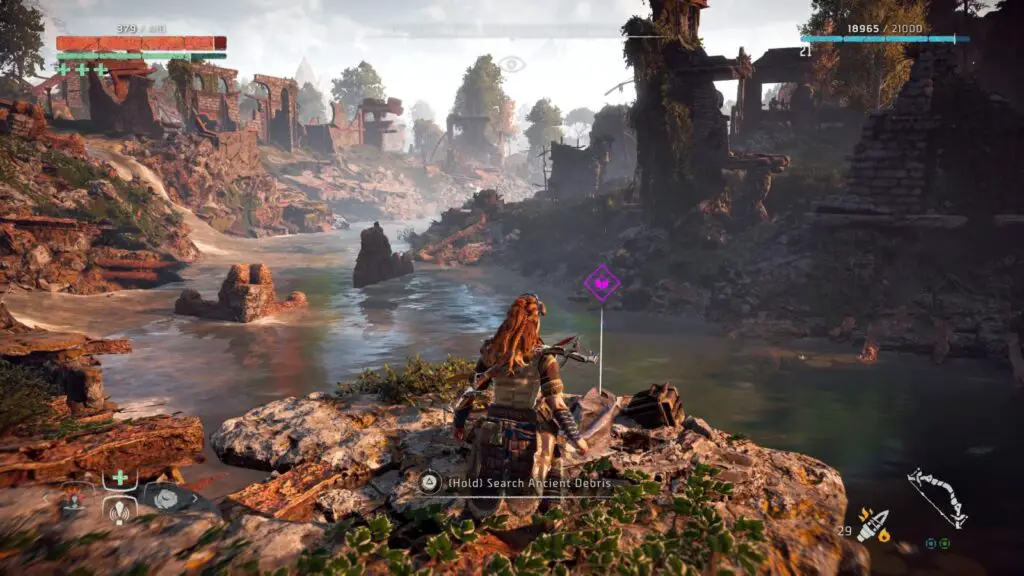
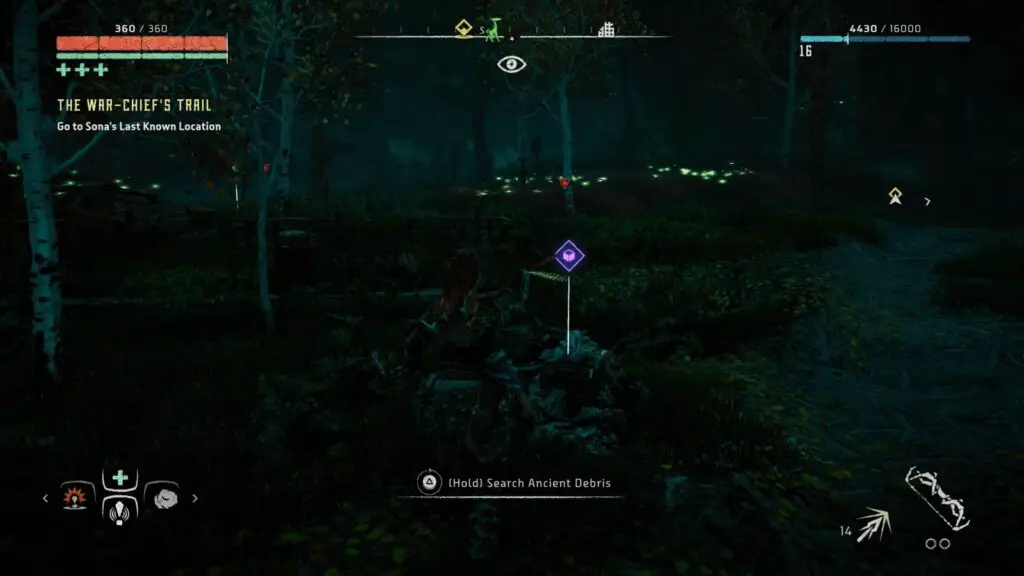
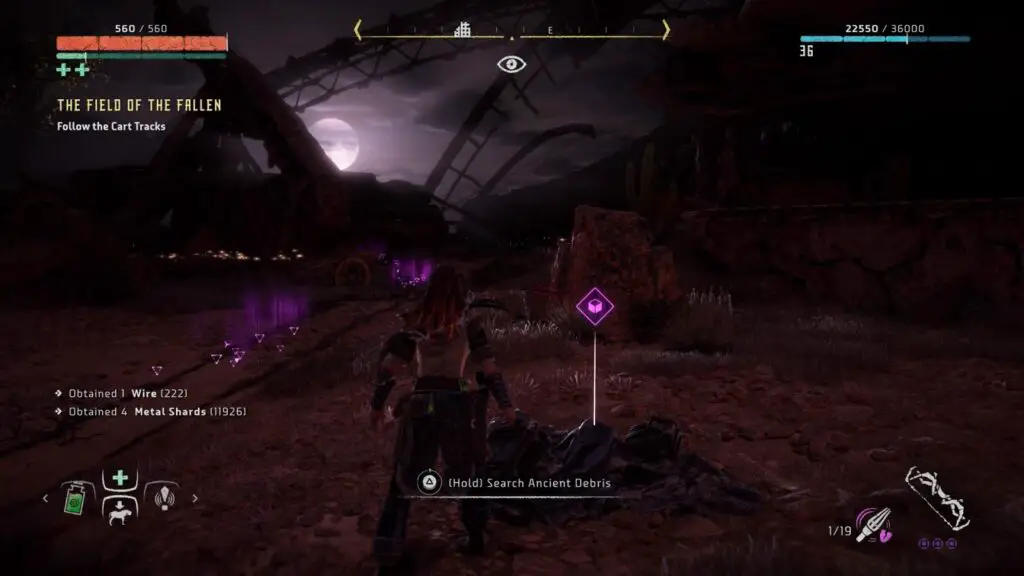
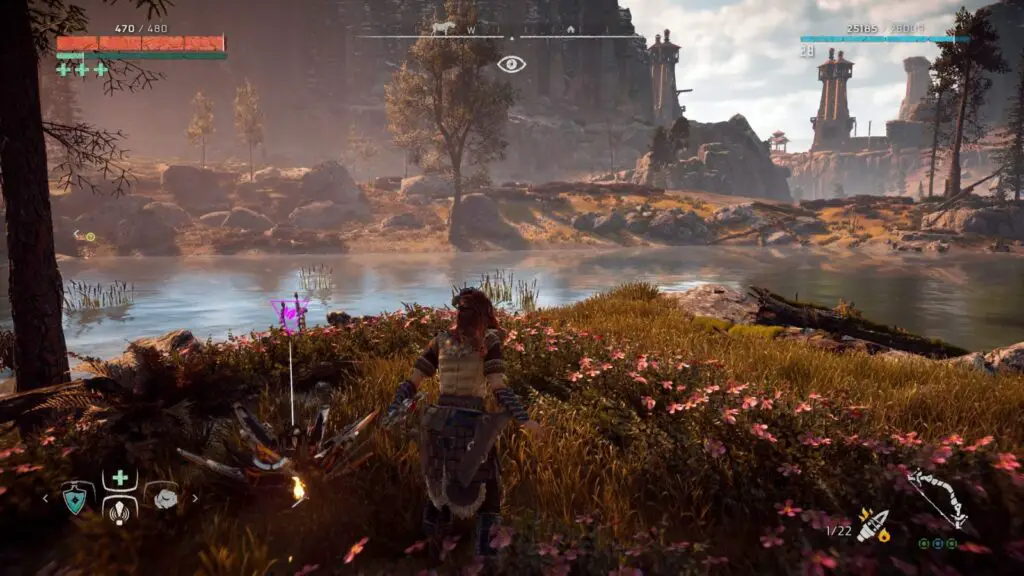
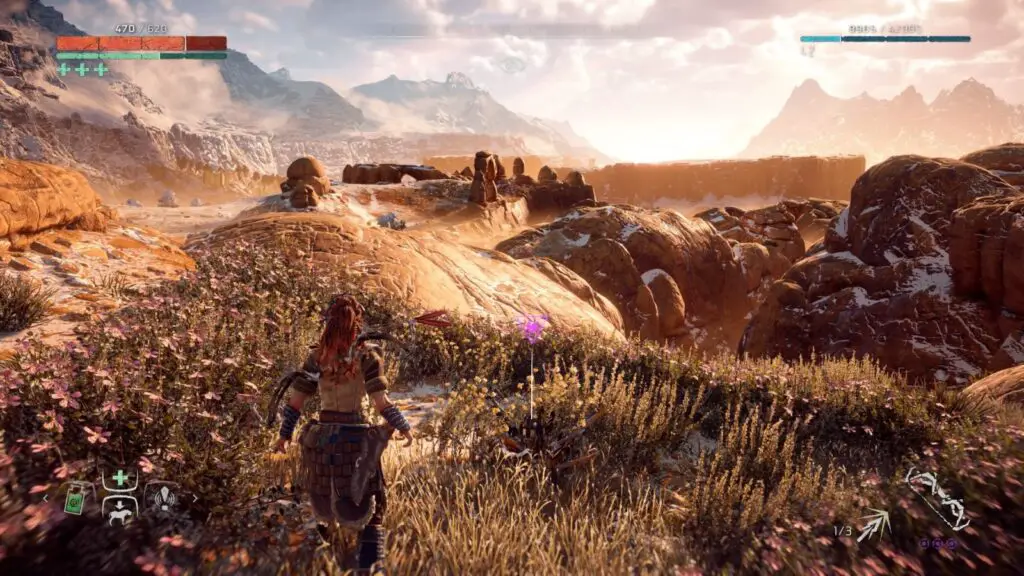
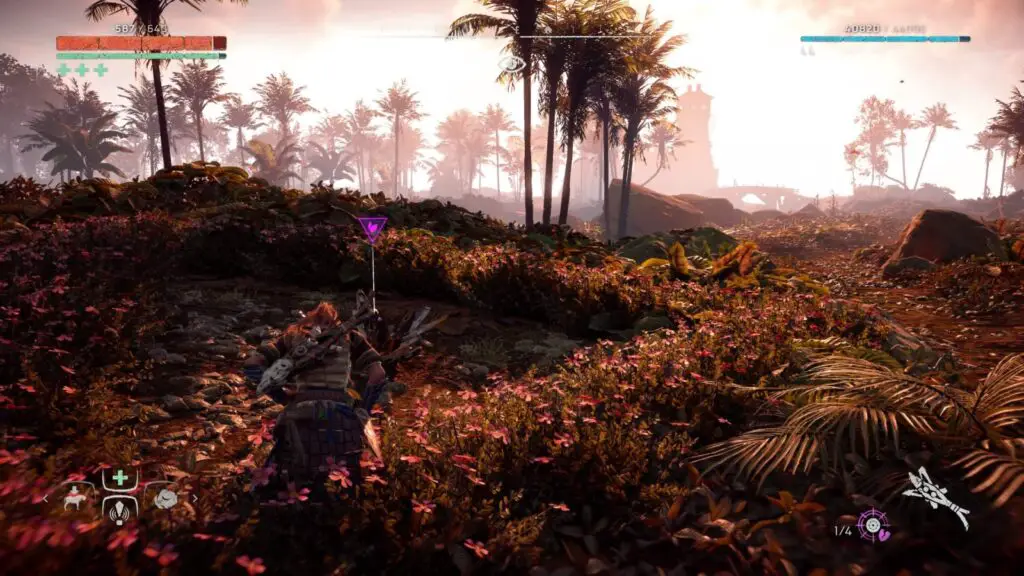
Ancient Vessels are found amid piles of “Ancient Debris” which will be shown with a purple icon on the HUD when nearby. Search Ancient Debris by holding ![]() to find the Ancient Vessel within.
to find the Ancient Vessel within.
There are just 12 to find and they can be tracked via the “Collectables” section of the “Notebook” tab in the touchpad menu.
Set 1 – Vessel 1 – Faro
Despite being the first Vessel in the first set, you won’t find this one among the others in this set. Instead, you’ll need to make significant progress in the game before you can reach the location of this Faro mug.
West of Meridian, all the way at the top of the beautiful series of waterfalls you can find there, this vessel is in a pile of ancient rubble near some ruins a short distance from the cliff edge, in Sawtooth territory.
Set 1 – Vessel 2 – Arches

To the east of Mother’s Rise on the southern-most edges of Devil’s Thirst, there is a pile of Ancient Rubble sat along the river’s edge, this vessel can be found in here.
Set 1 – Vessel 3 – DroneHop
Just outside the Devil’s Thirst Bandit Camp, near the bridge you cross when you first attack it, and nearby Nil’s location where you speak to him to wrap up the Bandit Camp sidequest, you’ll find this pile of rubble.

Set 1 – Vessel 4 – Wayfarers
Just south of Devil’s Thirst Bandit Camp. Leave the camp via the southern-most bridge and walk forwards a short distance until you reach some rusted iron fencing and there is some ancient rubble nearby with a purple icon above it. This contains the 4th vessel.
Set 2 – Vessel 1 – Miriam
Sat on the left side of one of the three main western routes into Devil’s Grief, it’s hard to miss if you’re heading along this middle-most path.
Set 2 – Vessel 2 – USRC
Up a hill on the southern side of the lower-most of the three routes into Devil’s Grief mentioned for the collectable above. It is next to a tall still-standing skyscraper and is easy to find by just following this path.
Set 2 – Vessel 3 – KZ
In the dense jungle on the southern edge of Devil’s Grief, found under a stubborn part of a collapsed building.
Set 2 – Vessel 4 – Sterling-Malkeet
In the northwestern-most corner of the “Shattered Kiln” Bandit Camp (which is found in the northwestern-most corner of the map), there are some prisoners held in cages, and right in front of them is some Ancient Rubble which contains this ancient vessel.
Set 3 – Vessel 1 – Odyssey
Found in a Dig Site north of Meridian, where you go to find Olin during the “The City of the Sun” Main Quest. The rubble pile is near the center of the site.
Set 3 – Vessel 2 – Metallurgic
You can find this Vessel in some rubble which is clearly visible from the Campfire at the Maker’s End Ruins (you will go here for the Main Quest “Maker’s End”).
Set 3 – Vessel 3 – Jomei
Found next to the “Dimmed Bones” location on the map, you will be practically led right to the collectable when you do the quest “The Field of the Fallen” with Erend. The rubble is on the right-hand side of the path as you approach the Dimmed Bones structure.
Set 3 – Vessel 4 – Thunderheads
Found inside the long collapsed building you travel through during the “Maker’s End” mission. Its location is in the northern part of Maker’s End and you can see the framework of the collapsed building on the map.
All Banuk Figure Locations
There are just 6 to find and they can be tracked via the “Collectables” section of the “Notebook” tab in the touchpad menu.
Banuk Figures are typically found at the end of long traversal segments, acting as a trial with the Banuk Figure being a trophy marking your accomplishment.
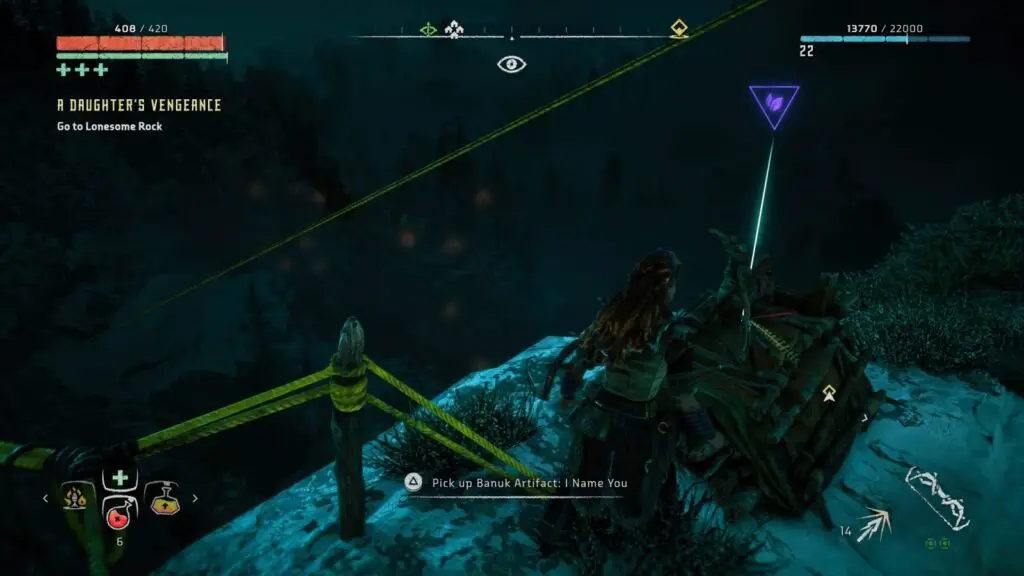
Set 1 – Banuk Figure 1 – I Name You
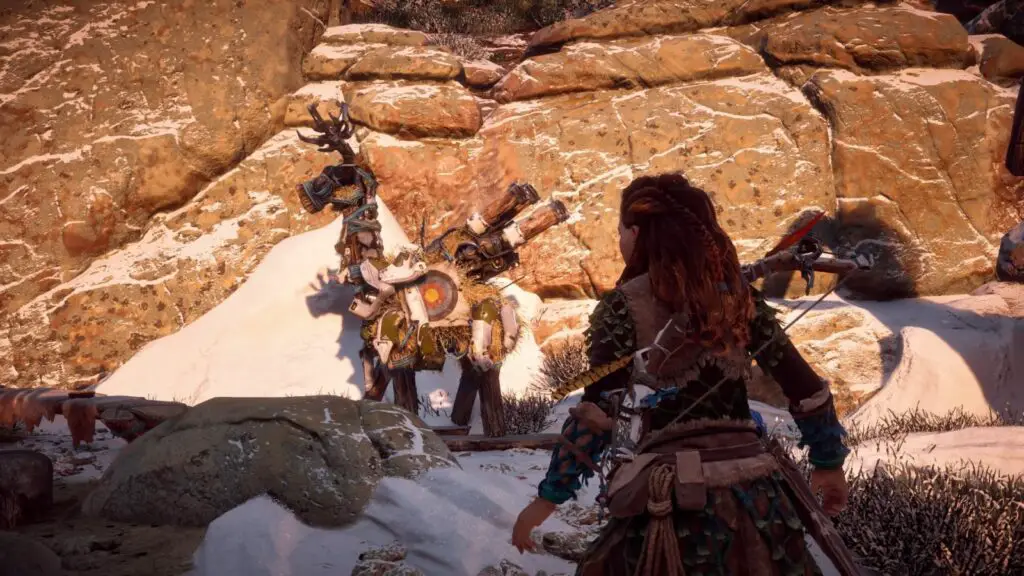
The traversal trial for this Figure begins at the western edge of Hunter’s Gathering, next to a quest-giving NPC called Gera. The start is also next to a Training Dummy found at this camp.
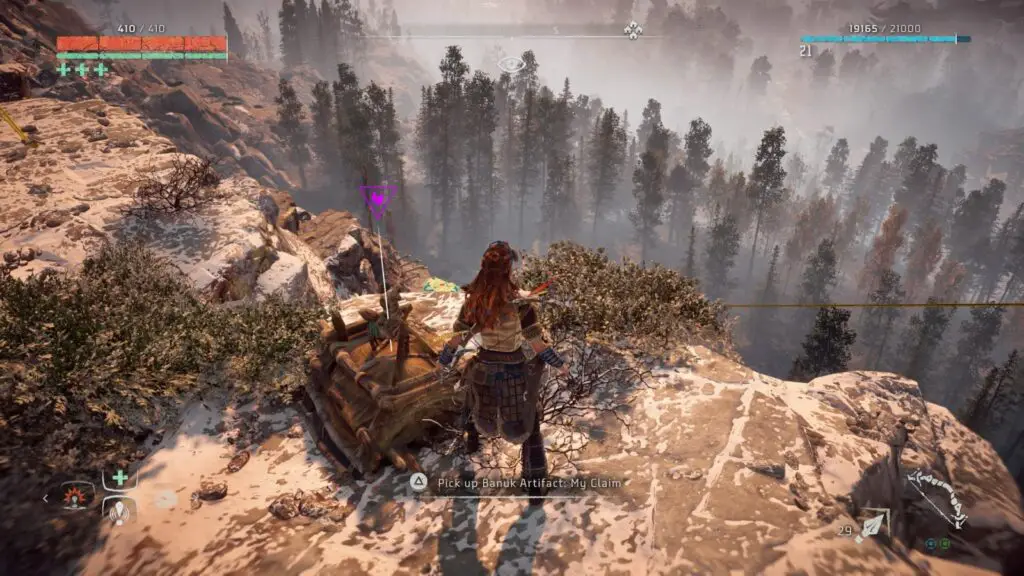
Set 1 – Banuk Figure 2 – My Claim

Found at the top of a long cliff-side climbing segment which can be found in the northeast of the Devil’s Thirst Camp, east of Mother’s Crown.
Set 2 – Banuk Figure 1 – Punishment
A very short distance southeast of the Banuk Encampment is another climbing puzzle which leads to this Banuk Figure. It can be found on a cliff overlooking the encampment.
Set 2 – Banuk Figure 2 – I Cannot Confess
Just west of Meridian there is a beautiful series of waterfalls set against tall cliffside, among which there is a large rock near the top which is covered in Banuk paintings. This is actually pretty difficult to find if you are approaching from Meridian to the East, but if you head around to the West and approach from the top of the falls, you will be able to see where the Banuk figure is from there and approach it from above.
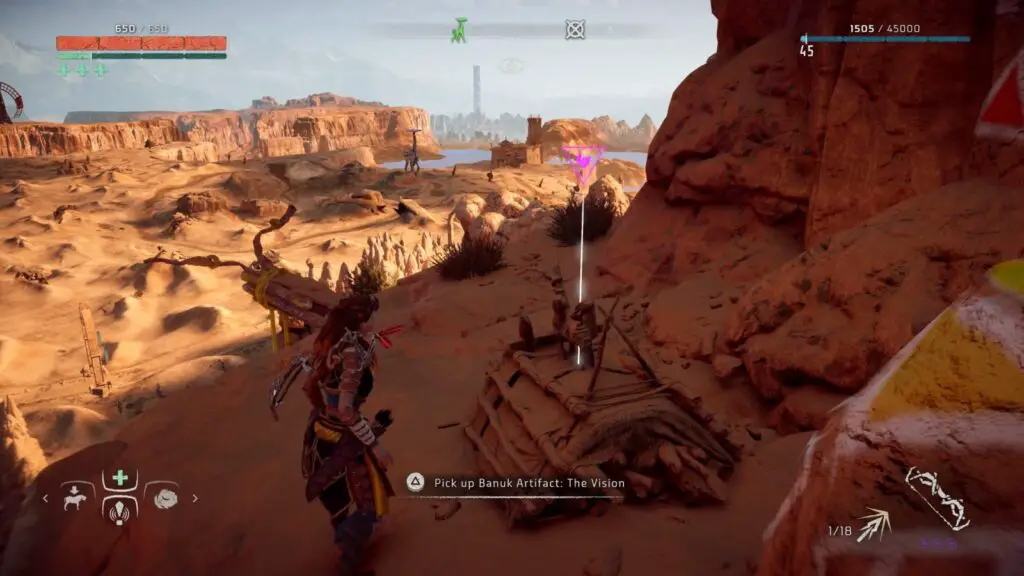
Set 3 – Banuk Figure 1 – The Vision
In the northwest corner of the plateau where you can find the Rustwash Tallneck, at the western edge of the map, you’ll find more Banuk paintings along the orange stone cliffs which lead to a bit of a finicky climb to a tightrope which will take you directly to this figure, overlooking the Rustwash area.
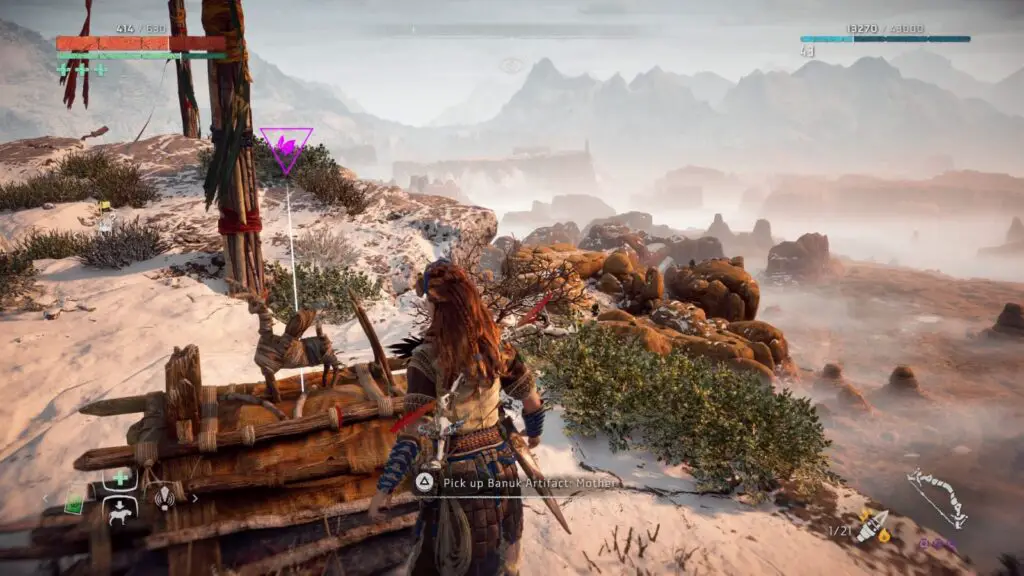
Set 3 – Banuk Figure 2 – Mother
Quite a distance directly northwest of the Sun-Steps Tallneck (East of Cauldron Zeta) you’ll find a cliff-side covered with the now-familiar Banuk paintings. This climb is not as sheer as the others so a lot of it can be walked, simply head towards the top of the zip-line which should be quite clearly visible and you’ll find the figure nearby.
All Grazer Training Dummy Locations
There are a total of 23 Grazer Training Dummies to find. You can track how many you have collected by going to “Notebook” and then “Statistics” in the Touchpad menu. There is a “Training dummies” stat under “Other” on this screen.
If you revisit a Grazer Training Dummy which you have already destroyed, it will not have a head and will collapse onto its side when you approach it closely.
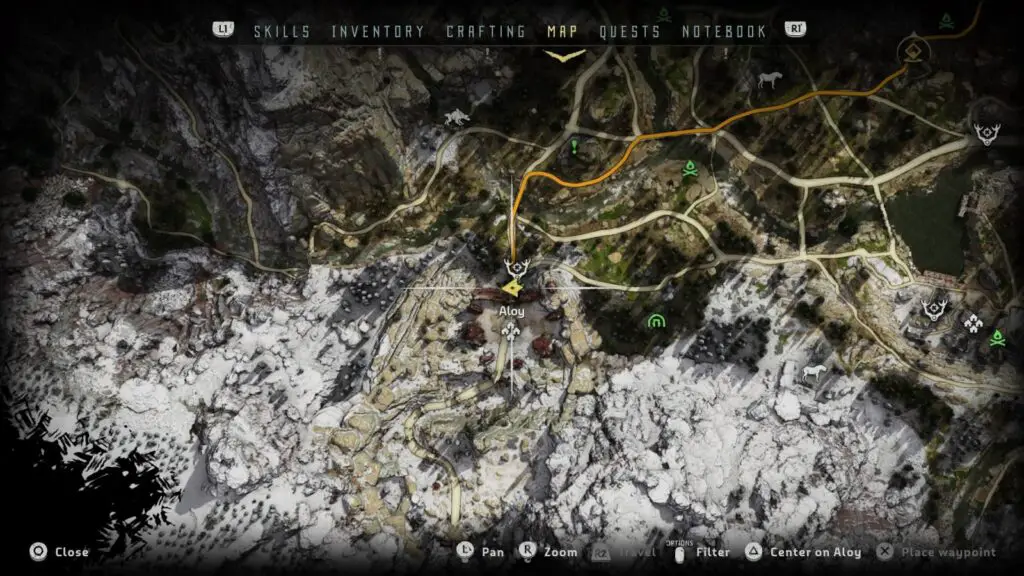
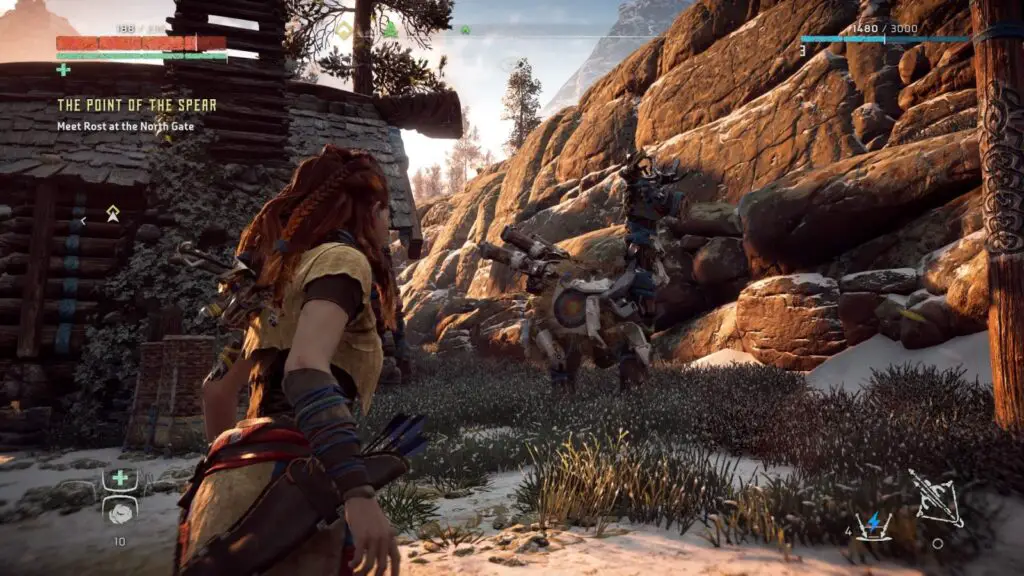
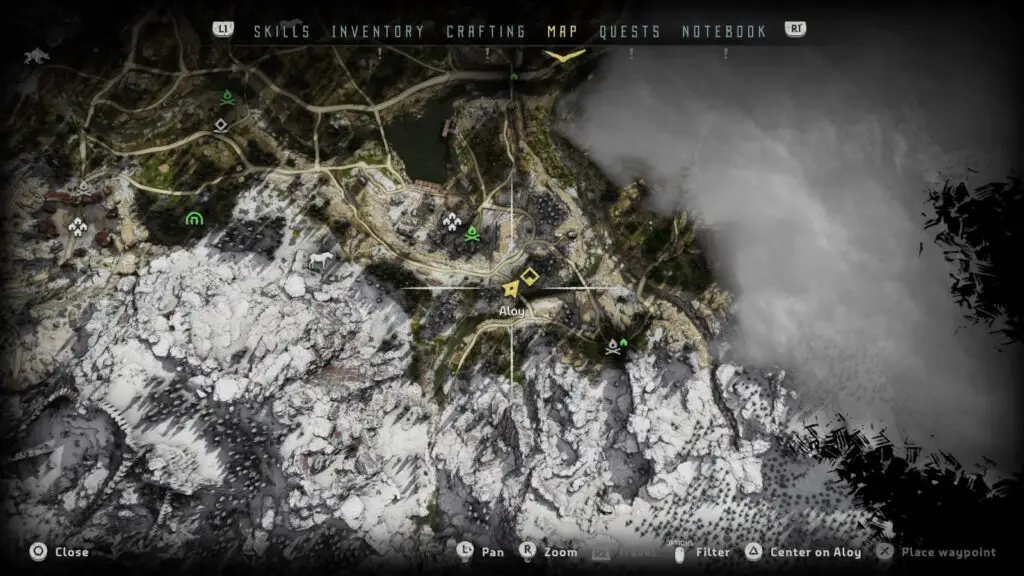
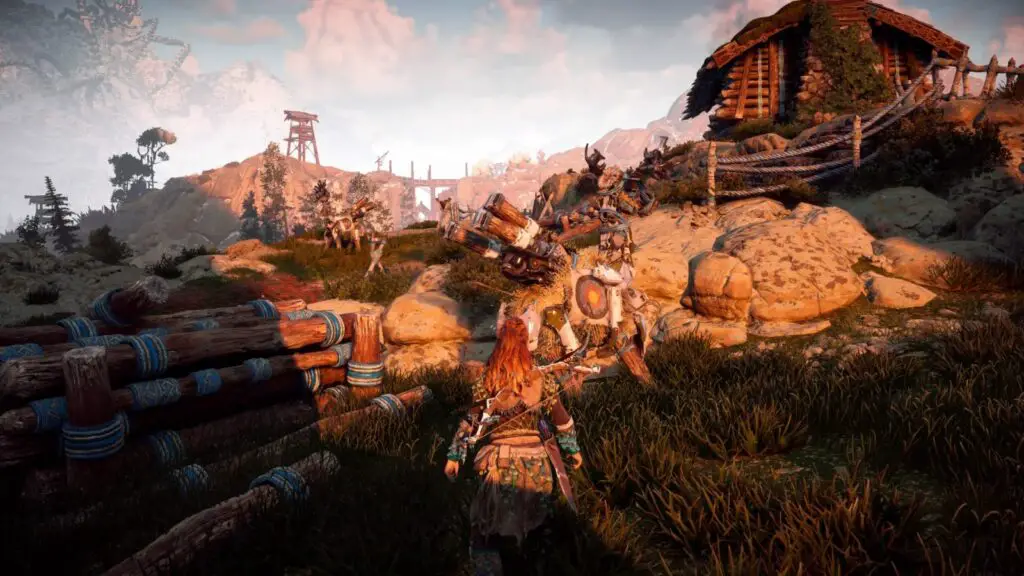
#1-7 Rost’s Home
As soon as you gain control over Aloy as an Adult, you’ll start off at the home you’ve been staying in with Rost. Here, you’ll find 7 Training Dummies to take down.
#8-9 Mother’s Heart
Mother’s Heart is a small village to the East of Rost’s Home. Here you will find two Dummies. One can be found next to the Campfire:
The other is found behind a house nearby, next to a watchtower:

#10-11 Mother’s Watch
In the south of this region is a small enclosed encampment called Mother’s Watch. At certain points in the game, you’ll be denied entry to this place, but that’s okay because the Dummies we’re after are right outside the gate. There’s one to the left of the gate and one to the right. Both very close to the campfire you can use to fast travel there.
#12-13 Mother’s Cradle
Mother’s Cradle is also found to the south, just further east than Mother’s Watch. This moderately sized village contains two Dummies to find. The first can be found behind the Merchant’s stall, aside a nearby building.
The second is a little trickier as you will want to head out of the village. Head along the southernmost road towards “Southern Embrace Gate” and you will find another Merchant (It’s Karst). Near him, just outside of his hut, there is another Dummy.
#14-15 Mother’s Rise
Mother’s Rise can be found on the opposite (Eastern) side of the impassable mountainside from Mother’s Heart, near the Nora Hunting Grounds. Here, there’s another two Dummies to find.
For the first, follow the main path up until you reach a small cube-like hut at the top of the camp. Next to this hut is a small wooden barricade and then even further left from there you will see the Training Dummy atop a rocky cliffside. I tried to get both the Dummy and the Cube-like shack into this image for you.
For the other, return to the path and then follow it all the way to the end. Here, against a cliff face and near a cooking fire, you will find the Training Dummy.
#16-17 Nora Hunting Ground
Likely the first Hunting Ground you find, the Nora Hunting Grounds are found to the Southeast of Mother’s Rise and will be marked on the map once you’ve overridden the Tallneck in this region. Find the Keeper next to the Campfire and the Merchant atop the nearby cliff face.
There will be a small house opposite the Keeper, face it and then head into the fields behind it, there you will find two Training Dummies just a short distance from each other.
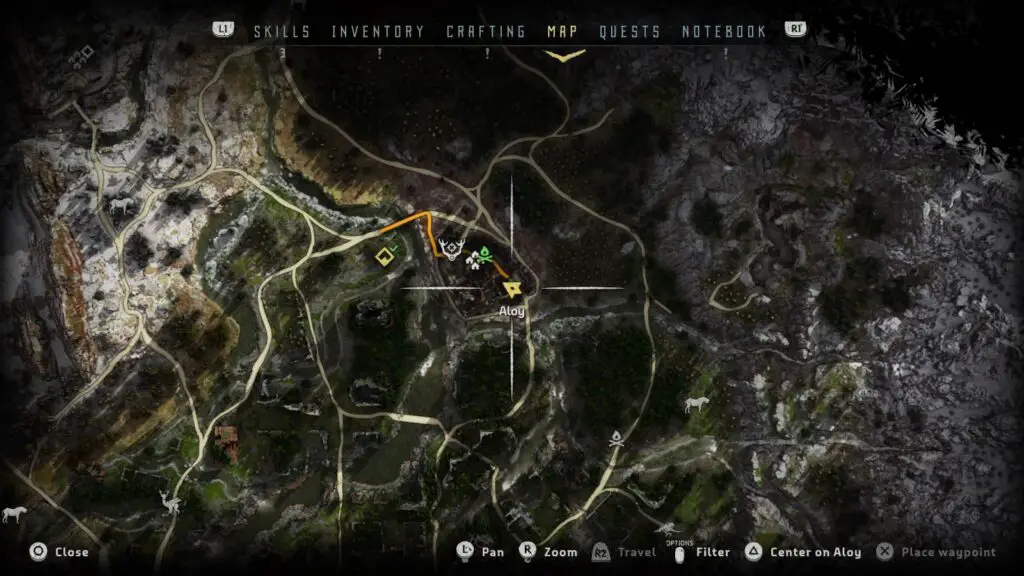
#18 Devil’s Thirst Bandit Camp
This is the first Bandit Camp you can clear, which becomes available as a side-quest from the character “Nil” shortly after you have learned the Override ability. The Dummy is relatively easy to find, just on the other side of a wooden barricade near the Campfire. You’ll be able to find it with ![]() from the camp.
from the camp.
#19-20 Mother’s Crown
Enter Mother’s Crown (Settlement north of Mother’s Rise) and head to the northwestern gate, here you will find both Dummies in plain view next to each other.
#21-22 Hunter’s Gathering
Hunter’s Gathering is a settlement found to the northwest of Mother’s Crown, West of the Valleymeet Hunting Grounds.
From the campfire here, you can clearly see both Training Dummies against the cliff wall at the back of the camp.
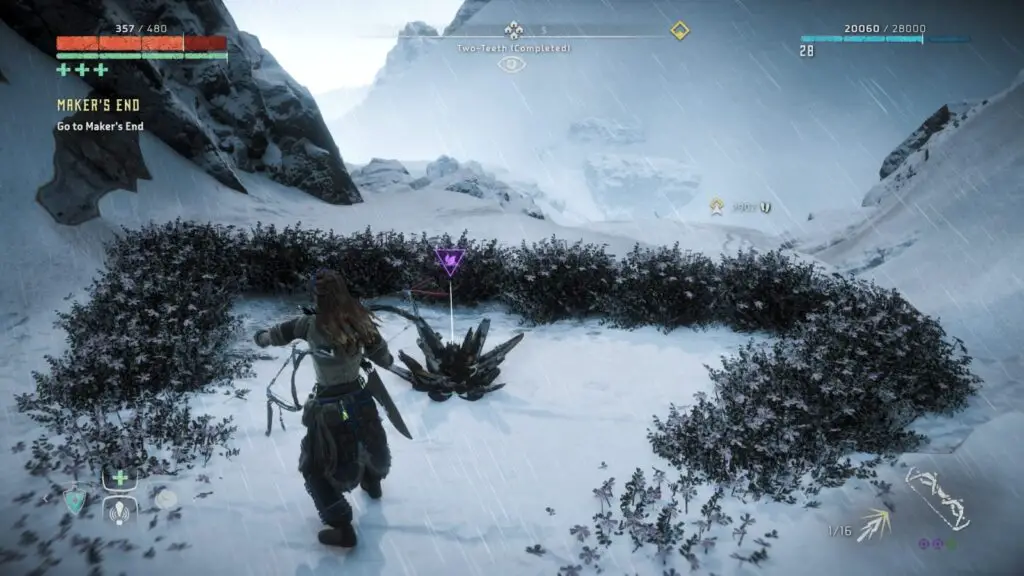
#23 Two-Teeth Bandit Camp
Two-Teeth Bandit Camp can be found to the West of the Hunter’s Gathering camp, you will need to keep heading west until you see it appear on your map unless you have already uncovered it. You will need to be around Level 9 to clear this Bandit Camp.
Once the camp is cleared, start from the Campfire and head up the nearby stairs to where the Alarm for this camp was kept, there you will find the final Training Dummy.
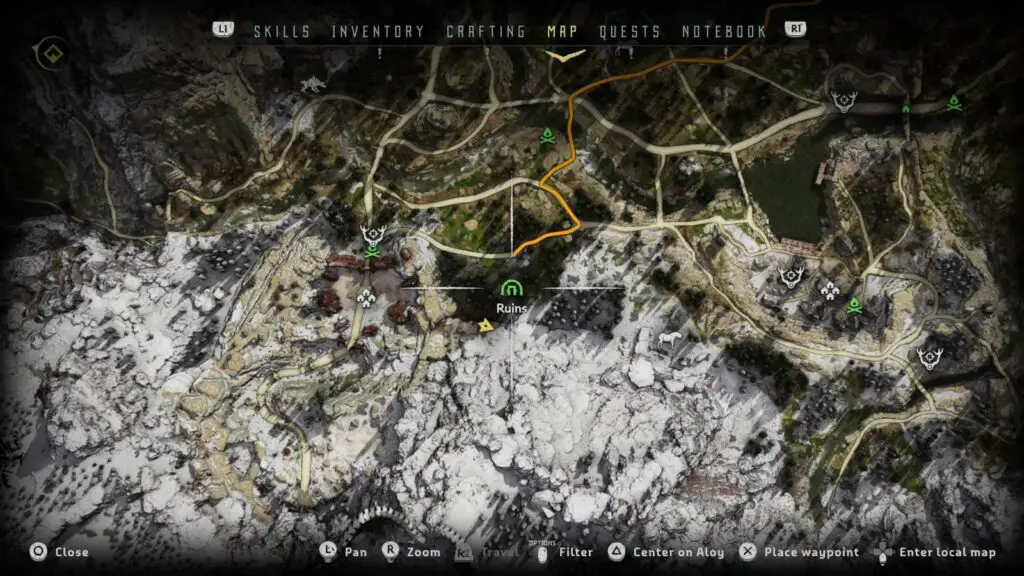
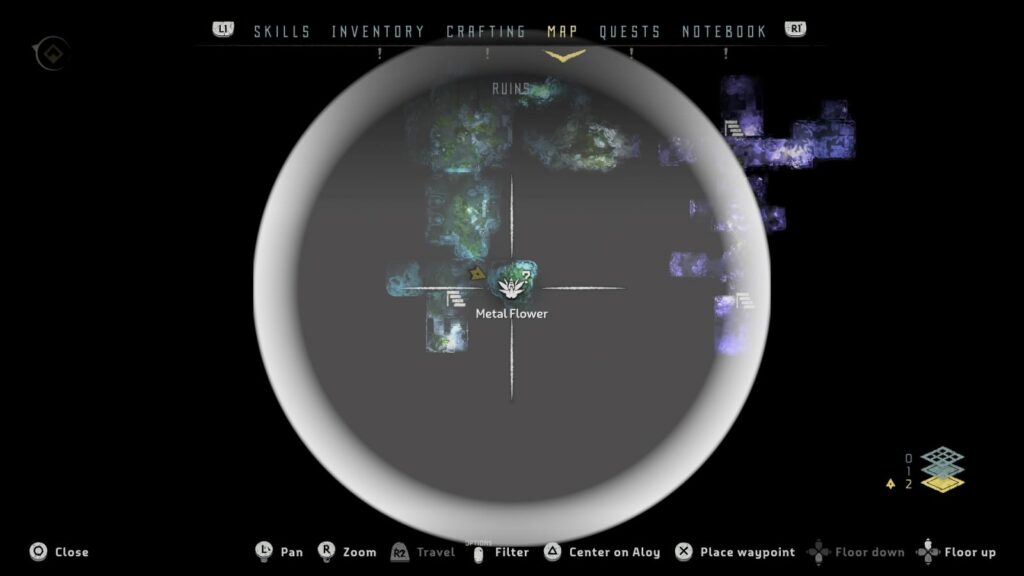
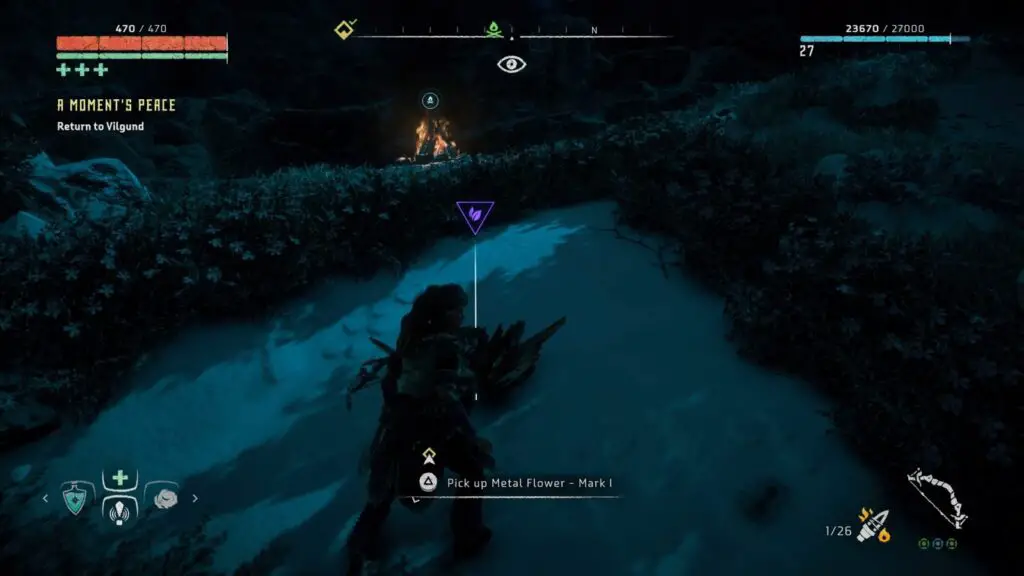
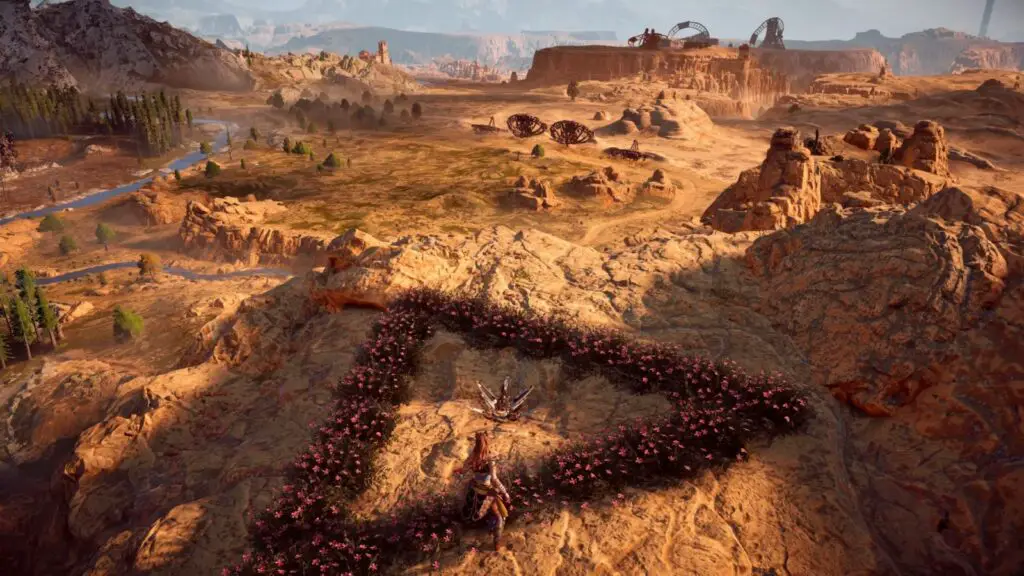
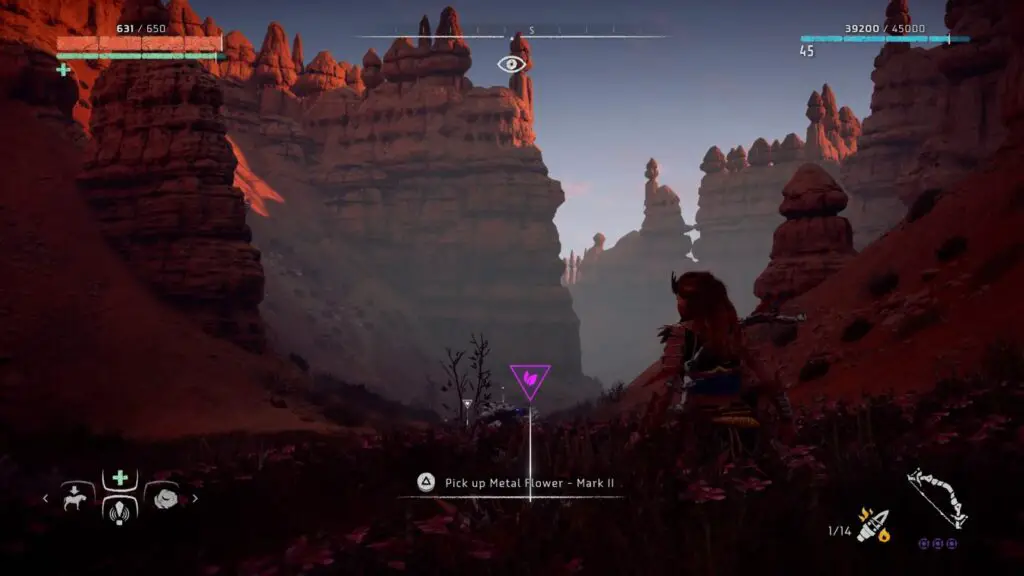
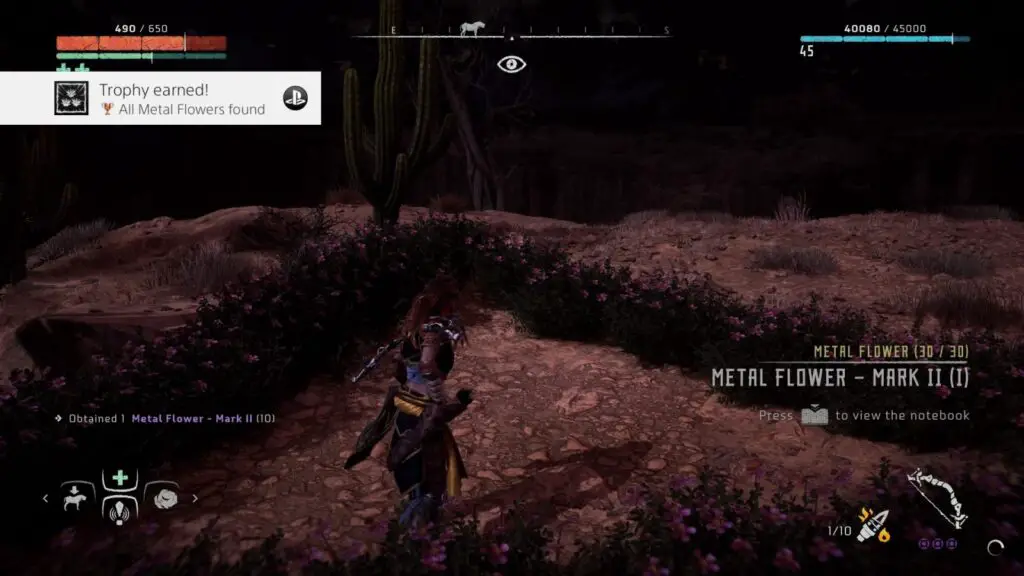
All Metal Flower Locations
There are 30 to find and they can be tracked via the “Collectables” section of the “Notebook” tab in the touchpad menu.
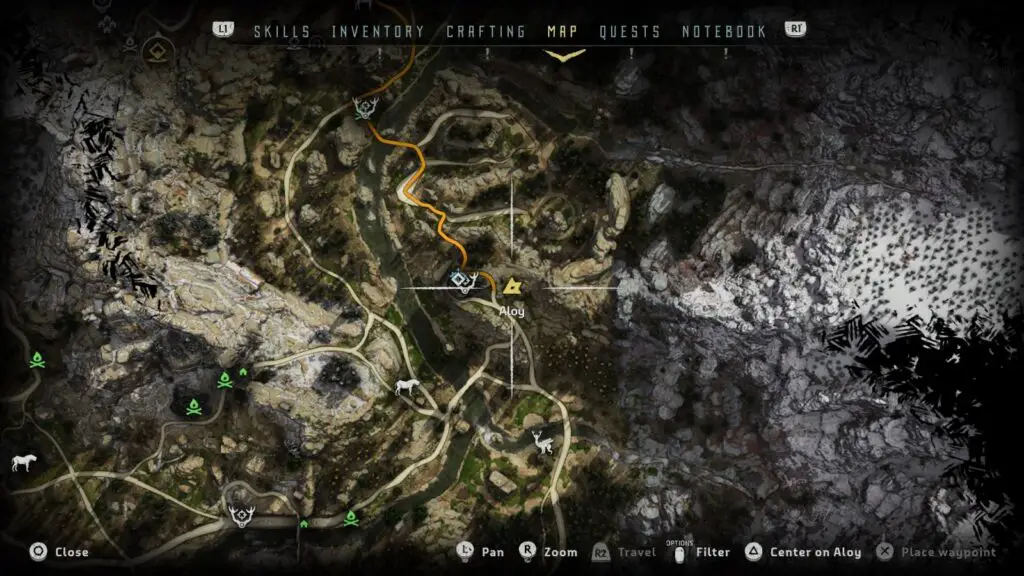
Set 1 – Metal Flower 1 – Mark I (A)
Inside the underground bunker Ruins just East of Mother’s Watch, on the lower-most floor, you’ll find a door blocked by stalagmites and stalactites which can be easily broken through with ![]() , allowing you access to the metal flower within.
, allowing you access to the metal flower within.
Set 1 – Metal Flower 2 – Mark I (B)
Just west of Rost’s home, found on a cliffside. You can either complete the intended traversal route along the cliffside starting to the southwest of Rost’s home, or you can head out through the southern gate from Rost’s home and then immediately turn west and jump over the nearby wall to drop down on top of the flower.
Set 1 – Metal Flower 3 – Mark I (C)
West of the Nora Hunting Grounds, behind a burnt down building. You can head directly west from the Hunting Grounds campfire to find this with ease.
Set 1 – Metal Flower 4 – Mark I (D)
At the Northeastern edge of the Devil’s Thirst area, up the hill behind a quarry found there.
Set 1 – Metal Flower 5 – Mark I (E)
In a collapsed building at the south-west corner of Devil’s Grief, near two Sawtooth machines.
Set 1 – Metal Flower 6 – Mark I (F)
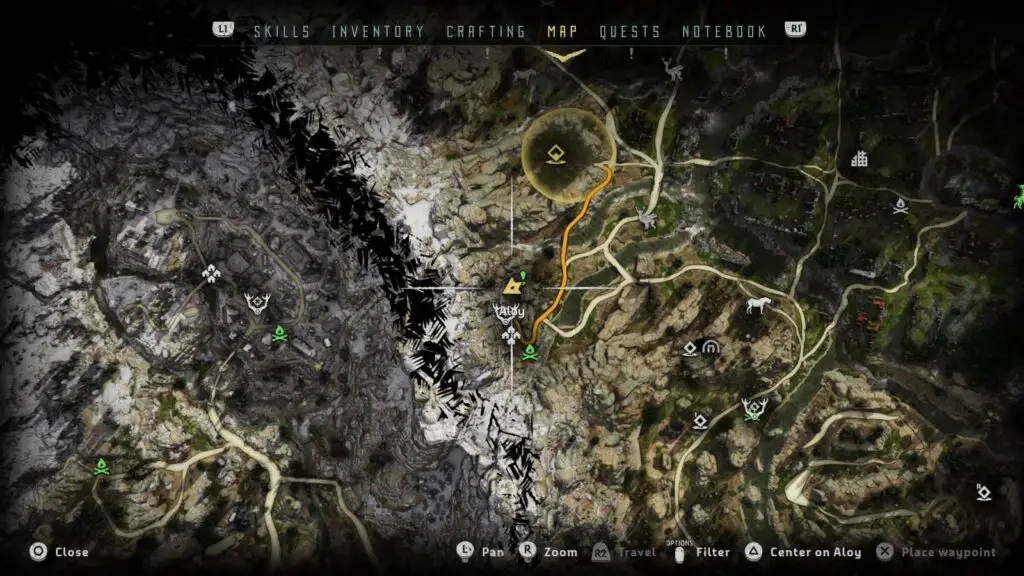
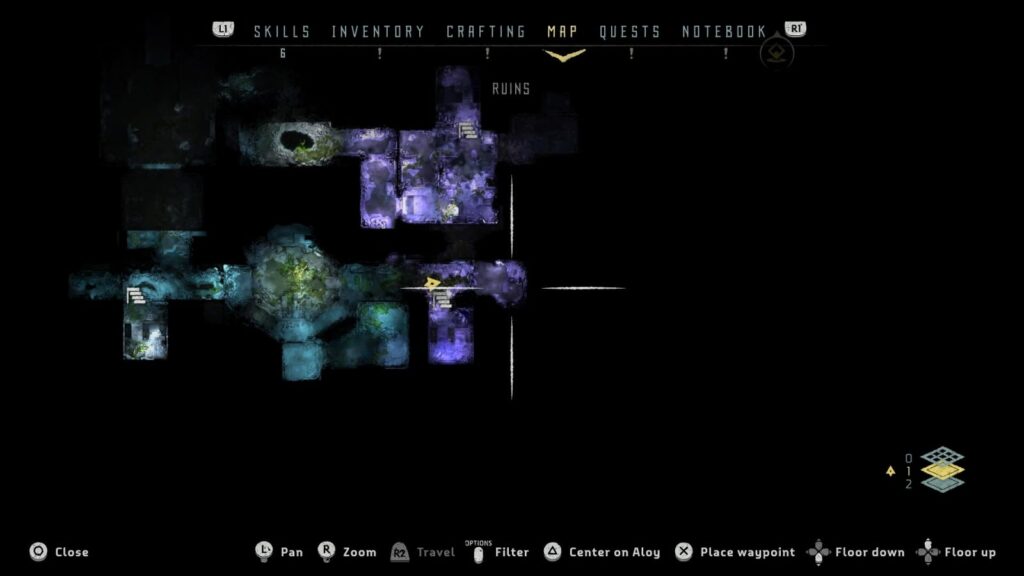
Inside the Ruins where the “Ancient Armoury” quest takes place, basically the ruins where you need to take the Power Cells. The ruins are found just east of Mother’s Rise.
When you drop down into the water on the bottom floor in order to gain initial access to the ruins, you’ll see this flower on the left-hand side of the entrance.
Set 1 – Metal Flower 7 – Mark I (G)
Find this flower by the water’s edge, next to a building in the south-eastern corner of Devil’s Grief.

Set 1 – Metal Flower 8 – Mark I (H)
Just South of the Campfire east of the Banuk Encampment you’ll find this flower out in the open, quite easy to spot.
Set 1 – Metal Flower 9 – Mark I (I)
Found amid a small cluster of trees at a Broadhead site south of Hunter’s Gathering.
Set 1 – Metal Flower 10 – Mark I (J)
Found on a dirt path leading up the side of a waterfall, just north of where the two Sawtooth machines always spawn. Between Hunter’s Gathering and Two-Teeth camp.
Set 2 – Metal Flower 1 – Mark II (A)

From the Dawn’s Sentinel Gate (found north of Daytower) head north up a narrow canyon path to find this flower waiting at its end.
Set 2 – Metal Flower 2 – Mark II (B)
Found on a Snapmaw-infested island in the center of a small lake. The lake is northeast of Daytower, east of the Dawn’s Sentinel gate, and can be easily reached by heading west from Cauldron Sigma.
Set 2 – Metal Flower 3 – Mark II (C)
Found by a river just north of the “Lone Light” settlement you will visit for the Hunters Lodge side-quest “Hunter’s Blind”.
Set 2 – Metal Flower 4 – Mark II (D)
Sitting on top of the crescent-shaped rock formations surrounding Sunfall at the western end of the map, this Metal Flower can only be reached by climbing up the rocks from the eastern side, follow the formation north from the campfire found there and you’ll soon see the ledges leading their way up.
Set 2 – Metal Flower 5 – Mark II (E)
Just a smidge northeast of the Sun-Steps Tallneck you’ll find a Thunderjaw site where there are two Thunderjaws. Here, towards the centre, you’ll find this Metal Flower.
Set 2 – Metal Flower 6 – Mark II (F)
Northwest of the Sun-Steps Tallneck there is a rocky formation near a Trampler site, here you’ll be able to find this Metal Flower by climbing onto the rounded stone formations.
Set 2 – Metal Flower 7 – Mark II (G)
In the mountain pass which contains the settlement of Pitchcliff, far to the north, you will find a Stormbird site. Continue on past here until you’re almost at the end of the pass.
Here, on a stone ledge at the eastern edge of the river, you’ll find this metal flower.
Set 2 – Metal Flower 8 – Mark II (H)
All the way over on the western edge of the map, west of the Rustwash Tallneck, you will find a small section of enclosed canyon, filled with uniquely-shaped rock formations. The Flower can be found within this area and is quite easy to spot.
Set 2 – Metal Flower 9 – Mark II (I)
Found on the southern tip of the same rocky plateau which houses the “Dimmed Bones” ruins, found north of Meridian and east of the Rustwash Tallneck, this Metal Flower is easy to find.
Set 2 – Metal Flower 10 – Mark II (J)
Far on the western edge of the map you’ll find a huge lake with a very jagged coastline which is swarming with Snapmaw machines. here, at the tip of the western-most “tooth” of the lake’s southern coastline, you’ll find this Metal Flower.
Set 3 – Metal Flower 1 – Mark III (A)
Slightly west of the Spurflints Hunting Grounds, there’s a large lake which has some very short waterfalls at it’s northern edge. Near the easternmost falls you will find this Flower just a little bit to the north.
Set 3 – Metal Flower 2 – Mark III (B)
In the dry rocky area to the north of Spurflints Hunting Grounds you’ll find a Glinthawk machine site up on one of the cliff edges. Here, you will also be able to find a Metal Flower.
Set 3 – Metal Flower 3 – Mark III (C)
When heading west from Hunter’s Gathering there are two main options; Either continue west past Two-Teeth camp towards Daytower, or follow the mountain path uphill.
At the top of this mountain path the route clearly breaks off on the map with a smaller route leading nowhere in particular… except straight to this flower and – if the weather’s right – a stunning view!
Set 3 – Metal Flower 4 – Mark III (D)
This Flower is in very close proximity to Caldron Xi. There’s a path leading from the Eclipse encampment just outside of the Cauldron Entrance which will take you straight to the Freeze Bellowback spawn where this flower is easily found.
Set 3 – Metal Flower 5 – Mark III (E)
Just a tiny bit southwest of Meridian there is a large cliff-face surrounding a tall stone platform. This cliff-face can be climbed from the western side of the platform, leading up to a merchant at the top. Here, at the centre of this platform, you will find the Metal Flower.
Set 3 – Metal Flower 6 – Mark III (F)
To the West of the Spearshafts Tallneck, you’ll find a tall stone formation with the rusted frame of a satellite sat atop it. On it’s eastern side, just under the Satellite’s position, you’ll find you can climb up the cliff face using a string of handholds and ledges.
Climb up to the top and then head over to the edge at the western side, here you’ll find the Metal Flower hiding behind a rock, opposite the campfire.
Set 3 – Metal Flower 7 – Mark III (G)
Atop the tall lush cliffs to the west of Meridian, you’ll find this Metal Flower a short distance from a nearby cliffside settlement and between the two west-leading roads which branch off at this crossroads.
Set 3 – Metal Flower 8 – Mark III (H)
Sat on the water’s edge along the patrol route of the Copper Deeps Tallneck, on the western side of the lake.
Set 3 – Metal Flower 9 – Mark III (I)
Found at the top of a very tall rock pillar east of Meridian by the name of “The Sun’s Climb”. You will be taken to the top of the Sun’s Climb as part of the side-quest “Honor the Fallen”. There, you will see a yellow tightrope which can be crossed to a more narrow stone pillar upon which you will find this Metal Flower.
Set 3 – Metal Flower 9 – Mark III (J)
Just outside the “Lone Light” settlement, north of the “Copper Deeps” Tallneck, There is a stone bridge. Under the easternmost arch of this bridge, you will find this Metal Flower.

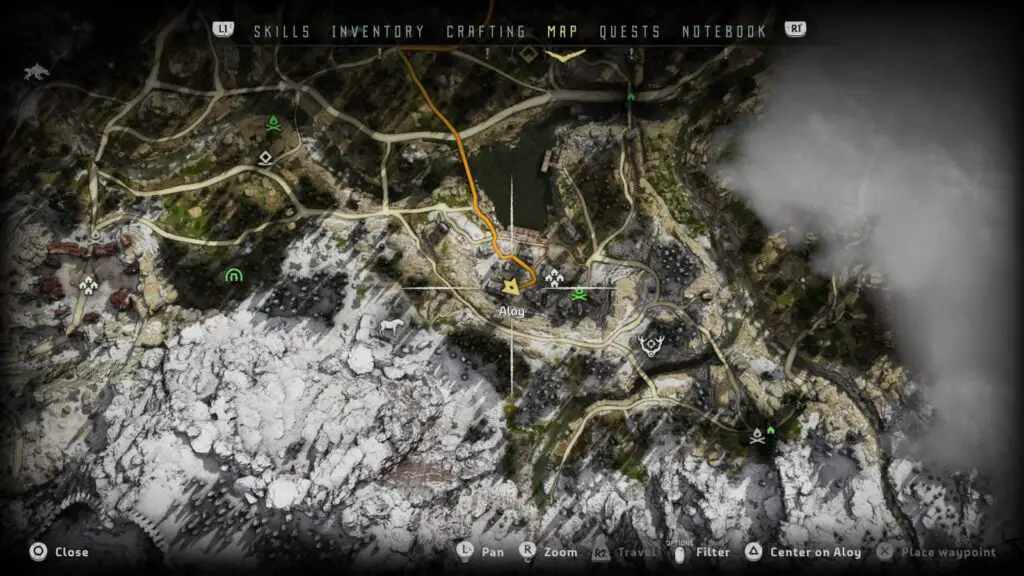
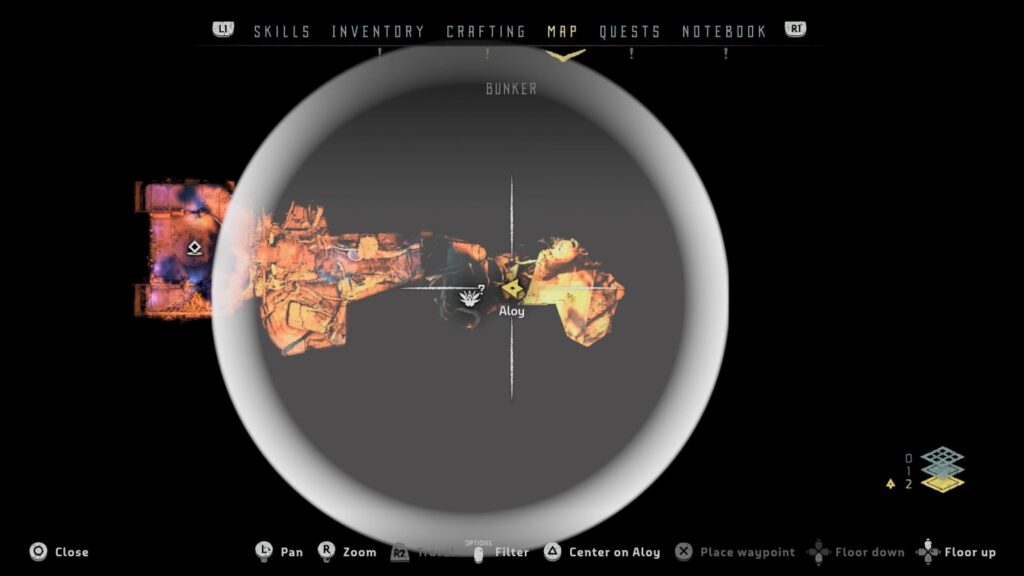
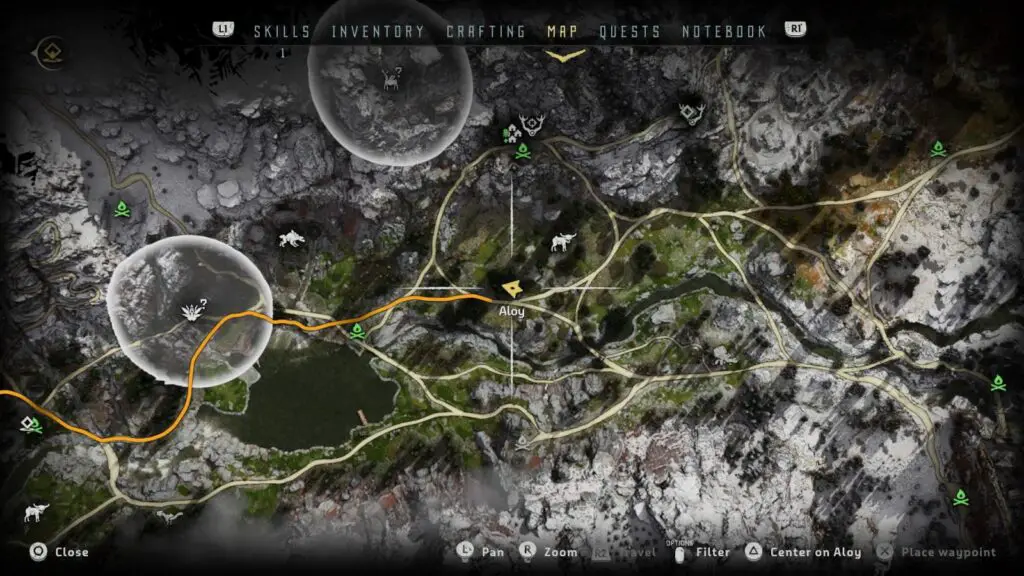
All Power Cell Locations
Underground Bunker
During the game’s prologue, you play as Young Aloy and enter into an underground ruin where you originally acquire the Focus. Progress a little further to then be in control of Adult Aloy in a free-roam capacity.
Check your map and you’ll see that the ruins you visited are marked on the map and can now be revisited as an adult. Head back into the ruins to look for your first Power Cell.
Head through the bunker as you did before until you reach a doorway blocked by stalagmites and stalactites, which you can now break through them using your spear.
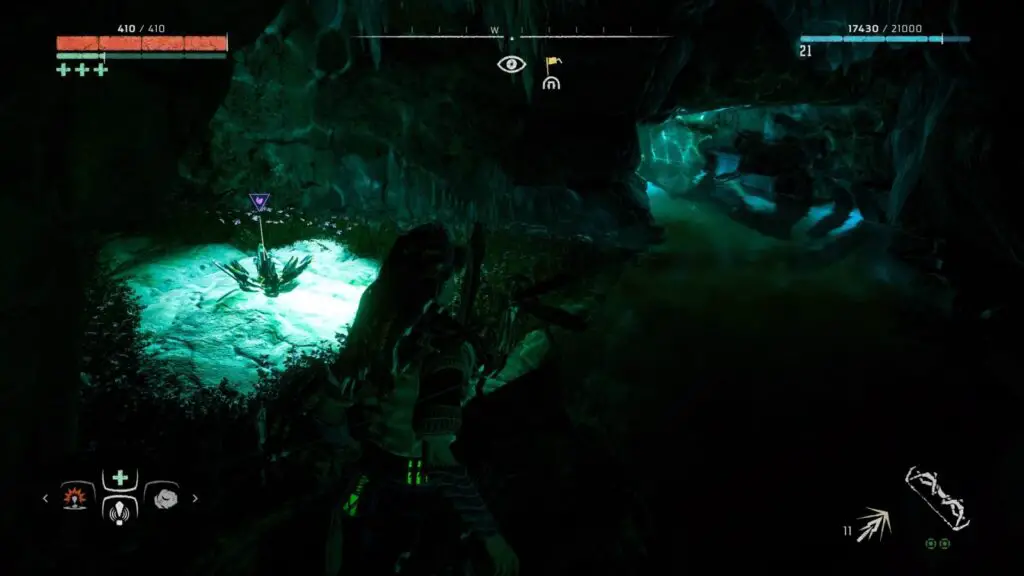
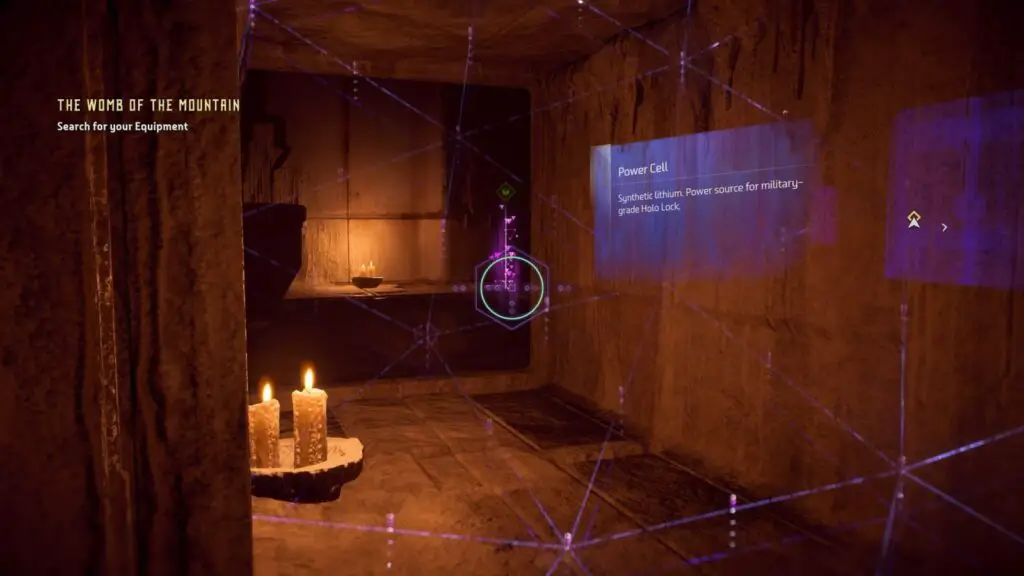
The Womb of the Mountain Power Cell
After completing the Proving, you will wake up in a cave network and be first tasked with finding your clothing and Focus. Once you have your Focus you’ll then need to press ![]() to find the rest of your gear with it. Your gear is found at a pulsating purple marker nearby which you’ll be able to see with
to find the rest of your gear with it. Your gear is found at a pulsating purple marker nearby which you’ll be able to see with ![]() , but at the opposite side you’ll notice one of a few locked doors.
, but at the opposite side you’ll notice one of a few locked doors.
Approach said locked door to find there is an air vent system next to it, which is brightly lit with candles, and will lead you directly to the power cell.
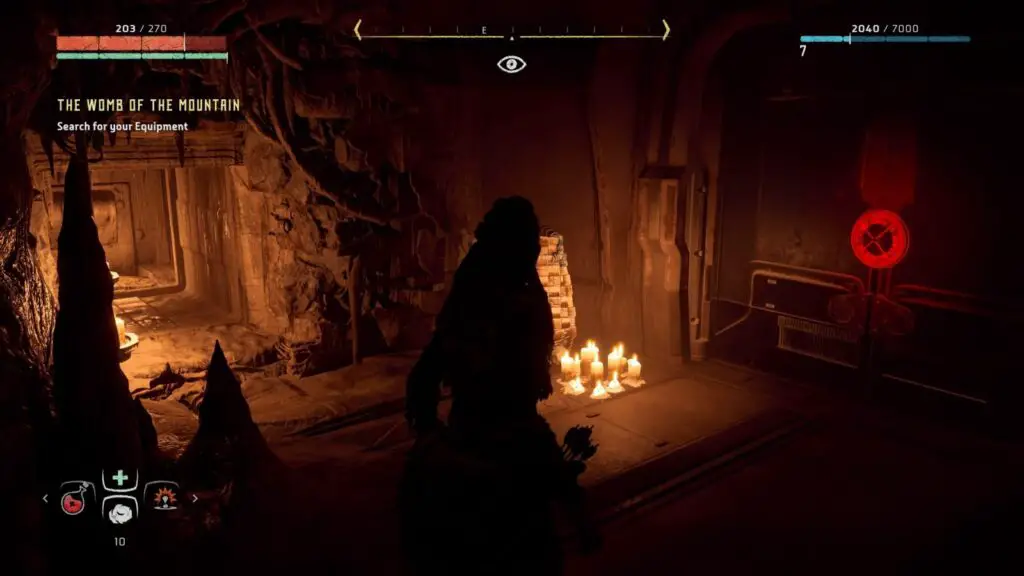
If you didn’t manage to find this during the above-mentioned visit, you will visit All-Mother Mountain again during the mission “The Heart of the Nora” and will then be able to access it once more.
Maker’s End Power Cell
Another Power Cell which you are best off getting as part of the story.
During the mission “Maker’s End” you will eventually need to “Go to Ted Faro’s Office”. Once there, the objective will change to “Search Faro’s Office for information about Dr. Sobeck”. Before doing any of that, turn around and look at the back of the building. You will see a tall supporting structure at the back is still standing after all these years, and it’s covered in handholds, no less!
Head on over and climb up it. The climbing route will wrap around the back of the structure, eventually taking you up to the very highest point of the building where you will find this Power Cell.

You can obviously return to Maker’s End at any point, but given how long it takes to climb up the damn tower, you’ll be glad you grabbed it during the story if you do.
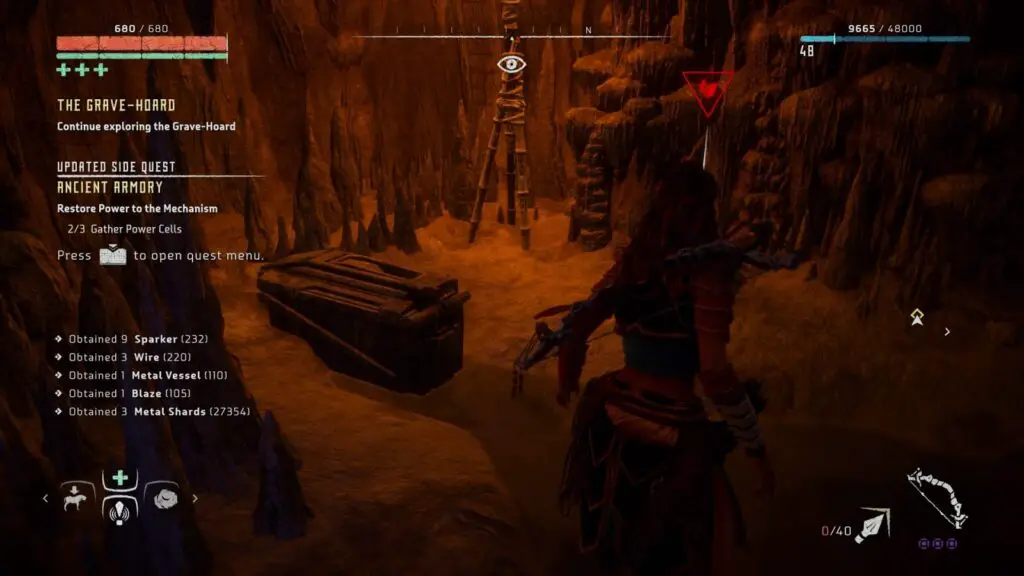
Grave-Hoard Power Cell
Again, you will be brought near this Power Cell as part of the story and so should aim to get it during the relevant quest.
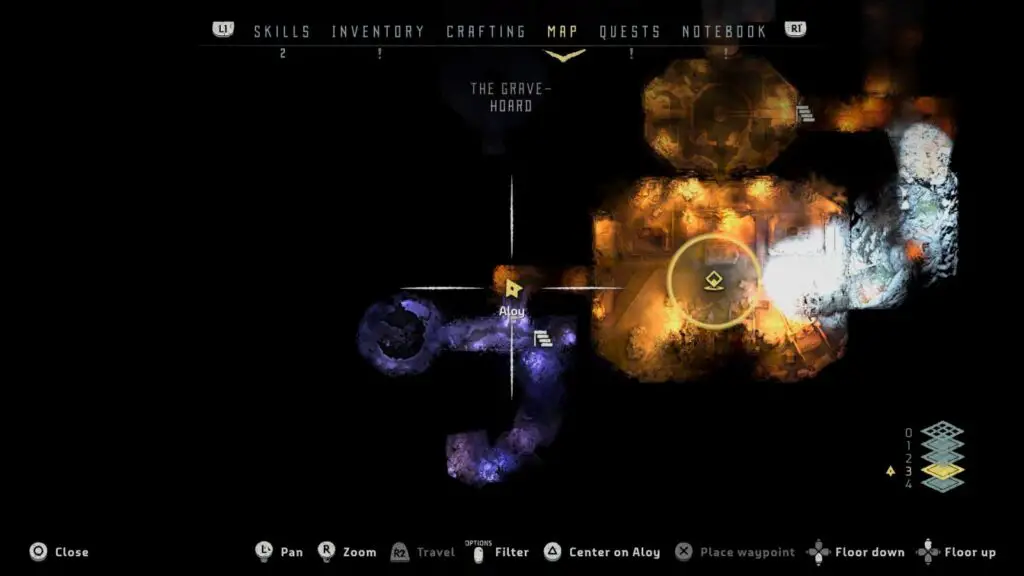
The “Grave-Hoard” ruins are in the northern-most reaches of the eastern-most region. IF you have the Frozen Wilds DLC, this is just south of the new region added for the DLC. You will be brought to these ruins, and asked to explore them, as part of the mission “The Grave-Hoard” (I know, hard to believe).
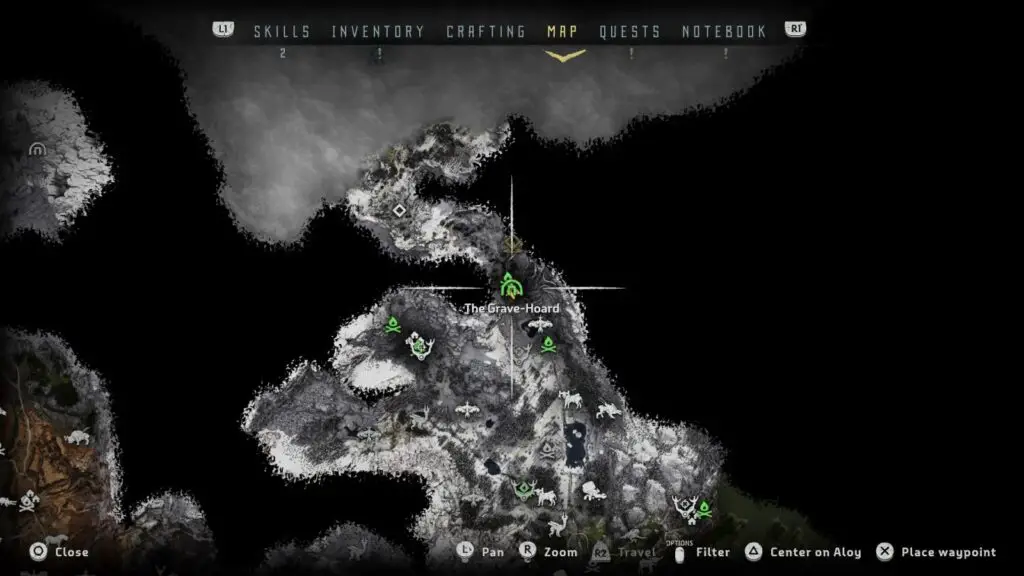
Make your way through the ruins until you reach a locked door and can no longer progress. You’ll need to solve a holo-lock puzzle to open the door and continue this main quest. The holo-lock puzzle spans two floors and involves turning holographic circles clockwise or anti-clockwise in an attempt to match the order displayed on nearby Code nexuses which can be activated with the Focus. One of them is broken and you must use the audio log nearby to solve the code.
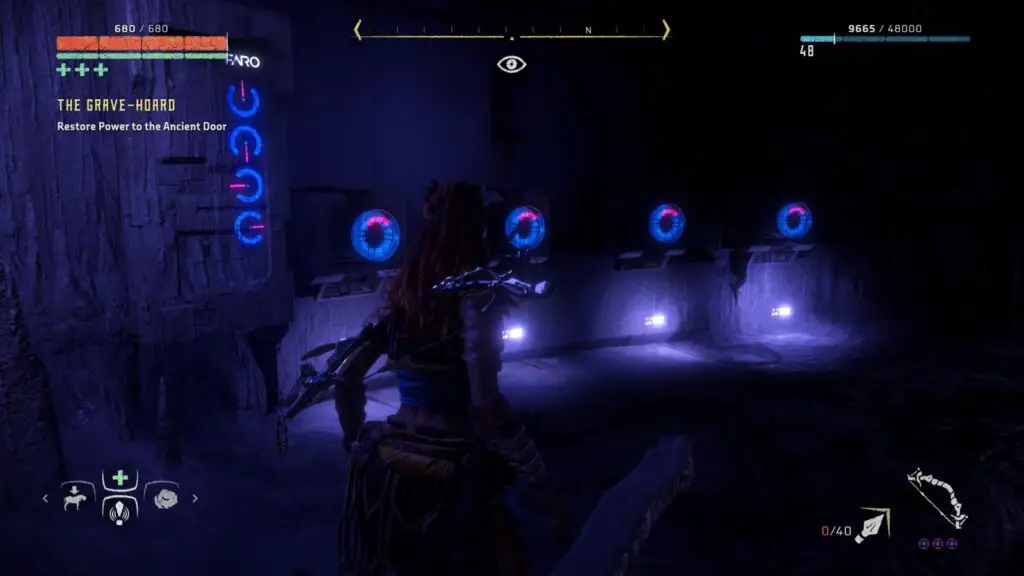
With that completed, follow the marker through the previously locked door. Immediately on your left as you come through the door, the Power Cell is on the ground, next to some medicinal mushrooms, at the base of a torch.
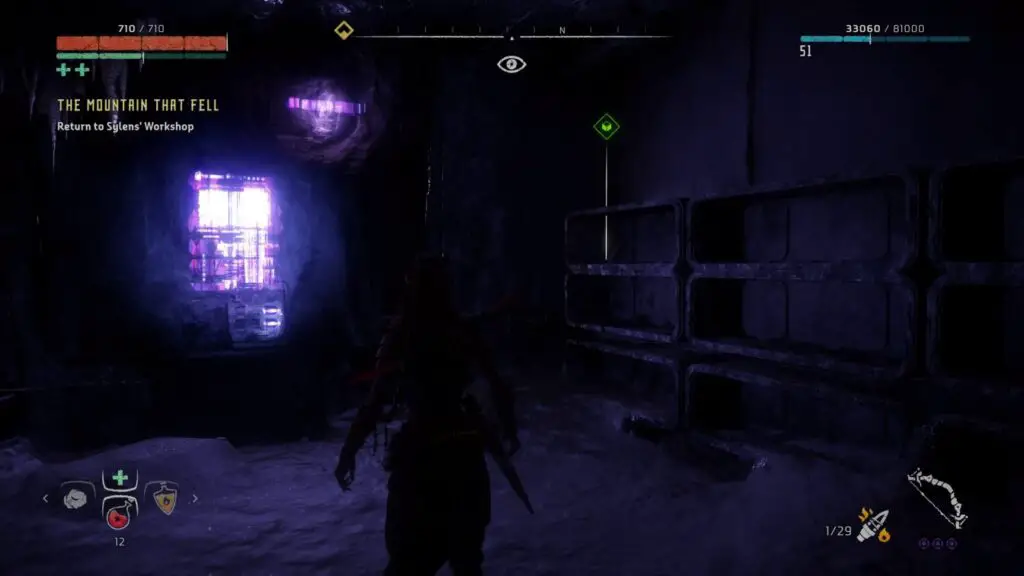
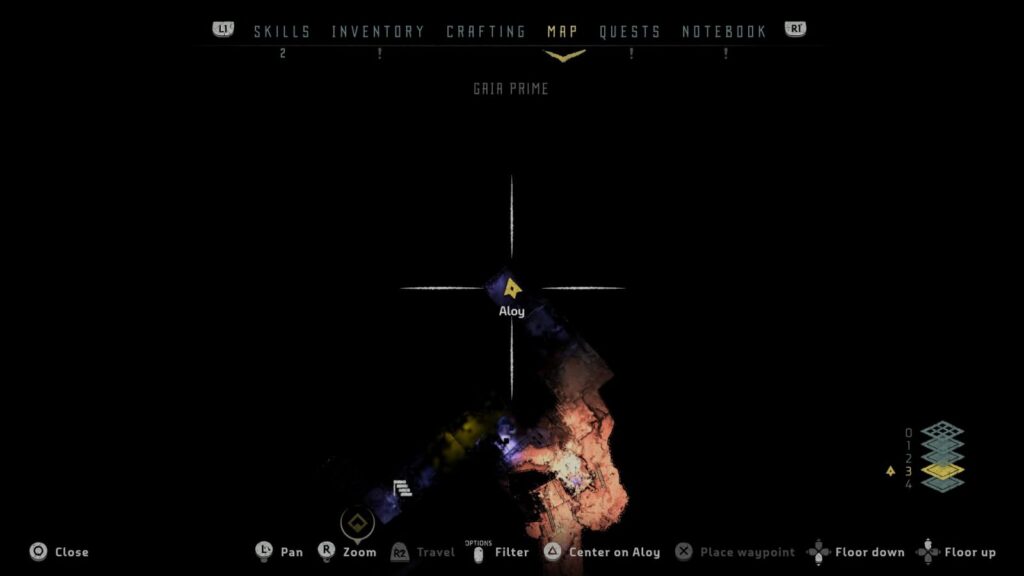
GAIA Prime Power Cell
Once again, for this final Power Cell, you will find it in an area which is inaccessible until the story takes you there. You can save yourself additional effort by claiming the Power Cell on your initial visit for the mission “The Mountain that Fell”.
The objective at GAIA Prime is to collect an item which can help you in the game’s over-arching objective. Once you have this item and are making your way out of the facility, it is time to keep your eye out for the Power Cell, so be careful not to rush ahead too far.
Leave the room where you found the item and head through the corridor to the outside world. Here, head to the right and utilise the Zipline.
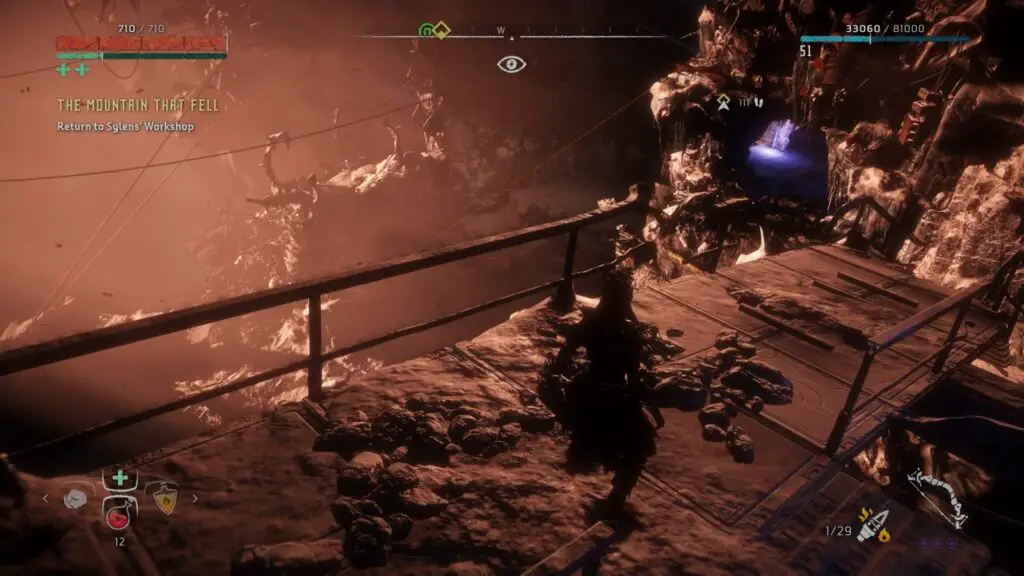
Upon landing, turn around and you should be able to see an item up on the cliffs. This is a plant just outside of a room containing the Power Cell. Begin climbing the rock walls using the metal orange handholds and white cliff ledges until you reach it.
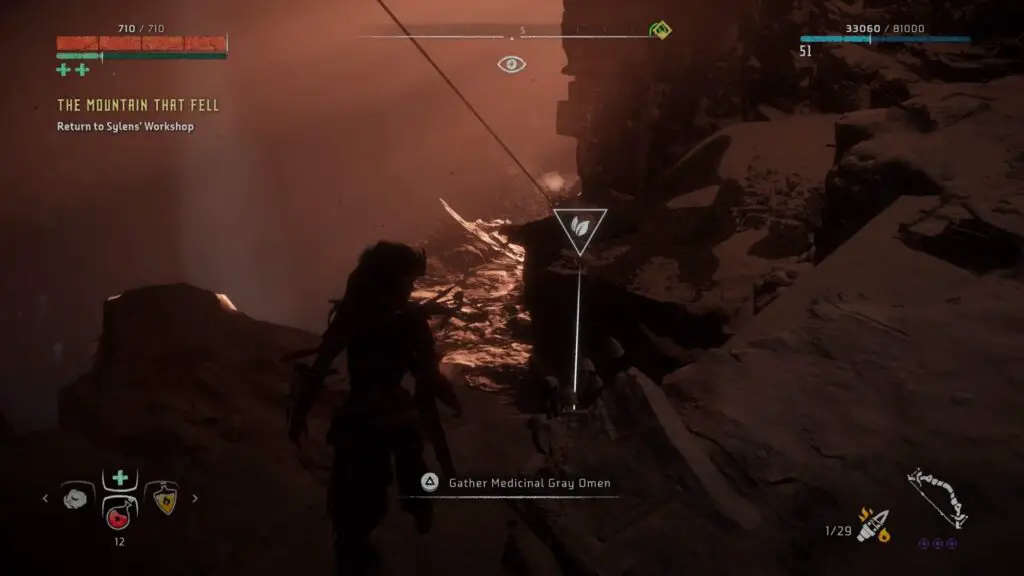
Head into the doorway there which you should see clearly thanks to the blue light emitted from within. At the very end of the corridor is a storage room with the Power Cell sat in the back right-hand corner on a shelf.
With this last Power Cell you can now complete the “Ancient Armory” side-quest by heading to the Bunker east of Mother’s Rise.
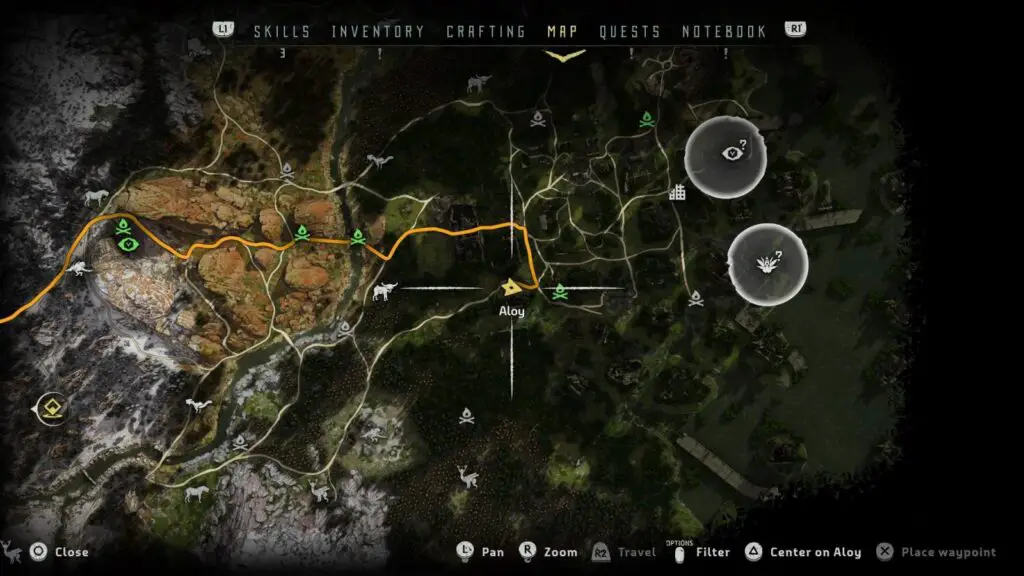
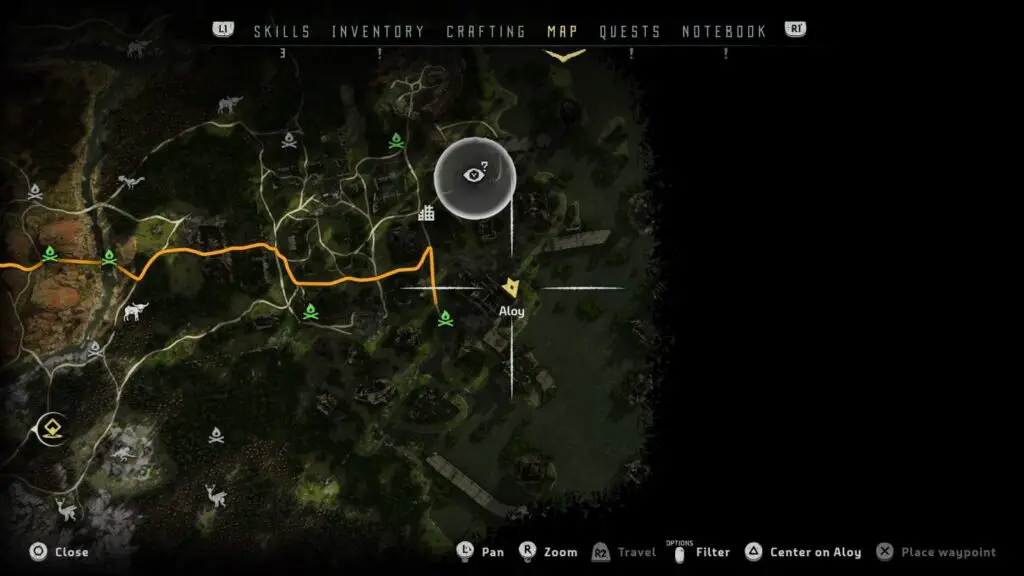
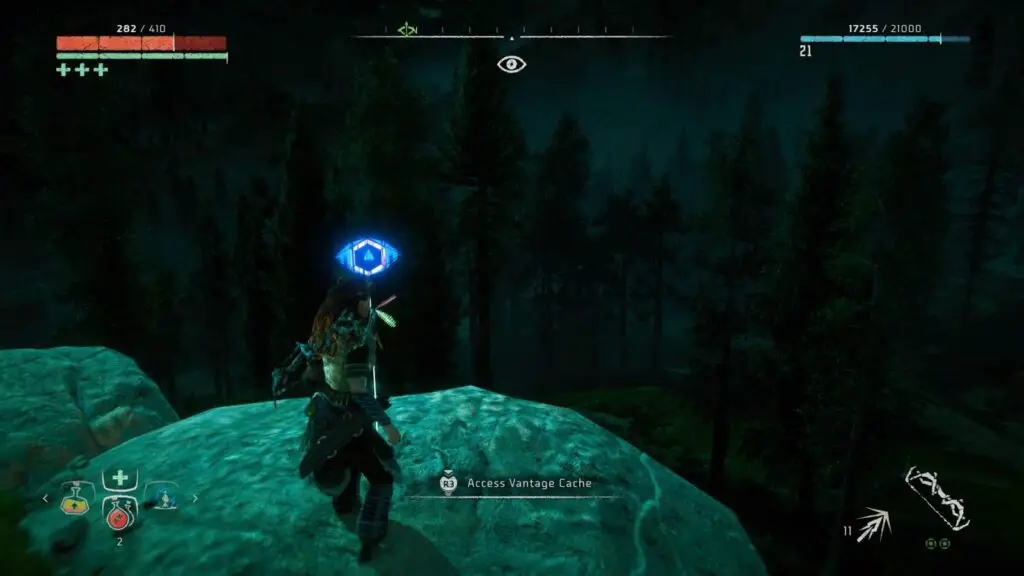
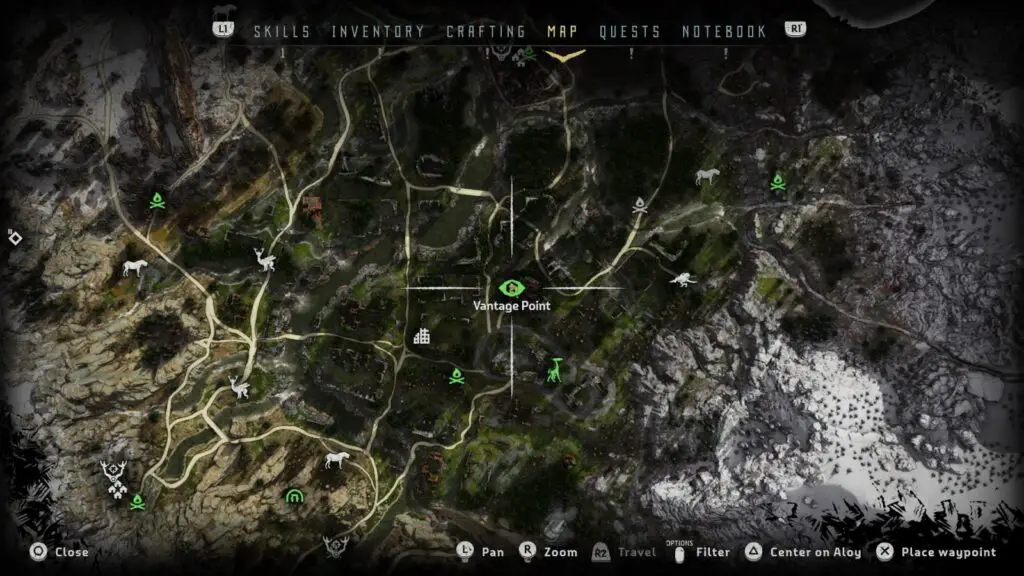
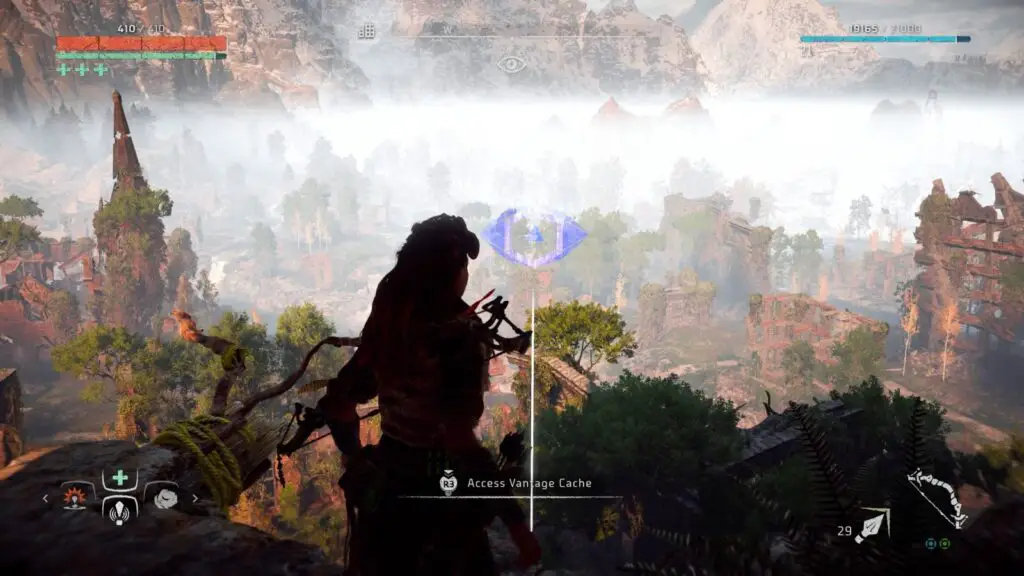
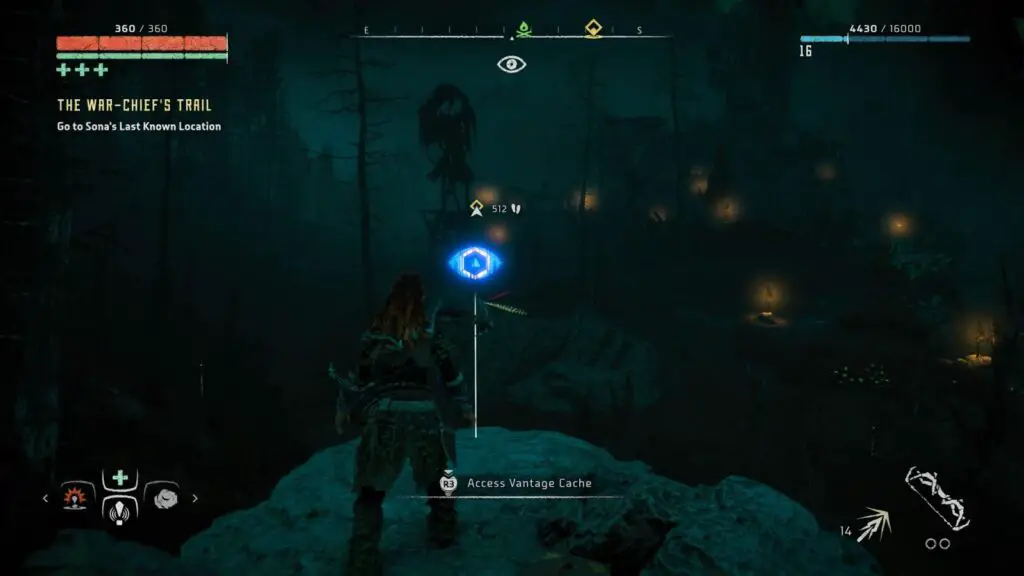
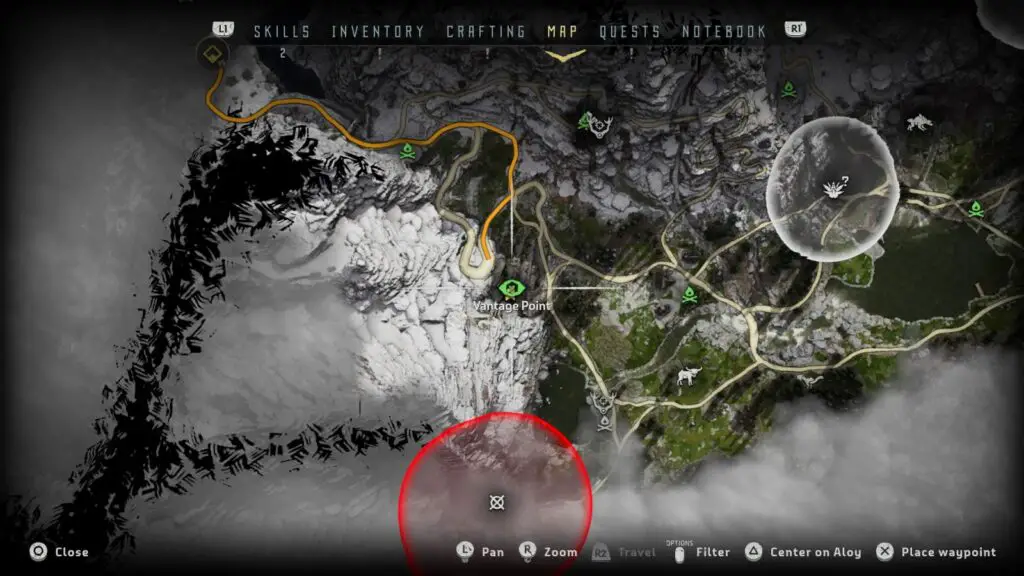
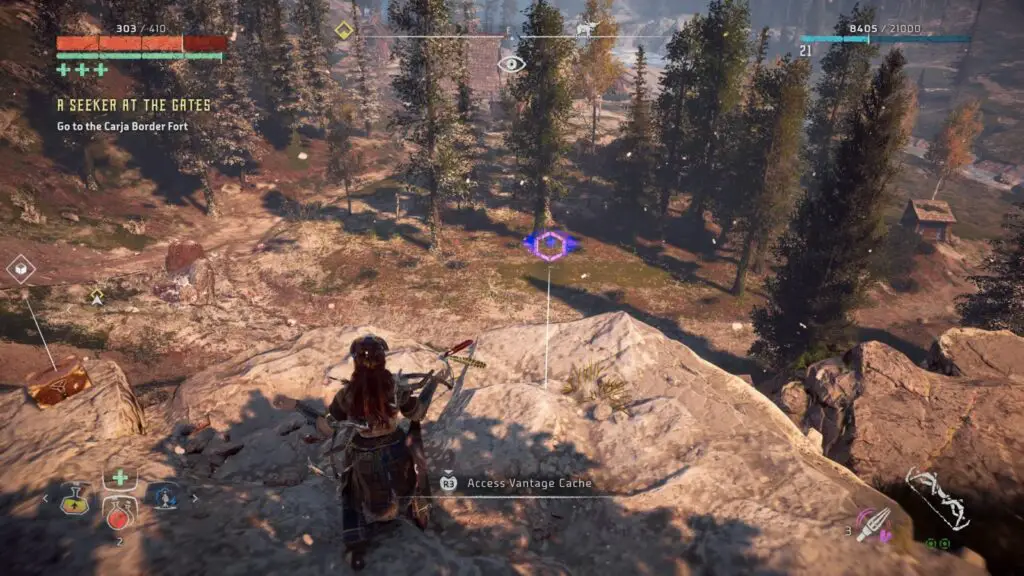
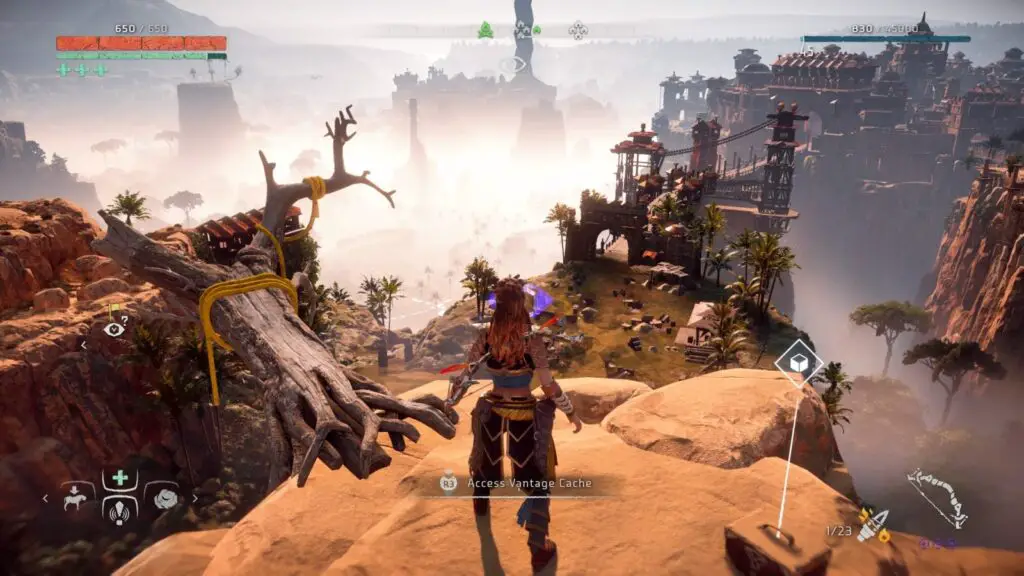
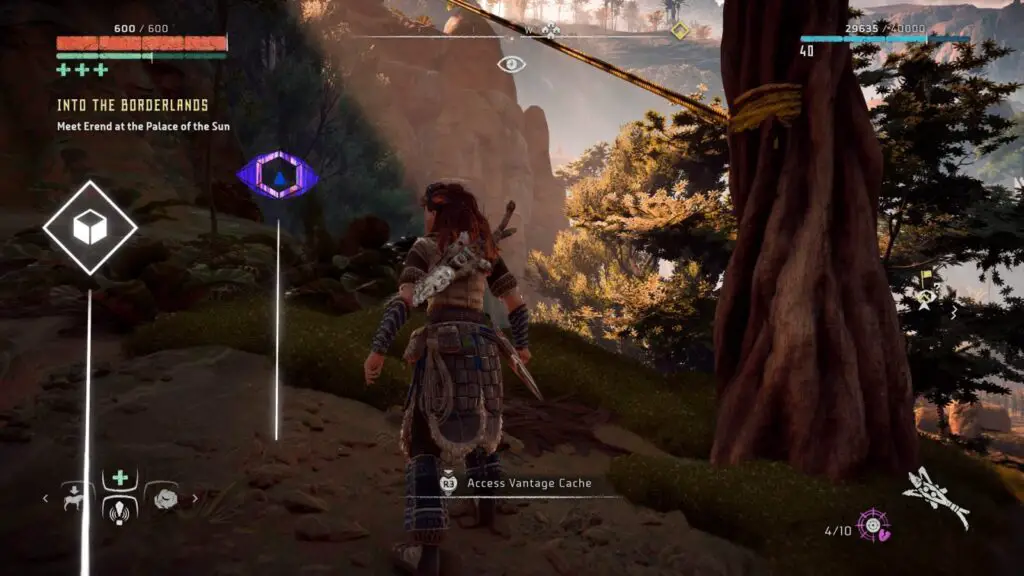
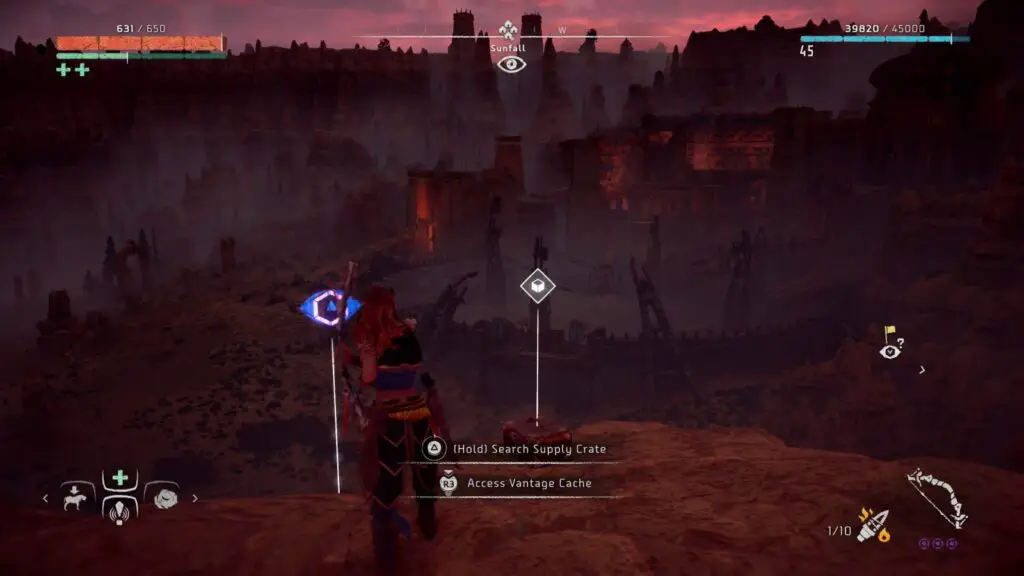
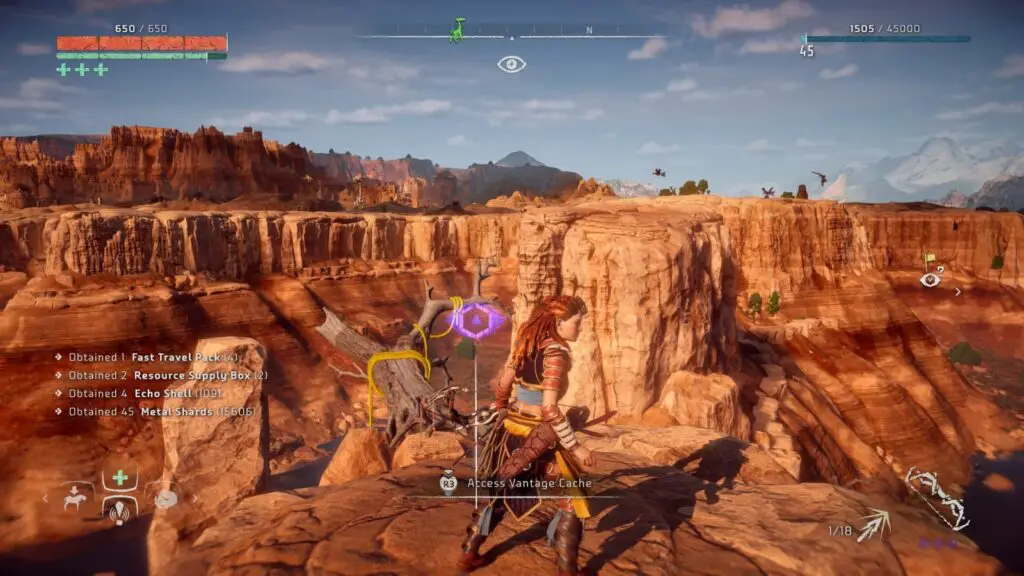
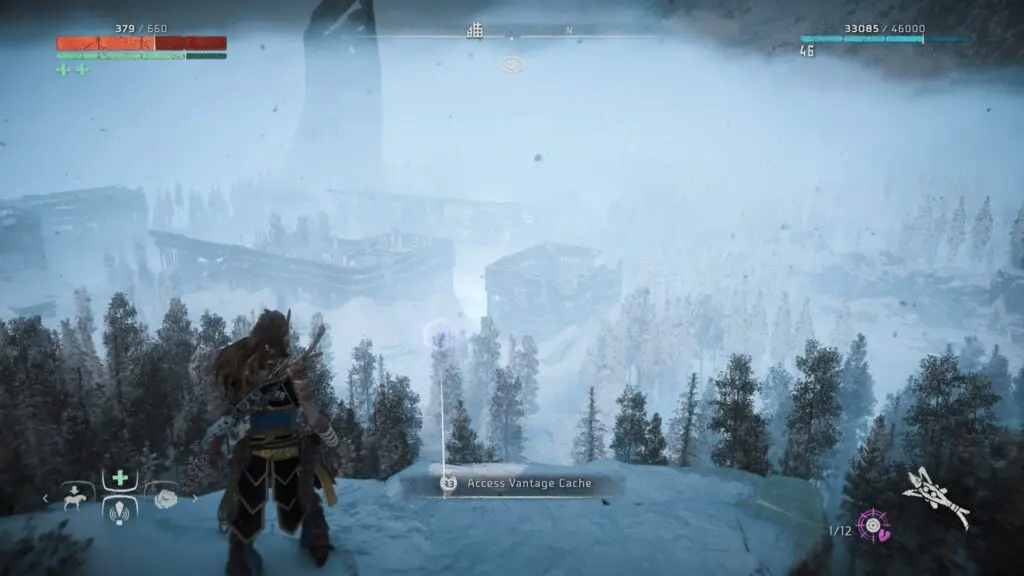
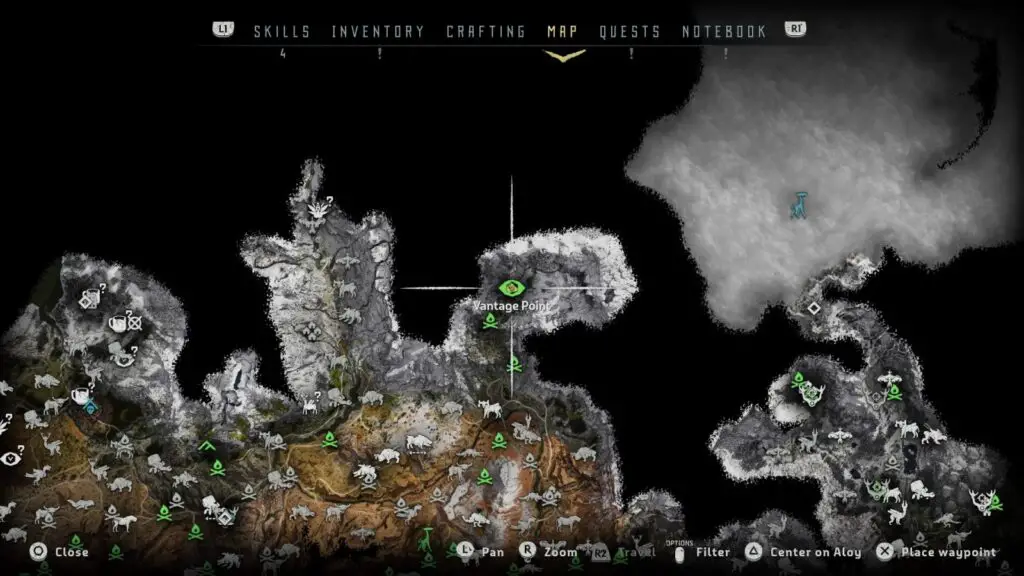
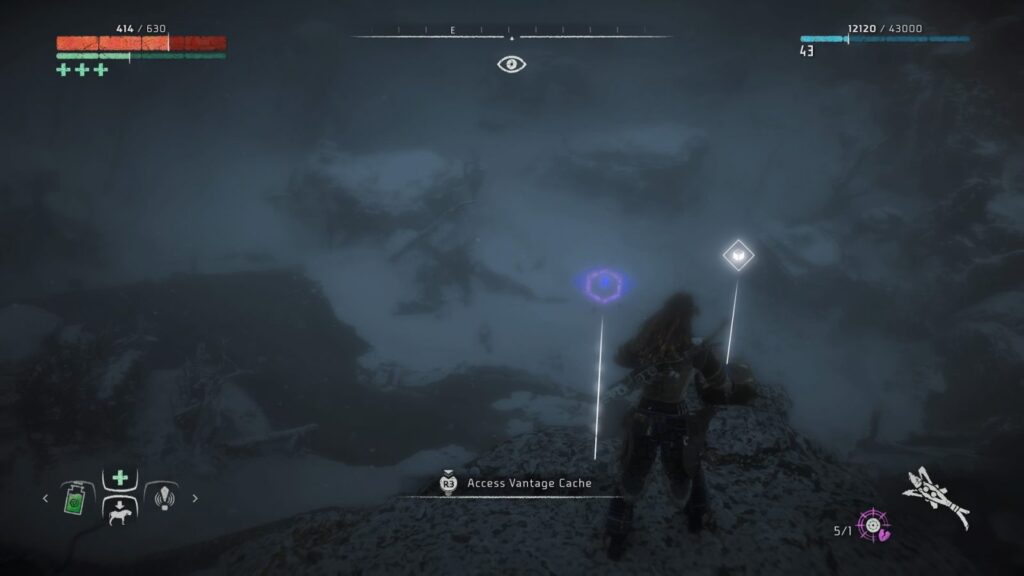
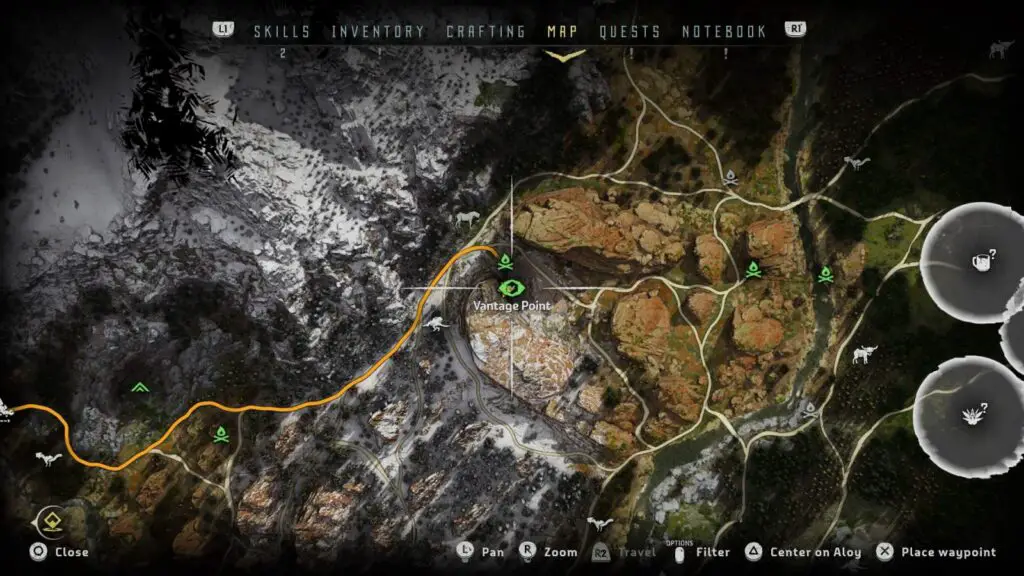
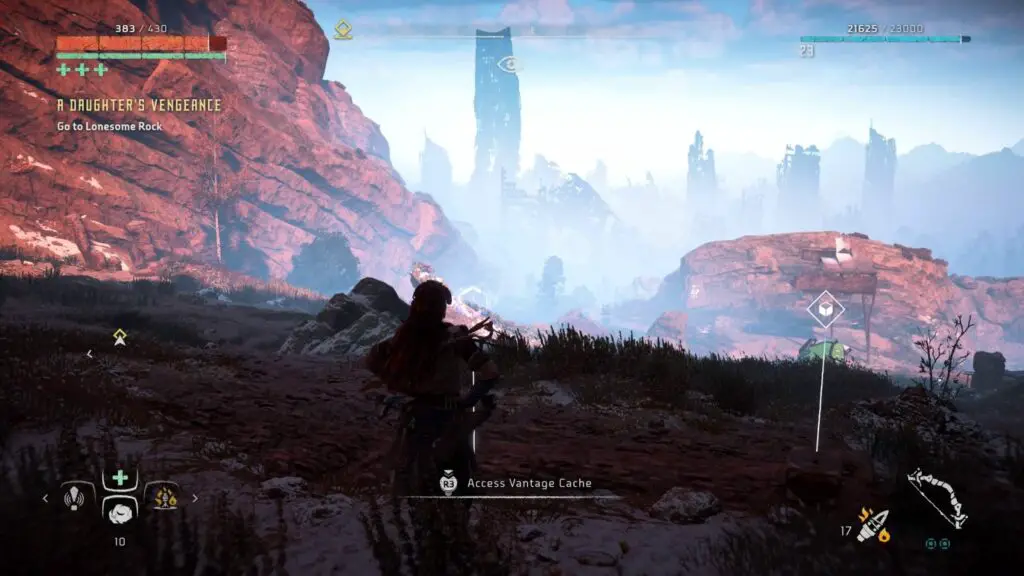
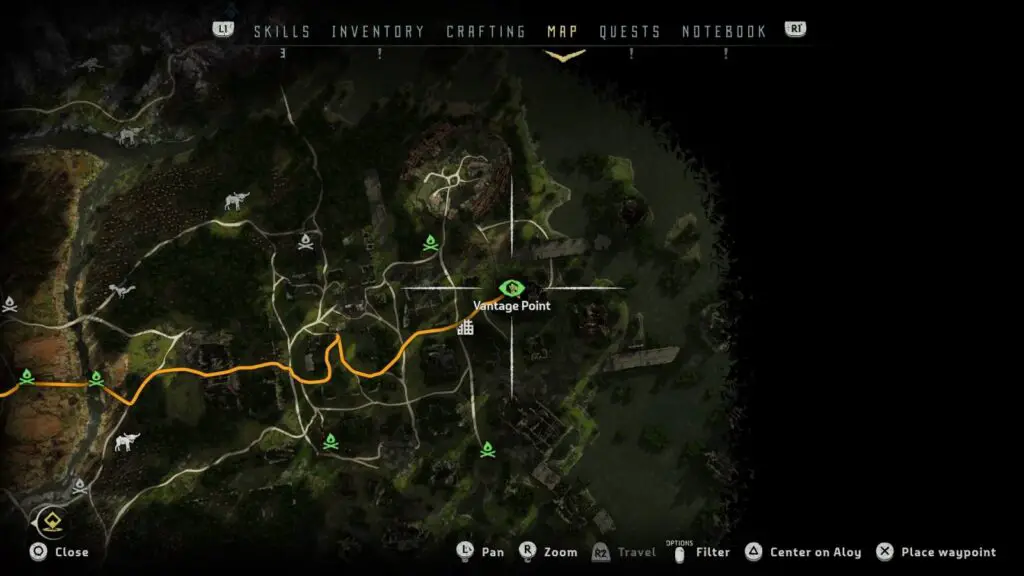
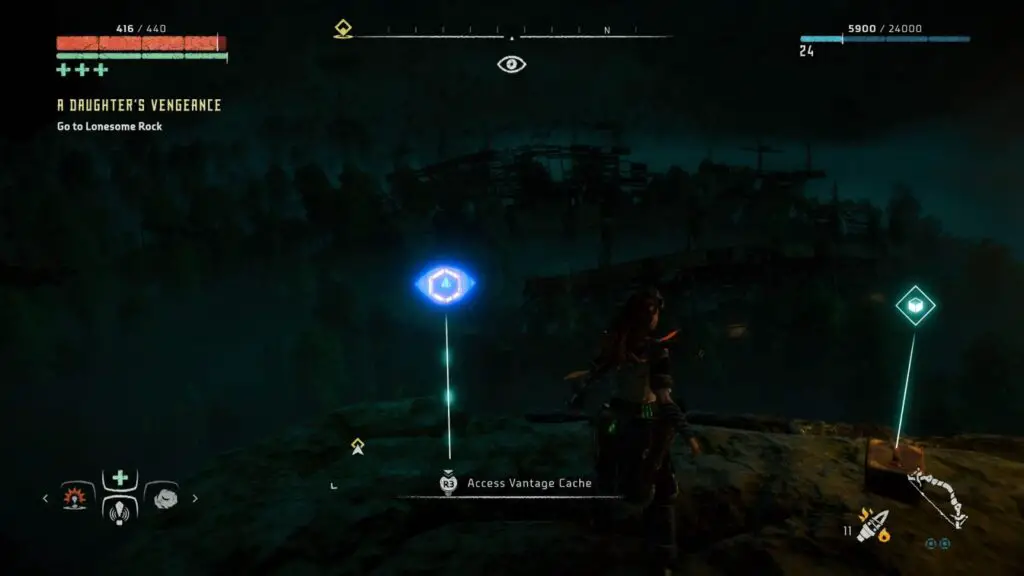
All Vantage Datapoint Locations
Vantage Datapoints look like large eye-shaped holograms floating in mid-air and can be seen without activating focus. When you approach one, you will be prompted to then activate focus ![]() which will allow you to see how that part of the world looked in the past.
which will allow you to see how that part of the world looked in the past.
There are just 12 to find and they can be tracked via the “Collectables” section of the “Notebook” tab in the touchpad menu.
Set 1 – Vantage 1 – Air Combat Academy.
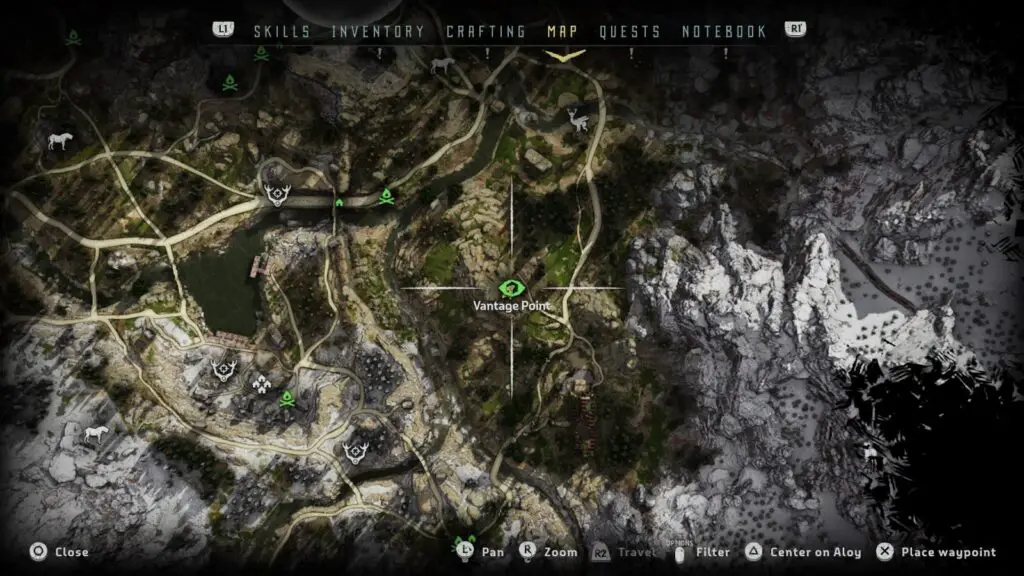
Just southeast of the Main Embrace Gate you’ll find this vantage point up on a very easy-to-climb cliffside, overlooking the trees below.
Set 1 – Vantage 2 – Colorado Springs.
Atop a very tall skyscraper in Devil’s Thirst. This building can be climbed from the inside by following a series of yellow ledges and handholds to the top.
Set 1 – Vantage 3 – Explorer Museum.
This collectable is found east of Mother’s Crown, just north of Devil’s Thirst Bandit Camp. There you’ll find a tall rock with the Vantage Point and a small resource cache on top.
Set 1 – Vantage 4 – Bridal Veil Falls.
Just West of the crossroads leading to the Carja Border Fort, up on a cliff overlooking the crossroads. South of Two-Teeth Bandit Camp.
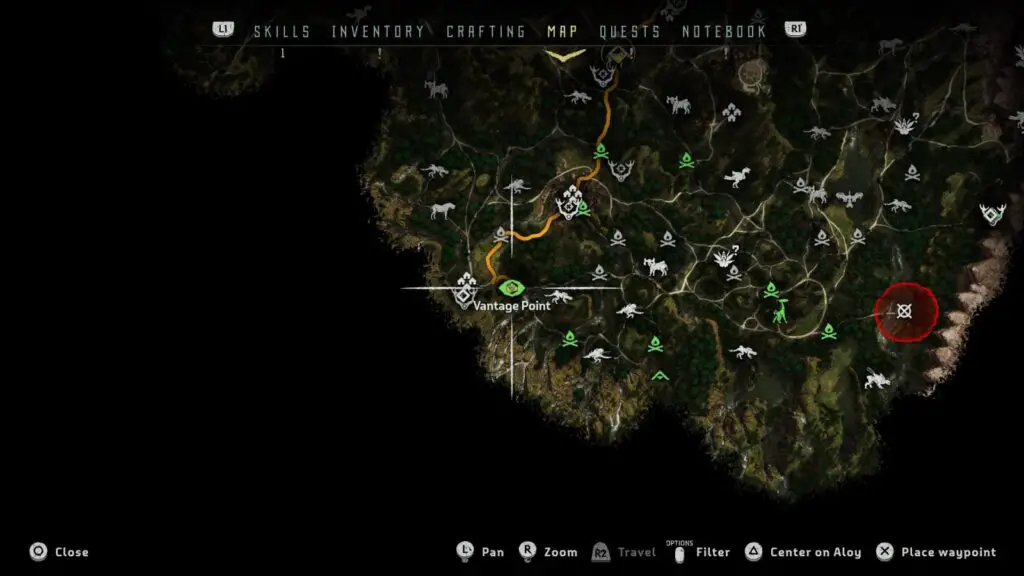
Set 2 – Vantage 1 – Eagle Canyon.
Just a little way north of Meridian, you’ll find the city’s main entrance with a small crowd of those hoping to gain entry. Here, a merchant sells his wares and a few people make camp. Just a tiny bit north of that you’ll find a climbable section of the cliff wall on the western side of the north-leading road.
Climb up here to find the Vantage Point and one of the best views in the game, get photo mode ready!
Set 2 – Vantage 2 – Monument Valley.
In the southwestern corner of the map you can find a walled settlement called Sunstone Rock. When you first visit Sunstone Rock it will be under attack and you’ll need to help out by defeating the two Behemoths found there.
Just a little tiny ways south of Sunstone Rock is a orange-brown cliff-face you can climb up via a string of white handholds and ledges. These lead to a zipline which will take you straight to this Vantage Point.
Set 2 – Vantage 3 – Bryce Orbital.
Ever so slightly to the East of Sunfall and quite a trek north of the Rustwash Tallneck, you’ll find this Vantage point high up on the rocky cliffs overlooking Sunfall.
Set 2 – Vantage 4 – Lake Powell.
Southeast of the Rustwash Tallneck, on the tip of the easternmost “tooth” of the Lake’s northern coast, you’ll find a tall rock formation. At the top of this formation, you will find this vantage point.
I found it was easier to approach from the Tallneck, but you’ll need to be careful when jumping down from the plateau that you’re making use of some of imperfections in the cliff side to reduce your fall.
Set 3 – Vantage 1 – Fard Automated Solutions
Overlooking Marker’s End, there is a clear path on the map which leads to this Vantage Point. It sits atop a thick rock pillar which you will need to climb your way up, but it’s pretty simple to find, even from far off.
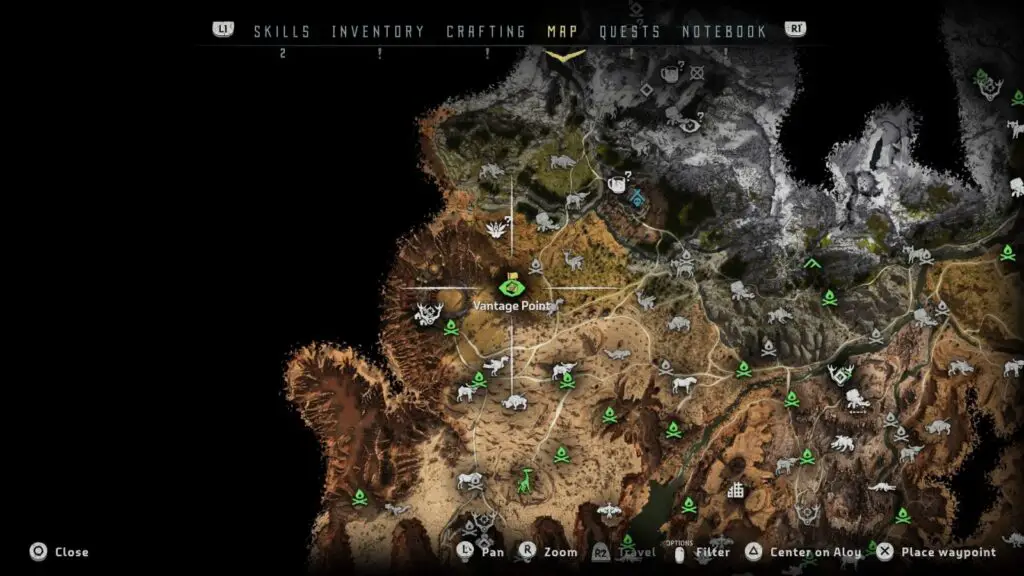
Set 3 – Vantage 2 – King’s Peak.
Far to the north of the Sun-Steps Tallneck you’ll find a long and winding mountain pass. This pass will be a walk upstream at first until you reach a campfire at which point you will need to begin climbing. It’s worth noting at this point that the story will take you up here for the mission “The Mountain that Fell”, so you can simply wait until then if you like.
There are a few levels to the pass where you will enter an area filled with enemies before being able to climb again, with the enemies getting trickier the higher you climb.
Right at the top is a difficult miniboss fight against a Stormbird in a snowstorm. Following this, head to the very western edge of the area where the Stormbird attacked you and you’ll find a climbable wall which leads right up to this vantage point.
Set 3 – Vantage 3 – Sterling-Malkeet Ampitheater.
Head East from Cauldron Sigma along the east-bound road from there. This vantage point is found near west of Devil’s Grief.
Set 3 – Vantage 4 – Denver Stadium
On the western edge of Devil’s Grief, just south of the large dilapidated stadium, there is a very tall skyscraper which can be climbed from the inside. The route up the building is pretty clearly lit via various torches and you simply need to follow the linear route of yellow handholds and ledges to the top.
Thank you for choosing PlatGet as your source for this guide, consider checking out our reviews and other guides!
Return to the main Horizon Zero Dawn Trophy Guide.
Looking for the Frozen Wilds DLC Collectables? We have a Horizon Zero Dawn: The Frozen Wilds Collectables Guide.
Follow us on twitter @GetPlat or Instagram @platget for updates on new reviews and guides, as well as small anecdotes about our platinum journeys.