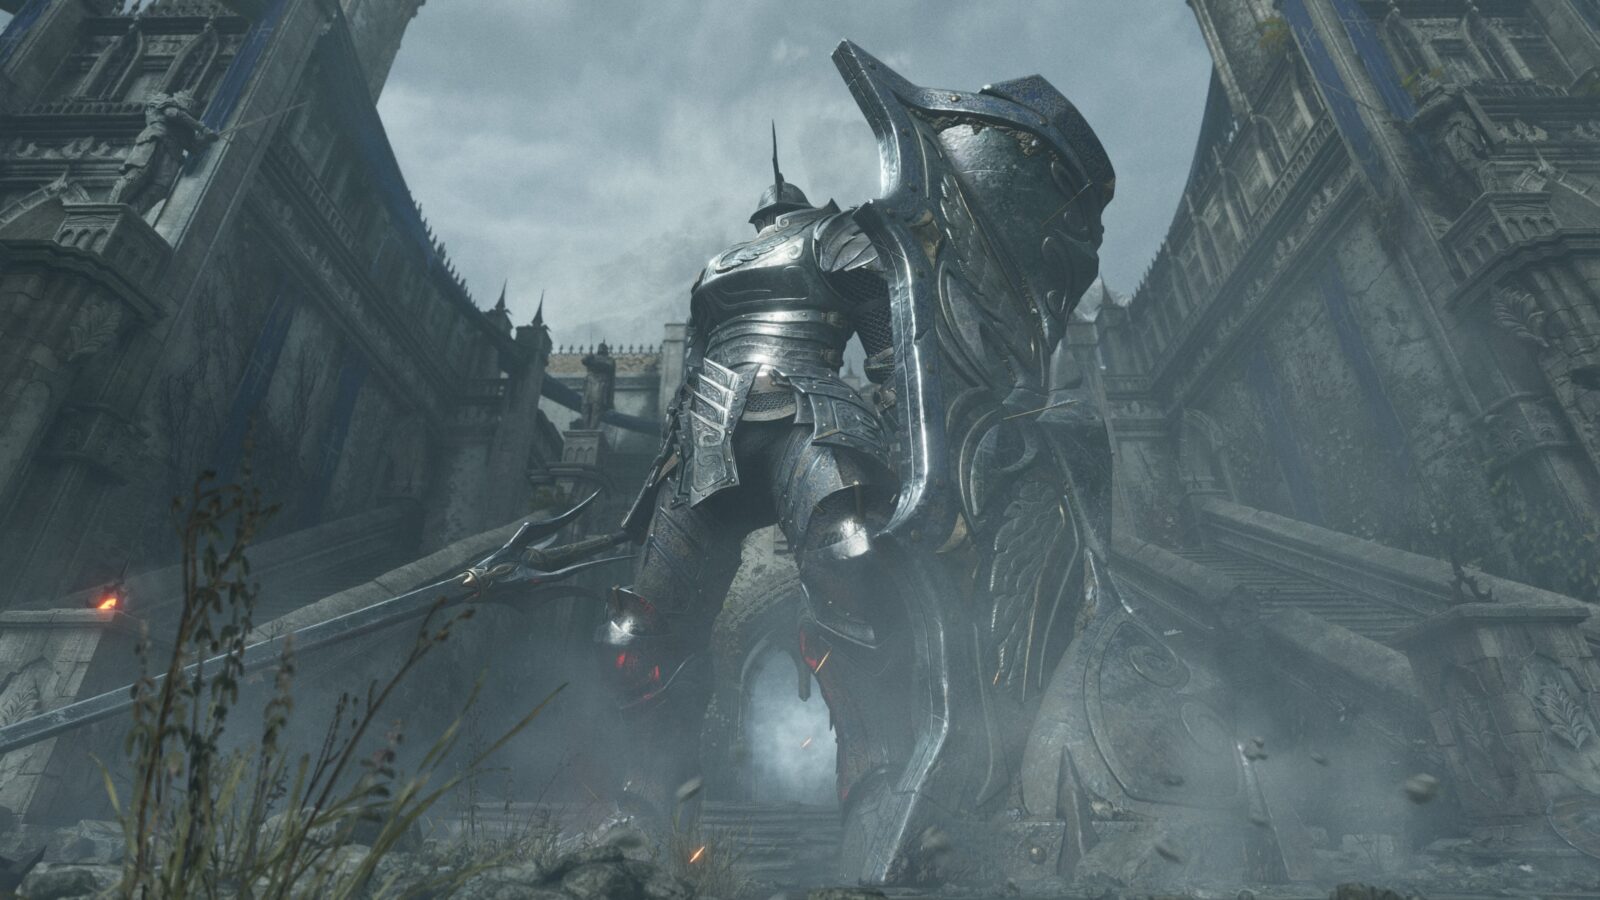
PlayStation 5
Guide for Demon’s Souls Bosses
Game Guide
How to defeat the Bosses in Demon’s Souls
This Guide to defeating the Demon’s Souls Bosses is part of a full Demon’s Souls Trophy Guide, check it out for details on how to earn every trophy.
Before You Begin
Demon’s Souls is designed to be a hard game. A lot of Demon’s Souls Bosses will crush you under their weapons with minimal effort if you’re not careful. That’s why I took the time to prepare this boss guide, turning all the techniques and tricks I used to take them down into tips and advice that can help you do the same.
You will always have to fight the Phalanx first, but once you do, you can tackle the Demon’s Souls Bosses in any order that you like. However, after you defeat the Tower Knight, you will not be able to progress in Boletaria Palace until you slay and Archdemon.
Archstone of the Small King – Boletarian Palace Bosses (World 1)
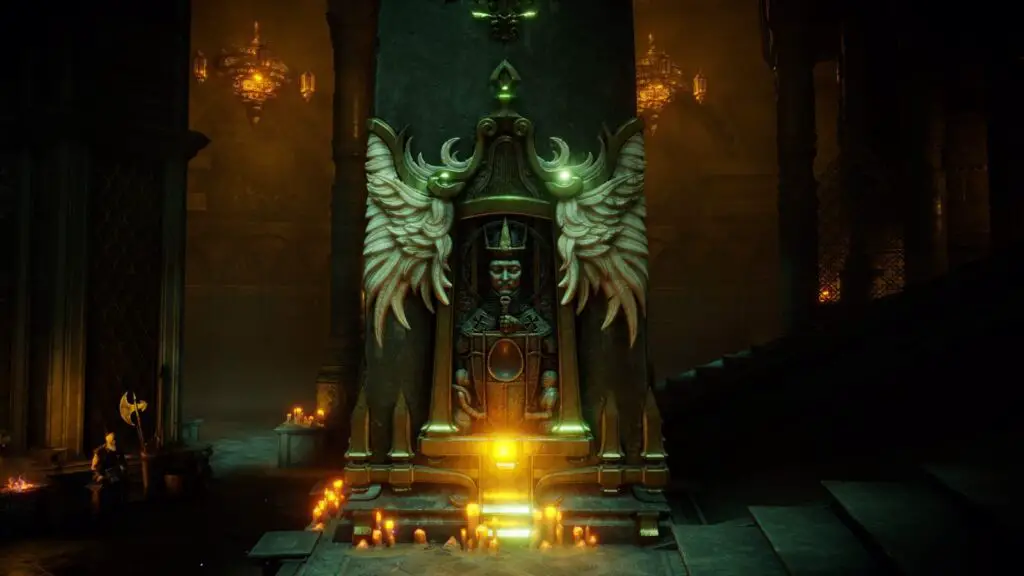
This archstone leads to the Boletarian Palace, which is known as World 1. You have to visit this place at the very start to defeat the Phalanx before you’re allowed to explore the other worlds and take on the tougher Demon’s Souls Bosses.
Phalanx
The Phalanx is a lumbering mass made up of “Hoplites” which are essentially balls of black ooze with a shield for a face and a big stabby spear for an arm. You will have faced a few Hoplites on your way to the Phalanx so you know they’re not hard to defeat as long as you don’t stand in front of them.
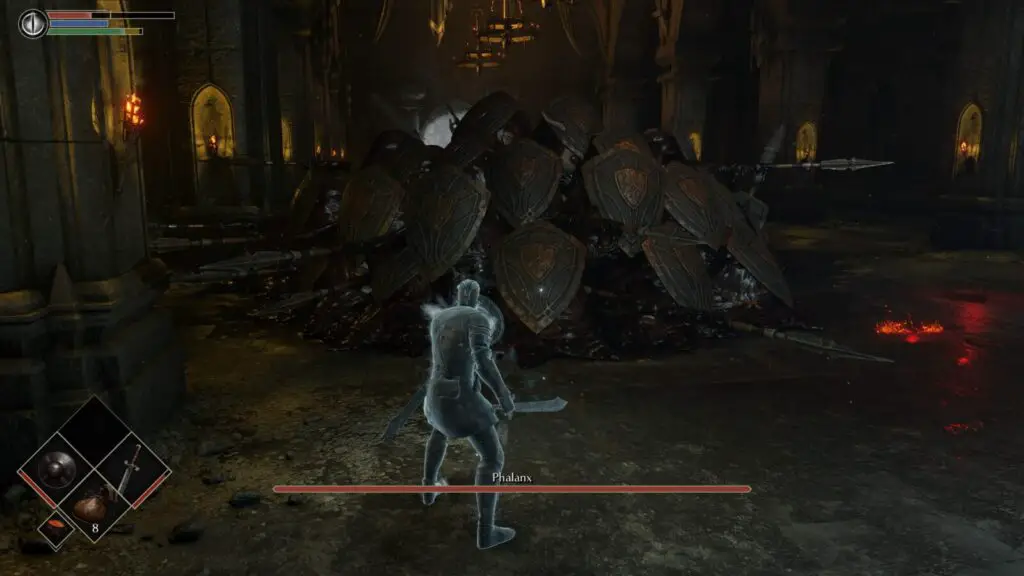
The Phalanx boss is possibly the easiest of the Demon’s Souls Bosses, but don’t let that fill you with false confidence; you will die if you’re not paying attention.
The Phalanx’s biggest weakness is fire, so make sure you have some Pine Resin and Firebombs on you.
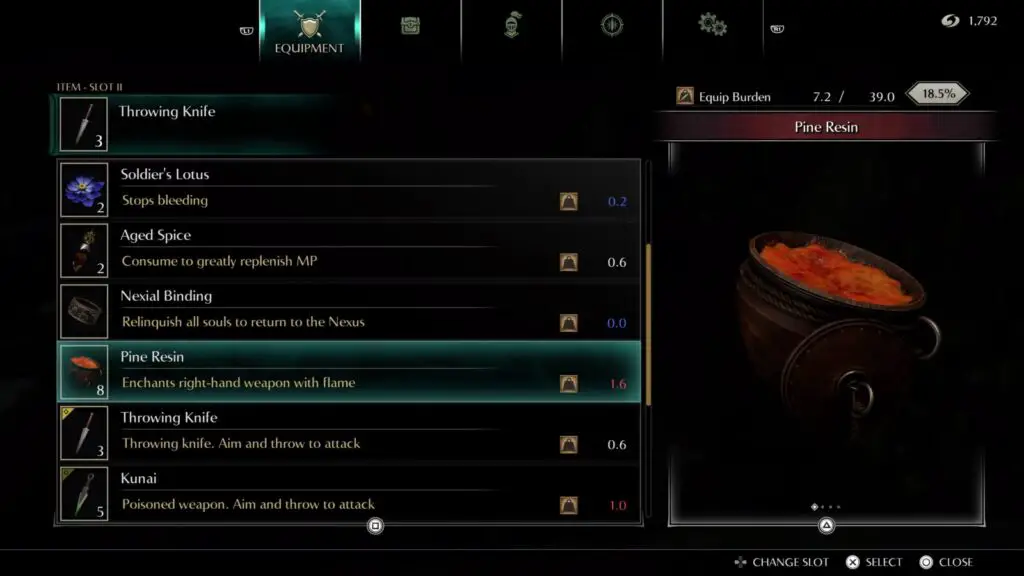
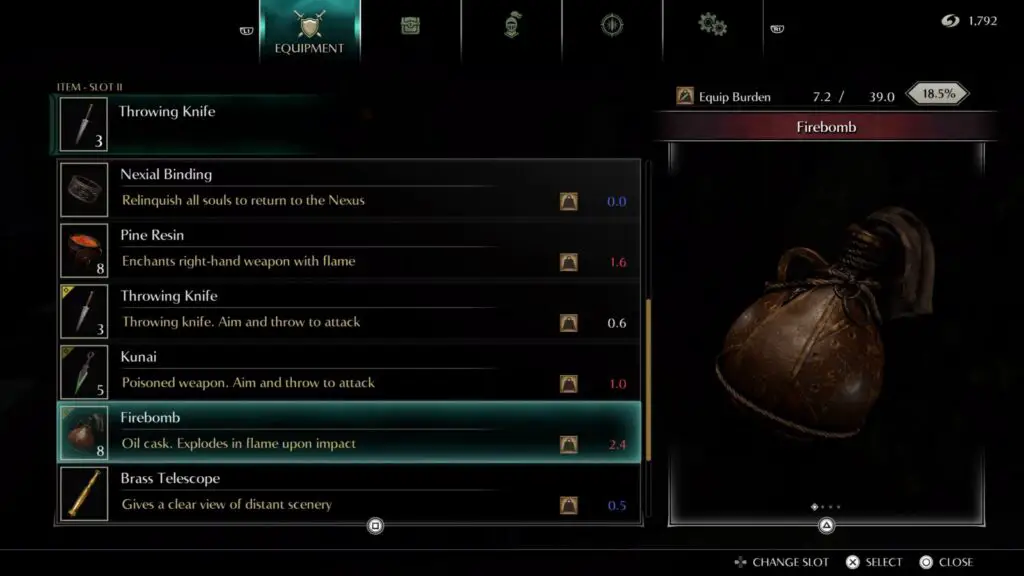
When the fight starts, throw a few Firebombs at the Phalanx. This will kill some Hoplites clinging to it and create an opening for you. Quickly switch to your Pine Resin and use it on your weapon to coat it in flames. Run in close to the Phalanx and start slashing away at the exposed area until it’s dead or you need to retreat to recover your health or stamina.
If for any reason you need to take a breather during the fight, make use of the many pillars around the edges of the room.
If you leave the Phalanx alone for too long without dealing damage to it, it will begin to recover it’s health.
Tower Knight
The Tower Knight (TK) is the first real challenging boss fight of Demon’s Souls and likely can be considered this games “filter” where most newcomers decide to quit the game.
TK has 5 attacks that he can use in his fight against you.
Boot Slam – He will lift one of his feet and prepare to slam it down, causing Area of Effect damage. This attack will trigger if you are too close to his legs. When you see this attack coming, move to a safe distance immediately.
Shield Slam – He will lift his shield and prepare to slam it down in front of him, causing AoE damage. This attack will trigger if you’re too close for him to use his spear. When you see this attack coming, move to a safe distance immediately.
Vertical Shield Slam – Same attack as above, except the shield will be vertical. It triggers in the same conditions too. When you see this attack coming, move to a safe distance immediately.
Spear Attack – He will lift his spear and swipe it across the ground. This attack will trigger when you are too far from him. When you see this attack coming, dodge roll to the left or right while trying to get close to his feet.
Projectiles – He will fire magic arrows at you. This attack will trigger if you run around the roofs dealing with the archers. Don’t stay still while you’re killing the archers. Keep moving and you shouldn’t get hit.
The Tower Knight’s biggest weakness is his head. If you can hit him there, it will deal the best damage.
The general strategy is to get close to his feet and attack his ankles until he falls over so you can get to his head. But be careful because he will try to slam his feet and shield down on top of you if you get too close. Keep an eye on exactly what he is doing so you can dodge any attempt to crush you.
The hardest part of this fight will probably be the archers firing at you from ledges. Feel free to kill them to make the fight easier, however if you keep moving and attacking the TK’s feet, you’ll likely not be hit by the archers much, if at all.
Ranged characters can use the archer’s ledges to make this fight easier. Simply take out the archers and stand behind a railing so you can consistently hit TK’s head with ranged attacks. If you’re positioned correctly, TK’s own ranged attacks should hit the railing in front of you instead of your squishy mortal body.
Optional Trophy: Make sure to kill the Tower Knight without killing a single archer for the One Shall Fall trophy.
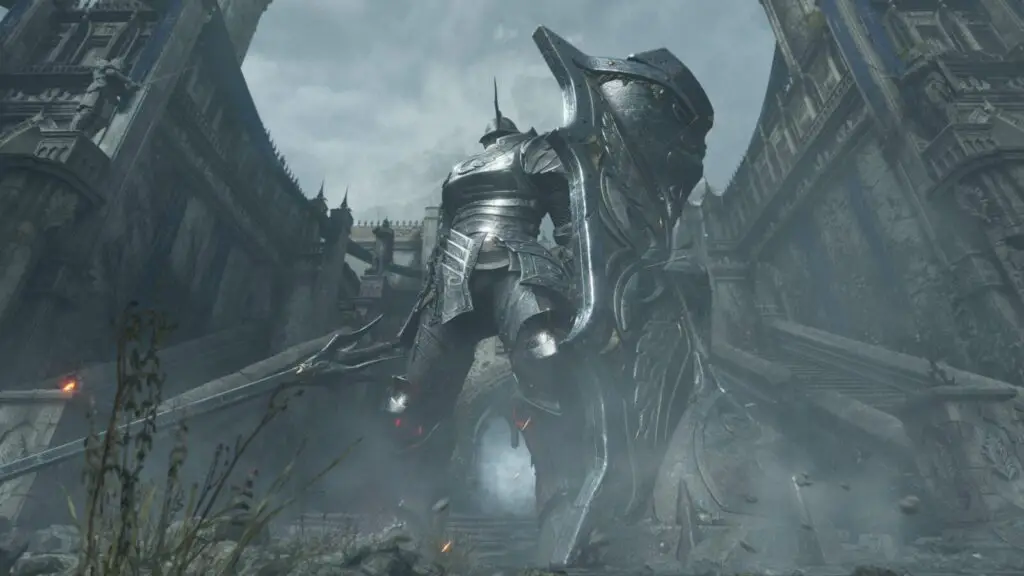
Penetrator
The Penetrator is an armour clad warrior with a rather long sword that has the ability to slice through shields.
The Penetrator is quite fast but entirely melee focused. He will run up to you and make huge slashes that can break through your shield so it’s best to keep him at a distance. If you saved Biorr of the Twin Fangs earlier then he will accompany you on this fight which makes it even easier to deal damage to the boss as his focus will be split between you and Biorr.
Equip the Thief Ring and cast Soul Ray whenever the Penetrator is focusing on Biorr or try to keep your distance if Biorr isn’t helping you.
Melee characters will have to get close to do any damage but be careful of his attacks as they can be quite devastating. Try to dodge roll and make use of the iframes or just back up after every attack so you can easily avoid any attacks.
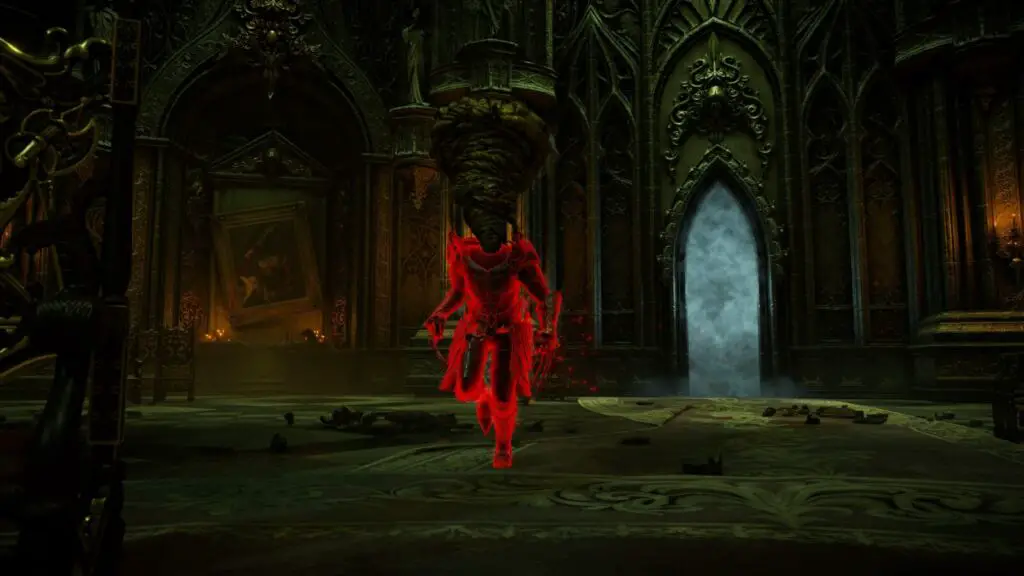
False King Allant
False King Allant is the final boss of the game and as such is one of the hardest to deal with.
False King Allant is really fast and has plenty large attacks that can inflict crazy amounts of damage. To top it off he has a move where his hand glows blue and he lunges at you. If he manages to grab you, he will suck a Soul Level out of you effectively delevelling you.
Use the Eternal Warrior’s Ring to speed up your stamina regeneration and use a long weapon such as a spear to make the fight a little less difficult.
False King Allant is particularly strong against magic so Mages will have a tough time fighting him but it is possible as long as you use Soul Ray and bring along a lot of Aged Spice to keep your MP up. It will also help if you cast Warding from time to time to offer a bit of extra protection.
Ranged character will have to use a strong bow such as the White Bow and Heavy Arrows or better to do any decent damage to him. You can lock on to him as he walks around and fire a few arrows and then immediately run to a safer distance. Rinse and repeat.
There are 2 super cheap ways to finish this boss fight.
Equip the Thief Ring and enter the fog gate. Immediately run to the right and hide in the corner by the stairs. False King Allant won’t be able to find you and will stand with his back to the stairs. Carefully walk up behind him, equip the Poison Cloud spell and aim your camera at the floor where he stands. Cast Poison Cloud and watch as he slowly takes on damage. After 900 damage has been dealt to him, cast Poison Cloud again. Bring along some Aged Spice to keep your MP up.
Or you could equip the Thief Ring and as soon as you enter the fog gate, stand still and don’t move. Pull your bow out and aim at his head. If his health bar is not showing at the bottom of the screen then he will not attack you if you shoot an arrow at him so just pepper his face with arrows until he dies.
Archstone of the Burrow King – Stonefang Tunnel Bosses (World 2)

World 2 is a labyrinthian network of mines filled with hunched-over miners, flaming hot Bearbugs, and a few menacing Demon’s Souls Bosses.
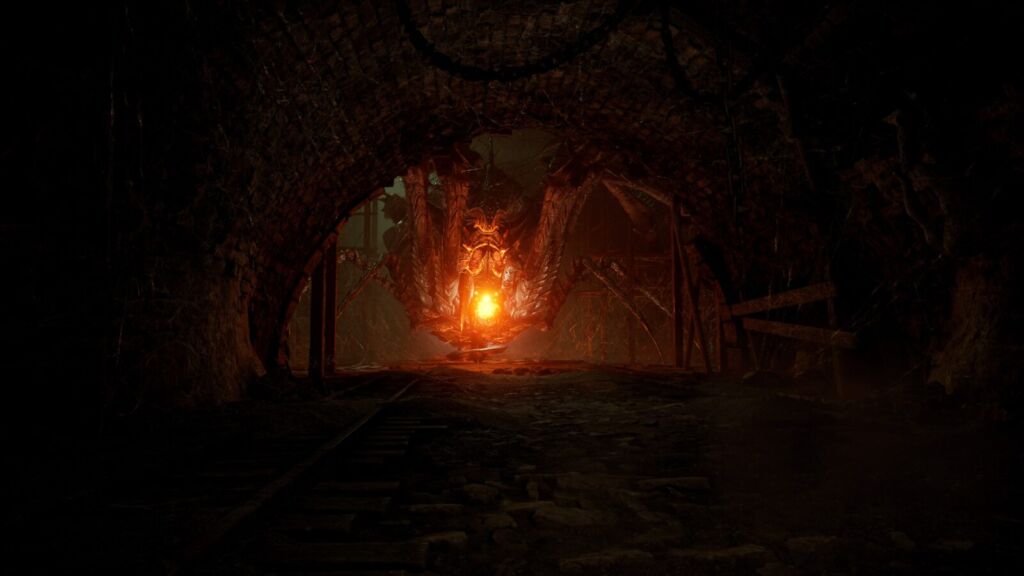
Armour Spider
The Armour Spider sits at the end of a tunnel and looks particularly menacing, but is mechanically quite easy.
The Armour Spider will shoot balls of fire at you when you’re at a long range. These fireballs have quite a bit of tracking on them, so you’ll have to dodge left or right to avoid them. After a few fireballs have been thrown at you, the spider will jump up and change positions so that she can shoot web at you, which will slow you down and prevent you from dodging.
She can also shoot 3 fireballs in an arc. She’ll usually do this 3 times in quick succession, but luckily these fireballs don’t have tracking so you can avoid them easily.
Up close, the Armour Spider will switch to melee attacks. The most common attack she will do is a sweeping cross slice with 2 of her legs. You can tell when she’s about to do this attack because she will snap her pincer/stinger closed before the attack.
She will also do a vertical slash with 2 of her legs and a big body slam.
All of her melee attacks are hugely telegraphed, and it’s a good rule of thumb to back away every time she makes a big movement because she’s likely launch a melee attack.
Lastly, she will fill the tunnel with black liquid and set fire to it. As soon as you see her spitting this liquid, break your lock on and run all the way back down the tunnel to avoid being BBQ’d.

The strategy for this boss fight is simple. Make your way up the tunnel towards the Armour Spider while dodging her ranged fireball and web attacks. Once you’re within striking distance, start attacking her pincer/stinger while avoiding any of her melee attacks and retreat once she fills the tunnel with liquid. Rinse and repeat until she’s dead.
Ranged characters can just sit at the back of the tunnel and shoot arrows or magic at the spider while avoiding all her fireball and web attacks.
Flamelurker
The Flamelurker doesn’t have any special attacks because he’s really fast, can close the distance really quickly, and hits really hard.
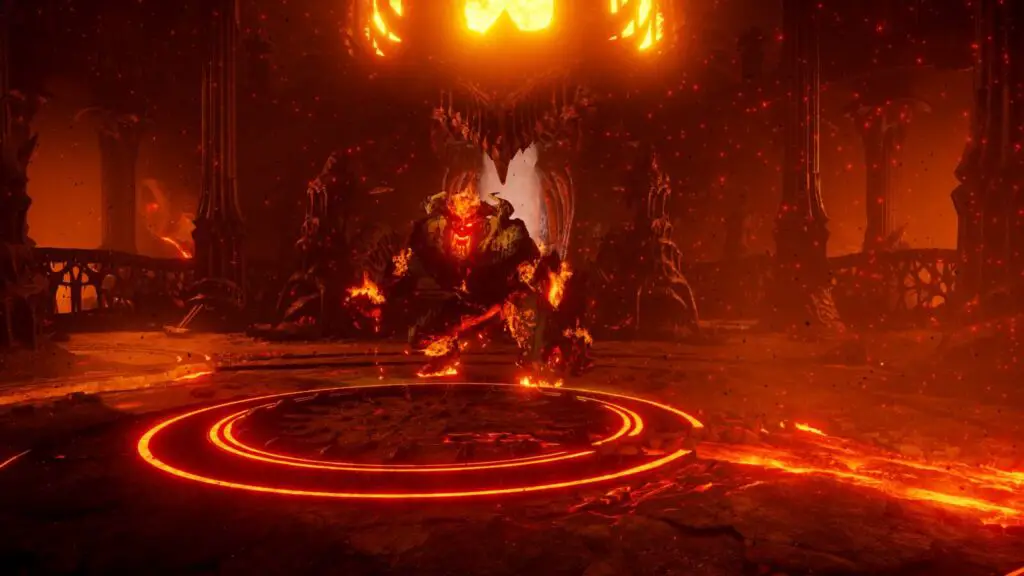
The Flamelurkers biggest weakness is magic (like so many other Demon’s Souls Bosses), so make sure you have Soul Arrow or Soul Ray equipped for an easier time.
On paper the Flamelurker isn’t a very complicated or hard boss. As long as you can keep your distance from him and use ranged attacks, you won’t have a hard time. You can equip the Thief Ring which should make him slightly less aggressive during this fight and if you’re lucky like me, he will just randomly forget he’s fighting you halfway through the battle and start walking away letting you get a cheap shot on his back.
The problem is that the Flamelurker hits really hard and can close the gap really fast, but you can counter this by putting objects between you and the boss. The more time he spends trying to navigate around things the less time he has to punch you so make sure you use this time to heal or use some spice to recover your MP.
If you have a magic build, this fight will be pretty easy. Especially if you have a Wooden Catalyst (highest Magic Assist stat), a Ring of Magical Sharpness (increases magic damage by 20% but lowers magic defence by 30%), and the Kris Blade (increases magic damage by 30% but lowers magic defence by 40%).
Make sure you have the Wooden Catalyst in one hand and the Kris Blade in the other. Lock on to the Flamelurker and hit him with Soul Ray, and you should do some crazy damage on him. Make sure to be constantly trying to back up and keep him at a distance, but be mindful of the floor as there are a few spots where the lava will inflict damage on you.
If you have a ranged build, the strategy is largely the same as the magic build, but instead you want to buy and use Magic Arrows. Lock on to the Flamelurker and shoot him with your Magic Arrows and try to avoid him as much as possible until you manage to kill him.
Melee builds will have a tougher time. The Thief Ring is still useful, but you might want to equip the Flame Resistance Ring for increased defence against fire attacks. You might also consider buying the Water Veil spell, which covers you in a magic water barrier that also increases your defence against fire attacks.
At the start of the fight, cast Water Veil, and try to get some good hits while dodging his big punches before backing away to recover your stamina so you can start your next attack.
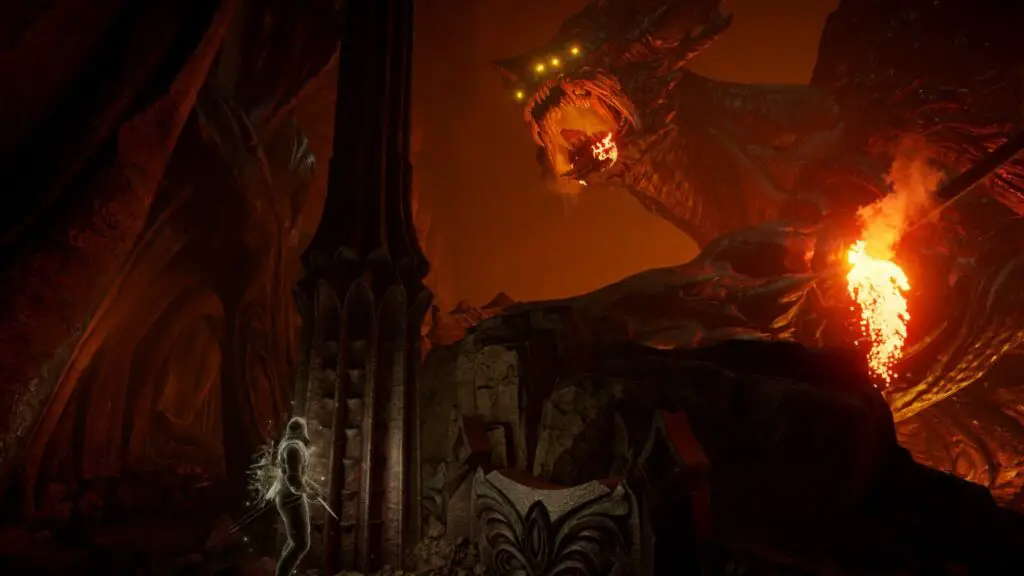
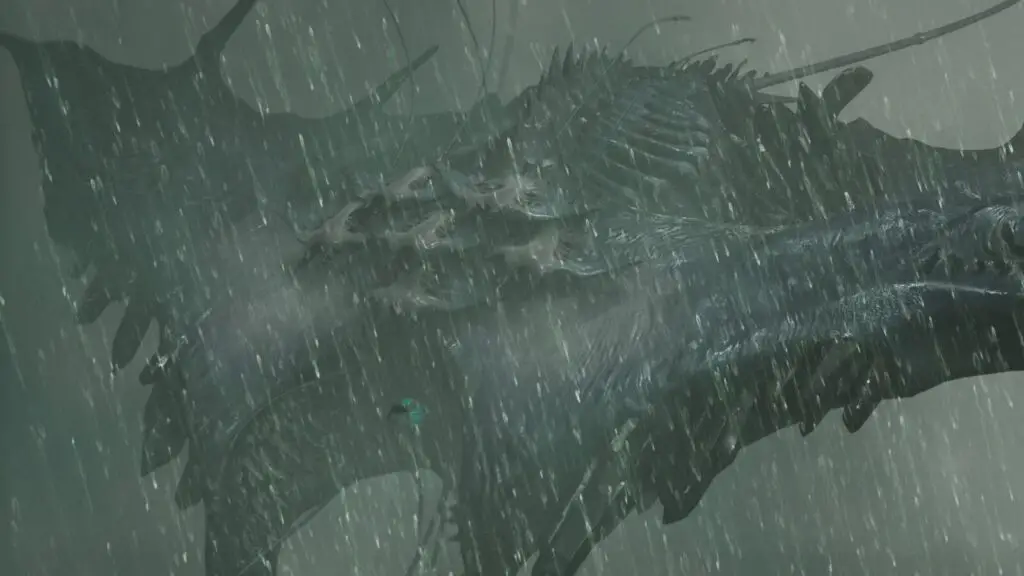
Dragon God
You may remember this dragon from all the promotional marketing material. He’s the big menacing dragon that appears, Attack on Titan style, at the end of the cinematic intro and roars into the sky.

This boss fight isn’t like the others. It’s a gimmick fight.
There’s really no strategy here, as you have to follow a set path and hit a button on 2 Harpoons to cause enough damage to the dragon so that you may safely move in for the final blow.
The “strategy” for this fight is simple. Hide behind pillars, wait for the dragon to look away, and then smash your way through some debris so that you can move on to the next one. At the end of the path, fire the harpoon. However, there are a few things you can do to make things easier on yourself.
- Equip the Thief Ring as this will give you a little extra time before the dragon spots you and punches you into paste.
- After you fire the 1st harpoon, cast Water Veil as the dragon switches from punching to breathing fire when he spots you. It just might reduce the fire damage enough that you can heal and carry on.
- You can either equip the Cling Ring for more HP in soul form or the Fire Resistance Ring for extra fire protection.
- Arrows do not break the debris despite what other guides online say.
- Magic can break the debris, but it takes several more hits than a sword.
- If you’re using a regular sword, press
 to hold it with both hands as this will reduce the number of hits to break the debris from 4 down to 2.
 - Bigger weapons like Claymores will break the debris in 1 hit.
- The dragon’s eyes will glow red when he’s about to spot you, so make sure you pay attention to him.
At the start of the fight, the dragon will punch the opening of the corridor you’re in. Once he does this, move right and hide behind the first pillar. Let him settle down for a few seconds and then run and attack the first debris barrier. Only do 2-3 attacks, turn around and run back to hide behind the pillar. Wait for the dragon to settle down again and repeat until you can get to the next pillar.
With the first debris barrier gone, hide behind the first pillar, wait for the dragon to settle and then run to the 2nd pillar. The dragon’s eyes should glow red as he’s about to spot you, but you should be safe as long as you get to the pillar fast enough. Wait for the dragon to settle, then run and attack the 2nd debris barrier 2 times before quickly running all the way back to the 1st pillar. Repeat this process until the 2nd debris barrier is gone. Do not get greedy and make a run for the harpoon once you clear the debris, because you will more than likely get crushed under the dragon’s hand.
After you use the harpoon, there will be some steps to the left that lead down to the next part.
This section has more debris than the last, but the process is largely the same. Hide behind a pillar, get 2-3 attacks on the debris before hiding again.
After you fire the last harpoon, the dragon will slump over and lay his head at the bottom of the arena for you to go and finish off.
If you’re a Ranged or Magic user, this is a relatively safe ending to the fight, however Melee characters should be aware that every time the dragon breathes out, he will set you on fire with his breath.
Optional Trophy: Make sure to get the final blow with Hands of God for the Fists of Legend trophy.
Archstone of the Tower Queen – Tower of Latria Bosses (World 3)
World 3 is a dark and depressing prison, known as the “Prison of Hope”, where a mad old man imprisoned the queen and her supporters. The prison is patrolled by powerful mages which makes escape an impossibility. And the Demon’s Souls Bosses in this World reflect that.
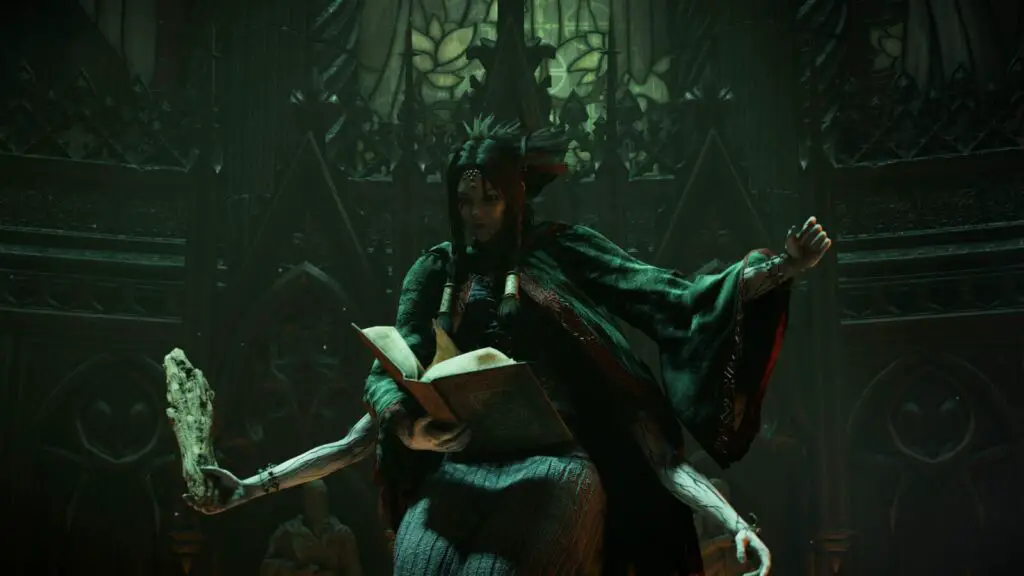
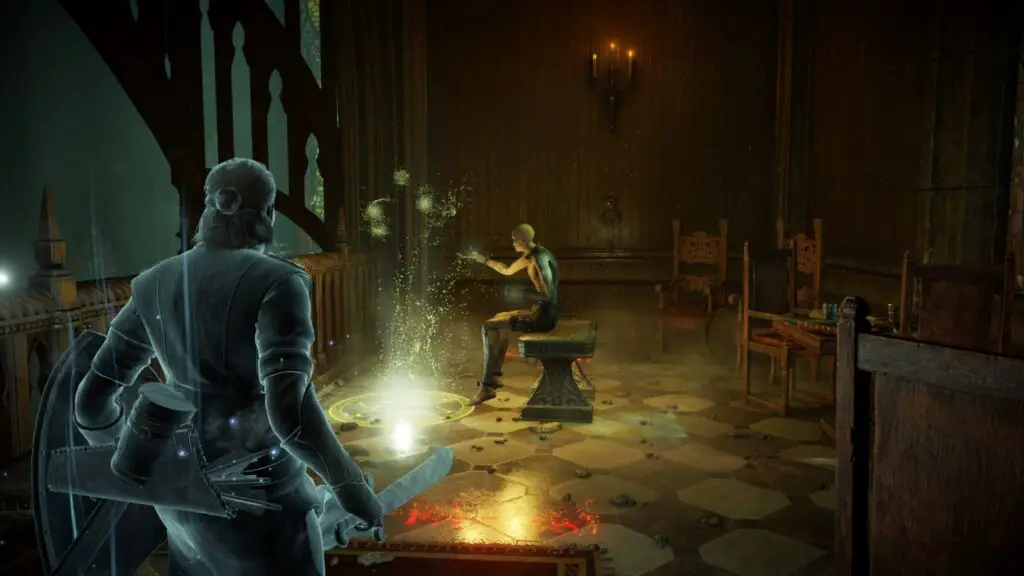
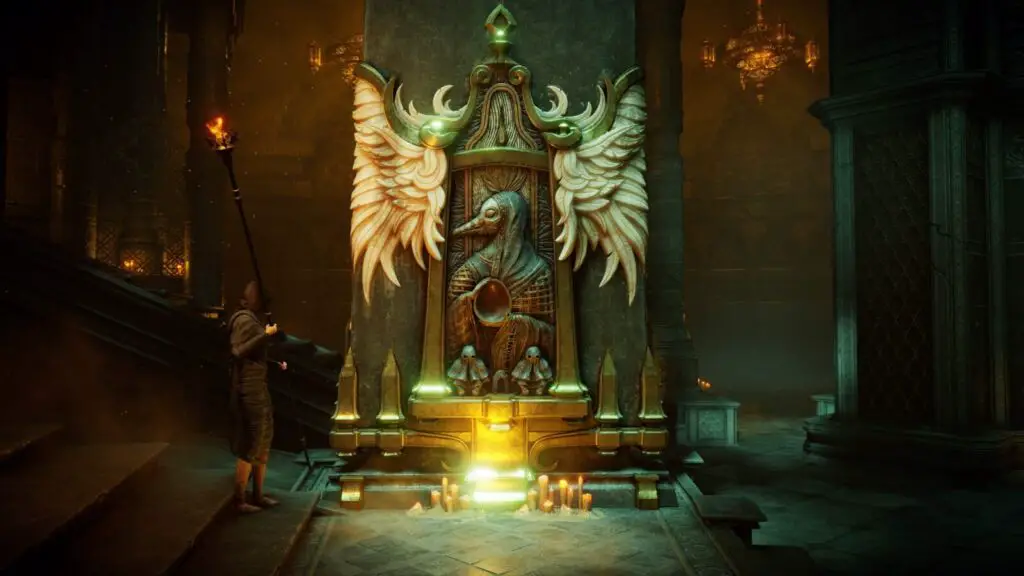
Fool’s Idol
The Fool’s Idol is a teleporting boss who fires a powerful Soul Ray attack and can make copies of herself; a unique ability amongst Demon’s Souls Bosses.
Before you even start this boss fight, make sure you go up the top floor of the church (you can use the spiral staircases by the giant Iron Maiden that you had to disable) and kill the NPC there otherwise he will revive the boss once you’ve killed her making the entire fight pointless.
This boss fight is fairly simple. There will be a bunch of NPCs wandering the church who will worship the Fool’s Idol. You can use these NPCs to your advantage because when the boss clones herself, the NPCs will only worship the real Fool’s Idol, thus letting you know which one to attack.
Her clones will fire a weaker version of the Soul Ray and when you lock onto them, you will see a small health bar above their heads (the real boss will not have a health bar above her head because it’s pinned to the bottom of the screen).
There will also be hidden markings on the ground throughout the arena which, when walked on, will trap you in position for a few seconds, leaving you open to attacks. The wandering NPCs will reveal some of these traps as they walk around, but it’s not reliable enough to depend on too much.
For this fight, it’s best if you stick to the side of the church where you can use the pillars for defence. Whenever you have an opening, you can run up to the real boss and attack her a few times until she disappears again. Make sure to avoid being hit by the clones, and eventually they will despawn. If they’re giving you too much grief, you can hit them once or twice to speed up their disappearance.
It’s not advised to run around too much though because you’ll likely get caught in a trap and be killed quickly.
As long as you take things slow and use the pillars for defence, you shouldn’t have too much trouble with this fight.
Ranged characters will have a much easier time with this fight as they can stay behind the pillars almost exclusively and fire arrows at the boss until she dies.
Optional Trophy: Make sure to kill the boss without hitting one of her clones for the Not Fooled trophy.
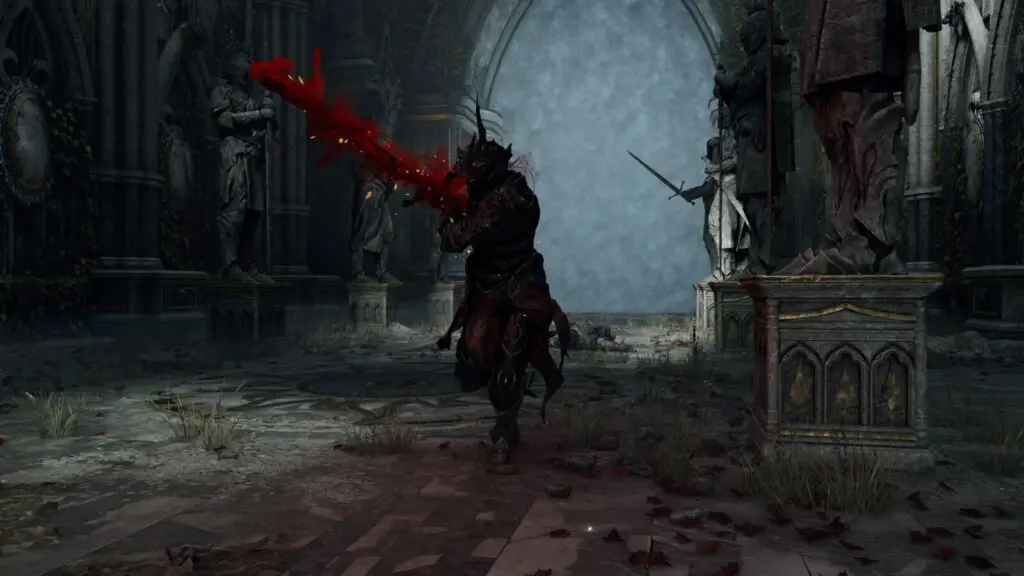
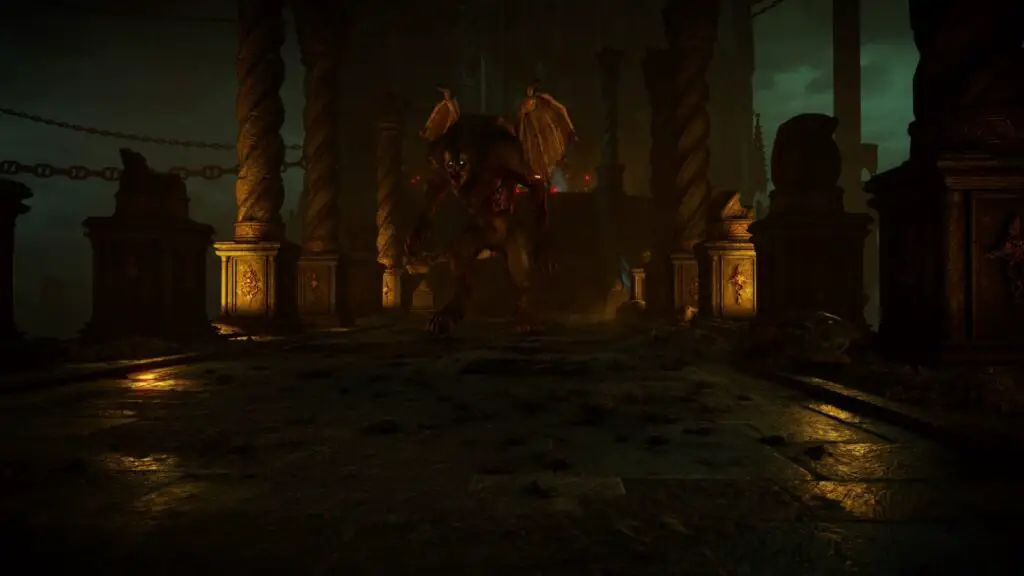
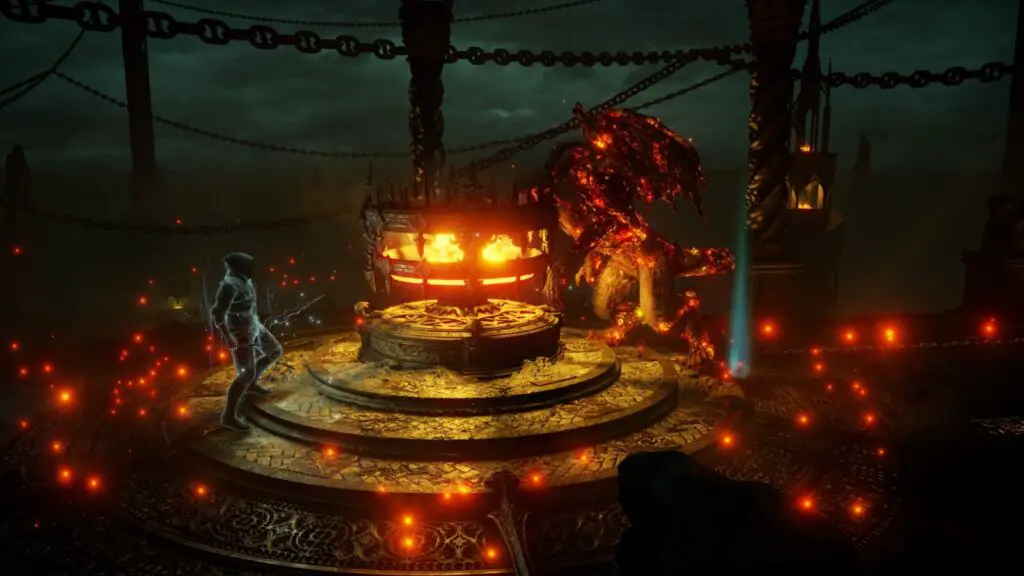
Maneater
The Maneater seems like the simplest of Demon’s Souls Bosses at first. He’s weak to fire, is mostly a melee boss with a little bit of magic. But at around 25% health a 2nd Maneater will spawn which can complicate the fight.
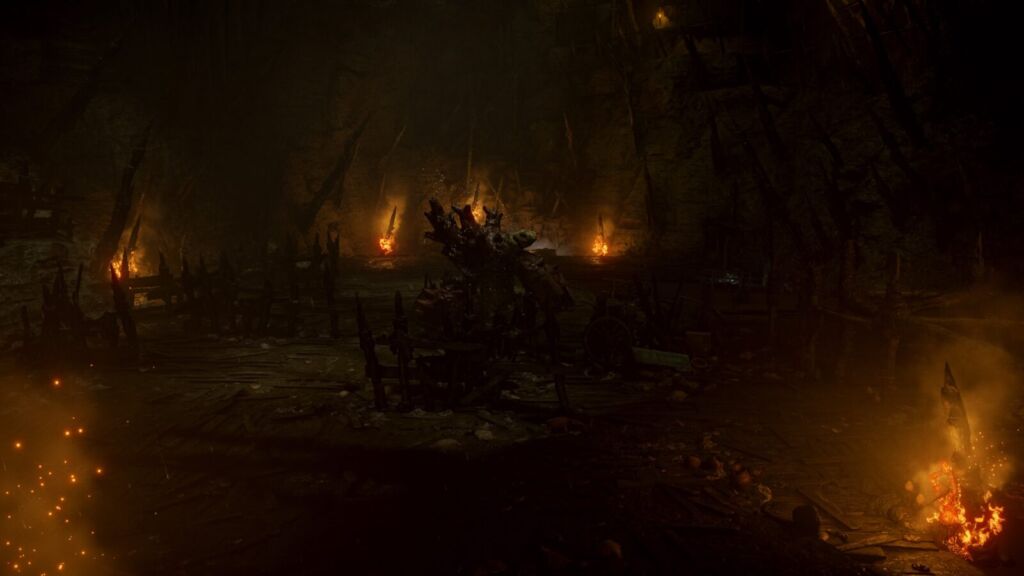
The arena for this boss fight is a narrow walkway with a lit brazier in the middle and the boss has a dive bomb attack that knocks you back a fair few feet which can throw you over the edge ending this fight rather unfairly.
The key to managing this boss is to run straight to the brazier and use it as a buffer between you and the Maneater. Kite him around it and attack when you get an opening, but be careful because he likes to spam his dive bomb attack frequently.
Every so often, he’ll take flight and do a lap of the arena and try to hit you with some magic, but he’ll return to the middle again.
Since the Maneater is weak to fire, you should use Pine Resin on your sword if you’re a melee character or fire spells if you’re a mage.
Again, the Thief Ring will help keep the boss less aggressive. Equip whatever other ring you think might give you an edge in this fight. It’s entirely up to your playstyle.
At 25% health a 2nd Maneater will join the fight. He’s exactly the same as the 1st one, but as long as you stick to the brazier and keep an eye out for any cheeky attacks from behind you should be able to manage both of them. From my experience, it’s very rare that both of them land and chase you around the brazier, but if they do, immediately go on the defensive.
Old Monk
The Old Monk boss fight can be quite unpredictable thanks to a mechanic that can summon actual players.
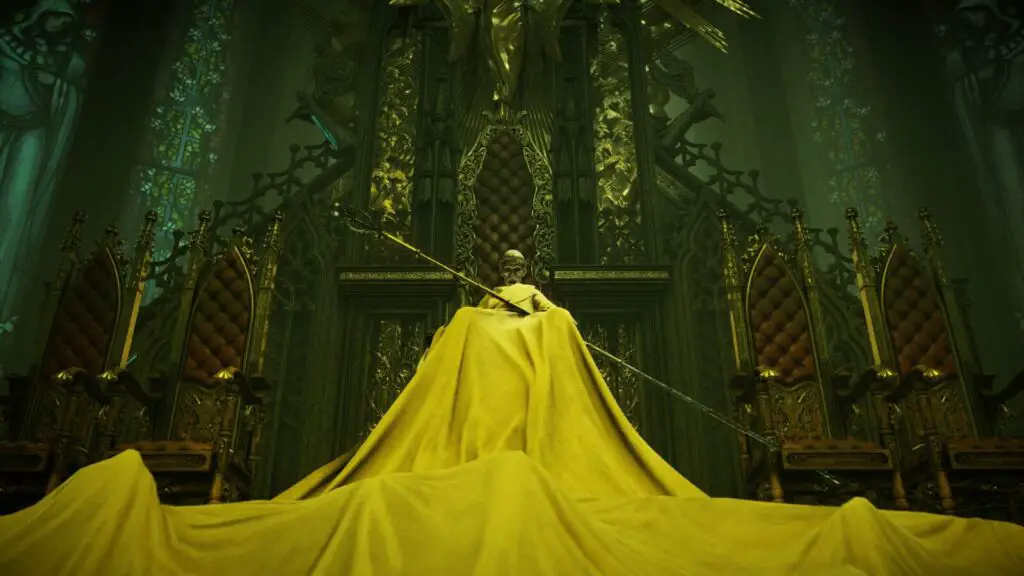
Immediately after defeating the Maneater, you’ll ascend some stairs and a cutscene will play where the Old Monk’s cloth turns into a head wrap and sits atop of a Black Phantom’s, or an actual player’s, head. This is who you’ll be fighting. The real Old Monk’s body seems to be long dead.
Due to the nature of this boss fight, there’s no definitive strategy. Real players can be wildly unpredictable and have access to many weapons, magic, and armour. You can, however, make things easier on yourself by jumping back to the main menu and starting the game in Offline mode. This will force a Black Phantom to take the place of any actual player.
Because this fight is supposed to be player vs player, the Offline version will try to simulate this. The Black Phantom will run circles around you, dodge roll away from most of your magic and ranged attacks, and can even parry you. Periodically, the Black Phantom will summon orbs that hover around him for a few seconds before homing in on you. He will also shoot a Soul Arrow spell at you, but this seemed to be very infrequent.
The best strategy is to go toe to toe with the Black Phantom using a melee weapon. Large, heavy melee weapons will give you a disadvantage here because the Black Phantom will simply roll away from most attacks. Use something quick and light, like the Crescent Falchion or Dragon Long Sword.
When he summons his orbs, which increase in number throughout the fight, simply wait a second or two and start rolling away from them. They will miss you almost every time.
Be patient and use your shield to black the Black Phantom’s melee attack and then get a few quick hits in of your own before backing up to give yourself some breathing room. Keep this up and you should defeat him fairly easy.
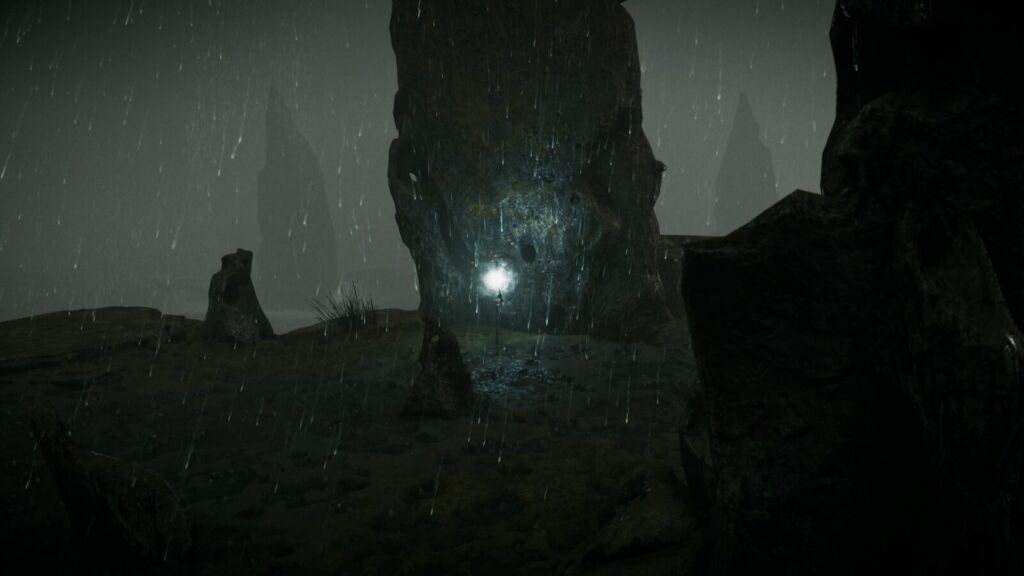
Archstone of the Shadowmen – Shrine of Storms Bosses (World 4)

This archstone will teleport you to an island with a constantly raging storm. The island is filled with skeletons, spirits, and flying stingrays (one of which is one of the Demon’s Souls Bosses).
Adjudicater
The Adjudicater is a laughably simple boss fight for ranged and magic characters. You’ll be safely above him and he’s largely stationary.
The Adjudicater is large, slow, and seems to be weak against Magic and Fire (again, like most other Demon’s Souls Bosses).
When you enter the arena, you will be on a floor above him. When you get too close to the edge, he will whip his large tongue at you which deals quite a bit of damage. Make sure you move to the edge, shoot an arrow or a spell and then immediately start holding ![]() and mashing
and mashing ![]() to do a dodge roll away from the ledge. Rangers should use Magic Arrows for an easier time.
to do a dodge roll away from the ledge. Rangers should use Magic Arrows for an easier time.
Melee characters might want to infuse their weapon with flames or magic and get in close to deal damage. Be careful as he has quite a large sword that he can hit you with. You have to hit him in the belly a few times to get him to drop down so you can deal more damage to him.
Old Hero
The Old Hero is a blind boss which can make this entire fight really easy. Maybe even the easiest of the Demon’s Souls Bosses.
Make sure you have the Thief Ring equipped (I’m not sure if this is vital but I had it equipped when I did this fight) and when the fight starts remain competely still.
There should be a sort of altar in front of you. Make sure you stand behind it and only walk if you need to move.
The Old Hero will pace up and down the arena slamming his sword on the ground every now and then. When you deal damage to him, he will let out a big roar which means he’s about to aggro you but if you stop dealing damage then he will forget about you and continue to pace.
Ranged characters will have the best time. Just stock up on arrows, stand behind the altar and shoot an arrow at him. Let him roar and continue pacing before shooting another one at him. You could even throw some poisoned Kunai at him since he is weak to Poison.
Mage characters should go in with a large stock of Spice since you’ll likely run out of MP but the strategy is the same as Ranged characters.
Melee characters will have to get up close and personal to deal damage in this boss fight. Try to be as quiet as you can, stay behind him, and then get a few hits on him until he begins to roar at which point you should stop to let him calm down. Rinse and repeat until he’s dead.
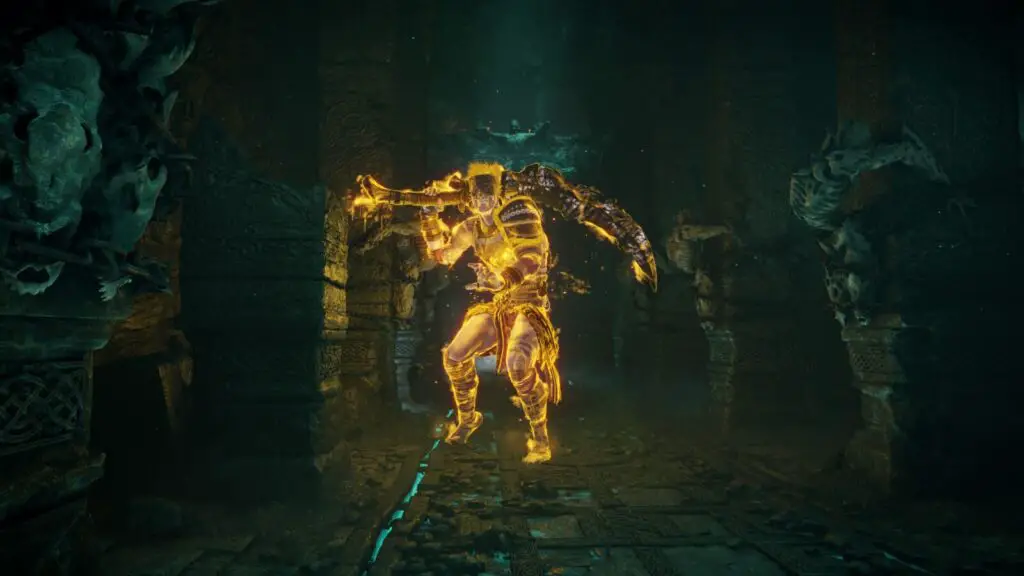
Storm King
The Storm King is a very large Stingray flying around in the sky which can complicate things.
The Storm King is a flying boss which means melee characters have zero chance of hitting him with their swords. To top it off, the Storm King will be accompanied by many smaller flying Stingrays that will shoot spikes at you.
Immediately run and roll your way all the way to the end of a cliff where you can pick up a sword called Storm Ruler, which won’t really help with any other Demon’s Souls Bosses, but is vital in this boss fight.
On your way to this weapon you will have passed a broken down building on your right. Make your way back to it as it will provide some cover against the onslaught of spikes.
When you press ![]() with the Storm Ruler equipped, you will do a large anime-style slice (like the Getsuga Tenshō from Bleach) which will kill the smaller Stingrays in one hit.
with the Storm Ruler equipped, you will do a large anime-style slice (like the Getsuga Tenshō from Bleach) which will kill the smaller Stingrays in one hit.
Keep moving around this broken building and attacking the smaller Stingrays until they are all dealt with. Then you can leave and deal with the Storm King.
He’s incredibly large, but not all that threatening. Just follow him around and avoid his spike attacks until you’re close enough to do some damage with the Storm Ruler.
Of course, if you’re a Ranged or Magic character you can ignore the Storm Ruler altogether and use arrows or Soul Ray to kill the Storm King.
Archstone of the Chieftain – Valley of Defilement Bosses (World 5)
The Archstone will transport you into a grimy, disease-ridden valley where all of Boletaria’s rejected sick people and criminals are left to wander.
Leechmonger
The Leechmonger is a wriggling swarm of leeches.
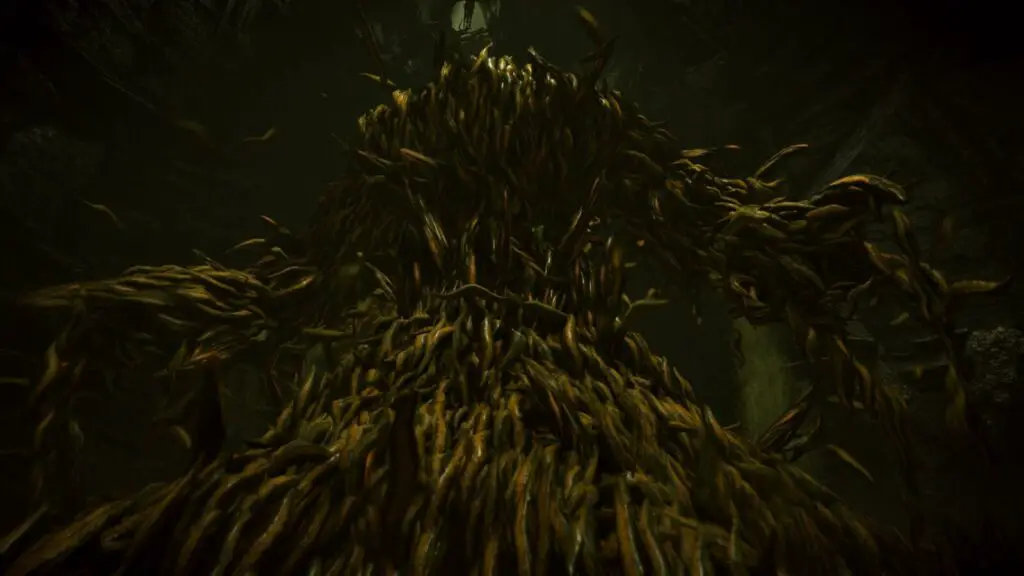
The Leechmonger will stand in the middle of a cave lined with catwalks. When you descend to the 2nd level, he will begin to attack you.
The best strategy to put him down without being hit is to use ranged attacks and stay on the upper level of the catwalks.
Like so many other Demon’s Souls Bosses, it is weak to fire and magic so Mages will have a really easy time. Stay on the top catwalk and cast Soul Ray or Fireball. The Leechmonger will try to heal himself but you should do more than enough damage to prevent his attempts.
Ranged character should equip a strong bow and use Heavy Arrows or better to kill the Leechmonger with minimal effort.
Melee characters will have to get up close to do any damage. Cast Warding and use a Pine Resin or equip the Dragon Long Sword (make sure it’s level +3 or more), run up to the Leechmonger and get a few hits in before rolling away. Use this time to heal if you need to.
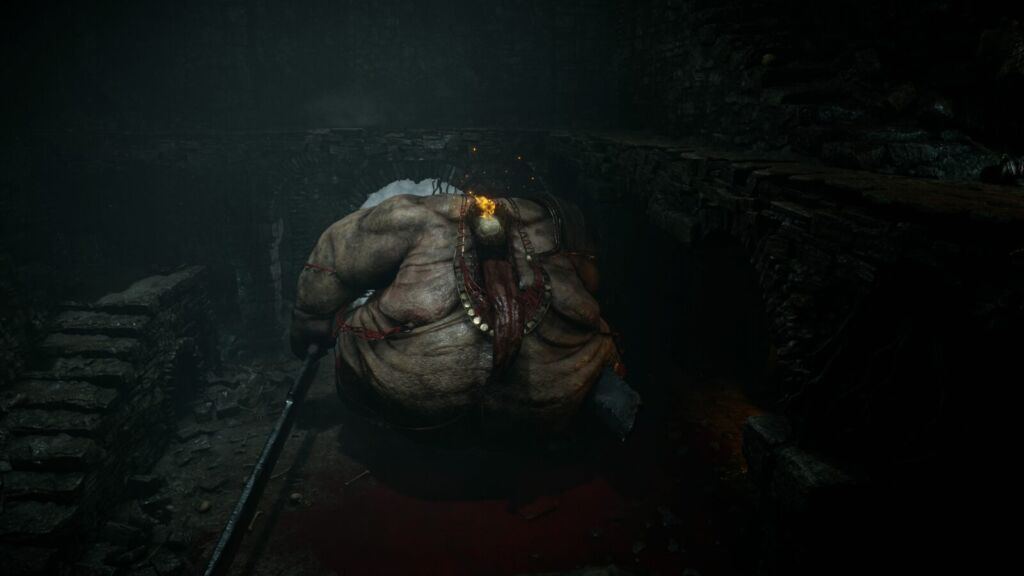
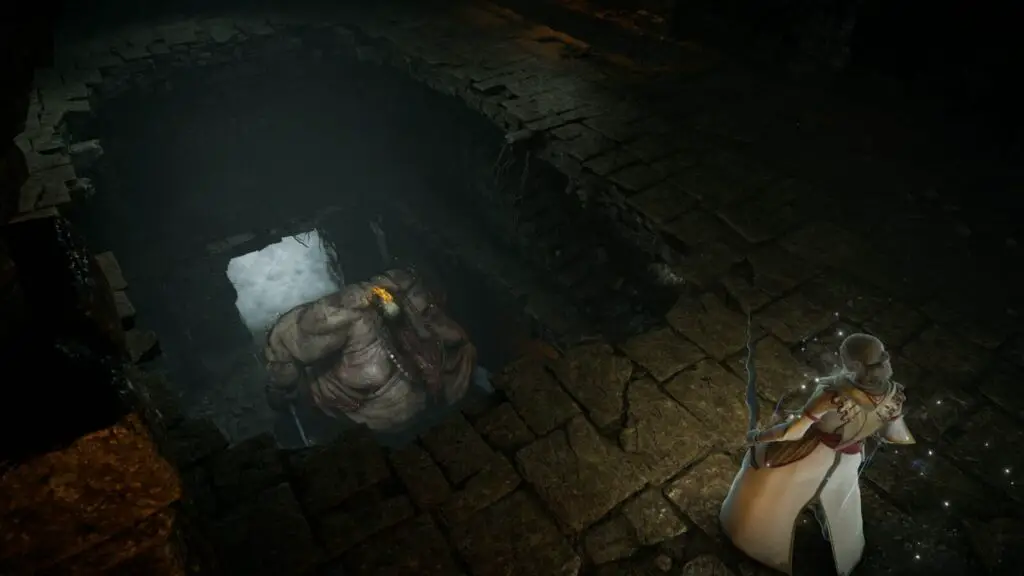
Dirty Colossus
The Dirty Colossus is sentient pile of filth and refuse that was cast deep into the Valley of Defilement.
The Dirty Colossus will stand in the middle of the cave and will aggro you once you get close or attack it. It’s left arm has a cannon that fires swarms of fleas that surrounds you and chips away at your health.
The best strategy is to stay at the entrance to the arena and hit it with magic such as the Soul Ray or shoot it with Heavy Arrows.
Melee characters will have to run and try to get behind the Dirty Colossus to deal damage safely. Use a Pine Resin or Enchant Sword to make sure you exploit its weakness.
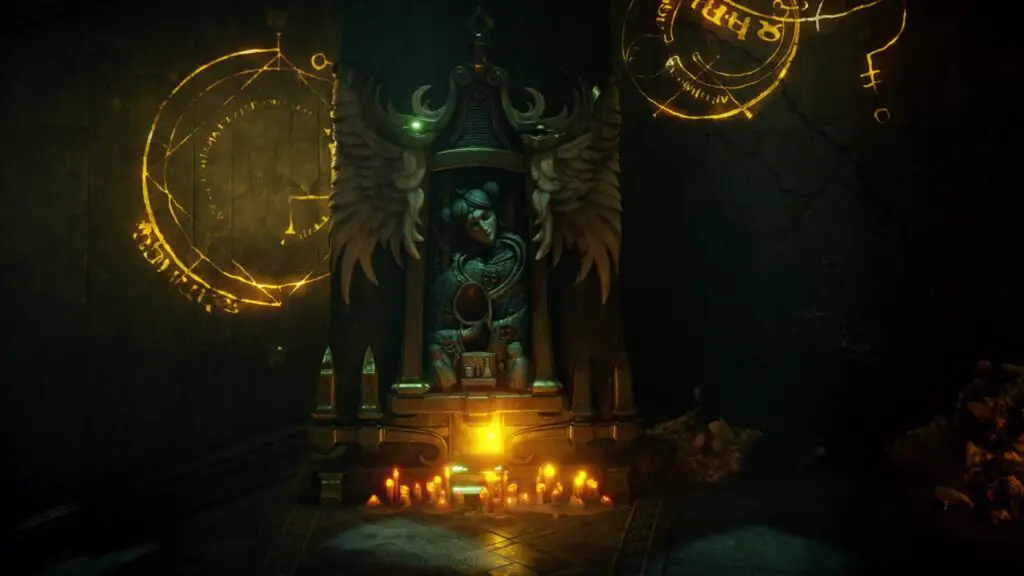
Maiden Astraea
Maiden Astraea is a once pure and dedicated disciple of God who has become disillusioned since the fog swept over the land.
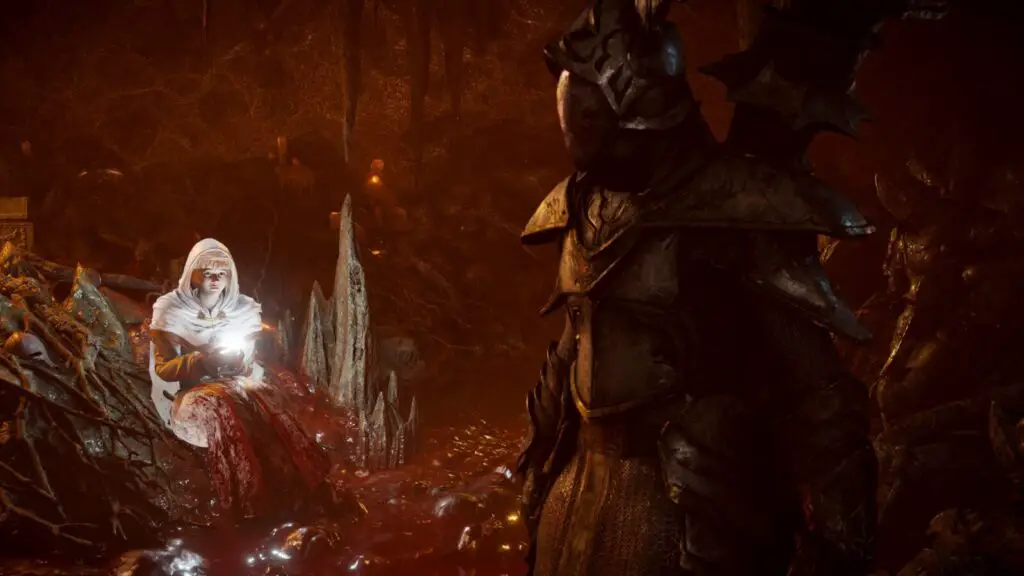
Maiden Astraea isn’t actually the one you’ll be fighting in this boss battle. She will send out her guardian, Garl Vinland, to confront you so technically this fight is against two Demon’s Souls Bosses.
You can avoid him entirely if you head to the right where the Worshippers are and kill them. From there you can use a strong bow such as the White Bow and Heavy Arrows to kill her with little effort. Garl Vinland won’t be able to reach you and once Maiden Astraea is dead, he won’t try to attack you any more.
Maiden Astraea will try to heal herself every now and then but if you’re doing enough damage with the bow then you can out damage her healing attempts.
Melee Characters will have to face Garl Vinland. He should be too tough to kill but once you put him down, you can just casually stroll up to Maiden Astraea and attack her. She won’t fight back.
Optional: Kill Maiden Astraea without harming Garl Vinland for the May you be unharmed trophy.
Thank you for choosing PlatGet as your source for this Guide to beating the Demon’s Souls Bosses, consider checking out our reviews and other guides!
Follow us on twitter @GetPlat or Instagram @platget for updates on new reviews and guides, as well as small anecdotes about our platinum journeys.