PlayStation 4, Playstation 5
Control Hidden Locations Guide
Game Guide
Where to Find All Hidden Locations in Control’s Base Game and DLC
Control’s Base Game has 20 Hidden Locations spread across the 4 total locales and this Control Hidden Locations Guide is the perfect way to find them all. There’s no trophy for finding all Hidden Locations, but you will need to find most of them in order to get the 100 ability points you need for the Master Parautilitarian trophy.
Check out our full Control Trophy Guide and Road Map here.
Note that most of these Hidden Locations will require you to have the Levitate ability and access to various levels of security clearance doors. For that reason, I recommend saving these for the end of the game, it’s more convenient anyway because you’ll have most — if not all — of the Control Points by then.
Control Base Game Hidden Locations Guide
Hidden Locations in the Executive Sector
Executive Affairs Hidden Location
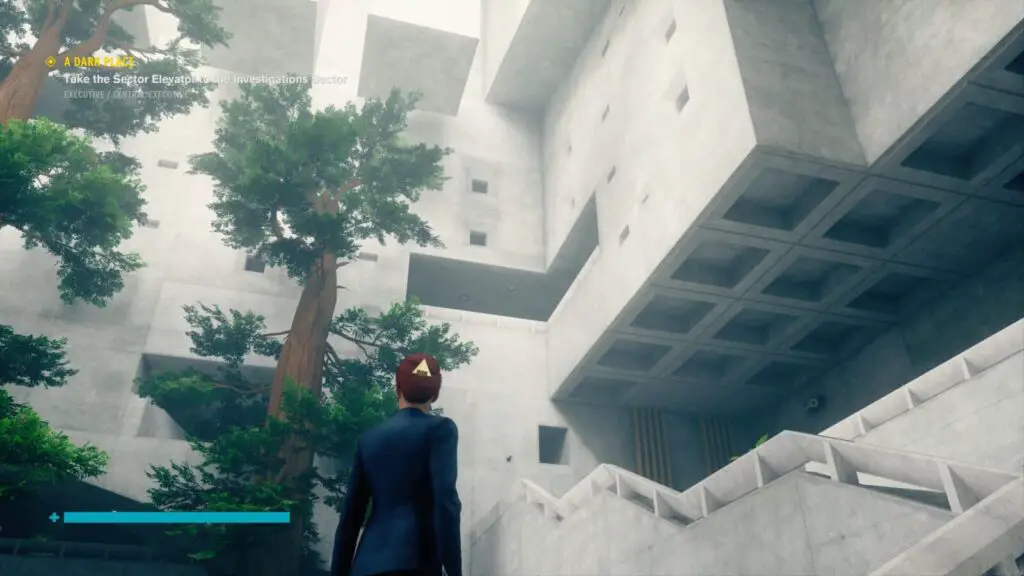
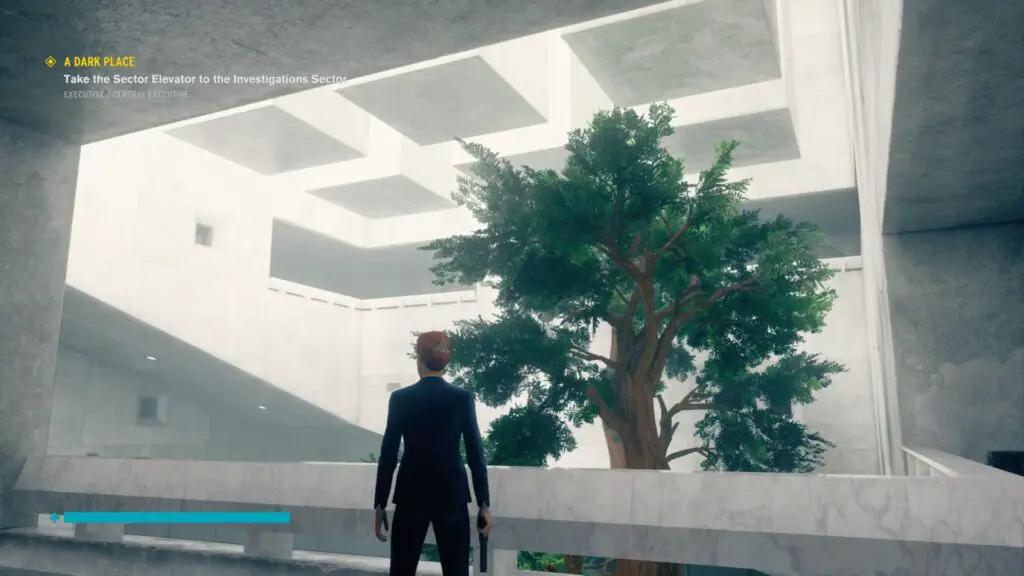
There’s a big ornamental stone pillar with gold inlays inside Executive Affairs, with a few dormant Hiss floating around it. If you look up towards the top of it you will see a crate just begging to be opened.
You’ll need to use levitate to reach the top, which can be tricky as it is just out of normal levitation reach. You can either use the Ground Slam ability or the floating Hiss to get a leg-up. To do that, you’ll need one who is hunched over so you can use their back as a platform, you’ll slip off pretty much everyone else.
If there’s nobody in the right pose near to the pillar, walk to Central Executive and back again to randomise their poses.
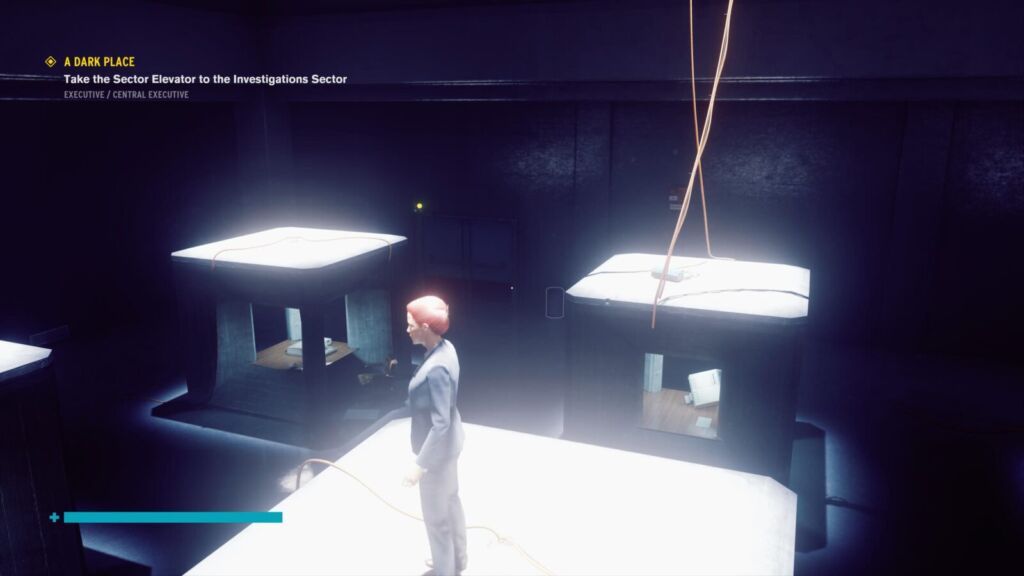
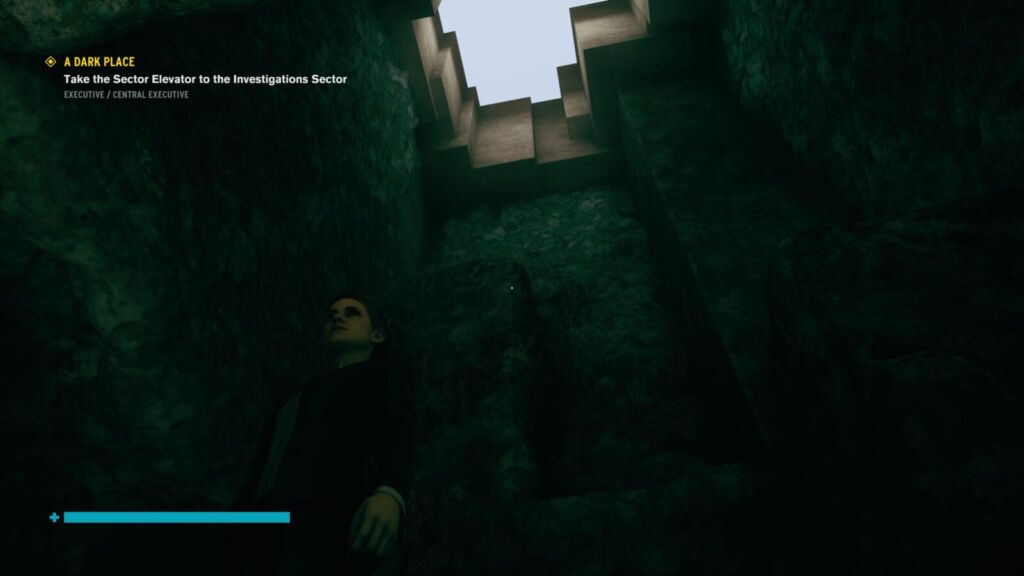
Communications Department Hidden Location 1
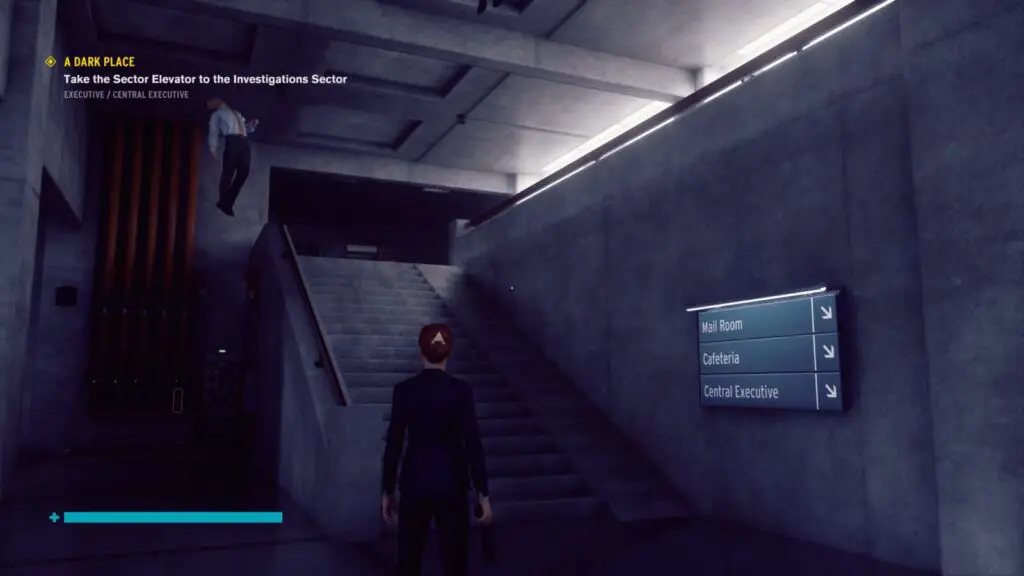
To start with, fast travel to the Mail Room Control Point. From there, head north and go up the stairs.
Immediately afterwards is another set of stairs, go up those too and then turn around.
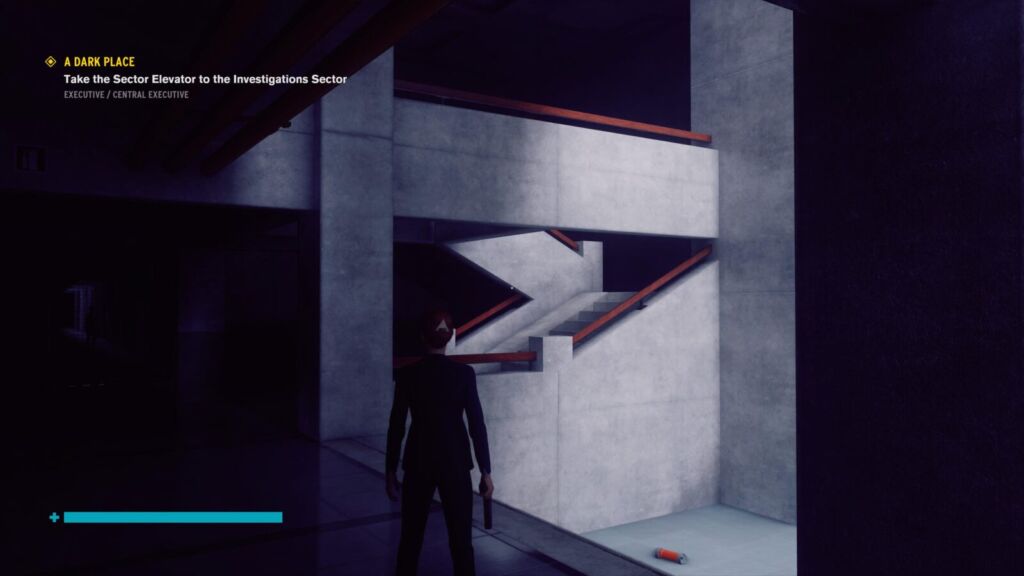
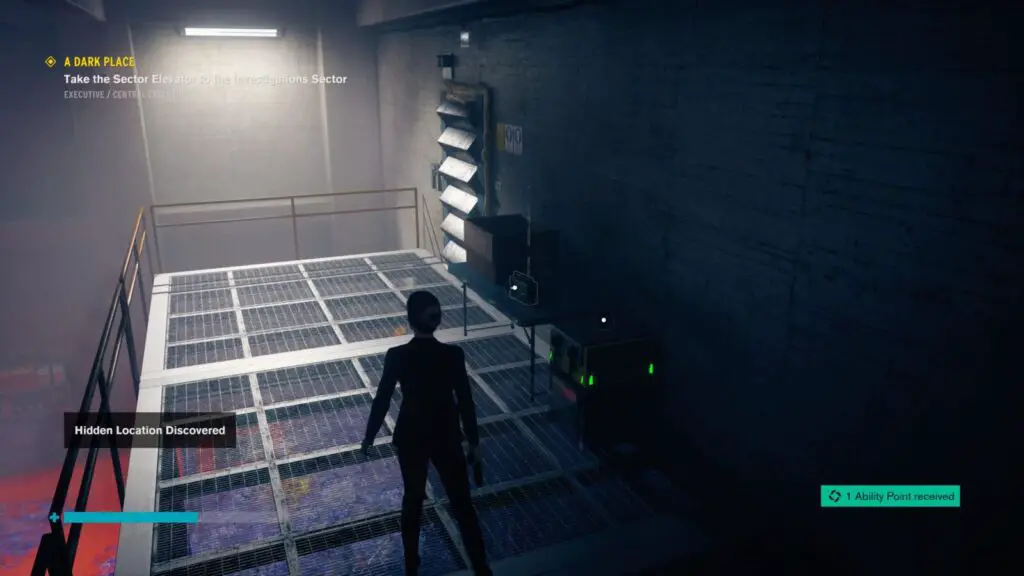
You’ll see a doorway leading into a strange dark room filed with hollow blocks.
Levitate up onto one of the blocks and the Ability Point will be unlocked.
Communications Department Hidden Location 2
This next Hidden Location requires that you have an immunity to mould spores/poison gas. You’ll get this from the side mission “Old Growth”.
From the last hidden location, go back out the door you entered through and turn right to see an office. The hidden location is in there.
From the Mail Room Control Point, go north and up the stairs, then head up the stairs immediately in front of you and you’ll be facing the office where this hidden location is.
Head inside the office and simply walk to the very back of the room.
Hidden Locations in the Maintenance Sector
Access Corridor Hidden Location
The quickest way to get here is to go to Central Executive and then take the elevator to “Maintenance Sector Access Corridor”. Immediately outside the Elevator, look up to see a ledge you can levitate to.

Keep looking up and levitate up a couple more floors to enter into the hidden location.
Break Room Hidden Location
Starting at the Ventilation Control Point, head towards the Janitor’s Office but turn left at the shelves and walk all the way to the Break Room. This is where you originally got your dodge abilities, if you’ll recall.
Inside the break room, levitate up into the giant hole in the ceiling and you’ll be teleported to the hidden location.
Pump Station Hidden Location
Go to the Janitor’s Office and then head through the left-most door, on the left wall, at the back of the room.
Continue through this area until you reach a locked door and another doorway leading to a sheer drop into the Firebreak area.
From this edge, levitate to the right until you reach the other side of the locked door.
NSC Power Plant Hidden Location
Fast Travel to the NSC Power Plant Upper Level. From there, you want to use Levitate to reach the highest point of the Power Plant Room.
Black Rock Quarry Hidden Location
Again, you will need to have completed the mission “Old Growth” to get mould spore/poison gas immunity for this hidden area.
Starting at the “Quarry Entrance” Control Point, go left into the tunnel where you’ll find two Forklift trucks and a wall of stone blocks.
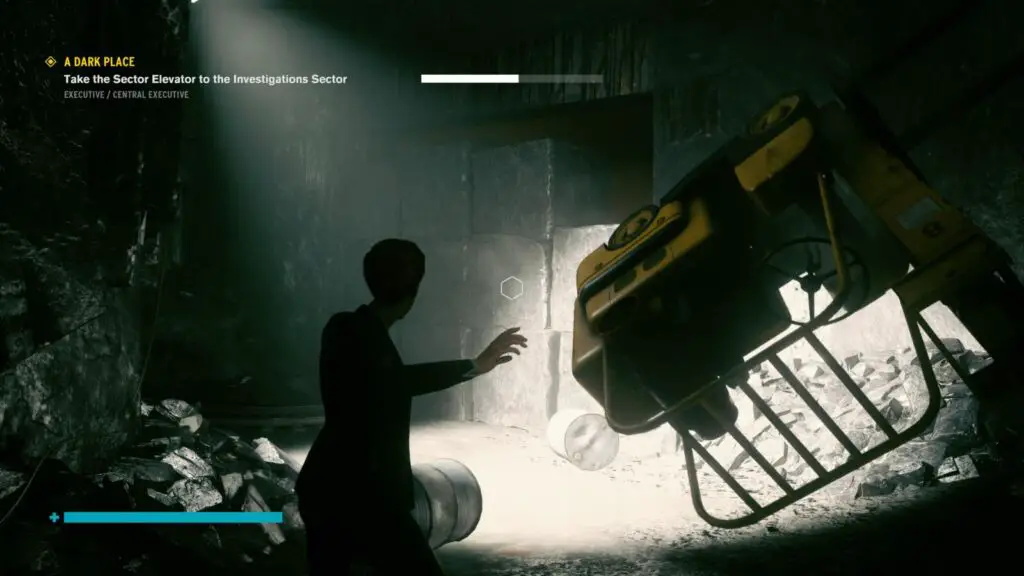
Use Launch on one of the forklifts to blow up the wall of blocks and head inside. You’ll find a secret tunnel that leads deep below the area. Float down with your levitate ability to reach the bottom safely.
Furnace Chamber Hidden Location
Back at the “Quarry Entrance” Control Point, head out into the area with the Astral Monsters and go left again, but this time levitate up as high as you can and look for a well-lit doorway on the left wall.
Follow this path to a Clearance Level 5 locked door and go inside.
Continue on until you find yourself in a maintenance shaft. Use Levitate to head up the shaft where you’ll find a Maintenance Tunnel, head inside.
Go as far through this tunnel as you can until you reach a locked door, leading to the Furnace Chamber. The ability point will unlock at the door.
Hidden Locations in the Research Sector
Central Research Hidden Location 1
The first hidden location in Central Research is actually where one of the Mold Hosts was hiding during the “Mold Removal” side mission.
Starting from the Central Research Control Point, look out over the balcony and you can see the room on the adjacent wall, where the glass windows are.

Levitate down and melee through the window with ![]() .
.
Central Research Hidden Location 2
Once again, you will need to have an immunity to mold spores/poison gas. You’ll get this from the side mission “Old Growth”.
The next Hidden Location in Central Research is opposite the last one and can be seen from there.
The balcony above the area with display cases near the doorway to Parapsychology is lined with glass windows which are seemingly inaccessible. Levitate over to it.
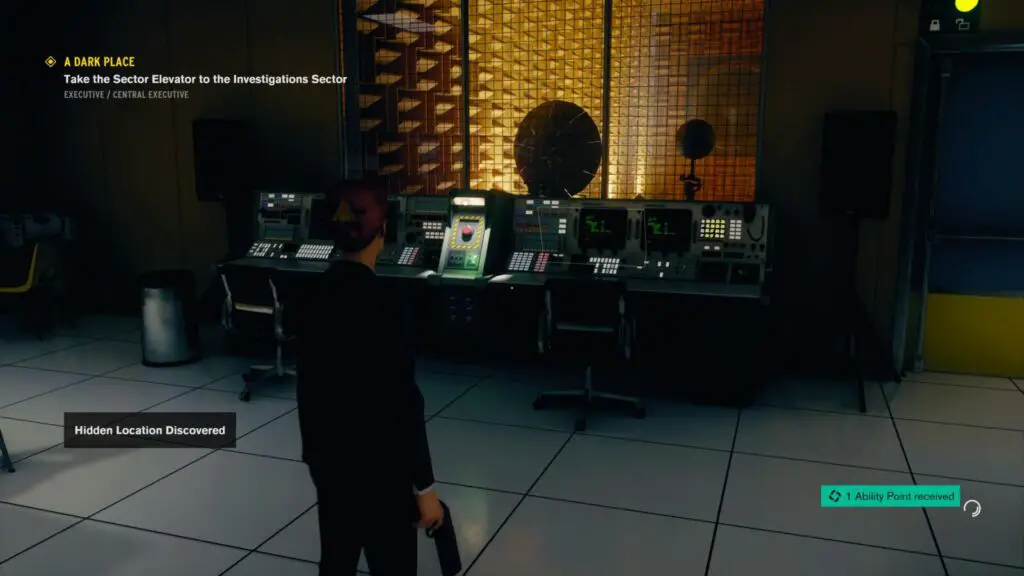
Melee your way through the windows and head into the door at the back. It leads to a corridor with another door leading into a lab. Head upstairs to the crate where a radio is and you’ll get this ability point.
Watch out though as you’ll now be ambushed by a horde of Mold Host Zombies.
Central Research Hidden Location 3
Now you need to try and get as high up as you can in Central Research. Start by going up the stairs as normal. Near the top, look up to see a fairly enclosed balcony.
Use the holes in the same wall to get a bit more height and then levitate your way up to the balcony.
From there, look across to the opposite side of the room where you’ll see two more balconies similar to this one. One to the right, one to the left.
There’s nothing but a dead body on the one to the right, so head to the one on the left (if your levitate isn’t upgraded much you can use the one on the right as a stepping stone to the one on the left). Here, you’ll find a door that leads to a recording studio. The ability point will unlock in there.
Luck & Probability Hidden Location
From the Central Research Control Point, head through the door right next to you which leads through to Luck & Probability.
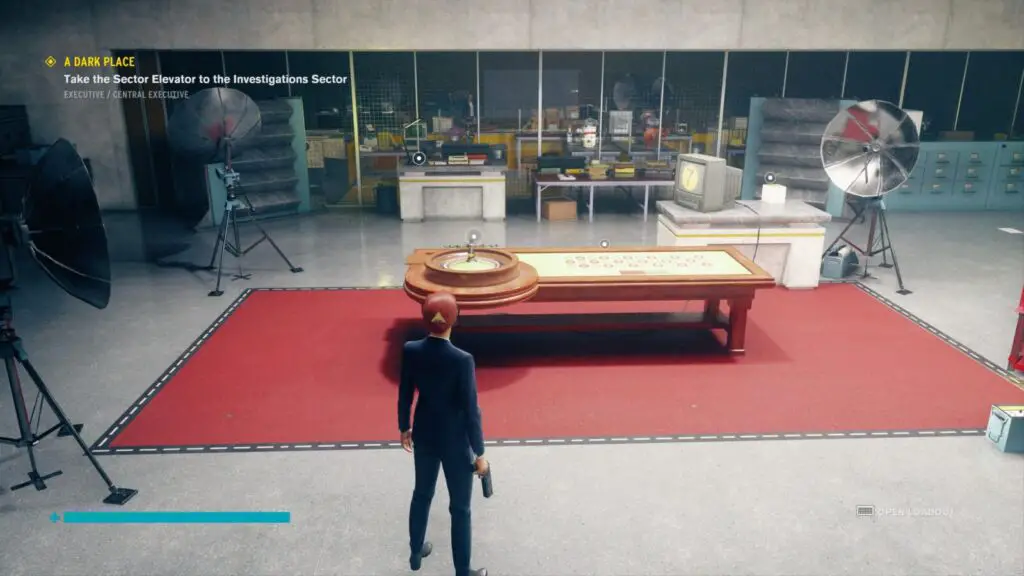
There are a few very specific things we need to do here and you’ll unlock a new outfit if you do everything correctly. First, enter the room with the roulette table, which is behind a locked Clearance Level 6 door. Inside, there’s a TV, a Roulette Table, and a whiteboard with a hint to completing the puzzle.
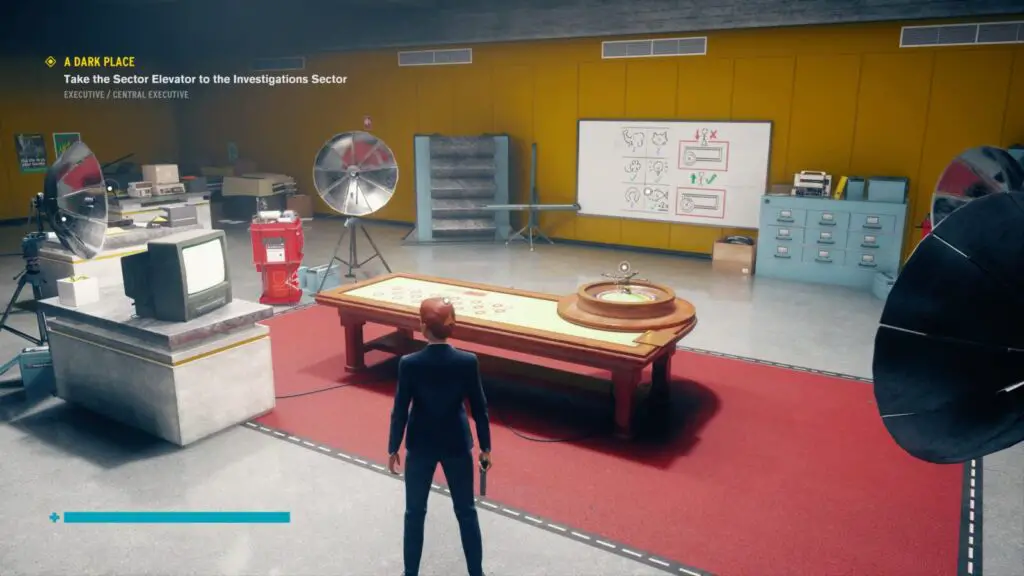
Do the following between the Roulette Table room and the other one:
- Turn on all the Desk Lights in the Roulette Table room (4 total).
- Get the small four-leaf clover from the other room and place it in the white planter next to the TV set.
- Activate both the Newton’s Cradle desk toys in the other room.
- Activate the Maneki Neko (waving cat).
- Keep the horseshoe pointing downward so that it catches the luck, as per the diagram on the whiteboard next to it.
- Interact with the Roulette Wheel from outside the rug, as indicated on the whiteboard in the Roulette Table room.
If you roll a seven, and the TV displays a seven also, you’ll get the outfit and the ability point.
Active Threshold Hidden Location 1
This is the area where you complete the side missions for Dr. Underhill. Start from the “Active Threshold” Control Point, head to the back of this area on the other side of the tent, and look up.
There you’ll see a few ledges.
Gradually work your way up to the highest ledge using levitate and the ability point will unlock inside the small room up there.
Active Threshold Hidden Location 2
Starting back at the Active Threshold Control Point, head into the large open room in the center of this area and then make your way to the opposite side of the room from the Control Point. There, you’ll find a huge doorway with a sign saying “Restrooms” which is somehow placed over the mold and not under it.
Head inside and look up just before the corner. You’ll see an doorway in the ceiling. Go ahead and levitate up through it.
The ability point will unlock inside the small room that it leads to.
Hidden Locations in the Containment Sector
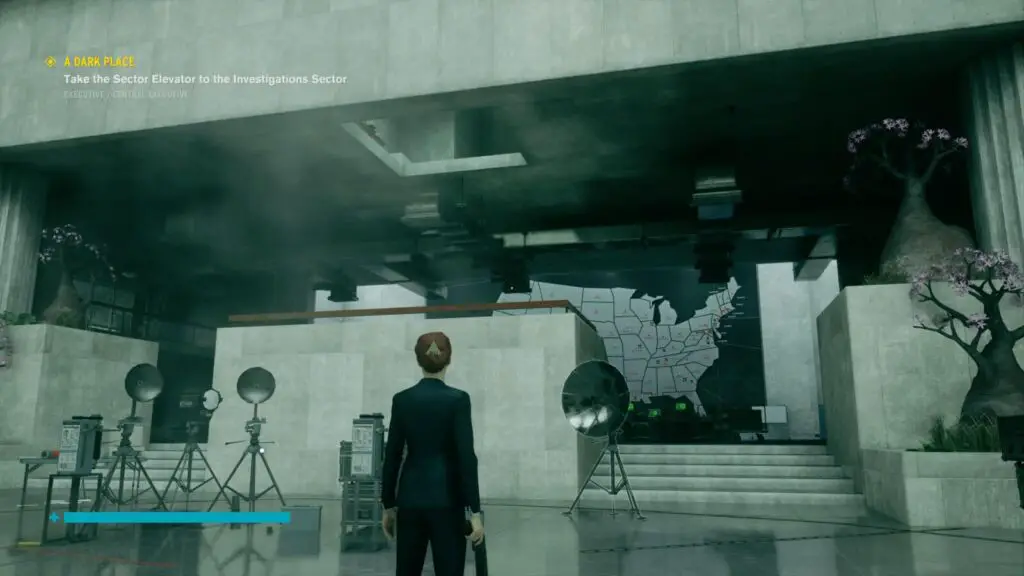
Logistics Hidden Location
From the Logistics Control Point, turn west to face the US Map on the western wall, and look up. You’ll see an opening in the ceiling. Levitate on up and claim the easiest ability point yet.
Firebreak Hidden Location
Firebreak is the huge open corridor between Security and the Panopticon.
From the Panopticon Control Point at the Panopticon Entrance, head back through into the Firebreak area towards Security.
From there, look up and to the right of the door leading to Security and you should see the blinking green lights of a resource crate. Using levitate, make your way over to it and thus into the hidden location.
Upper Panopticon Hidden Location 1
From the Upper Panopticon Control Point, cross the bridge to the other side and then follow the corridor all the way through to the end where you cleansed both the Benicoff TV and the Traffic Light.
Jump over the balcony and make your way to the end of the spiral corridor, where the light is coming from. Don’t worry, you can touch the floor.
The ability point will unlock once you reach the end of the room, but there’s no crate to open or anything.
Upper Panopticon Hidden Location 2
Back in the Upper Panopticon area, the Control Point is on level 4 as you may recall. Make your way up to Level 5 using your levitate abilities and go to the end of the bridge with the Swan Boat.
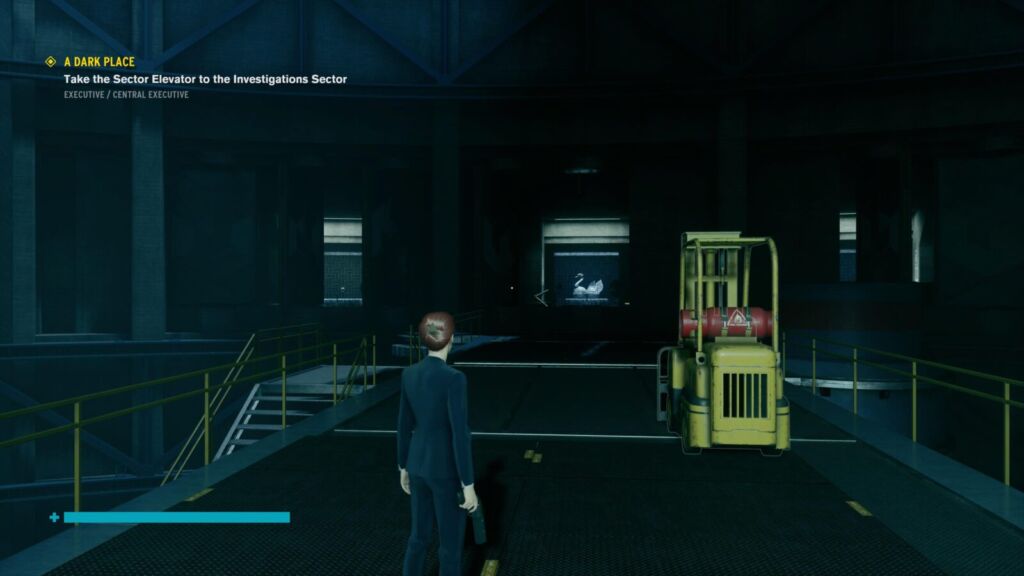
Next to the forklift, turn left to see an opening in the wall with light shining through it.
Use your levitate abilities to make your way inside the opening. the ability point will unlock as soon as you are inside.
Transit Corridor South Hidden Location
Start at the Transit Corridor Control Point and head south to stand on the metal box under the sign which says “NYC Subway”. Here, look at the wall on the right and you’ll see some windows.
Levitate over and use Evade ![]() to break through into the hidden location and receive your Ability Point.
to break through into the hidden location and receive your Ability Point.
Where to Find All Hidden Locations in Control: The Foundation
The Foundation DLC for Control contains a further 10 Hidden Locations, and this time you will need them specifically for a trophy not just the ability points they will award you.
Check out our full Control: The Foundation DLC Trophy Guide and Road Map here.
Note that the Foundation DLC asks you to get all 57 collectibles in the Foundation Sector. Some of them are in these Hidden Locations, I’ve pointed this out where applicable so be sure to grab any Collectibles I mention below.
Hidden Locations in the Foundation Sector
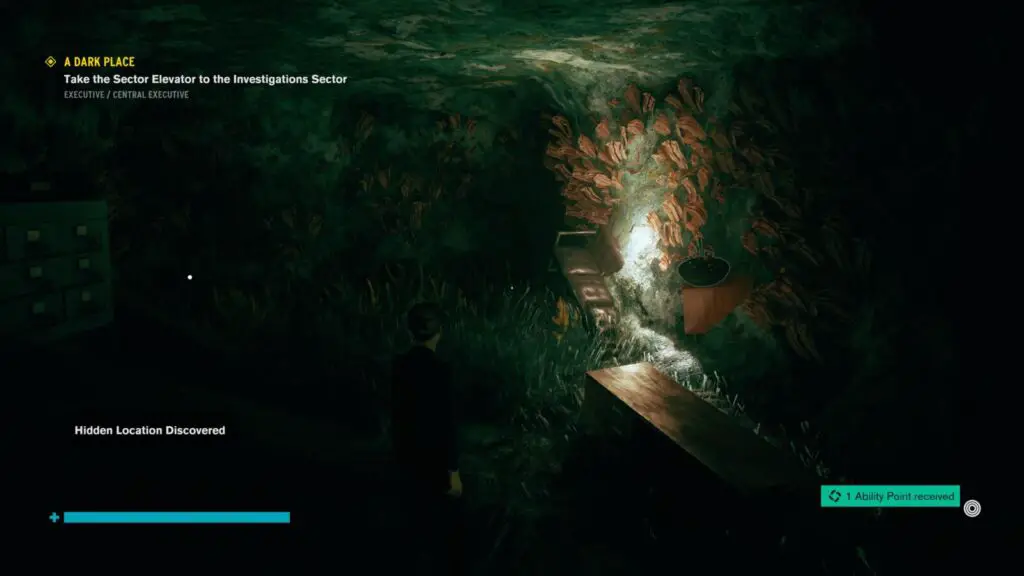
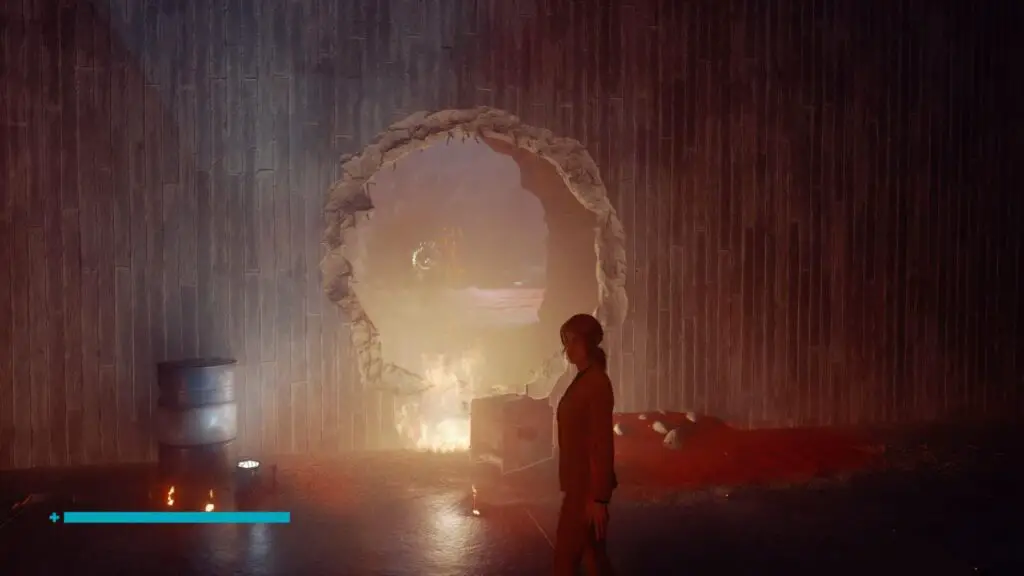
Crossroads Hidden Location
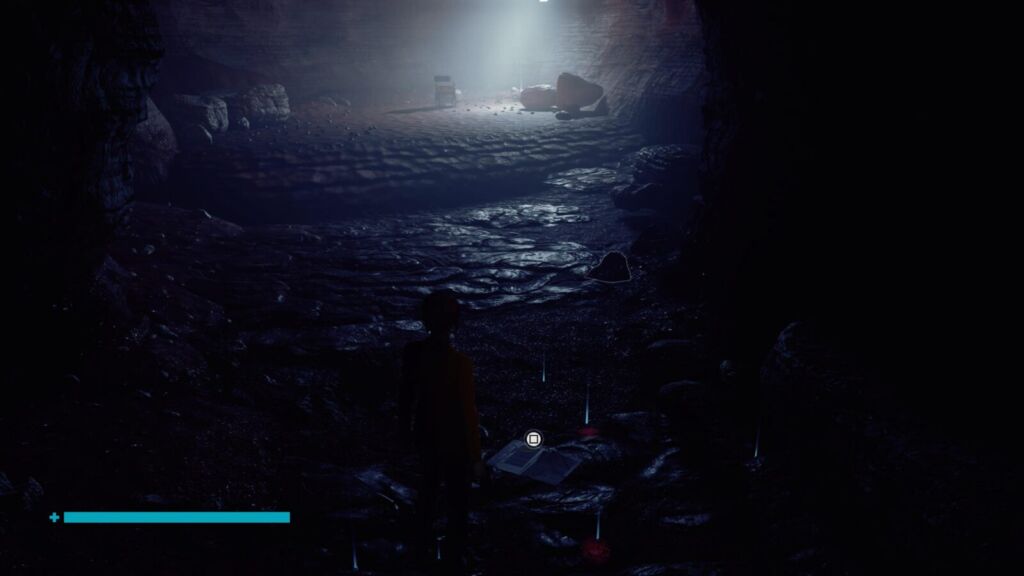
From the Crossroads Control Point, head to the western-most cliff-edge behind the Nail and drop down onto the ledge there.
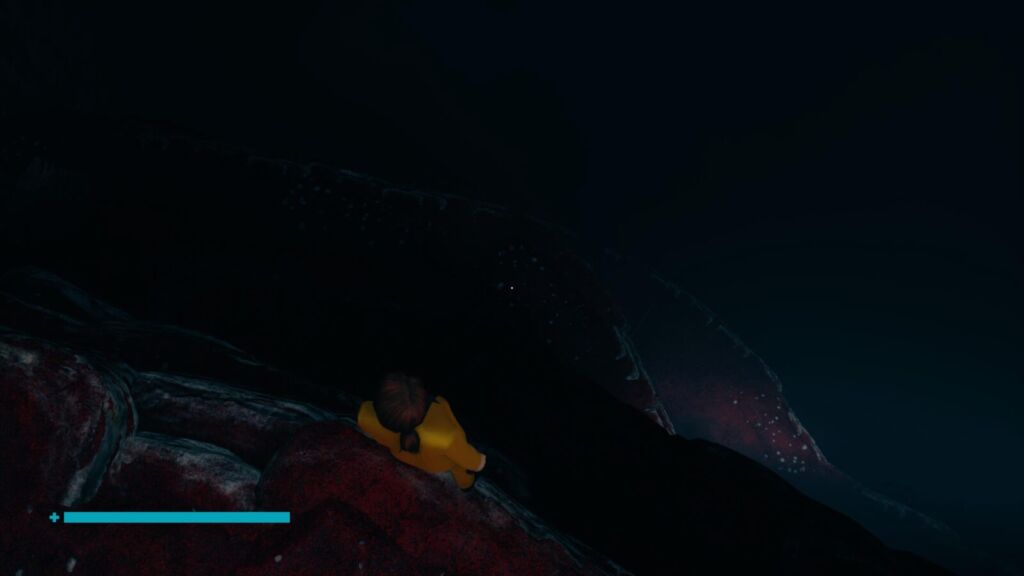
Turn around and look at the cliff wall, if you position yourself just right, you’ll see a cave entrance in all the darkness.
Use launch to break through the wooden boards and head into this Hidden Location. Don’t forget to grab the collectible on the ground in here.
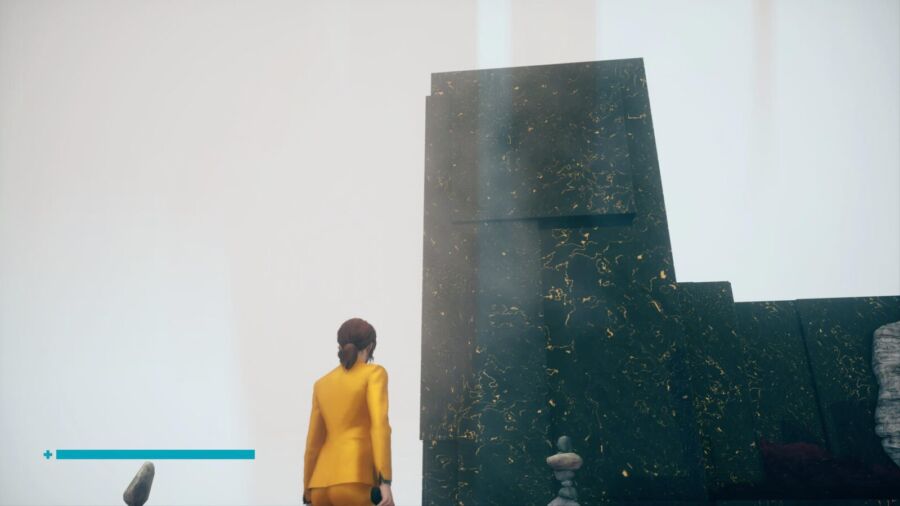
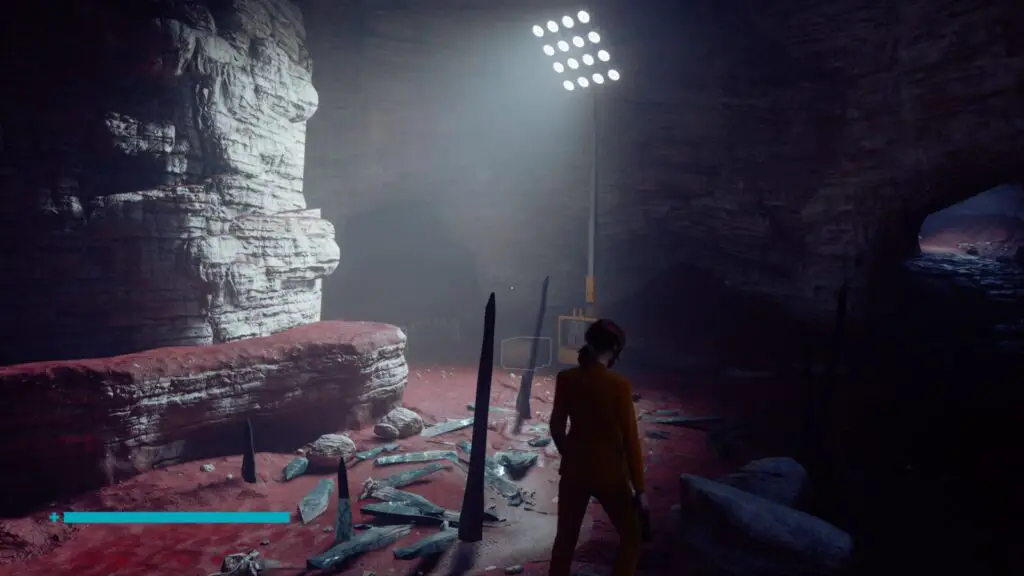
Astral Collision Hidden Location 1
Starting at the Astral Collision Control Point, go to the wooden post with a yellow rope tied around it nearby and look over the corner of the platform next to it.
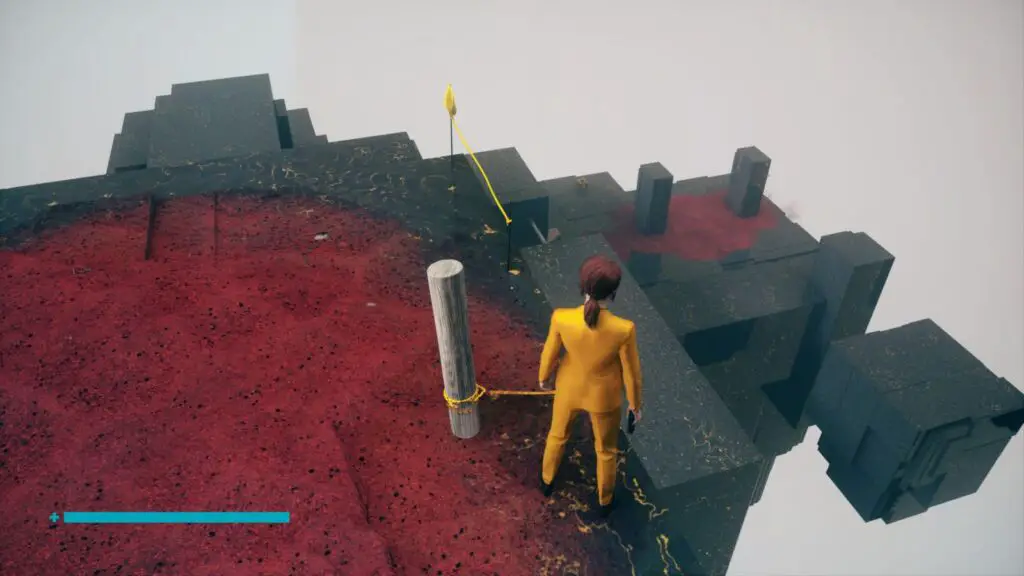
You’ll see a gold block on a large platform in the distance. Glide over to it.
Standing behind the block look towards the end of this area and you’ll see a toilet cubicle fused into the side of the platform in front of you. Before you go, there’s a Collectable near the wall next to this gold block.
That toilet cubicle is the hidden location, glide over to it.
While you are here, throw the gold block into the toilet cubicle. This is important for unlocking a Maneki Neko. See our Control Foundation Collectibles Guide for more info.
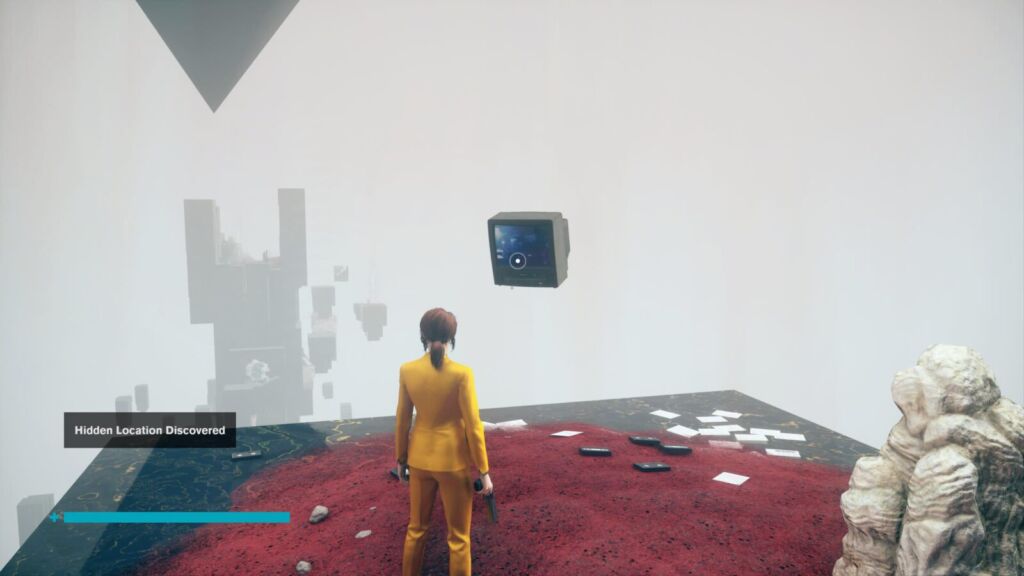
Astral Collision Hidden Location 2
Start at the Astral Tower PE Control Point. Use levitate to reach the highest point on this platform.
Up here you’ll find a TV which is also a Collectible, so don’t forget to interact with it!
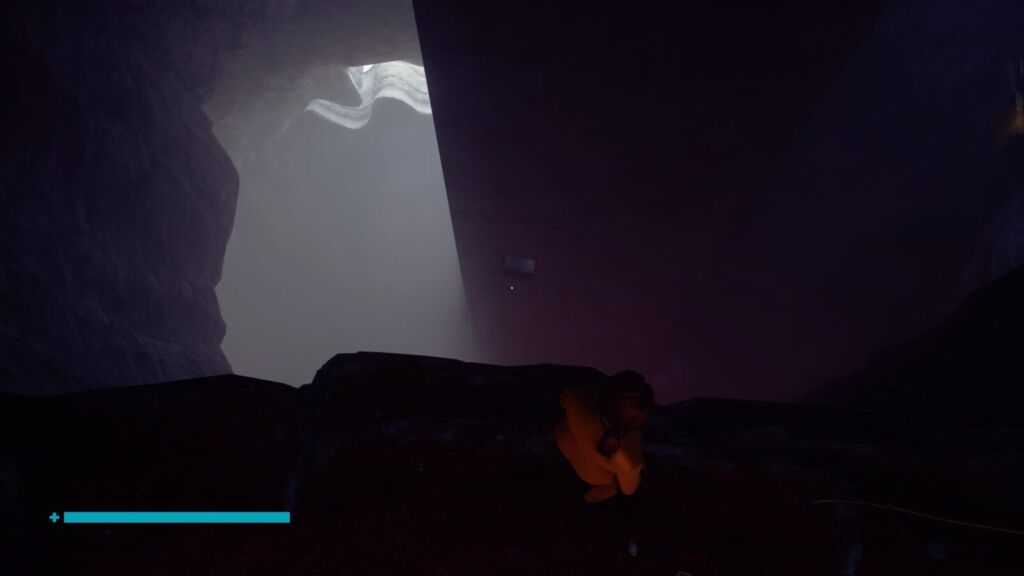
Cave System Hidden Location
Starting from the “Cave Bridge” control point, look out towards the furthest bridge in the distance. You need to levitate over to it.
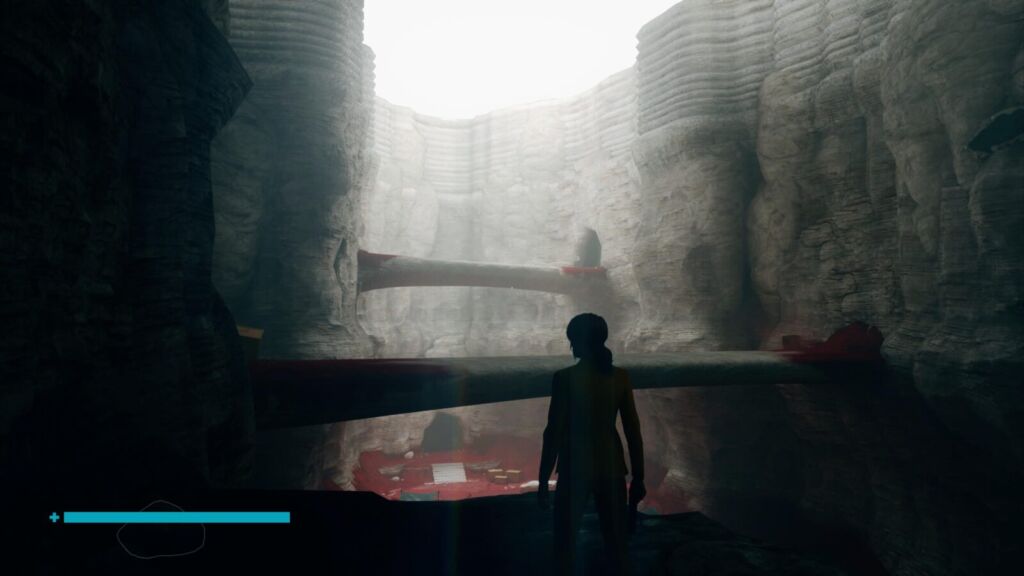
You now want to enter the cave at the end of the bridge. Not the end with the “Crossroads” sign and the crystals blocking the way, you want to enter the cave on the opposite side, which is not blocked.
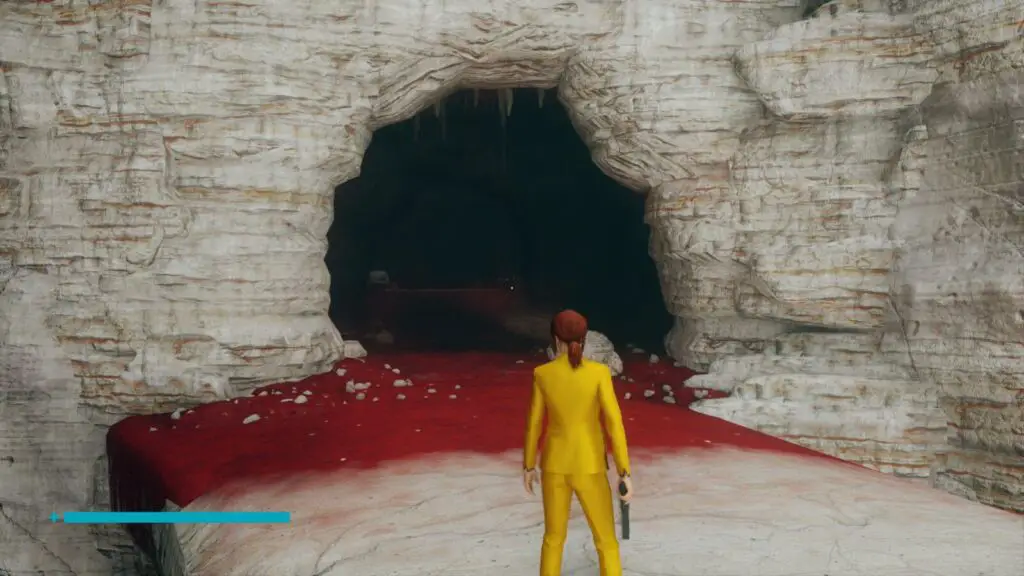
Head right to the back of the cave and you’ll get the Ability Point.
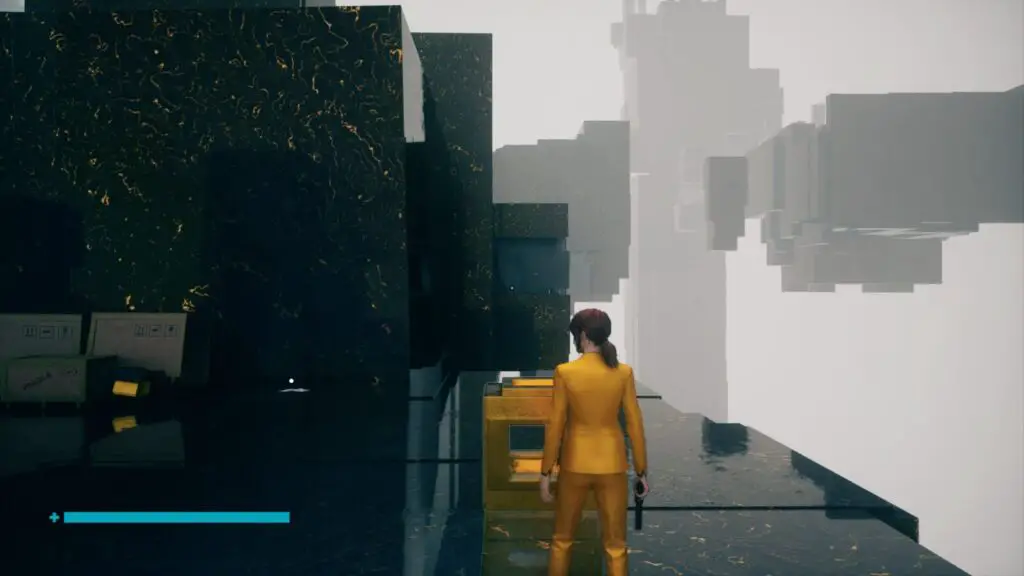
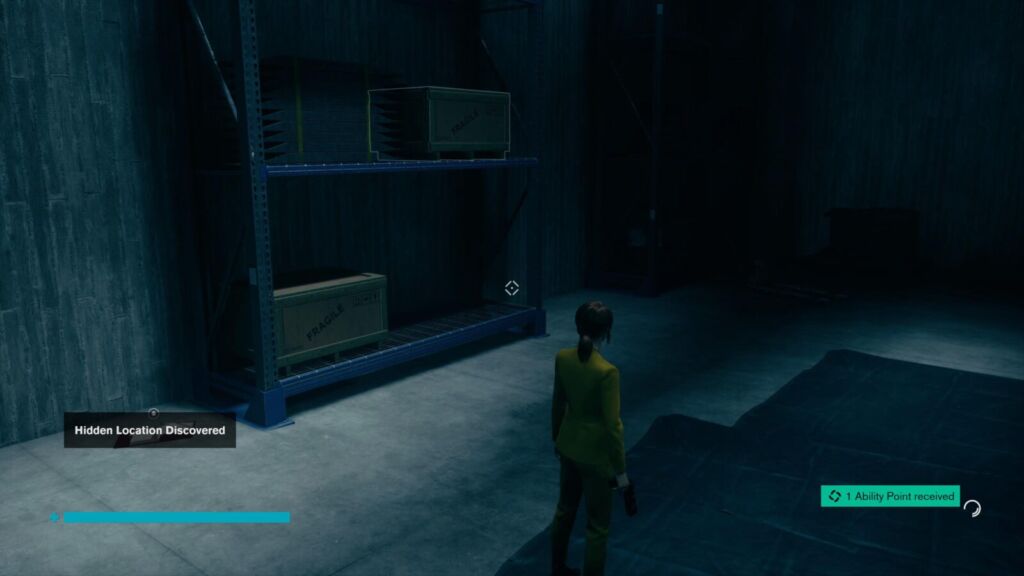
Warehouse Hidden Location 1
Start at the Warehouse Rise Control Point. Head uphill through the cave until you reach a floodlight next to an opening in the cave wall.
Directly opposite this opening there is a doorway in the side of the Warehouse Elevator Shaft. Ignore it and look down, you’ll see a different doorway in the Elevator Shaft, use Levitate to float safely into it.
It’s a hidden Location! Don’t forget to grab the collectible on the ground before you leave!
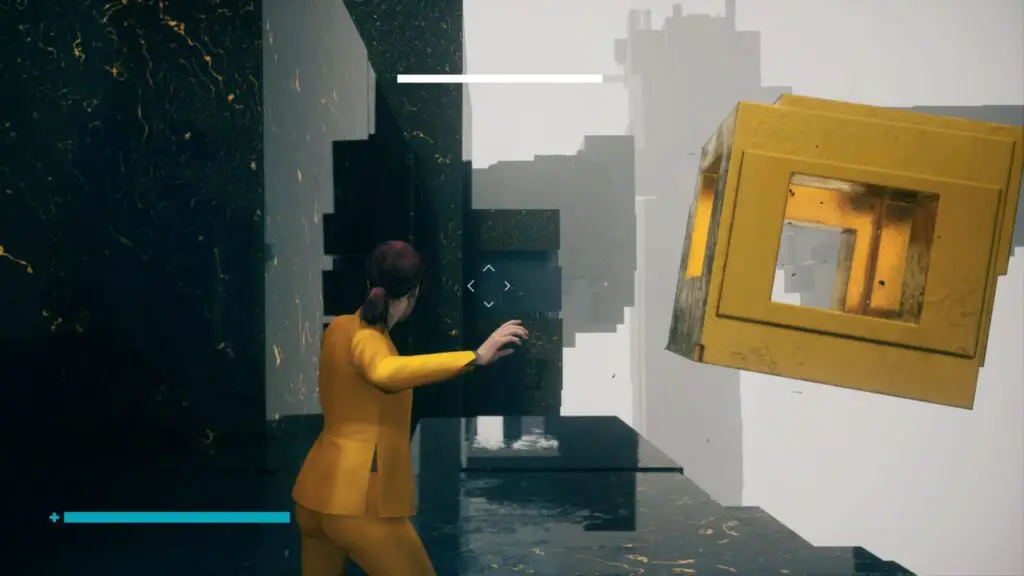
Warehouse Hidden Location 2
For this one, you will need to have reached the top of the warehouse. If you haven’t yet, then just continue following the story. If you have, you can use the elevator right from the last collectible and ride it up to Floor 6 “Upper Warehouse”.
From there, go behind the elevator to find a framed photo on the wall. Use Launch or Melee to break apart the wall behind the photo and you’ll find the hidden room!
There’s a Control Point in here, too!
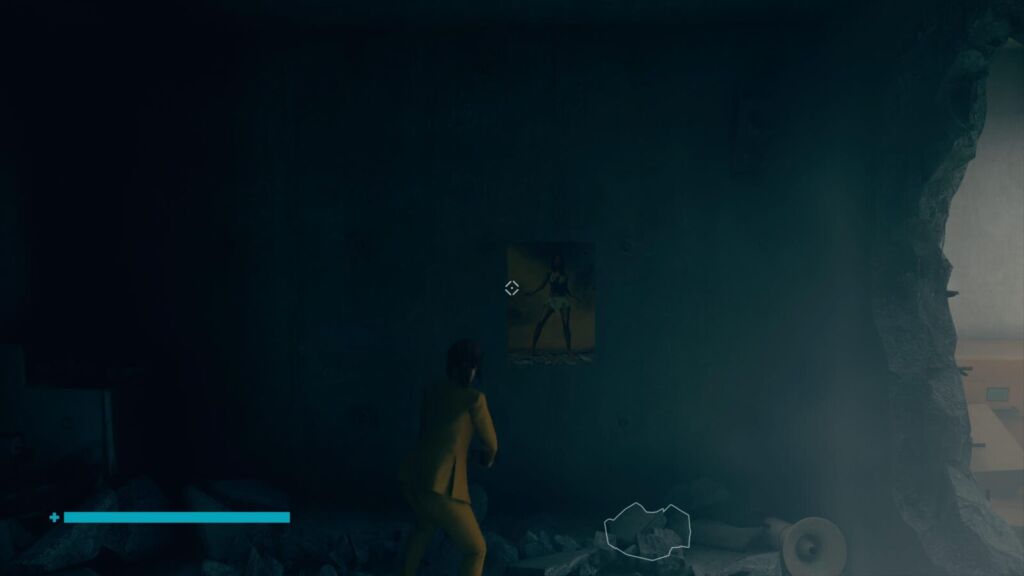
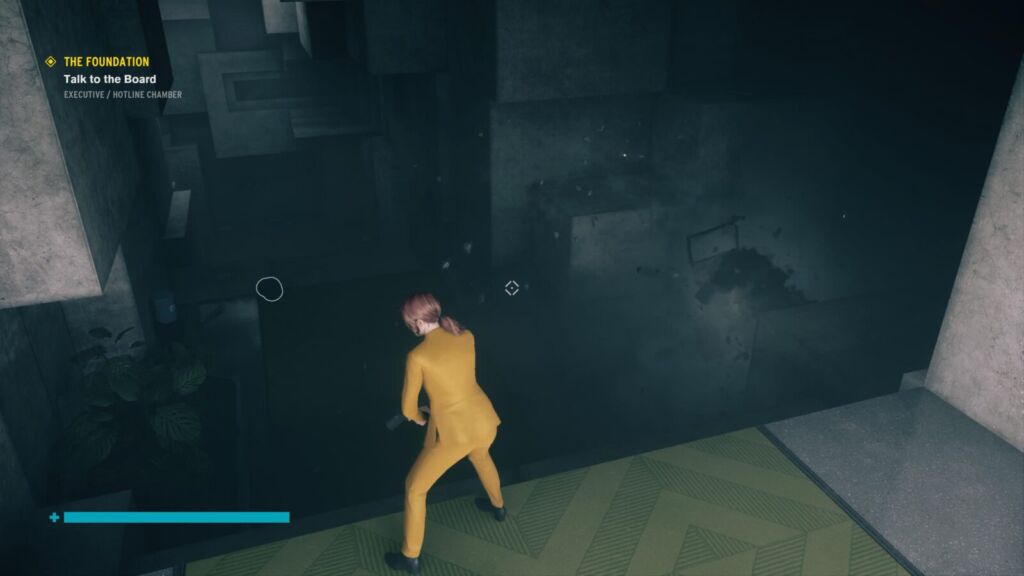
Collapsed Department Hidden Location 1
Start from the Collapsed Department Control Point and head through the security checkpoint (or around it if you never opened it for yourself) and then through the double doors into “Data Entry and Filing”.
In there, from the entrance, turn right and go into the lit corner office which has another framed photo on the wall. You know what to do! Bust that wall open and head inside.
Note that if you break the wall to your right with a poster on it, you can find a Maneki Neko hiding inside!
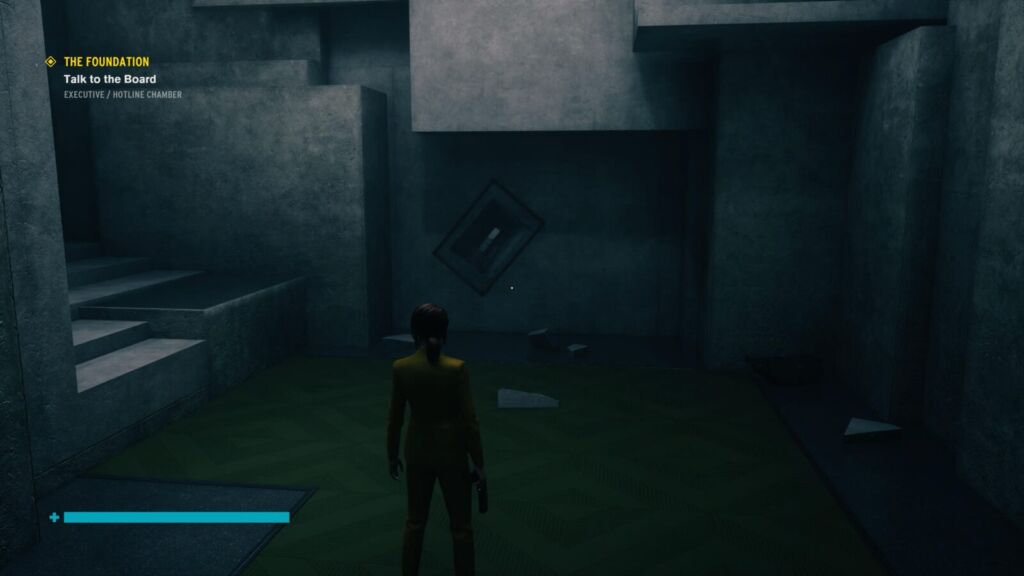
Collapsed Department Hidden Location 2
There’s another office with a breakable wall in Data Entry and Filing. On the fourth floor, look for another room with a painting in it. It’s on the opposite side of the room from the last one.
Break open the wall and head inside for the Hidden Location!
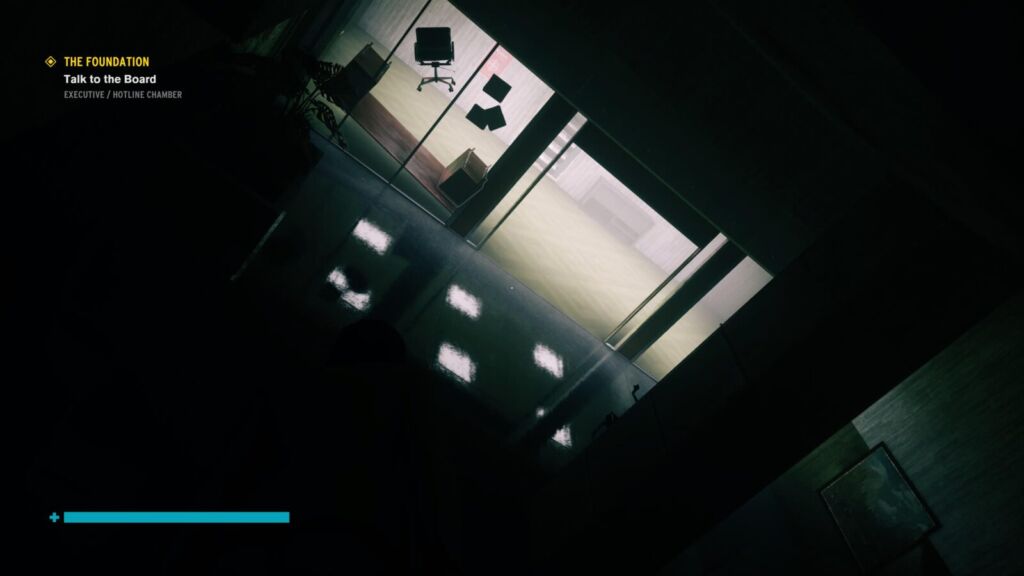
Collapsed Department Hidden Location 3
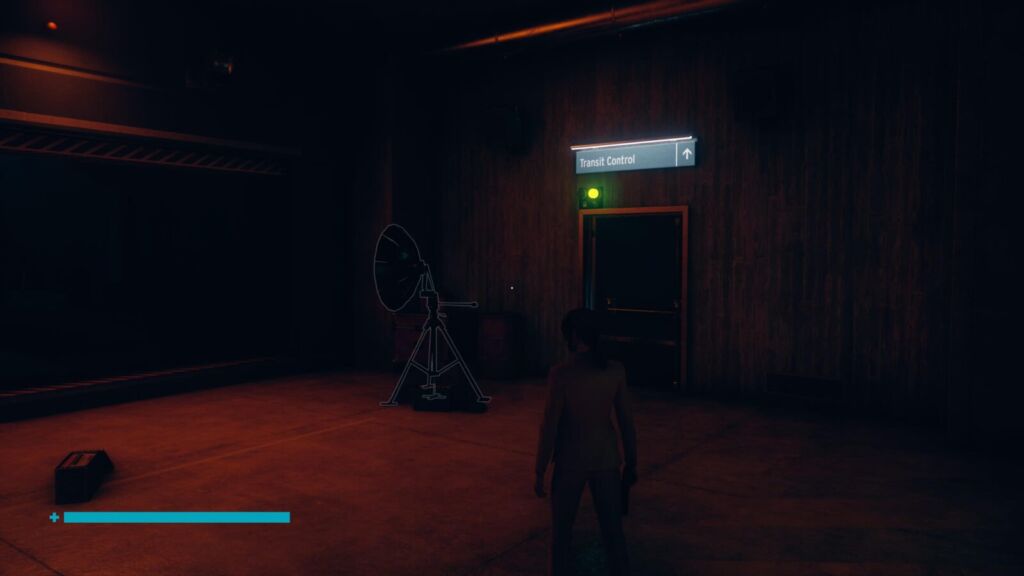
Start now from the Transit Access Control Point. Head through the huge Evaluation Hall doorway ahead of you and then enter the Transit Control door on the right.
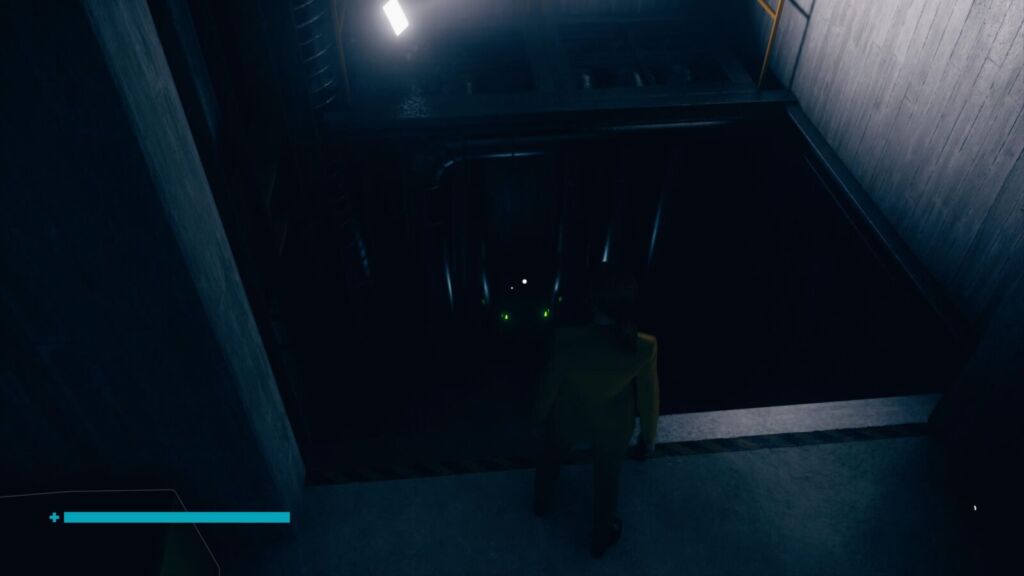
Activate the Elevator but immediately jump off it before it can take you anywhere. You’ll see there’s a large hole in the floor where the Elevator was, with a resource crate inside. This is the Hidden Location.
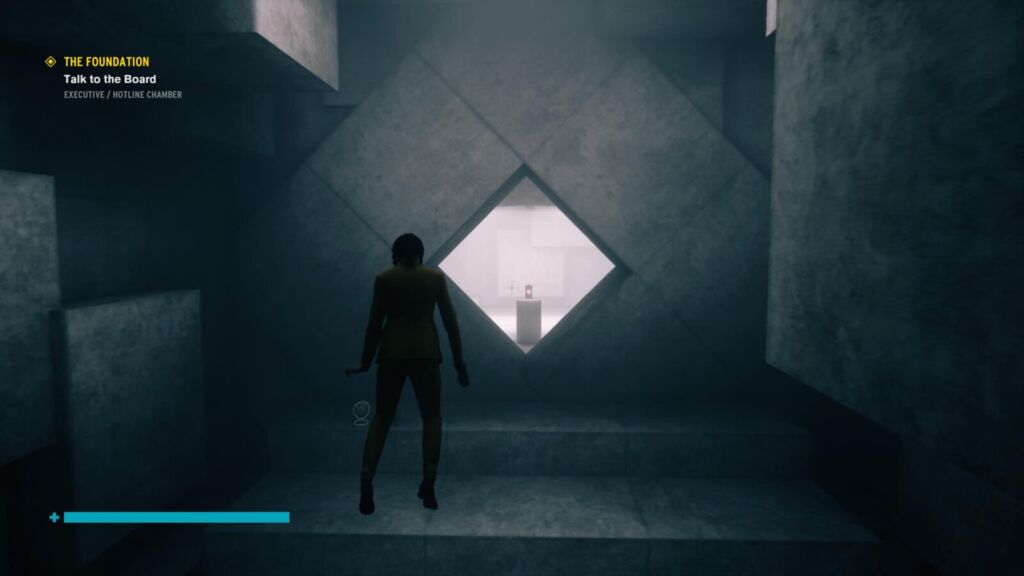
Collapsed Department Hidden Location 4
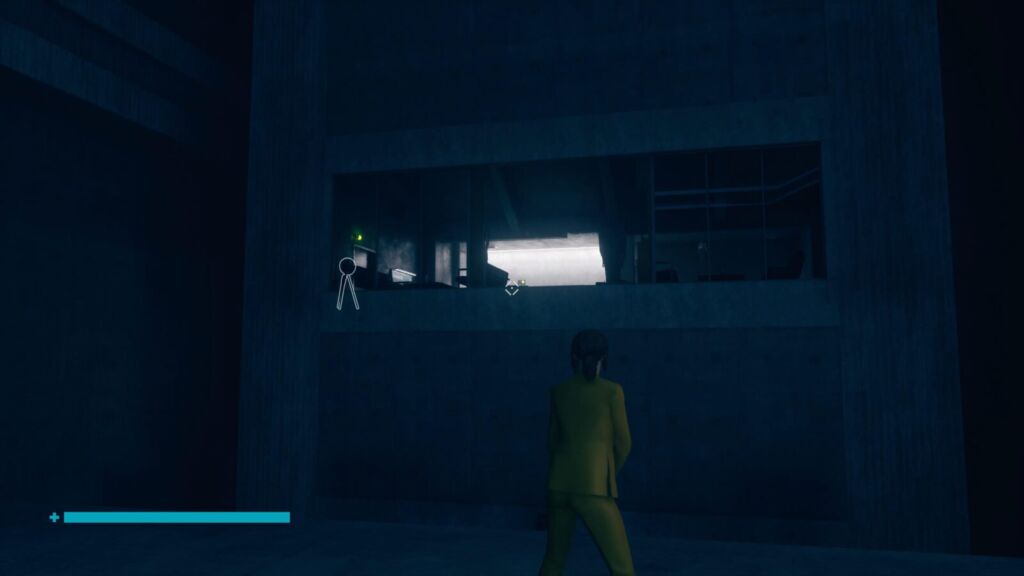
From the same Transit Access Control Point, go into the Evaluation Hall and use the containers on the right to work your way up on top of one of the bridges and then break through the window at the back of the room.
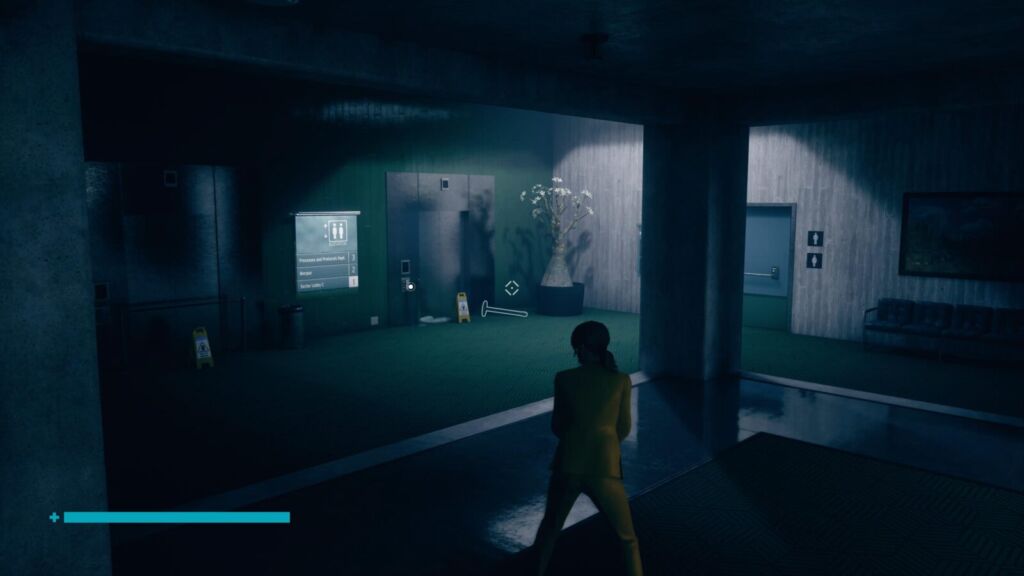
In here, go through the double doors at the back to find yourself in a corridor called “Sector Lobby C”.
In the corner of this area is an Elevator you can interact with which is making some very strange noises. Well, there’s a good reason for that as there is a Mold Host inside the Elevator.
Open the doors, kill the host, and then step inside for the 10th and final Hidden Location. Don’t forget to grab the collectable in this Elevator.
Where to Find All Hidden Locations in Control: AWE
The AWE DLC for Control contains a further 5 Hidden Locations, and again you will need them specifically for a trophy not just the ability points they will award you. However, this trophy only requires you to find 80% (4) of them.
Check out our full Control: AWE DLC Trophy Guide and Road Map here.
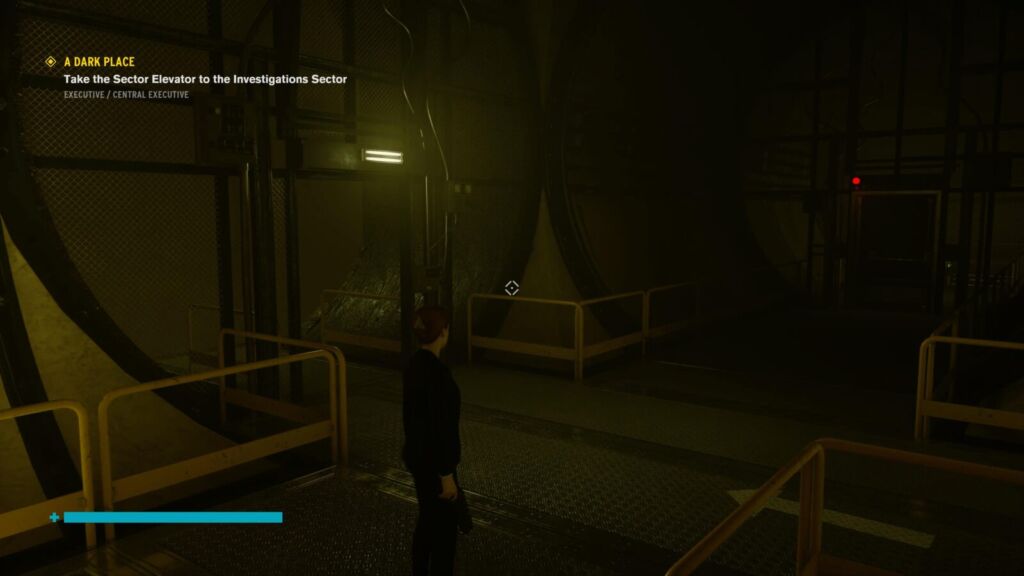
Hidden Locations in the Investigations Sector
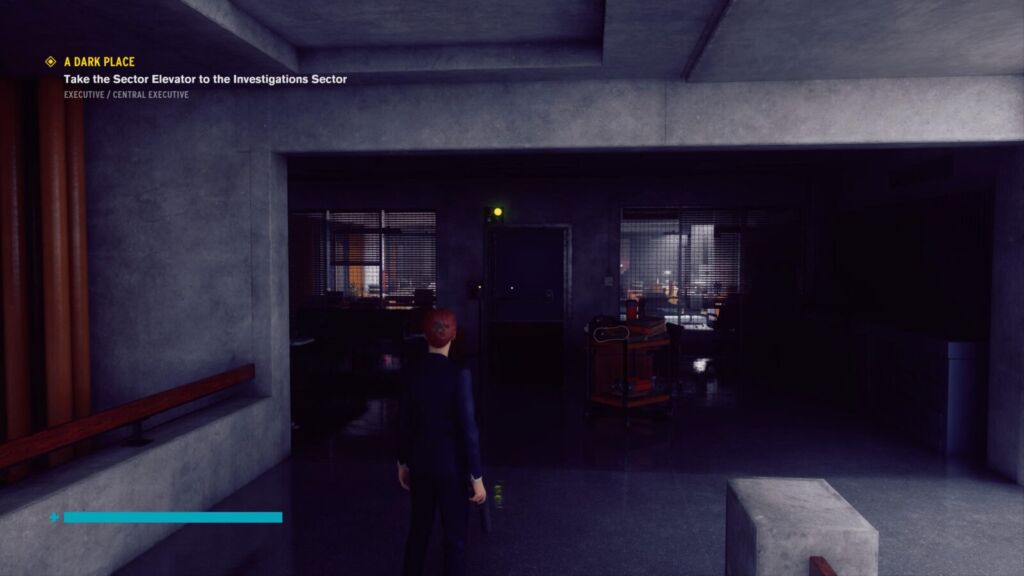
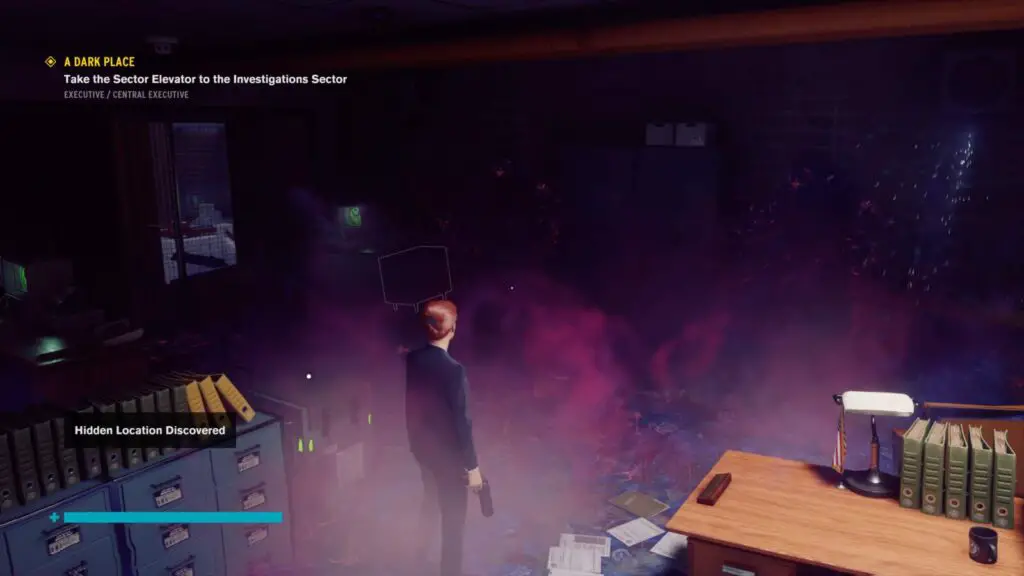
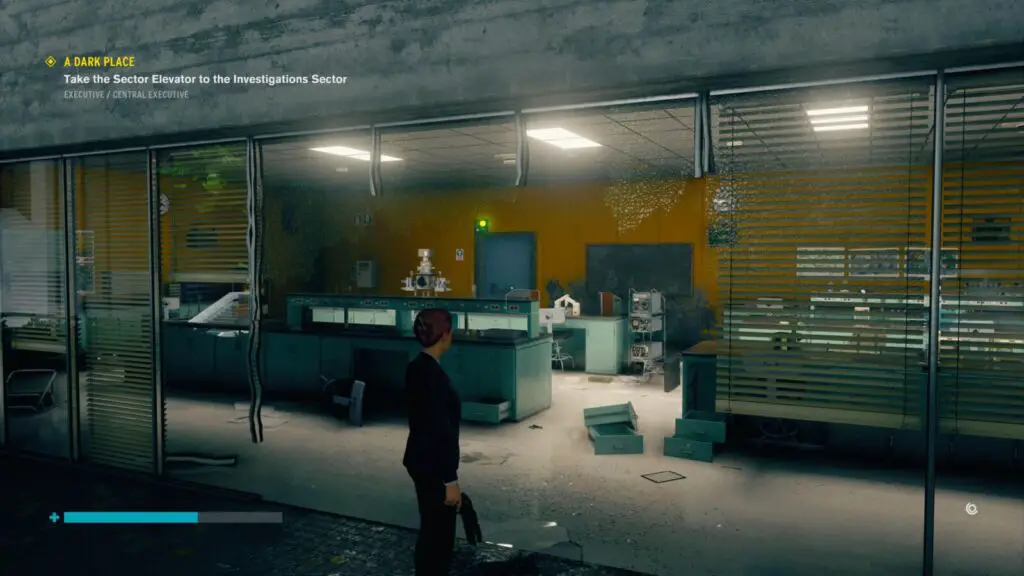
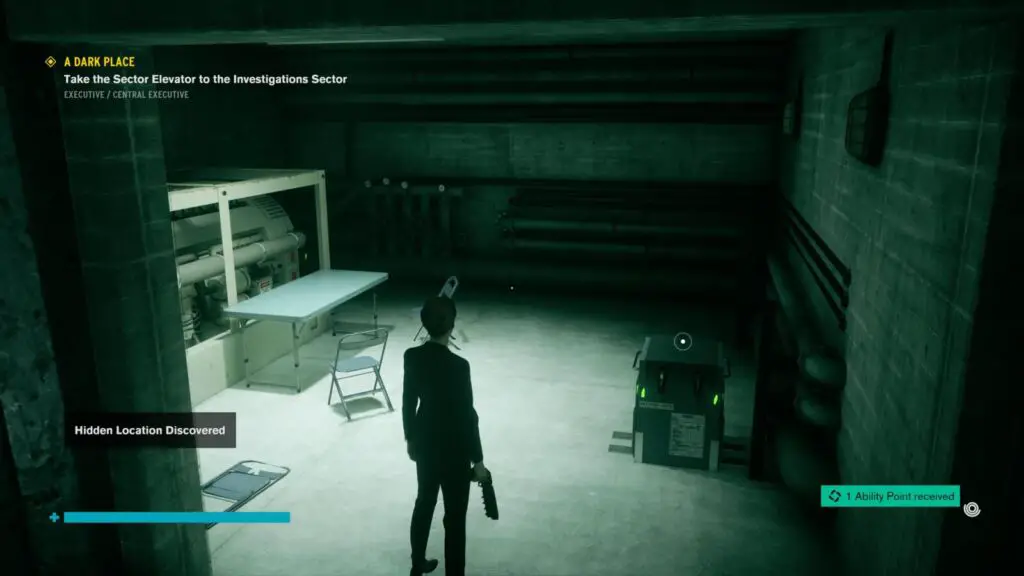
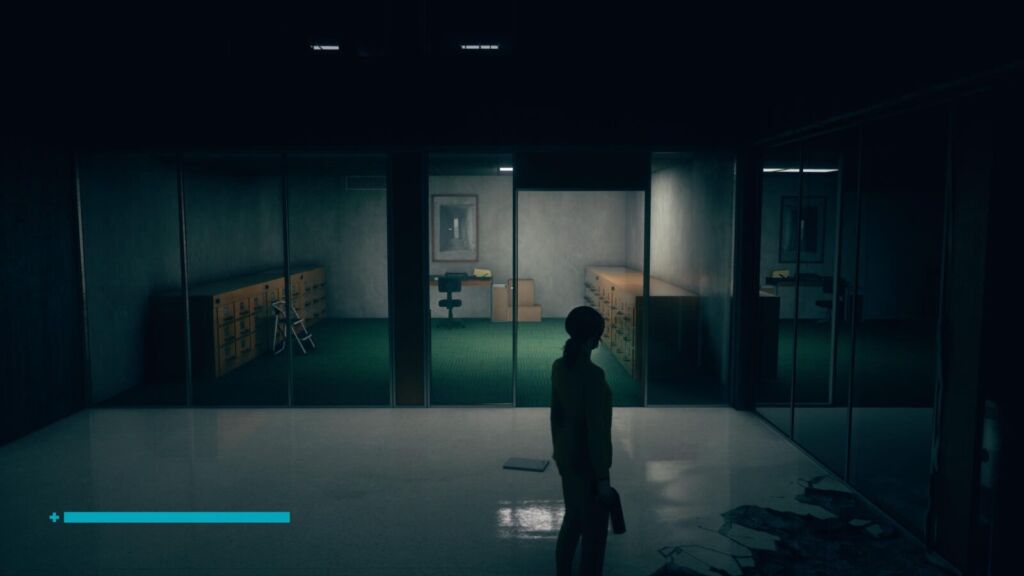
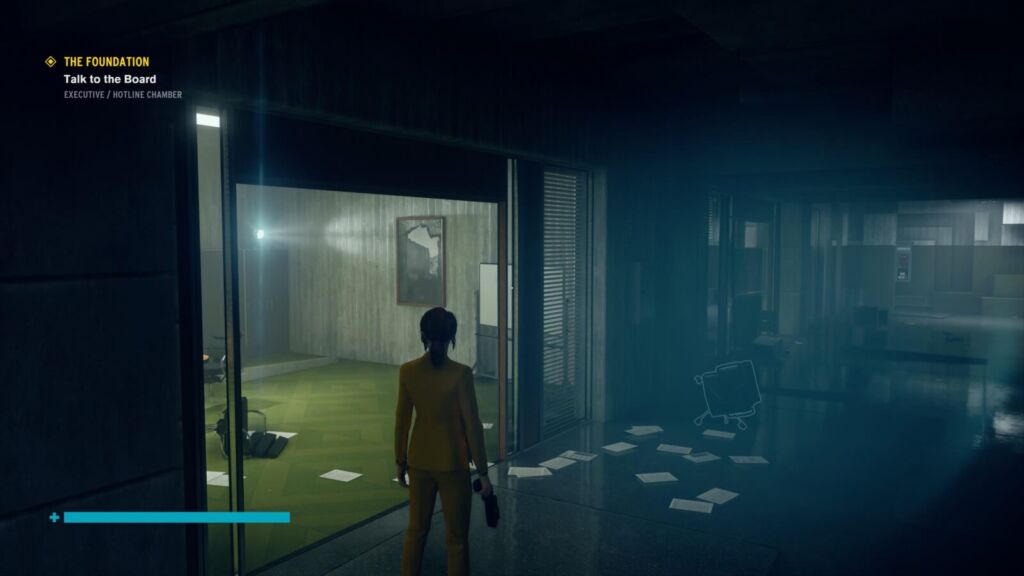
Abandoned Offices Hidden Location
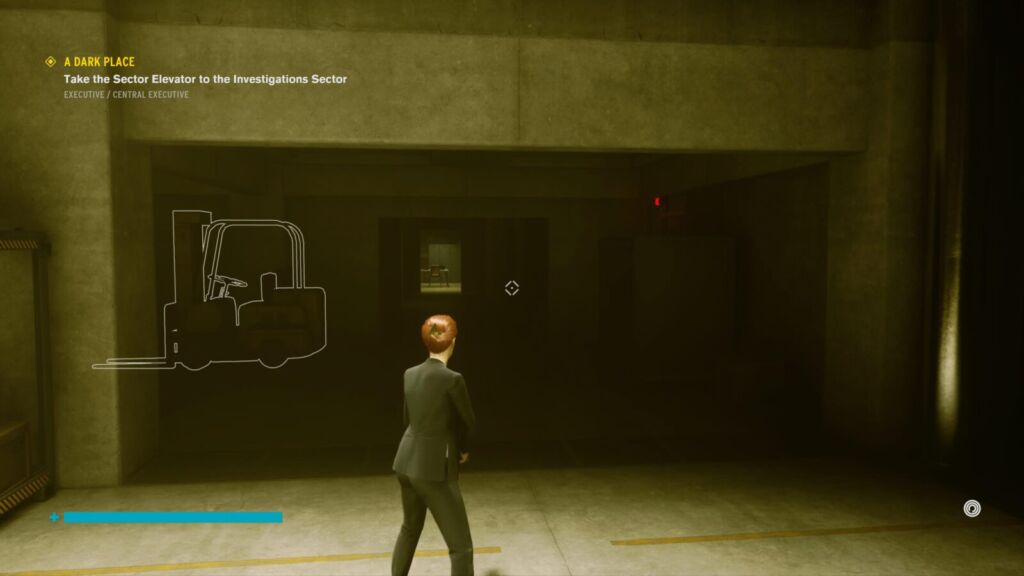
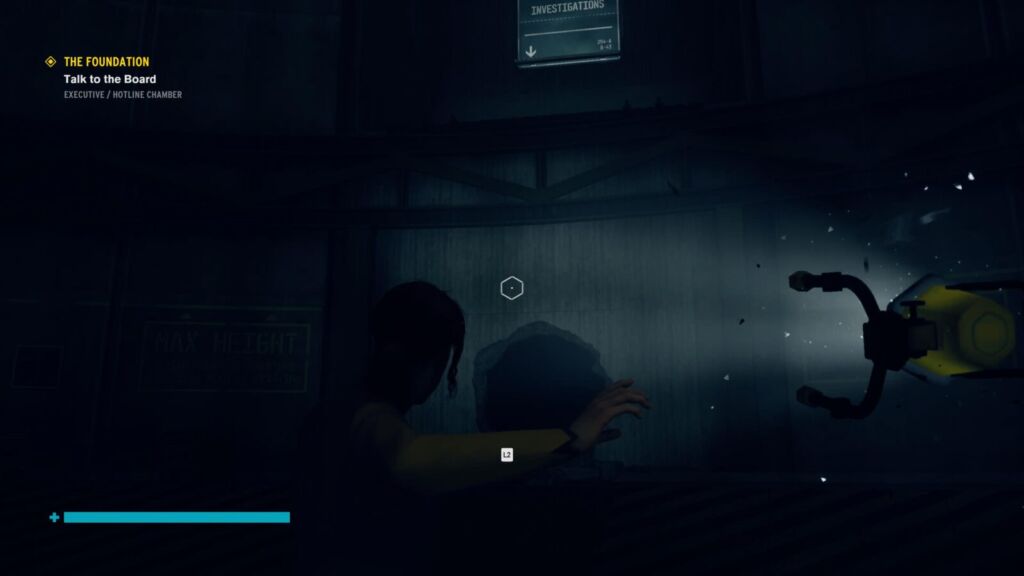
On the Western side of Abandoned Offices you’ll find an office which is blocked off with filing cabinets and lockers. These things can’t be moved.
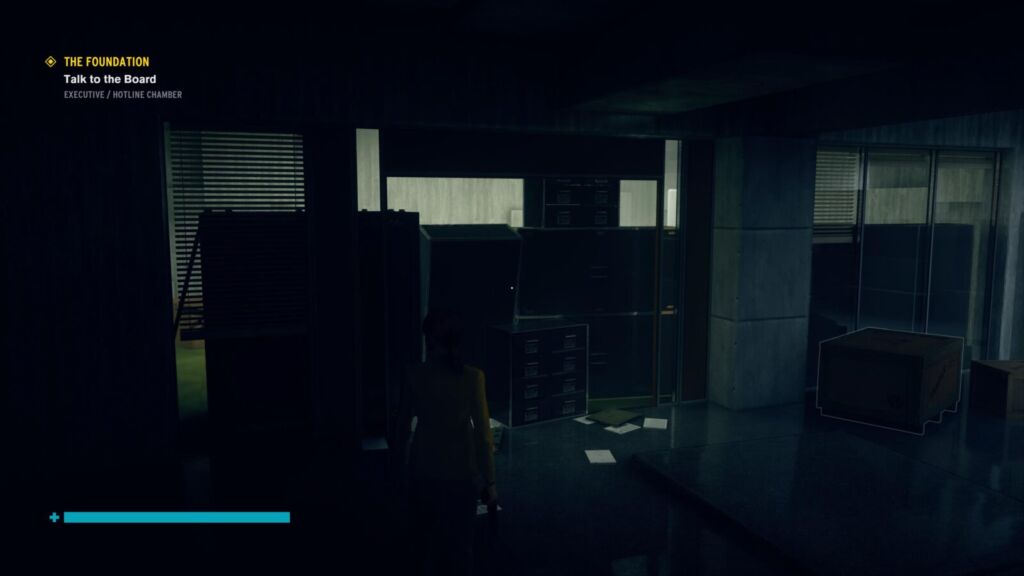
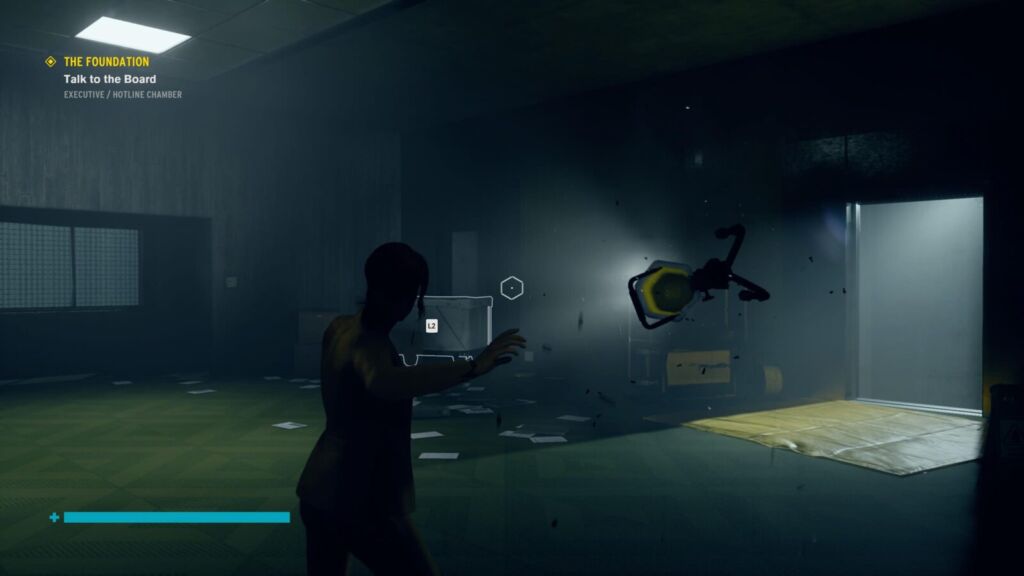
In the office next door, though, there’s a framed photo of a broken wall. Seems pretty obvious, right? Break the wall with Launch and go in!
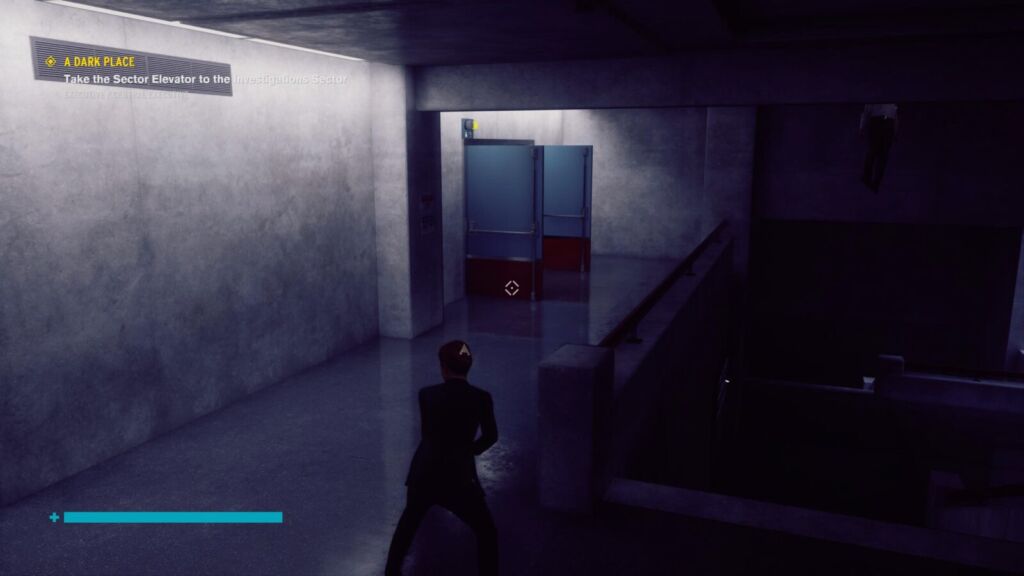
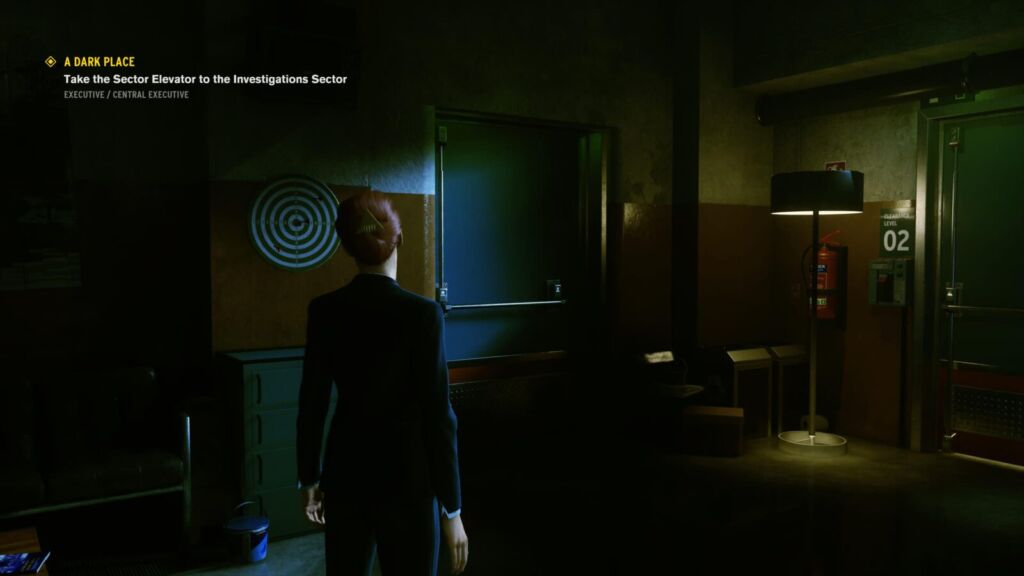
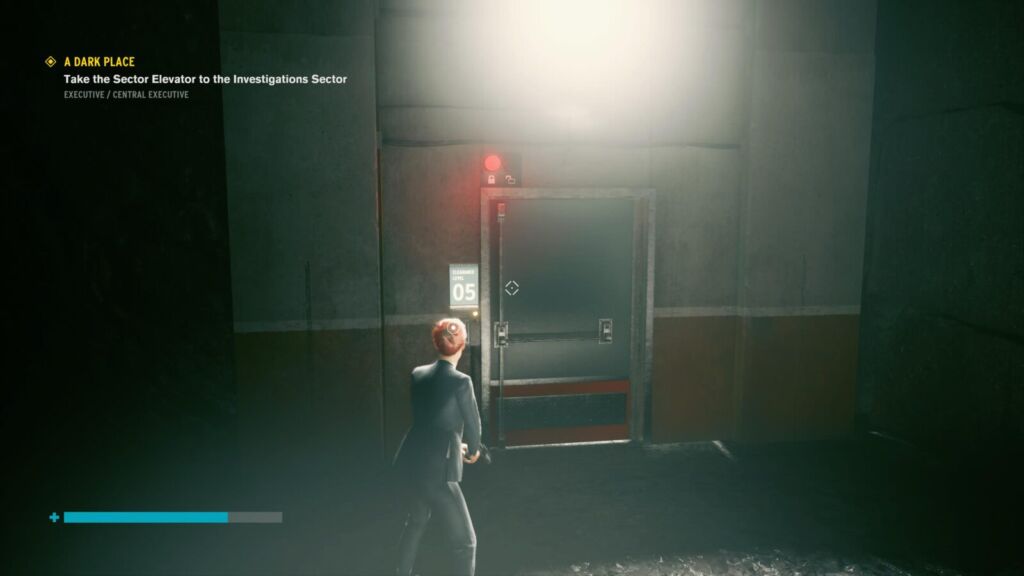
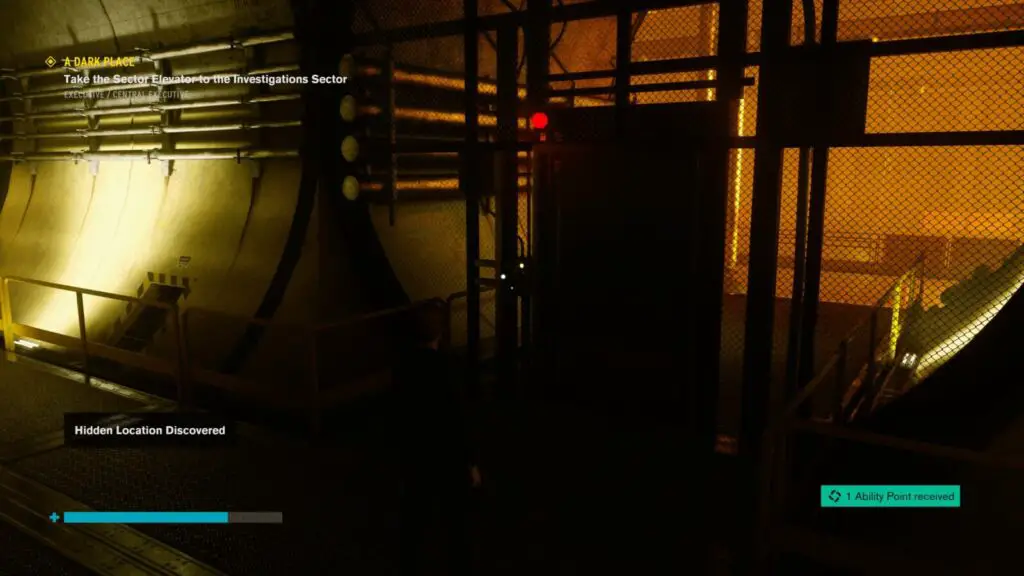
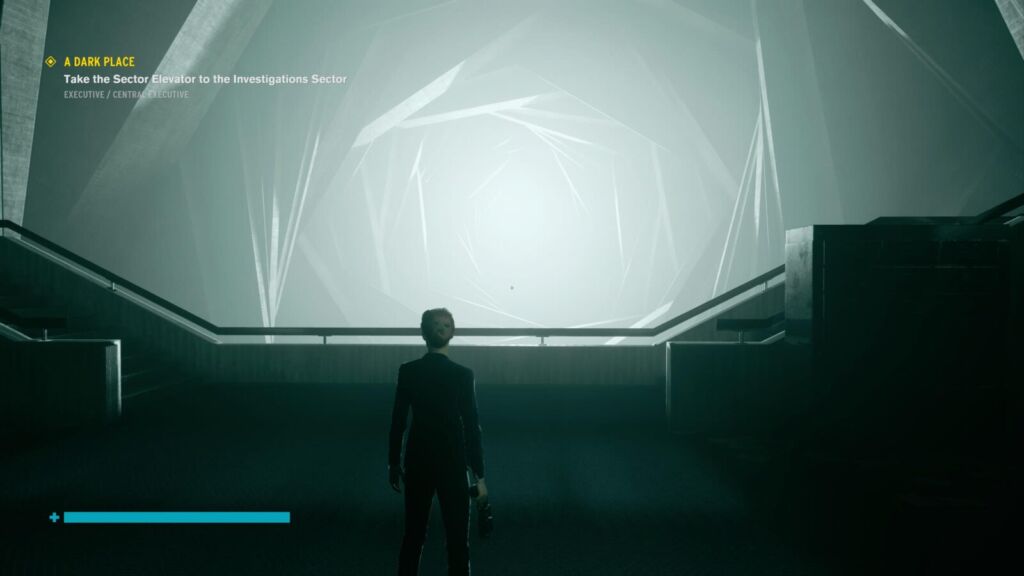
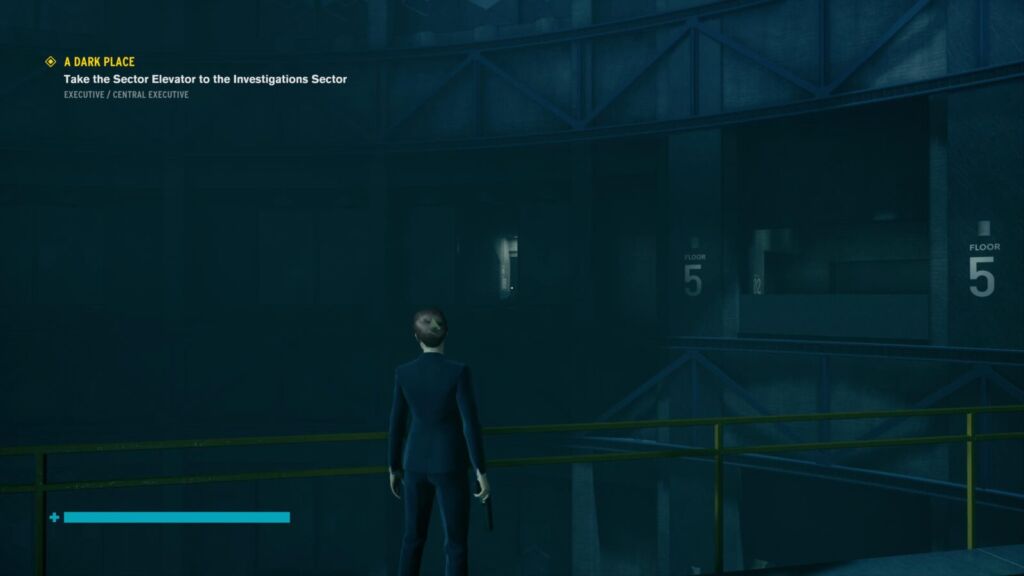
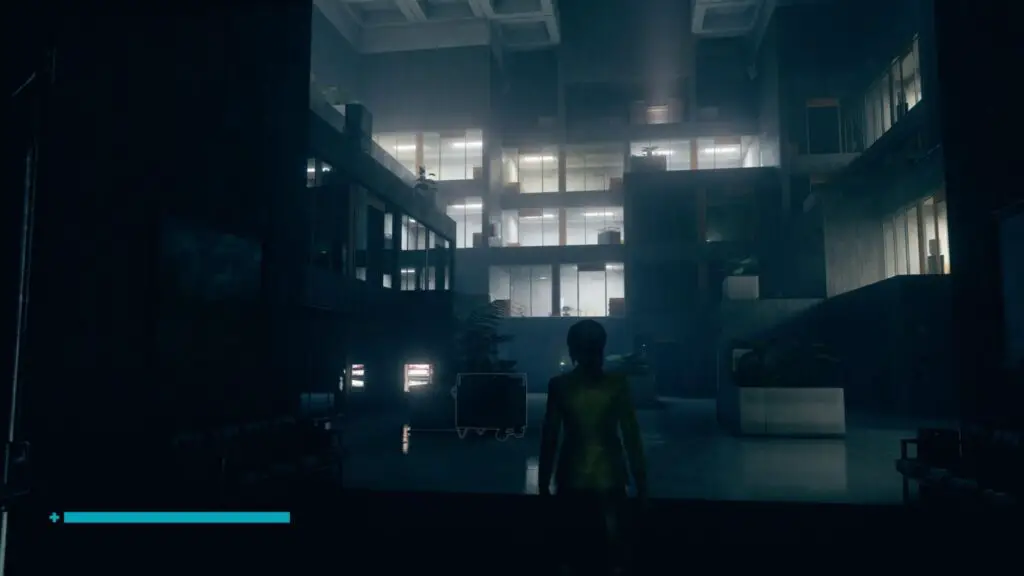
Observation Deck Hidden Location
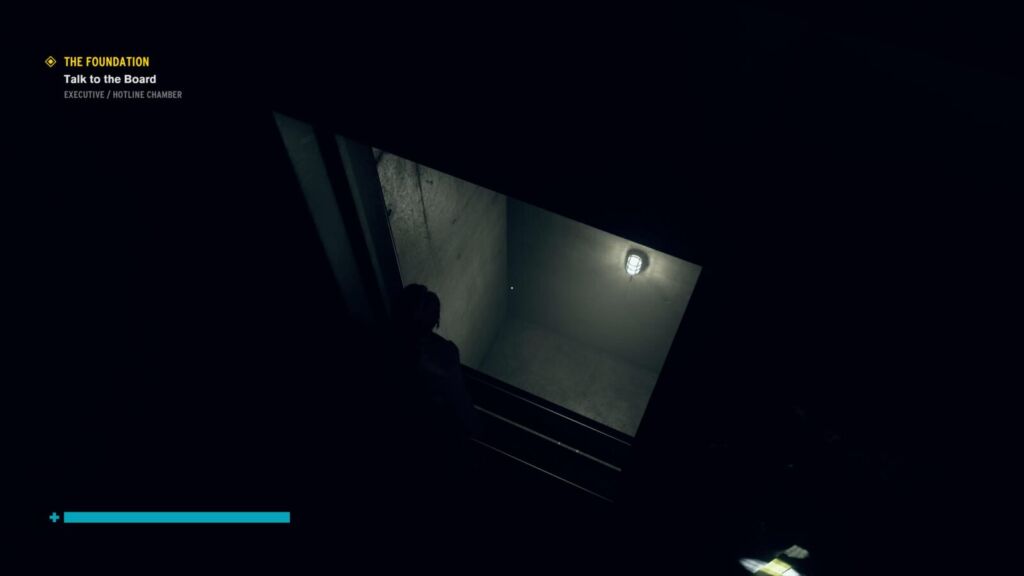
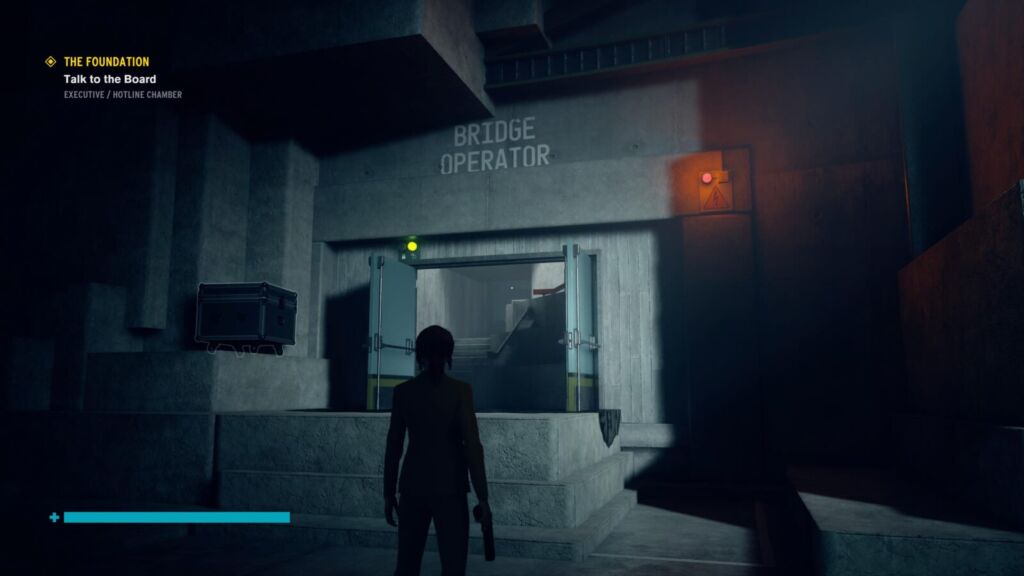
Starting from the Fra Mauro AWE Entrance Control Point, head through the corridor to the Observation Deck. When you first arrive here for the story, you need to activate the power so that you can access the elevator. Well, to the left of this elevator there’s a second Elevator Shaft which is hidden in the shadows.
Drop into it, this is the hidden location.
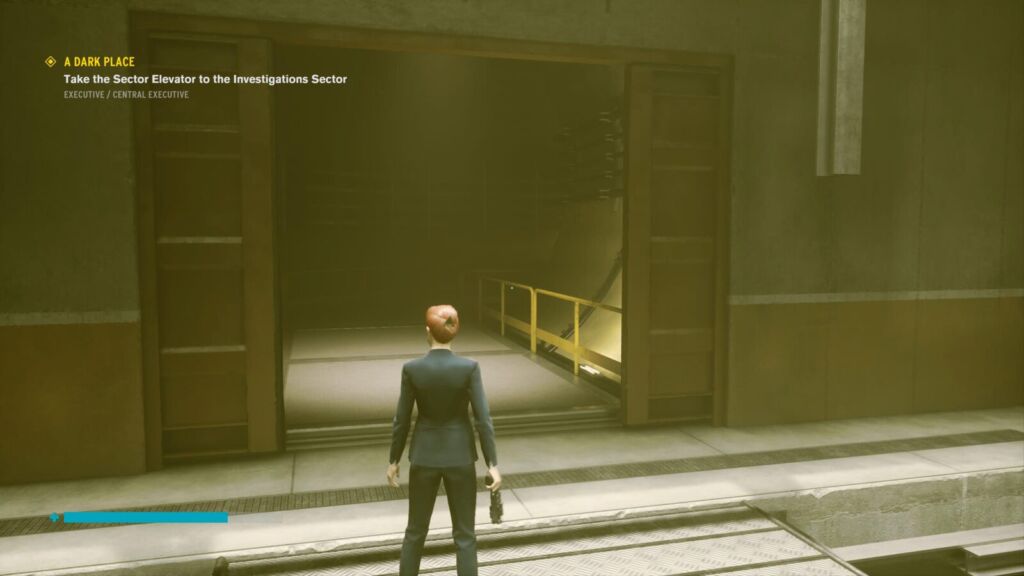
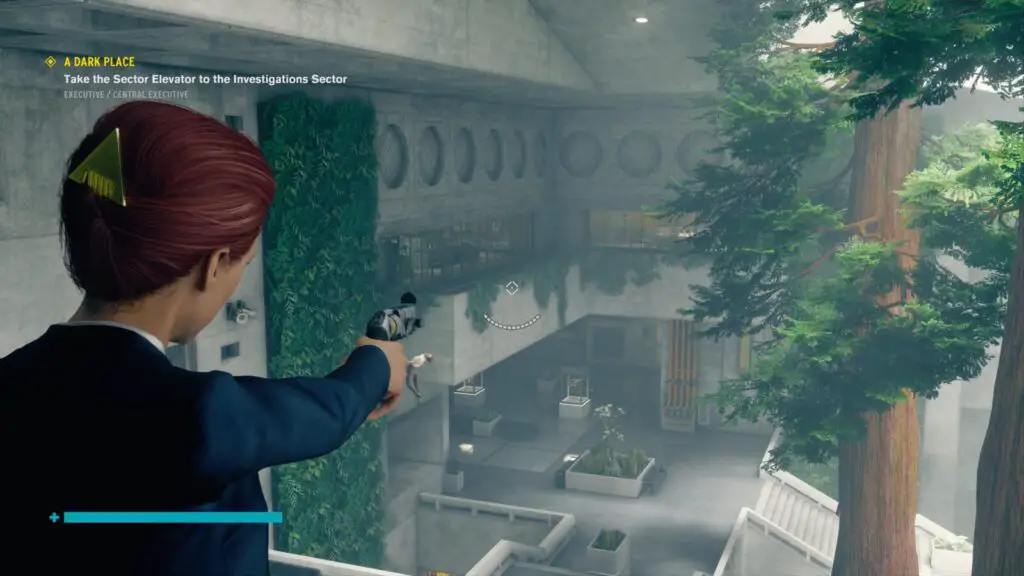
AWE Transit Bay Turntable Hidden Location
Start at the Eagle Limited AWE Entrance Control Point. Enter the Turntable room and drop down to the lower level. Immediately turn around and you will see a wall with a painting on it, directly below the doorway leading back to the Control Point.
Use Launch to bust through this wall to enter the Hidden Location inside. Head all the way to the back of the room.
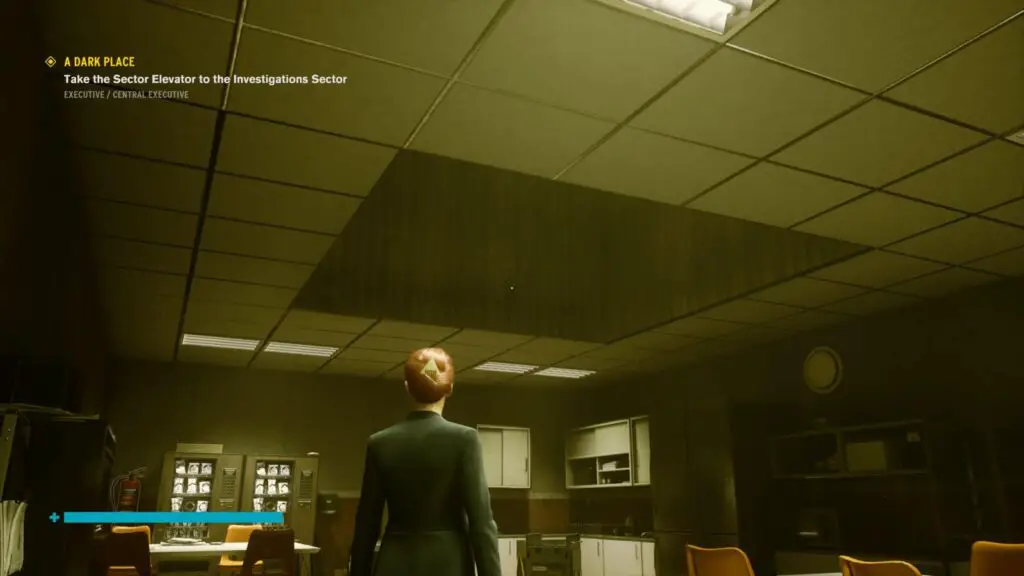
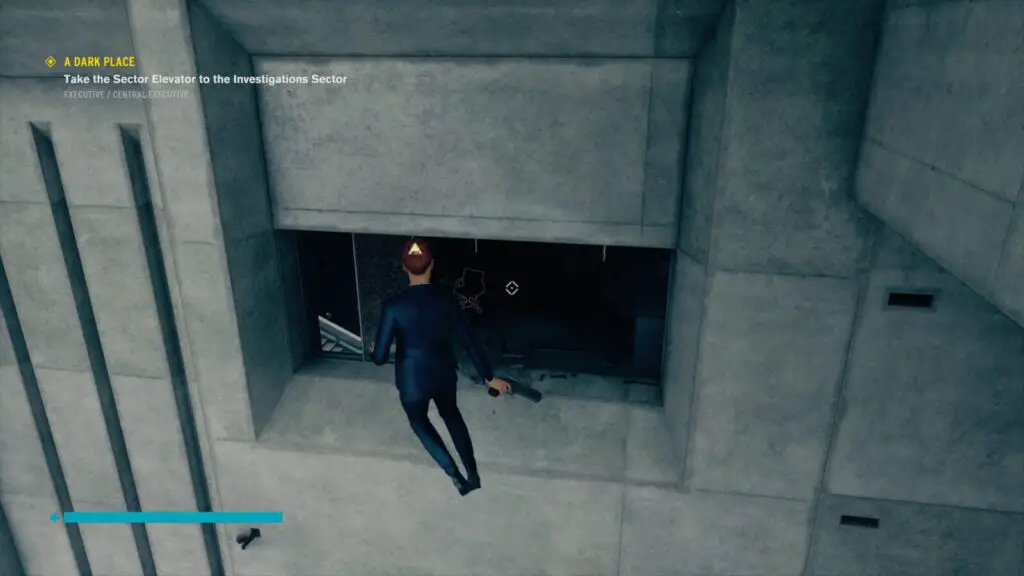
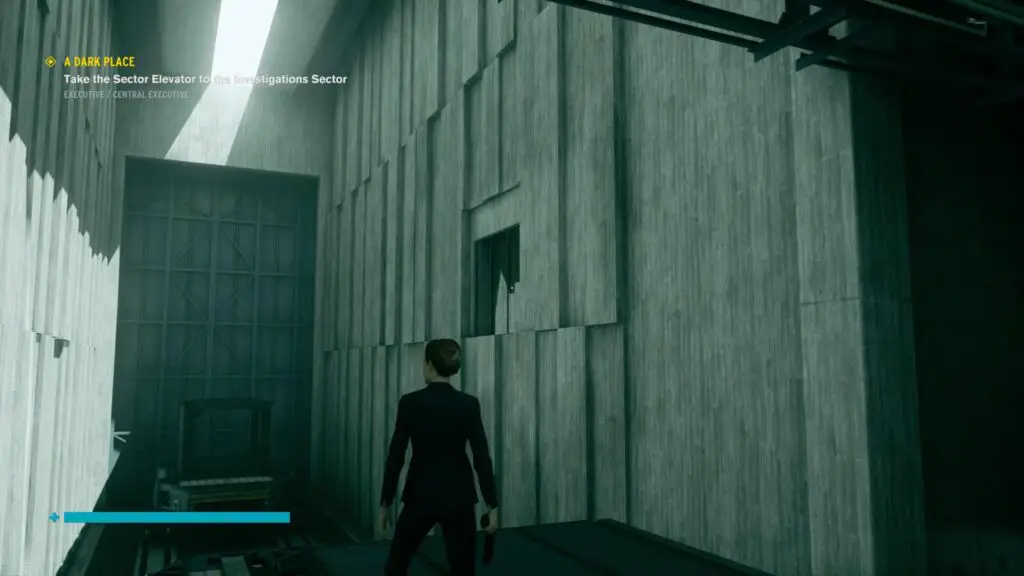
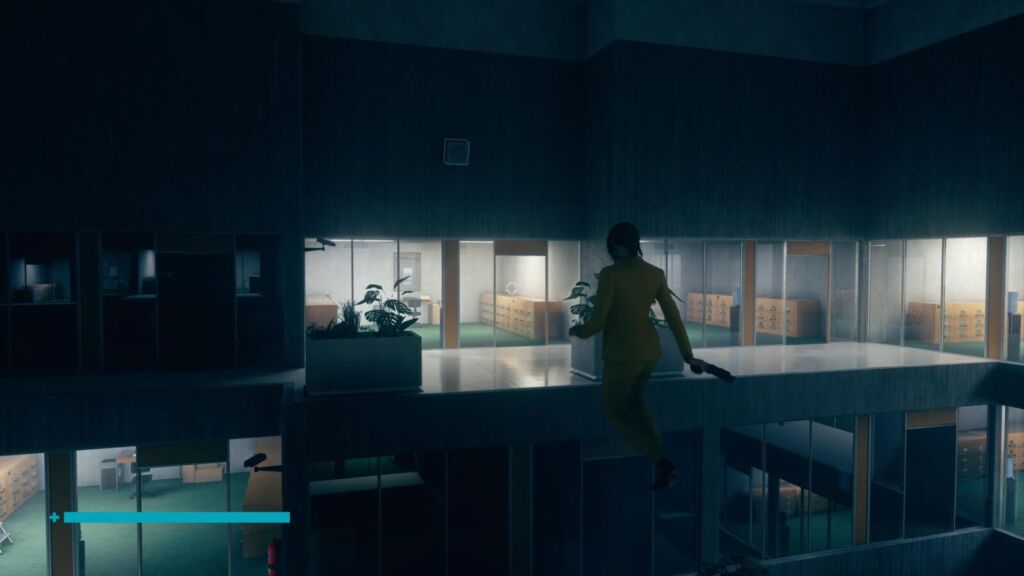
Shifted Offices Hidden Location
Start from the Lower Access Control Point. From there, cut across the Turntable room into the door leading to “Shifted Offices”.
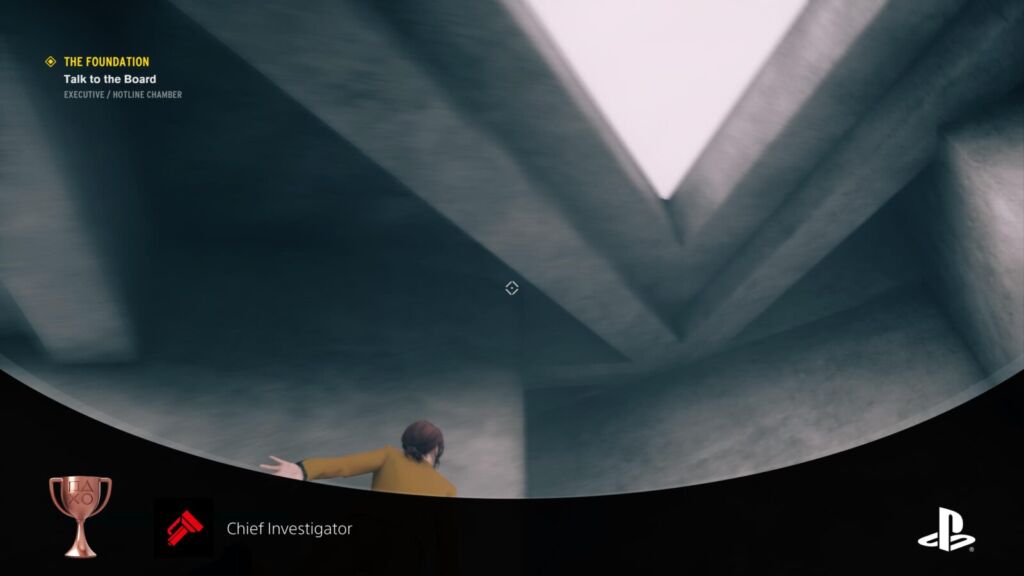
Once inside, go up a single small flight of steps and then turn around and look up. You’ll see a ledge you can levitate to.
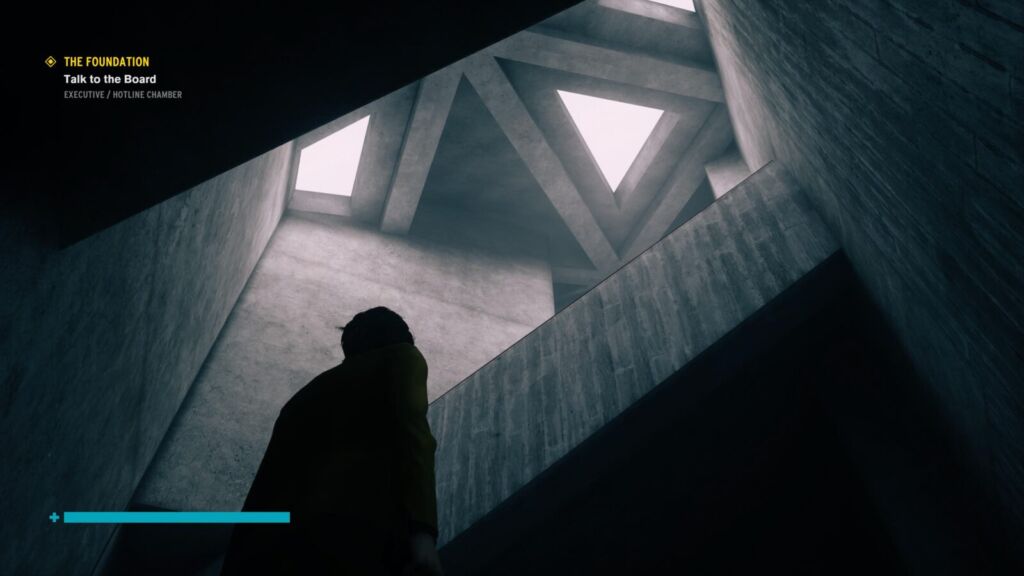
Go on up and the hidden location will immediately unlock.
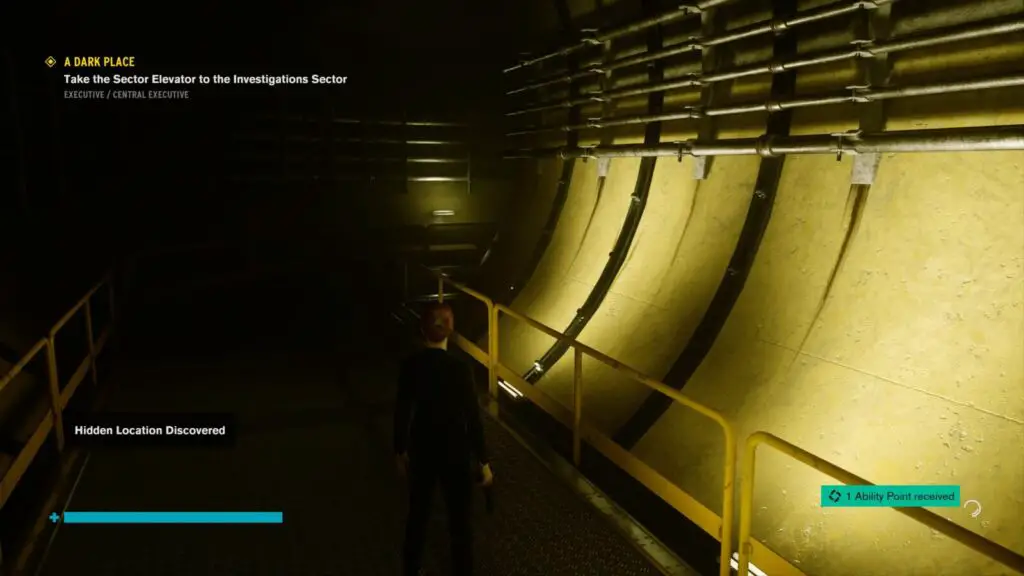
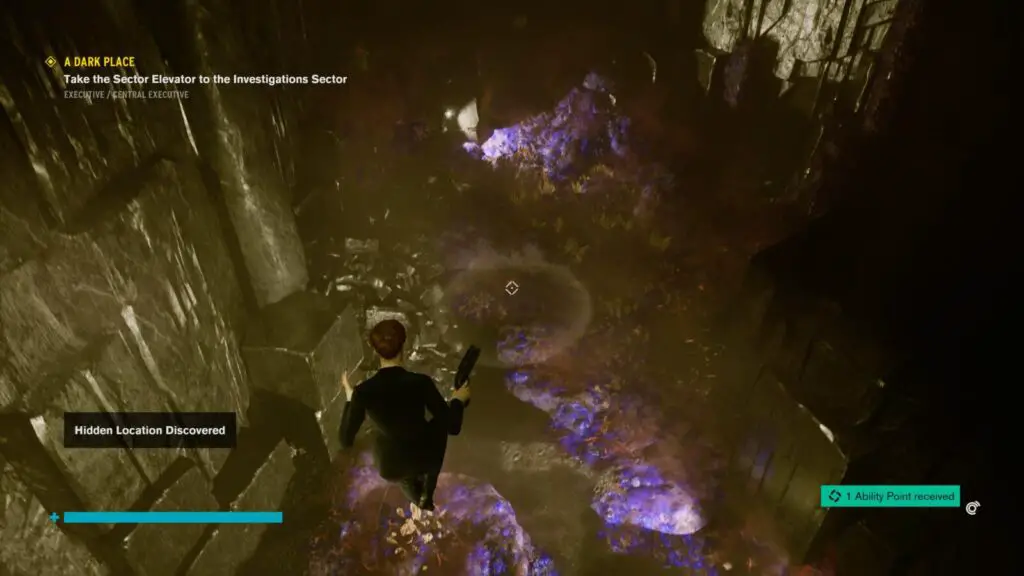
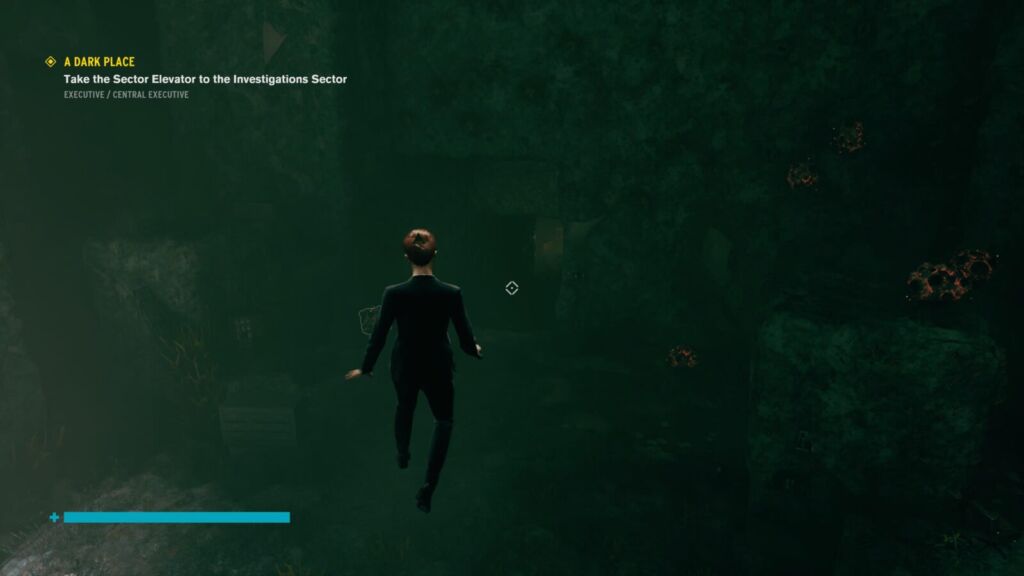
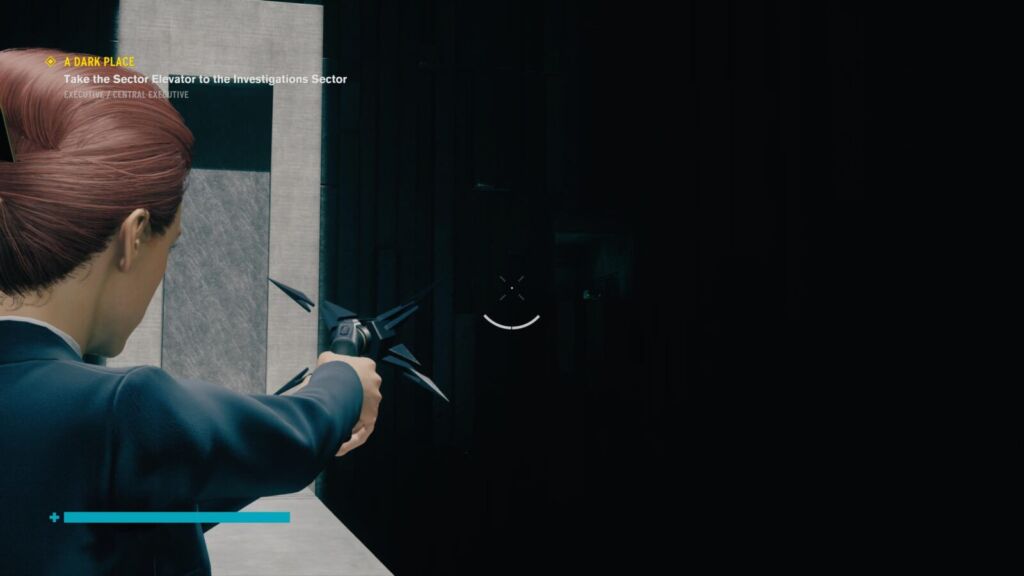
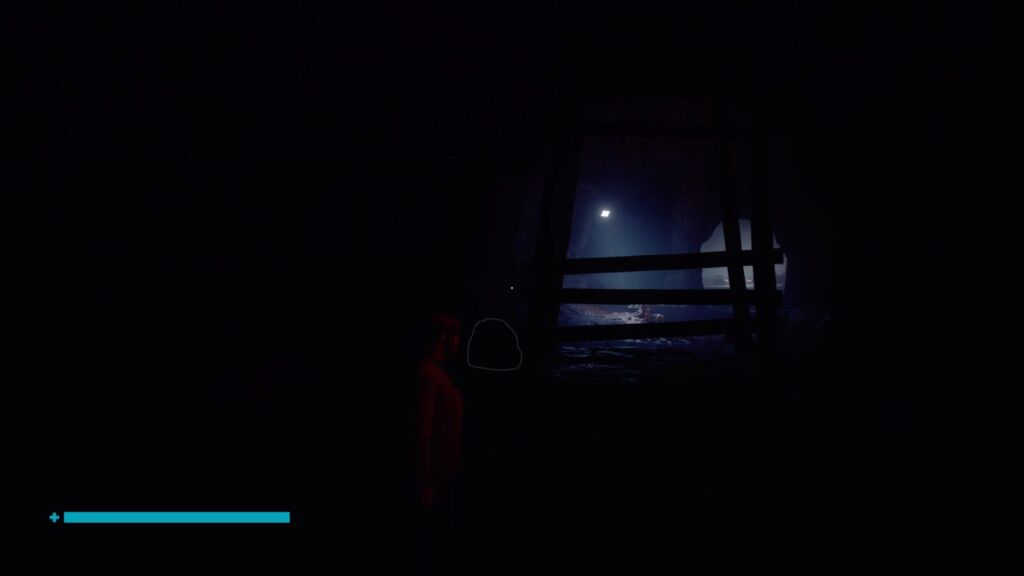
Shifted Passage Hidden Location
Start at the Eagle Bay Limited AWE Control Point, head into the Eagle Limited AWE room, then leave through the north entrance into the Shifted Passage.
Keep going until you reach the corridor with the Astral Monster in it.
Drop down the ledge from where the Astral Monster is (he can’t follow you), heading east, and you’ll see a painting on the wall.
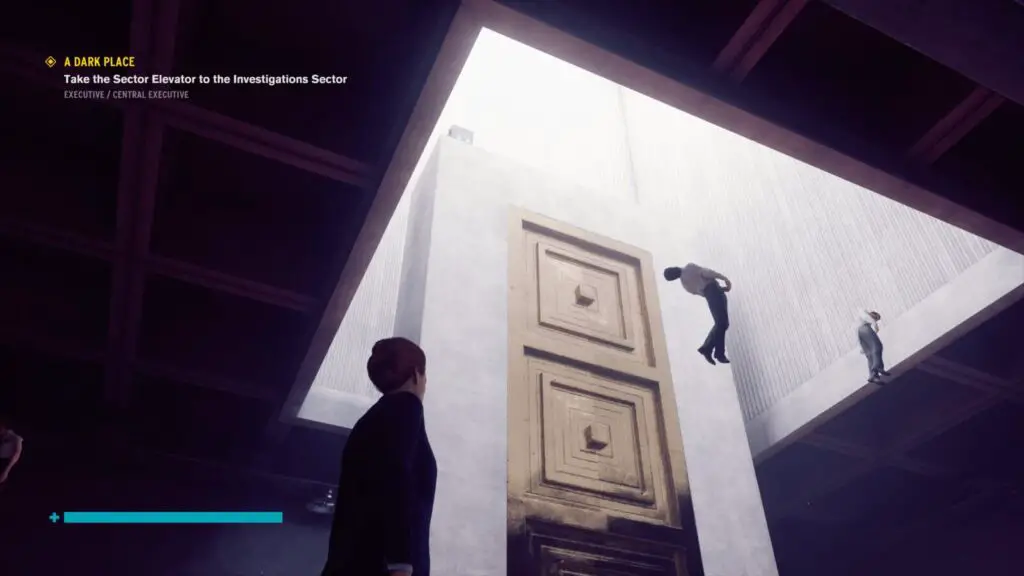
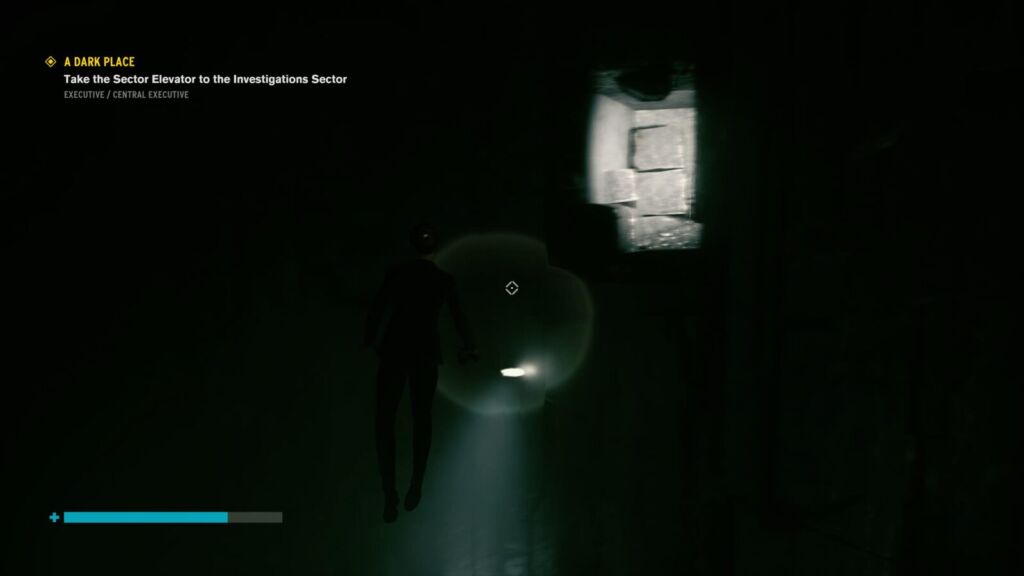
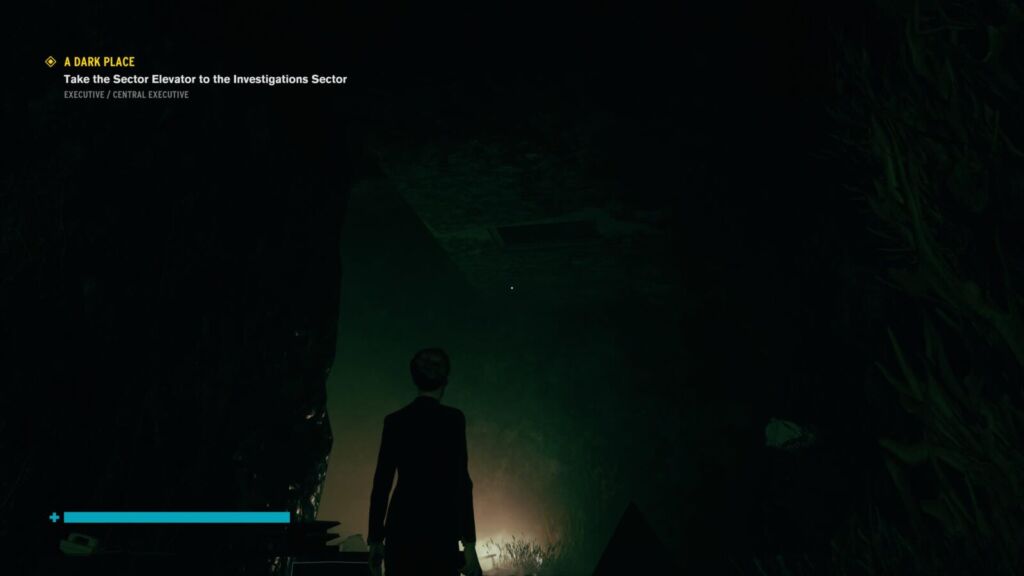
Bust through this wall with Launch and head inside. It’s pitch black in there but if you look up, you will see a sideways office.
Levitate up to it using the pillar halfway up. Inside, you’ll see a corridor to the right.
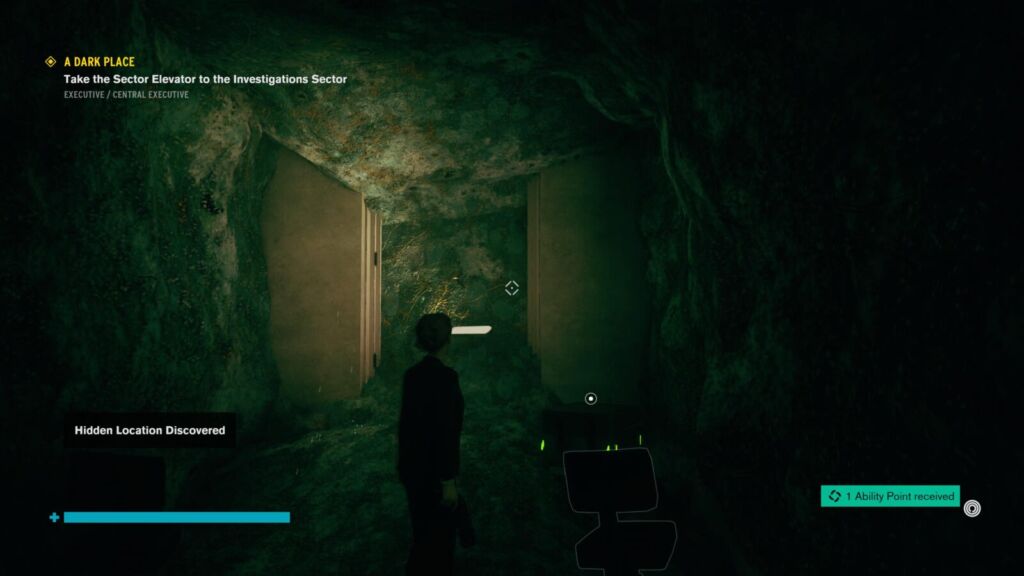
Head through this corridor and drop down through another doorway to find yourself in another room with a resource crate in the center. Use Launch to bust through the blank wall on the left.
Inside, you’ll find a small white room with a clock in it. This is the hidden area, but the clock also holds some secrets too…
Shifted Passage Hidden Location Clock Puzzle
Since we’re here, lets go over the clock puzzle…
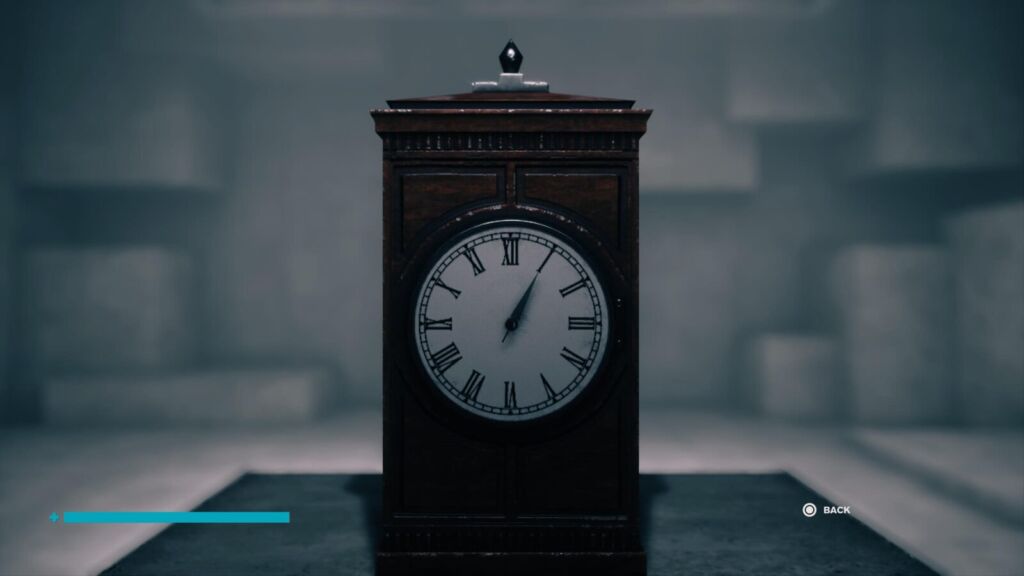
Hold square on the clock to initiate the puzzle, you’ll then need to stop the clock’s hand by pressing ![]() when it reaches certain times. This is the correct order:
when it reaches certain times. This is the correct order:
- One o’clock I
- Seven o’clock VII
- Seven o’clock VII
- One o’clock I
- Six o’clock VI
- Four o’clock IV
- Nine o’clock IX
- Seven o’clock VII
After each correct input, the clock will chime. With the full combination successfully input, the floor behind the clock will open up, giving you access to the floor below. Float slowly down to the white platform and you’ll see a red room ahead of you.
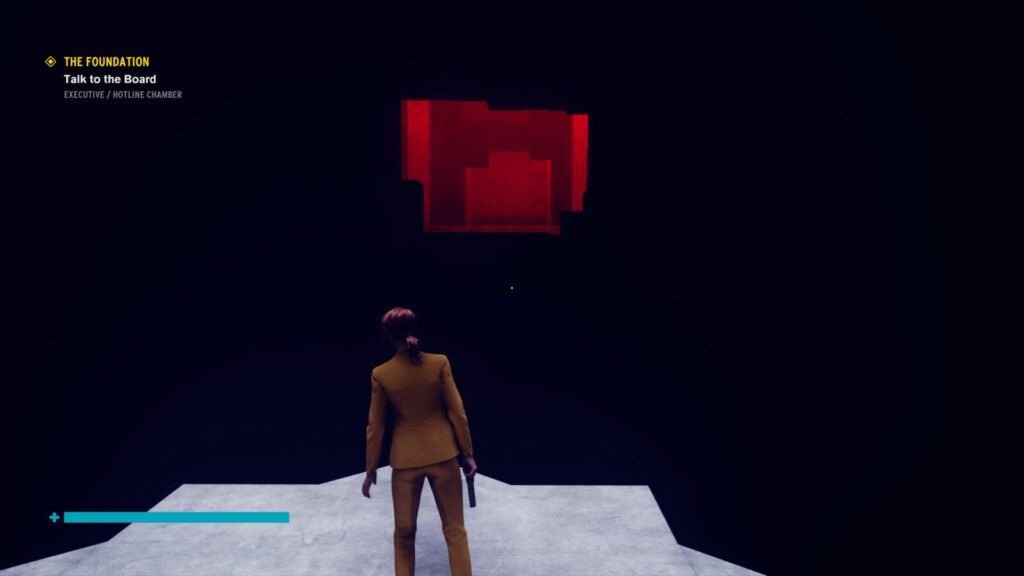
Levitate over into it and defeat the hiss inside. I actually got really lucky and had two of the Vending Machines needed for the Vending Spree trophy spawn in this room, so make sure you shoot all the vending machines!
Once you’re done, pull the switch in the middle of the room three times to be taken to Oceanview Motel. Complete the puzzle to receive a little extra Alan Wake lore before you’re returned to the Investigations Sector.
Thank you for choosing PlatGet as your source for this Control Hidden Locations Guide, consider checking out our reviews and other guides!
Follow us on twitter @GetPlat or Instagram @platget for updates on new reviews and guides, as well as small anecdotes about our platinum journeys.