PlayStation 4
Star Wars: Jedi Fallen Order Dathomir Collectables Guide
Game Guide
Introduction
This is just Part 4 of the guide and covers only Dathomir. If you haven’t read the introduction in Part 1 I recommend that you do.
You can find the other parts here:
Dathomir
Important: As I acquired the Force Echoes trophy during the last portion of the guide on Kashyyk and anybody else following the guide should have done so also, I will only be showing the locations of secret echoes from this point on, except for a few obvious echoes along the way and any required for exploration completion.
If this proved to be repeatedly problematic and I get plenty of people asking me to include the other echoes, I’ll do my best to do so at a later date, but it really shouldn’t be necessary at this point.
Note also that one encrypted log on this planet is unavoidably unlocked as part of the story.
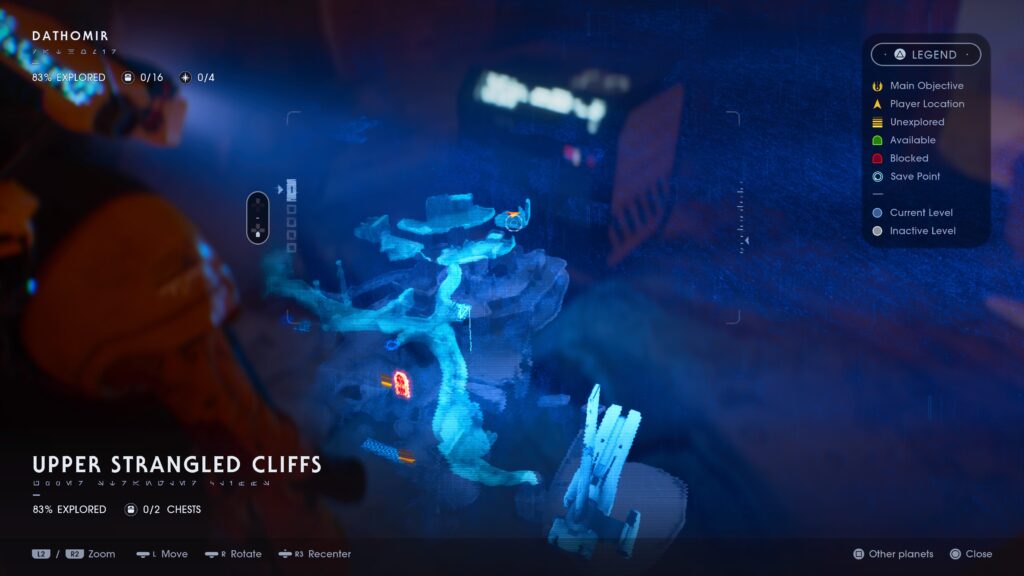
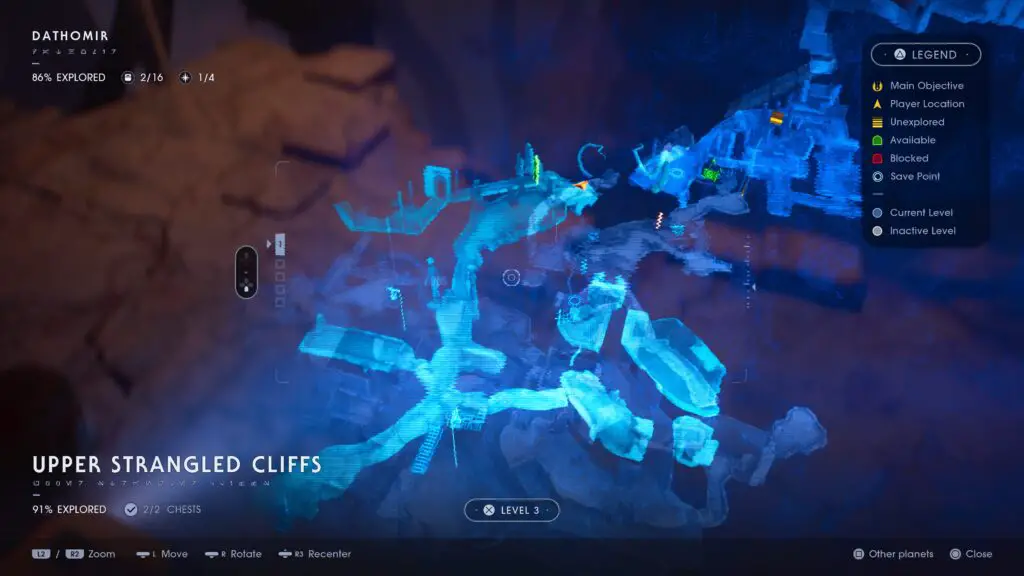
Upper Strangled Cliffs
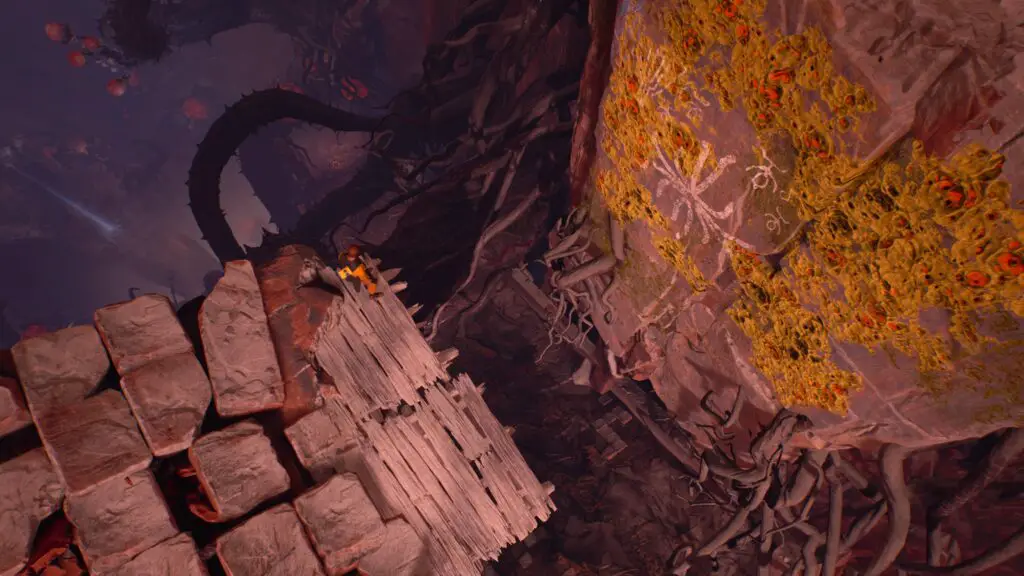
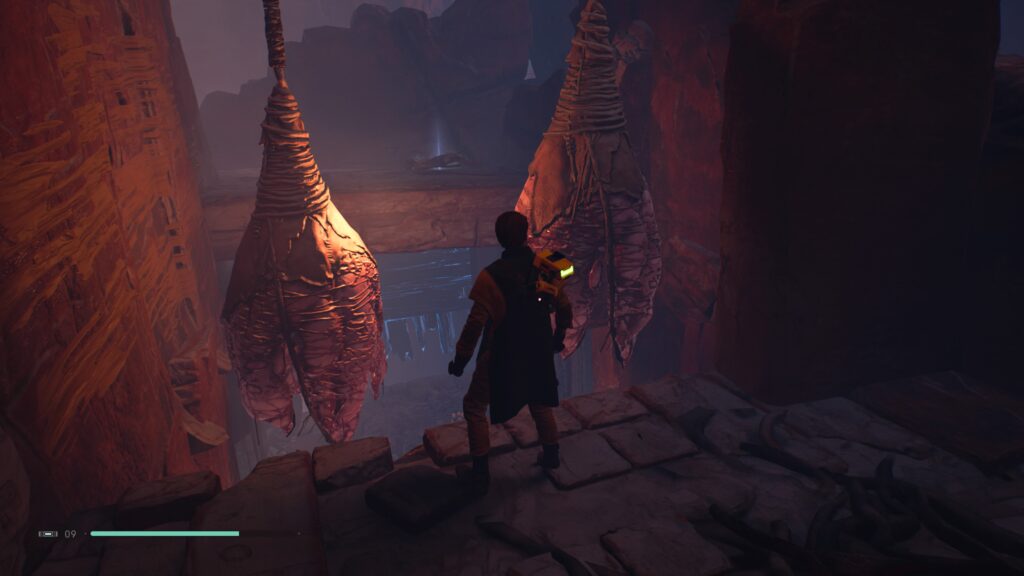
Leave the Mantis and climb the short wall ahead of you. Head up the slope and when it splits, go right. Head all the way to the far end. Over the naturally-formed bridge, past the handing nutsacks pods and up the ledges on the right to a chest.
From this chest, go to the left and jump over the gap towards a house on the opposite side. Double-jump up on the platform jutting out of the front of this home to gain access to it’s innards. There’s nothing but an echo in here (pretty sure my step-dad used to say the same about my head) but if you don’t at least go inside, your exploration rating of Dathomir won’t reach 100%.
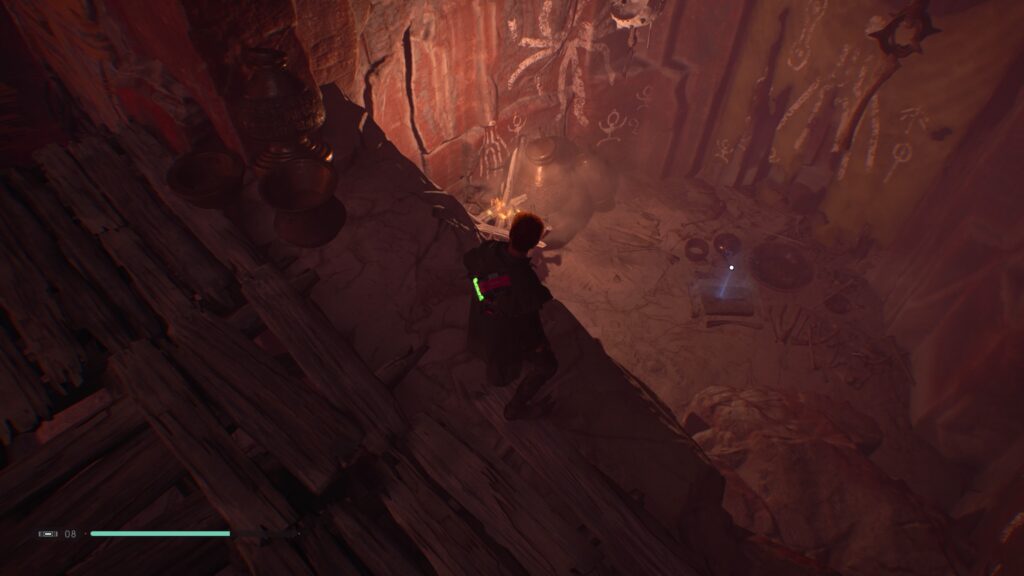
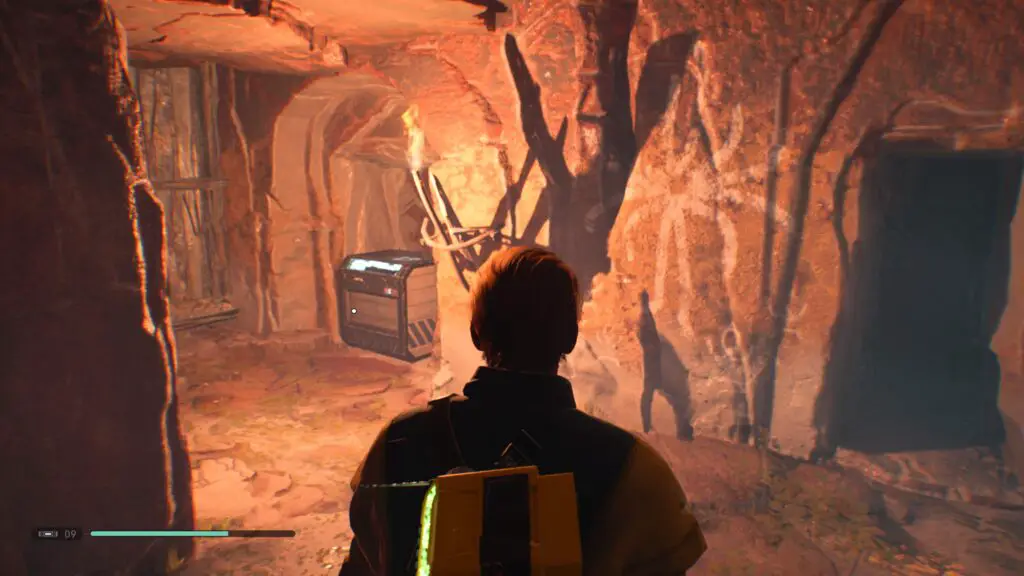
Turn around and go back the way you came, to where the path split – on the way, make sure the shortcut rope is cut down as you will want it earlier. This time go down the other path and stop once you reach an orange flag and turn right, here you’ll find a chest which BD-1 can slice ![]() .
.
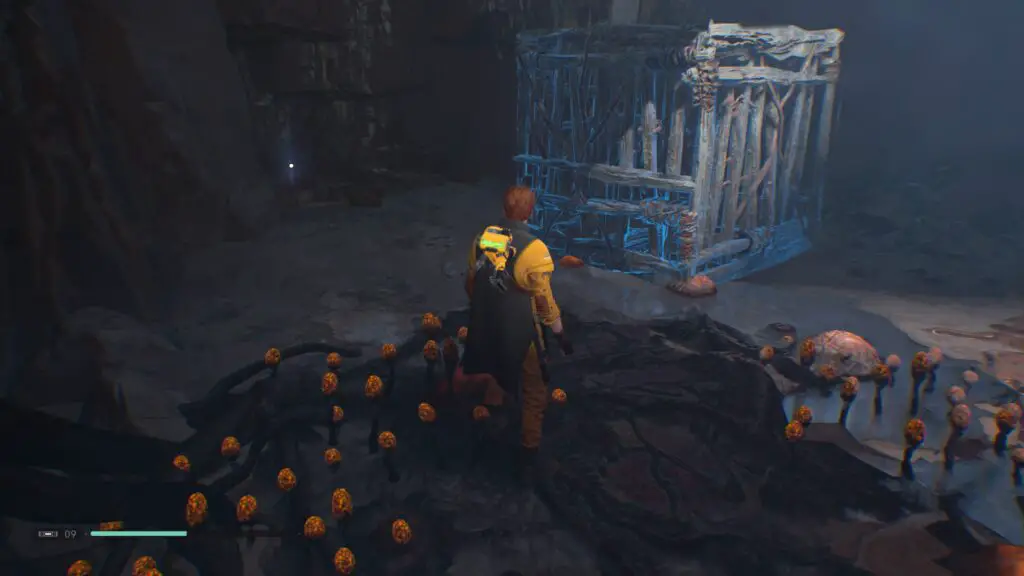
That’s everything we need from here so let’s head on through to the next area. This one’s real easy to reach and we will do so as part of the next collectable. While facing the last chest, turn right and head straight forwards, stop at the edge. Below, you’ll see a doorway blocked by a wooden cage, jump down to there and you’ll be in the next area.
Strangled Cliffs
Force-push ![]() the wooden cage you just landed in-front of to gain entry into this room. Keep force-pushing it until it hits the back wall, and then head around the right side and force-push it left and it will drop onto the floor below. Jump down to the right side of it and push it left again, it will now be pressed against a doorway with some vines above it. Vines you can now reach by jumping on the box. Do exactly that and climb up and over the wall on your right, where you will find an all-important secret echo to collect.
the wooden cage you just landed in-front of to gain entry into this room. Keep force-pushing it until it hits the back wall, and then head around the right side and force-push it left and it will drop onto the floor below. Jump down to the right side of it and push it left again, it will now be pressed against a doorway with some vines above it. Vines you can now reach by jumping on the box. Do exactly that and climb up and over the wall on your right, where you will find an all-important secret echo to collect.
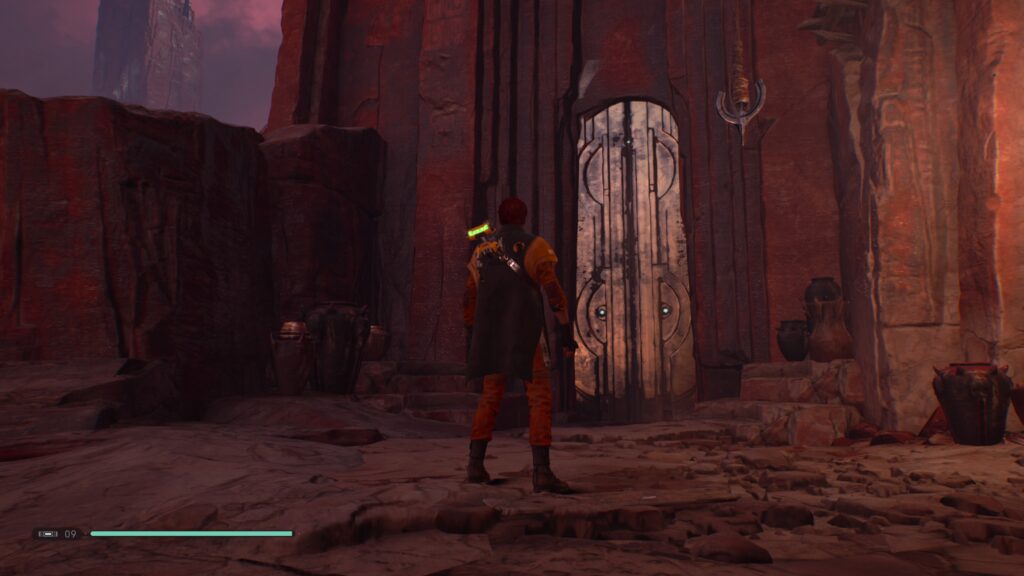
You can leave this room by interacting ![]() with the doorway next to you. Next up, we’re going to the “Brother’s Bastion” area. Thank yourself for remembering to cut down the shortcut rope earlier, and climb up it to temporarily enter the Upper Strangled Cliffs again. Head left and go past the orange flag again but keep going this time, head up the stairs ahead of you and swing across to the Brother’s Bastion from there.
with the doorway next to you. Next up, we’re going to the “Brother’s Bastion” area. Thank yourself for remembering to cut down the shortcut rope earlier, and climb up it to temporarily enter the Upper Strangled Cliffs again. Head left and go past the orange flag again but keep going this time, head up the stairs ahead of you and swing across to the Brother’s Bastion from there.
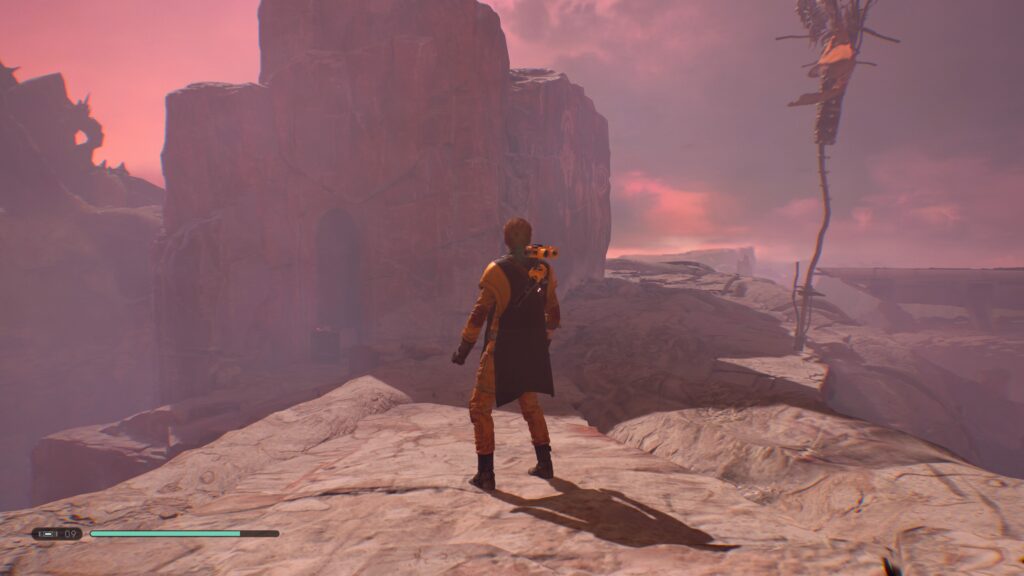
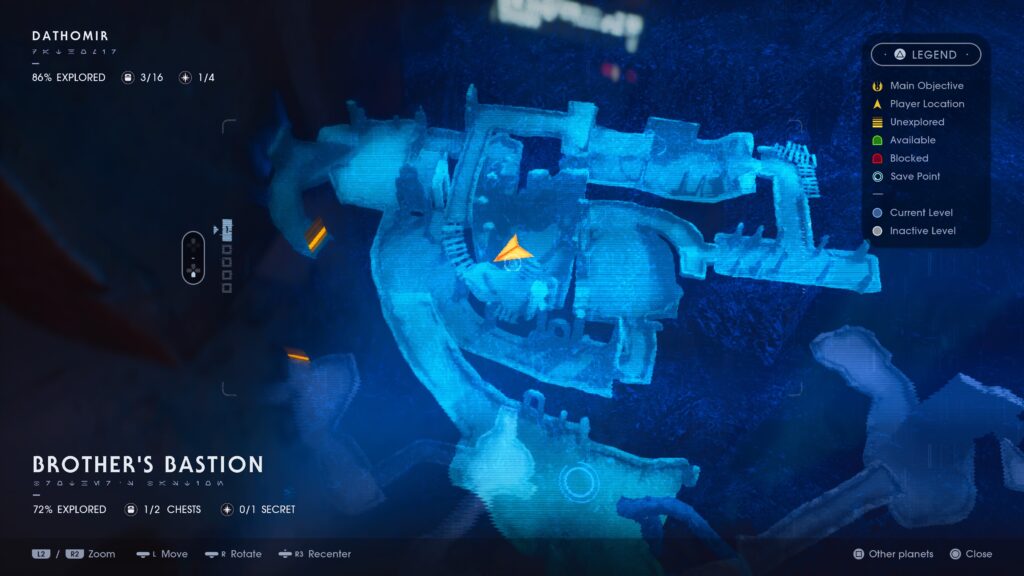
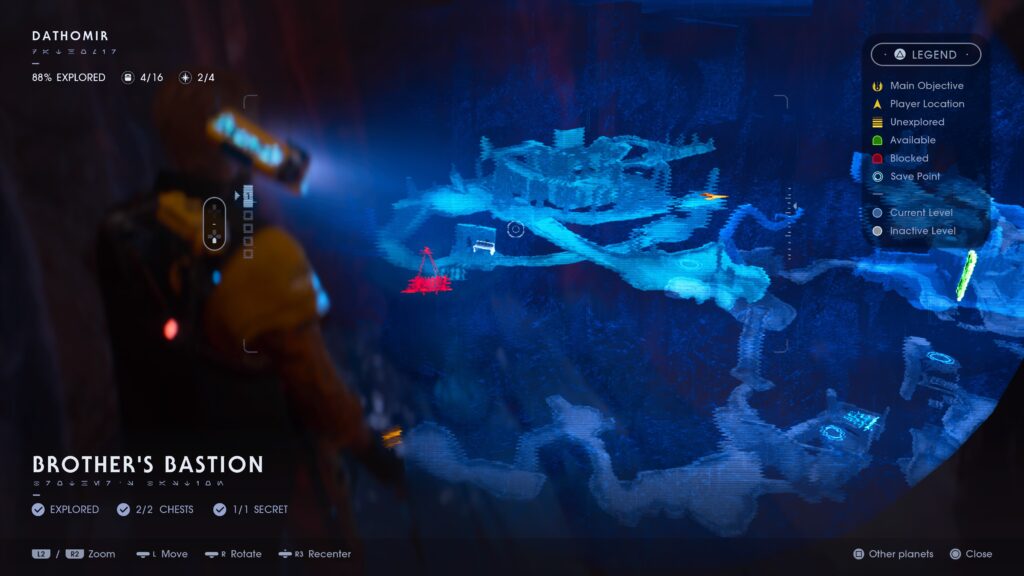
Brother’s Bastion
You’ll land near a Meditation Point. Go past it and up the stairs there. Follow the cliff edge to the right and go through the narrow corridor, you’ll come out at a campfire. Climb up the stairs from here, go down the corridor until you can exit through an opening on the left. Go through there and immediately turn right to find another chest.

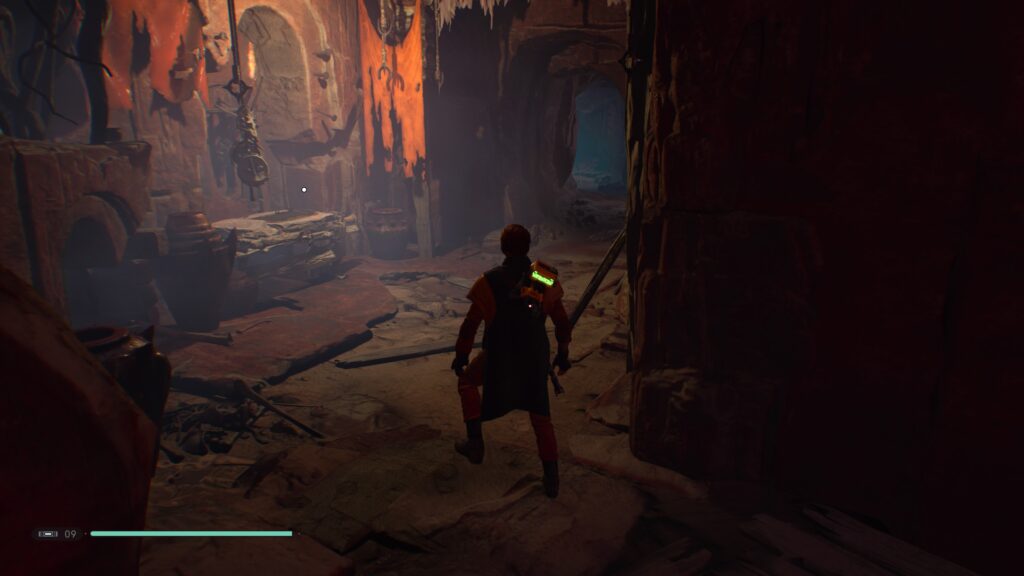
Turn around now and go through the doorway ahead of you to find a room with another campfire. Use the wall-run sections and the branch overhead to reach the other side. Head through the corridor and then once you reach the outside, drop off the ledge and you’ll notice you’re back at the door at the top of the stairs from the Meditation Point. Go through it and then head around the corner to the right in the crumbled corridor directly in front of you.
Follow this winding corridor into a very dark room and inside an alcove on your right you will find another chest.
Head back out through the winding corridors and then once you are outside facing the door again, turn right and head towards the short ledge with vines on it. Stop just short of it and then turn left, where you’ll find a path which curves around into a building underneath the aforementioned door. Here you’ll find a lightsaber workbench.
Continue on past it, through the dark cave-like interior of the building and you will come to a room with some glowing shrooms and vines on the wall at the back. Climb up these vines and then head out onto the ledge where you’ll find a secret echo, the last collectable in this area.
Our next stop is the Collapsed Settlement and the best way to reach this is by heading over to the Treacherous Approach area (there are no collectables here). So jump down to the Meditation Point and head through the door at the top of the stairs once again. On the other side, turn left and begin crossing the large bridge you see there, which is in-fact the Treacherous Approach area. Just when you reach the end of the bridge, with the climbable wall, jump off instead and go down the sliding section into the Collapsed Settlement.
Collapsed Settlement
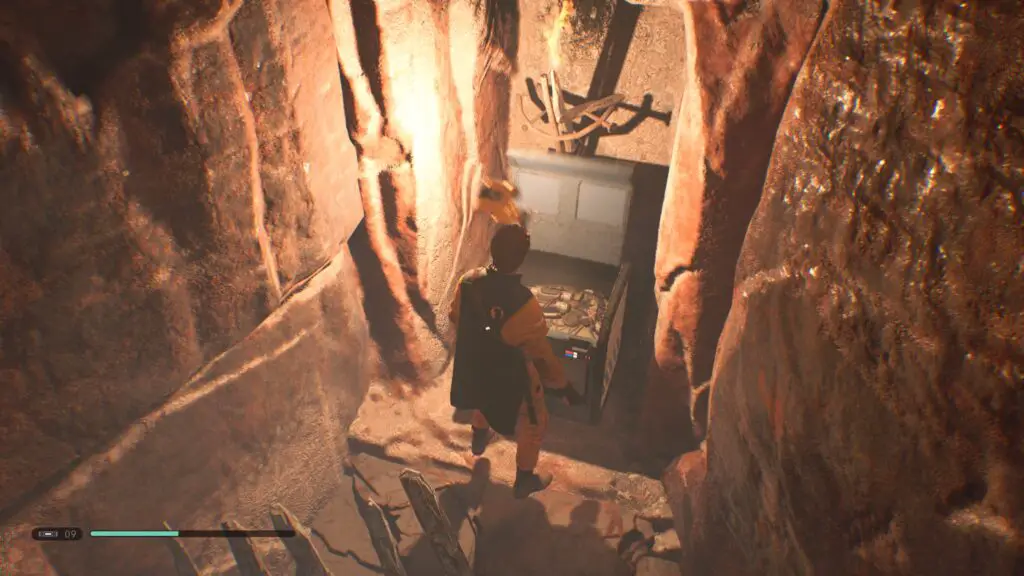
When you land, follow the linear path up a rope to the Meditation Point. We want to go through the door at the other end of the bridge from here, but I forgot to open it on my first run, so if you did too then just follow me… From the Meditation Point, turn around and enter the narrow passage near the candles behind you. You’ll be in a room with three gross sacks hanging from the ceiling. Turn left, use force pull ![]() on the wooden panel and then jump under it. From in there, climb the vines at the back (note that if you turn around here you will be able to see another echo if you need it) and then proceed via the branch sticking out of the ledge which will lead you through a window near the door.
on the wooden panel and then jump under it. From in there, climb the vines at the back (note that if you turn around here you will be able to see another echo if you need it) and then proceed via the branch sticking out of the ledge which will lead you through a window near the door.
Continue along this very linear path with various branches, climbing segments and enemies until, finally, you reach a wooden lift, which will take you down behind that door.
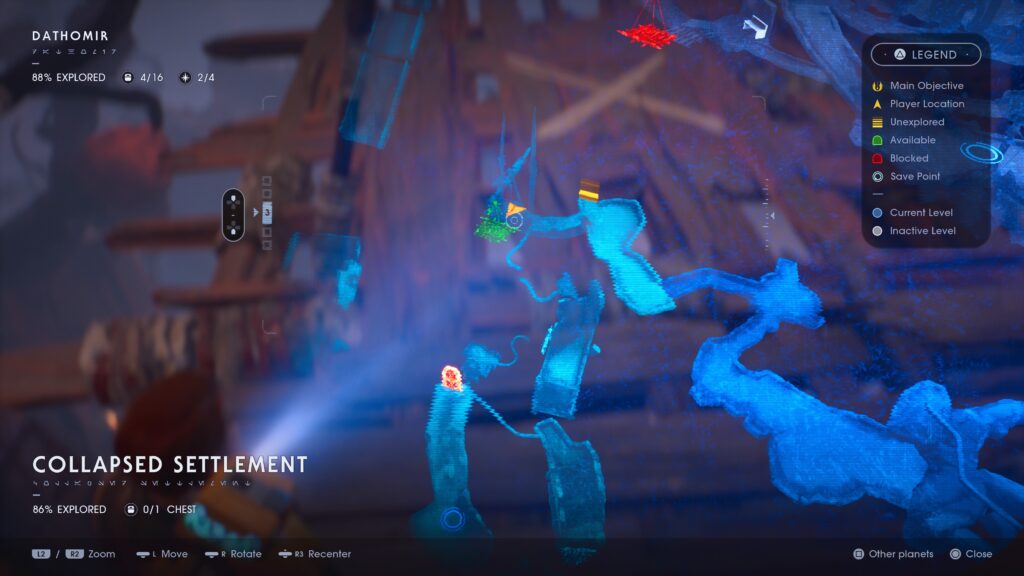
In this room, you will find a chest and you will be able to open the door, should your future self ever need to avoid all that bother again.
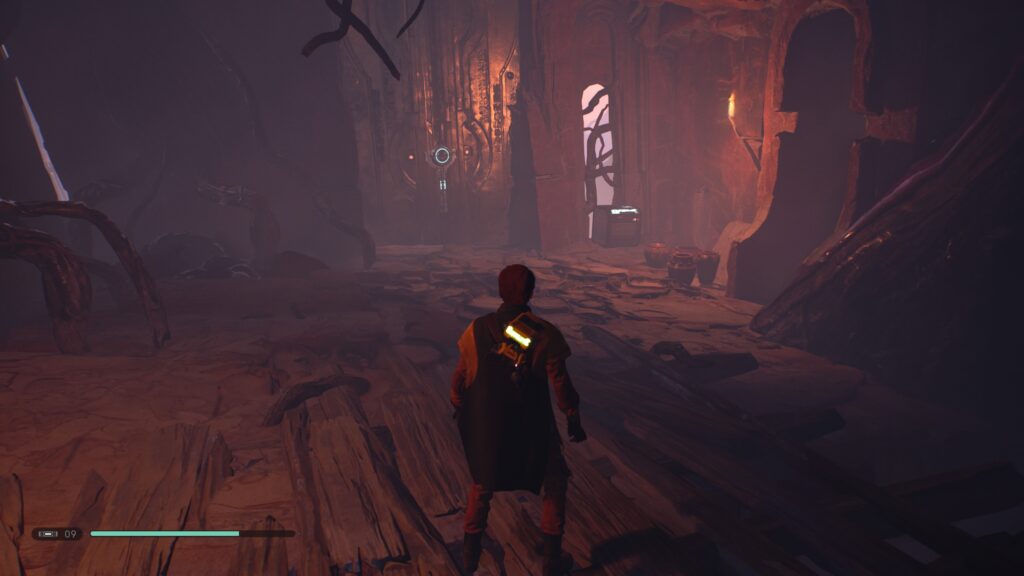
Go on up the lift and then head up the nearby path, ignore the climbable wall and head past it to find a group of Nightbrothers around a campfire. continue on, following this linear route, you’ve now entered the Halls of the Nydak.
Halls of the Nydak
We don’t need any collectables here, we’re just passing through. But, if you still need them, there’s two very unmissable echoes on the way.
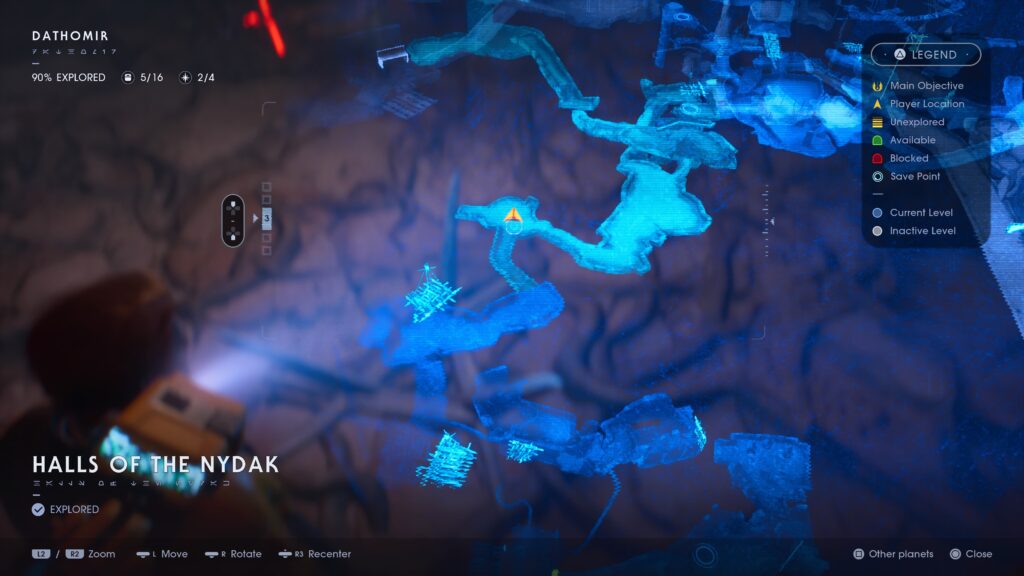
Continue making your way through the area to the Slope leading down to the Swamps of Sacrifice. You will pass through the “Nightbrother Village” area for a short while but you can’t actually access the village from this side, it is where you’ll find the entrance to the sliding section that’ll take you to the Swamp.
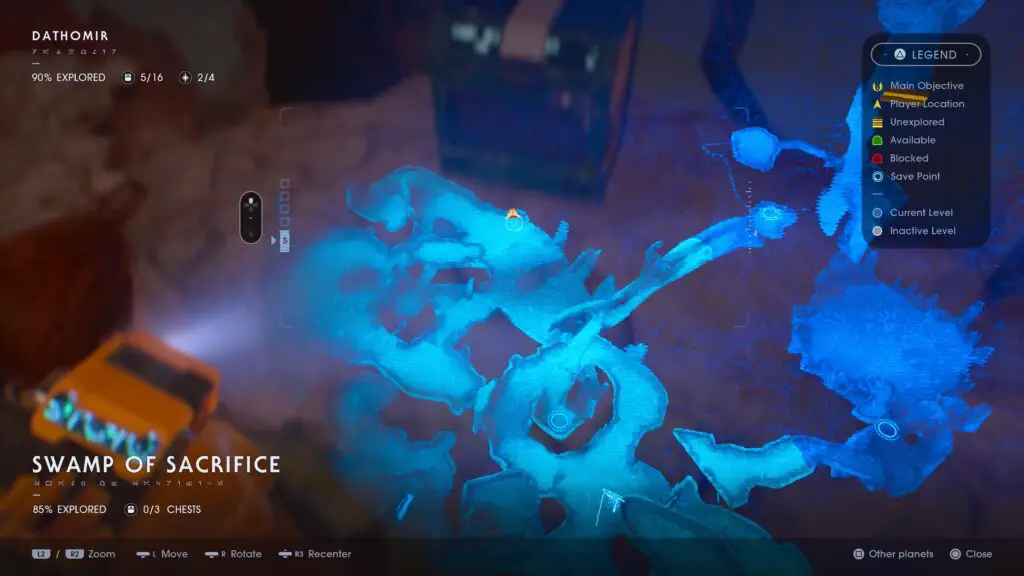
Swamp of Sacrifice
Make your way up to the Meditation Point. If you’re quick, you can double-jump over to it from the end of the slope. Head up the roots nearby which lead to the witches horn, but go left when the path splits at the orange flag and jump down to the area below. If you need it, there is another echo nearby here.
When you land go left and then immediately take the path to the right and you should be attacked by some Bounty Hunters. Take them out and open the nearby chest. There’s also another echo nearby to the left of it if you need it.
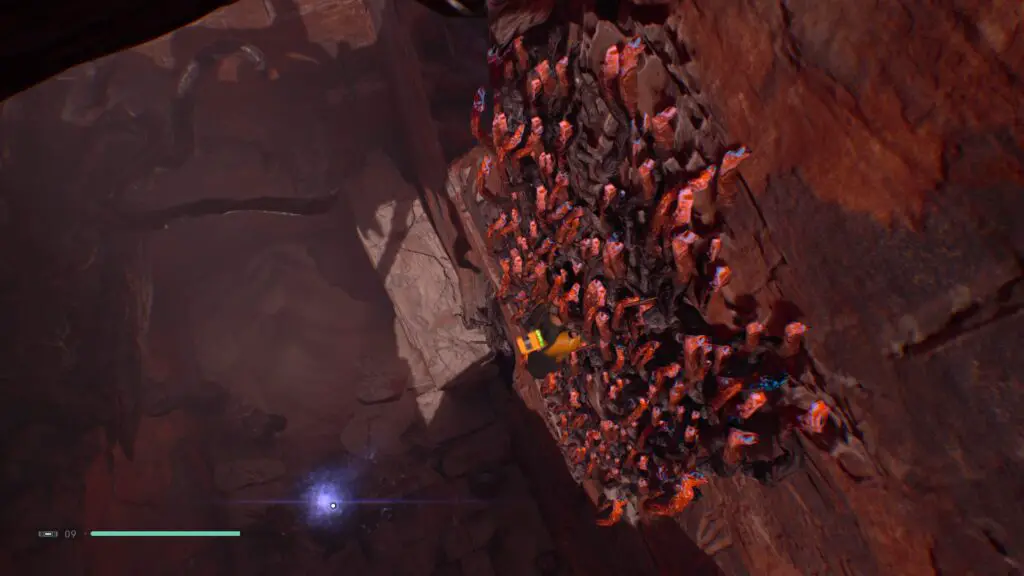
Head left from the last collectable, past the aforementioned echo, all the way to the other end of the area. Some Undead Nightsisters will spawn from their pods in a tree over here, but on the right-hand side you should see another chest.
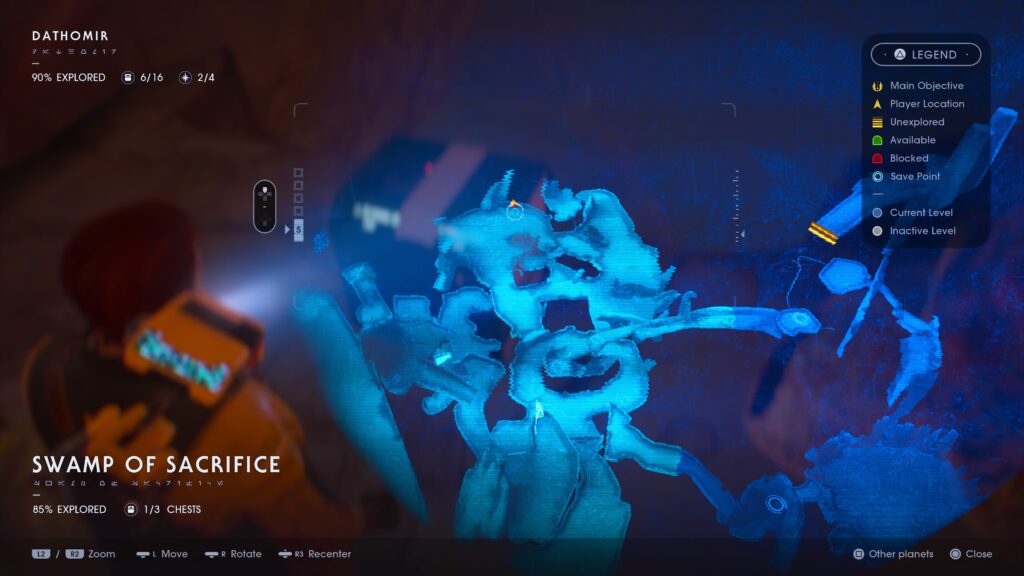
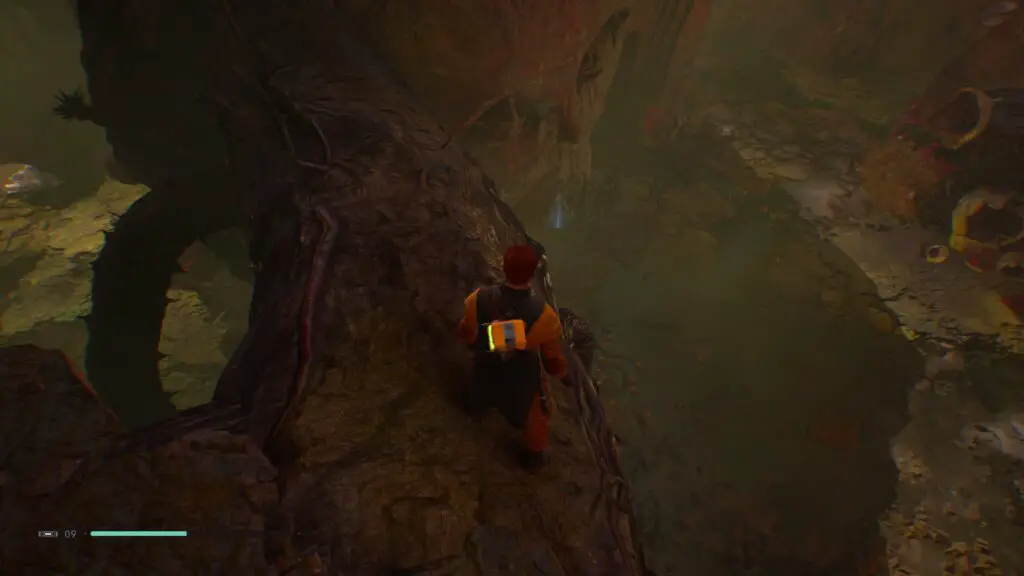
Now turn right from there and you’ll see a wall of vines, climb up it and then turn right at the top to cross a branch there. Follow this path, killing Undead Nightsisters as you go and you’ll walk along another branch before dropping down into a darker area with many glowing mushrooms at your feet. Here, in quite plain sight, you’ll find another chest.
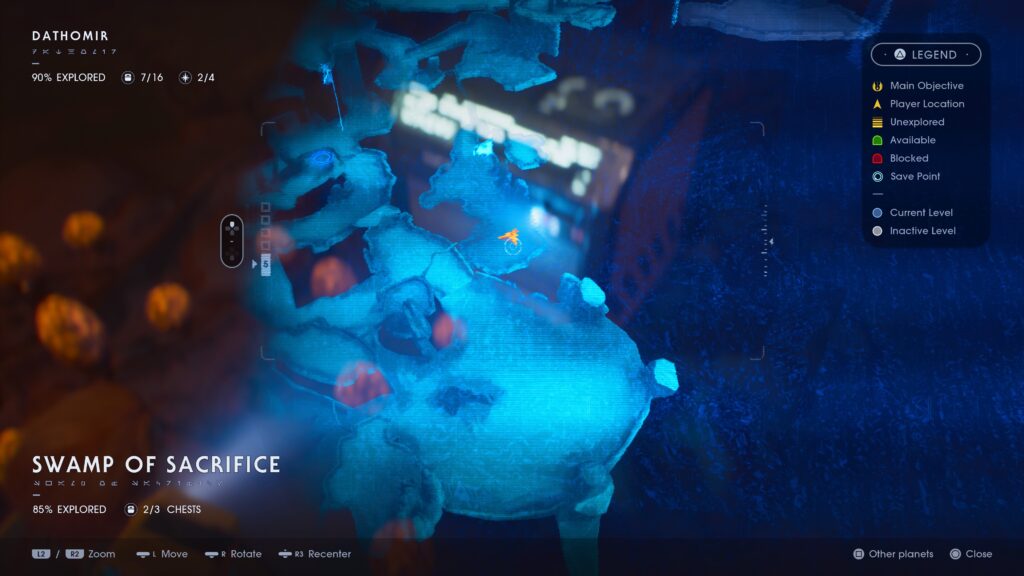
Force-push ![]() and then force-slow
and then force-slow ![]() the large climbable stone sticking out of the wall here, you will then be able to climb up it all the way to the top of this wall. Turn around now and jump over the gap to a very hard-to-miss echo.
the large climbable stone sticking out of the wall here, you will then be able to climb up it all the way to the top of this wall. Turn around now and jump over the gap to a very hard-to-miss echo.
From this cliff, look down over the edge while facing the Meditation Point and you’ll see another ledge you can drop down to. Jump down and then make your way leftward along the ledge, following the path until you see a branch you can jump to and then cross it. This will take you to a hidden area which only has an echo in it, but if you had never found this location, it wouldn’t be marked on the map and you wouldn’t reach 100% exploration.
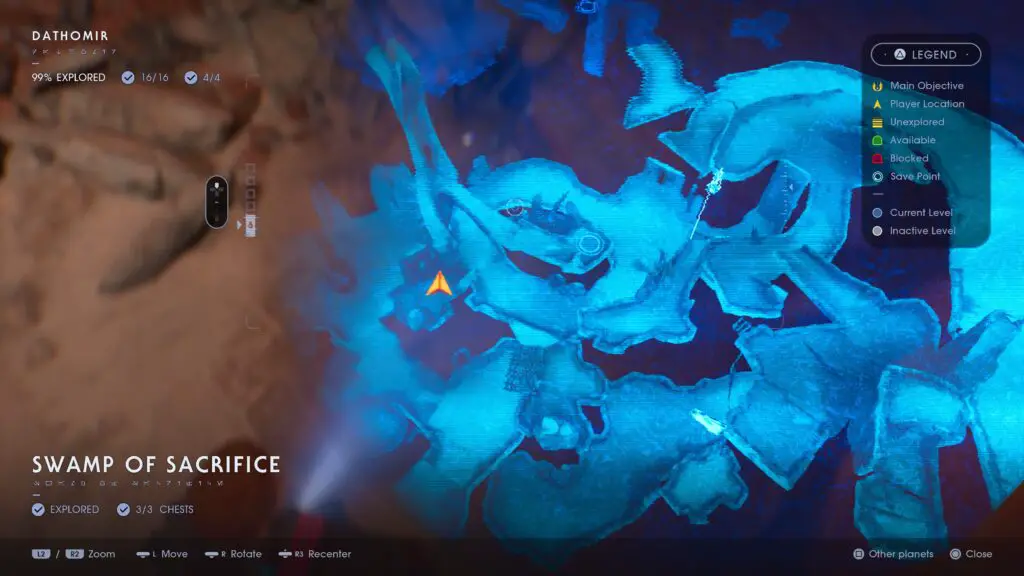
Make your way back to the Swamp’s Meditation Point and head up the nearby roots again but this time instead of jumping off, continue up on the right to enter the “Witches Horn” area by climbing the wall next to the closed gate.
Witches Horn
From the Meditation Point ahead of you, you’ll be able to see a very tall climbable wall dead ahead. Make your way all the way up to the very top and you’ll find a secret echo waiting for you up there on the right.
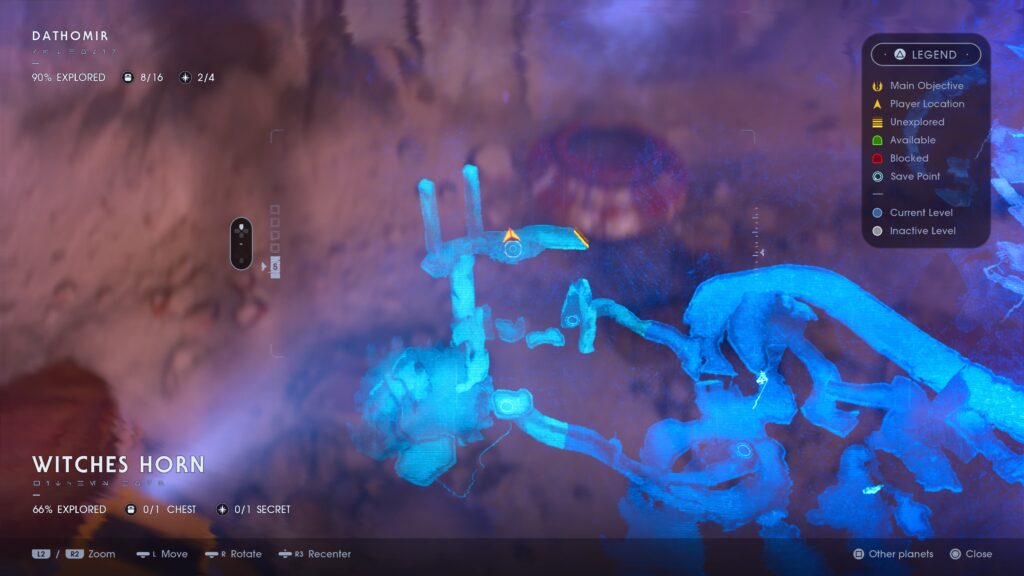
Next go back to the left and enter the room at the top of the climbing segment. In here, in very plain sight, you will find a chest which gives you a hideous BD-1 skin.
Head back out through the doorway and go left past the echo we grabbed earlier and follow this path all the way back down and you will end up near the corpse of a boss you killed for the story. Continue past it and up the stairs. Climb the wall here and continue along the linear path head-first into a battle with some Nightbrothers t the Cliffside Fortress area.
Cliffside Fortress
There are no collectables here, but we are passing through on our way to the Nightbrother Dungeon. Use force pull on the two spiked platforms at the back of this arena to turn them into wall-run panels and make your way to the climbable wall. Climb up and use the next climbable wall to reach a branch under a bridge which will take you to the Nightbrother Dungeon.
Nightbrother Dungeon
Once you’ve entered the dungeon via the aforementioned branch, go into the room on the left, the chest in here is hard to miss. There’s also a very obvious echo if you happen to need it.
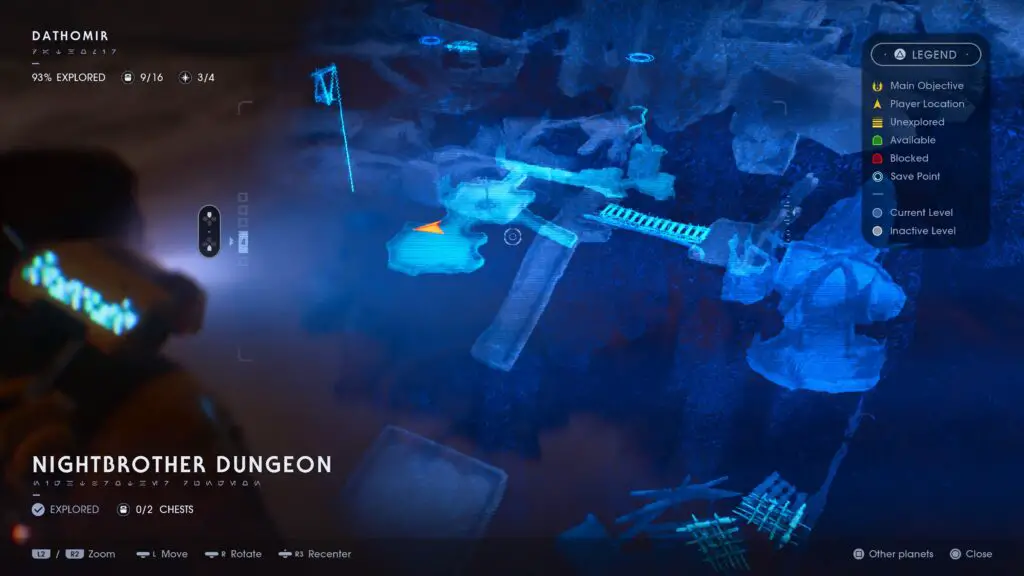
Head out of this room and across to the hallway on the opposite side. Look to your left and you’ll see another chest peeking out from an alcove.
We’re done here now, so just continue on through the hallway to squeeze through the narrow passage at the end, leading to the Meditation Point for the Nightbrother Village.
Nightbrother Village
We need only one thing from here, and it’s in the big blue house at the back of the village so go on over to it. Oh, and you might have to fight some Bounty Hunters here, but it’s preferable to the army of Nightbrothers that are usually here. The house has some ledges on it which you can reach from the top of the nearby stairs, double-jump over to them and climb up.
Drop down on the inside and kill the Nightbrother standing watch to open the chest in the wall on the right.
Continue on through the connected hallway and find your way up to the rope leading back up to the Upper Strangled Cliffs. Don’t worry, the path is pretty linear. At the top of this rope you should be able to see the Mantis from your vantage point. Follow the path wrapping around to the left (indoors, the outside ledge doesn’t go anywhere) and you’ll squeeze through a narrow passage leading to a doorway, from where you can swing across to the Brother’s Bastion Meditation Point.
From here I’m sure you’ll have no trouble finding your way back to the “Treacherous Approach” bridge, from where you’ll this time climb up at the end, and enter the Nightmare Ruins.
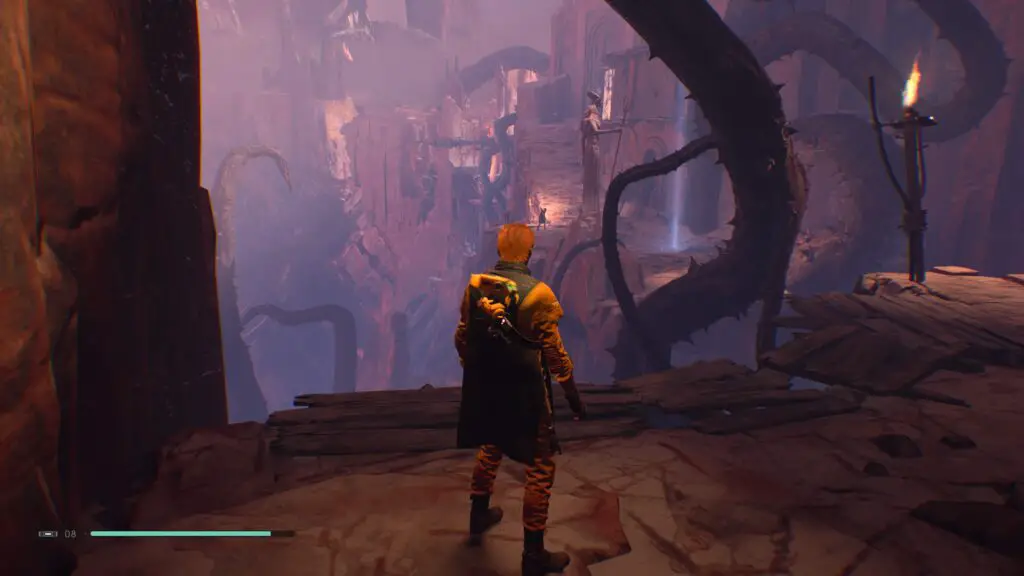
Nightmare Ruins
When you arrive, you will probably be ambushed by Haxion Brood Bounty Hunters. Though, followers of my Enemy Scan Guide will have done this encounter already. Instead of entering the tomb, go to the right and use the wall-run sections to enter the lair of the Nydak Alpha. Again, if you followed my Enemy guide, this guy won’t be here anymore.
Continue on down the slippery slope to a vine wall, climb up it and then jump to the next platform where there’s a chest which, honestly, you can’t really miss.
Go to the left and complete the wall-run section to reach a climbable wall leading to a battle with a whole hell of a lot of enemies, but I’m sure you can handle it. From the top of the wall you climbed, look right and you’ll see a chest on the cliff edge.
Head over to where the Nightbrother archers were and climb the vines on the wall to the left. Follow this path all the way to the end to find yet another chest.
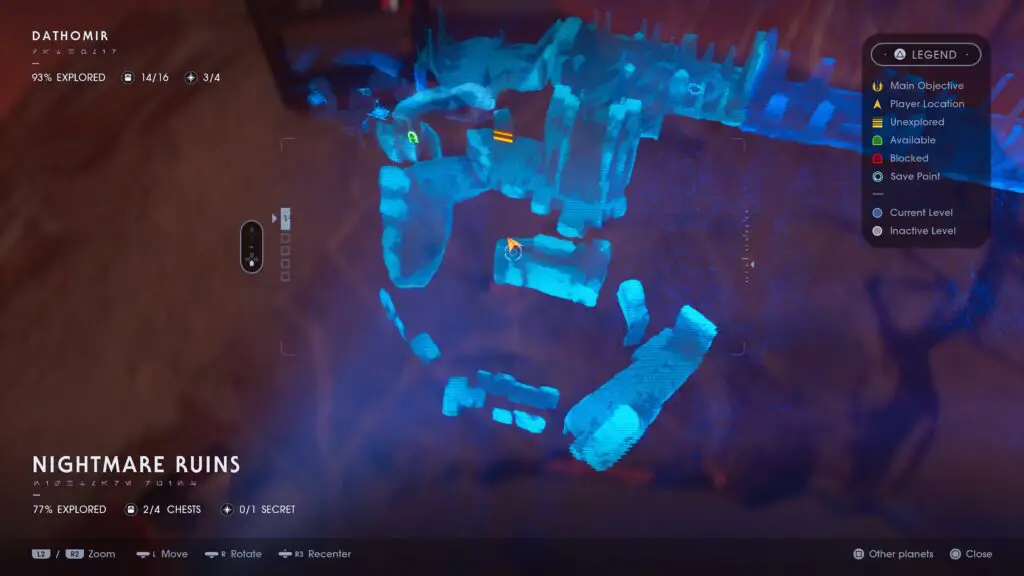
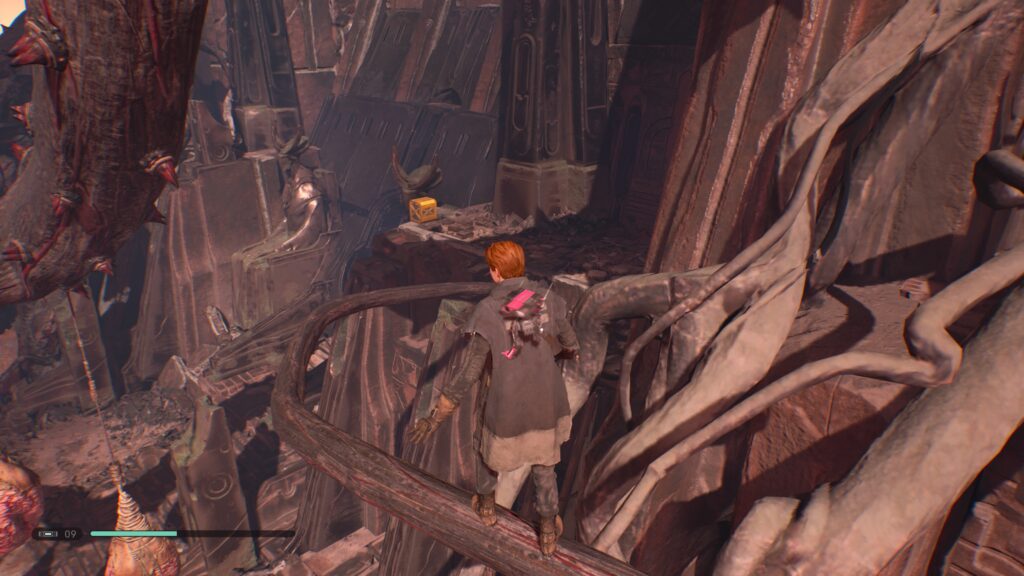
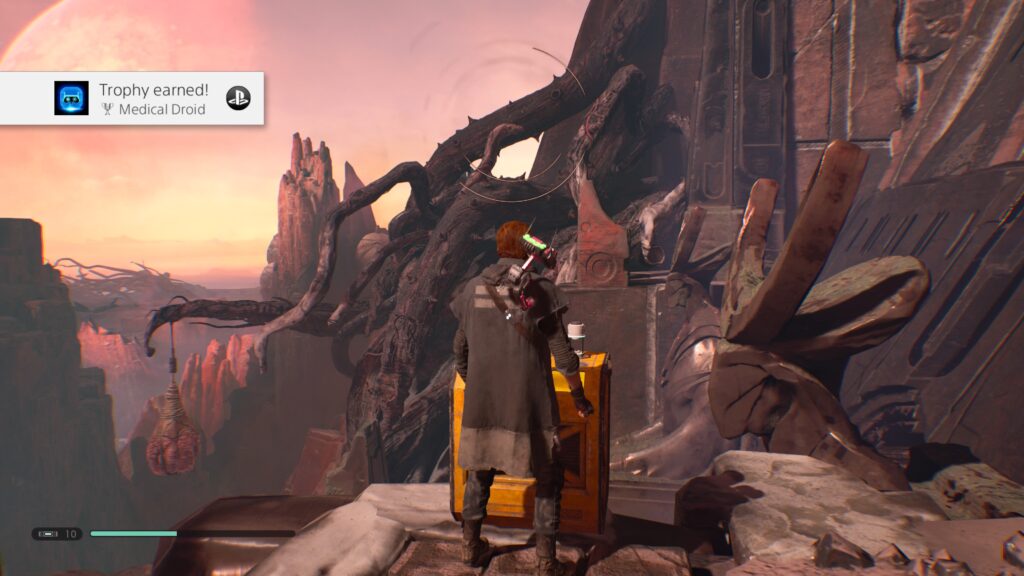
Go back to the other side of the large cuboid rock the chest is sat next to and jump over to the stairs jutting out of the wall across the chasm. From there, jump up to the ledge on your left and climb the vine wall at the far end of this ledge. At the top, you’ll find a branch which wraps around to the right and leads you right to a secret stim canister!
At this point you should get the Medical Droid Trophy, because that was our last Stim Canister!
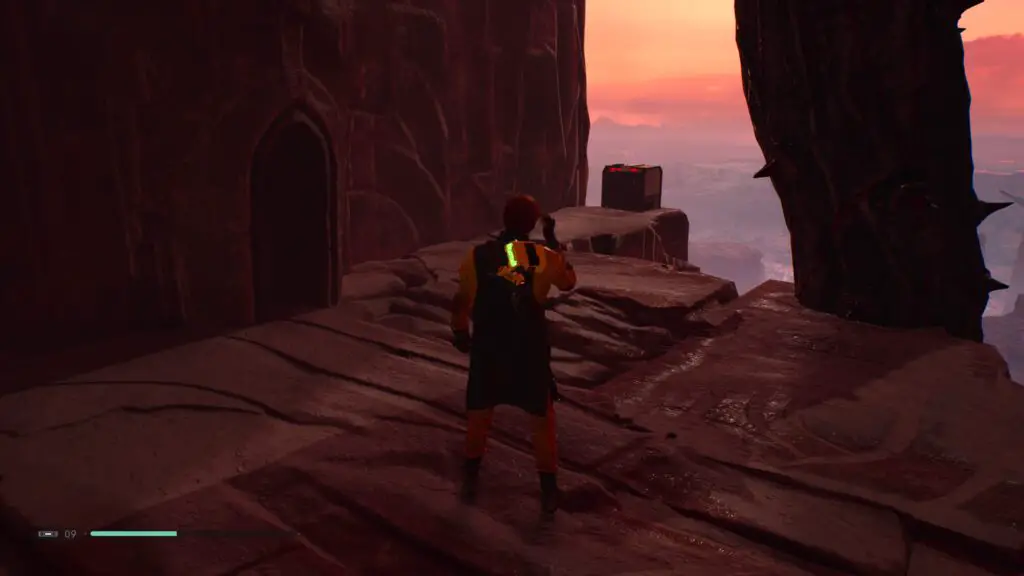
Jump down to the entrance of the ruins and head inside. As soon as you can, turn right and then right again and you’ll come face-to-face with another chest.
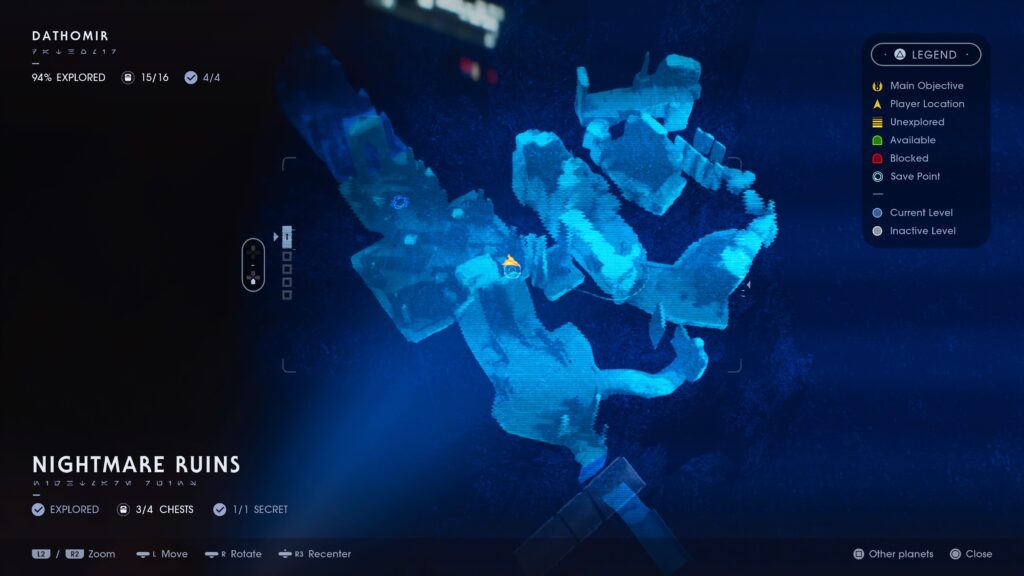
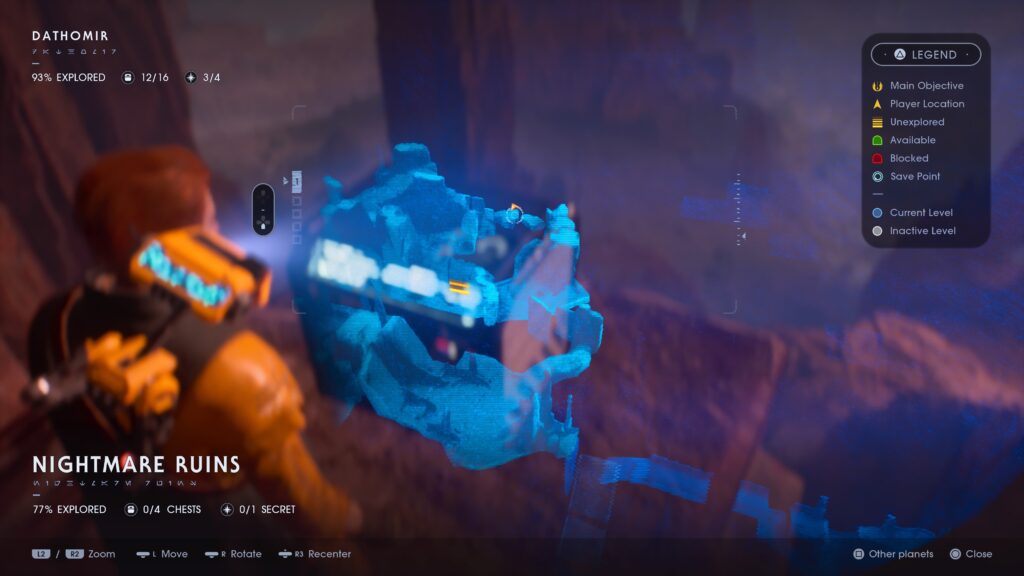
Now you’ll have all the chests and secrets on Dathomir but, like me, your map might say that you have only explored 94% of Dathomir. Well, that won’t do. We better head further into the Tomb and find out why it’s only at 66%.
Before that, just before the stairs leading up to the Meditation Point, BD-1 will get excited about some vases, let him scan them with a press of the ![]() button and discover another encrypted log.
button and discover another encrypted log.
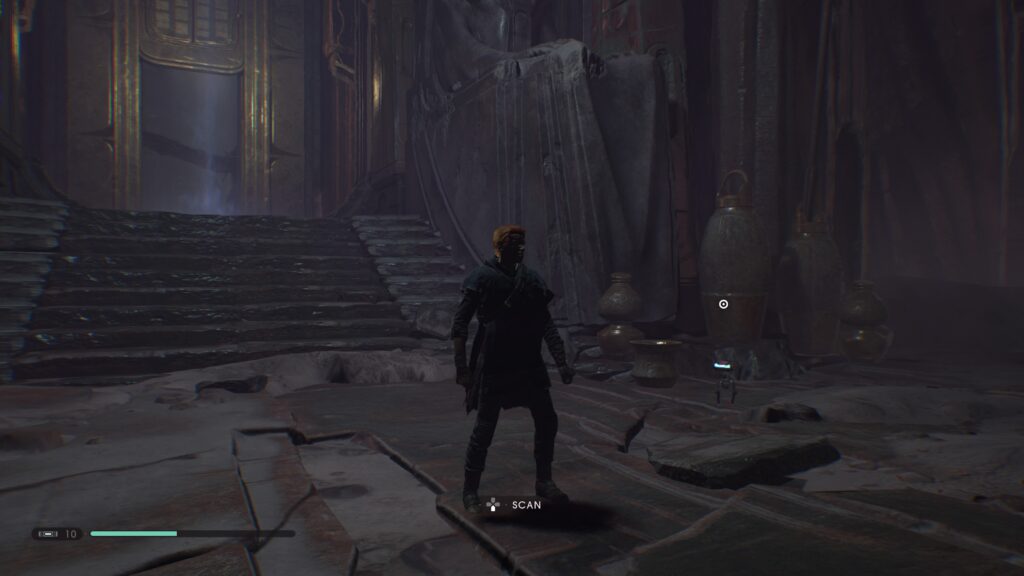
Now you can head past the Meditation Point and enter the tomb.
Tomb of Kujet
You’ll find no chests in here. But, fortunately, there is another encrypted log and a few secret rooms which only have echos, but we need to visit them to complete the map.
Before you enter the narrow gap after the Meditation Point, climb up the vines on your right. Around the corner here you’ll find a burning campfire with an echo in-front of it. Grab it if you want.
Continue past it and around the corner to find a thick branch you can cross. Head on over to the other side to enter a room with yet another echo.
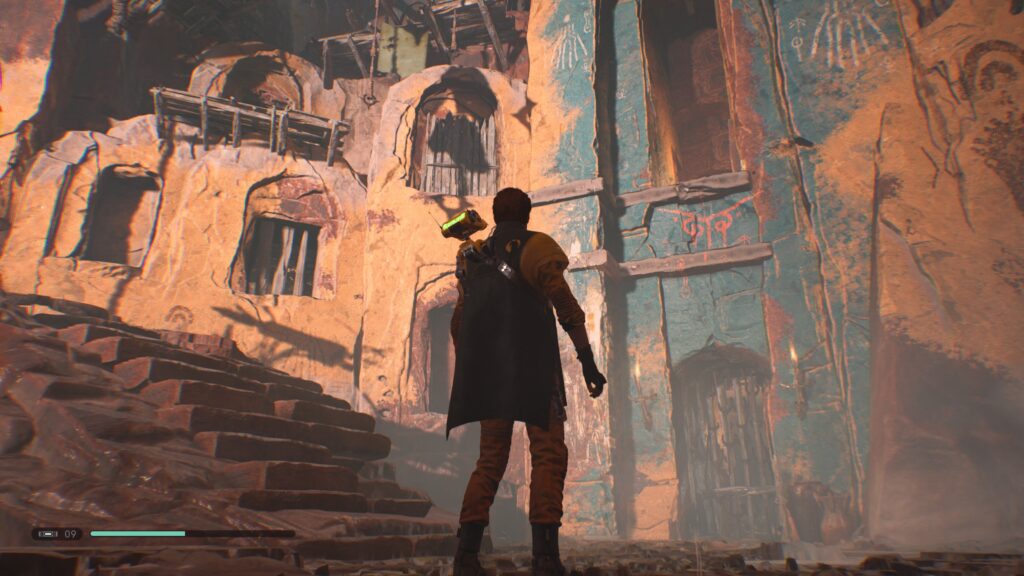
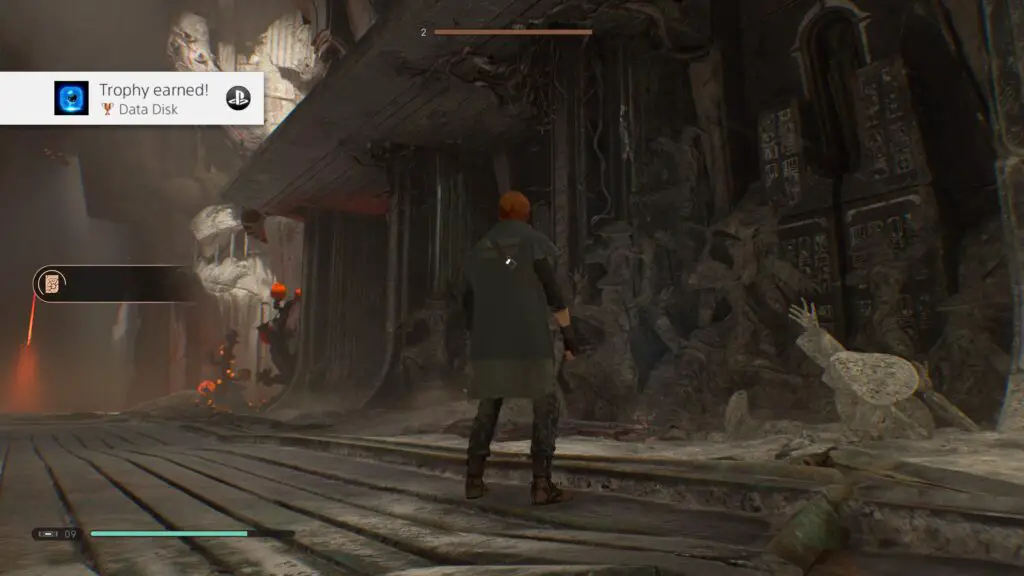
After going through the narrow passage, on the right-hand side in the main hallway you’ll see a pretty haunting sculpture of some Zeffo doing their best to escape some sort of evil presence. BD-1 seems very interested in it, anyway, so let him have a little scan with ![]() to get the final encrypted log and the Data Disk trophy!
to get the final encrypted log and the Data Disk trophy!
Turn around and climb the yellow vines on the opposite wall. At the end of this room, there’s another echo so grab that if you feel like it.
After that, you should have 100% Tomb of Kujet exploration and completion. Which means your journey on Dathomir has come to an end, congratulations! Feel free to see yourself to Ilum and I’ll meet you there.
Click here to see the Ilum portion of the collectable guide, our final stop!
Thanks for choosing us for your guide needs, I hope this more walkthrough-like format proved quite useful in expediting your Platinum Journey as it was a gruelling process writing it all out and I hope you’ve genuinely enjoyed Jedi Fallen Order as much as I did!