PlayStation 4
Star Wars: Jedi Fallen Order Kashyyyk Collectables Guide
Game Guide
Introduction
This is just Part 3 of the guide and covers only Kashyyyk. If you haven’t read the introduction in Part 1 I recommend that you do.
You can find the other parts here:
Kashyyyk
Note that one encrypted log on this planet is unavoidably unlocked as part of the story.
Cargo Pad
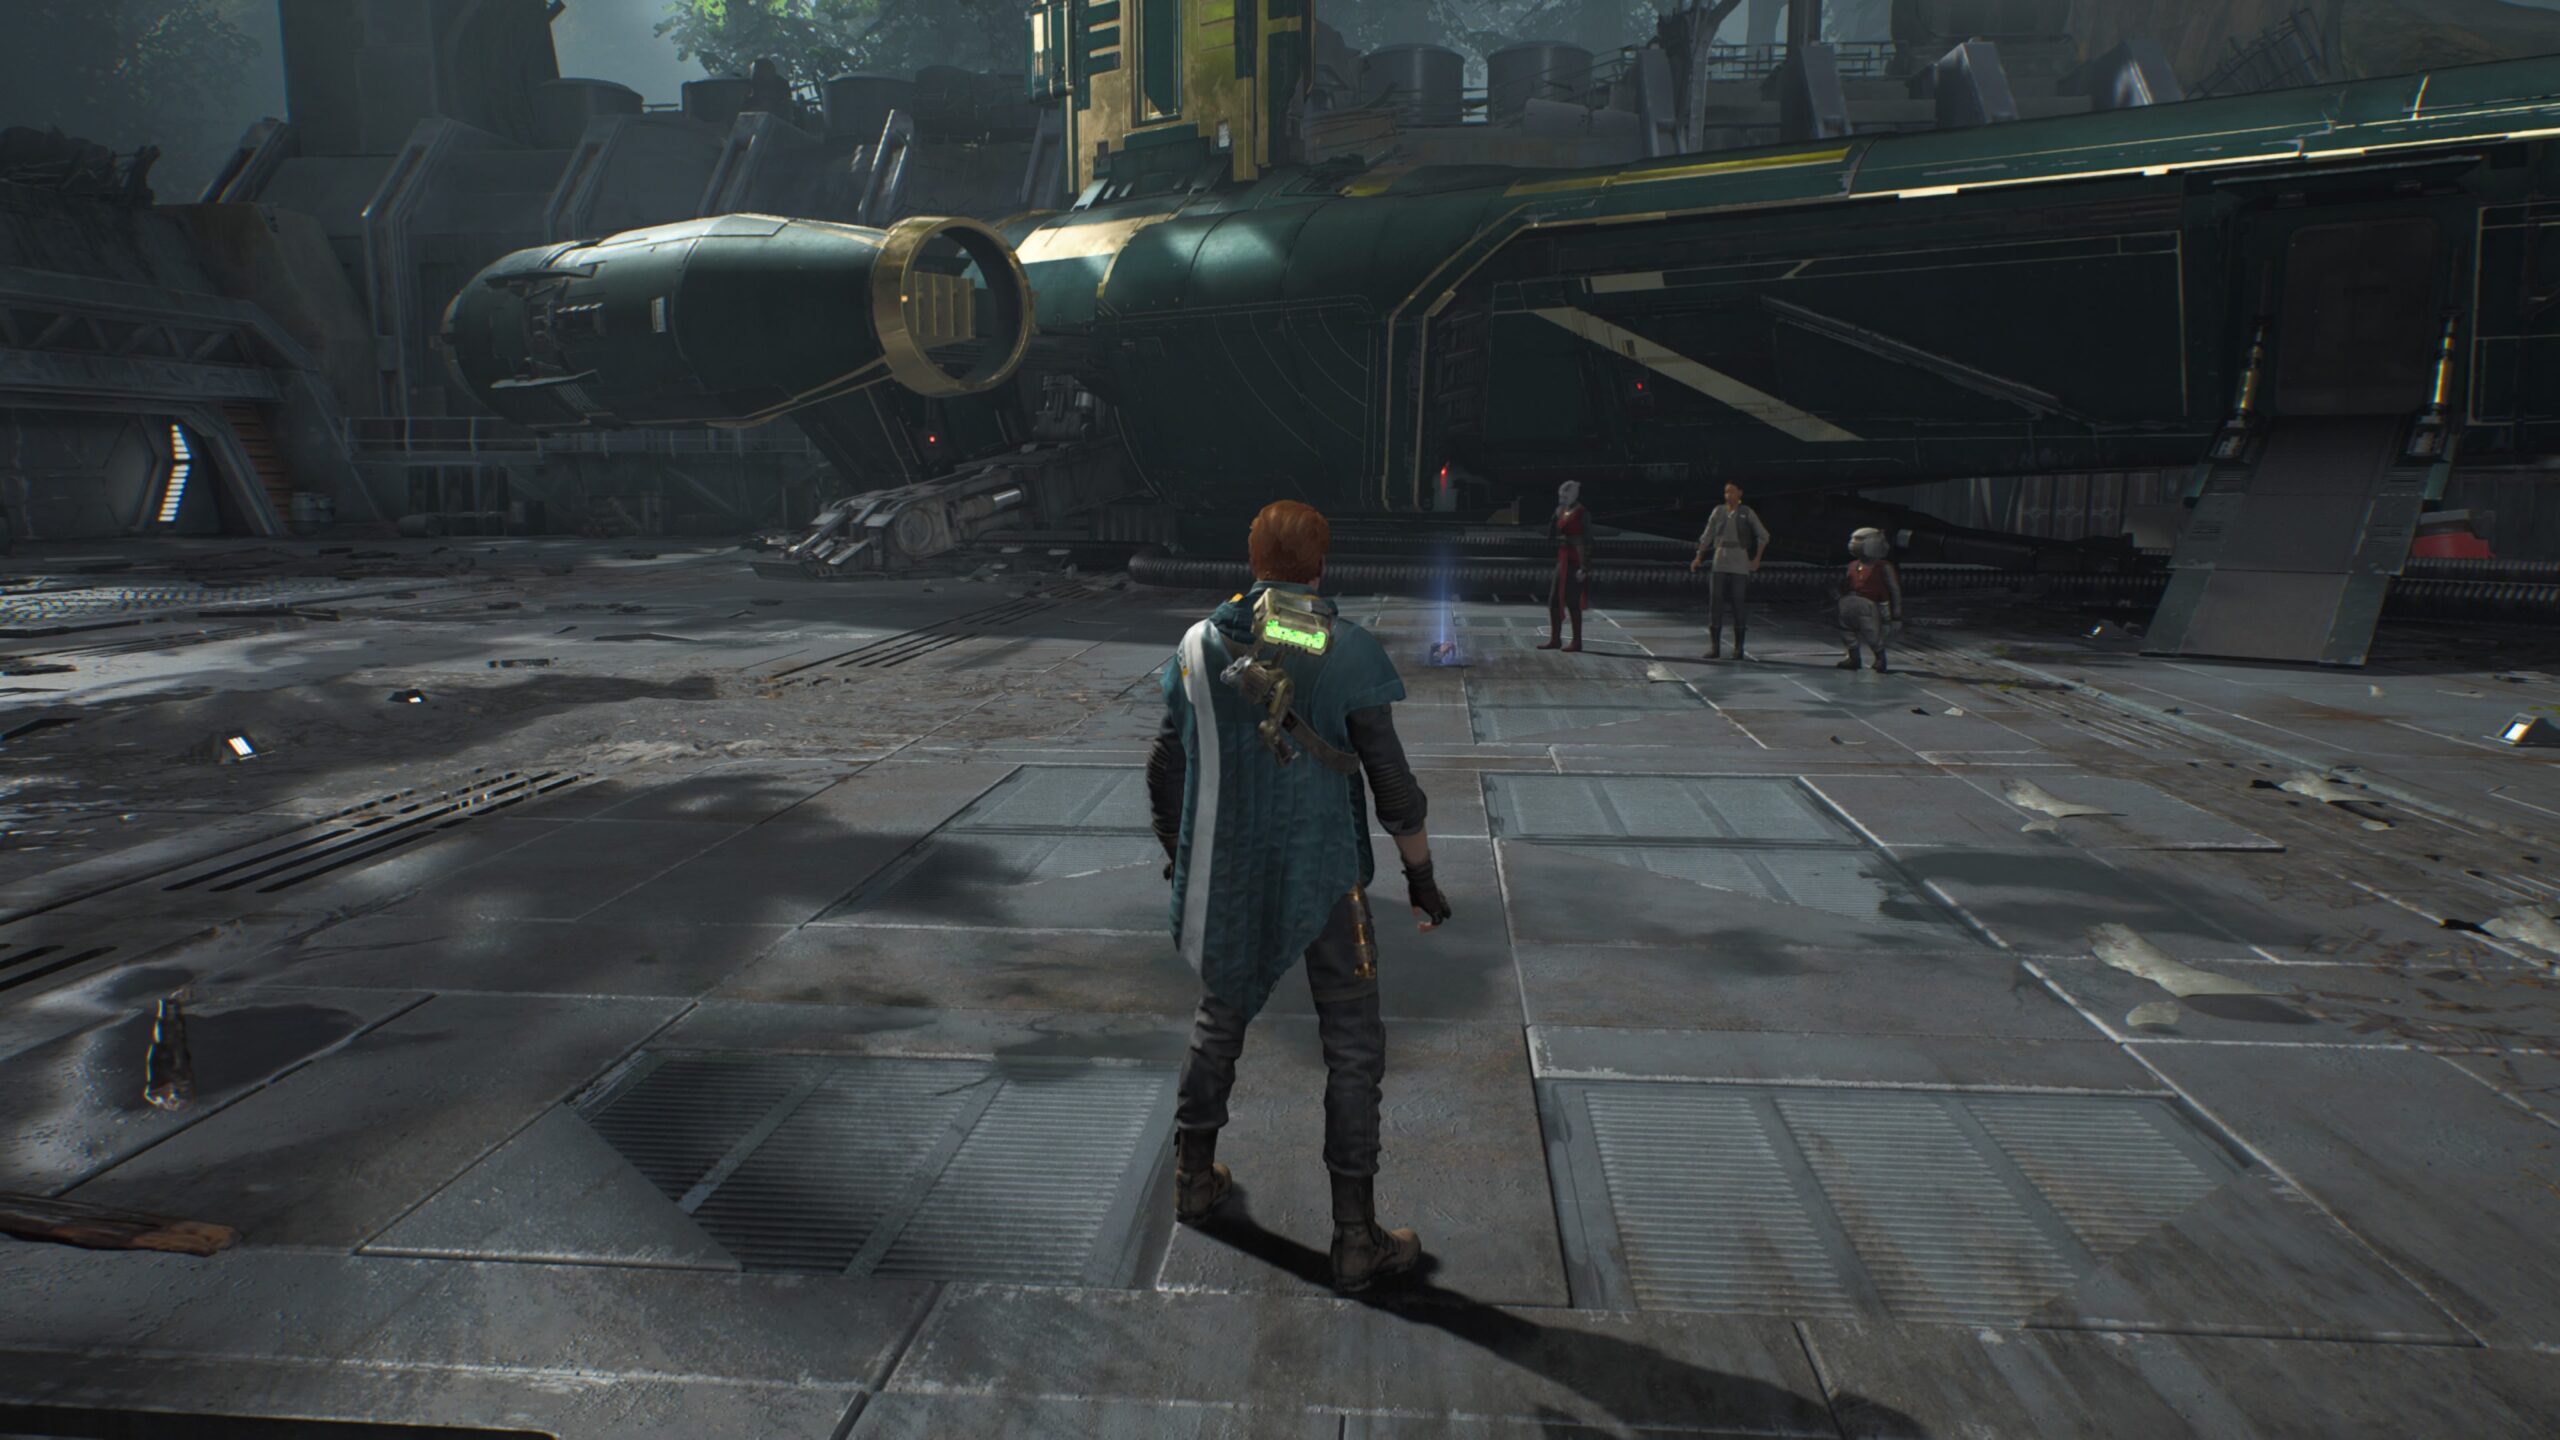
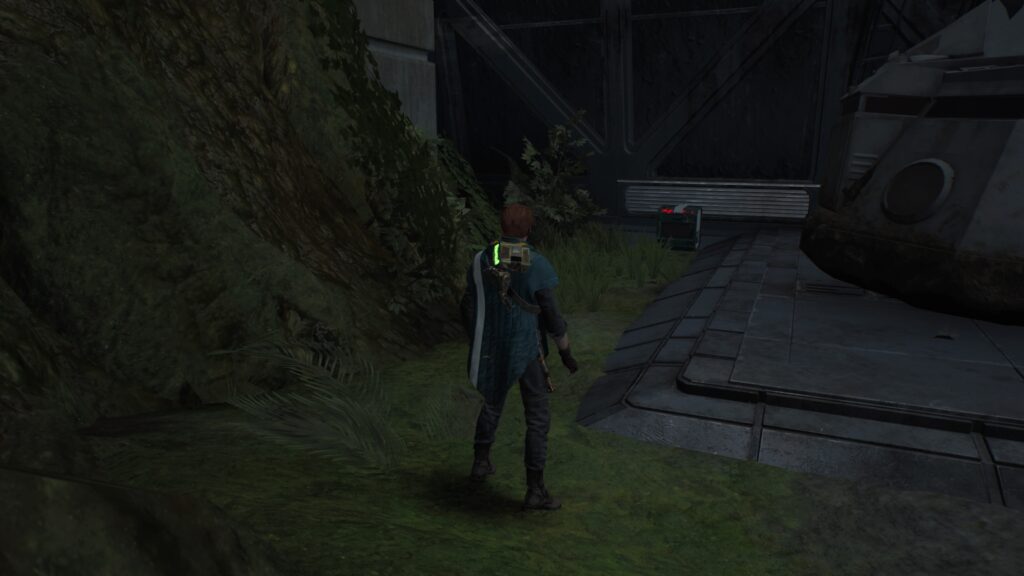
When you step down from the Mantis, turn to your left and head down the large ramp. Go around the left side of the ledge ahead of you and you will find your first Kashyyyk chest at the back of it.
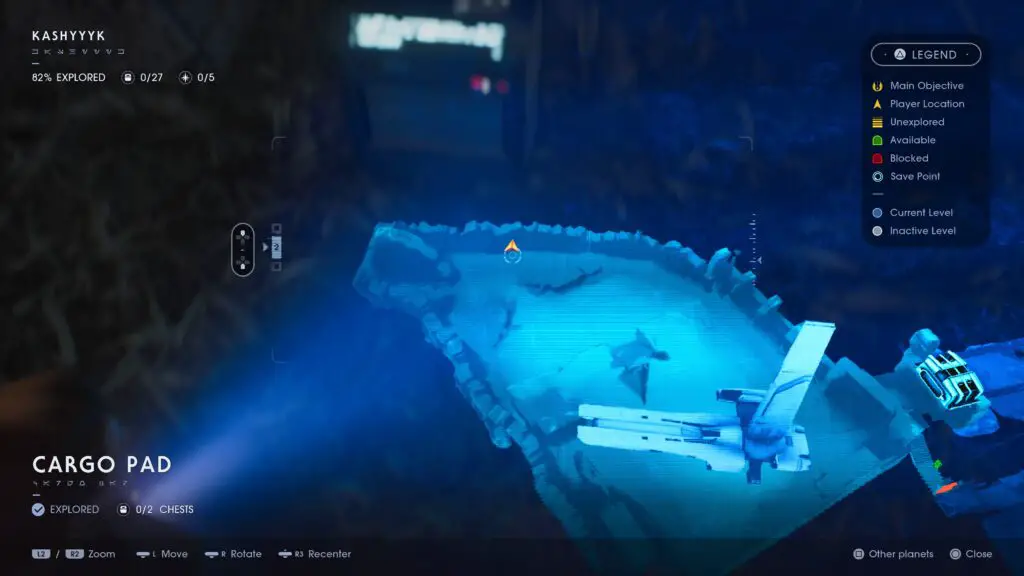
Now, head back towards the ramp but about halfway there, turn 90 degrees left and walk all the way to the edge of this area. Then turn right and you will see another chest.
Now head back up the ramp and you should be able to see a helmet on the ground near the Mantis in front of your crew with an echo inside it.

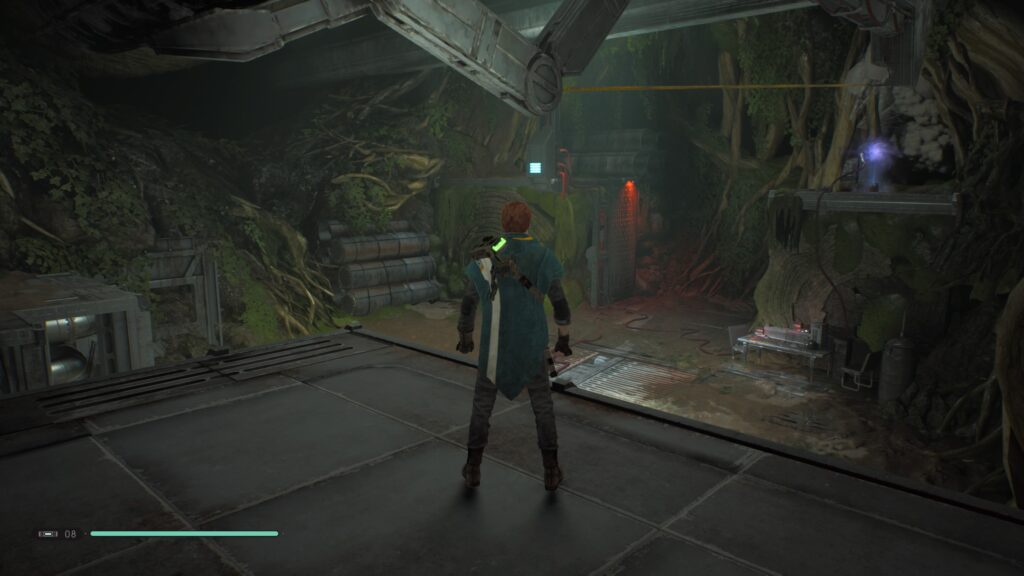
With those three items collected the Cargo Pad is 100% complete, but Kahyyyk is a huge place, so let’s soldier on. Head through the door at the back of the Cargo Pad and take the path to the right rather than using the elevator, thus entering into the Forest Trench from the start.
Forest Trench
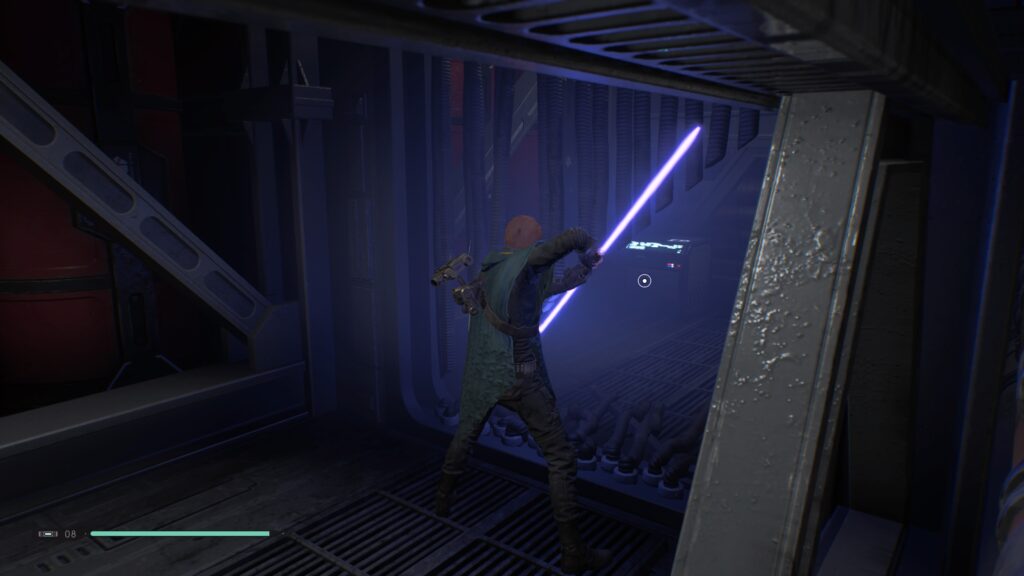
Overcharge the panel to pass the forcefield and drop down into the room ahead. In here, there is a zipline with which you can reach the secret echo in the opposite corner. The zipline may well be above you already, however, if it is not you will need to use the overcharge panel in the opposite corner to move it into position.
Continue on through the trench as normal until you reach a rope-swing segment with a wall-run section immediately afterwards. Once you’ve climbed up the wall at the end, turn around and jump across to the wall-run panel with a dead Stormtrooper on the top. This Stormtrooper is an echo.
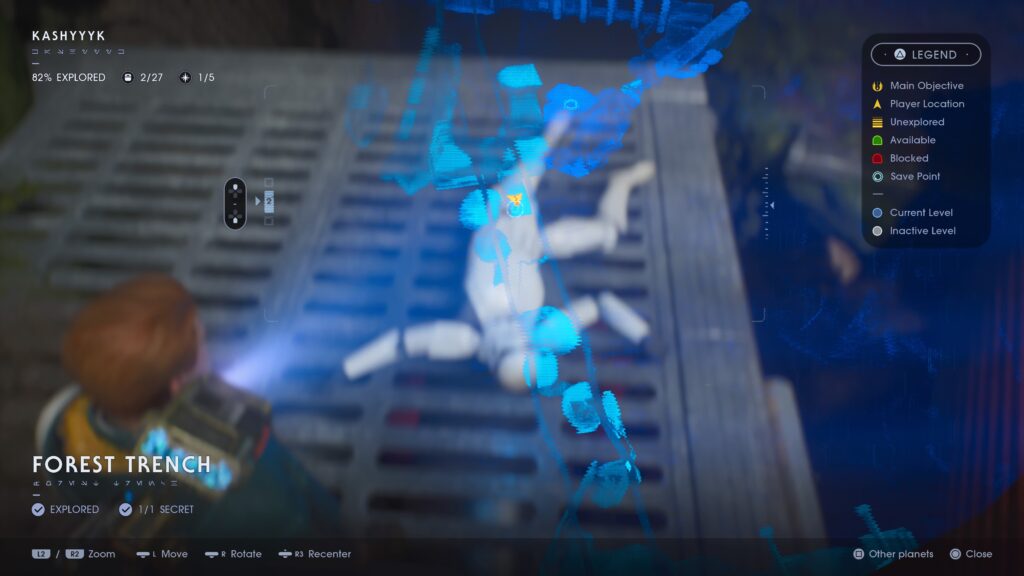
Another quick area, we’re now done with the Forest Trench! Turn around and climb back up the wall to enter the door you can find up there. This door leads us to our next area, The Imperial Refinery.
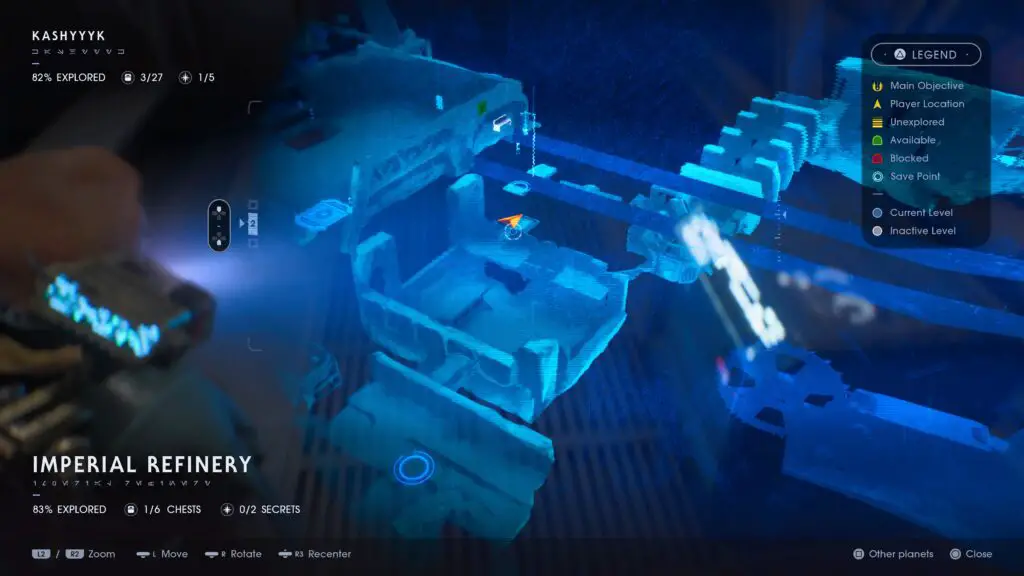
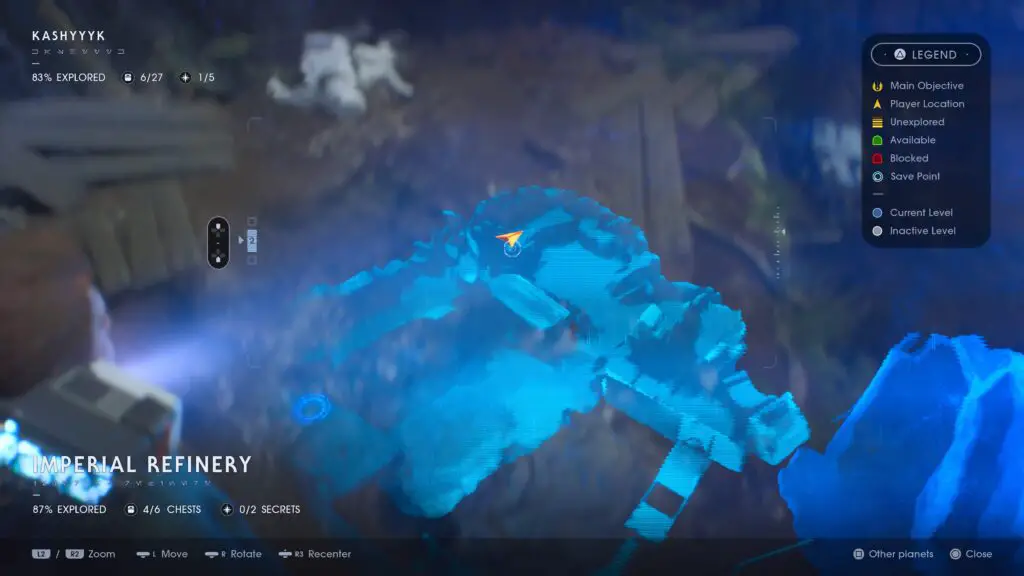
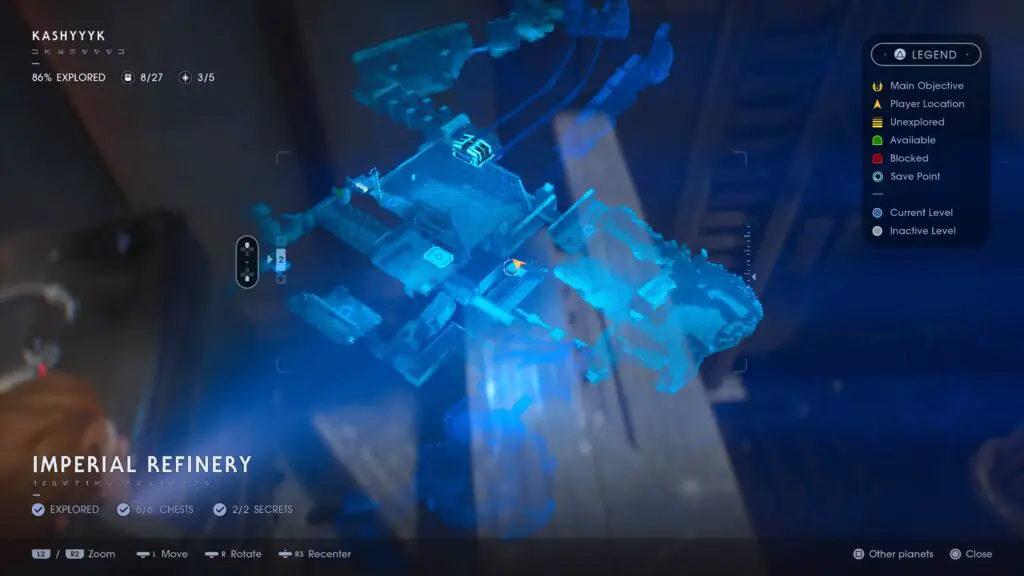
Imperial Refinery
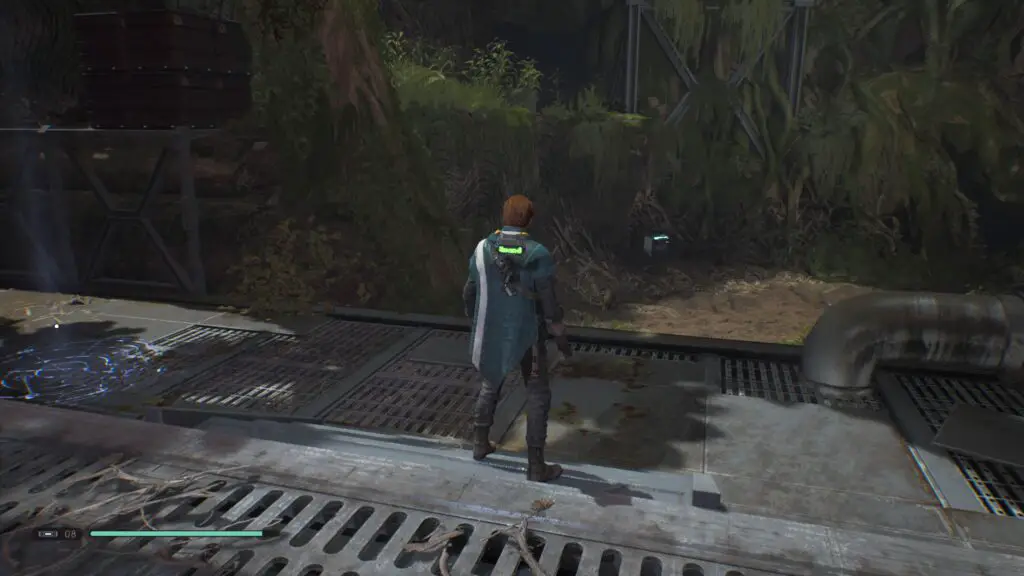
Head through the dark tunnel to the Meditation Point. Continue on down the only available path and look at the right wall. Shortly after crossing the large pipe you’ll see a cave entrance covered in vines, cut through these to find an echo inside.
Leave the cave and then continue on to the metal platform with a few Stormtroopers standing guard. Once they’re dealt with, turn around and look back towards the ledge you jumped down from. Pressed against it is a chest.
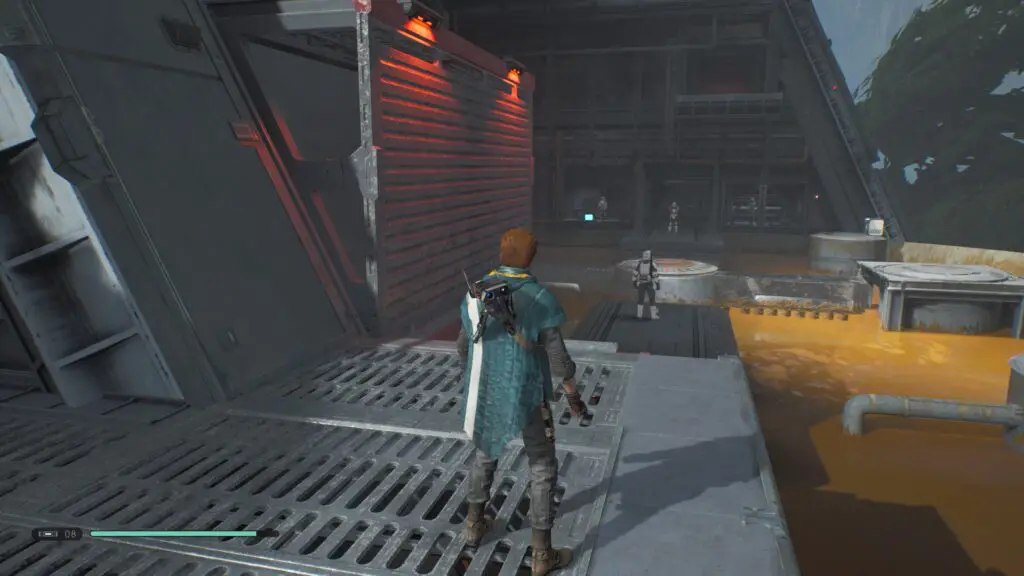
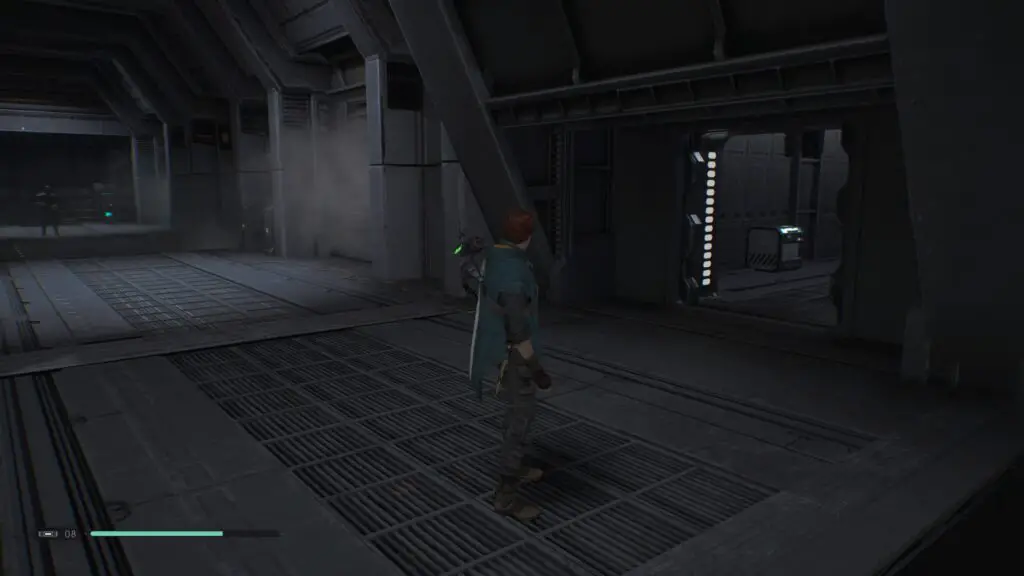
Turn back around and head inside the doors to the facility. In this large corridor you’ll be attacked by a group of Shock Troopers, just take them out and continue on to the other end of the corridor and through the door there into the room with the Purge Trooper. Once you have dealt with him head through the narrow passage at the end of this room to find yourself in a large space with a Cutter at the back.
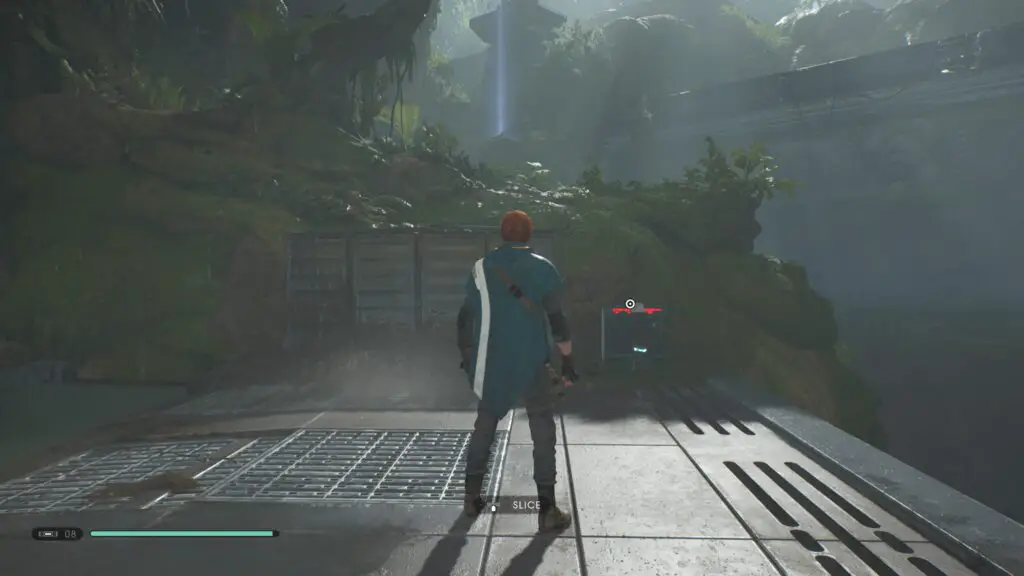
There may be Bounty Hunters in here, but those who followed my Enemy Scan Guide will have already fought them. Usually, there are Flametroopers fighting Fire Beetles. Don’t drop down from the ledge you are on, instead head to the right and cross the beam here to find a scomp link door. Have BD-1 ![]() slice it open for you and you’ll get access to the chest inside.
slice it open for you and you’ll get access to the chest inside.
Don’t leave yet, however, as what you may not have noticed is the second chest in this room. Cut through the pipes at the back to get access to it.
Leave by heading back through the doorway and then enter the opening on the wall opposite you, which has a rotating fan inside it. pass the fan and you’ll find yourself outside with a group of enemies. Deal with them and then look for the chest in plain sight nearby. Those who followed the Terrarium Seed Guide will recognise this as the location where you can find the Bonshyyyr seed.
Turn around and head back up the ledge opposite you, where the Meditation Point is. Turn right and double-jump up onto the ledge to the right of the Meditation Point. Walk along this ledge until you reach a narrow cave entrance at the end, squeeze on through to find a secret echo and a chest right in front of you.
Leave this cave via the opening at the opposite end and turn left to wall-run to a catwalk. Force-slow ![]() the rotating machinery here and use it to cross over to the next platform and then proceed as normal until you’re inside the room on the left and then begin moving through the facility.
the rotating machinery here and use it to cross over to the next platform and then proceed as normal until you’re inside the room on the left and then begin moving through the facility.
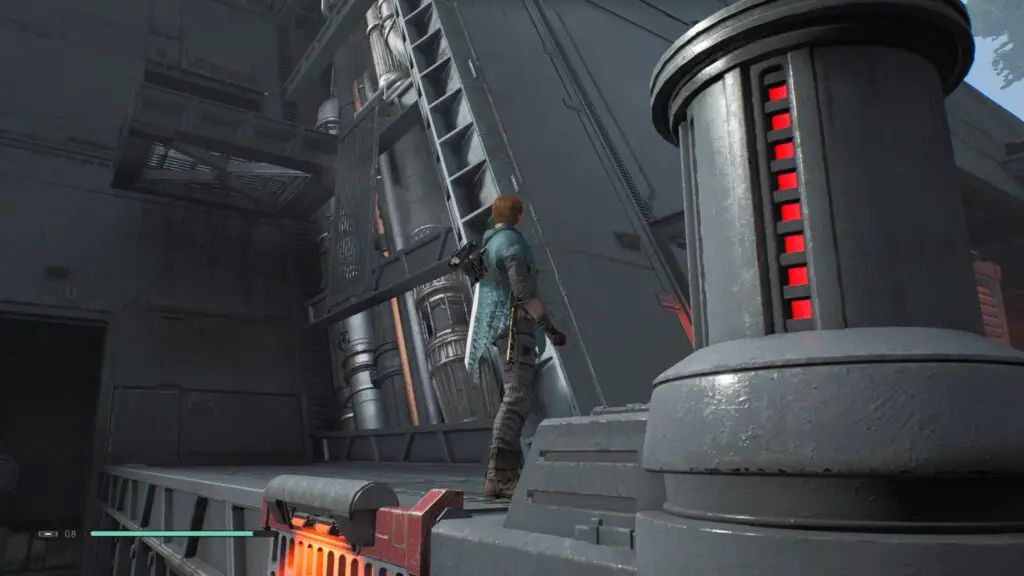
Once you reach the Meditation Point head across the pipe to the right and then head through the door on the left in the next room to find yourself outside. Climb the various panels on the left until you finally reach an area with a few stormtroopers and more rotating machinery.
Before you head forward towards this machinery, look to your left and you’ll see another climbable panel and a platform with an echo on it.
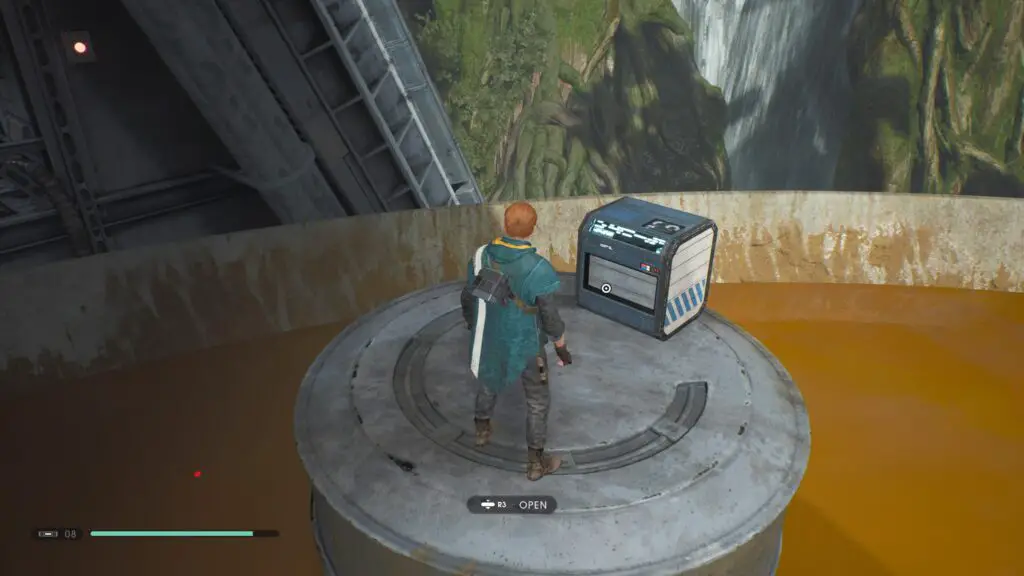
Now go back down and head towards the spinning machinery. At the opposite side on a solitary platform in the murky brown waters there is a chest to collect.
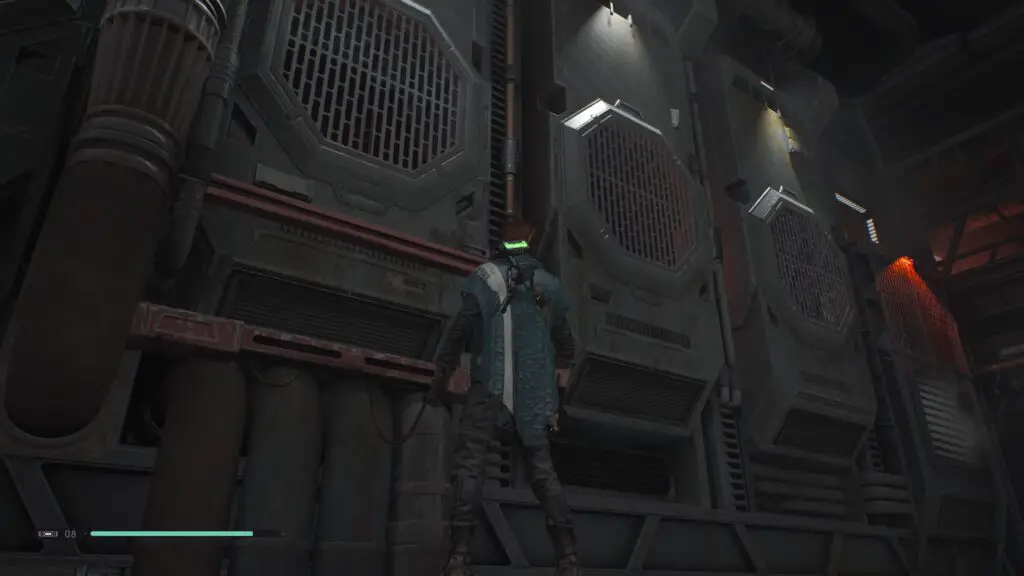
In this same area on the opposite the chest are 3 Hexagonal panels. Climb over these and once you reach the doorway at the end, turn around and jump up to a pipe you can hang from. Move along this pipe to the end where you’ll find another doorway, concealed by thick black smoke. Inside, there’s two rotating fans which you can ![]() force slow to gain access to the secret echo at the end.
force slow to gain access to the secret echo at the end.
Leave this corridor and head back across the rotating machinery below you. On the opposite side go all the way to the ledge ahead of you and look down, you should see a Wookie corpse on another bit of machinery. Work your way down to this and collect its echo.
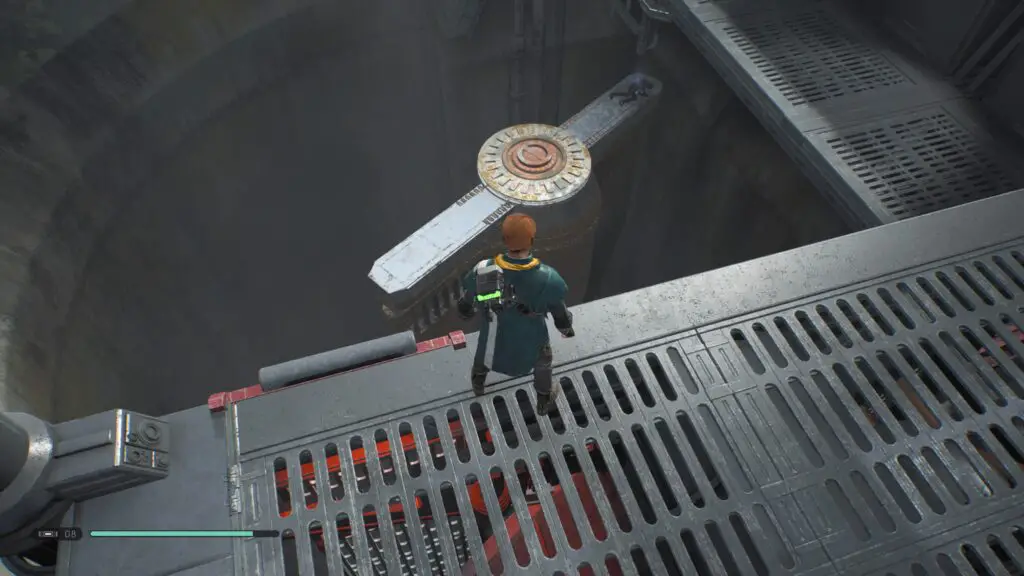
Climb up the nearby ledge and head through the largest of the two available doorways. Go all the way into the room at the end and continue out through the doors on the opposite side and you’ll find yourself on a metal bridge outside. First, look to your left and you will see a metal crate at the opposite end of a wall-run segment with an echo on it.
Then, look the opposite way, back across the wall-run segment and you’ll see a bridge you can ![]() pull down which leads to a secret echo.
pull down which leads to a secret echo.
And with that, the Imperial Refinery is complete. Next stop; the Overgrown Pass. Head back over to the metal bridge and cross the pipe there to find yourself heading into this next area.
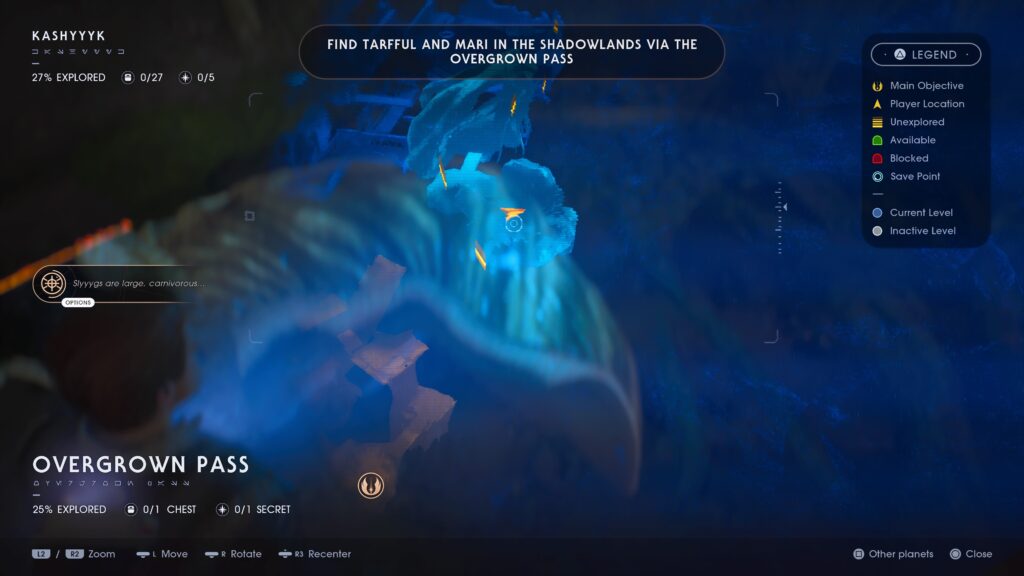
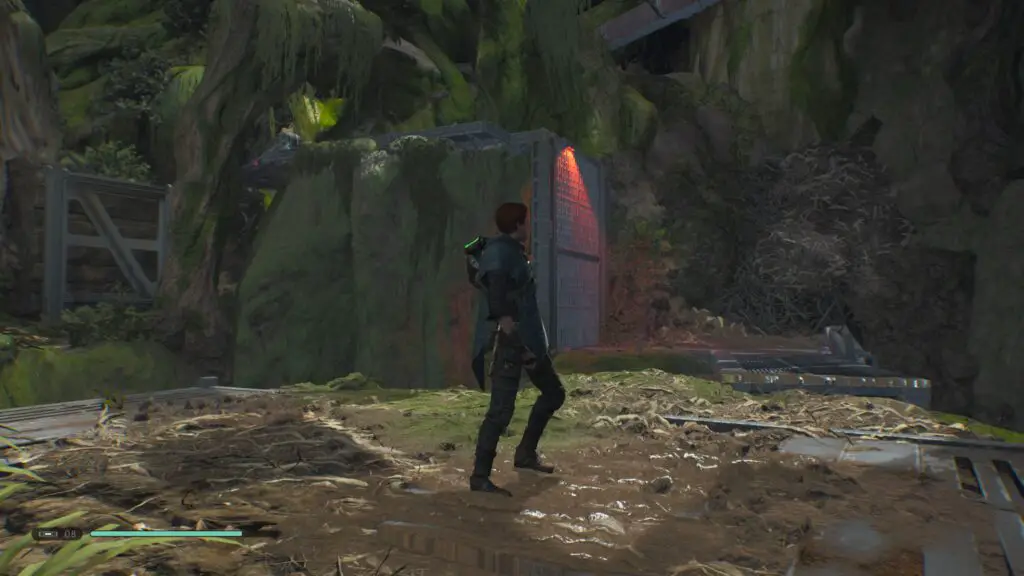
Overgrown Pass
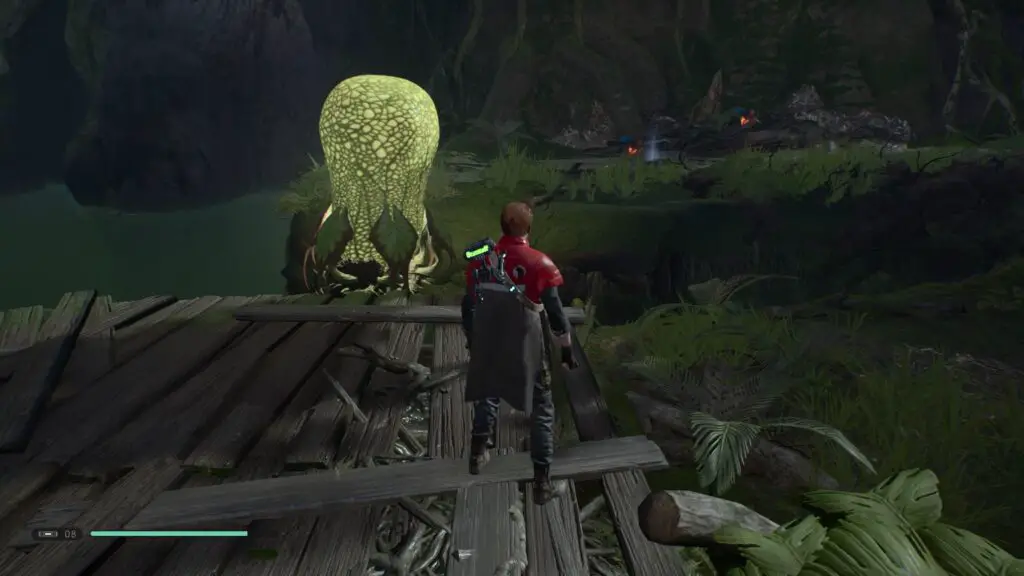
Not long after your entry into this area, a Slyyyg will take a disliking to you. Just next to the Slyyyg is a chest you have get BD-1 to ![]() slice open for you.
slice open for you.
Continue on through this pass and you’ll soon come to an open area with a lot of imperial machinery and a Meditation Point in the distance to your left. Jump across to the left as though you’re heading towards this Meditation Point but instead turn left again and you will see a climbable panel at the end of a bridge.
Head up here and then turn around, you will see a rope which you can ![]() force pull down to yourself that can be used to swing across to the hole in the wall where an echo awaits you.
force pull down to yourself that can be used to swing across to the hole in the wall where an echo awaits you.
This short area is now 100% complete! Head onwards through the area, past the Meditation Point and over the rope-swing near it. Slide down the muddy slope to find yourself in the Kyyyalstad Falls region.
Kyyyalstad Falls
When you land after the mud slope, turn right and enter the doorway there to find a chest.
Head back out of this doorway and down the corridor, past the Purge Trooper once you’ve dealt with him. At the end of the corridor, turn left and head outside. Here, turn left to see a wall-run segment leading to two platforms. Cross over to this first platform and then force-push the doorway open to reveal another chest.
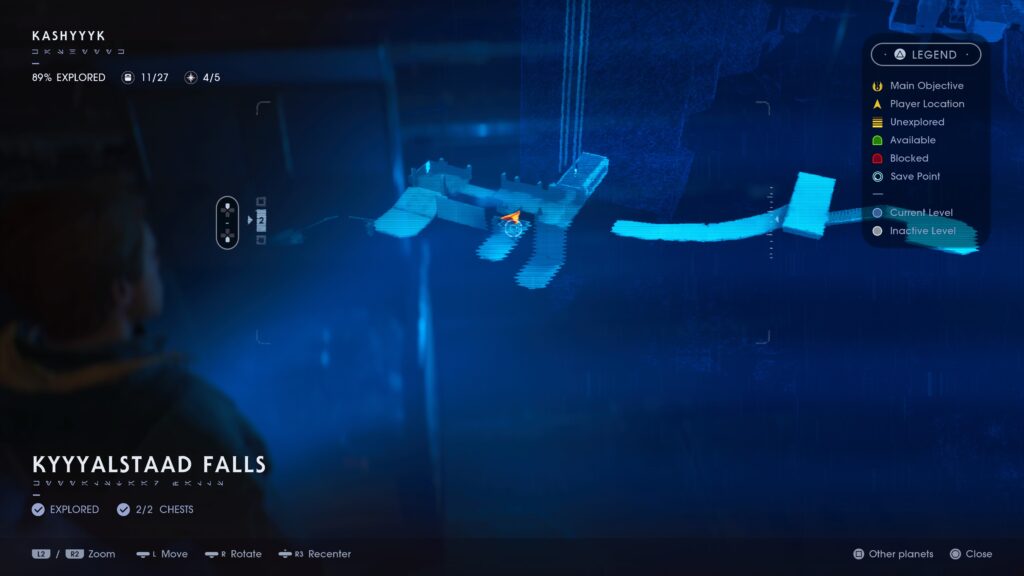
Well, that’s another quick and easy area completed! We next want the Kyyyalstad Basin area, so head back across the wall-run panel and follow the cliff-side path to a rounded hut at the very end of the path, in the distance. At the back of this hut is a zipline you can use to be taken directly to the Kyyyalstad Basin.
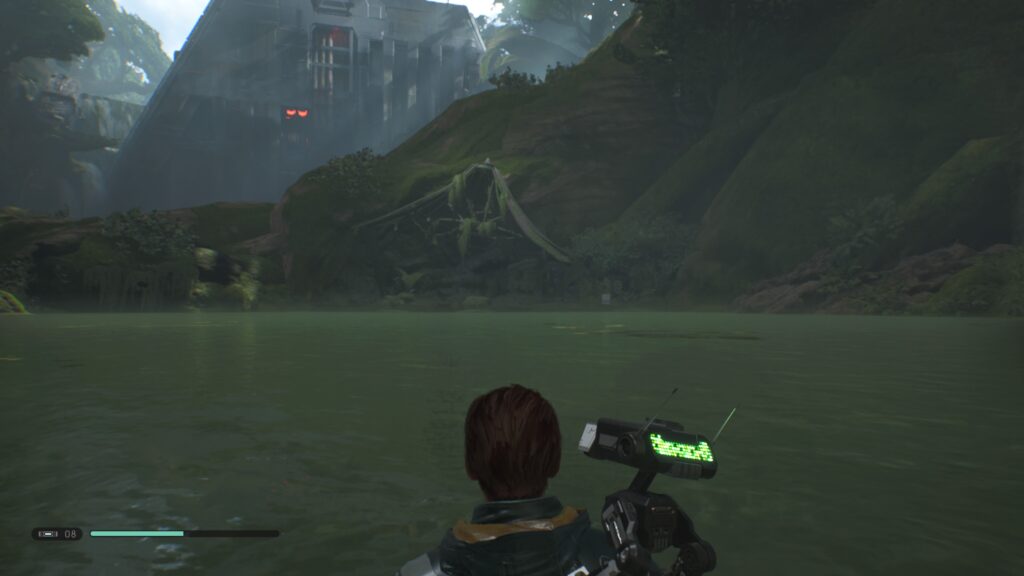
Kyyyalstad Basin
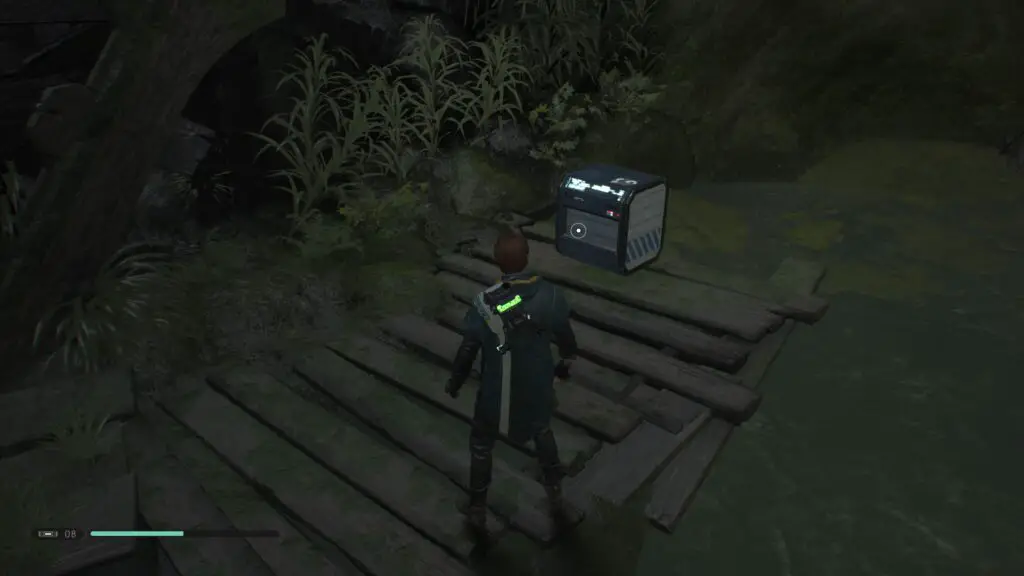
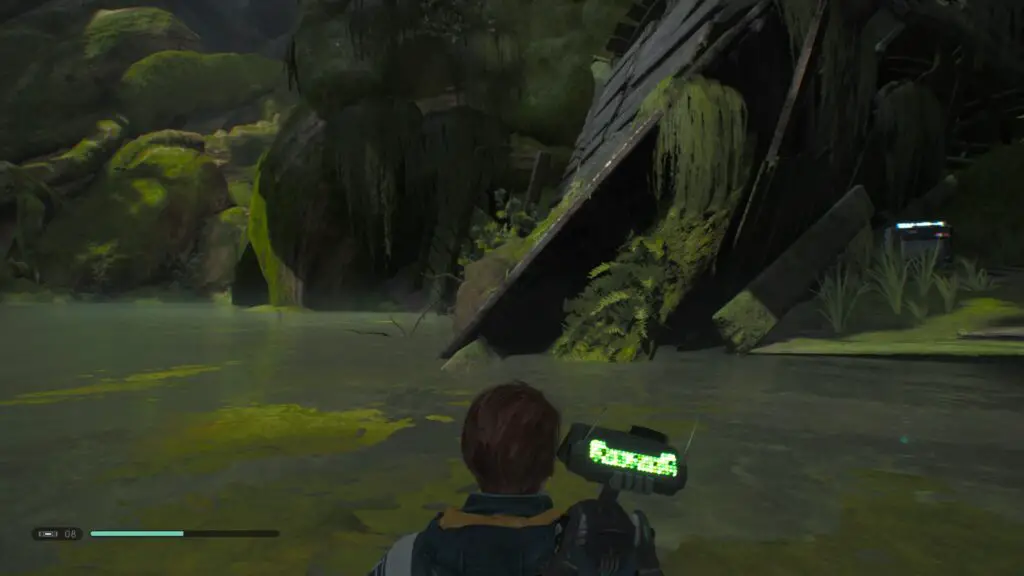
When you land in the water, immediately turn anti-clockwise until you see the roof of a destroyed hut behind you and to the left.
Swim over to it and grab the chest on the wooden platform below it.
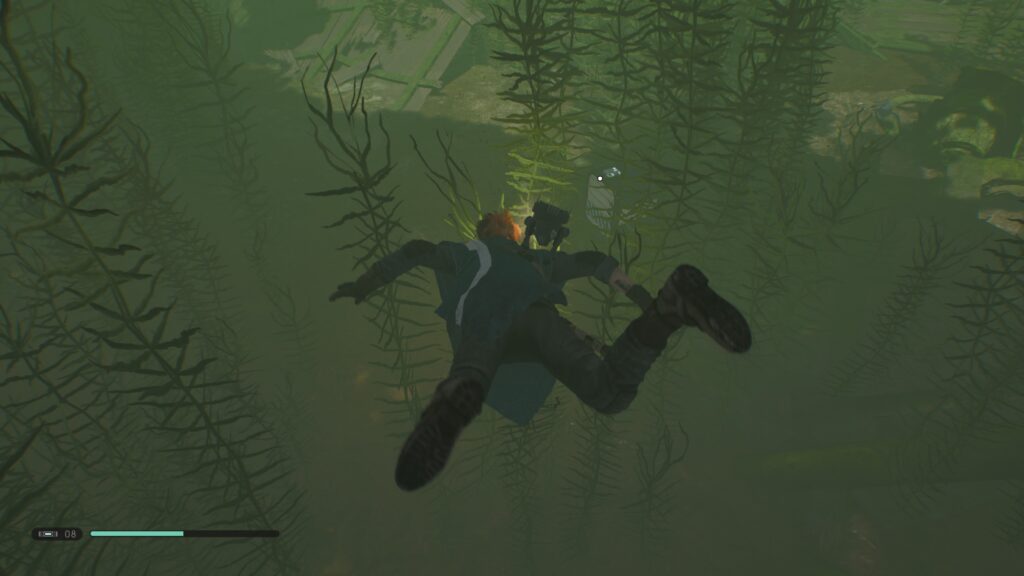
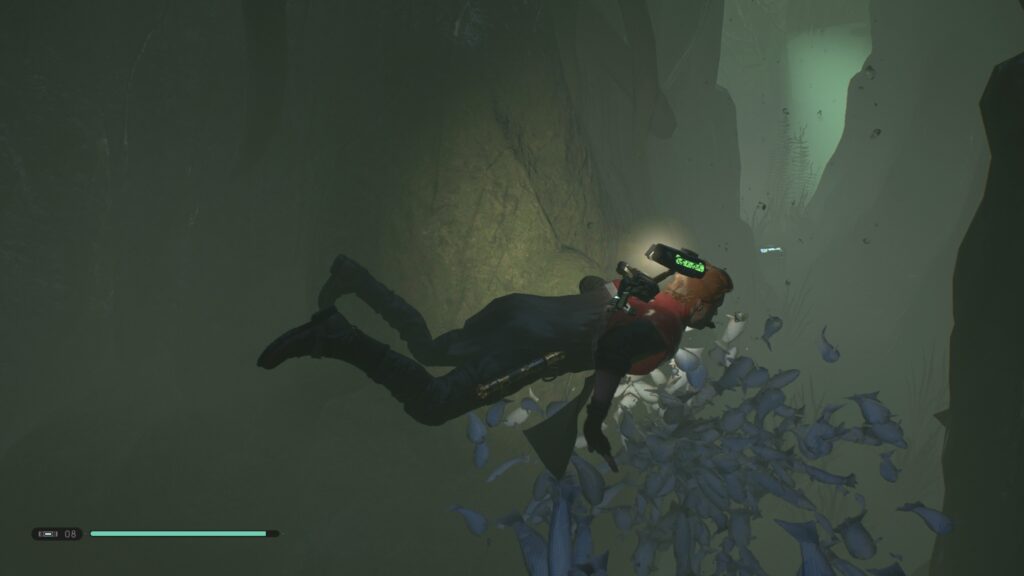
Next, head to the opposite end of this wooden platform, turn 90 degrees to your left and dive into the water here. Just a short swim ahead and you will find a chest hidden within some seaweed.
From there, surface then head to the very opposite side of the water from the initial wooden platform, there you’ll find a collapsed wooden structure at the very back of the lake, in a corner, that you can get behind. In here there is another chest.
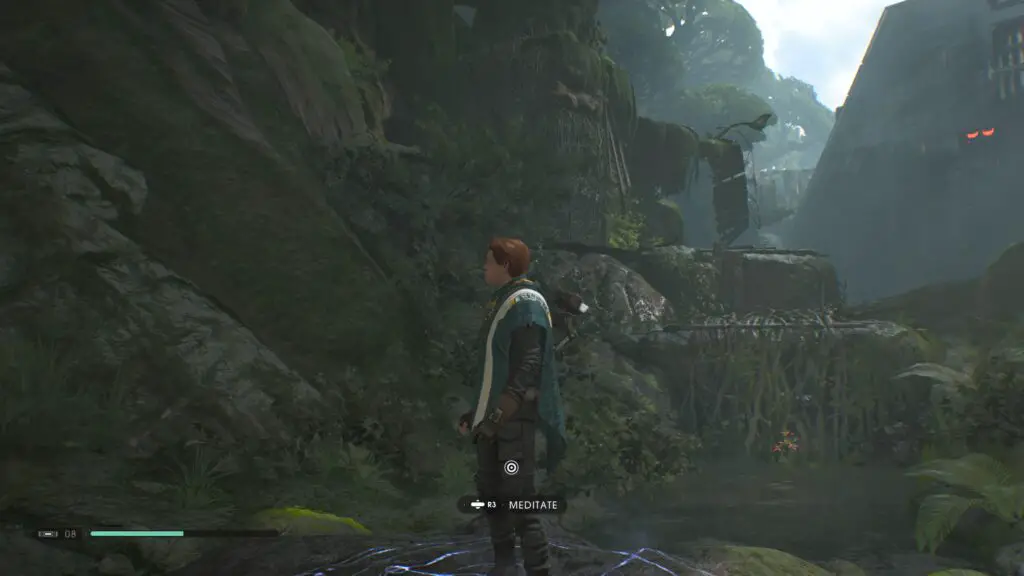
We’re done with the water now, head back into the water and go to the nearest Meditation Point. From there you should be able to see some ledges you can climb up.
Head up them and you’ll find a locked chest in plain sight after the second ledge. Slice ![]() and open it.
and open it.

Go back down to the meditation point and then look up the muddy path ahead. You should be able to see an echo a short ways up the hill. Go and get it, obviously.
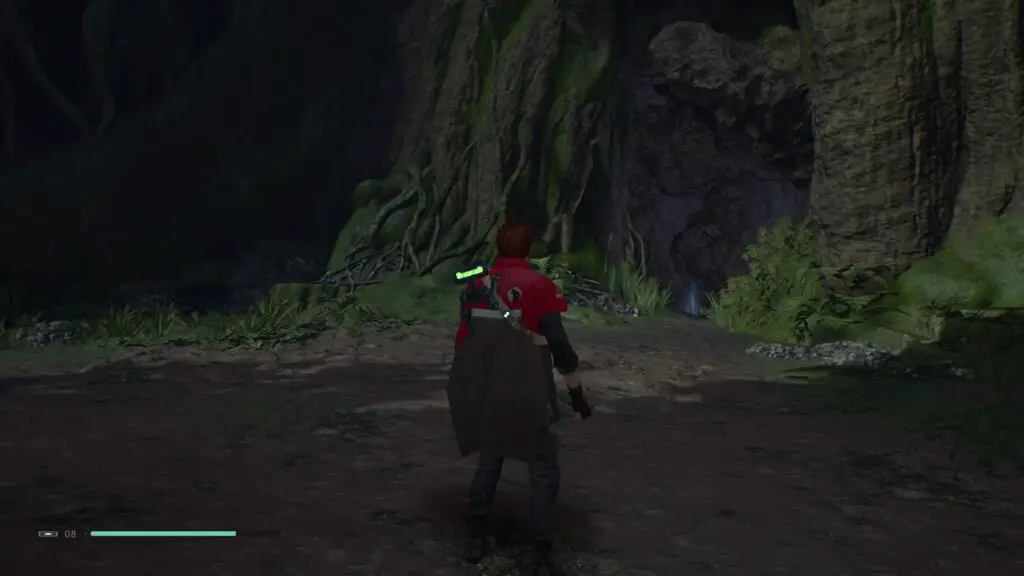
Head through the tunnel at the top of this hill, because we’re done here and it’s going to take us to Gloomroot Hollow.
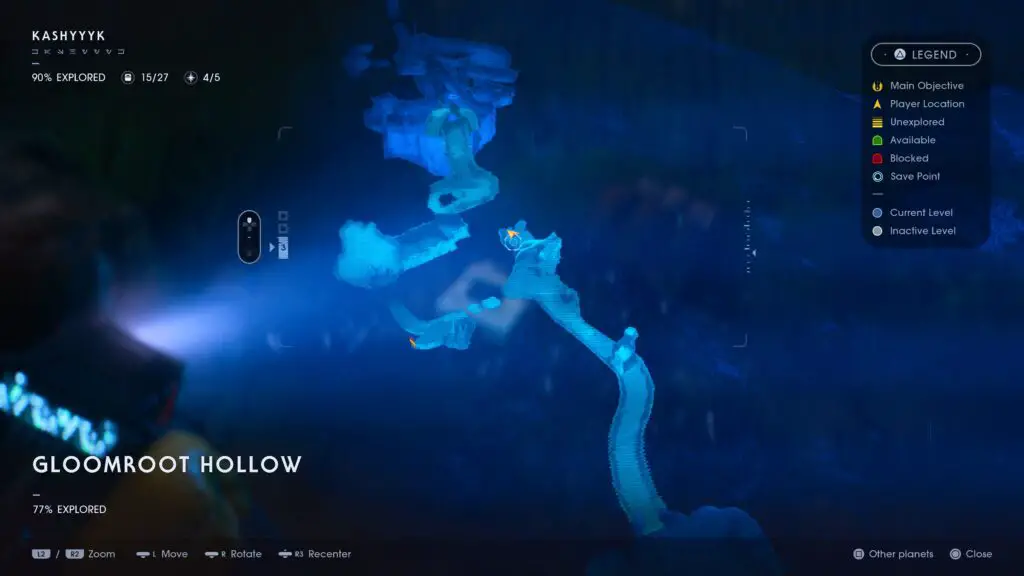
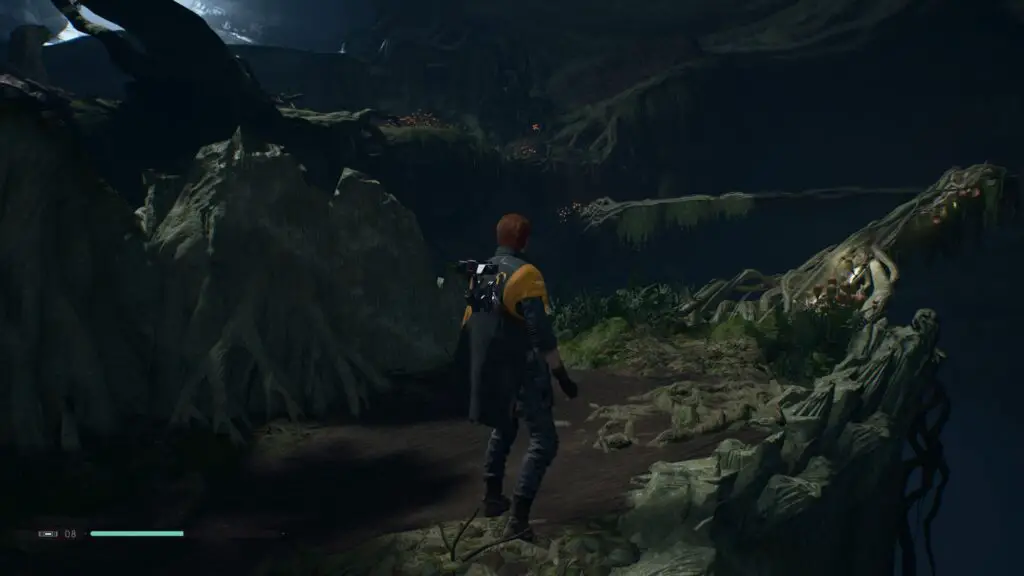
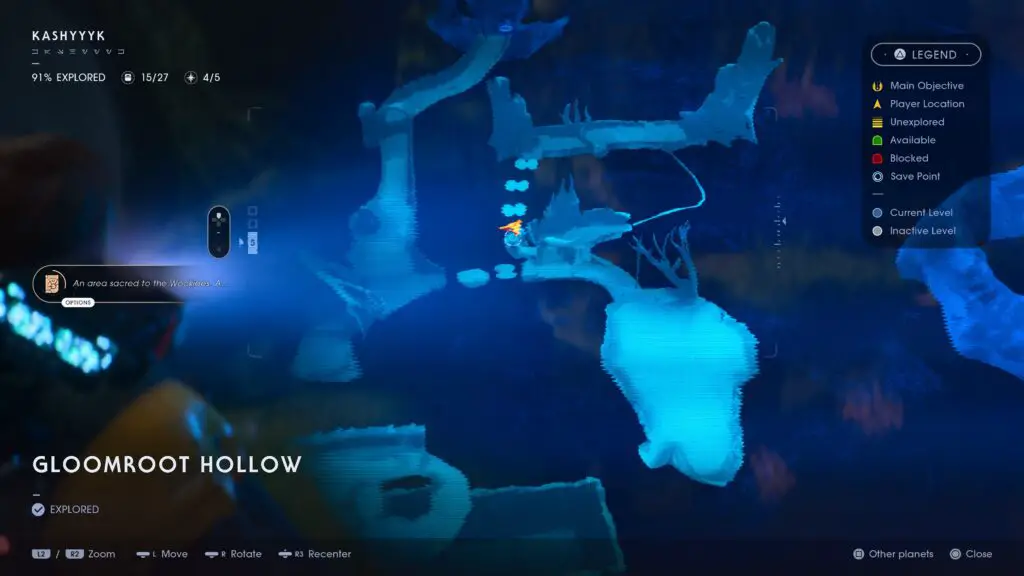
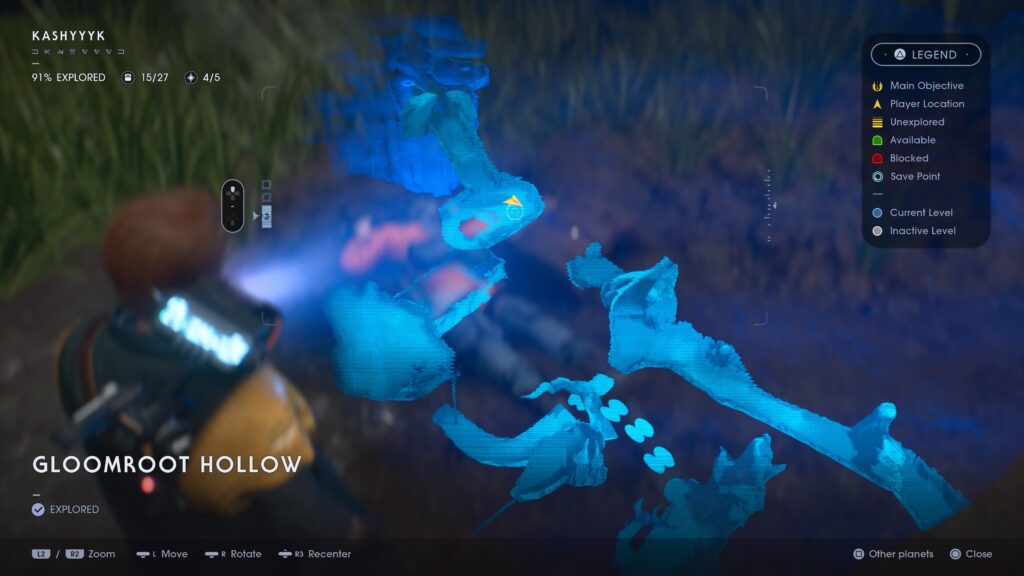
Gloomroot Hollow
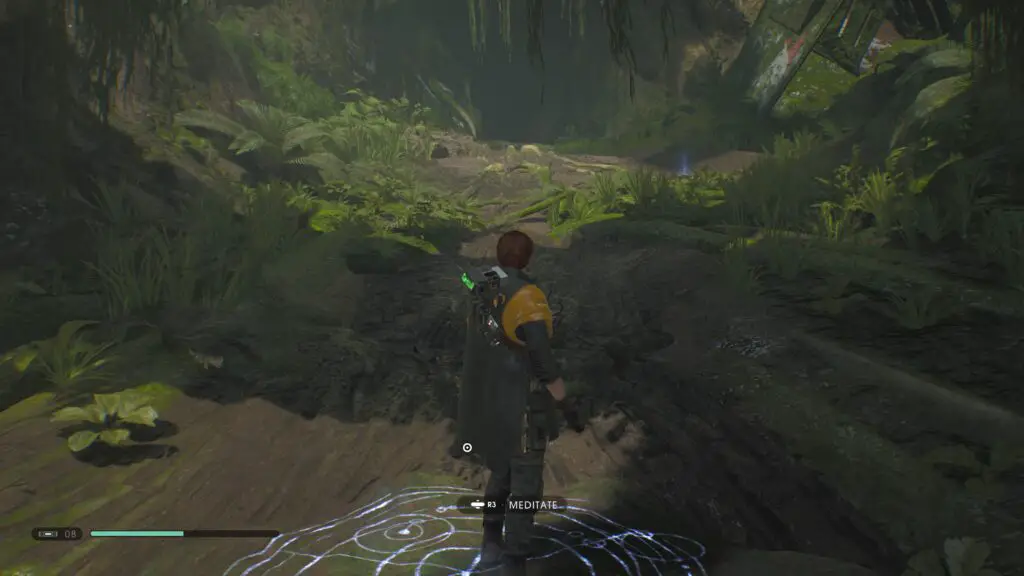
After the first three Jaw Plants, the path will split, head up to the right and at the end you’ll find an echo.
Head back the way you came and this time take the other path where it splits, jump across the jaw plant and then climb the ledge on your left when you land. Those who followed the Terrarium Seed Guide will recognise this as the location of a seed. At the far end of this ledge there are some roots which you can walk across, follow these around to another ledge higher up.
There’s nothing up here but a bunch of those creepy vines who all start moving towards you the second you set foot up there. Work your way past them to the opposite end of this ledge where you’ll find three jaw plants. Jumping across these will take you to another echo.
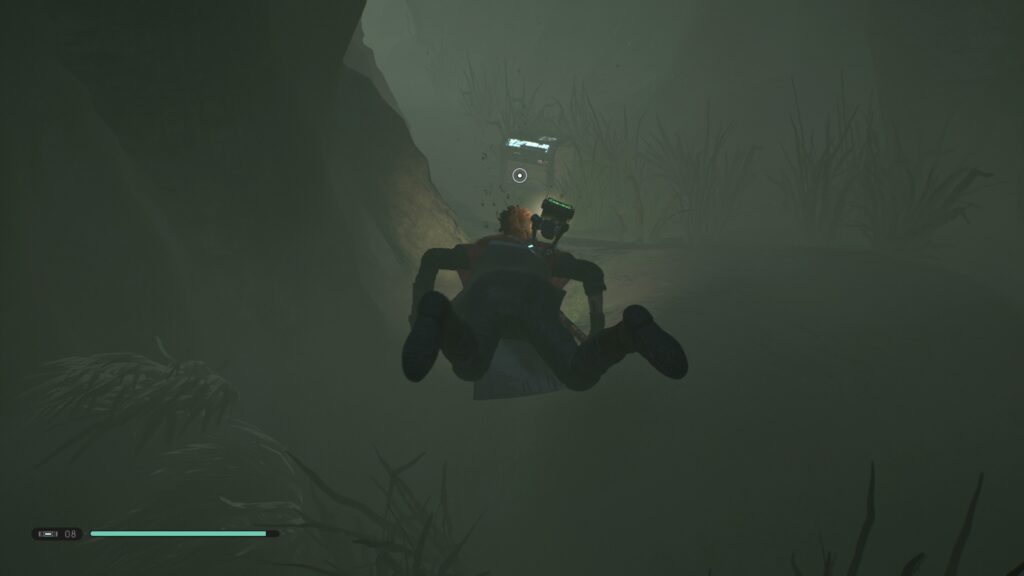
Continue on through the area now, down the path past the ledge we climbed up earlier with the seed on it, past a group of troopers near Jaw plants and down into a hole in the ground where the floor previously gave way. Climb back up via the vines on the back wall and once you reach the top where there will be a Slyyyg, grab the echo to your right.
With that, you’ve completed yet another area on Kashyyyk. Turn around from the previous collectable and follow the path into the next area; Origin Lake.
Origin Lake
Swim to the Meditation Point ahead of you just so we have a point of reference. From there, turn left and look across the water, you’ll see a green bouncy plant. I have no idea what they’re called so I will use “trampoline plant” when referring to them.

Head over to this trampoline plant and use it to reach the ledge above. Follow this ledge around to the next trampoline plant which will send you to a ledge above the Meditation Point where you’ll see a chest.

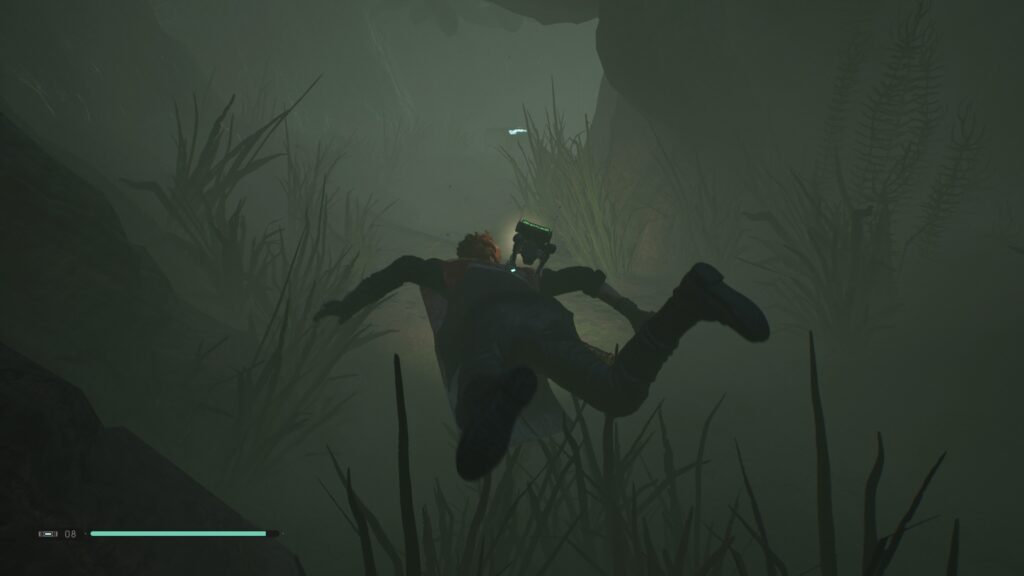
Next up, there are a few underwater chests which as you know are a real pain to direct you between, I’ll do my best so try to follow along as closely as you can. First, jump into the water and swim over to the first trampoline plant from earlier and then dive underwater, right down to the lakebed. Keep the platform with the trampoline plant on top of it on your left side and hug this wall as you swim, you’ll wrap around it and into an archway underneath it where you’ll find a chest.
While facing this last collectable, turn 90 degrees to your right and swim straight ahead. You should already be able to see the next chest ahead of you.
From here, turn right and hug the wall on your left, it’ll eventually wrap around through a very narrow passage which will contain a chest.
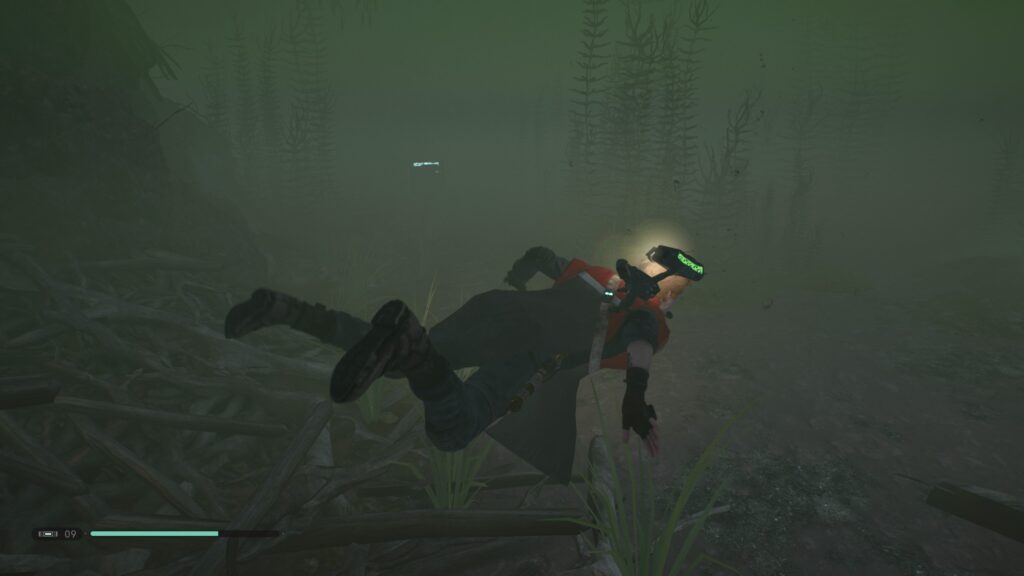
Those are all the underwater chests but we still have one more thing to find while we are down here. Turn 180 degrees so that you are facing the opposite direction and now hug the left wall. Continue along until you reach an underwater cave. The wall at the back of this cave is covered in vines, so surface and then begin climbing them. At the top, you will find an echo.

Okay, swim back out of this cave and up to the surface. Turn to your right and you’ll see another trampoline plant on a solitary pillar in the water. Swim past it and keep head down this canal until it turns right. Turn right again to find a ramp up to solid ground. From here you can use the trampoline plant to reach the echo near the Fire Beetles on the other side.
Turn around and jump back over the trampoline plant and you’ll see a cave-like alcove in a tree straight ahead of you. Inside there you’ll find another echo.
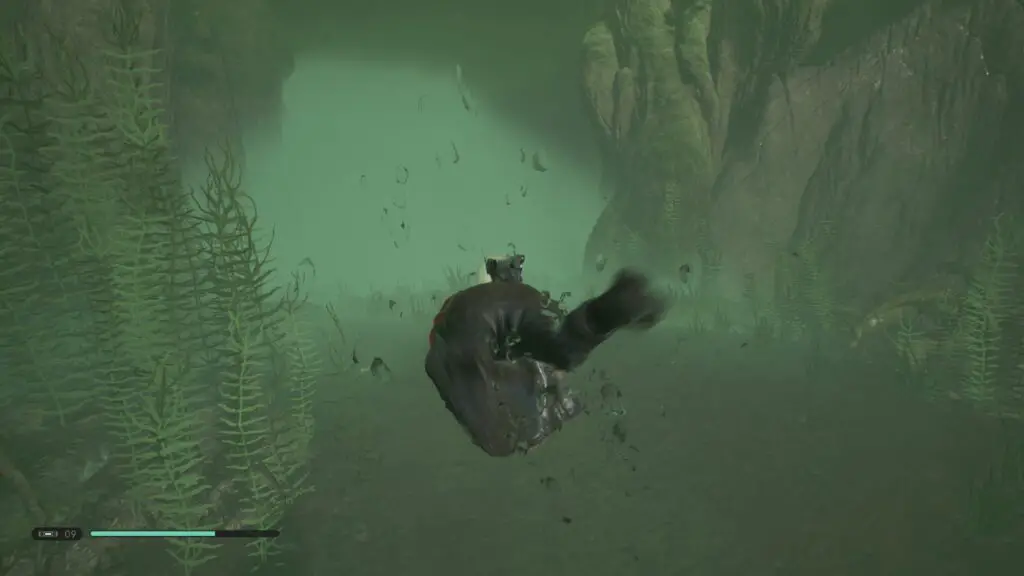
Turn around and head back into the water. Dive down and swim through the opening ahead of you, leading through a wrecked clone ship. Surface at the other side and use the trampoline plant ahead of you to reach the vines on the wall. From the top, turn around and you will see another trampoline plant with a secret stim canister just ahead of it.
I only brought you up here so you could see what you’re heading for. Jump back down now and use the three trampoline plants together to reach that collectable. This concludes the Origin Lake area, head back up those vines I pointlessly made you climb earlier and head up the path at the top to enter into the Shadowlands!
The Shadowlands
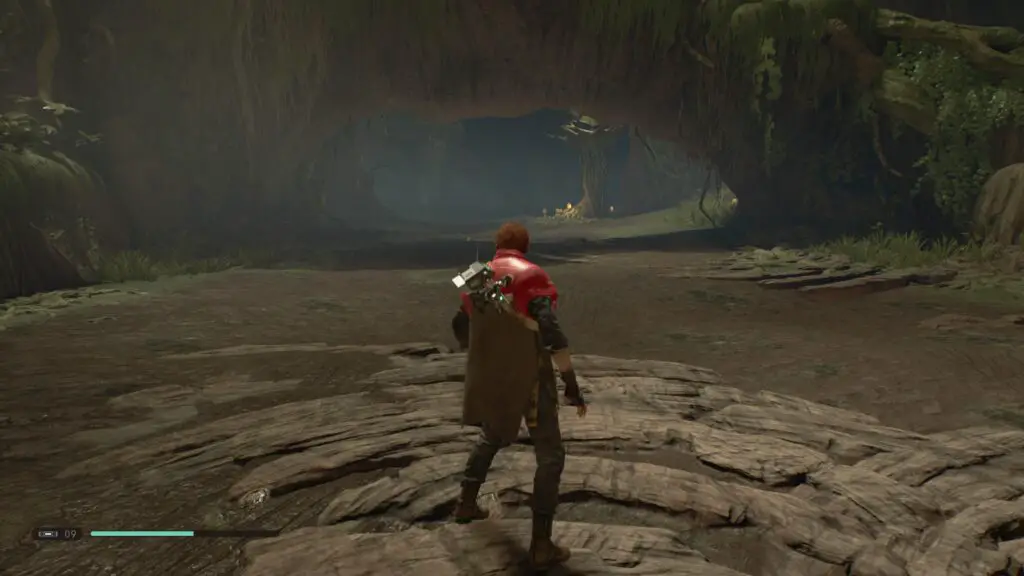
Dive into the round pool at the back in order to proceed further into the area. This short underwater section leads to a long underground section. Work your way through this cave system, the route is linear and there are no collectables to find down here. Once you reach the surface you’ll be face-to-face with a squad of Imperials to take out. Just past these guys you’ll see a rope swing leading to a wall of vines. Ignore that for now and turn left where you’ll see a body of water and just across it, a chest.
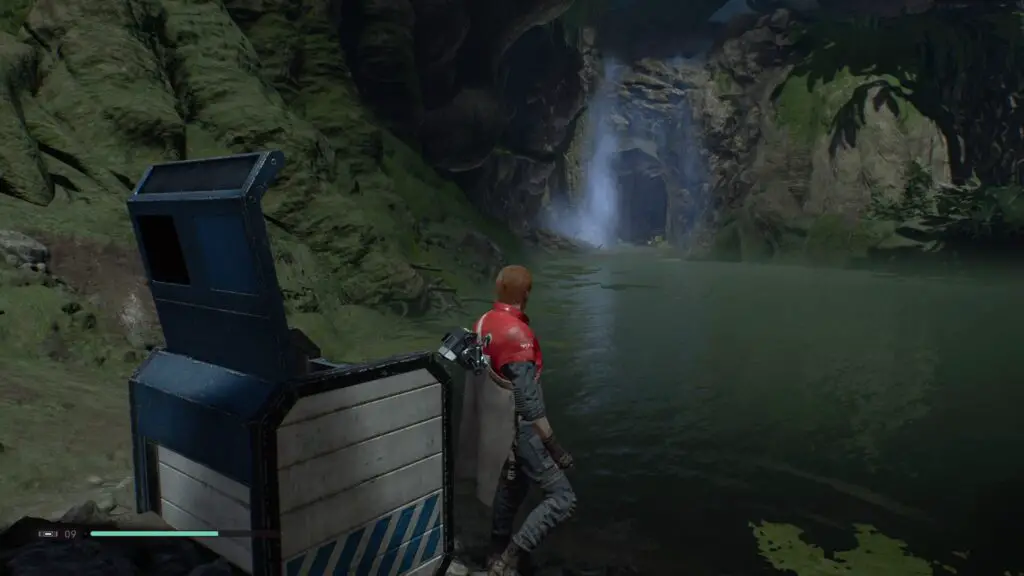
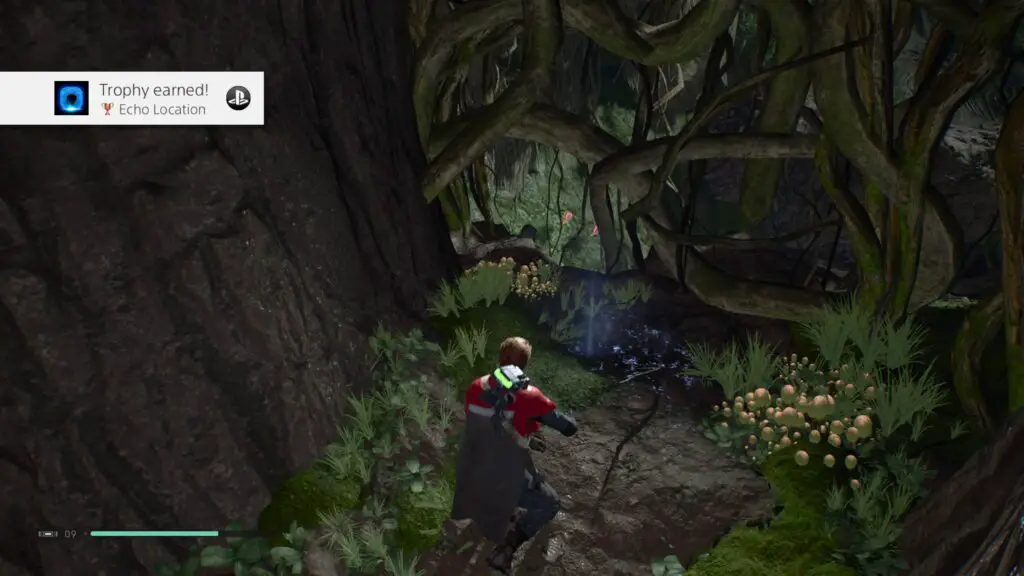
From the chest turn around and you’ll quite clearly see a cave entrance behind the waterfall. Obviously, you should head inside and you’ll find an echo at the end.
It was at this point that I got the trophy for finding 75 Force Echoes. You should now also have it or just be one or two away from getting it. So, I’ll continue to list any echoes I can find for Kashyyyk but after that, I will stop looking for them or noting them down in this guide unless they are secret echoes or are important for 100% exploration. For that reason, make sure you get any echoes I mention from this point on or in subsequent guides or risk missing out on 100% completion.
Leave the cave you’re in and go back to that rope swing. Swing over to the vines and climb up them. At the top you’ll find another body of water you need to traverse so dive in. However, as soon as you enter the water, look directly to your left and you’ll see the final chest in the Shadowlands area.
Continue on through this body of water and follow the linear path up to the Deserted Village Meditation Point.
Deserted Village
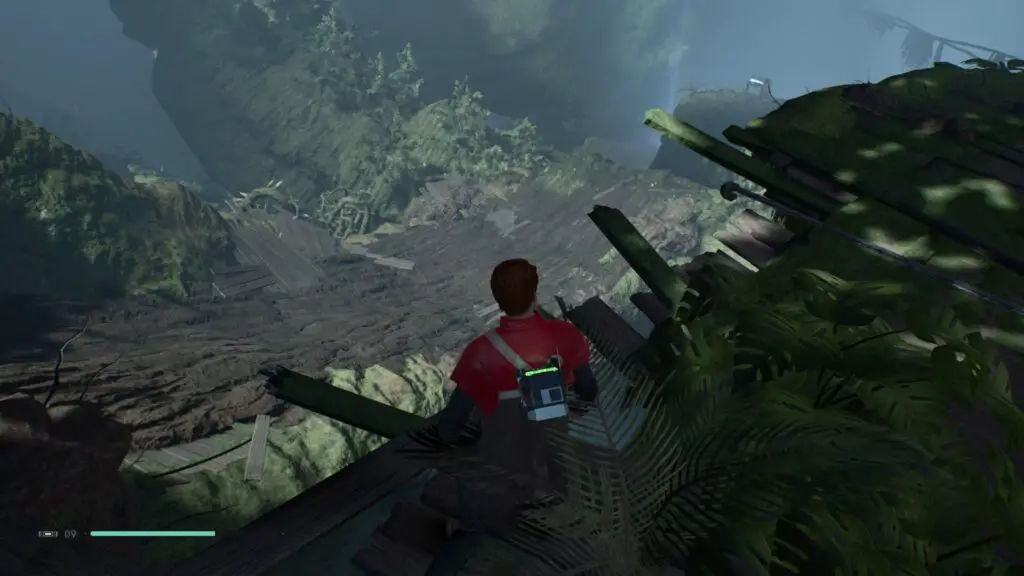
From the meditation point use the two trampoline plants and the wall-run segments to reach a circular wooden platform with a Purge Trooper on it. From there look to the right and you should see a mud slide just over the edge which leads to a chest.
Now, believe it or not, you’re done with this area. From that last collectable jump back down to the Meditation Point and then work your way back up to where the Purge Trooper was. Proceed through this linear area, down a long mud slide and you’ll have quite a bit of traversal to do and a few more mudslides. At the end of all that you’ll find yourself in a lake in the Origin Tree area.
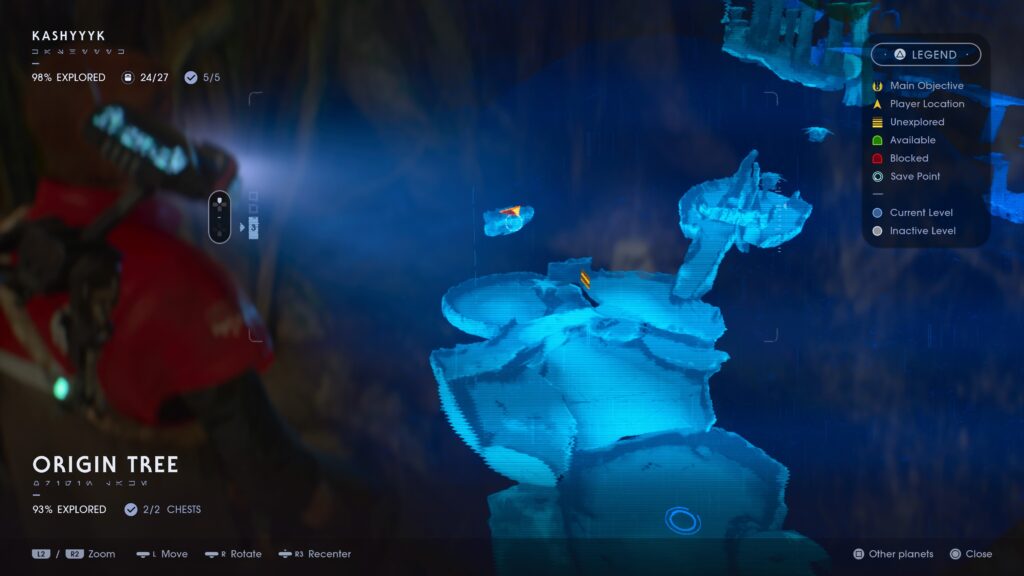
Origin Tree
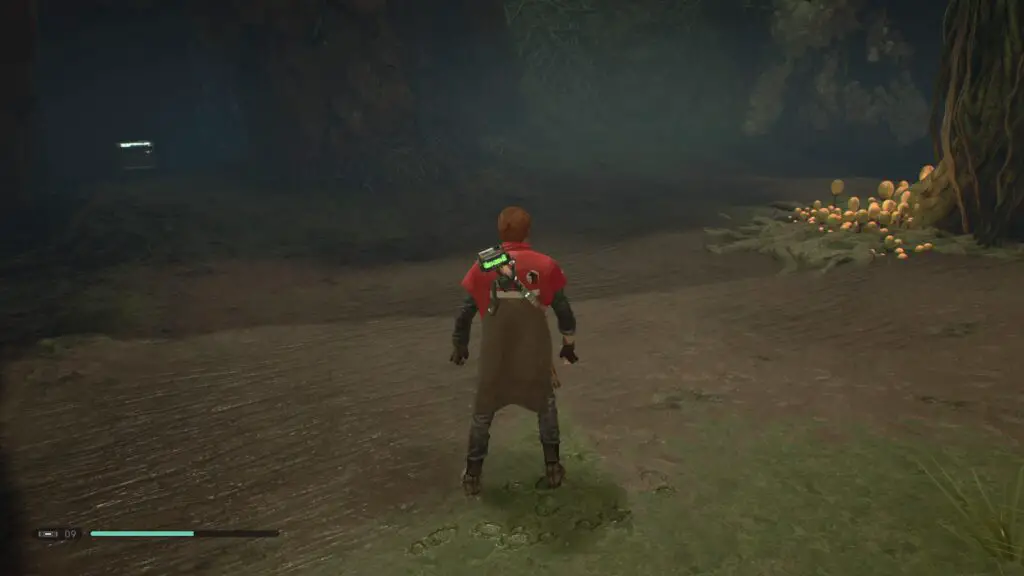
In the lake, swim over to the exit, but just before leaving dive underwater. On the lakebed to the right of the way out you’ll see a chest.
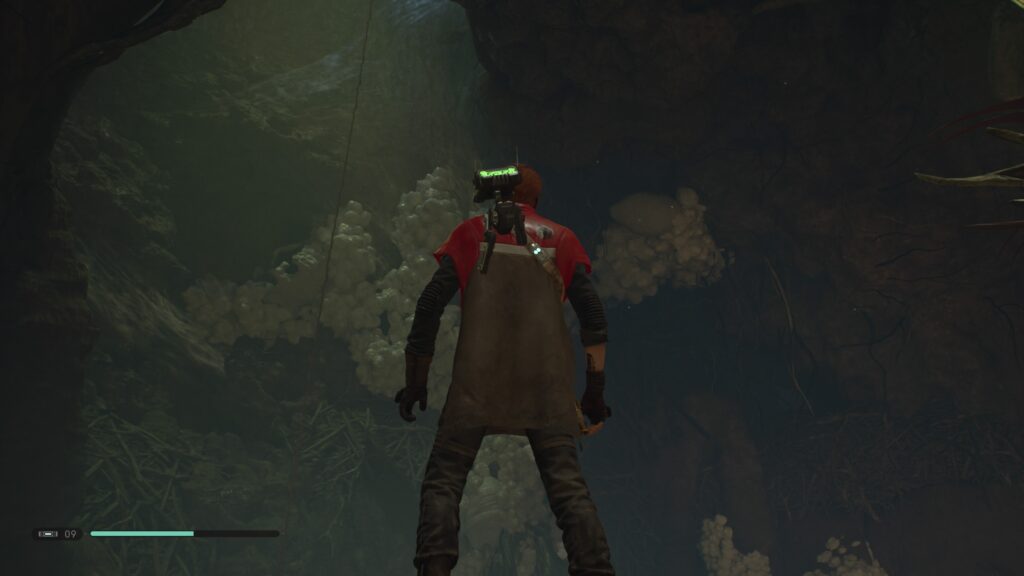
Once you reach the shore at the other side you’ll be at a Meditation Point. Head up the ledges in-front of you and look to the left, you’ll see a natural archway with some glowing mushrooms which followers of the Terrarium Seed Guide will recognise as a seed location.
Head towards them and then turn left to see an alcove with a chest inside.
Just past here on the left is an extremely long rope. Jump onto it and climb all the way to the top to find another echo on a Stormtrooper helmet.
Head back down and work your way up to the trampoline plant in this area from the ledges on the left side of the area. The plant will bounce you up to another echo.
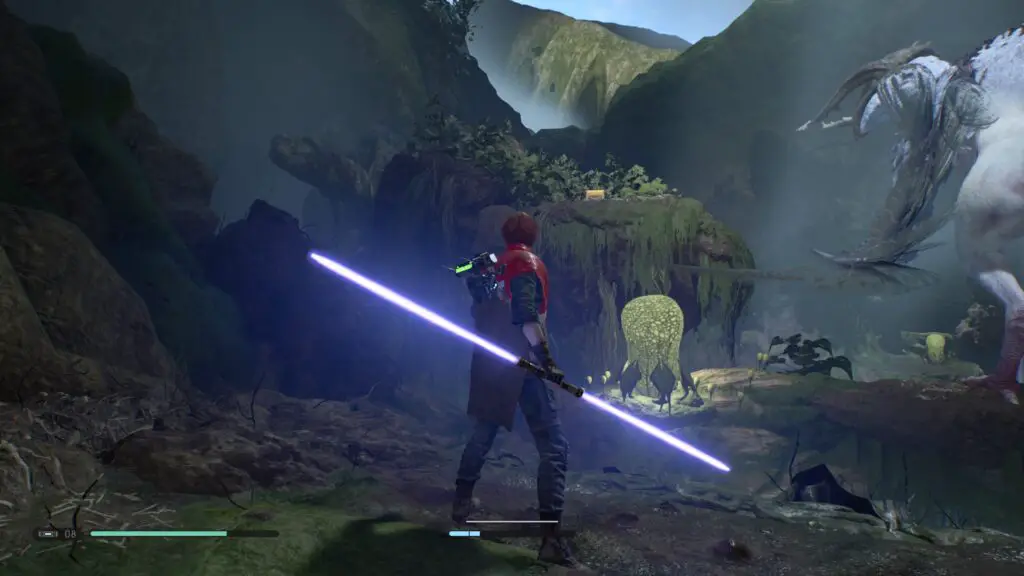
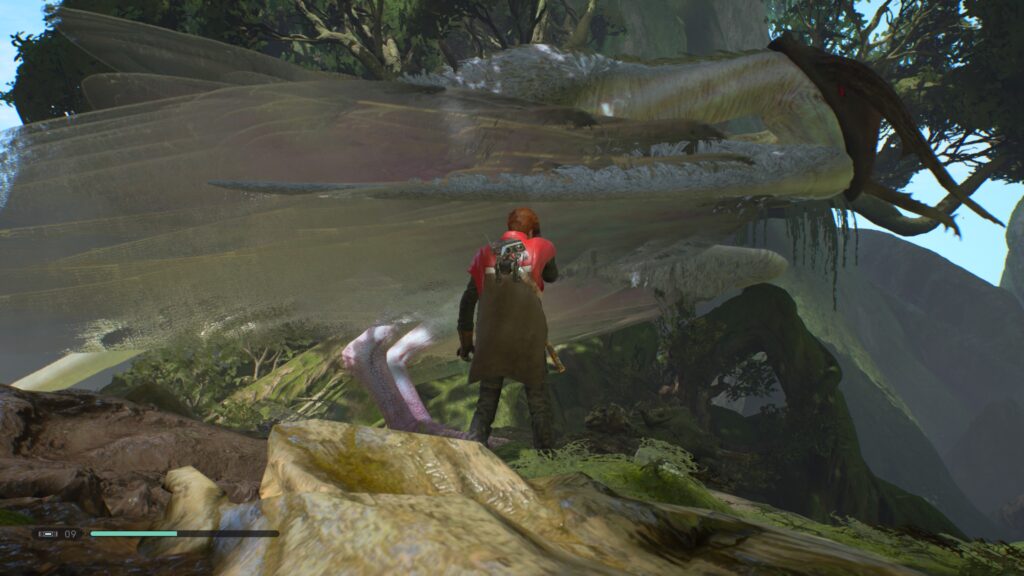
Drop down and head through the well-lit tunnel atop the ledges on the other side of the area. In here there are some Fire Beetles and a Slyyyg. Proceed as normal through this room up to the side-scrolling section where the camera controls are taken away from you. This was for story-related reasons earlier but for some strange reason the game still does it. At the top you’ll see this enormous winged creature again.
Scan the insect-like wing ![]() on the ground behind its feet to get an encrypted log about the creature.
on the ground behind its feet to get an encrypted log about the creature.
Proceed onwards using the trampoline plants behind the creature. Follow the path past the Meditation point and up to an area with three Mykal bird enemies, kill them and then grab the echo on the left.
Now we’re done with the Origin Tree, it’s time to head up to the “Gnarled Heights” area. Climb the long rope at the end of this area to be taken right up to it.
Gnarled Heights
Jump up the two trampoline plants ahead of you and then walk along the branch on the right. It will eventually split in two and we want to go both ways, so first go on the right-most path to get the chest and then use the other path to get the echo.
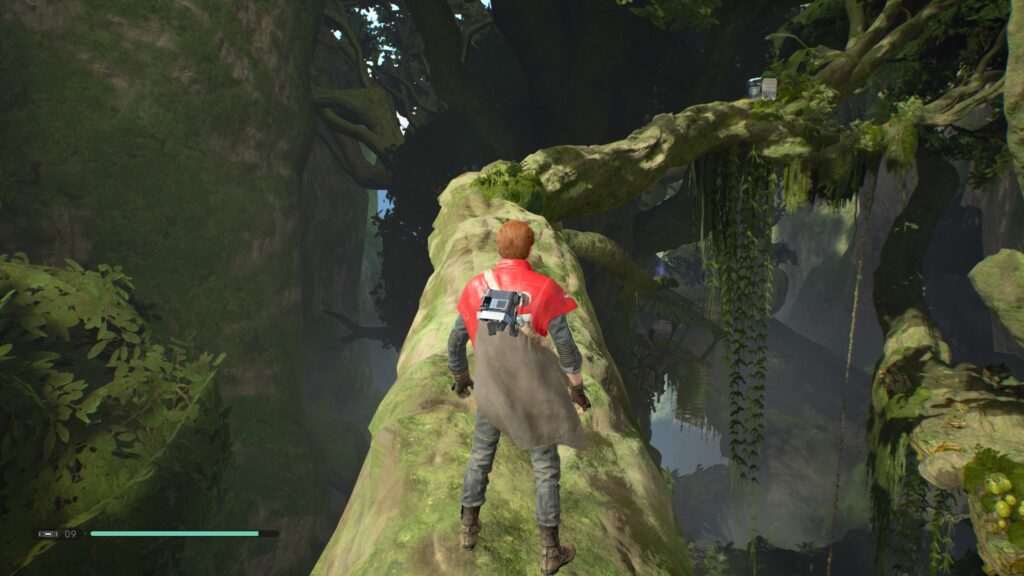
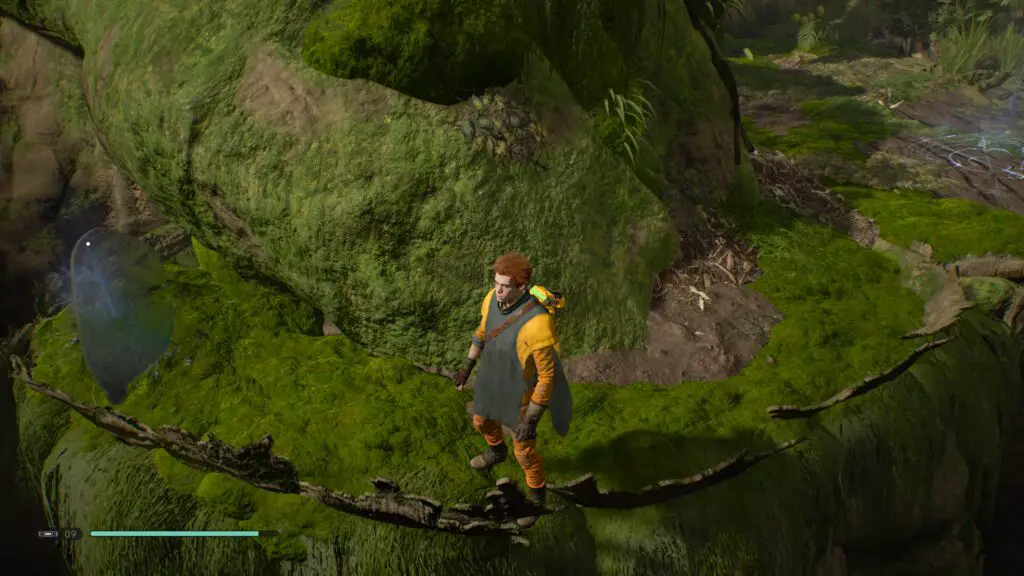
Now head all the way back up the branch to where you landed after the trampoline plants, and use the vine ahead of your to swing across to the climbable hanging log. Once you reach the top, turn around and look down over the edge, you should see a branch you can jump to with a chest on it. Go and get it!

Jump back onto the hanging log and proceed as normal until you reach a Meditation Point. Head forwards from it and you’ll see a very narrow ledge which wraps around to another insect-like wing. Collect the echo on it.
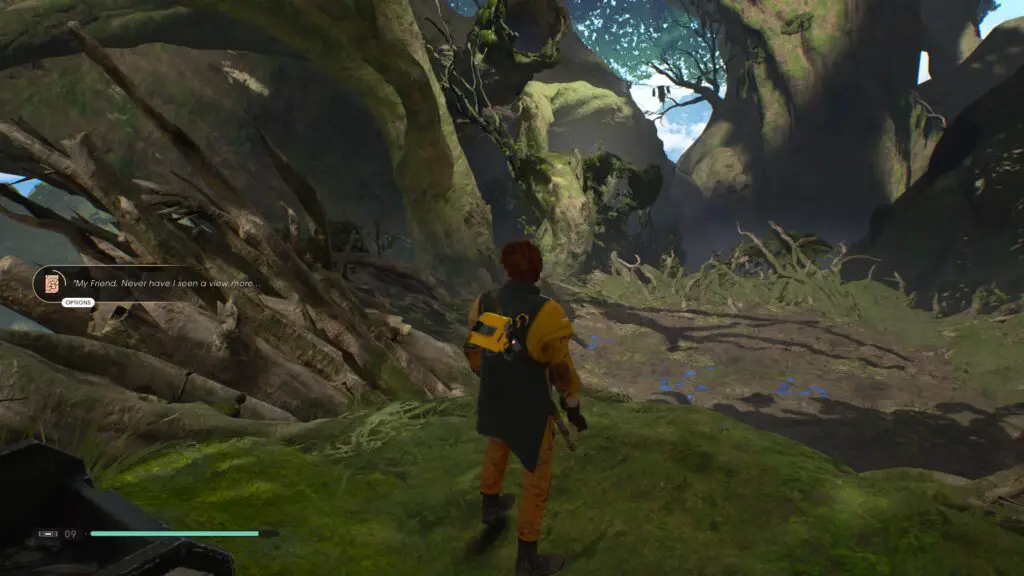
Head back to the Meditation Point and use the wall run sections to proceed onwards as normal. And good luck. I hate that wall-run section, I am so bad at it. At the end of the log tunnel, you’ll see a huge round platform with blue blood spattered on the ground and a chest atop some nearby ledges. Go and open that chest.
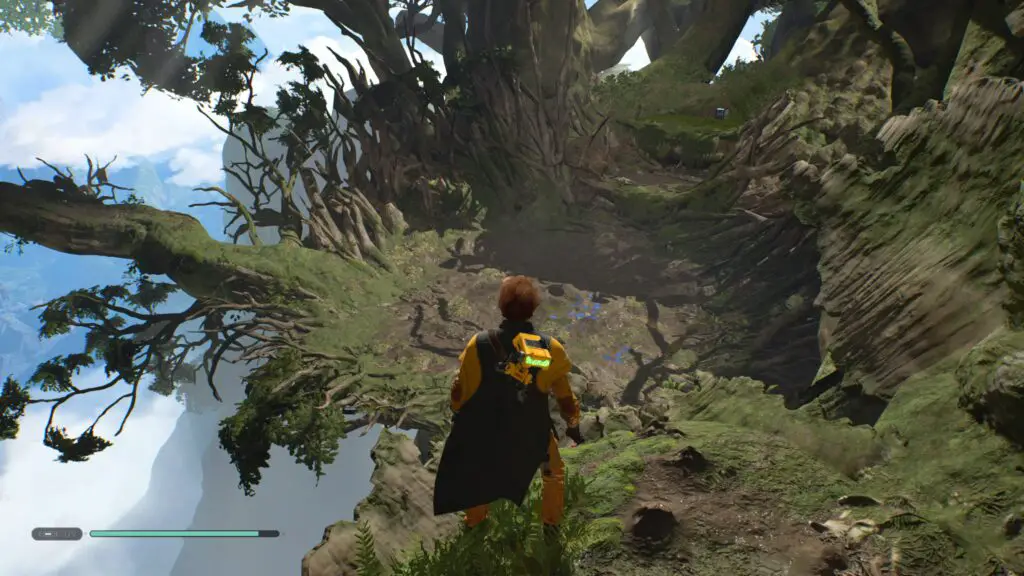
Turn around from the chest and BD-1 will let you know he can ![]() scan something. This is an encrypted log! It seems to be about how great the view is from up here but honestly you can’t really see anything…
scan something. This is an encrypted log! It seems to be about how great the view is from up here but honestly you can’t really see anything…
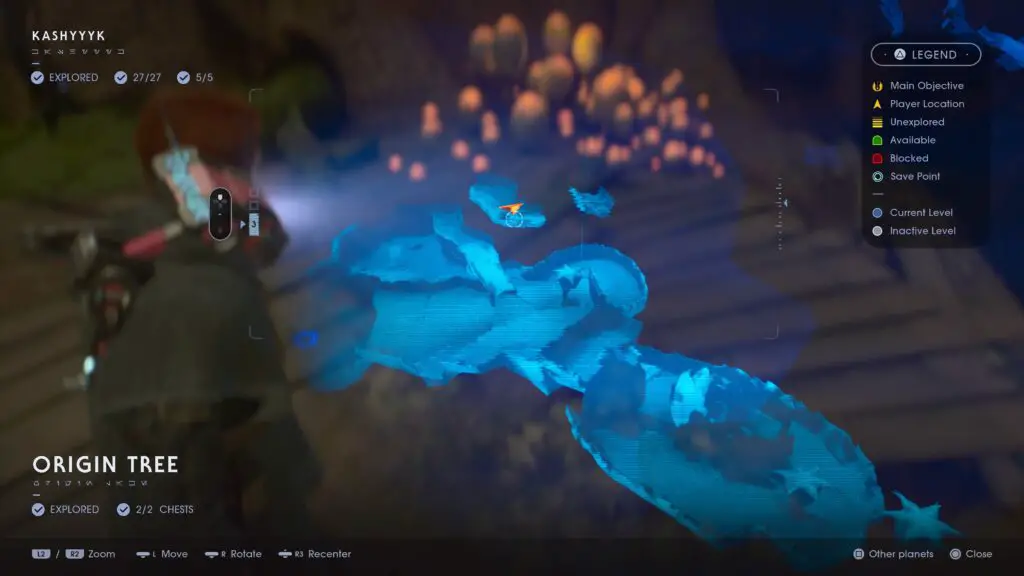
Guess what? That’s it! You’ve 100% completed Kashyyyk! We’re getting so close to that plat now, just two more planets to go!
Click here to be taken to the Dathomir portion of the guide.
Thanks for choosing us for your guide needs, I hope this more walkthrough-like format proved quite useful in expediting your Platinum Journey as it was a gruelling process writing it all out and I hope you’ve genuinely enjoyed Jedi Fallen Order as much as I did!