PlayStation 4
Star Wars: Jedi Fallen Order Enemy Scan Guide
Game Guide
The full collectable guide for all echoes, chests, secrets, stim canisters and encrypted logs is available separately here as well as another separate guide for the Terrarium Seed guide which I recommend following alongside this guide, as you will want to gather and plant the seeds as soon as possible.
Scanning all 45 enemy types will net you the Data Collector Trophy.
Follow the guide below to find each scannable enemy as you play through the game – I’m writing this guide while I play and noting each enemy as I first encounter them. Press ![]() on your controller to have BD-1 scan an enemy for you. Some enemies can’t be scanned after they’ve been defeated, but luckily these rare few are added automatically.
on your controller to have BD-1 scan an enemy for you. Some enemies can’t be scanned after they’ve been defeated, but luckily these rare few are added automatically.
If you miss the opportunity I mention in this guide for each enemy, don’t panic, none are missable and enemies will respawn when you rest at a meditation point. You are also able to find any of these enemies at multiple other points in each level, this is simply a log of each first instance that I came across an enemy type. Note that some enemy types are logged twice below, this is because on my first meeting some enemy types I was unable to scan it (either because they fell off a cliff of glitched into the ground) and so I will also note the time that I was successful.
The list below is divided by planet. I had taken map screenshots for Bogano but for some reason they all saved as blank white images, but the area is small and my instructions should be clear enough if you follow along with the story.
Bogano
Splox
Shortly after BD-1 jumps onto your back you will reach the surface in the “Hermit’s Abode” area, here you can find a few Splox to kill and subsequently scan. Look around a bit, they may be behind you.
Bog Rat
After the above Splox scan you’ll take a zip line over to “Great Divide” where you’ll get a map tutorial and Cal will say he can’t reach the objective. Turn around and drop down onto the lower ledge where you’ll find this Bog Rat just before a vine swing and the meditation point.
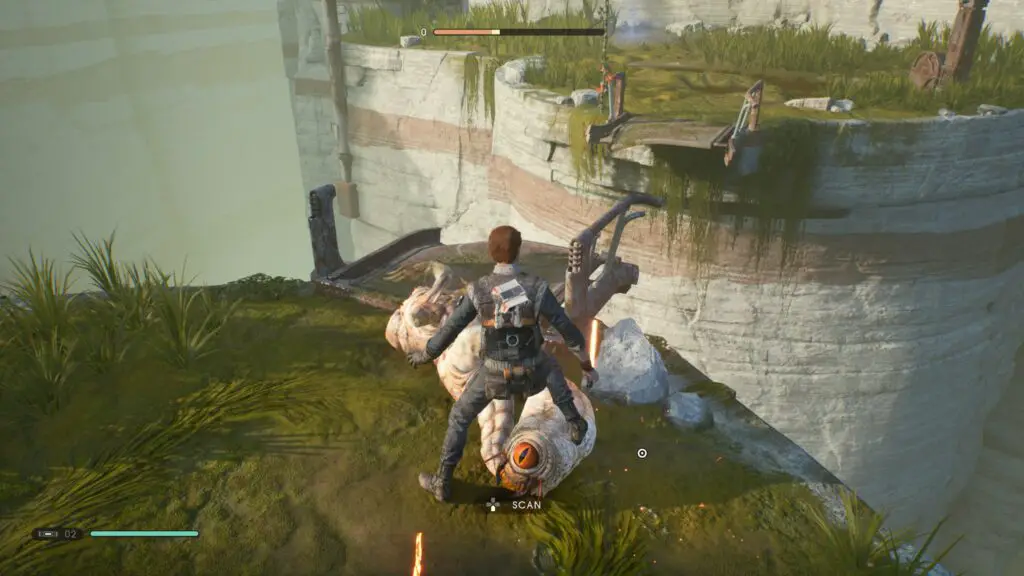
Oggdo
Continue on from the Bog Rat above and you’ll take a long zip line down to another Bog Rat. Around the corner to the left from there you will see a large toad-like creature attacking another Bog Rat, this is an Oggdo. Take it out and scan it.
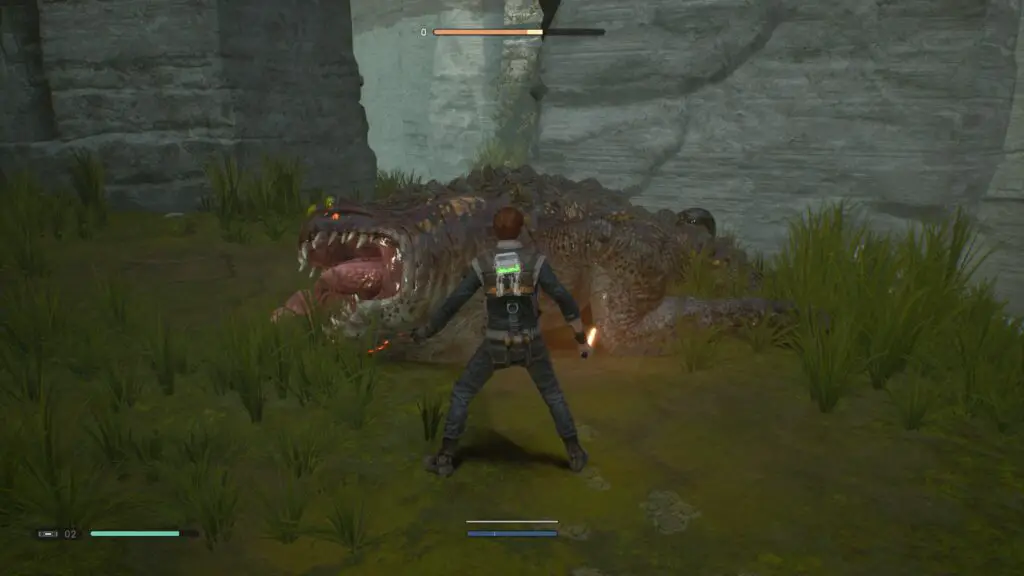
Oggdo Bogdo
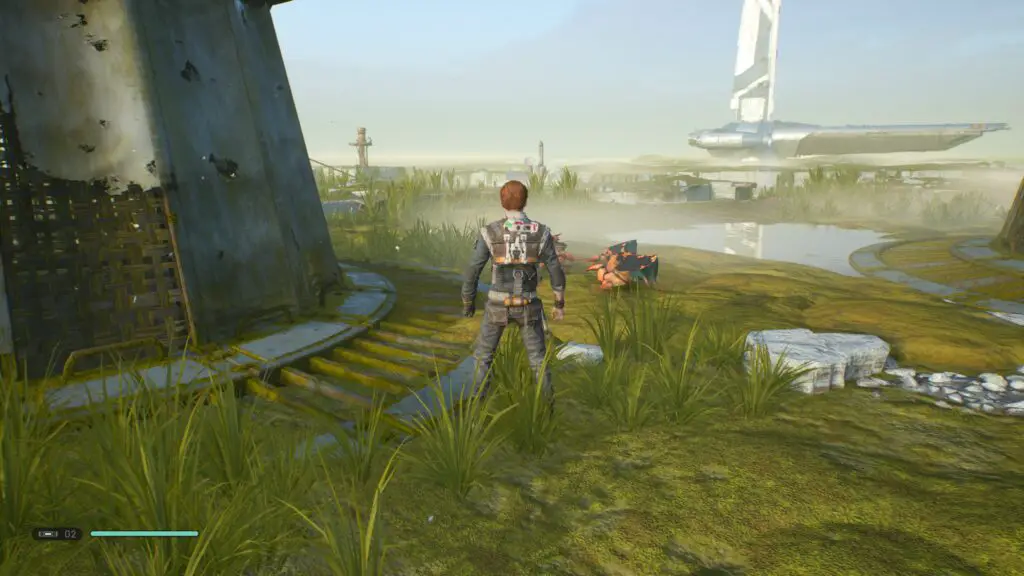
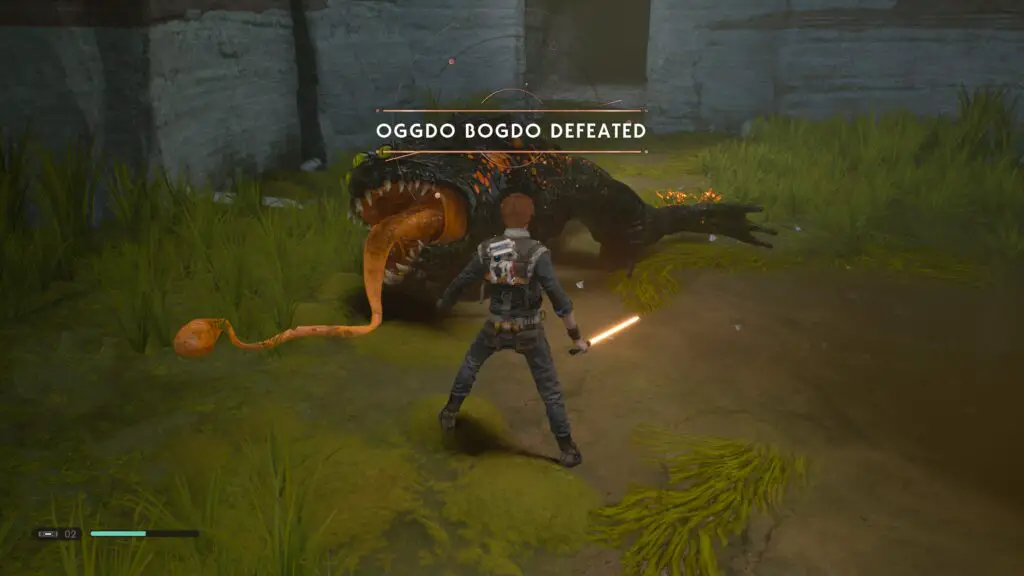
The Oggdo Bogdo is an optional miniboss you can take on when you first arrive on Bogano, or at a later time if you’d prefer to power up a bit first. To find the Oggdo Bogdo you’ll need to find the “Bogdo Sinkholes” area.
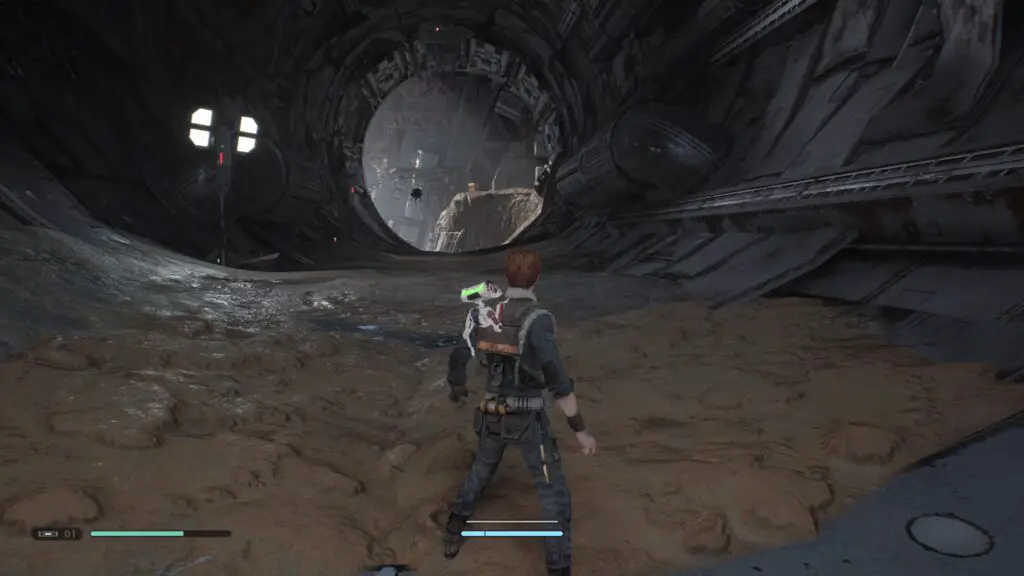
Starting from the “Ancient Vault” where the story objective takes you, head directly forwards until you see these bones:
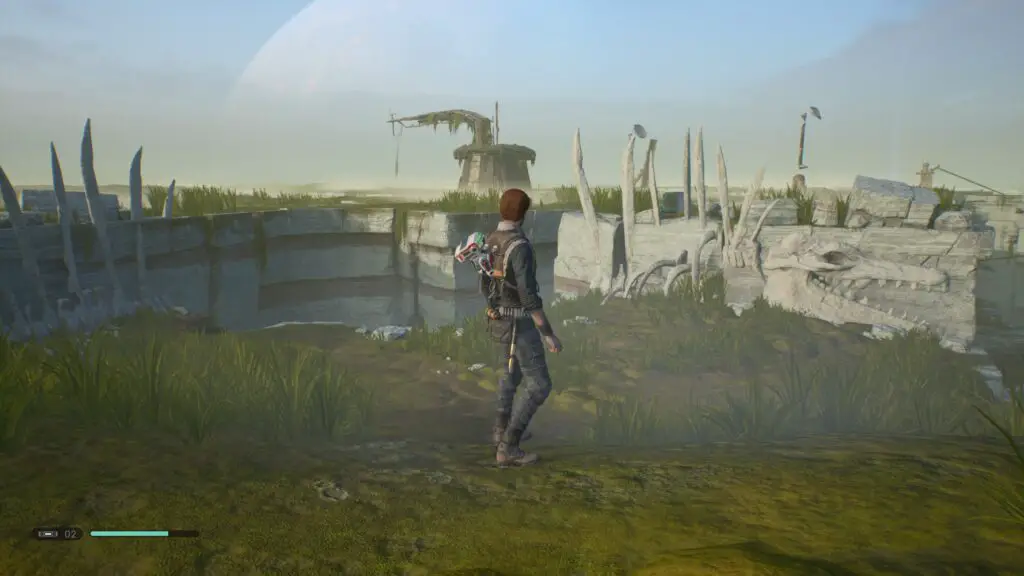
This is the Abandoned Workshop area. Drop down and head through the door to find a meditation point from which you’ll be able to see some pipes heading to a large fan which you can use the force to slow. Instead of heading to the fan, use the pipes which split off to the right in order to head along the cliffside towards the Bogdo Singholes area, which is where you’ll find the Oggdo Bogdo. You don’t need to scan it, just defeating it will add it to your Tactical Guide.
You should now have all the Tactical Guide scans for this planet.
Zeffo
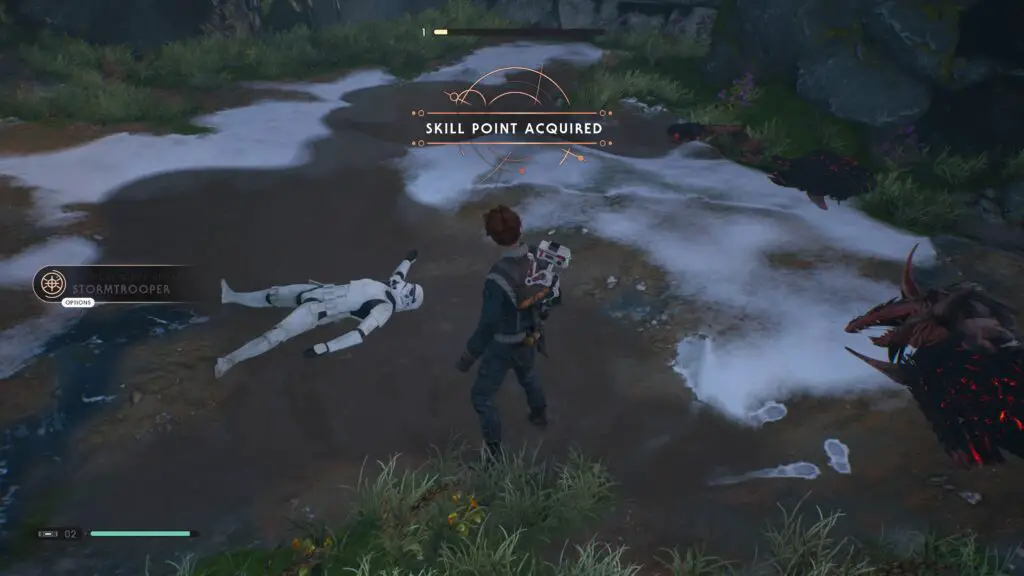
Stormtrooper
Shortly after arriving on Zeffo you’ll see a dead stormtrooper being fought over by some Scazz. Kill the Scazz and you can scan the Stormtrooper corpse. There is also a group of 4 Stormtroopers coming up very soon.
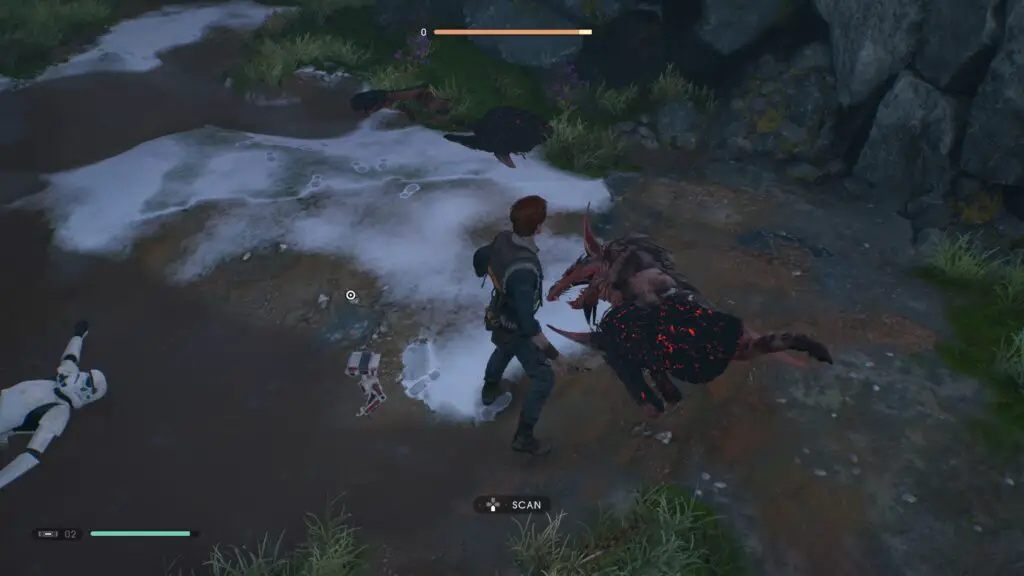
Scazz
After killing the Scazz mentioned above, scan one.
Scout Trooper
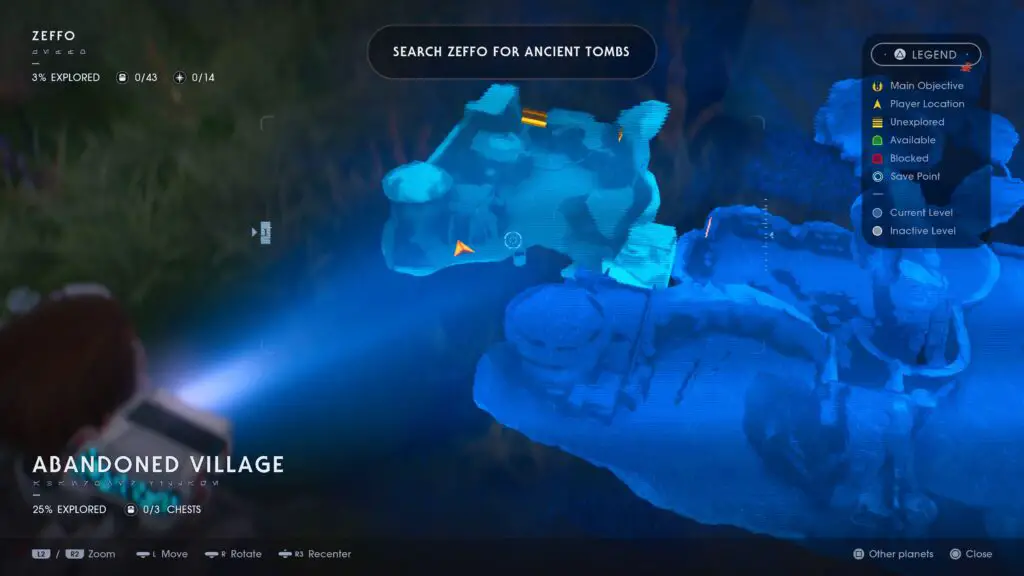
Shortly after entering the “Abandoned Village” area, you’ll need to slow down a waterwheel using the force in order to proceed. At the opposite side you will find some Scout Troopers.
Phillak
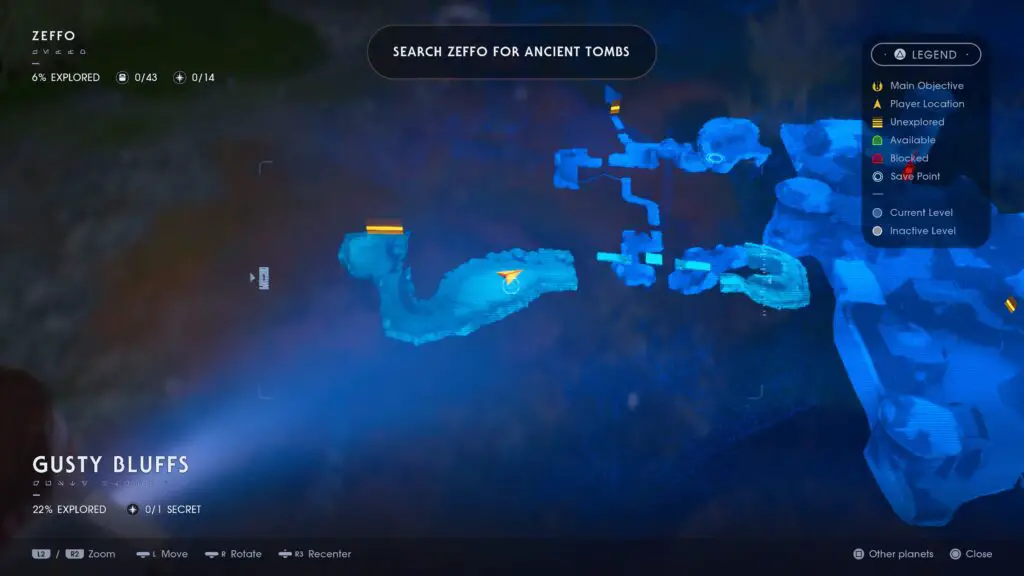
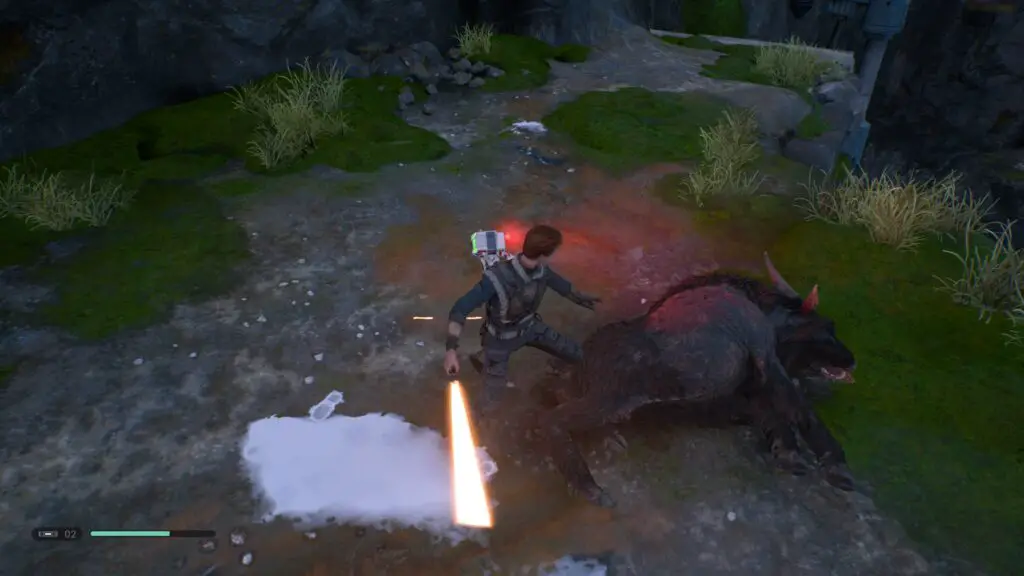
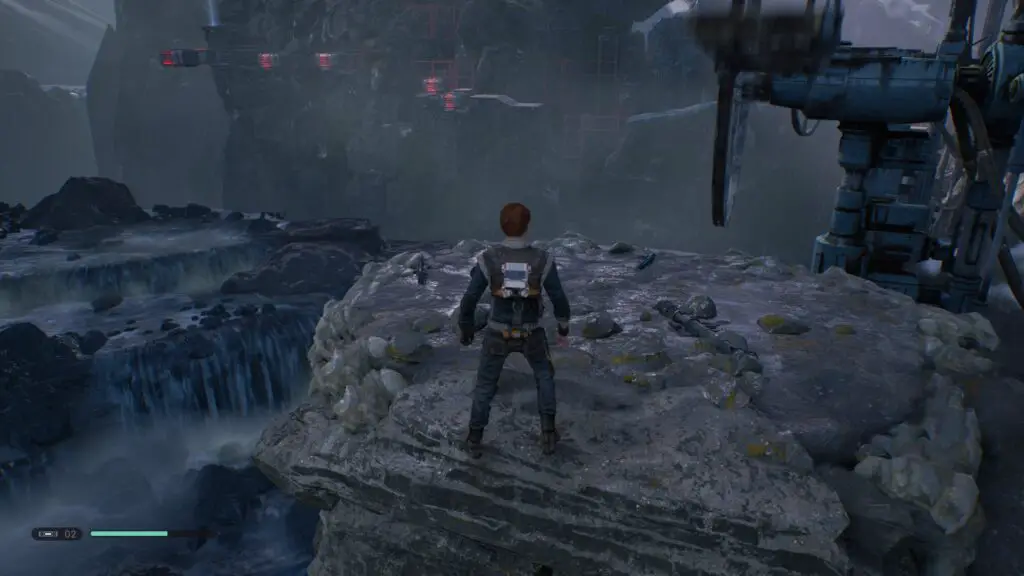
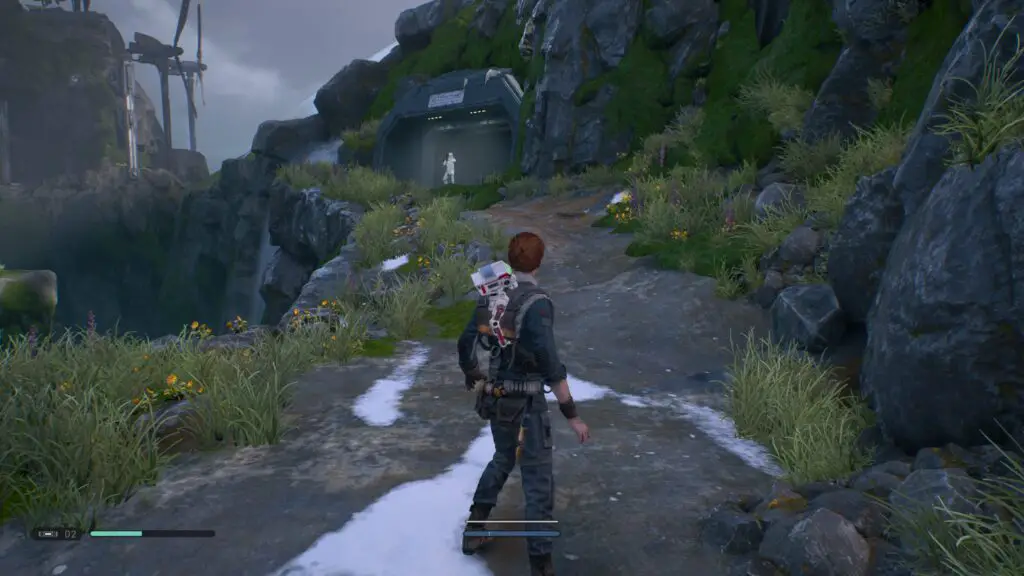
In the Gusty Bluffs area, after using the force to cross a gap via a windmill, a Phillak will come charging at you from around the corner. Make sure you don’t accidentally knock it off the cliff and you can scan it once you’ve taken it out.
Don’t worry if you knock it off the cliff, though, there are a LOT more Phillak at the Windswept Ruins.
Rocket Launcher Trooper
Shortly after the above Phillak, you will come to an area with 4 Scout Troopers, 1 Storm Trooper, and a Rocket Trooper. If you can avoid knocking him off the cliff (like I, unfortunately, did) you can scan him here. I also noted a second instance of this enemy type further below in-case you were as unlucky as me.
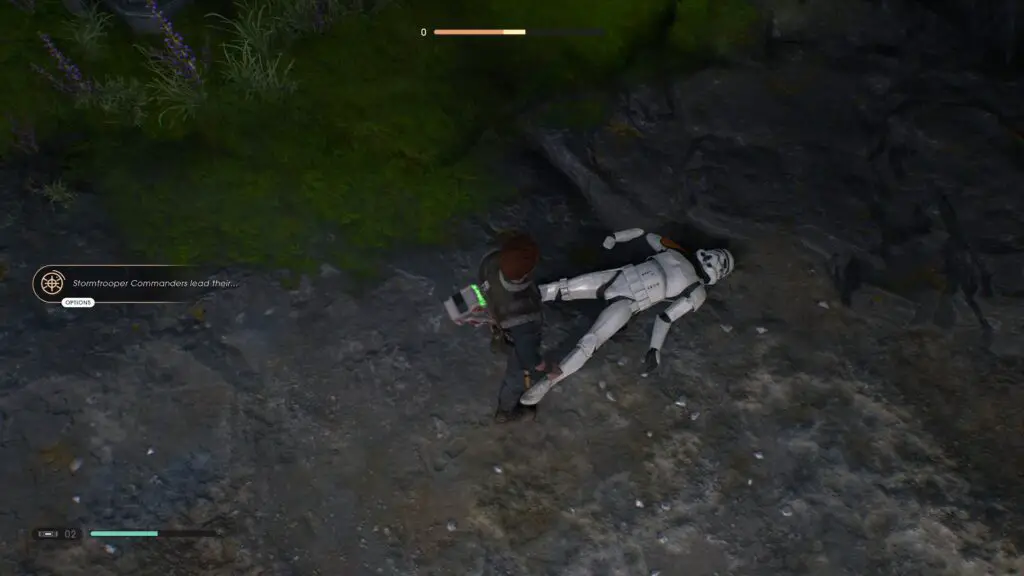
Stormtrooper Commander
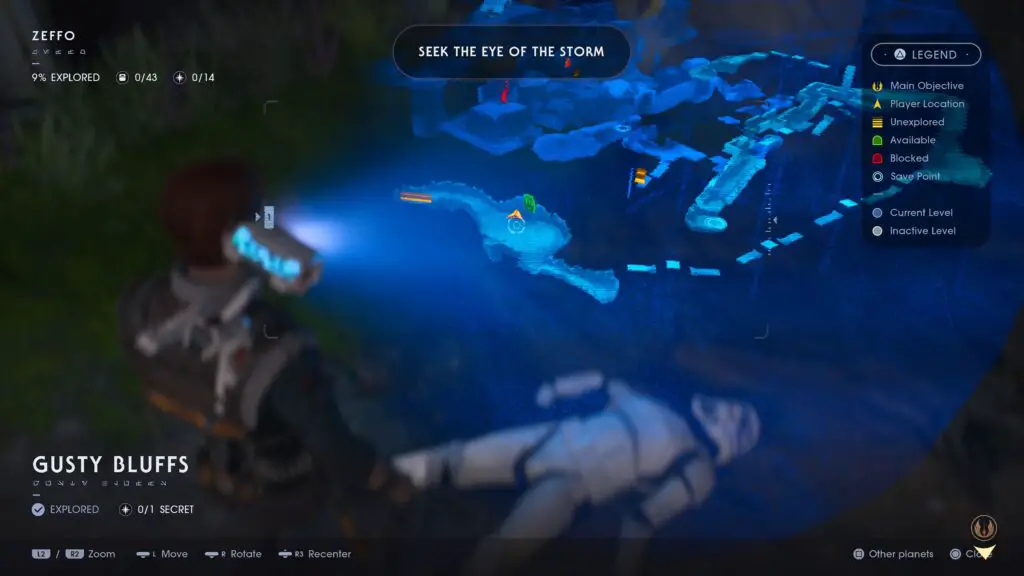
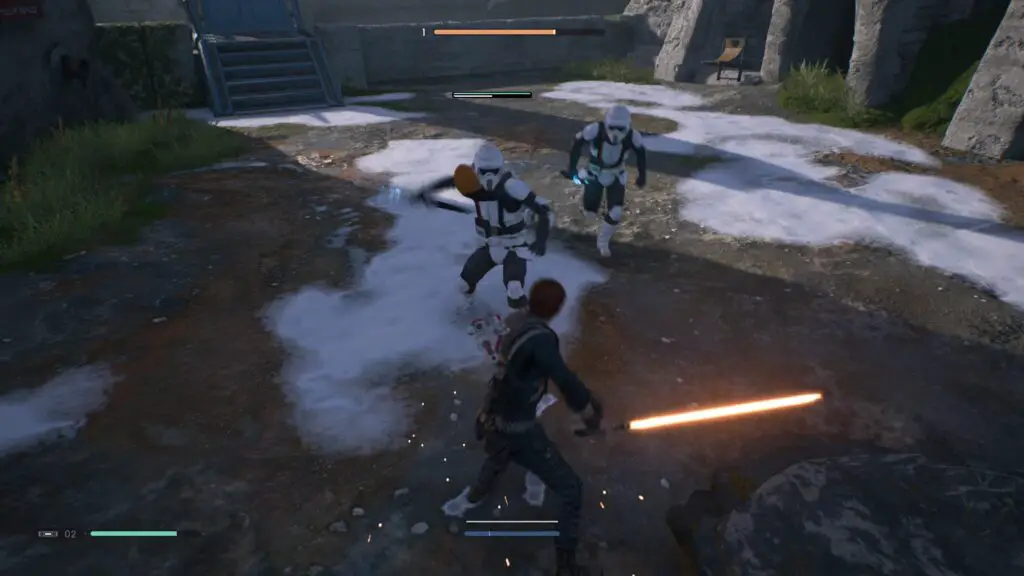
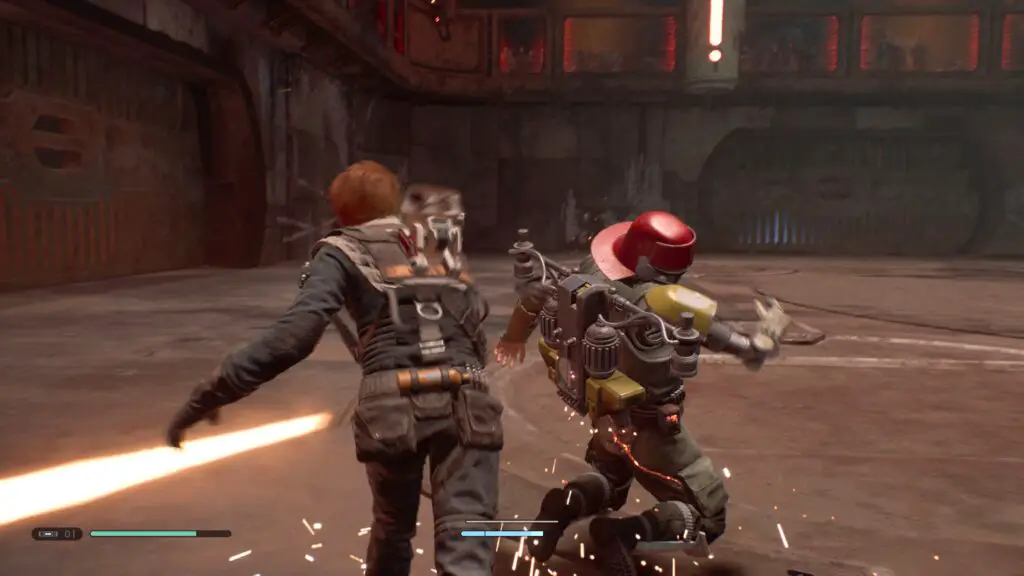
Continue through the Gusty Bluff area and you’ll come to another group of Stormtroopers, one of whom is a Commander, signified by the Orange pauldron he wears on one shoulder.
Scout Trooper Commander
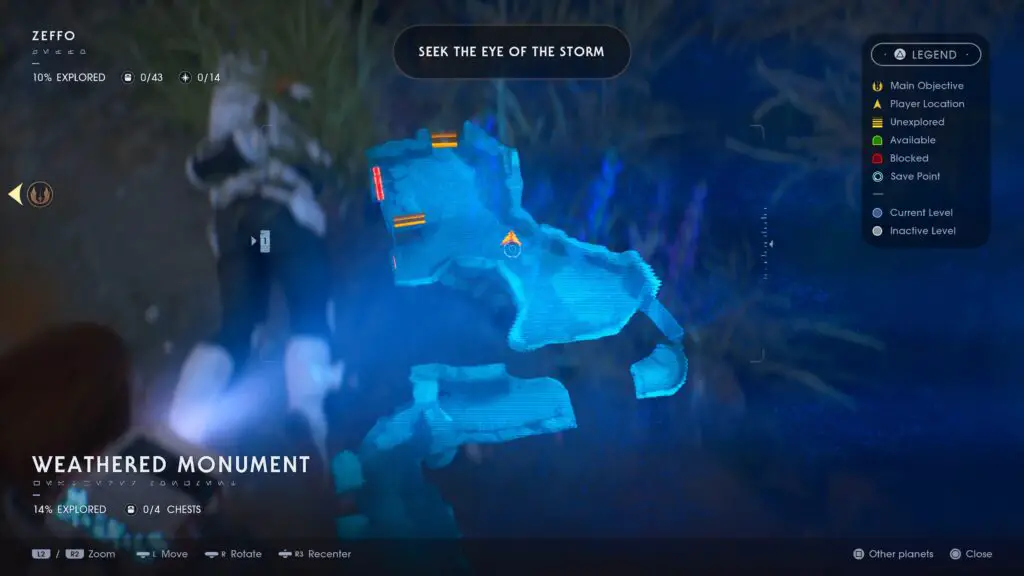
Upon first reaching the Weathered Monument area, you’ll be attacked by a group of Stormtroopers, one of whom is a Scout Trooper Commander with an orange pauldron over his shoulder, scan him once the fight ends.
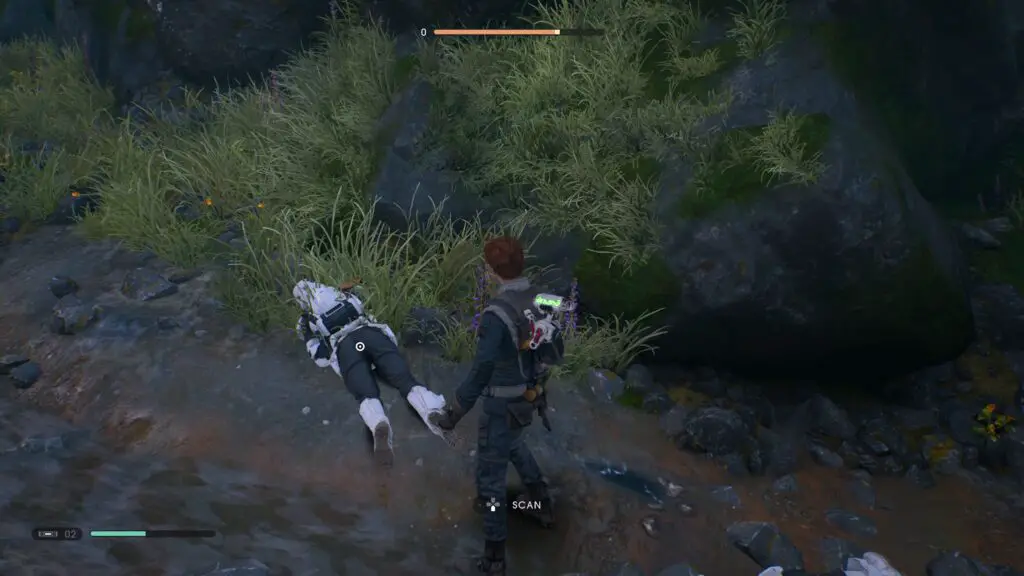
Heavy Assault Trooper
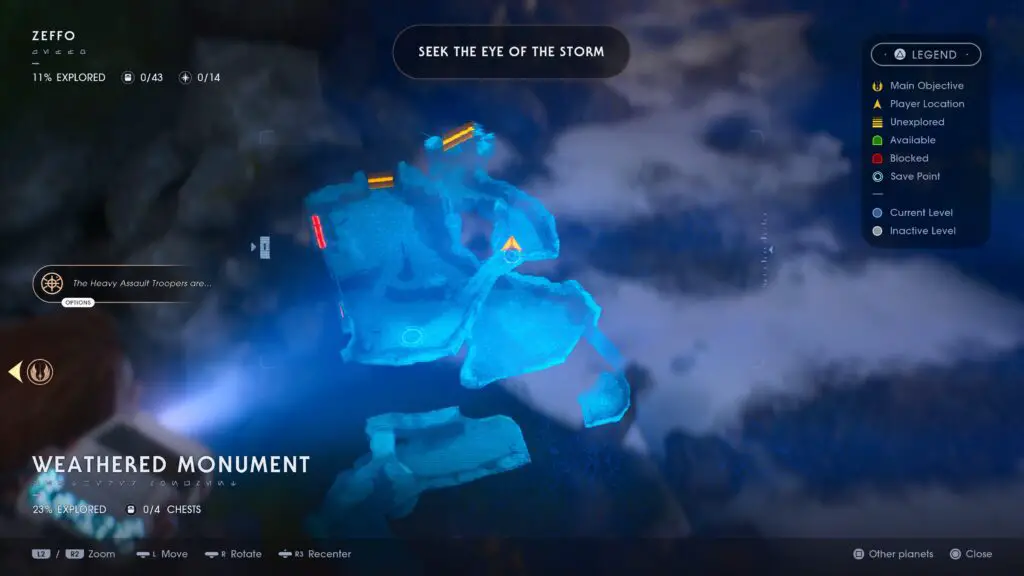
After the above fight, continue on up a ramp above you into the mouth of a cave where you will find this black-pauldron-wearing Trooper waiting with a large Z-6 Rotary Blaster Cannon, or as normal folk would know it, a Gatling Gun.
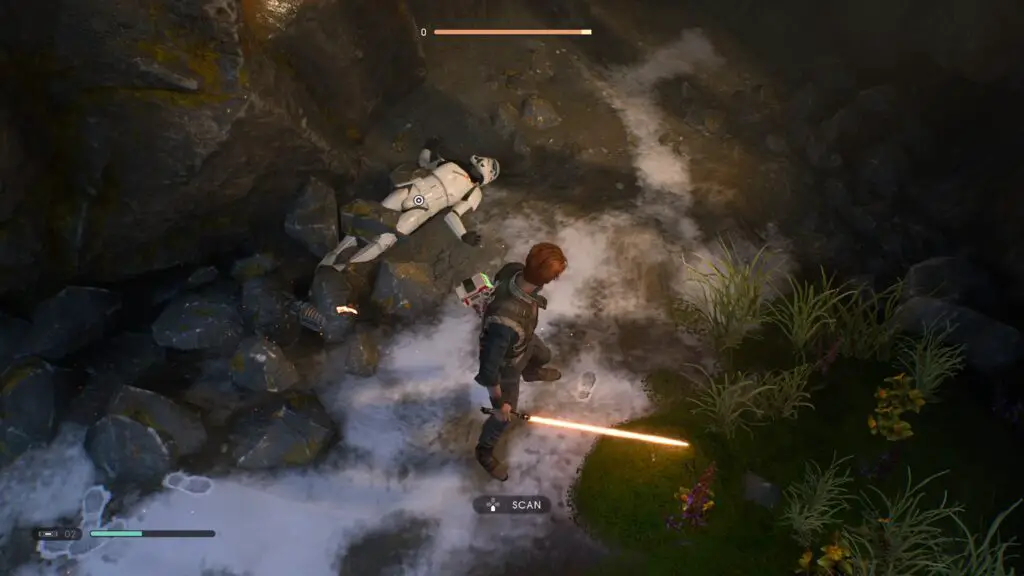
Rocket Launcher Trooper (again)
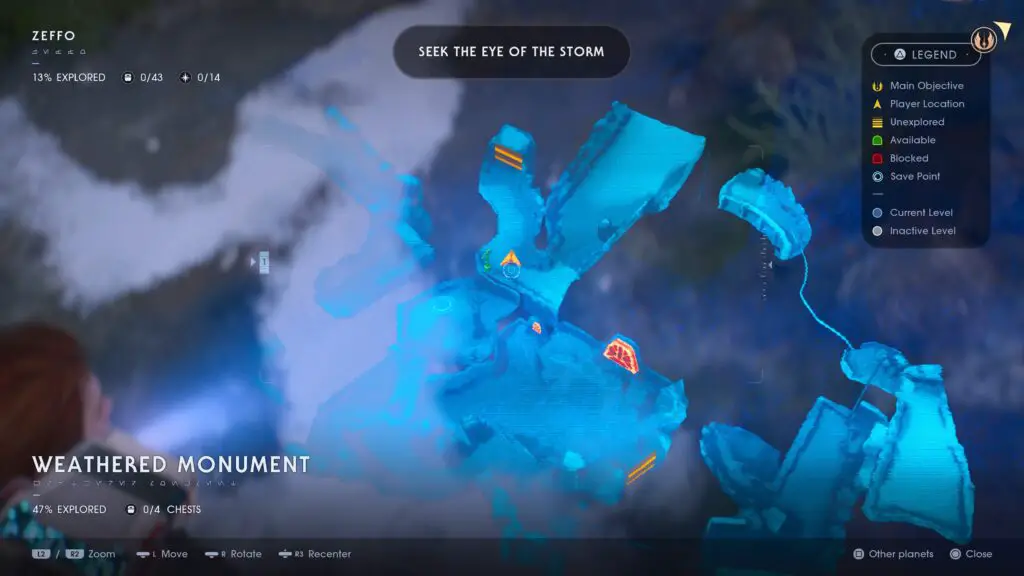
After swinging across a gap via a rope onto a wide icy slope, you’ll be brought down to a ledge just above the ramp where we first met the Heavy Assault Trooper. Rounding the corner to the right will put you face-to-face with another Rocket Launcher Trooper. Watch out for the Scazz jumping out of the ground here.
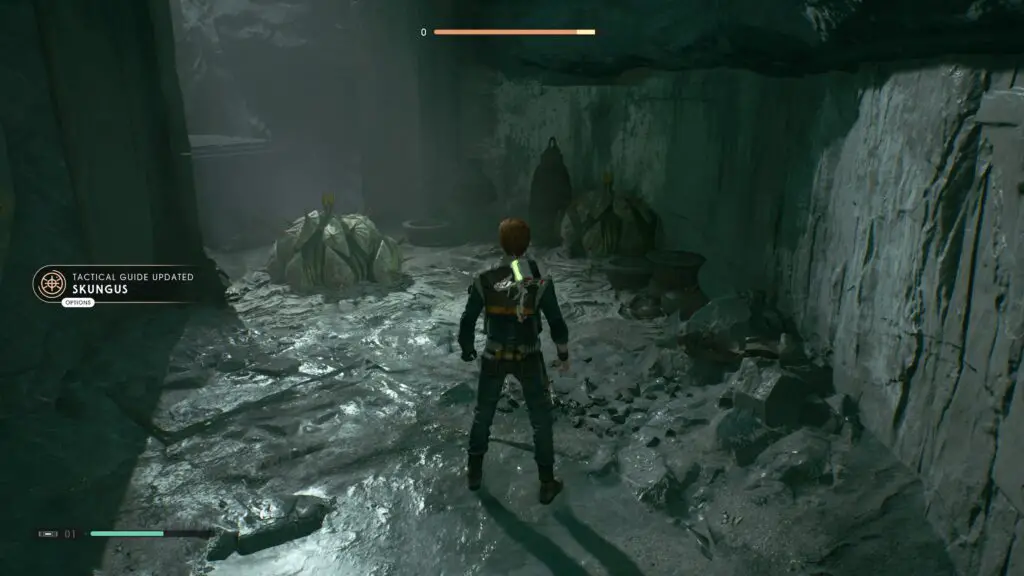
Skungus
In the Tomb of Eilram area, you’ll come across these exploding pod-like creatures which burst when you get too close. BD-1 will scan these automatically at a certain point so you shouldn’t be concerned about missing them.
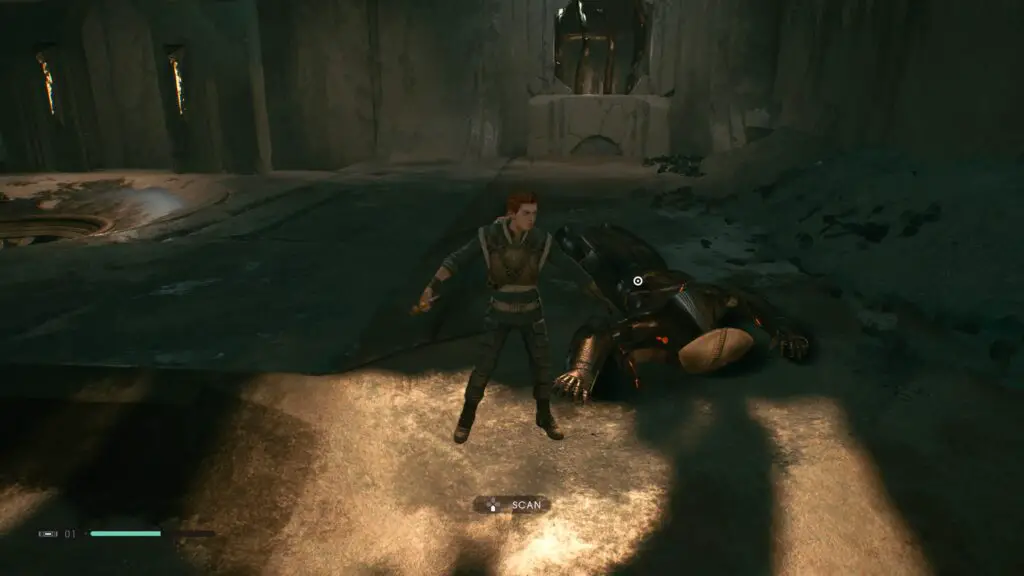
Tomb Guardian
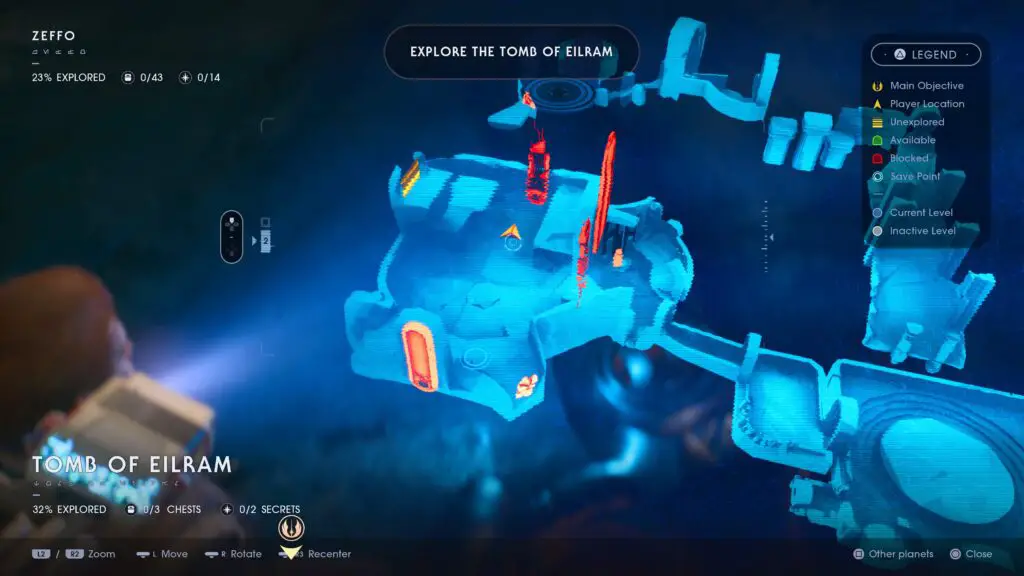
The Tomb Guardian is a pretty hard-hitting enemy you can find in the Tomb of Eilram, the first one is directly opposite the Meditation point but there is a non-optional one a bit further in. It hits hard but is very slow, keep on your toes and dodge it’s well-telegraphed attacks to take it out easily and then scan it.
AT-ST
Unmissable boss. Part of the story, you will come face-to-face on your way back to the ship. You don’t need to scan it, or its pilot.
You will need to revisit this planet later to get the rest of the Tactical Guide entries for Zeffo.
Kashyyyk
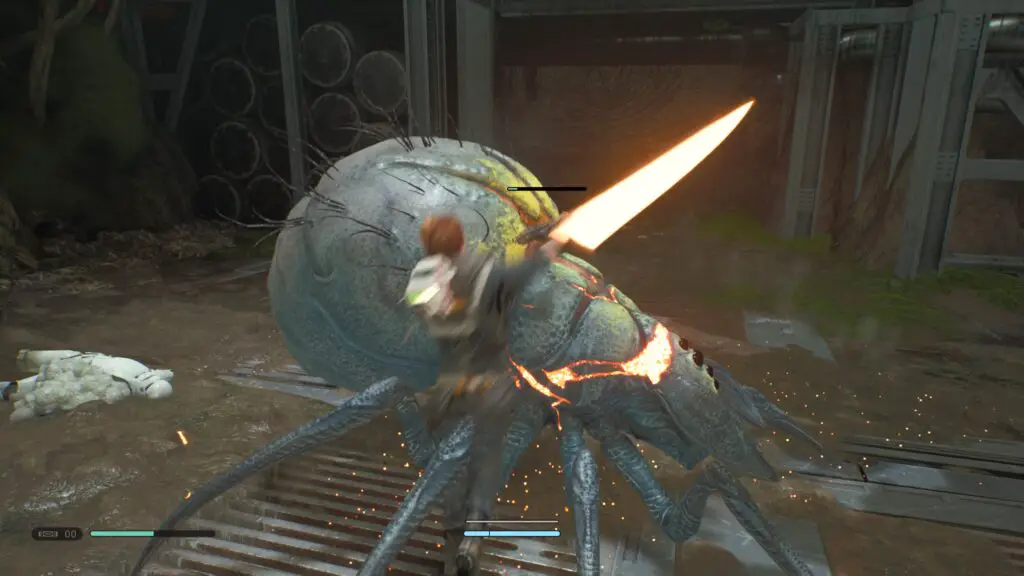
Wyyyschokk
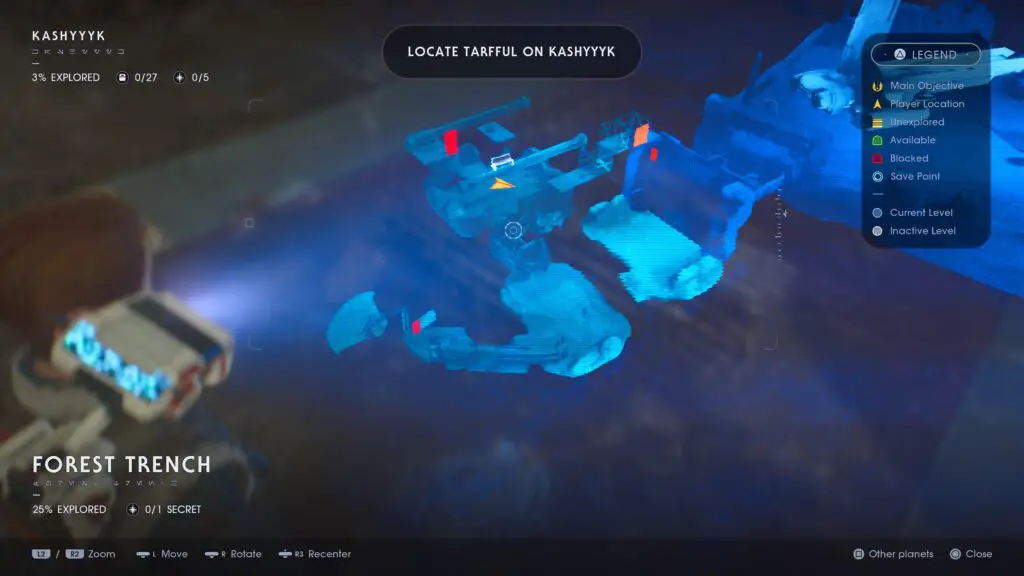
After leaving the cargo pad and entering the Forest Trench, keep an eye on the right-hand side to see a doorway with some cables you can cut through. Enter the corridor and you’ll end up in a room where Cal will remark that there is a Workbench, approach the workbench and this creature will appear. Kill and scan it.
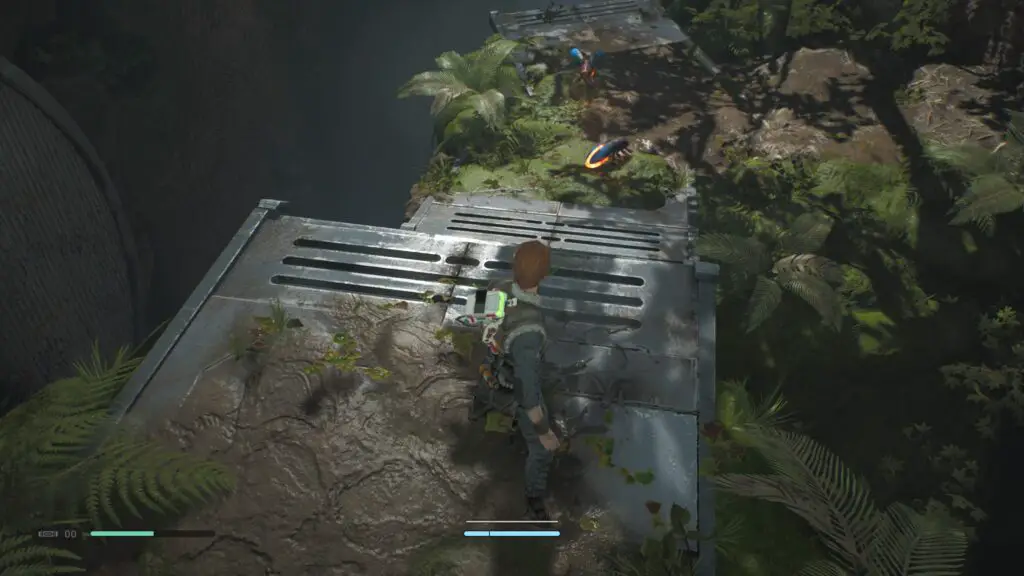
Flame Beetle
Shortly after using BD-1’s new ability (from the above workbench) to proceed further into the Forest Trench, you will see a couple of beetles together. Kill them and then avoid the subsequent explosion before scanning one of them.
Electrostaff Purge Trooper
You will need to face one of these as part of the story. They’re pretty tricky so just focus on parrying their attacks and avoiding getting hit. Make sure to scan it once you’re victorious.
Flametroopers
A few moments after the above fight you’ll see a short cutscene of some Flame Beetles attacking a group of Imperials. Two of these Imperials are Flametroopers. Kill and scan them.
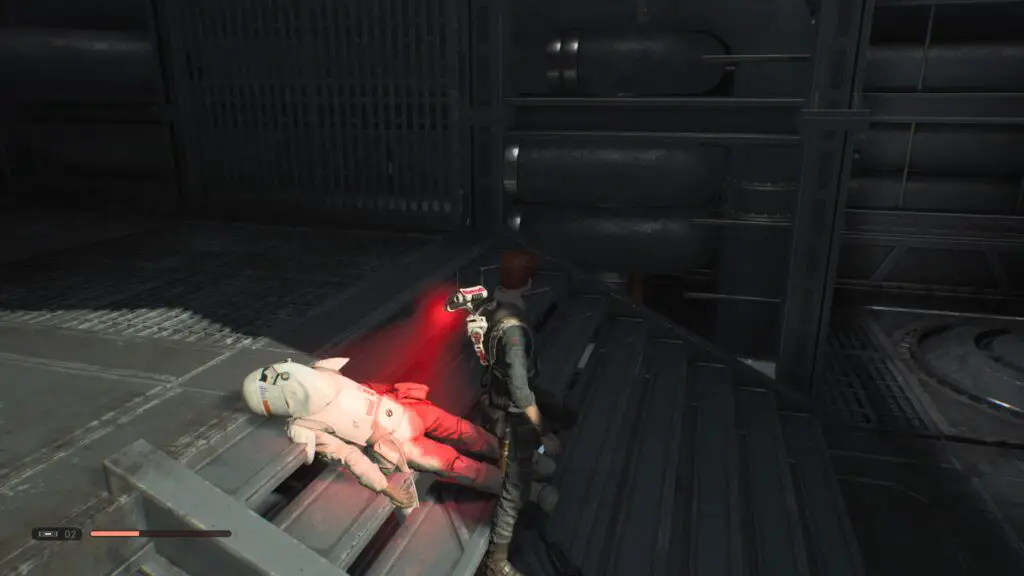
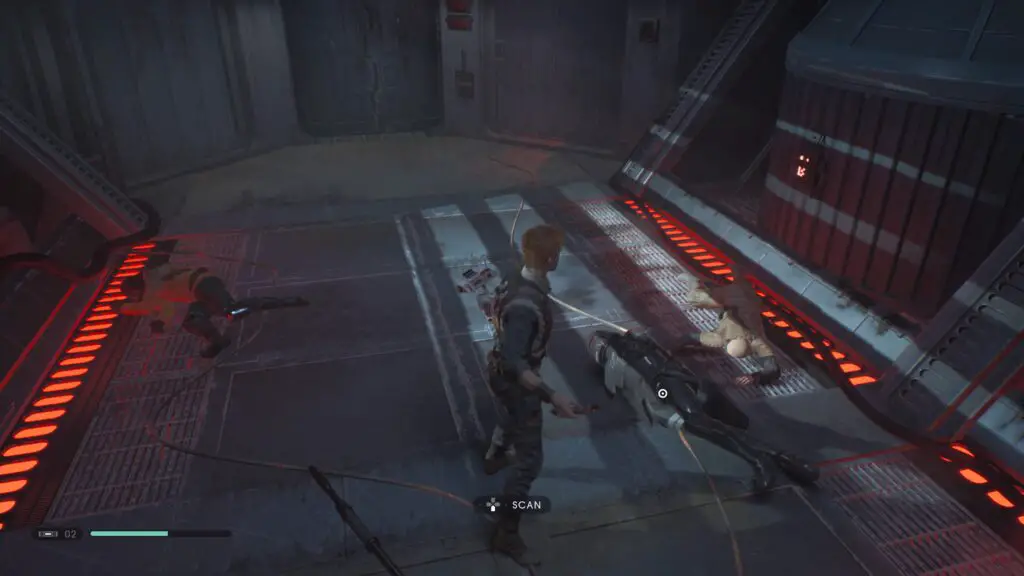
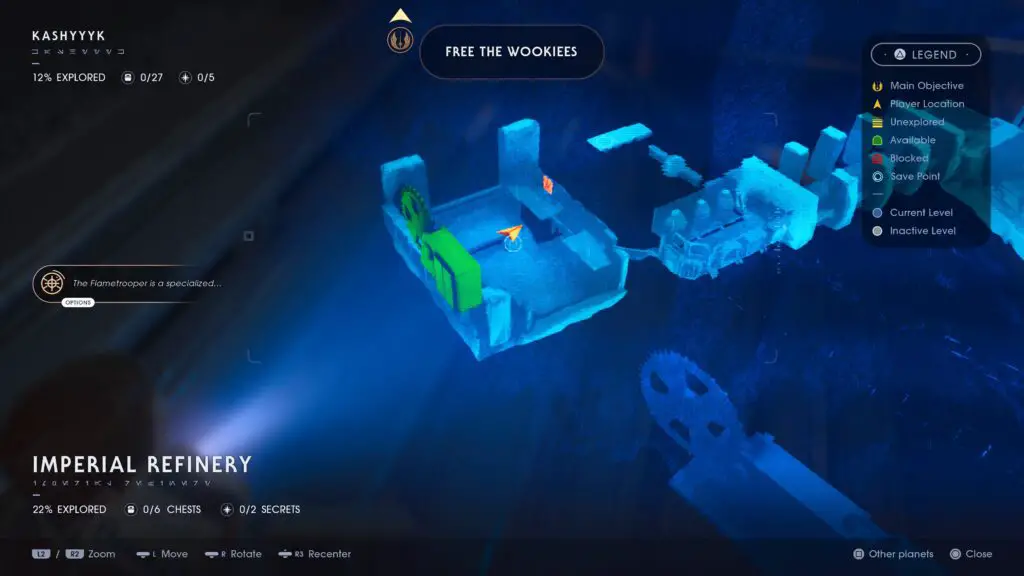
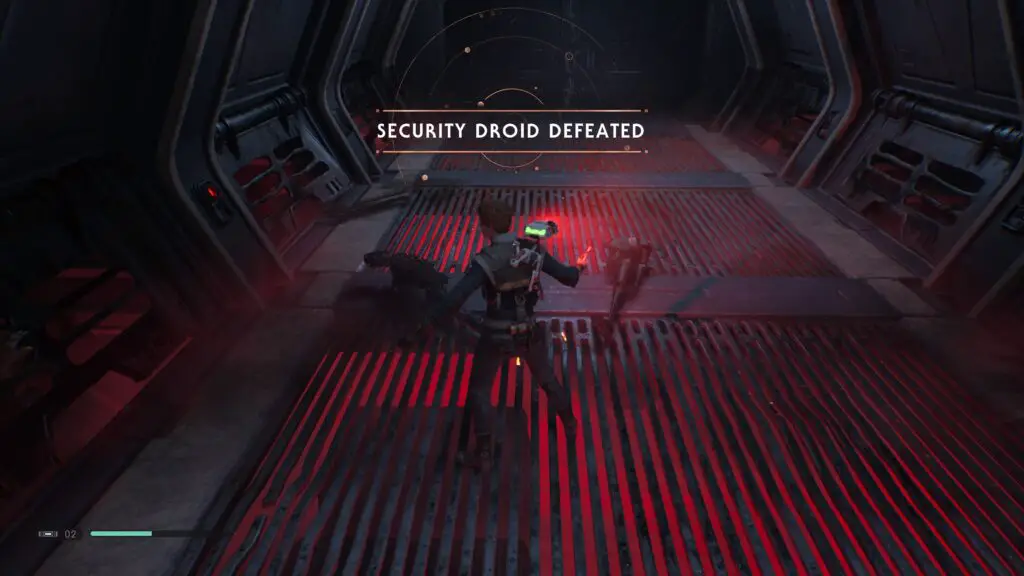
Security Droid
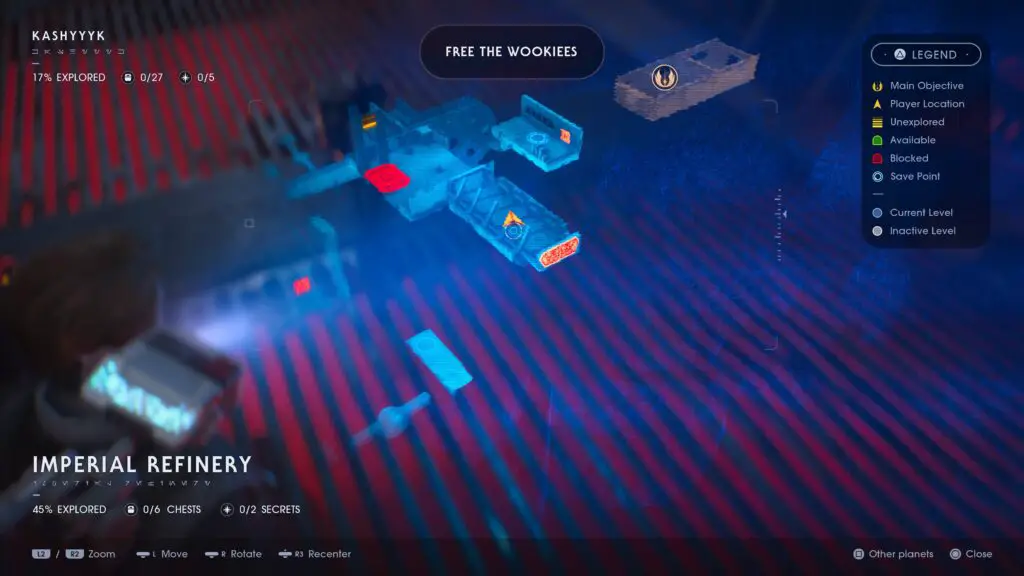
As part of the story during your mission to Free the Wookies, you will get attacked by a Security Droid. They’re slow and weak but have some very strong un-parryable attacks, so stay on your toes. Remember to scan it once you’ve cut it in half.
You will need to revisit Kashyyyk later to get the rest of the Tactical Guide entries for this planet.
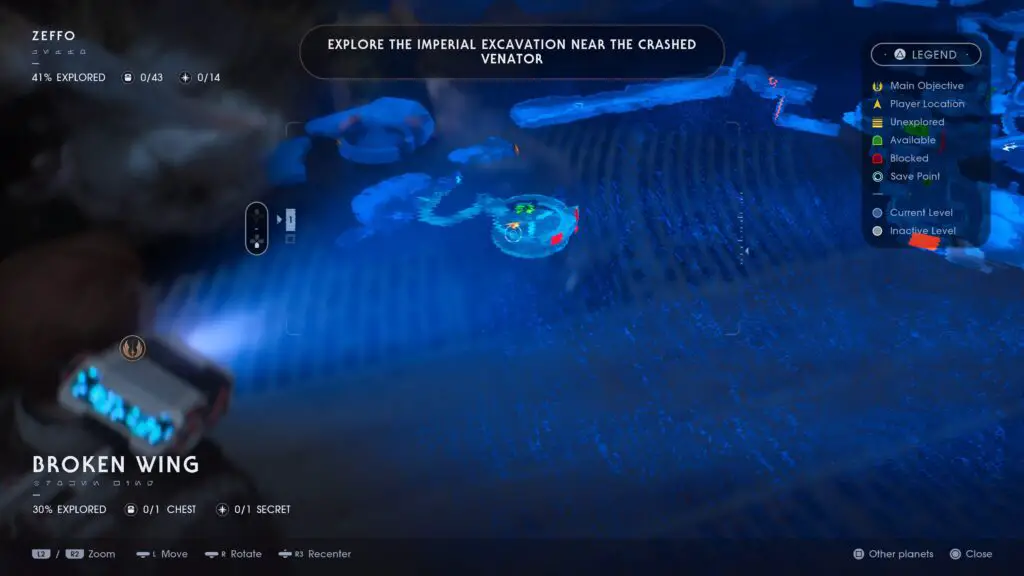
Zeffo (2nd Visit)
At this point in the story you’ll need to return to Zeffo, at which point you’ll be able to find the following enemies:
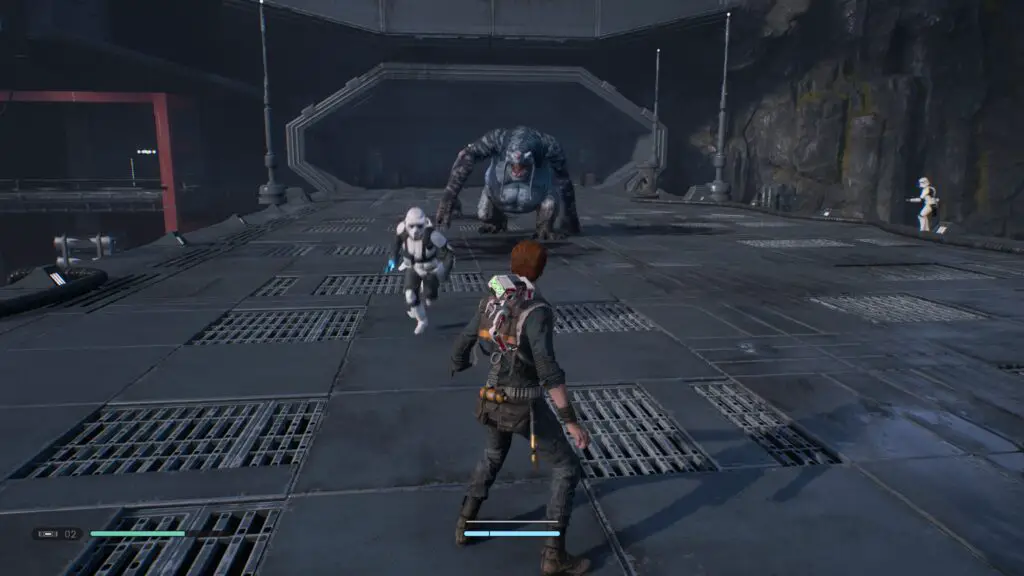
Jotaz
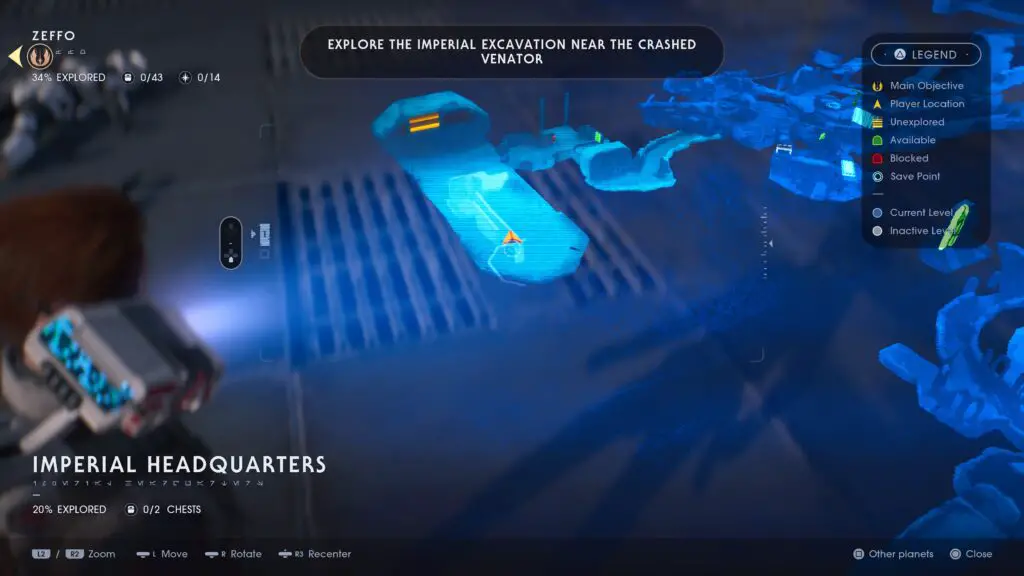
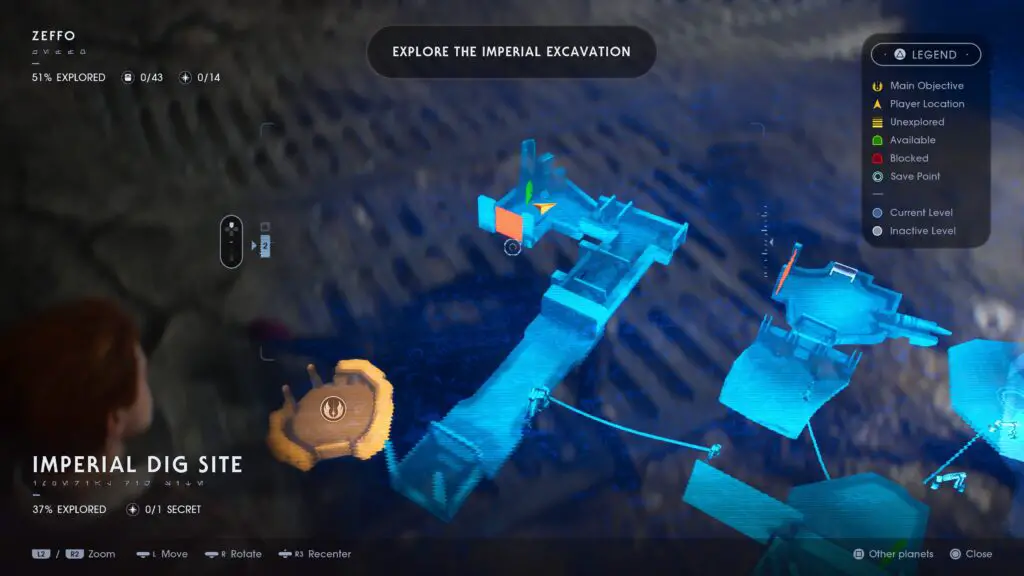
After a long climbing segment at the Imperial Headquarters which you need to use the Scomp Link to gain access to, you will find yourself on top of a landing platform, where you’ll see a Jotaz fighting with a couple of imperials. Let the Jotaz handle the imperials and then defeat and scan it.
Purge Trooper Commander
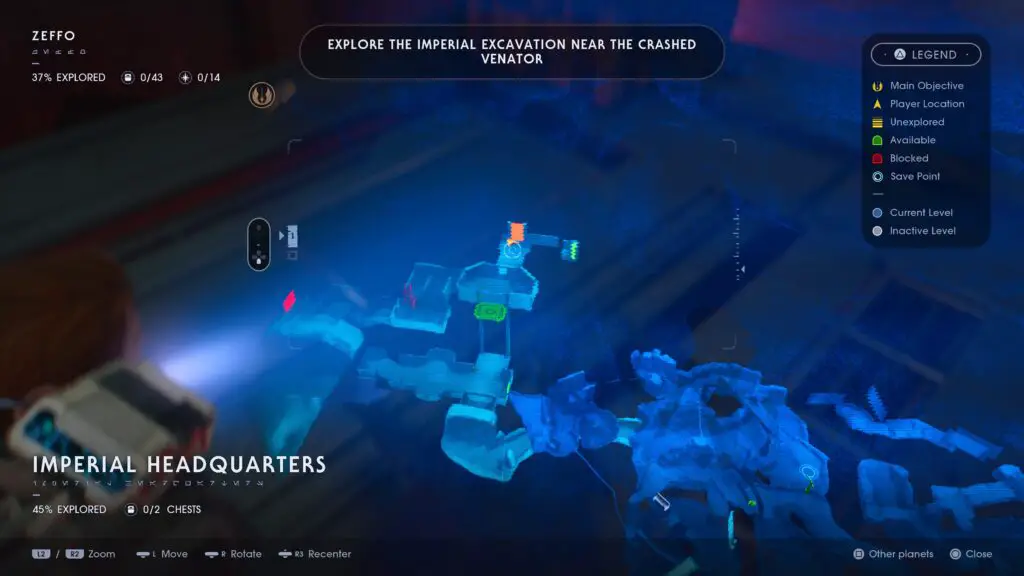
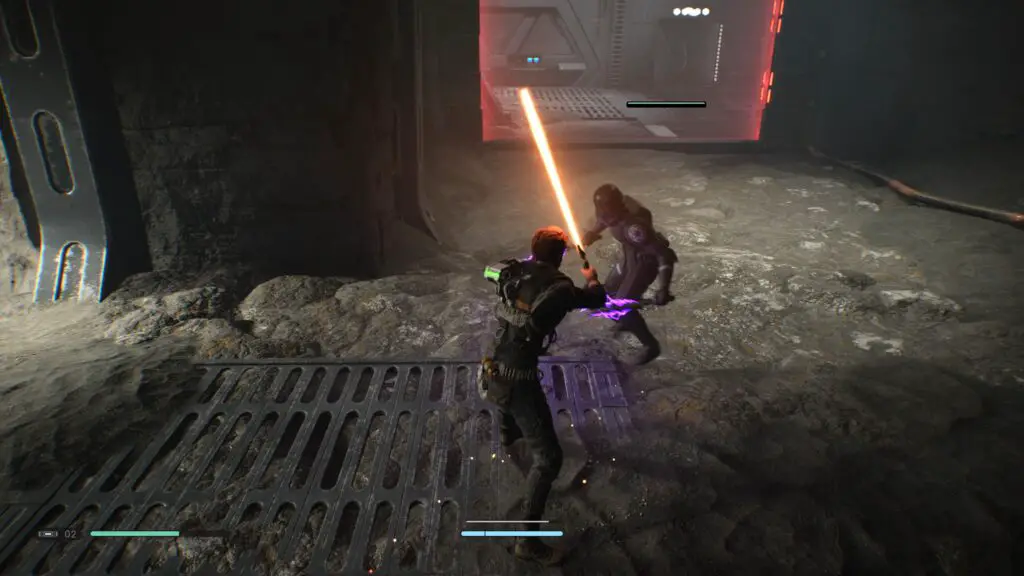
Shortly after the fight on the landing pad above, you’ll find yourself using the force on a fan on the wall to gain access to a small maintenance room. To the right is a broken vent panel which you can get through by using ![]() force push. This will lead to a room with 2 Stormtroopers and a Scomp Link panel. Use the Scomp Link panel to open a door to a room containing this Purge Trooper. Take him out, keeping an eye out for his shock grenades, and then scan him afterwards.
force push. This will lead to a room with 2 Stormtroopers and a Scomp Link panel. Use the Scomp Link panel to open a door to a room containing this Purge Trooper. Take him out, keeping an eye out for his shock grenades, and then scan him afterwards.
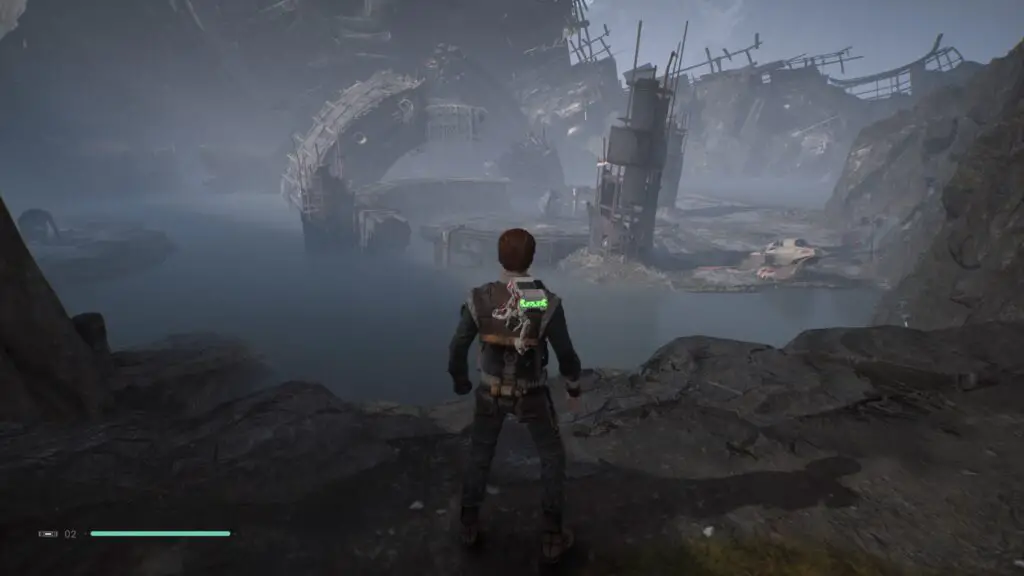
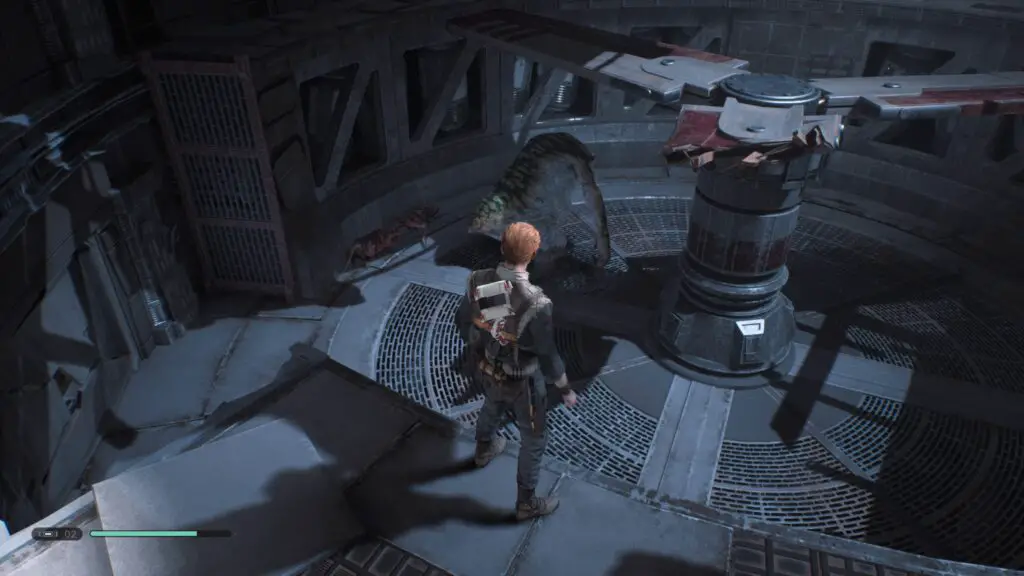
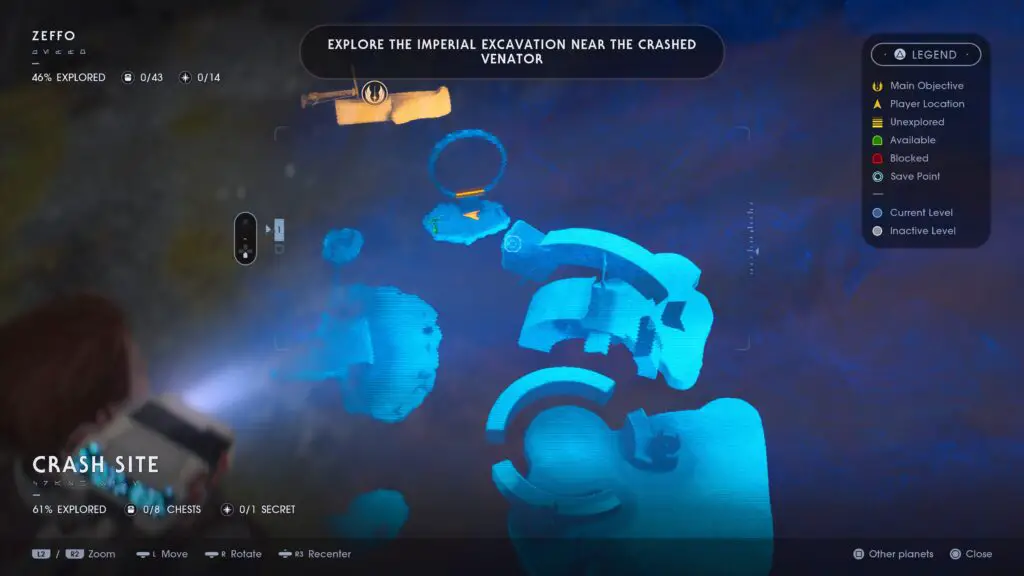
Rabid Jotaz
At the end of the Imperial Headquarters area you’ll find an ice slide which leads to a meditation point in the “Crash Site” area. From up here you can see two Jotaz, one in a circular structure to the right and one on another island to the left. Head onto that left-most island and get rid of this Jotaz.
Climb onto the nearby ledge where there’ll be an electrical panel which BD-1 can interact with to disable the forcefield giving you access to a dark corridor leading to an arena containing the Rabid Jotaz. This guy is a very powerful mini-boss, so take your time and be cautious with fighting it. You don’t need to scan it.
You should now have all of the Tactical Guide entries for Zeffo.
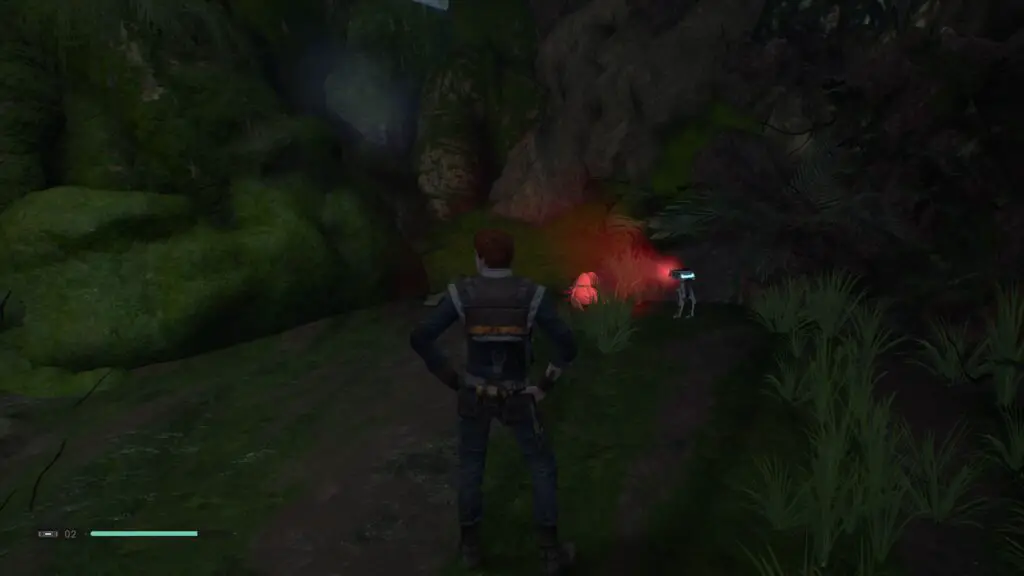
Probe Droid
Back at the crash site, there are a few Probe Droids which can be heard by their iconic beeping sound effects. It can be tricky to scan one of these as they will either fall in the water or explode. If one explodes, like the one I scanned did, make sure you check the area where it exploded fully to see if BD-1 can scan it anyway – it worked for me!
There are two of these in the immediate vicinity and then there are three holed up together in a large tunnel you will need to venture through in order to make story progress, your best bet is probably with these three.
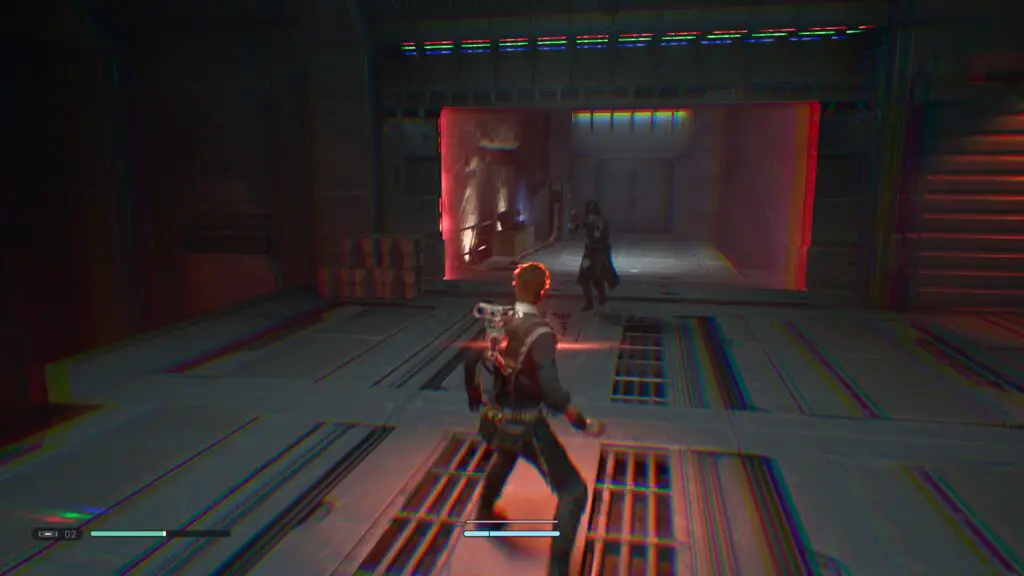
Electrobaton Purge Trooper
During the story here you will eventually earn the ability to go up ziplines. Using this ability you’ll make your way to a bridge where there’ll be a fight with a fairly large group of Stormtroopers, including a Scout Trooper Commander and a Heavy Assault Trooper. Once you’ve dealt with this group, head through the door at the end of the bridge and follow the corridor as it bends to the left. After this left-ward bend you’ll find your quarry in front of a forcefield.
Take out this Trooper and remember to scan it’s corpse to add it to the Tactical Guide.
Second Sister
This entry is unmissable and will be added as you progress through the story. Nothing needs to be scanned.
Ordo Eris
Haxion Brood Bounty Hunter (The Huntsman)
Your first run-in with this fellow will be on Zeffo, as part of the story. A short stint later you’ll fight him again and defeat him. Remember to scan him as soon as you defeat him, as chaos breaks loose not long after.
Kashyyyk (2nd Visit)
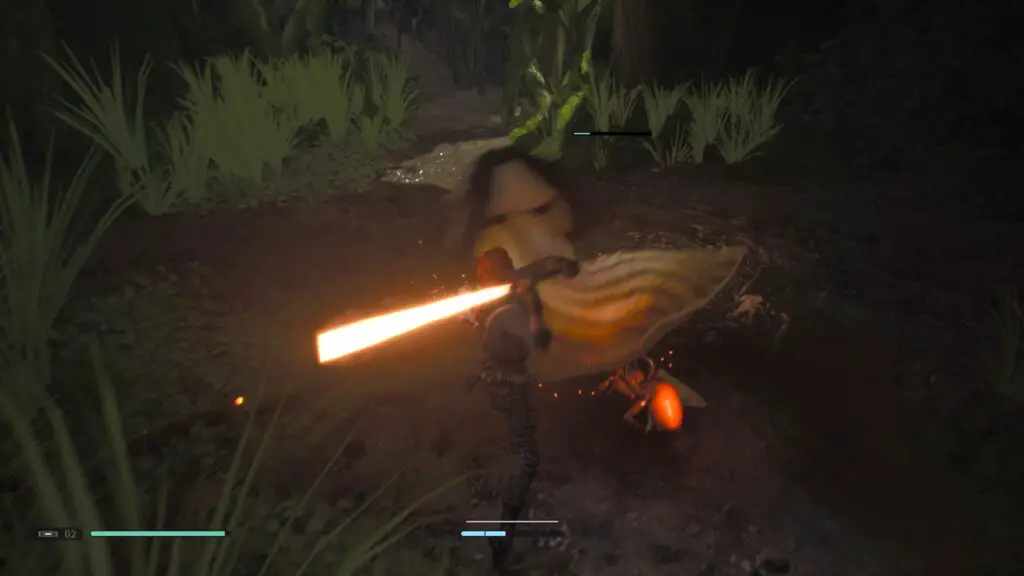
Slyyyg
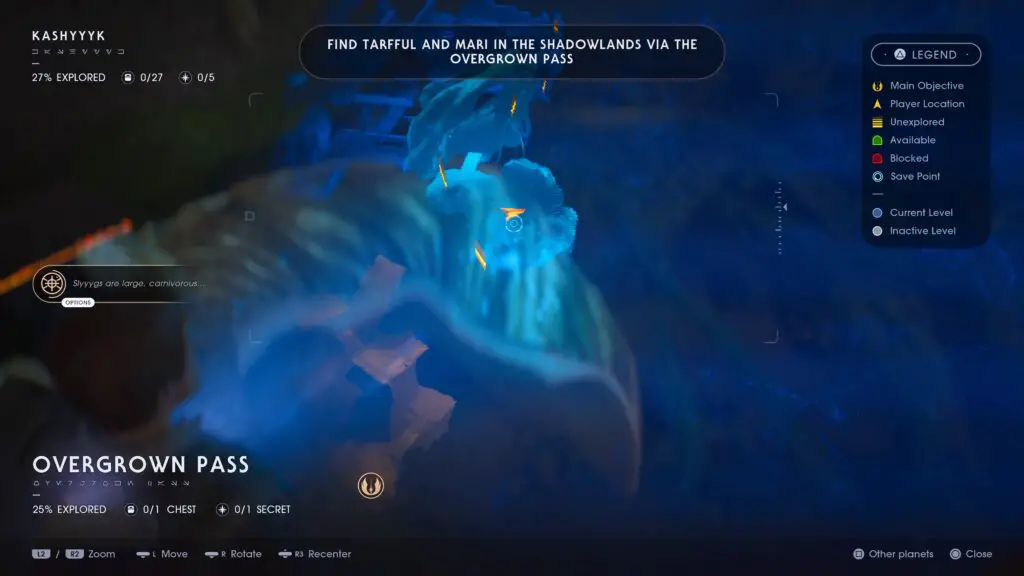
When tasked with meeting up with Tarfful and Mari, you’ll come across a Slyyyg just after your first radio contact with Mari, after you first enter the “Overgrown Pass” area. Kill and scan it here.
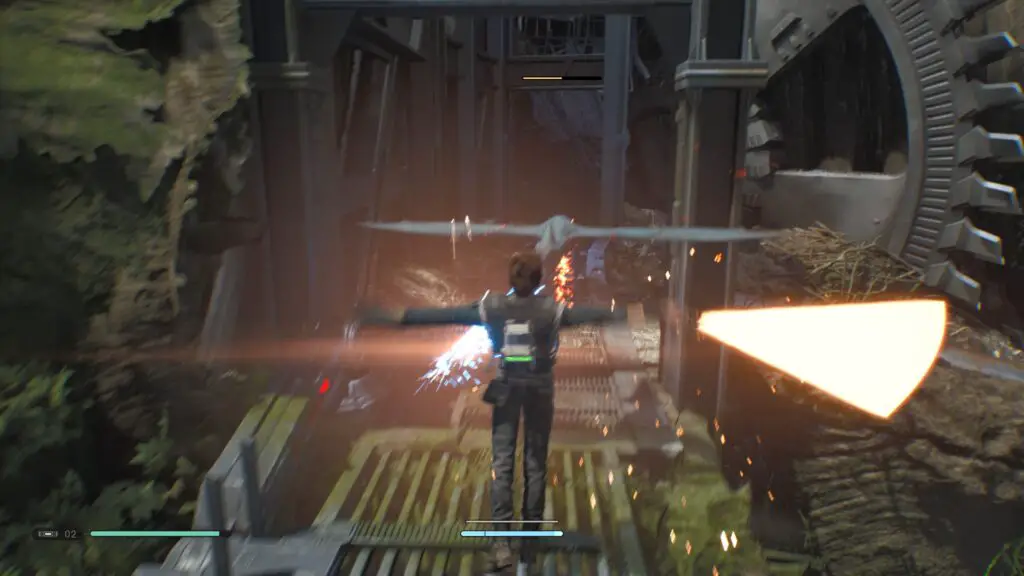
Mykal
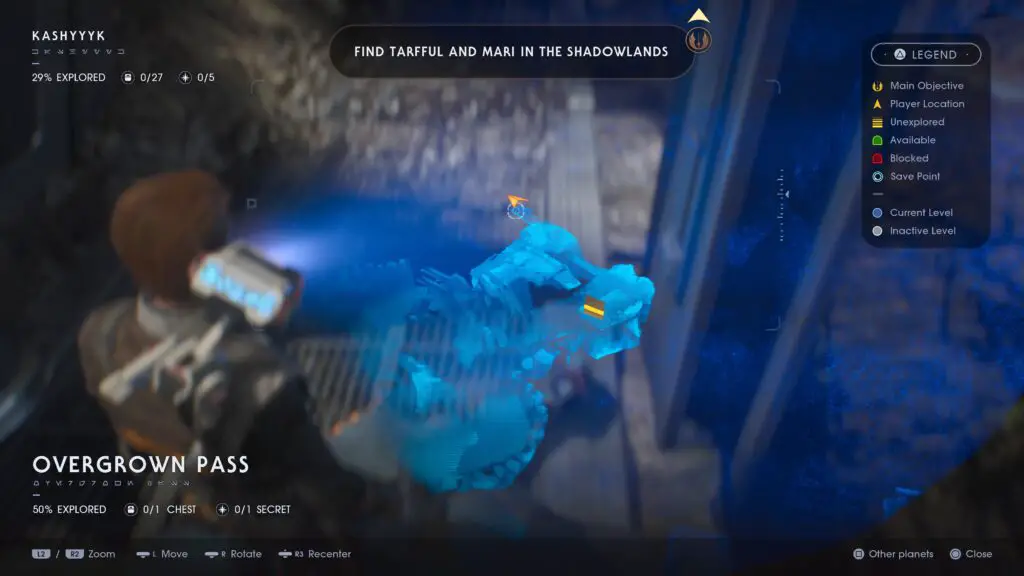
Just after your Slyyyg encounter you’ll come to an open area with some imperial structures. Flying around here you should see your first Mykal. For me, it was just behind a platform I needed to force-pull down in order to cross to the meditation point. Kill and scan it here if you can avoid it falling off a cliff. If not, don’t worry, there’s a group of three much later on in the level.
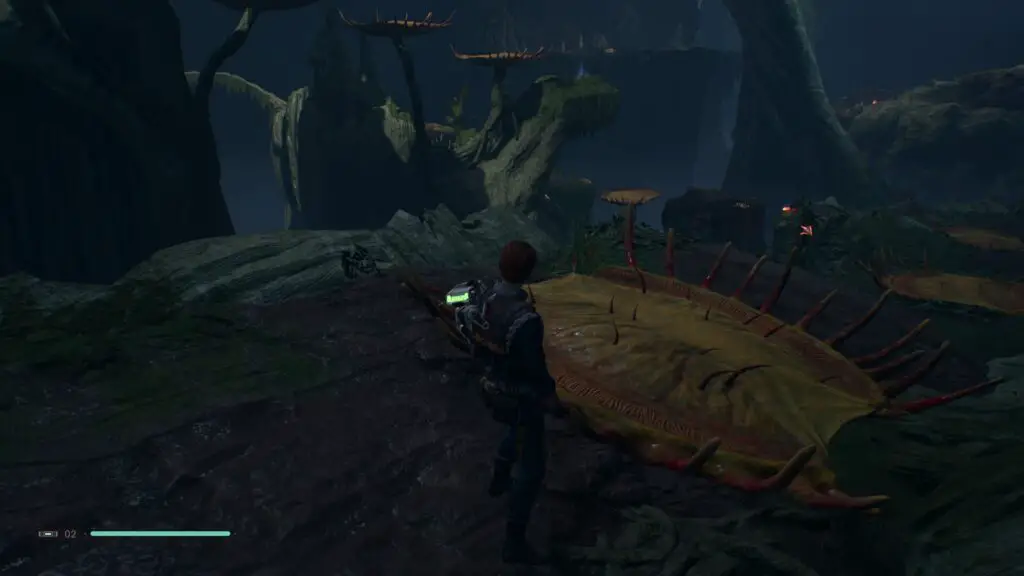
Jaw Plant
After a while the story will take you through an area called “Gloomroot Hollow” and you’ll be in a large cavern-like area with these plants everywhere.
Step into the first one you see and then dodge roll off again, hit it with your saber while it is closed and then repeat until the scan prompt appears. It won’t attack you again now so use this opportunity to safely scan it without fear.
Saava
After your first stint underwater, you’ll surface in an area where two Slyyyg are in a fight with Flametroopers. Deal with these enemies and then at the back of the area, near a circular pool you need to enter to progress, you’ll find one of those creepy plants that were following you around earlier, except this one is dead. When you approach it, BD-1 will run over to it and you can scan it.
Some players have noted that this cannot be scanned and BD-1 doesn’t even notice it. Apparently going back to the nearest meditation point and then resting will fix this bug.
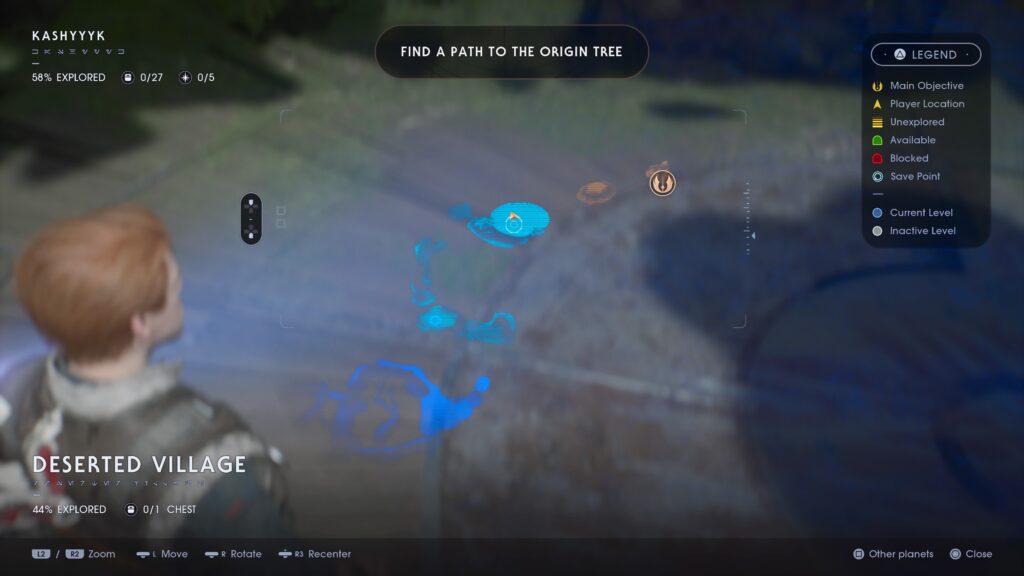
Electrohammer Purge Trooper
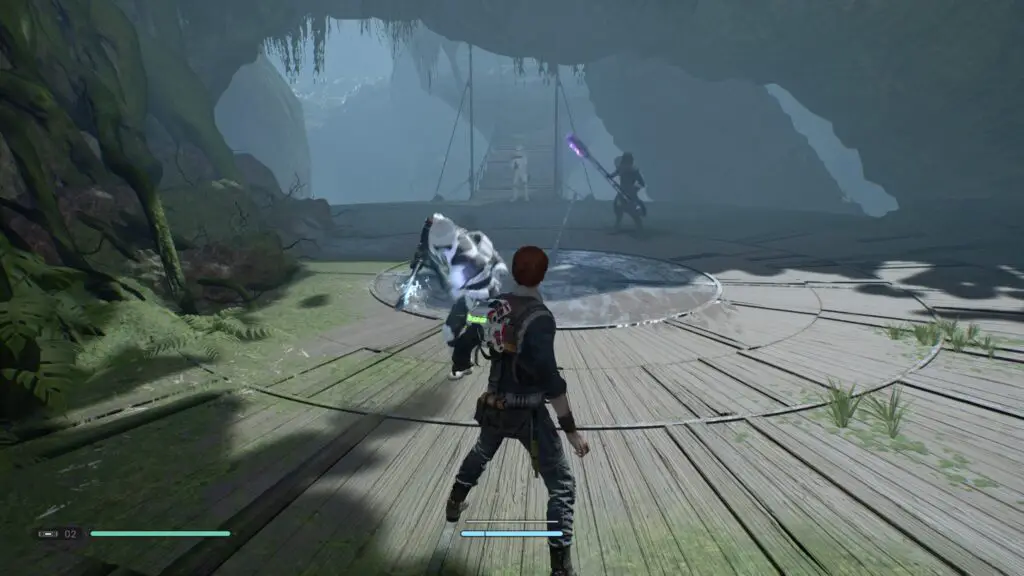
A short ways into the “Deserted Village” part of Kashyyyk, just after the meditation point, you will need to jump on one of the large green trampoline plants, run along a wall, jump on another plant, then run along another wall, after which you will land on a large circular platform. Here you will find the Electrohammer Purge Trooper, take him out and then make sure you scan his corpse.
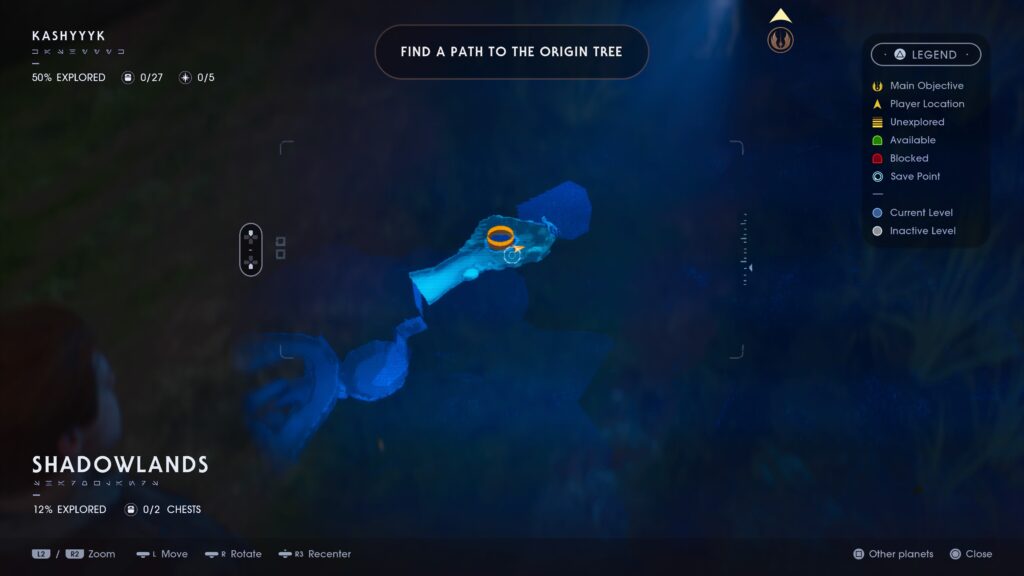
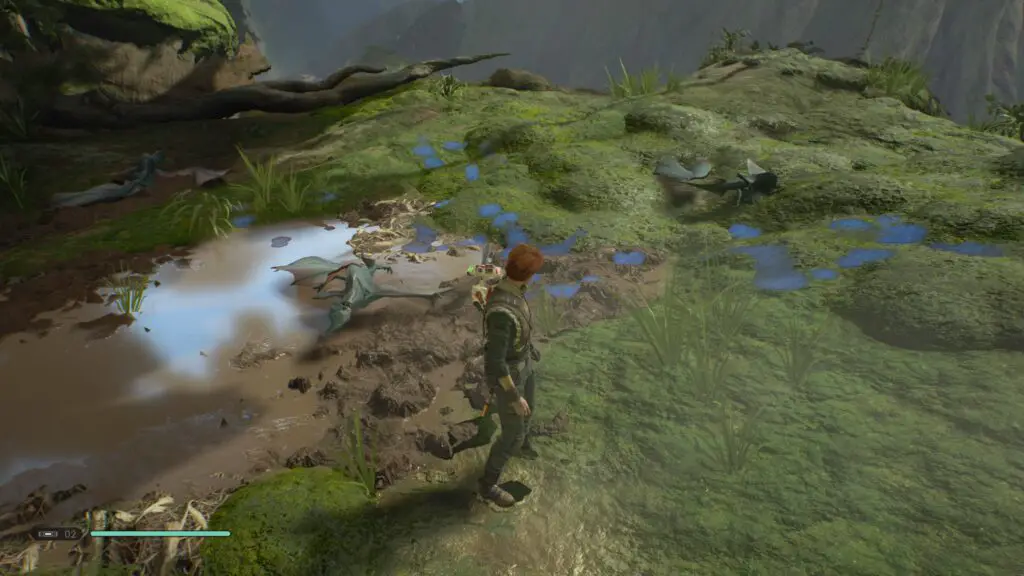
Mykal (again)
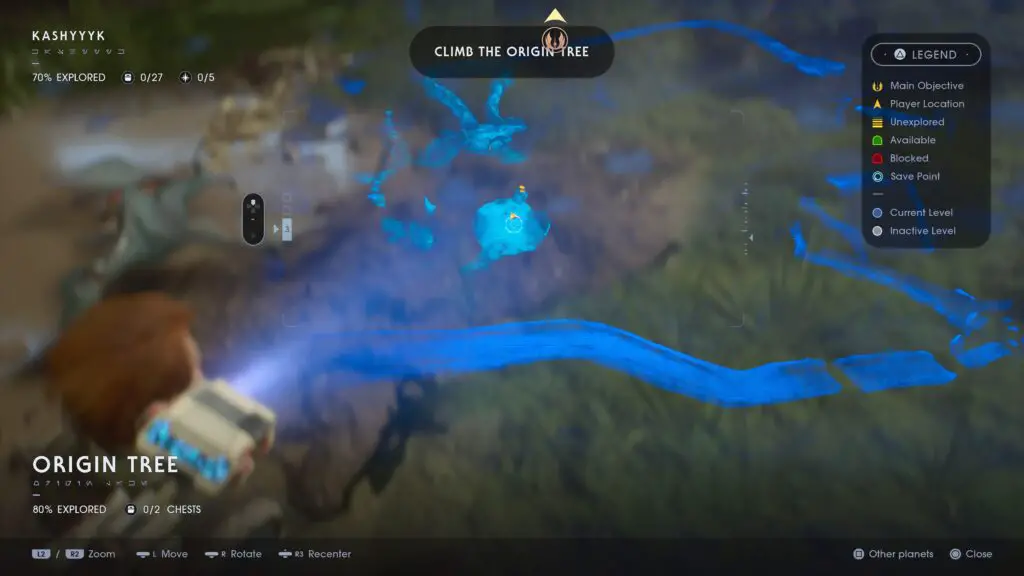
If the Mykal I mentioned earlier fell off the cliff, now is your next best chance is in the “Origin Tree” area as there are 3 Mykal together in a group. It’s quite a way through the area and past the second Meditation Point, just after you learn the “Jedi Flip” ability. You’ll definitely come through here on your way through the story and so shouldn’t miss them.
Ninth Sister
After reaching the top of the Origin Tree and completing your objective here, you’ll enter into this unmissable Boss Fight. Nothing needs to be scanned for this intel to be added to your Tactical Guide.
Haxion Brood Bounty Droid
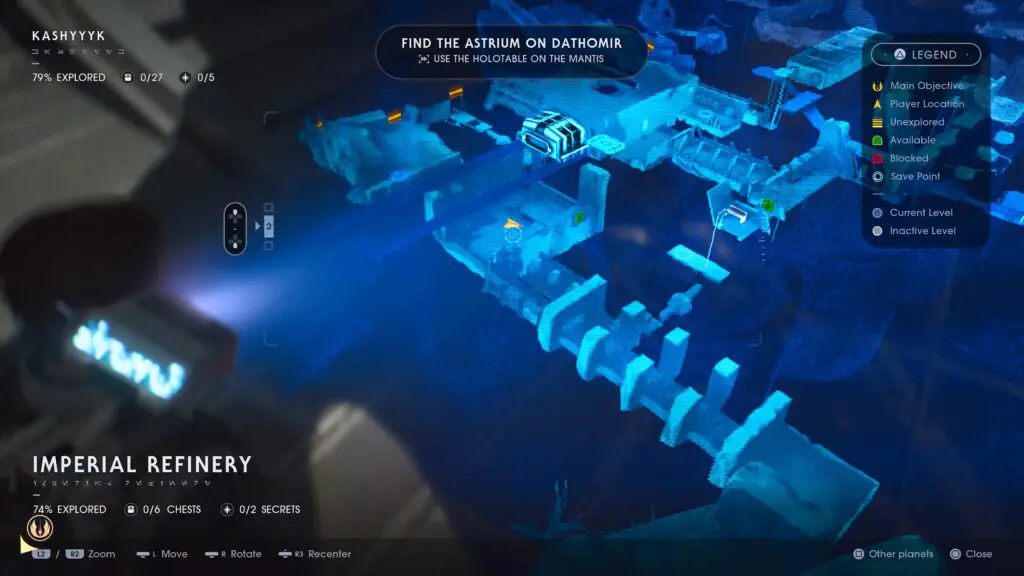
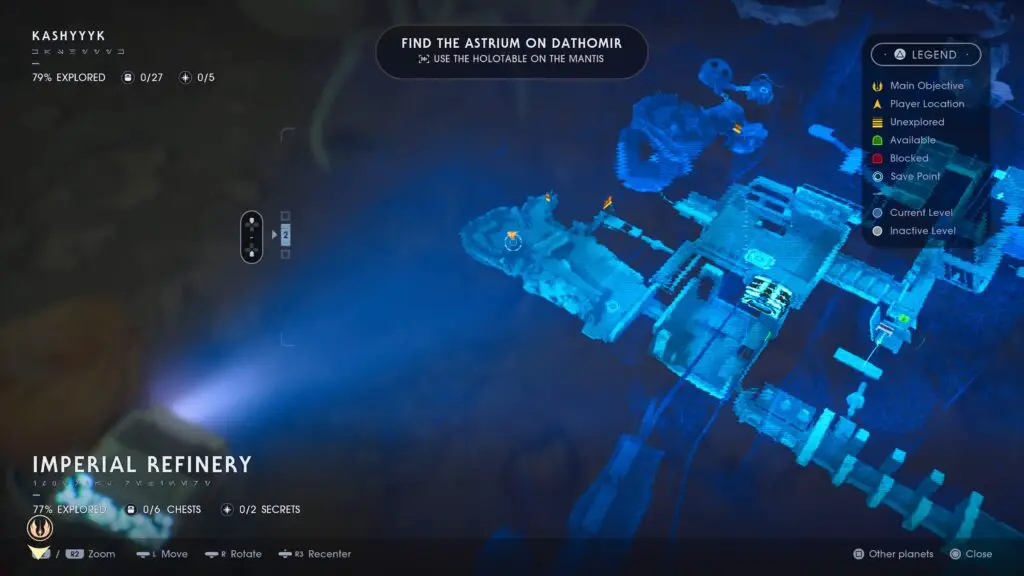
Before leaving Kashyyyk to follow your objectives to Dathomir, let’s get that last Kashyyyk Tactical Guide entry; the optional miniboss “Albino Wyyyschokk”. Luckily, along the way, there is also one of the Haxion Brood enemy scans. These enemies can be found in the “Imperial Refinery” area so you can do this on your way back to the Mantis from the Origin Tree.
Note that Haxion Brood boss fights seem to be random, but as far as I can tell, the same enemy types appear in the same places, so there should be a Haxion Brood Bounty Droid for you too. However, as this enemy type is not the actual boss, but is a minion of the boss, there is an accessible Haxion Brood Bounty Droid boss noted below in the Dathomir (2nd Visit) section.
On the way back you will pass a workbench and a rope you can cut to open a new shortcut. You’ll then drop down, use the force to freeze a rotating platform and then cross it. Up on the other side is a group of Scout Troopers standing in front of a doorway. Defeat them and then head through the doorway to the Electrostaff Purge Trooper and defeat him.
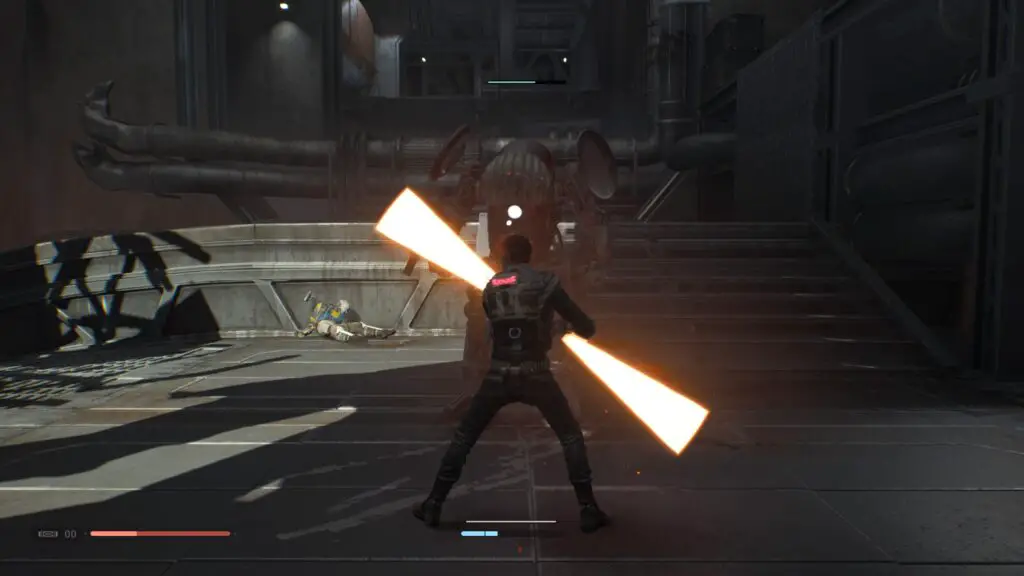
Next, head through the tight passage he was standing in-front of to enter the room where we hacked the cutter on our first visit to Kashyyyk. In here there will be another Bounty Hunter called “Anti” as well as his personal Bounty Hunter Droid. Defeat them both and then scan the droid. You can also scan the Hunter if you missed an opportunity to do this earlier in Ordo Eris.
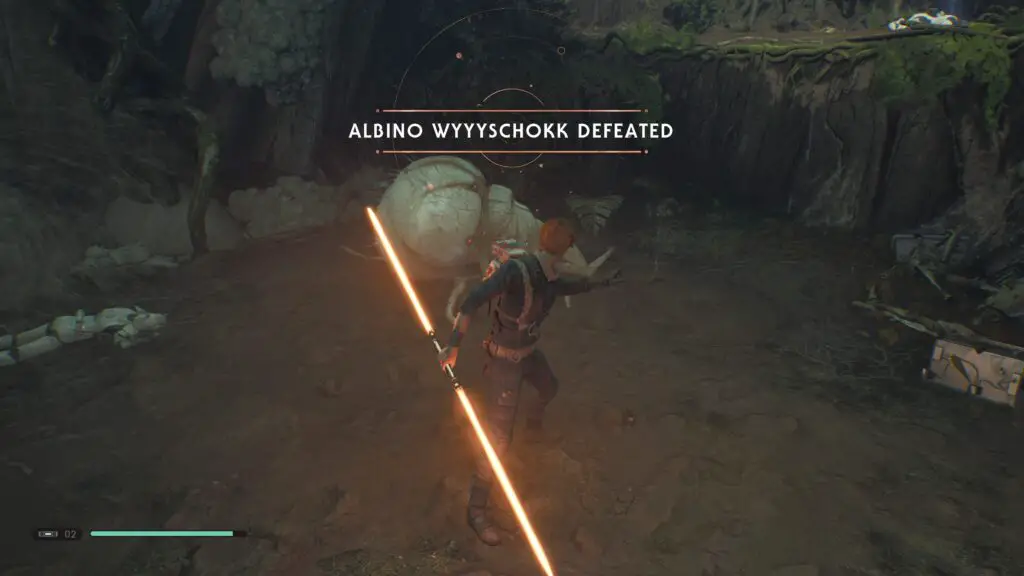
Albino Wyyyschokk
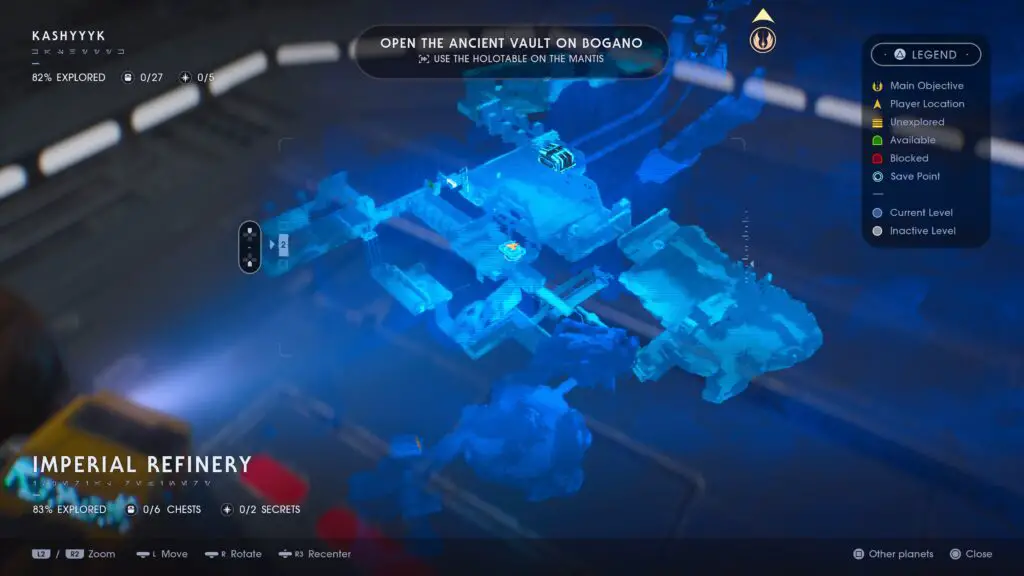
After the above fight, head out through the vent in the wall with the turbine you need to freeze using the force. On the other side there will be a Meditation Point you can rest at and a group of Imperials who will get attacked by some Wyyyschokk again. Deal with these enemies and then head back to the Meditation Point.
From here you can jump up the nearby ledge and then follow the path to a narrow passage leading to a new area with a chest and echo clearly visible. The Albino Wyyyschokk will attack you once you step into the room. Take it out to have it added to your Tactical Guide.
You can now leave for Dathomir as you should have all Kashyyyk Tactical Guide entries. But there is one more optional mini-boss we can fight for another Haxion Brood Tactical Guide entry. In my playthrough, I came back to Kashyyyk to get this enemy after finishing the Dathomir portion of the game.
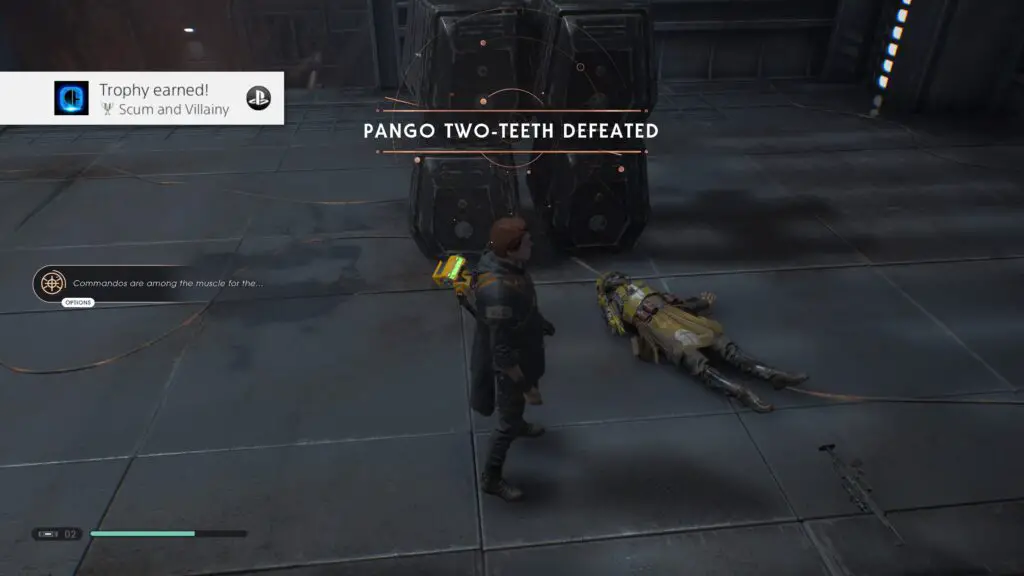
Haxion Brood Commando
Note that Haxion Brood boss fights seem to be random, but as far as I can tell, the same enemy types appear in the same places, so this should be a Haxion Brood Commando for you too.
For this enemy, we need to make our way back to the elevator where our objectives ended the first time we played through Kashyyyk. You can do this however you like, either work your way through the level again from where you are now or – as I did – head back to the ship and then use the Forest Trench transport which will take you all the way there.
From where the transport drops you off, step on the elevator to be taken to the floor below, where our quarry awaits. You will be ambushed by some Haxion Brood, one of whom should be a Commando. Try to defeat the non-commando first as you will need to scan the Commando once you defeat them and, if the fight with the second enemy takes too long, the Commando will despawn and you’ll miss your chance.
You can now proceed to Dathomir.
Note that if you’re also following along with the Terrarium Seed Guide, this point is where I suggest going back to Bogano for the second seed there as you can now double-jump, so if you skipped over the Oggdo Bogdo earlier, now’s the time to get it.
Dathomir
Lesser Nydak
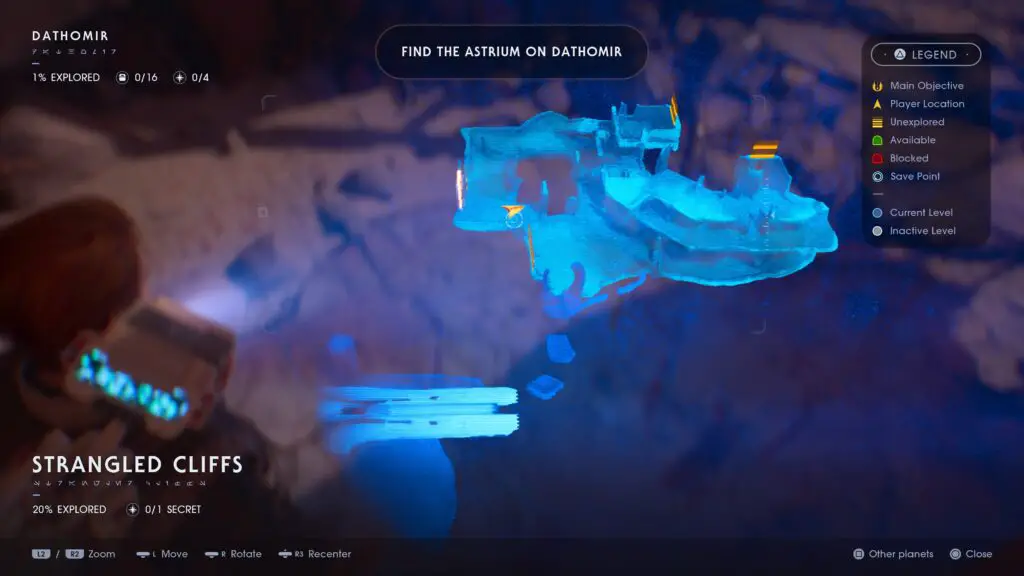
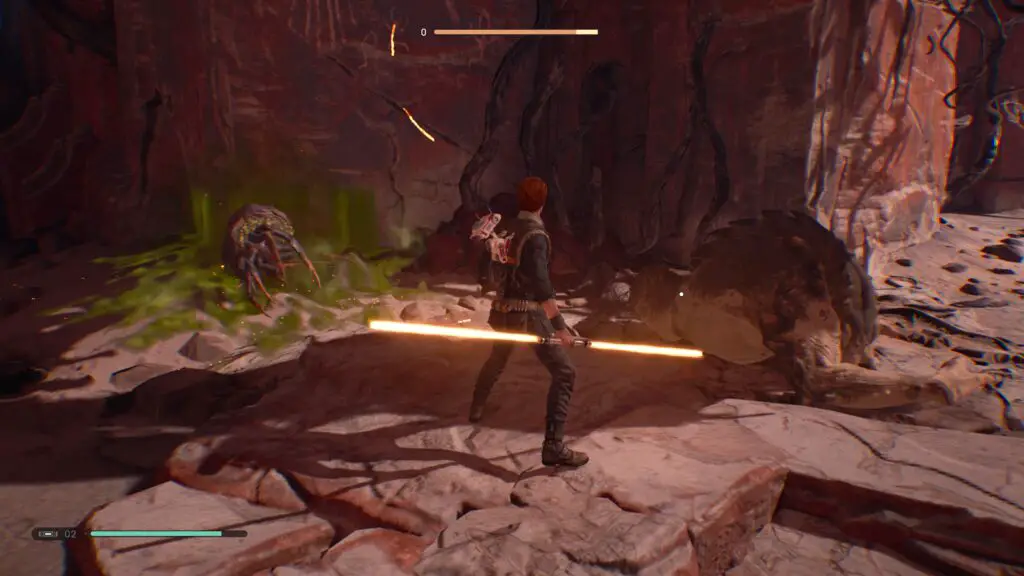
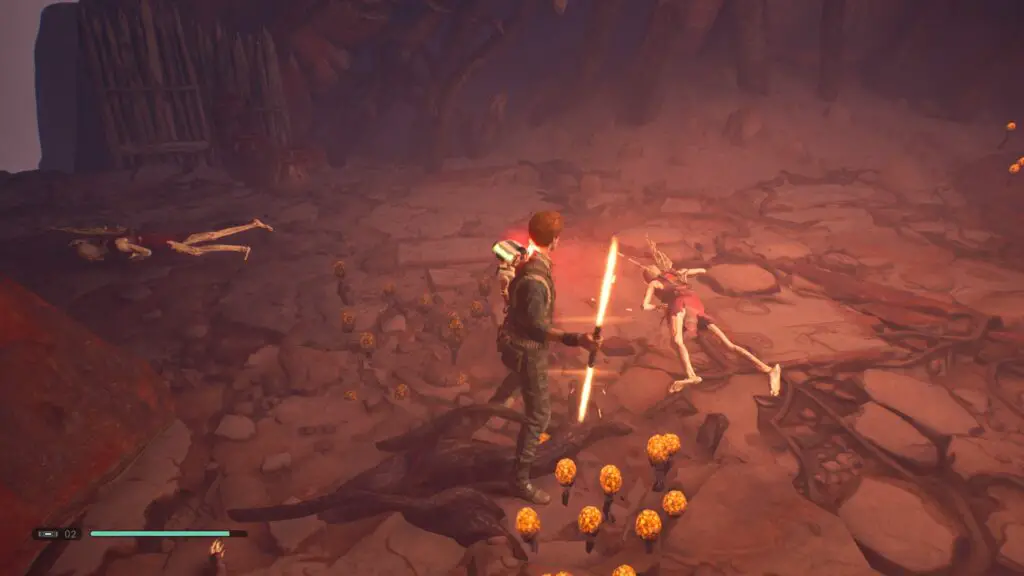
The first new creature you will see on Dathomir. You’ll see it sniffing around while you’re climbing the wall at the start of the level. Kill it once you reach thetop of the wall and remember to scan it once you do.
Bane Back Spider
Immediately after the Lesser Nydak, on the path towards the left, you’ll see your first scan-able Bane Back Spider (You actually see some on Ordo Eris but aren’t given chance to scan them). Like me, you may end up fighting the Bane Back Spider and the Lesser Nydak at the same time as their spawns are very close together. Remember to scan the Bane Back Spider once it’s dead.
Nightbrother Warrior
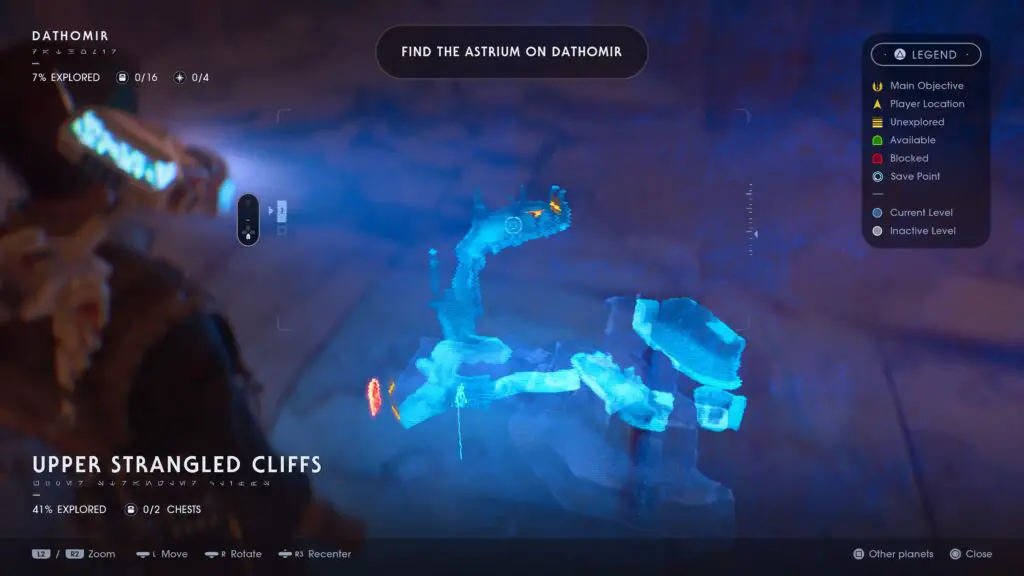
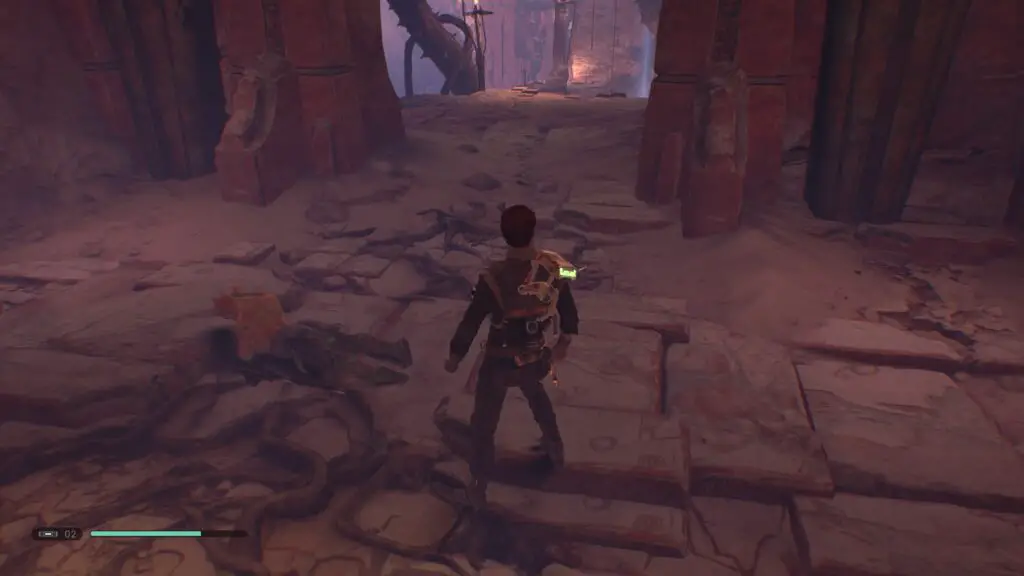
You’ll be attacked by your first group of these mace-wielding Darth Maul lookalikes as part of the story as you make your way through the Upper Strangled Cliffs. Be sure to scan one once you’ve defended yourself.
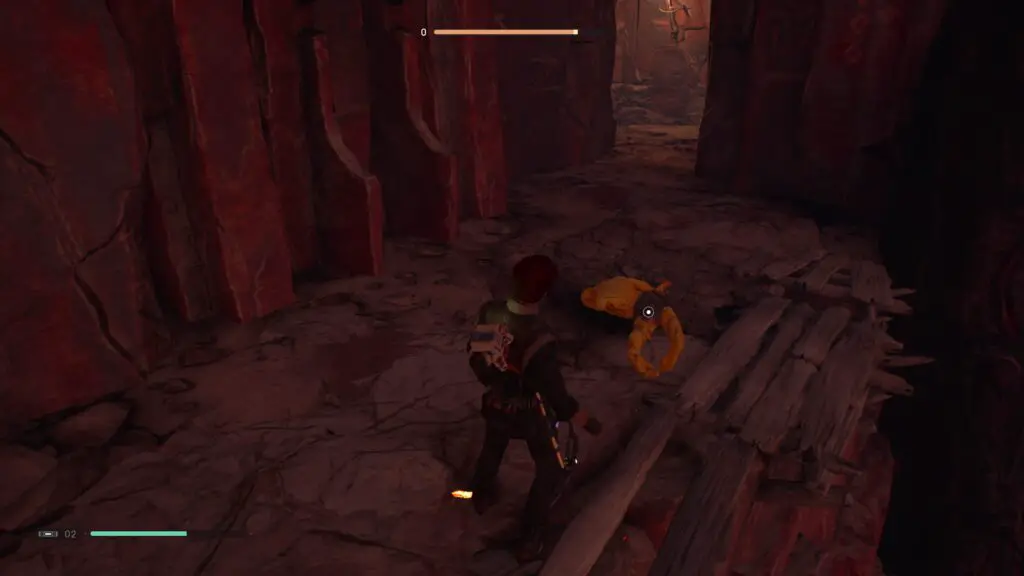
Nightbrother Archer
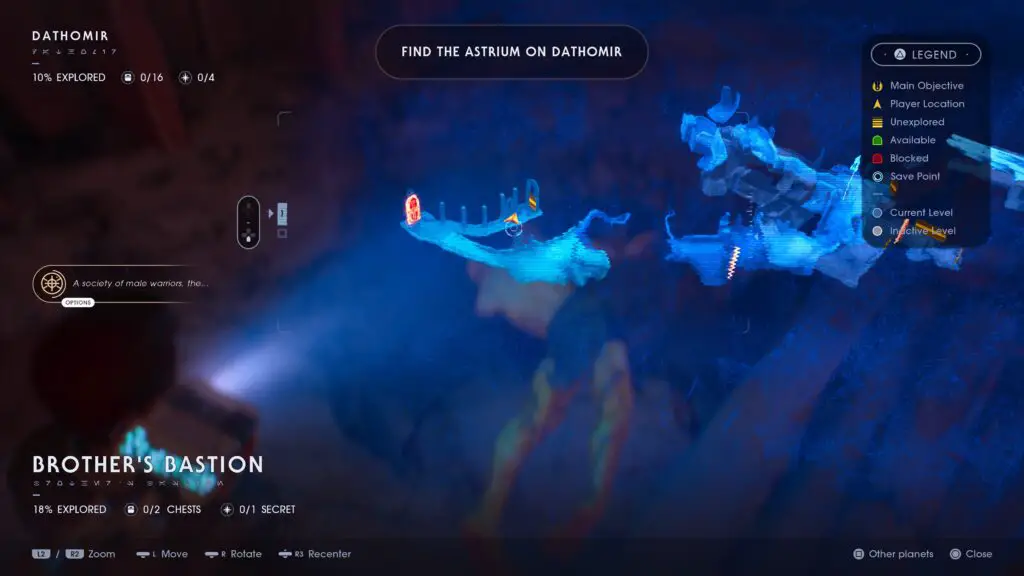
Very soon after your fight with the first Nightbrother Warriors, you’ll enter the “Brother’s Bastion” area of the map where you’ll face your first Nightbrother Archers. The fight takes places along some cliff edges though, so be careful not to knock them both off and, of course, scan one once you’ve defeated them.
Undead Nightsister
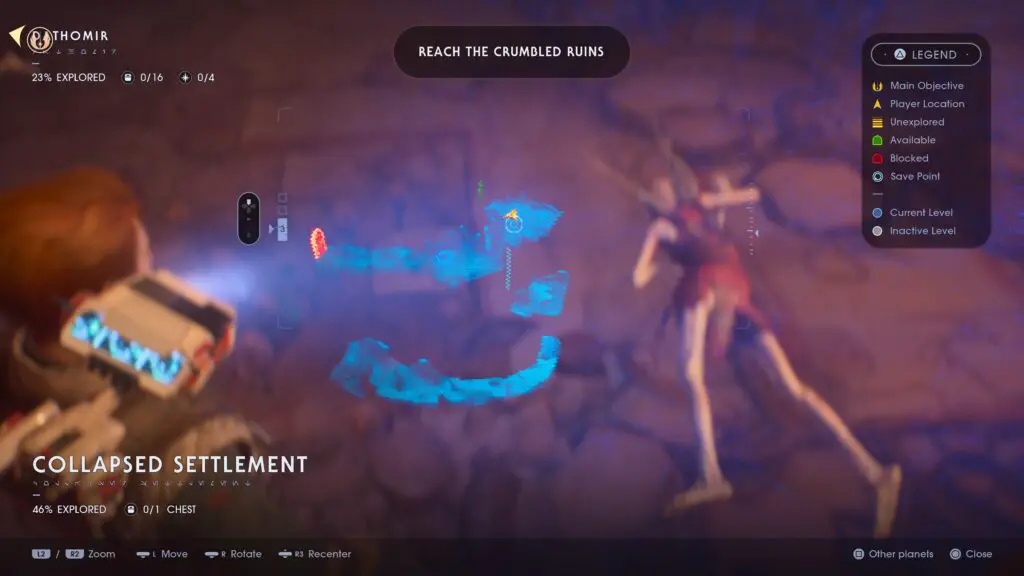
You’ll need to fight these as an unavoidable part of the story. The first time you meet them, just after entering the “Collapsed Settlement” area against your will, you will be introduced to three of these enemies. Make sure you scan one of them once you’ve taken them out.
Gorgara
A recurring boss on Dathomir. Defeating it for good will add it to the Tactical Guide.
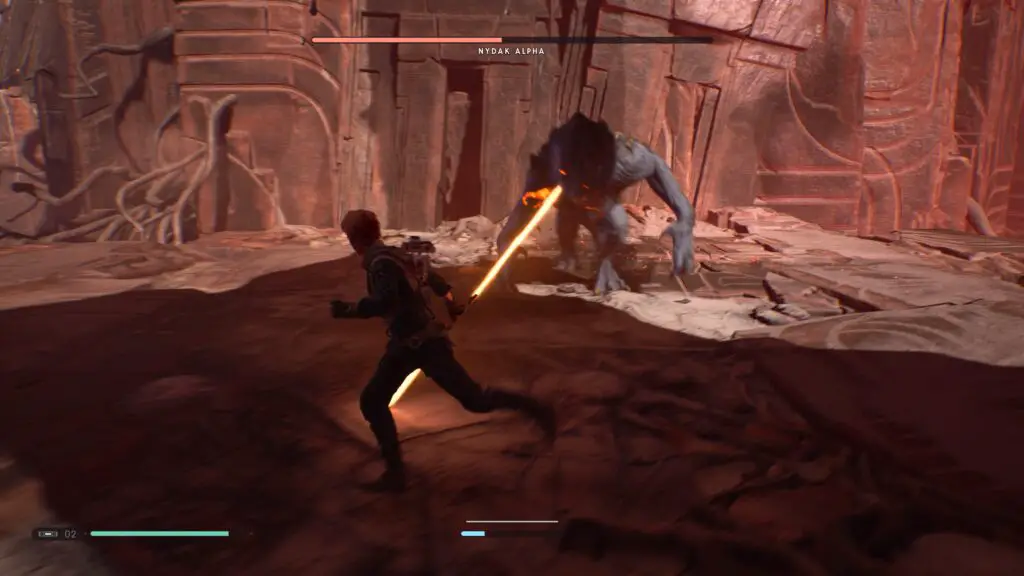
Nydak Alpha
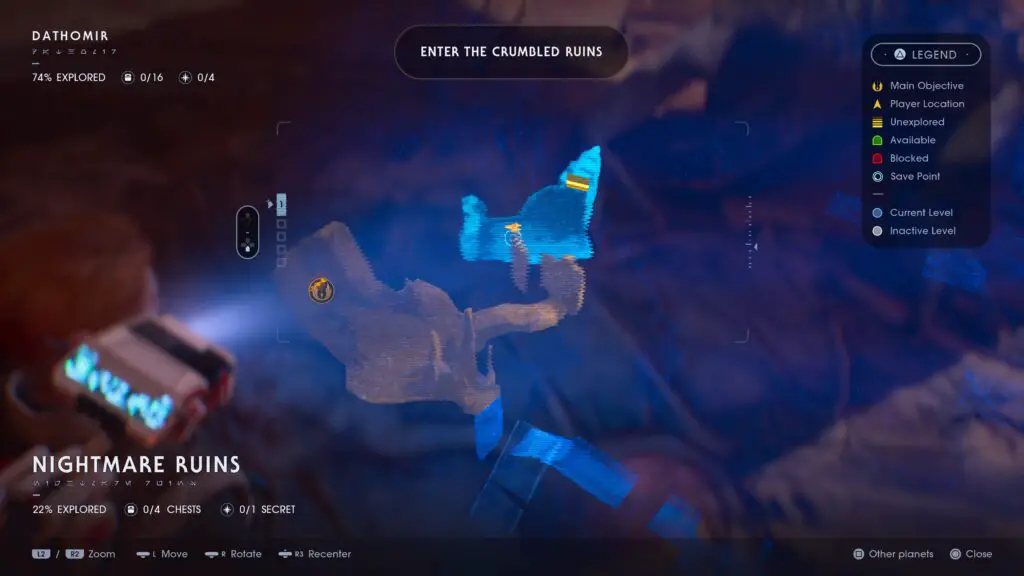
Once you finally reach the doorway to the tomb where your “Enter the Crumpled Ruins” objective is, don’t go inside. Instead look to the right and you’ll see a path leading to two wall-run segments. Use these walls to get across the gap and you’ll enter straight into the lair of the Nydak Alpha. Defeat this formidable foe to have it automatically added to the Tactical Guide.
You should now also earn this trophy if you’ve followed the guide correctly so far:

Legendary Beasts
Defeat four mysterious creatures
You will now also have all Tactical Guide entries for Dathomir
Dathomir (2nd Visit)
After visiting Ilum to fix your lightsaber, you’ll return to Dathomir to finish what you started. No screenshots from this point on because of spoilers, but the instructions are clear enough!
Haxion Brood Bounty Droid (again)
Note that Haxion Brood boss fights seem to be random, but as far as I can tell, the same enemy types appear in the same places, so this should be a Haxion Brood Bounty Droid for you too.
This guy will ambush you right outside the temple/tomb where your objective is for the second time. I’m noting it just in-case you didn’t get a Haxion Brood Bounty Droid at the same place I did on Kashyyyk.
I believe he only spawned, though, because I had defeated the Nydak Alpha on my last visit. Haxion Brood do seem to often spawn wherever a legendary boss has been defeated, so if they’re not there for you and you haven’t defeated the Nydak Alpha, do so, leave the planet, and then come back and they should be here.
Taron Malicos
This boss fight is an unavoidable part of the story, simply progress to acquire the Tactical Guide entry. No scanning required.
Nur
Final Boss
This enemy is completely unmissable and does not need to be scanned. If you’ve followed the guide closely so far, then your trophy should pop once you’re in the elevator after this fight. I’d show you the trophy screenshot but it’s spoiler-y.
You should now have all of the Tactical Guide entries. If you are missing some enemy types, such as Haxion Brood enemies, then take the time to just explore, you’ll be surprised how easy they are to find and they have spawn points everywhere. A good opportunity to look for them would be while gathering collectibles using our collectible guide (coming soon).
Thanks for choosing us for your guide needs, I hope this more chronological format proved quite useful in expediting your Platinum Journey and I hope you’ve genuinely enjoyed Jedi Fallen Order as much as I did!