PlayStation 4
Star Wars: Jedi Fallen Order Bogano Collectables Guide
Game Guide
Introduction
To make things much easier at this stage it is recommended that you avoid picking up any collectables during your first playthrough except Terrarium Seeds and Enemy Scans.
In order to aid in making this more possible I also made two other separate guides; one for the Terrarium Seeds which can be followed chronologically while you play the story, detailing the earliest points at which you can get each seed so that you can plant and grow them at your earliest convenience.
The other guide is probably overkill. I made this chronological enemy scan guide so that you could follow along while you play and see the earliest point at which each enemy type is available to scan, but most of the enemy types have to be fought for the story. Either way, if you’d like to ensure you’re doing what you can to gather the enemy scans, the guide should be easy to follow while you play.
Thus, with those two trophies out of the way, this collectable guide is intended to be followed after the main story has been completed and will cover the whereabouts of Force Echoes*, Chests, Secrets, Stim Canisters, Optional Crew Members and Encrypted Logs.
*There are more Force Echoes in the game than the required number and I’ll only be listing as many as I needed for the trophy, maybe a few more if I find them along the way. There are a lot of them though, so if you miss some for whatever reason you shouldn’t have any trouble making up for it. Though, note that you do need all Secrets. So any Secret Echoes you see in this guide are not optional.
This is just Part 1 of the guide and covers only Bogano. I wanted to do it all on only one page but the guide ended up being insanely long and everything started to lag…
You can find the other parts here:
Following this guide should net you the following trophies:

Full House
Recruit all possible crew members for the Mantis

Collector
Collect all chests and secrets

A Galaxy Far, Far Away
Complete all of BD-1’s holomaps

Visiting Alderaan Places
Explore the crashed Venator

Medical Droid
Find all of BD-1’s stim canisters

Data Disk
Find all of BD-1’s encrypted logs

Echo Location
Discover 75 Force Echoes
The guide is written in order of planet, we’ll visit each planet one-by-one to gather each of the needed collectibles. I’ll attempt to write out a path for you which you can just follow rather than needing to constantly check the map and your location. Note that you can change the order in which you visit each planet, but I’m just putting them in order of appearance. Let’s do it!
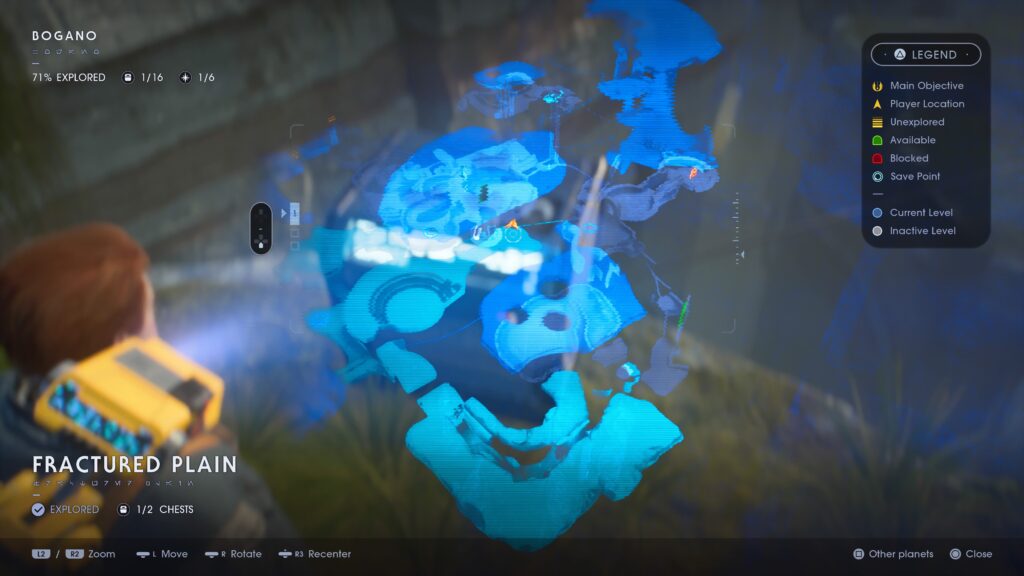
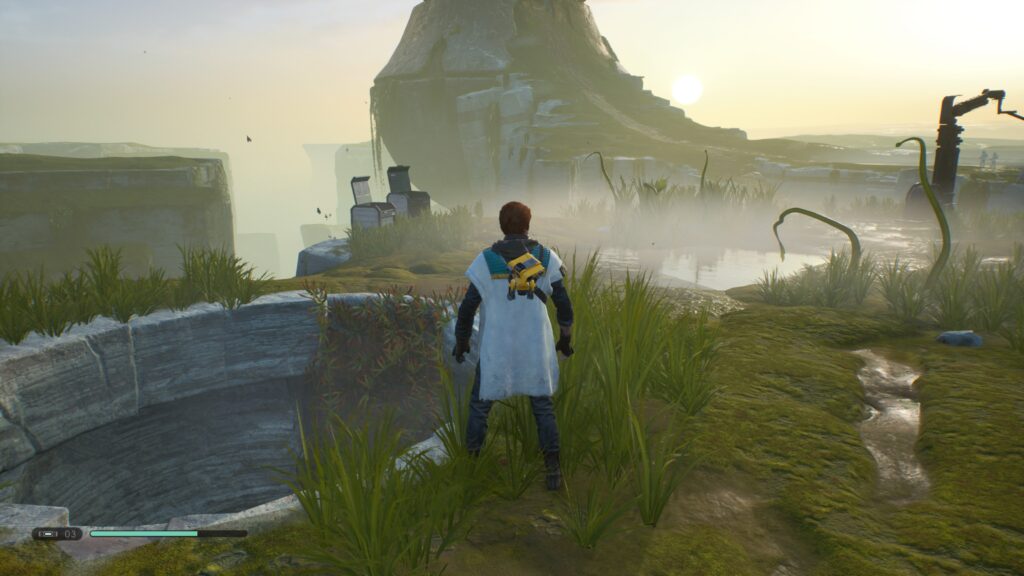
Bogano
Note that one encrypted log on this planet is unavoidably unlocked as part of the story, within the Ancient Vault.
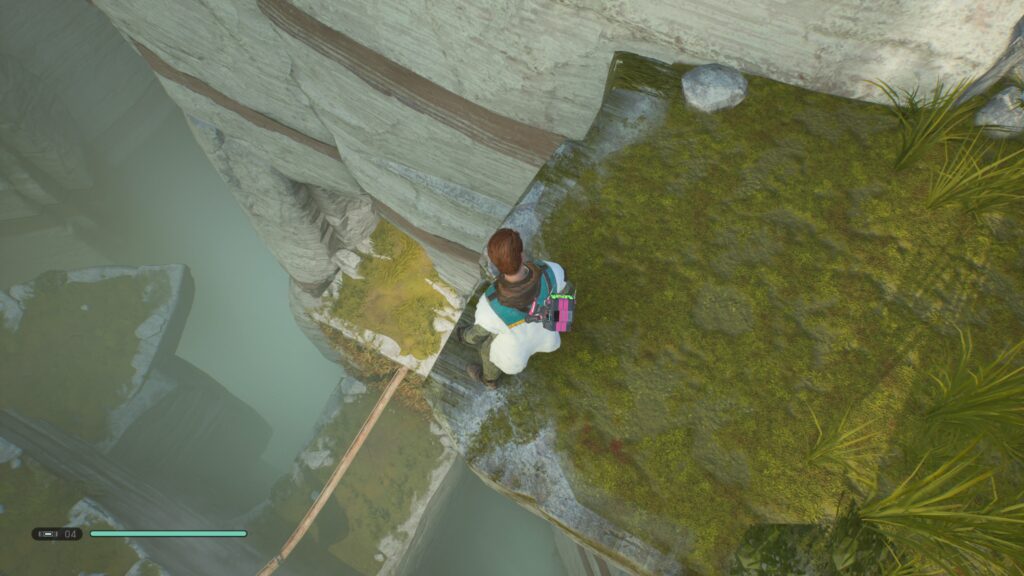
Landing Pad
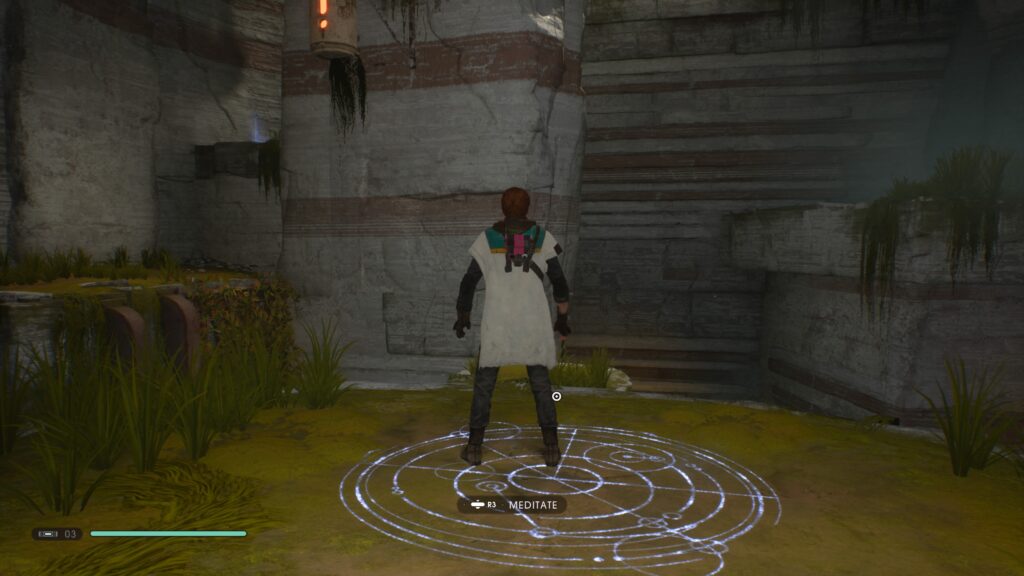
This should be a quick area as there is only one collectable here. It is both your first Stim Canister and Secret.
Head down the spiral ramp right outside the ship all the way to the bottom and you will find a cage with a sphere inside. Using your Force Push ability, move the sphere into the socket nearby by using the stone ramp-like structure to guide it in. This will open the door to the cage, granting access to the golden chest within.
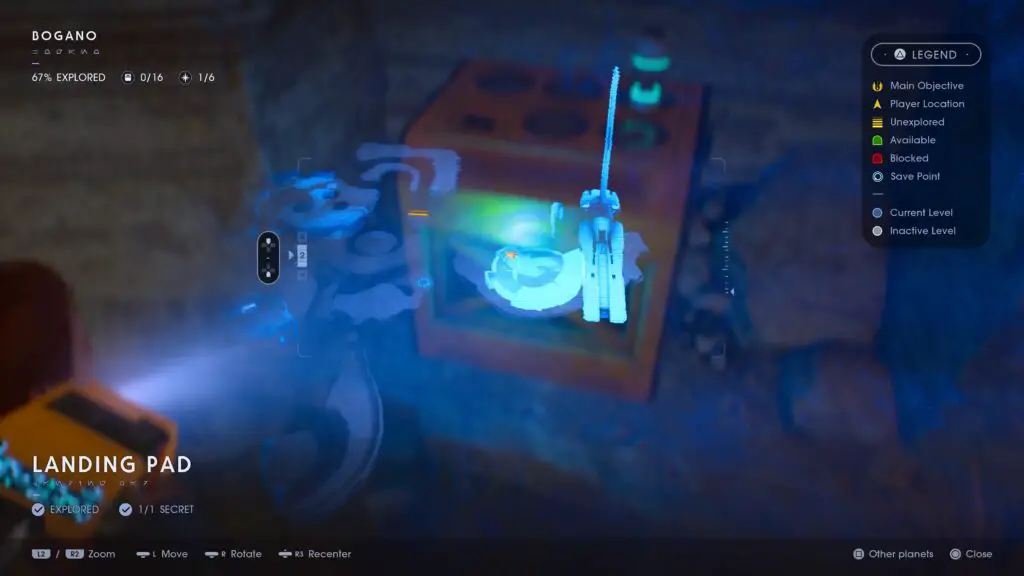
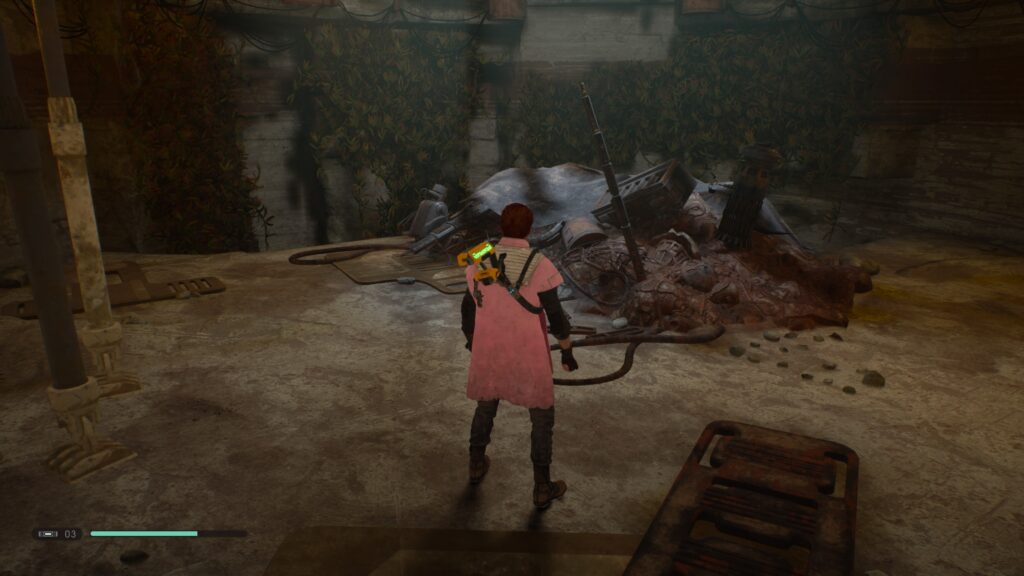
In this same room is a cute optional crew member. Use force-push on the rusted and worn door and inside you’ll find an adorable Bogling, who will make his way up to your ship once interacted with. If you’ve completed the story at this point then you should already earn the Full House trophy!
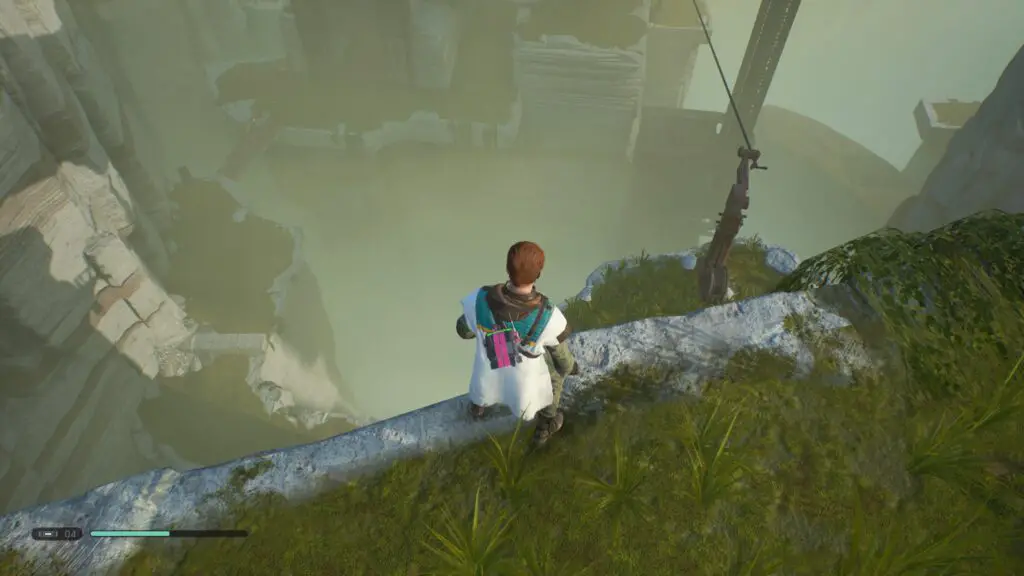
Proceed on from the Landing Pad to the Fracture Plain area by taking the zip line directly to Bogdo Sinkholes and then facing the gap on the right. Those who followed the Terrarium Seed Guide will recognize this as the location of the Featherfern Seed.
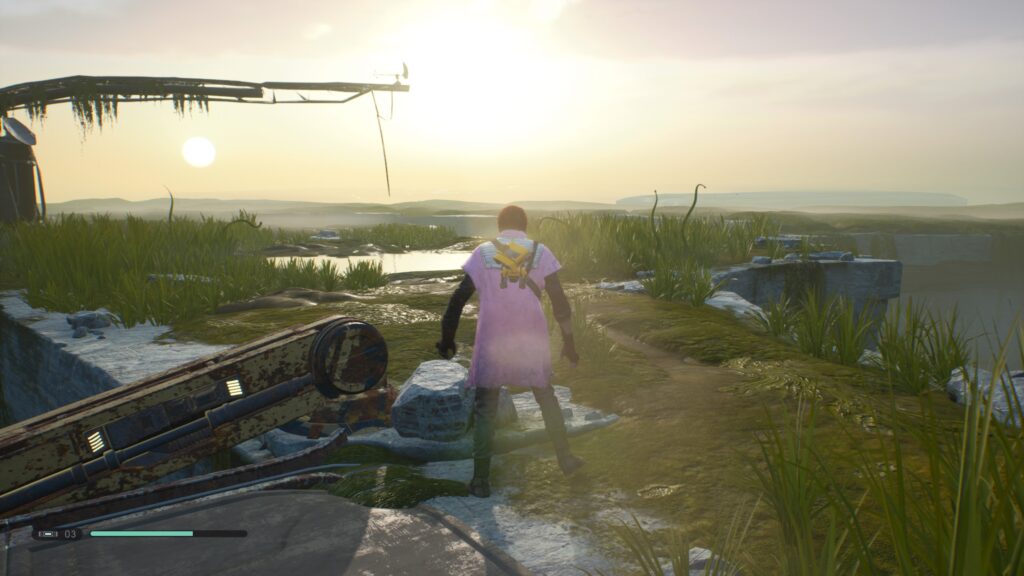
Fractured Plains
From there don’t jump across just yet, look slightly to the left instead to see to see a chest on a pillar attached to a broken piece of rusted metal bridge. Use what remains of said bridge to double-jump over and open the collectable.
Now jump back across to the Bogdo sinkholes and jump over to where the featherfern seed is, on the curved rock formation. We’re now going to collect our first echo. Make your way around the curvature of this formation from where you jumped across to find yourself stood in front of a sitting Zeffo sculpture which you can interact with, do so.
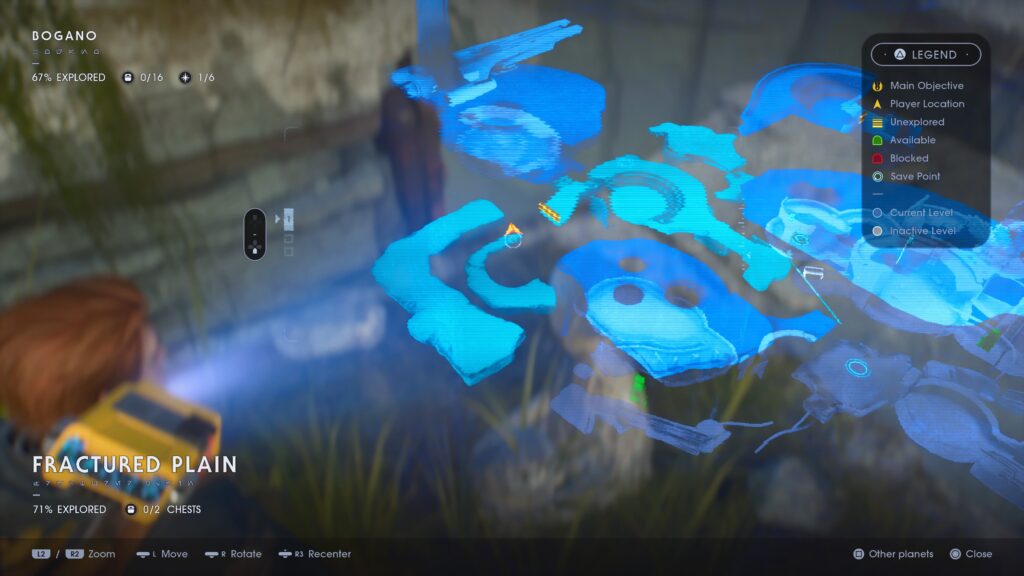
Next jump onto the slope directly in-front of you, while facing the Zeffo statue, and follow the slope up to a circular area. Here – right in the center of the circular area – is our next echo, a dead Bogling.

From here, follow the cliff edge across a narrow portion of the area where you’ll find a chest at the end, open it, completing the Fractured Plains area.
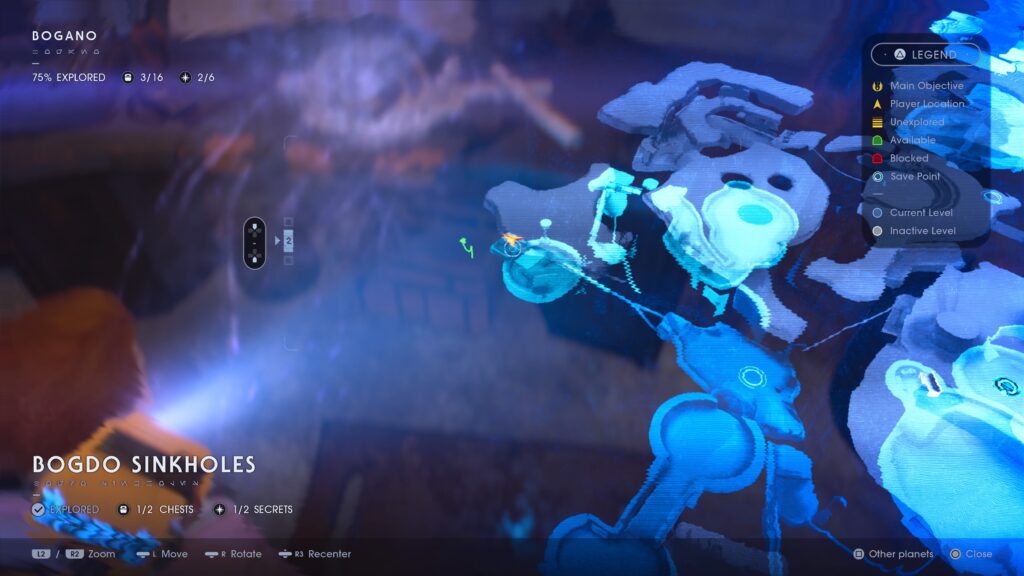
Bogdo Sinkholes
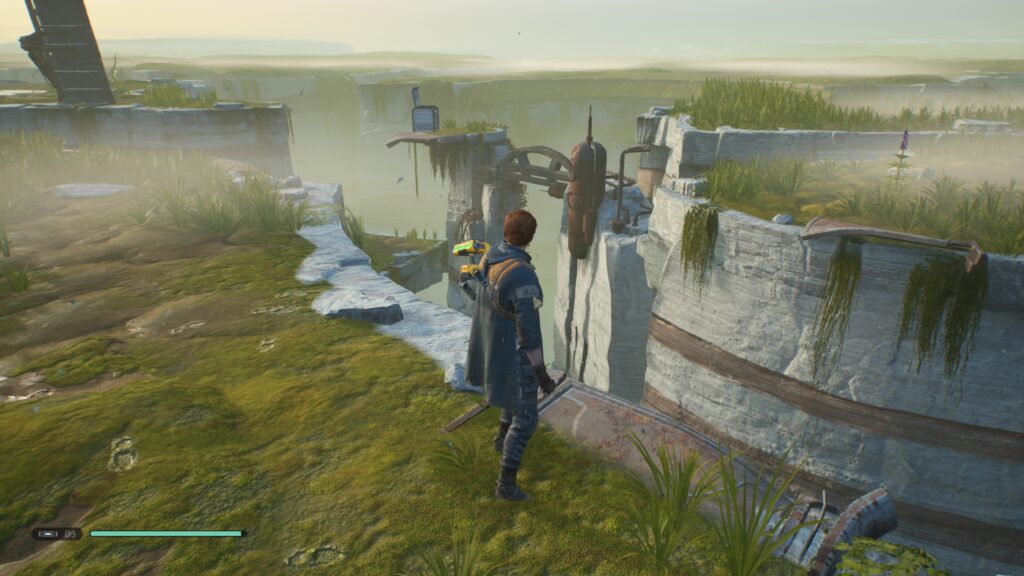
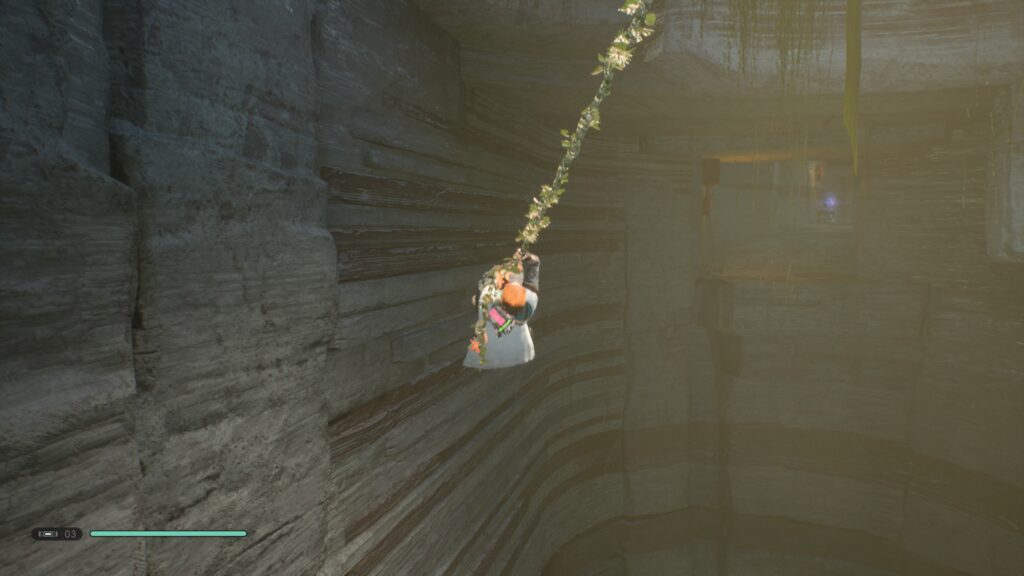
Jump back across to the sinkholes area by turning to the right and jumping across the gap there and use force pull on the rusted bridge you can see directly in front of you to pull it down. Cross over it and look to the left to see a hanging rope, which you can use force pull on, allowing you to grab and subsequently swing from it.
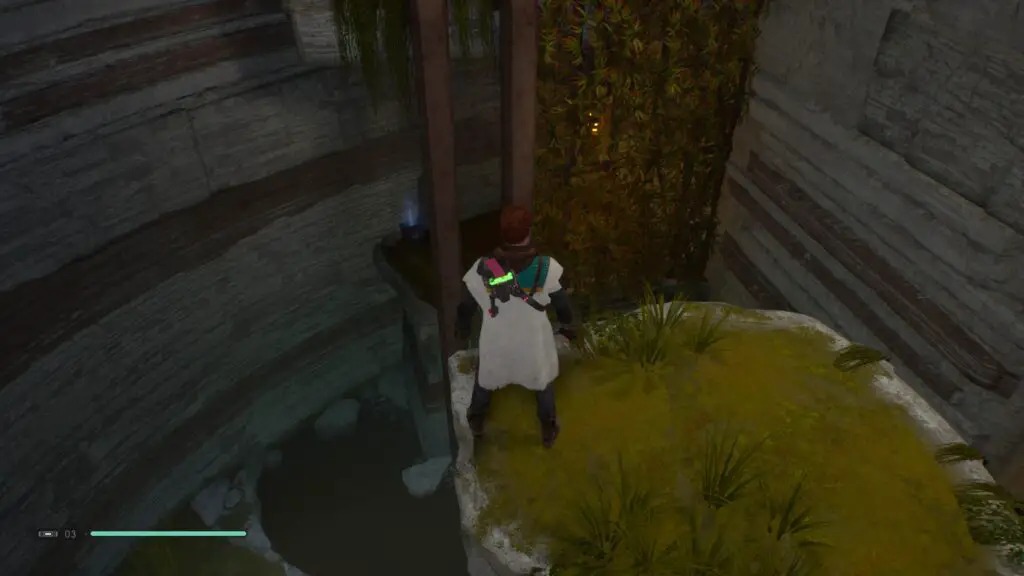
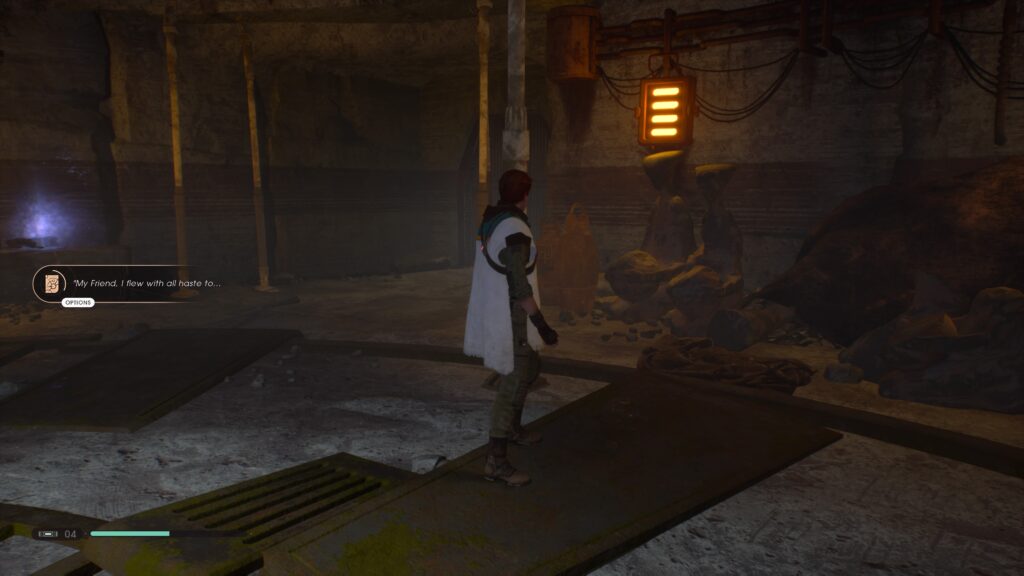
While swinging, turn back around to face the platform you were just on, to see a fan in the side of the rock formation with a chest behind it. Swing towards this fan and jump off, using ![]() to slow the fan before landing, allowing you to safely pass through and open the collectible. While you’re up here, don’t forget to have BD-1 scan
to slow the fan before landing, allowing you to safely pass through and open the collectible. While you’re up here, don’t forget to have BD-1 scan ![]() the bronze sphere hanging from the cieling, this is an encrypted log!
the bronze sphere hanging from the cieling, this is an encrypted log!
From here look down to the area below and you should see a secret echo on the left. Jump down on the right and then freeze the middle of the three fans in order to jump across and obtain the collectible.
Using the switch behind you to turn the fans off permanently, head out of this cavern using the pipes at the opposite side of the room by first climbing the vines on the wall to the right of them and then jumping over. Slow the fans here to get through. While walking across the pipes you’ll see two more above you, one ahead of you leading to the Meditation Point and the other leading off to the right and behind you.
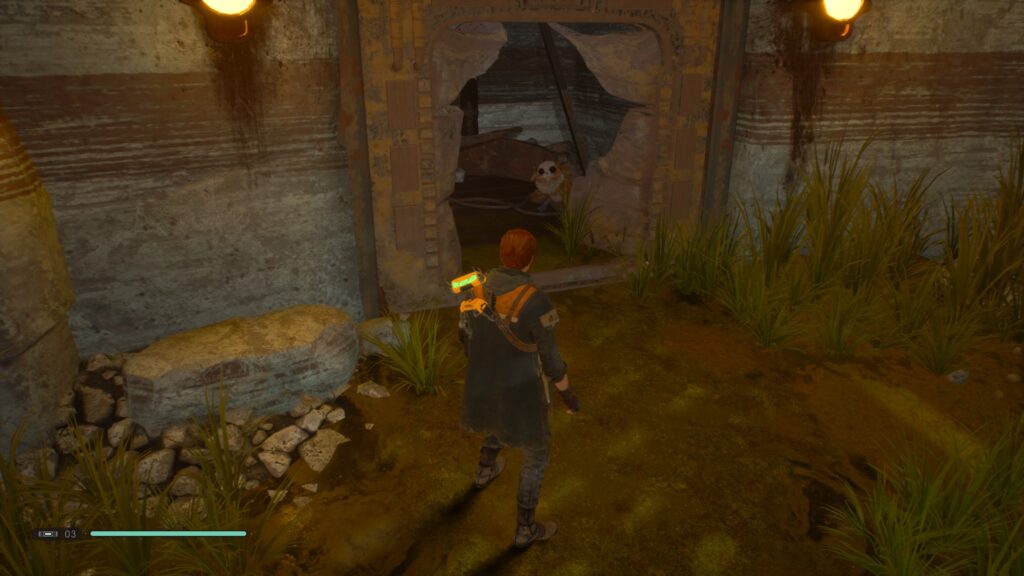
Jump to the pipe on the right and follow it to a cliffside ledge. Follow this ledge and all the pipes involved in order to reach a cave on the right which you can jump over to. Enter it and follow the narrow passage into an open cavern. If you haven’t fought the Oggdo Bogdo yet, this is where it will be. If you have already defeated it, though, you should get ambushed by Haxion Brood Bounty Hunters.
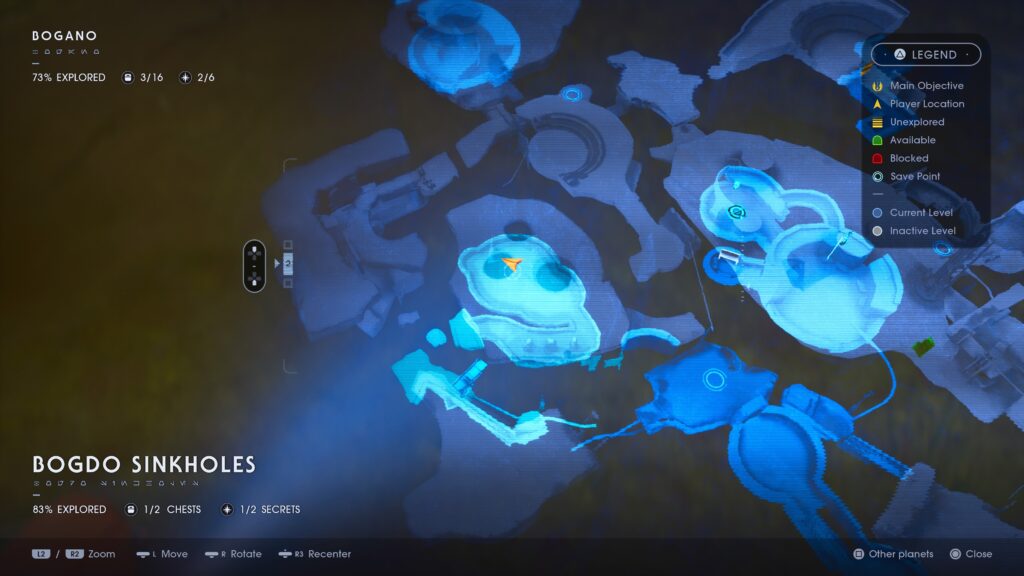
Once you’ve dealt with them, there’s a secret echo at the back of the cave – another bogling corpse. Right next to this you can also find a scomp link chest which BD-1 can slice open for you, completing the collectibles in this area.
Now you’ll want to make your way back out of the cavern and across the pipes back to the Meditation Point. From there, use the zipline opposite the door and head across the ledges (which should have stormtroopers on them) to reach the top of the Hermit’s Abode area.
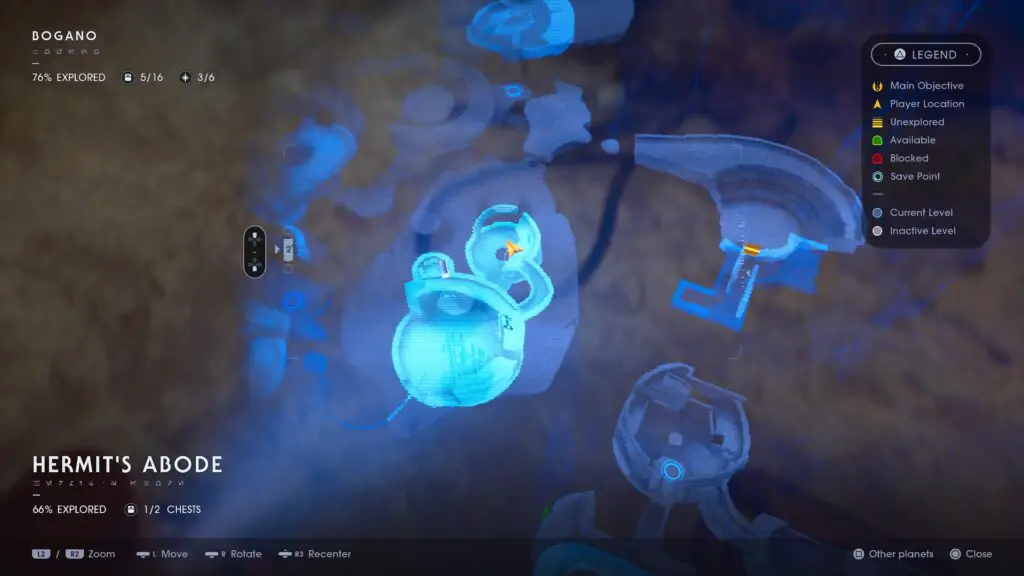
Hermit’s Abode
Head to the opening on the upper area to enter into the innards of the Hermit’s Abode. Follow the ramp down and then continue along this ledge all the way to the chest at the end and open it.
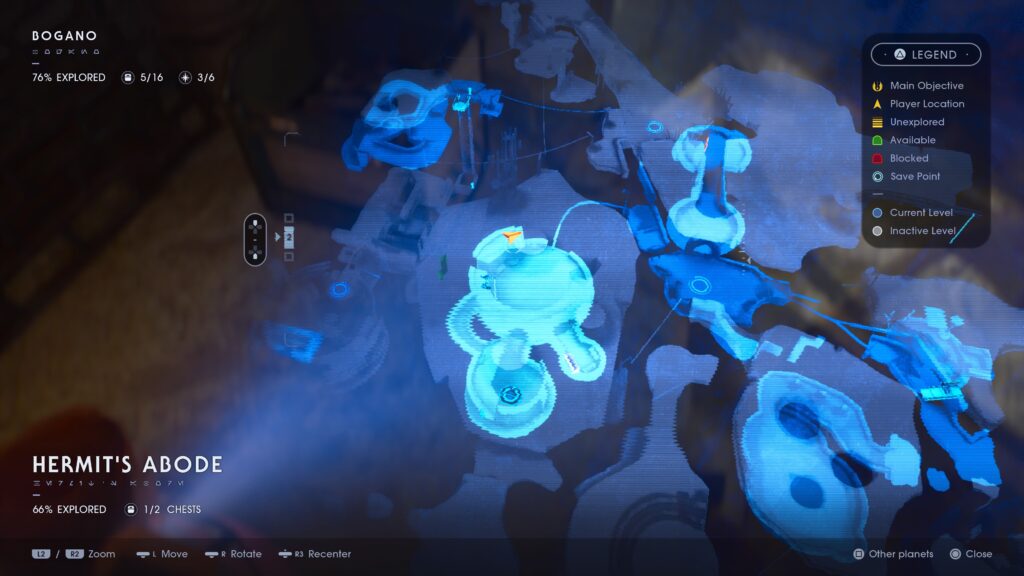
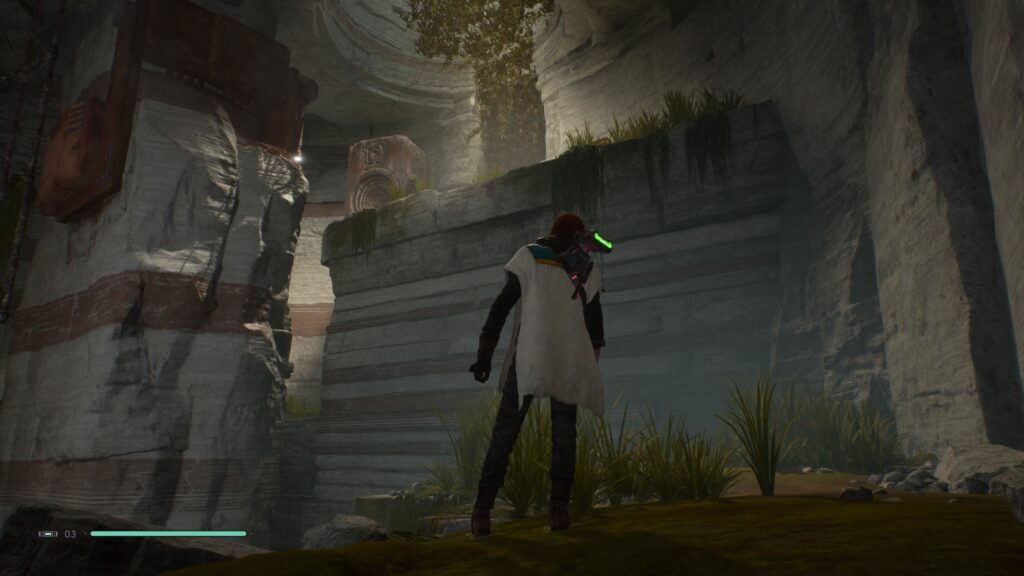
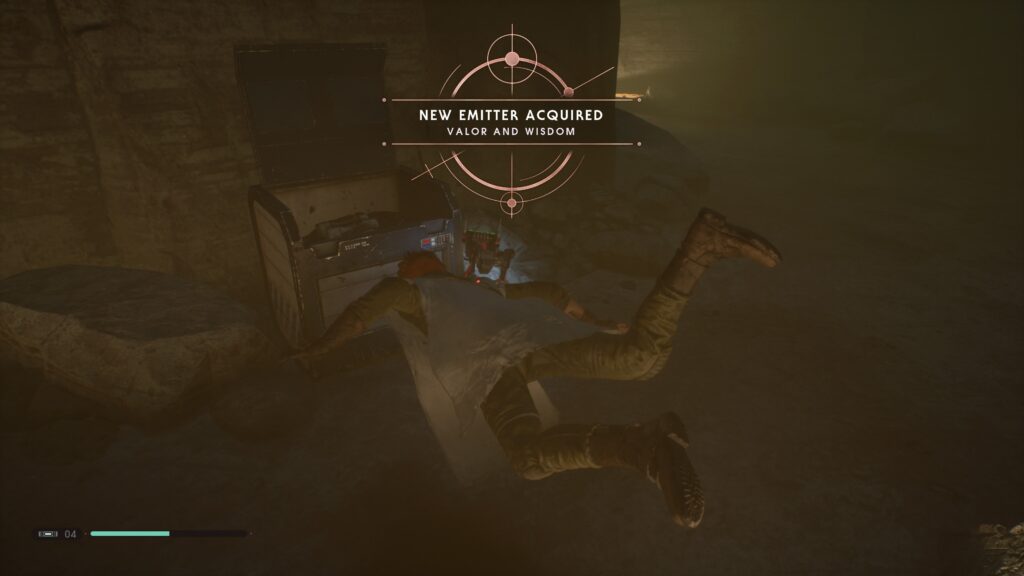
From here turn back around and follow the ledge halfway round, to where the rope is, and enter the doorway here. Head through this narrow passage and cut through the obstructing cables to find a pile of scrap metal, which BD-1 will excitedly run over to. Press ![]() to have him scan it and add this encrypted log to your collection.
to have him scan it and add this encrypted log to your collection.
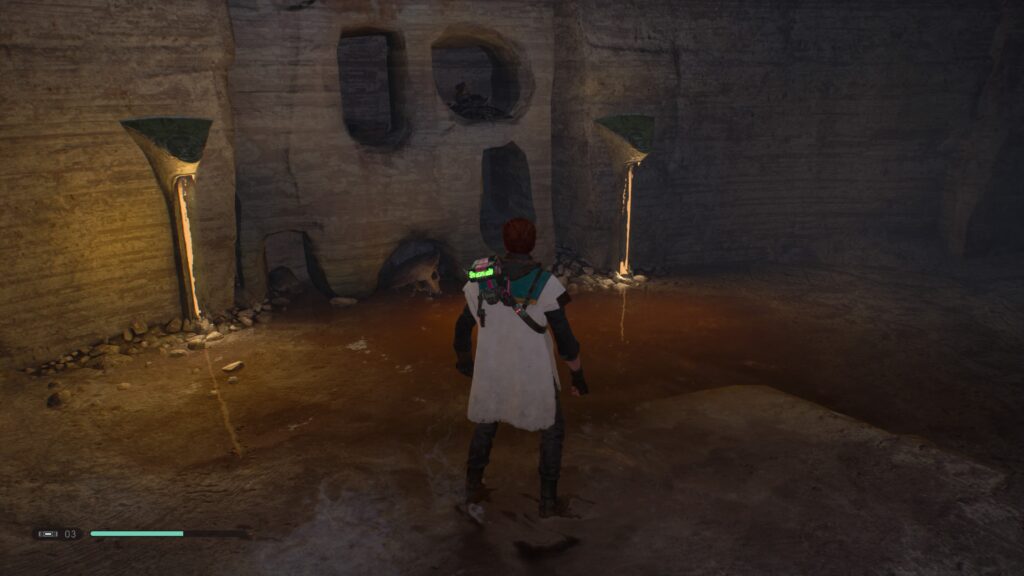
Next, jump down through the gap behind this scrap pile to find yourself in a very dark bedroom. Find the panel on the wall at the back, which BD-1 can overcharge, turning on the lights and opening up a round doorway in the floor. Jump into this freshly opened pit to find a chest waiting for you.
Leave the bedroom via the narrow doorway to find yourself back in the main circular room of the house, but this time you’re on the ground floor. You should be able to hear a very loud fan spinning its way through life very close by, use ![]() on it to slow it and then head behind it to find a lightsaber table on the right. To it’s left is another encrypted log for you to scan!
on it to slow it and then head behind it to find a lightsaber table on the right. To it’s left is another encrypted log for you to scan!
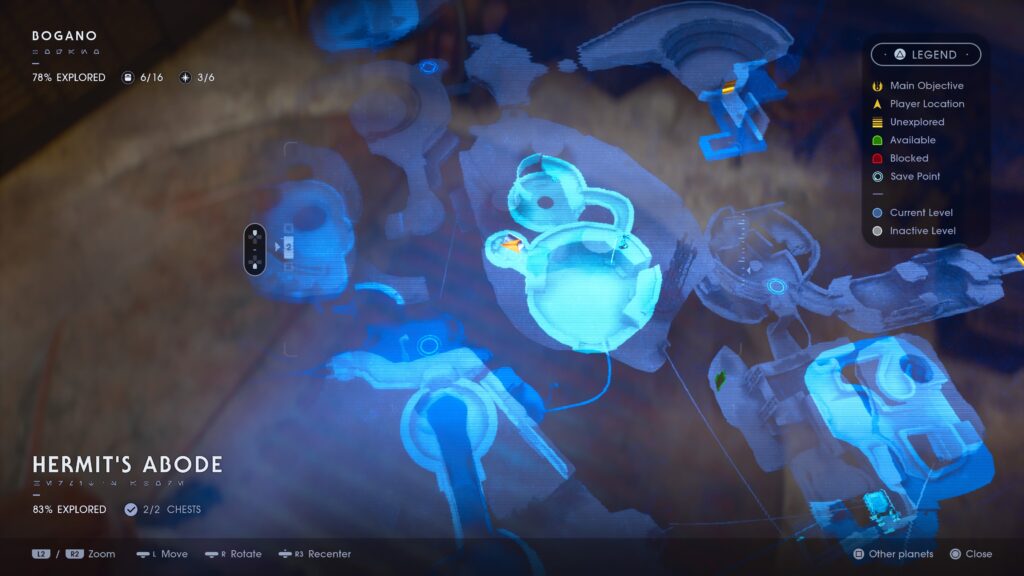
Head back out to the main room where we can find our last Hermit’s Abode collectible inside a narrow room to the right of the rope. Cut your way into this room to find an echo on the shelf at the back!
Next up, the Great Divide! Head up the rope to the second floor and then follow the ramp all the way up to the plateau above. From there you can use a zipline to reach the Great Divide area.
Great Divide
Once you land on solid ground after the zipline, turn right and look down over the cliff edge, you should see a Bog Rat. Jump down and get rid of it, then turn around to see a small cave in the cliffside, leading to a chest for you to open!
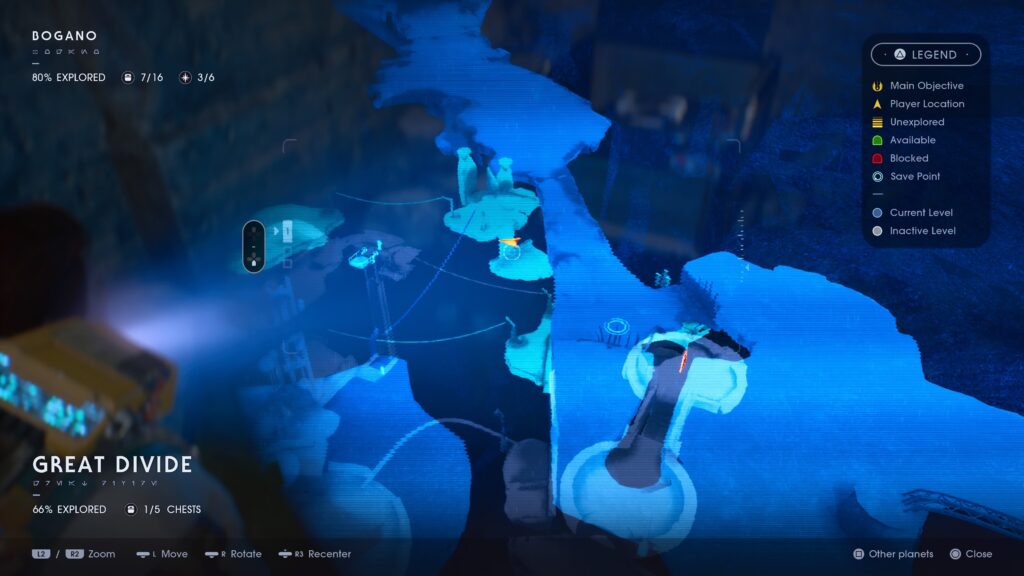
From here, turn around and swing across to the Meditation Point opposite the cave and then follow the cliff edge around to the left where you’ll find your next echo.
Next, take the steep zipline from the opposite side of this cliff edge to reach a large square rock formation. From your landing point, head left and keep going until you reach a vine-covered wall and climb up it to find a Meditation Point. Turn around here and walk across the pipe.
At the other side of the pipe, head to the right to find a large metal wall you can run across, leading to another stone wall you can also run across. At the end of all this wall-running, head a short ways left around the corner to find a chest.
Jump down from here and use the button there to call the lift and head up. At the top head left and enter into the narrow passage found here and turn right at the end to reach a cliff-edge. Left from here you’ll see some burnt-up campfire remains and an echo to collect.
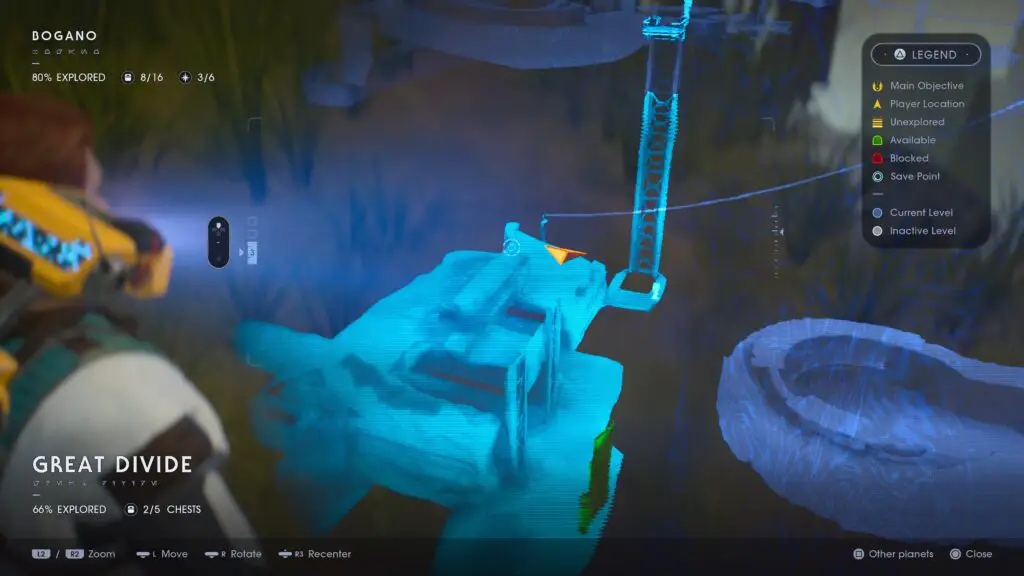
Continue upwards using the vine-covered wall just past this echo and enter into a circular rock formation where you’ll find more vines taking you all the way to the top, where you’ll find two chests in plain view, one of which requires a Scomp Link.
Now, head all the way back down to the bottom level and go behind the metal wall we wall-ran on earlier to find a bridge you can force-push over. Do this and head across to find a chest directly on the opposite side, just to your right.
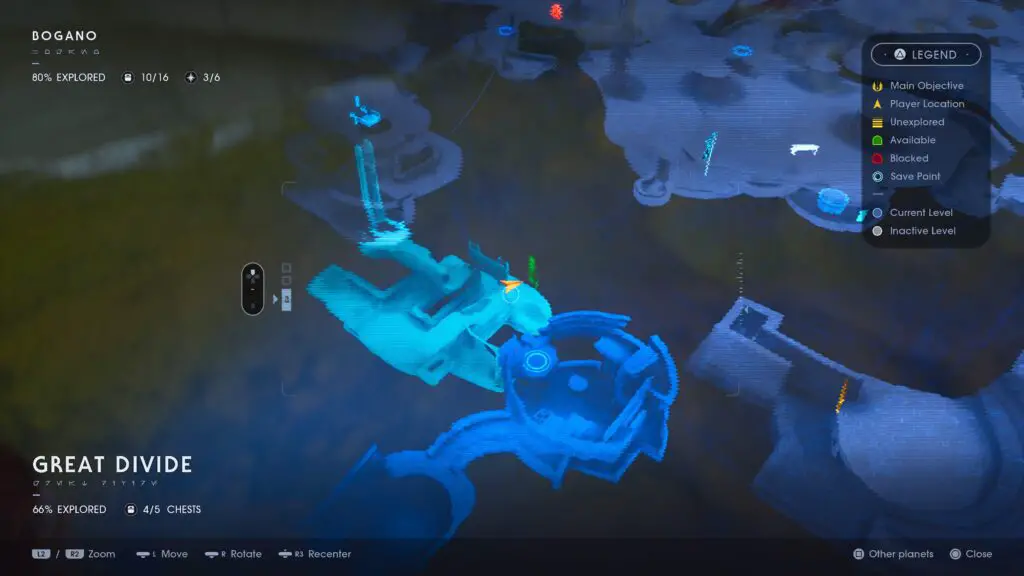
Continue on from the bridge until the path splits and head down the left-most path. You’ll slide down this muddy slope, and about halfway down there’s a rope you can jump to and grab. Use it to swing up to the narrow ledge ahead, at the end of which there is another echo on a pile of bones.
Head rightwards from that last collectable into the cave where you’ll find some weak enemies. Get rid of them and then collect the echo found on the Skull to your left.
Head back out the way you came and jump back onto the mudslide. Jump to the vines at the end and use them to climb back up to the place we first landed after the zip line earlier. Head to the right from here and climb up those vines to the Meditation Point again, leading you into the Subterranean Refuge.
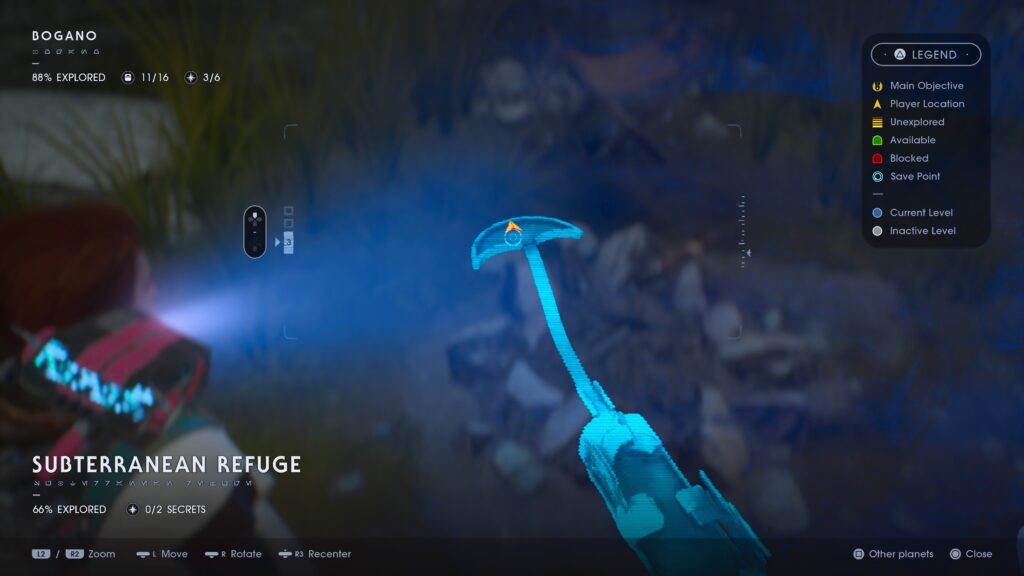
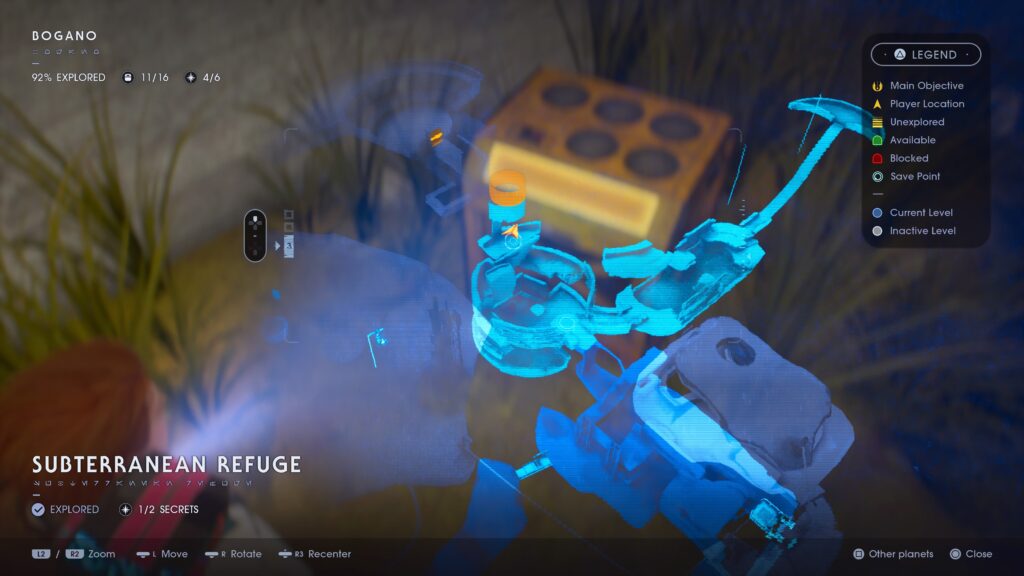
Subterranean Refuge
From this meditation point, you should already be able to see an echo to the upper left of the room. Use the pillar in front of you to jump over to it and you can double-jump onto the ledge it is sitting on.
From there, head back to the pillar in the center and then double-jump over to the next echo found on a ledge below the last one, behind some vines. If you don’t make it, you can either try the same method again, or use the walls leading around to the back of this ledge to wall-run to it.
From here, enter the passageway at the opposite side of the room to find yourself in a large cavern with various platforms. At the end is a very steep slope that you’re going to need to try to climb for the echo found at the top. Doing so is not as difficult as it seems, you just need to repeatedly wall-run and then jump, wall-run and then jump, over and over moving further up the narrow passage until you reach the top.
If you mess it up you can actually wall run out of the other side and then grab a rope/vine which you can use to swing back into the passage and wall-run to the end. But keep it simple, try the first method before you resort to anything complex like that.
This next one is pretty complicated and requires the rope/vine I just mentioned. From the last collectible, don’t go back down the slope, repeatedly wall-run down the passage and then jump to the rope at the opposite end. From this you want to swing over to another rope (double-jump and force-pull should help you achieve this). From there, you’ll need to swing towards the wall on the left, double-jump to it, run along it and then double-jump into the room at the end where you’ll find another secret echo.
If you mess this up a few times, don’t worry, it took me several attempts too.
Once you do make it up there and have picked up this collectable, jump down from there to a ledge on the right. From there you should be able to see a huge speaker-like stone and a wall-run surface. Use this wall-run surface, and the next one at the opposite side, to reach a ledge just below that large speaker-like stone.
When you look up at it you will realise you can force pull it, do so to bring it down to your level. This can now be climbed upon in order to reach a secret stim canister.
You can now climb up the vines to the left of this golden box to reach the surface in Binog Mesa.
Binog Mesa
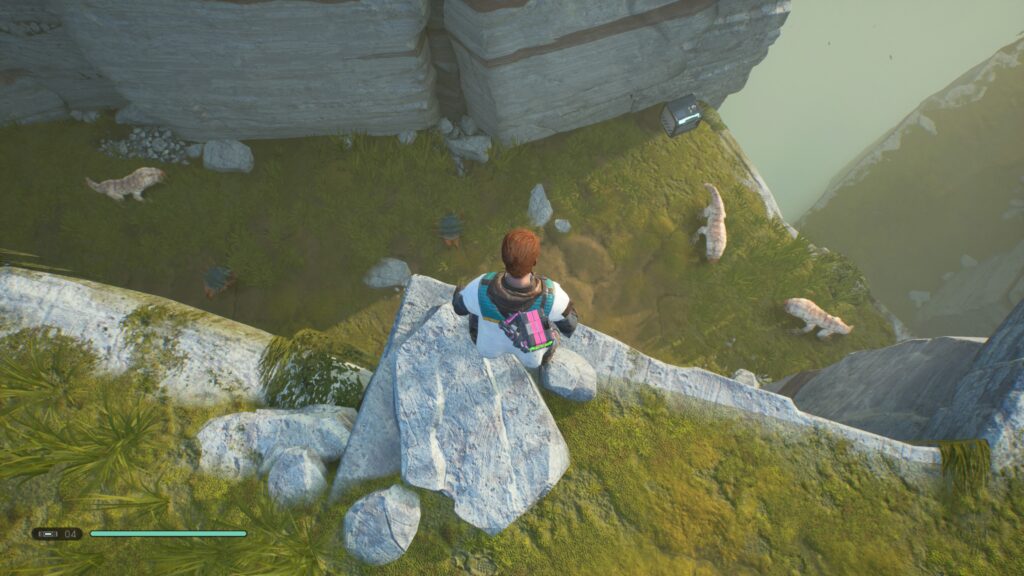
From the hole you just climbed out of (no offence) turn around and climb up the curved slope. From the top of this, head left to see an area below you, filled with enemy creatures who are gathered around a chest. Jump down to slay them and claim the collectible.
You’re now going to need to return to the ledge above, and the best way to do this is by turning around and jumping off the ledge there back down to the entrance of the Subterranean Refuge, where the Meditation Point is.
From there, reach the speaker-like rock again at the opposite side of the cave (either by jumping across to the left, or wall-running across to the right) and then using the vines to climb up out of the hole again.
From here, turn around and use the two wall-run segments to reach another semi-circular structure at the opposite side. From there, take the ramp on the right to a lower area where you’ll find a Bog Rat to kill and a Dead Splox echo to scan.
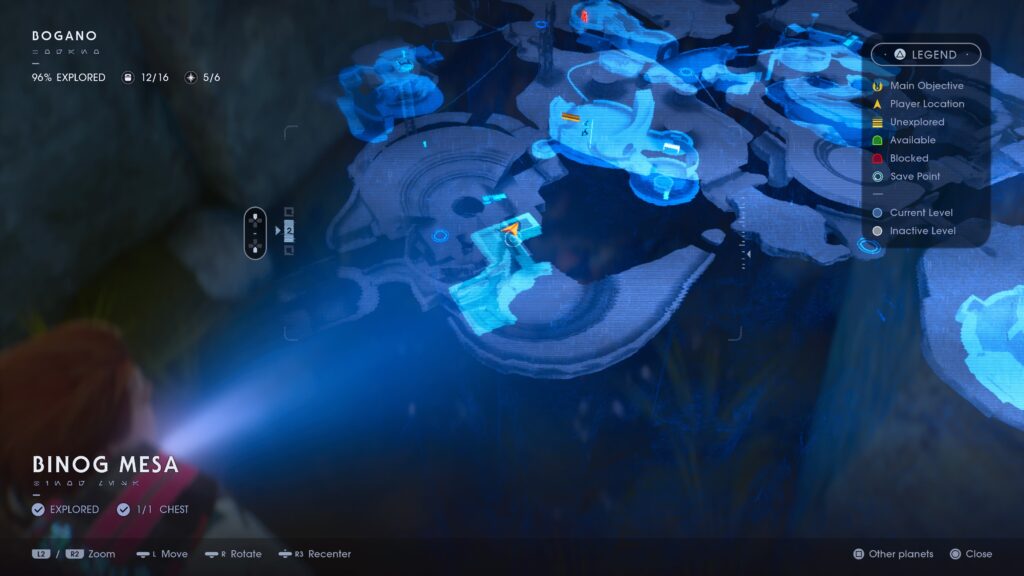
Head back up to the semi-circular structure above and climb to the top of its curved slope. Follow the cliff-edge along towards the Fractured Plain Area and double-jump across to it. From there, make your way back to Bogdo Sinkholes and cross the bridge we force-pulled down earlier. From there you can get to the rope we used to get to the chest behind the fan in the wall below. This time, though, we’re going to use this rope to cross over into the Abandoned Workshop area on the opposite side.
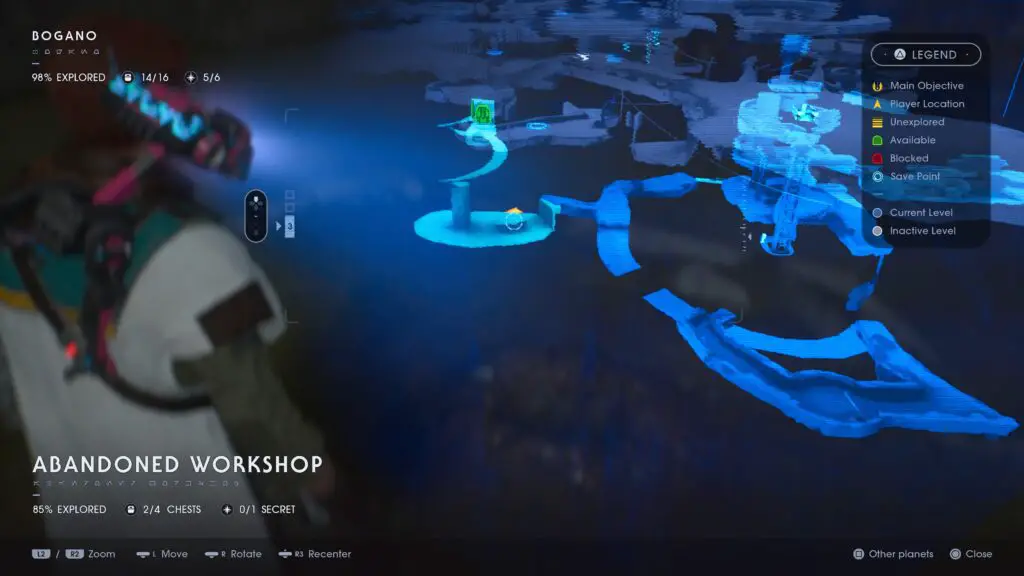
Abandoned Workshop
Once you land, keep heading forwards until you reach a chest on the cliff-edge at the opposite side of the plateau. Watch out for all of the Bogdo found up here, in a group they can be a real nuisance!
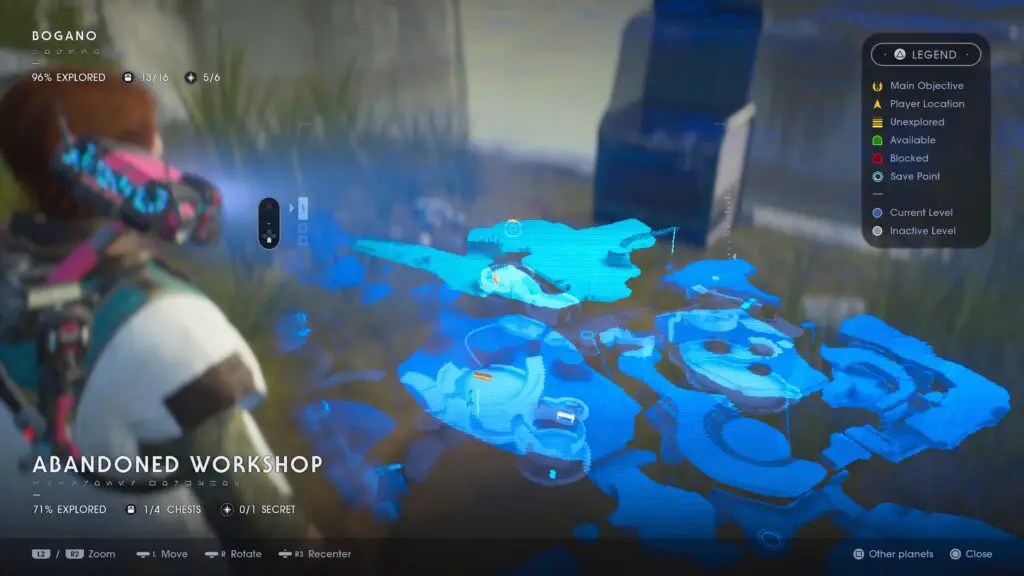
Nearby, you should see some rib bones jutting up from a cliff edge, and the same again on the opposite side. That second set is where your next chest is, so head around to the other side of the plateau and open it up!
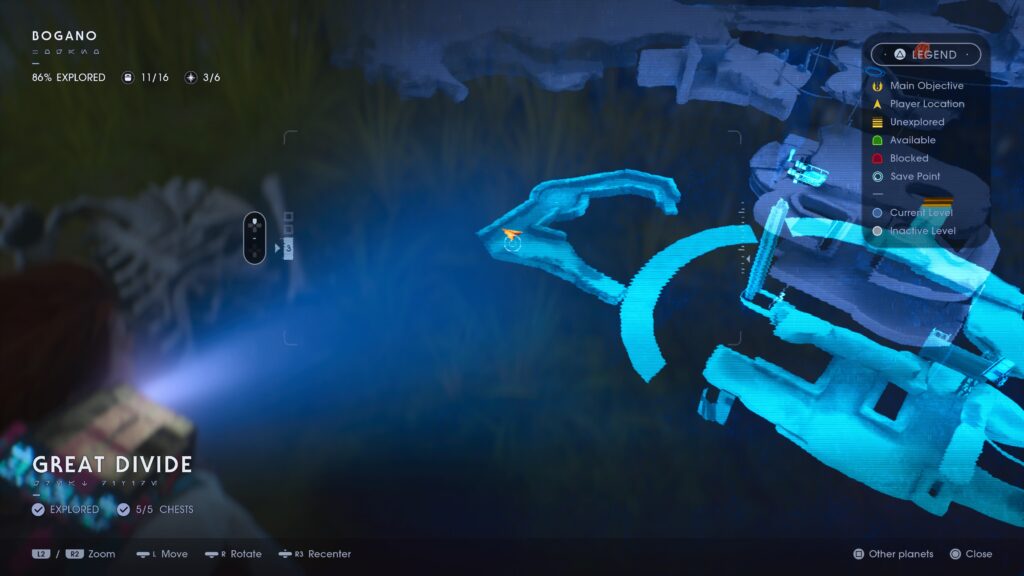
The rest of the collectables are in the lower levels of this area, but they’re a little tricky to find, so I will try to guide you there from the last collectable but note that we’re going to be returning to the Great Divide, near the entrance to the Subterranean Refuge.
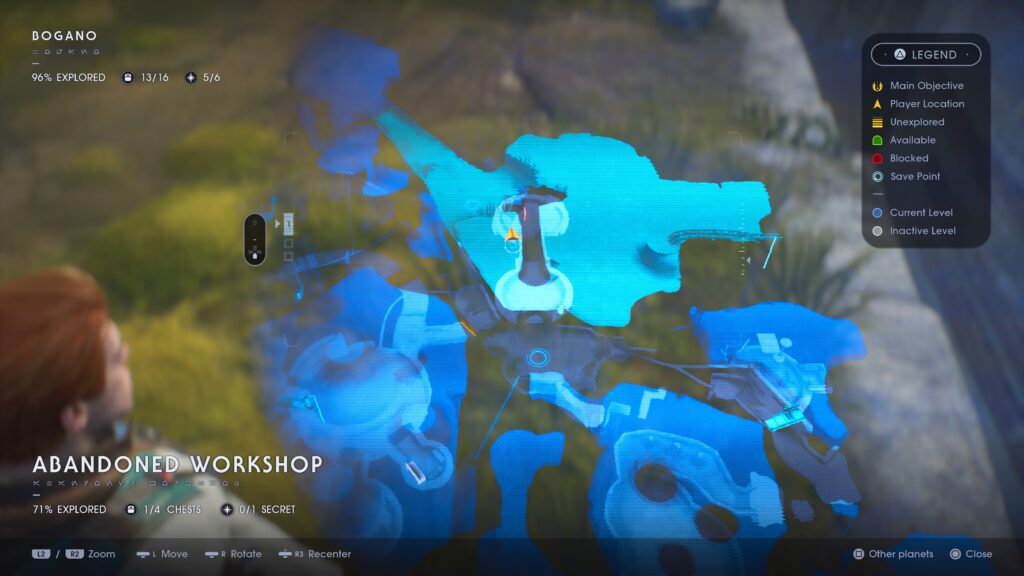
From the last collectable, turn to the left and drop down into the barbell-shaped room there. From there, find at the opposite end of the room from the doorway leading to the Meditation Point, you will find a vine-covered wall, climb up it and you’ll find yourself at the other side of the rib bones which the last collectable was against. Head directly forward to the opposite cliff-side, near the Great Divide and then look down, you should see a zipline.
Jump down and use the zipline to reach the Great Divide area. Now, if you recall, when we were here earlier we used the force to knock down a bridge, leading to a fork in the road from which we went left down a mud slope. This time we’re going that way again except we’re not going down the mud slope.

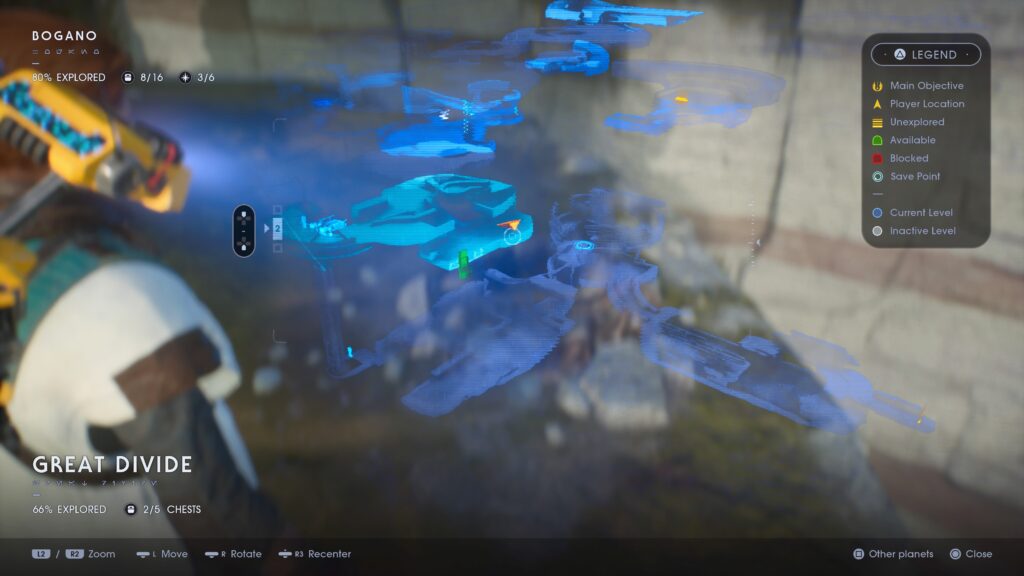
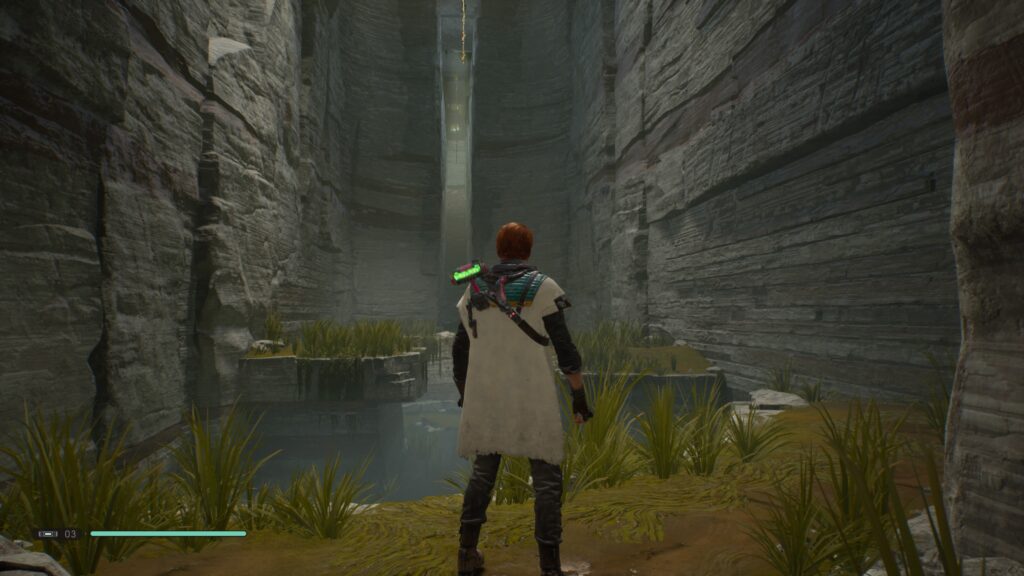
So, cross over that bridge, follow the path and then head into down the right-most path when it splits. You’ll be in a new area with a lot of water and a platform in the center, jump to this platform.
From there, dive underwater to find a chest pressed against the side of this pillar-like structure you were just stood on.
The next chest is also underwater, at the far end of the pool, between the back wall and the other large rock structure.
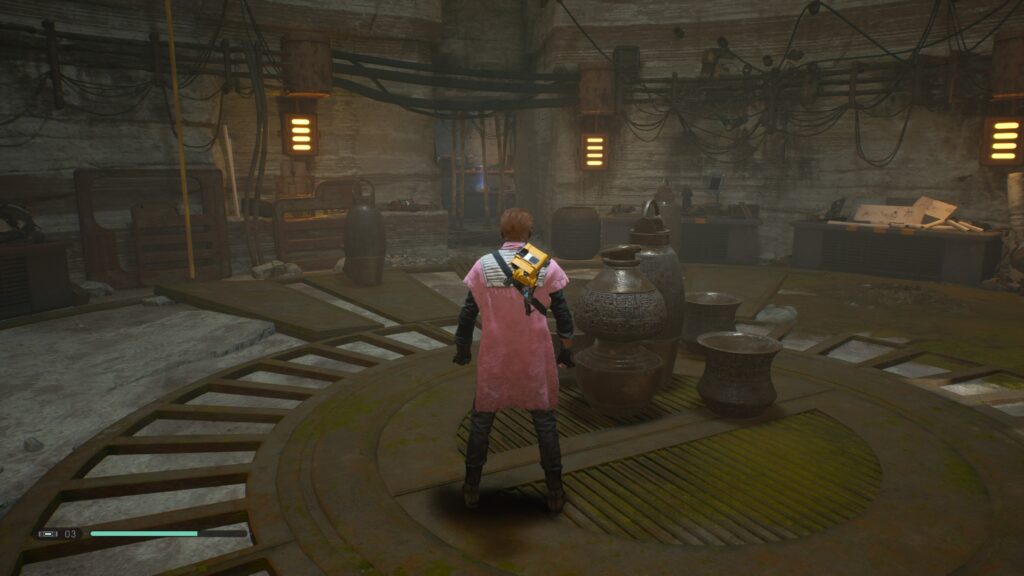
You can now surface again. Use the vine-coated wall to climb your way up to a spiral-shaped ramp you can use to head further up. Not far up this ramp, you will see a pathway to the right leading to a door with a scomp link panel, have BD-1 slice this for you to gain access to the room behind the door.
As you enter you will see some stone sculptures to your left, head around to the front of them and have BD-1 scan them to unlock another encrypted log.
After that, you’ve probably already seen the secret echo to your left, so go ahead and scan that, reaching 100% and with that, you will have 100% completed Bogano, so it is time to head to another planet; Zeffo.
Find the guide for planet Zeffo here.
Thanks for choosing us for your guide needs, I hope this more walkthrough-like format proved quite useful in expediting your Platinum Journey as it was a gruelling process writing it all out and I hope you’ve genuinely enjoyed Jedi Fallen Order as much as I did!