PlayStation 4
Resident Evil 2 Collectible Locations Guide
Game Guide
Where to find all Files, Mr. Raccoons, Locks, Safes, Portable Safes, and Hip Pouches in Resident Evil 2
Welcome to our Resident Evil 2 Collectible Locations Guide. This guide aims to direct you to all 130 collectibles hidden throughout the game.
You will need to collect the following items, using this guide to do so chronologically:
- 58 Files for Lore Explorer
- 15 Mr. Raccoons for Vermin Extermination and Complete Vermin Extermination
- 3 Safes for First Break-In and Master of Unlocking
- 5 Locks for Master of Unlocking
- 2 Portable Safes for A Vault-like Mind
- 6 Hip Pouches for Hip to Add Squares and A Waist of Space
- 32 Key Items for story progression
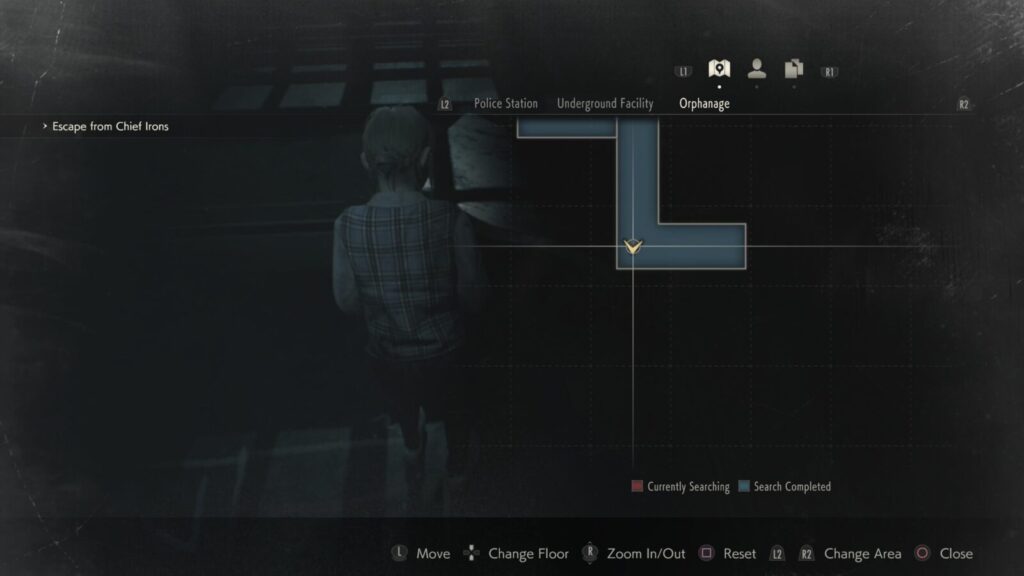
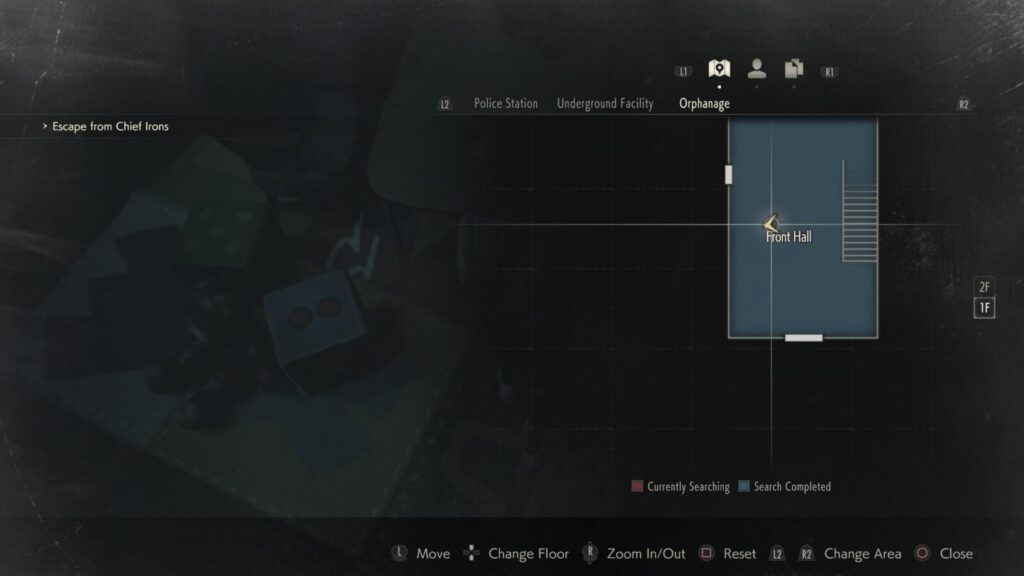
They are spread across various scenarios, so we’ve broken this guide up by playthrough to allow you to easily collect them as you work through the game. We also broke up our list further, dividing it by what floor of each section of the scenario you will be in when that item is accessible.
To avoid confusion or unnecessary backtracking, sometimes we will need to revisit certain floors (often as part of the story) when more items are accessible. In those cases, “(Revisited)” is added to the subheading.
Consider using our Resident Evil 2 Trophy Guide if you intend on earning that Platinum Trophy too!
Leon Scenario A
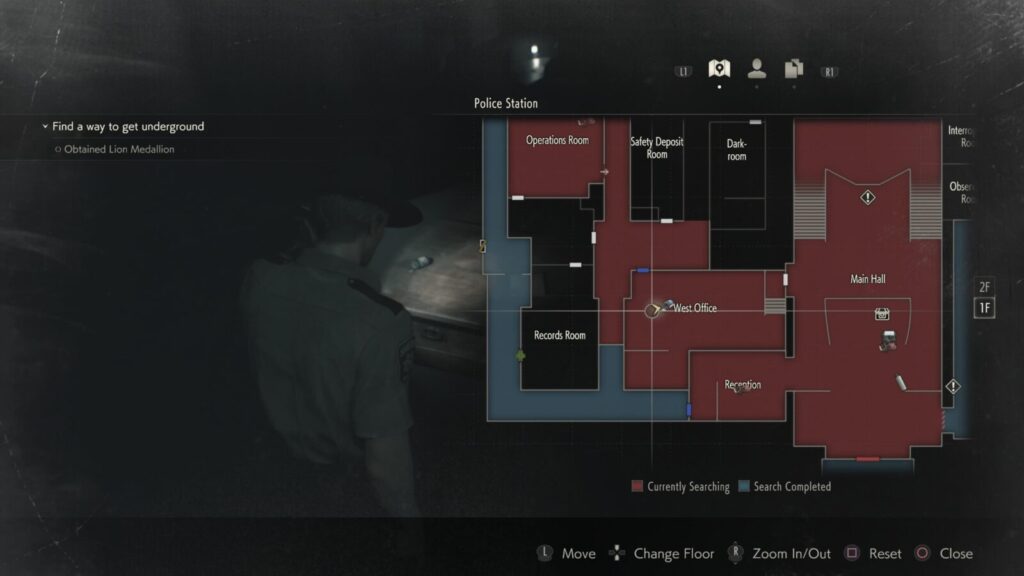
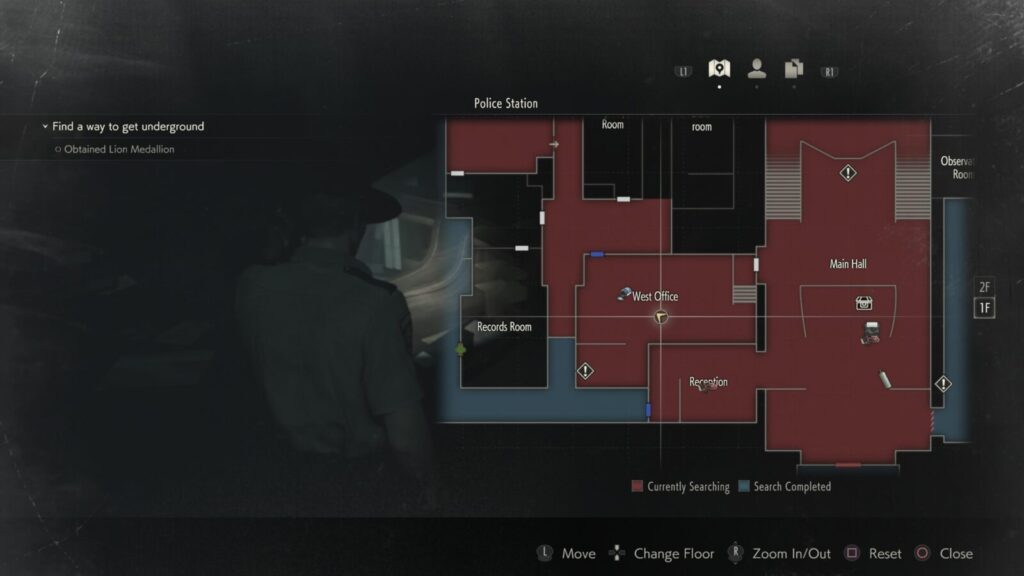
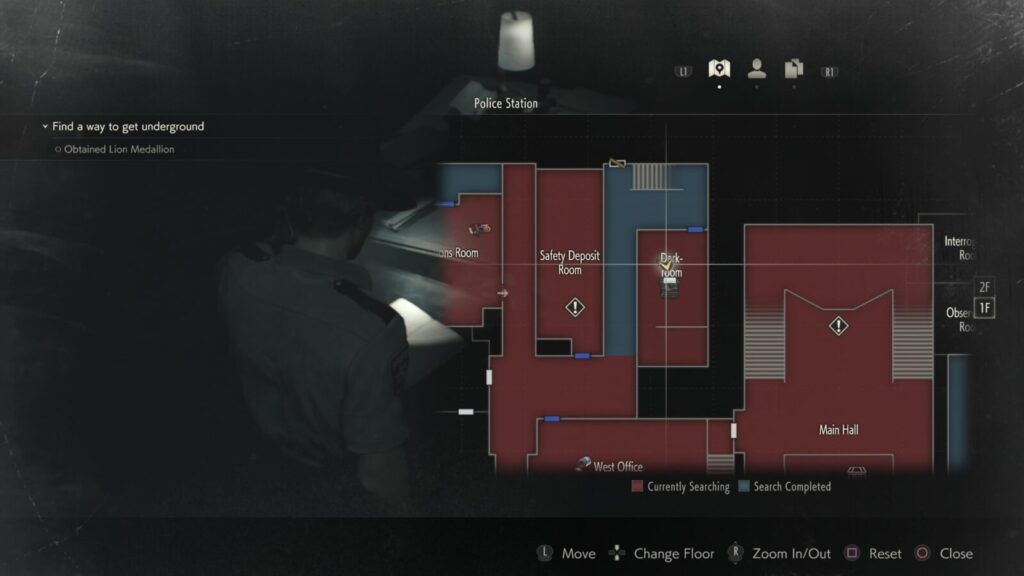
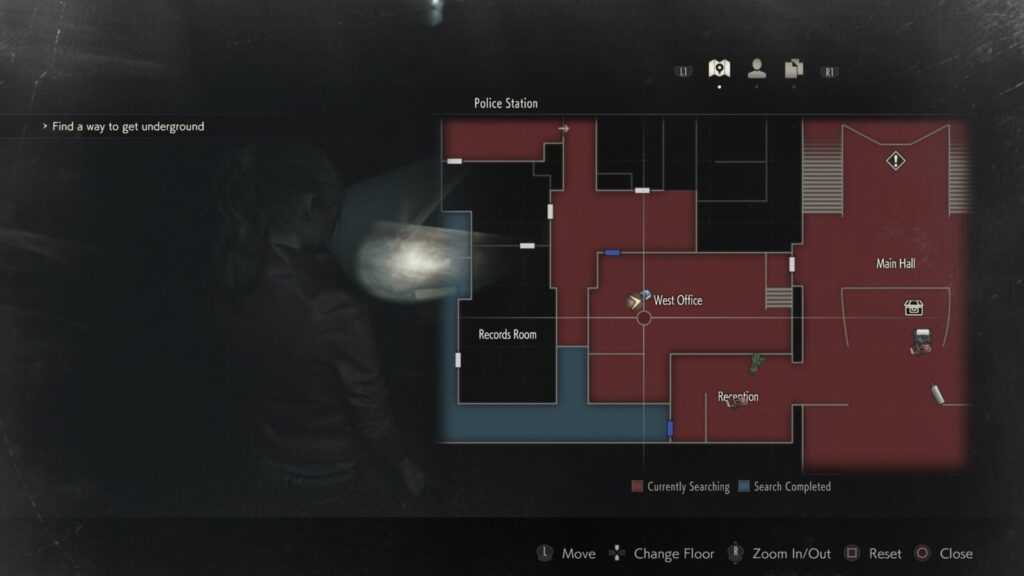
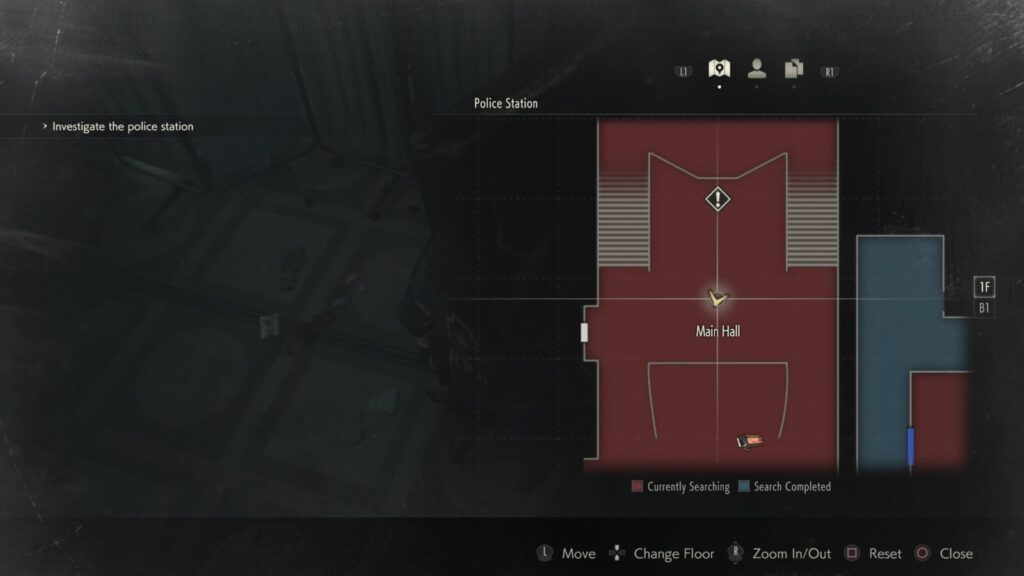
1st Floor, Police Station West
Orientation Letter & Officer’s NotebookThese two items are automatic pick ups.
Record of EventsOn a desk in the Operations Room.
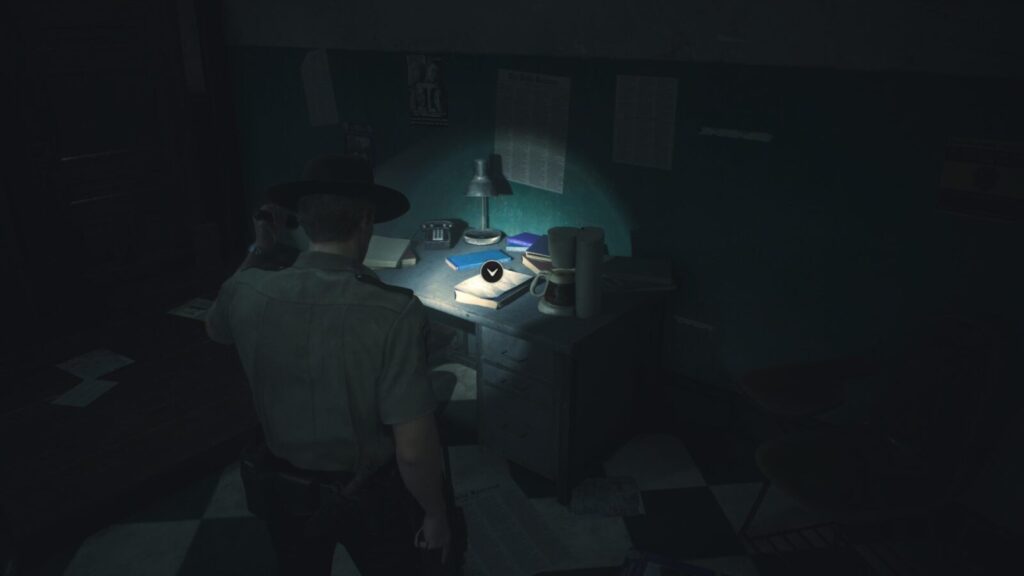
On a desk in the West Office, 1st floor.
On the right hand side of the same row of desks.
At the end of the row of desks in the West Office.

The same desk where the last file was found. There are two locks on either side, the left lock combination is NED. The one on the right is MRG.
Safe #1 & Hip Pouch #1
The hip pouch is inside a safe in a room inside the West Office. The combination is left 9, right 15, left 7.

On a box on top of a metal shelf unit against the north wall of the West Office.

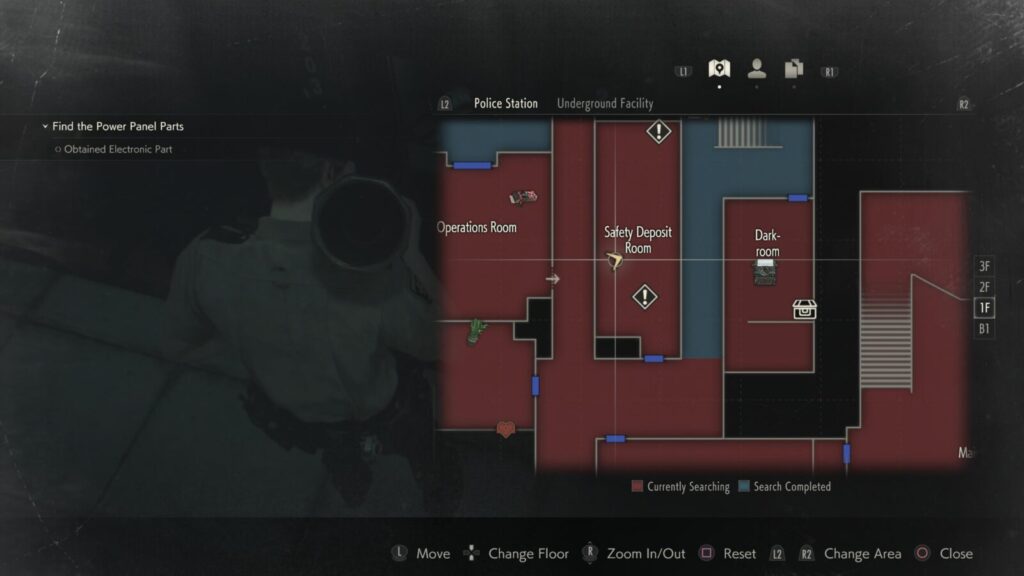
On a desk to your left when you enter the Safety Deposit room, opposite the West Office.
Inside the Dark Room on the table directly in front of you when you enter.
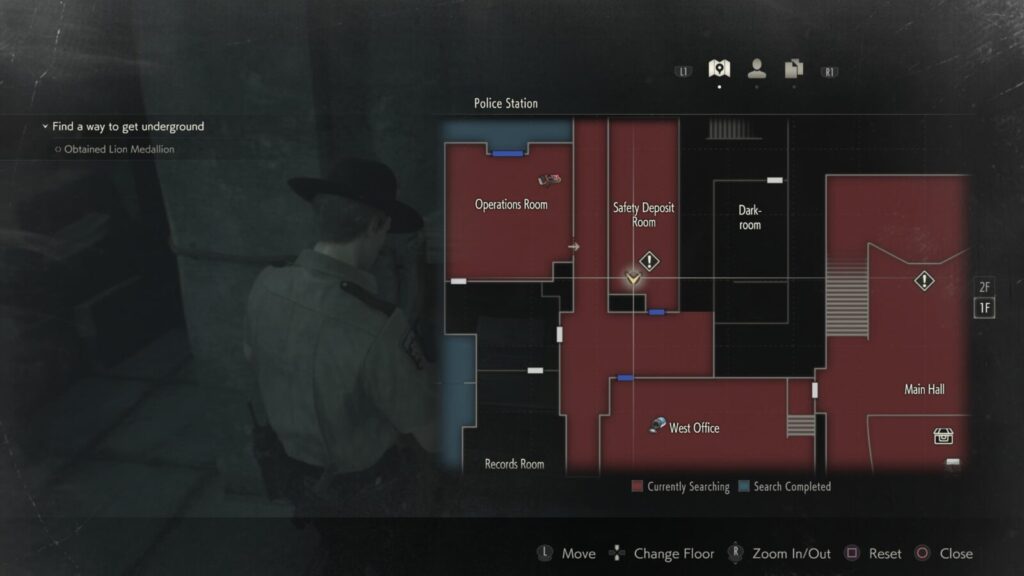
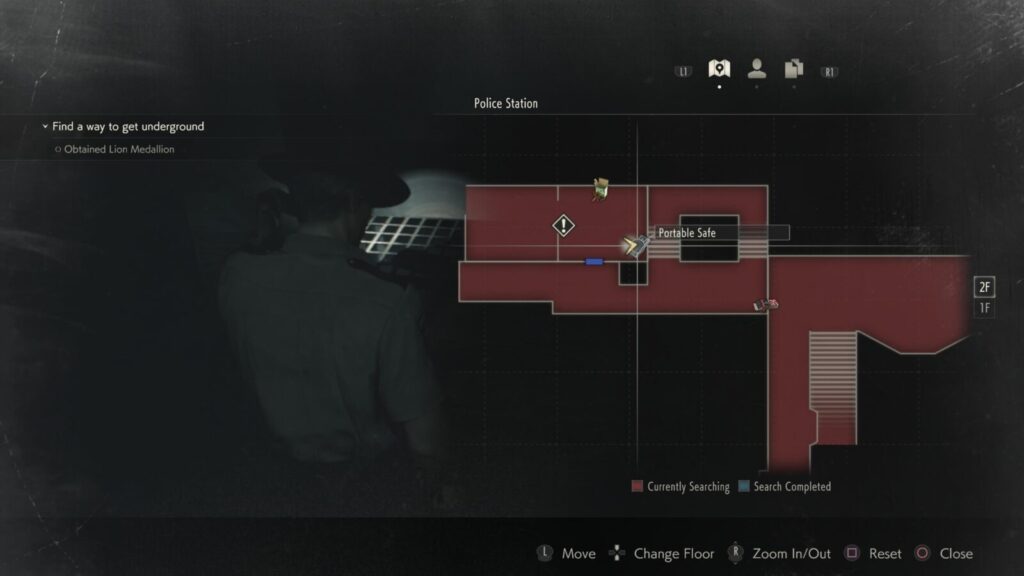
2nd Floor, Police Station West
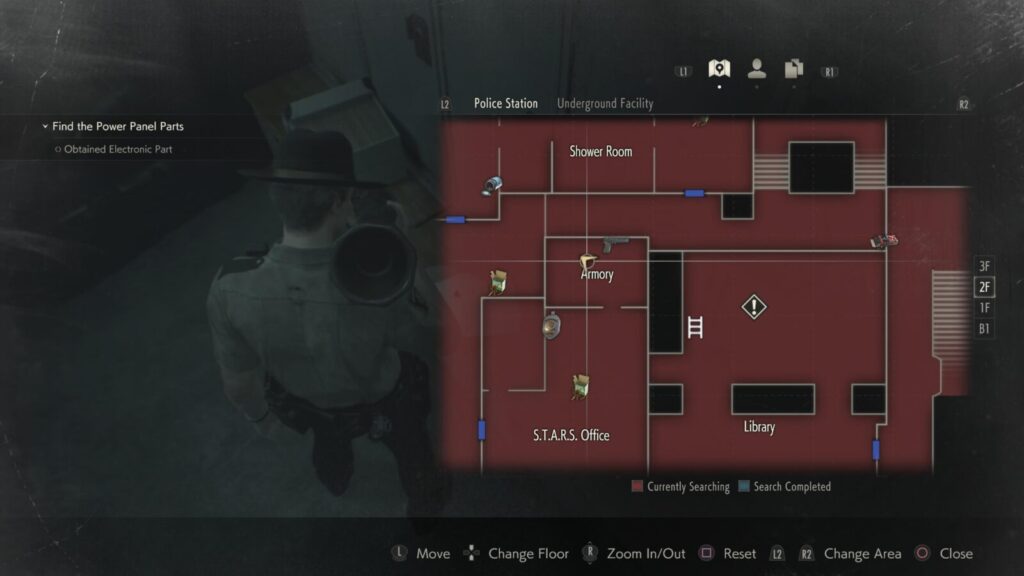
Lock #3Inside the shower room, directly in front of you when you enter, is a locker with a padlock. The code is CAP.
When you enter the shower room, there will be a towel rack to your right, on the wall next to it is a note about the portable safes.
On the towel rack to the right of the previous file.
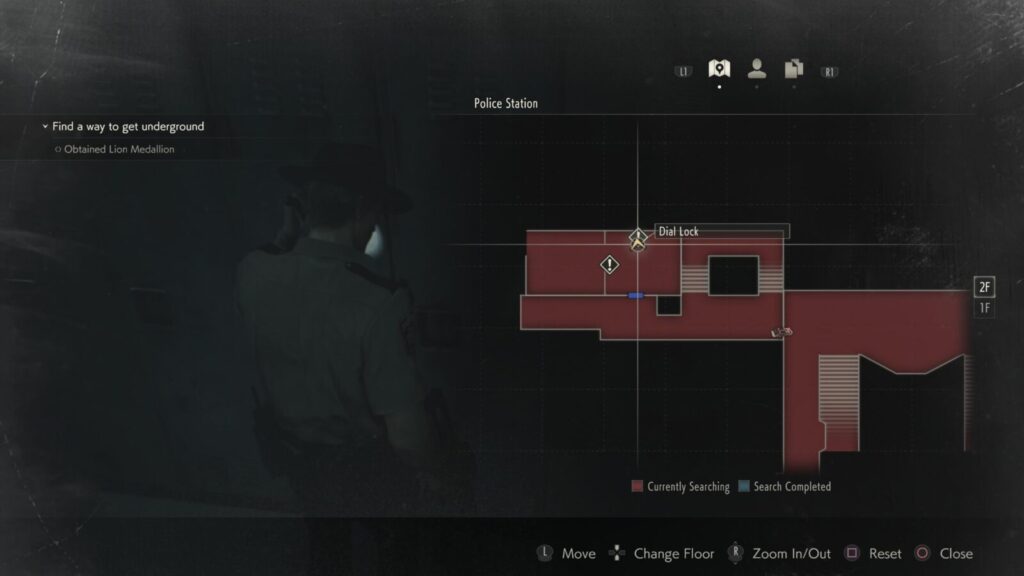
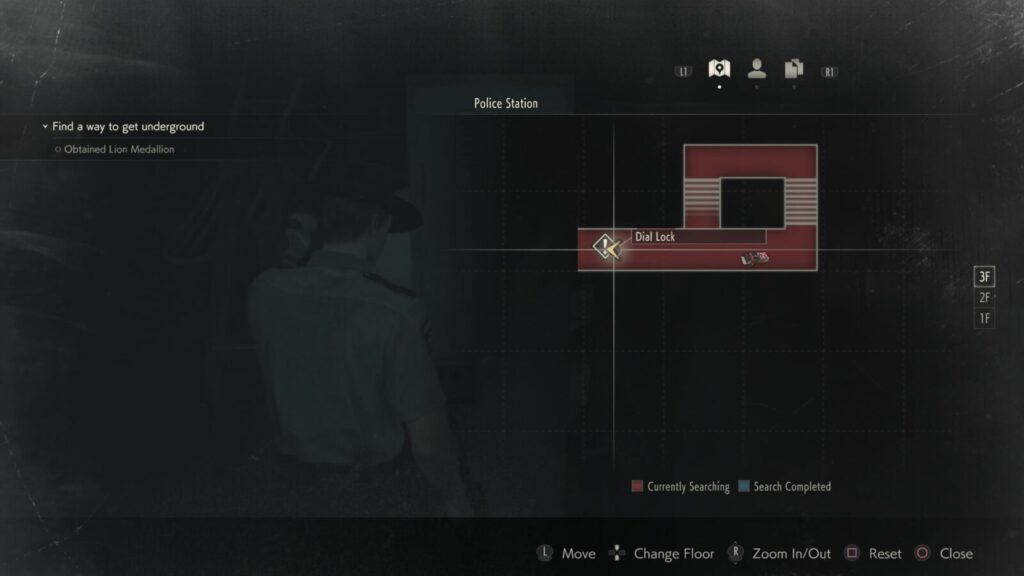
3rd Floor, Police Station West
Lock #4At the end of the hallway at the top of the stairs is a locker with a padlock. The code is DCM.
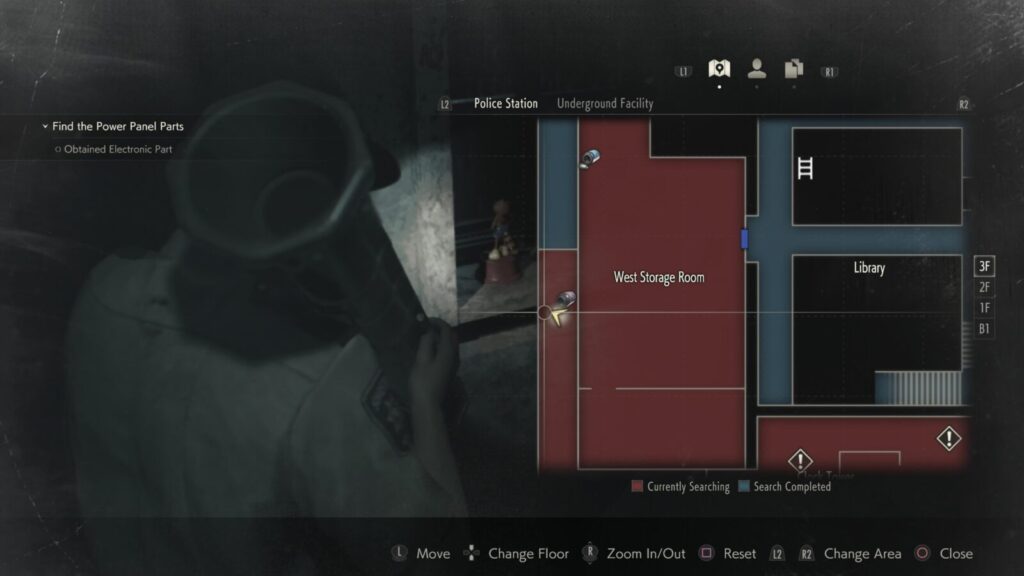
On a box at the end of the hallway that leads to the West Storage Room.
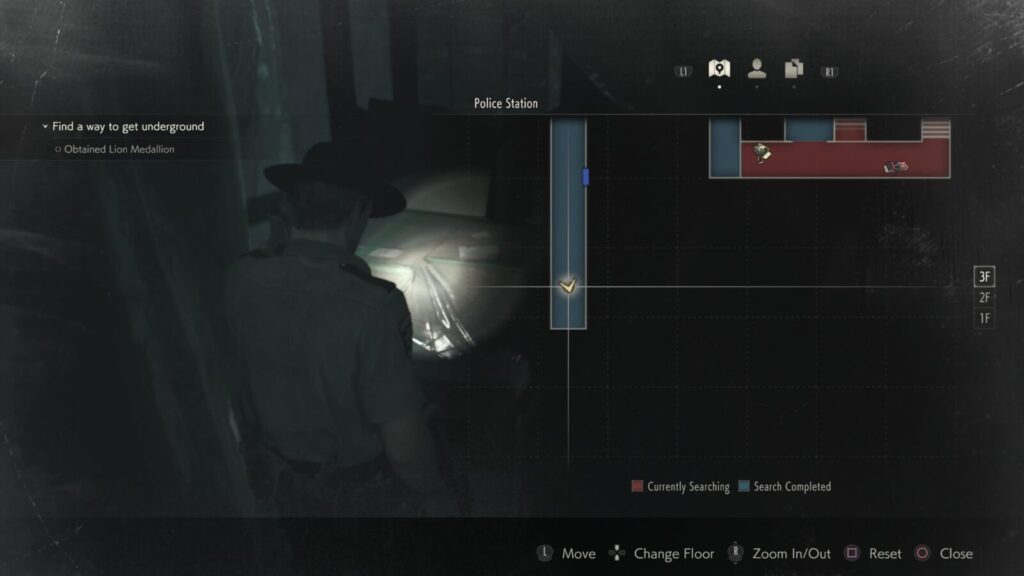
Inside the West Storage Room, at the south side of the room is a desk with this note.
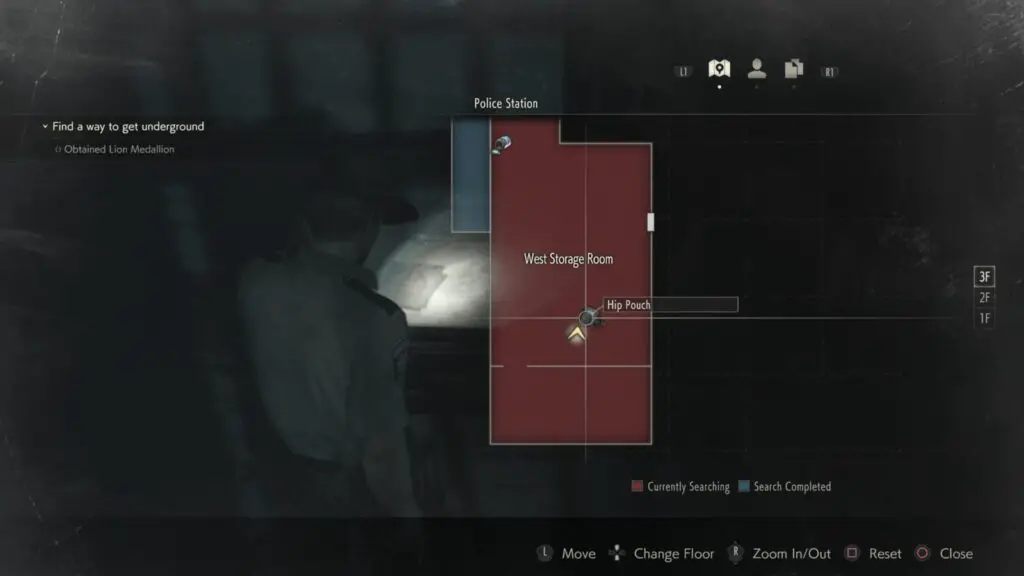
On the same desk as the above file.
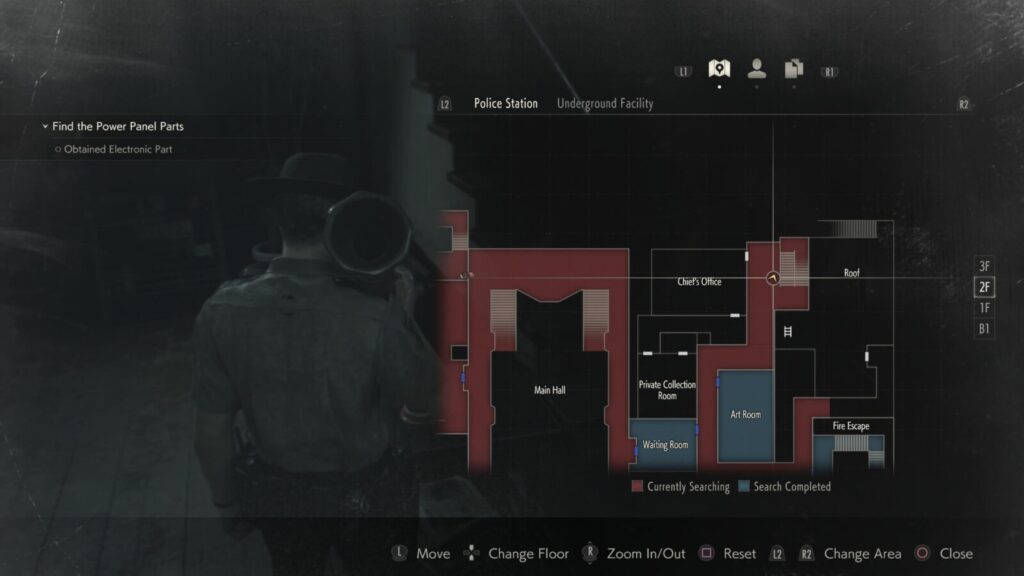
2nd Floor, Police Station East
Guide PamphletOn the counter inside the Waiting Room.

Behind the counter where the above file can be found. The combination is left 6, right 2, left 11.
Art Article: The Red StoneWhen you exit the Waiting Room into a corridor, the Art room is the first door to the left. Inside on a chair is this file.
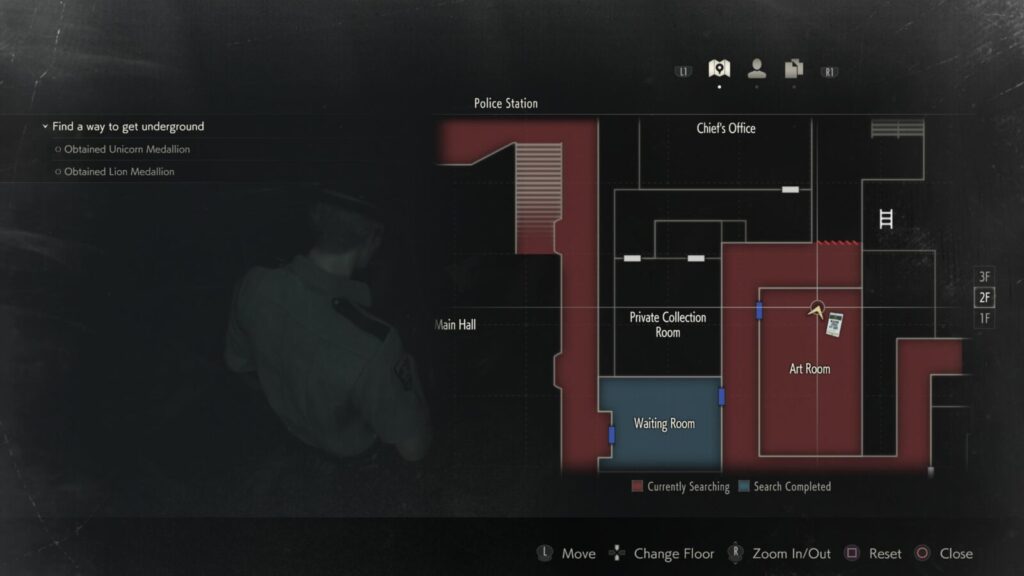
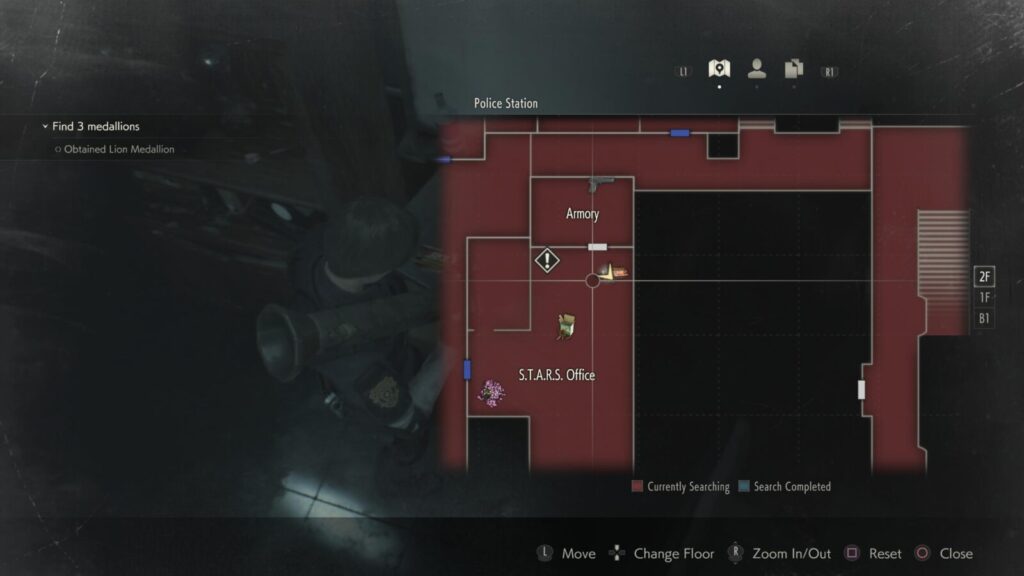
In the small room to your left when you enter the S.T.A.R.S office. The Memo is on the cabinet behind the desk.
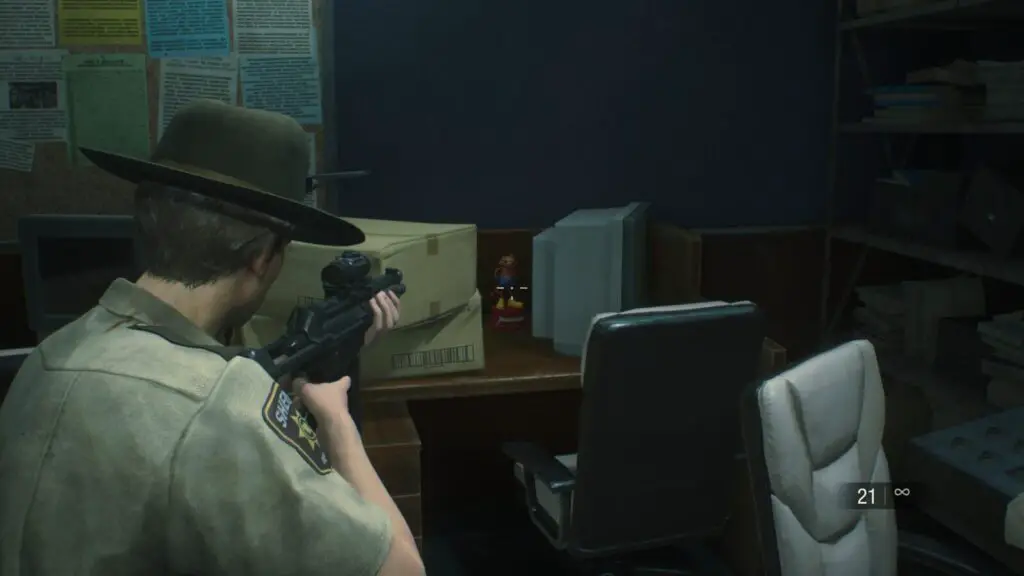
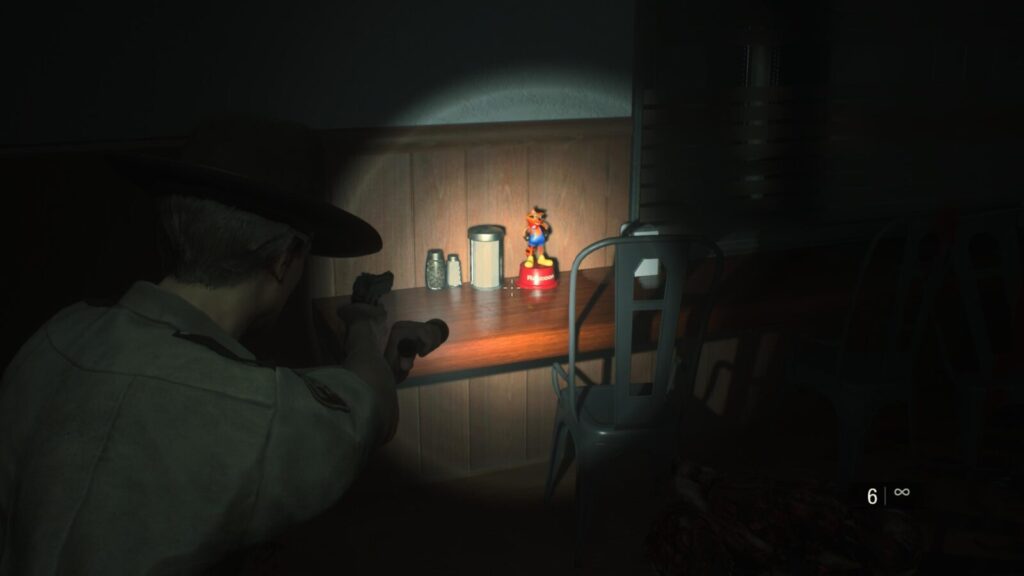
In the S.T.A.R.S office, in the south-east corner is a computer and a box on a desk. Between these two items is a Mr. Raccoon.
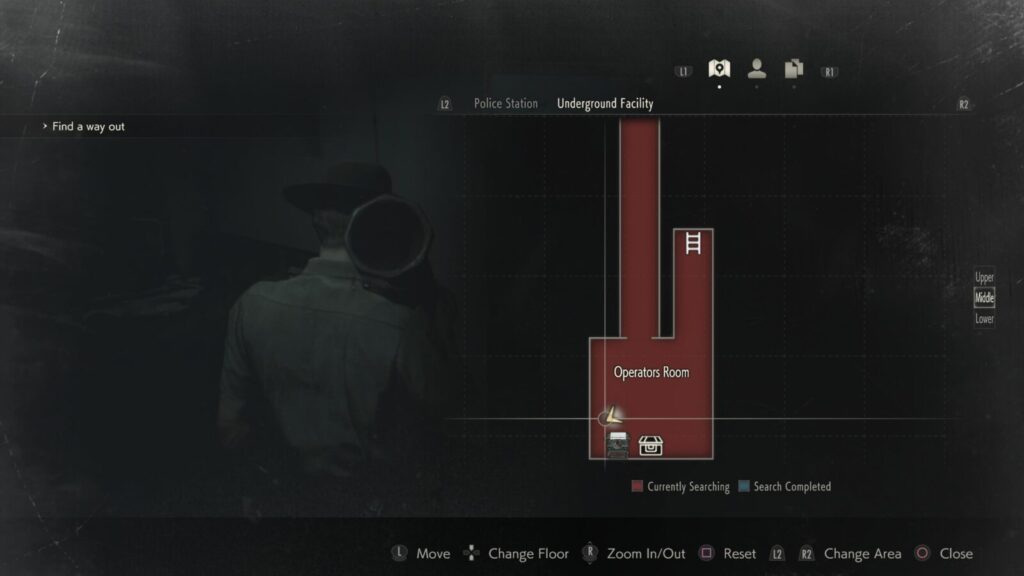
1st Basement Floor, Police Station
Hip Pouch #3In the room after the first boss fight, there is a typewriter. Next to the typewriter is a locker containing a hip pouch.
On a table to the right of Ben’s cell.
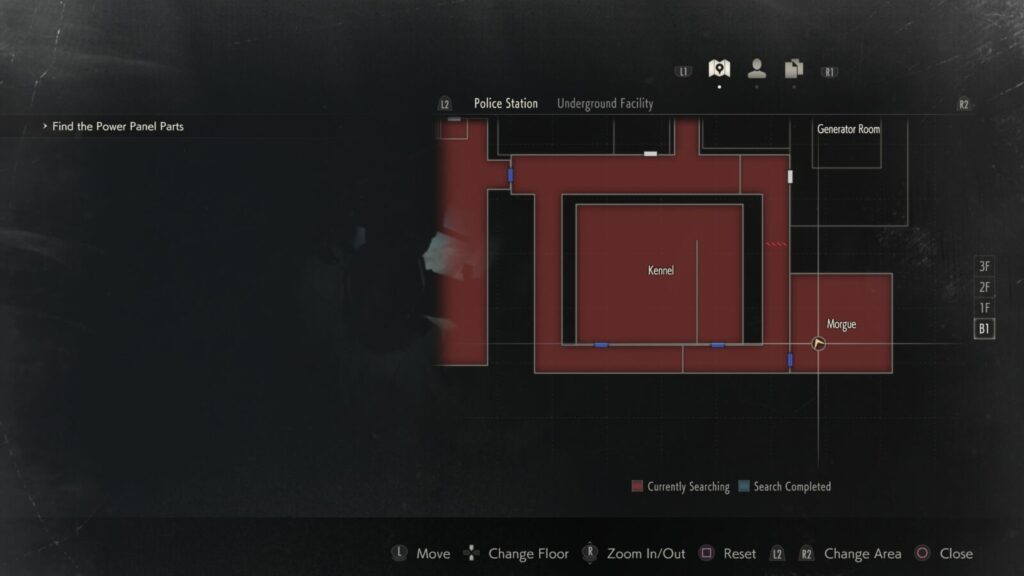
In the Morgue, past the Kennels on the East of the map. The file is on a surface to the left when you enter.
On a table to your right when you enter the Firing Range, next to a yellow box.

At the north end of the Firing Range room, on the counter.
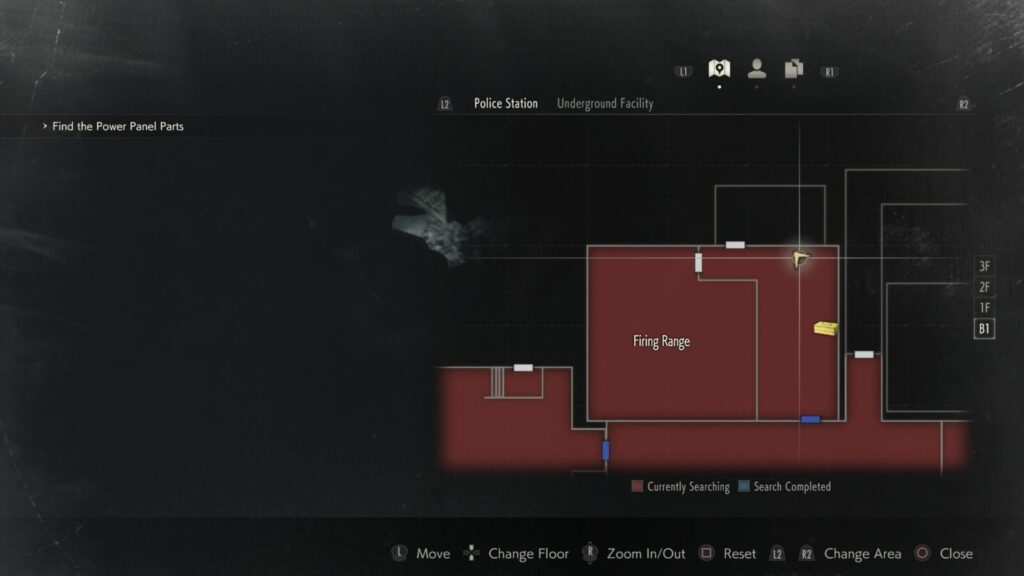
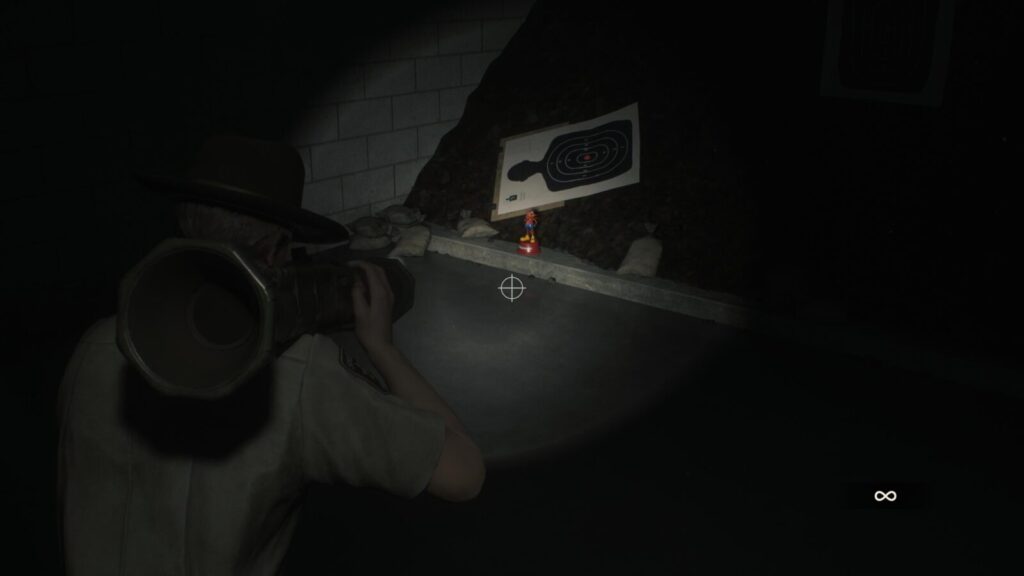
In the southwest corner of the firing range, where the targets are.
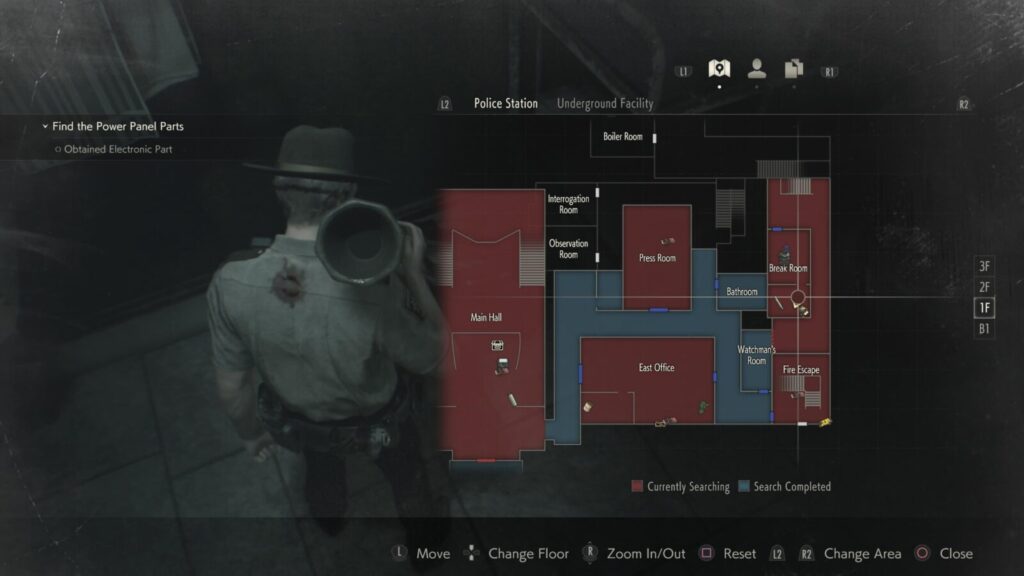
1st Floor, Police Station East
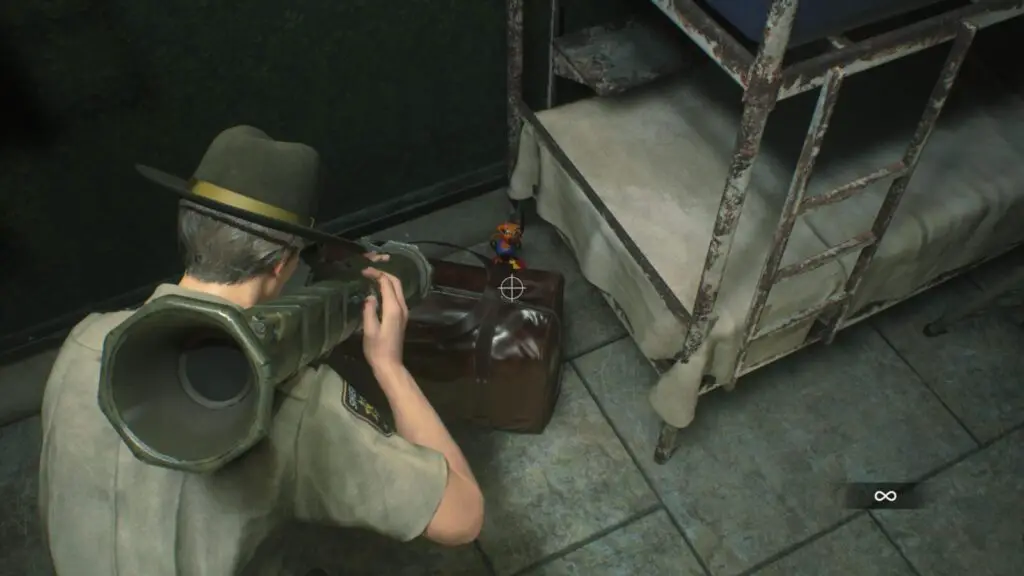
Mr. Raccoon #4Inside the Break Room there are two bunk beds. The one on the left has a leather bag at the foot of it. Mr. Raccoon is behind the leather bag.
2nd Floor, Police Station East (Revisited)
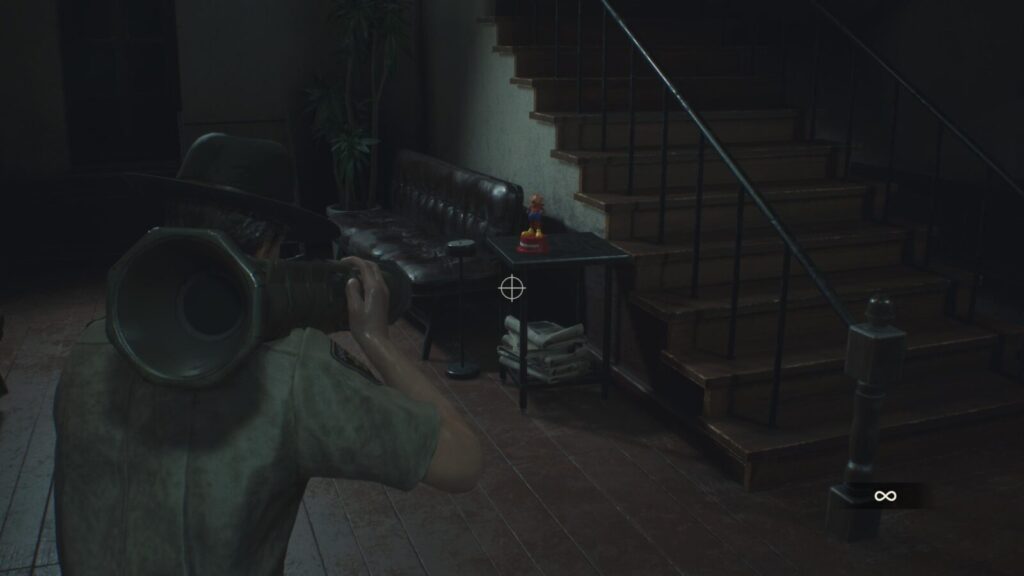
Mr. Raccoon #5After you use the square crank to open the shutters on the door near the Art Room, enter the doorway you ooened and approach the stairs. You will struggle to miss this Mr. Raccoon on an End Table to the left of the stairs.
1st Floor, Police Station East (Revisited)
Confiscation ReportIn the Observation room, on top of a filing cabinet, next to a yellow phone.
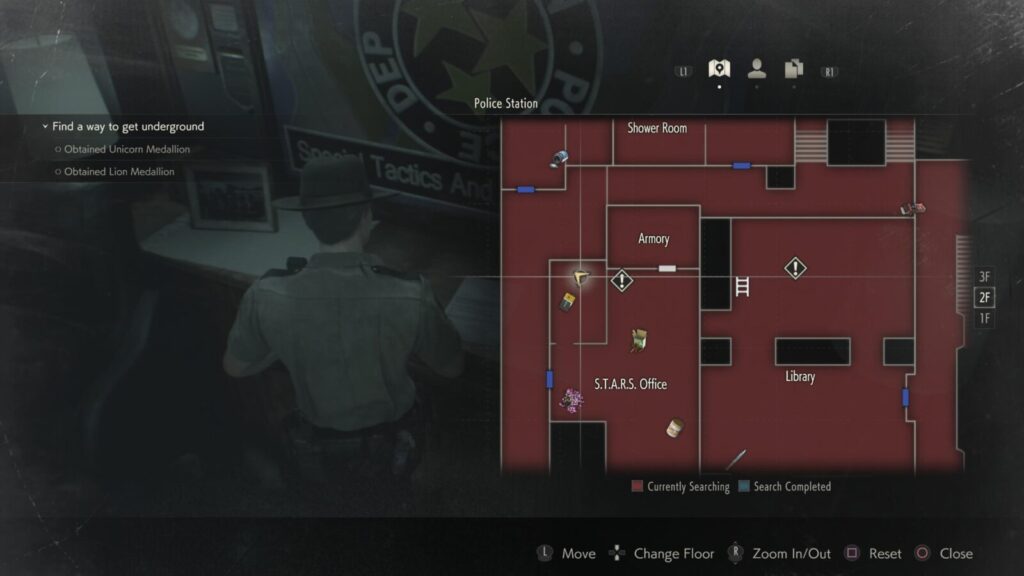
2nd Floor, Police Station East (Revisited 2)
Letter to S.T.A.R.S MembersYou should eventually find a S.T.A.R.S badge by opening a bejeweled box in the Observation Room using a Scepter you get from using a Red Book from the Library on a Statue in the Art Room. Inspect the badge to turn it into a USB stick which can be used on a computer in the S.T.A.R.S Office.
Doing that will unlock the Armory Room in the S.T.A.R.S Office, inside you will find this letter.
On a Washing Machine inside the Linen room on this floor. Previously inaccessible as it requires the Pink Diamond Key which you should have now. The door to the Linen room is in the southwest corner of the second floor, south of the S.T.A.R.S Office.
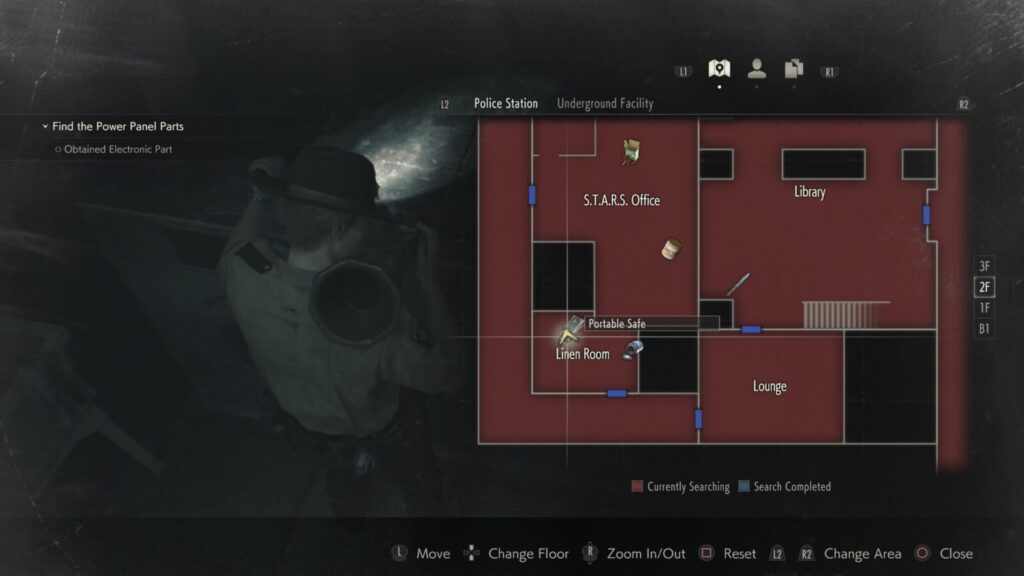
You should have both Portable Safes now so inspect them and complete the puzzles to open them and get the Spare Parts inside. Take them to the Safe Deposit room and use them on the console to enter the codes for each locker.
1st Floor, Police Station West (Revisited)
Hip Pouch #4Enter 203 into the Safety Deposit console to unlock that locker. Inside, there is a Hip Pouch.
3rd Floor, Police Station West (Revisited)
Repair PlanInside the Clock Tower on the third floor, which you will access by moving some bookshelves in the library, you will find this file ahead of you, to the right, when you enter.
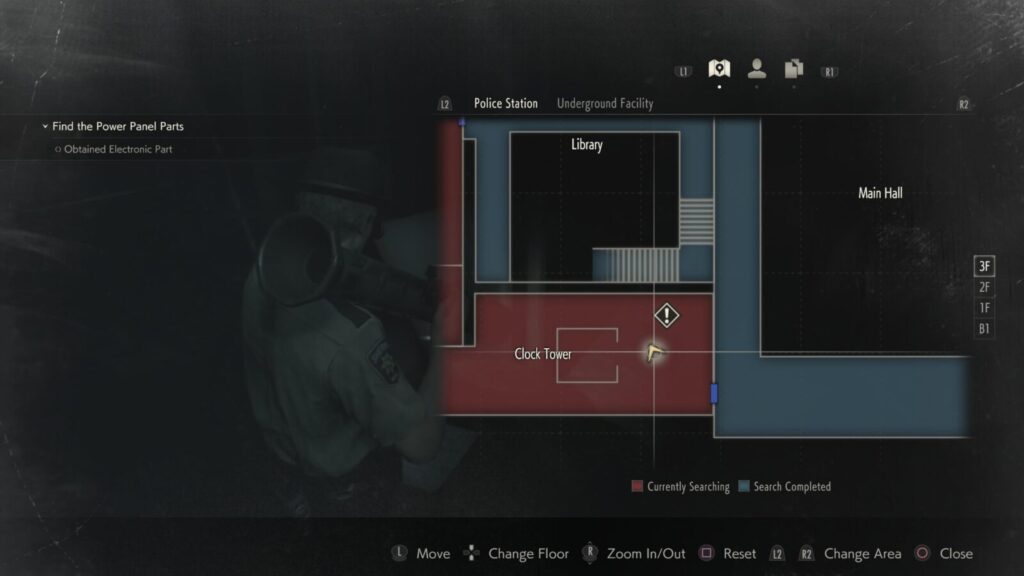
Exit the Clock Tower into the hallway on the West side of the building. You will find this Mr. Raccoon sat on a windowsil left of the blockage in the hallway.
1st Basement Floor, Police Station
Ben’s NoteWhen finally accessing Ben’s Cell in the Jail you will find this file on the table.
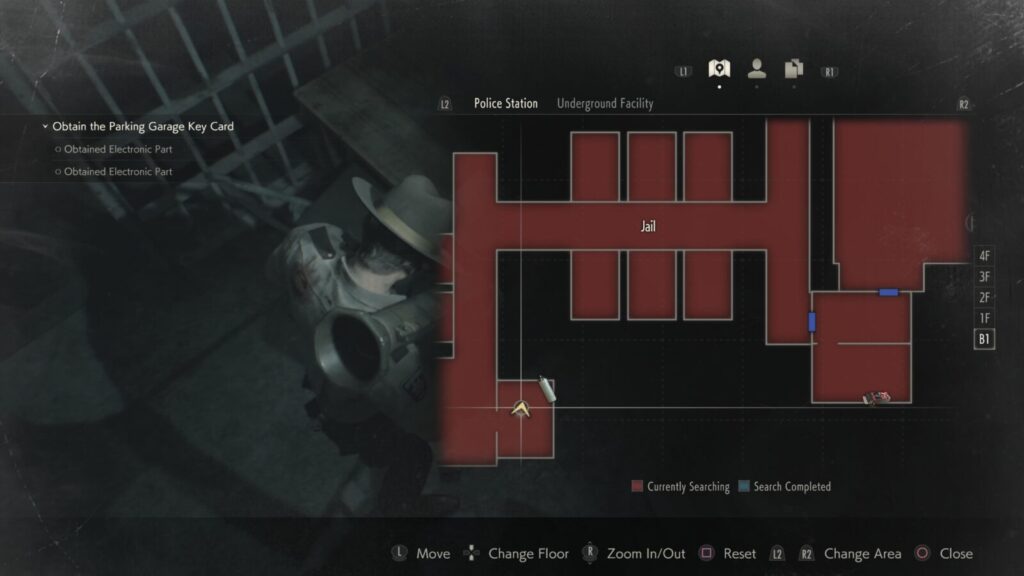
You will collect this one when interacting with Ben in the cell.
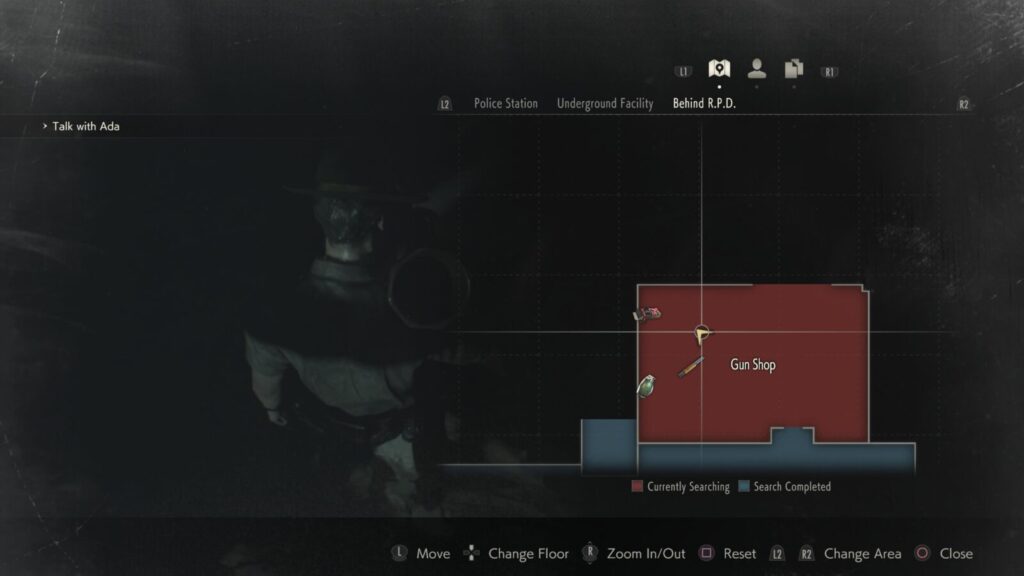
Behind R.P.D
Letter to ShopkeeperInside the Gun Shop, there is a letter on the counter at the back left when you enter. You will get a bonus trophy from the “Another Survivor” Trophy Pack for collecting this.
Sewer
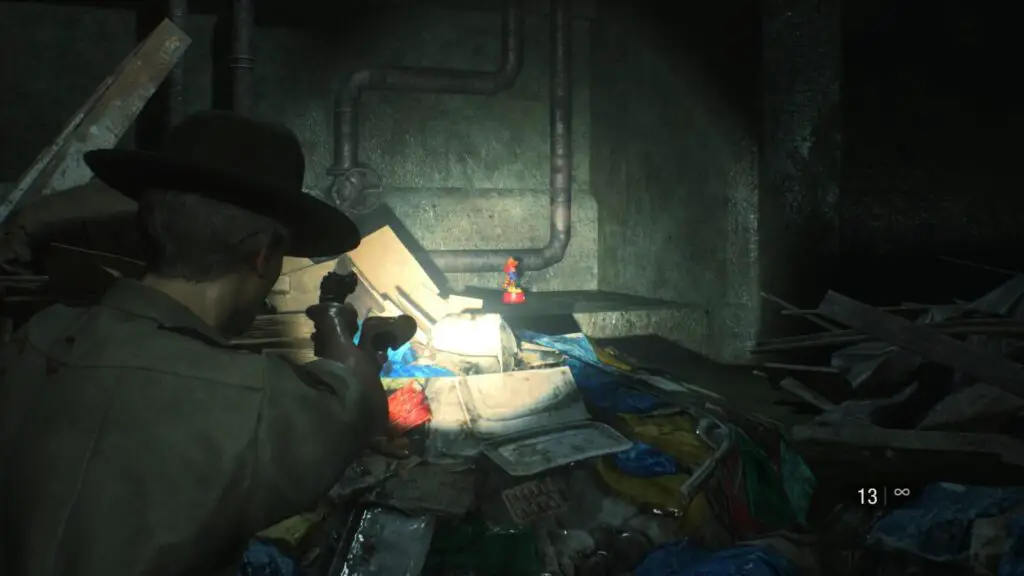
Mr. Raccoon #7Immediately after you have killed the Crocodile Boss, do not climb up the ladder, look for the Mr. Raccoon figure opposite the ladder on a concrete ledge, obscured by trash.
Ada Wong Section
Sept. Inspection (Week 1)After the second hacking sequence, you will meet the first zombie of the section where you’re playing as Ada. In this room, look for this file on a blue table to the right when you drop down.
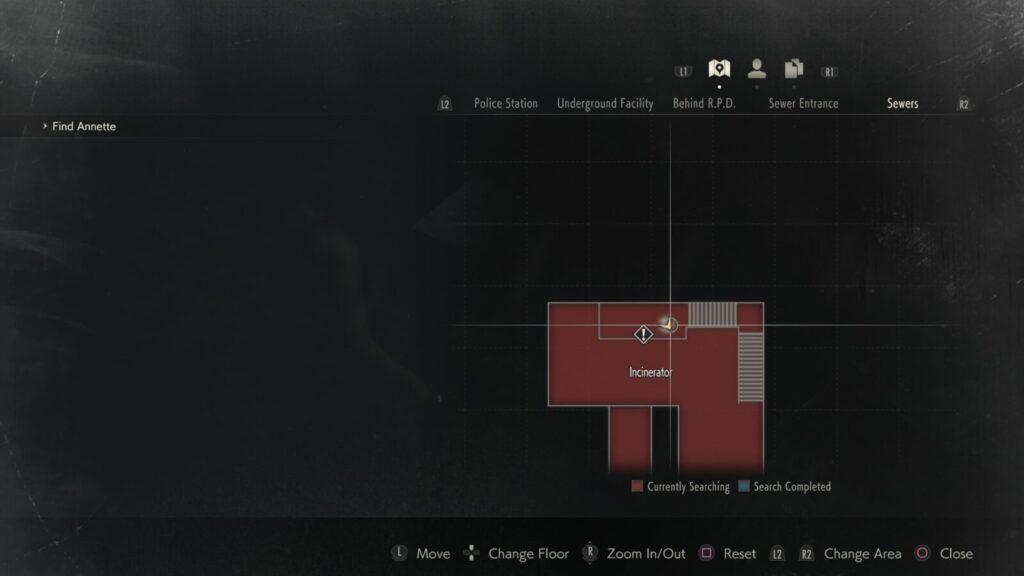
Still playing as Ada, look for this Mr. Raccoon figure in the Incinerator Room on the floor to the right of the actual incinerator’s big door.
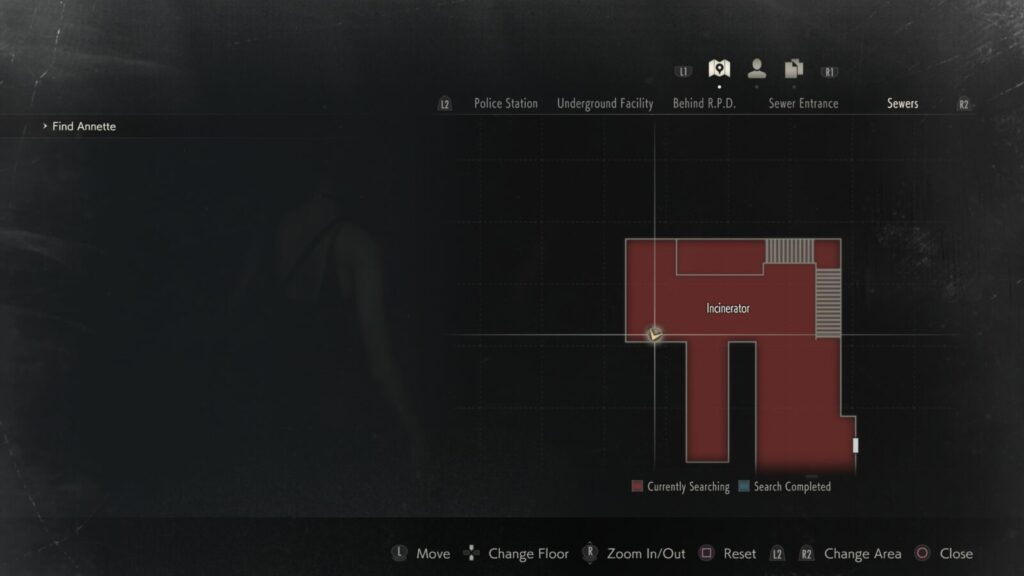
If you are attempting to complete this section without a gun for the “One Slick Super-Spy” trophy, you can’t shoot the Raccoon.
Instead, use the Typewriter in the Incinerator Room to save the game, so you can load this save after earning the trophy and shoot the figure.

In the same room as Mr. Raccoon #7, on a table next to the lever that opens the incinerator, up the stairs.
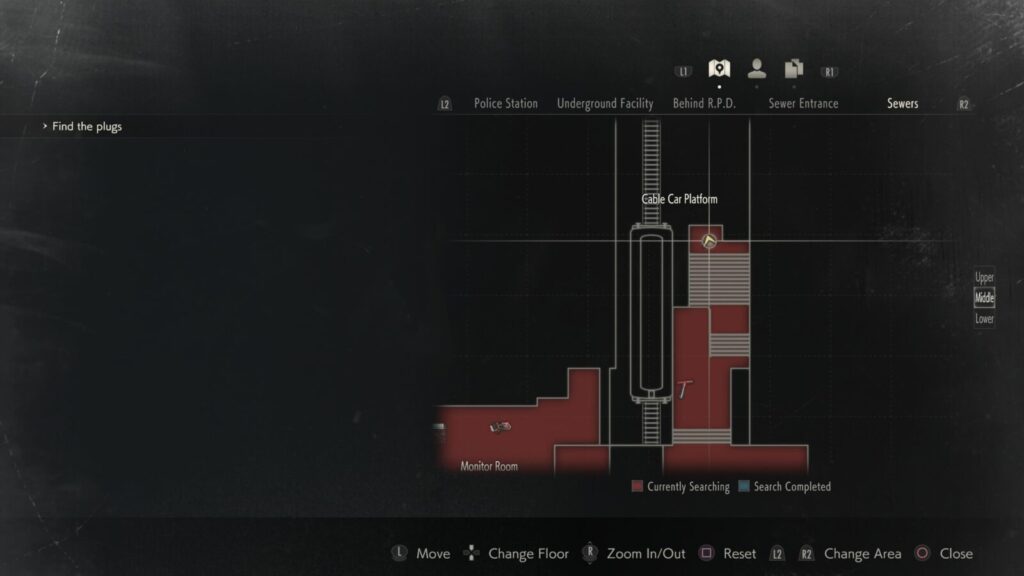
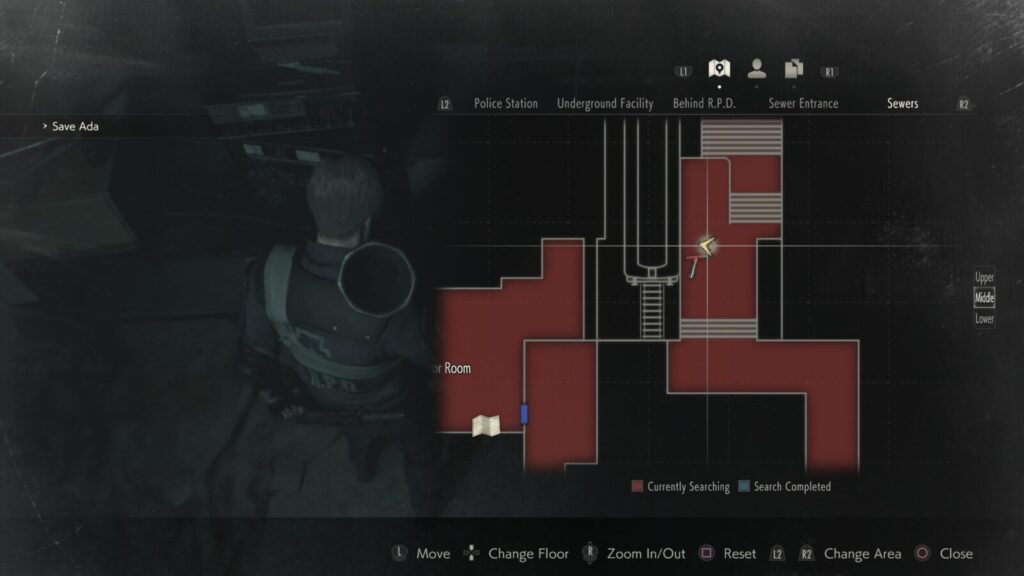
Sewer, Upper Level
Copy of Emails to Umbrella HQOn a table in the Control Room, to your immediate right when you enter.
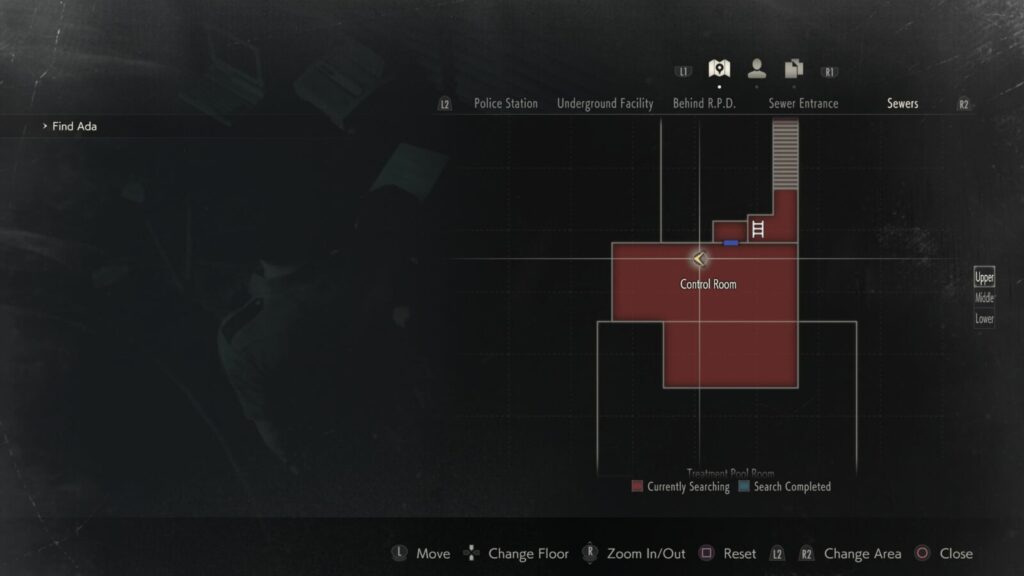
Also in the Control Room, look for a locker with a padlock next to the table with the last file on it. The code for this lock is SZF.
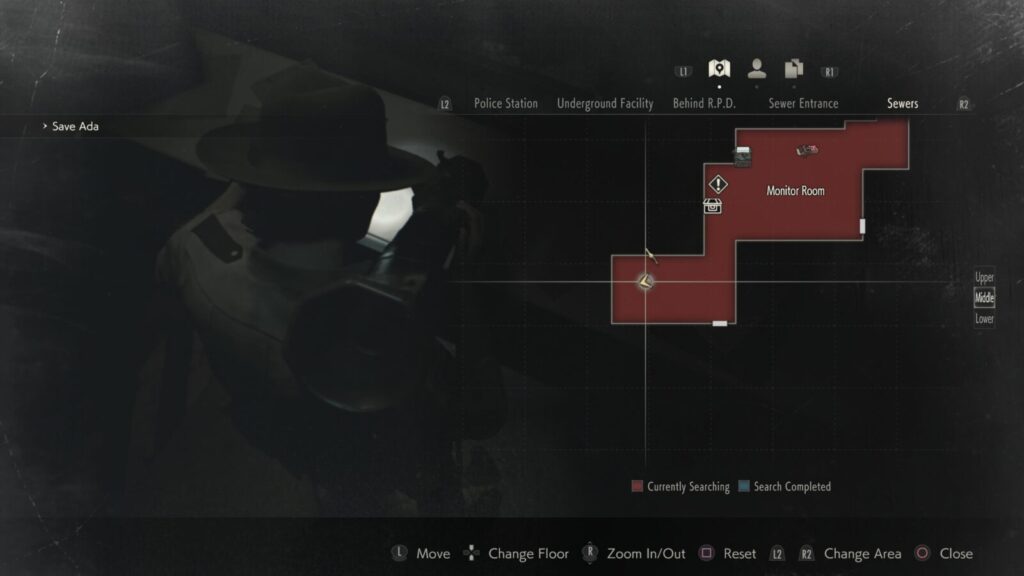
Sewer, Middle Level
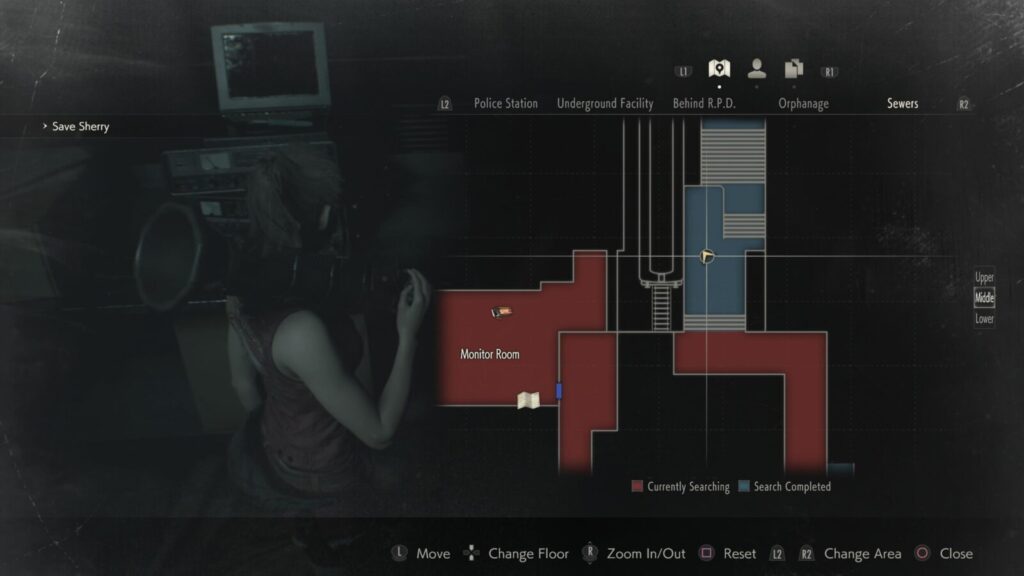
Sewers Company PamphletIn the Monitor Room where the Typewriter is, you can find this file on the table to the right of the Item Box.
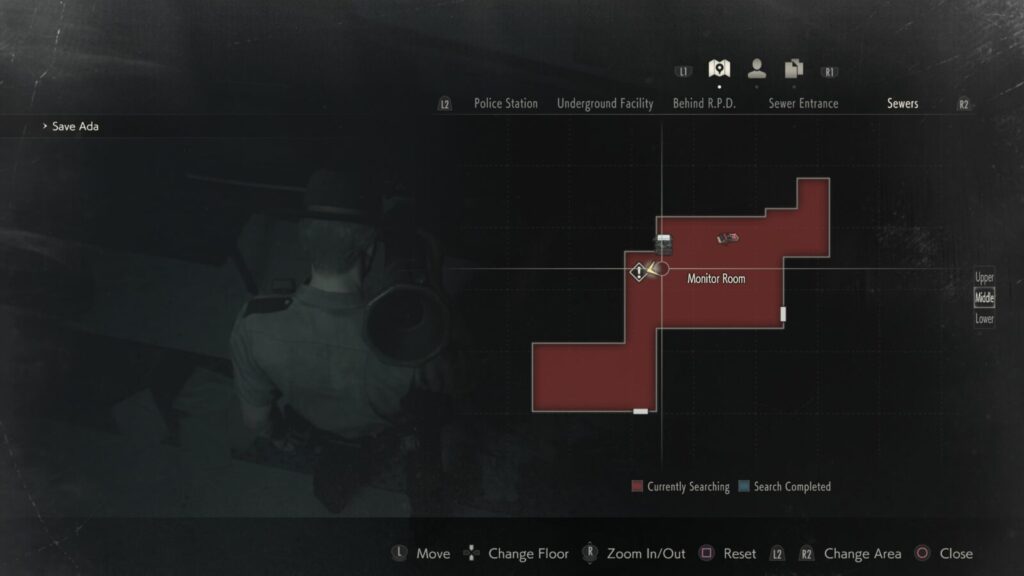
Also in the Monitor Room, you can find this file around the corner to the left of the Item Box, where the Chess Piece puzzle takes place.
On the south side of the Treatment Pool Room, near a corpse, to the right after crossing the bridge. The combination is left 2, right 12, left 8.

At the north end of the Treatment Pool room, this file is on a table at the bottom of the stairs.
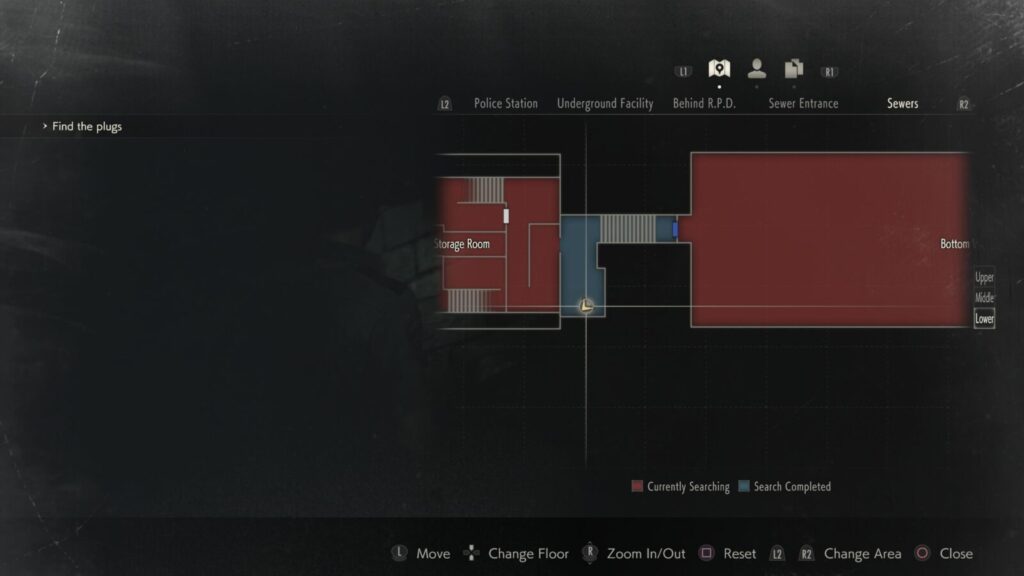
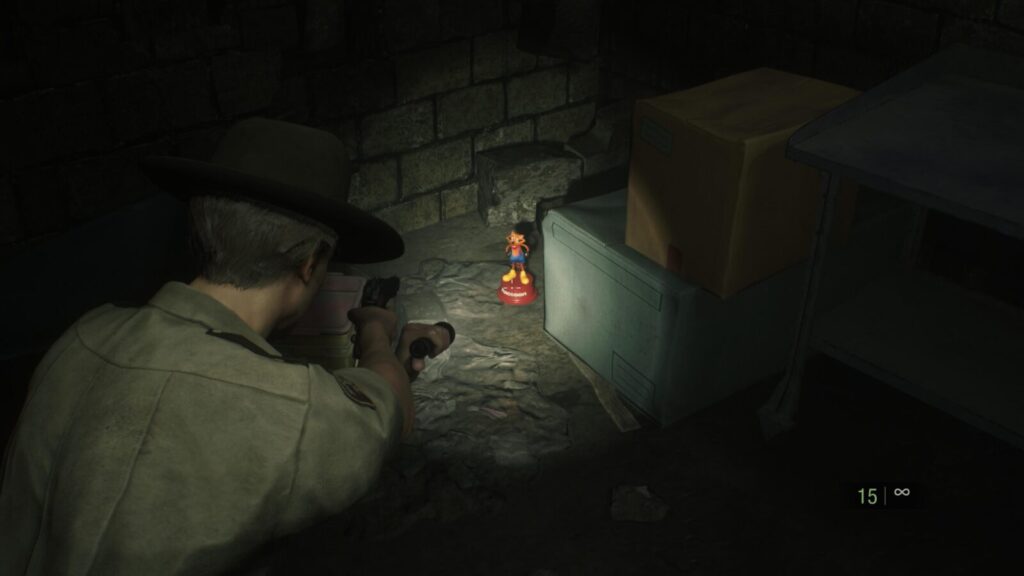
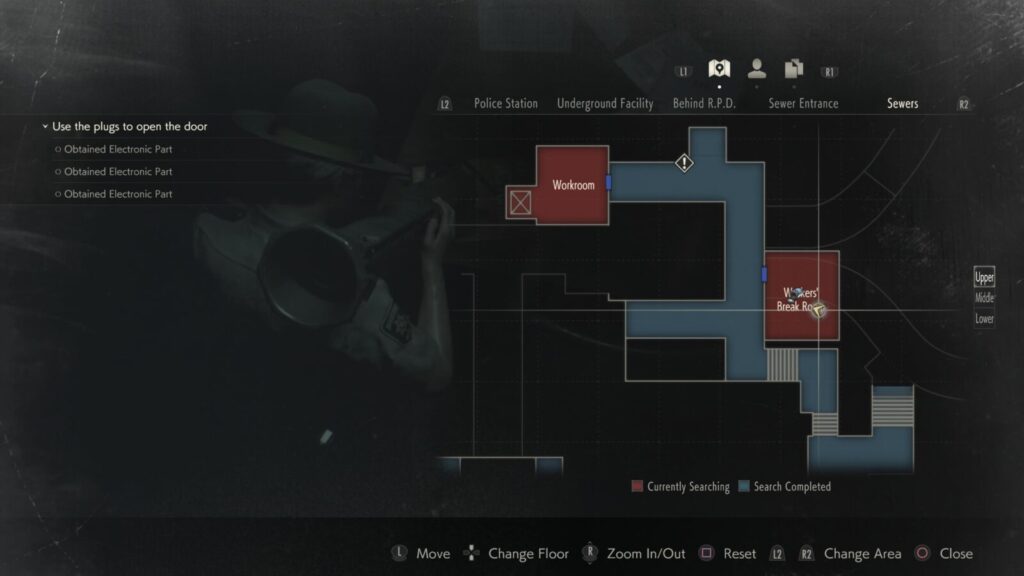
Mr. Raccoon #9 Just before entering the Supplies Storage Room via the corridor from Bottom Waterway, you can find this Mr. Raccoon, behind some cardboard boxes to the left of a metal table next to the Supplies Storage Room Door.
Sewer, Upper Level (Revisited)
Hip Pouch #5After riding the Workroom’s Lift from the Sewer’s Lower Level back up to the Upper Level, this Hip Pouch is on a table to the left.
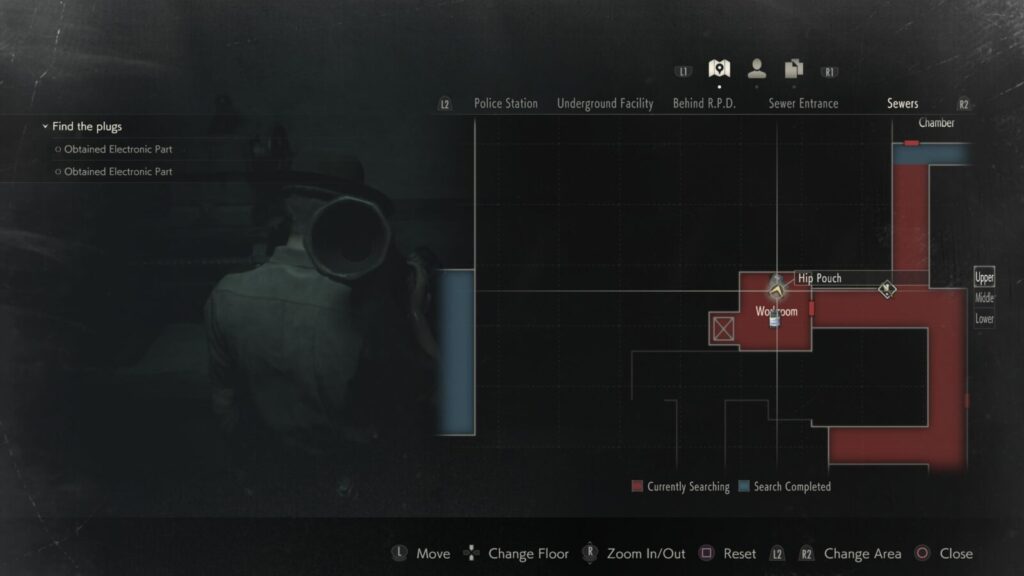
Roll Film Item – Though not one of the collectibles, this item is important for the Treasure Hunter trophy, you should pick it up from this same room while you’re here.
Jazz Festival FlyerUse the Sewers Key to open the door to the Worker’s Break Room and you’ll find this file inside, on the table in the middle of the room.
To reiterate: Make a save before getting on the Cable Car so you can still recover any collectibles you may have missed.
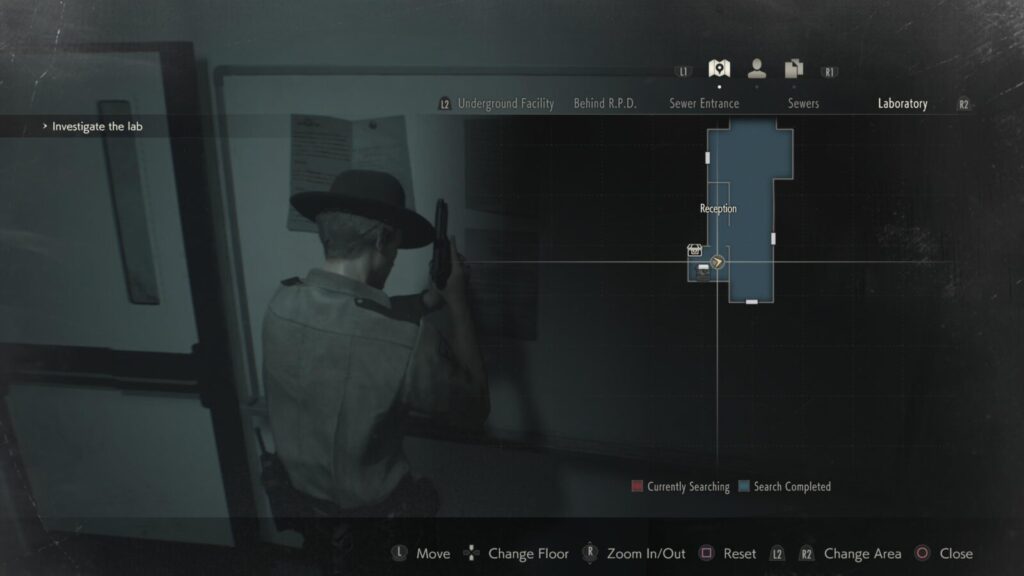
1st Basement Floor, Laboratory
Nap Room LogAfter riding the Cable Car, enter through some large automatic doors and you will be in a Laboratory’s Reception Area. In that room, look for a computer on the reception desk. Interact with it to get this file.
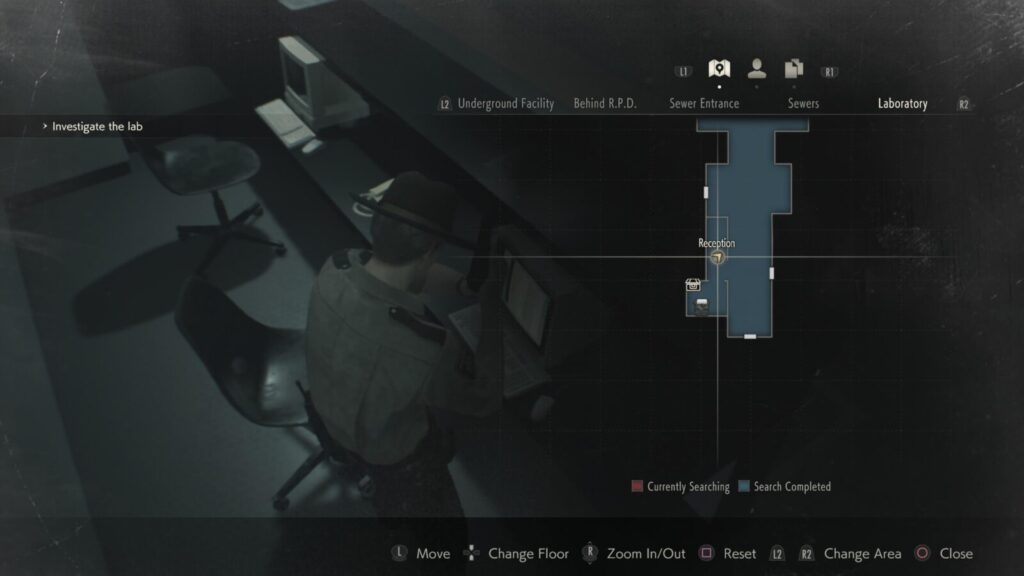
[blID Wristbands[/bl]
Next to the reception desk is a small room with an Item Box and a Typewriter. O the Whiteboard in this room, you will find this file.
In the north-east corner of the Cafeteria, on a table connected to the wall, to the right of the ladders.
When you enter the door south of the reception area, before using a ID wristband to extend the bridge, look to your right to see a soldier’s corpse. Interact with it for this file.
Proceed into the Drug Testing Lab and you will find this on the table in the middle.
You will head down into the 2nd Floor of the Laboratory Basement momentarily, before climbing some stairs back up to the 1st Floor, Laboratory Basement. You’ll be in a store room where you pick up the signal modulator, south of the Lobby.
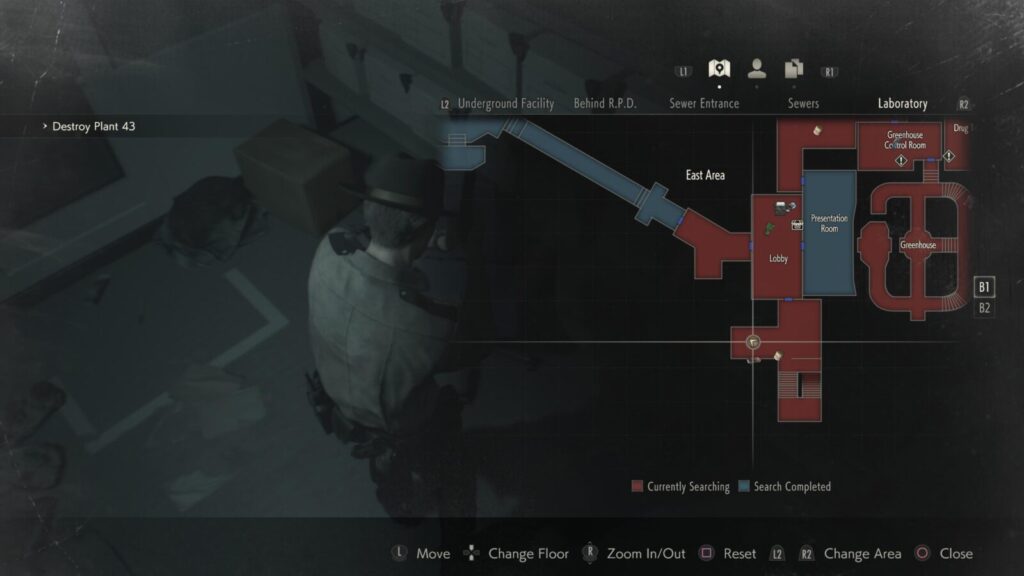
In this room, look for a small piece of paper on a blue office chair, next to the electrical panel where you got the modulator, this is the file you need.
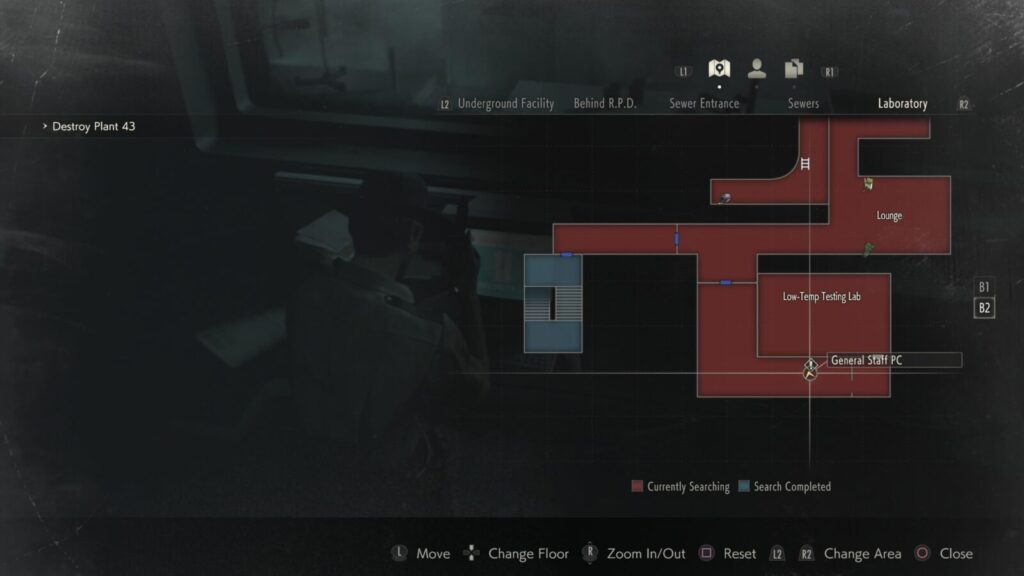
2nd Floor, Laboratory Basement
Wayne Li’s InboxBack down on the 2nd floor of the Laboratory Basement. Examine the Signal Modulator, switch it to the MURF frequency with ![]() and then align the graph. You can now use it on the electrical panel in the Lounge area to gain access to the Low-Temp Testing Lab.
and then align the graph. You can now use it on the electrical panel in the Lounge area to gain access to the Low-Temp Testing Lab.
Enter the Low-Temp lab and interact with the PC Monitor to retrieve this file.
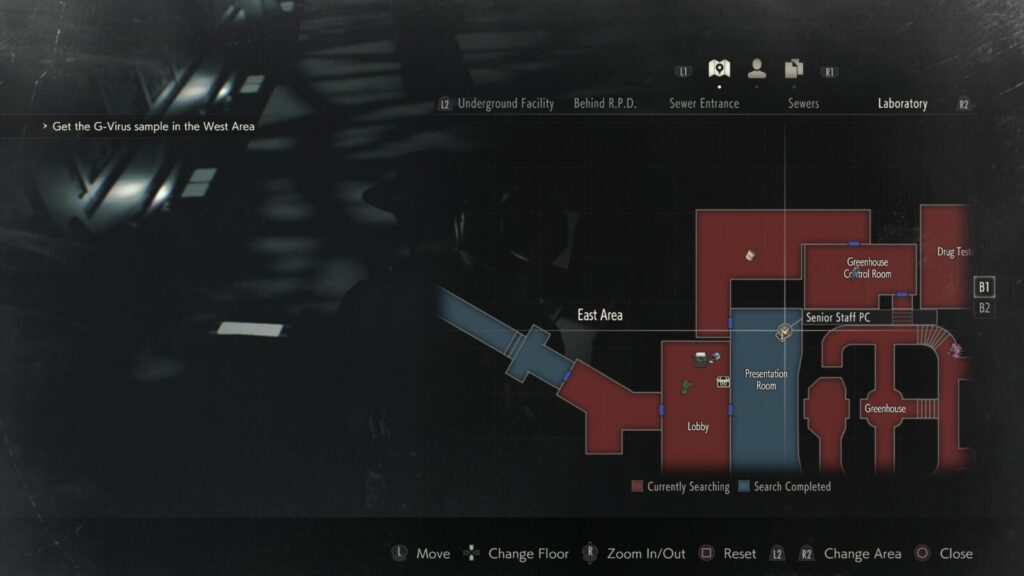
1st Basement Floor, Laboratory (Revisited)
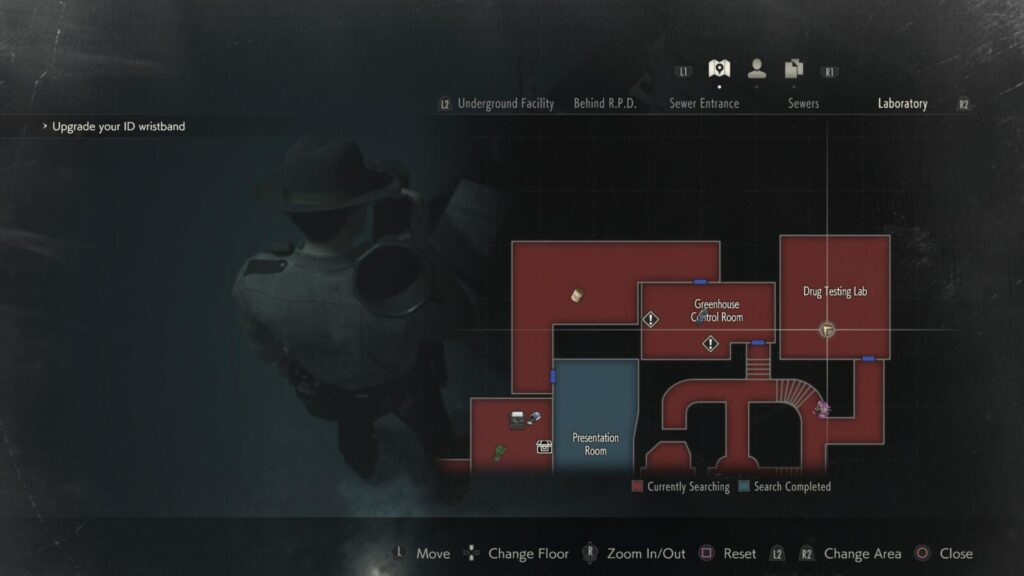
Byron Cartwright’s InboxOnce you have the Senior Staff ID Wristband, you will be able to access the computer on the plinth in the Presentation Room on this floor. Do so and this file will be added to your collection.
Before proceeding, return to the Nap Room on this floor, where we can use the Signal Modulator to grab three more collectibles. Examine the Signal modulator, use ![]() /
/![]() to switch it to MUF frequency, align the signal waveforms, and then use it on the electrical panel to open the bunks. Watch out for the zombie in the middle bunk.
to switch it to MUF frequency, align the signal waveforms, and then use it on the electrical panel to open the bunks. Watch out for the zombie in the middle bunk.
In the Nap Room, left bunk. You should unlock Waist of Space for collecting this final Hip Pouch if you haven’t missed any so far.

Also in the Nap Room’s left bunk.
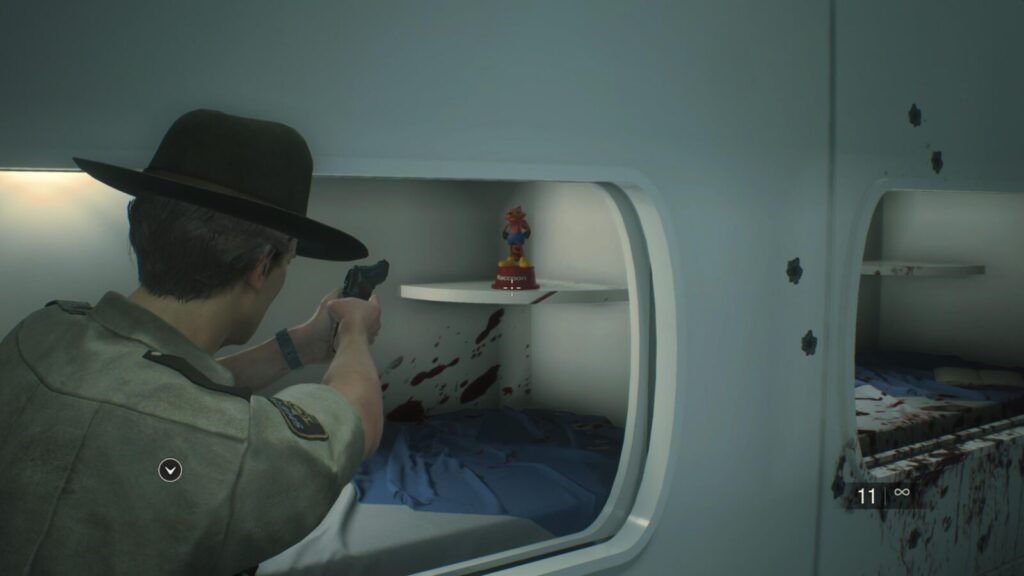
This collectible is also found in the Nap Room, but in the middle bunk where the Zombie was.
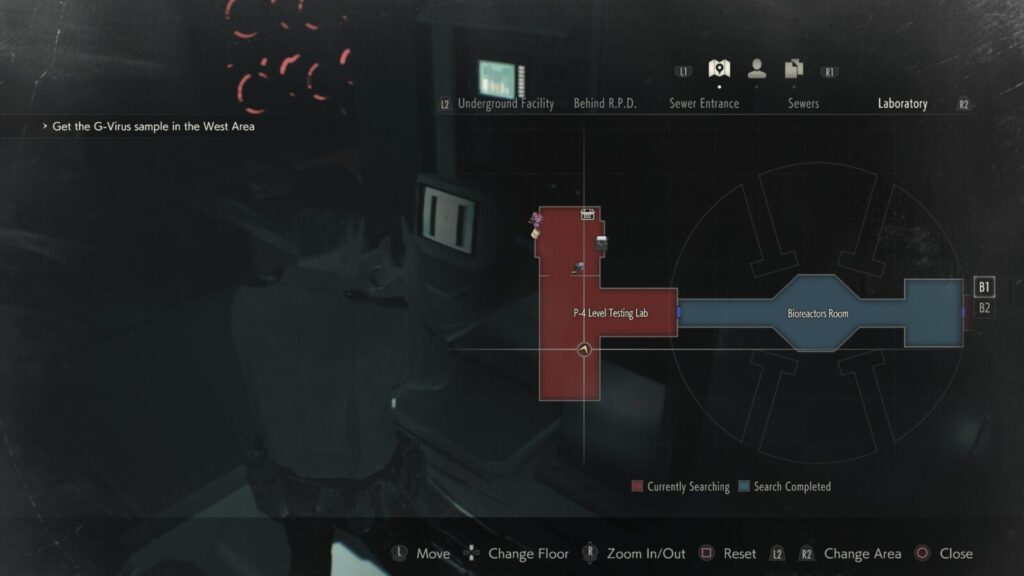
William Birkin’s InboxUse the signal Modulator again, this time in the Biotesting Lab (for the story), and you’ll then be able to access the PC in that room. There, you’ll acquire this file.
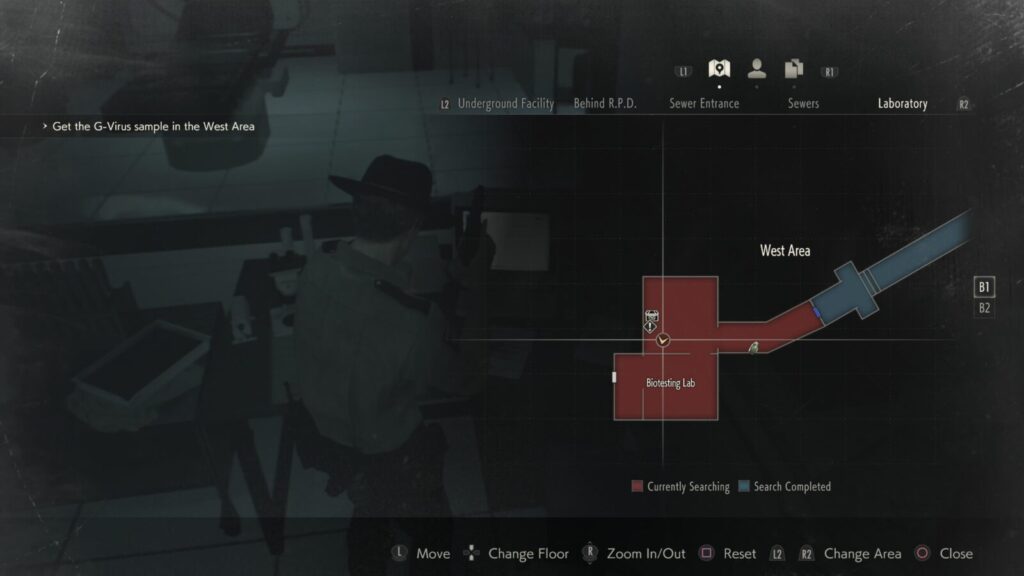
Interact with the Computer in the P-4 Level Testing Lab to acquire this file.
Claire Scenario A
1st Floor, Police Station West
Letter from Best FriendThis is automatically in your inventory at the start of the game.
Uses of GunpowderOn a desk in the West Office, 1st floor. Same place as the one you got in Leon Scenario A.
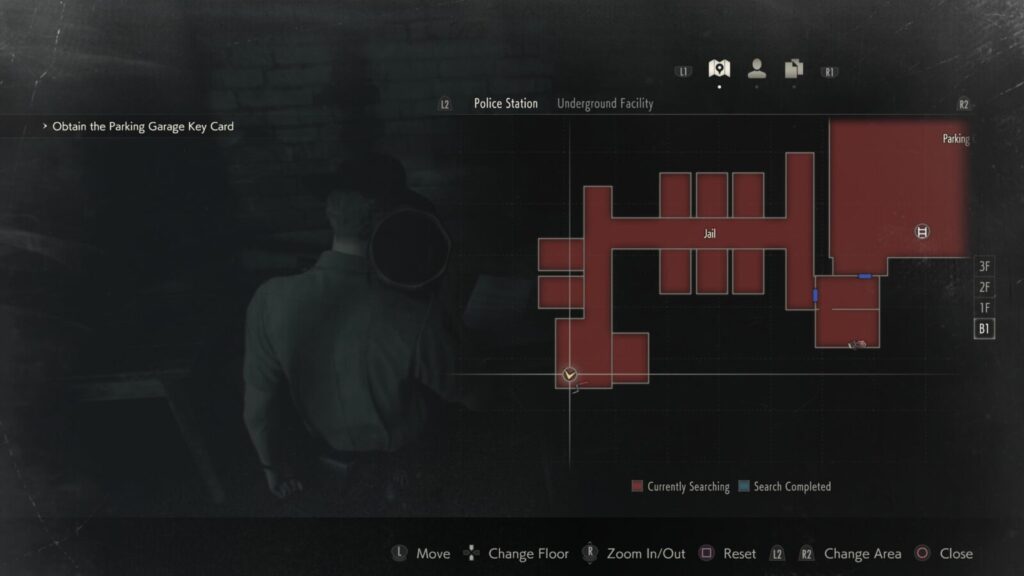
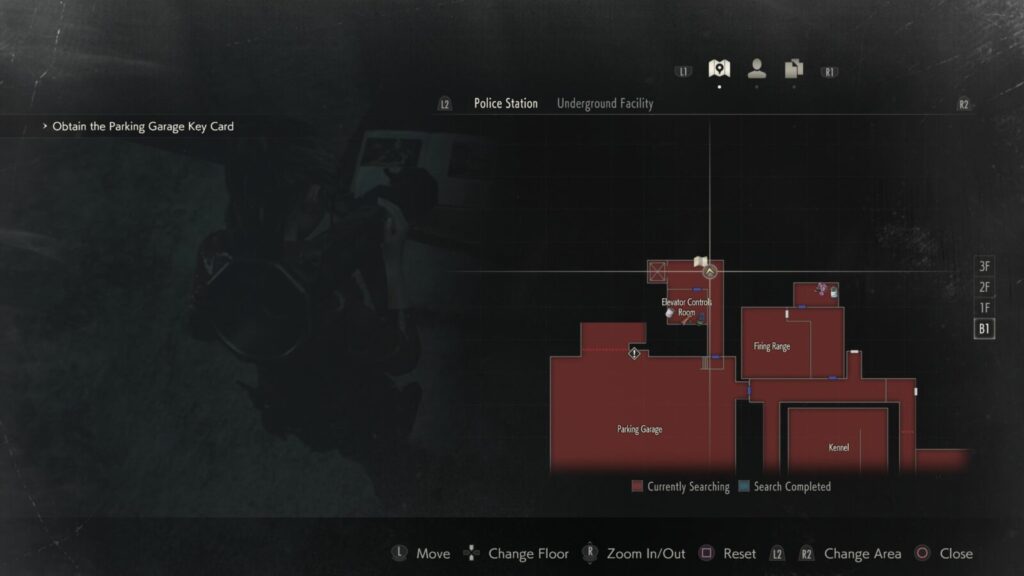
1st Basement Floor, Police Station
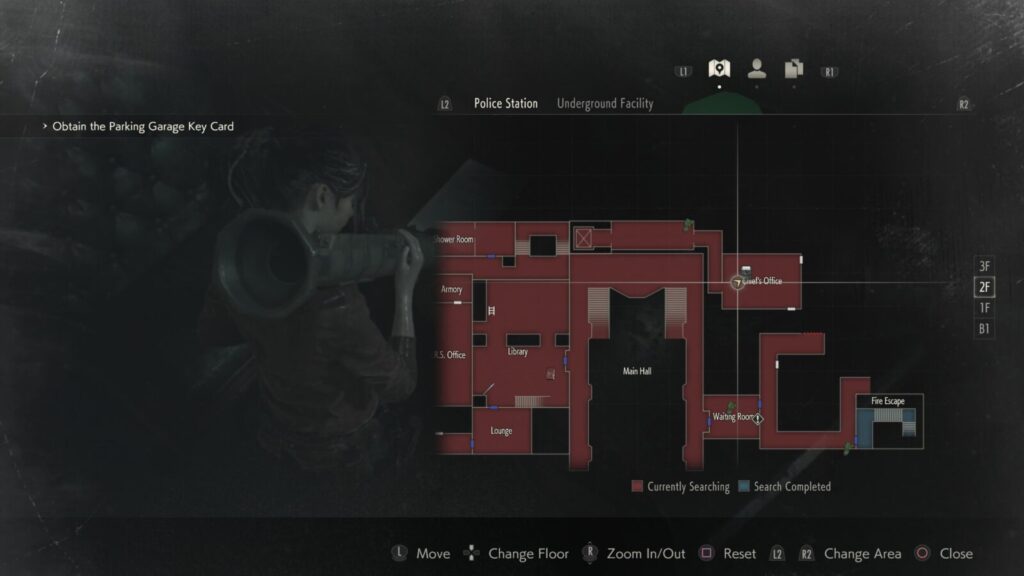
Raccoon Monthly, June IssueAfter you have used the Key Card to open the Garage, you will gain access to the Elevator Controls Room. This collectible can be found on a wooden table outside the Elevator Controls Room.
2nd Floor, Police Station East
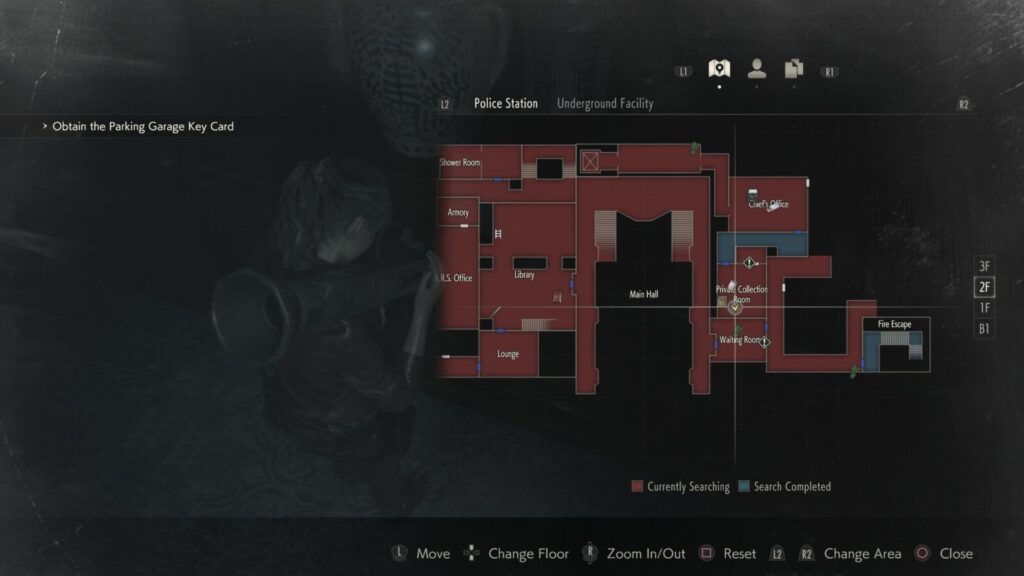
Copy of Emails from Chief IronsAfter using the Diamond Key in the Elevator Controls Room you will find your way to the Chief’s Office. This file is on the chief’s desk.
Same room as the last collectible, in the center of the room on the round table.

In the Private Collection Room, on a shelf against the south wall.
3rd Floor, Police Station
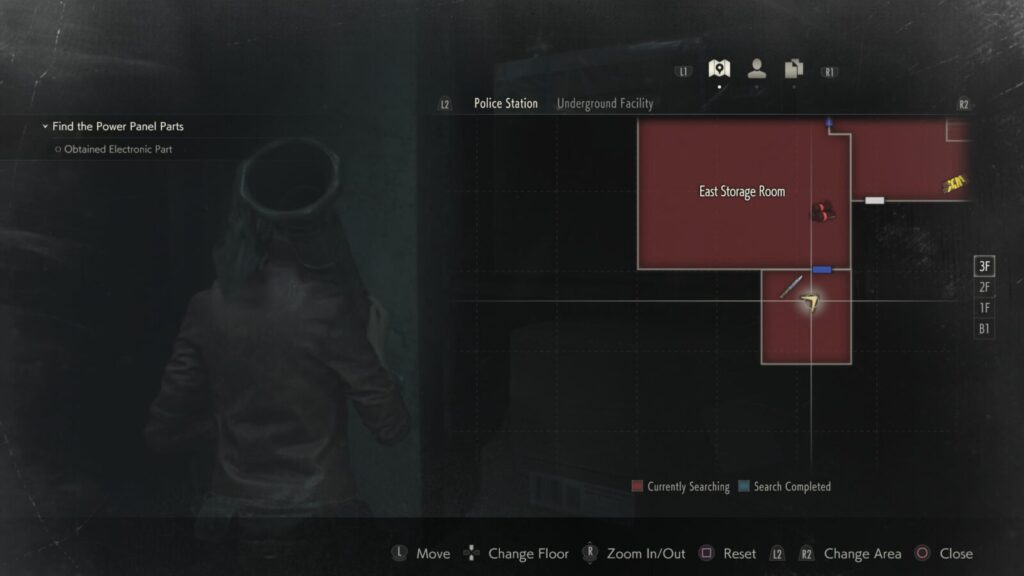
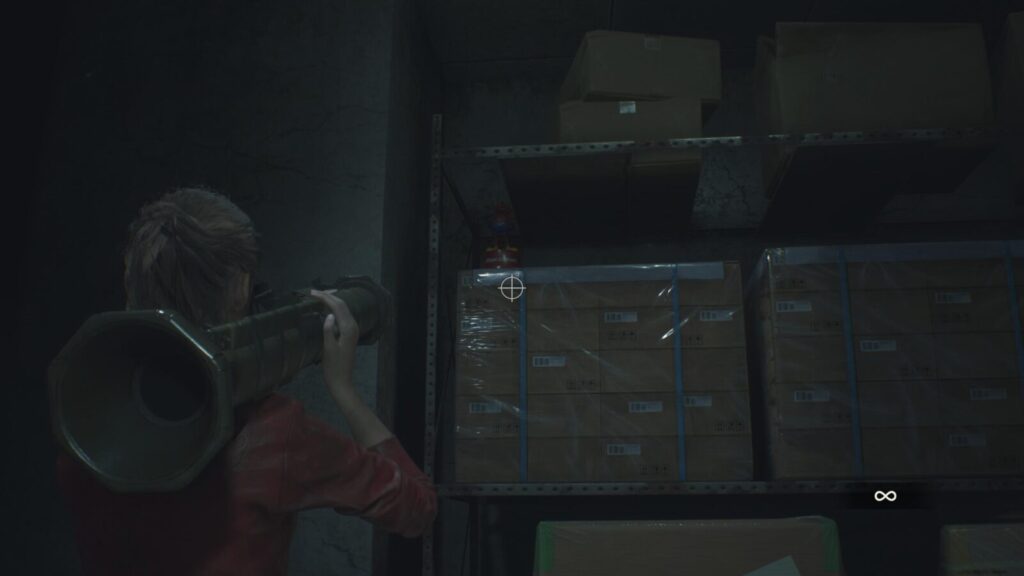
Mr. Raccoon #12Behind the red heart door on the south wall of the East Storage Room. Head inside and you will find Mr. Raccoon sitting on a shelf to your left when you enter.
Sherry Section
Sally’s DiaryComplete the puzzle in the bedroom to exit into a small side-room. Leave the side-room to be in a corridor. At the corner on your right, you will find an open book on a small table. This is Sally’s Diary.
When you go downstairs and into the building’s main entranceway, look for Tom’s Diary on a small table.
Next to the Typewriter in the Director’s Room during Sherry’s segment, it’s hard to miss.

Behind R.P.D
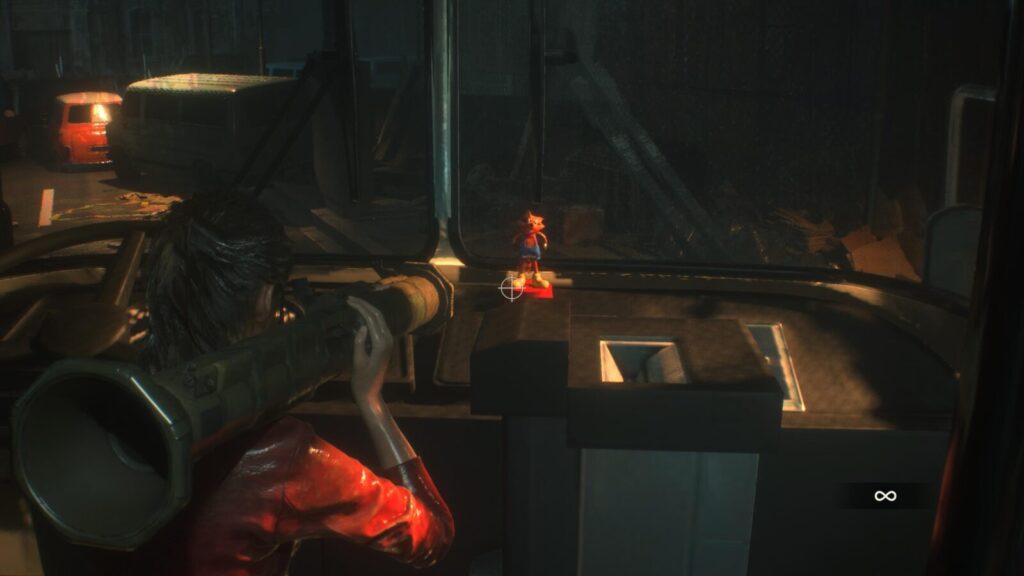
Mr. Raccoon #13When you leave the Police Station, you will need to pass through a basketball court filled with aggressive Zombie Dogs. At the opposite end of the court there is a bus you must pass through, Mr. Raccoon can be found inside, on the Dashboard.
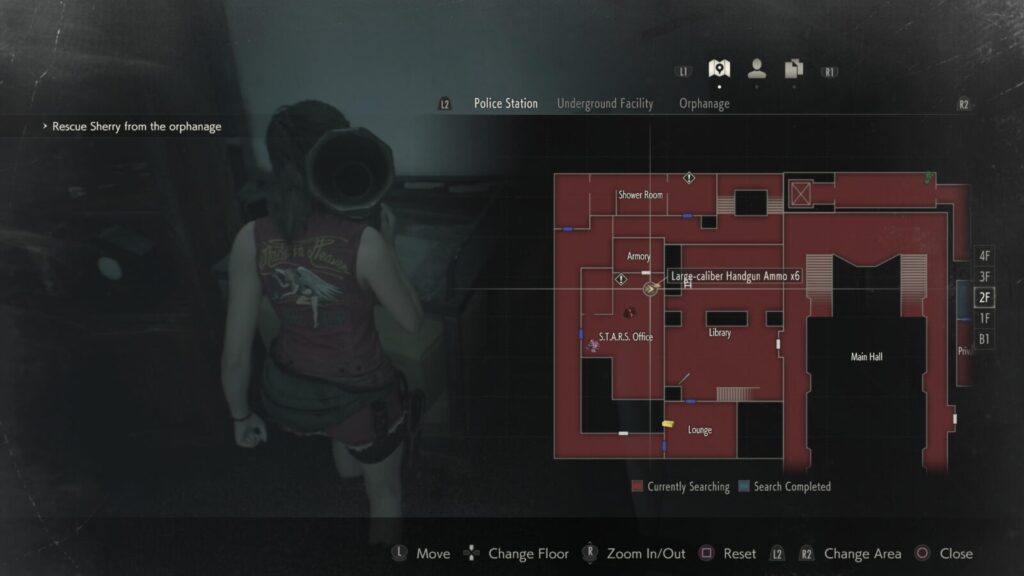
2nd Floor, Nursery
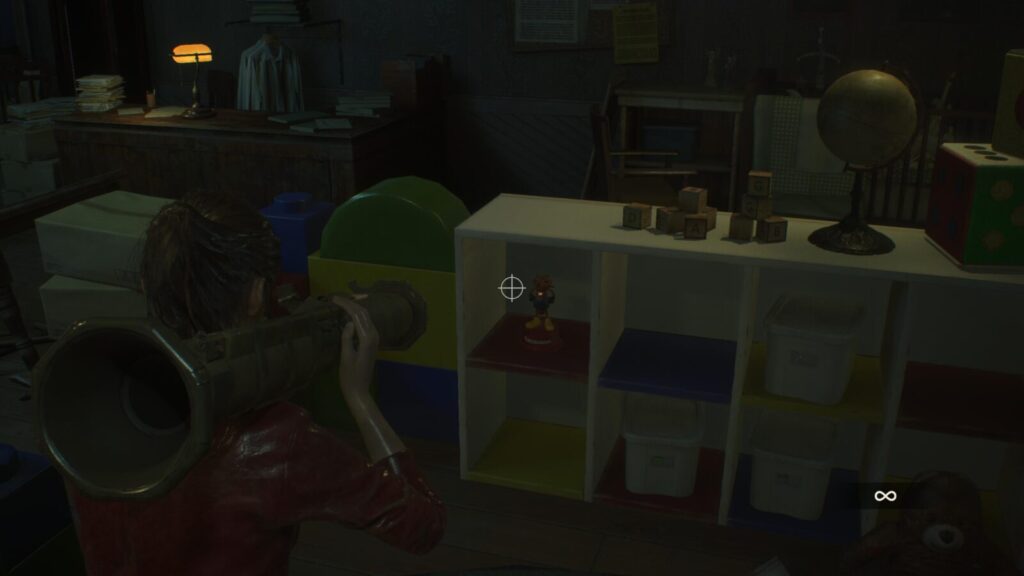
Mr. Raccoon #14When you enter the orphanage, head straight upstairs and go through the door at the top. On some square shelves directly in front of you when you enter, you will find this Mr. Raccoon Figurine.
Inside the bathroom connected to the room where the last Mr. Raccoon collectible was, on a bench to your right when you enter.
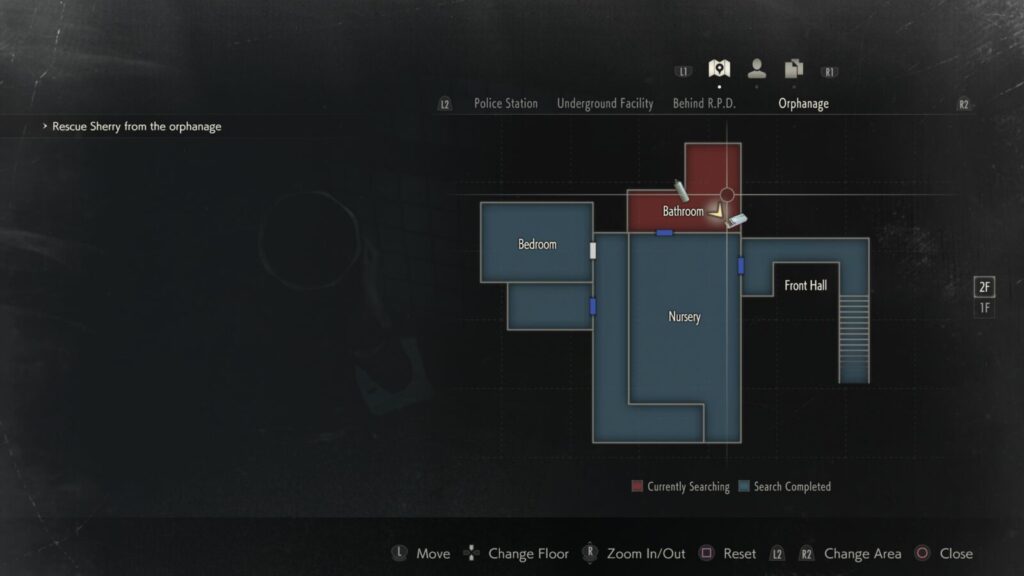
Sewers
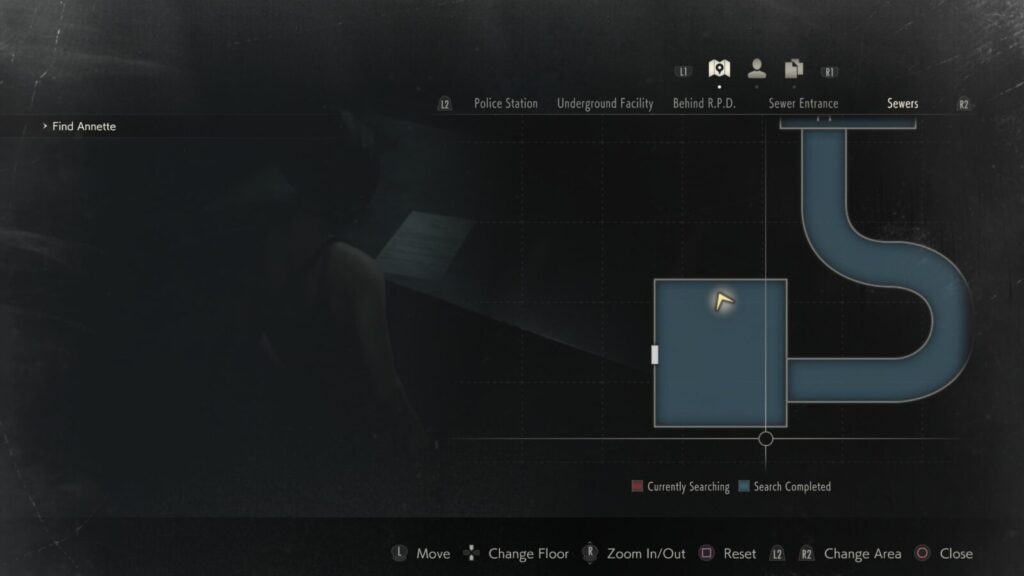
Report About “G”Eventually, you will find Sherry again in the nursery and then Tyrant will chase you into the Sewers. The first room you are in when you arrive in the Sewers has a door on the south wall leading to the Office, where there is a Typewriter. This collectible is on the whiteboard in the Office.

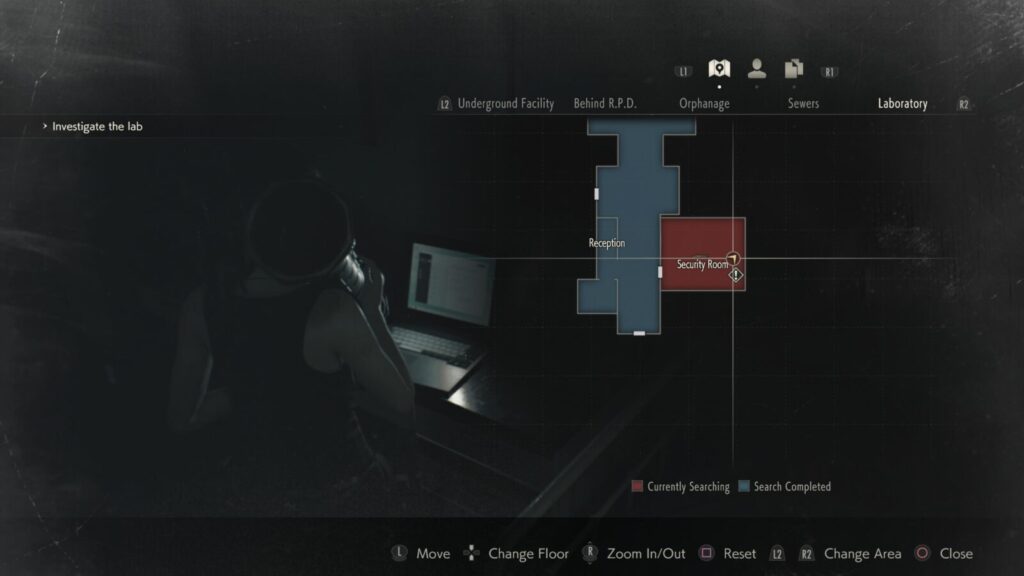
Laboratory
IMPORTANT NEST-Wide AlertAs part of the story, you will put Sherry to bed in the Security Room. Interact with the PC in this room to get the final collectible in this scenario.
Leon Scenario B
1st Floor, Police Station West
Mr. Raccoon #15Head up the stairs at the start of this scenario, and look into the bushes on your left. You should be able to spot this Mr. Raccoon figure hiding in the far corner. You should unlock Complete Vermin Extermination for collecting this final Mr Raccoon if you haven’t missed any so far.
On the table in the Watchman’s Room.
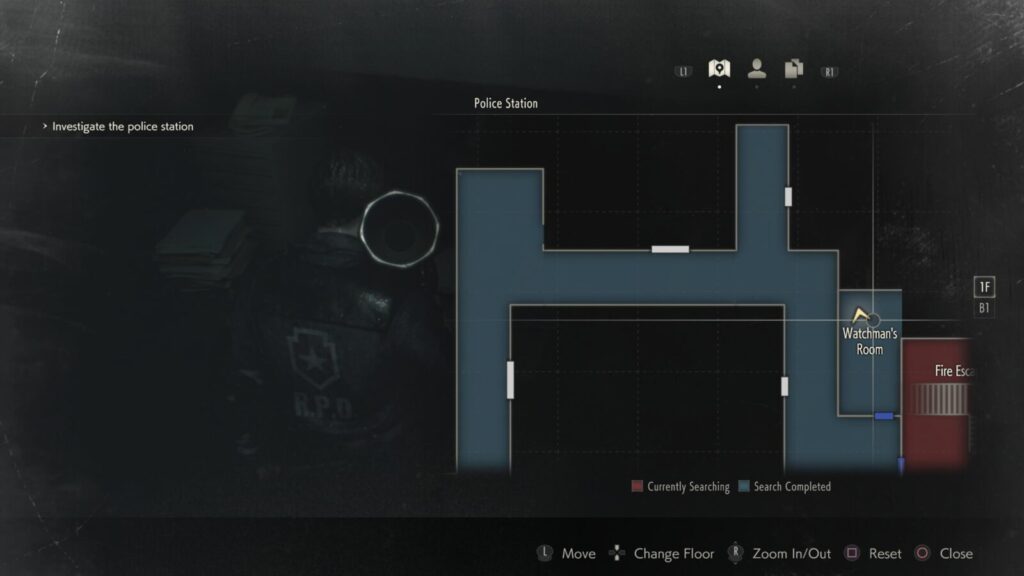
In the main hall area, east side, on the chair Marvin was sitting on during Scenario A.
2nd Floor, Police Station West
Claire’s MemoIn the S.T.A.R.S Office, on a metal trolley in the northeast corner.
Sewers, Middle Level
Claire’s NoteIn the Treatment Pool Room, next to the “T-Bar Valve Handle” on a table near the Cable Car.
Claire Scenario B
2nd Floor, Police Station West
Leon’s MemoIn the S.T.A.R.S Office. Same place as Claire’s Memo in Leon’s Scenario B.
Sewers, Middle Level
Leon’s NoteIn the Treatment Pool Room, next to the “T-Bar Valve Handle” on a table near the Cable Car. Same place as Claire’s Note in Leon’s Scenario B. You should unlock Lore Explorer for collecting this final File if you haven’t missed any so far.
Thank you for choosing PlatGet as your source for a Resident Evil 2 Collectible Locations Guide, consider checking out our other guides!
Follow us on Twitter @GetPlat or Instagram @platget for updates on new reviews and guides, as well as small anecdotes about our platinum journeys.