PlayStation 4, PlayStation 5
Ratchet & Clank: Size Matters Titanium Bolt Location Guide
Collectible Guide
Where to Find All 20 Titanium Bolts in Ratchet & Clank: Size Matters
Below you’ll find a chronological guide to each and every one of the 20 Titanium Bolts in Ratchet & Clank: Size Matters.
Titanium Bolts are used to purchase cosmetic items to change the look of the game’s titular characters. However, you should be warned; If you’re hoping to unlock the “Bolt Champion” trophy for collecting all 20 Titanium Bolts, you must refrain from spending your bolts.
Due to limitations on the ways that trophies can be retroactively added to classic games like this one, you actually need to be holding 20 Titanium Bolts at one time to unlock the trophy. If you spend even just one of your Titanium Bolts, you can no longer unlock the trophy. If that happens, you won’t be able to earn the Platinum without an entirely separate playthrough of the game!
To ease things, I’ve put together the guide below, which you can follow as you play through the game, ensuring you don’t miss any of the collectible Titanium Bolts and can secure the Platinum Trophy via our Ratchet & Clank: Size Matters Trophy Guide.
Pokitaru Titanium Bolts
Pokitaru is the first level in Size Matters and contains just two Titanium Bolts to find.
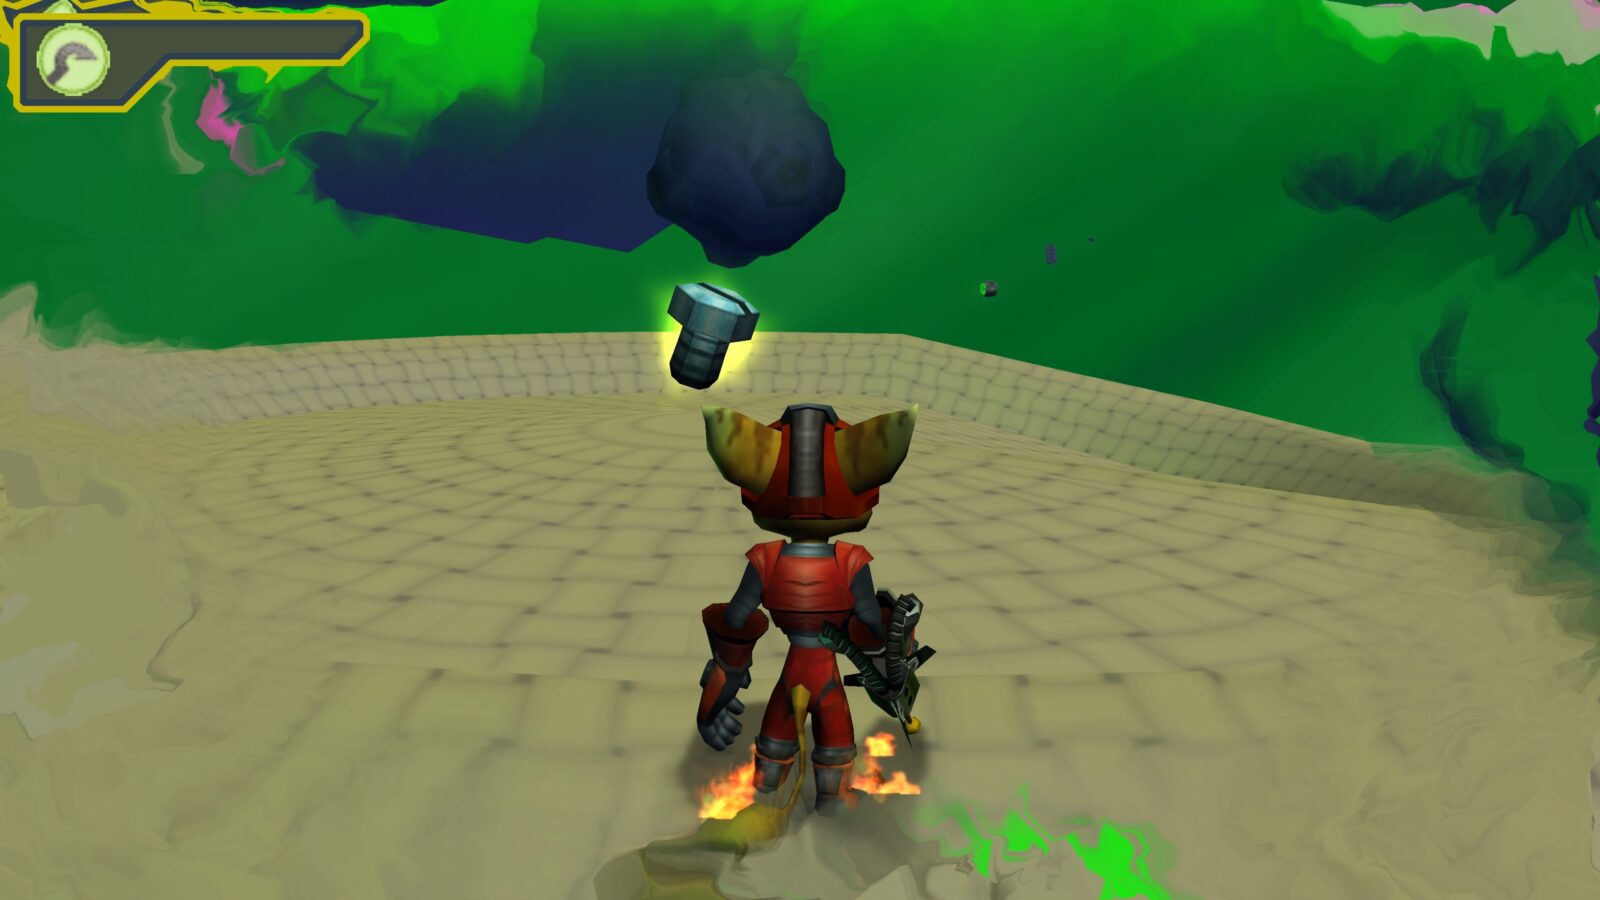
#1 | First Pokitaru Titanium Bolt
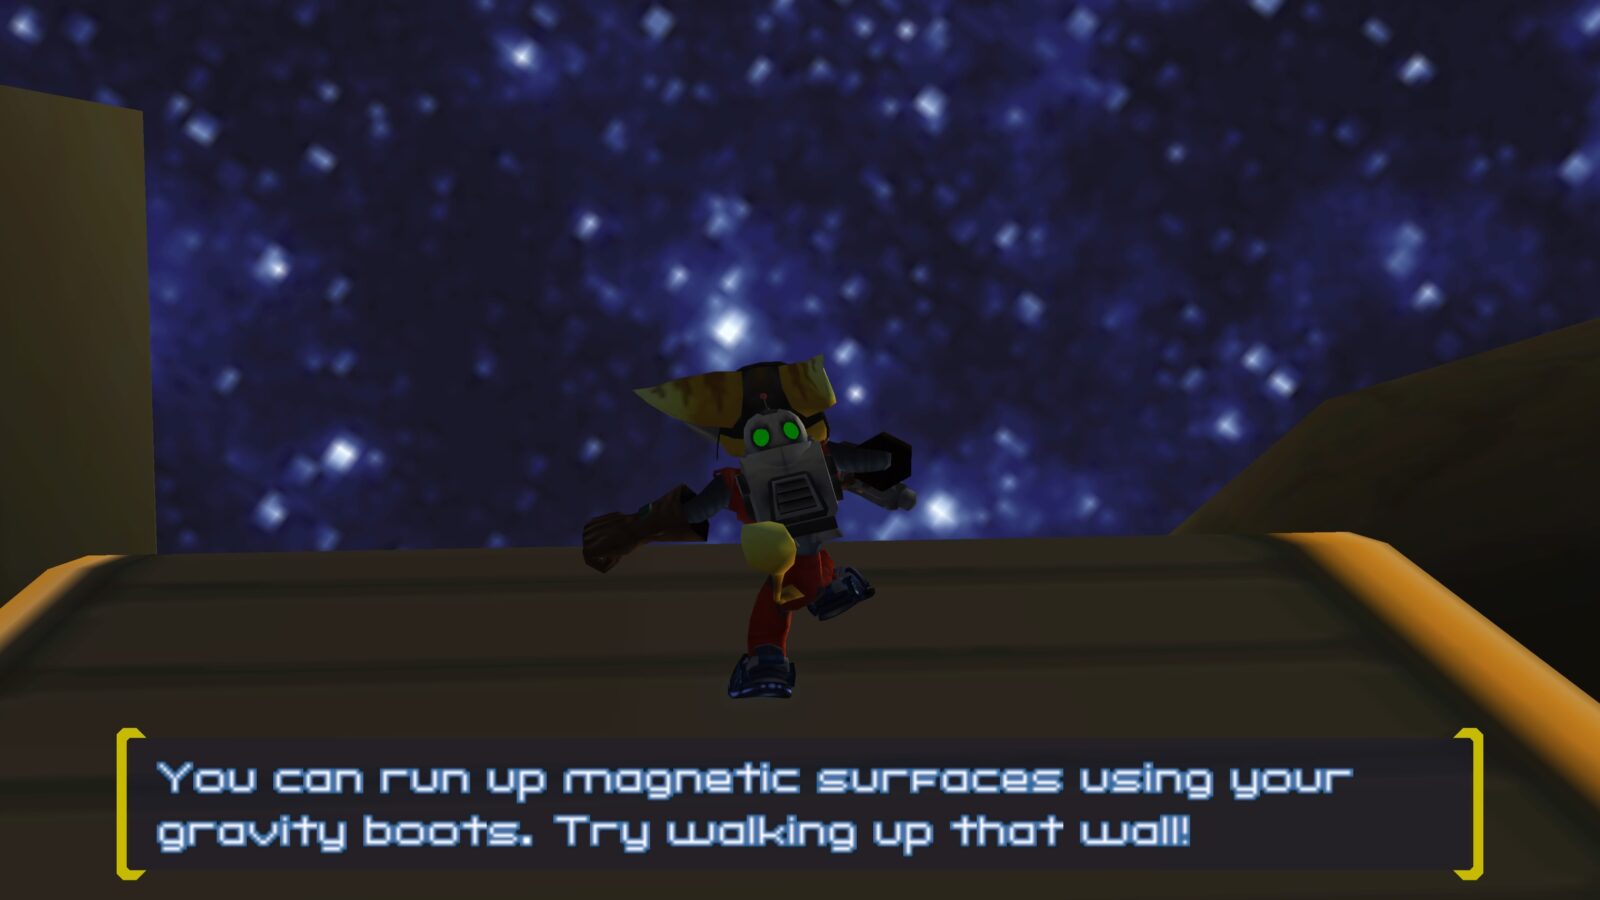
Progress through the level until you walk up your first vertical wall via the use of your magnetic boots.
At the top of the wall, defeat the enemies and then approach the zipline at the far end, but don’t ride it.
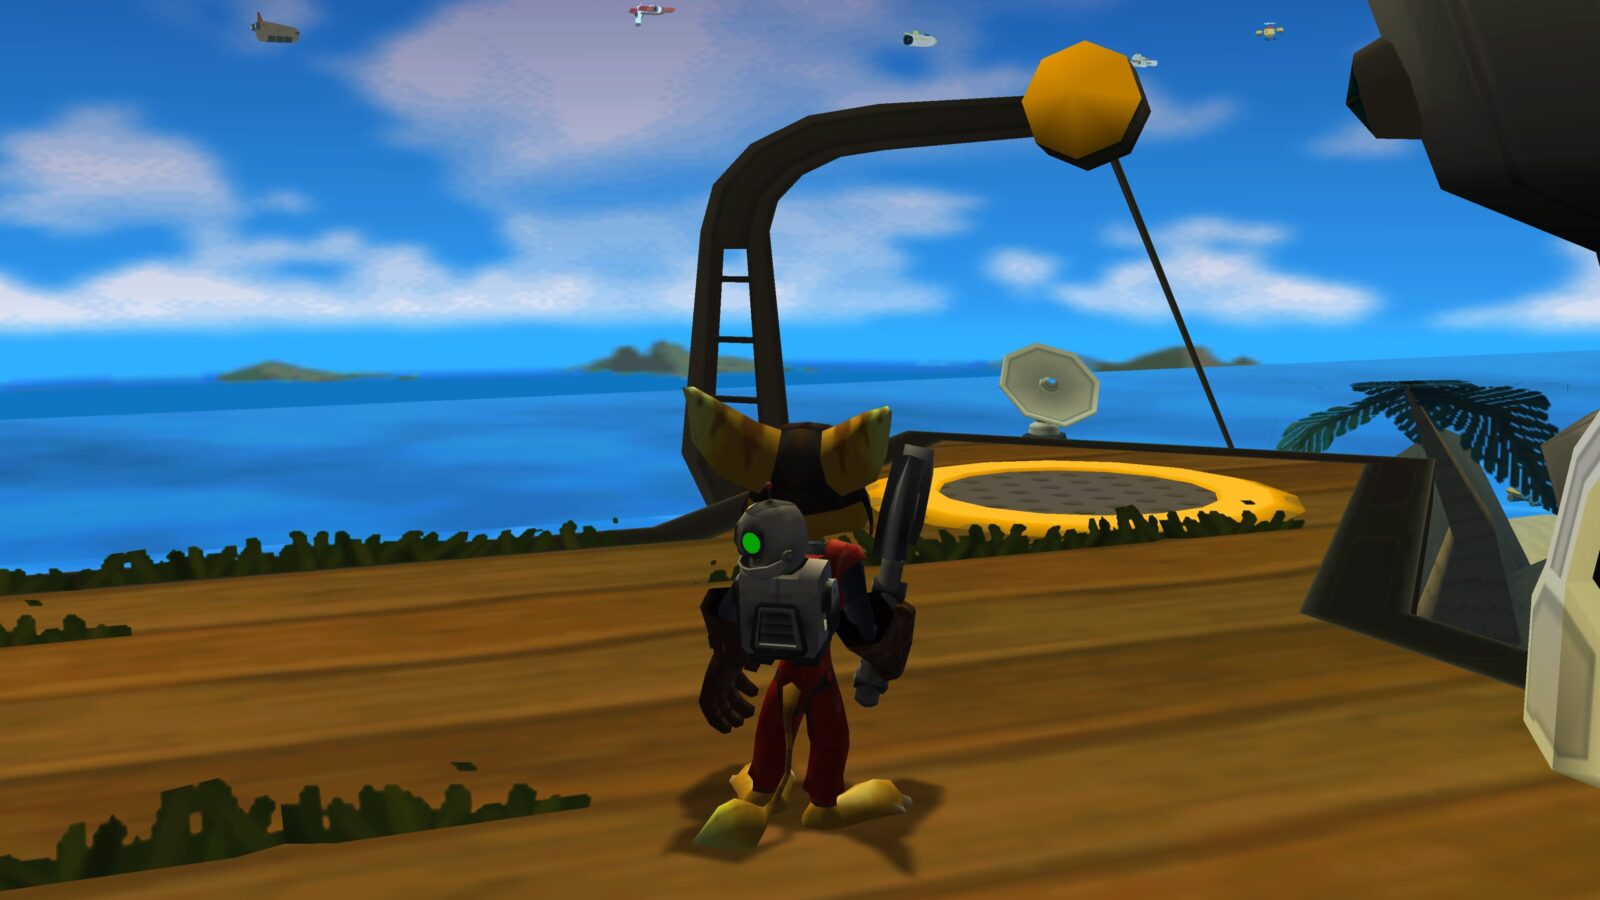
Instead, turn left and you will see a small ledge sticking out of the cliffside.
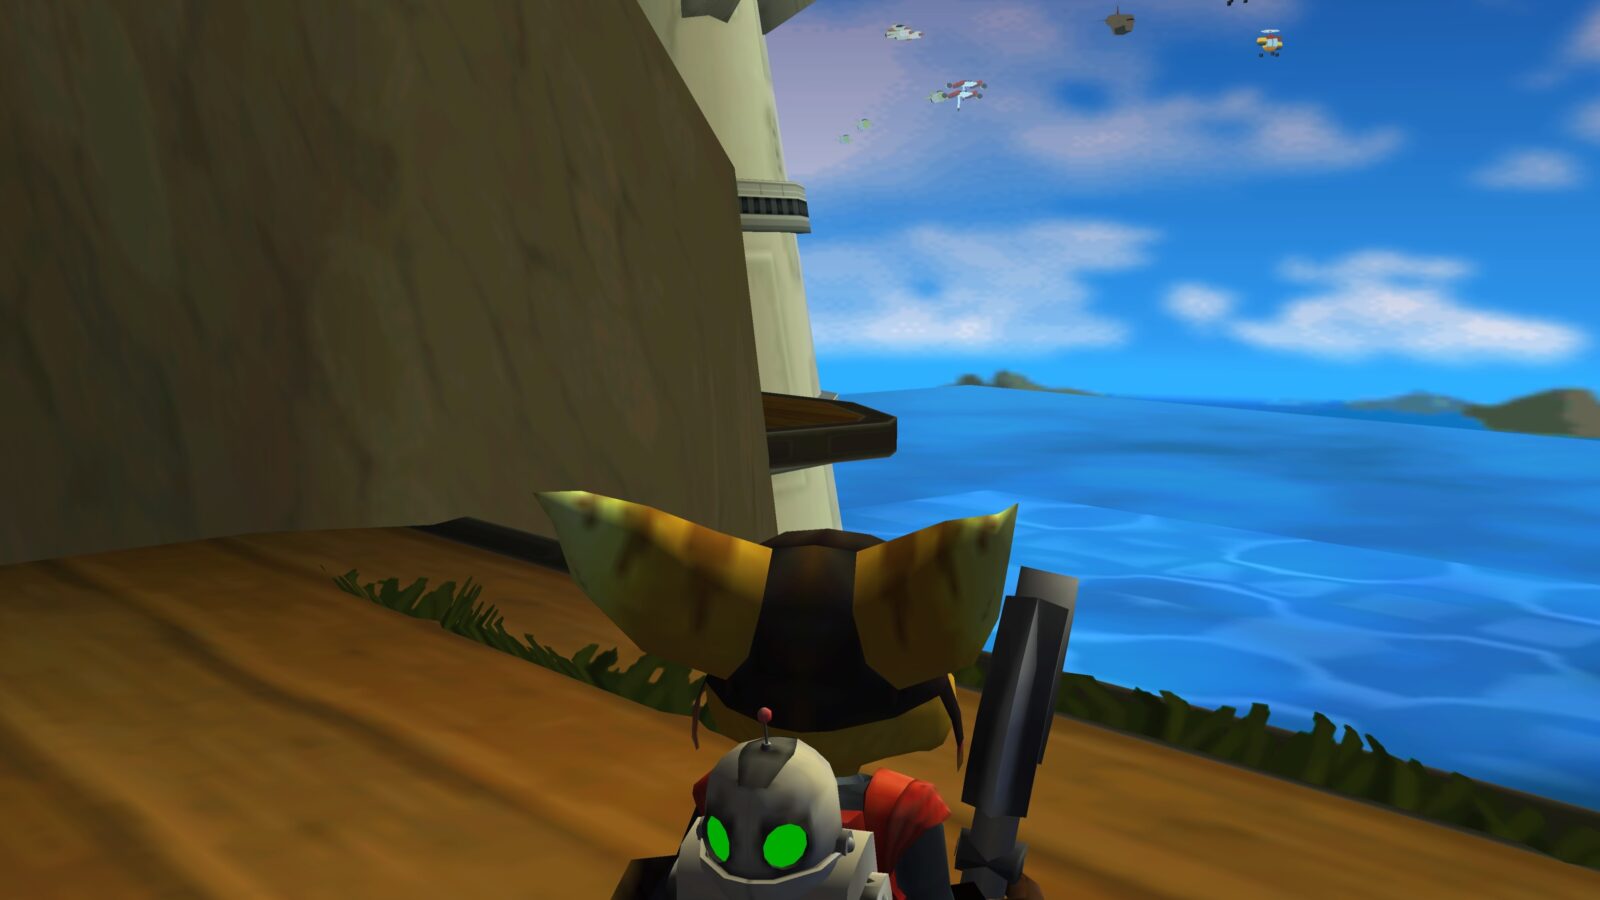
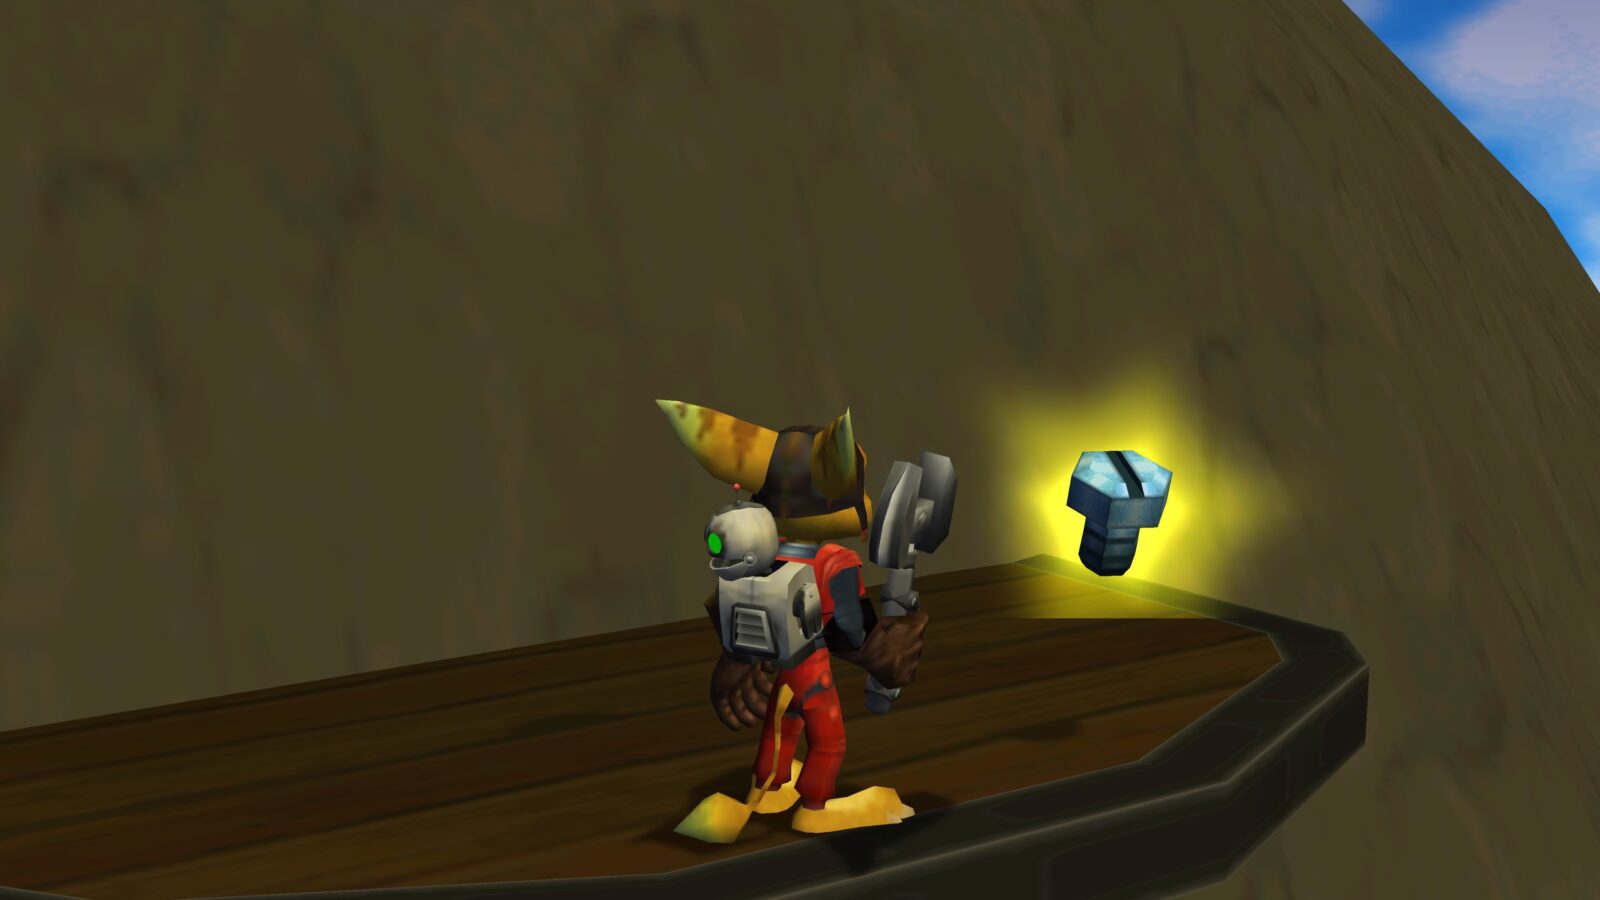
Double-jump and glide over to that ledge and you’ll find the Titanium Bolt at the far end of said ledge.
#2 | Second Pokitaru Titanium Bolt
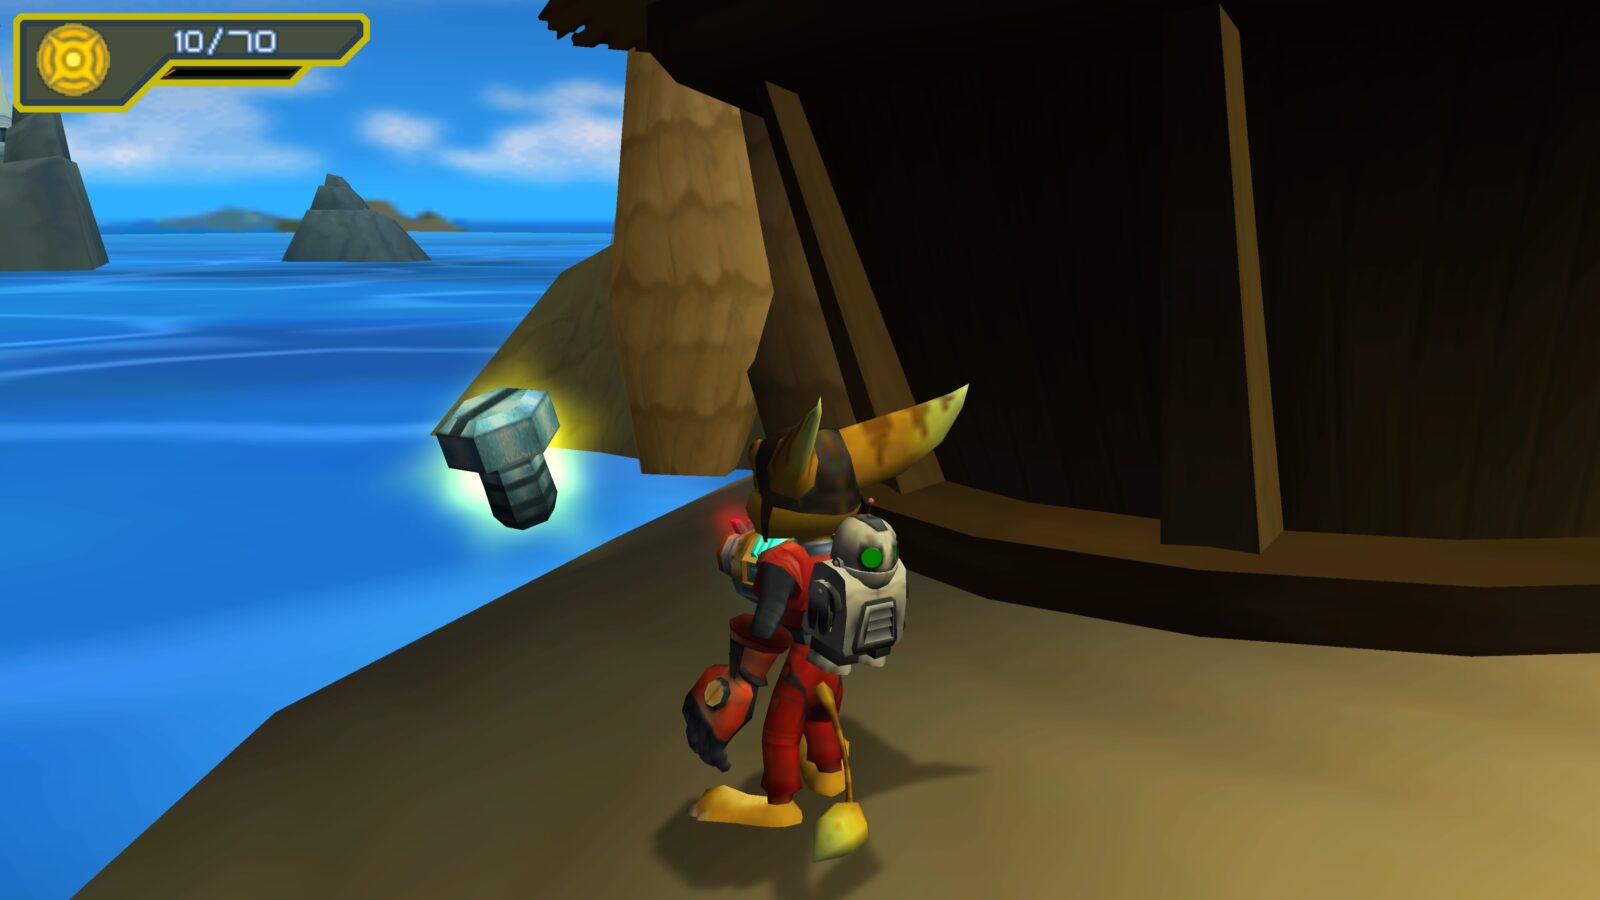
Later in the level, when you’re riding the second floating platform across the water, it will make a stop at two islands. On the second island, jump off the platform onto the island, and defeat the enemies.
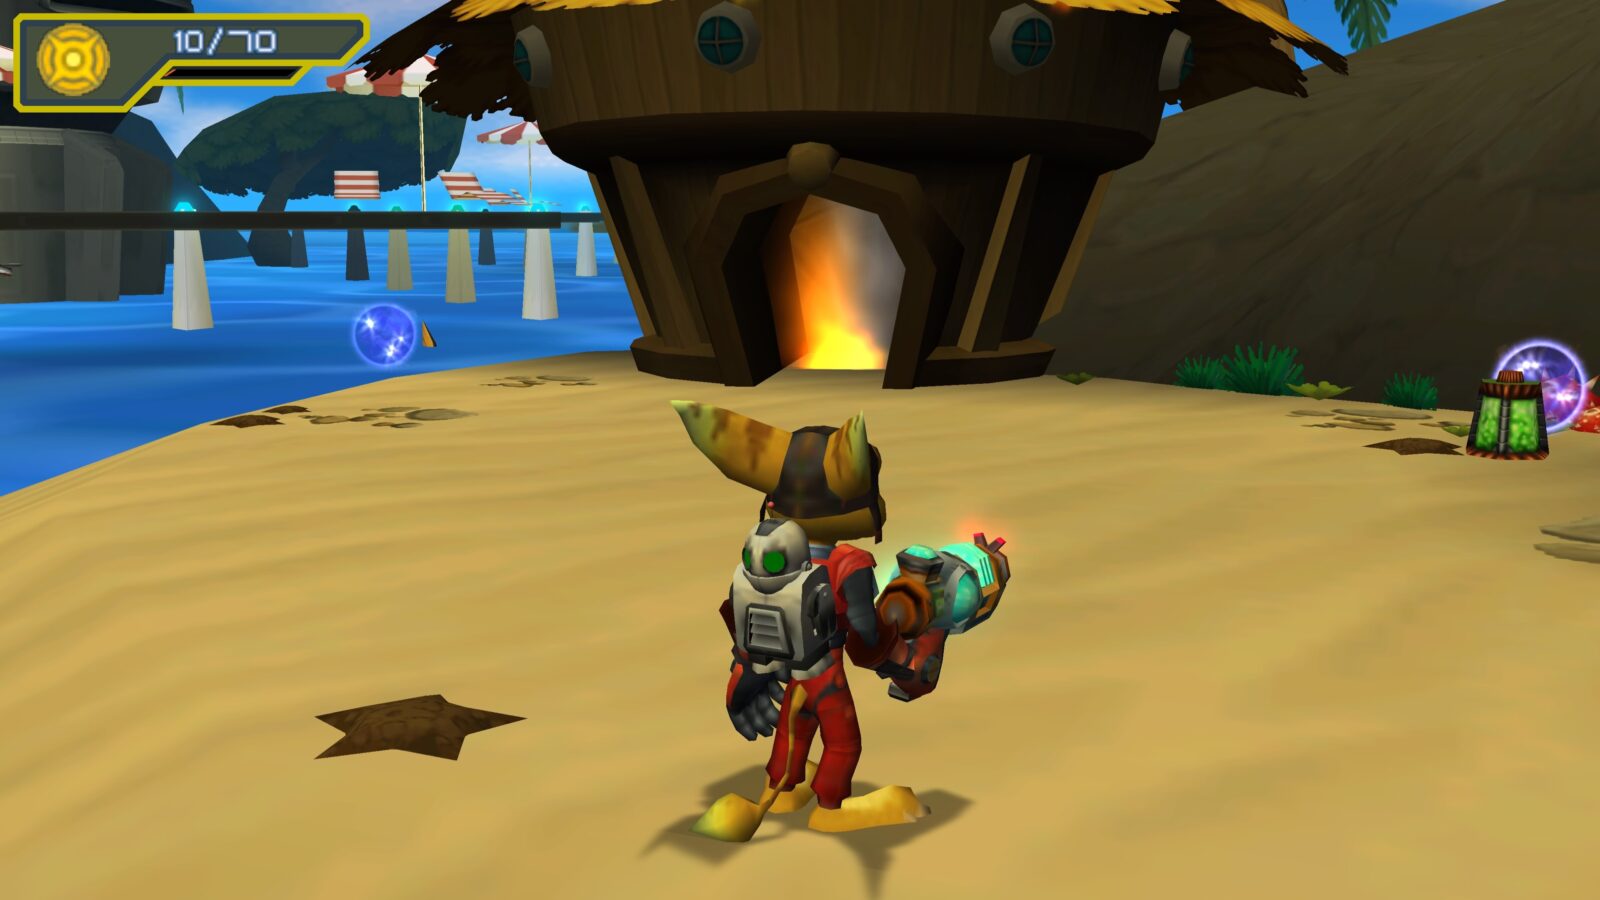
Once they are defeated, head around the back of the left-most hut to find this Titanium Bolt.
Ryllus Titanium Bolts
Ryllus is the second level in Size Matters and has another two Titanium Bolts for you to find.
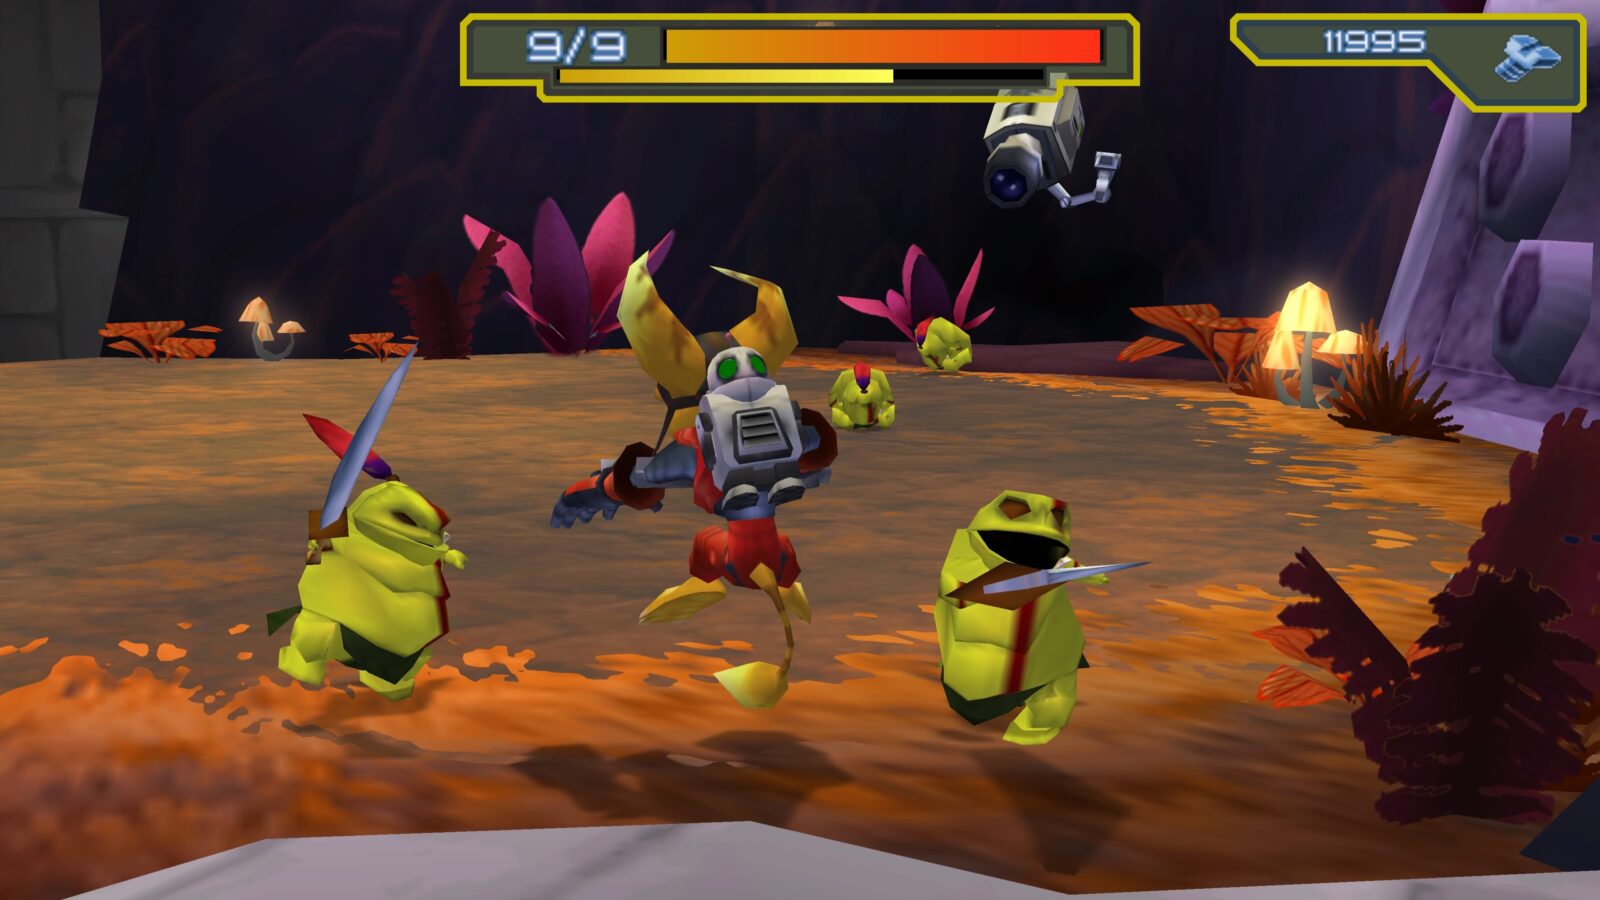
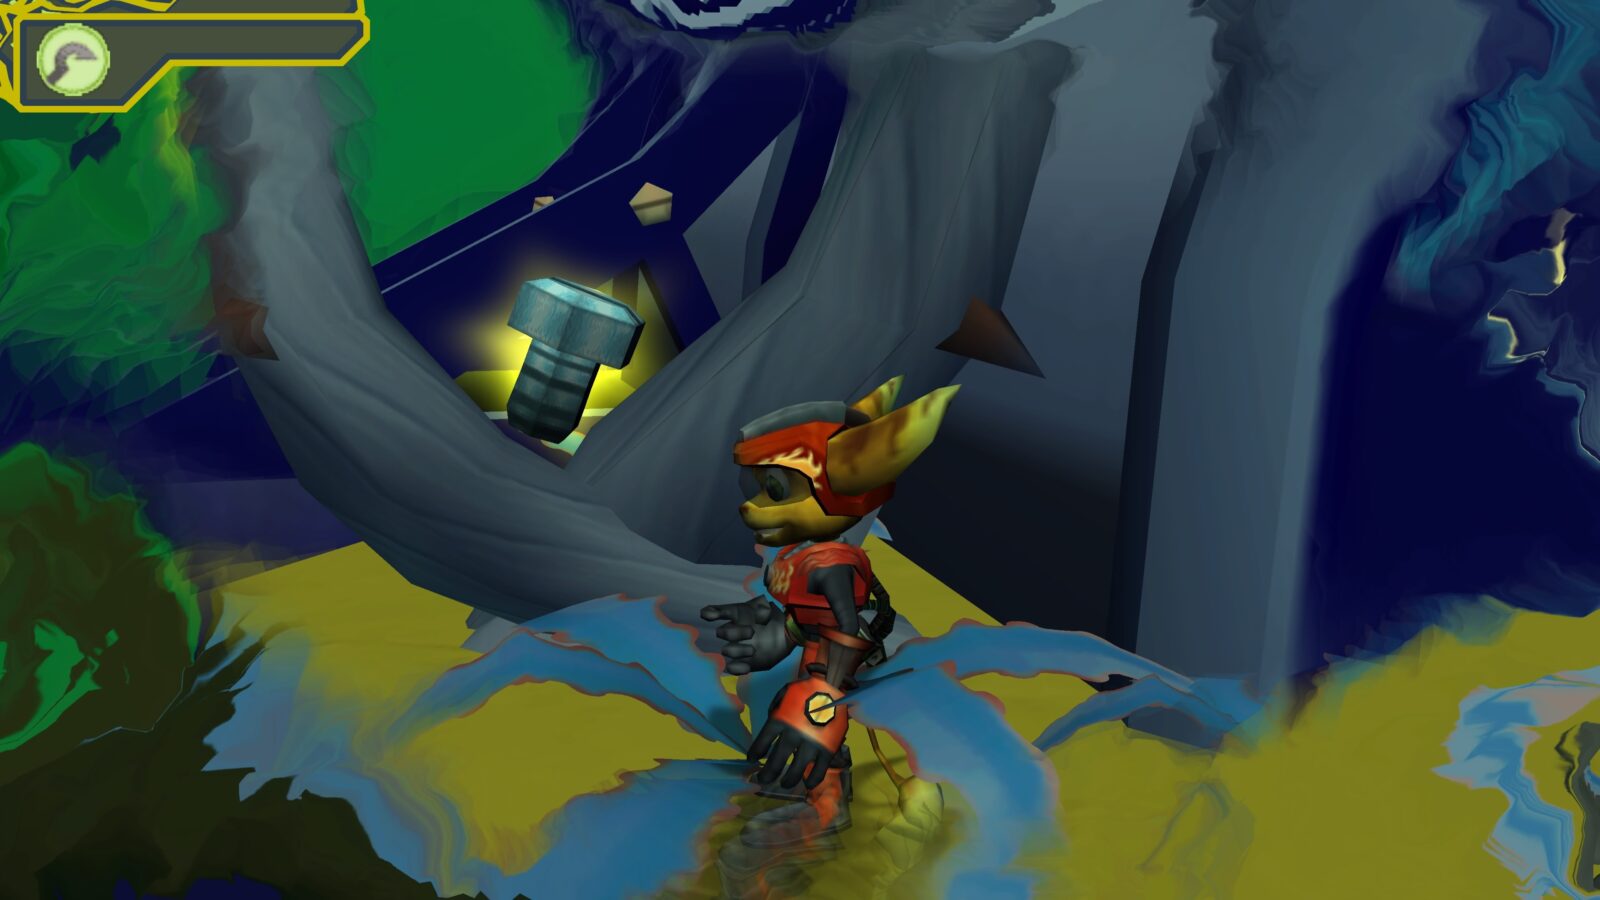
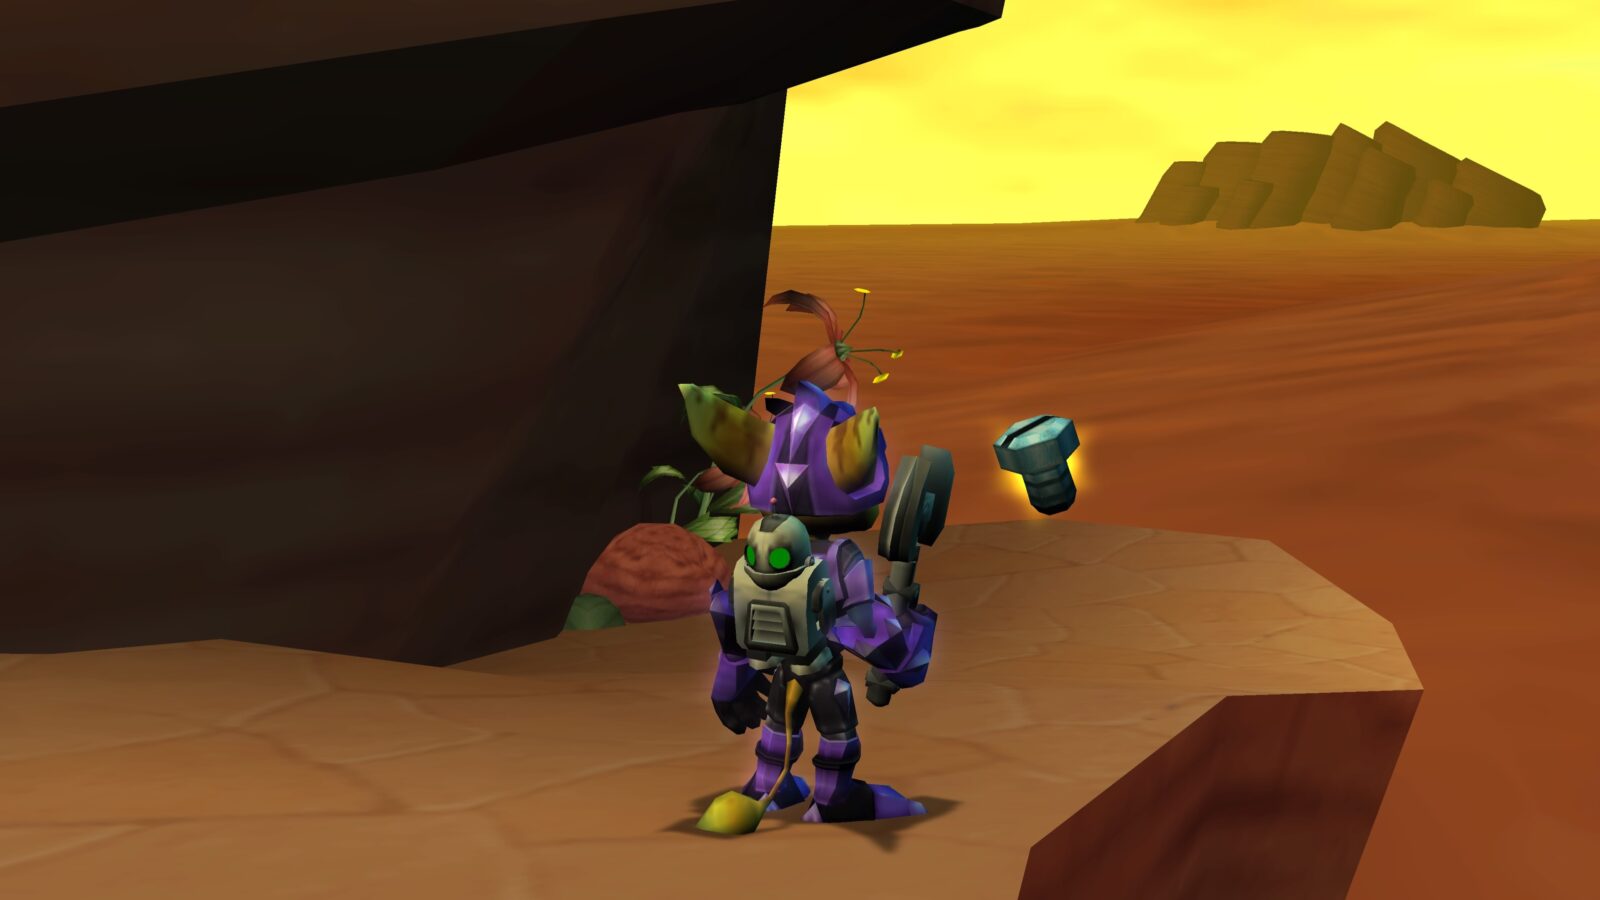
#3 | First Ryllus Titanium Bolt
Near the start of the level, you’ll come to a small open space where the first waves of enemies attack you, after making your way down some steps.
Before continuing down the ramp ahead of you, turn left, and you’ll see a set of narrow stairs along the cliff edge.
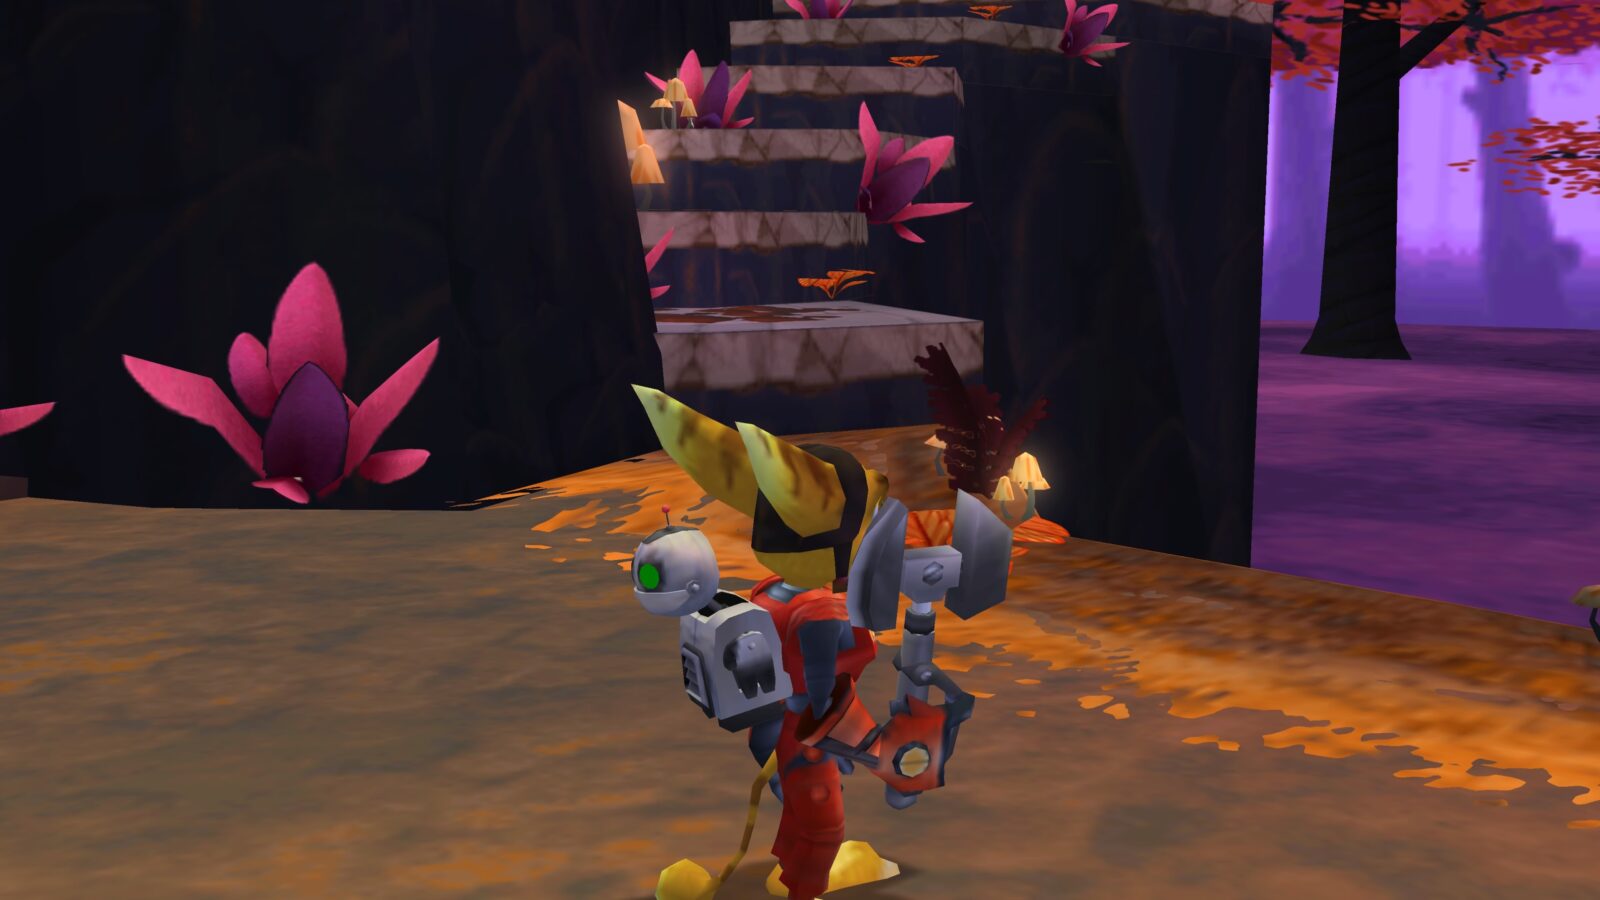
Climb up these stairs to find the Titanium Bolt at the top!
#4 | Second Ryllus Titanium Bolt
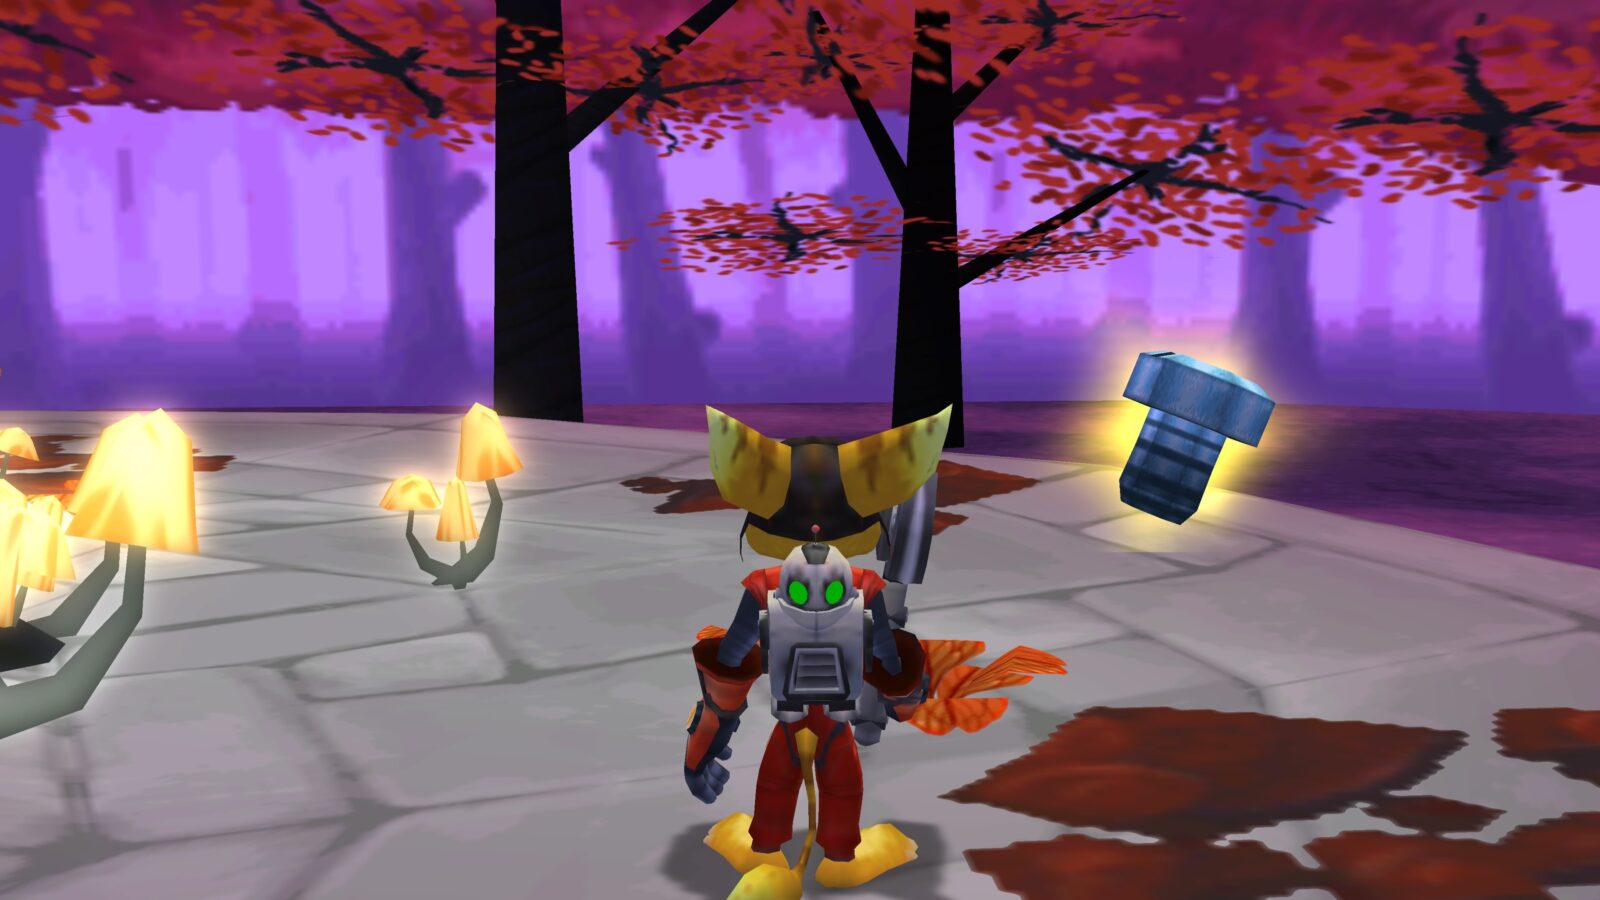
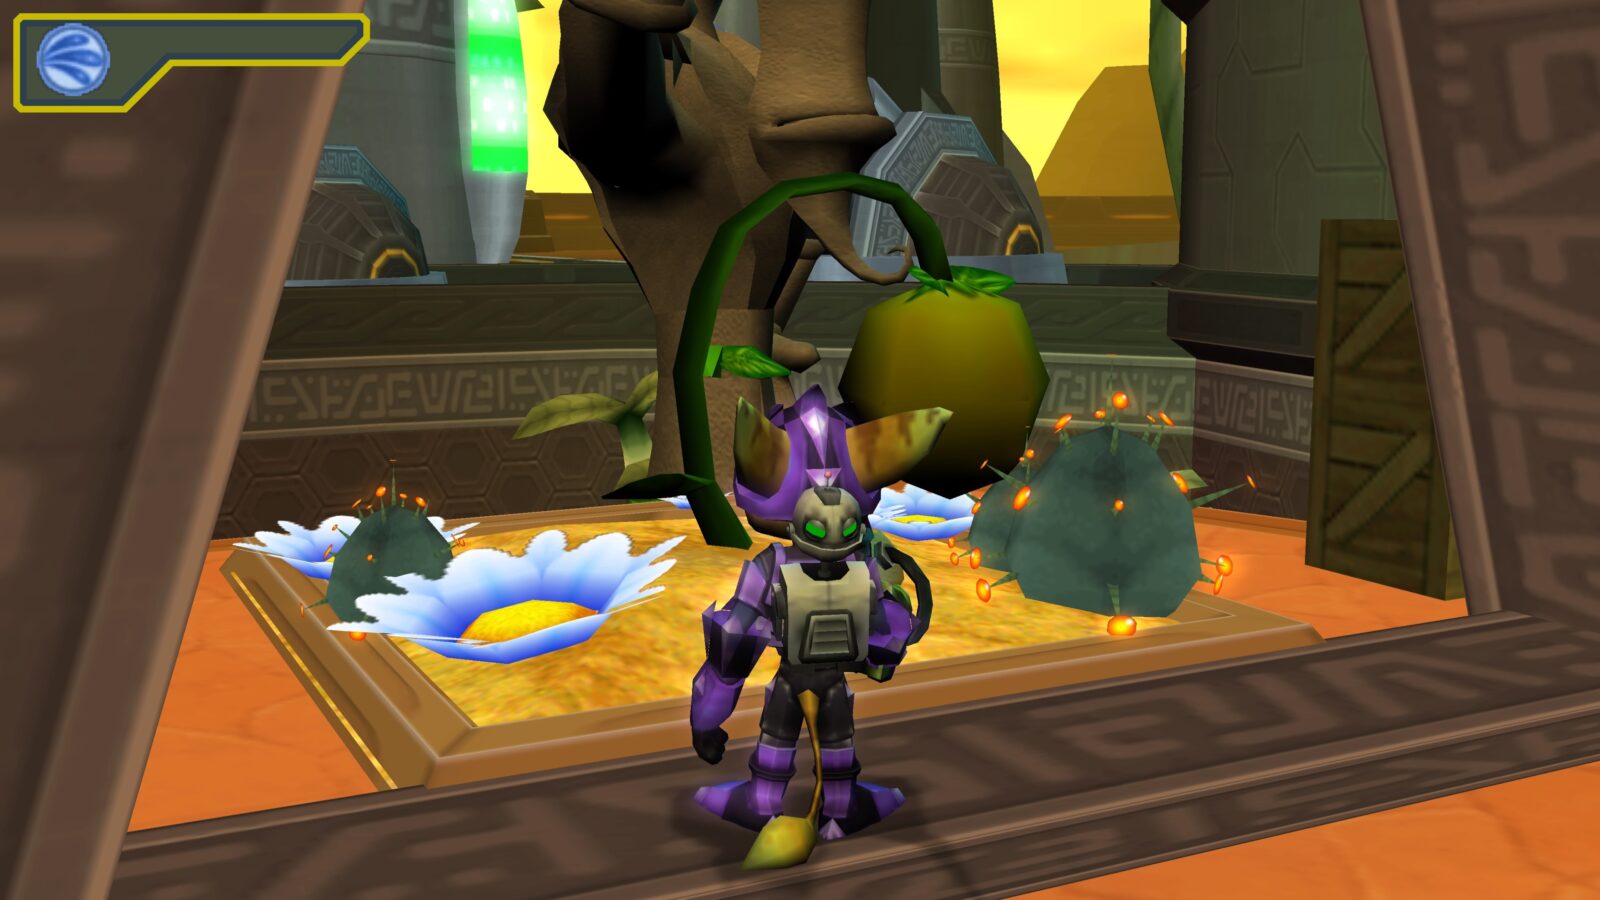
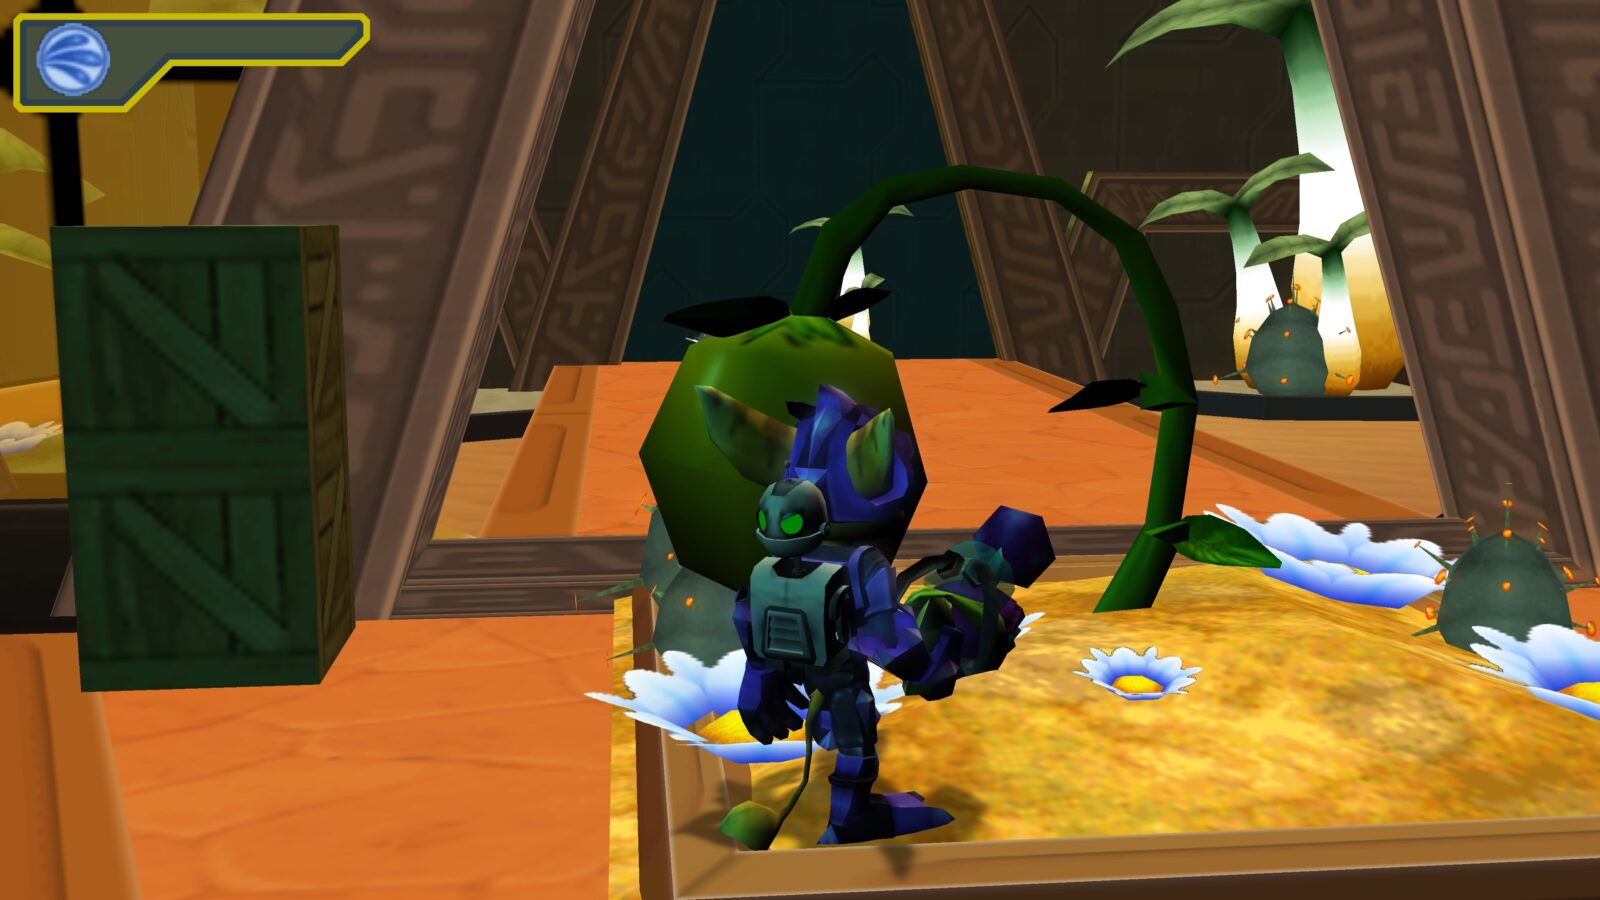
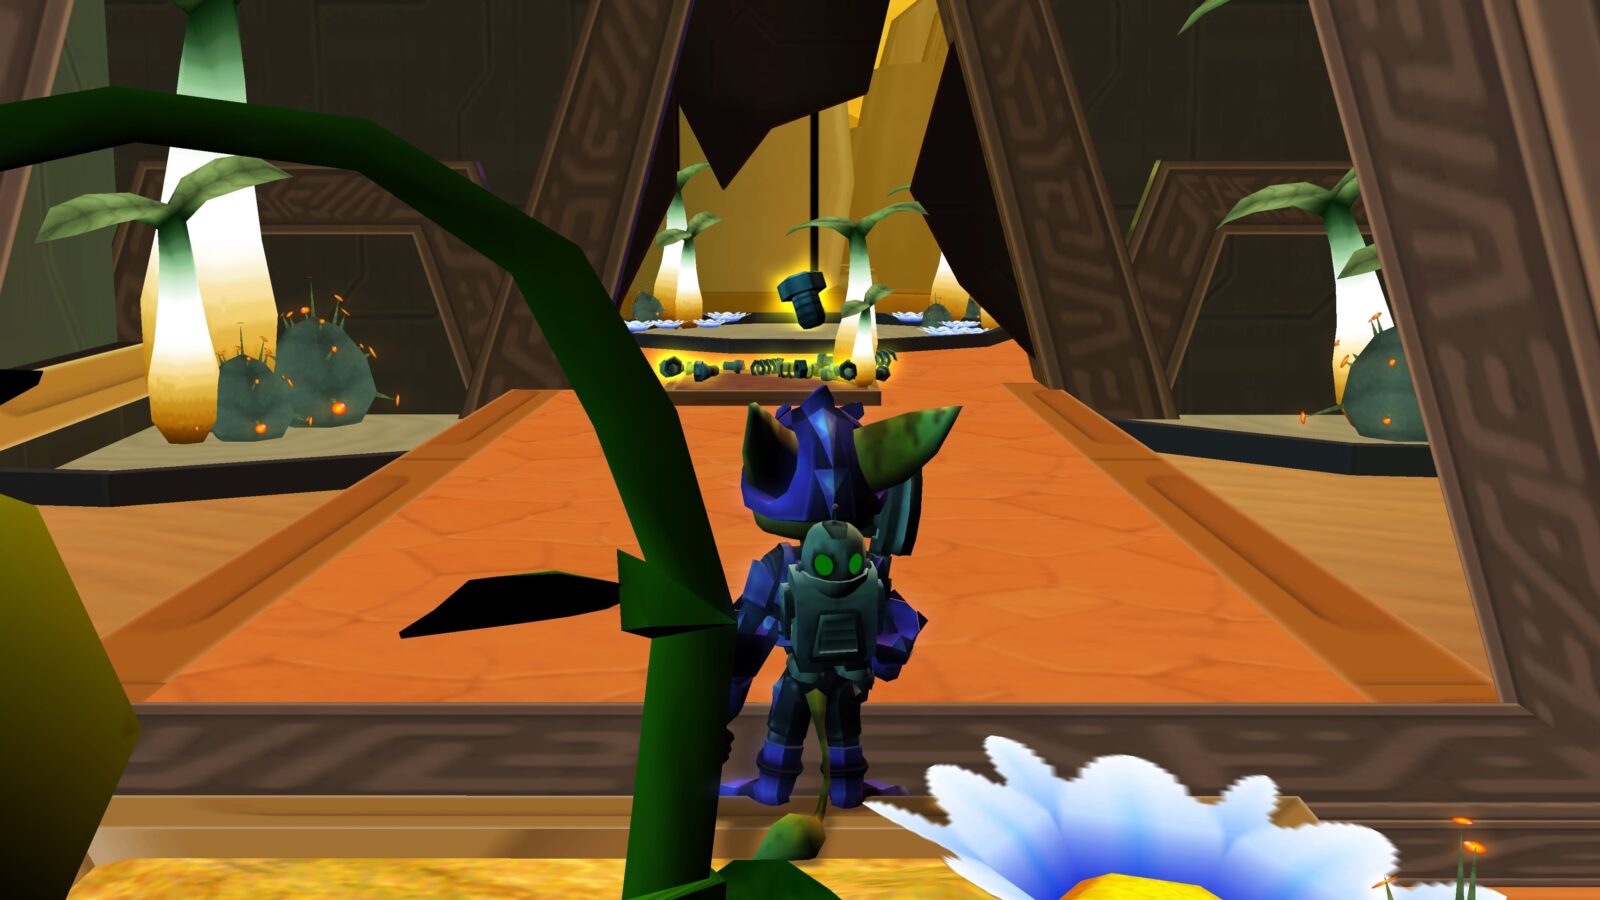
Later in the level, after receiving the Sprout-O-Matic and then progressing even more, you’ll come to a section of ruins, where you first need to plant an explosive plant and break a hole in a wall (for the second time).
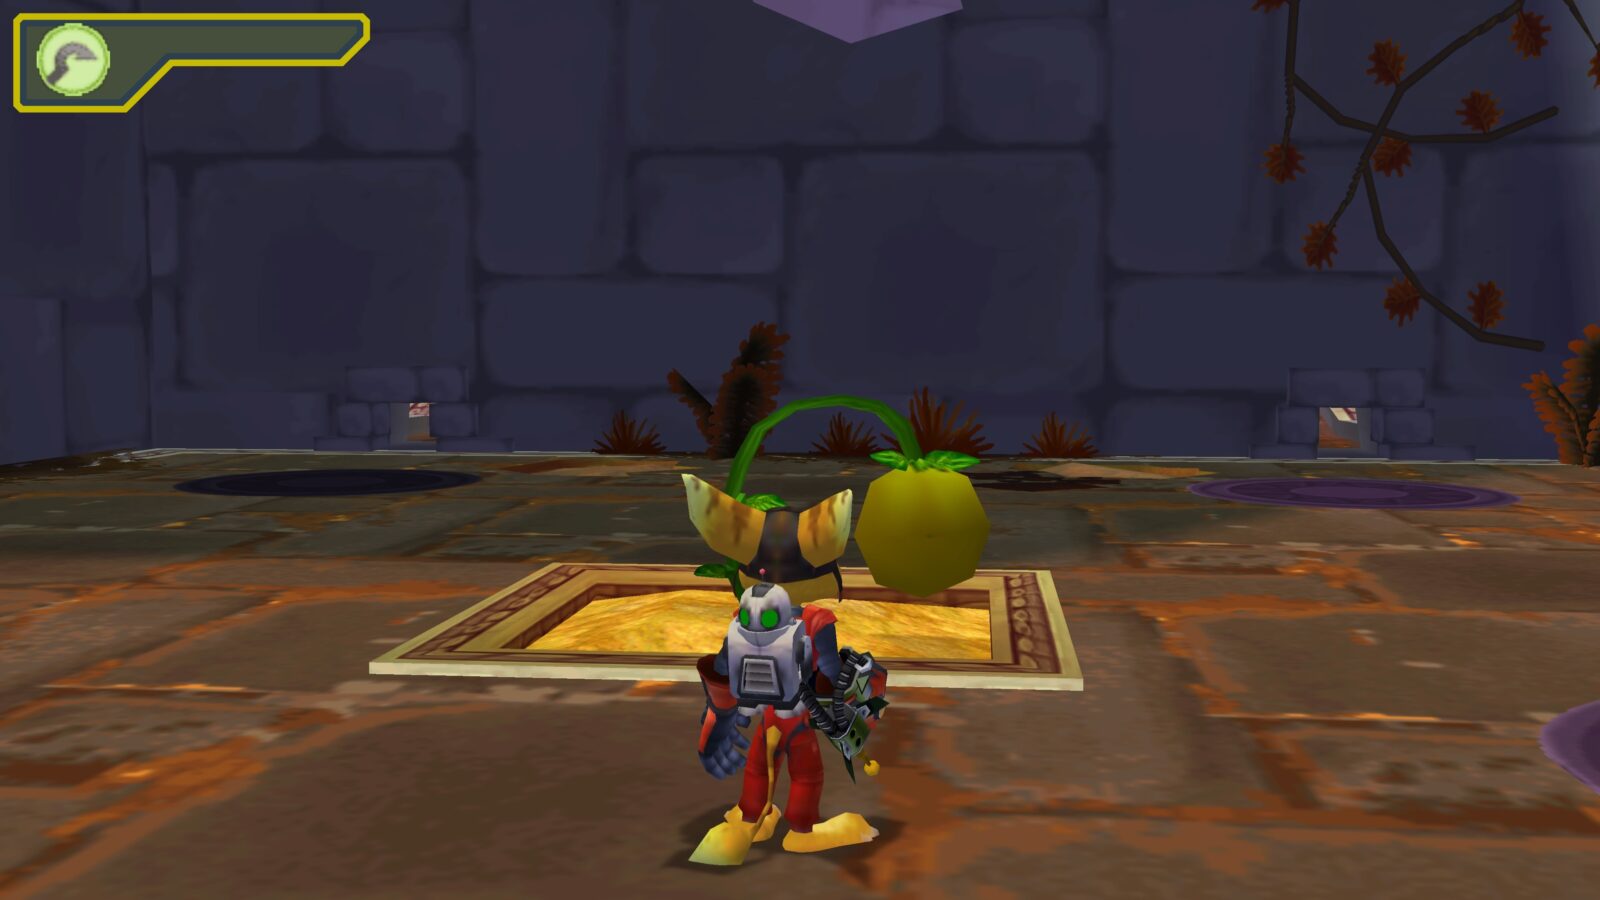
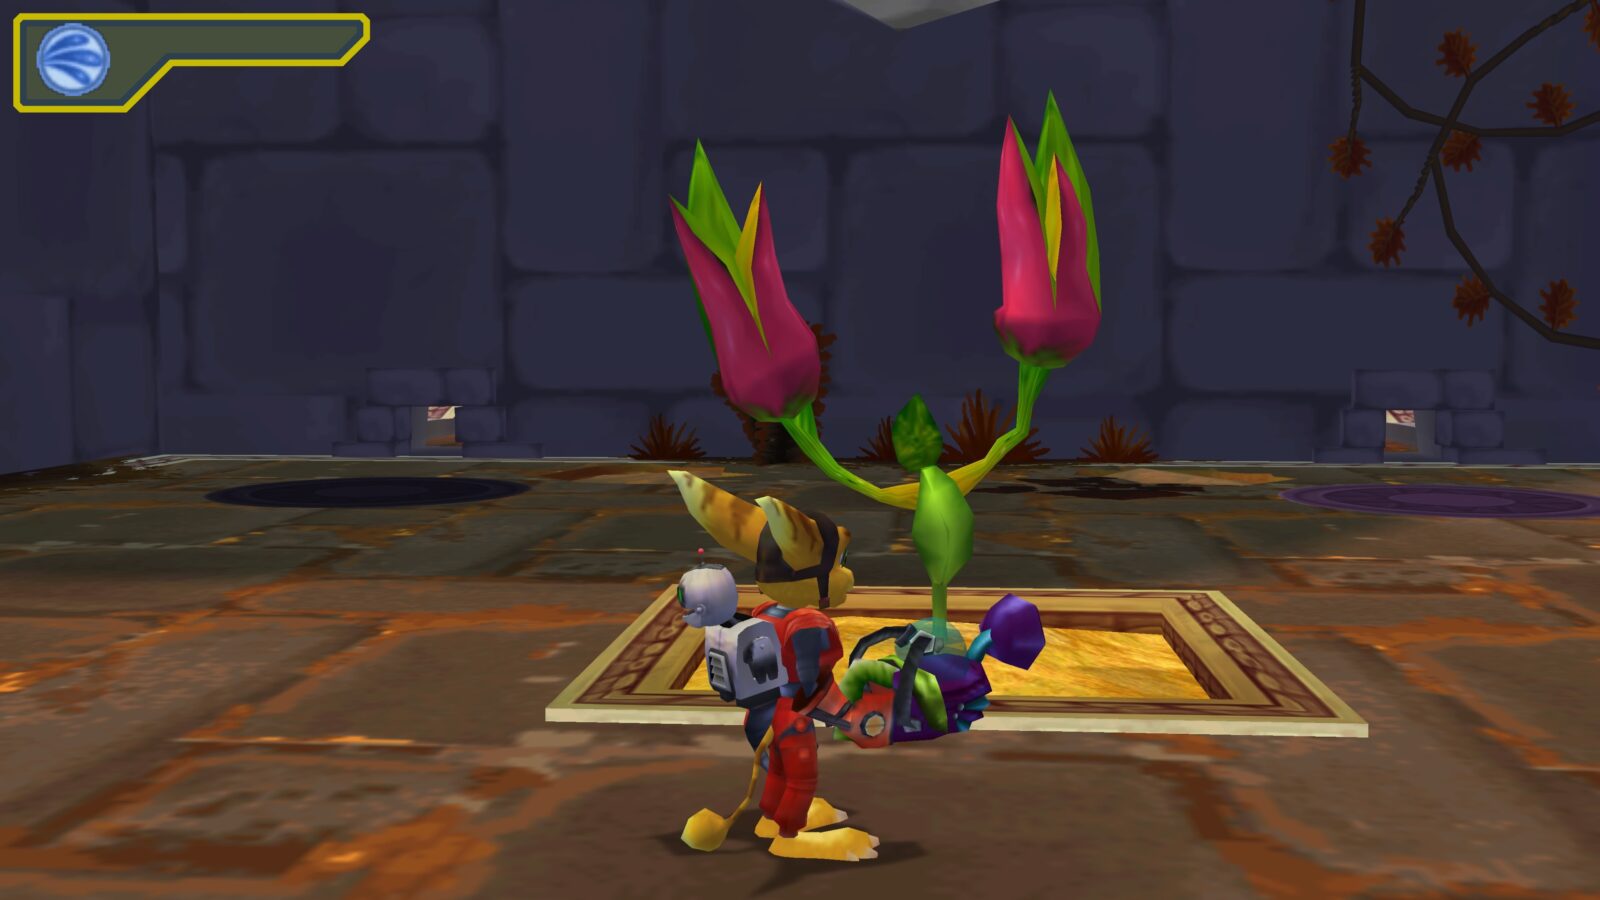
Then, you need to go and get a Launcher Plant and then plant that in the same place so that you can launch yourself through the hole you made.
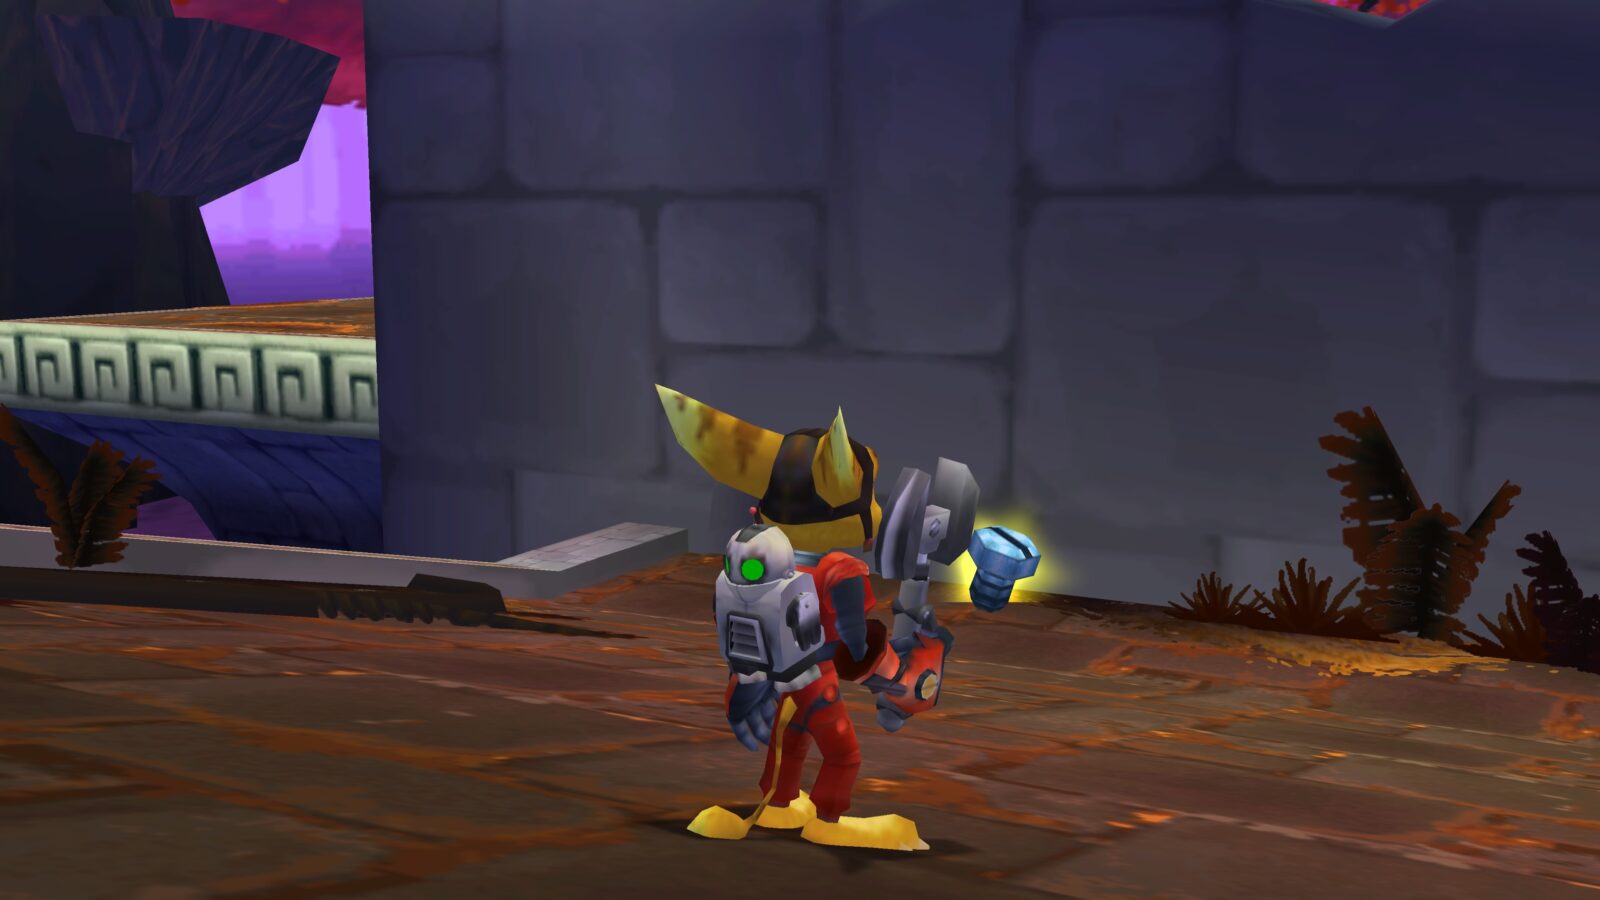
When you land at the other side of the wall, turn around and you’ll see this Titanium Bolt at the base of the ramp, up against the wall you passed through.
Kalidon Titanium Bolts
Kalidon is the third level in Size Matters and has a total of 3 Titanium Bolts for you to find.
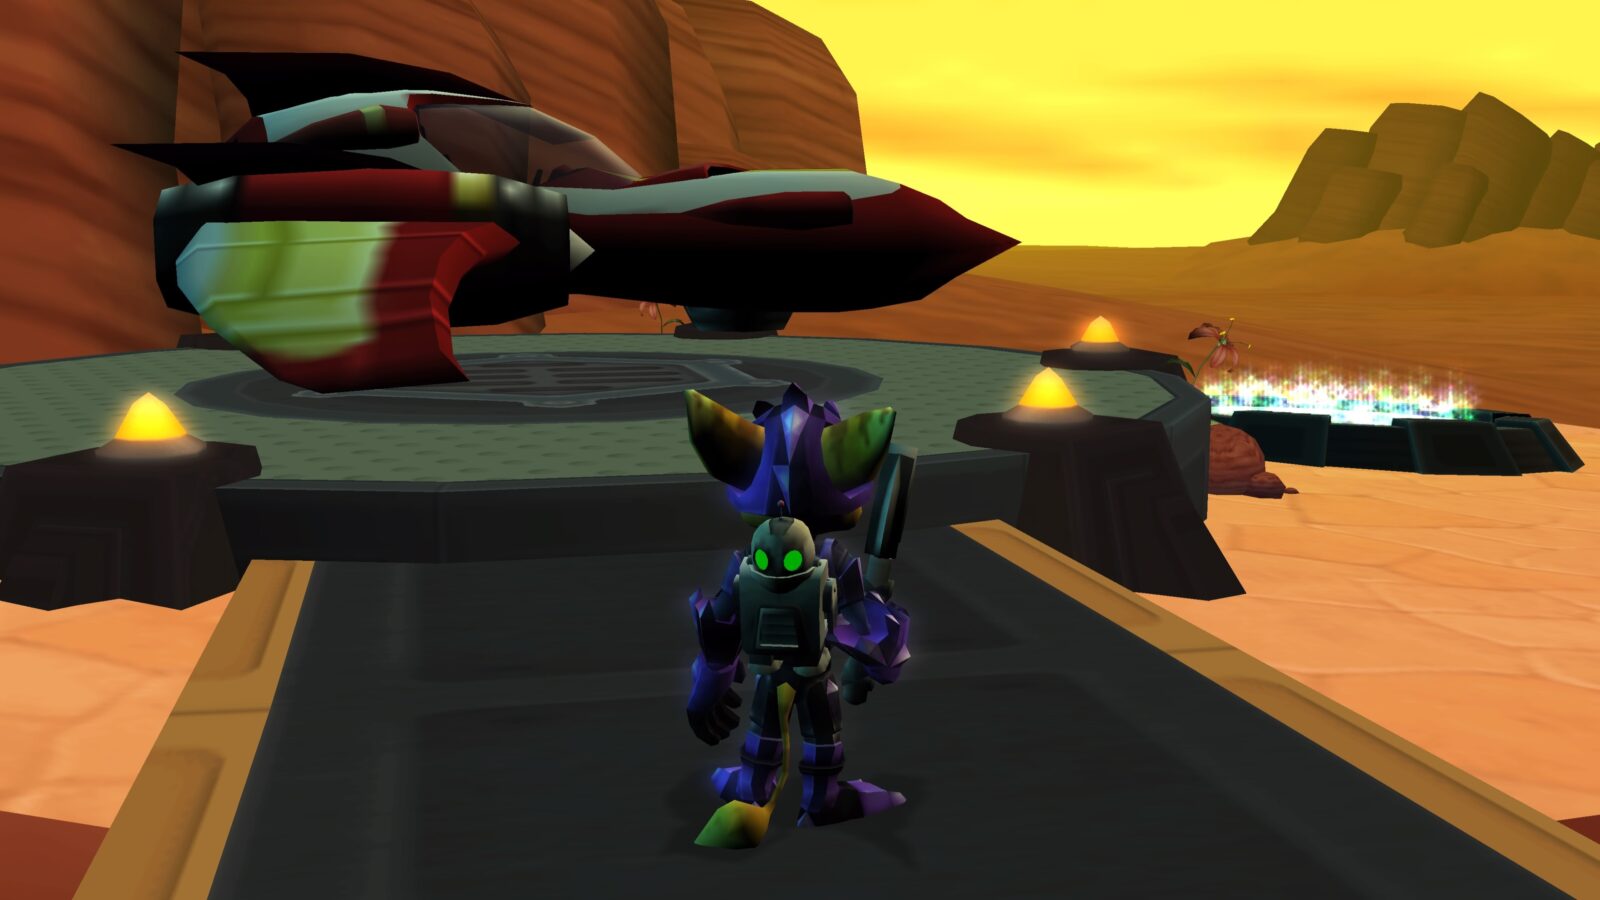
#5 | First Kalidon Titanium Bolt
The first Titanium Bolt on Kalidon is very easy to find and is very close to the start of the level.
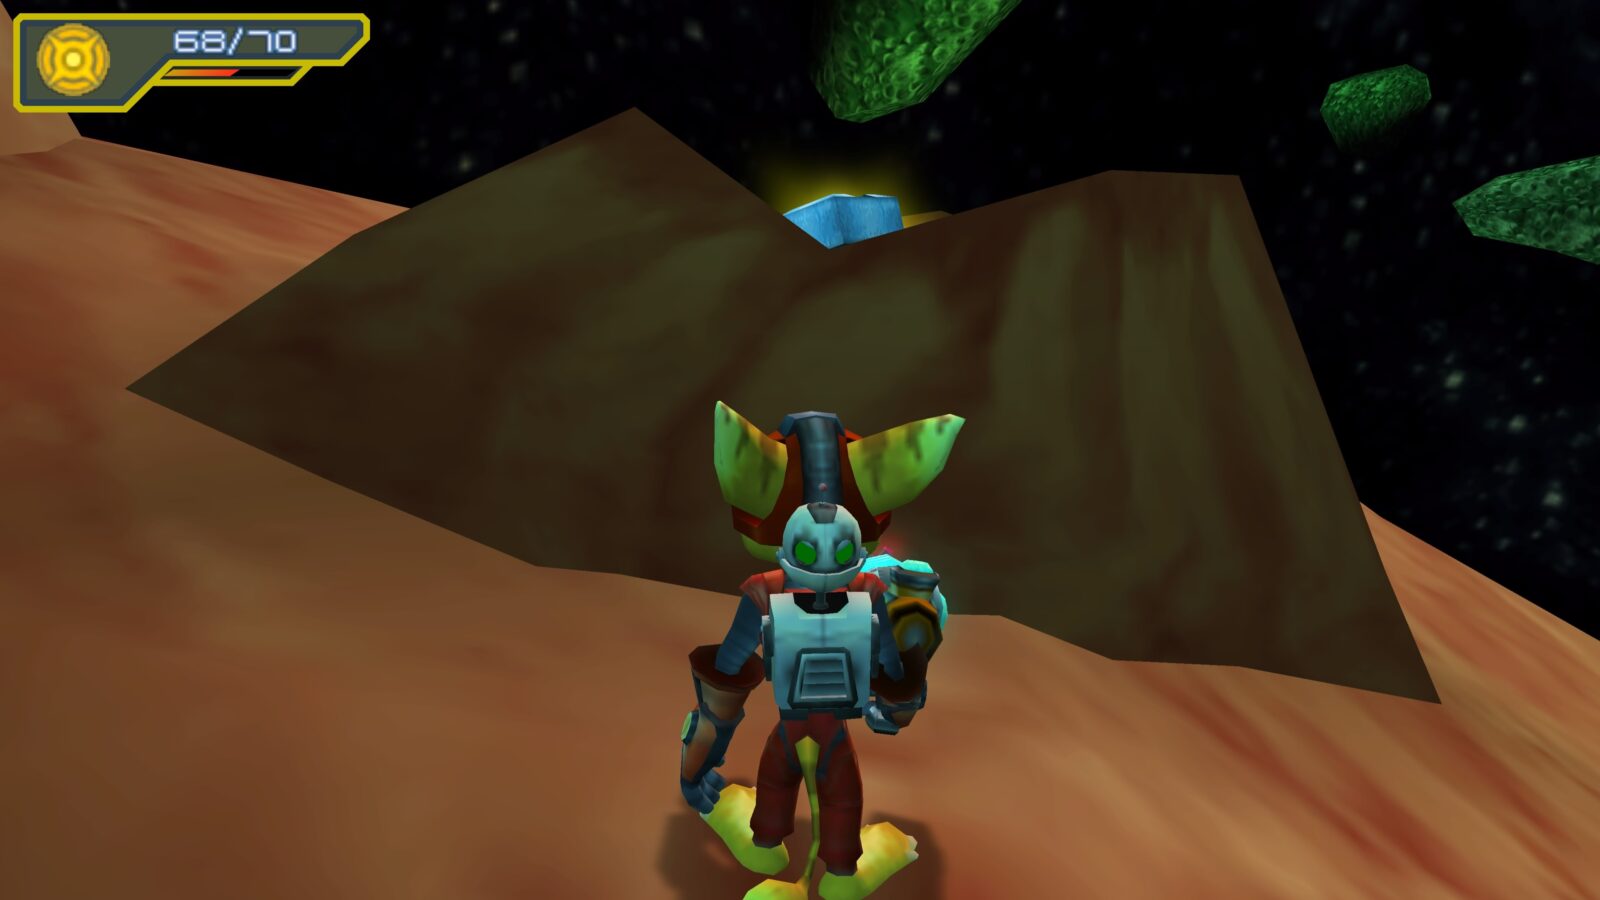
As soon as you land there and exit your ship, turn around and drop down off the back ledge of the landing pad.
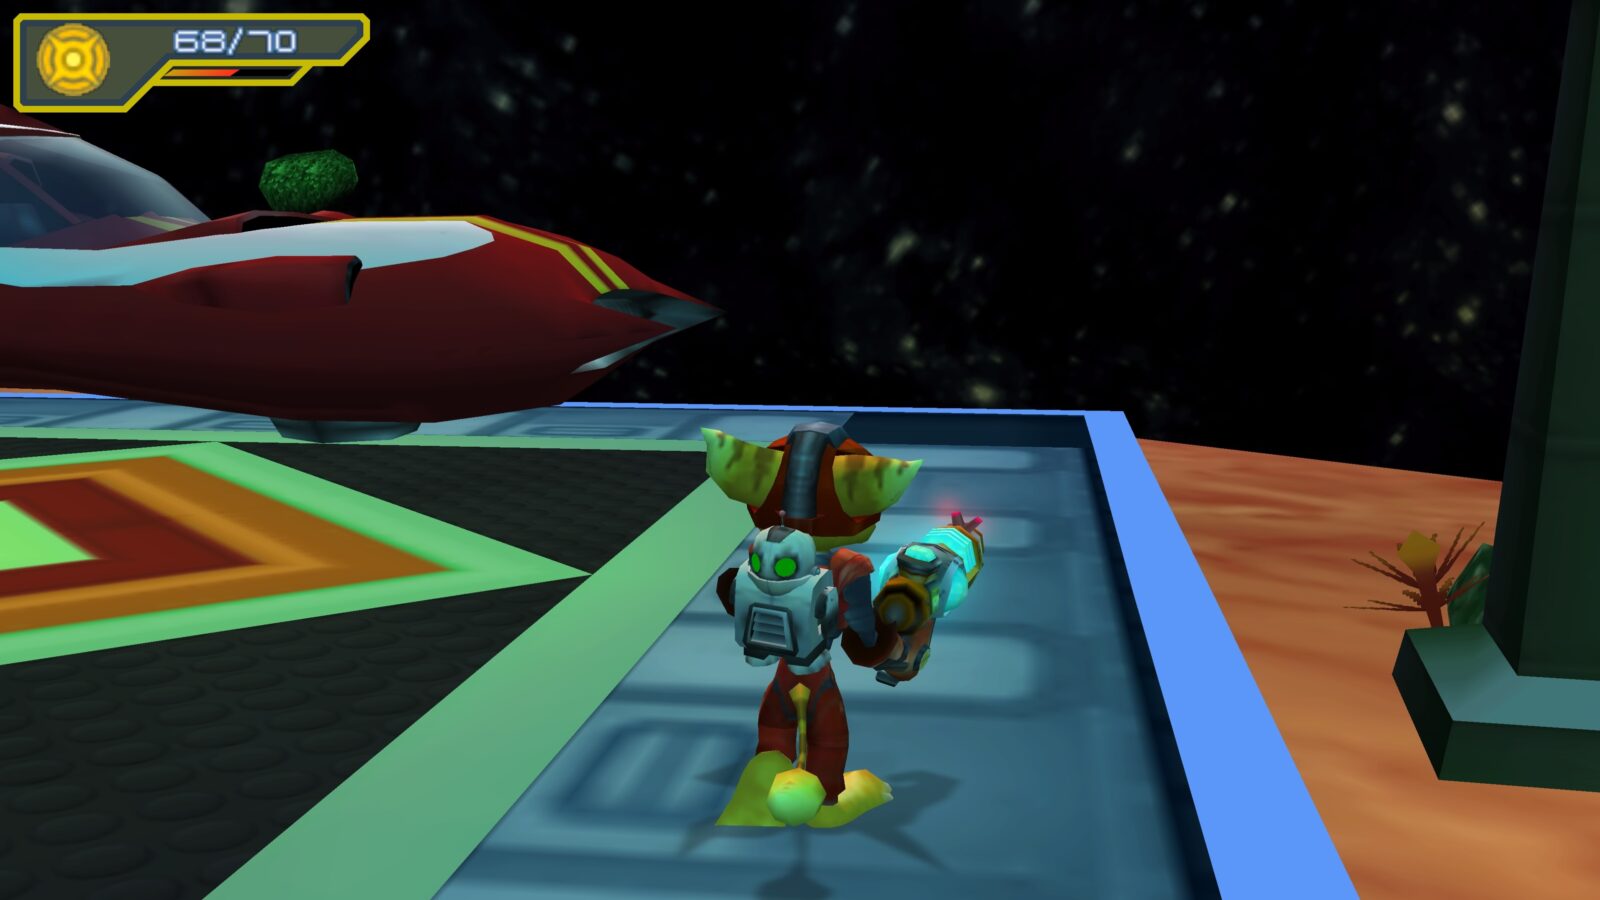
There, you’ll find a crater containing the Titanium Bolt.
#6 | Second Kalidon Titanium Bolt
When you reach the entrance of the mechanoid factory, instead of heading inside, go left and approach the edge of the platform.
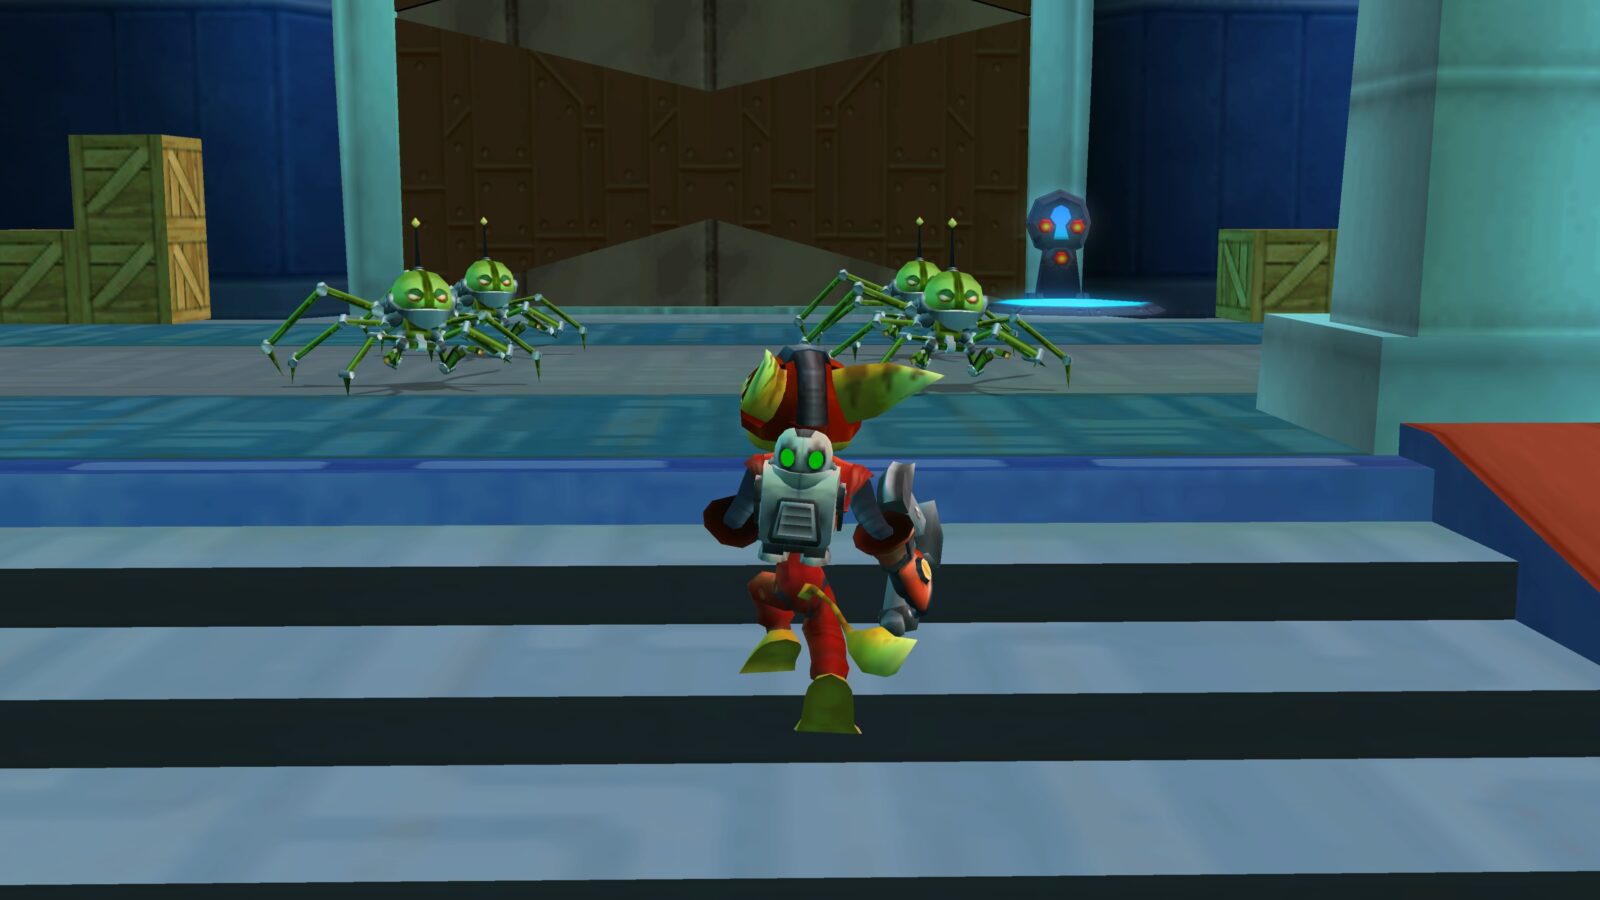
It wraps around the back of the wall, where you’ll find the Titanium Bolt.

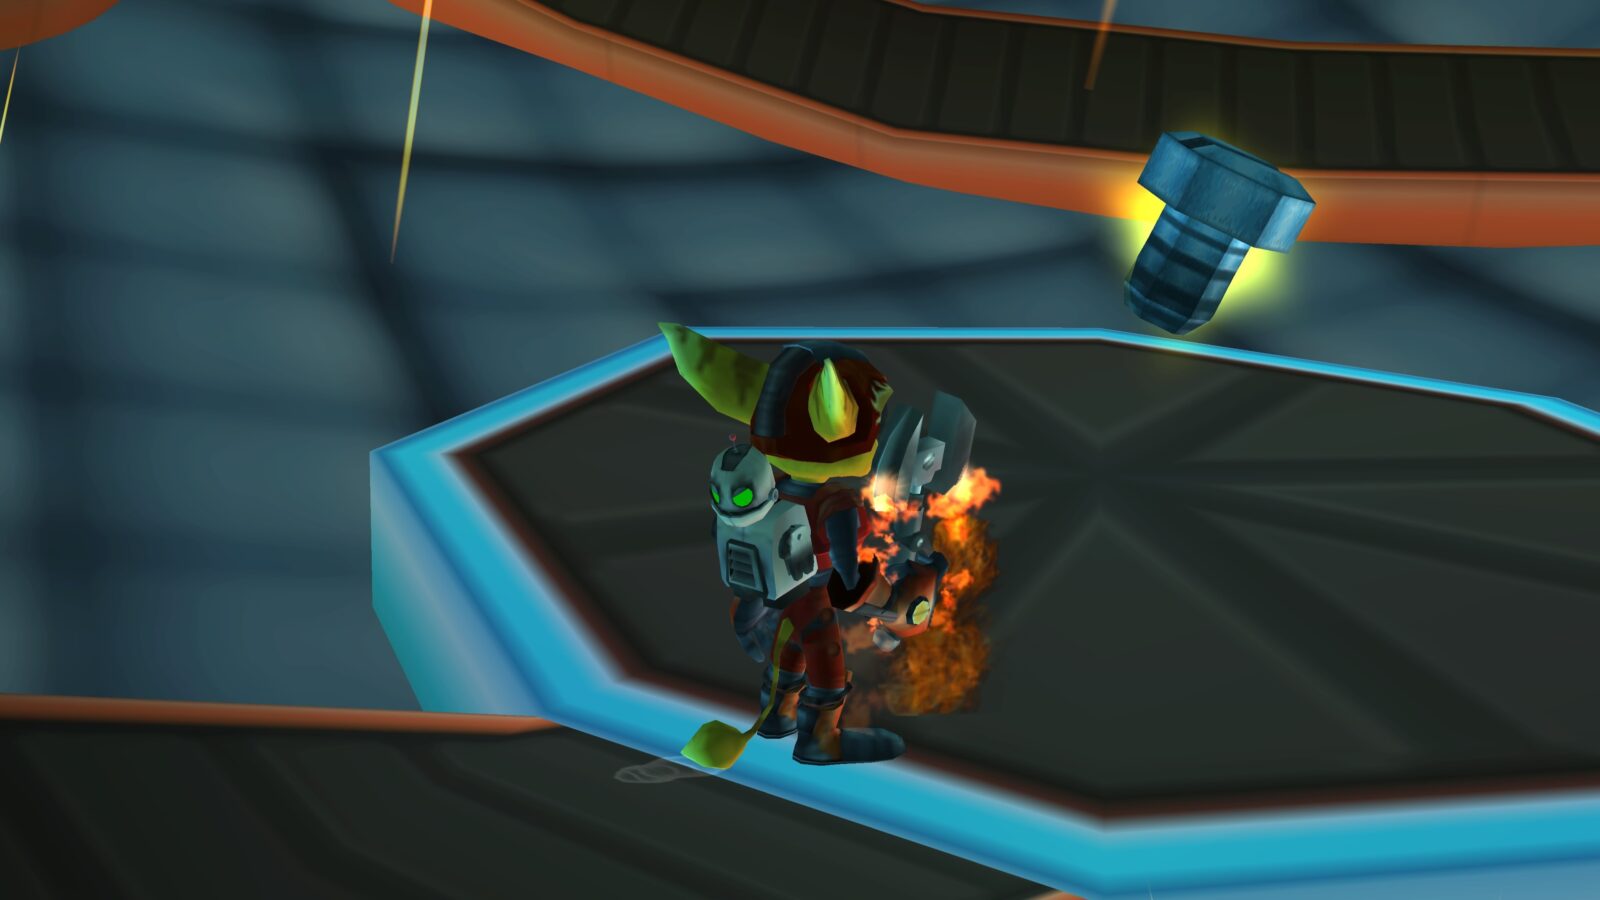
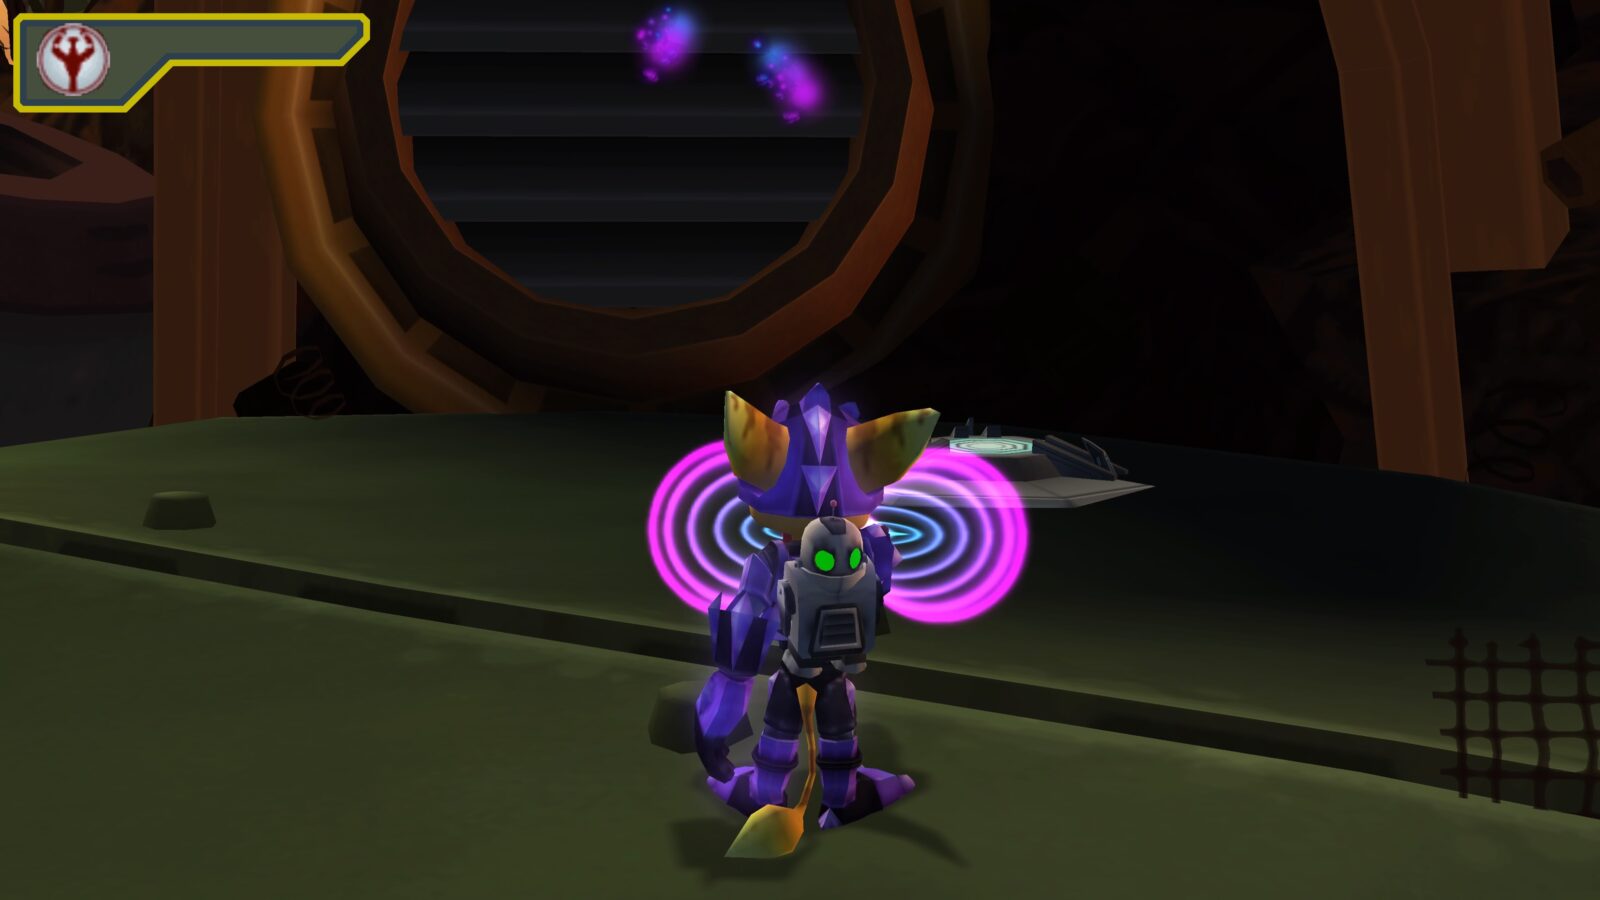
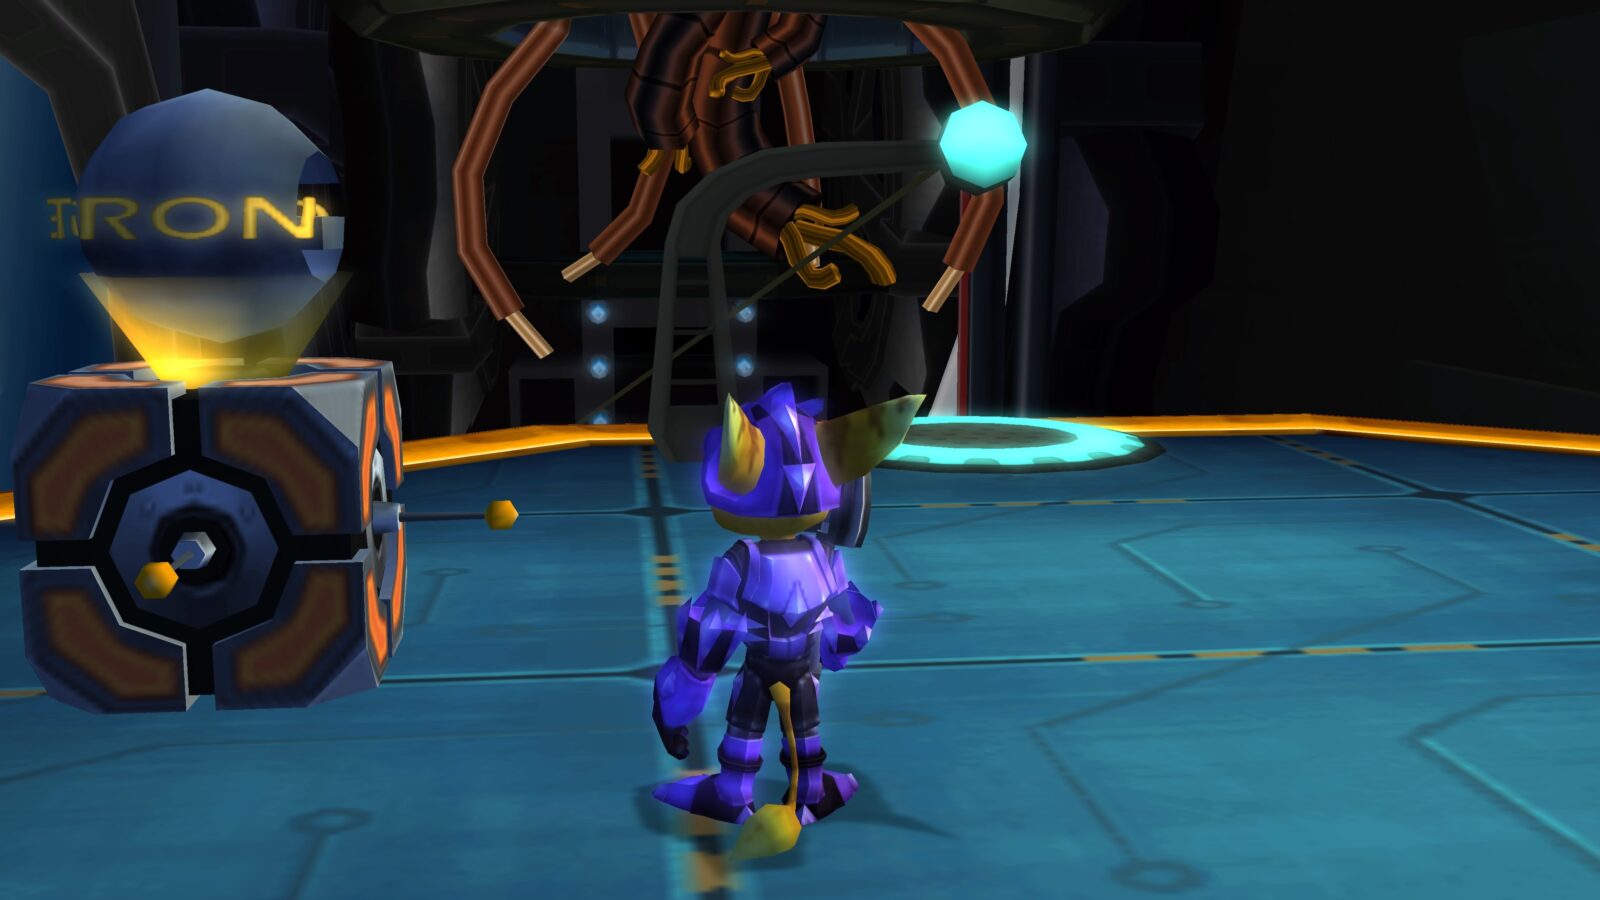
#7 | Third Kalidon Titanium Bolt
Deep in the Mechanoid Factory, you’ll eventually come to a strange spherical maze, where you need to navigate a room using magnetic boots to stick to the narrow paths around the sphere’s walls.
If you press “Select” (let side of ![]() ), you will enter first-person mode, allowing you to look around the room. When you do this, you should be able to see the Titanium Bolt on a platform of its own at the end of one of the branching paths.
), you will enter first-person mode, allowing you to look around the room. When you do this, you should be able to see the Titanium Bolt on a platform of its own at the end of one of the branching paths.
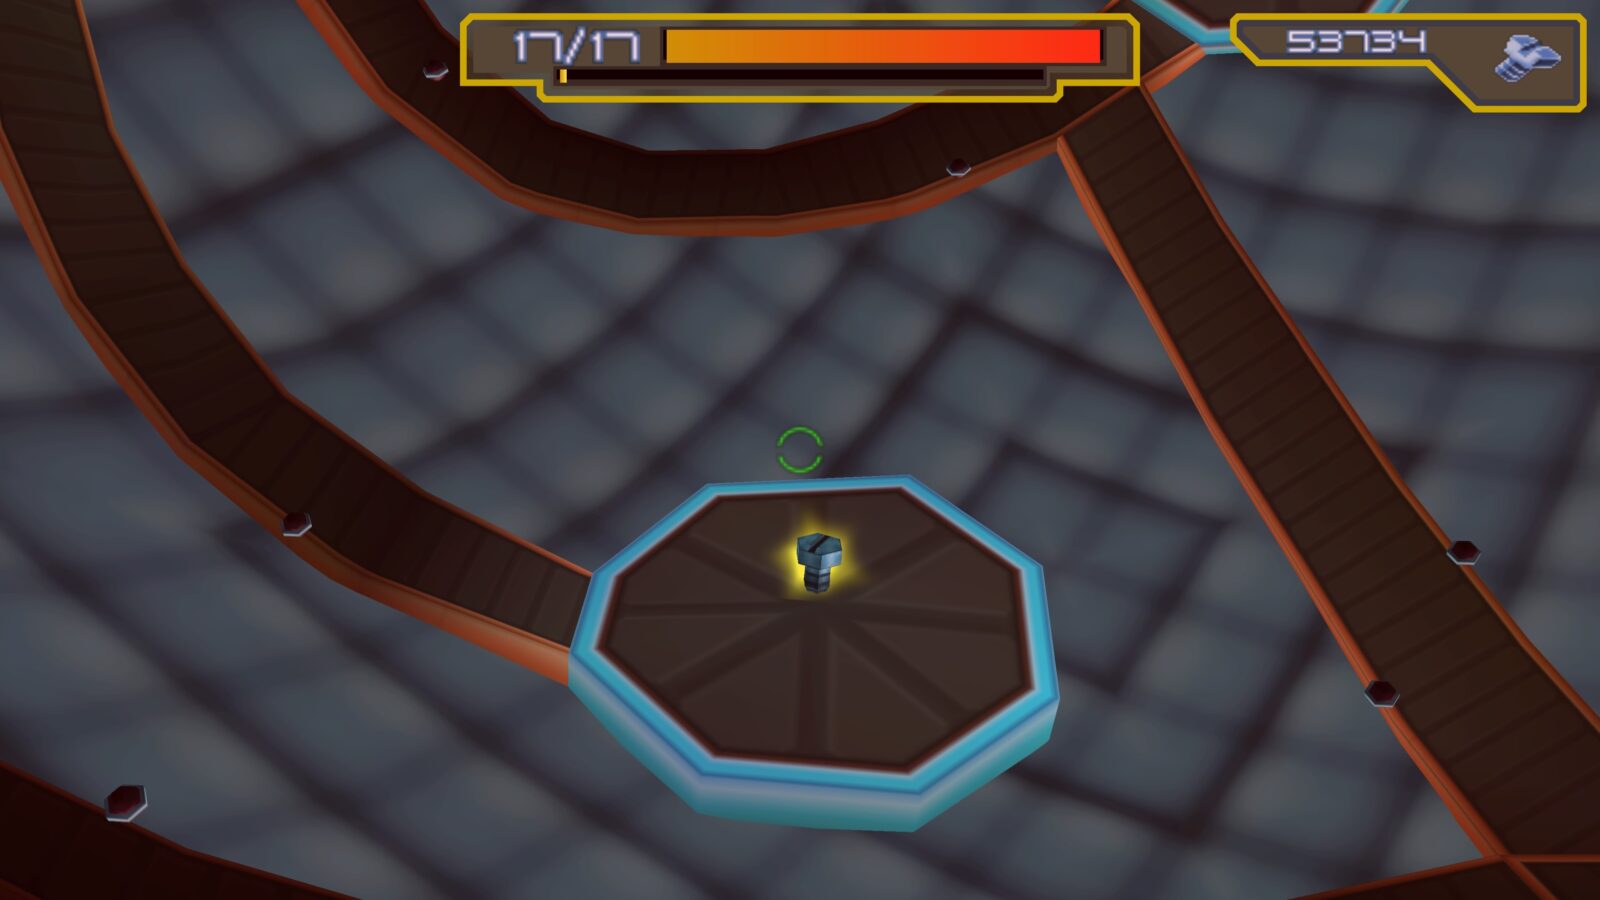
You’ll need to navigate the maze to reach the Titanium Bolt and collect it.
Dreamtime Titanium Bolts
Dreamtime is a strange level which blends together elements from multiple levels and Ratchet & Clank stories. There are three Titanium Bolts to find in this bizarre level.
#8 | First Dreamtime Titanium Bolt
Progress through the Dreamtime level until you’re on the rim of a lovely summer hat.
At the far side of said Summer hat, where the umbrella platforms are, turn to face the center of the hat.
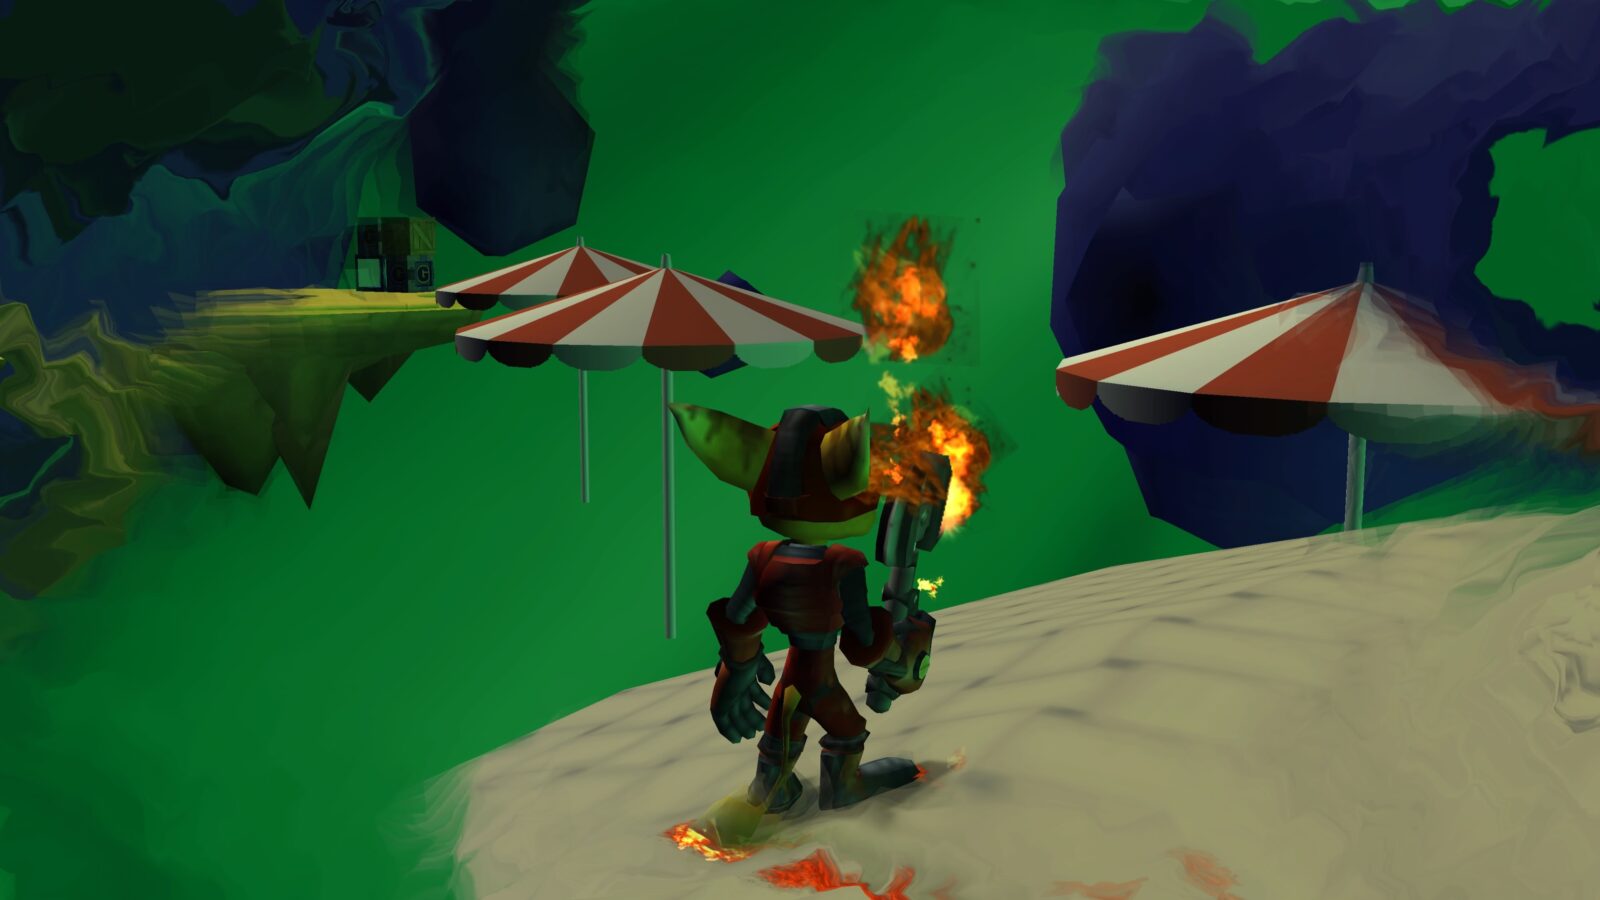
If you press “Select” (left ![]() ) and then look up, you’ll notice a grapple point!
) and then look up, you’ll notice a grapple point!
Switch to the Hypsershot and then use it to grapple up and onto the top of the hat. This is where you’ll find the Titanium Bolt.
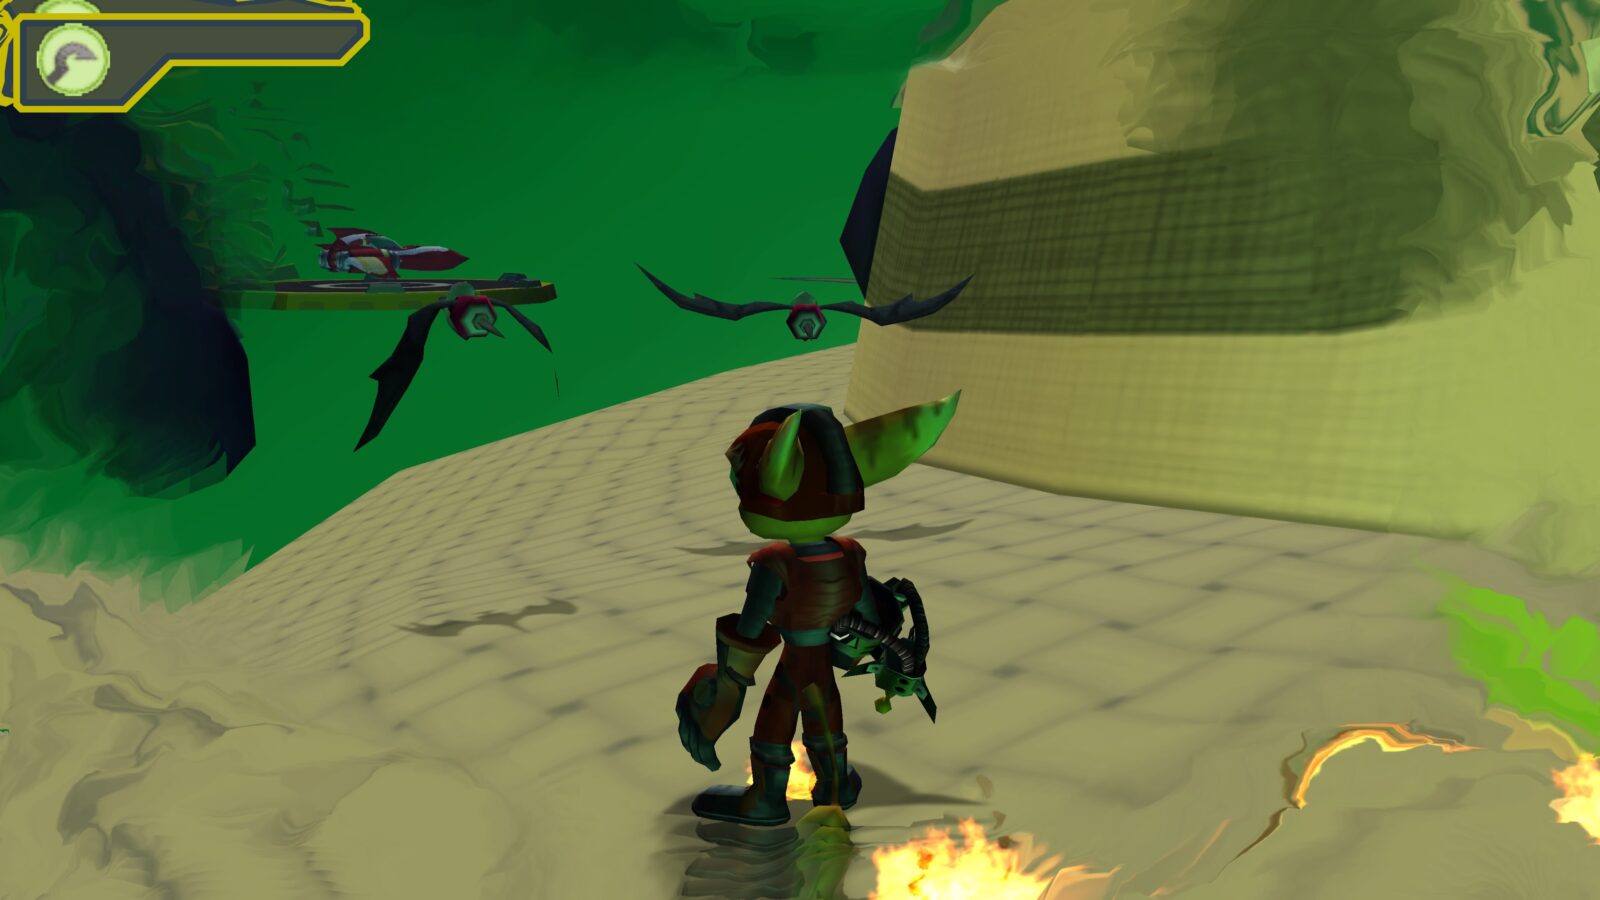
#9 | Second Dreamtime Titanium Bolt
Continue on through the Dreamtime level, past a chainsaw fever dream and a cutscene, and you’ll eventually come to a hangar.
Before entering the hangar, go around the left side of it, where you’ll find a Titanium Bolt behind a thorny plant.
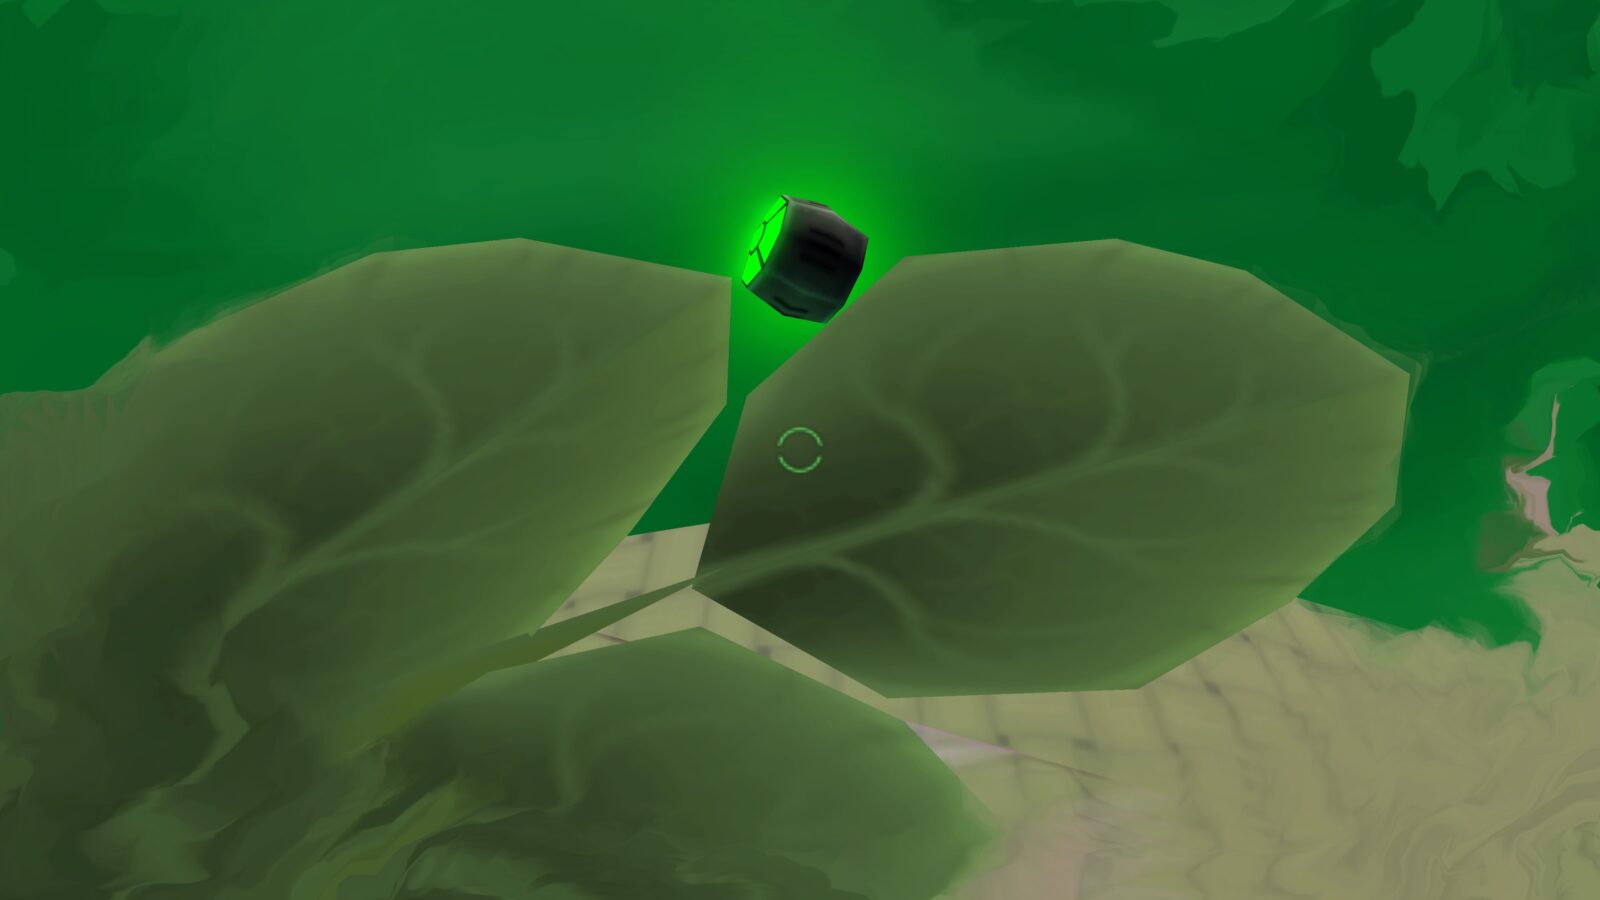
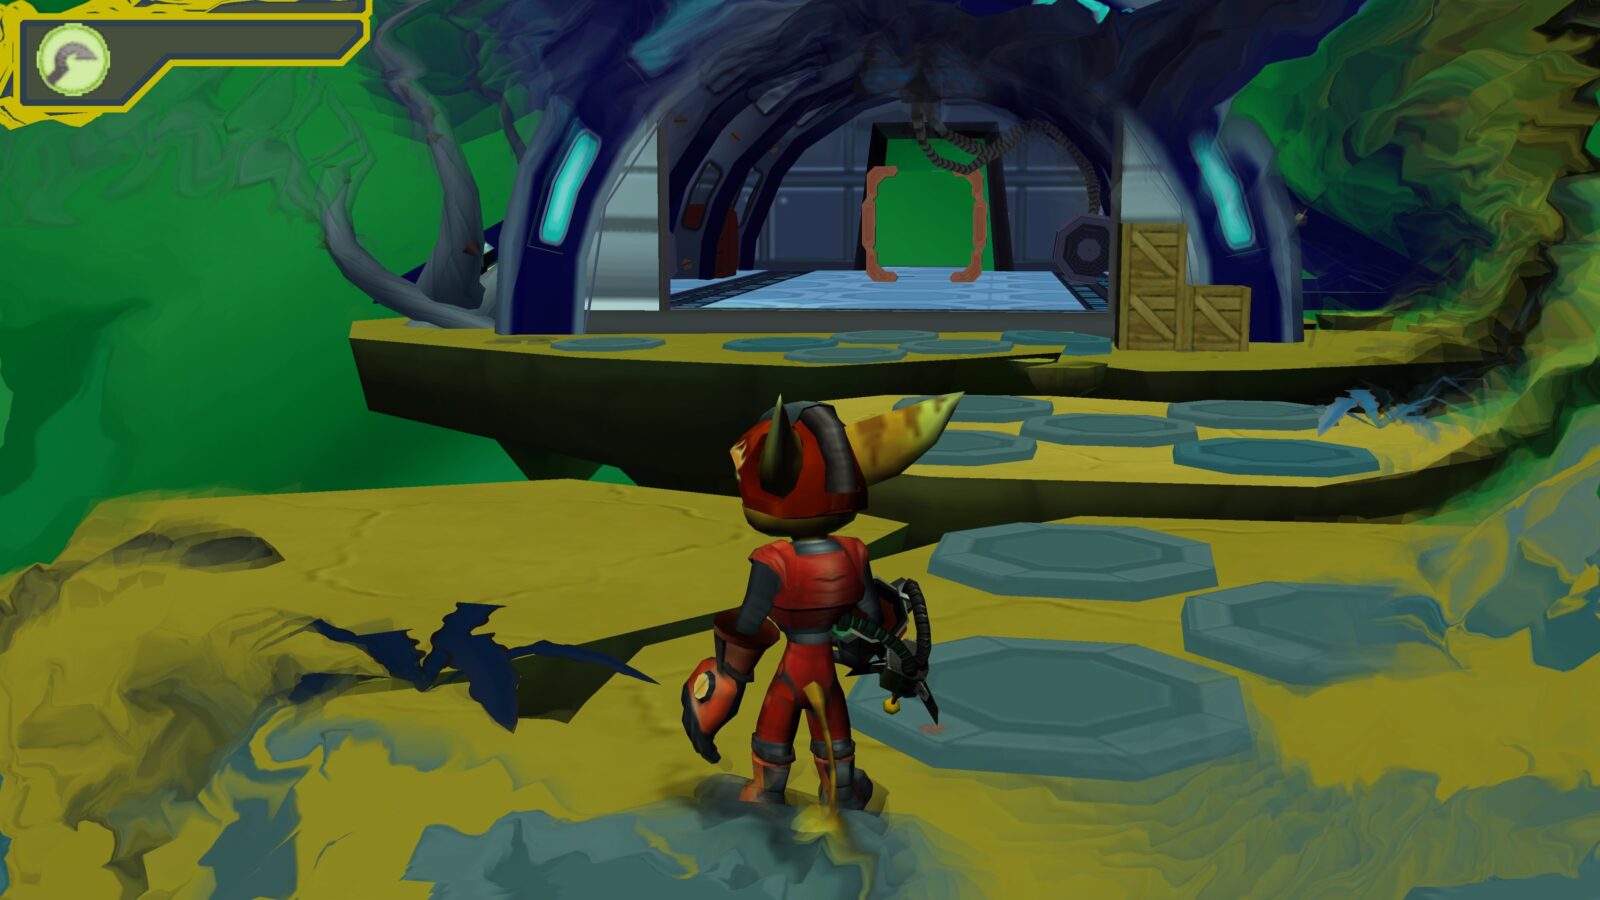
#10 | Third Dreamtime Titanium Bolt
This one is quite confusing. Continue through the level until you reach the final vendor block, which is next to a portal.
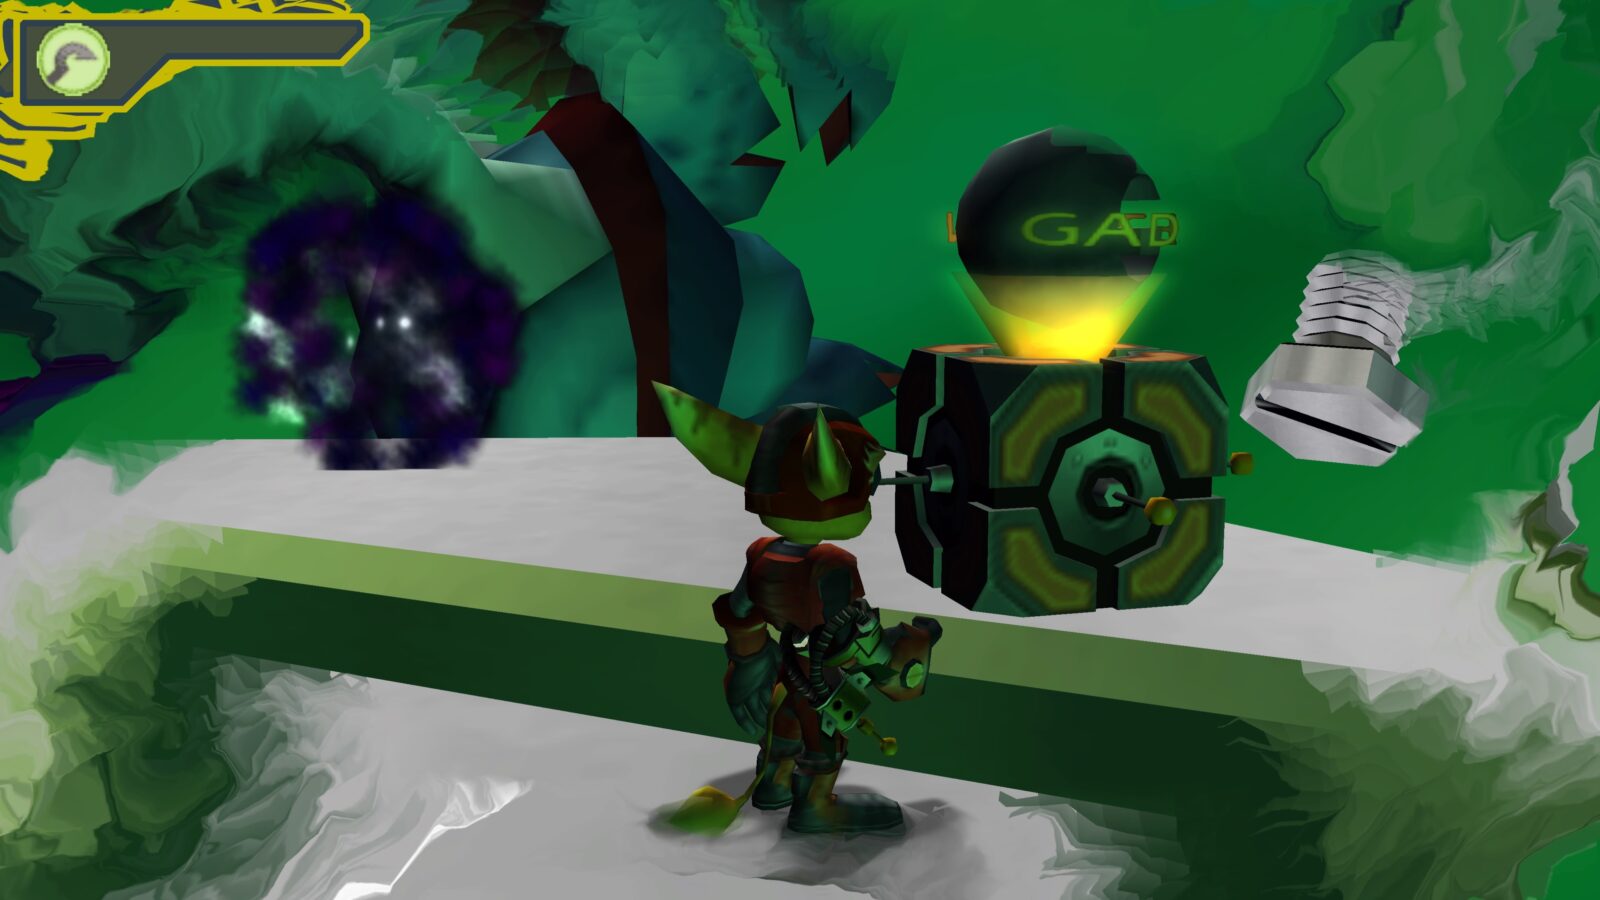
When there, look for a huge crab floating past in the background.
When you see it, shoot it, and you’ll be instantly transported to a series of precarious crates.
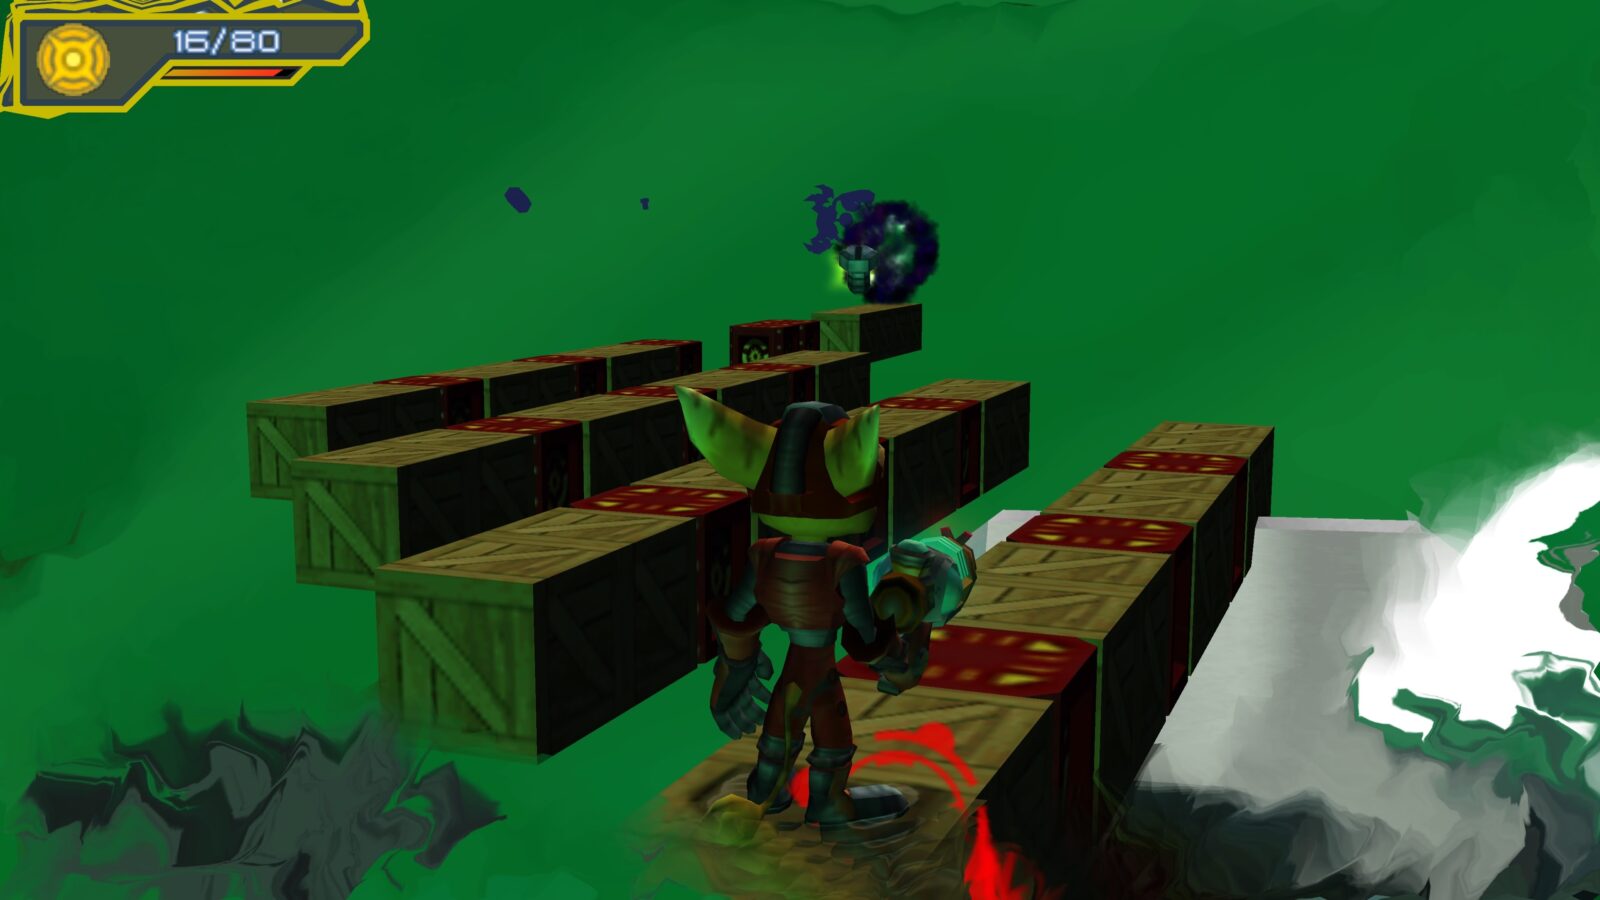
Jump across these crates, being careful not to destroy them, and make your way to the Titanium Bolt at the end, in front of the portal.
Medical Outpost Omega Titanium Bolts
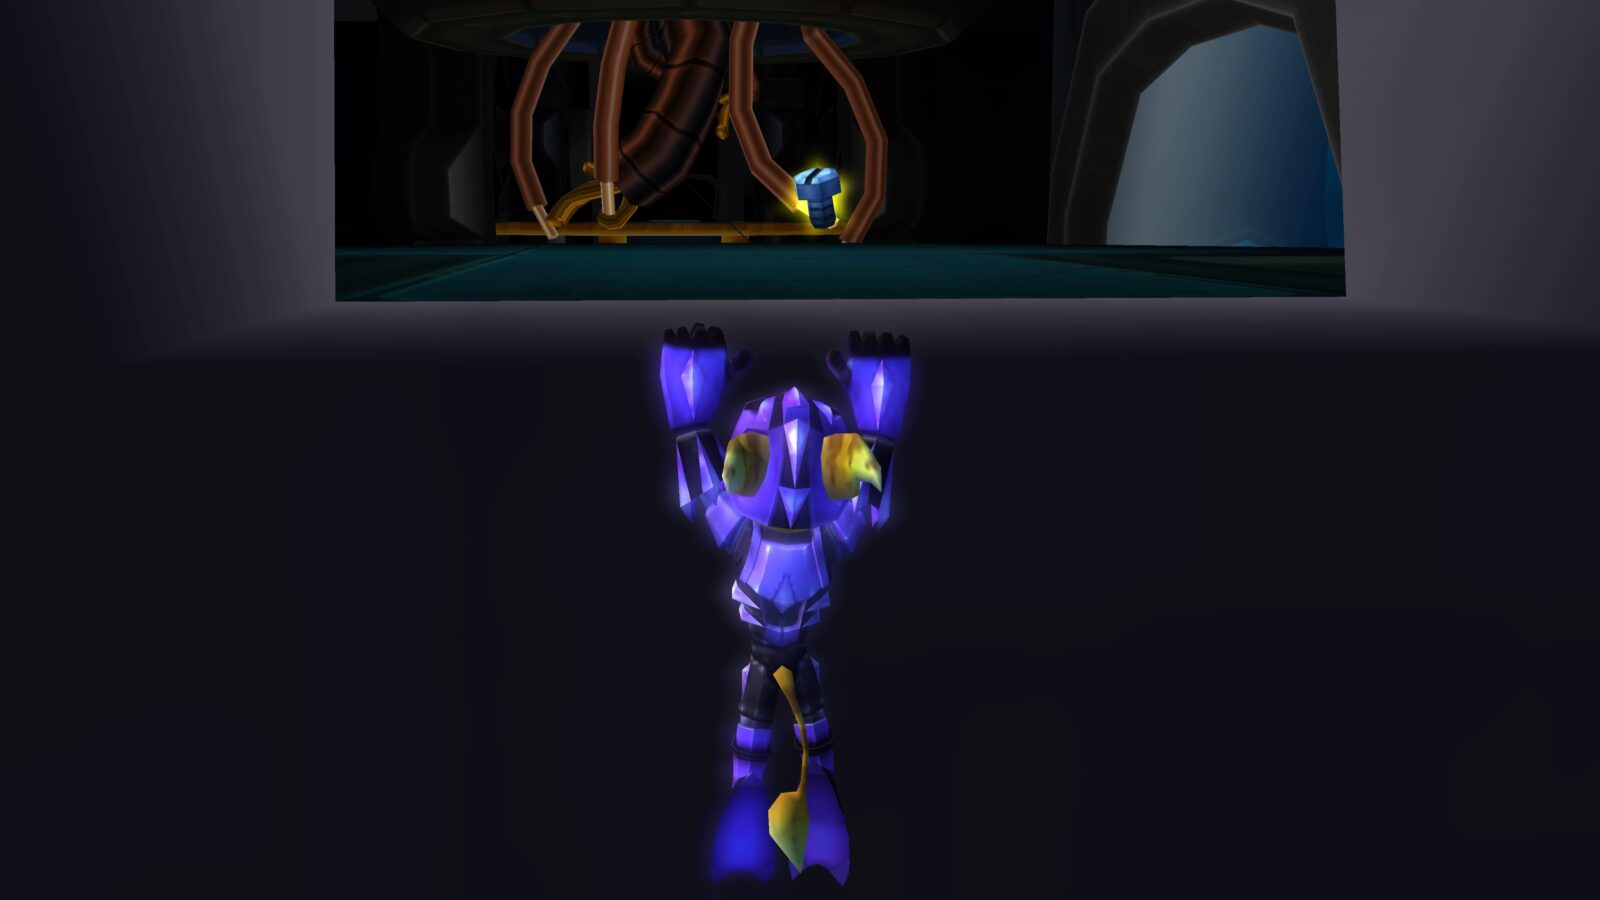
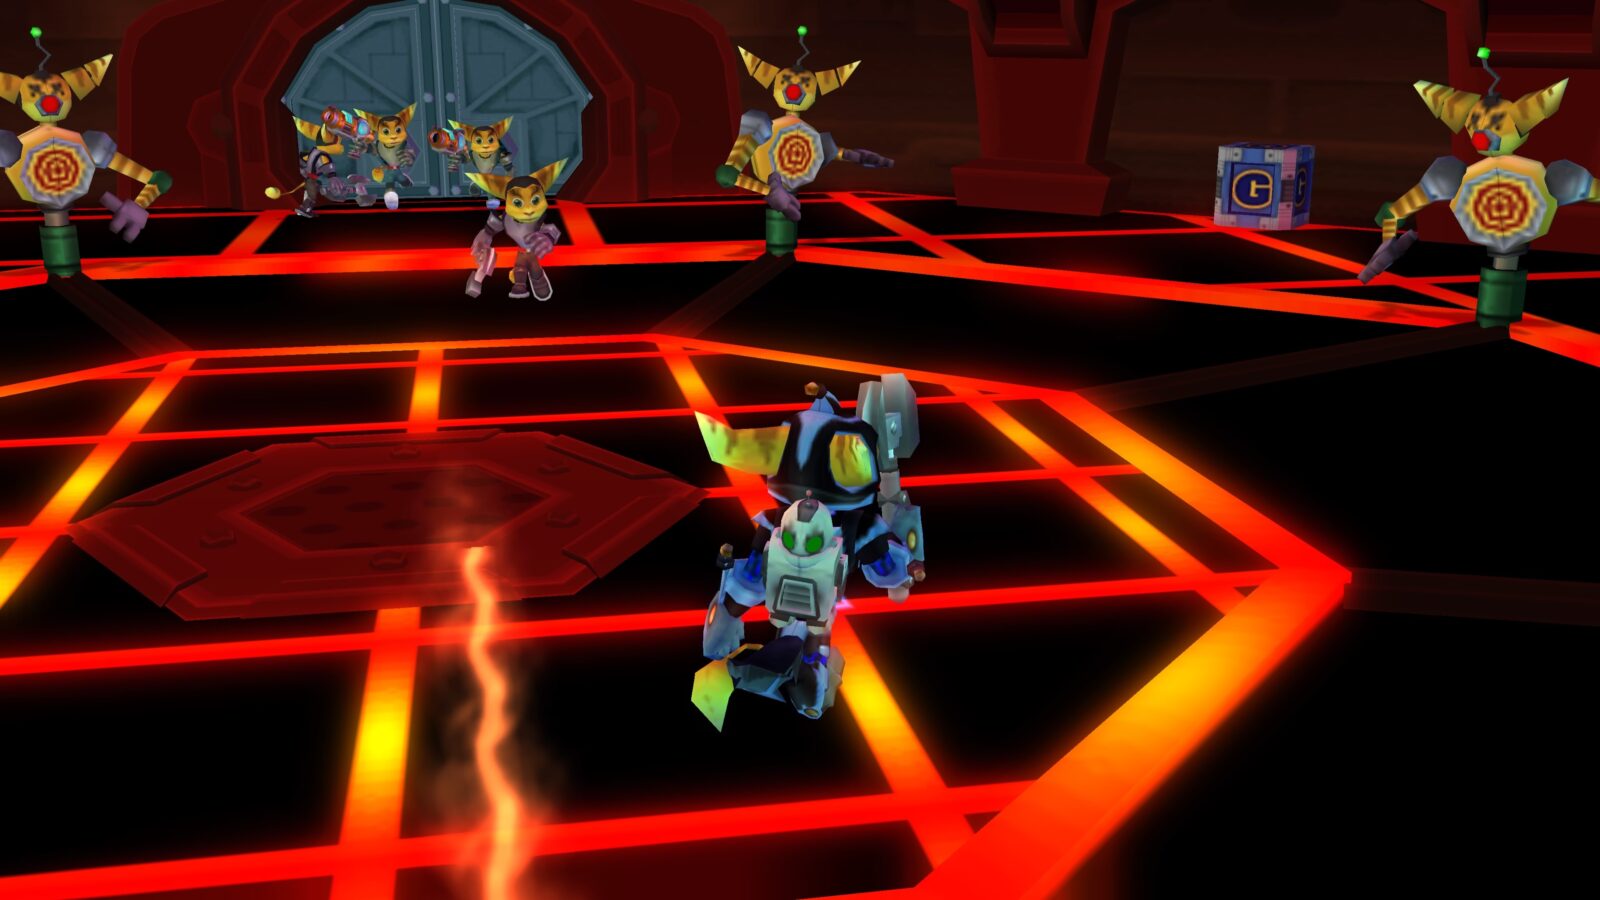
#11 | Only Medical Outpost Omega Titanium Bolt
Progress through the Medical Outpost level until the third time you play as Clank and defend Ratchet as he unlocks a door. This one occurs right near the end of the level, while the self-destruct timer is active.
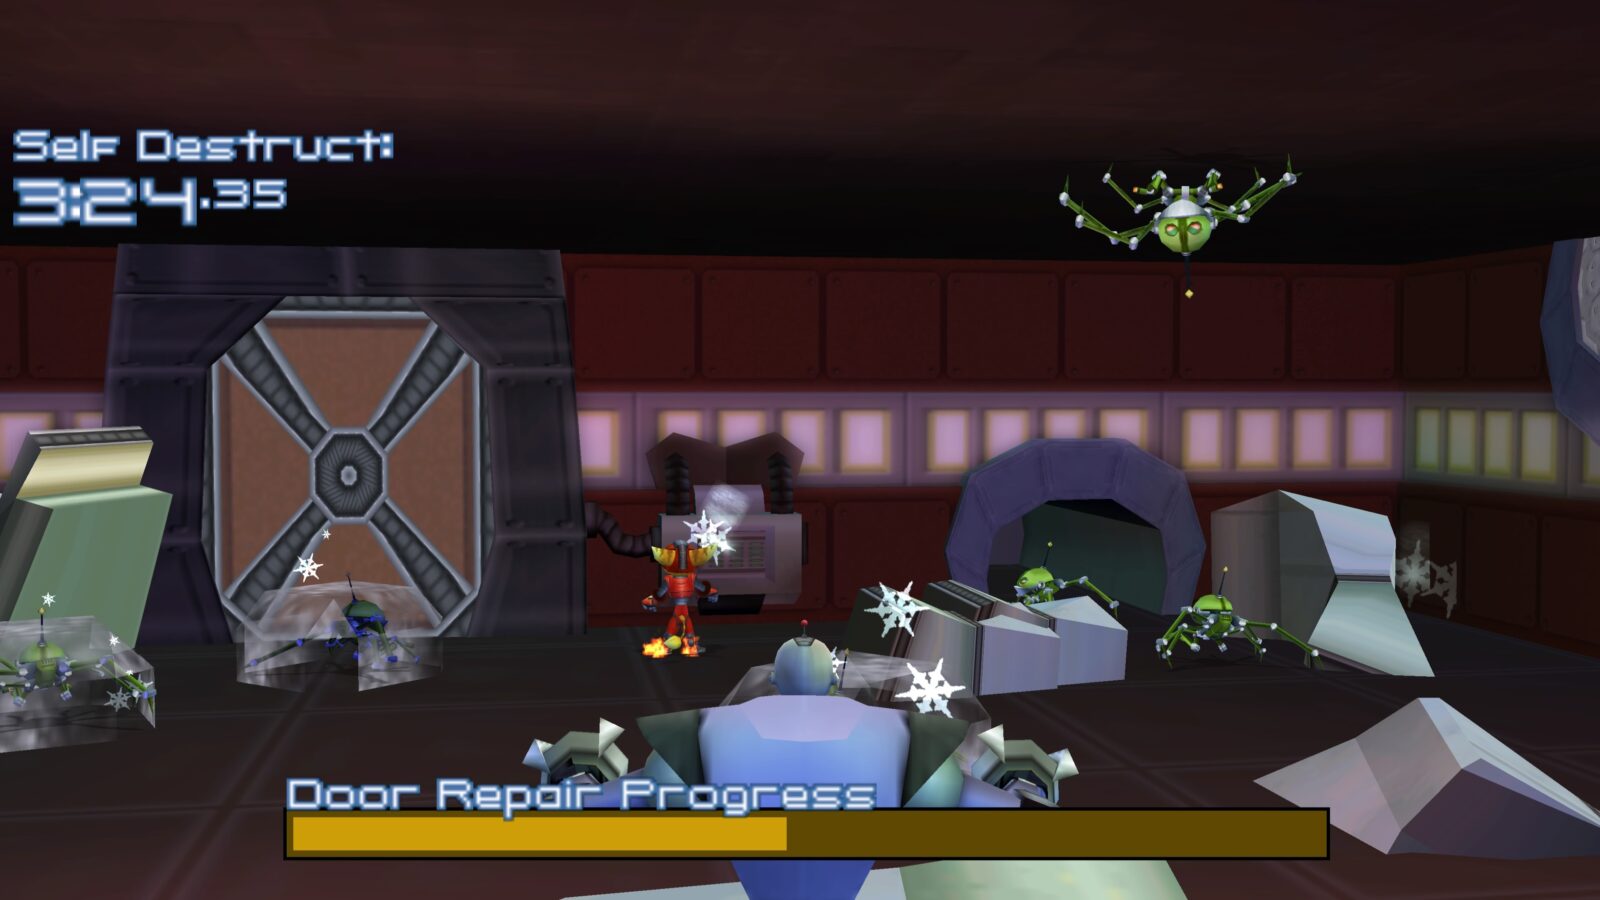
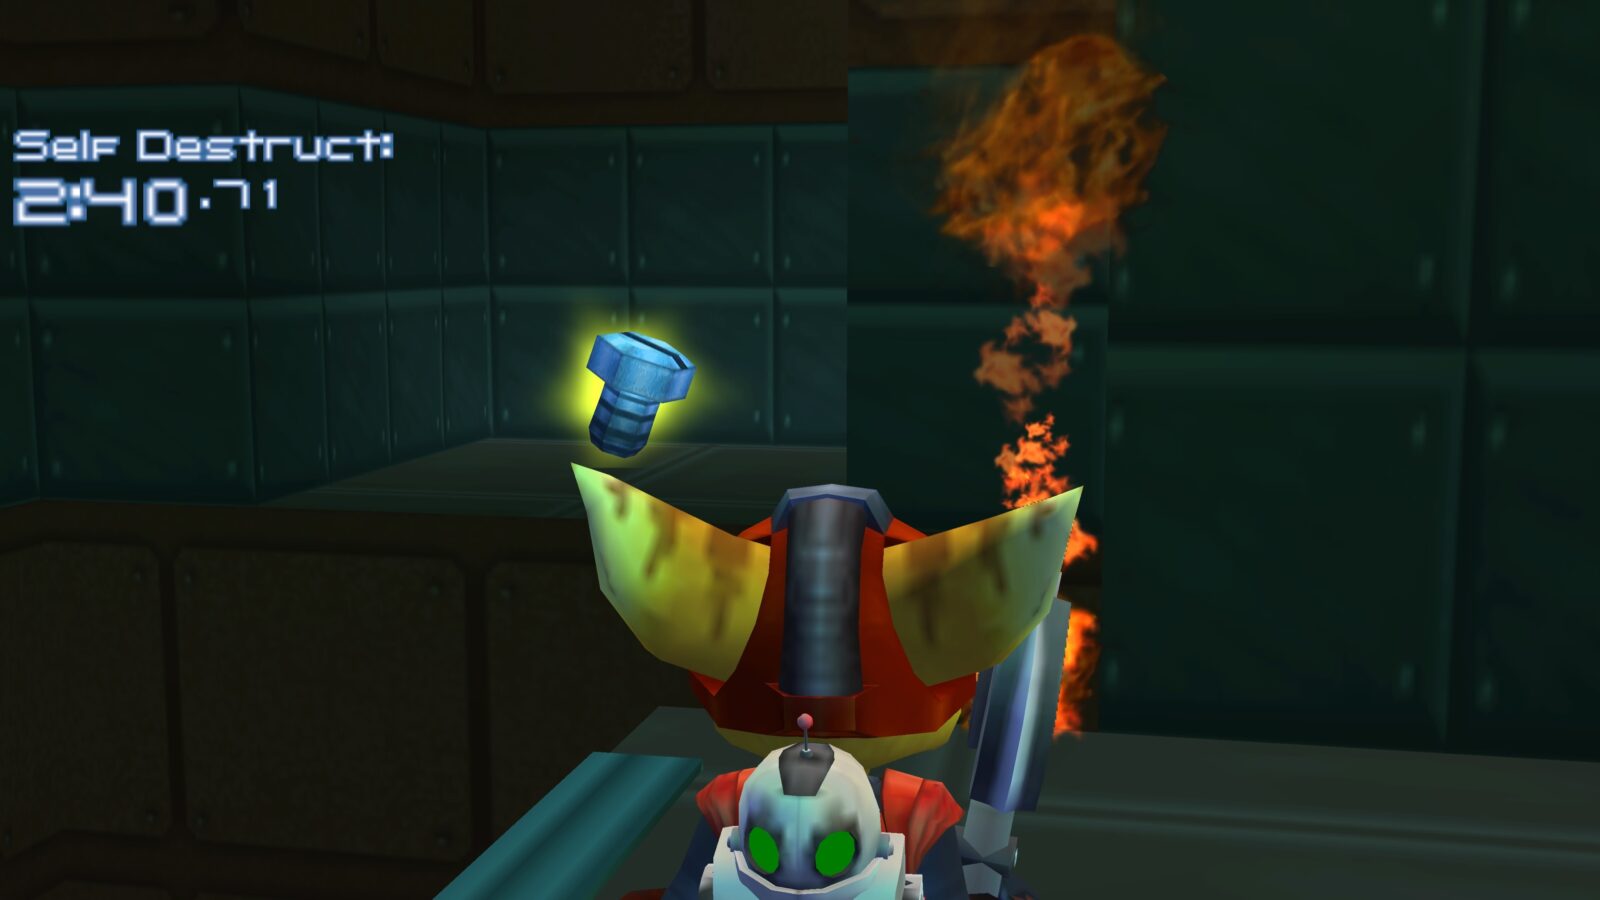
After that section, head through the newly-opened door and wall-jump up to the next platform.
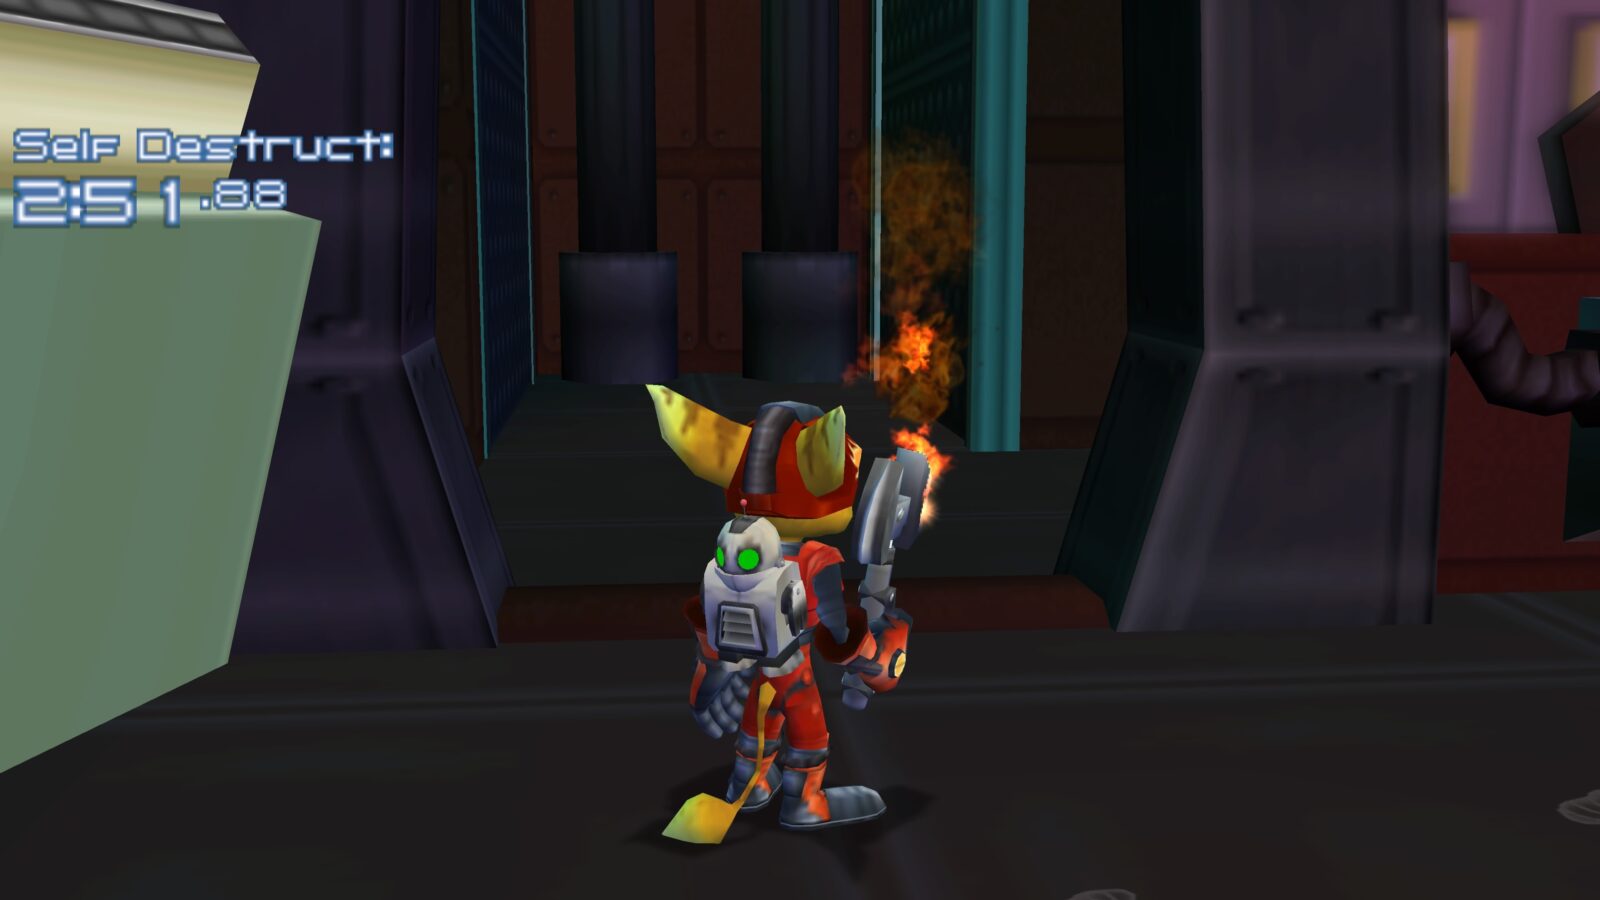
There, turn around and look above the door you entered to see this Titanium Bolt.
Metalis Titanium Bolts
Metalis’ Junkyard LXIV has just one Titanium Bolt on it, but you can’t get it upon your first visit. You’ll need to first complete the Mission “Rematch – Skyboard Racer” on Medical Outpost Omega, and then later return to Metalis with the Polarizer you’ll earn from that Mission.
#12 | Only Metalis Titanium Bolt
After beating the “Interior Decorating” Skyboard Race and unlocking the Polarizer, jump in your ship and fly it to Metalis.
There, equip the Polarizer and use it on the large round vent behind the ship to open a hidden tunnel.
This passage contains a bit of an obstacle course, but at the end of it you will find the Metalis Titanium Bolt.
Challax Titanium Bolts
Continuing on to Challax, you’ll find three Titanium Bolts in this lengthy level.
#13 | First Challax Titanium Bolt
When you arrive on Challax, face the opposite direction from the miniature transport, walk past your full-size ship, and drop off the ledge onto the ledge below.
There, underneath your ship, you’ll find the first Challax Titanium Bolt.
#14 | Second Challax Titanium Bolt
Shortly after entering the facility on Challax, you’ll use the Polarizer on a red magnet to get past a security gate and into the next room.
In that room, you’ll see a conveyor belt with various items and pieces of luggage on it, like at an airport.
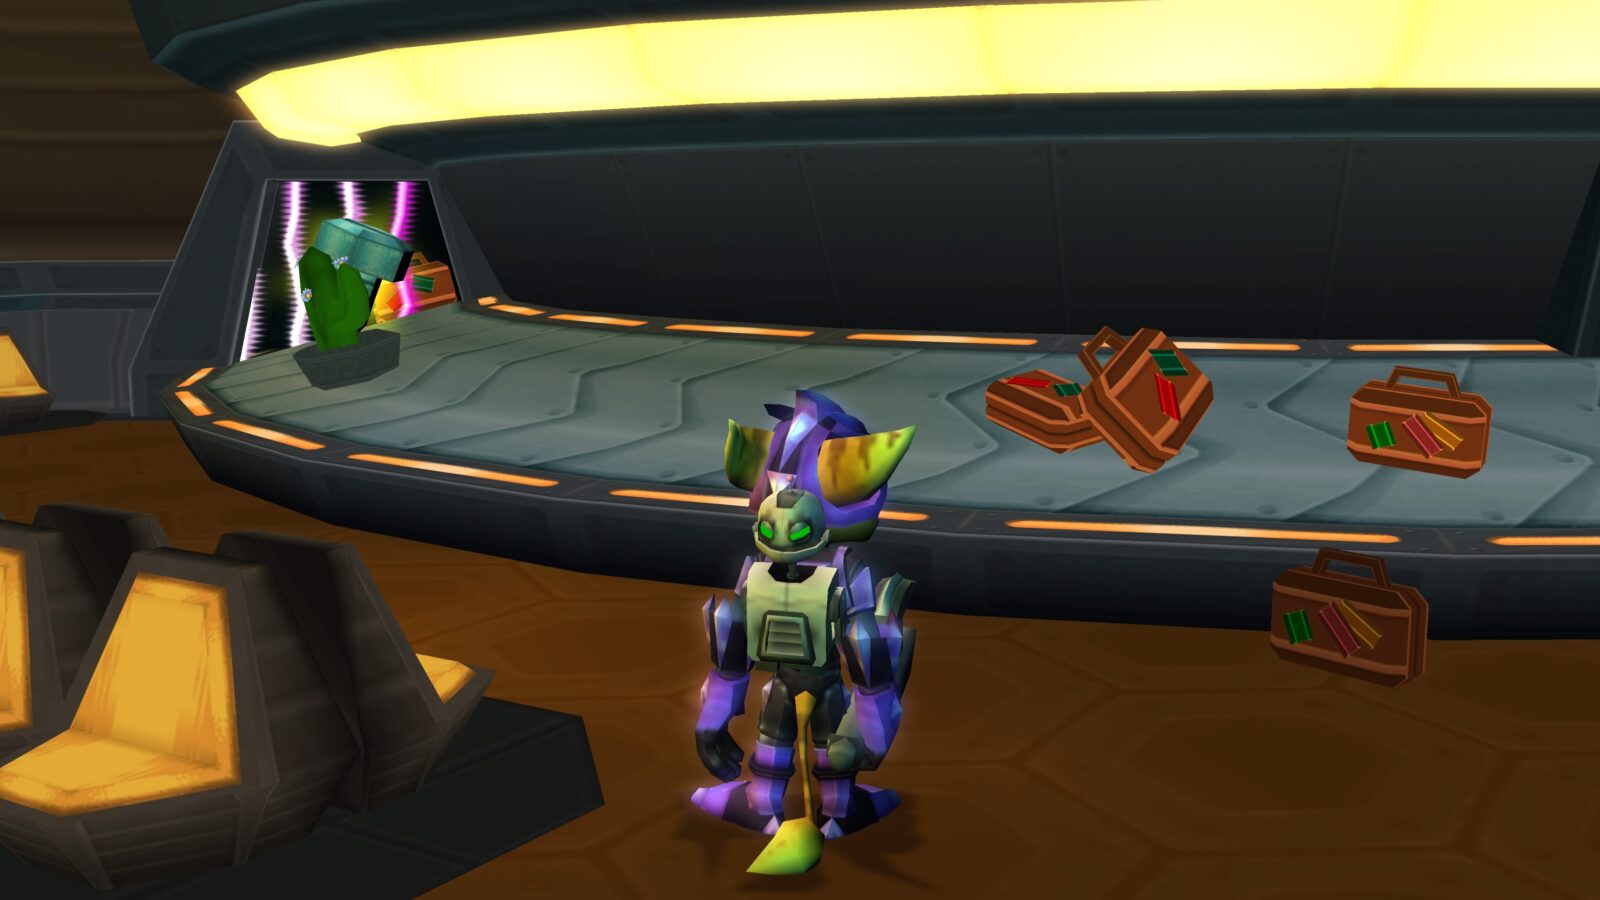
Wait there for a moment, and eventually a Titanium Bolt will go by on the conveyor.
Grab it to add it to your collection!
#15 | Third Challax Titanium Bolt
Eventually, you will use an explosive plant to blow up the Otto Destruct statue in a plaza.
Using that same explosive plant, face the opposite direction from the statue, and lob the fruit at the wall.
This will create an opening, exposing another Titanium Bolt on a hidden balcony.
Dayni Moon Titanium Bolts
Dayni Moon is an interesting level, with a super-short day/night cycle. There are just 2 Titanium Bolts to find and collect here.
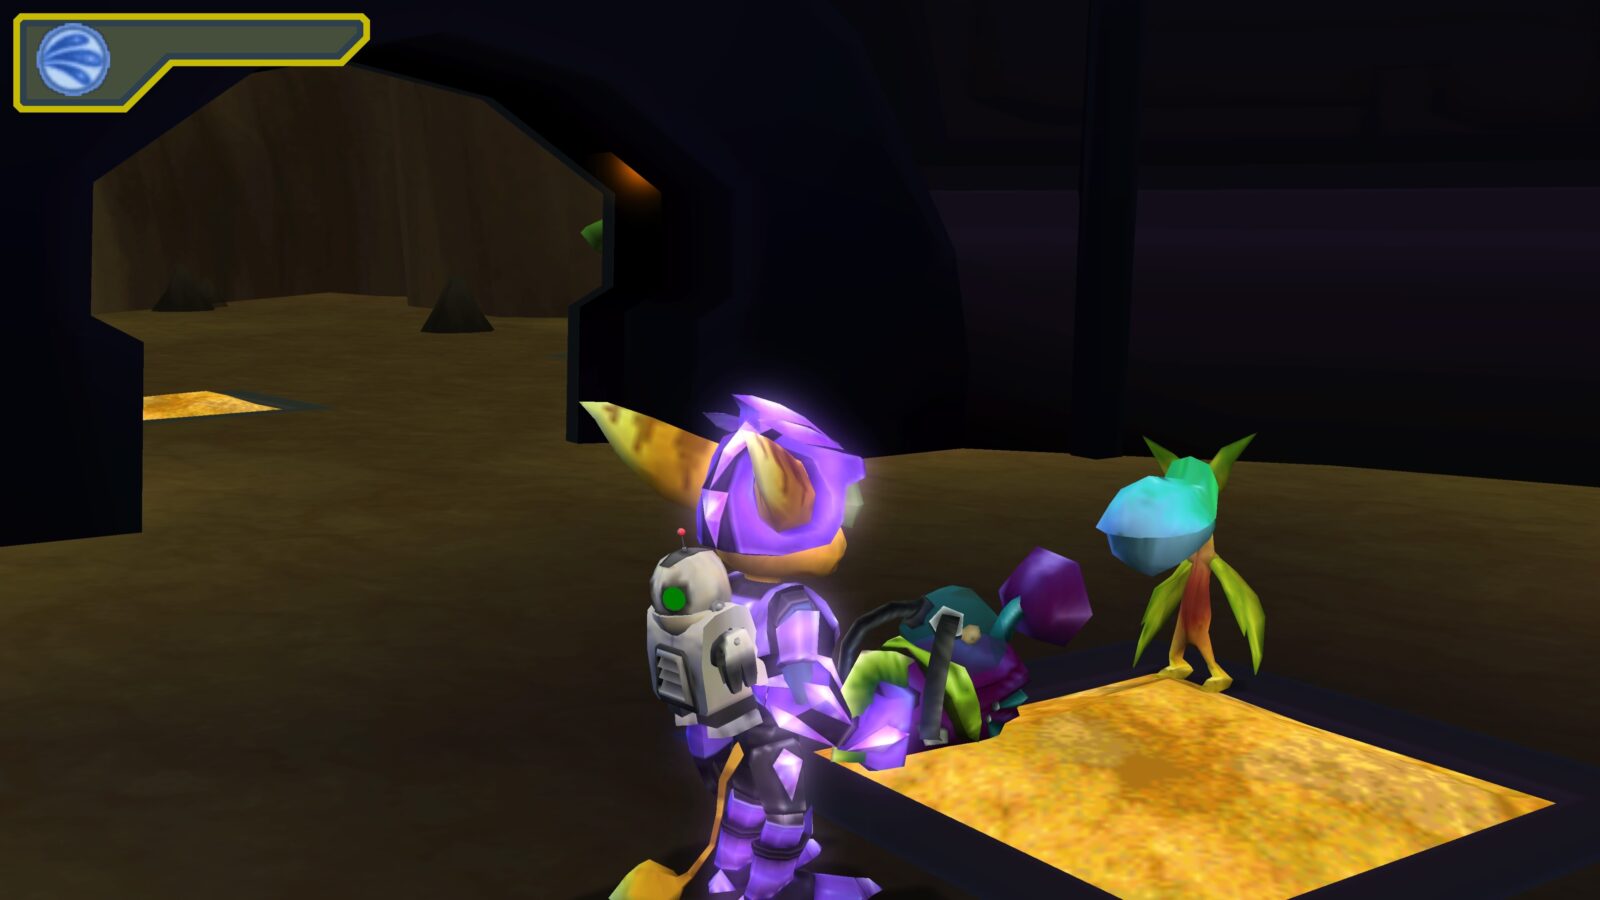
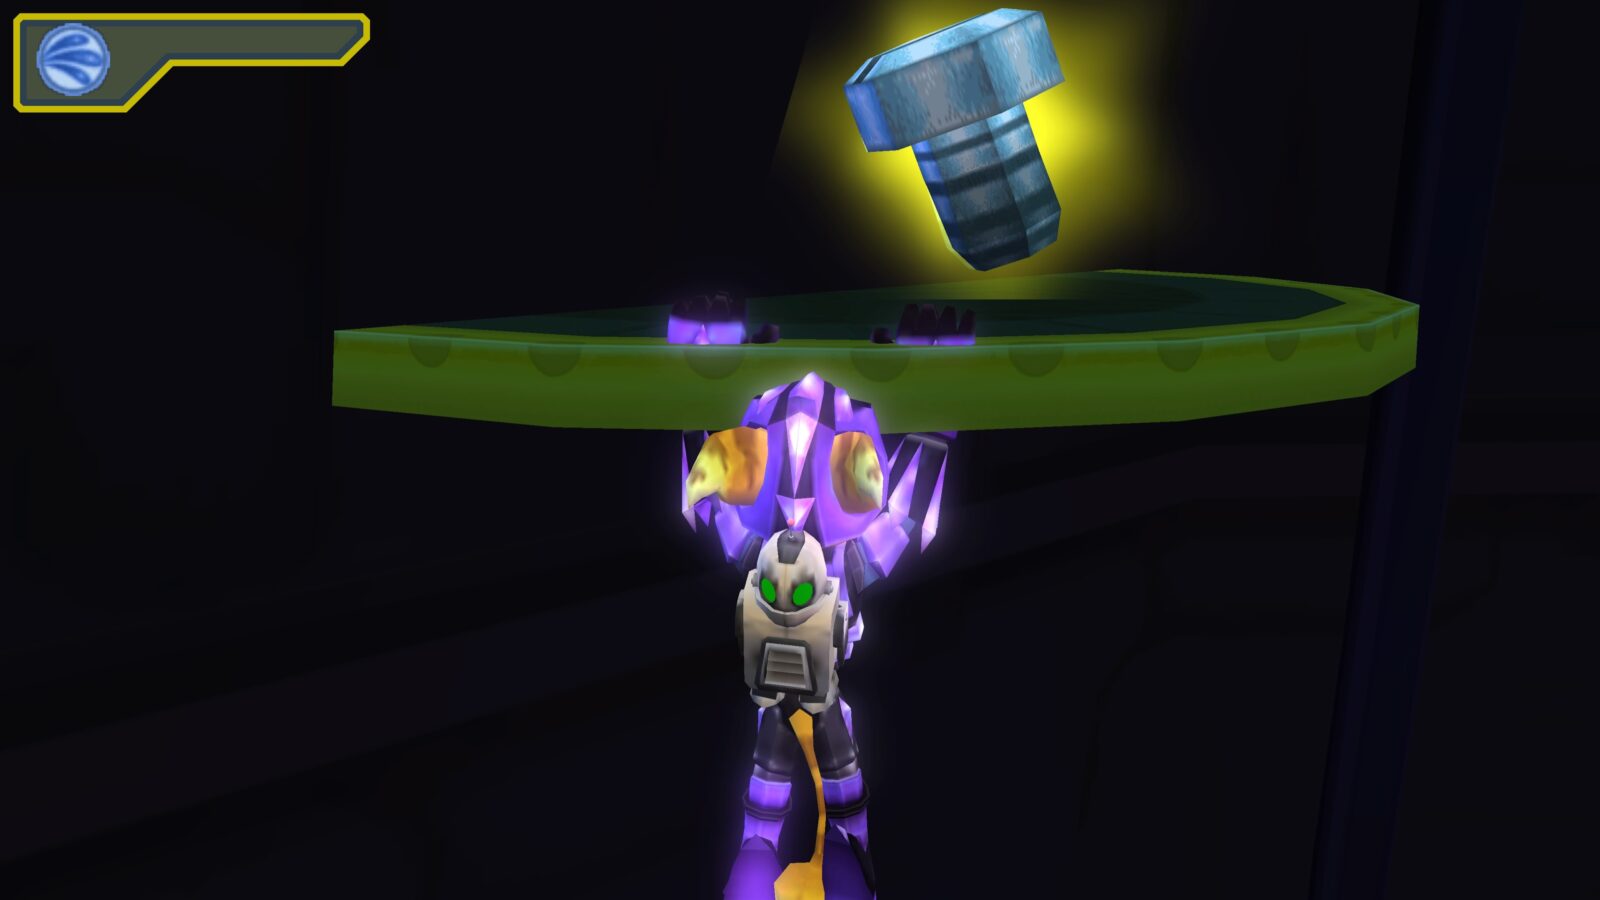
#16 | First Dayni Moon Titanium Bolt
When you get past the first barn on Dayni Moon, you’ll grow two large daisy-like plants which spring you up into the air.
Place the blue one on the left and then bounce on it. You will be able to see this Titanium Bolt in the window of the barn. You can high-bounce up by hitting ![]() while the plant is shrunk under Ratchet’s weight, and then glide over to the bolt.
while the plant is shrunk under Ratchet’s weight, and then glide over to the bolt.
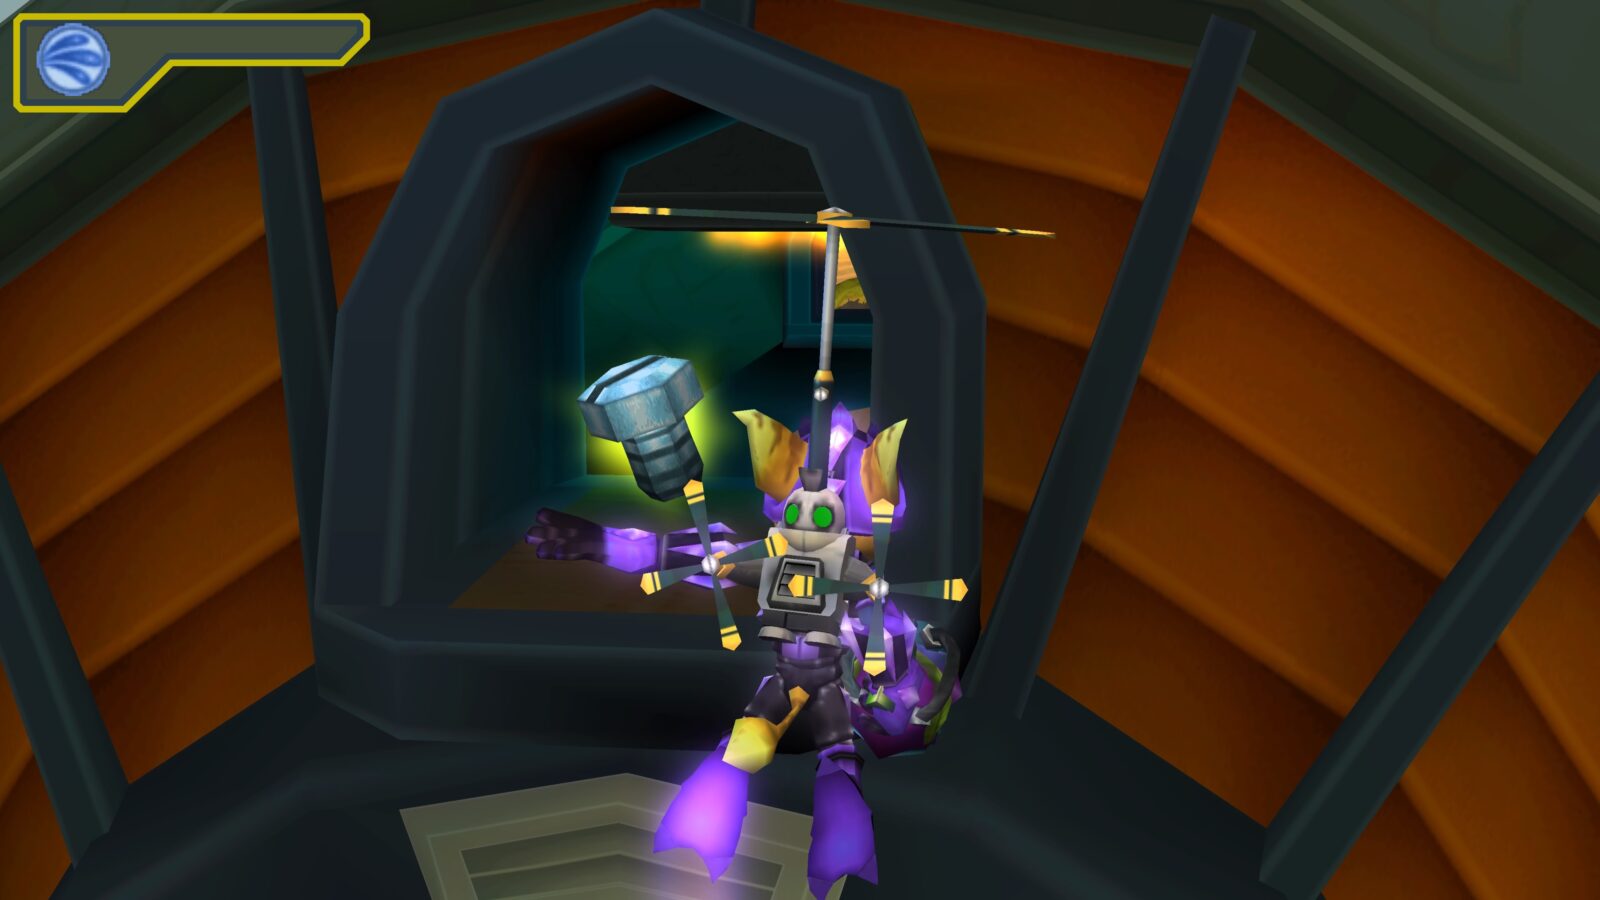
#17 | Second Dayni Moon Titanium Bolt
Eventually, you will reach a large tower with a grind-lock on it.
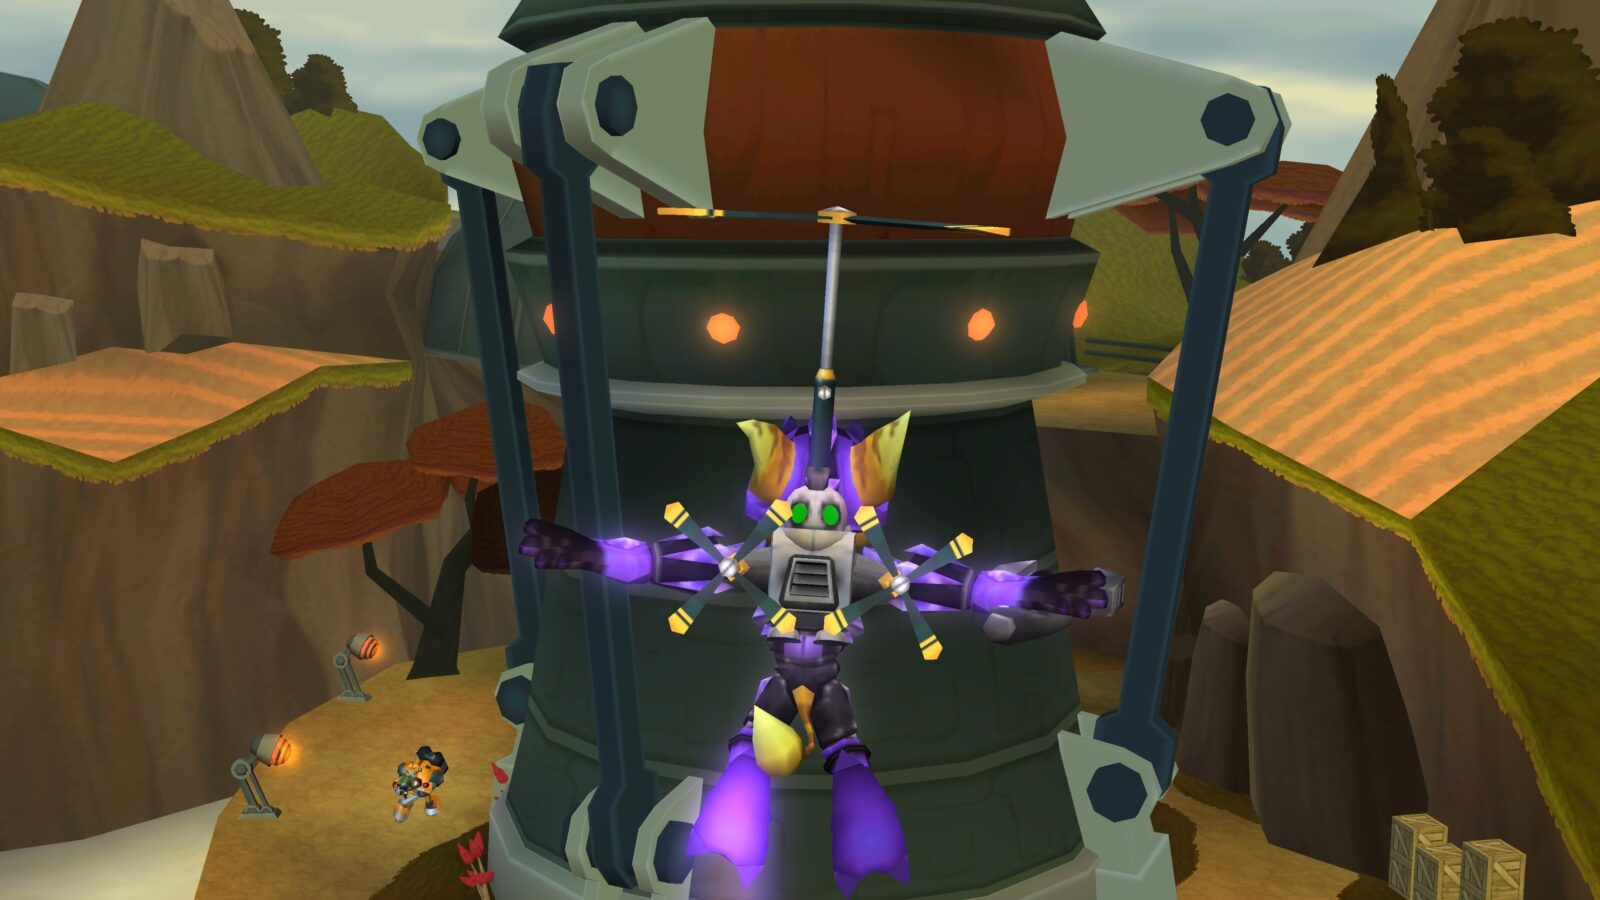
Once you’ve unlocked the tower, plant the blue bounce plant in there.
Use the bounce plant to then reach the Titanium Bolt on a higher ledge within the tower, above the entrance.
Inside Clank Titanium Bolts
Towards the end of the game, you shrink down and enter Clank! This level has another 2 Titanium Bolts to hunt down and collect and, fortunately, they’re both very early in the level.
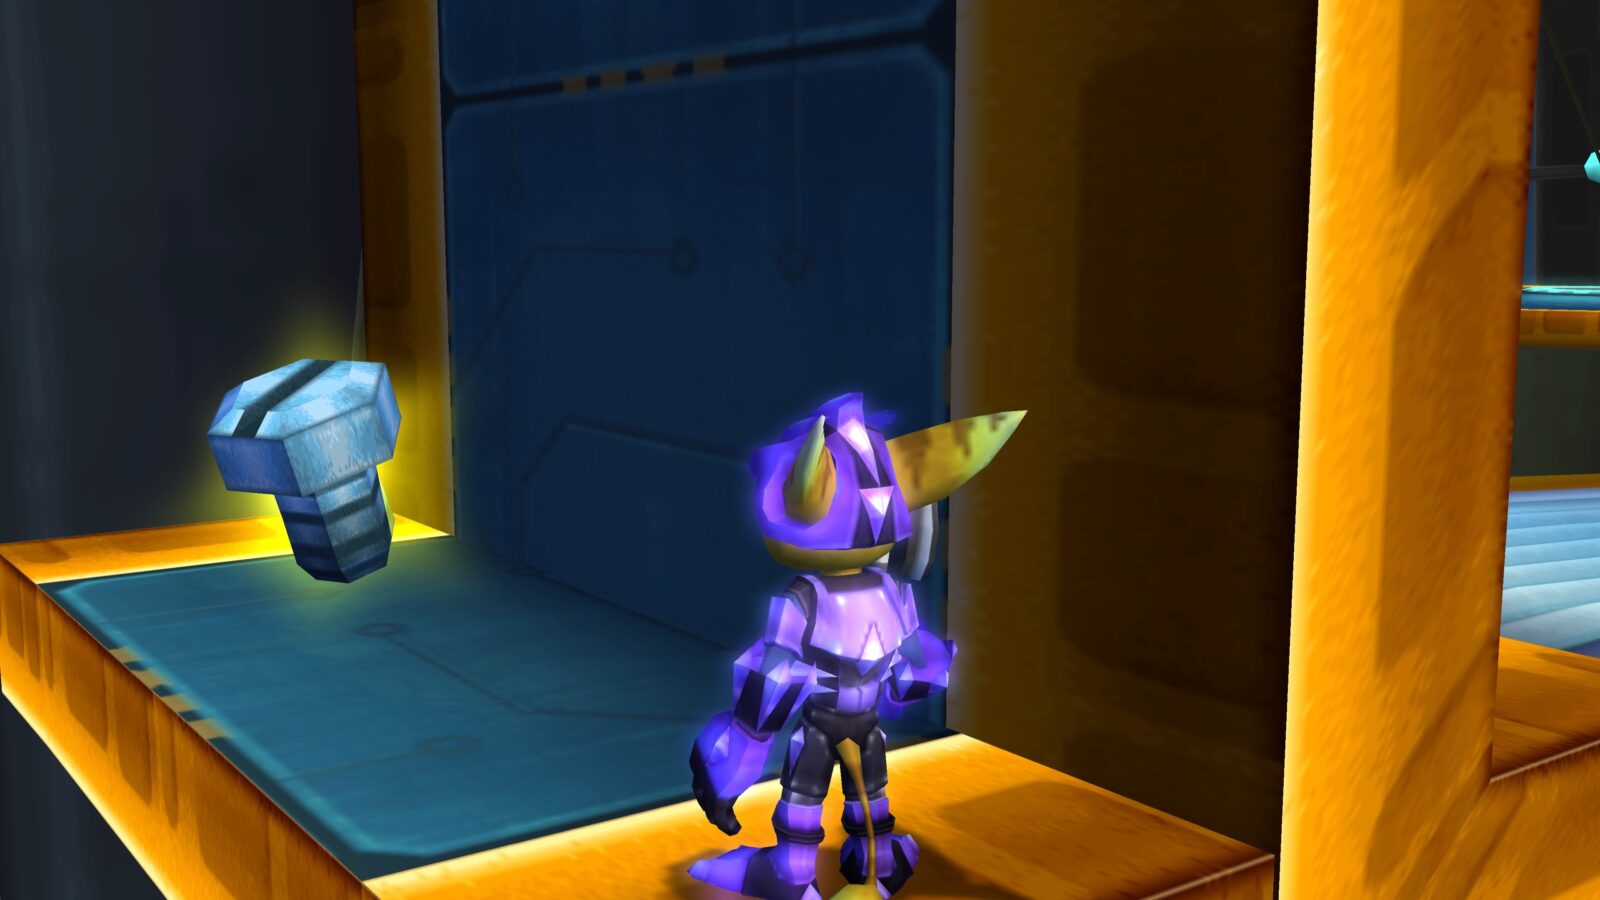
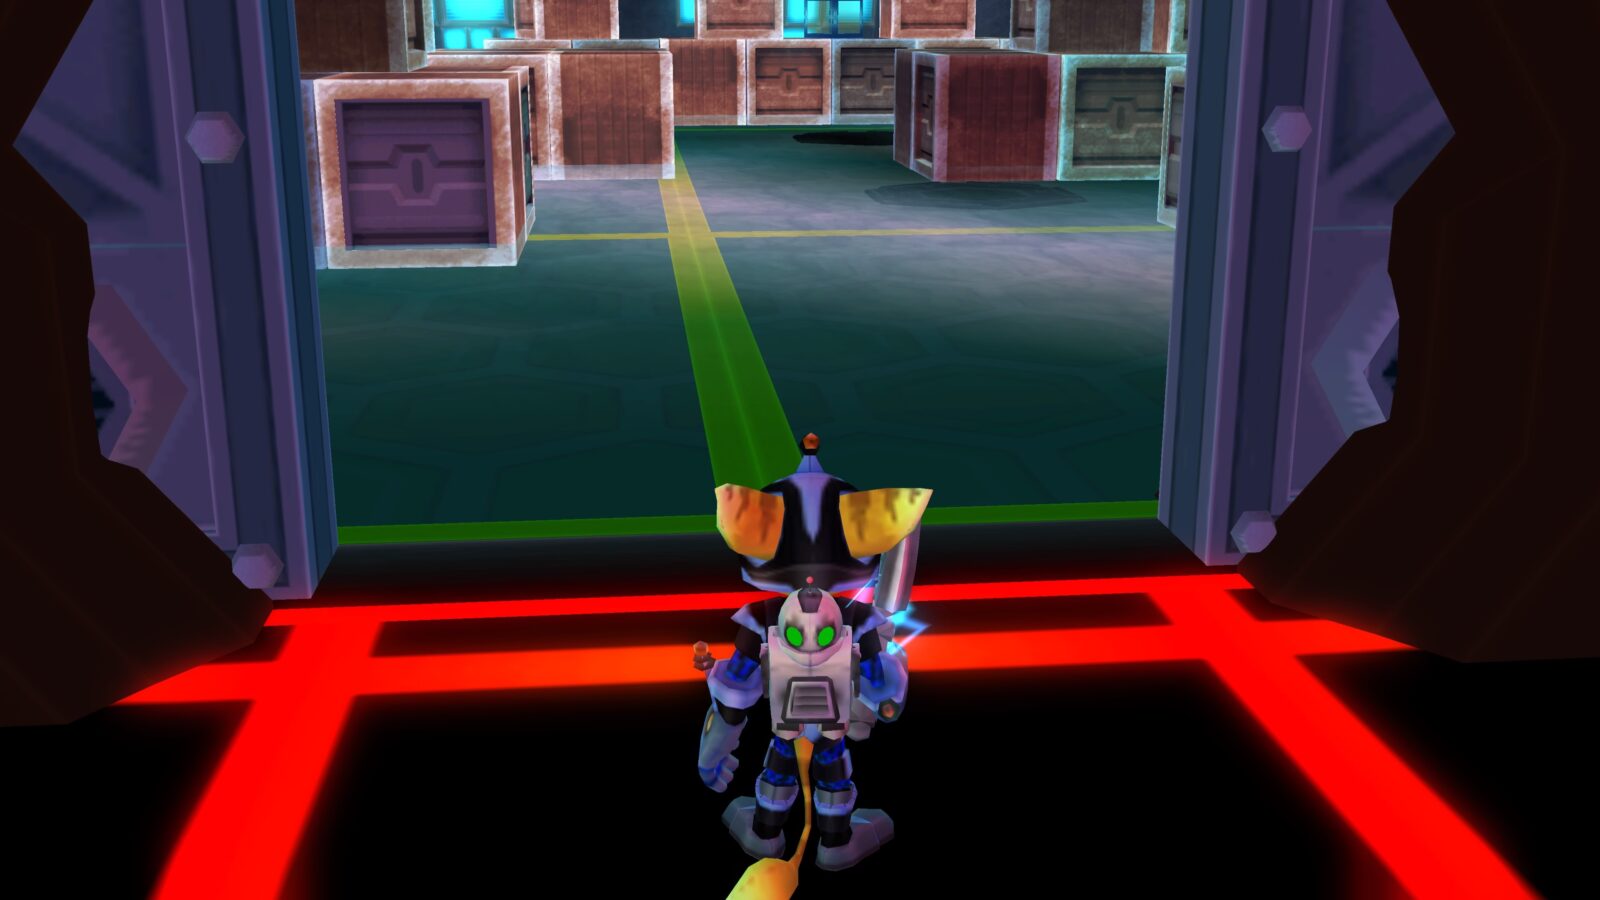
#18 | First Inside Clank Titanium Bolt
At this Gadgetron Vendor next to a zipline right at the start of the level—instead of riding the zipline—drop down onto the ledge directly below it.
From there, turn around and position the camera so that you can see behind the wall; revealing the Titanium Bolt.

Double-jump around the wall onto the ledge behind it and collect the bolt.
#19 | Second Inside Clank Titanium Bolt
At the opposite end of the room from the last Titanium Bolt, defeat the enemies and then enter the doorway.
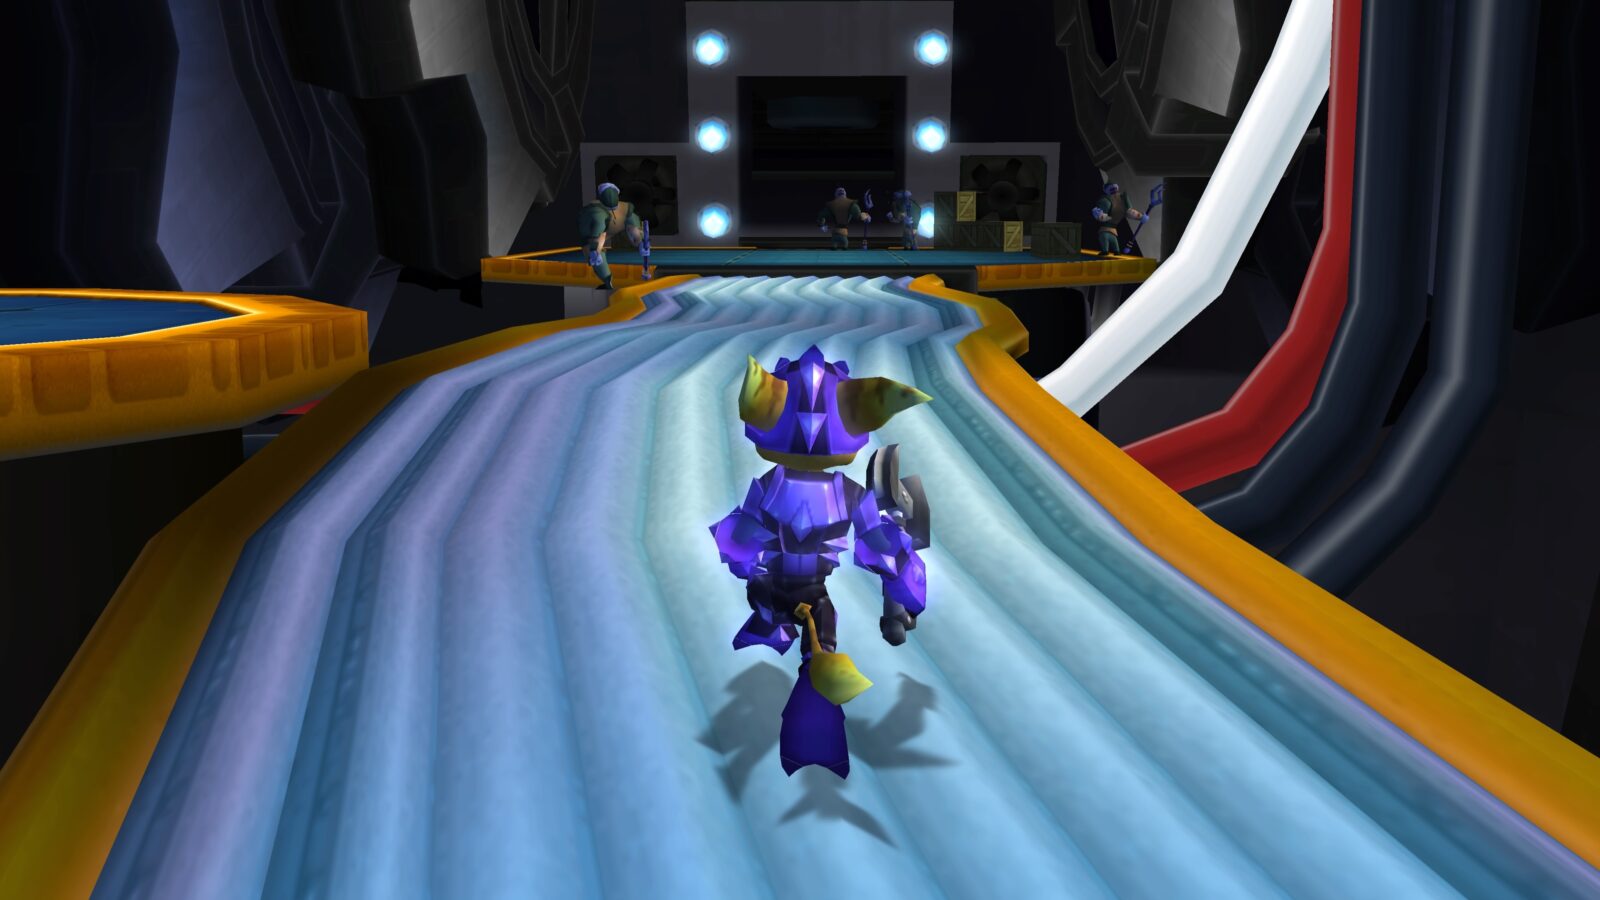
This doorway actually has walls narrow enough that you can wall-jump between them.
Wall-jump up as high as you can get, jump back towards the start of the level, landing on a ledge above the doorway.
Here, you’ll find the only other Titanium Bolt in the level.
Quodrona Titanium Bolts
The final level of Ratchet & Clank: Size Matters is Quodrona. There’s only one Titanium Bolt to find here, and it should be the last one you need!
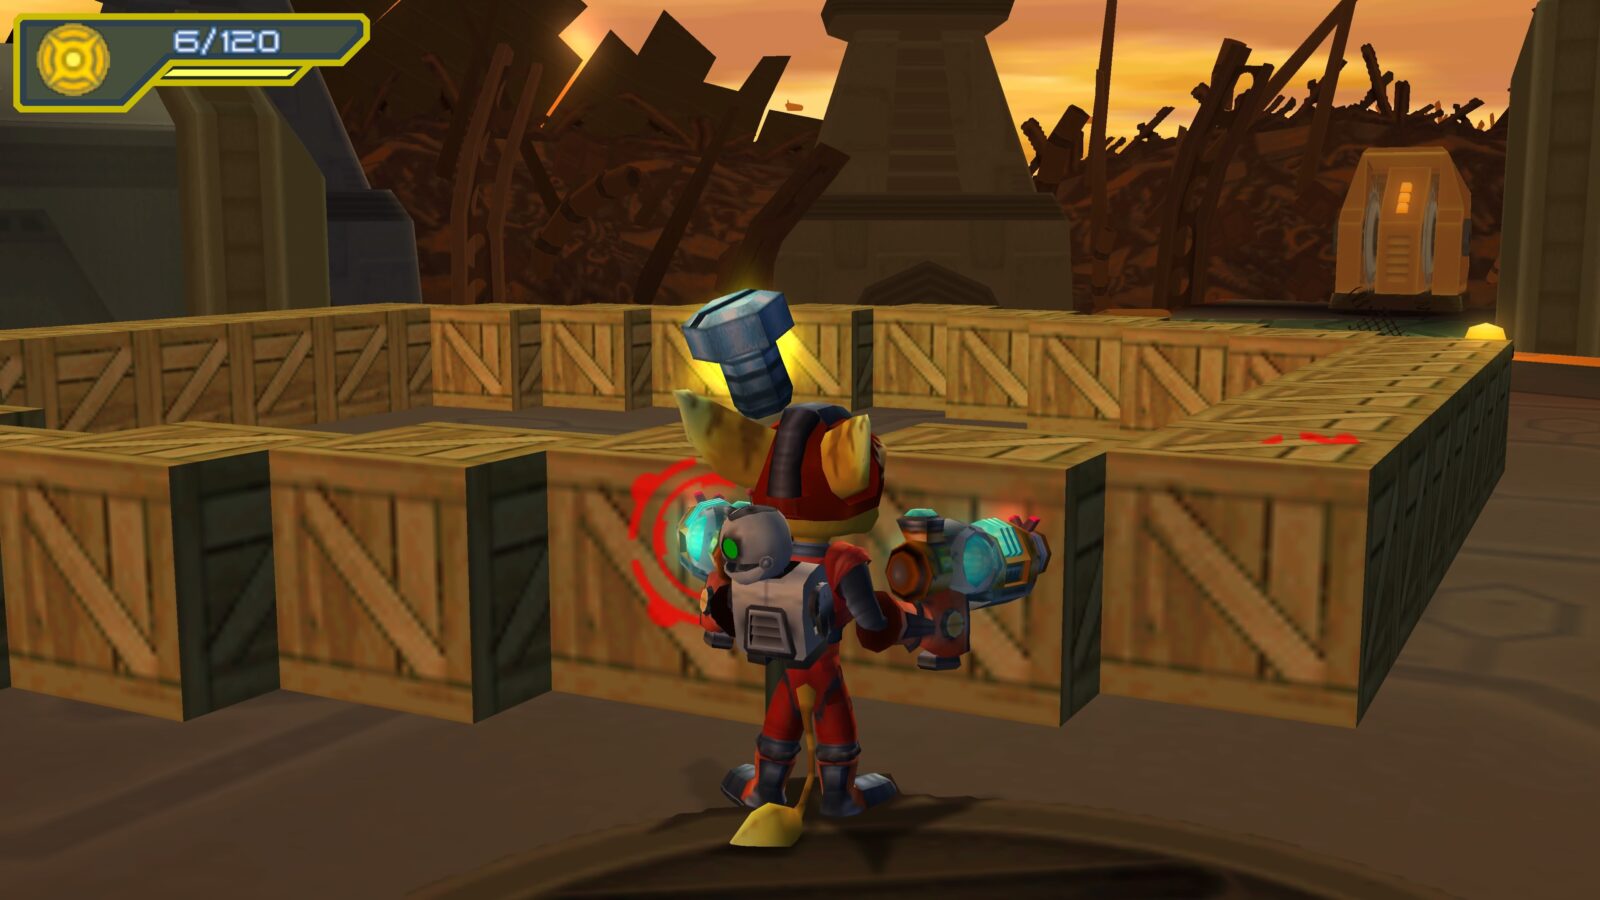
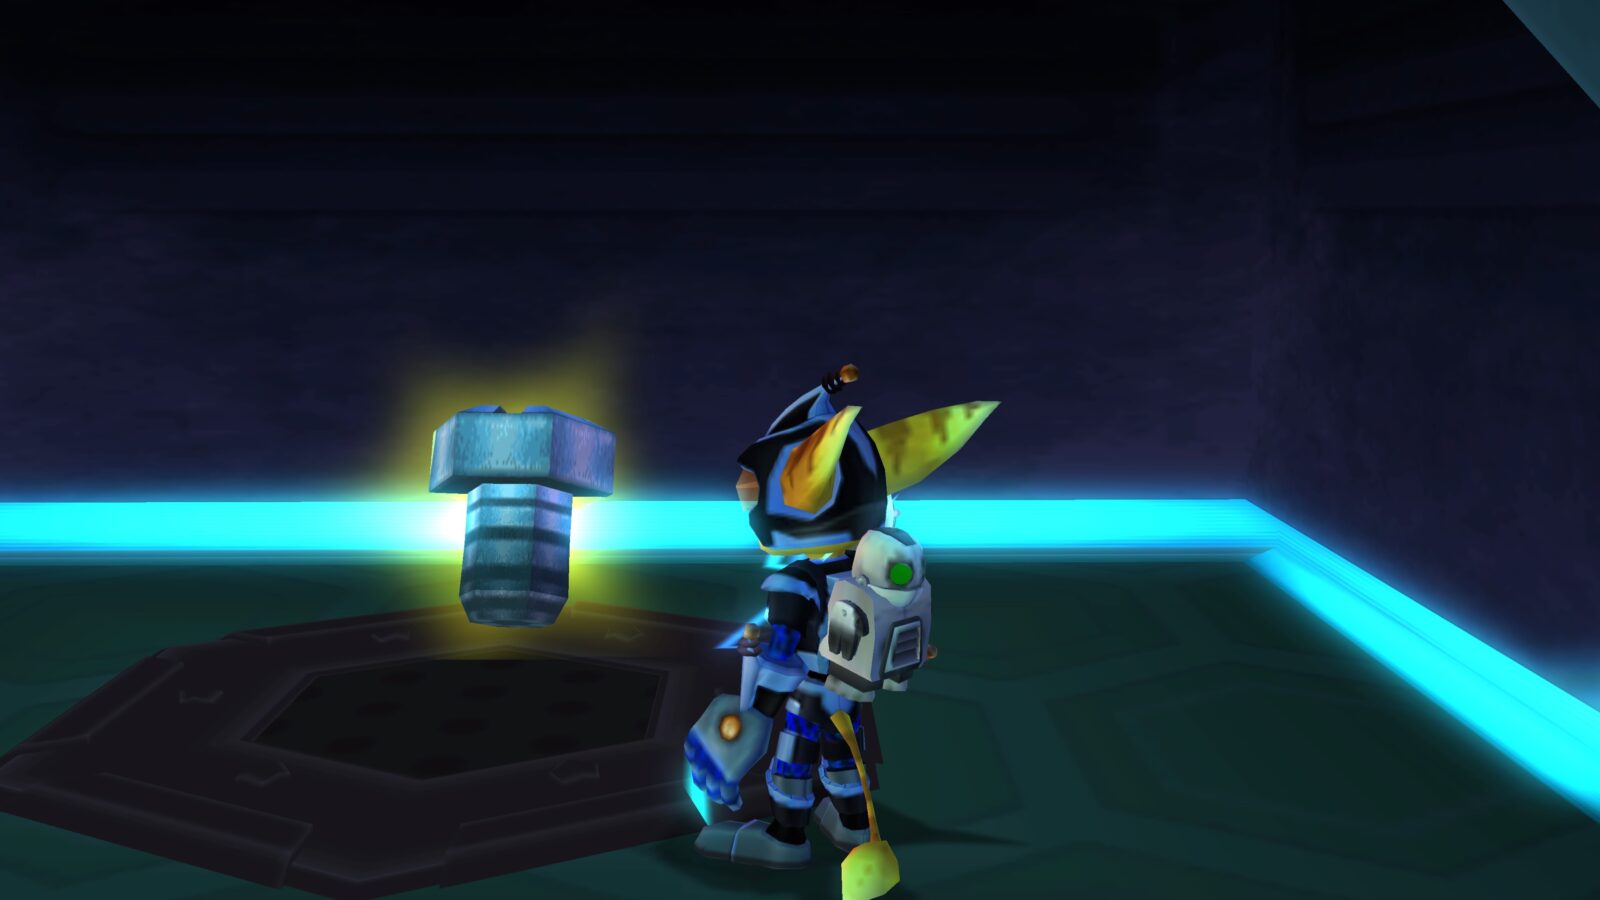
#20 | Only Quodrona Titanium Bolt
Progress through the level until a red room filled with enemies.
Defeat all the enemies and then move into the next room, which is filled with crates (non-destructible ones).
In the back-left corner of this room, there’s a stack of crates you can use to reach a high ledge just next to the door.
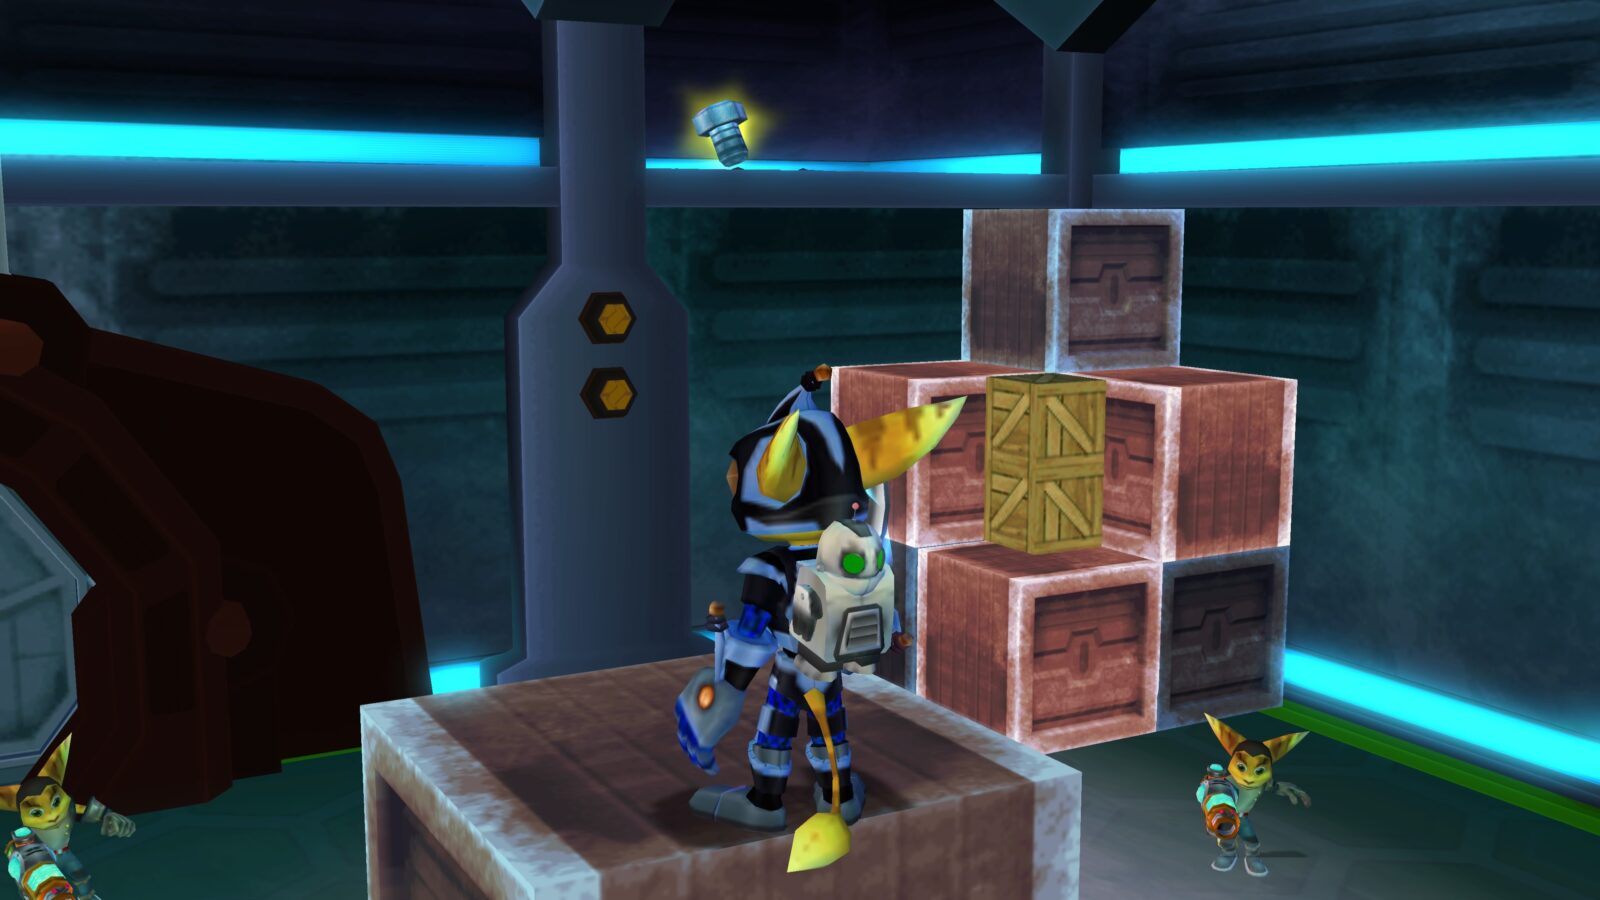
This ledge has the final Titanium Bolt on it.
Thanks for Reading
Plat Get!
Thank You!
Thank You for choosing PlatGet as your source for this Ratchet & Clank: Size Matters Titanium Bolt Location Guide.
Wondering what to complete next? Browse our complete guide selection or check out our friends at PlatPrices.com to filter the PS Store based on price, trophy difficulty, or completion time.
Got a question, some feedback, or just want to say thanks? Drop a comment in the discussion section below, we'd love to hear from you! No account required!!