PlayStation 5
Oceanhorn 2 Trophy Guide


General Info
FAQ
How long does it take to beat Oceanhorn 2: Knights of the Lost Realm and unlock all trophies?
Around 20 hours.
How difficult is it to beat Oceanhorn 2: Knights of the Lost Realm and unlock all trophies?
Easy (3/10).
Does Oceanhorn 2: Knights of the Lost Realm have online trophies?
No.
Does Oceanhorn 2: Knights of the Lost Realm have difficulty-specific trophies?
No.
Does Oceanhorn 2: Knights of the Lost Realm have missable trophies?
No.
Does Oceanhorn 2: Knights of the Lost Realm have glitched trophies?
No.
What is the minimum number of playthroughs required to unlock all trophies in Oceanhorn 2: Knights of the Lost Realm?
One.
Does Oceanhorn 2: Knights of the Lost Realm have a Platinum Trophy?
Yes.
Other Useful Guides:
Oceanhorn 2 Outlands Region Collectibles Guide
Oceanhorn 2 Source Region Collectibles Guide
Oceanhorn 2 Submeria Region Collectibles Guide
Oceanhorn 2 Pirta Region Collectibles Guide
Oceanhorn 2 White City Region Collectibles Guide
Oceanhorn 2 Sernoa Region Collectibles Guide
Oceanhorn 2 Arne Region Collectibles Guide
Trophy Guide
Oceanhorn 2: Knights of the Lost Realm Trophy Guide and Road Map for PlayStation 5
Welcome to our Oceanhorn 2 Trophy Guide. Oceanhorn 2: Knights of the Lost Realm is the sequel to Oceanhorn: Monster of Uncharted Seas, and both of these games are unabashed Legend of Zelda clones, cornering a market that is very lacking outside of the Nintendo family of consoles.
The game itself is fairly well-constructed, it does have a plethora of visual and mechanical glitches but they don’t affect trophies in any way. The Zelda-style gameplay is closer to that of Wind Waker than the original Oceanhorn, which was a blend of Windwaker and Link to the Past.
The trophy journey overall is pretty straightforward. As with most open-world games like this, you can simply focus on the story first and then worry about 100% cleanup later, which is exactly how our Oceanhorn 2 Trophy Guide is structured.
Phase One | Complete the Story
We begin our Oceanhorn 2 Trophy Guide like we begin most guides; by encouraging you to just enjoy the game! Experience the story at your own pace and feel free to get distracted by side-content as much or as little as you want.
Either way, your key objective in this phase of our guide is to reach the credits. After completing the story, you’ll be returned to the title screen, where you can load your latest save to return to the game just before the final boss fight, where you can use a time portal to return to an earlier point in the story and clean up!
Story Trophies
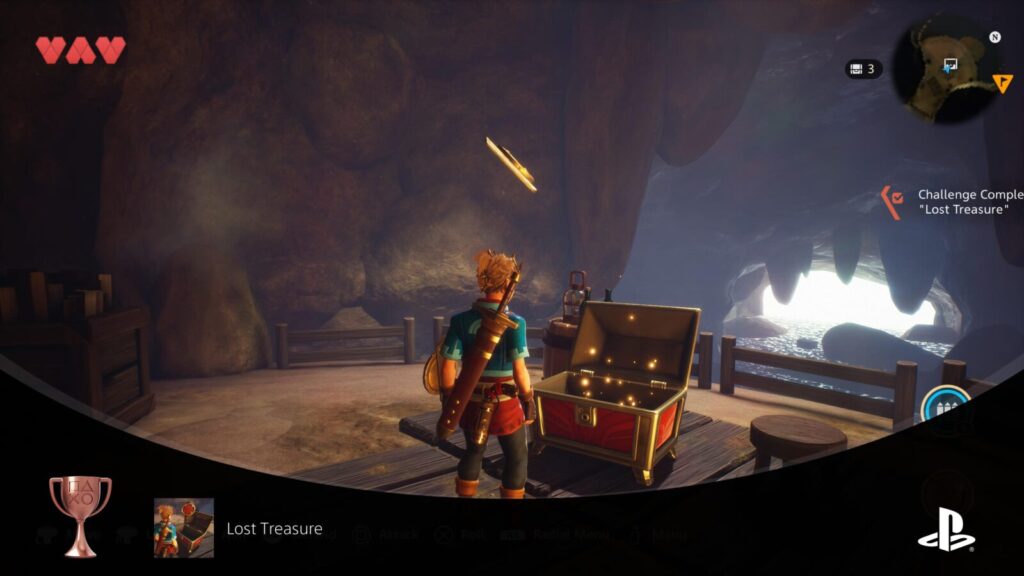
Lost Treasure
Find the Knight’s Shield
While exploring the Old Pirate Hideout at the start of the game, you will find the Knight’s Shield inside a red chest. The chest is behind a gate near a sign that says “The blue button stays pressed on its own.”
As you may have guessed, there’s a blue button nearby to step on, which opens the gate. Head inside and retrieve the shield to receive the Lost Treasure trophy!
Invader
Defeat Galactoss.
Galactoss is the first Oceanhorn 2 Boss, who you will face very early in the game. As you cannot progress without defeating Galactoss, the Invader trophy is unmissable.

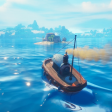
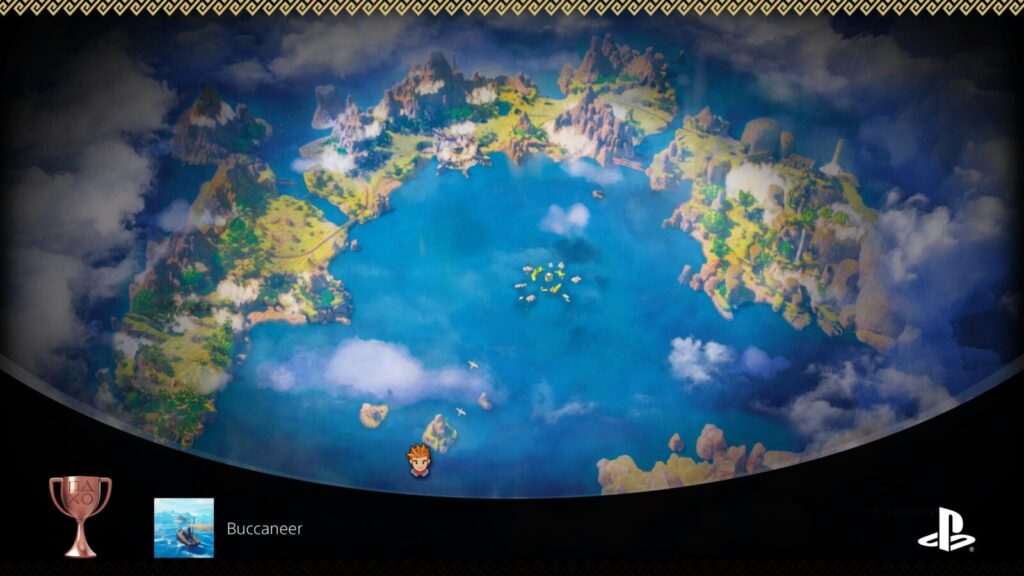
Buccaneer
Sail for the first time
Once you have retrieved the Lockbox from the Pirate Cave in the game’s tutorial and returned it your boat, you will automatically be brought to the open sea where, for the first time, you will sail your ship. Thus, unlocking the Buccaneer trophy automatically.
Arcadian Roadtrip
Make your way to the White City
Shortly after receiving electric spells for your Caster gun, you’ll unavoidably ride a train to the White City receiving the Arcadian Roadtrip trophy.
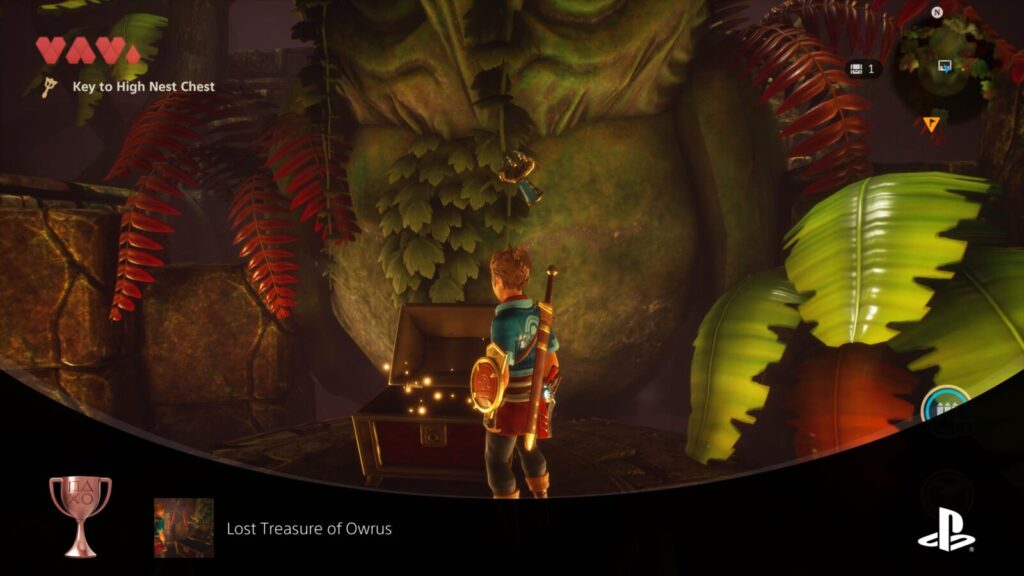
Lost Treasure of Owrus
Find the Owrus’ treasure
In the Deep Jungle, there’s some Underground Temple Ruins you can enter via a hole at the top.
Inside this temple, in front of an Owl Statue, there is a chest containing the Grapple, which you’ll need in order to progress.
Collecting the Grapple gear will unlock the Lost Treasure trophy.
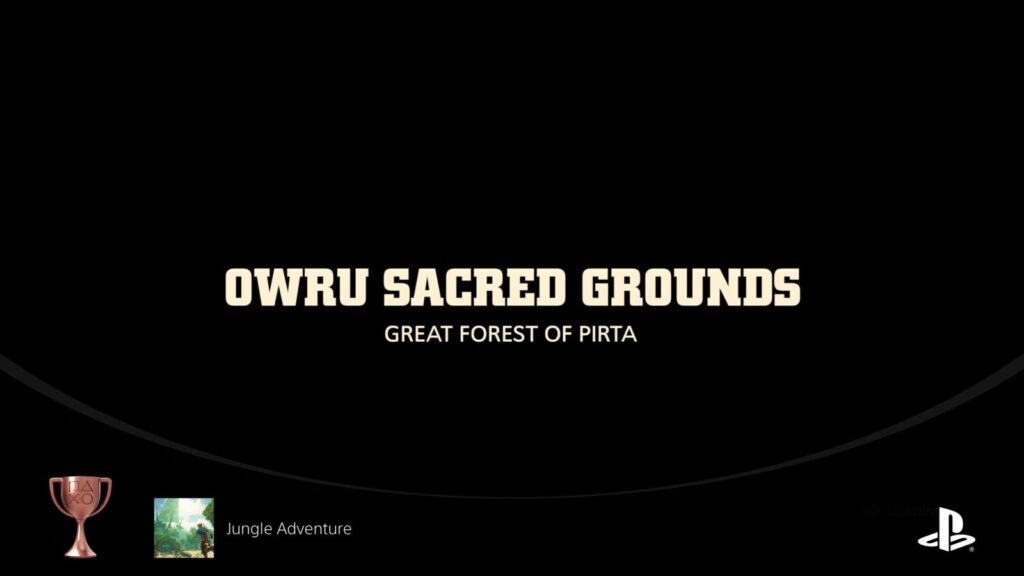
Jungle Adventure
Make your way to the Owru Sacred Grounds
After you’ve acquired the Grapple, you’ll be able to access the Owru Sacred Grounds, which is exactly where the story will take you. Upon entering the Sacred Grounds, the Jungle Adventure trophy will unlock unavoidably.

Burning Feathers
Defeat the Mighty Bird of Pirta
The Mighty Bird of Pirta is the second boss in Oceanhorn 2’s story campaign. You cannot progress without defeating it, making the Burning Feathers trophy unmissable.

Pilot
Fly an airship for the first time
As you progress through the story, you will eventually be tasked with going to the Airport at The White City, where you will enter and pilot an airship for the very first time, thus unlocking the Pilot trophy.
Lost Treasure of Gillfolk
Find the Gillfolk’s treasure
While working on the story objective “Seek and destroy the Thunderstones,” you will eventually retrieve the Diving Helmet from a Shipwreck in the southeast corner of the map.
Upon retrieving the Diving Helmet, the Lost Treasure of Gillfolk trophy will unlock unavoidably.
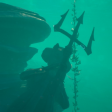
Tropical Crusade
Make your way to Ootheca
You will enter Ootheca as part of the story, not long after acquiring the Diving Helmet. As such, you’ll unlock the Tropical Crusade trophy automatically.
Great Inductor
Defeat the Mighty Turtle of Submeria
The Mighty Yurmala Turtle is one of the main bosses you will face during the story campaign of Oceanhorn 2. As you cannot progress without defeating it, the “Great Inductor” trophy is unmissable and guaranteed to unlock naturally.
Ultima Thule
Make your way to Source
You will venture to Source as part of the Oceanhorn 2 Story Campaign and will unlock the Ultima Thule trophy upon arrival there.
The Dark Tower
Make your way to the top of Riskbourne Citadel
You will climb Riskbourne Tower as part of the Oceanhorn 2 Story Campaign. Upon entering the Riskbourne Citadel’s Main Hall at the top, the “The Dark Tower” trophy will unavoidably unlock!
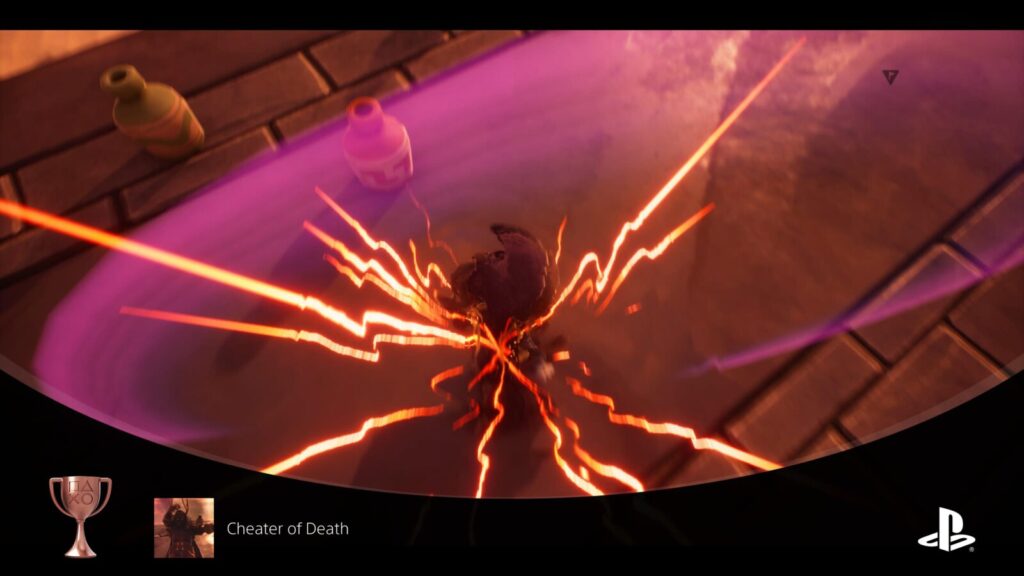
Cheater of Death
Defeat Mesmeroth
Mesmeroth is one of the main bosses you will face during the story campaign of Oceanhorn 2. As you cannot progress without defeating him, the “Cheater of Death ” trophy is unmissable and guaranteed to unlock naturally.

The Witness
Witness the destruction of the White City
The Witness is an automatically-unlocking trophy that you’ll earn by simply progressing Oceanhorn 2’s story campaign.

Monster of Uncharted Seas
Defeat Oceanhorn
After you have reached and defeated the final boss of the Oceanhorn 2 Story Campaign—essentially finishing the story—you will unlock the “Monster of Uncharted Seas” trophy unavoidably.
Phase Two | Cleanup
After completing the story campaign, you will be returned to the Title Screen. From there, the second phase of our Oceanhorn 2 Trophy Guide begins!
Start by loading up your most recent save, which will place you right before the Oceanhorn fight. From there, turn left and enter the rectangular time-portal.
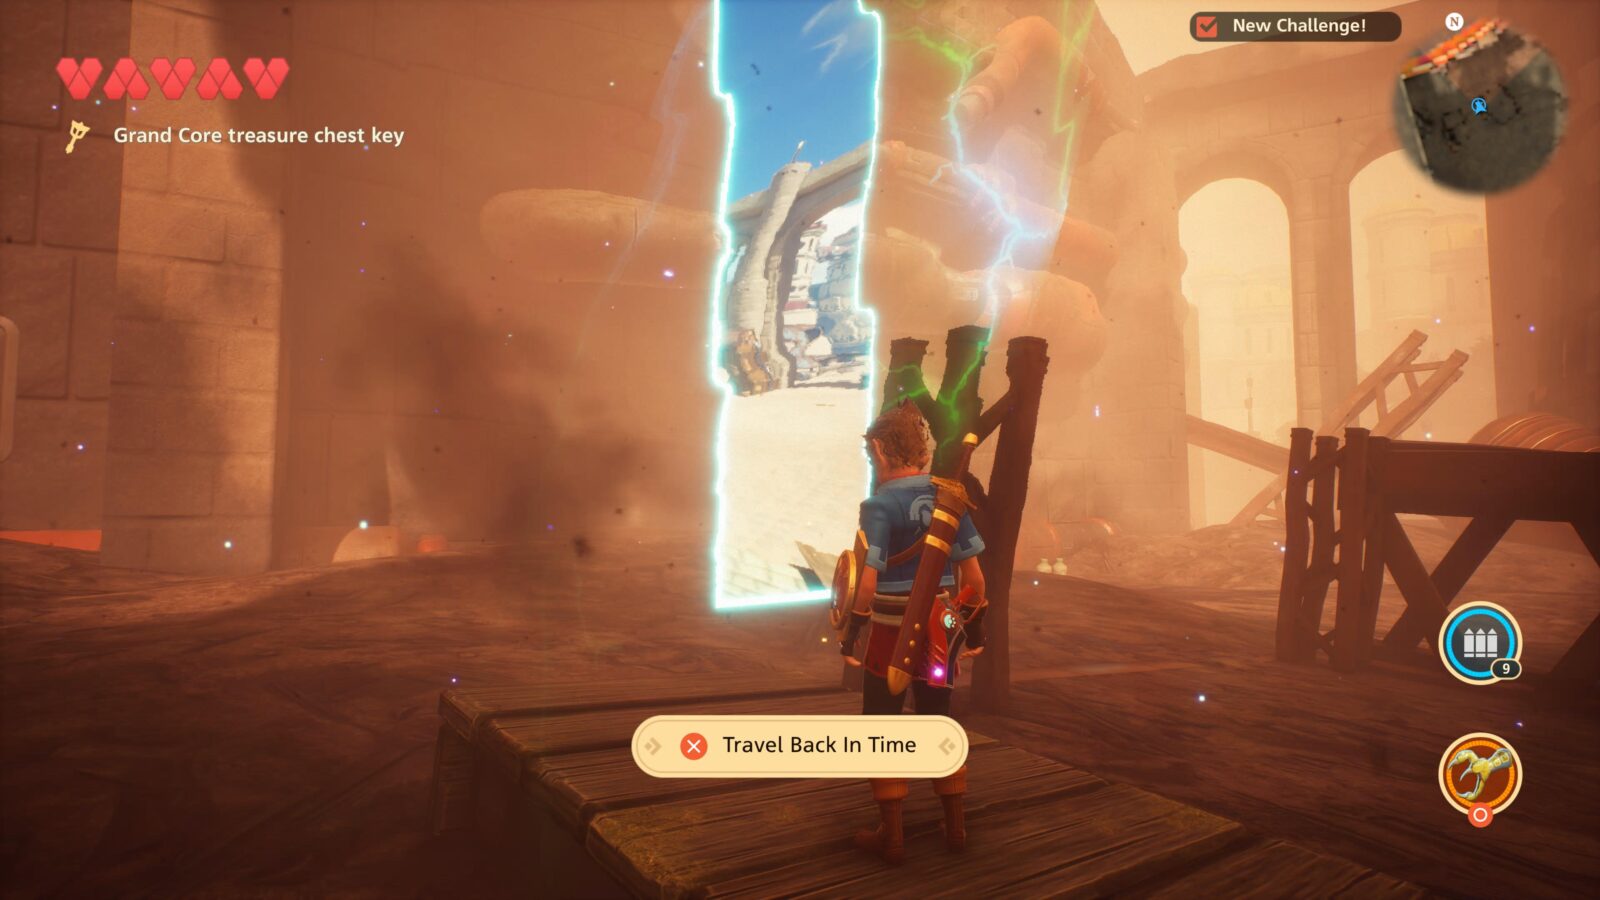
This portal will take you back to White City prior to the events of the story’s conclusion. From there, you’re free to explore as you wish. Head to key areas of the game and work towards 100% completion by finding all Bloodstones, Chests, and other Collectibles.
Map Cleanup Trophies
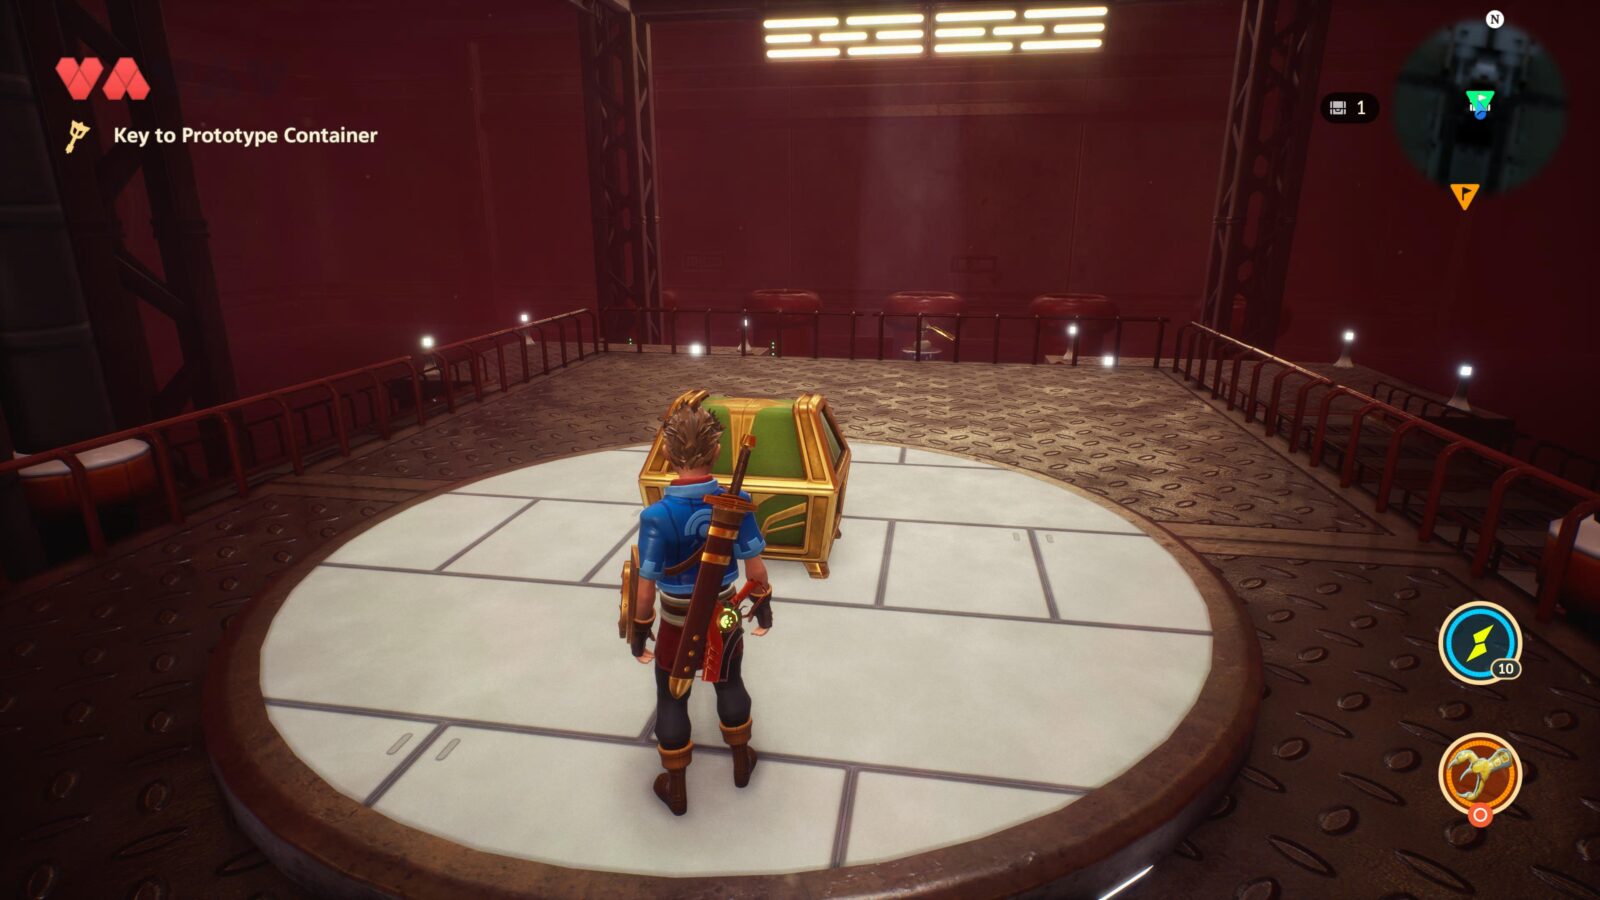
Prototype
Find the Shield of Chronos V1
While you’re exploring every map to reach 100% completion, you will need to explore the Grand Core below The White City, as this area will need to be fully explored and looted too for you to unlock Sleepless in Arcadia.
The Grand Core is pretty much an optional dungeon, filled with chests to open and puzzles to solve.
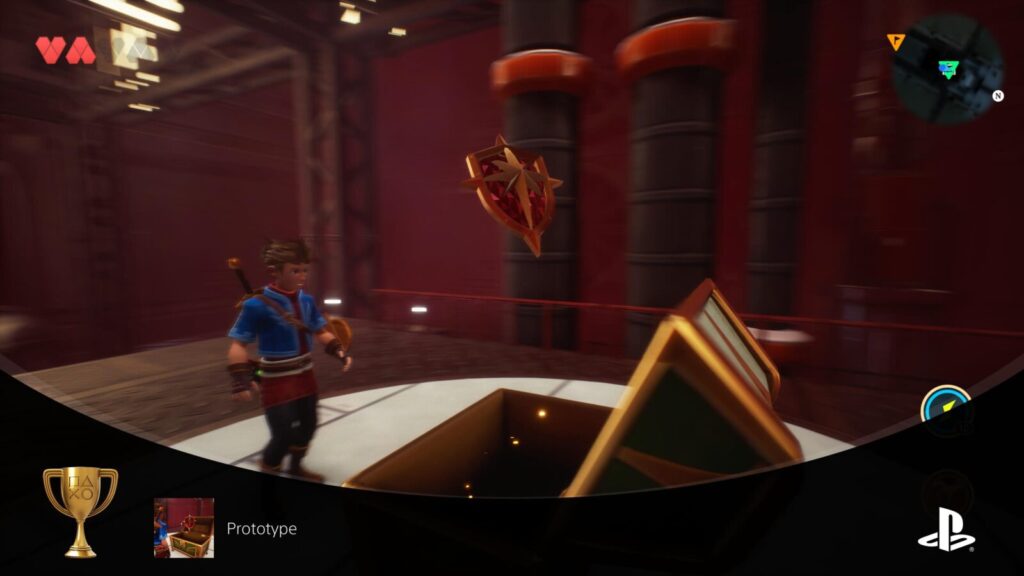
While down there—if you didn’t already come here when the side-quest originally spawned—you will be able to follow a green side-quest marker leading you to a Prototype chest containing the Shield of Chronos v1.
With it, your block ![]() will be more effective and will be able to block and deflect laser fire.
will be more effective and will be able to block and deflect laser fire.
As soon as you receive it, the Prototype trophy will unlock.
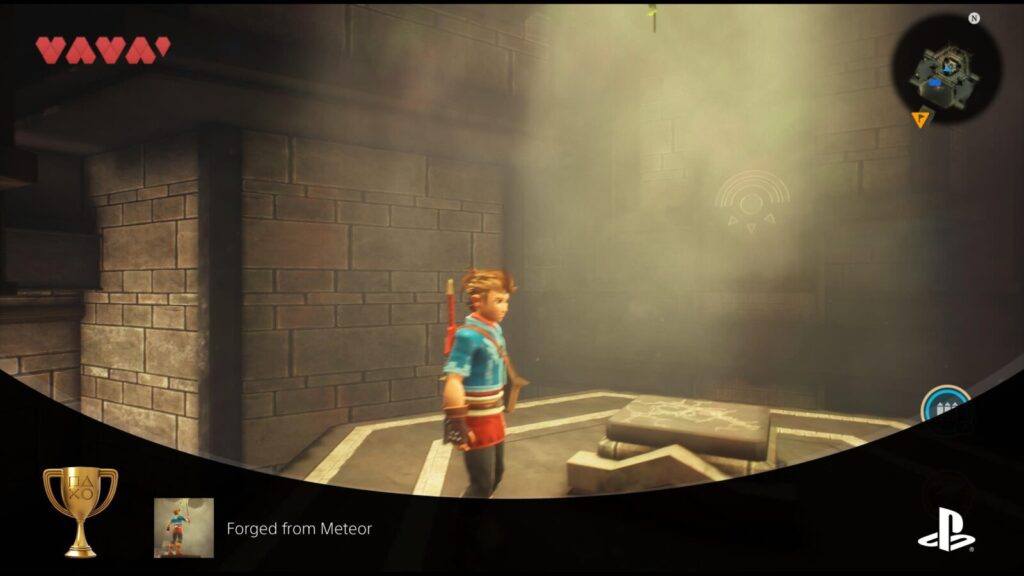
Forged from Meteor
Wield the Astroblade
Faroah Crypt is an optional dungeon in the far northeastern corner of the overworld map. It can only be accessed on foot.
Inside, at the back of the crypt, lies the Astroblade.

To access it, however, you will first need to pull the lever on the wall to the right of it’s pedestal to open the challenge rooms elsewhere in Faroah Crypt. You must enter each room and complete a challenge.
Upon completion of all four challenges, you’ll be able to return to the Astroblade and pull it from its pedestal; yours to wield! Upon claiming it, the Forged from Meteor trophy will unlock!
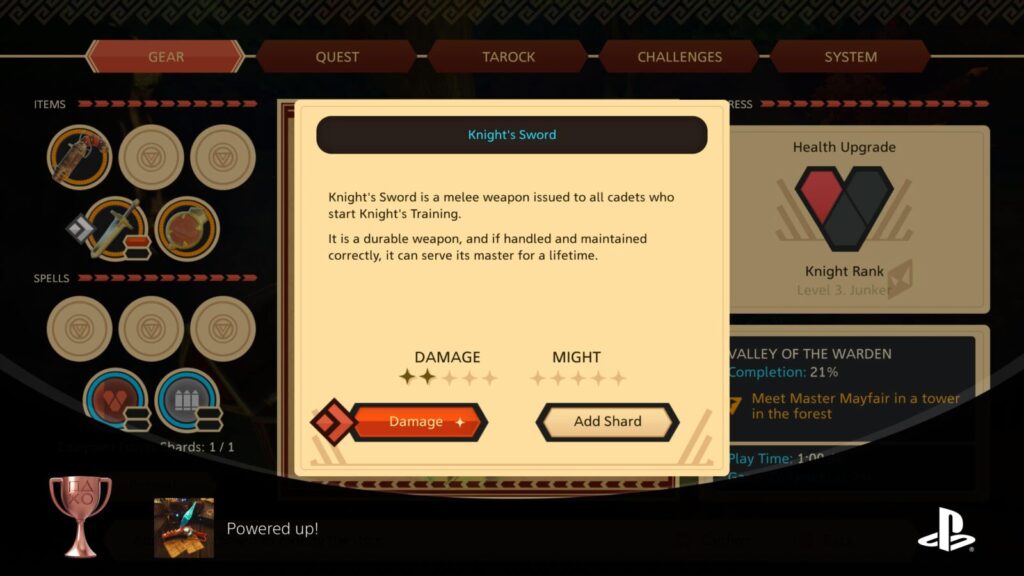
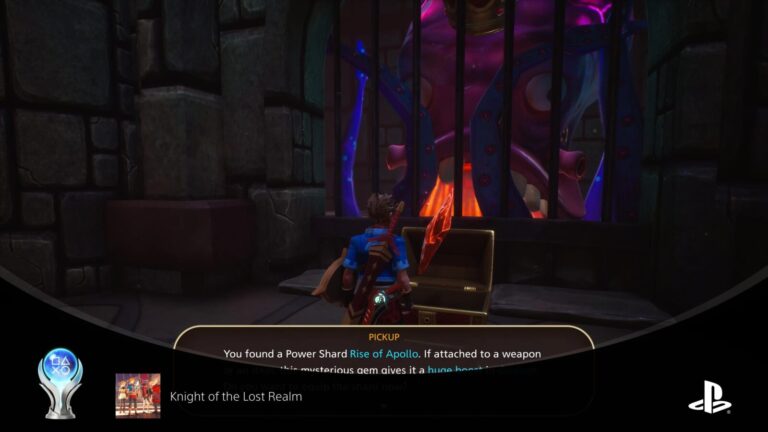
Powered up!
Power up your weapon or spell with a Power Shard
Power Shards are a type of collectible that you can equip onto your gear, applying various buffs and boons. You can find them all over in Oceanhorn 2.
Whenever you collect a Power Shard, you’ll be asked if you want to equip it and then hand-held into doing so. If you refuse, you can manually apply Power Shards from the Gear tab of the ![]() menu and unlock the “Powered up!” trophy in that way instead.
menu and unlock the “Powered up!” trophy in that way instead.
However you do it, the trophy will pop as soon as you equip a Power Shard for the first time.
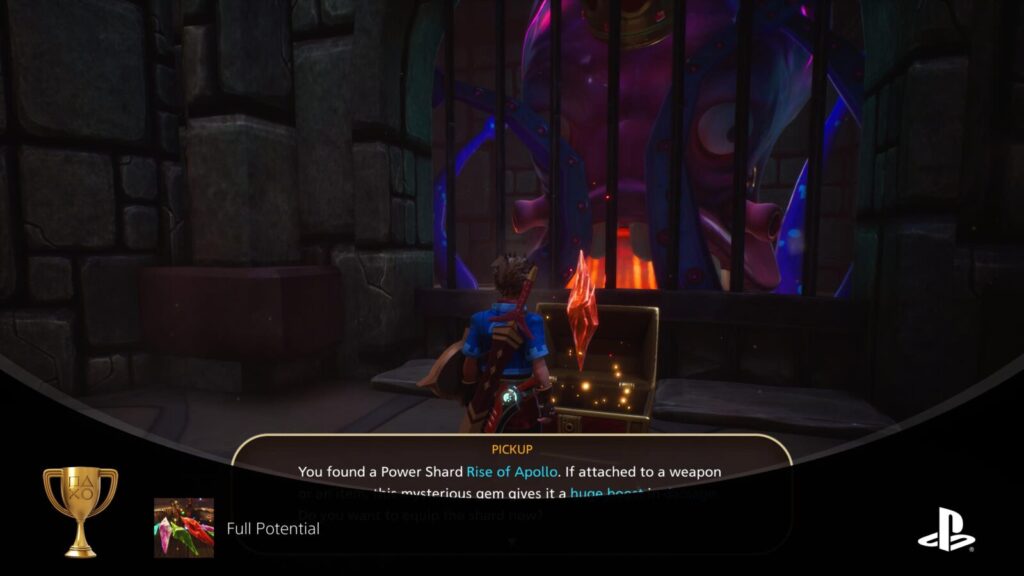
Full Potential
Collect all Power Shards
You will collect 21/23 of Power Shards by just following our Collectible Guides linked in the trophies below, meaning you’ll get pretty close by just working on Globetrotter.
Besides those Power Shards, though, you will need to purchase two from a couple of locations. The first is Synthetic Genco Shard D1C1 from the Genco Vending Machine in Arne Village.
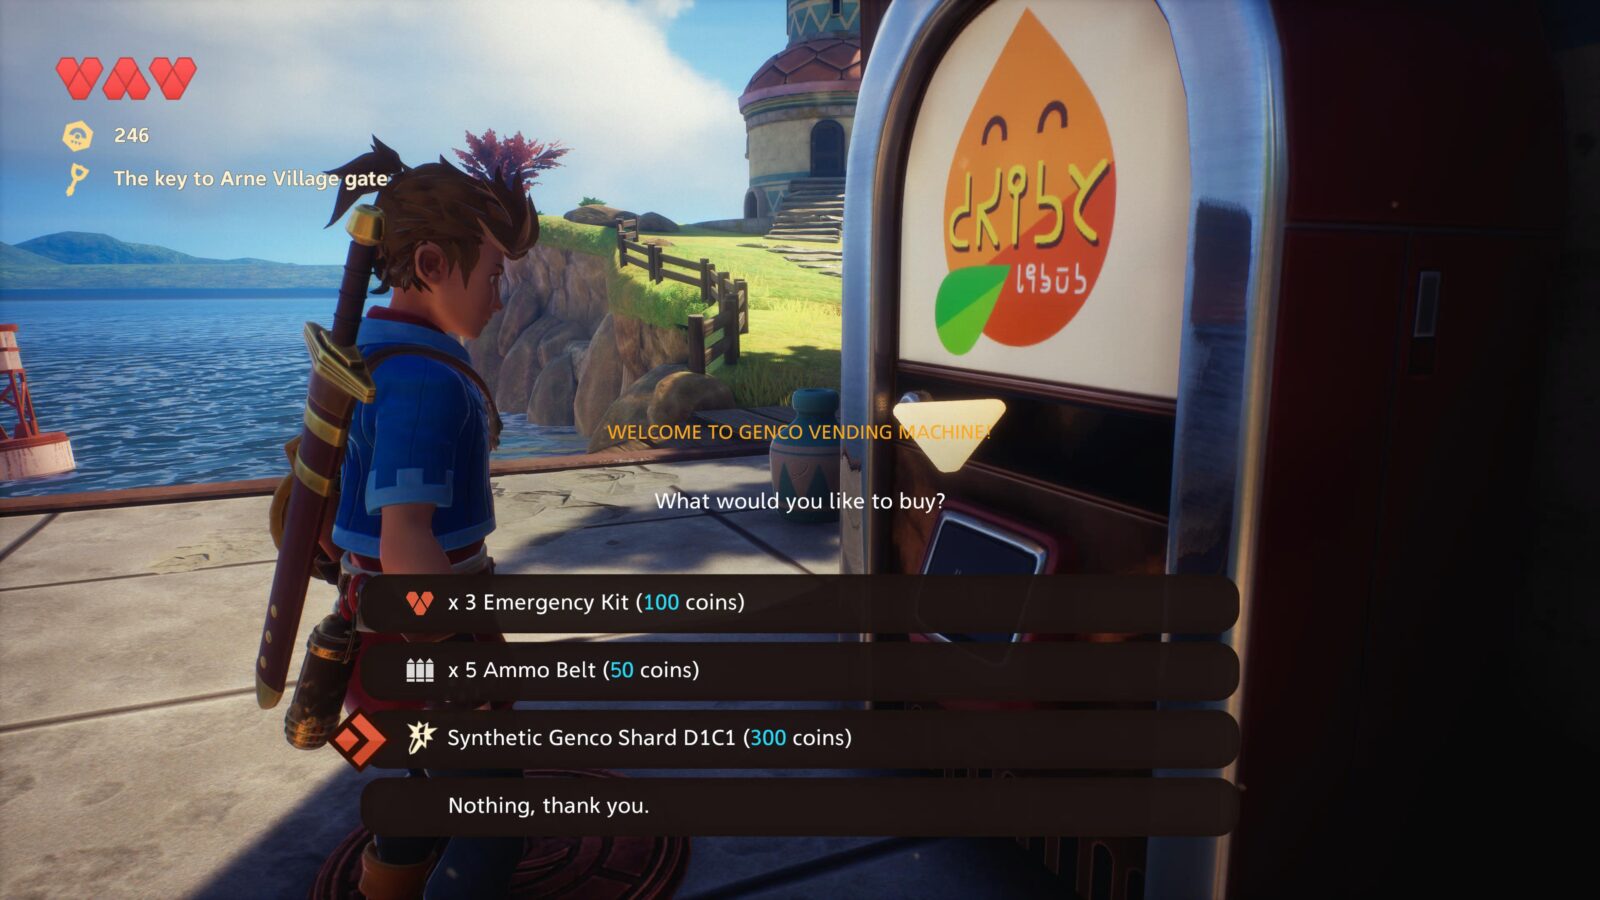
The second is purchasable at the Tech Shop in The White City.
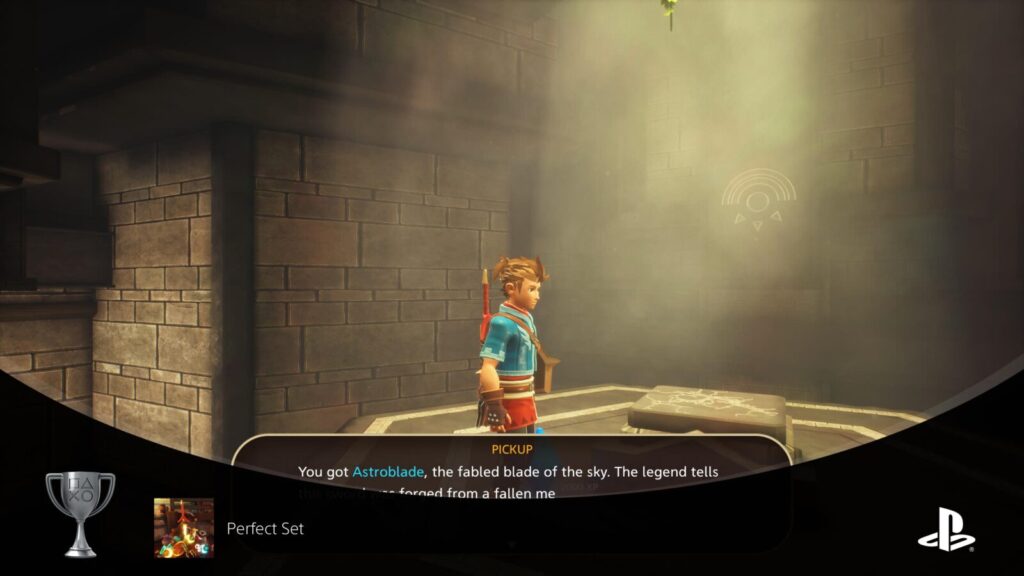
Perfect Set
Collect all Gear
The majority of pieces of gear in Oceanhorn 2 will be unlocked naturally as they are needed for story progression. Those items are:
- Sword
- Shield
- Bombs
- Grapple
- Diving Helmet
- Tarock Card Game
The only other pieces of gear you need to collect are the Shield of Chronos V1 and the Astroblade. However, those pieces of gear have trophies of their own. Earn the below two trophies and complete the story campaign to unlock this Perfect Set trophy.
The Crimson Hunt
Collect your first bloodstone
The “The Crimson Hunt” trophy will unlock when you simply collect your very first Bloodstone. You’ll need to collect all 52 of them for Crimson Collector, so getting your first one will be the least of your concerns.
As with chests, there is a Bloodstone icon next to your minimap. This icon will begin pulsing when you’re looking in the direction of a bloodstone!


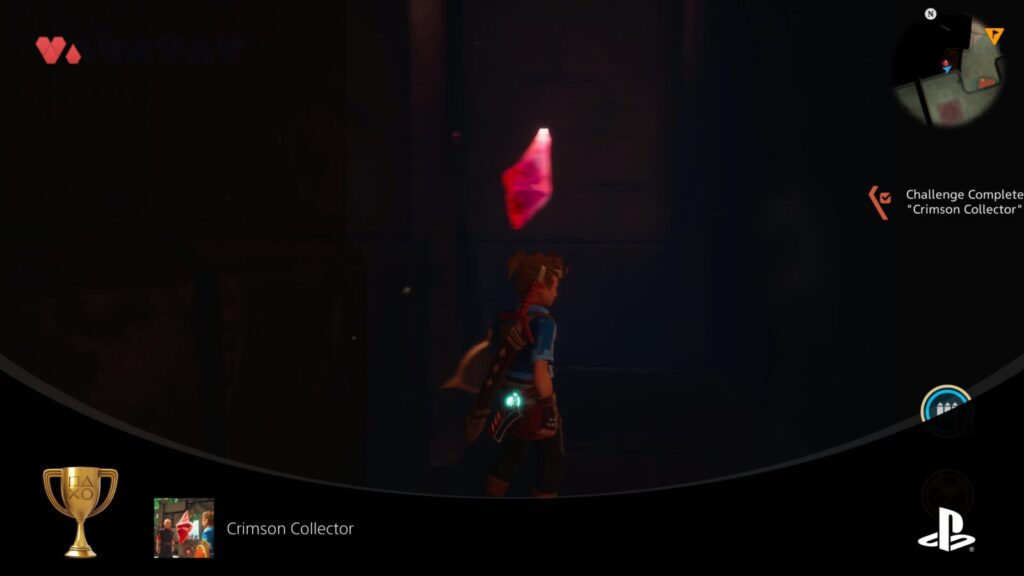
Crimson Collector
Collect all bloodstones
To unlock the Crimson Collector trophy, you will need to find, smash, and collect all 52 Bloodstones hidden throughout Oceanhorn 2.
Fortunately, each Bloodstone location is listed in the collectible guides below, so you will earn this trophy naturally while working on Globetrotter.
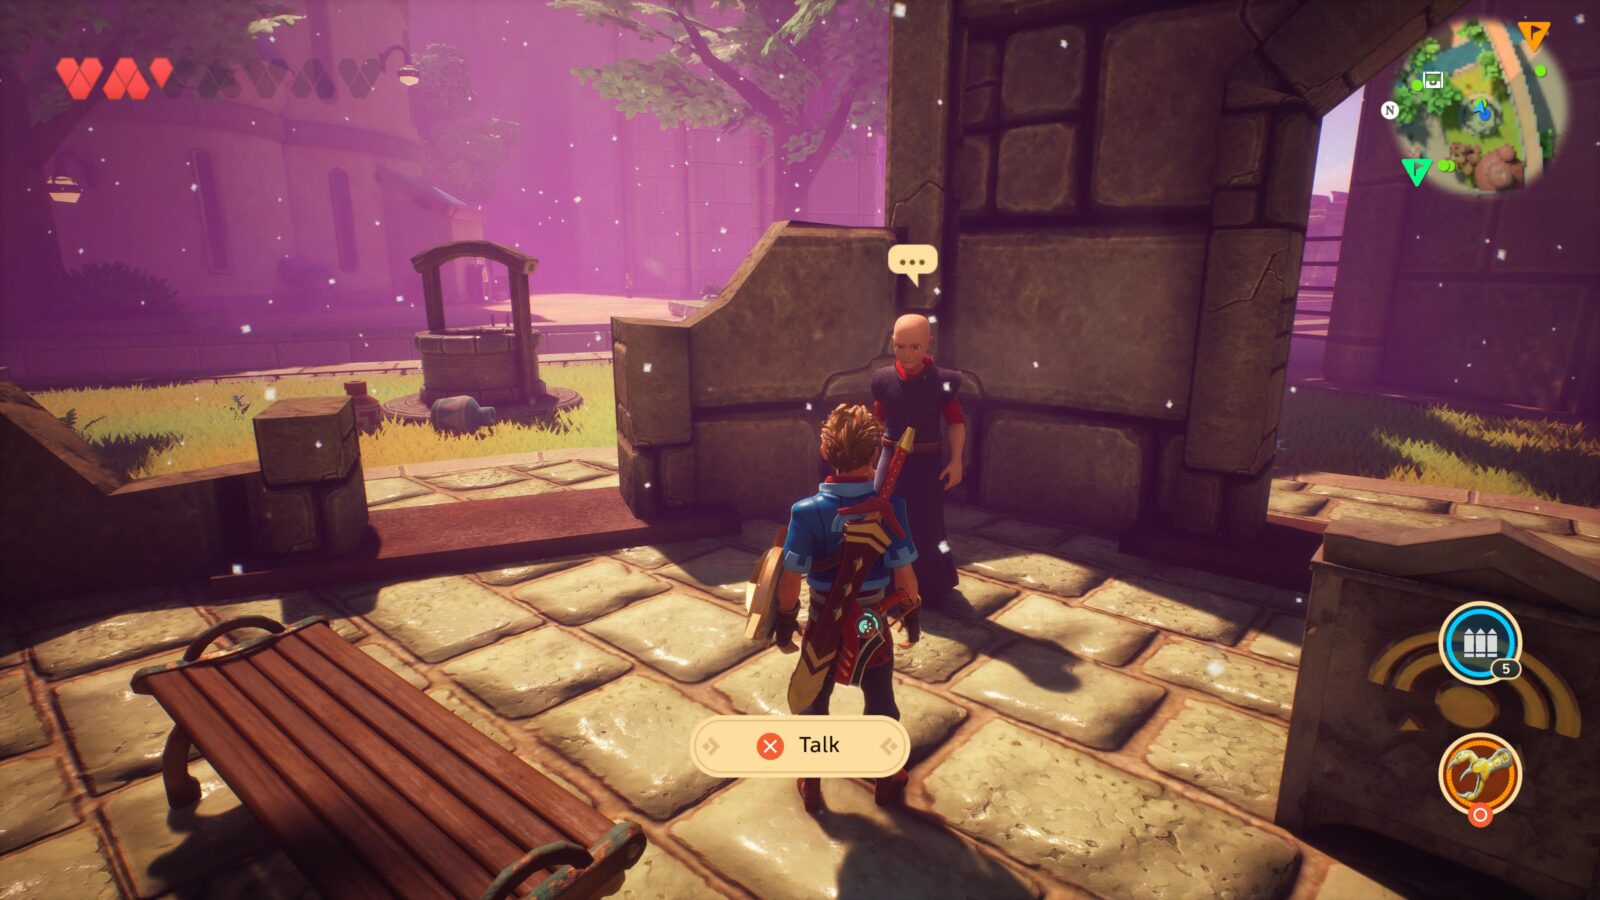
Once you have all 52, the trophy will unlock immediately. You can then take the Bloodstones to the Collector at the ruined church in The White City.

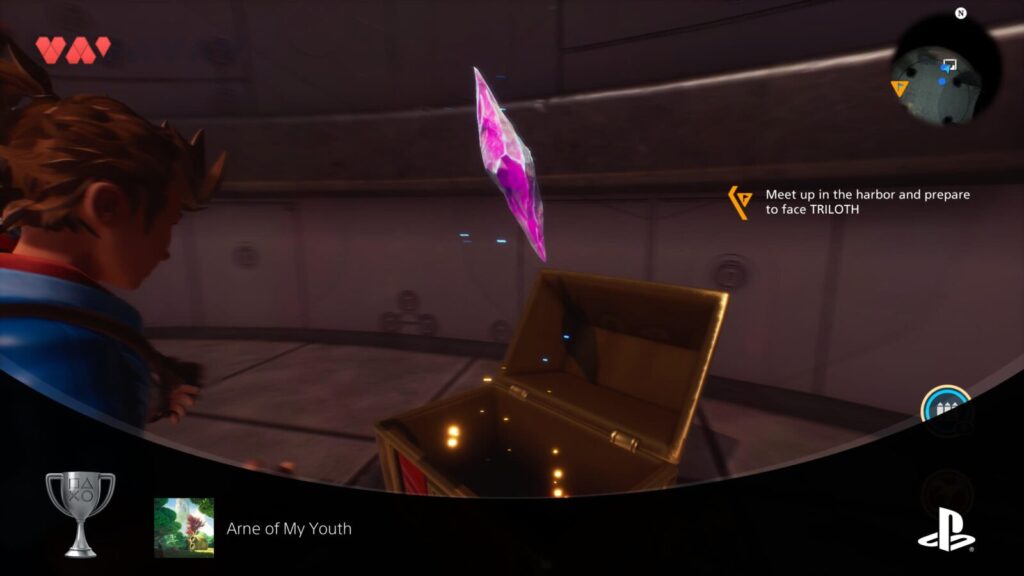
Arne of My Youth
100% the Valley of the Warden Region
To unlock the “Arne of My Youth” trophy, you will need to reach 100% completion of all maps in the Valley of the Warden region. This means completing the story beats, collecting Bloodstones, opening Chests, activating Teleporters, and using any Overlooks.
See Globetrotter for general advice, or use the Arne Region Collectible Guide for specifics of each collectible you need.
On top of collecting everything, you will also need to visit every possible location, including building interiors. Make sure you enter every building you see, whether our guide says there’s a collectible there or not!
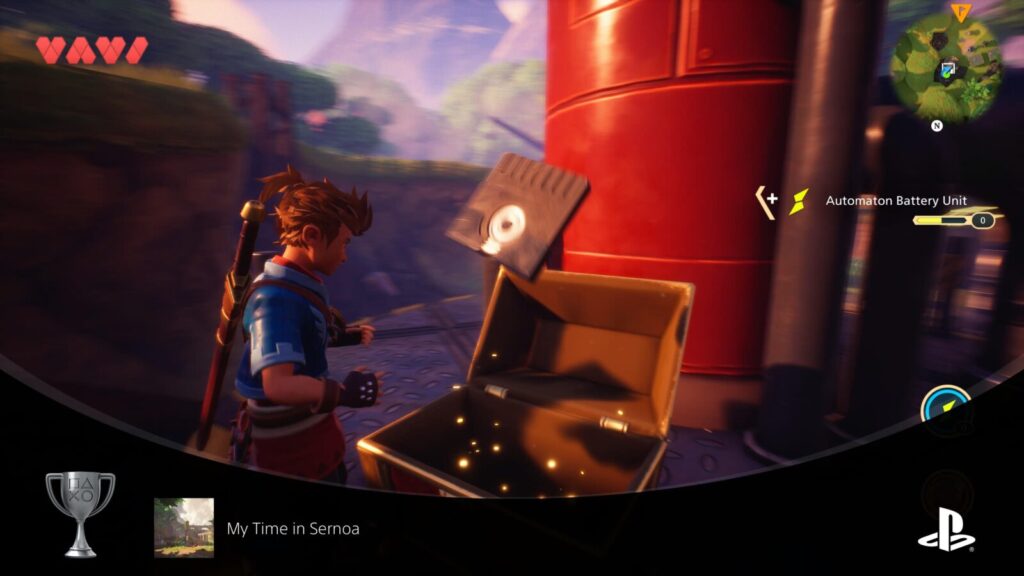
My Time in Sernoa
100% Sernoa Region
To unlock the “My Time in Sernoa ” trophy, you will need to reach 100% completion of all maps in the Sernoa region. This means completing the story beats, collecting Bloodstones, opening Chests, activating Teleporters, and using any Overlooks.
See Globetrotter for general advice, or use the Sernoa Region Collectible Guide for specifics of each collectible you need.
On top of collecting everything, you will also need to visit every possible location, including building interiors. Make sure you enter every building you see, whether our guide says there’s a collectible there or not!
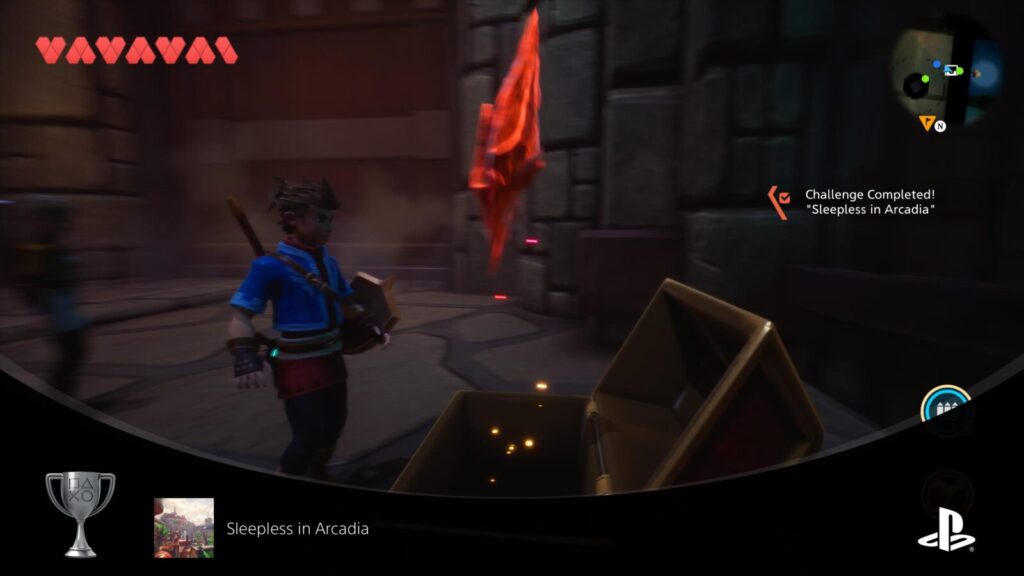
Sleepless in Arcadia
100% the White City Region
To unlock the “Sleepless in Arcadia” trophy, you will need to reach 100% completion of all maps in the White City region. This means completing the story beats, collecting Bloodstones, opening Chests, activating Teleporters, and using any Overlooks.
See Globetrotter for general advice, or use the White City Region Collectible Guide for specifics of each collectible you need.
On top of collecting everything, you will also need to visit every possible location, including building interiors. Make sure you enter every building you see, whether our guide says there’s a collectible there or not!

Pirta Uncovered
100% Pirta Region
To unlock the “Pirta Uncovered” trophy, you will need to reach 100% completion of all maps in the Pirta region. This means completing the story beats, collecting Bloodstones, opening Chests, activating Teleporters, and using any Overlooks.
See Globetrotter for general advice, or use the Pirta Region Collectible Guide for specifics of each collectible you need.
On top of collecting everything, you will also need to visit every possible location, including building interiors. Make sure you enter every building you see, whether our guide says there’s a collectible there or not!

Submeria High and Low
100% Submeria Region
To unlock the “Submeria High and Low” trophy, you will need to reach 100% completion of all maps in the Submeria region. This means completing the story beats, collecting Bloodstones, opening Chests, activating Teleporters, and using any Overlooks.
See Globetrotter for general advice, or use the Submeria Region Collectible Guide for specifics of each collectible you need.
On top of collecting everything, you will also need to visit every possible location, including building interiors. Make sure you enter every building you see, whether our guide says there’s a collectible there or not!
Secrets of Source
100% Source Region
To unlock the “Secrets of Source” trophy, you will need to reach 100% completion of all maps in the Source region. This means completing the story beats, collecting Bloodstones, opening Chests, activating Teleporters, and using any Overlooks.
See Globetrotter for general advice, or use the Source Region Collectible Guide for specifics of each collectible you need.
On top of collecting everything, you will also need to visit every possible location, including building interiors. Make sure you enter every building you see, whether our guide says there’s a collectible there or not!

Emptiness of Outlands
100% Outlands Region
To unlock the “Emptiness of Outlands” trophy, you will need to reach 100% completion of all maps in the Outlands region. This means completing the story beats, collecting Bloodstones, opening Chests, activating Teleporters, and using any Overlooks.
See Globetrotter for general advice, or use the Outlands Region Collectible Guide for specifics of each collectible you need.
On top of collecting everything, you will also need to visit every possible location, including building interiors. Make sure you enter every building you see, whether our guide says there’s a collectible there or not!
Globetrotter
100% all regions
To unlock Globetrotter, you will need to unlock all 7 Map Completion Trophies:
Once you have unlocked all seven, the Globetrotter trophy will unlock. Check out each of the trophies above for collectible locations as per the linked Collectible Guides.
Chests are clearly marked on the map, making them easy to find. However, many chests will require a key. If you’re struggling to find a key to a chest, it’s probably in a different chest so just come back to it later.
Chests and Bloodstones have icons next to the minimap indicating whether there are any nearby. No icons mean that you’ve collected them all in your immediate vicinity. You’ll also note that these icons start blinking when you’re facing in the direction of a chest or Bloodstone. You can use this to hone in on a collectible’s location while exploring.
Overlooks, too, are clearly marked on your map, making them very hard to miss.

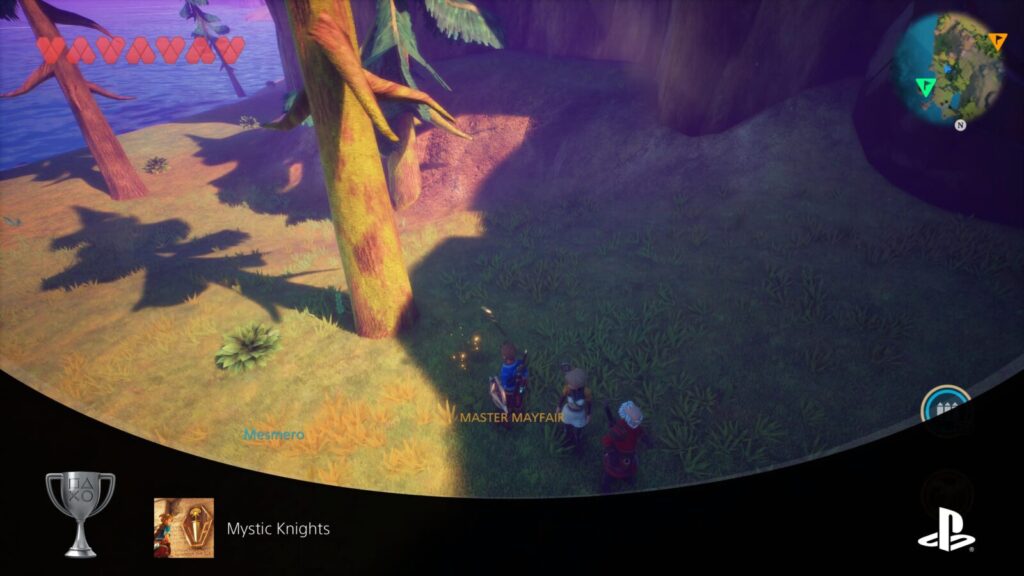
Mystic Knights
Find all Mysterious Daggers
There are 19 Daggers hidden on the “World of Arcadia” overworld map. They are all connected to a puzzle in White City’s “Knight’s Order” tower.
Enter this tower and view the huge painting at the back to see every Mysterious Dagger’s location on the world map. This will also mark your actual map.
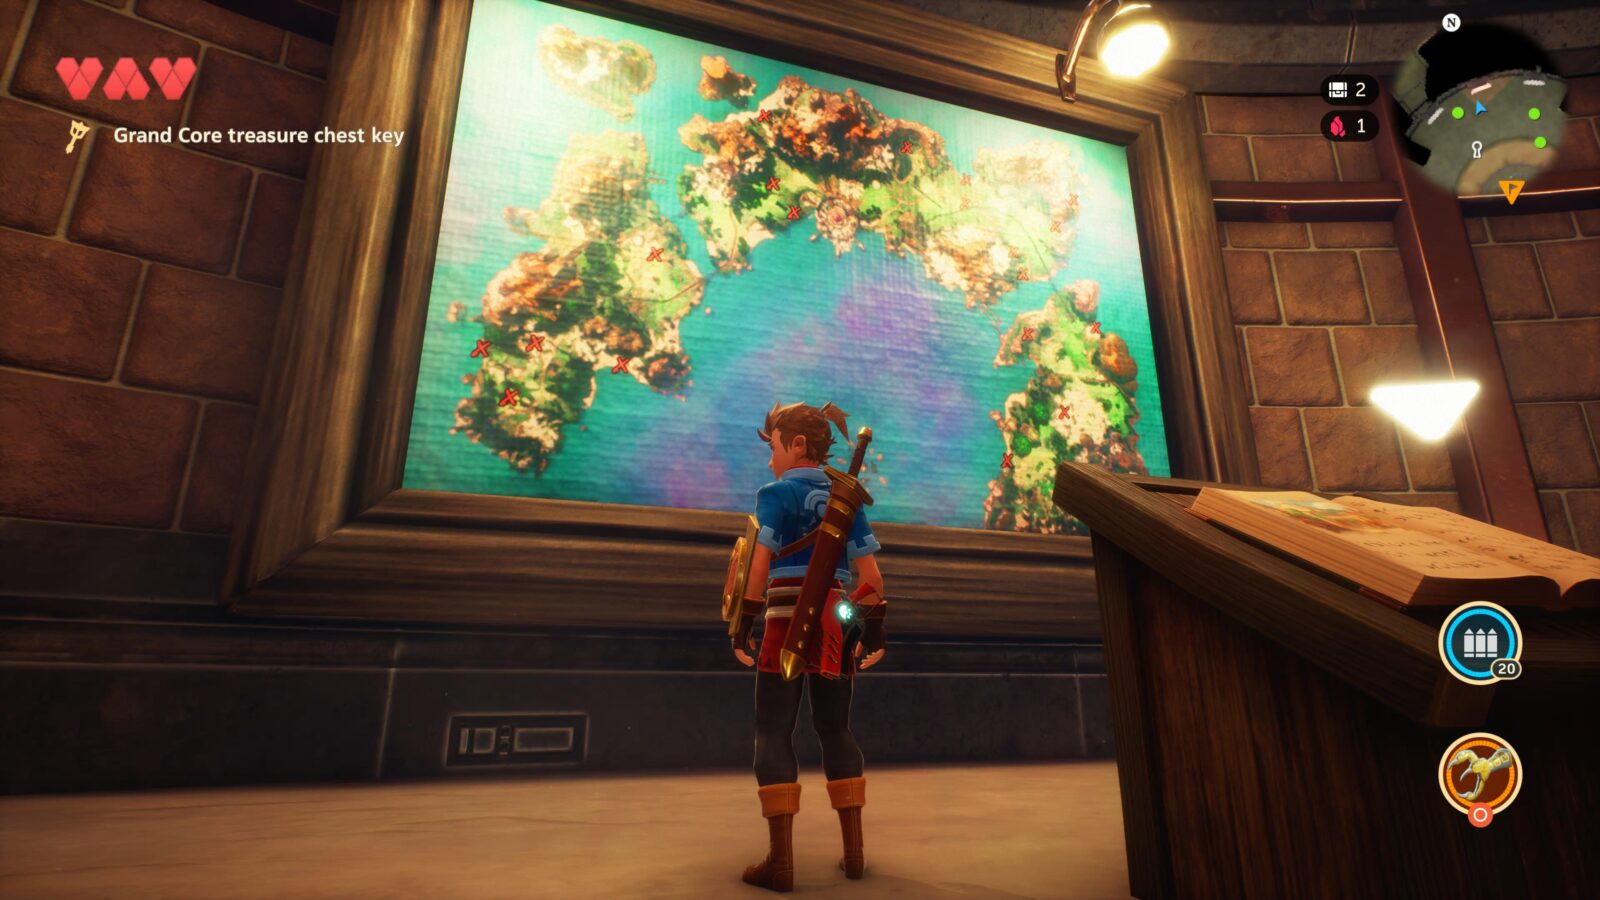
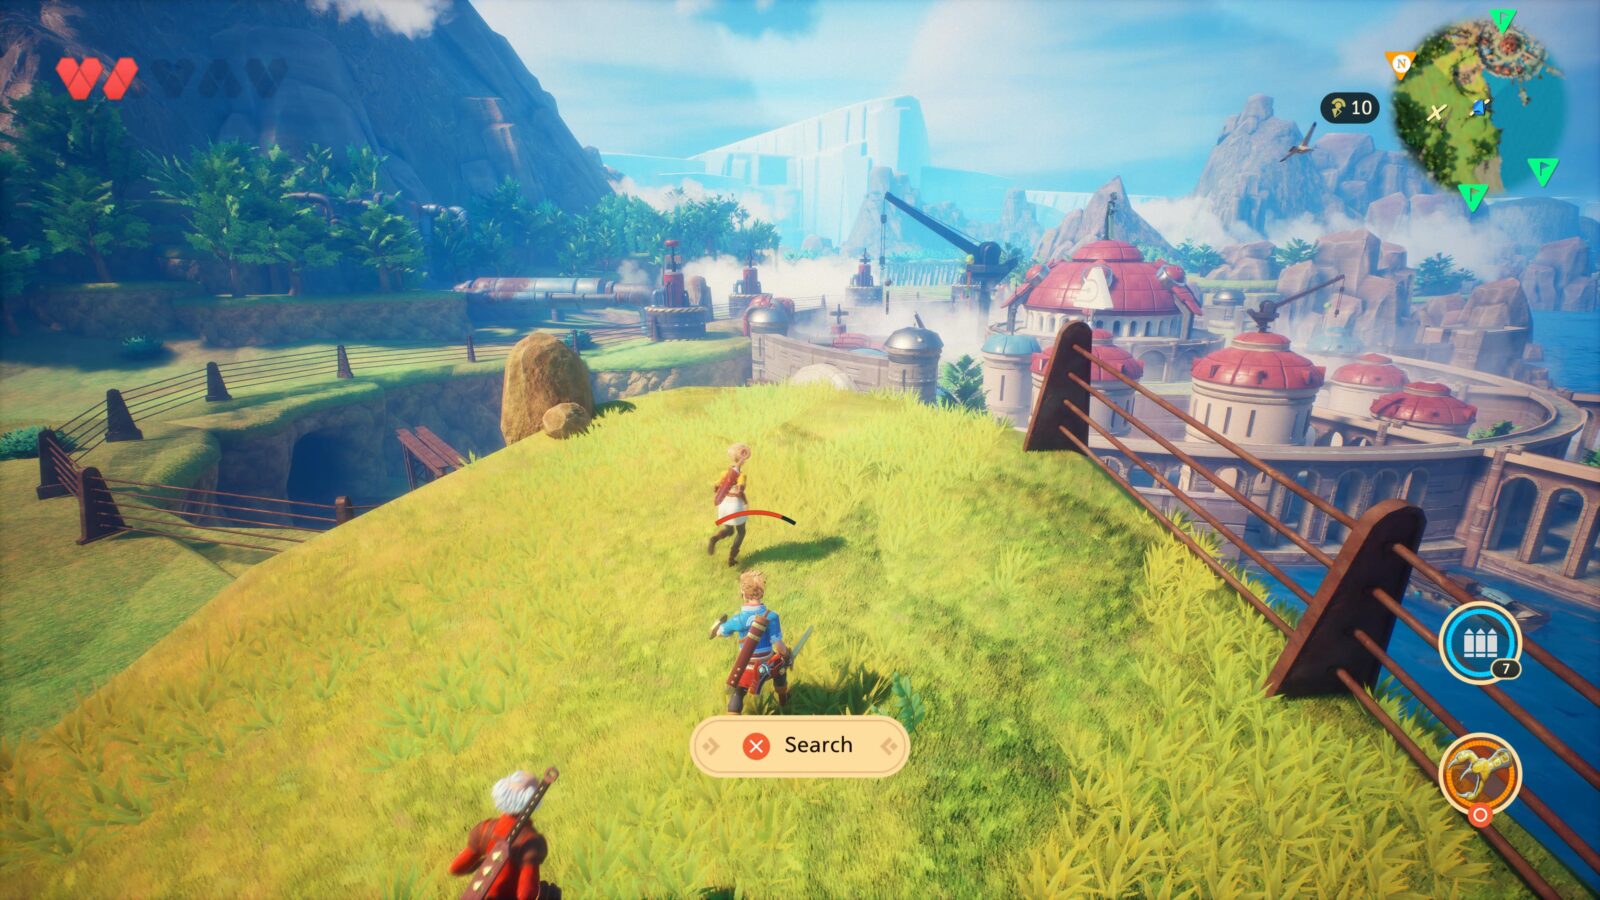
Following that, every time you access the World of Arcadia overworld area, you will see every Mysterious Dagger’s location clearly marked on your minimap with a small “x” icon.
You should position yourself in the center of one of these “x” icons and then a “Search” prompt will appear. You can then press ![]() to retrieve the Mysterious Dagger.
to retrieve the Mysterious Dagger.
To ease your search, I’ve also included a table describing each dagger’s location:
| 1 | Near the Miller’s House outside Highroad Campsite. |
| 2 | On an east-facing overlook near the coast, between Highroad Campsite and Sernoa Station. |
| 3 | Near the wall outside of Sernoa Station. |
| 4 | Near the entrance to the Great Forest of Pirta. |
| 5 | Close to an Old Warden statue just outside the Great Forest of Pirta. |
| 6 | Along the eastern coast near the entrance to the Great Forest of Pirta. |
| 7 | At the western side of the Great Forest of Pirta, near a stone archway. |
| 8 | Close to a gravestone near the Observatory. |
| 9 | From the Observatory, there’s a ledge you can drop down to with this dagger on it. |
| 10 | Near a sign reading “Road to Faroah” there’s a tree with this dagger under it. |
| 11 | Near the crashed ship outside the gates to Faroah. |
| 12 | Go east of the White City and look for this dagger near a distinct tree between the road and the railroad tracks. |
| 13 | Along the northern coastline east of the White City, you’ll find this dagger by an old boat at the docks. |
| 14 | At “Lake Tika”, which is east of White City, you’ll find this dagger on the lake’s northern coast. |
| 15 | Amid some tall grass along a short wall near the Ghost Town’s entrance. |
| 16 | Go West from White City and look for a house near a journal on a box. The dagger is near the house. |
| 17 | Along the southern coastline to the west of White City, there’s a fenced hill with this dagger at the top. |
| 18 | In the desert area west of White City, look for this dagger near a big rock at the other side of the river. |
| 19 | Also at the opposite side of the desert river, West of White City, you’ll find this dagger along the south-facing coastline. |
The trophy will unlock when you collect the 19th dagger, regardless of whether or not you go and collect your prize from the Knight’s Order when you’re done. You should do that, though, as you’ll need the rewards for other trophies!

Bounty Hunter
Defeat all escaped prisoners
There are 6 escaped prisoners in total. Escaped prisoners are optional minibosses hidden around the game’s maps. Each has a Side-Quest tied to it, with details available at the Knight’s Board in each region. Use the mini-guide below to find and defeat all six bosses:
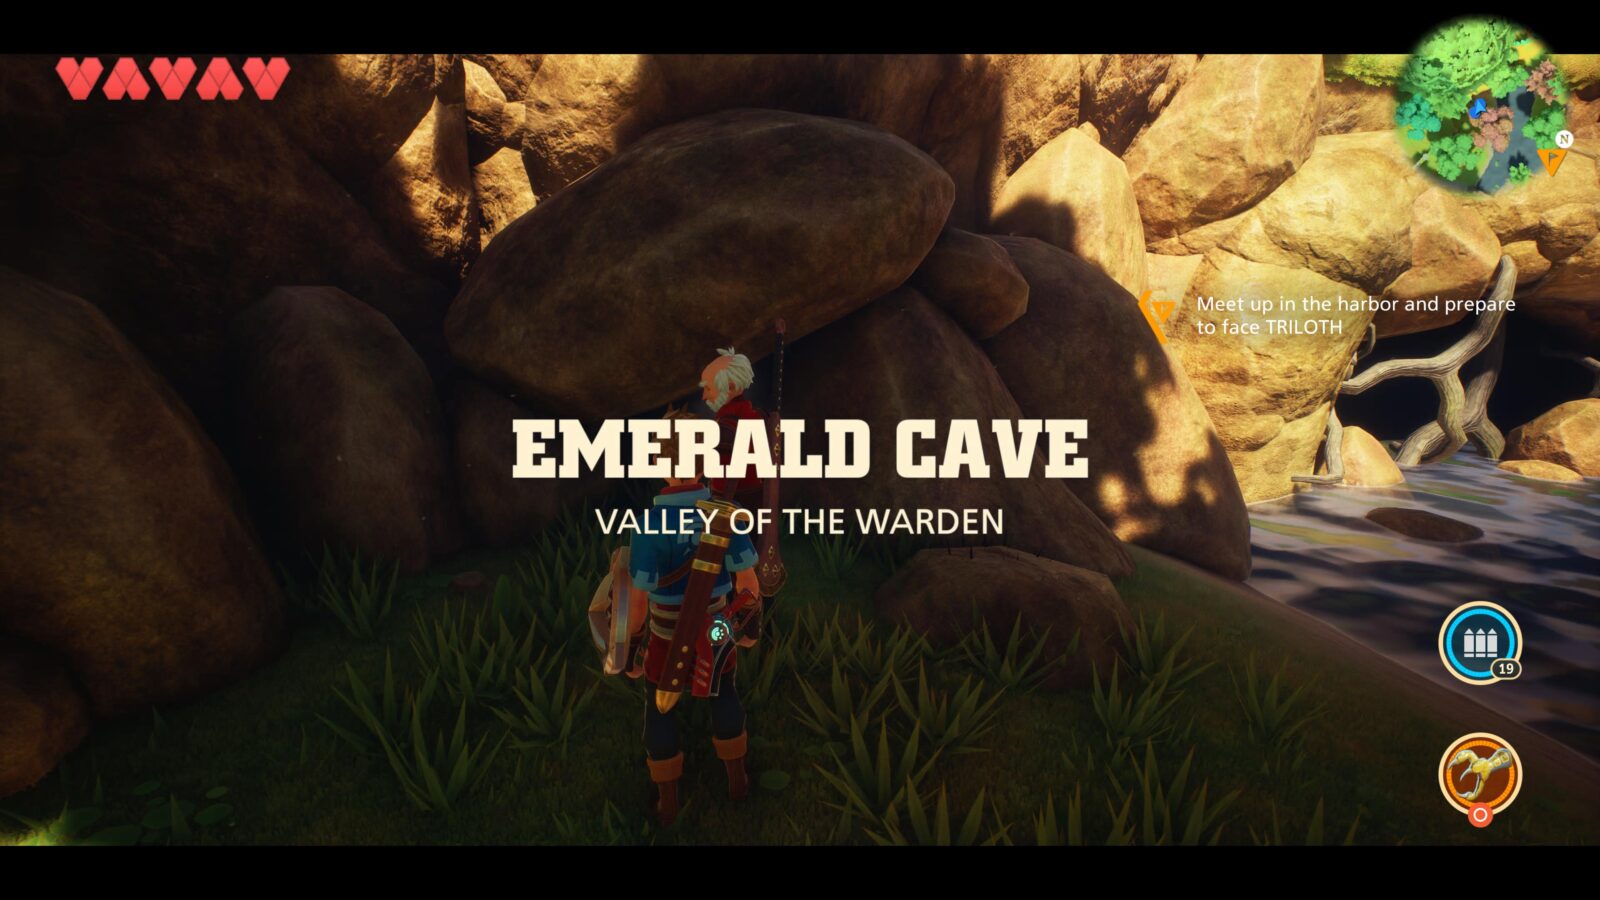
Lord Crimson
In Warden Woods, head to the southwest-most corner and you’ll see a small cave entrance next to the river. Inside that cave, you will find this Scarabara miniboss.
Sir Stingalot
Leave The White City on foot and then head northeast until you reach the lake. From the lake, pass under the aqueduct and head towards the Ironwood Grove Entrance on the side of a ridge. Between the aqueduct and the larger lake.
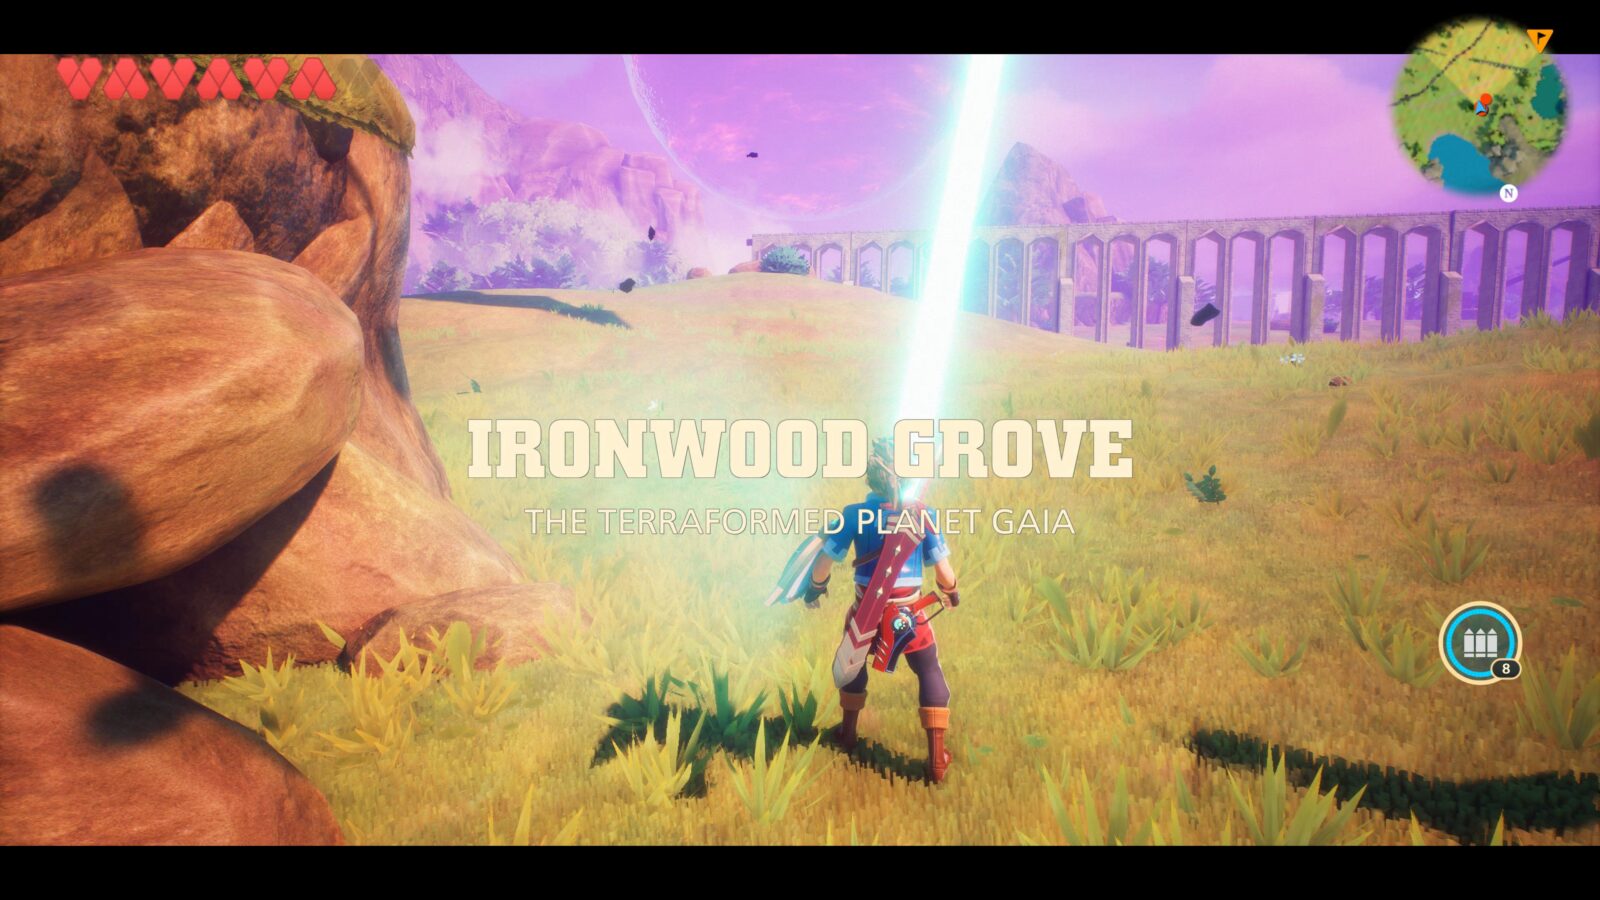
Inside Ironwood Grove, you will find the Sir Stingalot escaped prisoner.
Prince Kissinger
Leave L’Istrait Town on foot and head north to a swamp. At the northern end of this swamp, you’ll find the Marsh Palce.
Head inside to reach and defeat Prince Kissinger.
Baron Slimethorne
Leave The Ghost Town in Source on foot and go into the Ice Caverns opposite the Ghost Town entrance.
In here, you will find and can deal with Baron Slimethorne.
Queen Long
North of Fortress Ruins, there’s a plateau you can land Yellow Bird at. When landing here, you’ll notice a Knight’s Board right in front of you with details of Queen Long’s location.
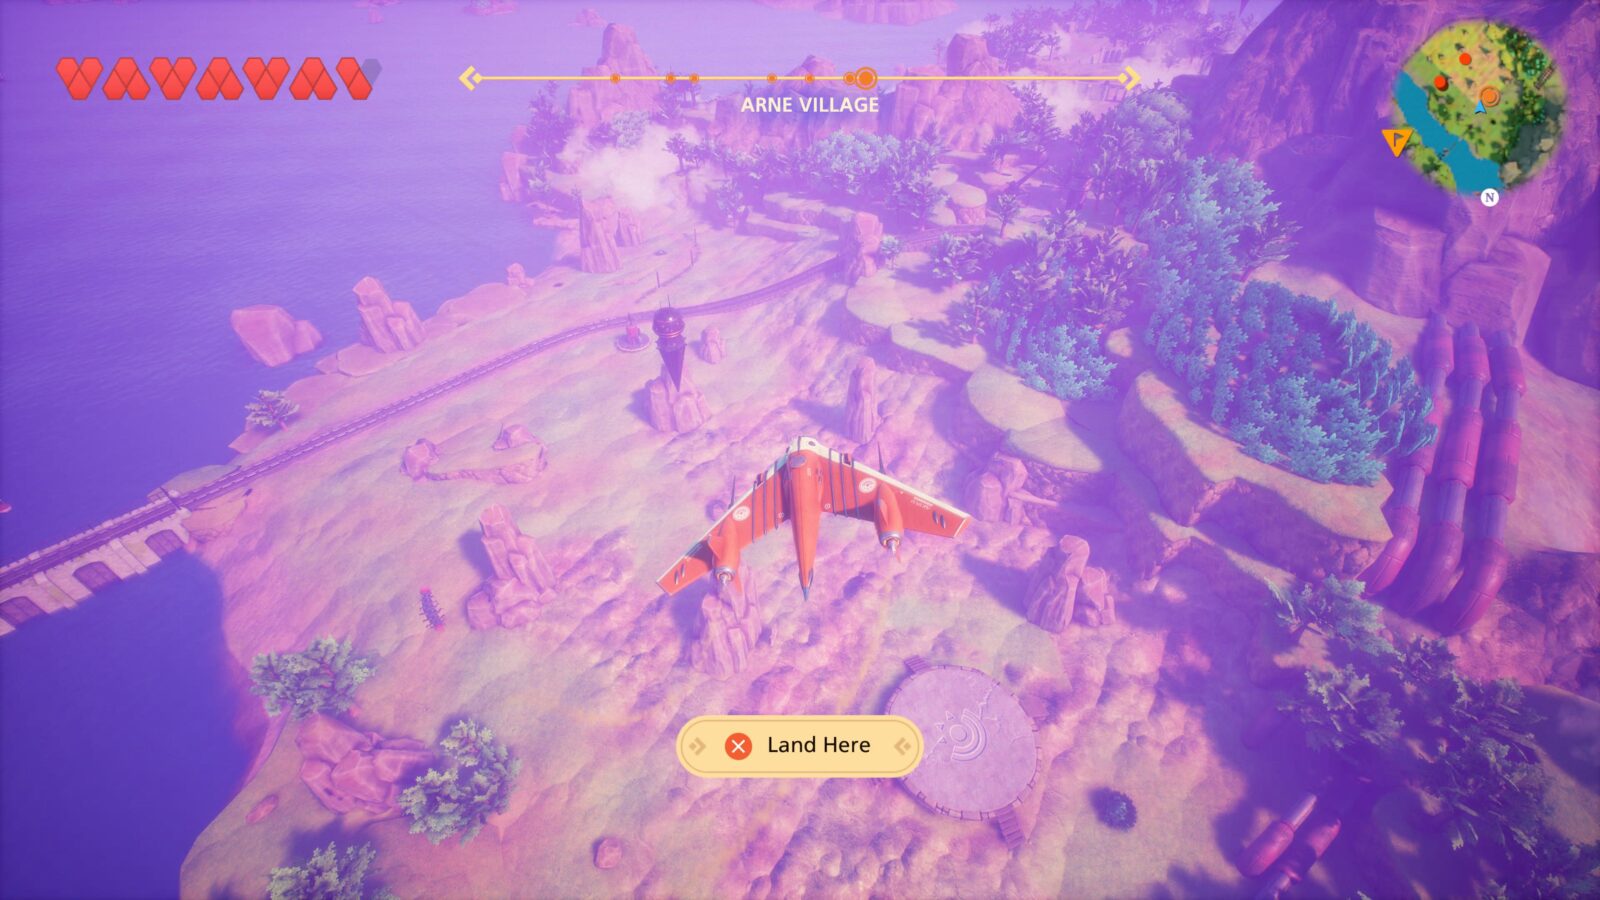
Continue on past the train tracks ahead of you, up the hill, and through the stone archway. At the other side, you’ll find a small beach. Hidden away inside “Tidal Cove” on this beach, you’ll find Queen Long.
King Octoboss
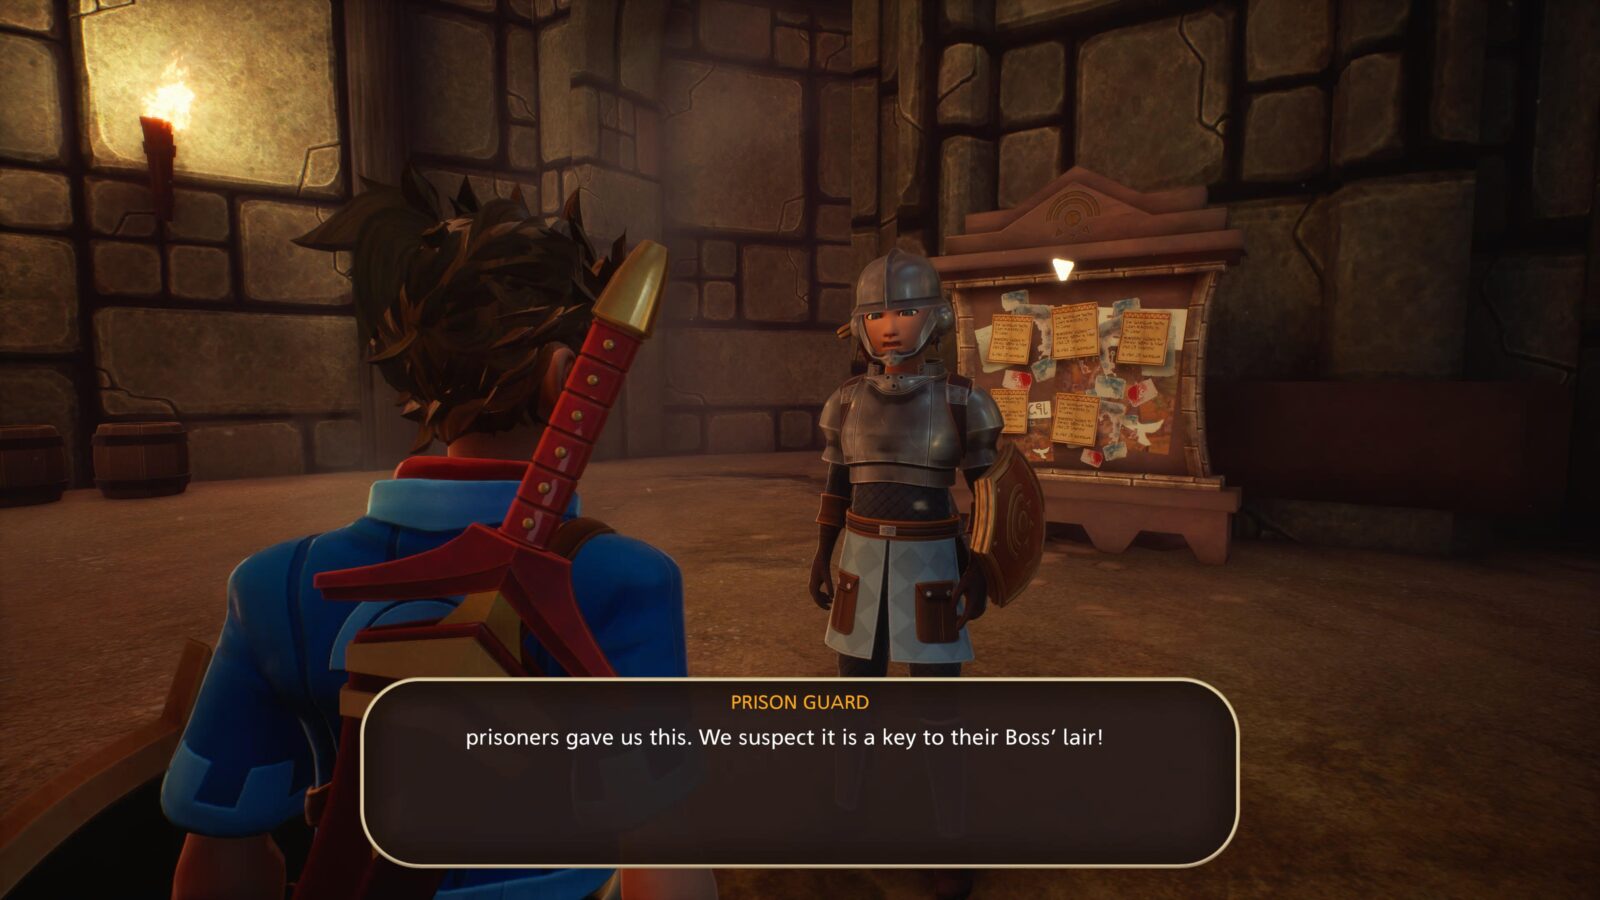
Before facing King Octoboss, you must have completed the above 5 Bounty Hunts. Head to the Prison in The White City and speak to the guard near the Knight’s Order board. There, he will give you the key to the Octoboss’ Lair.
To face King Octoboss, you need to travel to Zomon Island. It is only accessible by boat. To reach it, sail east from The White City.
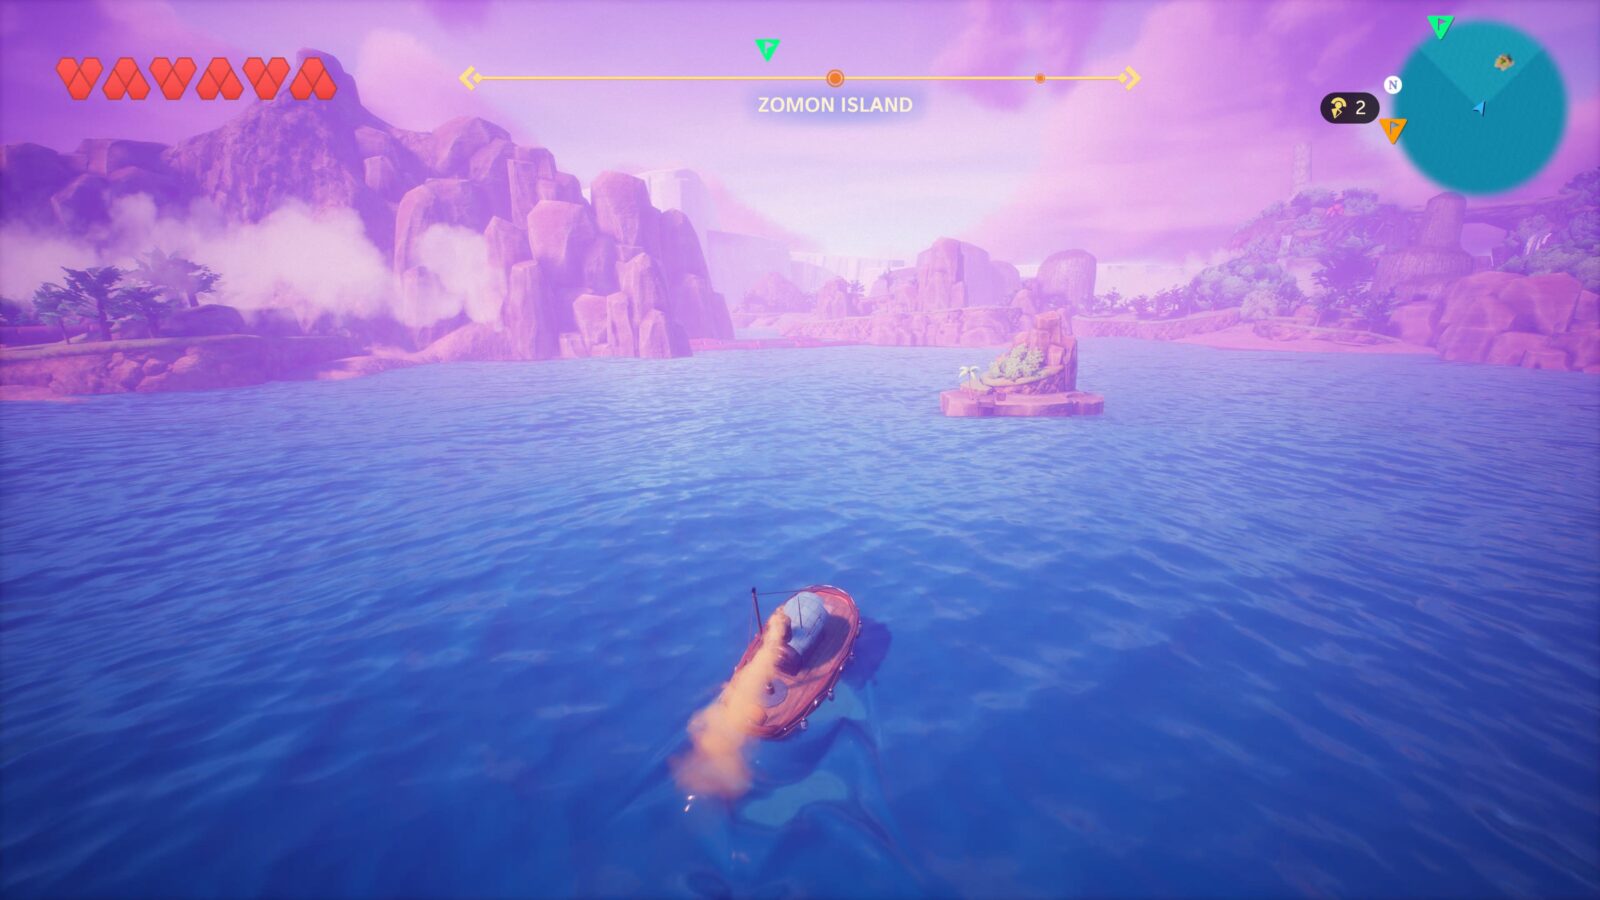
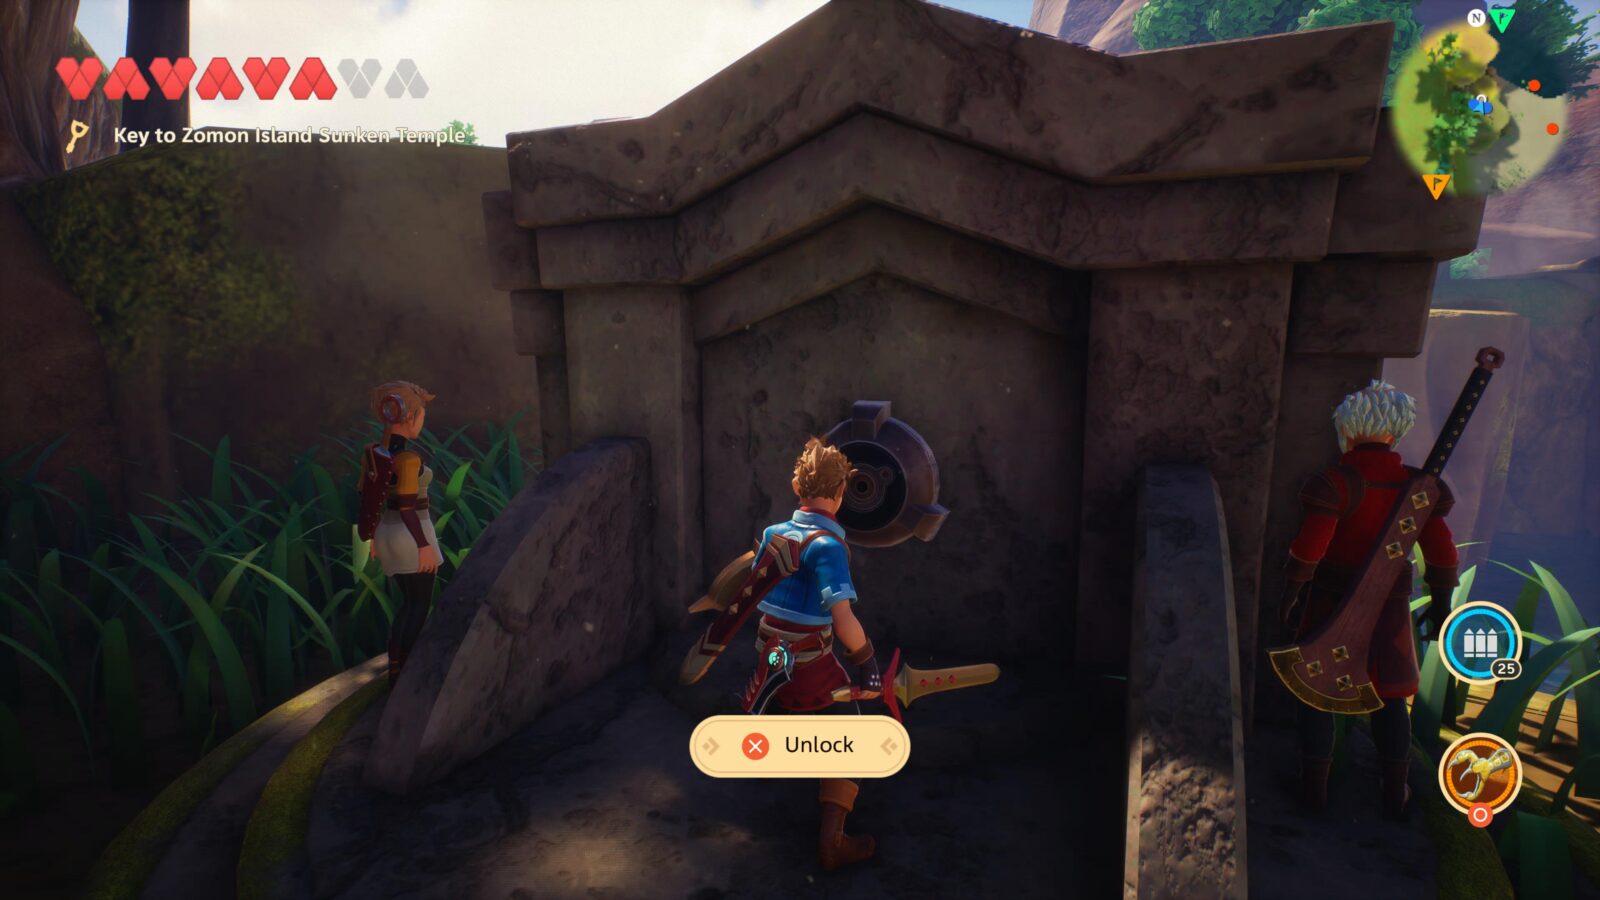
Once there, use your key on the lock to open the temple, and then use your Diving Helmet to enter the temple and face King Octoboss!
Upon defeating King Octoboss, the Bounty Hunter trophy will unlock! Don’t forget to go and open the six reward chests at the White City Prison.
Quite a view
Discover all overlooks
While working on Globetrotter and revisiting all regions for their collectibles, make sure you keep your eye out for any Overlooks. They are all clearly marked on your map in obvious locations. You will find them in the below areas:
- Arne – Arne Village
- Sernoa – Fortress Ruins
- Pirta – Deep Jungle
- White City – On top of the Knight’s Order Tower
- Submeria – The Great Lagoon
- Source – Ghost Town
- Outlands – Riskbourne Citadel
Once you have activated them all—many of which you’ll stumble across naturally—the “Quite a view” trophy will unlock!
To activate an overlook, you simply need to step on it and a cutscene will be triggered.
PlatGet!

Knight of the Lost Realm
Get every Trophy
After collecting every trophy in this Oceanhorn 2: Knights of the Lost Realm Trophy Guide, the "Knight of the Lost Realm " Platinum Trophy will unlock. Congratulations!
Thanks for Reading
Plat Get!
Thank You!
Thank You for choosing PlatGet as your source for this Oceanhorn 2 Trophy Guide.
Wondering what to complete next? Browse our complete guide selection or check out our friends at PlatPrices.com to filter the PS Store based on price, trophy difficulty, or completion time.
Got a question, some feedback, or just want to say thanks? Drop a comment in the discussion section below, we'd love to hear from you! No account required!!