PlayStation 4
Moving Out Movers in Paradise Walkthrough
Game Guide
Moving Out Movers in Paradise Story Mode Trophy and Achievement Walkthrough
In this Moving Out Movers in Paradise Walkthrough, I’ll give you the Objectives for every stage as well as a few tips for completing them. Along the way, I’ll let you know about the 8 Ziplines for “Zip it Good,” the 4 Hot Air Balloons for “Oh the humanity,” the 13 Hidden Cassette Tapes for “Not Landfill 2: Packmore Island’s Revenge,” and any extra trophy opportunities along the way.
Much of the information in this guide will assume that you are using Assist Mode and are playing solo. Note, though, that the time thresholds and more will change depending on the number of friends playing with you.
Also, even though the bonus objectives are hidden until you complete the stage for the first time, you can actually complete them on your first attempt. Using the guide below you’ll be able to see what the requirements are before starting the stage and will be able to complete them early.
This Moving Out Movers in Paradise Walkthrough is perfect for completing Phase One of our Moving Out Movers in Paradise Trophy Guide, so once you’re done here why not head on over to our trophy guide and pick up any remaining trophies/achievements you need?
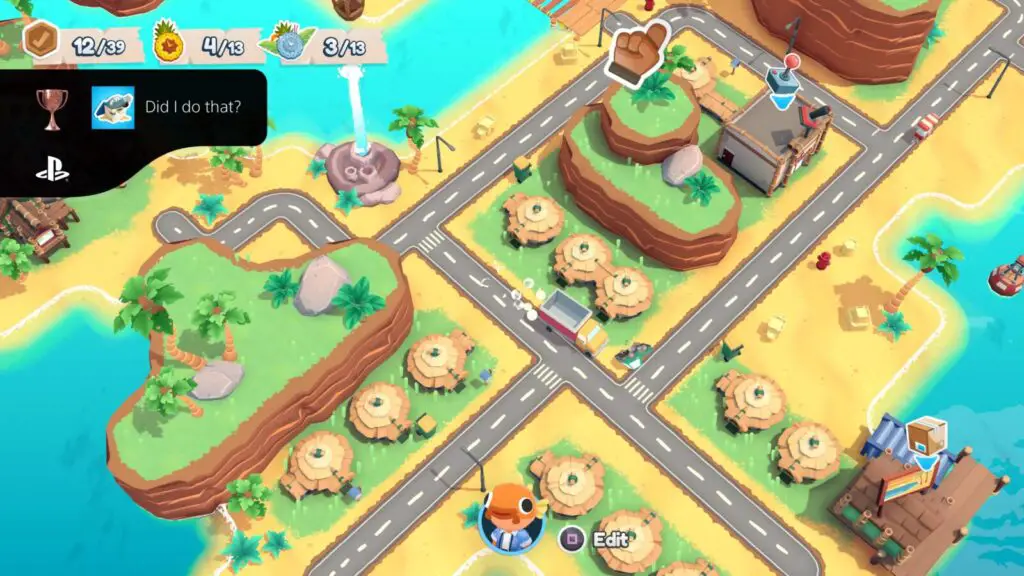
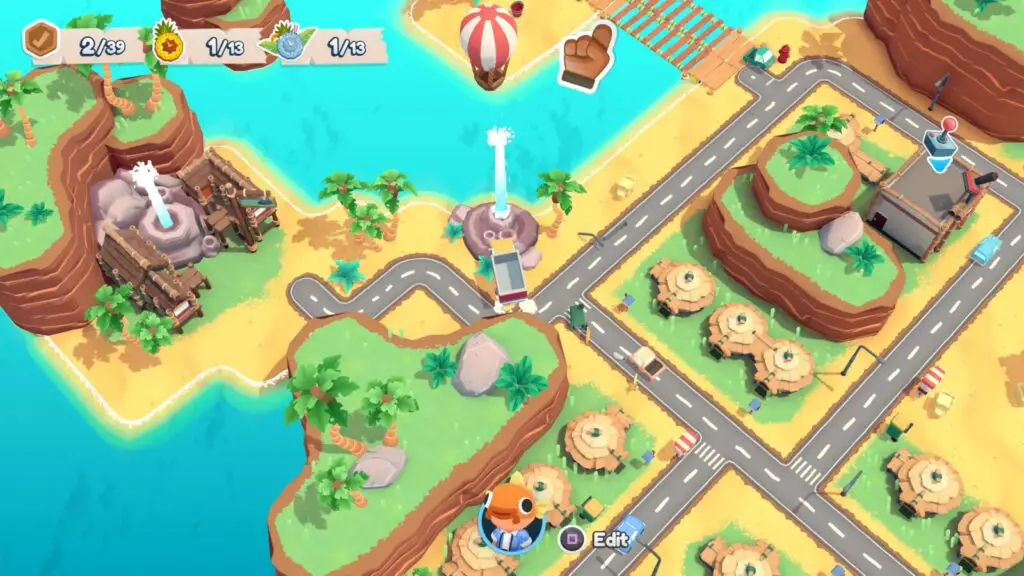
Welcome to Packmore Resort!
Additional Trophies: You’ll unlock “Recertified” just for completing this tutorial level.

Immediately after getting access to the new Packmore Island overworld map, bump into vehicles until you get one to flip over. A flipped vehicle will remain stationary with smoke coming from its underside. Once you have a flipped car, bump into it to unlock the trophy “Did I Do That?”
Sandy Shores
Hidden Cassette Tape: Hidden under a bush under a Palm Tree on the lower-left side of the level, near a sunbathing garden gnome.
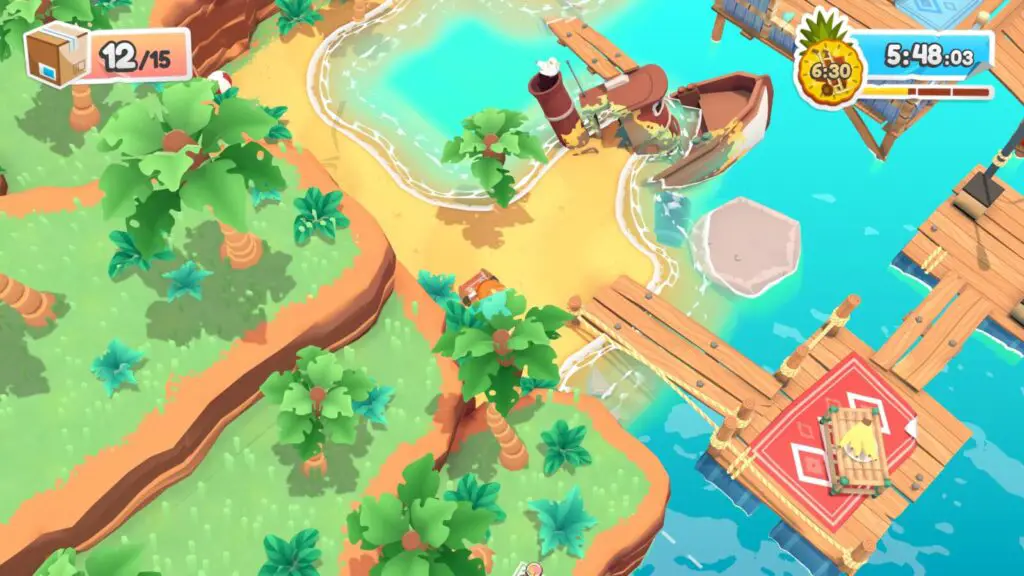
Bonus Objectives:
- Hey I built that! (Finish the level without destroying any of the many sandcastles in the stage.)
- Deliver the egg! (There’s a large nest on top of the buoy on the far-right side of the level. When you jump in the nest, two of the eggs will break but the white one will remain unscathed. Grab it and place it on the truck.)
- I’m flying!! No wait… I’m Dancing! (Go to the front of the rusty steamboat wreckage and hold
 to dance. Hold it for a few seconds and the objective will complete.)
Additional Trophies: The trophy “Hot Tub Reward Machine” can be earned in this stage. Place the pufferfish inside the Hot Tub object and then deliver it. The trophy will unlock right away.
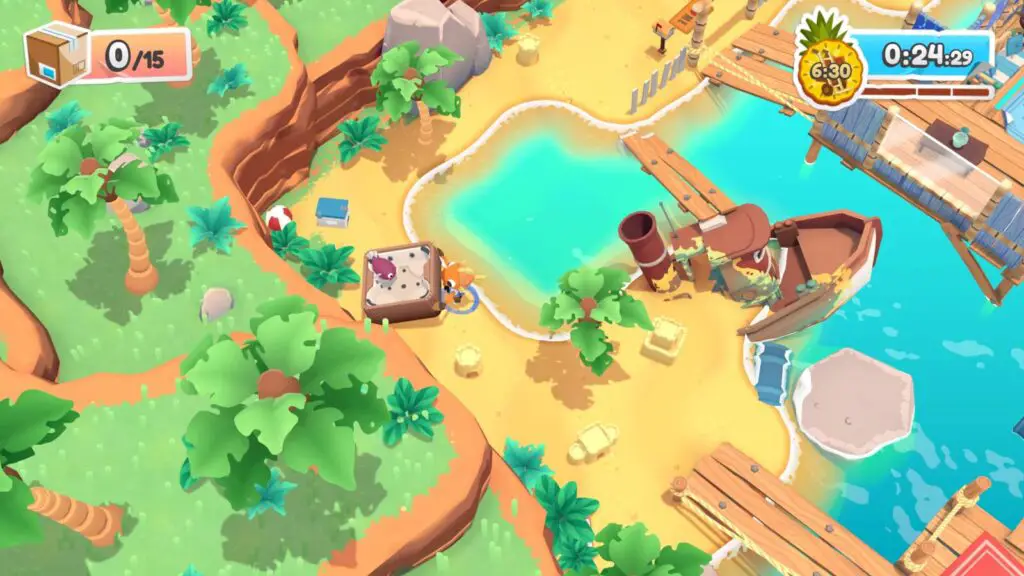
This is also a great level to unlock “SMASH!” which is a trophy for destroying 50 sandcastles. There are 5 in this level so you can just replay it five times and hit them all every time.
Gold Medal Time (Solo, Assisted Mode: on): 6:30
Relaxing Rapids
Zipline: There’s a zipline in the lower-left side of this level, it goes across the river.
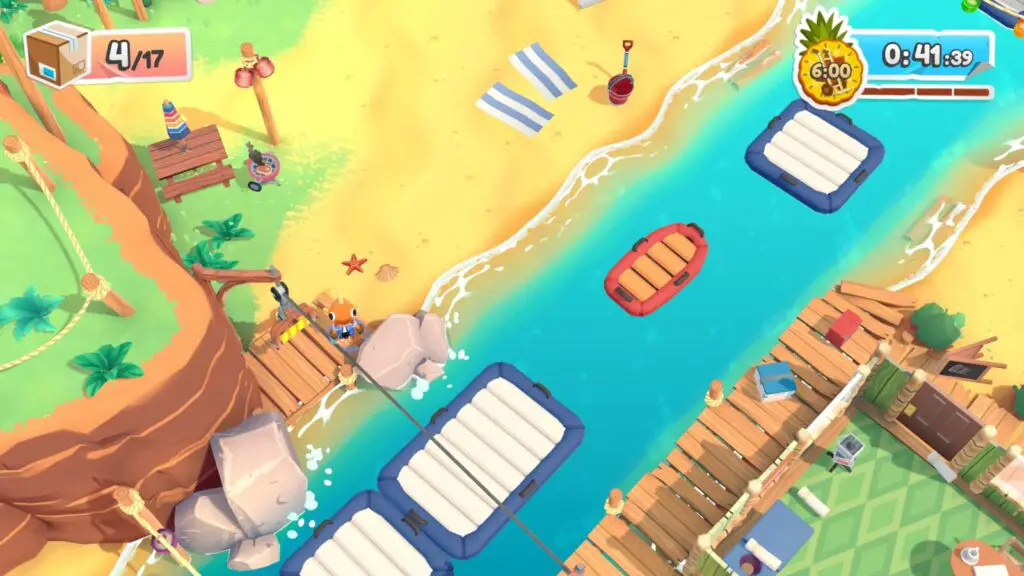
Hidden Cassette Tape: Near a fishing pole on a rock in the lower-most corner of the level.
Bonus Objectives:
- Smash all windows
- Sleep with the fishes ( When you smack
 a crab they’ll fly backwards quite a distance. Do this in such a way that the smacked crab falls into the water.)
 - Don’t let the pufferfish explode (There’s a pufferfish on the opposite side of the river from the delivery truck. To complete this objective, you’ll need to grab it, throw it across the river, grab it again and throw it into the truck. Or, if you’re quick, jump onto a nearby dinghy in the river and throw the pufferfish straight into the truck. Holding it for too long will cause it to explode.)
Gold Medal Time (Solo, Assisted Mode: on): 6:00
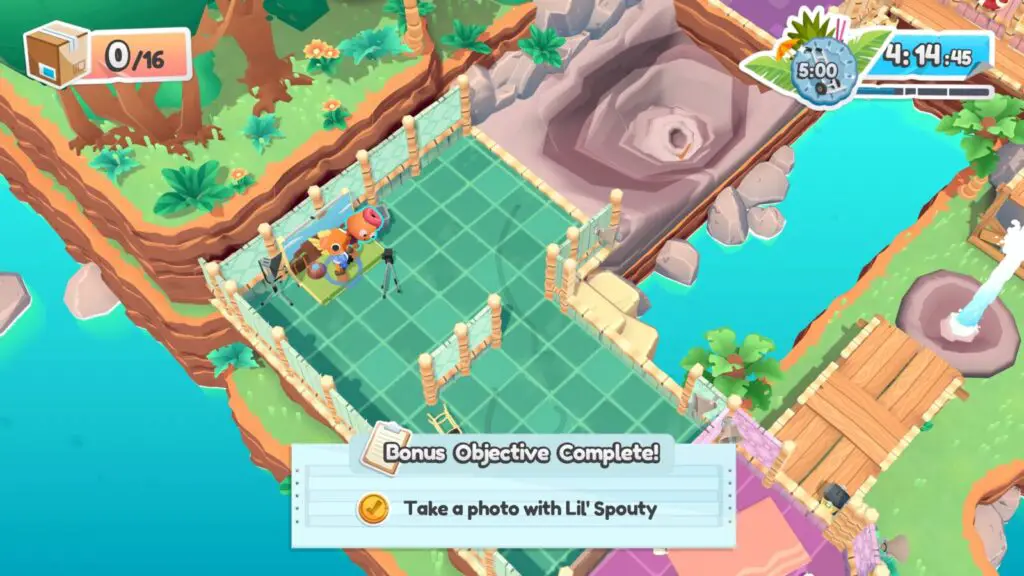
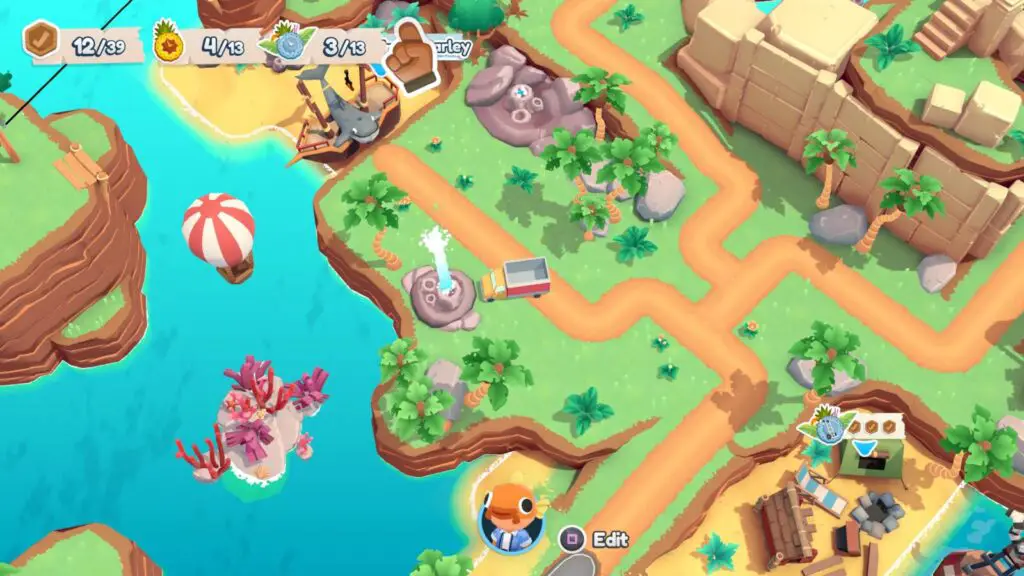
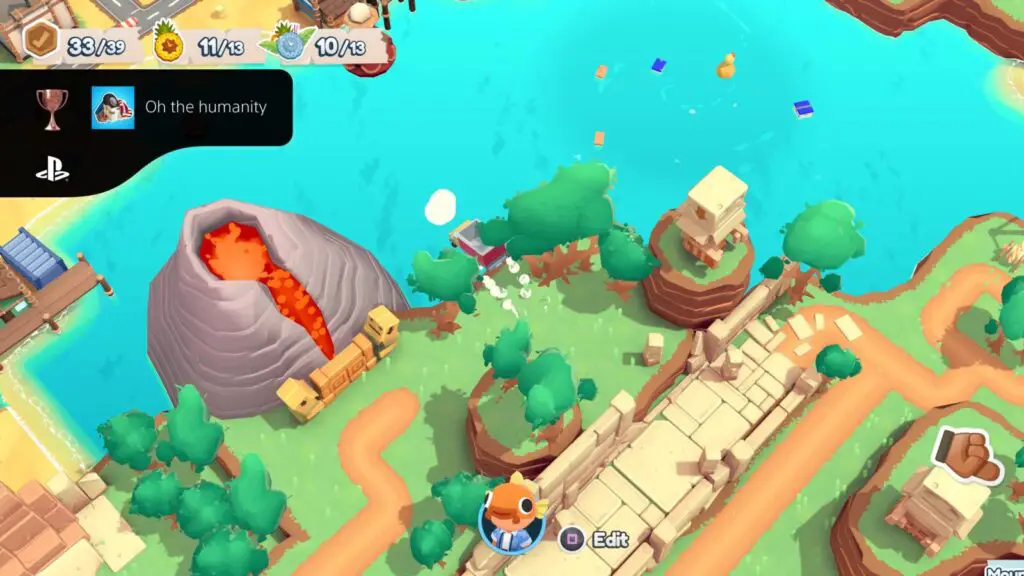
McGeyser Falls Visitors Center
Hot Air Balloon: On the world map, near this location, there’s a geyser which you can drive onto, next to a hot air balloon floating over the water. Drive onto the geyser from such an angle that you crash right into the balloon.
Hidden Cassette Tape: Under a bush in the lower-left corner, down the side of the crater with a geyser in it.

Bonus Objectives:
- Stay dry! (Don’t go in the water. You can still use the geysers.)
- Smash all the windows… again!
- Take a photo with Lil’ Spouty (The small volcano doll in the reception area on the top floor, upper-right side. Take it to the upper-left side of the map and place it in the scene in-front of the camera. Stand next to it for a moment and the objective will complete.)
Gold Medal Time (Solo, Assisted Mode: on): 6:00
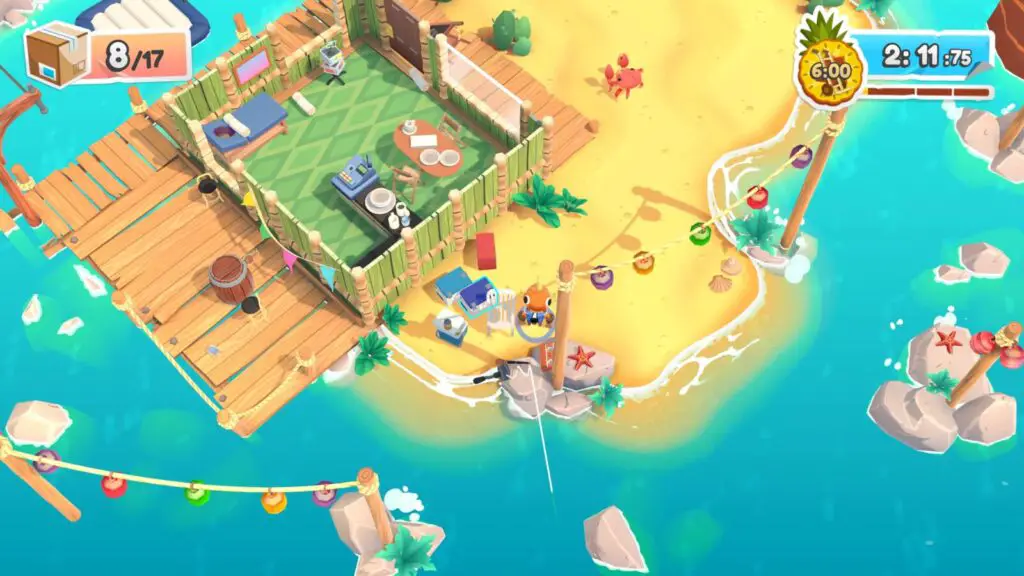
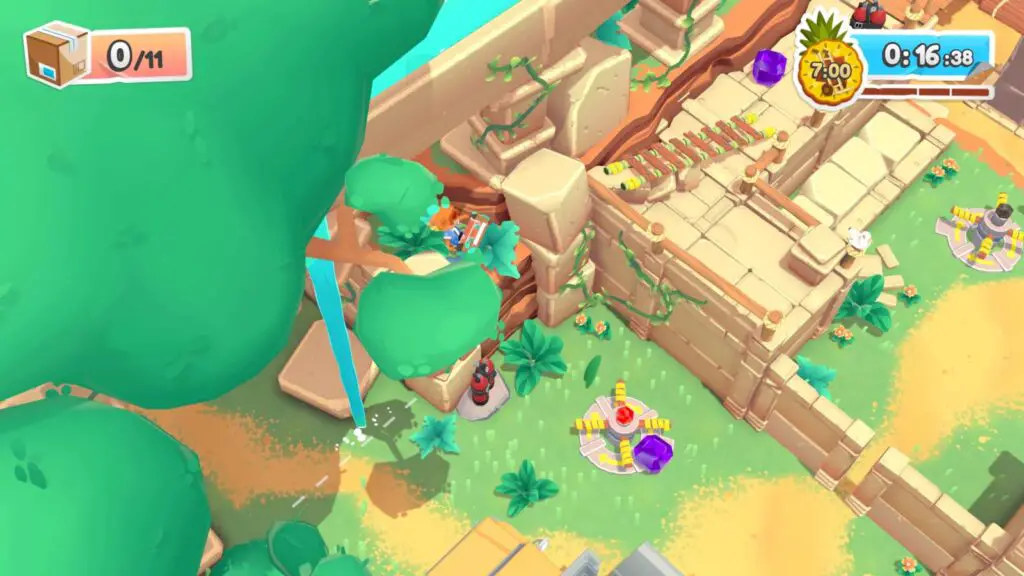
Crate Uncle’s Campsite
Hot Air Balloon: You’ll be able to see a Hot Air Balloon overhead to the right near this location. You can’t hit it from here it’s one you’ll get later.
Zipline: There’s a zipline immediately to the left of the delivery truck at the start of the level.
Hidden Cassette Tape: Under the palm tree on the lower-left side of the lower-left island. The crabs will move it, though, taking it to the upper-left side of the map, where they take everything they steal.
Bonus Objectives:
- Use the raft on the whirlpool (There’s a whirlpool on the right side of the level, drag the raft from the lower-right onto it and then jump on it)
- Crab-lateral damage (There’s a Lemur throwing dragonfruit, coax a crab into the line of fire so that the dragonfruit hits the crab)
- Take that, Lemur (Catch a dragonfruit thrown by the Lemur and throw it back. You don’t actually need to hit the Lemur, the buoy it is on will suffice.)
Gold Medal Time (Solo, Assisted Mode: on): 6:00
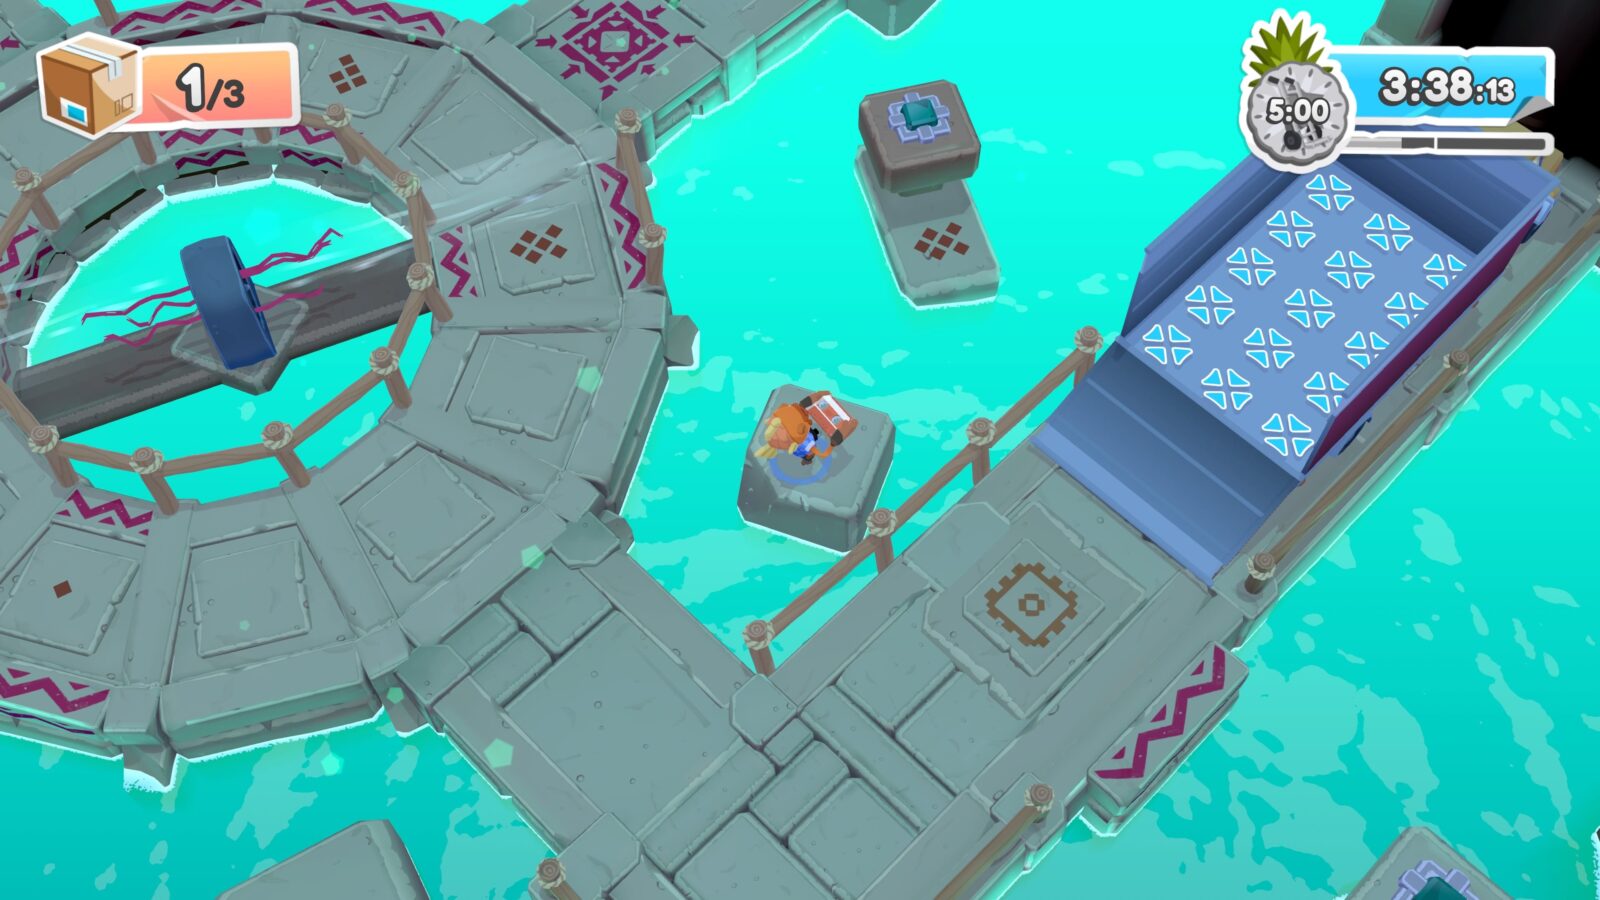
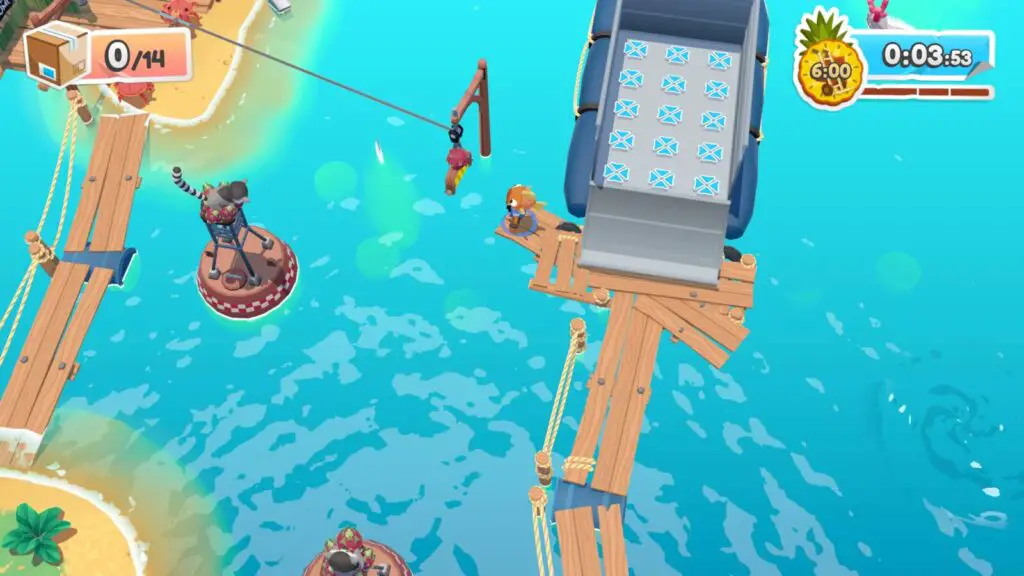
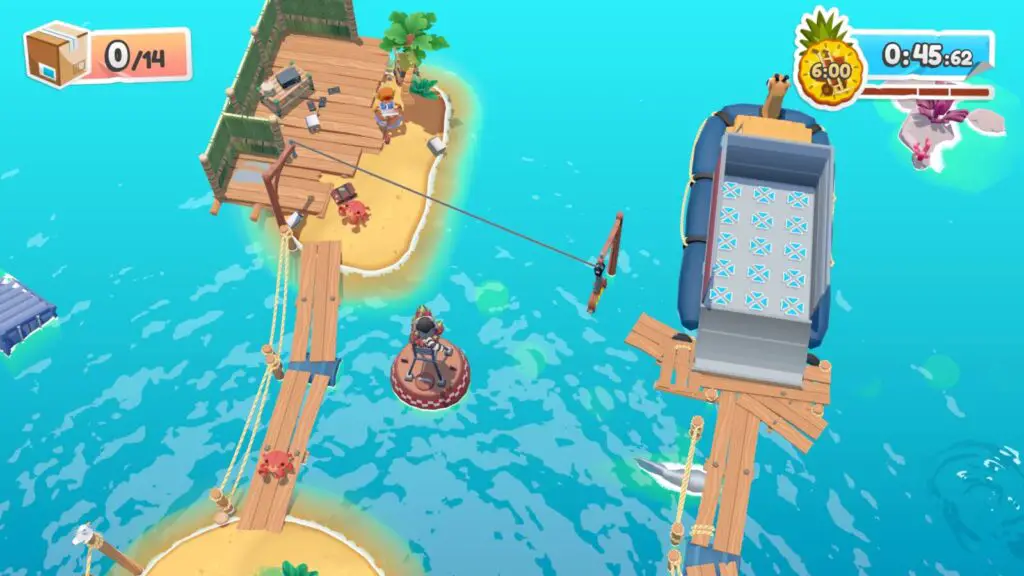
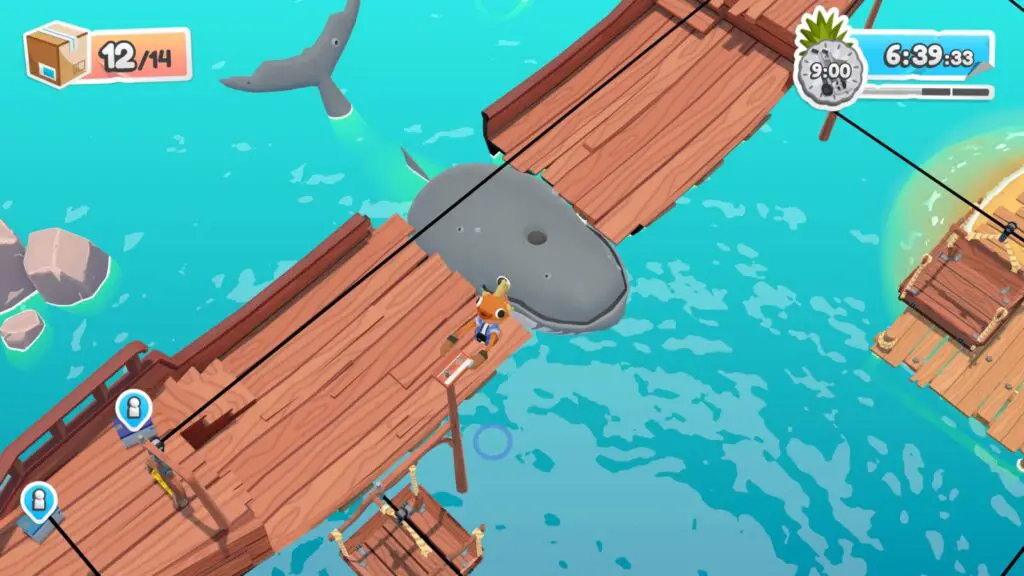
Forgotten Pirate Parley
Hot Air Balloon: On the road to this level, there’s a hot air balloon on your left, drive up the nearby geyser to launch yourself at it.
Zipline: There’s five ziplines in this level. Two are found at the start where you spawn. There’s another one on the right, leading from the delivery truck back to the island where you started. There’s another leading from the left-most half of the pirate ship across to the right-most half and there’s a final one on the right-most half of the pirate ship leading down to the delivery truck.
Hidden Cassette Tape: On top of a pole next to the pirate ship on the left, near the whale. You’ll need to stand on the whale’s blowhole and let it jet you into the air. From there you need to very awkwardly co-ordinate yourself so that you can grab the cassette in mid-air.
Bonus Objectives:
- Move the treasure chests first (Deliver only the treasure chests before delivering anything else)
- Basketcase (The “baskets” are the moving platforms which can carry you across the water. You need to get three treasure chests into one “basket” to complete this objective)
- FROM DOWNTOWN!!! (Throw an item into one of the “baskets” from far away. Grabbing one of the small boxes on the island where you start, and then throwing it onto the platform moving between the delivery truck and the island is a good bet.)
Gold Medal Time (Solo, Assisted Mode: on): 6:30
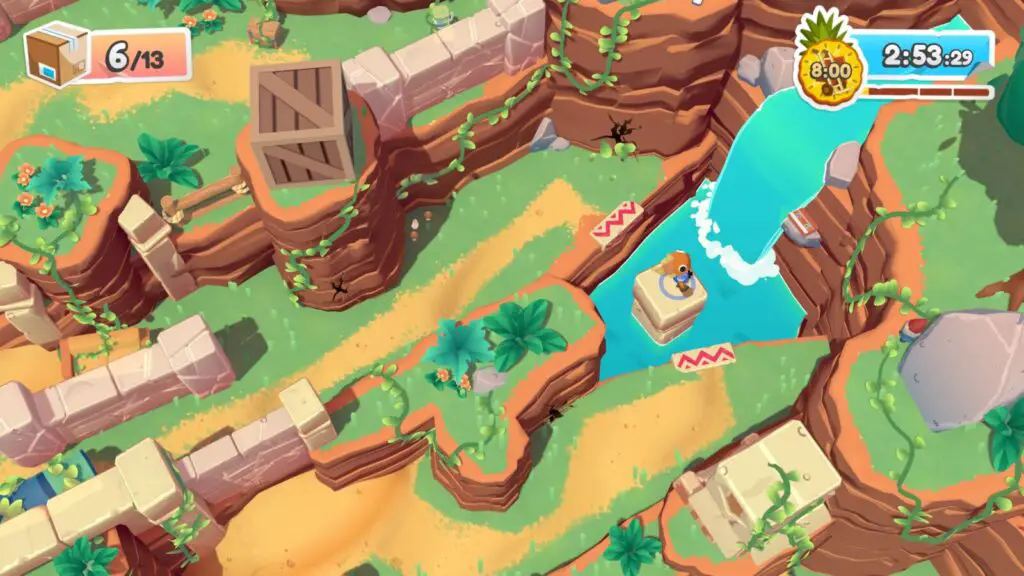
Crashed Cargo Clearing
Hidden Cassette Tape: In a bush on the ledge jutting out of the cliff where the stone platform is which moves up and down on the geyser, to the left of the rope bridge.
Bonus Objectives:
- Don’t fall into the abyss (Just don’t fall off the map)
- Don’t use the bridge (This only means the rope bridge, you can still use the small ladder-like ones)
- Flying Scuba Delivery (You need to land in the delivery truck with a scuba tank after using it to fly through the air, which will earn you the “Weeeeeee!” trophy. This is quite tricky because it doesn’t seem to register most of the time, just keep doing it until it works.)
Additional Trophies: You can earn “Weeeeeeee!” here; just slap a scuba tank and then grab it while air is escaping to go soaring into the air!
Gold Medal Time (Solo, Assisted Mode: on): 7:00
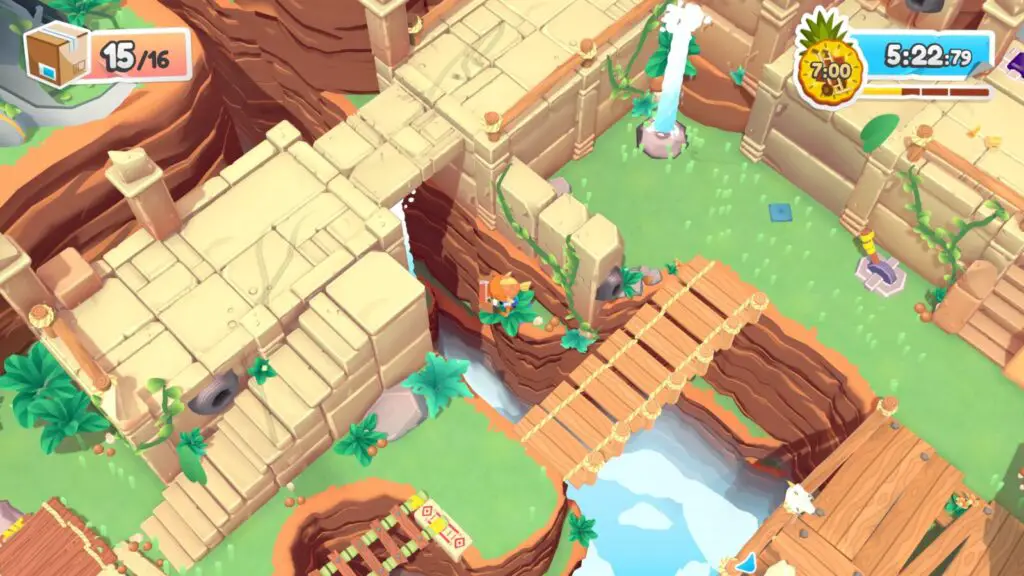
Mysterious Pathway
Hidden Cassette Tape: There’s a waterfall in the top-right corner of the map, the cassette is in plain sight on a ledge next to it.
Bonus Objectives:
- We love Blender! Blender #1 (Deliver the blender first. It’s right at the top of the hill)
- Bad plant! (Slap all of the cracks in the walls which have leaf particles emitting from them. This is where the vines will grab your items from if you’re not careful. There’s 7 in total to hit)
- Don’t let the ivy grab any items (There are some annoying Ivy plants in this level that will grab what you’re carrying if you get too close. It’s safe to move the furniture past the cracks only when there are no leaf particles coming from them. You can slap them before going past to prevent them from grabbing you for a short while. Some safer shortcuts open once you’ve delivered a decent number of items, so try to deliver the smaller less grabbable stuff first and then take the big stuff through the safer shortcuts.)
Additional Trophies: “Who Lives Here?” will unlock during the short sequence at the end of this level. It is unavoidable.
Gold Medal Time (Solo, Assisted Mode: on): 8:00
Temple of the Windy
Hidden Cassette Tape: Use the fan on the duck on the pillar in the upper-most corner of the level. He’ll be blown away and the cassette will fall down nearby.
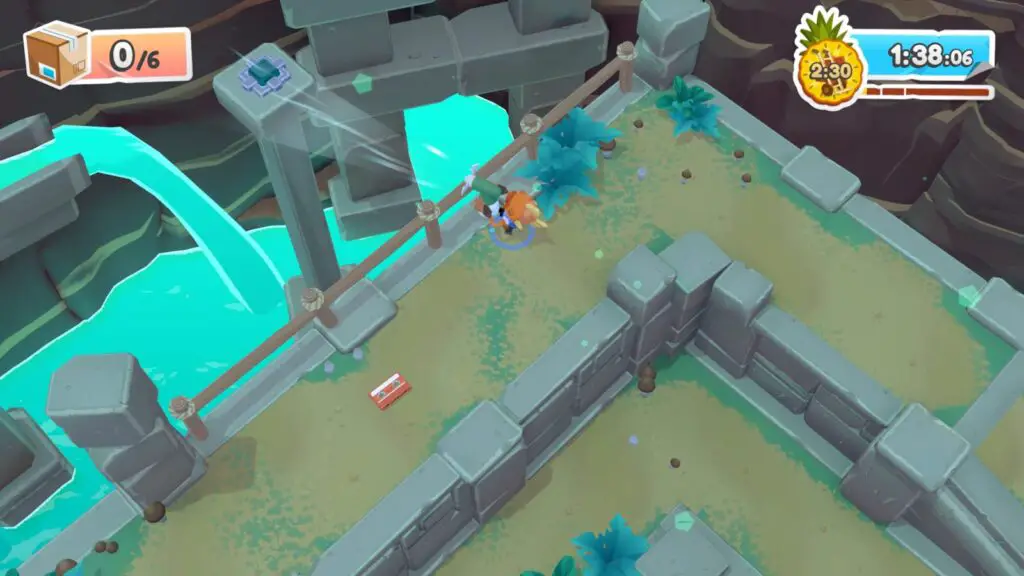
Bonus Objectives:
- Have a smashing time (Let out your inner Link and smash all the pots!)
- Can’t Touch This: Rare Gem Records (Use the fan on the gems to get them into the delivery van, do not grab the gems with your hands)
- Uncle goes first (Deliver the Boss’ Crate Granduncle before anything else. He’s on a pillar left of the truck)
Gold Medal Time (Solo, Assisted Mode: on): 2:30
A Very Windy Puzzle
Hot Air Balloon: Next to this level on the overworld map is a geyser leading up to a second geyser which is aimed at the hot air balloon we saw earlier, near Crate Granduncle’s Campsite. Use the two geysers to reach and crash into the hot air balloon.
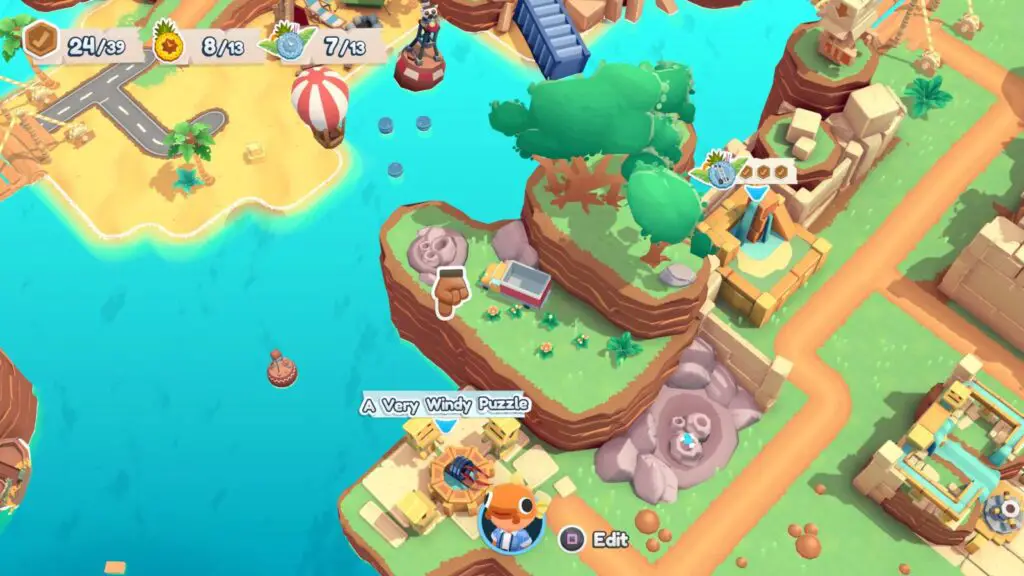
Hidden Cassette Tape: Clearly visible on a pillar to the left of the delivery truck at the start. To reach it, you need to blow the gems off all the buttons, and then move to the back of the level where Crate Granduncle is and blow the blue gem off the button there.
That will lower the platform with the cassette, allowing you to grab it.

Bonus Objectives:
- Stay dry again! (Just avoid falling in the water)
- Keep the duck dry (There’s a big rubber duck in the level, which you’ll need to move to deactivate the button it’s on. To keep him dry, let the big fan blow you over to him, then move him safely to the lower level.)
- Lil’ Spouty hates water (Avoid letting the little volcano boy doll fall into the water, it should be fine as long as you don’t accidentally aim the fan at it)
Gold Medal Time (Solo, Assisted Mode: on):
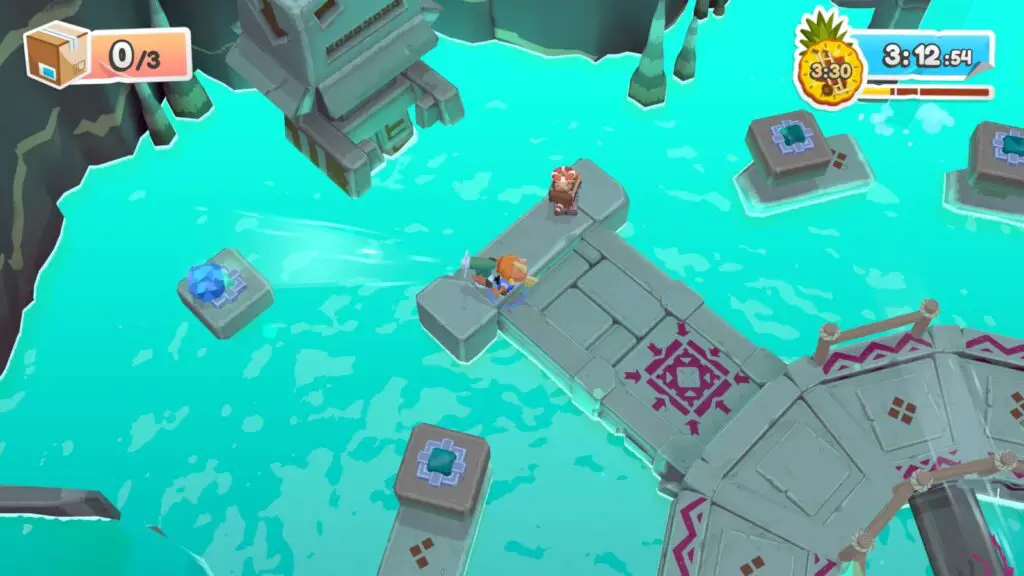
Temple of the Sacred Splash
Hidden Cassette Tape: In the bottom-right corner of the level, on a small platform. Move one of the floating platforms to this corner so that you can easily grab the cassette and then jump across the pillars to get back to the middle with it.
Bonus Objectives:
- Break all the coral (Look for coral, slap it with , easy!)
- Don’t get wet
- Sorry Crate Uncle (Grab the Crate Granduncle from the right side of the level and place him on the button that activates the water. The moving block will eventually crush him)
Gold Medal Time (Solo, Assisted Mode: on): 7:00
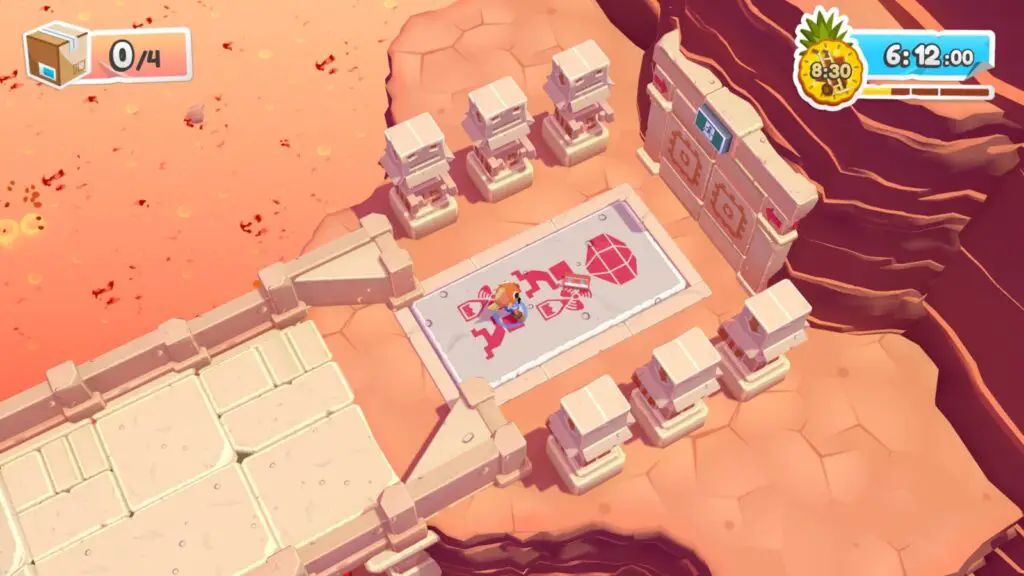
The 36th Chamber of Cranks
Hidden Cassette Tape: For this one, you’ll need the scuba tank next to the truck. Slap it to activate it and then use it to fly up to the platform above, where the Cassette is hidden in the bush.
Bonus Objectives:
- Hot Tub Time (Put Crate Granduncle in a hot tub. You’ll want to place the hot tub next to a ramp or stairs of some sort so you can drop the Crate Granduncle in, because it’s too heavy to jump with.)
- Ride a scuba tank without touching the ground (Use the scuba on the far right of the level, slap it and then ride it over the canyon where the water goes, this way you can avoid touching the ground)
- Crank it to the max! (Turn all cranks as far as they will go and then place an item to block them from un-cranking. When they’re all simultaneously locked in place at max crank-age, the objective will complete.
Gold Medal Time (Solo, Assisted Mode: on): 7:00
Mountain Goats Maze
Hidden Cassette Tape: On the left side of the level, there’s three pillars with a goat all enclosed behind a breakable wall. Get another goat to break the wall or use a scuba tank to fly in and you’ll find the Cassette behind the right-most pillar.
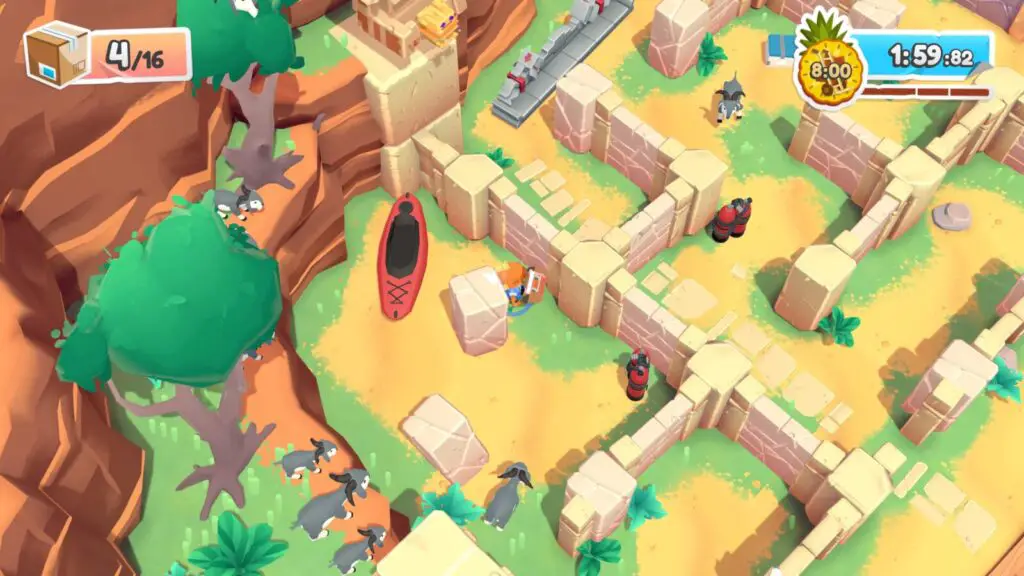
Bonus Objectives:
- Catch a holy gem (The holy gems are golden statues on stone pillars at the back of the map. You can either use a scuba to fly up and grab one or get a goat to headbutt the wall underneath, causing the gem to fall. Make sure to deliver it by placing it on the truck.)
- Avoid the goats (You can touch them and they can headbutt items, but don’t let them headbutt you.)
- I think it likes you Crate Uncle (Get a goat to headbutt the Crate Granduncle.)
Gold Medal Time (Solo, Assisted Mode: on): 8:00
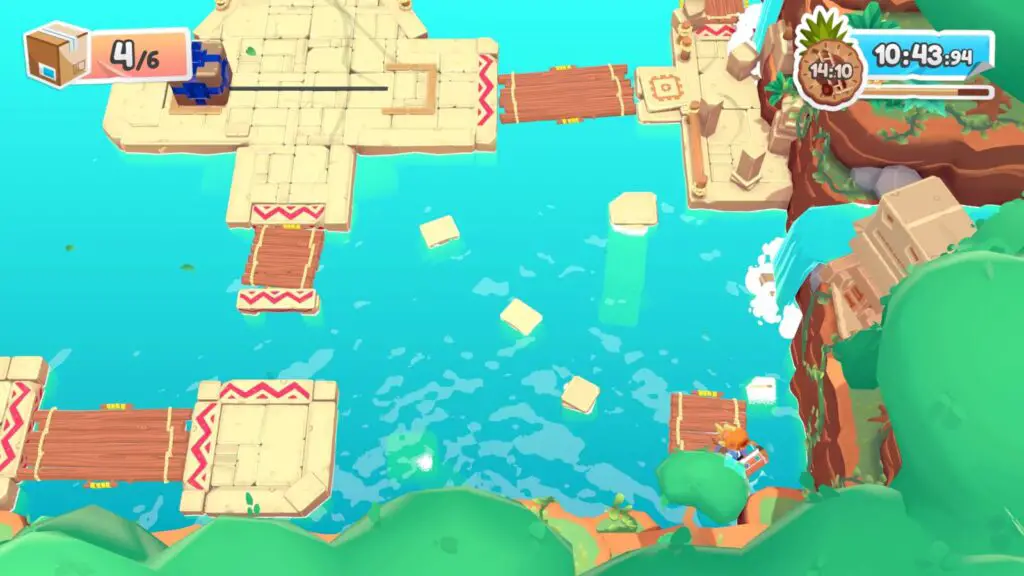
The Greatest Haul
Hot Air Balloon: The last Hot air balloon is next to this level on the overworld map. Just drive off the cliff straight into the balloon. If you’ve hit every hot air balloon up to this point you’ll unlock “Oh the Humanity.”
Zipline: The last zipline is in this level and it is unmissable. If you’ve used every zipline up to this point, you will unlock “Zip it Good.”

Hidden Cassette Tape: At a certain point in the level, you’ll be using a fan to move large boulder-like gems. Halfway through this puzzle, there’s a round area with three rotating fans. The cassette is on top of the right-most fan.

To deliver it at the end, place it on the platform in front of the door with the exit sign before putting the gems on there. If you have every cassette up to this point you will unlock Not Landfill 2: Packmore Island’s Revenge.
Bonus Objectives:
- Crate Uncle Goes Weeeeeee! (After the flamethrower section, go down the ramp without the Crate Granduncle, just leave him at the top. He’ll somehow follow you!)
- Did anyone lose a ball? (During the segment with the fans and the gem boulders, there’s a beach ball. Use the fans to blow the beach ball to the end of the stage along with the boulder gems. It will need to fall into the hole with you and the gems and the objective will complete.)
- Leave no boulder behind (Complete the gem boulder puzzle without any of them falling off the cliffs at all. This is very difficult and will take several attempts. Try moving just one boulder at a time to be on the safe side.)
Gold Medal Time (Solo, Assisted Mode: on): 8:30
If you’ve followed this Moving Out Movers in Paradise Walkthrough perfectly, you should now have all trophies/achievements. If not, double-check our Moving Out Movers in Paradise Trophy Guide to see what you might be missing!
Thank you for choosing PlatGet as your source for this Moving Out Movers in Paradise Walkthrough, consider checking out our reviews and other guides!
Follow us on twitter @GetPlat or Instagram @platget for updates on new reviews and guides, as well as small anecdotes about our platinum journeys.