PlayStation 5, Playstation 4
Marvel’s Midnight Suns Trophy Guide


General Info
FAQ
How long does it take to beat Marvel's Midnight Suns and unlock all trophies?
About 40-50 Hours.
How difficult is it to beat Marvel's Midnight Suns and unlock all trophies?
Easy (3/10).
Does Marvel's Midnight Suns have online trophies?
No.
Does Marvel's Midnight Suns have difficulty-specific trophies?
No.
Does Marvel's Midnight Suns have missable trophies?
No.
Does Marvel's Midnight Suns have glitched trophies?
No.
What is the minimum number of playthroughs required to unlock all trophies in Marvel's Midnight Suns?
One.
Does Marvel's Midnight Suns have a Platinum Trophy?
Yes.
Trophy Guide
Marvel's Midnight Suns Trophy Guide and Road Map for PlayStation 5
Welcome to our Midnight Suns Trophy Guide. Marvel’s Midnight Suns is a turn-based card-centric strategy game set in the Marvel Universe, making full and effective use of the many heroes available within.
Midnight Suns is brought to us by the developers of one of the world’s most difficult platinum journeys; XCOM 2. Because of this, many trophy hunters (myself included) wrote this game off immediately as an impossible plat without even looking.
Well, I couldn’t hold back my inner Marvel Fanboy for long enough and ended up picking the game up. Only to be surprised by how easy and straightforward this trophy journey is!
Phase One - Play the Campaign
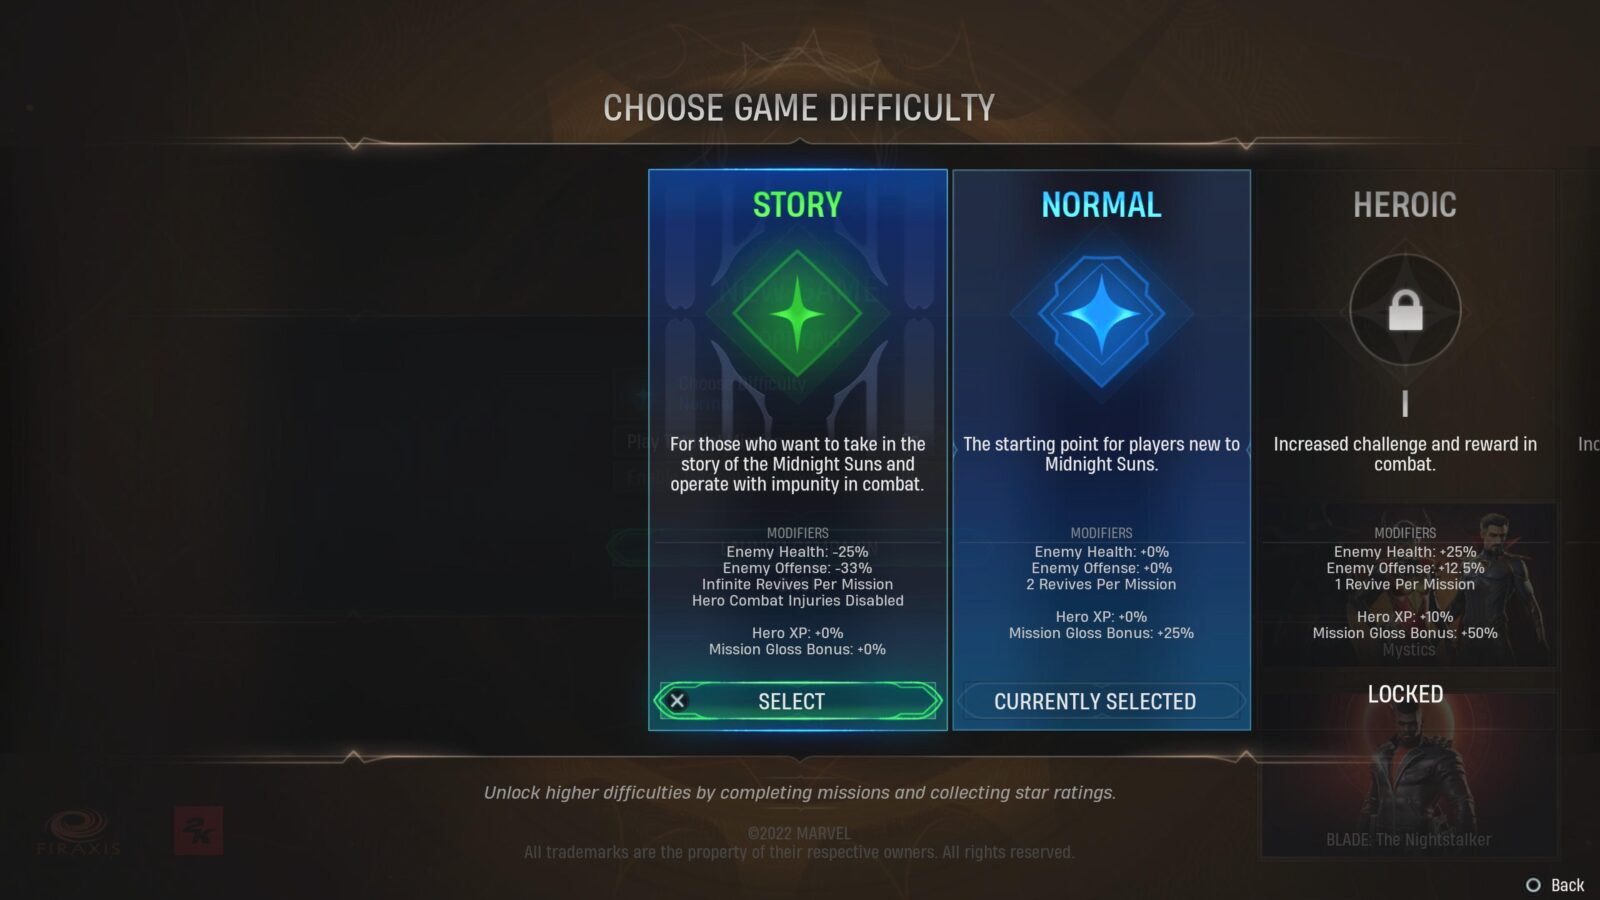
In this first phase of our Midnight Suns Trophy Guide, you can simply focus exclusively on playing and completing the Midnight Suns Campaign. There are no difficulty trophies so you can freely put the game on “Story” difficulty if you wish, making things a lot easier.
Although nothing is missable, I do recommend building your friendships every day and exploring the Abbey Grounds a bit too. This will help reduce the grind you may be faced with towards the end of your trophy journey.
Here’s the gameplay loop you should be trying to follow each day, once you’re done with tutorial bits:
- Morning:
- Check your Superlink for messages from allies that you can respond to.
- Check your map for Heroes that want to talk or have a Hero Request for you to fulfill. Speak to them all and accept/complete any Requests. During dialogue options stick to either Light or Dark-aligned options (just one of the two) as you will need to max out one of them and then the other. Make sure you also Pet Charlie each day, as you need to pet him 15 consecutive days in a row!
- Visit the Training Grounds
- Complete Daily Sparring with any Hero
- Upgrade any upgradable Skill Cards
- Visit the Forge
- Complete any Gamma Coil Analysis or Artifact Study opportunities you have available.
- Start a Research project
- Visit C.E.N.T.R.A.L
- Complete the Decryption of any Intel Caches you have on hand.
- Send Heroes out on available Hero Ops.
- Now just start following the objectives. End the morning by visiting the Mirror Table and selecting a Mission. You should prioritize Story Missions for now, but you can complete optional missions for resources if you wish. Some story missions will require you to complete a side mission or two before you can start them. Try to remember to redraw any cards you don’t need as you’ll need to eventually redraw a cumulative total of 75.
- Evening:
- When you get back from your mission, it will be evening. Most of the facilities are closed at this time so it’s key that you spend your time socializing and exploring the Abbey Grounds.
- Speak to anyone who will speak to you and join in with any Club Activities you’re offered or any Hangouts you can partake in. Compliment any Heroes you can too, making sure not to spam the same one with compliments back-to-back, though. You can use the map to check for characters willing to talk or hang out.
- Explore the Abbey Grounds (totally optional, we can do all this later, but it’s a good time to do it if you’re going to do it anyway.) Some of the Clubs will ask you to bring resources like plants for extra resource gains at the end of the Club Hangout. This is a good time to scour the grounds for those resources.
- Return to your bedroom and then go to sleep for the night.
The loop may change slightly from day to day depending on what’s going on story-wise, but the above’s essentially the gist of it.
Please also remember while you play not to Salvage any of The Hunter’s ability cards as you’ll eventually need to own a copy of each one.
Point of No Return
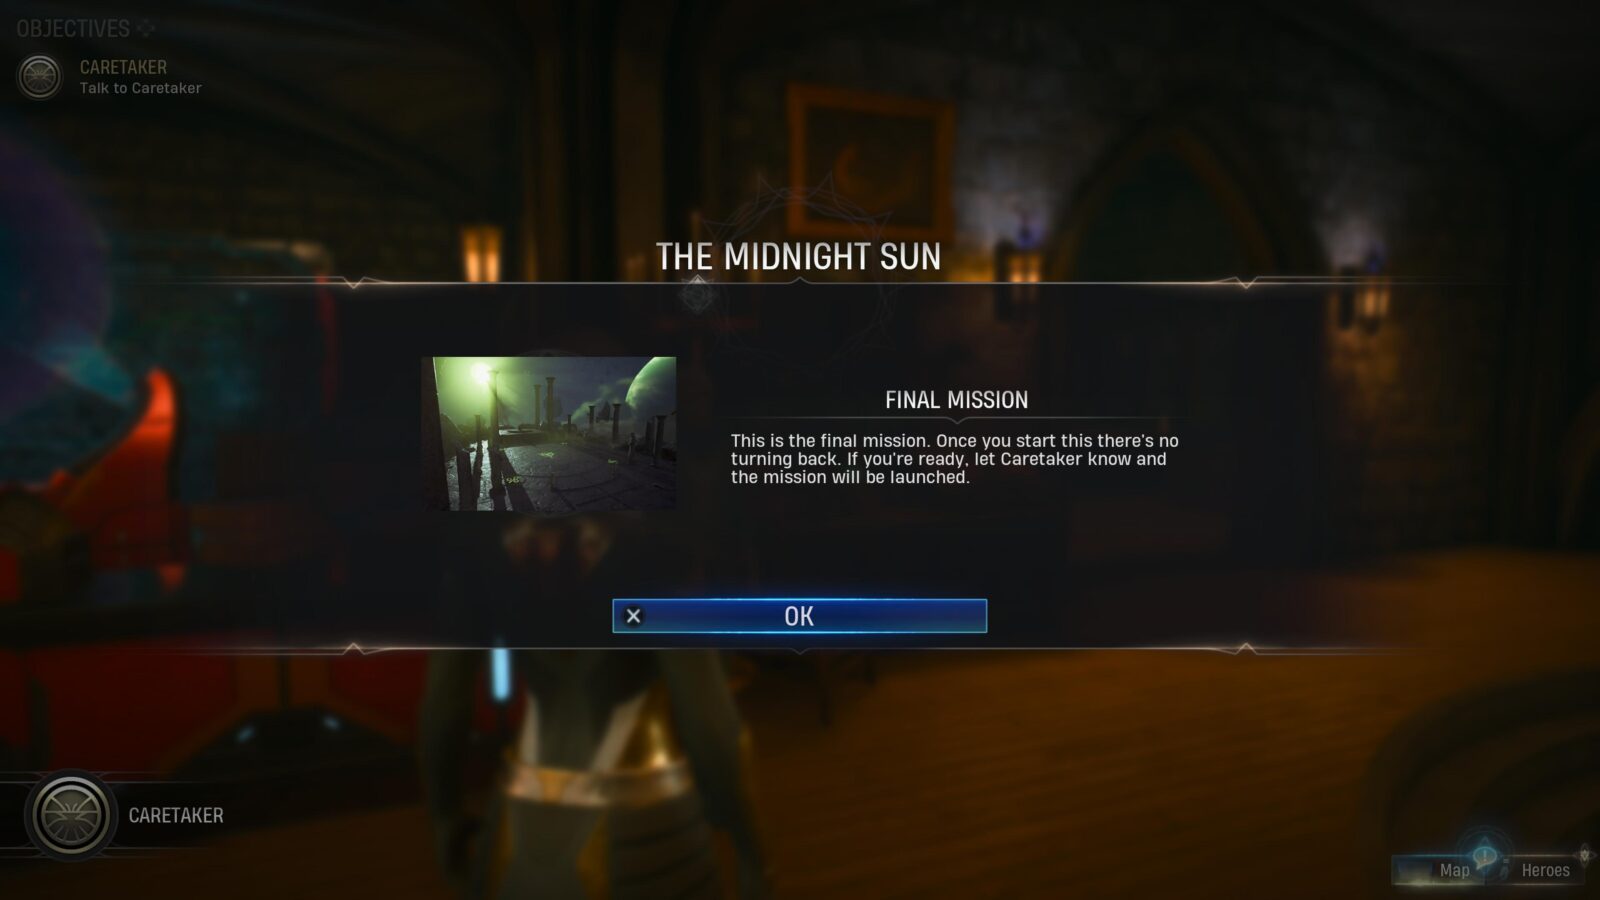
When you speak to Caretaker ahead of the final mission, you will be warned with a large on-screen banner to let you know that you’re about to hit the Point of No Return. Upon completion of this mission, you will receive some rewards and then be shown a few cutscenes, including the credits (twice) and two post-credit scenes in true Marvel fashion.
You will then wake up in the Abbey as normal! You can continue playing the game infinitely and absolutely no trophy is missable!
All this is to say, yes, you can safely finish the story at any time without repercussions.
Unmissable Story Trophies

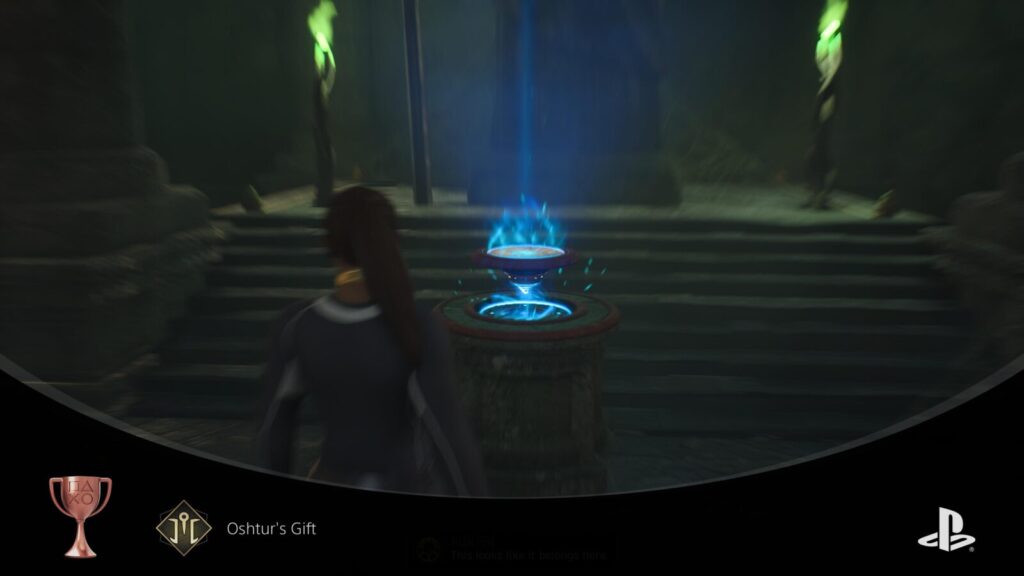
Oshtur's Gift
Acquire the "Open" Word of Power.
After completing your first Blood Gate challenge, you’ll be returned to a cave on the Abbey Grounds, where you will see a Moon Seal. You need to grab the seal, then place it on the plinth a few feet behind it. This will unlock the “Open” Word of Power; your first Word of Power.
Receiving this power as part of the story will unavoidably unlock Oshtur’s Gift.

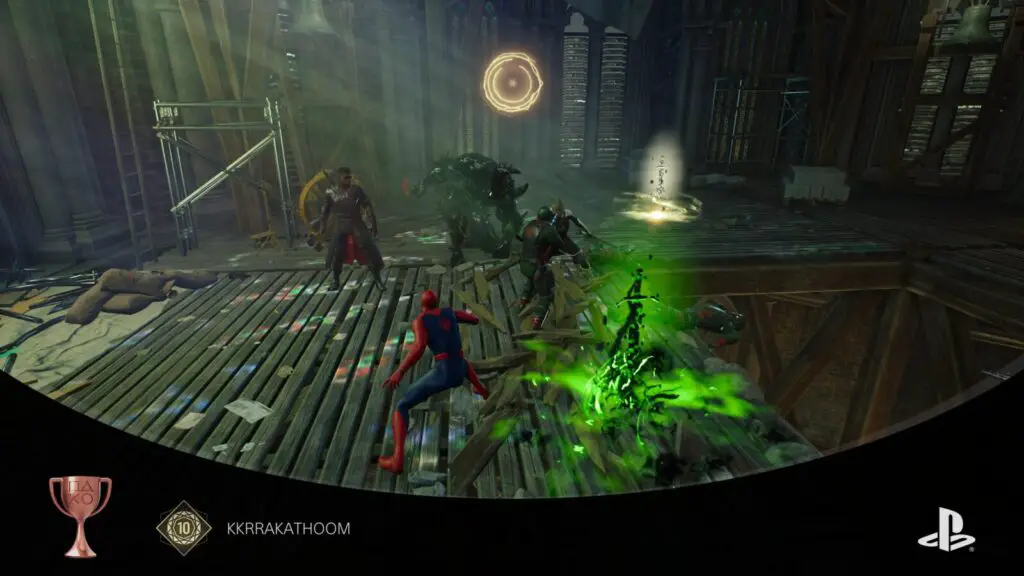
KKRRAKATHOOM
Spend 10 Heroism with a single ability.
The “KKRRAKATHOOM” trophy requires you to spend 10 Heroism points on a single ability in battle. This, of course, requires you actually getting an ability that costs that much Heroism to use in battle.
However, there is a story mission where you need to restore a Church Bell in order to win the fight. The card for restoring the Church Bell costs 10 Heroism and you’ll need to accumulate that and use it to progress. Therefore, this trophy is unmissable and will unlock as you make your way through the story.

A Light Extinguished
Complete the New York story missions.
The “A Light Extinguished” trophy will unlock naturally as you work your way through the story missions at the Mirror Table. It cannot be missed.

Big Mad
Complete the Southwest story missions.
The “Big Mad” trophy will unlock naturally as you work your way through the story missions at the Mirror Table. It cannot be missed.

Family is Forever
Complete the Transia story missions.
The “Family is Forever” trophy will unlock naturally as you work your way through the story missions at the Mirror Table. It cannot be missed.
Phase Two - Abbey Exploration & Friendship Building
With the main story complete, we’re shifting our focus now in Phase Two of our Midnight Suns Trophy Guide to the more Abbey-related objectives. Your main goals here will be to buy lots of upgrades, explore the abbey grounds, and work on your relationships with the other Heroes.
The gameplay loop, for the most part, will remain the same as it was in Phase One, but now with a bit of a looser structure as you’ll be expected to start exploring Abbey Grounds and uncovering lots of mysteries.
Abbey Upgrade Trophies

Might Need Pockets
Craft a combat item at the Item Bench.
Before you can earn this trophy, you will need to do the following things in this order:
- Complete Artifact Study on your first artifact (unavoidable).
- Complete the “Supernatural Fabrication” research at the Forge.
- Build the “Item Bench” Forge Upgrade.
Once you have done so, you will be able to access the Item Bench against the wall opposite Tony. Use it to craft any item for the first time and the “Might Need Pockets” trophy will unlock.


With a Box of Scraps
Craft a hero ability card in the Forge.
Before you can unlock the “With a Box of Scraps” trophy, you will need to first complete the Book of Vishanti Level 3 Research at the Forge. This will allow you to purchase the Book of Vishanti Forge Upgrade.
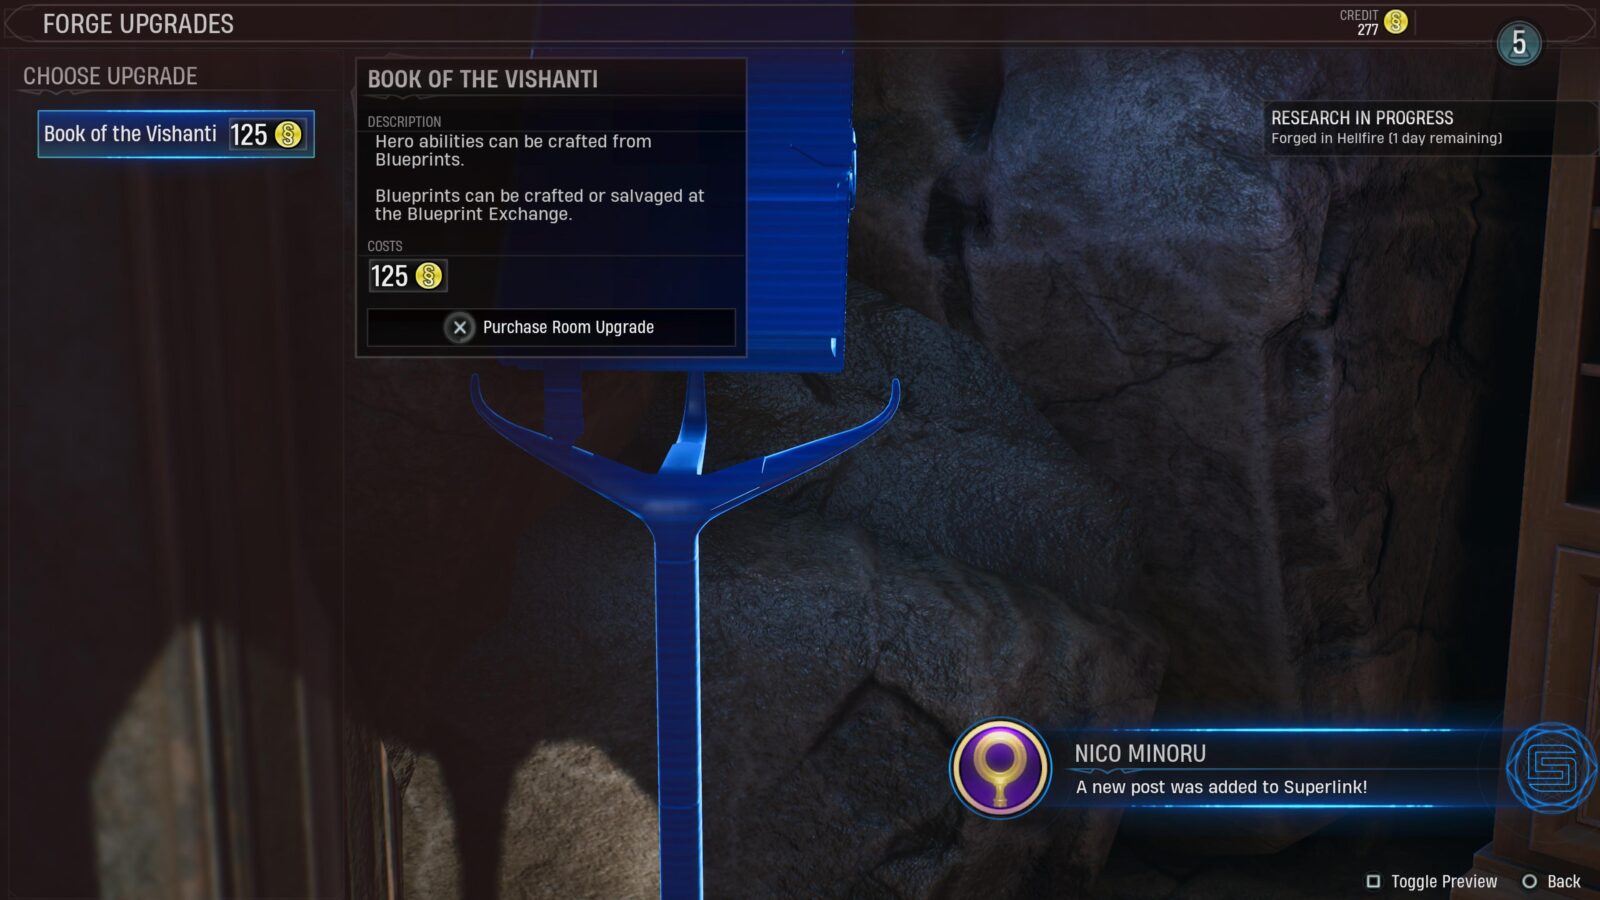
Do so to unlock the “Ability Crafting” option at the Forge. There, you can use resources and blueprints in unison to purchase any Hero abilities that you’ve had before.
Doing this for the very first time will unlock the “With a Box of Scraps” trophy immediately.


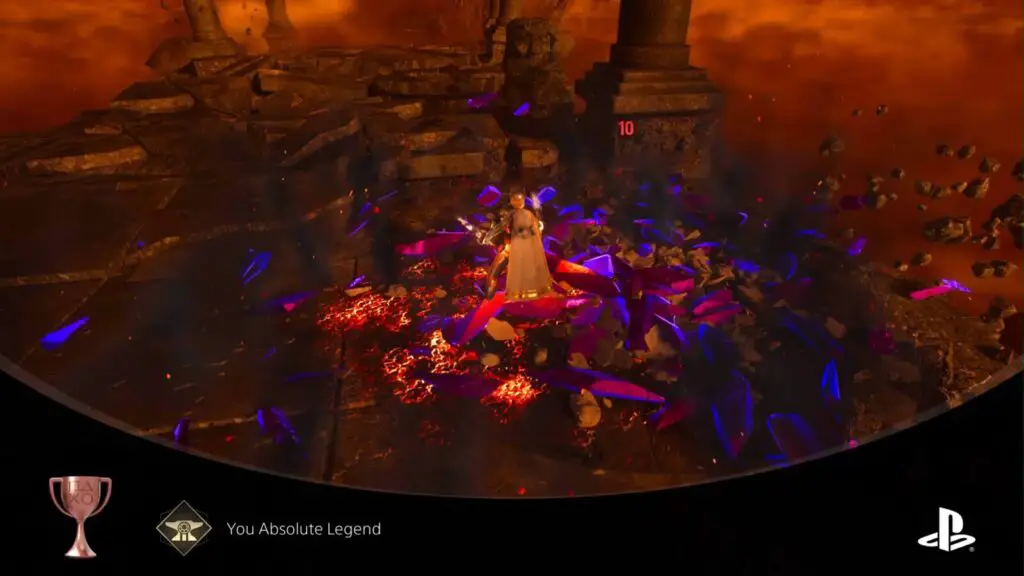
You Absolute Legend
Complete a Midnight Sun Challenge in the Forge.
Before you can begin working on the “You Absolute Legend” trophy, you must complete the “Forged in Hellfire” research objective at the Forge. This will unlock the Armory for you to purchase, giving you access to Midnight Sun Challenge Missions.
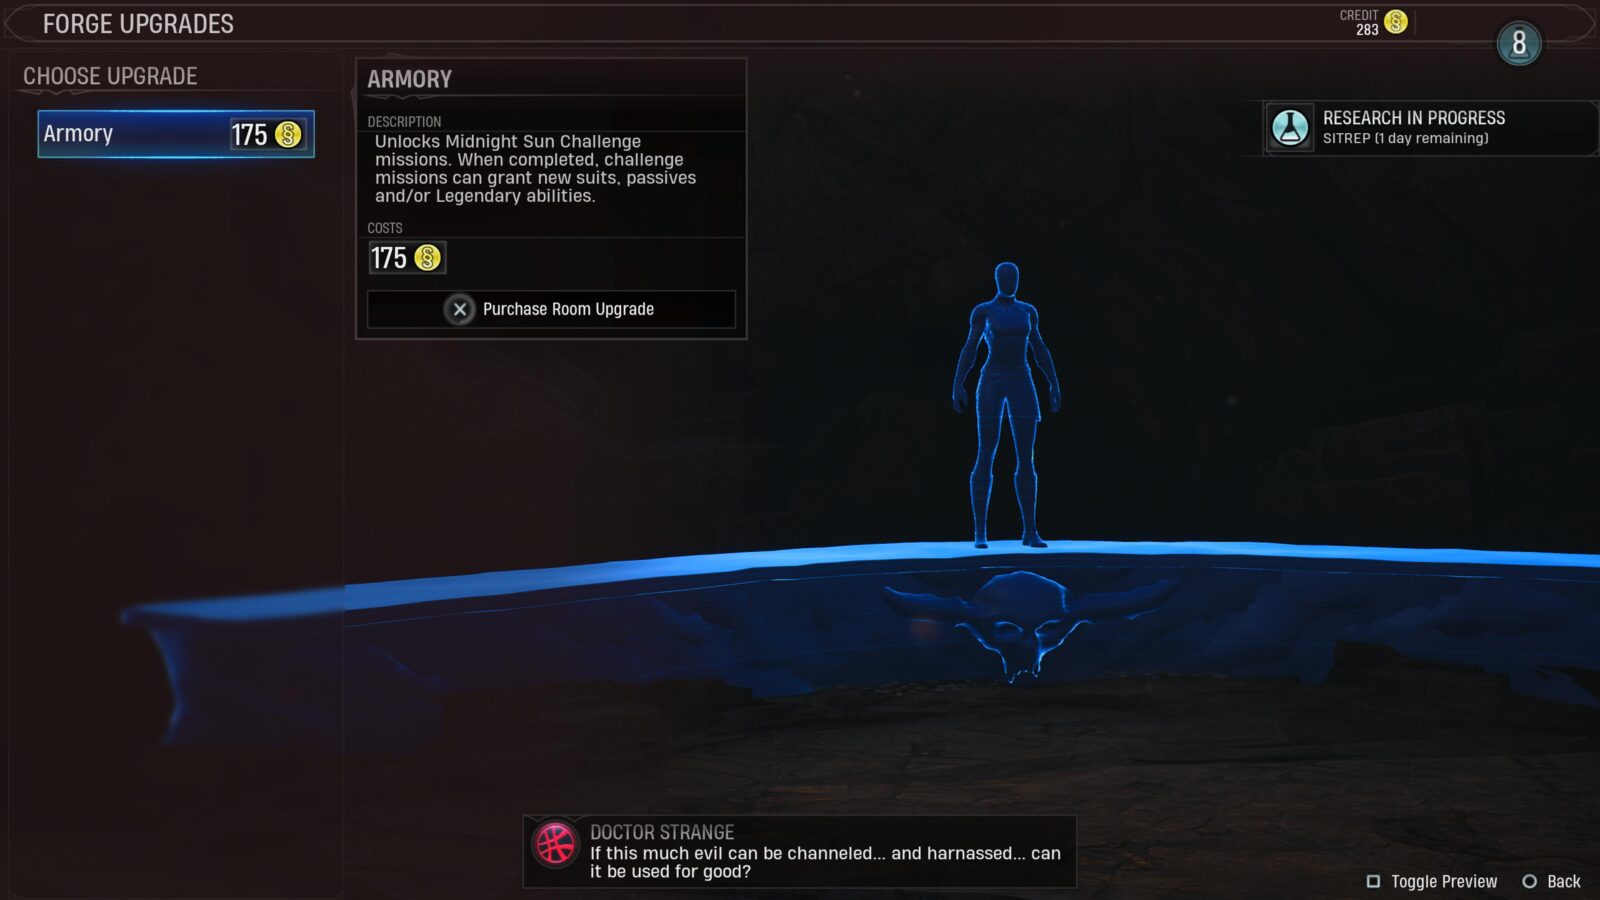
These missions unlock outfits and abilities and can be accessed via the Forge. You will need to reach maximum friendship level with other Heroes to unlock their Midnight Sun Challenge, but you will have Hunters unlocked by default.
Complete any Midnight Sun Challenge at the forge for the very first time to unlock the “You Absolute Legend” trophy.

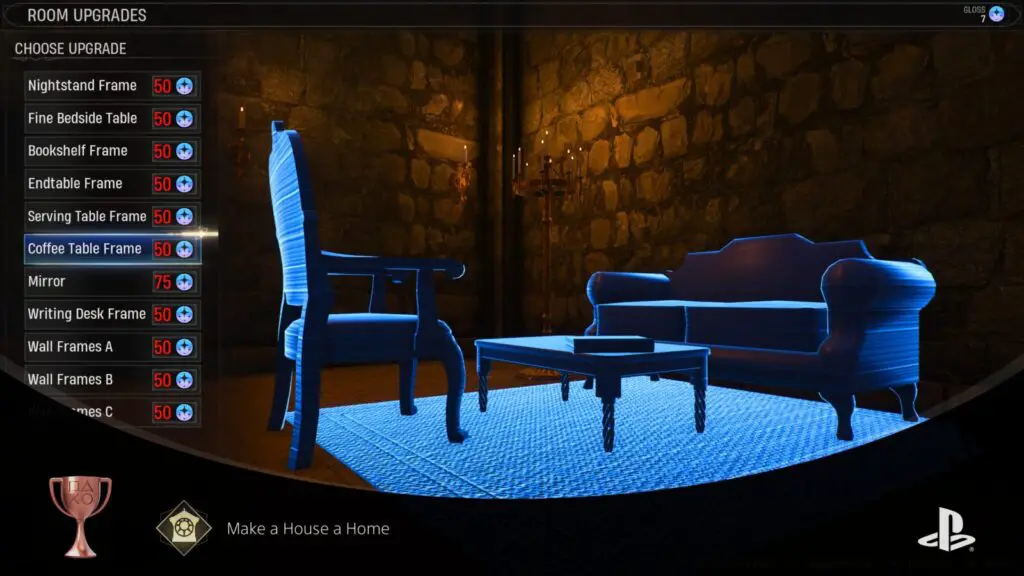
Make a House a Home
Purchase 10 different upgrades for the Hunter's Quarters.
The “Make a House a Home” trophy requires you to purchase at least 10 “Room Upgrades.” You can do so by visiting the Wardrobe in Hunter’s Quarters and selecting “Room Upgrades.”
Each upgrade costs somewhere between 35 and 100 “Gloss.” Gloss is a cosmetic currency you can use to purchase Room Upgrades, Gifts, and Cosmetic Items. You will accumulate Gloss naturally by completing missions and doing tasks around the Abbey. You can even find Gloss on the ground in the form of pale blue glowing spots sometimes, which you can collect with ![]() .
.
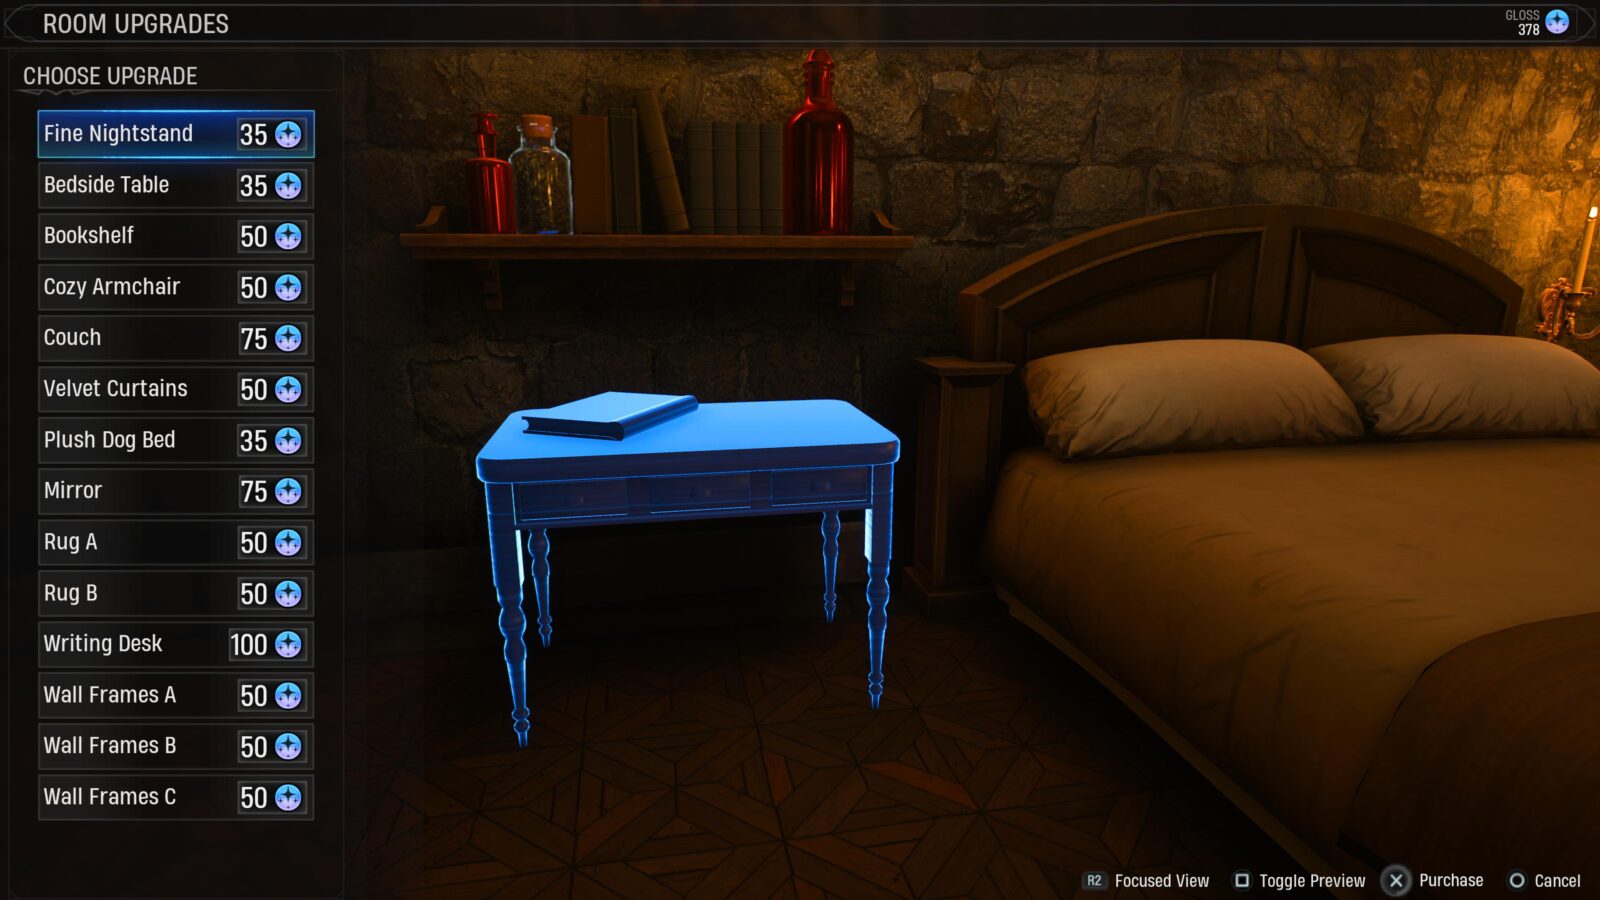
The trophy will unlock immediately once you purchase your 10th Room Upgrade.
If you’d like to preserve your Glimmer and not lose it buying furnishings for a room you only sleep in, you can stockpile around 500-700 Gloss, save the game, purchase 10 Room Upgrades in bulk to unlock the trophy, and then load your save to restore your Gloss savings.

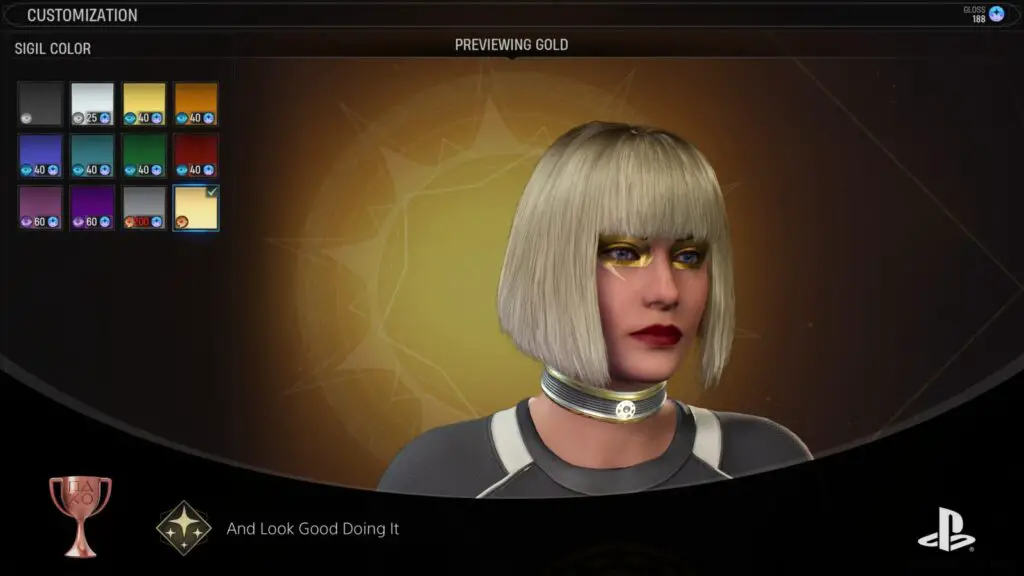
And Look Good Doing It
Spend 1500 Gloss on cosmetic options for the Hunter.
At the Wardrobe next to your bed in the Hunter’s Quarters, you will find the “Customize” option. Here, you can spend “Gloss” to purchase cosmetic items for personalizing your protagonist’s appearance.
To unlock the “And Look Good Doing It” trophy, you will need to spend a cumulative total of 1500 Gloss on these items. Gloss is a cosmetic currency you can use to purchase Room Upgrades, Gifts, and Cosmetic Items. You will accumulate Gloss naturally by completing missions and doing tasks around the Abbey.

T.H.R.E.A.T Eliminated
Survive 3 turns in the THREAT Room with every hero.
Before attempting the “T.H.R.E.A.T Eliminated” trophy, you will need to complete the Level 4 Research at the Forge titled “New Threat.” Once complete, you will need to use 175 Credits to purchase the T.H.R.E.A.T. Room upgrade for the Yard.

This adds a new portal to the right side of the Yard, which you can use to access a survival mode, used to gain experience and practice ability loadouts.
In this game mode, the goal is to take out as many enemies as you can while surviving for three full turns. In order to unlock this trophy, you will need to replay T.H.R.E.A.T Room Missions for every single character until you’ve completed it once with each character listed below:
- Hunter
- Blade
- Captain America
- Captain Marvel
- Dr. Strange
- Ghost Rider
- Hulk
- Iron Man
- Magik
- Nico
- Wanda
- Spider-Man
- Wolverine
You can only complete a T.H.R.E.A.T Room once per day and failing to complete one will mean you can’t re-attempt it until the next in-game day.

Some Minor Adjustments
Apply mods to 10 different hero abilities.
Before you can unlock the “Some Minor Adjustments” trophy, you need to spend 300 Credits to purchase the “Crucible” upgrade for the Yard. This upgrade is unlocked when you complete the “Blood, Sweat, and Tears” Research objective at the Forge.

Once you have purchased the Crucible Upgrade, you can select the new “Apply Ability Mods” option at the Yard.
Here, you can add mods to the upgraded abilities of any hero you choose. Applying mods will cost 10 Credits and a varying denomination of Essence.
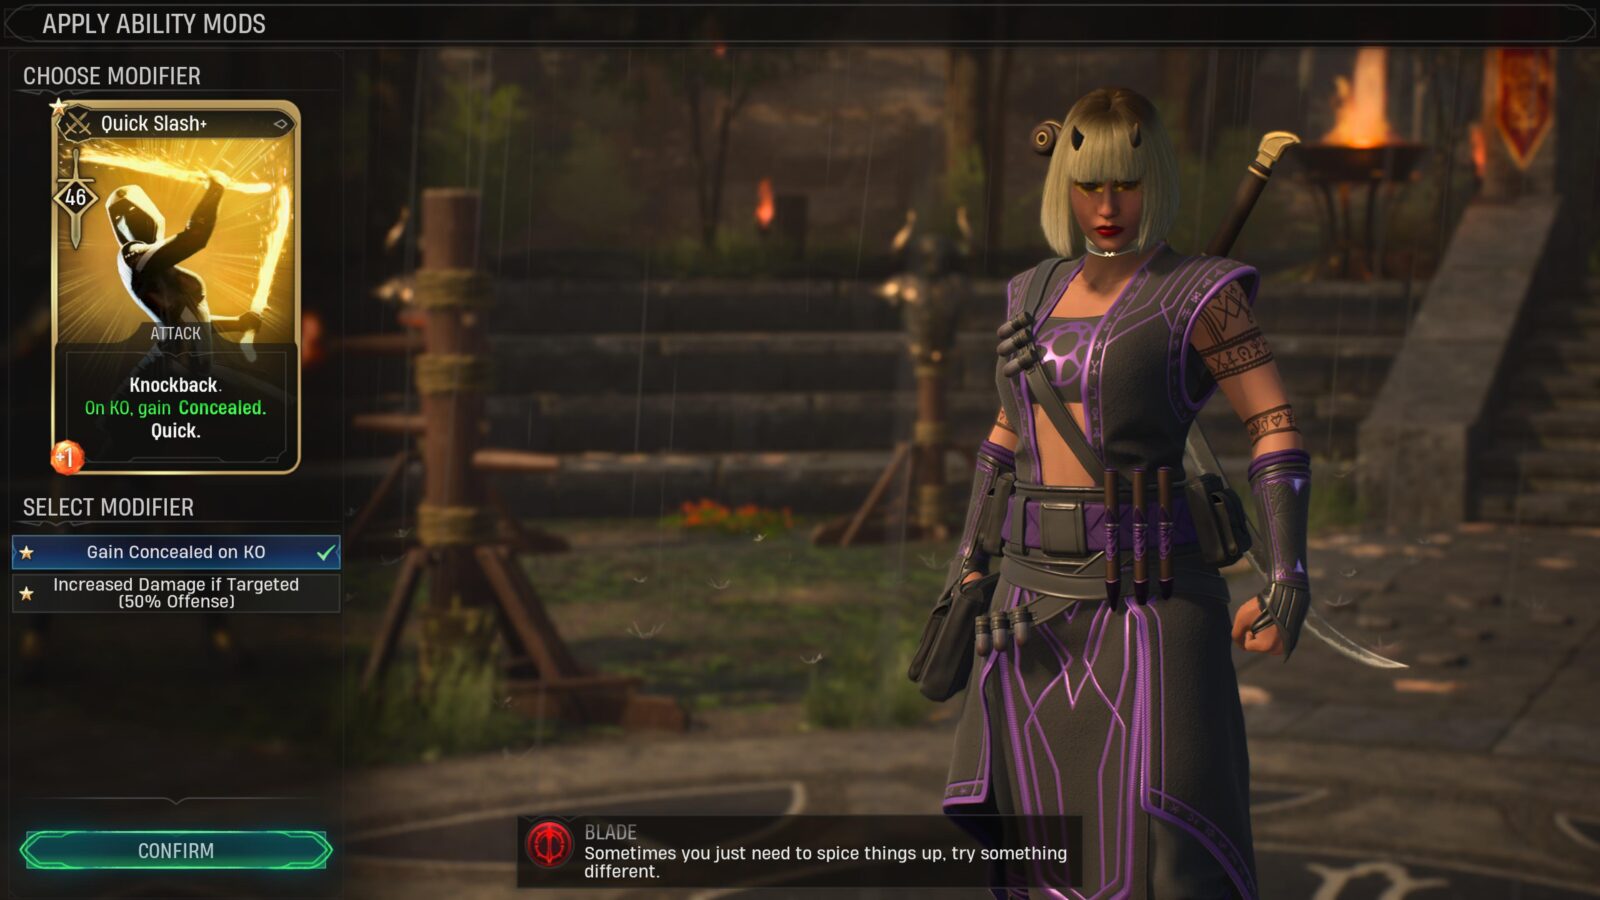
To unlock the “Some Minor Adjustments” trophy, simply apply mods to any 10 upgraded hero abilities. Common abilities are cheaper to upgrade, so I’d recommend focusing on those where you can!

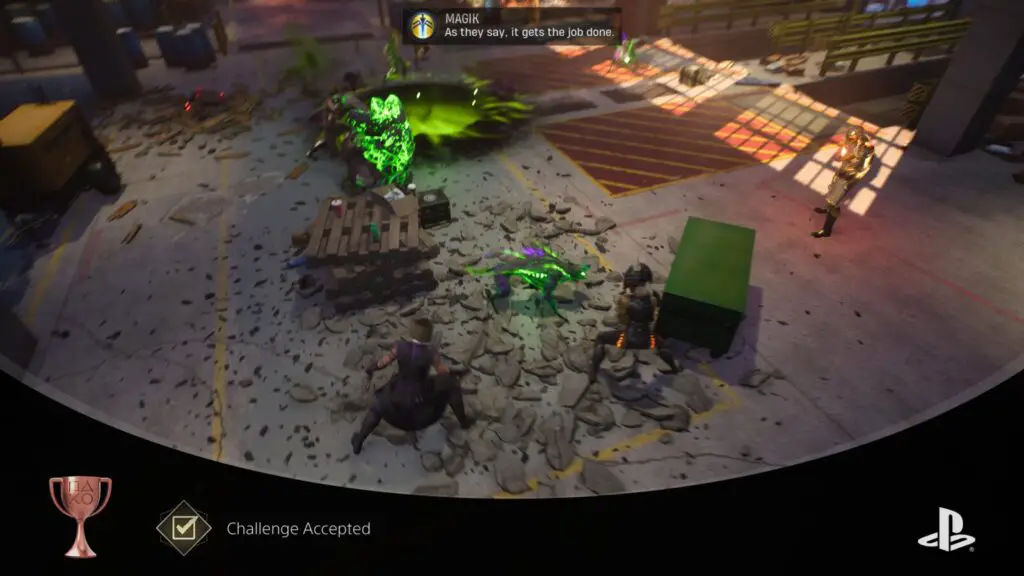
Challenge Accepted
Complete 10 Mission Challenges.
Before you can work on the “Challenge Accepted” trophy, make sure you have completed the “Sitrep” research option at the Forge. This gives access to a new C.E.N.T.R.A.L upgrade called T.A.L.O.N which you can purchase using Credits.
Once you have the upgrade, you will notice new challenges that appear on the right-hand side when selecting a General Mission at the Mirror Table. You can press ![]() to inspect them closely, and spend Intel to accept the challenge (if you think you can complete it) with
to inspect them closely, and spend Intel to accept the challenge (if you think you can complete it) with ![]() .
.
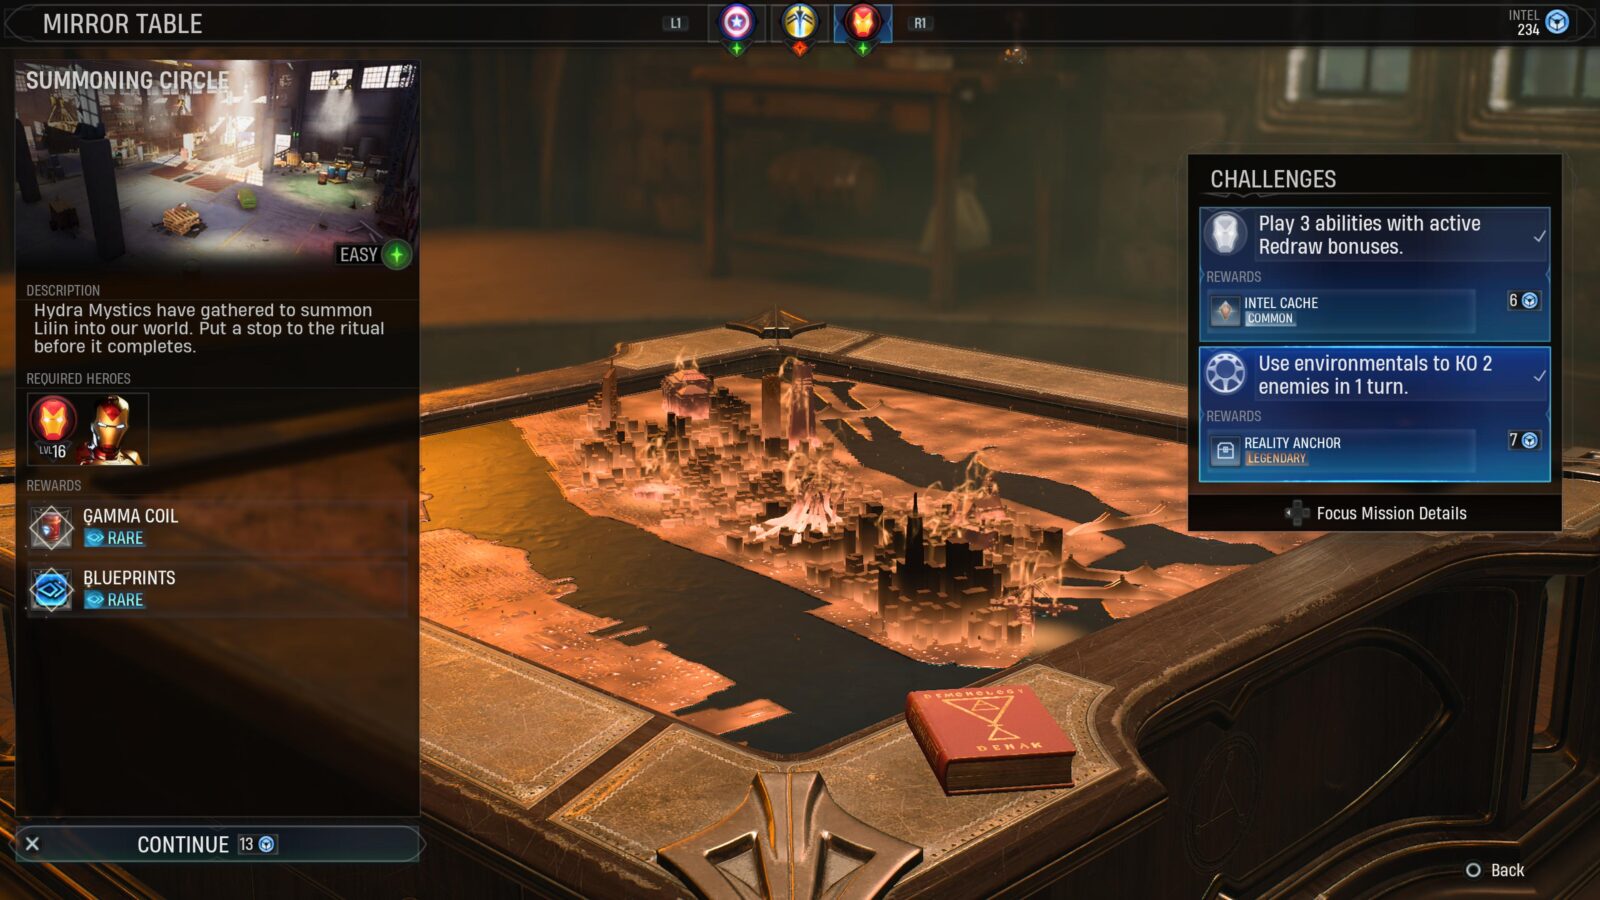
Completing a challenge will earn you extra rewards from the mission, but it will require a little bit of extra strategy to pull off.
Complete a total of 10 of these challenges and the “Challenge Accepted” trophy will be yours.

Fully Operational
Build every Abbey upgrade in a single campaign.
To unlock the “Fully Operational” trophy, you will need to first complete the relevant research modules. Some research modules make Abbey Upgrades available at the Forge, C.E.N.T.R.A.L, and The Forge.
You should aim to complete every Research Module anyway, that way you’ll know you have unlocked every possible Upgrade. You will find yourself in dire need of Credits when it comes to building the upgrades, some of which cost as much as 300 credits!
To farm credits, you can continue playing General Missions at the Mirror Table. Specifically, you should be looking for ones that offer Credits as a reward, but some others will provide a small number of credits too.
You can also find credits on the ground around the Abbey, inside Arcane Chests, and from the S.H.I.E.L.D Exchange at C.E.N.T.R.A.L.
Once you have purchased every possible Abbey Upgrade at the Forge, C.E.N.T.R.A.L, and the Yard in one playthrough of Midnight Suns, the Fully Operational trophy will unlock.

Abbey Exploration Trophies

Unrequited Love
Pet Ebony on 4 different days.
Charlie isn’t the only Pet roaming the Abbey Grounds. Ebony, Caretaker’s Cat, can be found in various locations in each day. I’m not certain of every location as the only consistent Ebony hangout location I could find was Caretaker’s room. I spotted her a few times outside the Abbey and in the Chapel, though.
By far, the easiest way to progress this story is to just check Caretaker’s room (across the hall from Hunter’s room) for Ebony each day. If you see her, approach her and press ![]() to praise her.
to praise her.
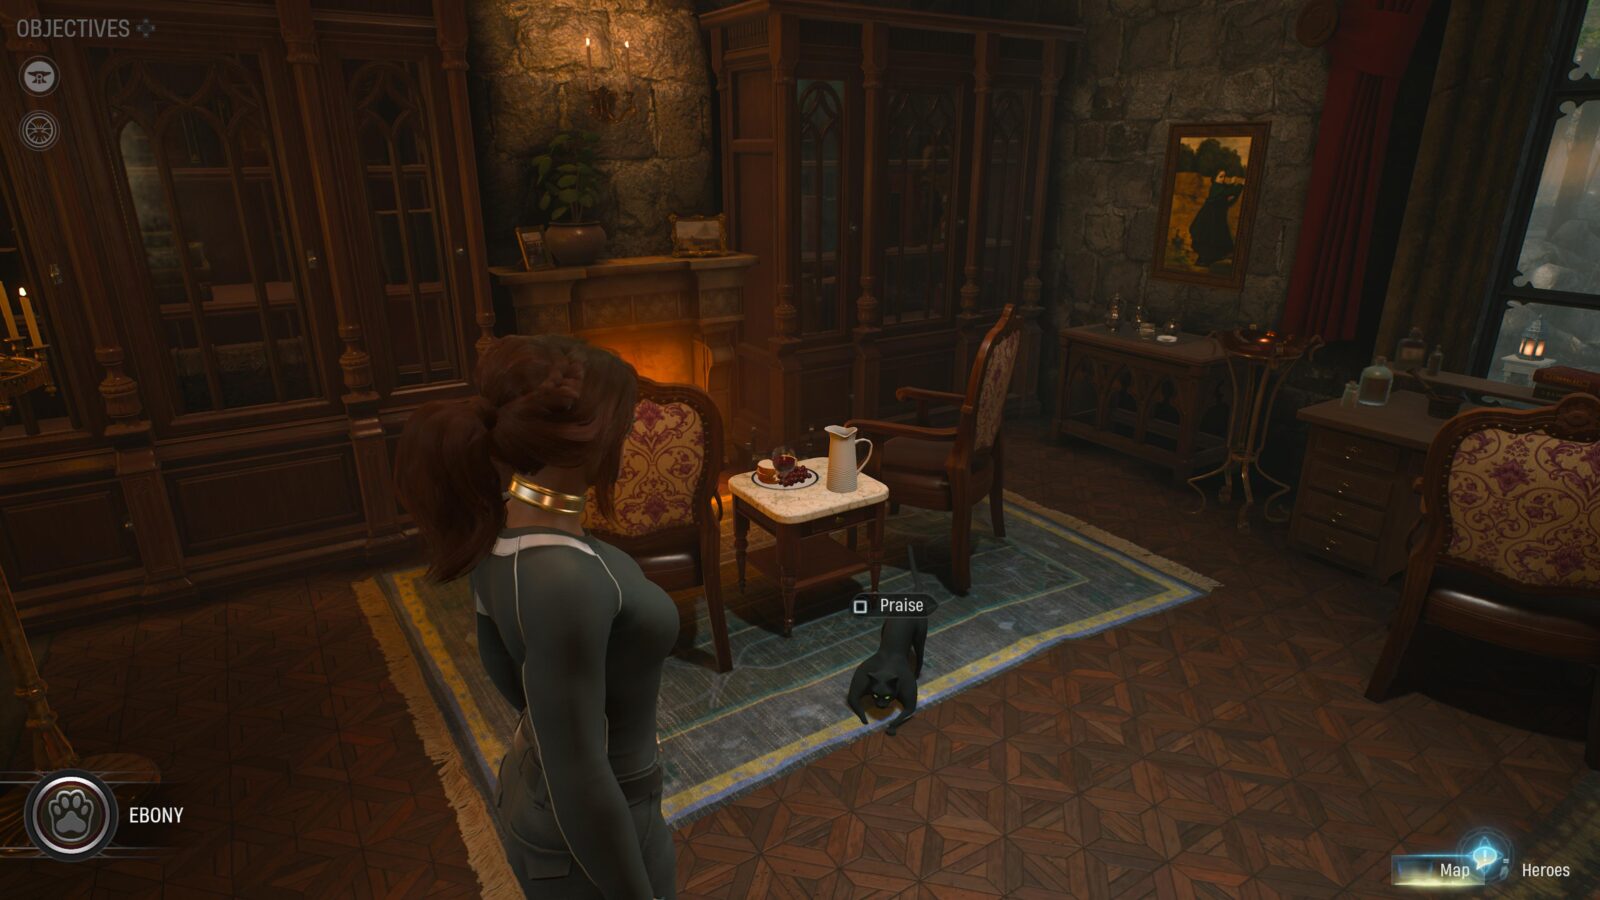
Upon praising her for the fourth time (across separate days, 4 back-to-back praises won’t do a thing), the “Unrequited Love” trophy will unlock.


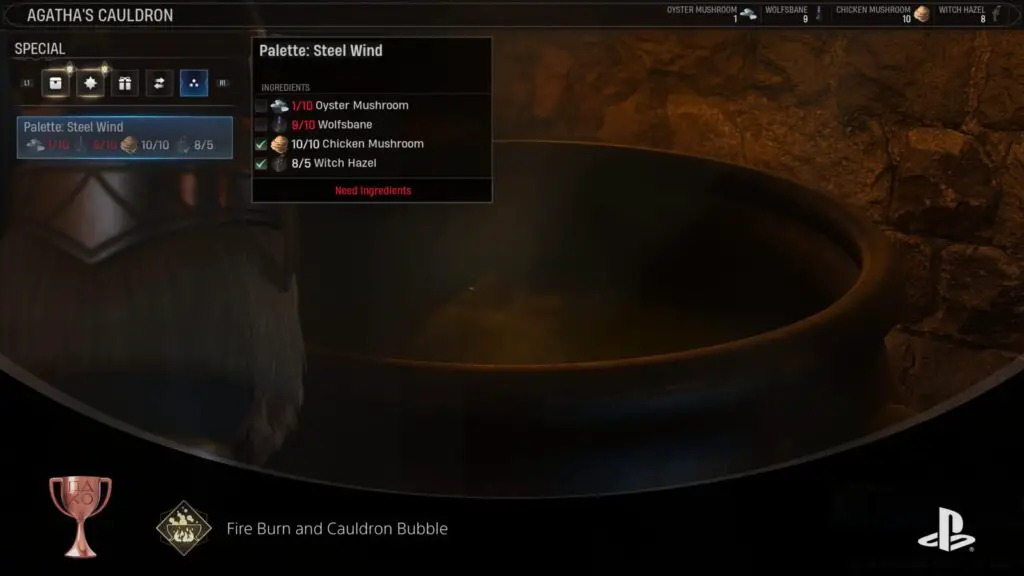
Fire Burn and Cauldron Bubble
Use Agatha's Cauldron to complete a Recipe.
Before you can access Agatha’s Cauldron, you will need to solve the mystery of Agatha’s Altar (see Elementary, My Dear Agatha). Once you have done so, complete a Mission or two at the Mirror Table until Agatha wishes to speak with you in the Library.
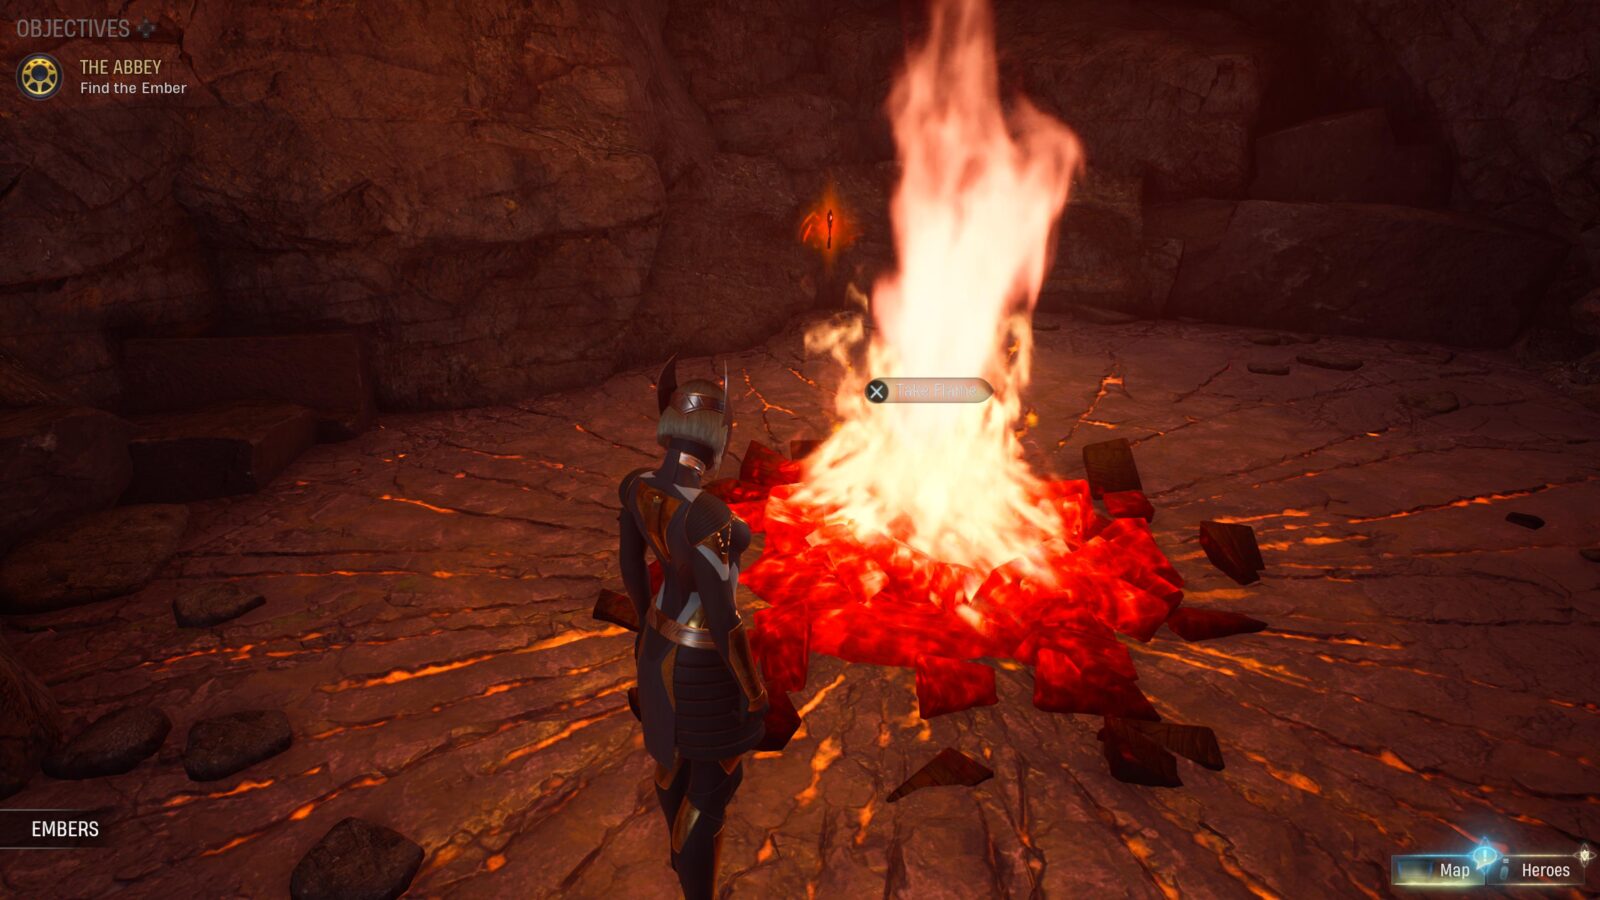
Once she does, speak to her and she will give you a small bottle and ask you to collect an ember from a tunnel behind the Abbey. Head to the marked location and look for a ladder leading underground.
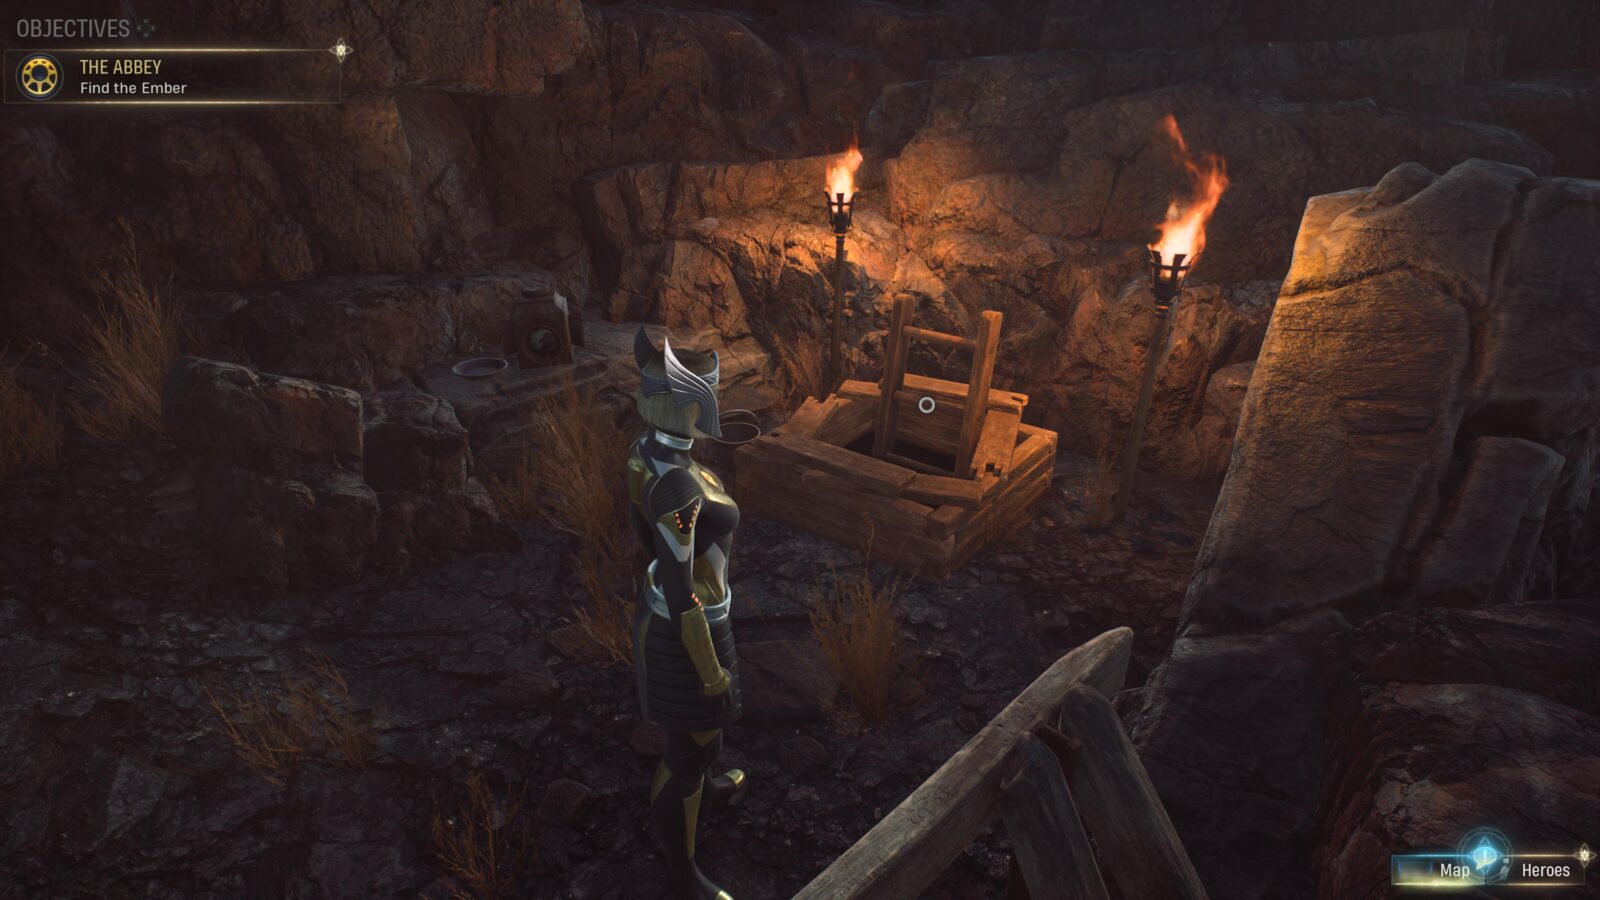
Use the “Open” word of power on the door in the tunnel to reveal the Embers you need to collect.
Grab them and return to Agatha. She’ll use them to relight the fire under her Cauldron, giving you access to it.
To craft a recipe at the cauldron, you first need a Recipe Book. Fortunately, Agatha leaves one on the stool by the Cauldron for you. Equipped with a working cauldron and some recipes, check to see what you can make.
Each item has a reagent cost. For example, to craft a “Mercury Totem” item, you need to gather 10 Oyster Mushrooms and 5 Witch Hazel plants. You can collect every resource needed from the woods around the Abbey, just head out to explore and grab what you need.
Crafting any recipe at the Cauldron for the very first time will unlock the “Fire Burn and Cauldron Bubble” trophy.
Spread the Pain
Complete a Daily Sparring session with every hero.
Each day, at the sword in the Training Grounds, you can partake in Daily Sparring with a Character of your choice. Doing so increases friendship level, character level, training level, and earns you a few other rewards.
To unlock the “Spread the Pain” trophy, you will need to complete Daily Sparring at least once with every Character;
- Blade
- Captain America
- Captain Marvel
- Dr. Strange
- Ghost Rider
- Hulk
- Iron Man
- Magik
- Nico
- Wanda
- Spider-Man
- Wolverine
Each time you spar with a Hero, a photo is saved in your gallery. You can use these photos to determine who you have and haven’t sparred with yet!
The Keymaster
Open 25 Arcane Chests.
Hidden all across the Abbey Grounds and even within the Abbey itself, you will find many “Arcane Chests.” These chests will have a rarity of either Common, Rare, Epic, or Legendary. This rarity determines the value and quantity of rewards you pull from it.
Regardless of rarity, all chests cost just one Arcane Chest to open, though once you reach Arcane Level 3 and up, you will start to be able to open some chests without a key.
Additionally, any opened chests will eventually restock after a few in-game days and you can actually open the same chests multiple times.
To unlock the “The Keymaster” trophy, you must open a cumulative total of 25 chests. Each chest you open will count, even if you have opened it before and it has restocked.


Elementary, My Dear Agatha
Solve the mystery of Agatha's Altar.
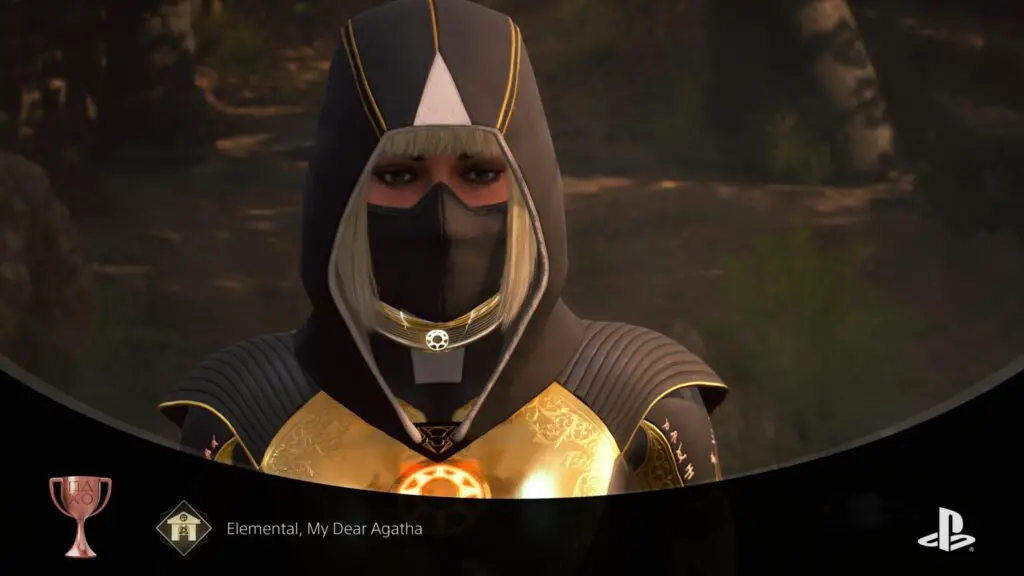

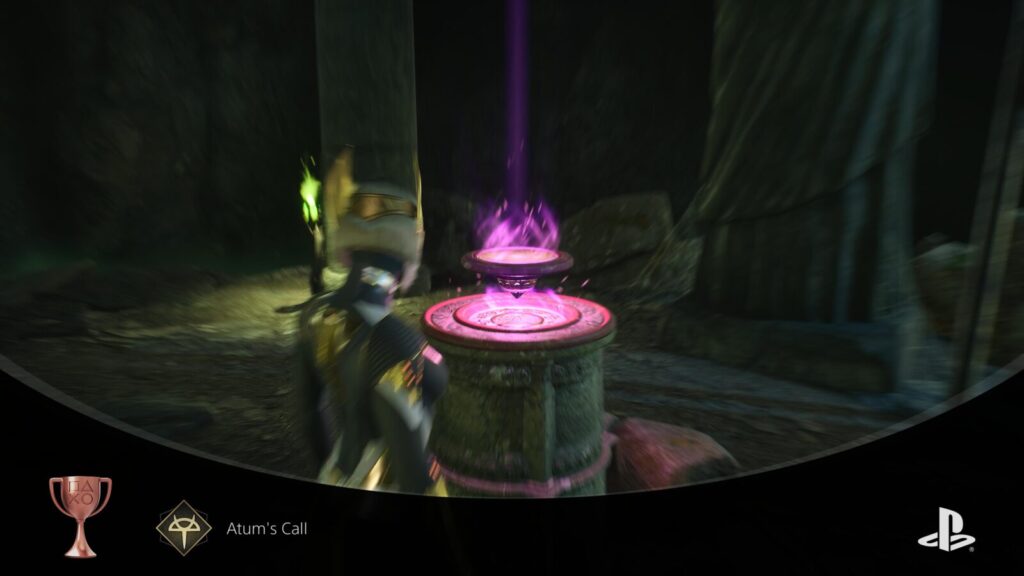
Atum's Call
Acquire the "Reveal" Word of Power.
Before you can unlock the “Atum’s Call” trophy, you must have earned the “Elementary, My Dear Agatha” trophy.
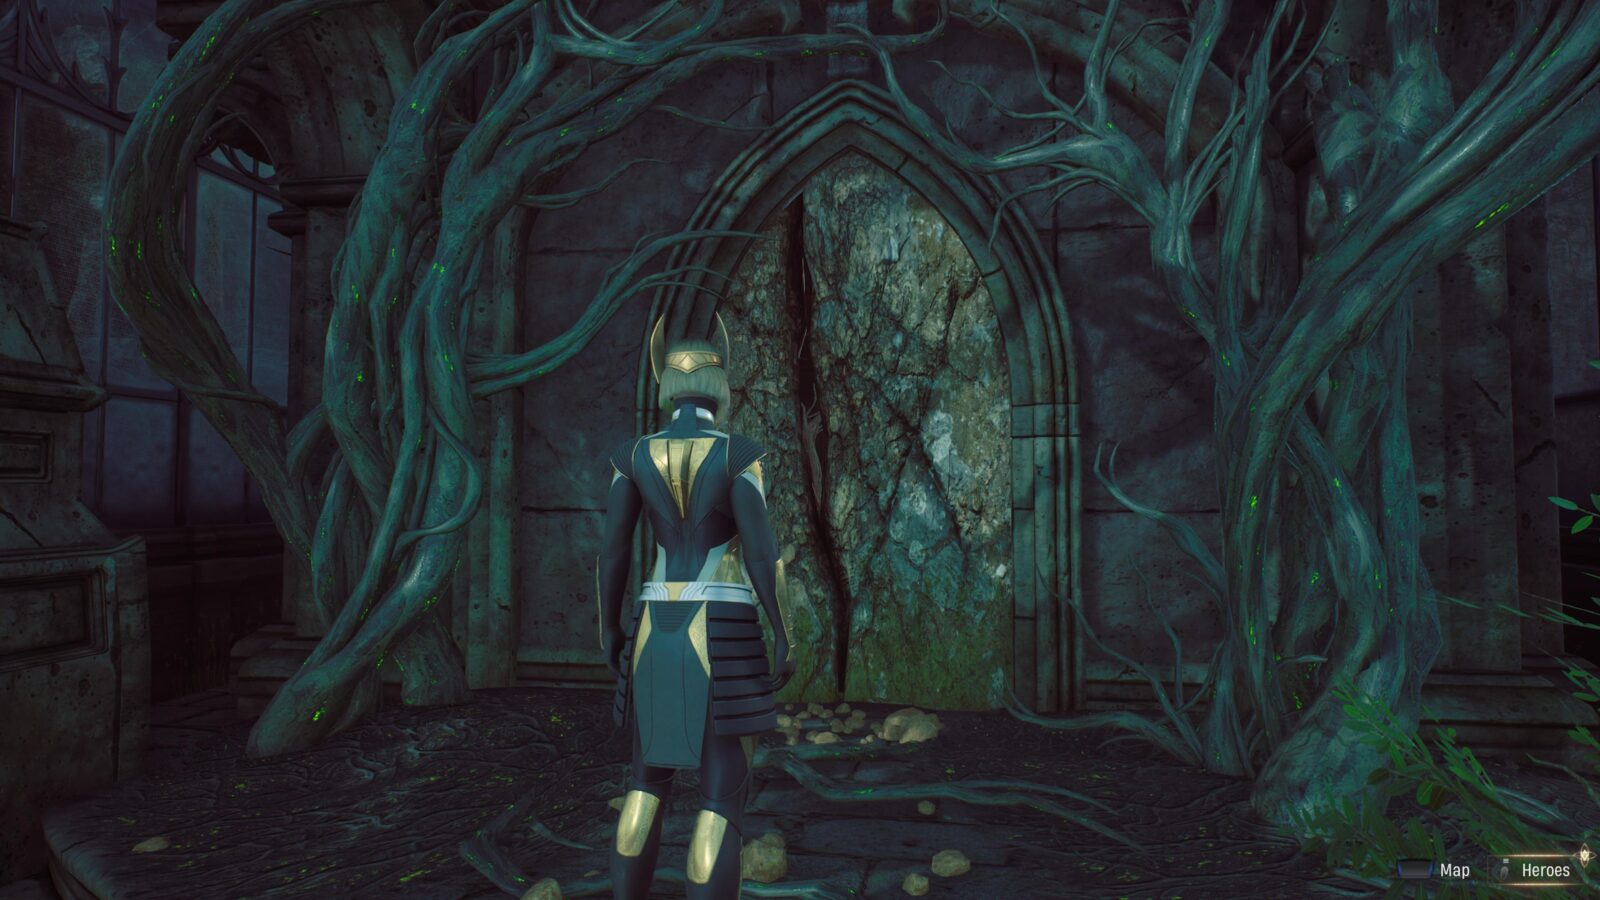
Once you have the Moon Seal from doing that, head to the huge stone doorway in the Standing Stones area on the east side of the map at night.
You will see that the red eye-like symbol on the door is glowing. Approach it and press ![]() to open the second Blood Gate.
to open the second Blood Gate.
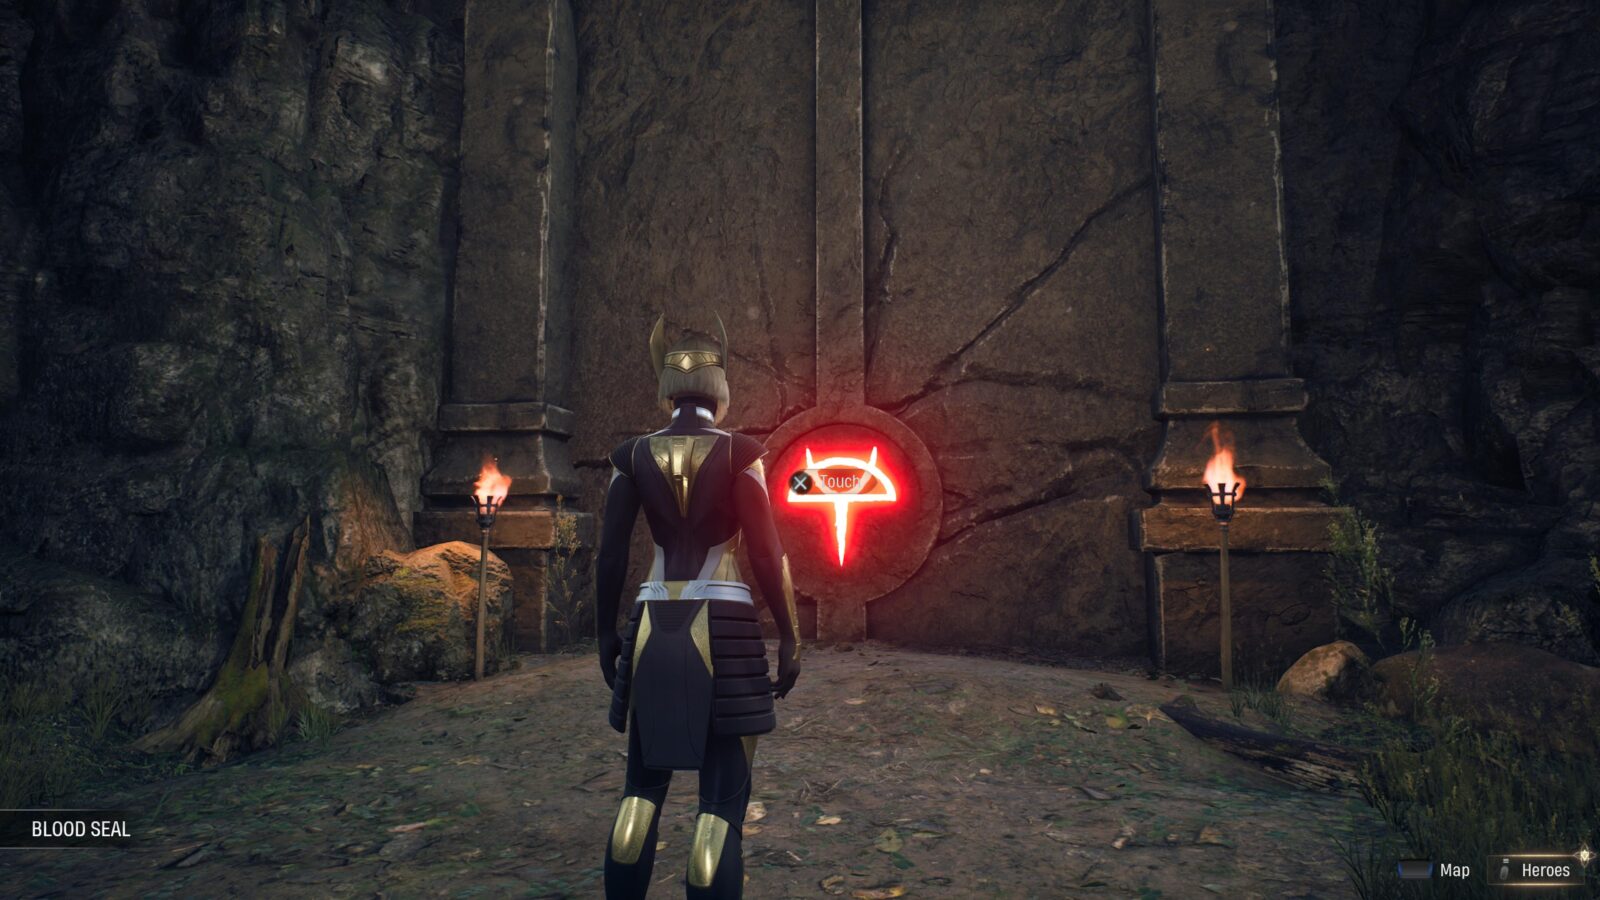
You’ll need to complete another combat trial, this time with a recommended Player Level of 8. If you succeed, the doorway will crumble, revealing another Moon Seal Plynth. Place your second Moon Seal on the plinth to receive the “Reveal” Word of Power and unlock “Atum’s Call.”
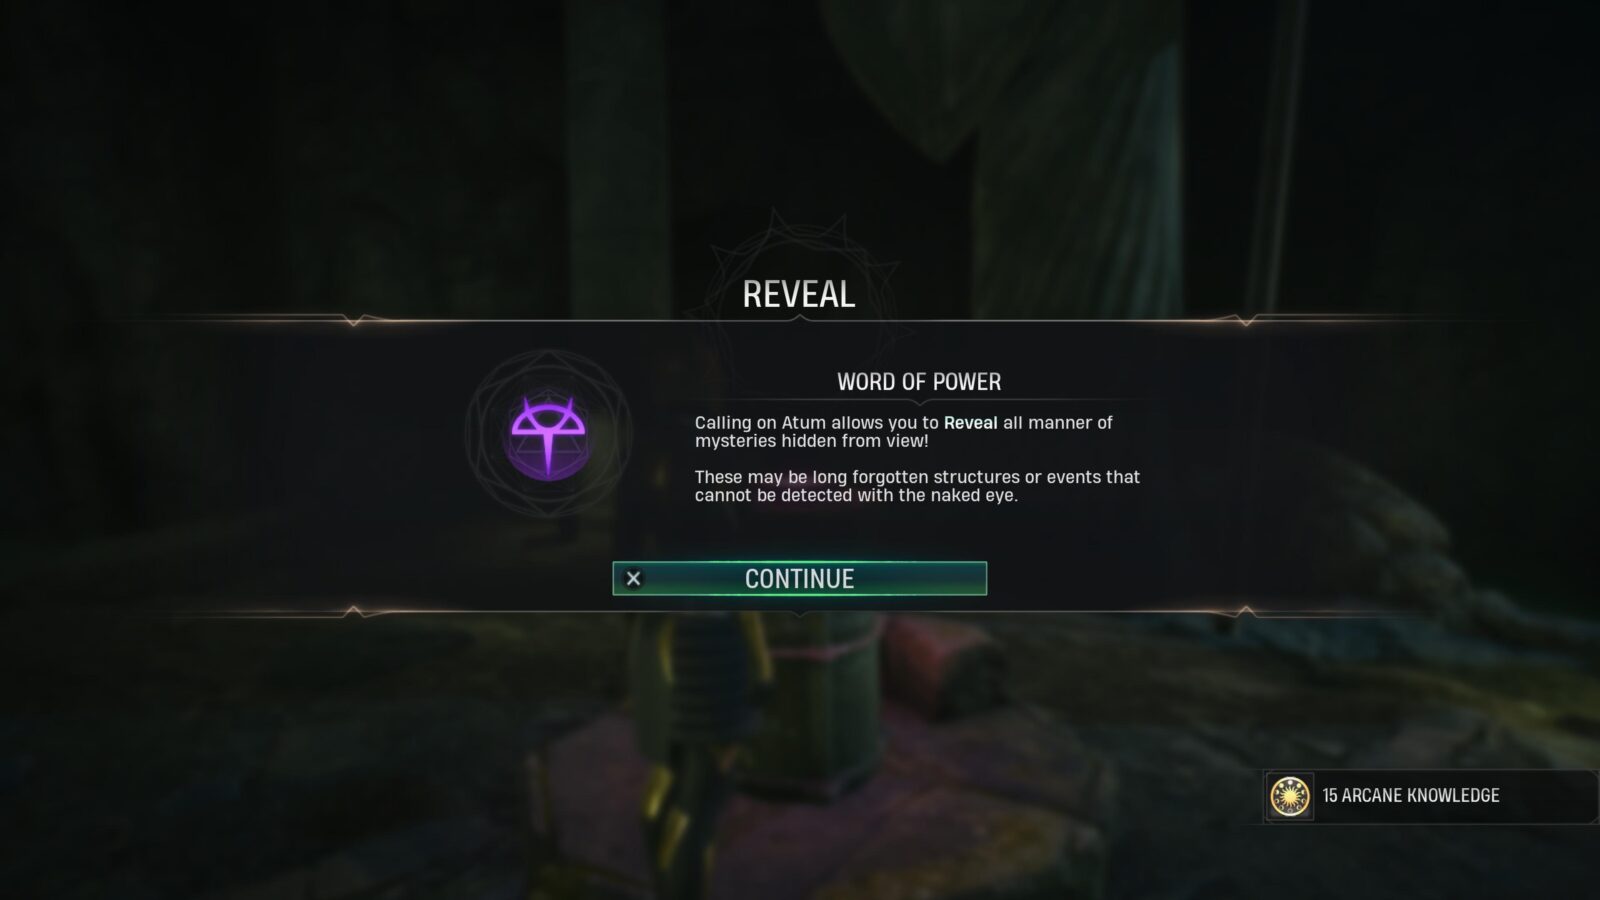
You can now use the “Reveal” Word of Power at locations with an eye symbol on them, revealing something invisible nearby!

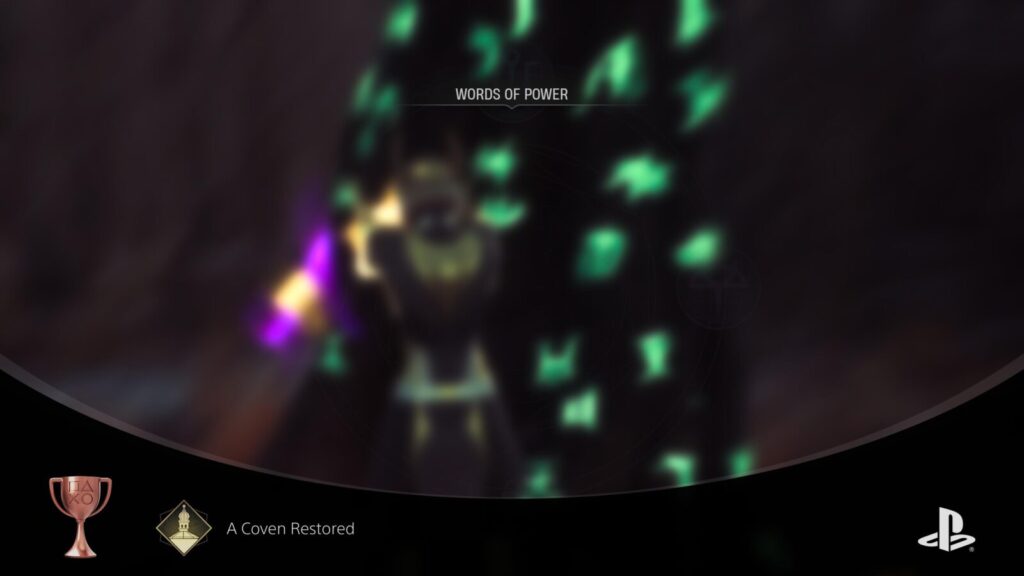
A Coven Restored
Solve the mystery of Hiram Shaw's church.

Hyppus' Aid
Acquire the "Purify" Word of Power.
Before you can acquire the “Purify” Word of Power, you will need to earn the “A Coven Restored” trophy by solving the mystery of Hiram Shaw’s Church.
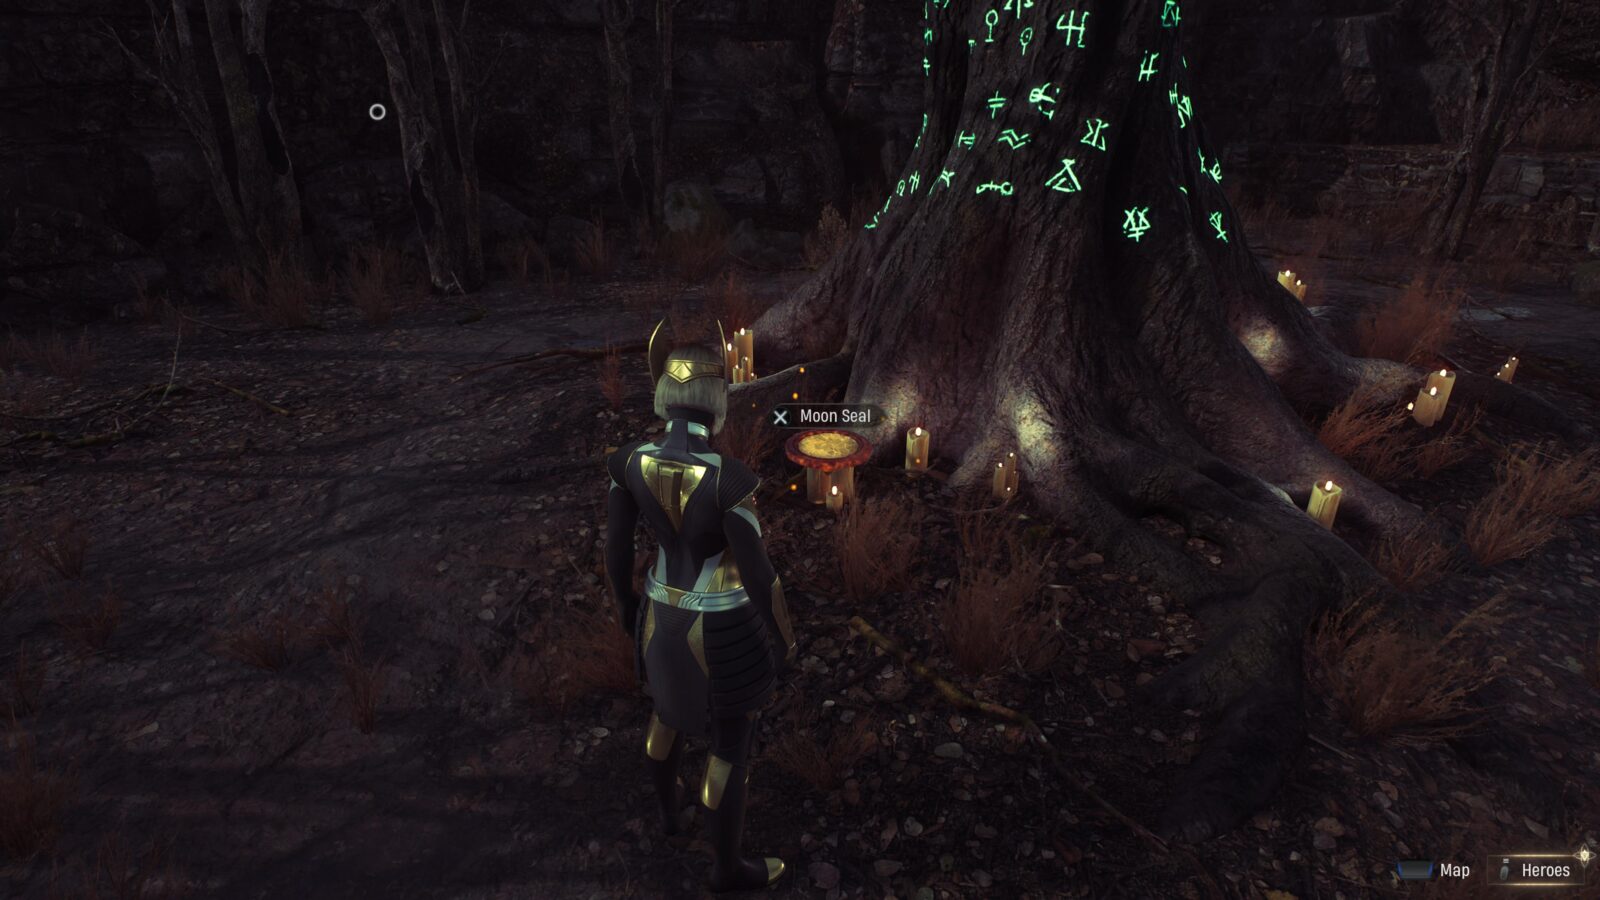
Once done, collect the Moon Seal from the base of the Hanging Tree and then take it to the Blood Gate in the Everflowing Glade area at the Northeast corner of the Abbey Grounds.
Press ![]() to “Touch” the seal on the door to open the Blood Gate, complete the challenge within, and then place the Moon Seal on the plinth inside.
to “Touch” the seal on the door to open the Blood Gate, complete the challenge within, and then place the Moon Seal on the plinth inside.
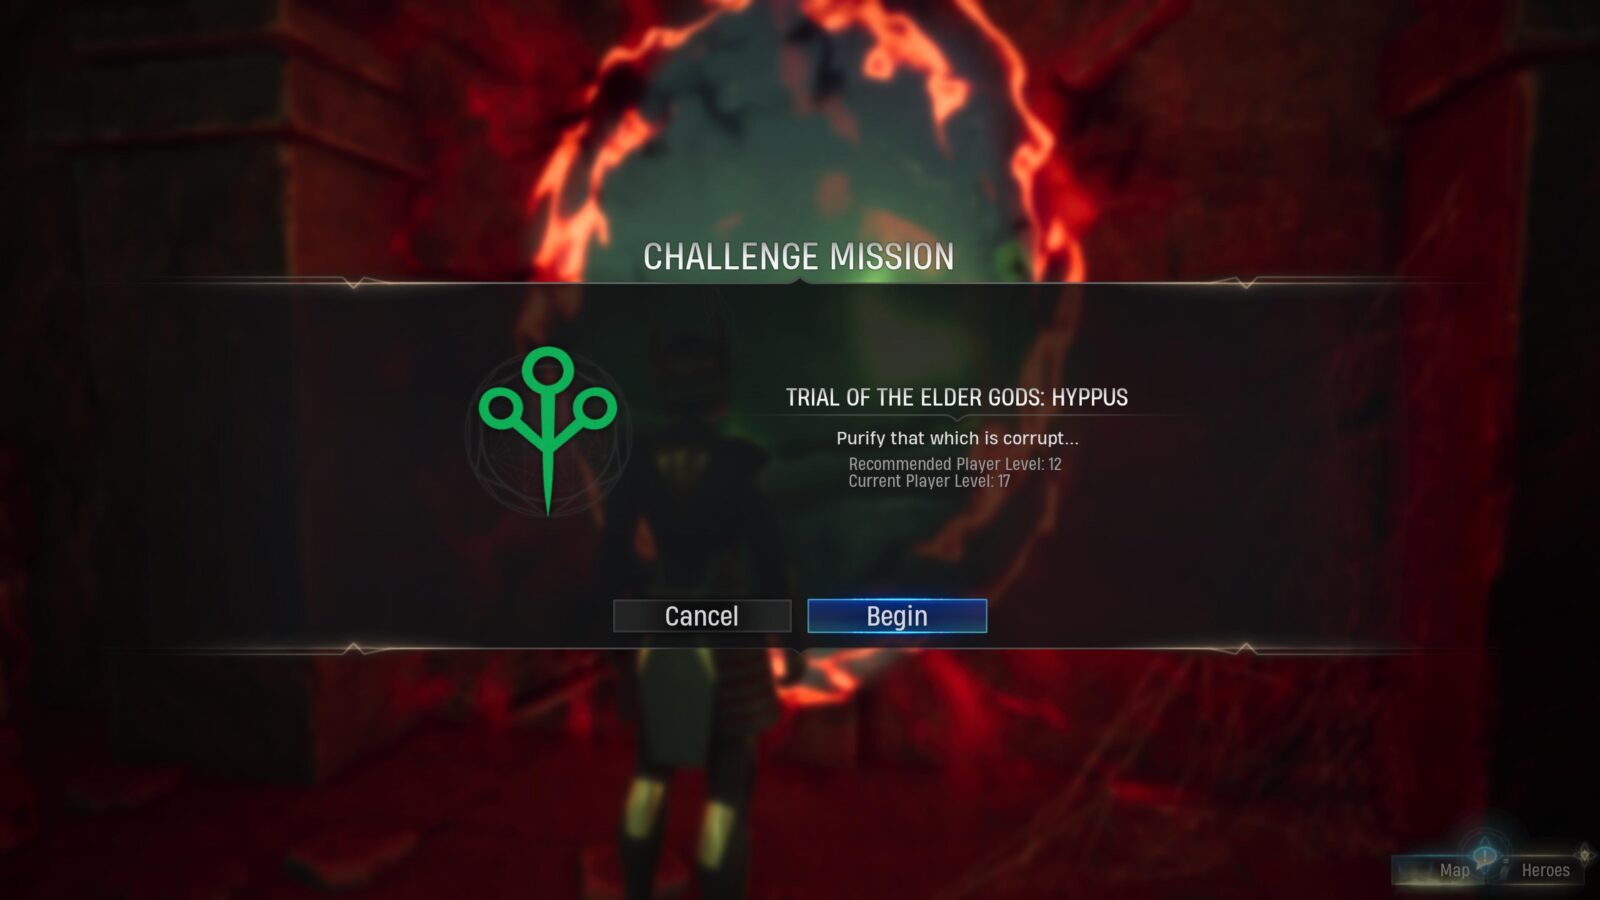
You will then receive the “Purify” Word of Power (which allows you to remove root-like obstructions) and the “Hyppus’ Aid” trophy.


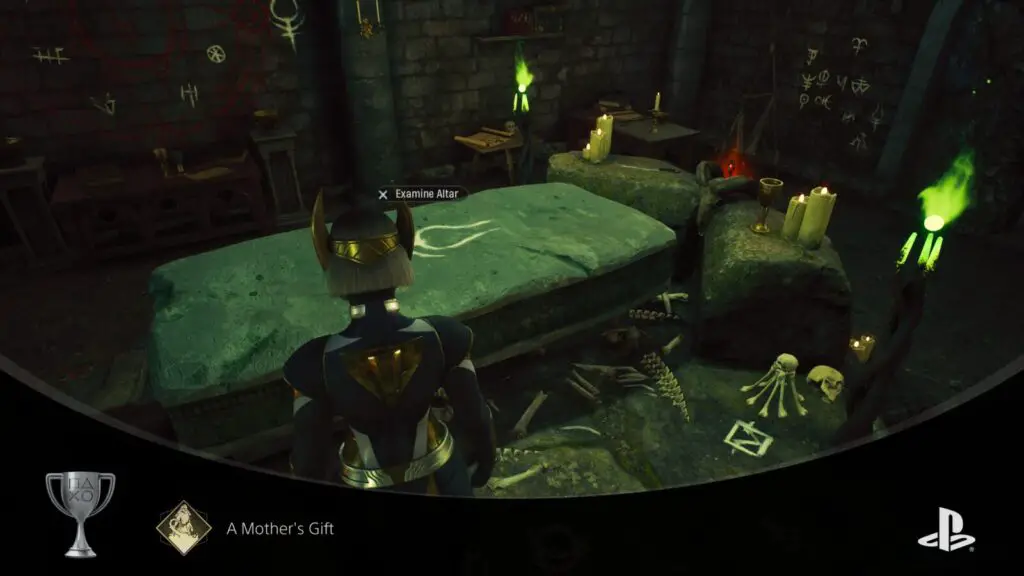
A Mother's Gift
Solve the mystery of Lilith's Garden.
Please See Our Marvel’s Midnight Suns Lilith’s Garden Guide.

Set's Favor
Acquire the "Break" Word of Power.
Unlocked unavoidably while solving the mystery of Lilith’s Garden. Please See Our Marvel’s Midnight Suns Lilith’s Garden Guide.


Wisdom of the Woods
Collect 10 of every Reagent.
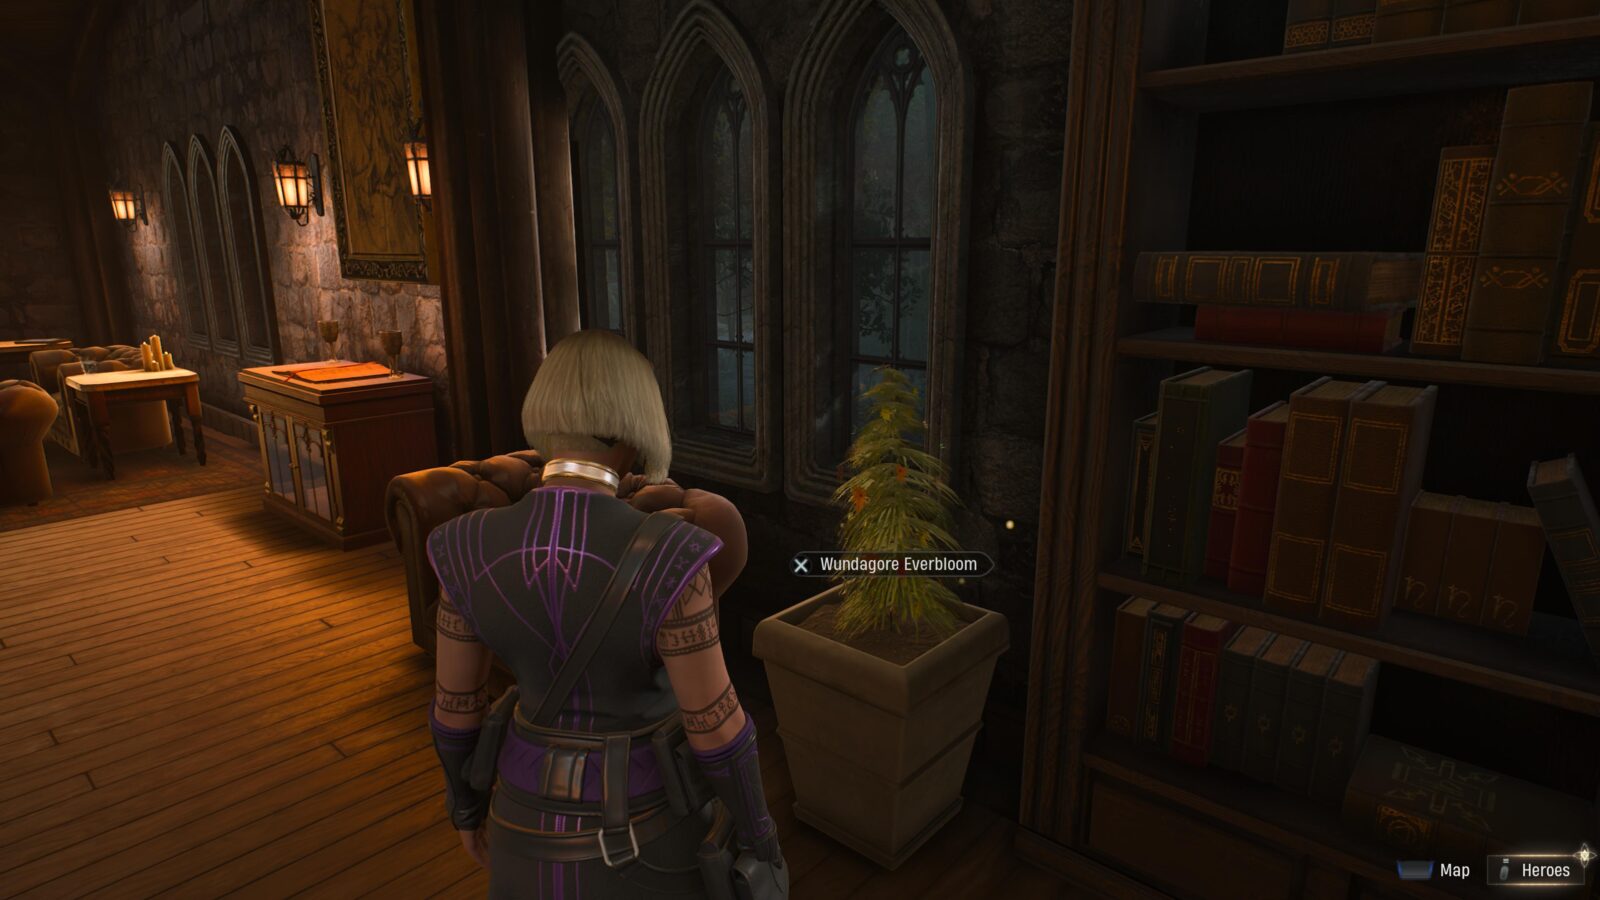
In Midnight Suns, when you are exploring the Abbey Grounds, you will find various plants that you can collect. These resources are called “Reagents” and can be used with Agatha’s Cauldron to create useful items/resources.
The first thing to note is that not every part of the Abbey Grounds is explorable at first, so you will need to explore a bit and unlock the Words of Power to gain full free roam access of the grounds.
Another thing to note is that the “Wundagore Everbloom” will only show up if it is a “Waxing Moon.” Open your map with ![]() and look in the top-right where the current day and weather are shown. There, it will also tell you what kind of moon is currently in the sky.
and look in the top-right where the current day and weather are shown. There, it will also tell you what kind of moon is currently in the sky.
Once you have 10 of each reagent collected, the “Wisdom of the Woods” trophy will unlock. You will need to be holding 10 of each Reagent at once so make sure you keep hold of any you gather until you have this trophy.
You can see a table below of where to find each Reagent:
ReagentLocation
| Wolfsbane | Dreamer’s Descent |
| Chicken Mushroom | Dreamer’s Descent |
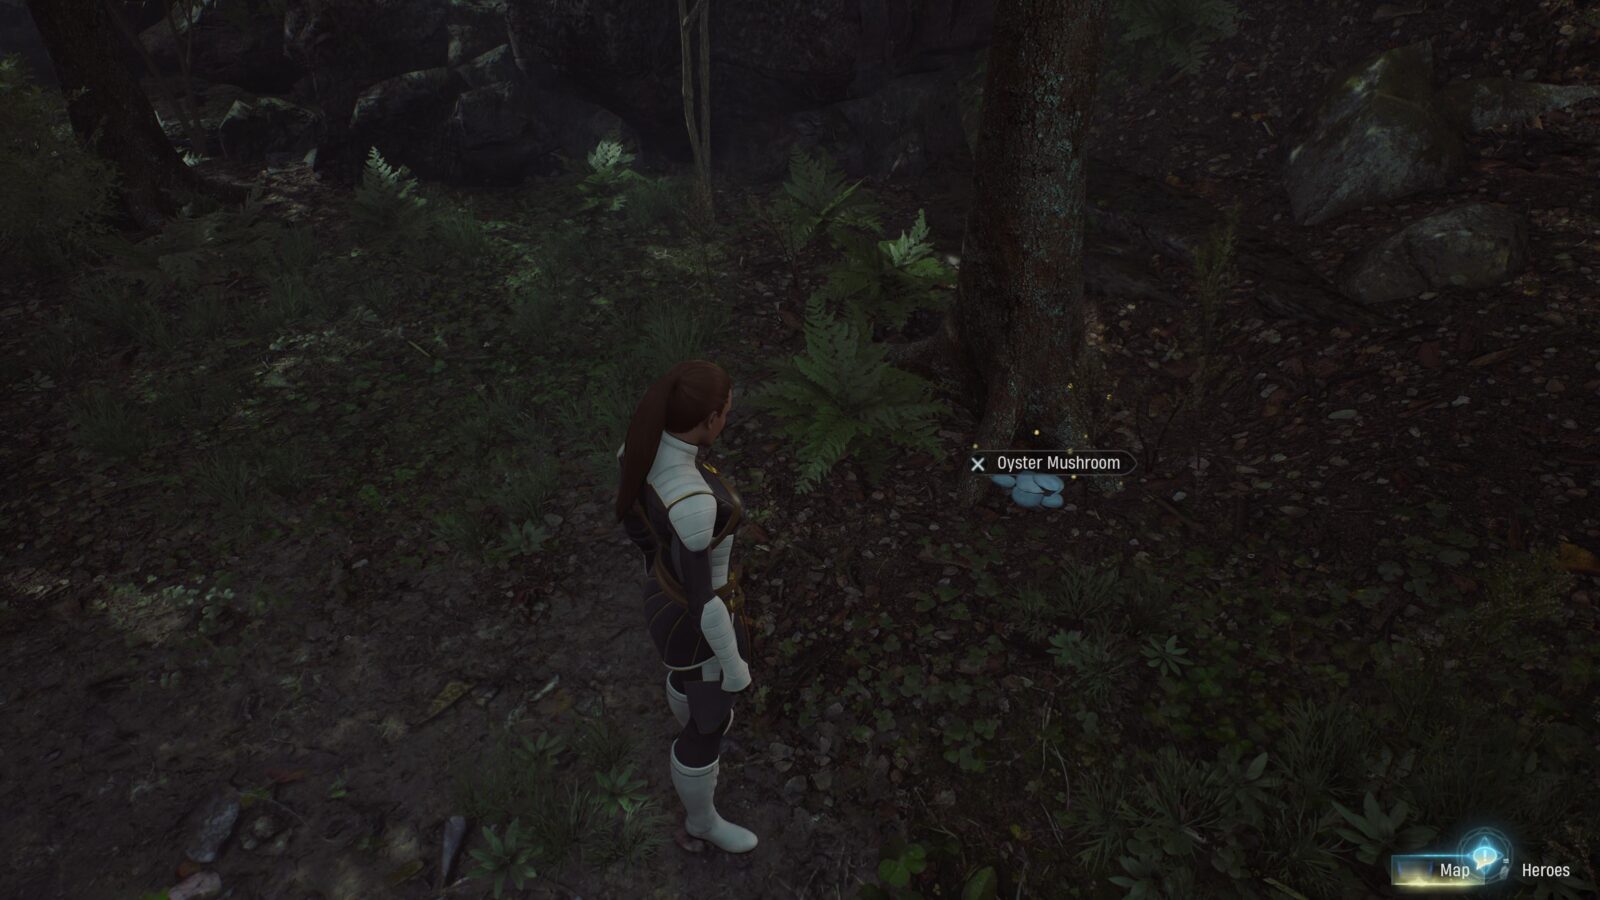
| Oyster Mushroom |
At the base of trees around “The Yard” Training Grounds area.
|
| Witch Hazel | Hunter’s Folly/Agatha’s Altar |
| Death Cap | Valley of the Winds |
| Moon Flower | Valley of the Winds |
| Corpse Flower | Garden of Envy |
| Deadly Nightshade | Everflowing Glade |
| Doll’s Eyes | Everflowing Glade/Garden of Envy |
| Dryad’s Saddle | Garden of Envy |
| Spider Lily | Whispering Wood/Gideon’s Cross |
| Black Trumpet |
Whispering Wood/Garden of Envy. In the area past the rubble under the stone bridge. Need “Break” Word of Power.
|
| Wundagore Everbloom |
Only on Nights with a “Waxing Moon.” Their spawns are random, but you can find them in the following locations:
– Abbey Library
– Foot of the Stairs to Agatha’s Altar
– Behind Agatha’s Cottage
– Agatha’s Shrine (East of Abbey)
– Crater (North of Abbey)
– Dreamer’s Descent (Witch Warren near the Common Chest)
– Everflowing Glade, just before the bridge to the Blood Gate.
– In the Final Blood Gate (North of Lilith’s Garden)
– Foot of the Stairs to Hunter’s Folly
– Lilith’s Garden at the back of the Greenhouse
– Outside Oshtur’s Cavern (Blood Gate closest to the Abbey)
– Outside the Door to Shaw’s Church
– Foot of the Stairs to Standing Stones
– South Valley of the Winds, near the gold-faced statue by the fast-travel point.
– Whispering Wood, close to the fast travel point.
After checking every area, if you don’t find 10 of these, you will need to wait for the next Waxing Moon and check them all again!
|

Hunter the Explorer
Find every Haven on the Abbey Grounds in a single campaign.
There are a total of 15 Havens to find in Midnight Suns. Havens look like a patch of swirling blue light and can be interacted with to unlock a new hangout spot to invite Heroes to.
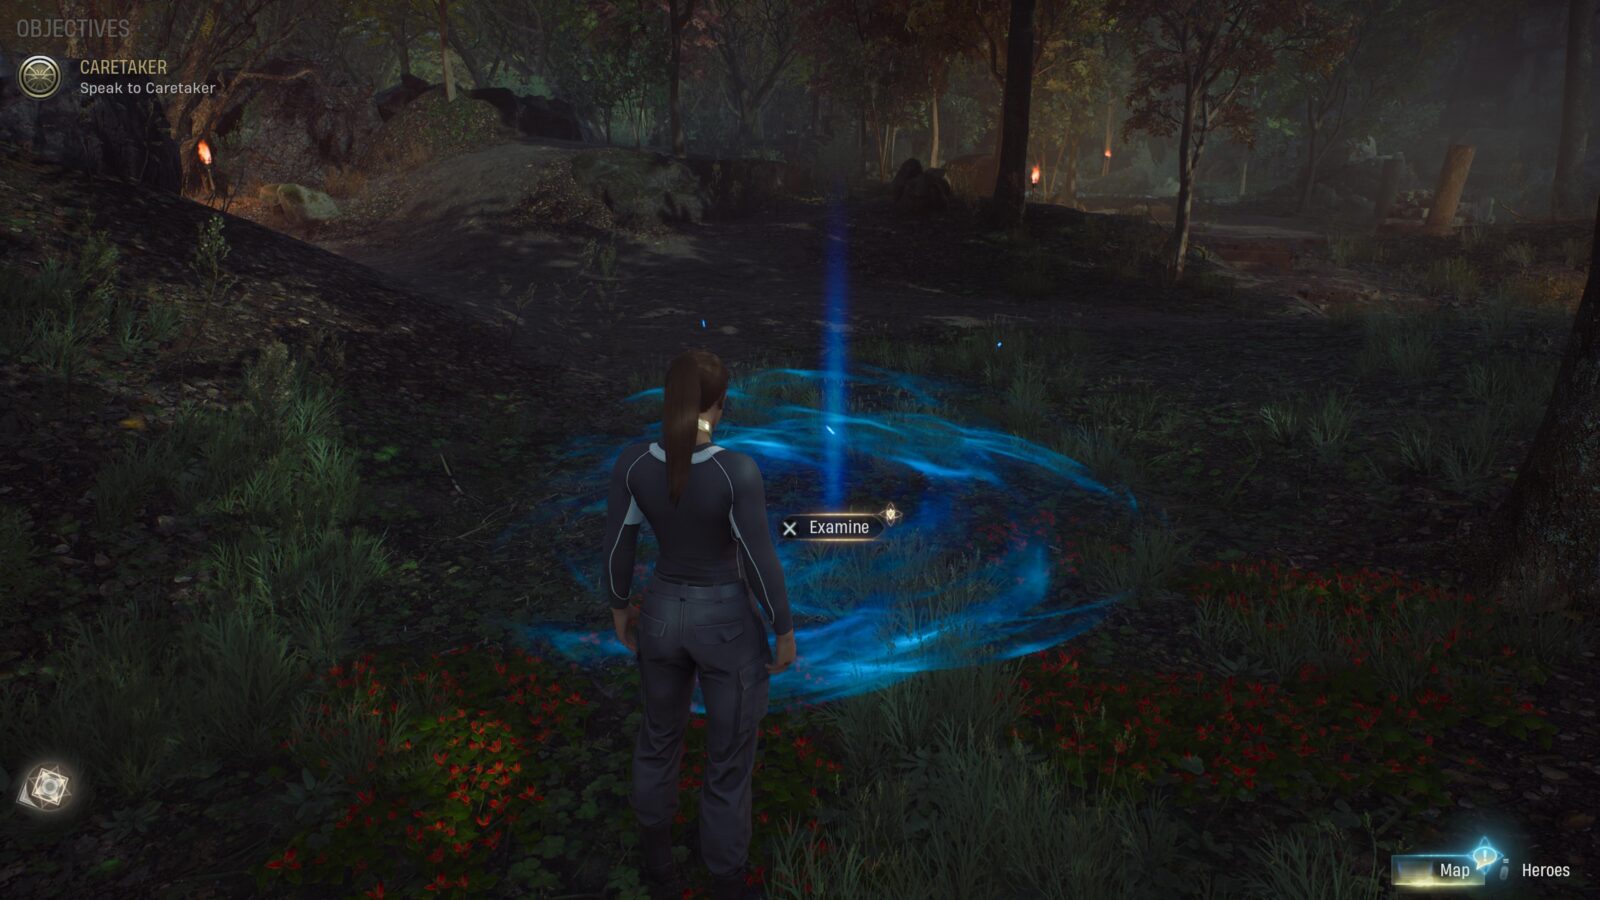
Finding all 15 will unlock the Hunter the Explorer trophy, but you will need access to all the Words of Power before you can reach them all.
Use the map provided below to find and unlock all 15 Havens, unlocking the trophy.


The Best Girl
Pet Charlie 15 days in a row.
Charlie is the red hellhound that lives with the Hunter at the Abbey. She can usually be found in the Hunter’s Room, but also has spawn locations in the Common Room, the Yard, the Forge, and the Library. Use the map to see where she is each day.
To unlock the “The Best Girl” trophy, you need to press ![]() on Charlie to Pet/Praise her 15 in-game days in a row. If you skip a day, you’ll need to start again, so it’s imperative that you Pet/Praise Charlie every single day. Do it in the Morning and in the Evening just to be sure.
on Charlie to Pet/Praise her 15 in-game days in a row. If you skip a day, you’ll need to start again, so it’s imperative that you Pet/Praise Charlie every single day. Do it in the Morning and in the Evening just to be sure.

Friendship Trophies

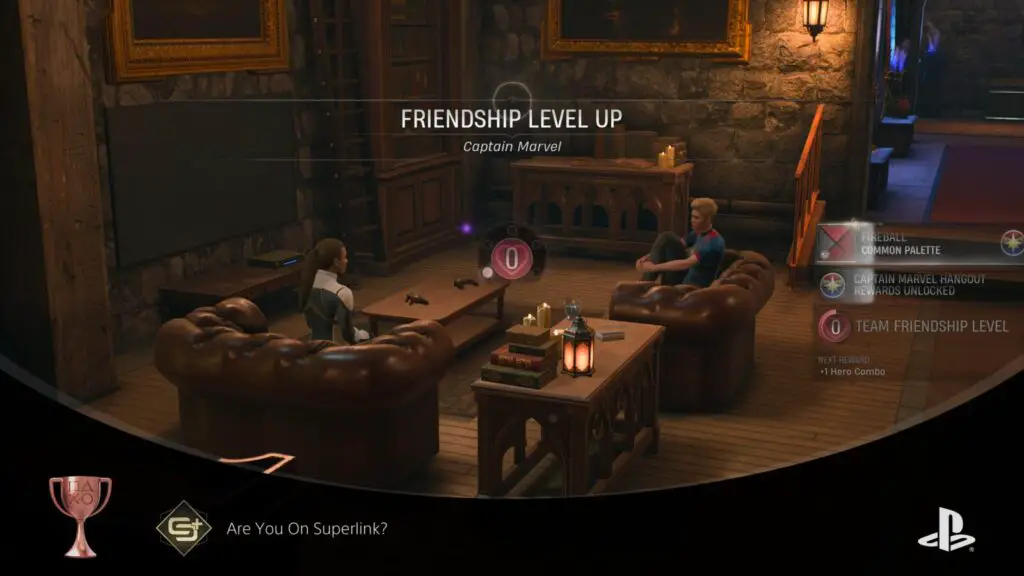
Are You On Superlink?
Gain a Friendship Level with any hero.
Your friendship level with any hero is at 0 when you first meet them. To unlock the “Are You On Superlink?” trophy, you must increase this to 1 with any character for the first time.
Check out our Midnight Suns Friendship Guide for more info on how to build friendships with other Heroes.

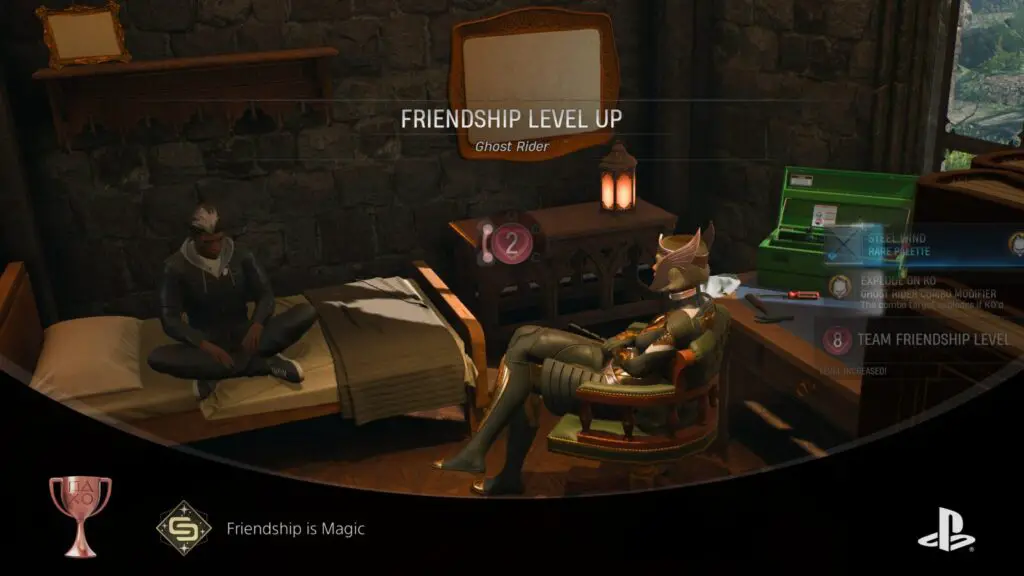
Friendship is Magic
Reach the maximum Team Friendship Level in the Abbey.
Alongside the individual Friendship Level that you have with each Hero, there is a “Team Friendship Level” which can be increased as high as Level 8. Your Team Friendship Level will increase slightly each time you level up a friendship with another Hero.
I know what you’re thinking and, no, fortunately, you will not need to reach Max Level with every Hero to reach Max Team Level. You will reach Team Level 8 after reaching around Friendship Level 2/3 with most characters.
Undoubtedly, you will build friendships naturally throughout the game, especially if you’re playing through the gameplay loop in the way we’ve advised at the top of this Midnight Suns Trophy Guide.
In that case, it is quite likely that you will unlock this trophy naturally somewhere around the third act of the story campaign. Otherwise, just continue building friendships with as many characters as you can until your Team Friendship Level caps out and you unlock the “Friendship is Magic” trophy.

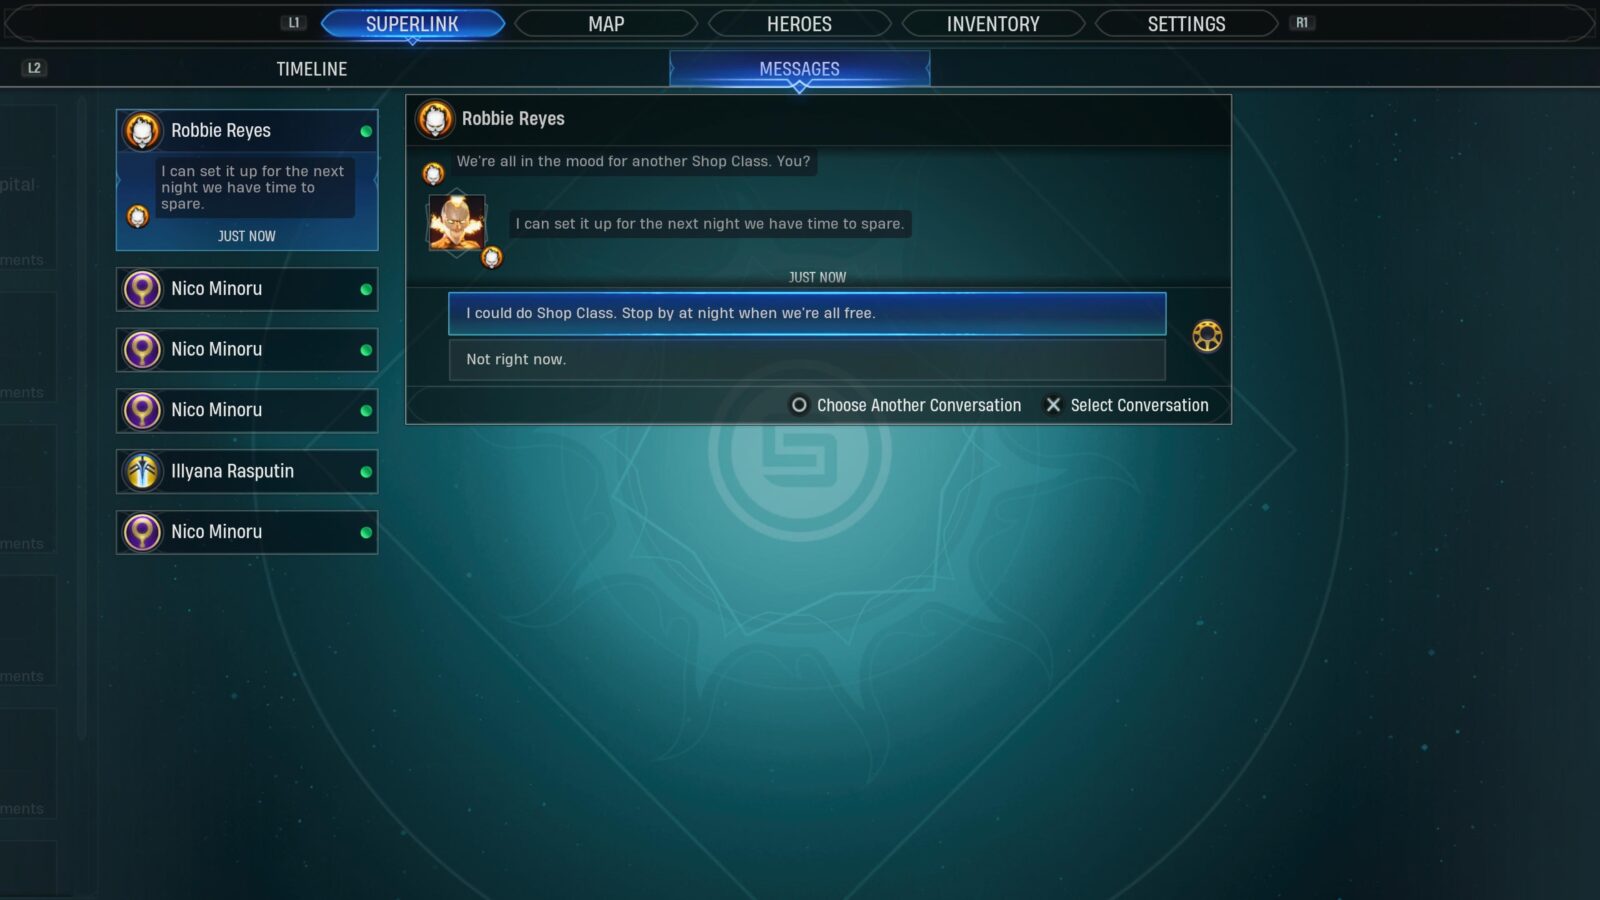
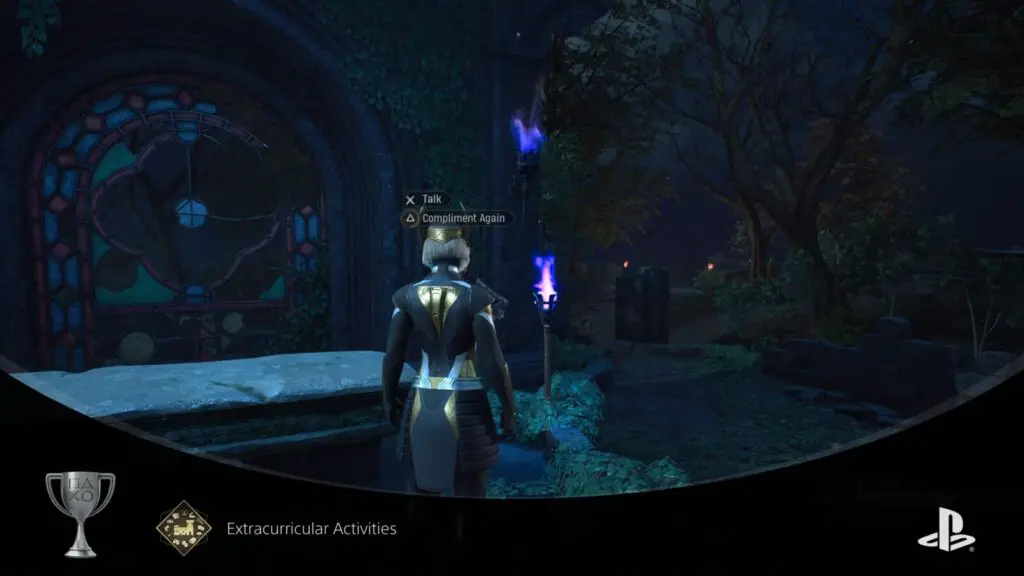
Extracurricular Activities
Attend all Abbey Club meetings in a single campaign.
As you play through Midnight Suns and build relationships with the Heroes at the Abbey (especially Robbie, Nico, and Blade) you will eventually find yourself getting invited to various extracurricular “Clubs.”
There is the EMO Kids club, led by Nico, in which you and other mystically-aligned characters will use dark rituals to relive the events of your past life. Robbie runs the “Shop” club, in which you’ll work a small workshop alongside him, Peter and Tony to create new Combat Items. Lastly, there is the Book Club, run by Blade, where some of the more (and less) intellectual Heroes gather to discuss hidden meanings in literature.
You will get your first invites to each club via Superlink Messages. To access them, press ![]() and then
and then ![]() until you’re on the Superlink tab. There, press
until you’re on the Superlink tab. There, press ![]() to switch to the “Messages” screen and review the messages you’ve received. Some are club invites, be sure to accept them.
to switch to the “Messages” screen and review the messages you’ve received. Some are club invites, be sure to accept them.
You will note that you usually need to do something before each meeting, such as gathering components or reagents, but this isn’t required at all. You will be rewarded for going to the extra effort, but won’t be punished for not completing them. Furthering story progress will unlock more EMO and Shop club events, but to progress the Book Club you need to read the book each week to be invited.
There’s a tablet on the table in the back-right corner of the Library. The book for each club meeting can be found here. Note that Steve and Logan will eventually join the club, but not if you haven’t unlocked them, so be sure to progress the story for these reasons too.
Just accept each invitation until you eventually unlock the “Extracurricular Activities” trophy.

Did We Just Become Best Friends?
Reach the maximum Friendship Level with any hero.
To unlock the “Did We Just Become Best Friends?” Trophy in Midnight Suns, you need to reach Friendship Level 5 with any character of your choice.
This is a very long grind, so unless you have been consistently working on friendships throughout the game, you have a long way ahead of you!
However, if you have been making sure your standing with the other Heroes is good, you should be at around Level 2 or 3 with every Hero by the end of the game, leaving just two more levels to grind out with your favorite.
Check out our Midnight Suns Friendship Guide for more info on how to build friendships with other Heroes.
Phase Three - Cleanup
Now that you’ve done everything there is to do in the Abbey and the story has been boxed off for a good while, you should only be left with a loose handful of trophies that need mopping up.
Use this phase of our Midnight Suns Trophy Guide to determine the best course of action for those you have remaining.
Miscellaneous Combat Trophies

Speed Kills
KO a villain with a Quick ability.
While playing Midnight Suns, you will come to notice that some Ability Cards have the “Quick” trait. What this trait means is that when the card is used to KO an enemy, the card play will be refunded completely. This is a great way to squeeze some extra moves into each of your turns.
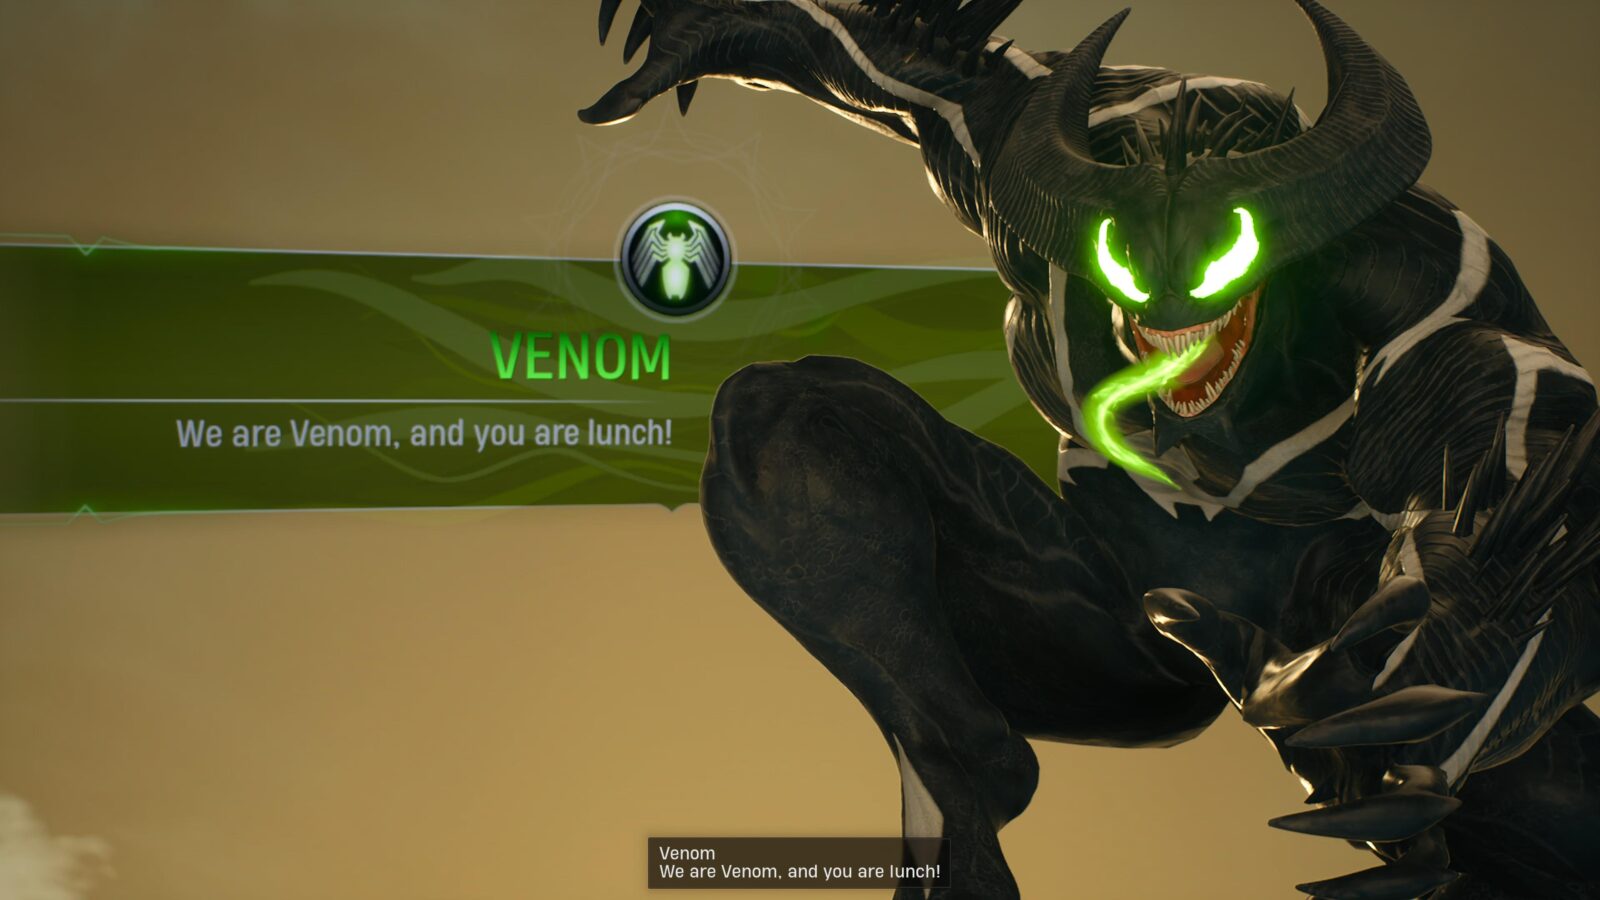
To unlock the “Speed Kills” trophy, you need to use a card with the “Quick” trait to KO a Villain. What the game calls Villains is not just any enemy. Villains are specifically Supervillain characters from the Marvel Universe. Characters like Crossbones, Venom, and Sabertooth to name but a few.
Remember that simply hitting them with a Quick Card isn’t enough, you will need the attack to be the final blow, KO-ing the villain.


Wilhelm Scream
Knockback 2 enemies into Drops in a single turn.
The Wilhelm Scream Trophy is a fairly straight-forward trophy, it just requires a bit of setup.
Firstly, “Drops” in Midnight Suns are basically holes/ledges that you can knock enemies into/off, instantly taking them out of the fight. Some heroes, such as Ghost Rider and Magik, have abilities that you can use to create a Drop in the area. Otherwise, many combat stages have drops built into them.
In order to knock enemies into drops, you will need to either use an ability with a “Knockback” or “Forceful Knockback” trait and then knock the enemies over the edge of the drop, or you will need to use environmental objects like Sliders to push enemies over ledges.
Below, I’ve provided the video footage captured by my console when the trophy unlocked for me. As you can see, I simply positioned myself with a slider between me and two enemies, then pushed the slider into them, forcing them both over the ledge.
To unlock this trophy, you need to push at least 2 enemies over ledges in a single turn. You can either do so like I did, by pushing two enemies out simultaneously, or you can use two separate abilities to push out one enemy at a time.


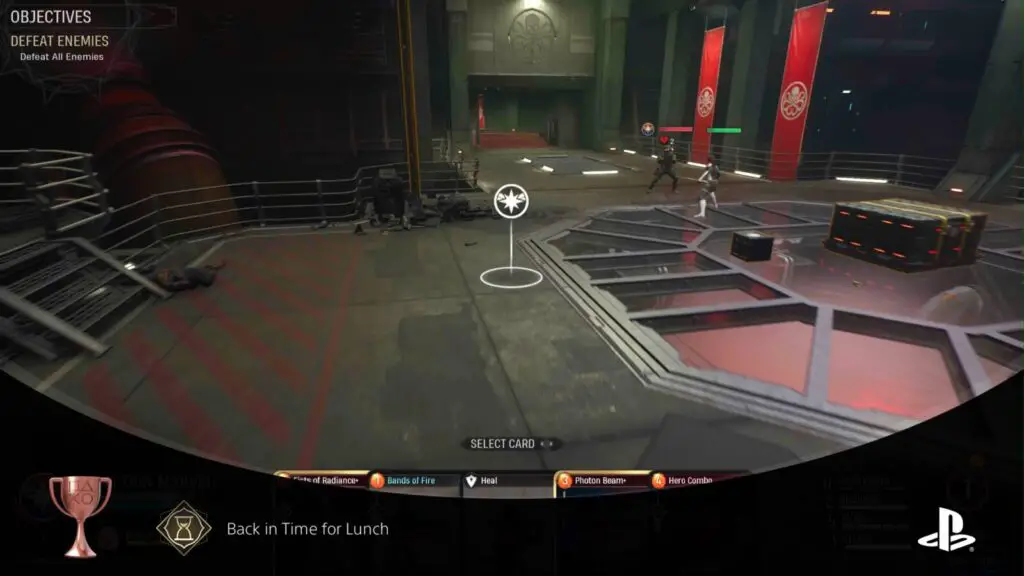
Back in Time for Lunch
Complete a general mission in 2 turns or less.
To unlock the “Back in Time for Lunch” trophy, you must complete a General Mission within 2 (or less) turns.
Firstly, “General Missions” are any Mirror Table Mission that are not Story Missions. These often have a difficulty of either “Easy,” “Medium,” or “Hard” and will reward you with resources upon completion. They are totally optional but certainly worth completing on occasion.
Secondly, beating a mission in just two turns or less may sound absurd when you’re quite early in the game, but actually you will find that once your Heroes and their skills have been levelled up a bit, with the right team setup and some good strategies, you could easily complete an “Easy” General Mission in just a single turn!
If this doesn’t end up happening naturally for you, just keep replaying “Easy” General Missions at the Mirror Table and trying to find ways to maximise your efficiency each turn. Good ways to squeeze in a few attacks include:
- Using Combat Items with
 to give yourself more turns.
 - Using “Quick” cards to one-hit-KO as many weaker enemies as you can, receiving Card Play refunds.
- Using “Knockback” and “Forceful Knockback” cards to hit enemies into each other or explosives to chain hits.
- Using “Chain” abilities to take out more than one enemy at a time.
- Using environmental Sliders, Vaults, and Throwables to deal extra damage.

Pinball Wizard
KO multiple enemies with a single Knockback 25 times.
Some ability cards have “Knockback” or “Forceful Knockback” traits. What this means is that after selecting an enemy to attack with this ability, you can also select the direction they’re knocked in. This is a great mechanic and you can use it to knock enemies over ledges, into explosives, and even into each other.
The latter usage there is the key one if you wish to unlock this “Pinball Wizard” trophy. To unlock the trophy, you will need to use a Knockback ability to kill two or more enemies 25 times across your time playing Midnight Suns.
As this mechanic plays such a large part in the combat and the strategies you can set up, it’s really likely that you’ll unlock this trophy naturally, or at least make a majority of progress toward it.


Quantity is Quality
Use 8 hero abilities in a single turn.
The “Quantity is Quality” trophy requires you to play a total of 8 Cards in a single turn of a fight. This can be difficult, but with some setup, a dash of luck, and a bit of practice, you should be able to pull this off.
The key is understanding how to extend your play. Make sure you read and understand the abilities on each card, especially which ones are going to extend or increase your Card Plays.
By editing your Heroes’ Card Decks you can try to set yourself up with as many extra moves as possible. See the list below for a few effective ways to extend your gameplay.
- Quick Cards are the major key to this trophy. When you use a “Quick” card, if it is used on an enemy whose health is low enough that they’ll be KO’d, your Card Play will be instantly refunded, allowing you to play the Card for free!
- Free cards are rare, but not non-existent. These cards specifically allow you to play them without affecting your Card Play stock.
- Some cards, like “Agamotto’s Gaze” will increase the number of Card lays you have on your next turn.
Use a combination of the card traits you see above to play as many cards as you can in a single turn. Upon successfully playing 8 or more cards, the Quantity is Quality trophy will unlock!

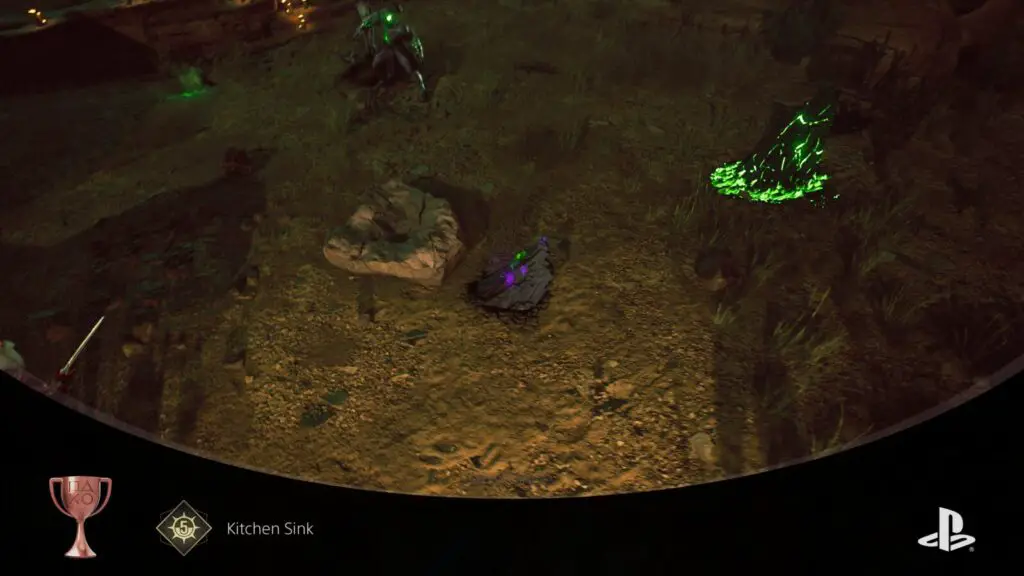
Kitchen Sink
Use 5 environmentals in a single turn.
Before you can earn the “Kitchen Sink” trophy, you will need to be in a mission with at least 5 environmental objects you can use. These include throwable, explosives, sliders, vaults, and even telephone poles you can drop on your foes.
Using an environmental object will cost Heroic energy, so you will need to try and accumulate as much of it as you can in your first few turns. Once you have a good amount built up (around 6-8) start making your way around the arena, hitting enemies with environmental objects.
Do your best to squeeze a full five environmental attacks into a turn and the “Kitchen Sink” trophy will unlock if you succeed.

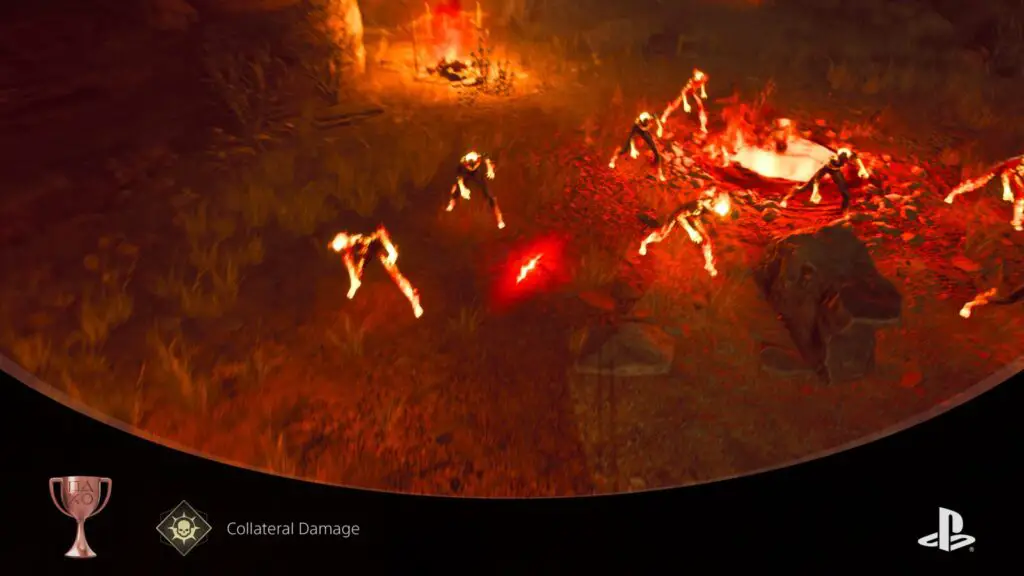
Collateral Damage
KO 4 enemies with a single environmental.
The “Collateral Damage” trophy requires you to KO a total of 4 or more enemies using an environmental object. This is most easily accomplished in missions with a lot of low-health “grunt” enemies. You’ll also find the accomplishment much easier to achieve by using Explosive Environmental Objects.
Explosives will—obviously—explode when hit or attacked. This causes a large amount of damage in a radius around the explosive, perfect for taking out multiple enemies in dense groups.

All you need then is to get lucky enough where all the requirements align and you have a group of four weak enemies within the radius of an explosive.

Dream Team
KO a villain with a Hero Combo.
Occasionally throughout a fight in Midnight Suns, you will receive some “Hero Combo” cards. These cards use two Heroes simultaneously to deal a huge amount of damage to an enemy. In exchange, however, the two heroes are exhausted and cannot move or attack again that turn.
To unlock the “Dream Team” trophy, you will need to gather Heroic Energy throughout a fight, draw a Hero Combo card, and then trigger the card on a villain enemy, making sure it deals enough damage to KO them.
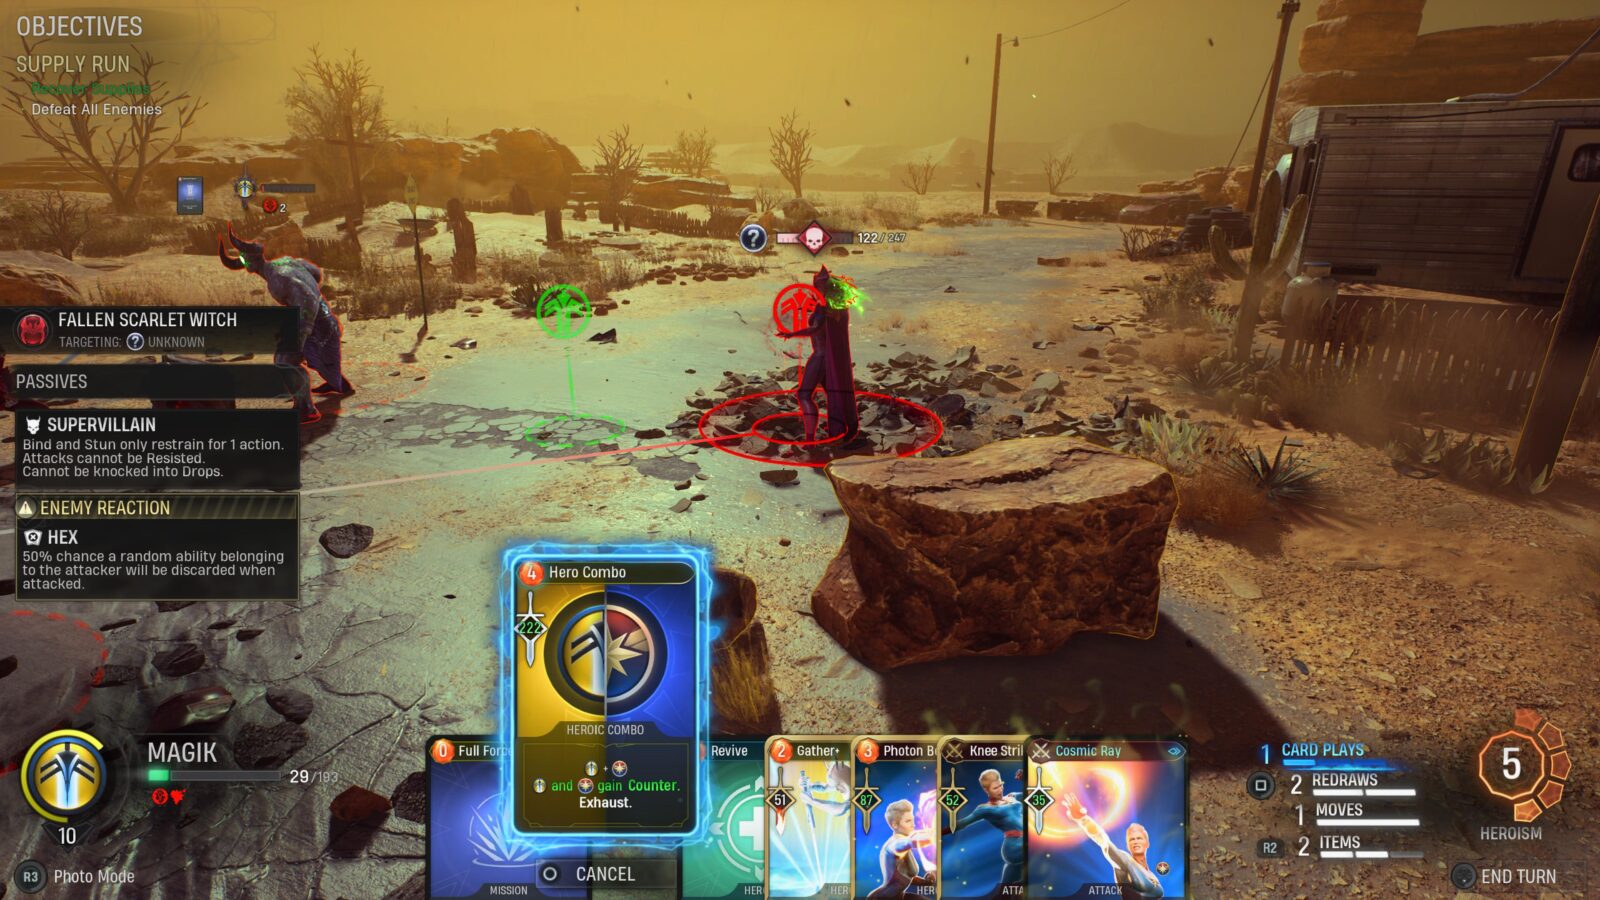
Remember, the only enemies considered “Villains” by the game are actual Supervillains from the Marvel Comics series. For example; Crossbones, Sabertooth, or Venom.


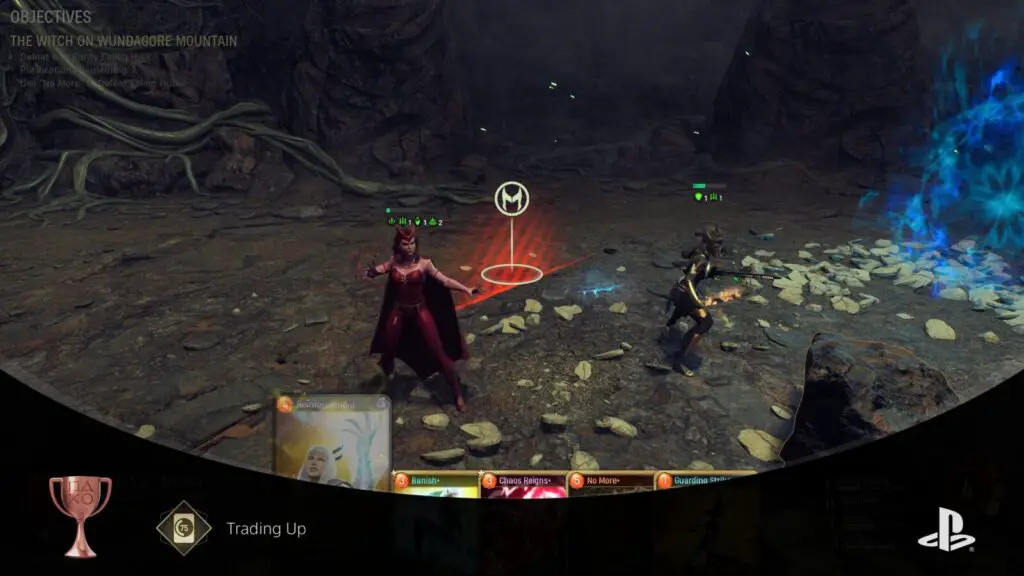
Trading Up
Redraw 75 cards.
When you get stuck in Midnight Suns and aren’t sure what to play next, one of your options is to “Redraw” cards in your hard that you’re not happy with. You’ll typically have 2 Redraws per turn in any combat encounter, but some abilities can increase or decrease this.
You should actually find yourself Redrawing cards quite a lot throughout your time playing Midnight Suns because it is a very core mechanic of the combat system.
Well, you should at the very least be trying to do so whenever it is useful to you, as you’ll need to Redraw a total of 75 times in a single playthrough of Midnight Suns to unlock this Trading Up trophy.

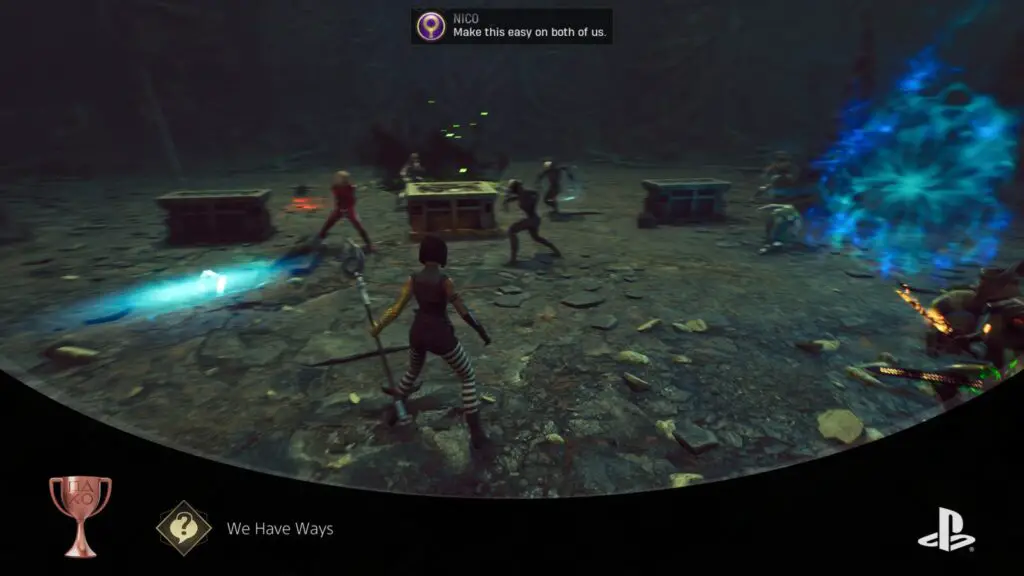
We Have Ways
Interrogate 5 enemies.
Before you can work on the “We Have Ways” trophy, you must complete the Research Project called “Truth Serum.” Doing so will give you access to a C.E.N.T.R.A.L Upgrade called “S.T.R.I.K.E Terminal” (They love their acronyms!)
Purchase the S.T.R—F** this it’s too long. Buy the Strike Terminal upgrade at the Central terminal in the War Room using Credits to unlock access to in-combat interrogation.
With the upgrade purchased, enemies will sometimes become downed instead of KO’d in combat. These downed enemies will be marked with a trait titled “Can be Interrogated.” Select the “Interrogate” card that gets added to your hand to interrogate the downed enemy.
Doing so will gather Intel that can be used at the Central terminal. Perform this action a total of 5 times to unlock the We Have Ways trophy.

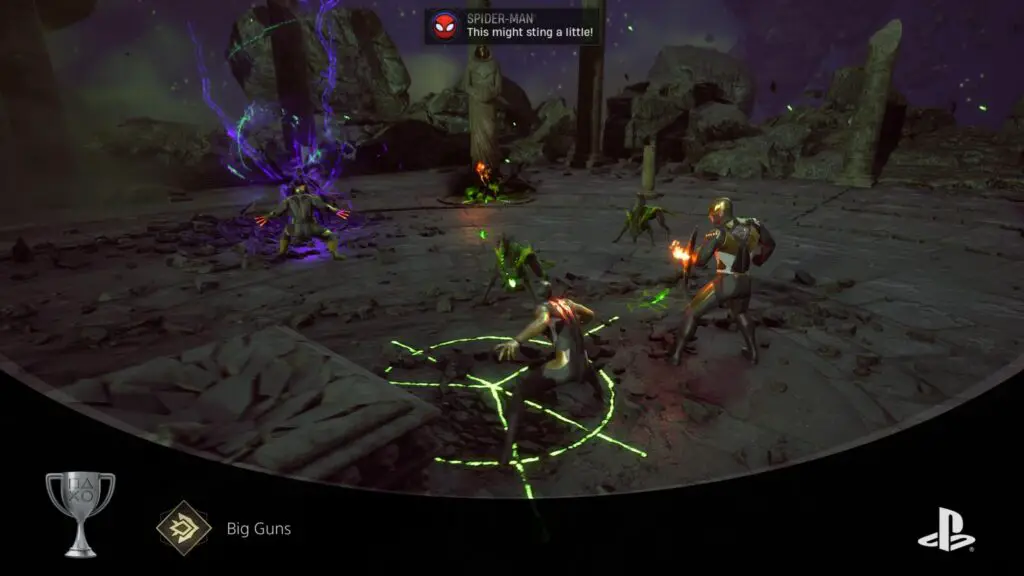
Big Guns
Use 3 different Legendary hero abilities in a single mission.
To unlock the “Big Guns” trophy, you will need to use 3 different Legendary Hero Abilities in one single mission. The title on legendary ability cards is orange, helping you distinguish them from other cards.
There are essentially two methods for earning this trophy; the Grind method and the Final Mission method.
The “Grind” method is essentially the most legitimate way of earning the trophy. You play the game and continue unlocking abilities for your heroes until you have at least 3 characters with one or more Legendary Ability equipped.
Once you’ve met those requirements, head into any mission and play as normal while stockpiling Heroic Energy so that you can hopefully use as many Legendary cards as possible.
The “Final Mission” method is much, much easier. Essentially, you simply need to play through the Final Mission of the story and look for enemies holding Midnight Sun cards.
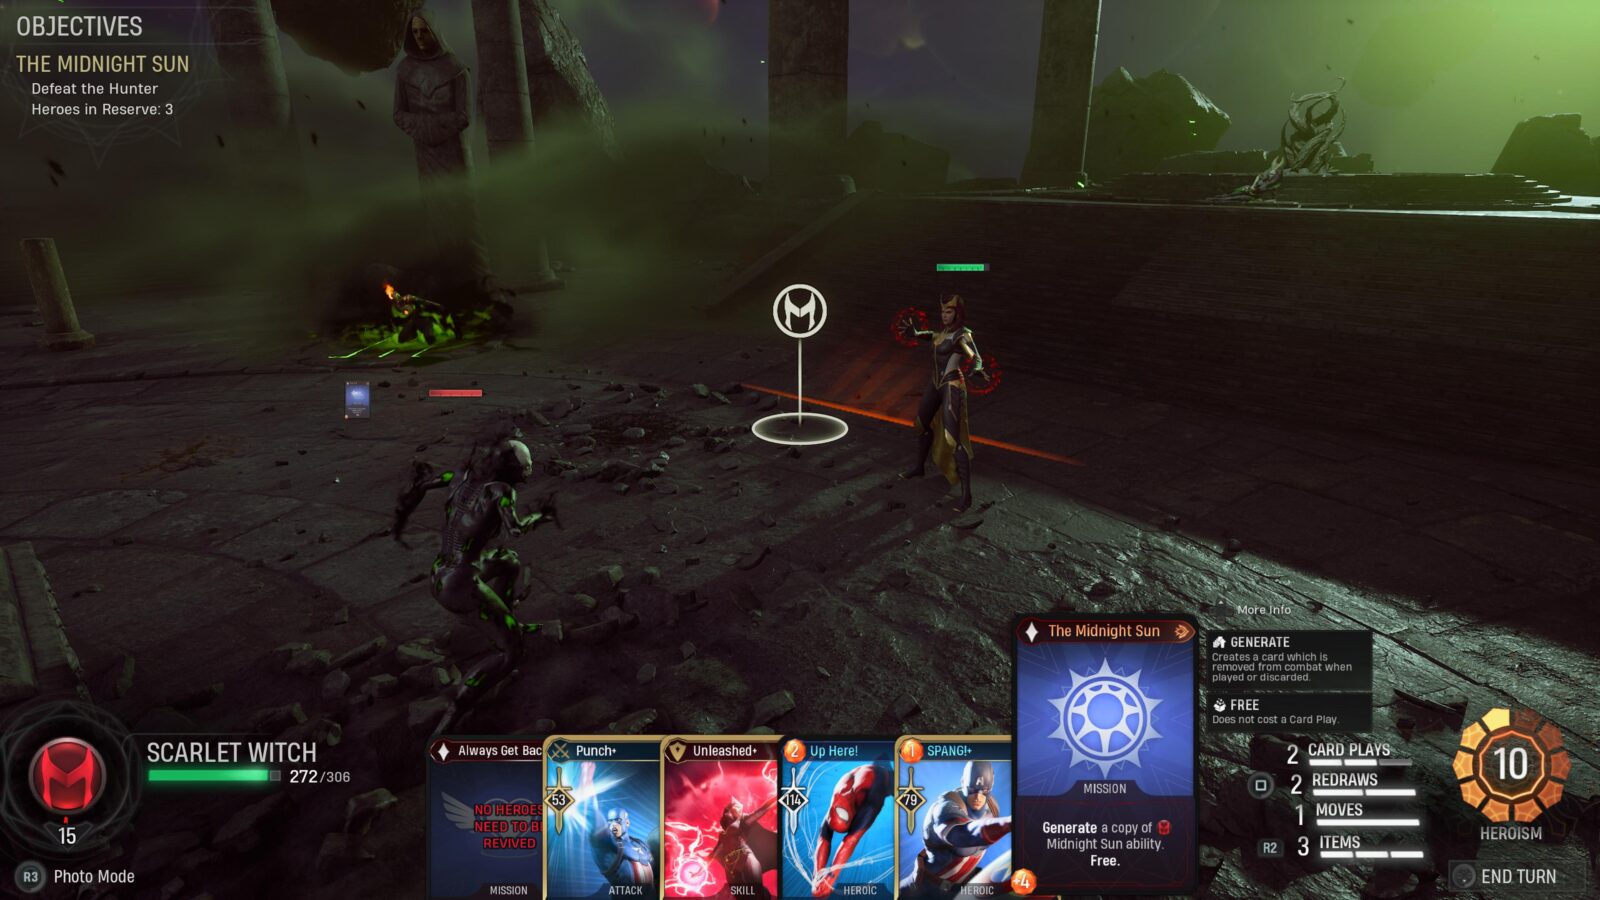
These free-to-use cards will create a copy of the active character’s Legendary ability and place it in your hand.

Provided you have enough Heroic energy stockpiled, you can then trigger that ability and wait for another Lilin to show up holding another Midnight Sun card. Continue farming Legendary Abilities in this way and using them in this same mission to unlock “Big Guns” upon your third Legendary Ability use.
Collecting and using “Tag Out” cards can give you a quick boost in Heroic Energy. Just make sure you don’t tag out the Hero who you have a Legendary Ability for!
Needful Things
Use 25 combat items.
The “Needful Things” trophy simply requires you to use a Combat Item in the middle of combat a total of 25 times. This does not have to be in the same fight, just the same save file.
You’ll get a few items naturally along the way but the best way to gather items so you can complete this trophy quicker is to craft them. See Might Need Pockets.


Not a Scratch
Complete a general mission where no hero takes Health damage.
This is one of the more difficult Combat-related trophies. “Not a Scratch” asks that you complete a whole mission without ever taking damage.
This is much easier to accomplish once you’ve finished the game and have a few Heroes that are high-level with good abilities. You’ll essentially want to pick any “Easy” difficulty mission from the Mirror Table, and then bring your very best Heroes along to help out.
If your team, strategy, and luck are good enough, you should hopefully be able to squeeze in just enough moves to clear the board in your first turn, thus never taking damage and unlocking the trophy.
Note that it is safe for you to receive damage to your Heroes’ Block, but taking Health damage will void the trophy. A good method is to build up as much block & counter as you can on one Hero and then taunt the enemies to face them.


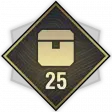
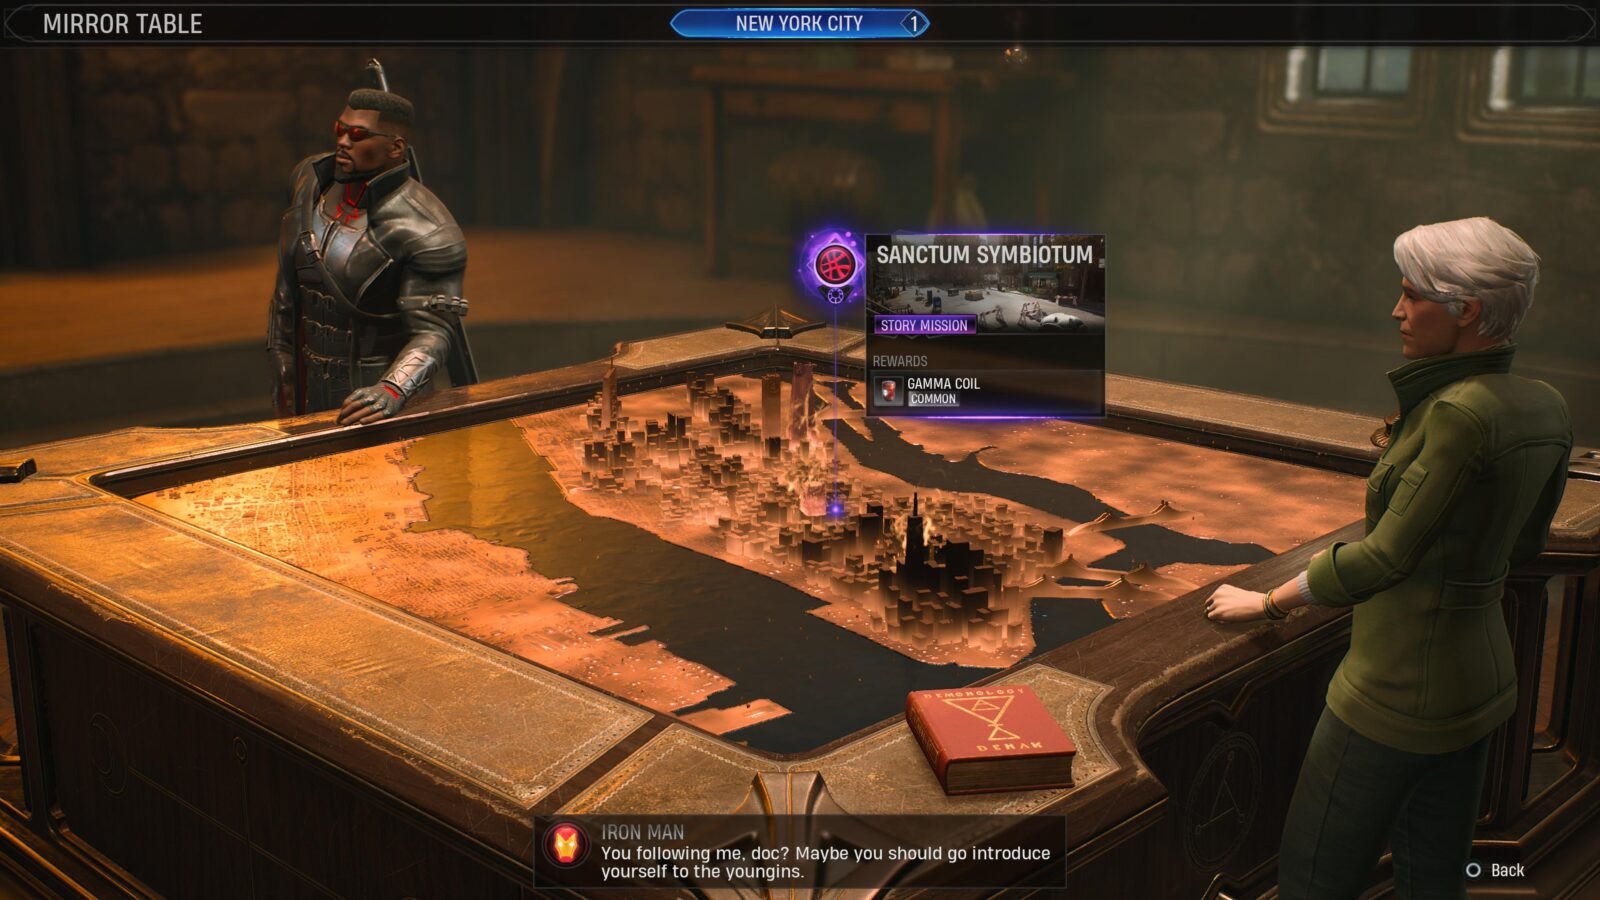
You Have the Lead
Complete a general mission led by every hero.
When selecting a mission from the Mirror Table, you will see a Hero’s icon indicating the mission location. This icon signifies which hero will take the lead on this mission (and so must be in your party).
In order to unlock the “You Have the Lead” trophy, you must complete at least one of these general missions with each of the thirteen characters in the lead.
To be clear, you must complete at least one General Mission with each of the below heroes as the mission leader:
- Hunter
- Blade
- Captain America
- Captain Marvel
- Dr. Strange
- Ghost Rider
- Hulk
- Iron Man
- Magik
- Nico
- Wanda
- Spider-Man
- Wolverine
Miscellaneous Trophies

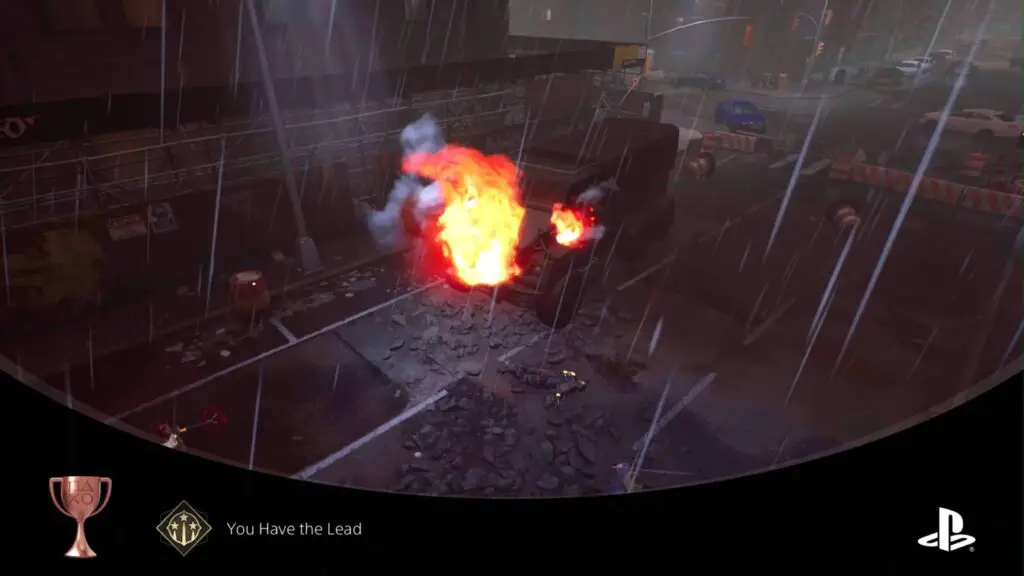
Lilith Returns
Complete the Tutorial
This trophy should unlock naturally at the start of the story campaign. It should be one of the first trophies you earn. However, if you opted to skip the tutorial when starting the campaign, you will obviously miss this trophy.
It’s easy enough to start a new game with the Tutorial setting on though, so if you missed this one that’s all it’ll take.
The trophy unlocks just before you get to the character creator.

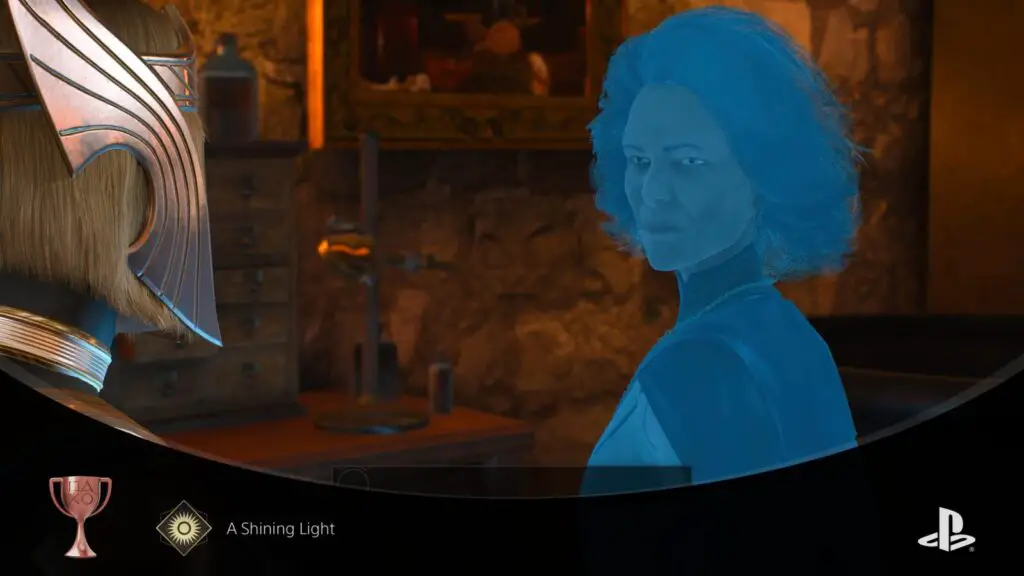
A Shining Light
Reach maximum Light Balance.
During almost all dialogue exchanges, there will be one or more options with a “Light” or a “Dark” alignment. Each of these choices will slightly affect your “Current Balance” in the ![]() “Heroes” menu. You will also affect it by using light/dark-aligned abilities in combat.
“Heroes” menu. You will also affect it by using light/dark-aligned abilities in combat.
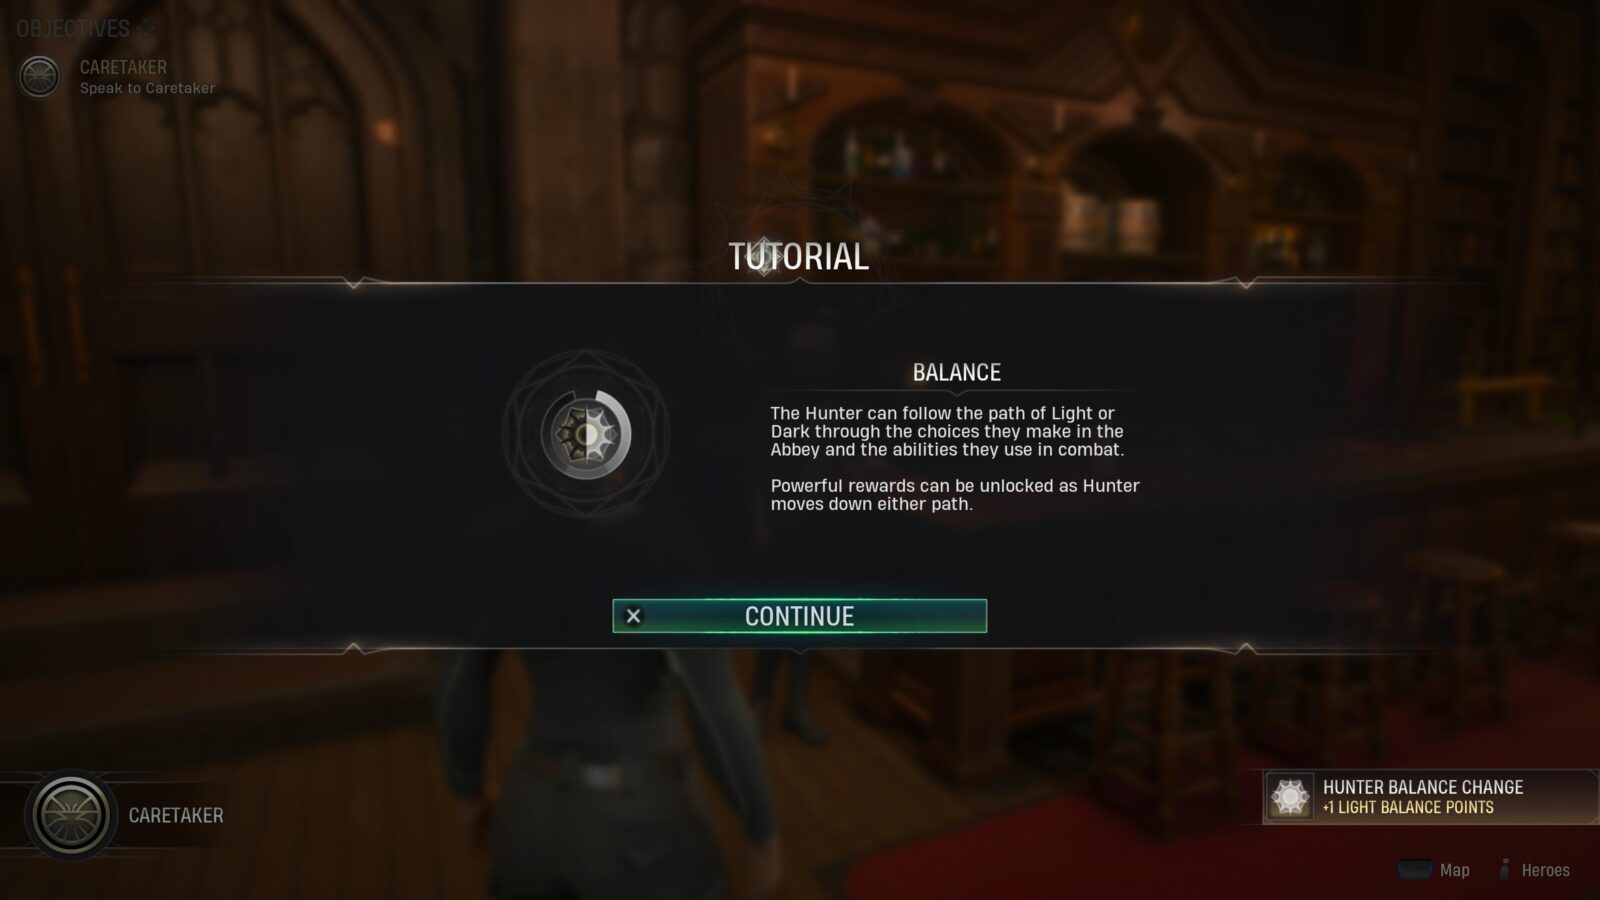
There, you will see a gauge in the top-right which shows your alignment so far. To unlock the “A Shining Light” trophy, you must reach 200/200 Light on this gauge. Once you do so, the trophy will unlock immediately.
This is a huge grind and will take an enormous amount of time to farm in the post-game, so be sure to work on this actively throughout the game to reduce the grind. Note that you will also need to reach maximum (200/200) Dark Alignment to unlock A Growing Darkness. This can be done on one save file but you must focus on maxing one out first, and then maxing out the other.
If you care about what your actual alignment is for story reasons, I recommend starting by maxing out the alignment you do want, and then switch once you have finished the story.
As there are 200 points per alignment, you will need to gain 200 points in the first alignment, but you will need 400 points to swing the gauge to the complete opposite, so expect the second of these trophies to take the longest.
However, it is actually easier to start a New Game Plus Save and then grind to 200 Dark instead of going from 200 light to 200 dark. It’s up to you the approach you wish to take, but the NG+ method is faster.

A Growing Darkness
Reach maximum Dark Balance.
The strategy for unlocking the “A Growing Darkness” mirrors that of the “A Shining Light” trophy, except you will need to reach 200/200 Dark Alignment.

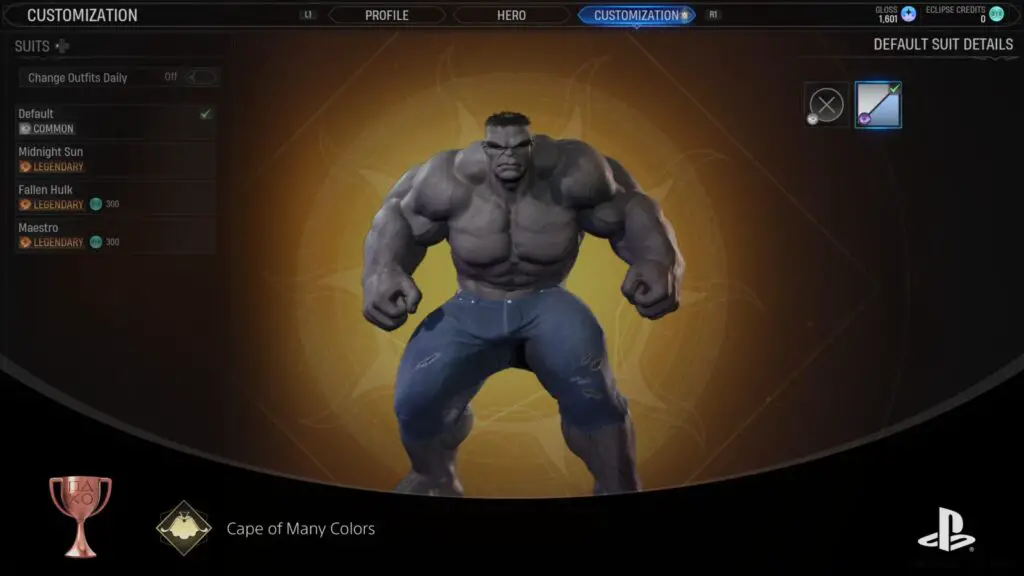
Cape of Many Colors
Apply a Suit palette to every Hero in a single campaign.
To unlock the “Cape of Many Colors” trophy, you will need to acquire and equip a Suit palette for all 13 characters listed below:
- Hunter
- Blade
- Captain America
- Captain Marvel
- Dr. Strange
- Ghost Rider
- Hulk
- Iron Man
- Magik
- Nico
- Wanda
- Spider-Man
- Wolverine
You can buy a color palette for between 75 and 300 Gloss after gaining at least one Friendship Level with each hero. Alternatively, you will also get a lot of Color Palettes from Arcane Chests on the Abbey Grounds, so you can also farm those for the palettes you need.
Once you have unlocked and equipped a palette for every character, the Cape of Many Colours trophy is yours!
Fully Armed
Acquire every Hunter Ability
There are a total of 30 abilities to acquire for The Hunter, including the Legendary “Bladestorm” ability (See You Absolute Legend). There are more than 30 abilities, but only the thirty listed below are actually required for the “Fully Armed” trophy.
| Charge | Common |
| Dark Heal | Common |
| Fortify | Common |
| Heal | Common |
| Holy Flame | Common |
| Inspire | Common |
| Quick Slash | Common |
| Slash | Common |
| Whip | Common |
| Wild Strike | Common |
| All Out | Rare |
| Bands of Fire | Rare |
| Dark Blessing | Rare |
| Deadly Ground | Rare |
| Fury | Rare |
| Guarding Strike | Rare |
| Holy Gift | Rare |
| Holy Spark | Rare |
| Last Sight | Rare |
| Merciless | Rare |
| Call To Arms | Epic |
| Holy Burst | Epic |
| Mindbender | Epic |
| Mindbreaker | Epic |
| Morning Star | Epic |
| Patience | Epic |
| Wrath | Epic |
| Bladestorm | Legendary |
| Annihilation |
Legendary | Cannot be crafted. You will earn one copy of the card when you reach 100 Darkness alignment and again at 200 Dark Alignment. If your character is light-aligned, don’t worry! Completing the Lilith’s Garden Mystery while Light-aligned will award you this card.
|
You will receive abilities in a vast variety of different ways as you play through Midnight Suns, but the easiest way to earn this trophy by far is to craft the required abilities at the Forge (See With a Box of Scraps).
You can see in the “Craft Abilities” menu which cards you already have a copy of via the “Own” value under each ability on the left-hand menu. Essentially, just make sure that every one of these cards for the Hunter says “Own: 1” or more. Once done, the Fully Armed trophy will unlock!

PlatGet!

Big Game Hunter
Obtain all other Midnight Suns Trophies
After collecting every trophy in this Marvel's Midnight Suns Trophy Guide, the "Big Game Hunter " Platinum Trophy will unlock. Congratulations!
Thanks for Reading
Plat Get!
Thank You!
Thank You for choosing PlatGet as your source for this Marvel’s Midnight Suns Trophy Guide.
Wondering what to complete next? Browse our complete guide selection or check out our friends at PlatPrices.com to filter the PS Store based on price, trophy difficulty, or completion time.
Got a question, some feedback, or just want to say thanks? Drop a comment in the discussion section below, we'd love to hear from you! No account required!!