PlayStation 4, PlayStation 5
Escape Academy Trophy Guide & Walkthrough


General Info
FAQ
How long does it take to beat Escape Academy and unlock all trophies?
Around 1-6 Hours depending on skill and use of solutions.
How difficult is it to beat Escape Academy and unlock all trophies?
Easy (3/10).
Does Escape Academy have online trophies?
Does Escape Academy have difficulty-specific trophies?
No.
Does Escape Academy have missable trophies?
Yes, Spin Specialist , Dead-Volt , Honor Roll, Overachiever, Chatterbox .
Does Escape Academy have glitched trophies?
No.
What is the minimum number of playthroughs required to unlock all trophies in Escape Academy?
One, plus a few select puzzle replays.
Does Escape Academy have a Platinum Trophy?
Yes.
Other Useful Guides:
Escape Academy: All Newspaper Locations
Trophy Guide
Escape Academy Trophy Guide and Road Map for PS4 & PS5
Welcome to our Escape Academy Trophy Guide & Walkthrough. Escape Academy is similar to games like We Were Here, and Operation Tango, in which you must work with a partner to solve puzzles. Thankfully, you can complete all of Escape Academy solo. Sure, there are Co-op Trophies to earn, but they can be earned locally with a second controller.
Within, we hope to help you tackle the Escape Academy Trophy Journey with ease, tearing the Time to Plat down as low as 2 hours thanks to the extensive puzzle walkthroughs we’ve provided.
Feel free to complete a blind playthrough for your own enjoyment, but as soon as you’re ready, we’ll knuckle down and rip through the trophy list like Tear-n-Share Garlic Bread. Let’s do this thing.
Phase One | Optional Blind Playthrough
Before you get started on your Escape Academy Trophy Journey, you may like to complete a blind playthrough first. Our Escape Academy Trophy Guide & Walkthrough is going to take you step-by-step through every puzzle, providing solutions and all. You may like an opportunity to solve the puzzles yourself first.
Whether you choose to complete a blind playthrough or not, the real trophy journey kicks off in the next phase.
Phase Two | Completionist Playthrough (with Solutions)
The problem with the Escape Academy Trophy Journey is that there’s a good chance some of your ratings might bug out. So, when attempting to achieve a perfect A+ score in every puzzle for Overachiever, your progress may be marred by a bug if you’re forced to reset puzzles or reload the game. It’s very frustrating!
To mitigate this, and ensure you the best chances of scoring highly in every puzzle, I’ve provided a full walkthrough with solutions below. Just earn each of the below trophies in the order that I’ve listed them by following the instructions.
While you play, it would be wise for you to have our Escape Academy: All Newspaper Locations guide open in another tab. This way, you won’t miss any of the Newspaper collectibles(Extra, Extra!).
Additionally, by partaking in as many side-conversations as you can at the Academy, you’ll guarantee yourself the Chatterbox trophy which would be missable otherwise.
You should also hold ![]() to sprint frequently, progressing the Killer Cardio trophy.
to sprint frequently, progressing the Killer Cardio trophy.
Also, if you intend on completing this playthrough with a friend, you should be trying to earn the Co-Op Trophies in the process!
Escape Academy A+ Puzzle Walkthrough

Next Stop: Escape Academy
Escape "Introductions."
“Introductions” is the first puzzle room you’ll need to escape from in Escape Academy. It acts as a tutorial into the game’s mechanics.
First things first, enter “FREE” into the safe on your right, then take the key from inside.
Use the key on the door marked “Escape!” to enter a new room.
Inside, grab the “Jeb,” “Allie,” and “Eel” pamphlets from the corkboard.
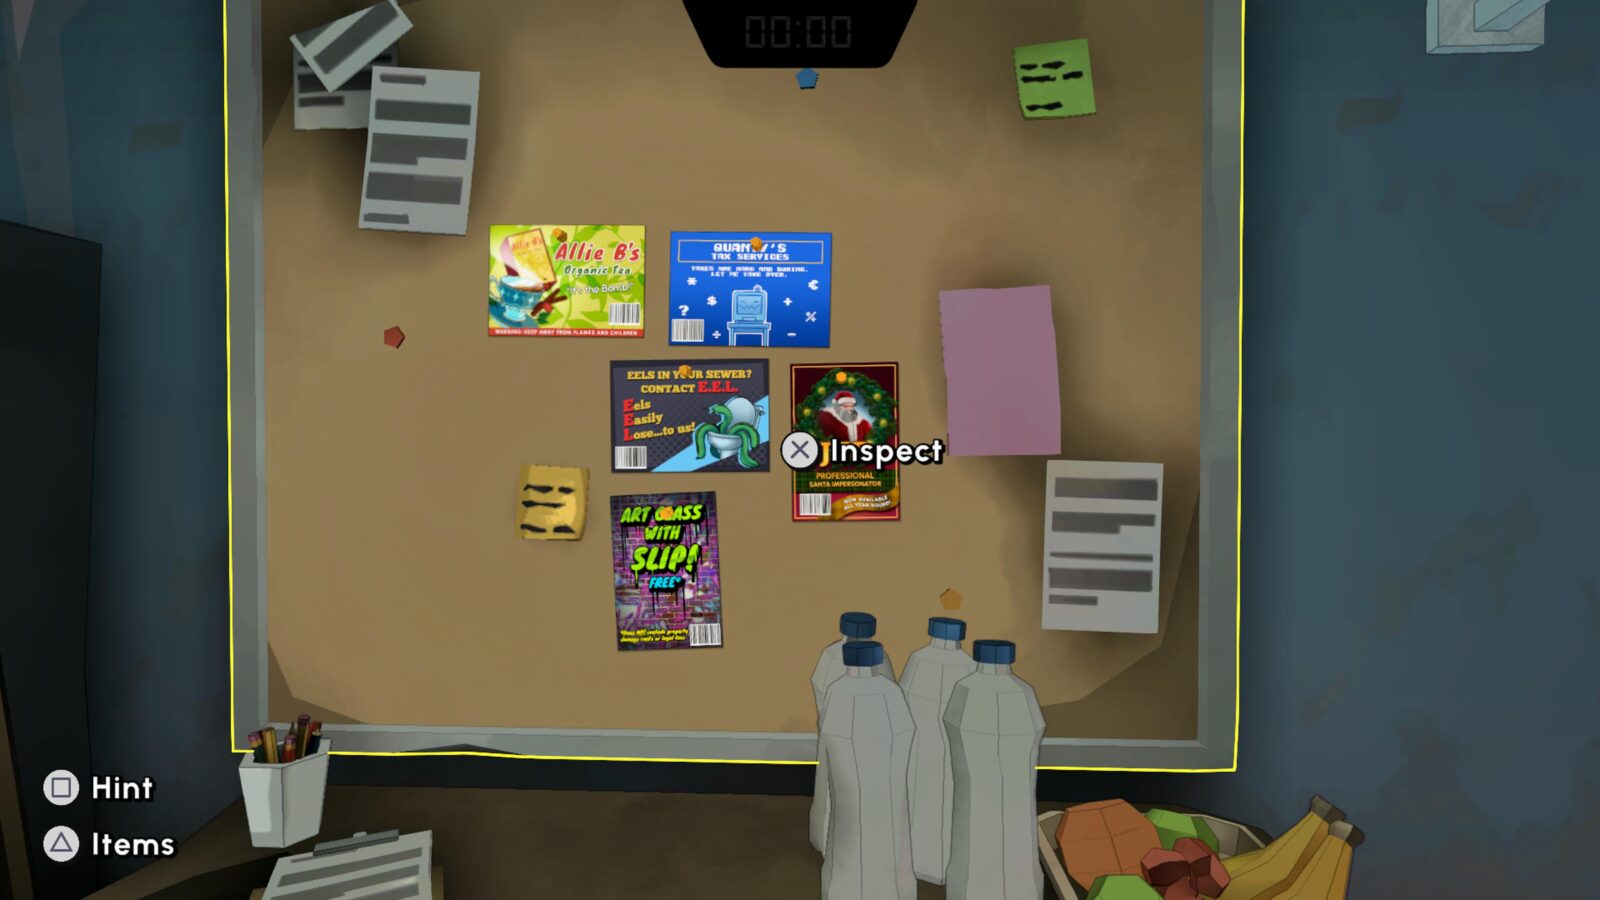
Enter the room marked “Keep Out” and place the pamphlets on the scanners like so:
- Jeb on Scanner 1
- Allie on Scanner 2
- Eel on Scanner 3
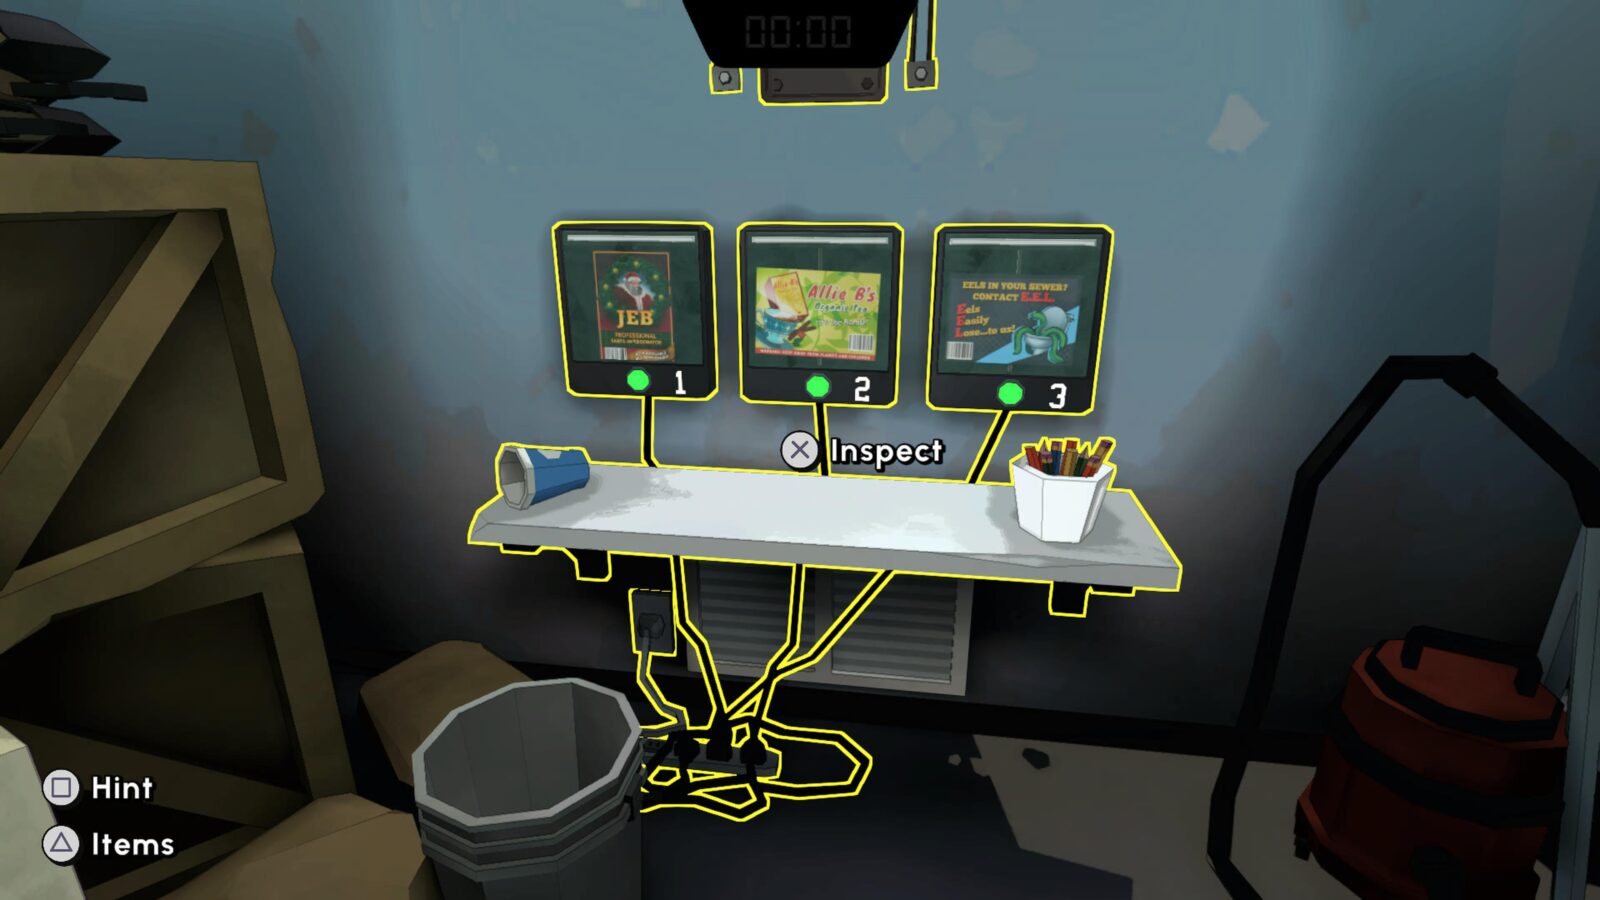
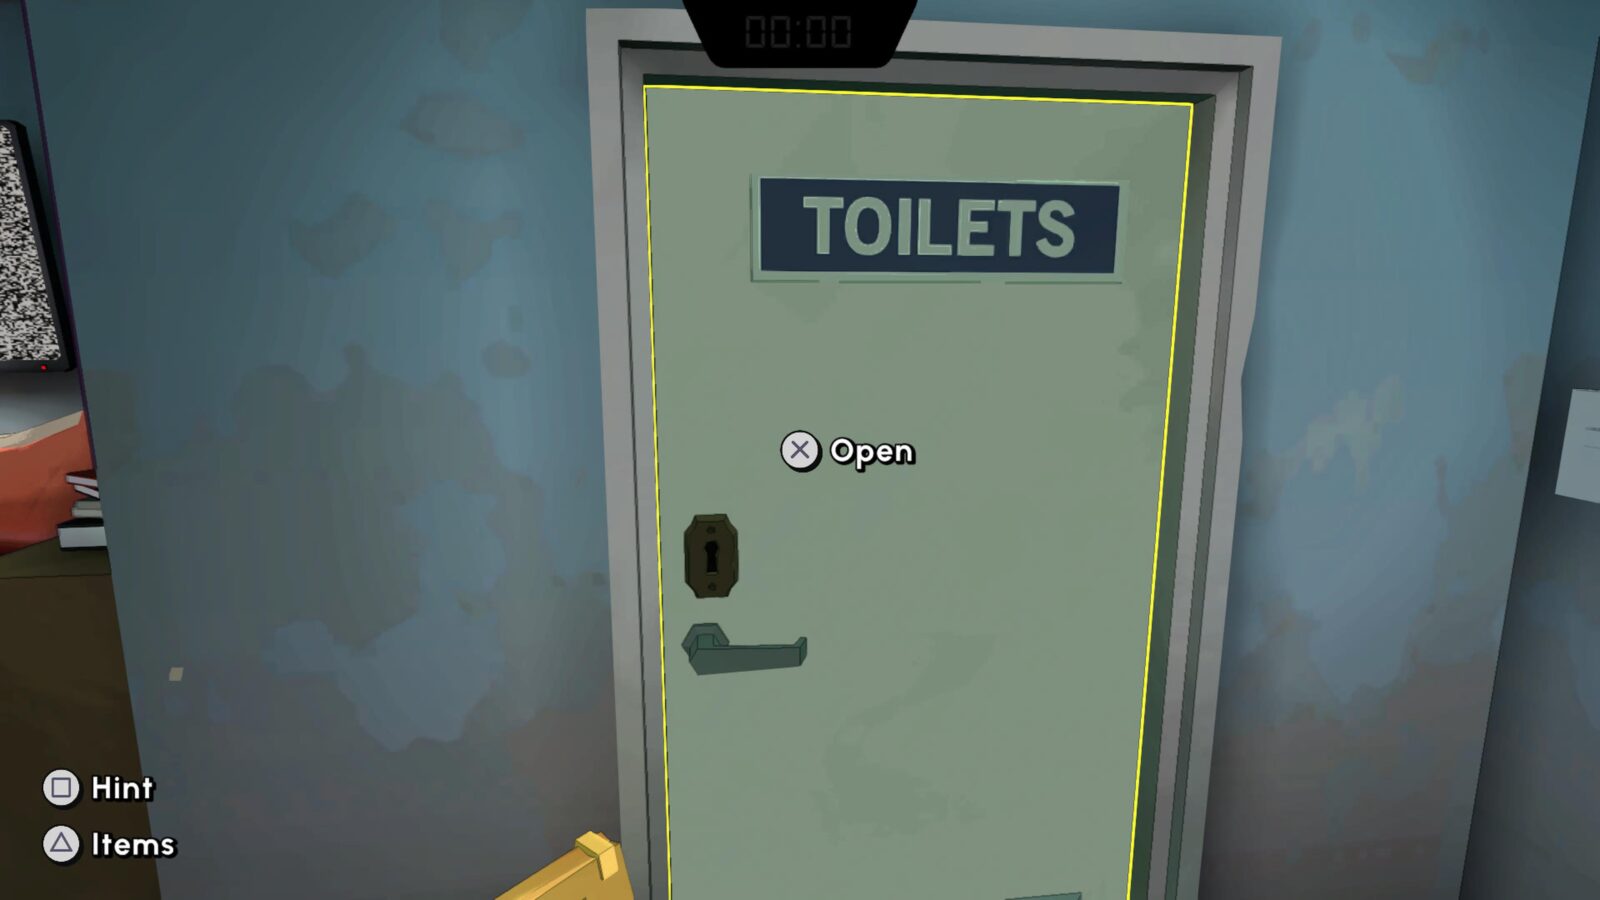
This will reveal a key hidden behind a fish. Grab the key and use it to unlock the toilet in the previous room.
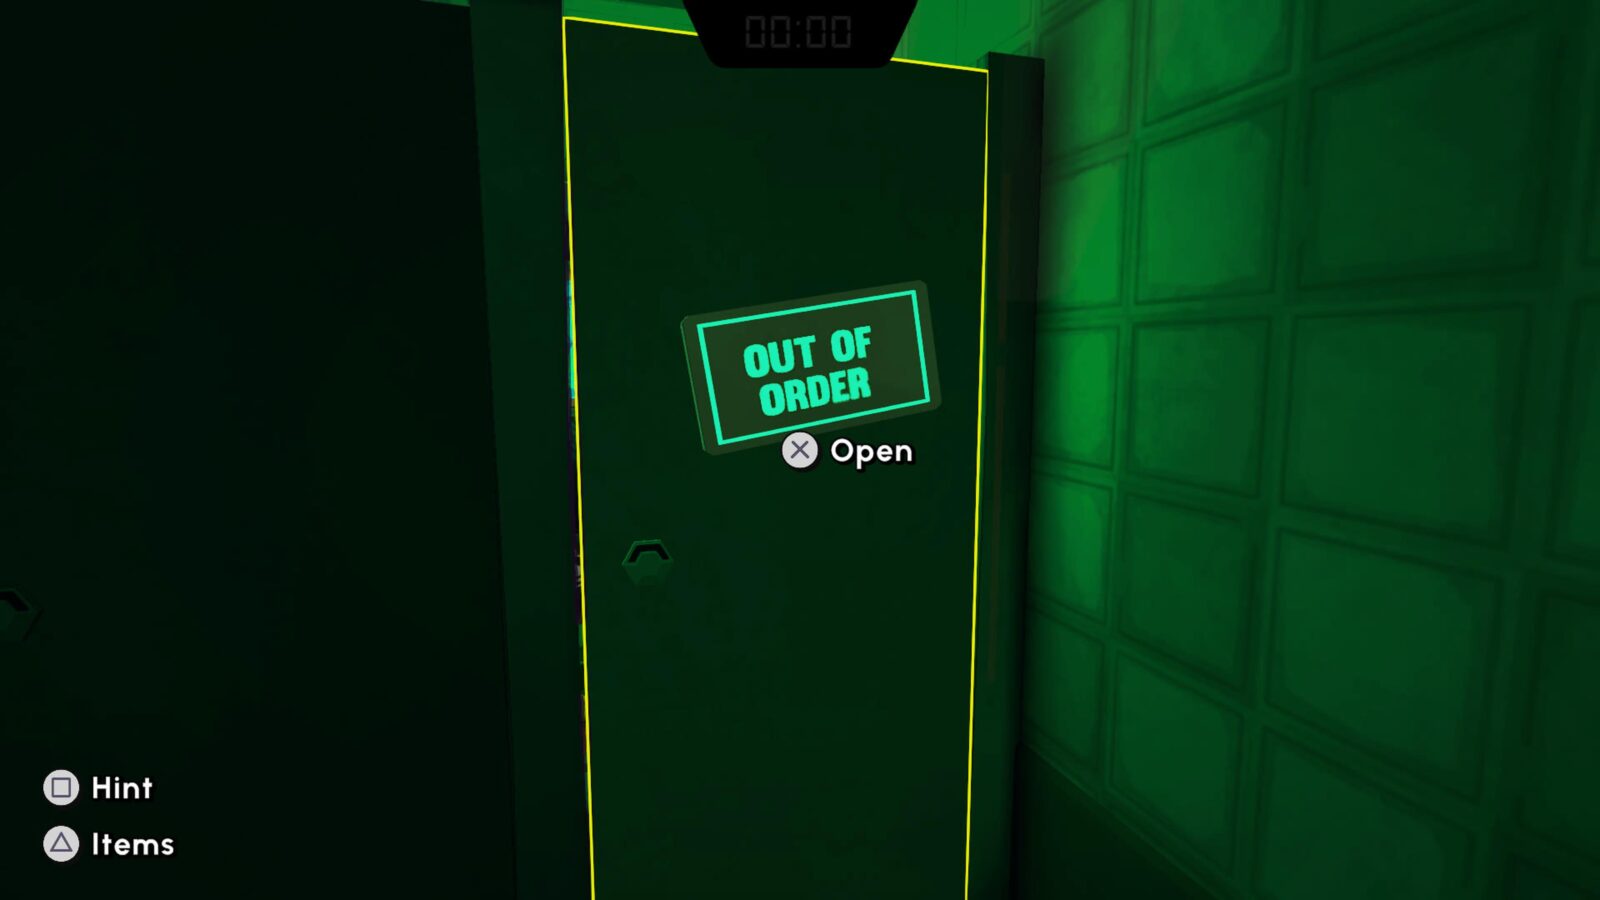
In the toilets, open the door marked “Out of Order” and then follow the linear path until you meet the Headmaster.
Climb aboard the Tram and you’ll finish the escape room, unlocking the Next Stop: Escape Academy trophy.
Provided you followed our walkthrough and used no hints, you should earn an A+ rating.

Entrance Examined
Escape "The Entrance Exam."
You will unlock the Entrance Examined trophy after completing the first full escape level; “The Entrance Exam.”
Before proceeding, while in the Entrance Exam Escape Level, I recommend unlocking Musical Prodigy.
Once done, rather than go through the bother of solving the Escape Room, just approach the console near the door and enter the below:
Sandra Jacqueline Solange
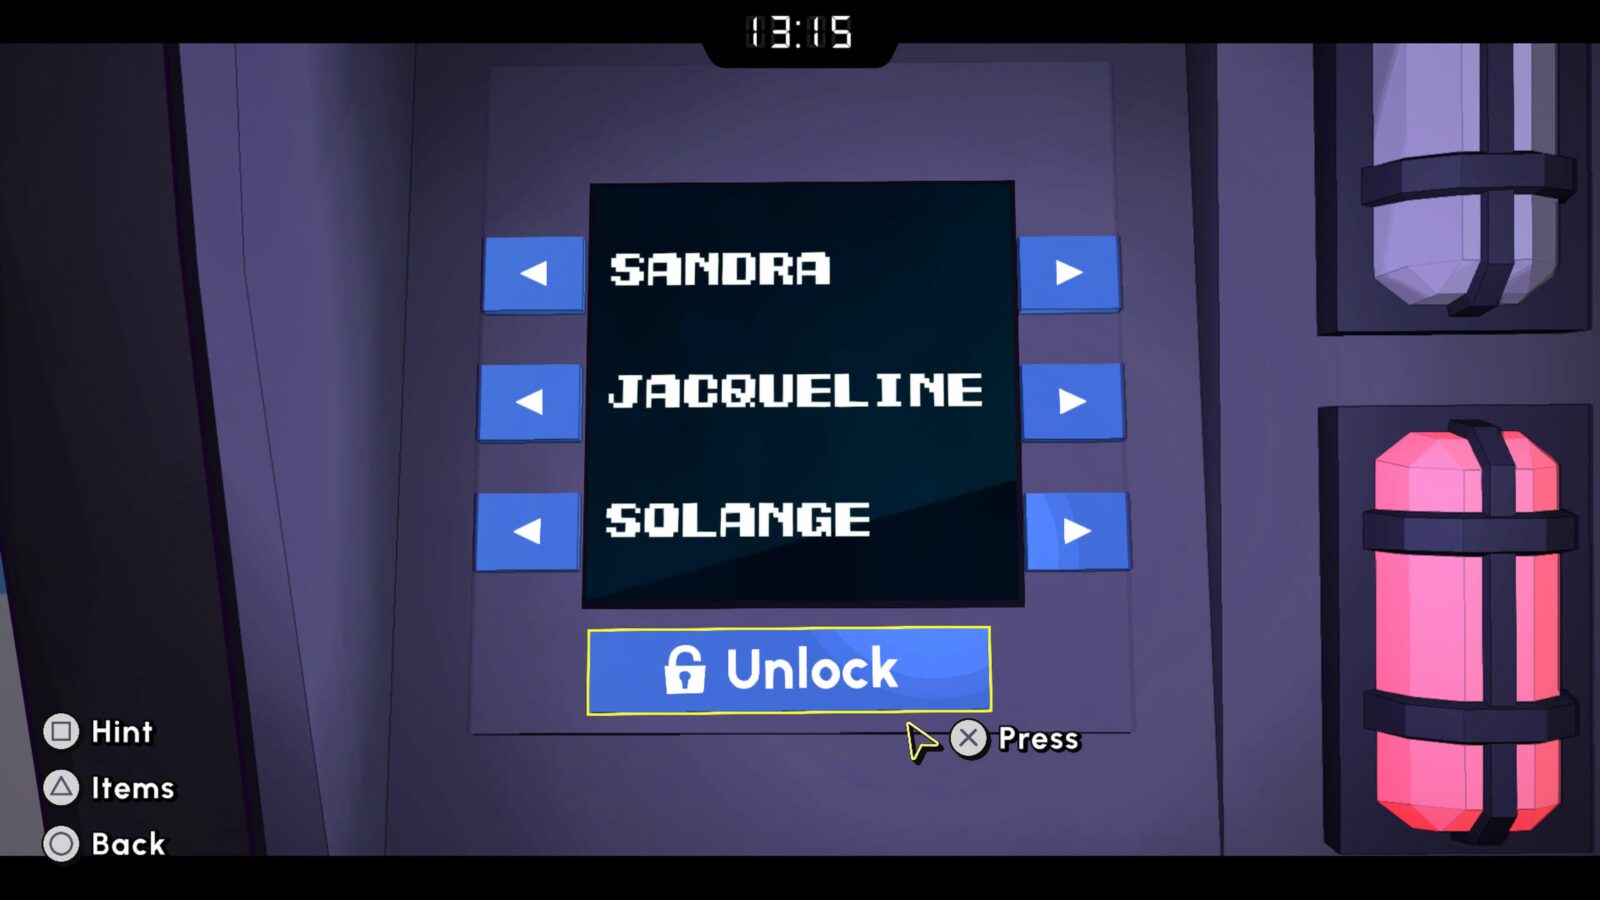
The door will unlock and you’re free to escape!
Naturally, you will easily earn an A+ rating by completing the room immediately in this way.

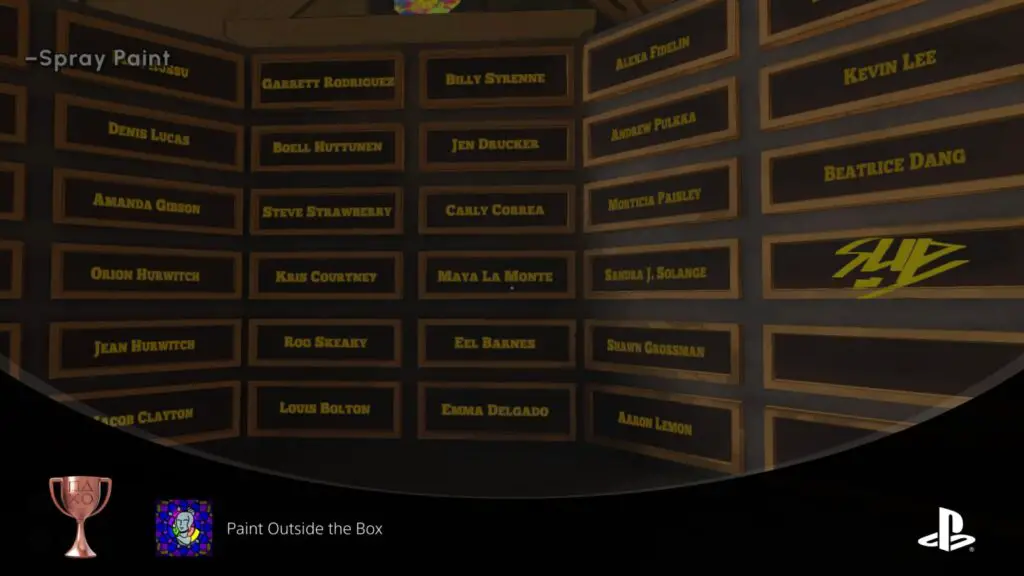
Paint Outside the Box
Escape "Escape Artist."
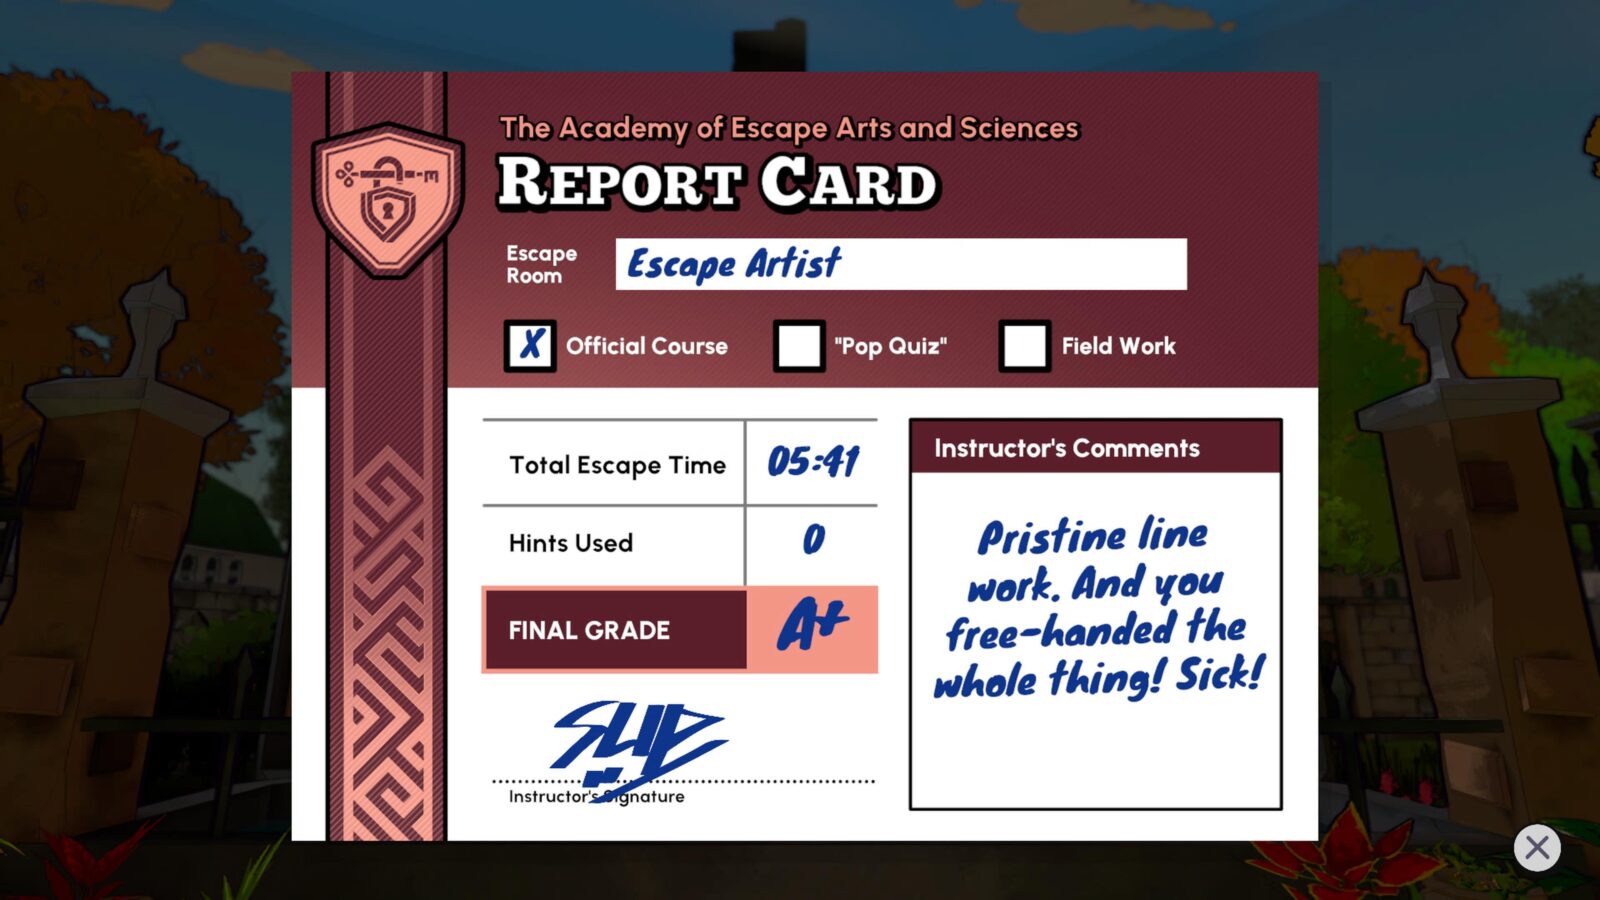
You will unlock the Paint Outside the Box trophy upon completing the third Escape Room; “Escape Artist.”
Unfortunately, you can’t solve this one as fast as the last one, but we can still expedite things dramatically if you follow along:
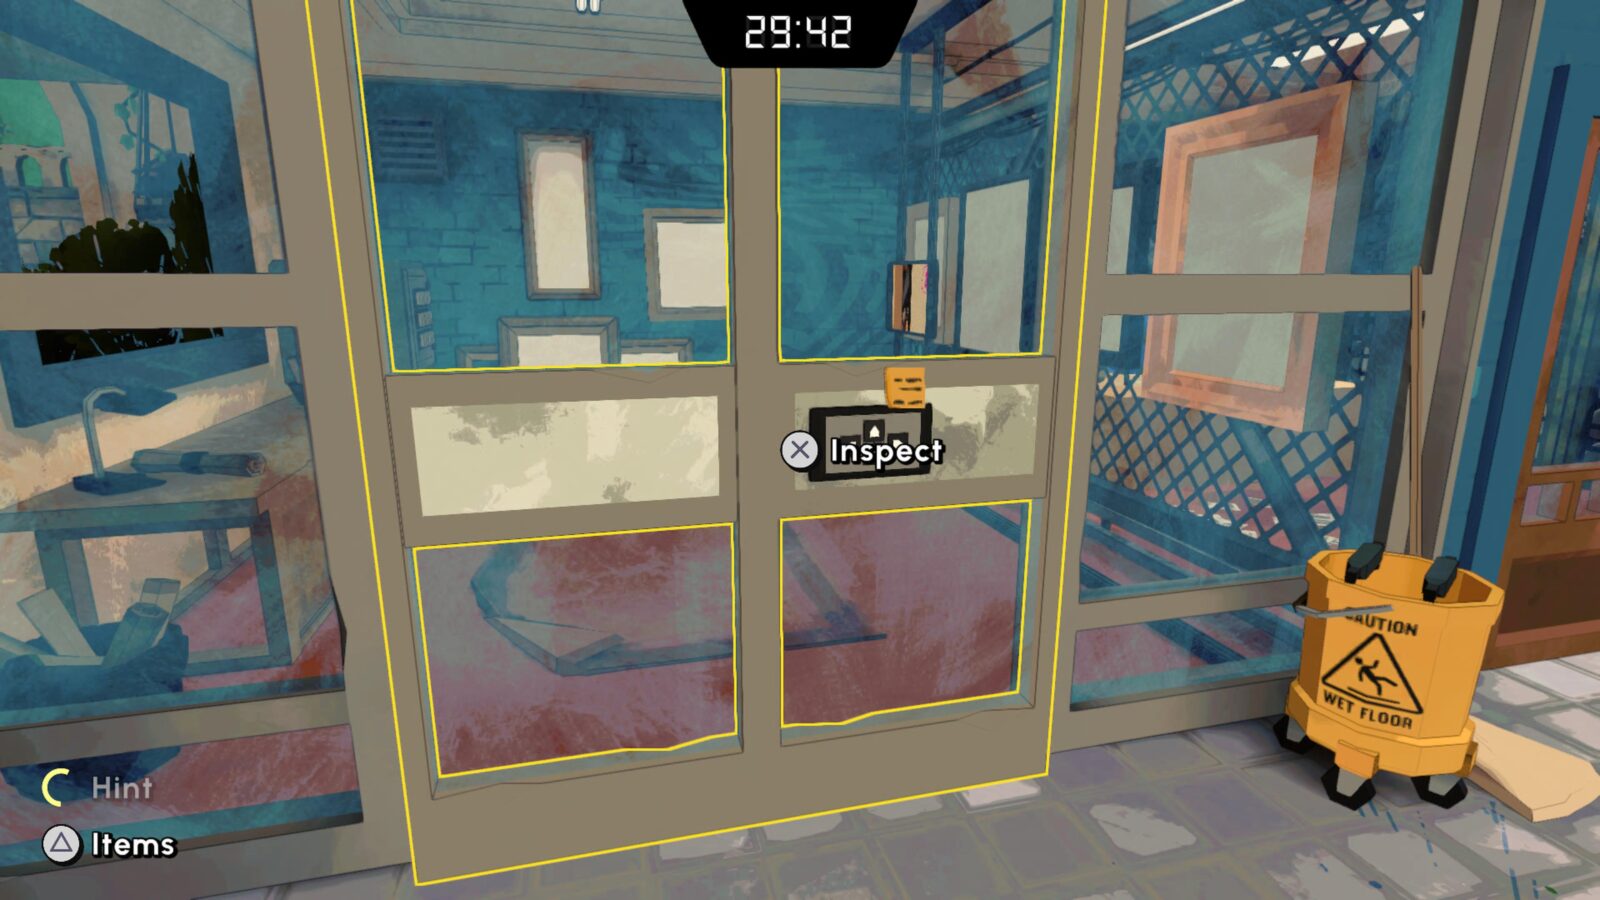
First, enter the room on your left and approach the keypad on the glass door. Enter the following code:
- Right
- Left
- Right
- Up
- Down
- Down
In the next room, approach the Safe and enter “467” to open it and extract the nose from within.
Return to the previous room and interact with the colored switches.
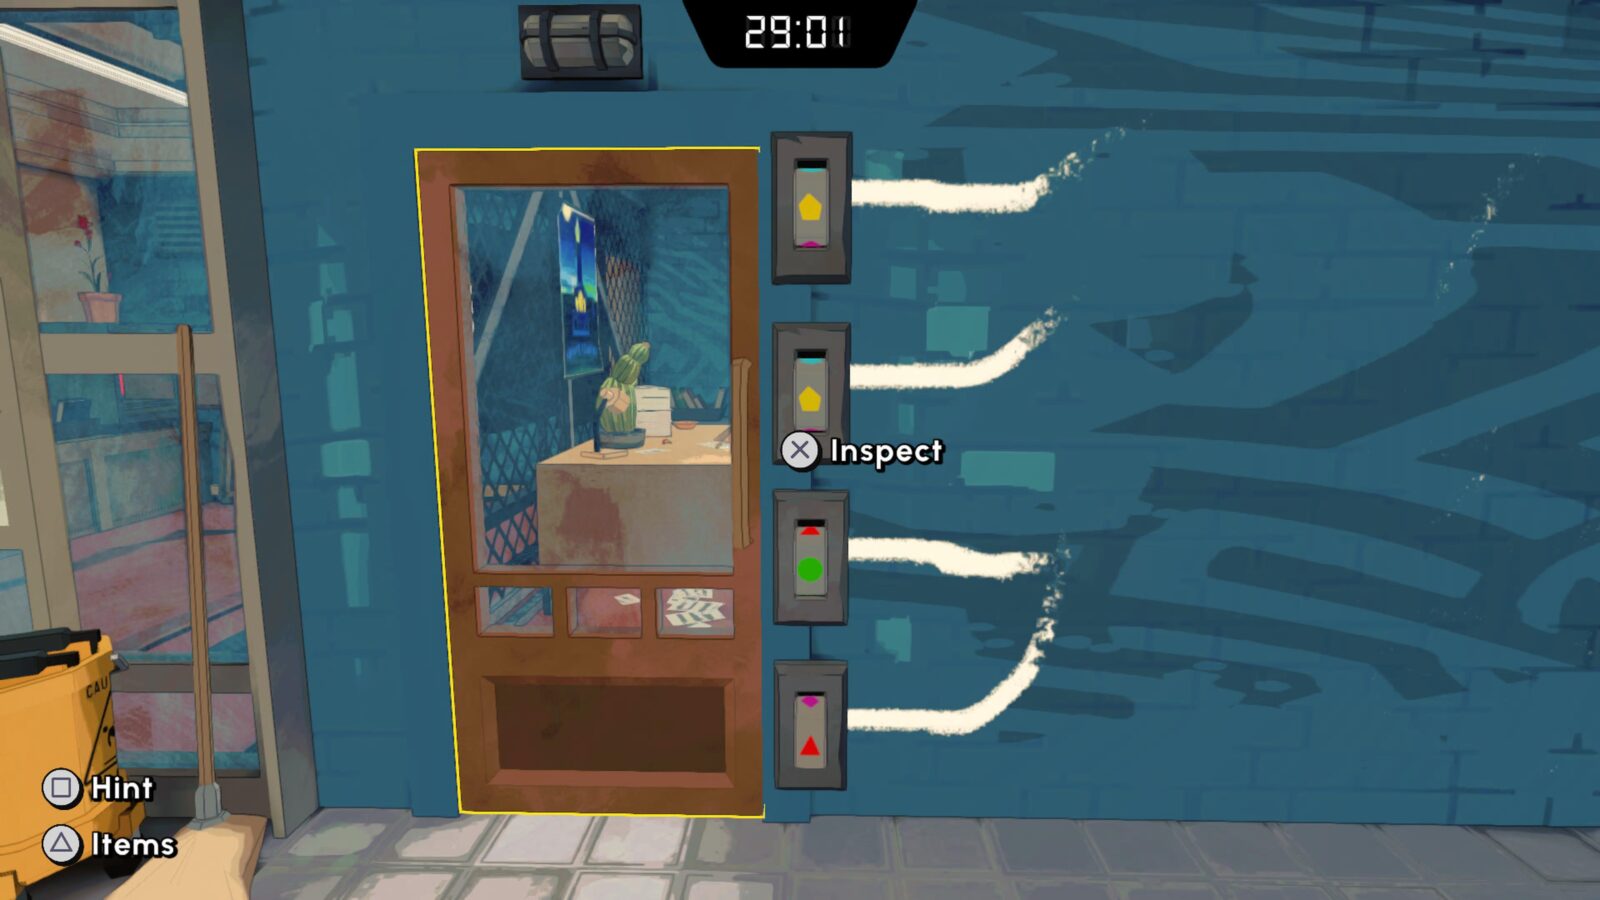
Set them in the following order:
- Red
- Purple
- Yellow
- Green
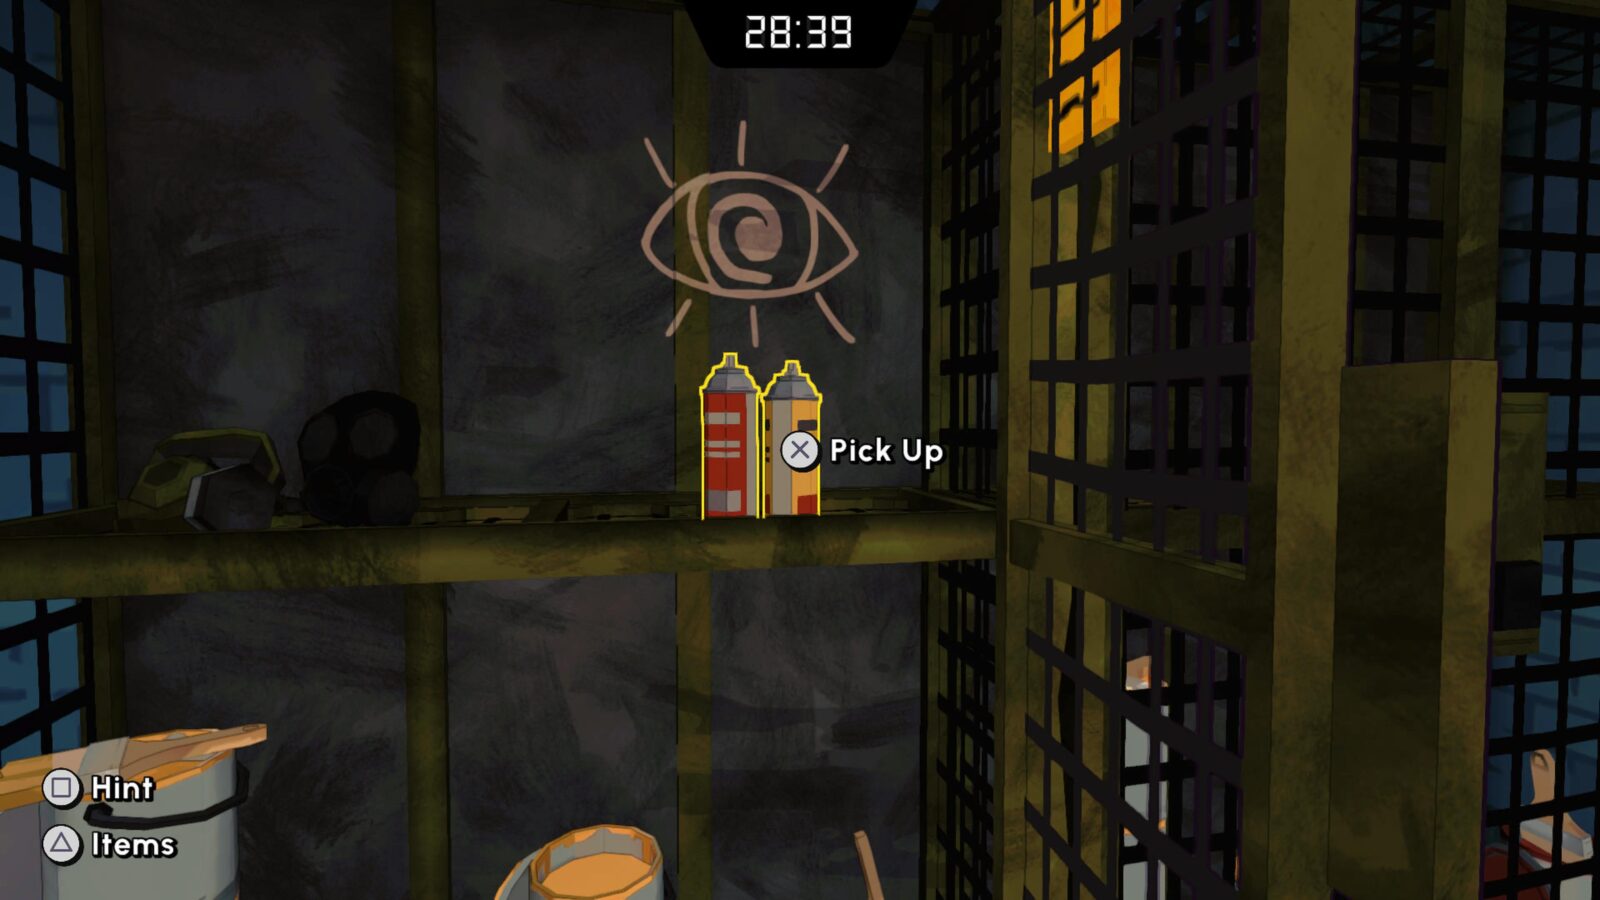
Enter through the door that opens and collect the can of spray paint from the middle-most cabinet.
Leave and go back outside to interact with the face-shaped door.
Place the nose that you collected and then rearrange the face until it looks like the below:
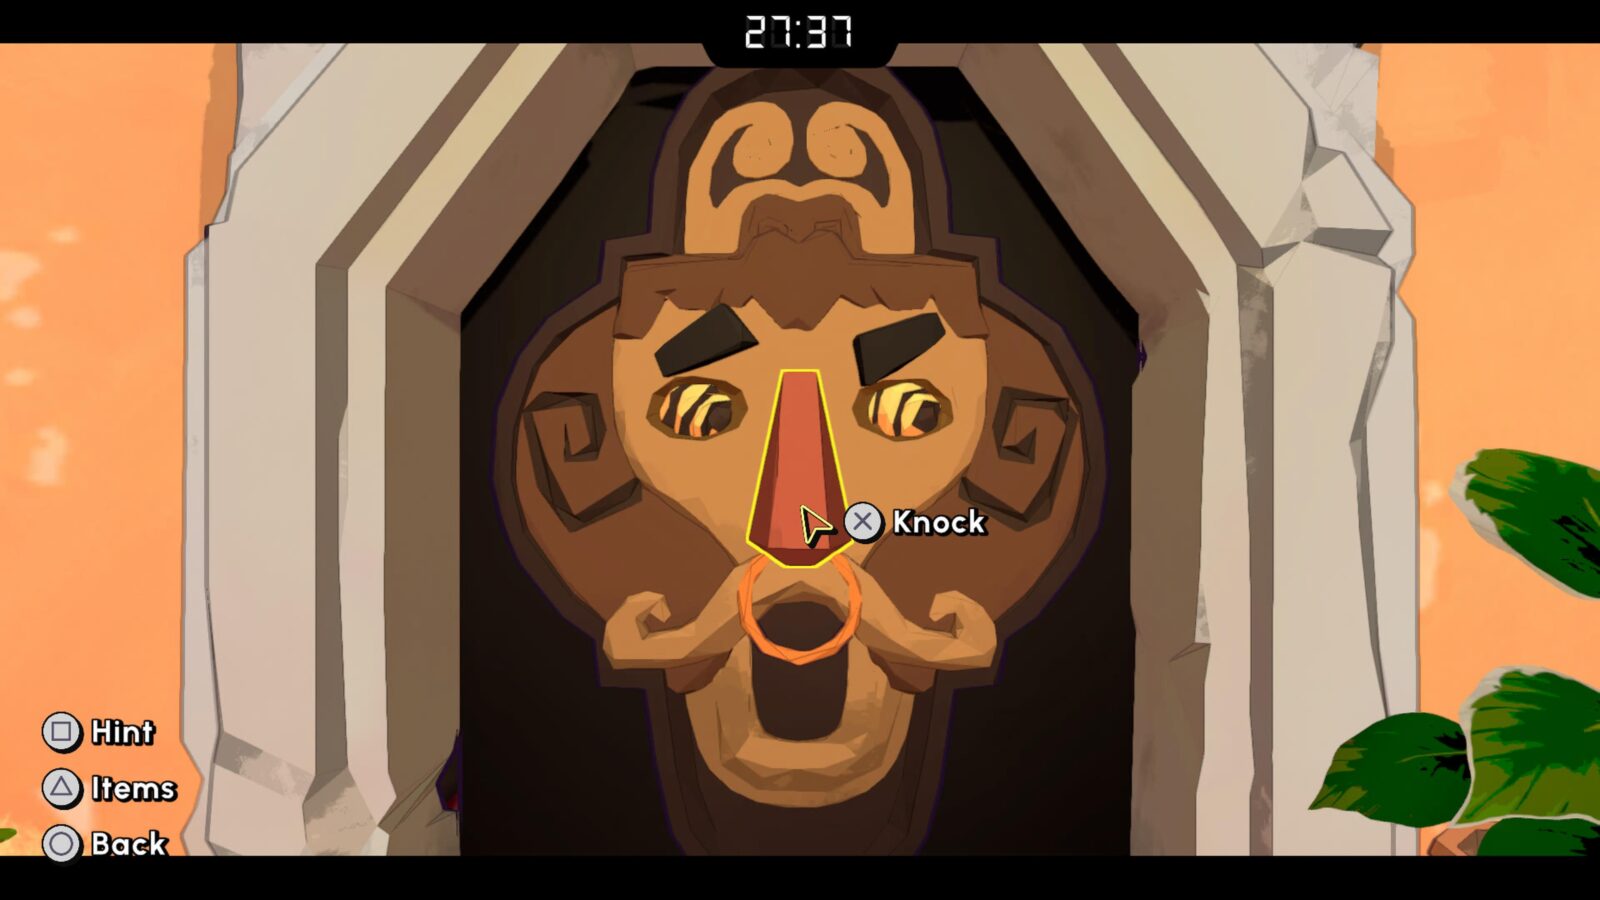
Once done, interact with his nose to open the door.
Enter the area beyond the face door and collect the keys from the table.
Use them to unlock the gate marked “7”.
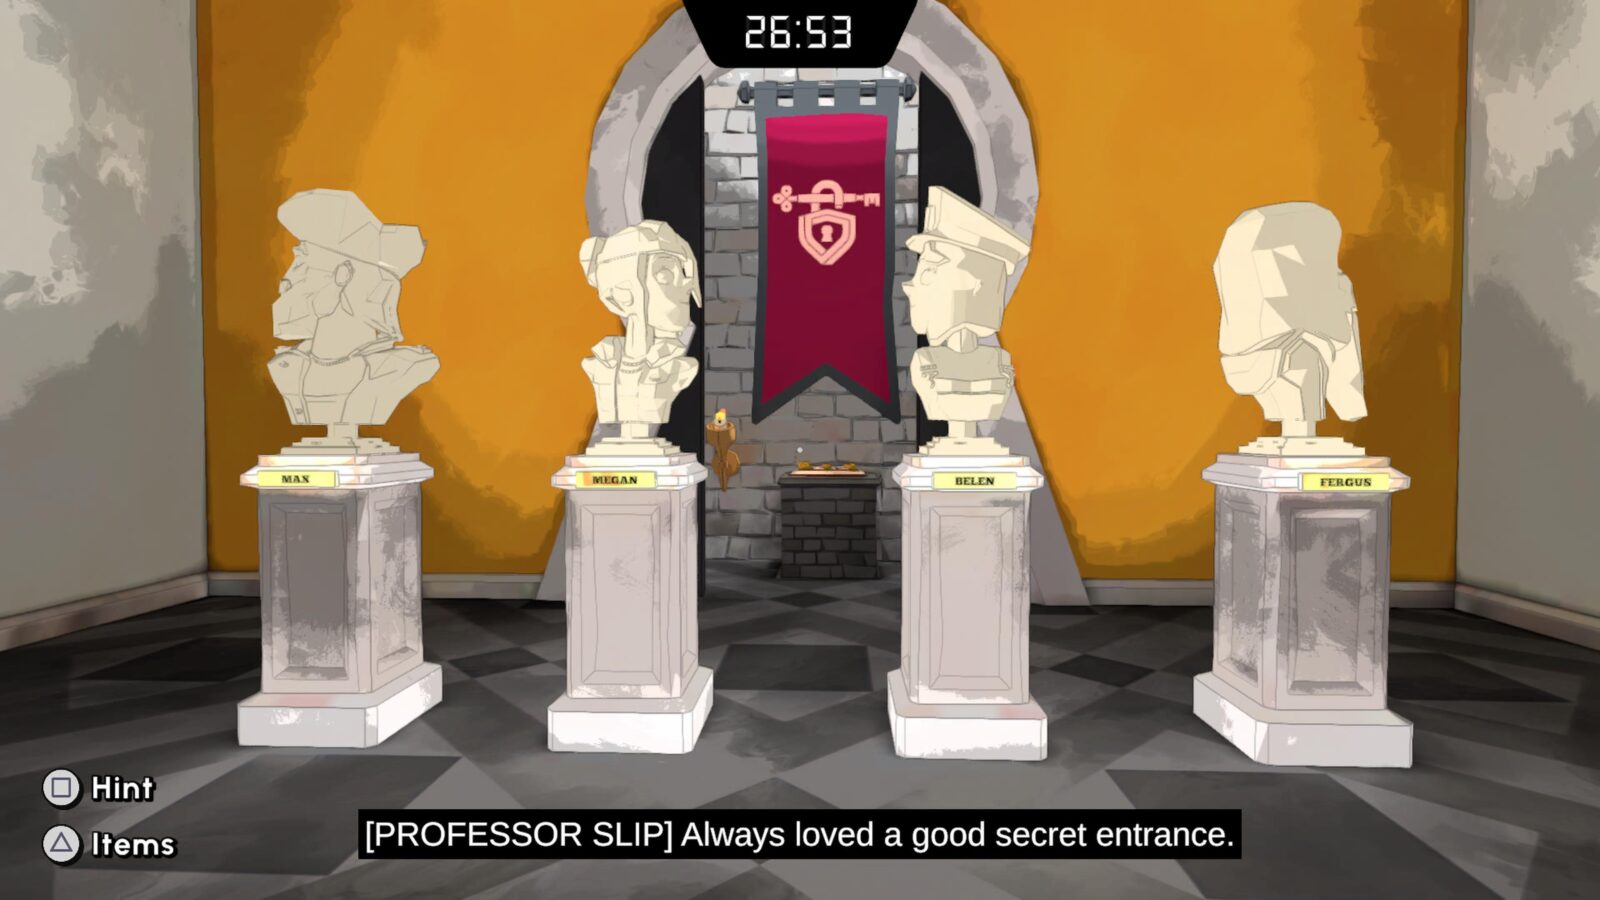
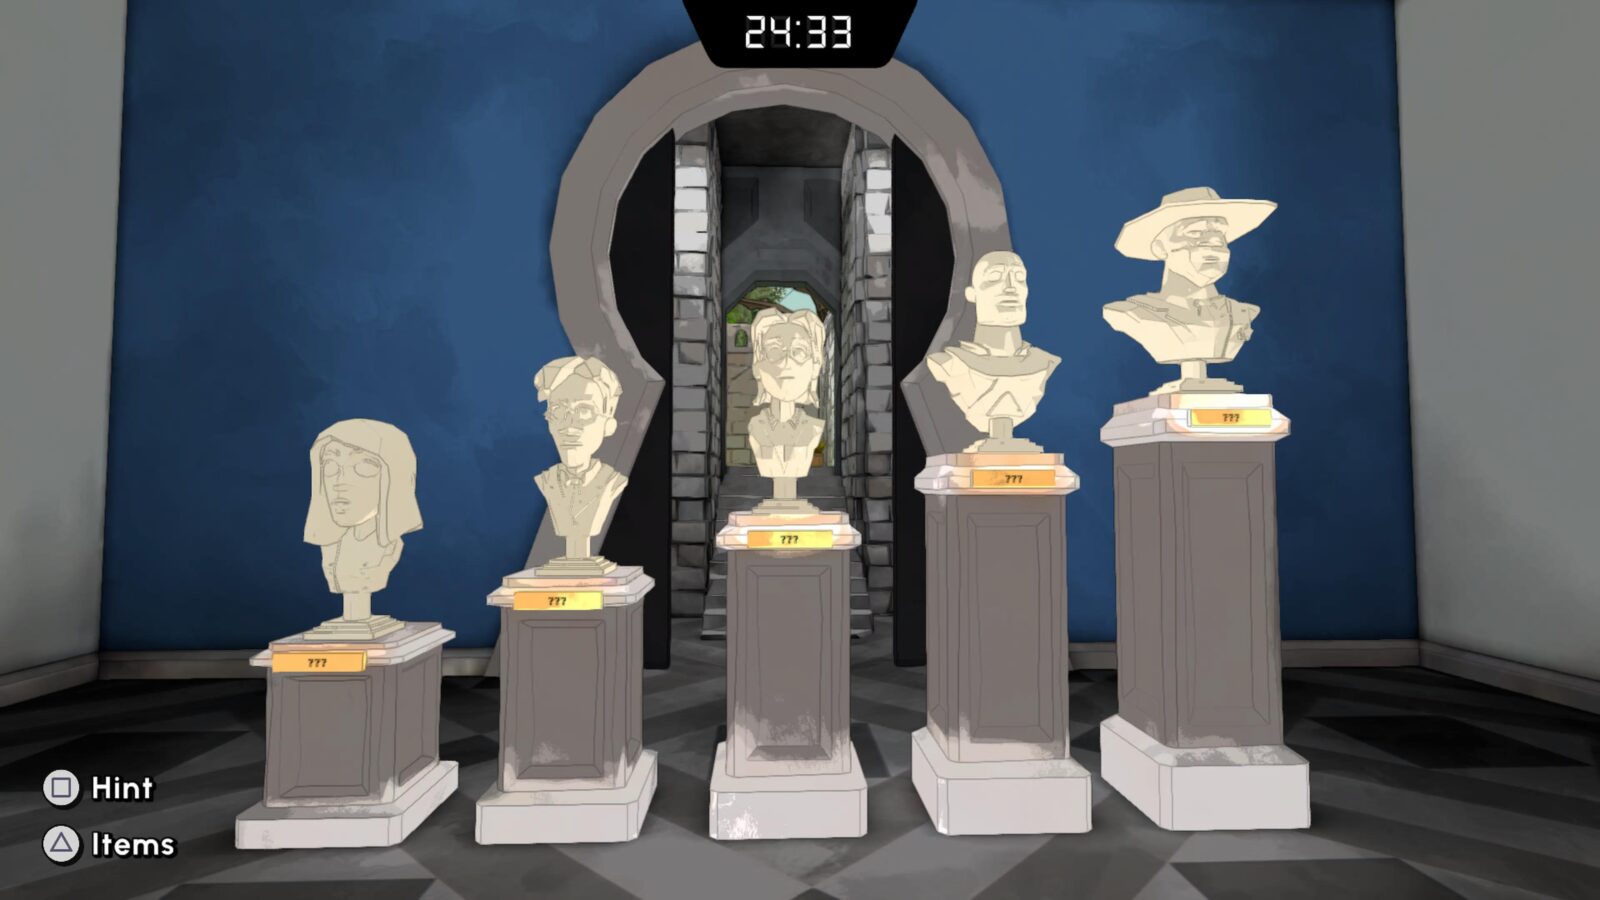
There, you’ll see some labeled busts of people.
Adjust them like so:
- Max is facing your left
- Megan is facing your right
- Belen is facing your left
- Fergus is facing your right
Collect the keys from the back of this room, with which you will now be able to open the gate marked “10.” Use the keys marked 3 and 7 on it.
In this next room, there are more busts.
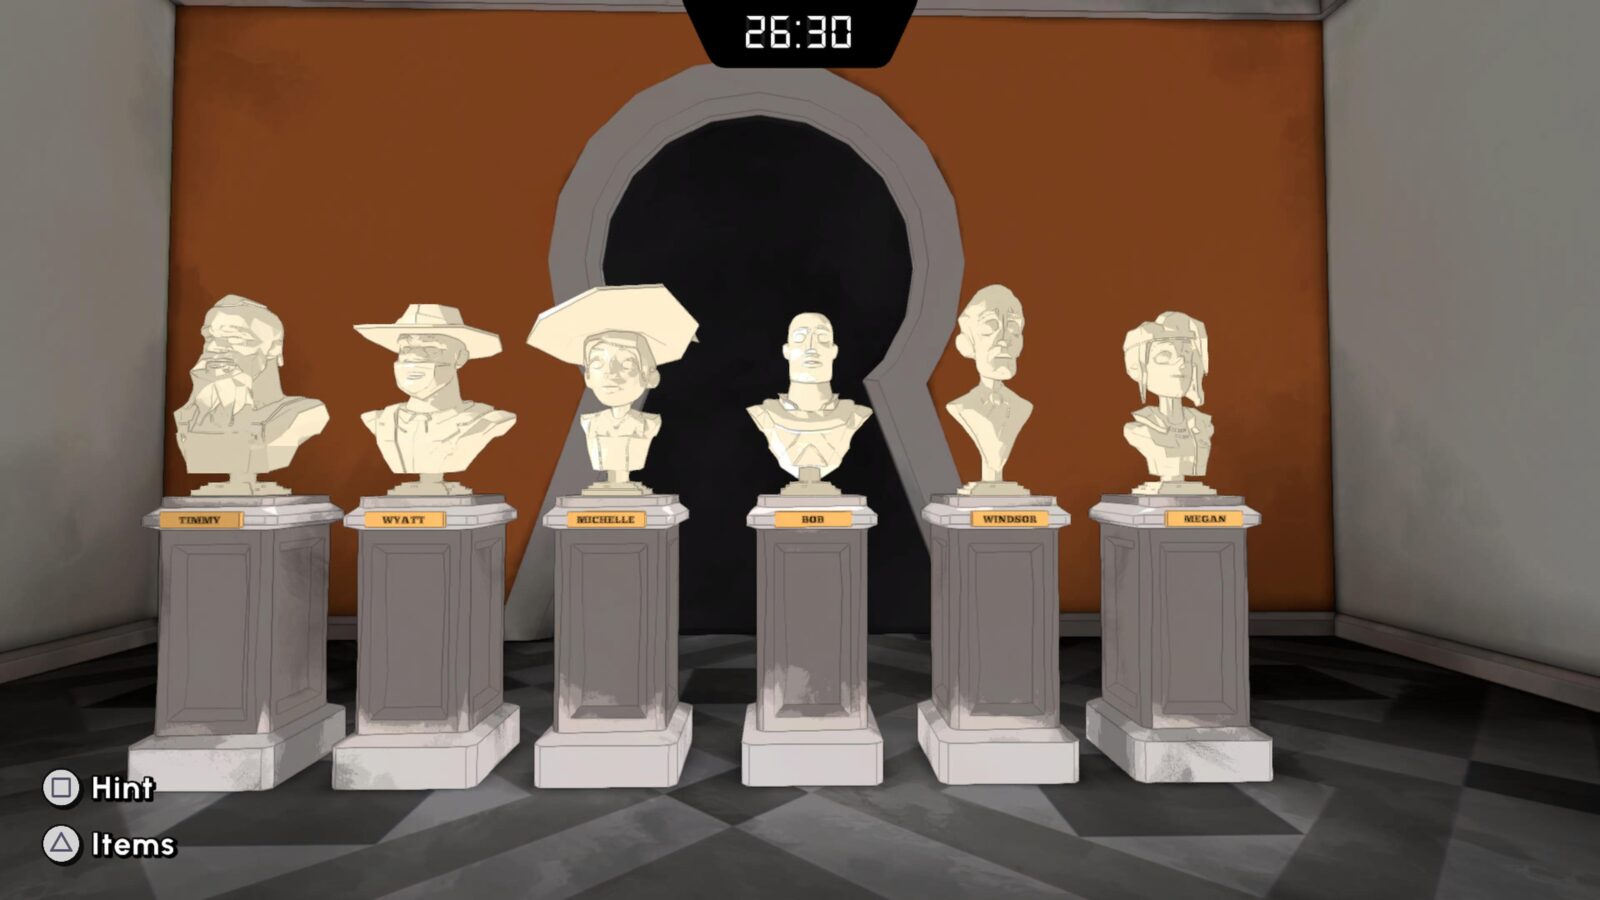
You can make them look up by interacting with them. You need to make the following three busts raise their heads:
- Timmy
- Michelle
- Windsor
Grab the next key from the back of this room, with which you can now open the gate marked “5.”
Next, arrange the busts in height order as per the paintings. If done correctly, it should look like this:
Now, head through the door you just unlocked and use the Spray Paint can you collected on the Monument, and the escape room will end.
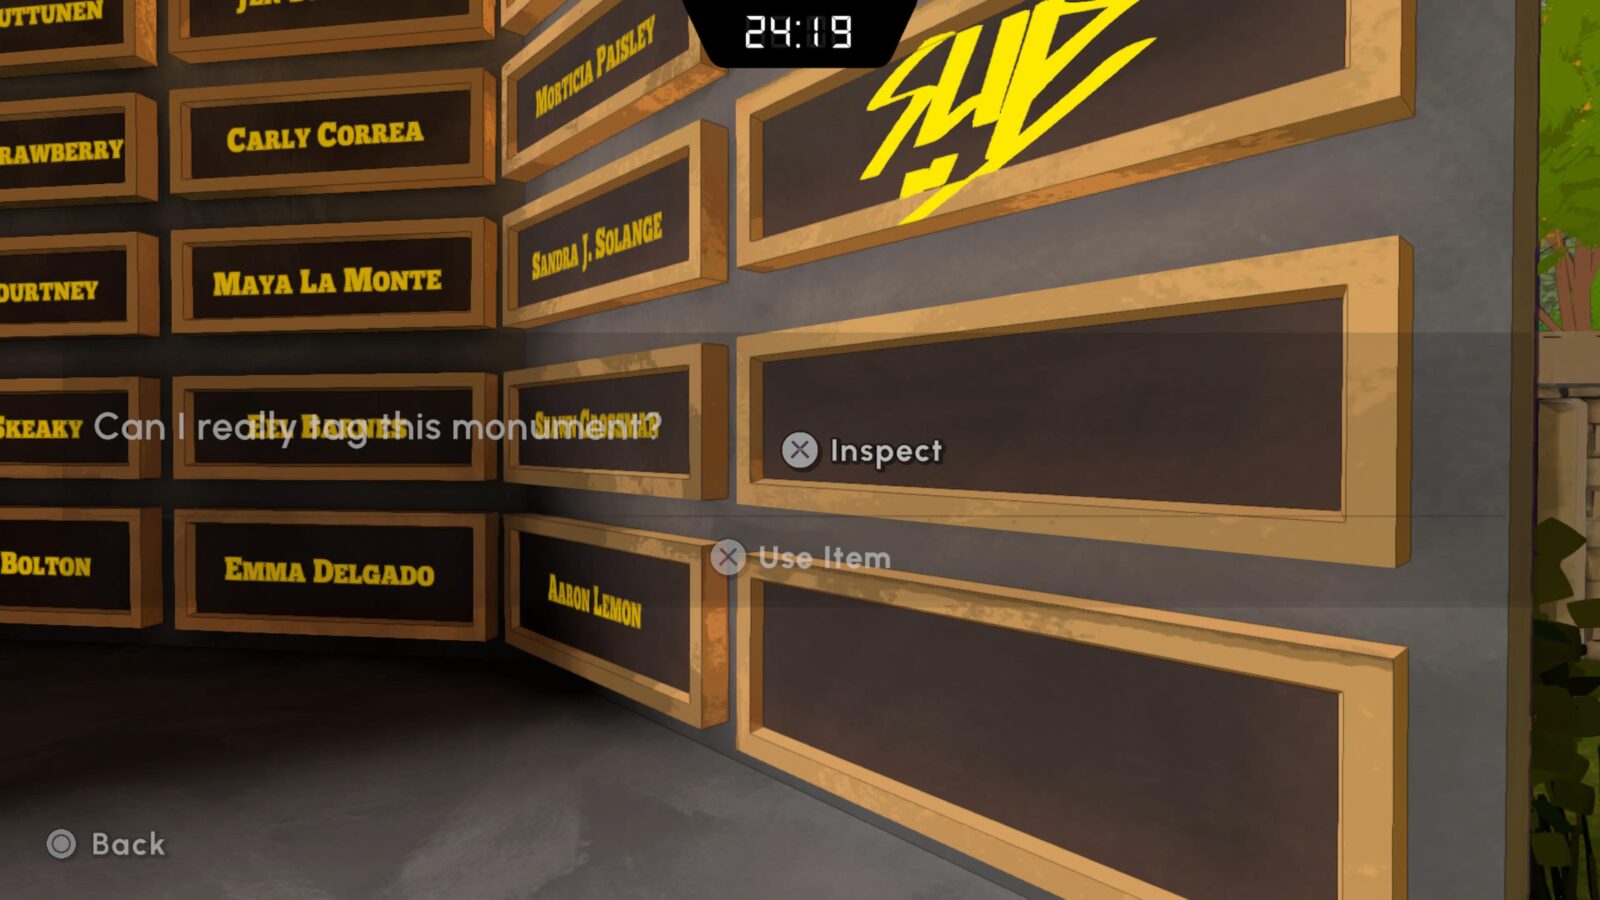
If you have followed our walkthrough and used 0 hints, you’ll also have a rating of A+!

Ticket to Breathin' Town
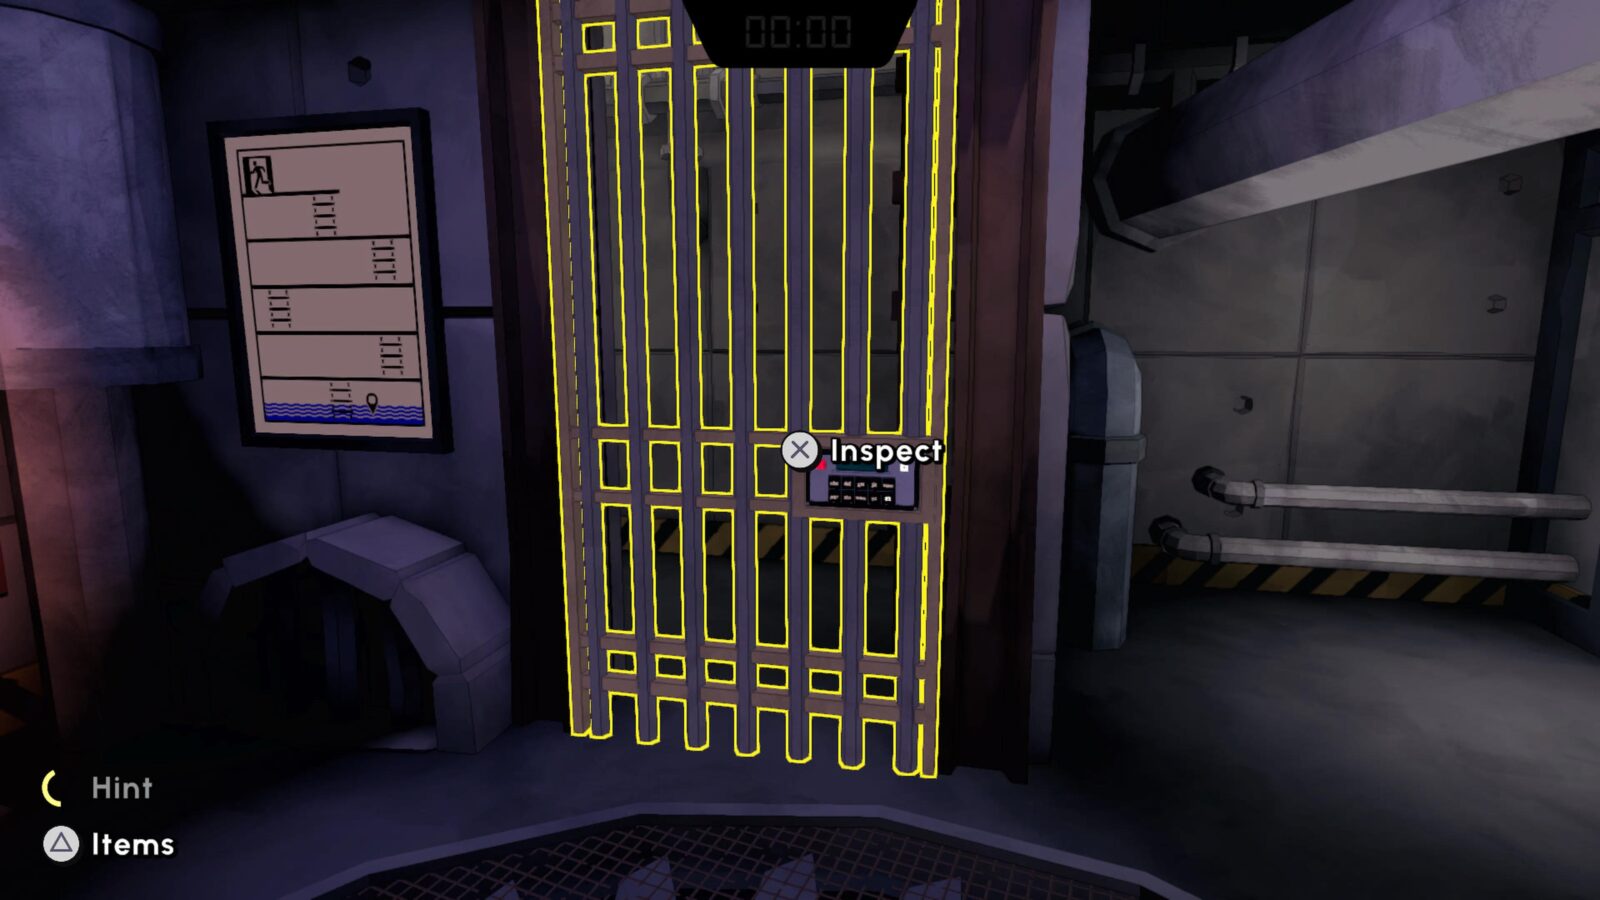
Escape "Under Pressure."
“Under Pressure” is the fourth Escape Room you’ll need to find your way out of. If you complete it in under 3 minutes (which should come easily with the solutions below) you will also receive the Thresher Rusher trophy.
In this one, the water level is constantly rising, and to escape you need to enter codes on doors at each level.
The codes for each door are as follows, in this order:
- FEAR
- WILL
- SLOW
- YOUR
- MIND
Then, at the 6th and final door, enter all 5 passcodes together into the terminal in the wall, like so:
FEAR WILL SLOW YOUR MIND

With that, you’ll be freed from the room and will receive the Ticket to Breathin’ Town trophy!
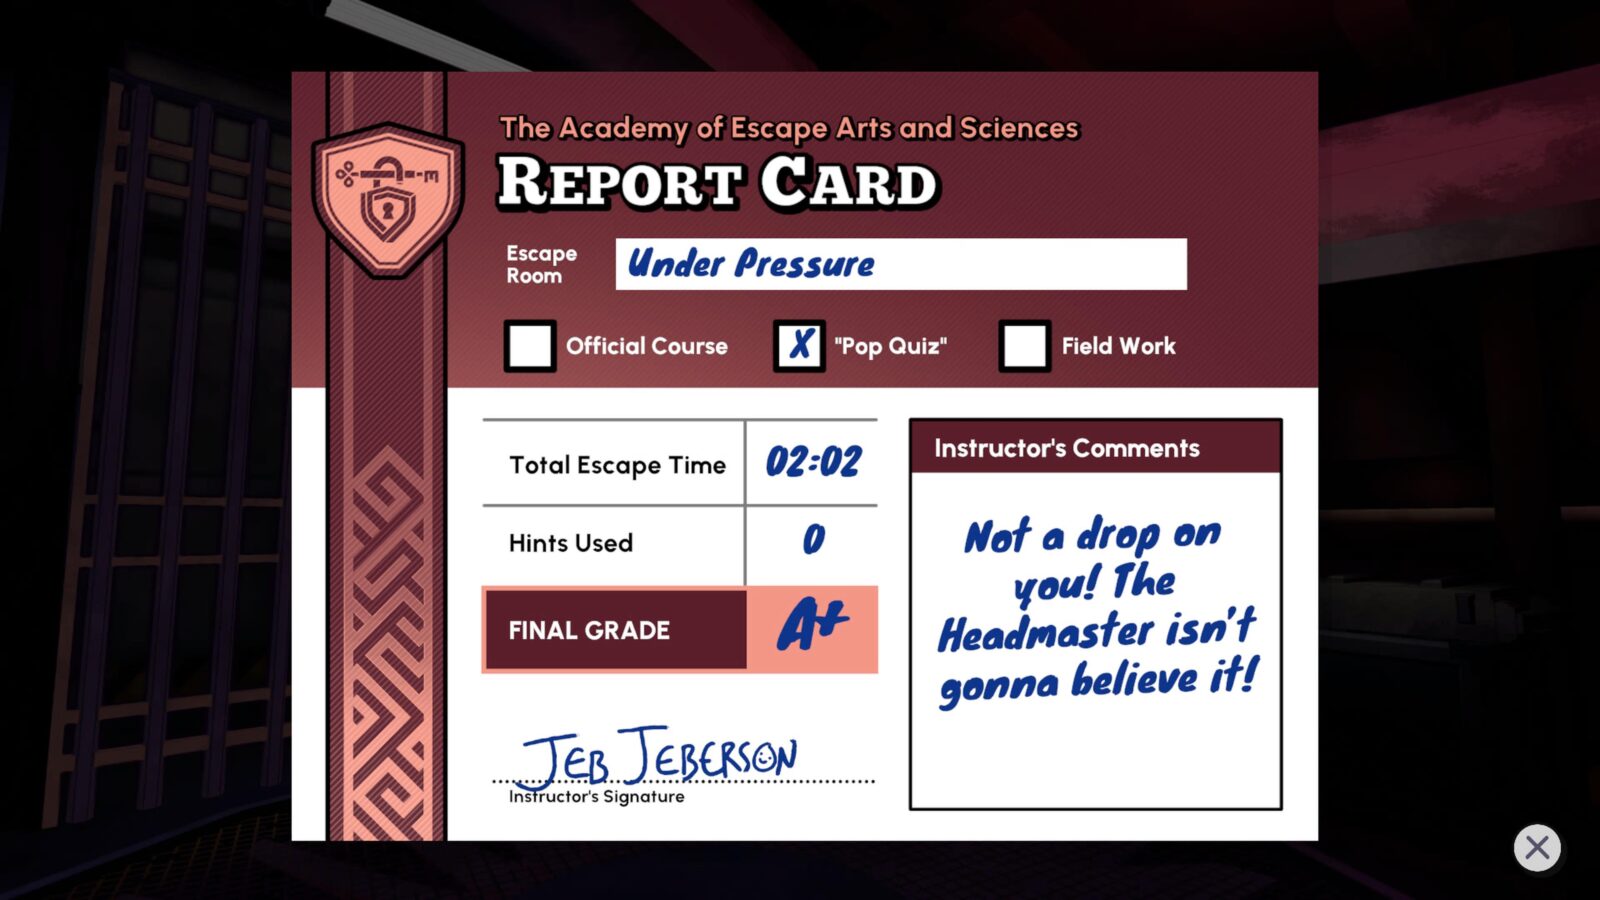
Additionally, by following our walkthrough and avoiding the use of hints, you’ll receive an A+ rating and hopefully the Thresher Rusher trophy.

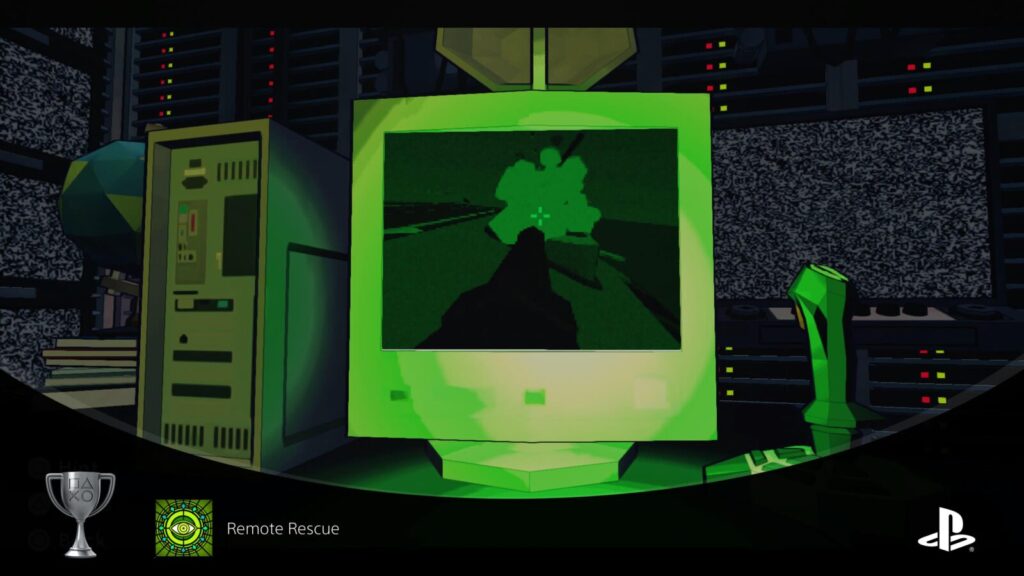
Remote Rescue
Escape "The Breakout."
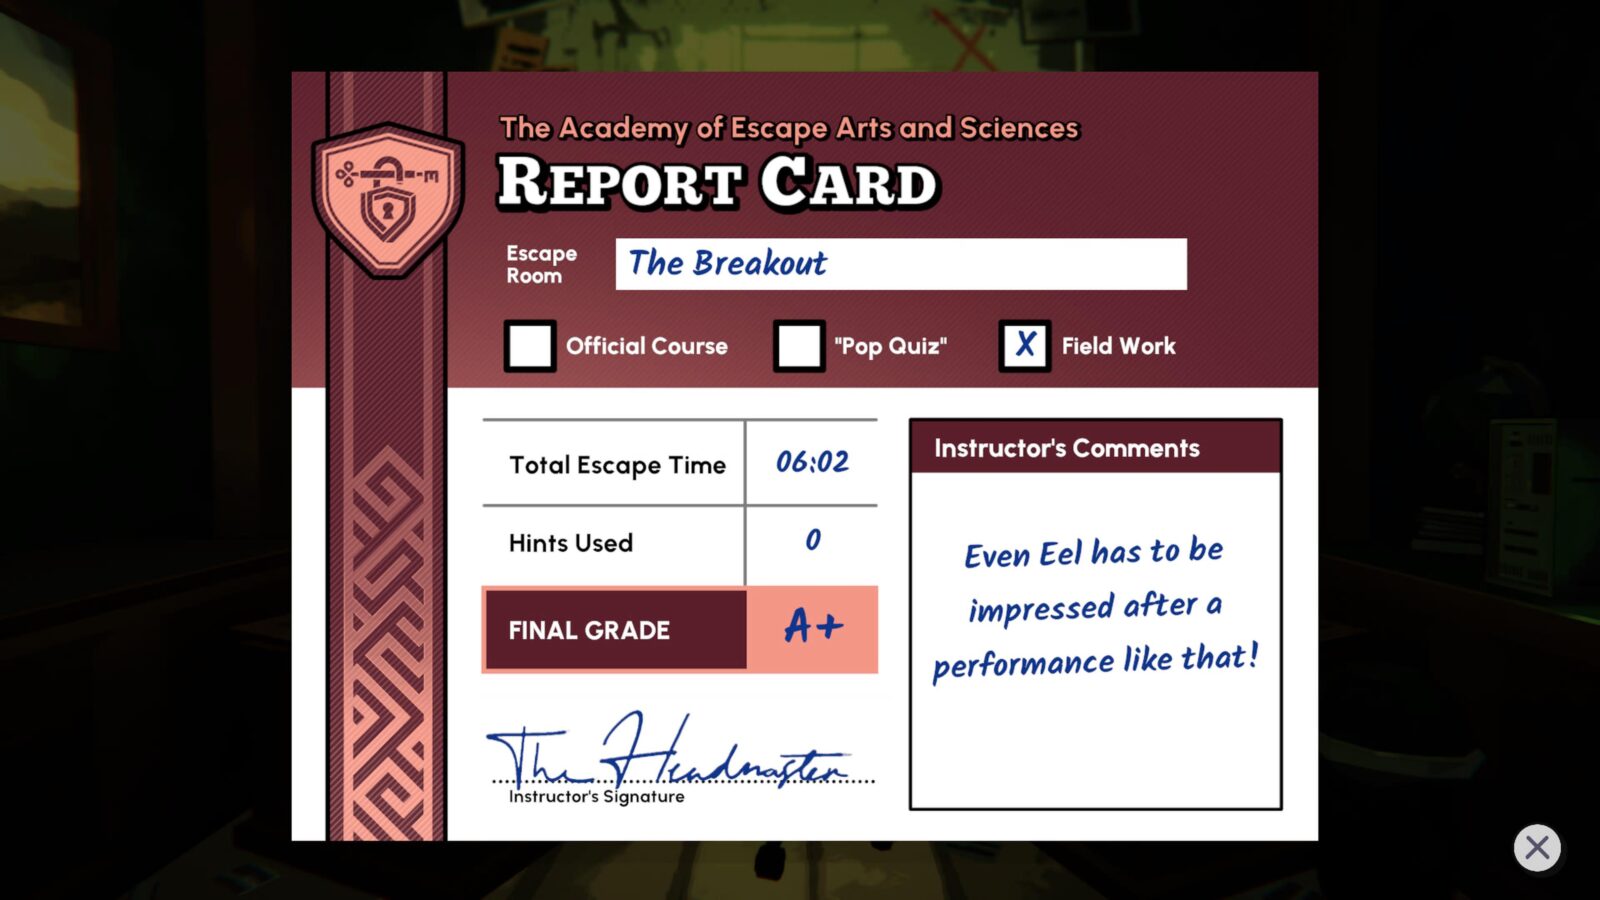
“The Breakout” is another Escape Room that requires a bit more effort, even when you have all of the solutions at hand. To complete the room with ease and secure an A+ rating in the process, follow along here:
To start with, go over to the radio, wait until you hear the Headmaster, then enter “104” and hit the yellow button.
Wait another moment for the Headmaster to give you some more info. Once she tells you to enter the Turret’s Serial Number (160), enter it into the radio and hit the yellow button again.
Finally, she will ask you if the computer terminal is on deck 1.
Respond with “10-10” then hit the yellow button again.
Finally, when she asks you which deck it is on, answer with 02 and then press the yellow button.
The next part of the puzzle is to figure out where the ship is on the map. The ship’s location is tied to the escape room clock, meaning that the longer you take to reach this point, the further away from the starting point the ship will be. For example, at 22 minutes in, the ship is at C3 on the map.
Open the computer next to the map and click on the square where the ship should be. Once done, return to the Radio.
When the Headmaster asks if you hear her, enter 104 again.
The Headmaster will fax you a puzzle to solve, pick up the sheets she sent you. The solution is 503, so enter that number into the radio and hit the yellow button.
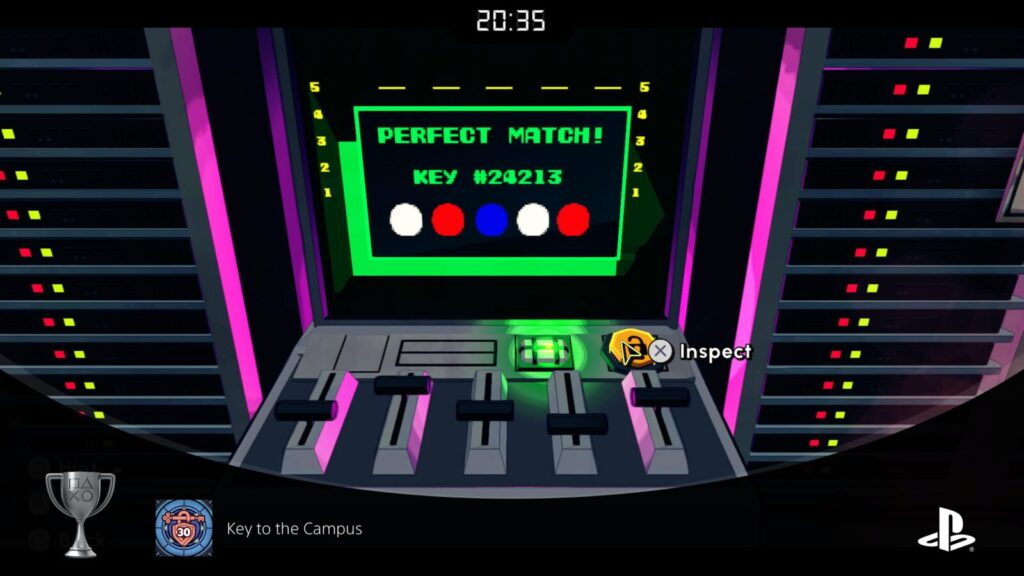
Eventually, an alarm will sound. Look for a nearby control panel with levers on it. Interact with them to adjust the levels until they match the solution; 24213.
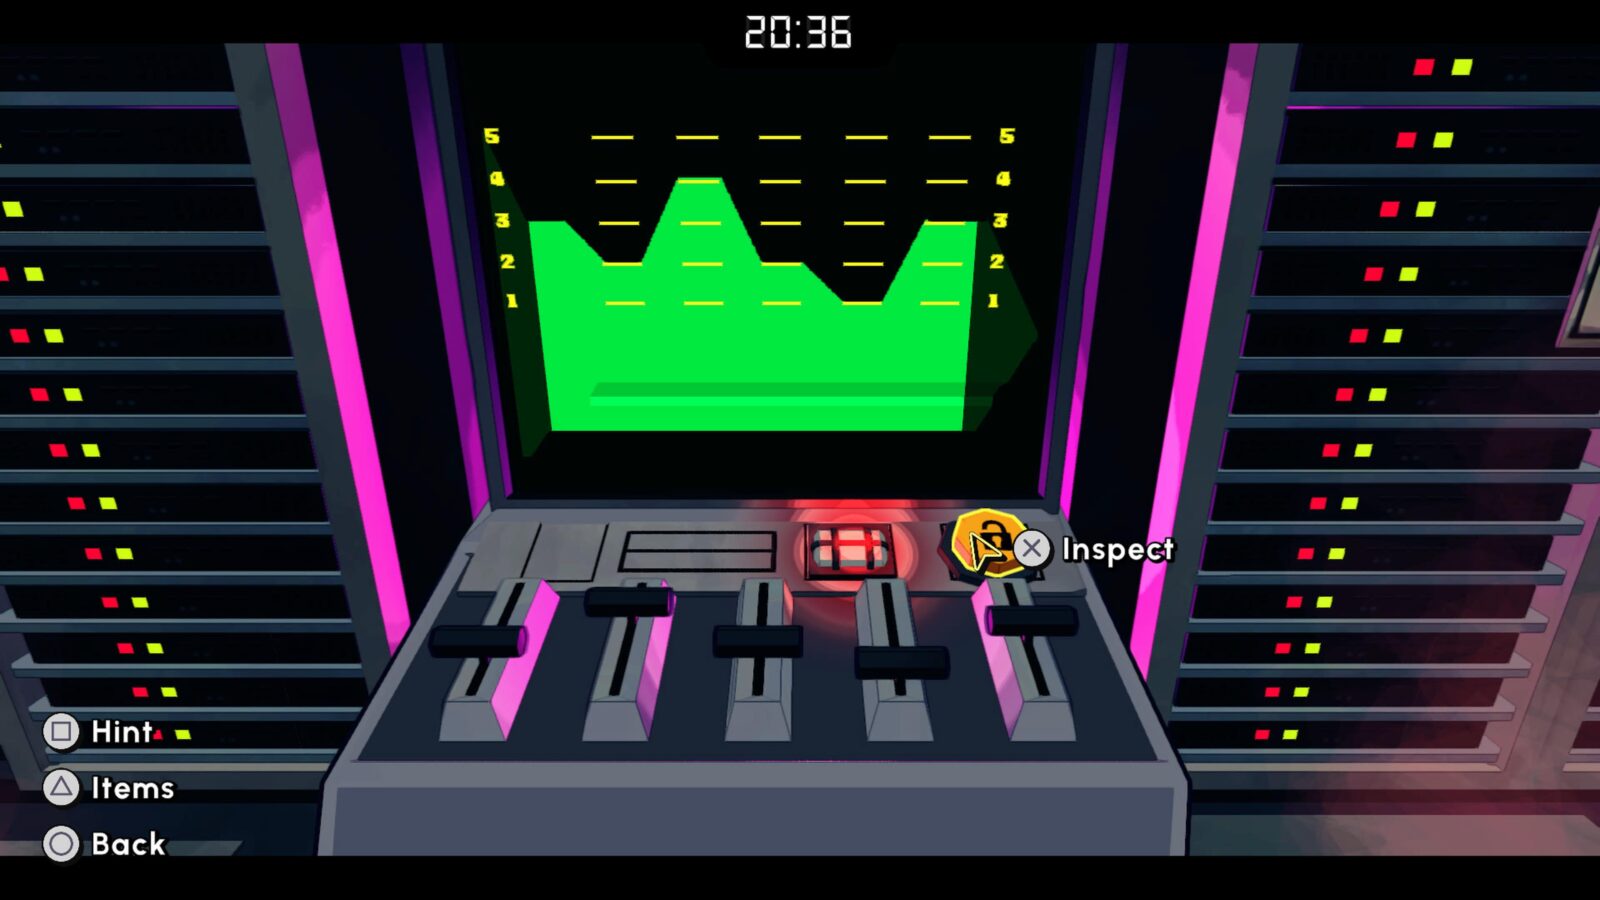
Once done, send that same code to the Headmaster via the radio.
A short while later, a second alarm will sound.
Look for and interact with the purple control panel and manipulate the controls to match the word “CHARGE“.
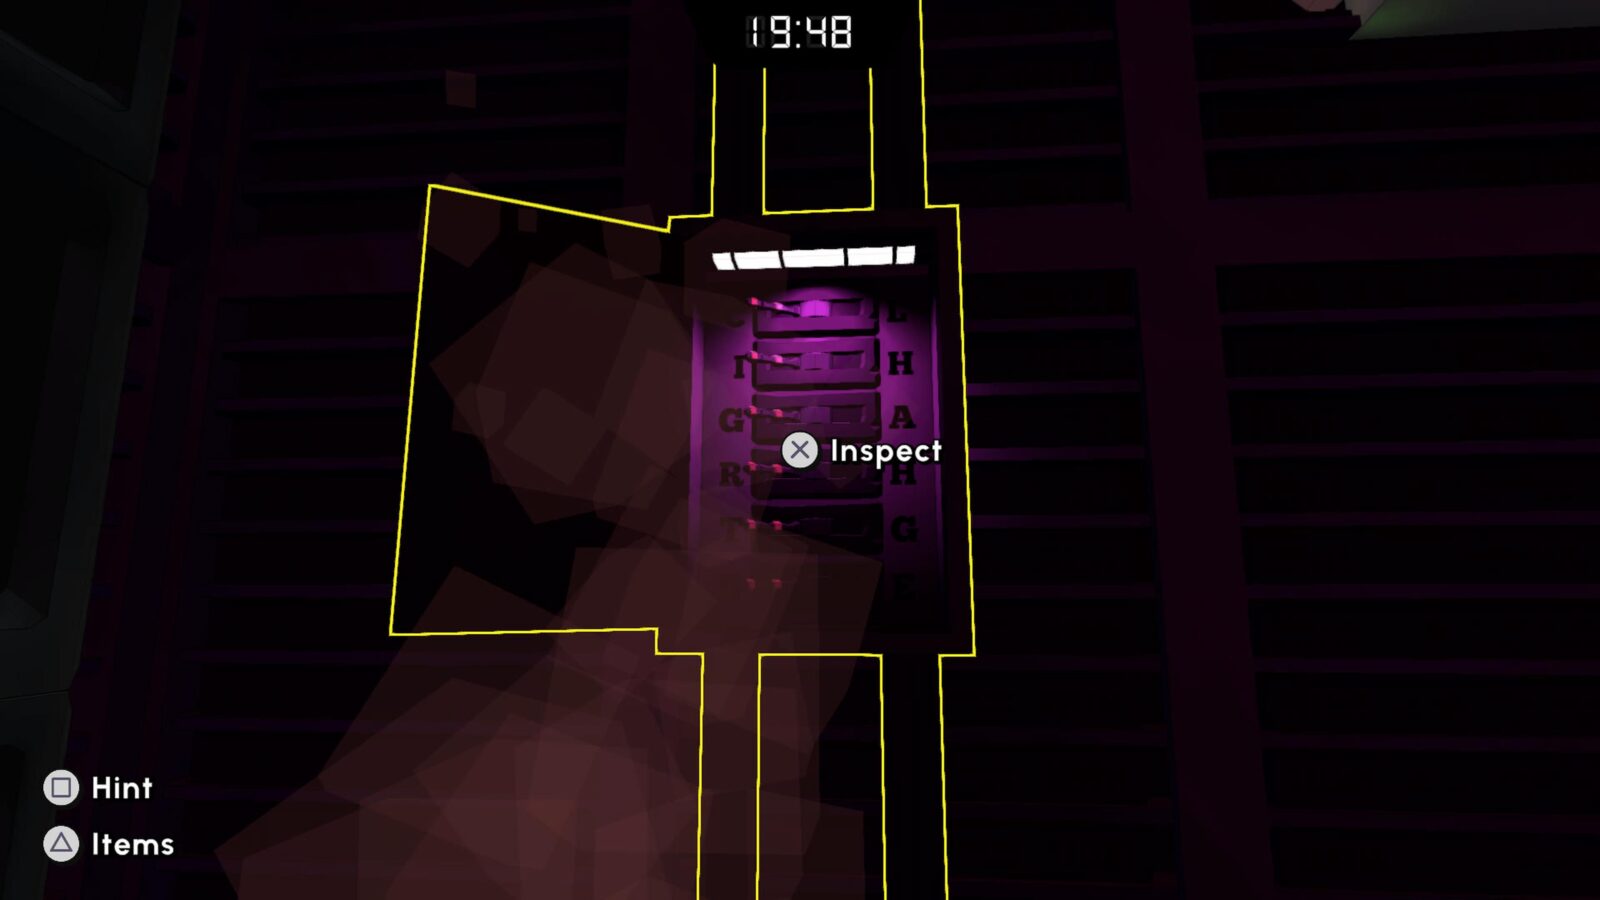
Once you’ve done that, go back to the Radio and send the number 713 to the Headmaster.
Turn to the Turret’s control monitor and access it with ![]() .
.
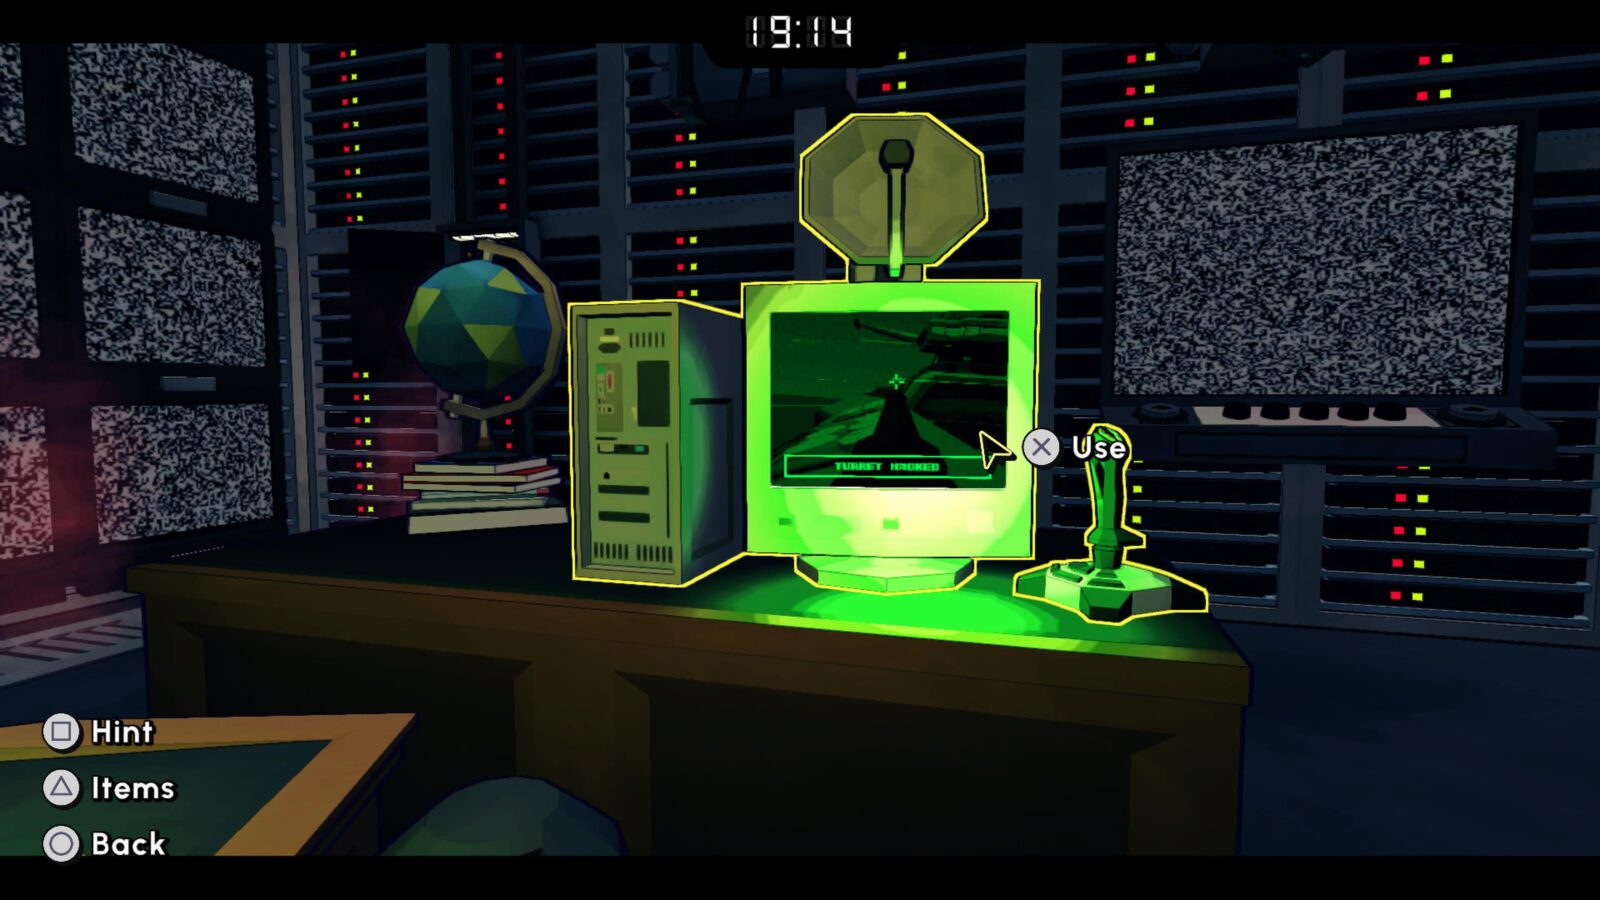
Shoot the other turrets with the one you are controlling to complete the escape.
Provided you followed the instructions above and used no hints, you will have an A+ rating for this puzzle.


Don't Cry Over Spilled Milkshake
Escape "Trial By Taste."
In “Trial by Taste,” the sixth Escape Room, you will need to escape from Eel’s kitchen.
First, go to the microwave and enter 335 to turn it on.
Next, grab the fire extinguisher from opposite the microwave and use it to put the fire out.
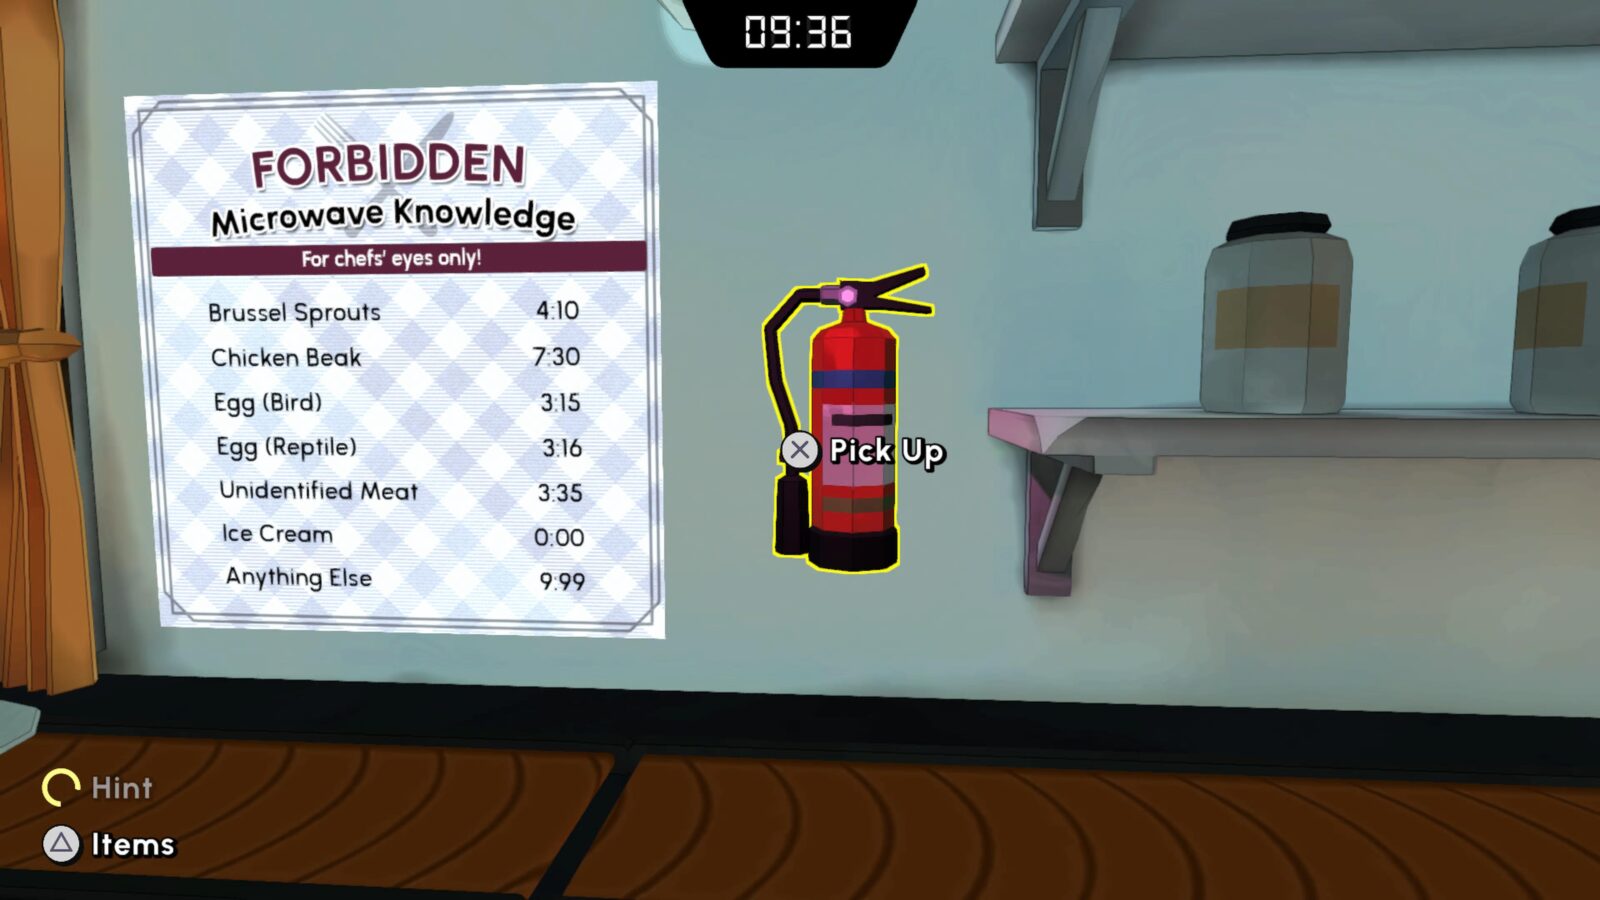
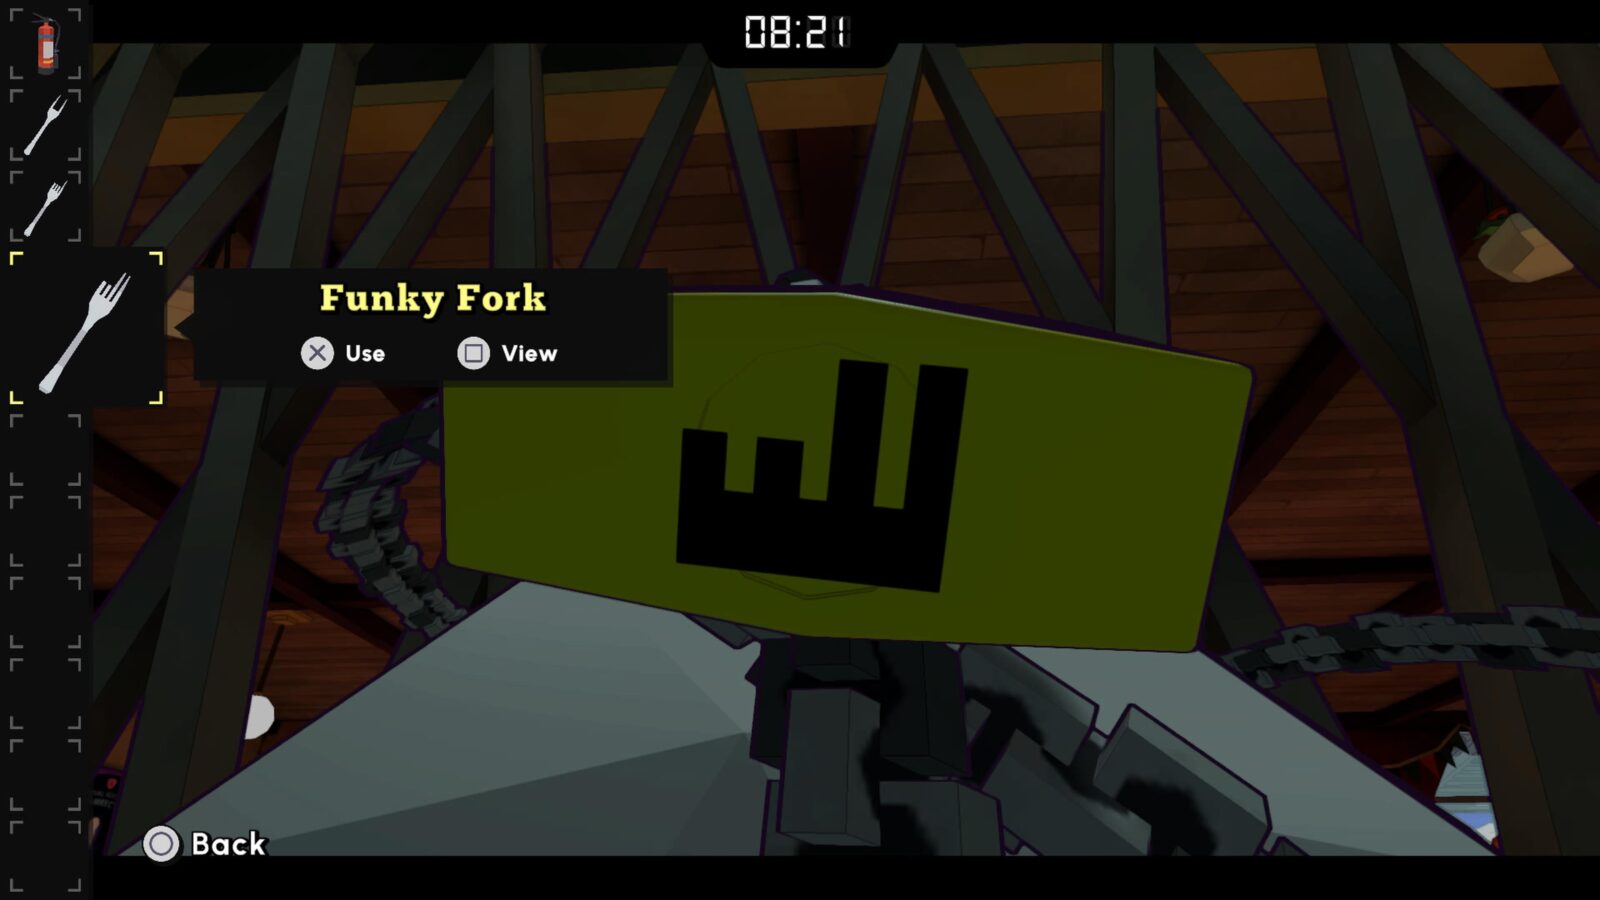
Once done, grab the fork from inside the microwave.
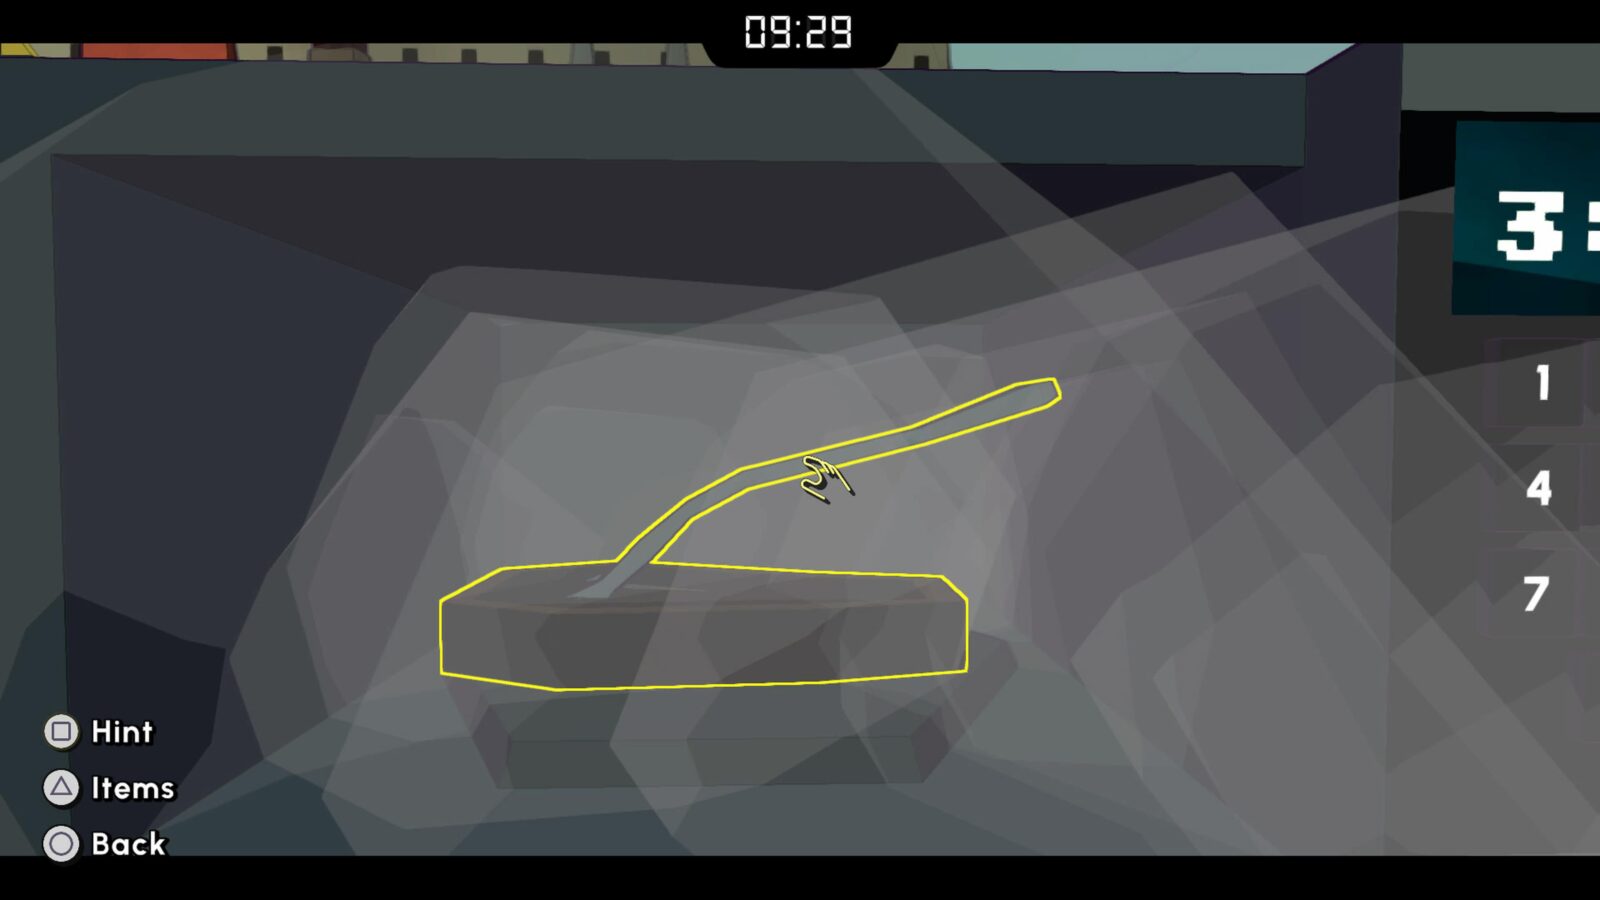
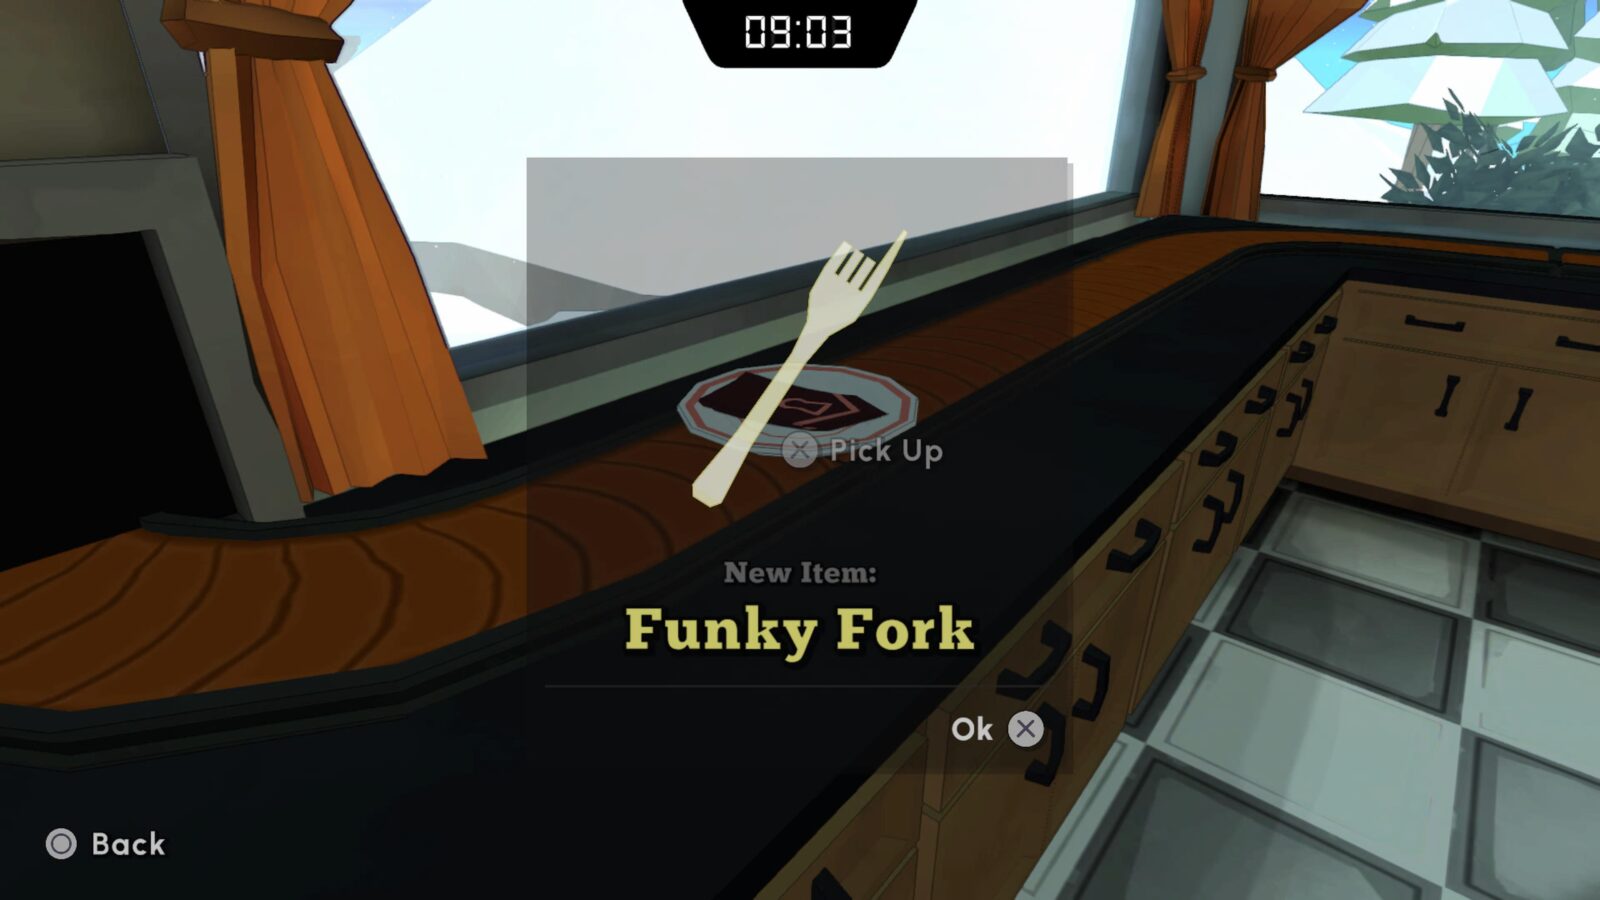
Next, approach the conveyor belt and check each plate, one of them has a fork on it. Collect it when you can.
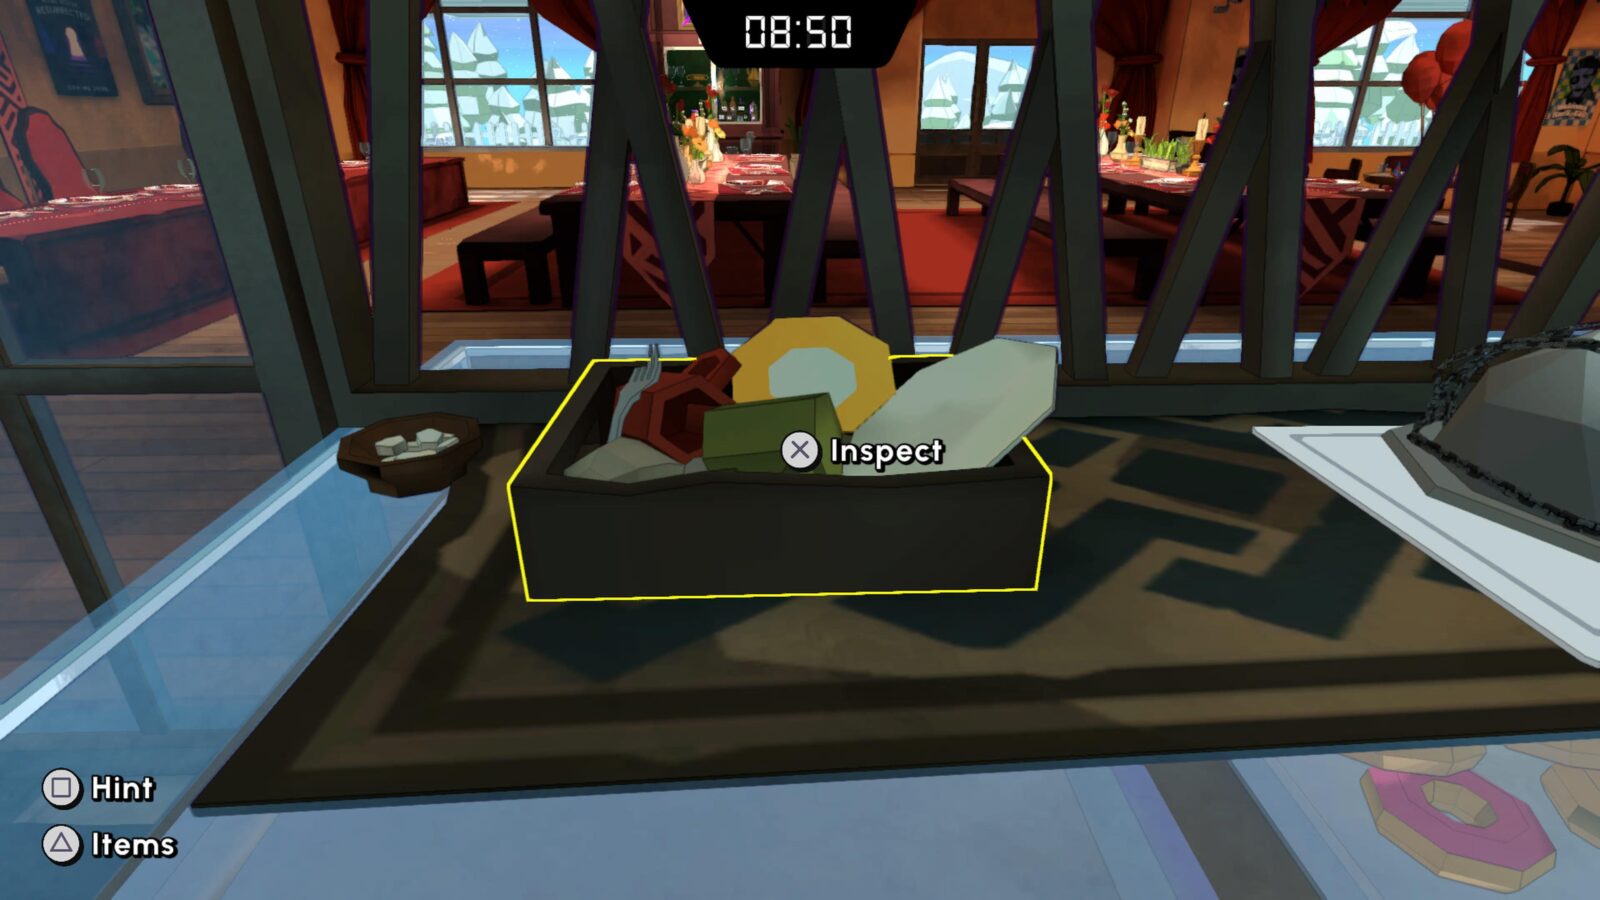
Lastly, go to the pile of dirty dishes next to the cloche, in a tray, you’ll find a third fork.
Use all three forks on the cloche and you’ll unlock it. Grab the Milkshake from inside and you’ll be poisoned. If playing in co-op, only one of you will be poisoned.
Next, go over to the freezer door and interact with the lock with the following code:
■ ○ ◡ ■
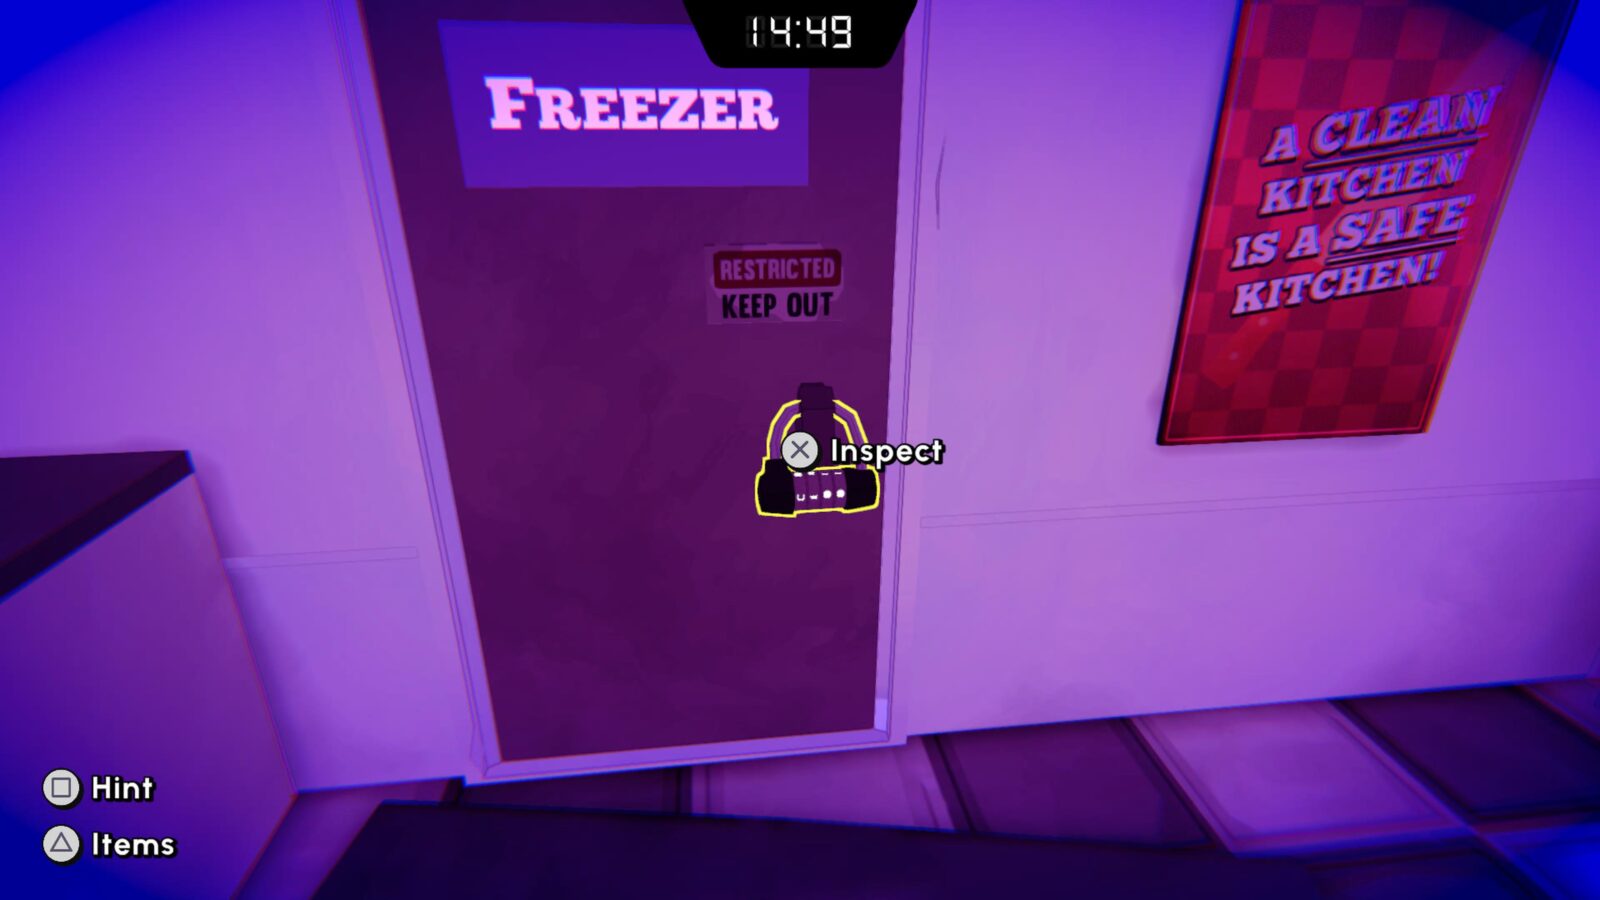
Now, take the key from the ice cube tray on the bottom shelf in the far left corner, and then defrost it by placing it in the pan of boiling sauce on the kitchen’s hob.
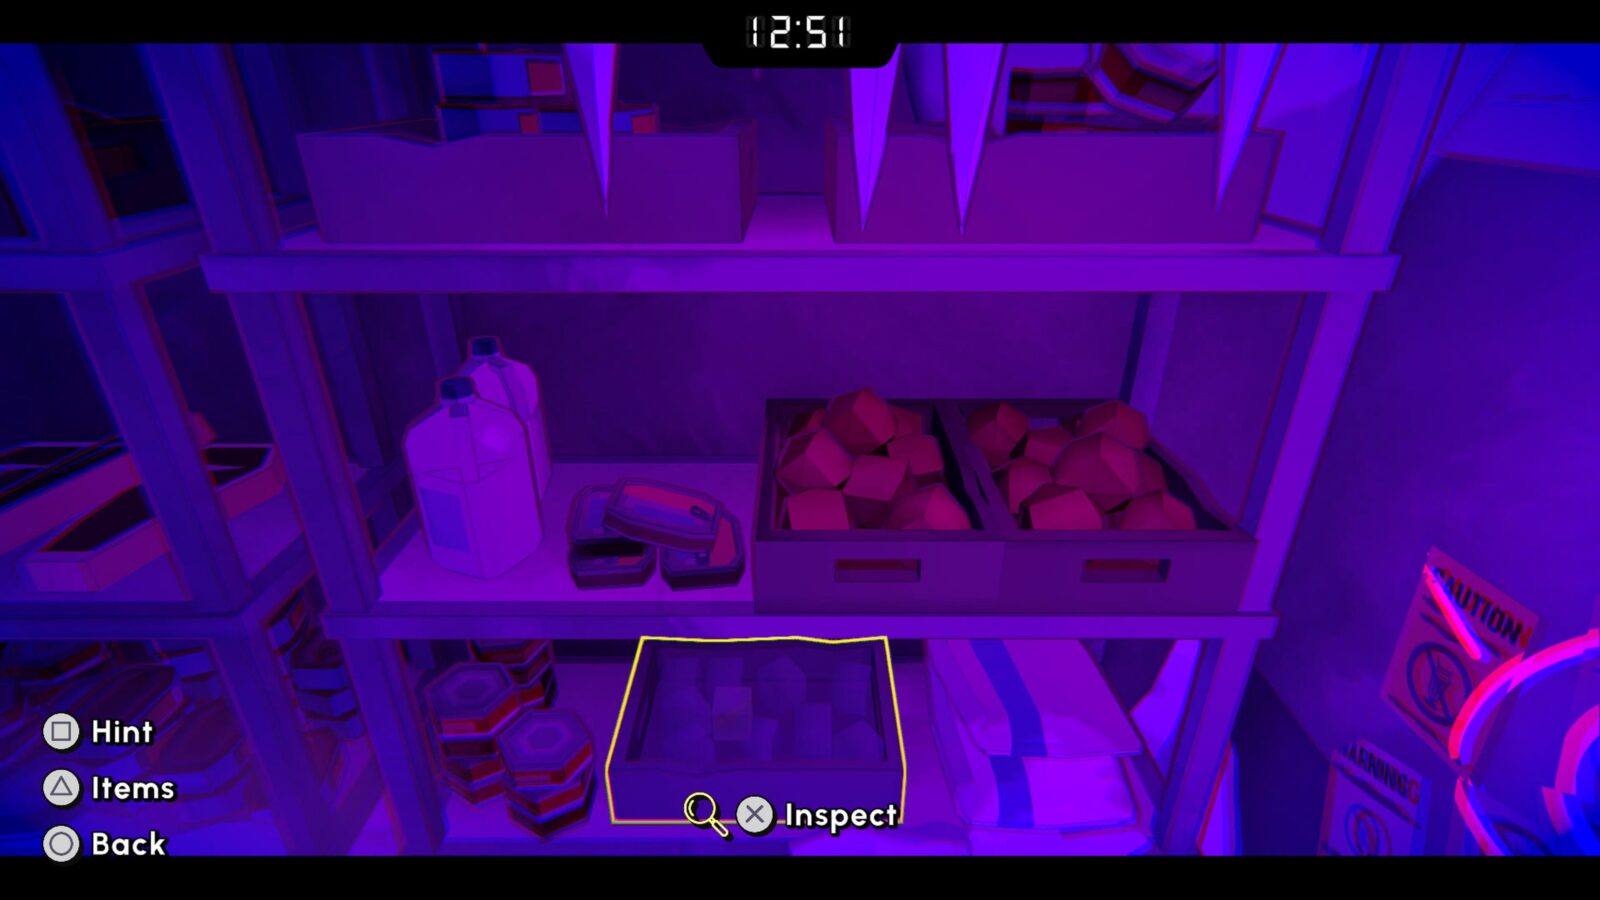
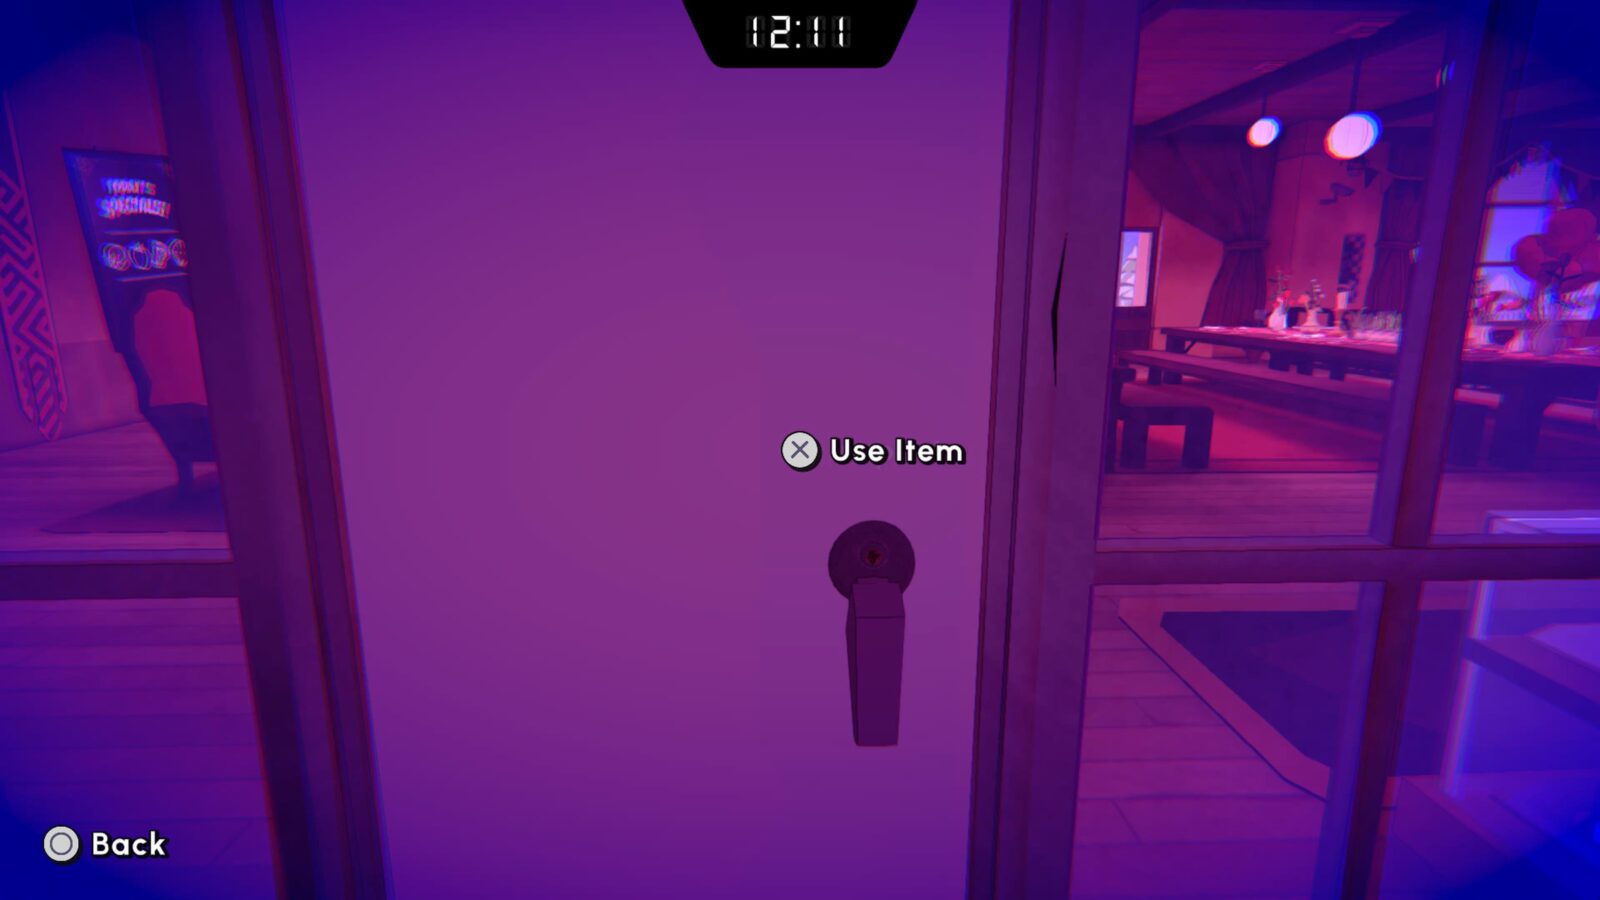
Once you’ve received the defrosted key, use it on the kitchen door to enter the Dining Room.
On the wall to your left, there’s a poster with an eye-shaped symbol on it. Interact with it and enter the following code into the device behind it:
- Up
- Right
- Up
- Down
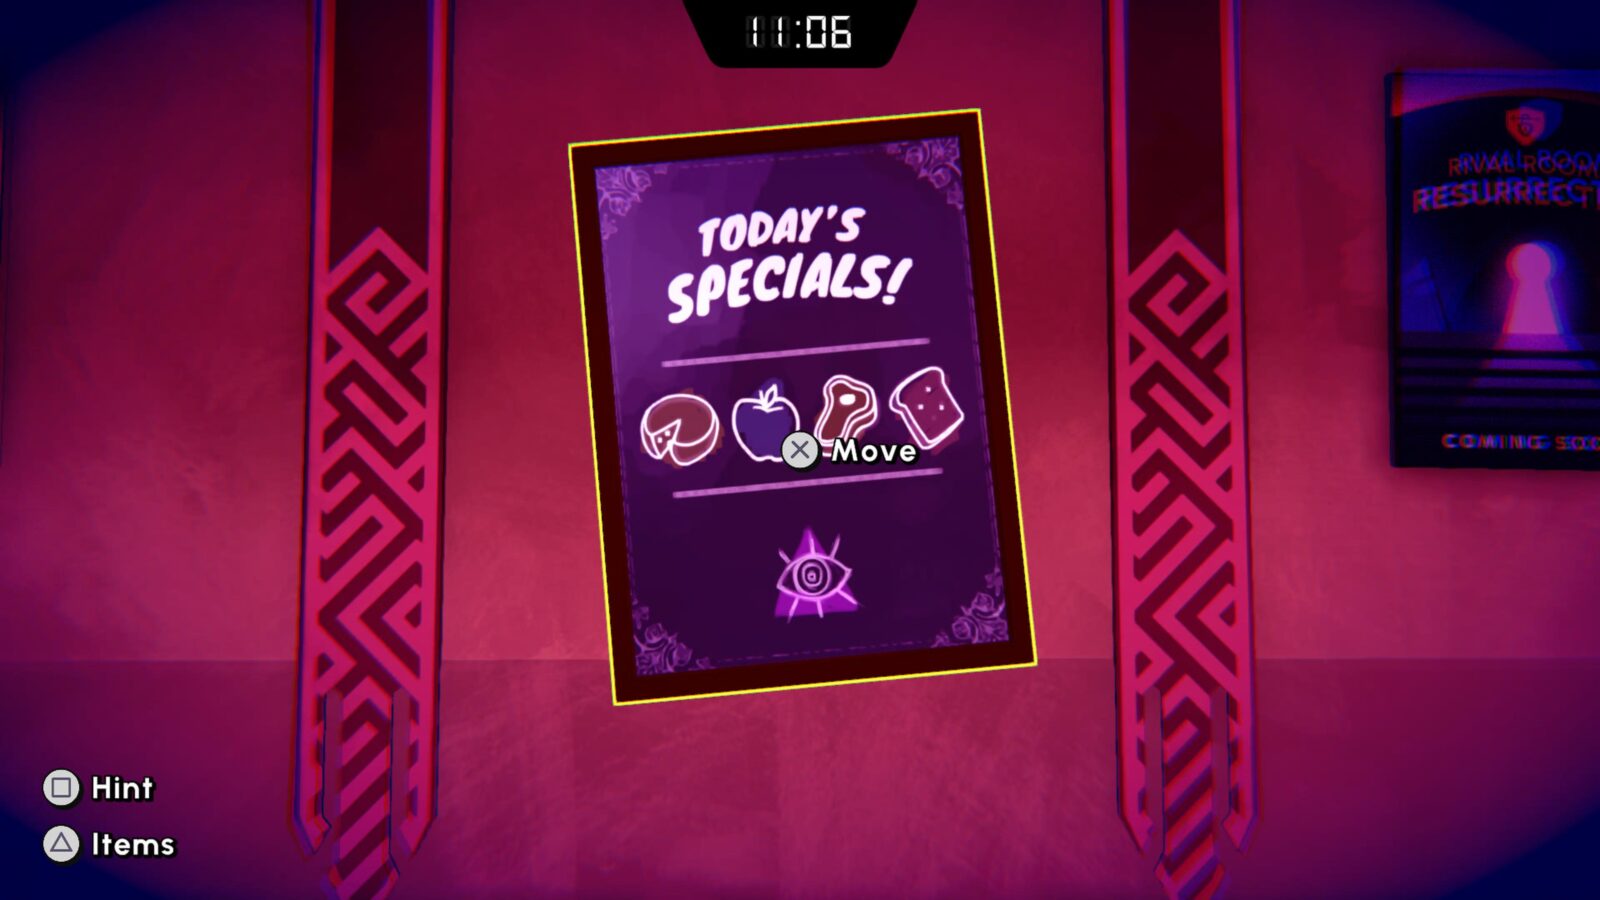
This should open the dumbwaiter (a tiny elevator). Climb into it and then pull the lever to be taken to the floor below.
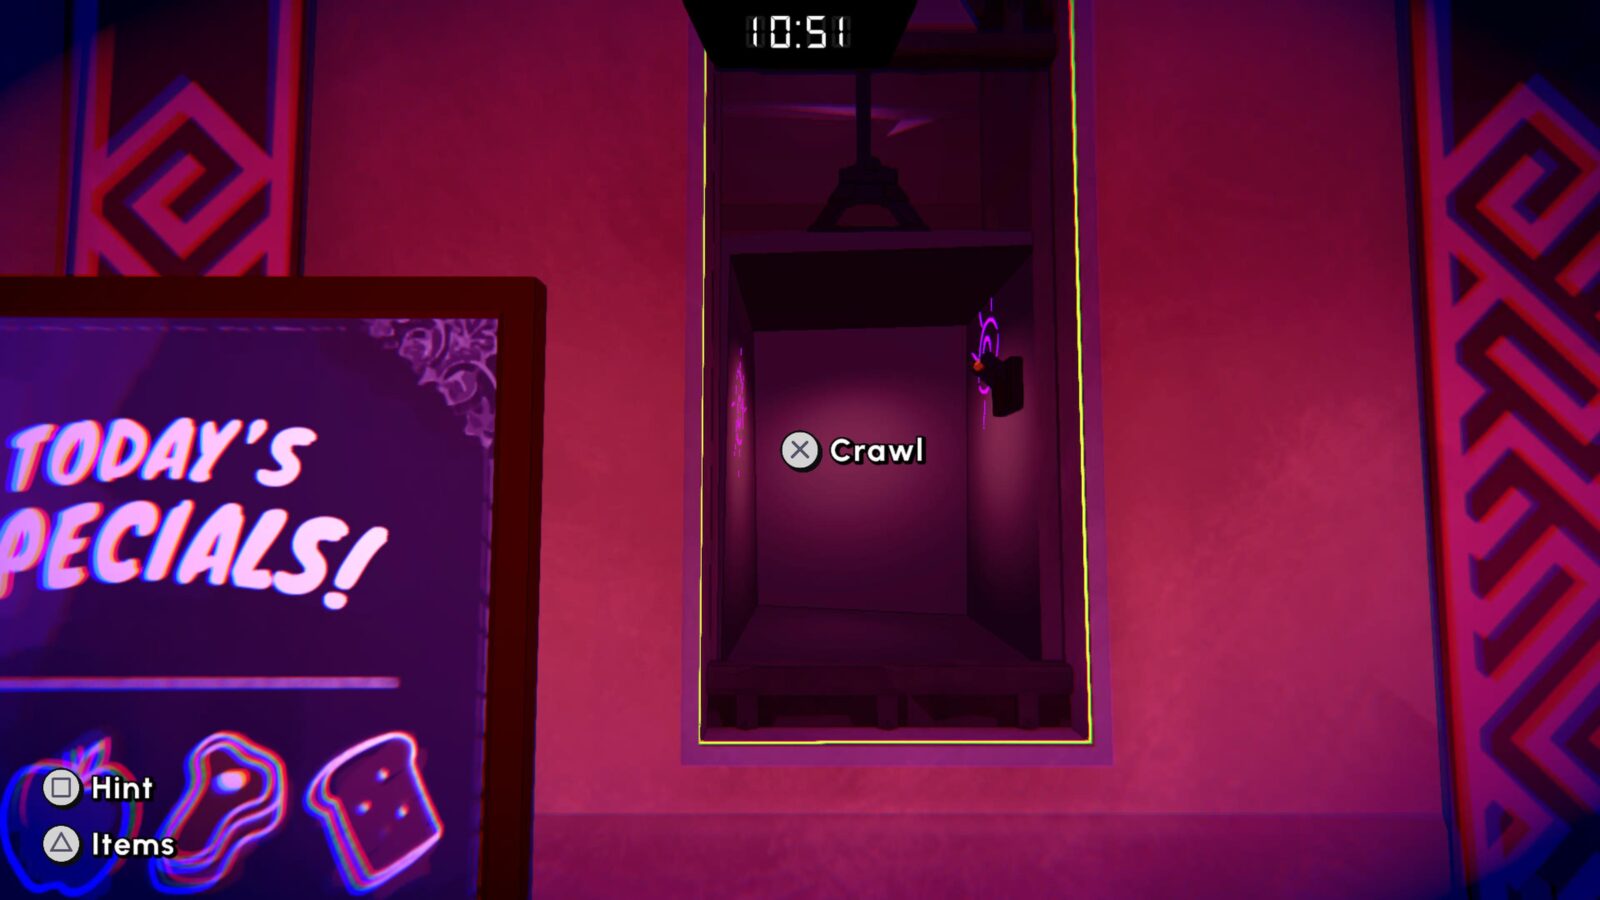
In this new area, grab the staff key and then ride the dumbwaiter back up.
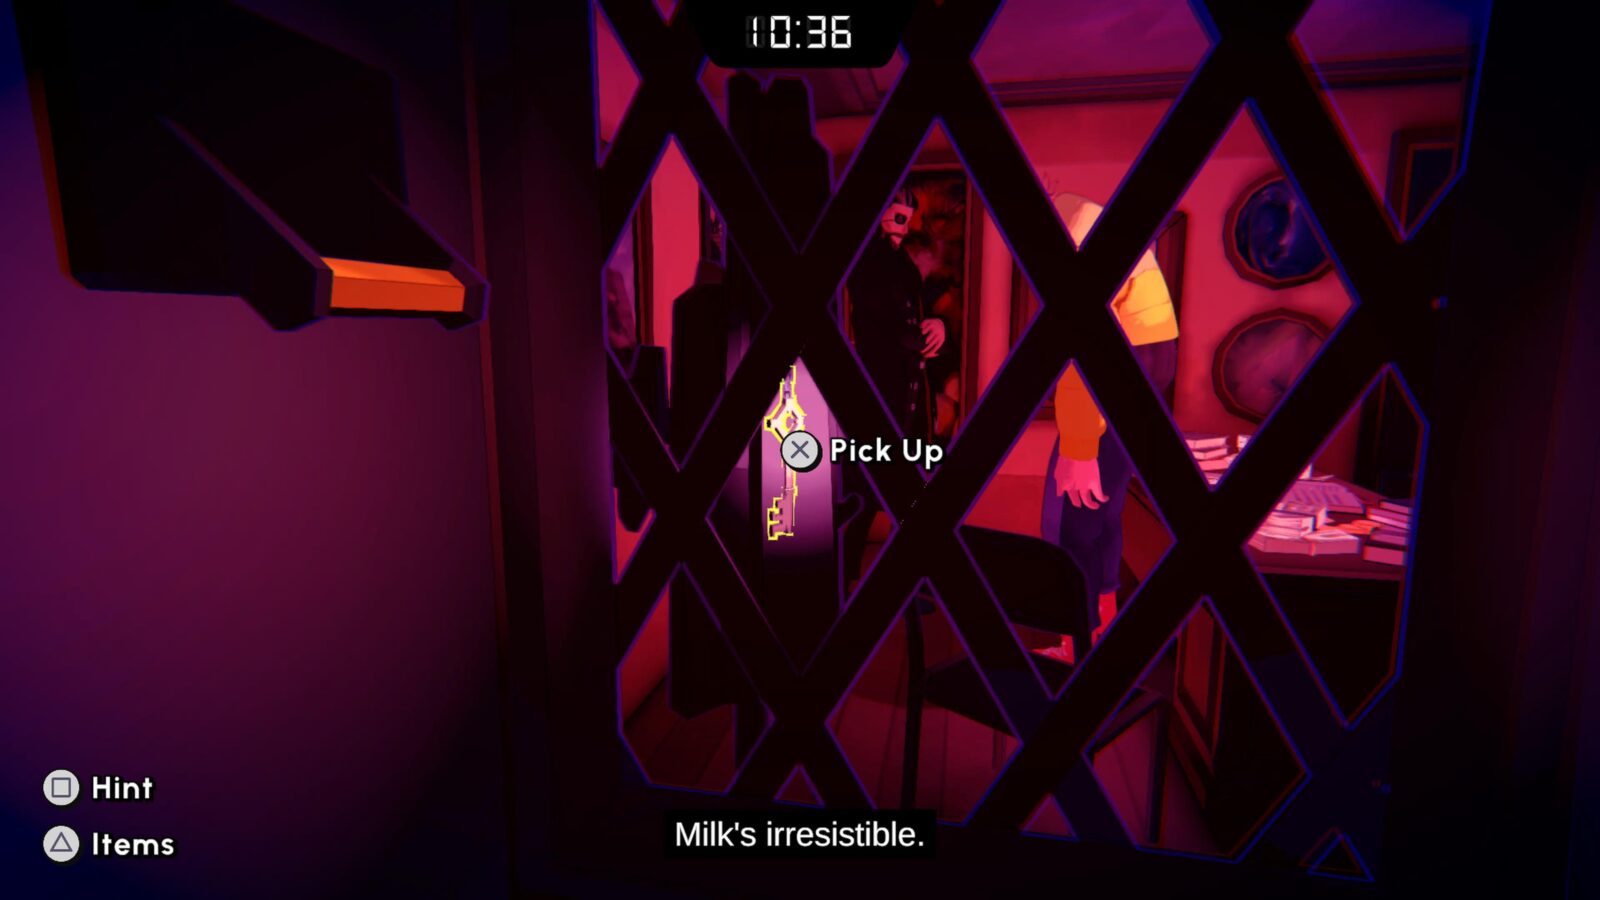
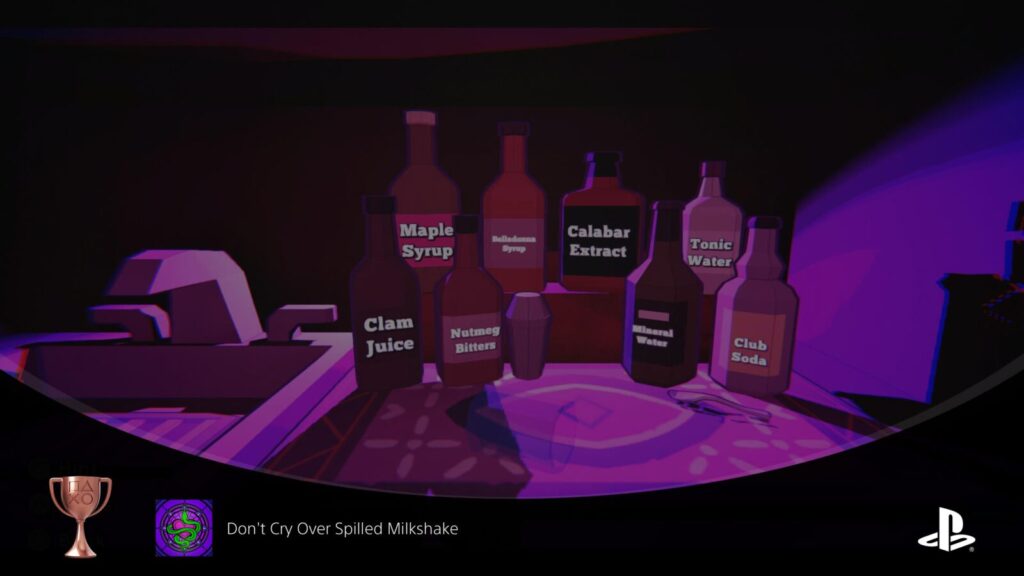
Use the staff key on the cupboard to open it and access the ingredients.
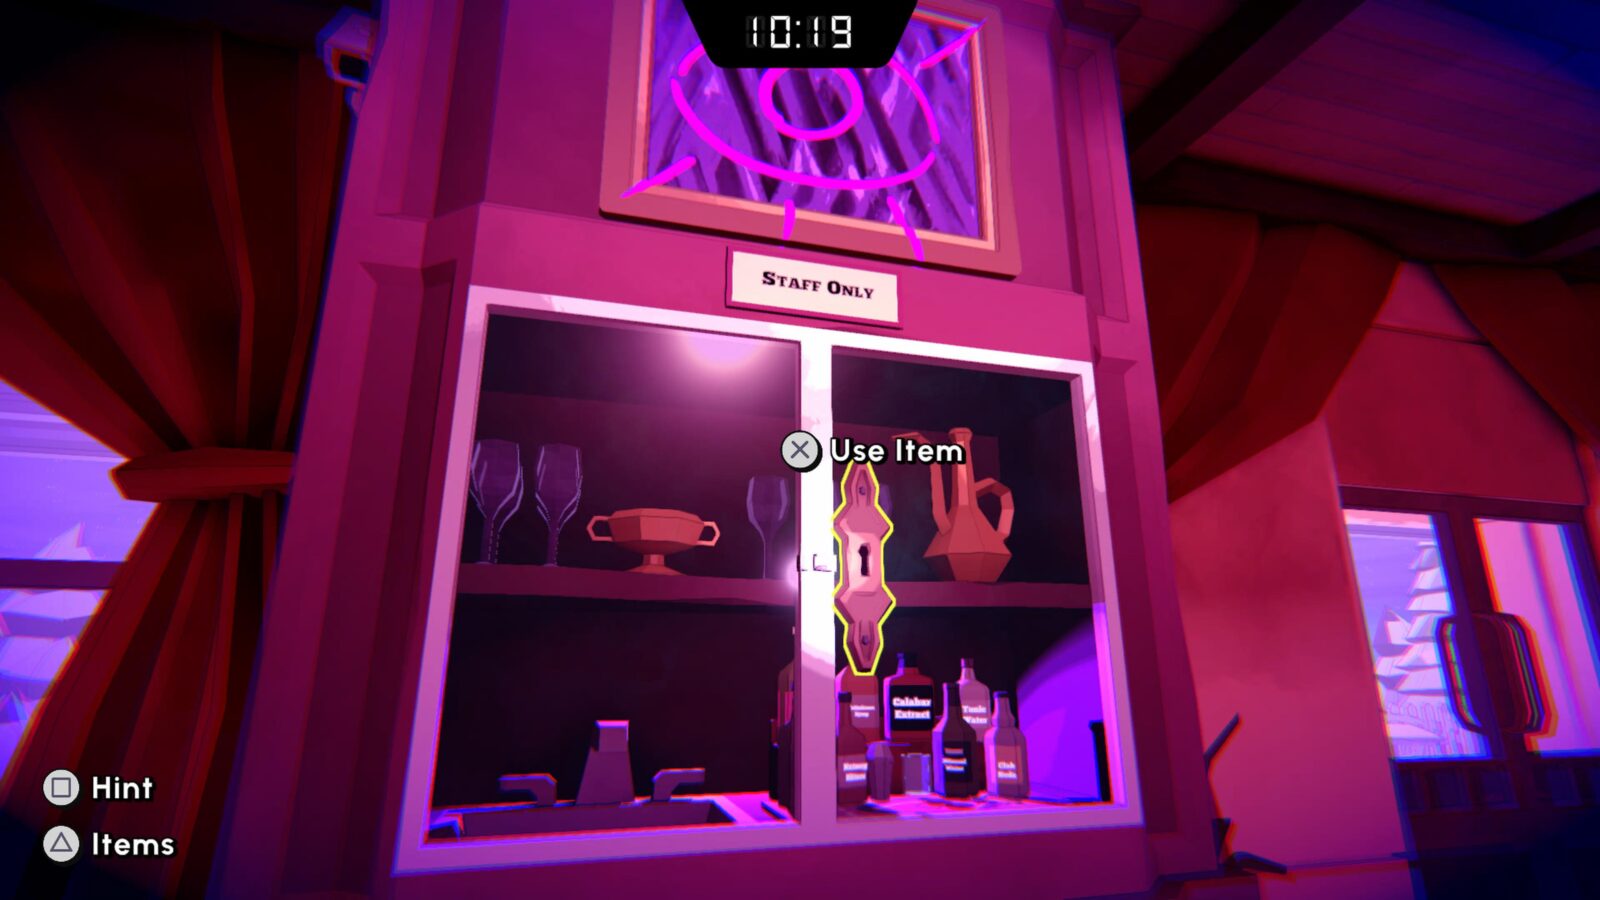
You need to craft an antidote by interacting with the necessary ingredients the correct number of times. The recipe is as follows:
- Belladonna x1
- Calabar Extract x3
- Mineral Water x1
- Shake x1

Drink the antidote to escape the room. Note that if playing in co-op, whoever grabbed the shake will be poisoned, and that same person will need to drink the antidote.

If you escaped the room using our instructions above and 0 in-game hints, you’ll get an A+ rating!

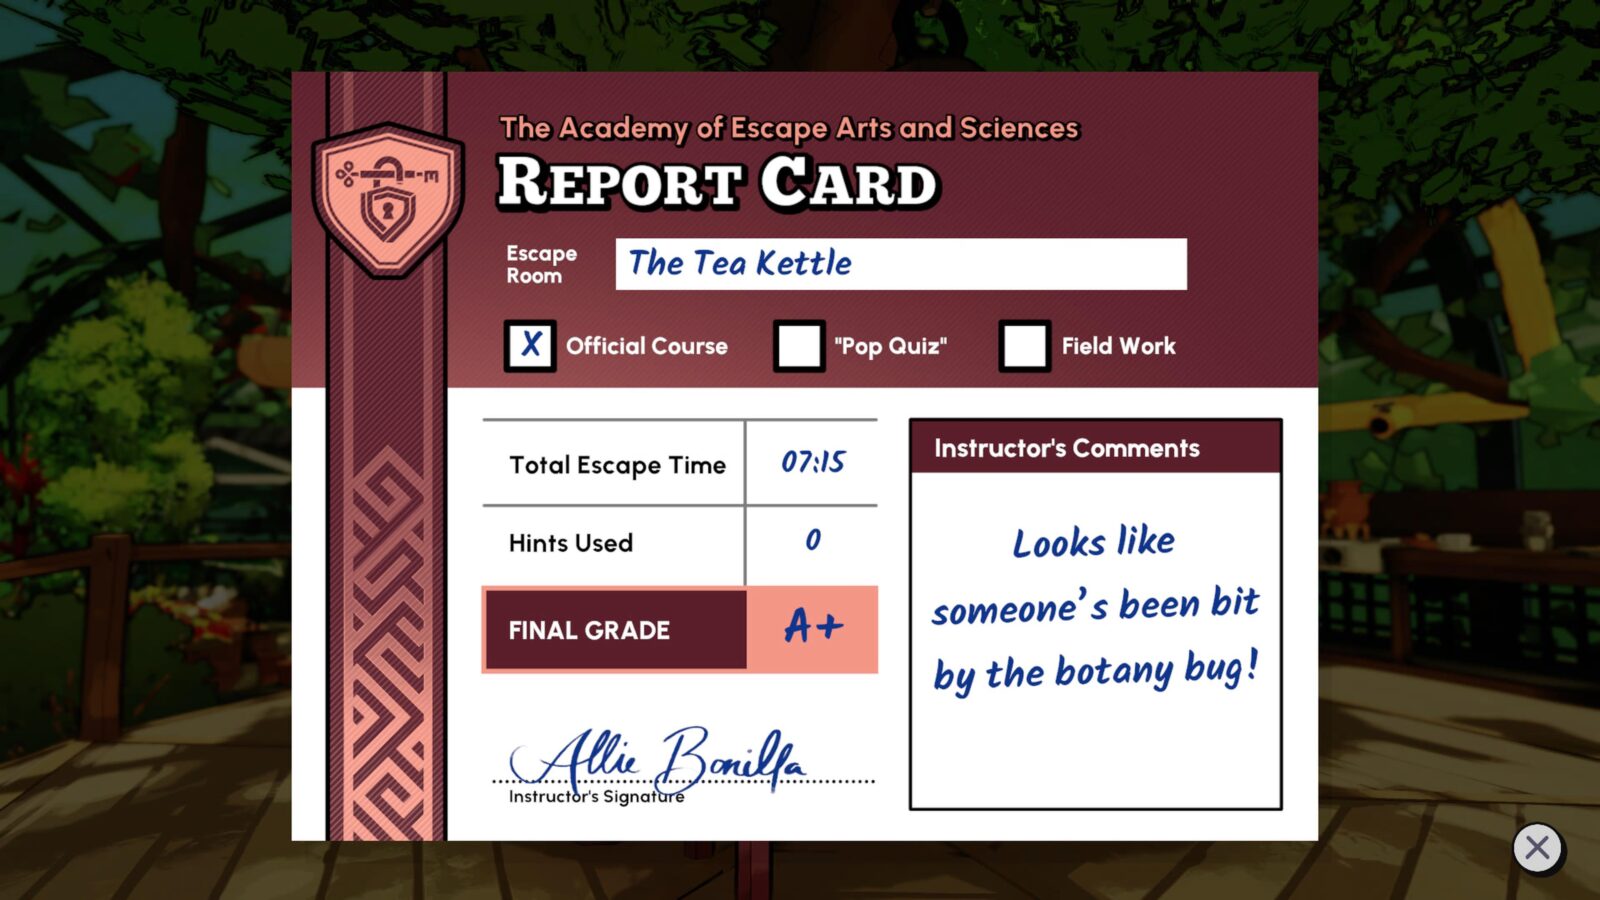
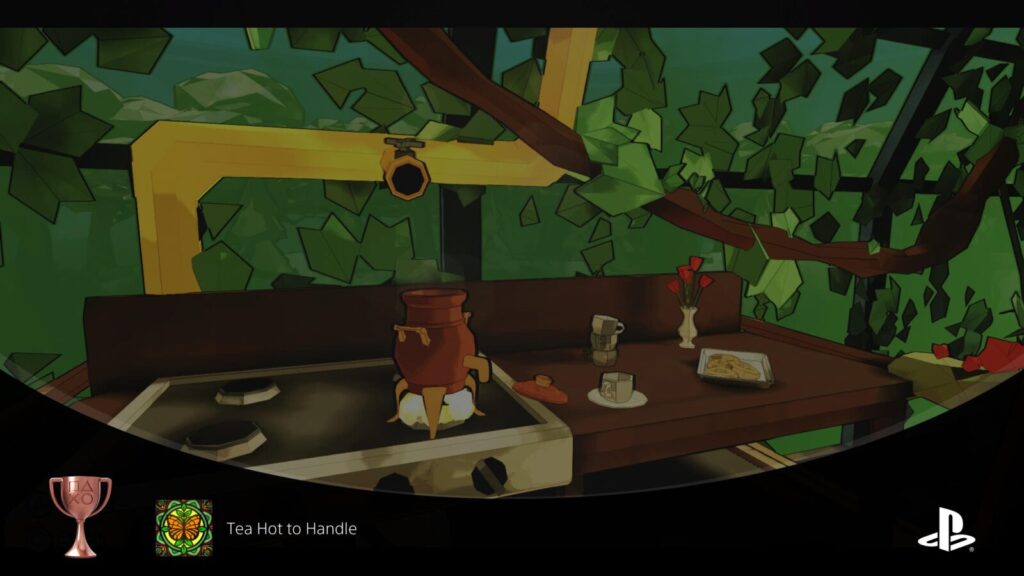
Tea Hot to Handle
Escape "The Tea Kettle."
Adhering to the game’s recurring Tea theme, “The Tea Kettle” is the seventh escape room in the game.
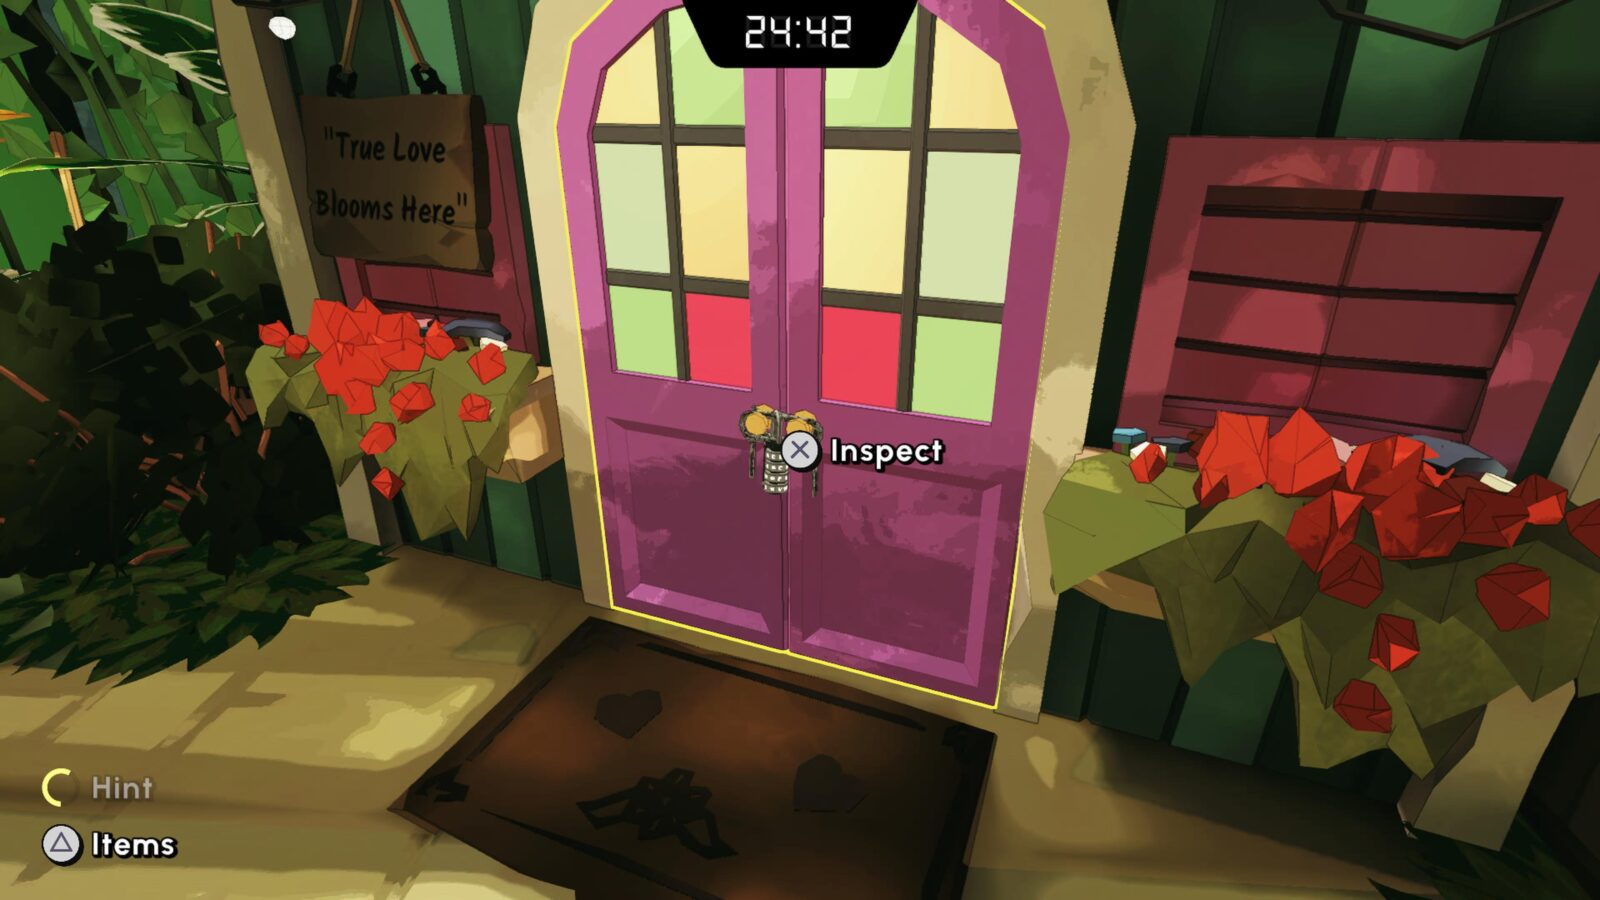
To begin with, access the lock on the pink door and enter the code “ABKZ” to unlock it.
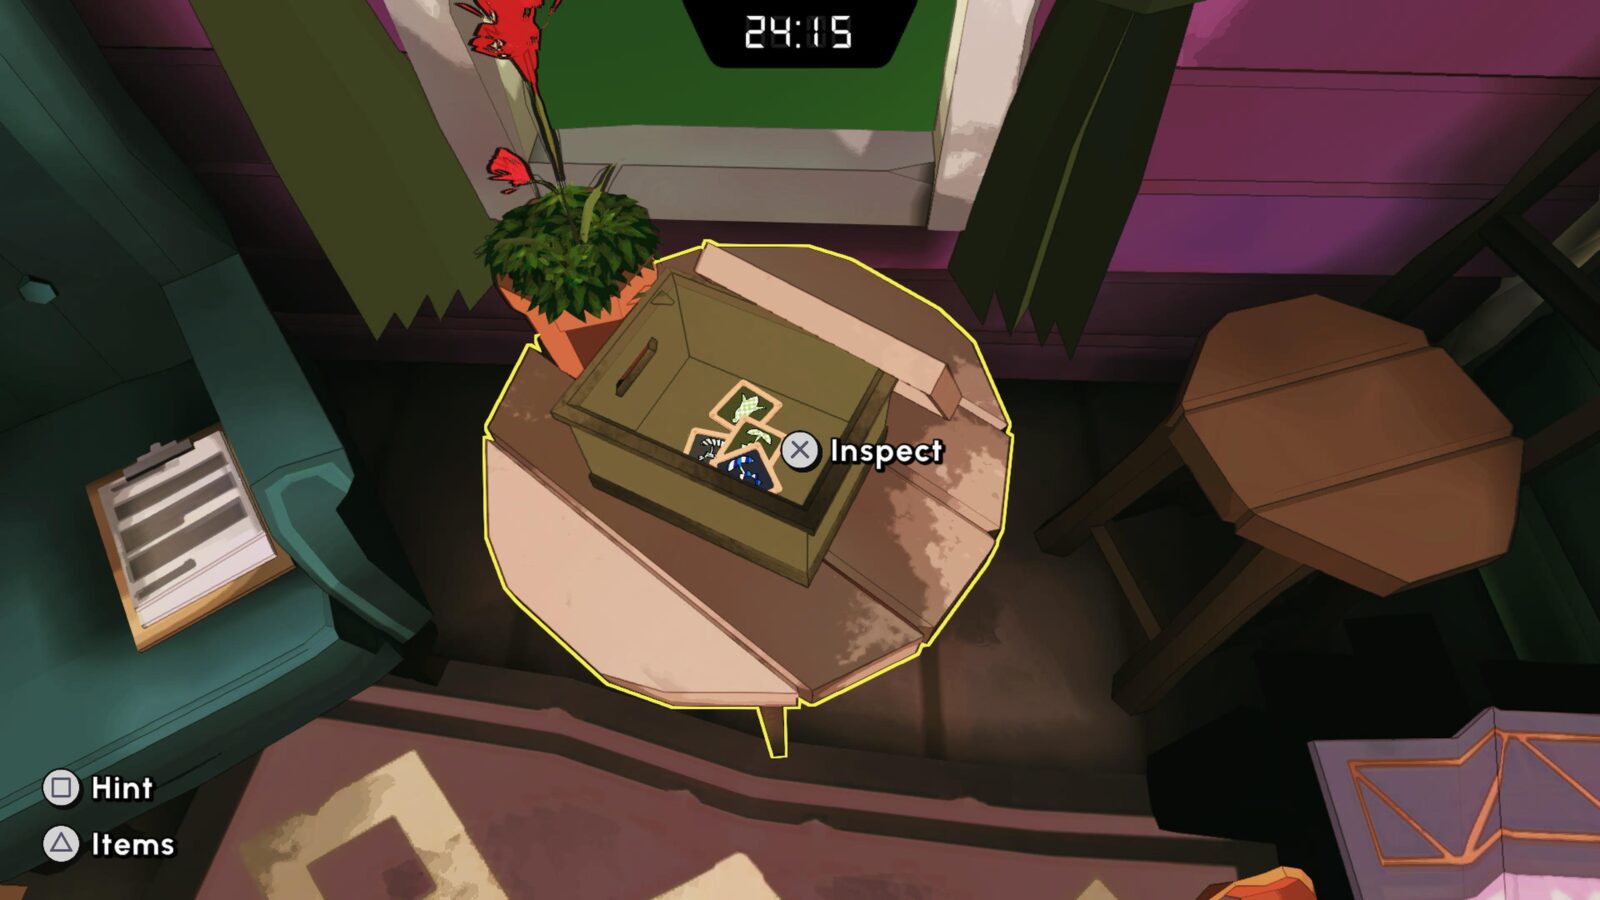
Inside, grab all four “Strange Tile” items from the cardboard box on the table.
Next, interact with the wall-mounted tool organiser and rearrange the tools inside into the following order (from Left to Right):
- Small wrench
- Paintbrush
- Paintbrush
- Large wrench
- Large wrench
- Paintbrush
- Paintbrush
- Small wrench
This will allow you to collect the nearby Chainsaw, dubbed “The Beast.”
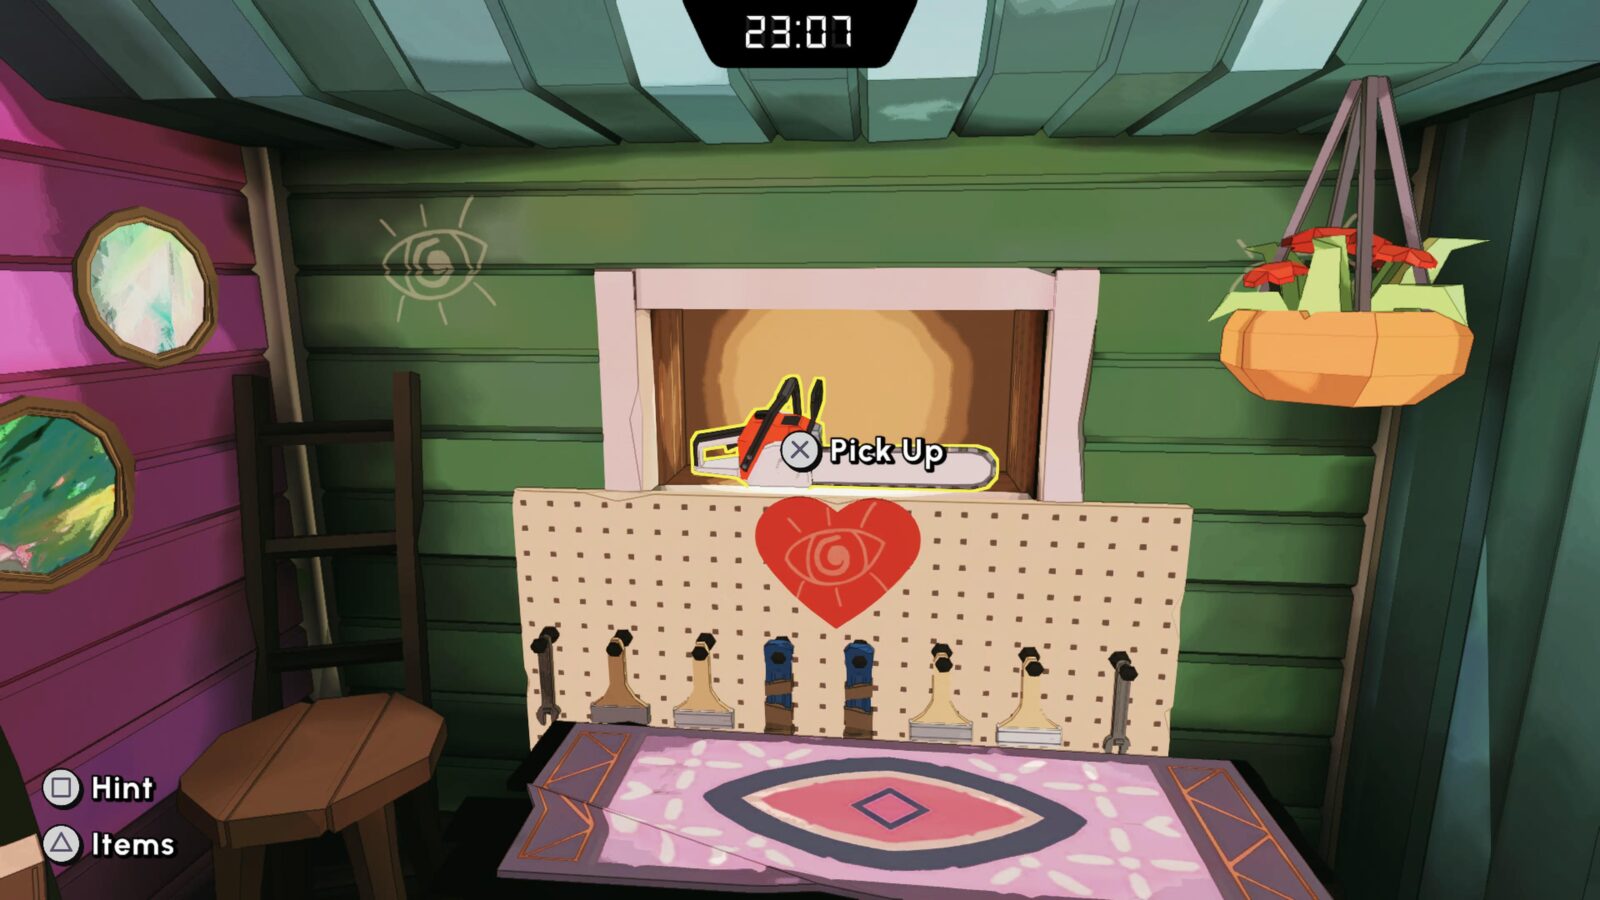
Next, go to the cabinet picture below:
There, using the four Strange Tiles we grabbed, recreate the pattern displayed:
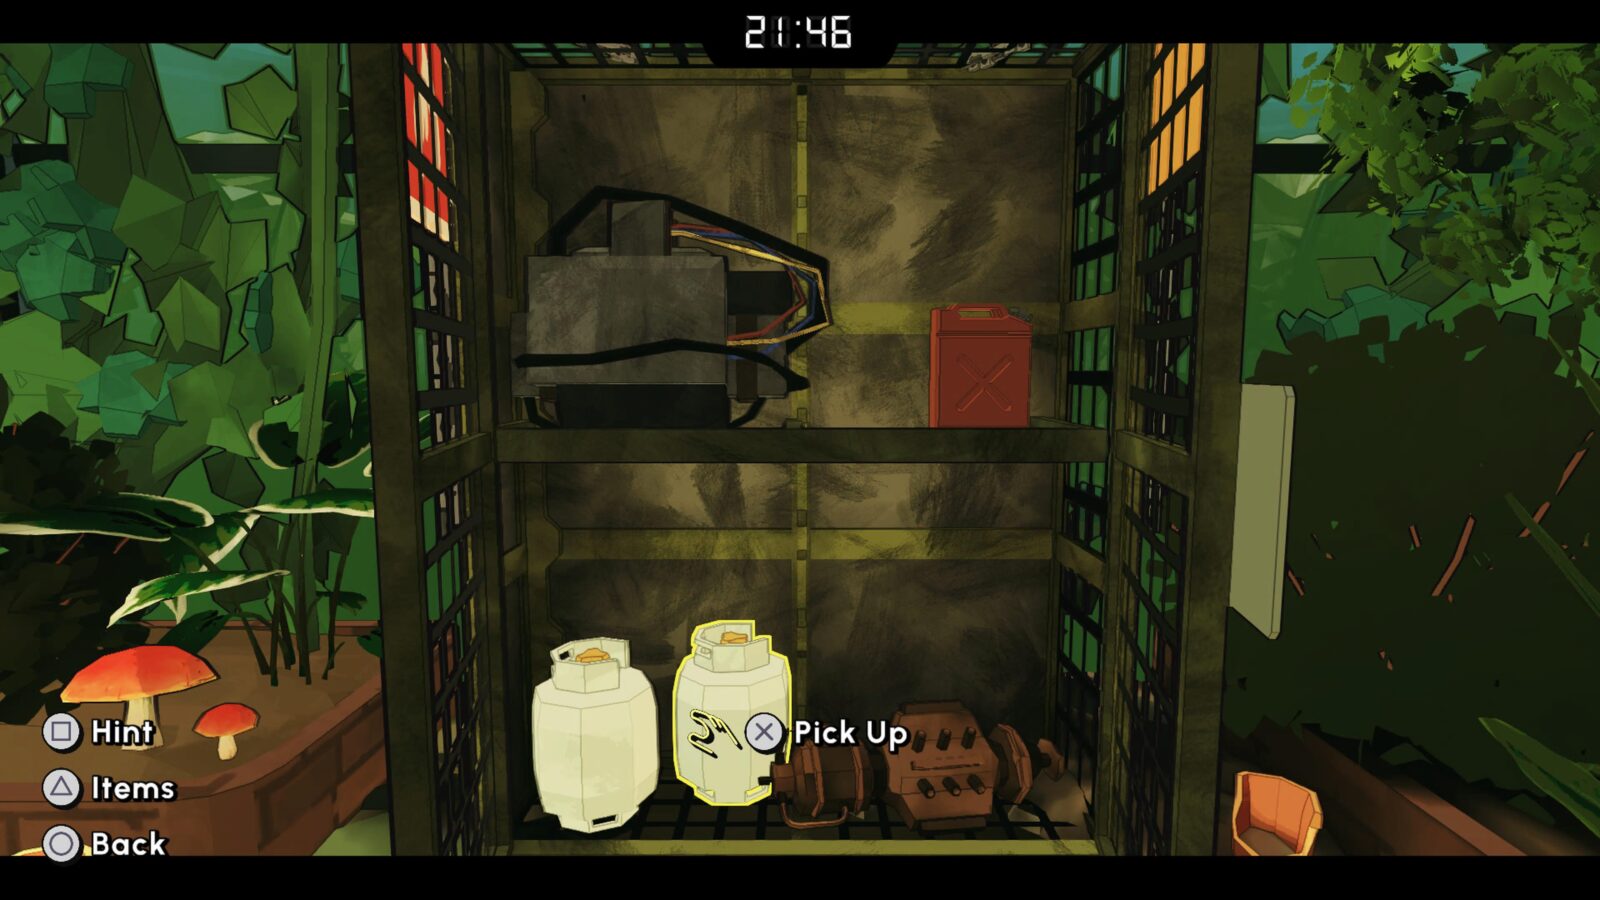
You will then be able to access a Propane Tank and a Gas Tank. Interact with the Gas Tank to refuel the Beast once you’ve used it later, and then collect the Propane Tank for later.
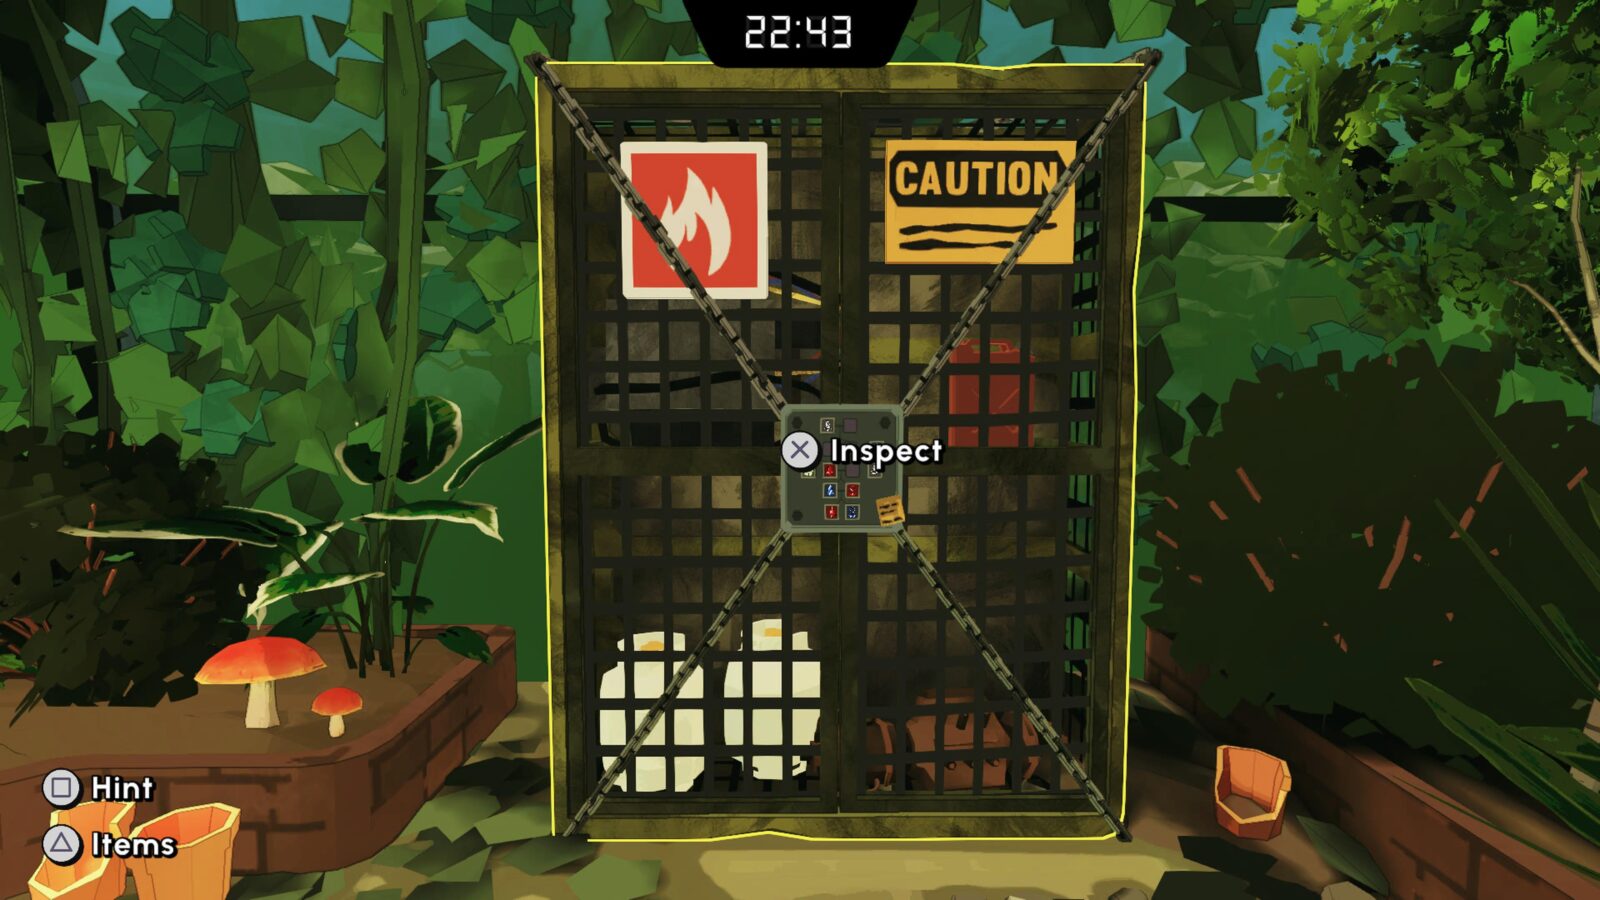
Use the Chainsaw to cut away the vines preventing you from accessing the far ends of the greenhouse, refueling in-between.
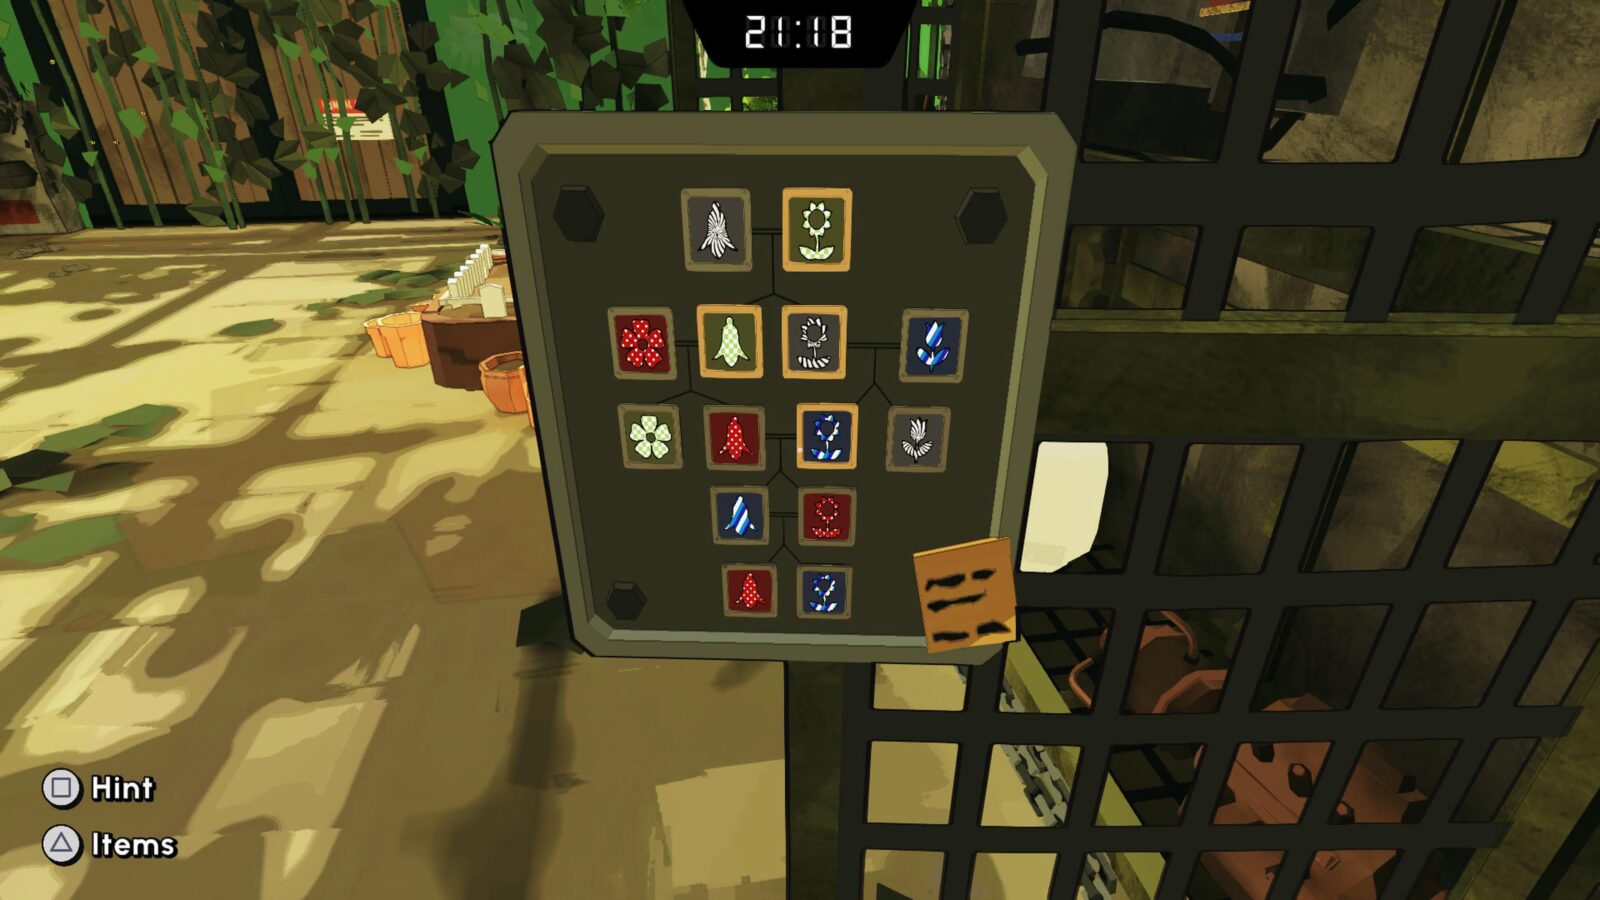
In one of these new areas, enter the following combination on the butterfly-themed cabinet:
- Pink
- Green
- Blue
- Pink
- Yellow
- Yellow
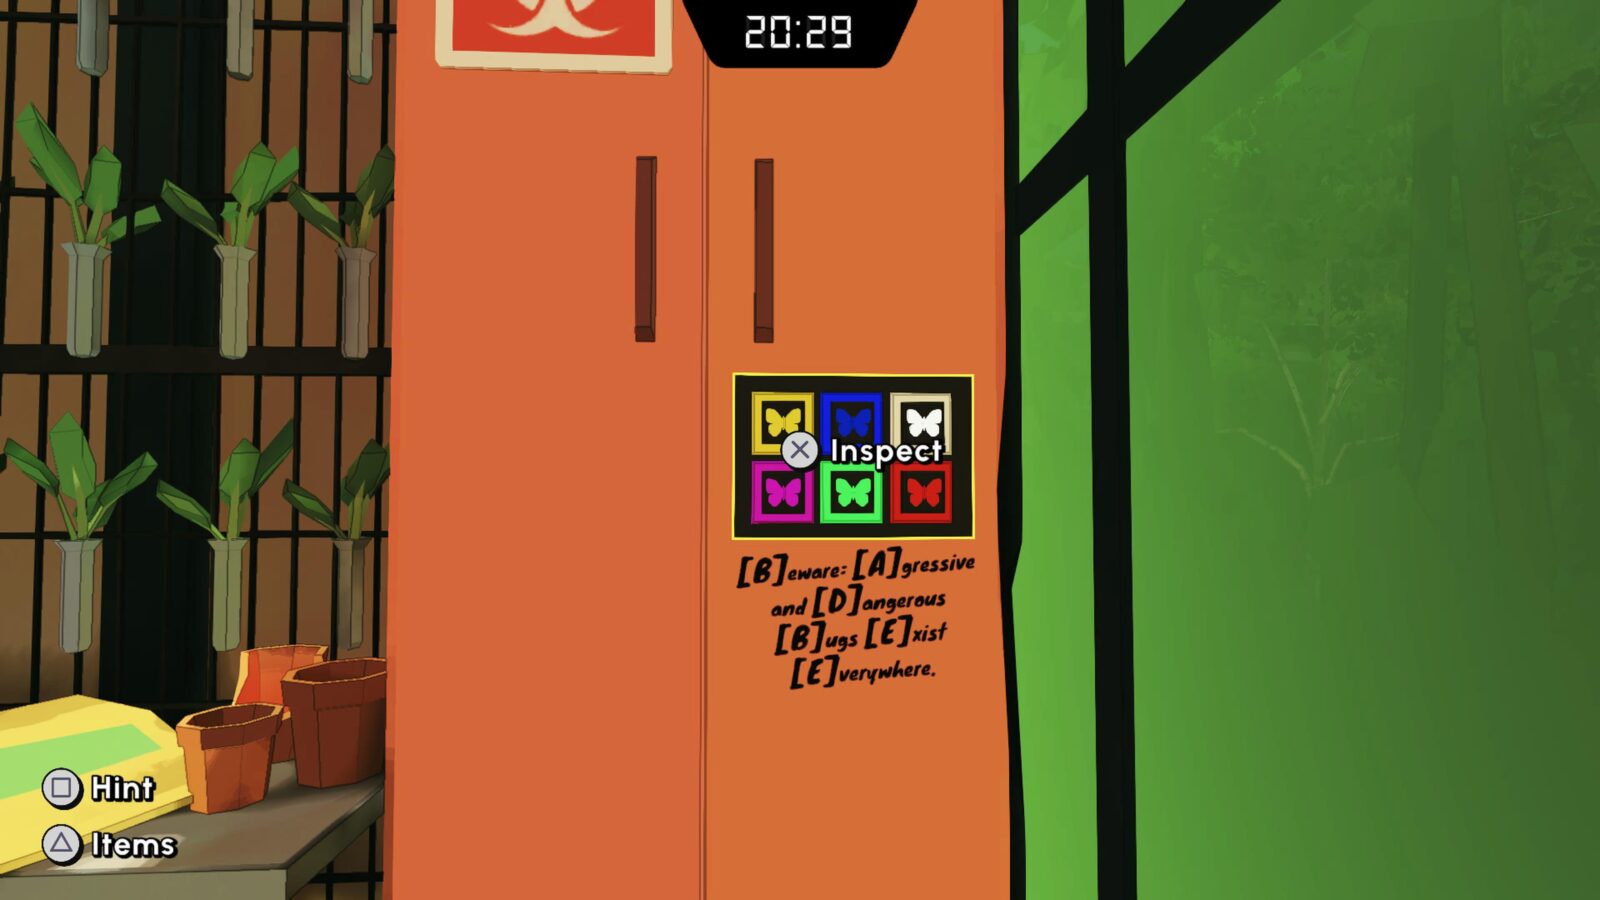
Grab the “Bee-B-Gone” from the cabinet.
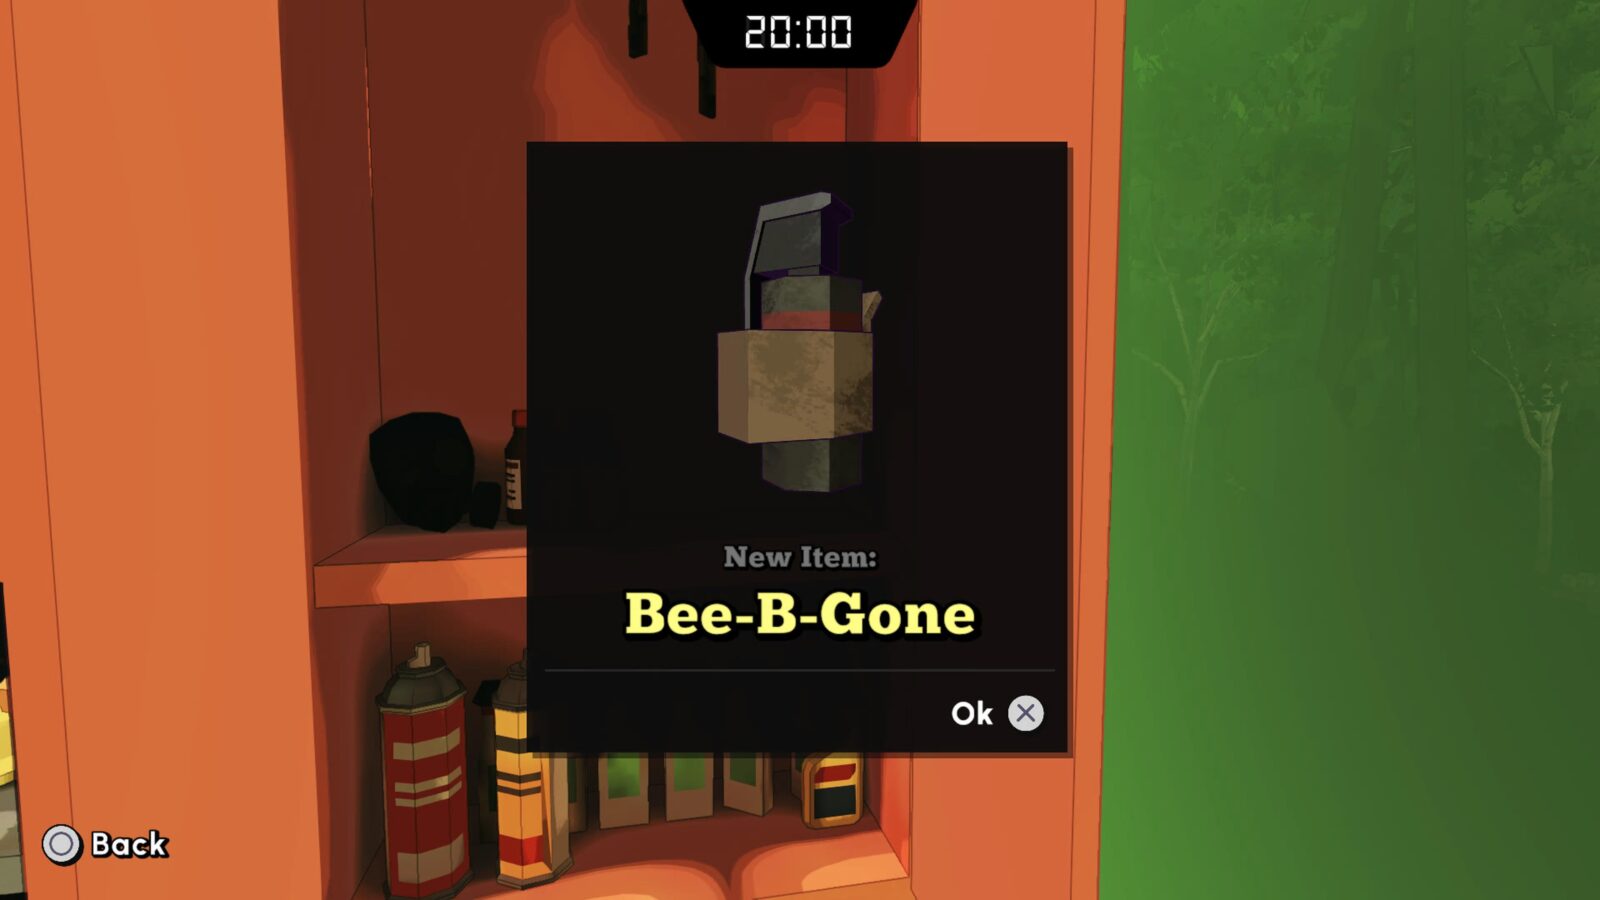
Use the Bee-B-Gone on the bees, to make them be B-Gone.
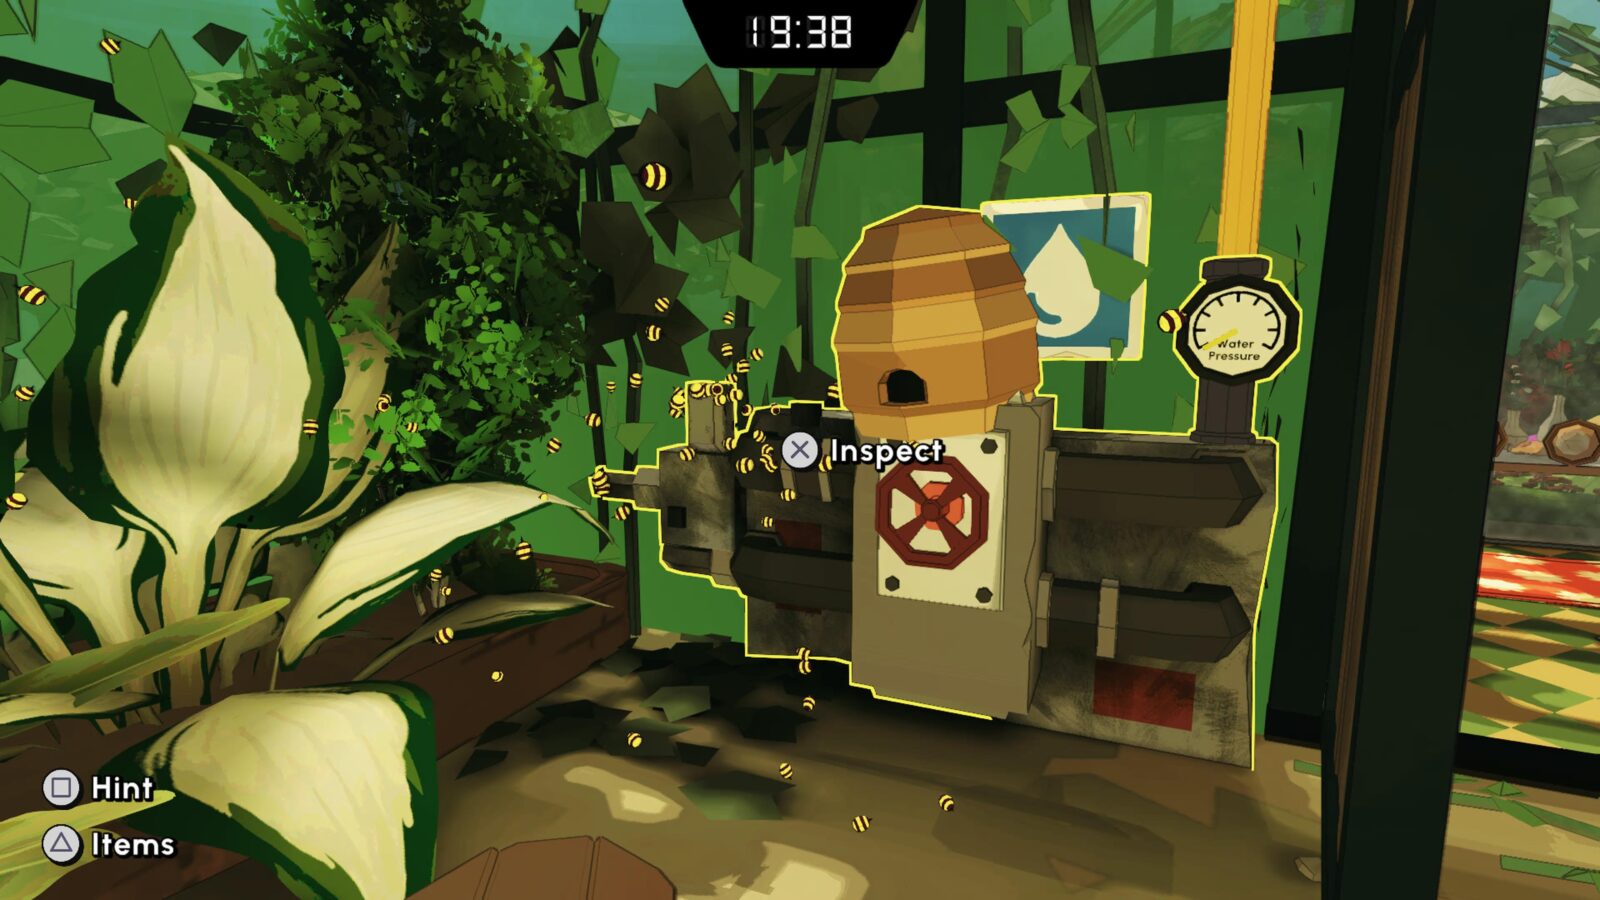
You will then be able to access a water valve. Activate it.
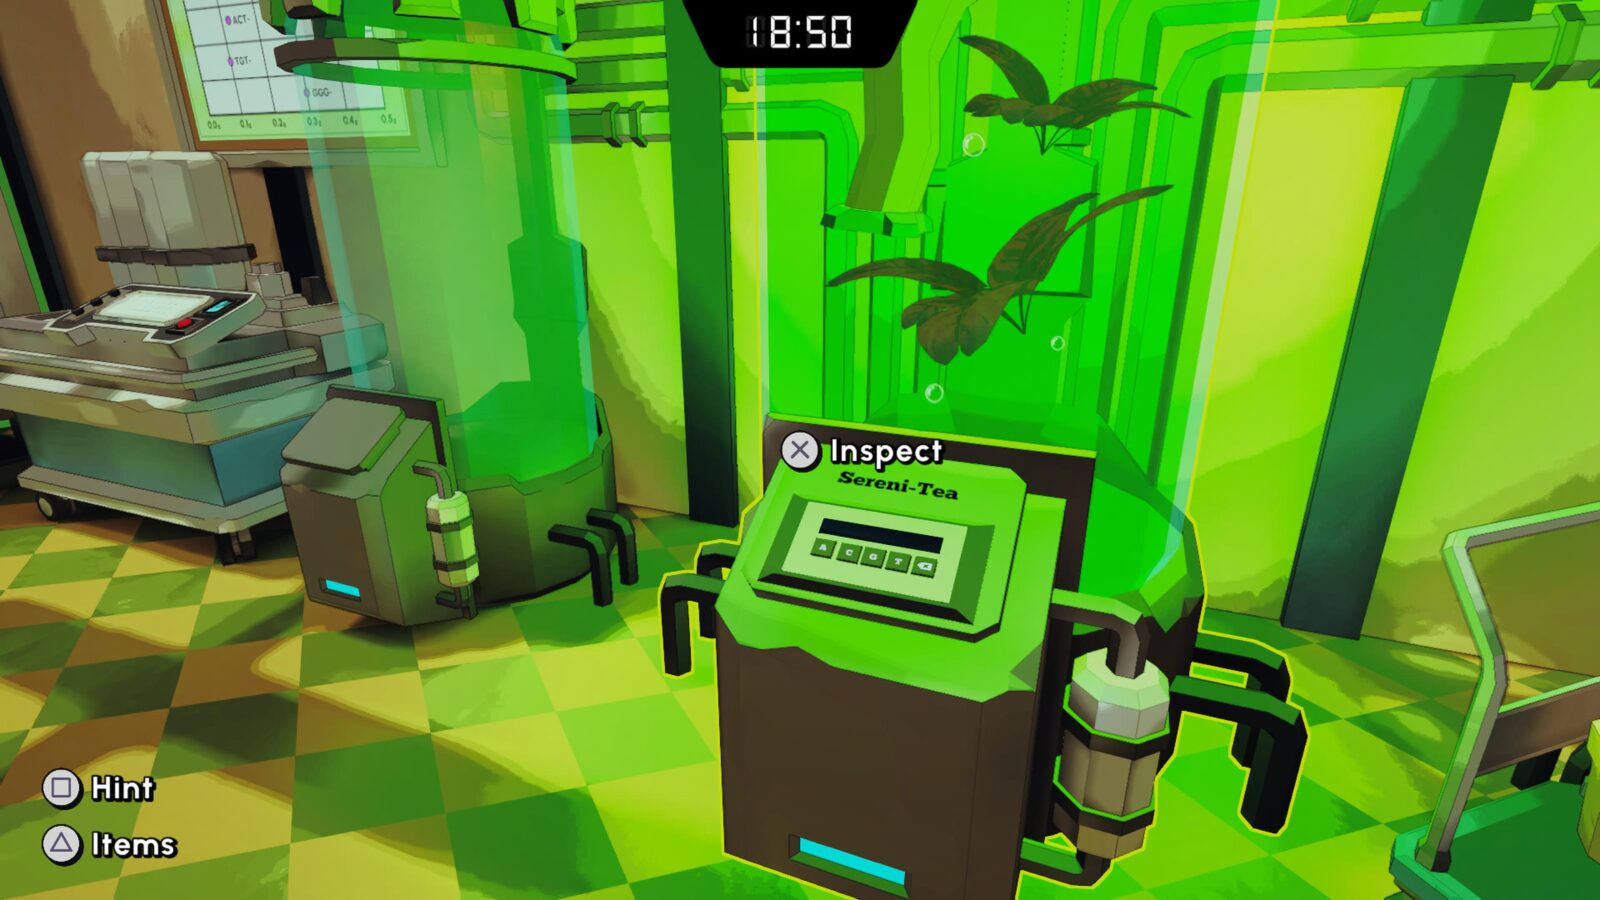
Now return through the greenhouse into the area at the end with the pink house.
Interact with the Sereni-Tea machine. Enter the code “GTT-TAG” to receive some Tea Leaves from it.
Return to the Greenhouse and interact with the pipe in the middle to fill the kettle.
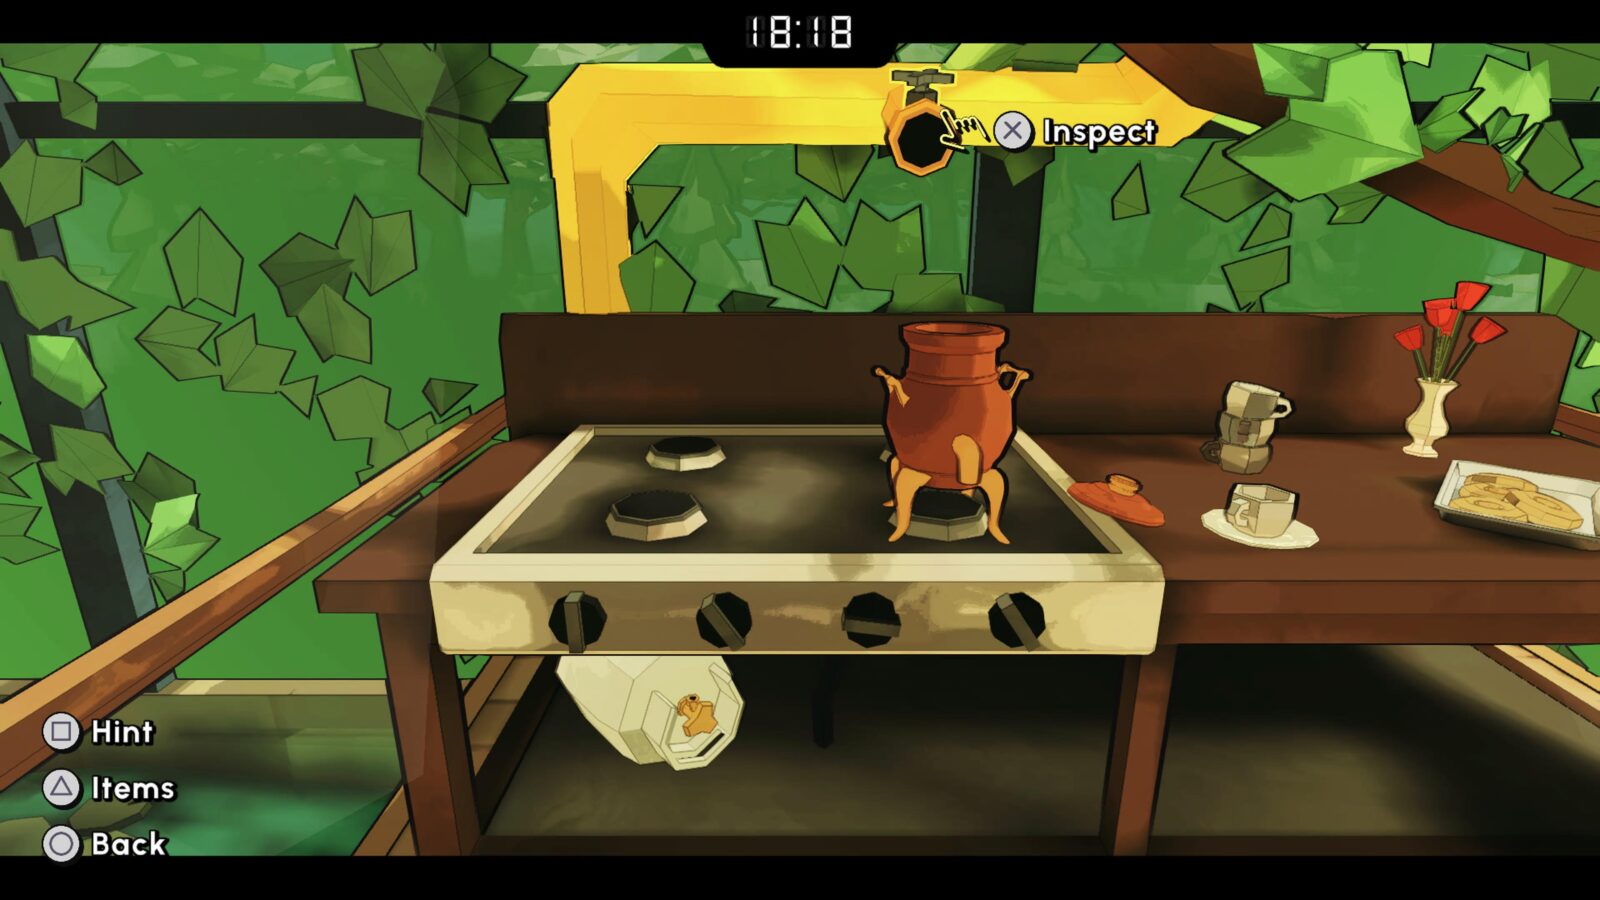
Add leaves to the Kettle, and the Gas Tank to the Stove, turning it on, and completing the escape level.
By following these instructions and avoiding using hints, you’ll also receive a rating of A+ for your efforts.

Machine Learning
Escape "Lab Rat."
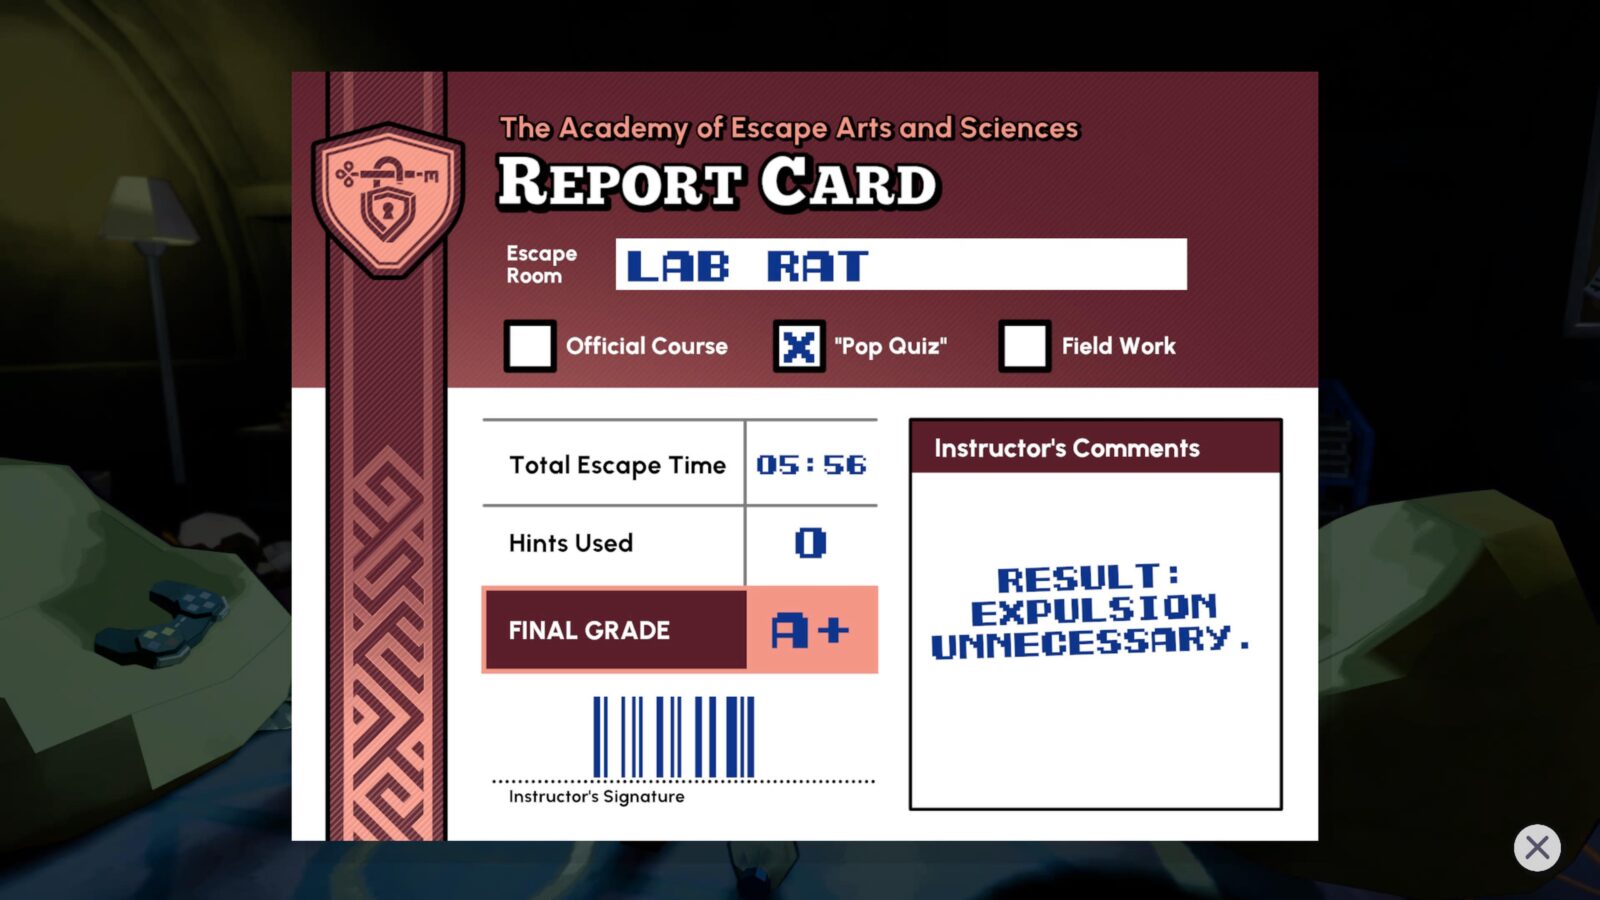
You’ll receive the Machine Learning trophy for completing the eighth Escape Level; “Lab Rat.”
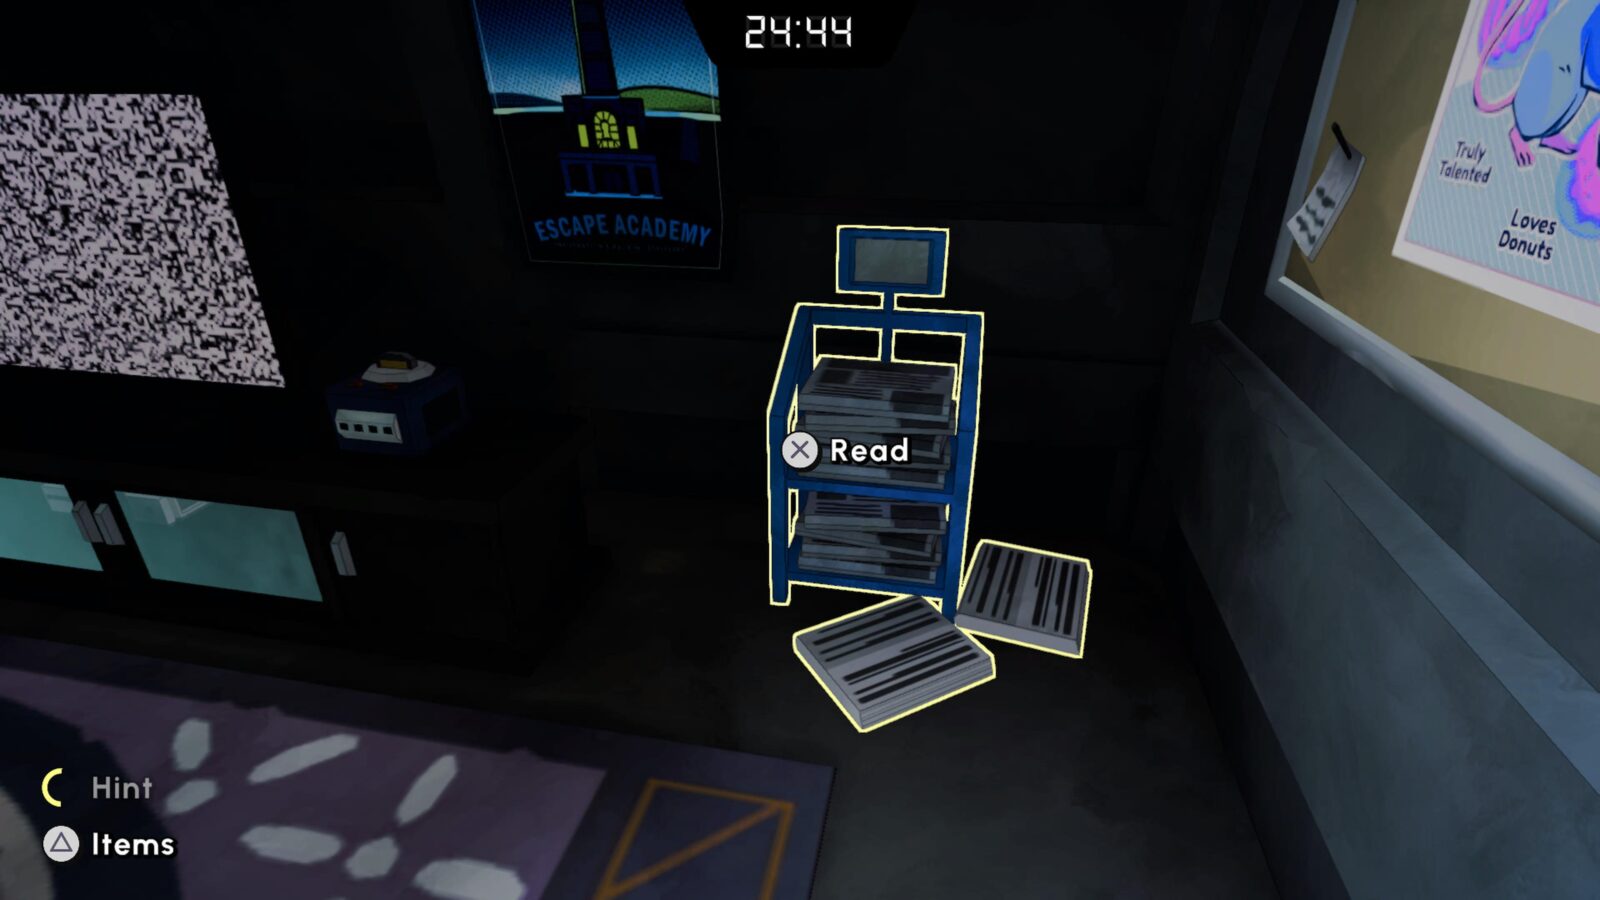
To begin, collect the spare change from the table in front of the Television.
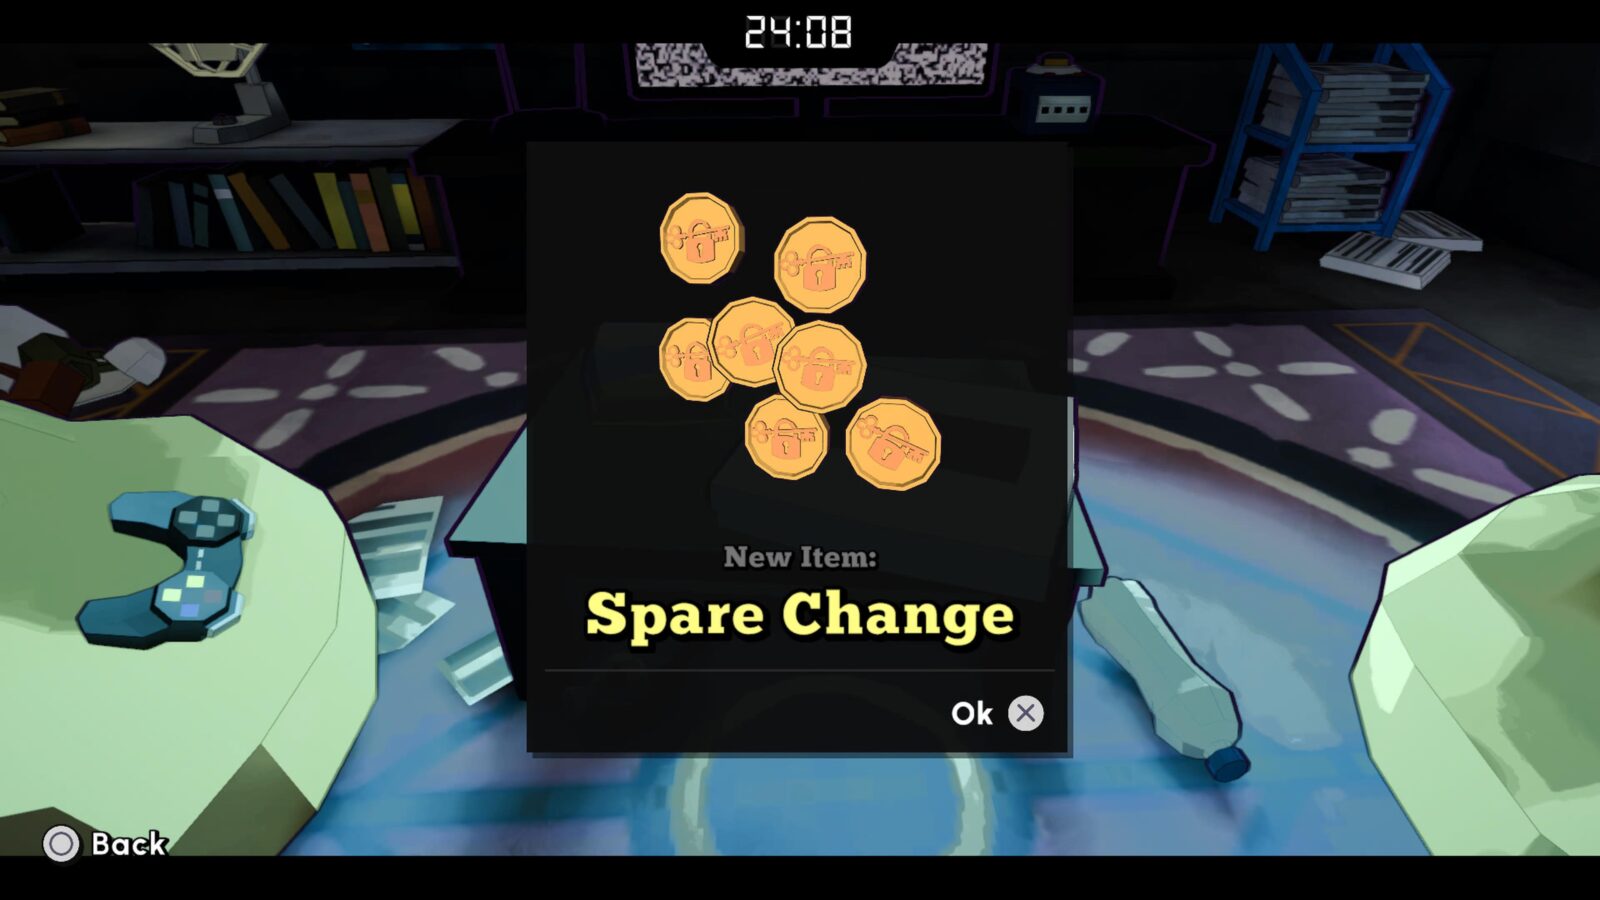
Go over to the Vending Machine and use the spare change to order a Donut (C4).
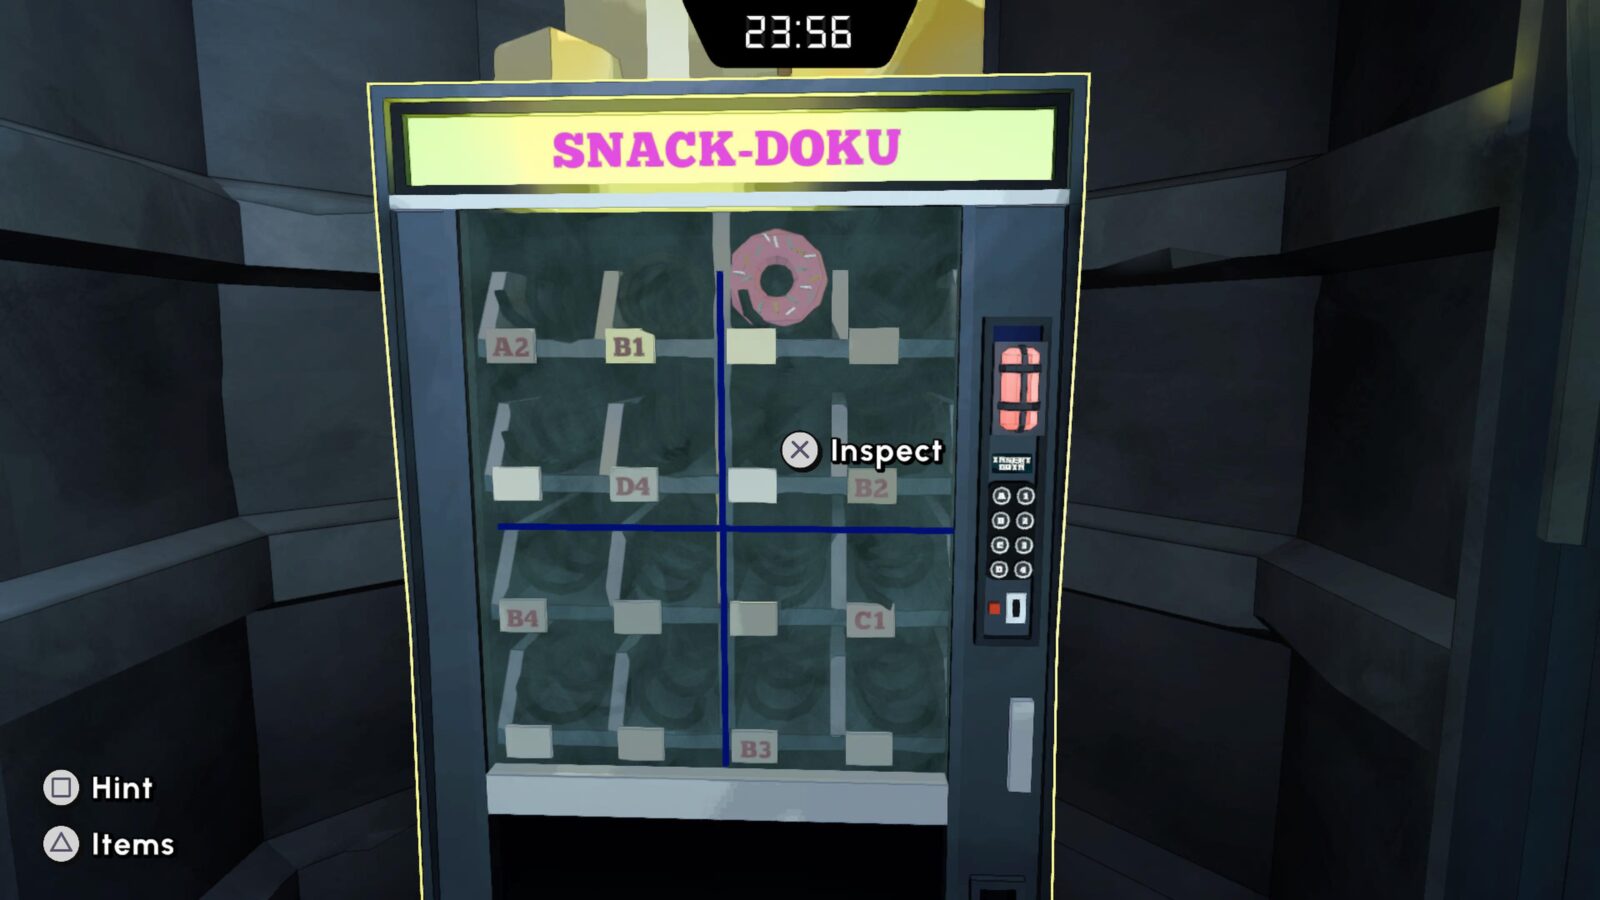
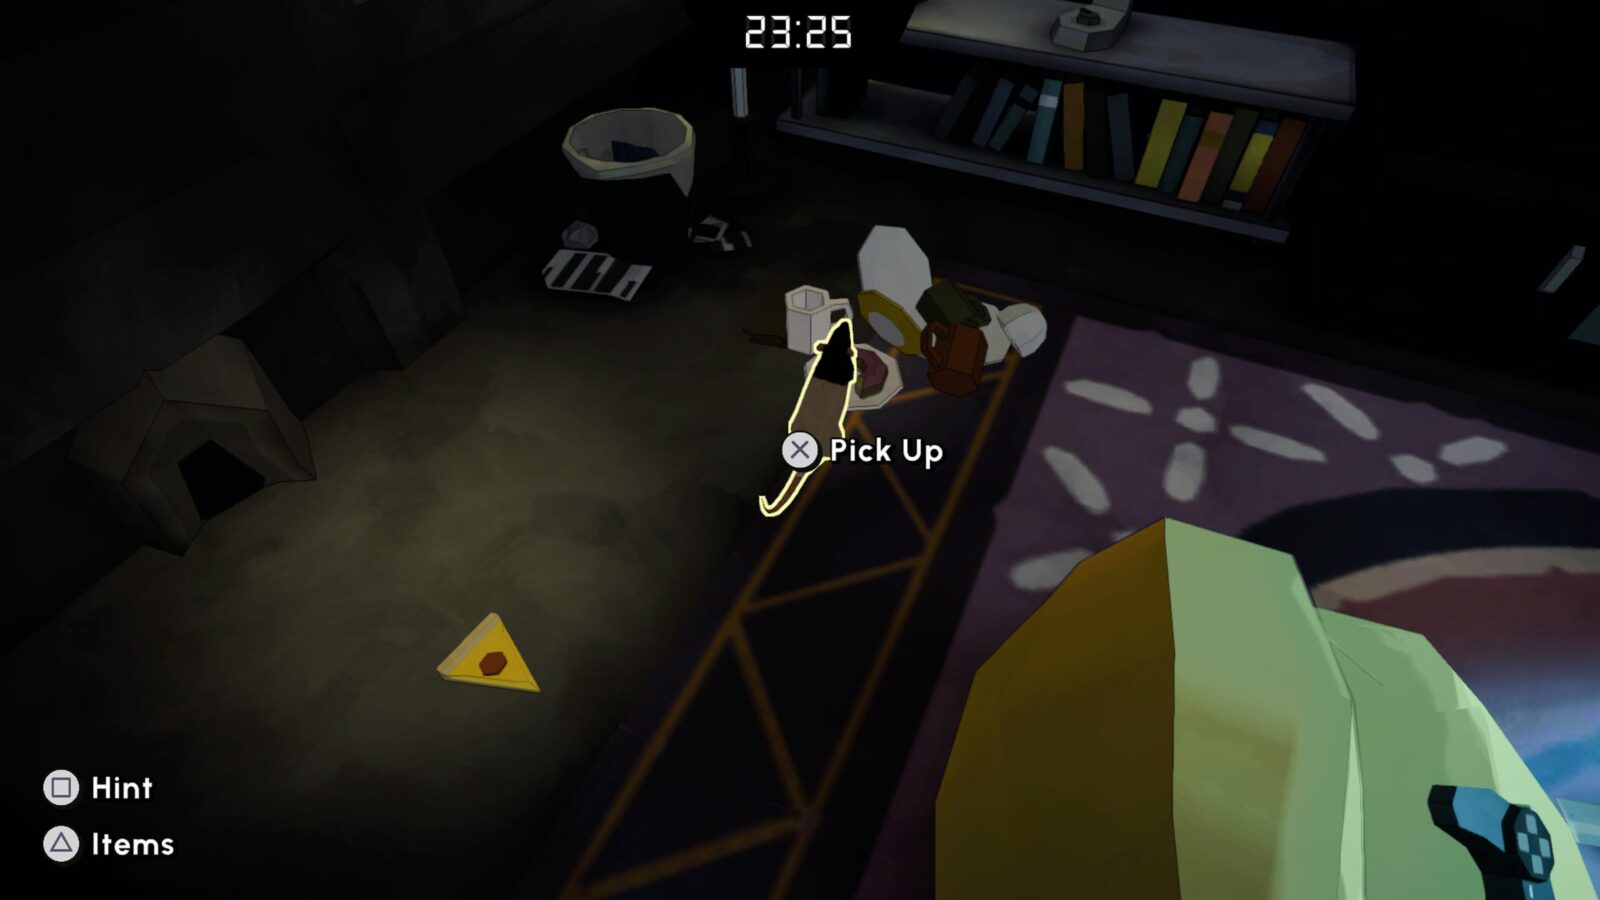
Next, look for a rat hole in the wall opposite the vending machine. Next to it, you’ll see a small pile of trash. Place your donut at the top of this pile.

When the rat comes out to nibble at the donut, grab him. His name is Turmeric.
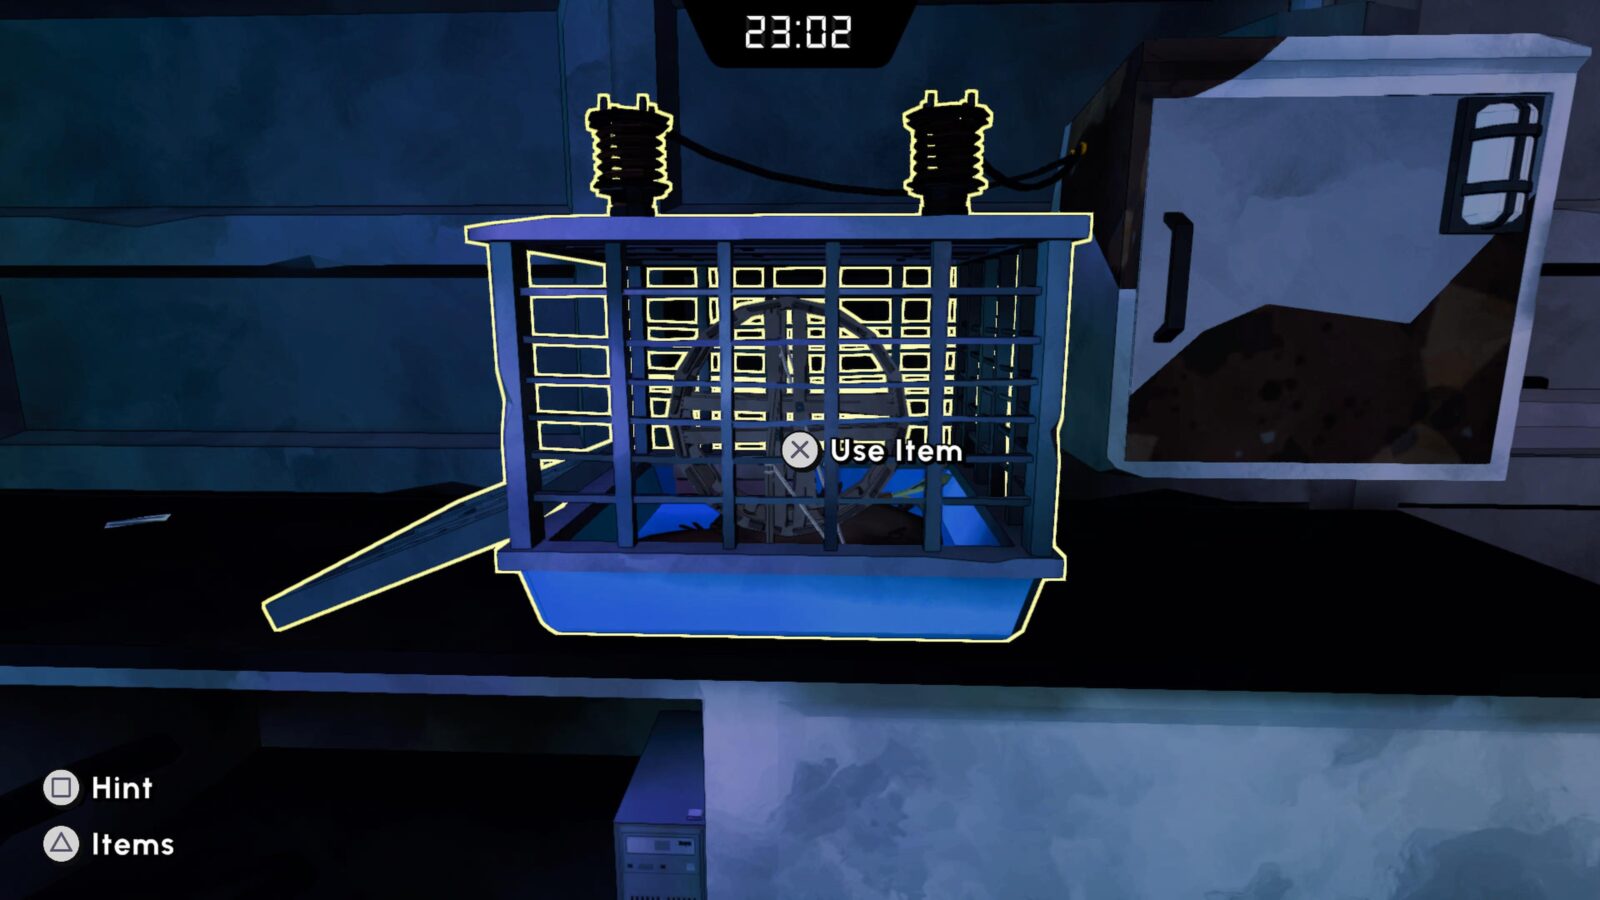
Place Turmeric in the Hamster Wheel.
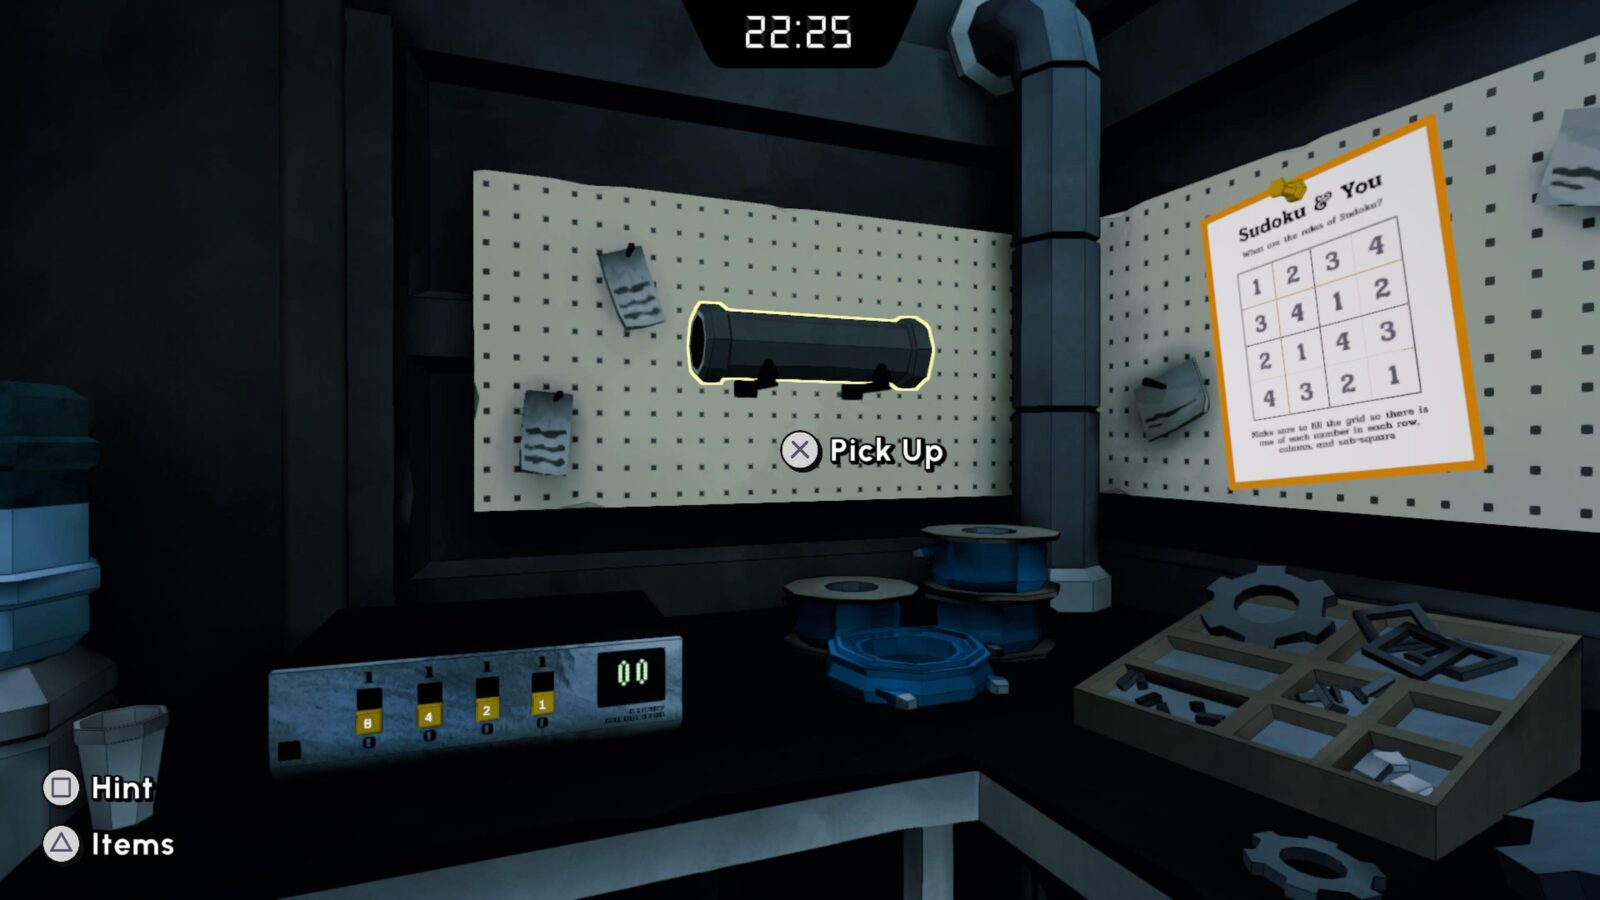
Next, you need to collect three pipes and place them in their corresponding slots to activate the yellow lasers at the center of the room. The pipe locations are as follows:
On the couch next to the rat hole.
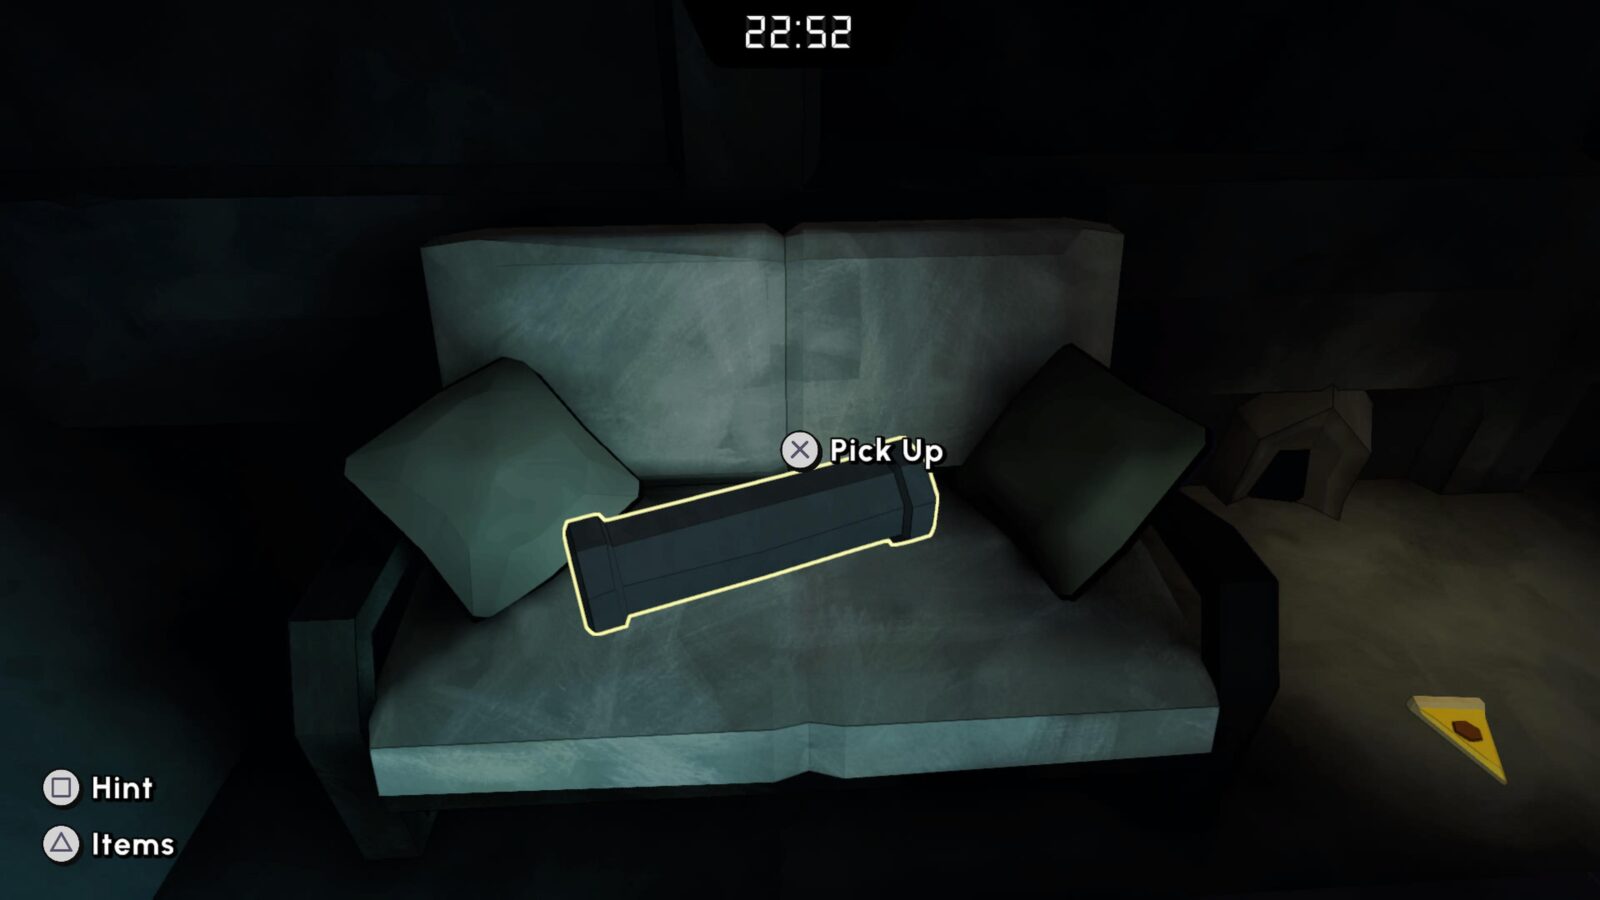
On the couch opposite the hamster wheel.
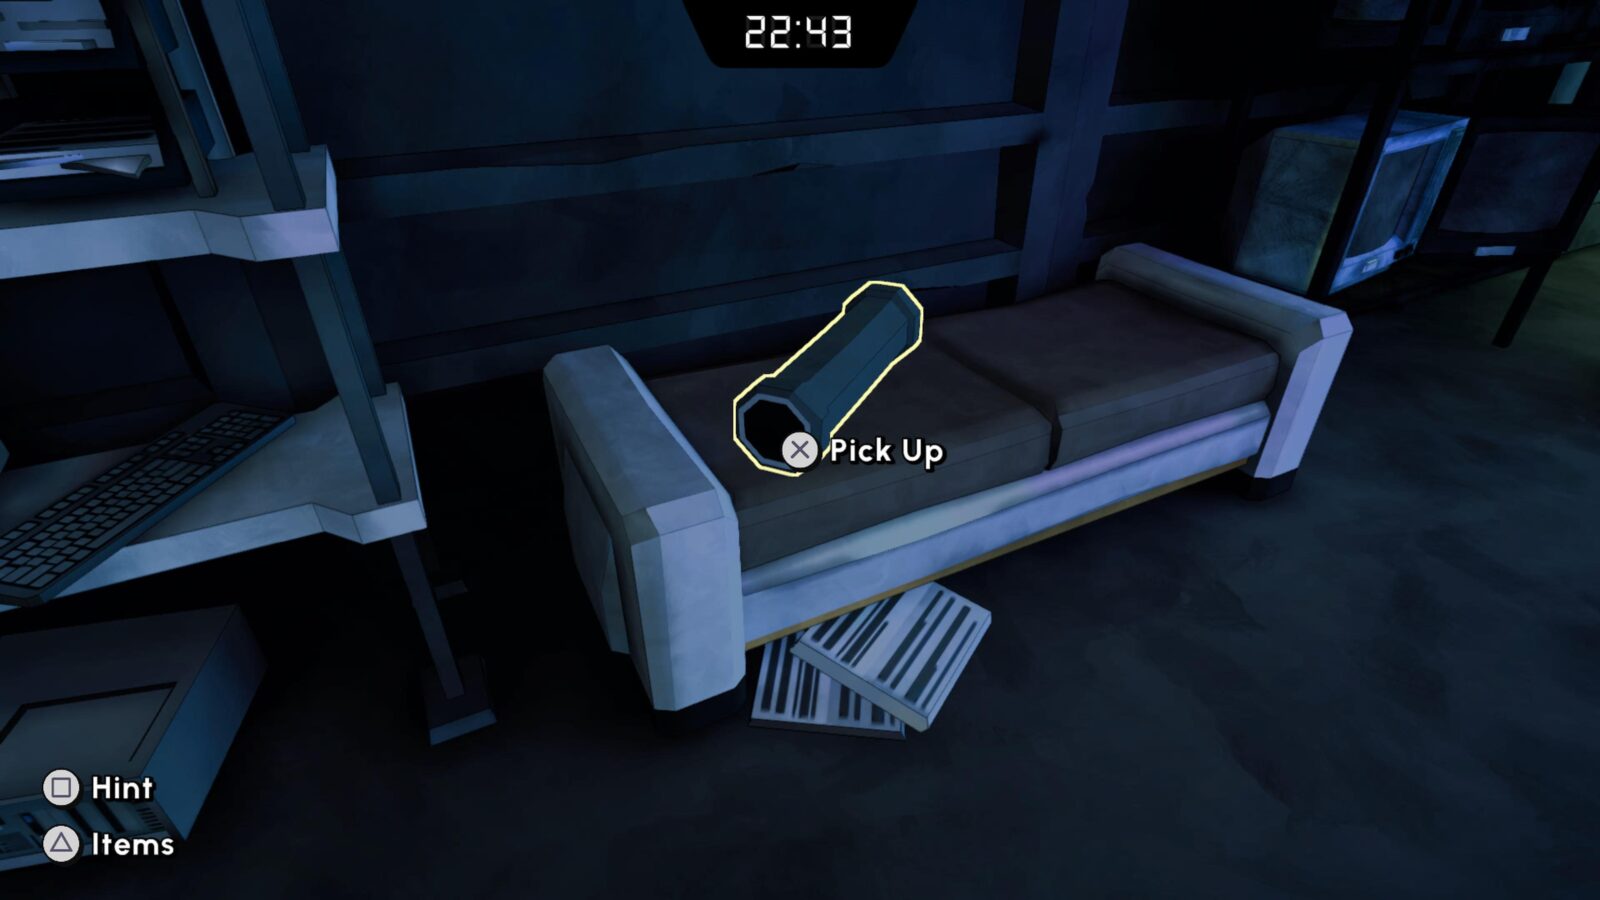
On the wall organizer above the workbench.
Next to the lasers you activated, interact with the monitor. Enter “SAFER” when prompted for a password.

Interact with any of the five monitors in the room and input the following: ![]() ,
, ![]() ,
, ![]() ,
, ![]() ,
, ![]() .
.
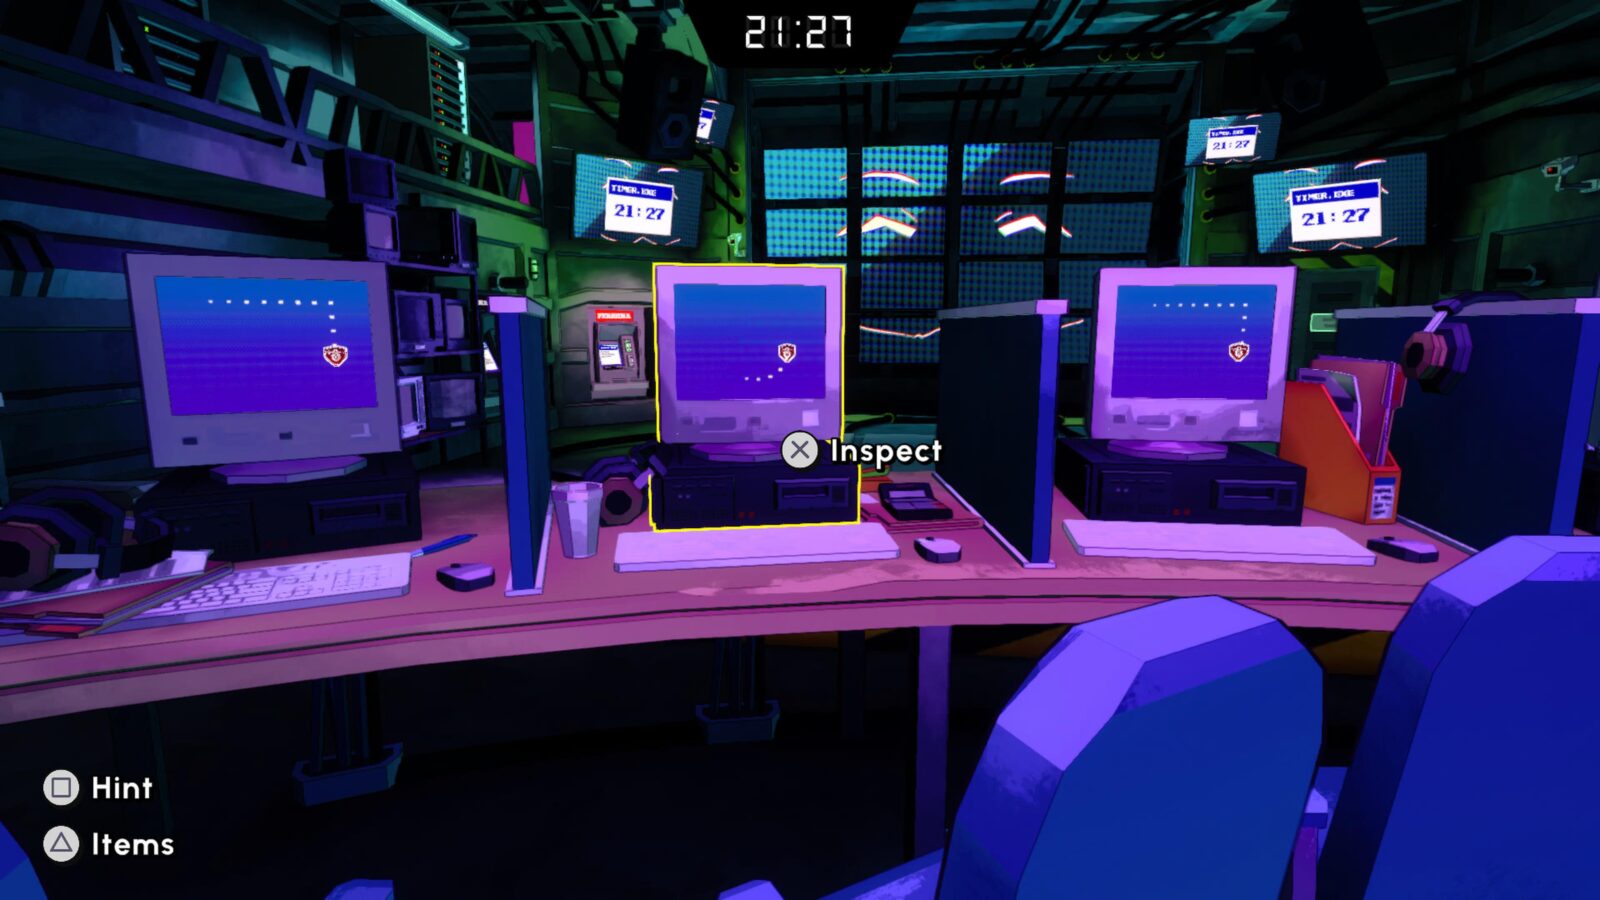
Afterward, hit Submit, select “Viruses”, and then enter 1101 when asked for a binary code.
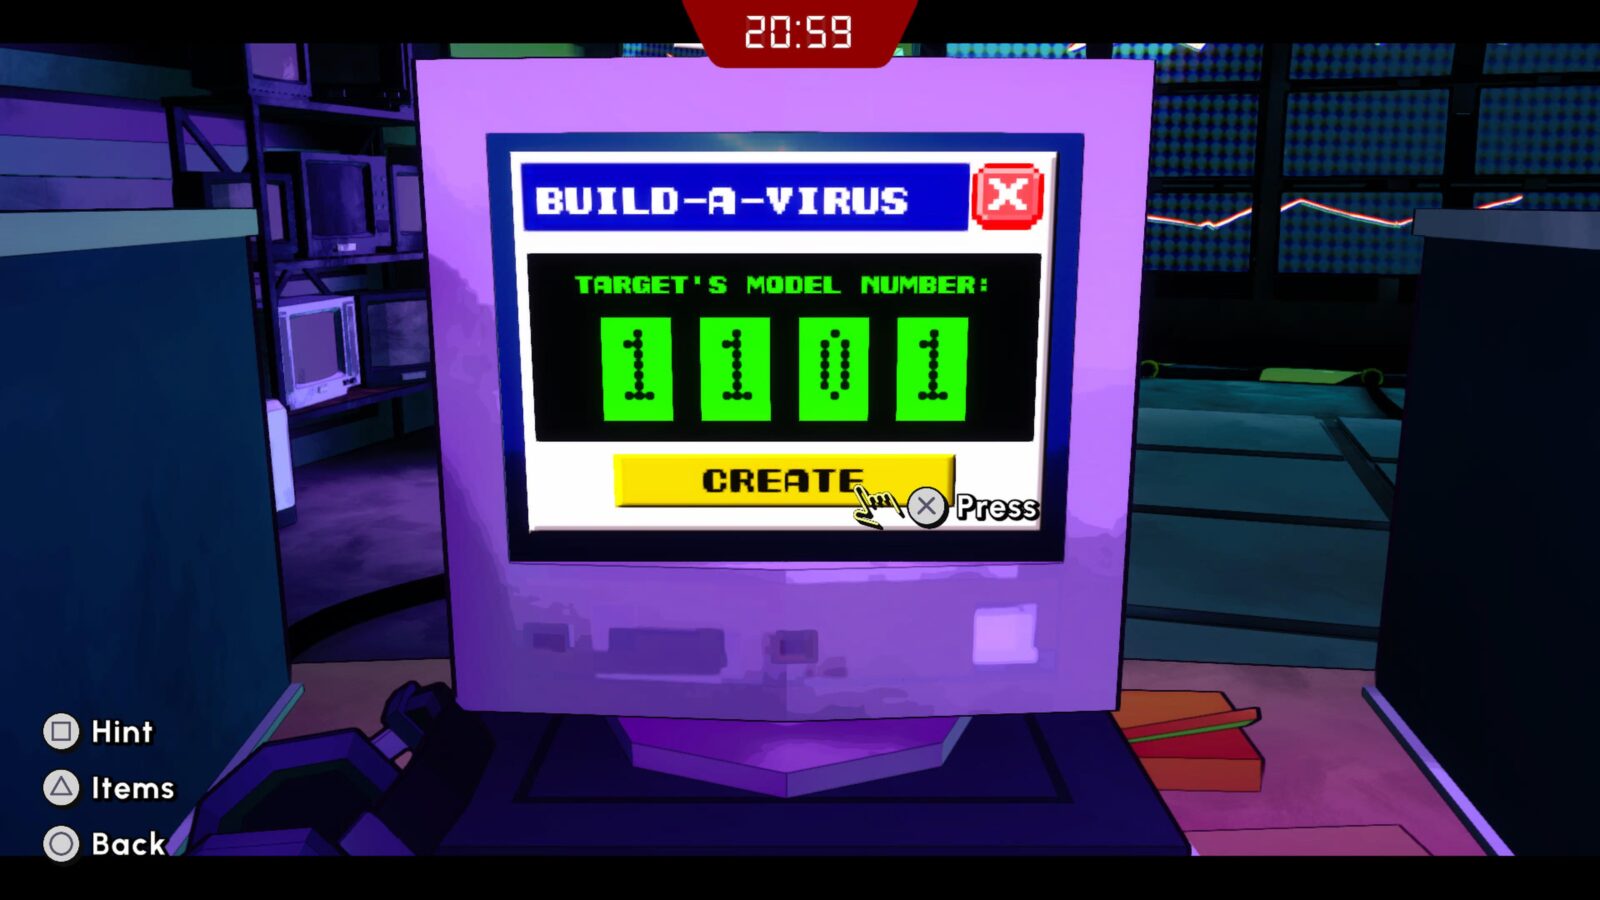
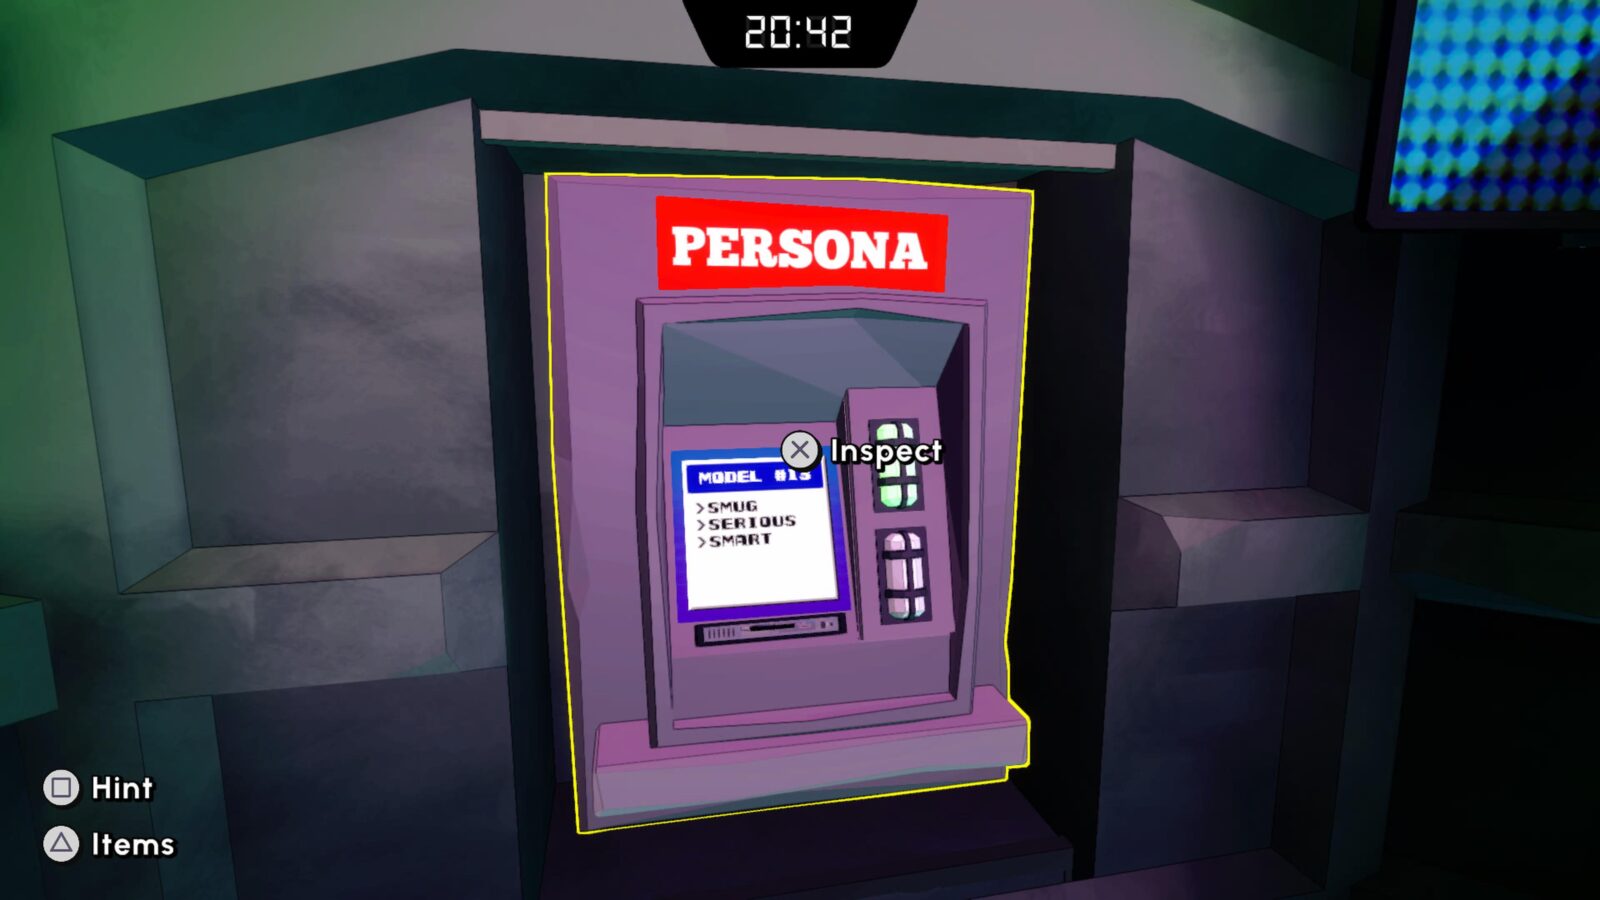
Press “Create” to burn “Virus Disc #13,” which you should then pick up and use on the monitor marked “Persona.”
The next puzzle involves the grid of tiles at the center of the room. You need to step on specific tiles, marked with footprint icons on the big screen.
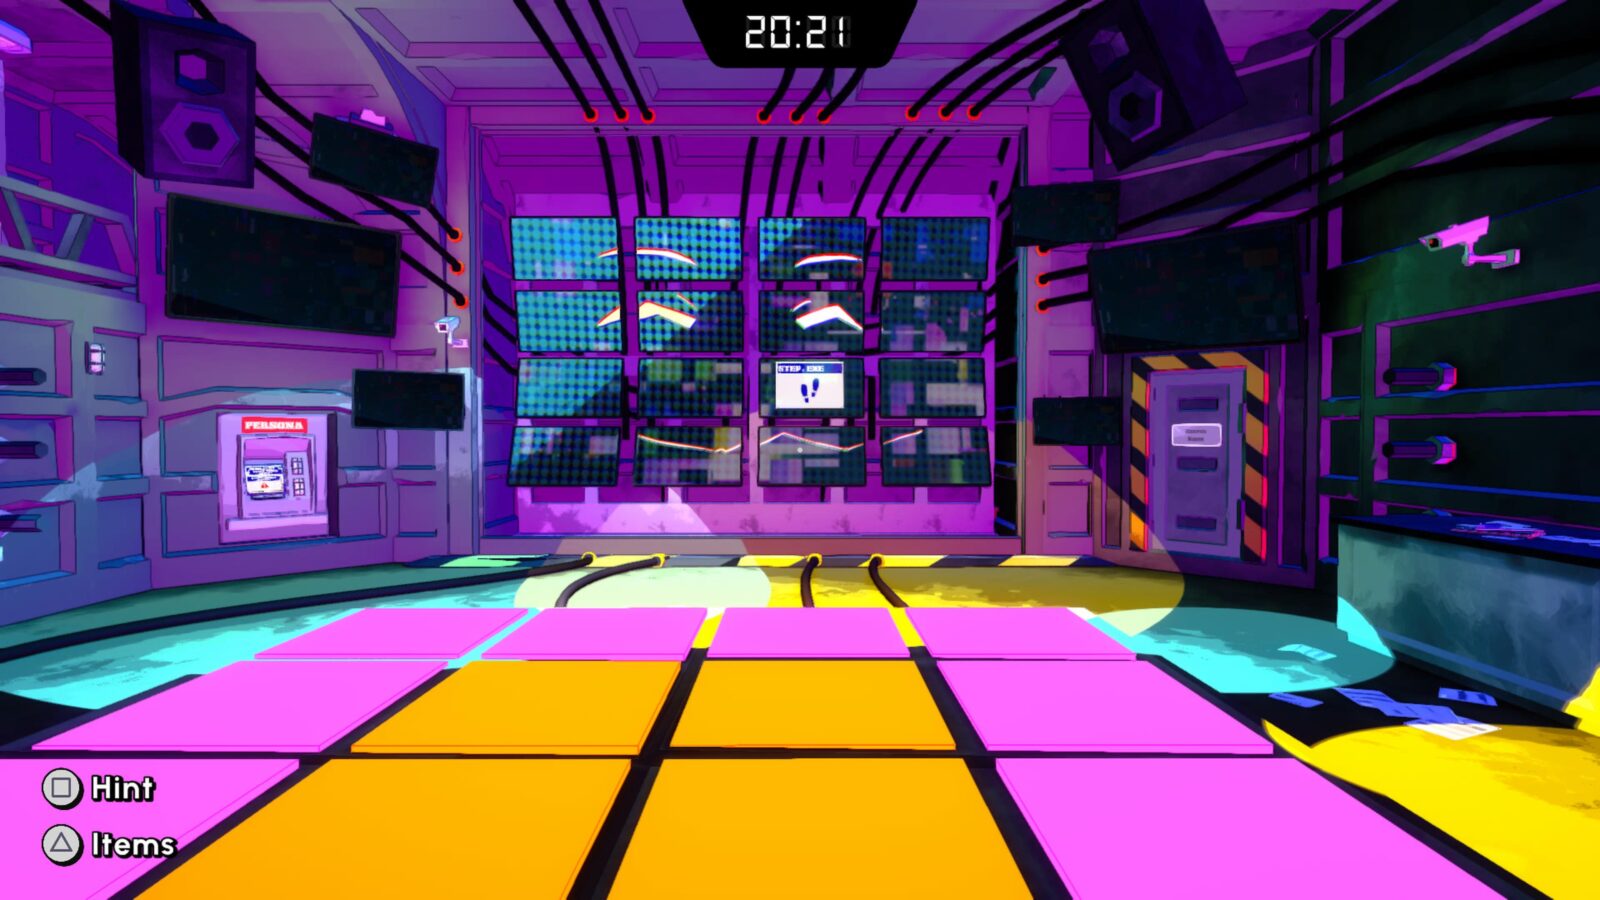
While doing so, you must avoid stepping on the tiles marked with skulls on that same screen.
Once done, the Server Room will unlock. Note that, if you complete that puzzle while playing co-op, you’ll receive the Groovin’, Baby! trophy.
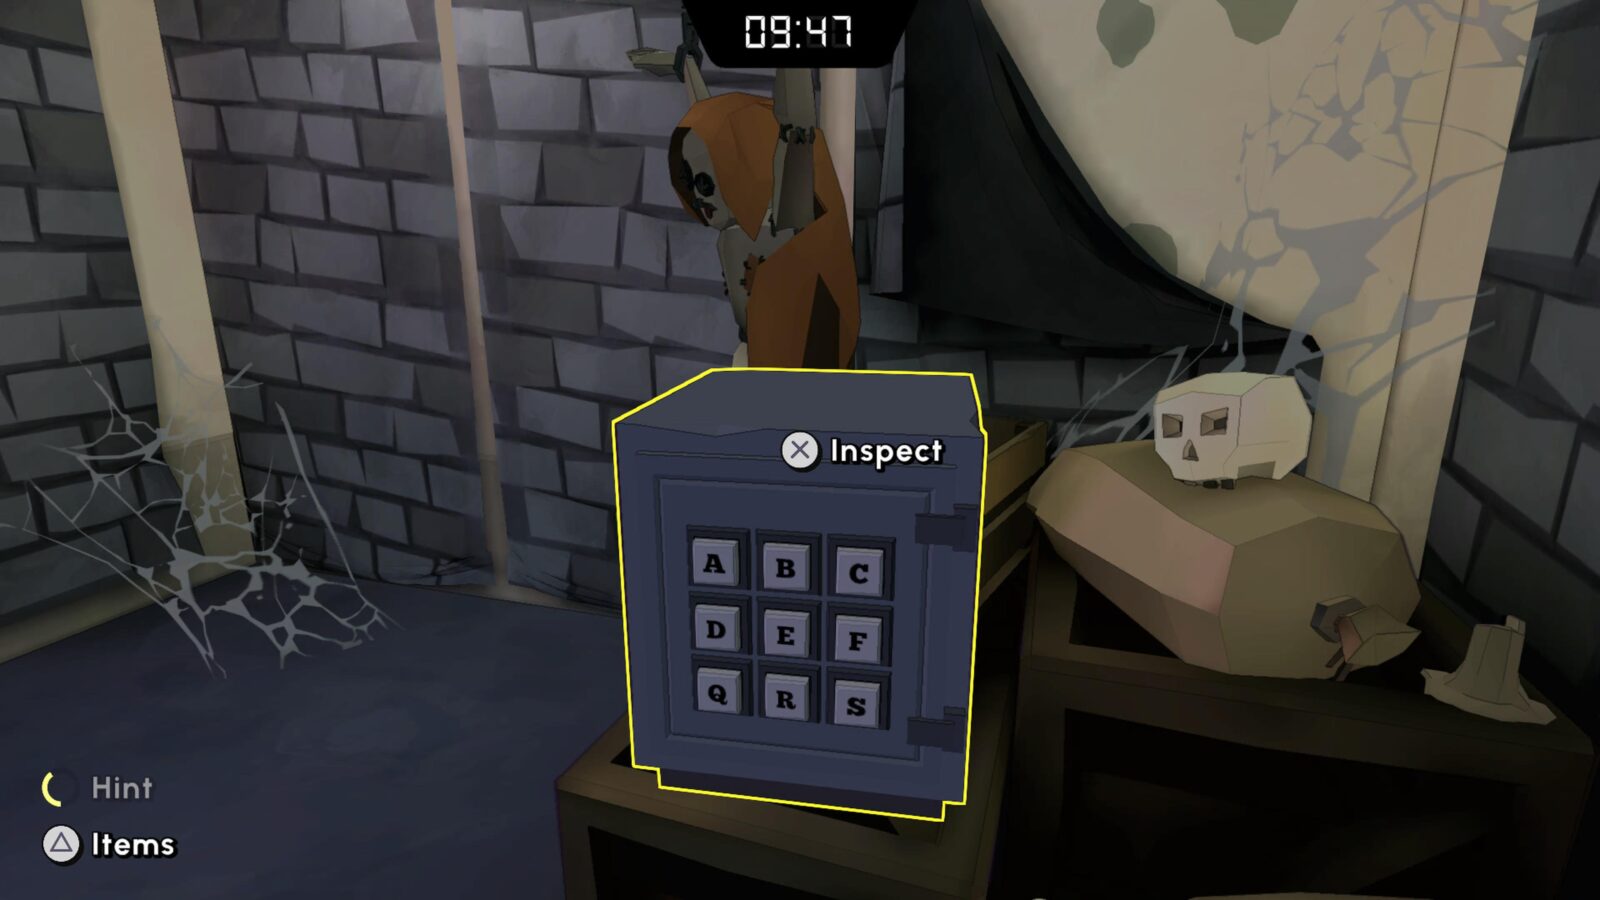
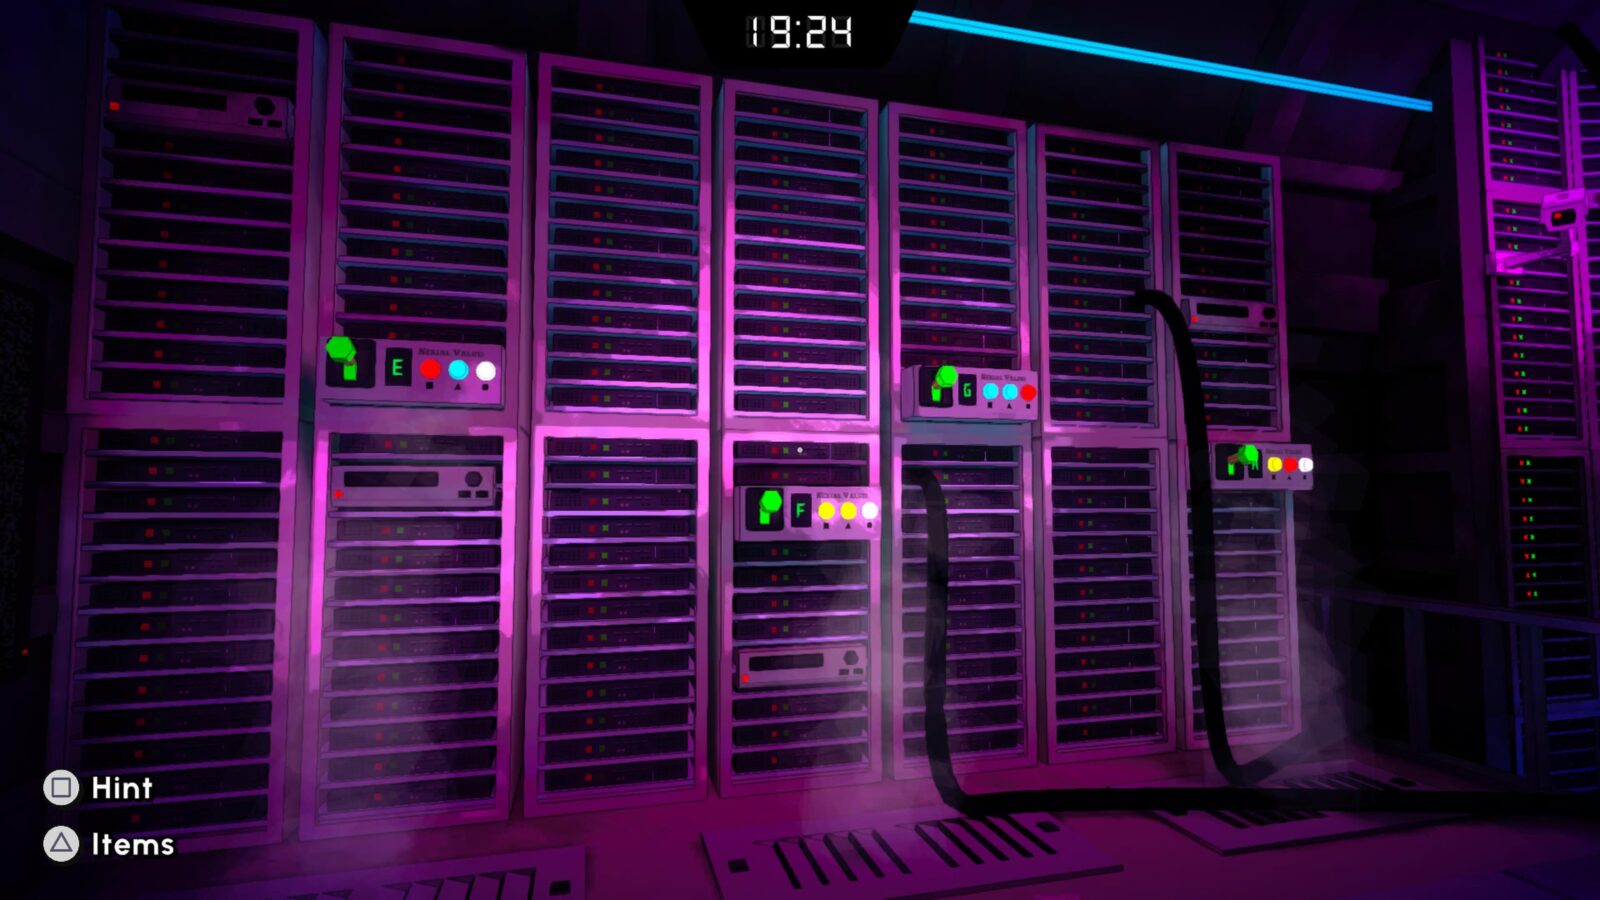
In the Server Room, there are lots of switches all labeled with a letter. To solve the puzzle and end this escape level, simply press the buttons in this order:
- E
- B
- D
- H
- F
- G
- C
- A
By following this guide and not using in-game hints, you’ll have secured an A+ rating too.


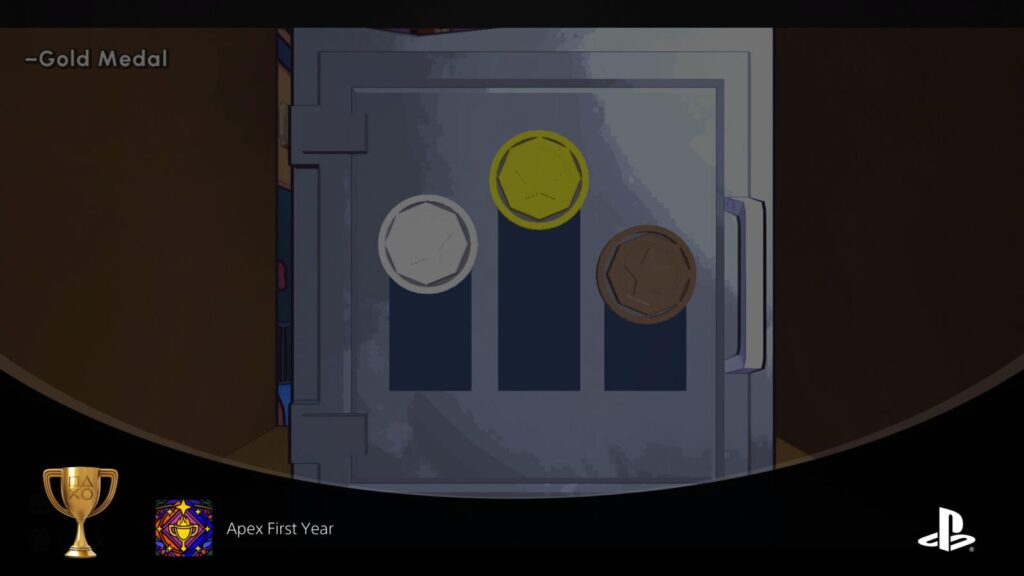
Apex First Year
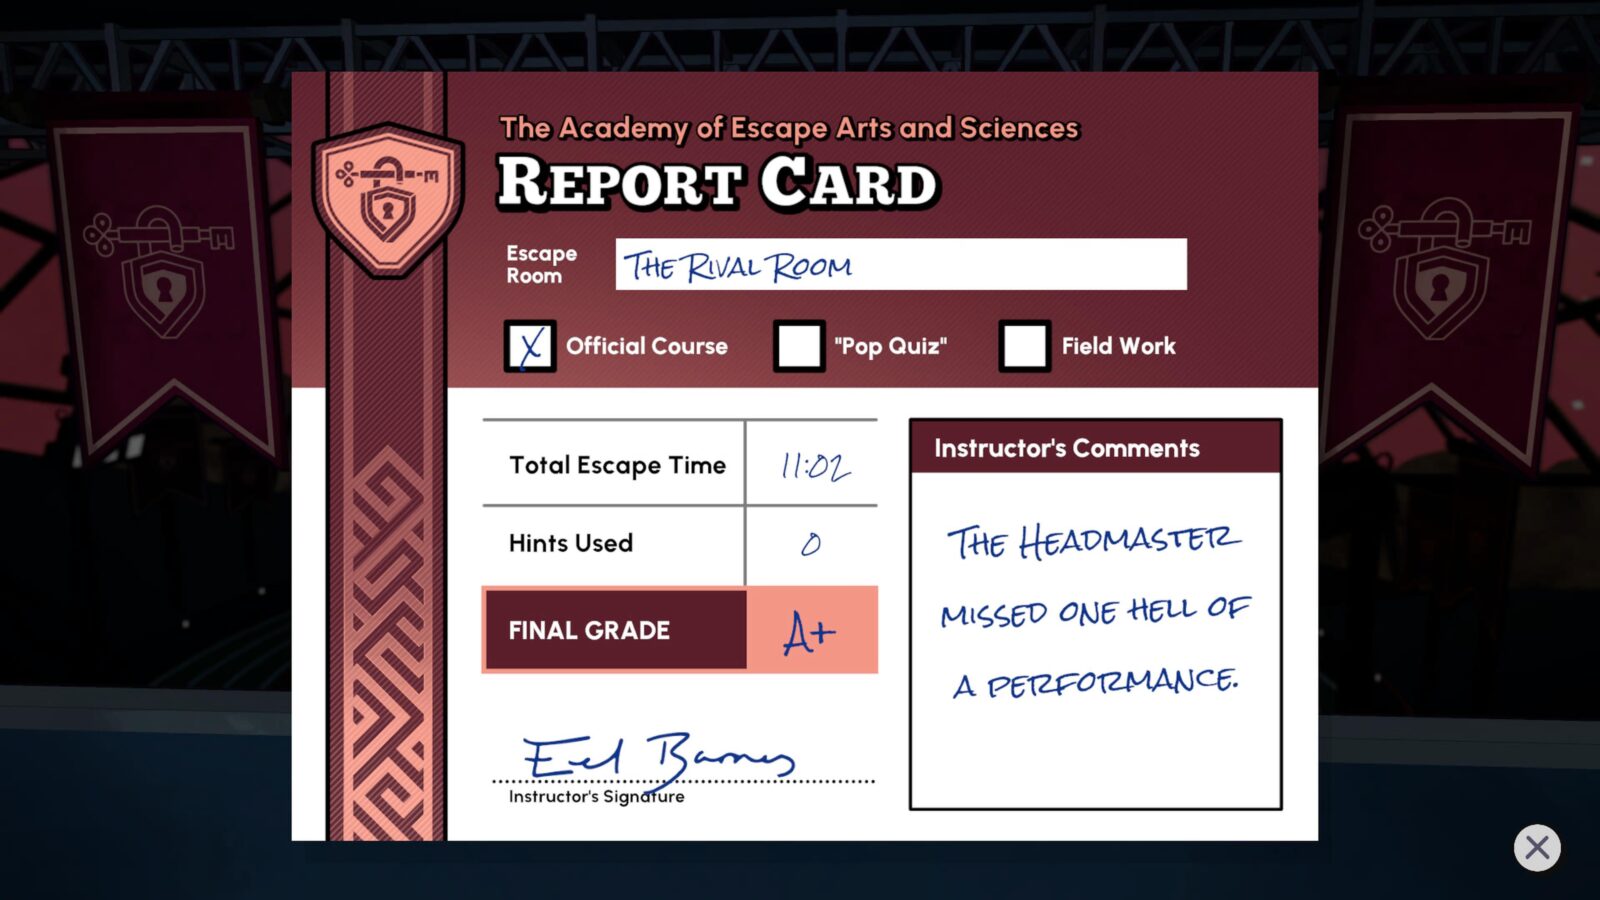
Escape "The Rival Room."
The first escape level with a Gold Trophy and the 9th escape level overall, “The Rival Room” involves five back-to-back puzzle rooms.
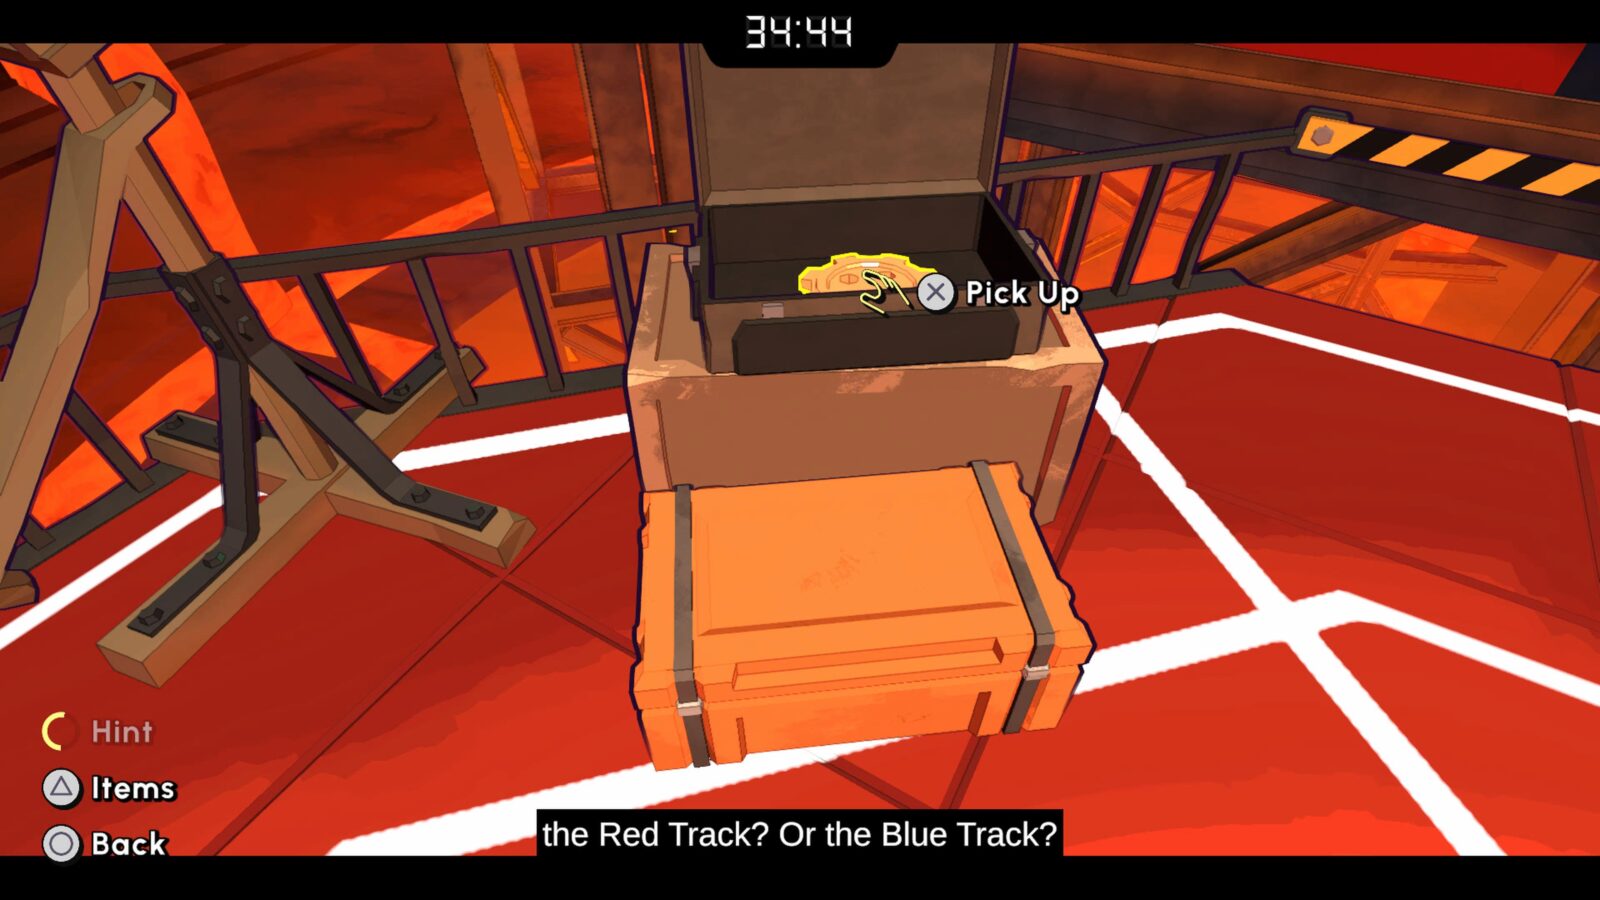
First things first, you need to collect three gears:
One is in the orange container behind you.
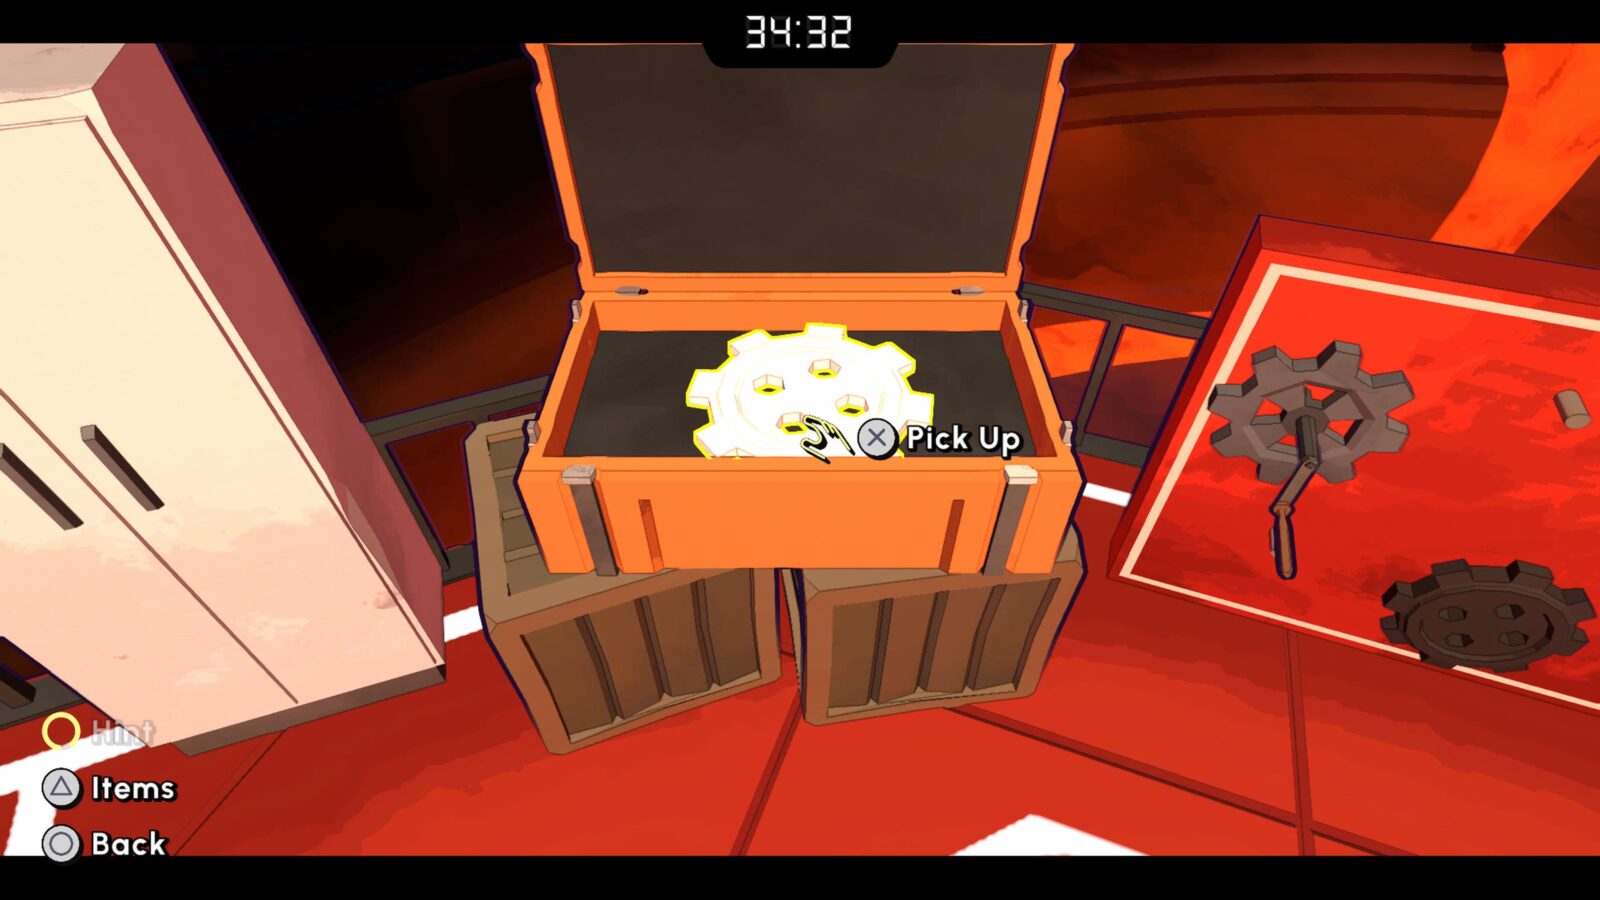
Another is in the white-colored locker.
And the third one is in a brown container.
Go over to the red panel, place your three gears on it, and spin them to activate the Ballista. Continue on into the next room.
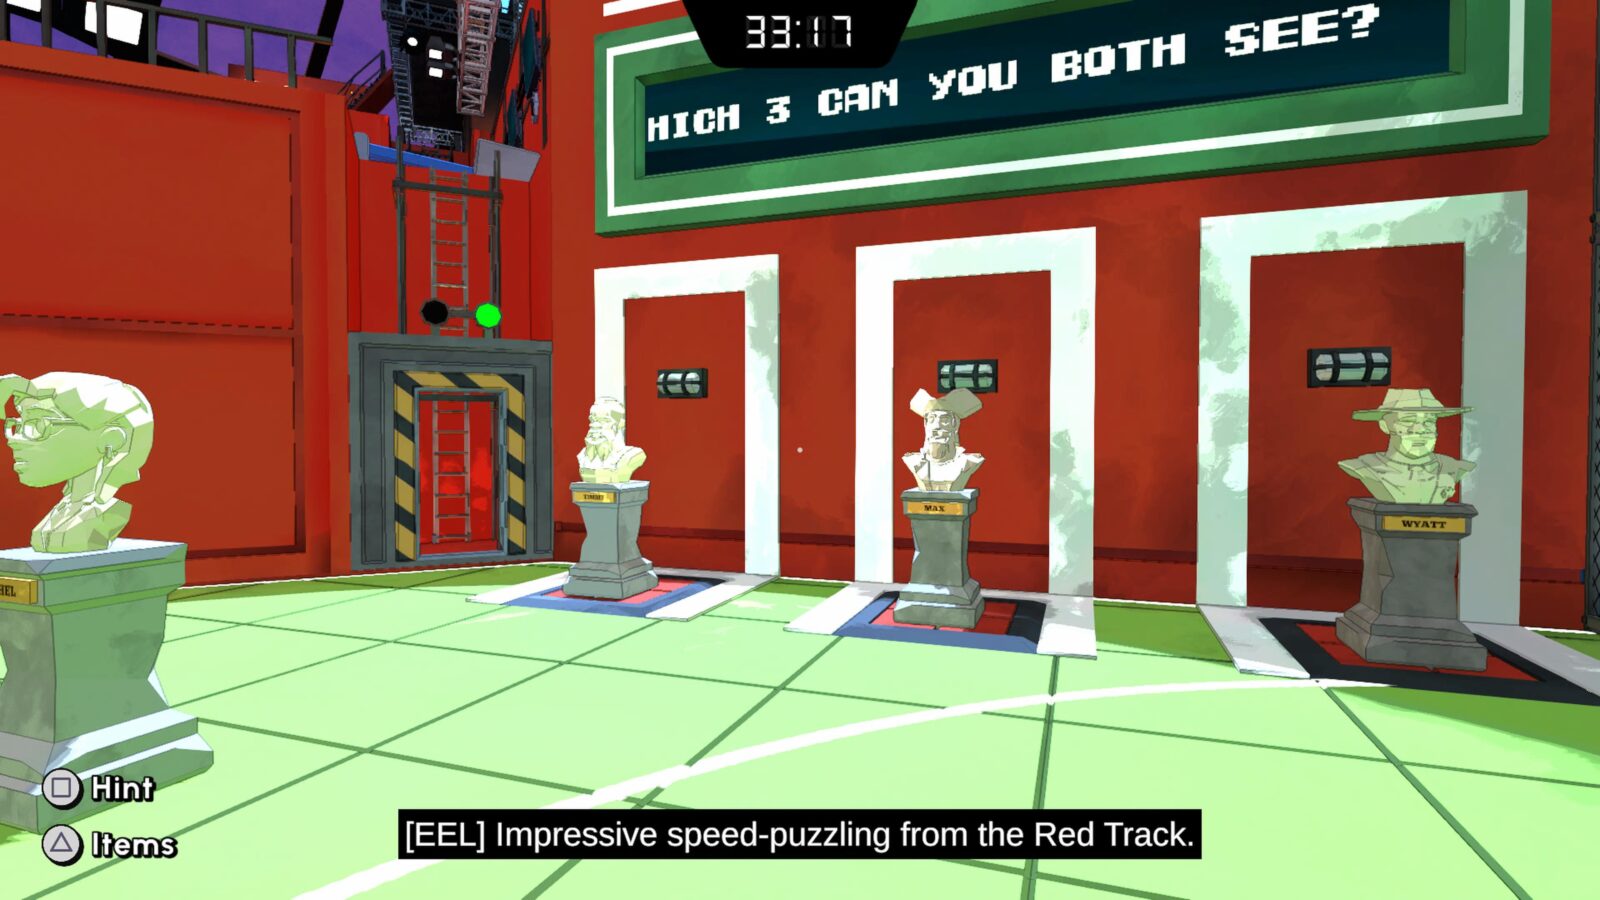
In the next room, place the busts for Timmy, Max, and Wyatt on the red switches to open a door.
Climb the ladder past the door you opened to enter a new room.
Here, first, take all of the weights off the stands at the end of the room.
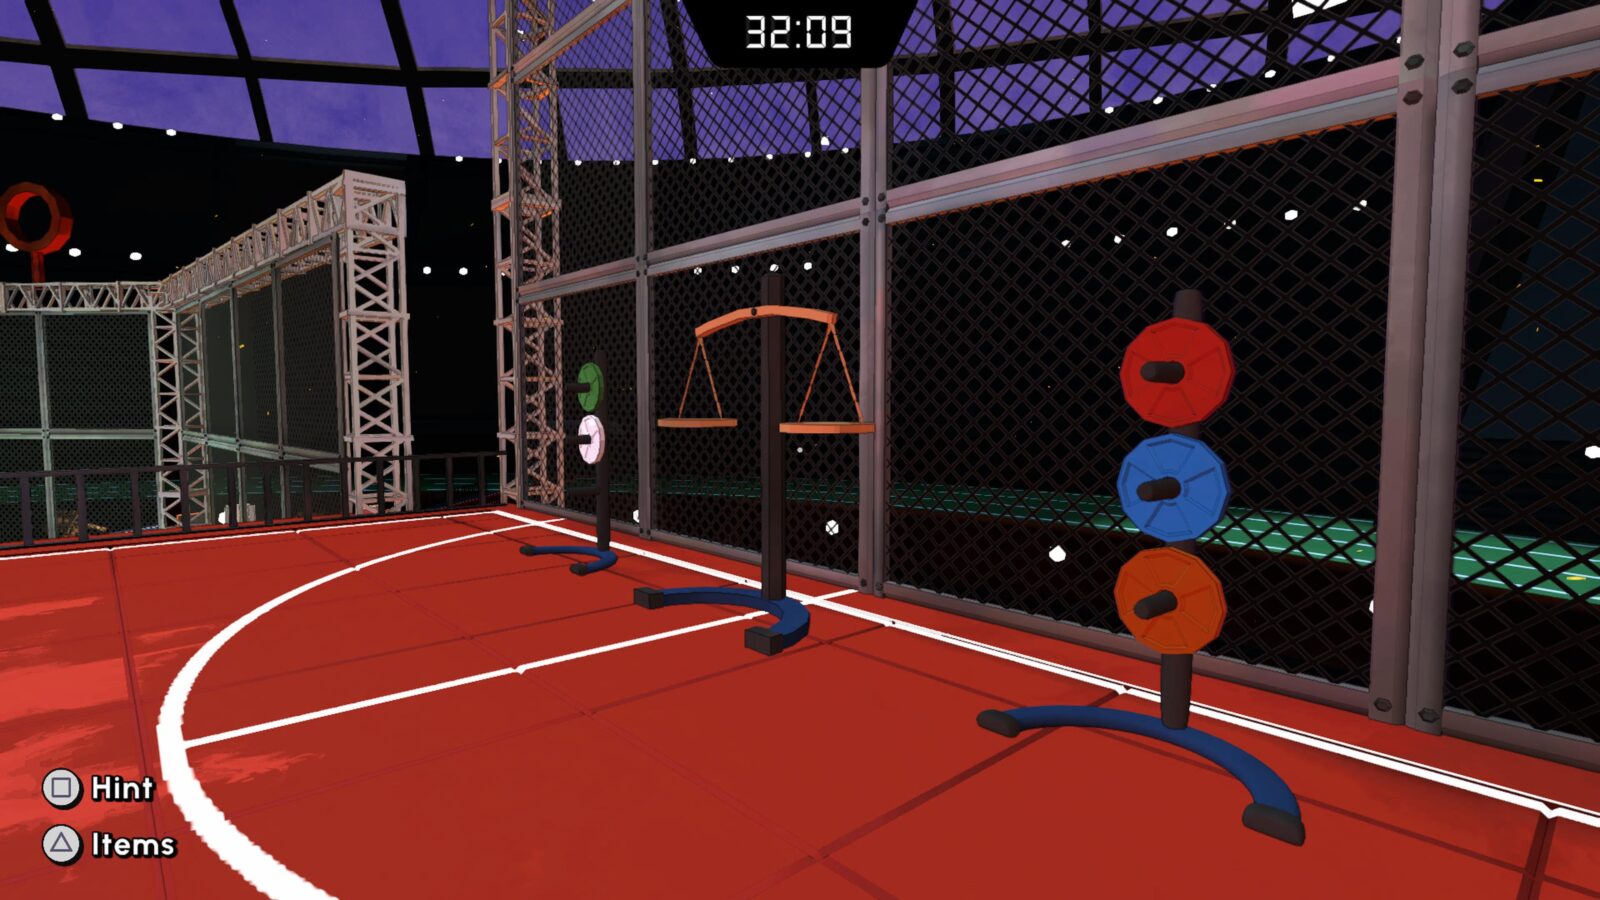
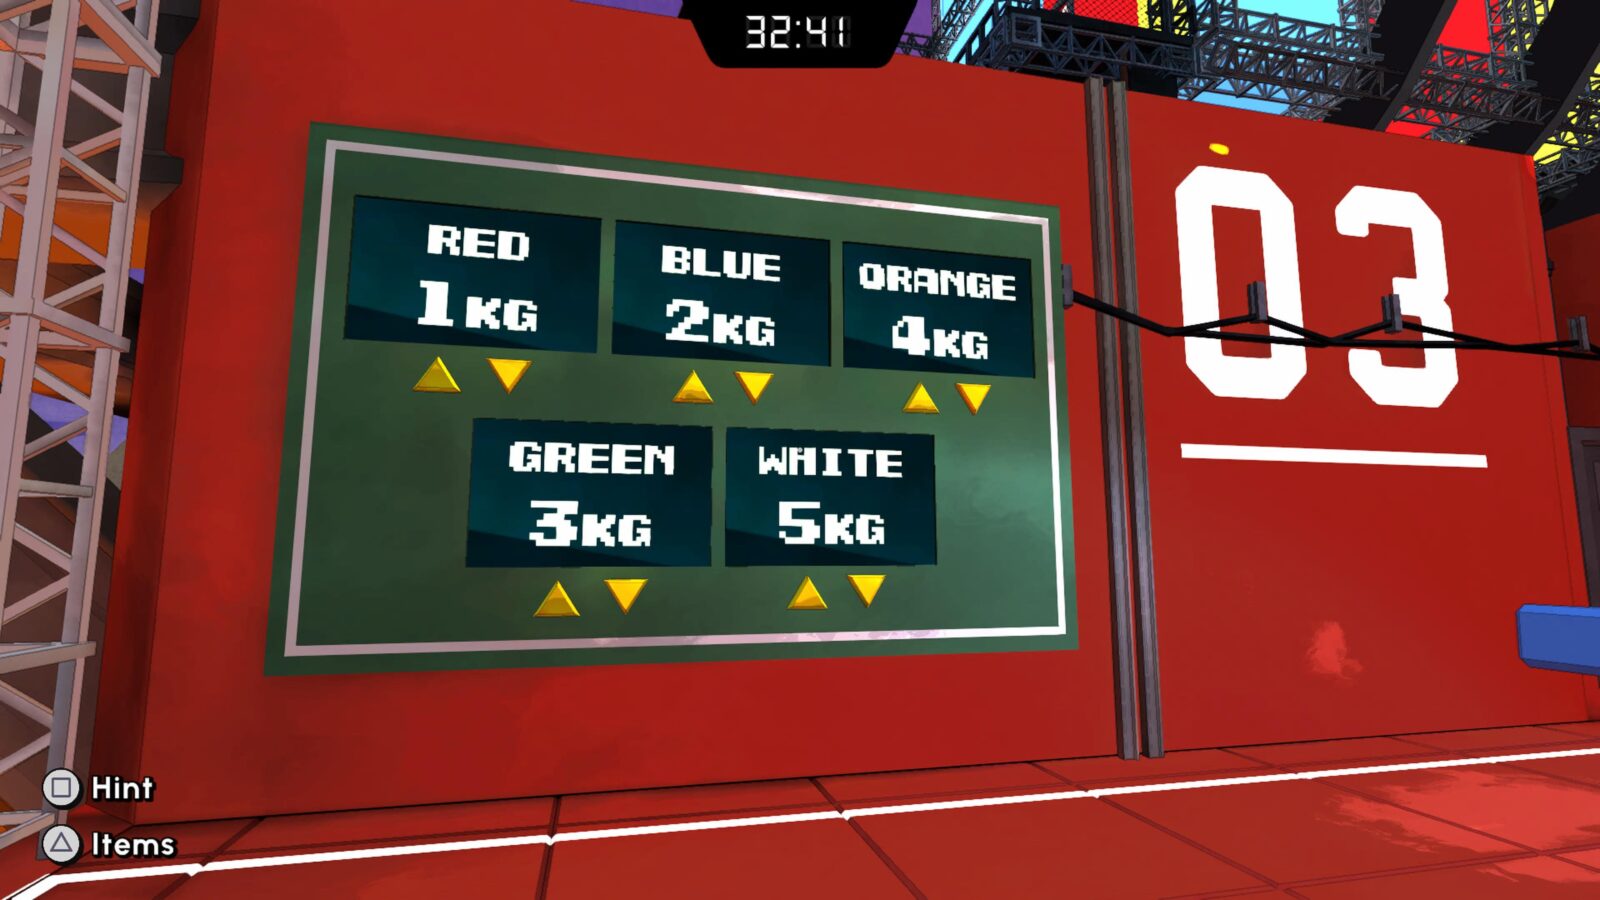
Then, interact with the large green board and set the values as follows:
- Red: 1KG
- Blue: 2KG
- Orange: 4KG
- Green: 3KG
- White: 5KG
Next, solve the seesaw puzzle by placing the colored weights on the blue see-saw devices to match the values shown on the monitors.

Use the table below to solve the puzzle:
| Target Weight | Solution |
|---|---|
| 7KG |
2x; Blue weight
3x; Red weight |
| 9KG |
3x; Green weight
|
| 14KG |
x1; Orange weight
2x; White weight |
A door will open, giving you access to another ladder to climb.
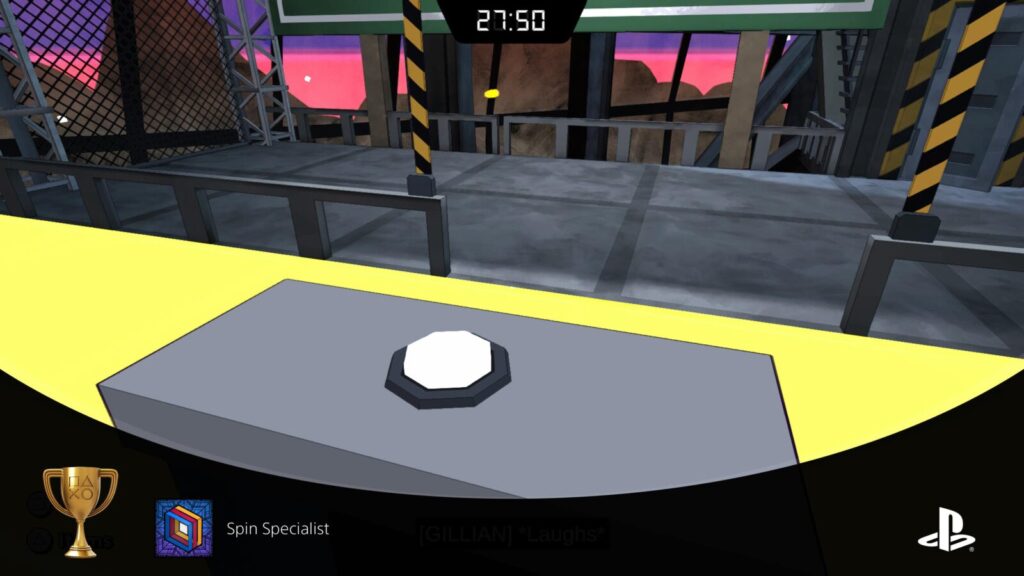
In the next room, you can earn the Spin Specialist trophy by completing the puzzle in less than 8 moves.
There’s a panel near the start of the puzzle with six buttons. On the right, there’s a clockwise button, on the left, there’s an anti-clockwise button. The row they’re on indicates which two color rings they’ll rotate (i.e. purple turns red & blue, green turns blue & yellow).
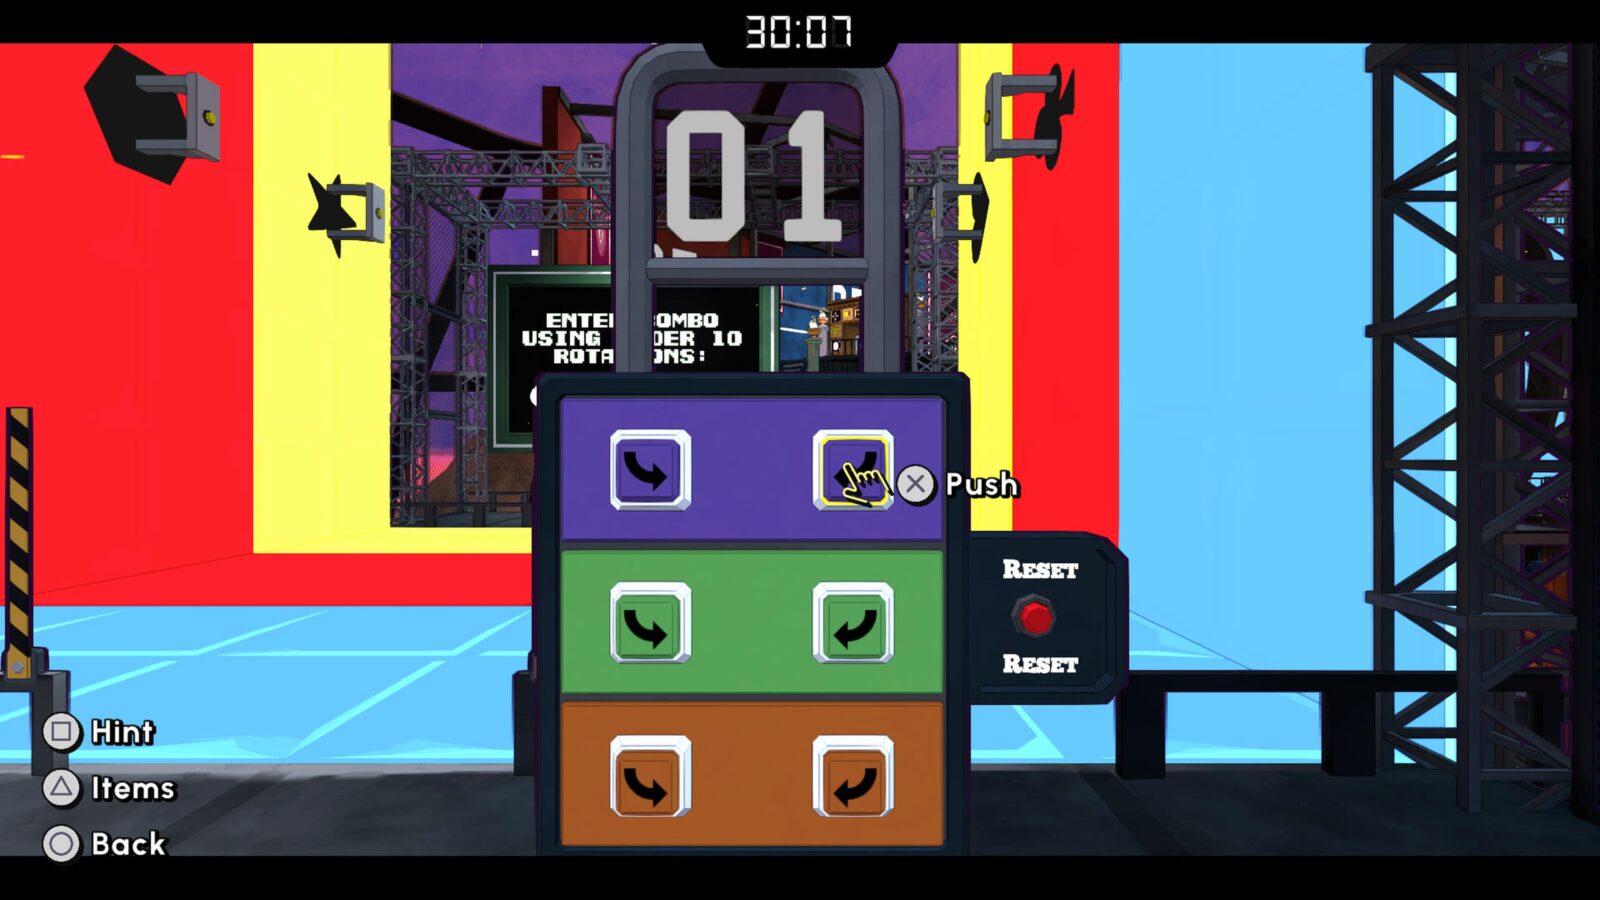
The color rings are past this panel; large rectangular donuts which each have buttons on them. You need to push these buttons in a specific order, which will require turning the colored rings via the panel.
So that’s what we’ll do here, in under 8 moves. Follow these steps exactly:
- Via the panel next to the reset button, Turn green clockwise.
- Via the panel next to the reset button, Turn purple clockwise.
- Push the button on the pedestal in the blue ring.
- Push the button on the pedestal in the yellow ring.
- Push the button on the pedestal in the red ring.
- Via the panel next to the reset button, Turn purple clockwise.
- Via the panel next to the reset button, Turn green clockwise.
- Push the button on the pedestal in the blue ring.
- Via the panel next to the reset button, Turn purple anti-clockwise.
- Push the button on the pedestal in the blue ring.
- Via the panel next to the reset button, Turn purple clockwise.
- Push the button on the pedestal in the red ring.
- Push the button on the pedestal in the yellow ring.
After doing the above, Spin Specialist will unlock and you can proceed into the final room.
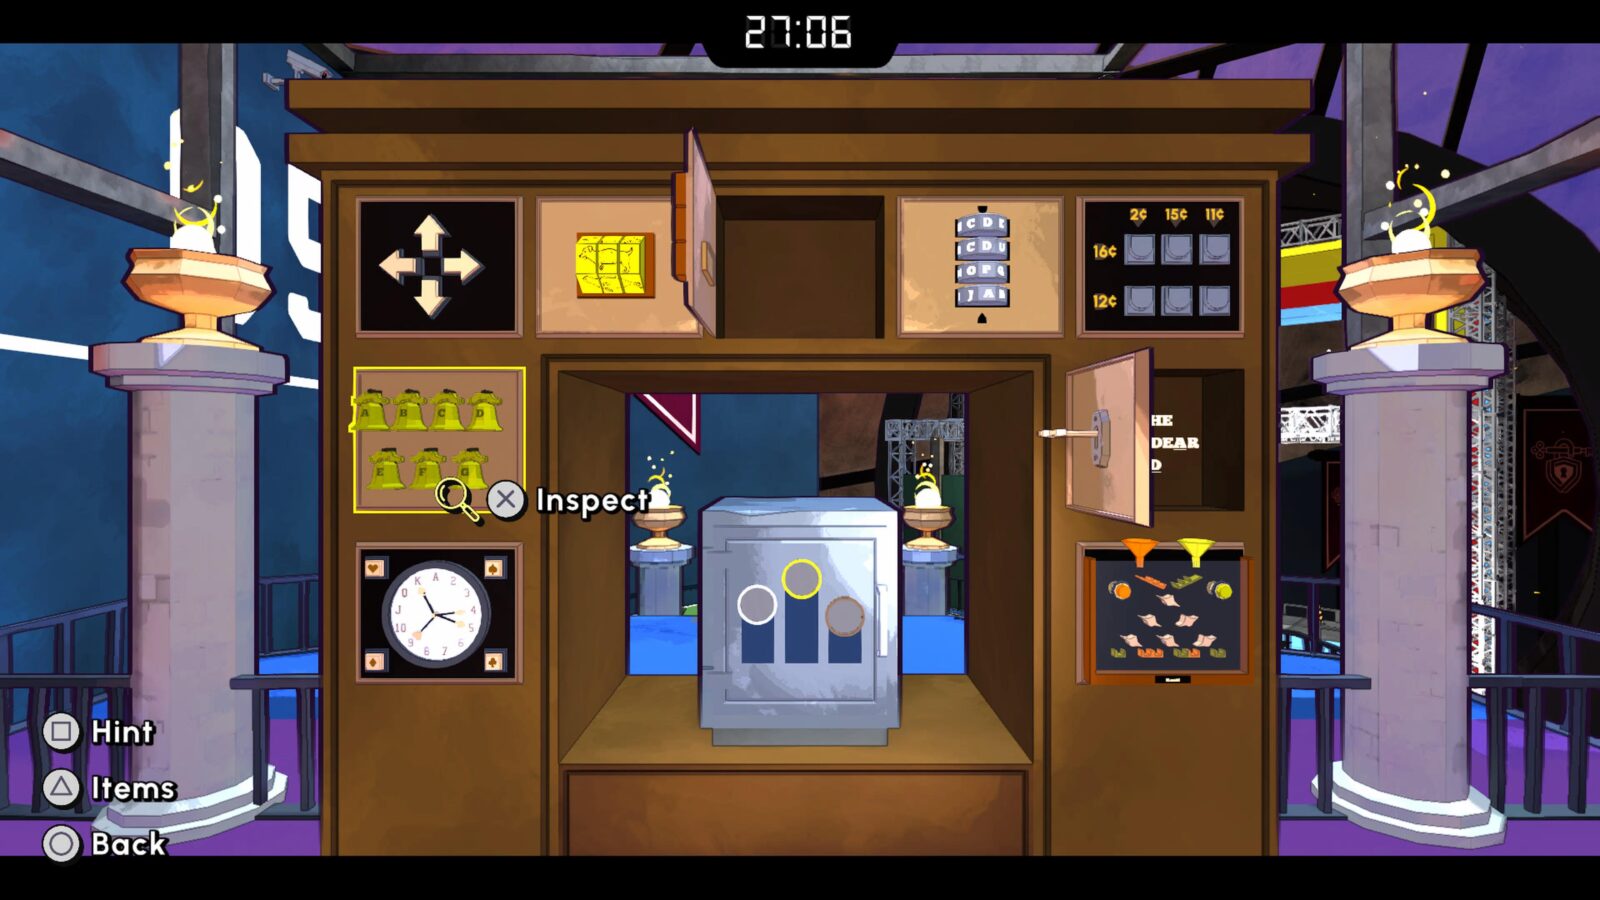
This final room has 9 puzzles to solve. The first is labeled “Start.” See all 9 puzzle solutions below:
TILE PUZZLE
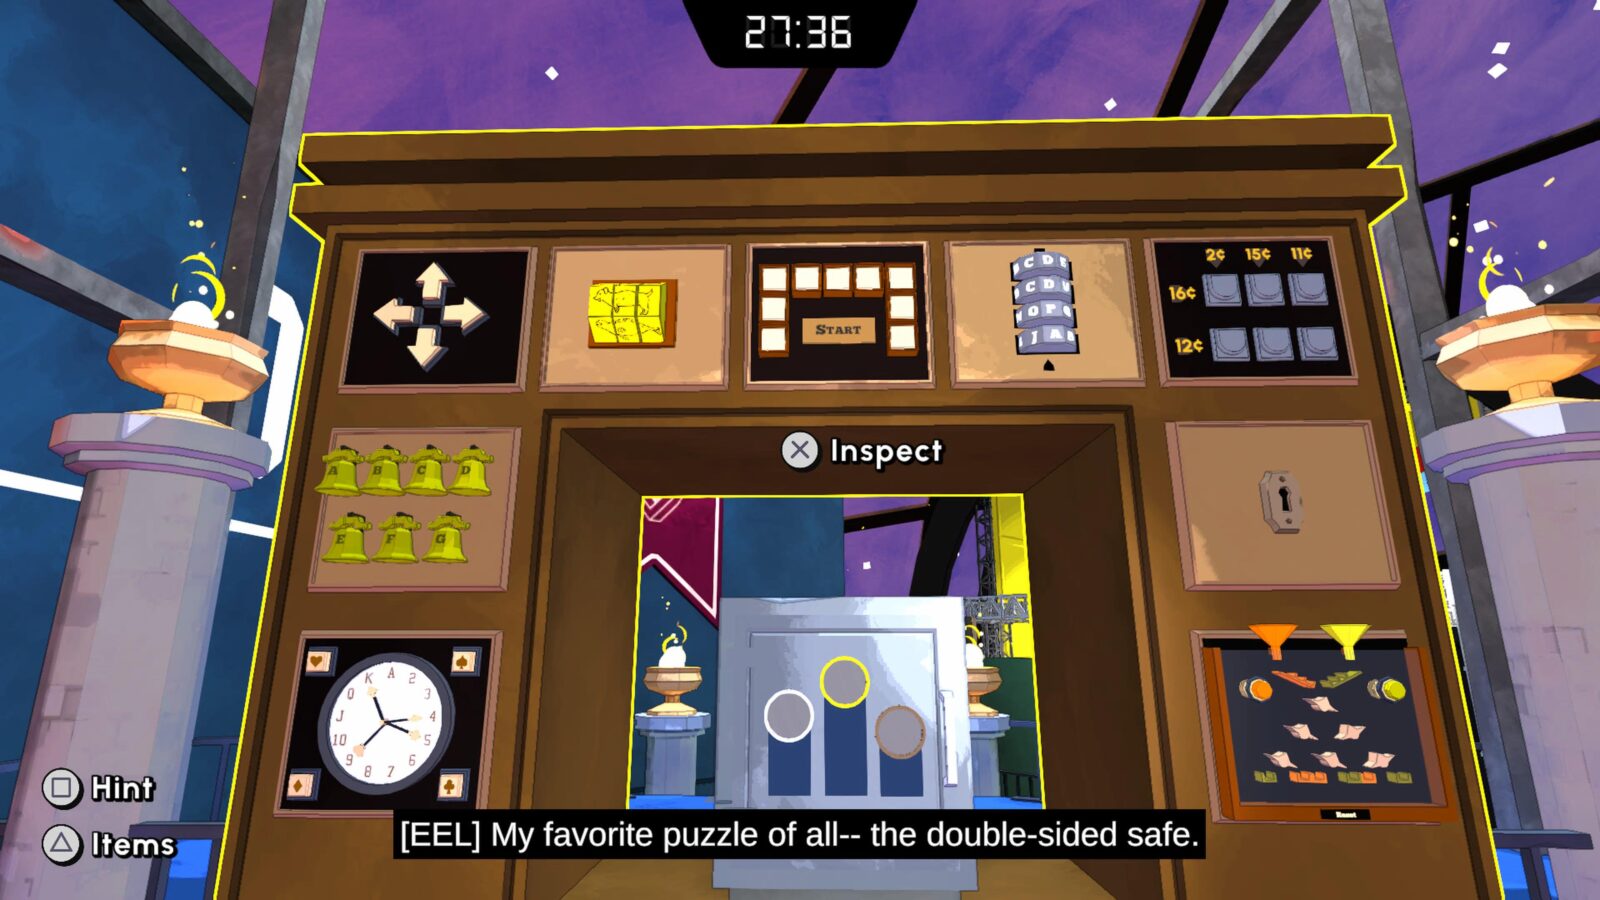
From left to right, alternate the tiles black, white, black, white, and so on until you receive a key.
KEYHOLE PUZZLE
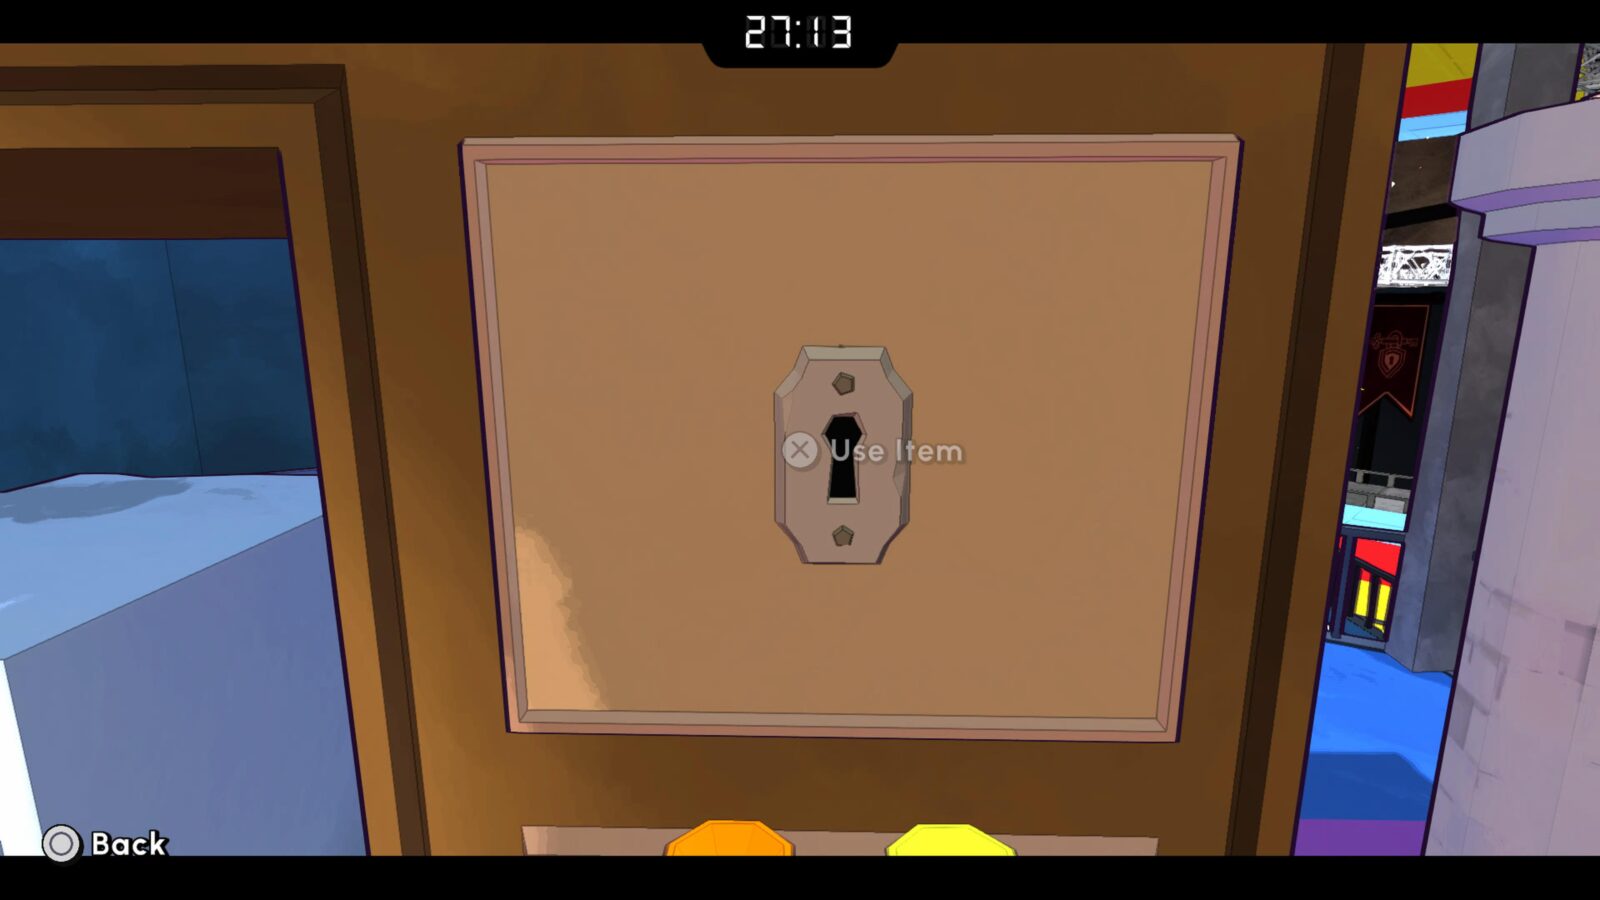
Use the key on the keyhole to reveal a hint for the bell puzzle.
BELL PUZZLE
Ring the bells in this order to get a bronze medallion:
G E A E D
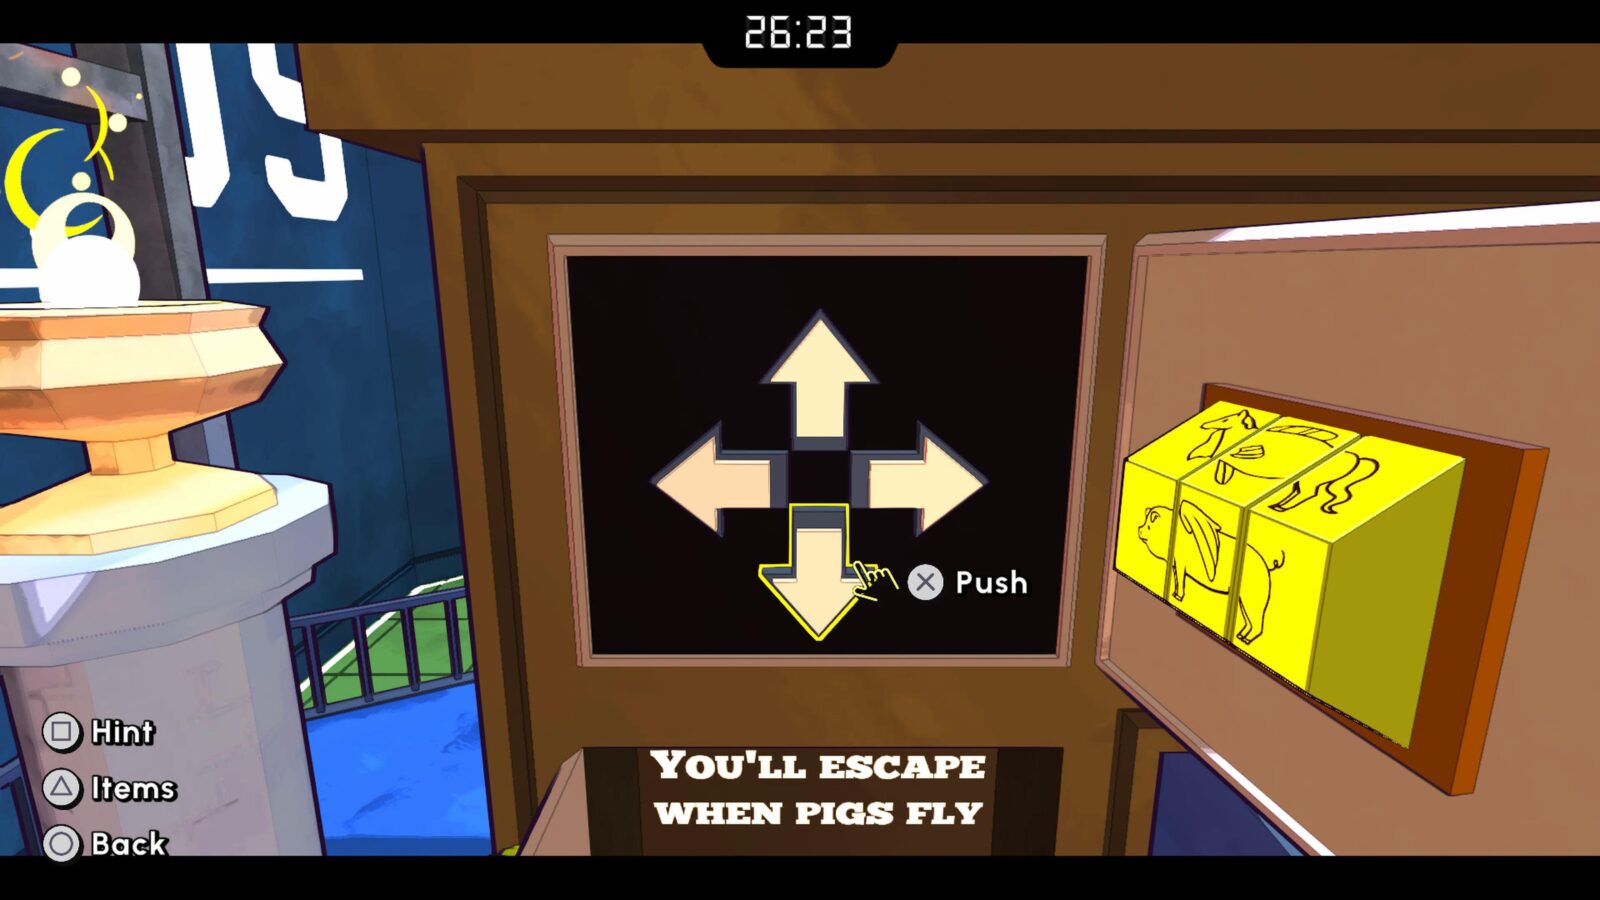
ANIMAL PUZZLE
Rotate the wheel until you see a flying pig, revealing an arrow combination.
ARROW PUZZLE
Enter the arrow combination you recovered from the Animal Puzzle; Up, Right, Up, Left, Down. You will receive some coins.
COIN SLOT PUZZLE
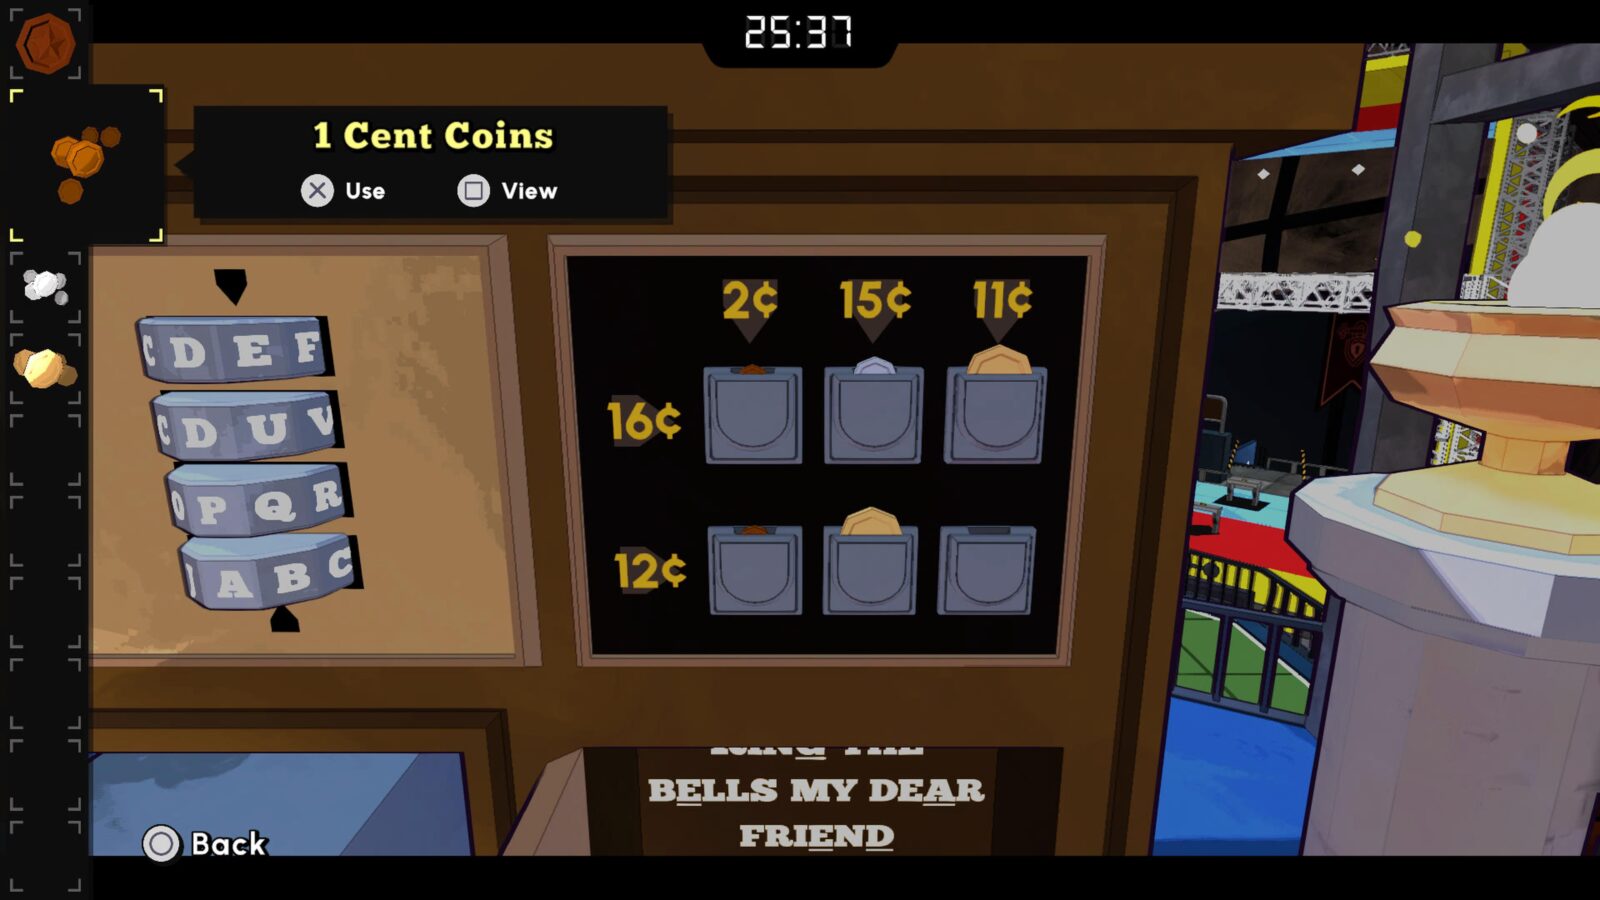
The coin slot puzzle has six coin slots on it, from left to right place the coins you received in the slots in this order:
- 1 Cent
- 5 Cent
- 10 Cent
- 1 Cent
- 10 Cent
- 1 Cent
You will receive some playing cards.
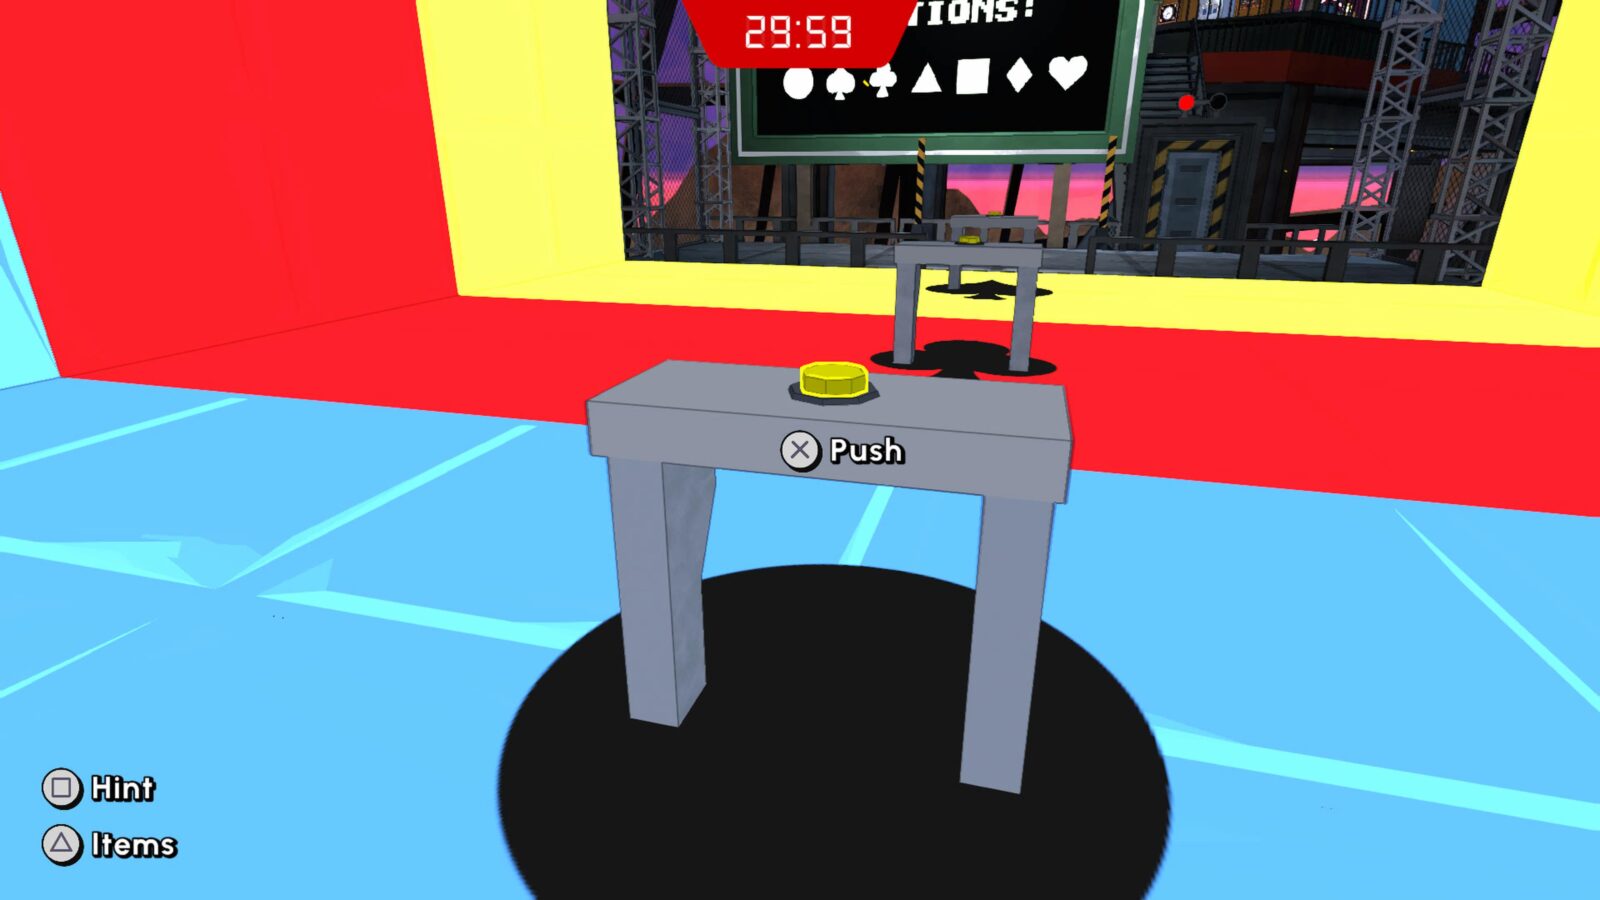
CLOCK PUZZLE
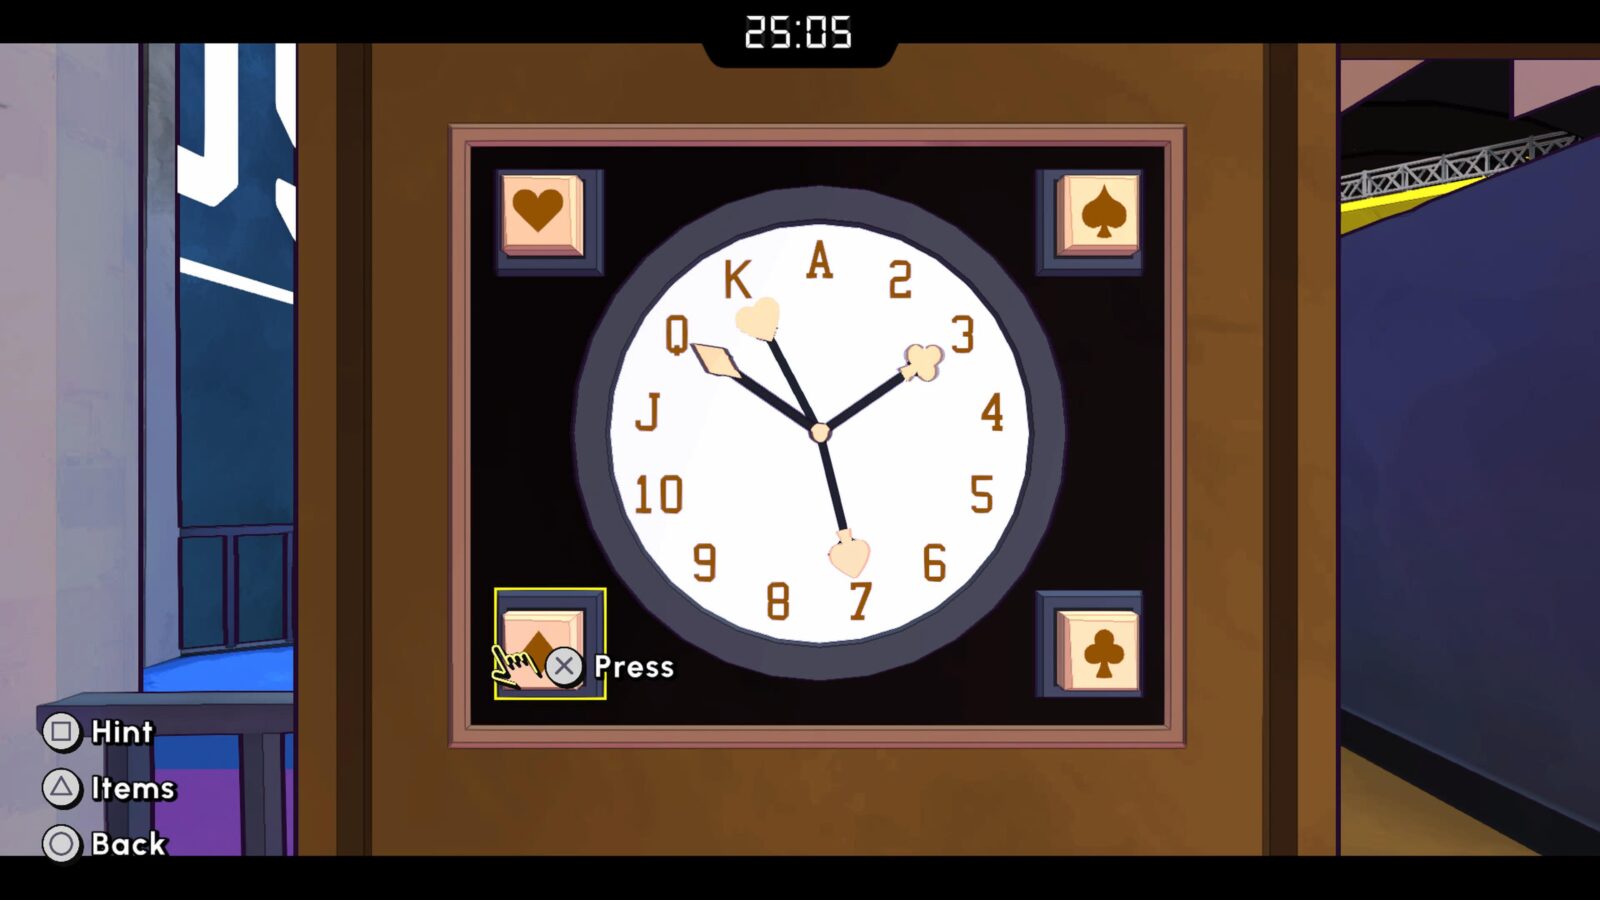
Press the buttons to rotate the hands on the clock until they’re pointed as follows:
- Hearts = King
- Spades = 7
- Clubs = 3
- Diamonds = Queen
LETTER WHEEL PUZZLE
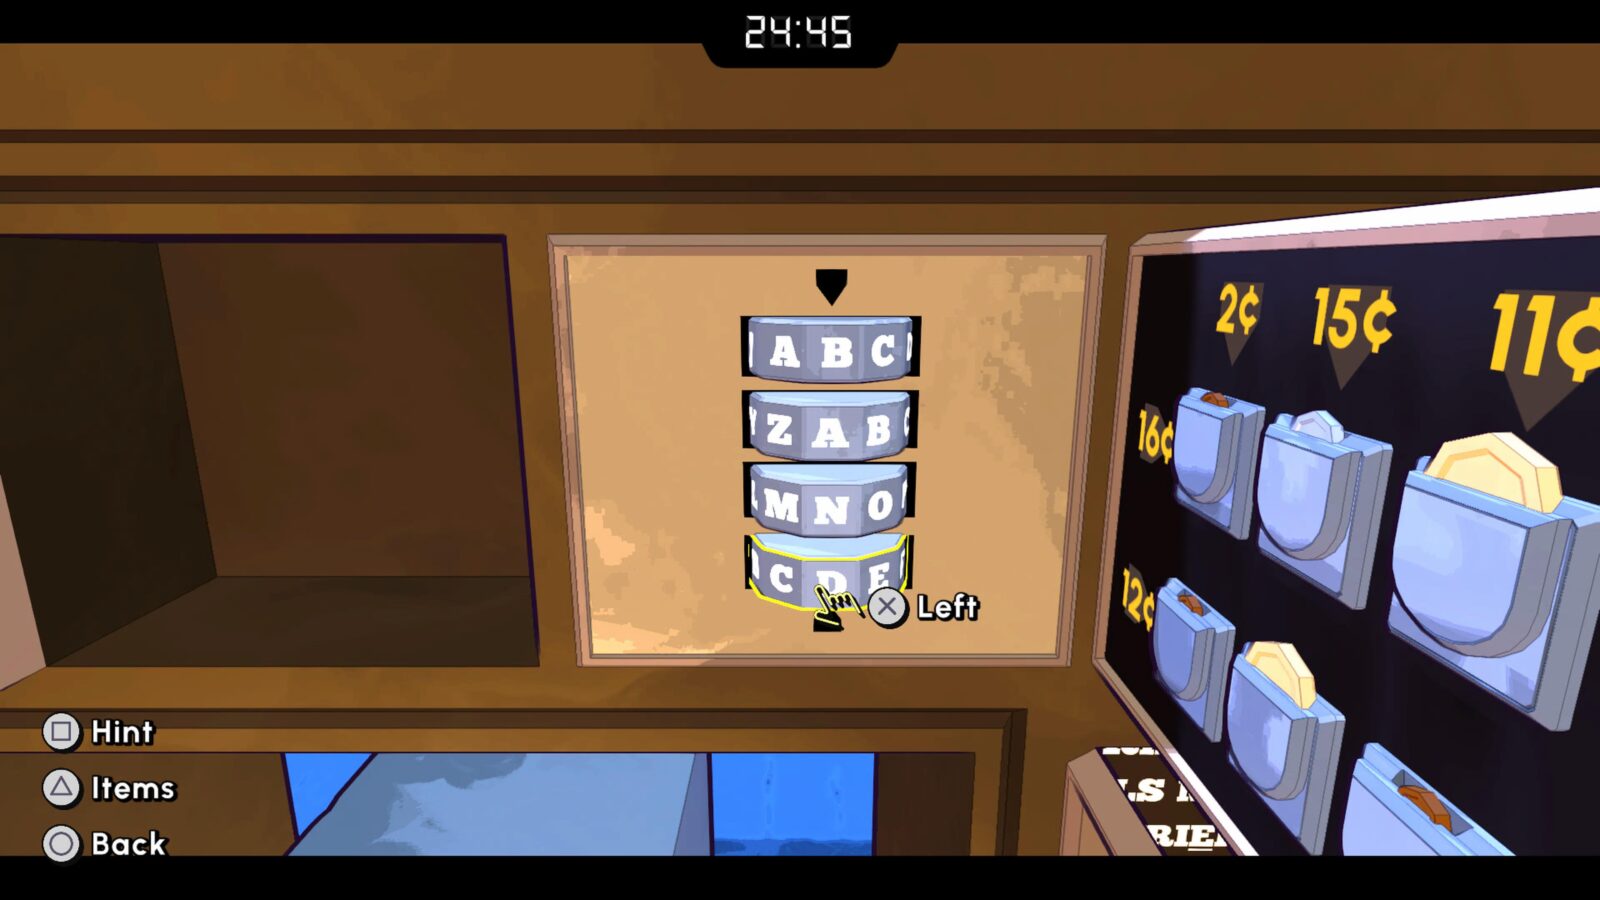
Enter the word “BANE” to receive some marbles.
MARBLE PUZZLE
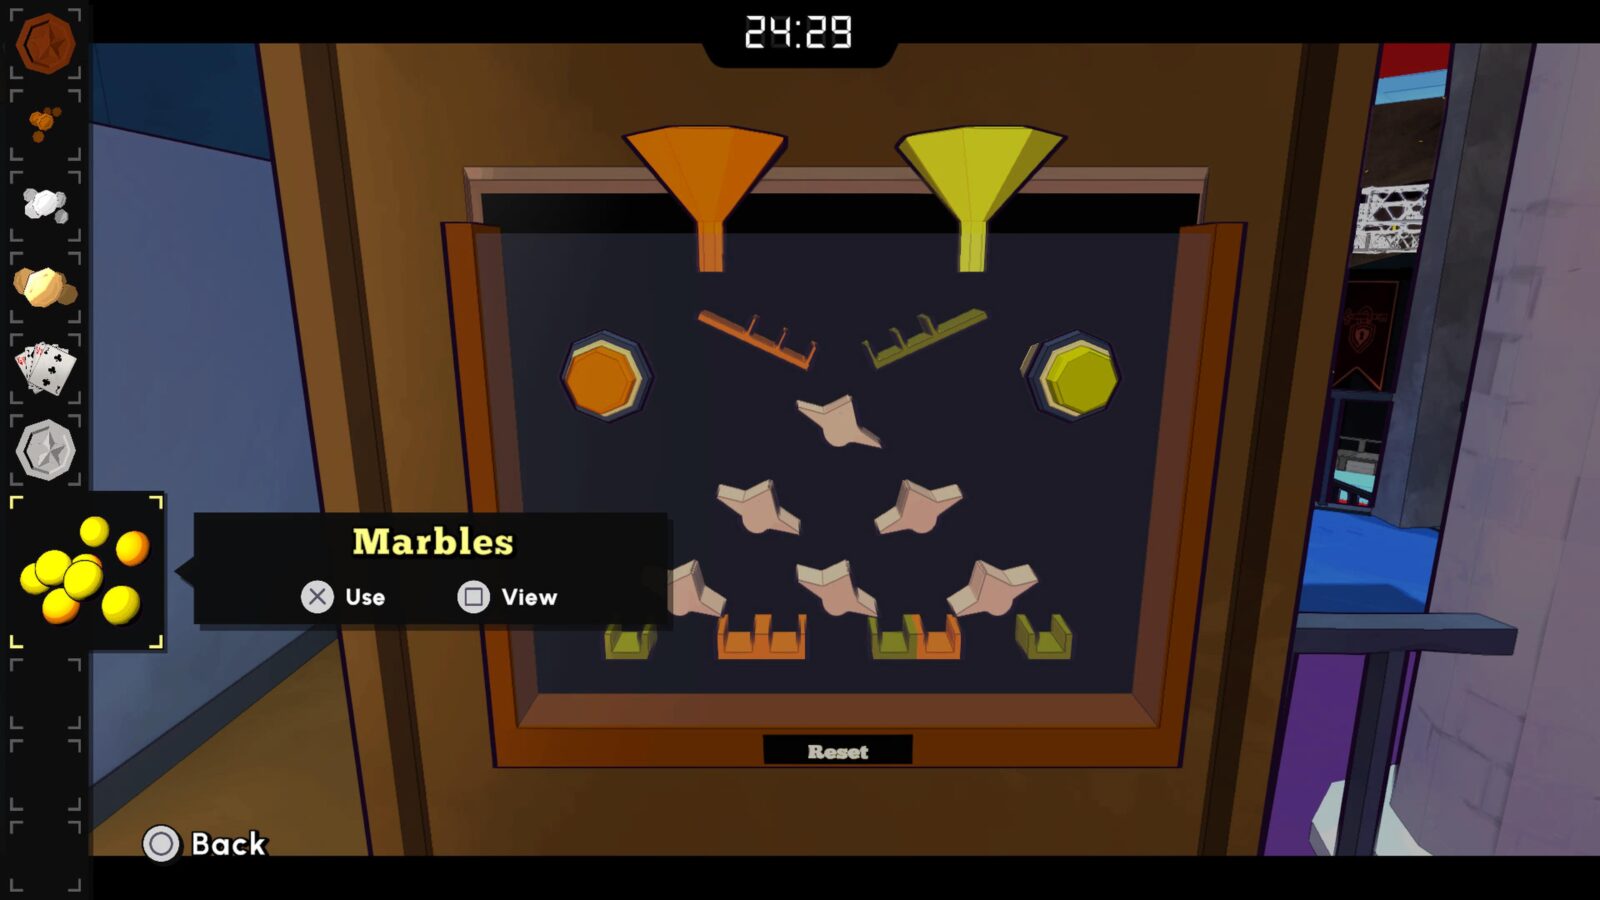
Use the marbles on the funnels at the top of the device, then press the colored buttons in this order:
- Green
- Green
- Orange
- Green
- Orange
- Orange
After completing all of the puzzles above, you will have three medals; Bronze, Silver, and Gold. Place all three into the Safe and open it to complete the level.
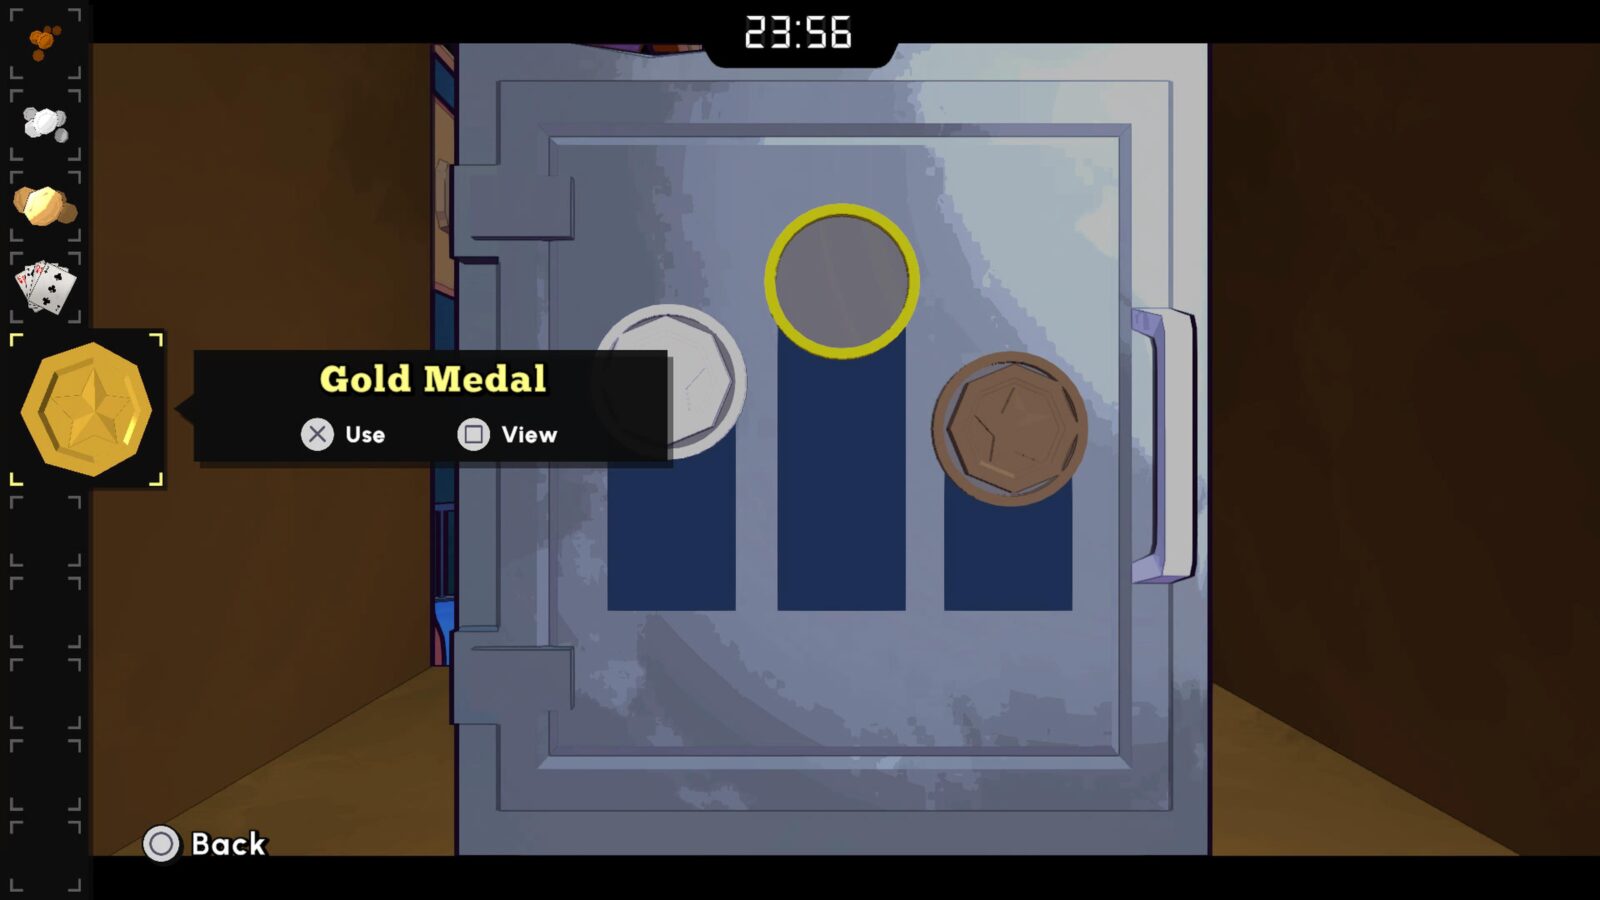
If you followed our instructions and avoided in-game hints then you’ll also receive an A+ Rating.

Spin Specialist
Solve Eel's Rotating Chambers in under 8 moves.
To unlock the “Spin Specialist” trophy, you need to complete the Rotating Chambers puzzle in Escape Level 9, “The Rival Room,” in under 8 moves.
The solution for this is included in the walkthrough for The Rival Room. See Apex First Year.

Stop, Drop, and Solve!
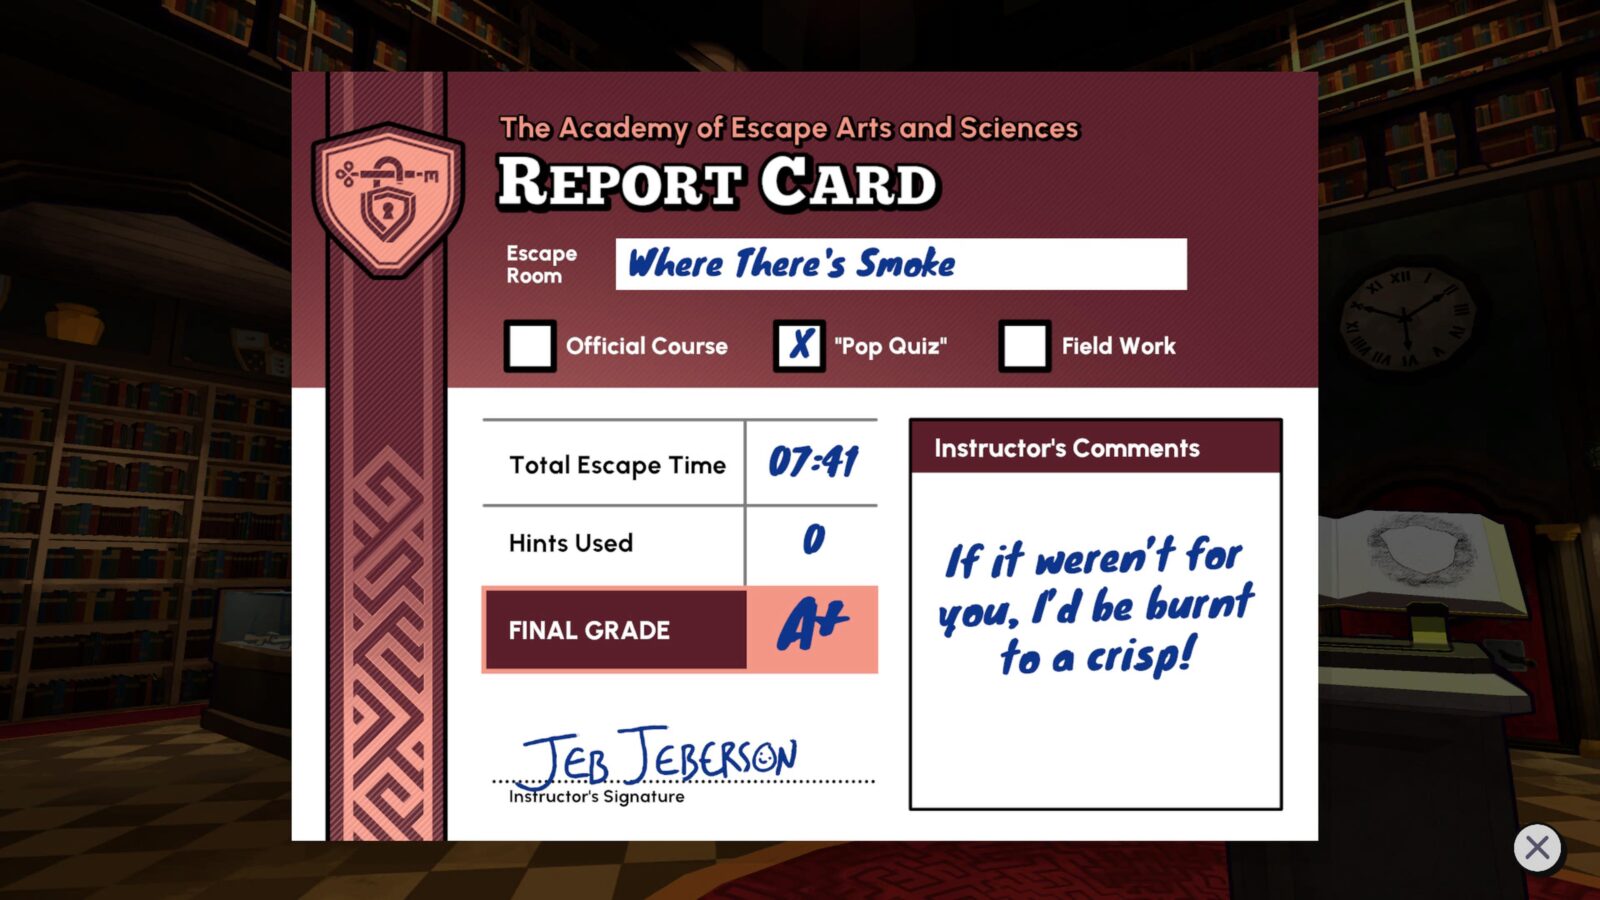
Escape "Where There's Smoke."
You’ll need to overcome a total of 5 back-to-back escape rooms in the tenth level (Where There’s Smoke) in order to unlock Stop, Drop, and Solve!
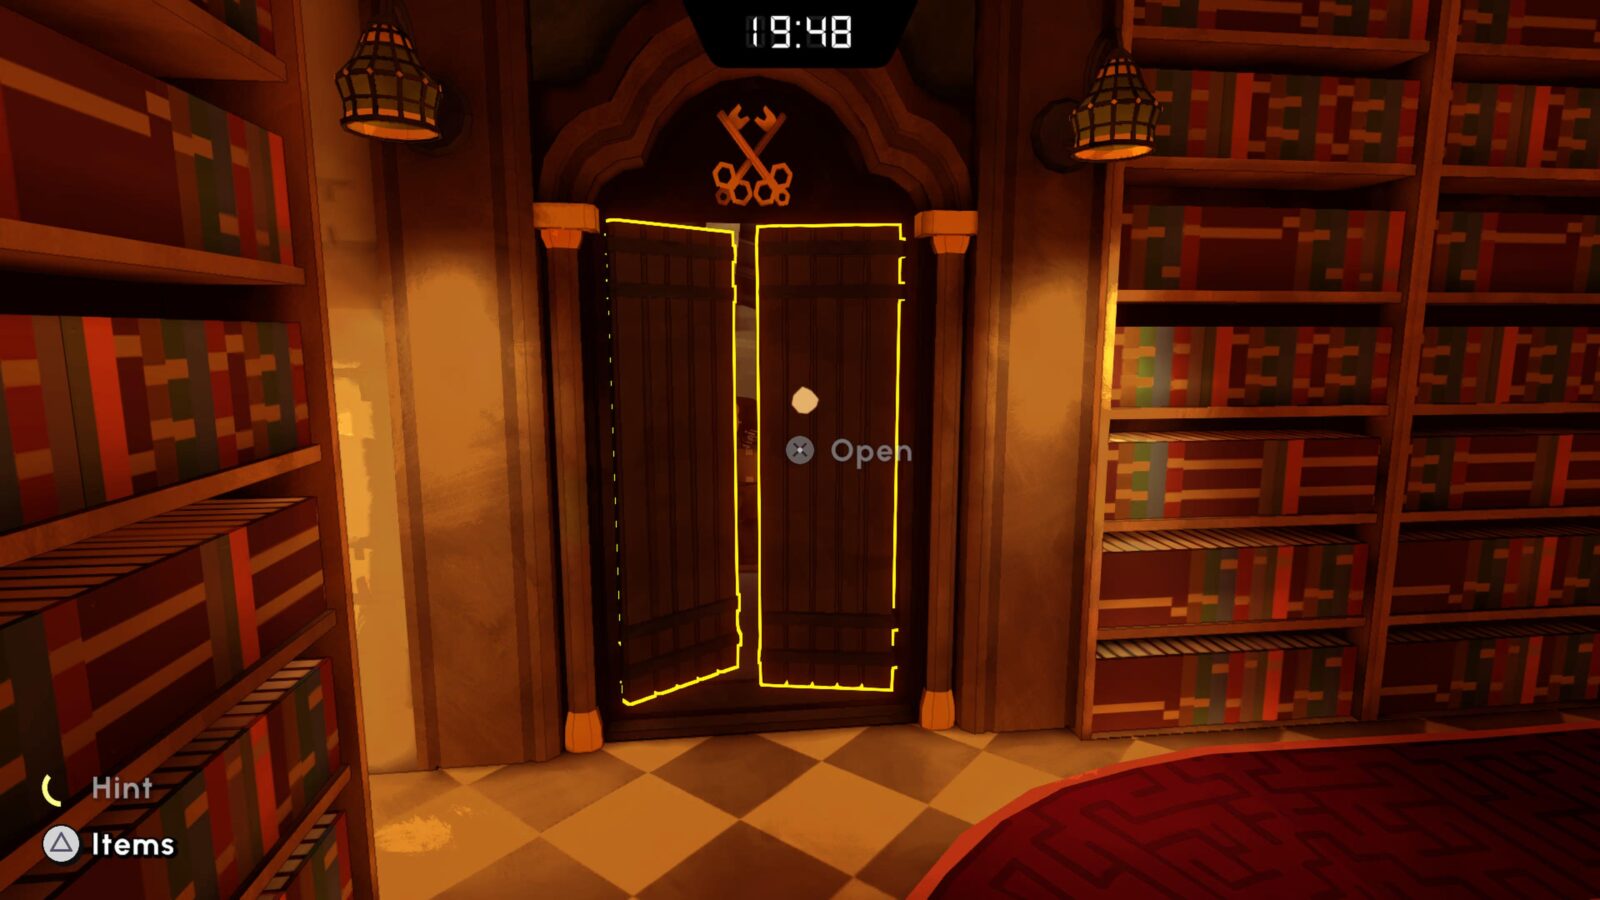
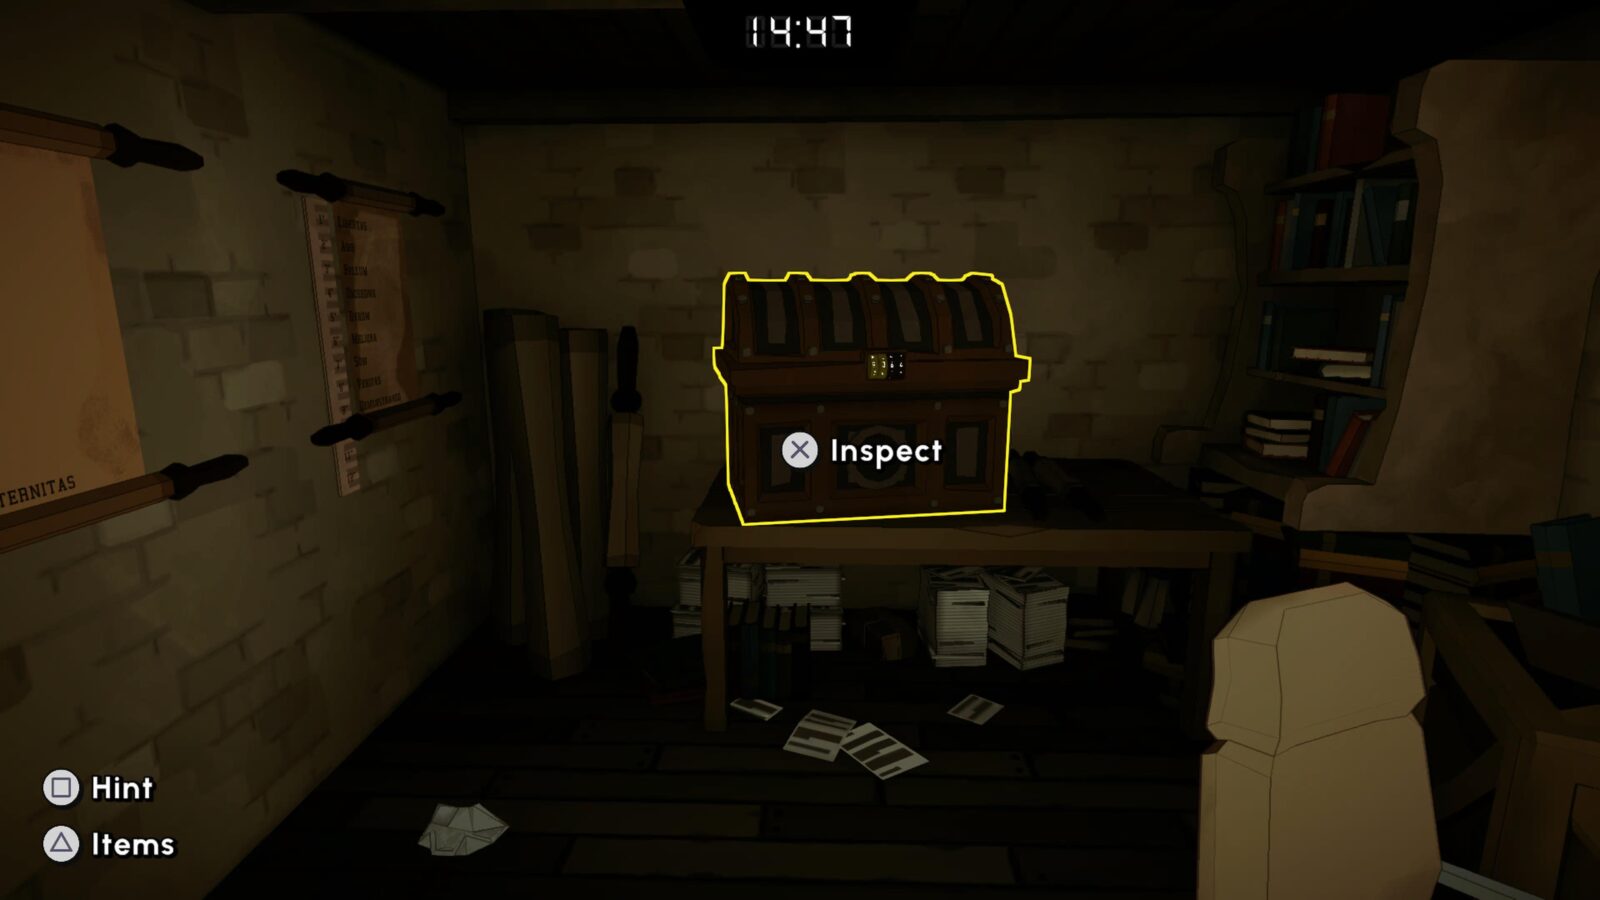
At the start, pass through the slightly opened door into the Library’s Basement.
Inside, interact with the lock on the chest and enter “2257” to unlock it. Retrieve the Strange Tile from within.
Return to the basement entrance and then interact with the Jewellery box, input the following combination:
- Right
- Right
- Up
- Left
- Down
- Up
- Left
- Left
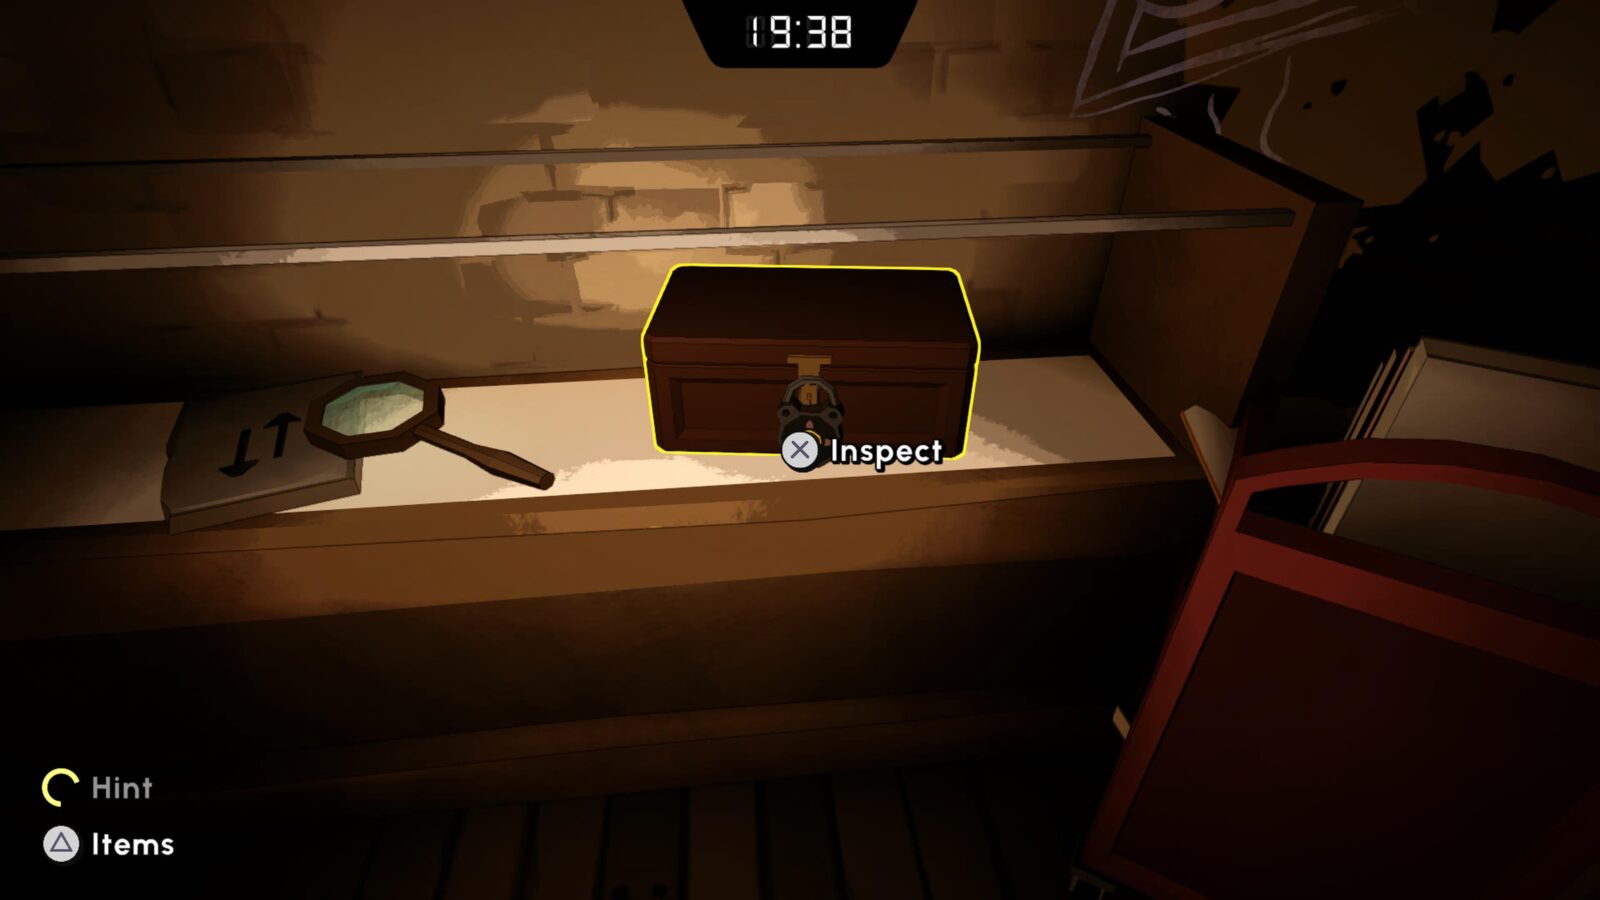
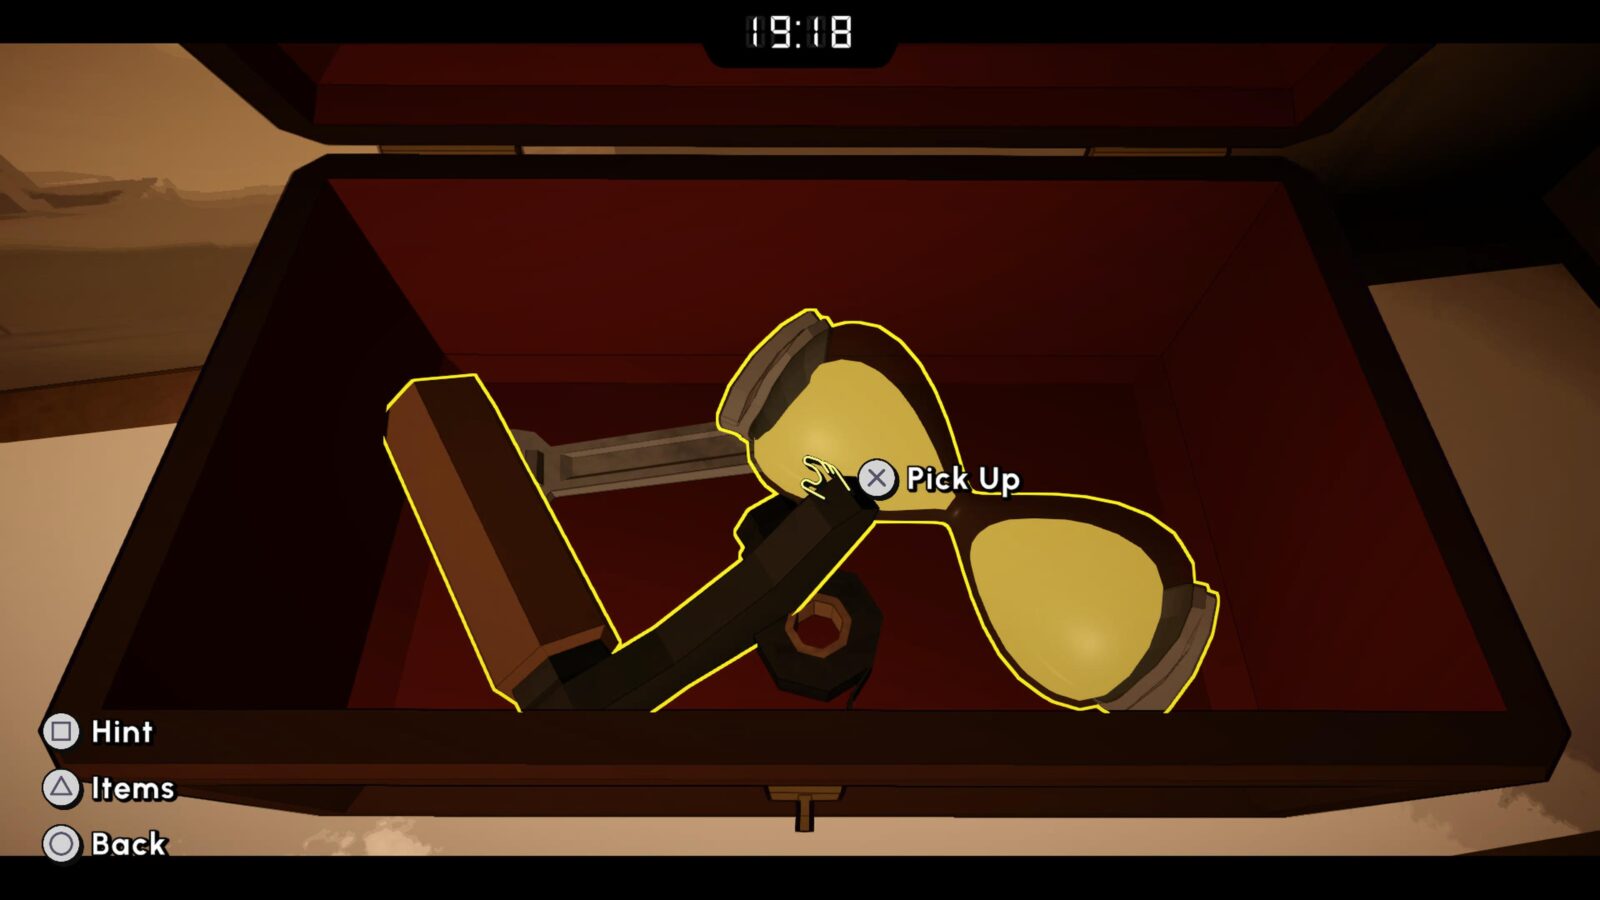
Retrieve the Hourglass and the Crank Handle, then return to the main library room.
Approach the door with the clock design on it and insert the crank into the empty slot.
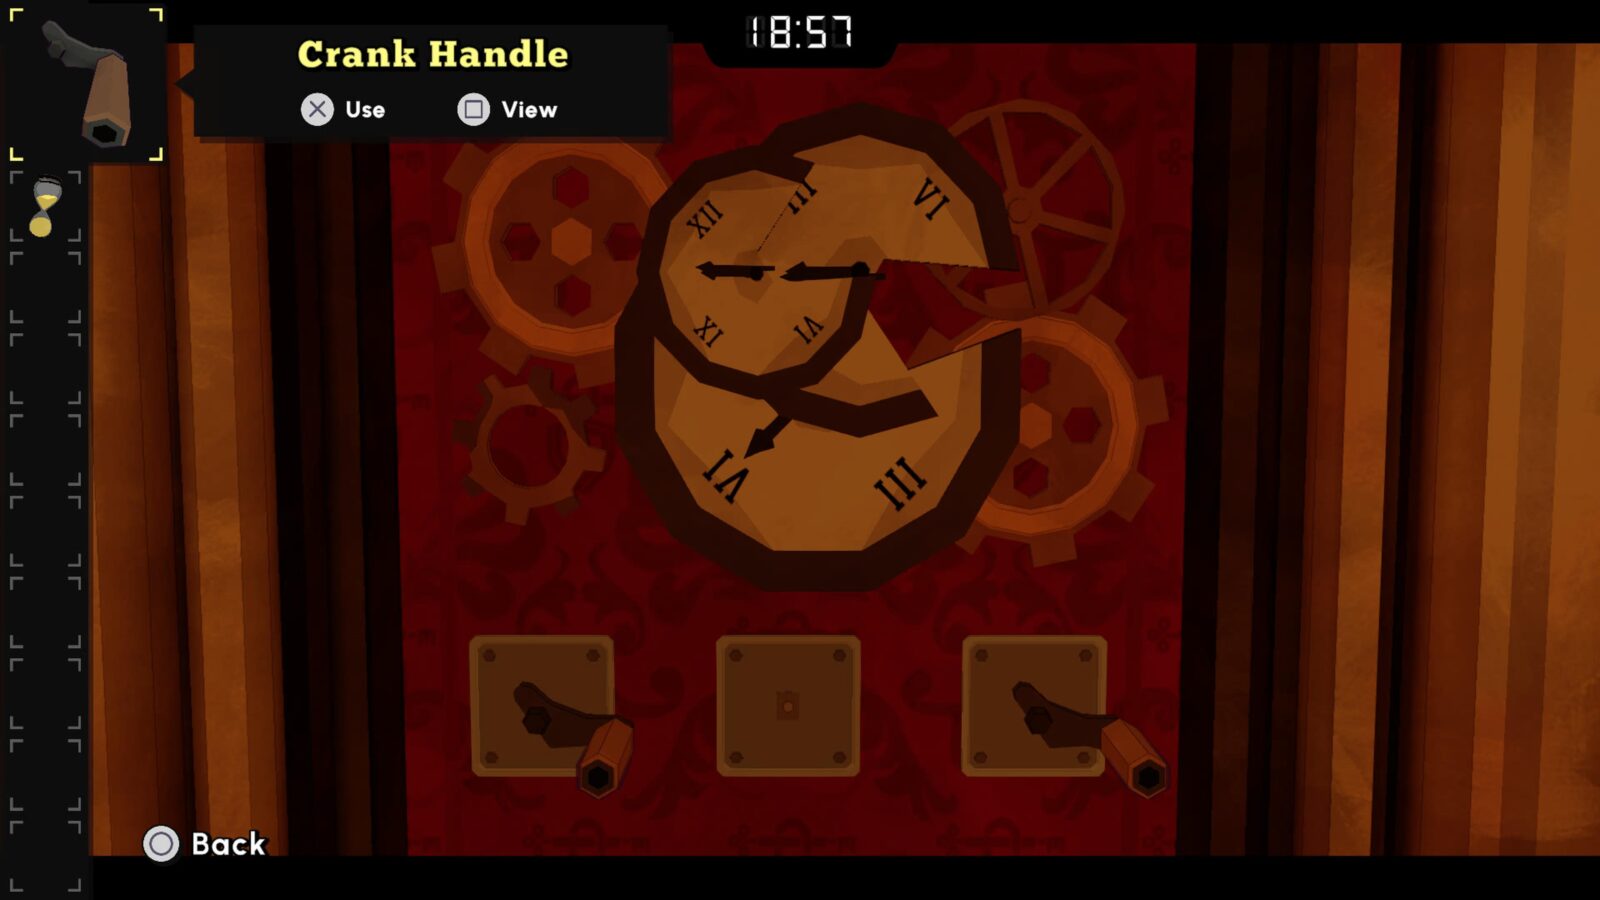
Now able to manipulate all of the clocks, adjust them until the clocks are in the formation shown below:
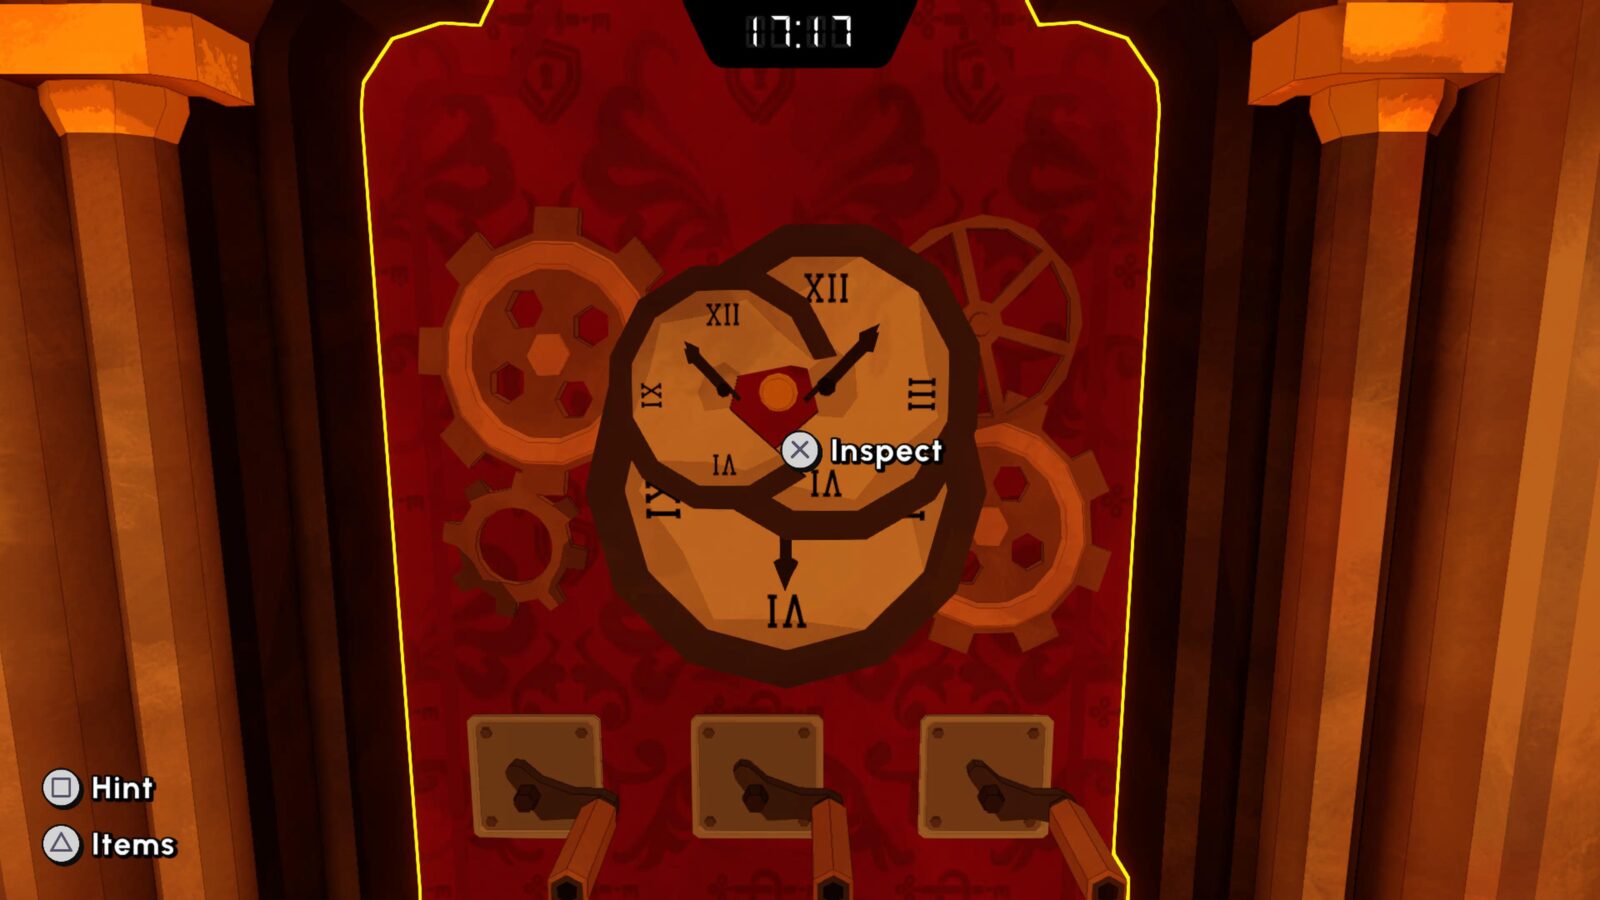
Press the newly-revealed button to open up another room.
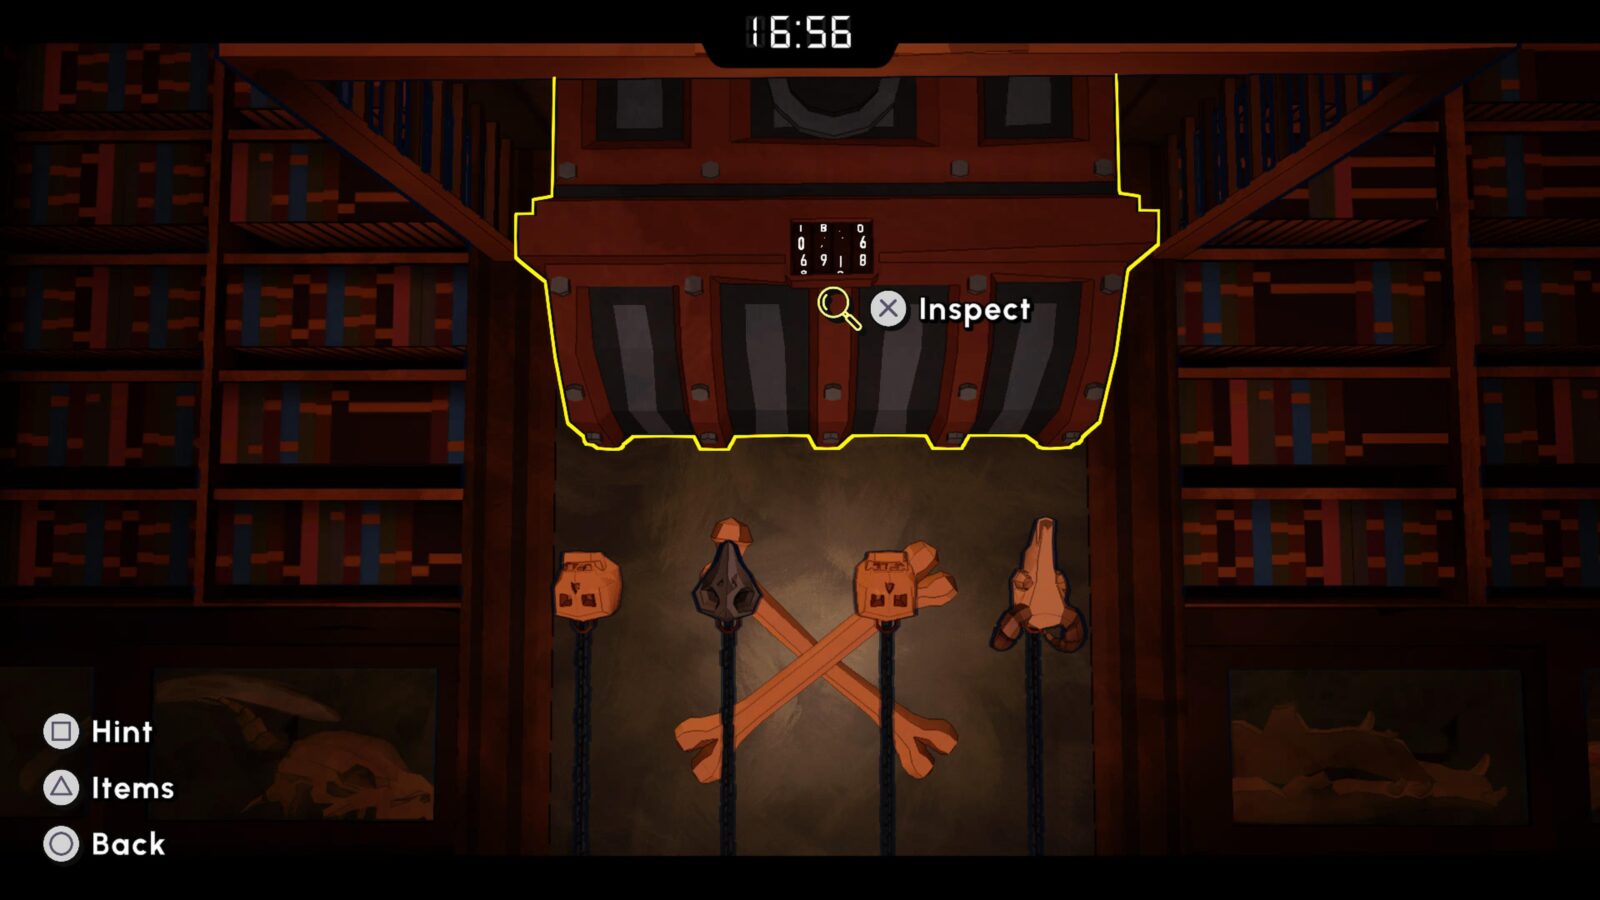
Inside the new room, open the chest with the combination 6869 and take the Strange Tile from within.
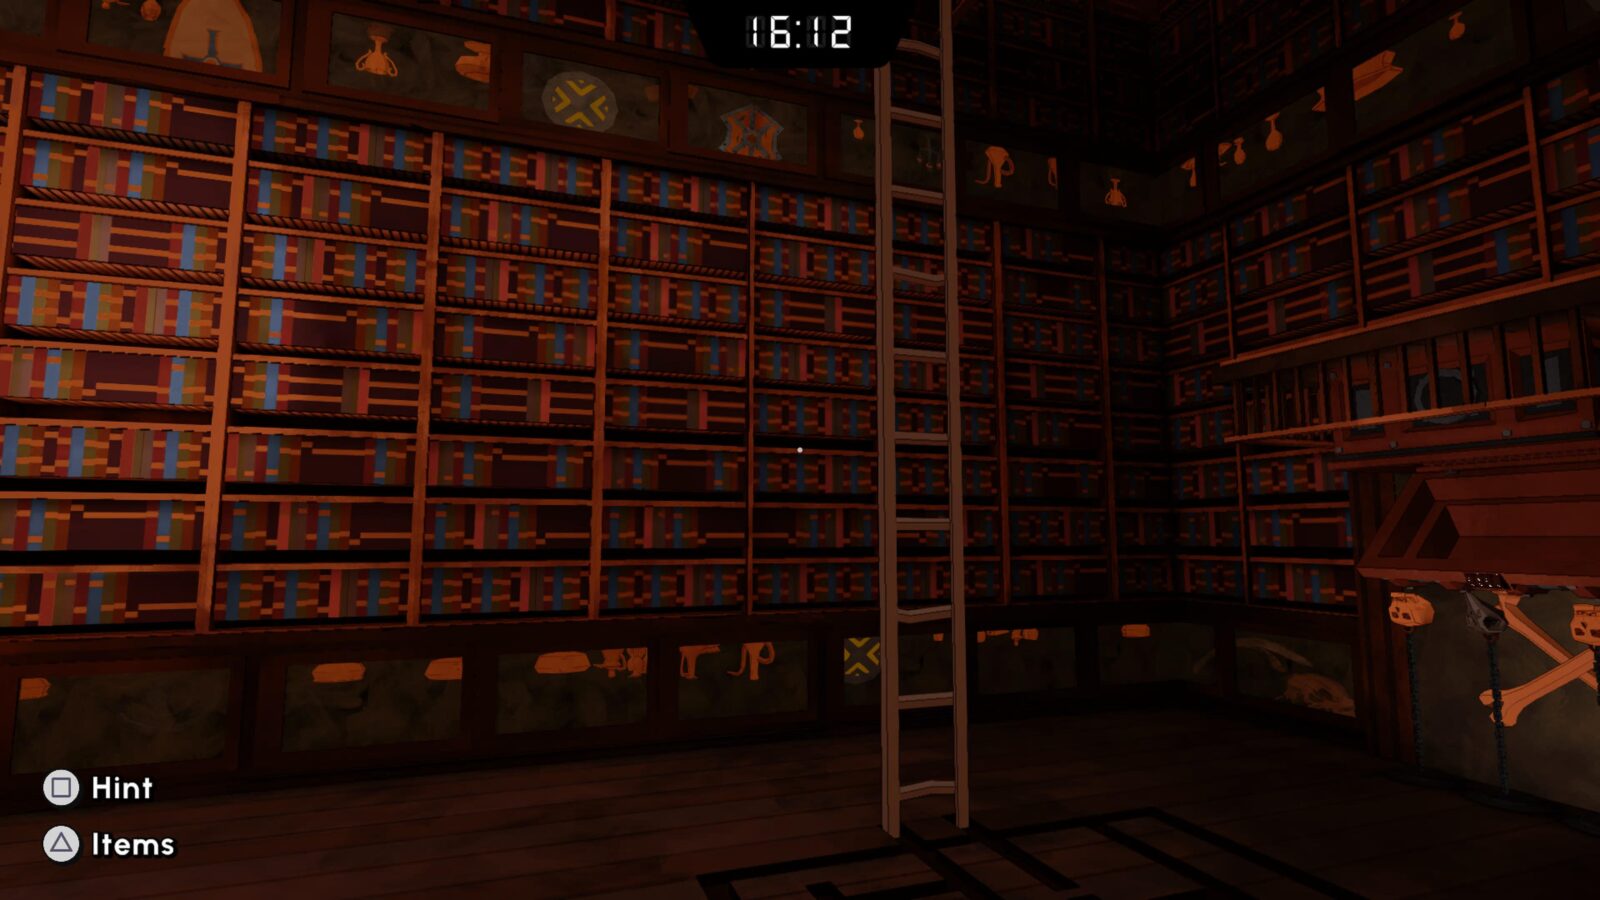
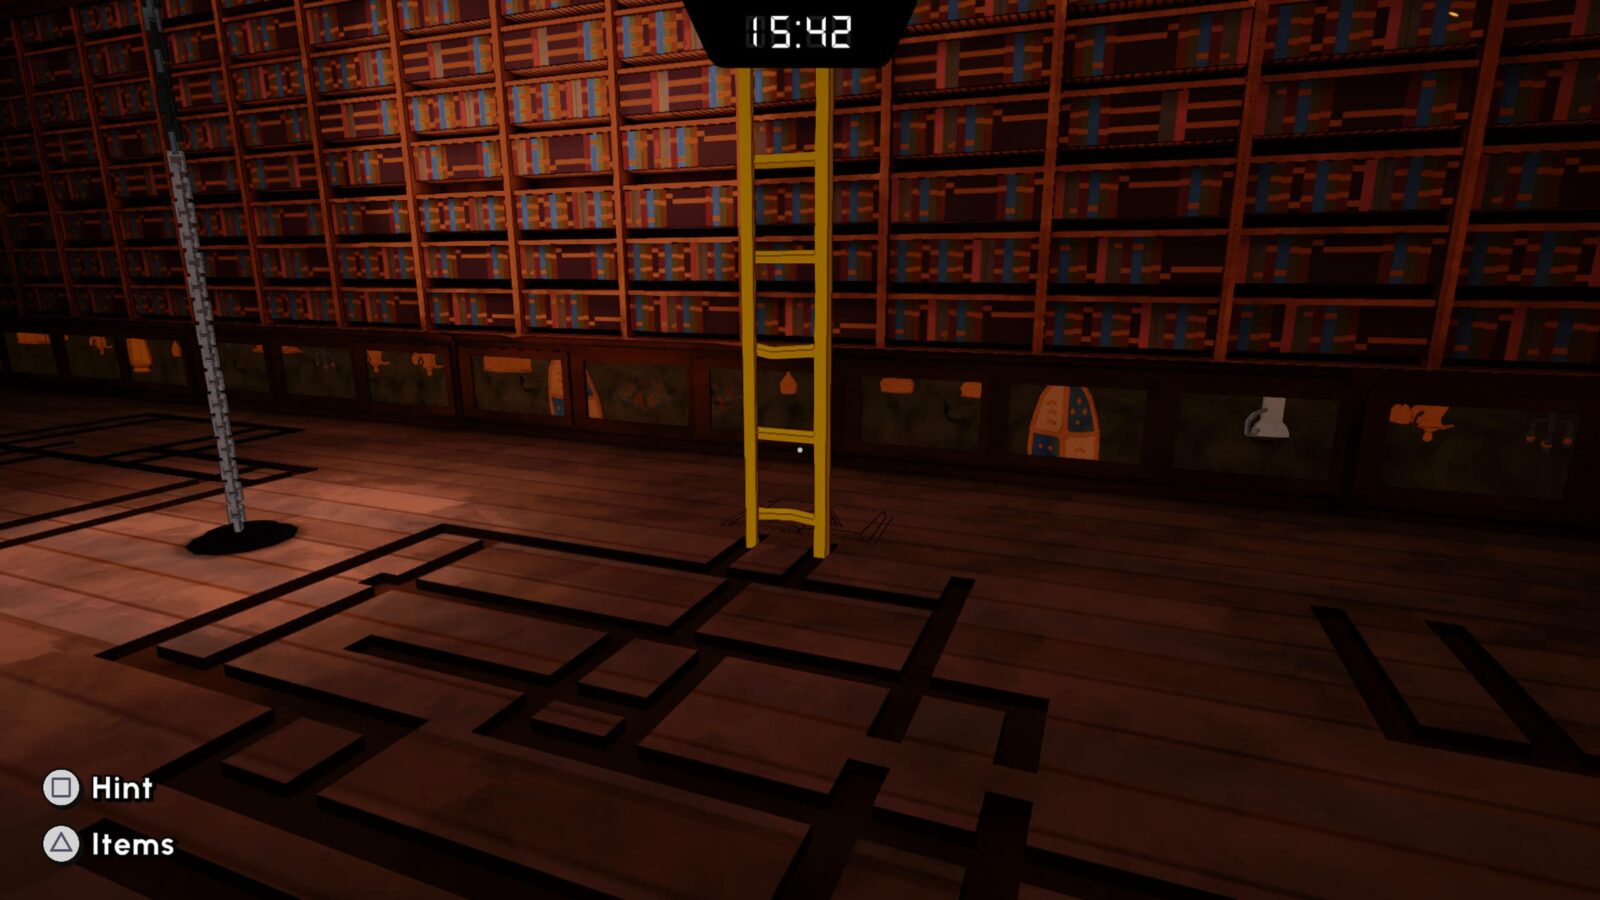
In the same room, push the Silver and Gold Ladders as far as they will go on their respective tracks.
Once done, climb the silver ladder and pull the lever at the top.
Next, climb the gold ladder and collect the Strange Tile. You should now have three of them.
Return to the main Library room and interact with the hourglass door. Position it so that the sand matches the stained glass window above the doorway.
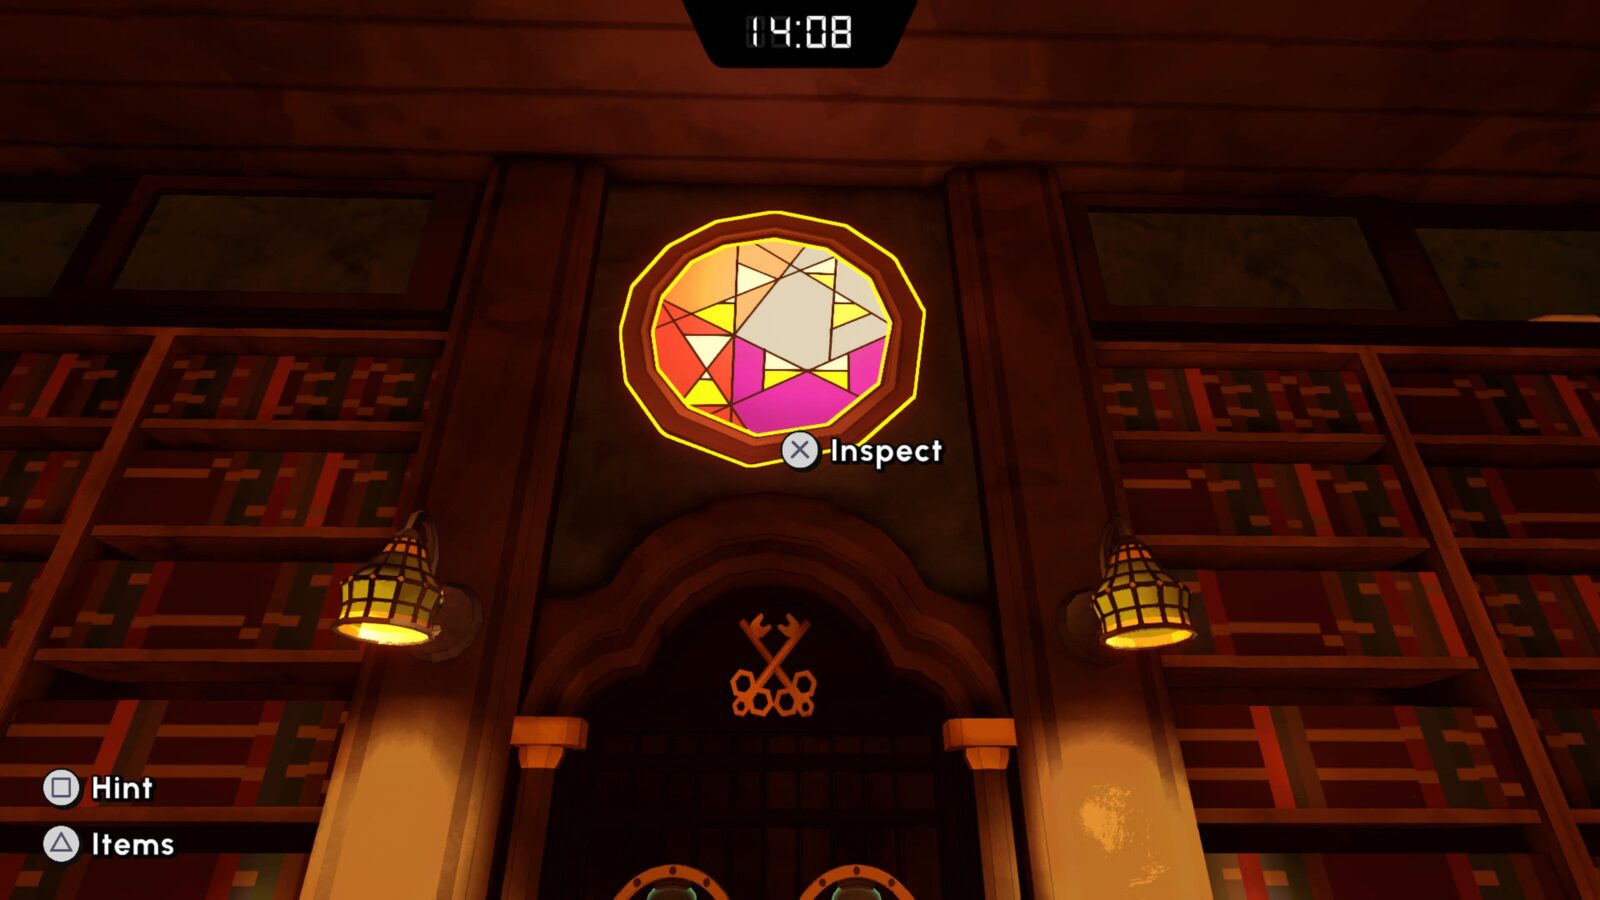
You’ll need to position the top-right hourglass last due to time constraints.
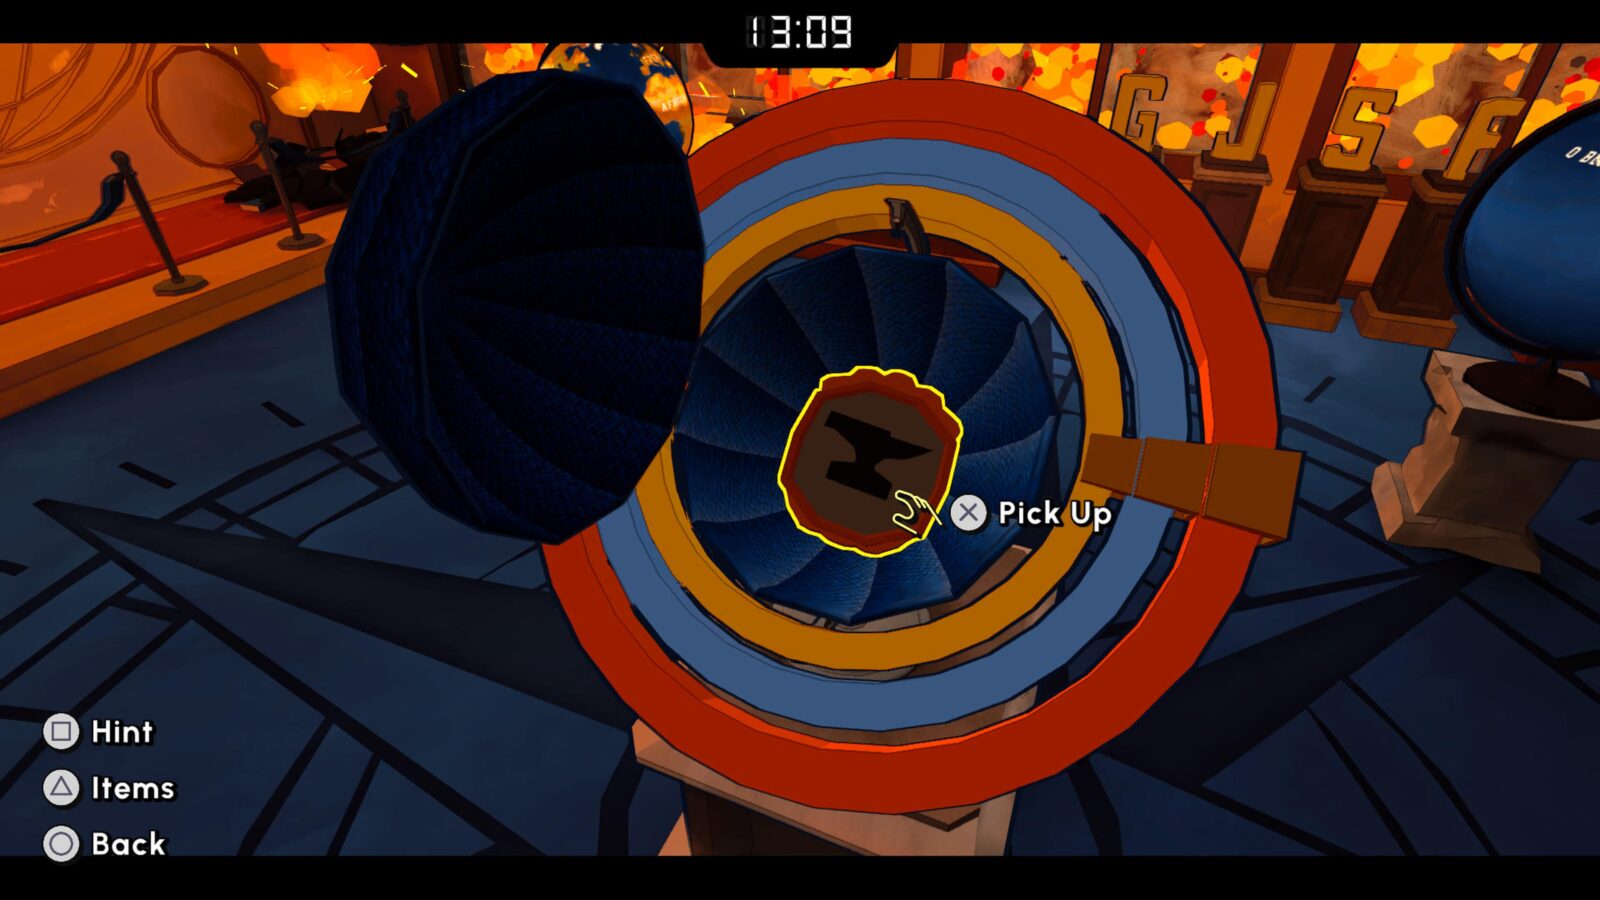
Enter the door and interact with the globe at the center.
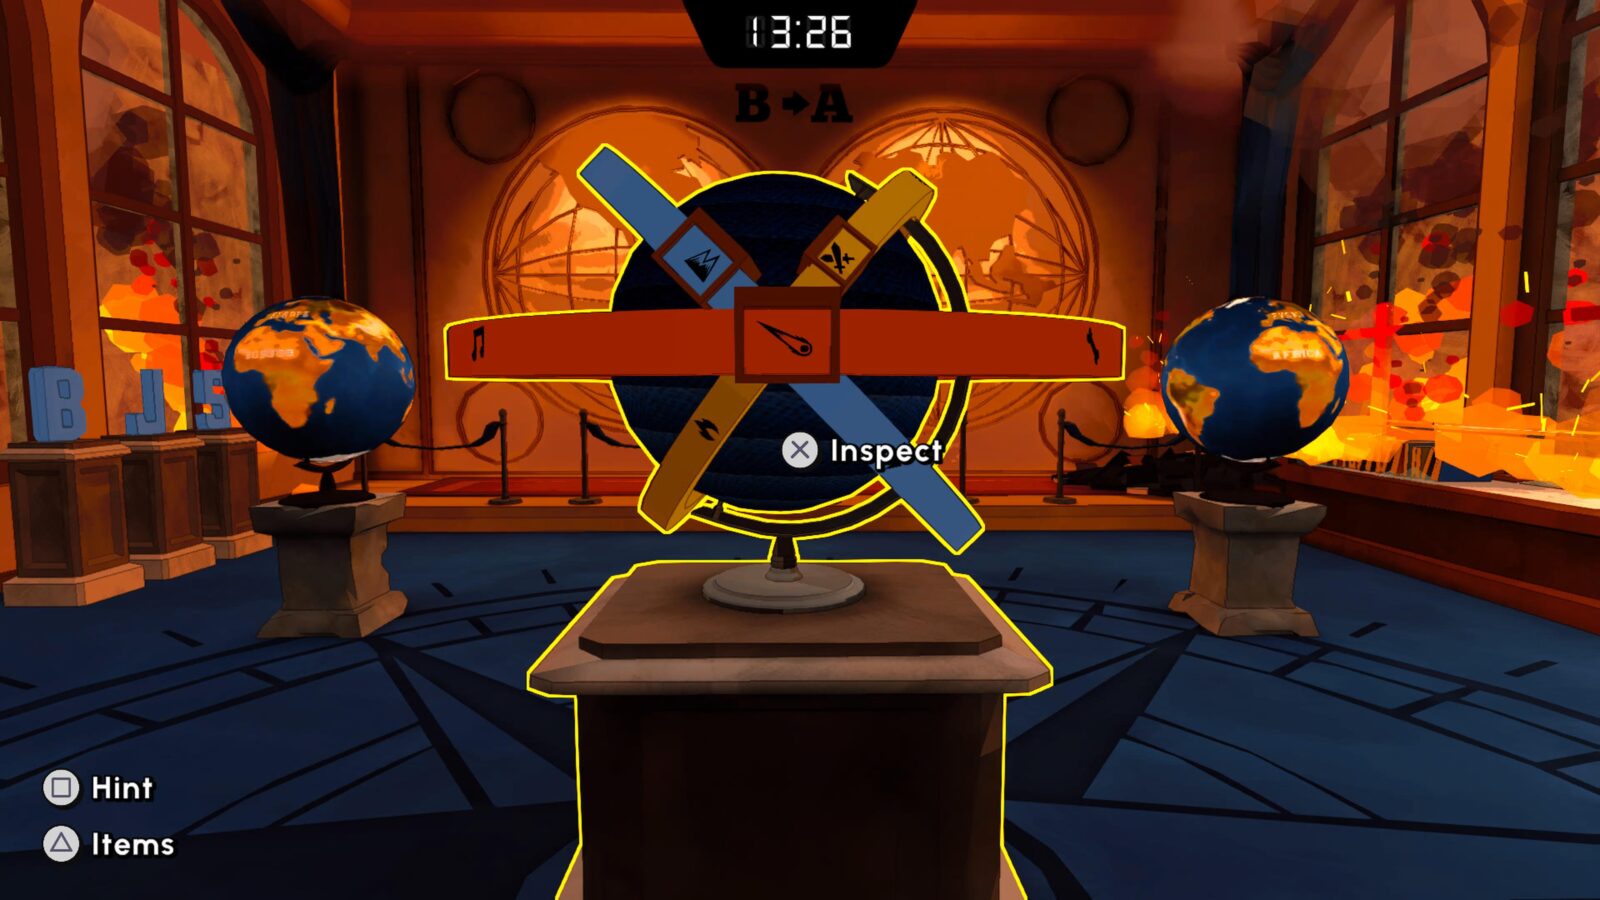
Rotate the rings to change the icons inside the gold squares until they’re like so:
- Sun symbol on the Red Dial
- Wind symbol on the Blue Dial
- Fire symbol on the Yellow Dial
Once done, you’ll be able to grab a fourth Strange Tile.
Now that you have them all, return to the Library and turn right immediately.
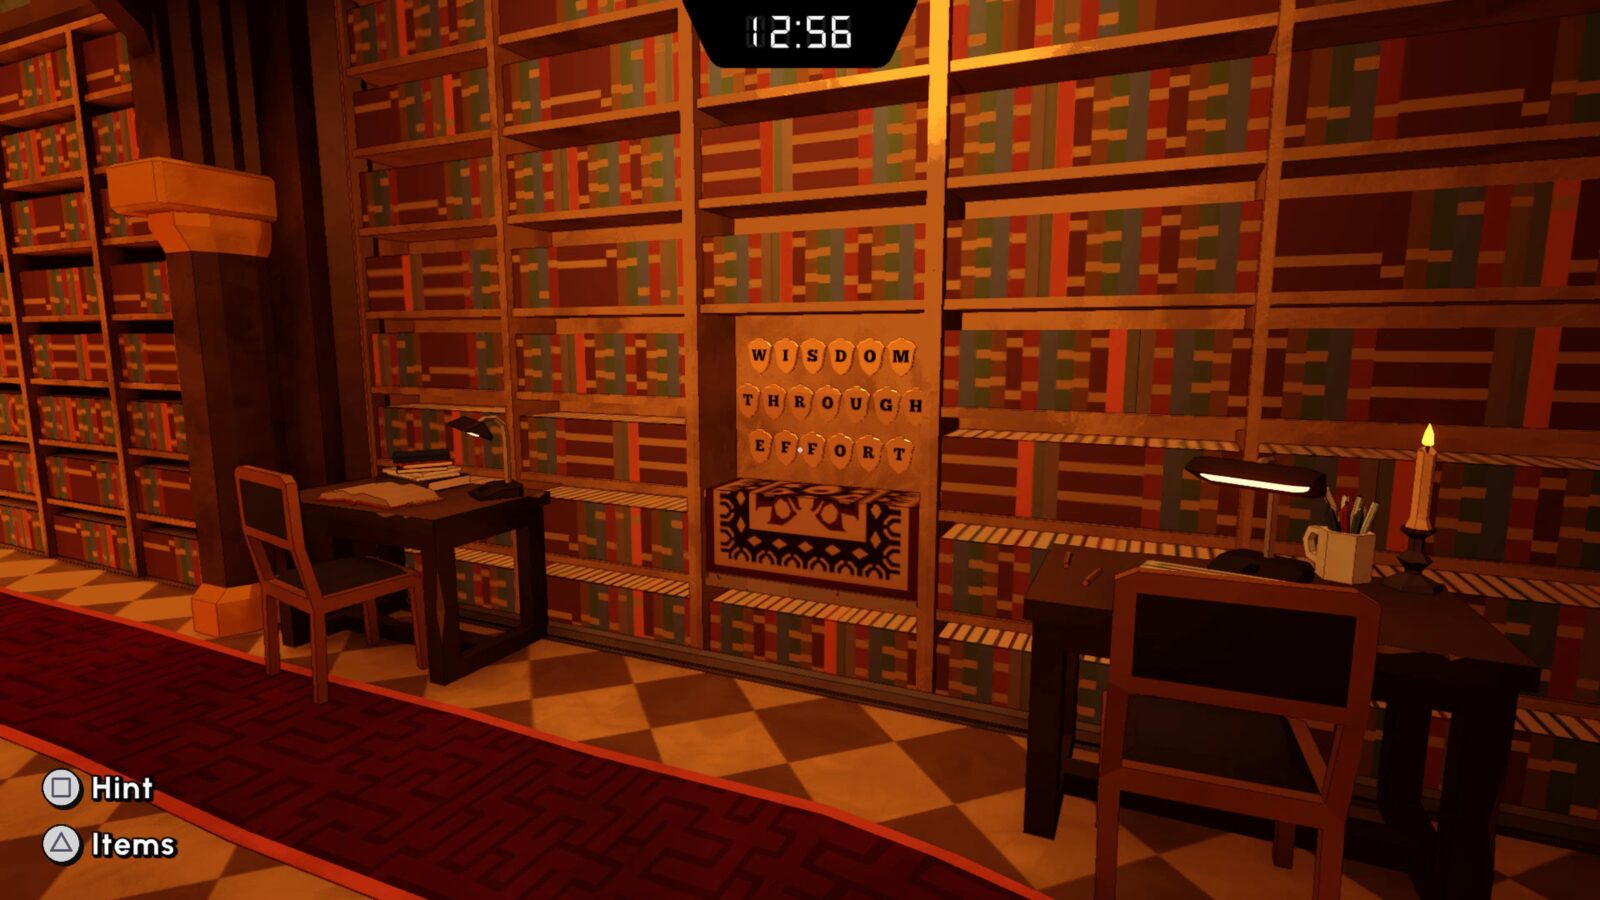
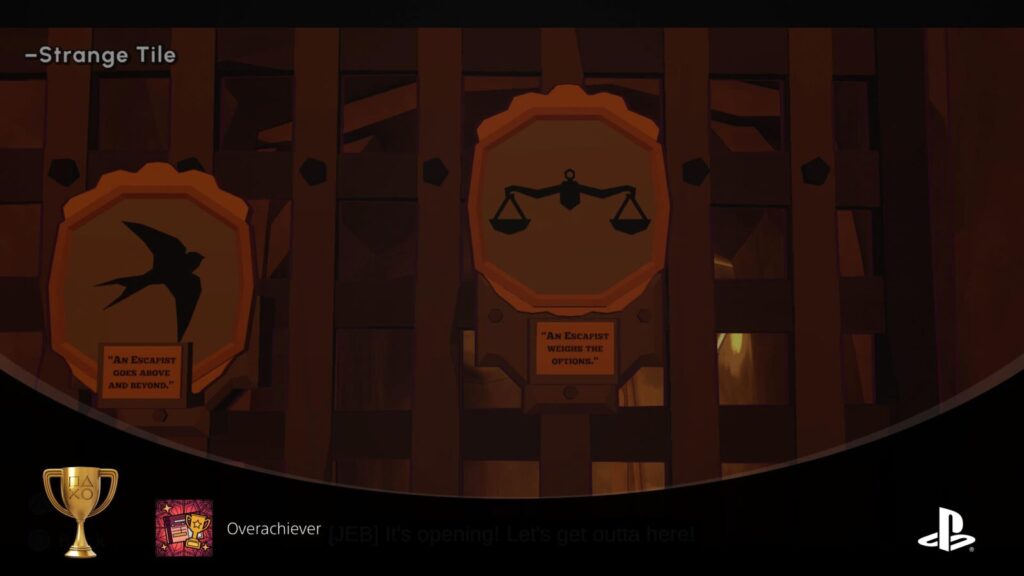
In front of you there are two desks between which there is a panel that says “Wisdom Through Effort.” Interact with the word “Through” to flip it over, revealing a place to put the four tiles.
Place the tiles in this configuration:
| Anvil | Lion |
| Swallow | Scales |
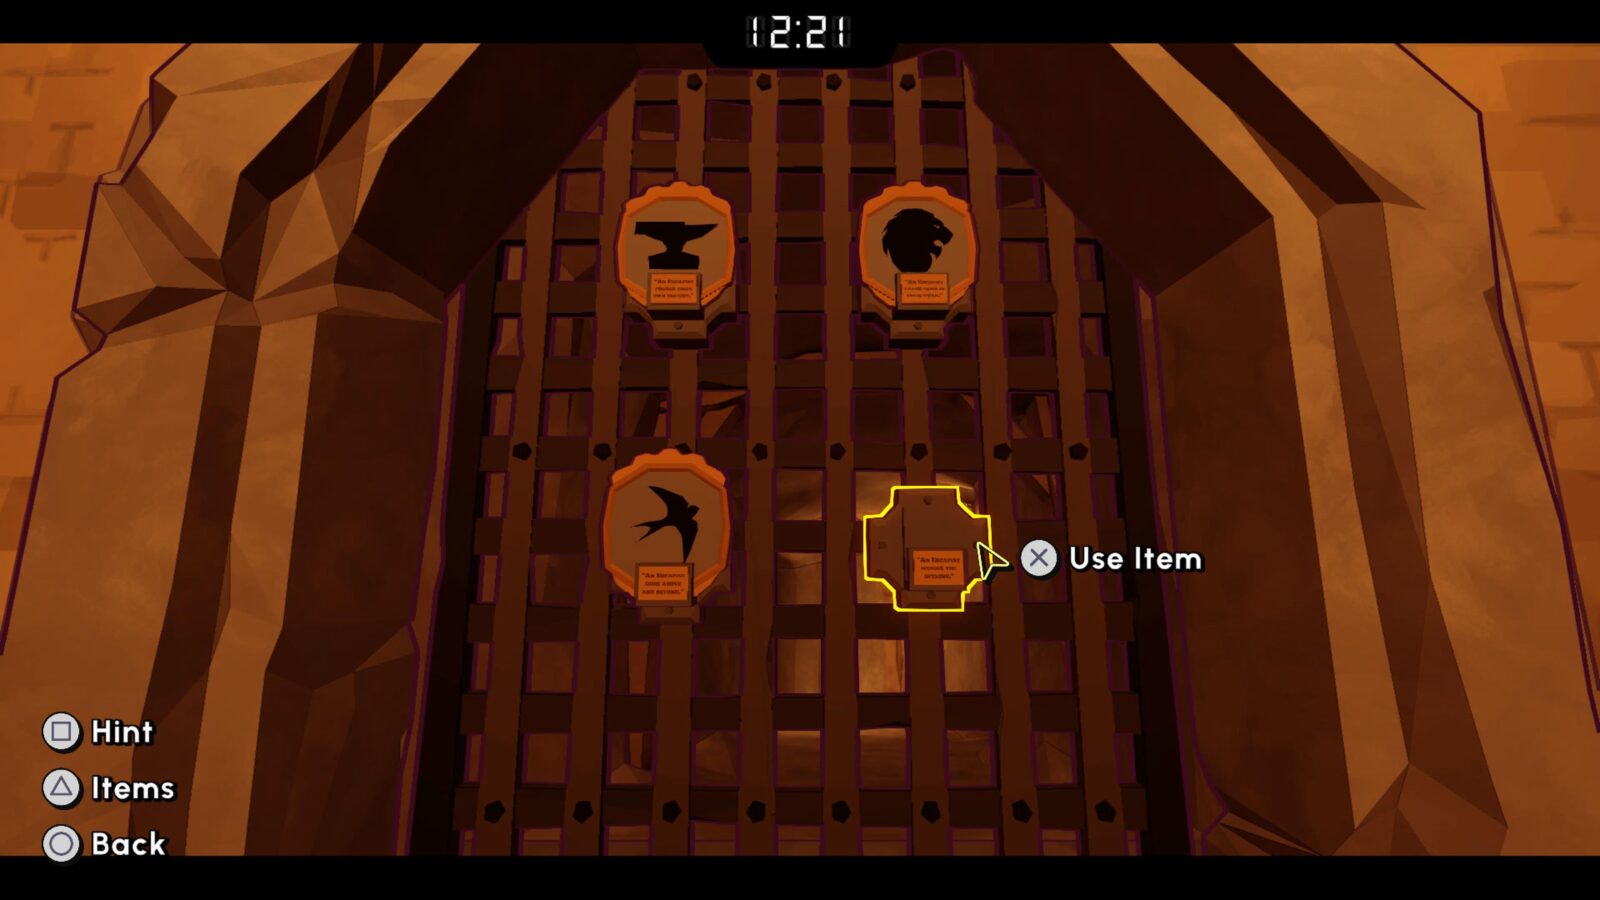
Once the tiles are in the correct positions, the Escape Level will end. If you’ve followed along and saved all of your hints, you’ll also get an A+ rating!
If you’ve earned A+ Ratings in every level so far, you should unlock Overachiever here.

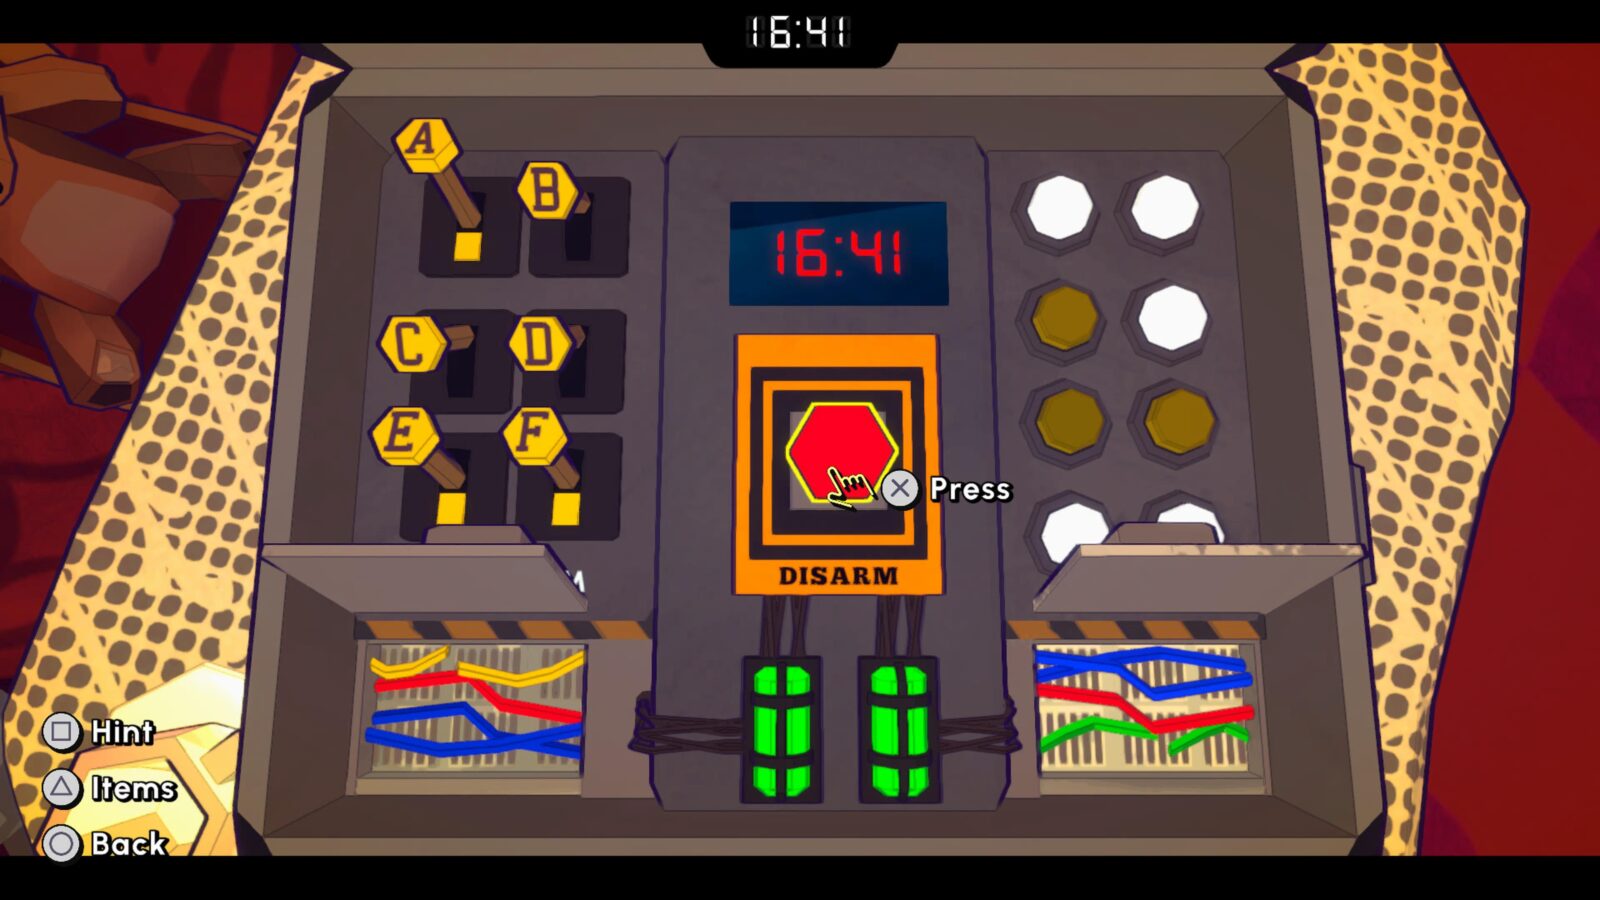
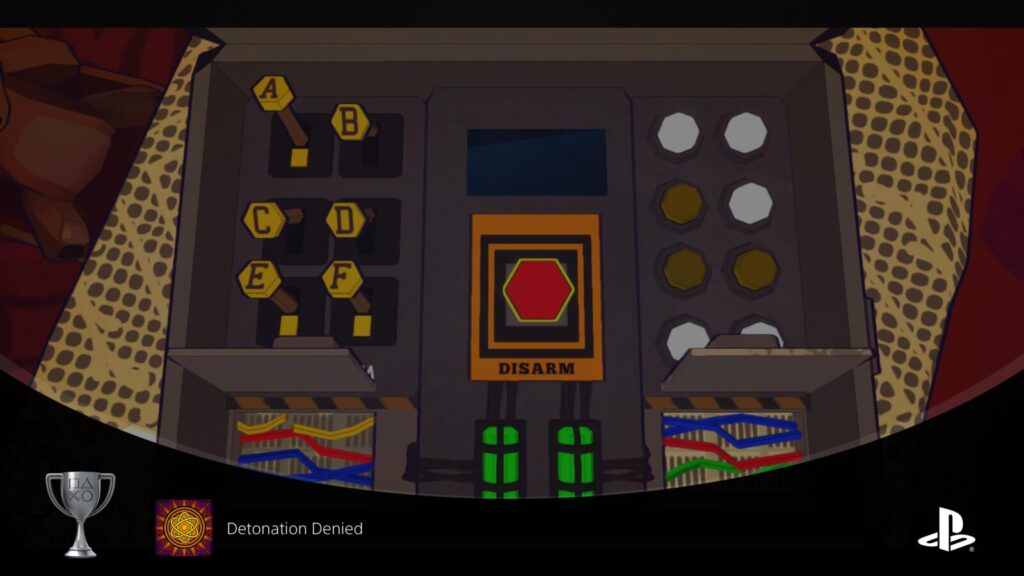
Detonation Denied
Escape "Tea 'N Tea."
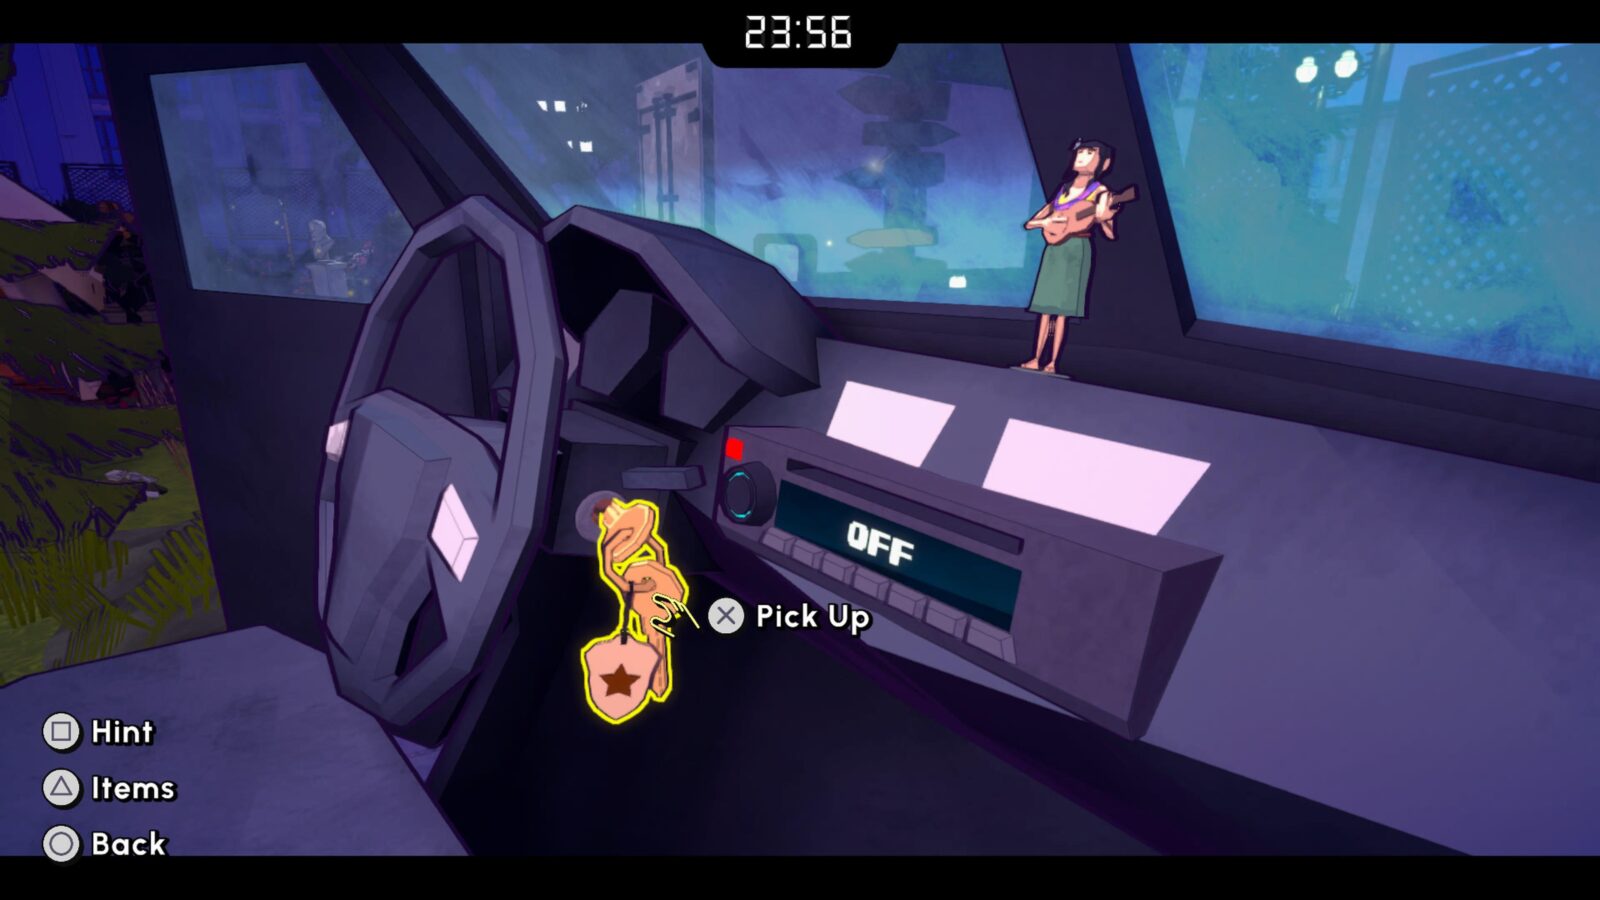
Escape Academy’s 11th Escape Level, “Tea N Tea,” is another fortunately short one to break up the slough of lengthy escapes we’ve done lately.
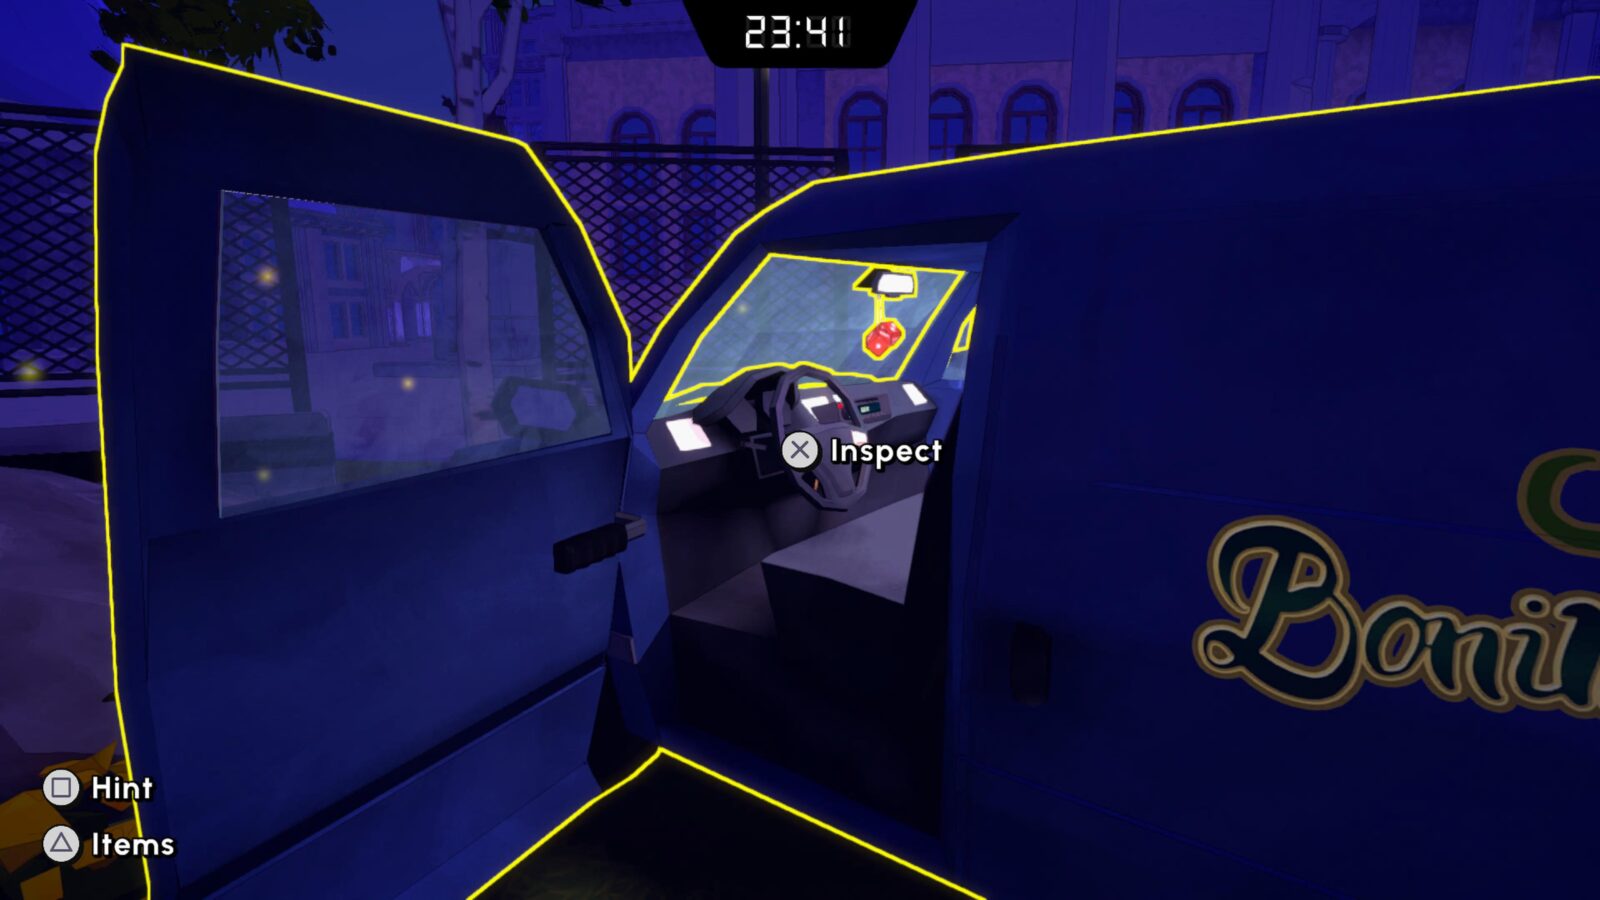
First, grab the Police Keychain from the Police Truck.
Next, grab the Flowers Keychain from the Flower Truck, too.
Once done, look for a container next to the Flower Truck with a panel on it.
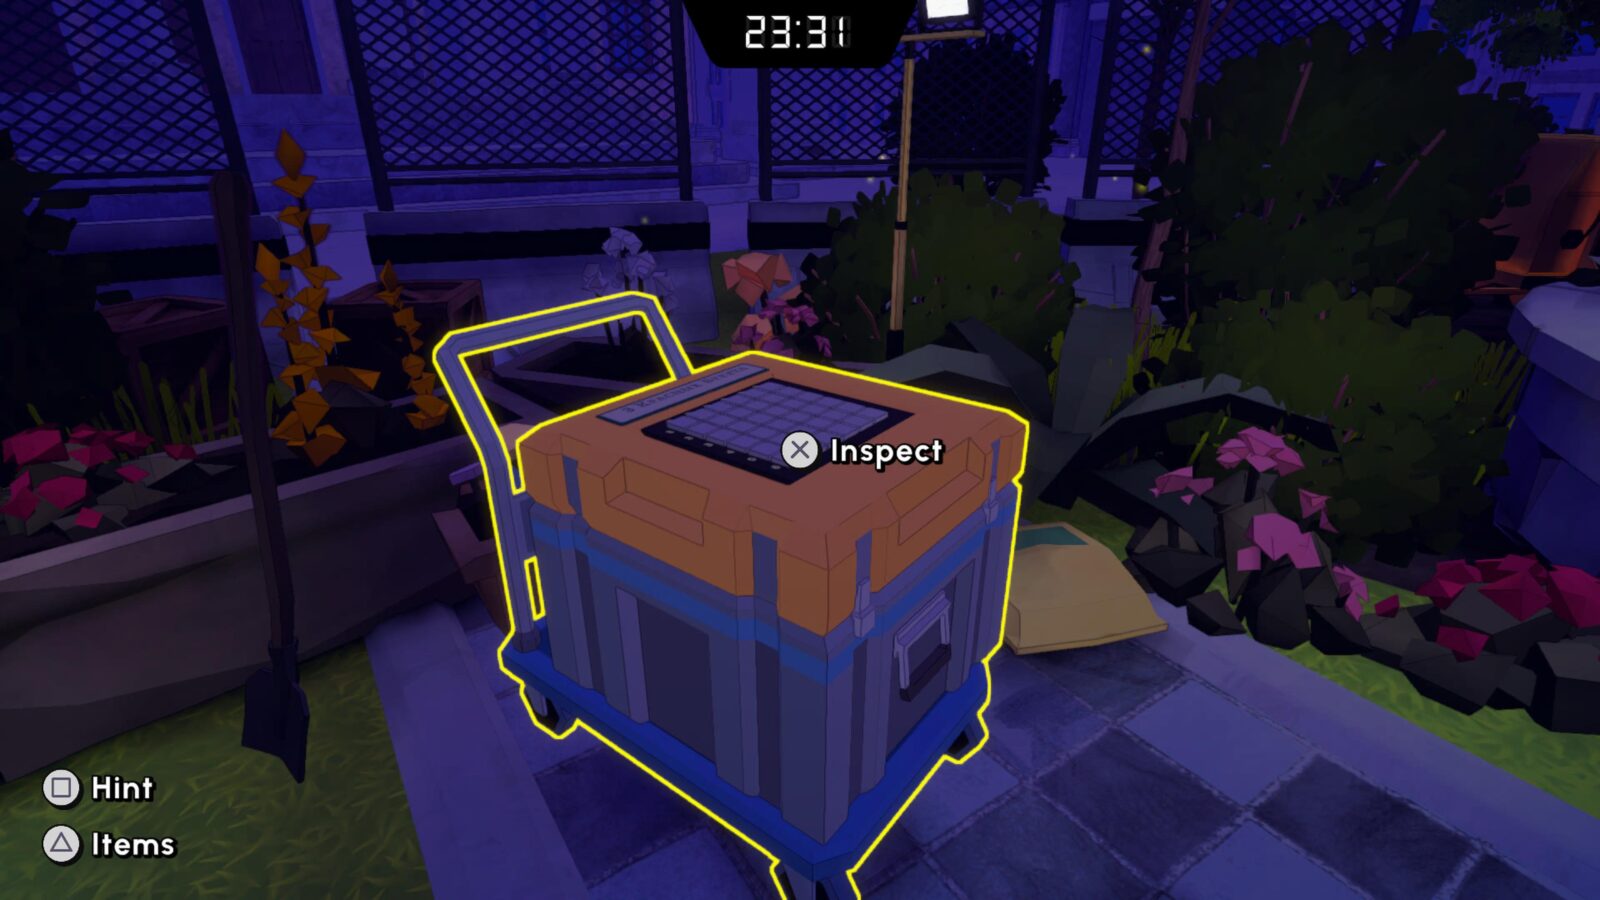
Press the buttons on this panel in the following order:
- 2Д
- 4A
- 6B
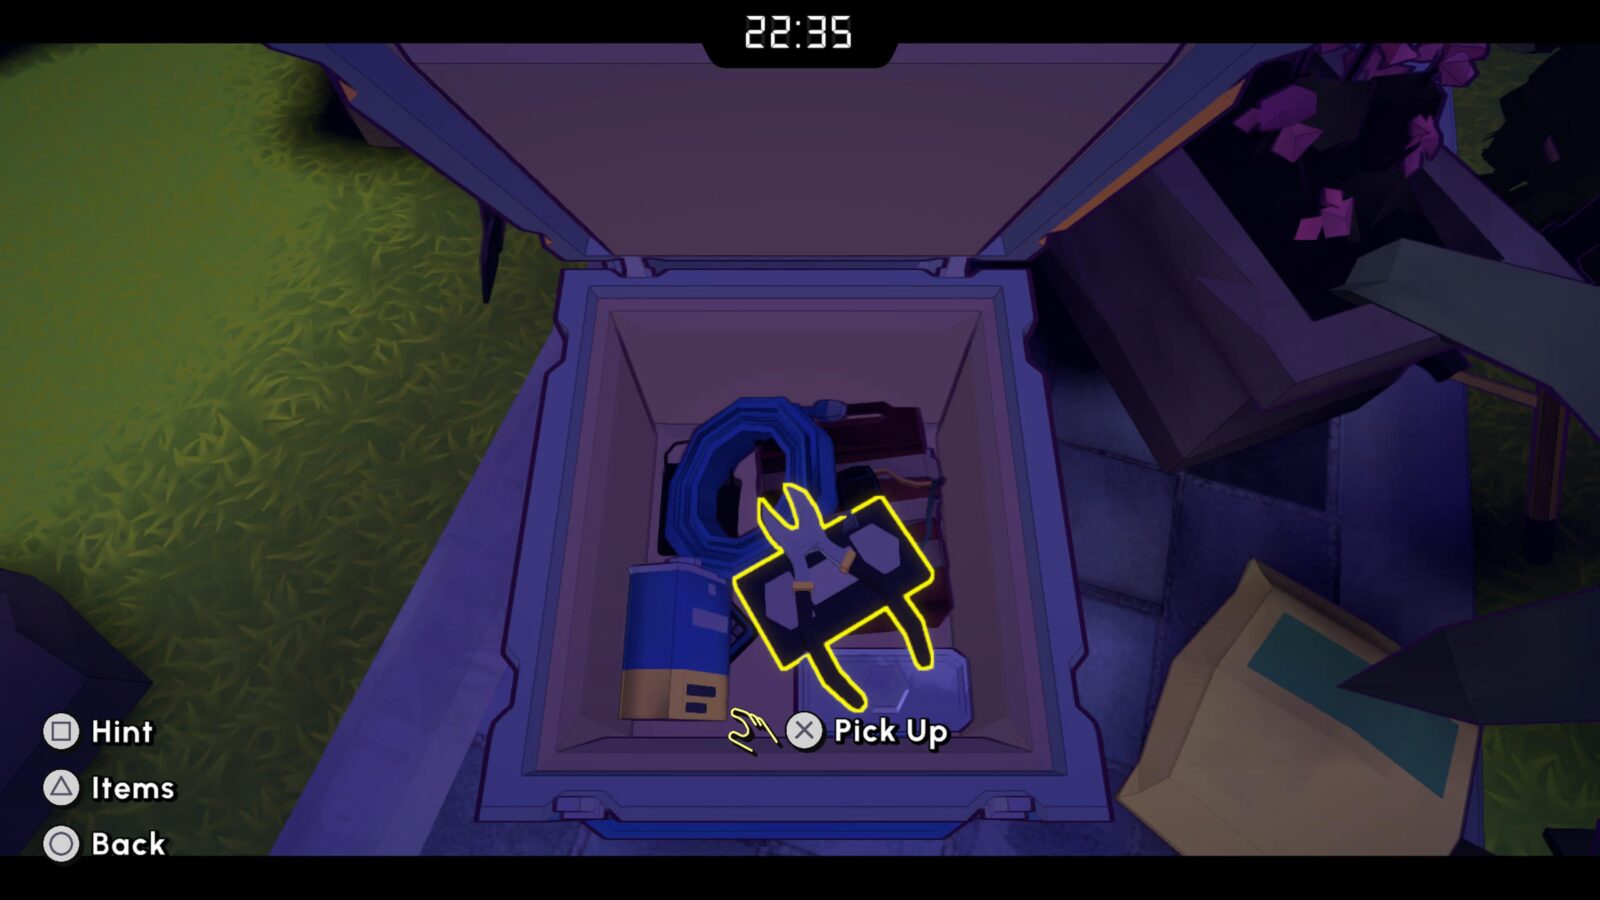
You can then collect the VHS Tape and Clippers.
Next, we can go and defuse the bomb, however, you may want to check the Escape Academy: All Newspaper Locations guide for how to get the newspaper in the white truck before continuing on.
So, enter the tent and open the bomb case with the two van keys.
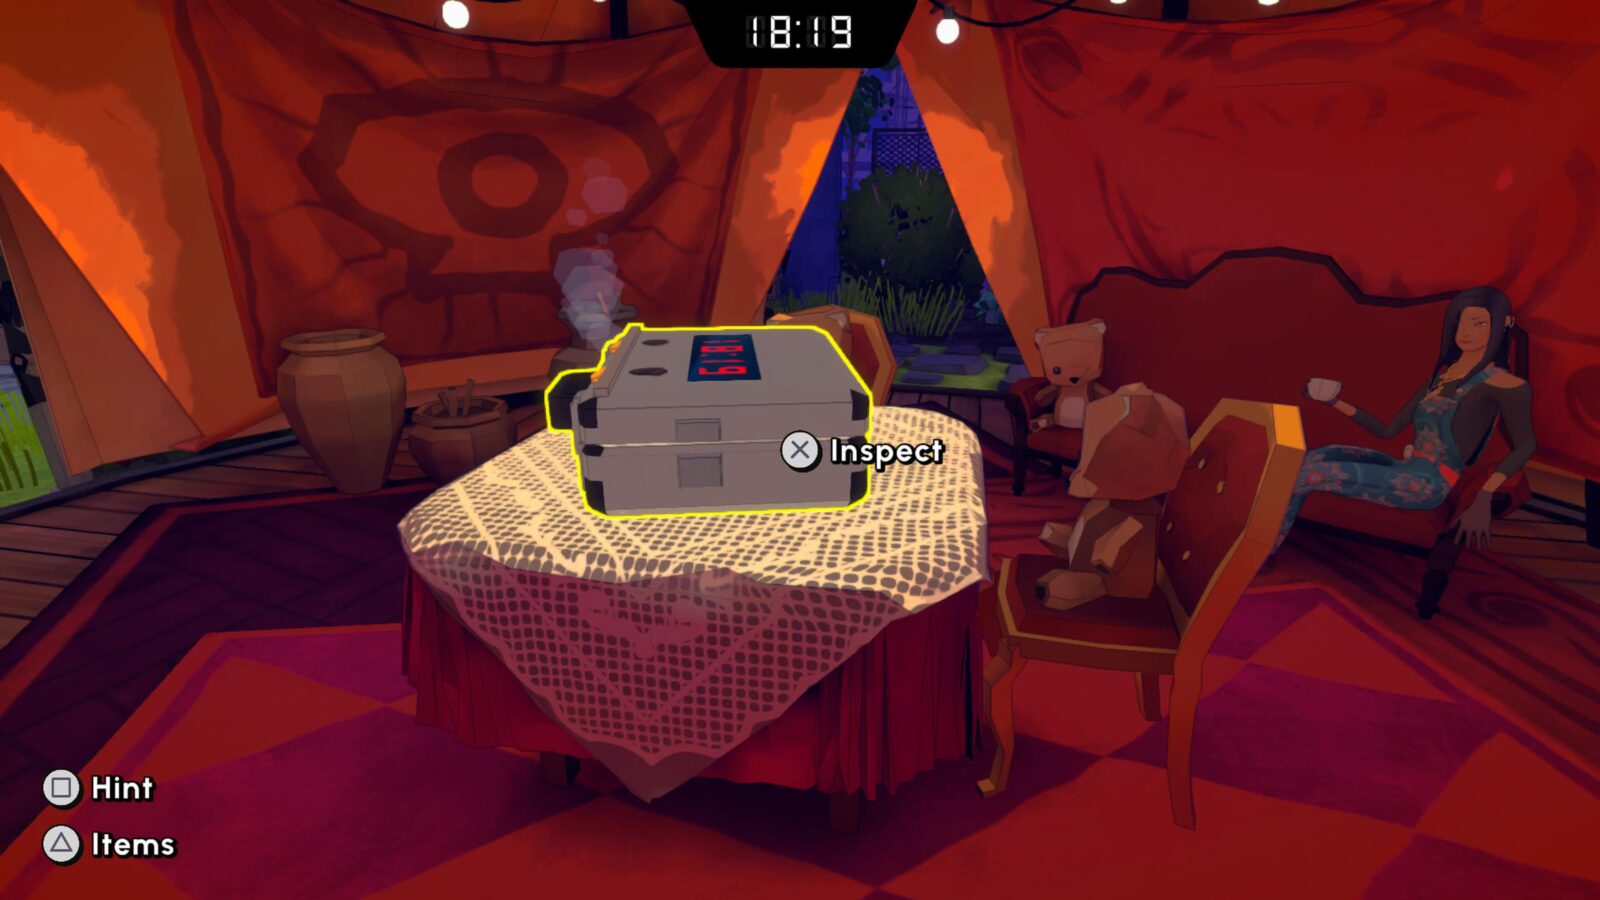
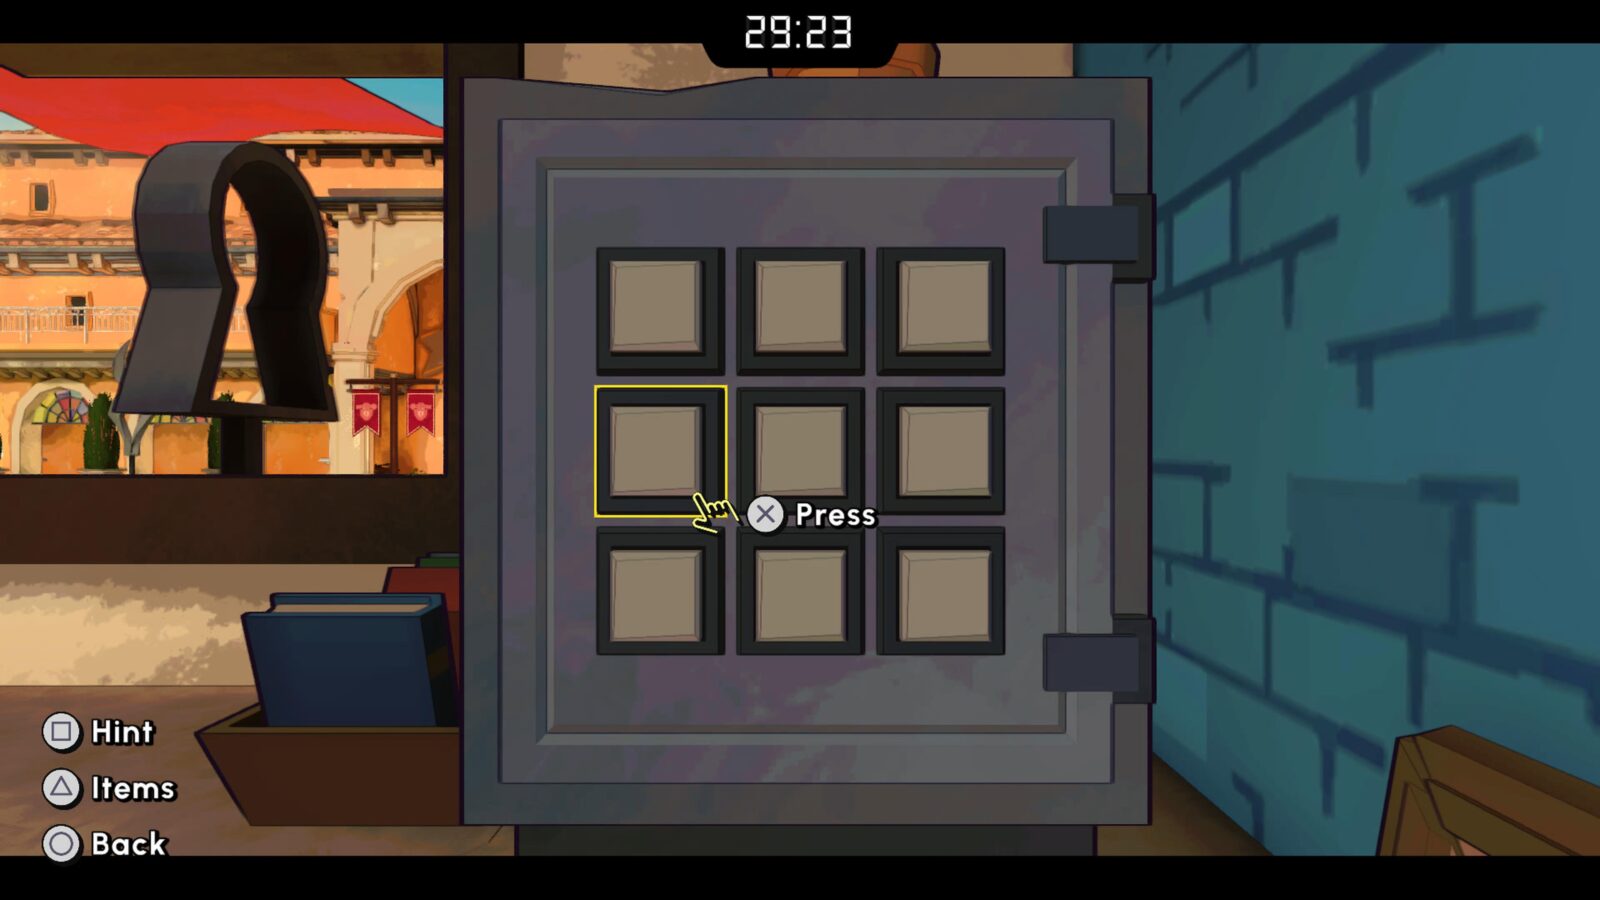
Start with the button panel on the right.
Press the buttons in this order (from top-left to bottom-right); 1, 2, 4, 7, 8.
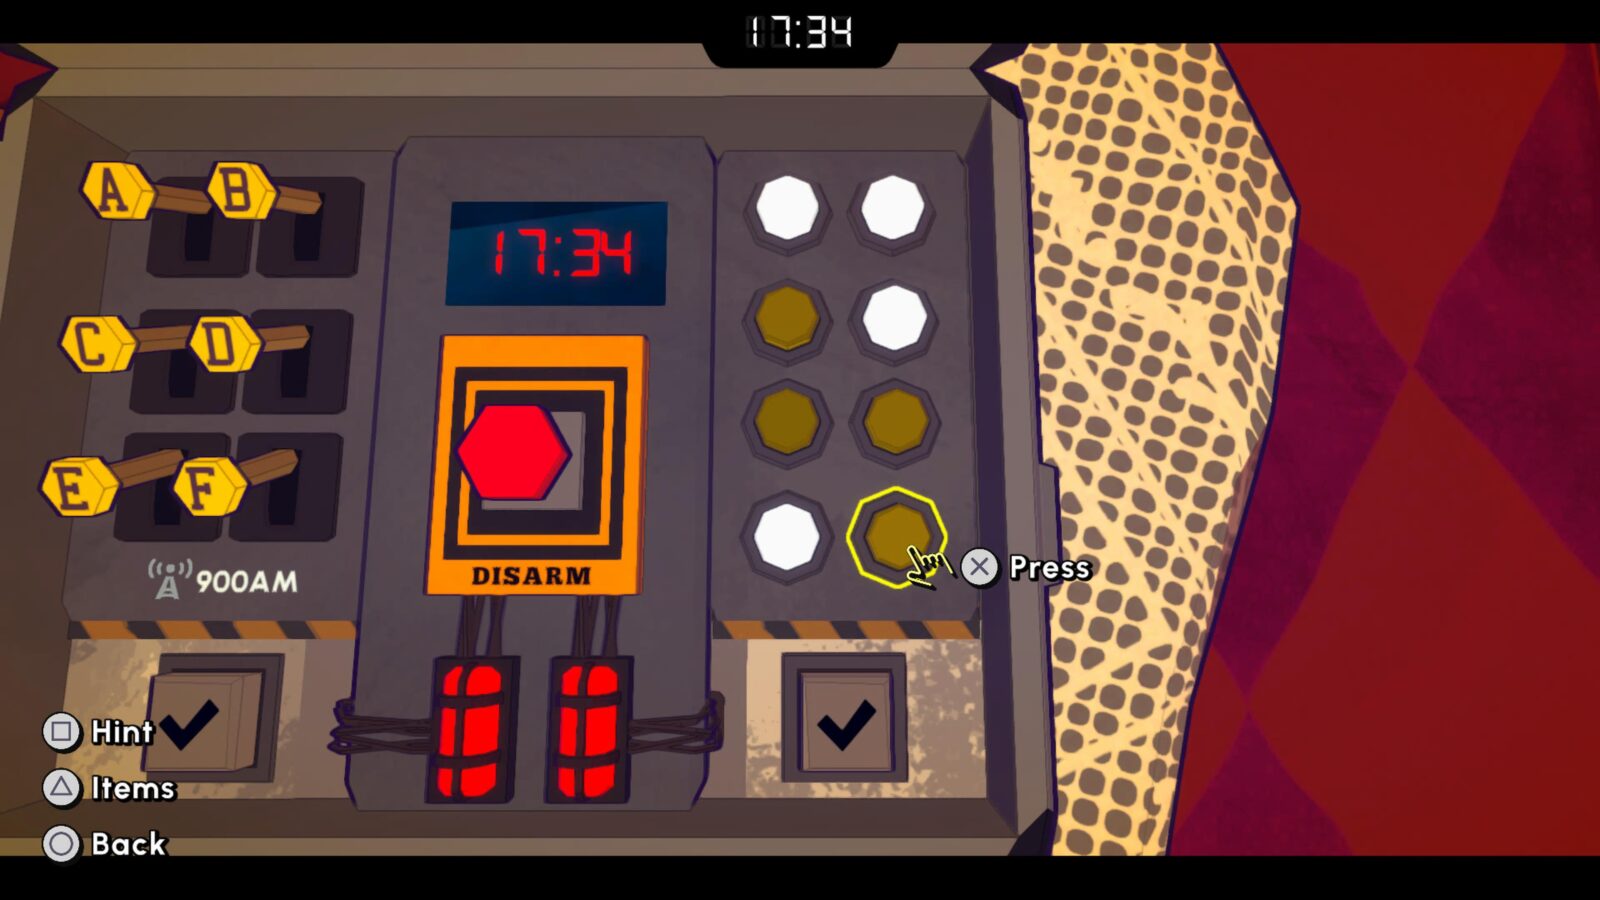
Those buttons should now all be white.
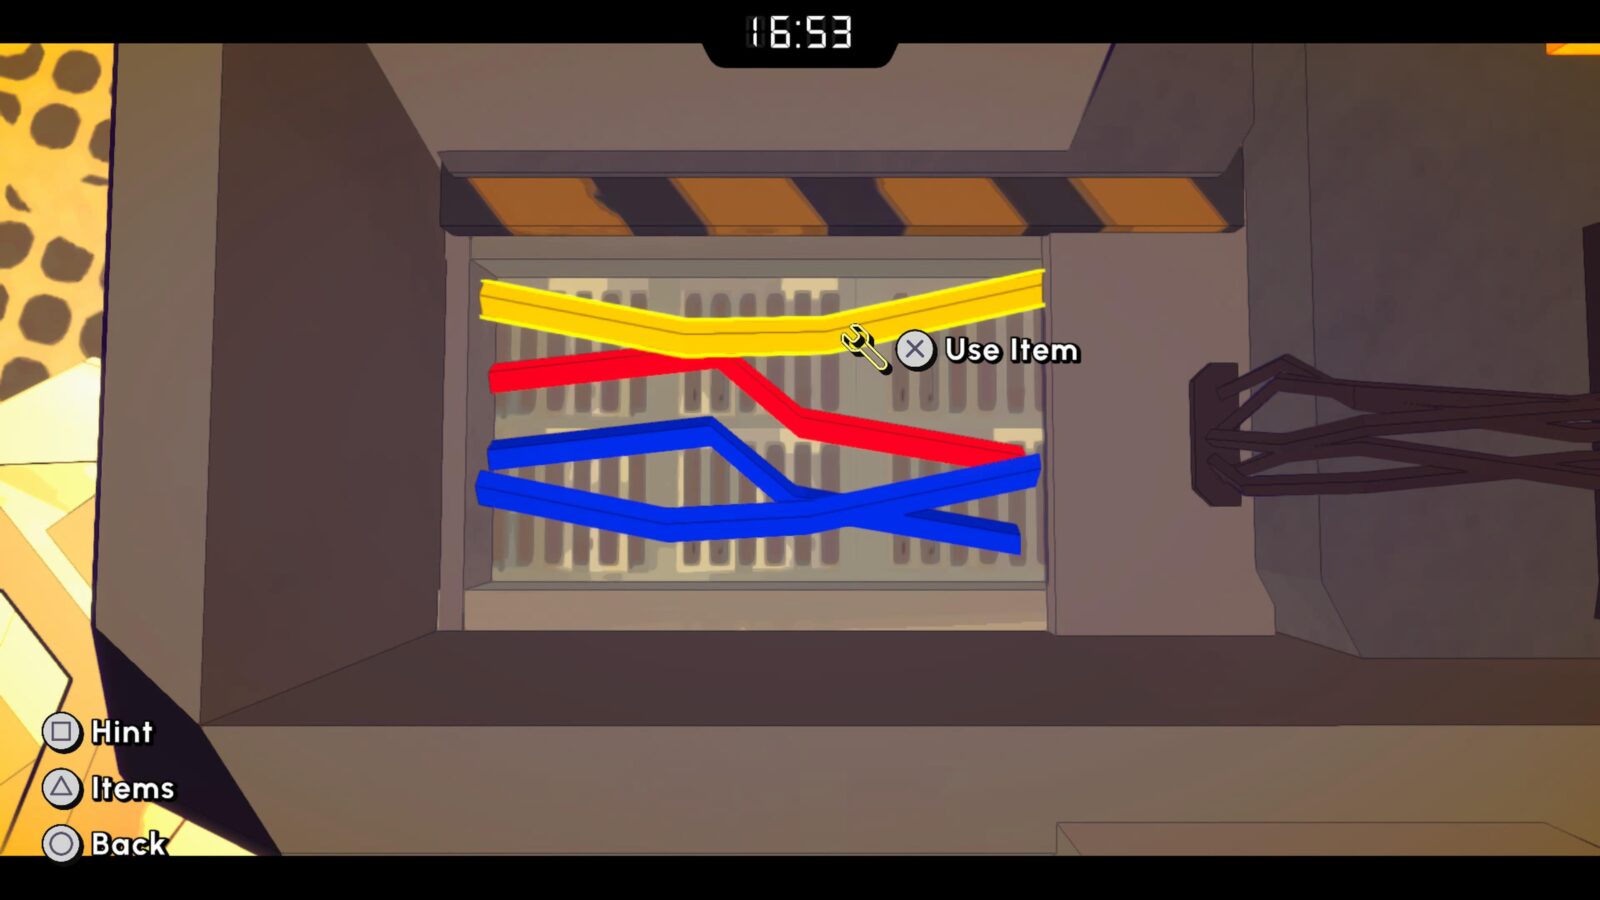
Next, open the panel below them and use the Clippers to cut the Green Wire.
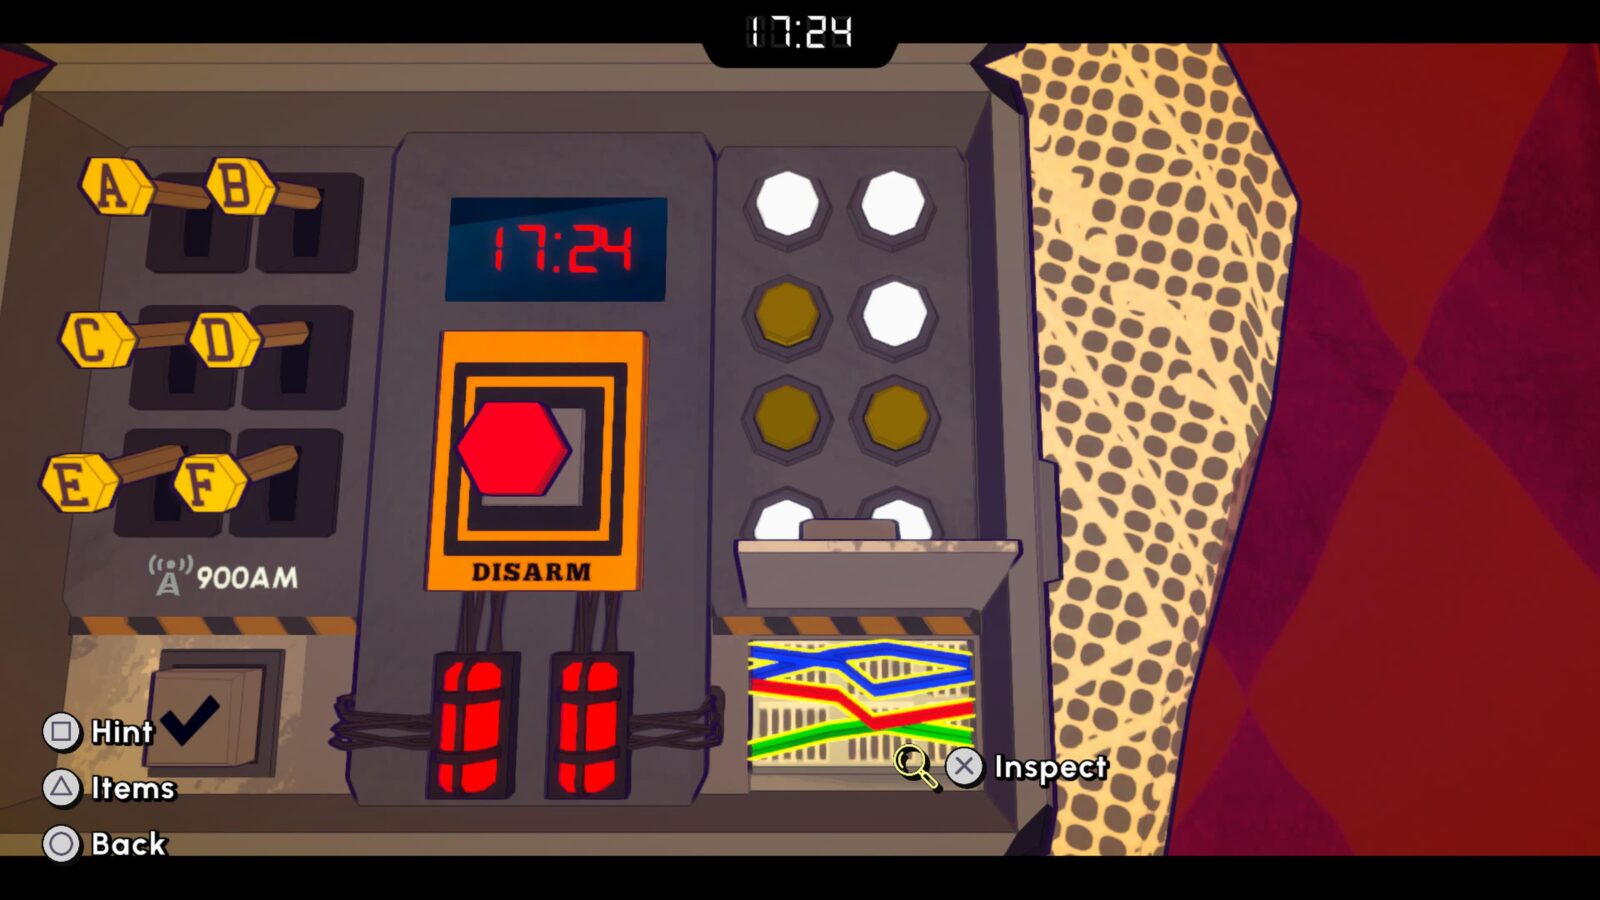
Divert your attention to the left side of the bomb case and press the labeled switches in this order: A, E, F.
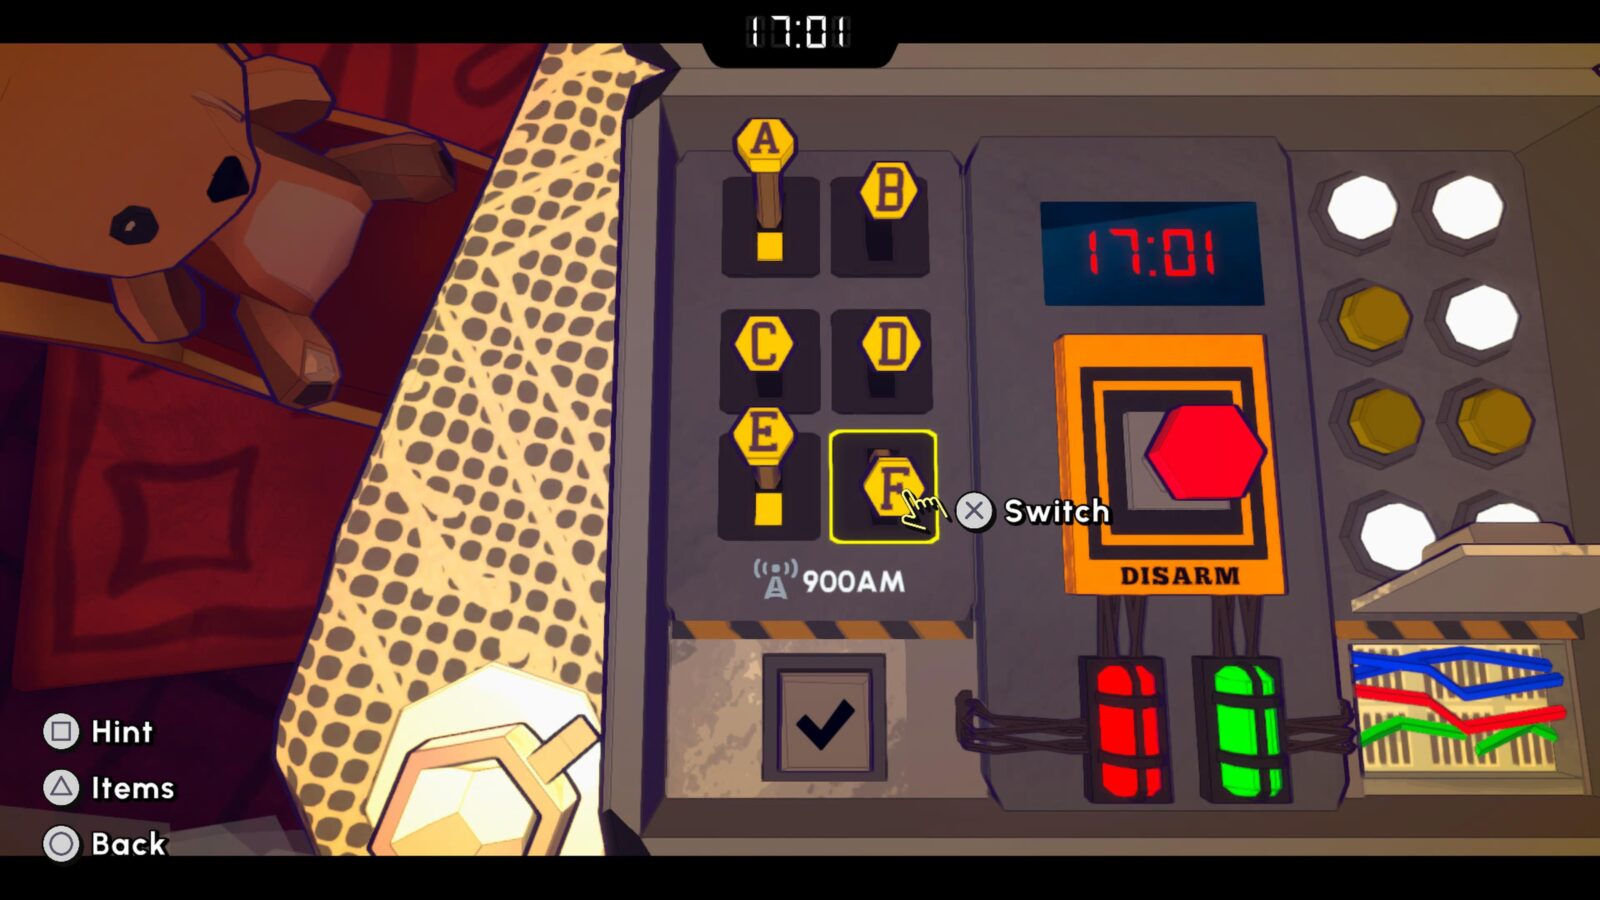
Once done, open the panel below them and cut the Yellow Wire.
Lastly, you can press the large button labeled “Disarm” in the middle to end the level.
Provided you saved all of your hints and followed our walkthrough, you’ll finish with an A+ rating.

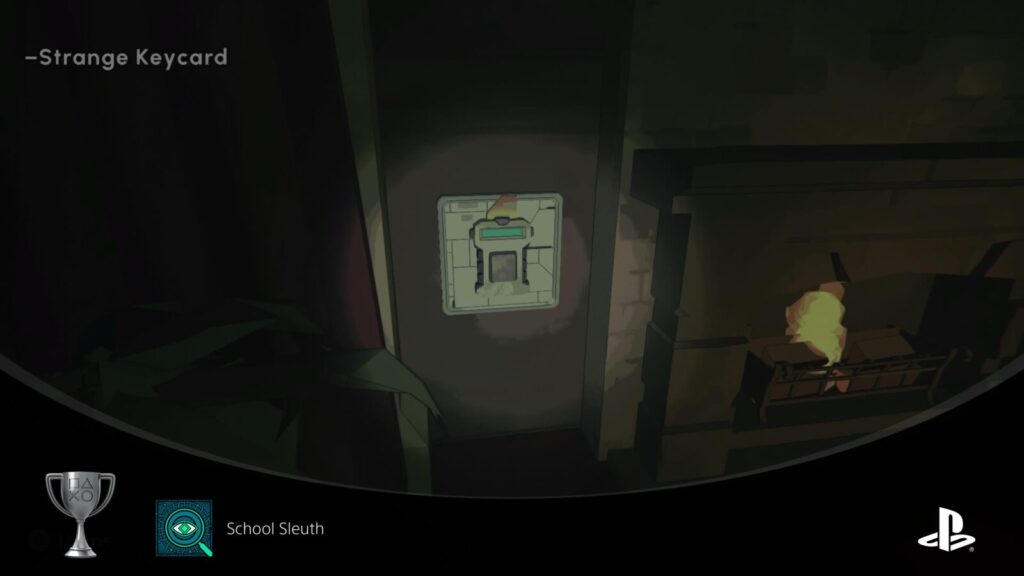
School Sleuth
Escape “The Confrontation.”
Confrontation, Escape Academy’s 12th Escape Level, is another short one, and there’s another missable trophy we will grab in the process!
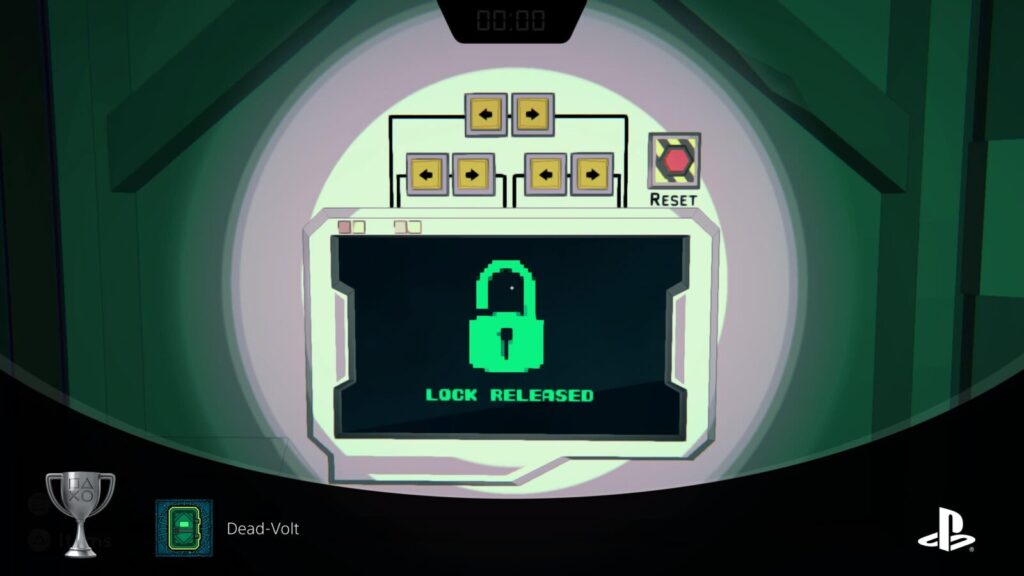
You’ll be faced with a set of arrows in three groups.
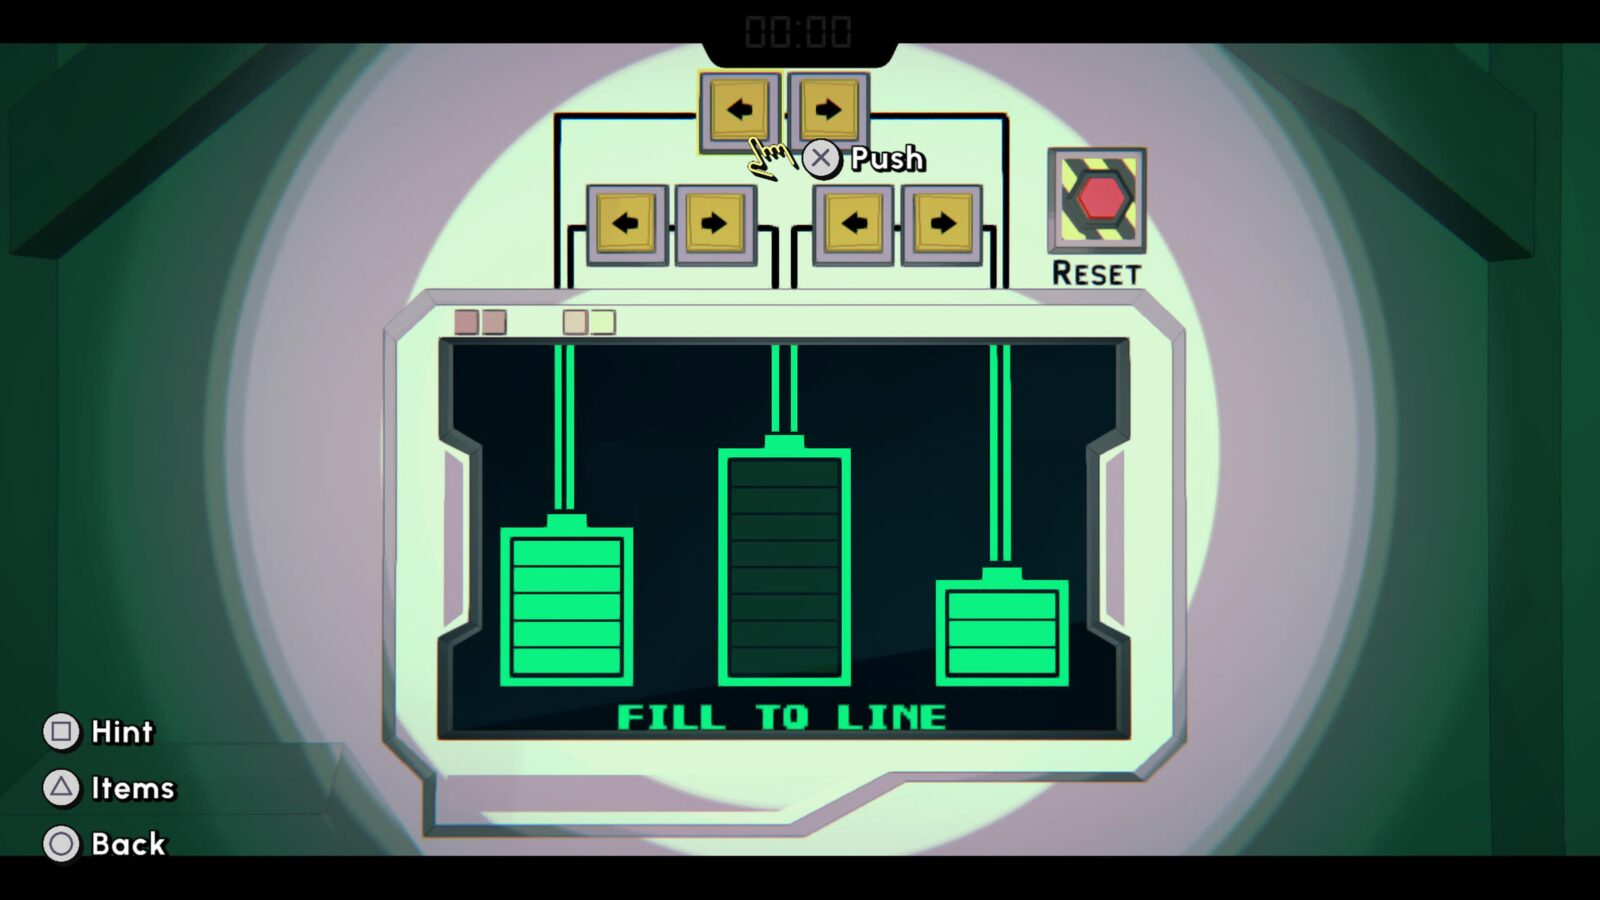
Each group has a right arrow and a left arrow. Press them in the following order:
- ->, left group
- <-, upper group
- ->, right group
- <-, upper group
- ->, left group
- <-, upper group
- ->, right group
This will open the door to the battery in just 7 moves, unlocking Dead-Volt.
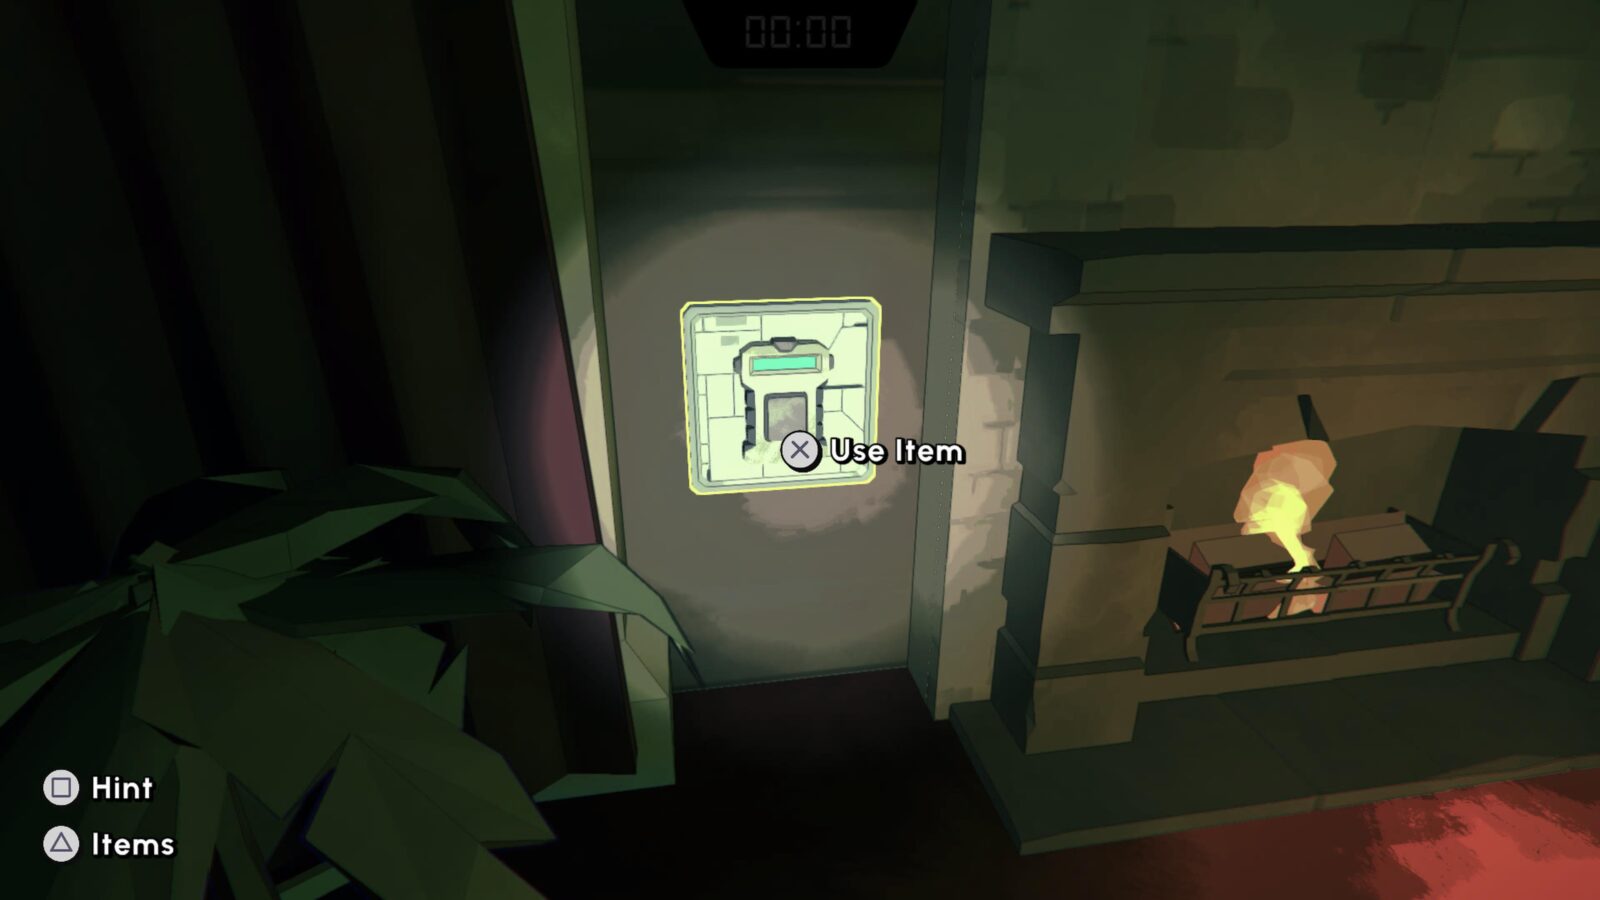
In the Battery Room, pull the plug from the wall socket and take the Strange Keycard from Eel’s hand.
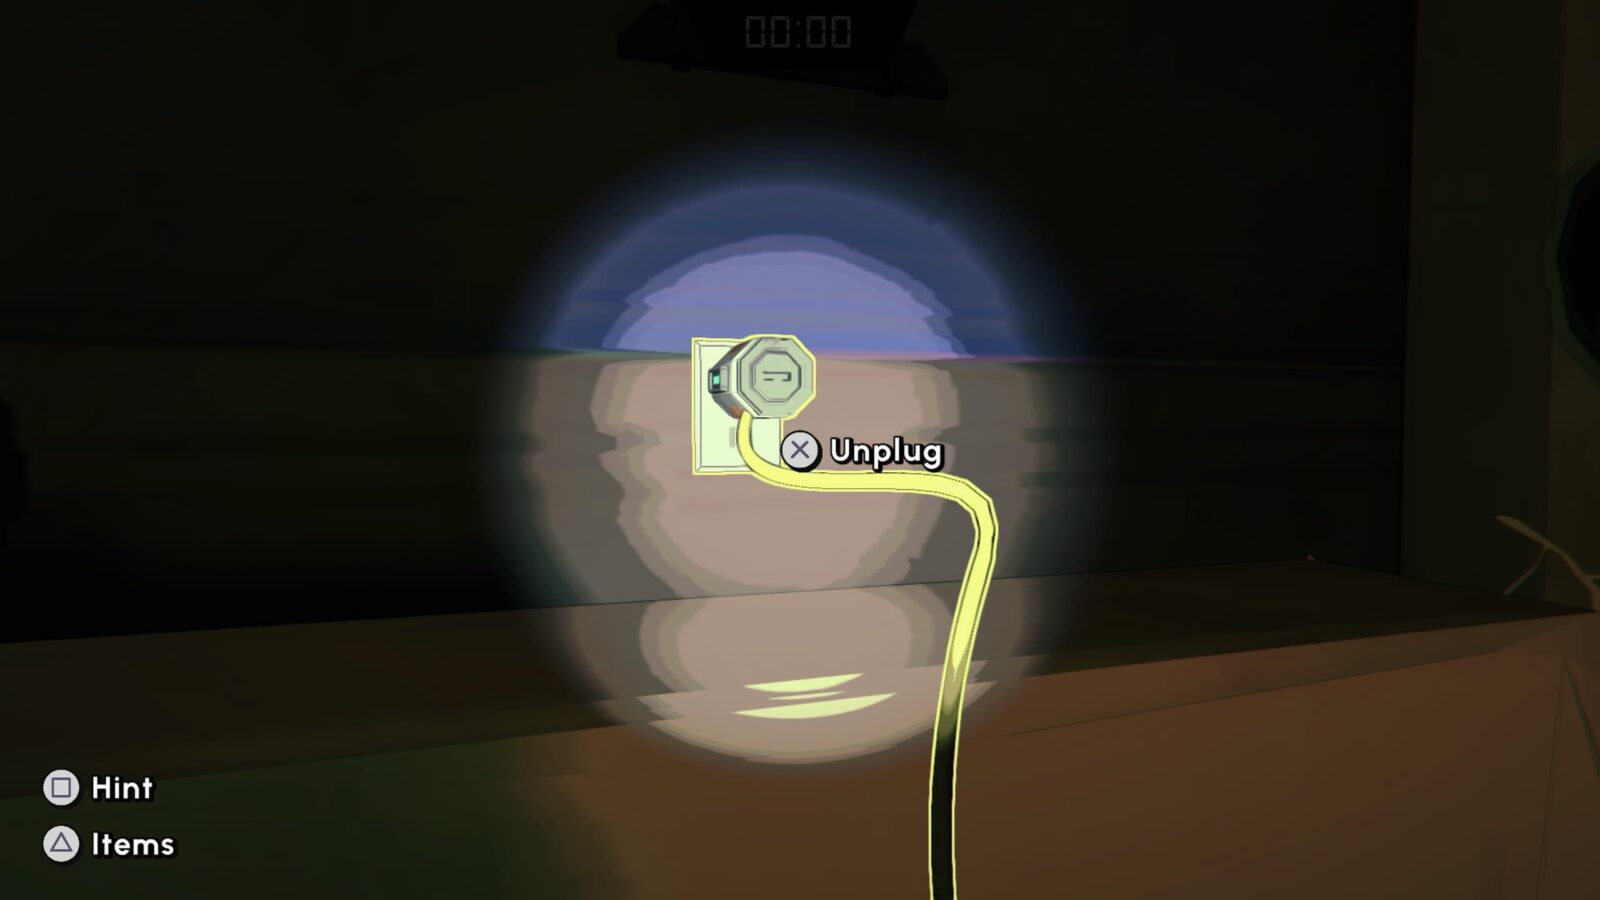
Place the keycard in the slot next to the fireplace to end the Escape Level.
Dead-Volt
Solve Eel's Battery Lock in under 10 moves.
To unlock the “Dead-Volt” trophy, you need to complete Eel’s Battery puzzle in Escape Level 12, “The Confrontation,” in under 10 moves.
The solution for this is included in the walkthrough for The Confrontation. See School Sleuth.

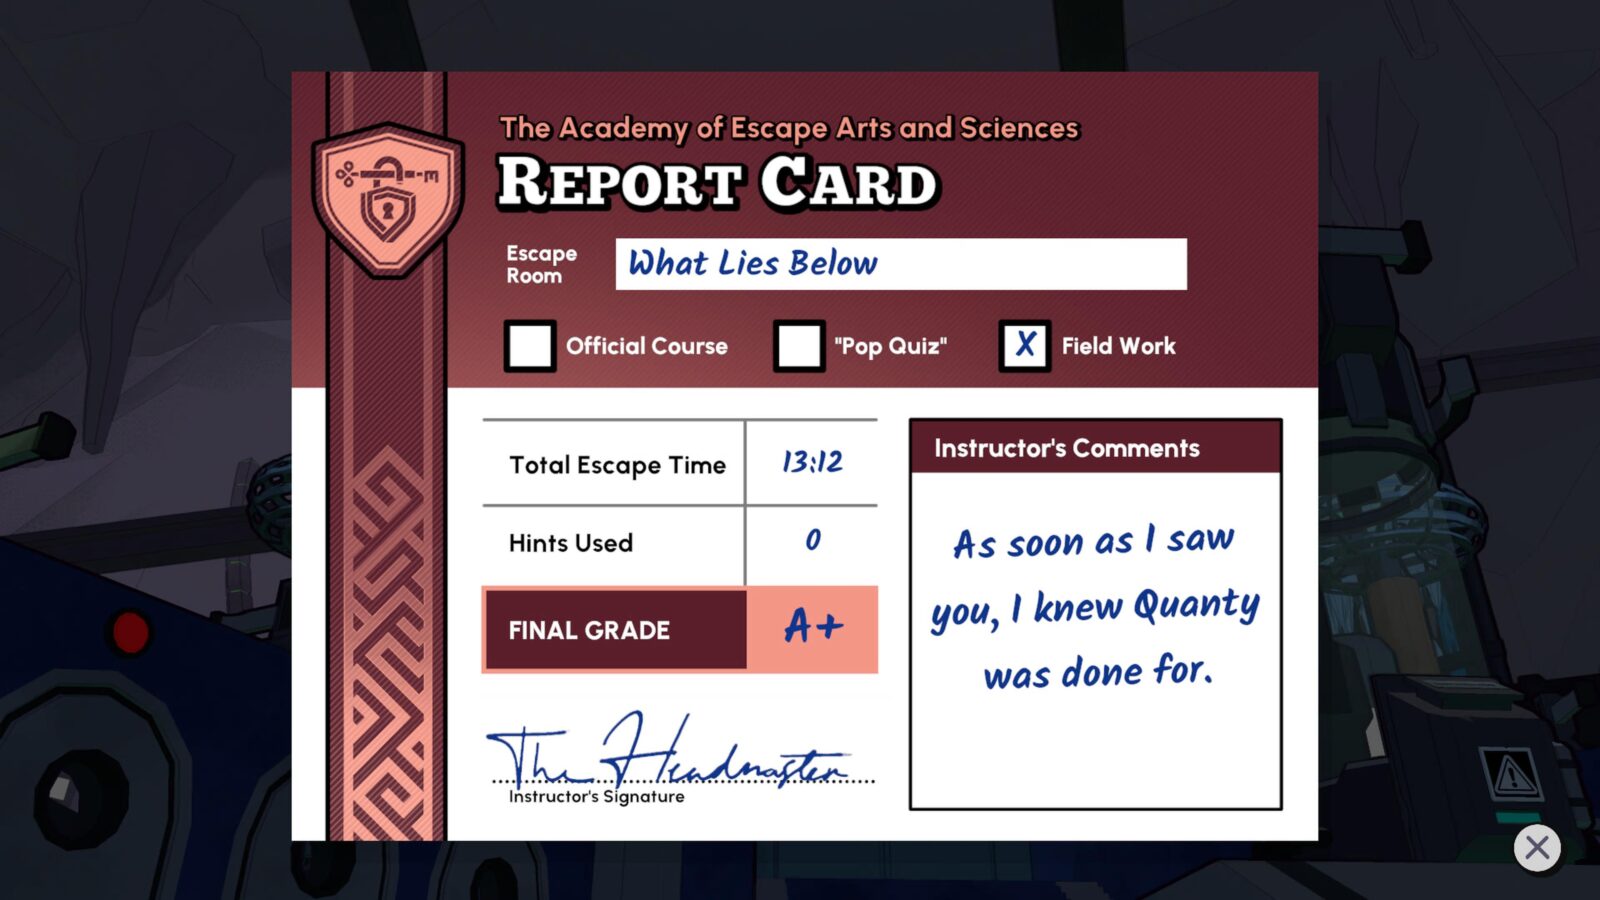
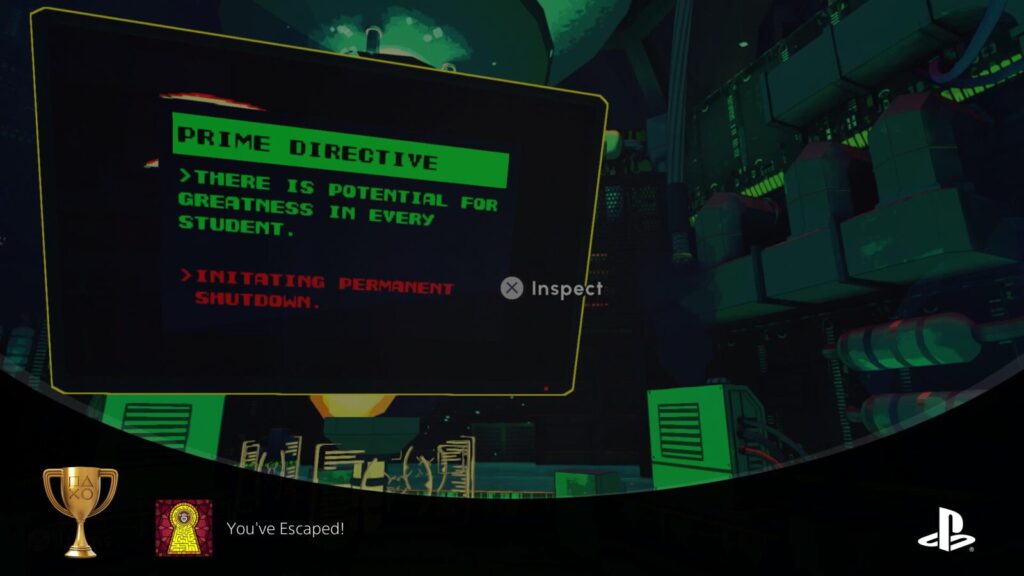
You've Escaped!
Escape "What Lies Below."
The final Escape Level in Escape Academy is “What Lies Below.” Upon completing it, you will have beat the game, and this phase of your Trophy Journey.
At the beginning, head up the stairs and interact with the combination lock on the locker of Student 00.
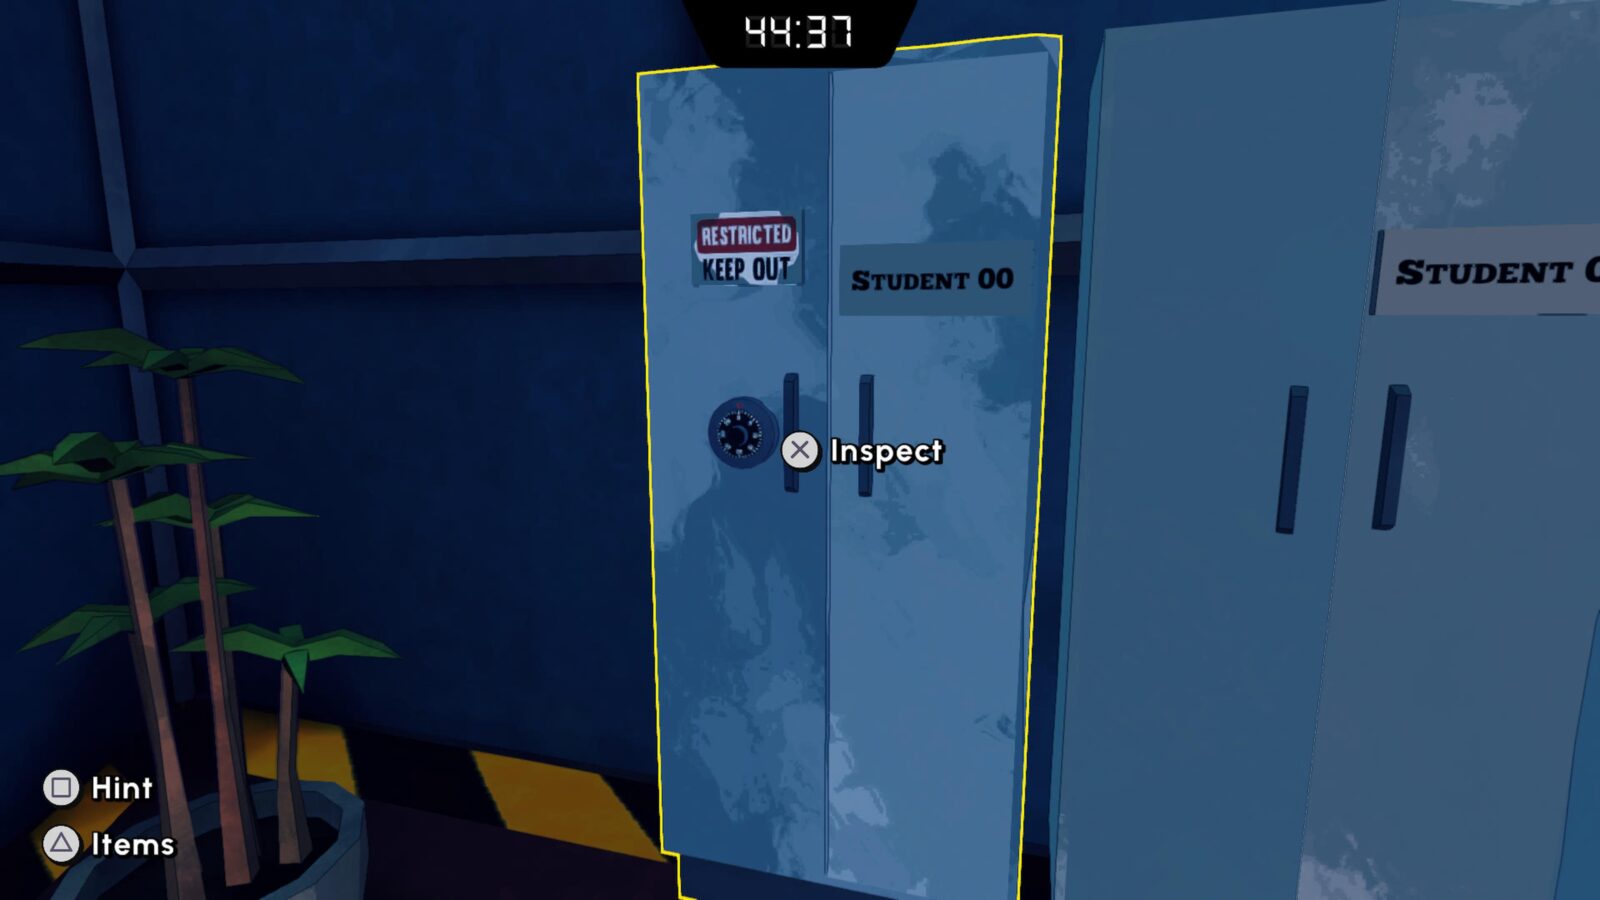
Enter the combination as follows:
- Start from 0
- Move right to 10
- Move left to 25
- Move right to 15
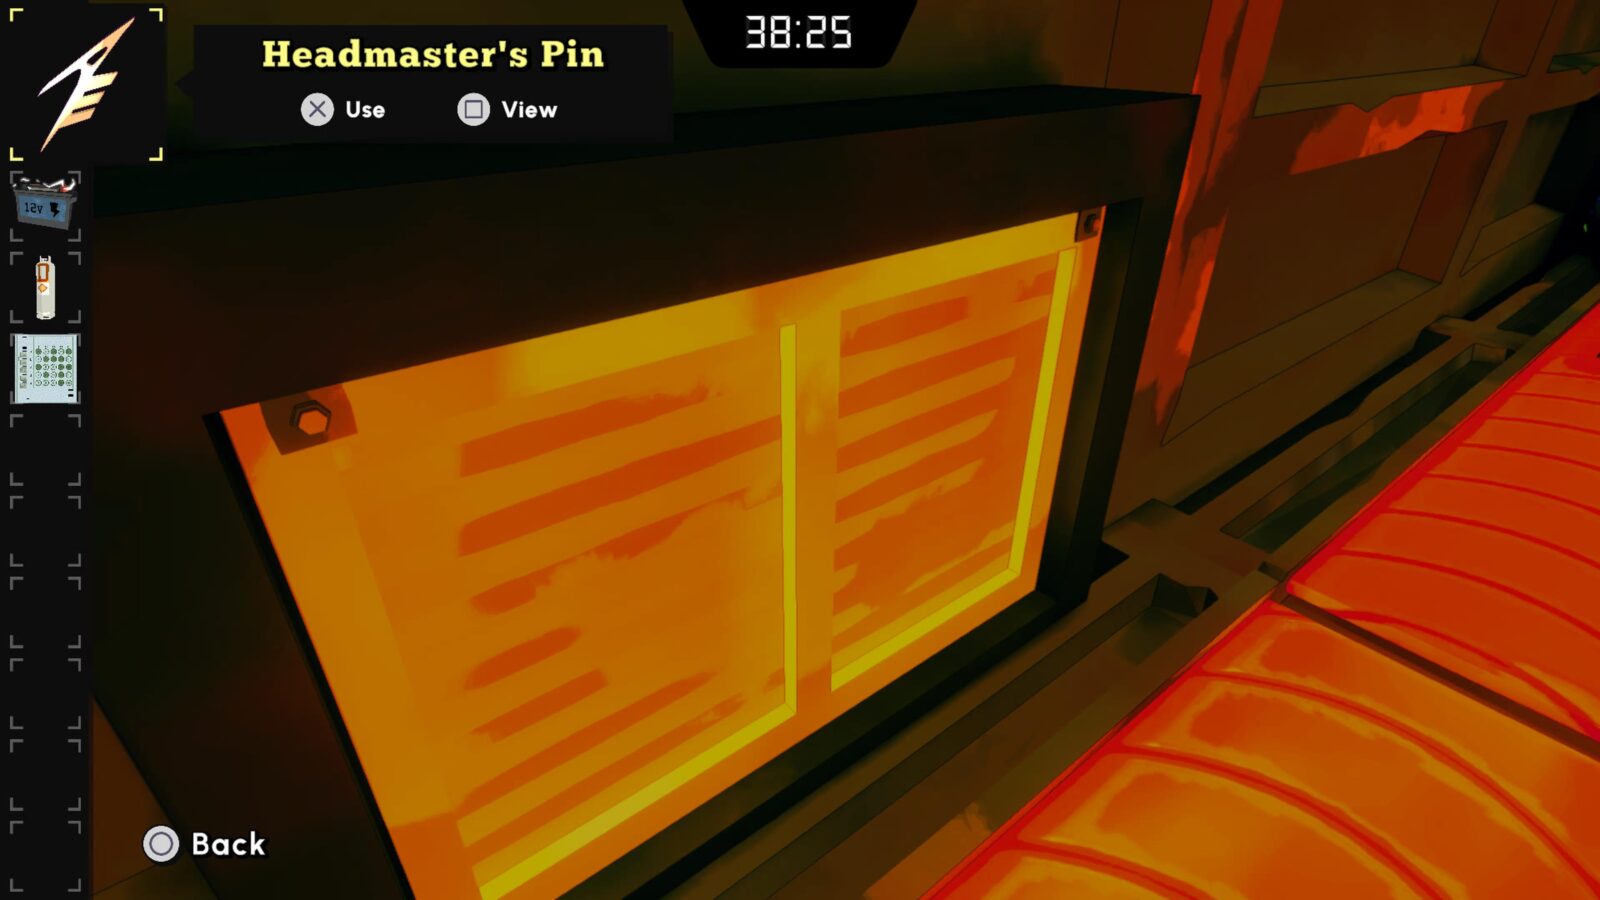
Collect the Testing Sheet and the Headmaster’s Pin from the cabinet.
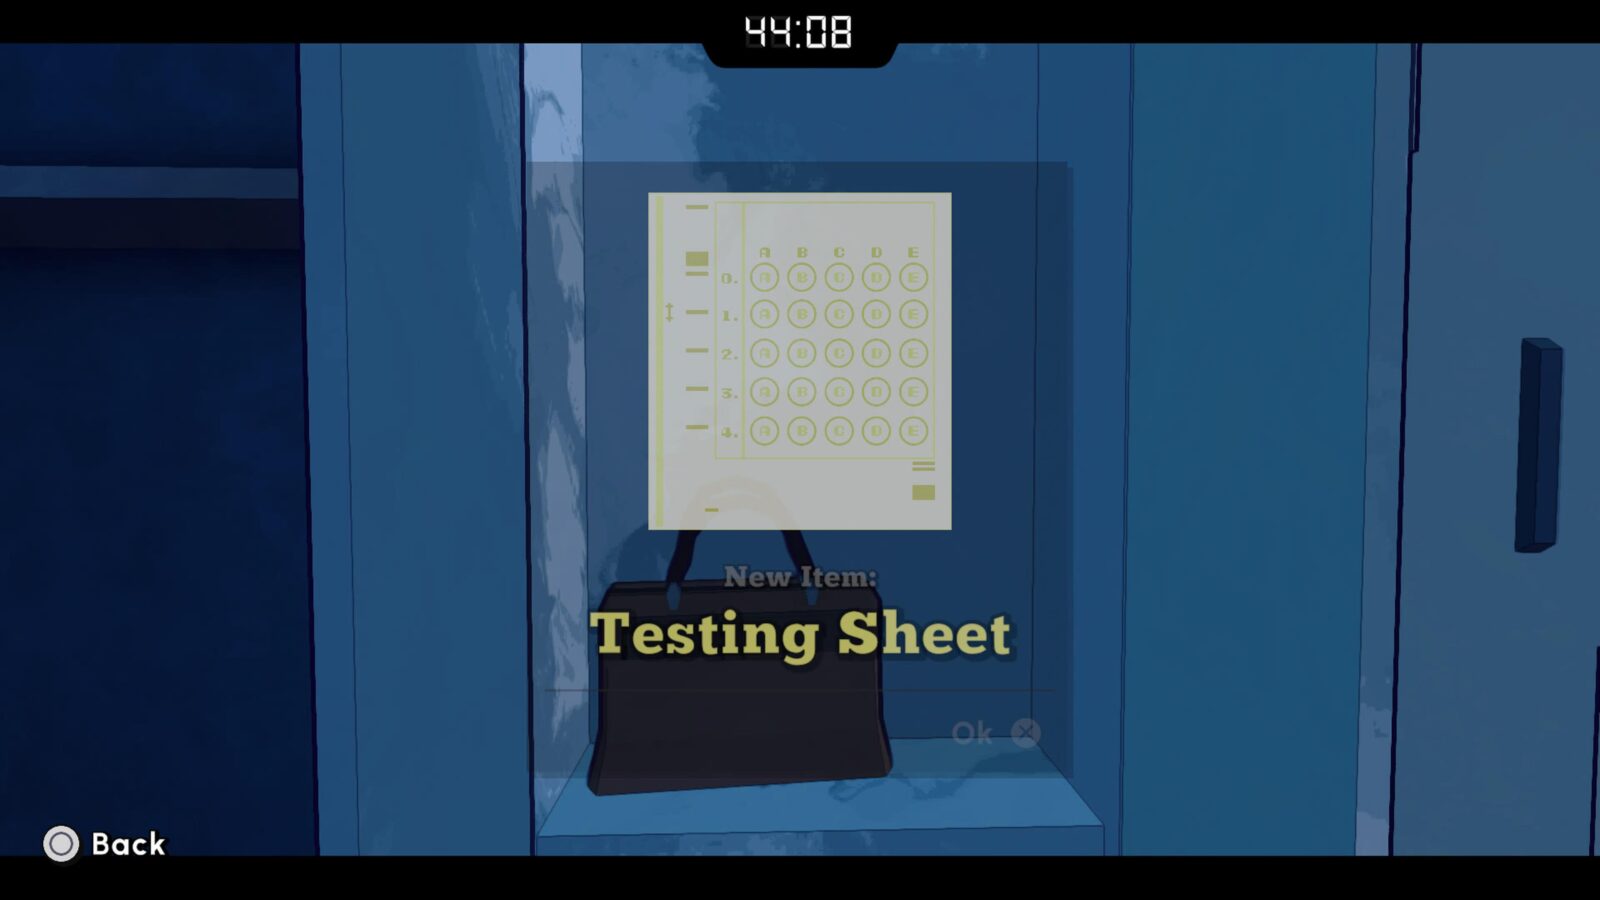
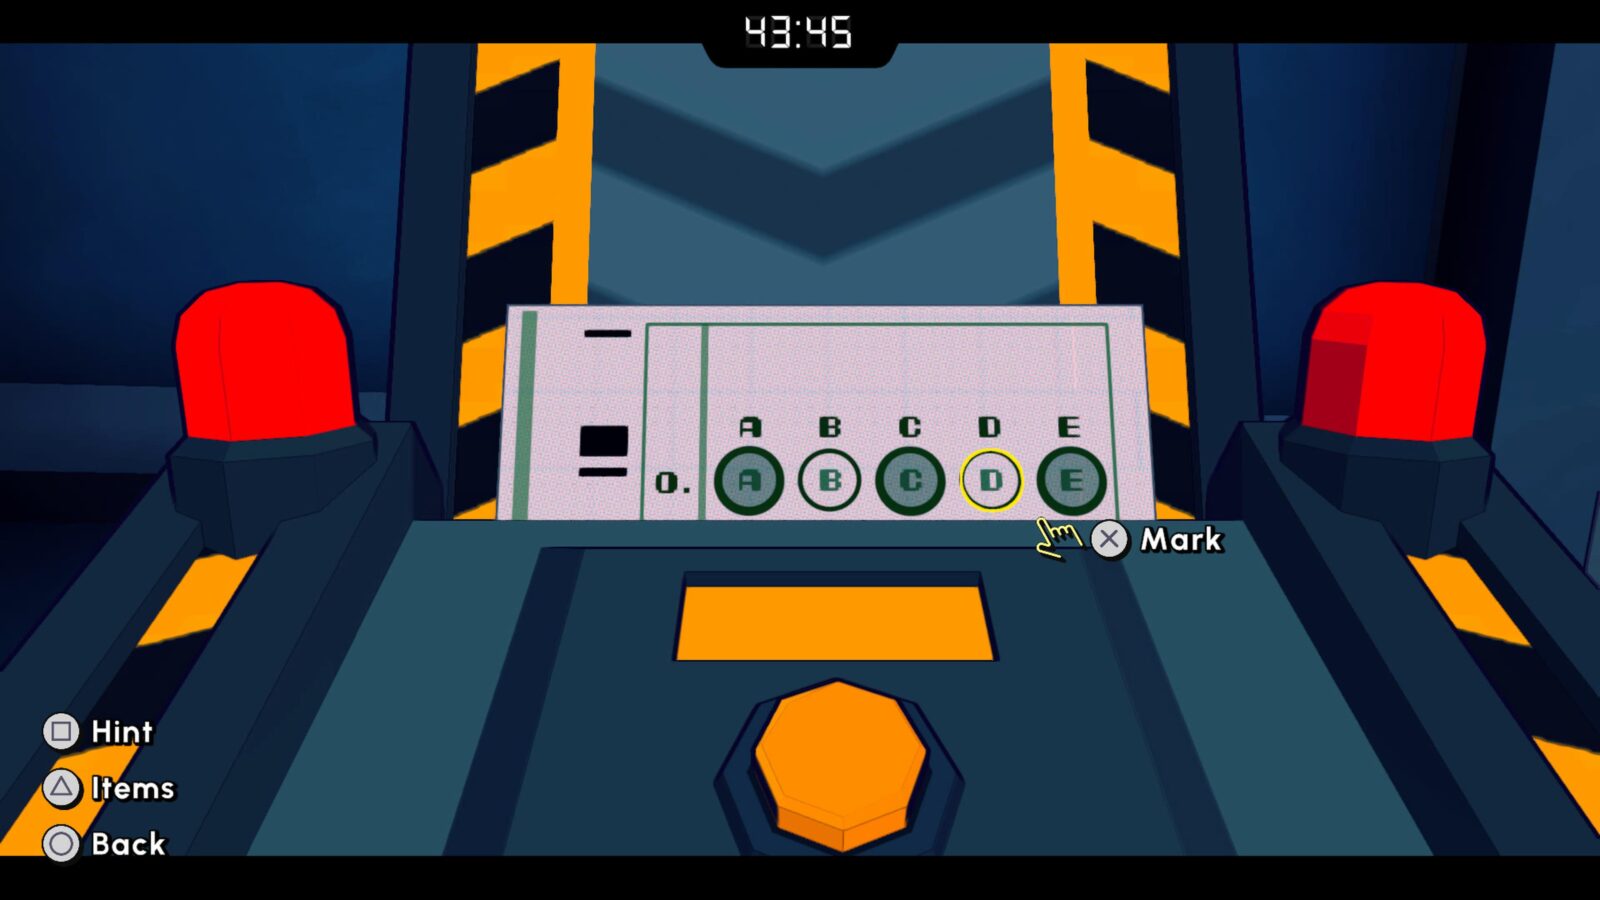
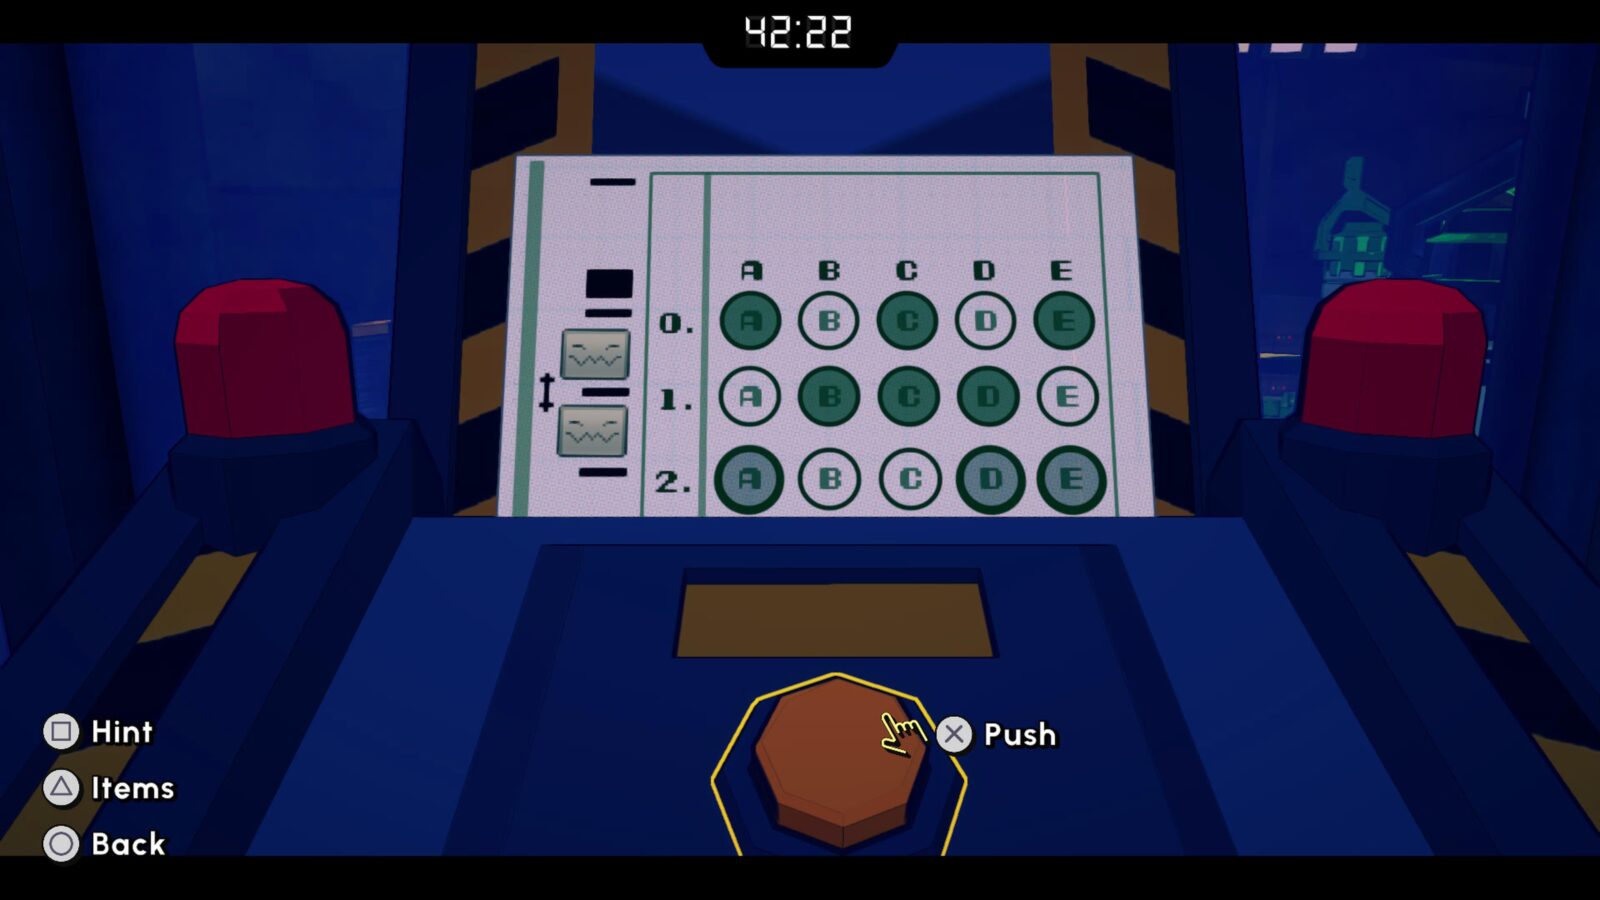
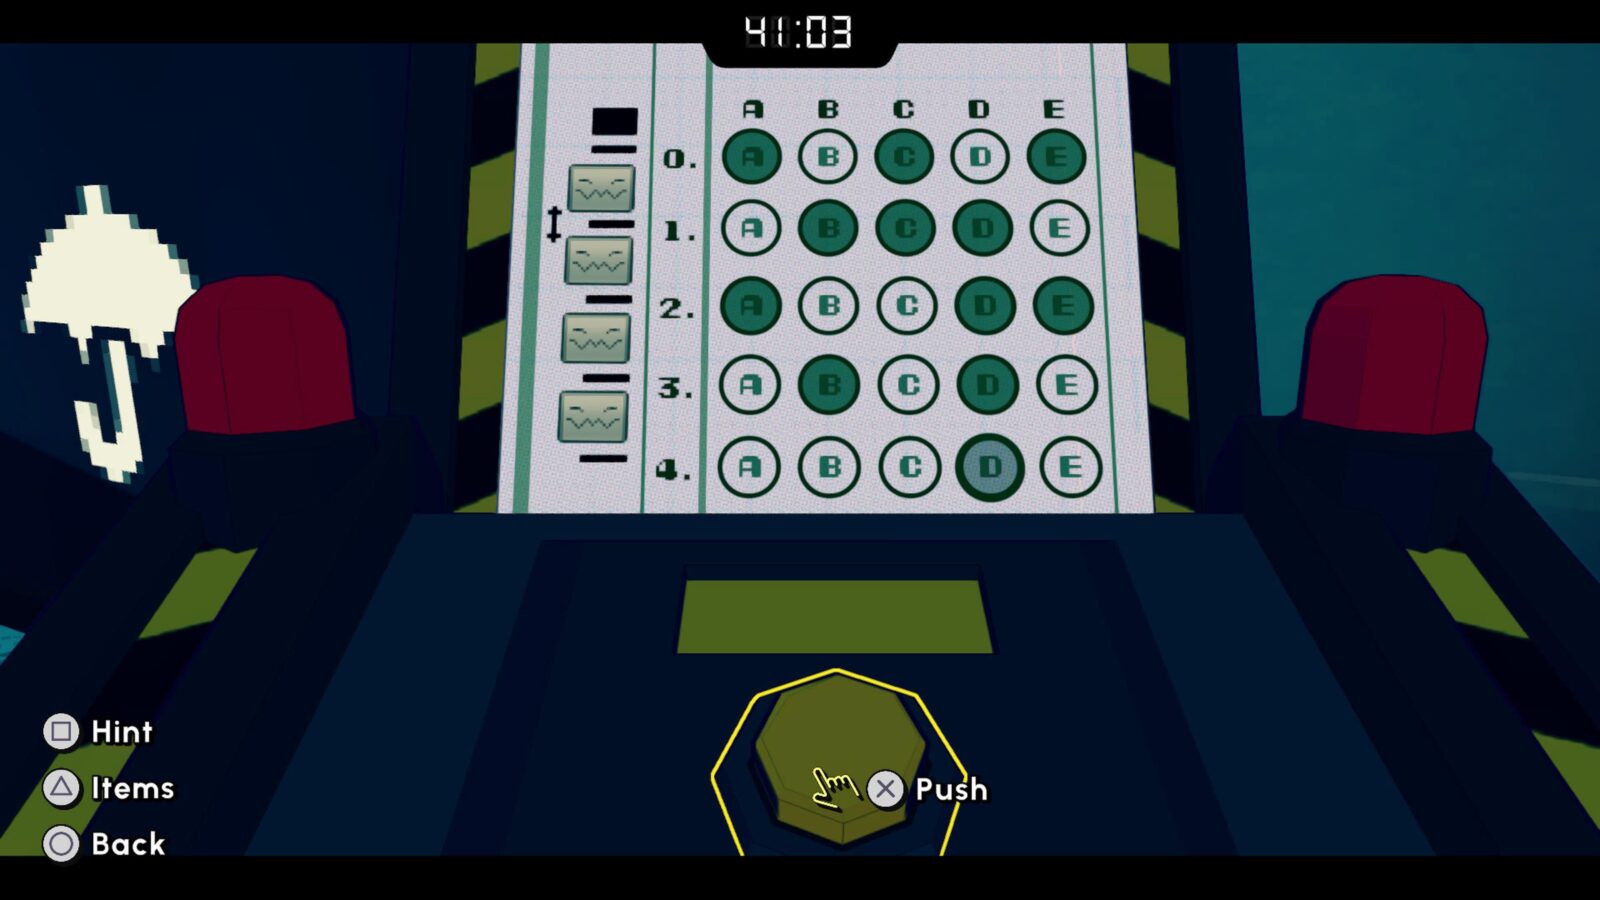
Go up to the monitor on which it says “Only an ace may enter” and then place the Testing Sheet you grabbed onto the scanner.
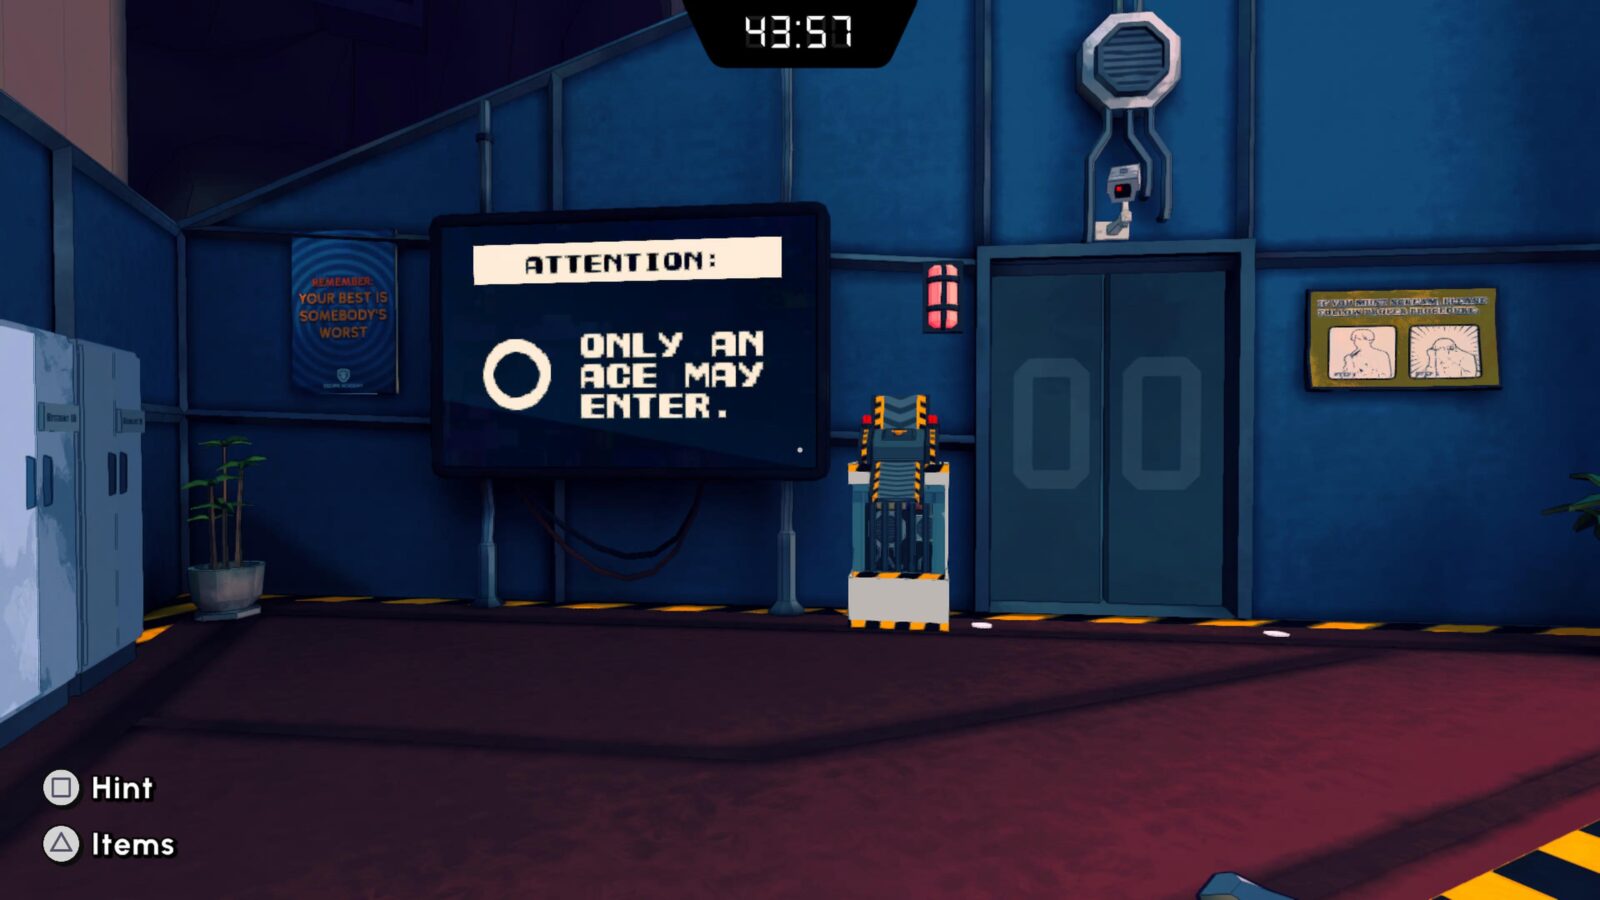
Mark A, C, and E on the sheet, and then press the orange button to confirm, unlocking the way forward.
Pick the Testing Sheet back up and enter the new room.
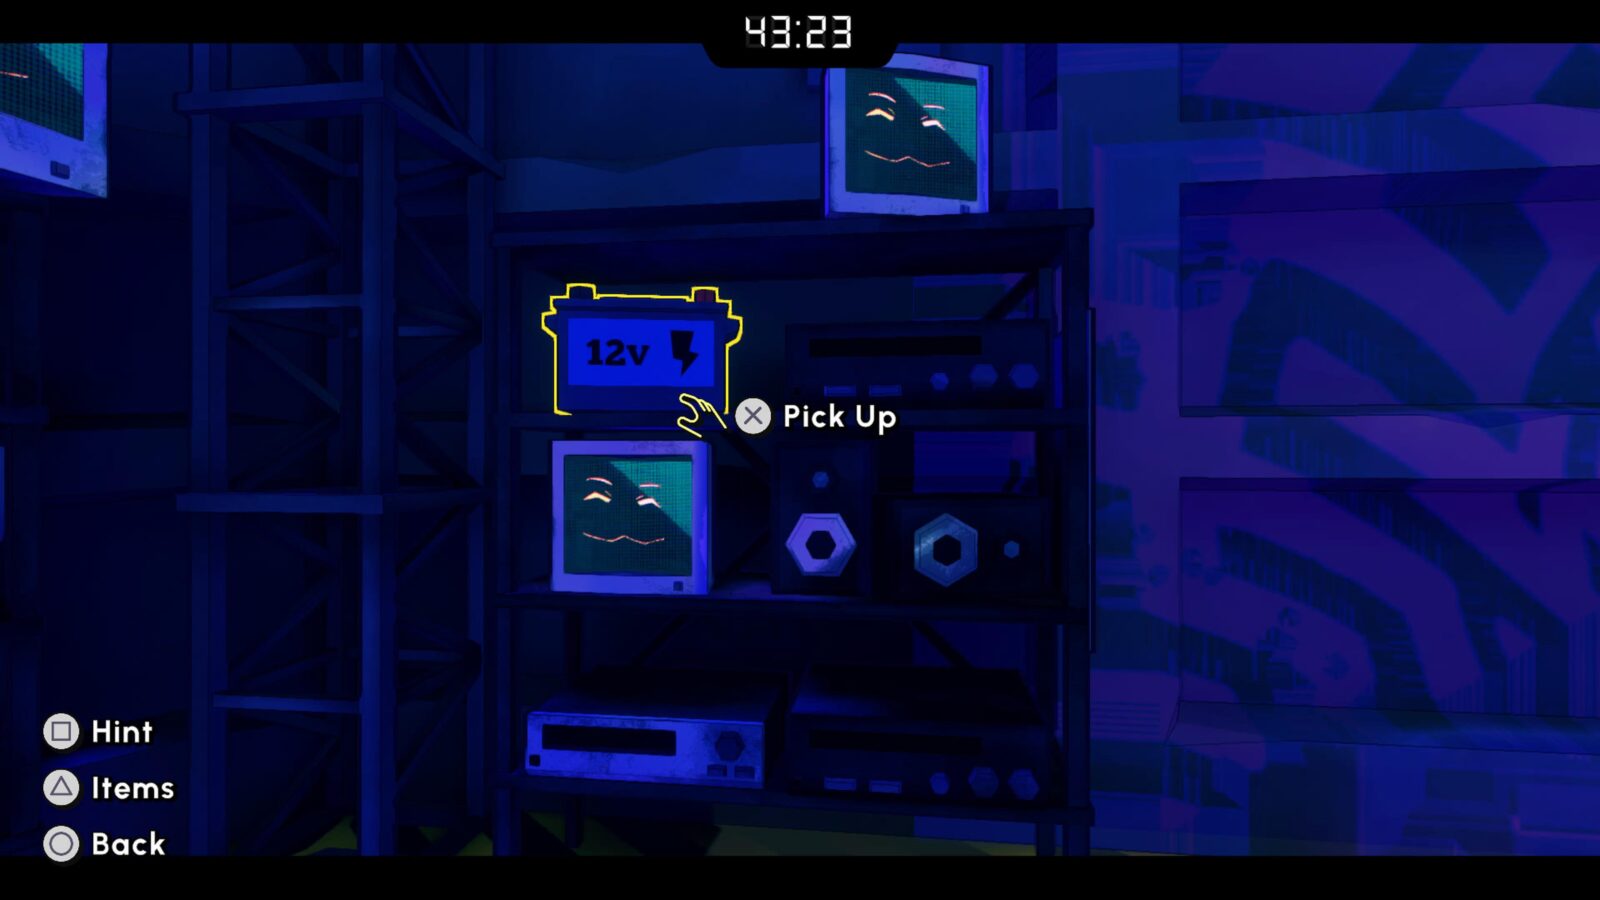
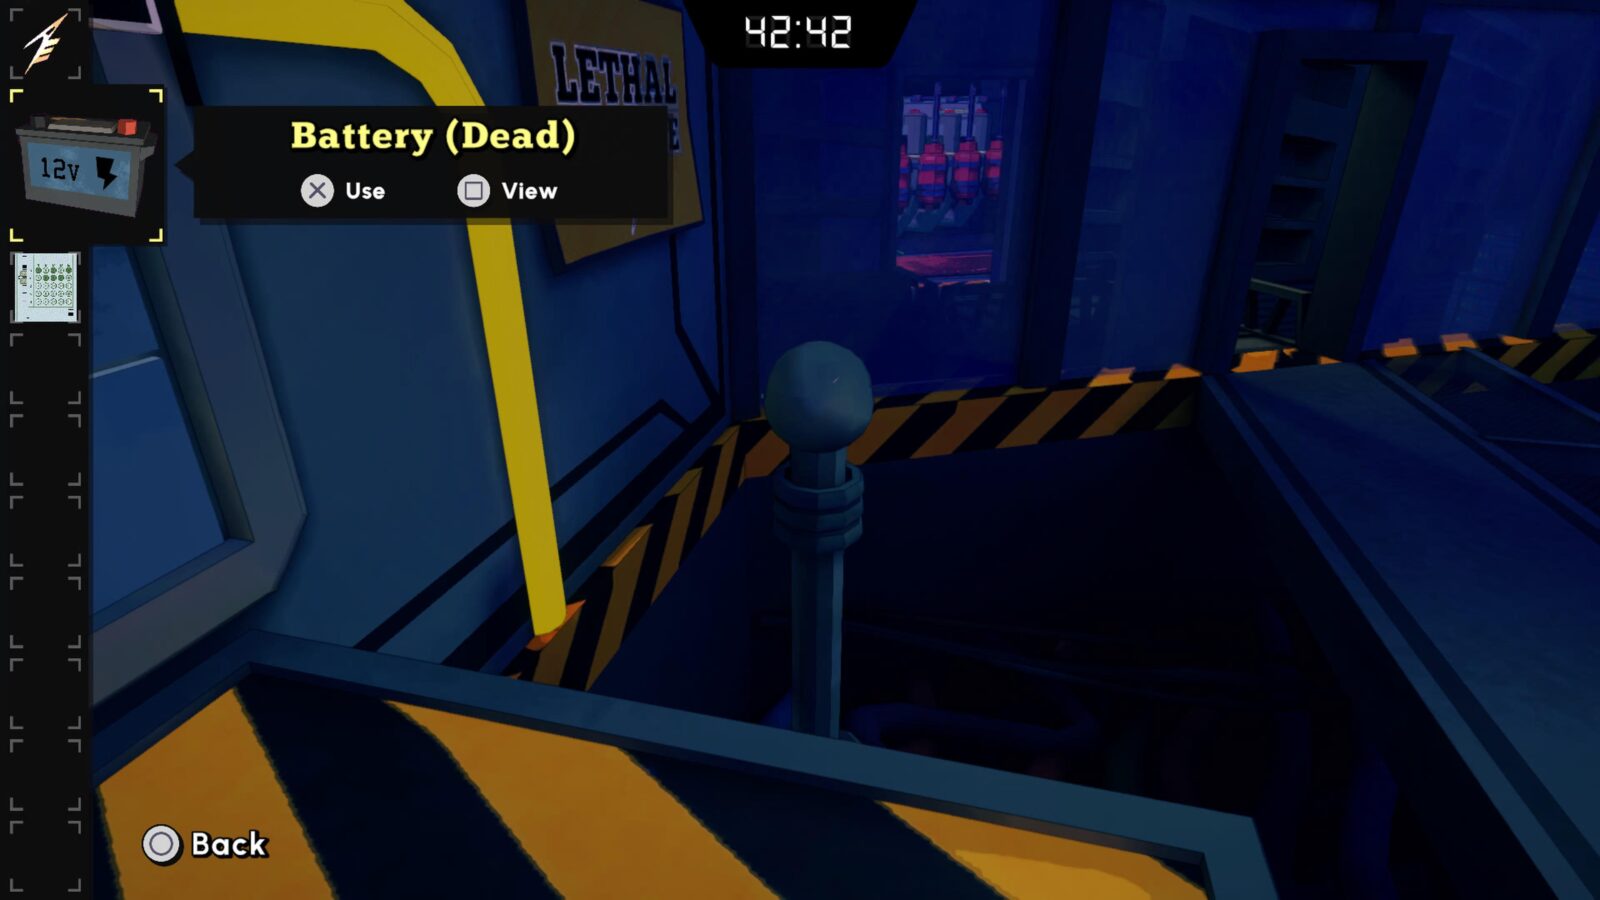
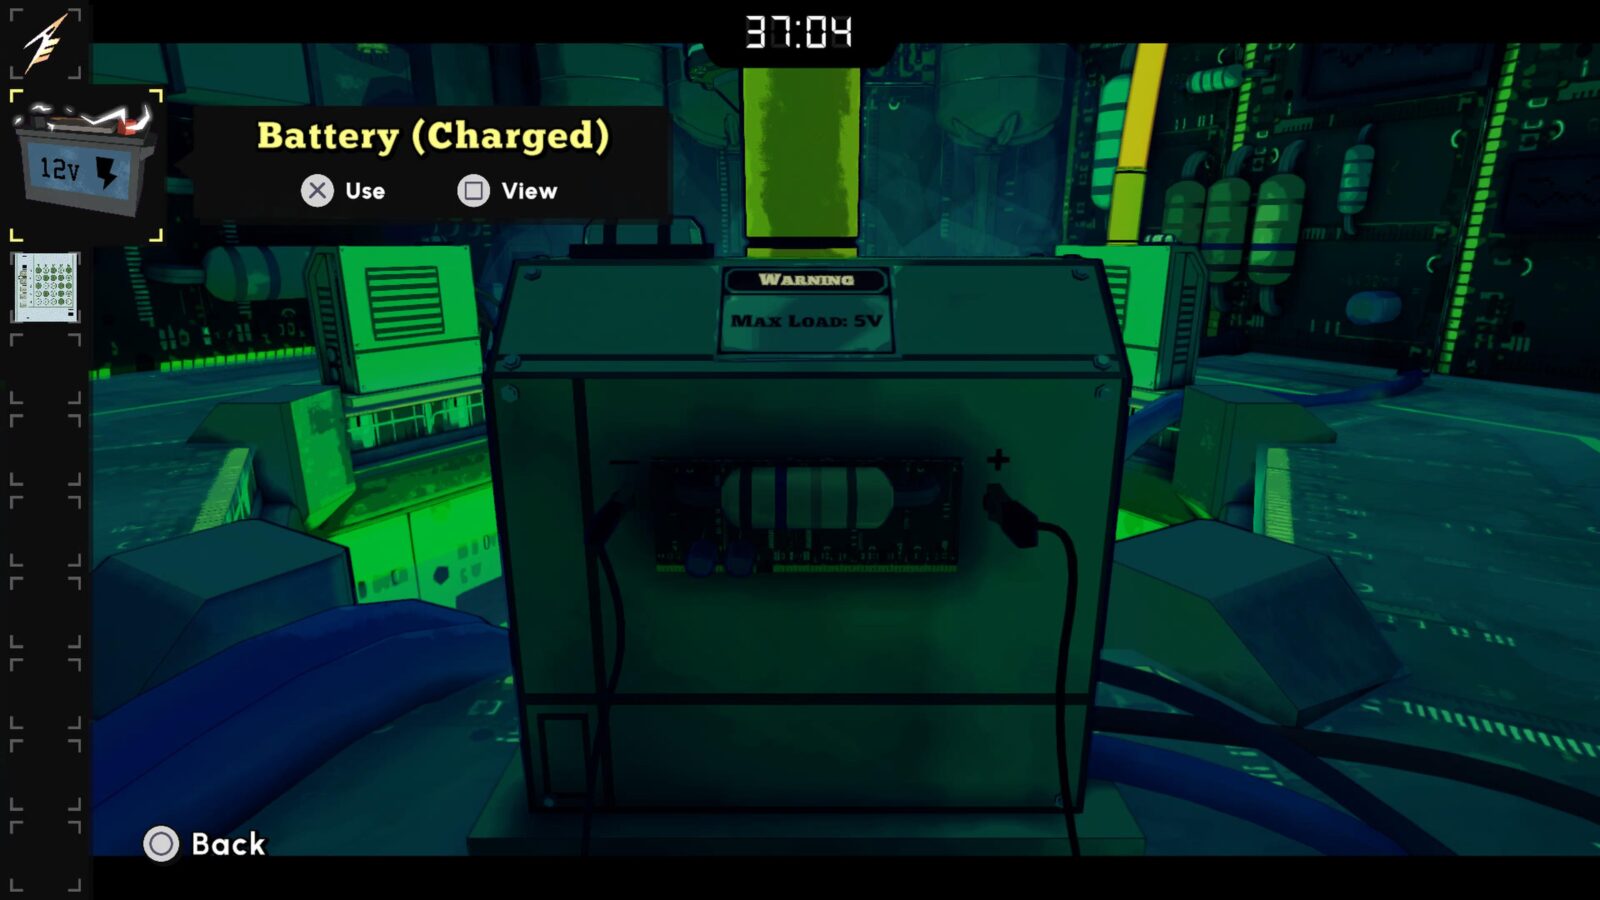
Collect the dead battery from the shelving unit.
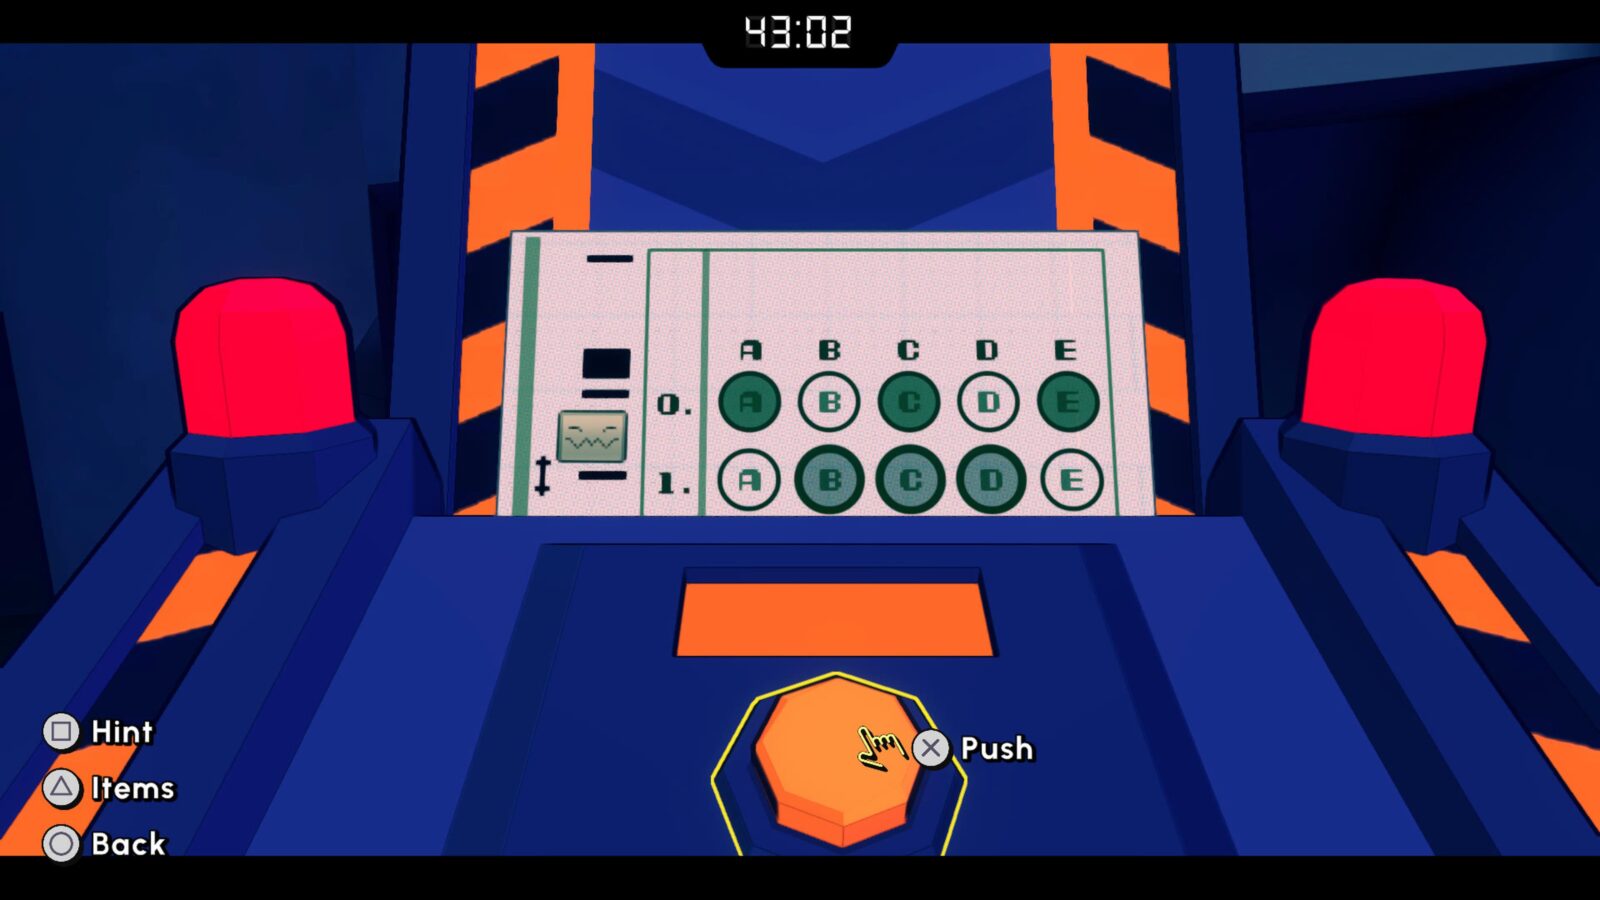
Next, go over to the second scanner, place the sheet on it, and this time mark the letters B, C, and D, then press the orange button.
Take your testing sheet with you into the next room.
Use the dead battery you collected on the Tesla coil to charge it up and then place your testing sheet on the third scanner.
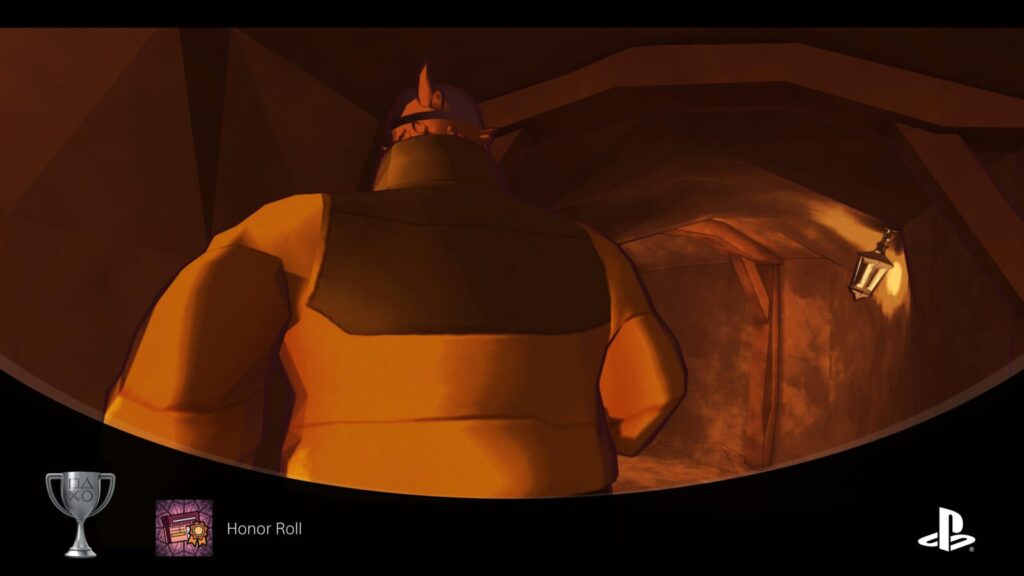
Mark A, D, and E, press the orange button, and enter the next room, which contains a huge robot.
Walk past the robot and into the orange room.
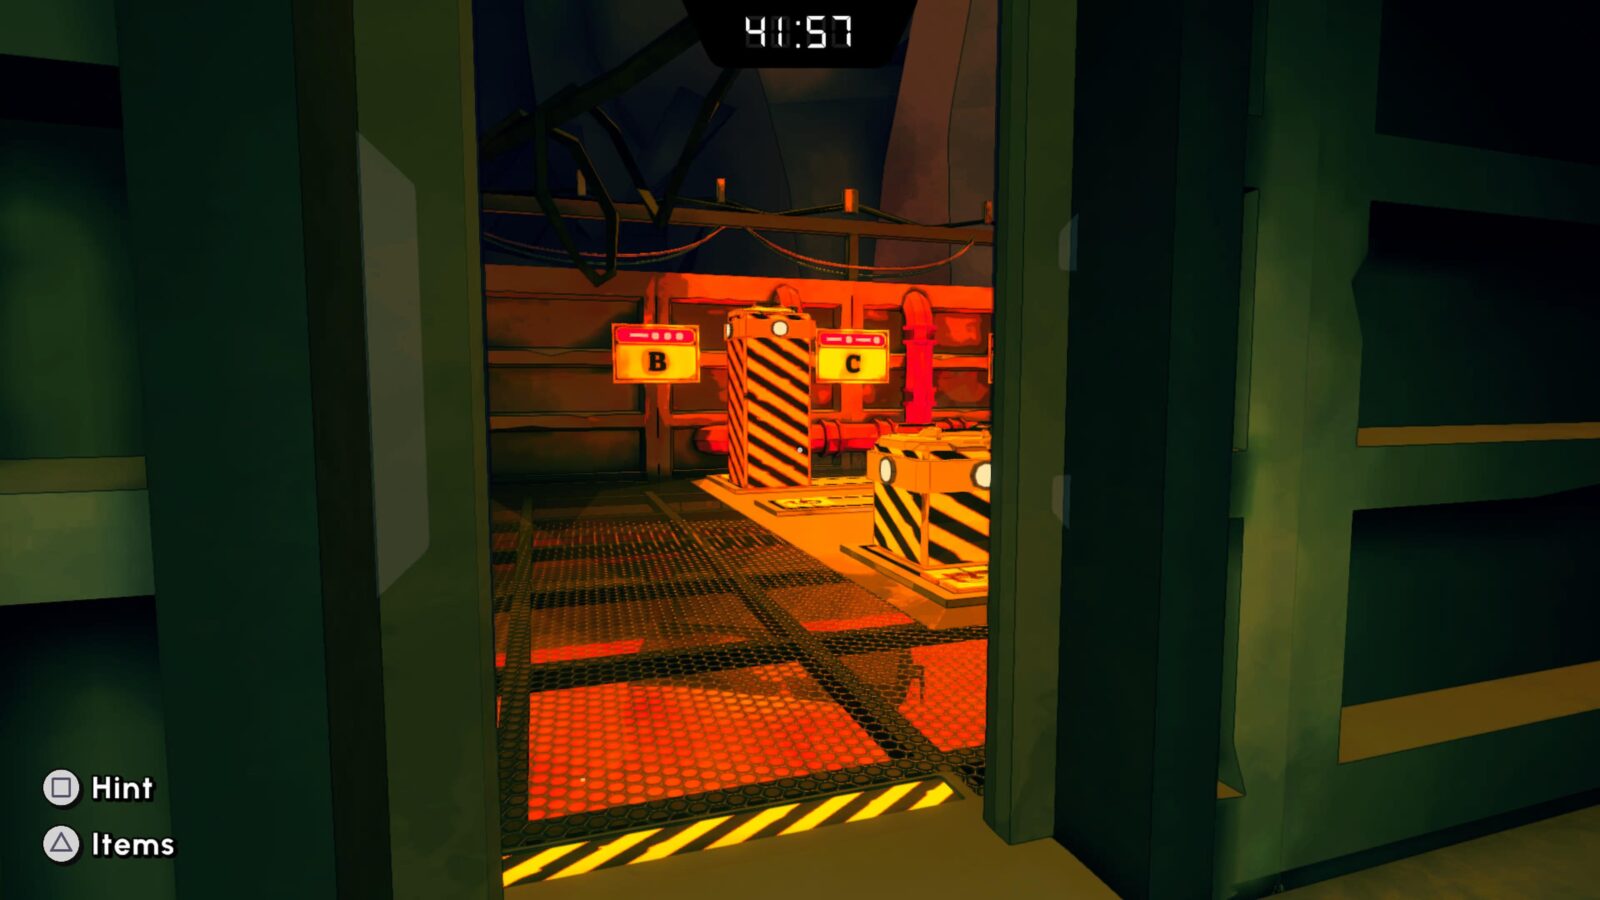
Inside, place your testing sheet on the fourth scanner and mark the letters B and D only before confirming.
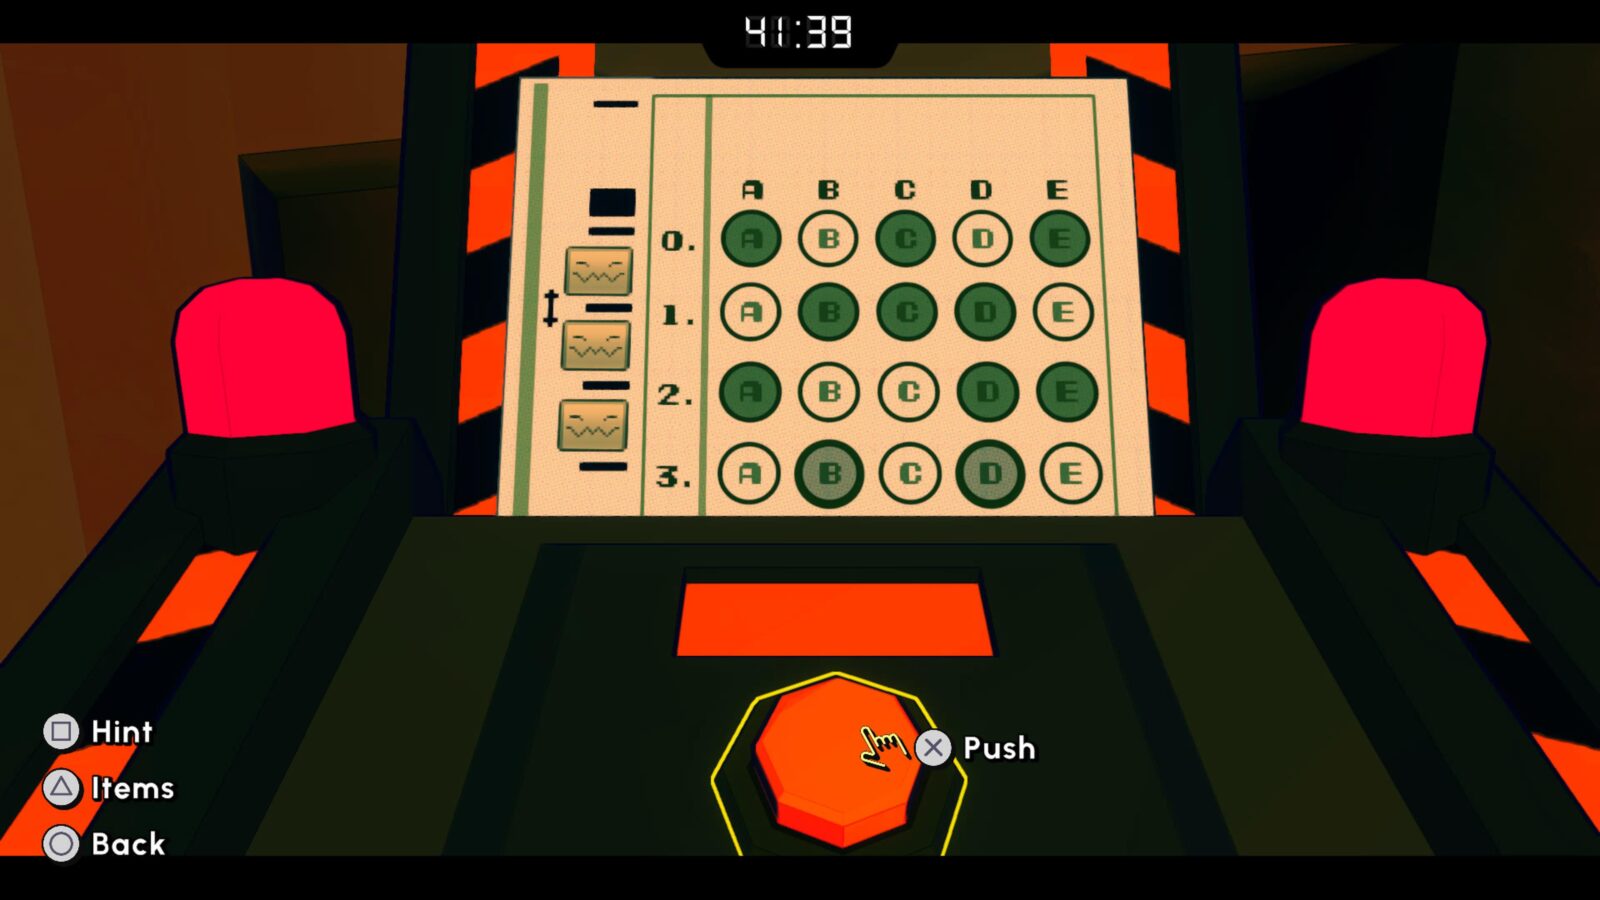
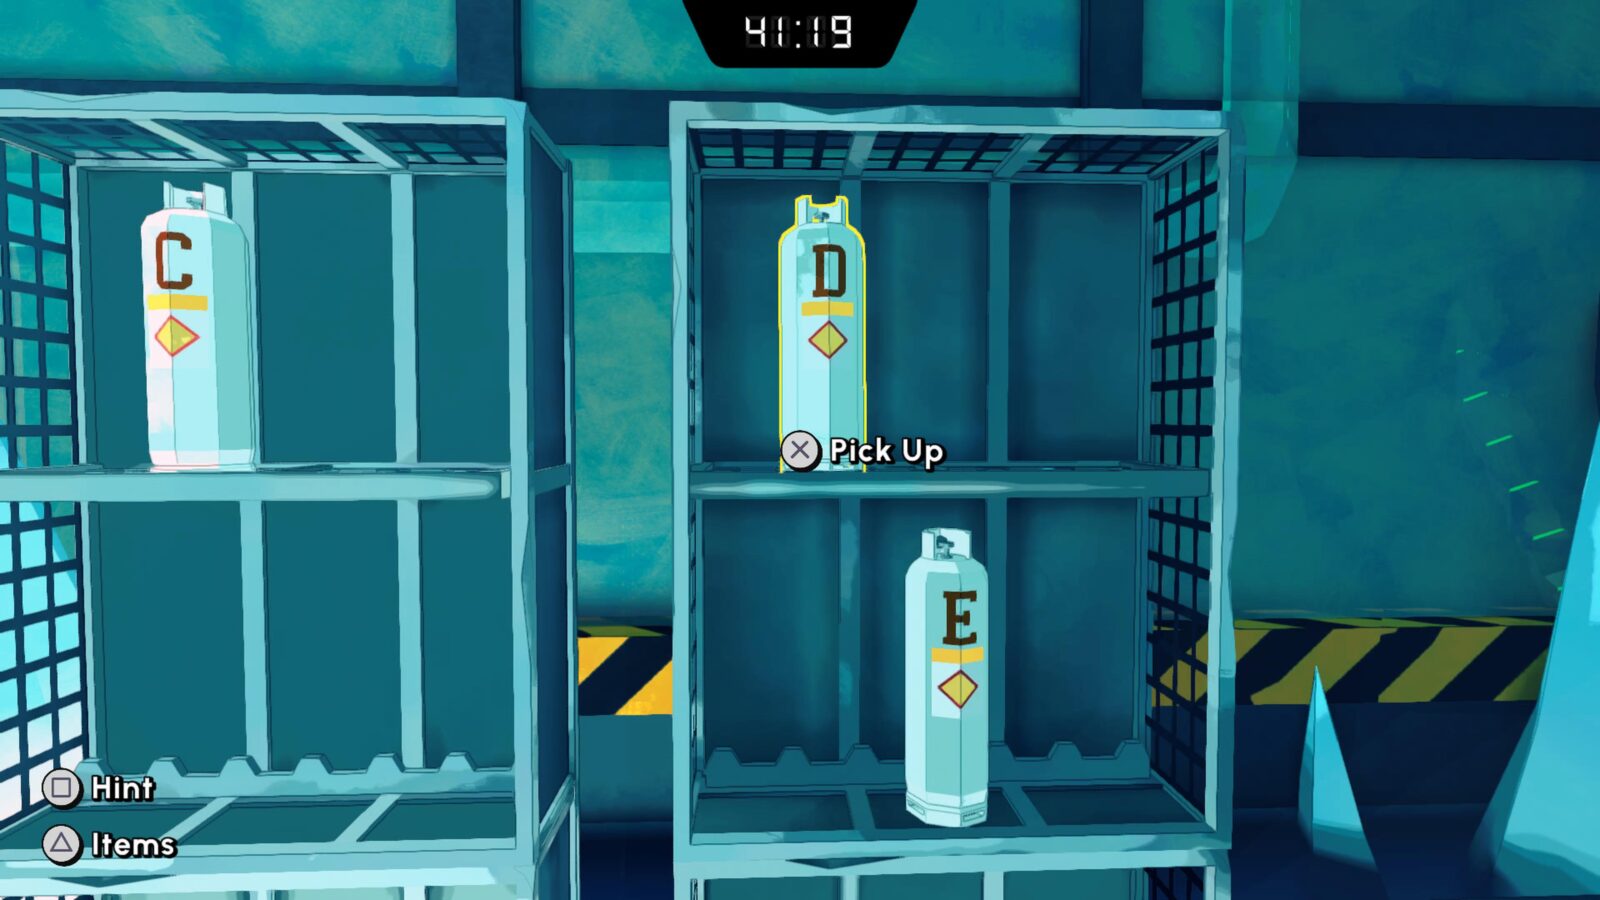
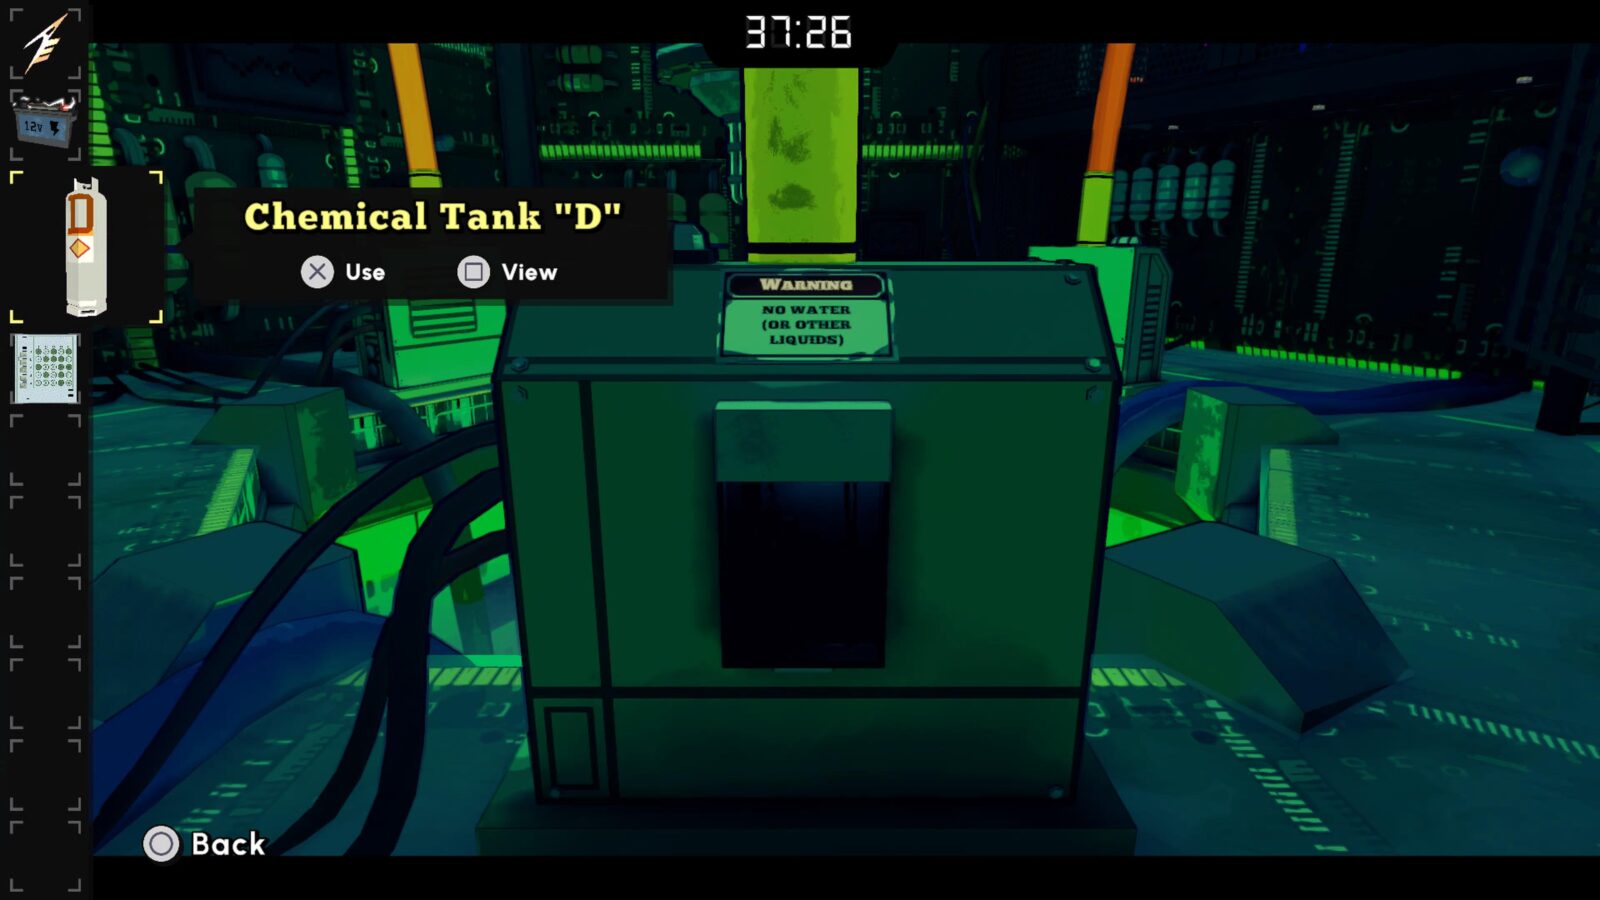
Go into the room that opens up and collect the tank labeled “D”.
Place your testing sheet on the scanner in this room, mark only D, then confirm.
Take your sheet and return to the orange room.
Rearrange the pillars into this formation:
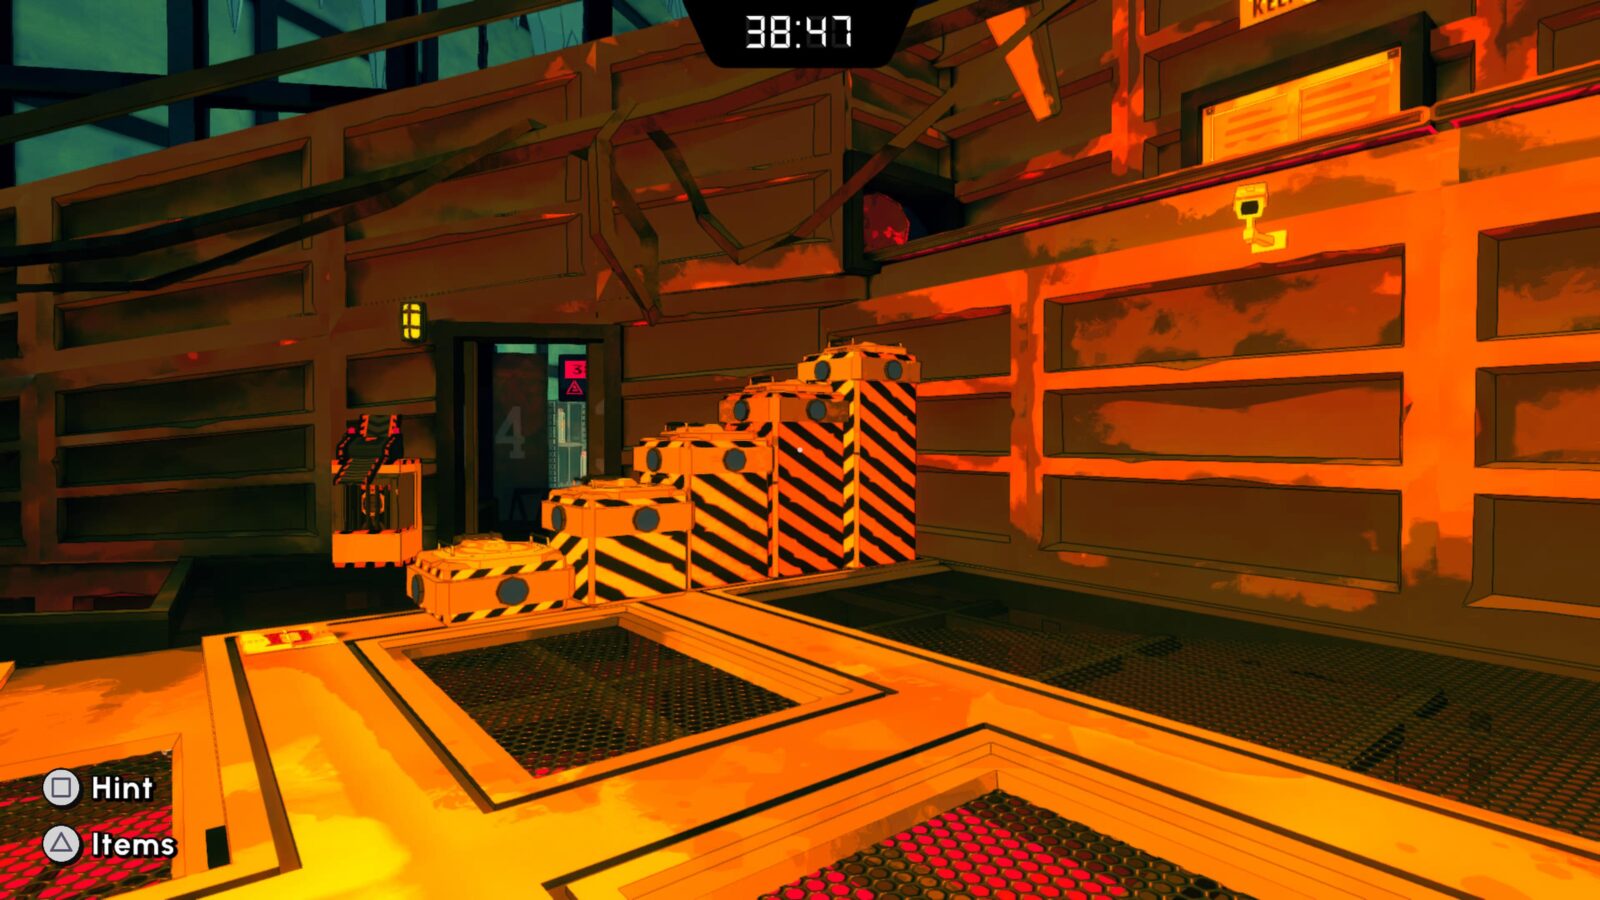
Then climb up them to access an air vent. Use the Headmaster’s Pin to unscrew the vent panel and remove it.
Crawl inside the vent and keep going until you see a Red Button.
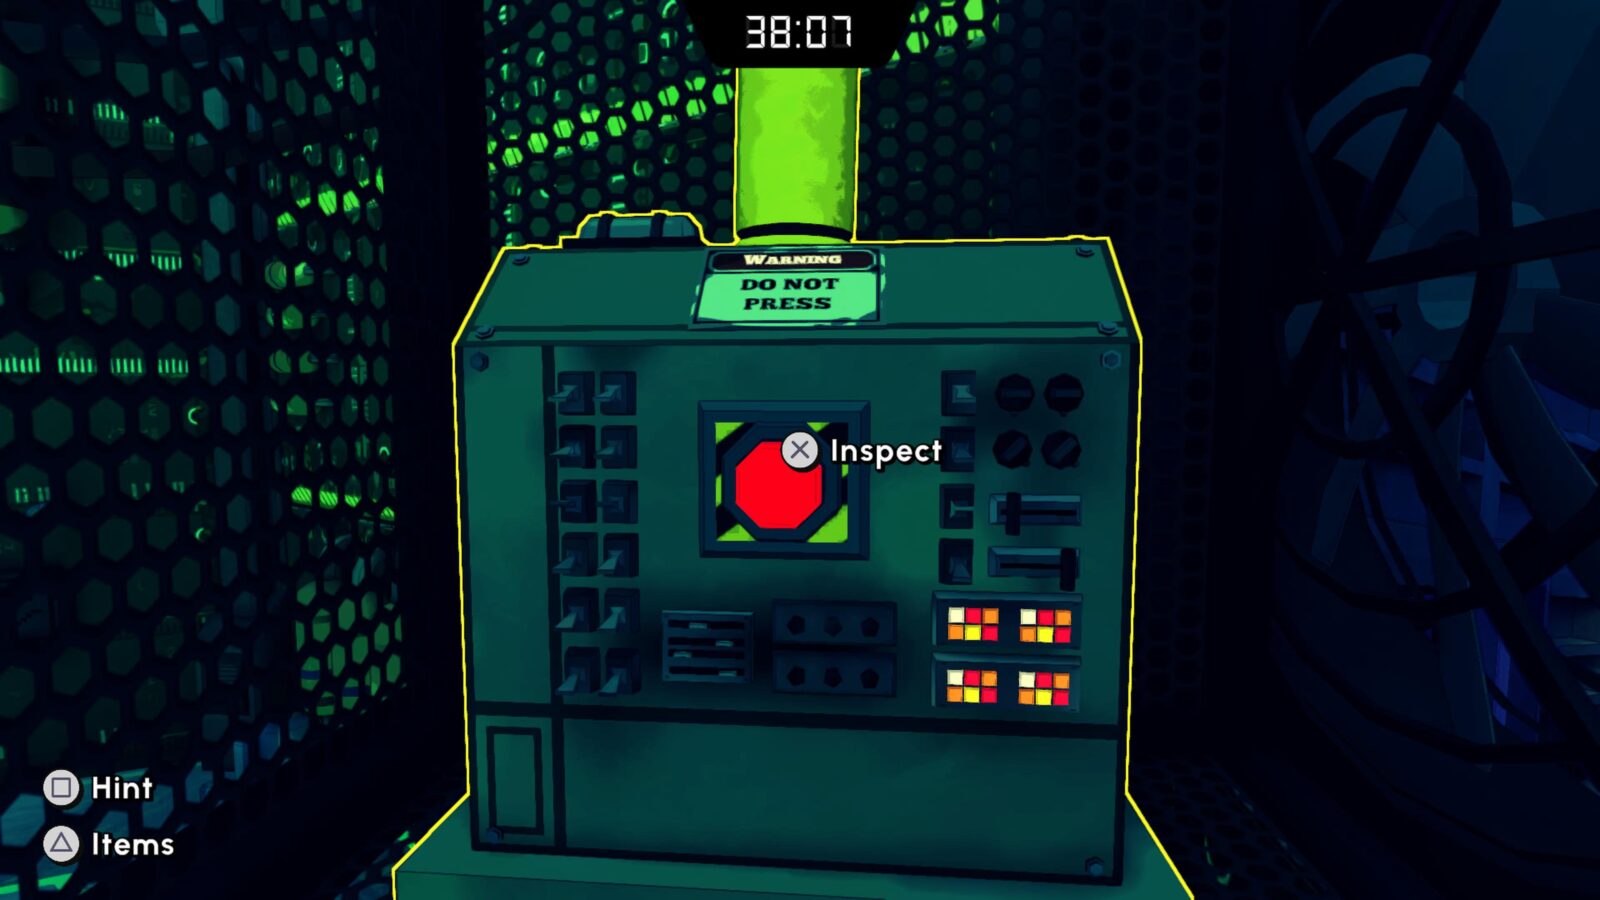
Press it to lower a ladder that you can climb down to enter Quanty’s mainframe.
Here, use the D-Tank we collected on the station with the “No Water (Or Other Liquids)” sign on it to destroy it.
In the same room, use the charged battery on the station with the “Max 5V” sign on it to destroy it also.
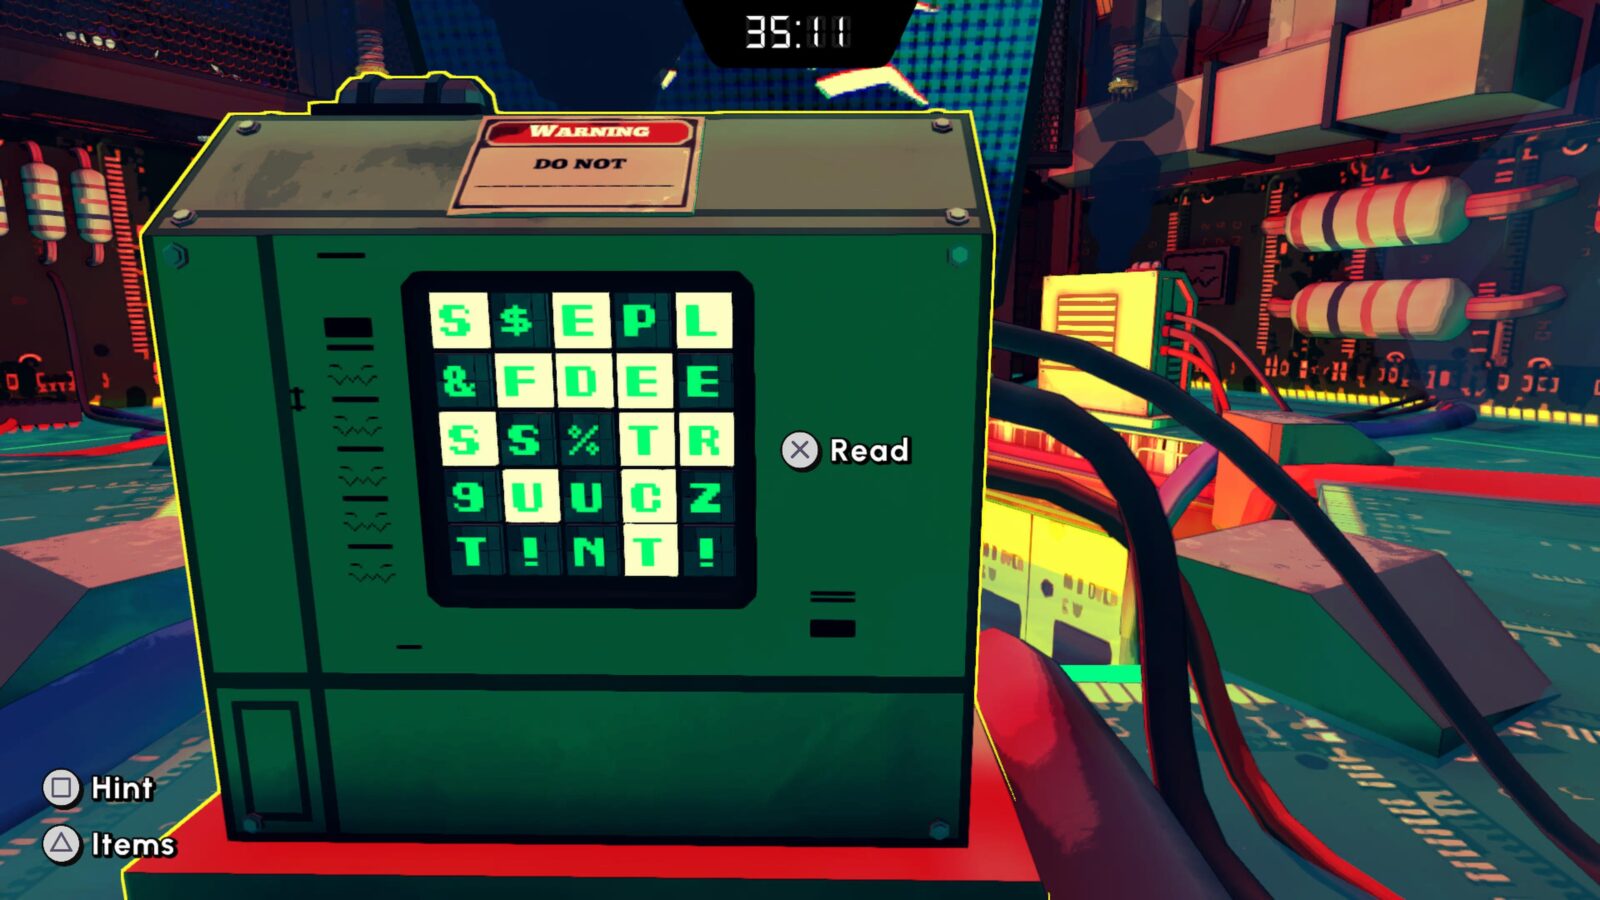
Finally, approach the third station and enter the word “SELFDESTRUCT” in the exact formation shown below to destroy it (it matches the testing sheet answers).
Approach the Quantum Computer (Quanty)’s face. Surrounding him, there’s a row of 4 monitors.
On each screen, you will need to set them to display a specific word. Those words, moving clockwise from Quanty’s face, are as follows:
- STOP
- WIPE
- REFRESH
- UNDO
Now, return to Quanty’s face and interact with it to enter a final word; SHUT DOWN.
The Escape Level will end, and you’ll receive an A+ rating if you followed along without using in-game hints.
Unmissable Trophies
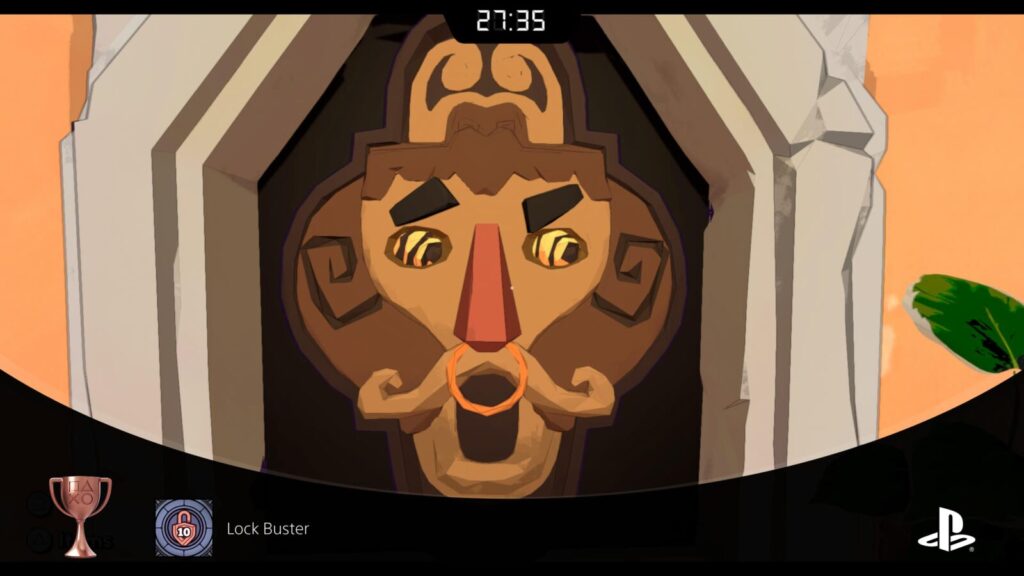
Lock Buster
Open 10 locks.
You will unlock a fair few more than just 10 locks in the course of the game, so you’ll receive Lock Buster naturally.

Key to the Campus
Open 30 locks.
You will unlock more than just 30 locks throughout your playthrough of the game, so you’ll receive Key to the Campus naturally.
Rating Trophies

Honor Roll
Earn a B+ or better on 10 Escapes.
The Honor Roll trophy stacks with Overachiever, so just focus on that to unlock Honor Roll in the process with zero additional effort.

Overachiever
Earn an A+ on 10 Escapes.
The “Overachiever” trophy requires you to earn a rating of “A+” on each Escape Level by doing the following two things:
- Not using any in-game hints
- Completing the level quickly
However, by following the walkthroughs provided for each Escape Level in this Escape Academy Trophy Guide, you can guarantee yourself an A+ rating.
Do that for at least 10 of the 12 Escape Rooms (Introduction and Confrontation do not count) and you will unlock Overachiever.
Phase Three | Cleanup!
By this point in your Escape Academy Trophy Journey, you should have unlocked Overachiever and finished the game. If you have any trophies left that you have not yet unlocked, load your latest autosave, which will be called “Epilogue.”
Here, you can explore the campus and, from your Dorm, can replay any of the Escape Rooms you’ve already completed.
If you don’t have Extra, Extra! yet, you’ll need to use our Escape Academy: All Newspaper Locations guide to help you locate all 10 newspaper collectibles.
Additionally, if you haven’t played with a friend up til now, there are a few Co-op Trophies we’ll need to mop up. Fortunately, however, these can actually be done solo if you just use a second controller and select “Local Multiplayer.”
The only trophy that you might actually have fully missed is Chatterbox. If you don’t have it by the Epilogue, you will need to start new game in order to earn it.
Misc Trophies
Killer Cardio
Sprint for over 400 meters.
The Killer Cardio trophy asks that you sprint for a cumulative total of 400 meters.
This should occur mostly naturally, especially if you sprint around a lot. I recommend holding ![]() as much as you can throughout your playthrough to ensure you unlock the trophy without a second thought.
as much as you can throughout your playthrough to ensure you unlock the trophy without a second thought.
If you don’t yet have it by the end of the game, though, start sprinting around until it pops.

Extra, Extra!
Read 10 different editions of "The Escapist Times."
There are 10 editions of “The Escapist Times” hidden around the Escape Academy. 3 are in the Academy itself, while the remaining 7 are hidden in specific Escape Levels.
Open and follow our Escape Academy: All Newspaper Locations guide as you play to ensure you don’t miss any.
If you do, you can revisit past levels at any time, so you can go back to collect any you missed, using the guide to help you locate each paper.

Chatterbox
Have 8 side conversations with characters on campus.
The Chatterbox trophy asks that you speak to characters at least 8 times while on campus. This doesn’t count automatic conversations that you’ll have as part of the story, so you will need to go out of your way a little bit to have side-conversations.
When looking at the campus map, you’ll see where other characters are hanging out as indicated by a person-shaped icon.

Visit that area and interact with the character to speak to them.
Co-Op Trophies

Groovin', Baby!
Solve Quanty's Disco Fever with a partner.
The referenced “Disco Fever” is one of the puzzles you need to complete as part of the Escape Level titled “Lab Rat.”
Simply completing that puzzle in Local or Online Co-op partner will guarantee you unlock this “Groovin’, Baby!” trophy. See Machine Learning for our Lab Rat walkthrough instructions.
If playing locally, you can do this solo with a second controller.

Study Buddies
Complete three Escapes with a partner.
Unlocking the “Study Buddies” trophy is as simple as completing three Escape Levels while playing in either Local or Online Co-op. If playing locally, you can do this solo with a second controller.
This will unlock naturally if you play through the game with a friend, or you may need to go out of your way to earn it by actively replaying levels with a friend or second controller.
I’d recommend completing Lab Rat once to earn Groovin’ Baby while you’re there, and then completing Entrance Exam twice, as all you need to do is enter “Sandra Jacqueline Solange” into the console near the door to finish it.
Exchange Students
Give at least 5 items to your partner.
To unlock the Exchange Student trophy, you will need to give an item to your co-op partner a cumulative total of 5 times.
Obviously, you’ll need to be playing in either Local or Online co-op for this. If playing locally, you can do this solo with a second controller.
Whenever you pick up one of the many puzzle-related items in Escape Academy, you can give them to your co-op partner by approaching them and pressing ![]() when the prompt appears.
when the prompt appears.
Repeat this another four times, and the Exchange Student trophy will unlock, even if you’re just passing the same item back and forth.

Musical Prodigy
Find a way to play "Mary Had A Little Lamb."
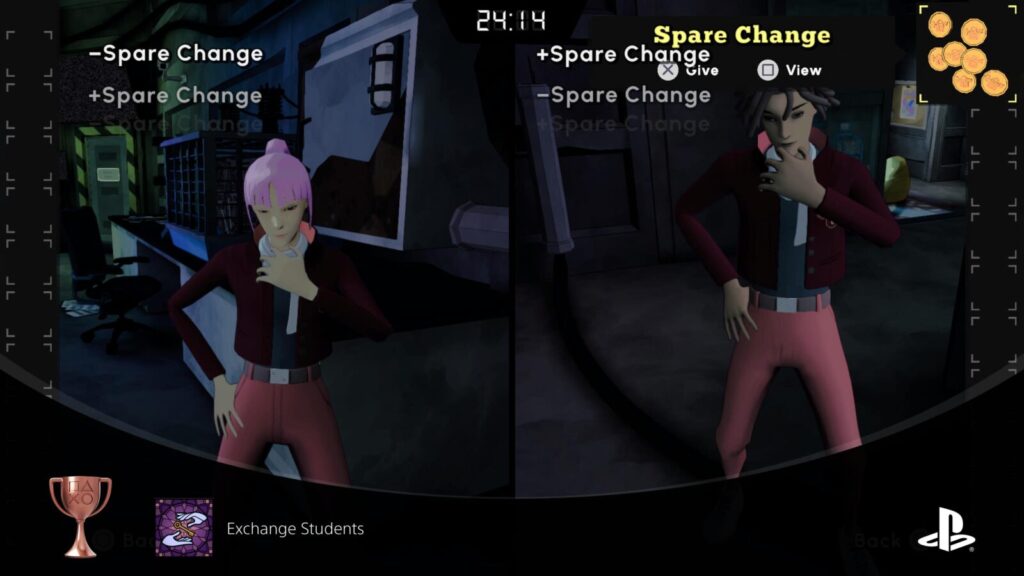
In the level titled “The Entrance Exam,” within which you can earn the Entrance Examined trophy, you should approach the bookshelf and look for books about Egypt, Japan, and Greece. Interact with all three books in that order to open a secret door.
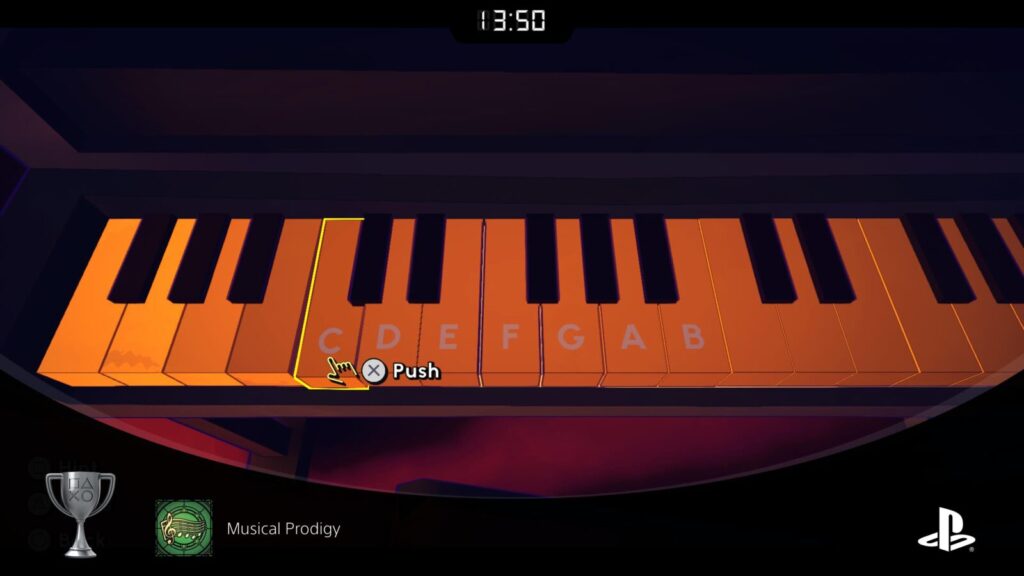
Enter the door and approach the Piano in the new room. Press the keys in the following sequence:
EDCD-EEE-DDD-EGG-EDCD-EEEE-DDED-C
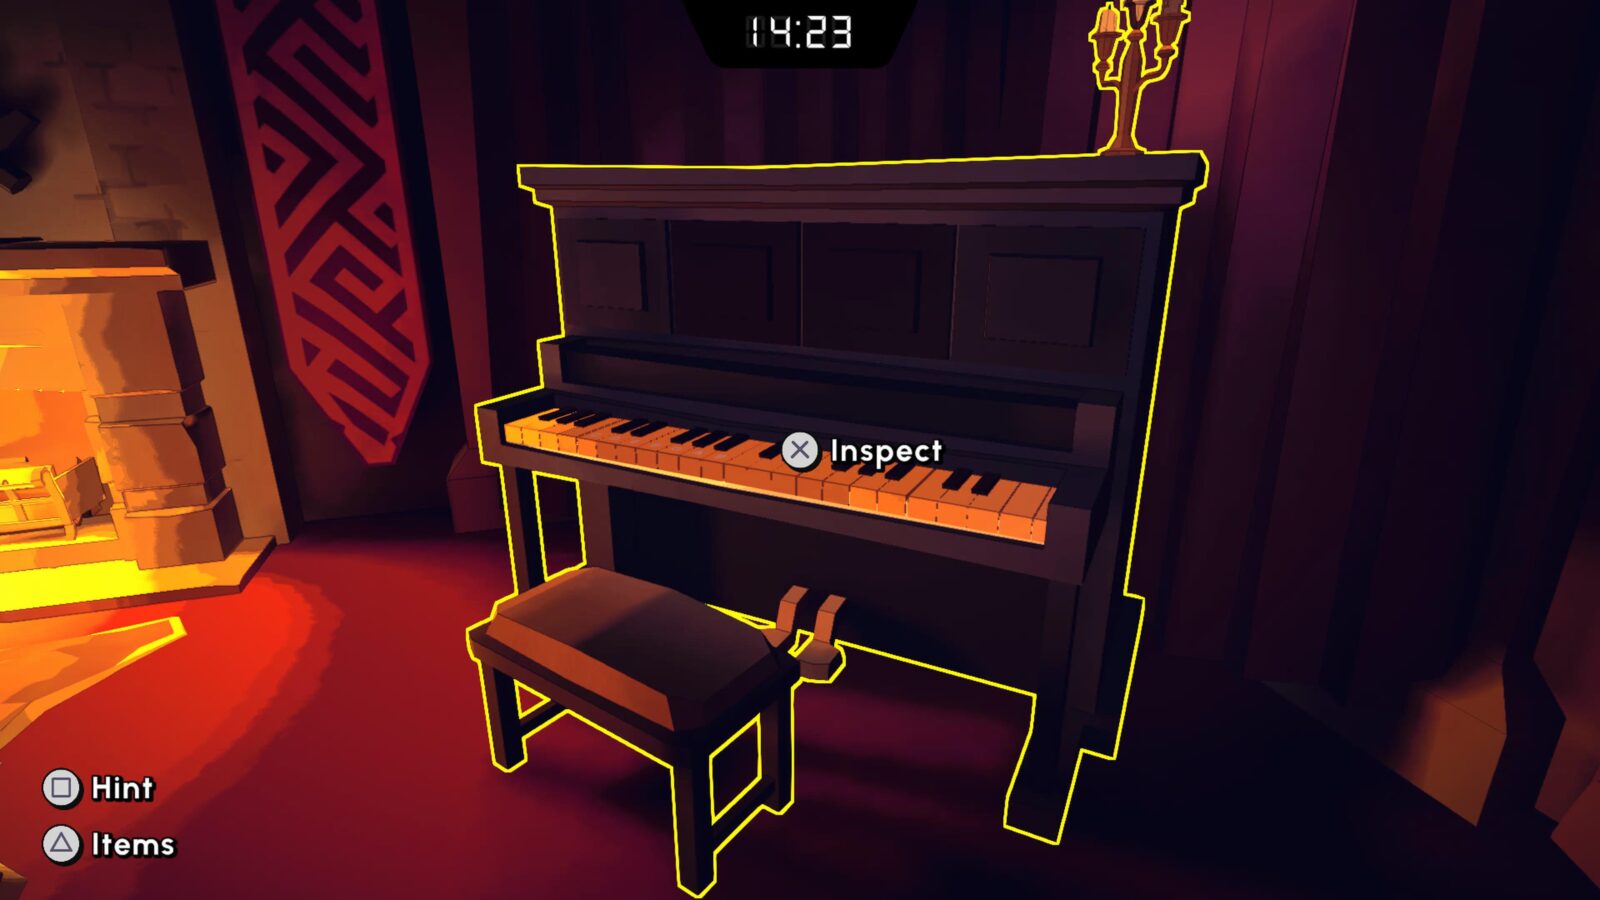
By doing so, you will play Mary Had a Little Lamb on the piano, unlocking the Musical Prodigy trophy.
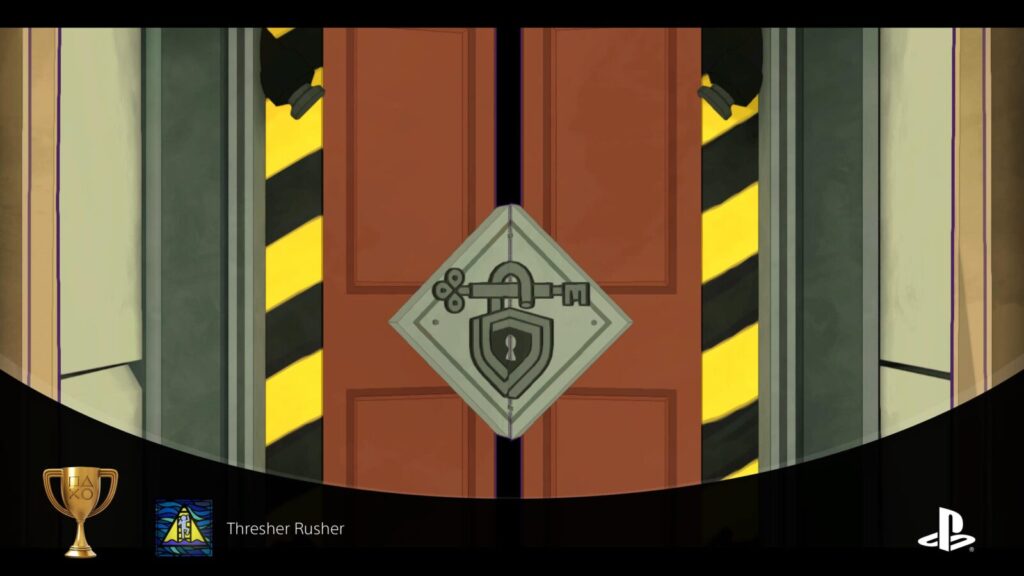
Thresher Rusher
Escape "Under Pressure" in under three minutes.
The “Thresher Rusher” trophy requires you to complete the “Under Pressure” escape level in less than three minutes.
This is quite easy to do when you know the solution, so by following our walkthrough for Ticket to Breathin’ Town, you’re almost guaranteed to unlock Thresher Rusher in the process.
PlatGet!

Valedictorian
Unlock every other trophy.
After collecting every trophy in this Escape Academy Trophy Guide, the "Valedictorian" Platinum Trophy will unlock. Congratulations!
Thanks for Reading
Plat Get!
Thank You!
Thank You for choosing PlatGet as your source for this Escape Academy Trophy Guide & Walkthrough.
Wondering what to complete next? Browse our complete guide selection or check out our friends at PlatPrices.com to filter the PS Store based on price, trophy difficulty, or completion time.
Got a question, some feedback, or just want to say thanks? Drop a comment in the discussion section below, we'd love to hear from you! No account required!!