PlayStation 4
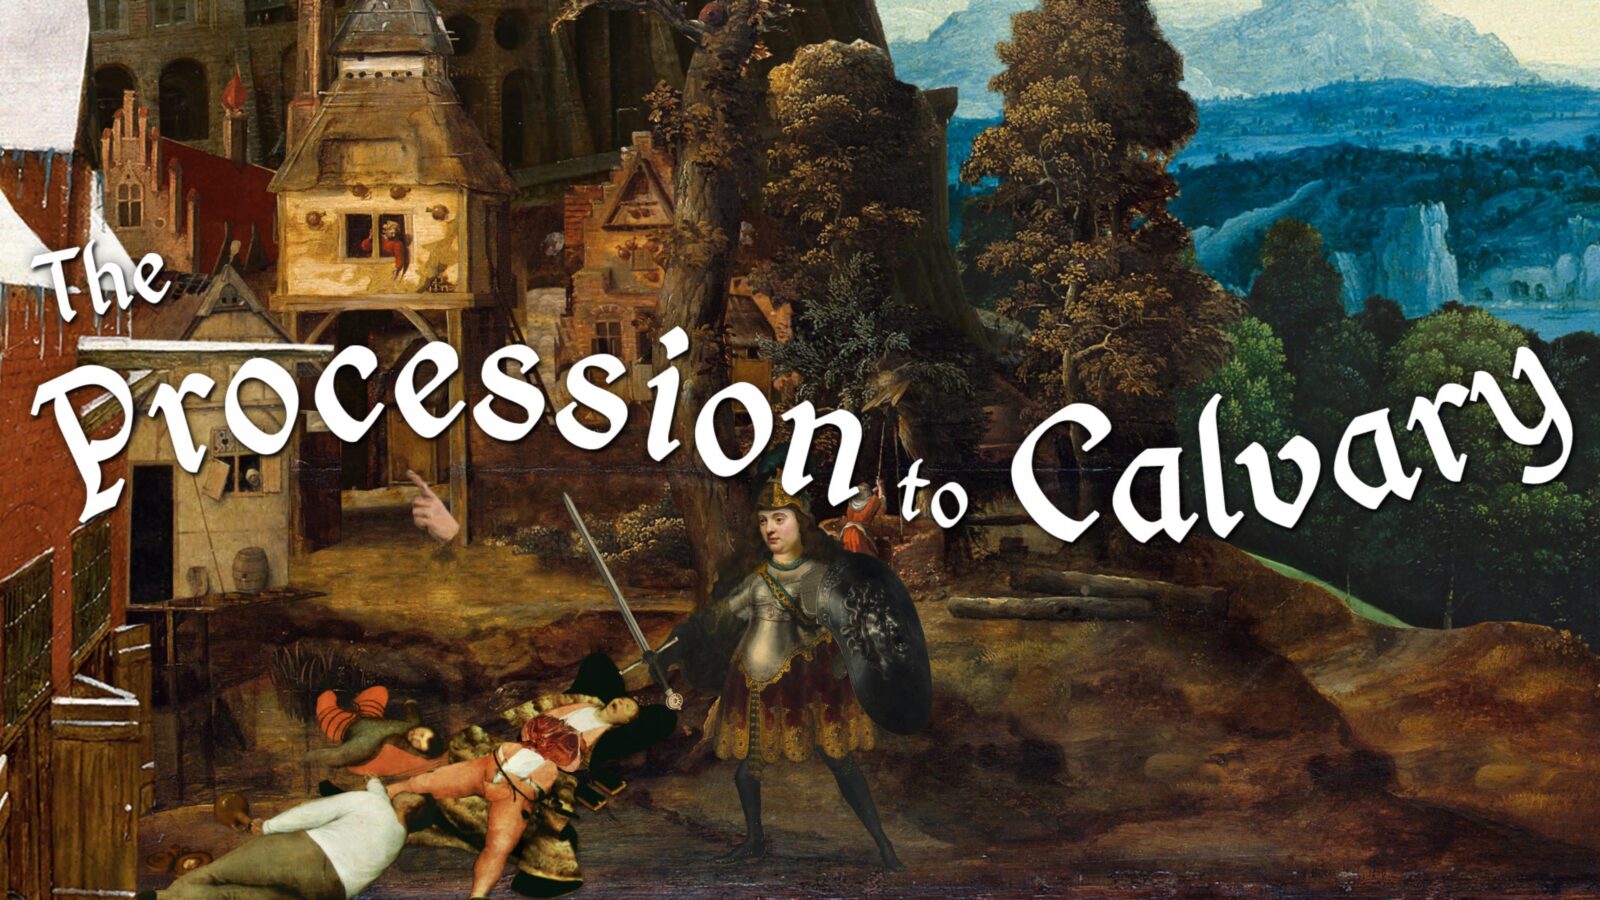
Procession to Calvary Trophy Guide & Walkthrough


General Info
FAQ
How long does it take to beat The Procession to Calvary and unlock all trophies?
About 2-3 hours, especially with our walkthrough.
How difficult is it to beat The Procession to Calvary and unlock all trophies?
Easy (3/10).
Does The Procession to Calvary have online trophies?
No.
Does The Procession to Calvary have difficulty-specific trophies?
No.
Does The Procession to Calvary have missable trophies?
Does The Procession to Calvary have glitched trophies?
No.
What is the minimum number of playthroughs required to unlock all trophies in The Procession to Calvary?
Two, but one of them is very short!.
Does The Procession to Calvary have a Platinum Trophy?
Yes.
Trophy Guide
Procession to Calvary Trophy Guide and Walkthrough for PlayStation 4
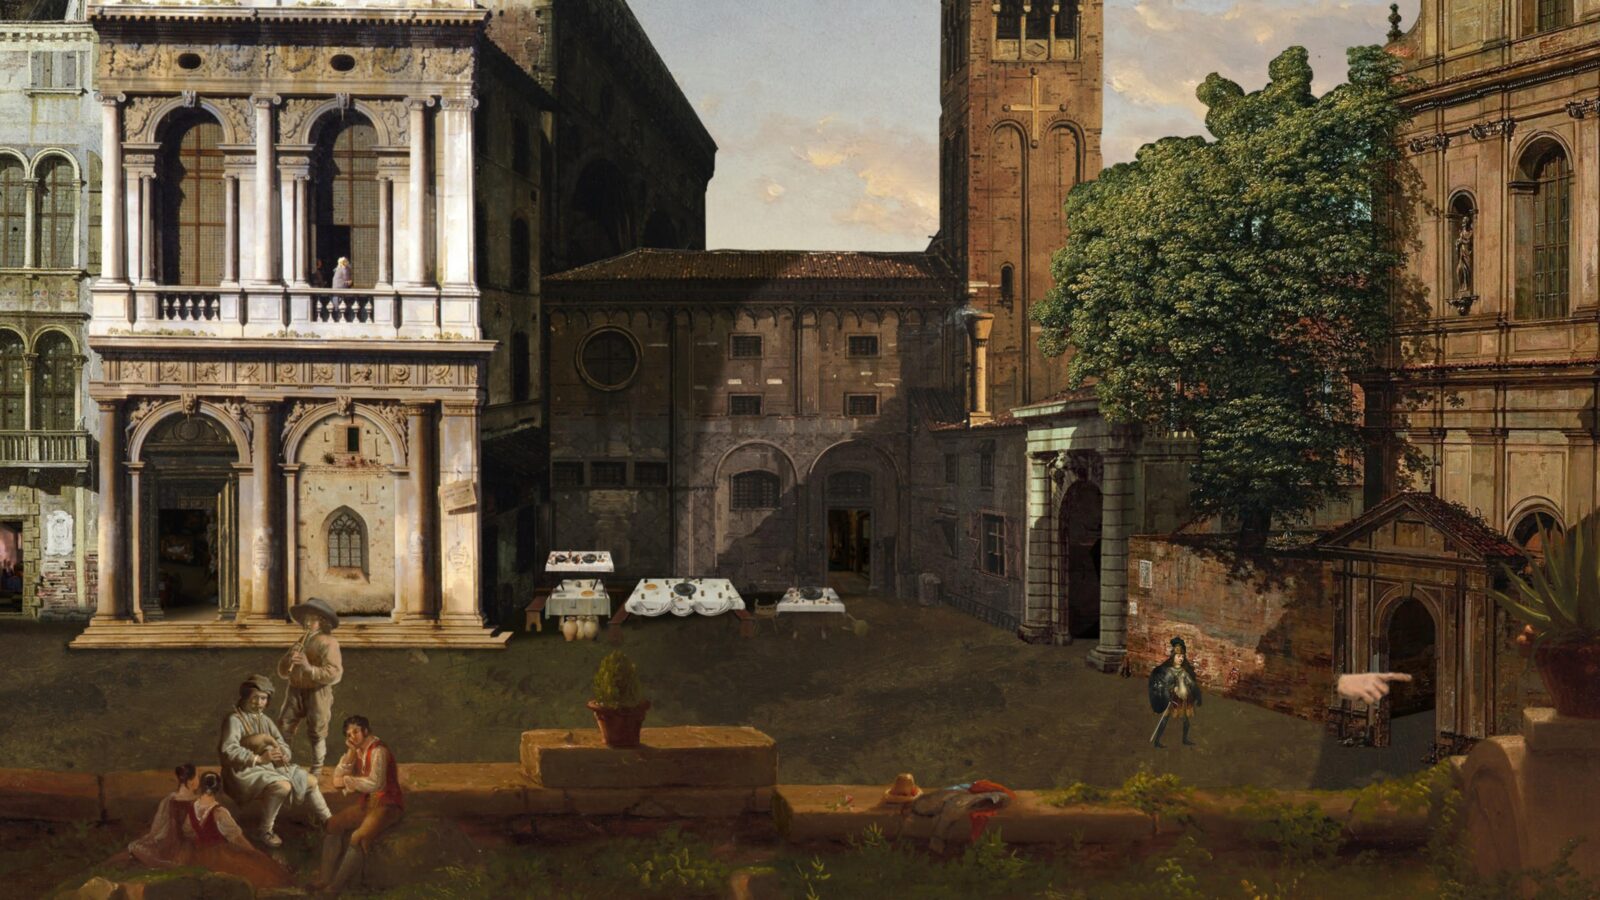
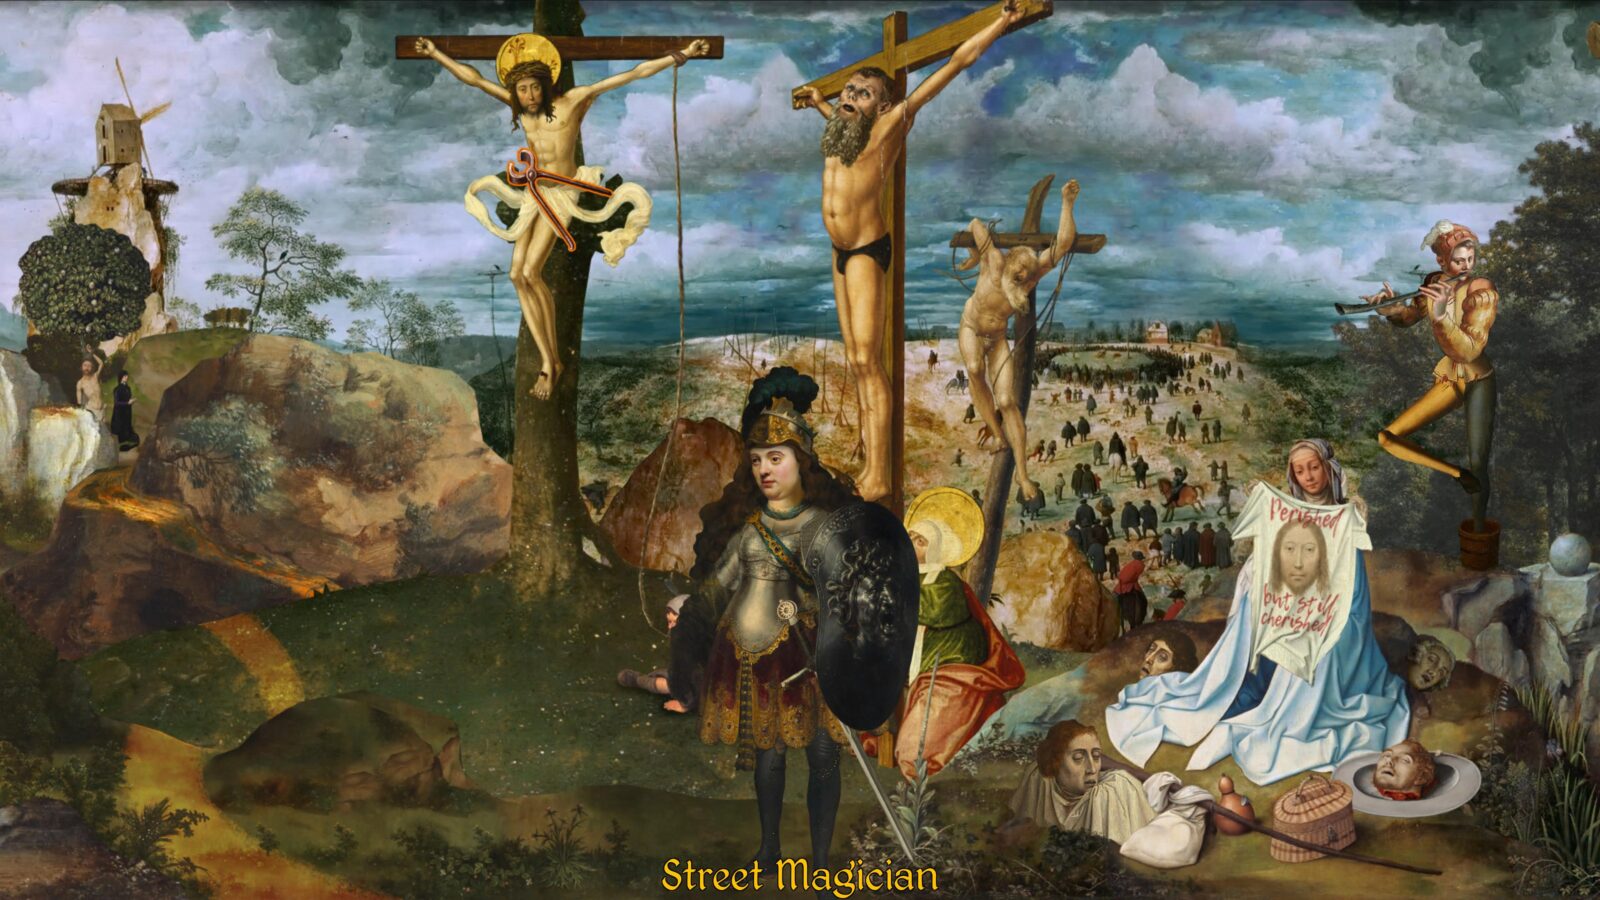
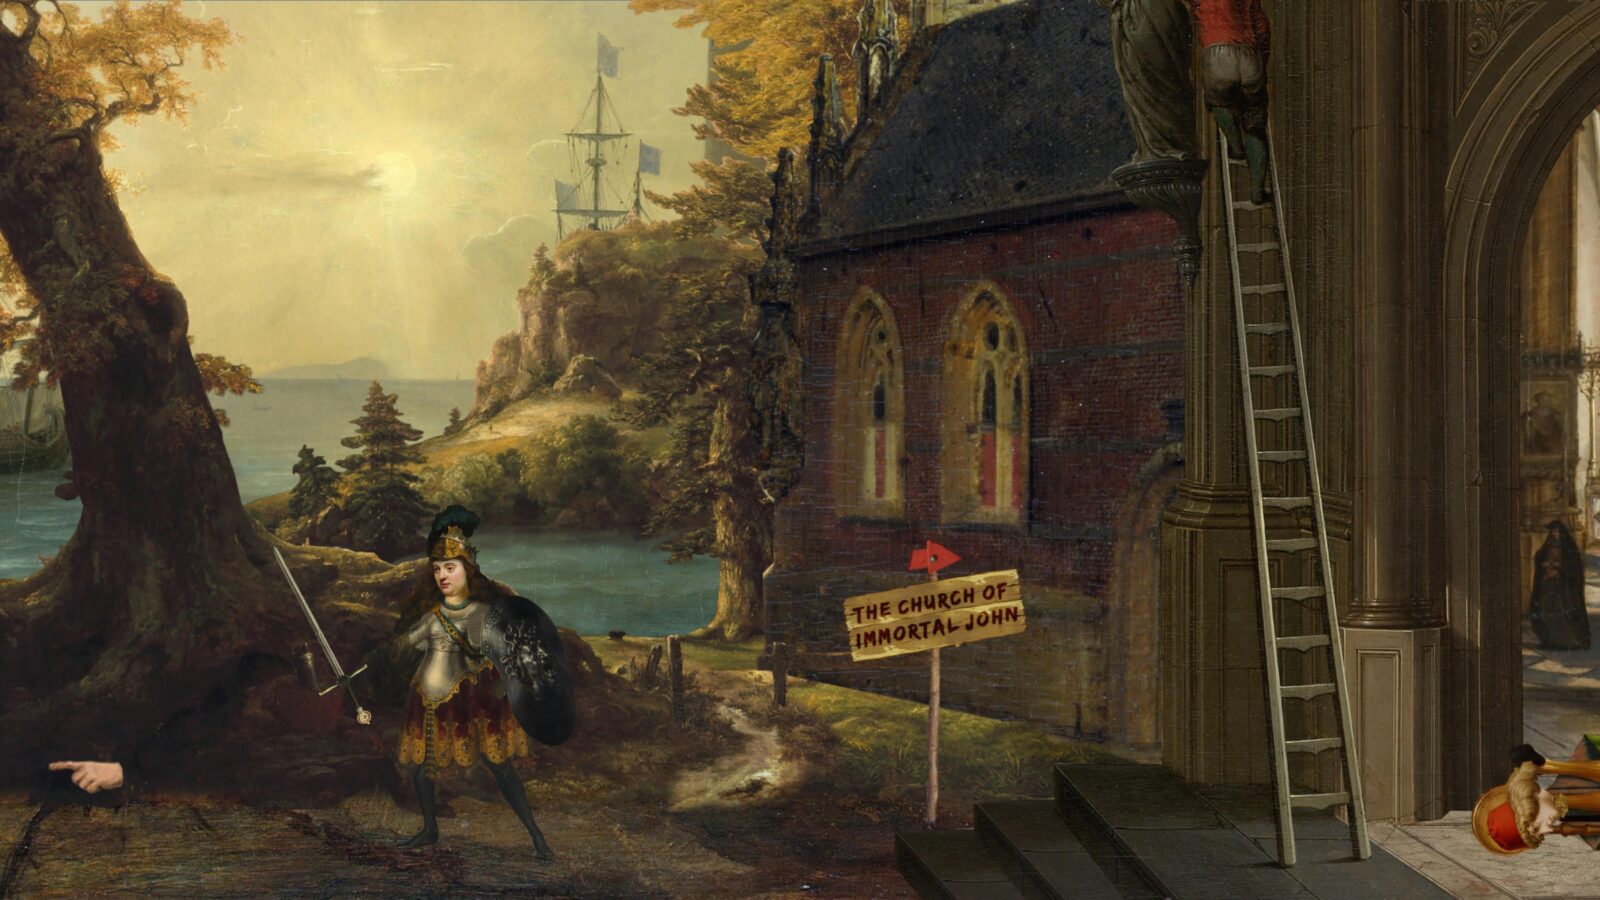
Welcome to our Procession to Calvary Trophy Guide. The Procession to Calvary is somewhat of a throwback to old Sierra point-and-click adventures like King’s Quest, wrapped in the hilarious skin of a Monty Python sketch.
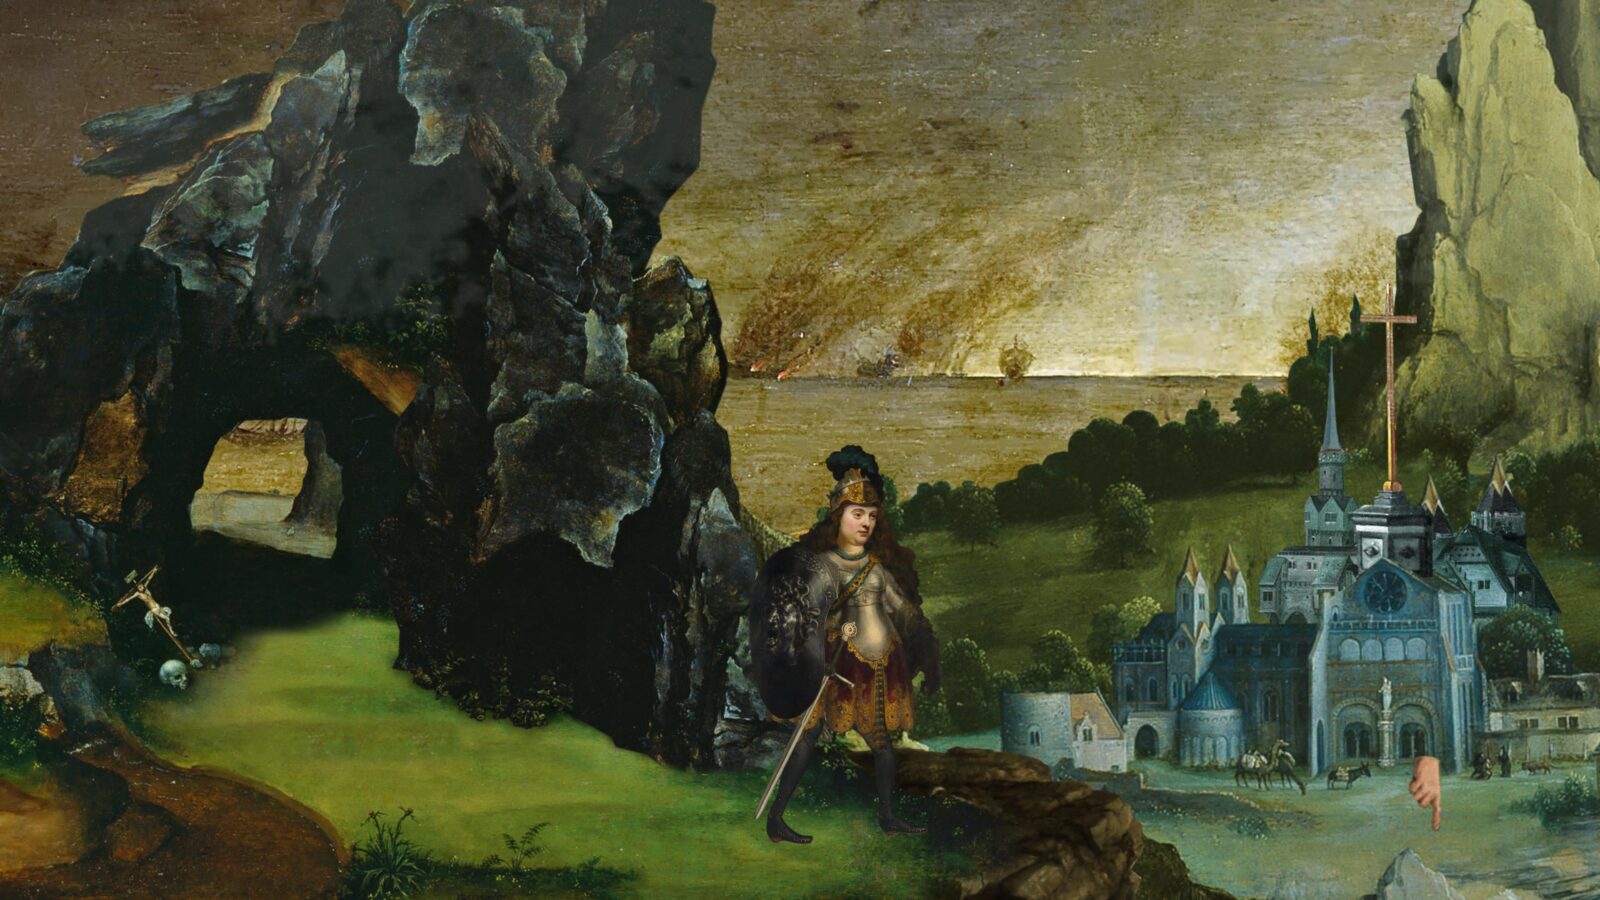
The developer, Joe Richardson, has had the genius idea to take public domain assets like renaissance paintings and classical music and use them to bring his vision to life, creating living paintings that each have their own stamp of “Joe Richardson” about them.
The trophy journey is short and sweet. Taking as little as two hours if you follow our guide, you’ll need to complete just two short playthroughs, each vastly different from the other.
Playthrough One – Endings 2 & 3
In this first playthrough of the game, we’ll play the game properly. We’ll investigate scenes and interact with objects to progress the story and unlock various miscellaneous trophies along the way.
The easiest way for me to help you through the game and ensure you don’t miss any trophies is via a short walkthrough, so I’ve structured this Procession to Calvary Trophy Guide more like a walkthrough than our usual road-map-style guides. Because of this, there will be a lot of spoilers.
Procession to Calvary is a very funny and entertaining experience wrapped in a short game, so I do recommend that you play the game blind at least once before coming back here to follow our walkthrough.
Procession to Calvary Playthrough One Trophy Walkthrough
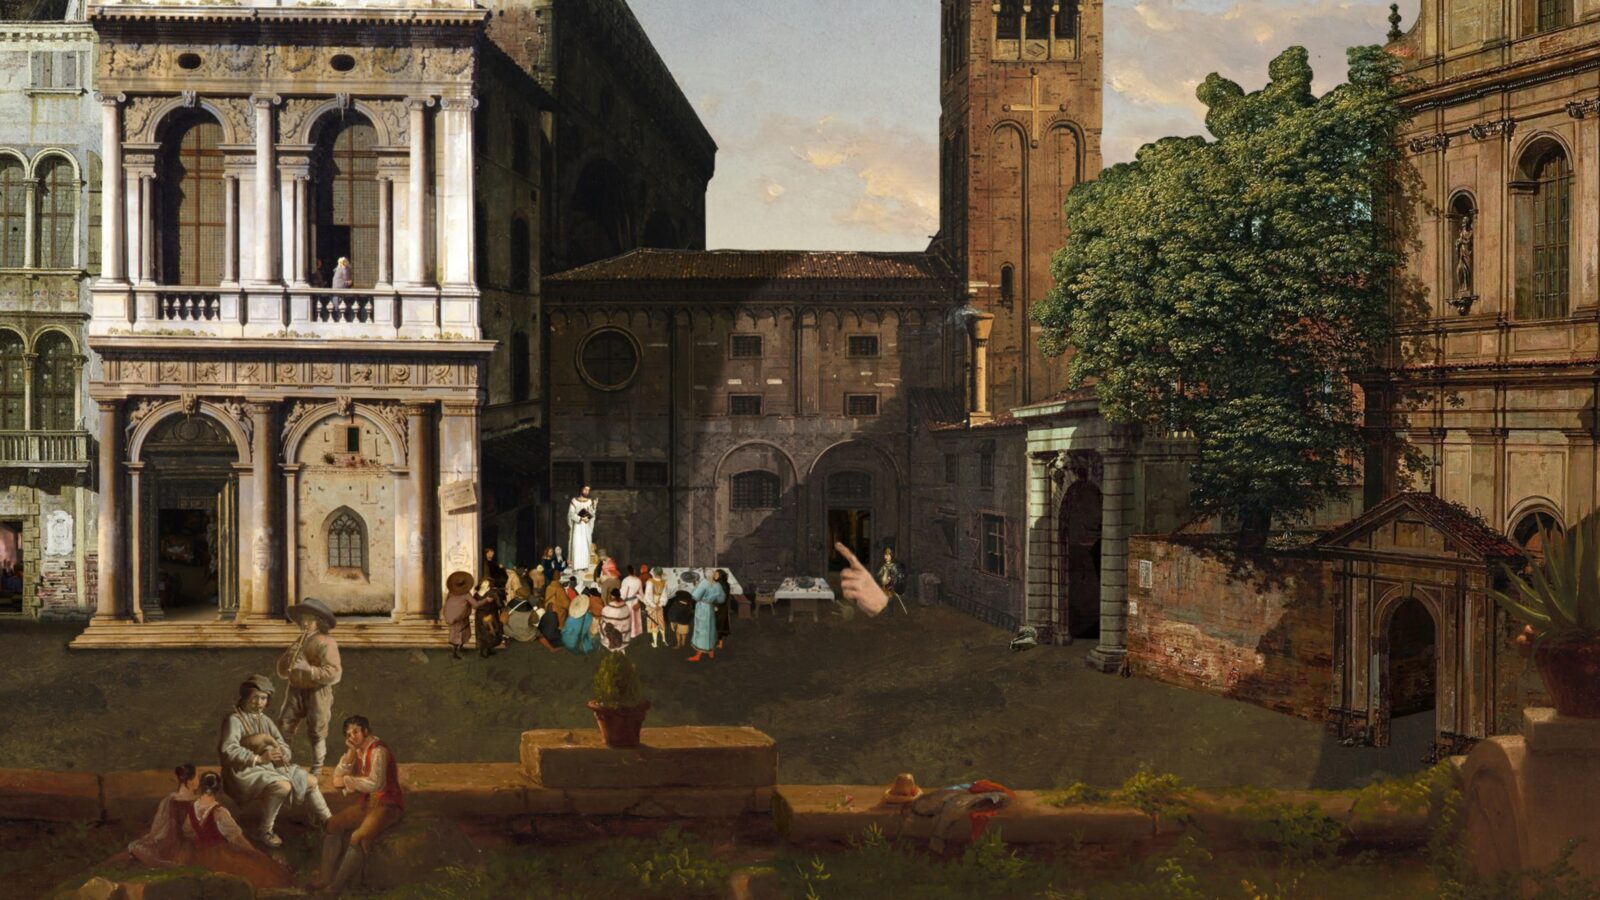
At the start of the game, repeatedly press ![]() on the ground to your right to continuously walk that way. Continue to do so until you walk off the cliff.
on the ground to your right to continuously walk that way. Continue to do so until you walk off the cliff.

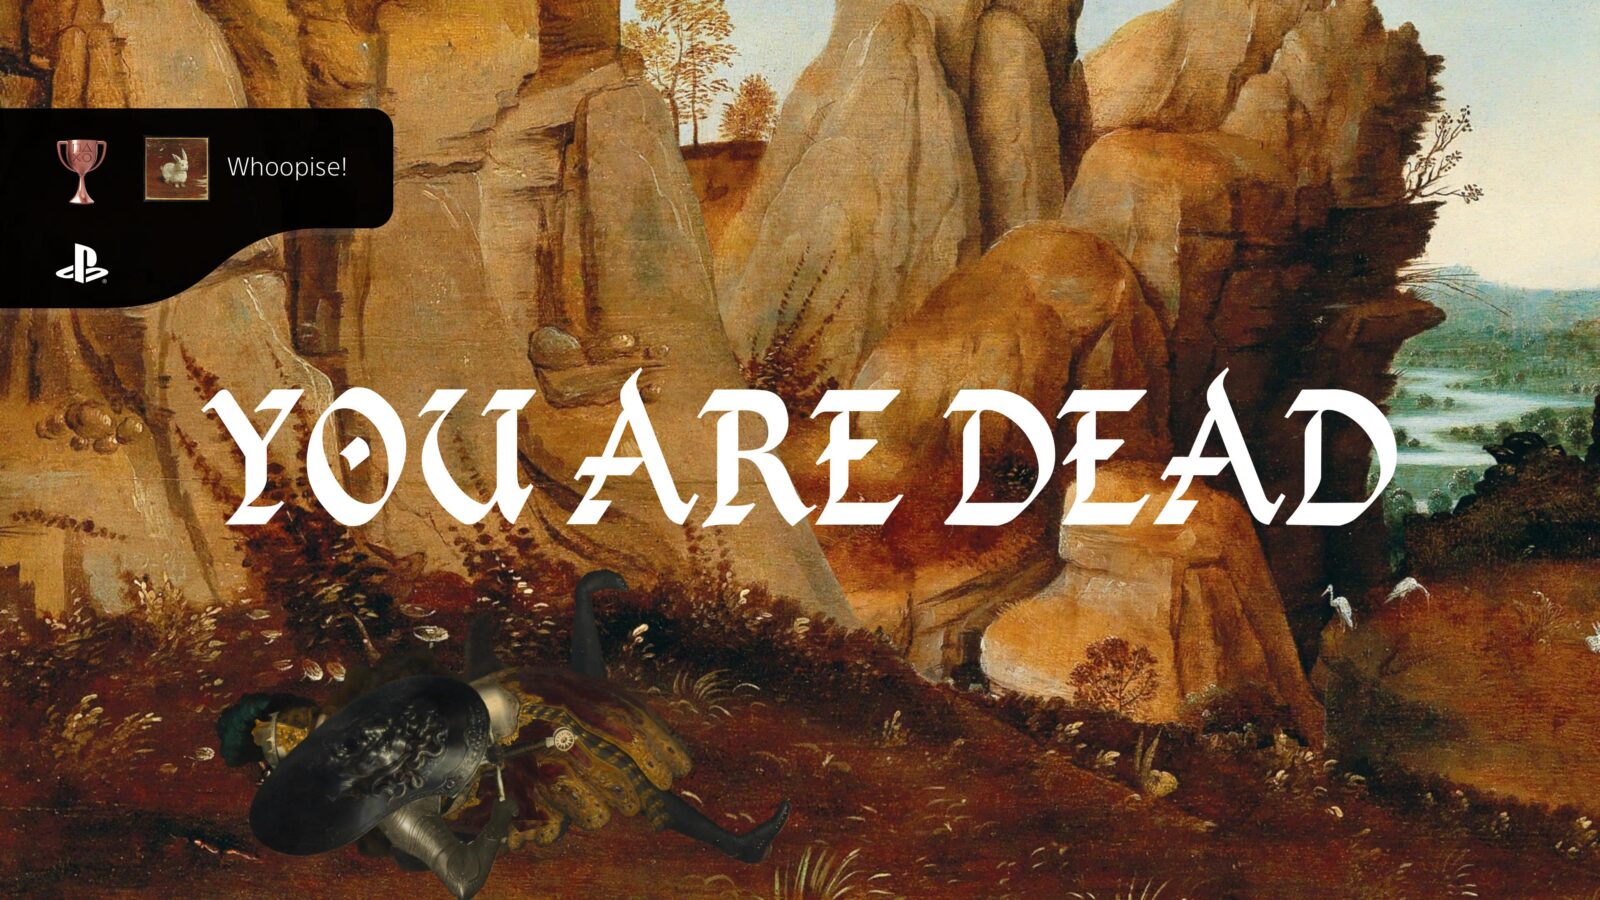
Whoopise!
The Lord is near the brokenhearted; he delivers those who are discouraged.
Whoopsie will unlock when you jump from the cliff at the far right side of the first area, killing yourself.
You’ll be taken back to the main menu. Select “New Game” to proceed.
After the intro cutscene, go left and collect the scissors from the hanging corpse’s shoulder via the hand icon.
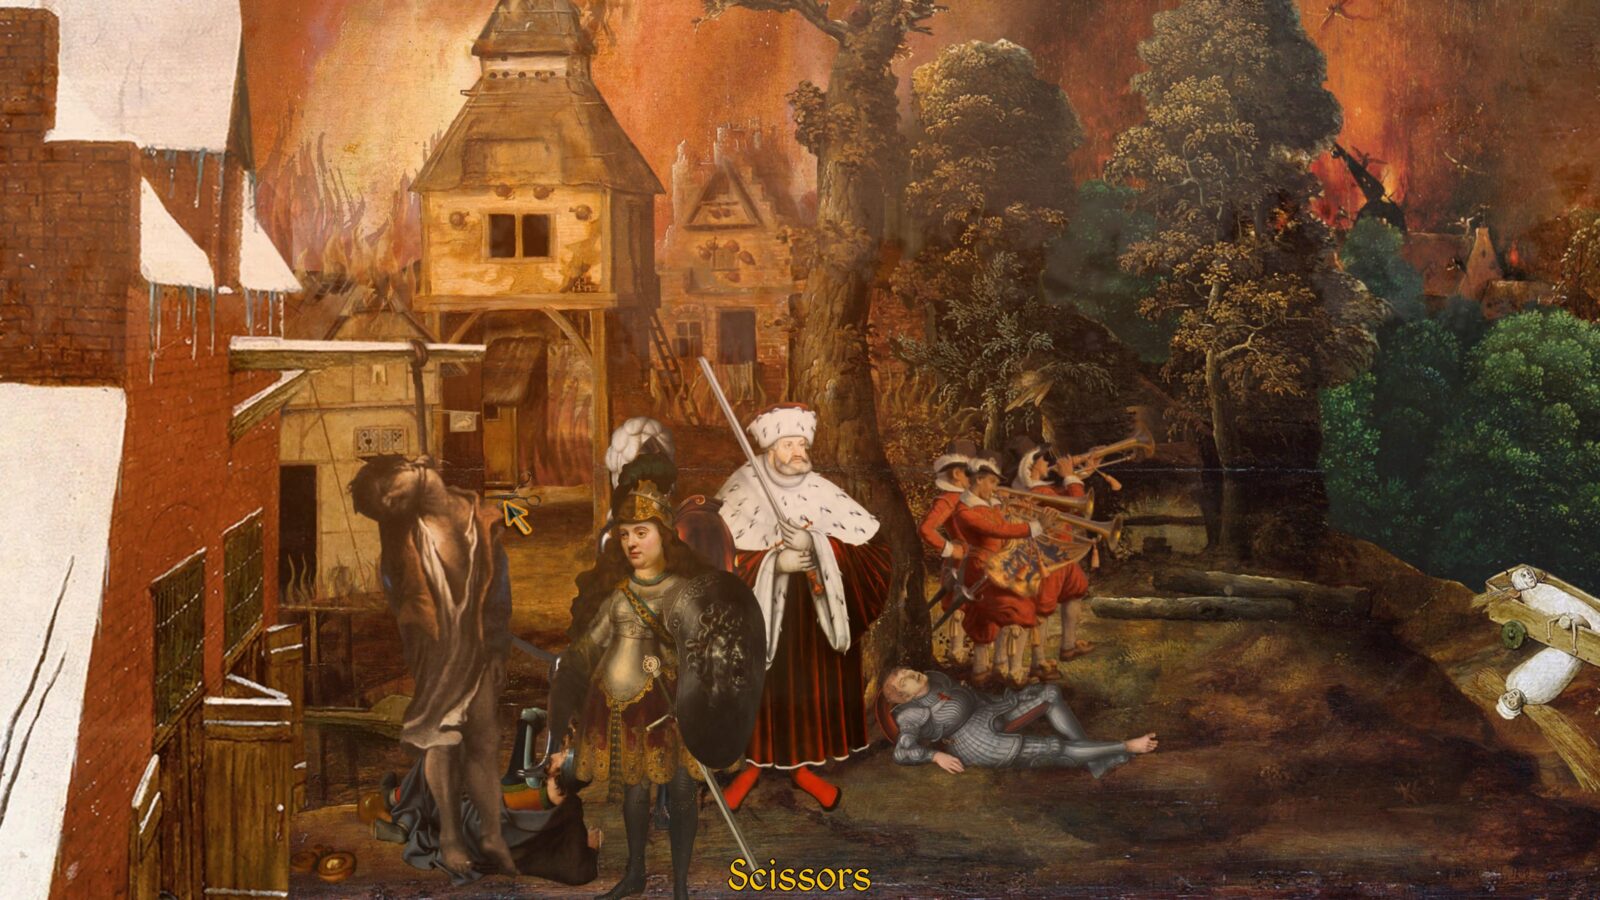
Next, go to the right and you’ll see three characters kneeling on the ground in front of Immortal John.
Press ![]() with your cursor on one of the three kneeling men and then select the hand icon.
with your cursor on one of the three kneeling men and then select the hand icon.
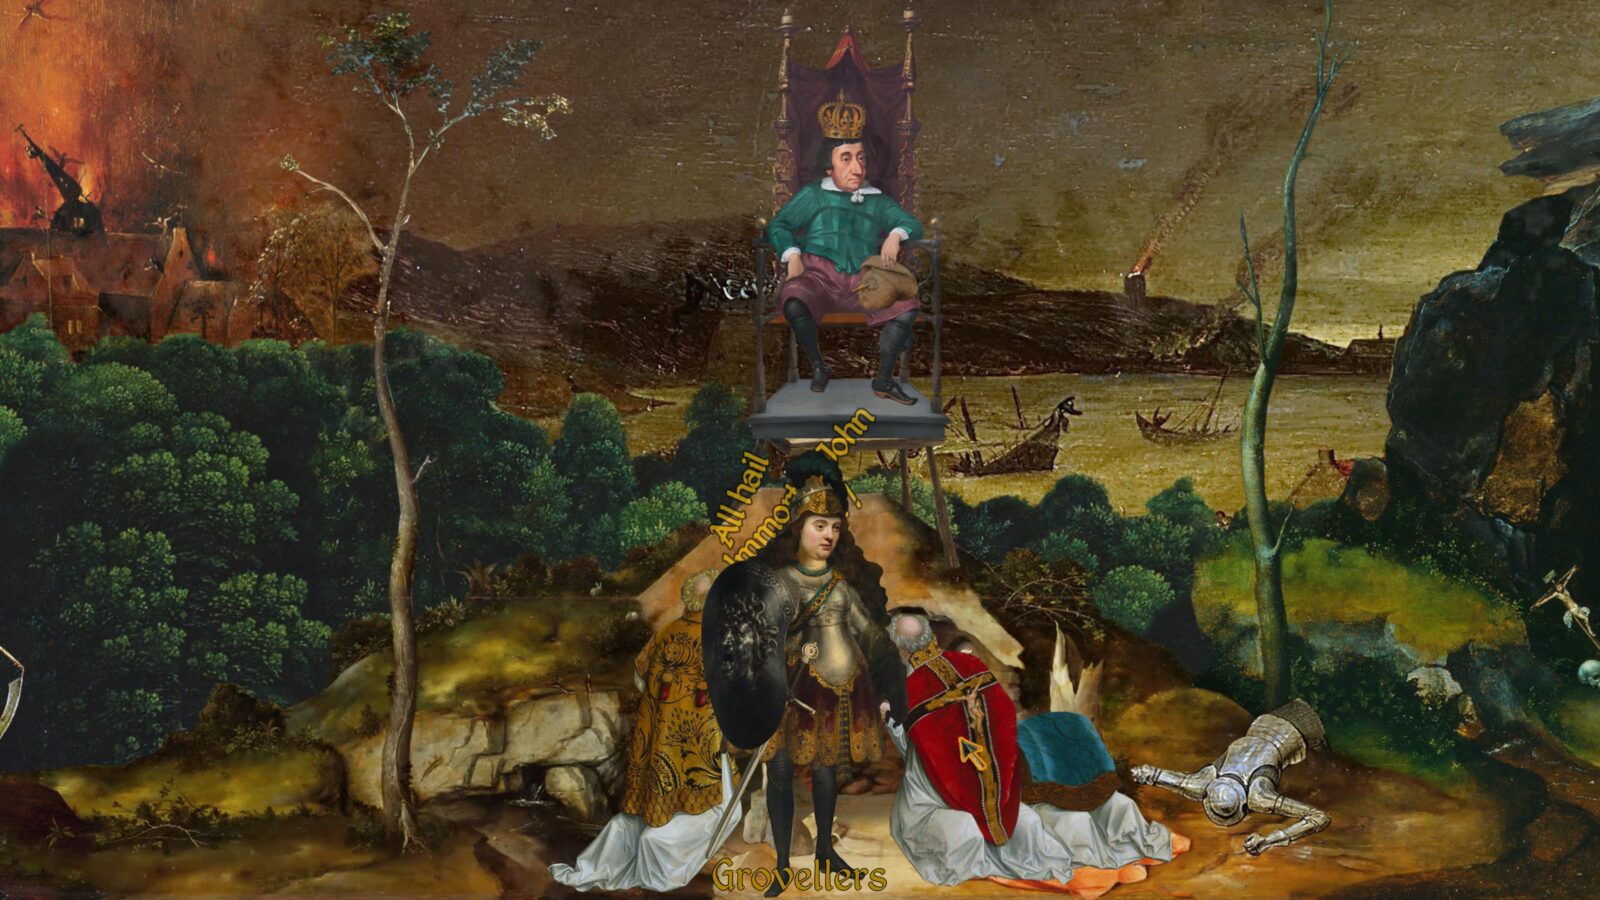

Spank the Bishop
…whoever shall slap thee on thy right cheek, turn to him also the other.
When you interact with one of the three “Grovellers” in front of Immortal John, select the hand icon and the protagonist will give them a firm tap on the buttocks, unlocking the “Spank the Bishop” trophy.

Interact with Immortal John and choose the mouth icon to speak to him. Choose the following options:
- Can I do some murders now?
- What led you to adopt such ridiculous beliefs?
- Wait, so you never actually killed heavenly Peter?

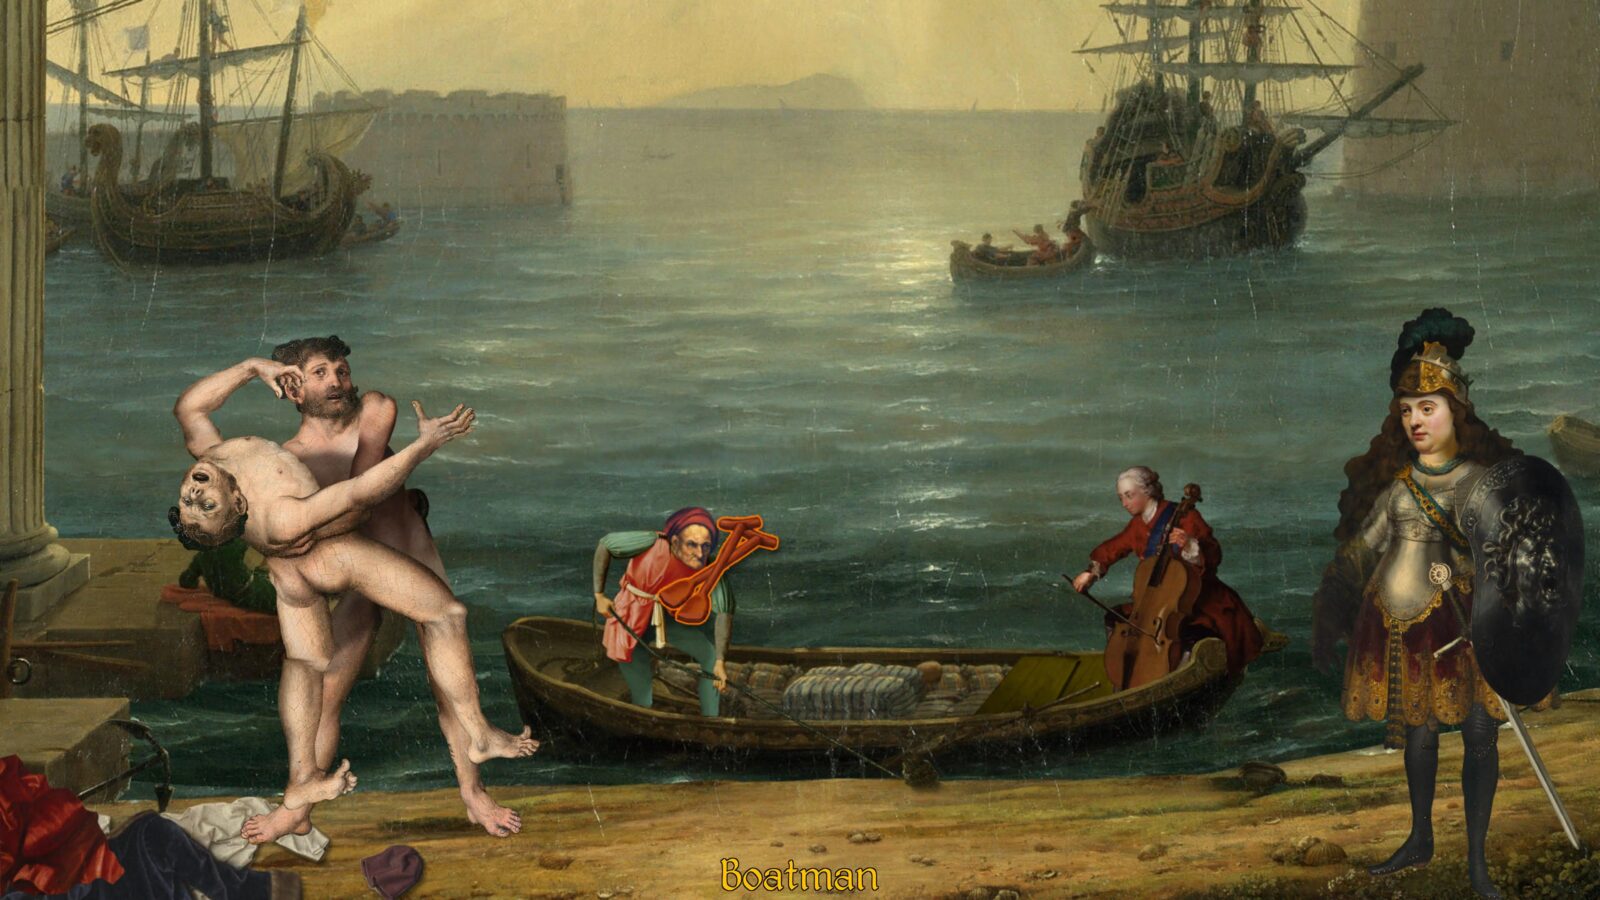
The protagonist will then automatically hurry off to the shore and begin a conversation with a Boatman.
Select “I guess I should go find some dang oars then, eh?” and then leave via the right side of the screen.

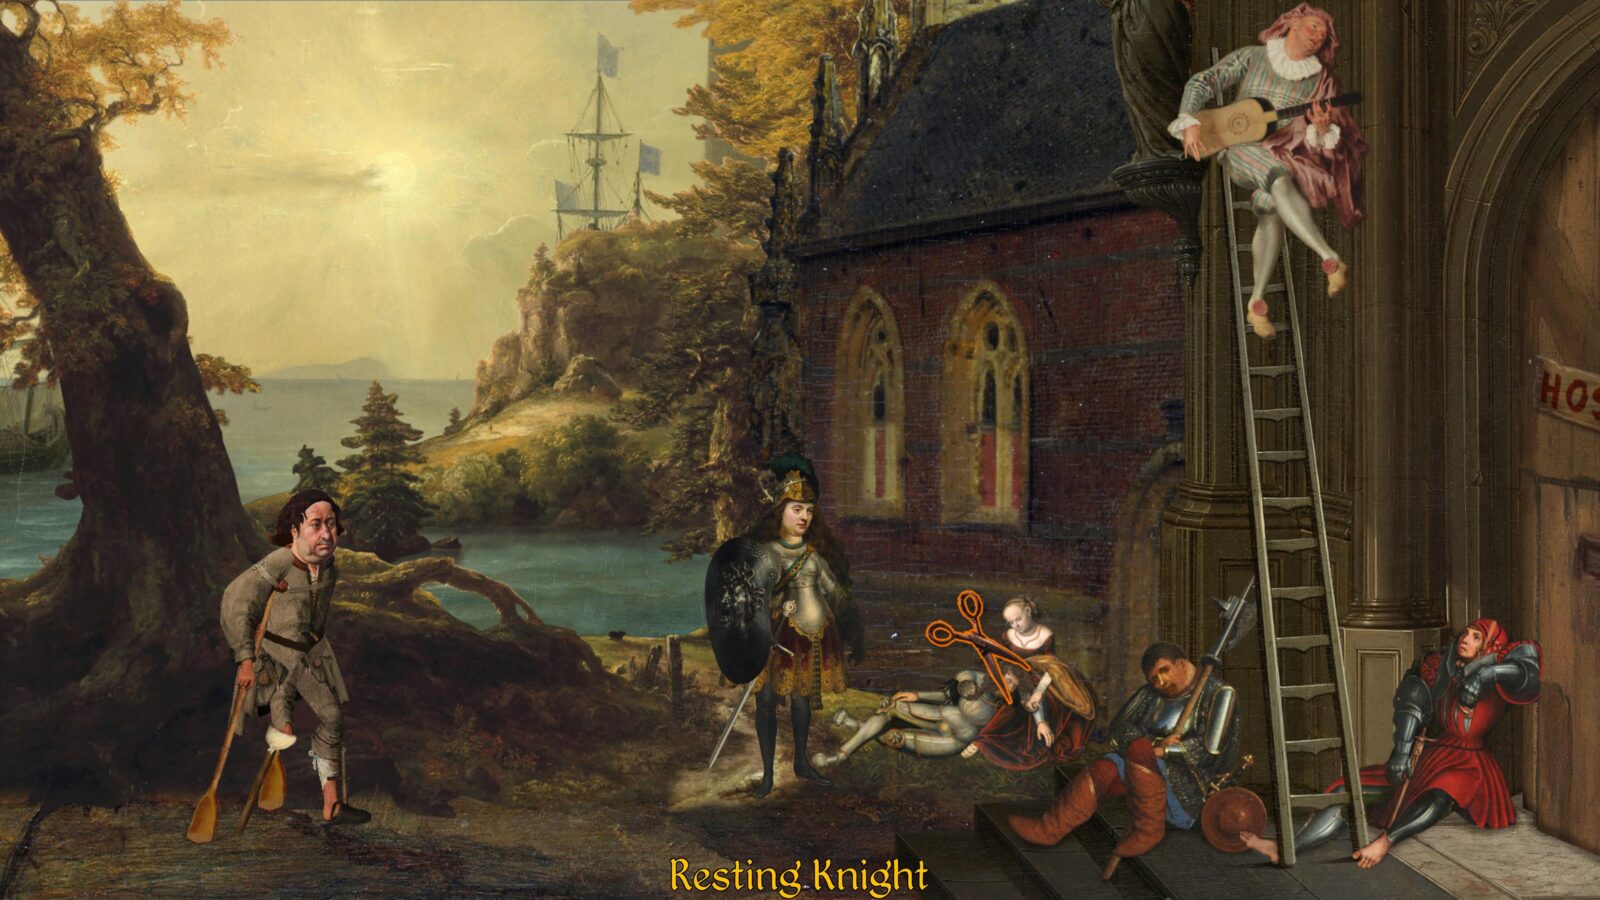
First, speak to the “Reclining Knight” in red, leaning against the door. Select the following dialogue options:
- What are you doing down there?
- What injuries are you seeking care for?
- OK… Bye.
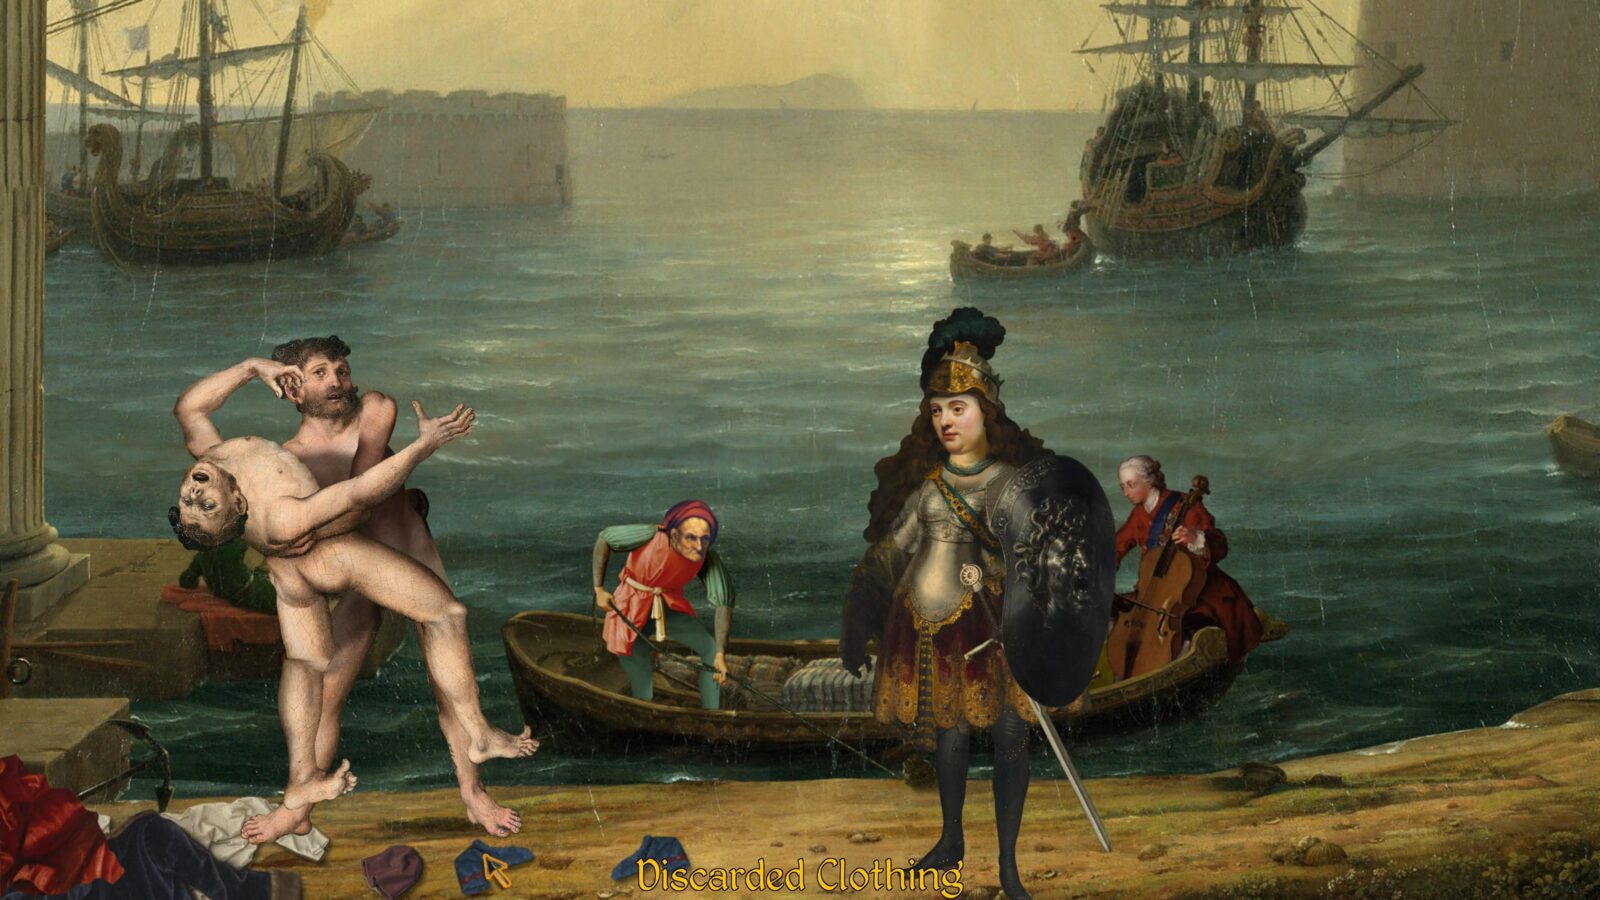
Then head back to the shore where the boatman is and collect the socks from the ground near the nude wrestling men.
Return to the Hospital via the right side of the screen and speak to the “Resting Knight” who is laid in the lap of a woman.
Choose the following dialogue:
- What’s up?
- What injuries are you seeking care for?
- Never mind.
Move your cursor to the top of the screen to open your inventory and then grab the scissors with ![]() .
.
Use them on the Resting Knight to solve his problem.
Next, use the socks on the Reclining Knight to solve his problem too.
Finally, press ![]() on the Reticent Knight and then select the hand icon to pat him on the head reassuringly.
on the Reticent Knight and then select the hand icon to pat him on the head reassuringly.

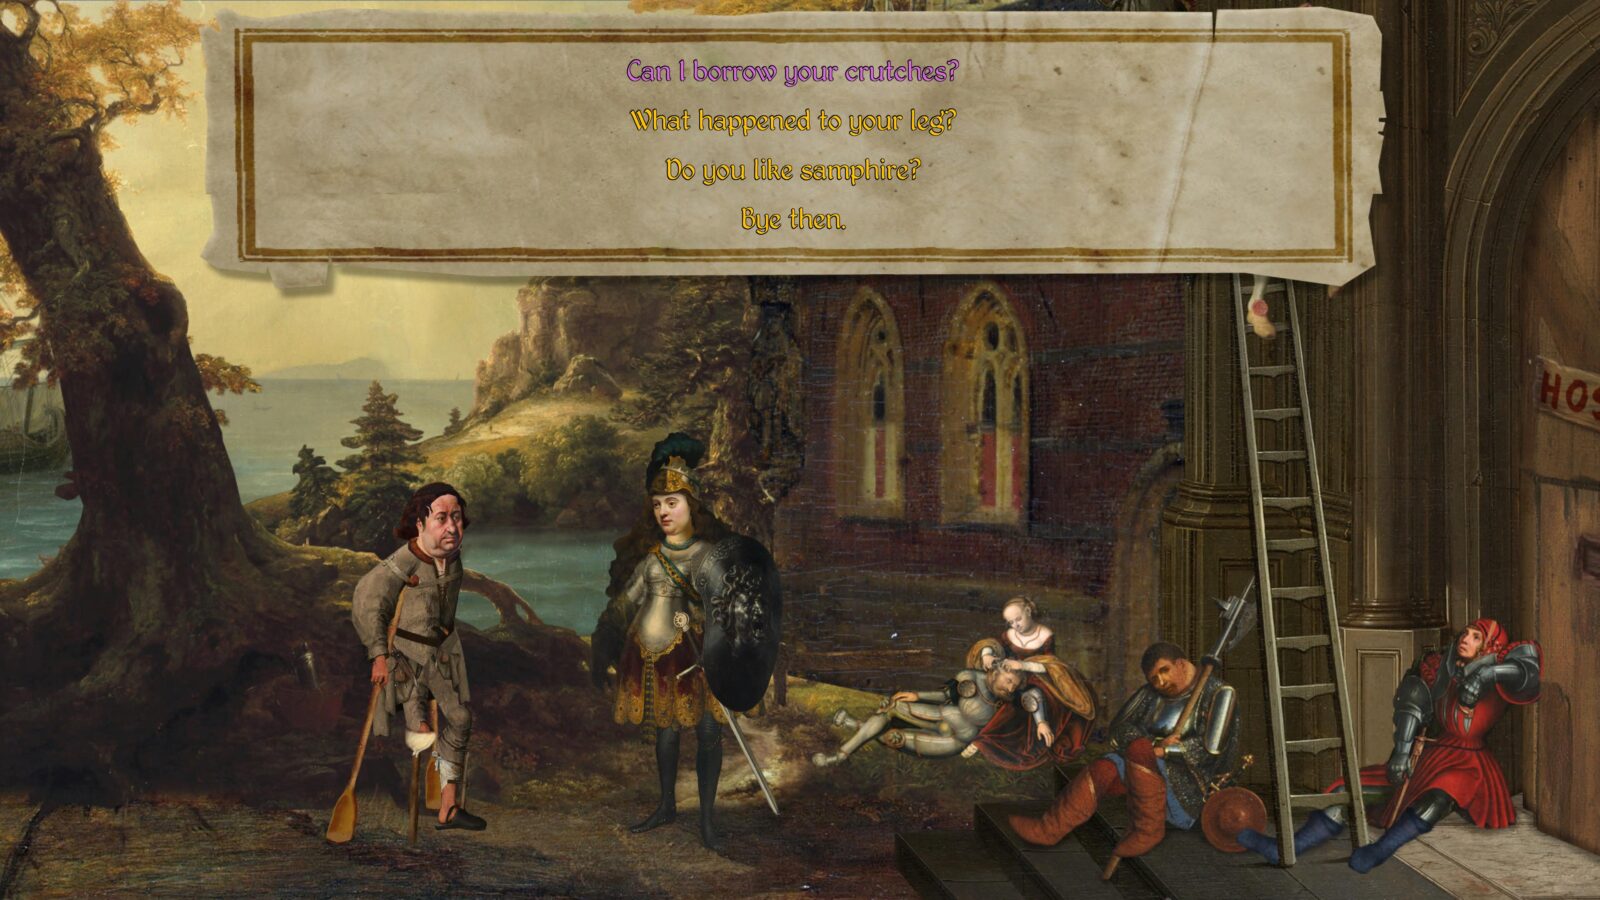
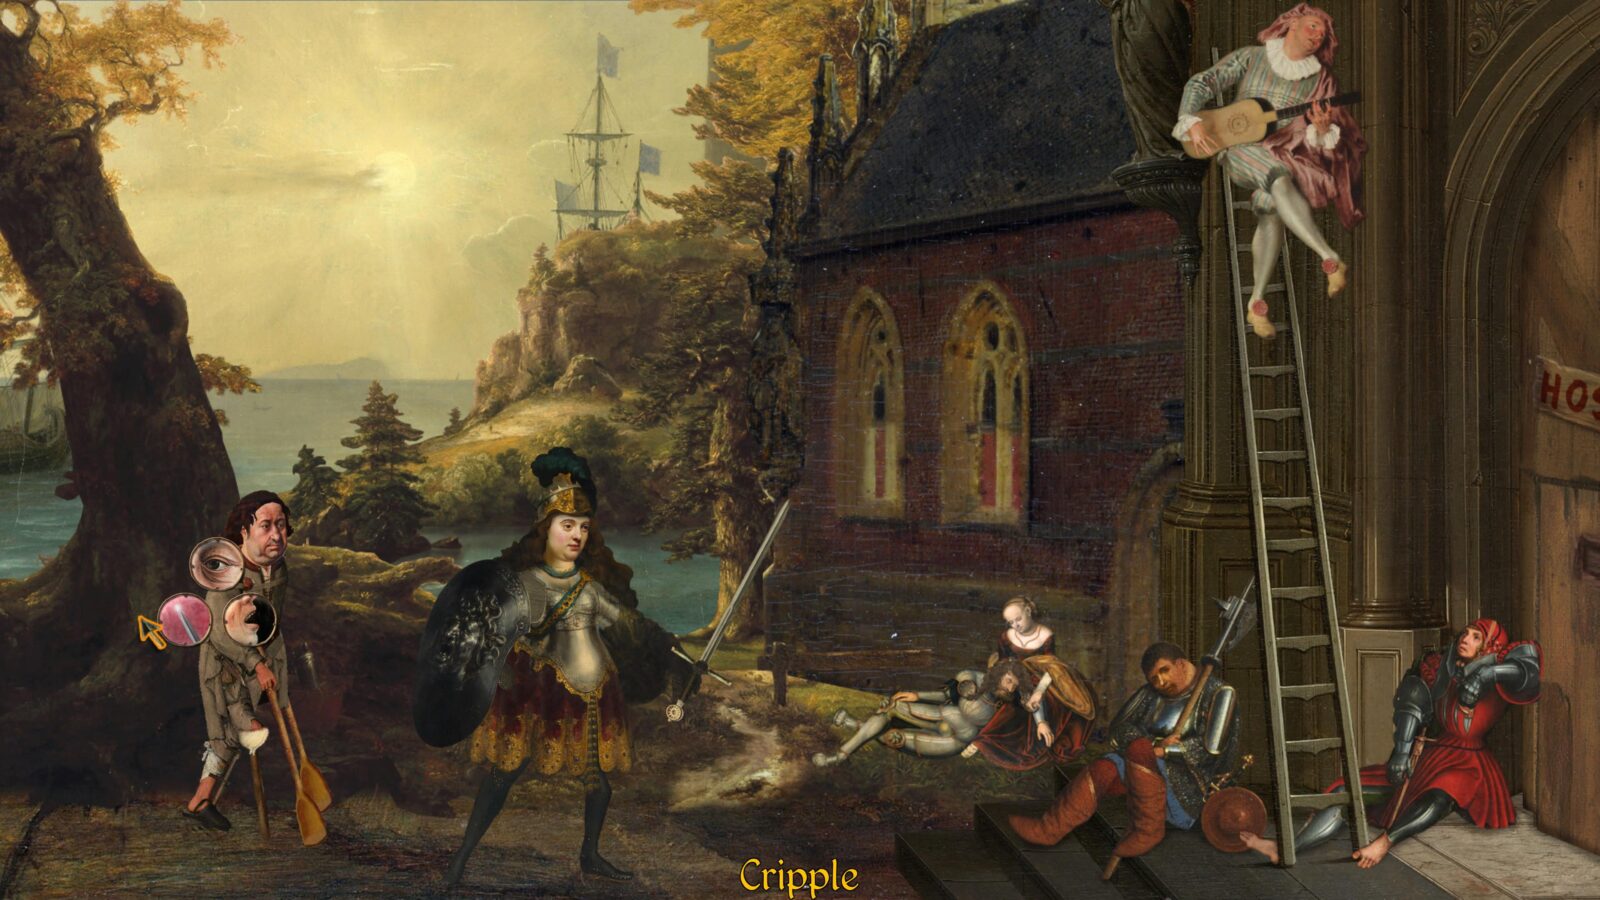
Next, speak to the “Cripple” and ask “Can I borrow your crutches”.
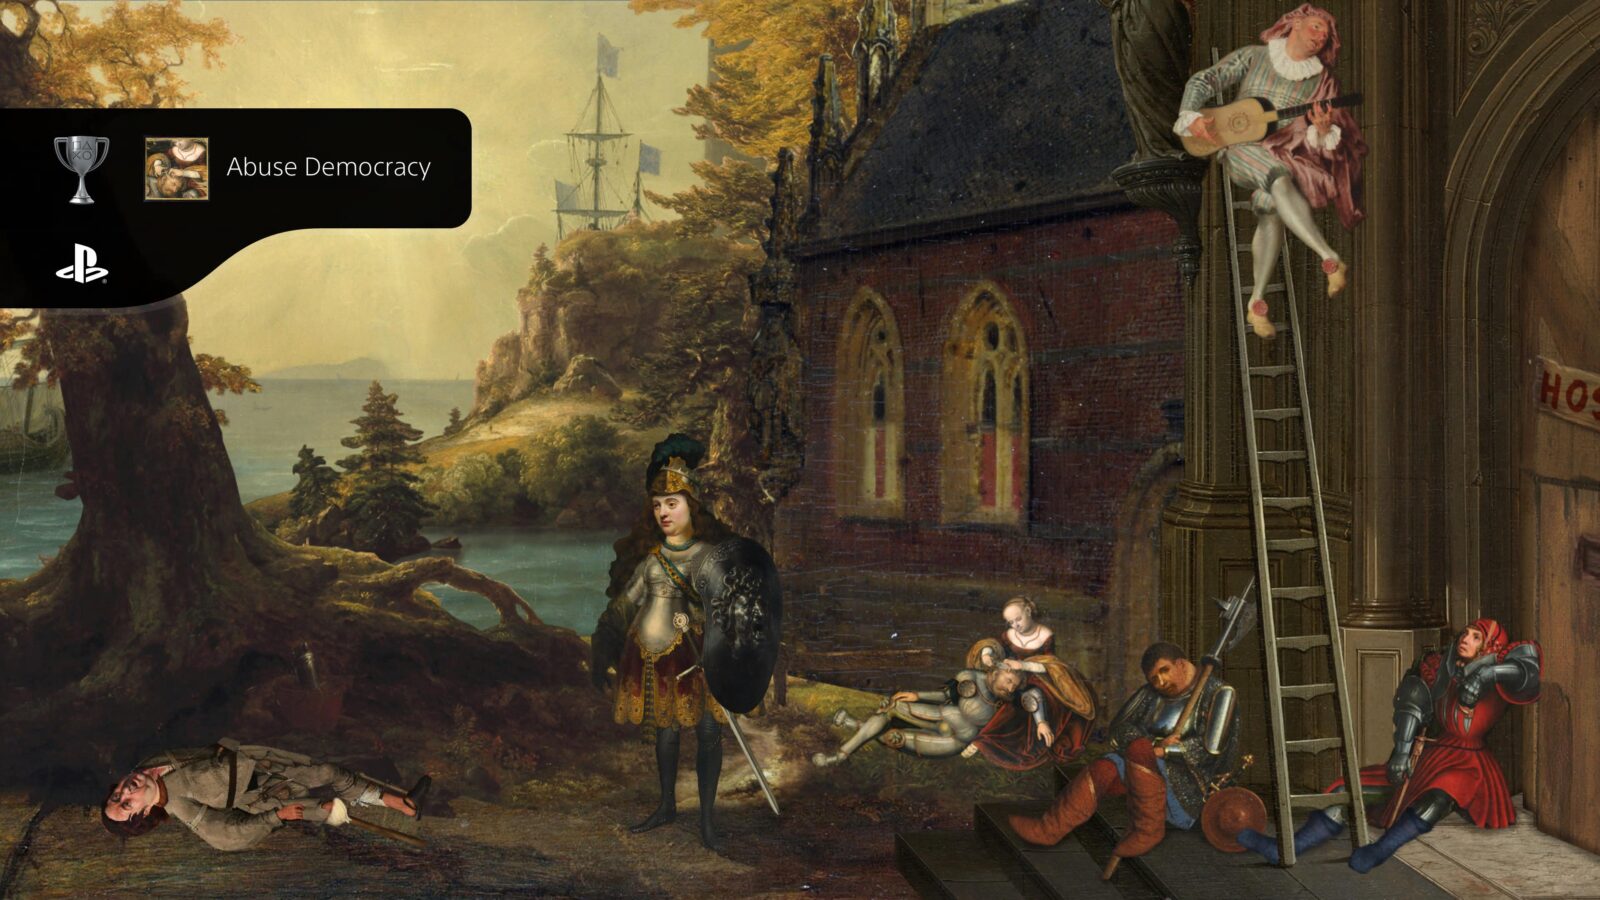
Abuse Democracy
I appeal to you, brothers and sisters, that all of you agree with one another in what you say.
Provided you did everything correctly, the “Cripple” should give you his crutches and the “Abuse Democracy” trophy will unlock.
Return to the shore and use the Oars from your inventory on the Boatman.
He will ask you to untie the boat. To do so, press ![]() to draw your sword and then press
to draw your sword and then press ![]() on the rope and select the sword icon.
on the rope and select the sword icon.
The boat will set off and you’ll automatically arrive at the entrance to a town.
One of the characters at the gate will ask you what you’re doing here. Select the following dialogue options:
- I honestly have no idea why I’m here.
- I’m on it!
Then leave via the left side of the screen.
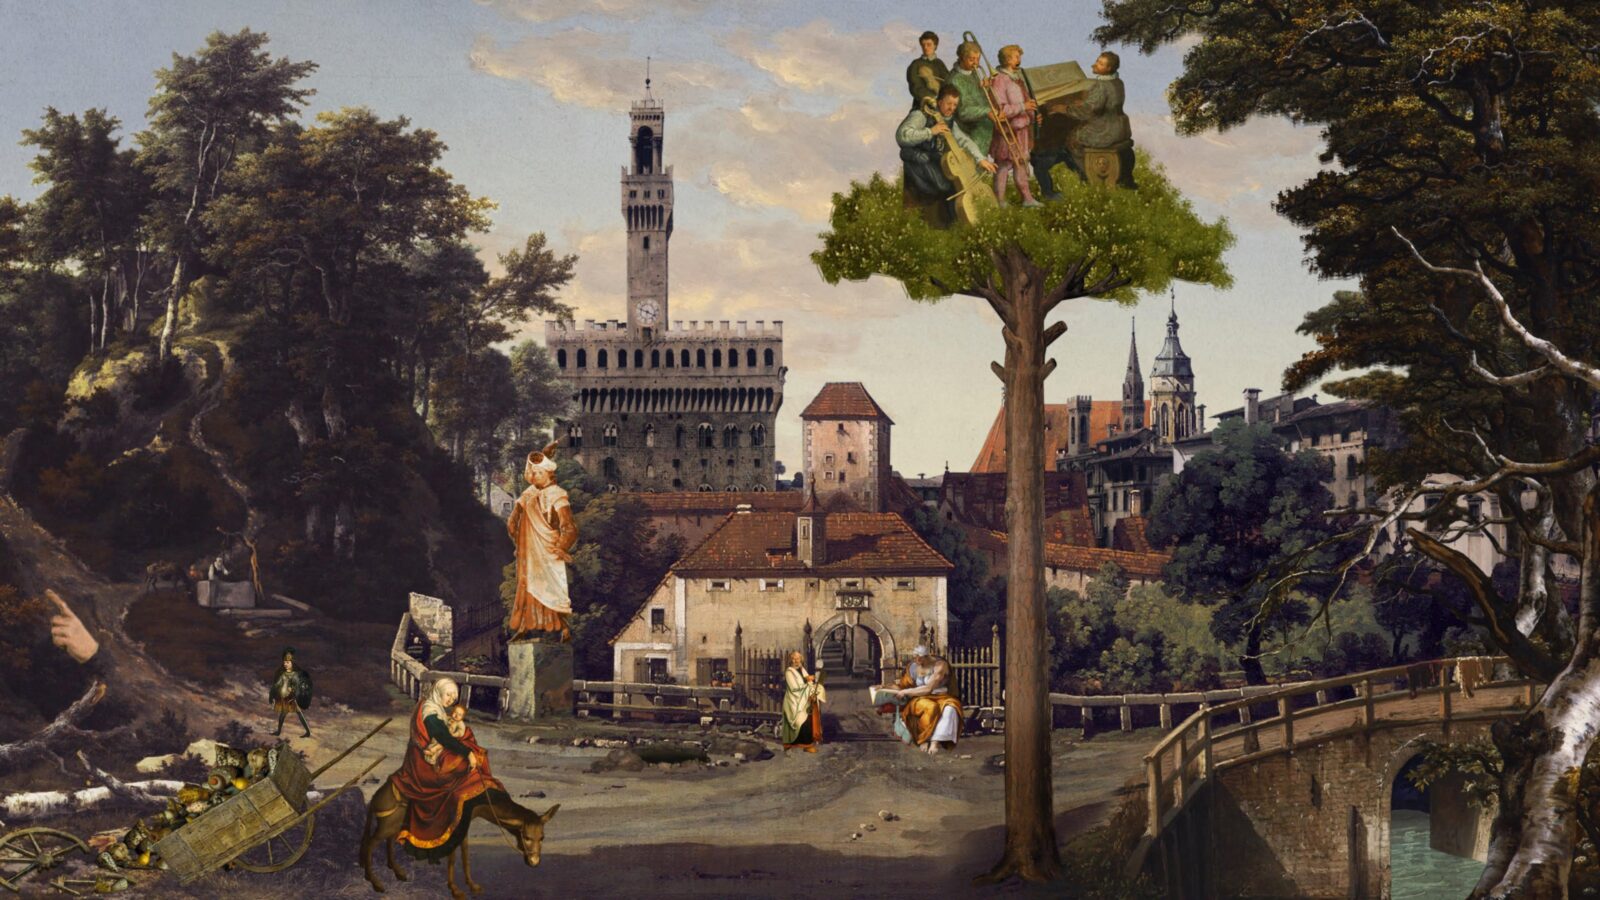
Continue heading left and then click on the path leading uphill to a windmill to follow it.
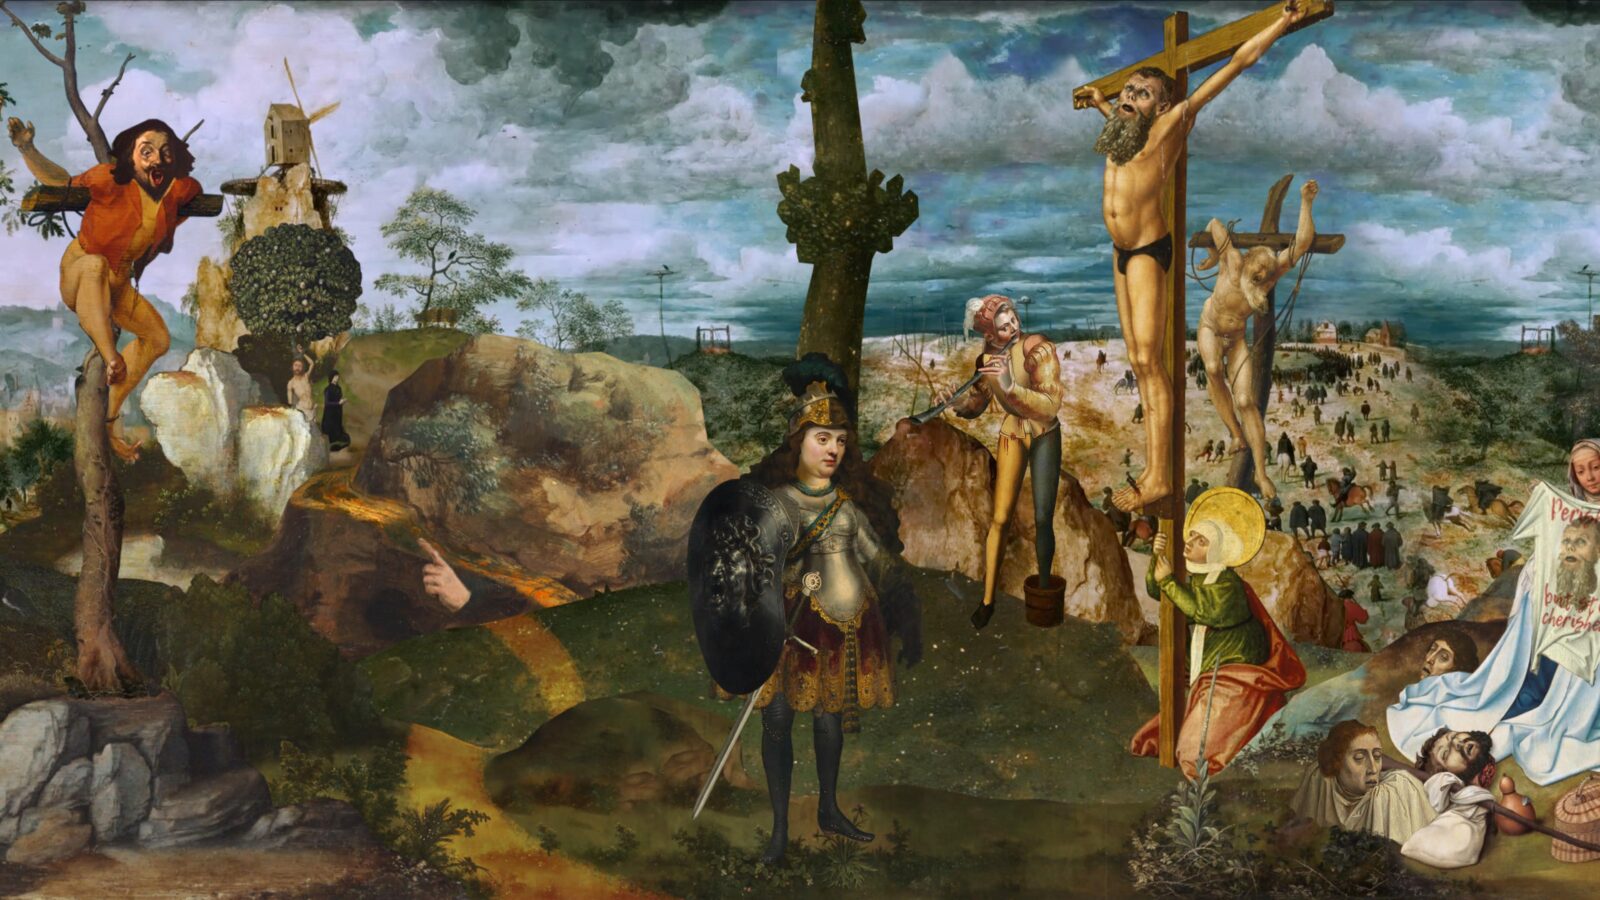
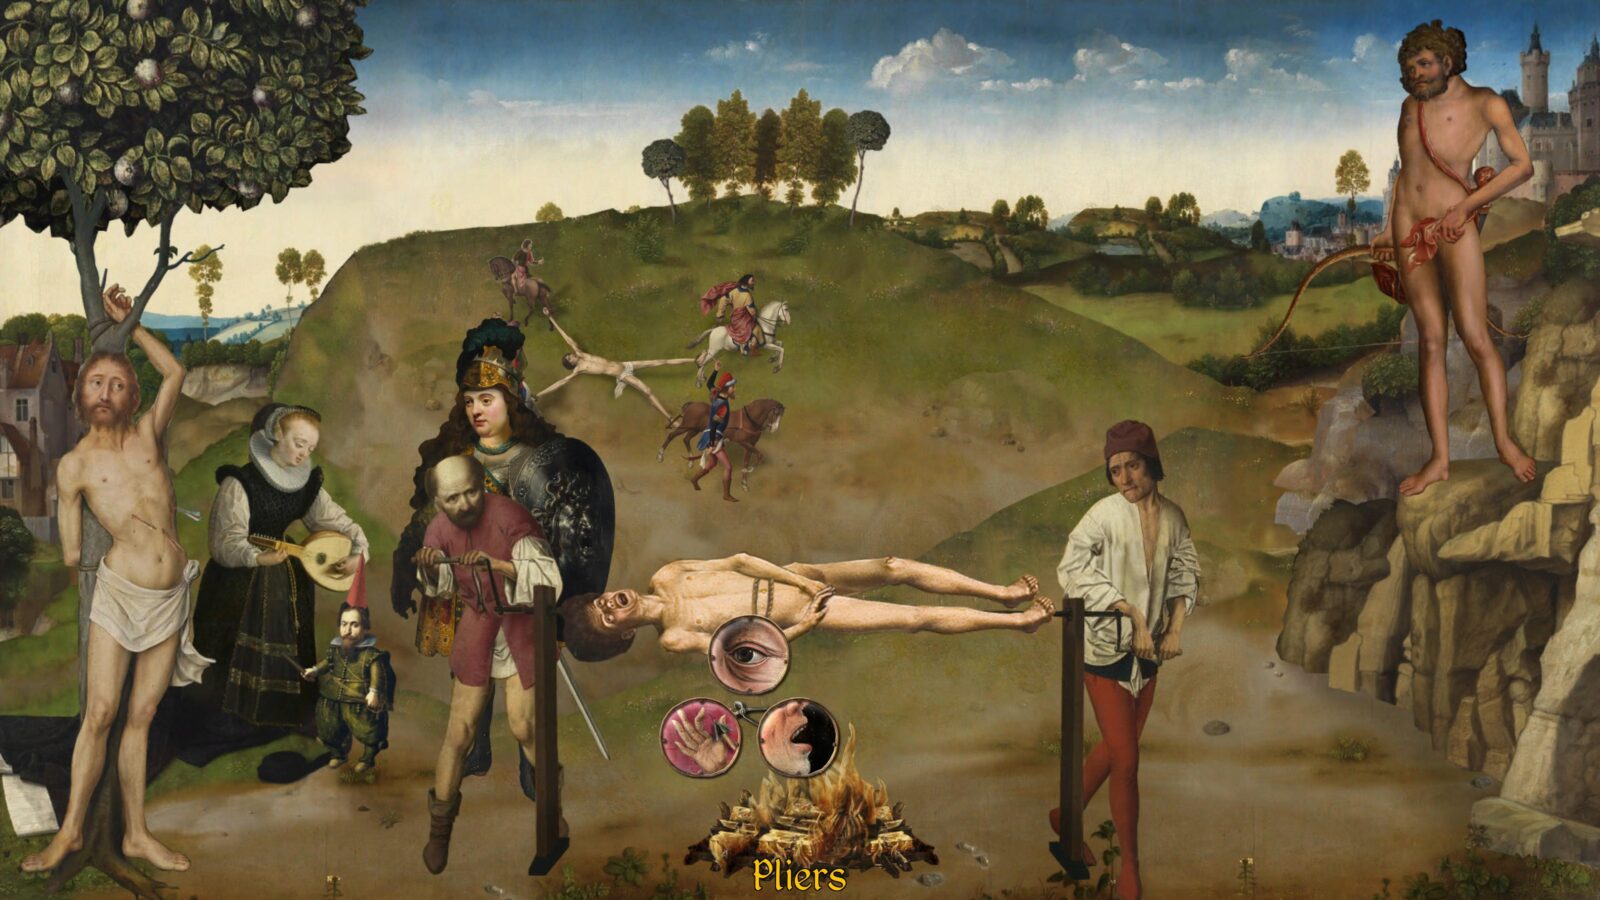
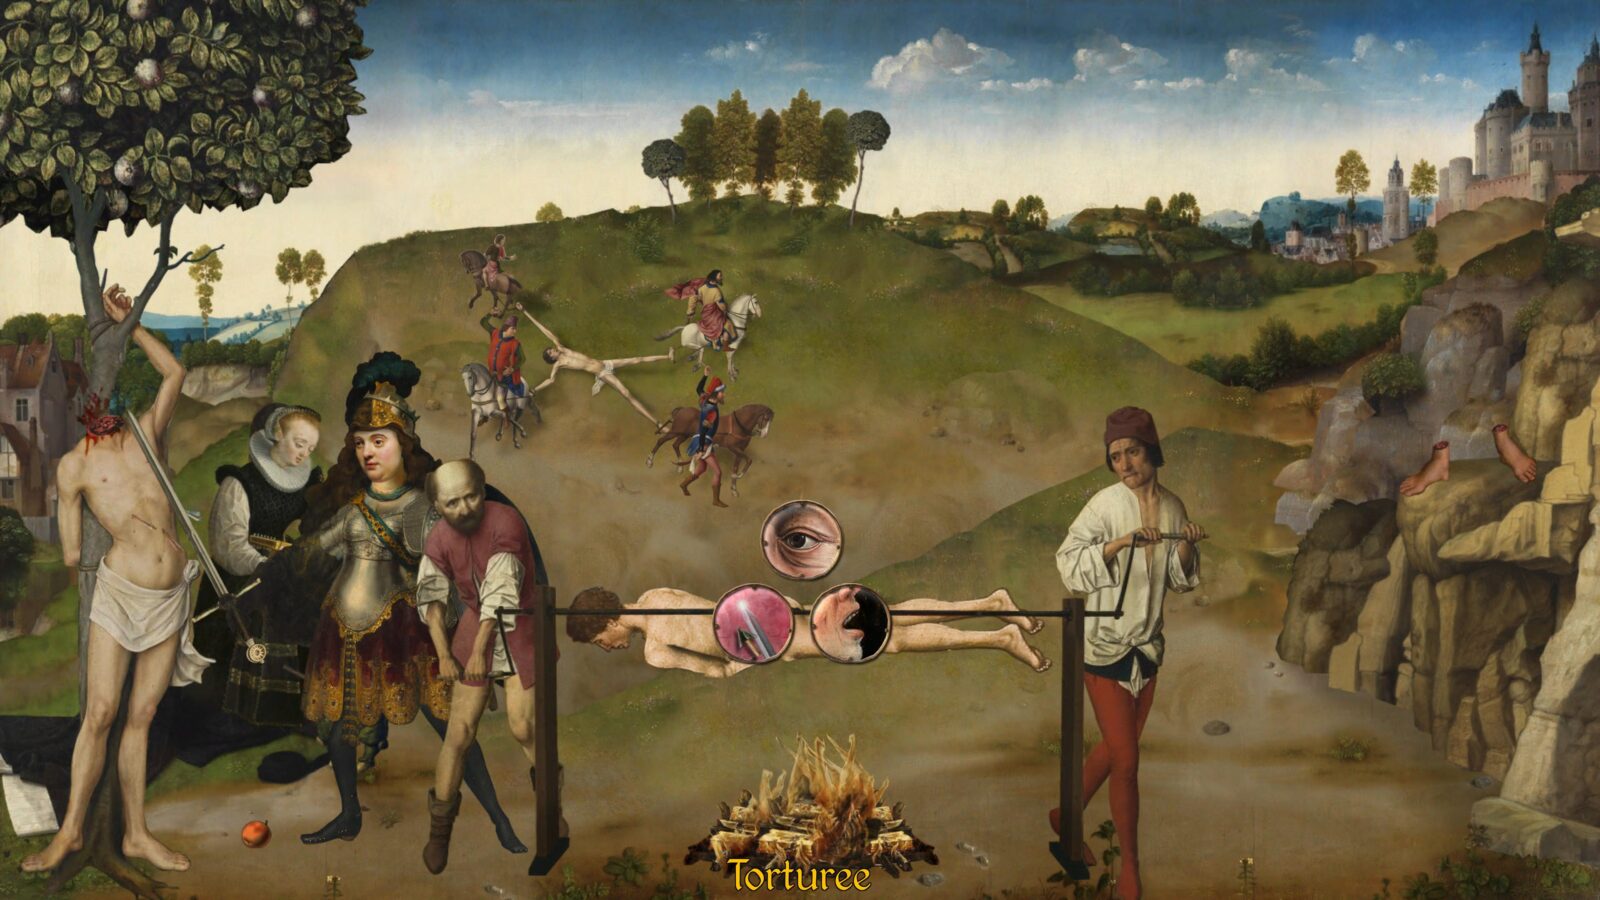
You’ll find yourself at a very peculiar scene where a man is being slowly cooked on a spitroast. Lovely.
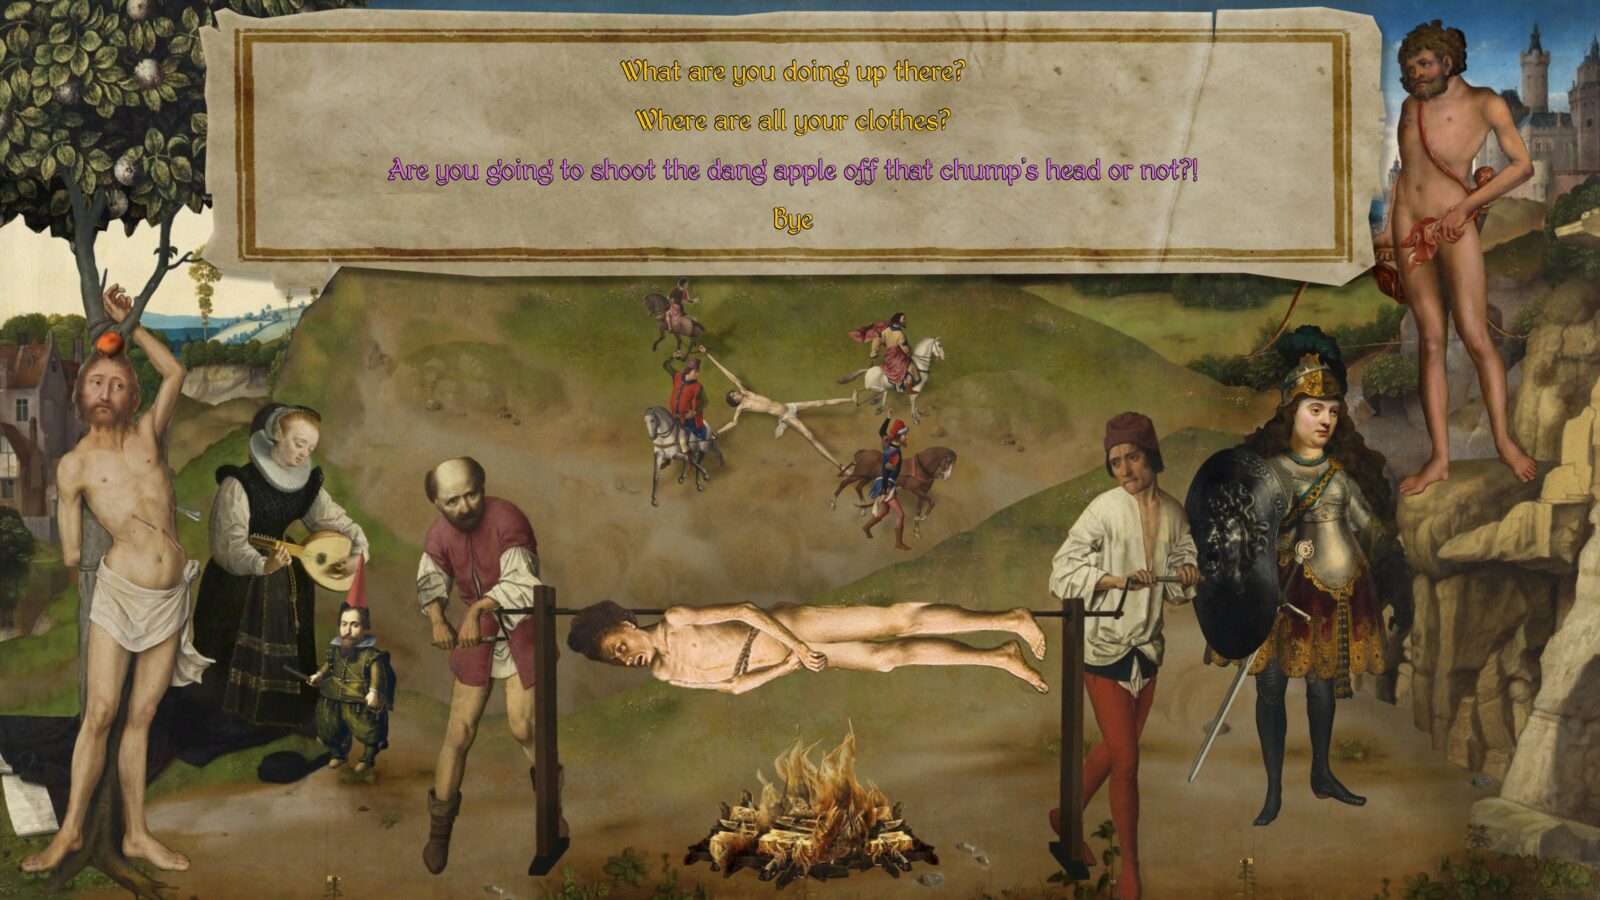
Speak to the “Nude Bowman” on the upper-right and select “Are you going to shoot the dang apple off that chump’s head or not?!”
He will oblige. Head left and collect the Apple from the ground.
Exit via the right side of the screen to return to the mass crucifixion.
To your left, you’ll see a man on a wheel at the top of a post. Move your cursor over the post and you’ll see it is called the “Suspiciously Hotspot-y Post”.
Press ![]() to draw your sword and then use it on the post to chop it down.
to draw your sword and then use it on the post to chop it down.

Collect the wheel and then walk to your right.
Collect a severed head from the ground in front of the woman selling Crucifixion merchandise and then leave via the right side of the screen.

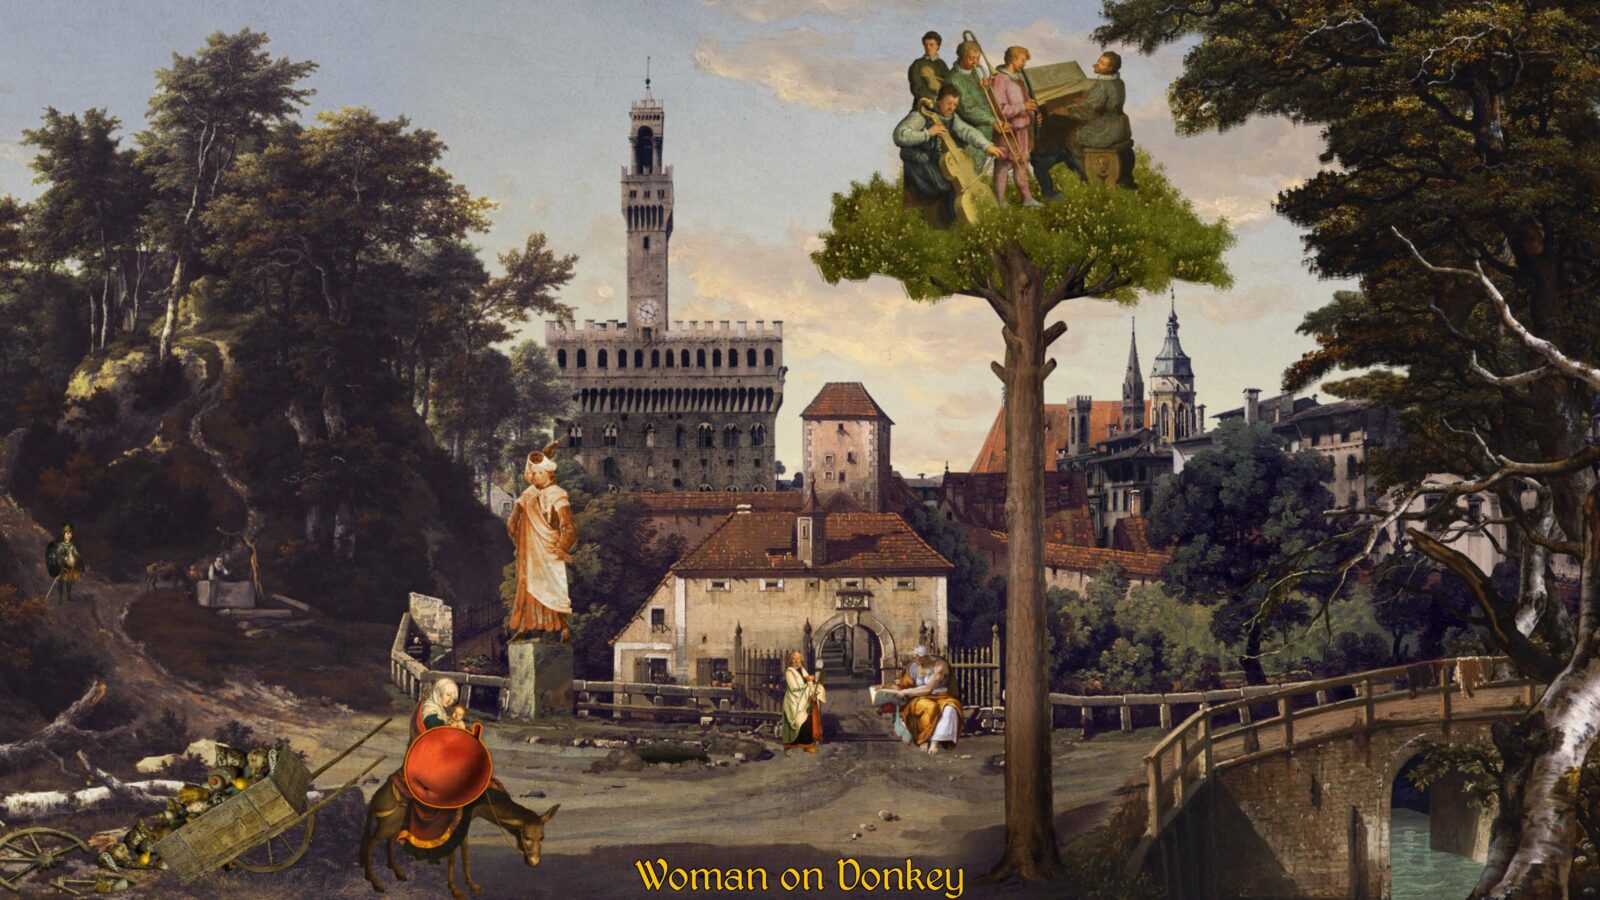
Approach the woman on the donkey and then use the Apple in your inventory on her.
Next, use the wheel from your inventory on the broken-down shell cart.
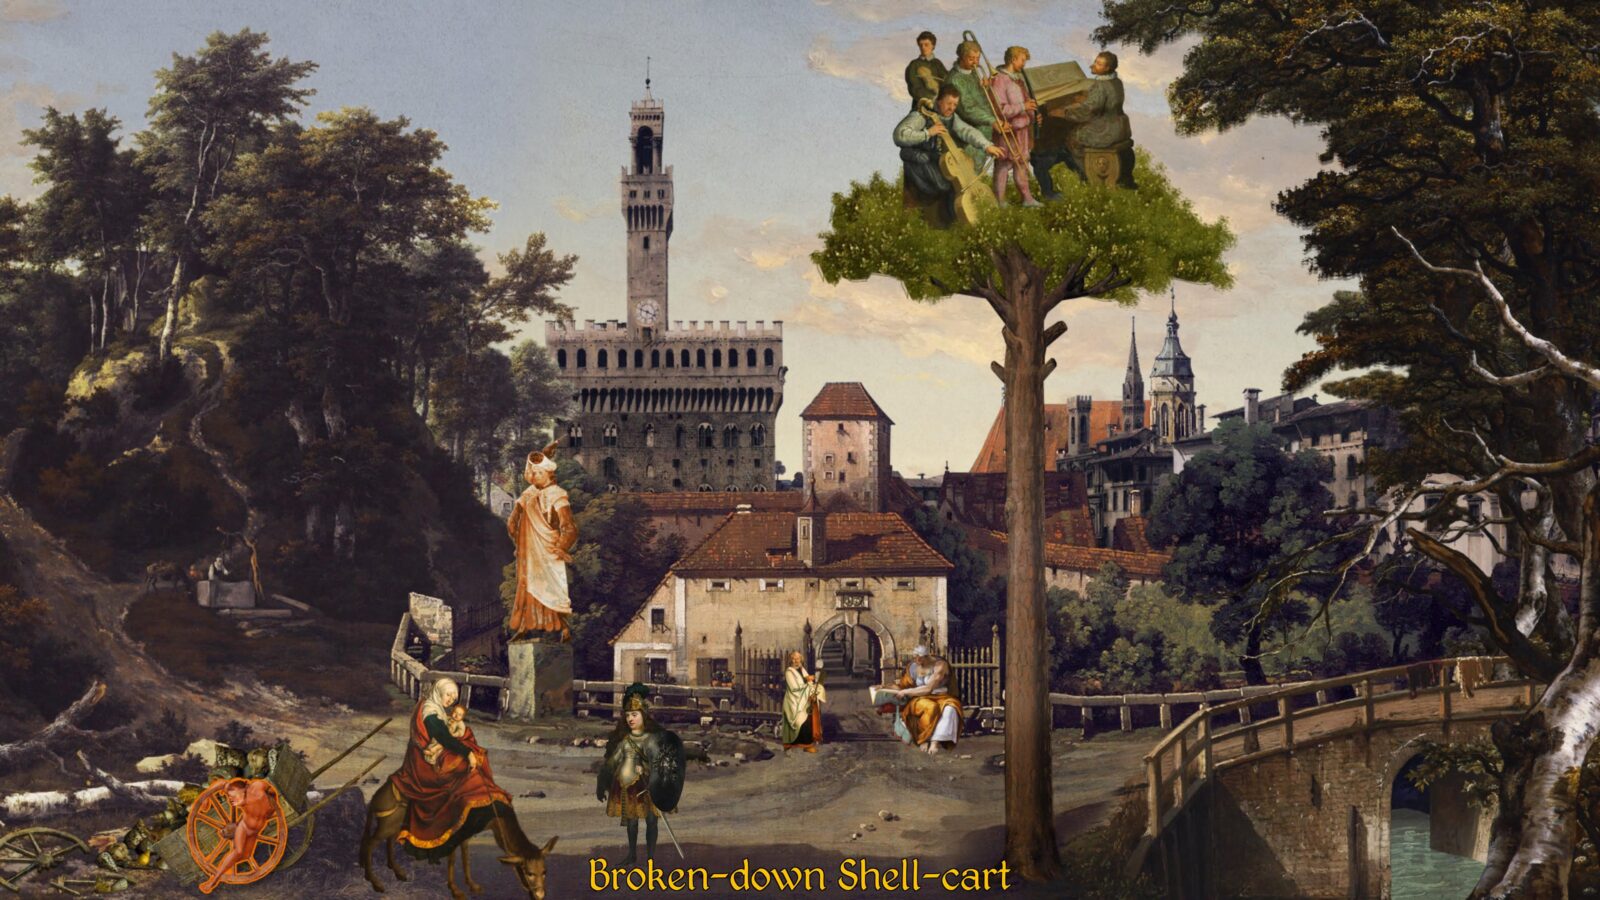
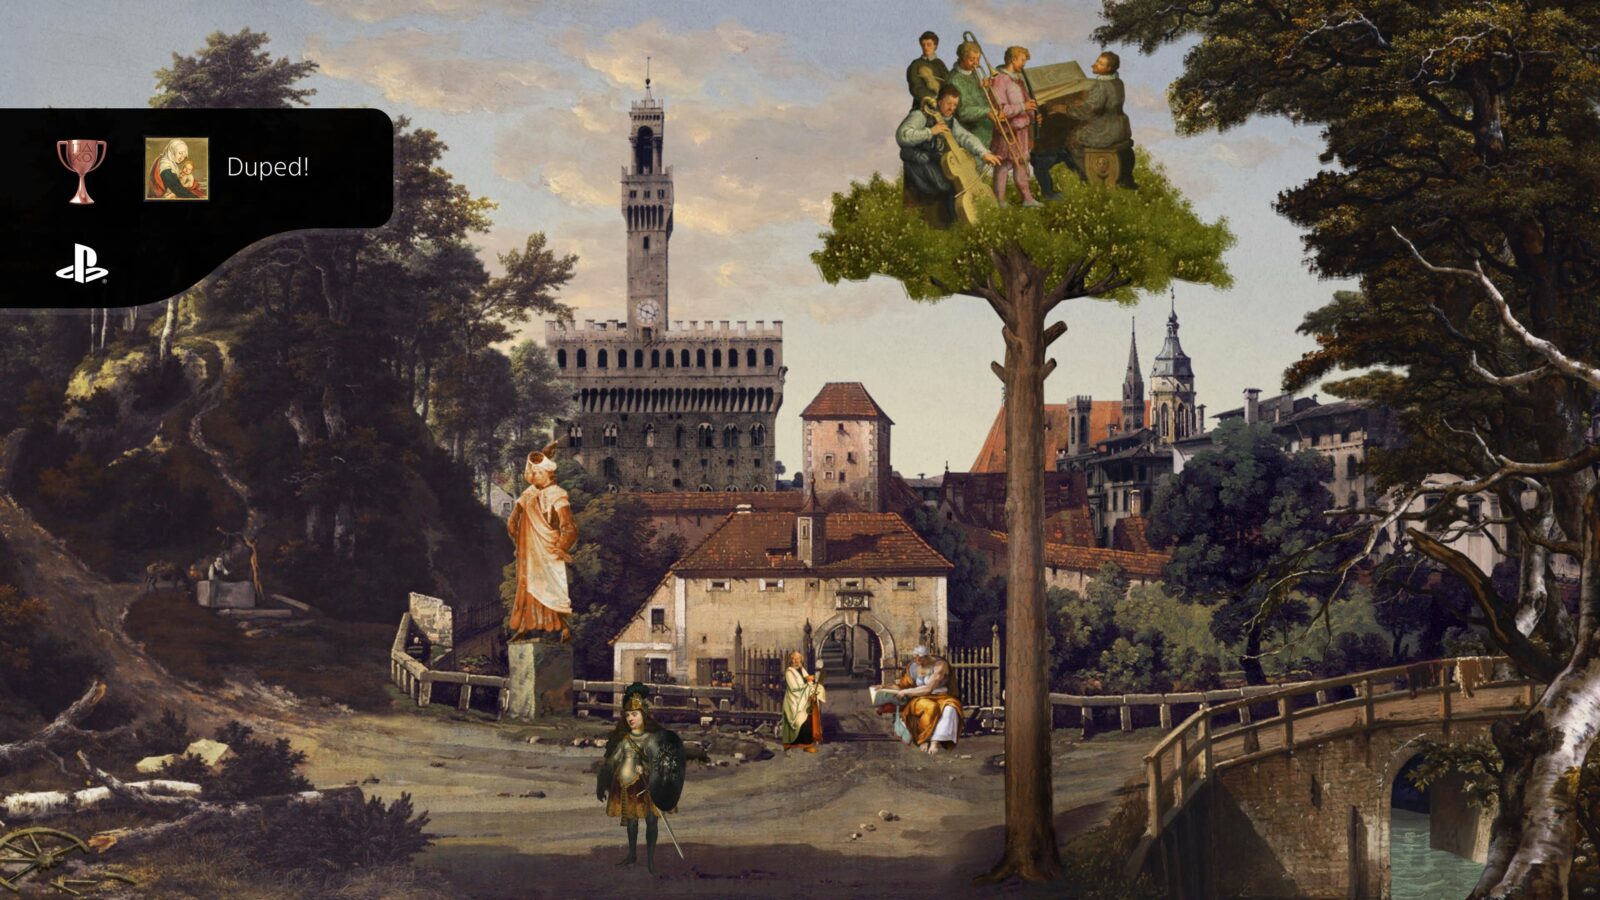
Duped!
My wounds stink and are corrupt because of my foolishness.
Fixing the broken cart with the Man on the Wheel will unlock the Duped trophy.
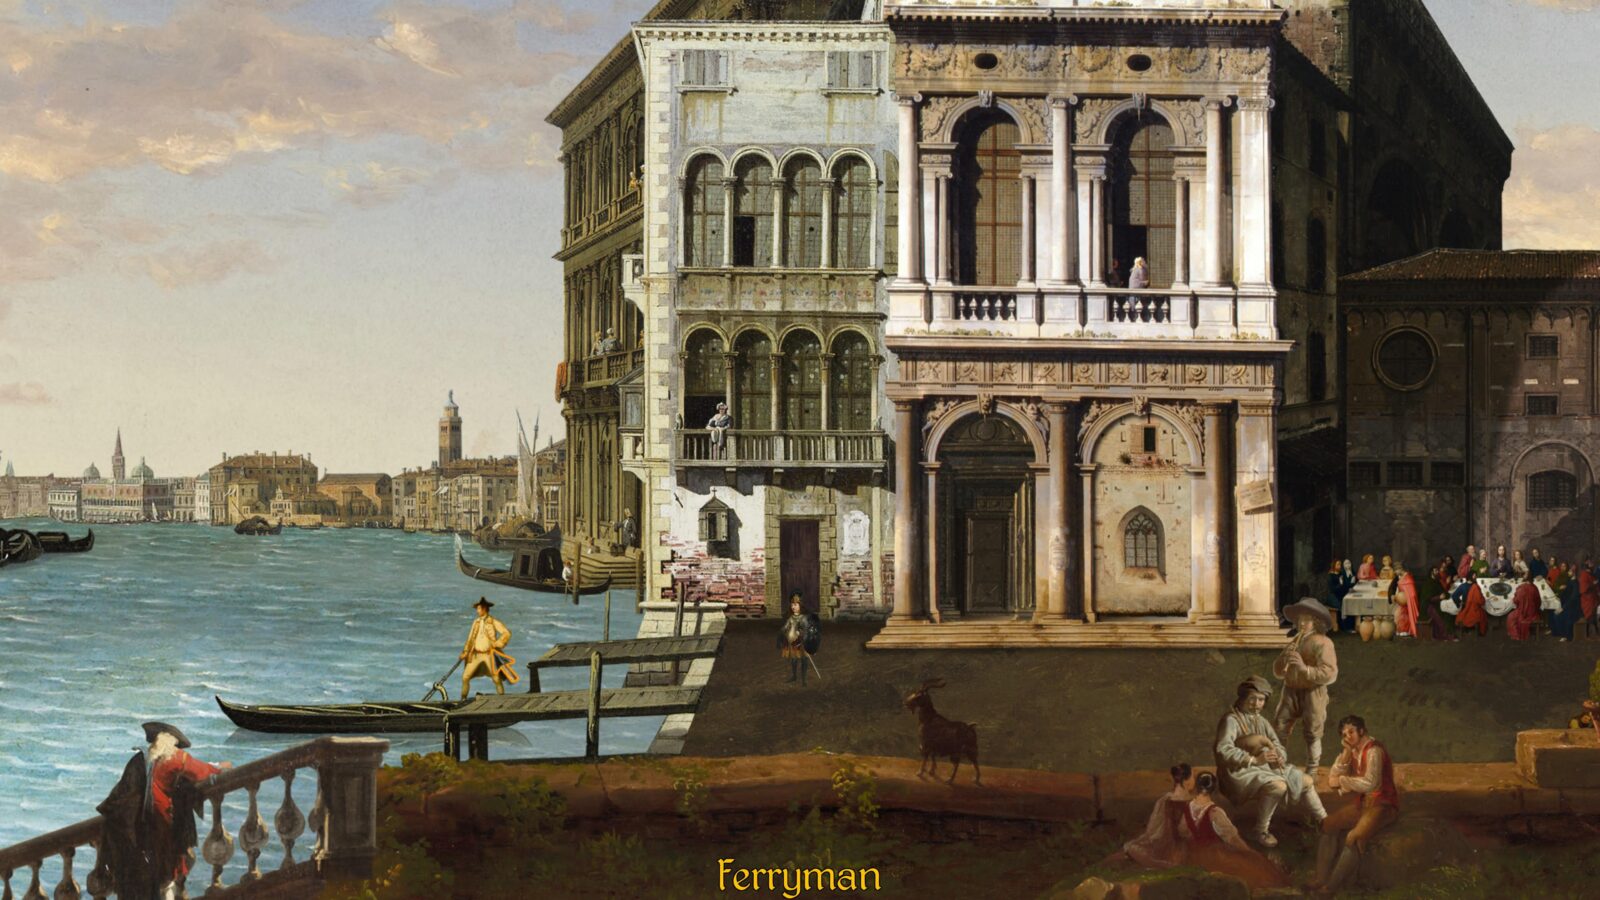
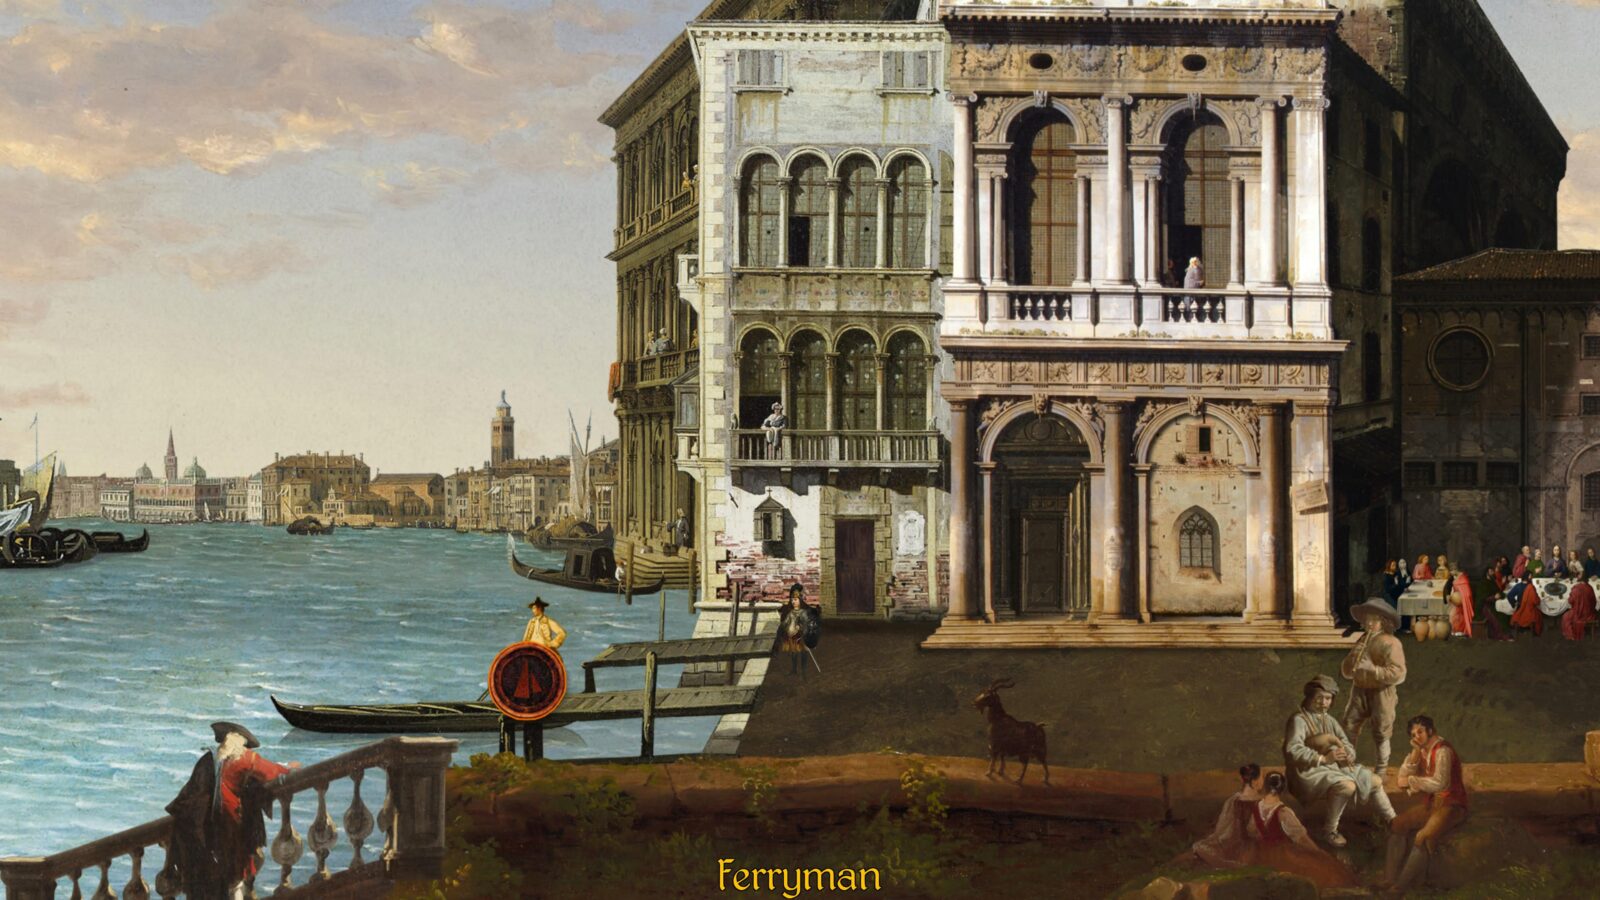
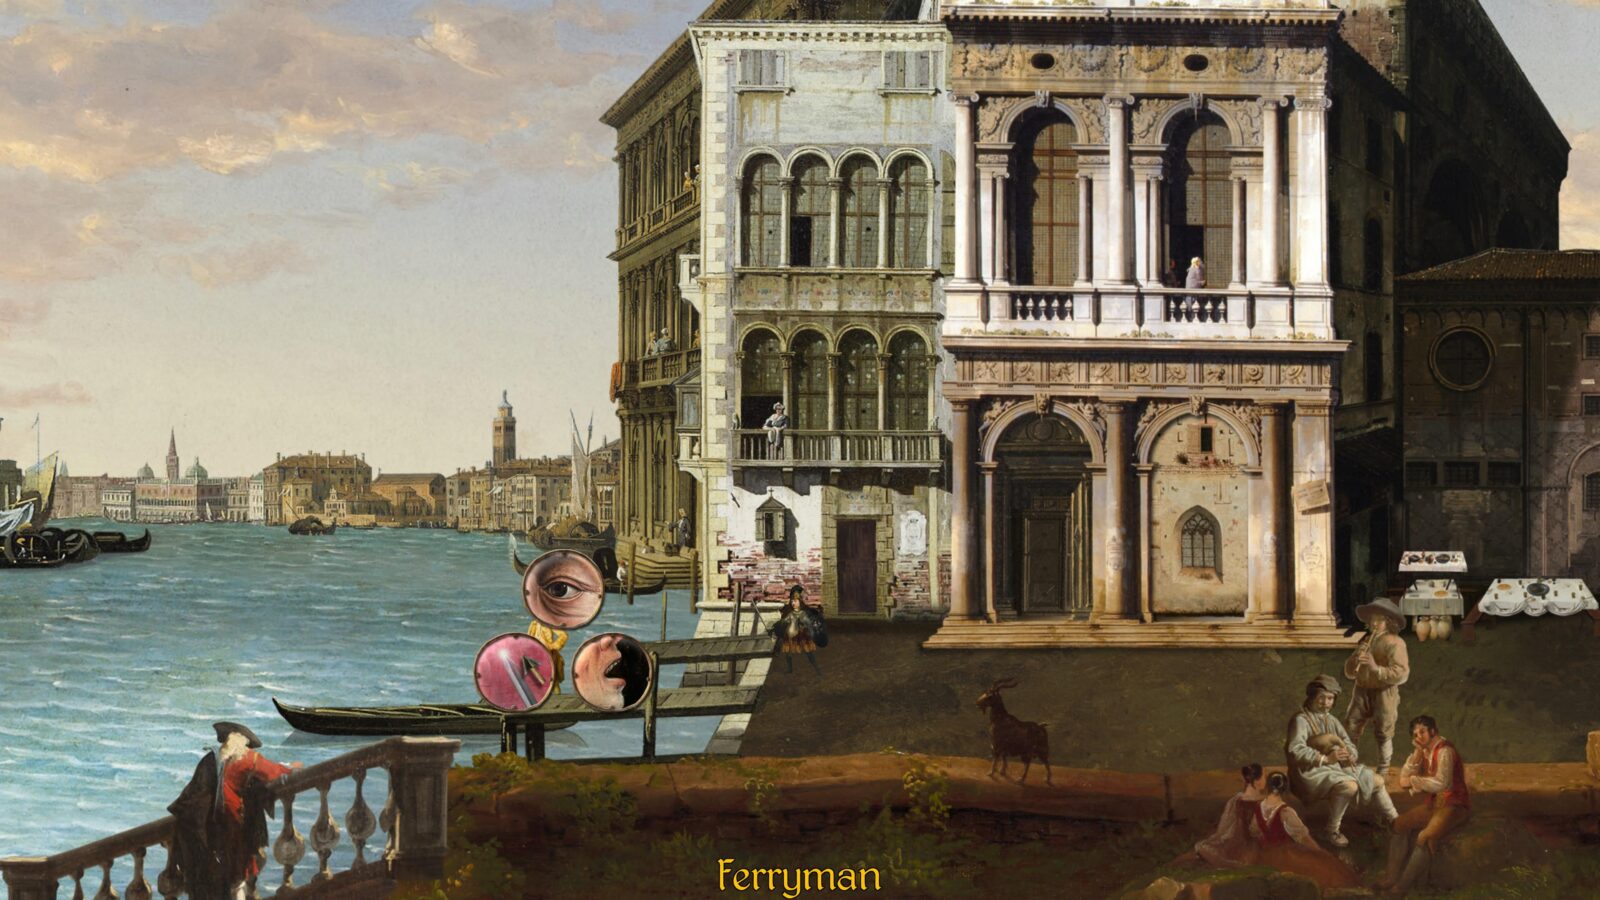
After getting roasted by the characters at the gate and entering the town, walk to the canal on the left and speak to the Ferryman.
Select the following dialogue options:
- Will you take me to the church, please?
- Is there another way across the canal?
- OK, no further questions. GOODBYE!
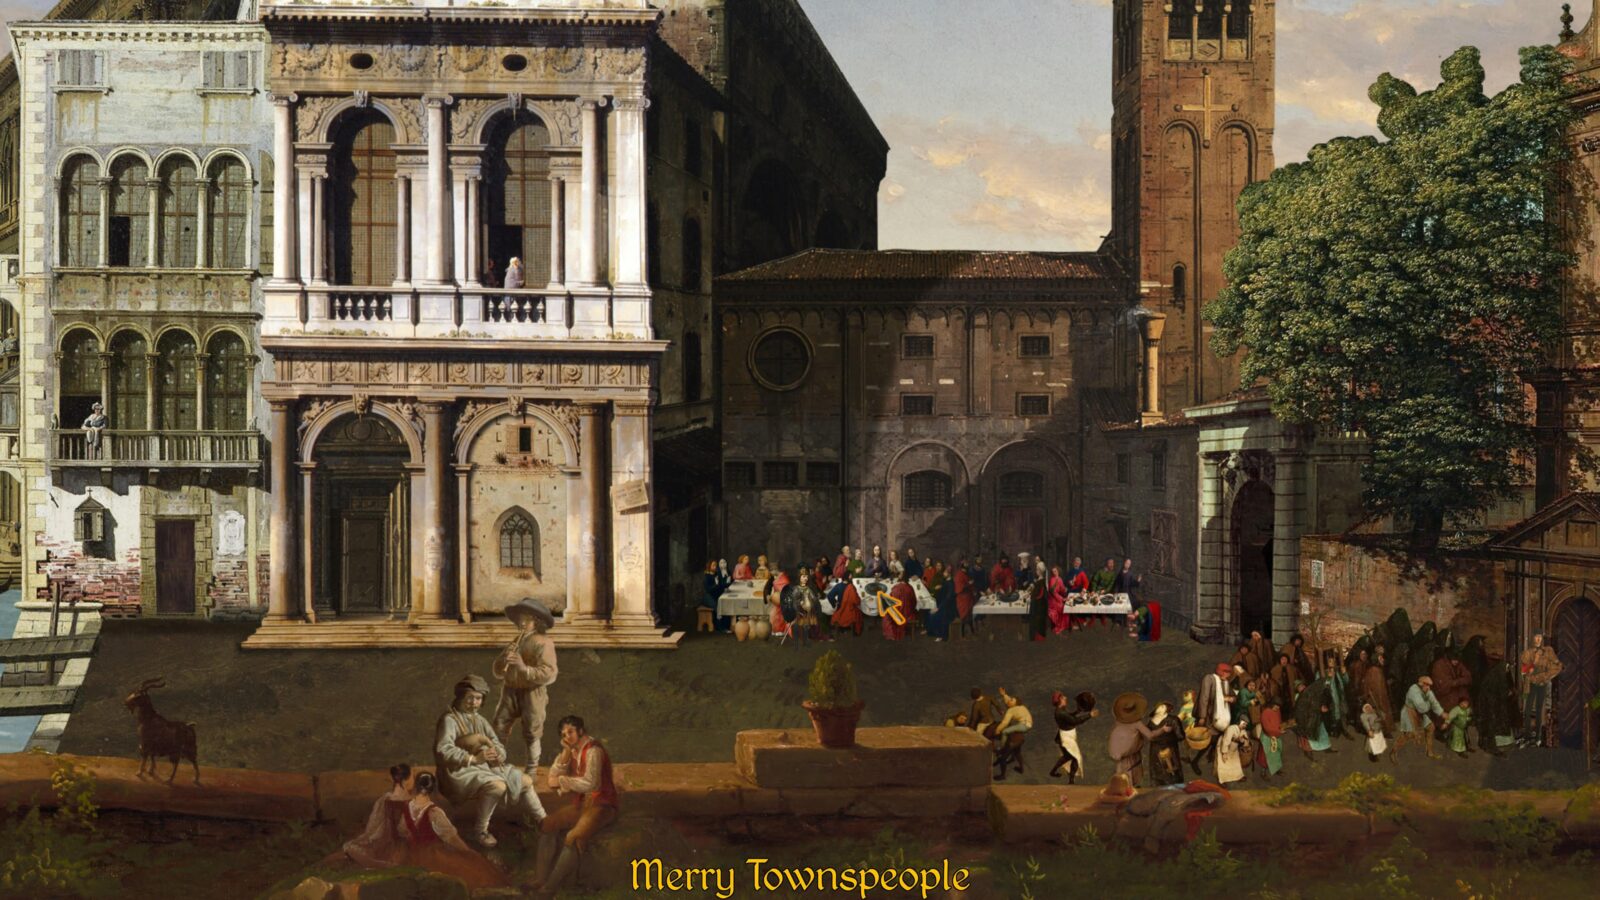
Walk to the right and speak with the “Merry Townspeople.”
Select the following options:
- Are you some sort of magician?
- What kind of tricks do you do?
- Can you teach me to walk on water?
- I’m going to walk away from you now.
Exit the town by leaving via the right side of the screen. From there, exit via the right again to arrive at a graveyard.
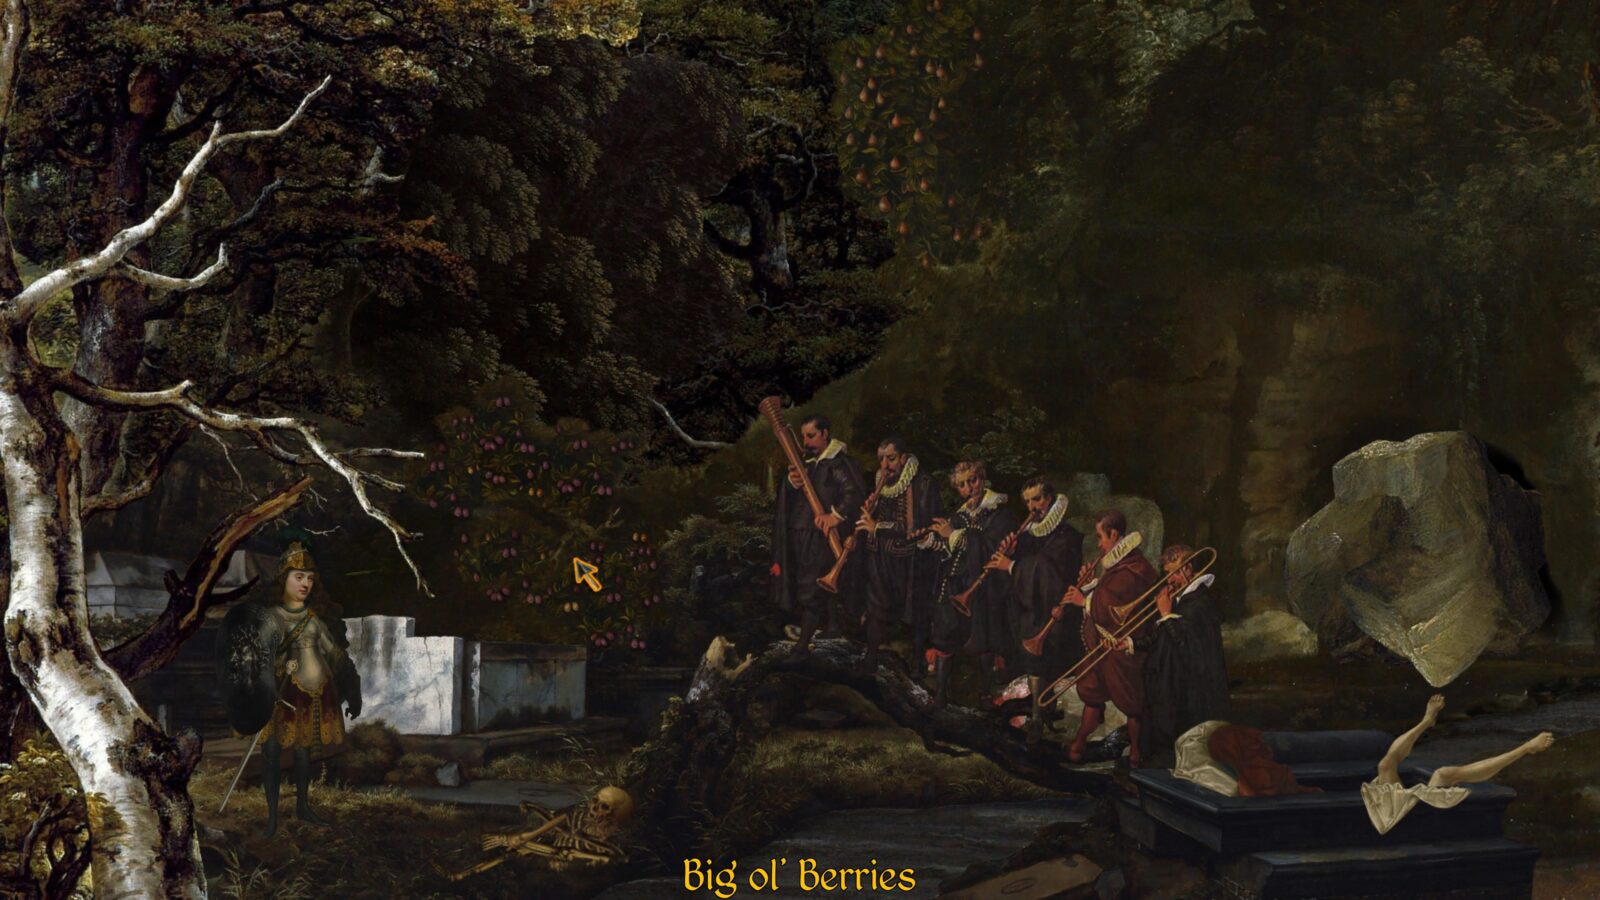
Pick up the “Big ol’ Berries” on the bush and then interact with the boulder at the right side of the screen to attempt to move it.
Exit via the left side of the screen and then enter the town again.
Talk to the Merry Townspeople again and then select “Here’s your dang berries.”

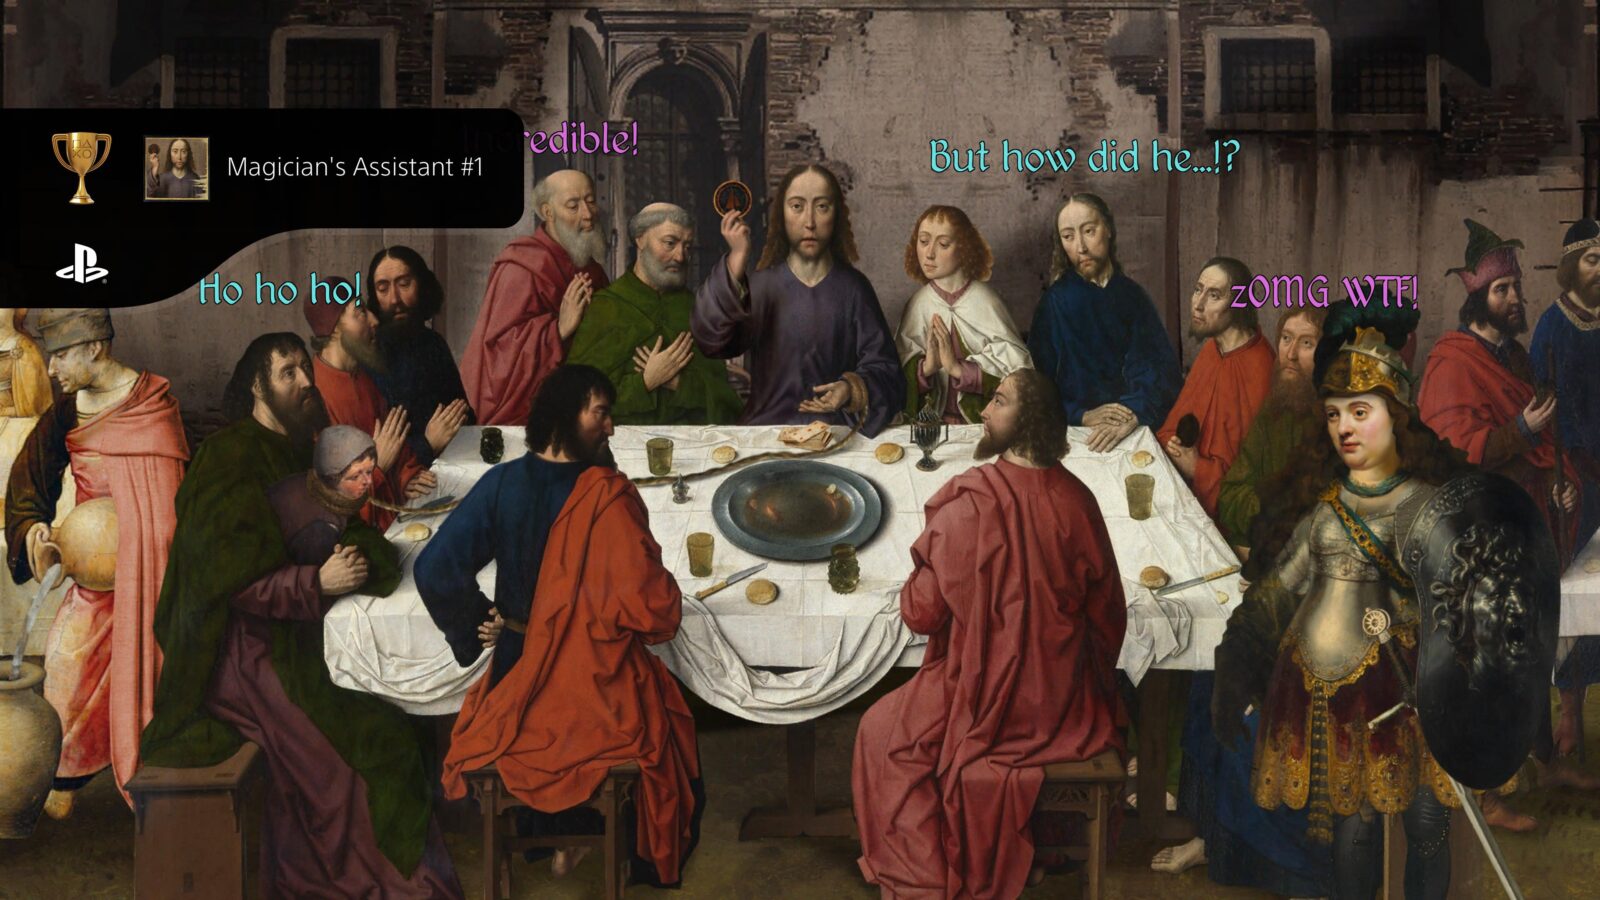
Magician’s Assistant #1
Nor did they repent of their murders, their magic arts, their sexual immorality or their thefts.
Once you give the “Big ol’ Berries” to the magician among the Merry Townspeople, you’ll receive a Boat Pass and the “Magician’s Assistant #1” trophy will unlock.
Head to the left and use the Boat Pass from your inventory on the Ferryman to cross the canal.
At the other side, enter the Basilica on your right.
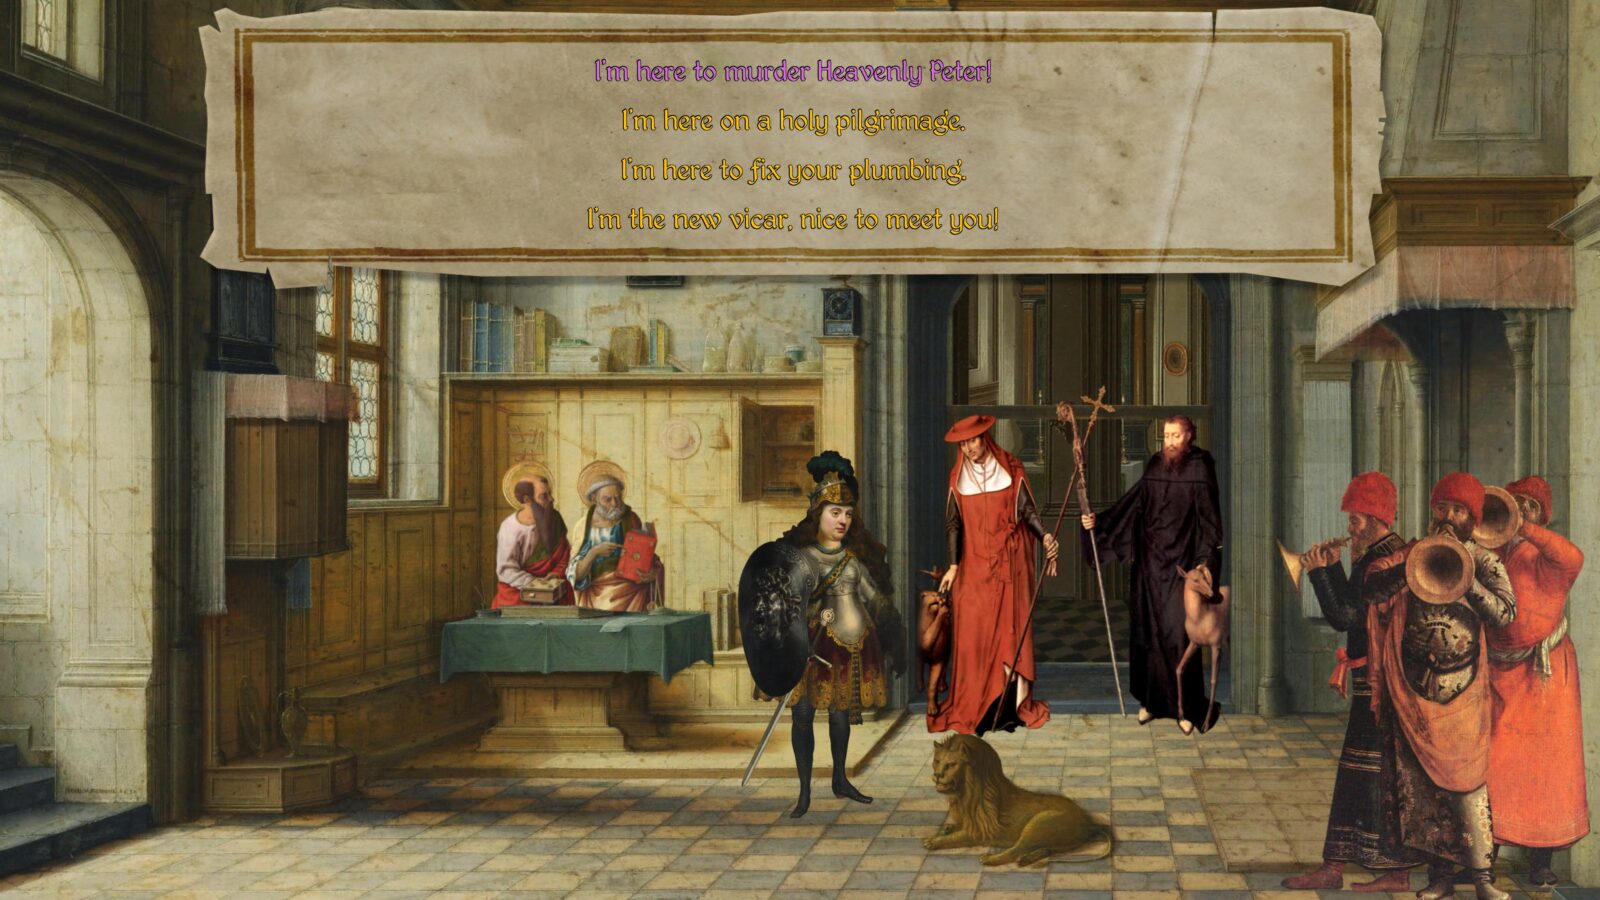
A conversation will begin automatically. Select the following:
- I’m here on a holy pilgrimage
- If you don’t step aside I will flip out and become dangerously hysterical…
- Are you trying to solicit a bribe?
When the conversation ends, make sure you interact with the Tiny Lion via the hand icon.
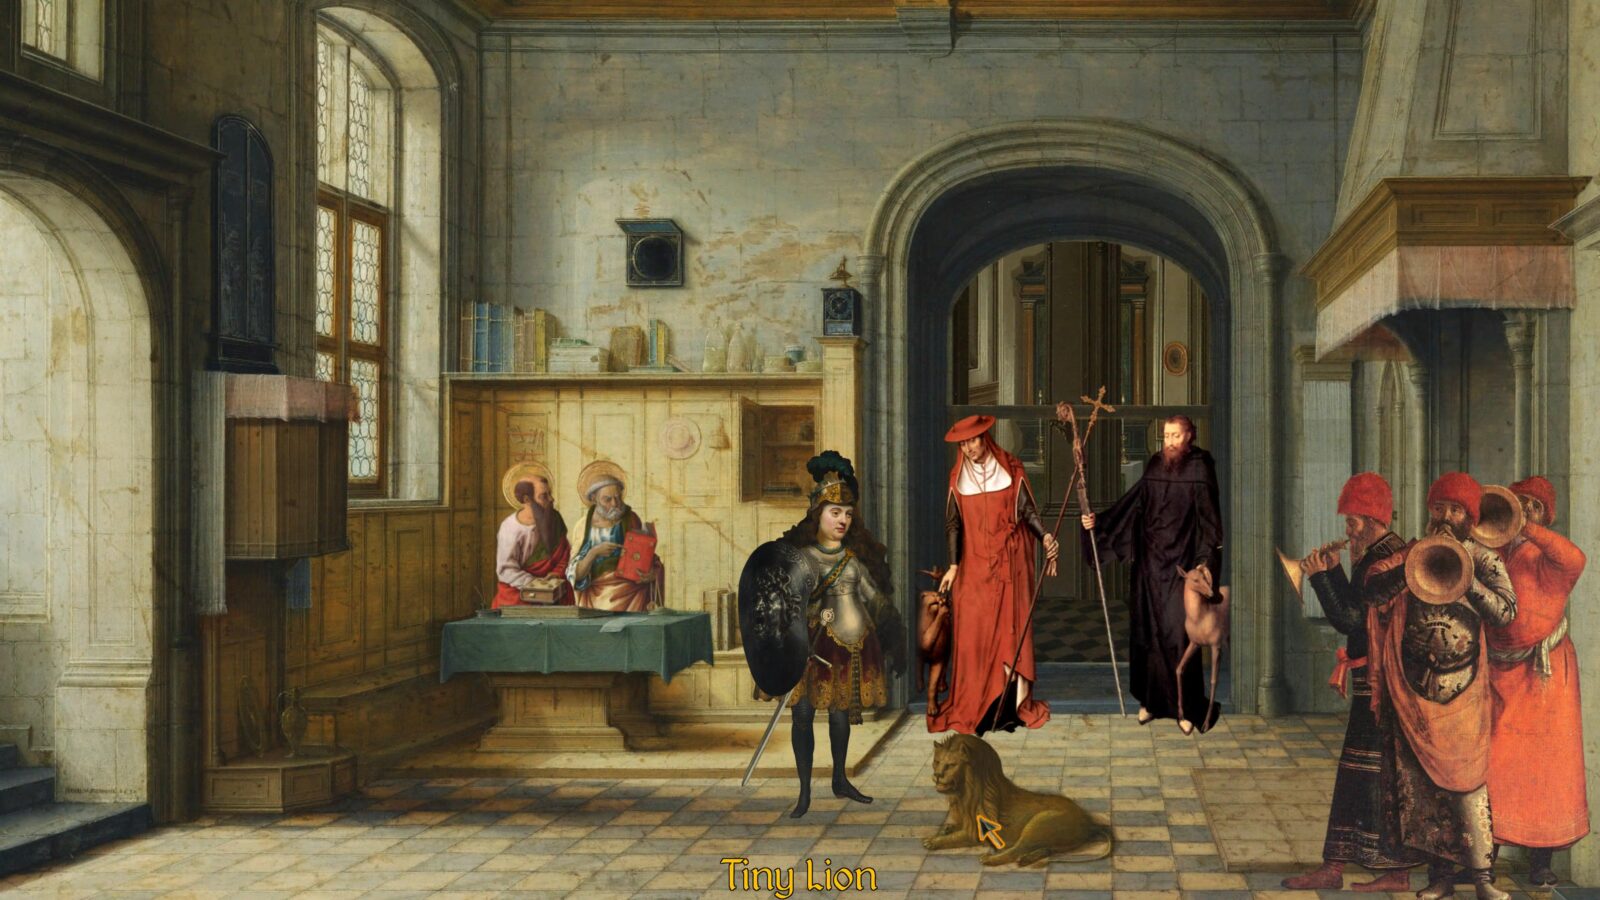
Who’s a good boy!?
The beast I saw resembled a leopard, but had feet like those of a bear, a mouth like that of a lion.
Interacting with the Tiny Lion inside the Basilica will unlock the Missable “Who’s a good boy!?” trophy.

Once done, interact with one of the Scholars via the hand icon seven times in a row.
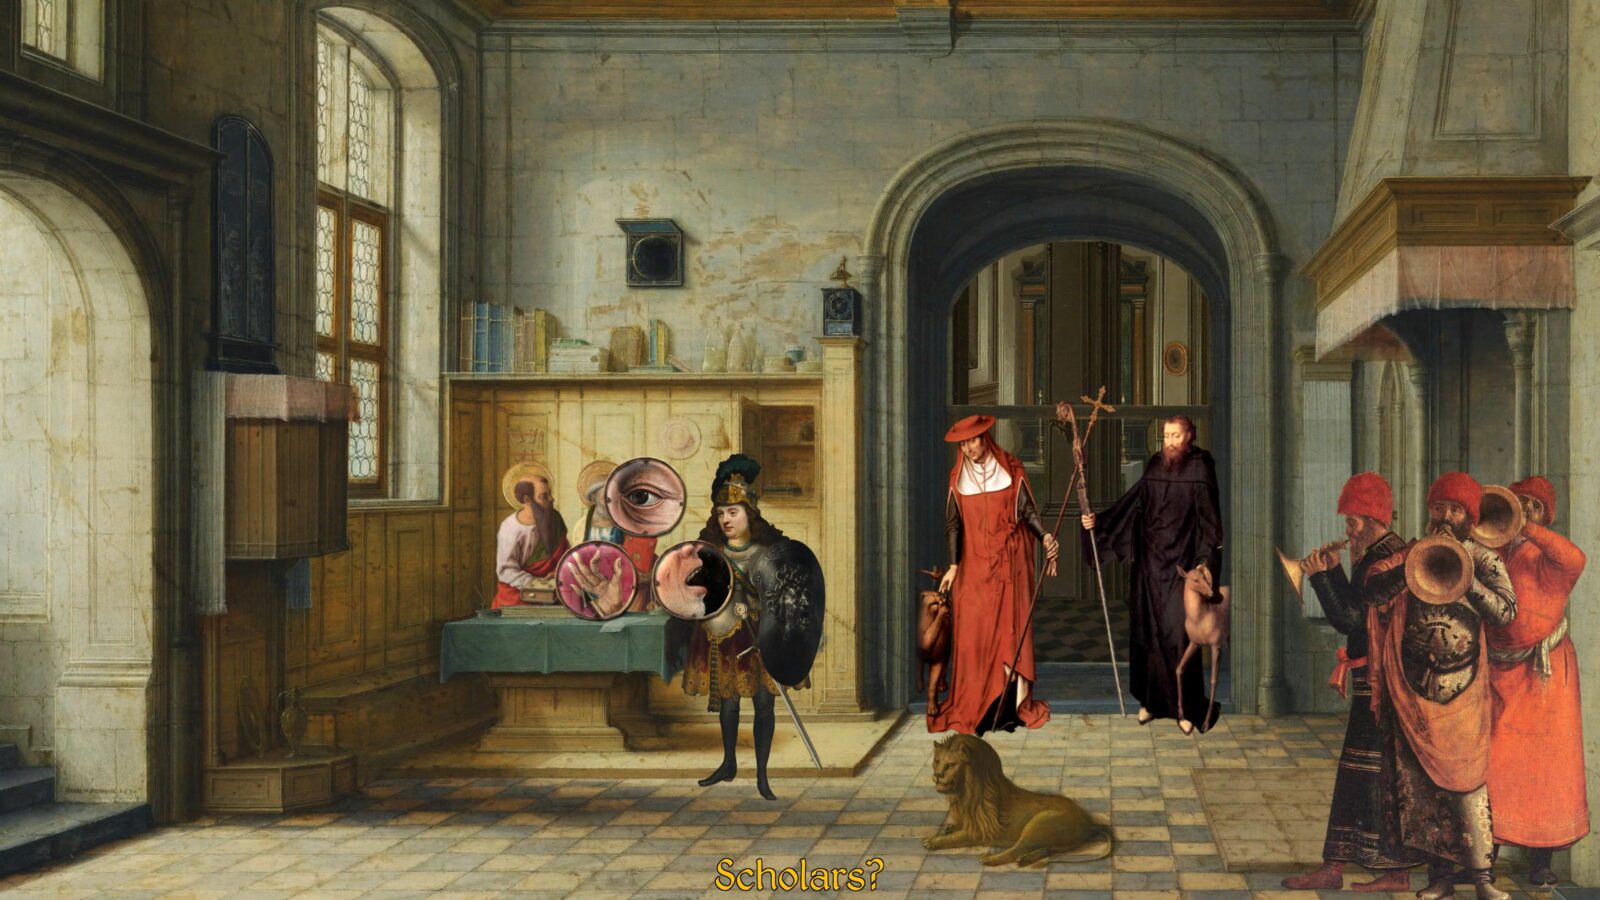
Brawler
Then I will act with hostility toward you; I also will strike you seven times for your sins.
There are a few select characters throughout the game who you can punch by using the hand icon on them.
Using the hand icon 7 times in a row on any of these characters will unlock the Brawler trophy.
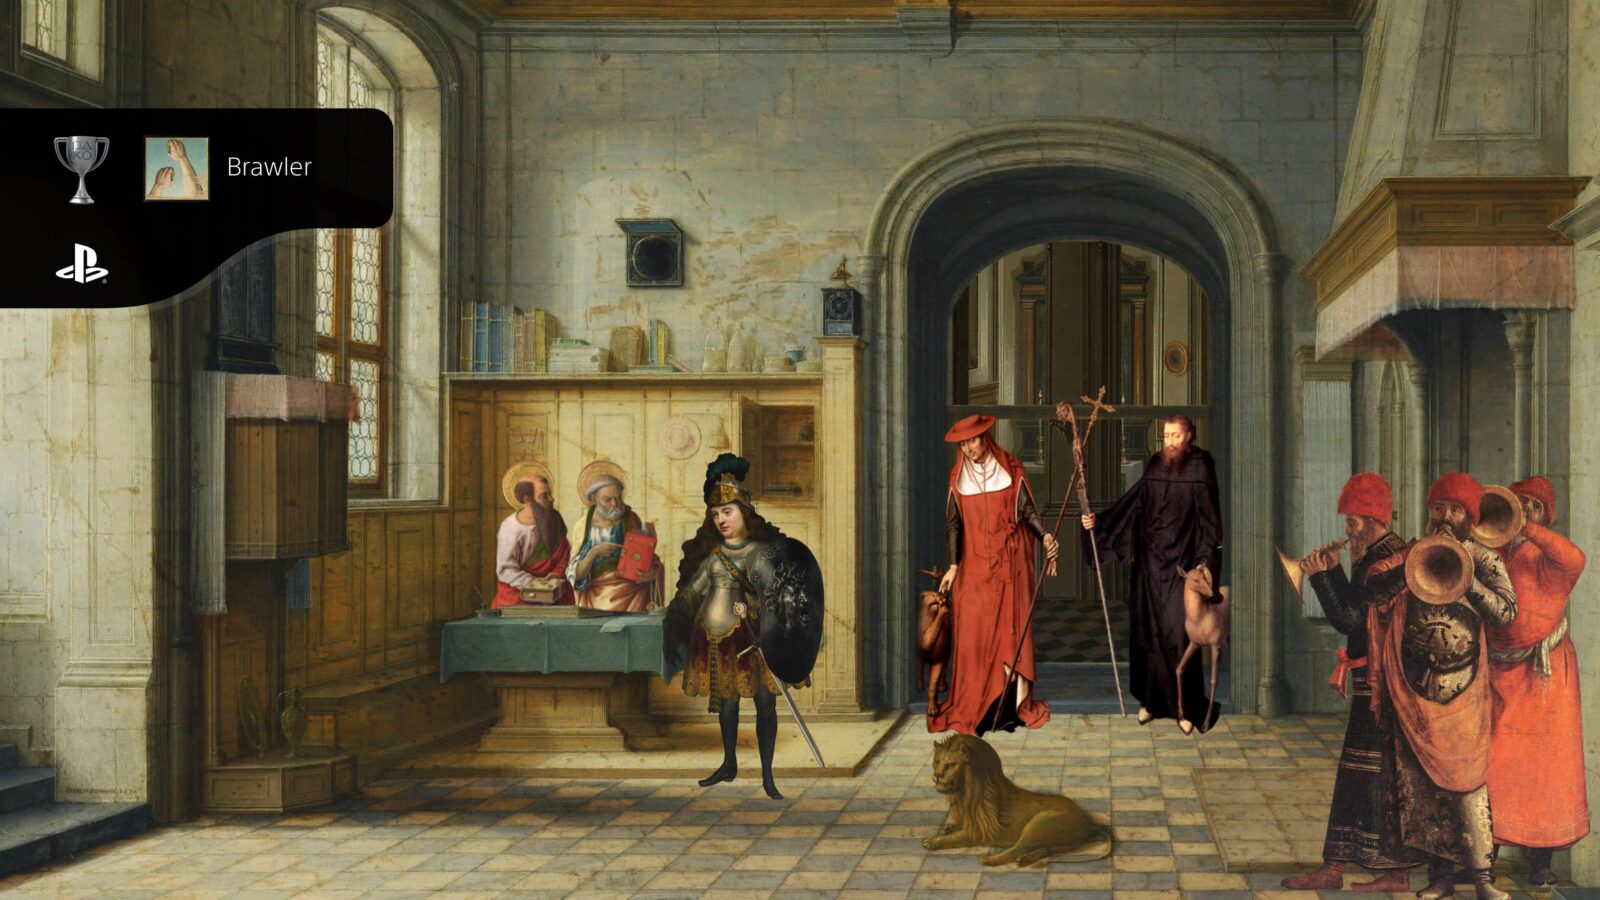
The scholars in the Basilica are the first opportunity to do this, so best to do it while we’re here.
Once you have the two missable trophies above, leave the Basilica via the left side of the screen and then speak to the Ferryman.
You’ll be taken back to the town, where you’ll find that the Merry Townspeople and the Magician are gone.
Where they were there’s a door that you can now enter. Use ![]() on it to do so.
on it to do so.

Enter the lounge via the left side of the screen and then speak to the character called “Snuff Sniffing Snob.”

Select the following dialogue options:
- Can I have a bump of your snuff? (Upper-laced Snuff will be added to your inventory)
- How come you’re so relaxed amidst this clamour?
- Aren’t you mad your aunt left you out of her will?
- Did you say TREASURE MAP?!
- Do you still have the TREASURE MAP?!
- CAN I HAVE THE TREASURE MAP!!?!?!?! (The Treasure Map will be added to your inventory)
- Toodloo, old chap!
Return to the town and then head through the doorway at the bottom-right corner of the screen.
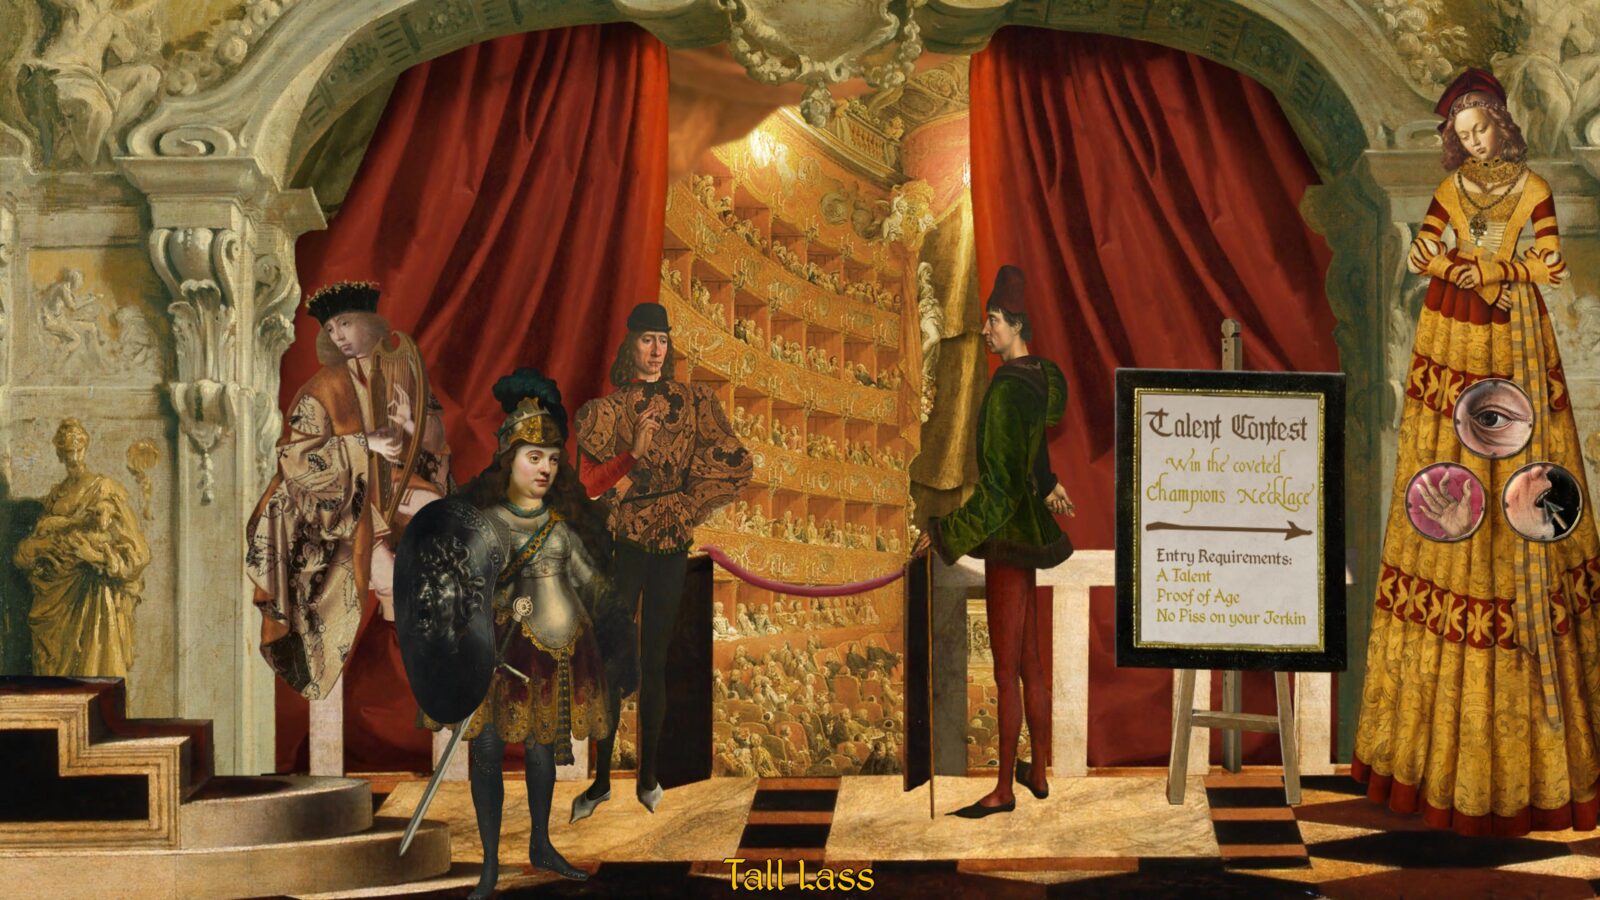
Speak to the “Tall Lass” next to the Talent Contest sign and select the following:
- Tell me more about this talent contest.
- How is the winner selected?
- That’s all I wish to discuss.
Exit back to the town via the left side of the screen and then walk over to the canal.
Next to the canal is a pinkish doorway, press ![]() on it to head inside.
on it to head inside.
Speak to the Blessed Dressmakers, one of whom keeps yelling “Spin!”
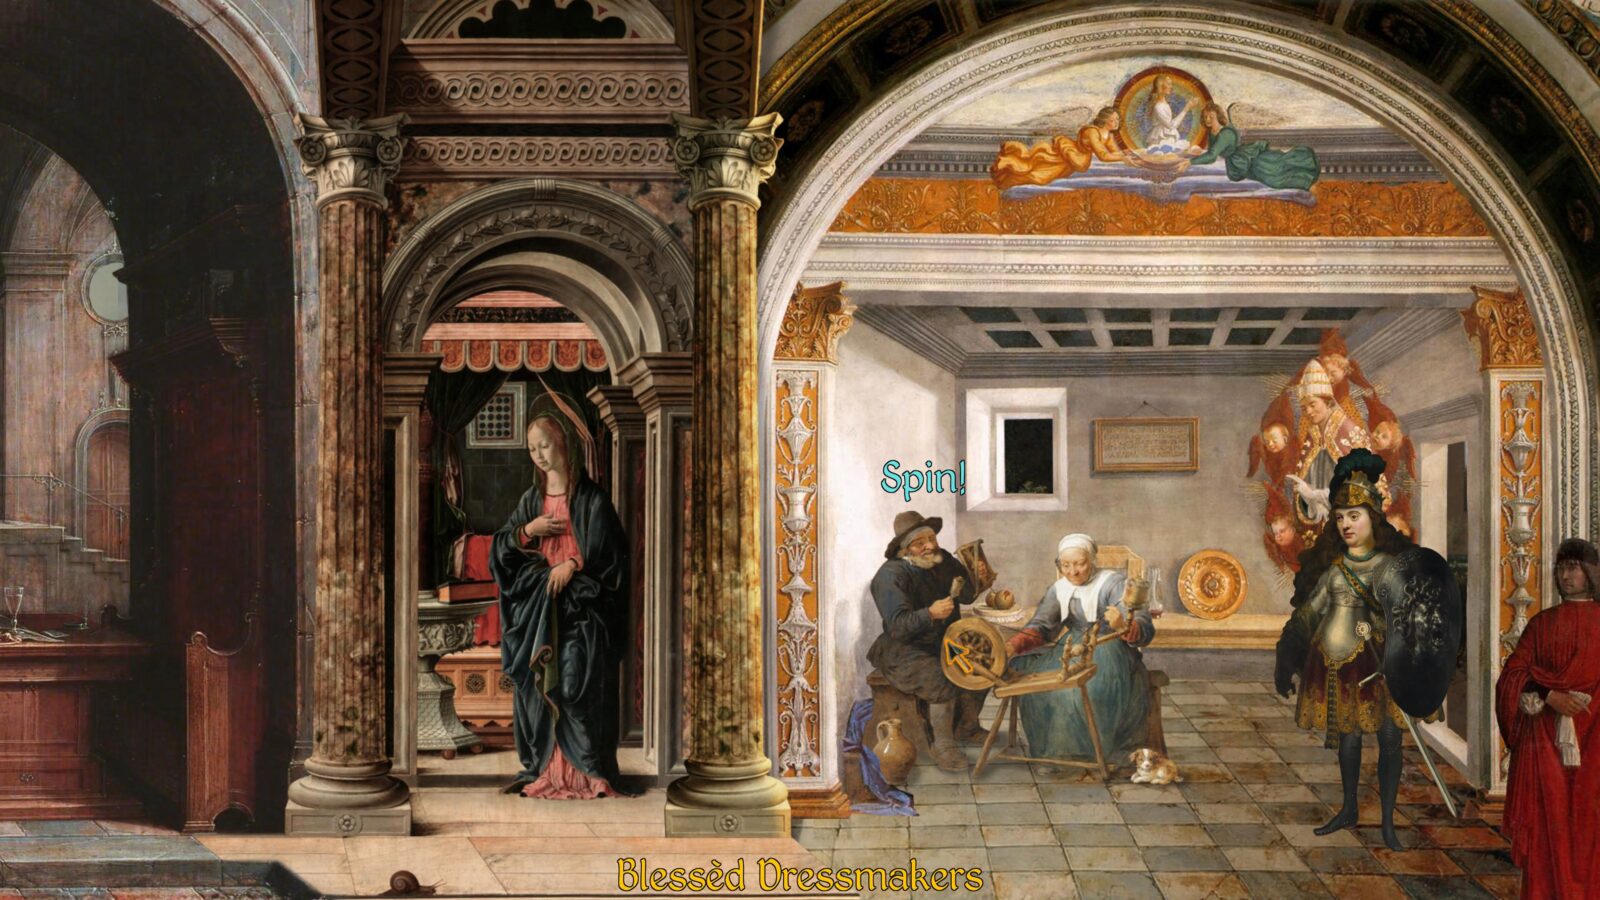
Select the following:
- Will you make a dress for me?
- OK, I’ll leave you to it
Next, go to the left and speak to the “Sad Man.” Ask him “Will you write a song for me?” and you’ll get some music from him.

Head through the door behind the Sad Man and then exit via the left side of the screen.

Quickly draw your sword with ![]() and use it on the fish.
and use it on the fish.
Now that the fish is dead, you can collect it from the ground via the hand icon.
Press ![]() on the path near the windmill to return to the town entrance.
on the path near the windmill to return to the town entrance.

Exit via the left side of the screen to return to the mass crucifixion site.
Walk left and you’ll see the Magician from earlier up on a cross.

Speak to him and select the following:
- What’s in it for me?
- OK. Bye.
Head up the path behind the magician to the place where you got the apple earlier.
Select the Bump of Upper-laced Snuff in your inventory and use it on the “Metrognome” by the musician on the left.

The music will speed up, causing the man on the spitroast to vomit a set of pliers.
Pick up the pliers and then return to the graveyard (exit via the right side of the screen 3 times).
On the ground in front of you, you’ll see a pile of bones. Collect it and then return to the town.

Go through the pinkish door next to the canal again and collect the Dress on the ground next to the Dressmakers.

Leave and go into the lower-right doorway again to enter the theatre where the Tall Girl is.
Open your inventory and select the “Music” item to review the lyrics.
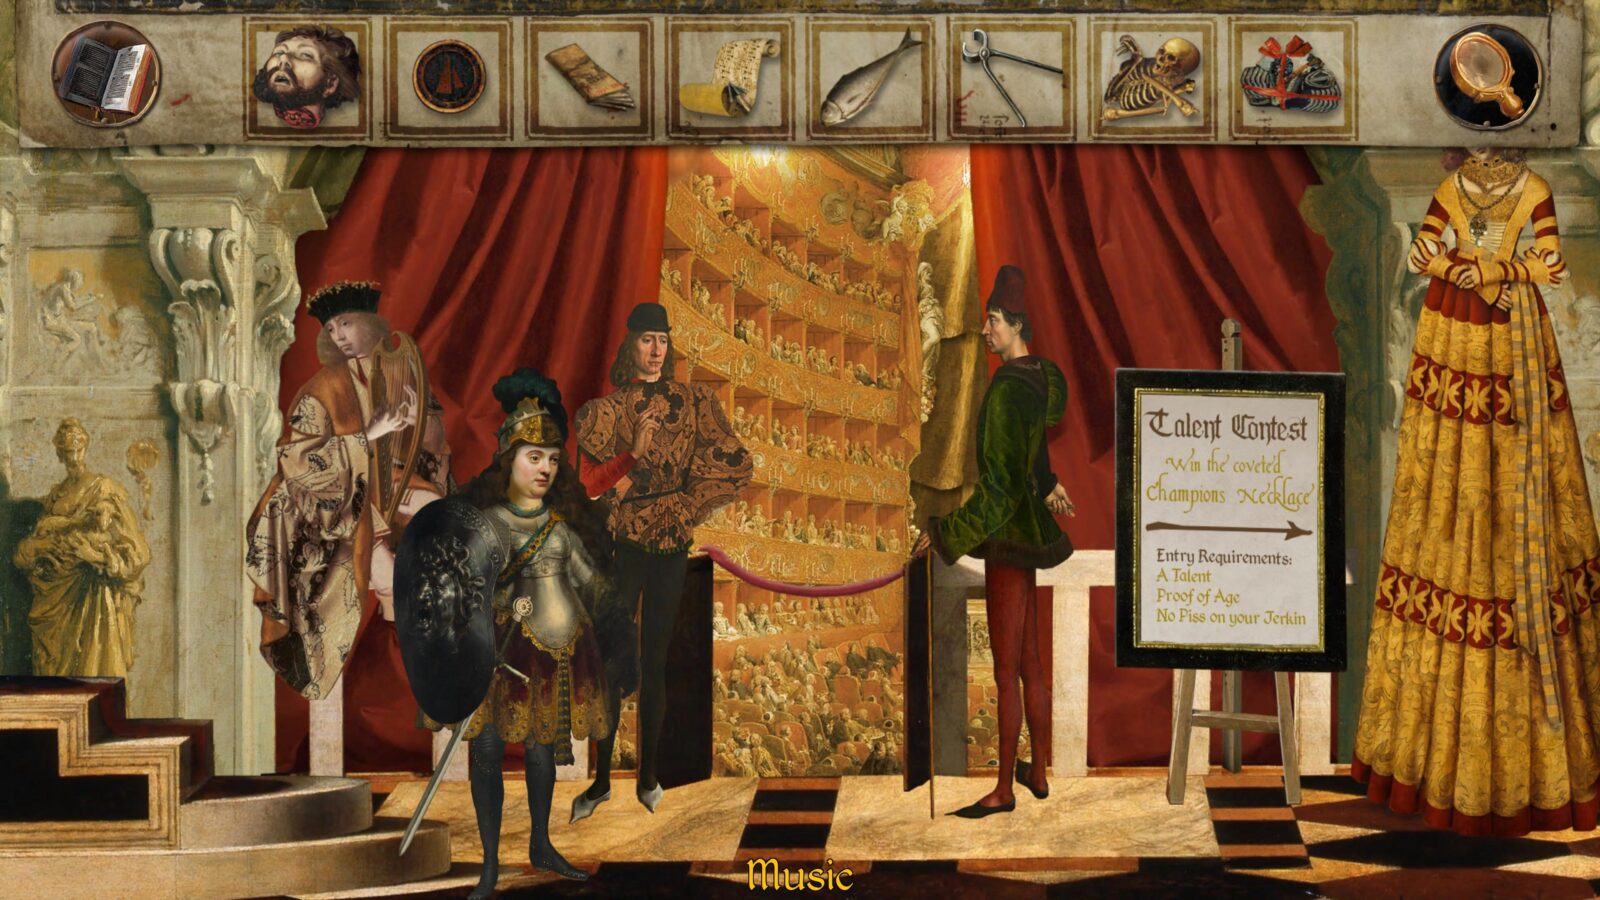
Speak to the Tall Lass and select the following:
- I’d like to enter the talent contest!
- I can sing!
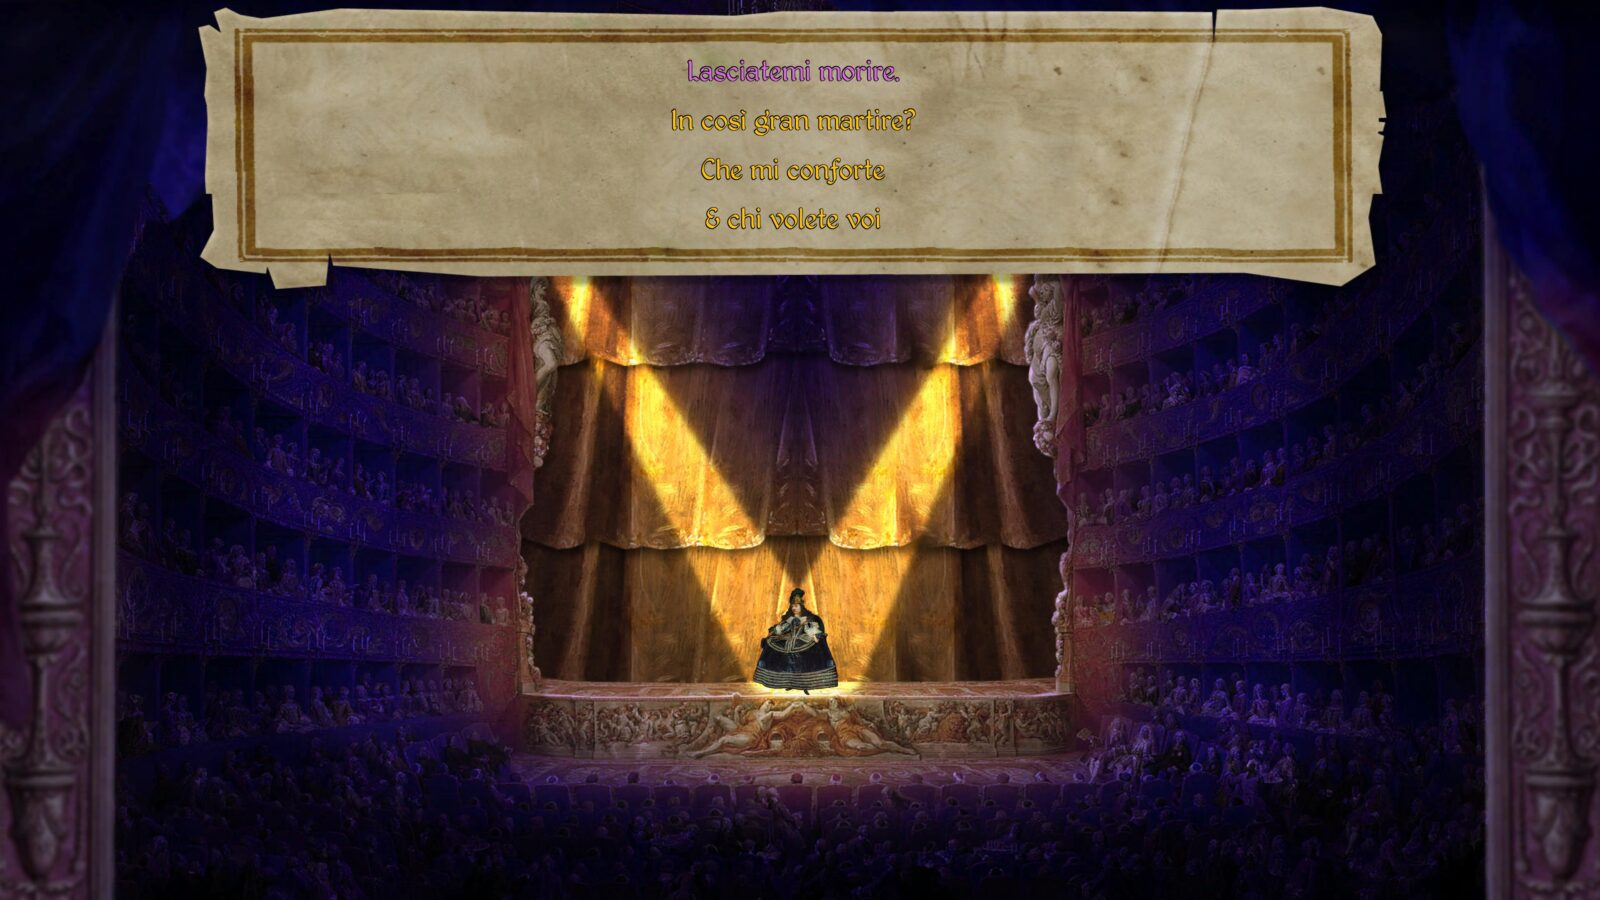
This next section is timed so try to complete it quickly. There will be four options of lyrics on-screen eight times during this segment and you should select them in the following order:
- 1 – Lasciatemi morire
- 3 – Lasciatemi morire
- 2 – E chi volete voi
- 4 – Che mi conforte
- 1 – In cosi dura sorte,
- 2 – In cosi gran martire?
- 3 – Lasciatemi morire
- 4 – Lasciatemi moriiiiiiiiire.

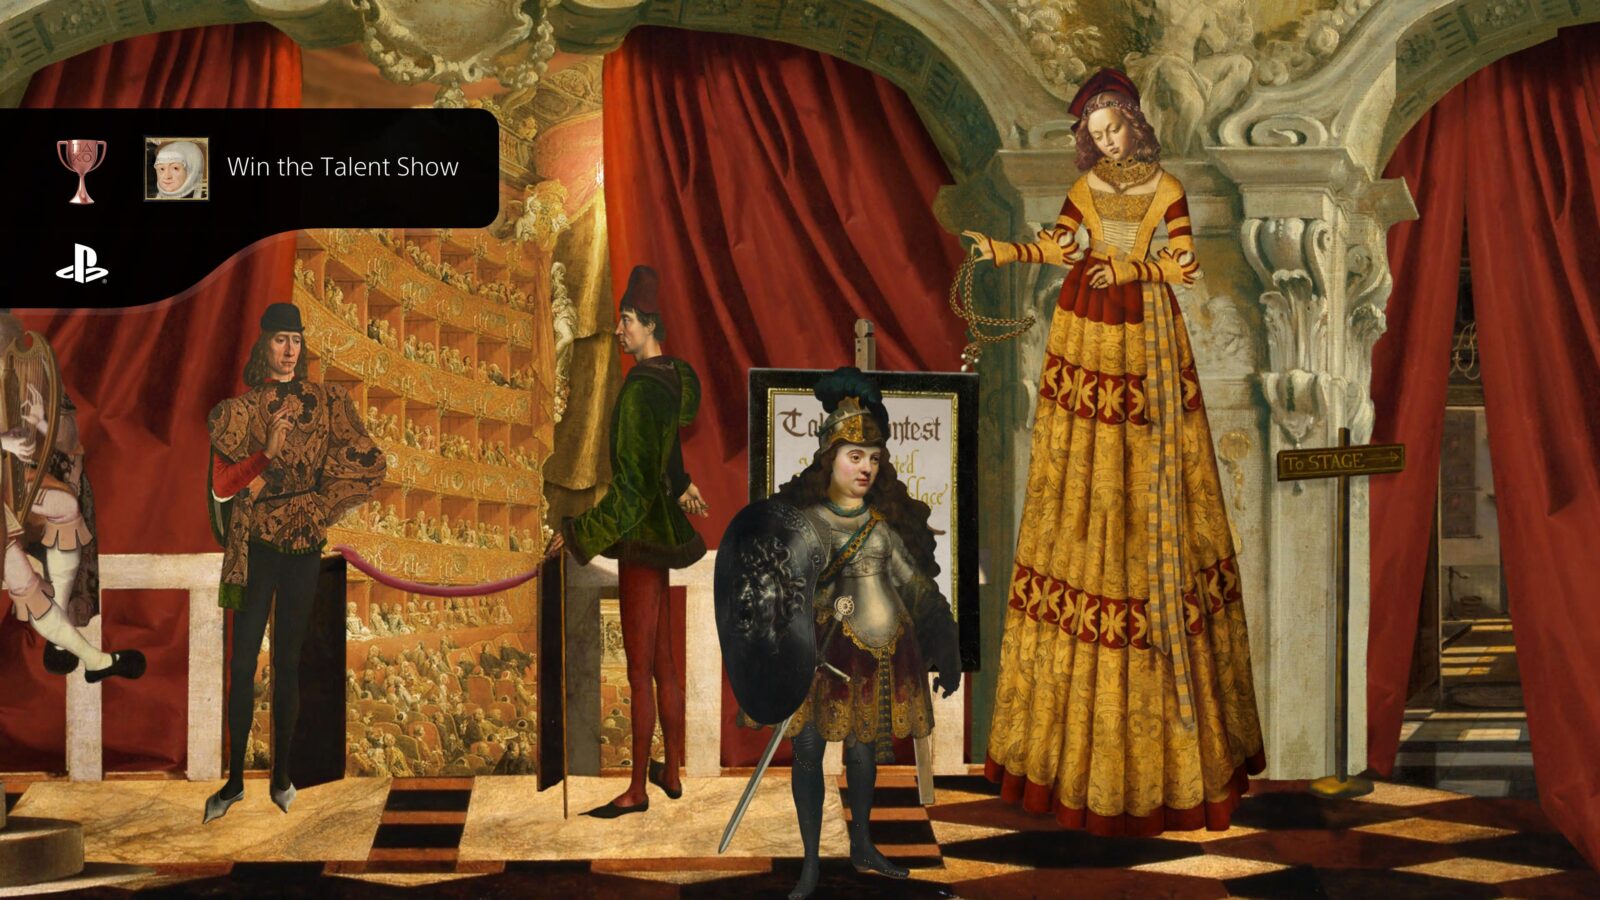
Win the Talent Show
Thanks be to God, who gives us the victory through our Lord Jesus Christ!
Selecting the correct lyrics during the Talent Show minigame while wearing a new dress and also having a fish in your inventory will result in you winning, unlocking the “Win the Talent Show” trophy.
You can now return to the town, exit it, and then return to the magician at the mass crucifixion site.
Use the pliers from your inventory on the Magician.
Use the Pile of Bones from your inventory on the Magician.
Magician’s Assistant #2
The lamplight will never shine in you again …For by your magic spell all nations were led astray.
Giving the Magician the Pliers and Human Bones will result in him escaping his crucifixion. The Magician’s Assistant #2 trophy will then unlock.

Now return to the graveyard, to the right of the town, by leaving via the right side of the screen twice.
Press ![]() on the boulder and then choose the mouth icon to speak to it.
on the boulder and then choose the mouth icon to speak to it.
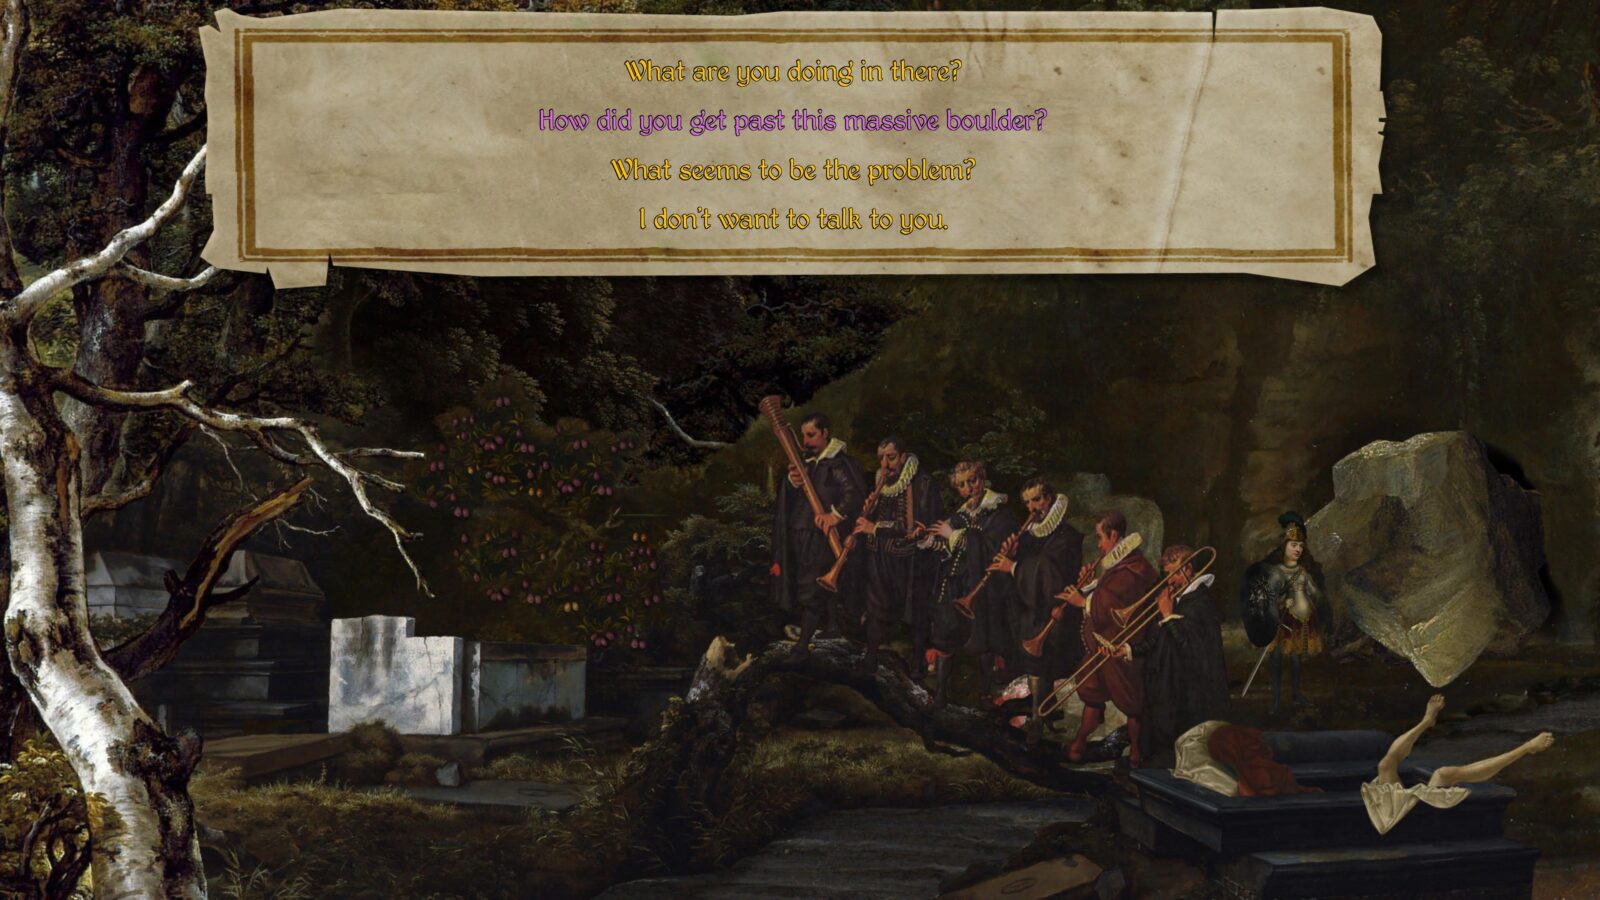
Choose the following dialogue options:
- How did you get past this massive boulder?
- What seems to be the problem?
- Will you promise to give me the boy if I help you?
- Try pushing from your side
Next, while the boulder is vibrating, press ![]() on the boulder again and this time select the hand icon. If you’re too slow, just select “Try pushing from your side” again.
on the boulder again and this time select the hand icon. If you’re too slow, just select “Try pushing from your side” again.
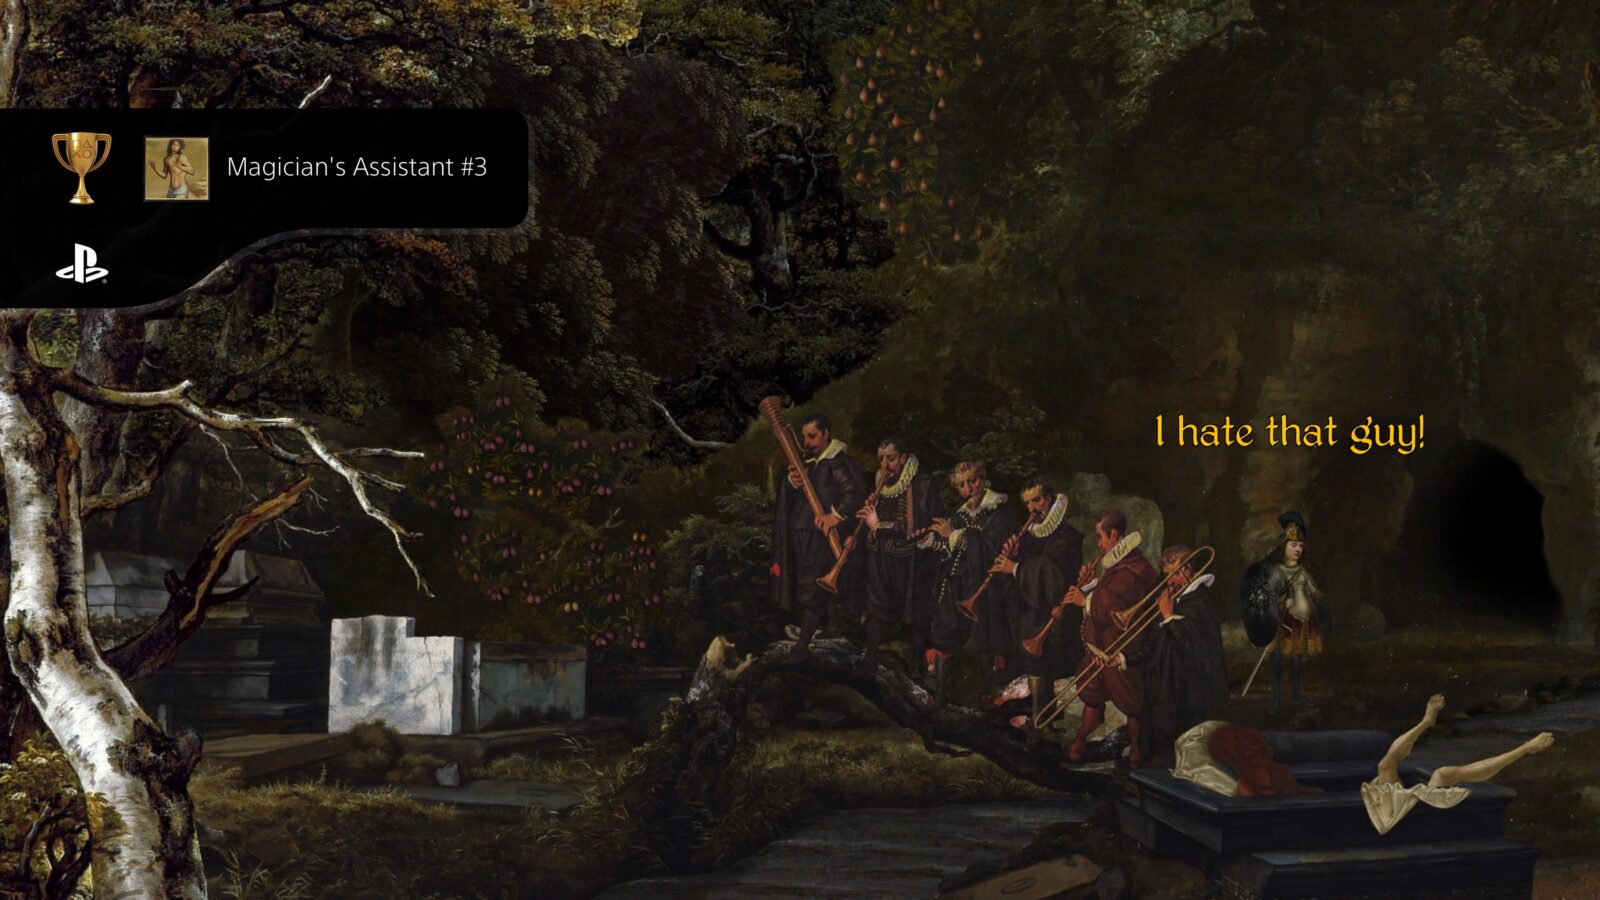
Magician’s Assistant #3
Keep on, then, with your magic spells and with your many sorceries…
Interacting with the large boulder at the graveyard after helping the magician escape his crucifixion will allow him to leave the cave and you will unlock the Magician’s Assistant #3 trophy.
Enter the cave by pressing ![]() on it.
on it.
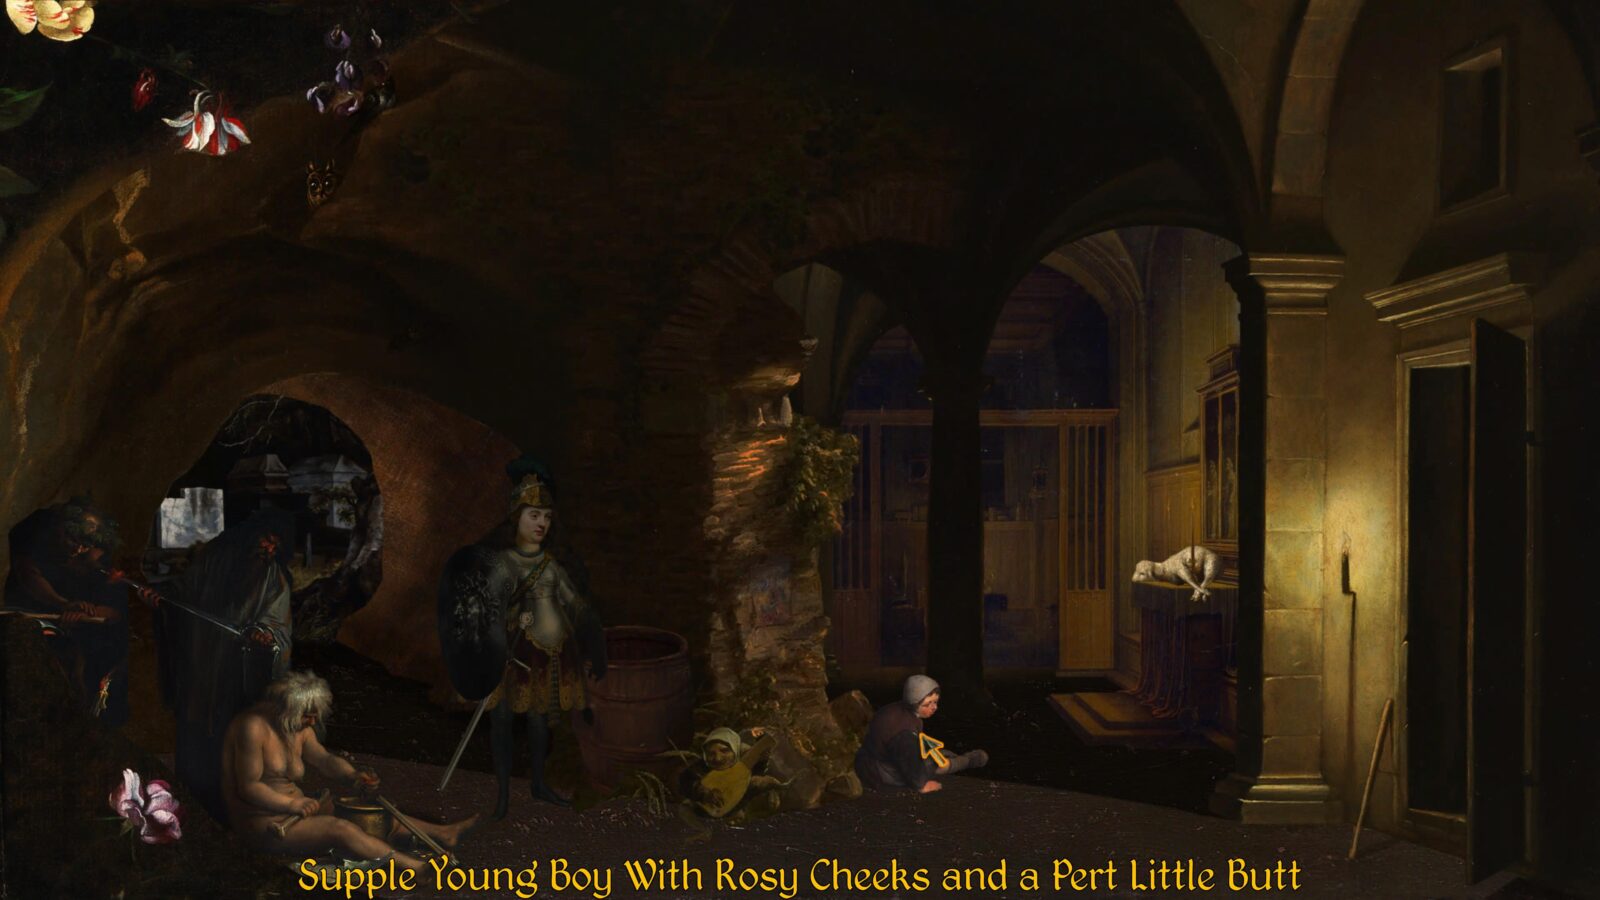
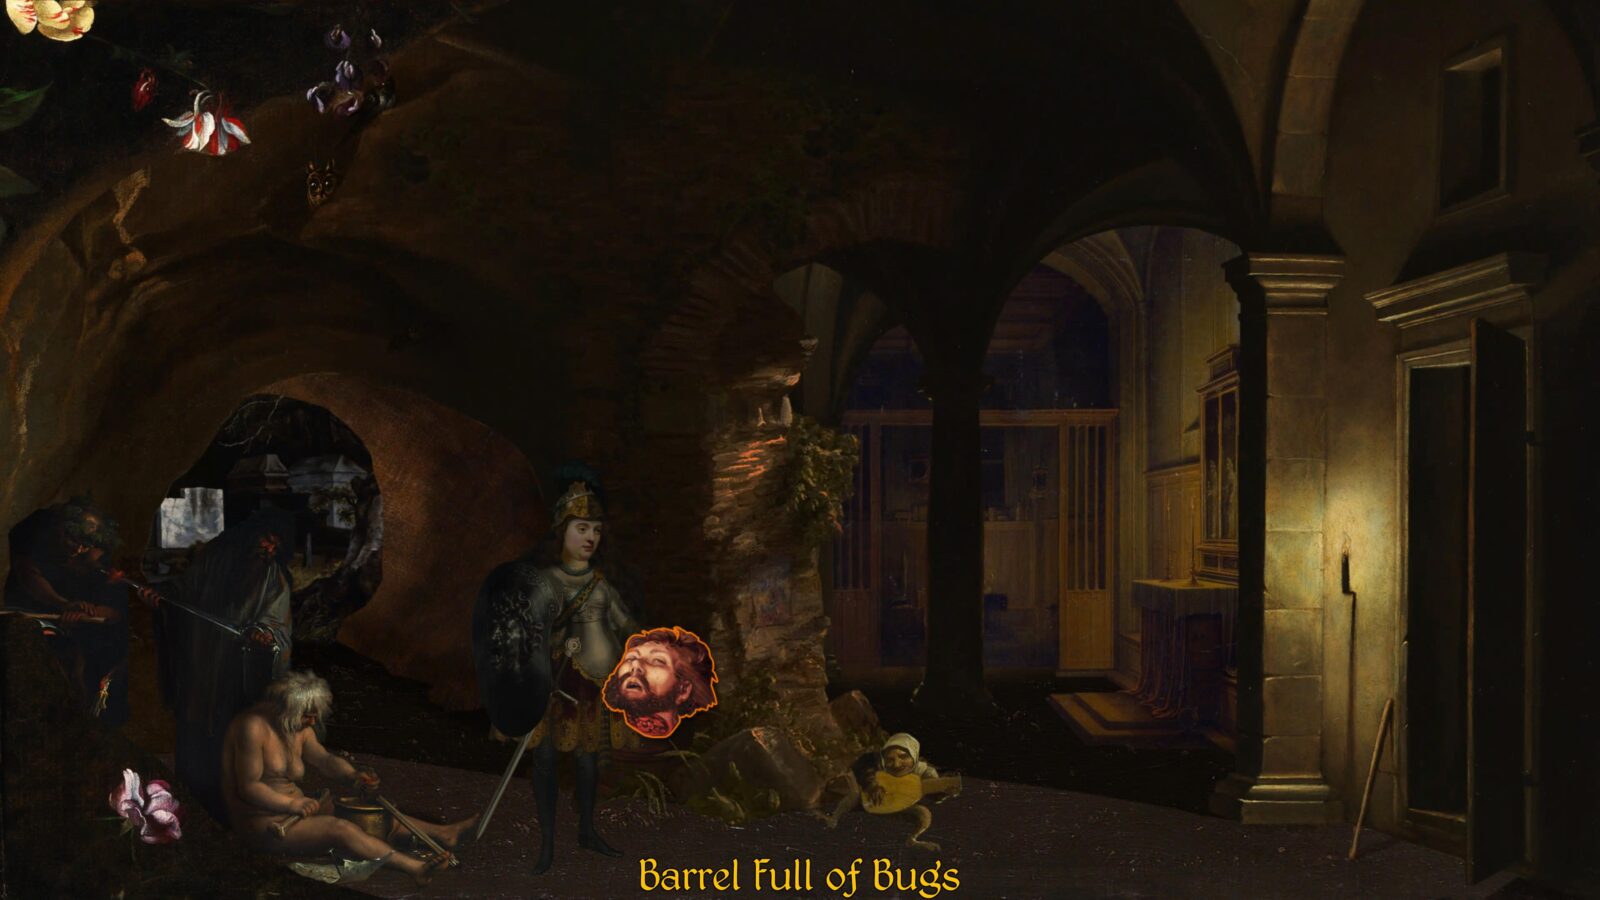
Use the hand icon to interact with the “Barrel full of bugs” and add the bugs to your inventory.

Collect the “Sacrificial lamb” and the “Supple young boy with rosy cheeks and a pert little butt.”
You can now leave the cave via the right side of the screen, triggering a dialogue exchange.
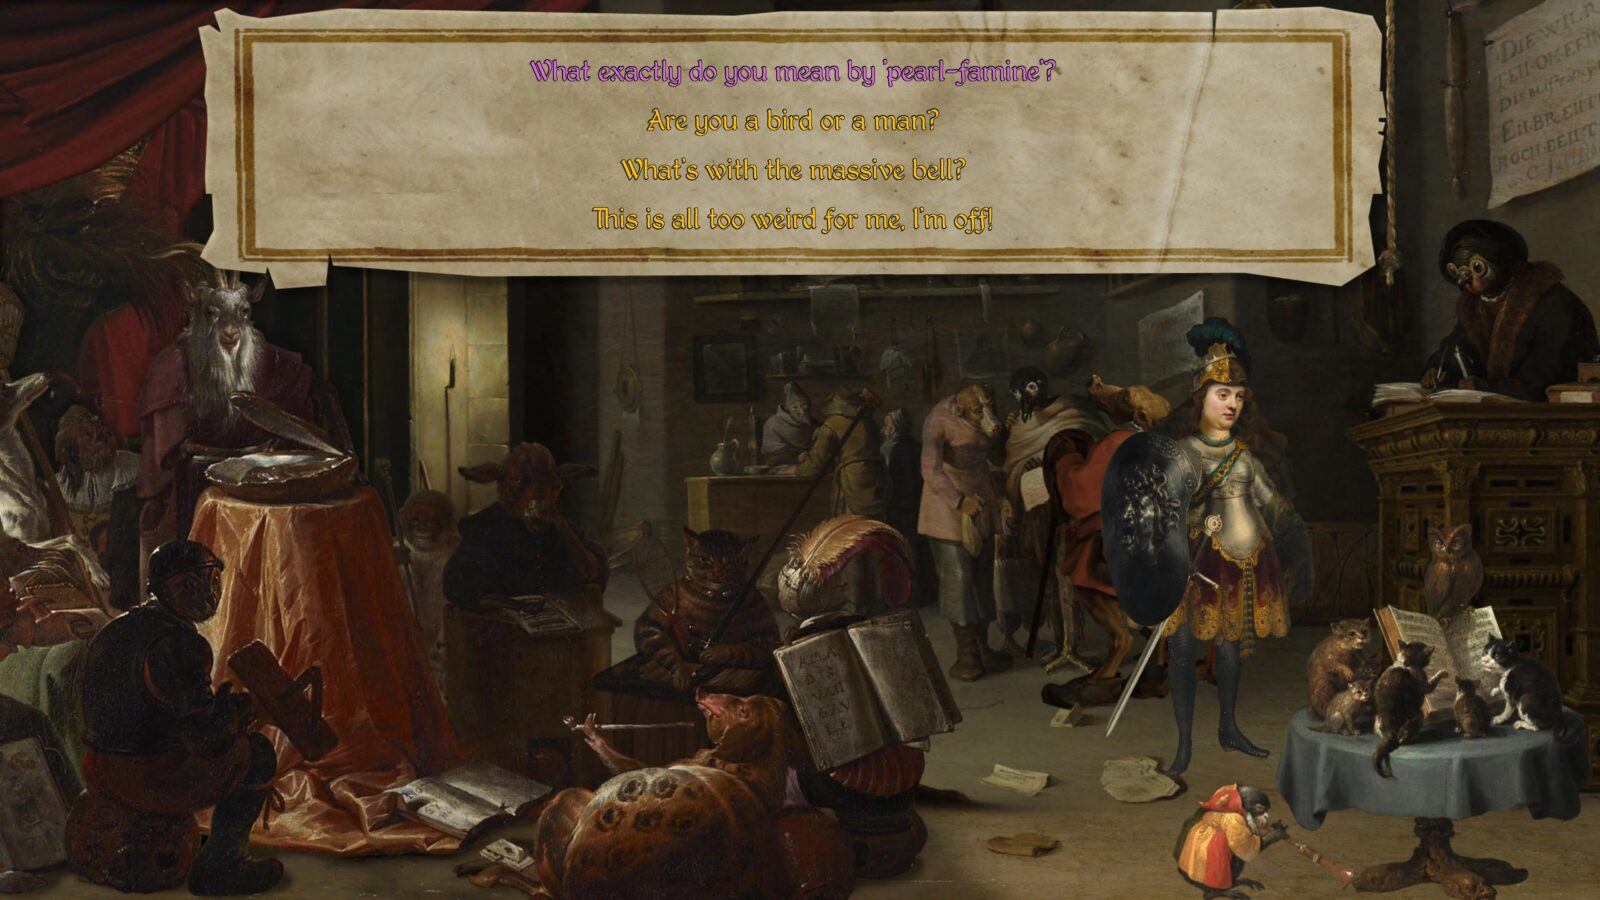
Select the following:
- What do you mean by “pearl famine”?
- Why are you so desperate for pearls?
- If I help appease the devil, will you give me some of your pearls?
- What constitutes an “appropriate sacrifice”?
- What was the Devil’s riddle?
- This is all too weird for me. I’m off!
Now return to the graveyard and look at the grave via the eye icon.
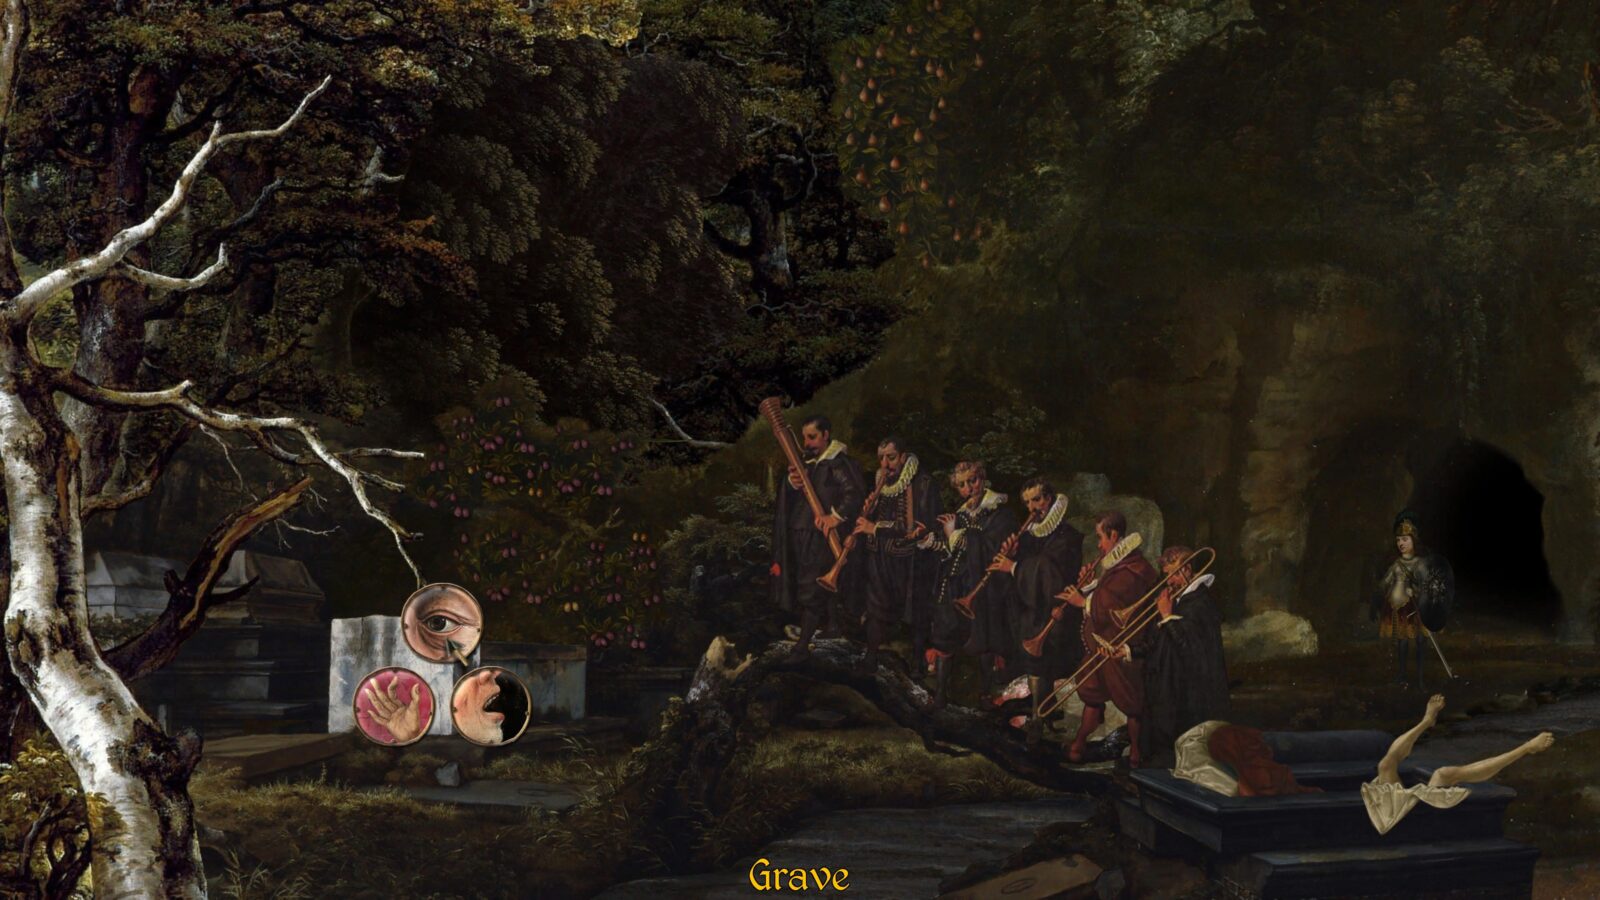
Use the sacrificial lamb item from your inventory on the “Dead Guy” to receive his book.
Click the right edge of the screen to leave the Dead Guy in peace with his new fluffy pal.
Exit via the left side of the screen and then return to the mass crucifixion site. From there, click on the path leading up to the windmill so that you can revisit the area where you got the apple and the pliers.
Select the book from your inventory and then use it on the man who is tied to the tree. The protagonist will place the book on his head.

Speak to the Nude Bowman at the upper-right side of the screen and select “Are you going to shoot the dang book off that chump’s head or not?”
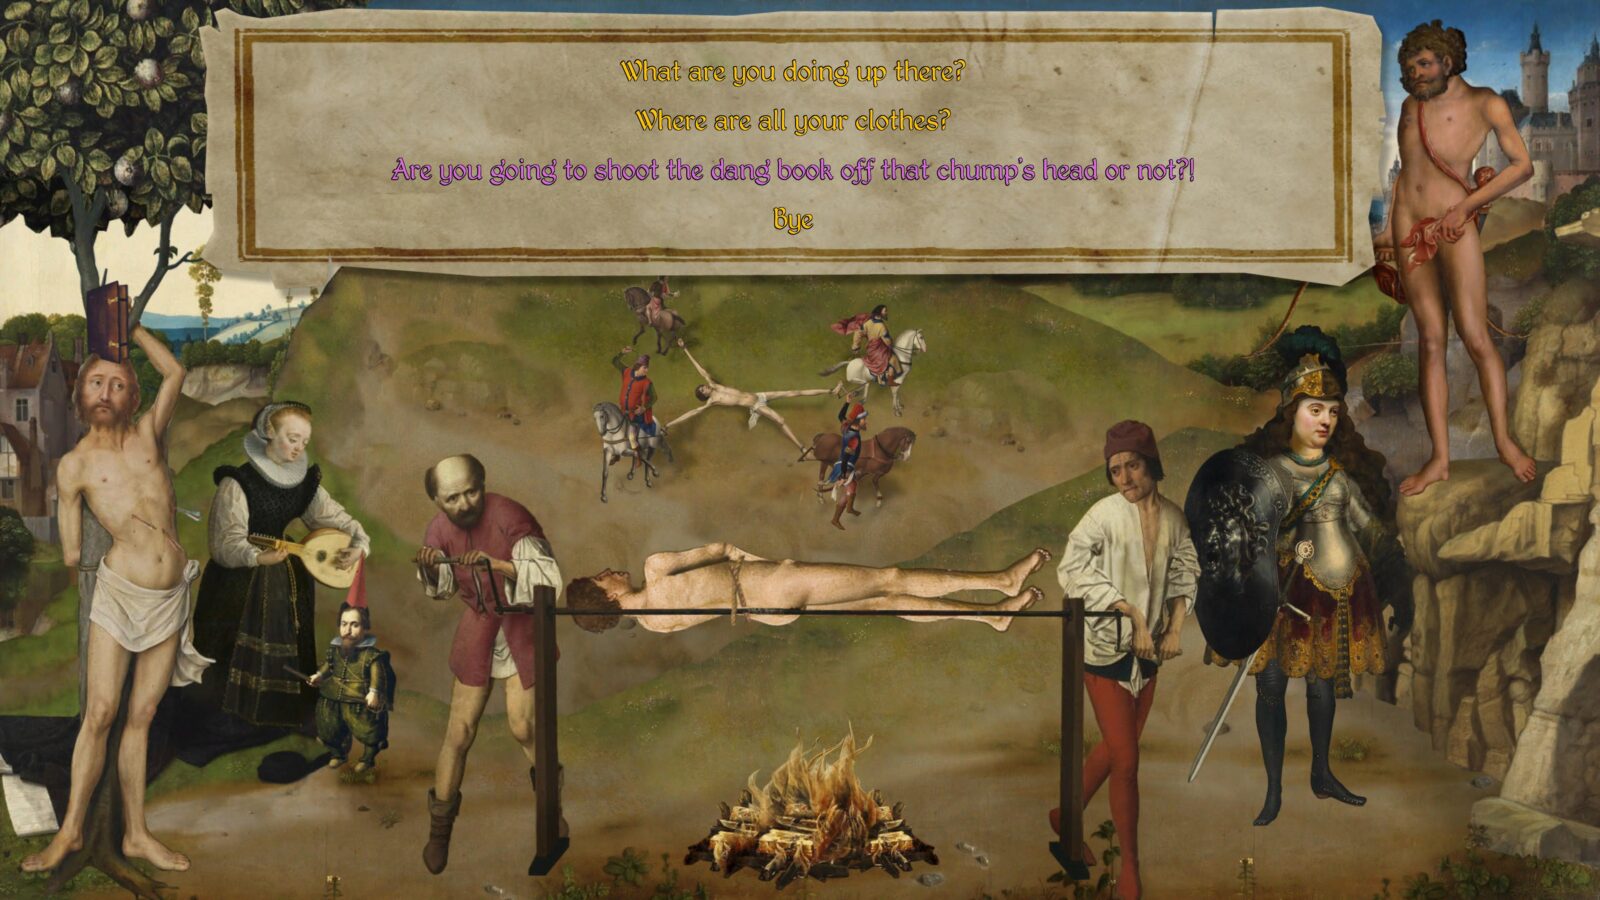

Holy Book
Blessed is the one who reads aloud the words of this prophecy…
Using the sacrificial lamb on the Dead Guy in the grave to retrieve the book and then tricking the bowman into shooting it will unlock the missable Holy Book trophy.

Pick the book up off the floor and then return to the mass crucifixion site.
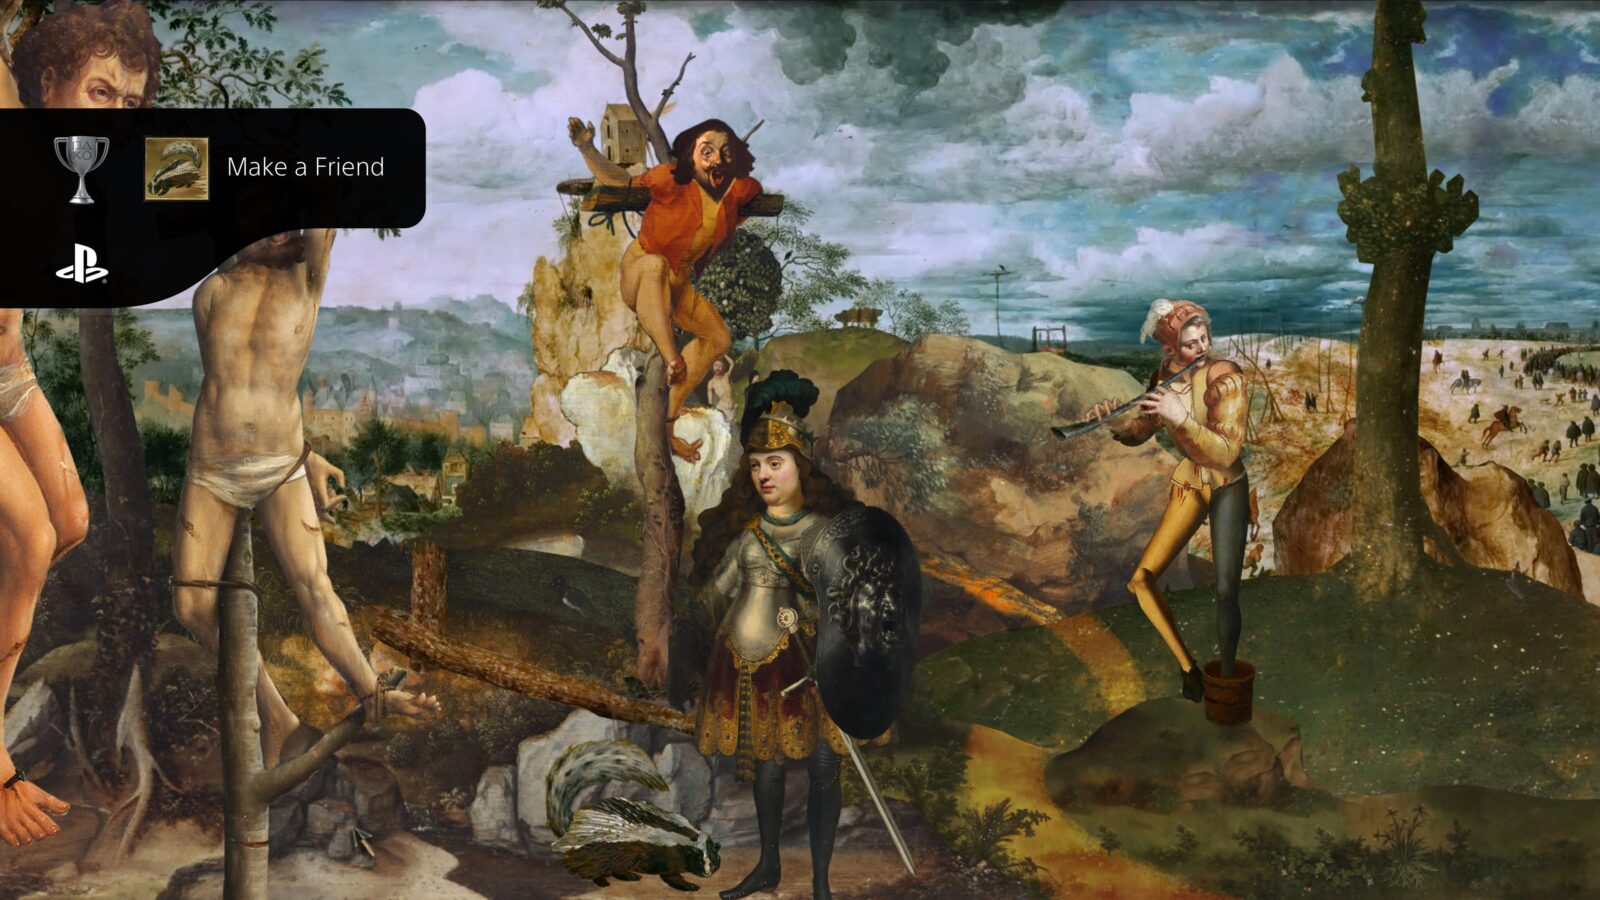
To your left, you should see a skunk walking back and forth. Select the Bugs from your inventory and then use them on the Skunk.
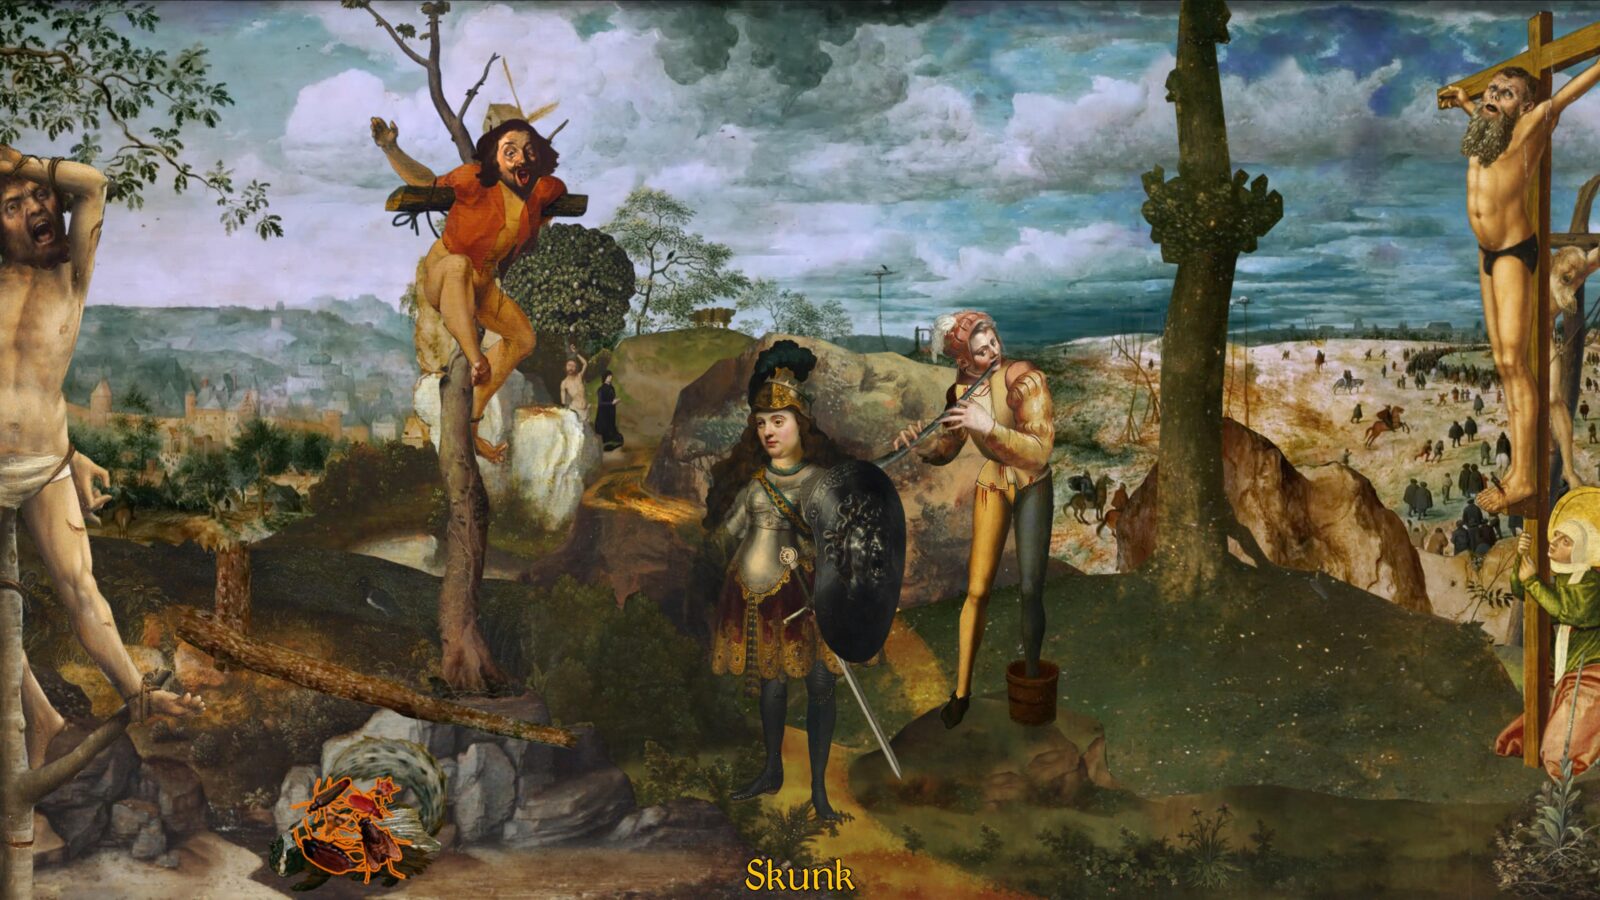
Make a Friend
The righteous choose their friends carefully, but the way of the wicked leads them astray.
Collecting bugs from the cave and then using them on the Skunk will cause it to follow you around. This unlocks the “Make a Friend” trophy.
Return to the town and then head through the door where you first met the Magician.
Inside, go left into the Lounge where the Snuff-sniffing Snob is.
Walk right to position yourself in the center of the room, in front of the “Bespectacled Lawyer Carefully Reading Some Paperwork.”
There, interact with the Skunk. It will proceed to fart, causing a window to be opened in the room.
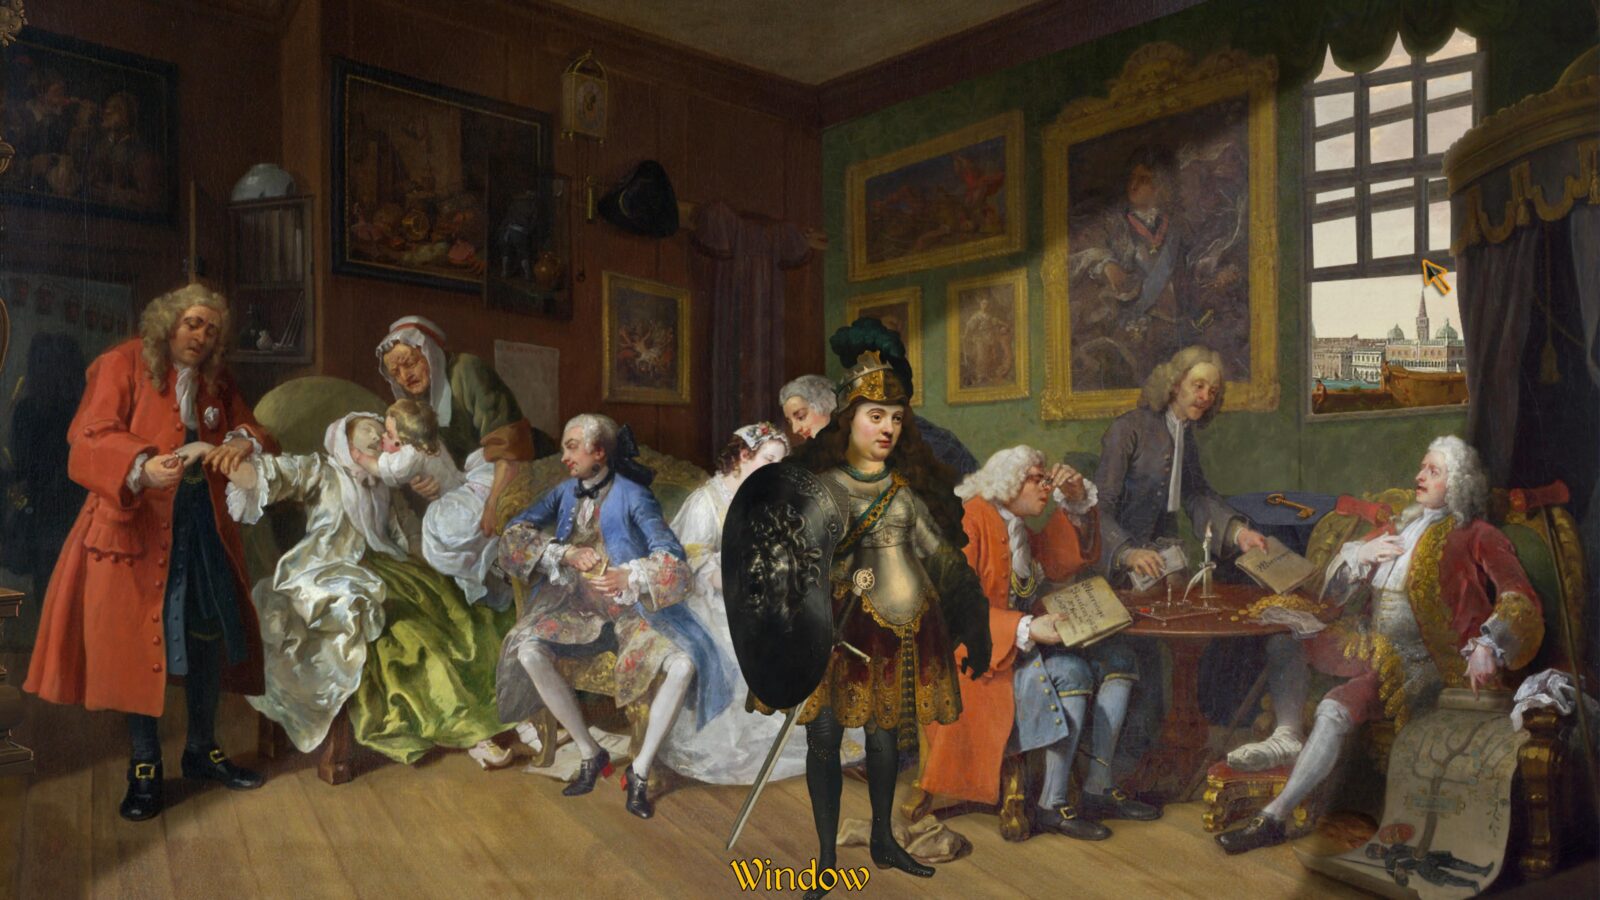
Exit the lounge and then enter the door on the right side of the screen to find yourself in a library.
Use the book from your inventory on the “Library”.
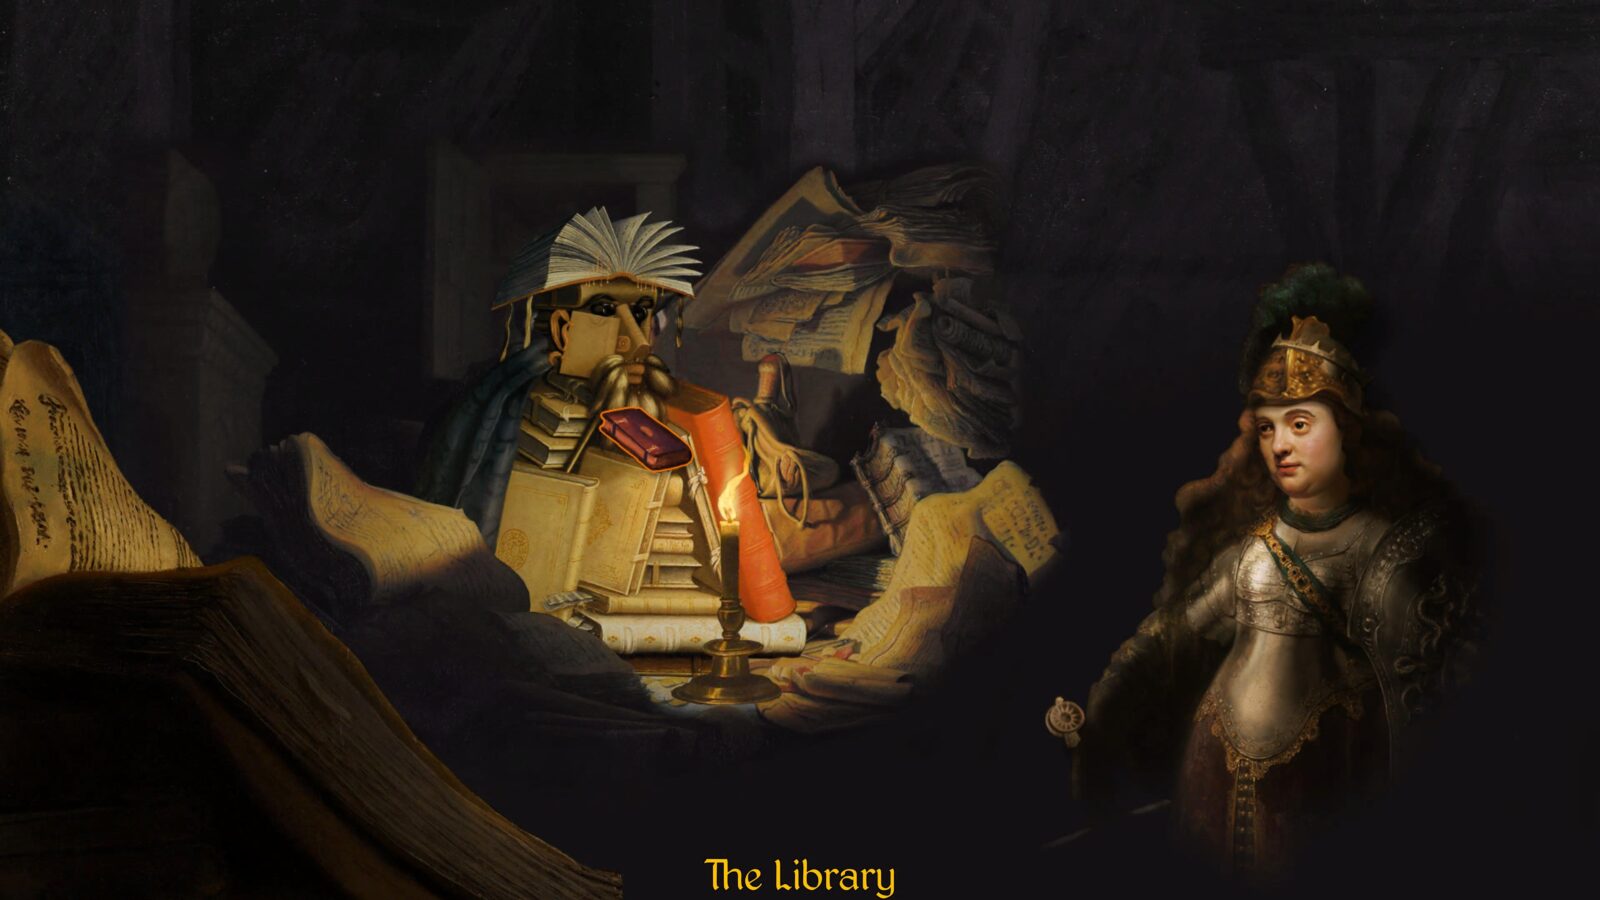
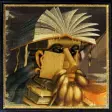
King for a Day
I will make thee exceeding fruitful, I will make nations of thee, and kings shall come out of thee.
Giving the book item to the man made of books in the library will result in you receiving a crown item and the King for a Day trophy.
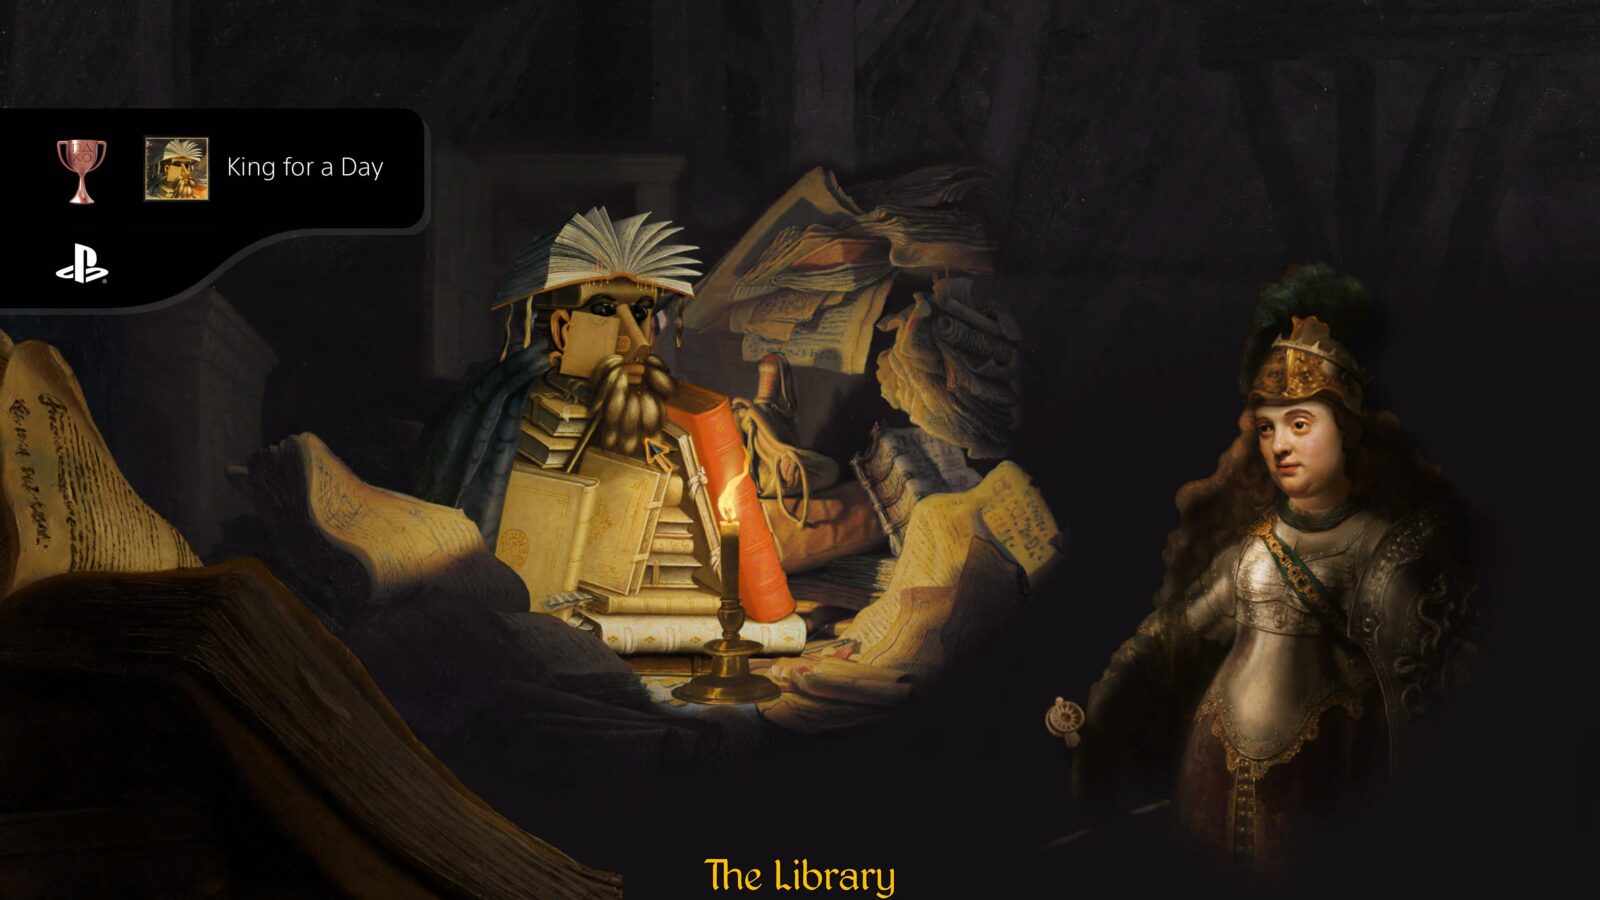
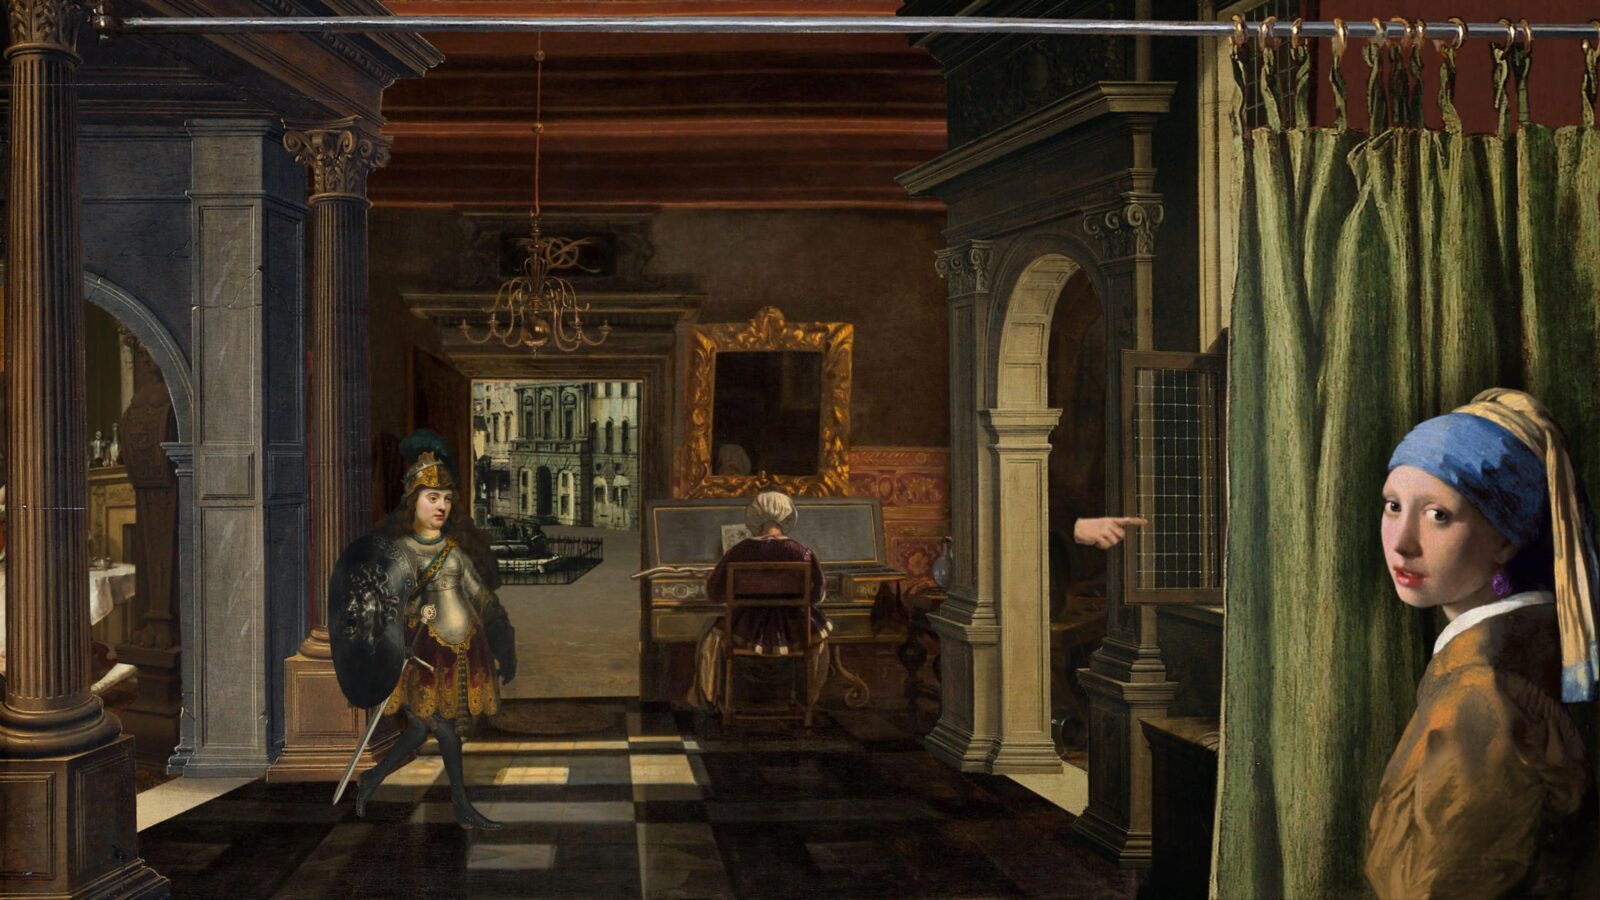
Return to the town and then look for a window to the left of the town’s exit.
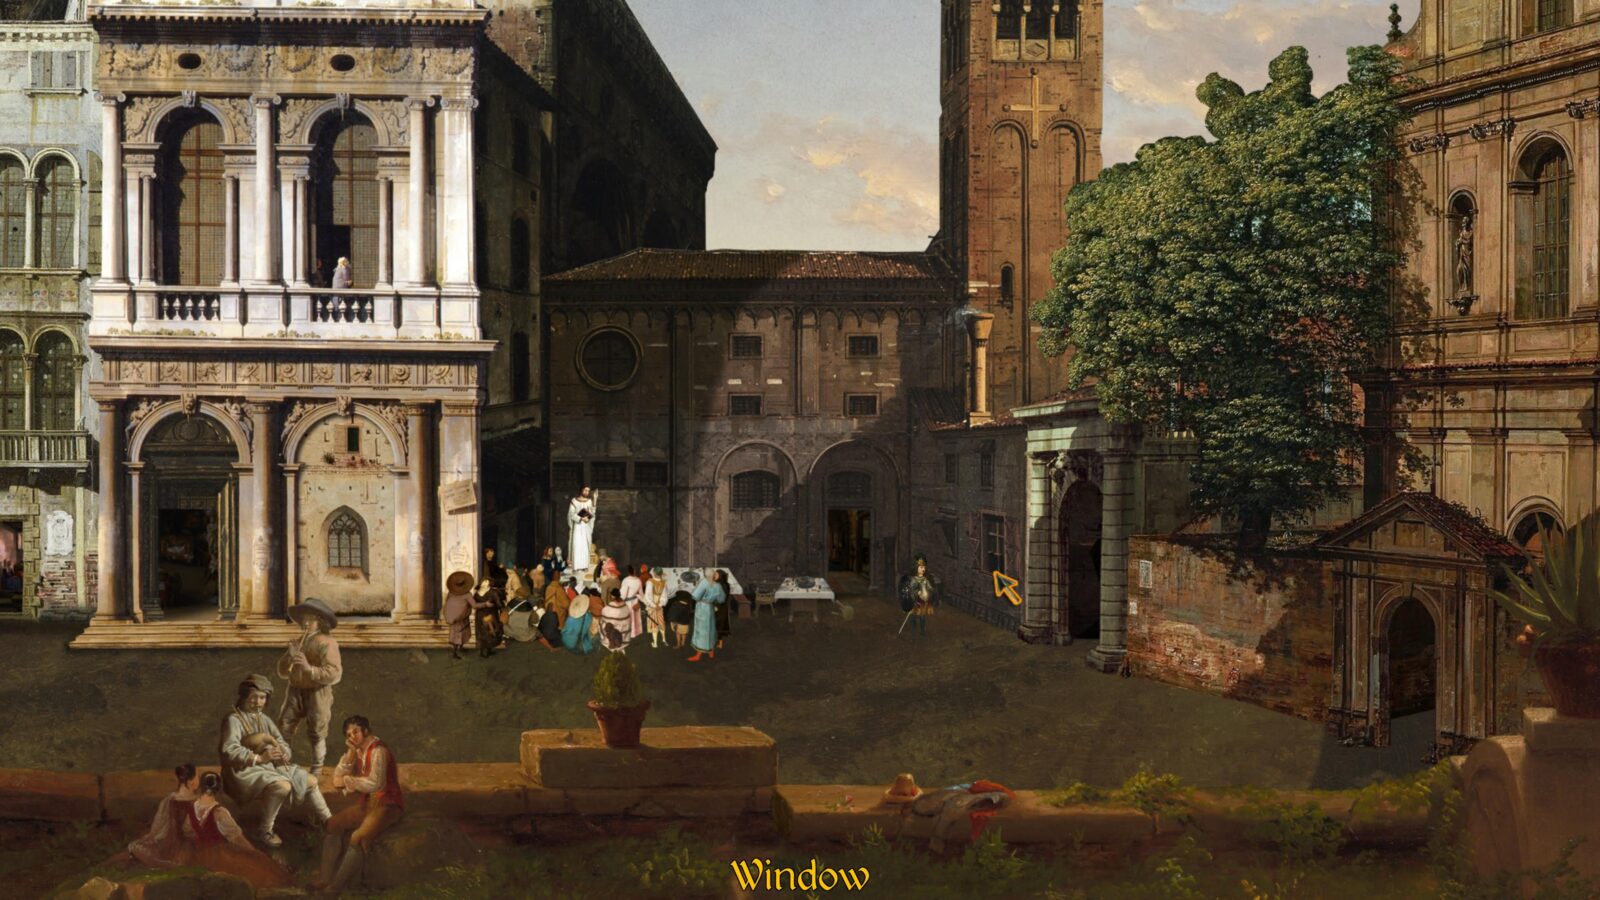
Look through it using the eye icon and then collect the key from the small blue table below the window before exiting.
Return to the cave where you received the boy and the lamb earlier.
Use the severed head from your inventory on the Barrel of Bugs and it will change to a “Bug-eaten head.”
Collect the Bug-eaten head from the barrel and then use it on the same Barrel of Bugs to change it to a skull.

Collect the skull from the barrel and then use it on the satanic altar where the lamb was earlier.

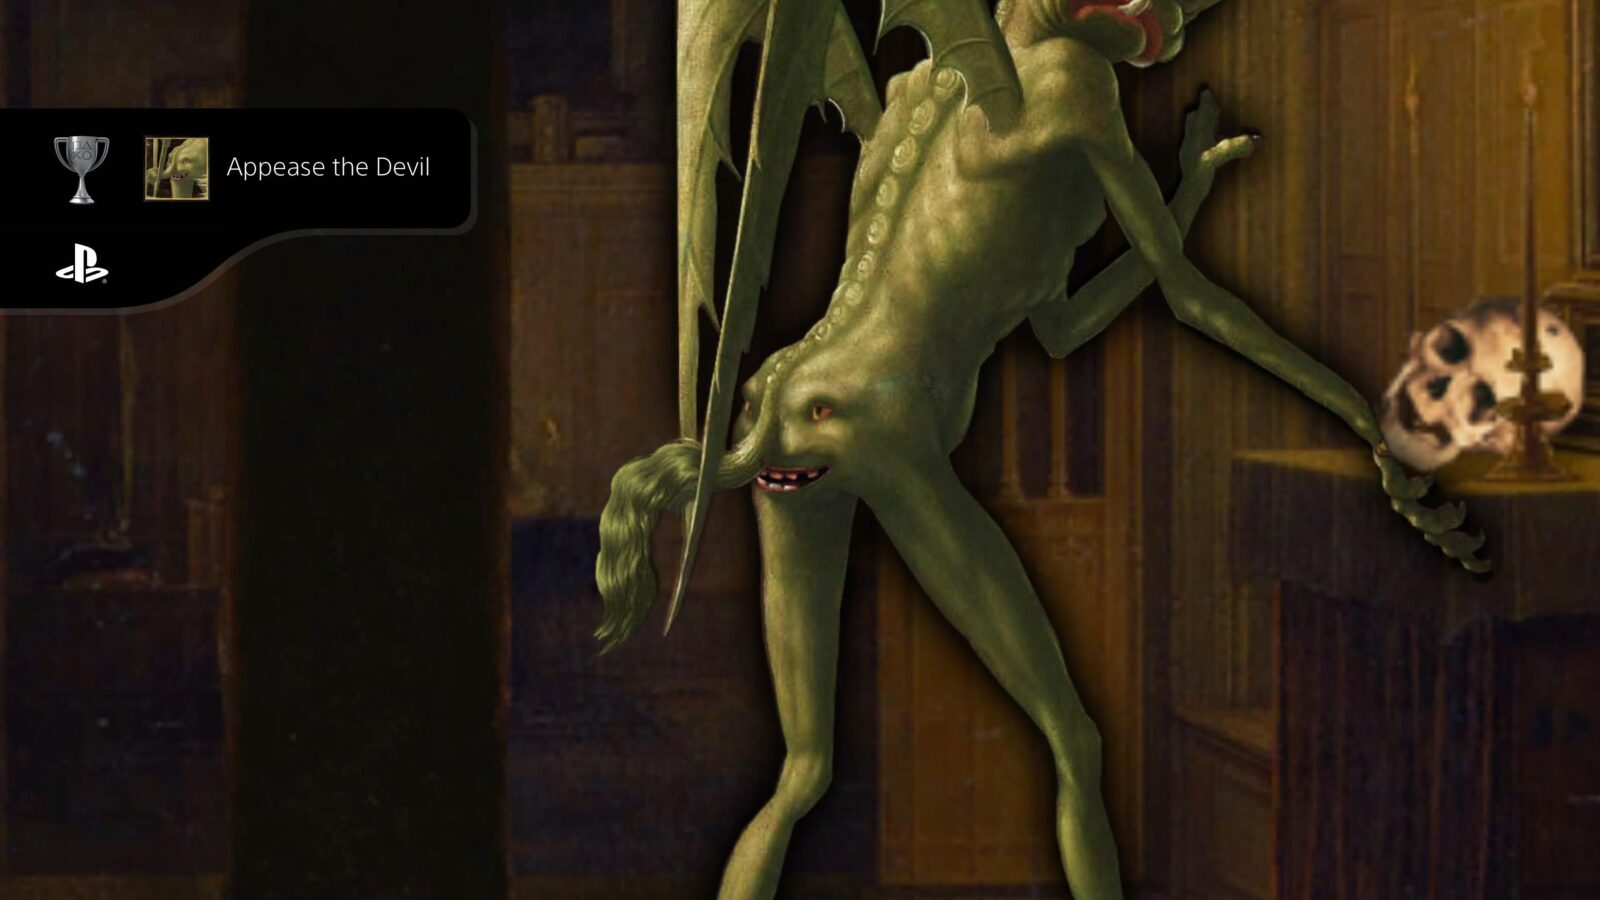
Enter the doorway on your right and talk to the Bird-man at the right side of the screen.
Select “I have made a sacrifice at the altar!”
Appease the Devil
You are of your father the devil, and your will is to do your father’s desires.
Completing the conditions of the devil’s riddle as we have and placing a sacrifice on the satanic altar before speaking with the bird-man in the cave will result in us receiving a pearl and the Appease the Devil trophy will unlock.
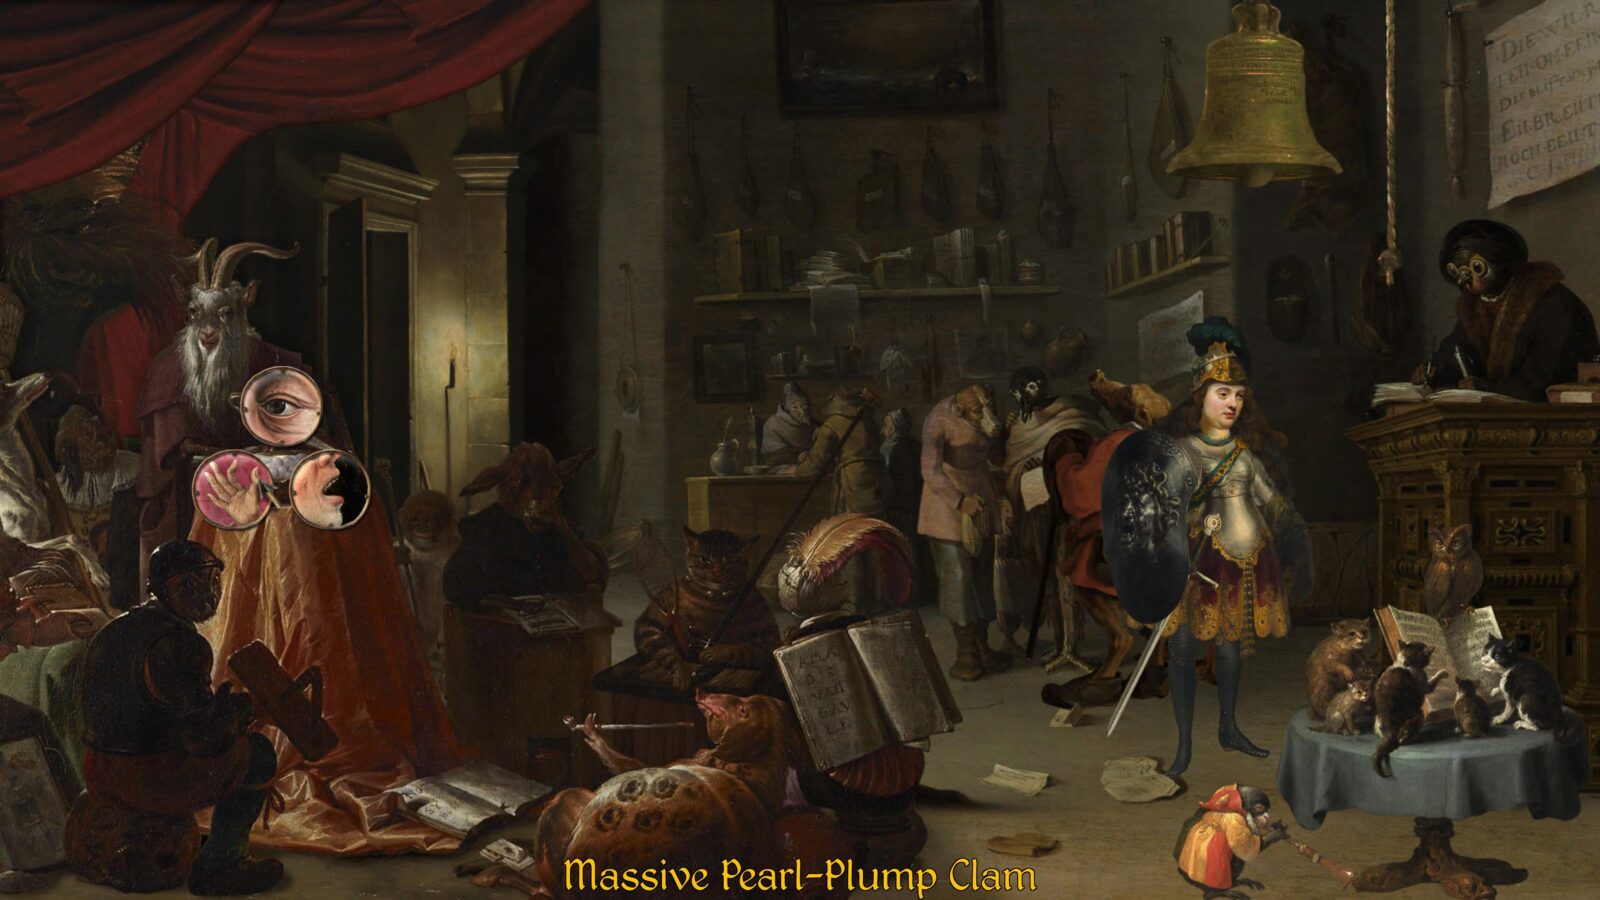
Make sure you collect a pearl from the “Massive Pearl-Plump Clam” before leaving and then returning to the Town.
Enter the doorway where you first met the Magician and use the pearl on the “Girl with the Amethyst Earing” in the bottom-right.
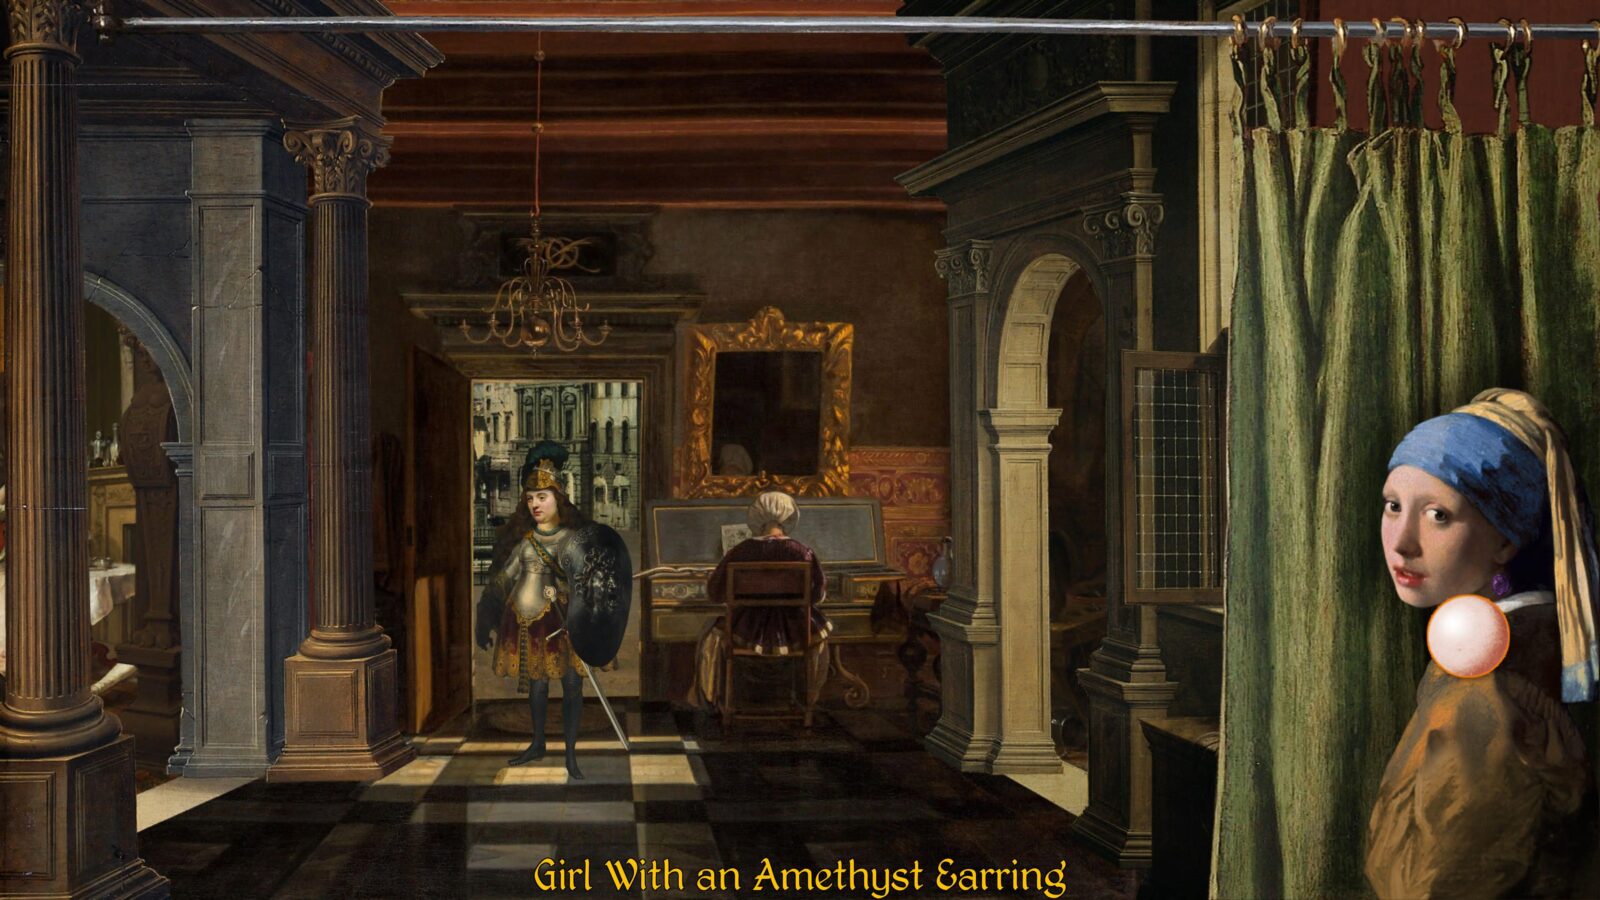
Swapsies
Every woman shall borrow of her neighbour …jewels of silver, and jewels of gold.
Giving the pearl to the girl with the amethyst earing results in the two of you swapping jewelry. You’ll receive her Amethyst Earing and unlock the Swapsies trophy.

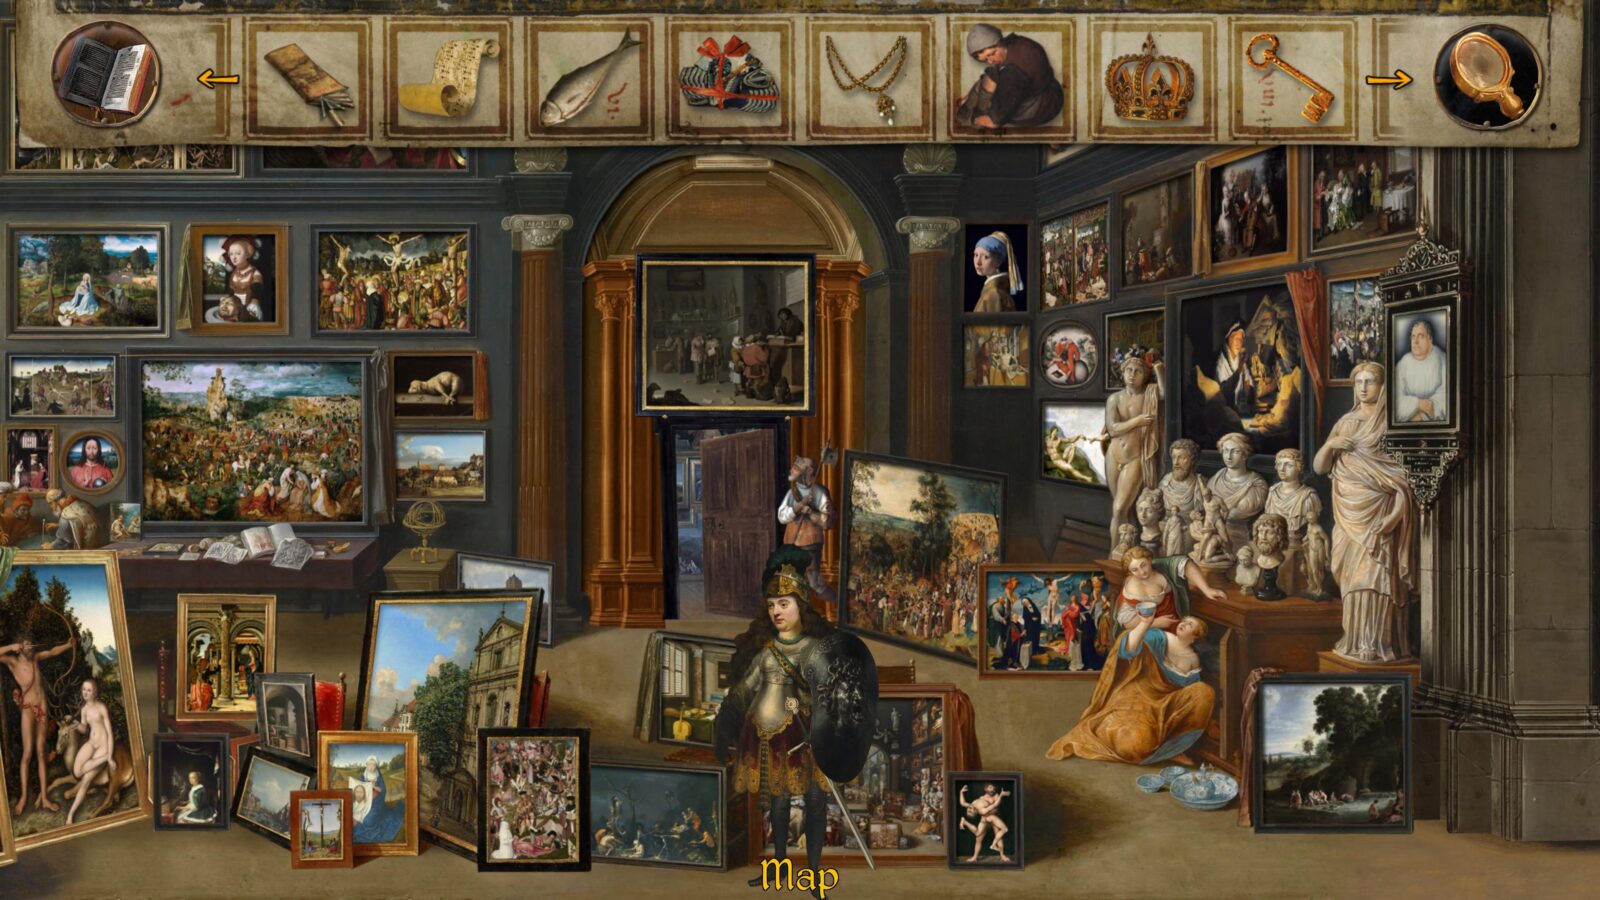
Return to the town and then enter the middle-most doorway.
You will be in a gallery filled with paintings. Have a look around if you wish, you’ll recognize a lot of characters you’ve met already. These are the renaissance paintings they were originally featured in.
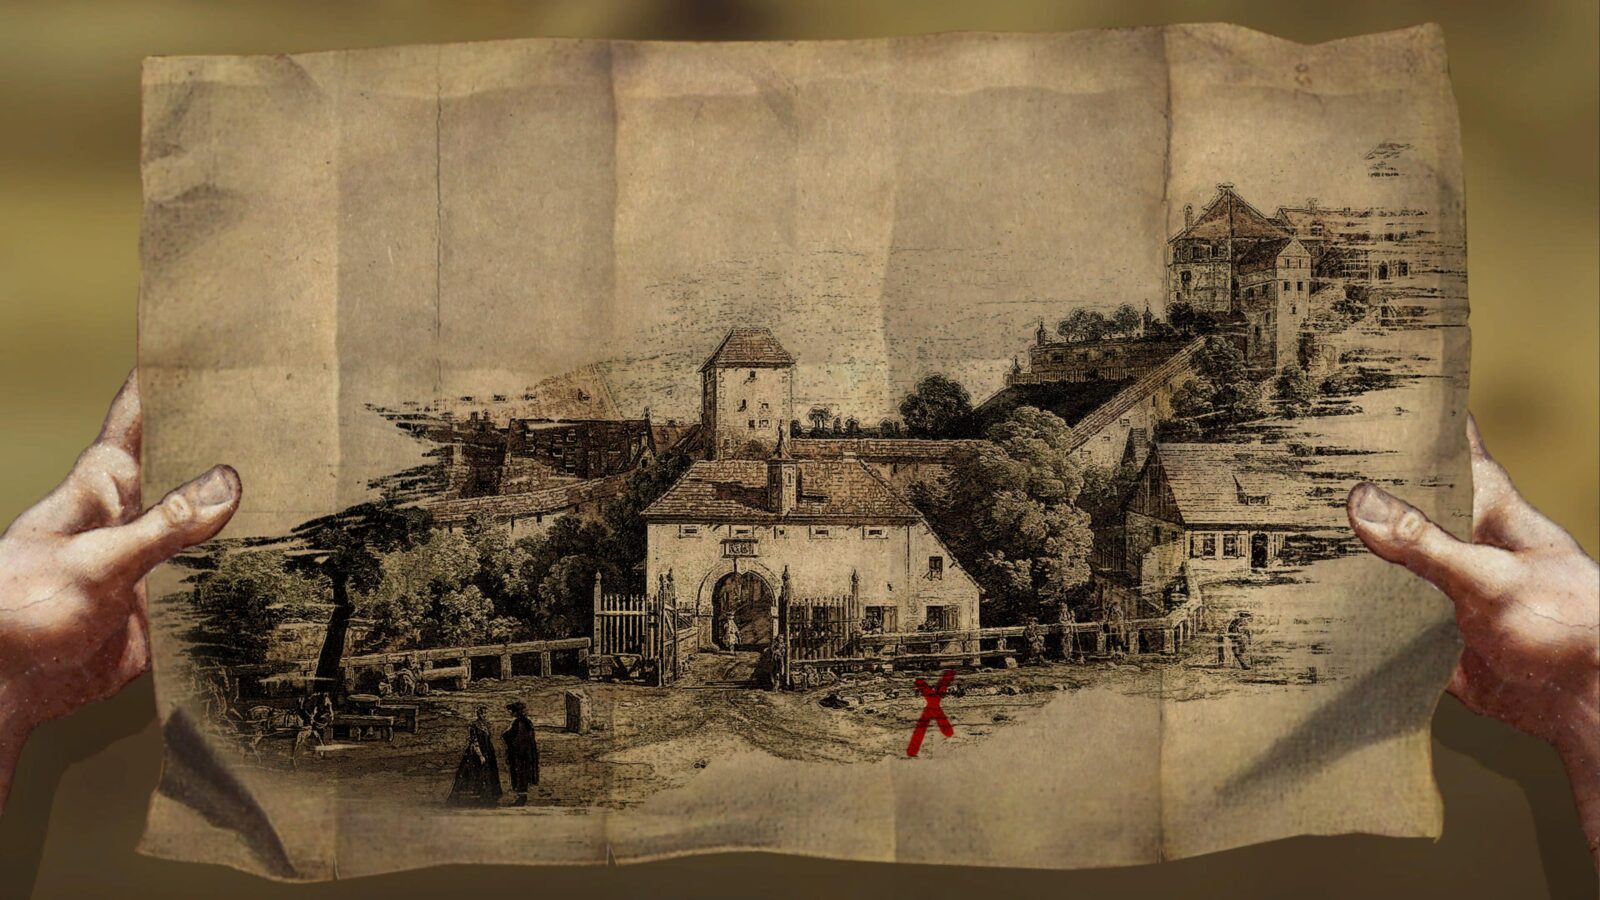
Before doing anything, open your inventory and press ![]() on the Map item.
on the Map item.
Study it closely and remember the location of the cross.
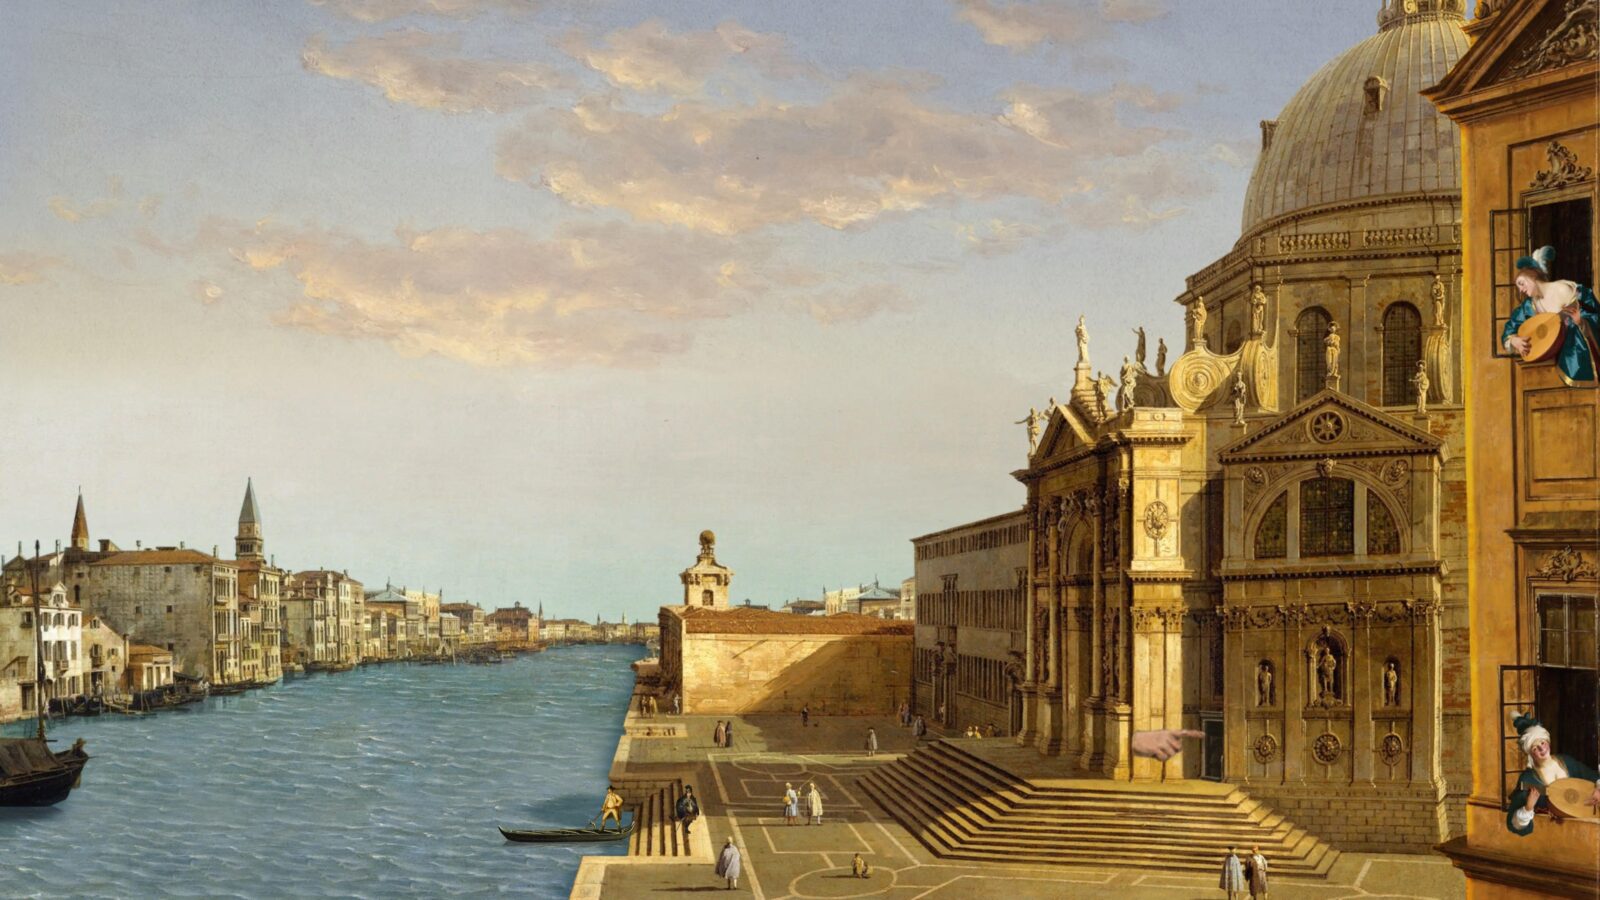
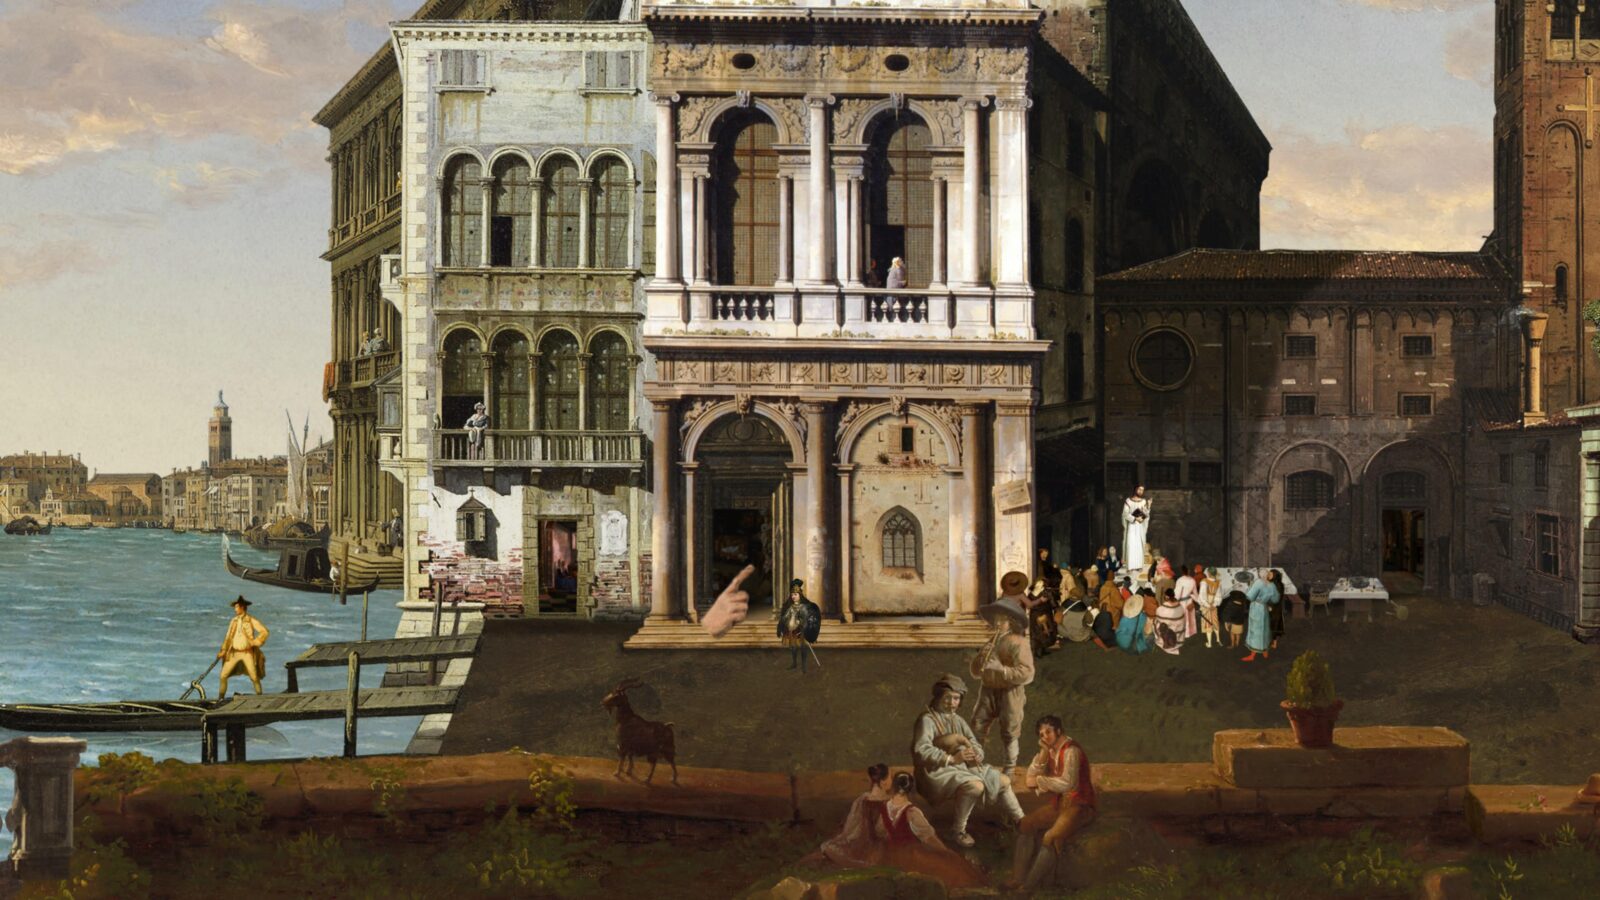
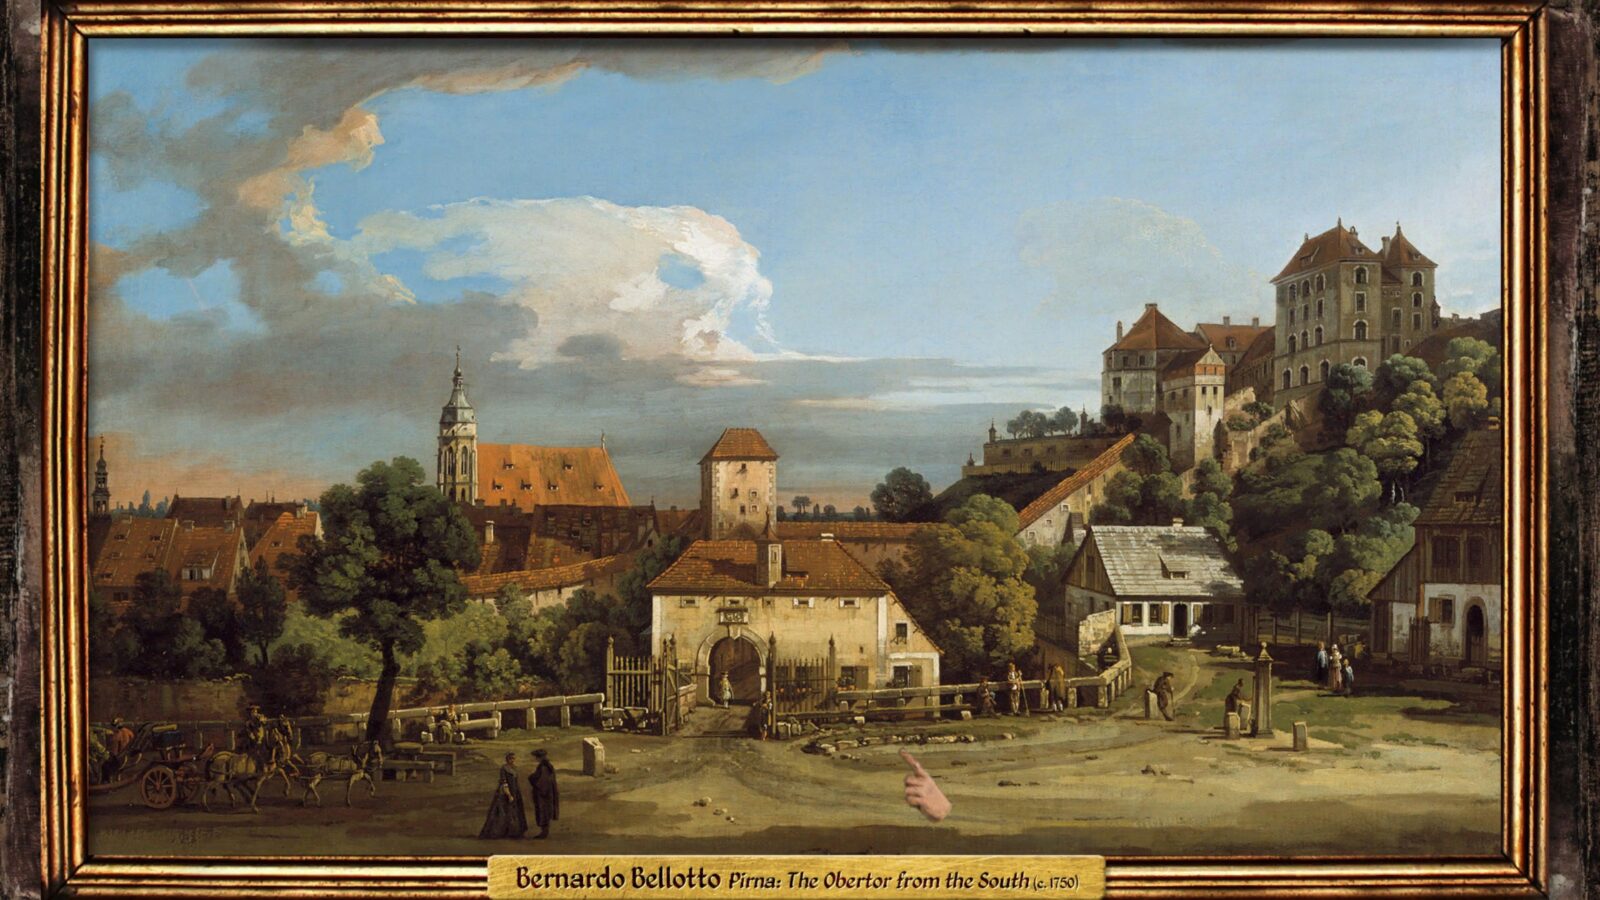
To the left of the door at the back of the room, look for a painting called “A Painting of Some Buildings and Some Sky”.
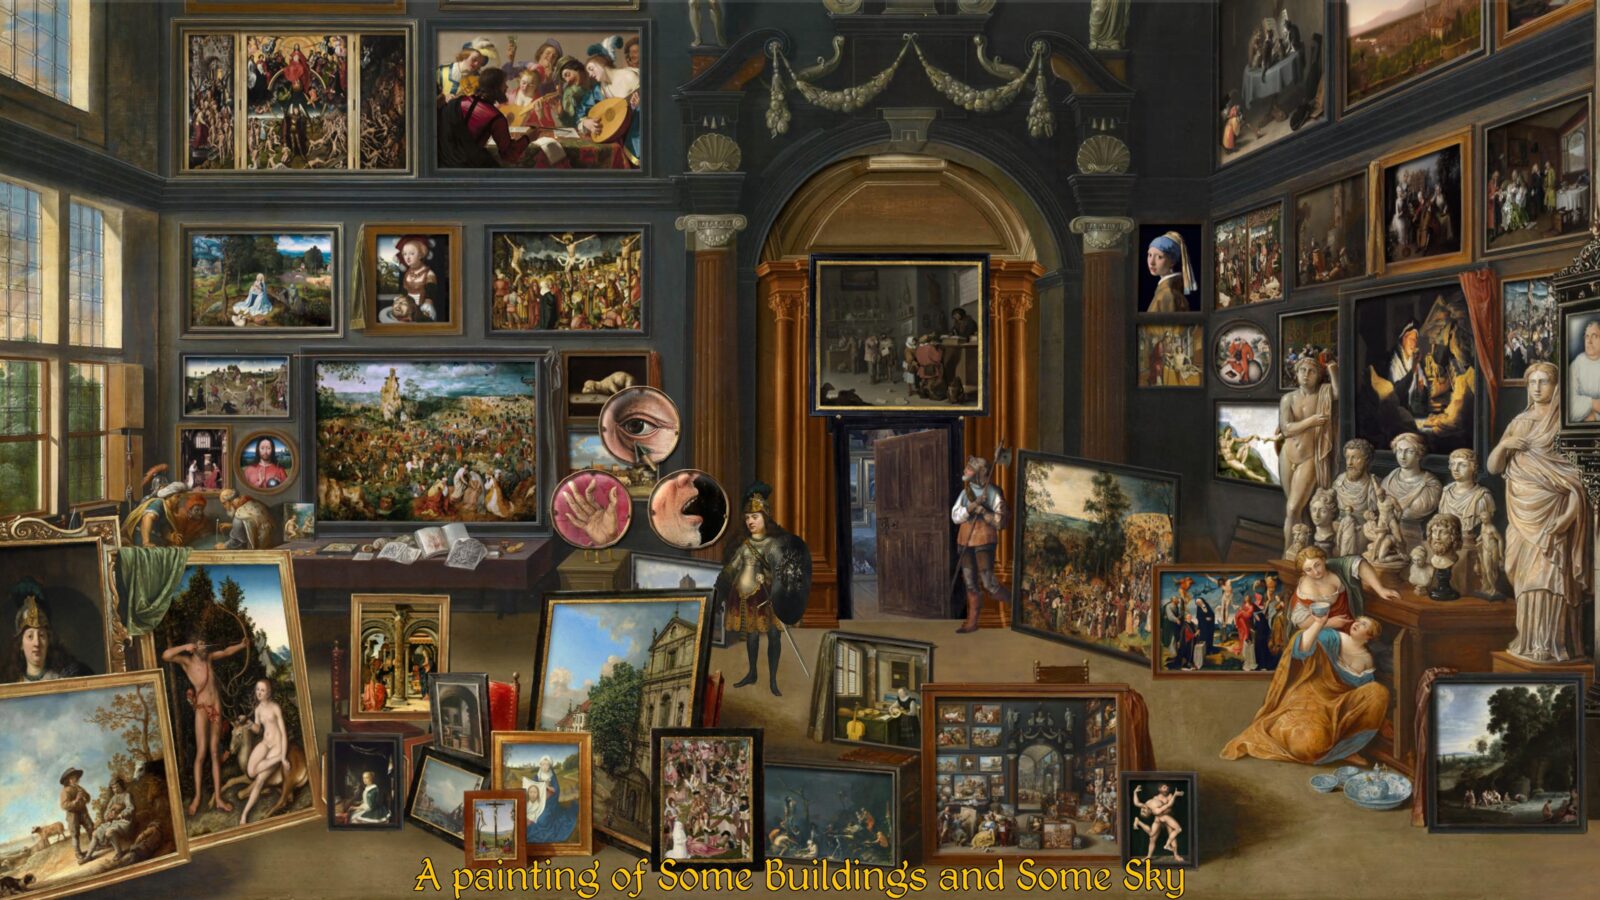
Look at the painting via the eye icon and press ![]() with the cursor over the location of the cross on the map (the cursor will change to a pointing finger).
with the cursor over the location of the cross on the map (the cursor will change to a pointing finger).
Doing so will reveal a safe hidden behind the painting. Use the key from your inventory on the safe.
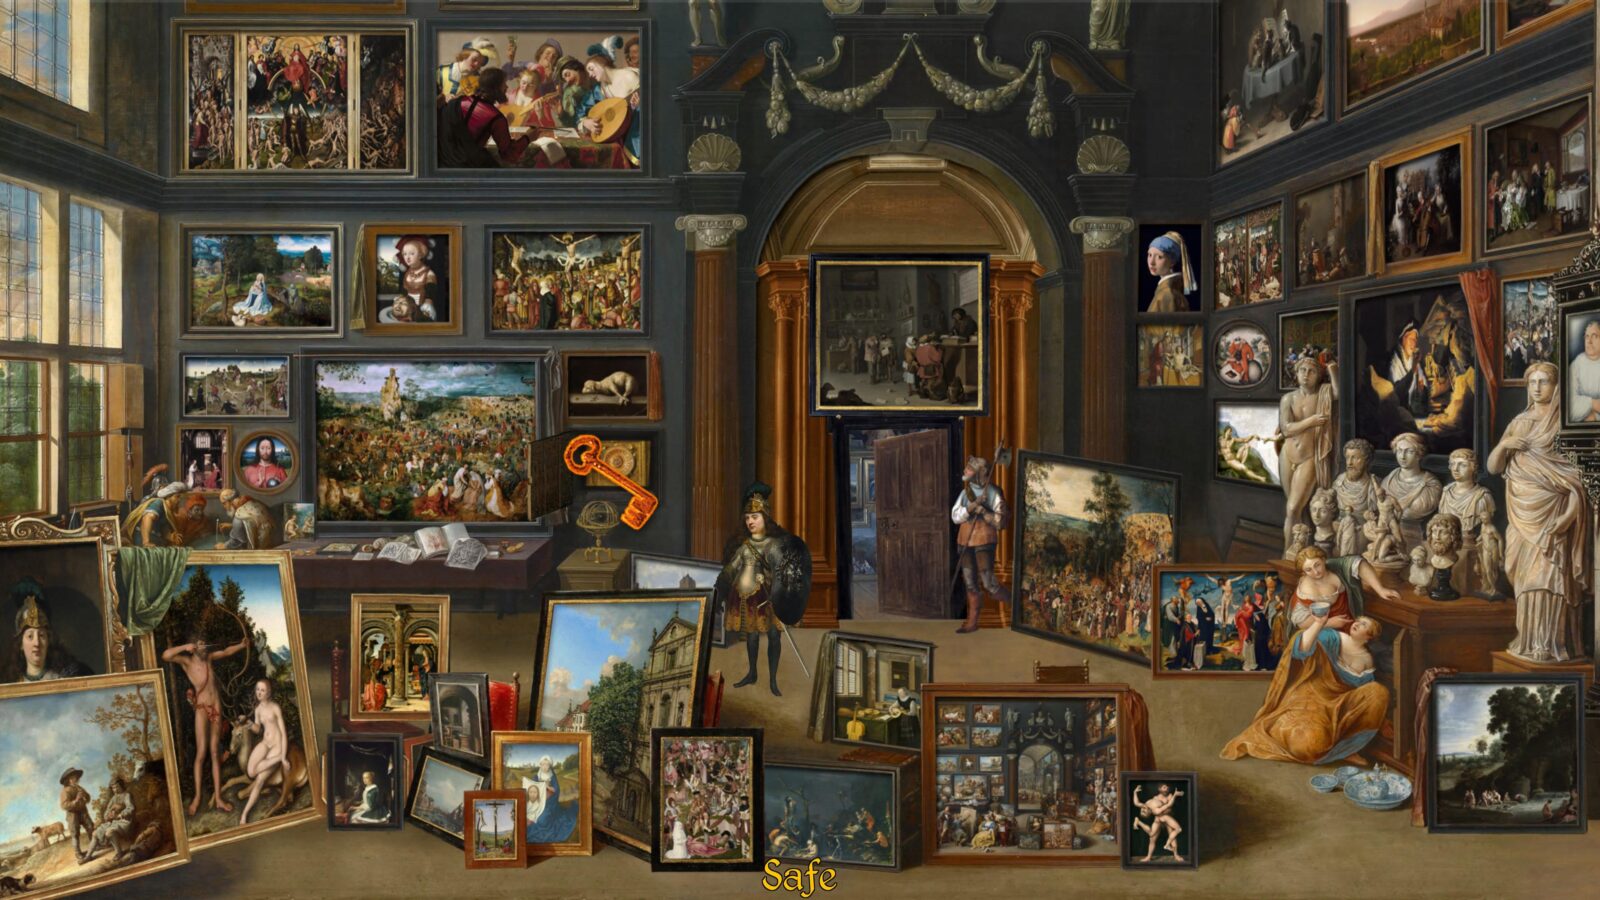
Treasure Hunter
The Lord shall open unto thee his good treasure…
Opening the hidden safe in the gallery using the key from the lounge will allow you to grab the brooch inside it. You’ll also unlock the Treasure Hunter trophy just for finding and opening the safe.

Collect the brooch from the safe and then open your inventory. Select the Amethyst with ![]() and then press
and then press ![]() over the brooch to combine the two.
over the brooch to combine the two.

Leave the gallery and return to the town. Use the boat pass on the Ferryman to return to the Basilica at the other side of the canal.
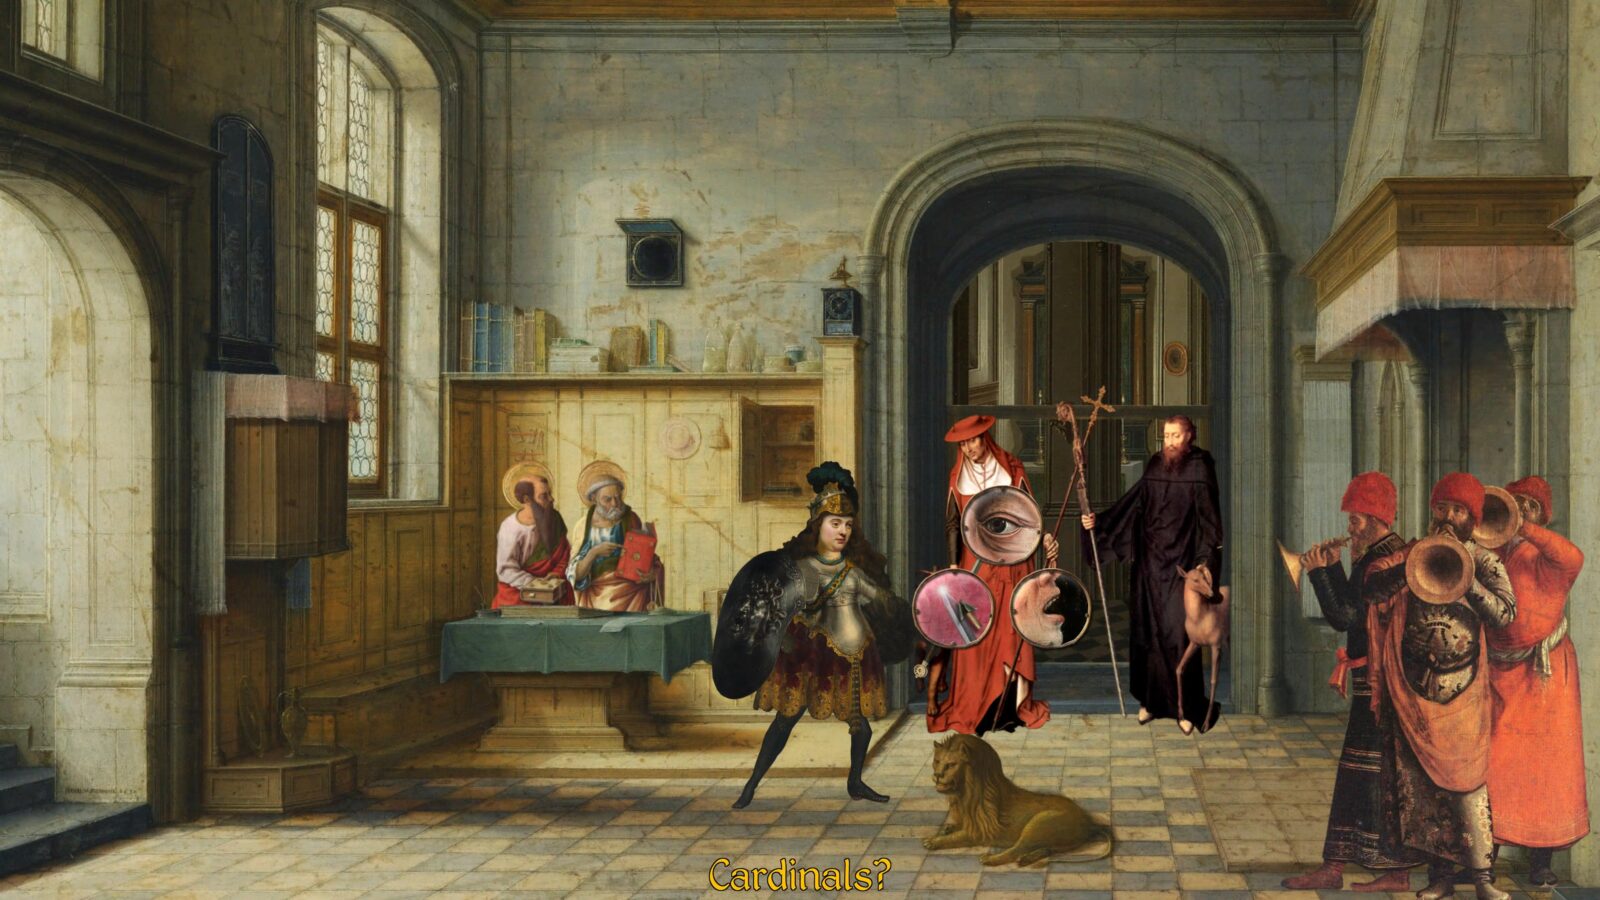
Head inside the Basilica and then use the following items from your inventory on the Cardinals blocking the door on the right:
- Supple Young Boy with Rosy Cheeks and a Pert Little Butt
- Champions Necklace
- Crown
- Brooch
Once all four requested items have been delivered, you’ll automatically enter the next room. Walk to your right and enter the large doorway with the statue in it.
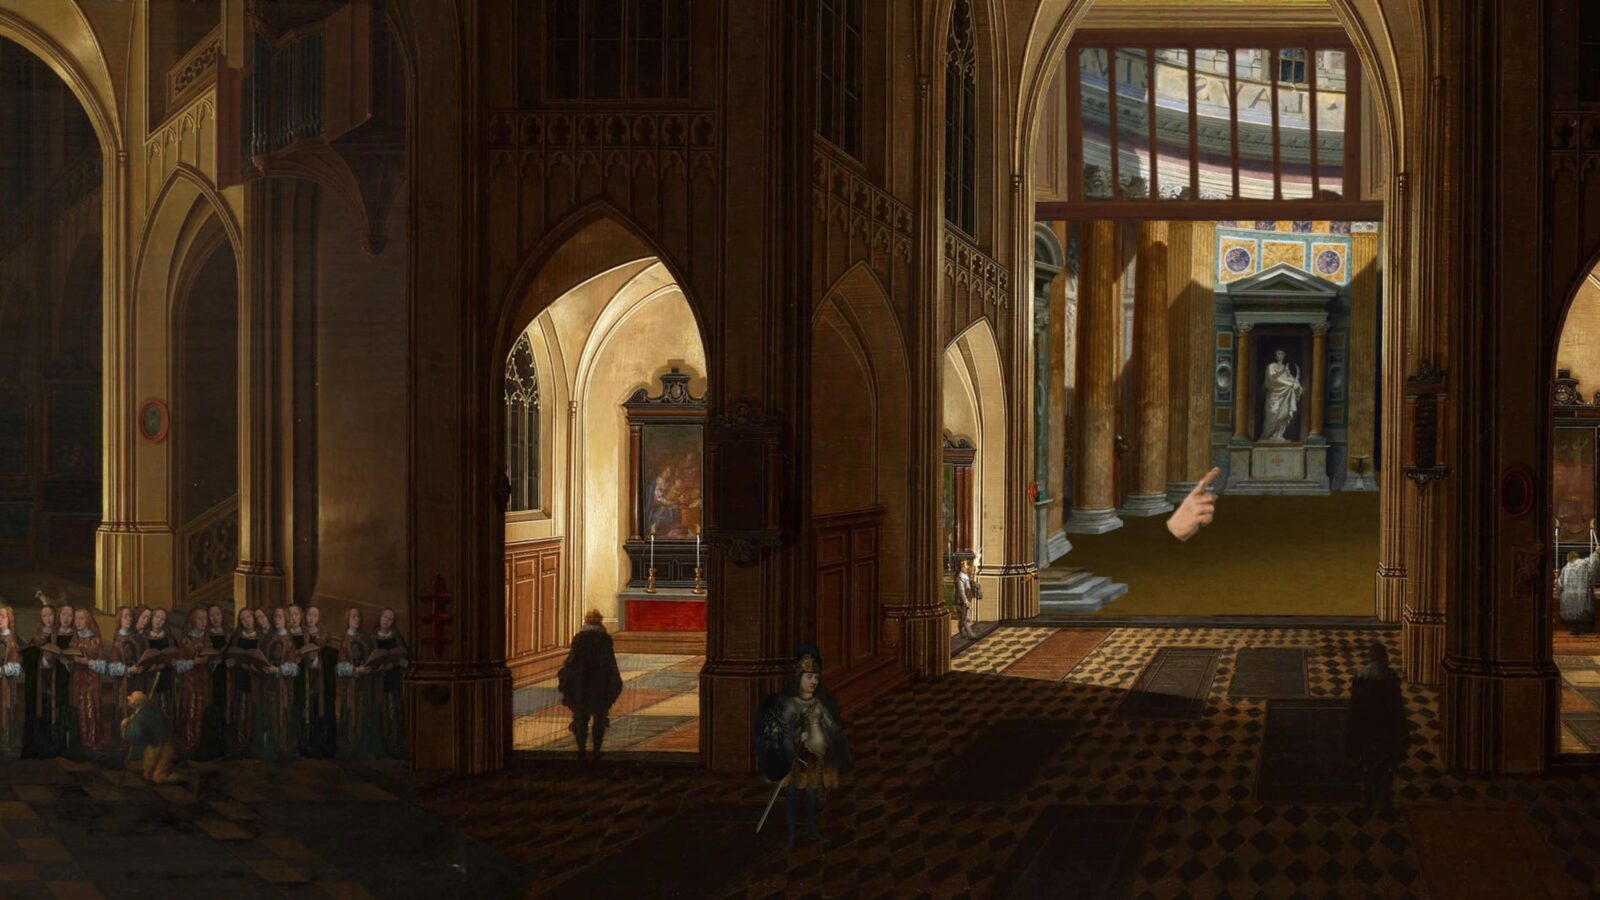
You should now make a save from the ![]() pause menu. We’re going to get two different endings here and if you fail to make a save you will risk needing another full playthrough of the game.
pause menu. We’re going to get two different endings here and if you fail to make a save you will risk needing another full playthrough of the game.
Once you’ve made your save, click on Heavenly Peter at the left edge of the screen.
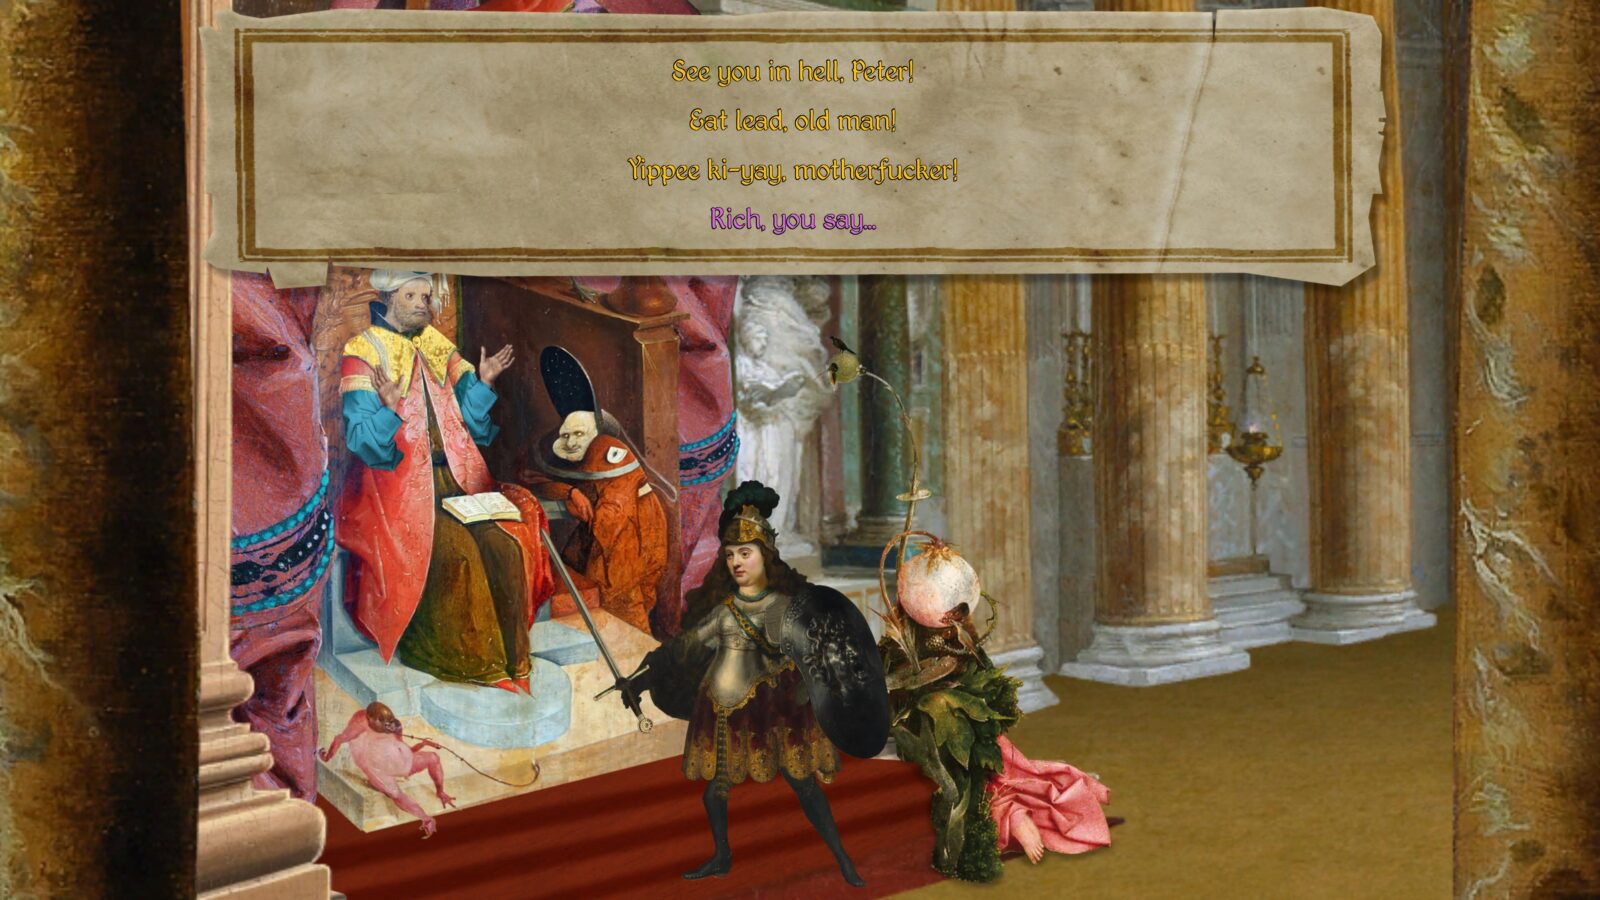
Speak to Heavenly Peter and select “Yippee ki-yay, motherfucker!”

First Blood
Whoever sheds the blood of man, by man shall his blood be shed, for God made man in his own image.
Getting your first kill in the game will unlock the “First Blood” trophy. During our first playthrough, the only person you should be killing is Heavenly Peter, so the trophy will unlock here.

You’ll get a rather long cutscene of the protagonist hurrying back to the hospital from the start of the game, which has become the Church of Immortal John.
With your sword drawn (![]() ) you now need to kill as many characters as possible by using the sword icon on them.
) you now need to kill as many characters as possible by using the sword icon on them.
Outside the Church of Immortal John, kill the Guard holding a pike and a handbag and the Guard holding a pike and an architectural model.
Next, exit via the left edge of the screen to return to the very first area of the game.
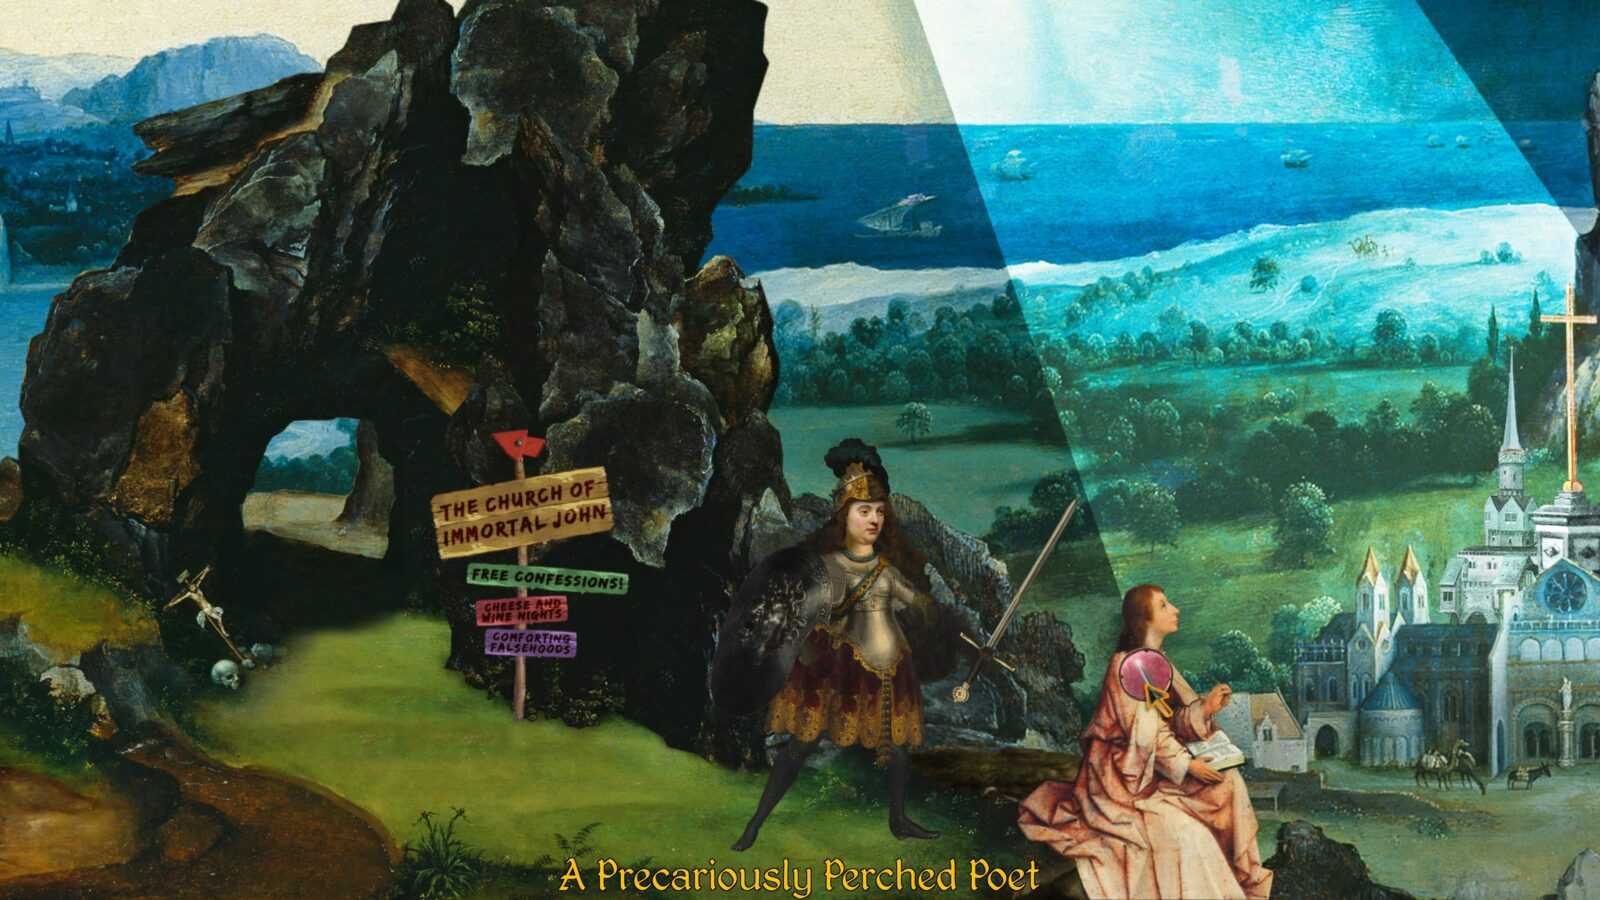
Kill the precariously perched poet, the Preacher with a Big Cross and a Baby in a Book, and the Wealthy Landowners Relaxing in and Around a Muddy Pool.
Next, click the gate behind the landowners to enter another area.
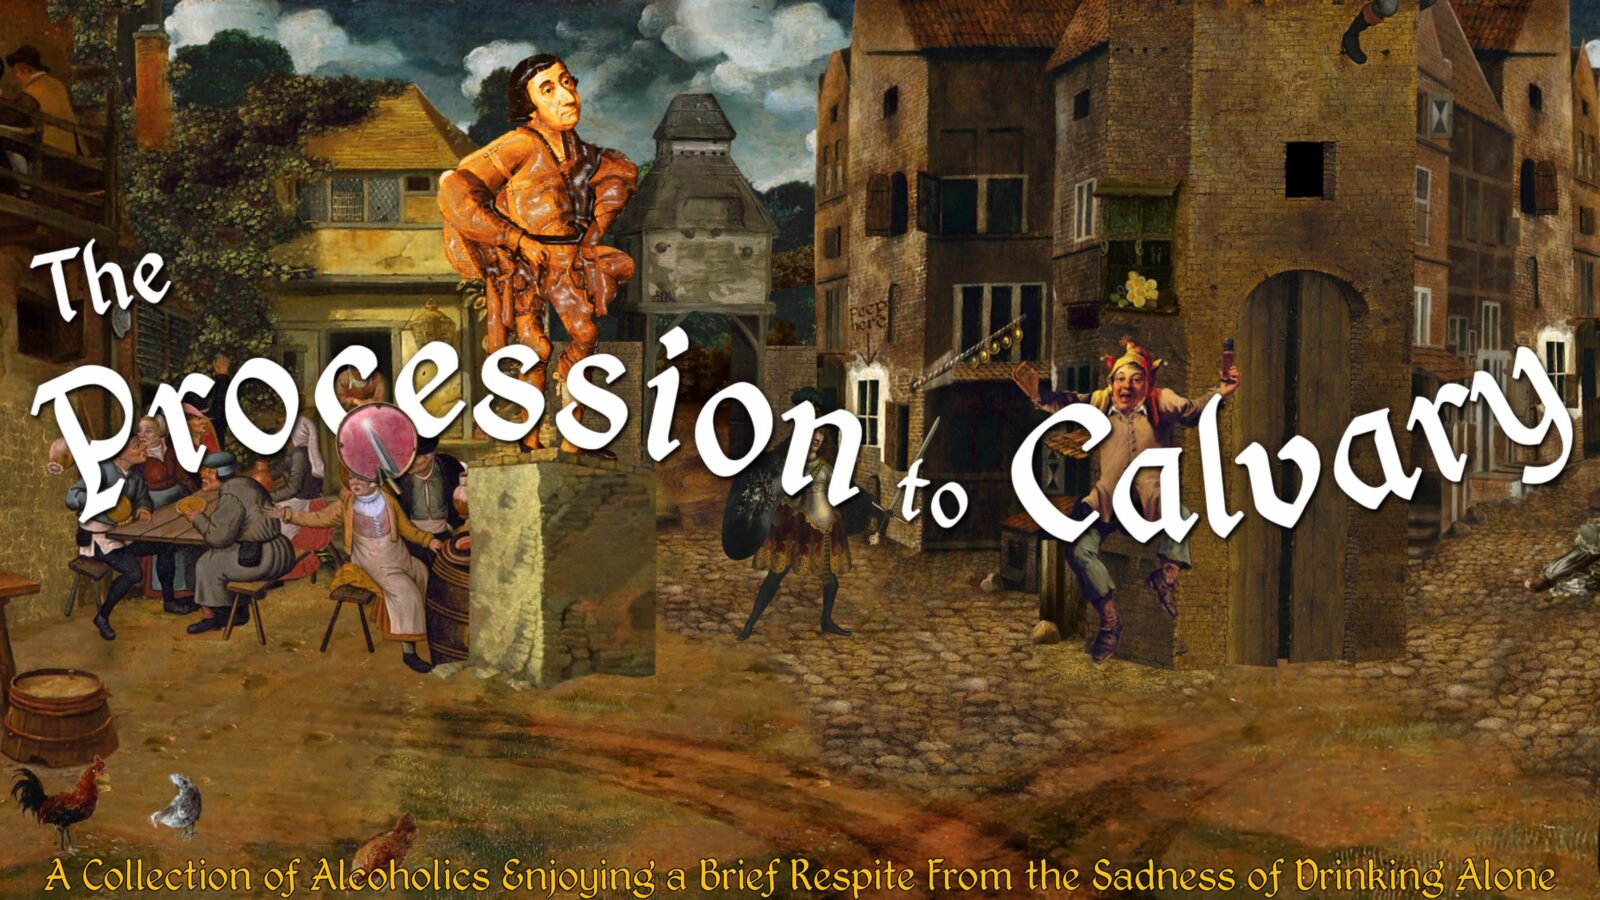
There, kill the Collection of Alcoholics Enjoying a Brief Respite from the Sadness of Drinking Alone, the Man Drinking Alone, “This Guy!”, the Friendly Young Peasant Smoking Some Crack or Something, and the Old Hunch-Backed Turd-Hawker Trying to Flog a Bunch of Rotting Produce and Pig Bits.
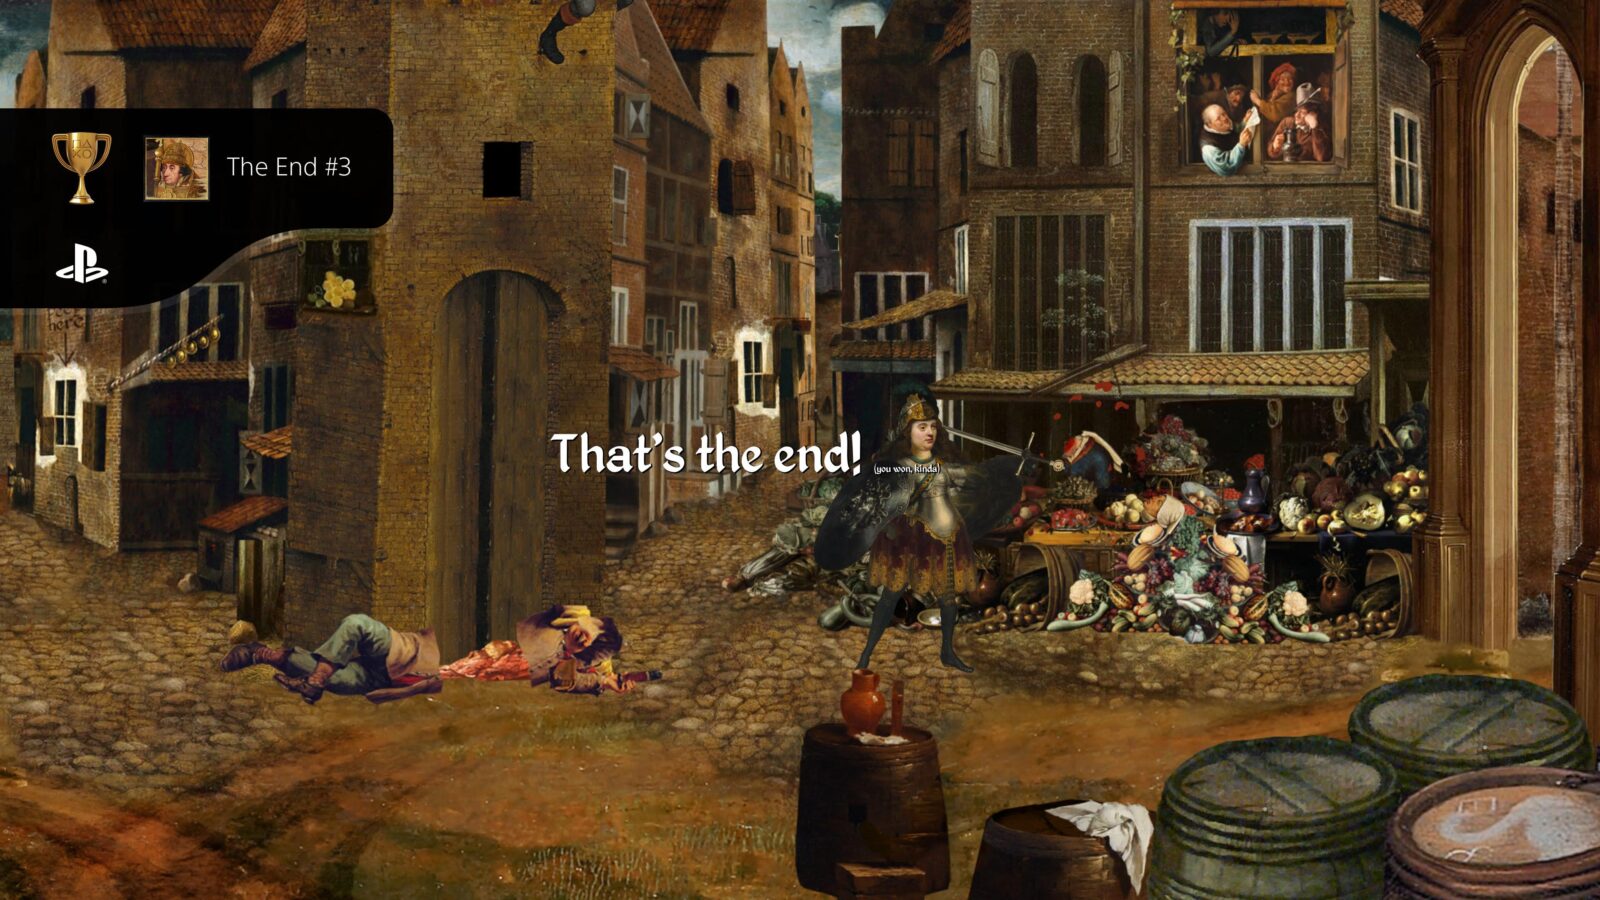
The End #3
and there shall be no more death, neither sorrow, nor crying: for the former things are passed away.
Returning to Immortal John with Heavenly Peter’s Head and then slaughtering everyone in the village will result in the third ending, for which you will receive the “The End #3” trophy.
Exit through the doorway to your right and kill the fishermen. The screen will turn black and you’ll eventually be returned to the main menu.
Select “Load” and load the save we made in the Basilica earlier.
Speak to Heavenly Peter again but this time choose “Rich you say…”
Press ![]() to sheath your blade. When the scene changes, repeatedly interact with the mirror. Select any icon you wish each time.
to sheath your blade. When the scene changes, repeatedly interact with the mirror. Select any icon you wish each time.
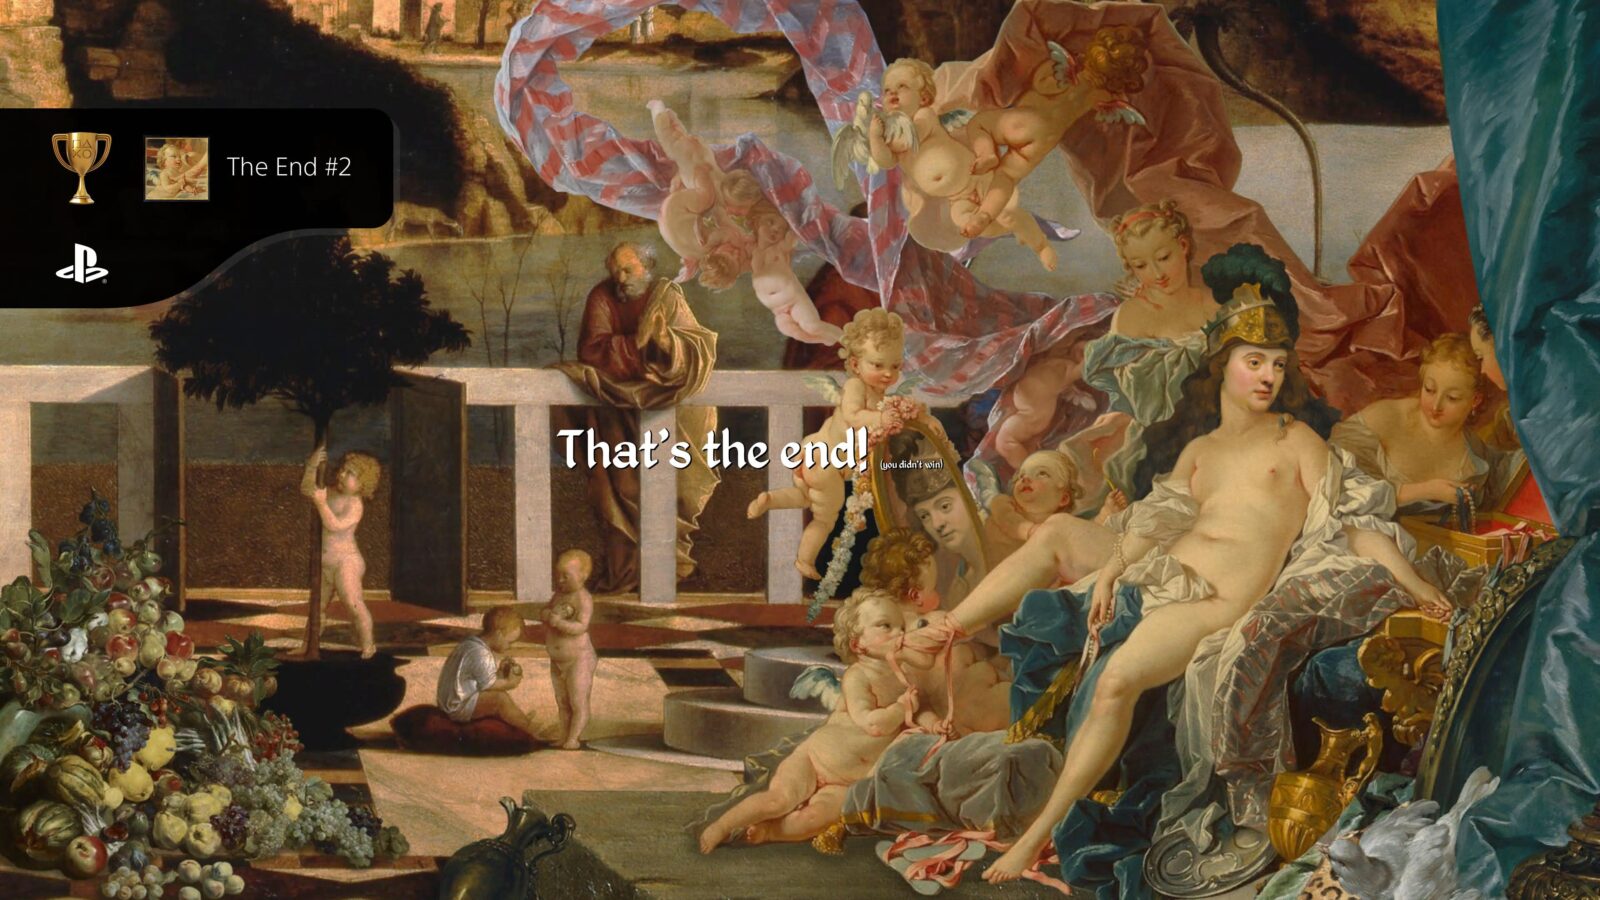
The End #2
You say, ‘I am rich; I have acquired wealth and do not need a thing.’
Sparing Heavenly Peter in exchange for riches and then admiring yourself for an eternity will result in Ending #2. You will unlock the “The End #2” trophy for this, naturally.
Now we just have one final ending to unlock, but it will require a second playthrough…
Playthrough Two – Ending 1
Fear not, for this second playthrough is incredibly easy, incredibly short, and pretty fun after going through the effort of actually playing the game.
In this second playthrough of Procession to Calvary, instead of playing the game and solving puzzles, we’re just going to kill everyone.
That’s right, press ![]() to pull that blade out because it’s stabbin’ time, baby!
to pull that blade out because it’s stabbin’ time, baby!
Procession to Calvary Playthrough Two Trophy Walkthrough
At the start of your second playthrough, walk to the right and speak to Immortal John. Choose the following options:
- Can I do some more murders now, please?
- What led you to adopt such ridiculous beliefs?
- Wait, so you never actually killed Heavenly Peter?
Once you’re automatically taken to the Boatman, tell him you’ll “go find some dang oars then.”
Exit via the right side of the screen, draw your sword with ![]() and then use it to kill the “Cripple.”
and then use it to kill the “Cripple.”
Collect the Crutches and then use them on the Boatman. Use your sword to cut the rope anchoring the boat and then you’ll be on your way.
From the Town entrance, go to the mass crucifixion via the left edge of the screen.
Click the path leading to the windmill to reach the man being cooked over a spit-roast and then press ![]() to draw your sword.
to draw your sword.
Use it to kill the Nude Bowman, Man Tied to Tree, and the Torturee.
Leave via the right side of the screen three times to reach the Graveyard.
Look at the grave via the eye icon and then prod the dead guy by using the hand icon on him.

It will be revealed that the Dead Guy is actually just Sleeping Guy… Kill Sleeping Guy with your sword and then leave.
Exit via the left side and then kill the Gatekeeper with the massive key.

Go left and use your sword to kill the Ferryman.
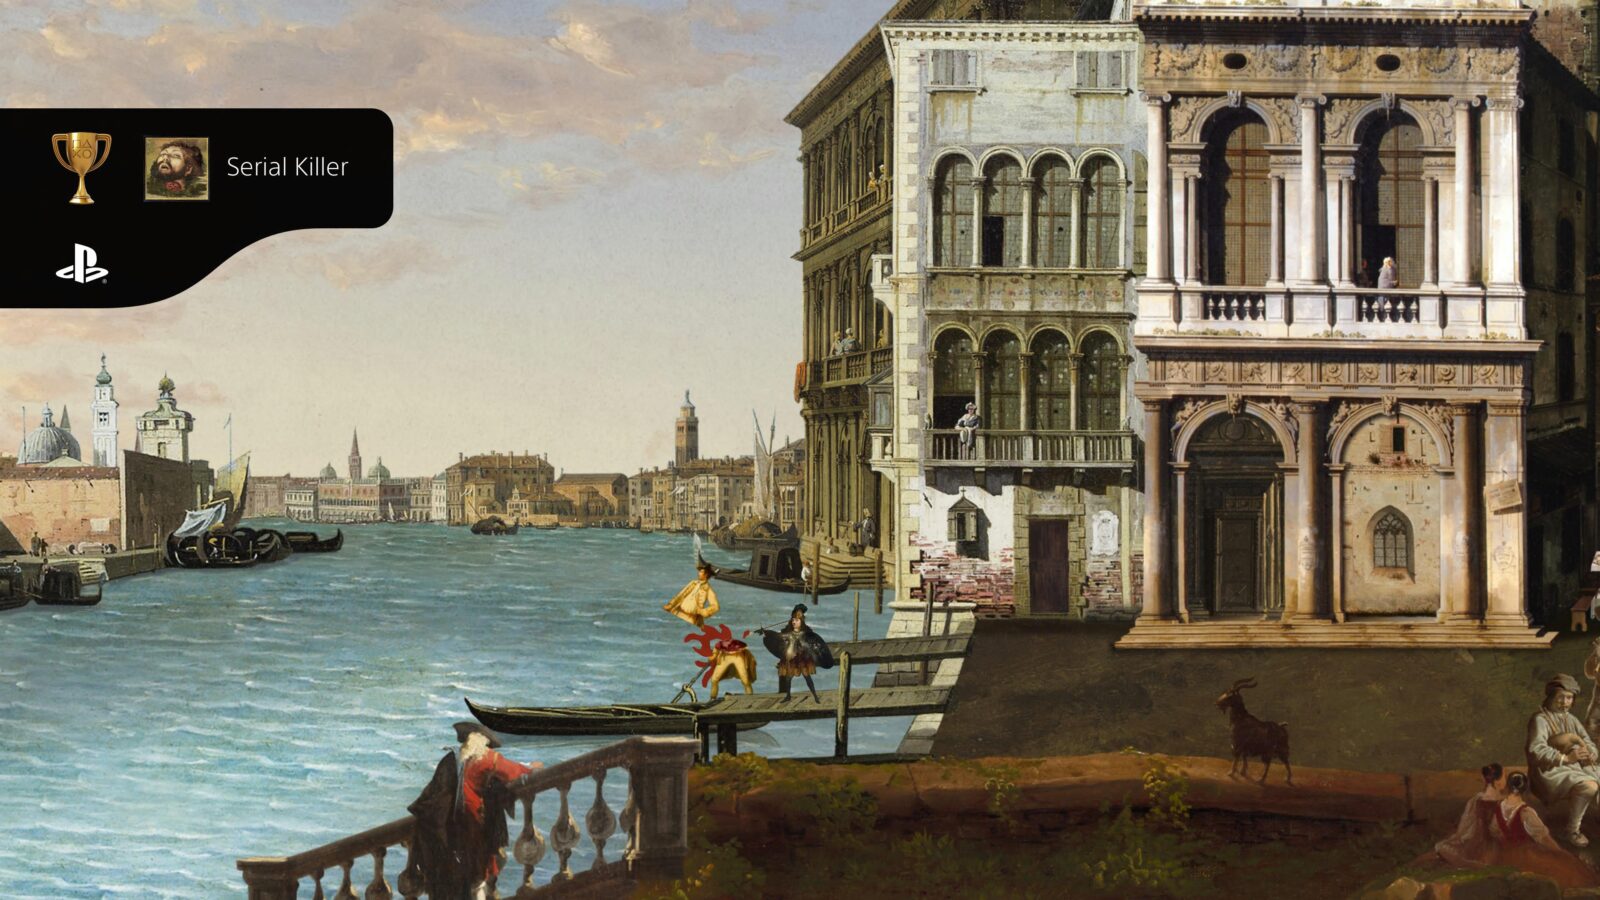
Serial Killer
And for your lifeblood I will surely demand an accounting …And from each human being, too.
Killing every possible person between you and the Basilica where Heavenly Peter hides will earn you the Serial Killer trophy. We’re not quite done killing people yet but the trophy will unlock once the Ferryman has been killed.
With the Ferryman dead, use his boat via the hand icon to use it across the river.
Enter the Basilica and tell the Cardinals “I’m here to murder Heavenly Peter!”
Draw your sword and kill the left Cardinal, gaining entry to the rest of the Basilica.
Go right and enter the room with the statue in it again.
Click on Heavenly Peter again to approach him and then attempt to kill him without even speaking to him.
Unfortunately, a whole army will show up to stop you…
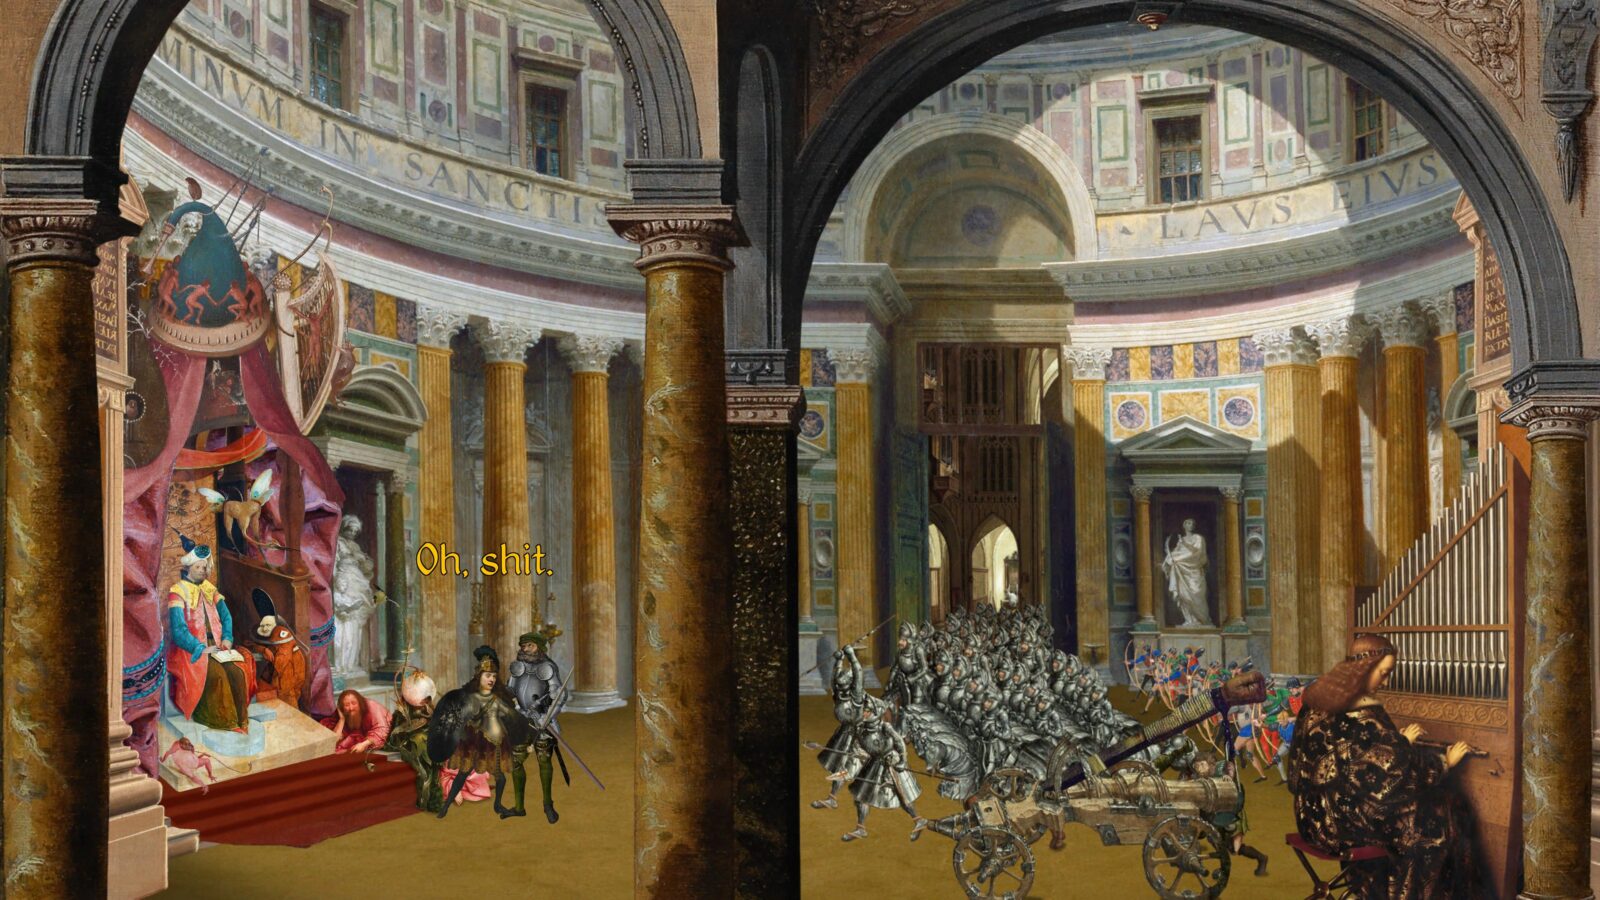
Interact with any of the four nails that pierce your extremities in order to scream. Repeat this until the game ends.
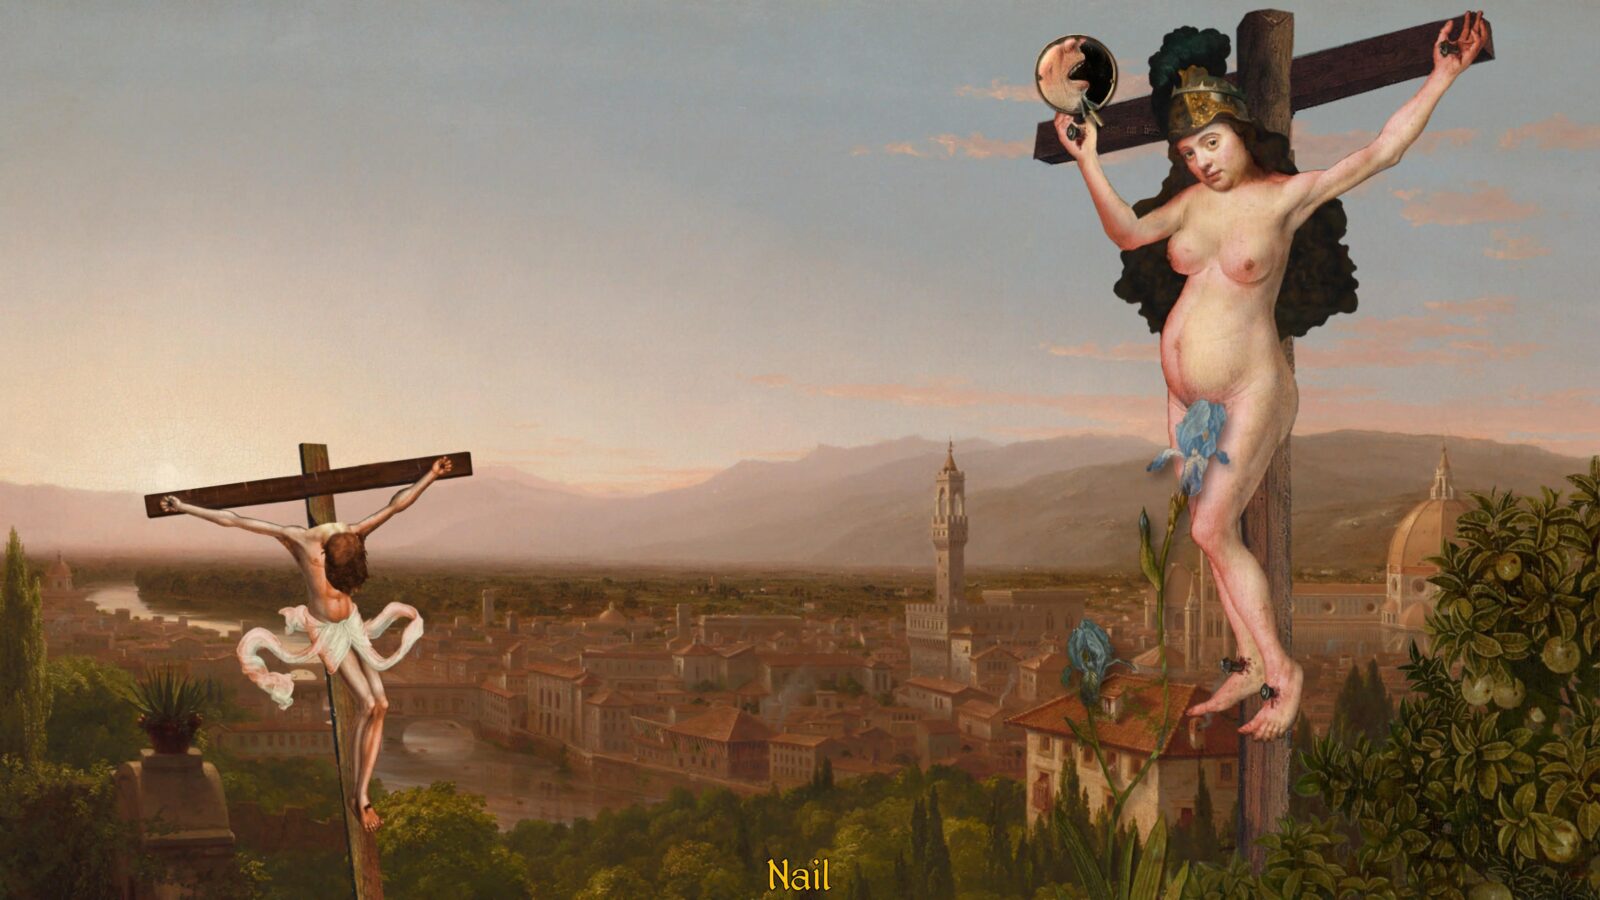
The End #1
…Jesus said, “It is finished.” And with that, he bowed his head and gave up his spirit.
At the end of your Serial Killer playthrough, you’ll unlock Ending #1 and, naturally, the “The End #1” trophy to boot!

This is the last trophy you should need if you’ve been following our guide. You know what that means…
Plat Get!

King of the Trophies!
King of the Trophies!
Once you have acquired every other trophy in this Procession to Calvary Trophy Guide, the “King of the Trophies! ” platinum trophy will unlock.
Thank you for choosing PlatGet as your source for a Procession to Calvary Trophy Guide. Consider checking out our other guides!
Follow us on Twitter @GetPlat or Instagram @platget for updates on new reviews and guides, as well as small anecdotes about our platinum journeys.