PlayStation 4
Chicken Police Trophy Guide & Walkthrough


General Info
FAQ
How long does it take to beat Chicken Police and unlock all trophies?
About 2-3 hours, especially with our walkthrough.
How difficult is it to beat Chicken Police and unlock all trophies?
Easy (3/10).
Does Chicken Police have online trophies?
No.
Does Chicken Police have difficulty-specific trophies?
No.
Does Chicken Police have missable trophies?
Yes.
Does Chicken Police have glitched trophies?
No.
What is the minimum number of playthroughs required to unlock all trophies in Chicken Police?
Just one as long as you don't miss a single thing throughout your playthrough. This is most easily achieved by following our Trophy Walkthrough.
Does Chicken Police have a Platinum Trophy?
Yes.
Trophy Guide
Chicken Police Trophy Guide and 100% Walkthrough for PlayStation 4
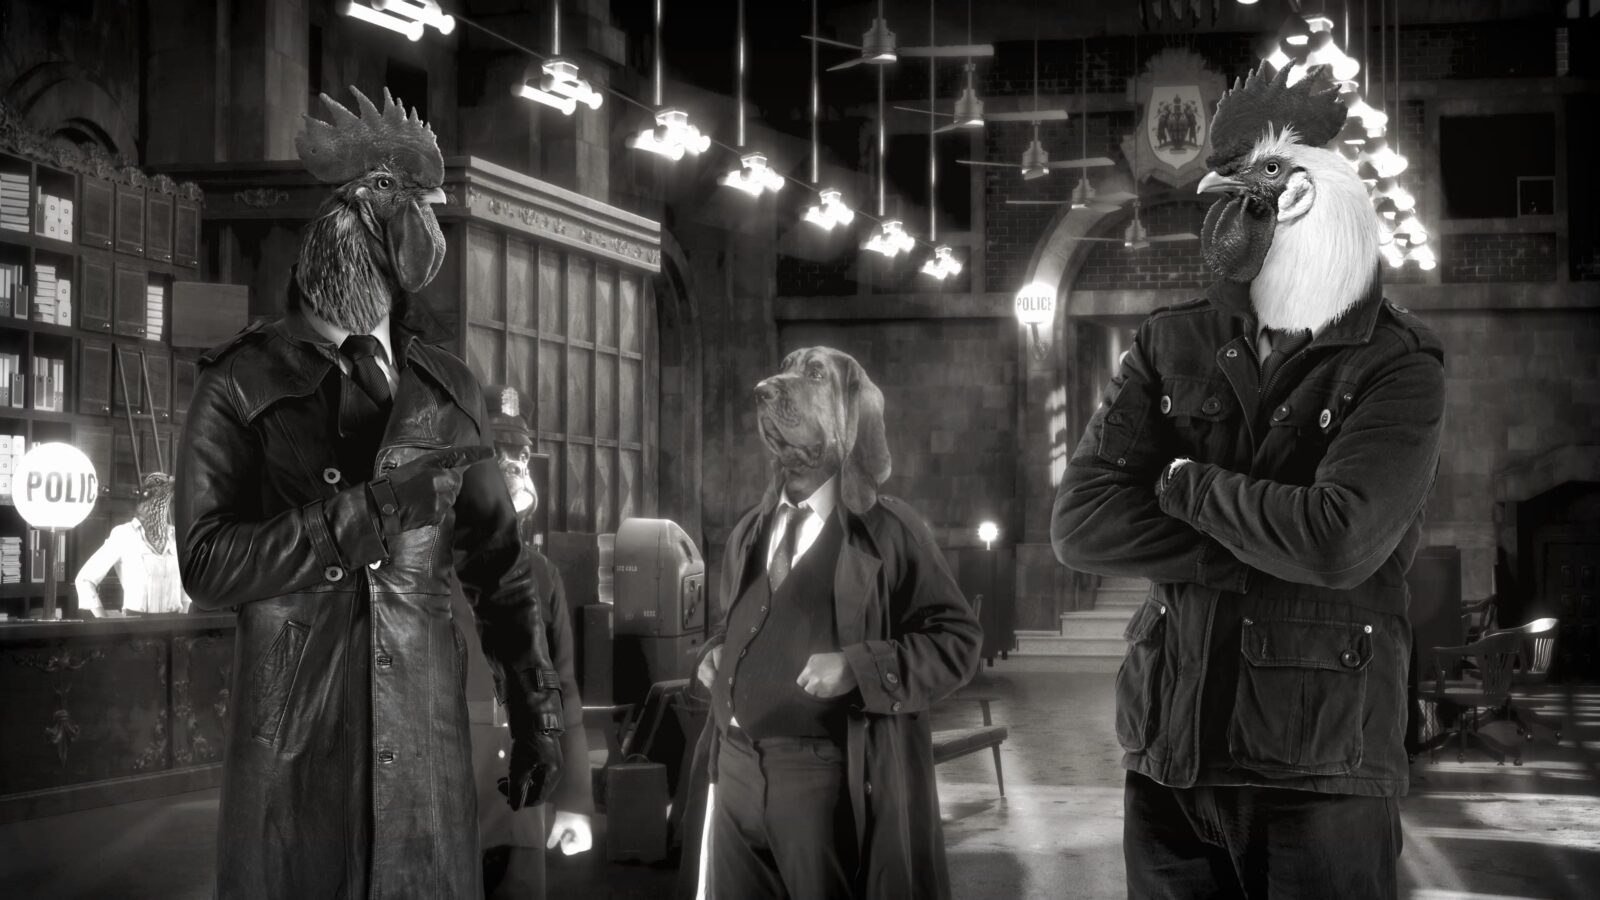
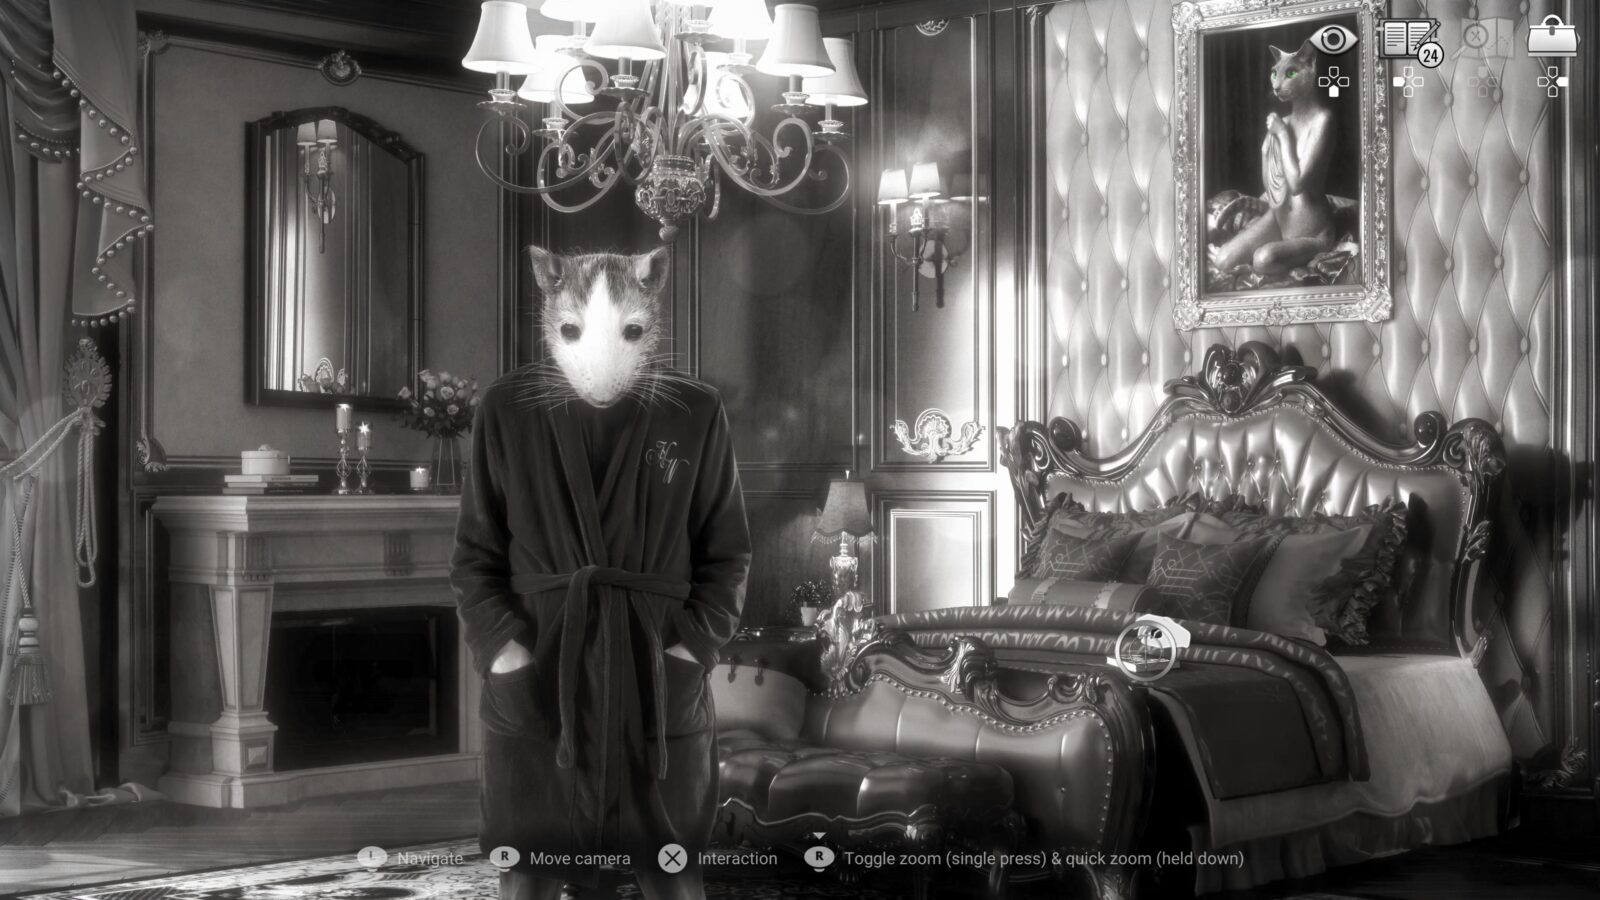
Welcome to our Chicken Police Trophy Guide. Chicken Police: Paint it RED! is a point-and-click detective game set in a world where people are anthropomorphic animal-human hybrids.
The easiest and quickest way to platinum Chicken Police by far is to get everything in a single playthrough. Though, how can you be expected to do that without knowing where everything is?
Though an entertaining and short game, Chicken Police’s Platinum Trophy can be a real pain in the tail-feathers due to the sheer number of collectibles you’ll need to acquire in order to grasp every trophy.
To help alleviate this pain, we’ve carefully crafted a step-by-step Trophy Walkthrough which will ensure you grab every single Codex, Personal Information, Art Gallery Item, Cutscene, and Chicken Police Novel.
You will need to follow this walkthrough very closely and be careful not to miss anything, otherwise, you will risk a whole extra playthrough or more. Even skipping just one step or doing one thing out of order could ruin your entire run, so be vigilant.
Note that you can miss Art Gallery Items because your collection will persist across saves, so if you miss one (like I did) you only need to get far enough into your second playthrough to grab the one you missed!
Technically, you can also miss Chicken Police Novels because they persist in the same way, but you will still need to complete a full playthrough where you have all 10 to get the secret cutscene at the end.
Chicken Police Trophy Walkthrough – Chapter One
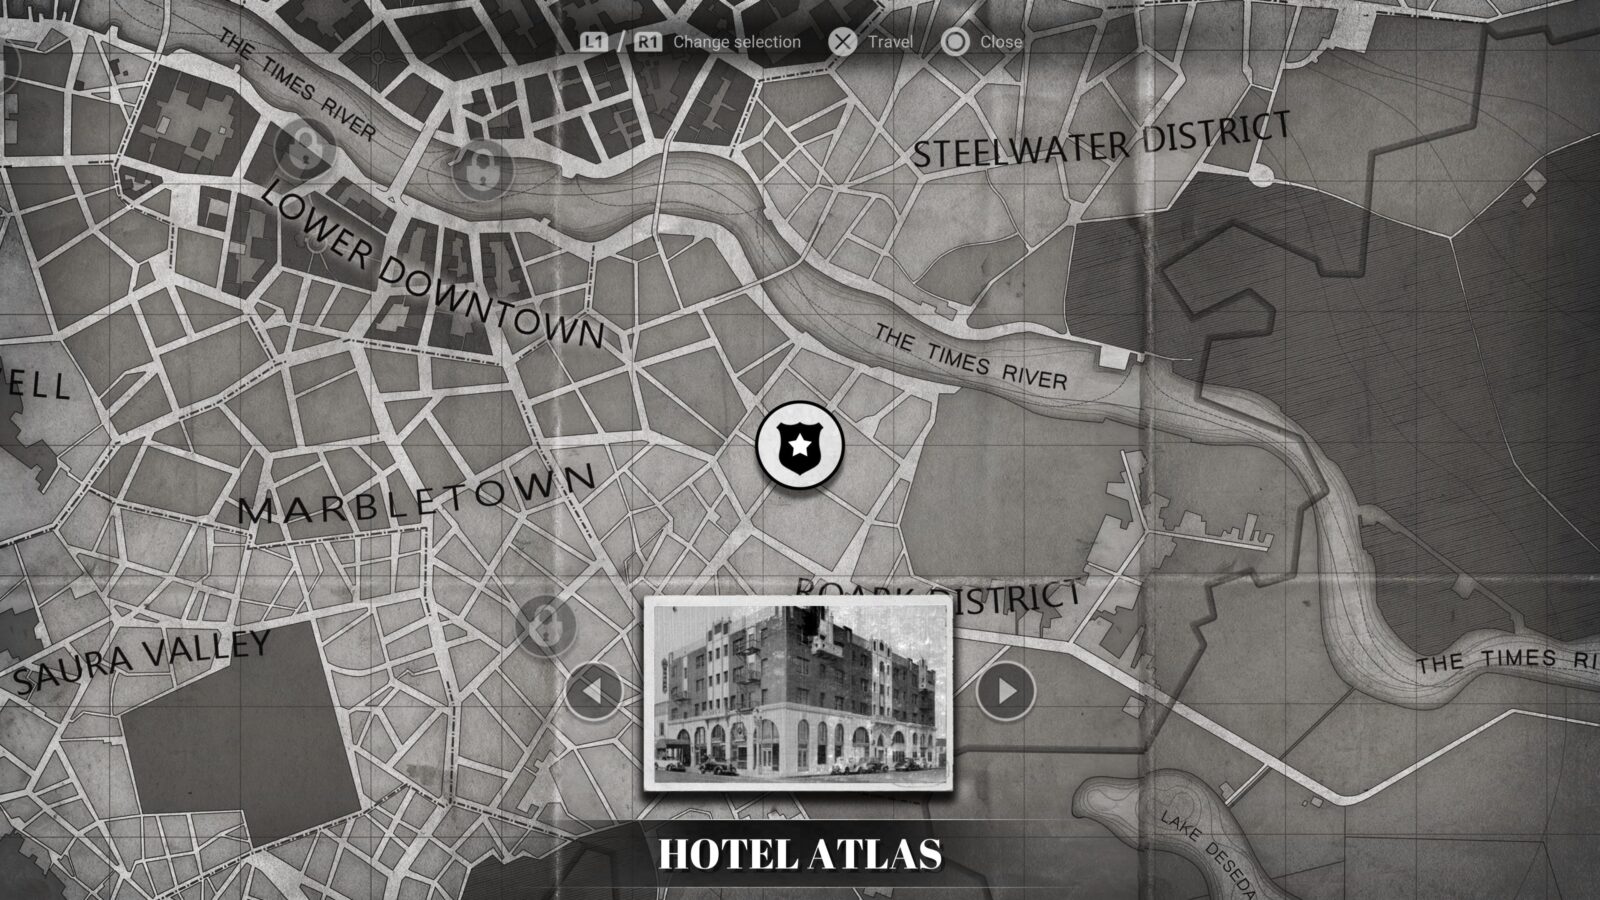
Hotel Atlas
The game begins with your first unavoidable Cutscene, in which you will also receive Codex 1/27 and Codex 2/27.

Progress towards The Social Type 1/28
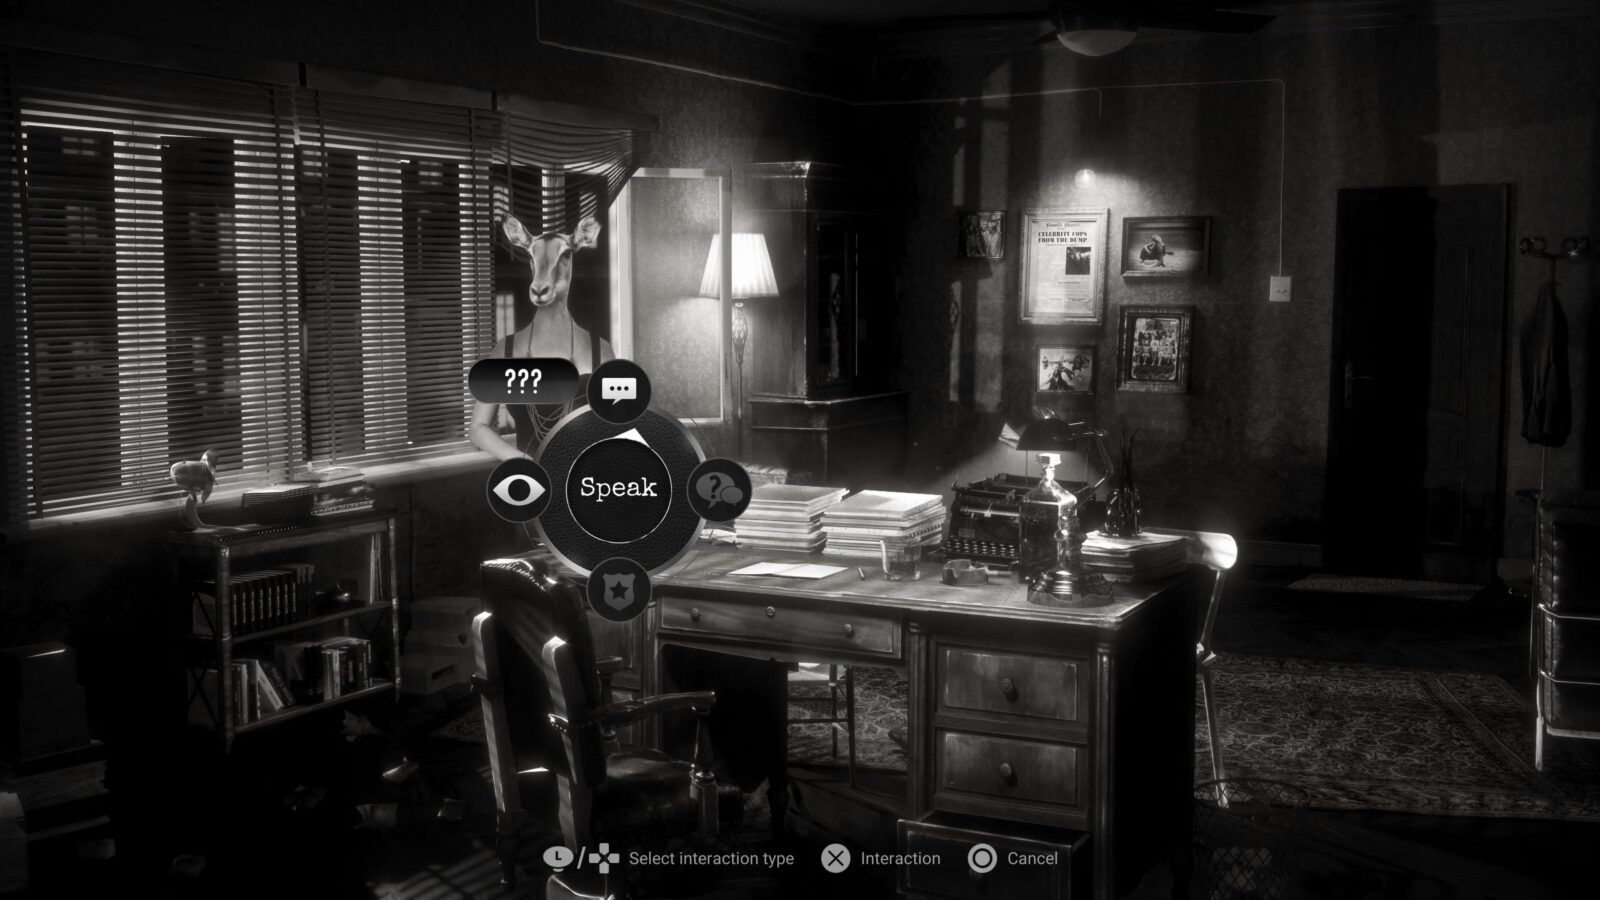
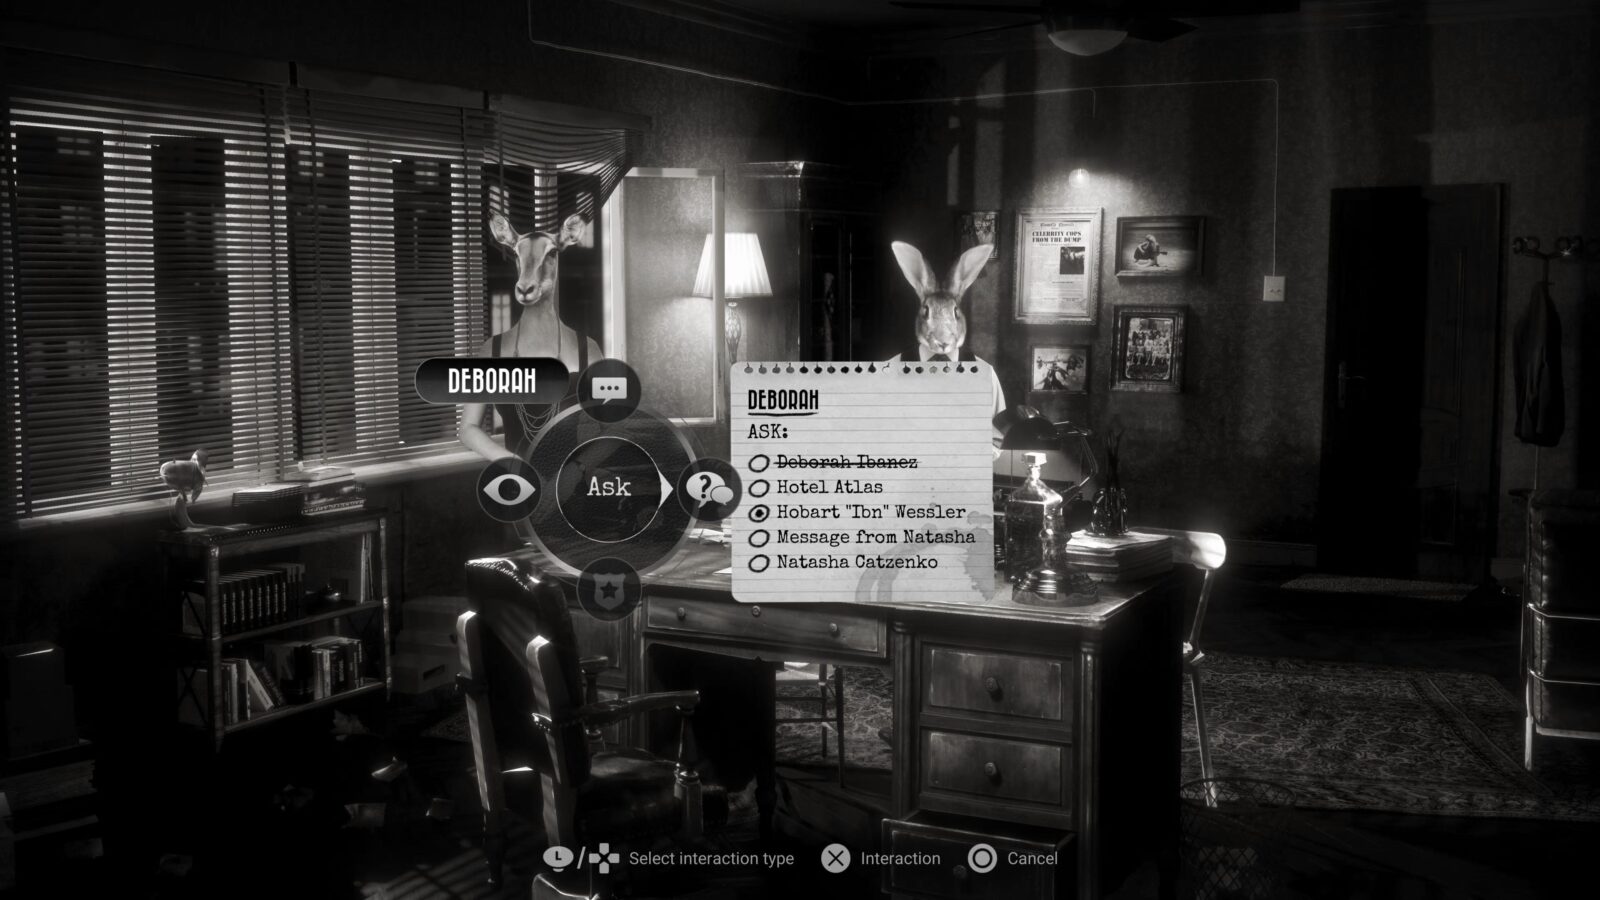
When the cutscene ends, speak to Deborah Ibanez, the first of 28 characters you’ll need to speak to for The Social Type.
Exhaust all possible dialogue options with Deborah to retrieve Codex 3/27 and Personal Information 1/97.
You’ll also view another unmissable short Cutscene.
After this, “Question” Deborah and you will enter your very first Questioning. Questionings are a very important mechanic in the game, not just for the gameplay but for your chances at the Platinum Trophy.
There is a trophy in the game called Santino Featherland, which is perhaps the most difficult trophy in the game. To get it, you will need to achieve Living Legend Status in every single Questioning throughout the game by asking all the right questions each time. Fortunately, this Chicken Police Trophy Guide has full directions for each questioning, to keep you on the right path!
Before we worry about that though, we just need to get a low ranking on one for the first time.


“Now, let’s grab a bite to eat.”
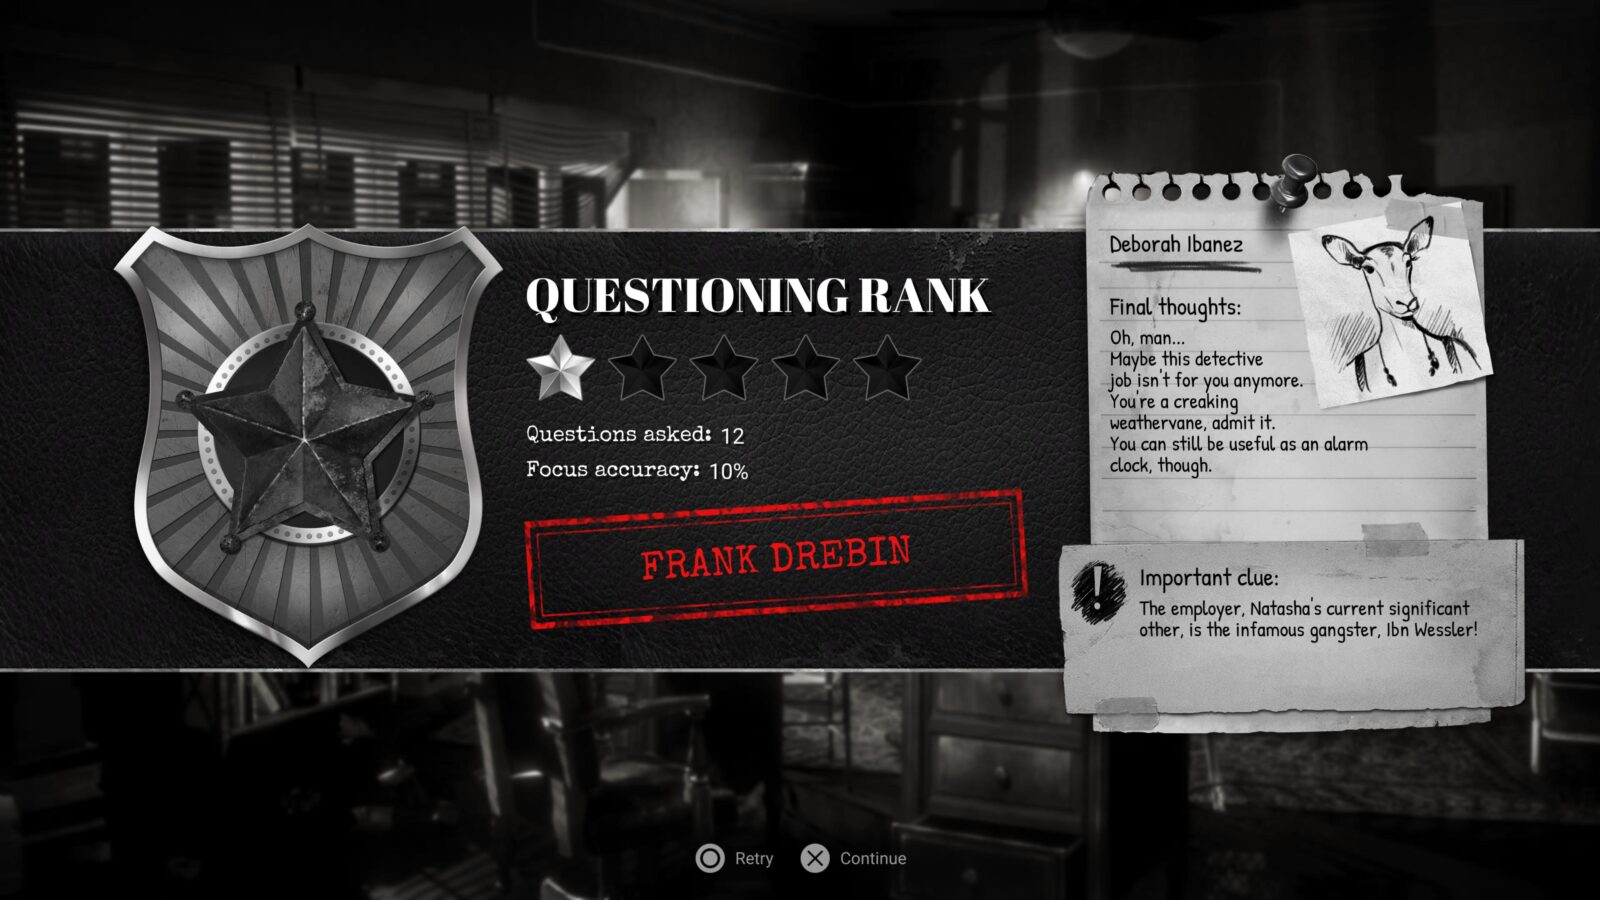
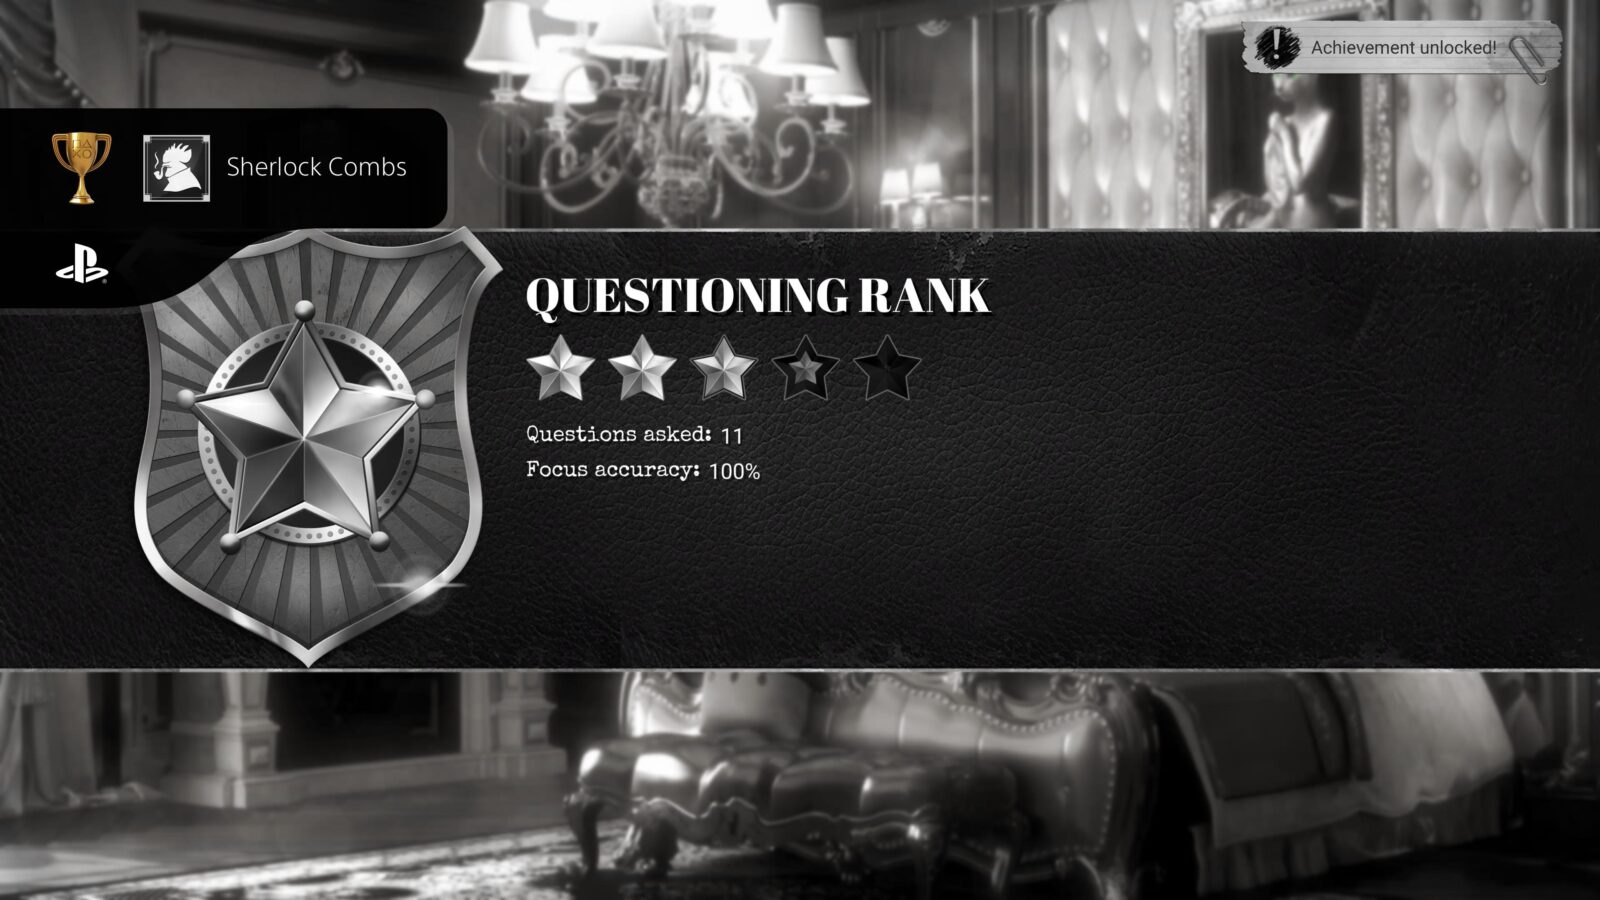
Get a “Frank Drebin” grade on a questioning
When Questioning Deborah Ibanez for the first time, select the following dialogue options to guarantee a “Frank Drebin” grade:
- Who exactly are you ma’am?
- You’re not very confident. Are you sure you’re alright?
- Did you come alone? All by yourself?
- Do you even know what you want?
- Were you born and raised in Clawville?
- Why did you come to visit me? Why not your employer herself?
- I’m sure it’s not intentional, but are you toying with me?
- This is just too risky for me, I can’t take the case!
- Are you in some sort of jam?
- Have you ever felt truly vulnerable?
- Tell me, Deborah, why should I believe you at all?
- Be honest, and tell me what you are so afraid of?
Once the questioning ends and your rating is revealed, the “Now, let’s grab a bite to eat” trophy will unlock, provided you successfully received a “Frank Drebin” grade.
We can’t continue on with a score like this on our record, though, not if we want that Santino Featherland trophy! Press ![]() to retry the questioning so we can get a Living Legend grade.
to retry the questioning so we can get a Living Legend grade.

Progress towards Santino Featherland 1/8

Nice work, partner!
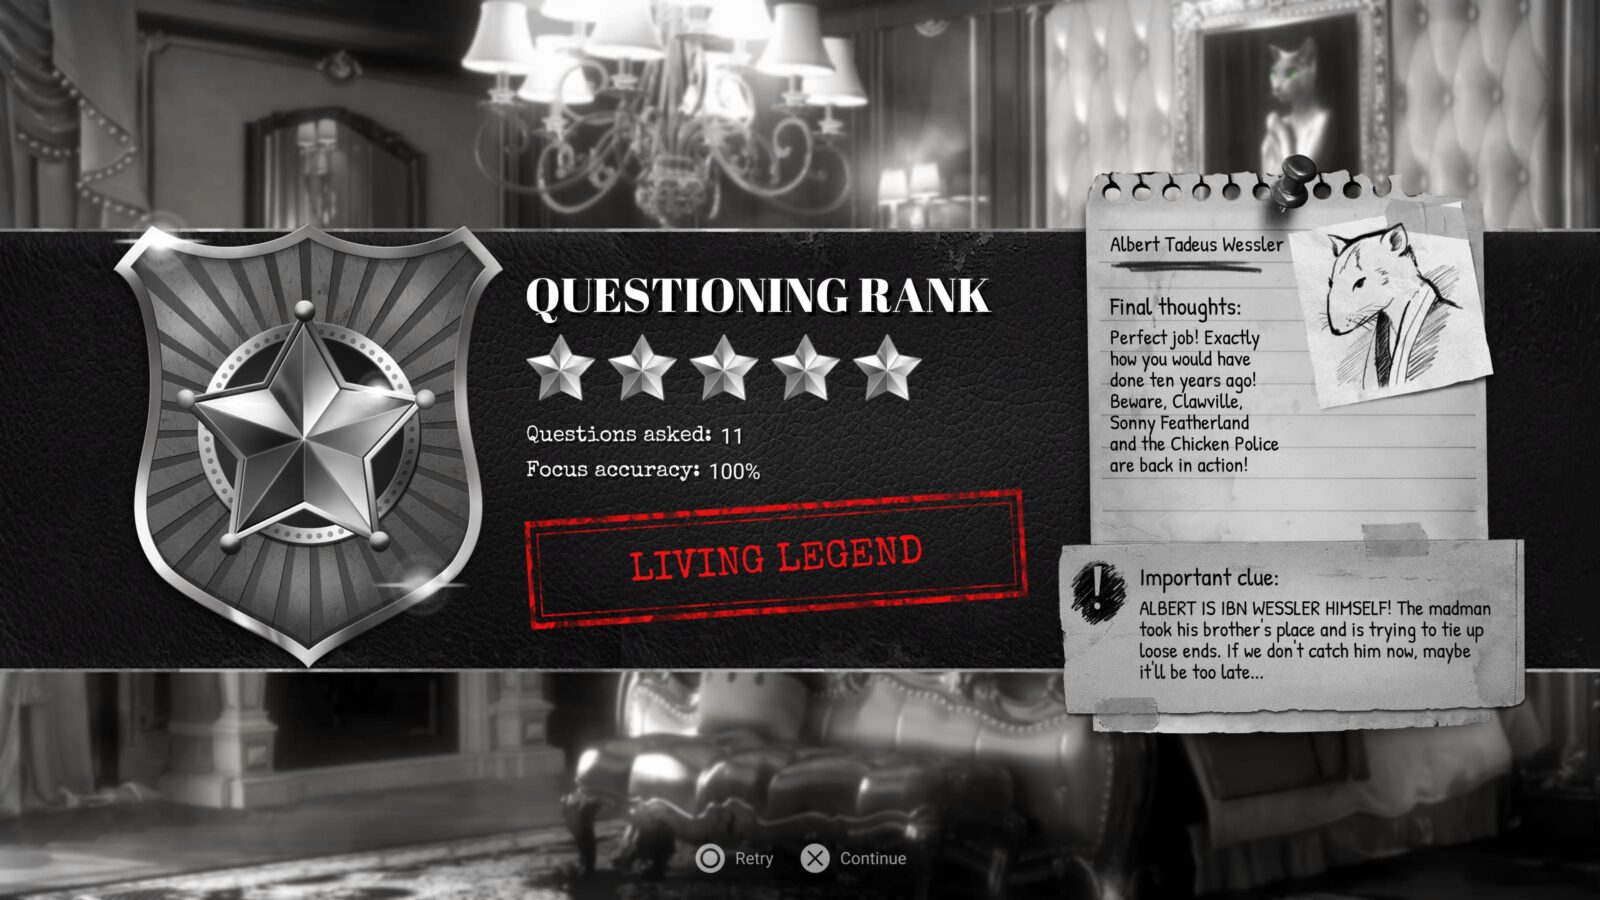
Get a “Living Legend” grade on a questioning
When questioning Deborah Ibanez again, select the below dialogue options to ensure you receive a Living Legend grade:
- Who exactly are you ma’am?
- Tell me which part of the city do you live in? Calavera Hills? Flowerville maybe?
- Why did you have to visit me on this particular evening?
- Why did you come to visit me? Why not your employer herself?
- What do you want from me…?
- Don’t you think this whole thing is a little suspicious?
- Tell me Deborah, why should I believe you at all?
- Be honest, and tell me what you are so afraid of?
Once the questioning ends and your rating is revealed, the “Nice work, partner!” trophy will unlock, provided you successfully received a “Living Legend” grade.

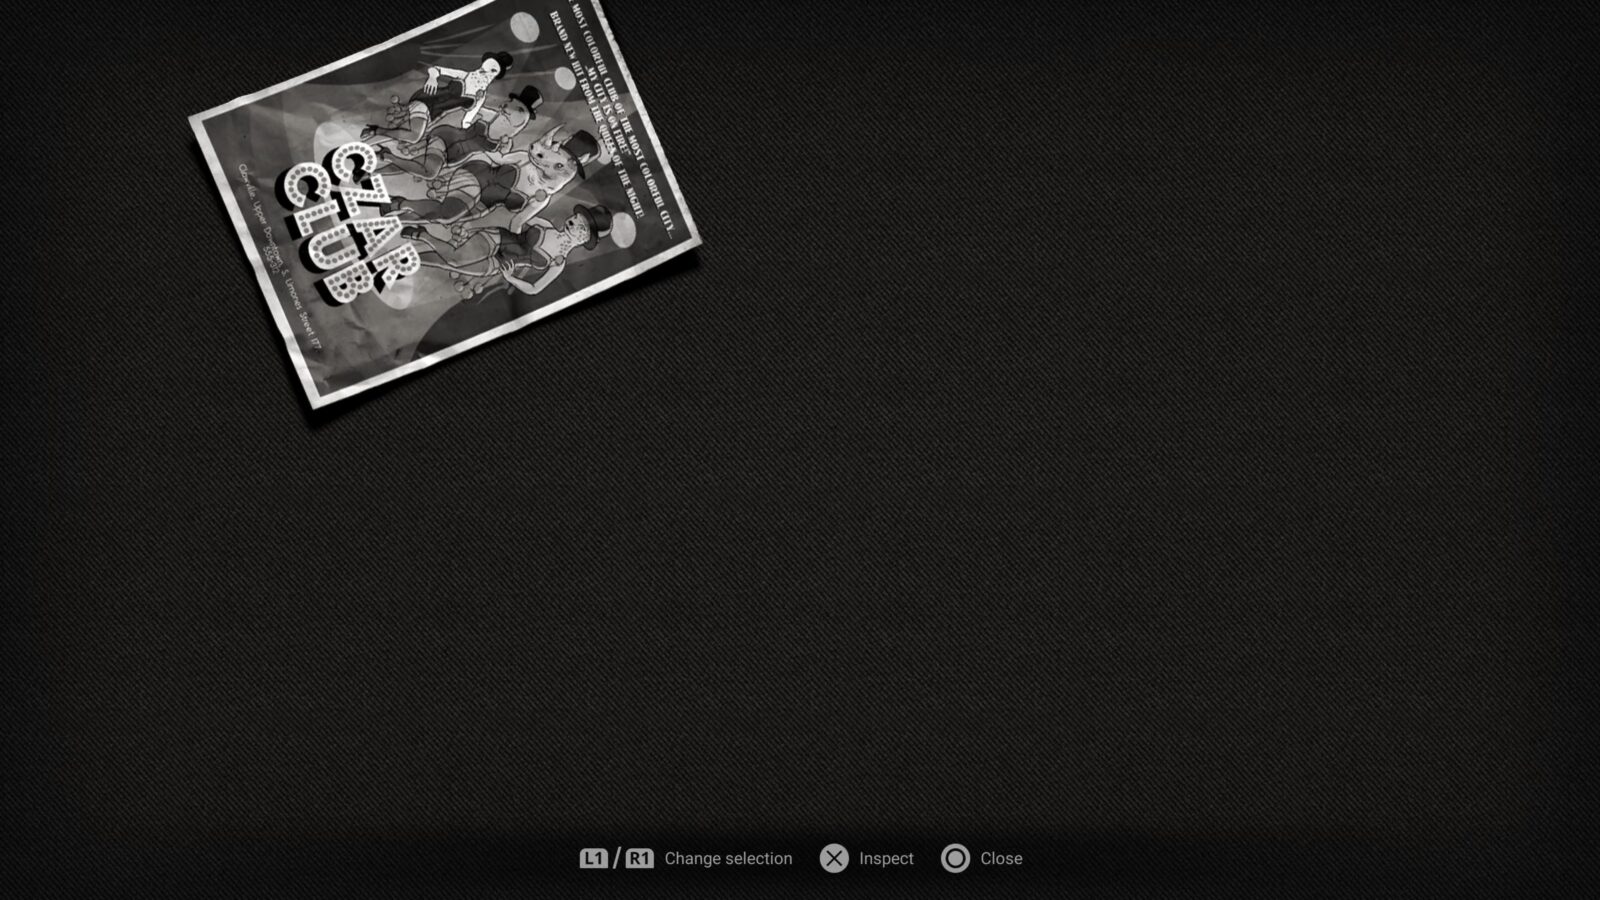
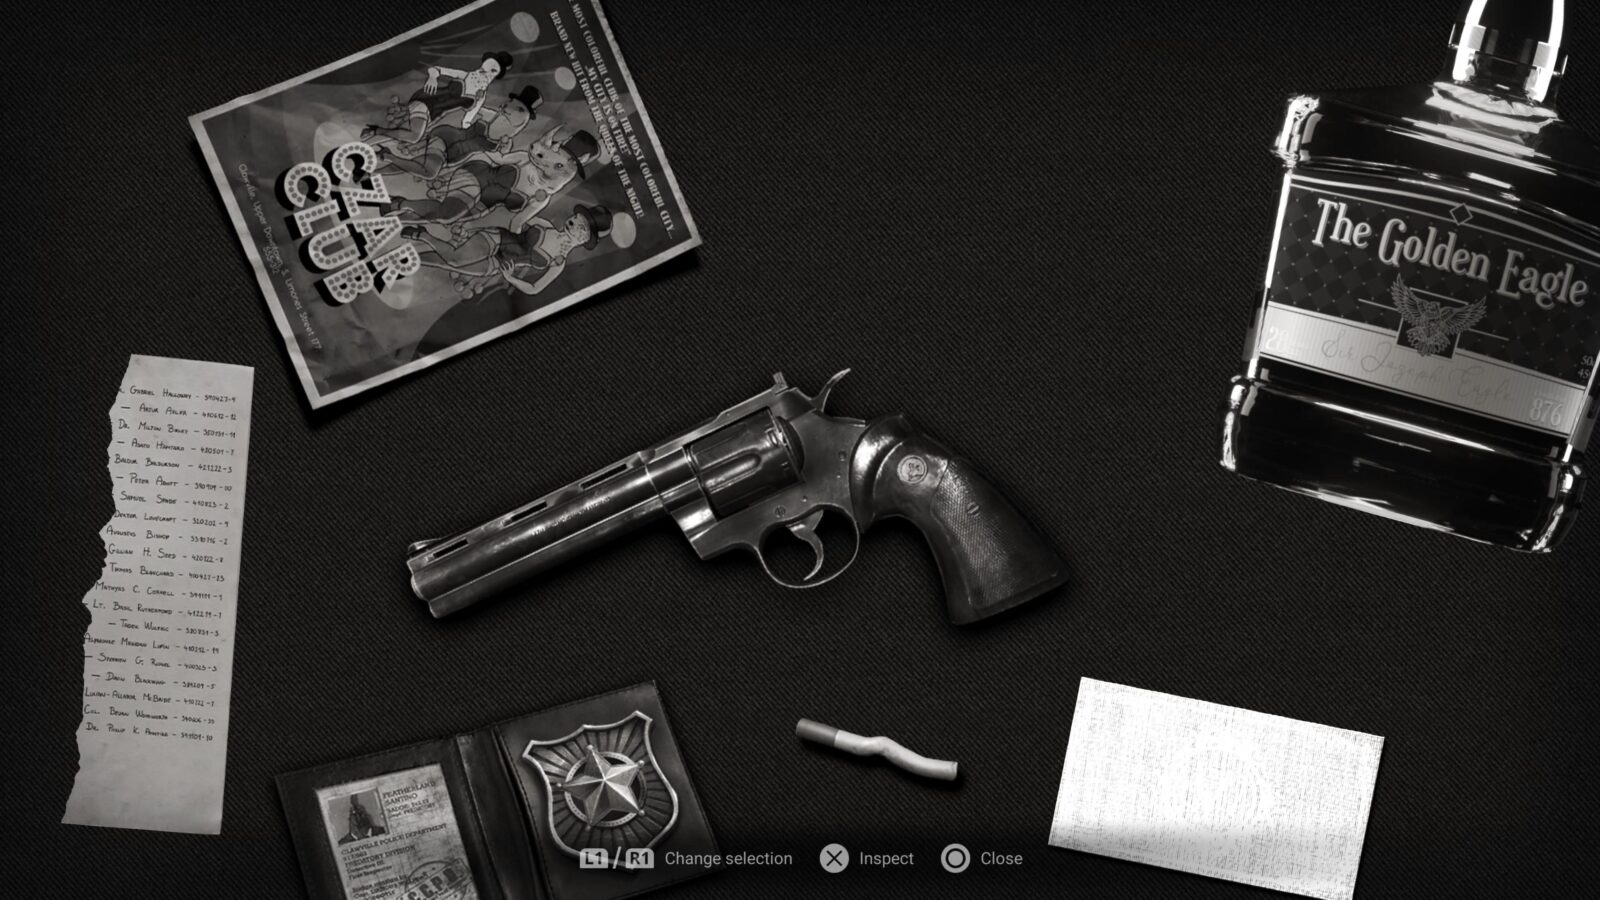
Throughout the questioning, you will collect Personal Information 2, 3, 4, 5, and 6/97. When the questioning with Deborah ends, speak to her one last time, and then open your inventory and then view the “Czar Club Flyer”. View the rear side to receive Personal Information 7, 8, and 9/97.
Once done, go to the phone and call “Lewis” by entering the number “555-932”. Afterward, speak to Deborah again and then ask her about Hobart “Ibn” Wessler. This will result in you collecting Personal Information 10/97.
Progress towards The Social Type 2/28
Now speak to Lewis, one of the 28 characters you need to speak to for The Social Type.
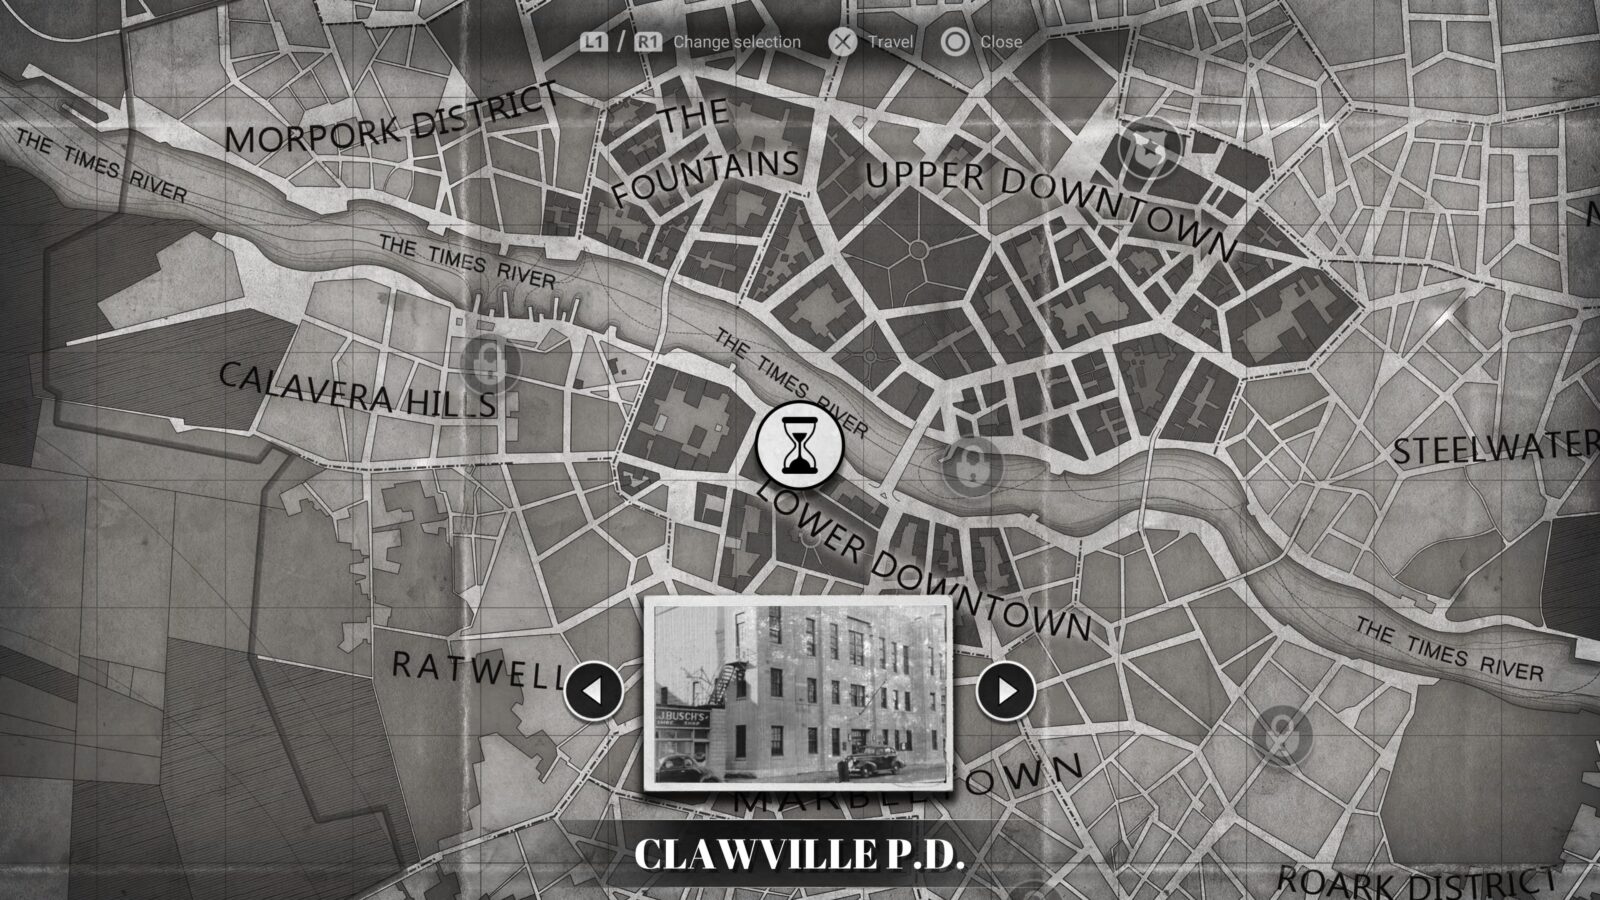
If you’ve done everything listed above, open the bottom drawer of the desk to collect your things before leaving to “Clawville P.D.”
Clawville P.D.

An unmissable Cutscene will play when you arrive at the Police Department.
Progress towards The Social Type 3/28
Outside the P.D. you will see two characters named Fillis and Royes. Exhaust all dialogue options with them to make progress toward The Social Type and receive Personal Information 11 and 12/97. Though they are two NPCs, they count only as one for the purposes of this trophy as they will always speak to you together.
You may now enter the Police Department.
At the center of the screen, you’ll see a bench. Sat on that bench is the first Chicken Police Novel 1/10 – Belle of the Pantheress.
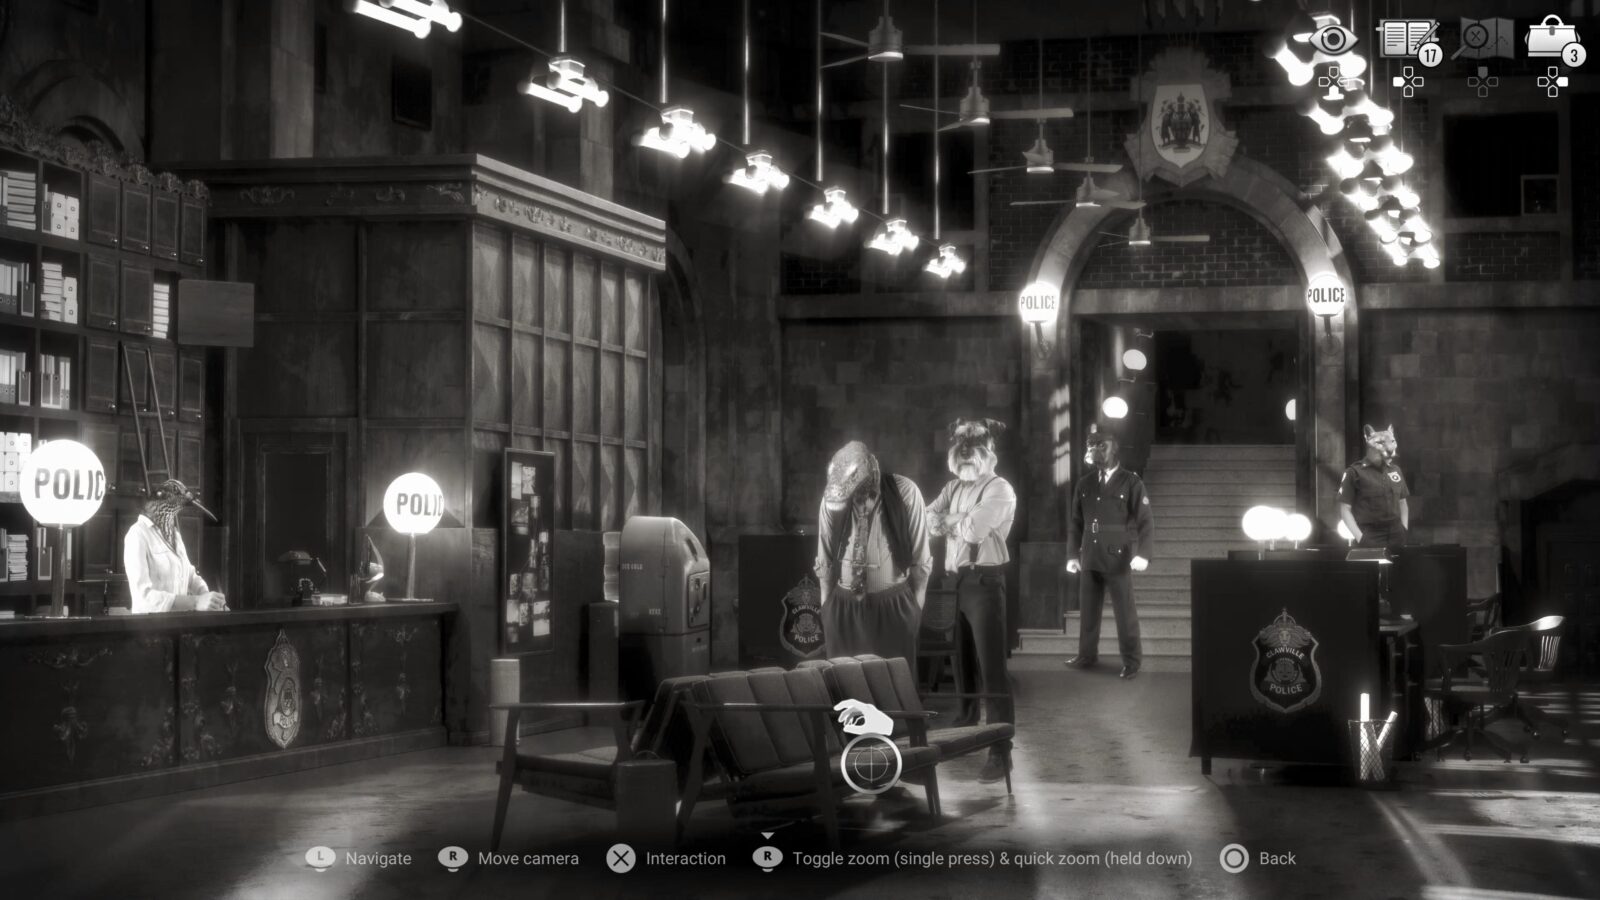
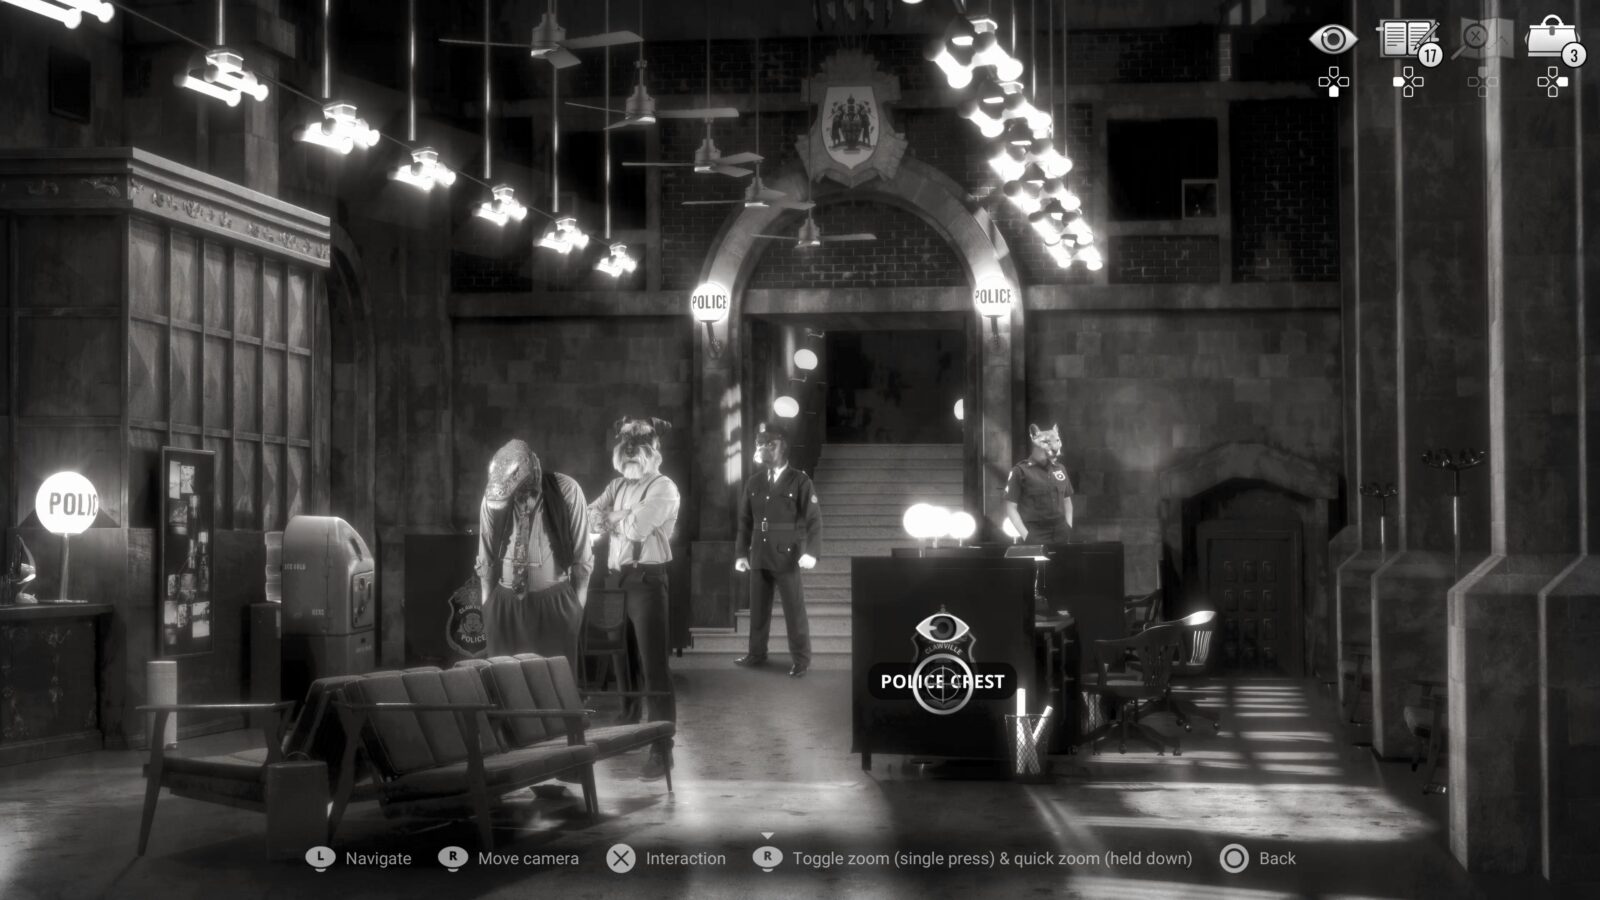
On the right-hand side of the room, there’s a large Police Crest on the side of a desk divider. Look at it for an Art Gallery Item.
Progress towards The Social Type 4/28
Another NPC for The Social Type can be found in this room. Behind the receptionist’s desk, you’ll find Monica. Speak to her and exhaust all dialogue to collect Personal Information 13 and 14/97.
Progress towards The Social Type 5/28
Also in this room is Mort, another NPC you’ll need to speak to for The Social Type. Speak to him and exhaust all dialogue to collect Personal Information 15 and 16/97.
Progress towards The Social Type 6/28
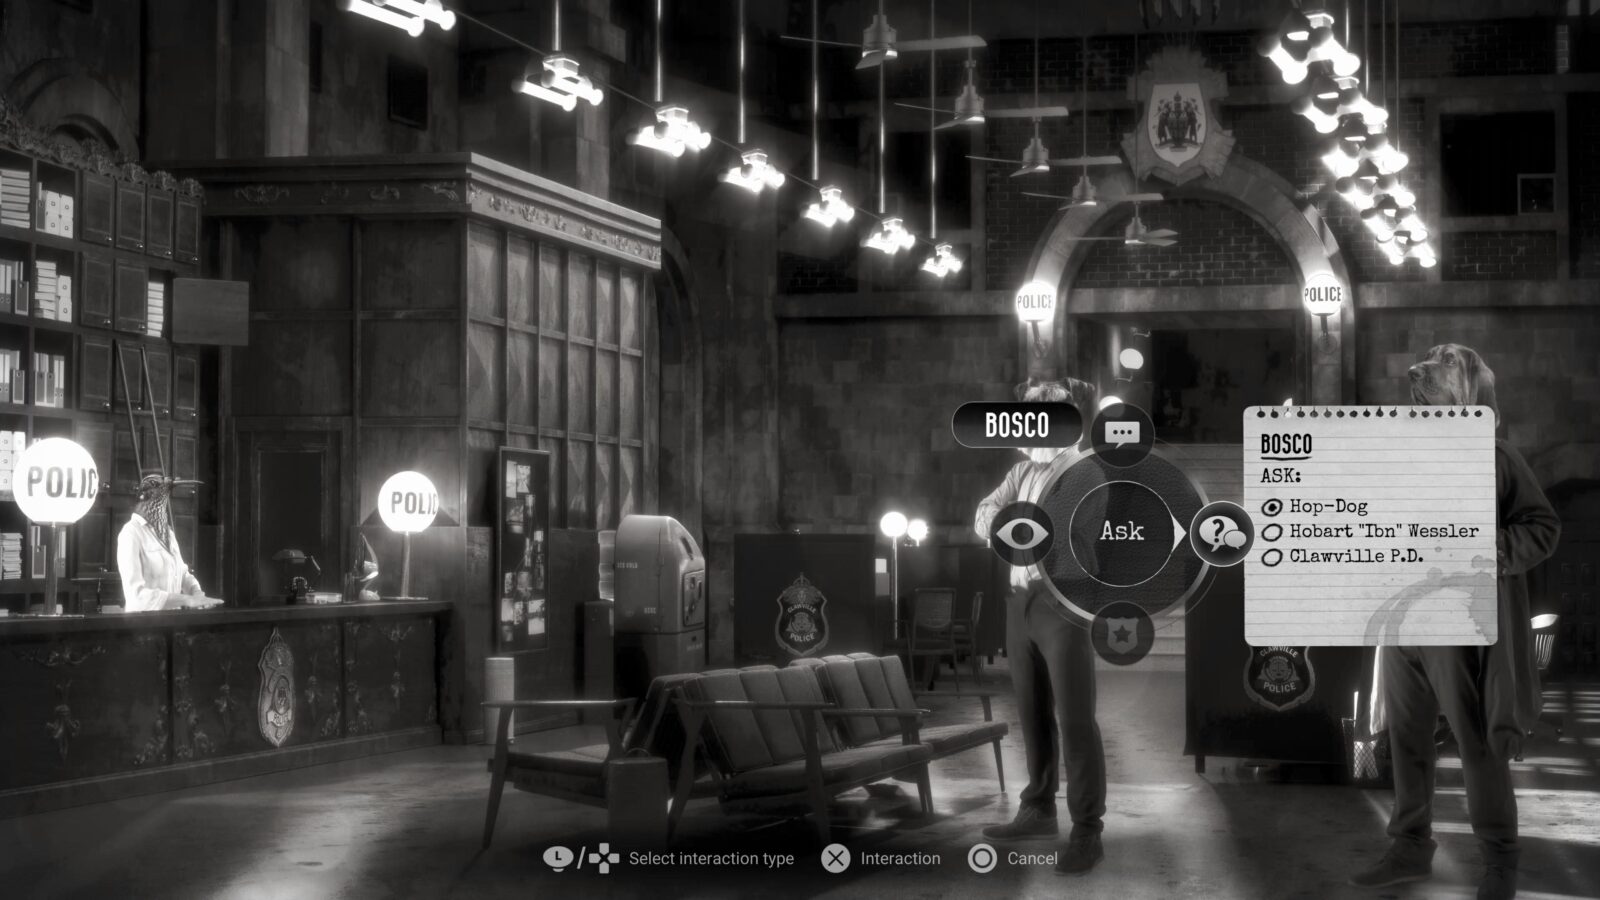
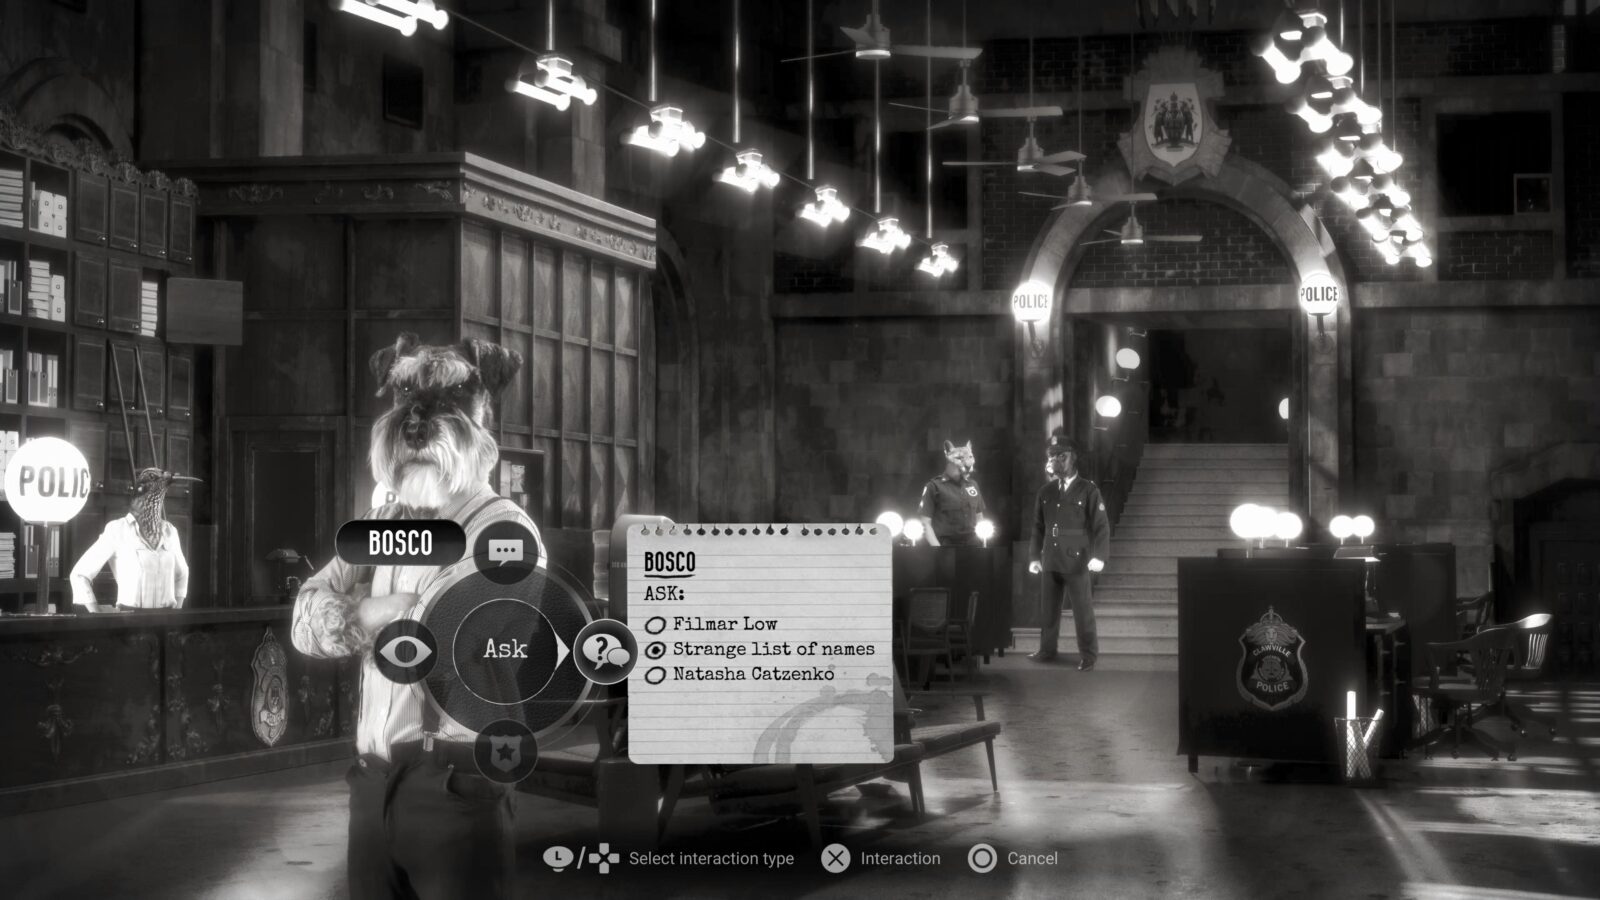
The Last character in this room needed for The Social Type trophy is Bosco. Speak to him and exhaust all dialogue to collect Personal Information 17/97 and Codex 4/27.

Progress towards Golden Heart 1/2
Go back and speak to Mort again to set things up for the Golden Heart trophy before leaving into the Shooting Range on the right side of the room.
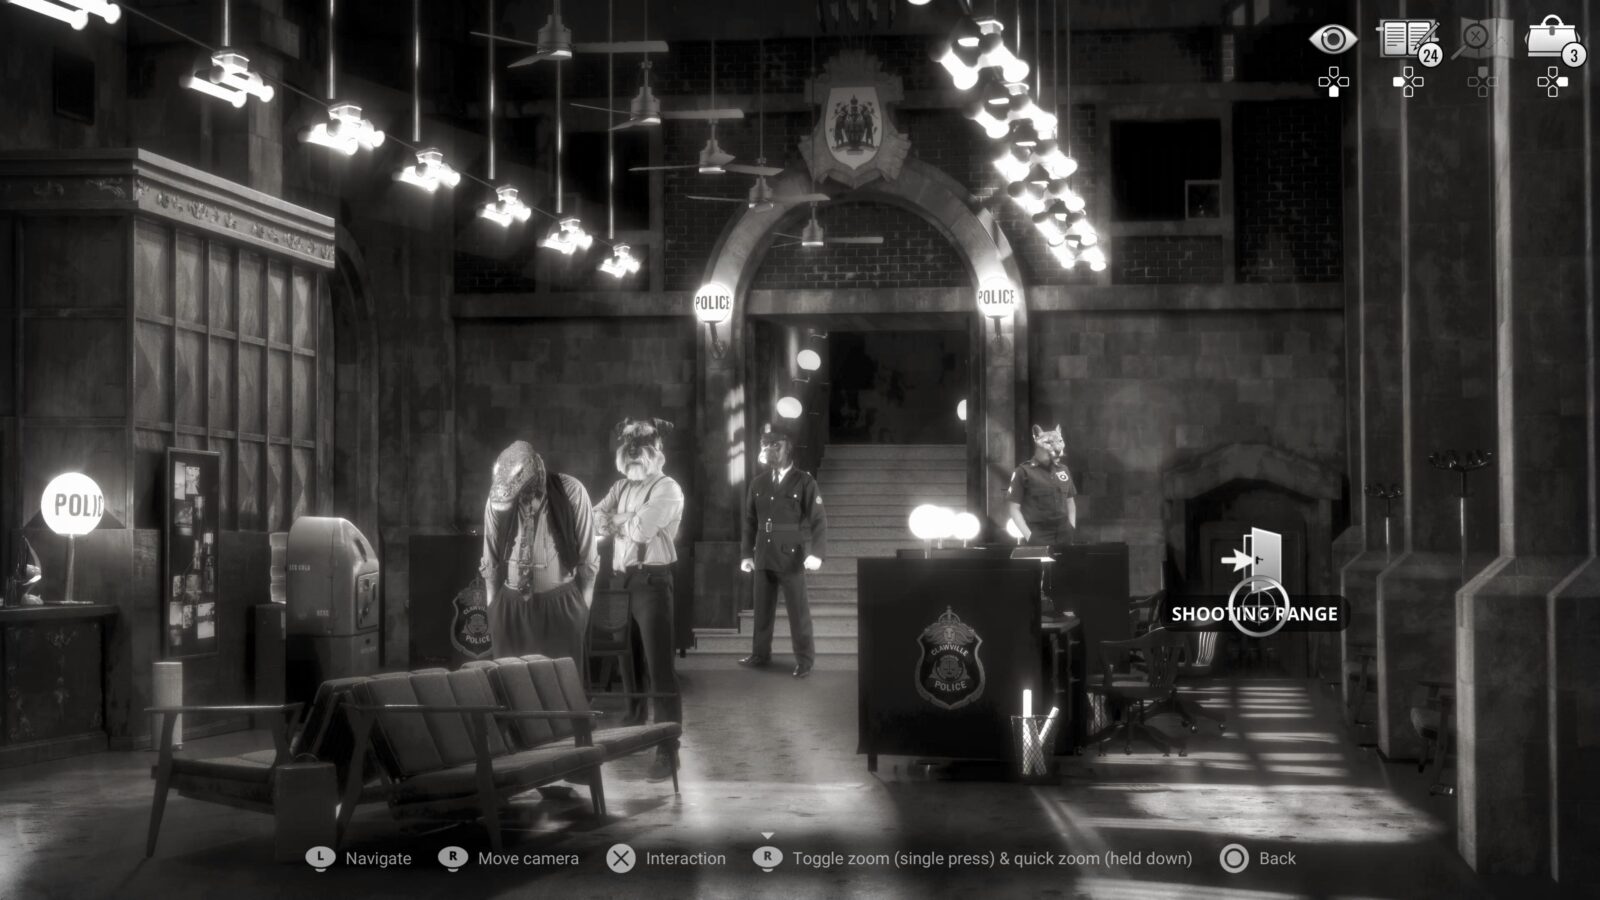
Progress towards The Social Type 7/28
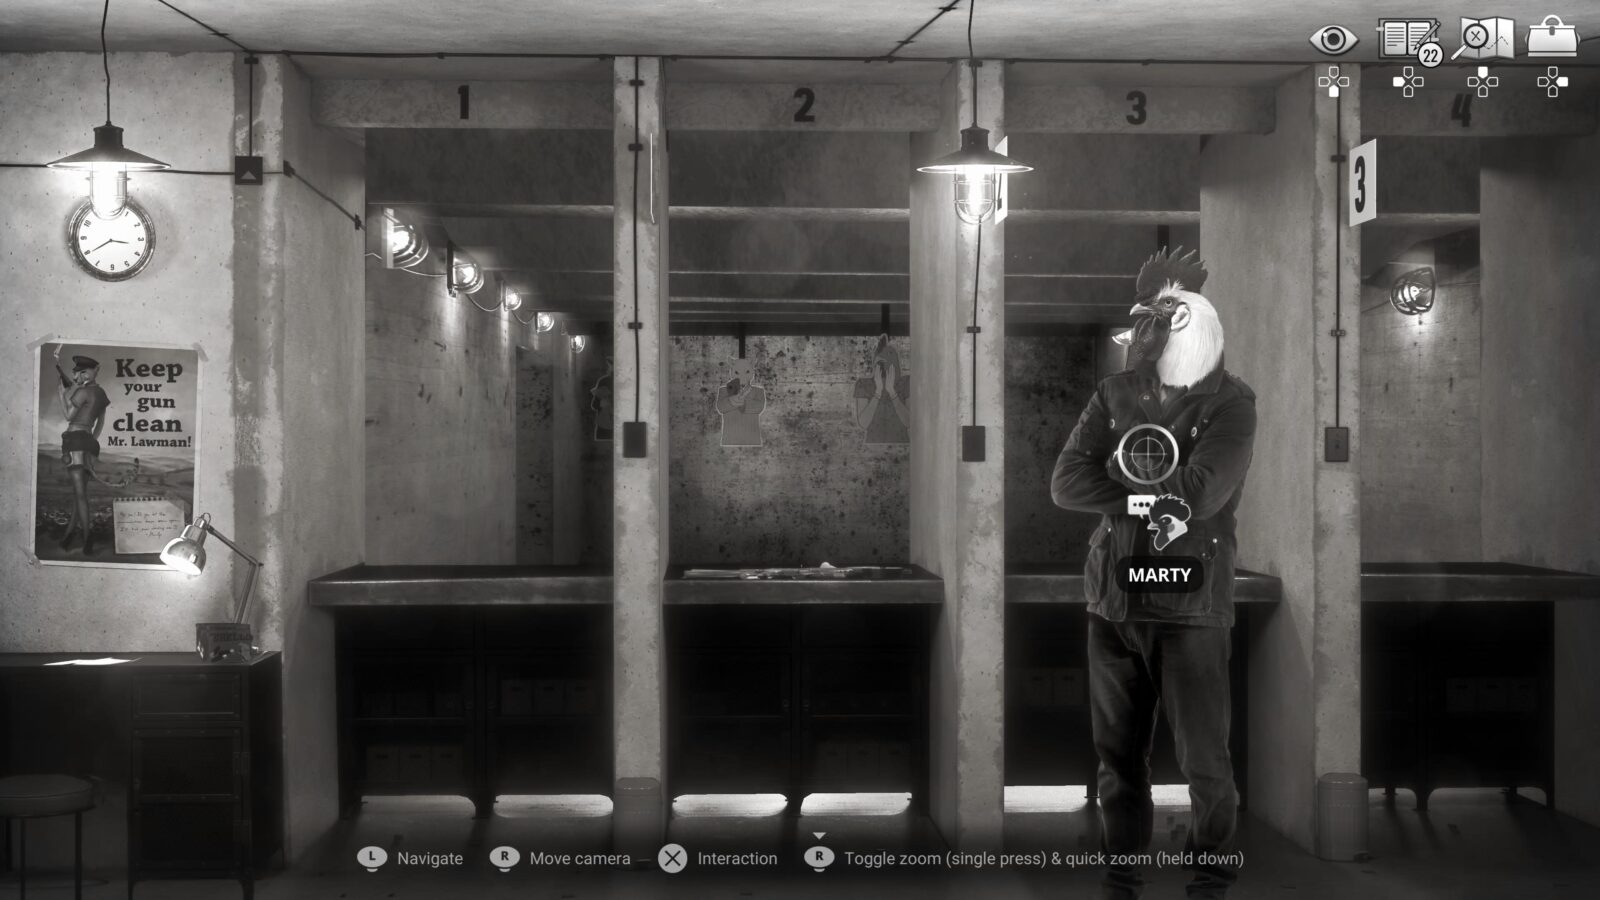
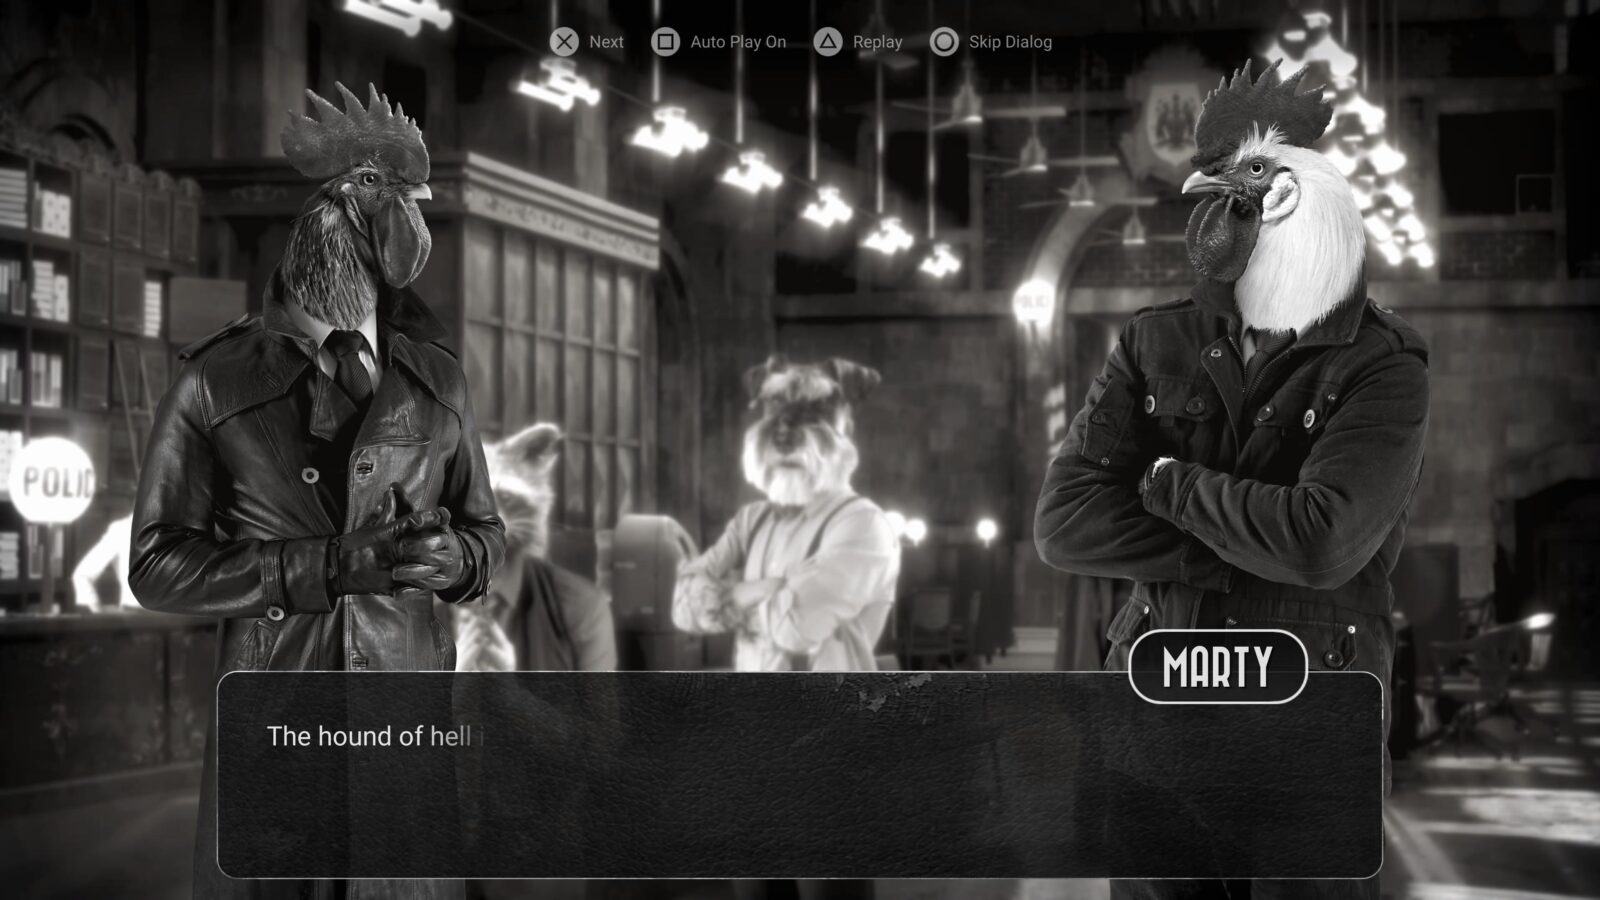
Here in the shooting range, there’s another character needed for The Social Type trophy; Marty MacChicken. Speak to him and exhaust all dialogue to collect Personal Information 18 and 19/97.
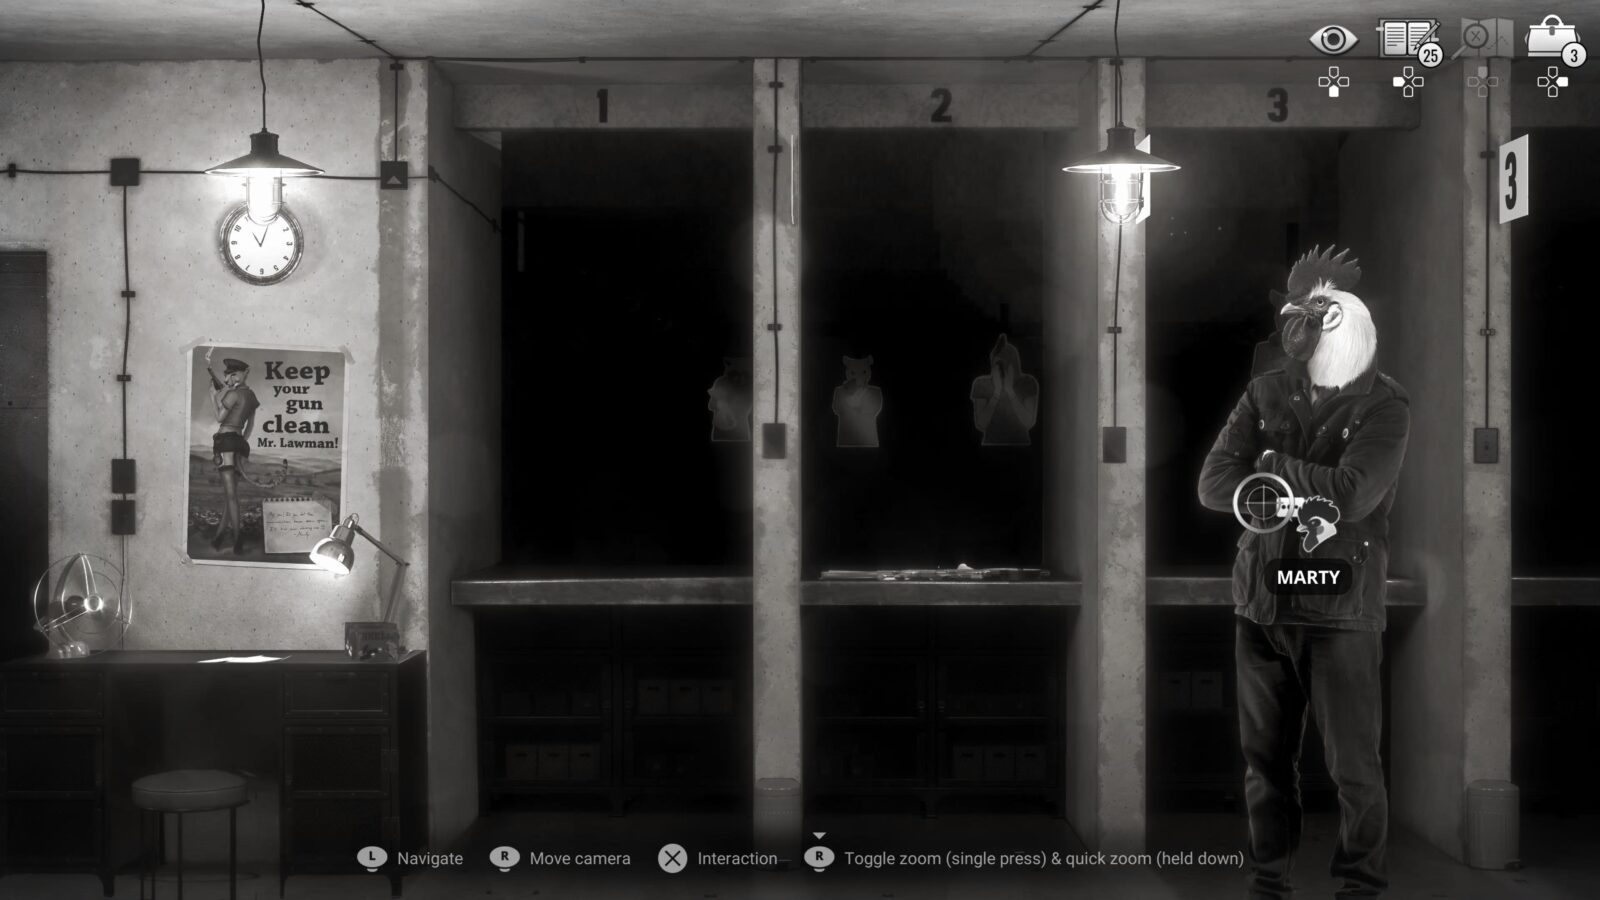
While you and Marty are together in the shooting range, you need to interact with the “Keep your gun clean, Mr. Lawman!” poster on the wall.
Keep doing this until Marty says “Bye Mandy, See you Soon.” At this point, you’ll progress your Art Gallery Item collection.
Make sure you don’t leave without giving the Shooting Range a go!
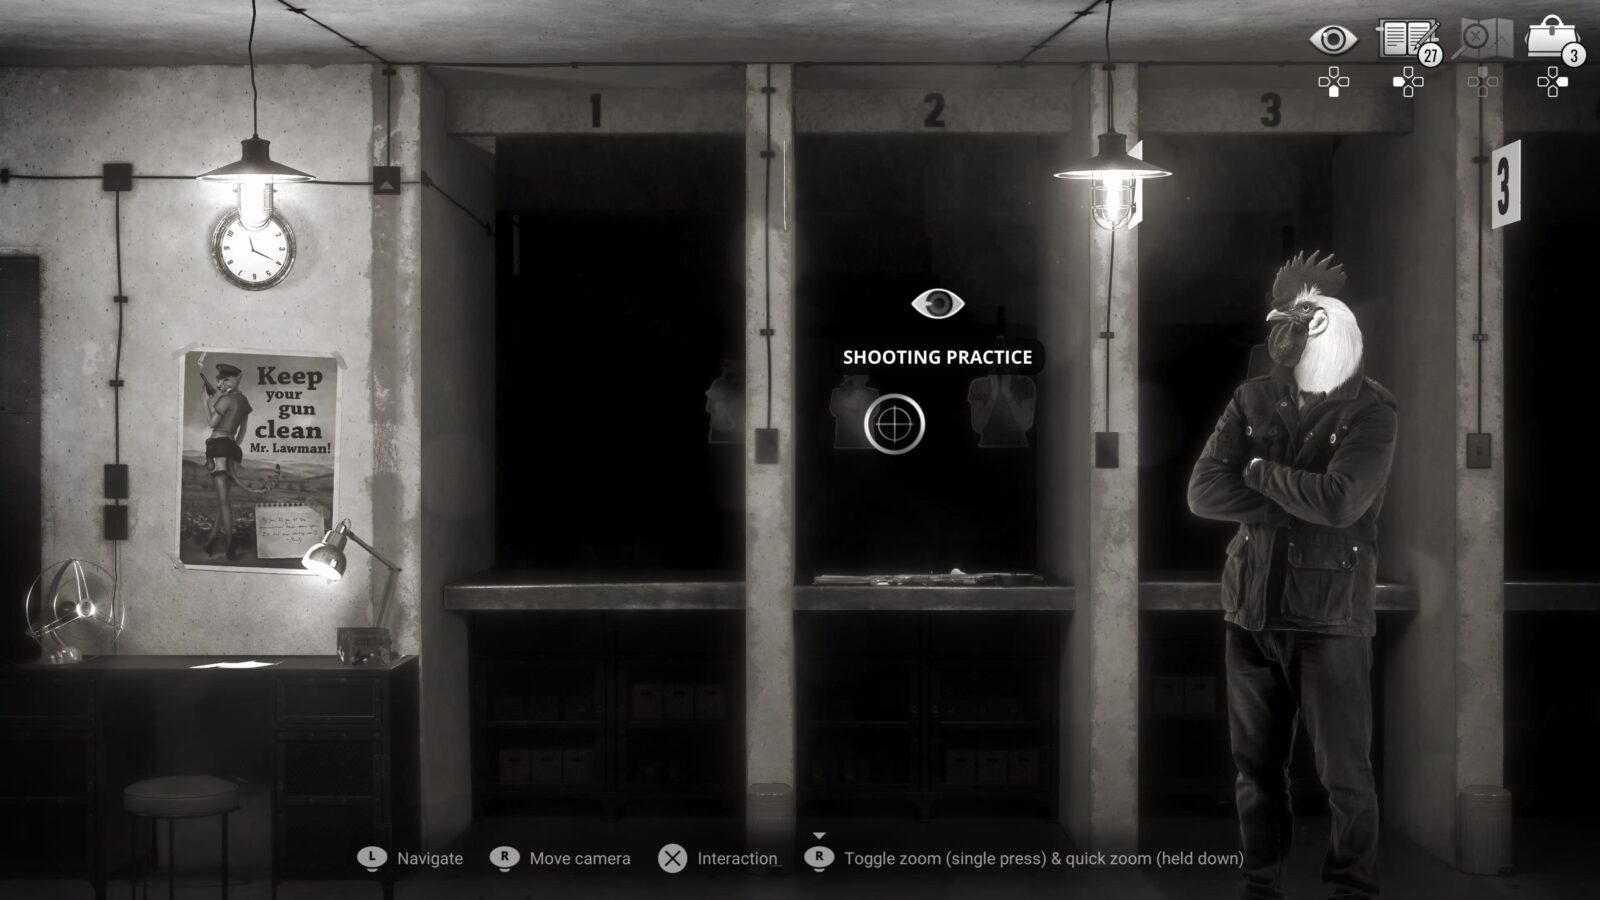
First interact with the lightswitch so you can see down-range, then interact with the range itself to begin the minigame.

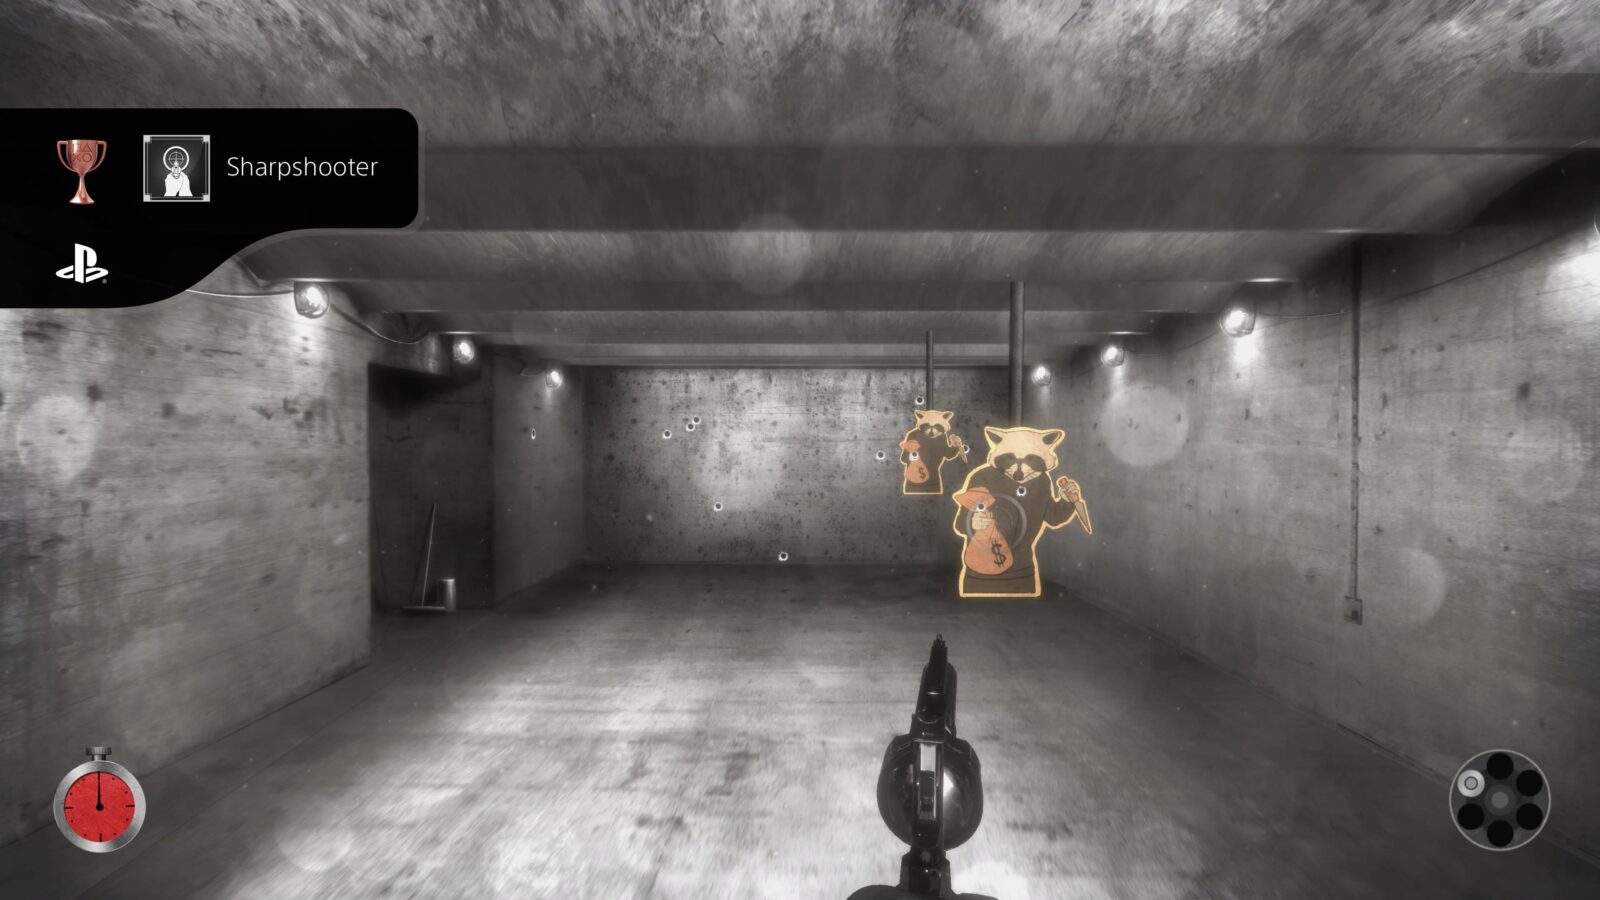
Sharpshooter
Score at least 5000 points at the shooting range
There is a target practice minigame in the Shooting Range at Clawville P.D. In it, you will need to shoot enemy cutouts while ensuring you avoid shooting any civilians.
Each enemy you kill increases the amount of time you have left at the shooting range, while shooting a civilian will reduce that time.
To unlock the Sharpshooter trophy, you will need to earn a score of 5,000 points before the timer can drop to 0. This should be fairly easy to do as long as you don’t shoot any civilians, and you remember to reload after every 6 shots.
Reloading takes a bit of time so you’ll need to try and find the best opportunities to reload for optimum performance. Honestly, though, it’s not that difficult and if you don’t succeed on your first try then you should have it down by the second or third attempt.
Return to the lobby with Marty and look at the Police Crest Art Gallery Item again to get Marty’s thoughts on it.
Speak to Bosco again and exhaust all dialogue options to get Codex 5 and 6/27, making sure you ask him about the Hop-Dog.
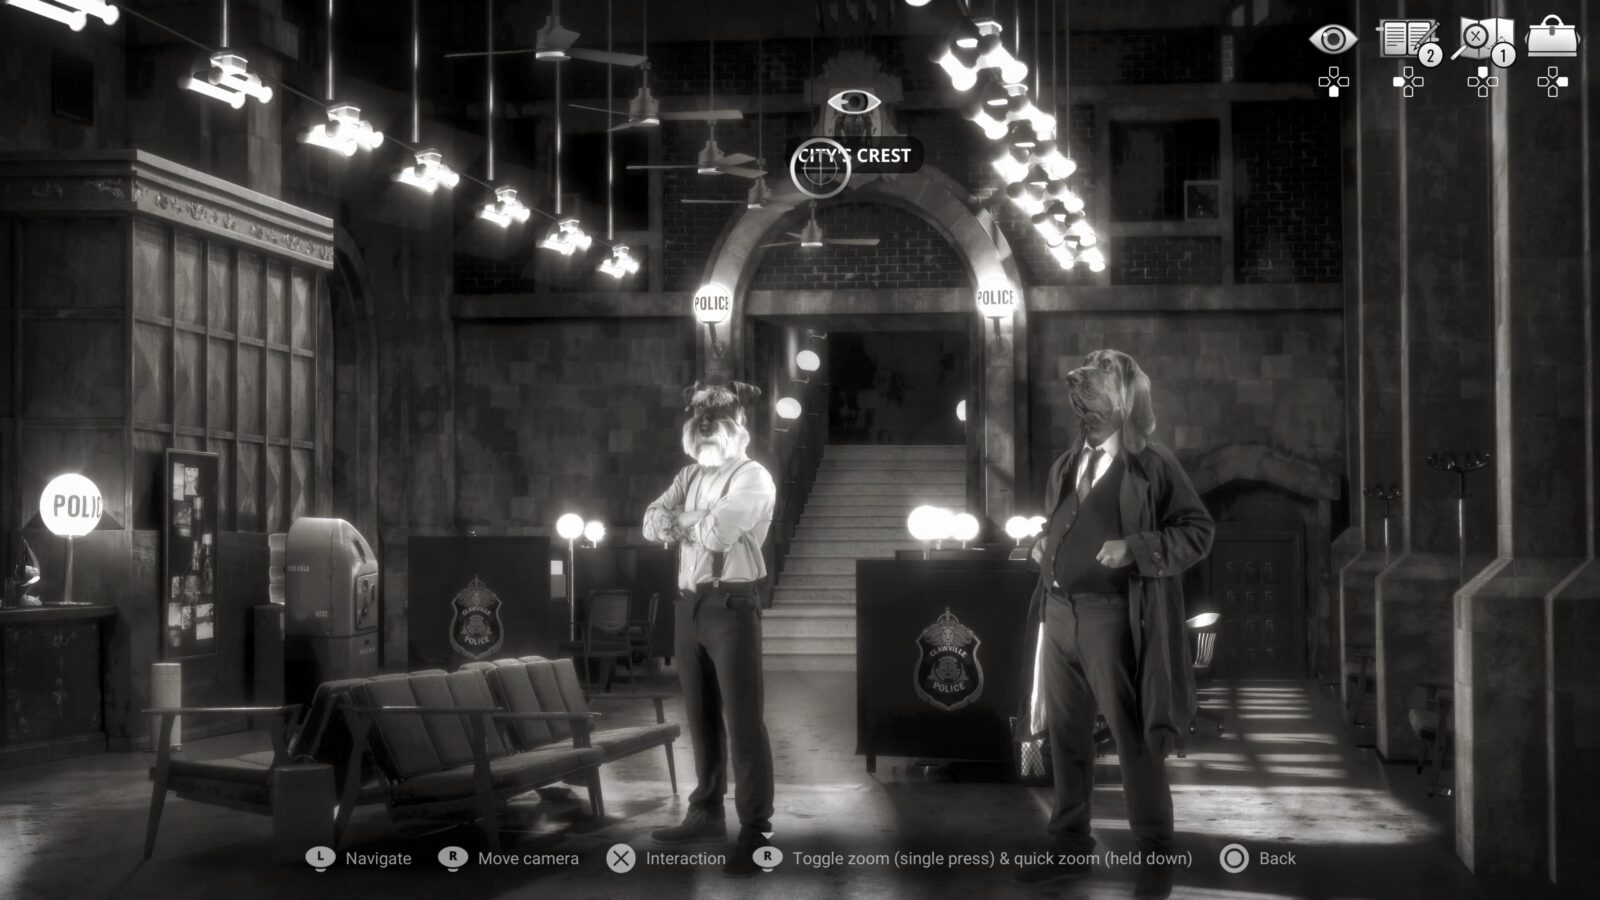
While you’re here, you can also interact with the City’s Crest above the stairs to collect Codex 7/27.
Progress towards The Social Type 8/28
The next character you need to speak to for The Social Type trophy is Bloodboyle.
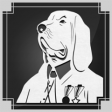
Progress towards Barking Dogs Never Bite 1/4
First choose to “Look” at Bloodboyle, then exhaust all dialogue options with him to get Personal Information 20/97 and progress the Barking Dogs Never Bite trophy.
Speak to Monica behind the receptionist’s desk one last time before leaving to the outside of the Police Department.
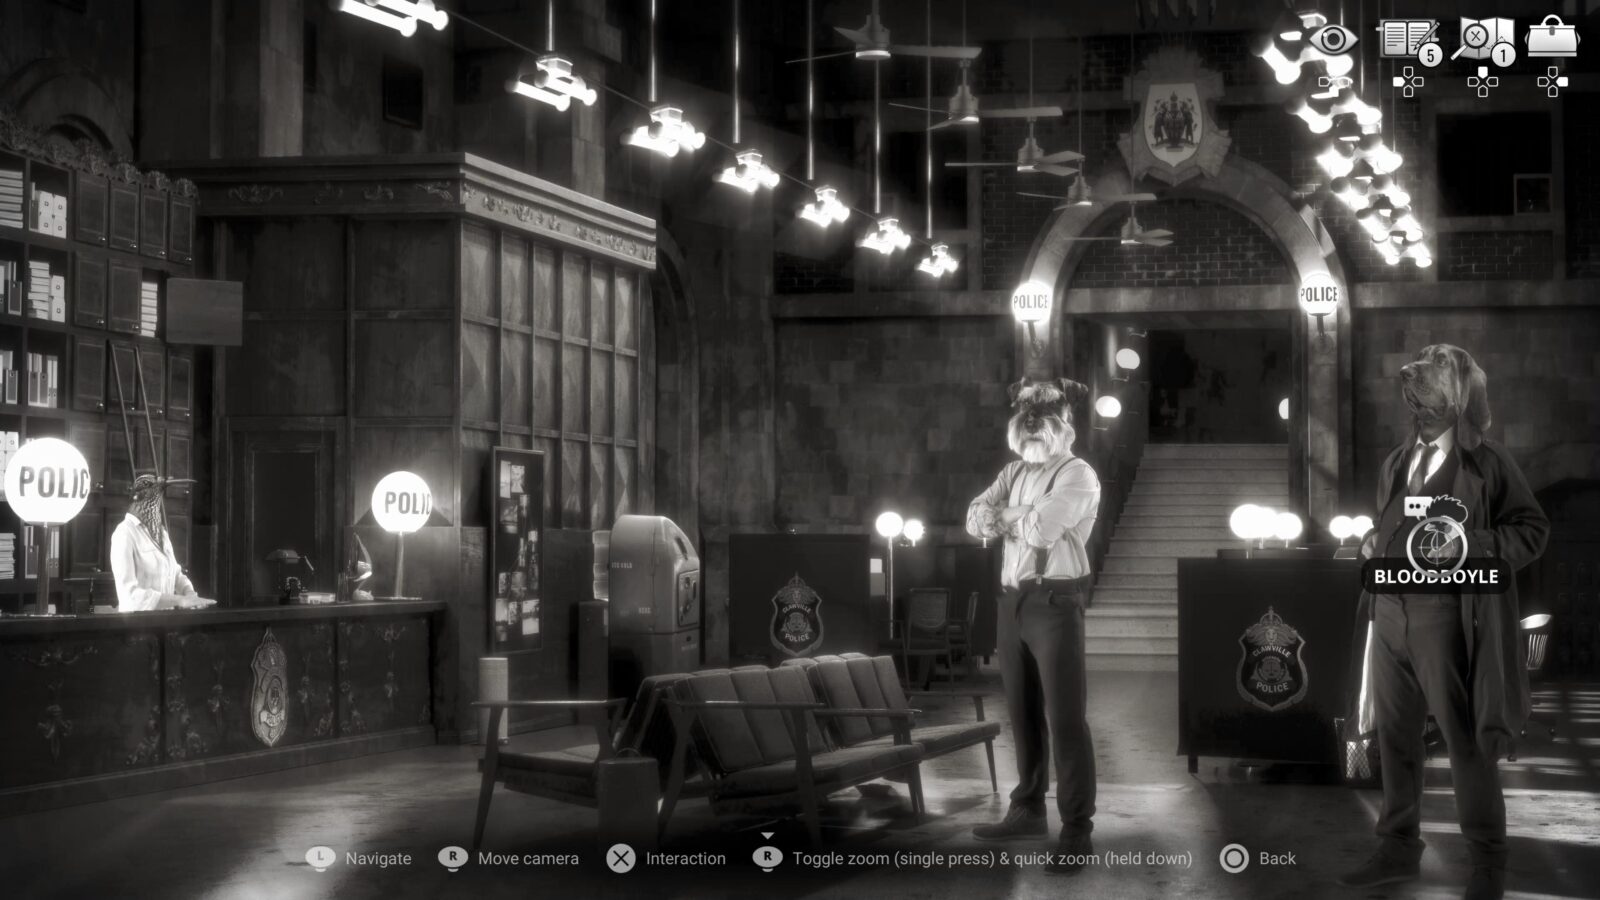
Look at the bullet holes in the wall to the right of the Police Department entrance to collect Personal Information 21/97 and then look at the left side of the entrance for another Art Gallery Item.
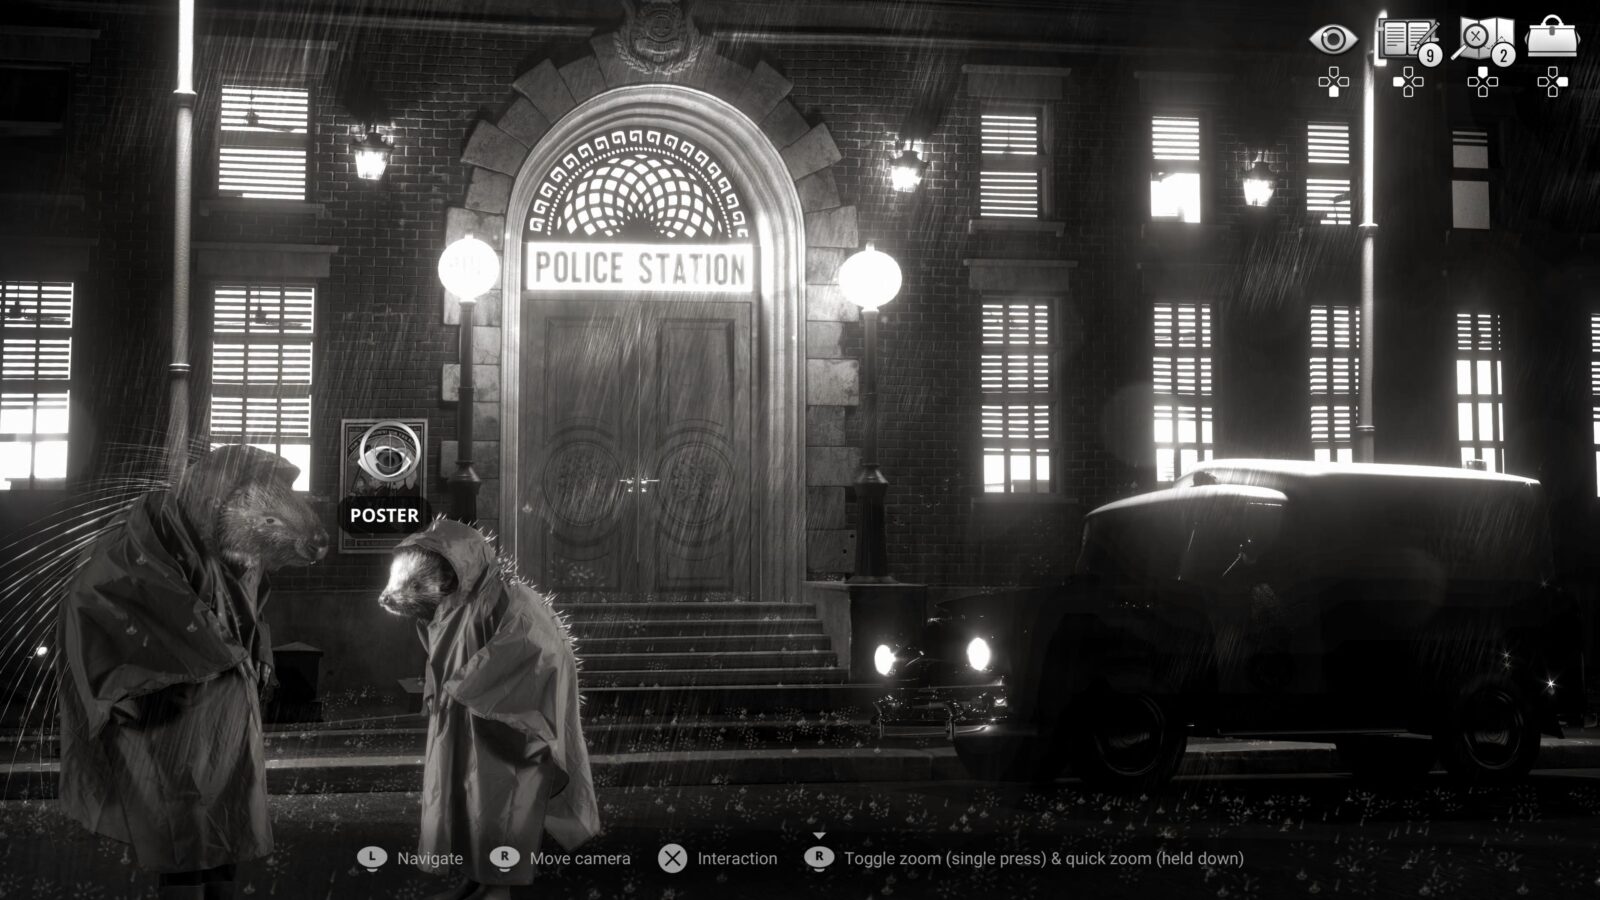

Progress towards The Explorer 1/15
The first location we should visit, one of the 15 locations needed for The Explorer trophy, is the Hop-Dog!
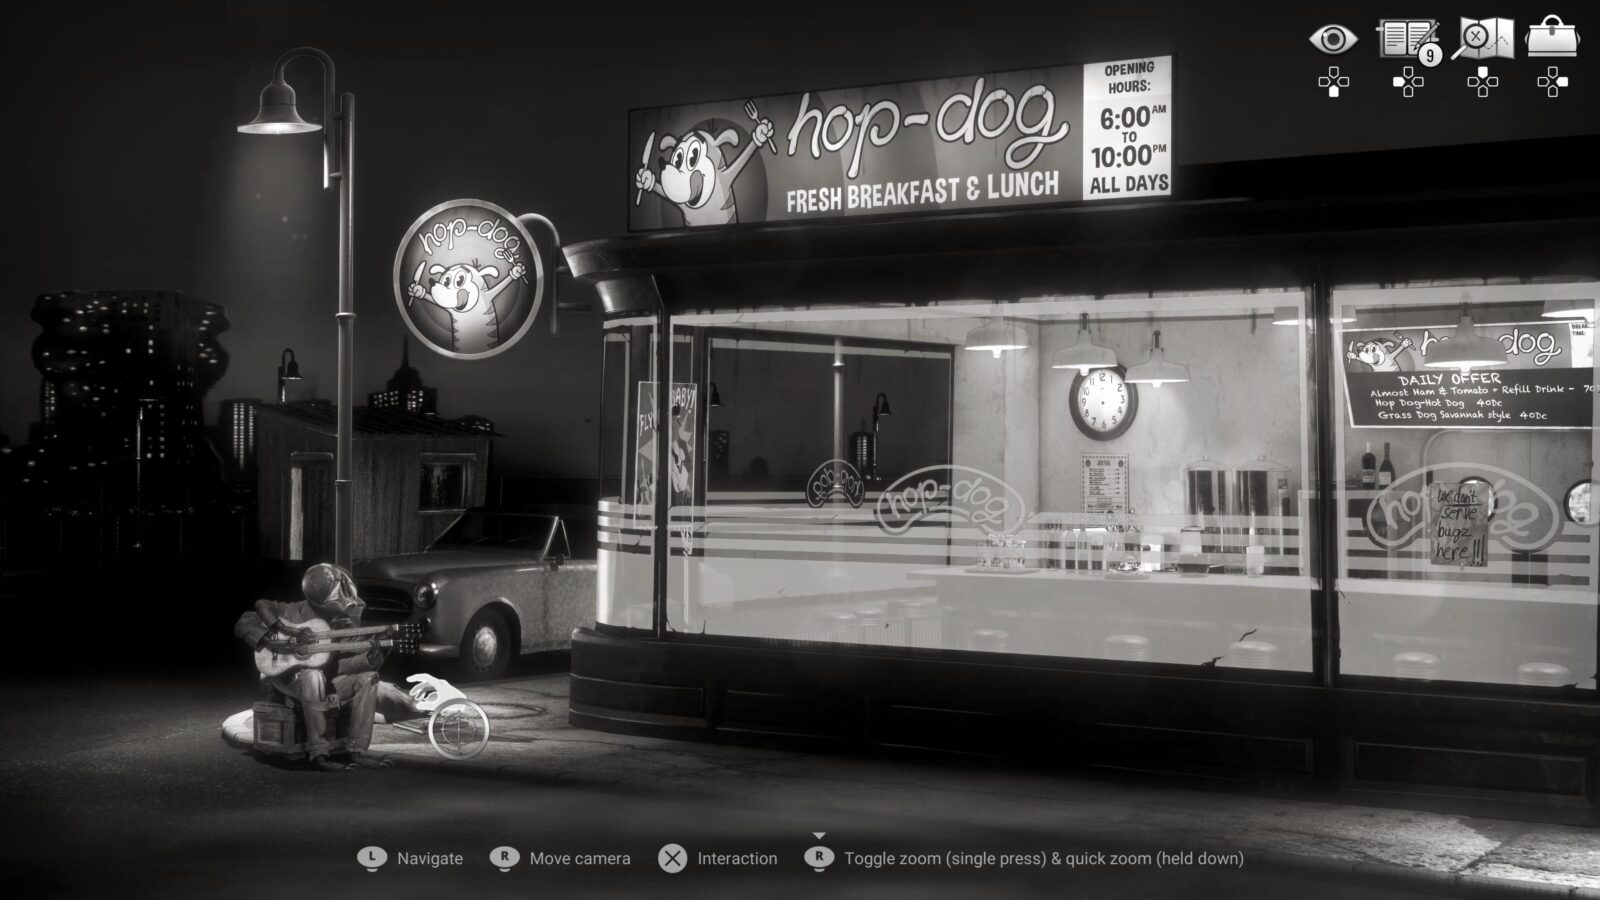
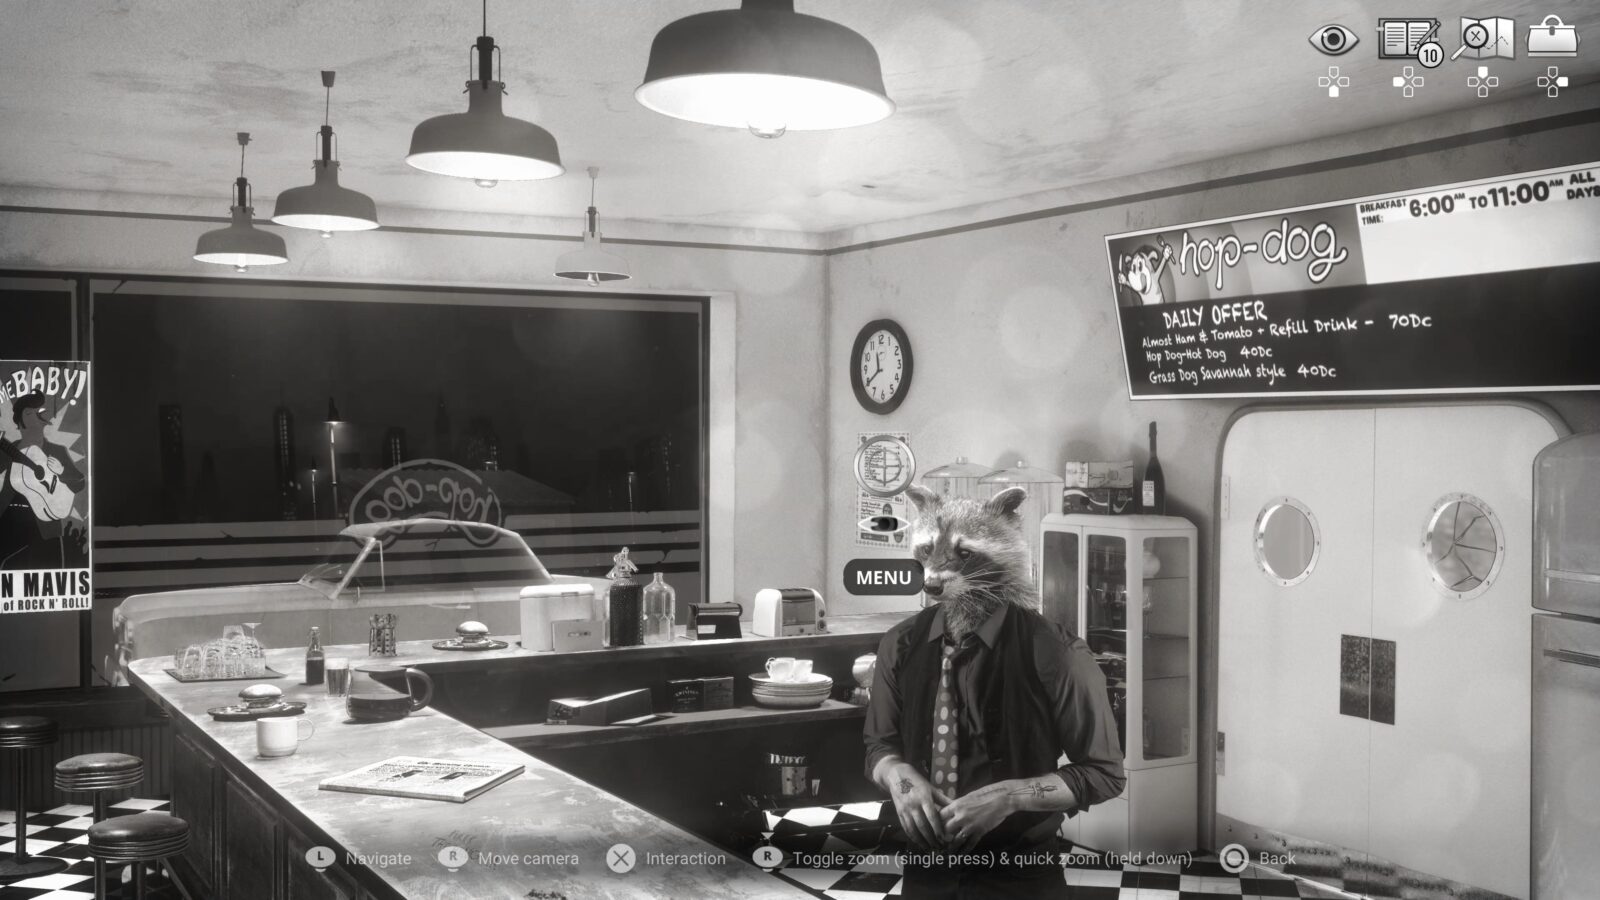
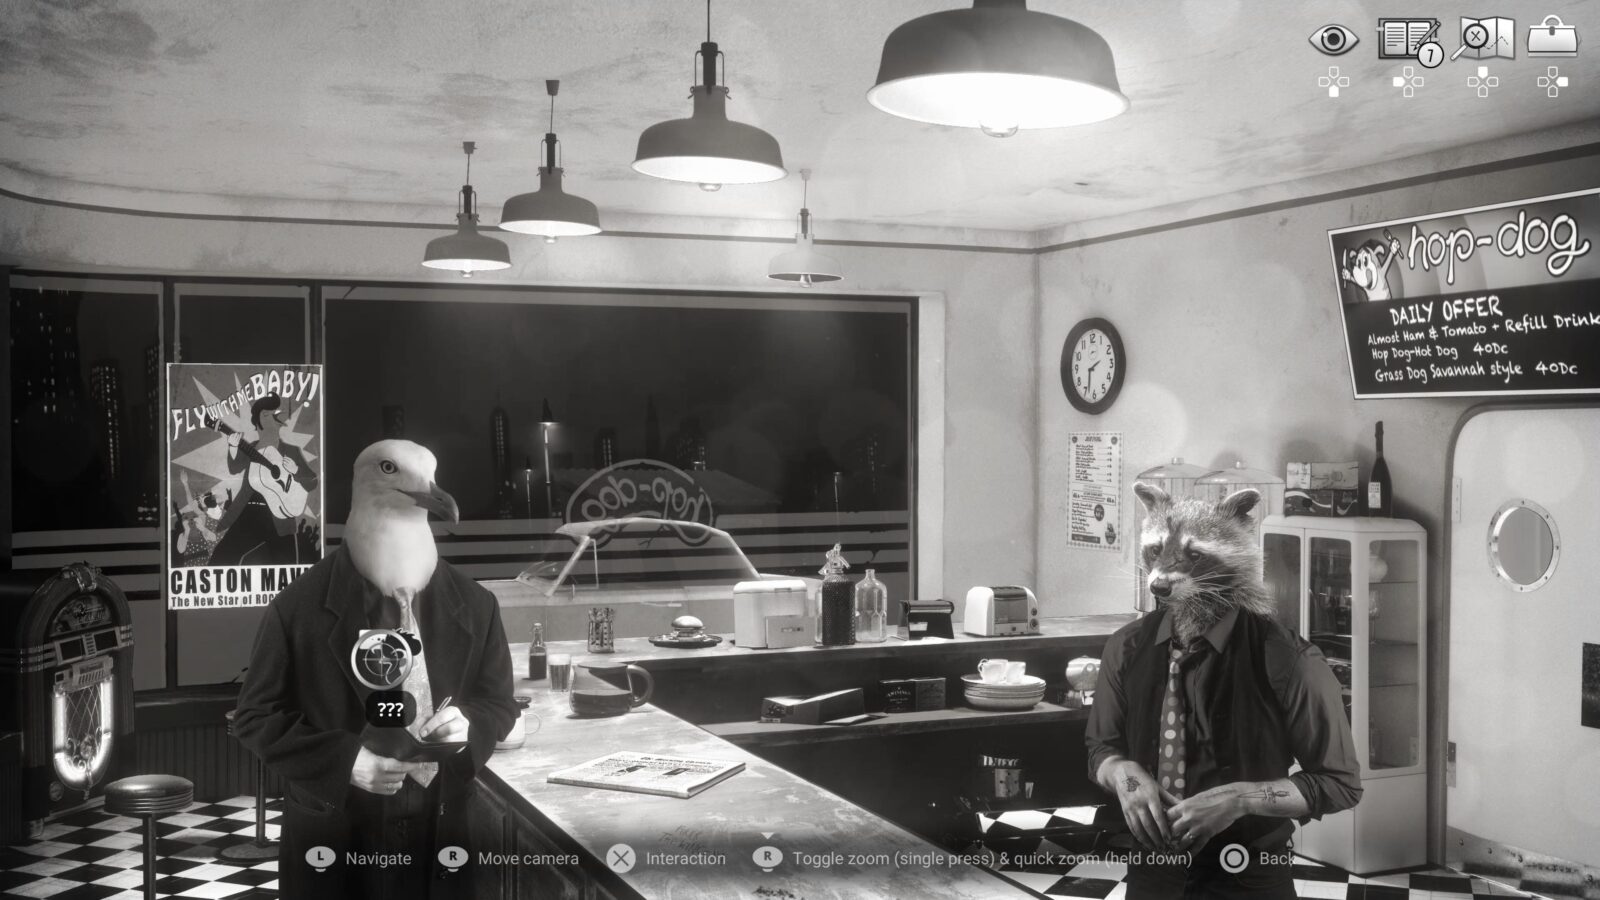
The Hop-Dog
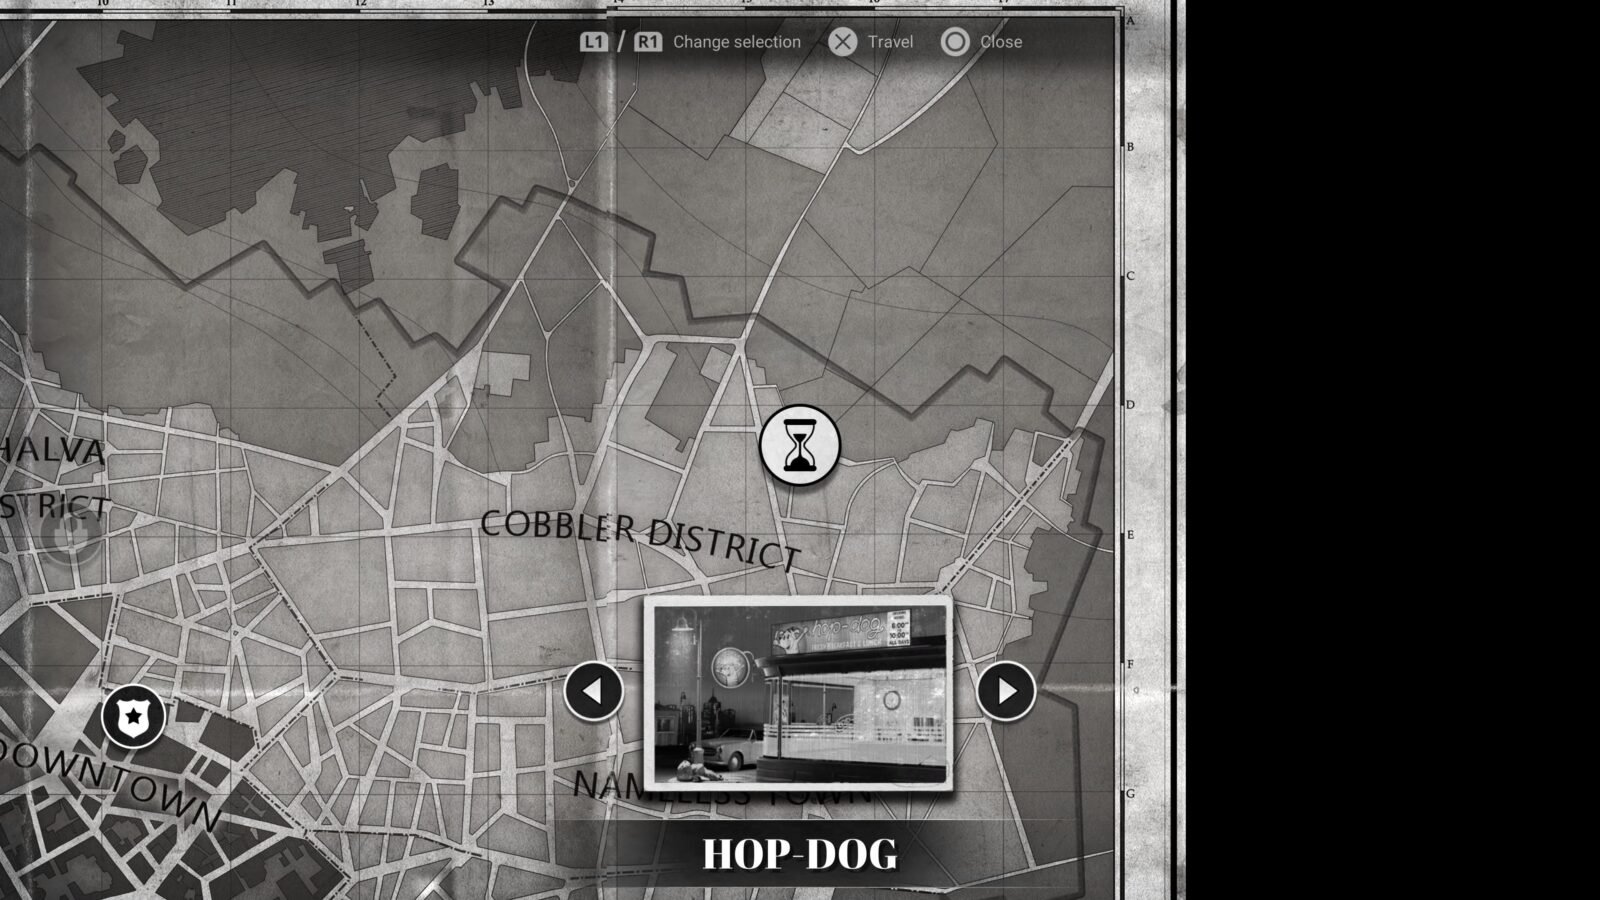
The first thing to check out at the Hop-Dog is their sign above the Diner, which is an Art Gallery Item. Then, look for “The Hive” in the distance to the left of the Diner and interact with it for Personal Information 22/97.
Behind the “Fly-Guy” playing guitar nearby, you’ll see another Chicken Police Novel 2/10 – Fly in the Soup.
Progress towards The Social Type 9/28
Next, look at Fly-Guy to receive Codex 8/27 and then speak to him to progress The Social Type trophy.

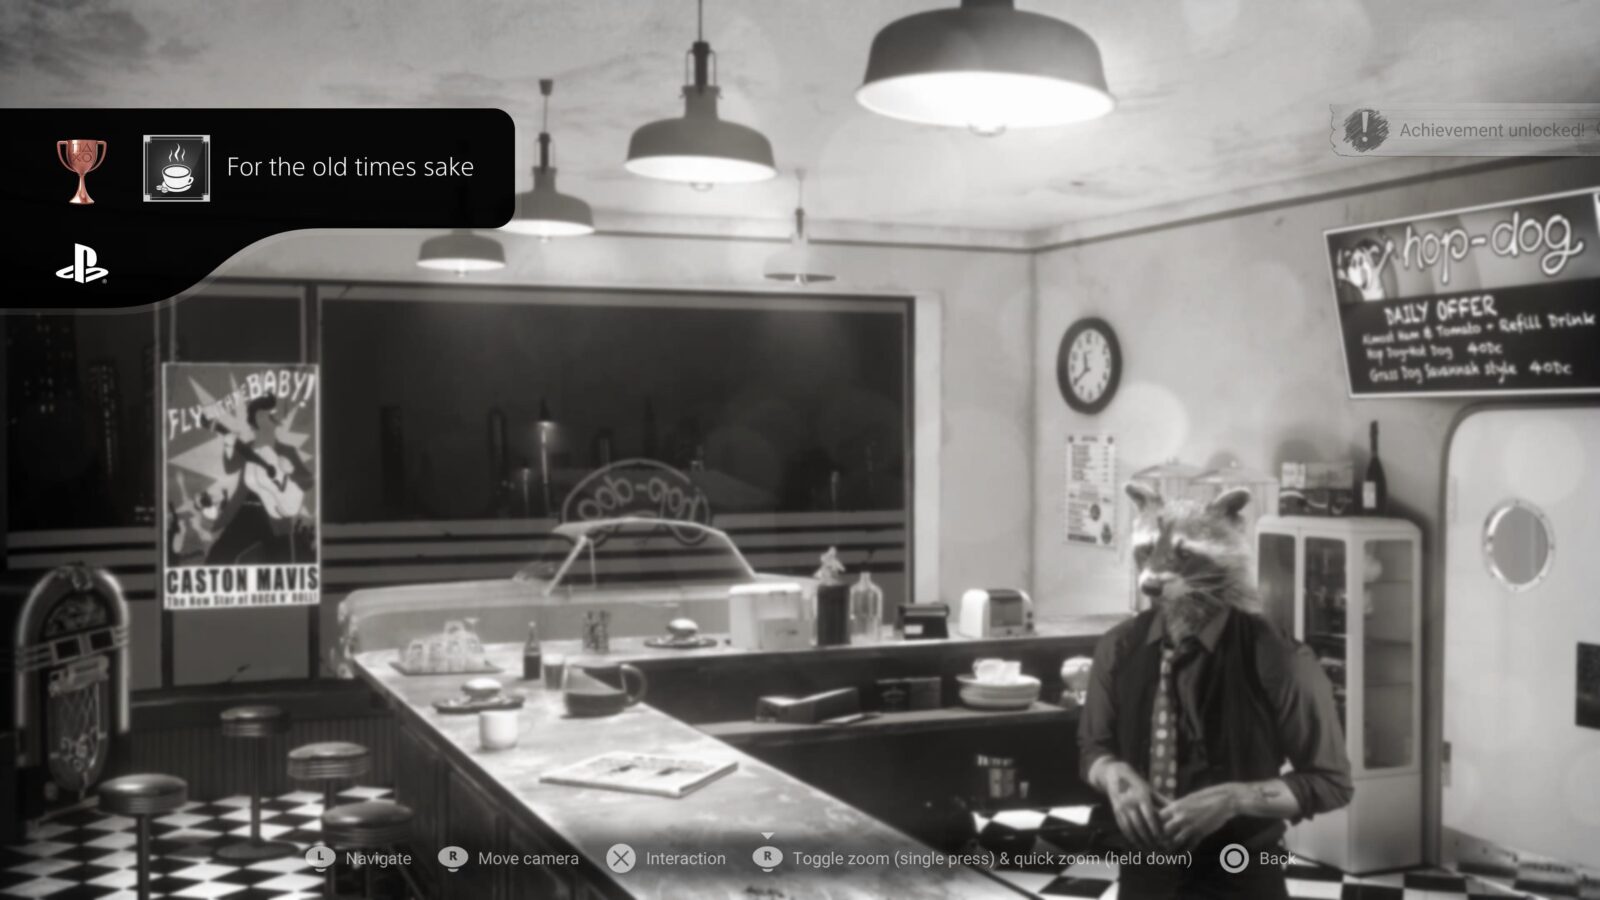
For the old times sake
Visit the Hop-Dog after the first Police scene
Enter the Hop-Dog and you will receive the “For the old times sake” trophy. If you went anywhere except the Hop-Dog after leaving the Police Department, then you have missed this trophy and will need to start a new save.
At the back of the Hop-Dog there is a poster on a window with the text “Fly with Me Baby!” Interact with it, for it is an Art Gallery Item.
On the back wall of the diner, there’s a printed menu. Interact with it several times until you receive Codex 9/27.
Progress towards The Social Type 10/28
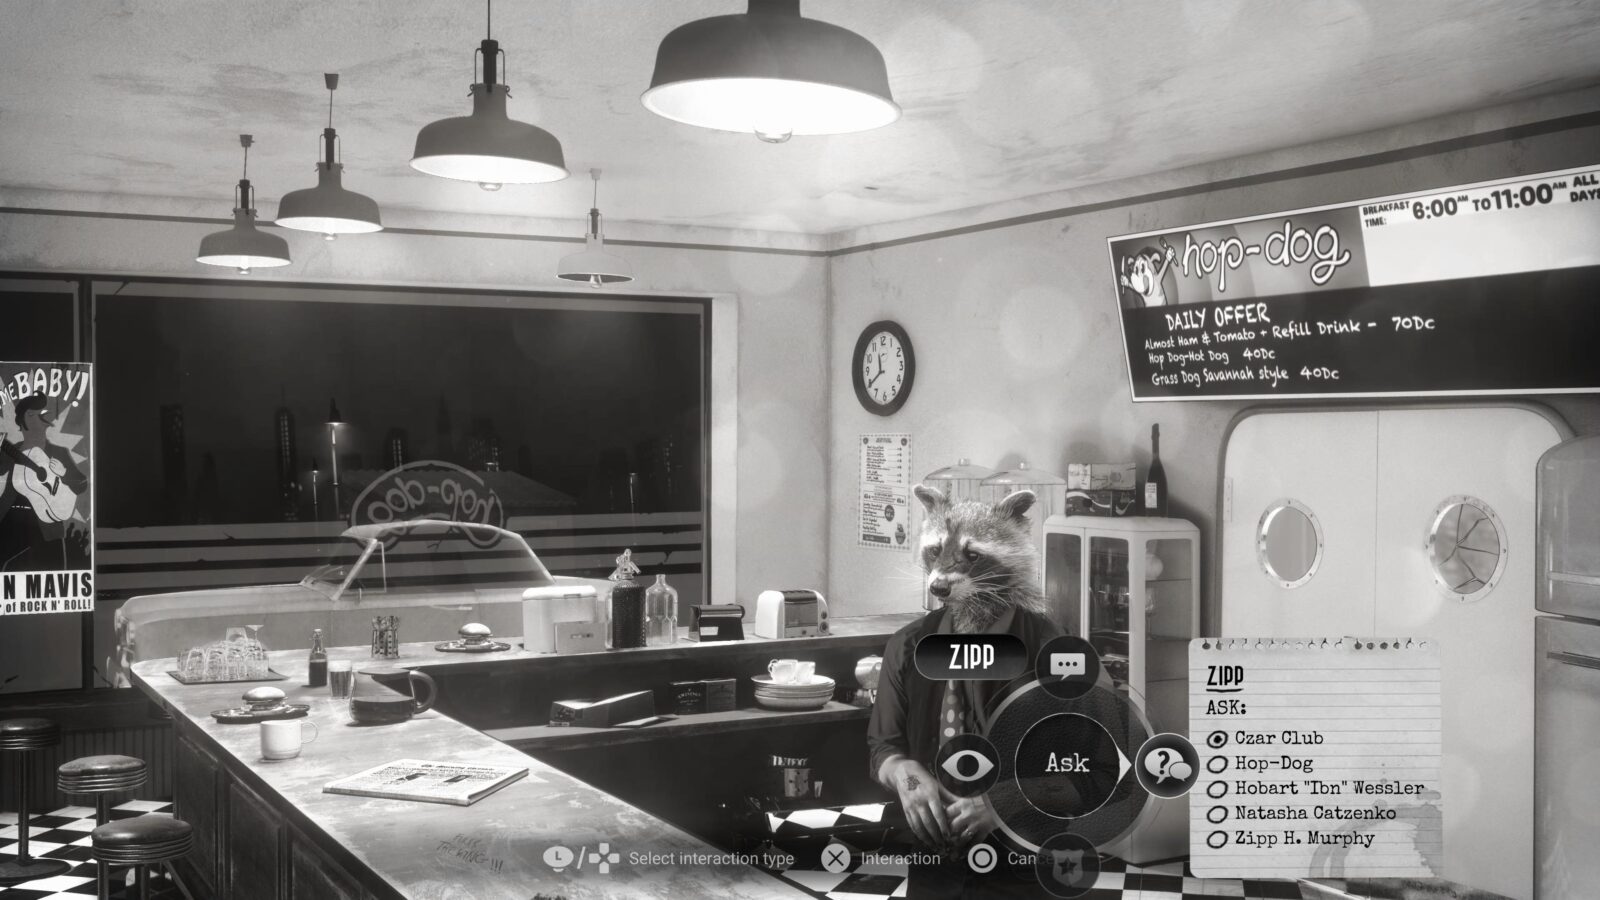
“Look” at the character named Zipp to receive Personal Information 23/97 and then speak to him to progress The Social Type trophy. Exhaust all dialogue to ensure you receive Codex 10/27 and Personal Informations 24, 25, and 26/97 from him, making sure to ask him about the Czar Club.
Progress towards The Explorer 2/15
There’s nothing else for us to do here at the Hop-Dog, so you may leave and revisit Hotel Atlas, where the game began.
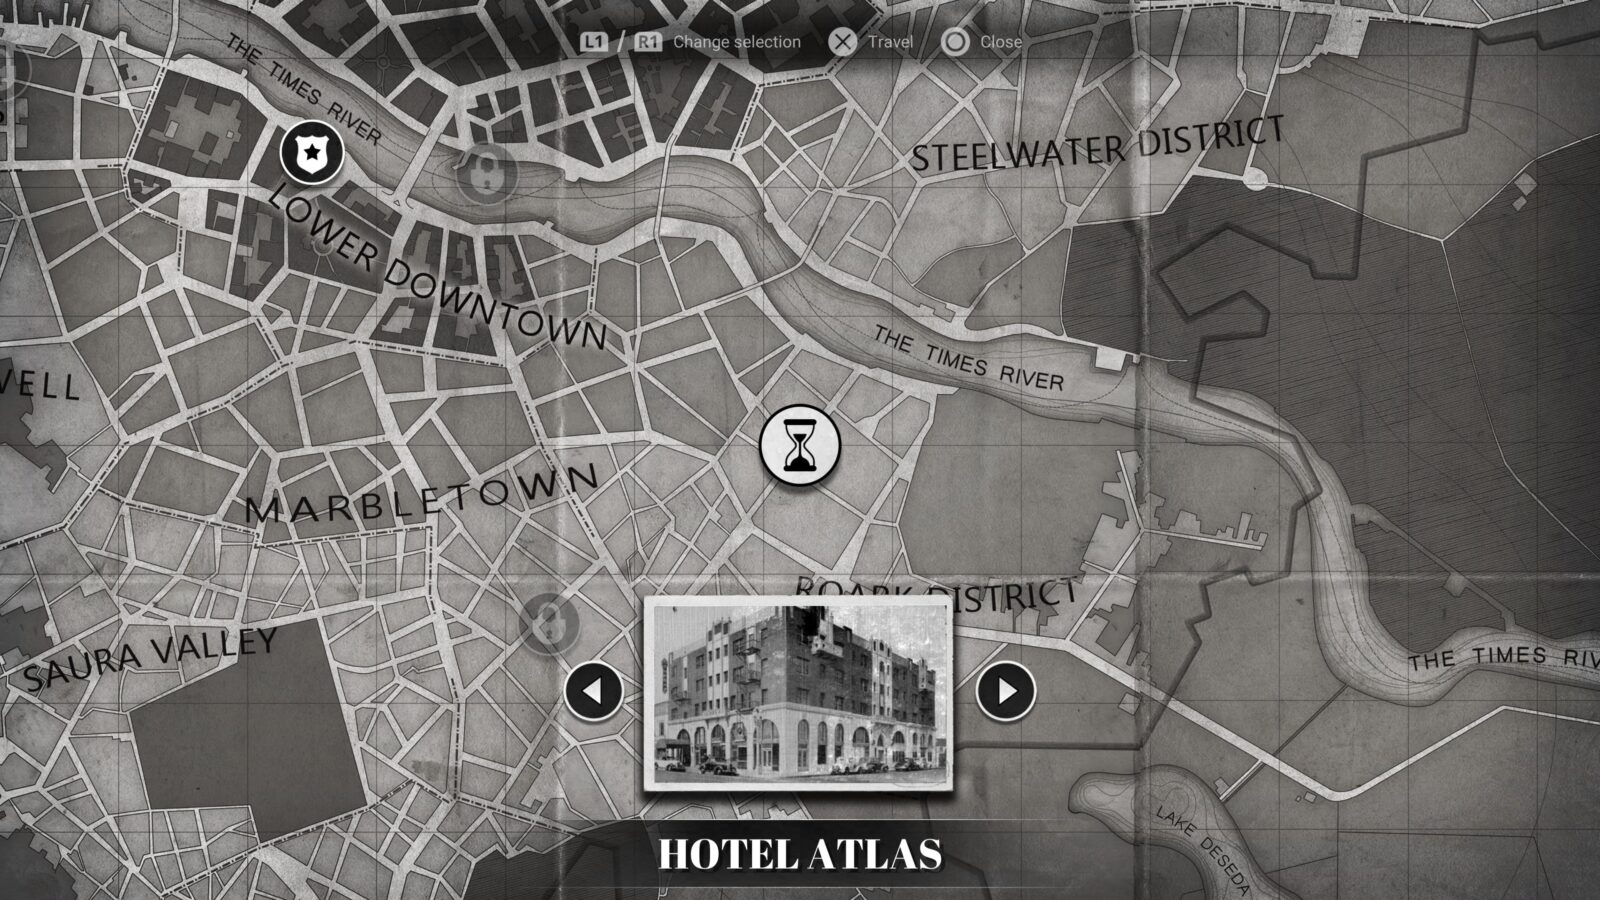
Hotel Atlas II
Now that Marty is with you, interact with the pictures on the wall at the back of the room, which is an Art Gallery Item.
Specifically, interact with “The Wild Gentlemen” picture to receive Codex 11 & 12/27. You must also interact with the “Good Times” picture to get Codex 13/27.
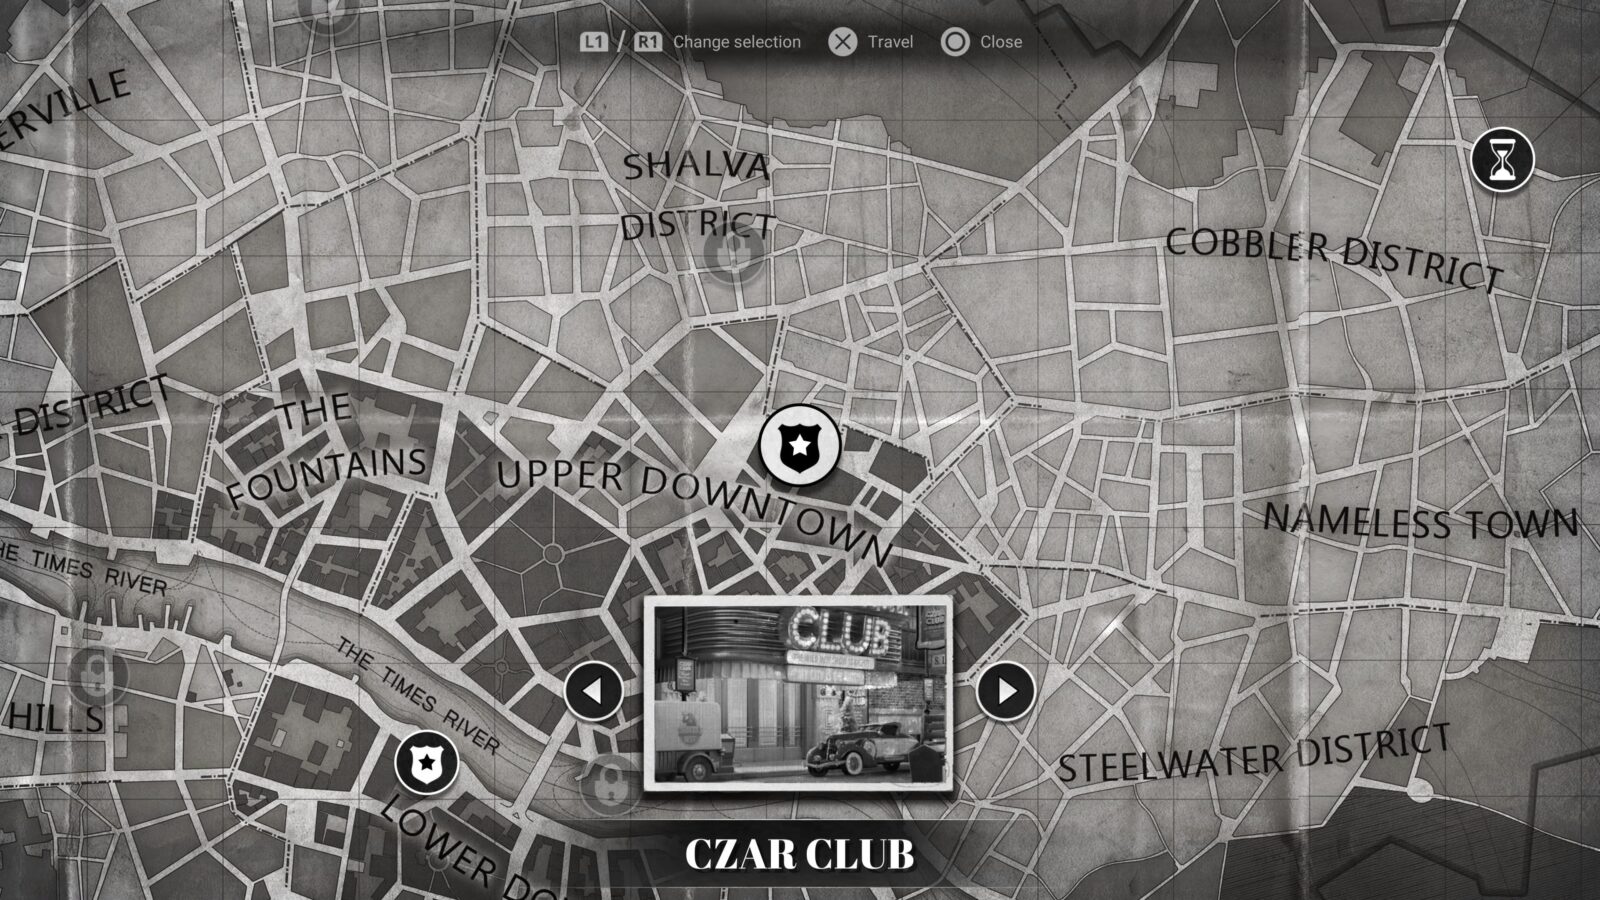
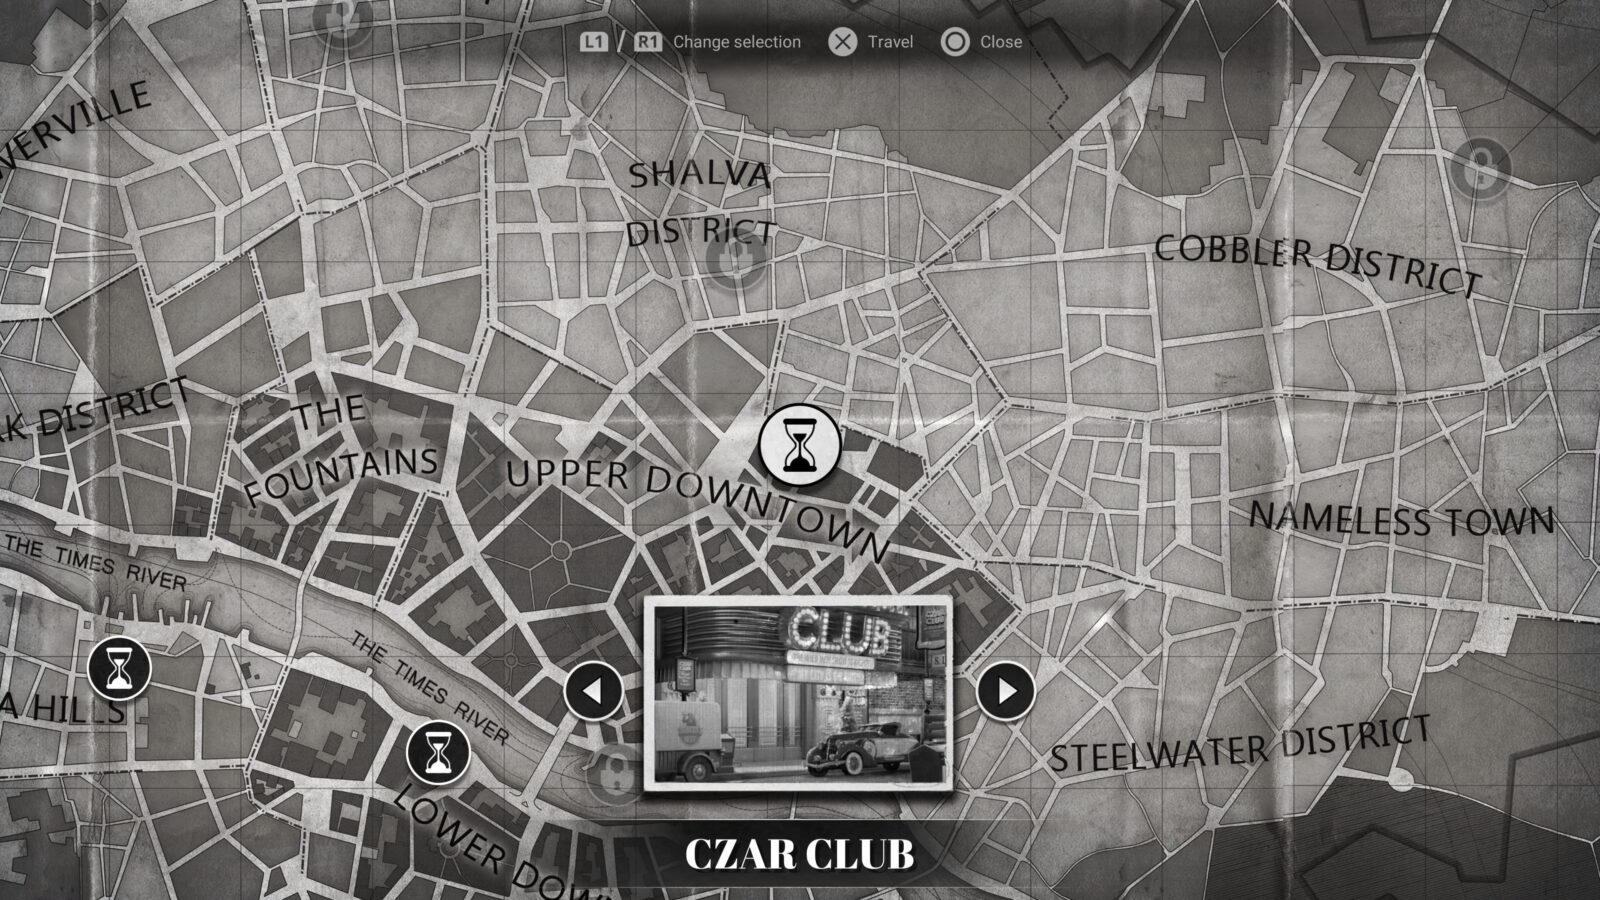
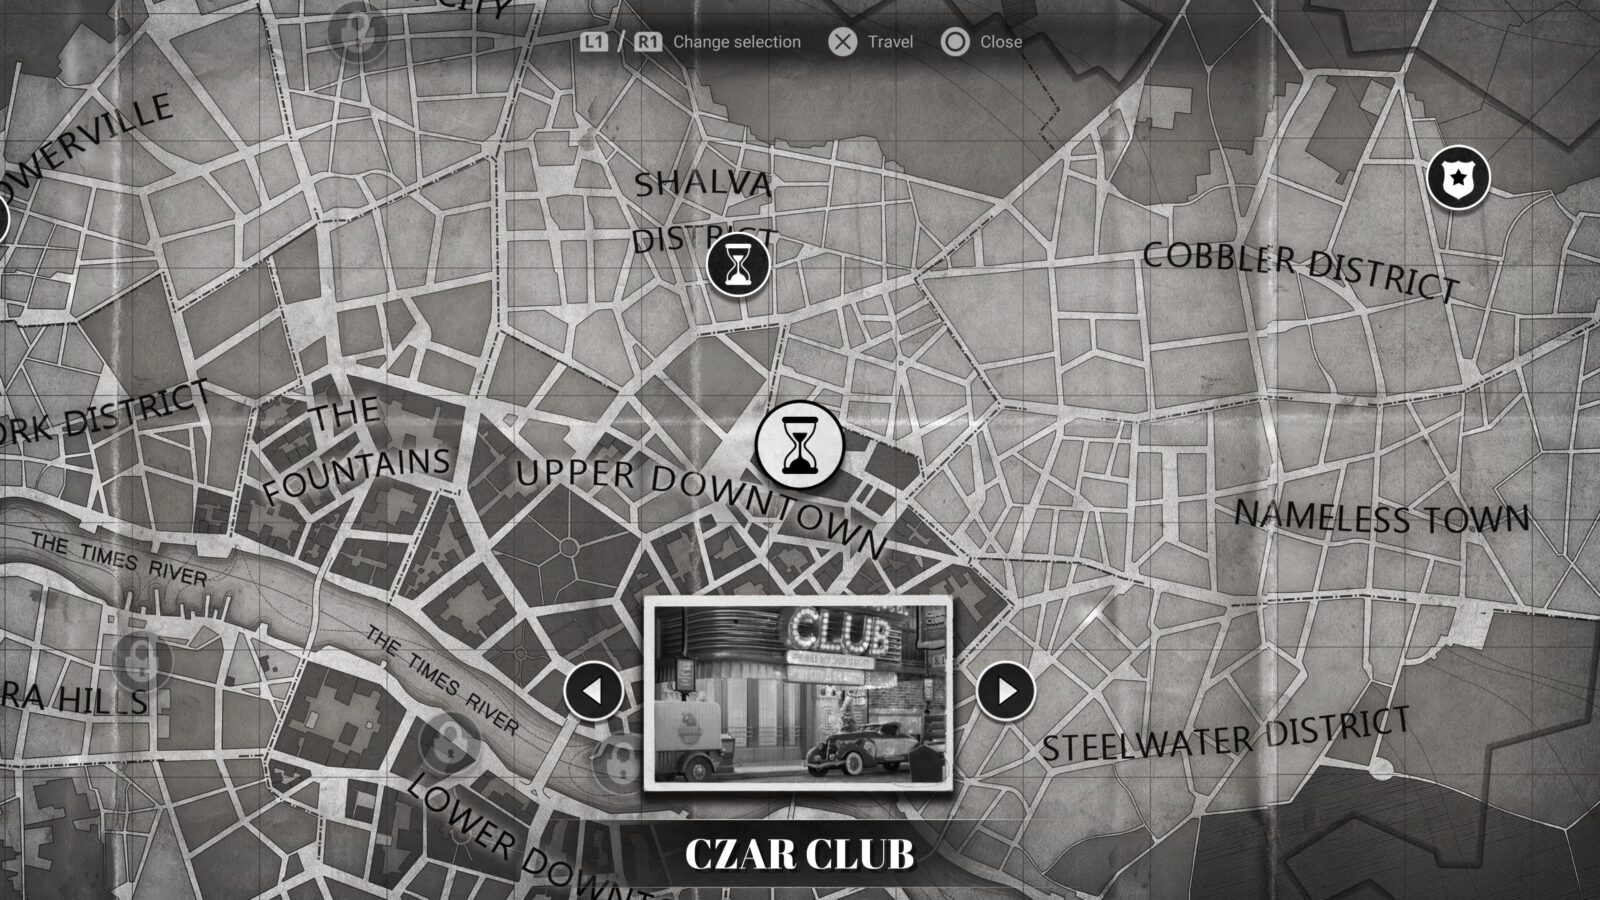
You may now leave and head to the Czar Club.
The Czar Club
When you first arrive at the Czar Club, you’ll get an unmissable Cutscene. When it ends, interact with the Art Gallery Item, a “Czar Club” poster on the left wall.
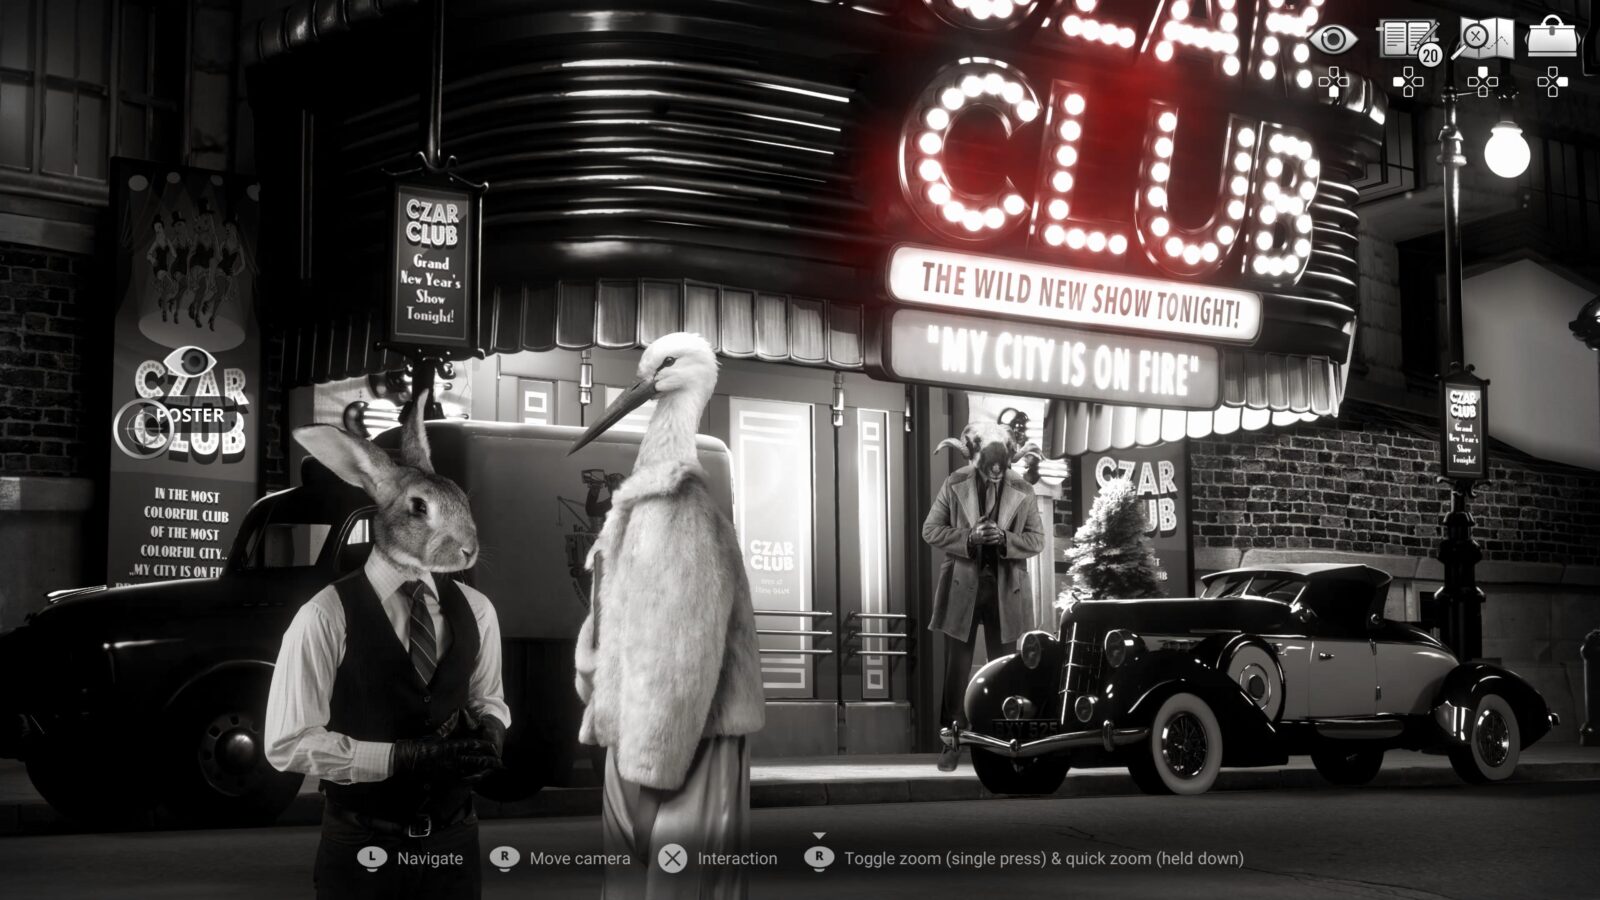
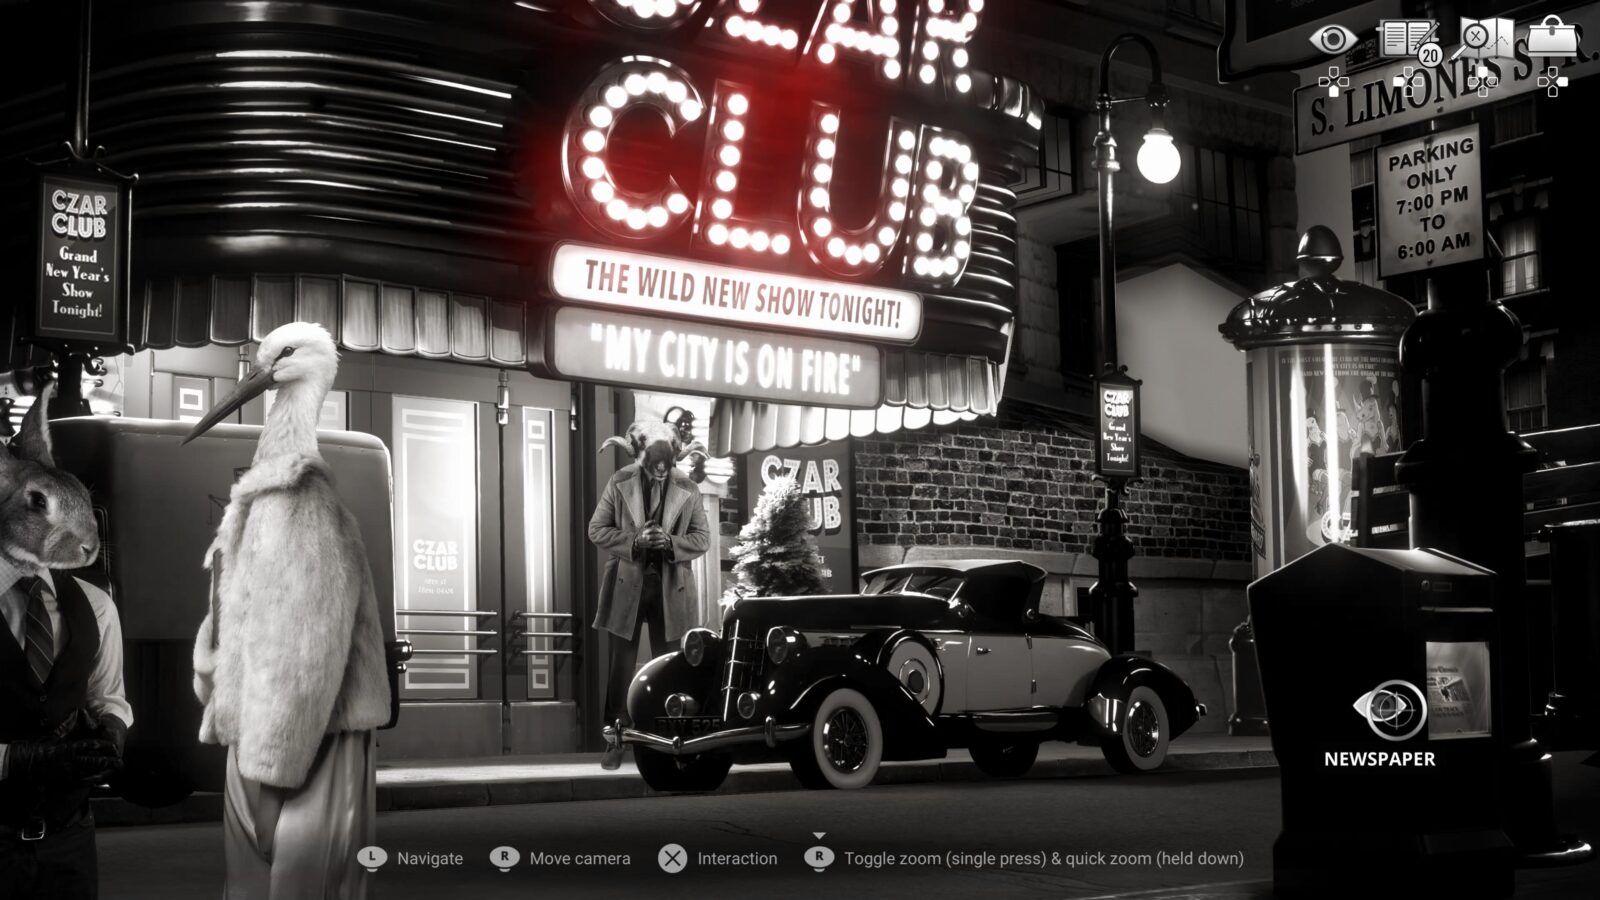
You should also interact with the newspaper stand to the right side of the screen, where you’ll find Codex 14/27.
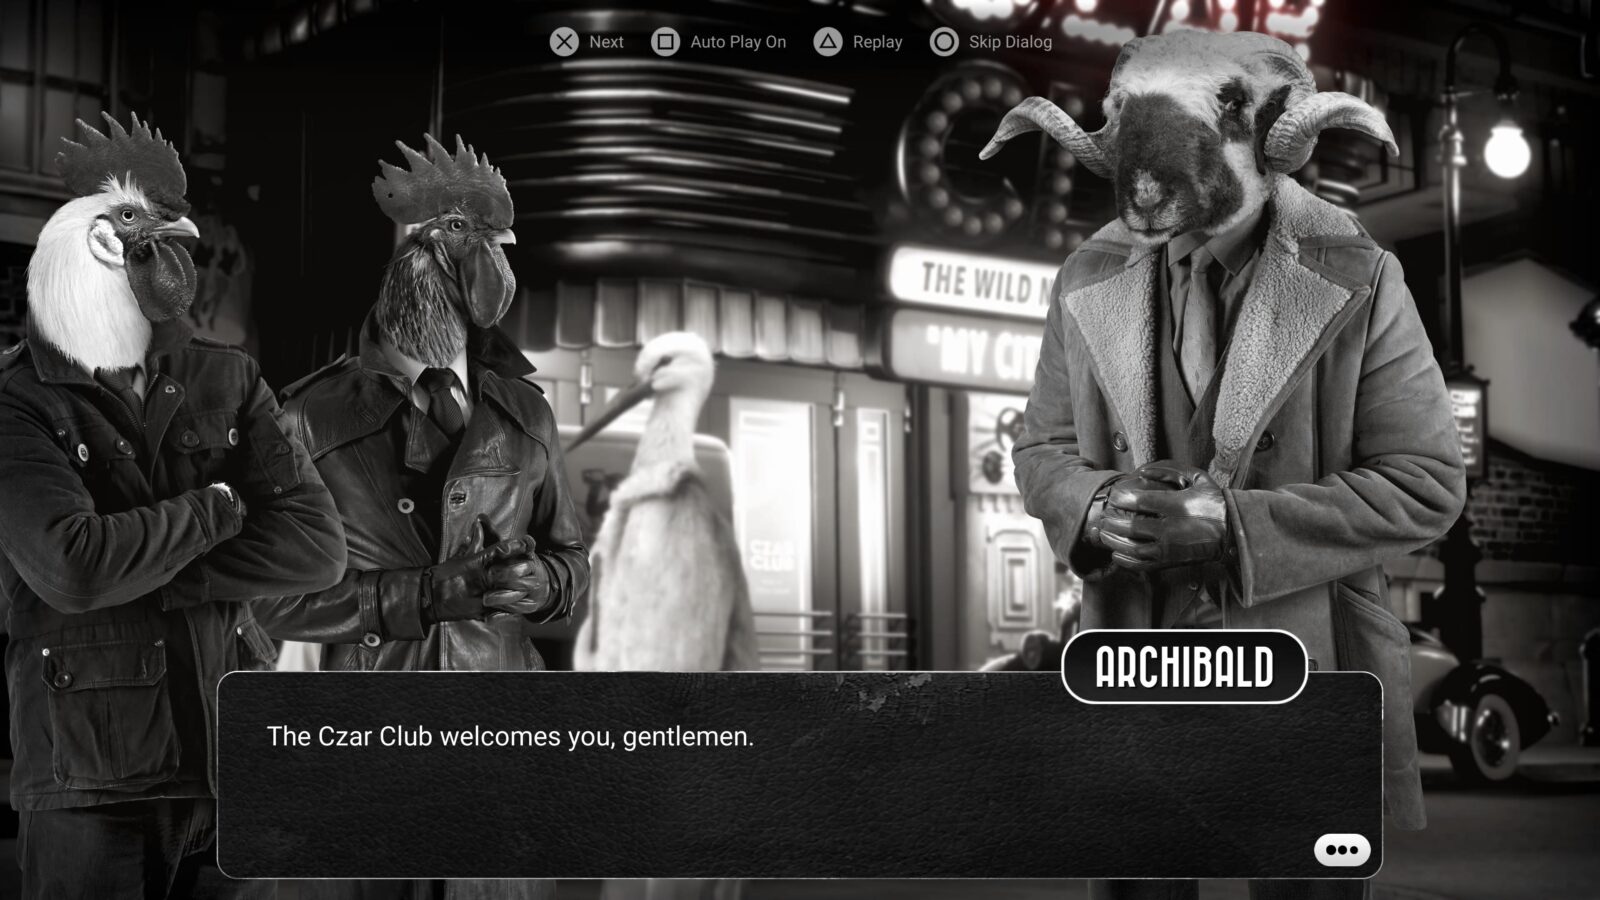
Progress towards The Social Type 11/28
The next character you need to speak to for The Social Type trophy is the Czar Club’s Bouncer, Archibald Conway. Exhaust all dialogue with him to unlock Personal Information 27/97.
To enter The Czar Club, do the following actions:
- “Look” at Lewis
- Speak to Lewis & exhaust all Dialogue
- Speak to the Bouncer again
- Enter the Czar Club
Progress towards The Social Type 12/28
Inside the club, speak to the Bartender to progress The Social Type trophy.
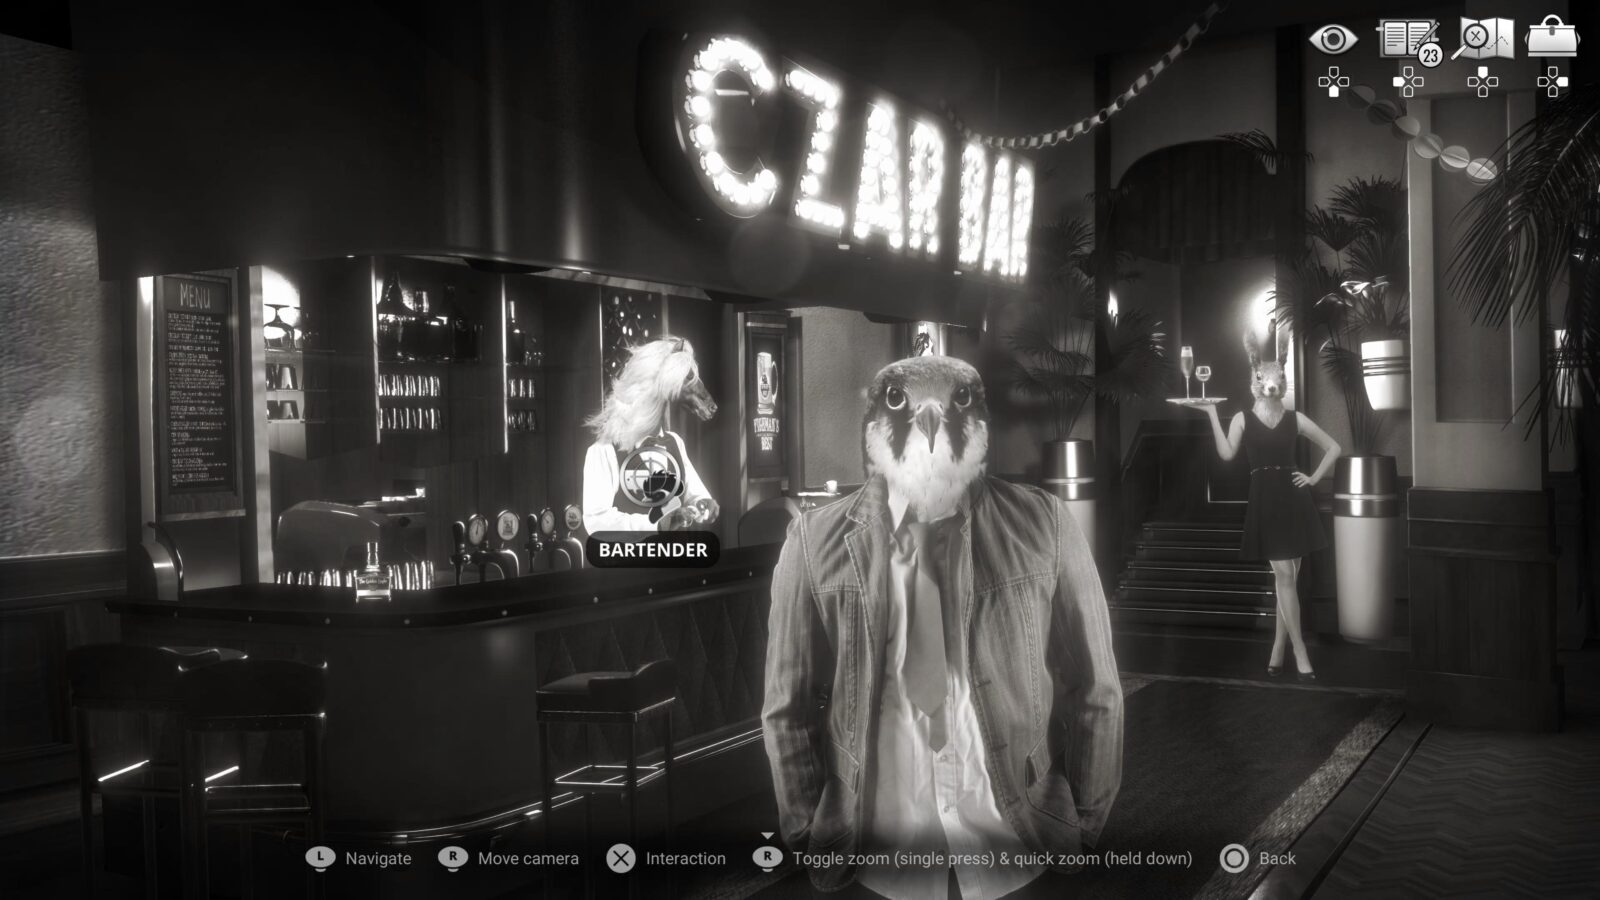


Drinking problems
Steal that fancy whisky from the Czar Club
Near the Bartender in the Czar Club, on the far-left end of the bar, you’ll see an extravagant-looking Whiskey bottle. Interact with it to unlock the Drinking Problems trophy!

Interact with the four movie posters on the wall to your right. Each one is an individual Art Gallery Item.

Next, you should “Look” at the man staring at you across the bar.

Progress towards The Social Type 13/28
The next character you need to speak to for The Social Type trophy is Filmar Low, right here in the Czar Club. Exhaust all dialogue with Filmar Low and you’ll receive Personal Information 28/97.
A Cutscene should now play unavoidably.
Progress towards The Social Type 14/28
After the cutscene, you’ll be able to speak to the new character, Ibn Wessler. Do so to progress The Social Type trophy and exhaust all dialogue with him to receive Personal Information 29/97, remembering to ask him about the Czar Club.
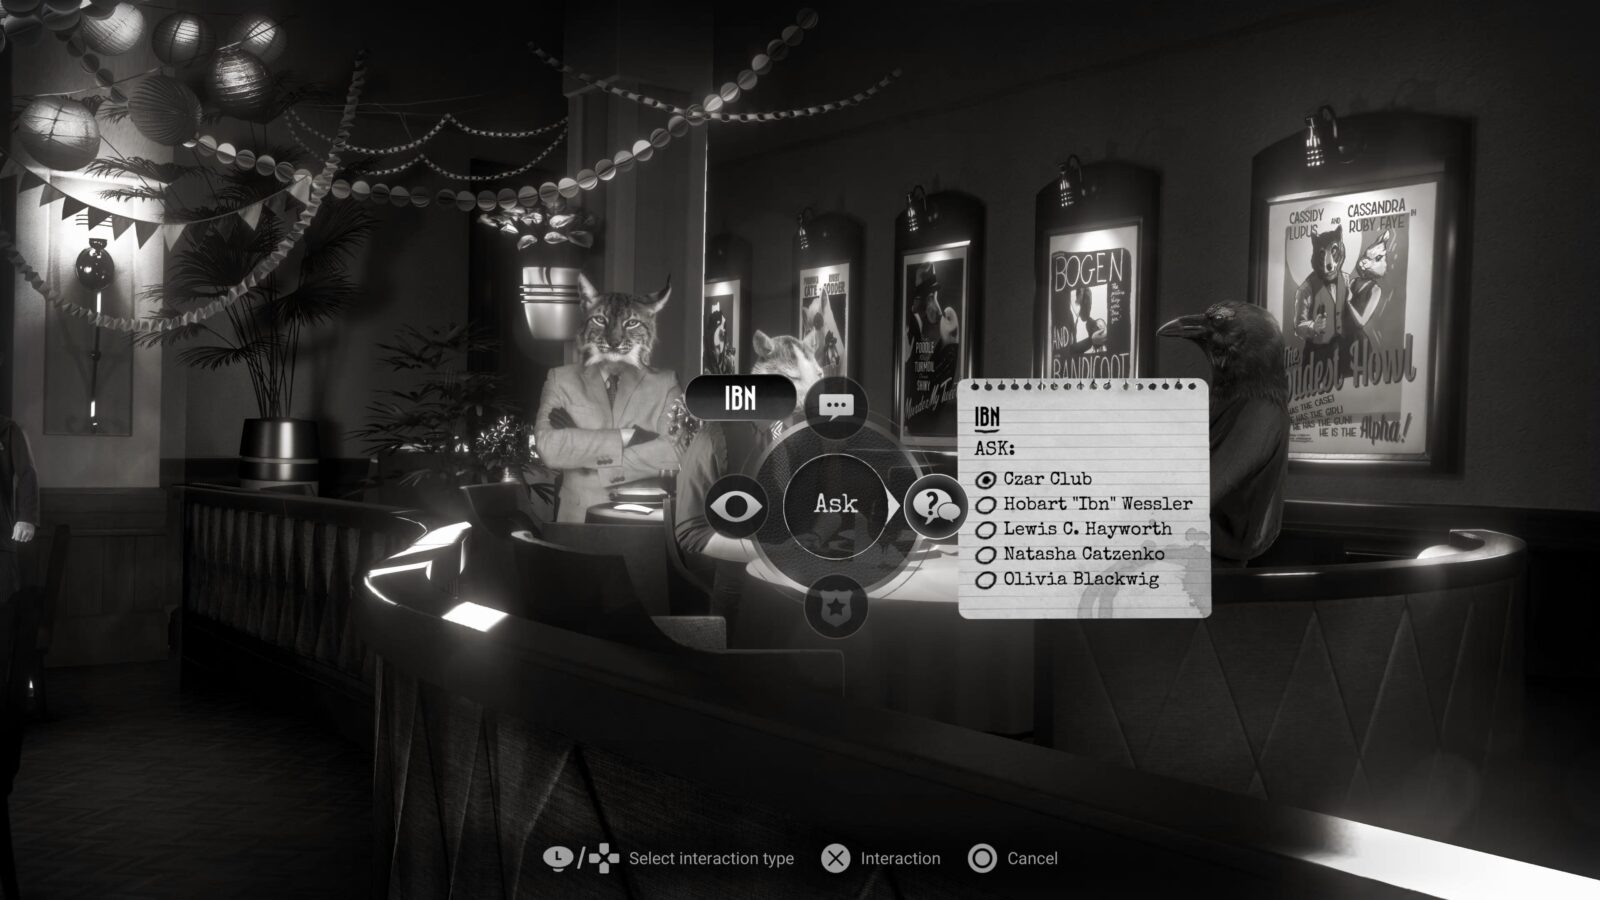
Progress towards Santino Featherland 2/8
Next, you should enter questioning with Ibn Wessler. Remember, you will need to get a perfect score and achieve a Living Legend rating here so make sure you select the following dialogue options:
- How did you feel when you heard about the blackmail?
- You seem a very busy man, may I ask what you do?
- How are your alibis, Mr Wessler?
- Were there any similar incidents in Natasha’s past?
- Do you think one of her fans is the culprit?
- The mob boss and the pussycat, eh? how did you even meet?
- Do you live in the same house as Natasha?
- So Natasha feels like she’s in grave danger, yet she’s still going out alone?
By doing so, you will also receive Personal Informations 30 & 31/97 and another Cutscene will play unavoidably. You’ll be taken to Natasha’s Room.
Inside, interact with the painting on the wall at the back, an Art Gallery Item.
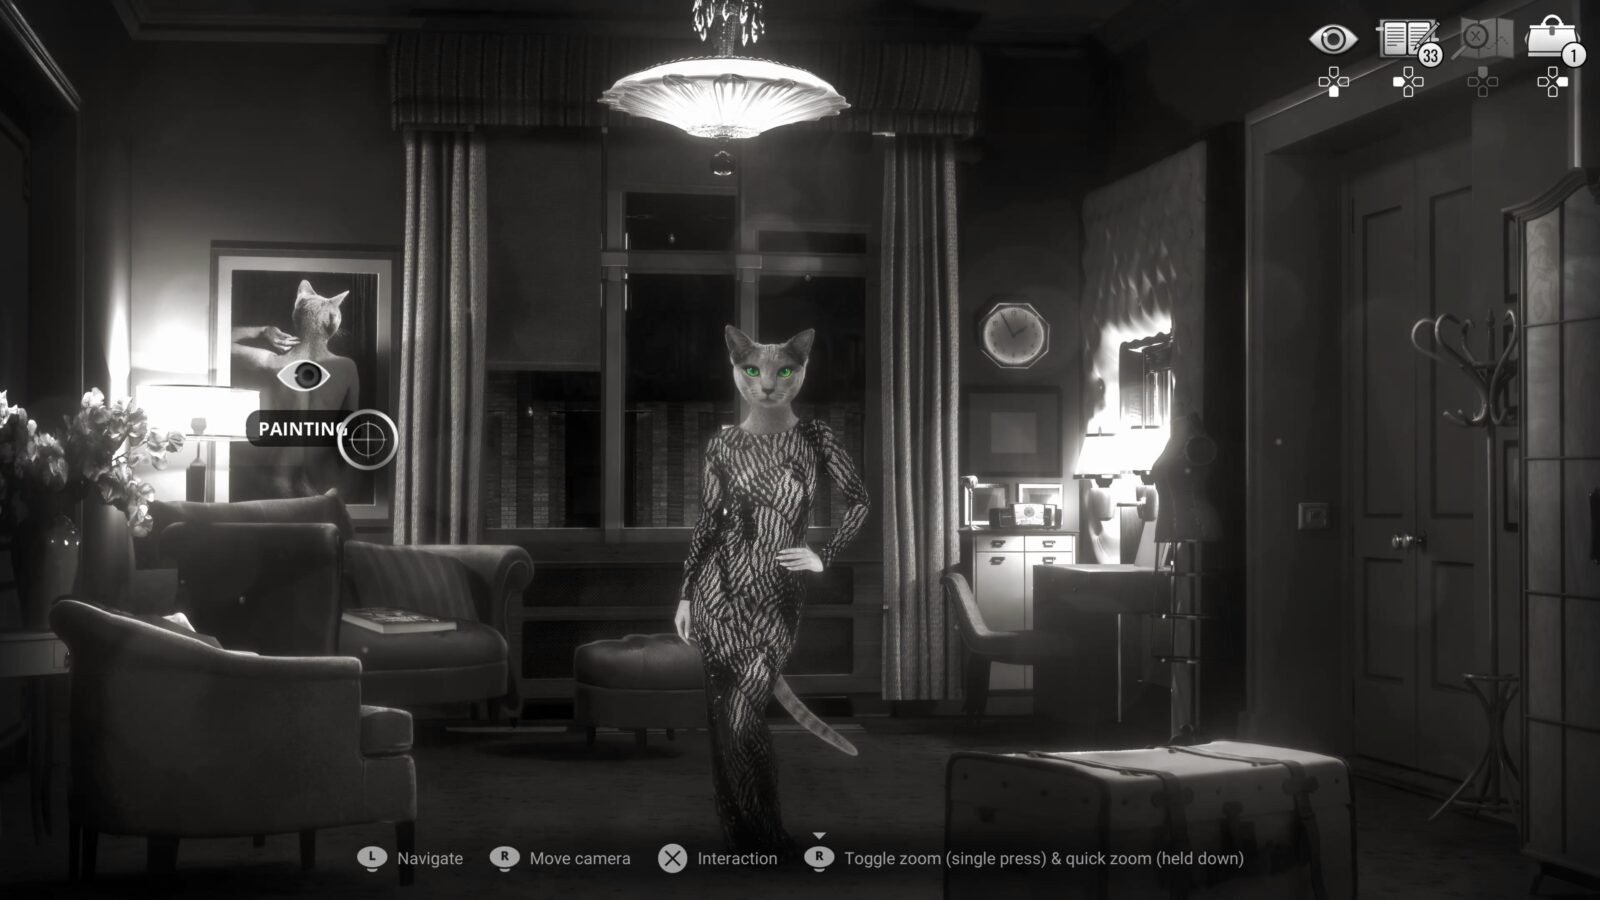
On the couch in this room, you’ll see the Chicken Police Novel 3/10 – The 7th Rule of Predation.
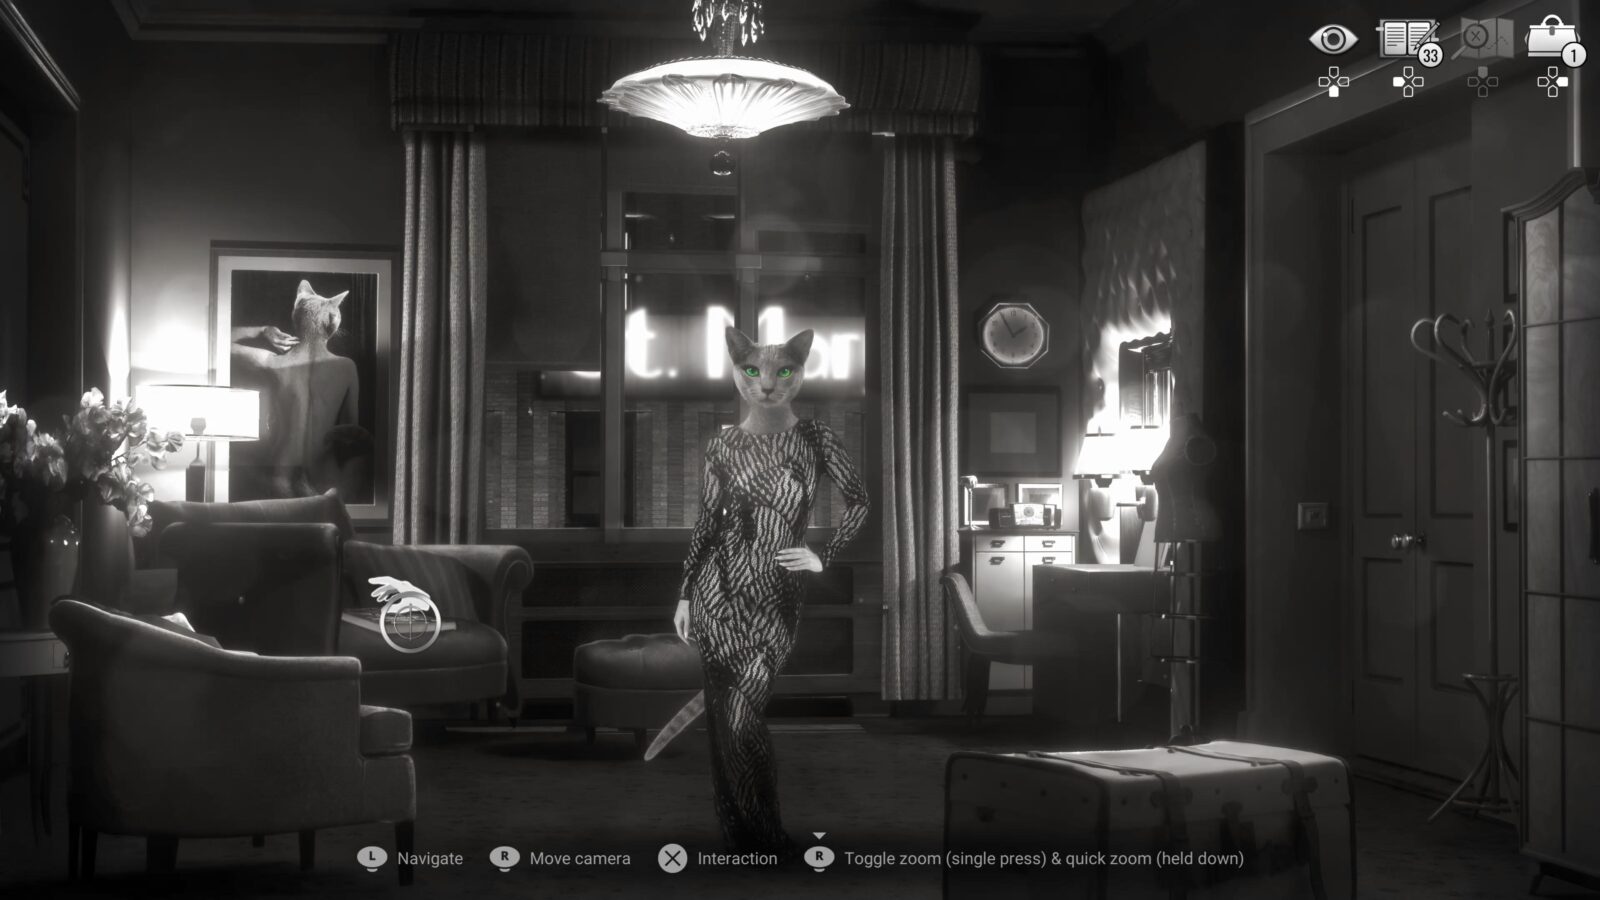
Progress towards The Social Type 15/28
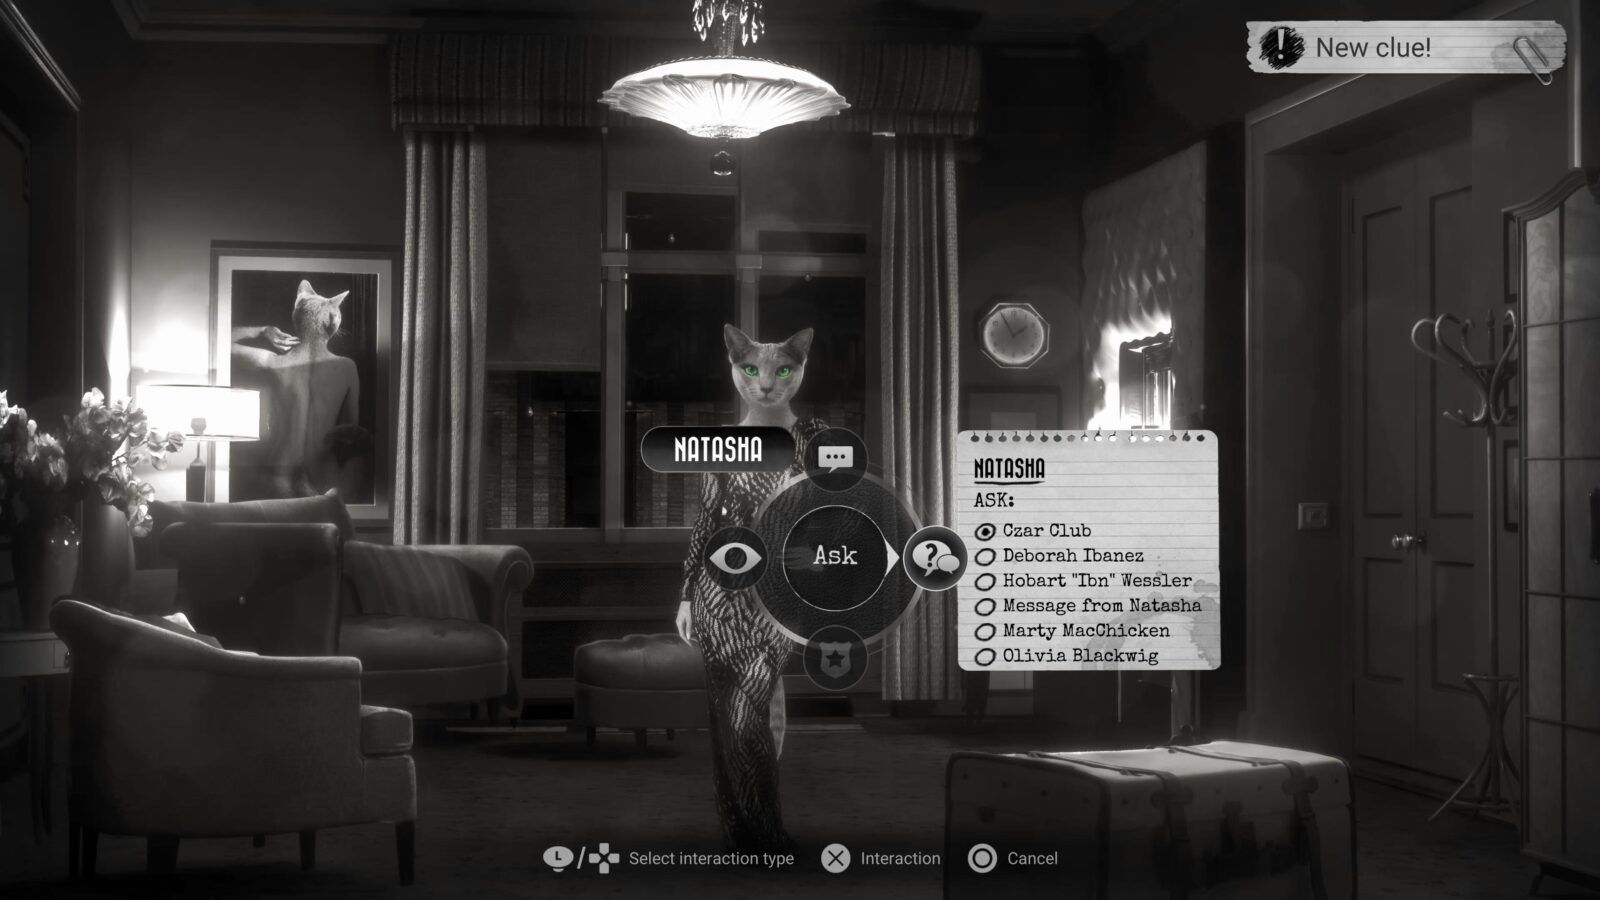
As you may have guessed, you need to speak to the new character, Natasha. Do so to progress The Social Type trophy and exhaust all dialogue with her to receive Personal Information 32/97.
You now need to question Natasha. However, you don’t want to succeed on the first try. There’s actually some Personal Information hidden in this questioning that you can’t get if you succeed.
To get Personal Information 33/97, choose the following dialogue options:
- That was a remarkable performance…
- The place is very elegant. And uh… so’s your room.
- Do you think one of your admirers might be behind the threats?
- Do you have any material evidence concerning the threats?
- What was in those threats exactly?
- What about Filmar? Is he here because of you?
- A dark shadow from the past? Ex-lover? A husband, maybe?
- Let’s stop beating about the bush. How do you know Molly?
- You played me from the start, didn’t you?
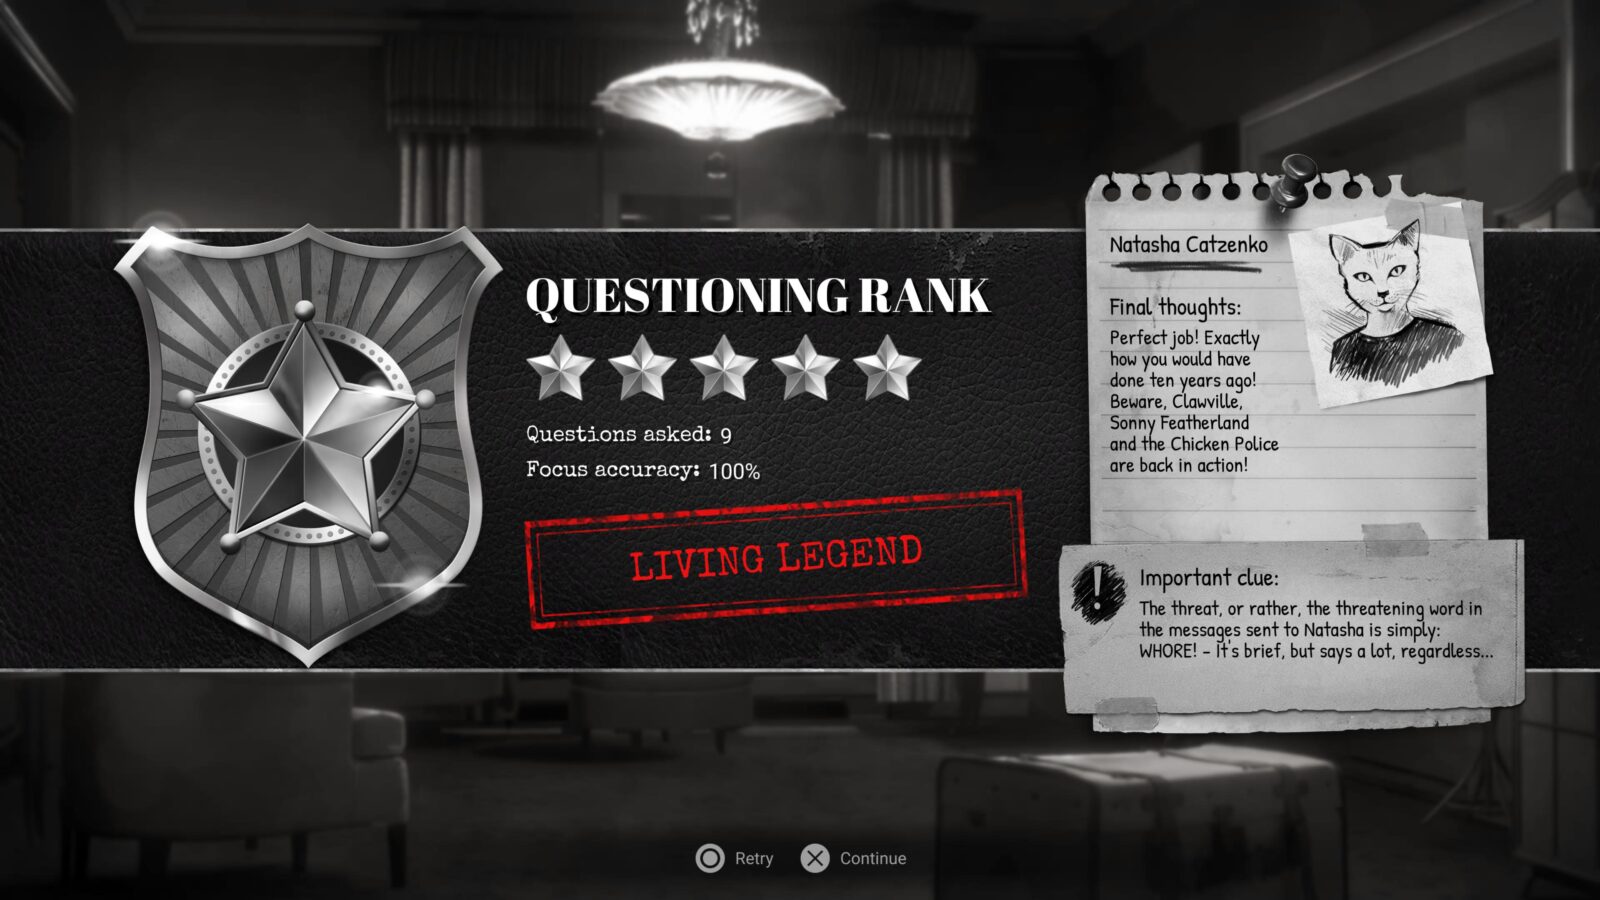
Progress towards Santino Featherland 3/8
Once you have the Personal Information, remember to hit ![]() to retry the questioning. You can’t proceed without getting a Living Legend rating or you’ll miss Santino Featherland in this playthrough!
to retry the questioning. You can’t proceed without getting a Living Legend rating or you’ll miss Santino Featherland in this playthrough!
To achieve Living Legend, select the following dialogue options:
- That was a remarkable performance…
- The place is very elegant. And, uh… so’s your room.
- Do you think one of your admirers might be behind the threats?
- Do you have any material evidence concerning the threats?
- What was in those threats exactly?
- No one’s ever seen the culprit? Not even a shadow?
- A dark shadow from the past? Ex-lover? A husband, maybe?
- Let’s stop beating about the bush. How do you know Molly?
- You played me from the start, didn’t you?
Once you’re done with the questioning, ask her about the Czar Club to receive Personal Information 34/97 and Codex 15/27.

Is this love?
Ask Natasha about Ibn Wessler in her room
While you’re in Natasha’s room after questioning her, remember to ask her about Ibn Wessler. This will unlock the “Is this love?” trophy!

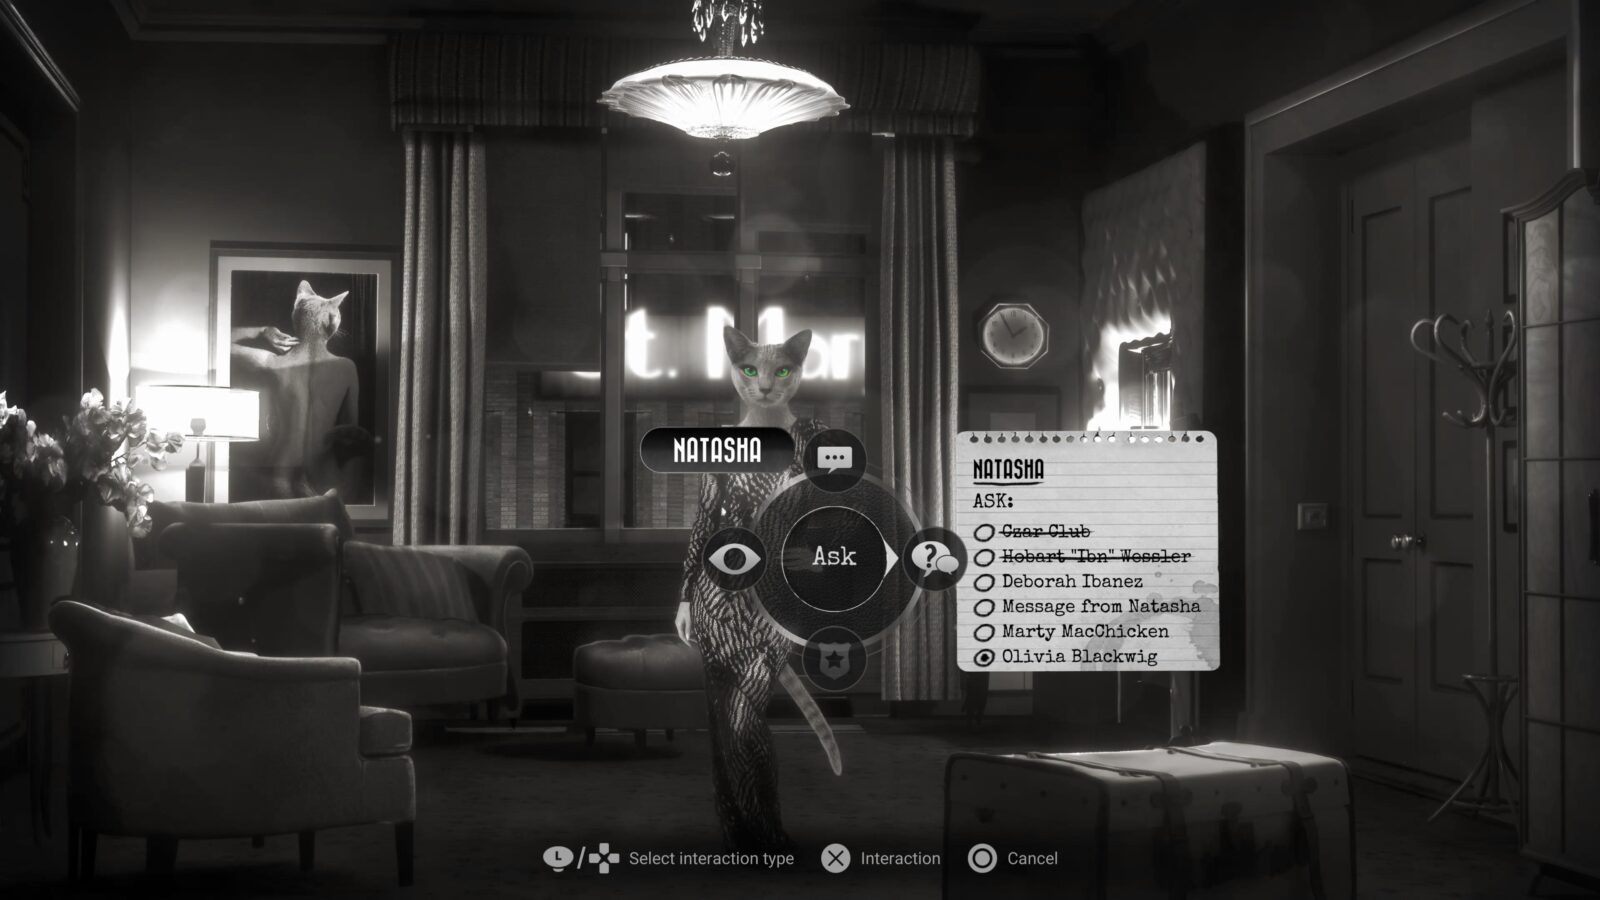
The last thing to do before leaving Natasha’s room is to ask her about Olivia Blackwing to extract Personal Information 35/97. You may now leave Natasha’s room.
Talk to Filmar again and he’ll pass you a piece of paper. Open your inventory and inspect the piece of paper to unlock Personal Information 36/97.
Progress towards The Social Type 16/28
Turn to the table where Ibn was sitting in the club. Next to it, there’s a large Henchman character called “Gabriel.” Speak with him to progress The Social Type trophy and exhaust all dialogue with him to receive Personal Information 37/97.

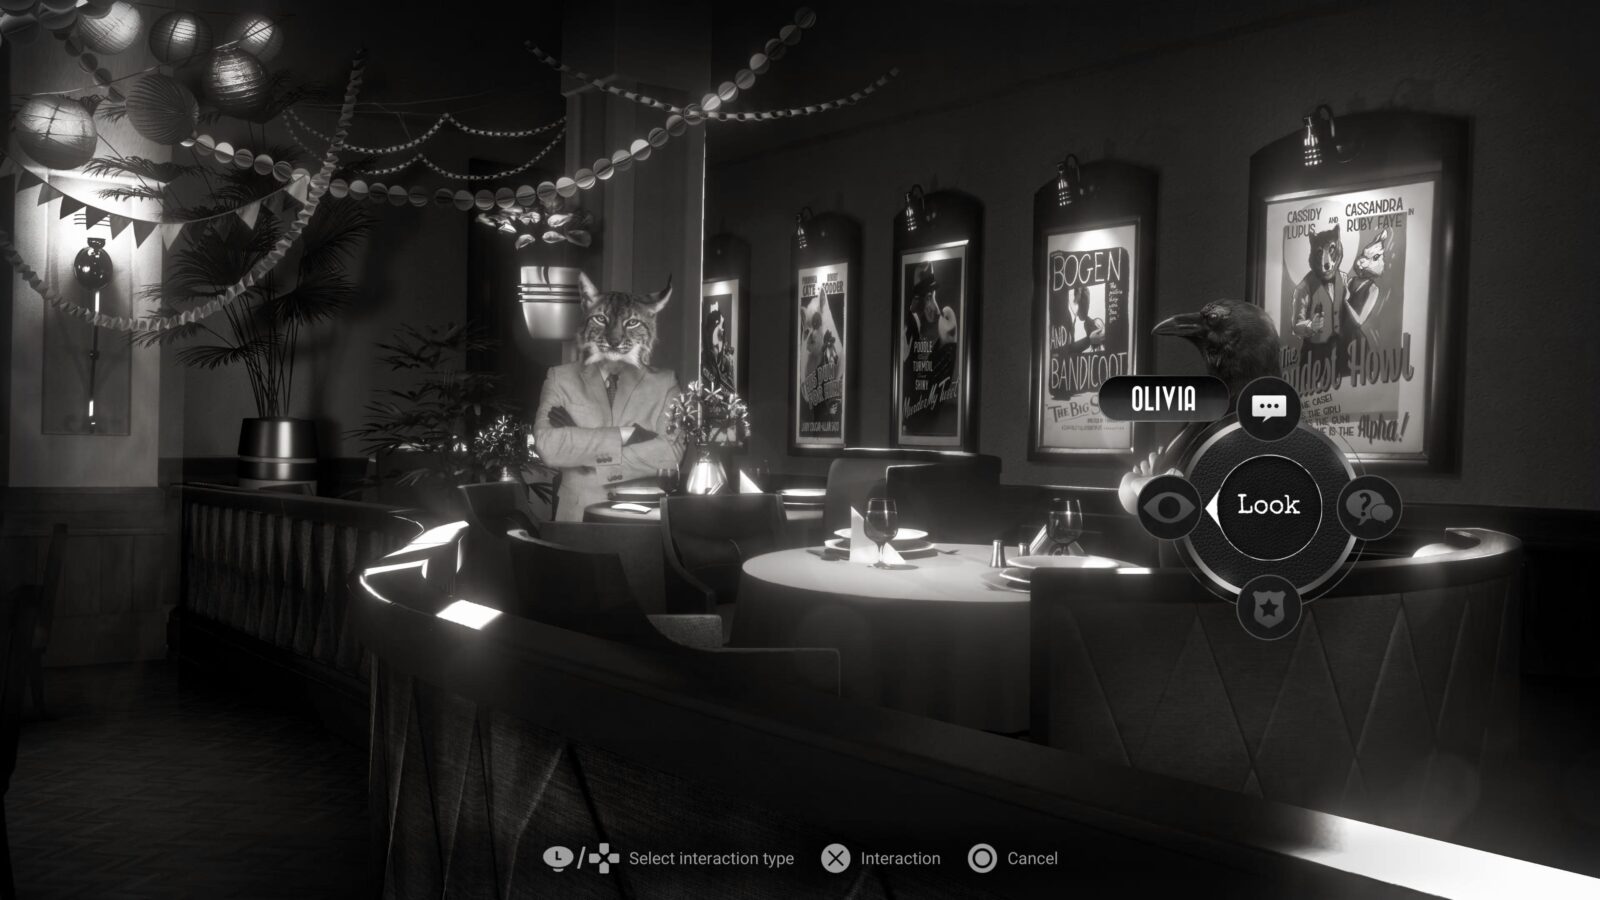
Progress towards The Social Type 17/28
“Look” at the character named Olivia Blackwing to receive Personal Information 38/97 and then speak to her to progress The Social Type trophy. Exhaust all dialogue to ensure you receive Personal Information 39/97 from her, making sure to ask her about the Czar Club.
Progress towards The Explorer 3/15
We’re now done at the Czar Club. Return to Clawville Police Department.
Clawville P.D. II
Go inside Clawville P.D.’s lobby area and then interact with the city’s crest above the stairs. Do this twice and you’ll extract Codex 16/27.
Look at Bosco, then look at him again and you’ll get Personal Information 40/97.
Lastly, ask Bosco about the “Strange List of Names” to get Codex 17/27, concluding our business here at the Police Department.
Progress towards The Explorer 4/15
Return to the Hop-Dog again, and go inside, where there’s a new person to speak with!
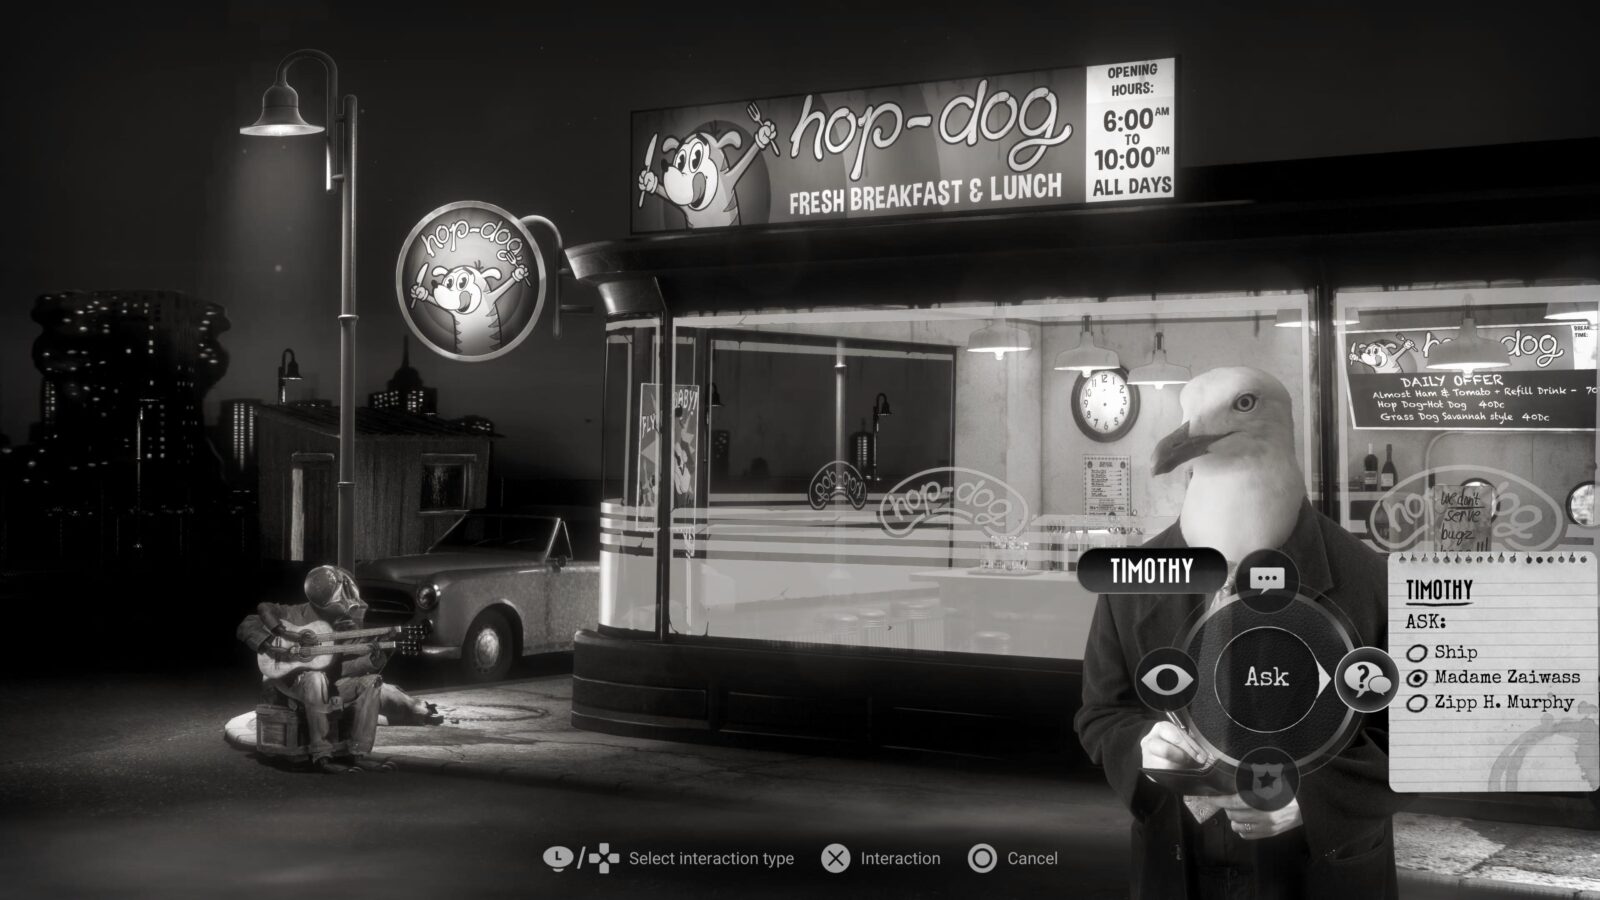
The Hop-Dog II
Progress towards The Social Type 18/28
“Look” at the new character named Timothy to receive Personal Information 41/97 and then speak to him to progress The Social Type trophy, concluding our business at the Hop-Dog.
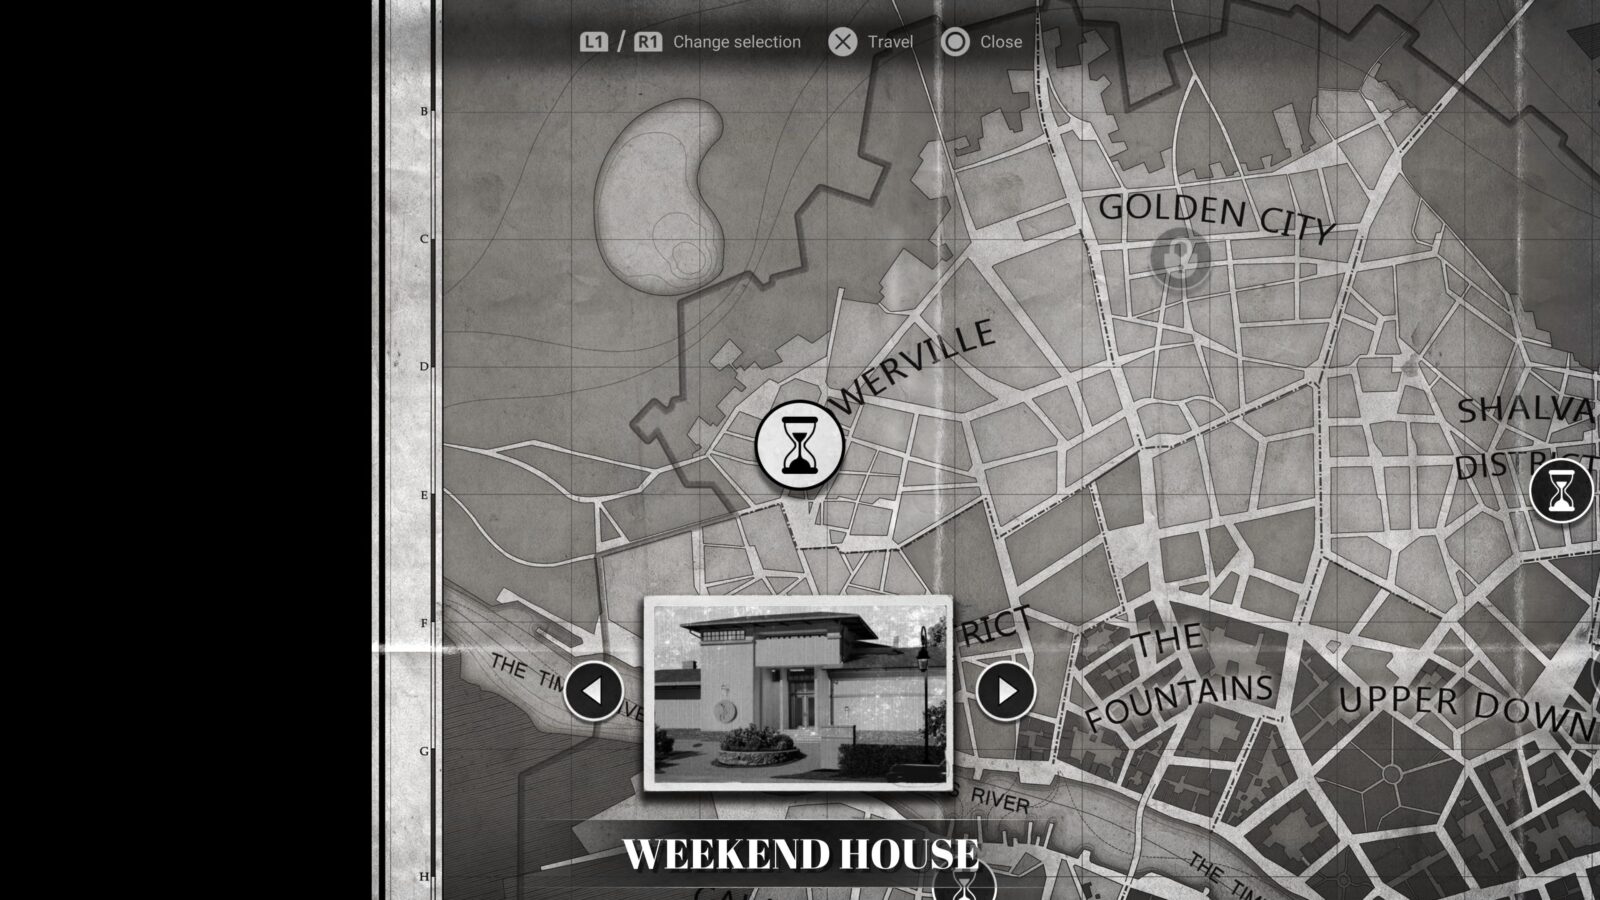
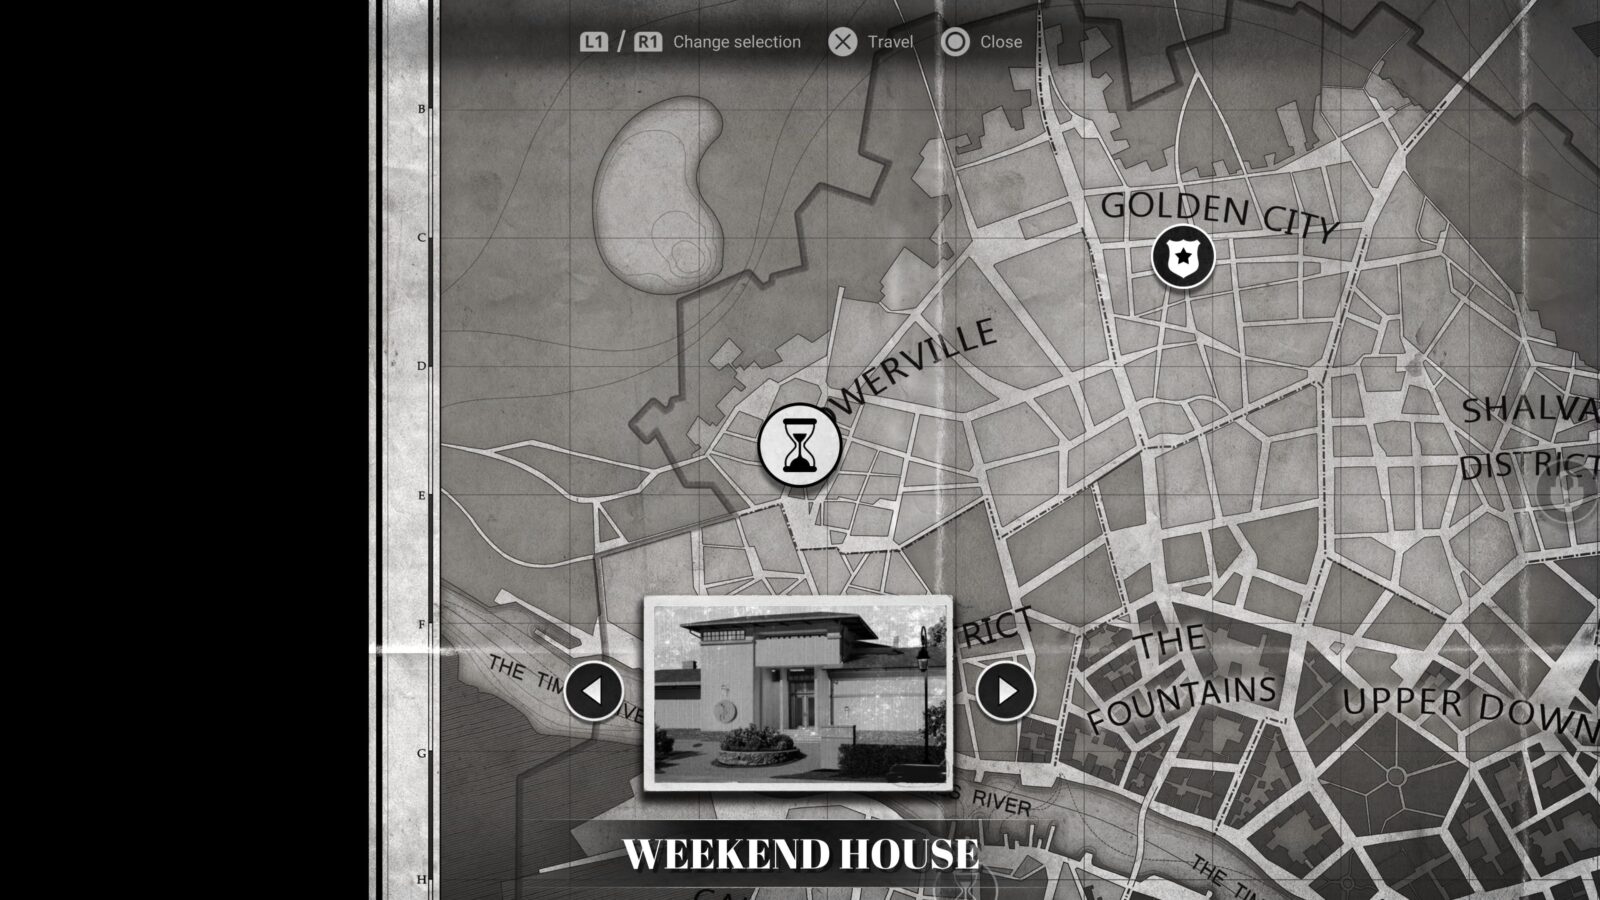
Leave and go to the “Weekend House” location.
The Weekend House
When you arrive at the Weekend House, there’ll be a short Cutscene that plays automatically. You’ll need to do a bit of detective work here in order to progress, so make sure you do the following in this order:
- Look at the yellow shoe.
- Look at the word on the wall.
- Interact with the door to the house.
- Grab the shotgun from the trunk/boot of your car.
- Enter the house.

Another unavoidable Cutscene will play and you’ll unlock Personal Informations 42 & 43/97. When it ends, look at the body and then interact with the purse on the ground to collect a card from it. Check out the card in your inventory.
There are two Art Gallery Items in this room, one is the “Weird Painting” above the fireplace, the other is the “Family Photo” on the mantle.
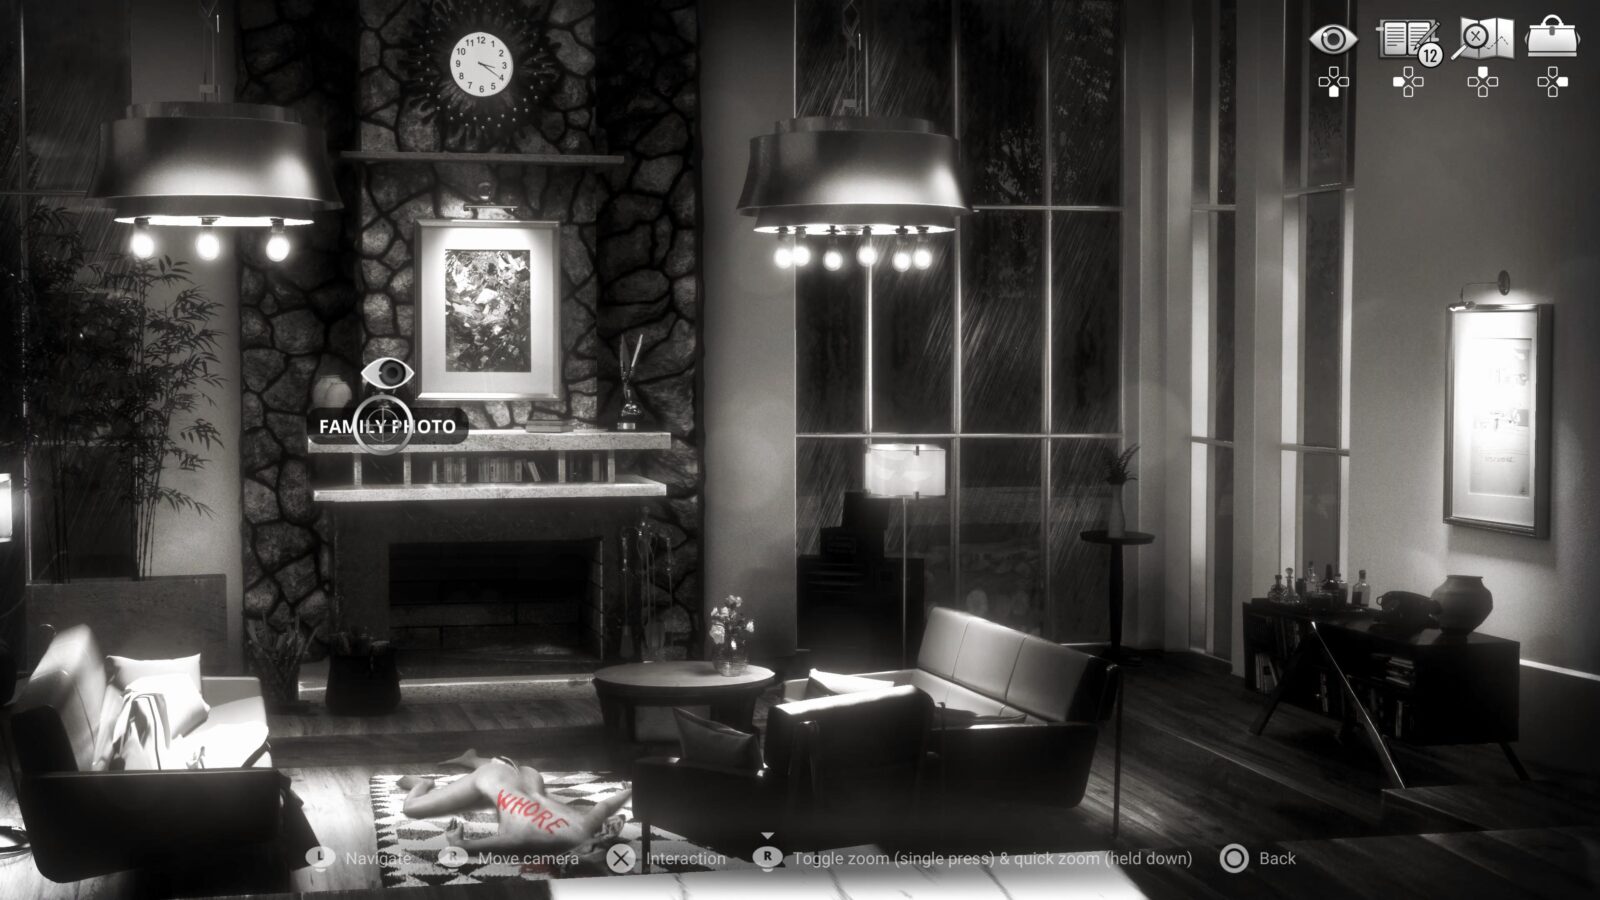
Also on the mantle, there’s a “Strange Sculpture.” Interact with it to extract Codex Entry 18/27.
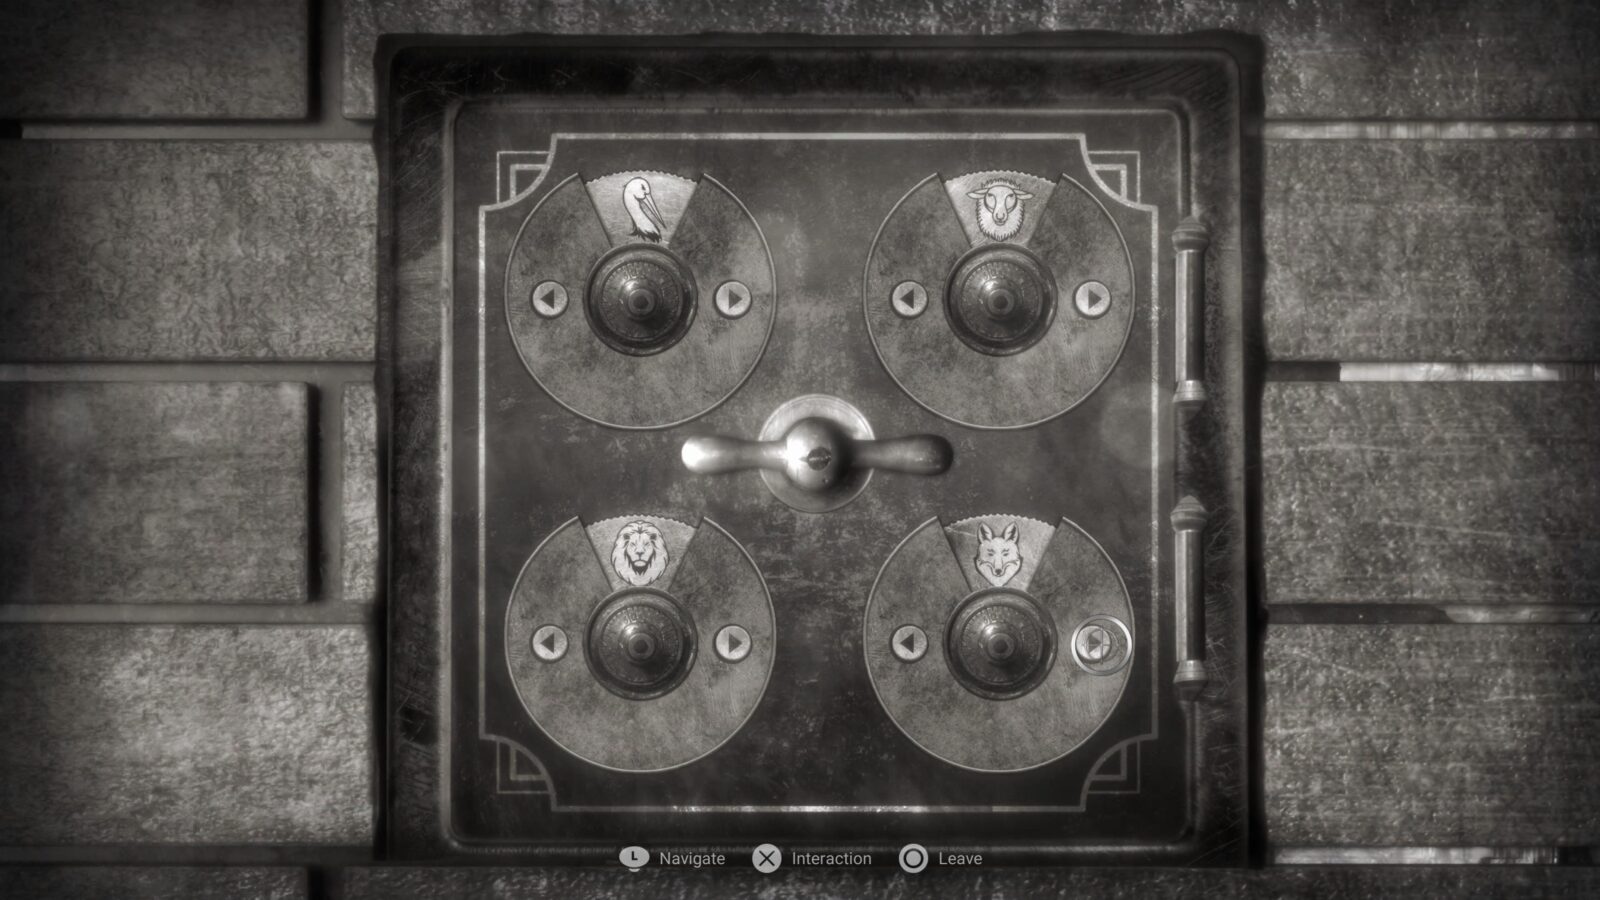
Now to do some more detective work! Follow these steps exactly:
- Interact with the “Hmmm” hotspot on the “Strange Sculpture.”
- Go to the fireplace and change the combination lock to display animals in this order (left to right):
- Stork
- Sheep
- Lion
- Fox
- Interact with the bar at the center of the safe once the combination has been entered.
- A new item will be added to your inventory. Interact with it.
- Call the Police Department by entering “555-111” on the nearby phone.
Progress towards The Explorer 5/15
You can now leave and return to the Czar Club.
The Czar Club II
We’re not sticking around for long, just speak with Filmar and exhaust all dialogue options to retrieve Personal Information 44/97. Once done, you’re free to leave.
Progress towards The Explorer 6/15
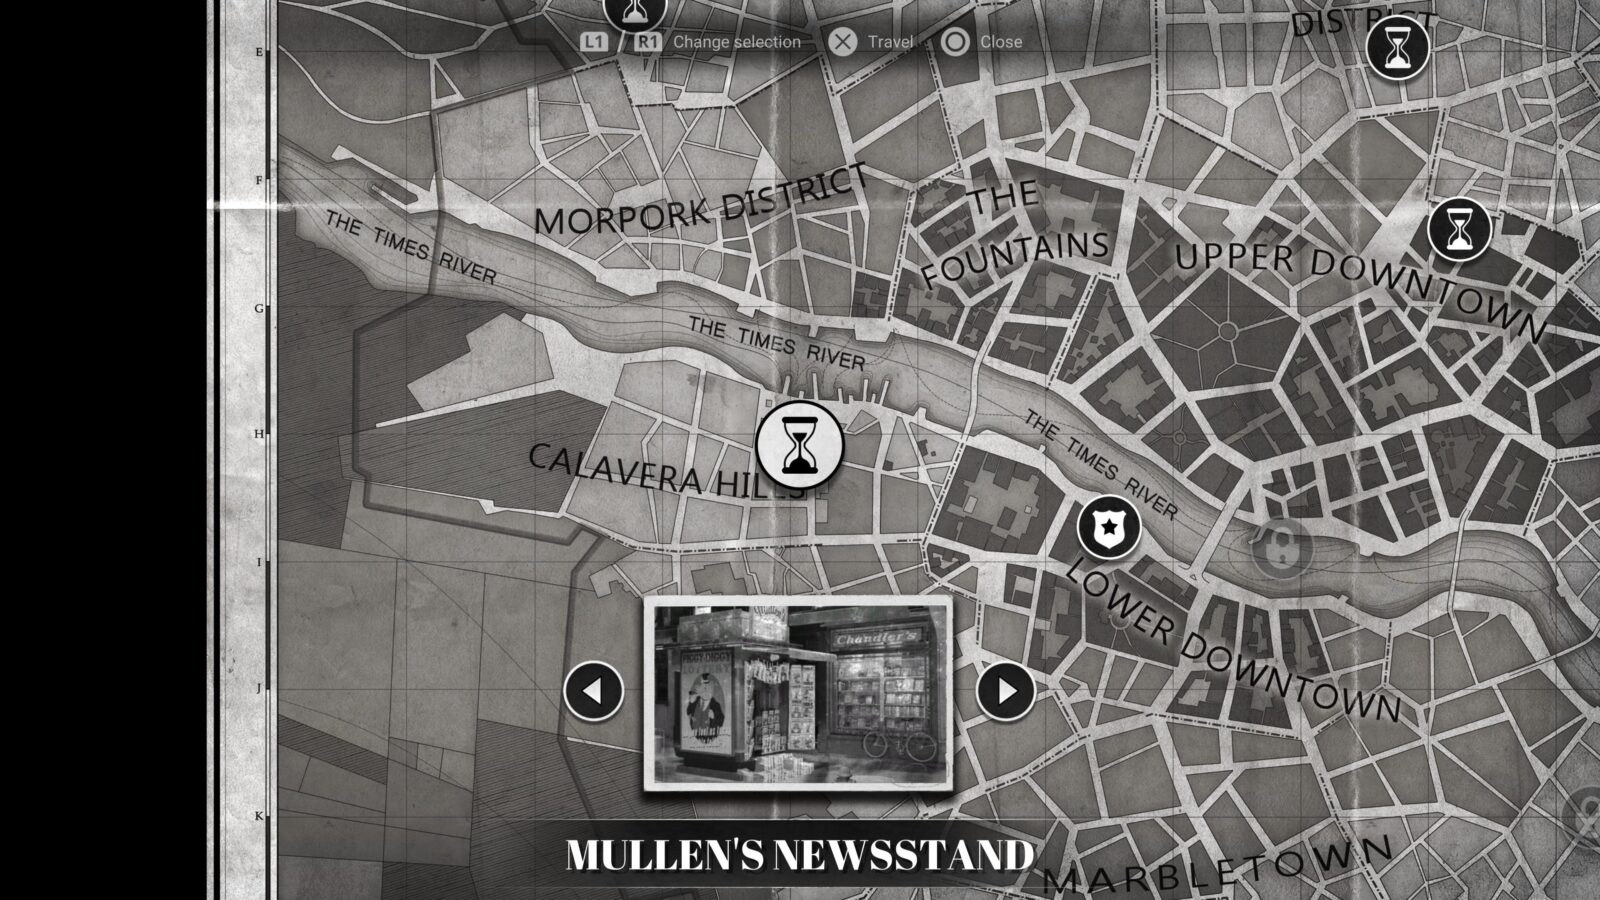
We’re going to check out somewhere new now, head to Mullen’s Newsstand.

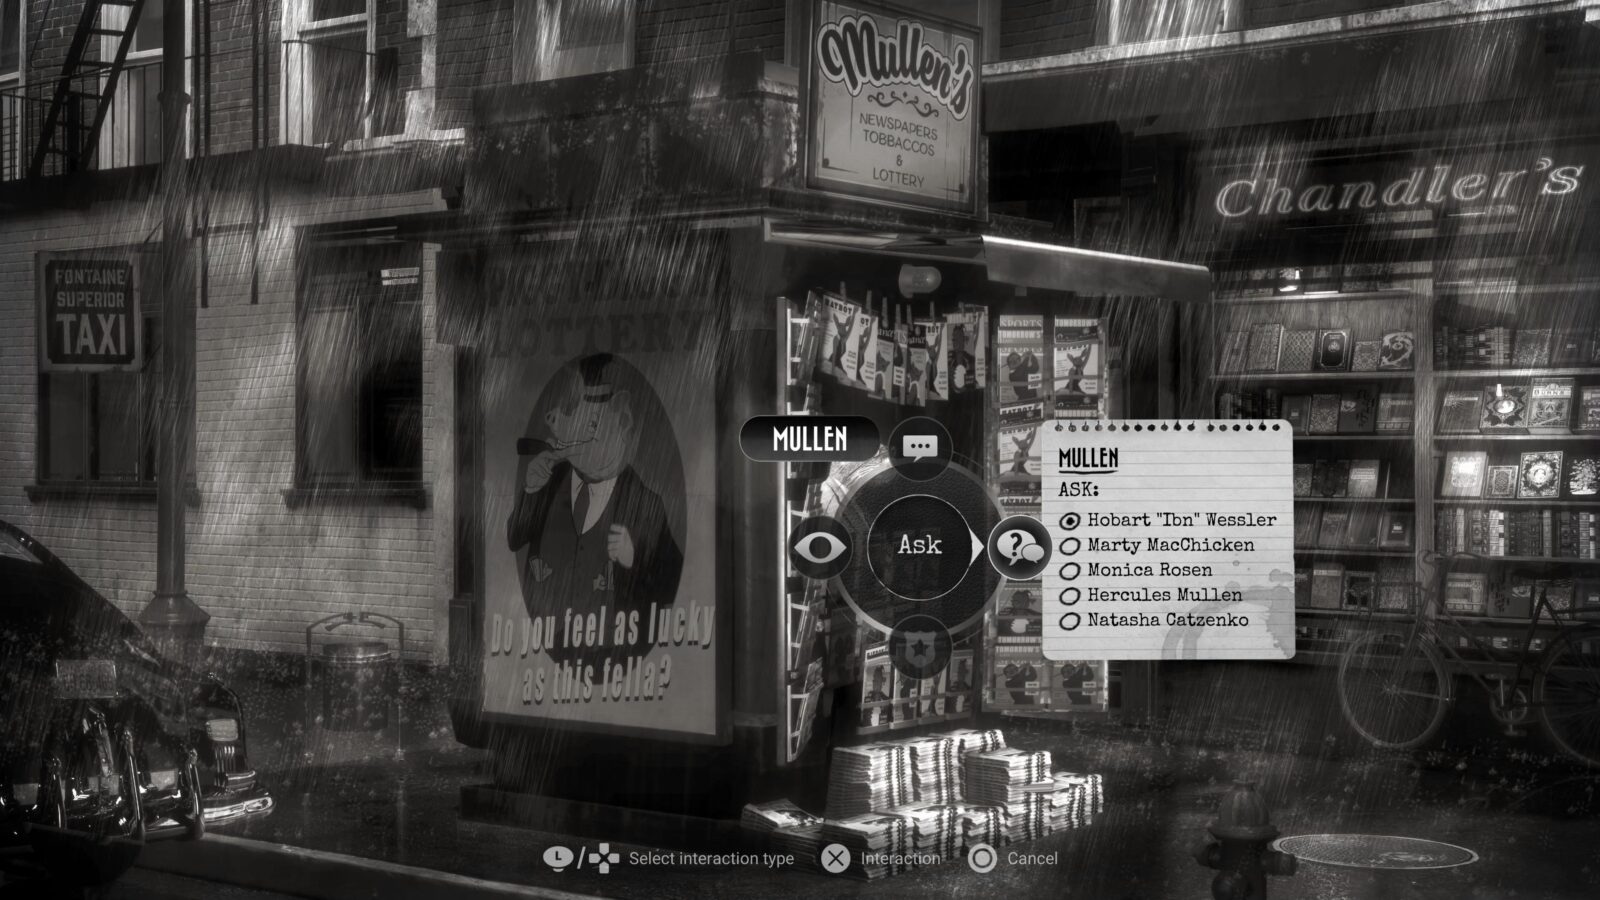
Mullen’s Newsstand
When you arrive, you’ll unavoidably receive Personal Informations 45 & 46/97. Leaning against the newsstand, you will also see Chicken Police Novel 4/10 – Dead-Silent Night.

Progress towards The Social Type 19/28
Speak to the new character named Hercules Mullen to progress The Social Type trophy. Make sure you ask him about the following things:
- Hobart Ibn Wessler
- Monica Rosen
- Hercules Mullen
- Natasha Catzenko
Doing so should mean that you receive Codex Entry 19/27 and Personal Informations 47, 48, 49, and 50/97.
Progress towards The Explorer 7/15
We’re now done at the Newsstand. Return to Clawville Police Department.
Clawville P.D. III
Once again, this is just a short visit.
Progress towards Barking Dogs Never Bite 2/4
First choose to “Look” at Bloodboyle again, then exhaust all dialogue options with him to progress the Barking Dogs Never Bite trophy.
Now we can head to the Shooting Range where we can speak with Marty. Exhaust all dialogue options to retrieve Codex 20/27.
Leave the Police Department and return to Hotel Atlas.
Hotel Atlas III
When you arrive at Hotel Atlas, you’ll view another Cutscene. Now it’s time for more detective work!
Perform the following actions in this order:
- On the left, place the picture of Natasha and the “Strange Threats!” clue together.
- Connect the two items with string and select the reasoning “They were clearly addressed to her”.
- Place the “Strange List” item at the center of the board.
- Connect the picture of Natasha and the Strange List with a string. Select the reasoning “She kept it a secret!”
- On the right side of the board, place the picture of Lewis.
- Connect the picture of Lewis with the Strange List. Select the reasoning “He may know something about it.”
Now that the board is set up and we’ve come to conclusions, use the telephone to call Lewis by entering “555-932”. Ask Lewis about Deborah Ibanez and the Strange Card to receive Personal Information 51/97.

Detour
Complete the first chapter
Now you’re done with Chapter One! Just leave the Hotel and head to the “Sweltering Nile,” ending the chapter and unlocking “Detour.”

Chicken Police Trophy Walkthrough – Chapter Two
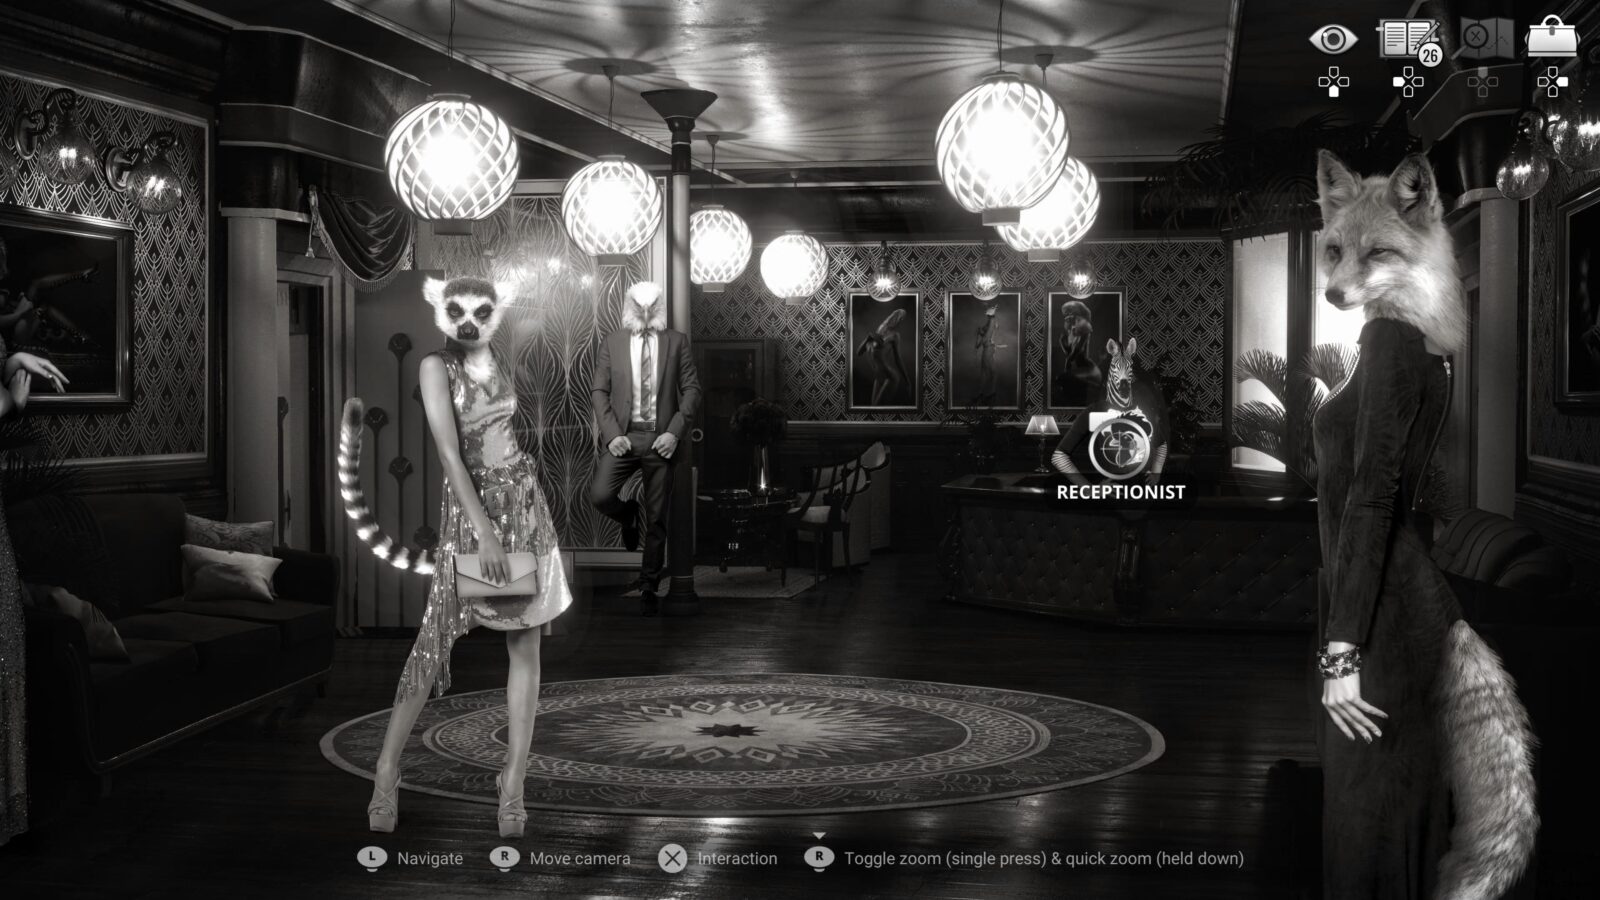
The Sweltering Nile
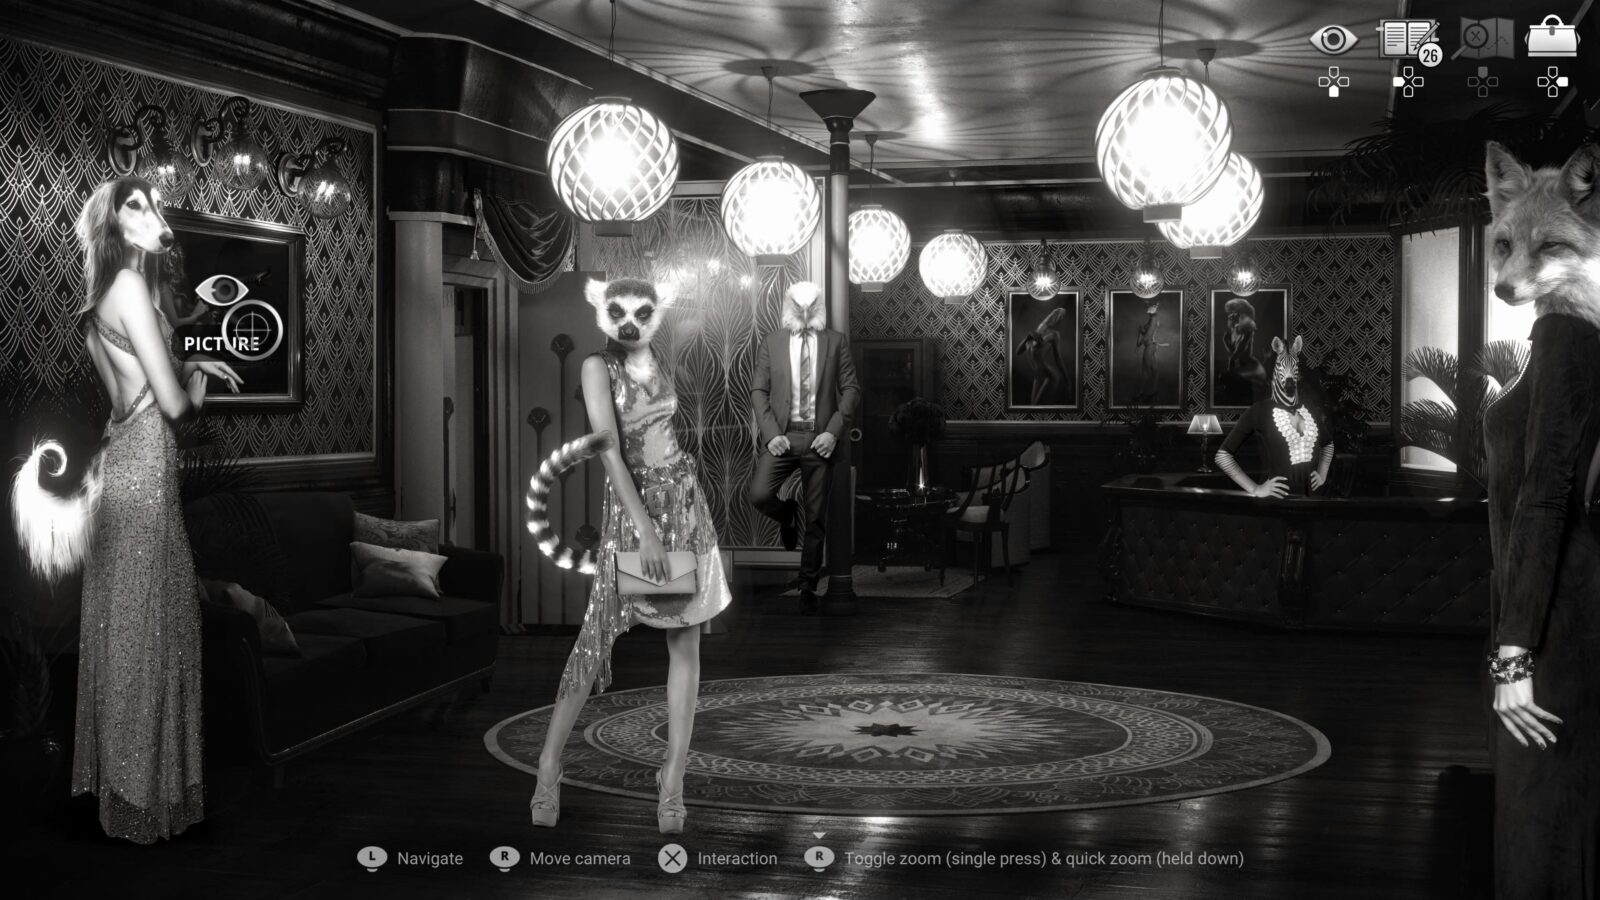
When you arrive at the Sweltering Nile, a Cutscene will play automatically. When it ends, take a look around.
In the room, along the back wall and on the walls at each end, there are 5 paintings. Interact with them all, each of them is an Art Gallery Item.
Progress towards The Social Type 20/28
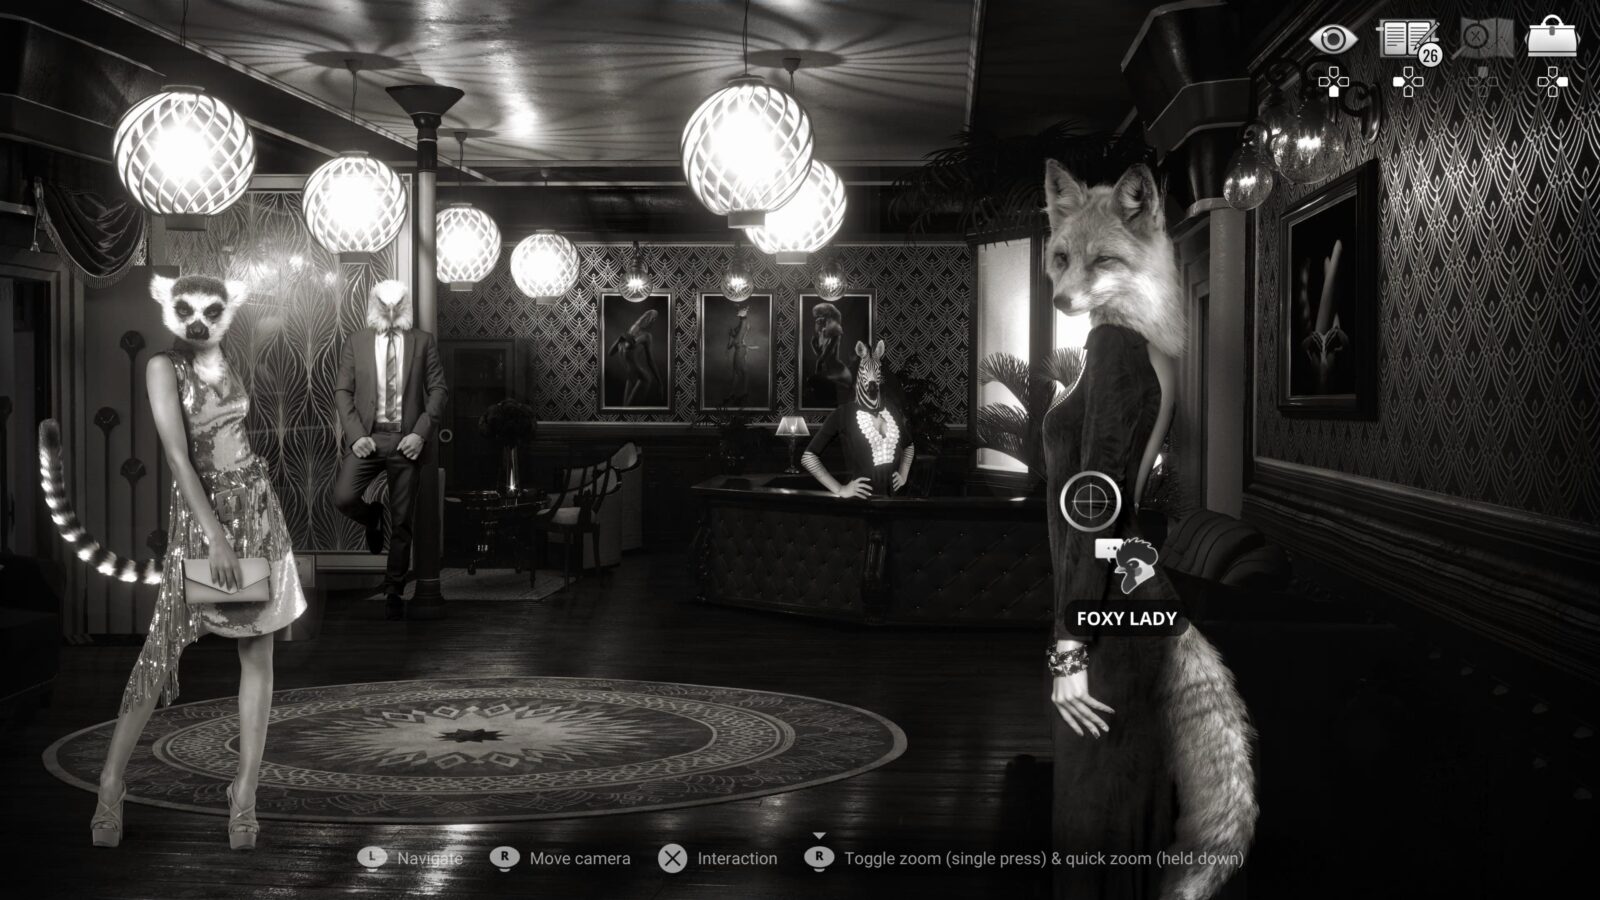
Speak to the new character named simply “Foxy Lady” to progress The Social Type trophy and carefully zip up her dress.
Progress towards The Social Type 21/28
Speak to another character at reception, “Daynight Diamond,” to progress The Social Type trophy even further. Exhaust all dialogue with her and ask her about all topics to receive Personal Information 52/97.
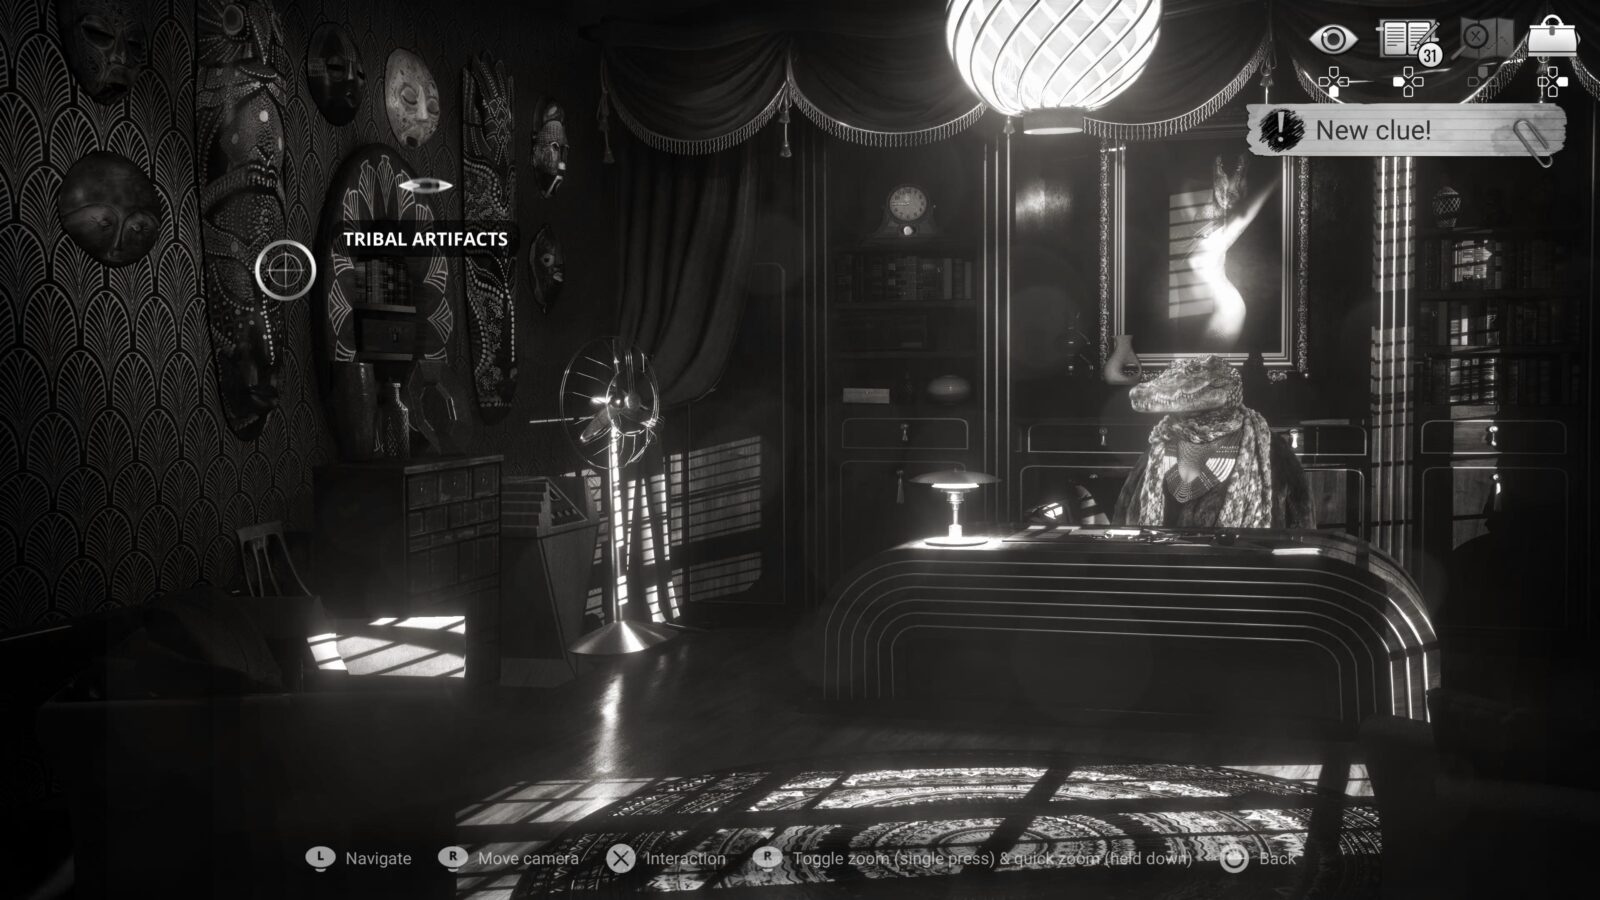
Go through the door into the next room and you’ll automatically receive Personal Information 53/97.
Interact with the carved artifacts on the wall to your left to extract Codex 21/27, and don’t forget to interact with the painting of Madame Zaiwass, an Art Gallery Item.
Progress towards The Social Type 22/28
Speak to the lady from the painting, Madame Zaiwass, to progress The Social Type trophy. Remember to ask her about the “Strange Card” and “Natasha Catzenko” to progress the story and then enter questioning…
Progress towards Santino Featherland 4/8
Once again, you will need to achieve a perfect score in this questioning to get the Living Legend ranking. To do so, simply select the dialogue options listed below:
- Who is behind the legend Miss Zaiwass? Who are you really?
- Tell me were you really the kings spy?
- Why did you decide to open a brothel?
- If I guess who the car belongs to, will you tell me?
- Why did you take her in? Maybe you saw yourself in Natasha?
- Do you know where Natasha came from? Before Clawville?
- Have you kept in touch?
- When was the last time you saw her Madame Zaiwass?
- How did you feel when you learned Natasha was going to leave?
Through questioning her, you will also receive Codex 22 & 23/27 as well as Personal Informations 54, 55, and 56/97.
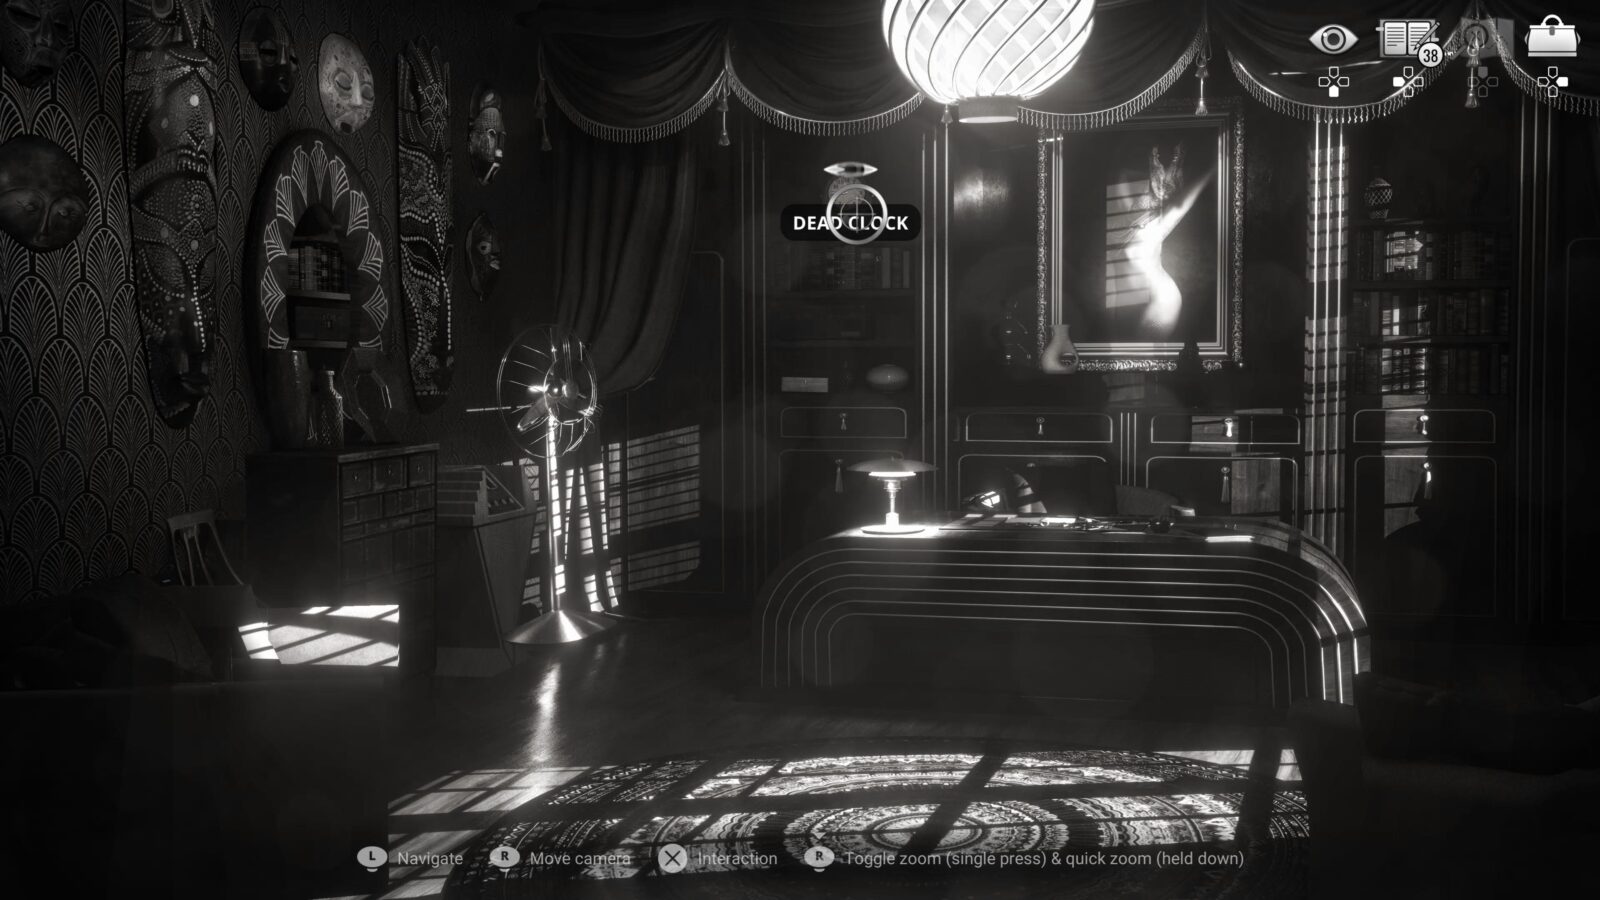
Once done, interact with the clock and change the time to 7:50. This will open a secret room, which you should enter.
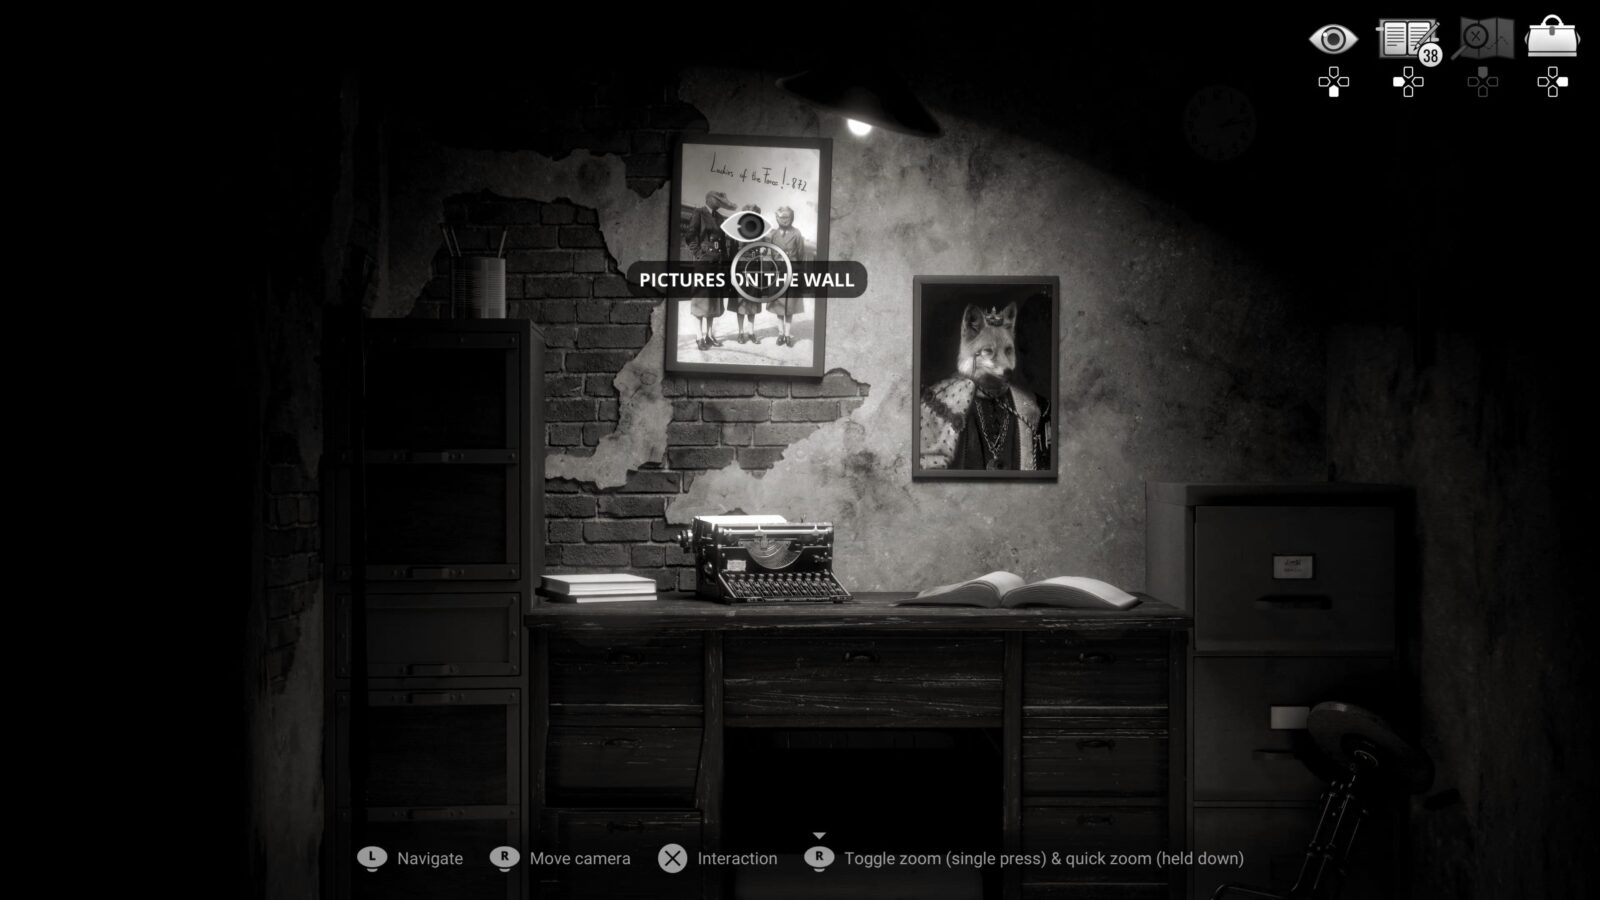
Inside, you will see some pictures. Interact with the “Ladies of the Force!” and “Fox King” pictures, as they are Art Gallery Items.
Lastly, interact with the Strange Book to receive Personal Information 57/97 and trigger two back-to-back Cutscenes. You’ll be automatically taken to the Ship.
The Ship
The Ship section is an action sequence, so there’s not much exploring to do. There is, however, one trophy to collect.

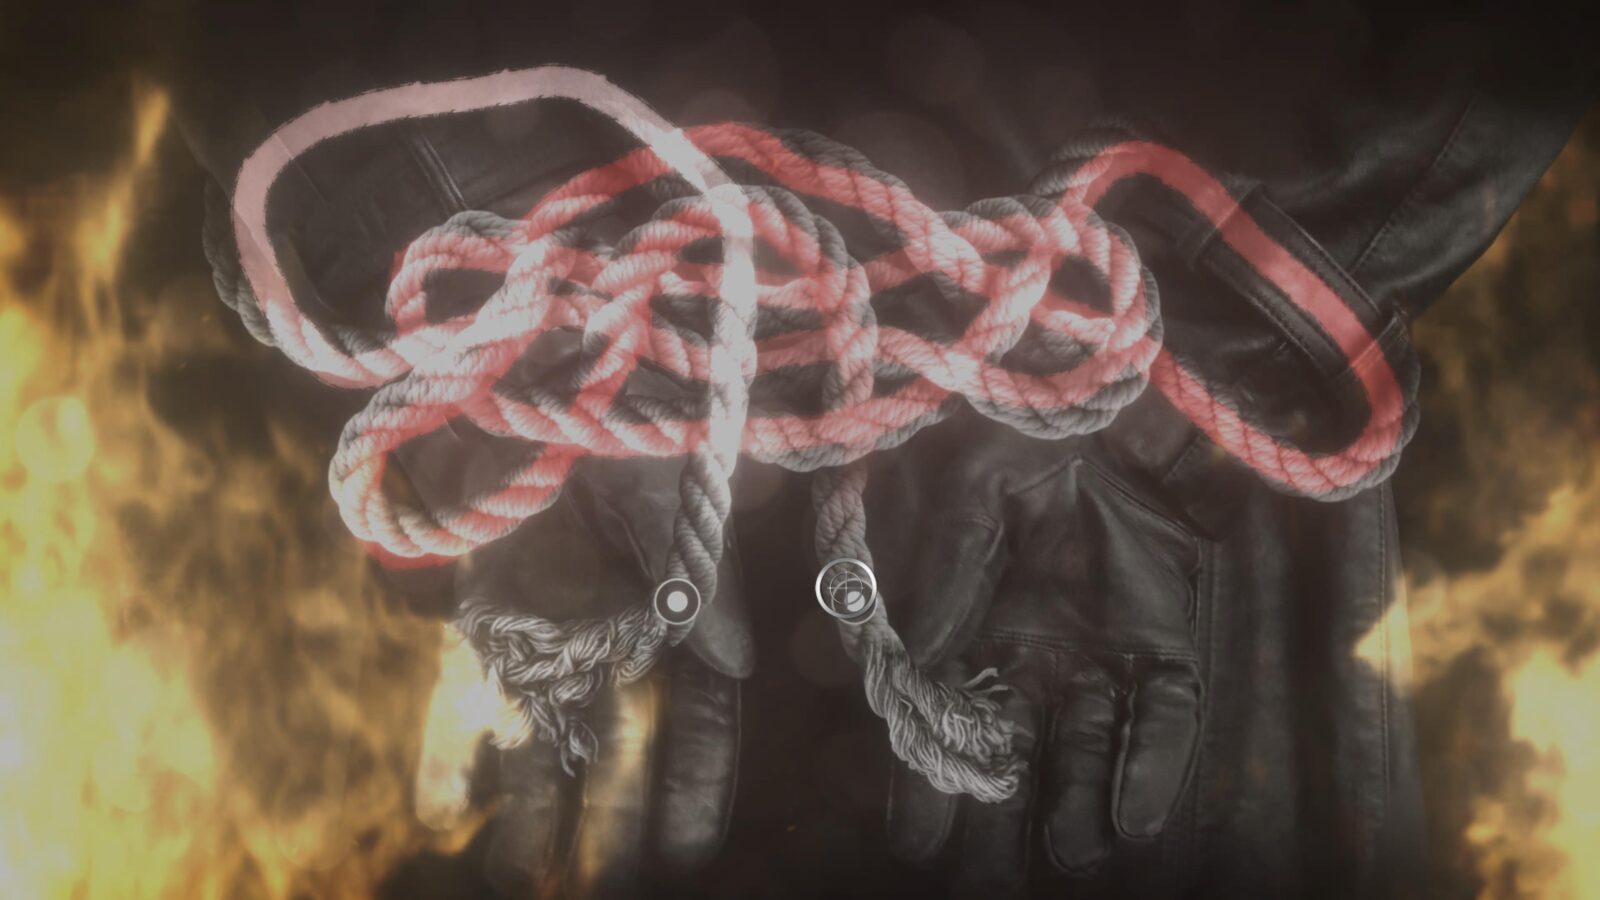
Burn, baby, Burn!
Die at least 3 times on the burning ship
To unlock “Burn, baby, Burn!” you’re going to need to let yourself die during the Ship Section a total of three times. The best way to do this is to just let the timer run out on you three times.

At the start of this section, interact with the rope to begin the rope-untying mini-game. Don’t solve the puzzle yet, though, just sit and wait until the timer expires.
Repeat until you unlock the trophy and then you may proceed.
To get out of the ship alive, just trace the knotted rope with your crosshair to untie yourself and trigger a Cutscene where you wind up at the Docks.
The Docks
When you arrive at the docks, you’ll receive Personal Information 58/97 automatically.
Behind your partner, Marty, look for Chicken Police Novel 5/10 – Cat Catchers.
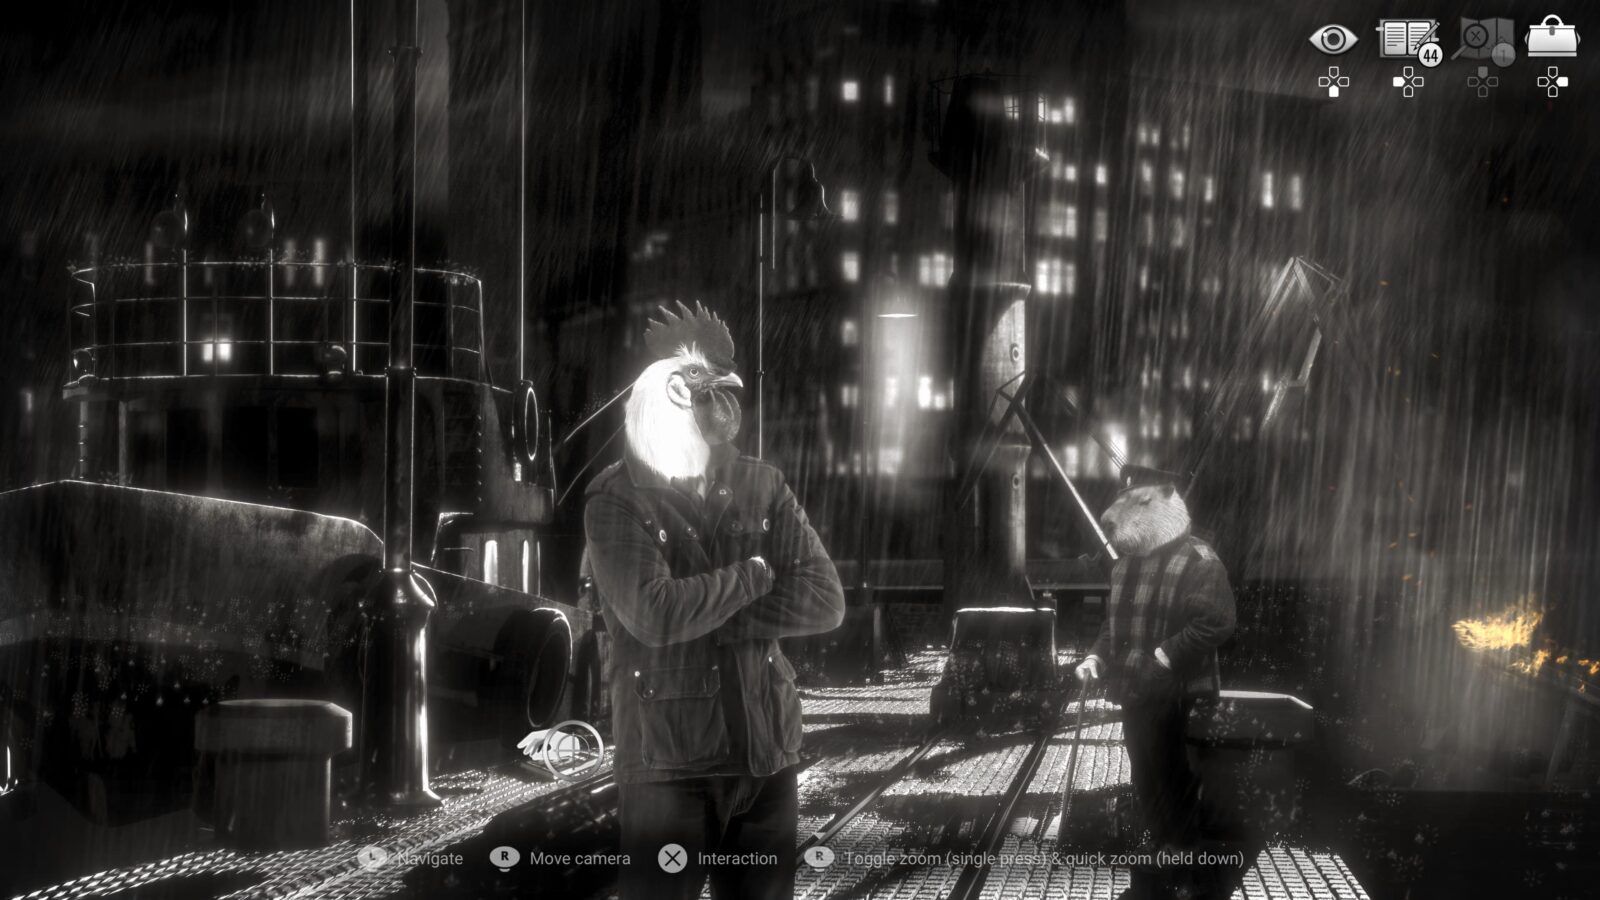
Progress towards The Social Type 23/28
Speak to Captain Marsh here on the Docks to progress The Social Type. Exhaust all dialogue options with him to unlock Personal Information 59/97.
Make sure you ask him about The Ship, followed by Archibald Conway to get Personal Informations 60 & 61/97 from him.
Lastly, ask him about himself to get Personal Information 62/97.


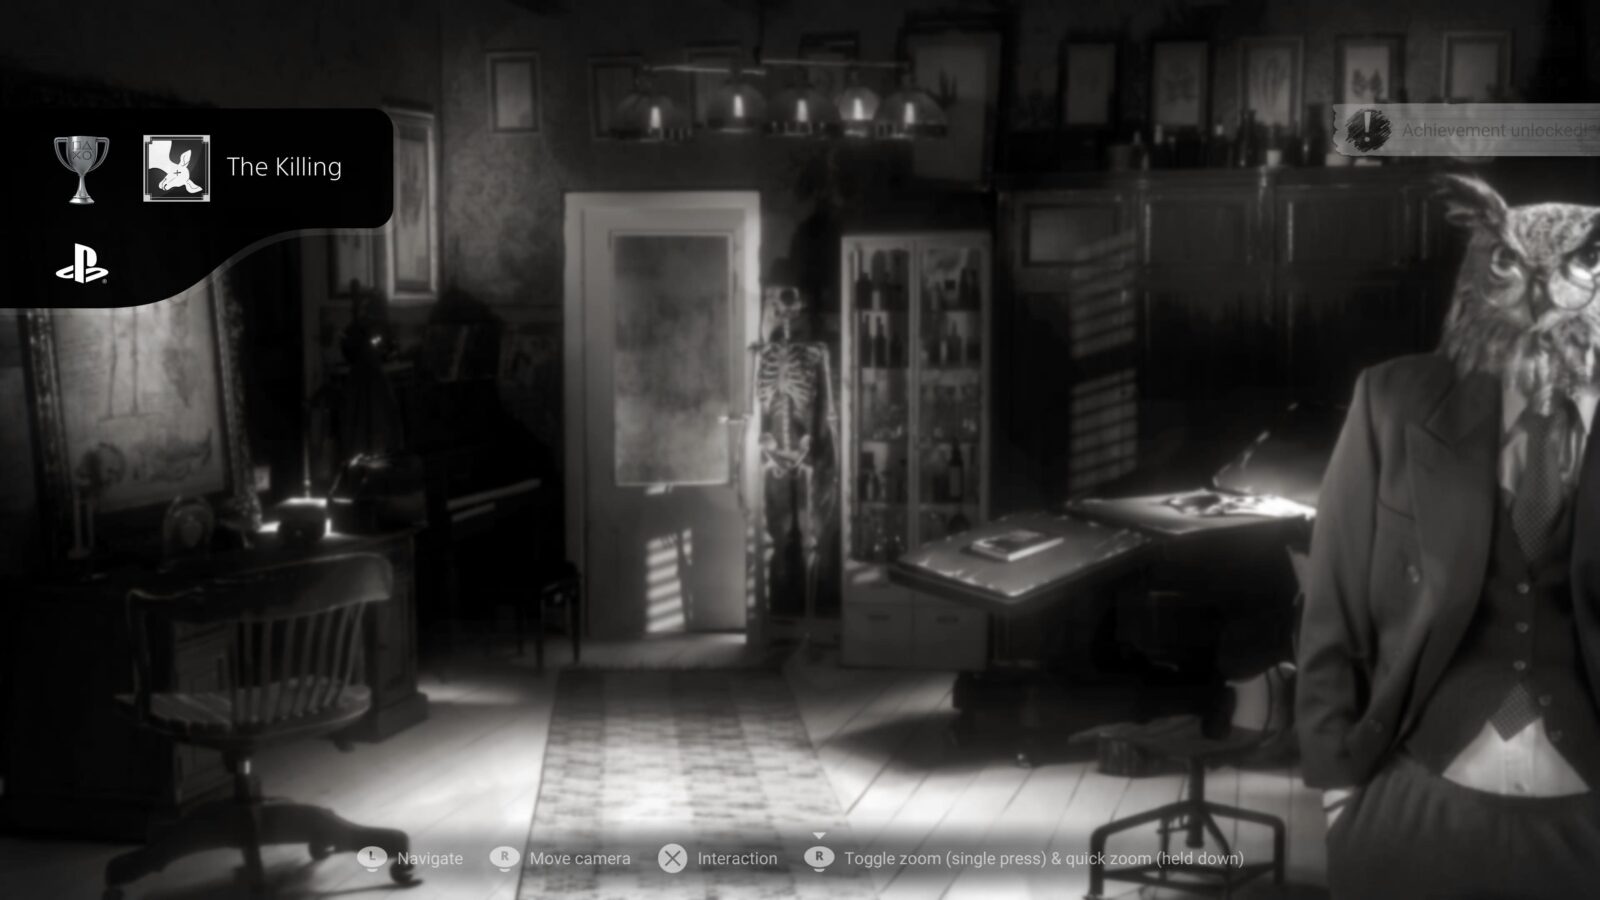
The Killing
Complete the second chapter
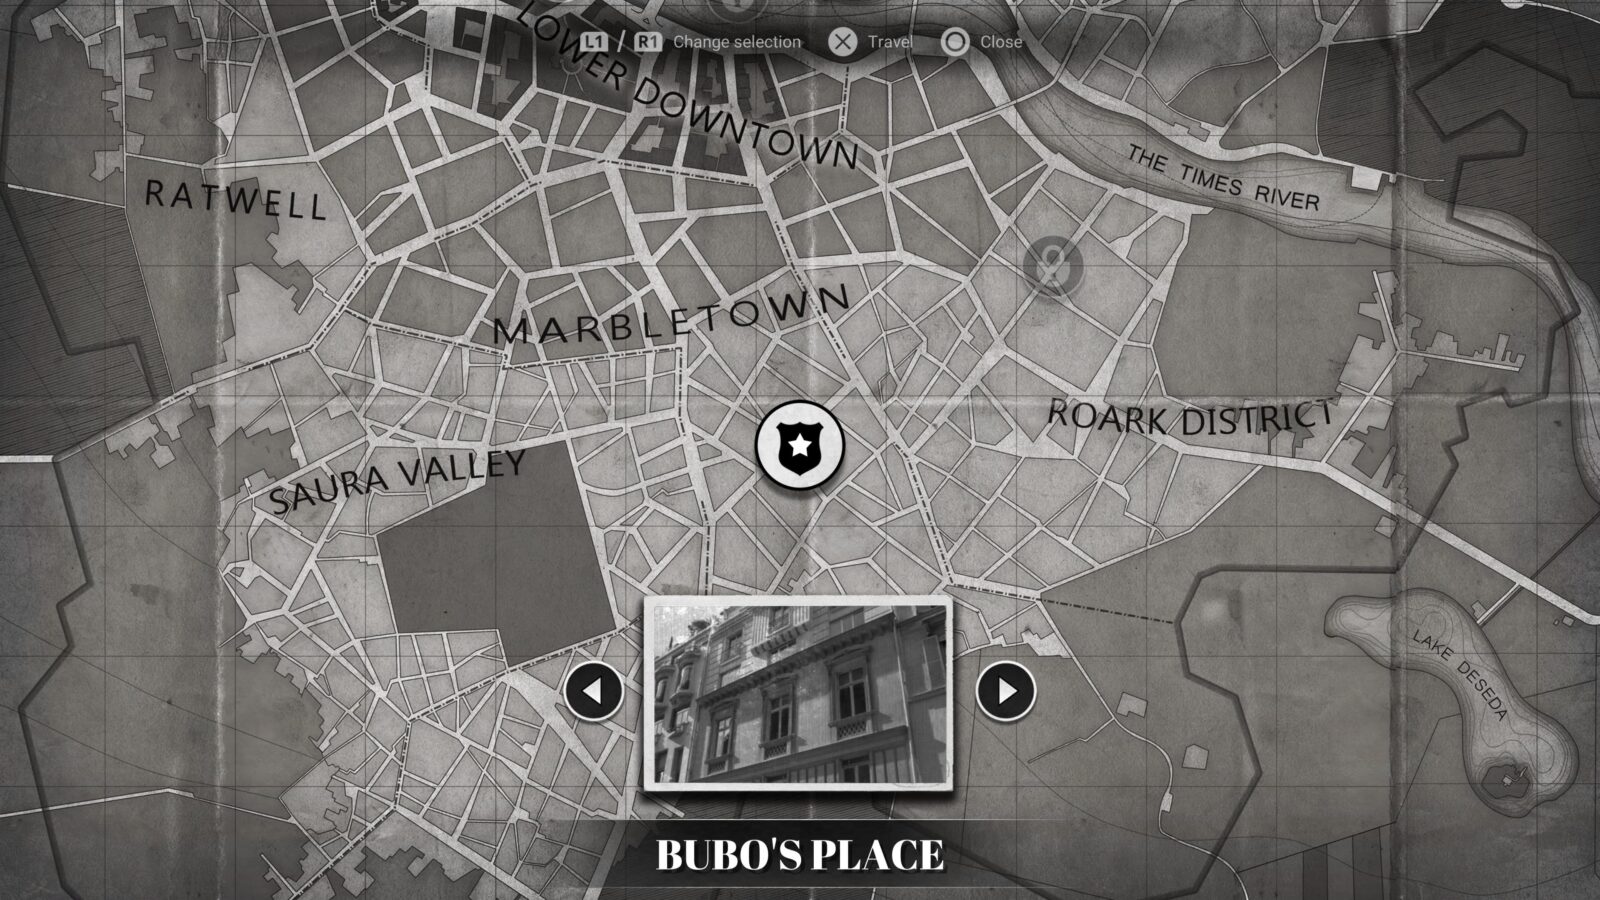
You may now leave and head to Bubo’s Place. This will end Chapter Two, unlocking the trophy “The Killing.”
Chicken Police Trophy Walkthrough – Chapter Three
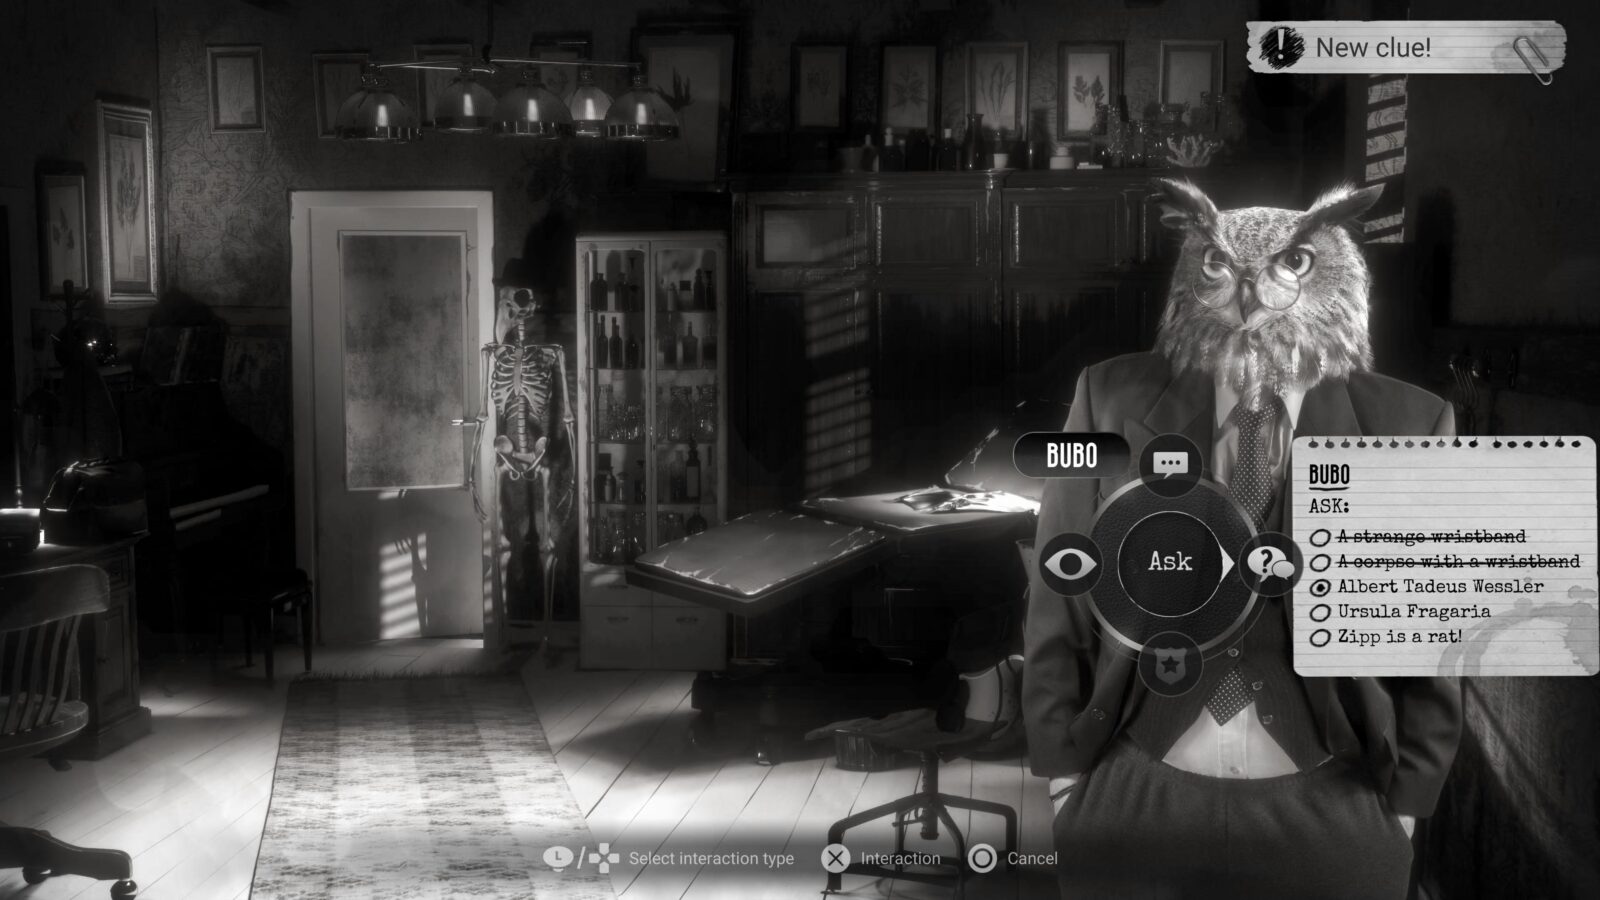
Bubo’s Place

When you arrive at Bubo’s Place, a Cutscene will play automatically. When it ends, take a look around and grab Chicken Police Novel 6/10 – Who’s Next from the table behind Bubo.
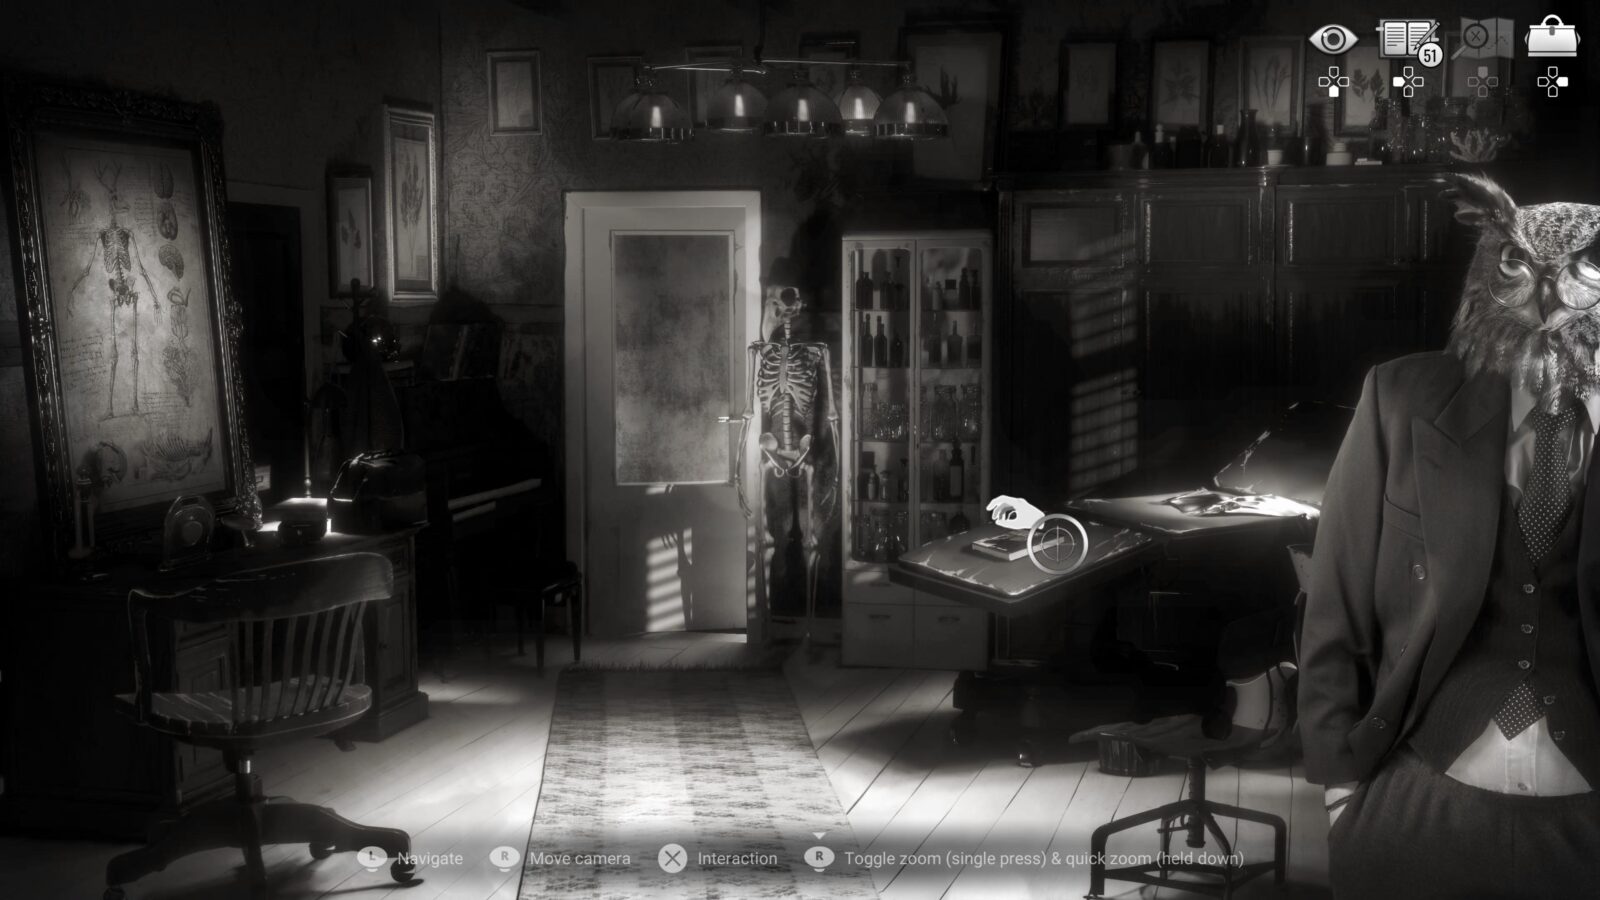
Progress towards The Social Type 24/28
Speak to Bubo to progress The Social Type. Exhaust all dialogue options with him to unlock Personal Information 63/97. Make sure you also “Ask” him about every possible topic.
This will trigger another investigation board sequence. To solve it, perform the below actions in order:
- On the left, place the picture of Madame Zaiwass and the picture of Ibn Wessler together.
- Connect the two with string and select the reasoning “Zawaiss and Ibn are working together?”.
- Place the “Natasha’s Secret” item at the center of the board.
- Connect the picture of Ibn and Natasha’s Secret with a string. Select the reasoning “Ibn wants to hide Natasha’s secret. Or was it Natasha herself?”
- On the right side of the board, place “Zipp is a rat!”.
- Connect Natasha’s Secret with “Zipp is a rat!”. Select the reasoning “Zipp knows too much about Natasha’s past and Wessler’s dealings.”
Once you solve the investigation as above, you’ll automatically receive Personal Information 64/97.
Progress towards The Explorer 8/15
Now that you’re done here, head back to the Czar Club, where we can finally finish a trophy we set up earlier!
The Czar Club III
While here, speak to Mort and exhaust all dialogue to get Personal Information 65/97. Next, exhaust all dialogue with Lewis to get Personal Information 66/97.
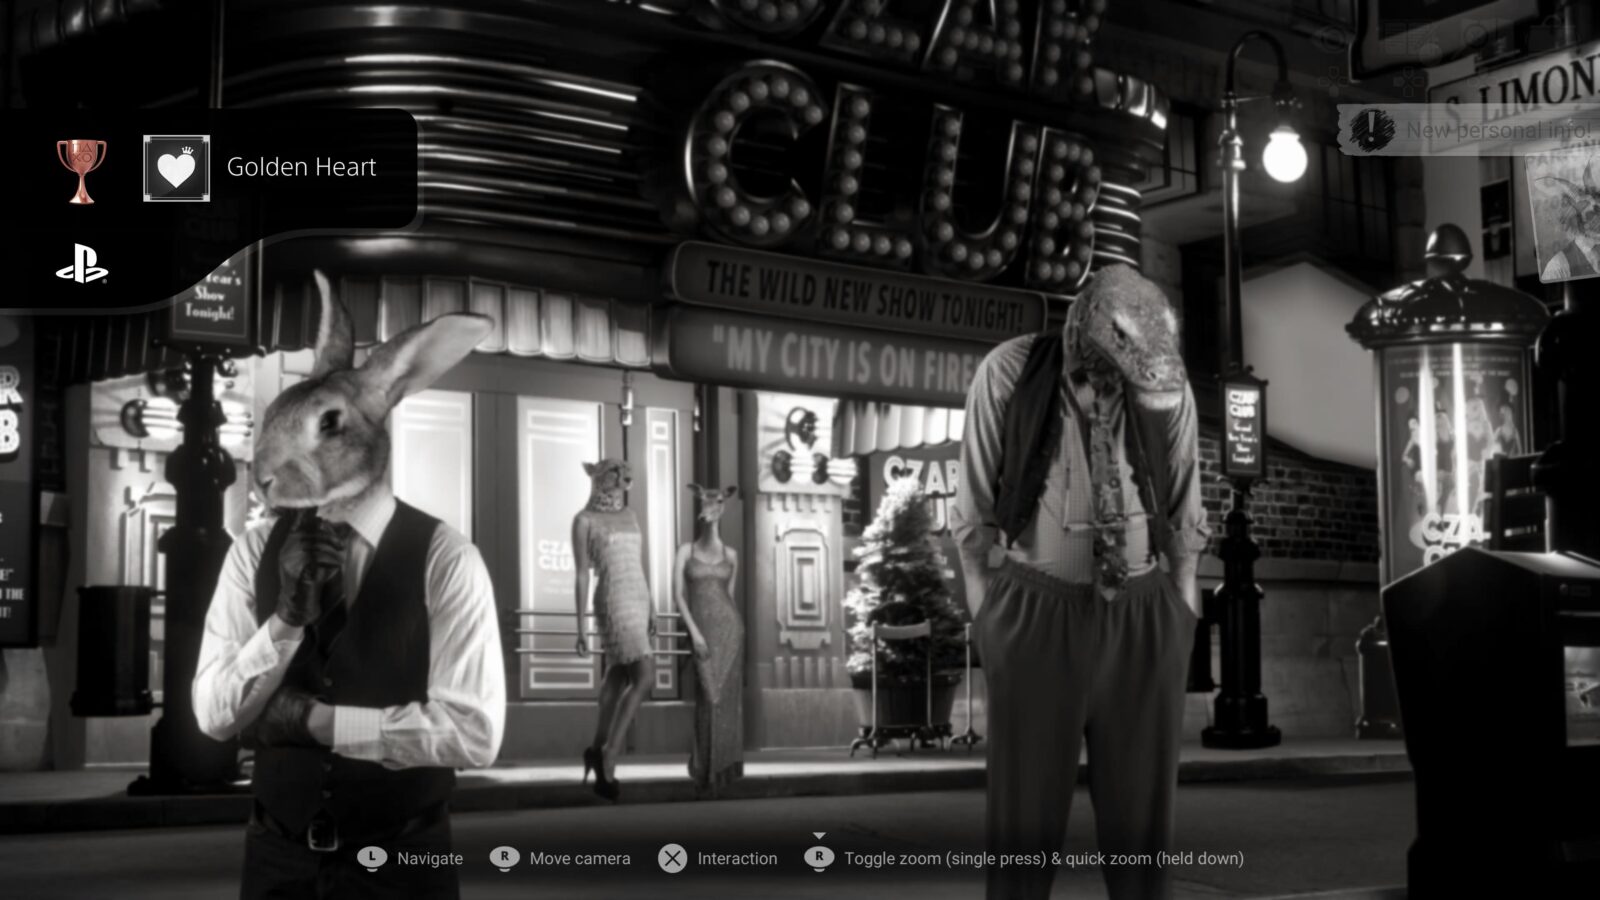
Golden Heart
Help Mort get a room for the night
If you’ve followed this guide correctly up to this point, Lewis should offer a room to Mort at the Hotel Atlas, unlocking the Golden Heart trophy.
Progress towards The Explorer 9/15
We’re now done at the Czar Club. Return to the Weekend House.
The Weekend House II
When you arrive at the Weekend House, you’ll automatically receive Personal Informations 67 & 68/97.
Collect Chicken Police Novel 7/10 – The Bloody New Year’s Eve from the hood/bonnet of the police cruiser.

Progress towards The Explorer 10/15
This is all we need from the Weekend House. Head back to the Sweltering Nile.
The Sweltering Nile II

There’s nothing to do here, we just needed to drop by for the Explorer Trophy. Continue the story by heading to the Hop-Dog.
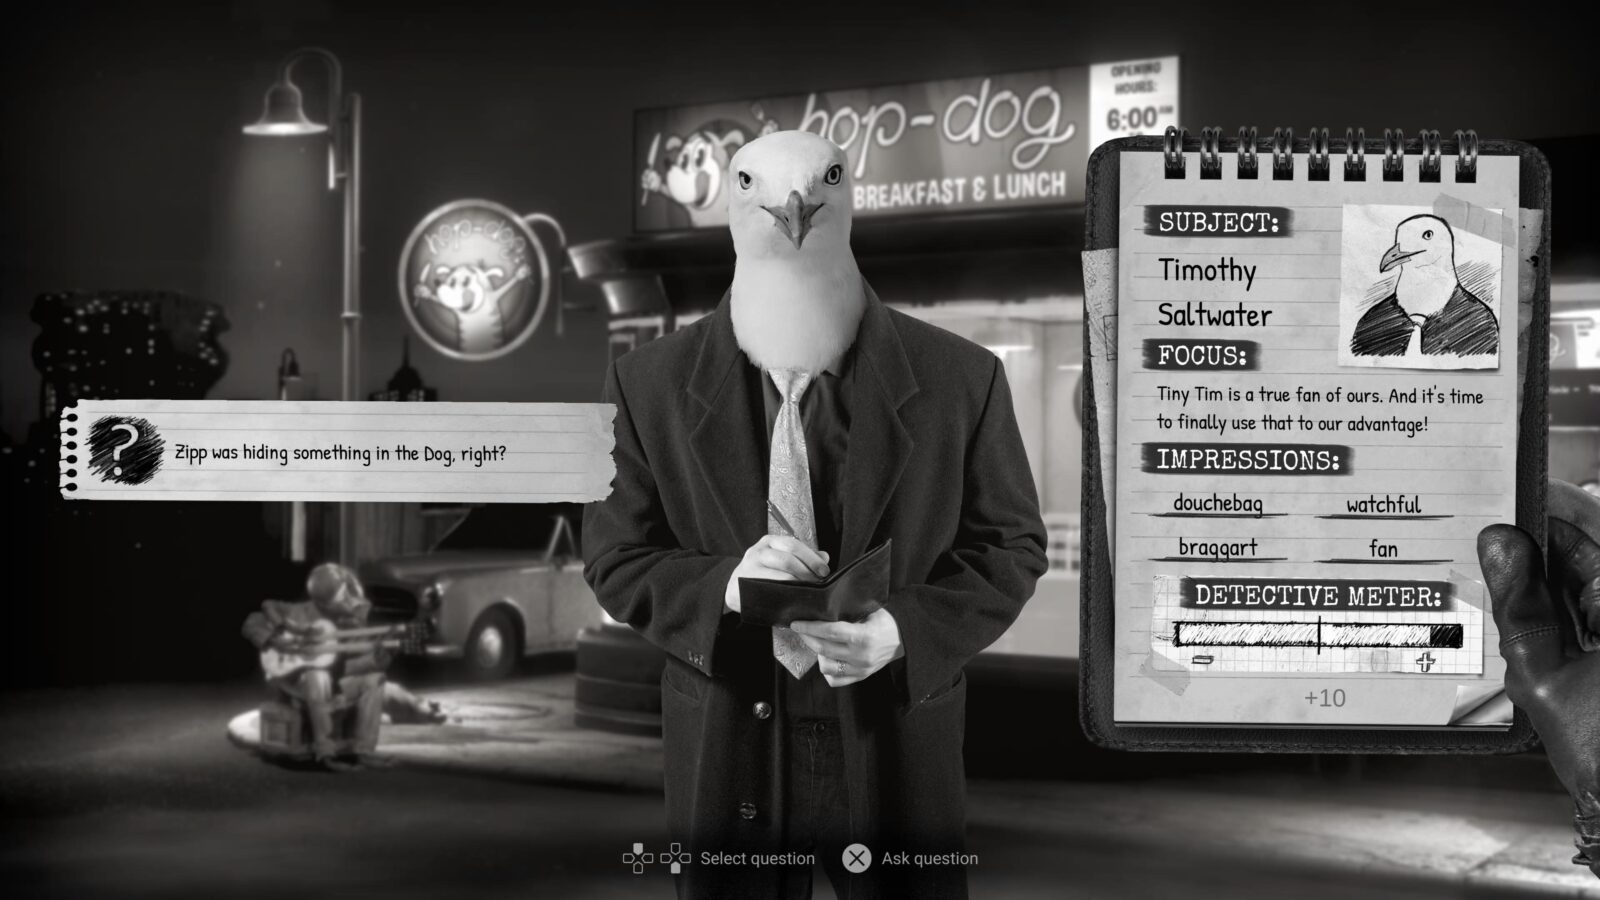
The Hop-Dog III

Here at the Hop-Dog, ask Timothy about Madame Zaiwass to get Codex 24/27. To proceed to Questioning, ask Timothy about Zipp H. Murphy.
Progress towards Santino Featherland 5/8
Here we go again, another questioning sequence. Remember, you’ll need to achieve Living Legend rank, so select the dialogue options below:
- So what the hell are you doing around here, Timbo?
- And, why were you looking for us here, of all places?
- Out with it, Tim! Who squawked!
- What happened to Zipp, Tim?
- Heard any juicy gossip today, Tim, my friend?
- As you’re so well informed, Timster, tell me about Madame Zaiwass…
- Timbo, you pay attention to everything… Did anyone else come here?
- Help your old pals, Tim. what was Zipp doing before they took him away?
- Zipp was hiding something in the dog, right?
Doing so will unlock Personal Informations 69, 70, and 71/97.

Once done, head inside the Hop-Dog.

Songbird
Collect all the musics for the jukebox
Interact with the Jukebox inside the Hop-Dog and the Songbird Trophy will unlock.
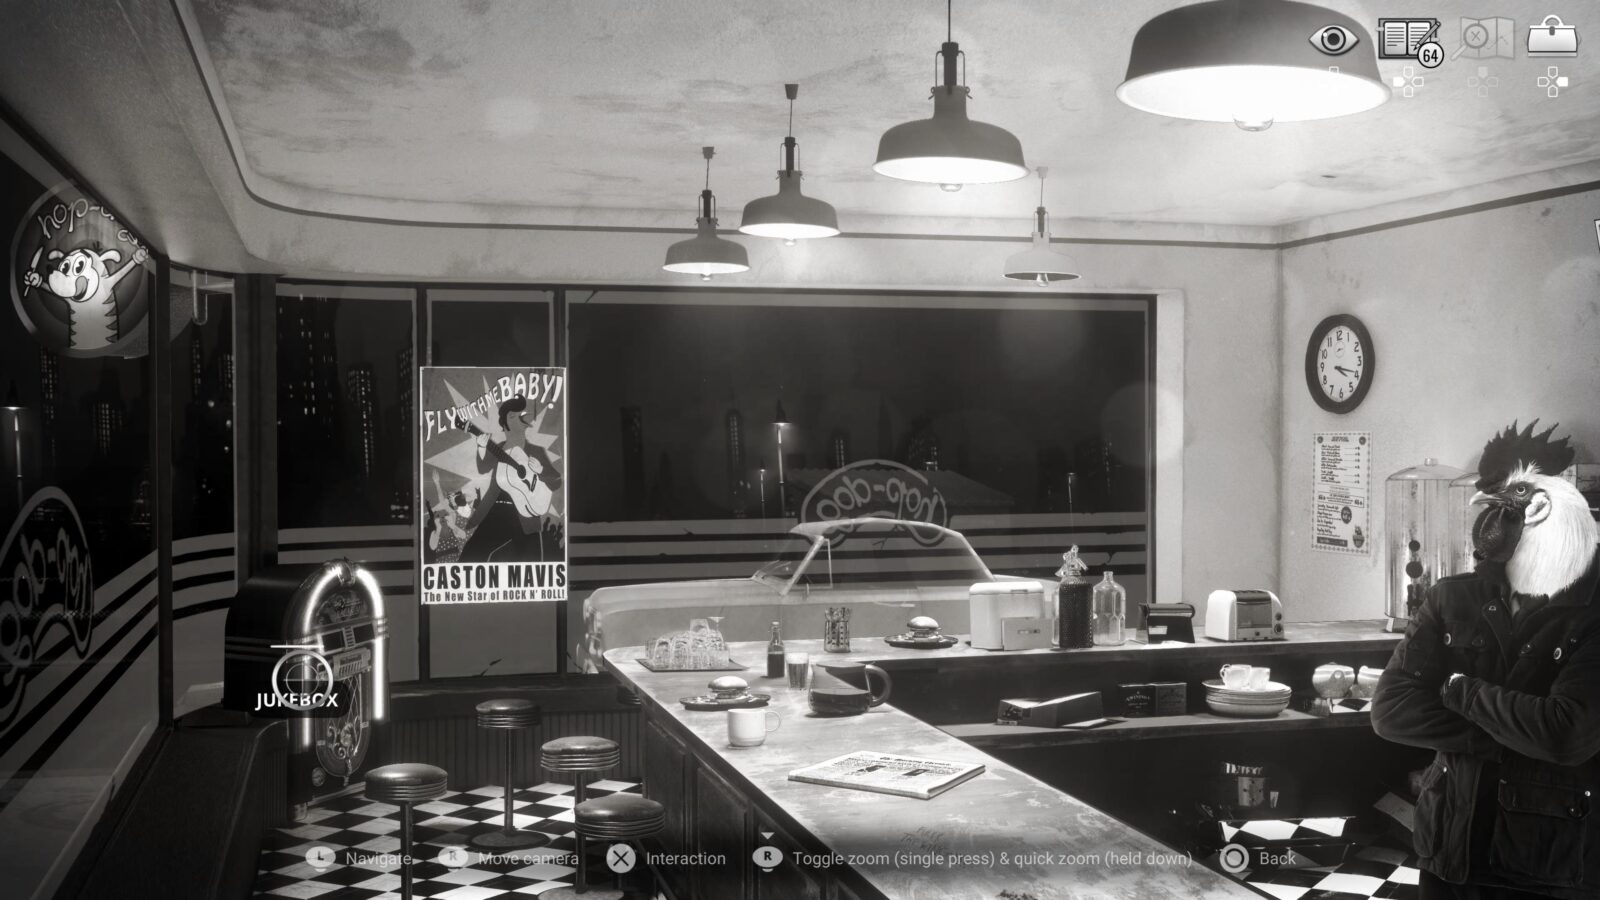
While looking at the Jukebox, interact with the glass pane at the top to break it to acquire a new Key Item.
Leave the Hop-Dog and speak to Timothy again.
Progress towards The Explorer 11/15
Once you’ve had a chat with Timothy, return to Mullen’s Newsstand.
Mullen’s Newsstand II
There’s nothing to do here, we just needed to drop by for the Explorer Trophy. Continue the story by heading back to the Clawville P.D. again.
Clawville P.D. IV

When you arrive at the Police Department, a Cutscene will play automatically.
You will enter a car chase scene.

Progress towards Lights Out – First Chance
This Car Chase is your very first chance to unlock the Lights Out trophy. To do so, you will need to shoot out both headlights on the front of the pursuing car.
You’ll only have a short amount of time to do this, as once the car is driving parallel to you, you can no longer shoot its lights. If the pursuing car gets next to you, just let it destroy you to automatically restart the sequence so that you can try again.
If you accidentally complete the sequence by destroying the car, you will get another opportunity later.
Once you have the trophy, complete the Car Chase sequence by destroying the pursuing car. The fastest way to damage it is to shoot at its tires.
Once you’re successful, another Cutscene will play automatically and you’ll arrive outside the Police Department. Head inside.
Progress towards Barking Dogs Never Bite 2/4
First choose to “Look” at Bloodboyle again, then exhaust all dialogue options with him to progress the Barking Dogs Never Bite trophy.
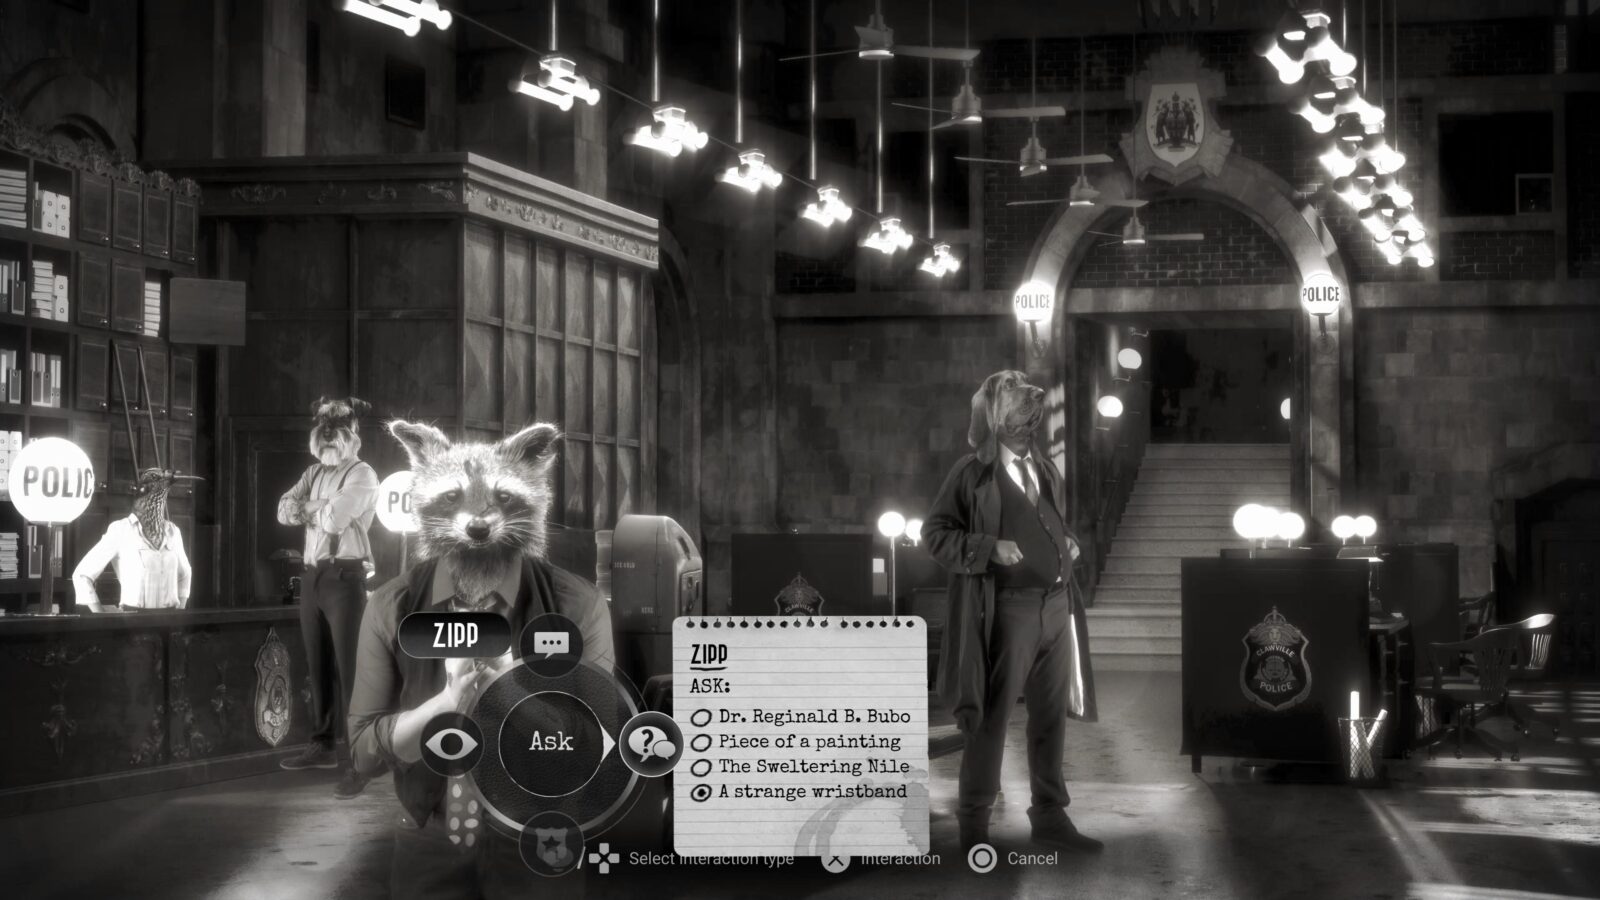
Next, you need to try to talk to Zipp and then Ask Monica about him.

Once she’s revealed more, Ask Zipp about “A Strange Wristband.” This will initiate the next Questioning sequence.
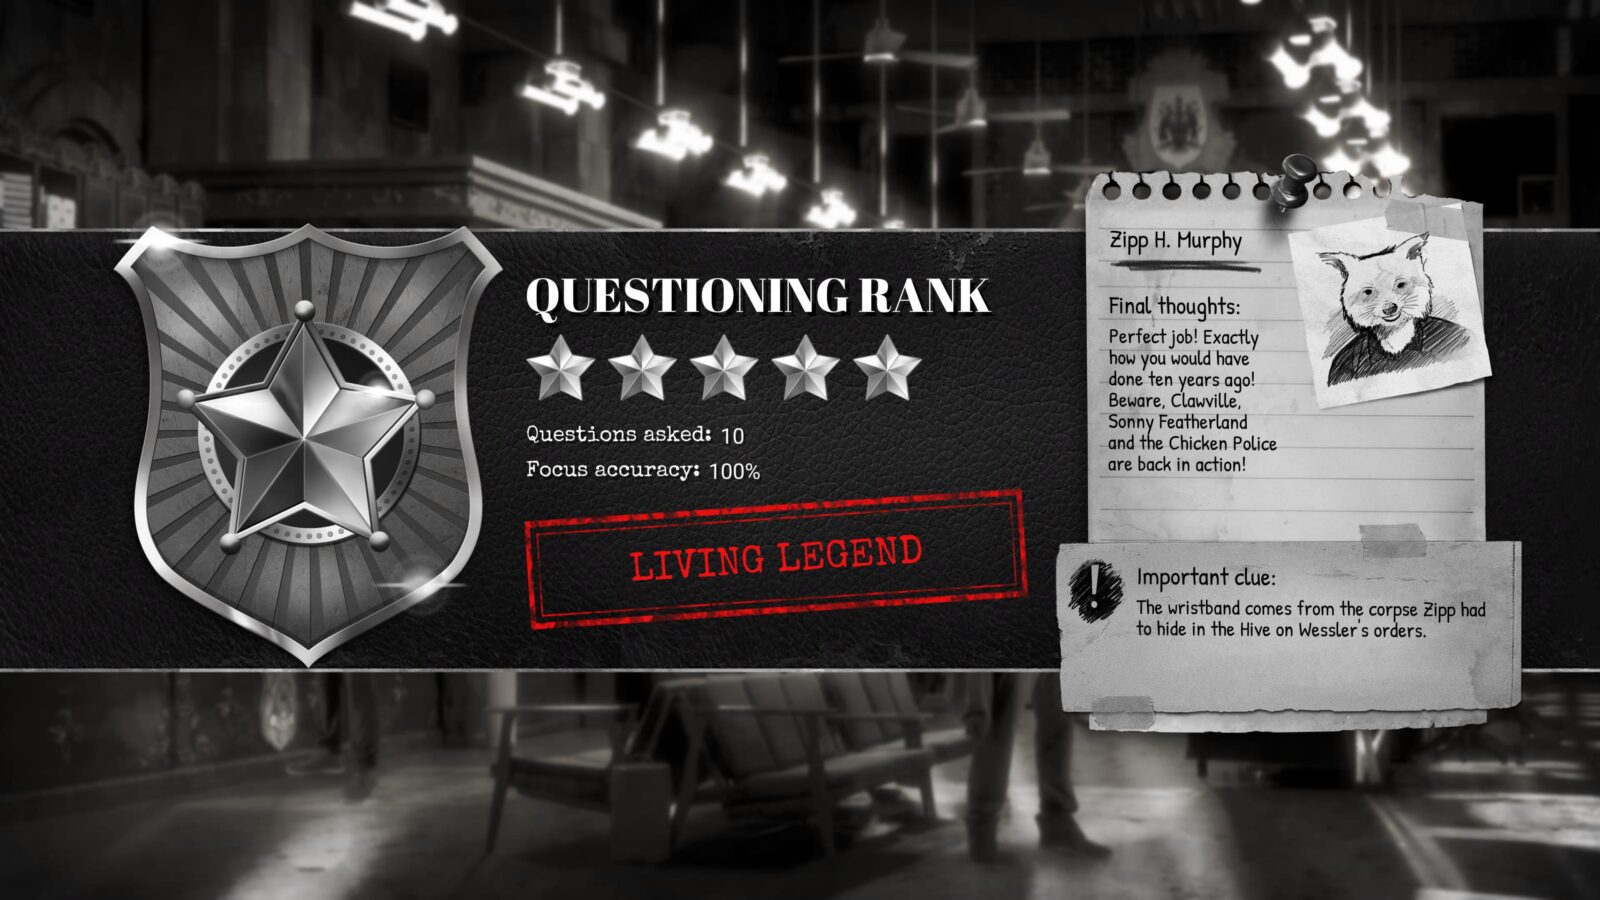
Progress towards Santino Featherland 6/8
As you already know by now, you will need to achieve Living Legend rating in this questioning sequence. To do so, select the following dialogue options:
- Who did you escape from, and why here, Zipp?
- How did you manage to piss off Ibn Wessler?
- What did he have on you, Zipp?
- What did you have to do for Ibn?
- So, a dead body, huh? But what kind exactly?
- If they let you out, what do you expect will happen?
- Why did you keep that wristband?
- What happened to the body, Zipp?
- So he wanted to blame it all on the insects? why would he do that?
- I’m asking you for the last time… What’s the wristband?
Doing so will unlock Personal Informations 72 and 73/97.
Once done, head to Bubo’s Place.
Bubo’s Place II
Progress towards The Social Type 25/28
In Bubo’s Place, you’ll meet a new character called “Ursula.” This will automatically progress The Social Type and unlock Personal Information 74/97.
Next, Ask Bubo about “A Strange Wristband” followed by “A Corpse with a Wristband” to receive Personal Information 75/97. Finally, to progress the story, Ask him about Albert Tadeus Wessler and then leave for Hotel Atlas.
Hotel Atlas IV
When you get into Hotel Atlas, speak to Marty to begin another Investigation Board Sequence. Solve the puzzle like so:
- On the left, place “Natasha’s Secret” and the picture of Ibn Wessler together.
- Connect the two with a string and select the reasoning “Natasha was a courtesan before. And Ibn tried to keep that a secret”.
- Place the Wristband item at the center of the board.
- Connect the picture of Ibn and the Wristband with a string. Select the reasoning “Zipp dealt with the body, and kept the wristband for himself.”
- On the right side of the board, place “Wessler’s twin”.
- Connect the Wristband with “Wessler’s twin”. Select the reasoning “Albert Wessler, the resident of an insane asylum!”
When the board sequence ends, ask Marty about “A corpse with a wristband” to get Codex 25/27!
When done, use the telephone and dial “555-966.”
Hang up and talk to Marty.
Next, call “555-932” to speak to Lewis and then leave for the Insane Asylum.

Out Of The Past
Complete the third chapter
When you’ve concluded your business at Hotel Atlas and departed for the Insane Asylum, Chapter Three will give way to Chapter Four, unlocking the “Out of the Past” trophy.
Chicken Police Trophy Walkthrough – Chapter Four
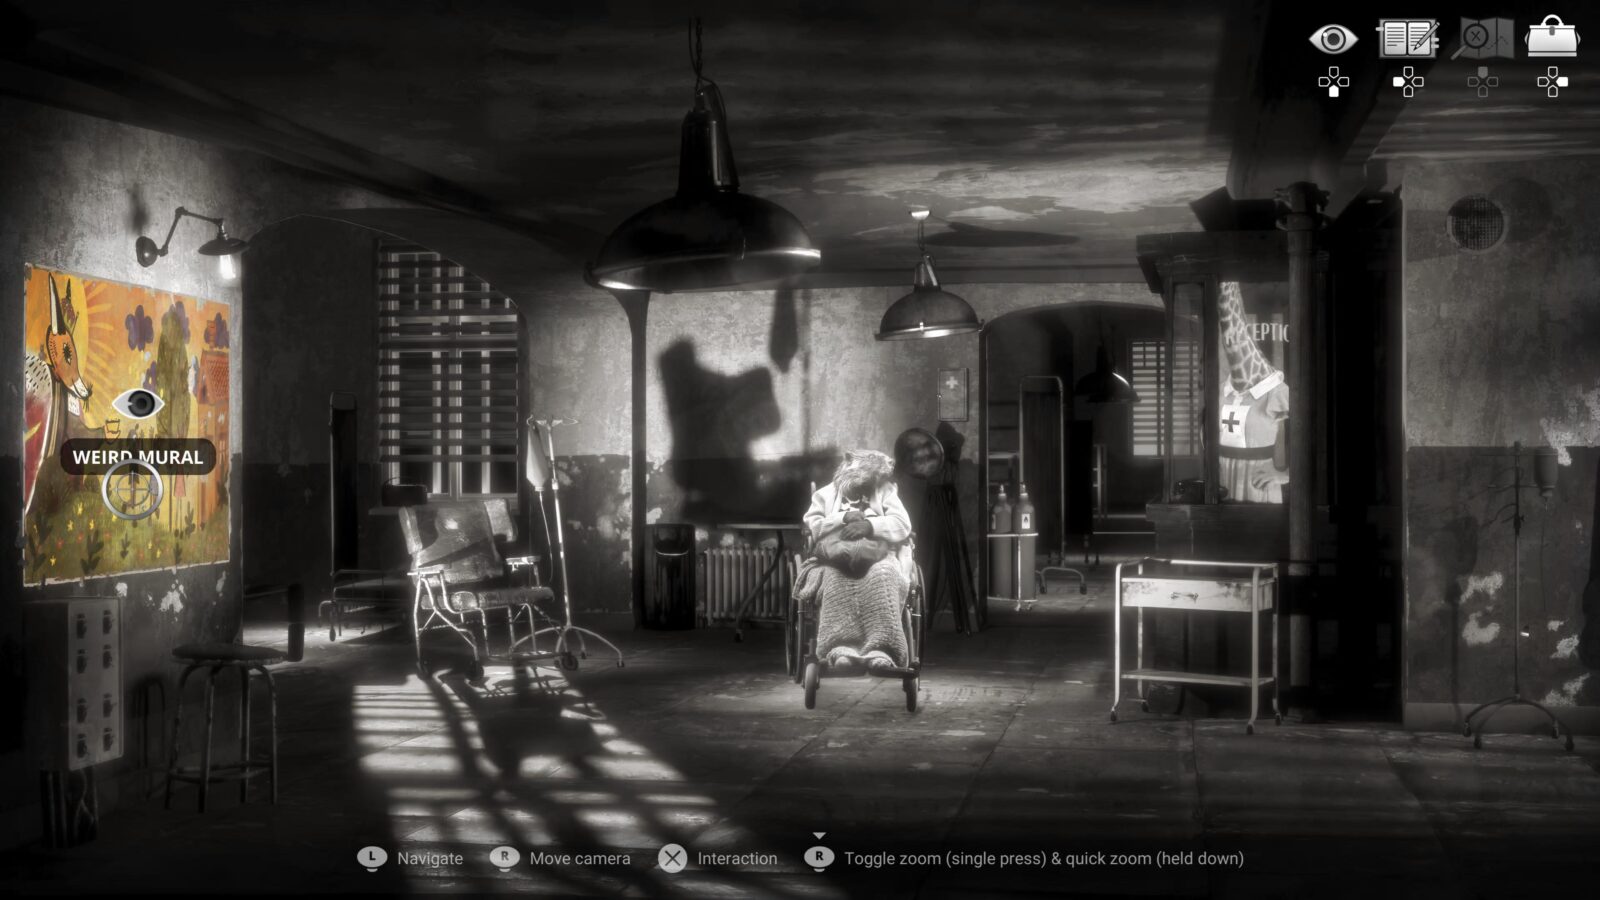
The Insane Asylum

When you first arrive at the insane asylum, a Cutscene will play. Once it ends, look for a mural on the wall to your left and interact with it. It is an Art Gallery Item.
Progress towards The Social Type 26/28
Police Squad!
Talk with the “super-fan” nurse at the asylum
At the Asylum Reception, you’ll see a new character you need to speak with; Miranda. Talking to her will add progress towards The Social Type Trophy, but also this receptionist happens to be a Super-Fan! Speaking to her will unlock the “Police Squad!” trophy.
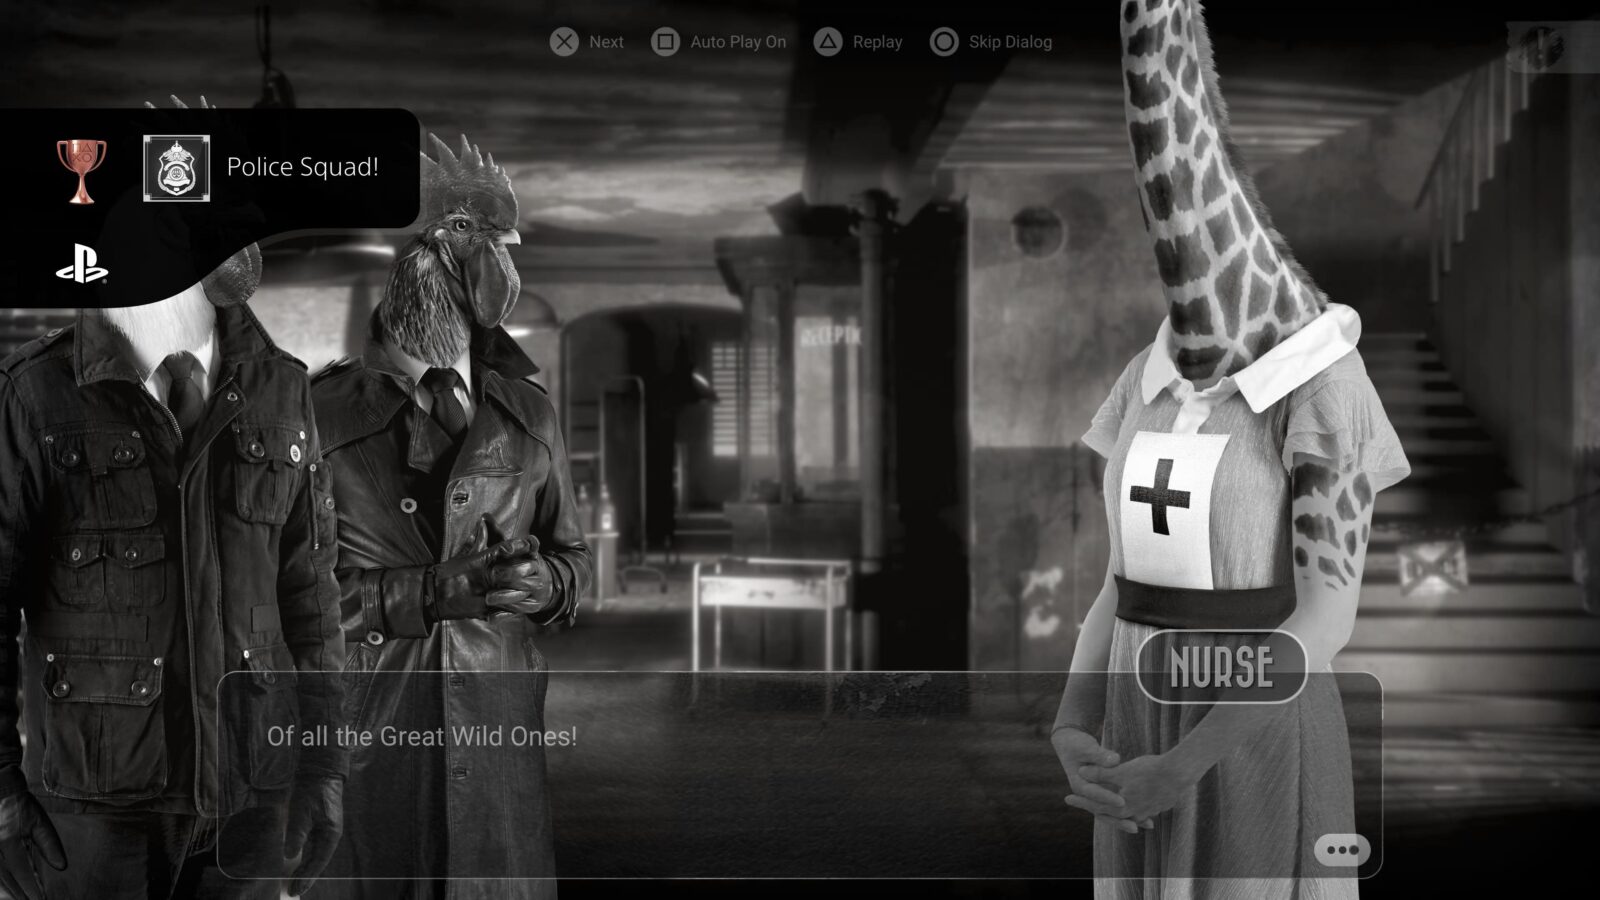
As always, exhaust her dialogue and you’ll obtain Personal Informations 76 & 77/97. Make sure you also ask her about every possible topic to receive Personal Information 78/97 and gain access to the upper floor.
Head upstairs and you’ll automatically receive Personal Information 79/97 at the top. There, you’ll see a new character, “Dr. Quetzal.”
Progress towards The Social Type 27/28
Speak to Dr. Quetzal to progress The Social Type trophy further. Ask him about the Insane Asylum and Albert Wessler and you’ll receive Personal Information 80/97 and Codex 26/27.
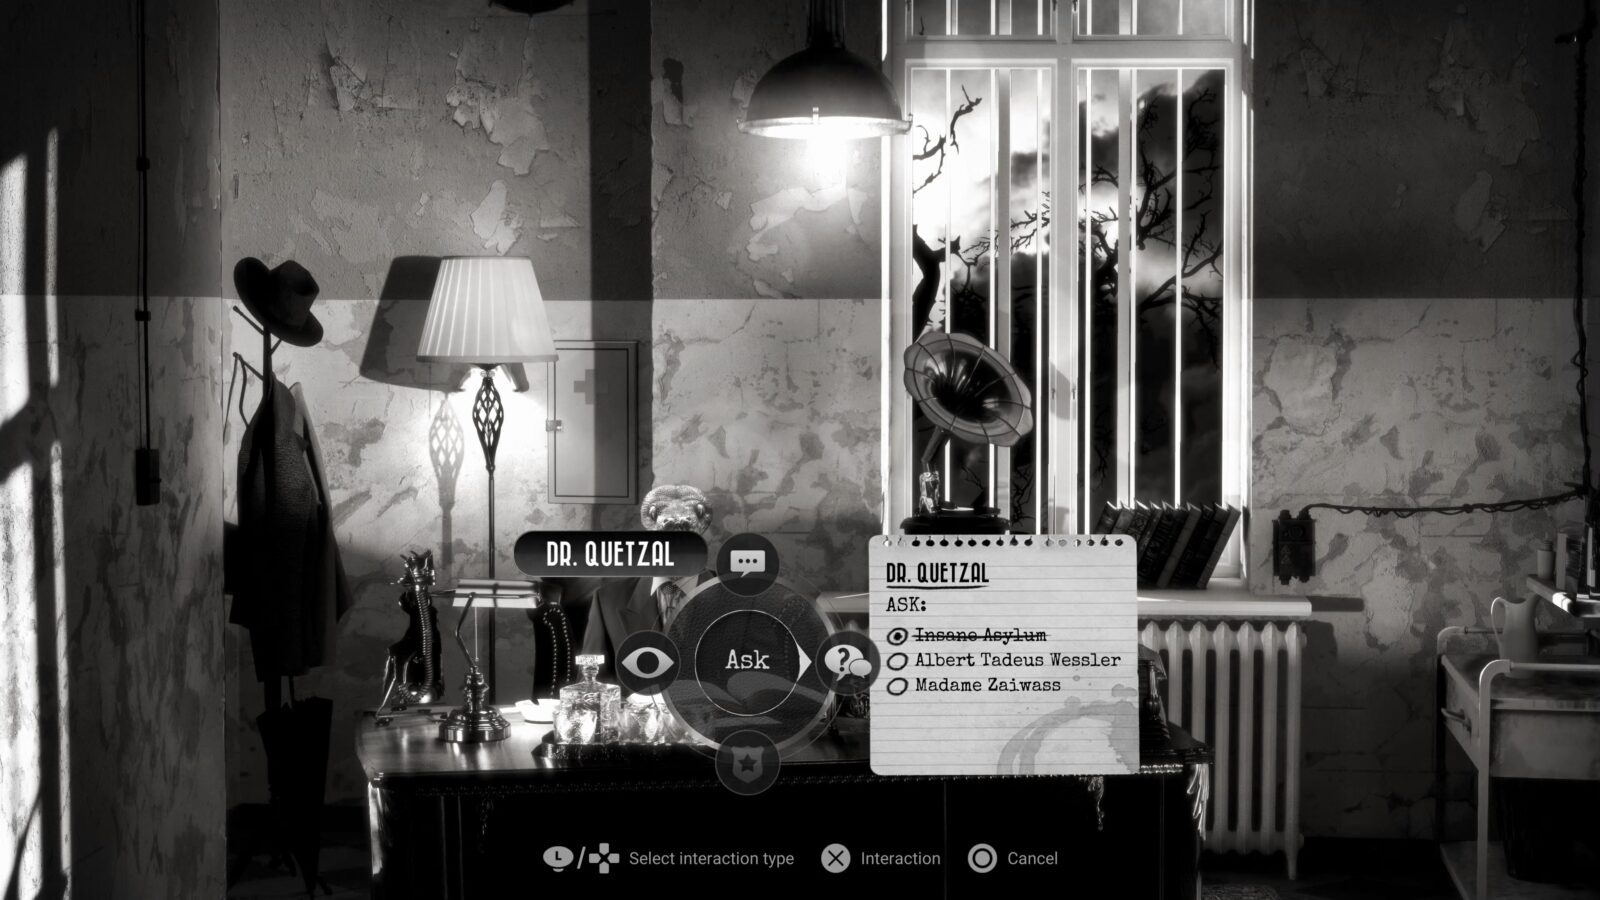
You can now begin another Questioning Sequence!
Progress towards Santino Featherland 7/8
You know the drill; another Questioning, another Living Legend rank to gain! Select the dialogue options shown below to guarantee the ranking you need:
- So, when did Albert become a resident of your institute?
- What kind of special treatment did Albert get?
- How did you see Albert when you first met?
- Are you telling me Albert had multiple personalities?
- When and why did Albert leave the institution the first time?
- Did Albert tell you how he felt about painting?
- So Albert had left on many occasions to continue working on the painting?
- Maybe it’s not easy to talk about it, but… did you examine his wounds thoroughly?
- Concentrate, doctor! What do you think happened to Albert?
- What happened then? How did Albert disappear?
Doing so will unlock Personal Informations 81, 82, and 83/97.
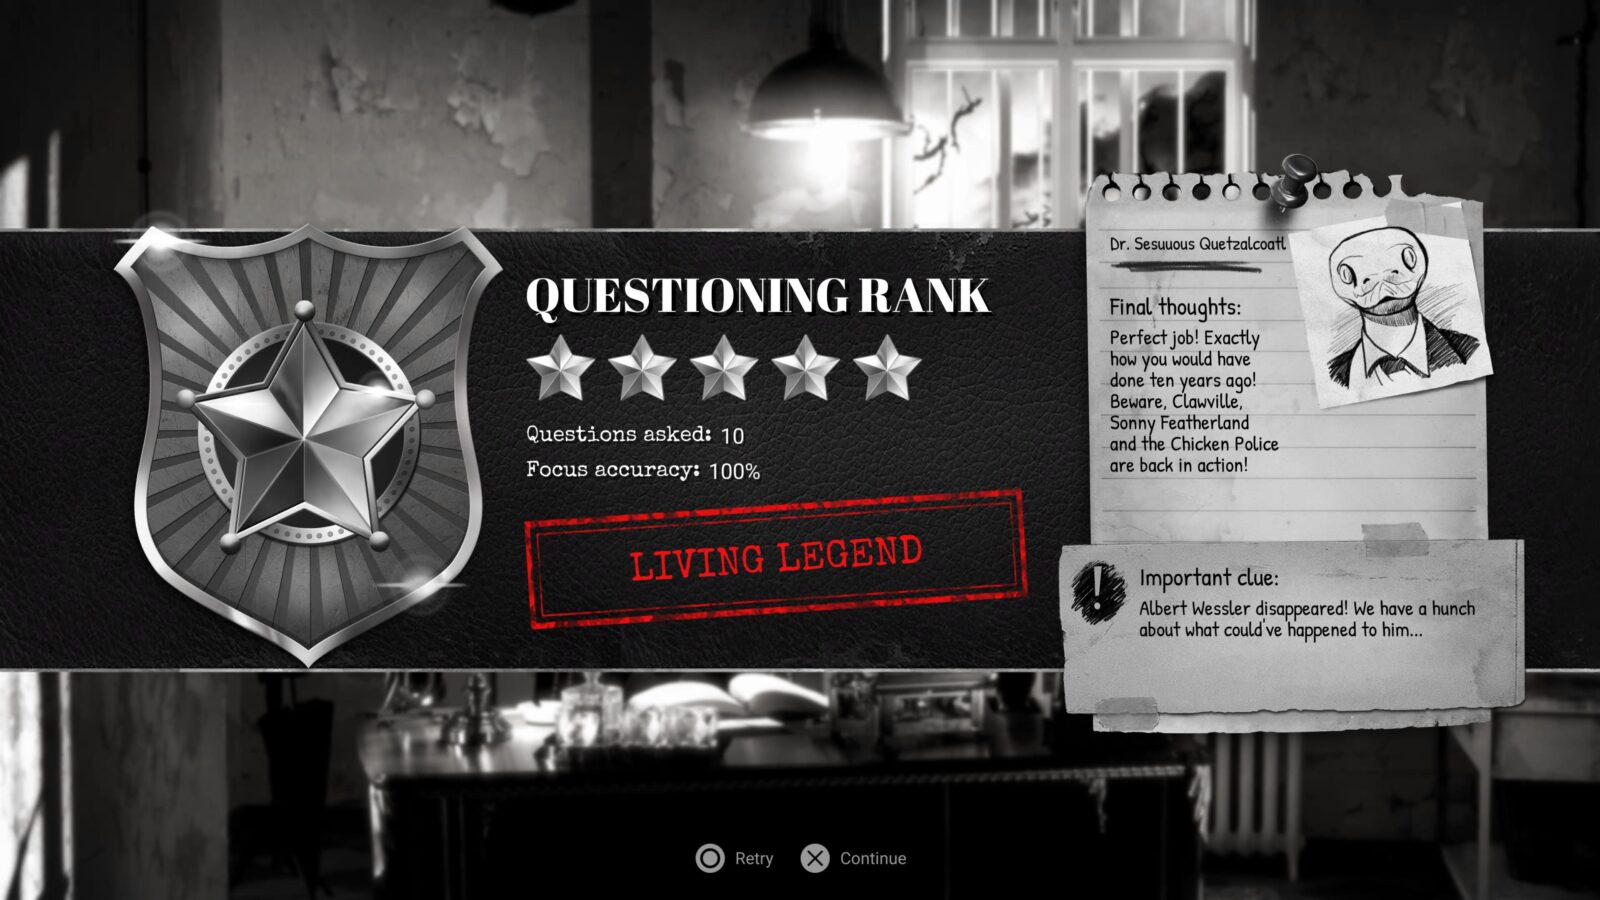
Talk to Dr. Quetzal again after the questioning to be taken into Albert’s Room.
There, interact with the painting above the bed and the photo of the Wesslers on the desk, both of which are Art Gallery Items.
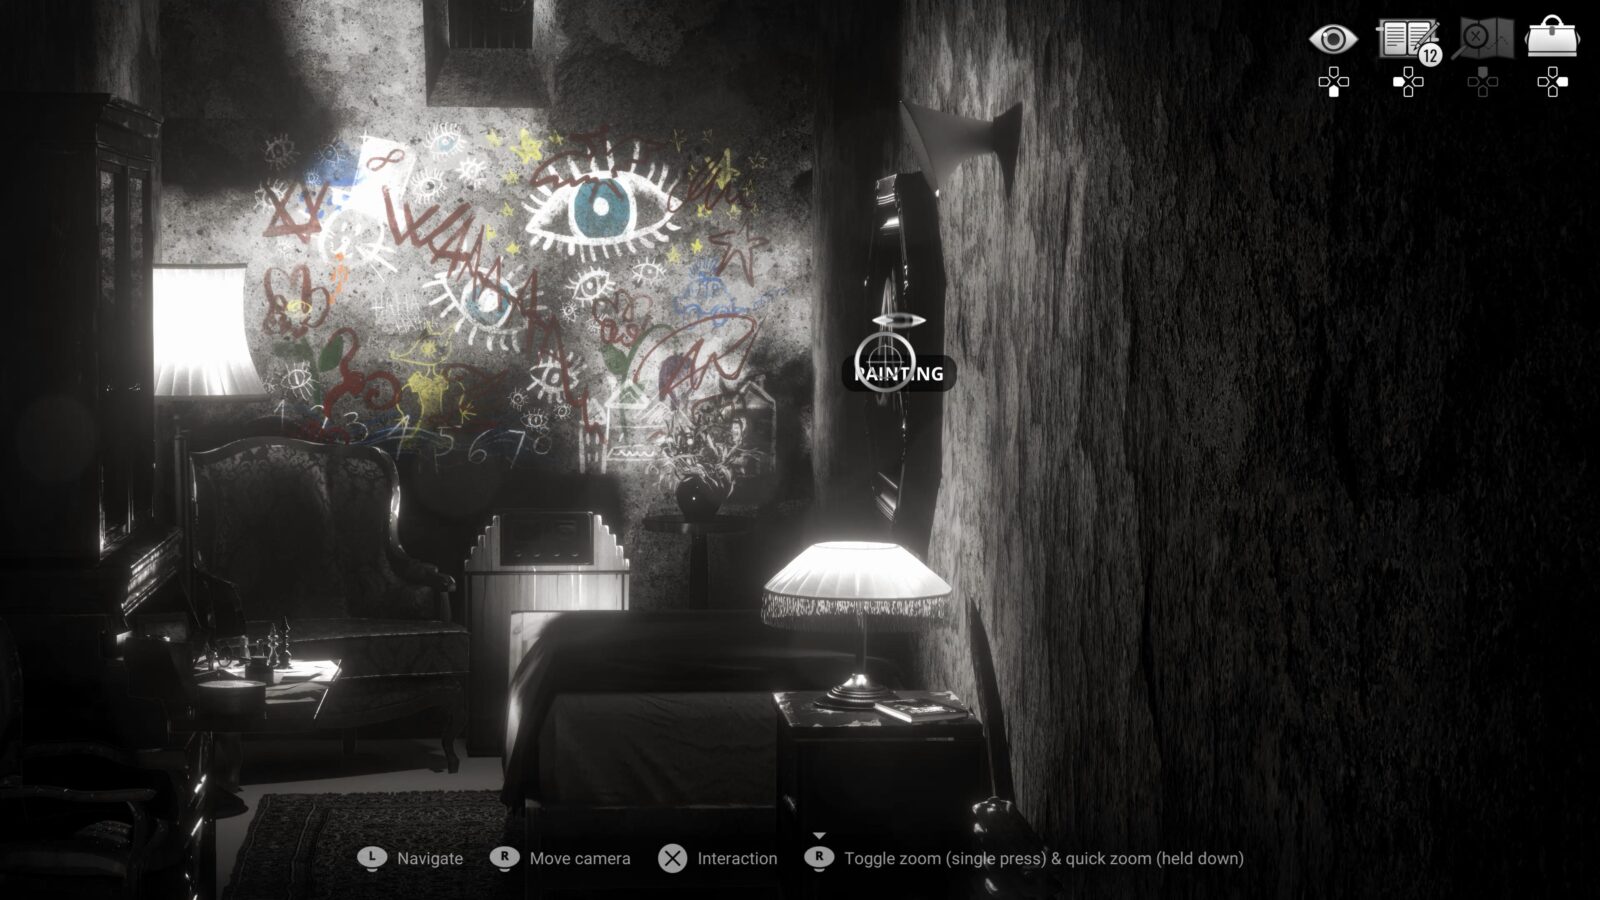
Make sure you also grab the Chicken Police Novel 8/10 – For a Handful of Waffles! from the bedside table.
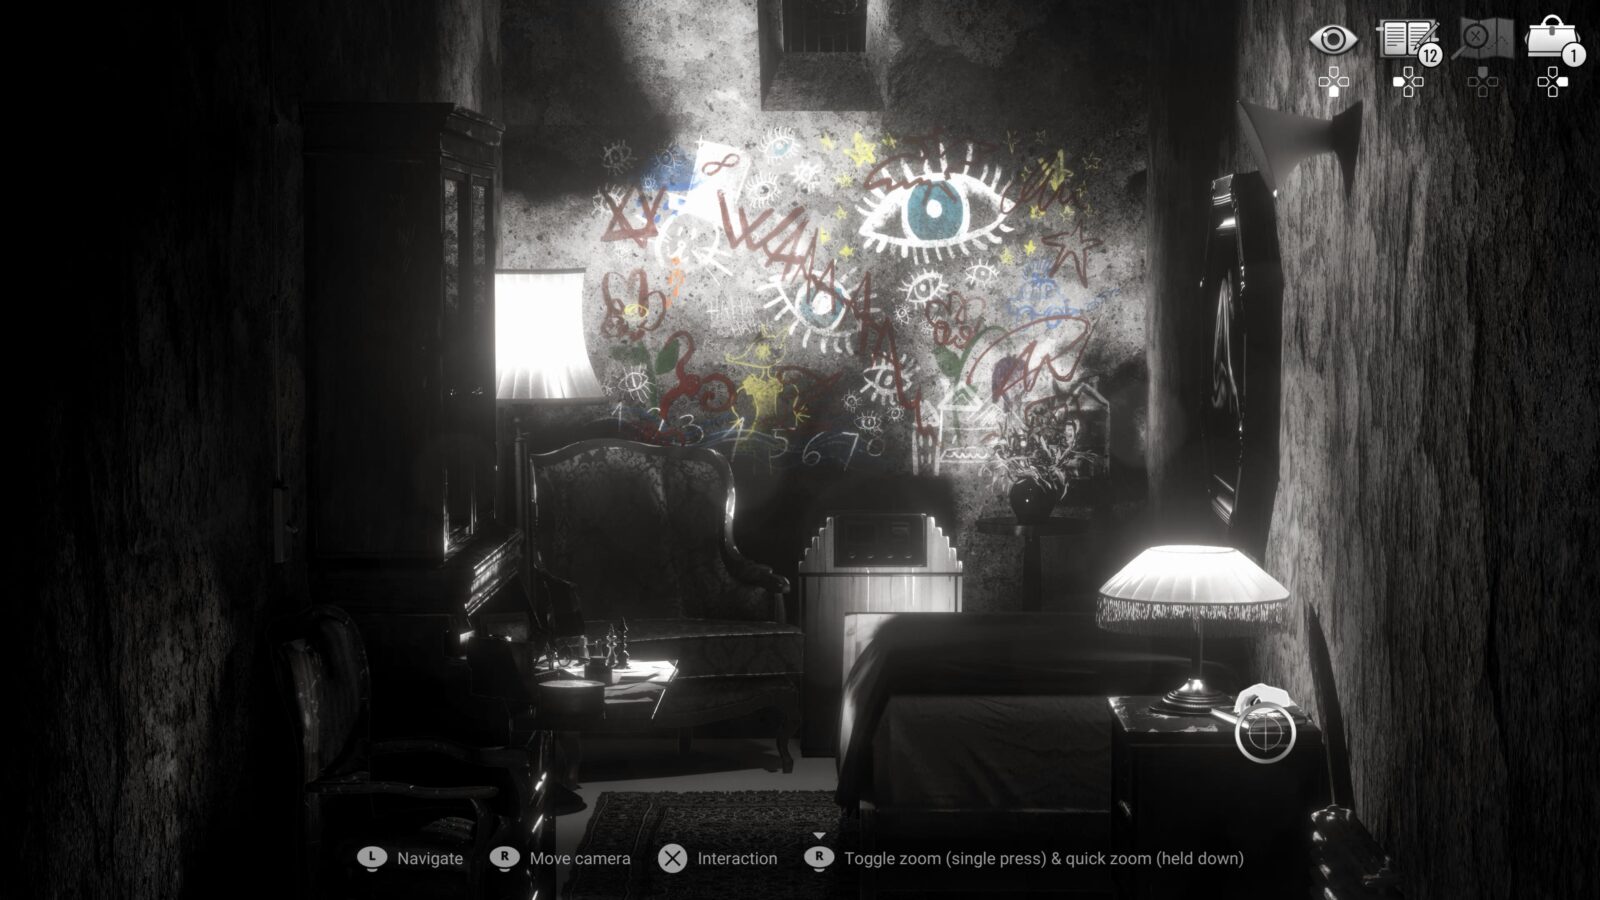
To continue the story, interact with the “Albert’s Letter” item on the desk to collect it, then inspect it in your inventory to read what it says. You’ll automatically be returned to Dr. Quetzal’s office.

There’s nothing else to do here, so return to Hotel Atlas…
Hotel Atlas V
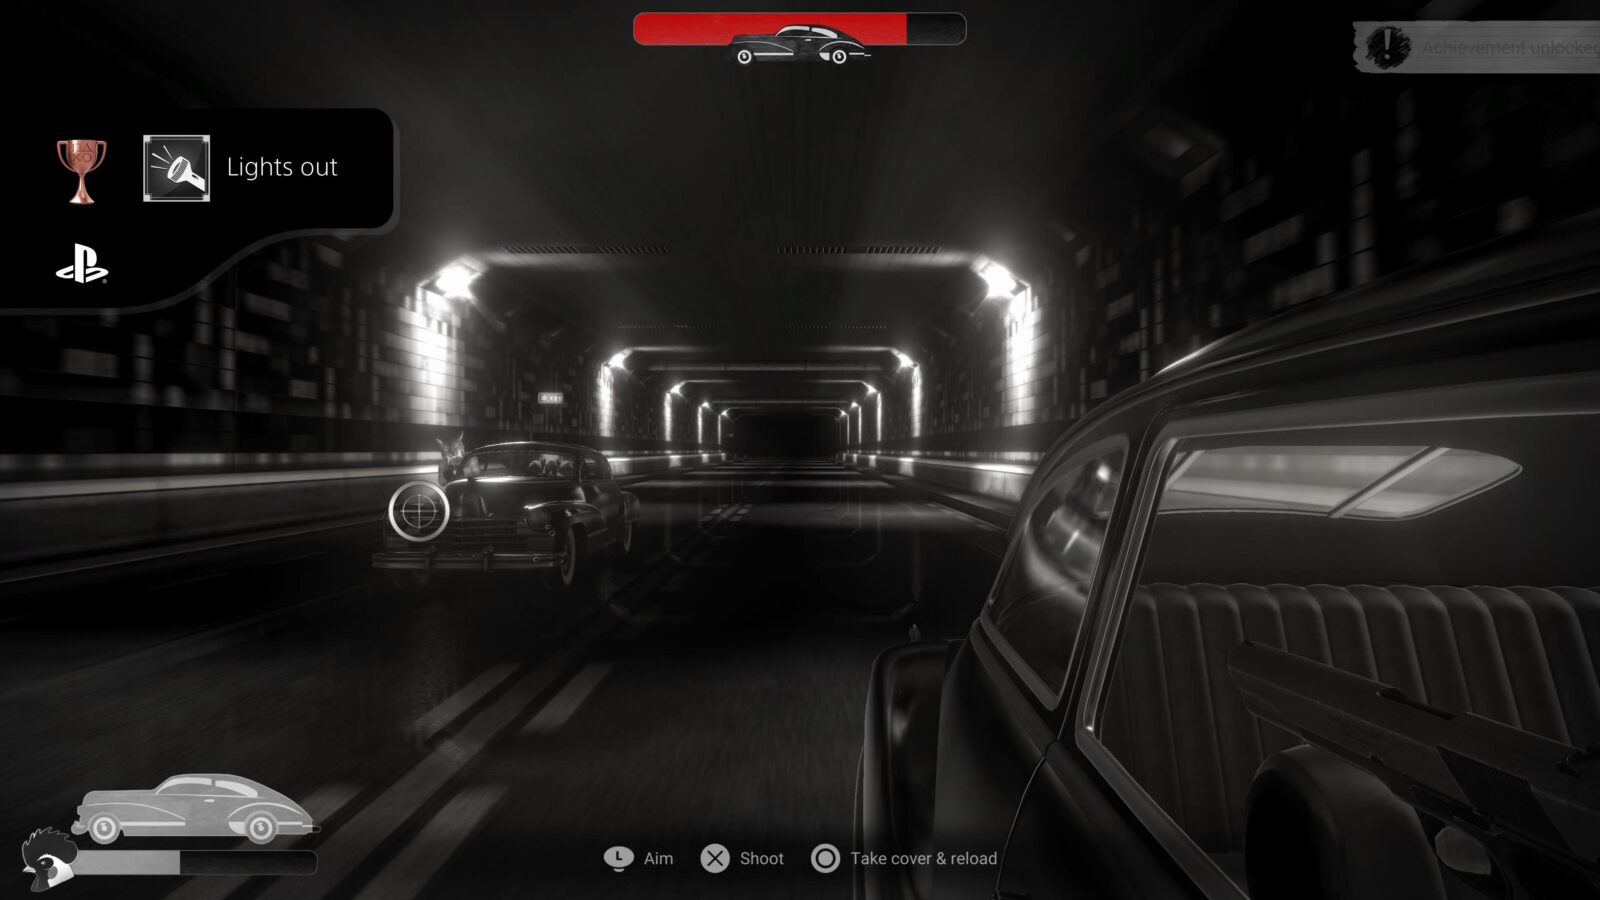
Progress towards Lights Out – Second Chance
Lights out
Kill the 2 lights of the enemy car in one of the car chase sequences
Upon arrival at the hotel, a Cutscene will play automatically and you’ll be thrust into another Car Chase. This is your second and final chance to unlock the Lights Out trophy by shooting out both headlights on the pursuing vehicle.

If you fail to do so, try to purposefully fail the car chase sequence, thus having to restart, giving you another chance. If you accidentally (or intentionally) end the car chase sequence without warning the trophy, you will need a whole extra playthrough just to try again.
When you have the trophy and are ready to move on, destroy the pursuing vehicle. This is easier to do if you aim for the vehicle’s tires.
When the car chase sequence ends, you’ll receive Personal Information 84/97 automatically and then an investigation board sequence will begin. Follow these steps to complete it successfully:
- On the left, place the “Painting Piece” and the picture of Natasha together.
- Connect the two with a string and select the reasoning “Natasha tried to show us the painting.”
- Place the Photo of the Wesslers at the center of the board.
- Connect the picture of the Wesslers and Natasha with a string. Select the reasoning “To Ibn and Albert Wessler! Albert painted Natasha, so he met her on more than one occasion…”
- On the right side of the board, place “Fatal Love.”
- Connect the Photo of the Wesslers with “Fatal Love.” Select the reasoning “Fall in love with Natasha, and on a fateful night, he killed his brother so he could take his place in secret and win Natasha’s heart…”
When the sequence ends, Look at Lewis to collect Personal Information 85/97. Talk to Marty to progress the story and then enter the Hotel.

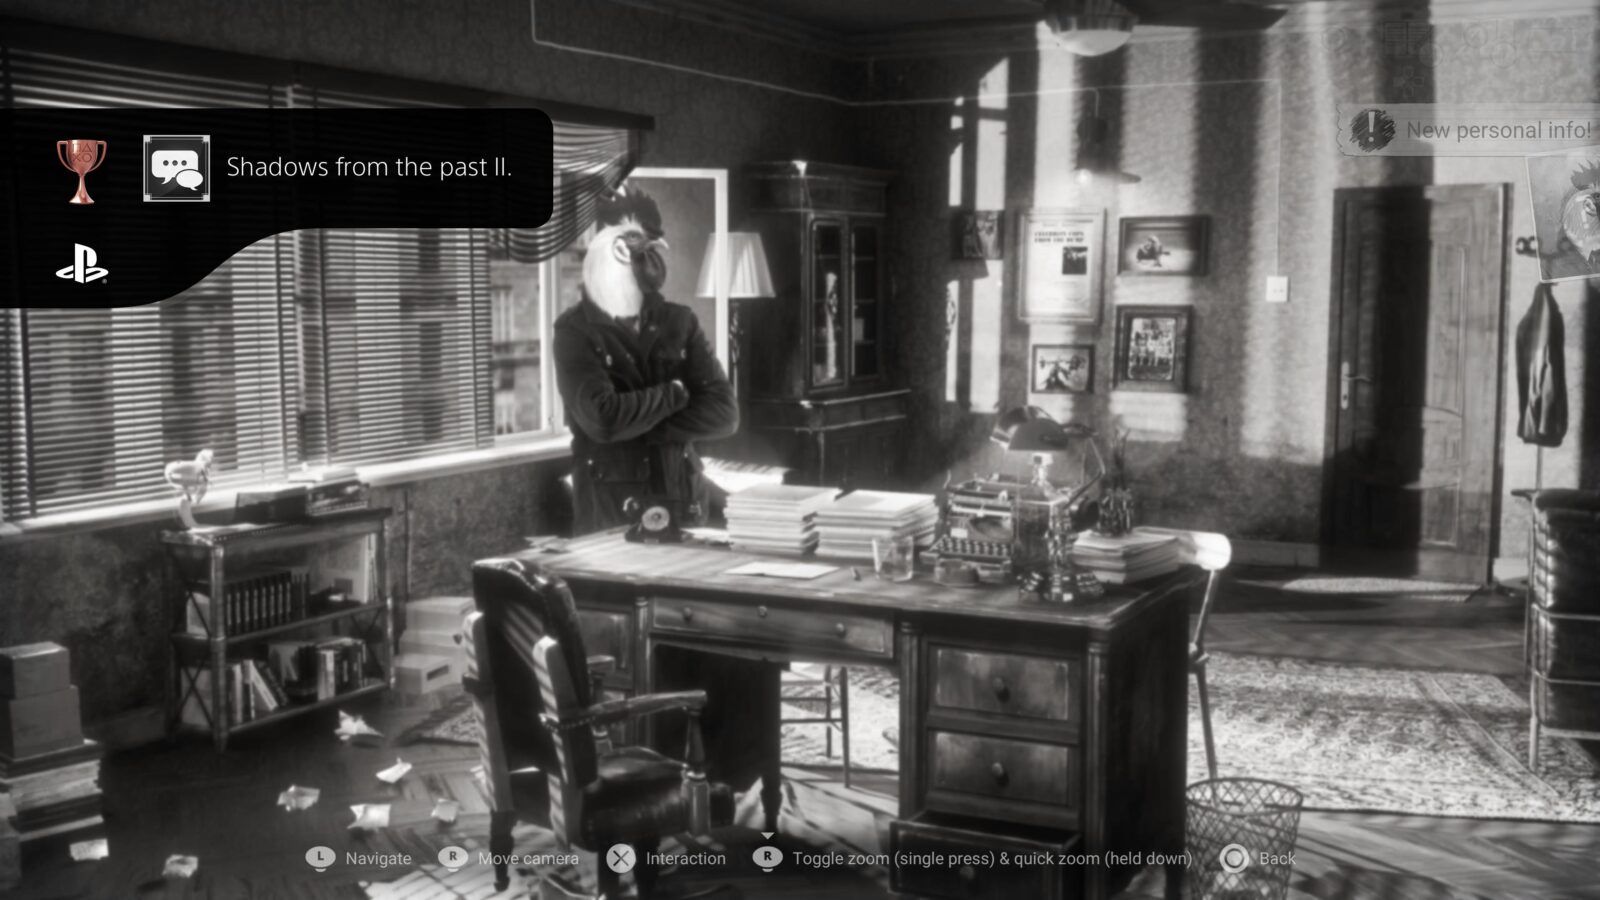
Shadows from the past II.
Talk to Marty about the case that separated the Chicken Police
In the Hotel, during Chapter 4, speak to Marty and exhaust all possible dialogue options. One of them will lead to a conversation about the Chicken Police’s history. Having this conversation with Marty will unlock the “Shadows from the past II” trophy.

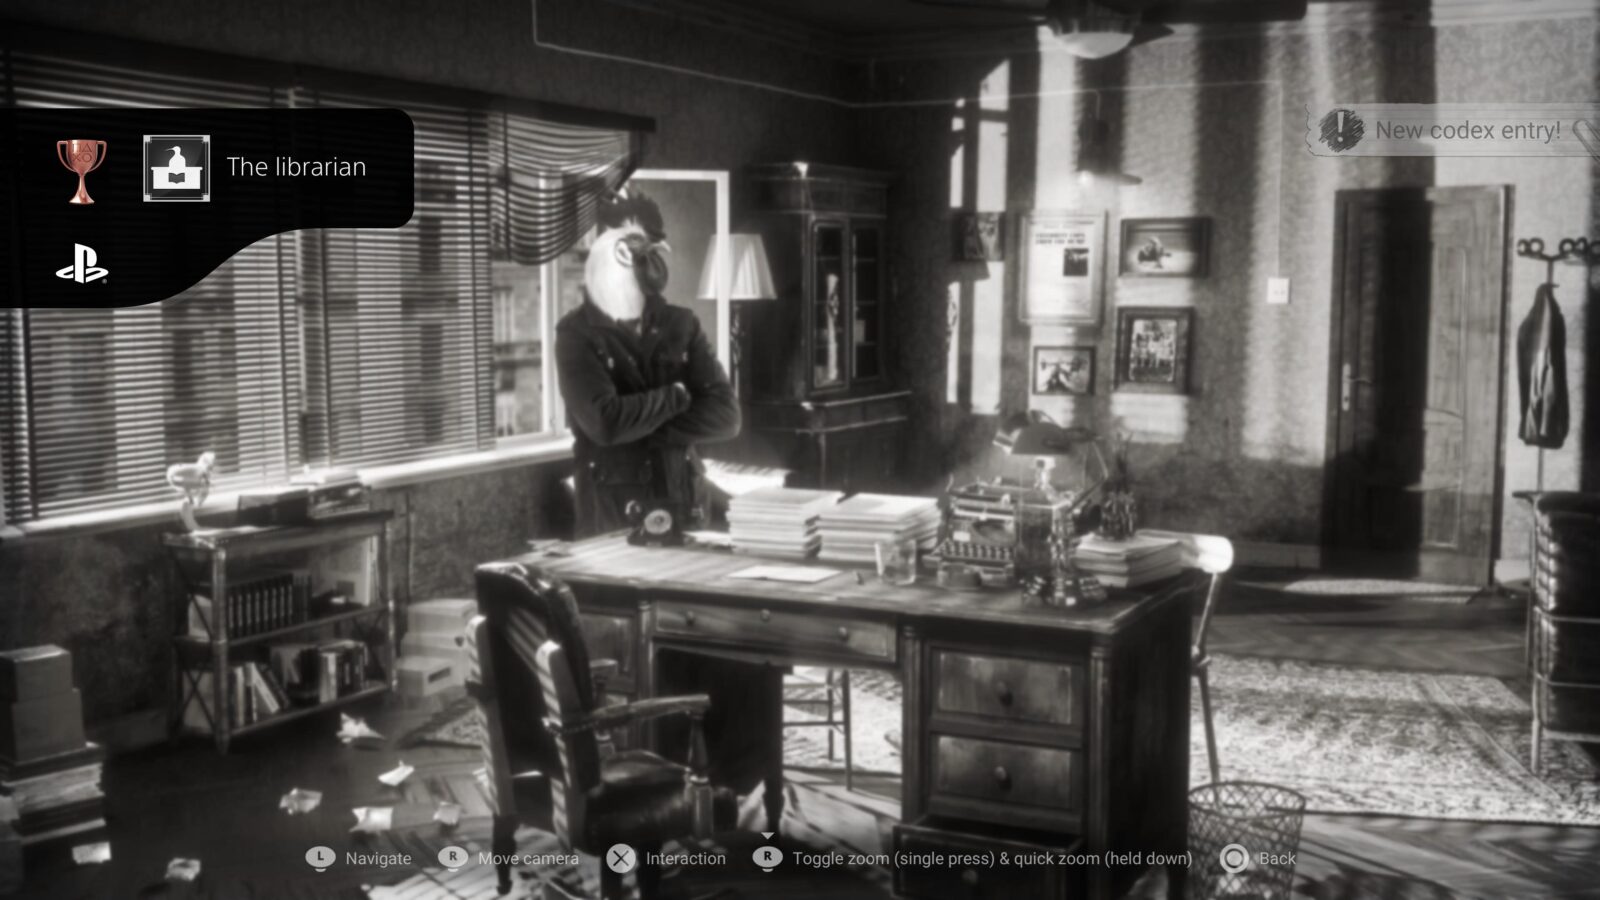
The librarian
Get all codex entries
While exhausting all of Marty’s dialogue, you will also retrieve Codex 27/27, unlocking the Librarian trophy!
Progress towards The Explorer 12/15
We’re done at the Hotel for now, head out and return to Mullen’s Newsstand.
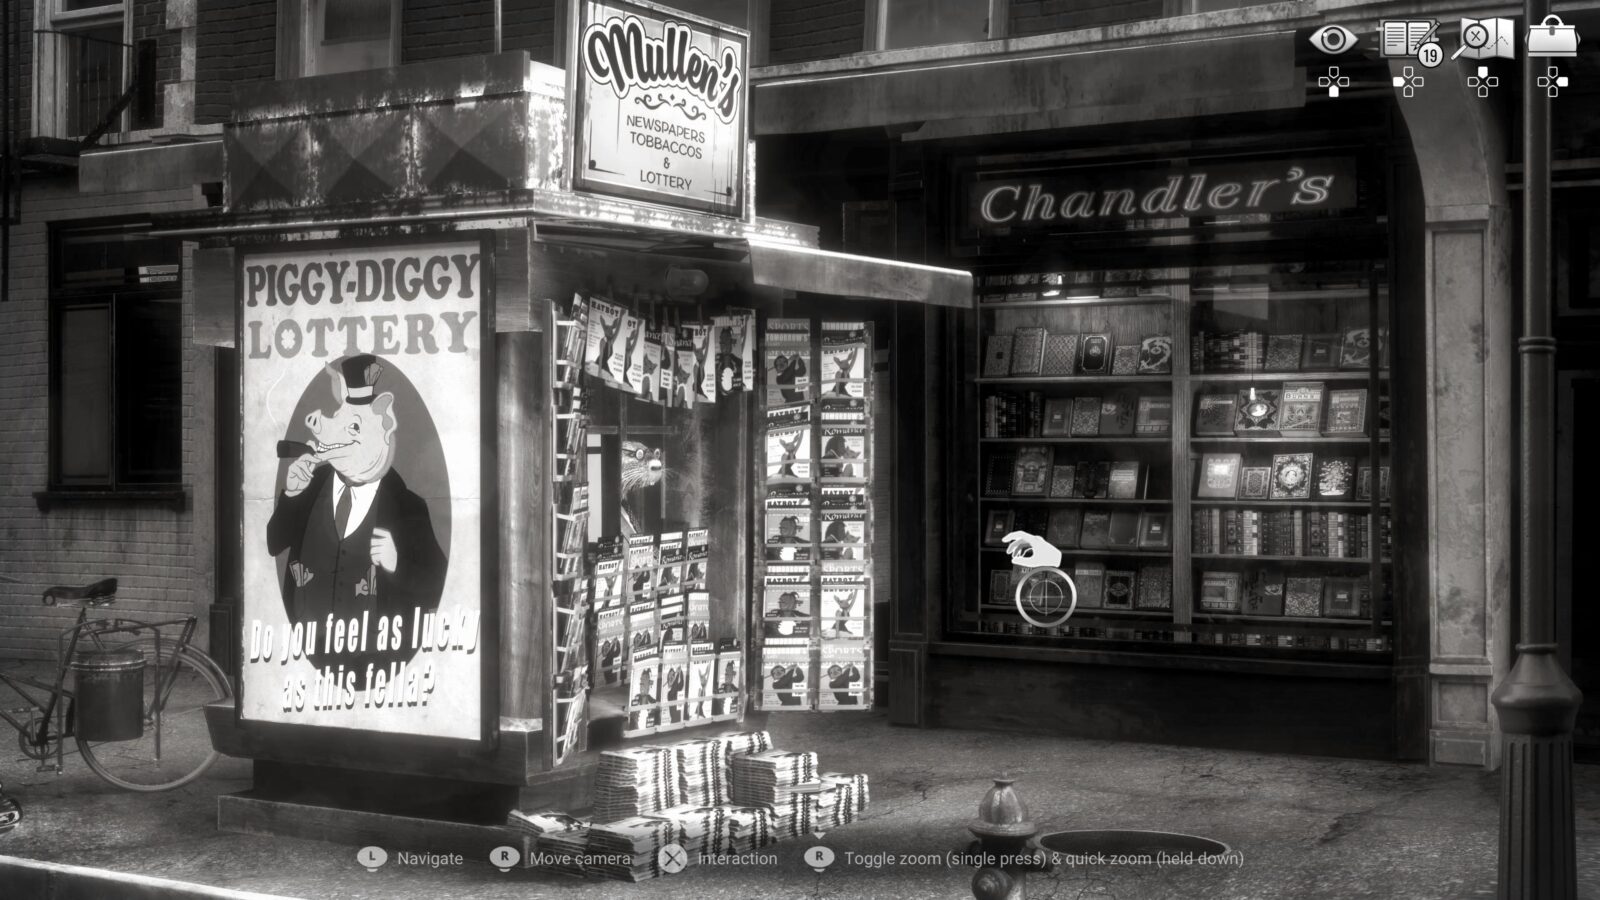
Mullen’s Newsstand III
To the right of the Newsstand, there’s a store called “Chandlers.”
Interact with it and Marty will find a Novel, Chicken Police Novel 9/10 – The Color Kills.
Progress towards The Explorer 13/15
Once you have the novel, you have everything we needed from Mullen’s Newsstand. You can leave, this time to The Weekend House.
The Weekend House III

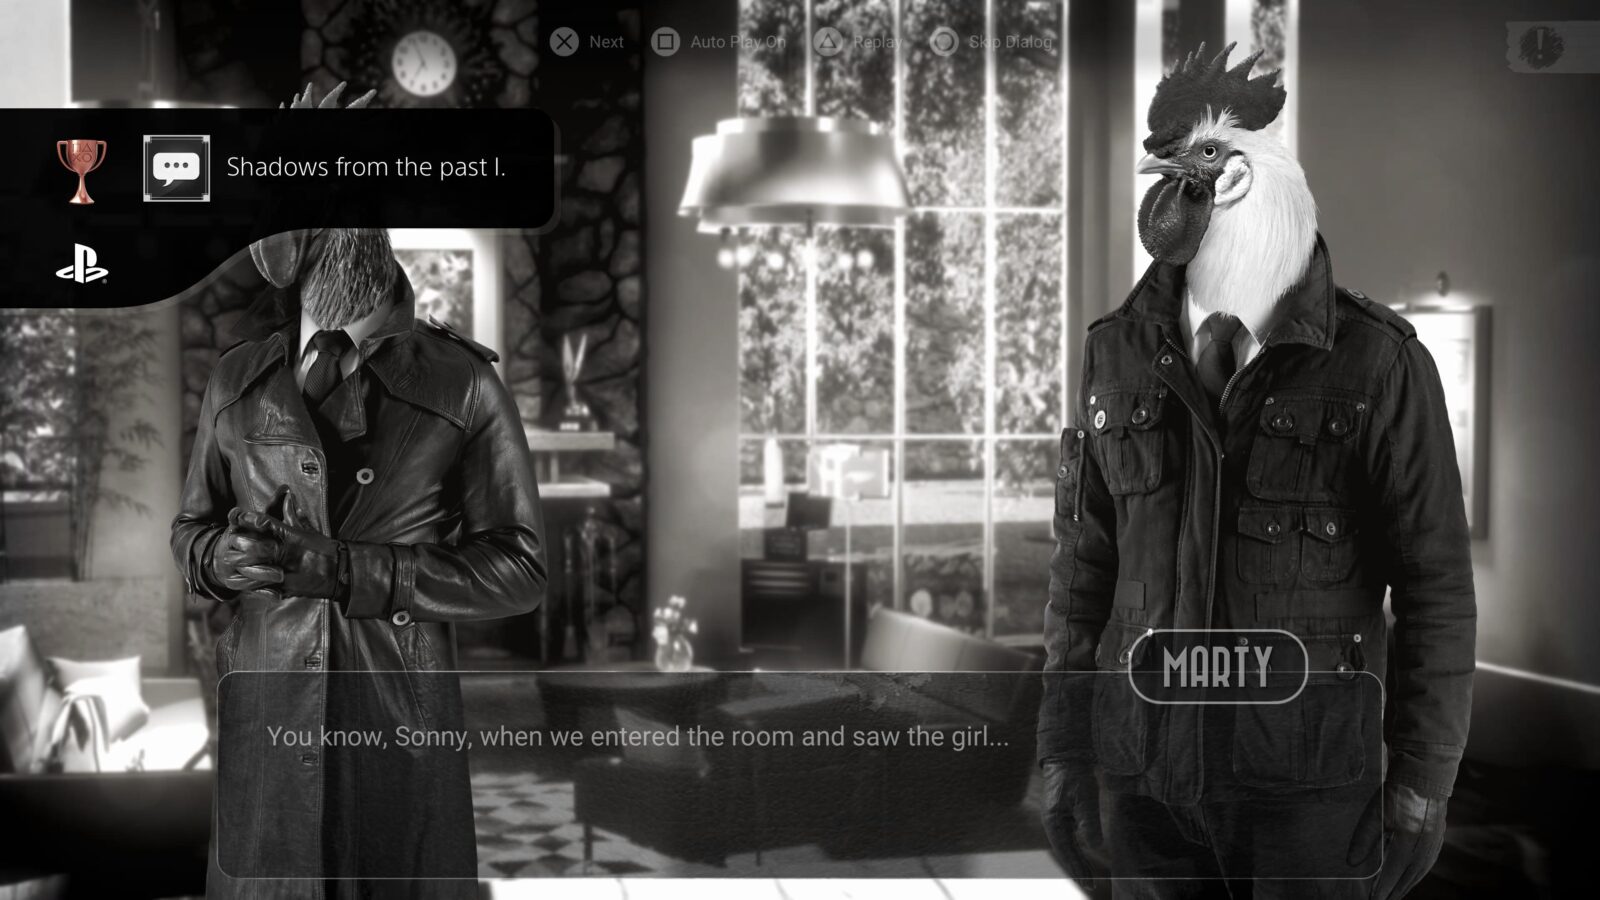
Shadows from the past I.
Talk to Marty about his feelings before confronting Wessler
When you enter the house, it will trigger a conversation with Marty. During this conversation you will unlock two things; the Shadows from the past I trophy, and Personal Information 87/97.
Progress towards The Explorer 14/15
You now have everything we need from The Weekend House, so head out again to the Hop-Dog.
The Hop-Dog IV
There’s nothing to do here, we just needed to drop by for The Explorer trophy.

The Explorer
Visit all the limited locations
Now, just leave again and head to Bubo’s Place. This is the fifteenth time you will visit a location you have limited access to, thus “The Explorer” trophy will unlock!

Bubo’s Place III
At Bubo’s place, look for Ursula and speak to her. Exhaust all dialogue options to retrieve Personal Informations 88 & 89/97.
Leave Bubo’s Place and head to the Wessler Residency.
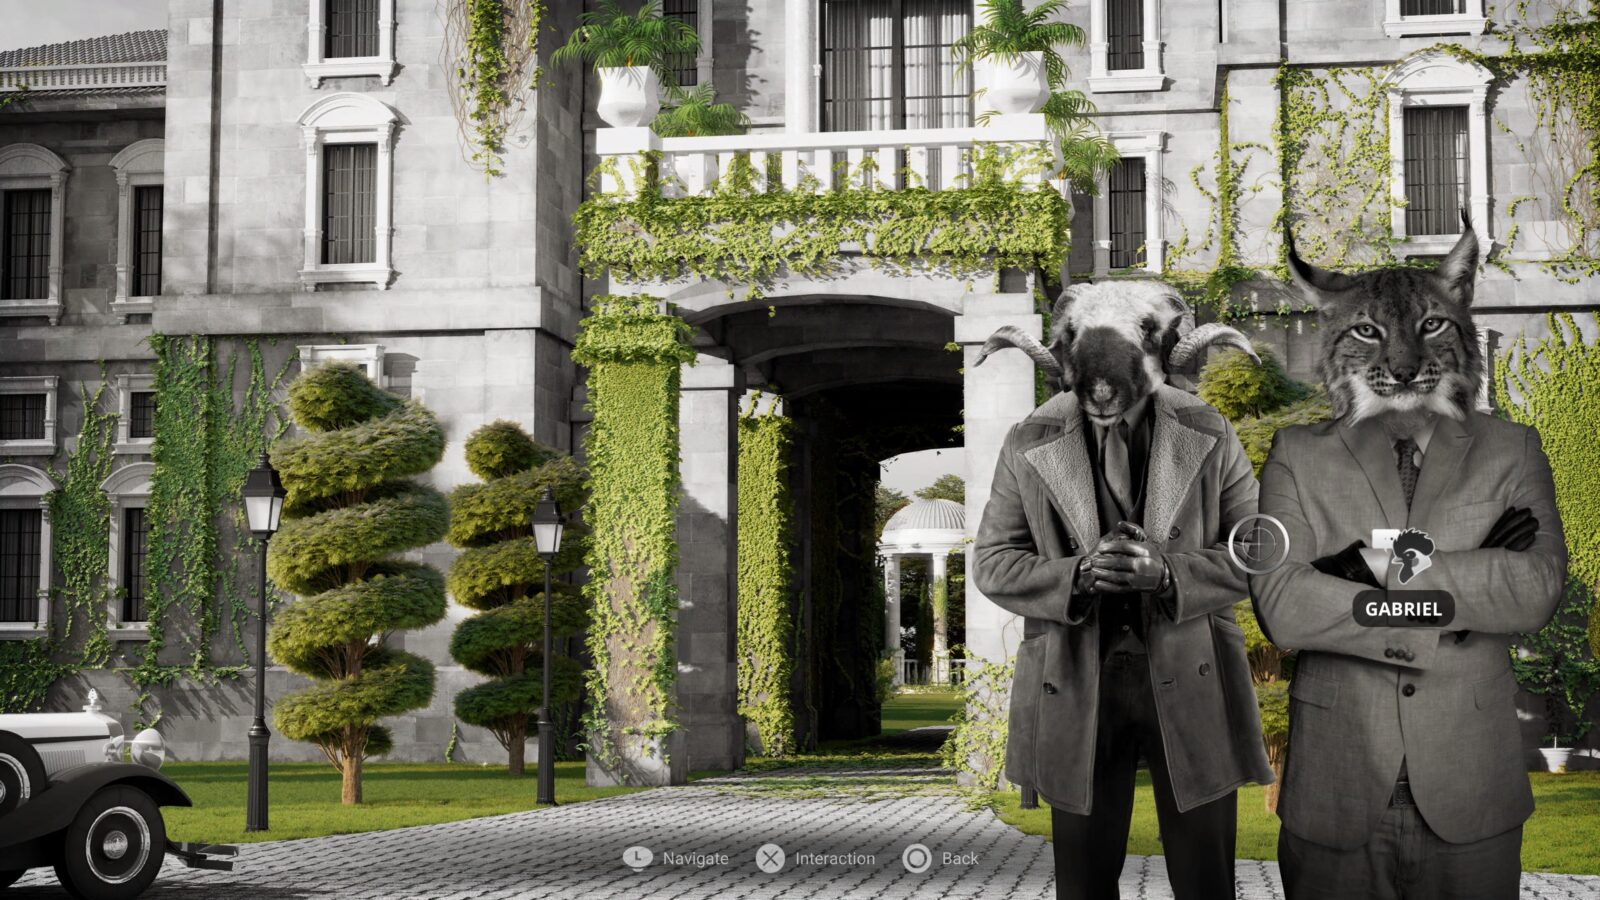
The Wessler Residency

When you arrive at the residency, a Cutscene will unavoidably play. When it ends, approach the house entrance.

Speak to Gabriel to progress the story and then enter the house.
Inside, exhaust all dialogue options with both Olivia and Natasha to collect Personal Informations 90 & 91/97.


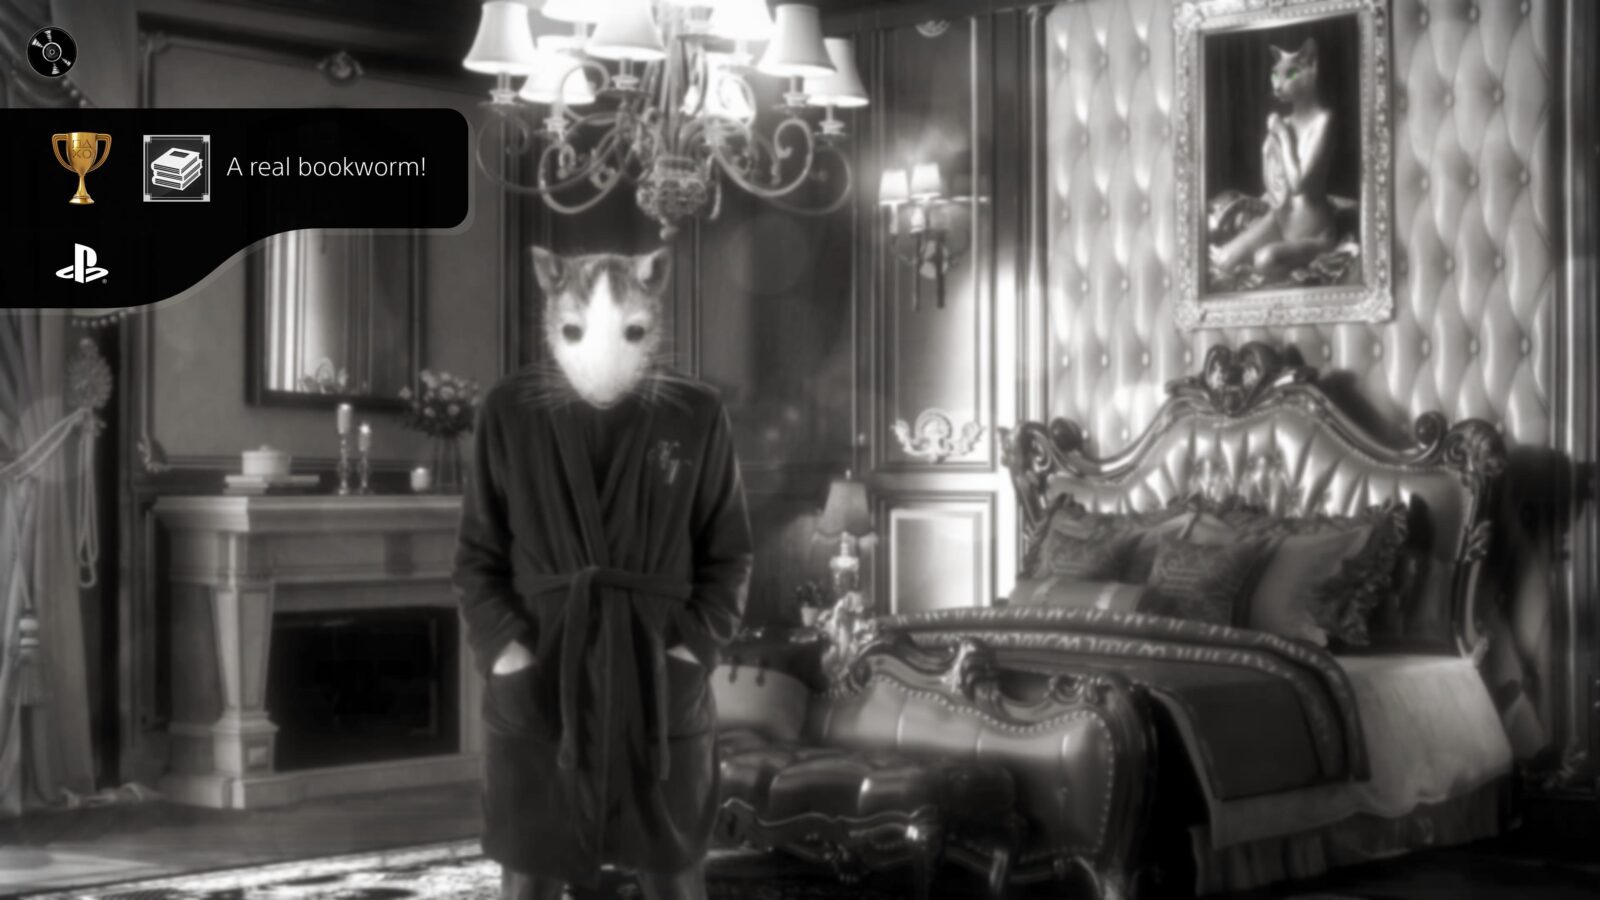
A real bookworm!
Find all 10 Chicken Police novels
Proceed up the top-right side of the stairs.
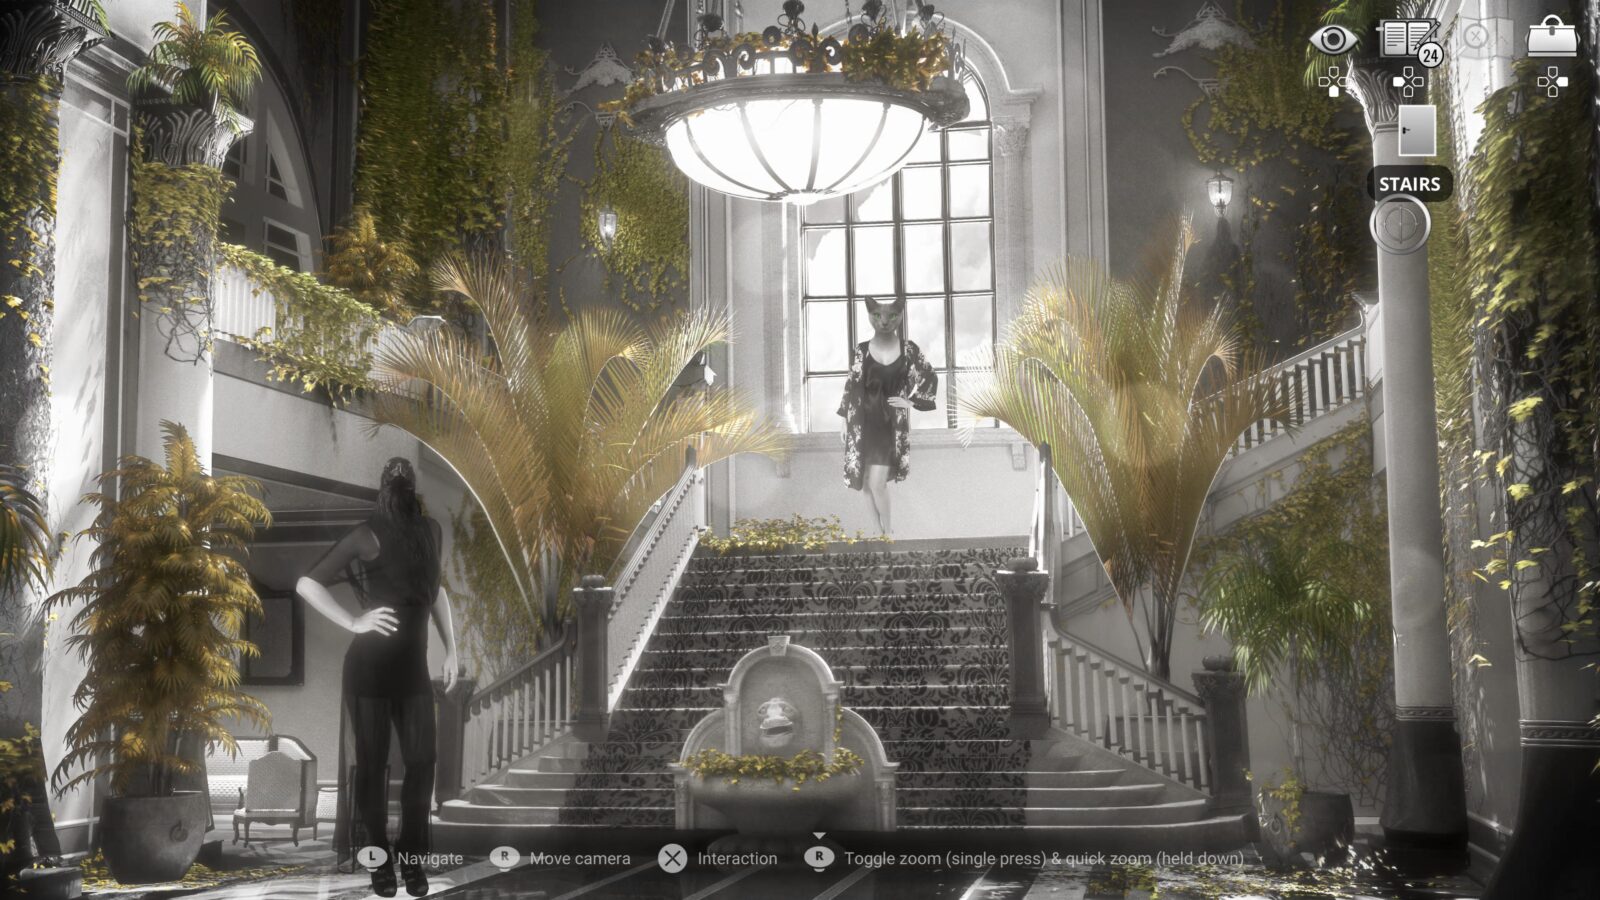
There, interact with the painting above the bed, it is an Art Gallery Item. On the edge of the same bed, you’ll find Chicken Police Novel 10/10 – Farewell From Fowls!
If you’ve followed this walkthrough closely and collected all 10 Novels, the “A real bookworm!” trophy will unlock.
The Social Type
Talk with all the characters in the game
The 28th and final person you need to speak to for The Social Type trophy is Alber Wessler, who you can find right here in this room.

Ask him about every available topic and you’ll eventually be able to trigger the final Questioning Sequence of the game.
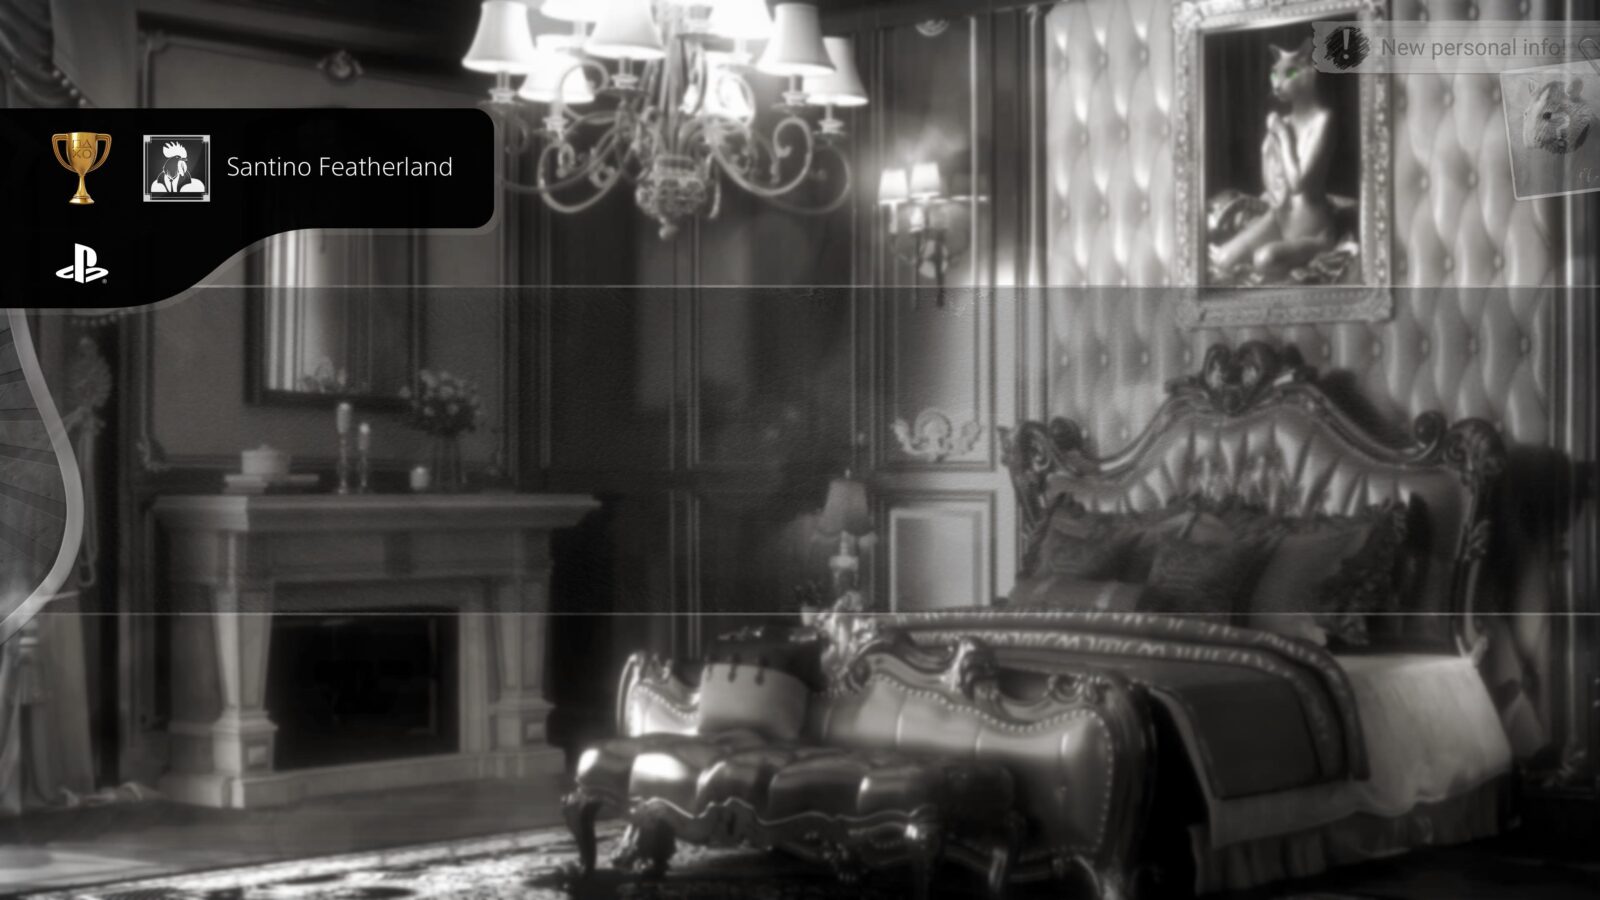
Santino Featherland
Complete all the questionings with “Living Legend” results
As with every other Questioning sequence, you will need to achieve a “Living Legend” ranking. Hopefully, you’ve done so up to this point, as once you achieve it here, you’ll finally unlock the long-winded Santino Featherland trophy.
To achieve Living Legend ranking while interrogating Albert Wessler, select the following dialogue options in order:
- What were you thinking, Albert? How long did you think you could keep it up?
- Why did you decide to take your brother’s place?
- Did you ever believe that you were Ibn Wessler?
- So you feel you’re two people at the same time even now?
- What made you think you could deceive Natasha?
- That was your plan? Take his place and live happily ever after?
- When was the moment you decided to kill him, Albert?
- Do you think you can explain everything with your insanity?
- When did you decide that we, too, have to die?
- Natasha was kind to you, right? Too kind…
- Maybe it’s not too late Albert. Tell her the truth and end this…
Sherlock Combs
Finish the game with 0 failed questionings
As you have now completed every Questioning with “Living Legend” ranking in a single playthrough for Santino Featherland, you will also naturally unlock the Sherlock Combs trophy, for having never failed a Questioning (our earlier retries don’t count).
From the questioning, you will also acquire Personal Informations 92 & 93/97.
The Dame with a loaded gun
Get to the point where Natasha kills Albert Wessler
When the questioning ends, a Cutscene will automatically play, where the required events for the “The Dame with a loaded gun” trophy will play out, unlocking it.

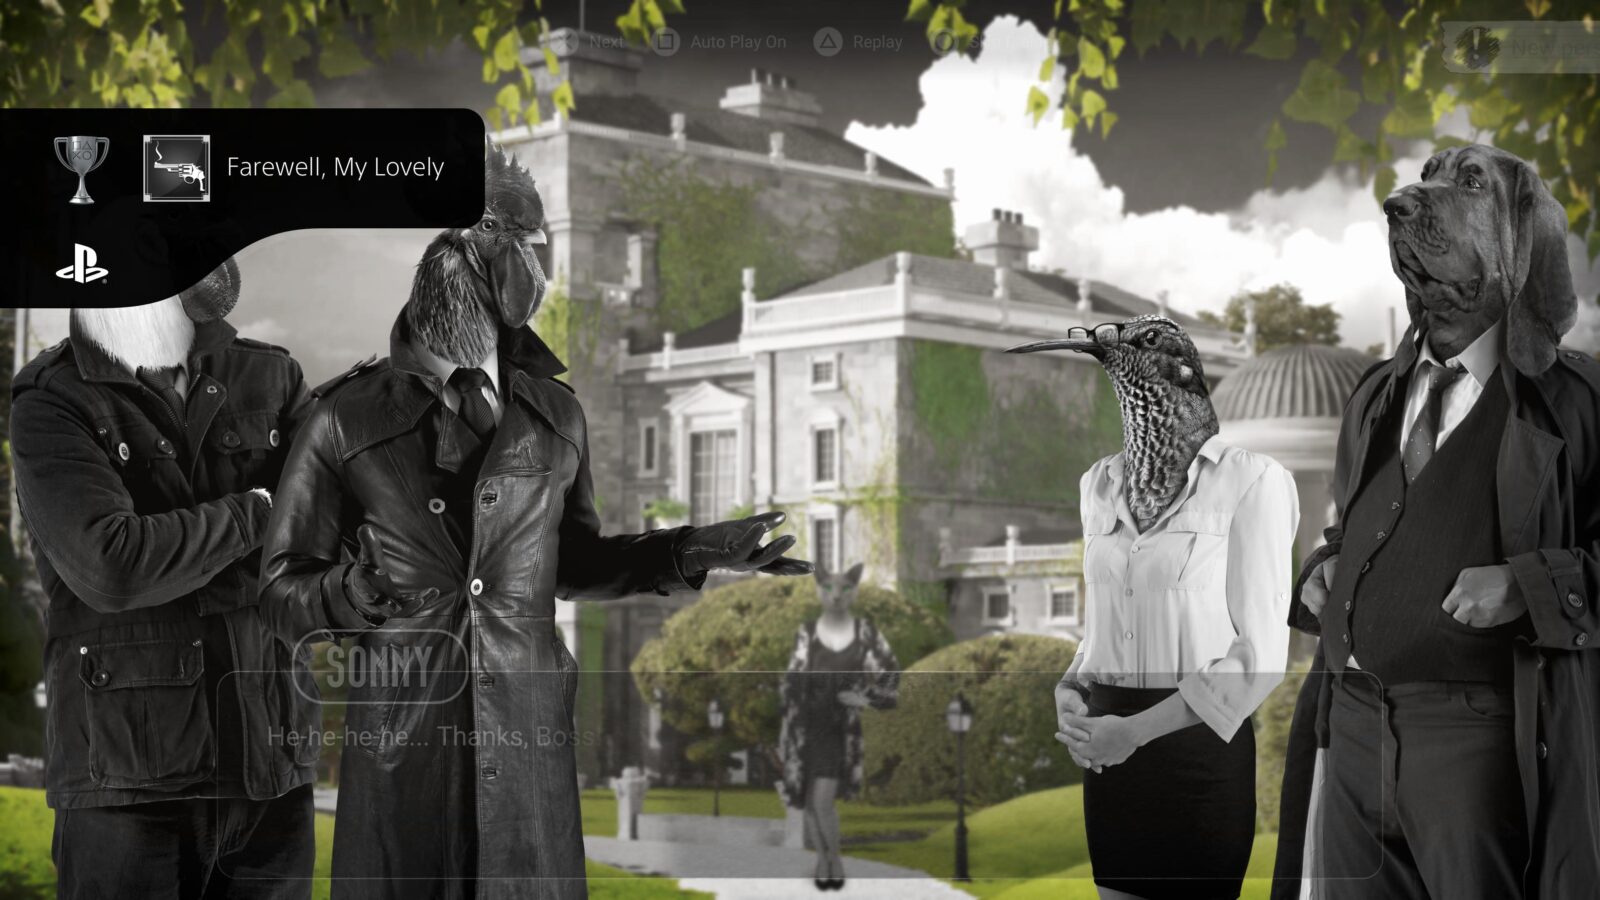
Farewell, My Lovely
Complete chapter four
In the subsequent dialogue with Monica and Bloodboyle, Chapter Four will technically come to a close, unlocking the “Farewell, My Lovely” trophy. You will also acquire Personal Informations 95 & 96/97 from this conversation.

Barking Dogs Never Bite
‘Disturb Bloodbolye”s peace at least three times’
When your conversation with Monica and Bloodboyle ends, speak to Bloodboyle again and continue to do so until the “Barking Dogs Never Bite” trophy unlocks.

If the trophy never unlocks, you may have missed one of the three other interactions you’re supposed to have with Bloodboyle throughout the game. You’ll need to try again in another save.
Psychiatrist
Get all personal informations
Once you’re done with Bloodboyle, go up to the statue of a “Rat Knight” on the right-hand side and speak to Fillmar Low.

Exhaust all possible dialogue with him to receive Personal Information 97/97 and, if you collected all 96 other Personal Information collectibles listed in this Trophy Guide, you’ll unlock the Psychiatrist trophy too!


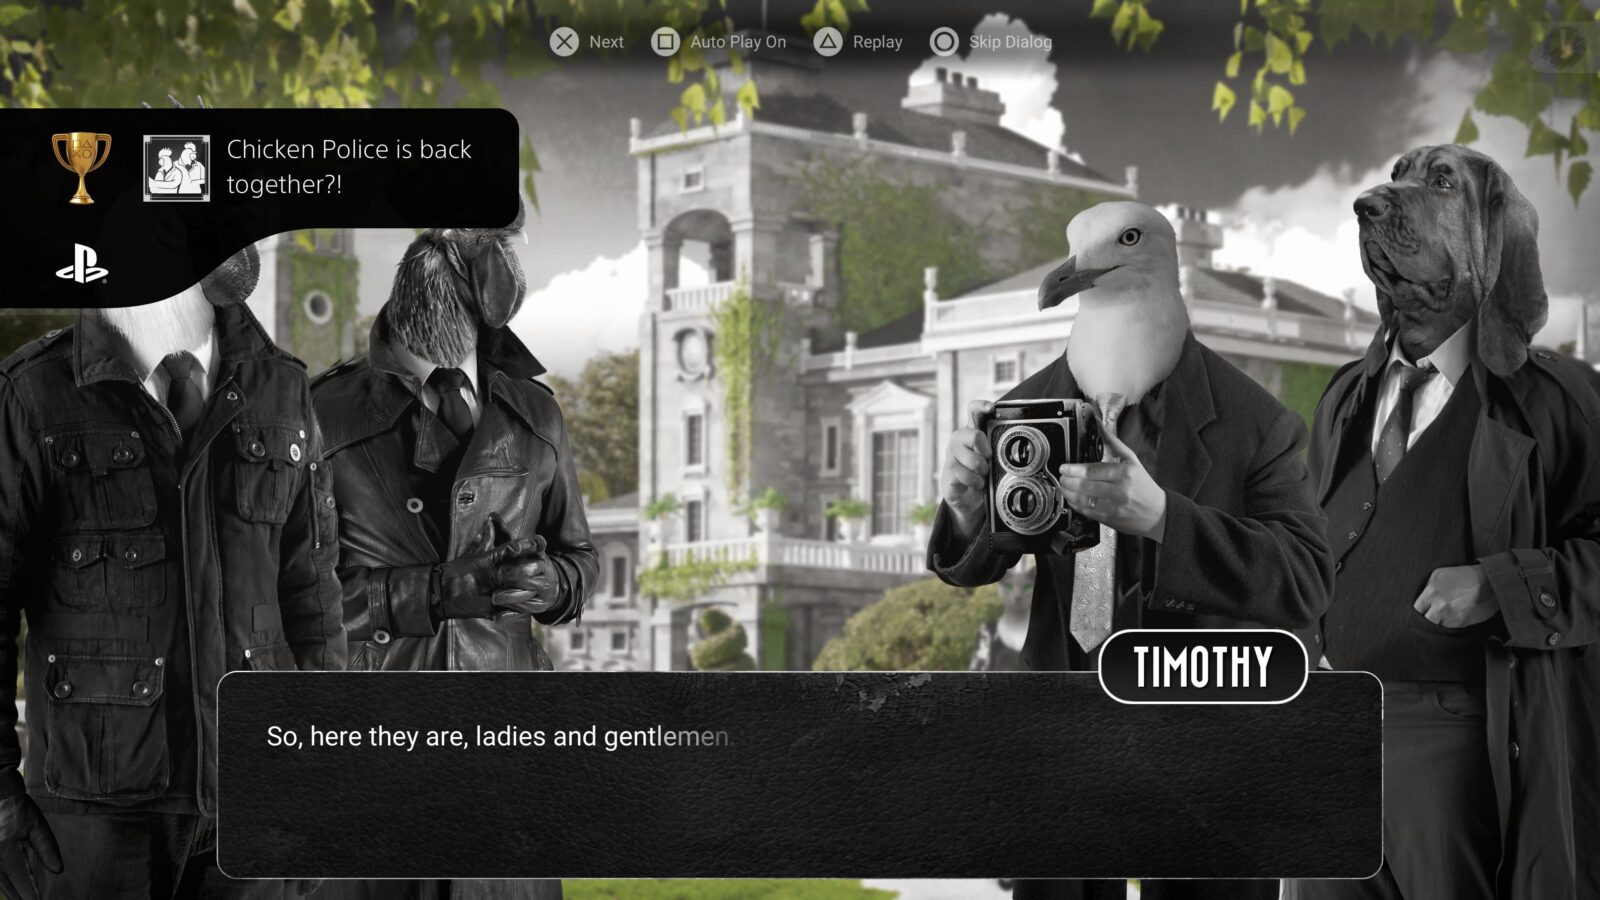
Chicken Police is back together?!
Reach the ending
Now, all that’s left to do is finish up the story. Make your way around the manor grounds, speaking to every character and exhausting all dialogue. That includes everyone by the entrance to the house.
When you’re done, return to Bloodboyle and Monica to end the game, unlocking “Chicken Police is back together?!”

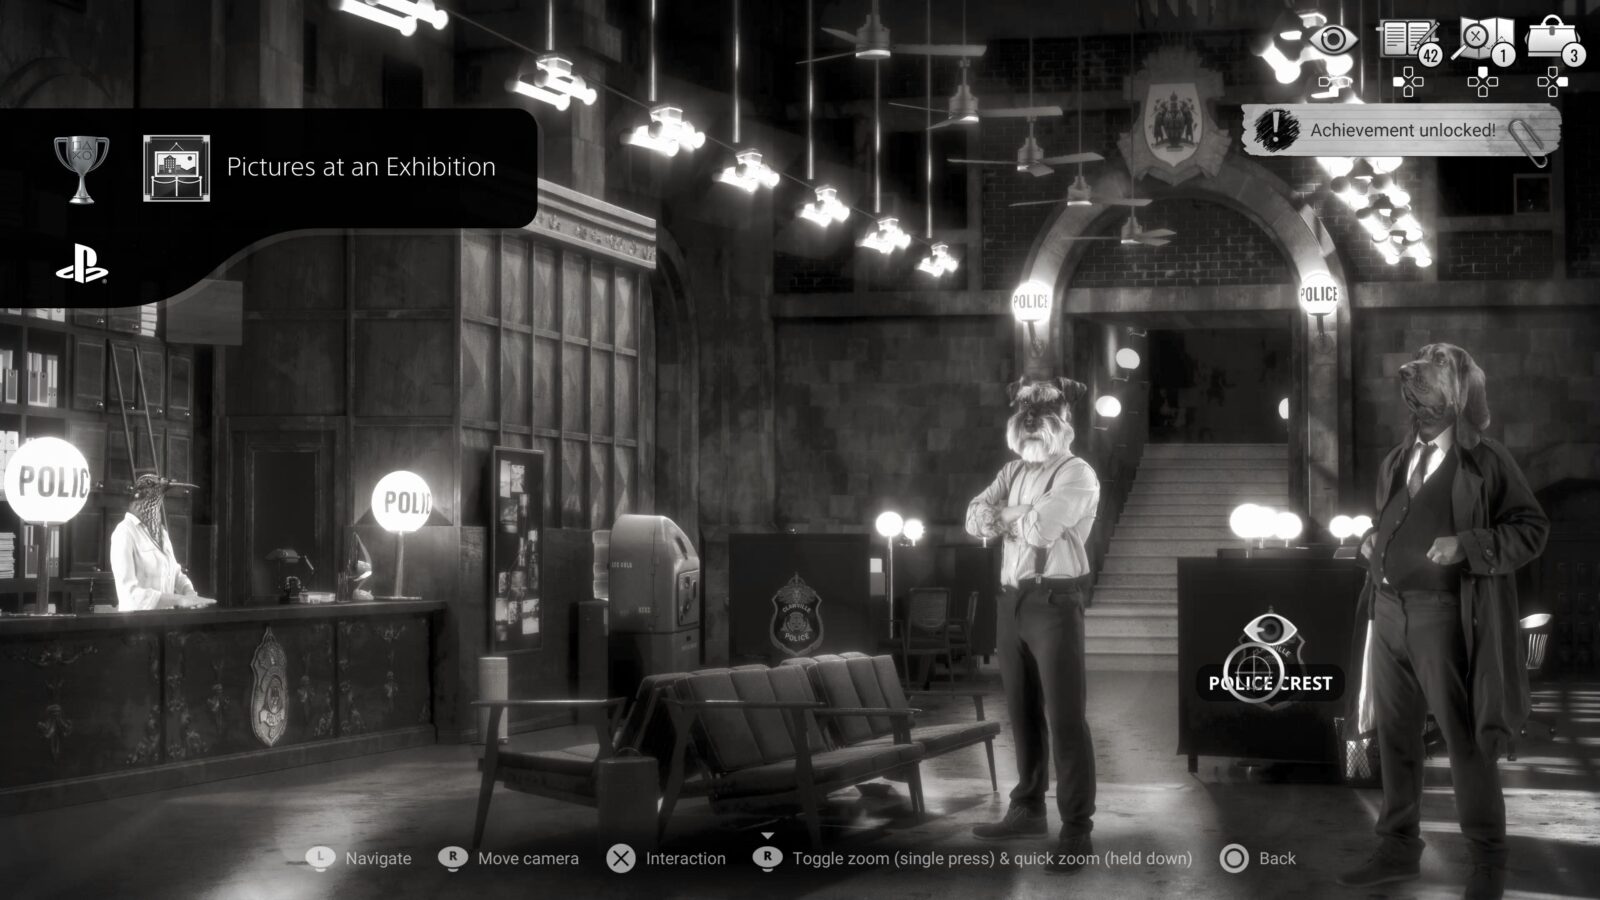
Pictures at an Exhibition
Get all the 58 art gallery pictures
If you collected every Art Gallery Item listed in this Trophy Guide, then you will unlock the “Pictures at an Exhibition” trophy during the credits!
If you missed any, like I did, you can actually just play up to the one(s) you missed and the trophy will unlock once your collection is complete.
True collector
Get all the collectible extras
To unlock the “True Collector” trophy, you will need to reach the credits of the game after having collected every collectible of all four types. That includes; 97 Personal Informations, 27 Codex Entries, 10 Chicken Police Novels, and 58 Art Gallery Items.
Their locations are listed throughout this walkthrough so if you’ve been following along closely since the beginning, you should unlock this trophy as the credits roll in the background.

It was her, right?!
Get the secret ending!
If you reach the final credits of the game after having collected all 10 Chicken Police Novels, you get to view a secret and final Cutscene at the end of the credits.
Their locations are listed throughout this walkthrough so if you’ve been following along closely since the beginning, you should unlock this trophy as the secret cutscene ends.

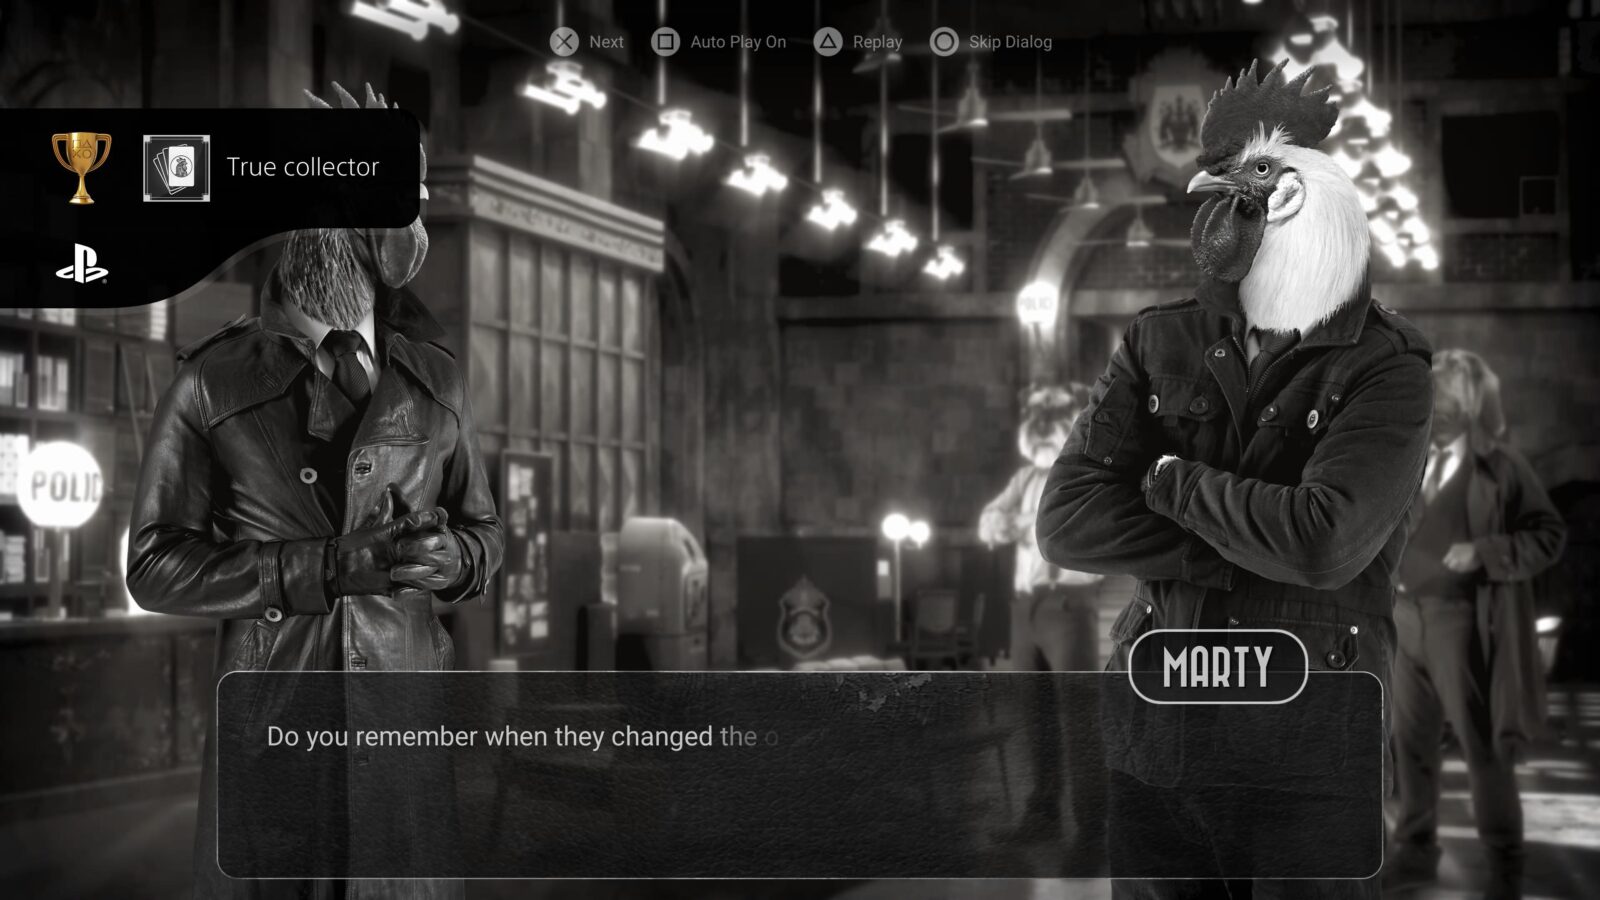
Projectionist
Get all the cutscenes of the game
The Projectionist trophy requires you to have seen every Cutscene listed throughout this Trophy Guide. The only Cutscene you’re able to miss, really, is the final secret cutscene. Therefore, as long as you unlock It was her, right?!, you will unlock Projectionist too!
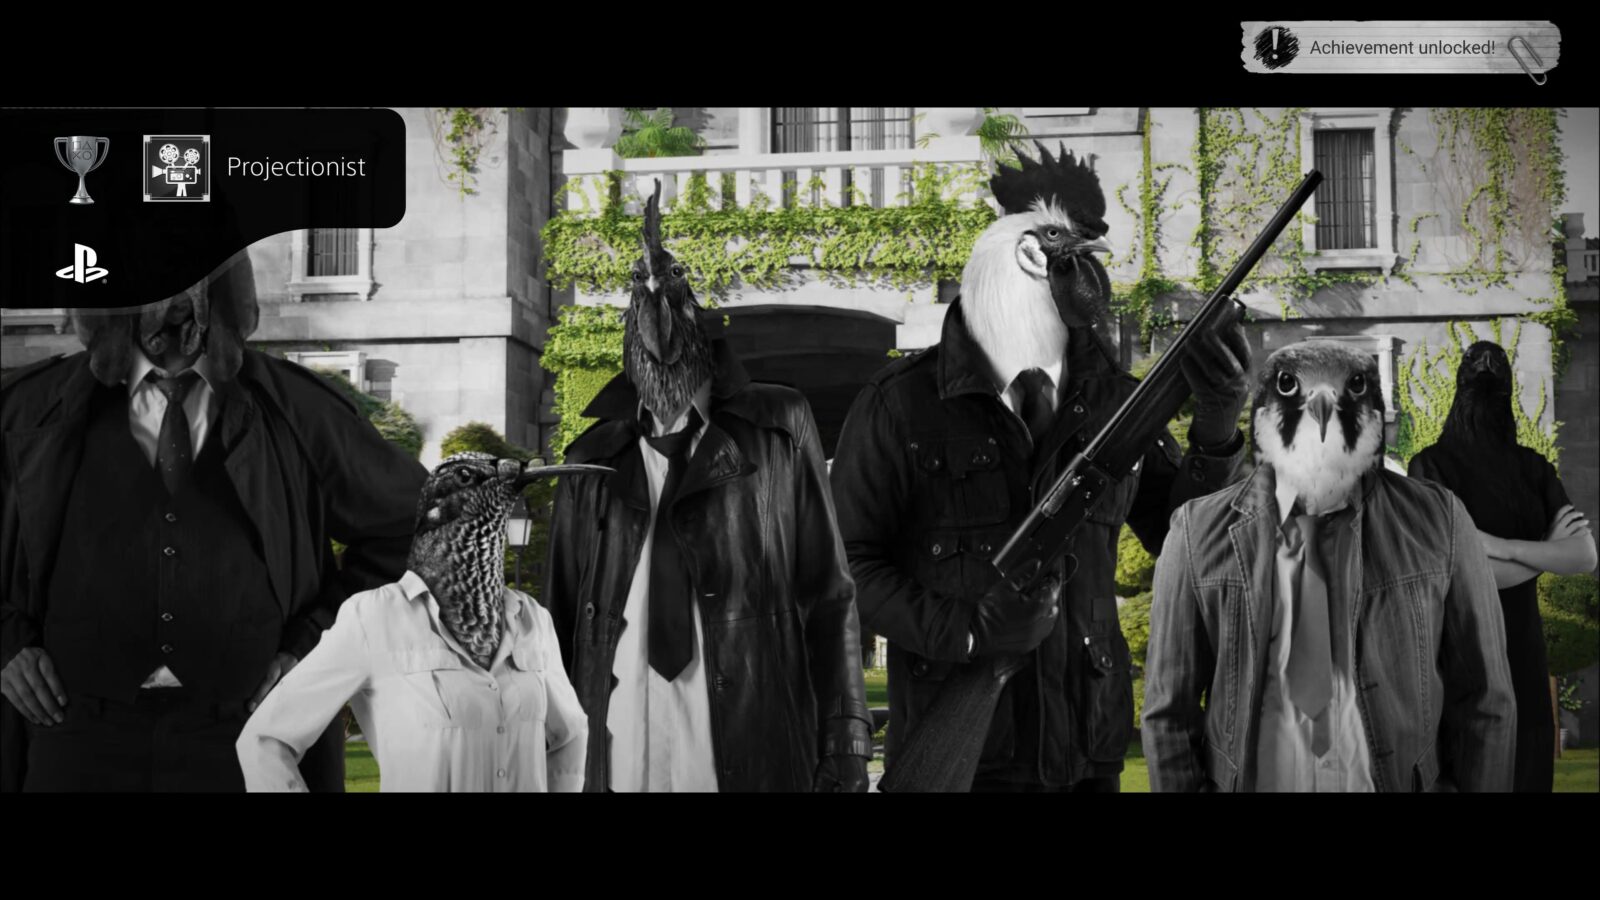
Plat Get!


The Chicken Police
Unlock all trophies
Once you have acquired every other trophy in this Chicken Police Trophy Walkthrough, the “The Chicken Police” platinum trophy will unlock.
Thank you for choosing PlatGet as your source for a Chicken Trophy Guide. Consider checking out our other guides!
Follow us on Twitter @GetPlat or Instagram @platget for updates on new reviews and guides, as well as small anecdotes about our platinum journeys.