PlayStation 5
Another Crab’s Treasure Trophy Guide


General Info
FAQ
How long does it take to beat Another Crab's Treasure and unlock all trophies?
Around 15-30 Hours depending on how many assist settings you activate..
How difficult is it to beat Another Crab's Treasure and unlock all trophies?
Medium (5/10).
Does Another Crab's Treasure have online trophies?
No.
Does Another Crab's Treasure have difficulty-specific trophies?
No.
Does Another Crab's Treasure have missable trophies?
No.
Does Another Crab's Treasure have glitched trophies?
Yes, In Good Claws .
What is the minimum number of playthroughs required to unlock all trophies in Another Crab's Treasure?
One.
Does Another Crab's Treasure have a Platinum Trophy?
Yes.
Other Useful Guides:
Another Crab’s Treasure Stainless Relics Guide
Trophy Guide
Another Crab's Treasure Trophy Guide and Road Map for PlayStation 5
Welcome to our Another Crab’s Treasure Trophy Guide. Another Crab’s Treasure is a fantastic Indie Game that blends colourful cartoon characters, a dark and grim reflection of life in our Capitalist Hellscape, and thrilling Soulslike Gameplay.
This is all topped off with a heaping whipped cream serving of the humour we’ve come to expect from Aggro Crab, the wonderful team behind the game, and the excellent Roguelike “Going Under,” which we’ve also got a Trophy Guide for.
Fans of Soulslike trophy journeys will be able to find all of the challenge and brutal last-second decision making they’ve come to love from such a game, while less-skilled gamers like myself can benefit from a more story-driven experience via use of the various Assists available in the Settings Menu. These assists can be adjusted at will at any time, allowing you to truly curate your experience to your tastes.
Phase One | Complete the Story with or without Assists
Another Crab’s Treasure is a souls-like game. As you may know, this means that the game is intentionally very difficult and quite unforgiving. When you die, you will lose your shell and your resources and will need to go and get them again without dying in order to keep them.
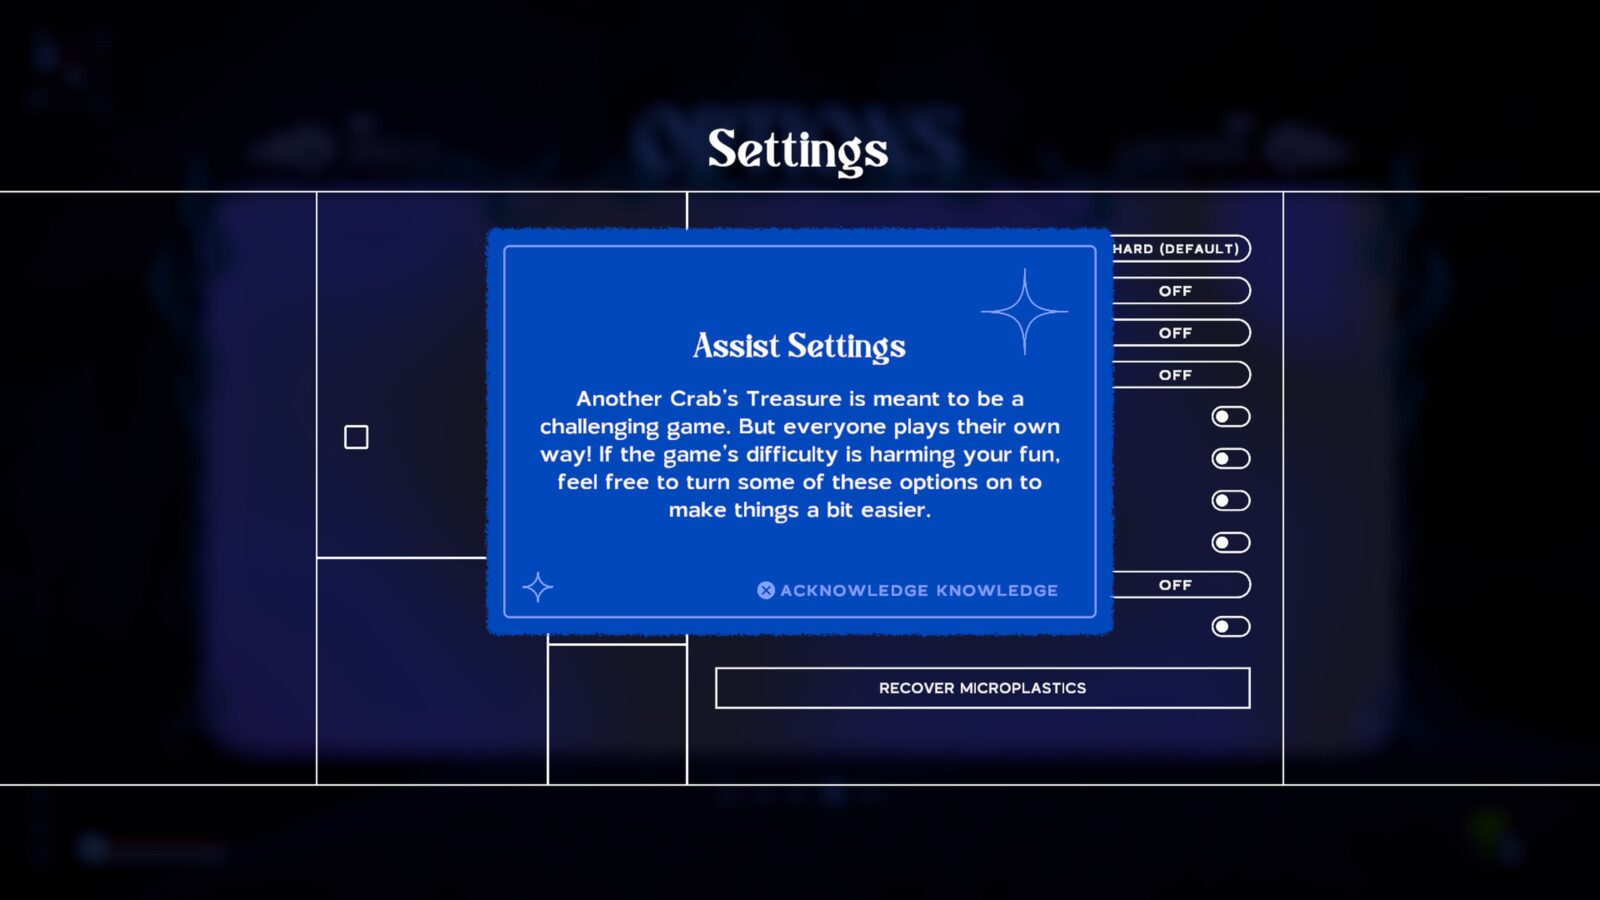
Fortunately, the developers have decided to be a little kinder on us than FromSoftware typically are, and have packaged in a whole set of Assists that do not affect trophies. That’s right, you can make full use of all of the “Assist Mode” options in the game’s Settings menu to make the game significantly easier and there’s no penalty for doing so. There’s even an option that gives Krill a gun that can insta-kill anything, even (most) bosses!
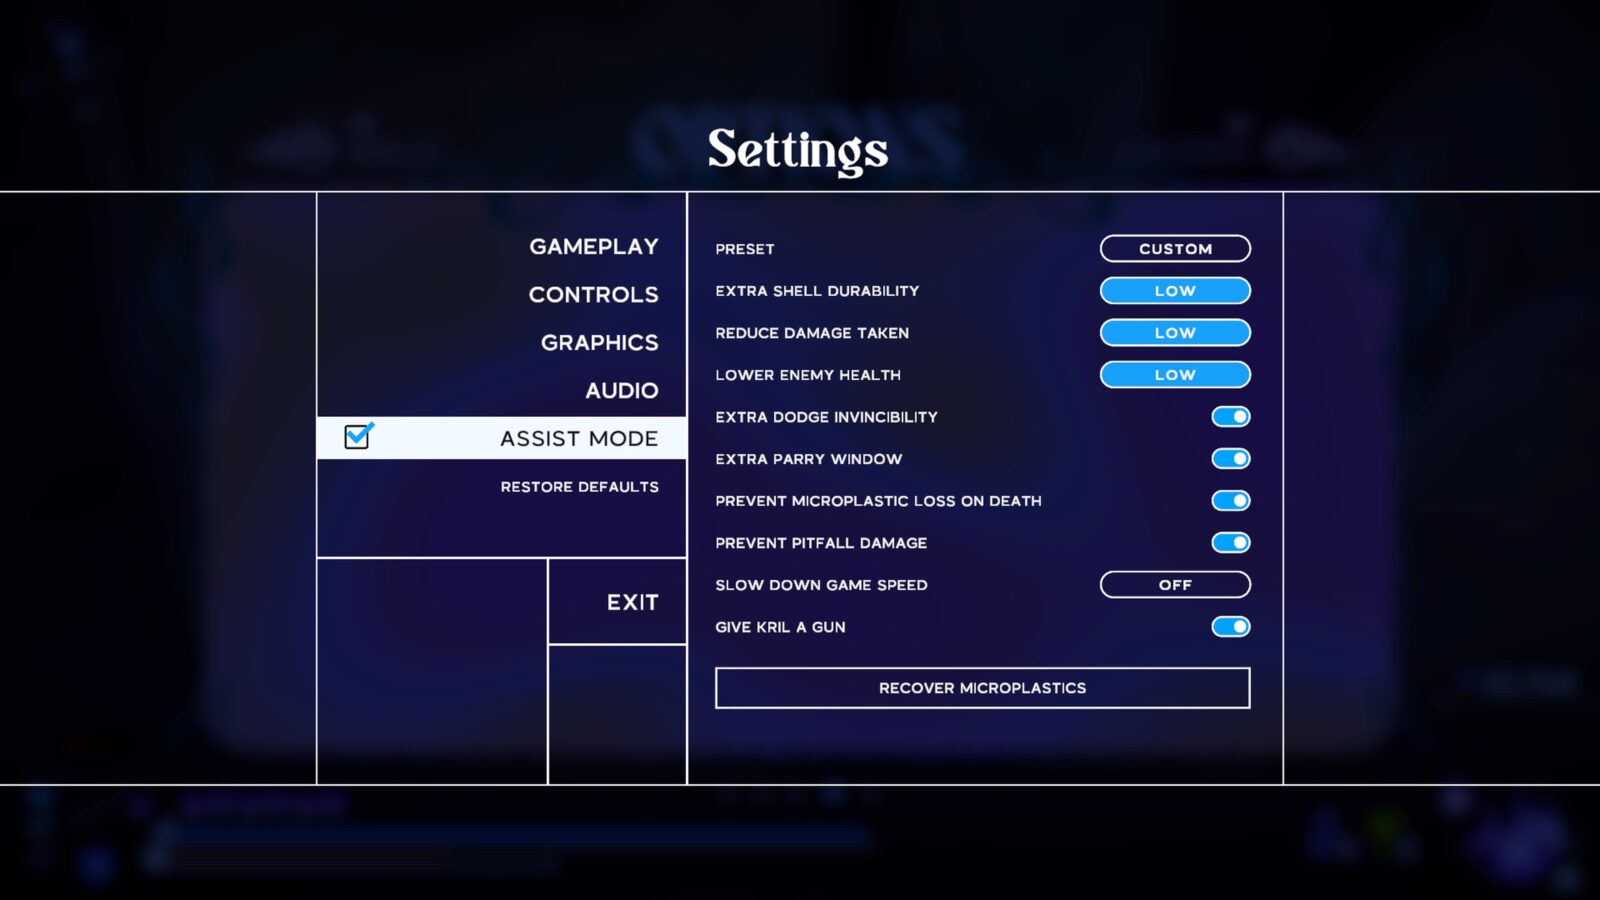
I’d recommend starting out with these settings off and then gradually turn on any assists you feel would better enhance your experience. But don’t just slap them all on and ruin the game for yourself—unless you just want to rush your way through to the Platinum.
While you make your way through the story, I strongly recommend you grab any Shells that you come across. You’ll eventually need to have equipped every shell at least once, so doing this will speed up the future cleanup efforts.
To be quite honest, very few of them are well-hidden and I was able to collect them all blindly on my first time through the game. Additionally, you’ll find a table under the Shell Seeker trophy which details every shells location in chronological order, so you could also use that as you play through the gamne to avoid cleanup altogether.
Eventually, you will reach a point of no return, where this big red box opens up:
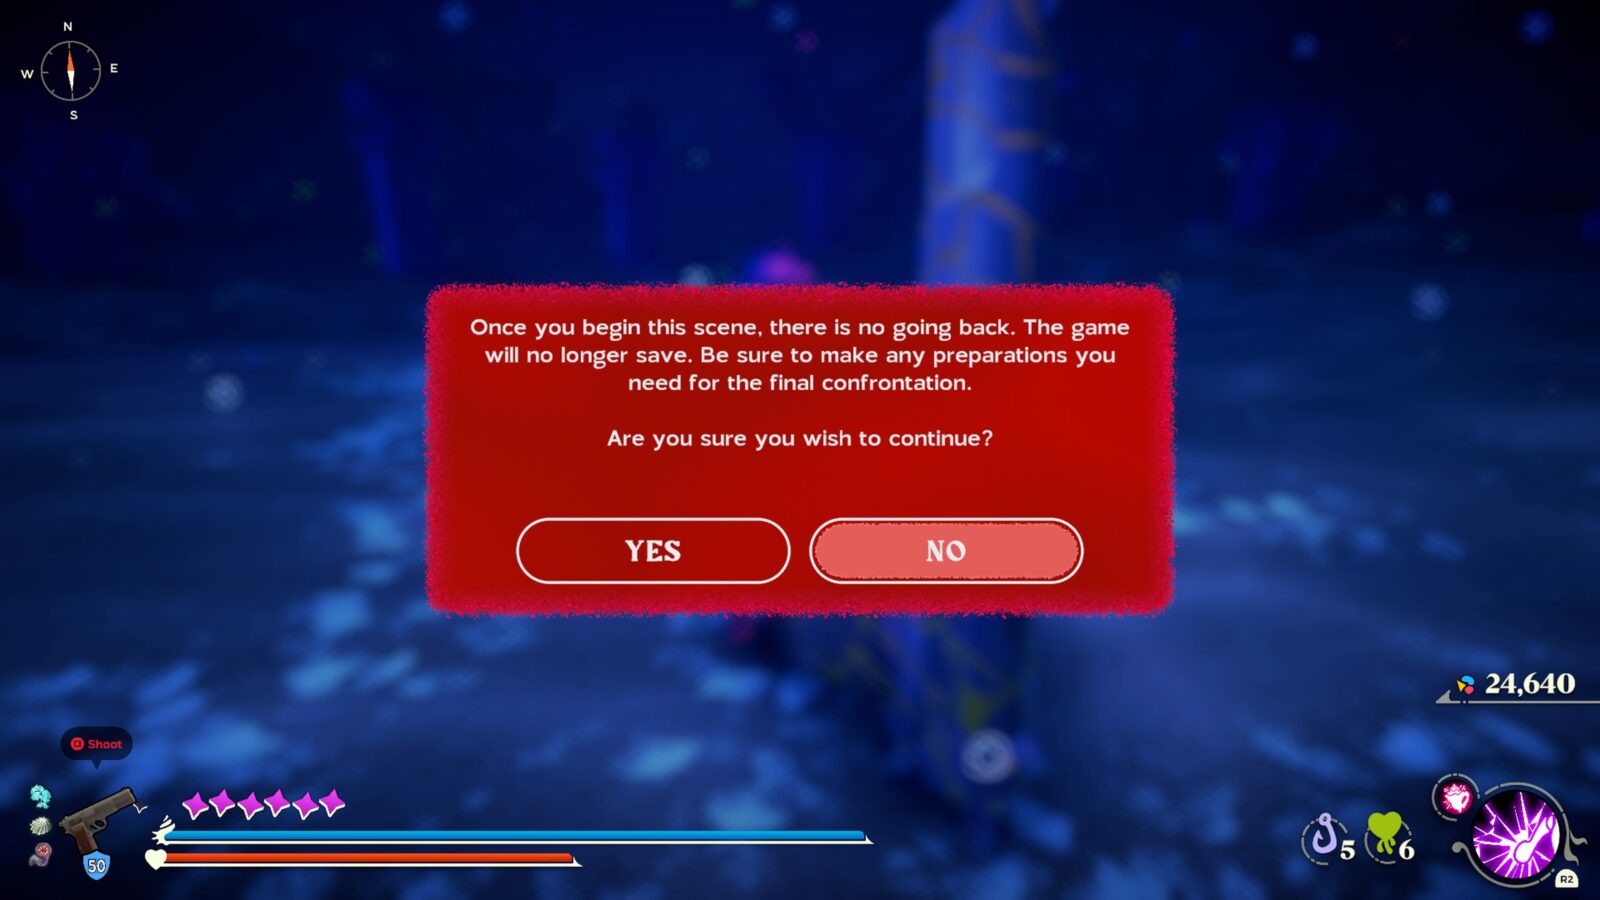
Don’t worry about it. You can proceed past it. All that it means is that when you resume playing after beating the game, you’ll come back to the moment before this red box. From there, you can use the Moon Snail Shell to Shelleport away and start mopping up any trophies you missed. That’s for Phase Two, anyway, for now, just have fun! (And maybe grab as many shells as you can).
Unmissable Story Trophies
Captain of the Guard
Defeated Nephro.
Nephro is the first boss, who attacks you when you grab the Soda Can shell from the Vending Machine. Either defeat him legitimately or give Krill a gun via the Assist Mode options to one-shot him.
Polluted Platoon Pathfinder
Defeated the Polluted Platoon Pathfinder.
The Polluted Platoon Pathfinder is the second boss, who attacks you on your way through the Moon Caves. Either defeat him legitimately or give Krill a gun via the Assist Mode options to one-shot him.
Tyrant of Slacktide
Defeated The Duchess.
The Duchess is the third boss, who you’ll fight at Fort Slacktide after your visit to the Moon Caves. Either defeat her legitimately or give Krill a gun via the Assist Mode options to one-shot her.
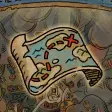
The Hunt Begins!
Begin the treasure hunt.
The Hunt Begins trophy will unlock as part of an unavoidable story event in New Carcinia.
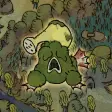
Diseased Lichenthrope
Defeated the Diseased Lichenthrope.
You’ll face the Diseased Lichenthrope on your way through the Expired Grove as part of the story. Either defeat it legitimately or give Krill a gun via the Assist Mode options to one-shot it.
Intimidation Crab
Defeated Heikea.
You’ll face Heikea on your way through the Expired Grove as part of the story. Either defeat him legitimately or give Krill a gun via the Assist Mode options to one-shot him.
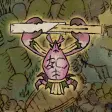
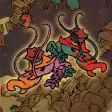
The Ravenous
Defeated Pagurus.
Pagarus the Ravenous is an extremely tough and intimidating boss who spawns whenever you stray from the “Scent Trail” (safe path) in The Sands Between. You can actually defeat him on your first visit to the Sands Between if you’re brave enough (Or just equip Kril with a gun via the Assist Mode settings and one-shot the poor critter). Eventually, thoguh, you will be asked to defeat him as part of the main story campaign.
Ceviche Sisters
Defeated the Ceviche Sisters.
The Ceviche Sisters are two powerful and very fast Pistol Shrimp enemies that you’ll need to defeat on your way through Flotsam Vale. You can either defeat them both legitimately or fight fire with fire by equipping Krill with a gun via the Assist Mode options in the Settings Menu. You’ll need to shoot them both individually, of course, but that’s still a shelluva lot easier than fighting them.
The Accumulator
Defeated Voltai.
You’ll face the Accumulator on your way through the Flotsam Vale as part of the story. Either defeat her legitimately or give Krill a gun via the Assist Mode options to one-shot her.
Venture Crabitalist
Defeated Roland.
You’ll face Roland at the Mouth of the Drain as part of the story. Either defeat him legitimately or give Krill a gun via the Assist Mode options to one-shot him.
The False Moon
Defeated Petroch.
Petroch the False Moon is the first main boss you’ll face in the Unfathom. Either defeat it legitimately or give Krill a gun via the Assist Mode options to one-shot it.

Crab Hunter
Defeated Inkerton.
You’ll face Inkerton a second time on your way through the Unfathom, but this time’s for real. Either defeat him legitimately or give Krill a gun via the Assist Mode options to one-shot him.
The Bleached King
Defeated Camtscha.
You’ll unlock this trophy unavoidably as part of the story in The Old Ocean region. As usual, giving Krill a gun via the Assist Mode options in the Settings Menu is an option for making things easier.
Camtscha, Reborn
Defeated Camtscha (For real.)
You’ll unlock this trophy unavoidably as part of the story in The Old Ocean region. As usual, giving Krill a gun via the Assist Mode options in the Settings Menu is an option for making things easier.
The Ocean's Agony
Defeated Praya Dubia.
You’ll unlock this trophy unavoidably as part of the story in The Old Ocean region. As usual, giving Krill a gun via the Assist Mode options in the Settings Menu is an option for making things easier.
You should note that the final phase of this fight is quite difficult, even with the gun. You cannot lock onto the boss so shooting it is really hard, although if you do manage to get a random shot off on the boss, it will speed things up. That said, their health is draining throughout the entire final phase, so if you just focus on surviving and avoiding the barrage of attacks, you’ll overcome in the end.

Avatar of Waste
Defeated Firth.
You’ll unlock this trophy unavoidably as part of the story upon defeating the final boss. As usual, giving Krill a gun via the Assist Mode options in the Settings Menu is an option for making things easier.
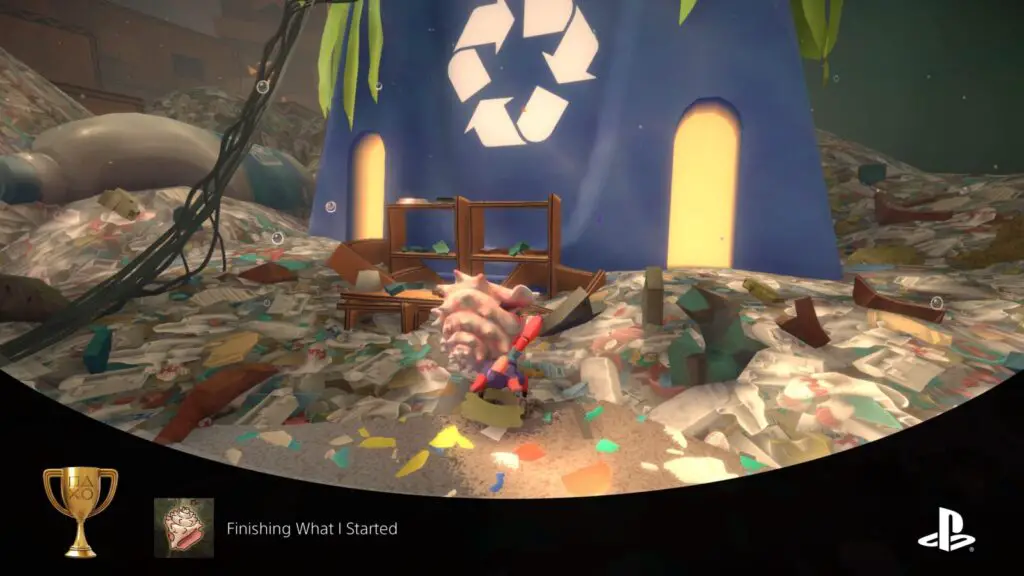
Finishing What I Started
Get your shell back.
After the final fight, you’ll do a small tour of the Lower Crust, speaking to some of the residents (if you want), until you reach Prawnathan’s Pawn Shop. There, retrieve your Home from Prawnathan to finish the game and unlock this “Finishing What I Started” trophy.
Phase Two | Cleanup
After the credits (which you can skip with ![]() ), you’ll be returned to the Title Screen. There, simply select “Continue” and you’ll return to the game at the Moon Snail Shell in “The Bottom of the Drain,” just before the final boss fight.
), you’ll be returned to the Title Screen. There, simply select “Continue” and you’ll return to the game at the Moon Snail Shell in “The Bottom of the Drain,” just before the final boss fight.
From there, use the Shelleport feature in the Moon Snail Shell to revisit any areas you still need things from.
Essentially, you will need to get any Optional Boss Trophies you didn’t already stumble across, Collect All Shells, use crystals to unlock all Skill Trophies, Fully Upgrade the Fork, Collect all Adaptations, and then mop up a couple of Misc Trophies if you don’t have them already.
Misc Trophies

This Kills The Crab
Shoot a crab with a gun.
If you haven’t yet given yourself a gun via the Assist Mode settings, you may not have unlocked this trophy already. The gun, which can be fired by pressing ![]() will insta-kill any enemies you shoot with it. Even bosses.
will insta-kill any enemies you shoot with it. Even bosses.
The first time you do this, you’ll unlock the “This Kills The Crab” trophy.

In Good Claws
Buy some shell insurance.
At the “Shellfish Desires” store in Upper Crust, you can pay microplastics to purchase Shell Insurance for any shell that you’ve added to your Shell Collection. This allows you to pin it in the “Shell Collection” menu at any Moon Snail Shell, which makes it so that you spawn with that shell equipped any time that you die!

It’s a useful feature that you should definitely make use of. However, if you’re as unfortunate as me, you may notice that the “In Good Claws” trophy doesn’t unlock when you do this, even though it should.

That’s because this trophy is (at the time of writing) buggy. And no amount of extra Insurance purchases can force it to unlock if yours bugs out on you. Unfortunately, you’ll need to start a new game and then make your way back to New Carcinia to purchase Shell Insurance again.
Fortunately, you can make use of the Assist Mode options to speed up your quick playthrough to New Carcinia, but be sure to turn those assists off once you reach the city, just incase they increase the chances of a bug occuring.
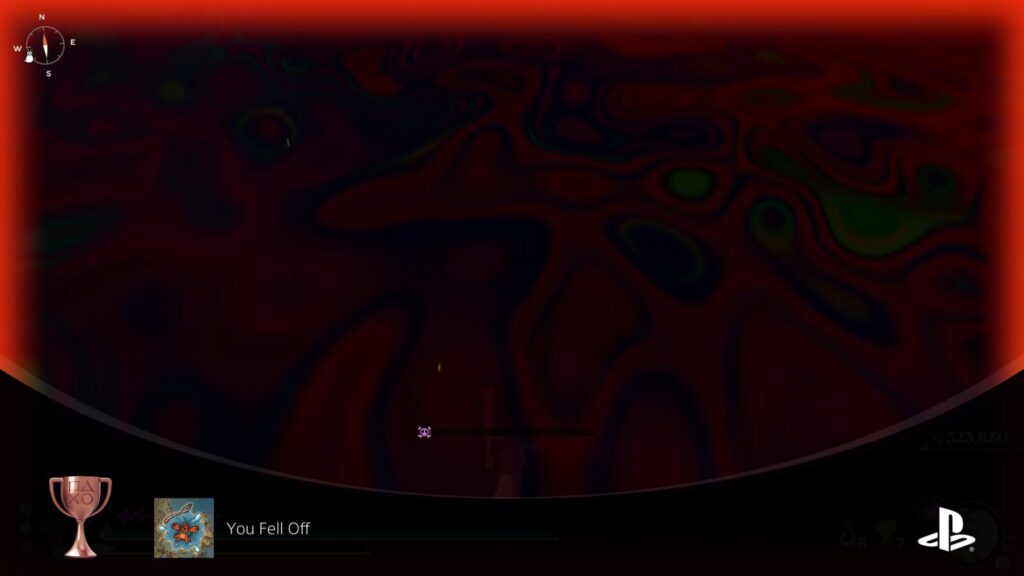
You Fell Off
Fall to your death for the first time.
Falling to your death via a pitfall will unlock the “You fell Off” trophy. That is, unless you have the “Prevent Pitfall Damage” setting turned on in the Assist Mode Settings. Make sure you turn it off before attempting this trophy.
As falling only damages you before respawning you, you’ll probably need to jump to your death a few times before you actually die and the trophy unlocks.
Optional Boss Trophies
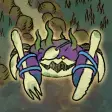
Royal Shellsplitter
Defeated the Royal Shellsplitter.
The Royal Shellsplitter is an optional boss found in the Shallows on the east side, Southeast of Fort Slacktide.
As with all bosses, if this boss proves too difficult, you can give Krill a gun via the Assist Mode options in the Settings to then one-shot the boss by pressing ![]() .
.
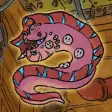
Grovekeeper
Defeated Topoda.
Topoda is one of the few optional bosses in Another Crab’s Treasure. He’s also an important NPC as you can upgrade your Adaptations by speaking to him. Additionally, he gives you a powerful Adaptation which can be used to destroy the odd-looking purple/grey cubes dotted throughout the game.
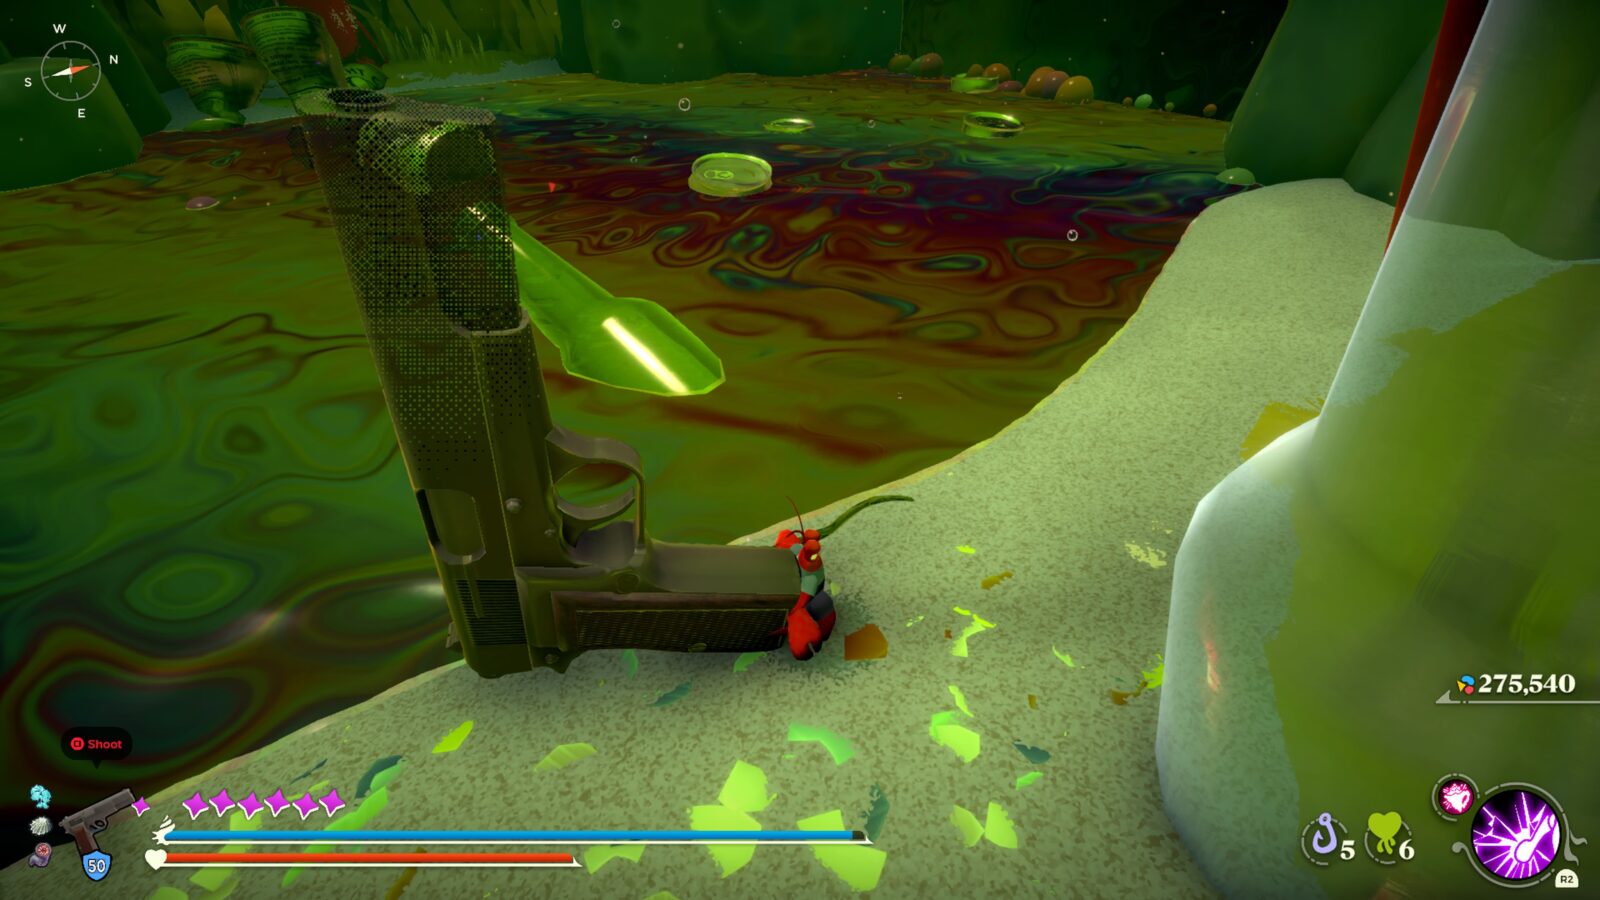
To reach him, you will need to climb the cliffs above the Cursed Village. Starting from where the Sniper Crab was, you need to make your way over the stone pillar and then up onto the nets high above the village. Follow this linear path to Topoda’s Garden, where this very difficult fight awaits.
If Topoda’s high damage output and incredible speed prove too much for you, remember that you can always just give Krill a gun via the Assist Mode options in the Settings and one-shot him.
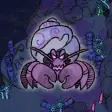
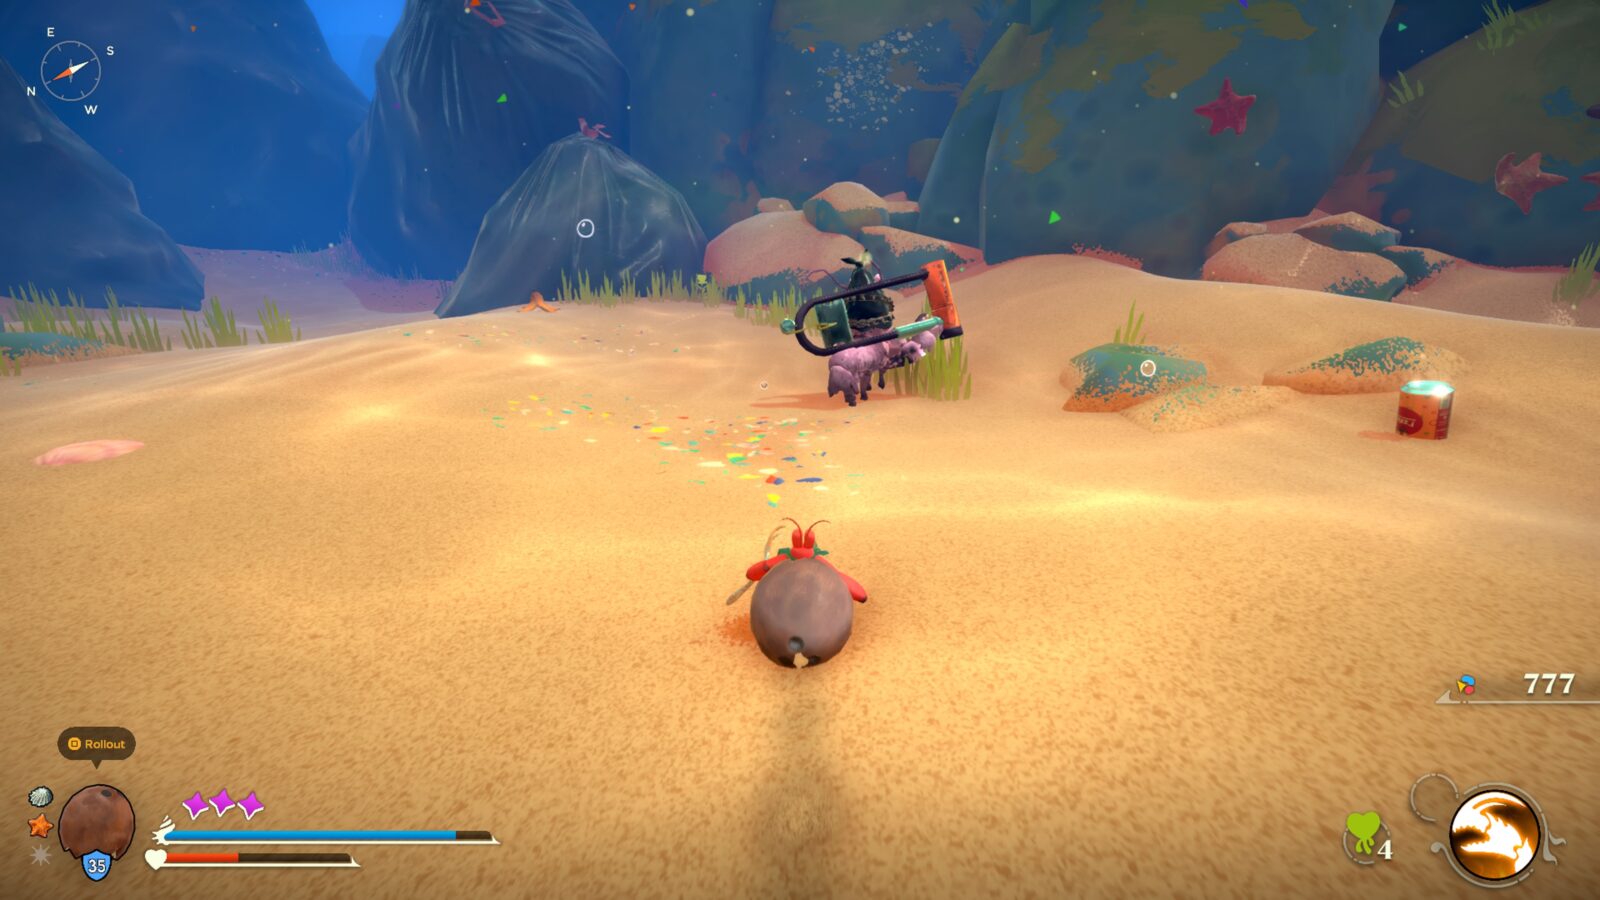
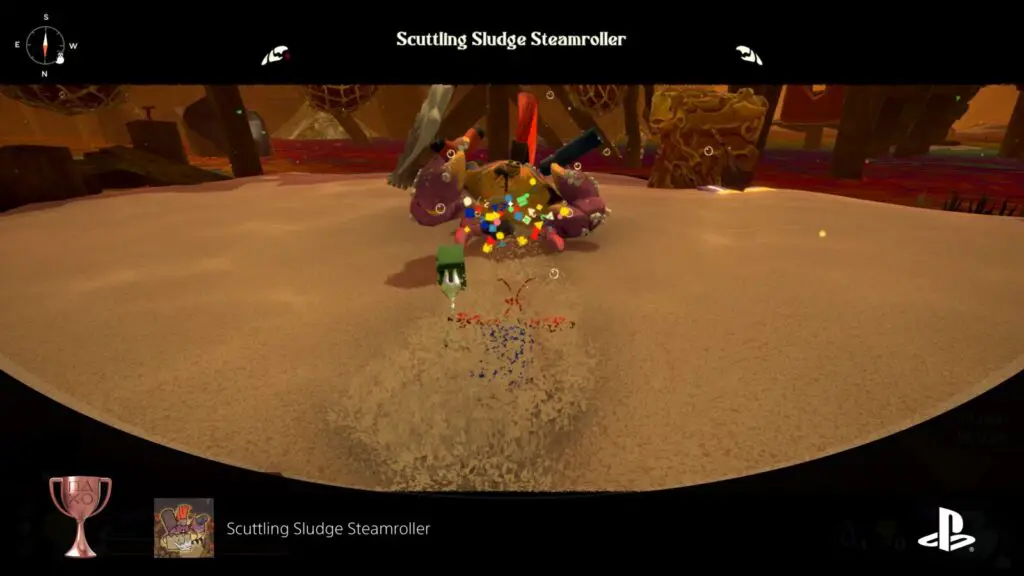
Scuttling Sludge Steamroller
Defeated the Scuttling Sludge Steamroller.
The Scuttling Sludge Steamroller is one of the optional bosses in Another Crab’s Treasure. This comparably easy boss can be found at the center of the ring of wooden platforms in the Shipping Port area of Flotsam Vale. West of the Shipping Port Moon Shell.
As ever, you can give Krill a gun via the Assist Mode options in the Settings Menu and then press ![]() to one-shot the boss if you want an easier fight.
to one-shot the boss if you want an easier fight.
Curdled Carbonara Connoisseur
Defeated the Curdled Carbonara Connoisseur.
The Curdled Carbonara Connnoisseur is another optional boss, this one is hidden in the Oil Drum region of the Expired Vale.
Starting from the Oil Drum’s Moon Snail Shell, go south and jump off the cliff, landing on the beach. There, deal with the enemies and then turn around to see the base of the oil-falls you just leapt down from.
Use the cans floating in the oil river to reach and jump through the waterfall, entering a secret area. Head further in and you’ll eventually reach your foe.
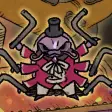
The Consortium
Defeated The Consortium.
The Consortium is an incredibly well-hidden and stupidly powerful optional boss. To reach it, you need to follow a secret path in the Expired Grove to reach a secret area in Flotsam Vale.
To begin, start from the Oil Drum Moon Shell in Expired Vale and start heading East. From there, you have two options:
If you already have the Punch ability from Topoda, punch through the strange glowing block and follow the path to reach two ledges with Archer Crabs on them. Kill both Archer Crabs. From the second one, face South and you’ll see a Fish Hook you can grapple to, which leads to a second fish hook, which leads to a Brown Milk Carton.
If you don’t have the Punch ability, you can cheat a little to still get there; head through the two Tyre Arches. Just after the second arch, follow the wall until the third red-and-white straw, then jump onto the ledges to reach the smallest ledge. From there, look South and grapple onto the Fish Hook hanging from above. At the end of your grapple, grapple onto another fish hook and then land by the Brown Milk Carton.
From there, just follow the cardboard path which eventually will lead you to a shortcut fishing line for you to open.
Head past the shortcut and continue down the path until you enter the Flotsam Vale. Here, once you reach the large island, the Consortium will spawn.

Either defeat it legitimately, or give Krill a gun via the Assist Mode options in the Settings Menu. You’ll note that the Consortium is so strong that it takes around 5 gunshots to kill and cannot be one-shot like other bosses!
Skill Trophies
Way of the Predator
Completed the Way of the Predator.
To unlock “Way of the Predator” buy all of the skills in the “Way of the Predator” Skill Tree at the Moon Snail. See Way of the Hermit for more information.

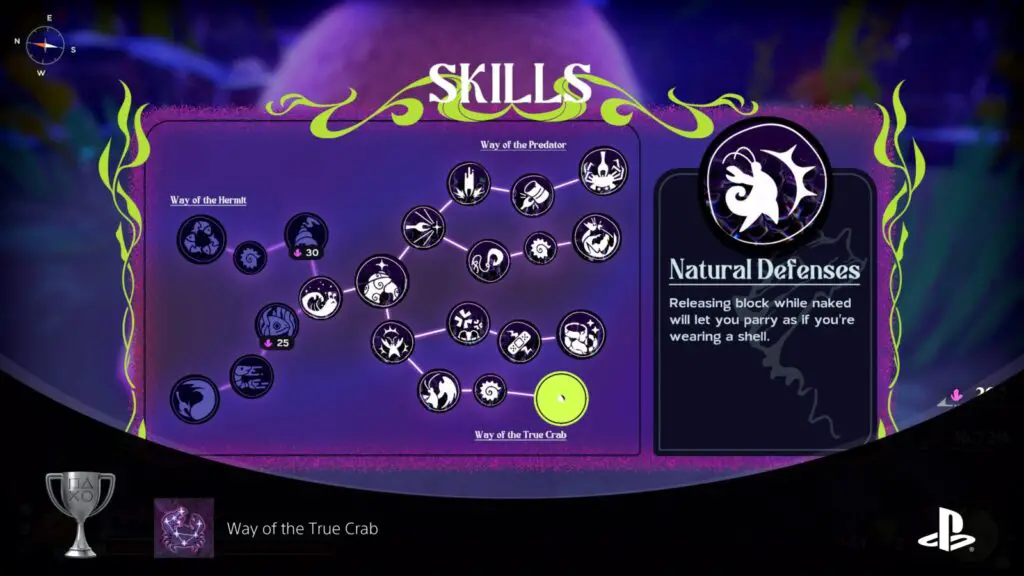
Way of the True Crab
Completed the Way of the True Crab.
To unlock “Way of the True Crab” buy all of the skills in the “Way of the True Crab” Skill Tree at the Moon Snail. See Way of the Hermit for more information.

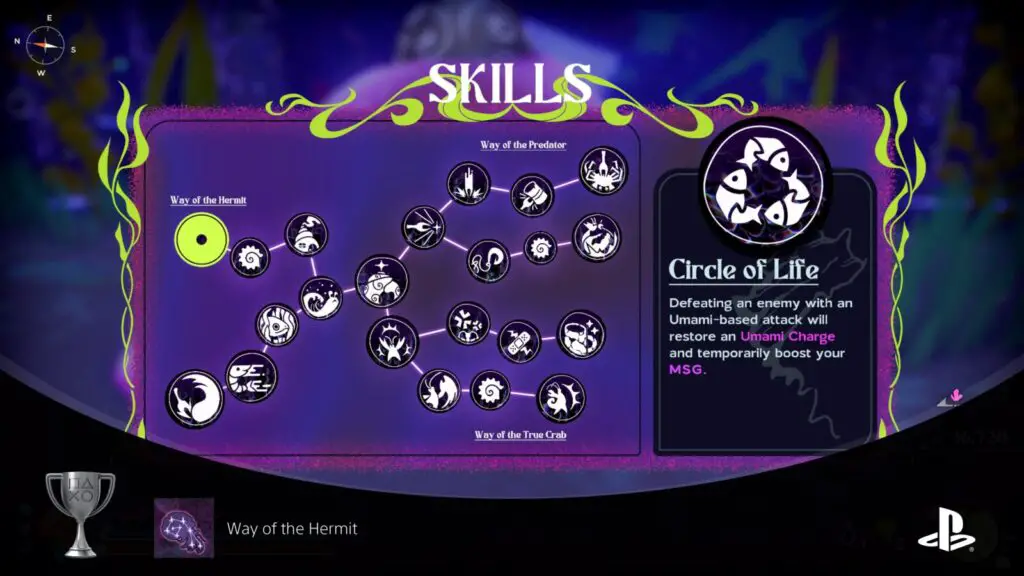
Way of the Hermit
Completed the Way of the Hermit.
Early in the game, in the Moon Caves, you’ll eventually meet the Moon Snail. When speaking to them, you can use the crystal shards you’ve earned to purchase skills.

You can get more crystal shards by either smashing any crystal formations you see or by defeating enemies with purple glowing eyes. Bosses also drop a huge amount of crystal shards.

The Skill Tree itself is divided up into three groups; Way of the Predator in the upper-right, Way of the True Crab in the lower right, and Way of the Hermit on the left.
Whenever you have purchased every skill in a tree, you will receive the correspondingly-named trophy. It is entirely possible and feasible to purchase all of these upgrades in a single playthrough. However, if you wish to expedite the process, you could max out one section of the tree at a time, and ask the Moon Snail to refund your Shards in exchange for a Shark Egg.
Shark Eggs are rare items found all throughout the game, so you’d just need 2 in total to refund your way to each trophy.
Collect All Shells
Shellslike
Find a certain hero's helmet.
To unlock the Shellslike trophy, you need to find a very specific and well-hidden Shell that can only be found in The Old Ocean’s City ruins.
To reach it, proceed through the level as normal from the Lookout Tower Moon Snail Shell until you reach the top of an elevator (which is just a platform on a chain, operated by turning a “Hot” faucet).

At the top, instead of going forward like you’re supposed to, turn left and leave through the South doorway.
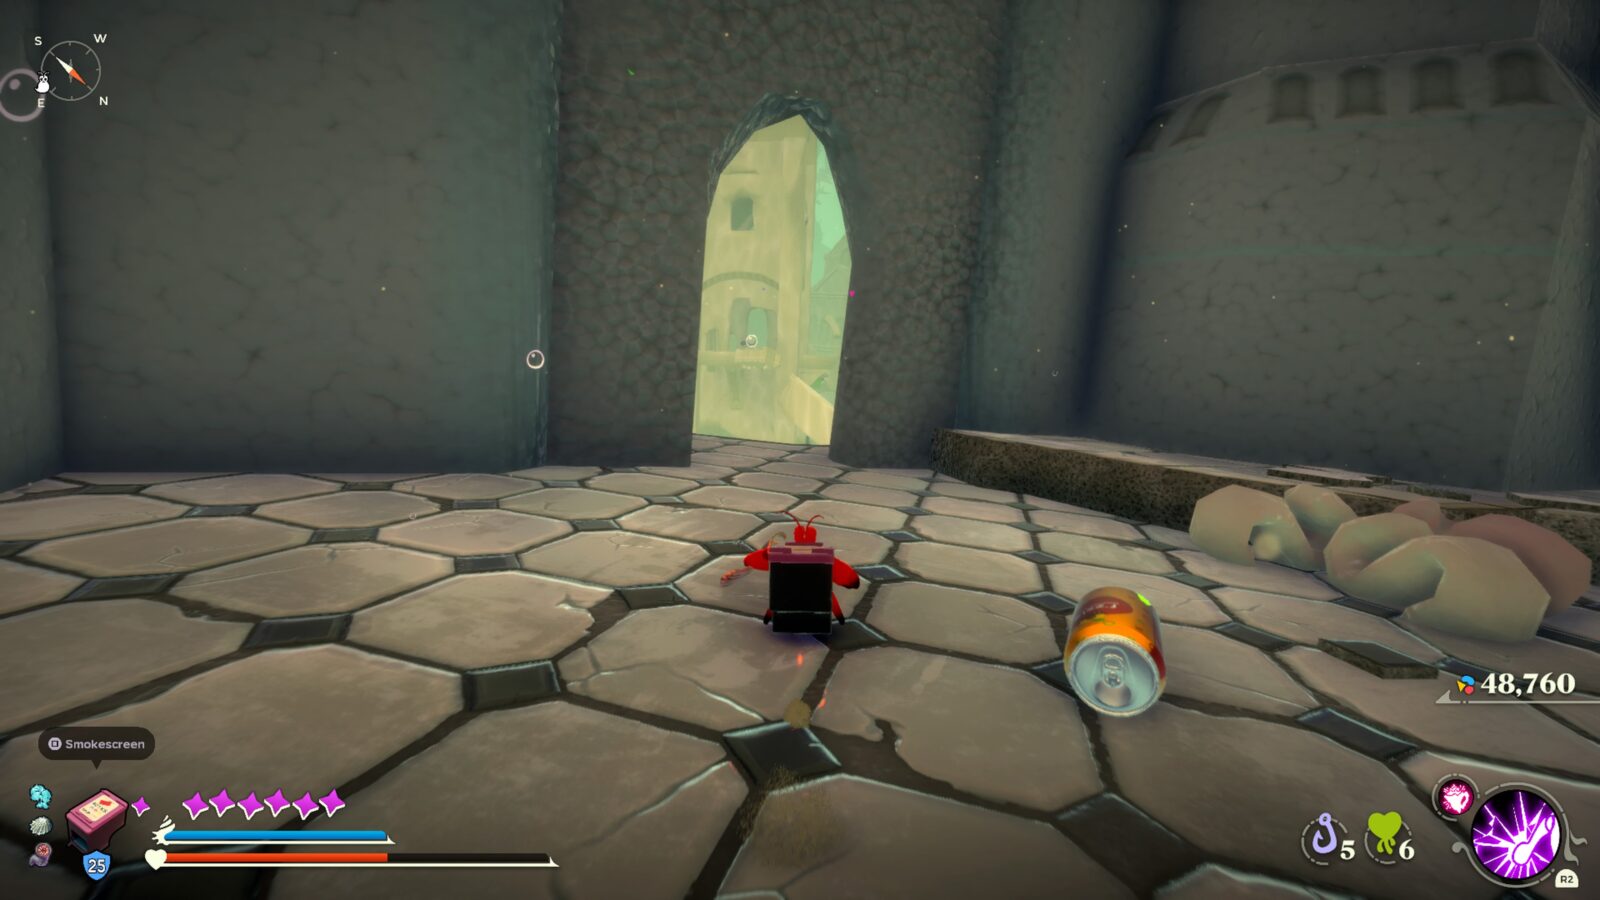
There, follow the path around to a small room, then look at the corner behind you to see a small opening in the wall.
Head through the opening and follow the path which leads you to an unholy platforming nightmare. You’ll want to make sure you have the “Prevent Pitfall Damage” Assist turned on, because you’re probably going to be falling into the abyss a lot.

Useing the various grapple points, nets, sponges, foam cans, and more, make your way to the island way off to the far-east edge of this area, where you’ll find the Knight’s Helmet shell. Equipping it with ![]() will unlock the Shellslike trophy.
will unlock the Shellslike trophy.

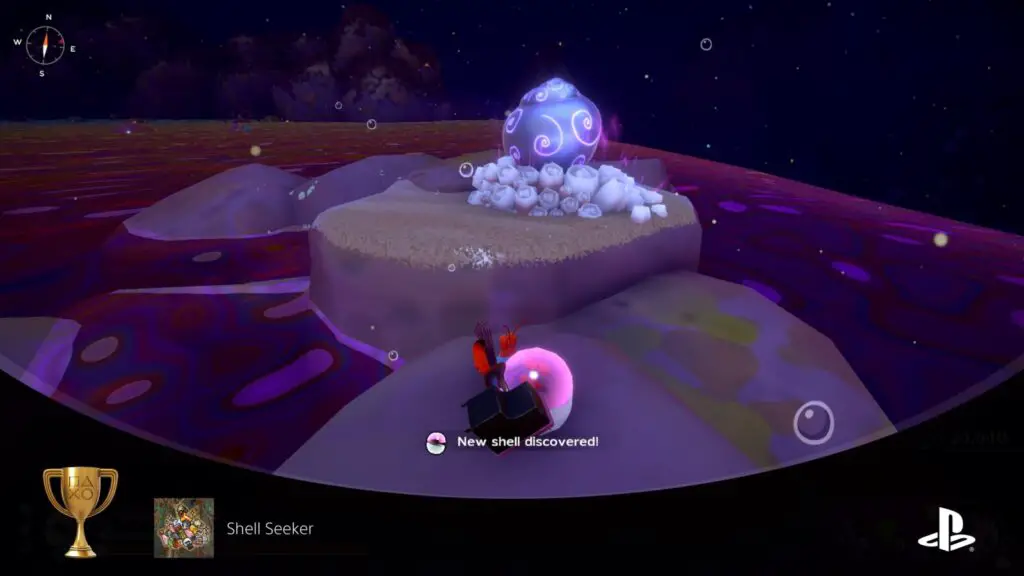
Shell Seeker
Try on every shell in the game.
There are a total of 69 (sigh) Shells that you can equip in Another Crab’s Treasure. To unlock the Shell Seeker trophy, you need to equip all of them at least once.

The vast majority of shells are available in abundance in many different locations, while just a handful of rare ones (such as the Sock, the N64 Cartridge, the Gacha Capsule, the Knight’s Helmet, and more) are only available in specific locations.
As I played through the game, I noted where and when I found each shell in chronological order and then used that to create the table below, (I did tweak the order a little bit to favour convenience). You can use this to either find every shell as you play through the game, or to mop up once you’ve finished the story. It’s up to you!
| Shell Name | Area | Instructions |
|---|---|---|
| Home | — | You’ll have this in your collection from the beginning of the game. |
| Gun | — | You can give Krill the Gun via the Assist Mode options in the Settings Menu. This gun is massively OP and can insta-kill anything, even bosses. Press |
| Soda Can | Slacktide Outskirts (The Shallows) | Likely to be your first shell. The guards at the castle gates will direct you to go right from the gates towards the “Charity Center”, where you’ll find this shell. |
| Banana Peel | Slacktide Outskirts (The Shallows) | After you’ve retrieved the Soda Can, return to the Castle Gates and you’ll see the Banana Peel to the left of the gates. |
| Bottle Cap | Fort Slacktide (The Shallows) | At the top of the Castle’s Western tower, past the Urchin Spillage, you’ll find this shell next to one of the Duchy’s crab guards. |
| Tin Can | Slacktide (The Shallows) | On the edge of one of the Rusted Pipes leading down from the Castle’s Western Tower into the Moon Caves |
| Shot Glass | Moon Caves (The Shallows) | Near a central pillar where the large Q-Tip-wielding Crab Enemy is (and several other locations in the Caves). |
| Party Hat | Moon Caves (The Shallows) | Next to the Heartkelp sprout near the large comb-wielding crab enemy that has a banana peel on its head. |
| Teacup | Fort Slacktide (The Shallows) | When returning to Fort Slacktide after your visit to the Moon Caves, you’ll find many Teacups in the Duchess’s throne room. |
| Coconut | Fort Slacktide (The Shallows) | From the Fort Slacktide Moon Shell, look down into the courtyard below. You’ll see two lobster enemies and a Coconut in the middle of the courtyard. |
| Sauce Nozzle | Reef’s Edge (New Carcinia) | Right next to the Moon Shell here. |
| Thimble | Reef’s Edge (New Carcinia) | Dropped by Sewing-needle-wielding crab enemies in this area. |
| Tennis Ball | Reef’s Edge (New Carcinia) | Along the main path on a blue arrow sign. Next to Bablo, the Racing Snail. Where you learn to roll down ramps for speed. |
| Conchiglie | Upper Crust (New Carcinia) | Purchasable at Shellfish Desires for 750 Microplastics. |
| Shuttlecock | Upper Crust (New Carcinia) | Purchasable at Shellfish Desires for 2000 Microplastics. |
| Bartholomew | Upper Crust (New Carcinia) | Purchasable at Shellfish Desires for 3500 Microplastics. |
| Felix Cube | Upper Crust (New Carcinia) | Purchasable at Shellfish Desires for 12500 Microplastics. |
| Lil’ Bro | Upper Crust (New Carcinia) | Purchasable at Shellfish Desires for 6500 Microplastics. |
| Piggy Bank | Upper Crust (New Carcinia) | Purchasable at Shellfish Desires for 7777 Microplastics. |
| Impostor | Upper Crust (New Carcinia) | Purchasable at Shellfish Desires for 9600 Microplastics. |
| Baby Shoe | Upper Crust (New Carcinia) | Purchasable at Shellfish Desires for 15000 Microplastics. |
| Trophy | Upper Crust (New Carcinia) | Purchasable at Shellfish Desires for 17500 Microplastics. |
| Matryoshka (L) | Upper Crust (New Carcinia) | Purchasable at Shellfish Desires for 25000 Microplastics. |
| Matryoshka (M) | Upper Crust (New Carcinia) | After purchasing the Matryoshka (L) from Shellfish Desires, press |
| Matryoshka (S) | Upper Crust (New Carcinia) | Press |
| F | Upper Crust (New Carcinia) | Look at the Shellfish Desires store’s sign and you’ll notice that the F is shiny. Hold |
| Yoccult | The Sands Between | This yoghurt drink pot shell can be found near a rocky outcrop just past the first life preserver arch in the Sands Between. |
| Lil’ Red Cup | The Sands Between | Near a small rock next to the second arch in the Sands Between. |
| Bebop Cup | The Sands Between | Found at the edge of a stone circle southeast of the “Central Vista” Moon Shell in the Sands Between. Be careful as there’s quite a tough enemy here. |
| Disco Ball | The Sands Between | I recommend leaving this one for much later in the game. It’s difficult to reach and also requires that you’ve beat the boss in this area so that you can free-roam. Start from the Central Vista Moon Shell and then go West. On your map, you’re heading towards the huge chain. When you reach it, open your map again and you should see a huge Anchor to the west. Head to the Anchor and you’ll come to a huge cliff face. Follow the Cliff Face South while keeping your eye out for a Fish Hook you can grapple to. It’s next to a massive Boombox which is blaring out music for a group of Crabs who are dancing away. Grapple over to the Boombox and kill the group of crabs, one of whom is wearing this Disco Ball shell. |
| Egg Shell | Expired Knoll (The Sands Between) | Starting from the Moon Shell in this area, go directly Northwest and you’ll see this shell at the side of a path. |
| Mason Jar | Expired Knoll (The Sands Between) | Starting from the Moon Shell in this area, climb up the ledges behind the shell and then head south until you see a fish-hook hanging from above. Use |
| Wafer Cone | Grove Entrance (Expired Grove) | Go east from the Moon Shell here and you’ll find a few Milk Cartons with Crabs inside. One of these Milk Cartons contains this shell. |
| Valve | Oil Drum (Expired Grove) | From the Checkpoint in this area, go East and head through the two Tyre Arches. Just after the second arch, follow the wall until the third red-and-white straw, then jump onto the ledges to reach the smallest ledge. From there, look South and grapple onto the Fish Hook hanging from above. At the end of your grapple, grapple onto another fish hook and then land by the Brown Milk Carton, inside which you’ll find this Shell. If you continue down this path, you’ll eventually reach an entrance to a secret Flotsam Vale area containing a powerful Optional Boss (See The Consortium). |
| Coffee Pod | Oil Drum (Expired Grove) | At the top of the Oil Drum tower you need to climb in the Expired Grove, stuck to some gum. |
| Coffee Mug | Oil Drum (Expired Grove) | At the top of the Oil Drum tower you need to climb in the Expired Grove, next to the pipe leading down from the tower. |
| Cascadia Roll | Village Gates (Expired Grove) | There are lots of these Hollow Sushi Roll shells on the boat where the Village Gates Moon Shell is. |
| “Ham” Tin | Village Gates (Expired Grove) | Starting from the Village Gates Moon Shell, descewnd down the side of the ship to the small cave you have ot pass through to reach the village initially. There, you’ll see two paths, go down the left path to enter a cave filled with floating orbs you can climb on. At the far side of this cave is a small alcove containing two archer crabs and three mackerels with fish hooks on their heads. Defeat all of the enemies and then claim the “Ham” tin from the rock at the center, between the three Corn Dogs. |
| Skull | Cursed Village (Expired Grove) | The Skewer-throwing Sniper Crab in the village is wearing this and will drop it for you if you kill it. This is one of few enemies that does not respawn, but the Skull will always be found where the Sniper Crab used to be. |
| Crab Husk | Topoda’s Garden (Expired Grove) | Crab Husks are littered all over this area. |
| Spring | Flotsam Vale | Very common in this area, but the first one is found where Inkerton attacks you on the way into the Vale. |
| LEGAL Brick | Company Town (Flotsam Vale) | Dropped by some enemies in this area. Also found on one of the islands at the north side of the main lake. |
| Boxing Glove | Company Town (Flotsam Vale) | At the north end of the lake in this area, there’s a tall platform with a huge crystal formation on it. To reach it, go around the north edge of the lake and then jump south onto the northern-most island. From there, you’ll see the net leading up to the platform with the crystal on it. Up here, you’ll also find this Boxing Glove shell. |
| Rubber Duck | Company Town (Flotsam Vale) | Head to the Boxing Glove location mentioned above. From there, head East into the cave, past the Pistol Shrimp enemy, and you’ll find a Rubber Duck sitting on the ledge. |
| Shotgun Shell | Company Town (Flotsam Vale) | In one of the red cannisters on the large island at the center of the lake. May also be dropped by Pistol Shrimp enemies. |
| Tissue Box | Upper Swamp (Flotsam Vale) | Starting from this Moon Shell, to the south, there’s a long island with a purple-eyed Pistol Shrimp on it. Behind one of the Red Cannisters on this island, you’ll find the Tissue Box. A Hermit Crab may be wearing it, so be ready to fight! |
| Salt Shaker | Upper Swamp (Flotsam Vale) | On the West side of this area, you’ll find a shortcut fishing line that you can lower leading back to the Company Village area. From that shortcut, jump to the southmost set of wooden platforms. In the east-most red cannister on these platforms, you’ll find the Salt Shaker Shell. |
| Plug Fuse | Shipping Port (Flotsam Vale) | Part of a puzzle for accessing the Locker Room. |
| Cardboard Box | Locker Room (Flotsam Vale) | Dropped by some enemies outside this area. |
| Ink Cartridge | Mag-Rail Platform (Flotsam Vale) | From this Moon Shell, after inserting the Plug Fuse and lowering the nearby Gas Cannister, jump to the catwalk and enter the cannister to find this Ink Cartridge Shell in plain sight. |
| DumpTruck | Mag-Rail Platform (Flotsam Vale) | On top of the building that this Moon Shell is in (A Shortcut Line can be dropped down to the Moon Shell once you get up there), there is a magnet you need to ride to reach an upper platform full of enemies. If you ride this magnet a little longer than necessary, it’ll pass over the highest point in this area, above some cubes of compacted scrap. Drop onto these cubes and you’ll see the Dumptruck Shell. |
| Gacha Capsule | The Mouth of the Drain | Check the rocks just behind the Moon Shell here and you should find this shell. It’s not here when you first visit, but it will spawn when you fast travel to this location later. |
| Spirit Conch | — | After you have defeated Petroch in the Unfathom, you will unlock a new Adaptation called “Snail Sanctum.” Press |
| Lightbulb | Hermit’s Plateau (The Unfathom) | Fairly common down in the Unfathom as activating Shellshock on it with |
| Mouse | Hermit’s Plateau (The Unfathom) | Head south from the Hermit’s Plateau Moon Snail Shell to find this shell near a rock with pink moss on top. |
| Doll’s Head | Hermit’s Plateau (The Unfathom) | Head Southwest from the Hermit’s Plateau Moon Snail Shell into the darkness. Follow the path past an S-shaped packing peanut on the ground and continue directly Southwest. Eventually you should see a red glowstick. Head over to it and then look around. Around here, there are lots of Hermit Crab Enemies wearing Doll’s Heads as shells. |
| Going Under 64 | Hermit’s Plateau (The Unfathom) | Head Southwest from the Hermit’s Plateau Moon Snail Shell into the darkness. Follow the path past an S-shaped packing peanut on the ground and continue directly Southwest. Eventually you should see a pink glowstick to the north. Head over to it and then look around. Go North (slightly Northeast) and you’ll find some Fish Hooks you can use to grapple across the gap, landing on a stone pillar. Jump to the next platform and then over to a larger ledge. There, you’ll be at the base of a tall rock formation. Climb up using the ledges and you’ll find a blue Glowstick at the top, next to this Going Under 64 Cartridge shell. |
| Sock | Hermit’s Plateau (The Unfathom) | Head Southwest from the Hermit’s Plateau Moon Snail Shell into the darkness. Follow the path past an S-shaped packing peanut on the ground and continue directly Southwest. Eventually you should see a pink glowstick to the north. Head over to it and then look around. Directly West of this Pink Glowstick is a hill with many white coral plants on it and two long curved ledges. Climb up the ledges to the top of the hill and reach the highest point, where the large flat red plant is. From that high point, face the direction the hill is pointing and then drop down into the abyss. You’ll land on a platform with only a single sock on it. |
| Service Bell | Hermit’s Plateau (The Unfathom) | Head Southwest from the Hermit’s Plateau Moon Snail Shell into the darkness. Follow the path past an S-shaped packing peanut on the ground and continue directly Southwest. Eventually you should see a pink glowstick to the north. Head over to it and then look around. Directly SouthWest of the Pink Glowstick there’s a Yellow Glowstick. Go to it and then look NorthWest, where you should see another Pink Glowstick. From that second Pink Glowstick, go directly west right up to the cliffedge, and you should see this Shell. |
| Party Popper | Hermit’s Plateau (The Unfathom) | Northeast of the Hermit’s Plateau Moon Snail Shell, you should see two Green Glowsticks crossed over each other. Just below them is a disc drive shortcut you can open up. If you haven’t opened it yet, proceed through the level until you can. Once you are at the other side of this disc drive, approach the edge of the cliff north of it and you’ll see two Party Popper Shells at the base of a plant. |
| UltraSoft | Fragmented Viaduct (The Old Ocean) | From the Fragmented Viaduct Moon Snail Shell, head Southwest and you’ll see a toilet roll shell lying at the corner of one of the polystyrene buildings. |
| Dentures | Fragmented Viaduct (The Old Ocean) | Inside the building next to the UltraSoft shell mentioned above. |
| Pill Bottle | Fragmented Viaduct (The Old Ocean) | From the Fragmented Viaduct Moon Snail, head west to an overlook with a Clamshell chest on it. There, you’ll find this Pill Bottle Shell. (It probably has a Hermit Crab in it so be ready to fight for it). |
| Scrub Aggie | Fragmented Viaduct (The Old Ocean) | From the Fragmented Viaduct Moon Snail, head slightly south-east and you’ll see a bleached coral “tree” next to polystyrene building which has a sponge stuck on one of its branches. Use your grapple to pull the sponge down from the branch and then equip it. |
| Champagne Flute | Fragmented Viaduct (The Old Ocean) | From the Fragmented Viaduct Moon Snail, head east over the bridge and you’ll see this Shell on the way. There’s also one outside the castle gates at the other side if you don’t want to risk trying to grab the one on the bridge while being shot at. |
| Dish Scrubber | City Gates (The Old Ocean) | Just South of the Moon Snail Shell here, you’ll see many Blue Seahorse enemies. They drop this shell when killed. |
| Detergent Cap | City Gates (The Old Ocean) | At the base of the structure where the Blue Seahorse enemies mentioned above are. |
| Snowglobe | The Lookout Tower (The Old Ocean) | From this Moon Snail Shell, jump down to the tiled floor to the west, below you. There’s a tough enemy down there so either take care of him or quickly move South through the doorway, where you should use the bubbles to reach another doorway to the East (You can use the doorway to the west to reach it, just be sure not to confuse the two). Once you land, follow the corridor until you eventually come across this Snowglobe shell. |
| Knight’s Helmet | The Lookout Tower (The Old Ocean) | See the Shellslike Trophy. |
Fully Upgrade the Fork
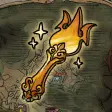
Make it Shine
Upgrade your fork to its full potential.
In Lower Crust, you can upgrade your fork at the blacksmith to improve its base damage. You can upgrade it 5 times in total, but this requires having all 15 Stainless Steel Relics hidden in the game.

These are a bit more complicated to find than even the 69 Shells, so I’ve had to make a separate guide for the Stainless Steel Relics.
Annoyingly, I didn’t do my due diligence and didn’t realise this was a requirement until right at the end of the game, where I’d already found 11 and used 10 of them. So making the above guide was a bit of a chore, to say the least!

Once you have all 15, use them at the Blacksmith to increase the fork to Level 6 and unlock its full potential. Once done, you’ll receive the “Make it Shine” trophy.
Collect all Adaptations

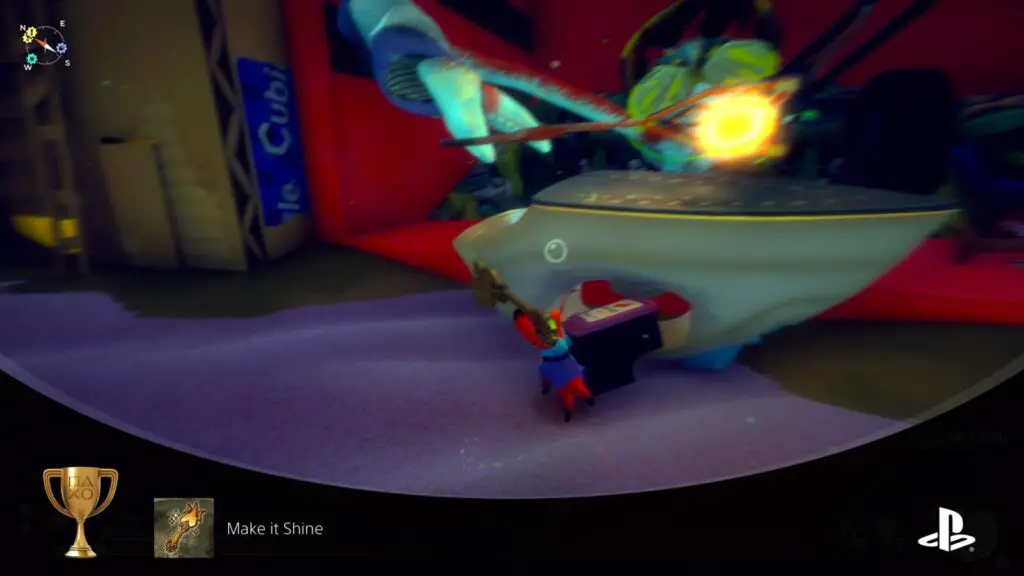
Well-Adapted
Learn all Adaptations.
Adaptations are powerful abilities that you can activate with ![]() in exchange for Umami Energy. You can have up to two equipped at once, which you can cycle through with
in exchange for Umami Energy. You can have up to two equipped at once, which you can cycle through with ![]() .
.
Most Adaptations come from either Main Story Bosses or Optional Bosses, but there are two with more specific directions attached. See the table below:
| Adaptation | How to Get |
|---|---|
| Bubble Bullet | Defeat the Ceviche Sisters, Story Bosses. |
| Royal Wave | Defeat The Duchess, a Story Boss. |
| Electrocute | Defeat Voltai, a Story Boss. |
| Snail Sanctum | Defeat Petroch the False Moon, a Story Boss. |
| Mantis Punch | Defeat Grovekeeper (Topoda), the Optional Boss. |
| Tactical Tentacle | Defeat The Consortium Optional Boss. |
| Urchin Toss | Near the “Bottom Feeders” store in Lower Crust, there’s a Sea Urchin with eyes! Speak to it to learn more about its loneliness, and then attempt to give it a hug several times (basically just walk into it on purpose repeatedly). Keep an eye on your health as you do this, of course. Eventually the Urchin will be touched enough by your actions that it’ll give you this new adaptation! |
| Bobbit Trap | Go to the far west edge of the Sands Between and when you find a bunch of crabs gathered at the cliff edge in what seems to be worship of a Hermit Crab wearing a Valve, head south. You will eventually reach an area filled with Spikes (Check the map, it’s obvious when you’re there). Be careful of the many “x” marks on the floor, as these indicate horrifying Bobbit Traps that’ll steal your shell. Make your way up to the top of the ledges in this area and you’ll find the Bobbit Trap Adaptation at the top. |
PlatGet!
Fully Carcinized
Obtain all trophies!
After collecting every trophy in this Another Crab's Treasure Trophy Guide, the "Fully Carcinized " Platinum Trophy will unlock. Congratulations!
Thanks for Reading
Plat Get!
Thank You!
Thank You for choosing PlatGet as your source for this Another Crab’s Treasure Trophy Guide.
Wondering what to complete next? Browse our complete guide selection or check out our friends at PlatPrices.com to filter the PS Store based on price, trophy difficulty, or completion time.
Got a question, some feedback, or just want to say thanks? Drop a comment in the discussion section below, we'd love to hear from you! No account required!!