PlayStation 4, PlayStation 5
Going Under Trophy Guide


General Info
FAQ
How long does it take to beat Going Under and unlock all trophies?
8-10 hours.
How difficult is it to beat Going Under and unlock all trophies?
Easy (3/10).
Does Going Under have online trophies?
No.
Does Going Under have difficulty-specific trophies?
No.
Does Going Under have missable trophies?
No.
Does Going Under have glitched trophies?
No.
What is the minimum number of playthroughs required to unlock all trophies in Going Under?
One.
Does Going Under have a Platinum Trophy?
Yes.
Trophy Guide
Going Under Trophy Guide and Road Map for PlayStation 4
Welcome to our Going Under Trophy Guide. In Going Under you play the role of Jackie, an intern at a large corporation that just so happens to have… monsters in the basement? Not long after your indoctrination/introduction to the company, you’ll find yourself punching and rolling your way through the company’s basement all for the sake of an internship! Figures…
Going Under Trophy Guide – Before You Begin
Assist Mode
When starting a new game, you will be asked to select which save file you’d like to use. Next to the highlighted save file, you will see a little toggle that says “Assist.” Underneath, you’ll see that ![]() can be pressed to edit this. Do so and you’ll open a dialogue box with many Assist mode options.
can be pressed to edit this. Do so and you’ll open a dialogue box with many Assist mode options.
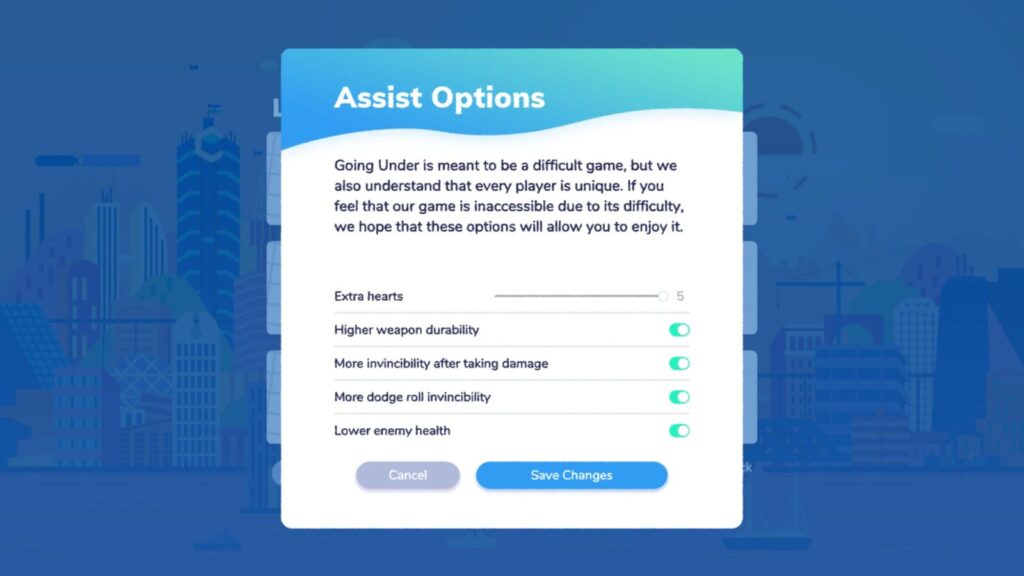
Assist mode will make your run a lot easier and can make earning the platinum trophy a much quicker affair at just 10 hours or less. In the interest of expediting the platinum journey, this guide has been written with Assist Mode in mind, under the assumption that you’ll be using it. If you choose not to use Assist Mode for the extra challenge, that’s totally fine, but just be aware that you may struggle in some areas.
Let’s go over the available options…
Extra Hearts
You can give yourself up to 5 extra hearts. Through this, you can take more hits without dying and have a much higher chance of reaching the end of a dungeon. Add as many as you like but the maximum is 5.
Higher Weapon Durability
Weapons naturally pack more of a punch than your… well, punch. Longer-lasting weapons can only be a good thing in this enemy-laden world so I obviously recommend turning this toggle on.
More invincibility after taking damage
When you get hit in Going Under, you’ll become invincible for a short moment. This allows you to get away from whatever hit you and avoid getting stun-locked. By turning on this assist mode toggle, you can lengthen the amount of time for which you are invincible, which can be very helpful in trickier battles and allows you to play a little more aggressively.
More Dodge Roll Invincibility
Just as with the last setting, this increases the length of time during which you are invincible, though this time after a dodge roll. More hardcore skill-based gamers may recognize these moments as “i-frames.” Switch this toggle on to become a near-invincible dodge-rolling machine.
Lower Enemy Health
With this toggle activated, enemies will go down a lot easier in much fewer hits. Naturally, this goes a long way towards making the game easier.
Ultimately, you can use any, all, or none of these assists but I’m going to go ahead and assume you have them all active for the easiest possible platinum journey.
Whatever you choose to do, enjoy the game, and try to be nice to others regardless of how they earned their Platinum!
Phase One – Complete First Three Dungeons and All Mentorships
The first few hours of Going Under involve defeating the bosses at the end of the three “dungeons” in the basement. For each boss you defeat, you will acquire an artifact which is then placed in the center of the Fizzle offices. Once you have all three, you will have the option to “Go Under” by entering through the “Productivity Portal” below where the artifacts were placed.

However, you should not do that yet. It’s not a point of no return, per se, but it will make the game slightly more difficult if you head inside. For that reason, I recommend holding off until you have completed all of the Mentorship Trophies. These trophies will require you to complete tasks for your colleagues which will be much easier to complete before you “Go Under” and make the game harder.
That being said, it’s your trophy journey ultimately and if you would prefer to just plow on and deal with the consequences, that’s totally fine too. Nothing here is missable, I am simply trying to make things go a little smoother.
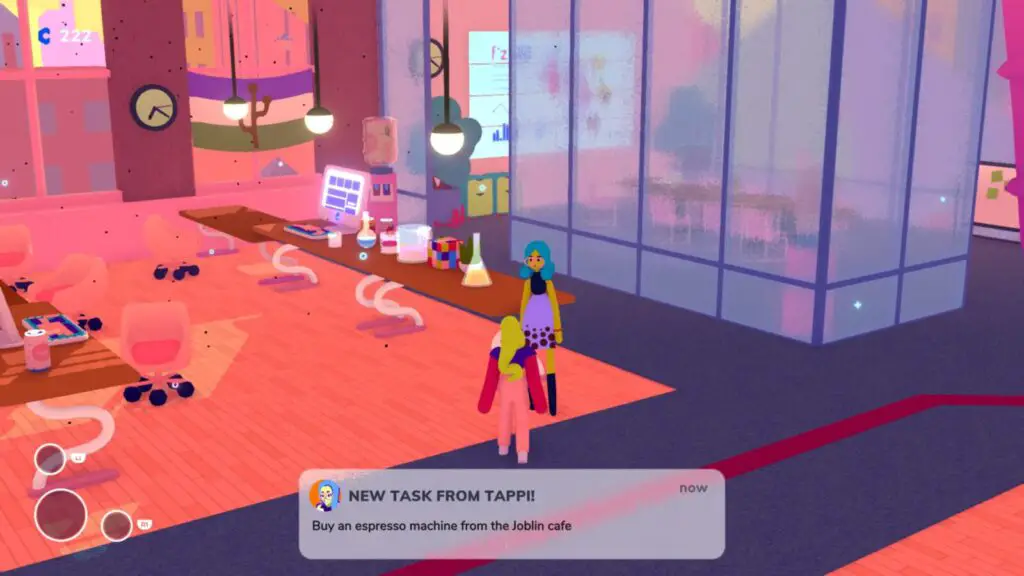
Between runs, you should speak to all colleagues at the Fizzle office who have a blue speech bubble, this is how you’ll collect tasks for the Mentorship Trophies.

You should also be purchasing every possible skill from the front desk to be making constant progress towards Padded Resume.
Unmissable Story Trophies


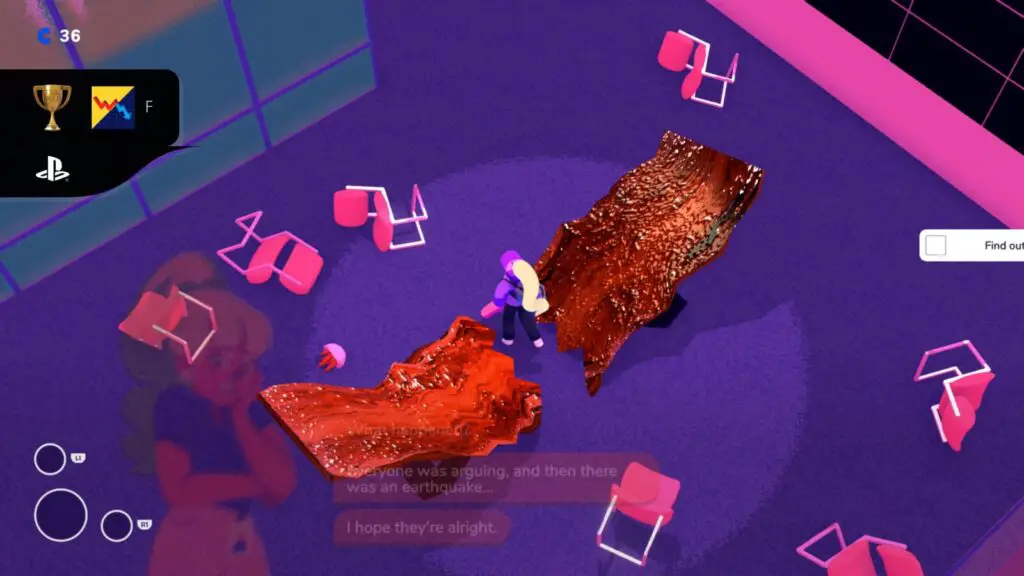
Icebreaker
Meet Your Coworkers.
You will unlock the Icebreaker trophy naturally near the beginning of the story. You’ll just need to complete your first foray into the basement and then watch the cutscene that ensues afterward.


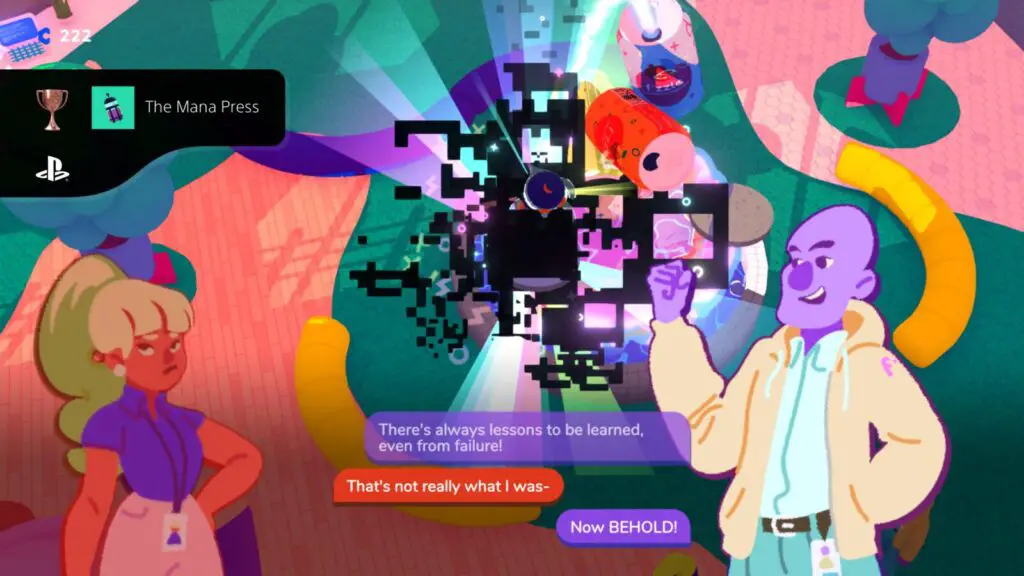
The Mana Press
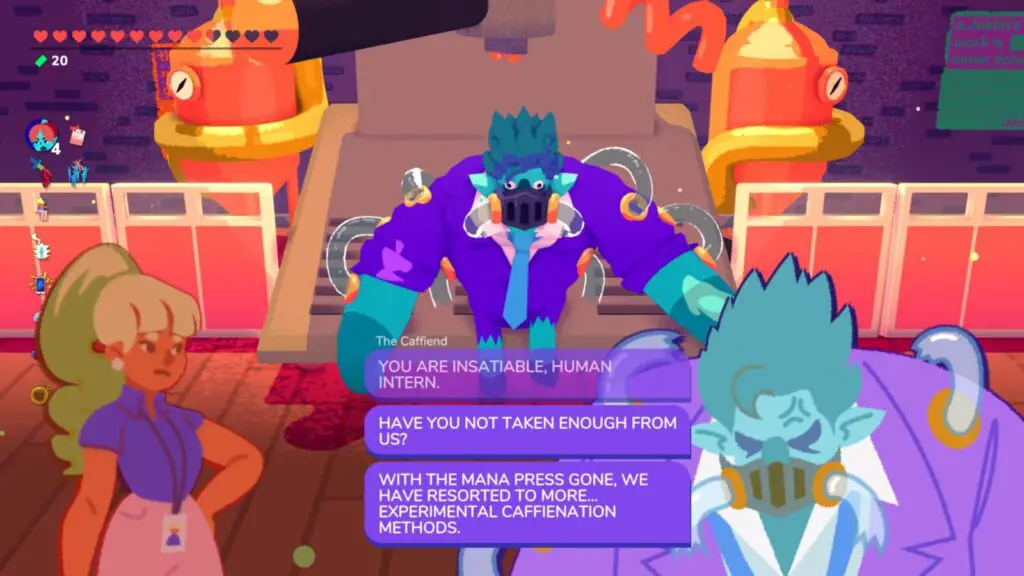
Obtain The Mana Press.
To obtain the Mana Press and unlock the “The Mana Press” trophy, you must reach the fourth floor of the “Joblin” dungeon and defeat the first boss; Caffiend.
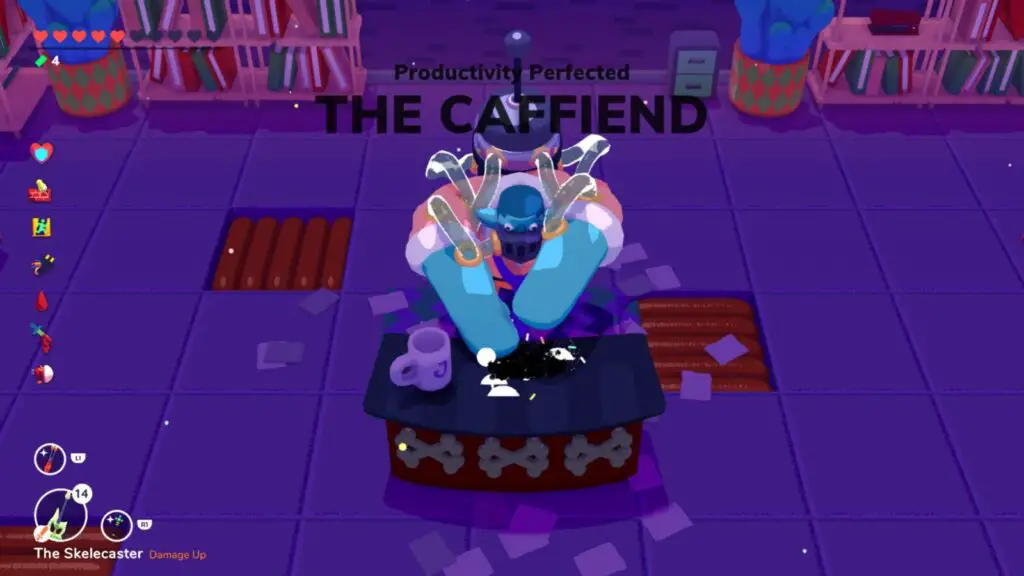
Being the first boss, the Caffiend is pretty easy to defeat, just keep an eye out for the red indicators showing you when he will attack and where. Use ![]() to dodge these attacks and then hit him as much as you can when he’s not attacking.
to dodge these attacks and then hit him as much as you can when he’s not attacking.
Occasionally, he will stun himself by charging into walls and furniture, use this opportunity to get as many hits in as you can while avoiding the minions that spawn whenever he’s stunned.
Once you have defeated Caffiend and collected the Mana Press that he drops, return to Fizzle by pressing ![]() on the ladder which appears and the “The Mana Press” trophy will unlock after a cutscene where Marv explains what the Mana Press is.
on the ladder which appears and the “The Mana Press” trophy will unlock after a cutscene where Marv explains what the Mana Press is.

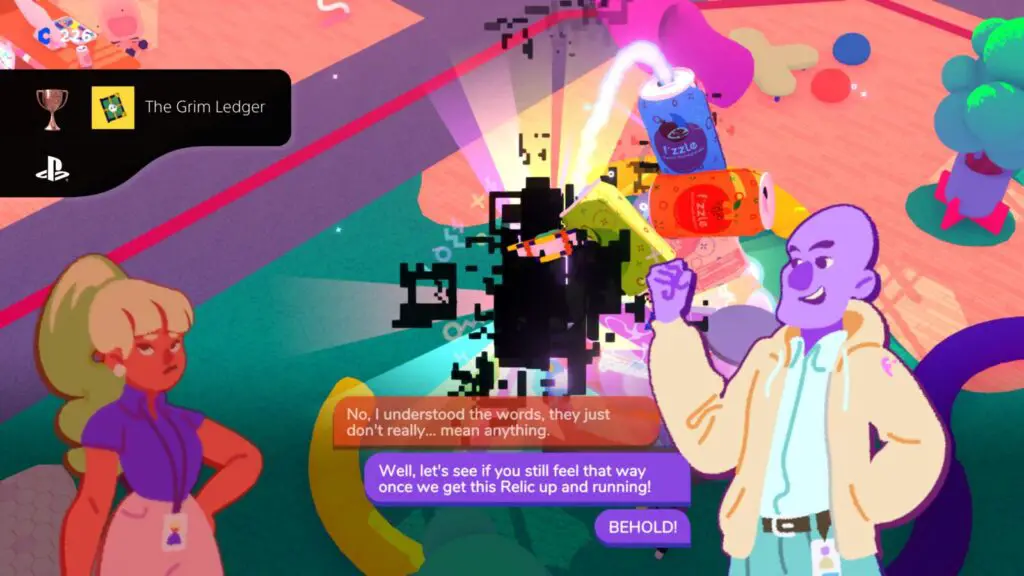
The Grim Ledger
Obtain The Grim Ledger.
The Grim Ledger is found around the neck of “Hustlebones,” the final boss on the fourth floor of the Styxcoin dungeon. To acquire it, you simply need to reach and defeat him.
Hustlebones is one of the easier bosses because he is slow and very obviously telegraphs his attacks, allowing you to identify the best times to dodge, and the best time to beat his bones to dust.
At certain intervals in the fight, he will retreat to the sofa at the back of the room where you cannot hit him, and spawn in a wave of regular enemies. Switch focus whenever he does this and take care of the additional enemies as quickly and painlessly as you can, preserving your health for the actual boss.
Once you have defeated Hustlebones and collected the Grim Ledger from him, use the ladder with ![]() to return to Fizzle and unlock the “The Grim LEdger” trophy after a short cutscene.
to return to Fizzle and unlock the “The Grim LEdger” trophy after a short cutscene.

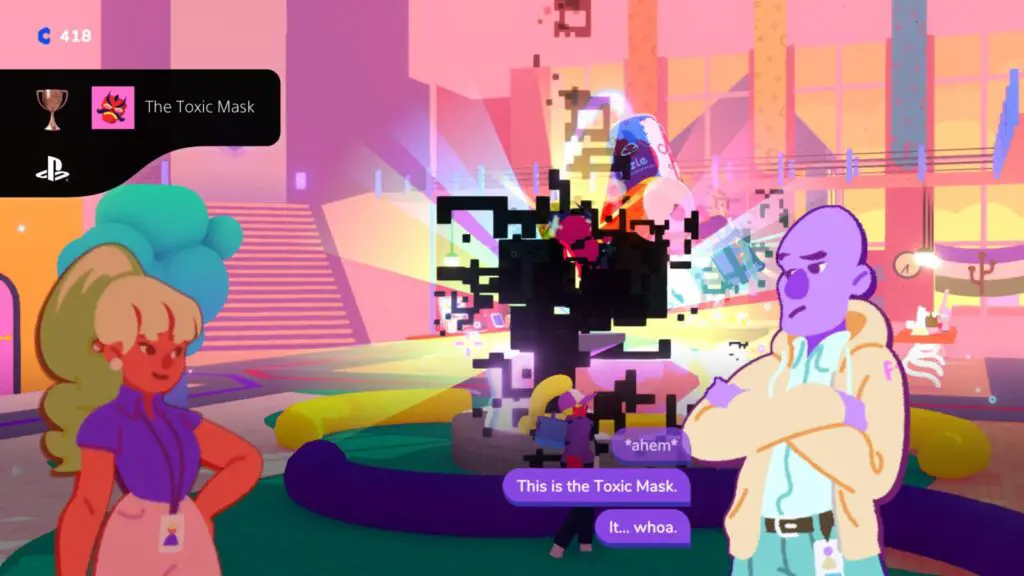
The Toxic Mask
Obtain The Toxic Mask.
The Toxic Mask item is acquired from “Hoverhands,” the boss of the third dungeon; Winkydink. He’s found on the fourth floor and is fairly easy to fight. Look out for his attacks and be careful not to get burnt by the fire vents on the ground.
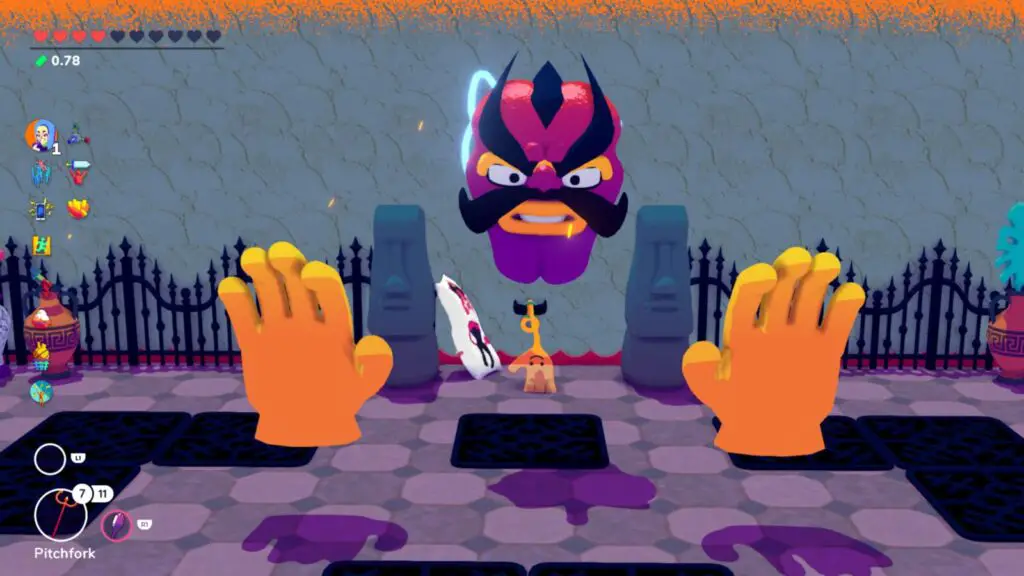
Focus on attacking his hands until all that’s left is his head and then unleash the fury on him while he’s stunned.
Once you defeat Hoverhands and collect the Toxic Mask from him, return to Fizzle via the ladder and you’ll acquire the “The Toxic Mask” trophy after a short cutscene.
Mentorship Trophies
Every Mentorship trophy is completed in the same way. First, you must acquire a task from one of the 5 mentors by speaking to them when they have a blue speech bubble over their head.
Complete this first quest to unlock them as a mentor and gain access to their skills. You can choose to equip someone as your mentor by going to an employee kiosk or opening the ![]() pause menu while in the Fizzle office. This will then give you access to some perks specific to each mentor!
pause menu while in the Fizzle office. This will then give you access to some perks specific to each mentor!
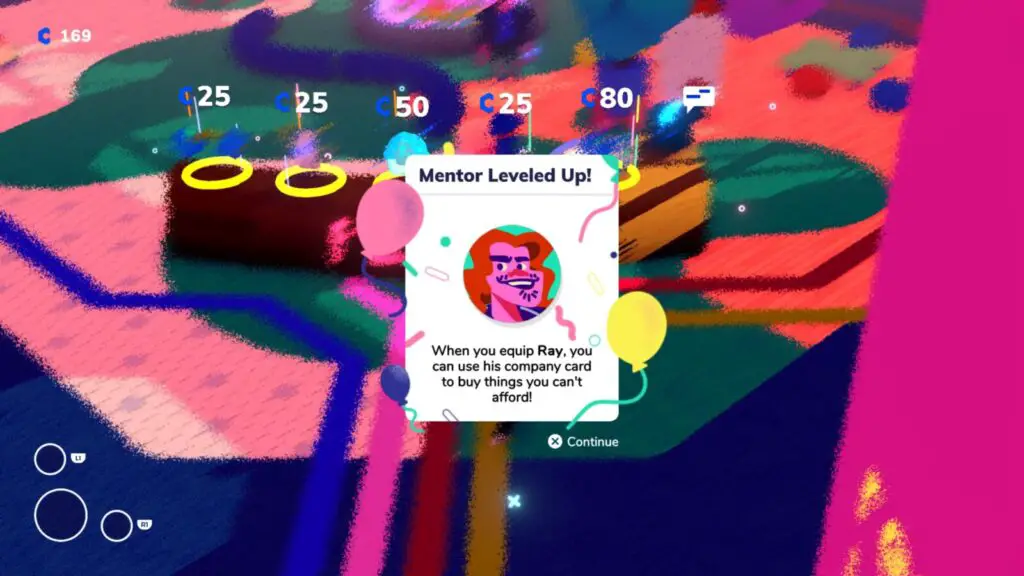
Each time you level a Mentor up, you will gain access to a new perk. Leveling up a Mentor will involve completing more tasks for them by speaking to them when there are blue speech bubbles above their head.
To unlock each of the mentorship trophies, you will need to acquire each character as a Level 1 mentor and then level them up 3 times to Level 4:
| Level | Requirements |
|---|---|
| 1 | Complete the first task and unlock them as a mentor. |
| 2 | Complete two tasks. |
| 3 | Complete two tasks. |
| 4 | Complete three tasks. |

Here are some tips to help you complete the tasks you’re assigned:
- When you are tasked with defeating a specific named enemy/enemies, like “King Slime” or the “Joblin Union” look for a room with a check-mark on the door, the enemy/enemies will be found in there.
- To have a successful date and recruit a boyfriend/girlfriend, find a room with a winkydink match in it, select the yellow heart, and then defeat the enemy without taking any damage. They will be recruited and will help you with the rest of the dungeon. You can get one on each floor except the fourth floor so can have up to 3 boyfriends/girlfriends simultaneously. You can also use the “Ace of Hearts” crossbow weapon to charm any enemy into being your boyfriend/girlfriend.
- To brick a phone, leave the room without picking an app up. When you return to the room it will be a bricked phone instead.
- When asked to deal 50 damage in one hit, get a powerful heavy weapon like the Jobo Warhammer and improve it with Upcycle apps. You should also equip damage-increasing skills like Beggar Queen, Large & In Charge, Retaliatory, and more. Remember that by holding
 you can do an attack which typically deals double damage.
 - When asked to take a photo of a Blackhat in Styxcoin, you will need to find the camera app and then use it with
 to snap a photo of one of the floating hacker skeletons with the laptop who makes the room dark.
 - When asked to buy a Gamecubicle, it can always be found in the store on B2 of the Styxcoin dungeon, but costs more Styxcoin than you can feasibly find at that point. In order to have enough, you will need to find a Coupsnoop app to discount the cost and complete the Styxcoin mining events on both B1 and B2 of the dungeon. Even then, you will likely need to kill every enemy on both floors for a bit extra, too.


Big Boss
Complete Ray’s mentorship.
See Mentorship Trophies.

Brand Ambassador
Complete Swomp’s mentorship.
See Mentorship Trophies.

Senior Accountant
Complete Tappi’s mentorship.
See Mentorship Trophies.

Lead Engineer
Complete Kara’s mentorship.
See Mentorship Trophies.

Chief Flavor Officer
Complete Fern’s mentorship.
See Mentorship Trophies.
Now that you have completed all of the Mentorships, you can safely proceed with the rest of the main story. Head to the Productivity Portal in the center of the Fizzle offices and press ![]() to enter it.
to enter it.
Every trophy in this phase of our Going Under Trophy Guide is a story trophy tied to the events which follow you entering the portal.
During this phase, continue purchasing every Skill you can from the front desk to keep progressing towards Padded Resume.
Phase Two Story Trophies


F
Go Under.
Head inside the rainbow-colored Productivity Portal on the ground in the center of the Fizzle offices to begin your descent “under”. This area consists of a mish-mash of enemies, objects, and weapons found in the game’s three dungeons.
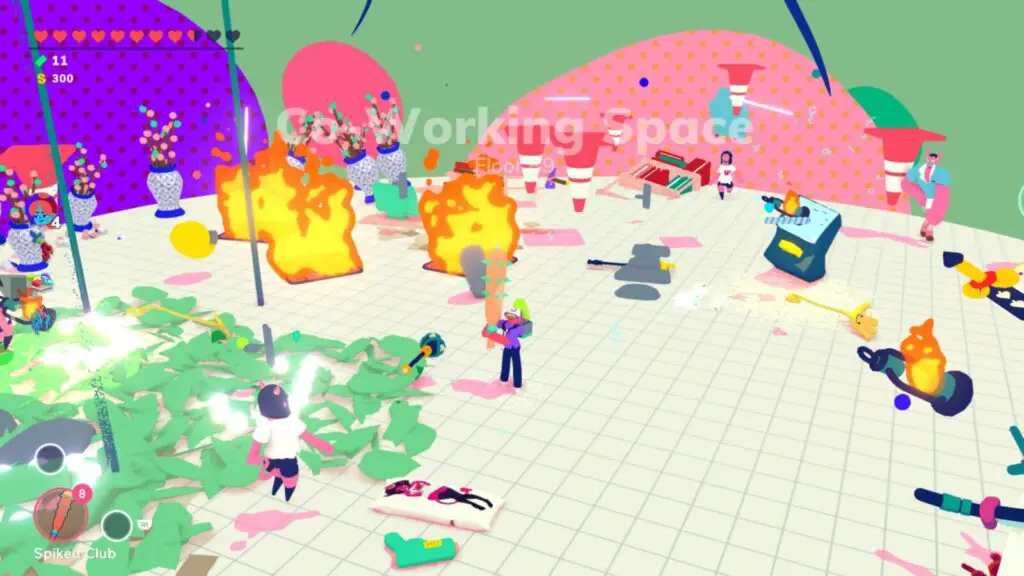
Each floor of this area will either contain some items you can buy or collect for free, or a wave of enemies to defeat. Once you are done, you can enter the portal at the center to proceed to the next floor.

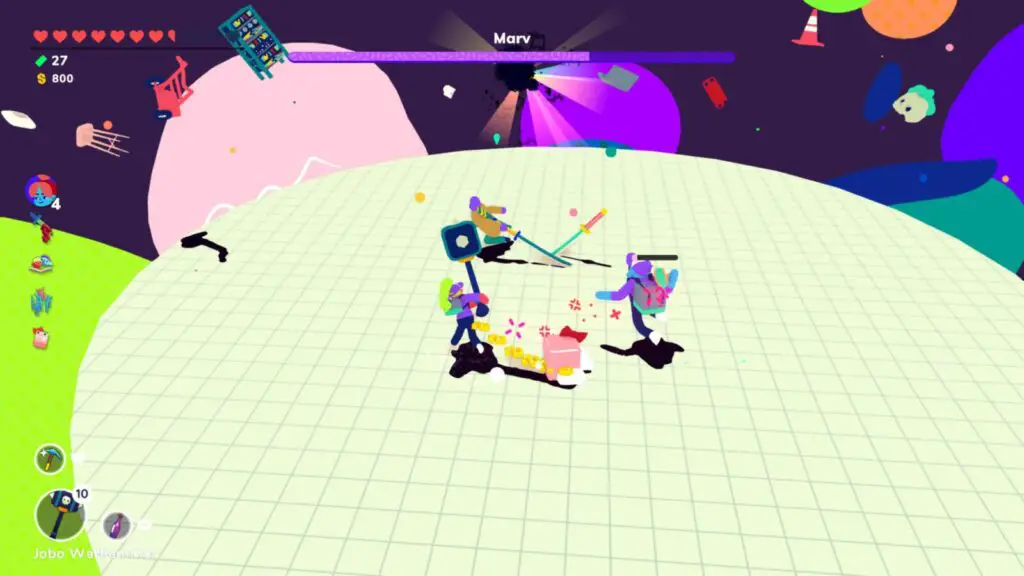
On floor 14 you will need to fight a pretty tough boss; Marv. He can teleport and deal a lot of damage but if you simply focus on dodging and playing evasively–only dealing damage when you have a clear opening–you’ll get through it in the end.
The F trophy won’t unlock until you have defeated Marv and then traveled up the ladder back to the Fizzle Offices. There, you’ll watch a short cutscene and find that the Fizzle Office is now part of the basement, and the dungeons have increased in difficulty.

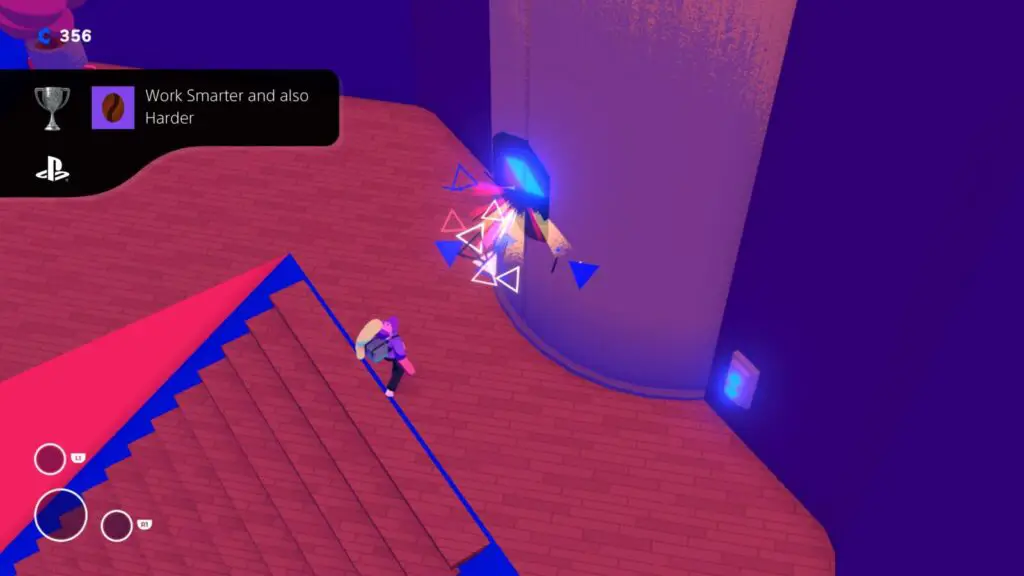
Work Smarter and also Harder
Obtain The Caffiend’s Share.
The Work Smarter and also Harder trophy is not possible until you have earned the F trophy. Once you have, go into the Joblin Offices and make your way to the boss fight on the fourth floor.
Defeat the Caffiend again to acquire his share, similar to how you earned the Mana Press in the first phase of this Going Under Trophy Guide.
Bring the share back up to the Fizzle offices and the Work Smarter and also Harder trophy will unlock during a cutscene.

Get Rich & Die Trying
Obtain Hustlebones’ Share.
The Get Rich & Die Trying trophy is not possible until you have earned the F trophy. Once you have, go into the Styxcoin Offices and make your way to the boss fight on the fourth floor.

Defeat Hustlebones again to acquire his share, similar to how you earned the Grim Ledger in the first phase of this Going Under Trophy Guide.
Bring the share back up to the Fizzle offices and the Get Rich & Die Trying trophy will unlock during a cutscene.


Grab Life by the Horns
Obtain Hover Hands’ Share.
The Grab Life by the Horns trophy is not possible until you have earned the F trophy. Once you have, go into the Winkydink Offices and make your way to the boss fight on the fourth floor.
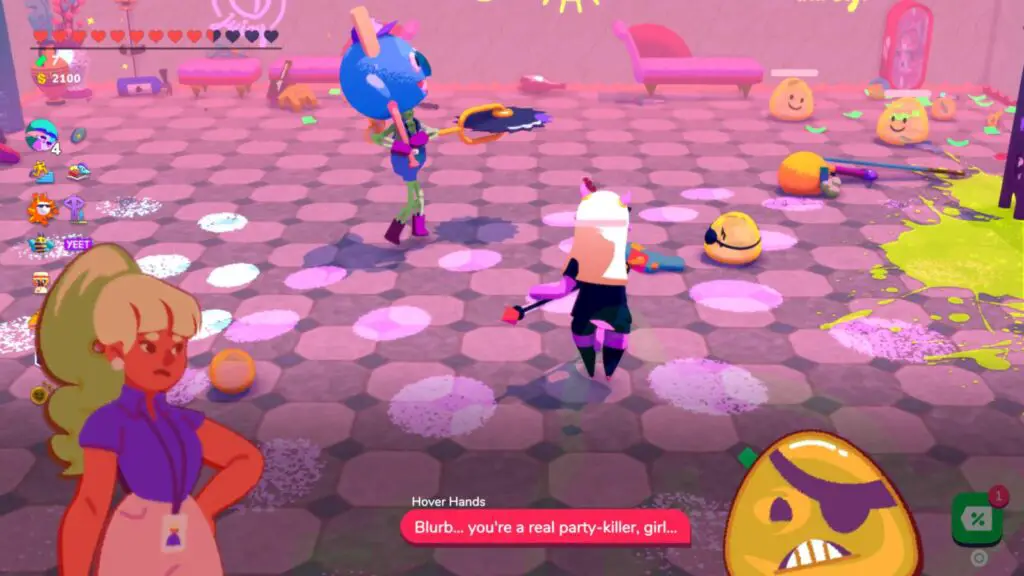
Defeat Hoverhands again to acquire his share, similar to how you earned the Toxic Mask in the first phase of this Going Under Trophy Guide.
Bring the share back up to the Fizzle offices and the Grab Life by the Horns trophy will unlock during a cutscene.


Hostile Takeover
Defeat Vested Marv.
After collecting the shares from Joblin, Styxcoin, and Winkydink, go and see Ray in his office upstairs to get the final share and open the door to the Cubicle elevator.
Head into the elevator and you’ll be taken to Cubicle Floor 999. Here, you will need to make your way through a few rooms, stopping by to see some friends from the other dungeons along the way. Your goal is to gather items and defeat the cubicle bots until you reach the boss at the end of the level.

The boss is Marv… Again. Only, this time, he’s got a bigger sword, exposed abs, and a vest. Defeat this new Vested Marv and the Hostile Takeover trophy will unlock immediately.
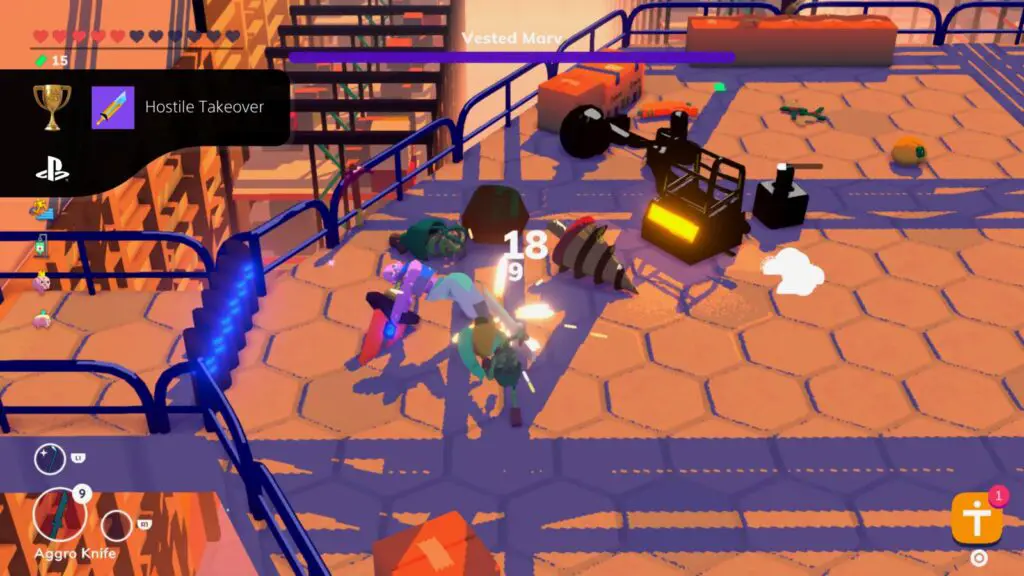
The fight isn’t too difficult except for the fact that he’s quite fast, given his ability to teleport which can be pretty frustrating. However, provided you reached his room with a decent weapon, you should be able to take him down pretty quickly by just playing aggressively.

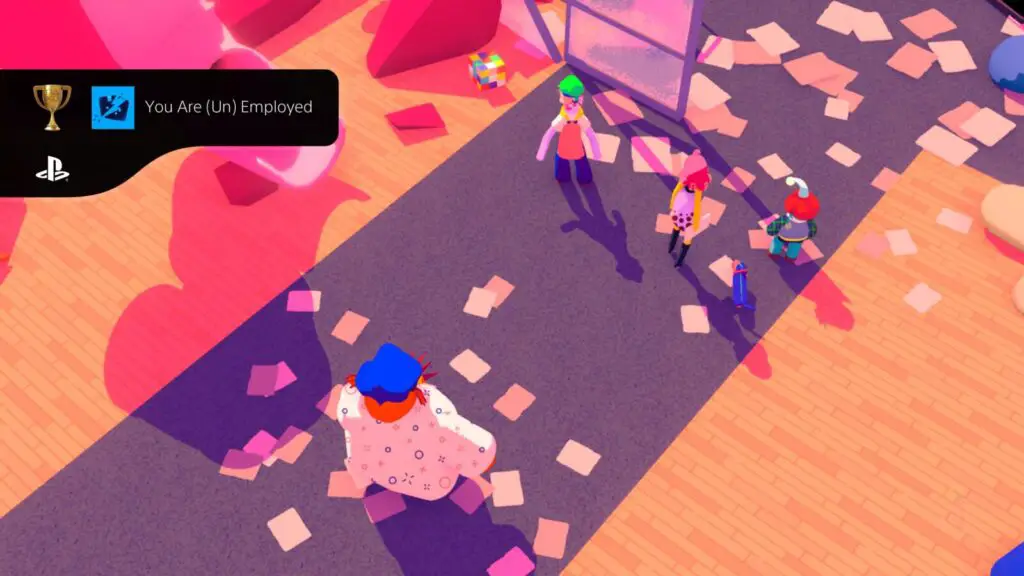
You Are (Un) Employed
Save the World?
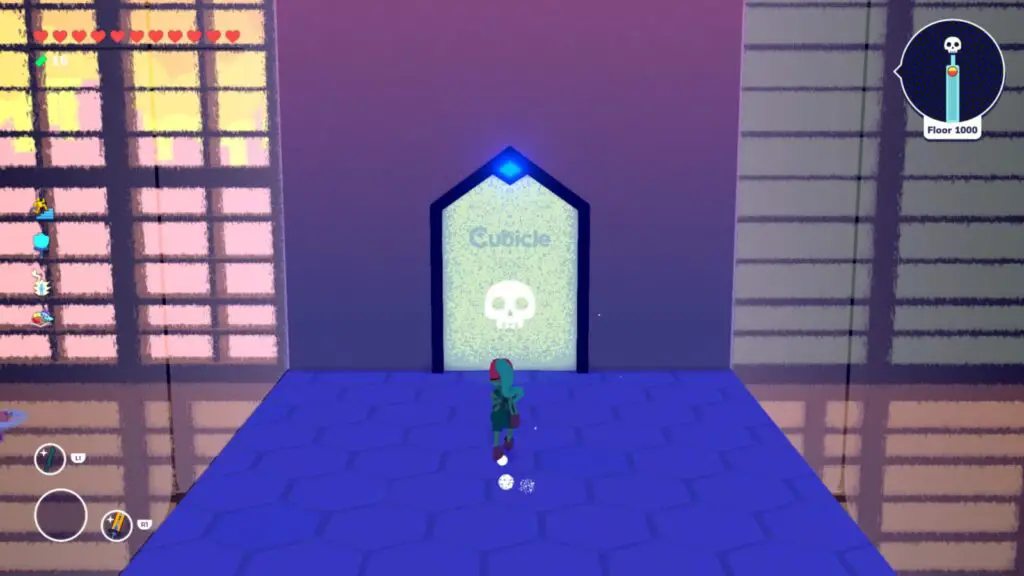
Once you have beat Vested Marv and earned Hostile Takeover, pick up Marv’s powerful “Union Buster” sword and leave through the door behind him. You will enter another elevator and be taken to Floor 1000 of Cubicle Tower.
Head into the first room to collect an item from each of the baristas you met along your journey, and then continue through the door at the back and through another to the final boss fight in the “Great Boardroom.”
To defeat Avie, you need to survive until Jackie gives you an app that will allow you to enter the Cloud, where you can damage Avie. You will have no weapons, and if Avie hits you, you’ll be sent back out of the cloud.
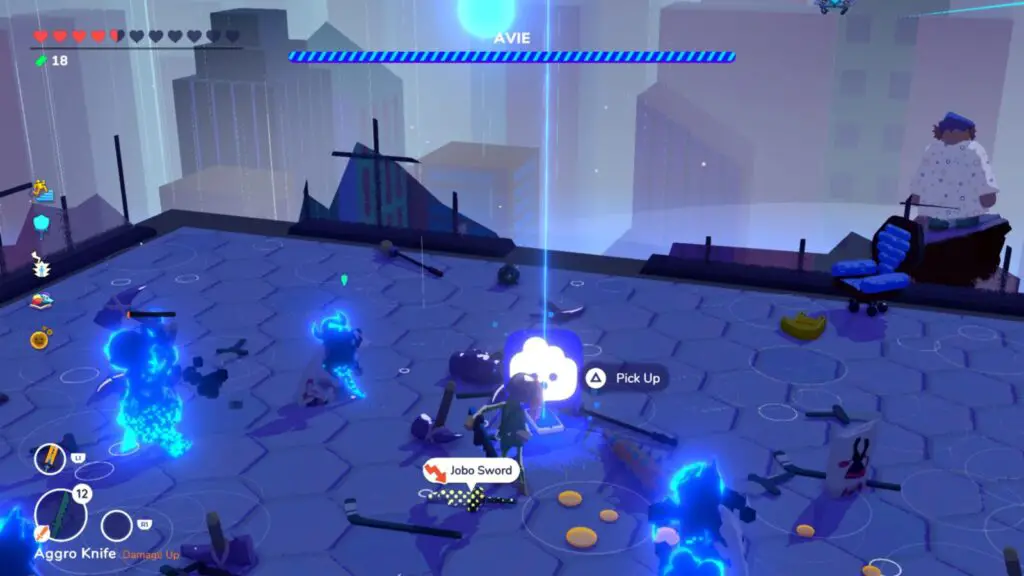
So, dodge Avie’s attacks shockwave attacks and they will then do a dive-bomb attack. Dodge that and you’ll have a small window to punch them up to 8 times with ![]() .
.
Repeat this until you have dealt enough damage to remove a third of Avie’s health and you’ll be kicked out of the cloud again. If you fail to remove 1/3 of their health bar before getting hit and sent out of the cloud, any damage you dealt since the previous third of their health will be reset.
After returning from the cloud, whether successful or otherwise, you will need to wait for another App from Jackie to go back in.
Do this at least 3 times to completely defeat Avie and get a short cutscene. Afterward, approach the Avie cube on the table and pick it up. Take it to the edge of the roof on the south edge of the screen and throw it at the wall to break it and spawn another cube somewhere in the room. Repeat this until the room collapses and you unlock the You Are (Un) Employed Trophy.
Phase Three – Misc Cleanup
You should now be completely done with all story and mentorship trophies, leaving just a few miscellaneous trophies to collect in this final phase of our Going Under Trophy Guide. You may already have some like Unboxing Champ and The Price of Knowledge which have a high chance of occurring naturally, but the main focus here will be Padded Resume.
Hopefully, you’ve been collecting and purchasing as many new skills as possible, so you should now be fairly close to unlocking it.
Miscellaneous Trophies

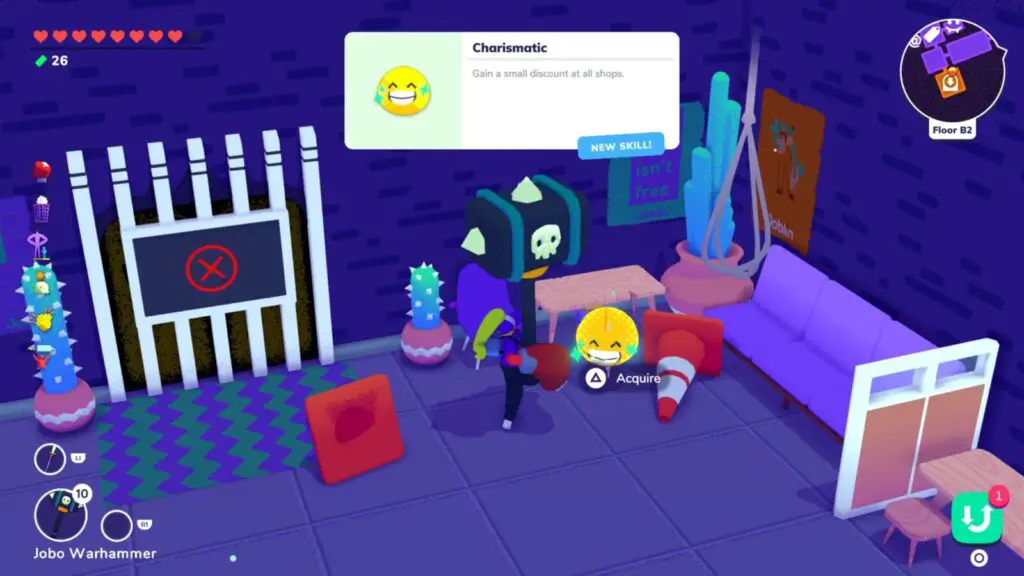
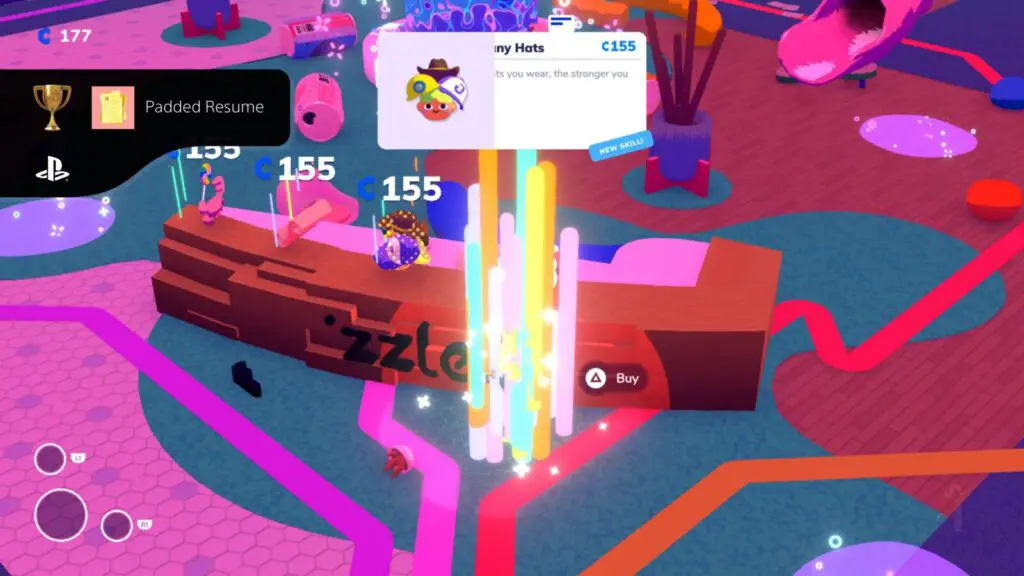
Padded Resume
Collect the Original 74 Skills
The trophy description for Padded Resume used to say “Unlock all Skills.” Since then, more than a few new skills have been added to the game making it tricky to determine which ones are actually needed for the trophy. For that reason, I’ve provided a list of required skills:
| Aggro Crab’s Blessing | Vindictive | Swing for the Fences |
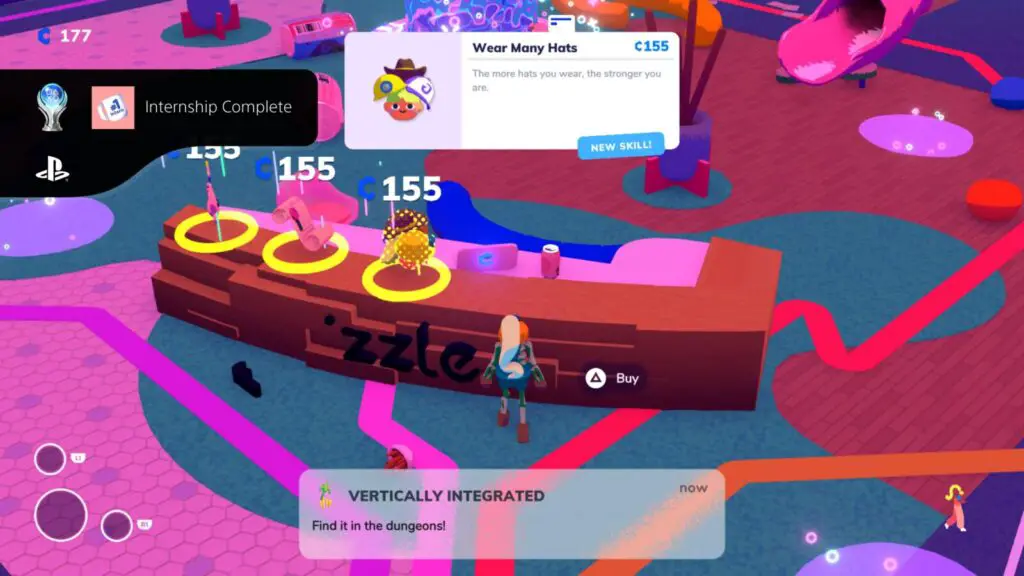
| Vertically Integrated | Win Friends & Influence Monsters | Charismatic |
| Financial Gains | Defensive | She Don’t Miss |
| Ice Breaker | Loaded For Bear | Large & In Charge |
| Volatile | Power User | Intimidating |
| Purchase Protection | Fail Forward | Bomb Dropper |
| Short Term Investor | Over-Protective | Bloodsucker |
| Cash Injection | Spear Header | Penny Puncher |
| Halt and Catch Fire | Sword Mastery | Go-Getter |
| The Best Defense | Free Hand | Resourceful |
| Blood Money | Pickup Artist | Aggressive |
| Action Oriented | Fiery Glare | Composed |
| Buzzkill | Exit Strategist | Retaliatory |
| Cold Caller | Move Fast and Break Things | Clap Back |
| Thought Leader | Yeet! | Scrappy |
| Party Animal | Hard Headed | Disruptive |
| Lower Body Strength | Beggar Queen | Pugilist |
| Explosive Temper | Open Minded | Cubicle Rewards Member |
| Hot-Headed | Upper Body Strength | Room for Growth |
| Emotive | People Person | Phone Addict |
| Crushin’ It | Self-Starter | Unapproachable |
| Hot Shot | Beta Tester | Good Under Pressure |
| Cold Shoulder | Eclaire as a Service | Good Consumer |
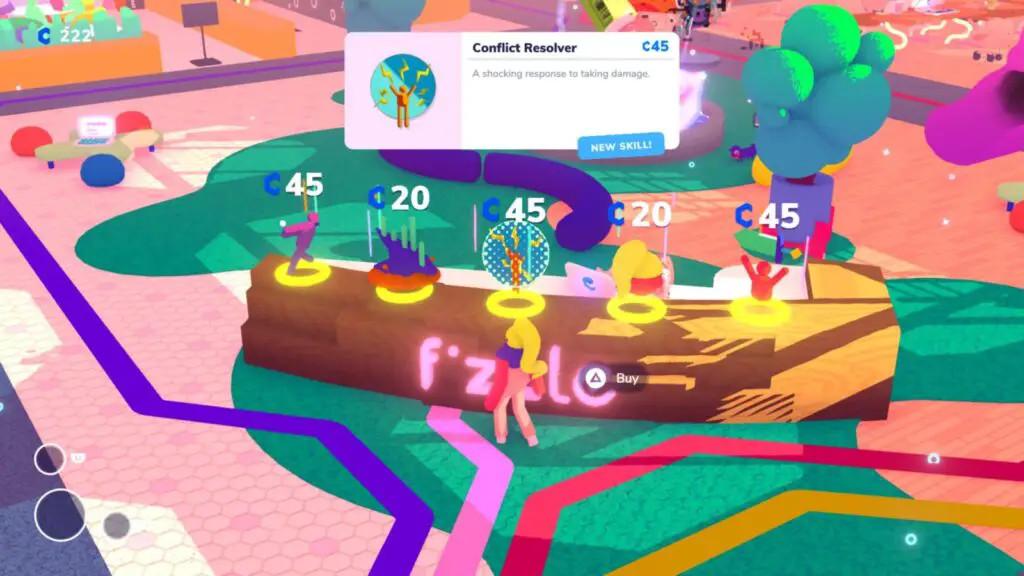
| Team Player | Conflict Resolver | Downsized |
| Chilling Glare | Heavy Hitter |
They can all be unlocked by finding them in dungeons, either from Cubicle boxes or from Dungeon shops. There are some skills, located on the reception desk in the Fizzle Office Lobby, which cannot be found in dungeons until they are purchased using blue Cubicle Credits (a permanent currency awarded at the end of a dungeon).
Typically, a newly-purchased skill you bought in the lobby will appear in the next dungeon store you enter, but you do not need to find a purchased item in the dungeon for it to count towards this trophy.
You do not need to endorse every skill (use it repeatedly until it can be pinned), you just need to collect each Skill for the first time.
You can view the “Skills” tab in the ![]() pause menu or from Employee Kiosks to see which skills you have unlocked so far.
pause menu or from Employee Kiosks to see which skills you have unlocked so far.

Also, when you find a skill you have never collected, it will have a blue “New Skill” tag on it, helping you to identify which skills to collect.
This whole phase of the trophy journey, you will be heading into dungeons to collect as many new skills as you can, while using the Cubicle Credits you earn to purchase new skills from the desk in the lobby. Rinse and repeat until you have unlocked all 74 original skills and the Padded Resume trophy will unlock!

Unboxing Champ
Open 100 delivery cubes.
Delivery Cubes will spawn in one of two situations; either when you beat the last room of a floor in any dungeon, or when you complete a job.
Jobs will appear at random within dungeons and are mini-quests for you to complete. The Delivery Cube will contain your reward and will be of a quality matching how well you did (5 stars = great item, 3 stars = okay item, 1 star = junk item).
To unlock the Unboxing Champ trophy you’re going to need to open a grand total of 100 Delivery Cubes. This is cumulative, of course, and is actually quite likely to happen naturally if you don’t skip over any mid-dungeon job opportunities.


Clutchgod
Kill a Hungry Box.
After unlocking the F trophy, all of the dungeons will change slightly. One of these changes is that a “Hungry Box” enemy can spawn. Hungry Boxes are this game’s version of a “Mimic.” Just go through every floor hitting cardboard boxes to check whether they’re a Hungry Box in disguise (there are some audio cues when one is nearby).
Note that due to Swomp boxes, Hungry Boxes are extra hard to come by if you have Swomp set as your mentor.
Defeat one of these enemies for the first time and the Clutchgod trophy will unlock!


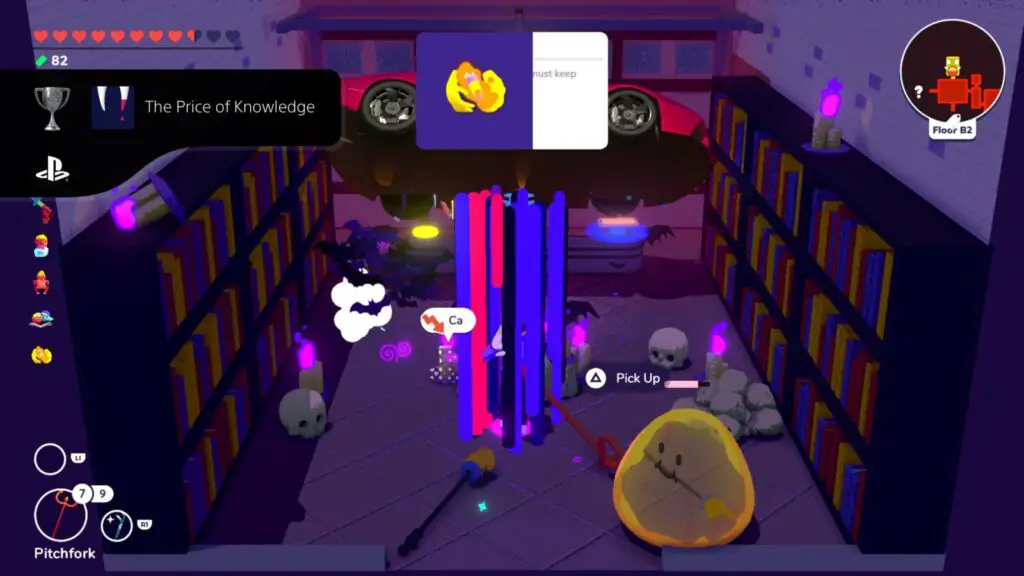
The Price of Knowledge
Get cursed 13 times.
Throughout your travels, you should occasionally see doors that have vampire icons on them.
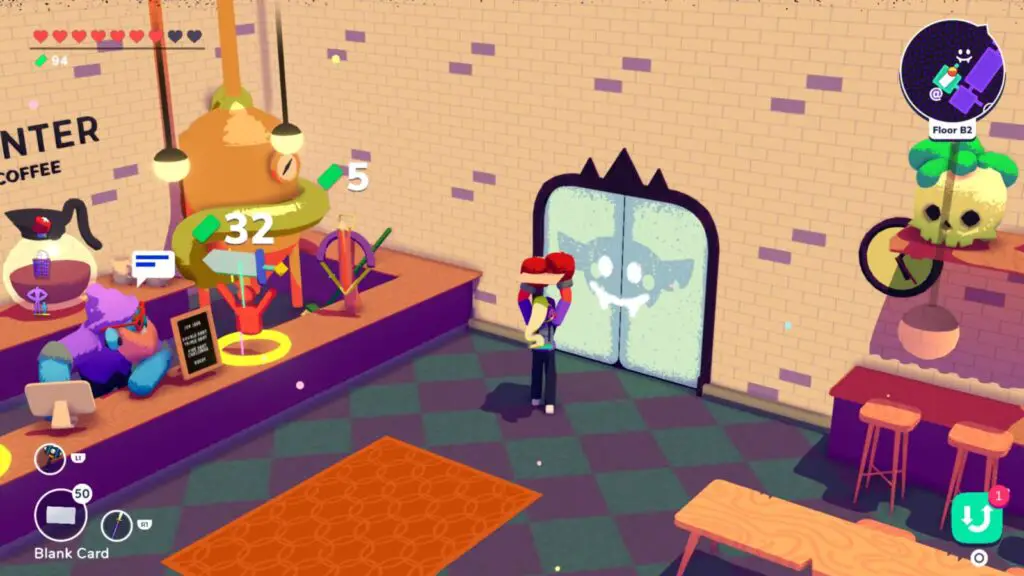
Inside, you’ll find a man with a suspicious resemblance to Tai “Here in My Garage” Lopez.
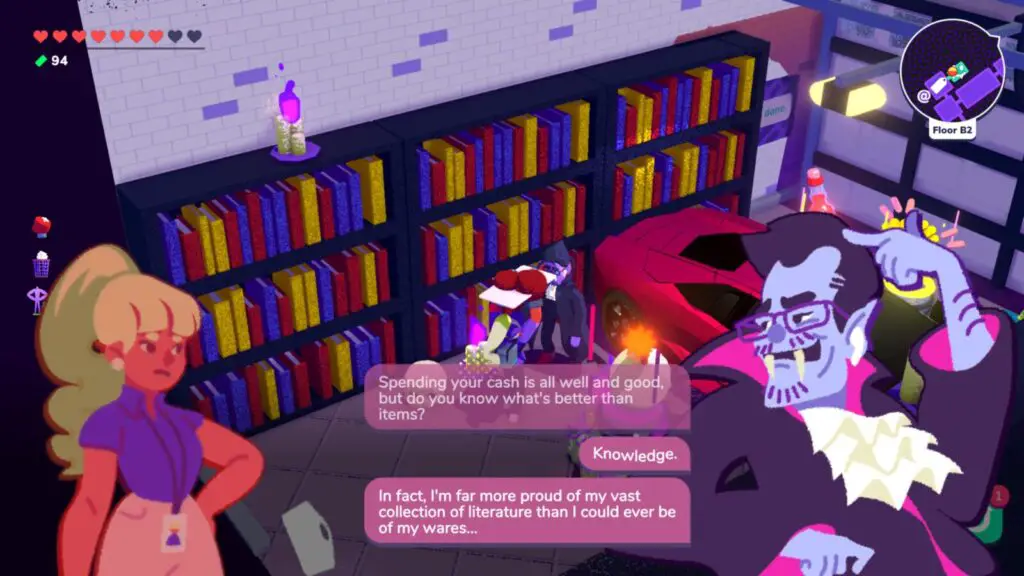
At the back of the room, there are three Skills, but you can’t reach them because the shopkeeper’s sports car is in the way. To move the sports car, you need to take the cursed item in front of it. The cursed items all have different effects which only last for a few encounters, but will affect you negatively until they wear off.
To unlock “The Price of Knowledge” you must enter these rooms and take the cursed item a total of 13 times.

Clean Exit
Kill a power loader with Exit Strategist.
The Clean Exit trophy is much easier if you have the “Exit Strategist” skill endorsed so that you can pin it before entering a dungeon, but it works if you happen to find it mid dungeon too.
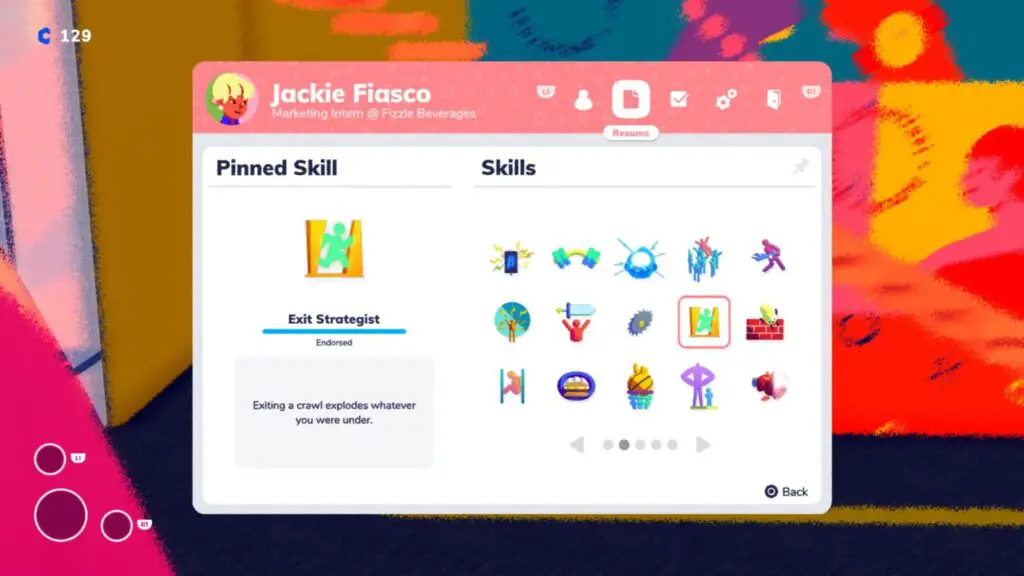
Essentially, with the skill equipped, you just need to roll ![]() under a Power Loader (the big drill-wielding mechs found in the Styxcoin dungeon only). Then, when you roll back out from under the Power Loader, it will explode and the Clean Exit Trophy will unlock!
under a Power Loader (the big drill-wielding mechs found in the Styxcoin dungeon only). Then, when you roll back out from under the Power Loader, it will explode and the Clean Exit Trophy will unlock!
Plat Get!


Internship Complete
Get all trophies
Once you have acquired every other trophy in this Going Under Trophy Guide, the “Internship Complete” platinum trophy will unlock.
Thank you for choosing PlatGet as your source for a Going Under Trophy Guide. Consider checking out our other guides!
Follow us on Twitter @GetPlat or Instagram @platget for updates on new reviews and guides, as well as small anecdotes about our platinum journeys.