PlayStation 5
Another Crab’s Treasure Stainless Relics Guide
Collectible Guide
Where and How to Collect all 15 Stainless Relics in Another Crab's Treasure
One of the hardest-to-acquire trophies in Another Crab’s Treasure is “Make it Shine.” This trophy asks that you fully-upgrade Krill’s Fork Weapon.
Upgrading Krill’s fork is a simple process. Once you reach New Carcinia, you get access to many shops and services, one of which is Hammerhead’s Blacksmith down in the Lower Crust. There, you can exchange Stainless Relics for Fork Upgrades.
The tricky part comes in the fact that, if you want to fully-upgrade Krill’s Fork, you need to find all 15 Stainless Relics. And these are harder to find than most other items in the game.
That’s where we come in. I’ve produced the below step-by-step guide to help you locate all 15 Stainless Relics in Another Crab’s Treasure so that, once you have them all, you can easily attain the Make it Shine trophy!
New Carcinia Stainless Relics
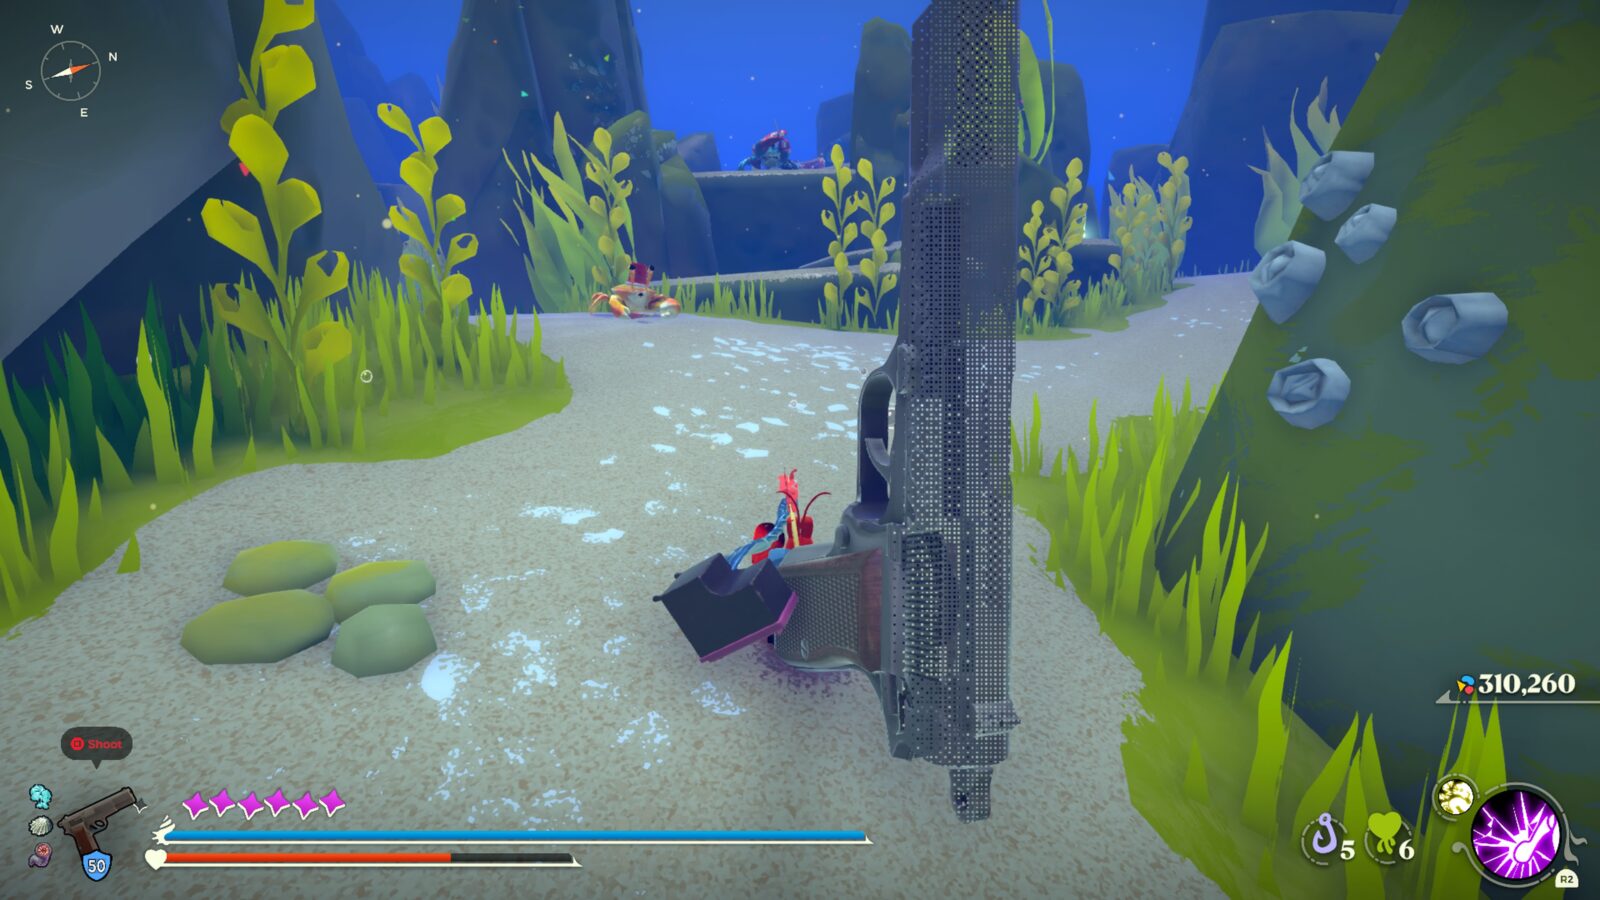
The first stop on our tour is New Carcinia. Here, there are just two easy-to-find Stainless Relics.
#1 New Carcinia Stainless Relic 1
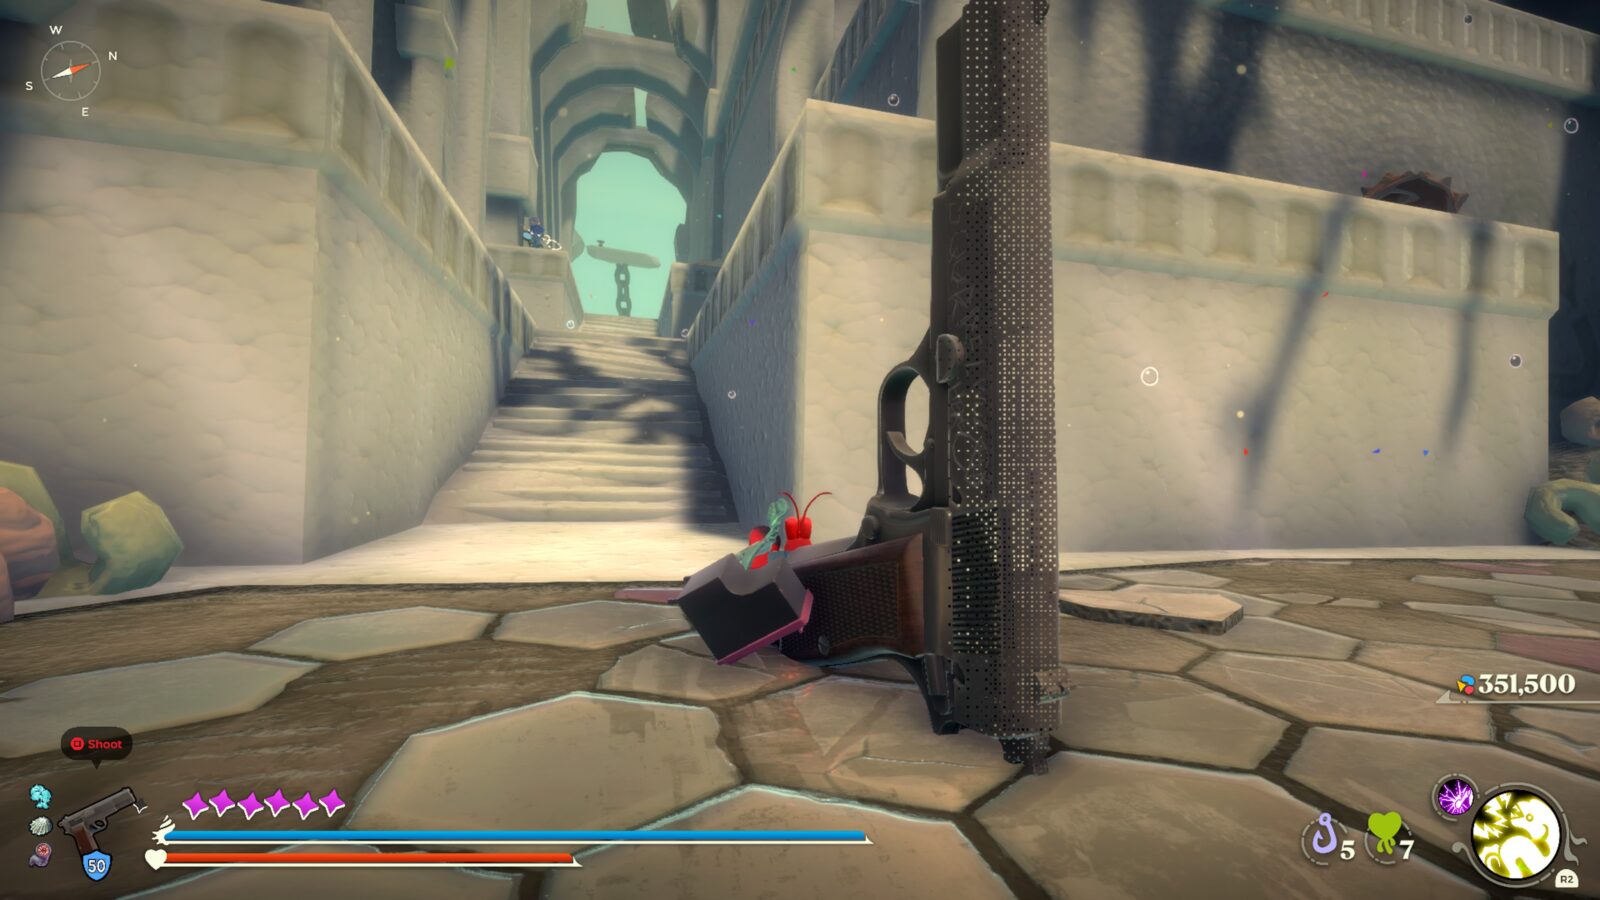
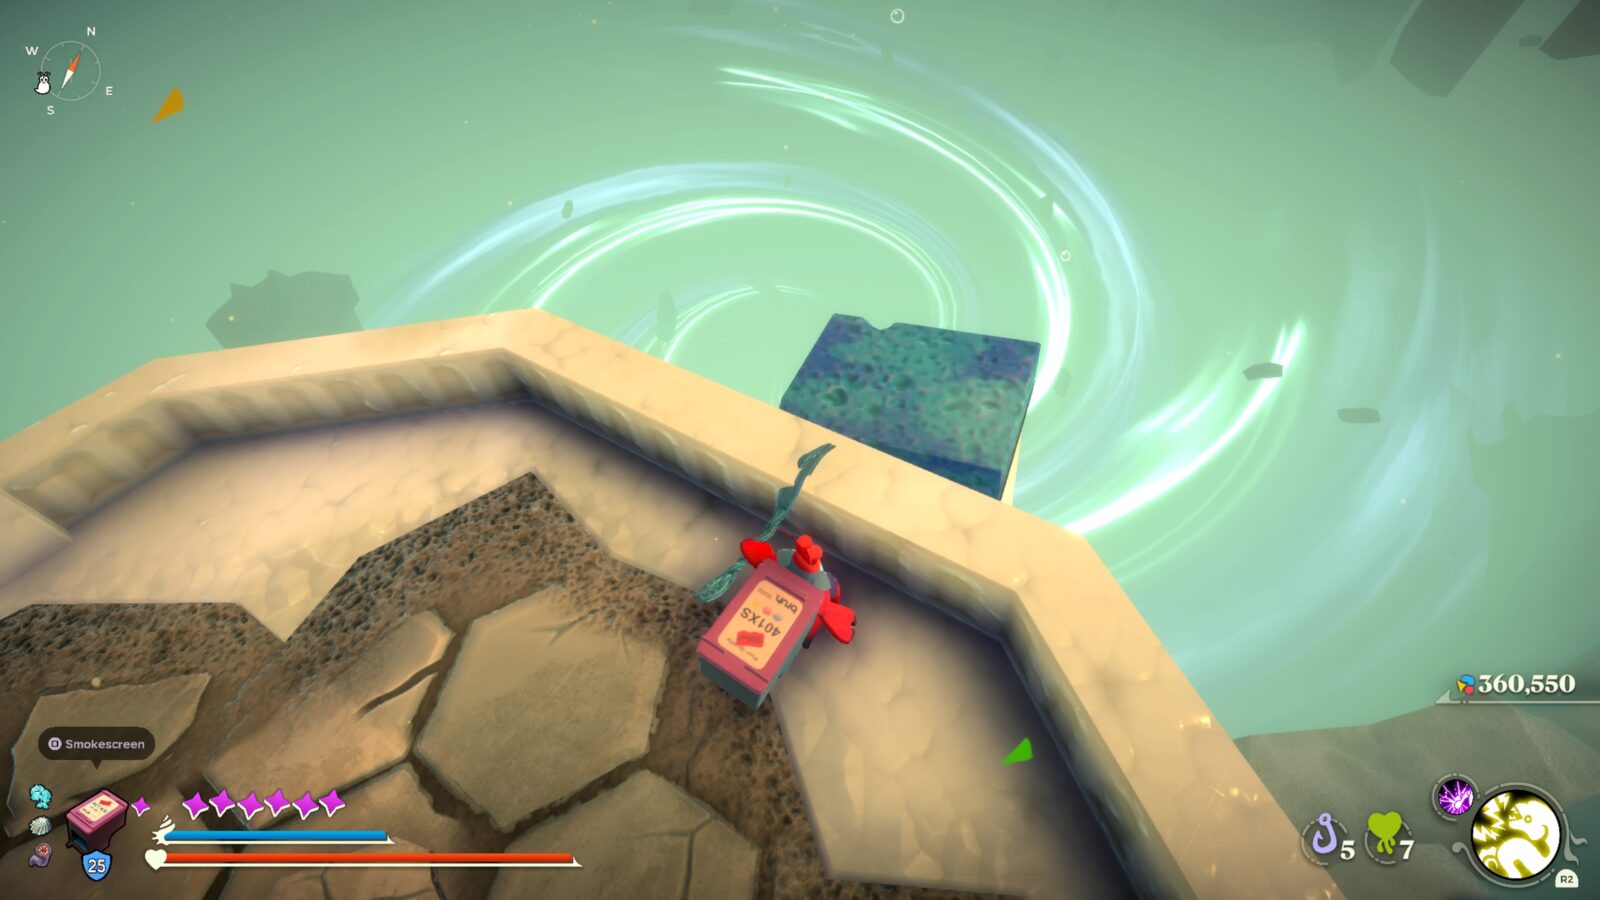
Start from the Reef’s Edge Moon Snail Shell and then from there you want to head very slightly west.
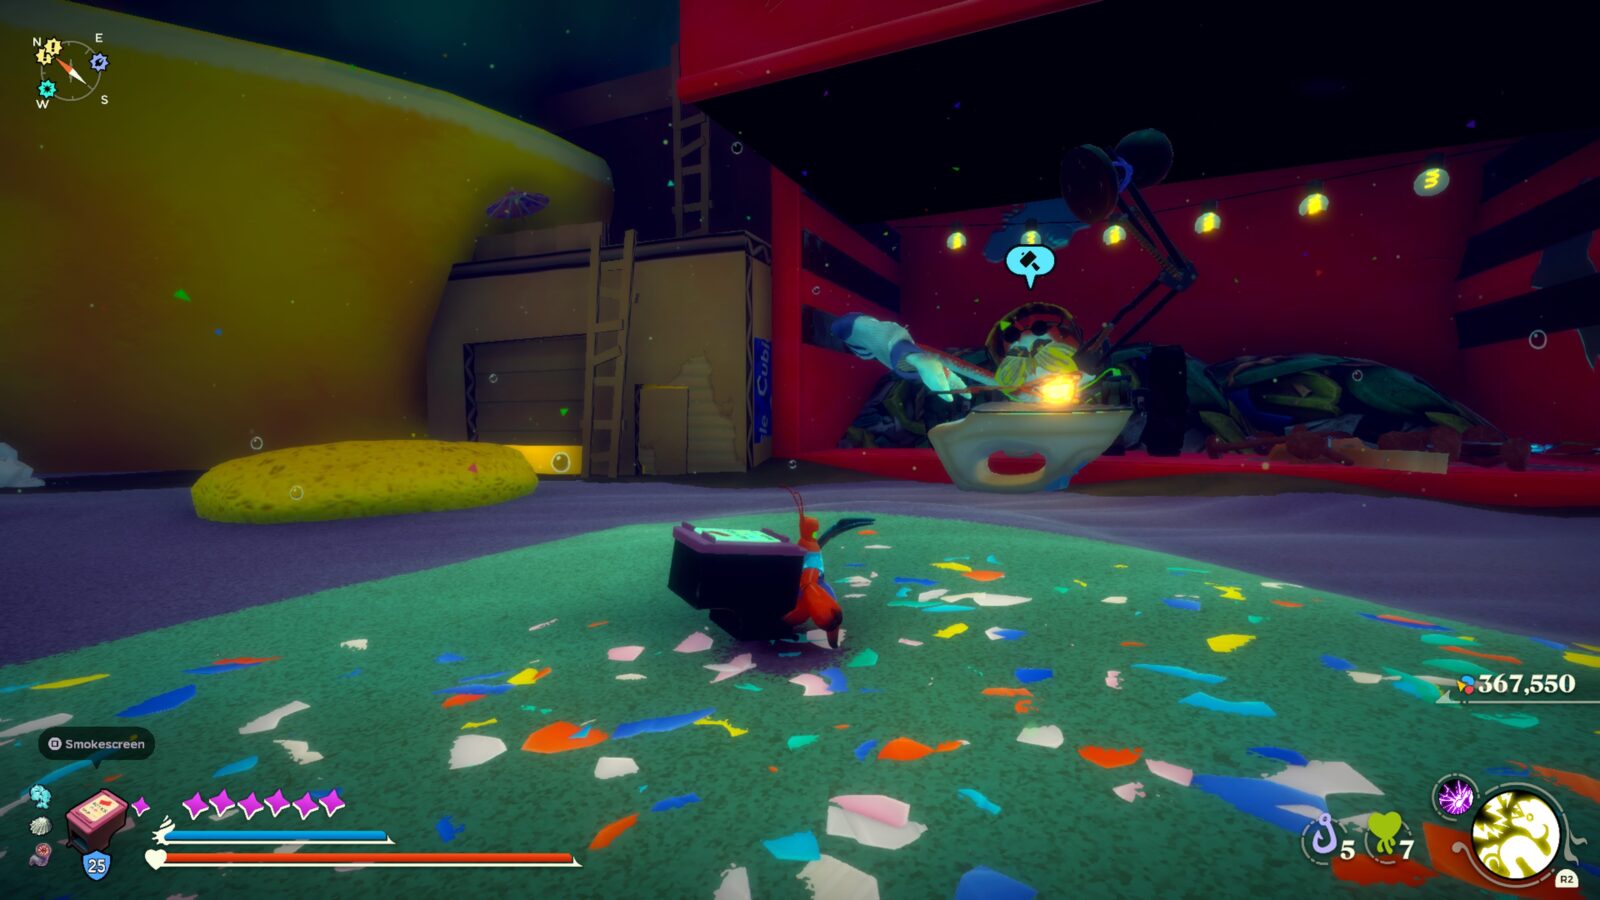
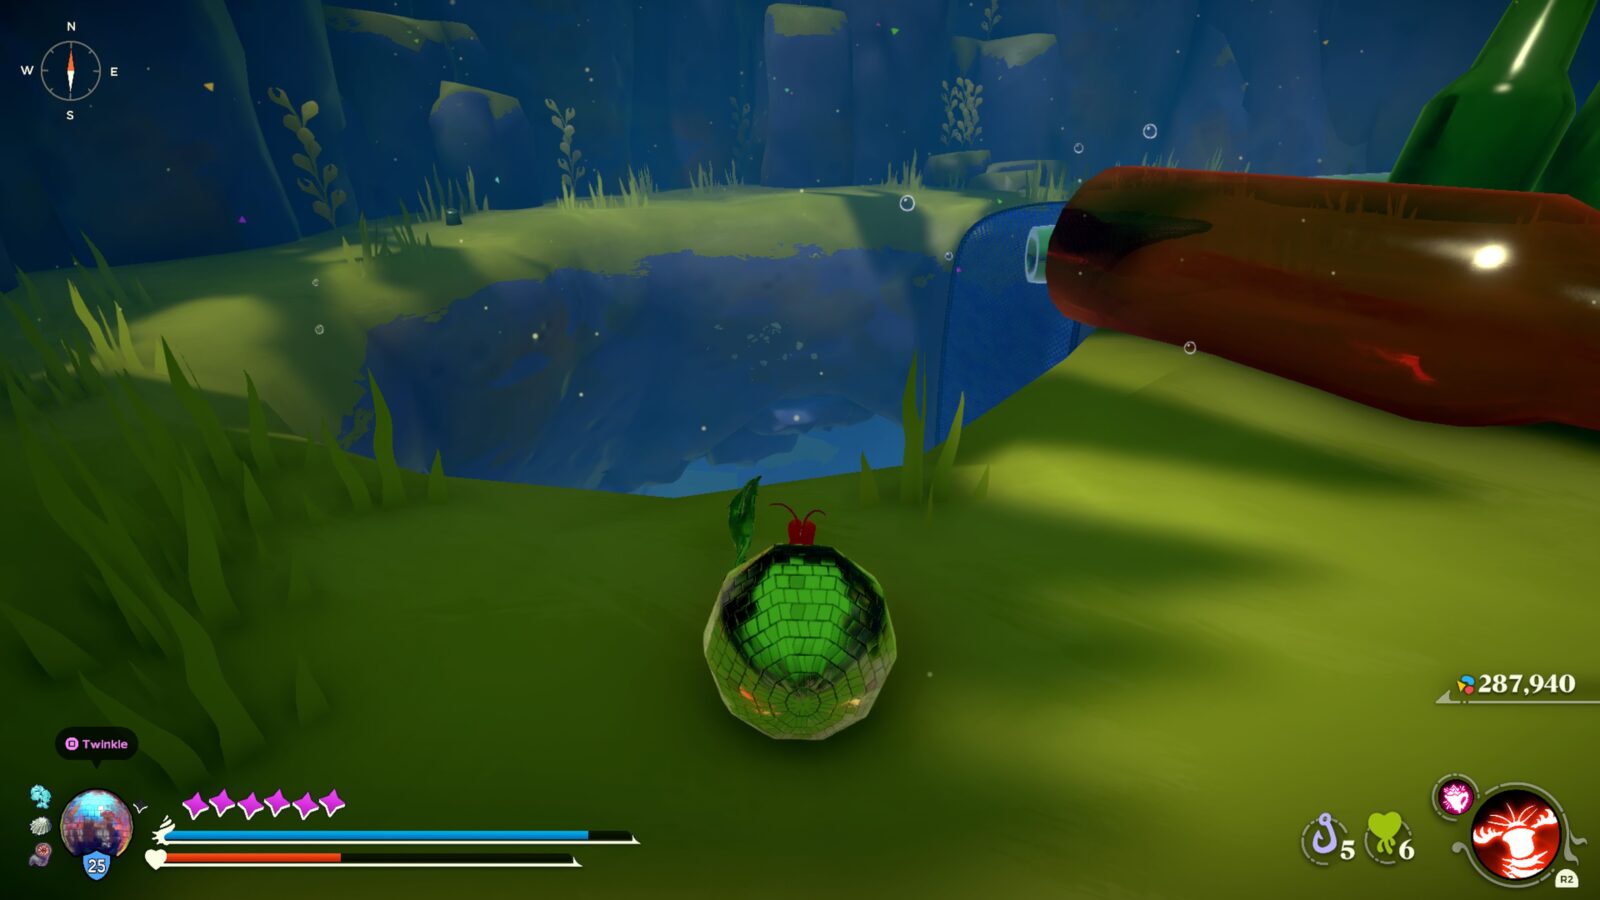
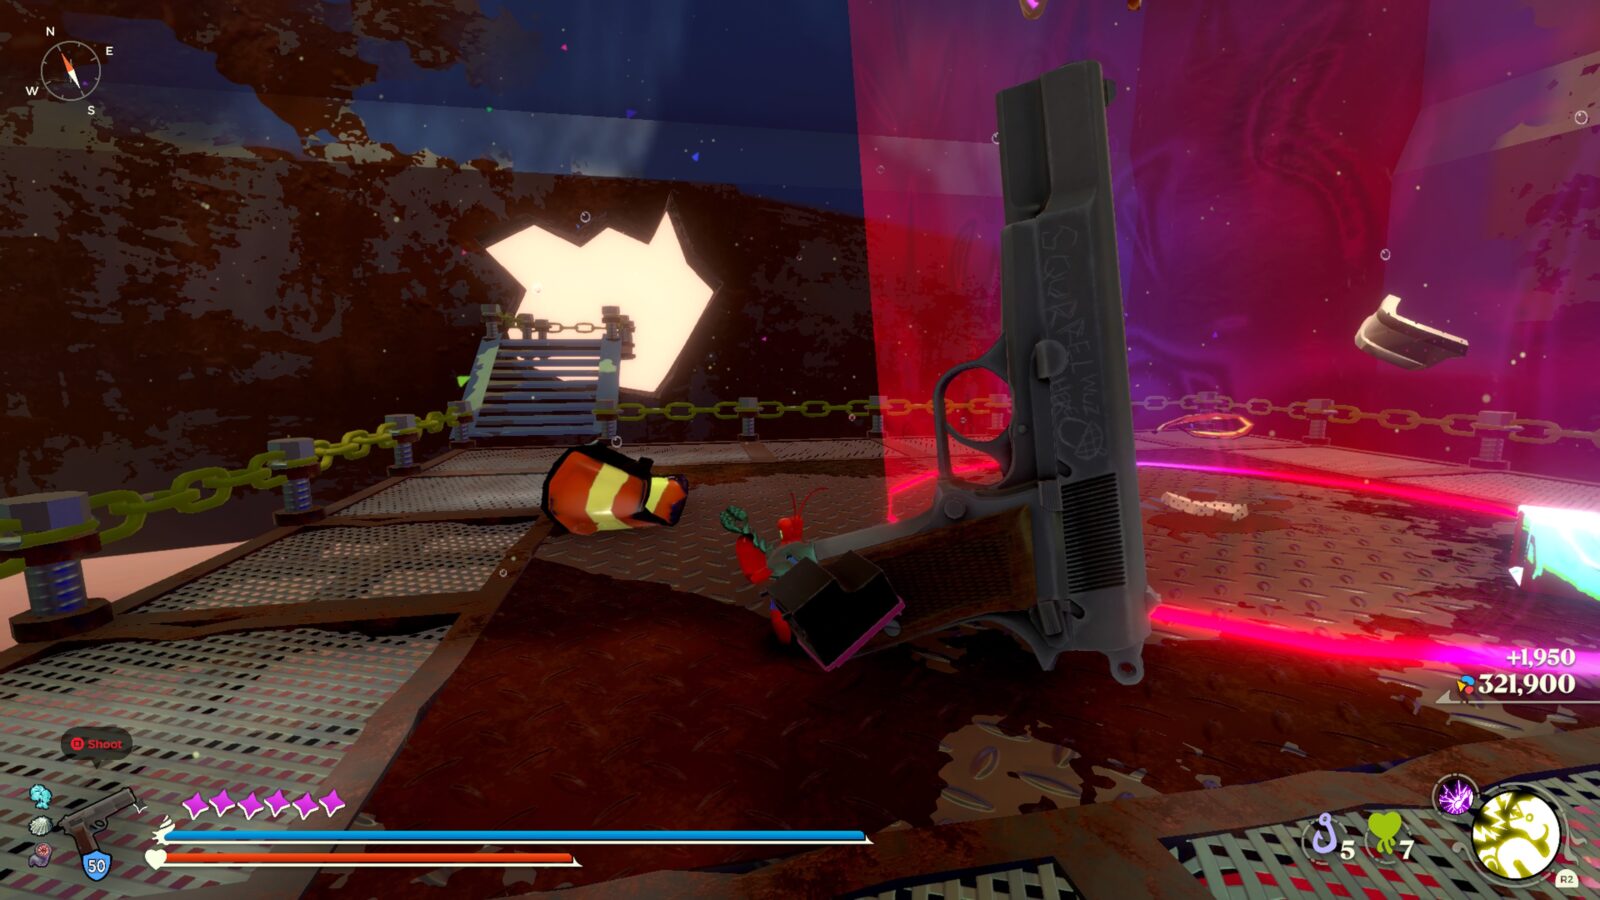
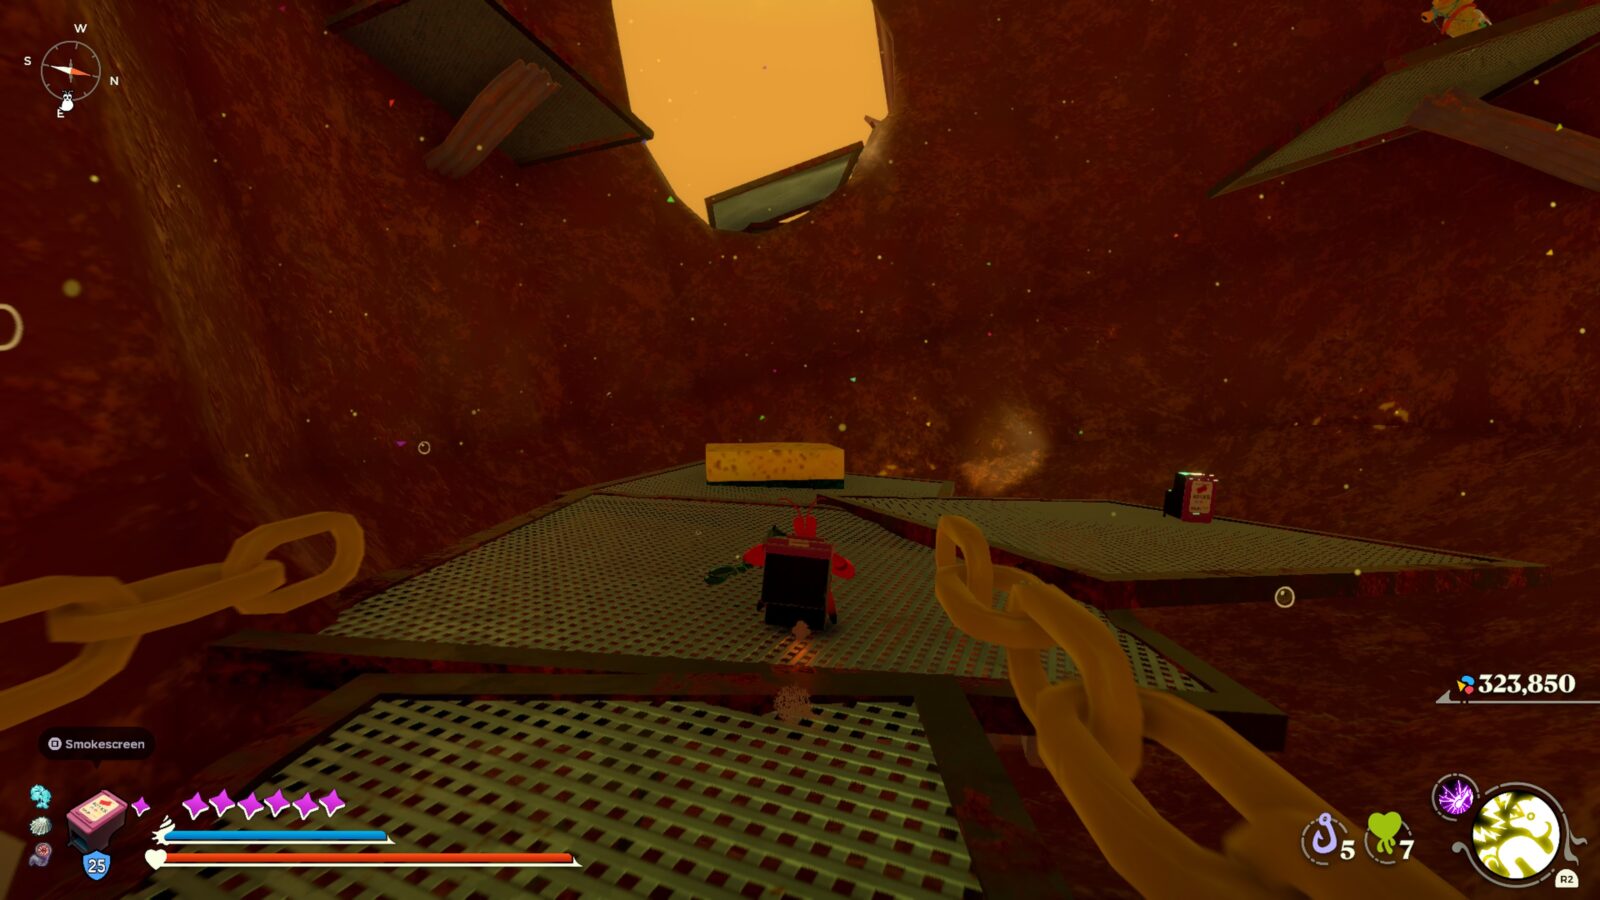
Just above you, on a coral platform, you’ll see a yellow net with a fishhook on it. Use your grappled ![]() to reach it and collect the Stainless Relic from the ground there.
to reach it and collect the Stainless Relic from the ground there.
#2 New Carcinia Stainless Relic 2
Go to Prawnathan’s P(r)awn Shop in Lower Crust in New Carcinia, where you can purchase just one Stainless Relic for 5,000 Microplastics.
Expired Grove Stainless Relics
Next up, it’s time to visit the Expired Grove, which also contains just 2 Stainless Relics.
#3 Expired Grove Stainless Relic 1
Fortunately, you will receive this Stainless Relic from one of the main story bosses in this region, Heikea The Intimidation Crab, so it is not missable!
#4 Expired Grove Stainless Relic 2
The second Relic in this region is near Topoda’s Garden, where the Optional Boss Topoda is found. If you haven’t done this yet, check out the Grovekeeper Trophy over in our Trophy Guide. You’ll need the Adaptation he gives you moving forward, anyway.
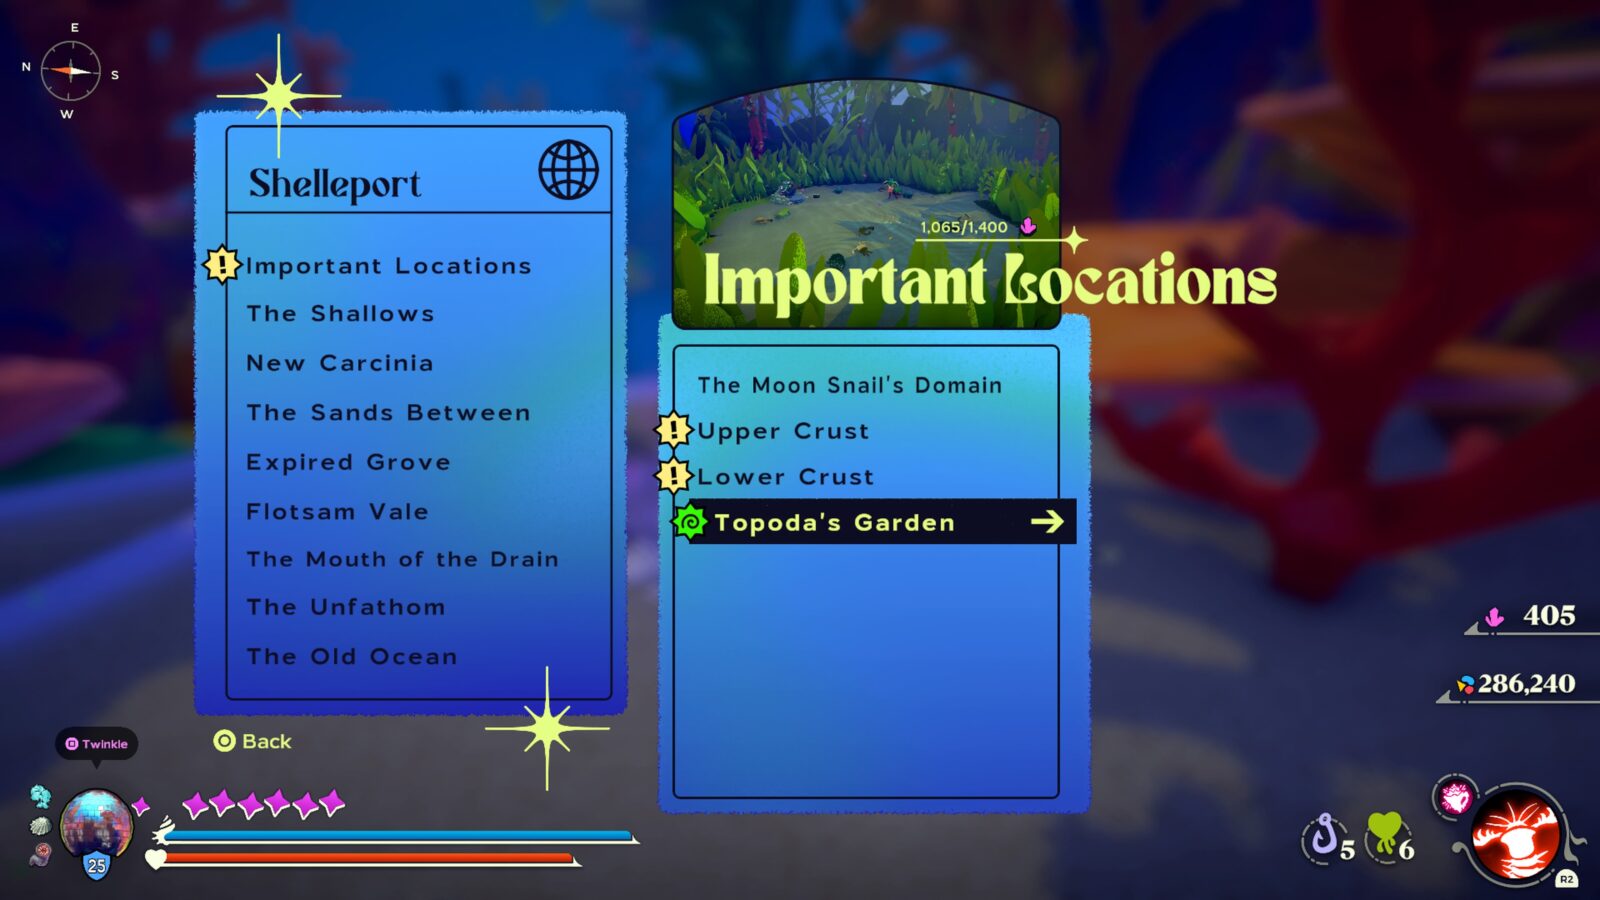
Once you’ve got access to the Topoda’s Garden Moon Snail Shell up there, you can just Shelleport to this location. From there, start heading North and just follow the path.
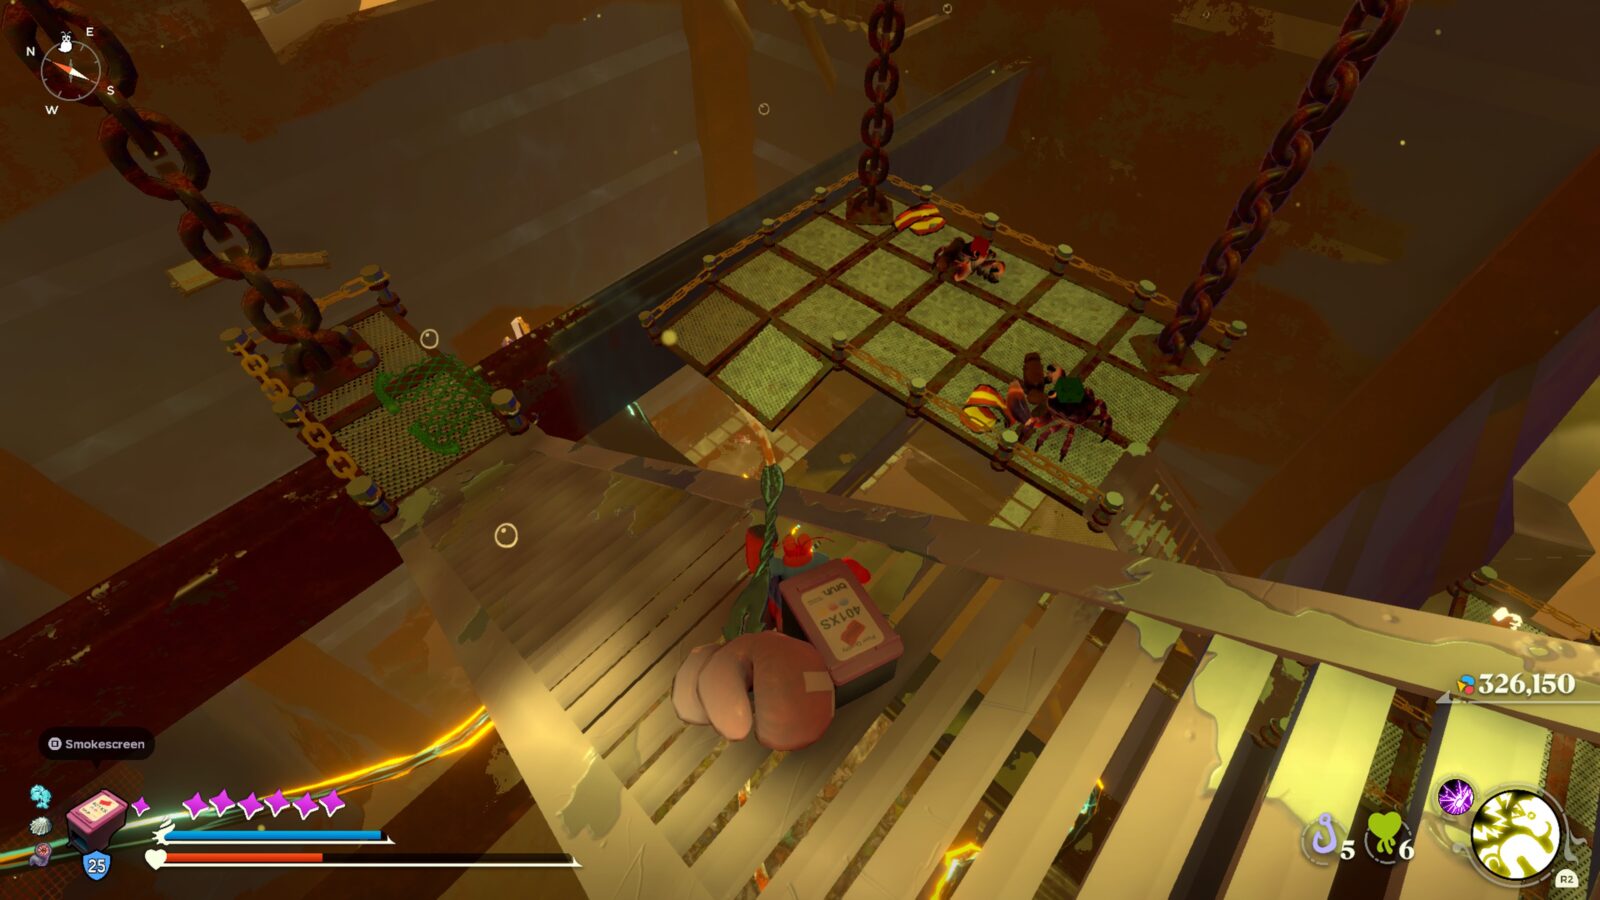
Eventually, you’ll see a fishhook above you, which you should use to reach a ledge on your left.
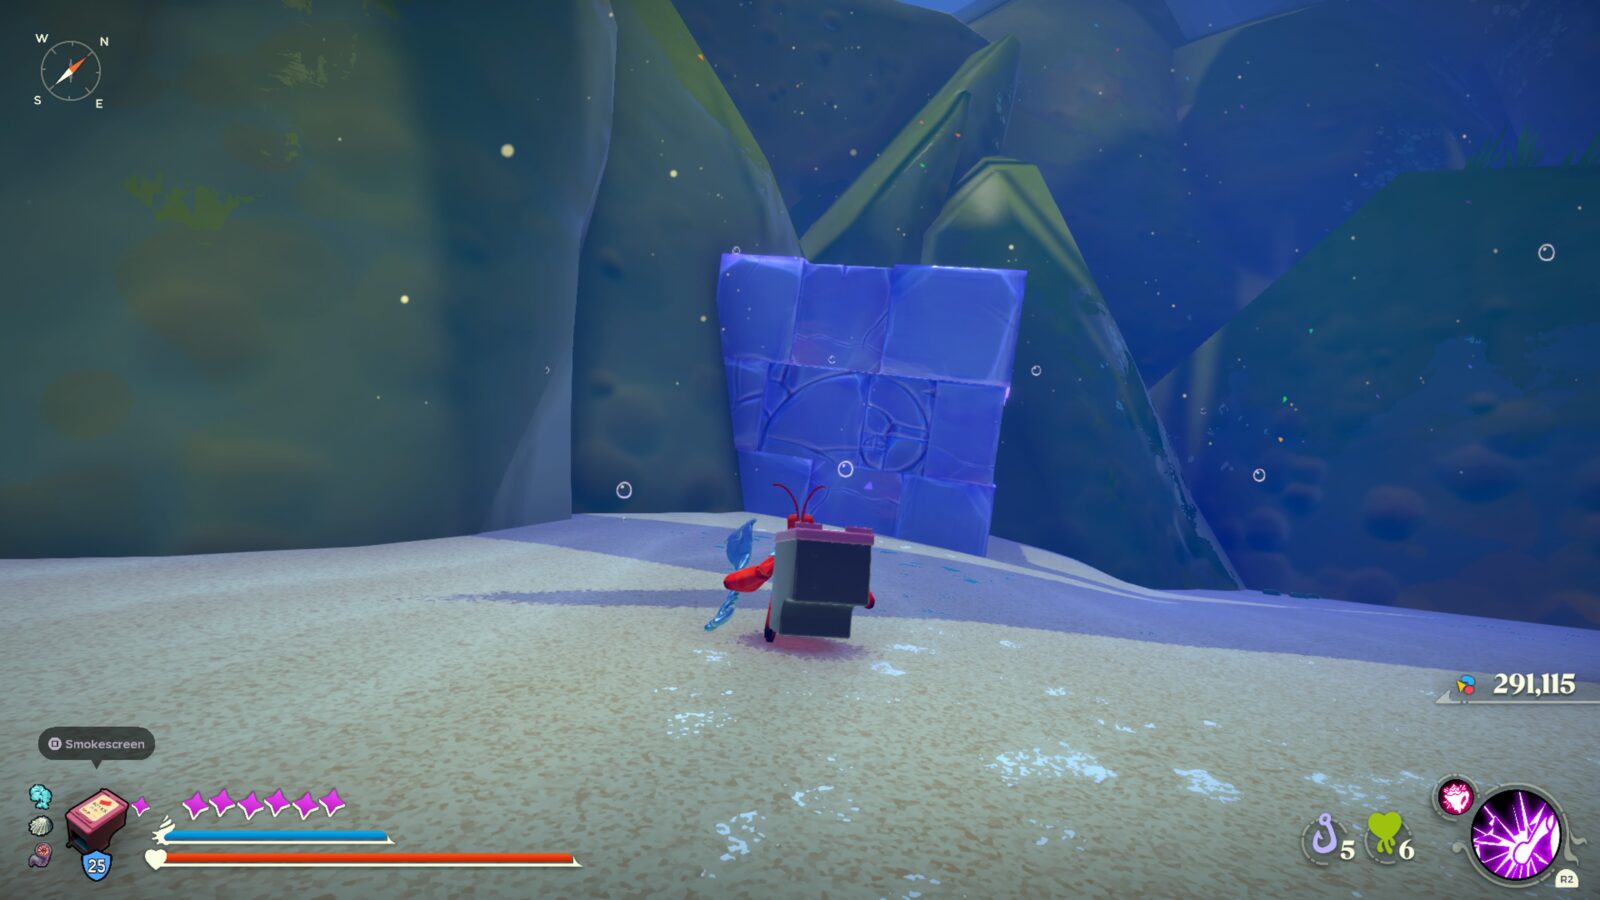
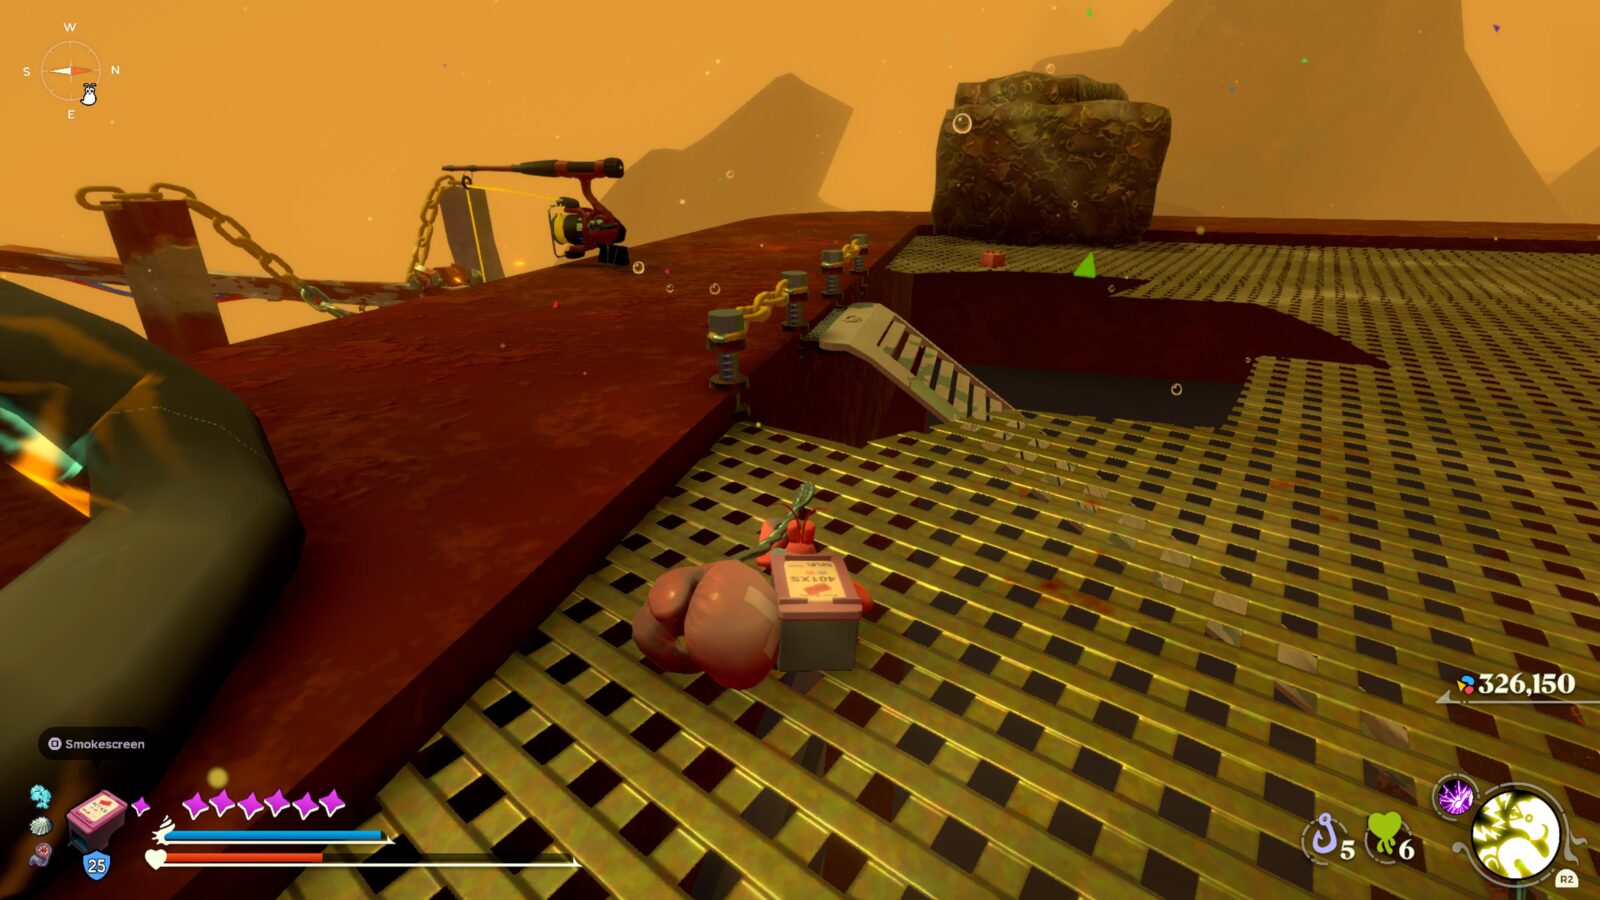
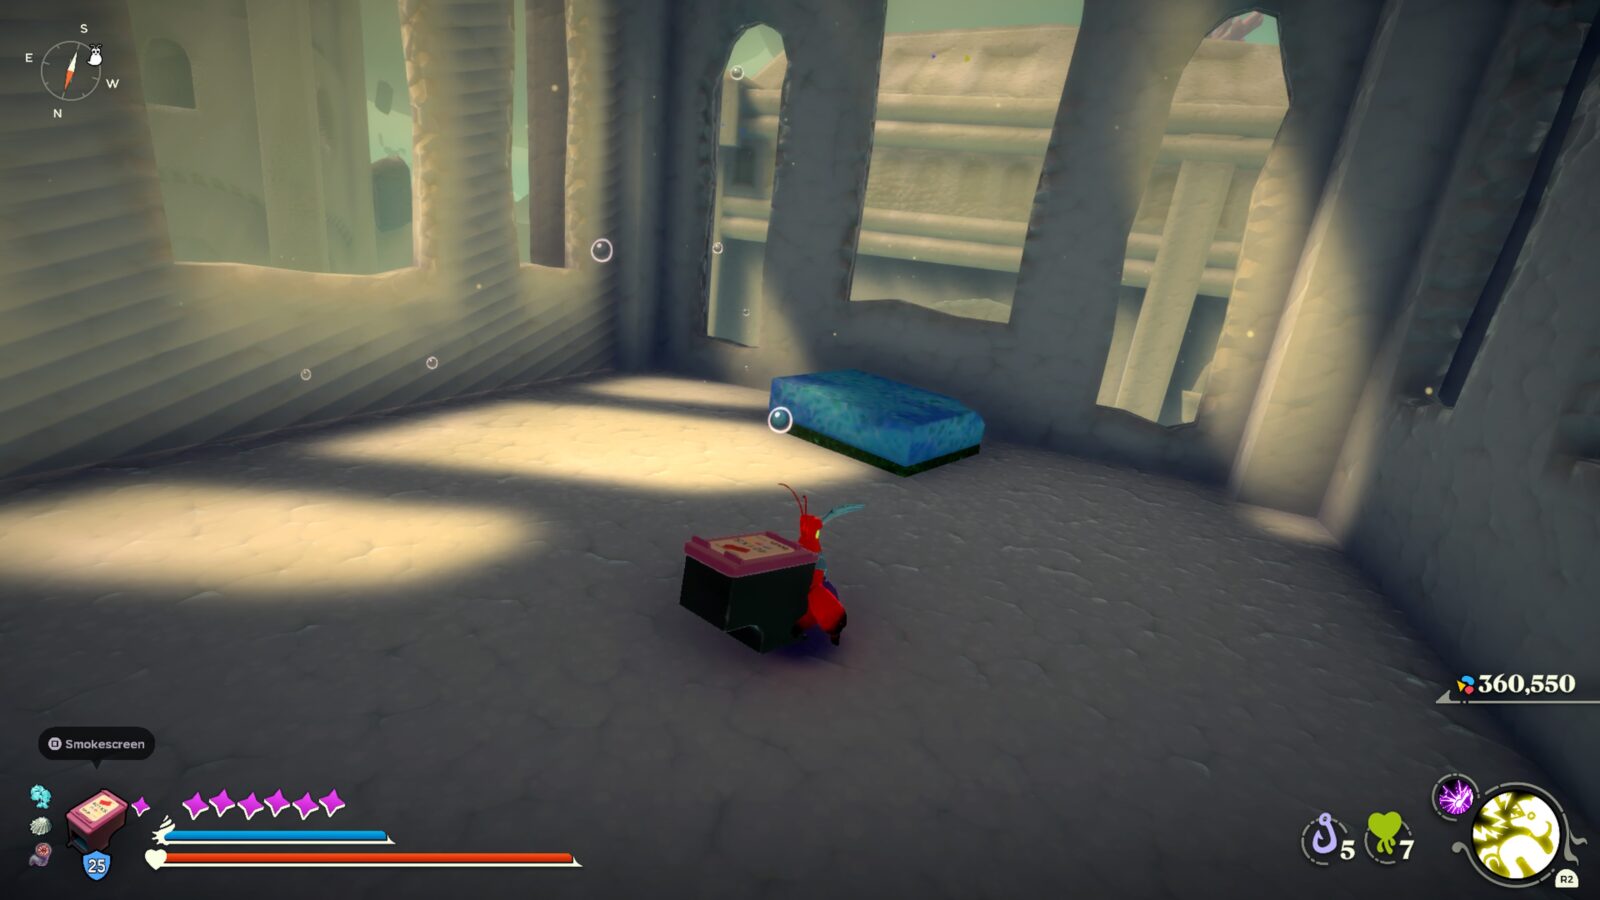
Head north a little bit and you’ll come to a huge hole in the ground.
Dropping inside, you’ll see two very powerful hammer-wielding enemies. Deal with them however you see fit and then you’ll be able to retrieve the Stainless Relic from the Clamshell Chest on the cave’s west side.
The Sands Between Stainless Relics
From this point on, you should make sure that you’ve beat the Optional Boss “Topoda” and unlocked the “Mantis Punch” ability. With this, you can break strange blowing blocks known as “Umami Blocks.” (Or that’s what I’m calling them, anyway.)
In the Sands Between region, there are another 4 Stainless Relics to collect.
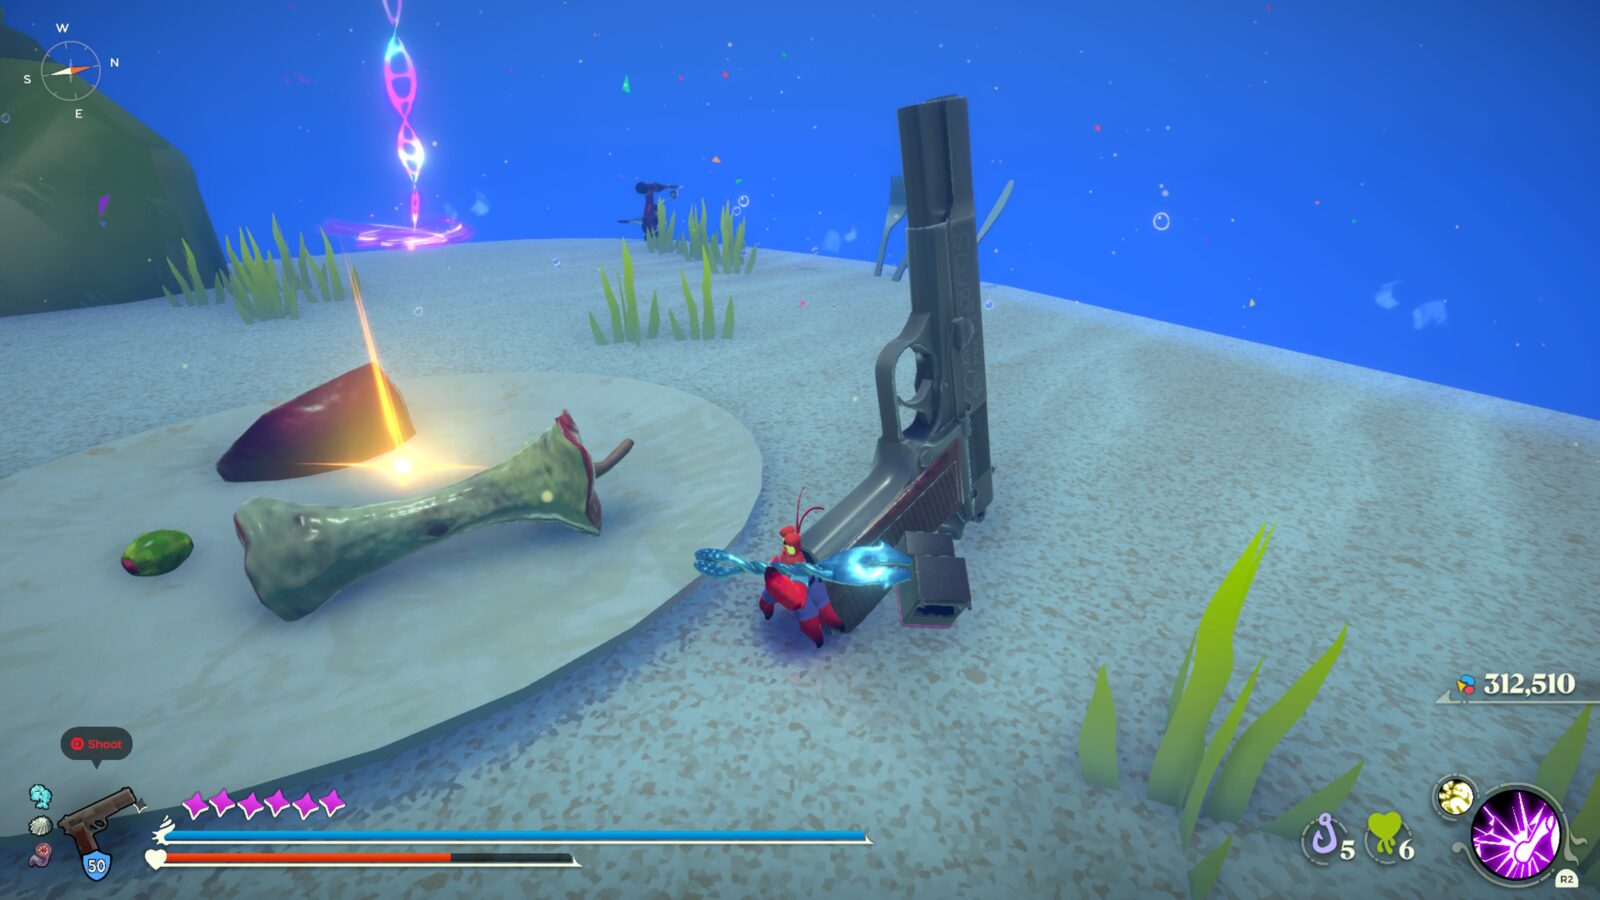
#5 The Sands Between Stainless Relic 1
For this one, begin your trip from the Central Vista Moon Snail Shell. Then, begin heading west.
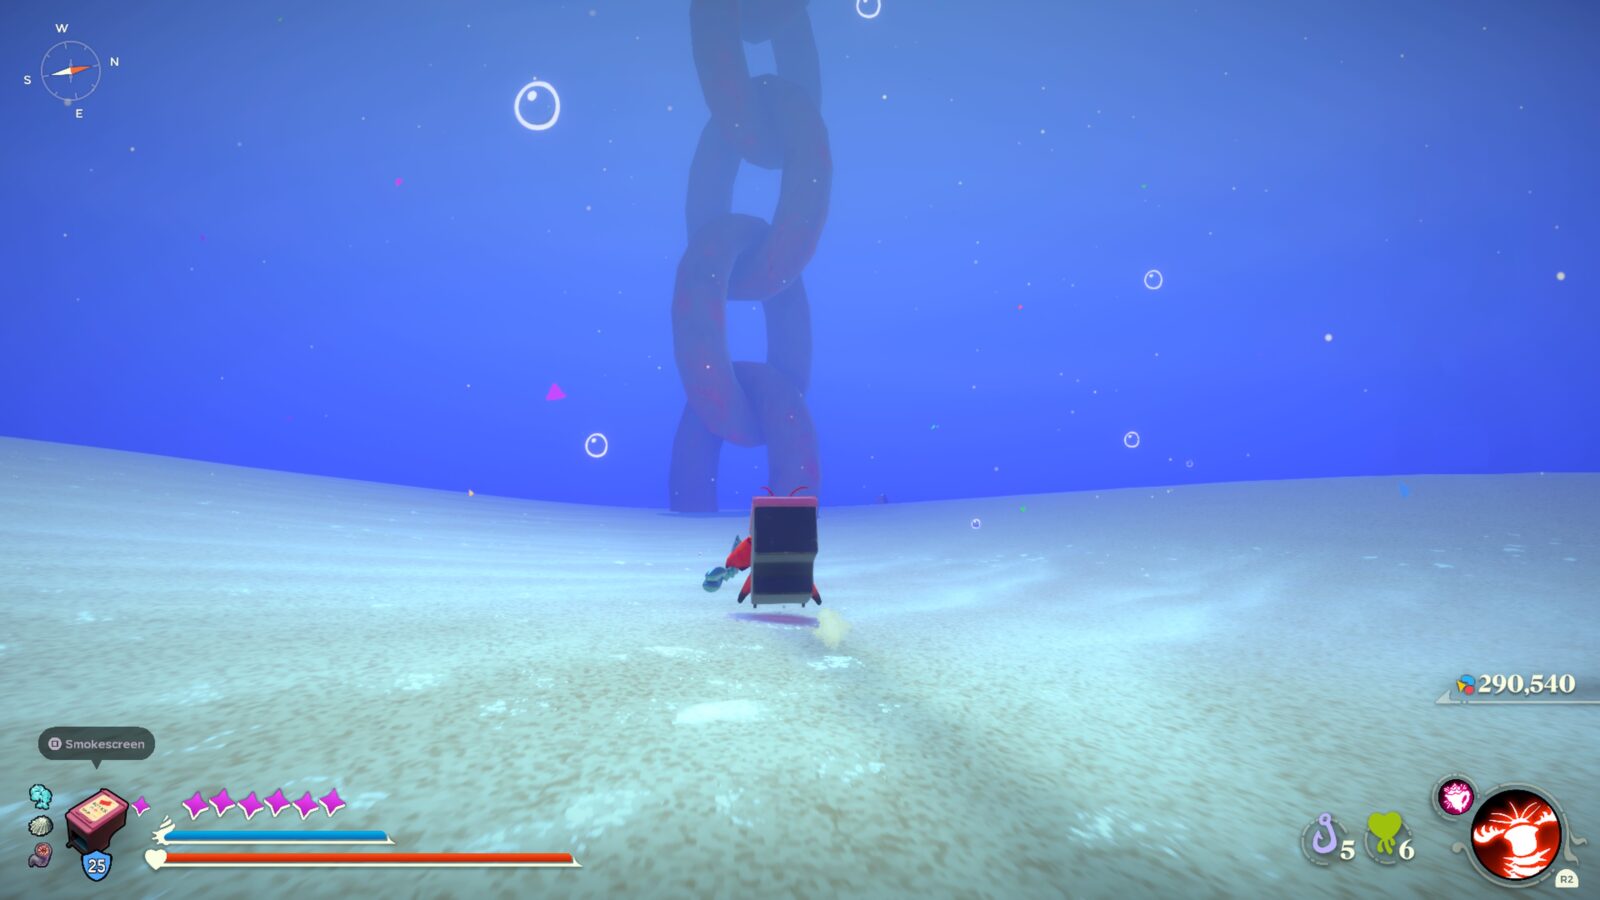
If you open your map, you’ll see a large chain which you should be moving towards. Once you reach it, go North until you reach a cliff wall.
From there, keep the cliff wall on your left side and follow it north.
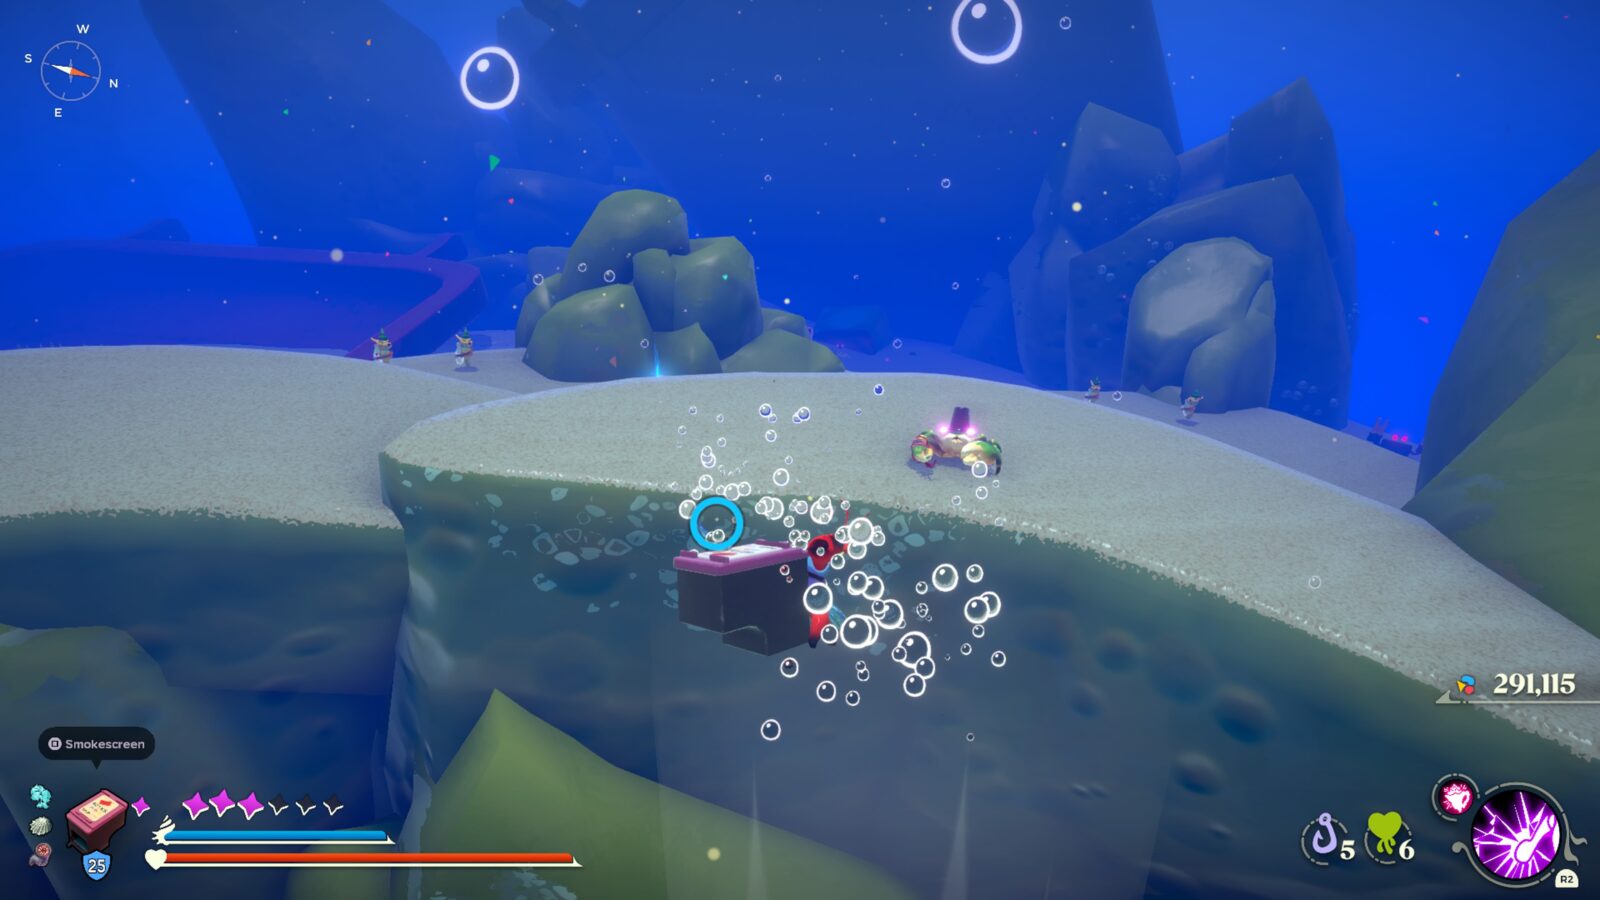
You will eventually reach an area with one of those strange glowing Umami Cubes I mentioned earlier.
Defeat the surrounding enemies and then use your Mantis Punch to destroy the Umami Cube, revealing an upward water current.
Swim in this current (hold ![]() ) to have it carry you up to the platform above, and then head south.
) to have it carry you up to the platform above, and then head south.
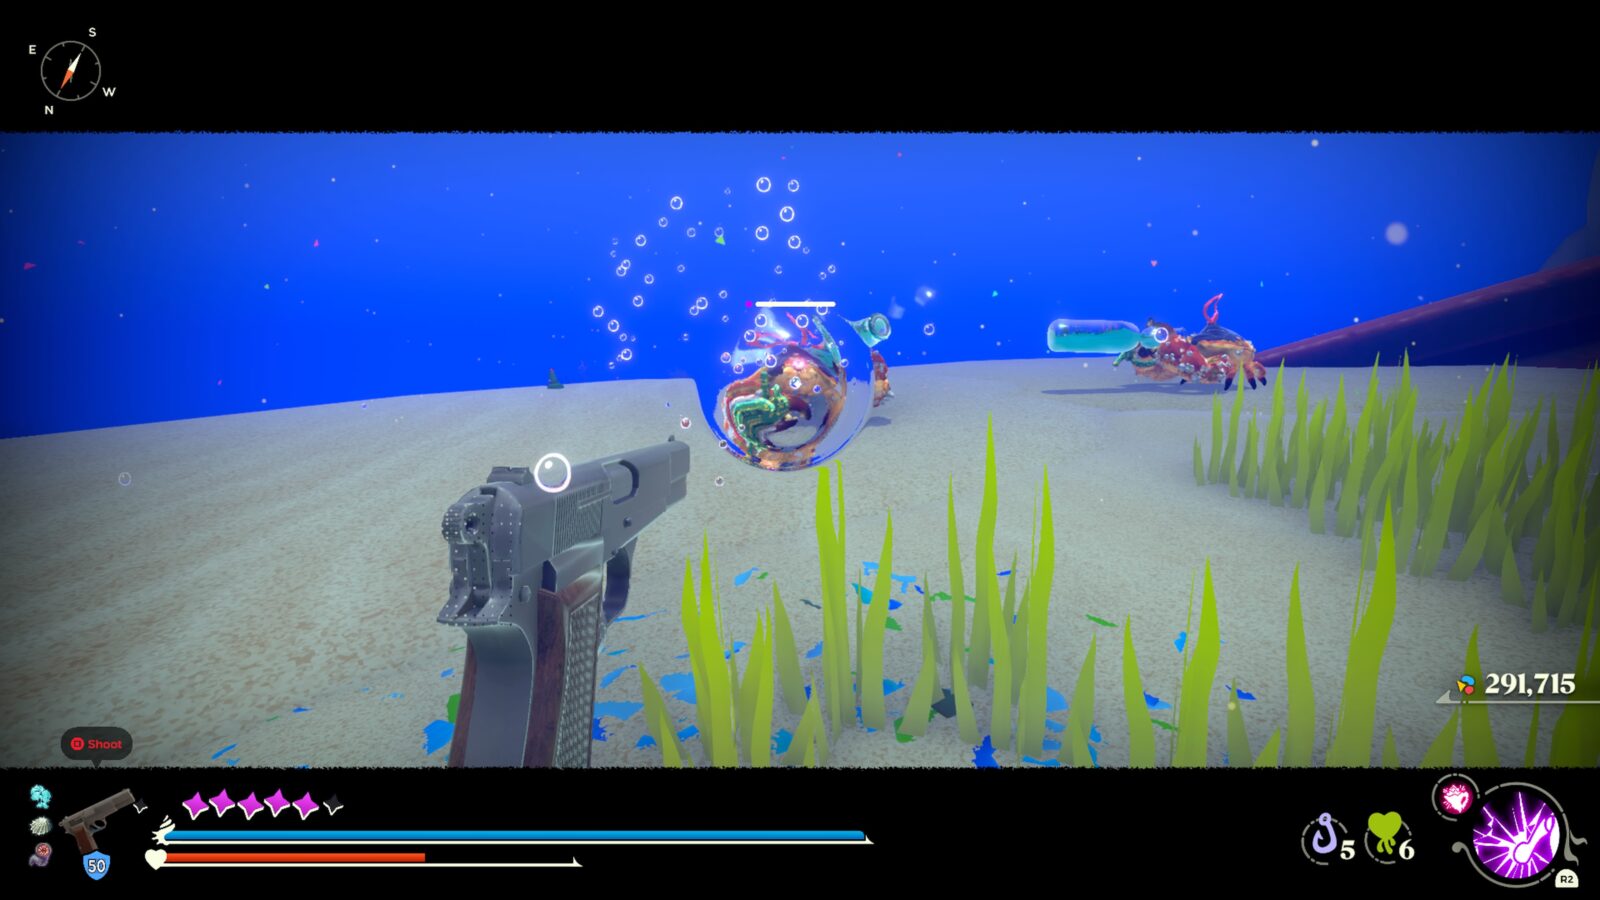
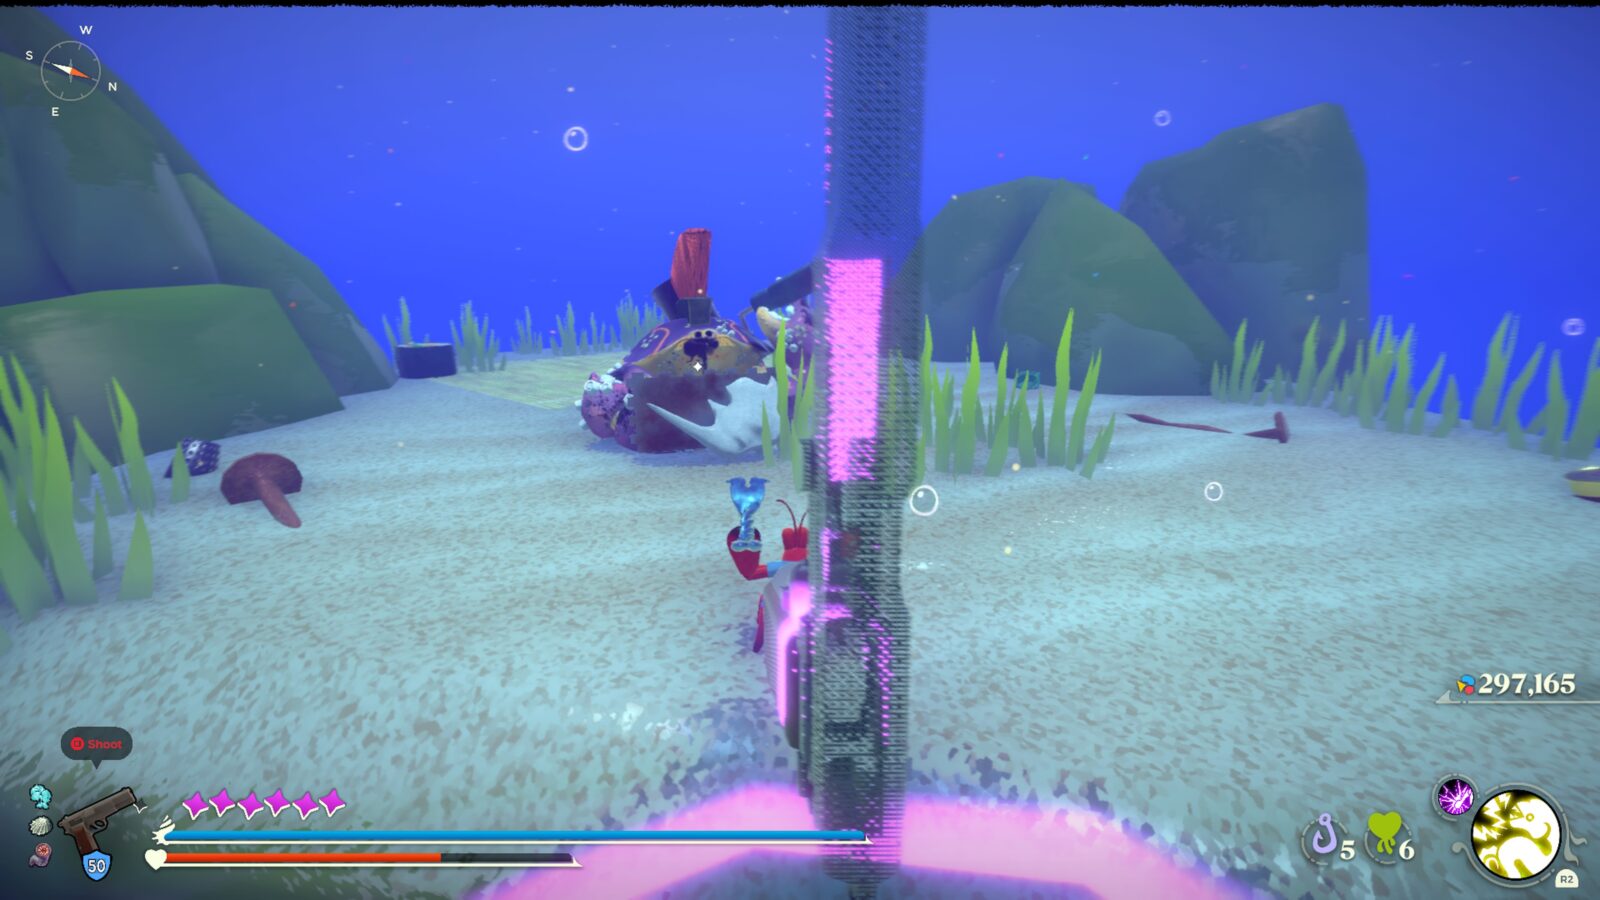
You’ll come to two large bottle-wielding crab enemies. Defeat them however you see fit and you’ll receive the Stainless Relic automatically.
#6 The Sands Between Stainless Relic 2
This next Relic not only requires the Mantis Punch Adaptation from Topoda, but you’ll also need the Electrocute Adaptation that you get after defeating the Story Boss Voltai.
To reach this Relic, start from the Air Current mentioned for #5 The Sands Between Stainless Relic 1 and then instead of going south, head further north.
Eventually, you’ll come to a cute little electronic crab-shaped device. Activate it using the Electrocute Adaptation and a large crane will begin moving nearby.
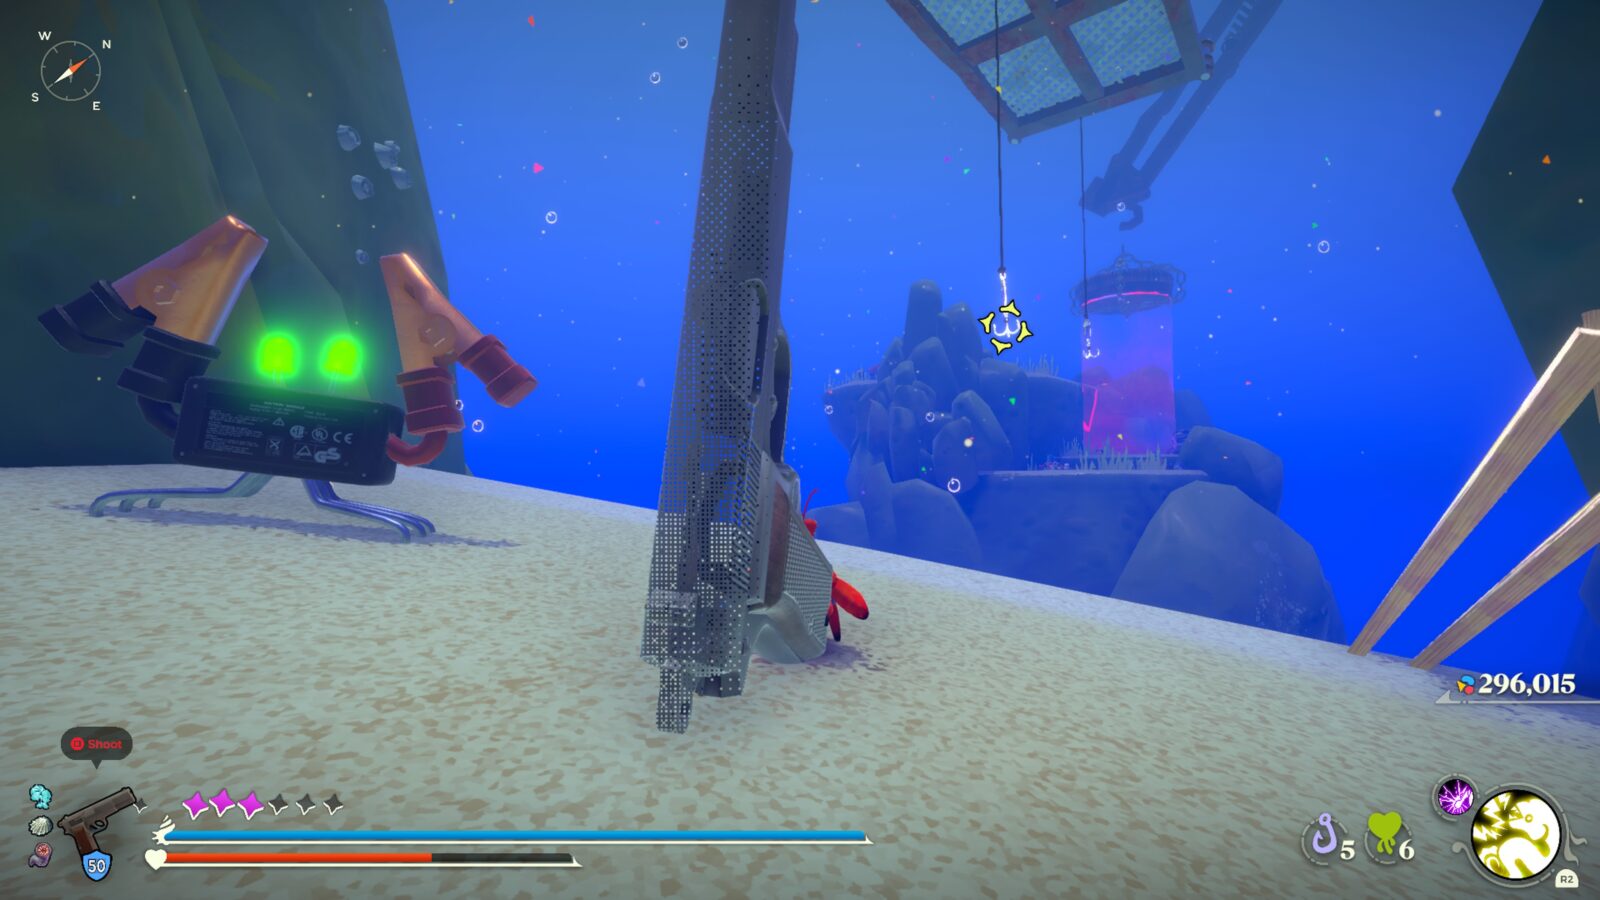
Use the two fishhooks continue on to the area north of you, and you’ll see a big magnet.
To proceed, you’ll need a Metal Shell, but you can just give Krill a Gun via the Assist Settings if you can’t be bothered or somehow lost the ones nearby. Hold ![]() under the magnet while wearing a metal shell and it will lift you up, from where you can reach a platform containing a Miniboss. It’s an alternate version of the “Scuttling Sludge Steamroller” Optional Boss.
under the magnet while wearing a metal shell and it will lift you up, from where you can reach a platform containing a Miniboss. It’s an alternate version of the “Scuttling Sludge Steamroller” Optional Boss.
Defeat it and you’ll receive the Stainless Relic automatically.
#7 The Sands Between Stainless Relic 3
Head east from the Central Vista Moon Snail Shell and you’ll reach a cliff wall.
Keeping this wall on your left side, follow it around to the south side until you find another Umami Block.
Destroy it with the Mantis Punch Adaptation and you’ll reveal a path that leads east. Follow it and you’ll find a new Moon Snail Shell location.
From that Moon Snail Shell, head north and you’ll notice that the path splits ahead of you.

Follow the left path until you reach a series of ledges with an archer crab at the top. Make your way up these ledges via the net on the northeast side.
This path will lead you to the Secluded Ridge Moon Snail Shell, next to which is a plate with an apple core and this Stainless Relic on it.
#8 The Sands Between Stainless Relic 4
Start this excursion from the Flotsam Runoff Moon Snail Shell.
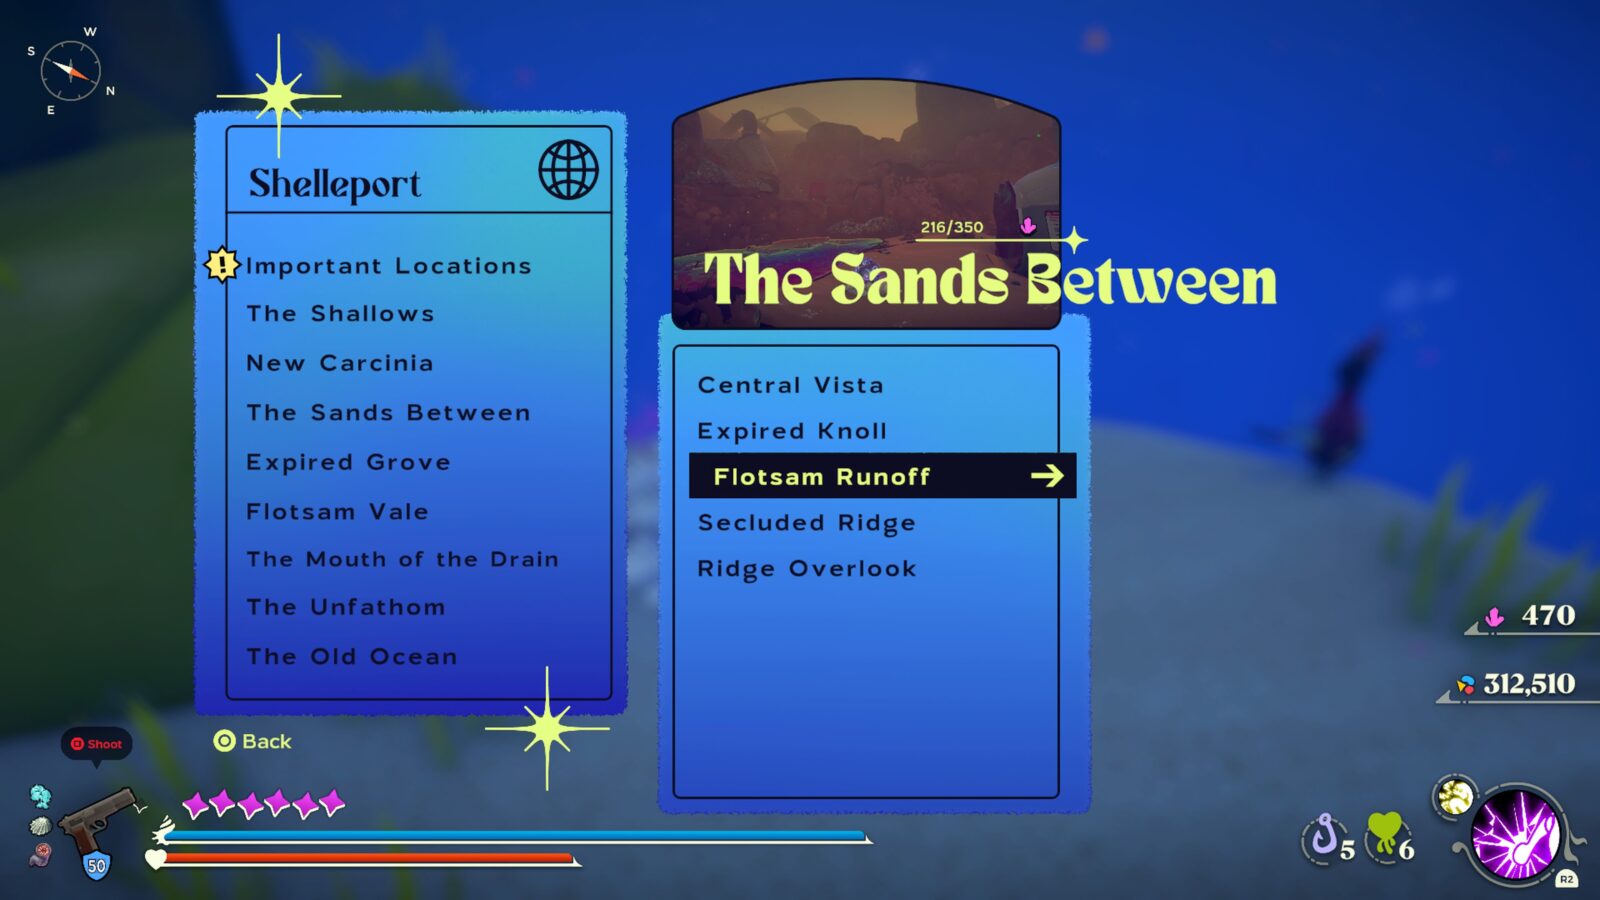
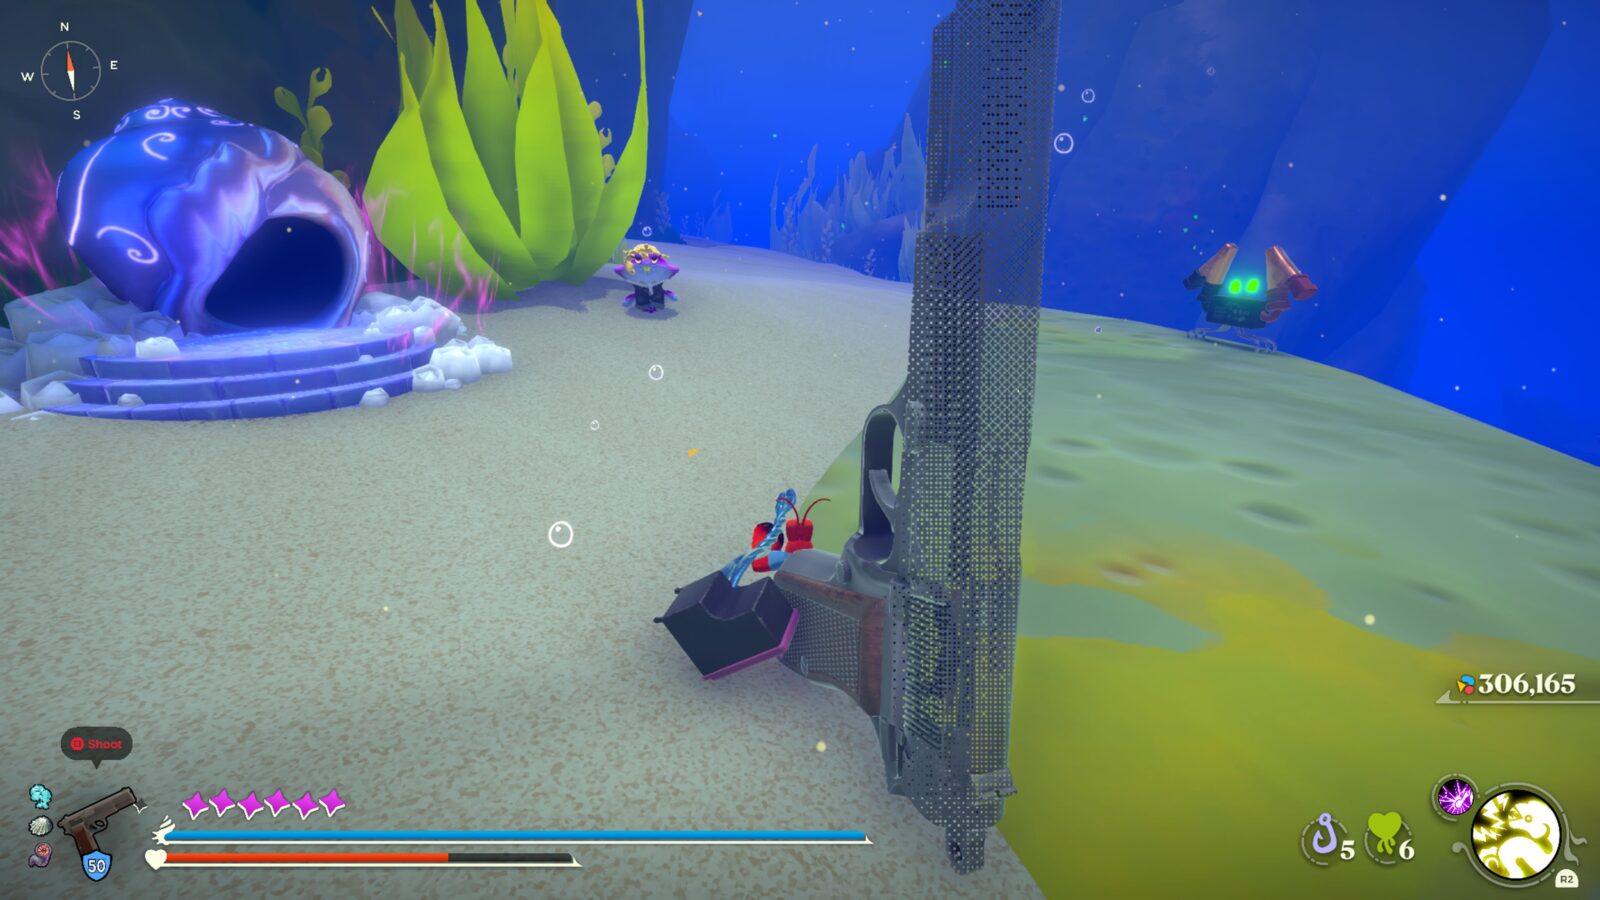
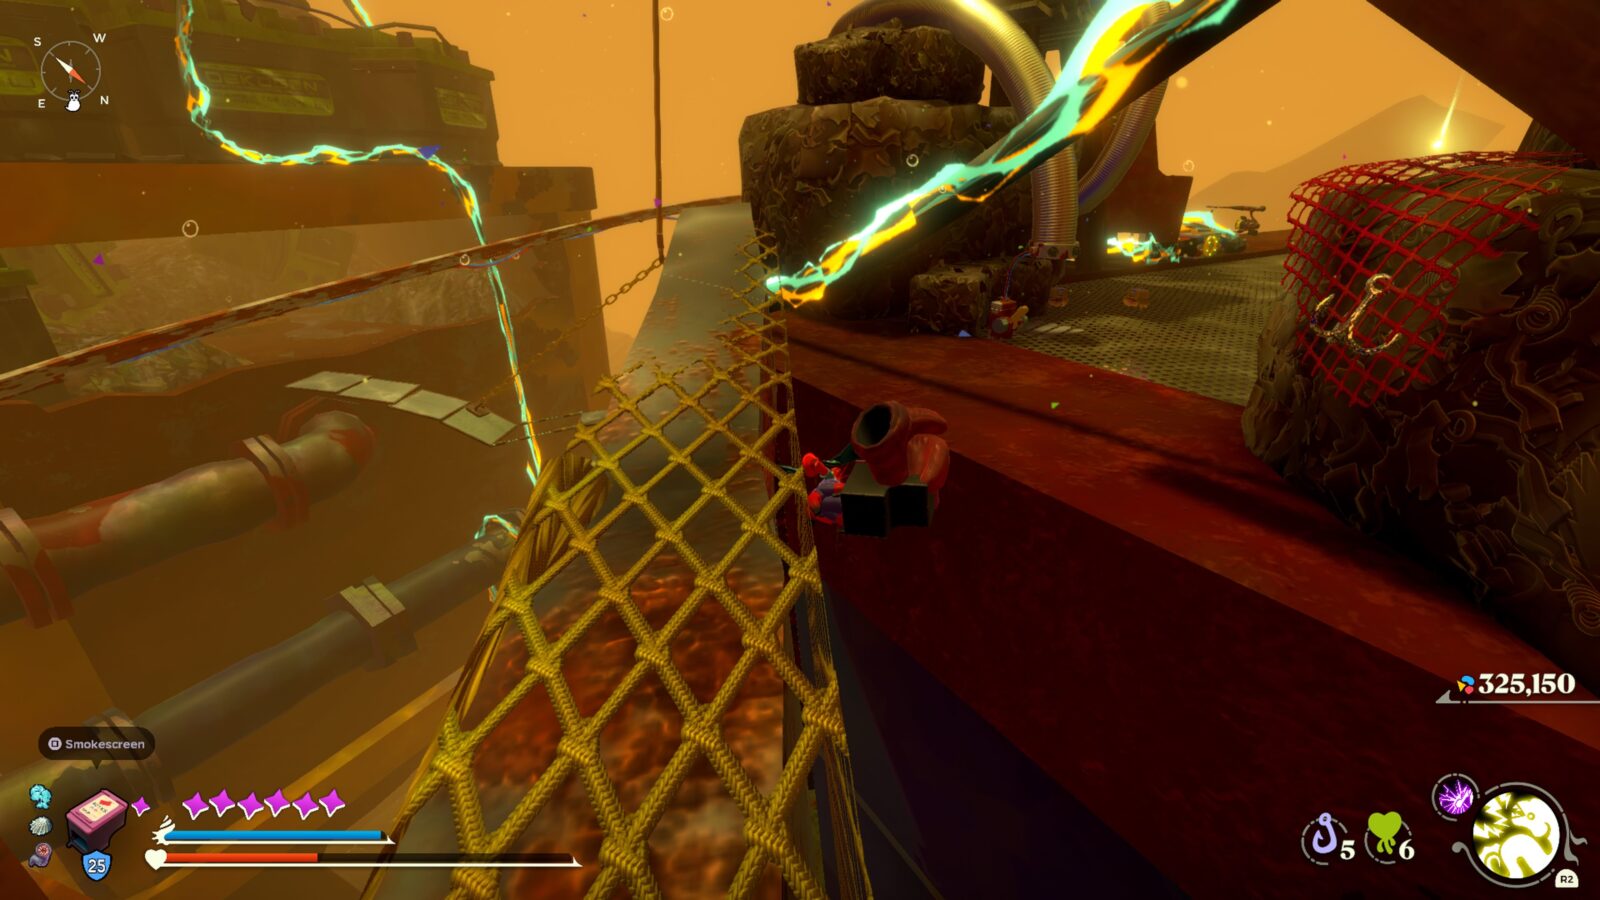
From there, begin heading directly west and continue doing so until you reach another one of those cute little electric crab devices.
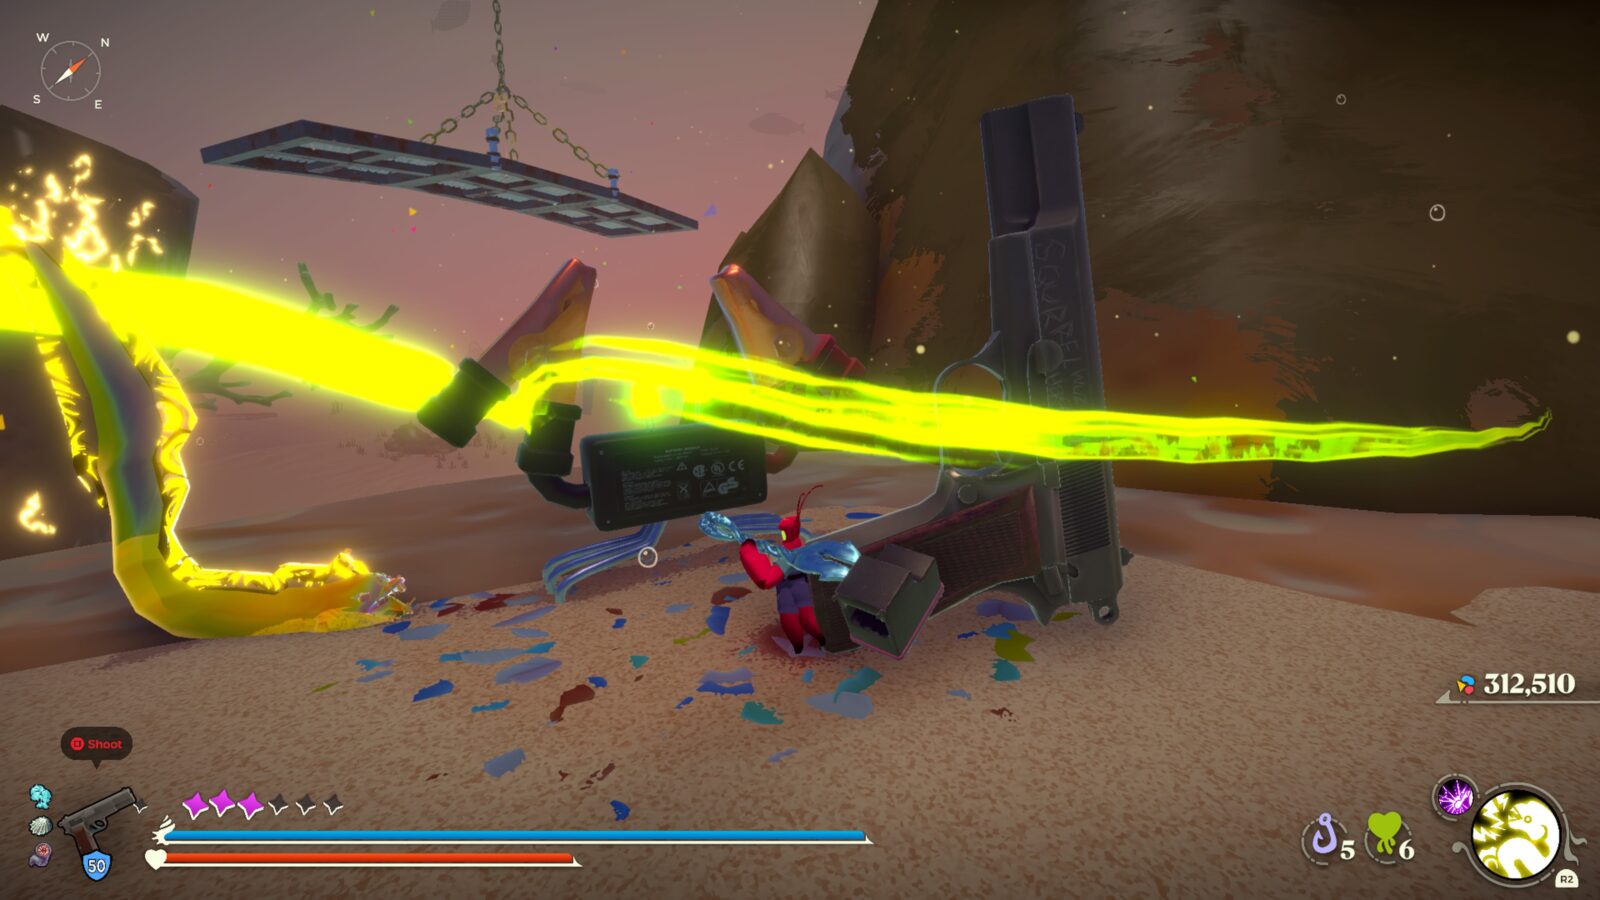
Use your Electrocute Adaptation to activate it and another crane will move nearby.
Jump onto the crane’s metal platform and you’ll find this Stainless Relic at the center!
Flotsam Vale Stainless Relics
With more Stainless Relics than the Expired Grove but still less than the Sands Between, we move into the Flotsam Vale, which contains 3 Relics to collect.
#9 Flotsam Vale Stainless Relic 1
Starting from the Locker Room Moon Snail Shell, head north and then ride the Magnet to its final stop.
When you get down from the magnet, go up the stairs and into the hole in the north wall.
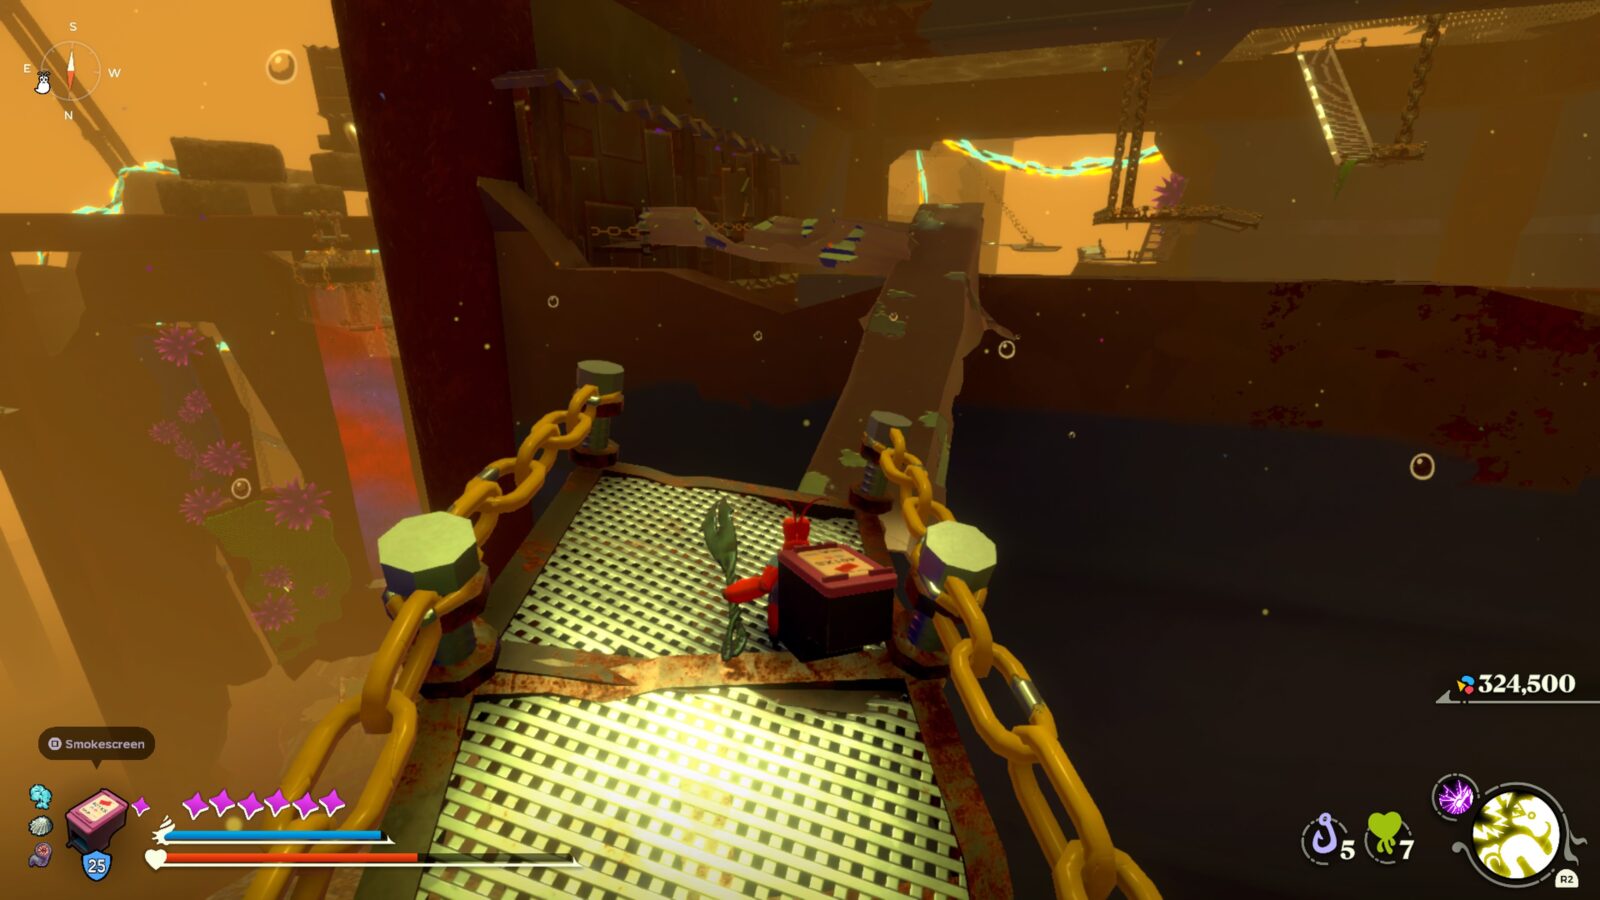
Follow this path around and it will lead to a sponge, using which you can reach a grapple point on the blue net above.

Follow the blue net around the corner to the right until you can reach a red net, jump to it using your grapple.
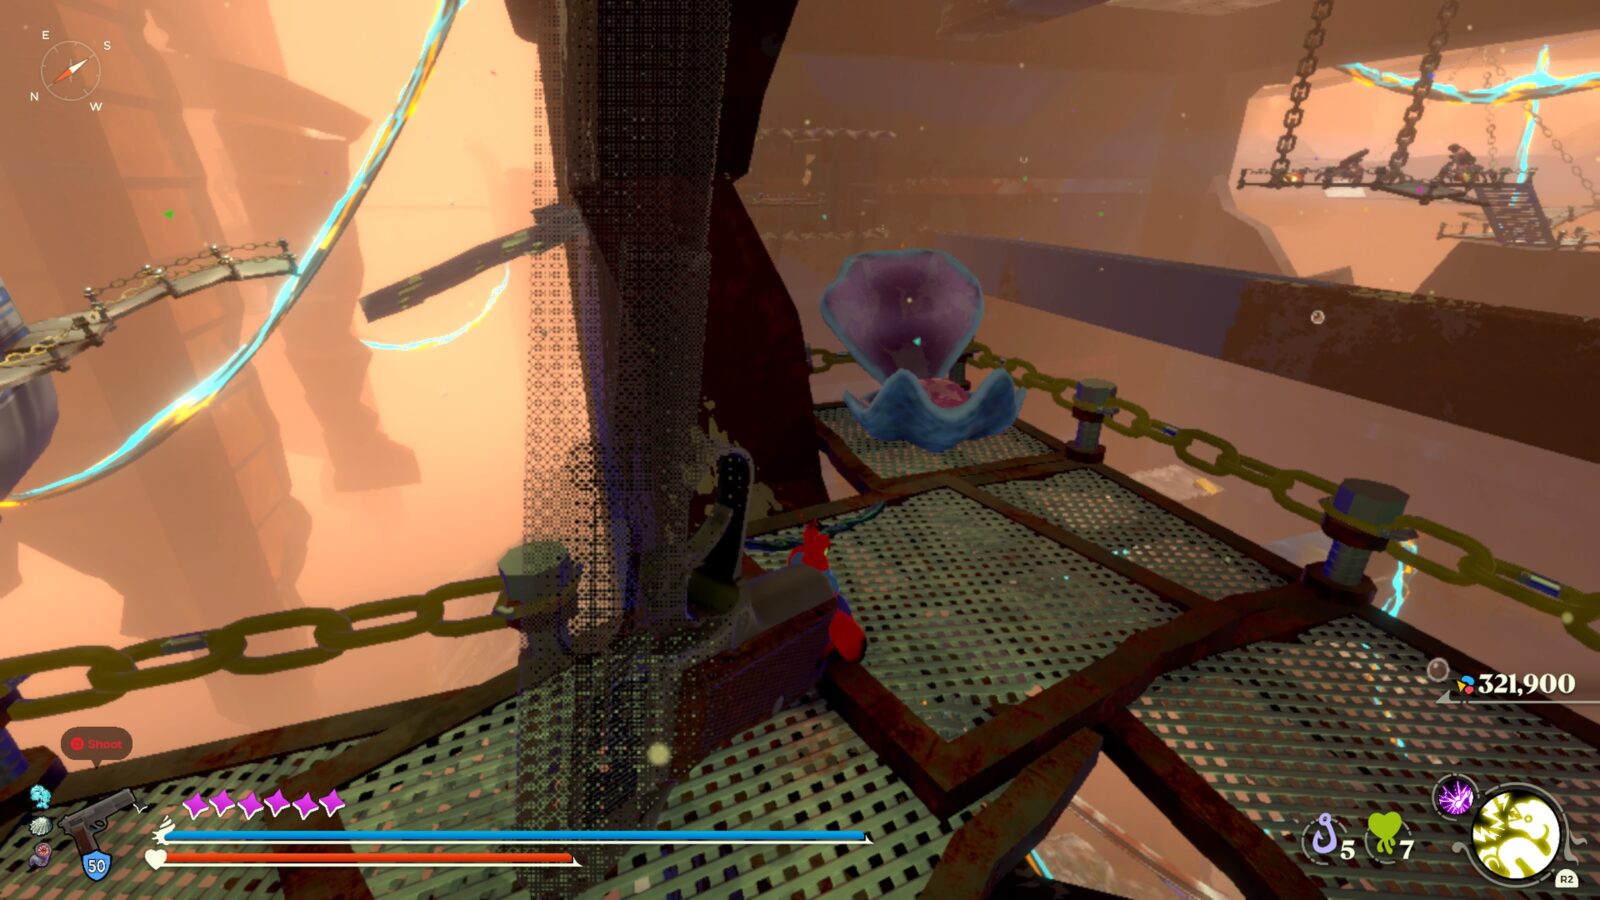
From the red net, you can reach a metal catwalk on your left, which will lead you inside the metal structure.
There you will find a Clamshell Chest containing this Stainless relic.
#10 Flotsam Vale Stainless Relic 2
Start from the Mag-Rail Platform Moon Snail Shell and then head up the stairs east of it.
On your way up, you’ll see a metal beam on your left with an enemy on it.
Jump on, get rid of the enemy, and then approach the urchins at the center.
On your left, jump to the other metal beam, where another enemy is patrolling.
From this beam, you can grapple to the hook east of you.

Next to the enemy up there, you’ll find the Stainless Relic. You’ll probably already have this one as it’s quite hard to miss.
#11 Flotsam Vale Stainless Relic 3
Start from the Mag-Rail Platform Moon Snail Shell and then head along the catwalks west of you and into the gas canister.
Then use the sponge inside to bounce up to the next platform.
Follow these platforms around another Gas Canister and into the next building.
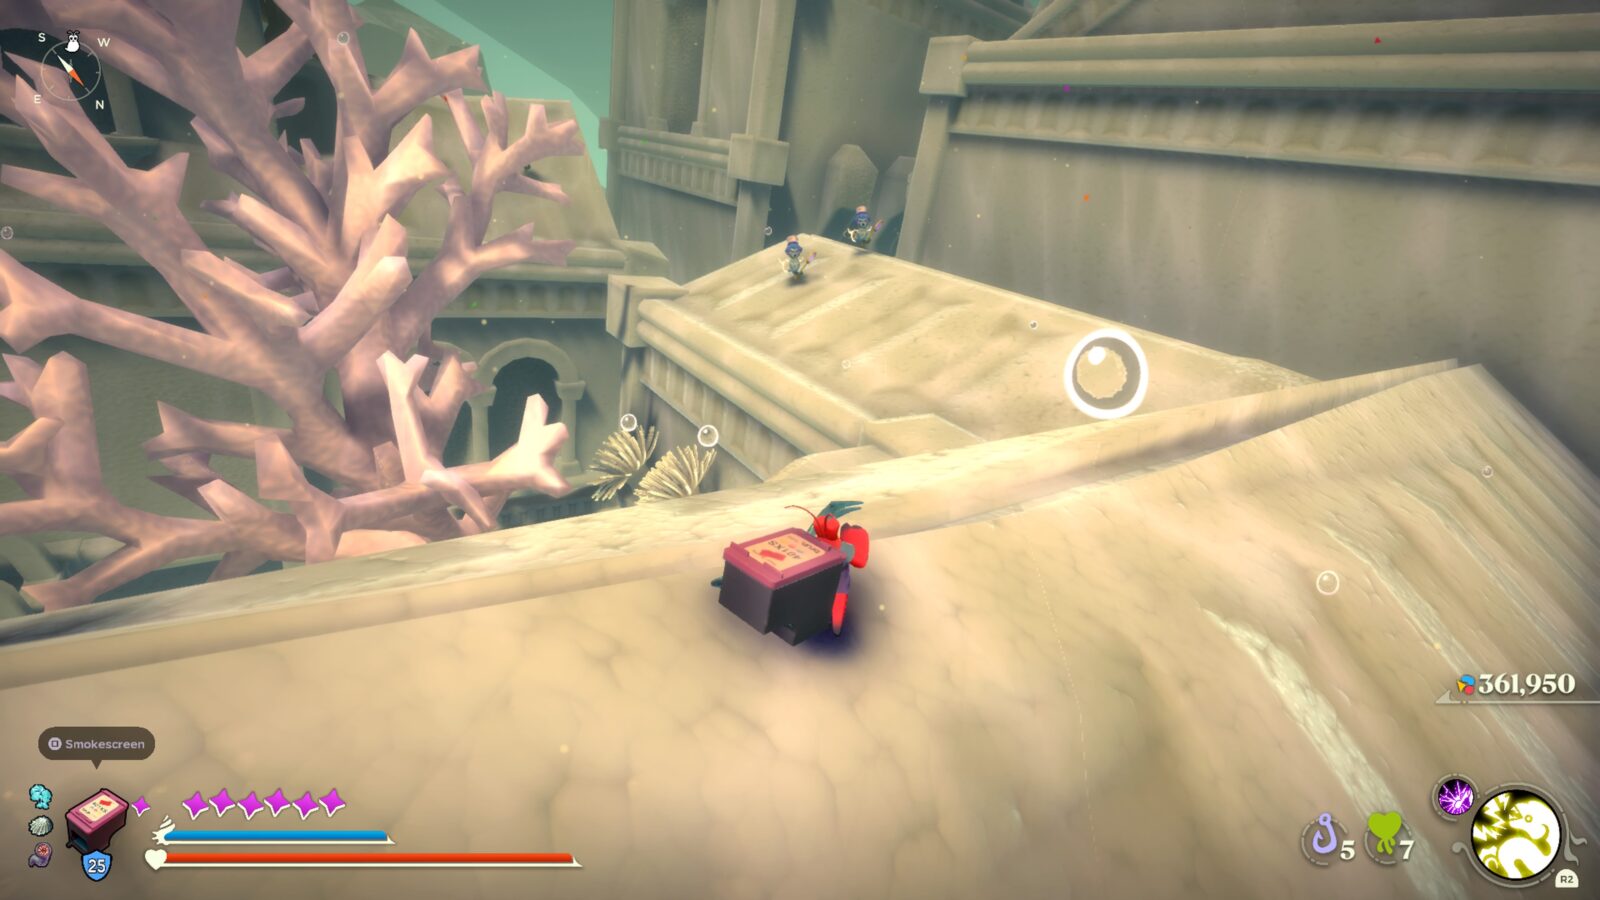
As you proceed along the main path, you’ll come to a hanging platform with some yellow netting on it, which you’ll need to climb up to the top.
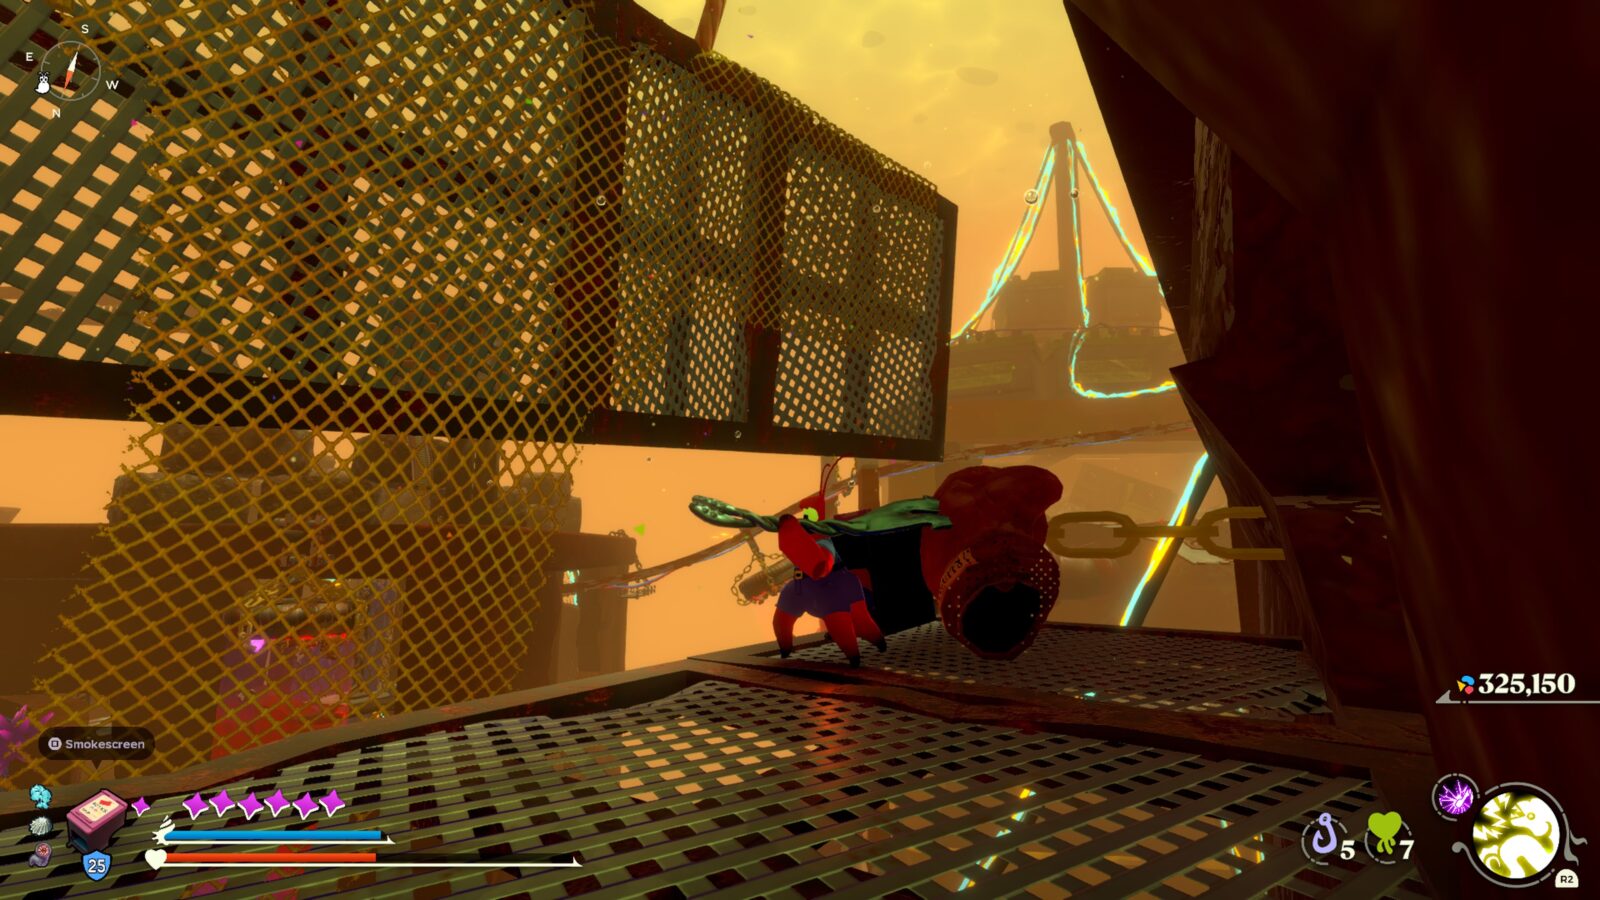
From the top, jump from it to the roof of the building you were just in.
Near a shortcut line on the west edge of this building, you’ll see some stairs heading down into the building.
To the right of you, there’s some metal platforms with a few enemies on it near some hazard vests.
The Stainless Relic is also on that platform.
The Unfathom Stainless Relics
Everyone’s favourite unnavigable pitch-black void; The Unfathom is home to just 2 Stainless Relics (Thank Cod for that!)
#12 The Unfathom Stainless Relic 1
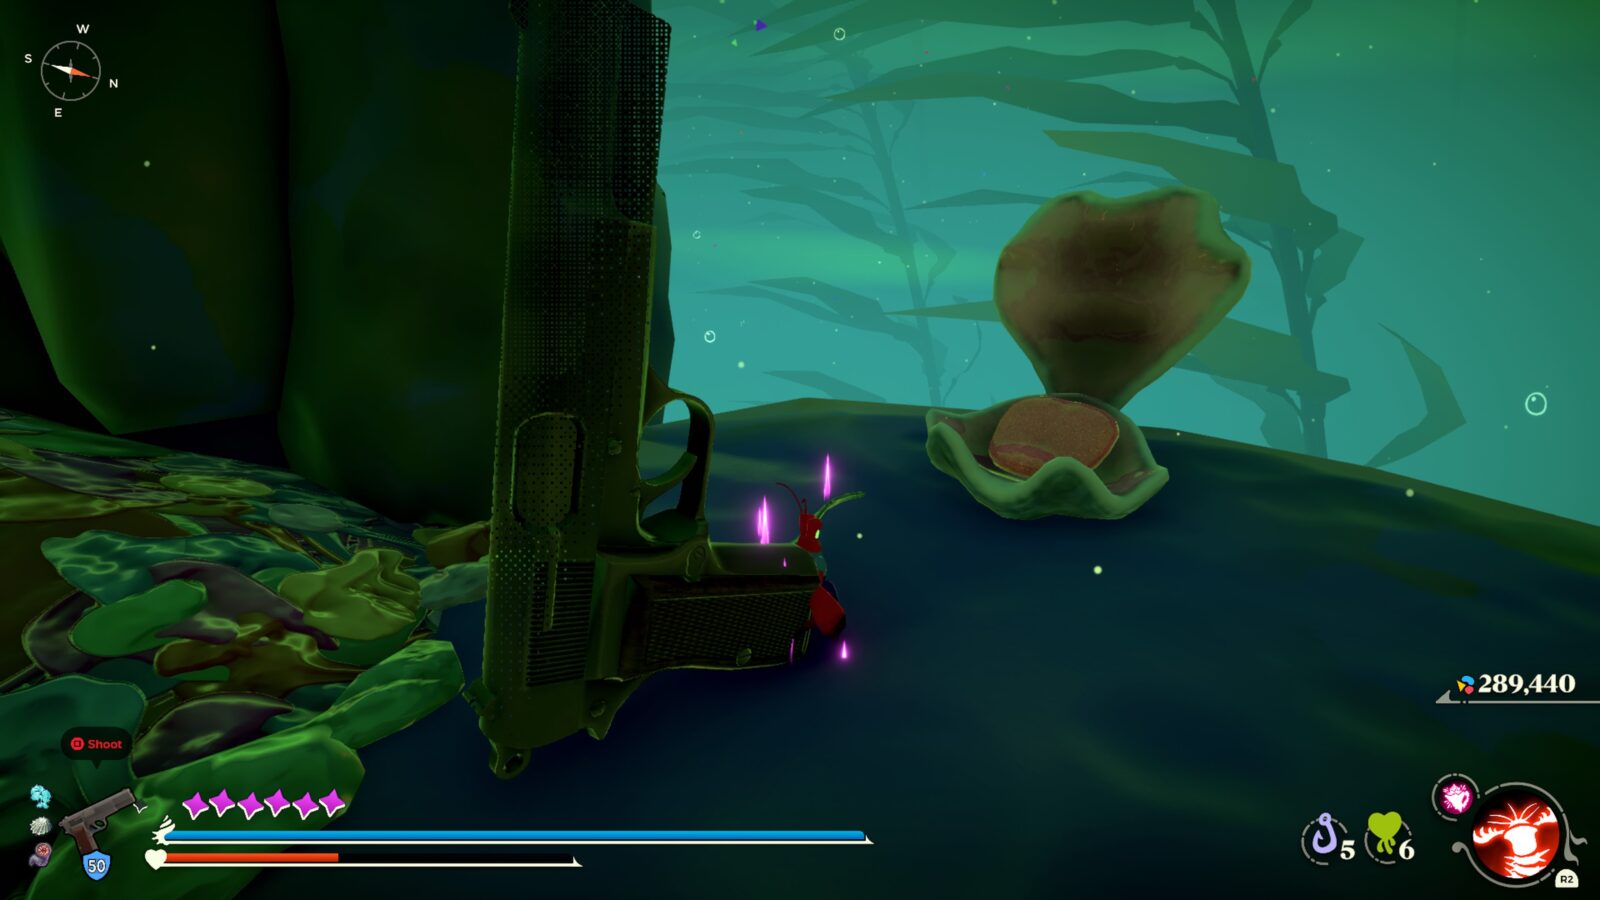
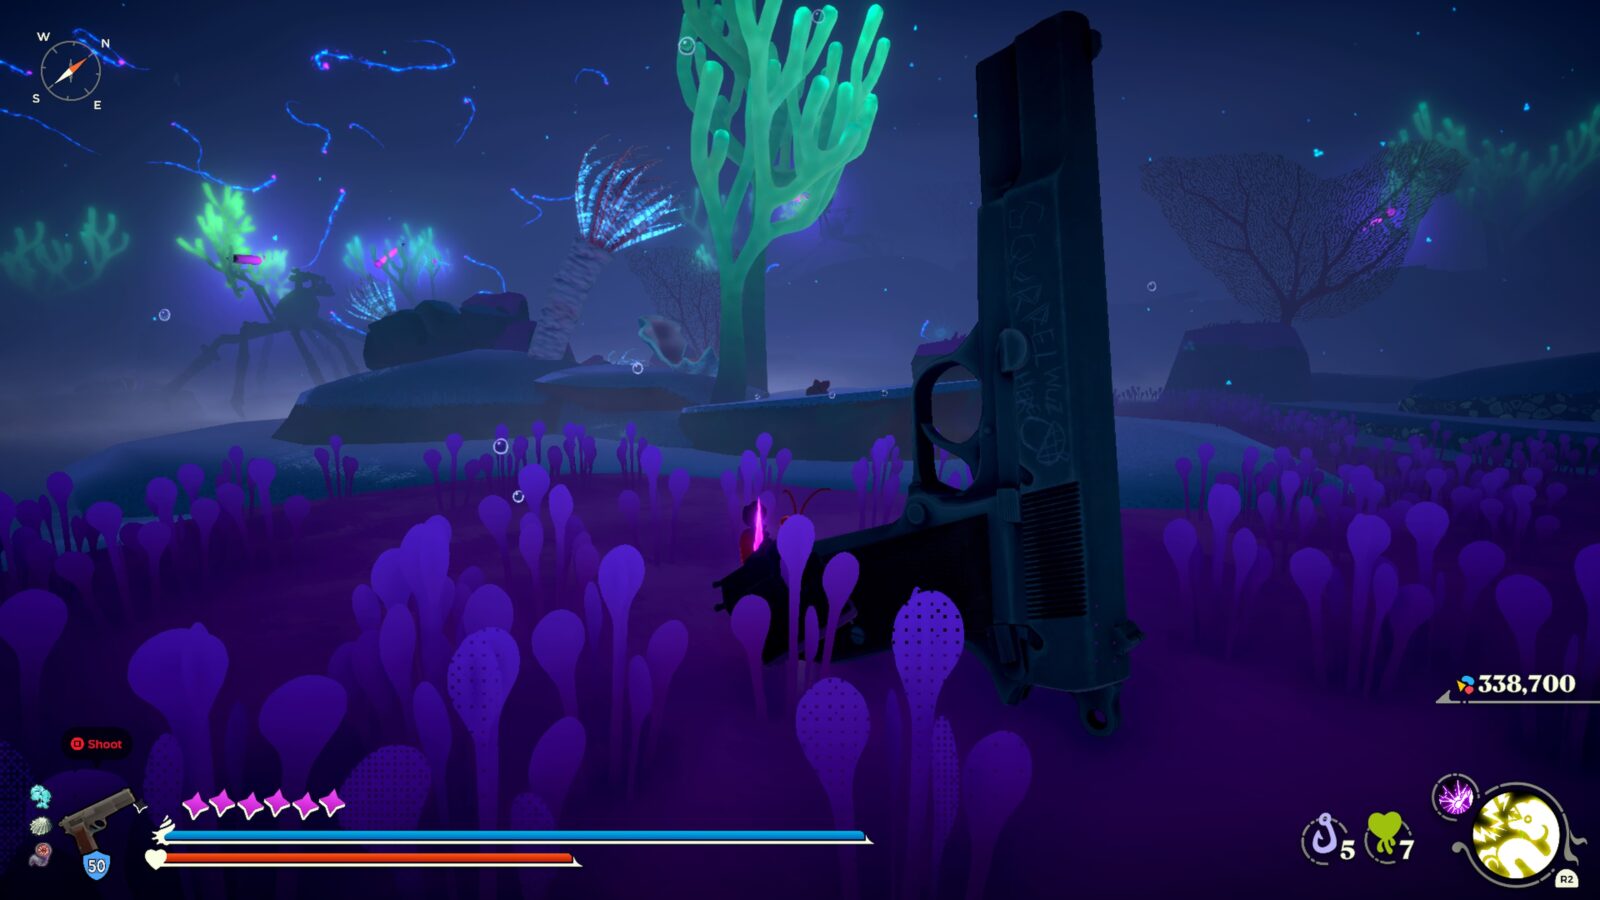
Start from the Luminous Respite Moon Snail Shell, which is perhaps one of the worst areas in the whole game thanks to the nightmarish and enormous Spider Crabs that attack you from an insane distance. I definitely recommend equipping Krill with a gun for exploring this area.
Go north from the fast travel point via the grapple hooks to reach the large island.
At the center of this island, just west of where you land, there’s some rocks with two large glowing coral “trees” on it, and a Clamshell Chest at the center.
Ever-so-slightly west of these, there’s a small moss-coated rock with the Stainless Relic sitting on it.
#13 The Unfathom Stainless Relic 2
Fortunately, you’re given this one upon defeating one of the main story bosses (Inkerton), so it’s not possible to miss it!
I bet you’re as glad you don’t need to fumble around in the dark as I am that I don’t need to try and give more directions in this abyss. Let’s get out of here!
The Old Ocean Stainless Relics
Yet another incredibly annoying region to navigate, The Old Ocean is the final stop on our tour. Fortunately for both of us, there are just 2 Stainless Relics to locate in this bleached pit.
#14 The Old Ocean Stainless Relic 1
Begin your journey here from the Lookout Tower Moon Snail Shell and proceed across the bridge made of Toilet Paper.
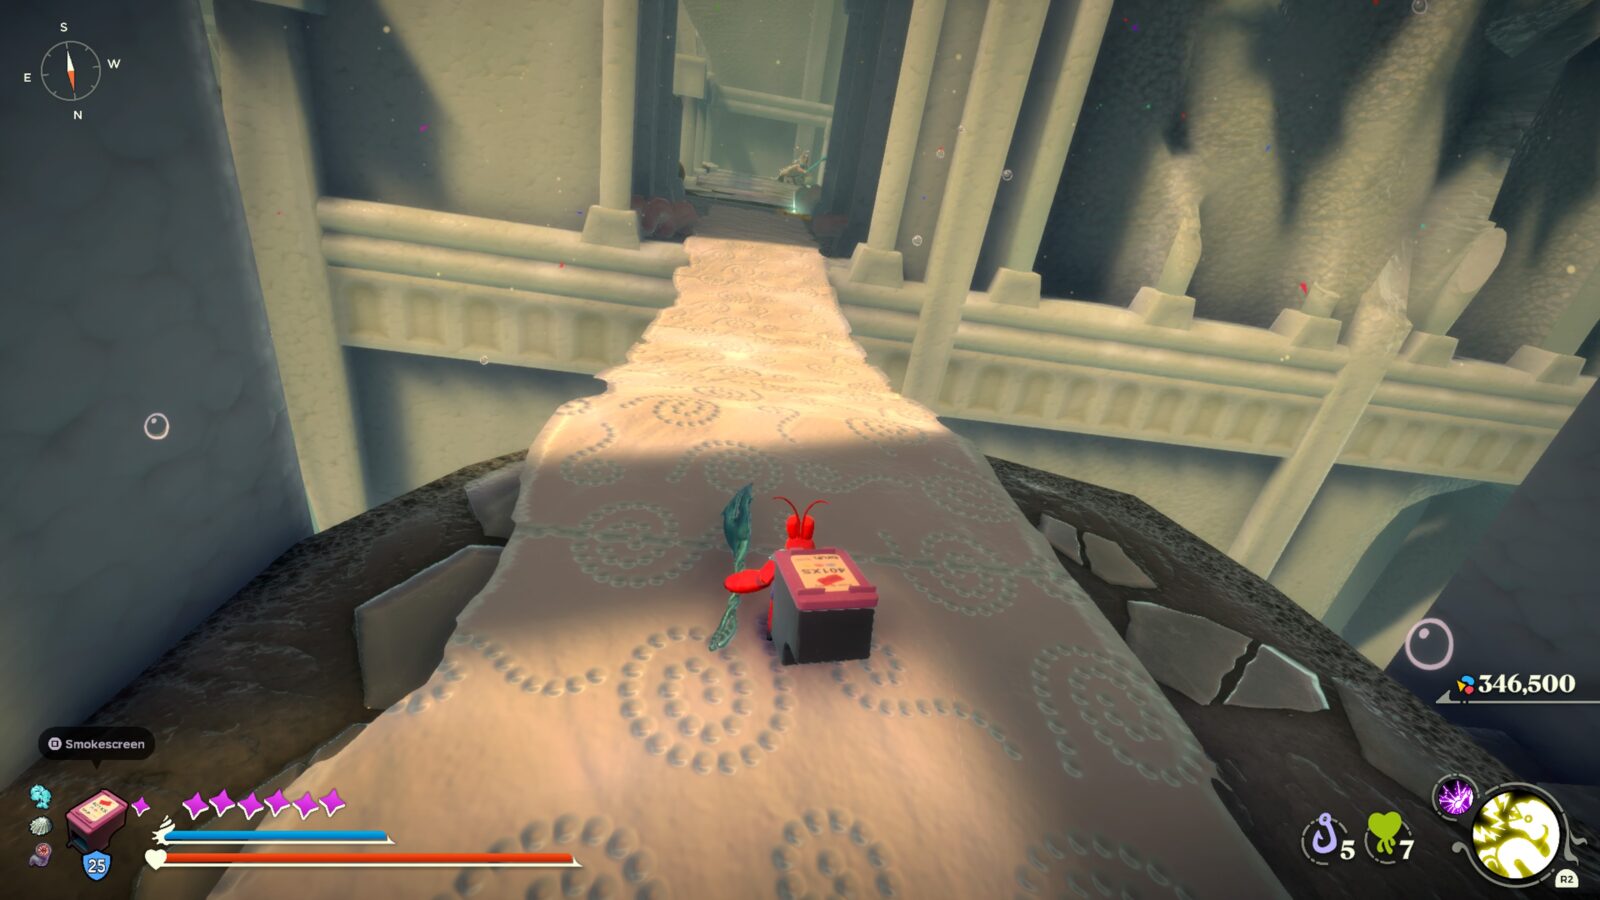
Climb the western stairs in the hall at the other side and go to the edge of the balcony.
Look down over the edge and you’ll see a platform with green tiles on it. Drop down onto it.
Turn and look to the south, where you’ll see some floating platforms that you can use to cross the abyss.
At the other side, use the blue sponge as a bounce-pad to reach the level above, where you’ll find a Clamshell Chest containing this Stainless Relic!
#15 The Old Ocean Stainless Relic 2
The very last Relic. Let’s grab this real quick so you can get back to earning the Platinum Trophy!
Begin again from the Lookout Tower Moon Snail Shell and then look down over the north edge of the tower. You should see a blue sponge below you.
Drop down onto it and then use it to reach a higher floor of the Lookout Tower. Inside, there’s another sponge which you can use to reach the opposite rooftop.
Follow it to the southwest edge, where two blue seahorse enemies are.
From there, look around for a small steeple on top of a rooftop southeast of you. It has some brown coral coming out of it.
Jump over to that roof and then jump onto the steeple’s balcony to retrieve the Stainless Relic from inside the Clamshell Chest!

Thanks for Reading
Plat Get!
Thank You!
Thank You for choosing PlatGet as your source for this Another Crab’s Treasure Stainless Relics Guide.
Wondering what to complete next? Browse our complete guide selection or check out our friends at PlatPrices.com to filter the PS Store based on price, trophy difficulty, or completion time.
Got a question, some feedback, or just want to say thanks? Drop a comment in the discussion section below, we'd love to hear from you! No account required!!