PlayStation 5
Alan Wake 2 All Collectibles Guide
Collectible Guide
Alan Wake 2 All Collectibles
Chapters in Alan Wake 2 are divided between Saga Anderson—Return chapters—and Alan Wake—Initiation chapters—with each of them having character-specific collectibles. For the first few chapters in Alan Wake 2 you will be switched between Saga and Alan automatically, however, after the 5th consecutive chapter you will be able to switch to them of your own will. This guide will switch between each character after each chapter ends to keep things simple but feel free to play through whichever chapters you want and use our sidebar to find the corresponding chapter and its collectibles; just make sure to track what you’re picking up so you don’t get lost.
Warning: Some chapters will complete early; meaning you will see the End of Chapter screen and its respective trophy will unlock. However, this doesn’t mean the chapter as actually ended just quite yet so make sure to follow along with this guide carefully to ensure you don’t skip collectibles in a chapter by scrolling past them when you see the End of Chapter screen.
Most collectibles have trophies associated with them for either finding a portion of them, all of them, or only one of them. These collectibles are: Words of Power (27 in total but only 1 is needed), Koskela TV Commercials (6 in total), Writer’s Journey Videos (8 in total), Nursery Rhyme Dolls (13 in total), Weapons (8 in total, 4 for each character), Nursery Rhyme Puzzles (17 in total. You will also get a trophy for solving 5 of them), Cult Stashes and Lunch Boxes (43 in total. 22 are Cult Stashes, 21 are Lunch Boxes), and Charms (14 in total).
Lastly, there are 12 Deer Heads to find, however, these don’t have any trophies associated with them. It’s recommended to still collect them as they give Saga bonus supplies.
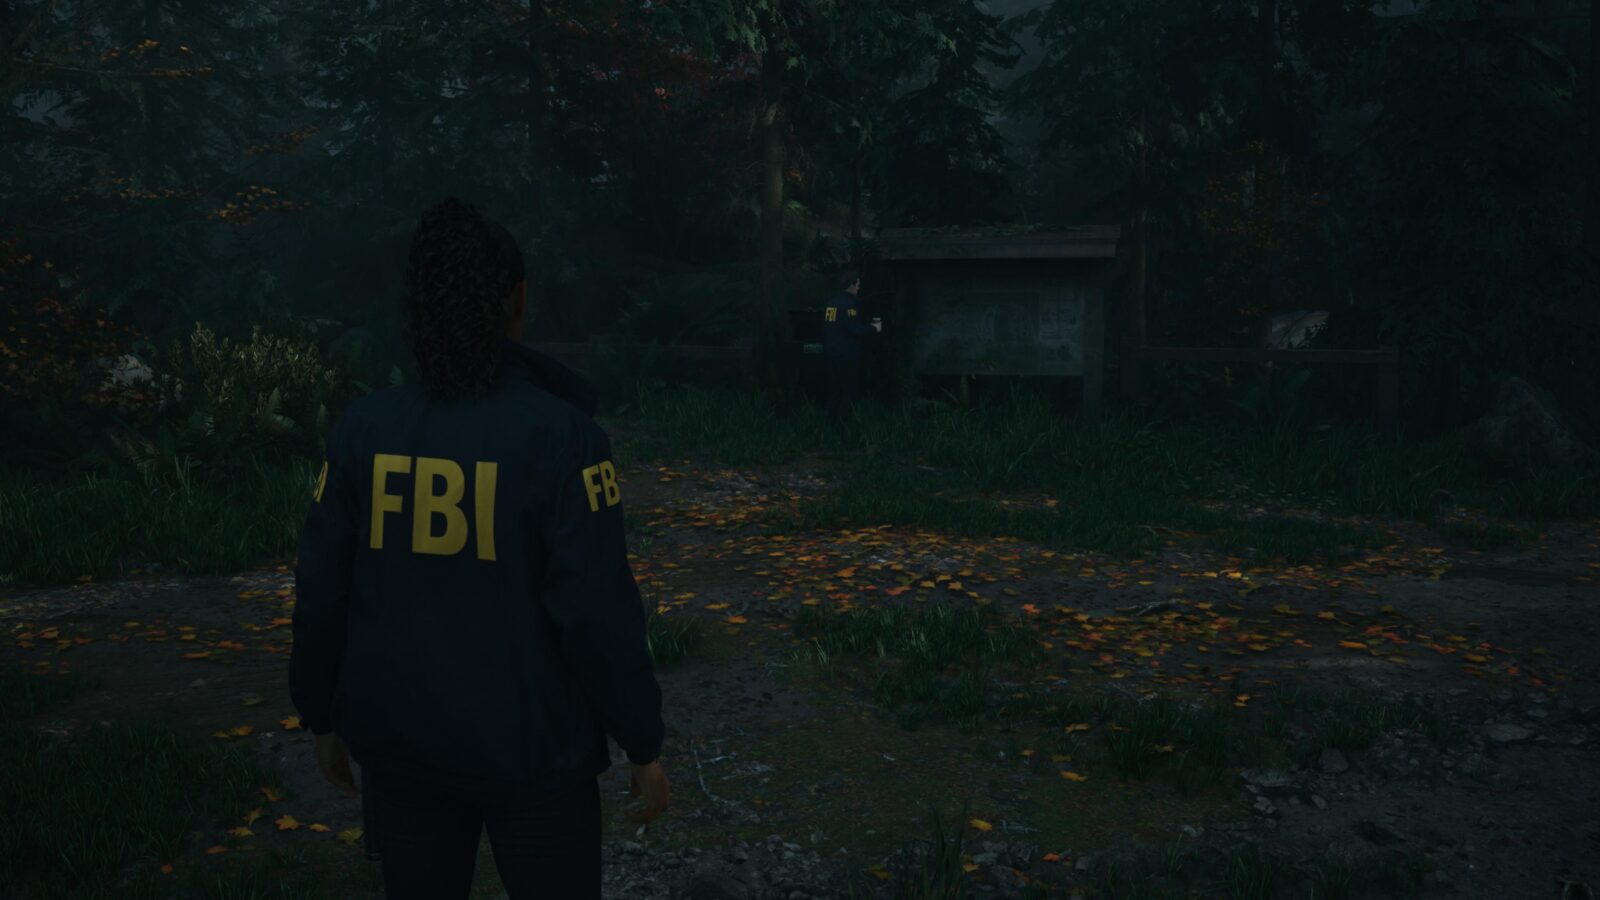
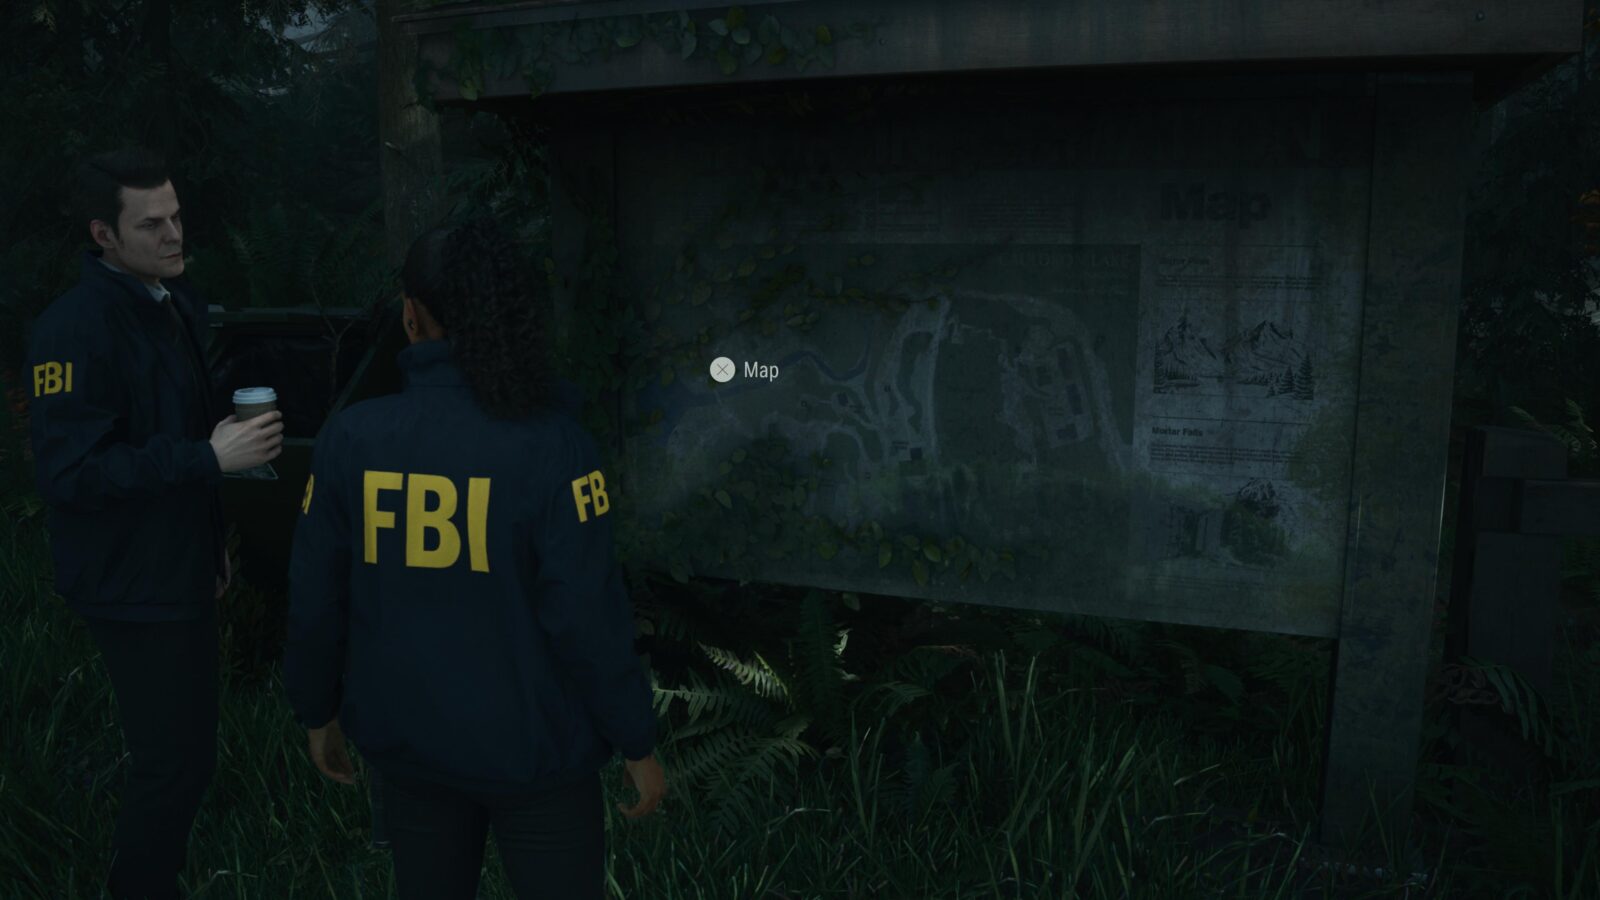
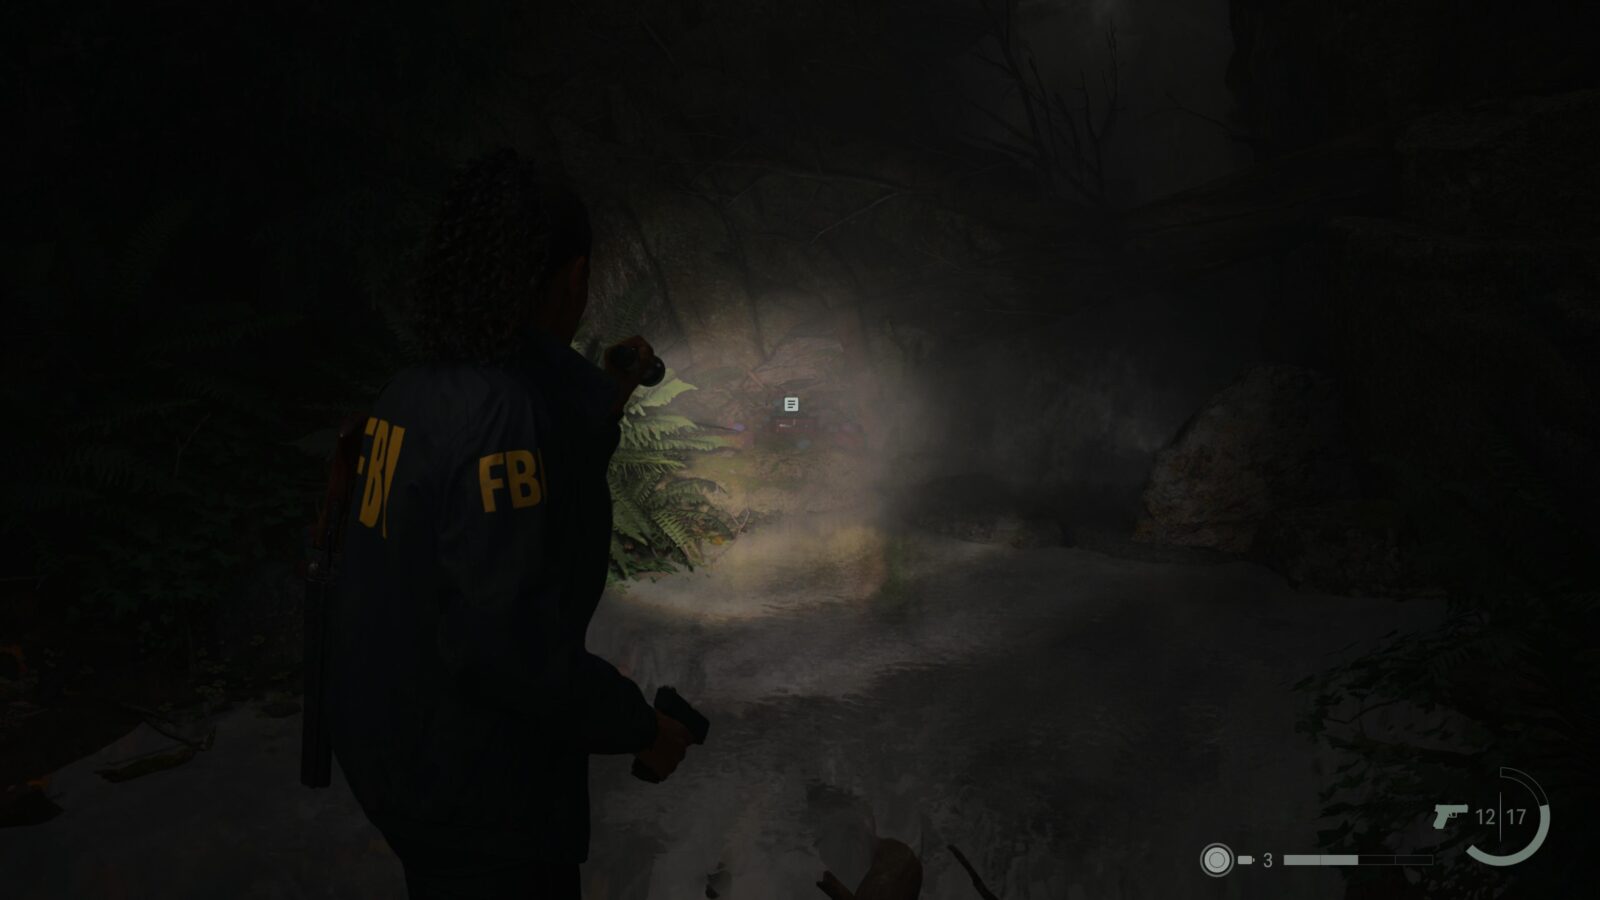
Return 1: Invitation
Map - Cauldron Lake, Campgrounds.
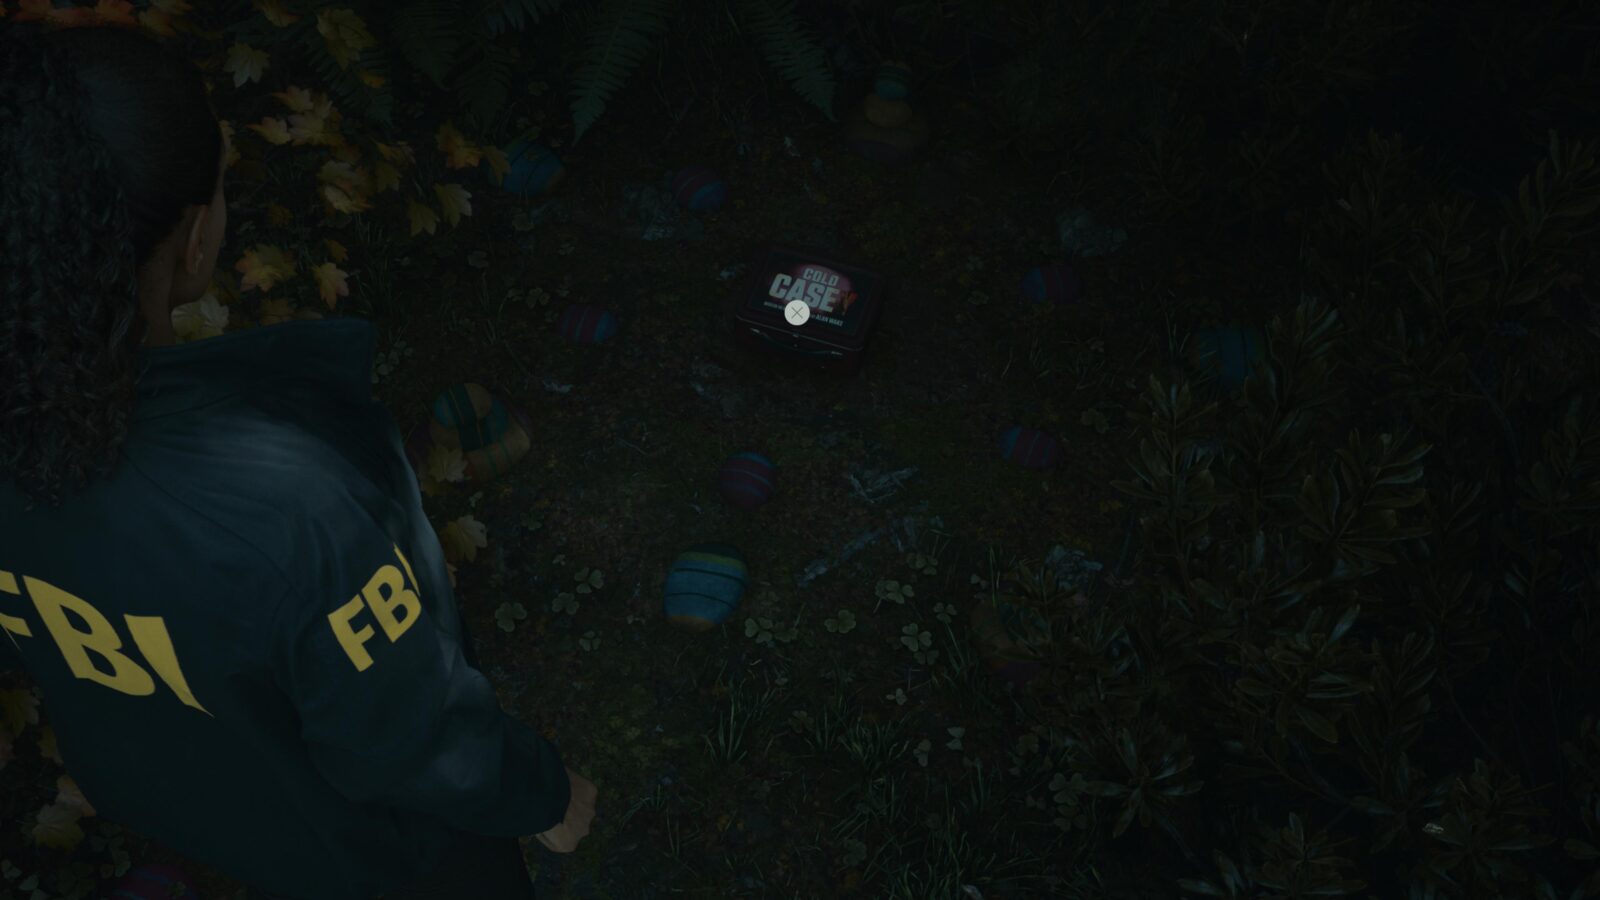
As soon as you take control of Saga Anderson walk forward towards Casey and press ![]() on the map he’s stood next to.
on the map he’s stood next to.
Weapon #1 - Pistol (unmissable)
This weapon is already in Saga’s possession.
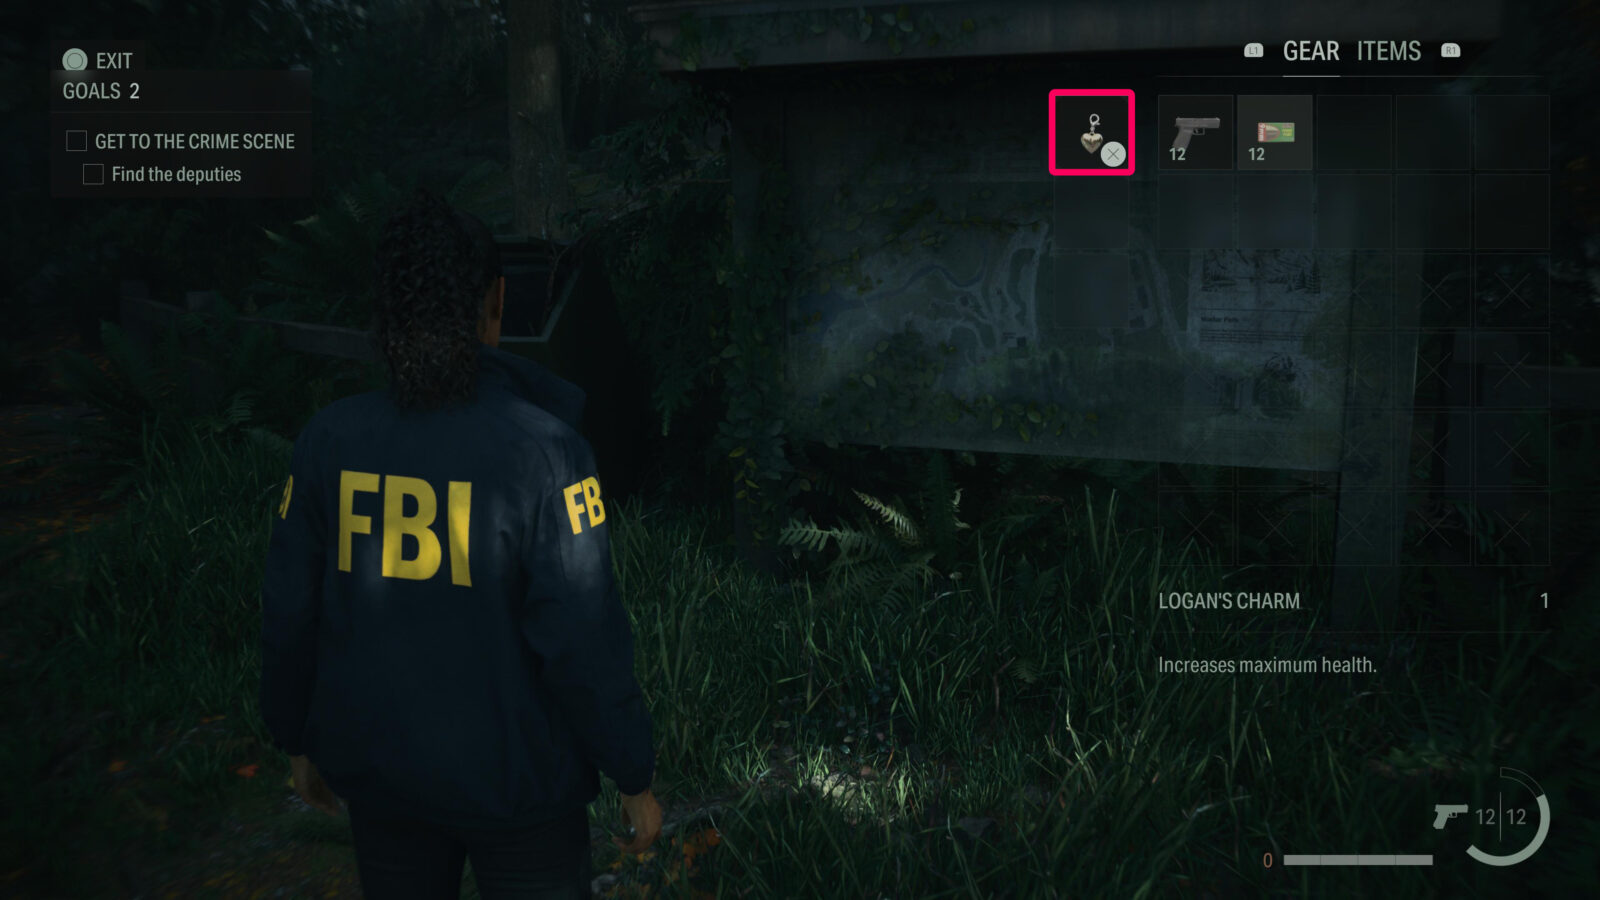
Charm #1 - Logan's Charm (unmissable)
This charm is already in Saga’s possession at the start of Return 1: Invitation.
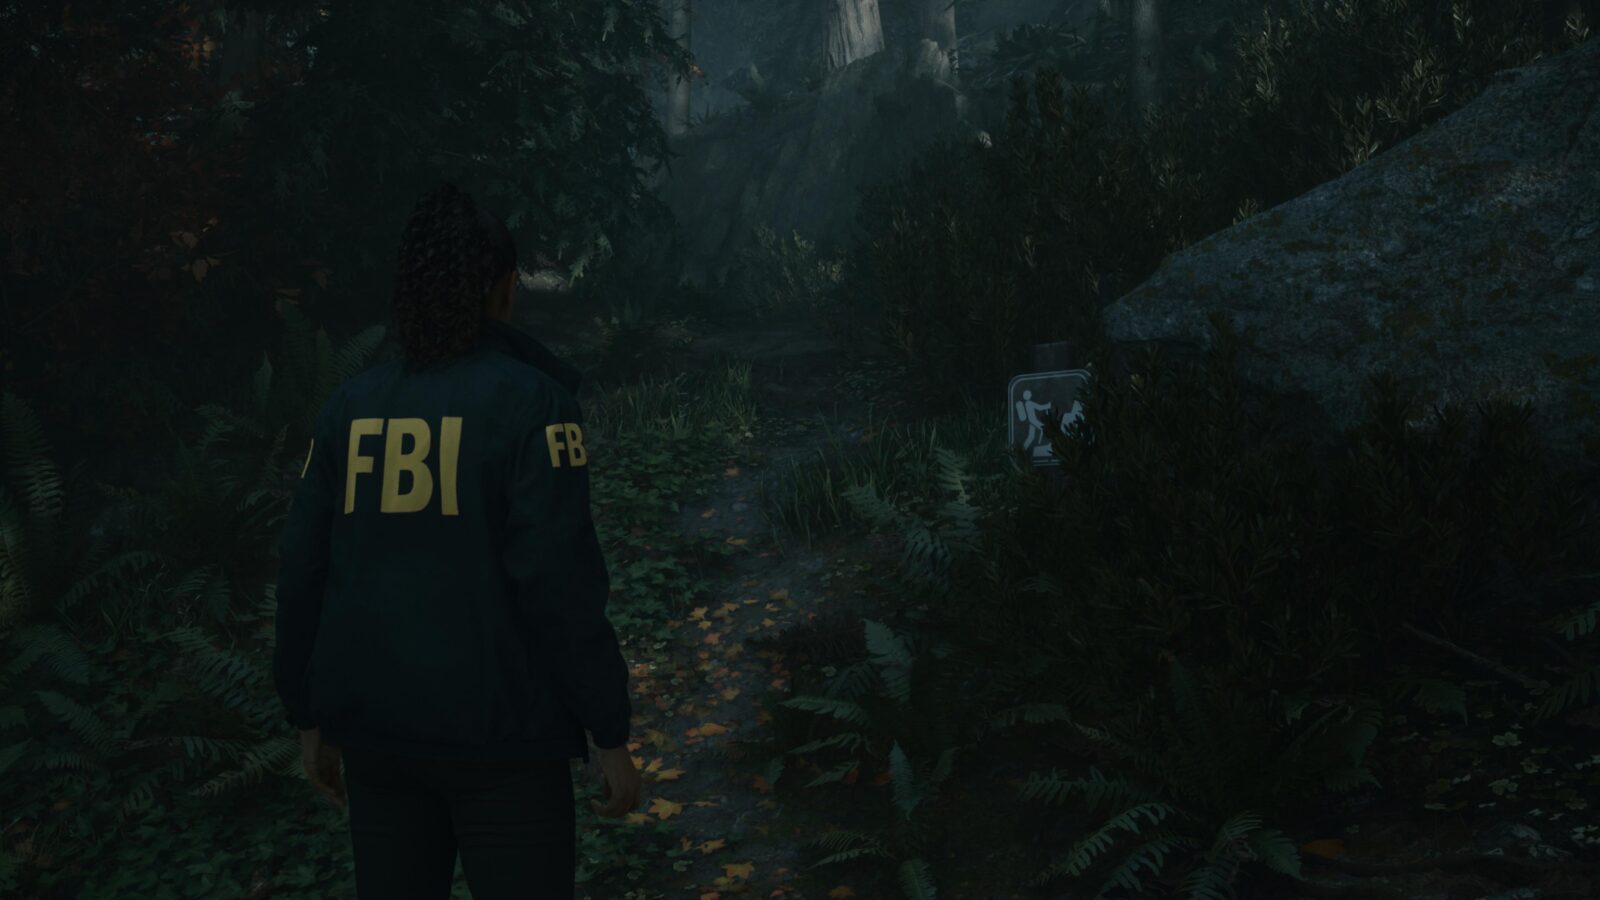
Lunch Box #1
After talking to Officer Mulligan you will crawl under a broken fence and follow a trail down some wooden steps. At the bottom you will cross a wide dirt road onto a smaller trail. Immediately to your right will be a large rock with a sign depiction another tail you can take up to a viewing platform with a sign for “Mortar Falls”. On the platform by some bushes is a lunch box with 2 Manuscript Fragments inside.
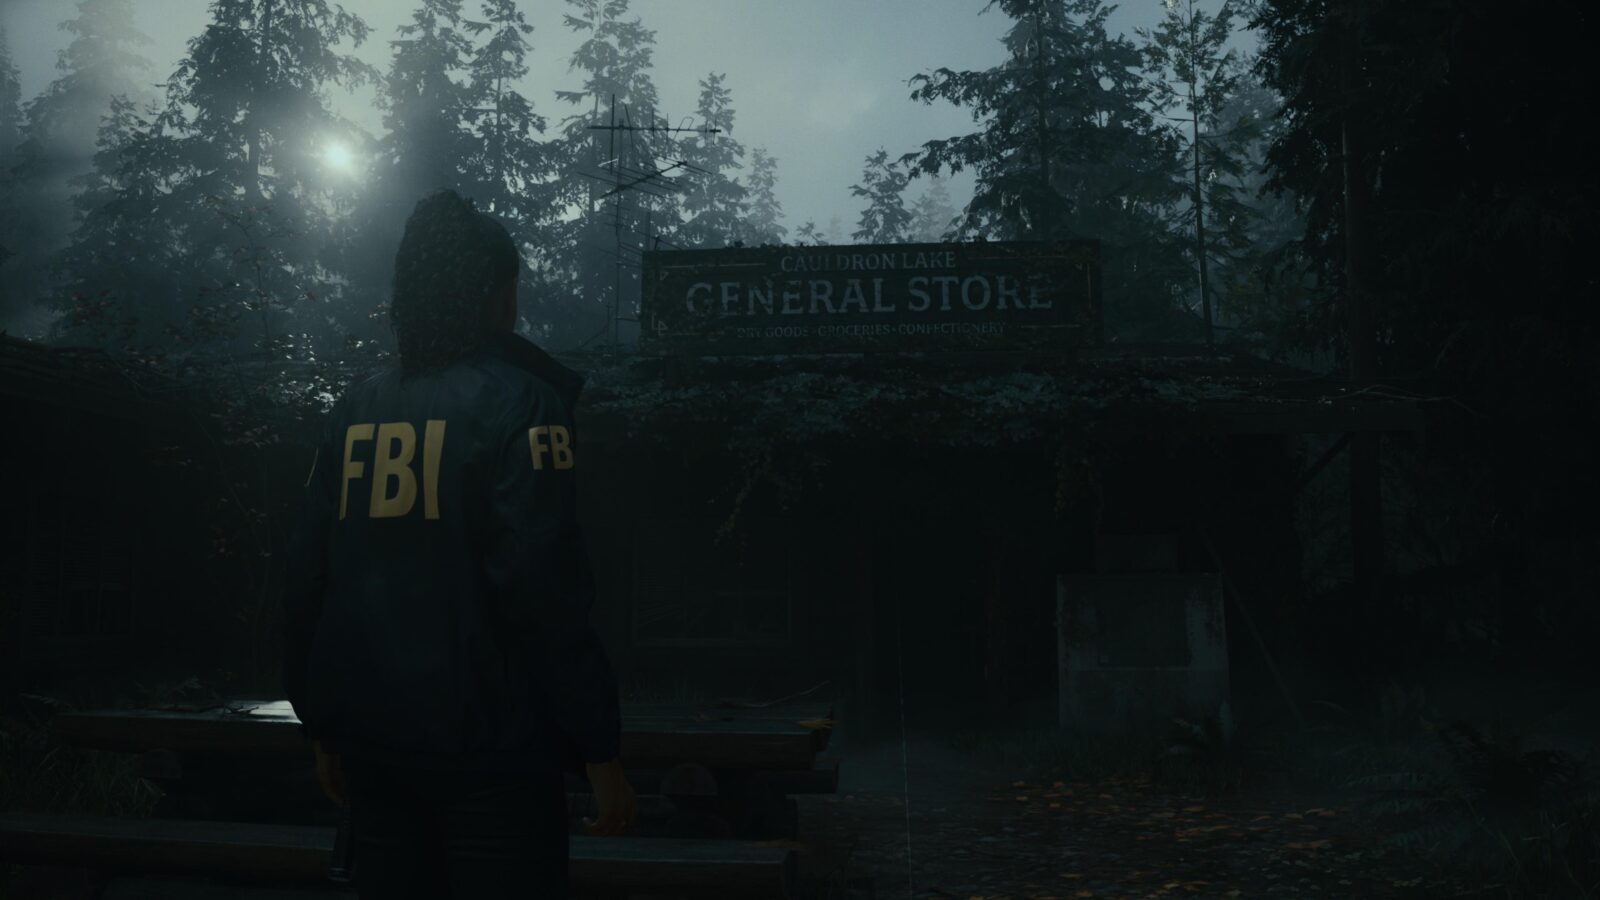
Lunch Box #2
When you are standing outside the General Store head to your left to find a trail that leads all the way to a blockage (fallen trees) in the road. On the ground to the left of the blockage is another Lunch box with 1 Manuscript Fragment.
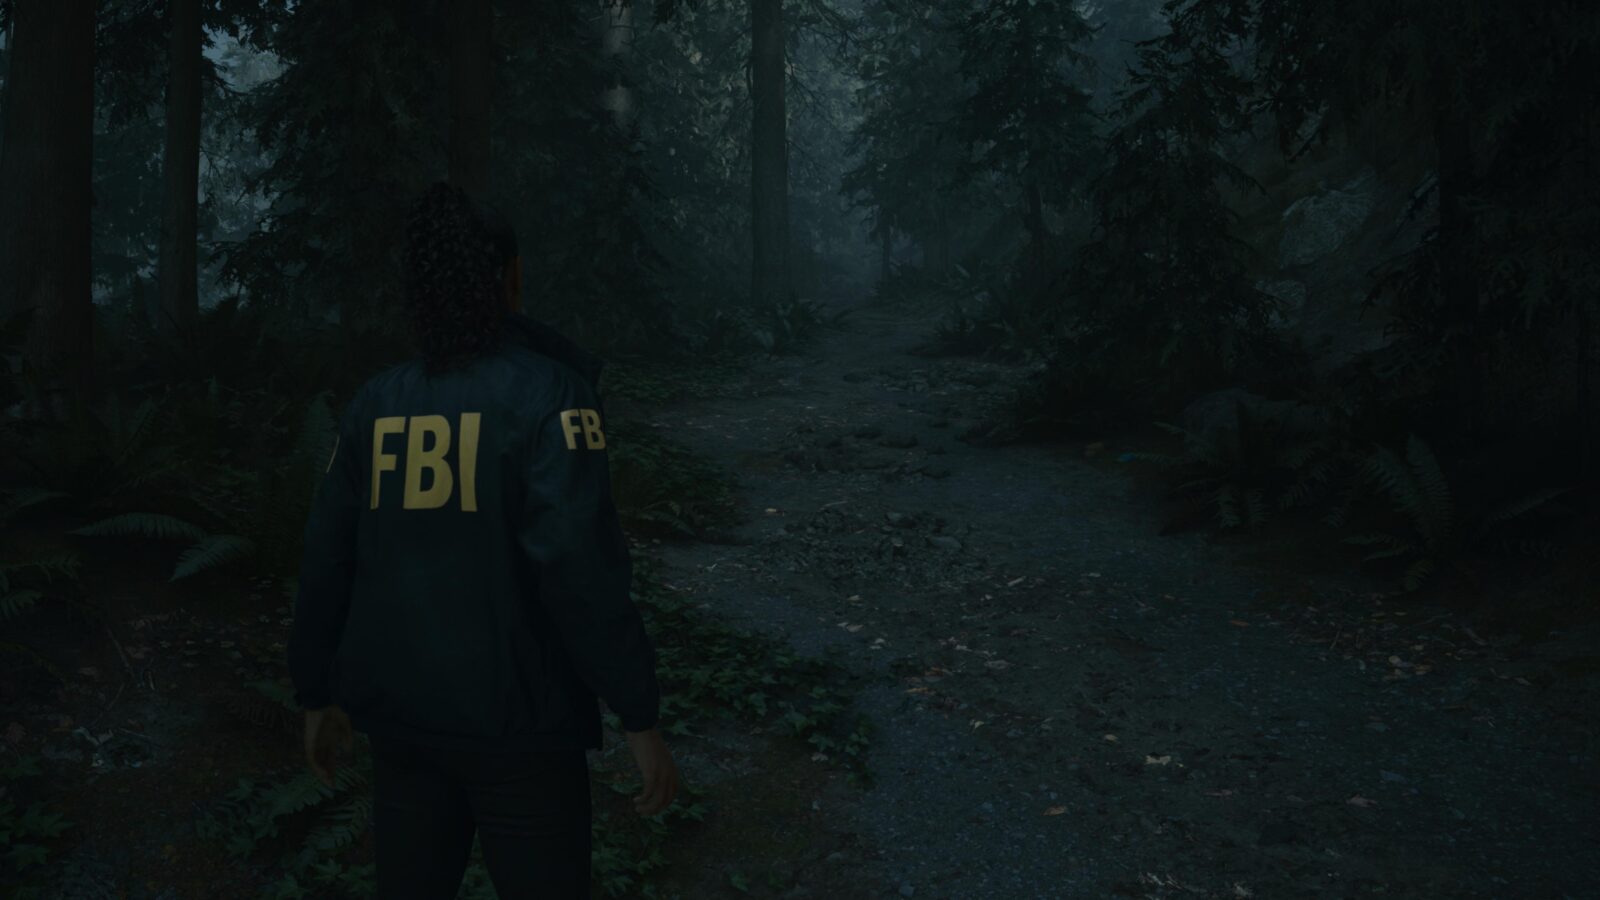
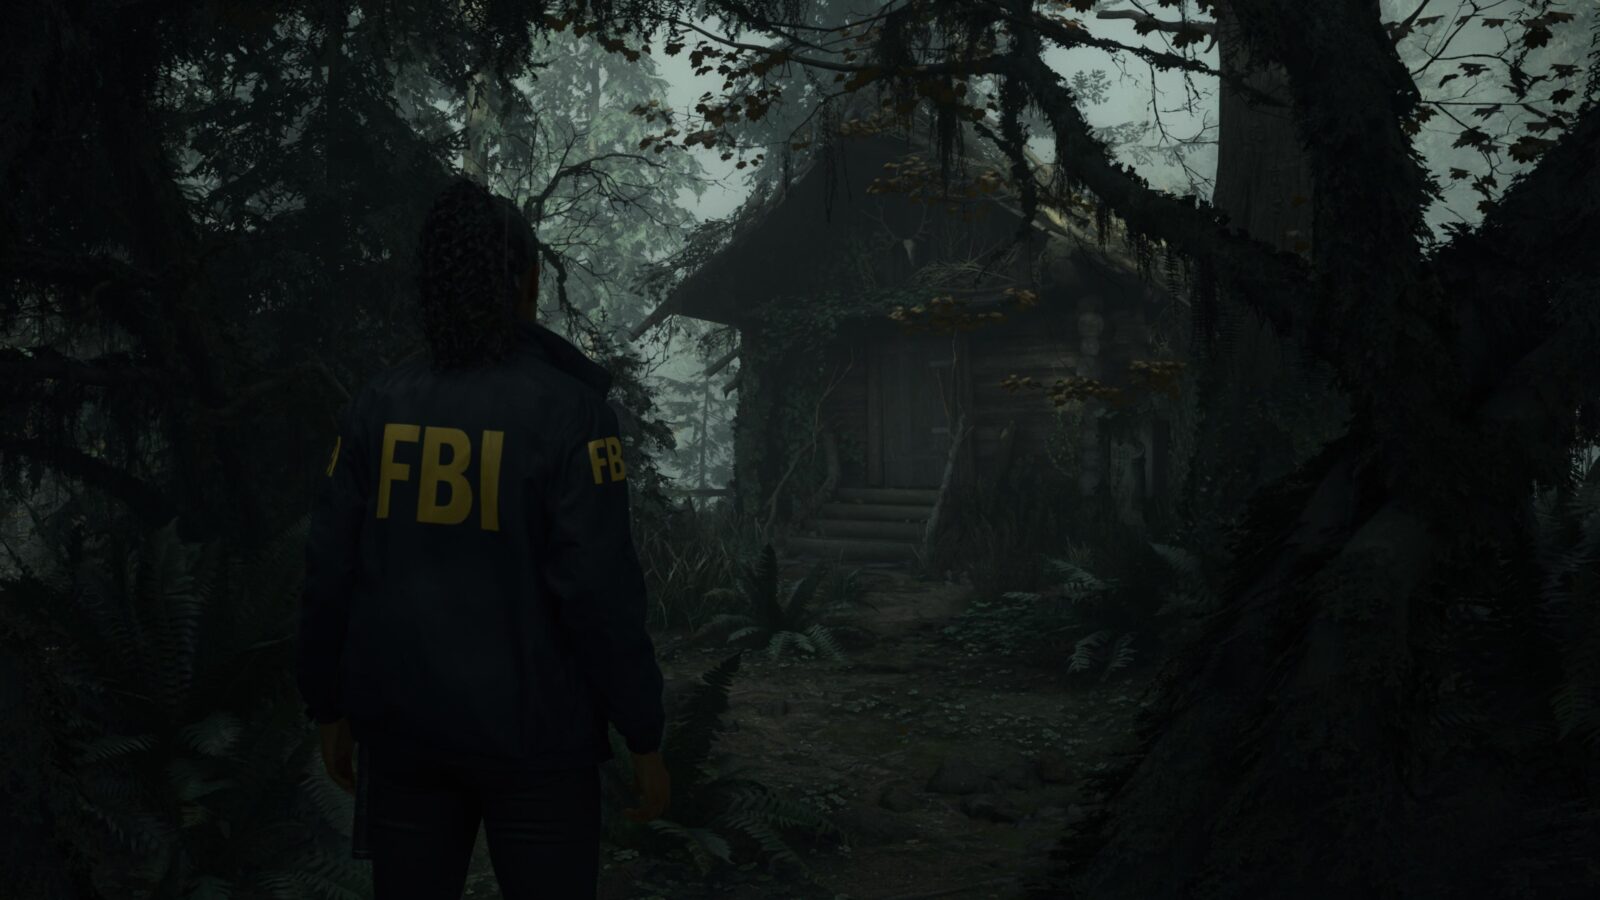
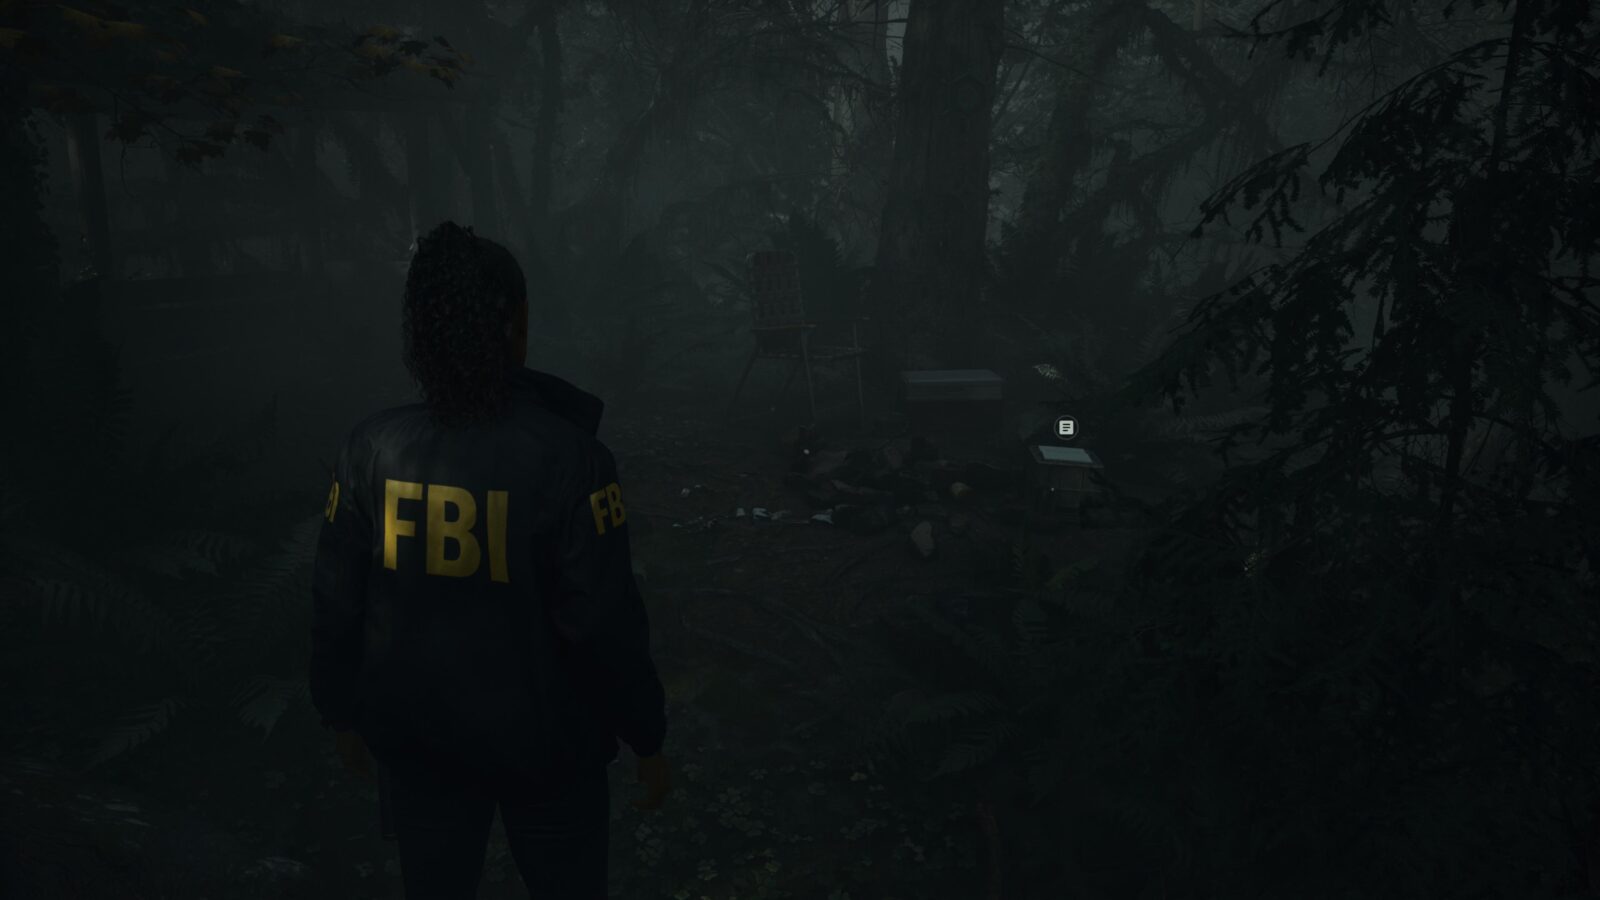
Lunch Box #3
Go back to the front of the General Store and look for a small trail to your right that leads to the Witch’s Hut (check your map). To the left of the Witch’s hut is a small bridge that takes you to a single camping chair. Stand in front of the camping chair and look in the direction it’s pointing to find another lunch box with 1 Manuscript Fragment inside.

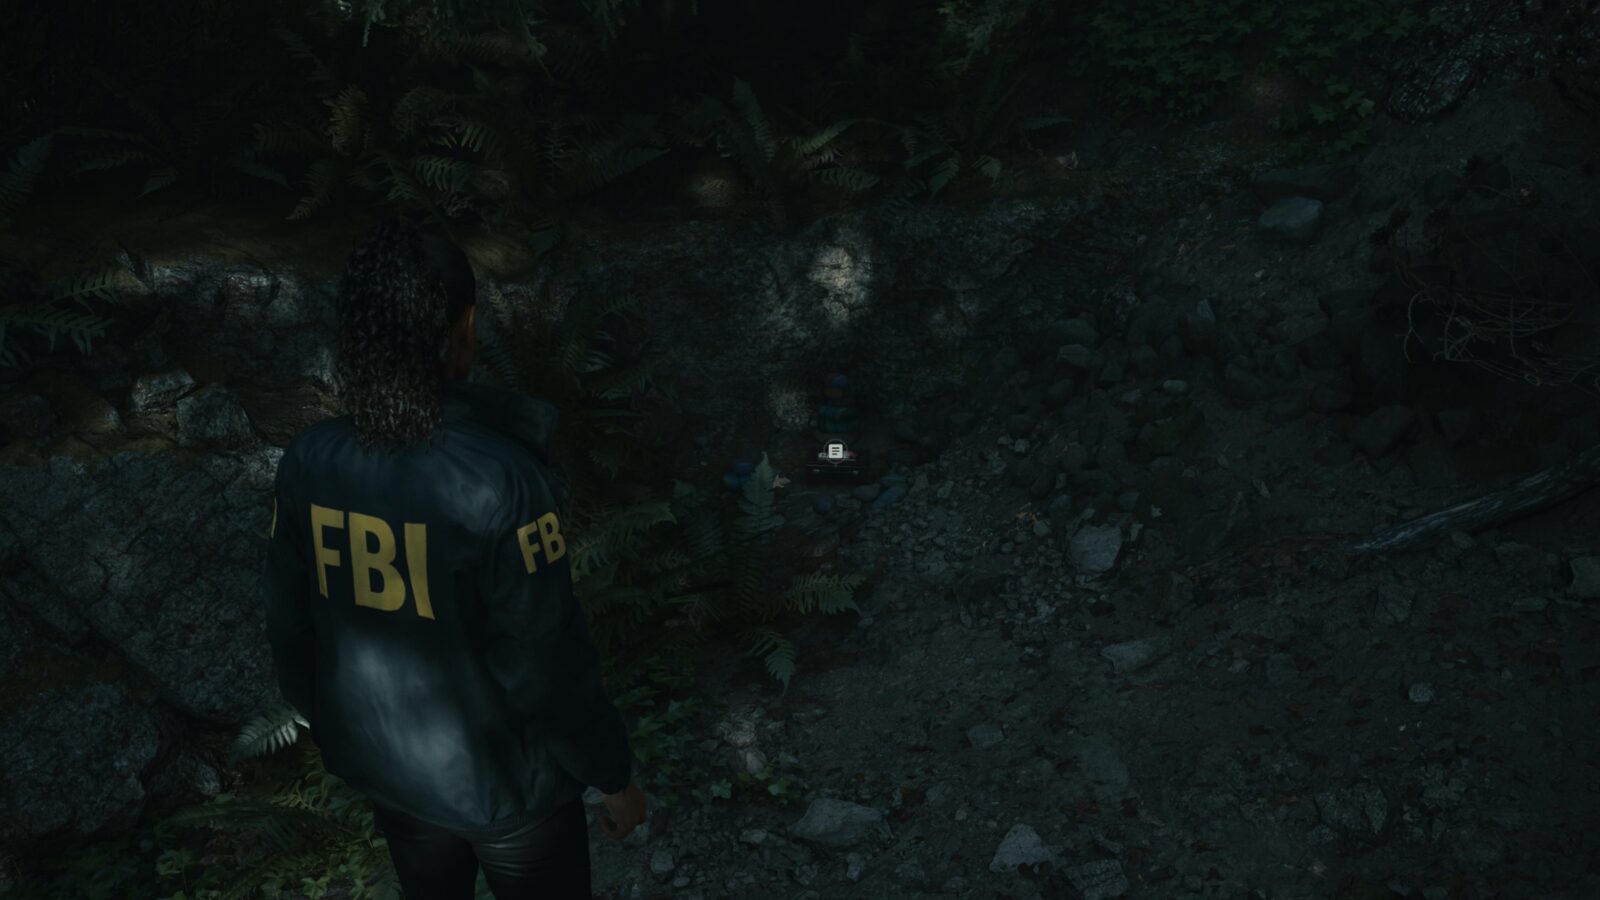
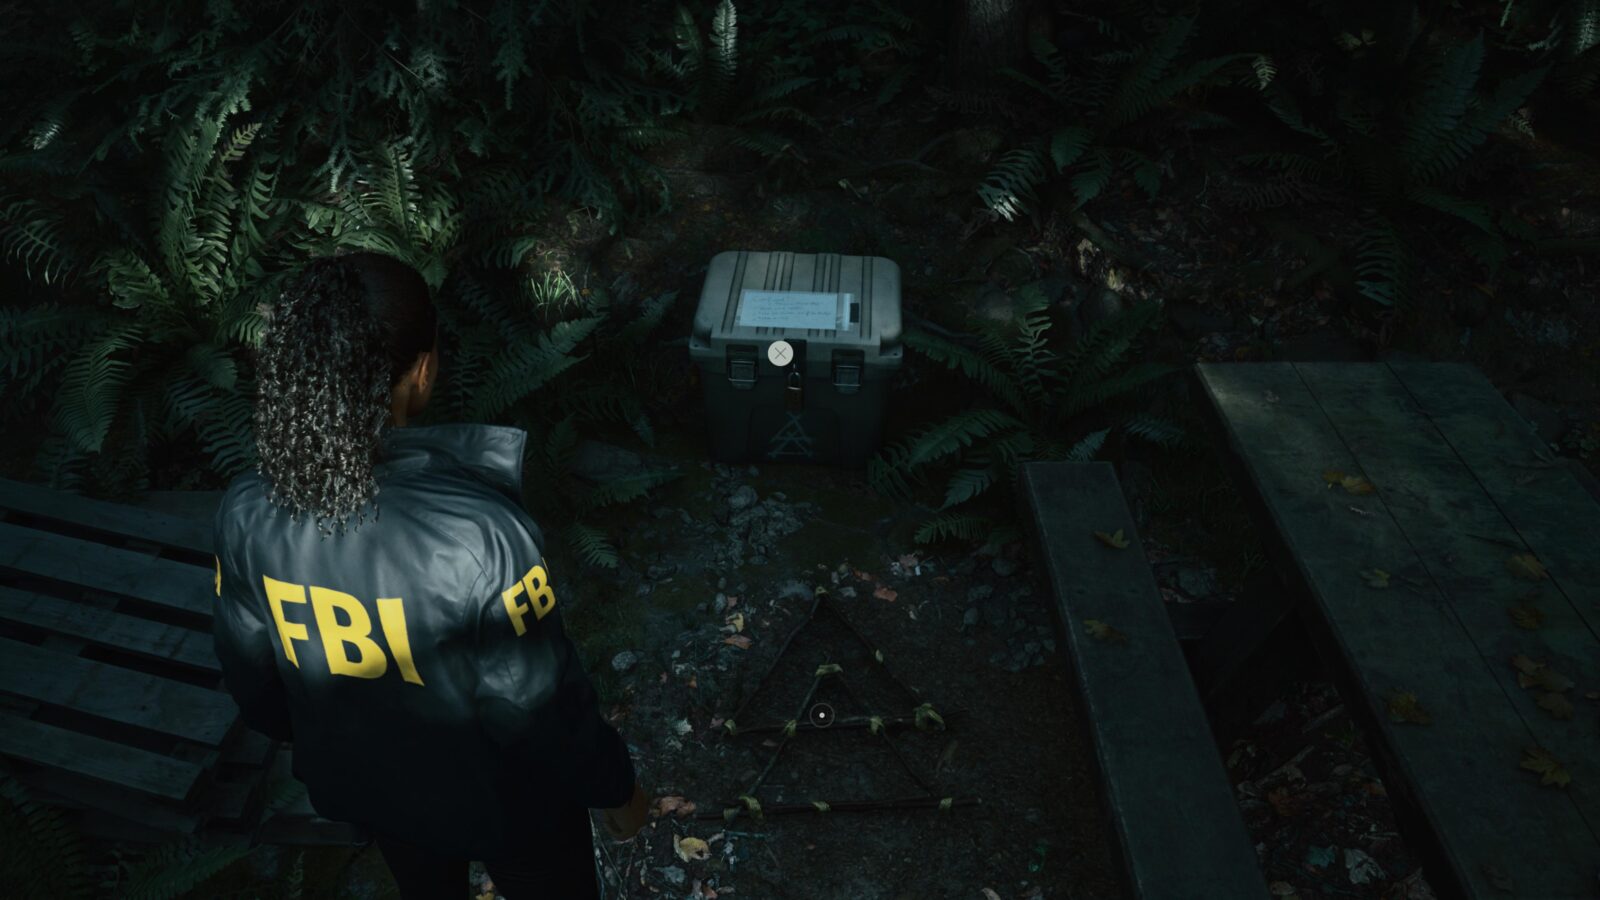
Cult Stash #1
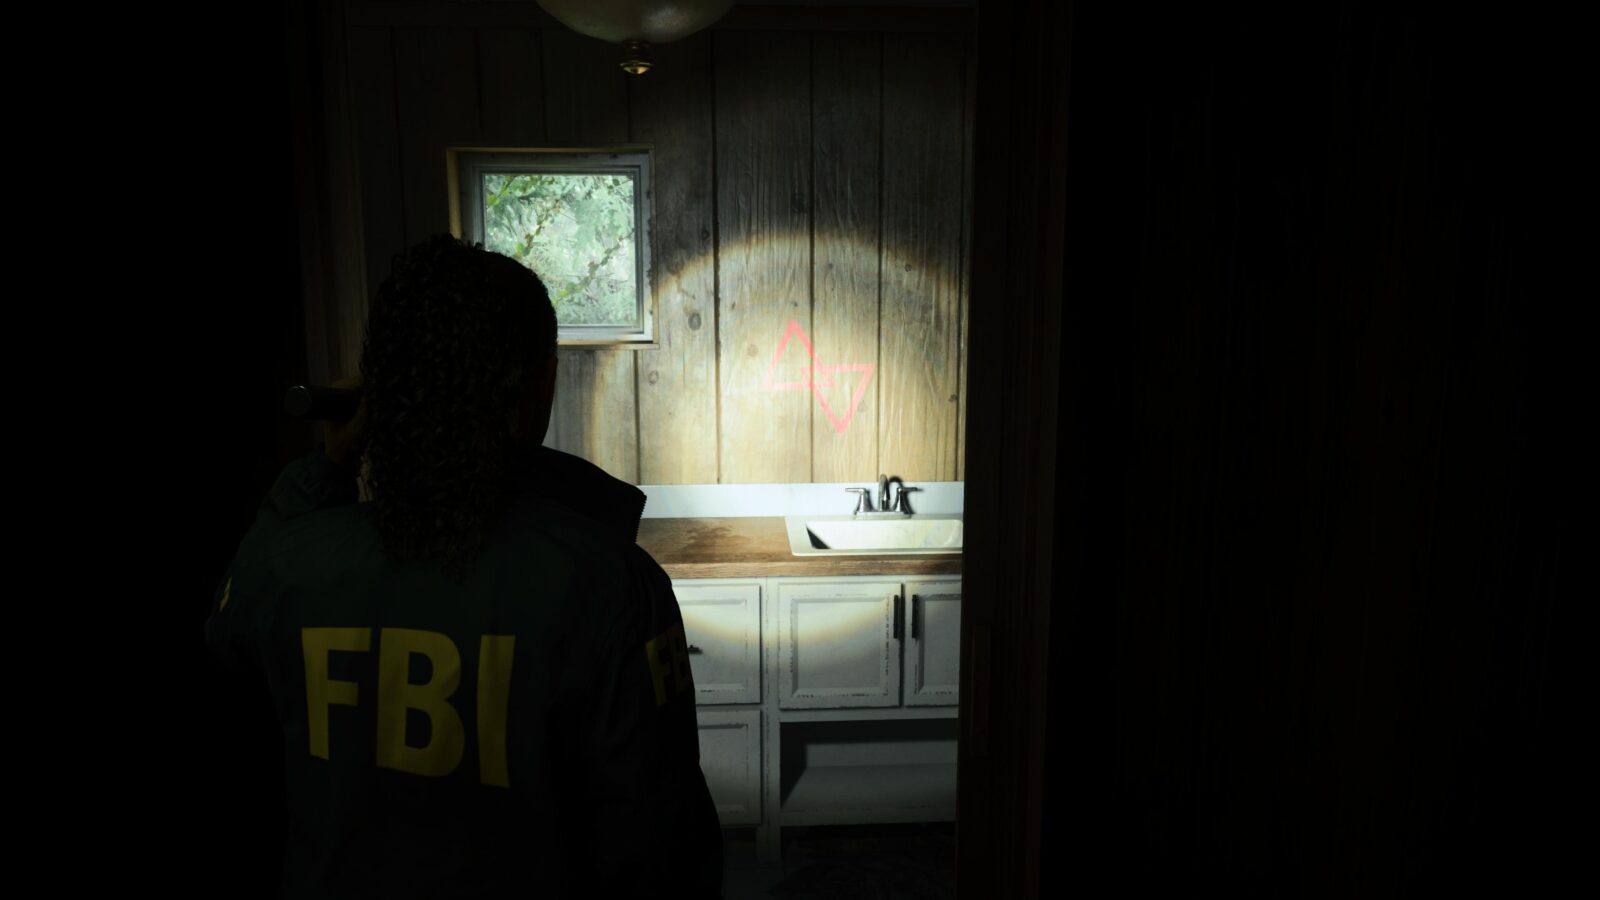
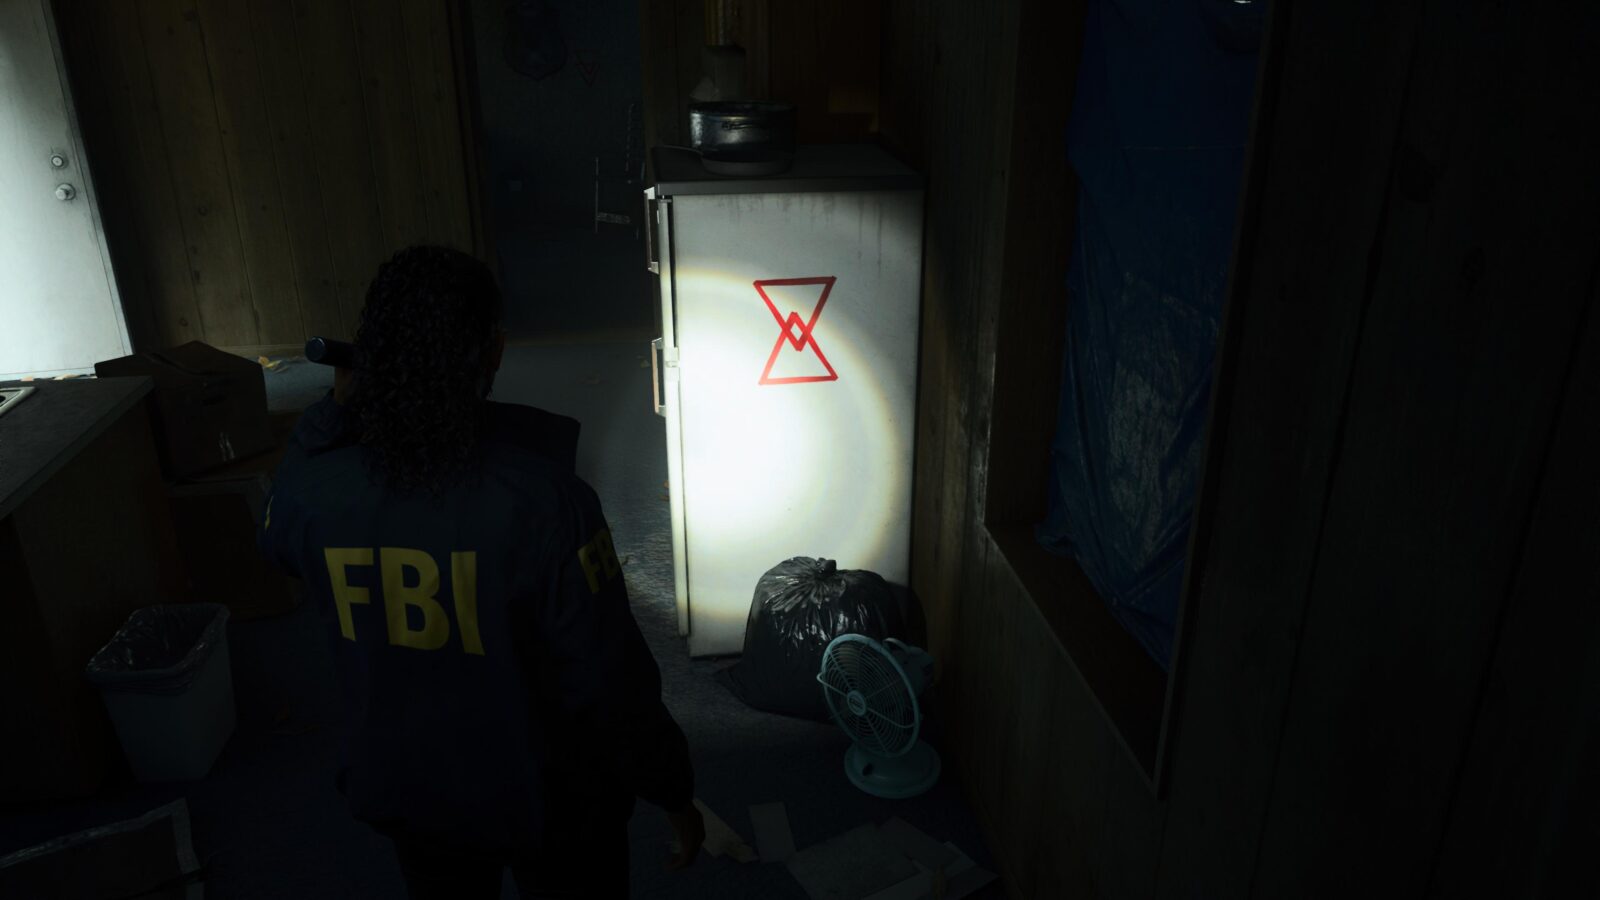
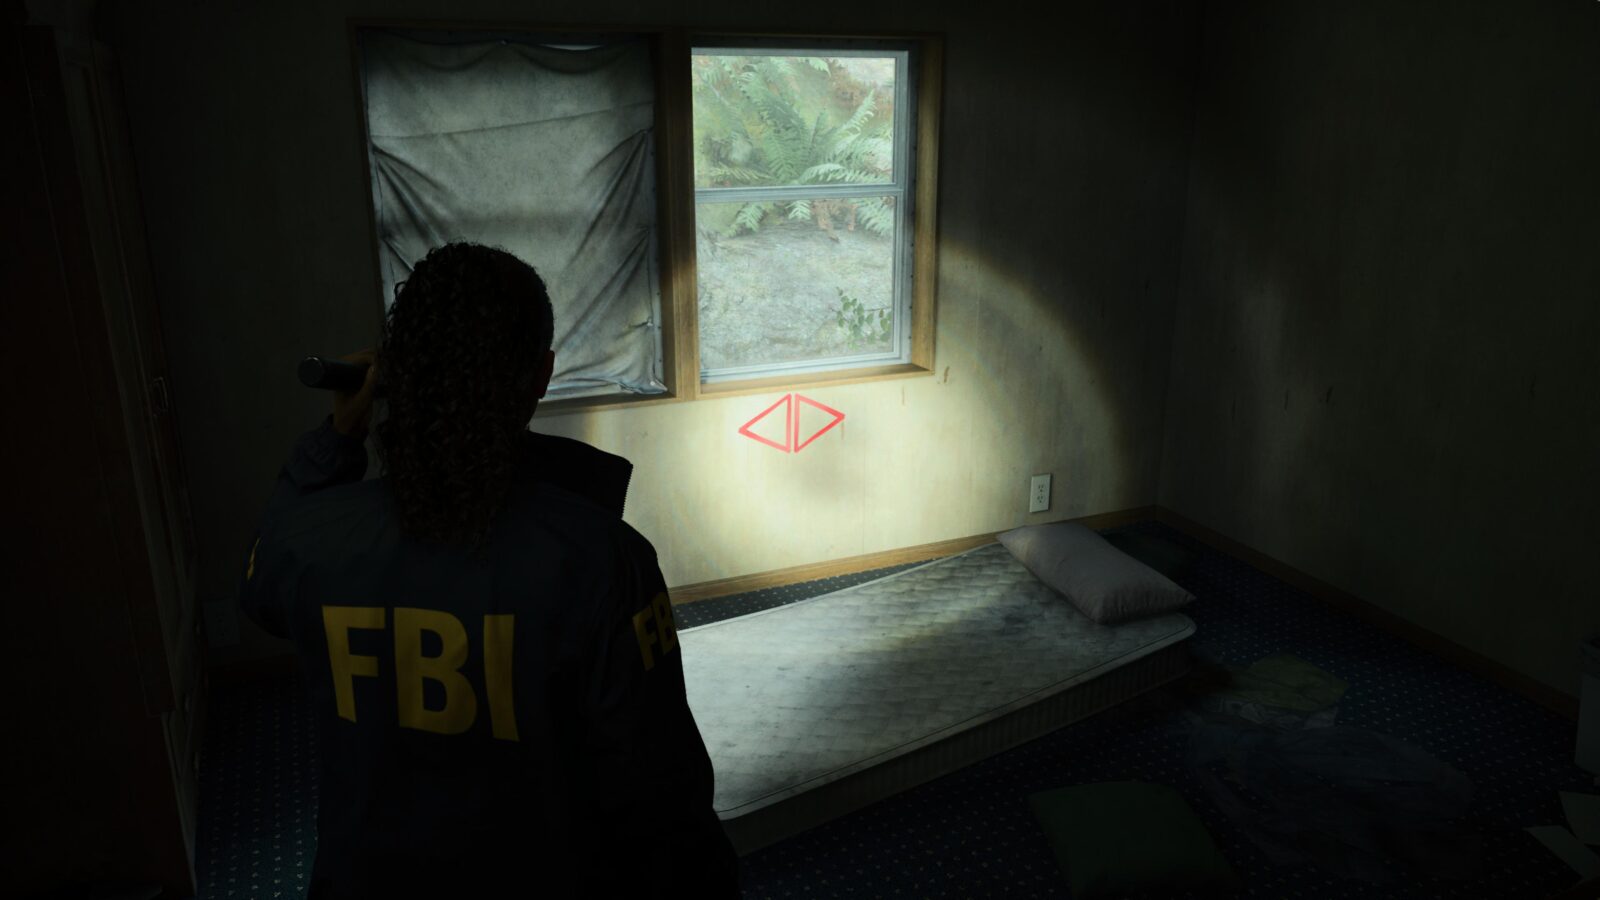
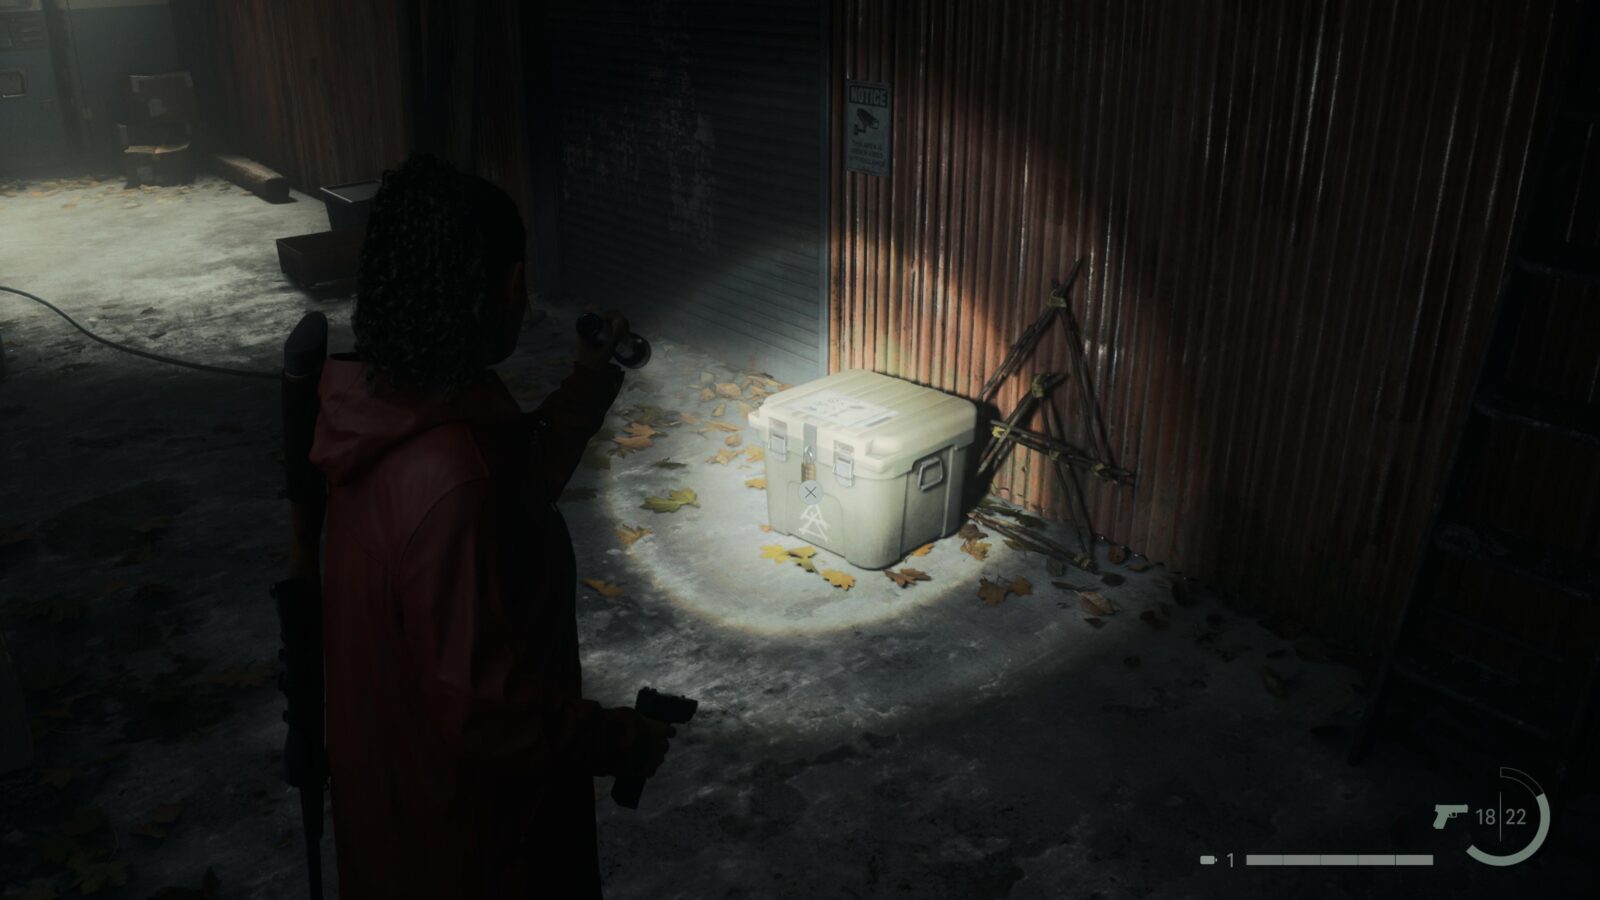
At the Crime Scene you will see a body on a table. To the right of the body is a cabin hiding behind some trees. Outside the cabin is a stash box with a padlock and a cryptic note on top. The note tells you the combination for the padlock: “Wash your hands. Take the chicken out of the Fridge. Take a Nap”.
Spoilers! Click to Show
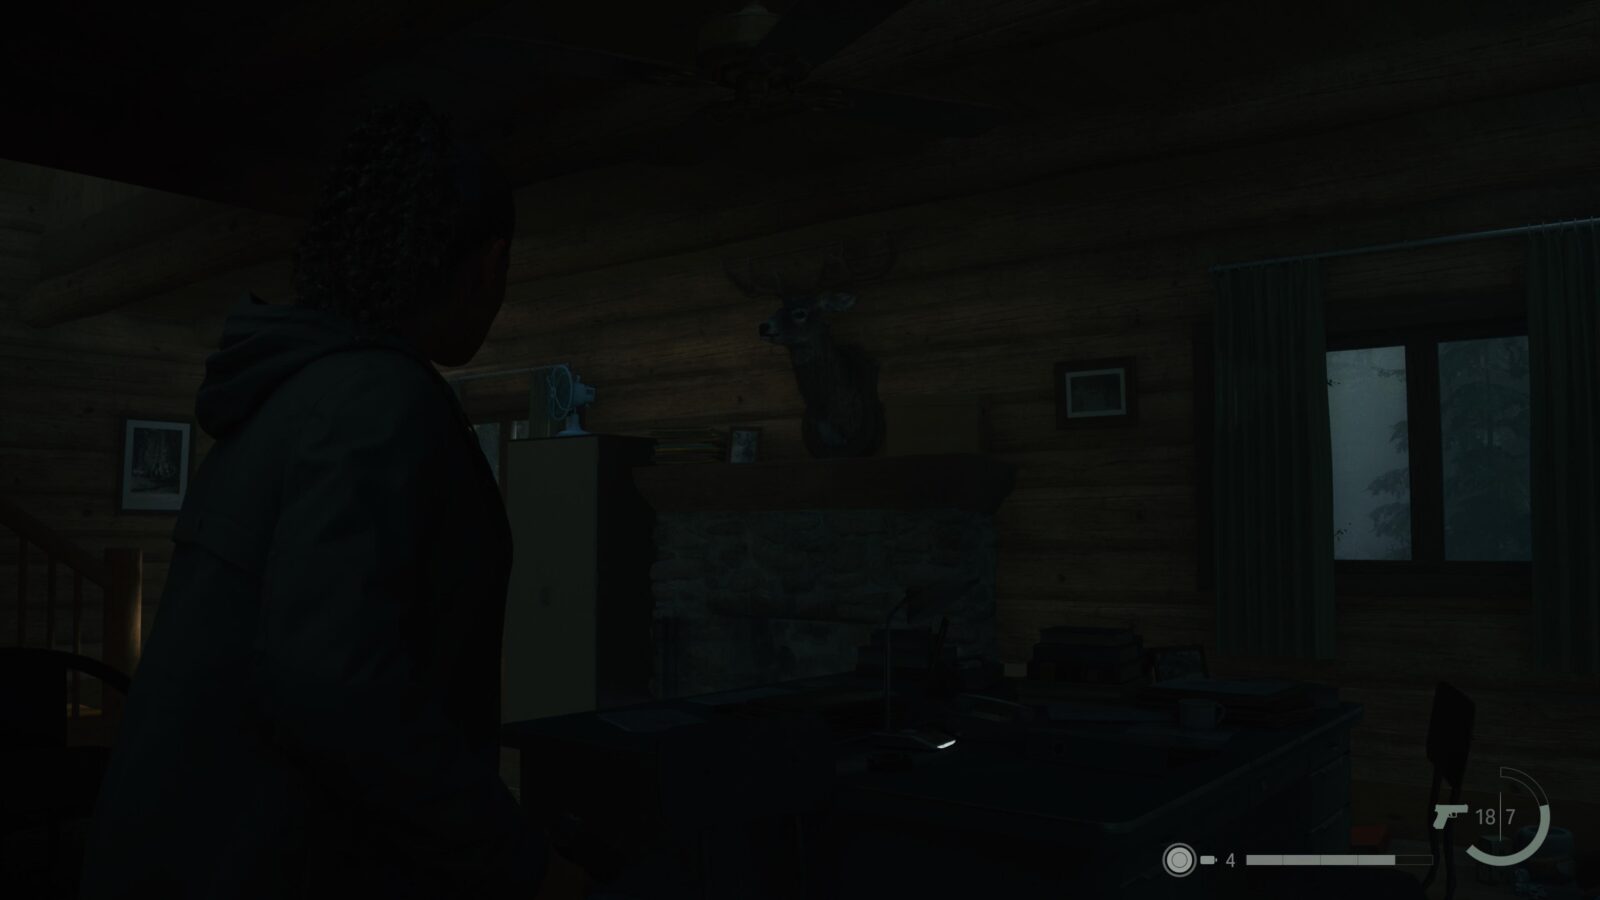
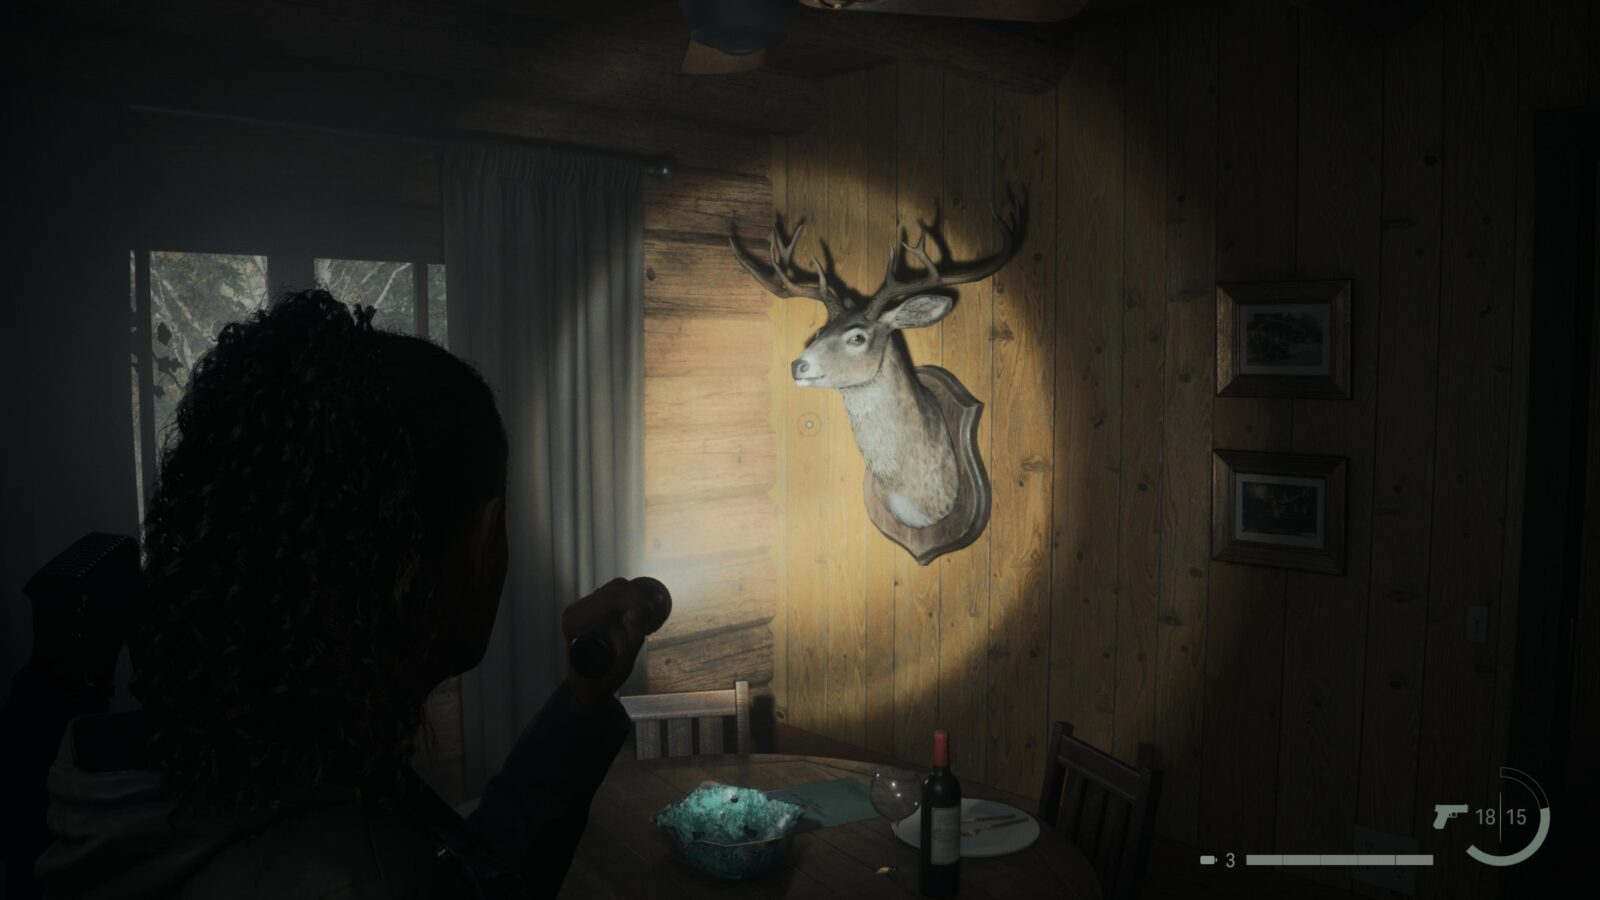
Deer Head #1
Inside the trailer where you found Cult Stash #1 is a room to the left when you enter. In that room is a Deer Head on the wall.
Lunch Box #4
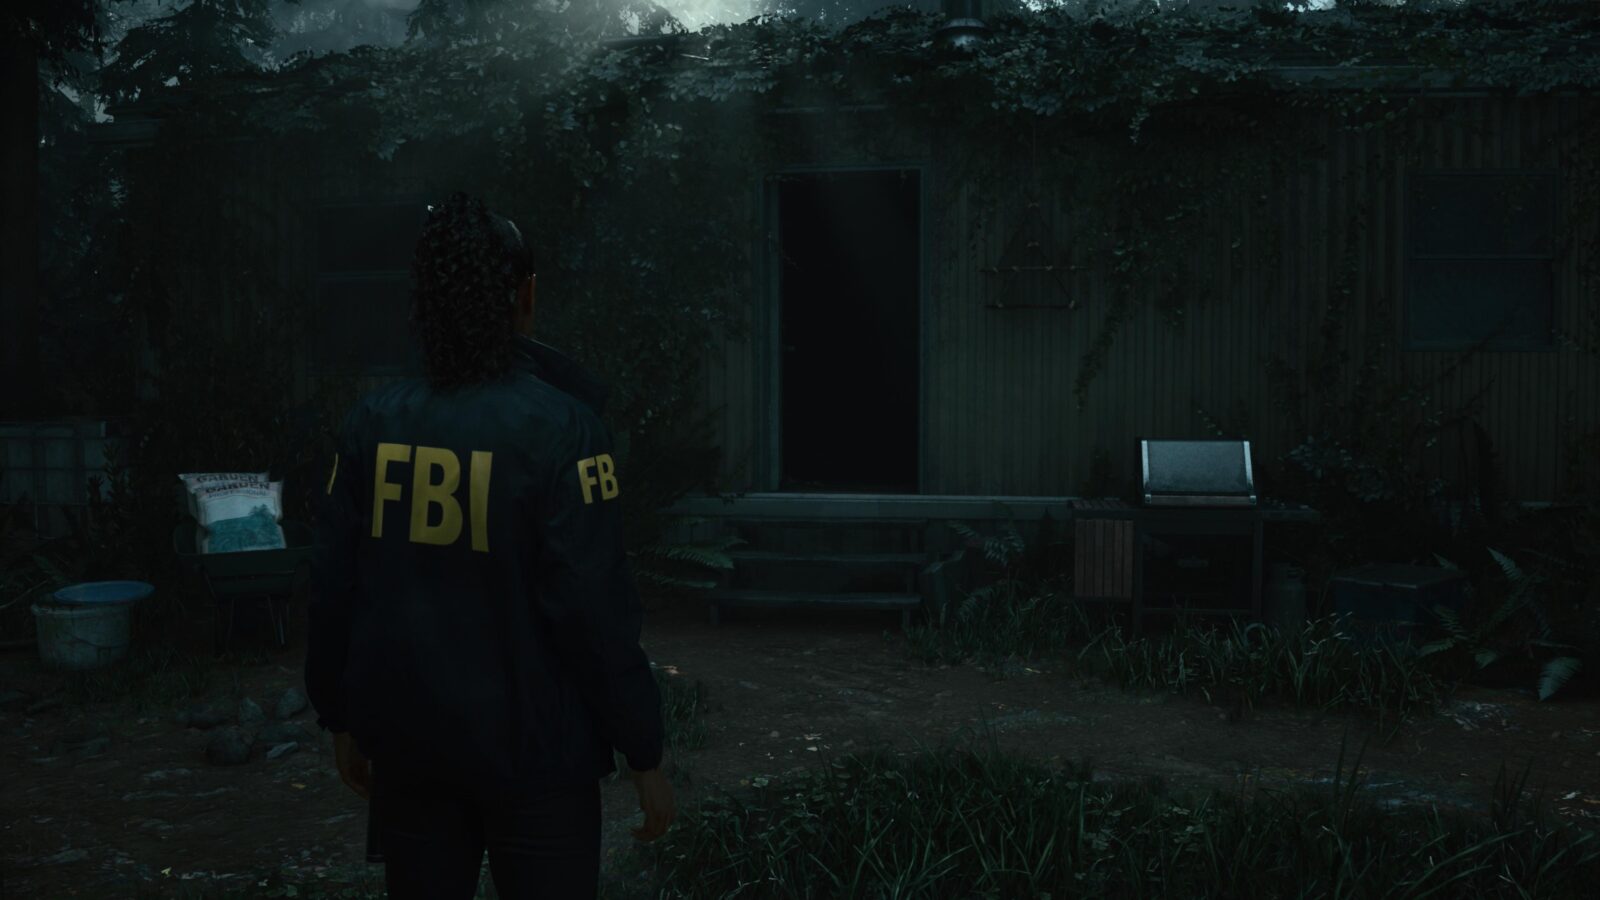
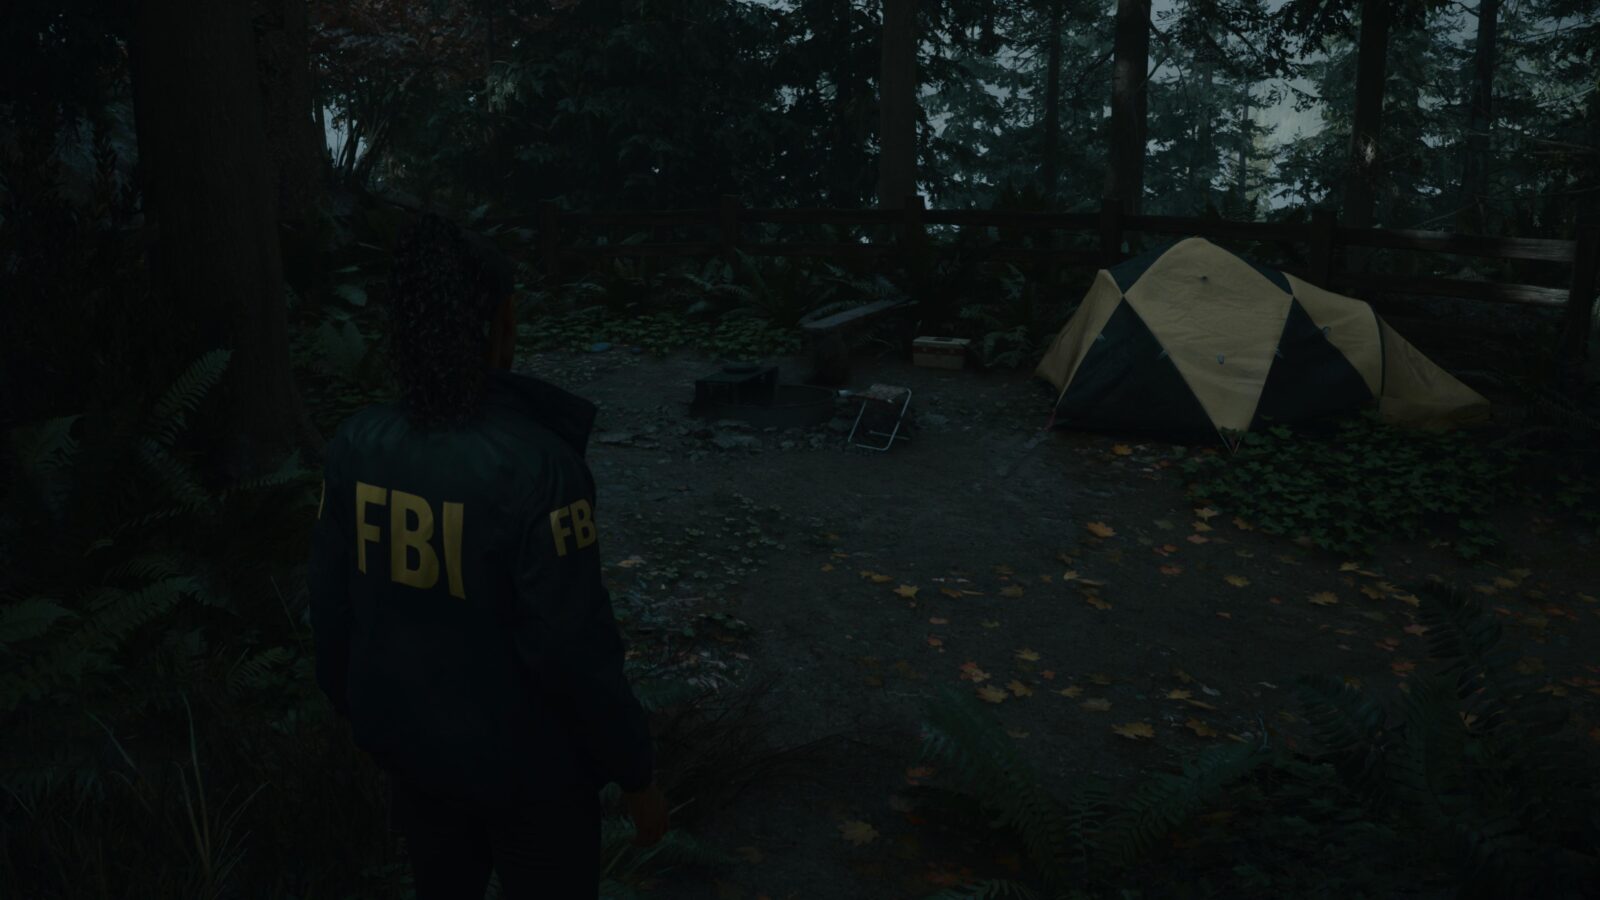
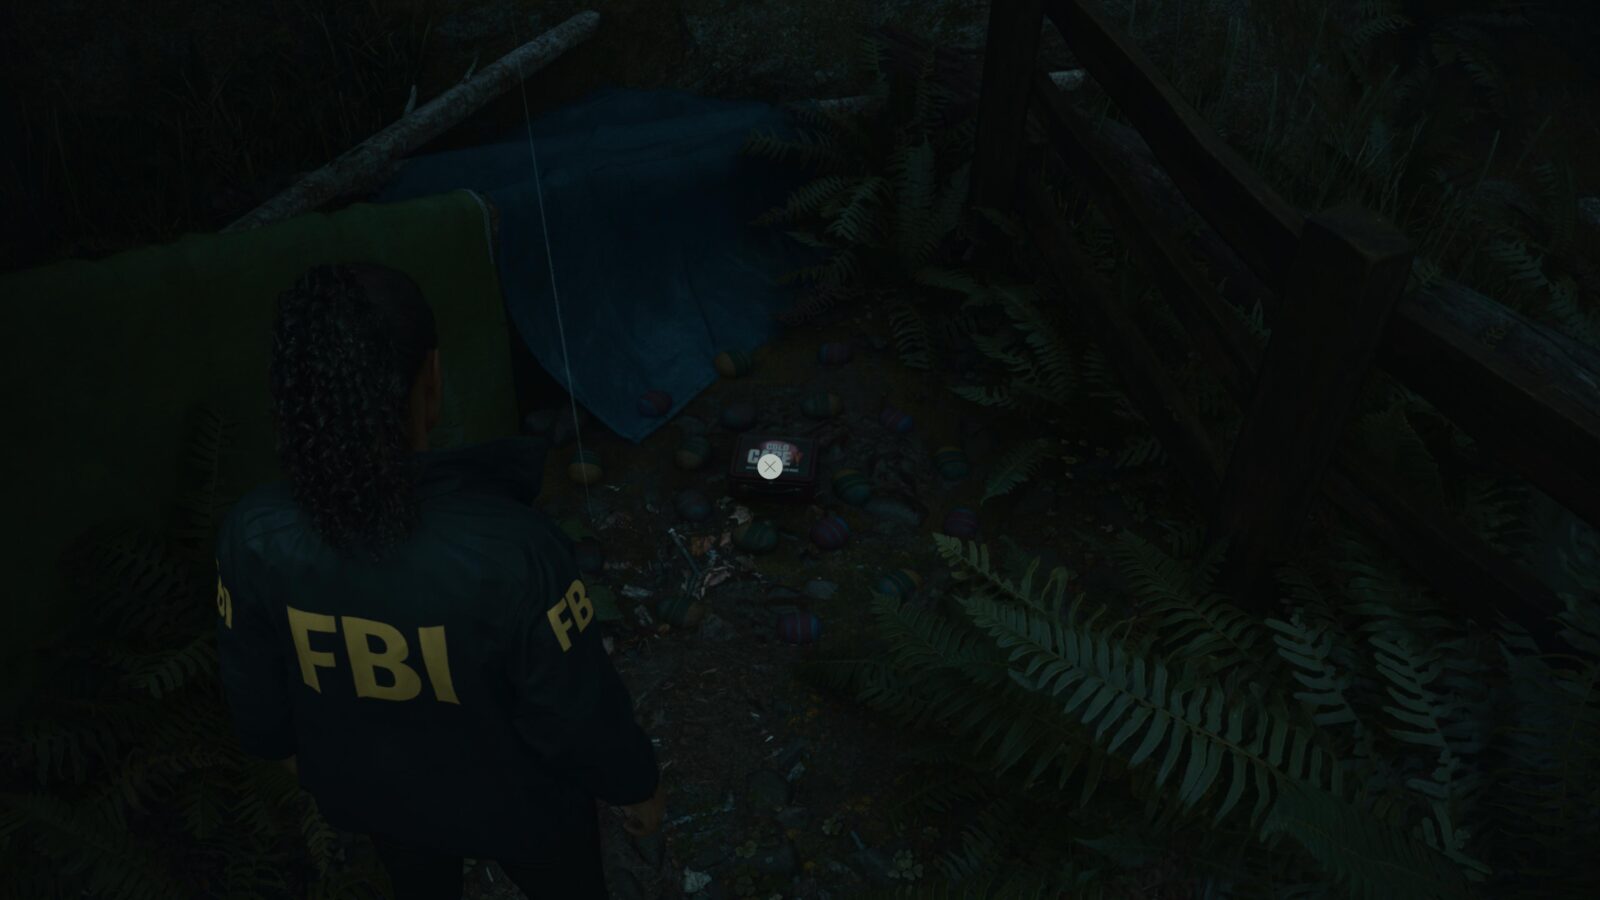
To the right of the cabin where you found Cult Stash #1 is a trail that leads to some tents. To the left of the tents is a makeshift shelter with a Lunch box to its right.
Lunch Box #5
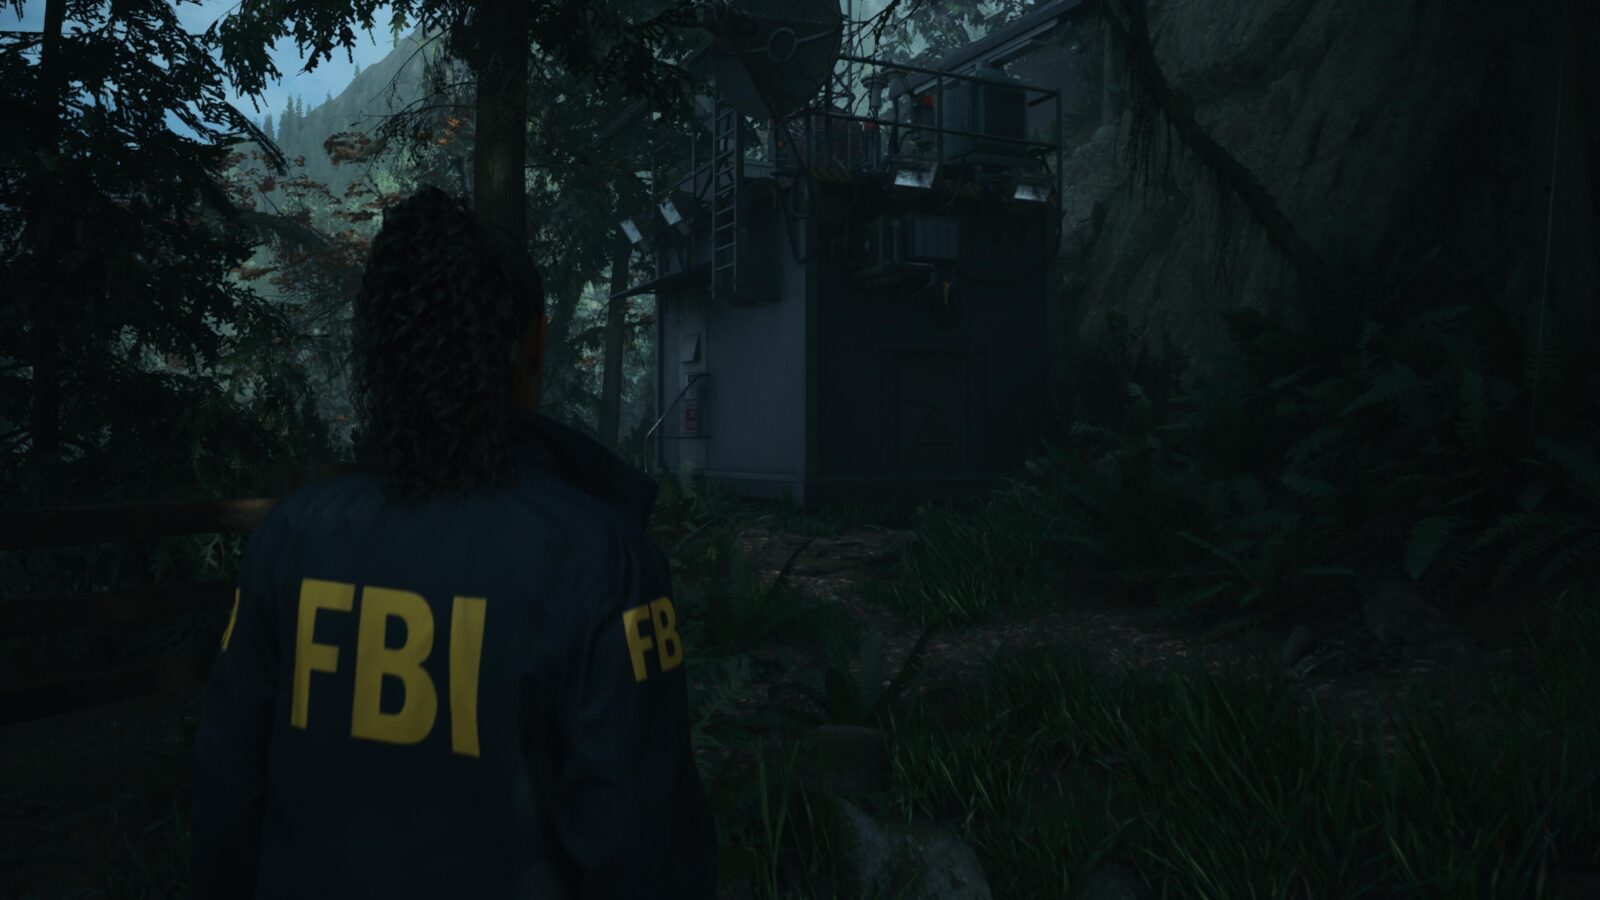
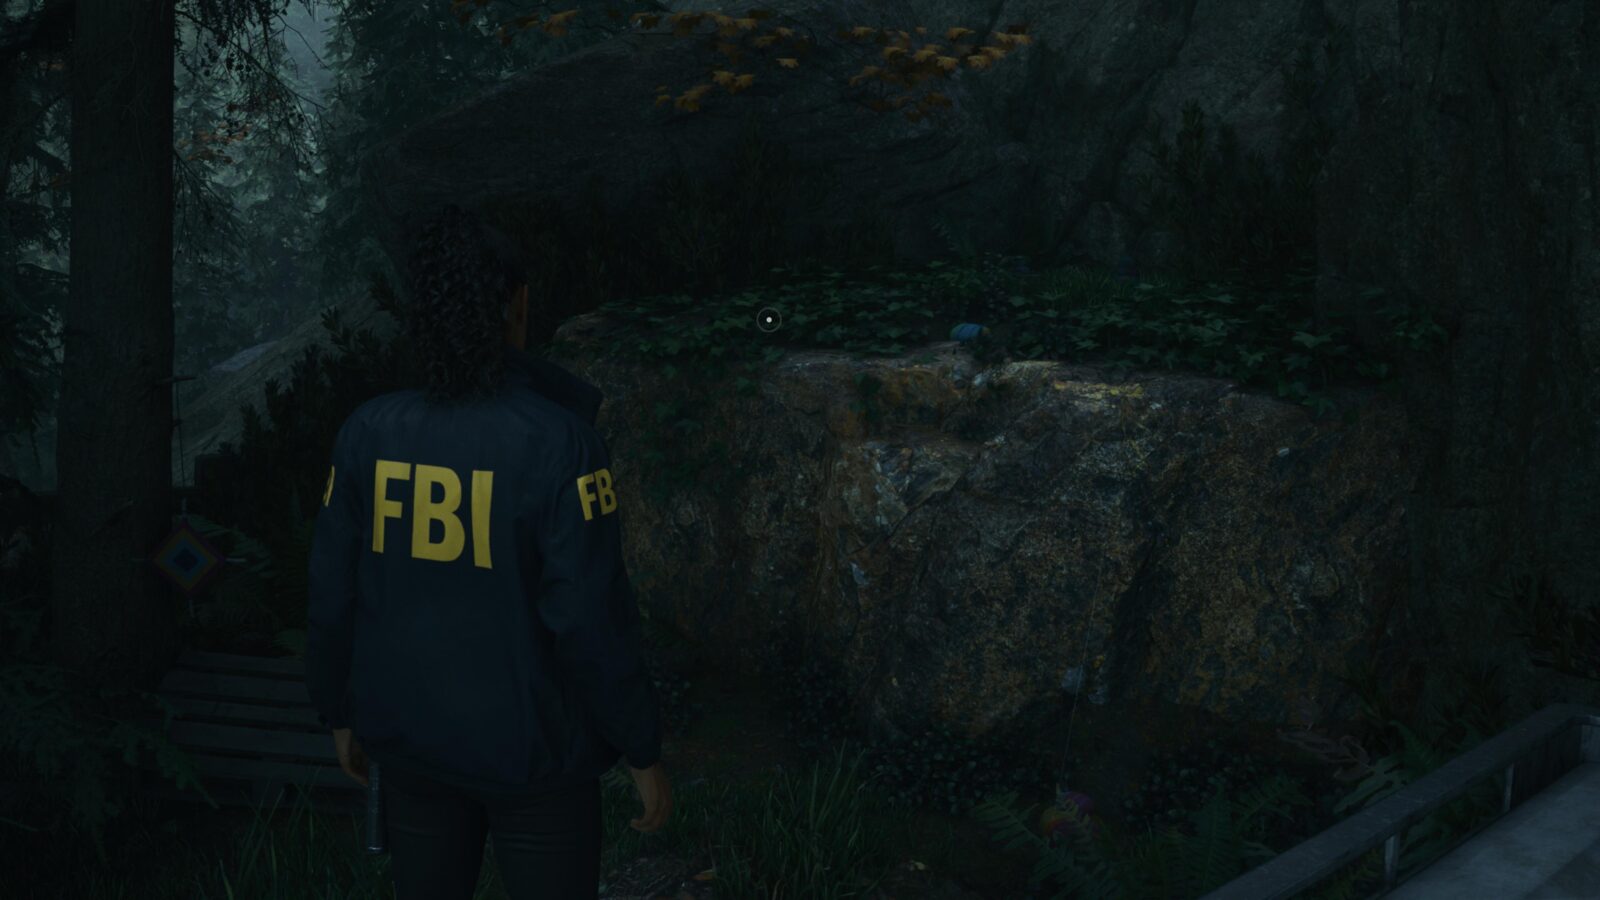
After examining the Crime Scene and profiling Nightingale you will receive a Shortcut Key to access a shortcut back to the car. While talking up the shortcut trail you will see a small building. Behind it is a rocky ledge you can climb to find another Lunch box with 2 Manuscript Fragments.
Map - Bright Falls
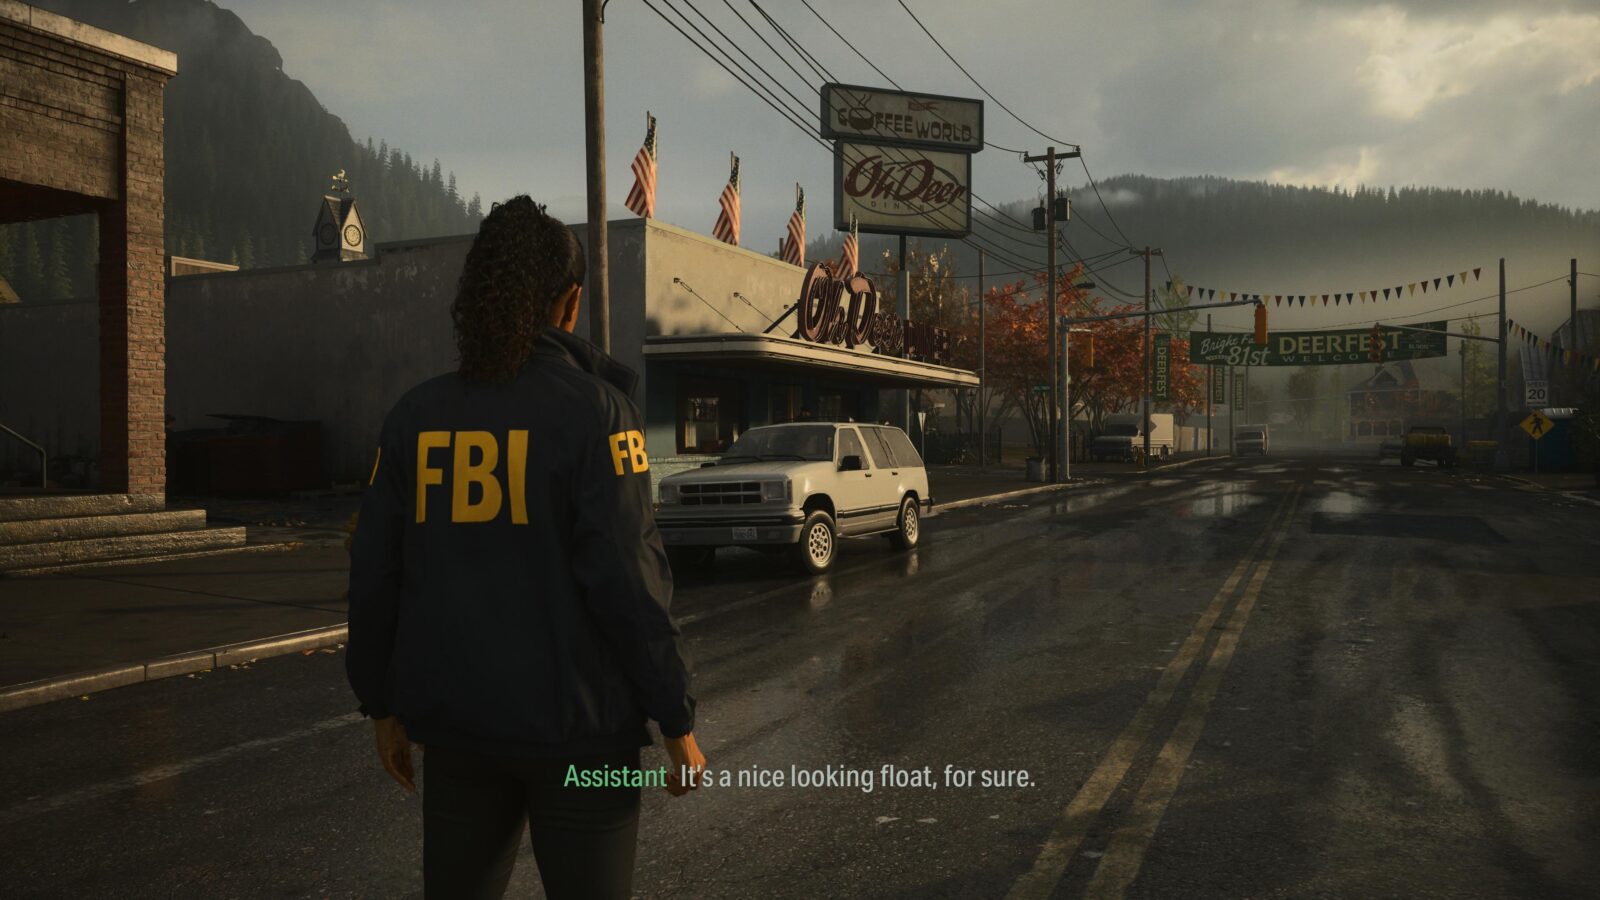
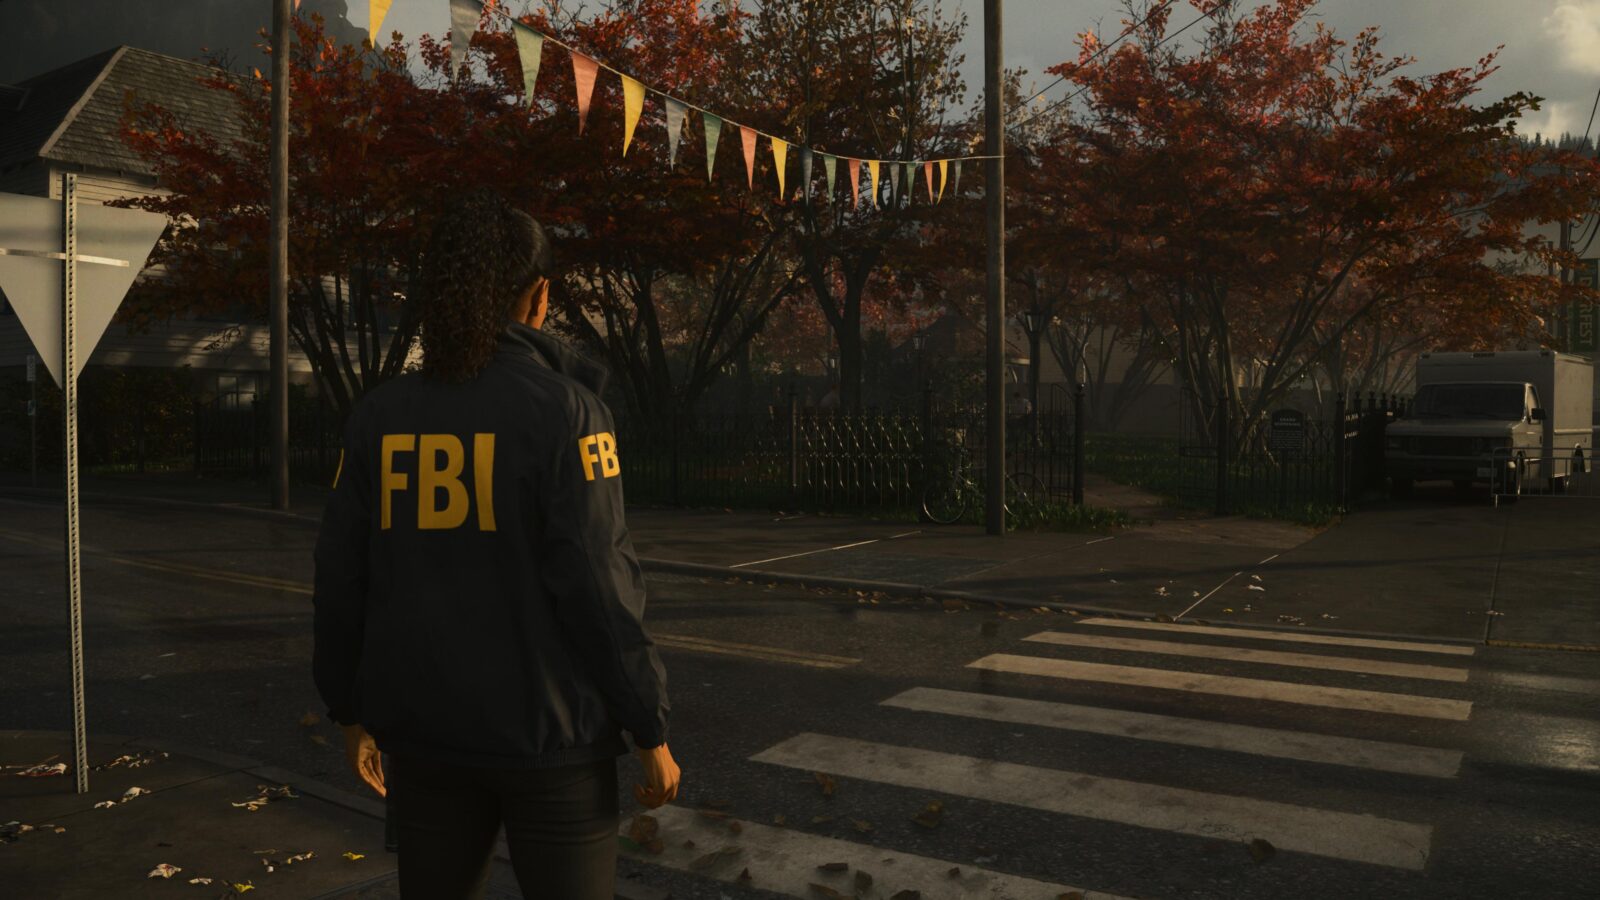
After exiting the vehicle at the Lodge, walk up the street until you see the Oh Deer Diner. On the wall in an alleyway to the left of the diner’s entrance is a map.
Lunch Box #6
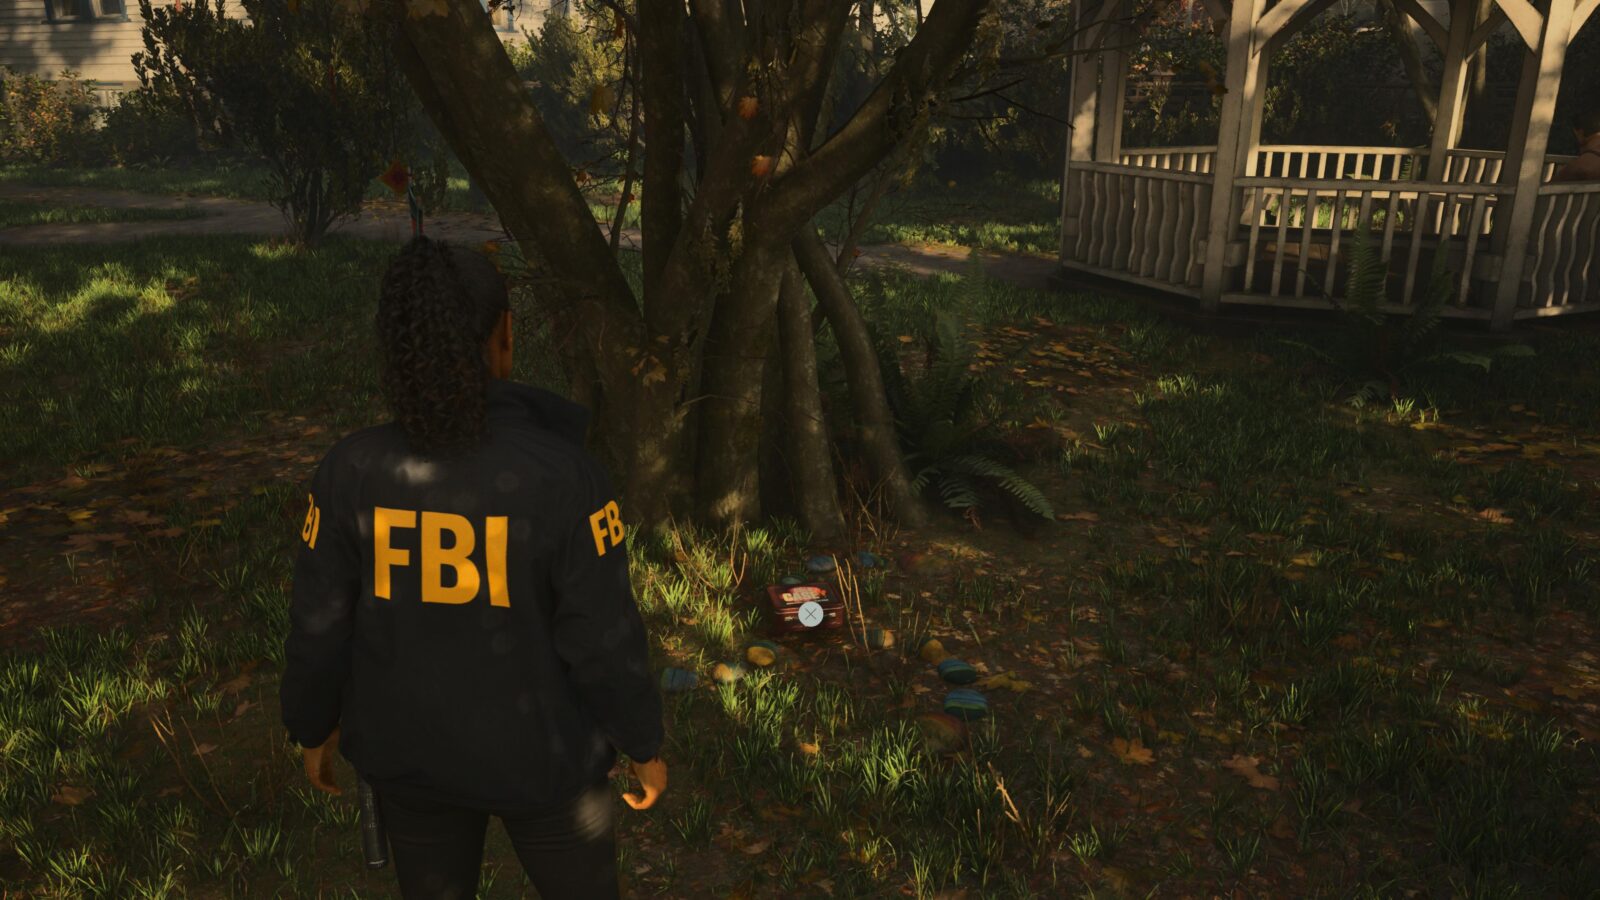
Before entering the Oh Deer Diner, head across the street to the park on your right. By the foot of a tree next to the Gazebo in the back corner is another Lunch box with 5 Manuscript Fragments.
Deer Head #2
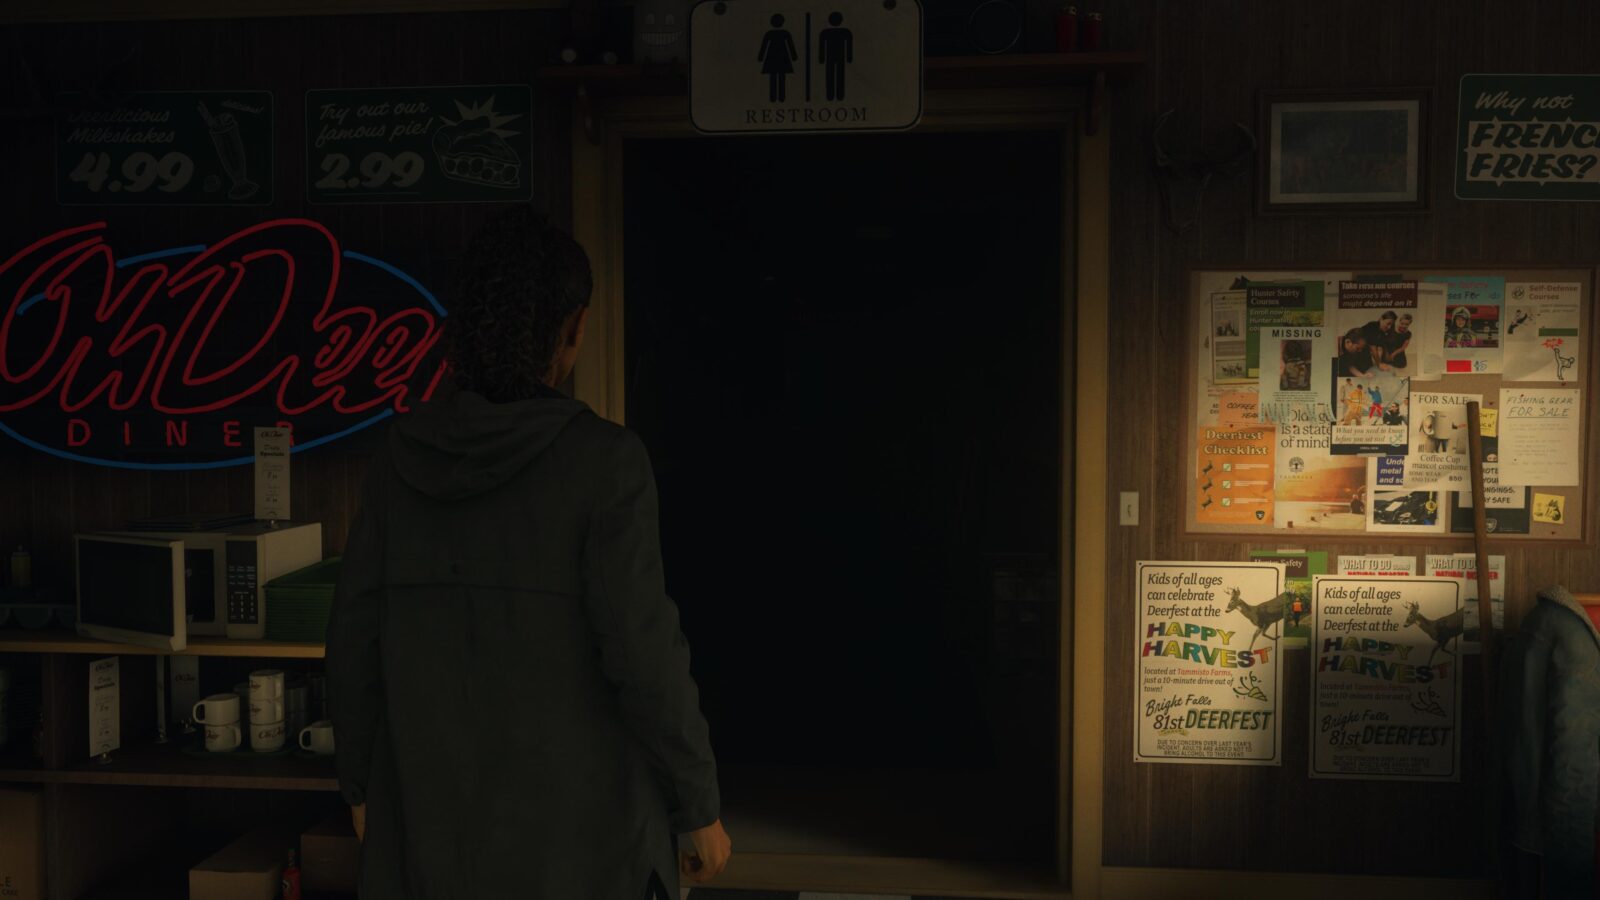
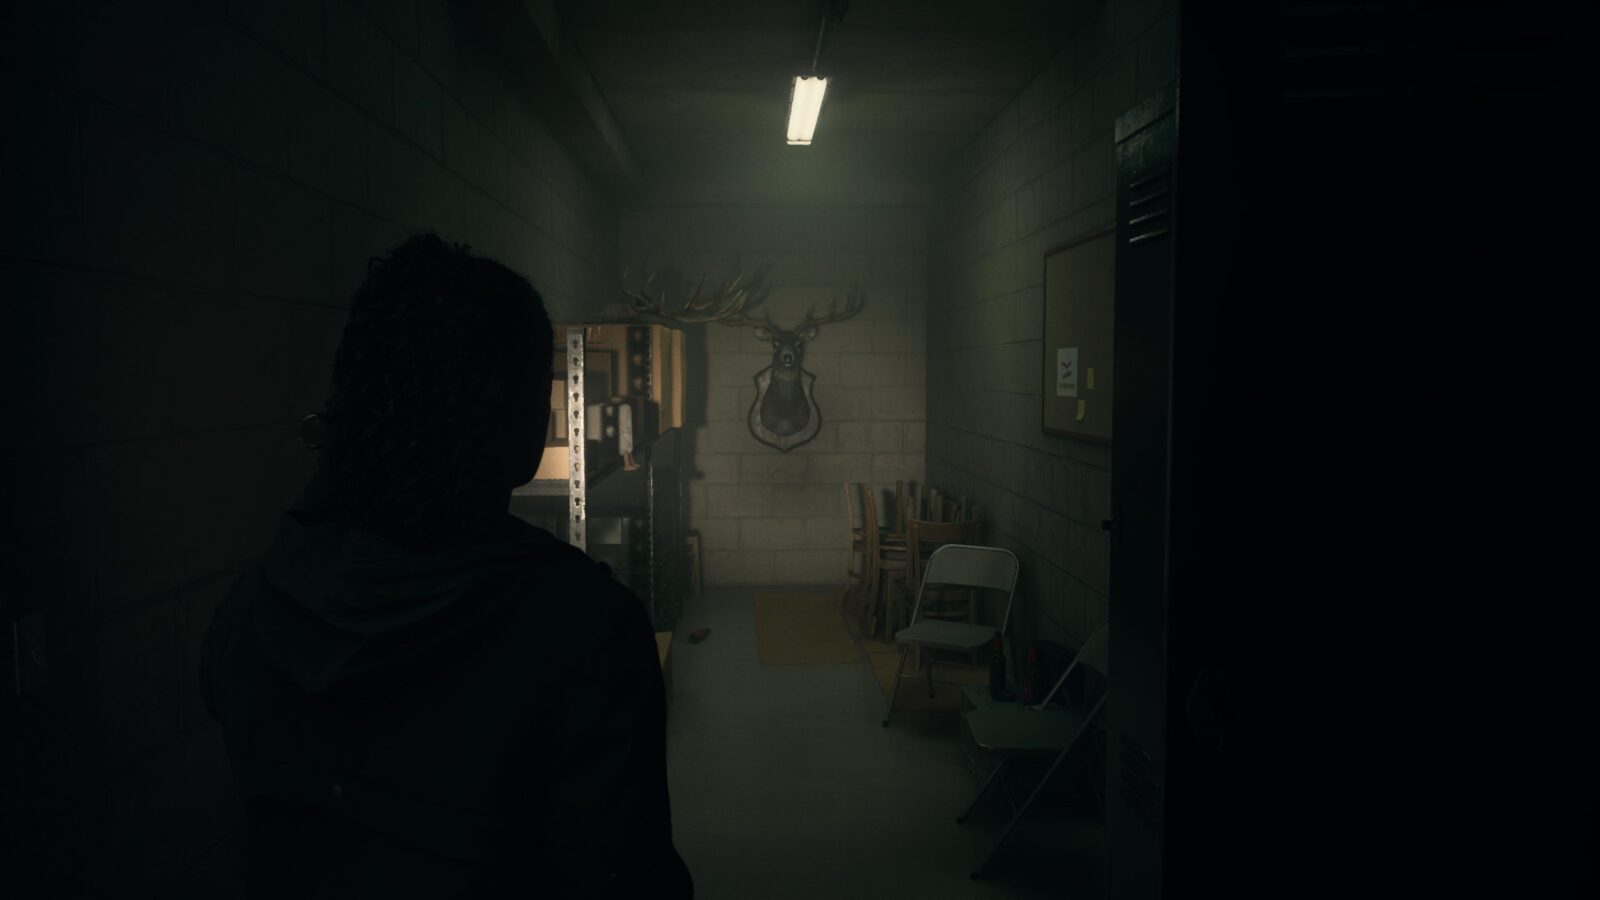
Inside the Oh Deer Diner is another Deer Head. Go into the dark corridor with the restroom sign hanging above and enter the first door on your right. On the wall at the back of this narrow room is a Deer Head.
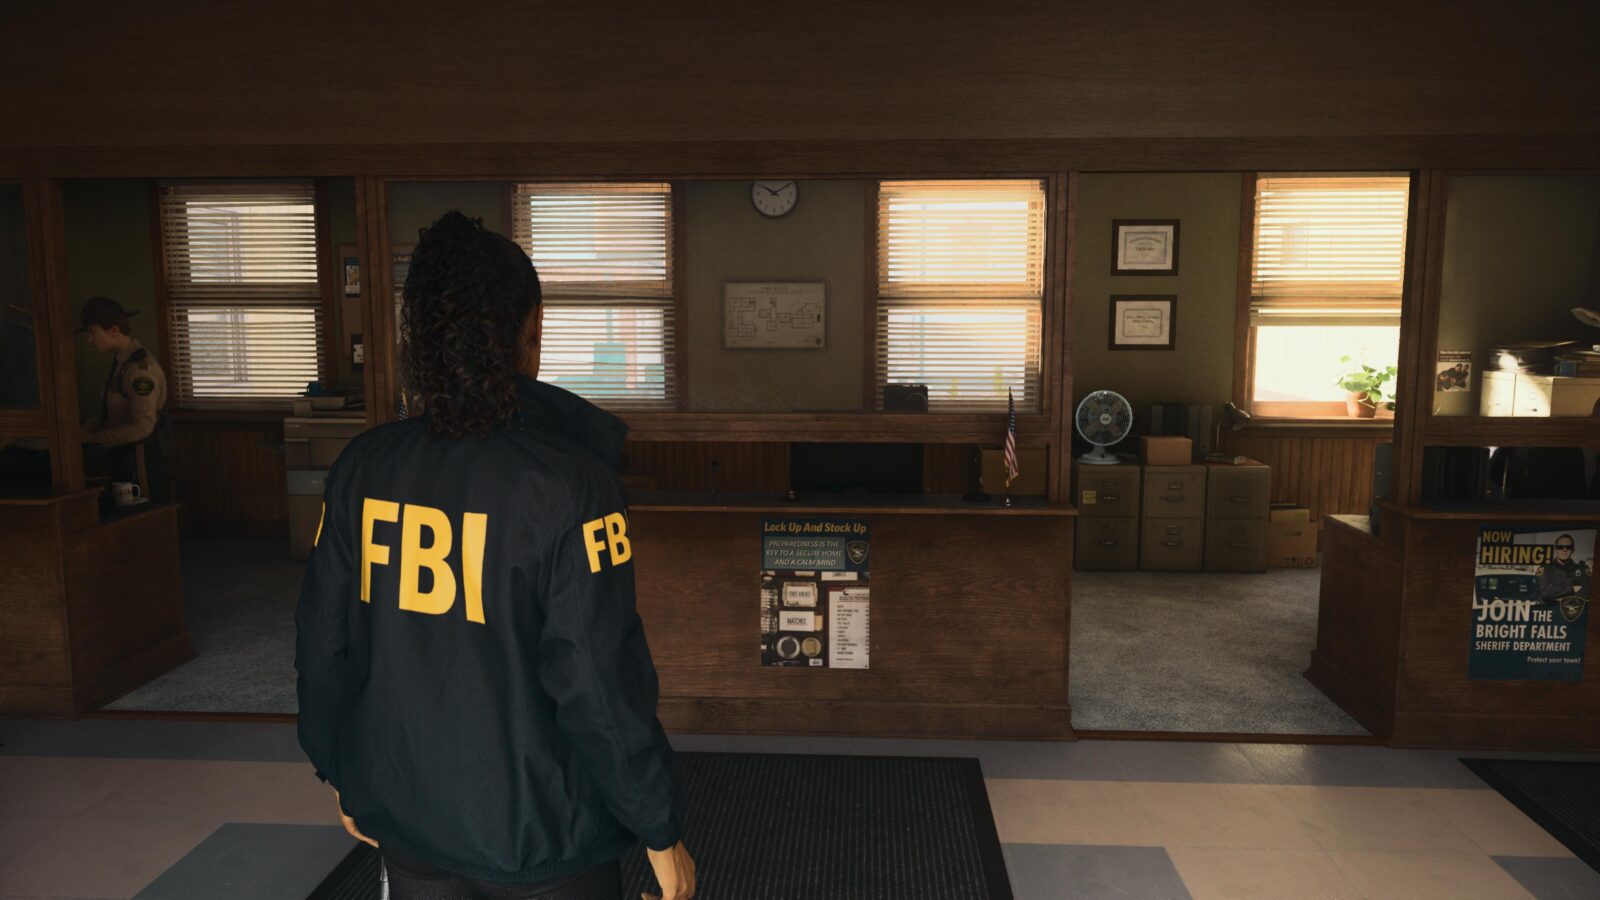
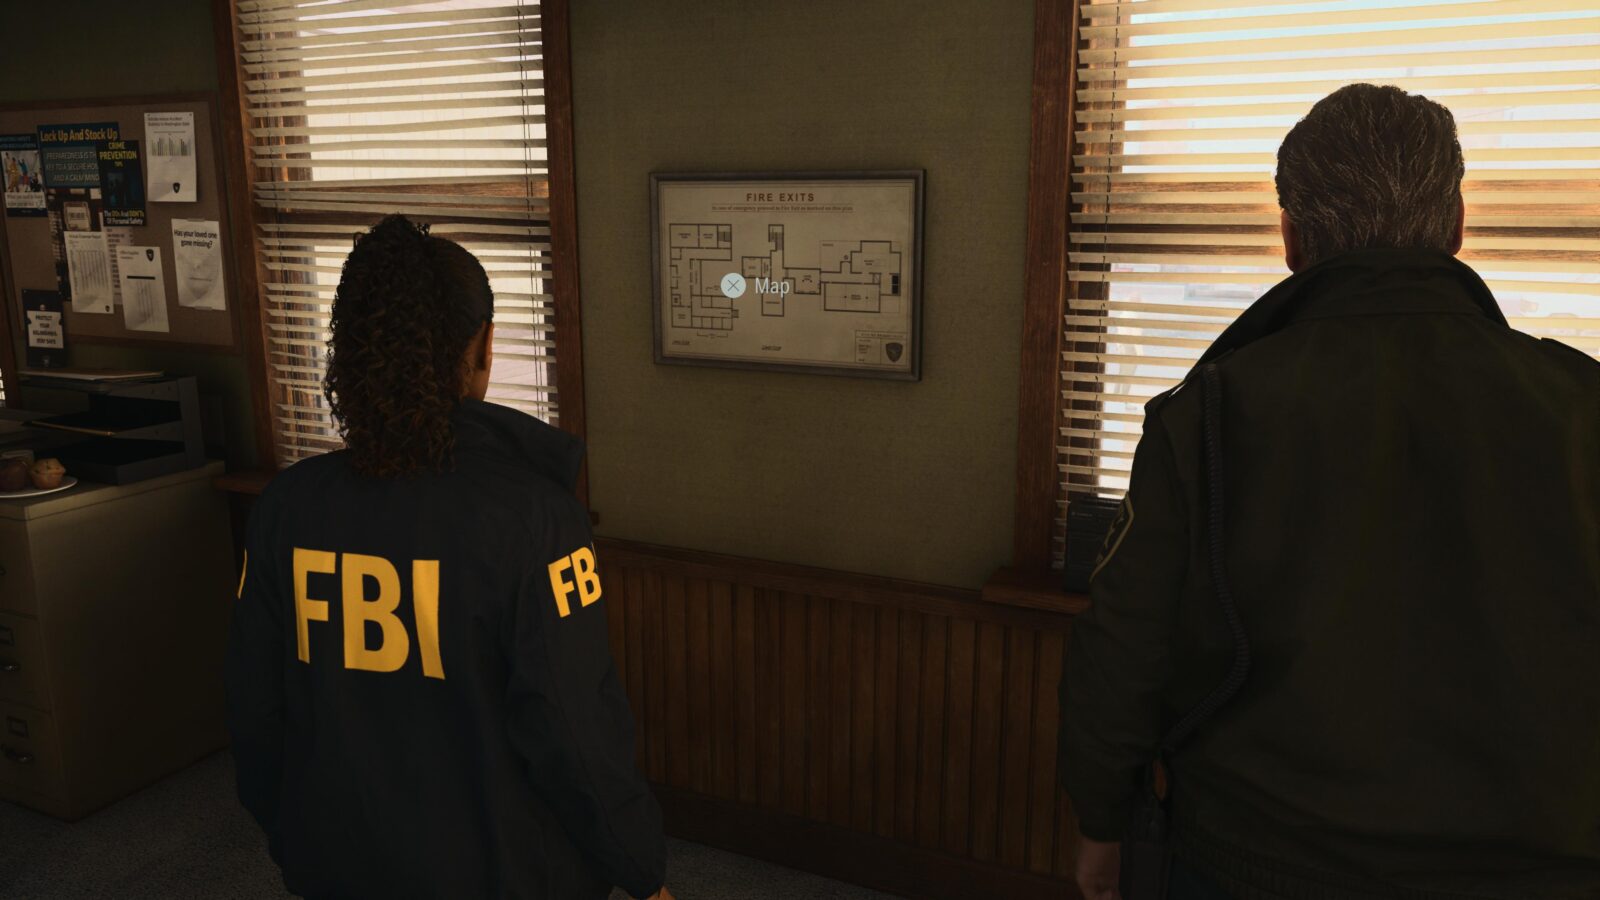
Map - Sheriff's Station
After visiting the Oh Deer Diner you will walk around the block to get to the Police Station. Once inside go behind the front desk and pick up the map from the wall.
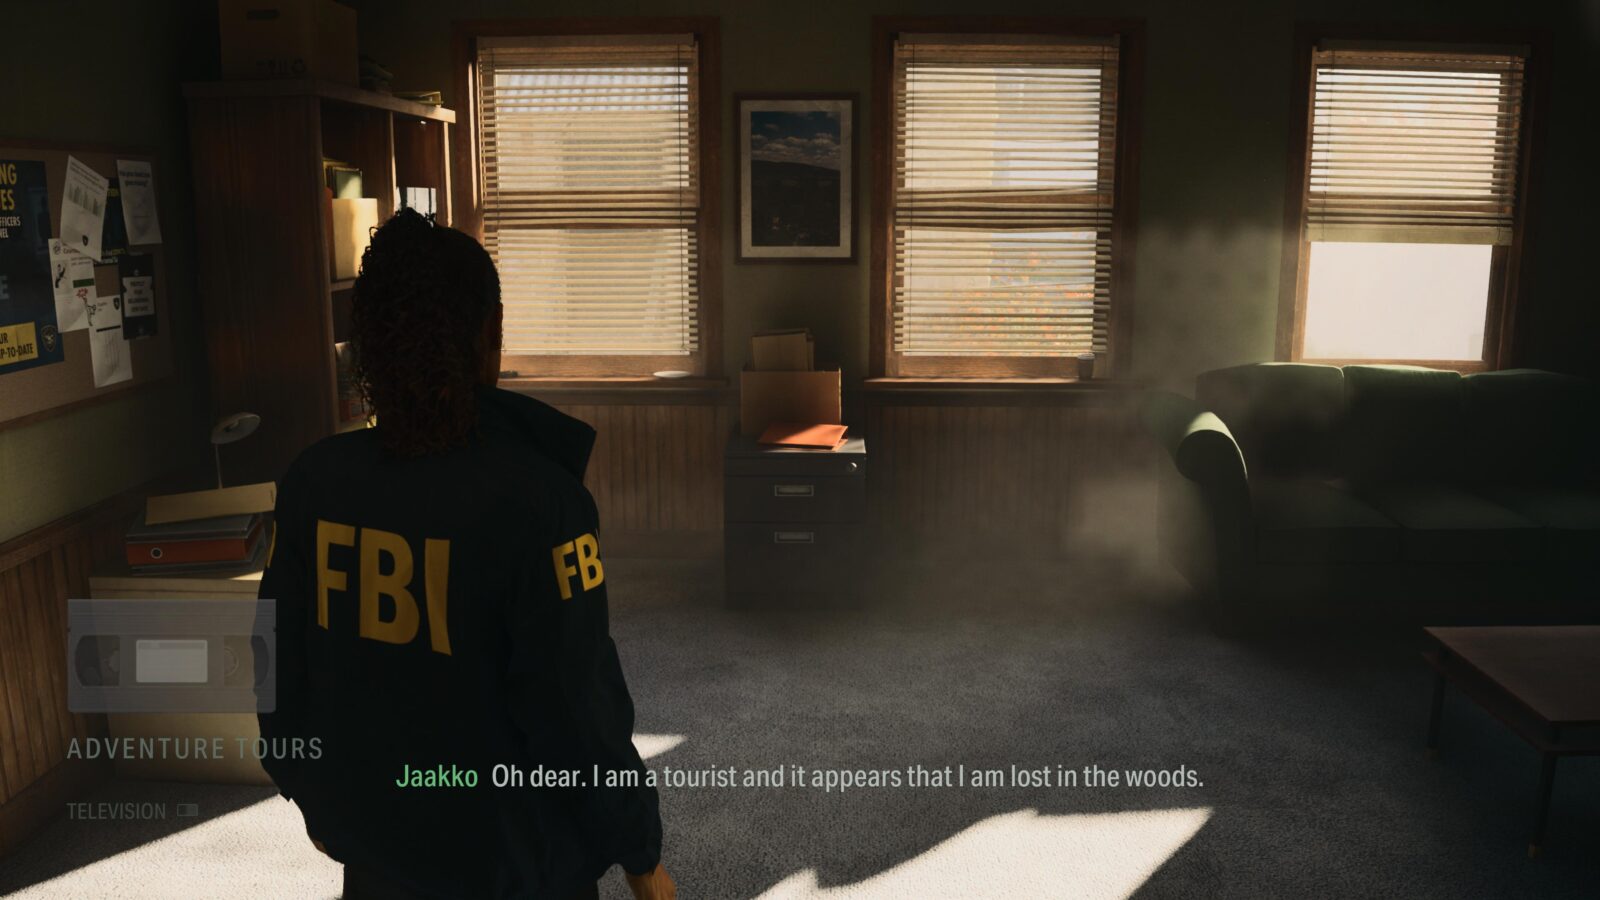
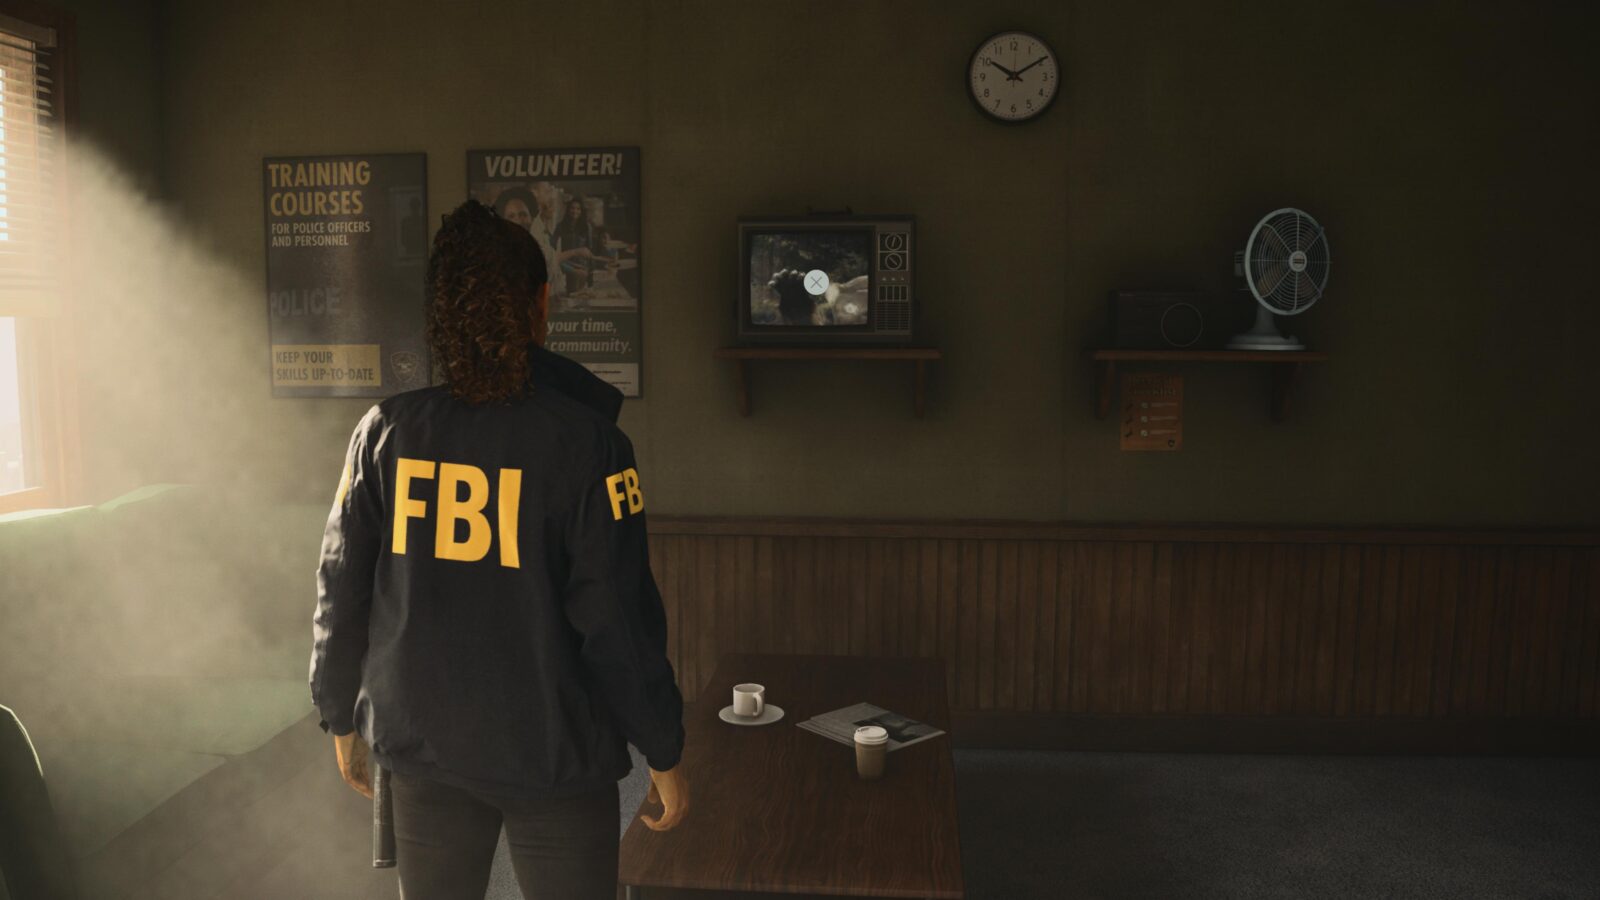
Koskela Brother's Commercial #1 - Adventure Tours
Inside the Police Station is a room labelled “Employee’s Lounge” (check the map). Go inside and you will immediately collect this commercial. This commercial is missable once you finish up at the Police Station, thought you will have one final attempt to collect it in Return 3: Local Girl.
Return 2: The Heart
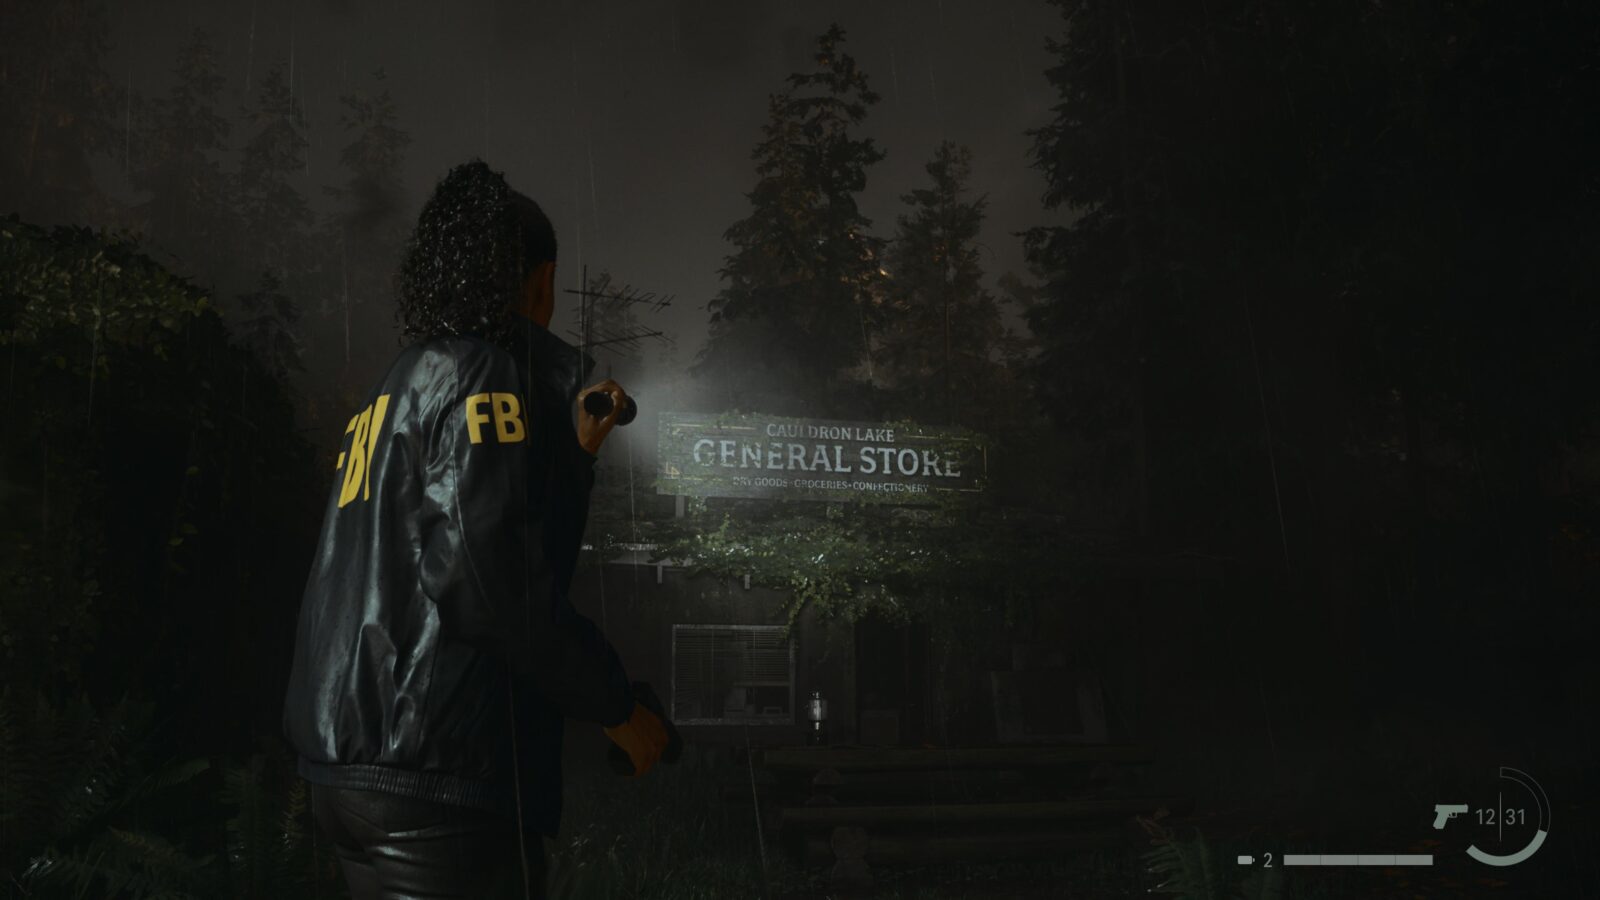
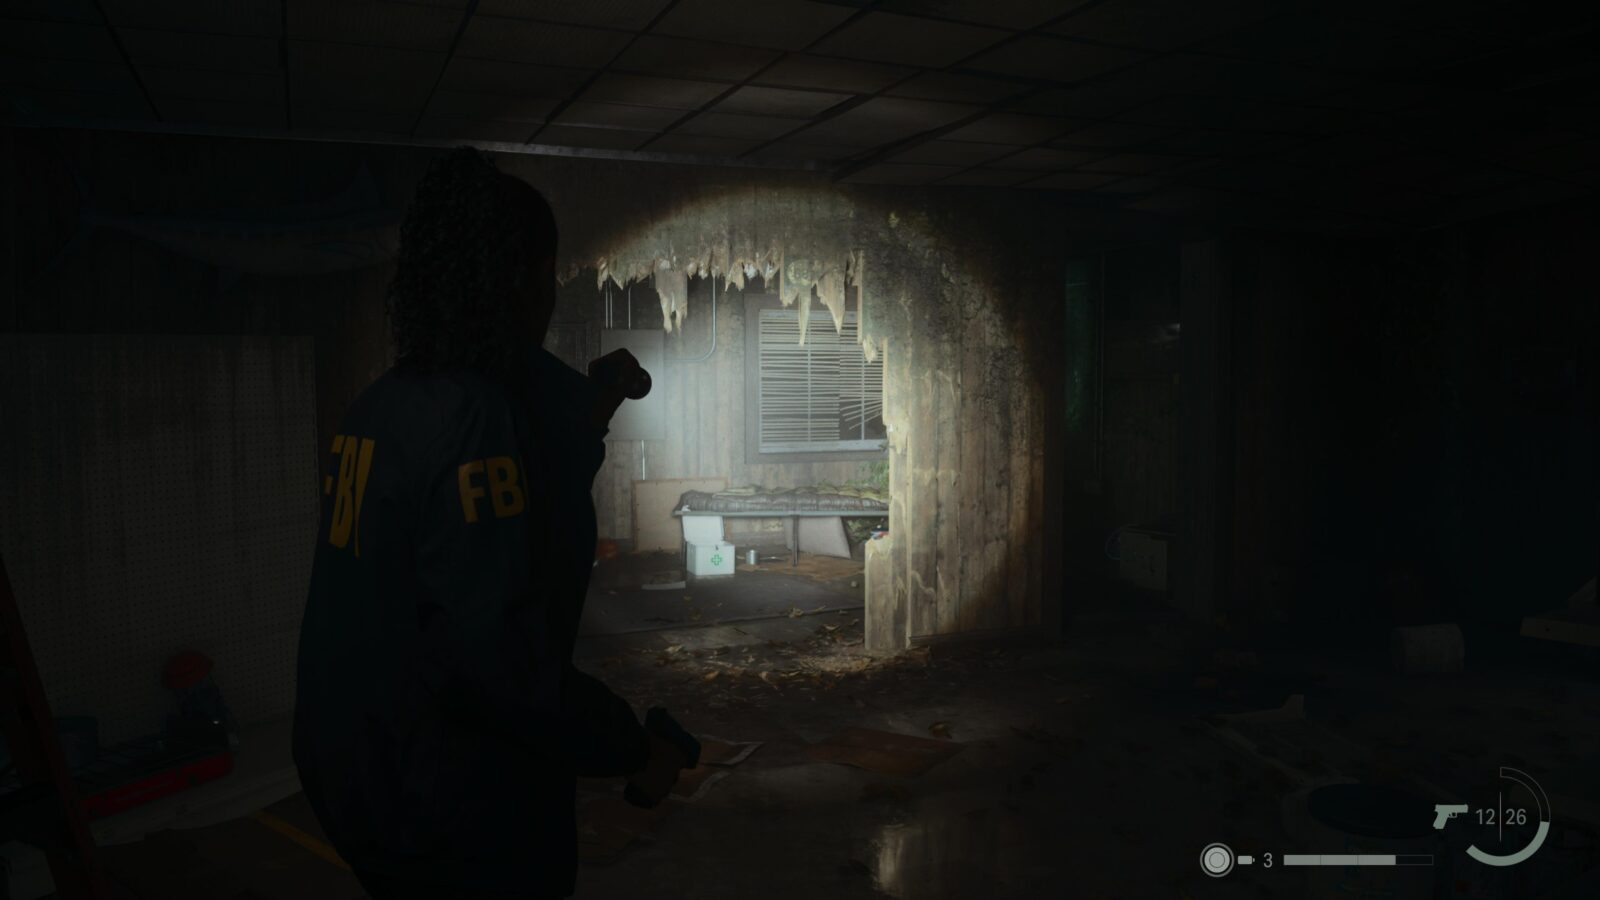
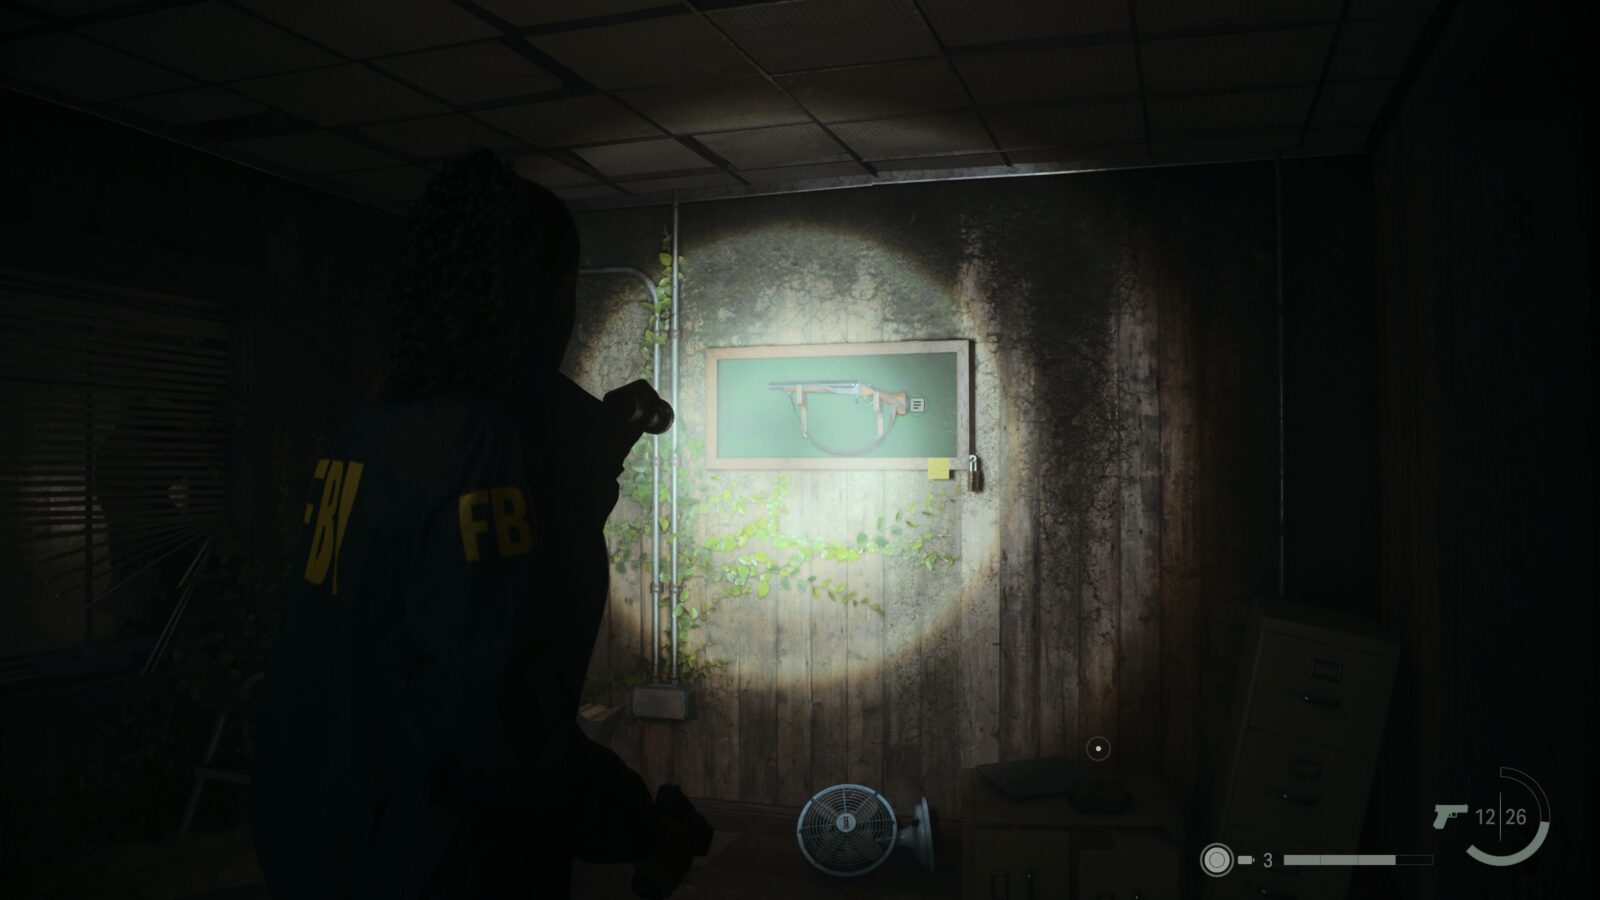
Weapon #2 - Sawed-Off Shotgun
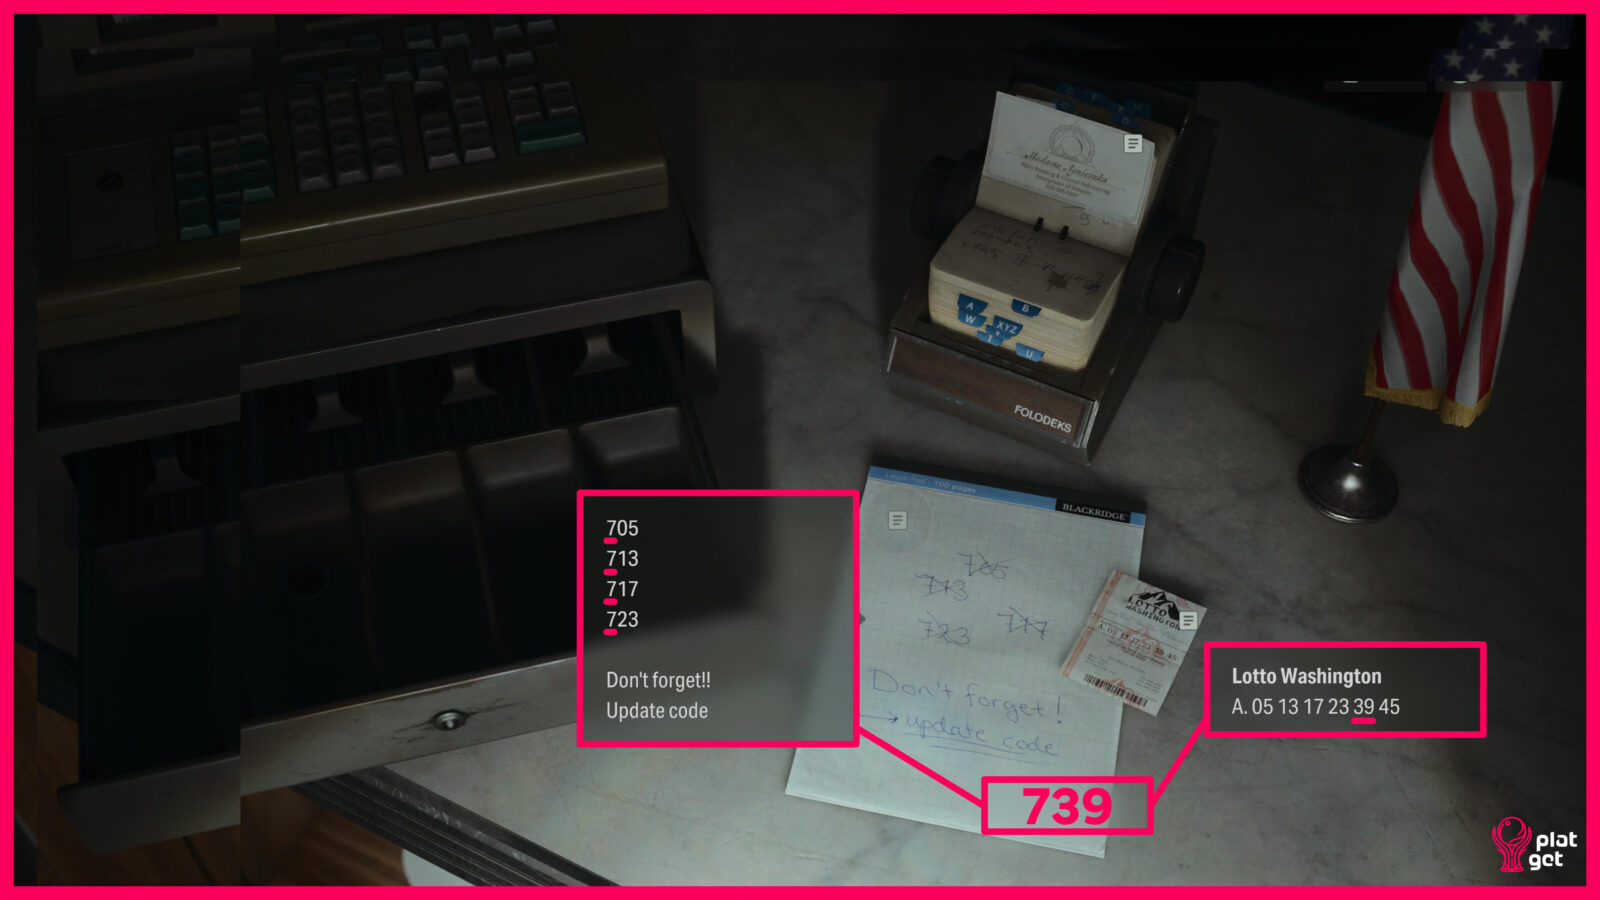
Inside the General Store in the Cauldron Lake Campgrounds area you will be attacked by a Taken. In the room the Taken came from is a shotgun in a display on the wall to your right. However, the display case is locked and needs a code. The code can be found at the front desk in the store. There you will find a list of old codes and a lottery ticket. Look at the lottery ticket and you will notice that the last two digits of the code follow the pattern of the lottery ticket. Use this to find the new code for the display case.
Or just punch in
Spoilers! Click to Show
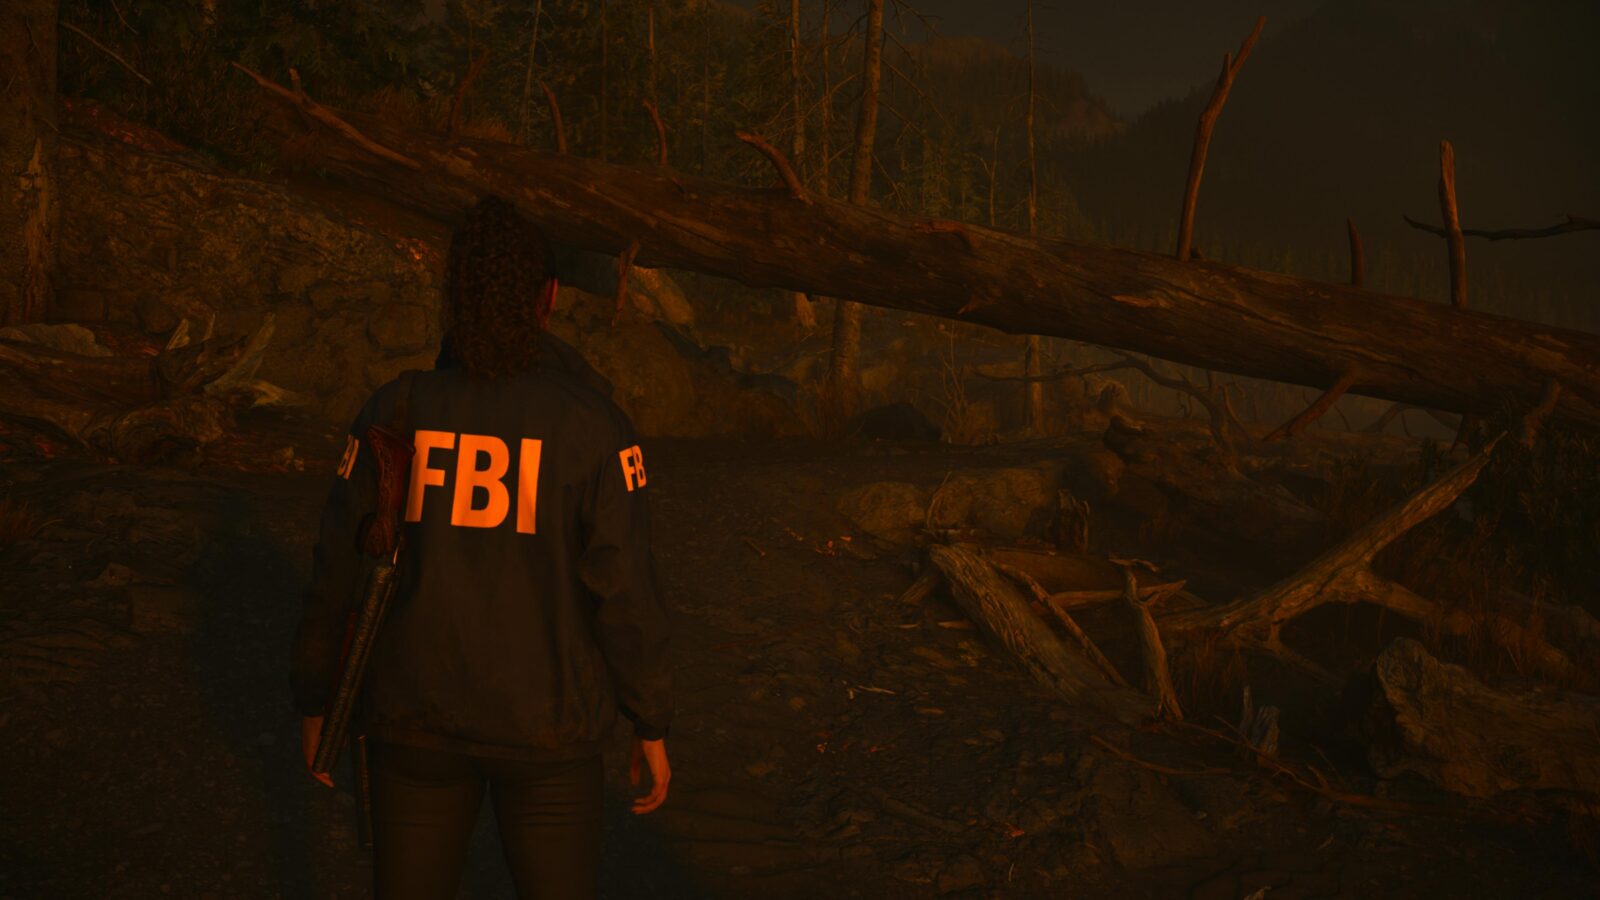
Cult Stash #2
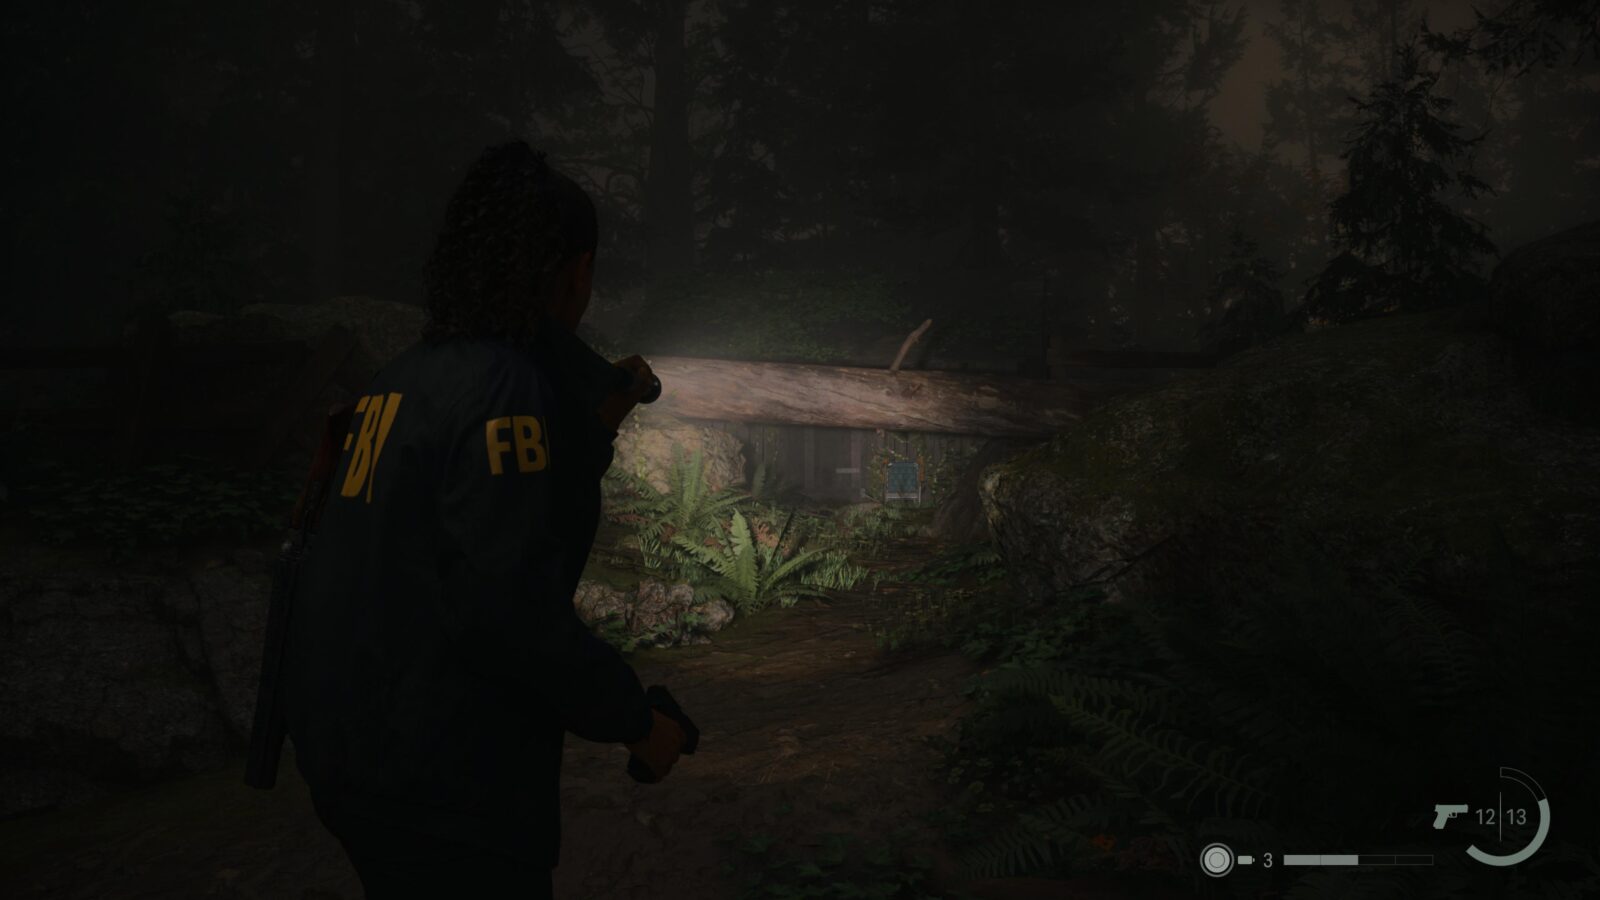
On the beach after seeing the End of Chapter screen head to the right past Casey and duck under the fallen tree. Follow the path until you see an opening in some branches and a path that heads off to the left. Duck under the branches and you will find a lockbox with a padlock. This padlock requires you to observe the pattern of the 3 green lights and repeat them. This is randomised in every playthrough.
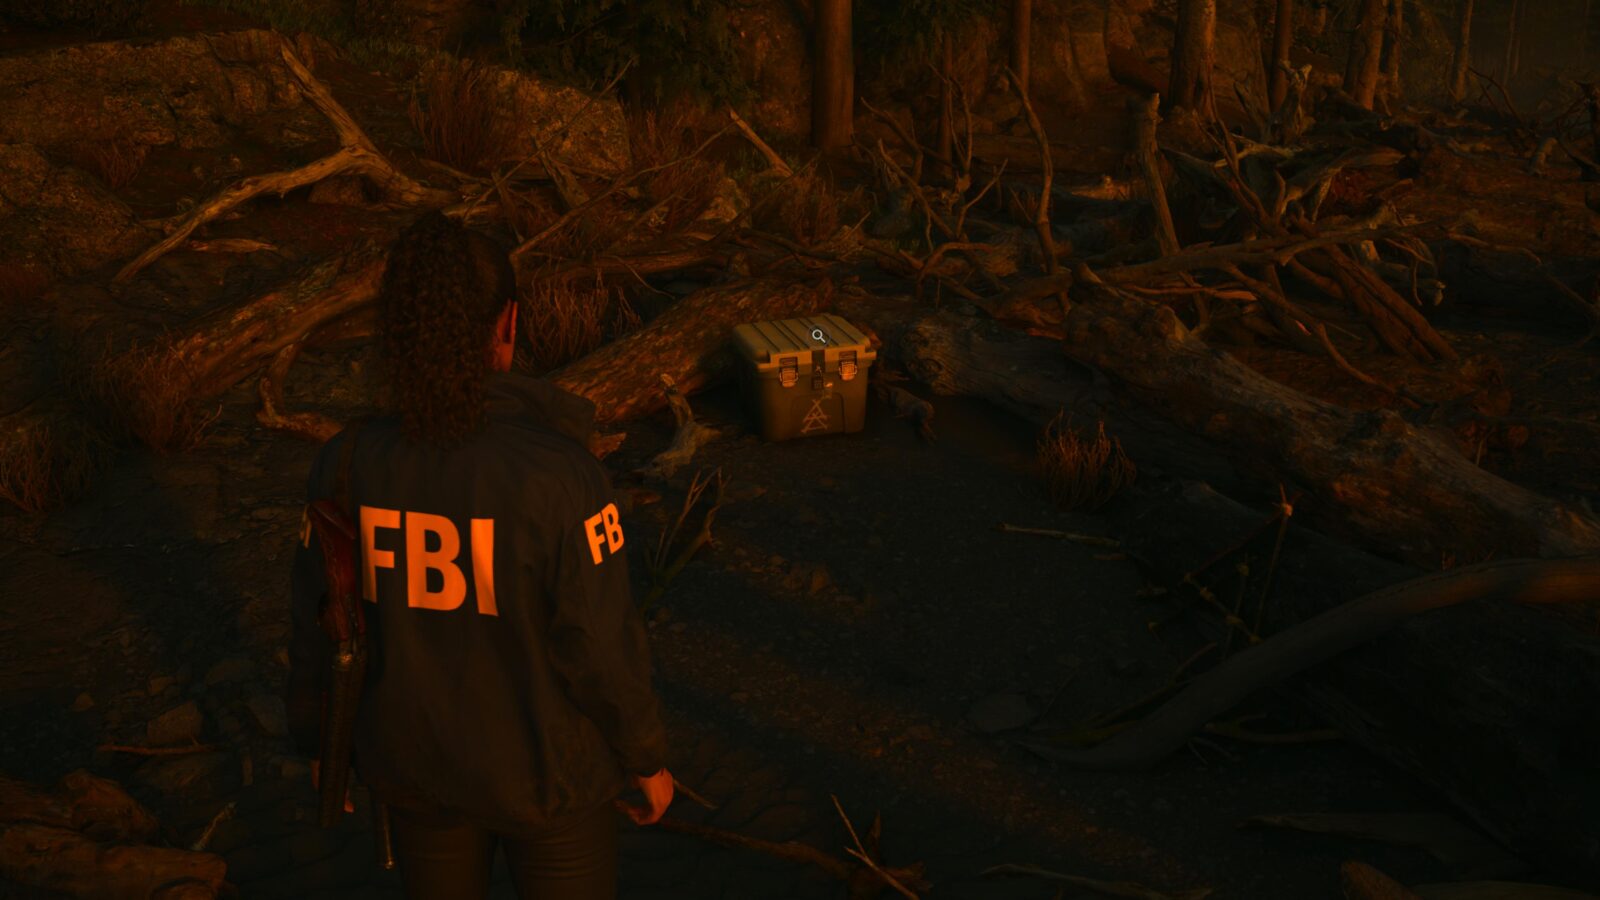
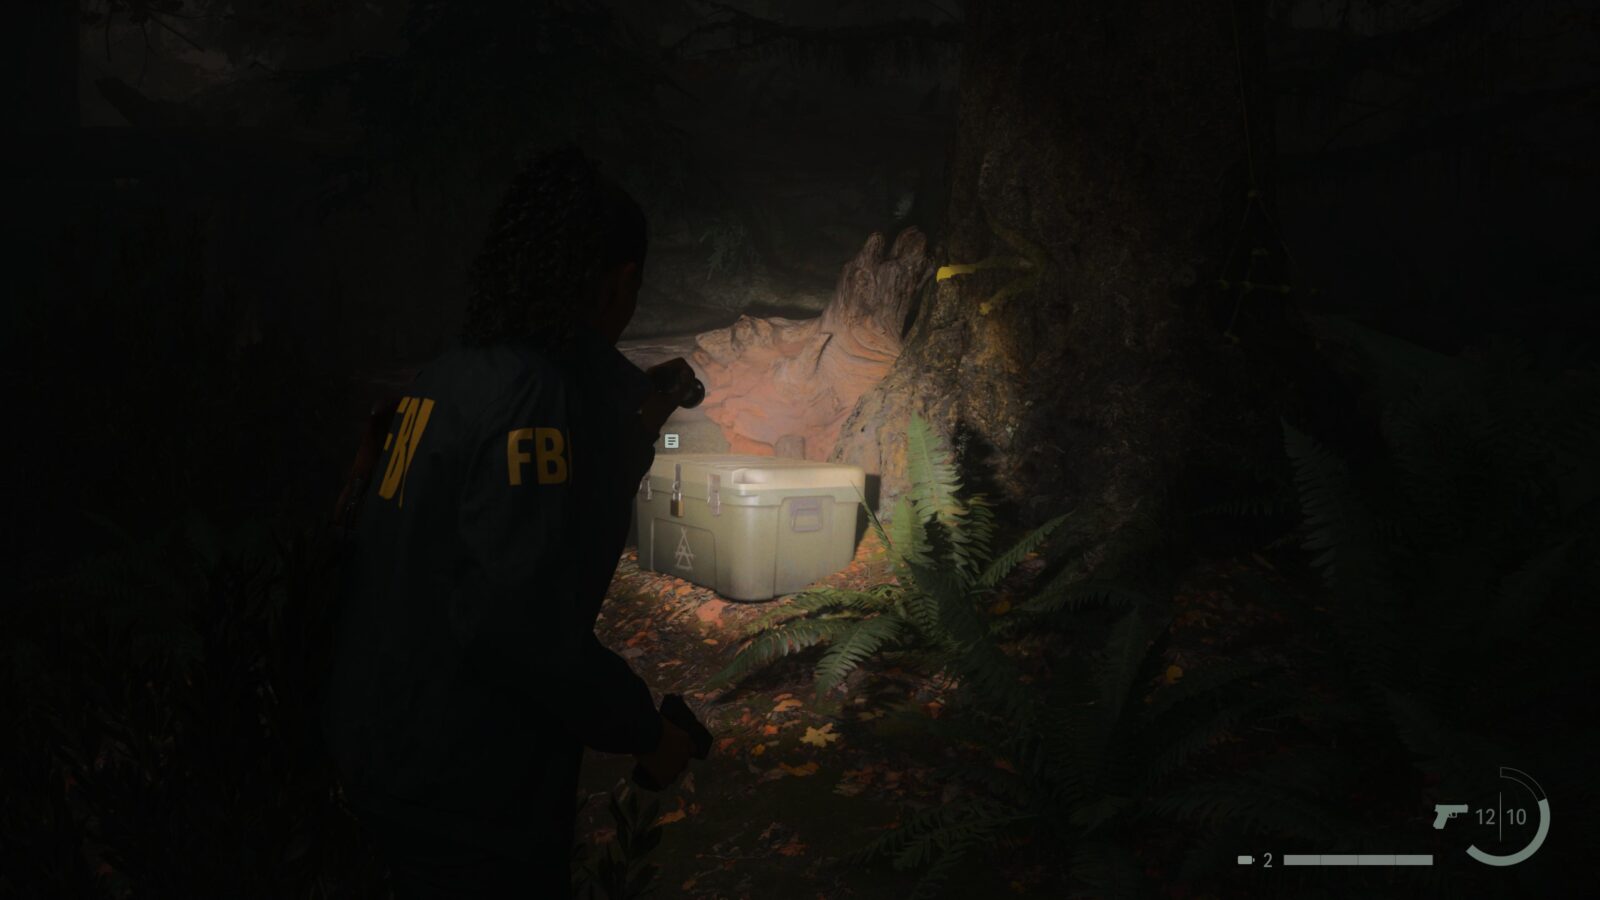
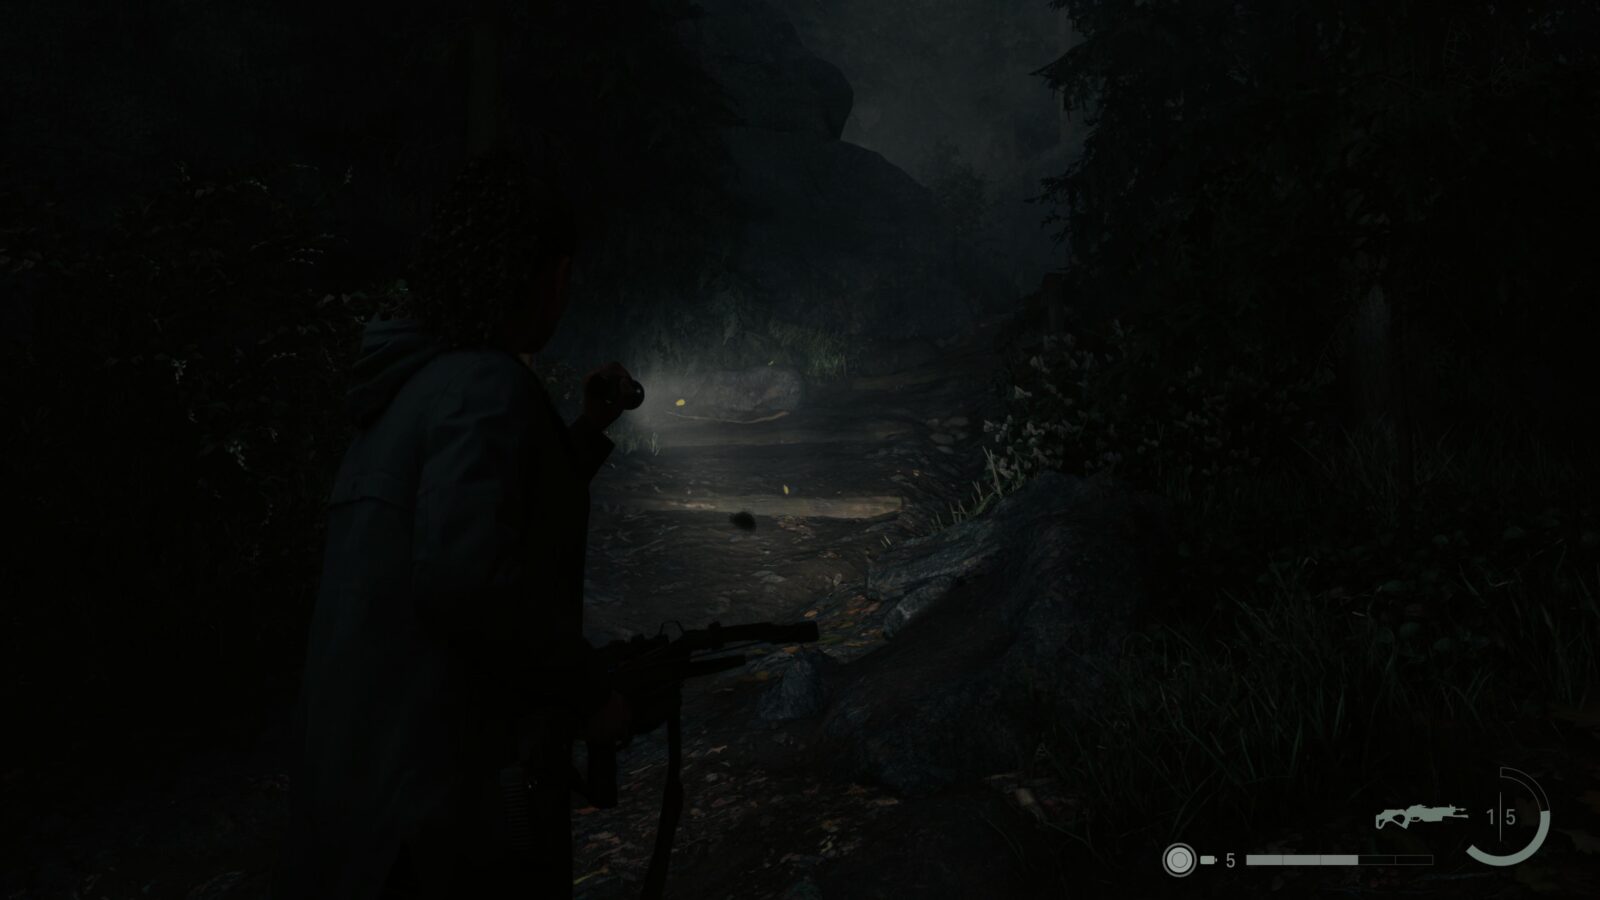
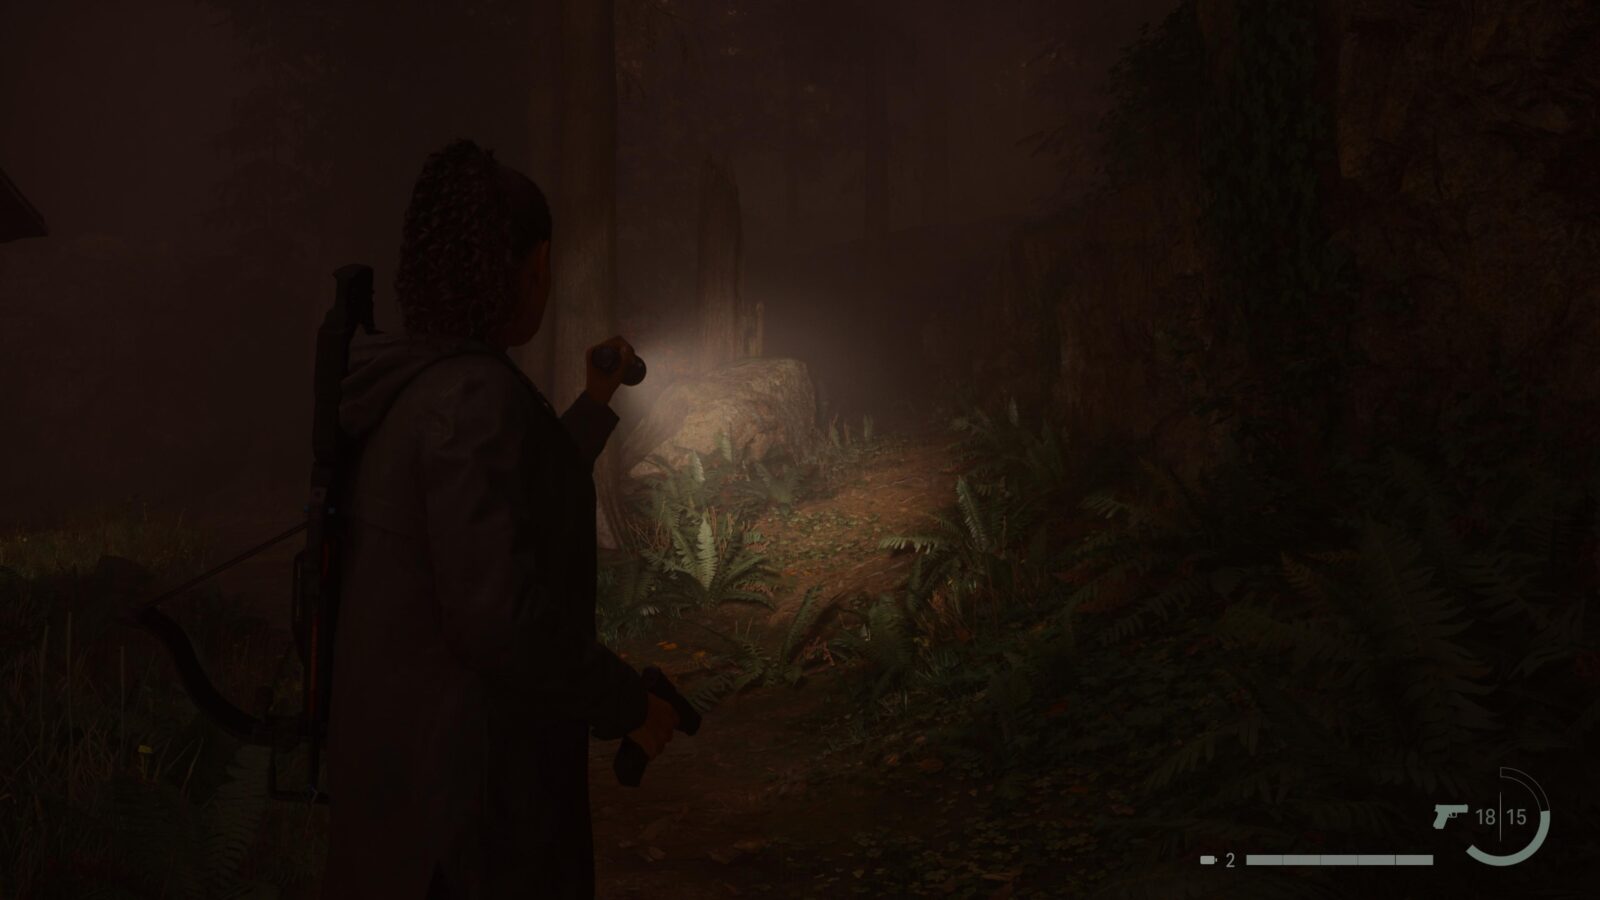
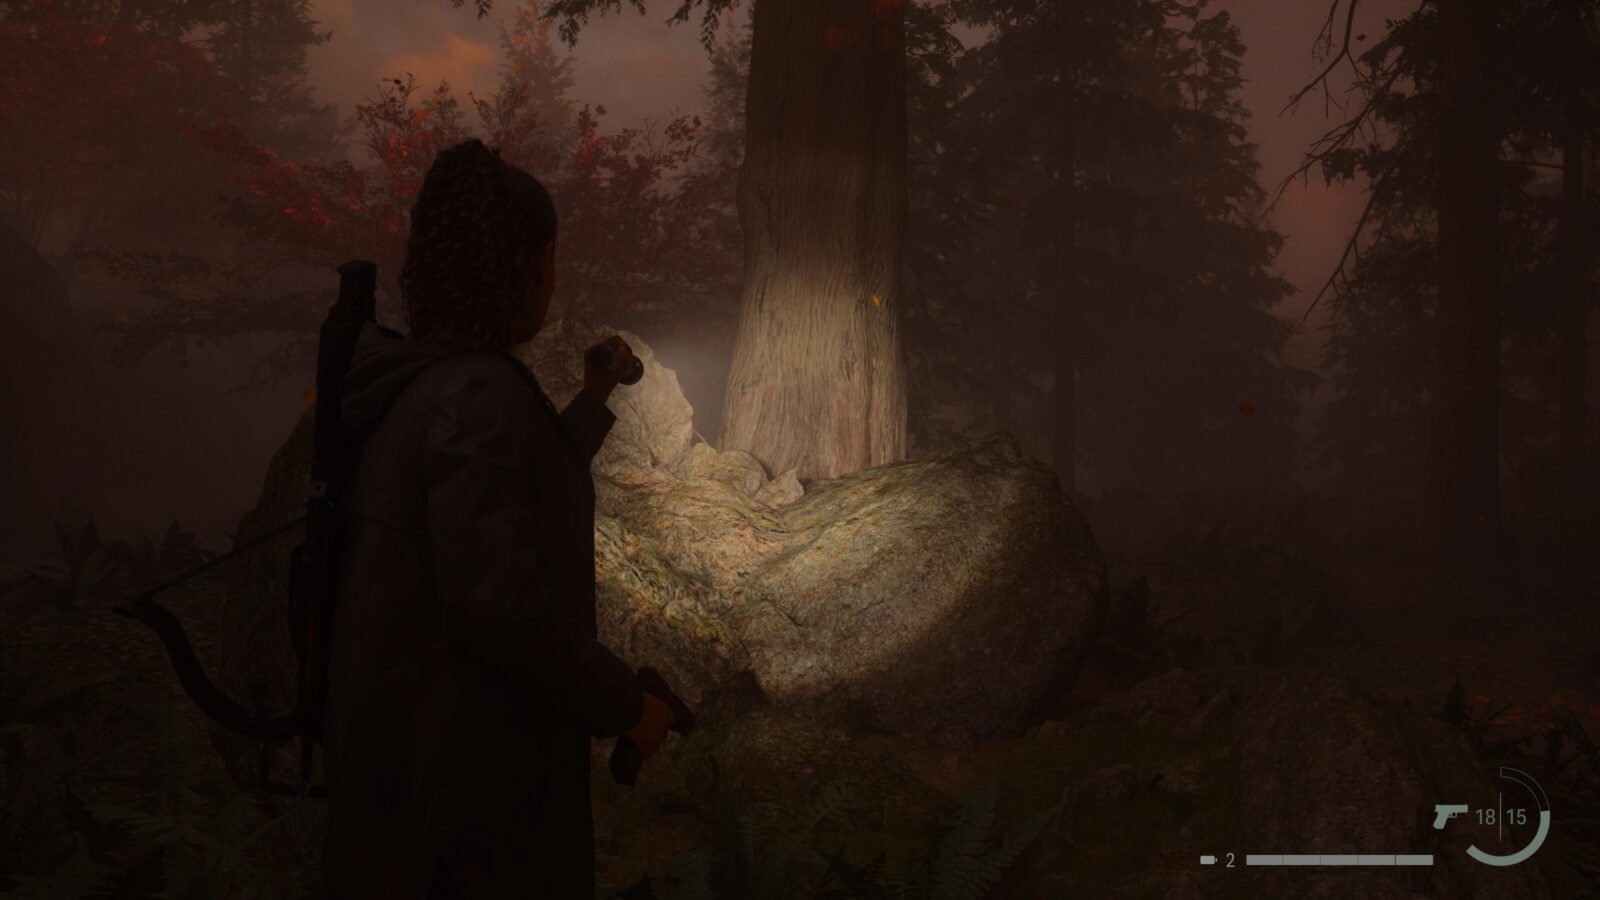
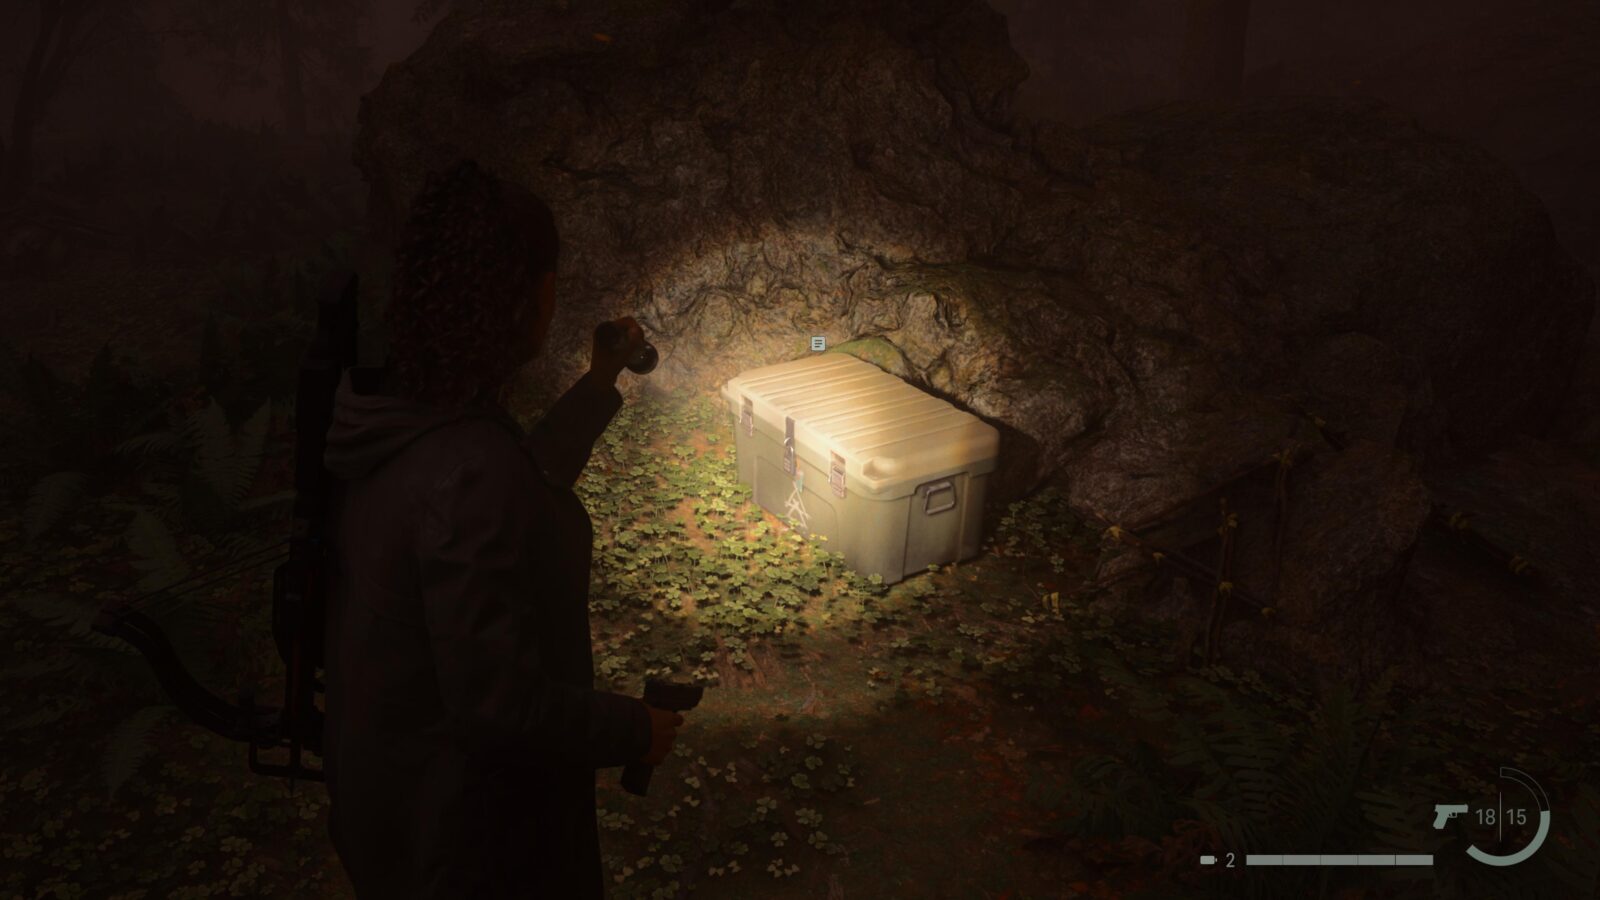
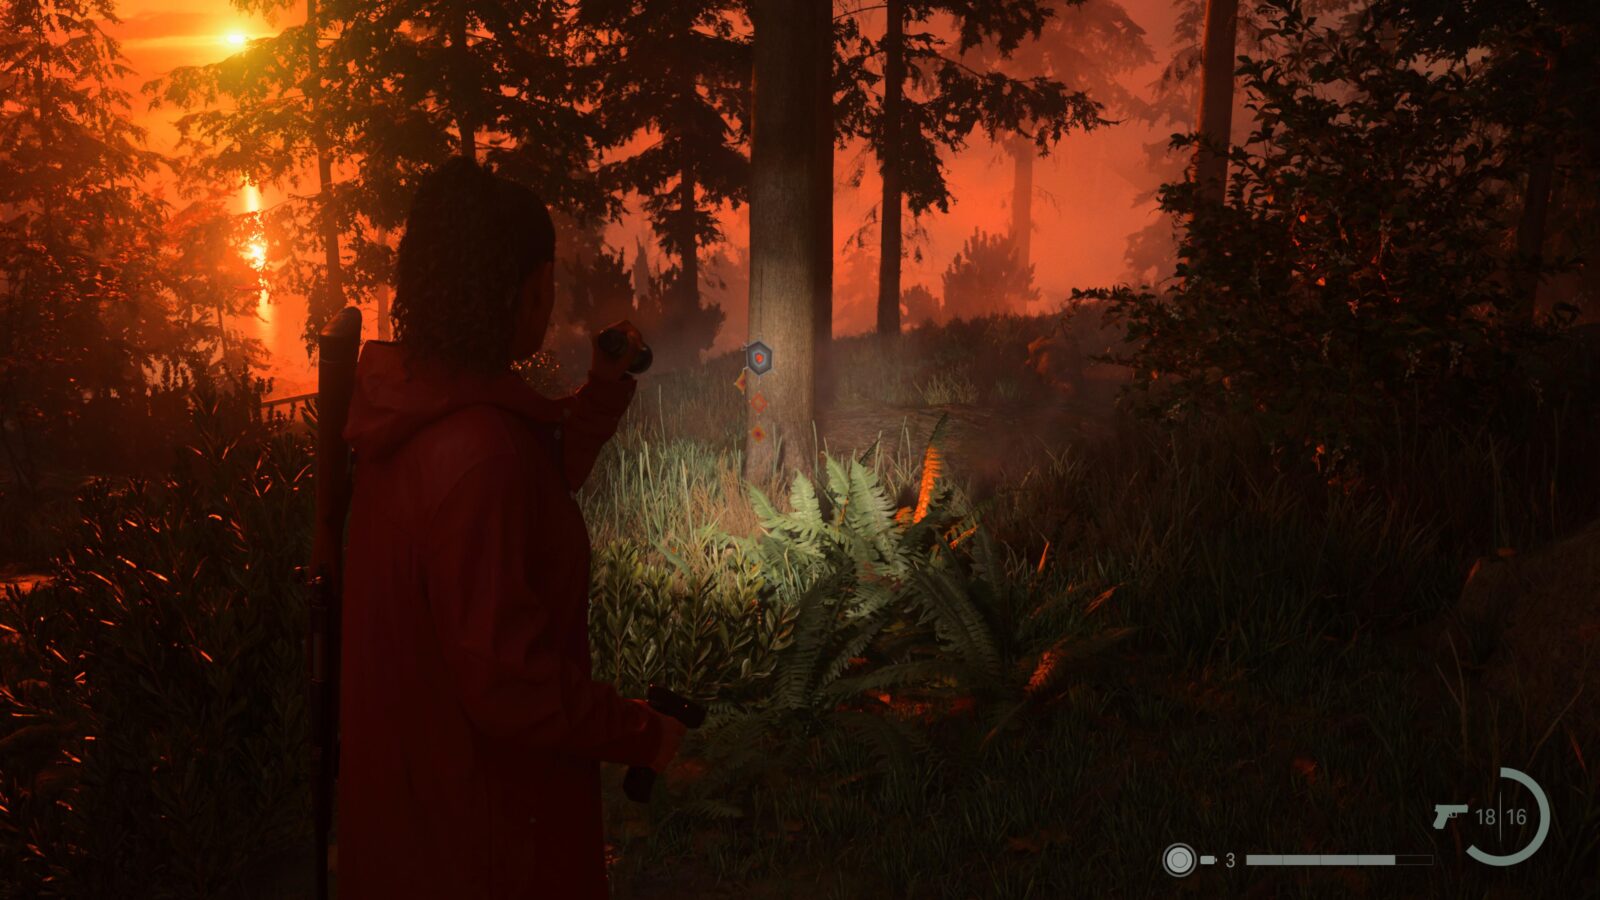
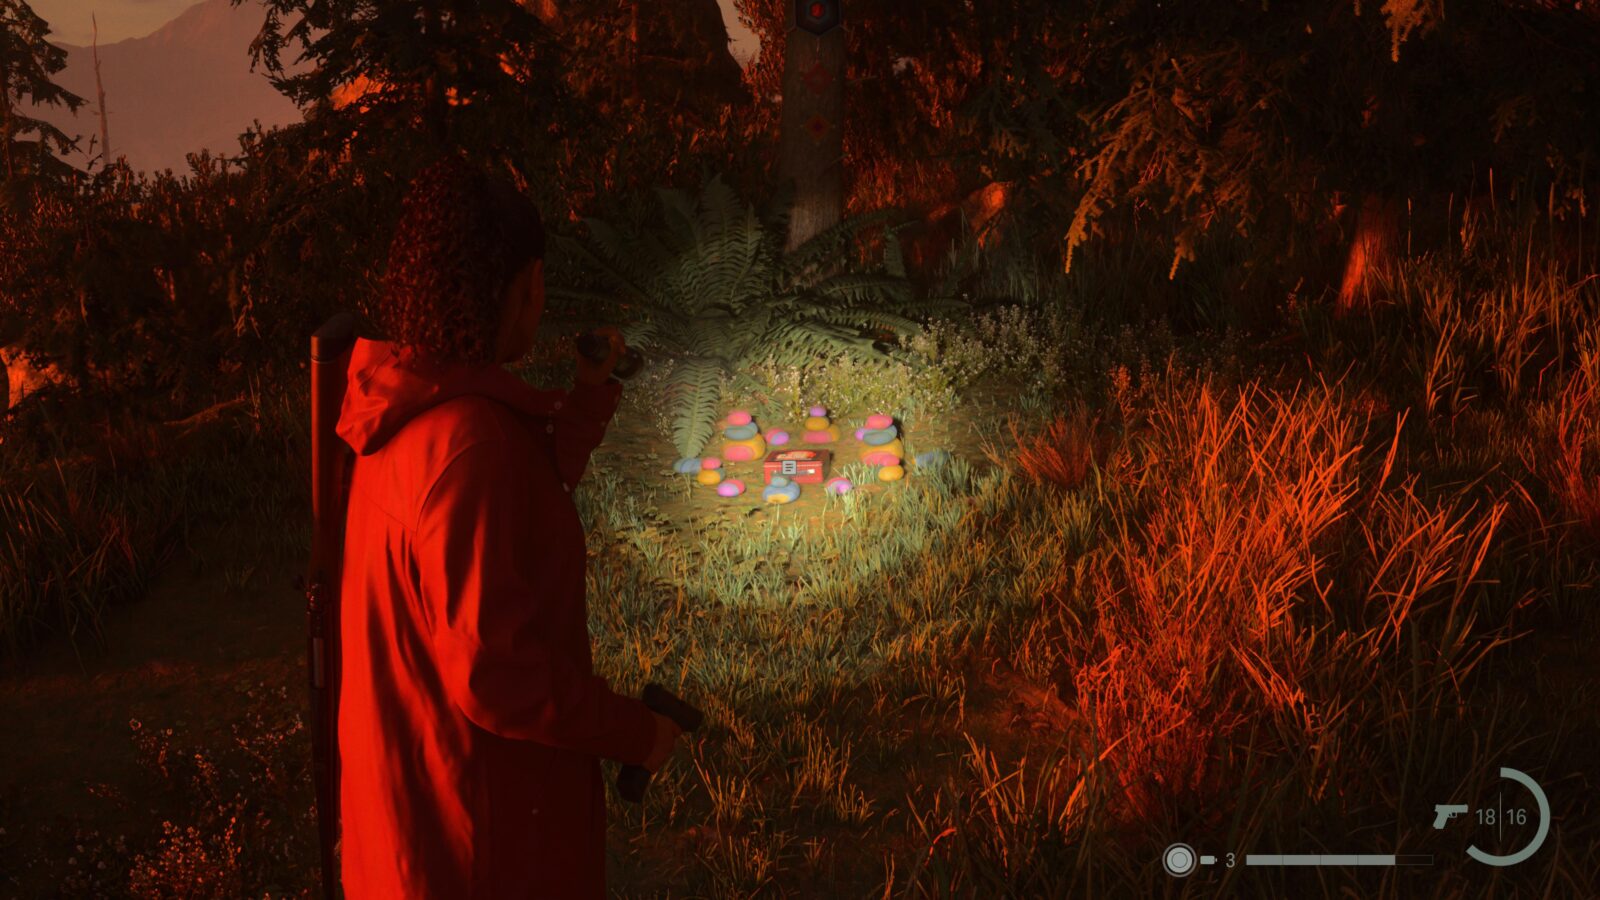
Cult Stash #3
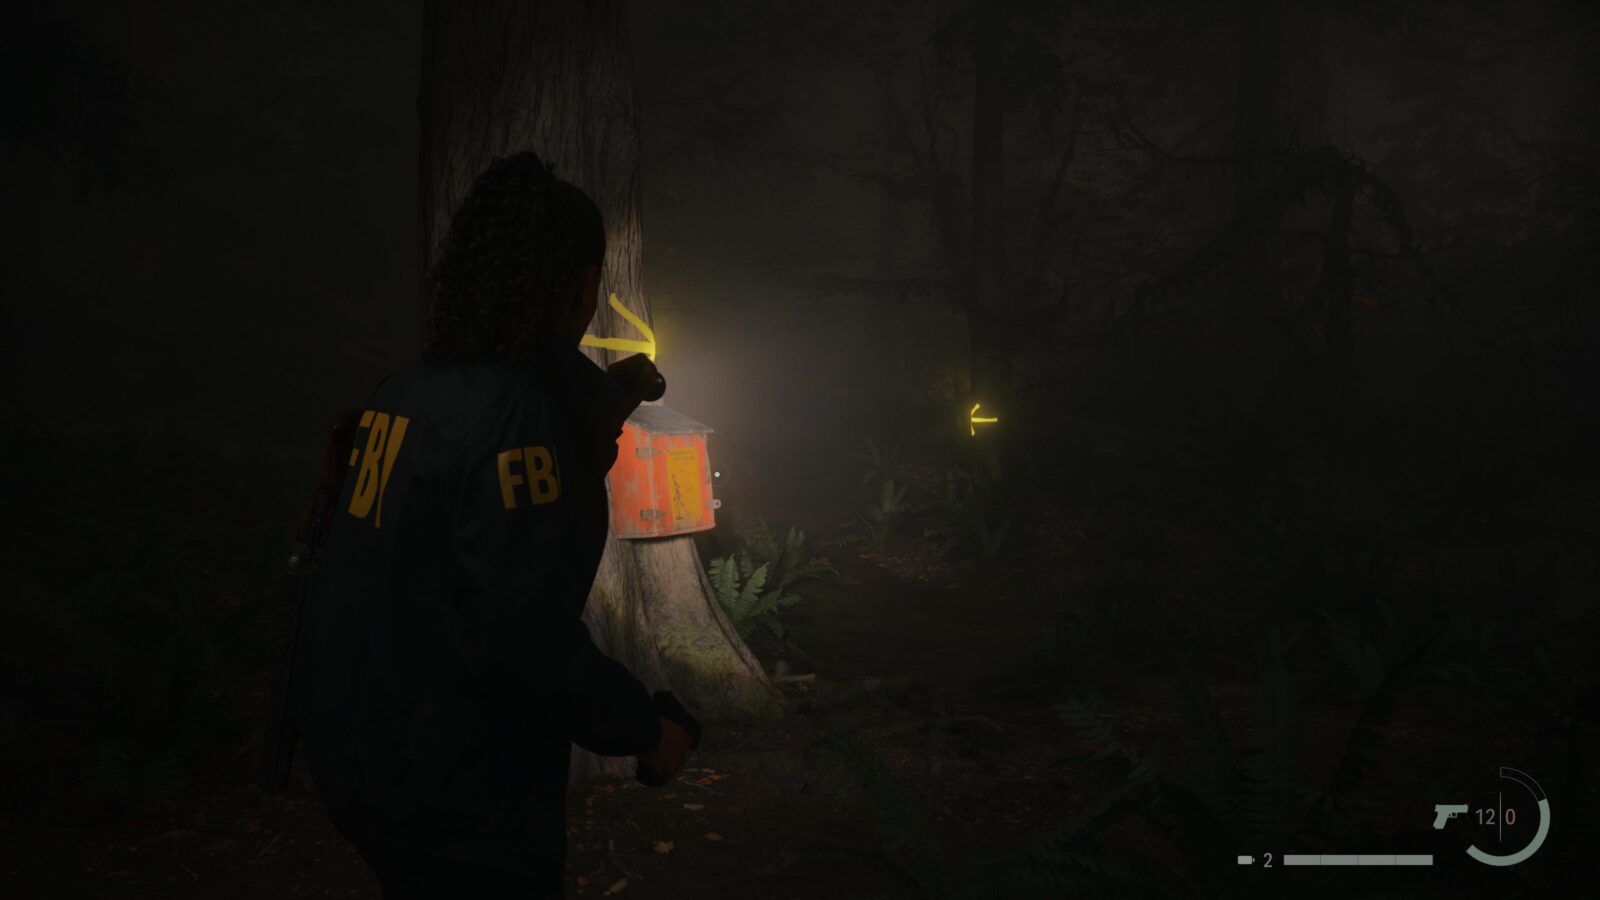
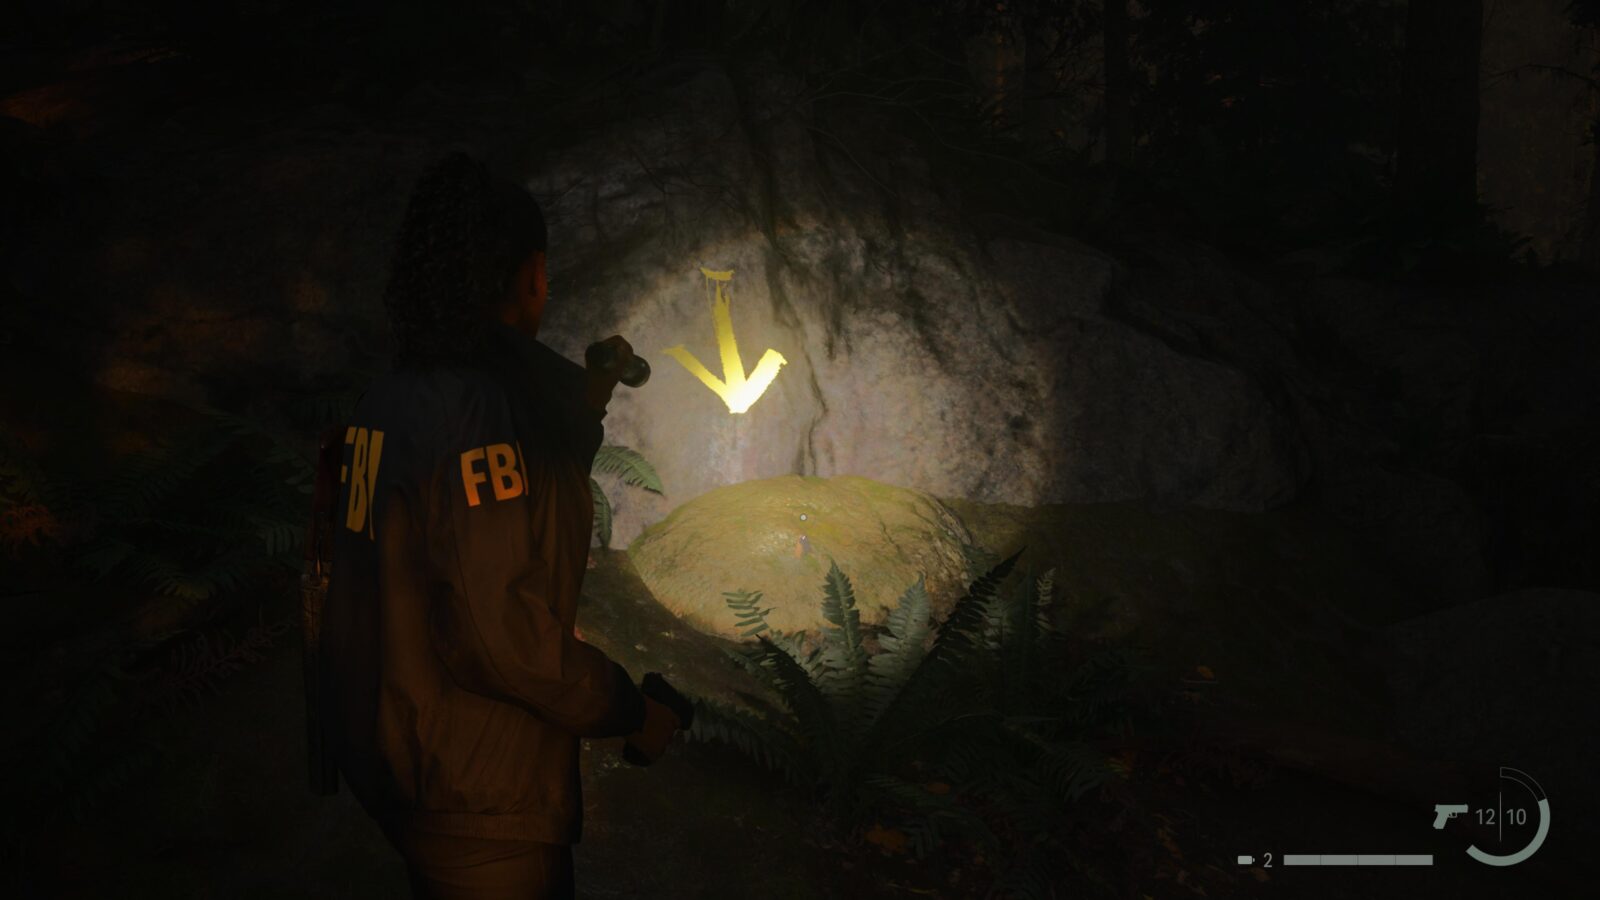
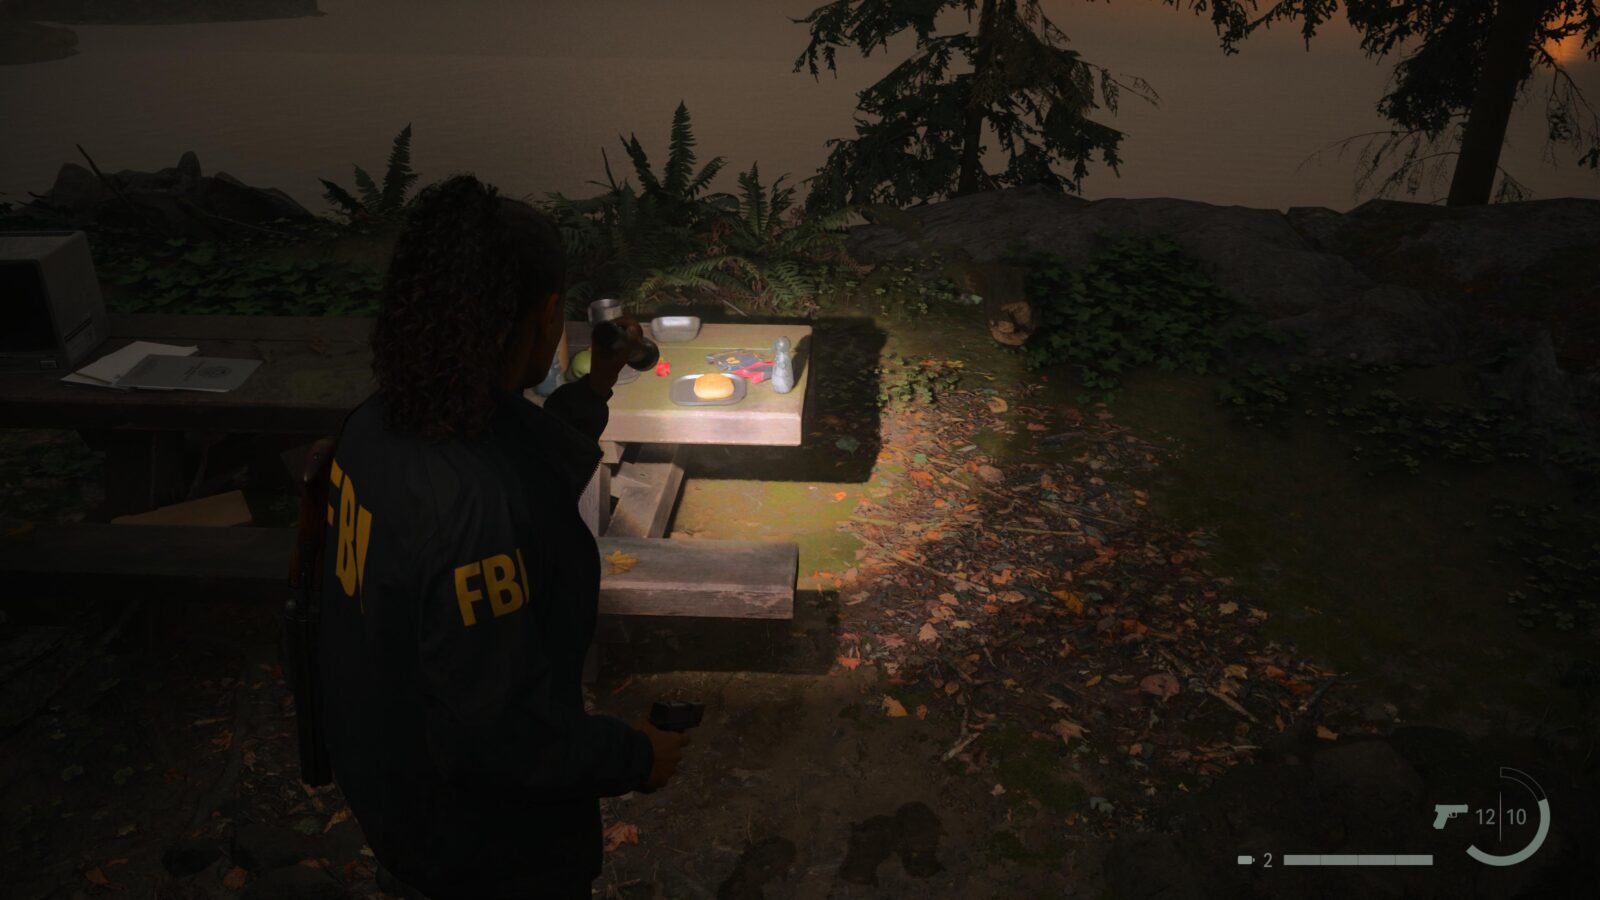
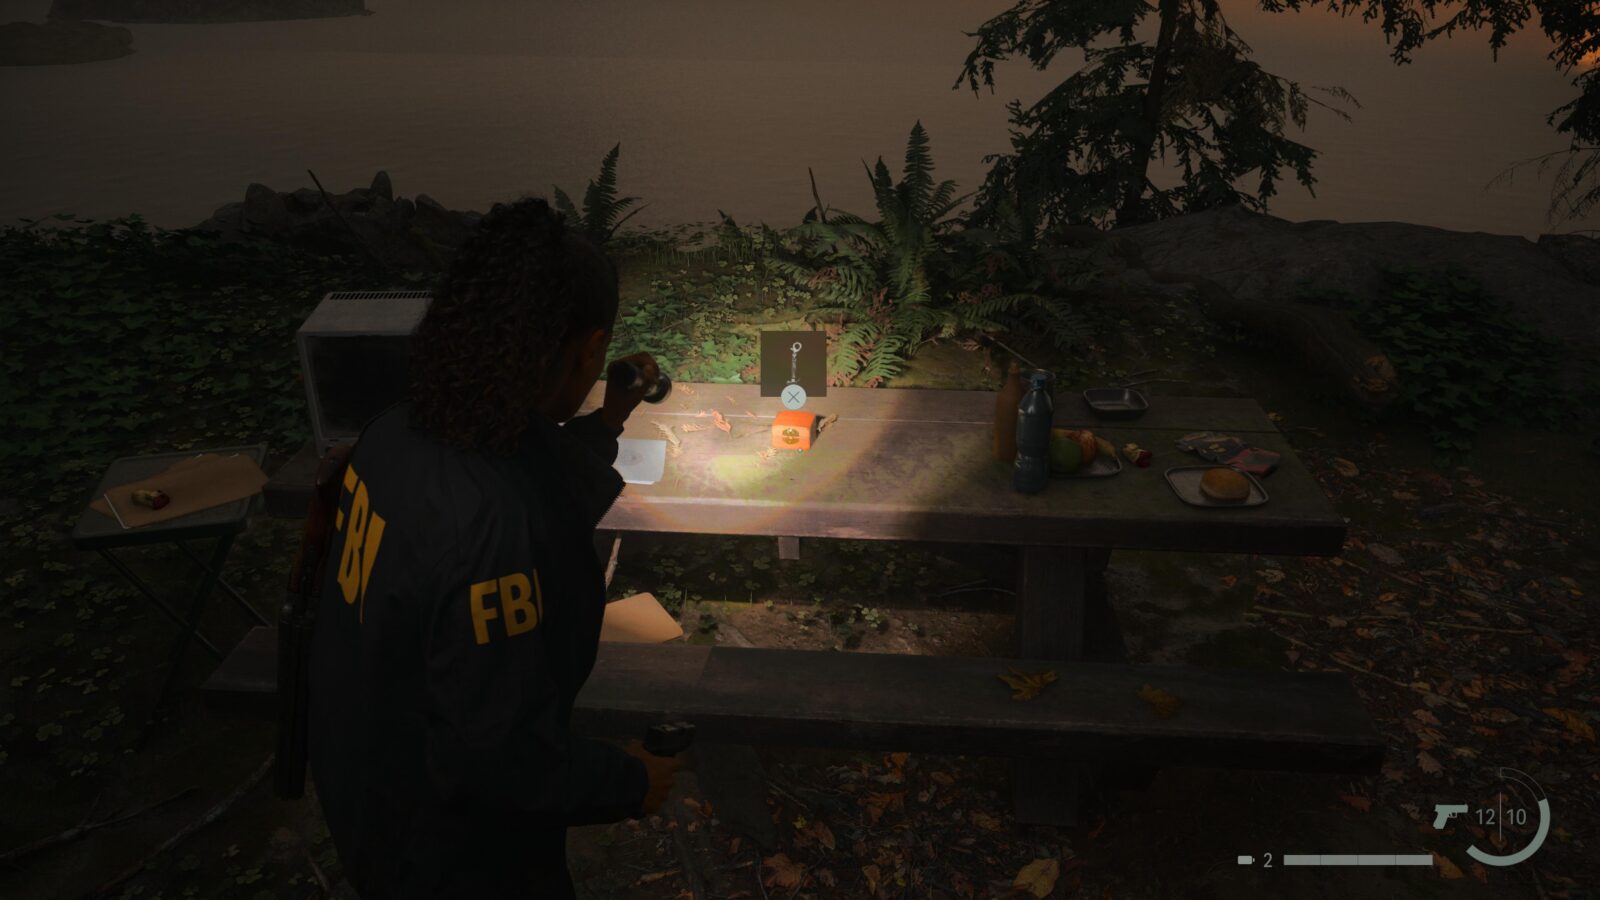
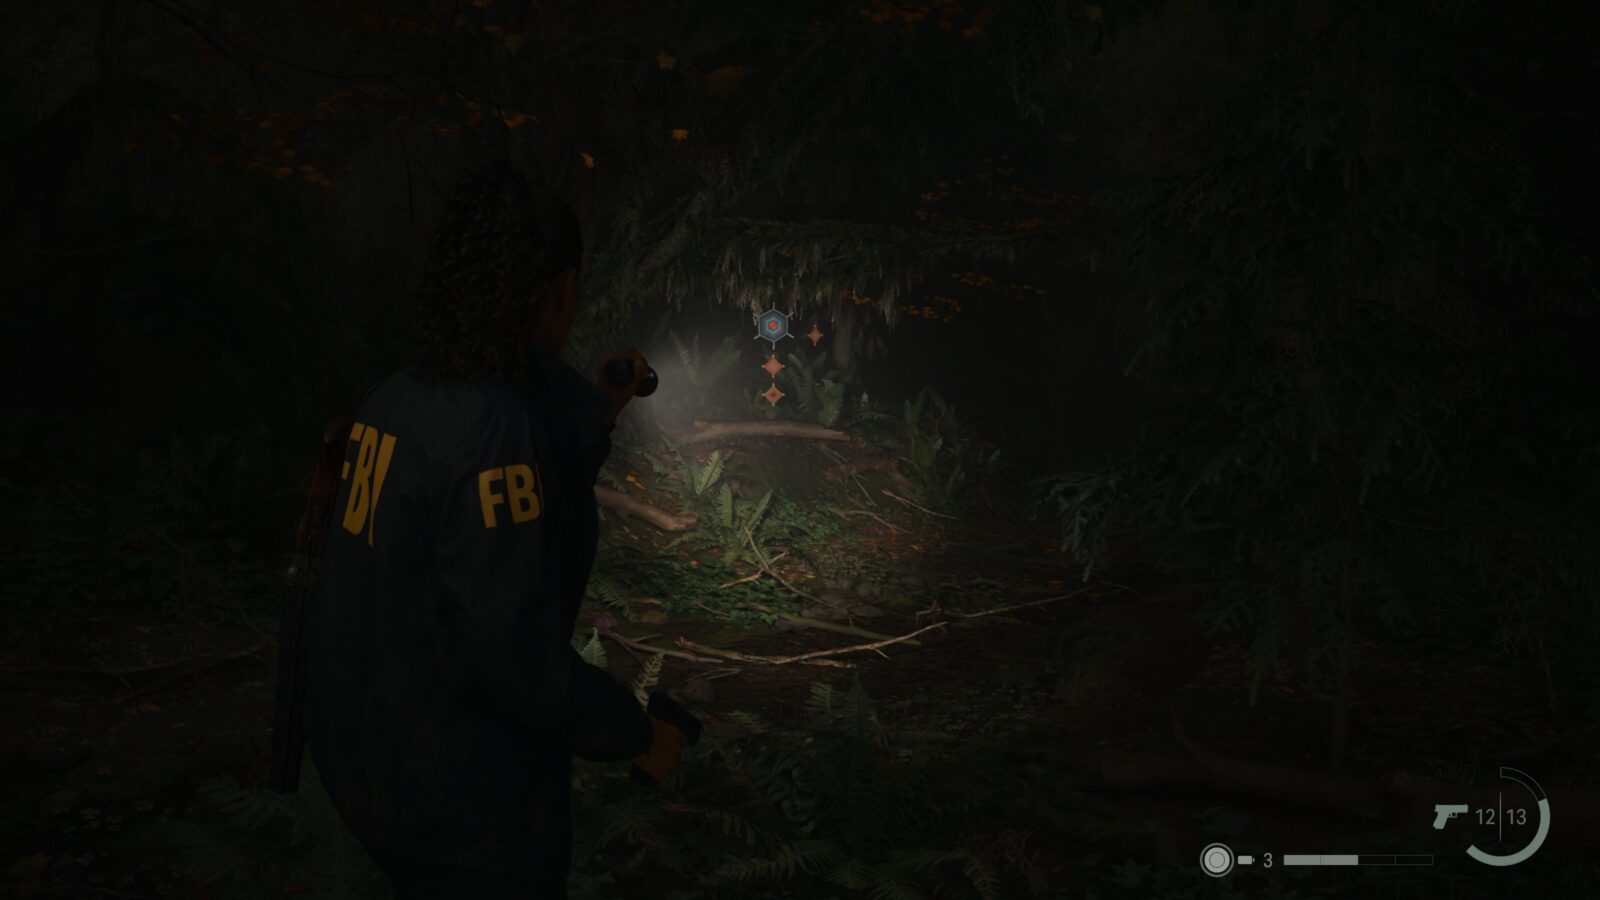
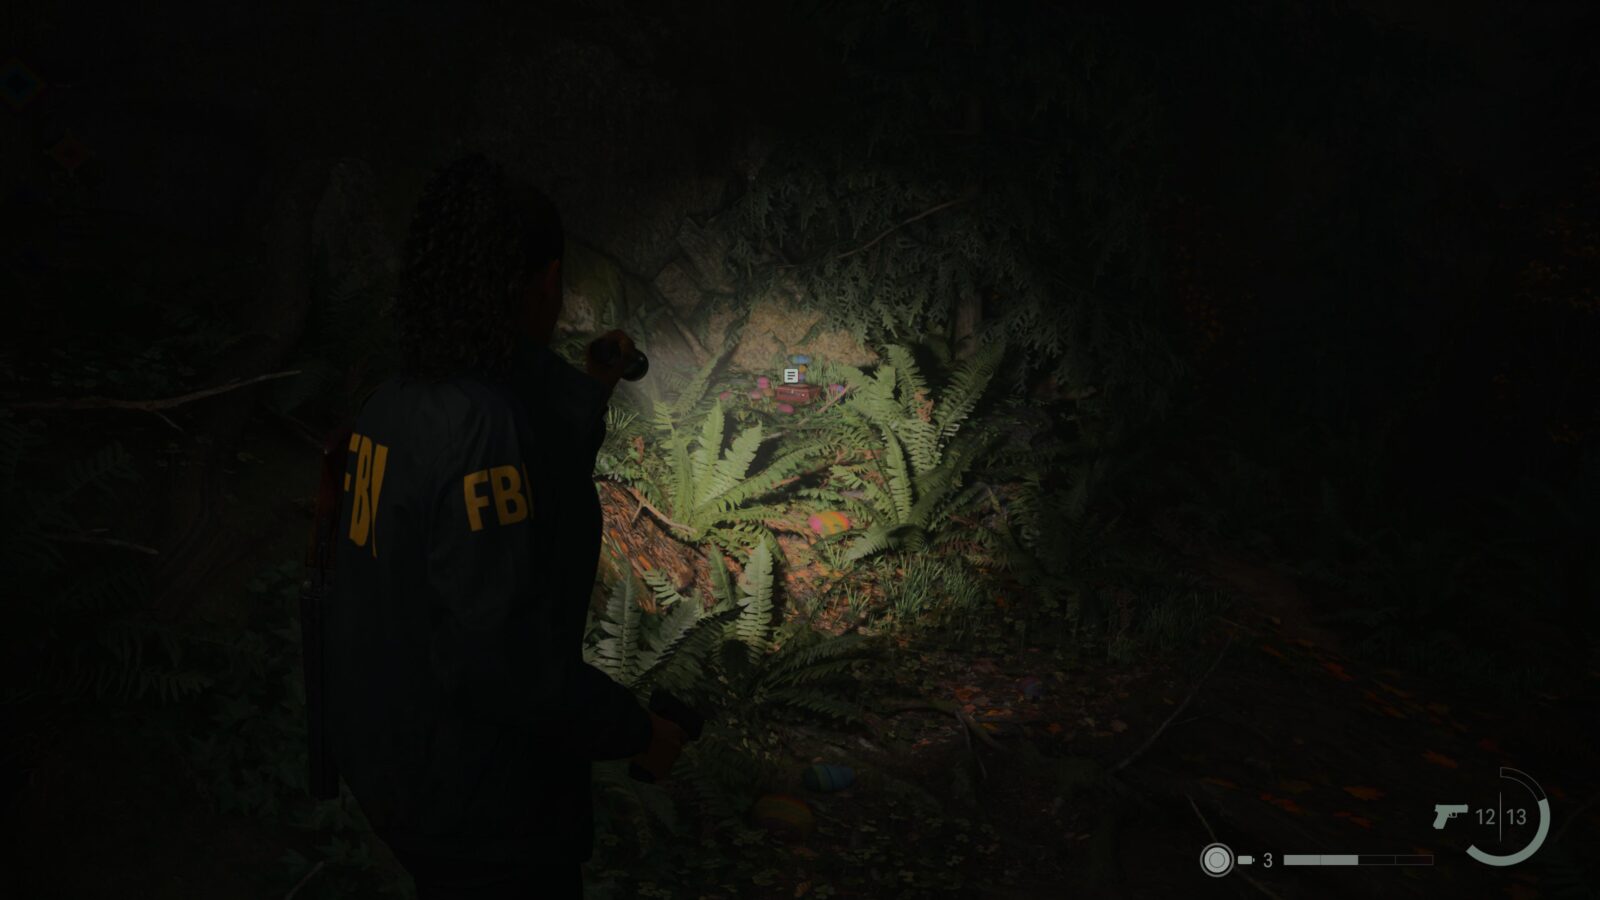
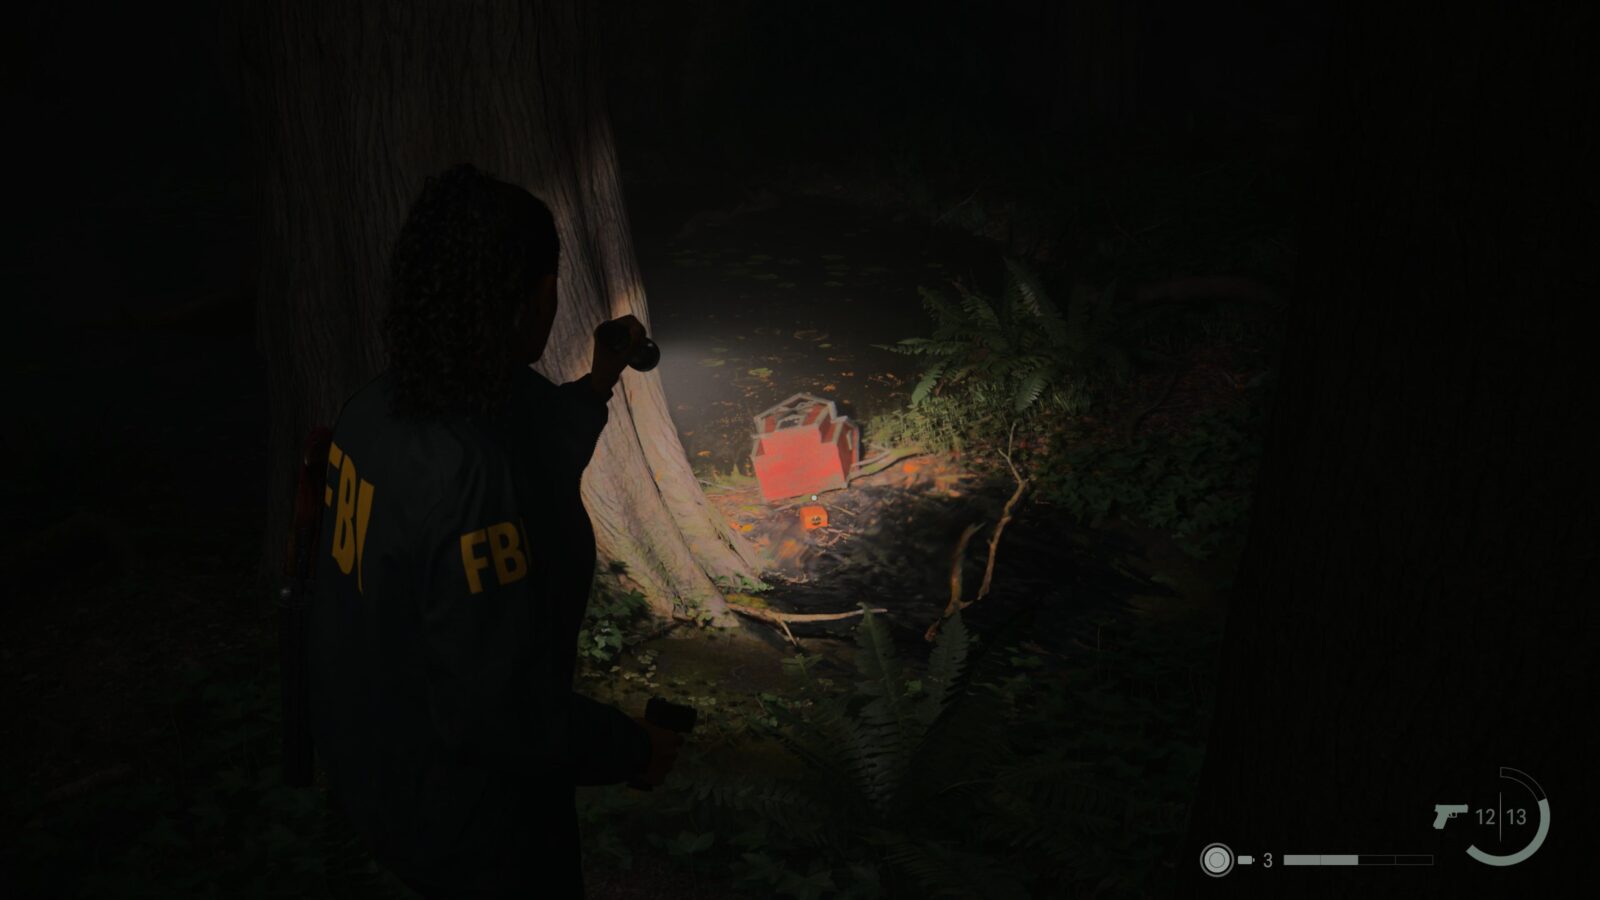
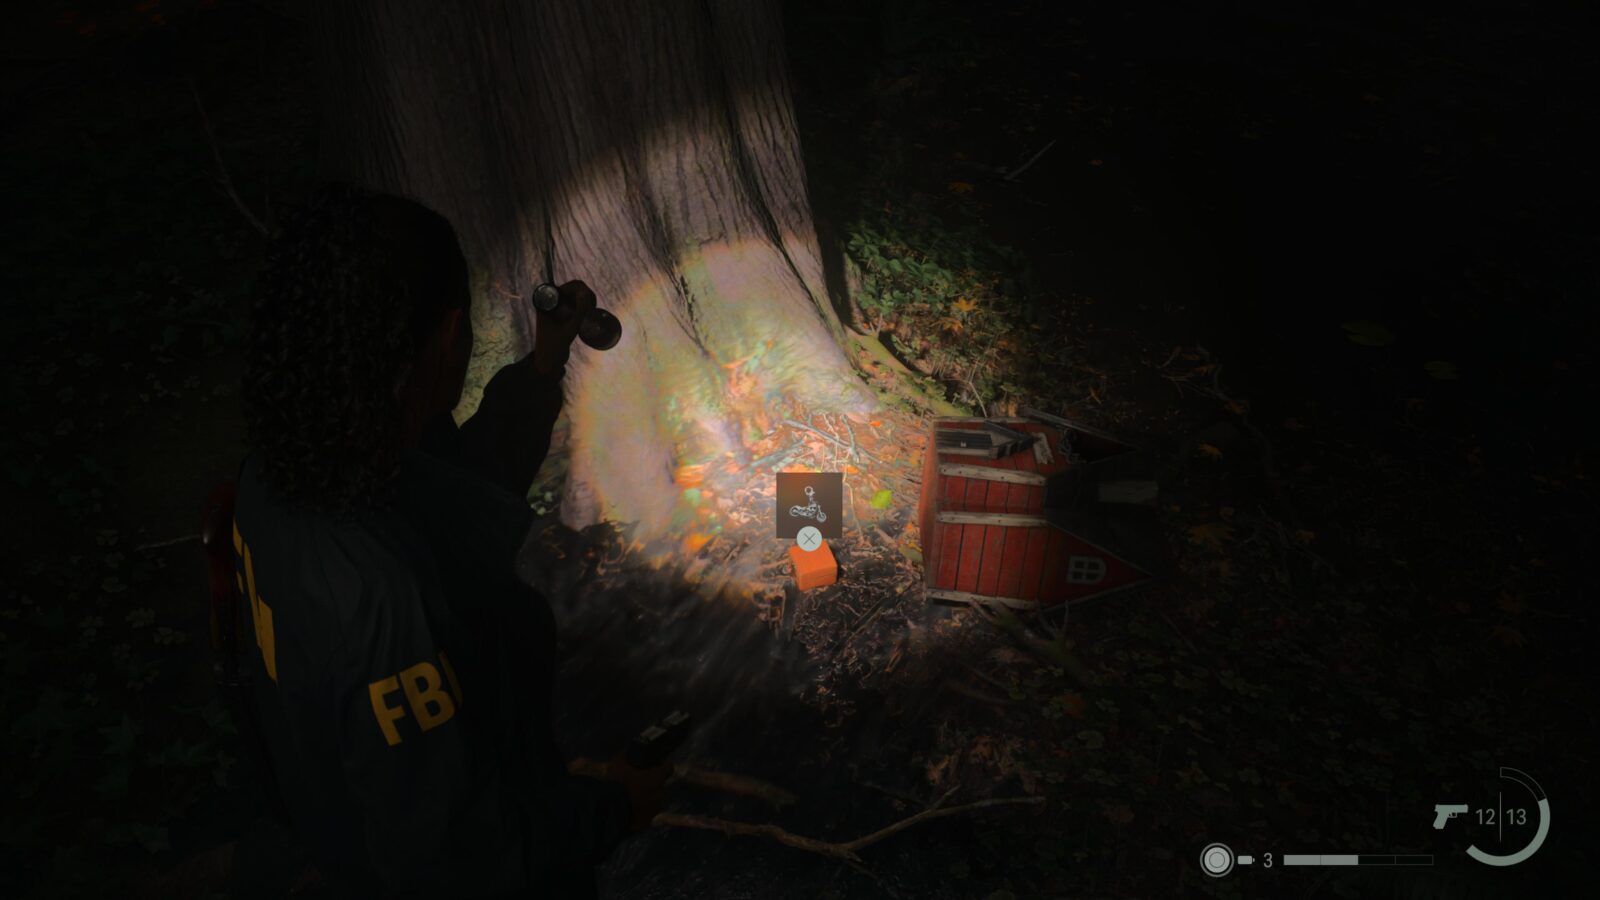
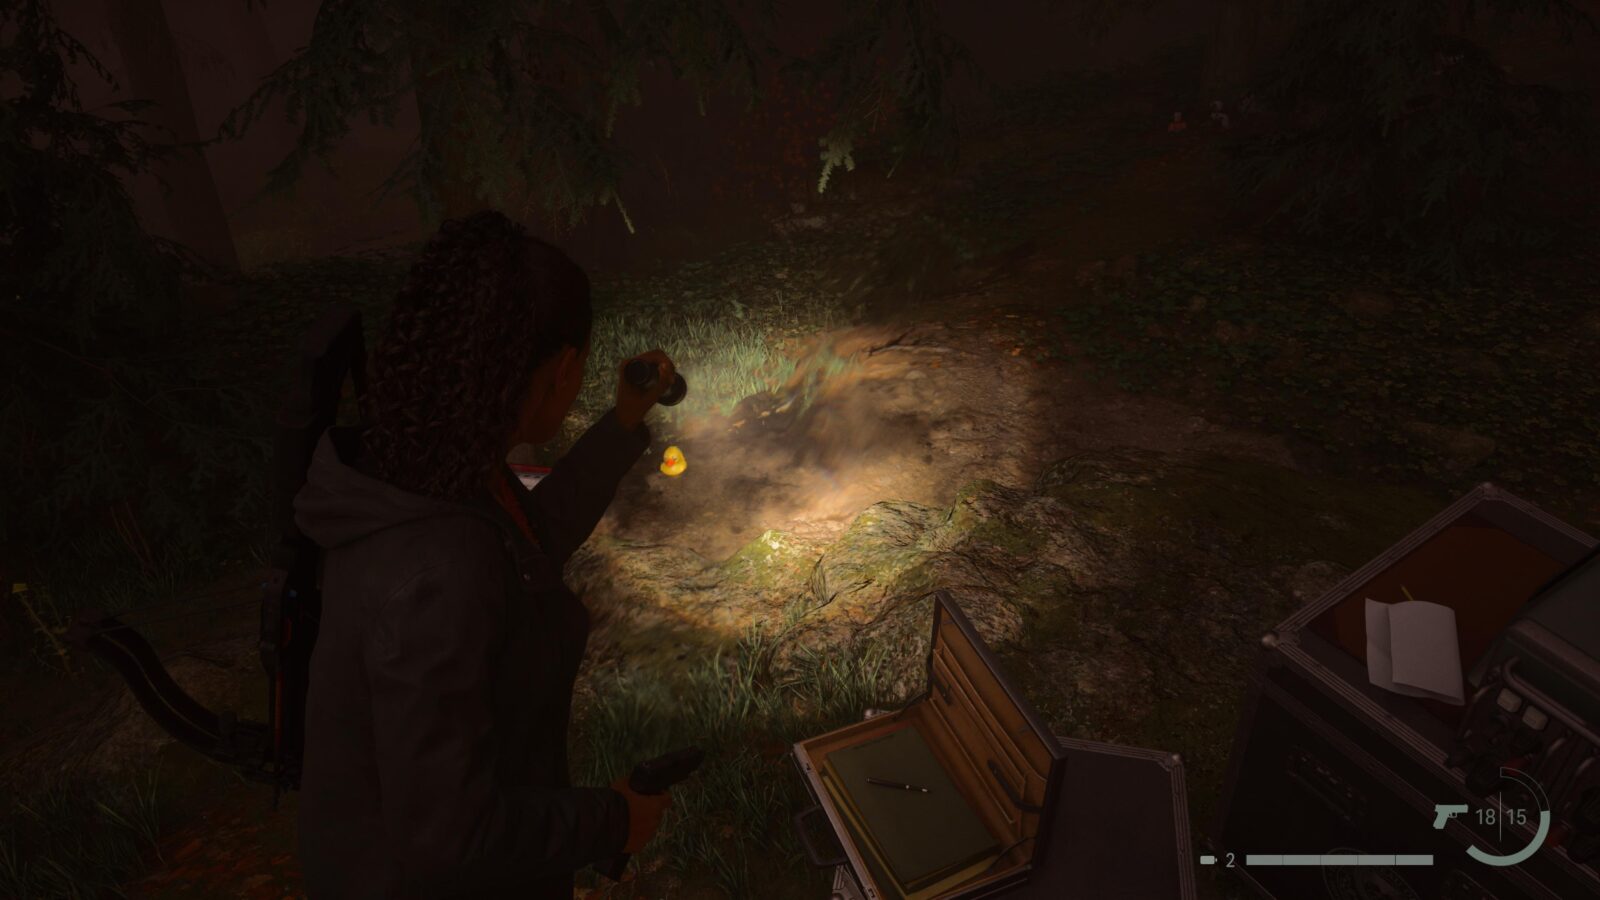
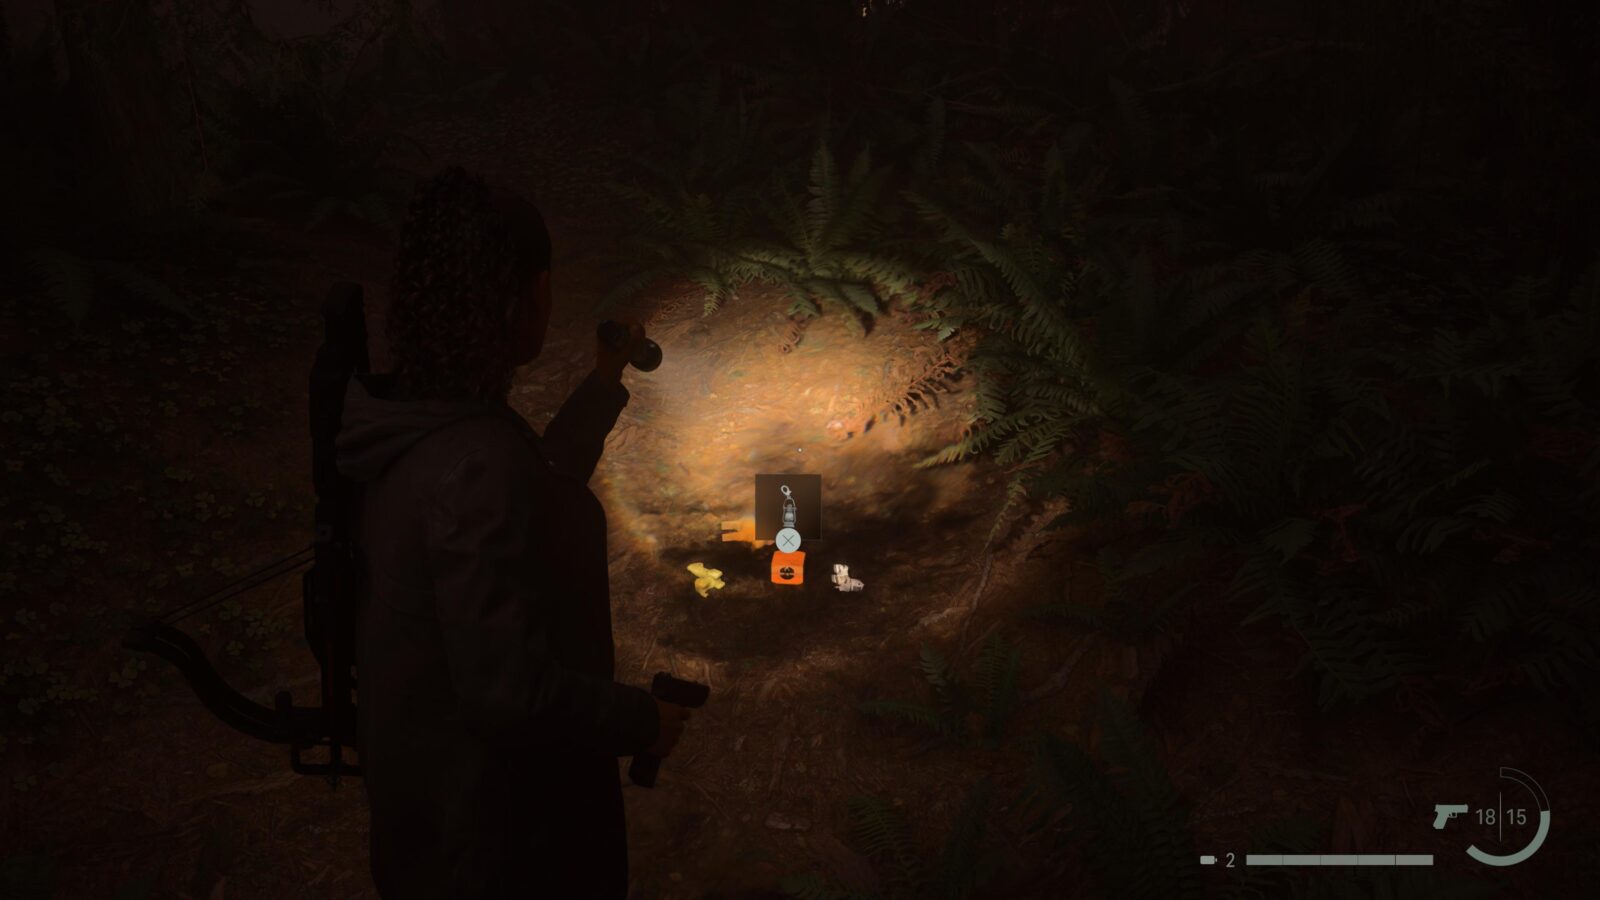
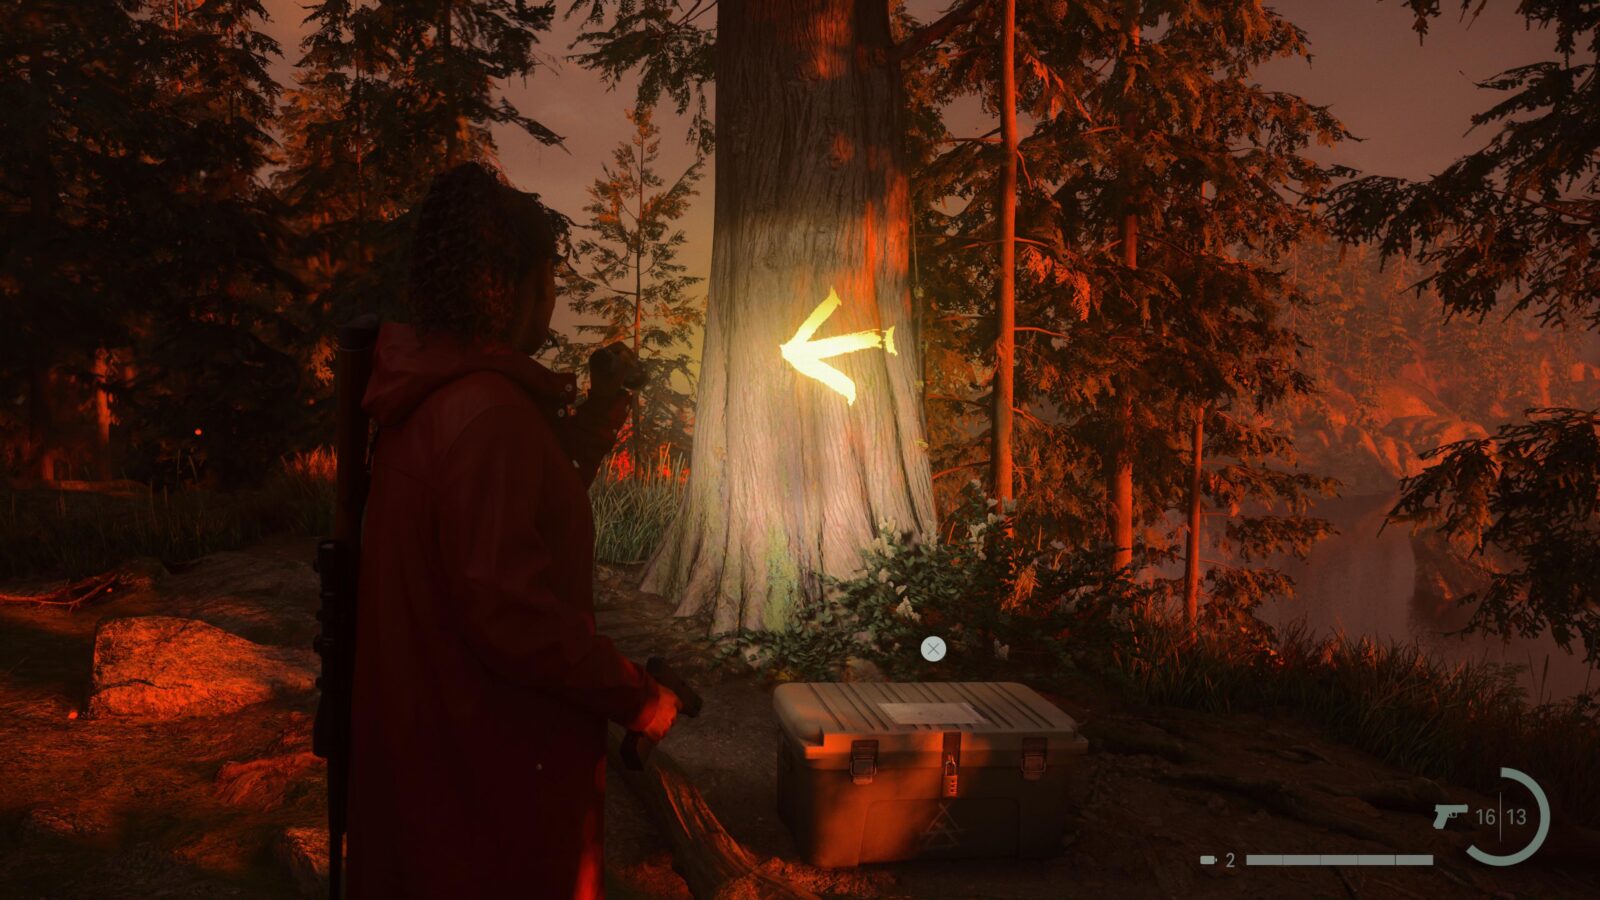
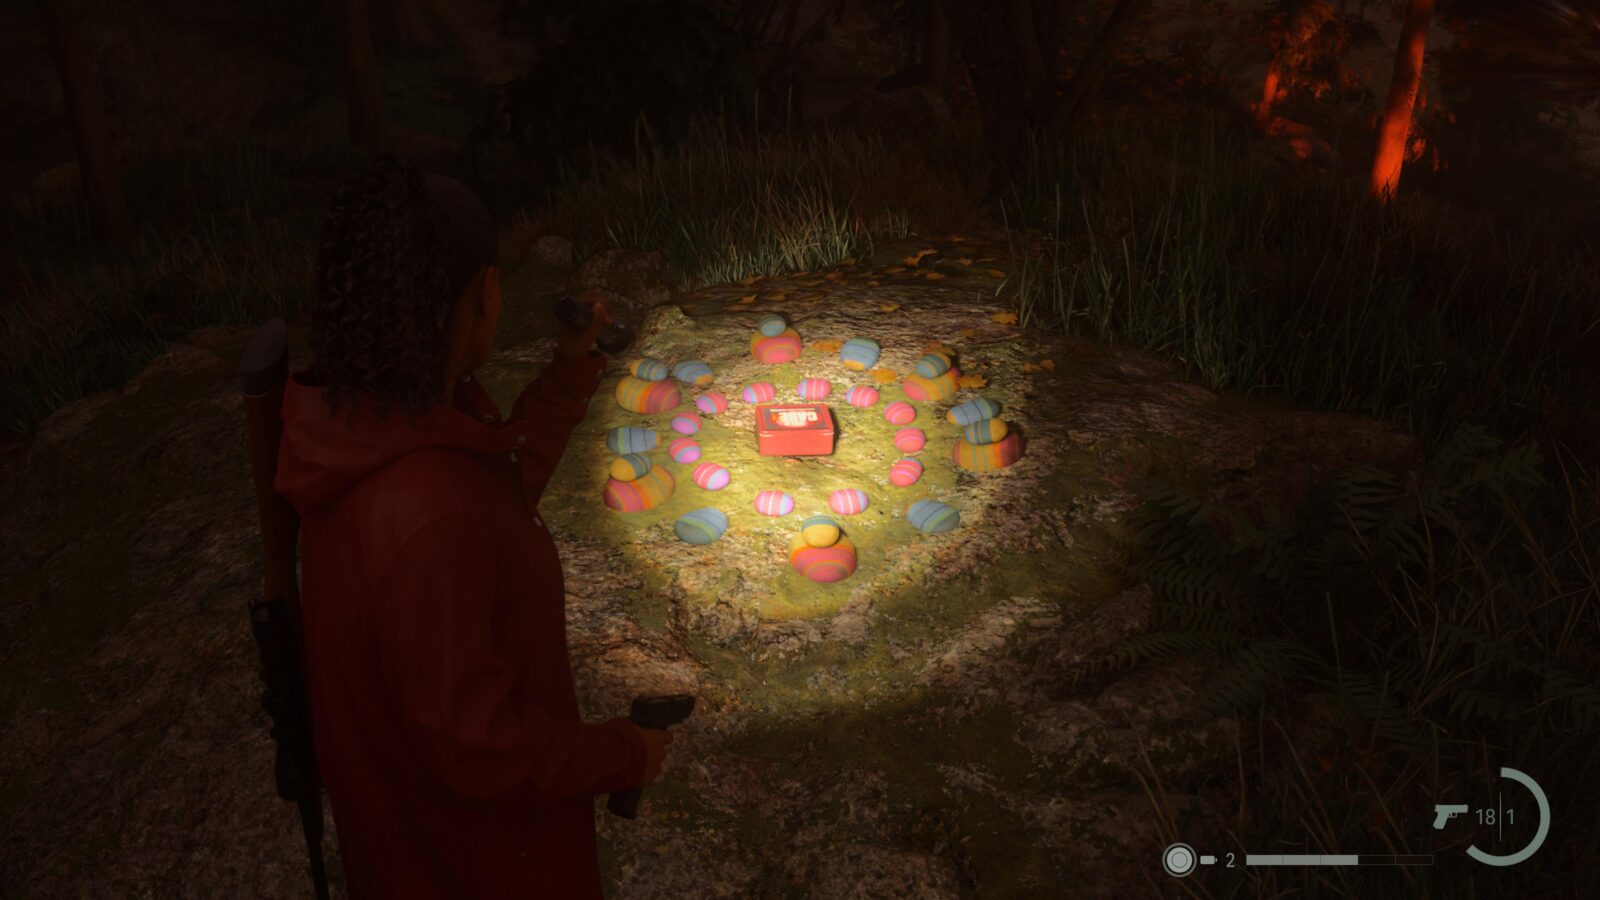
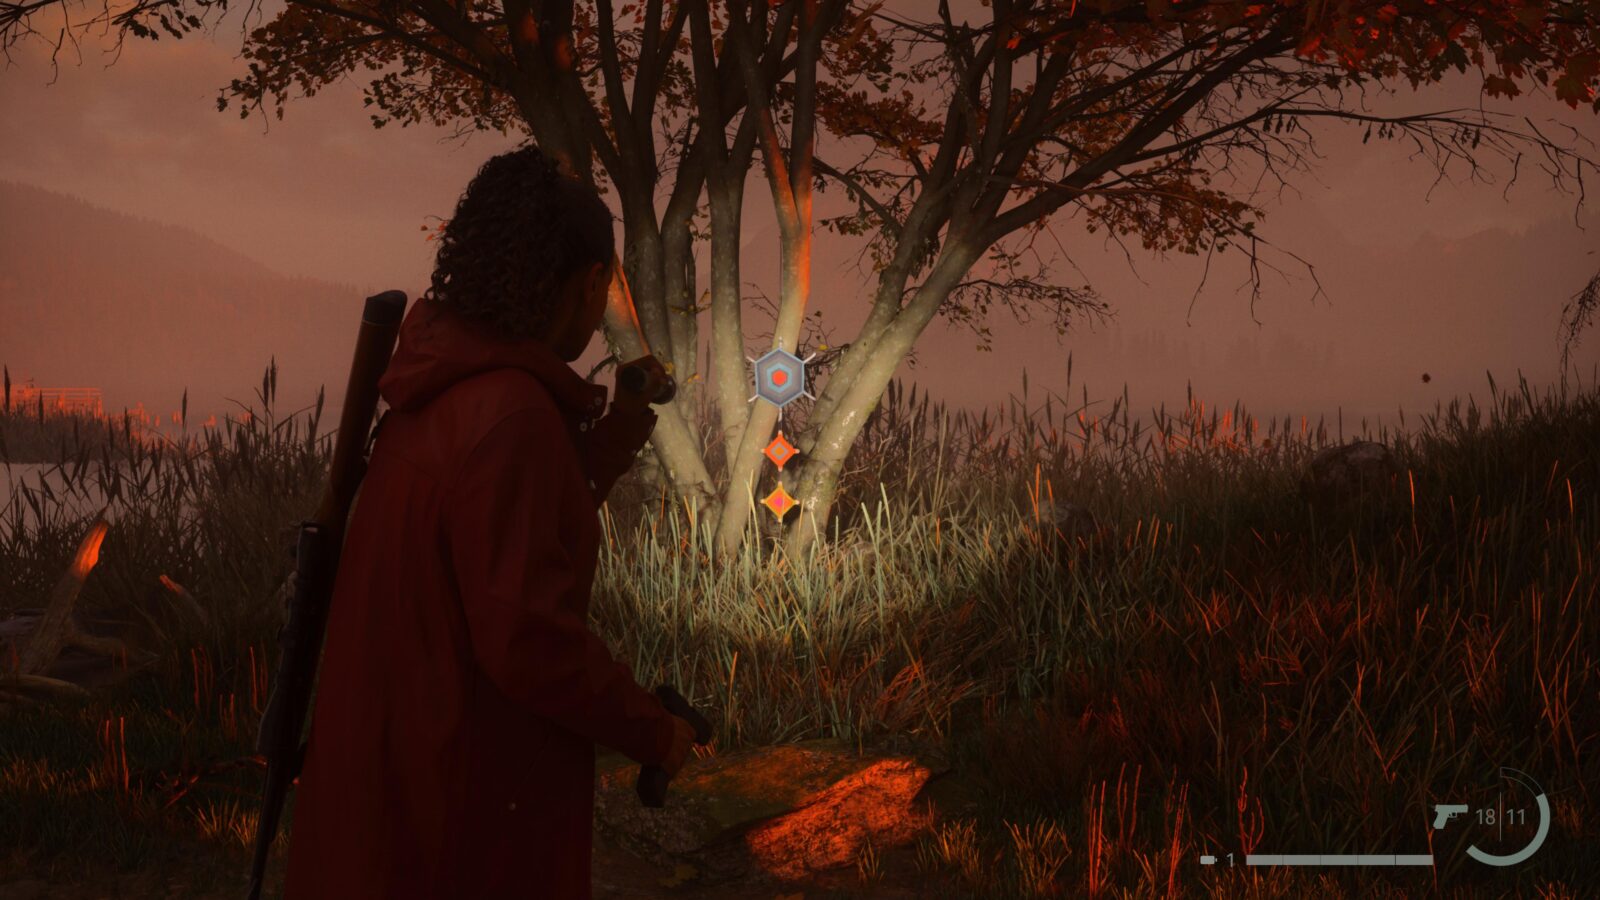
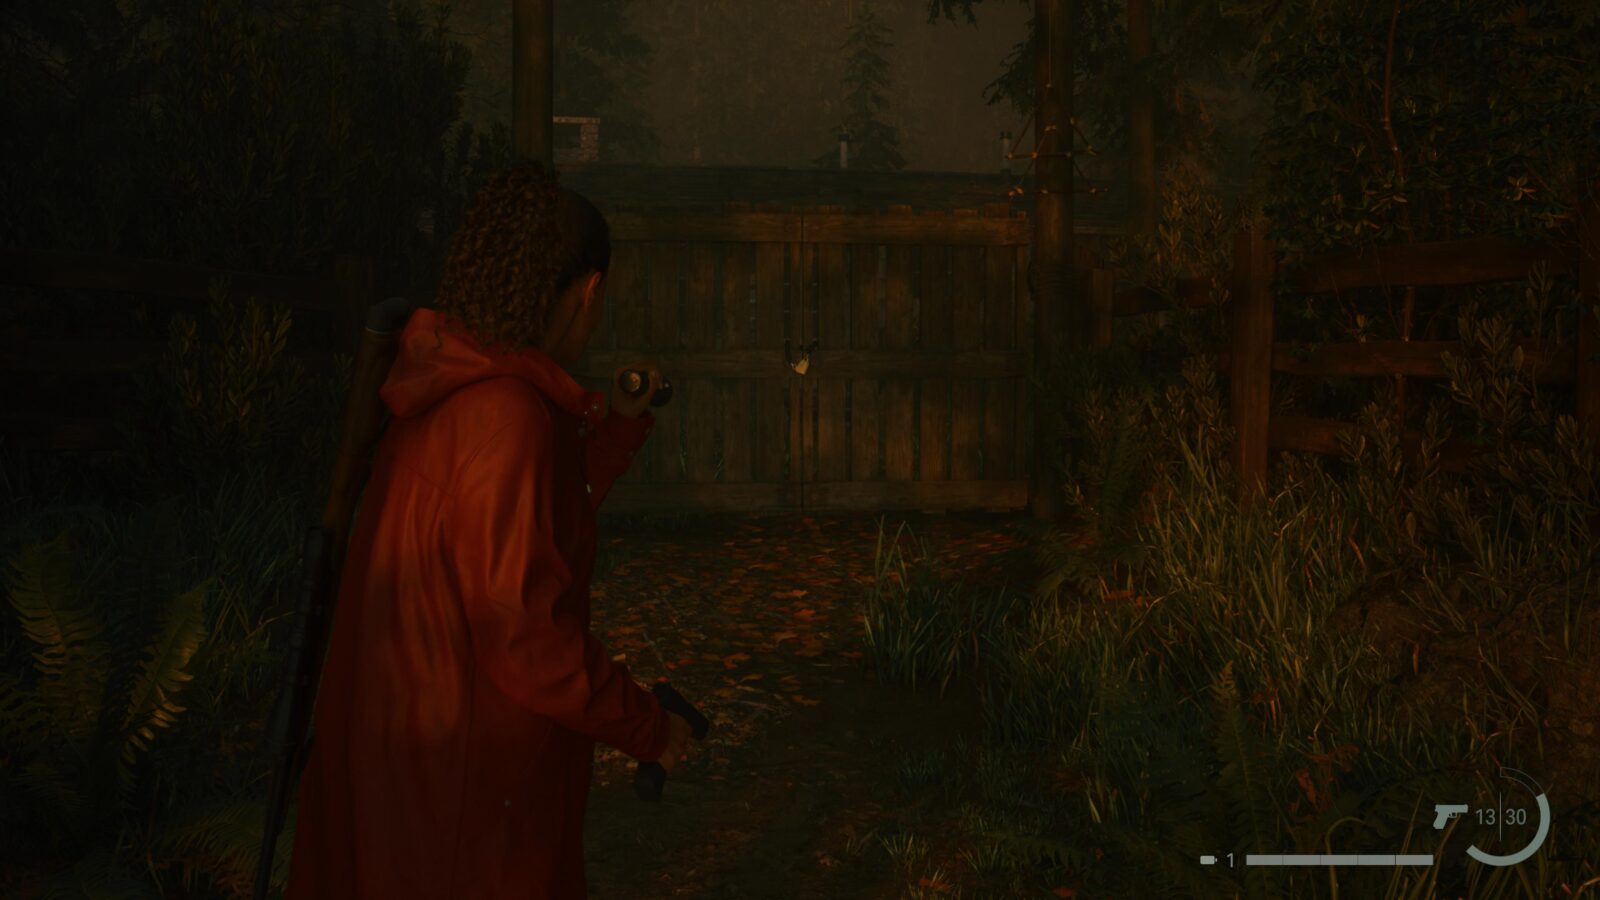
Return to the Witch’s Ladle sign and you will be attacked by a wolf. Defeat it and explore the new area that opened up to your left (if you’re looking directly at the overhead light). You will spot a red box on a tree and a picnic table to the right. Head to the picnic table and look at the tree just behind it to find a lockbox. However, this one requires a key so you can’t open it yet. Instead, equip your flashlight and you can spot a bright yellow arrow on the tree above the lockbox. Follow the arrow and you will find more that will lead you to a key on a rock. Pick up the key and return to the lockbox to open it.
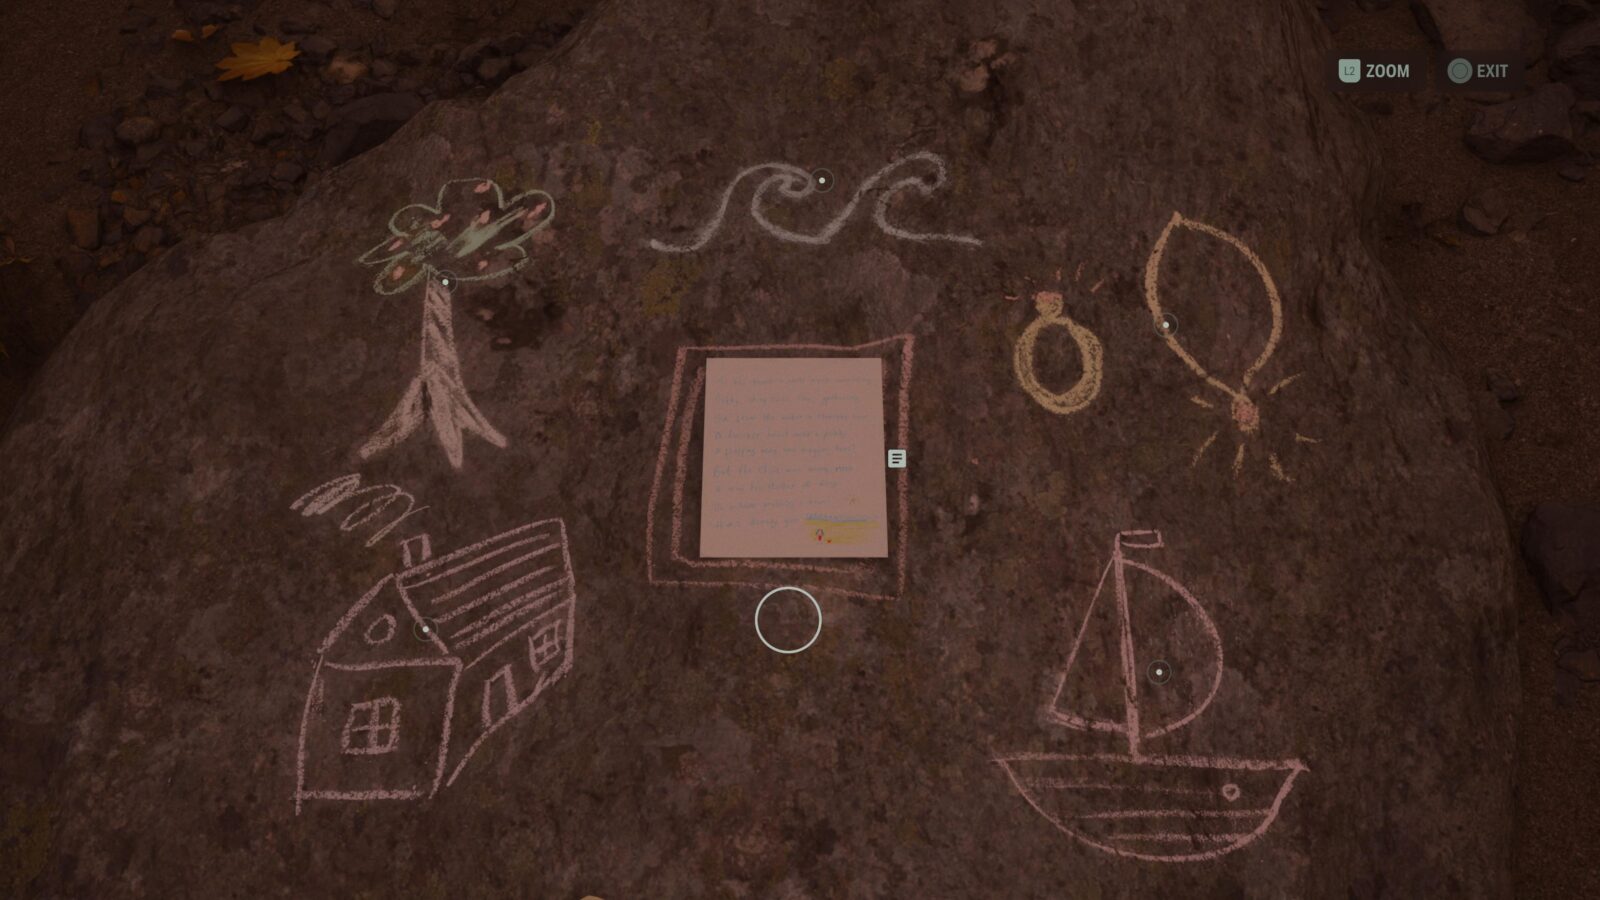
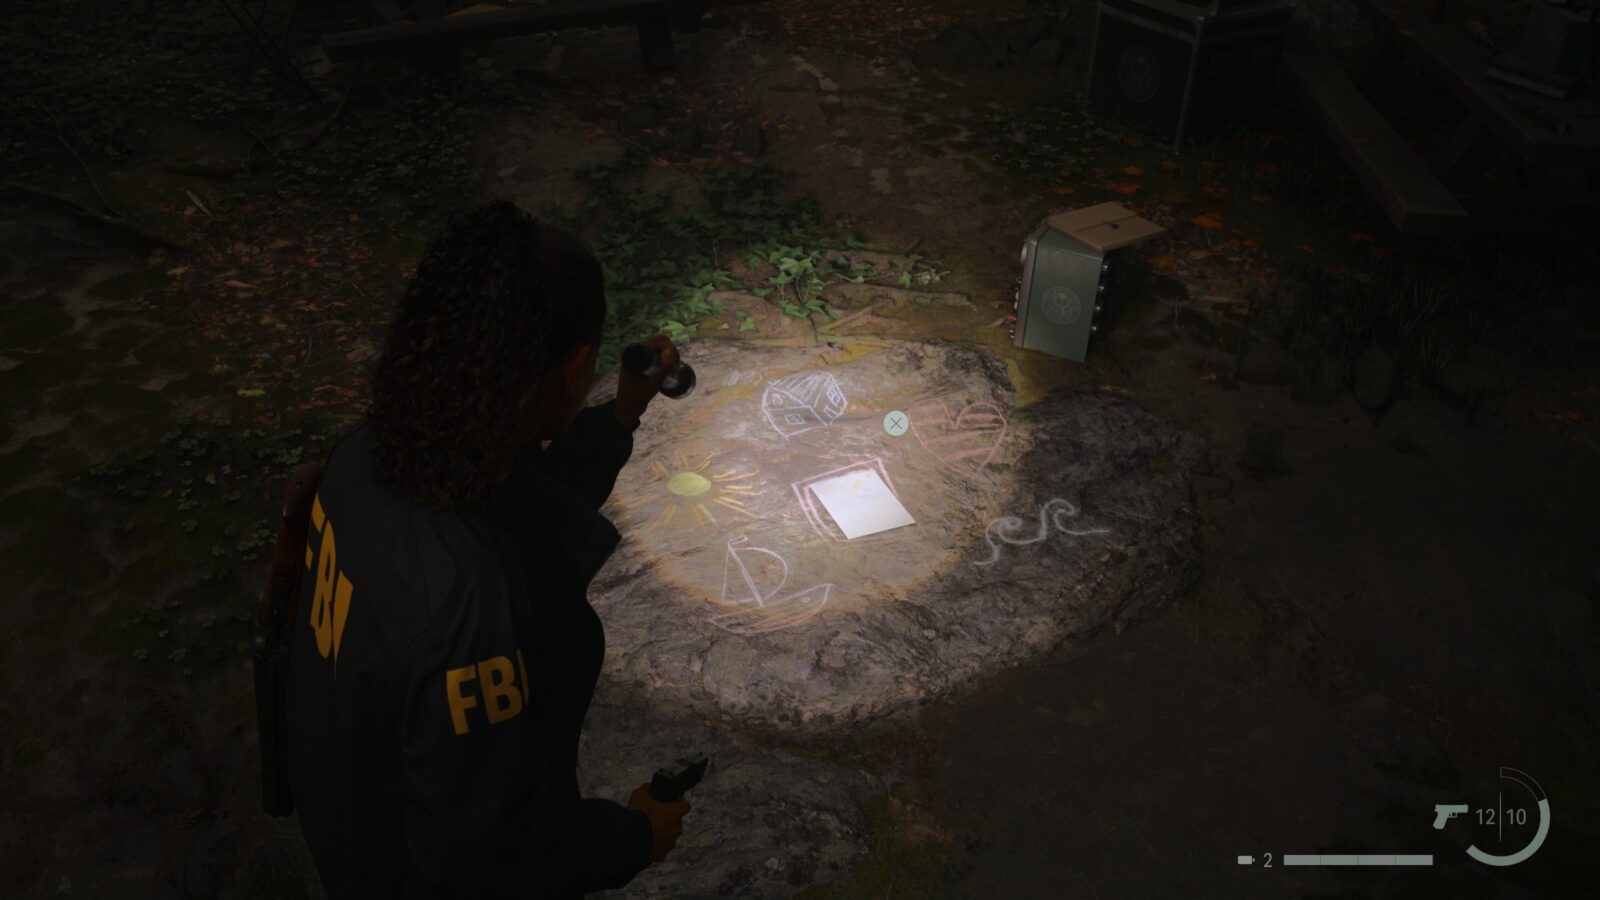
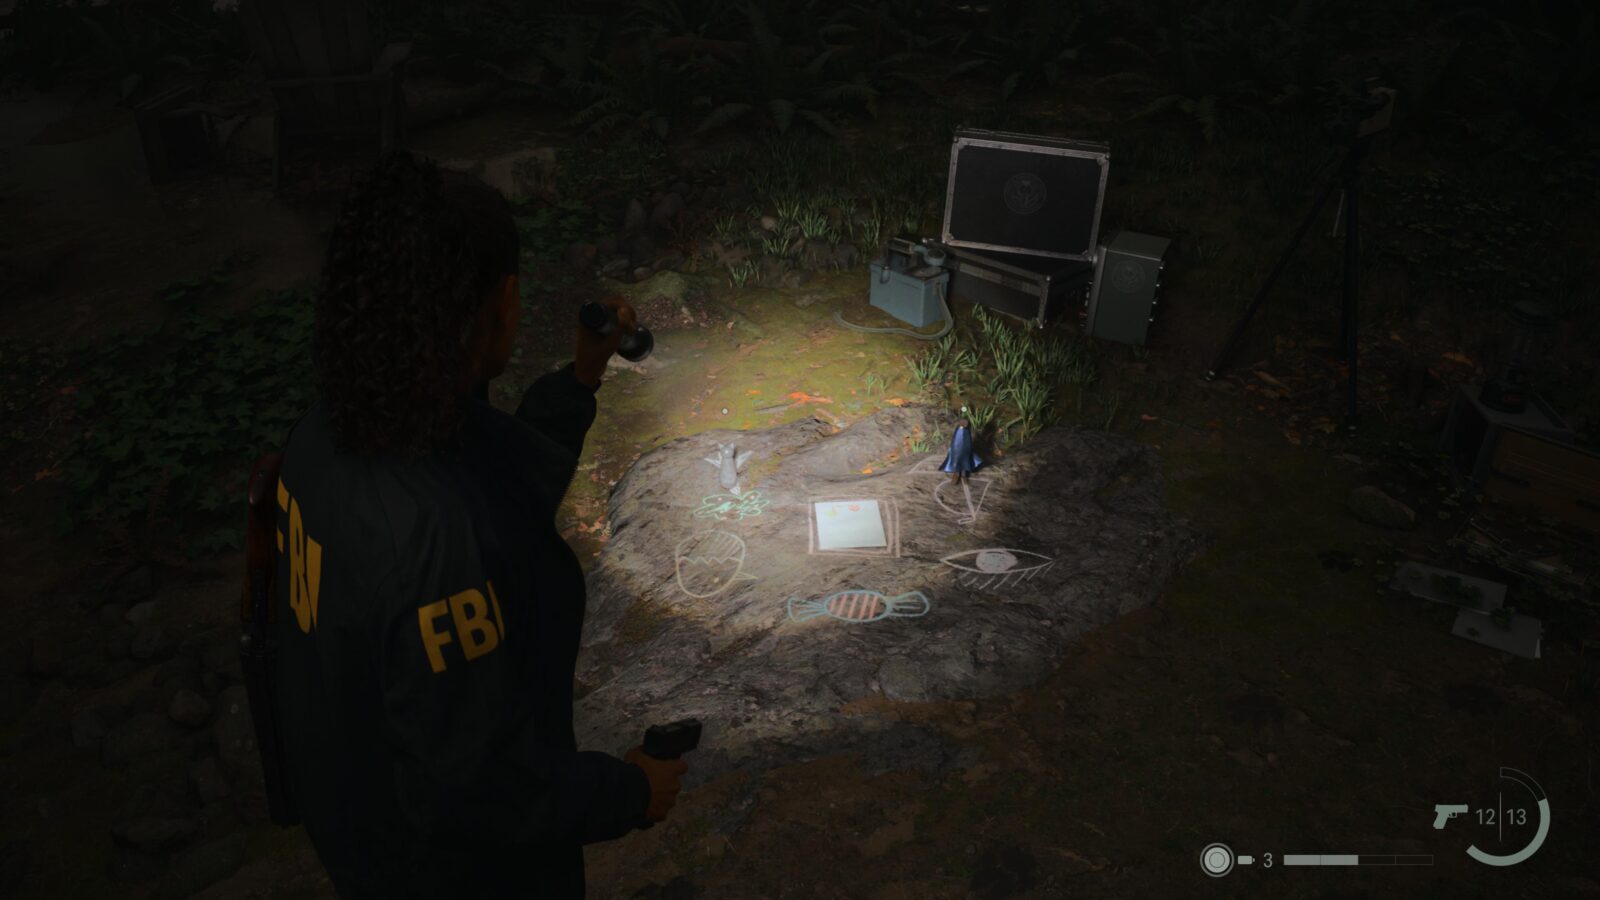
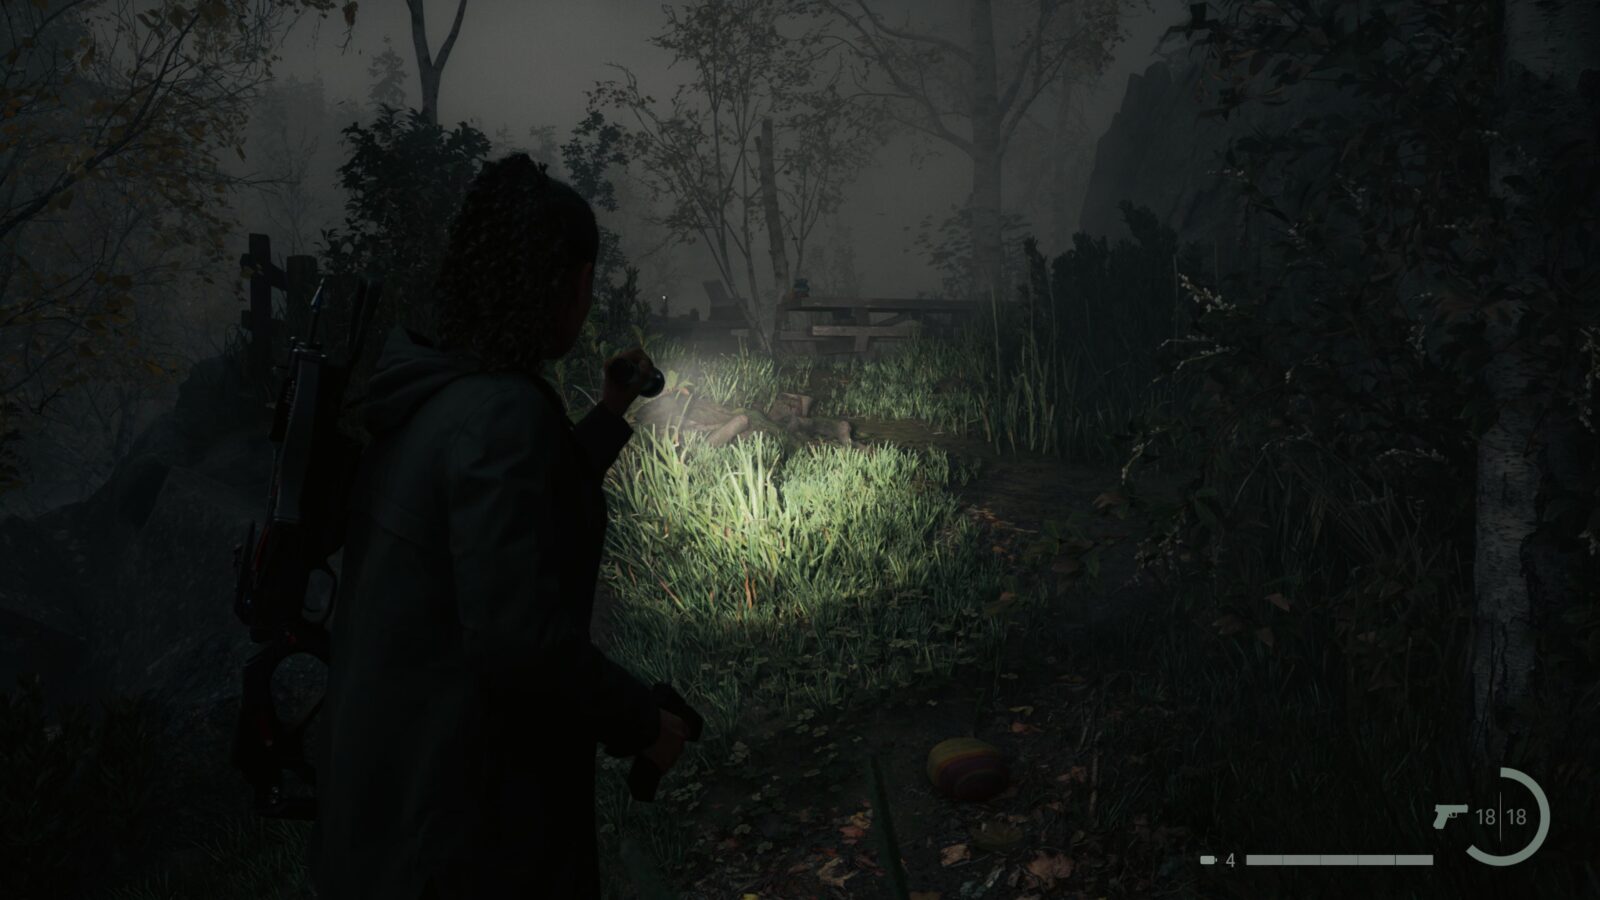
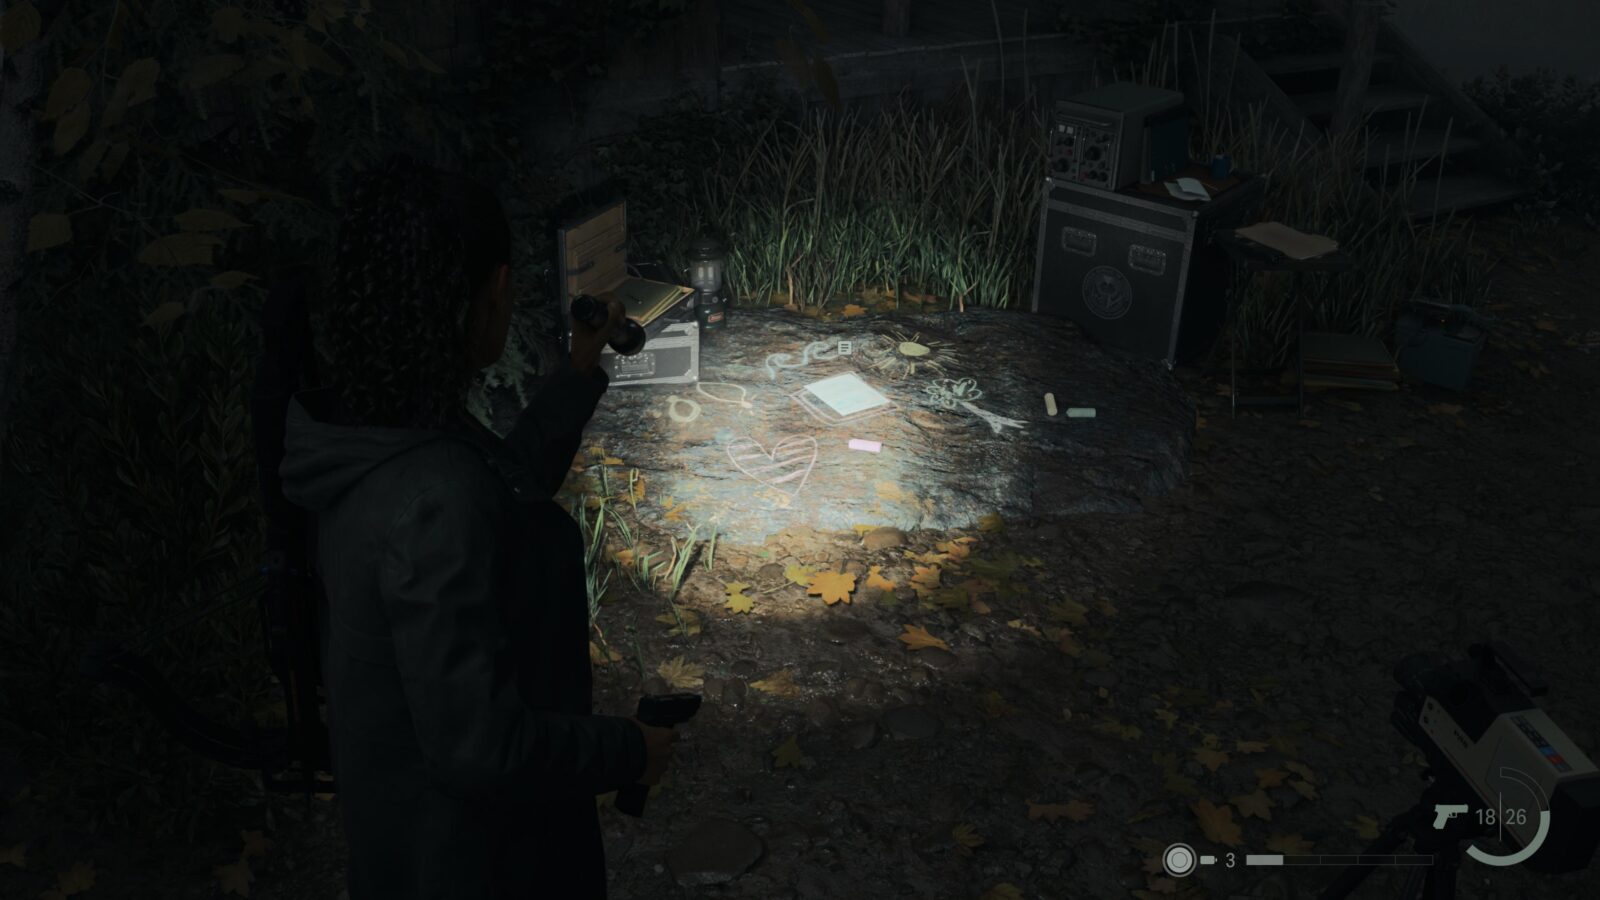
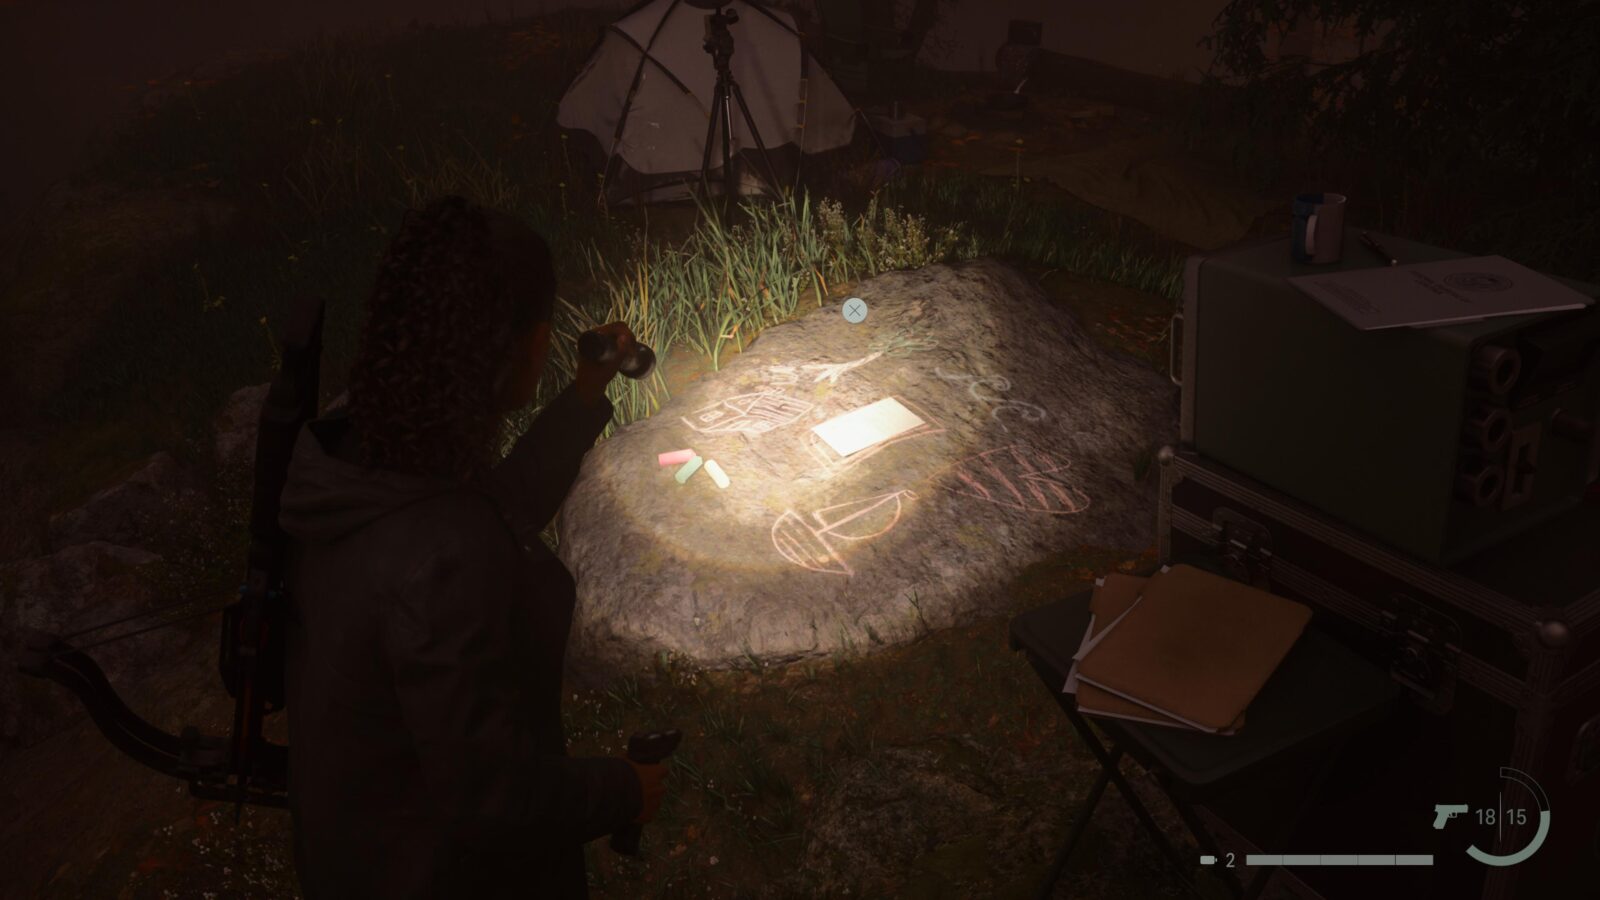
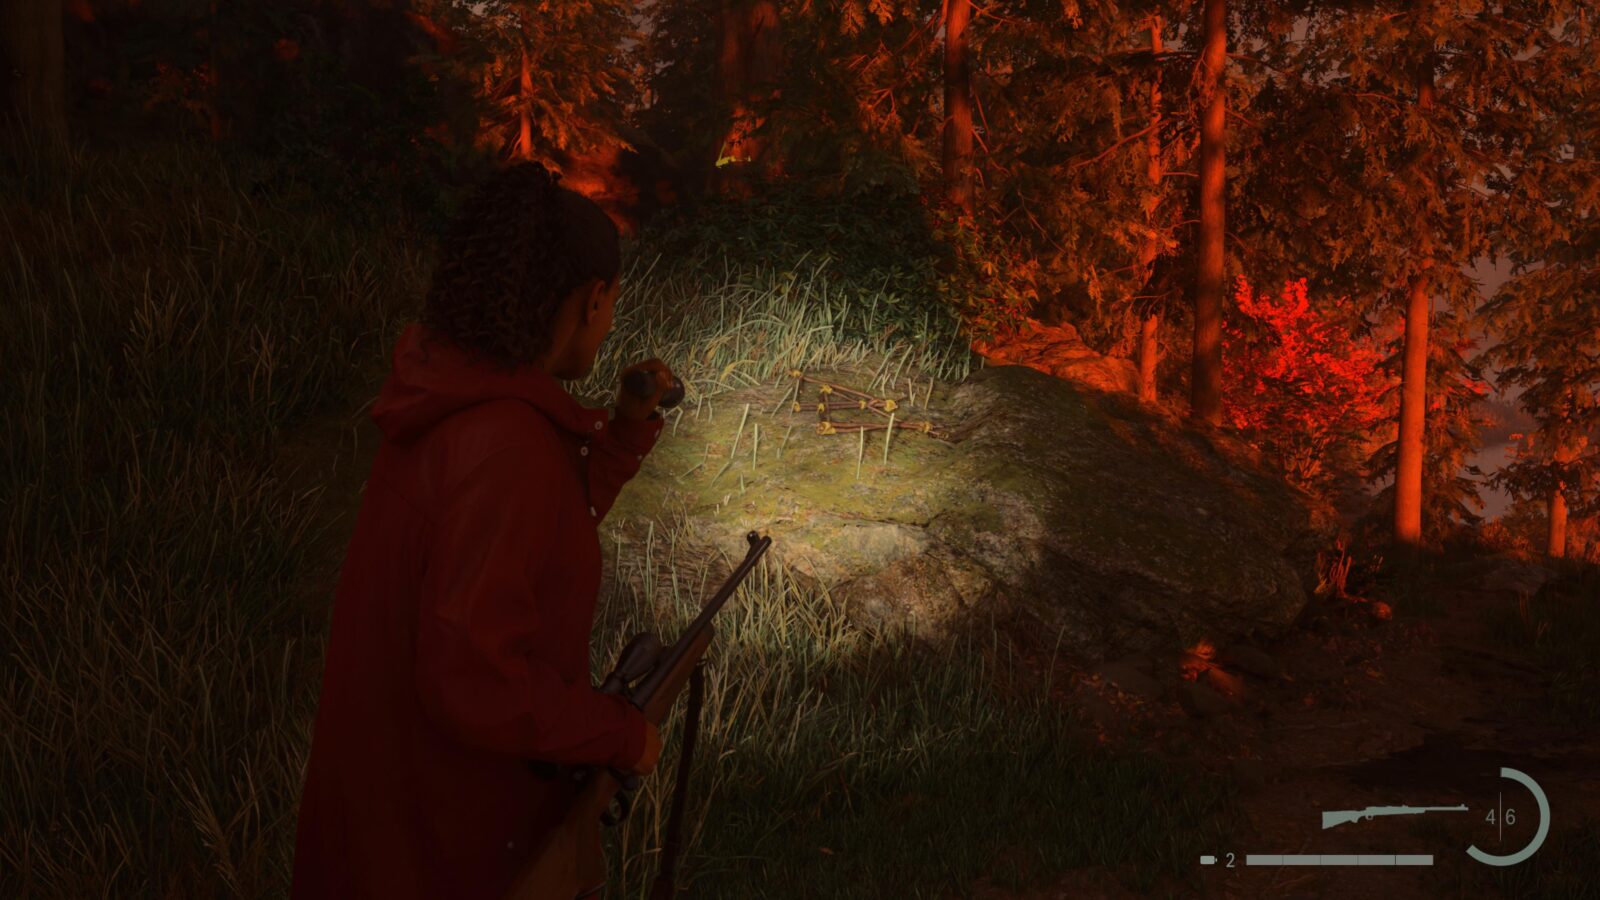
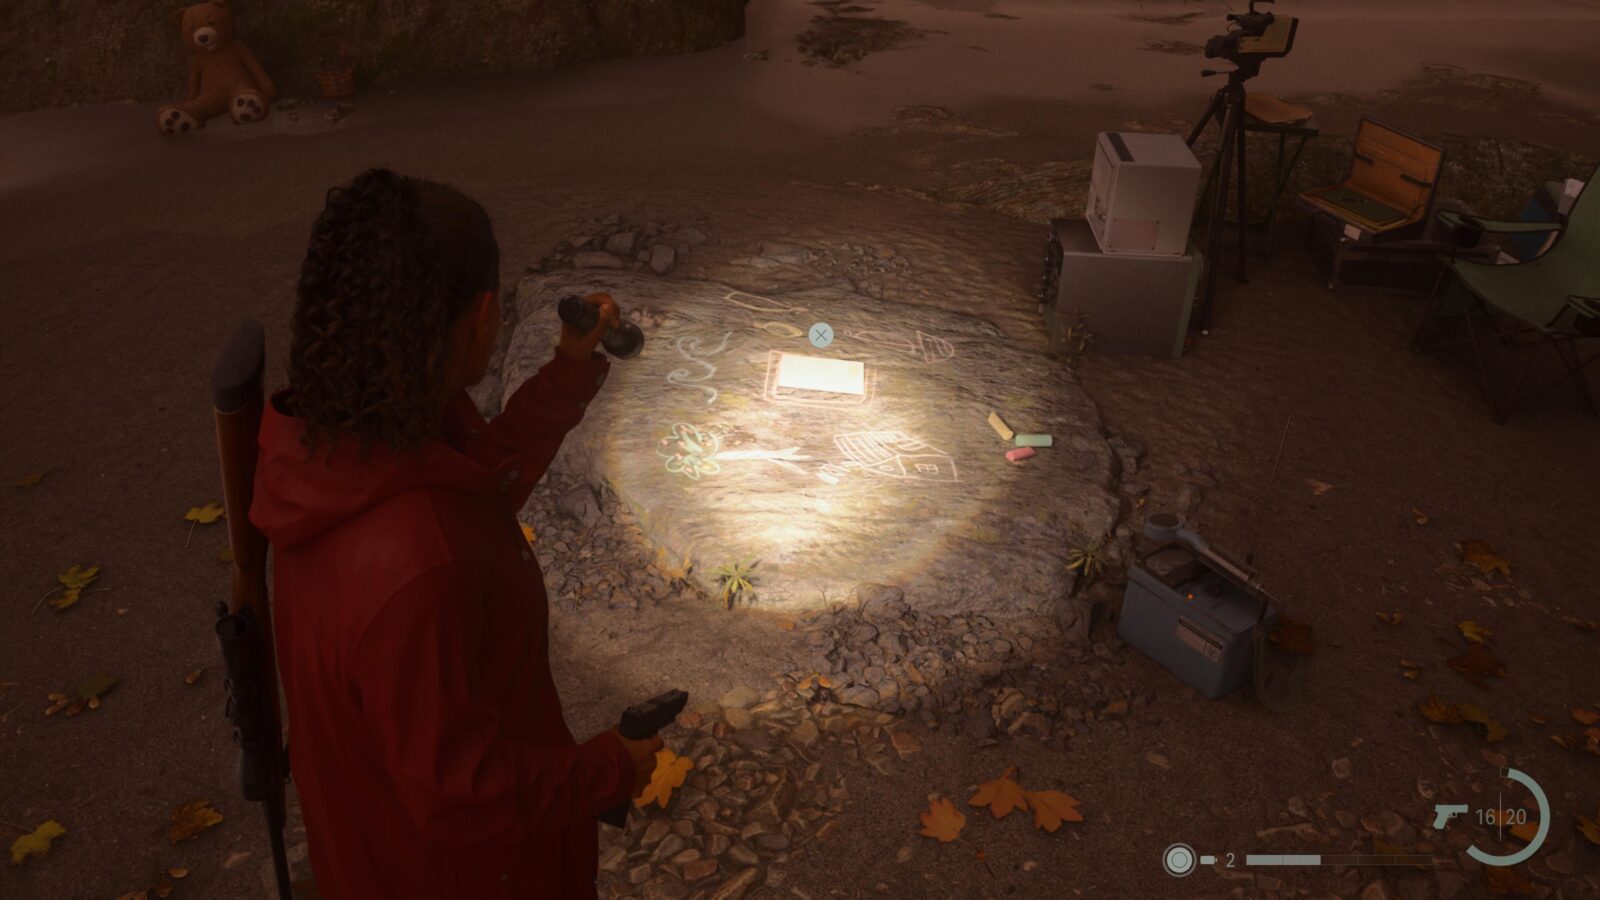
Nursery Rhyme Puzzle #1
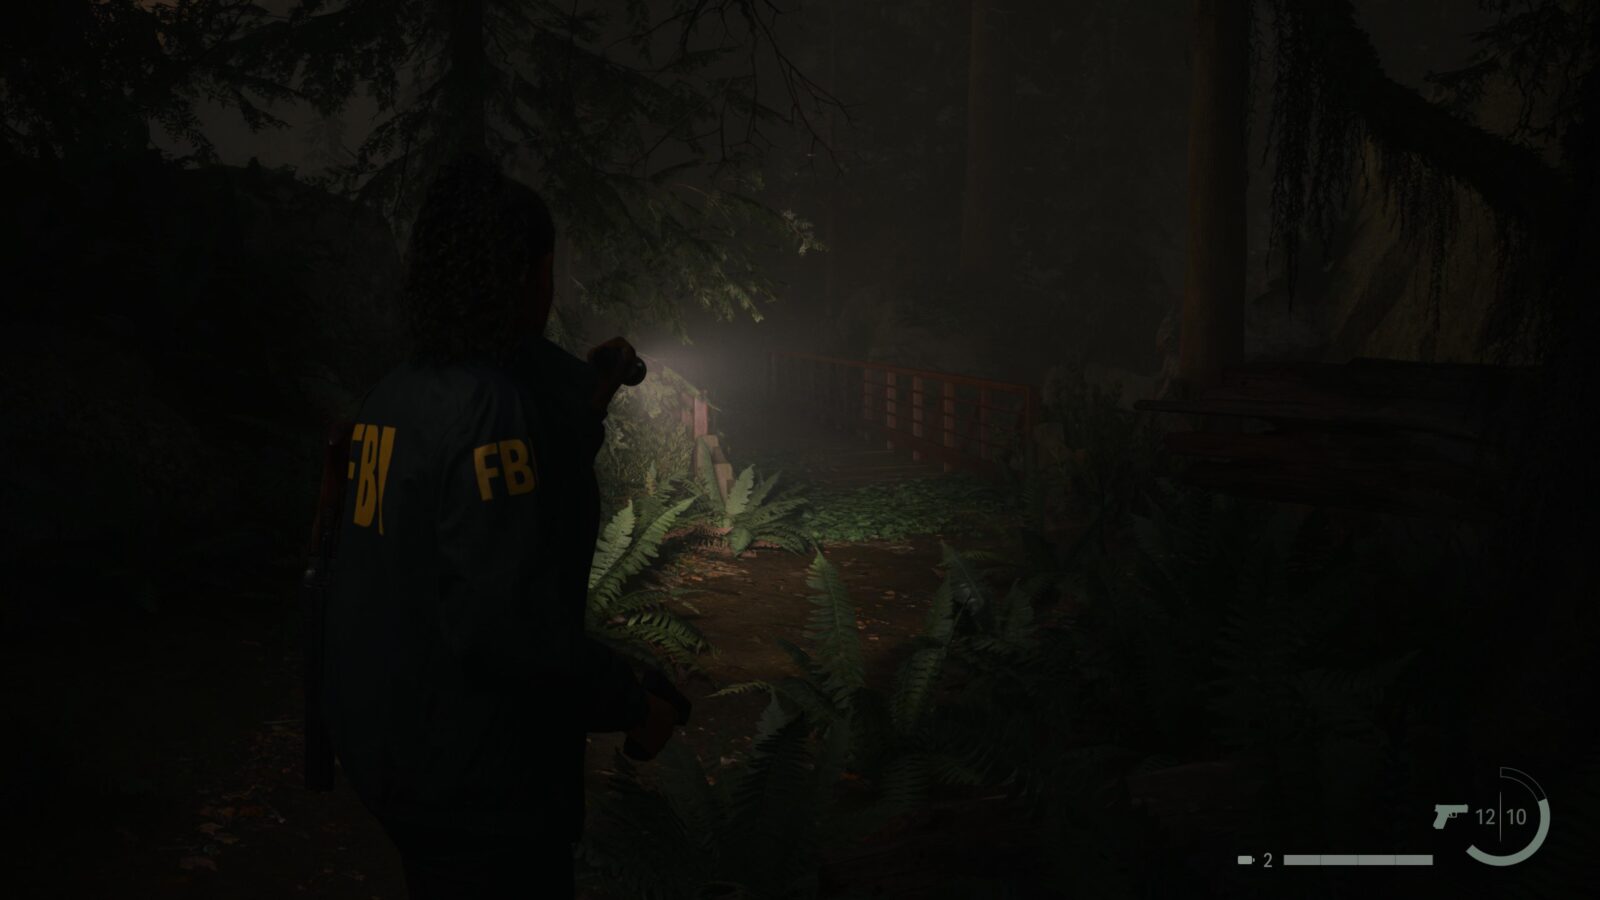
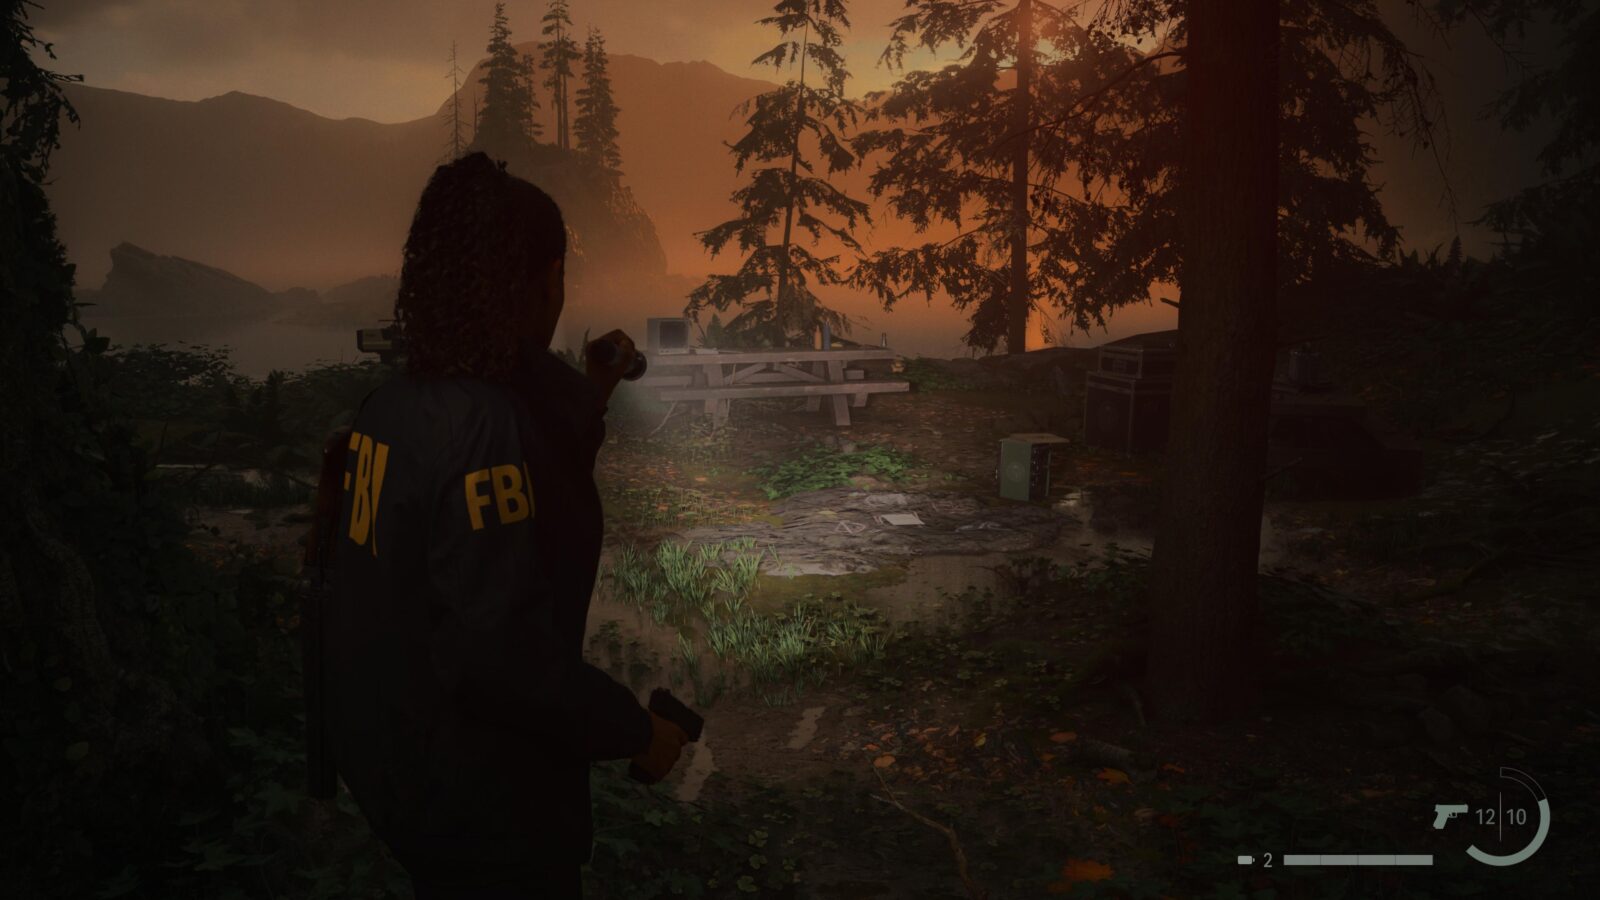
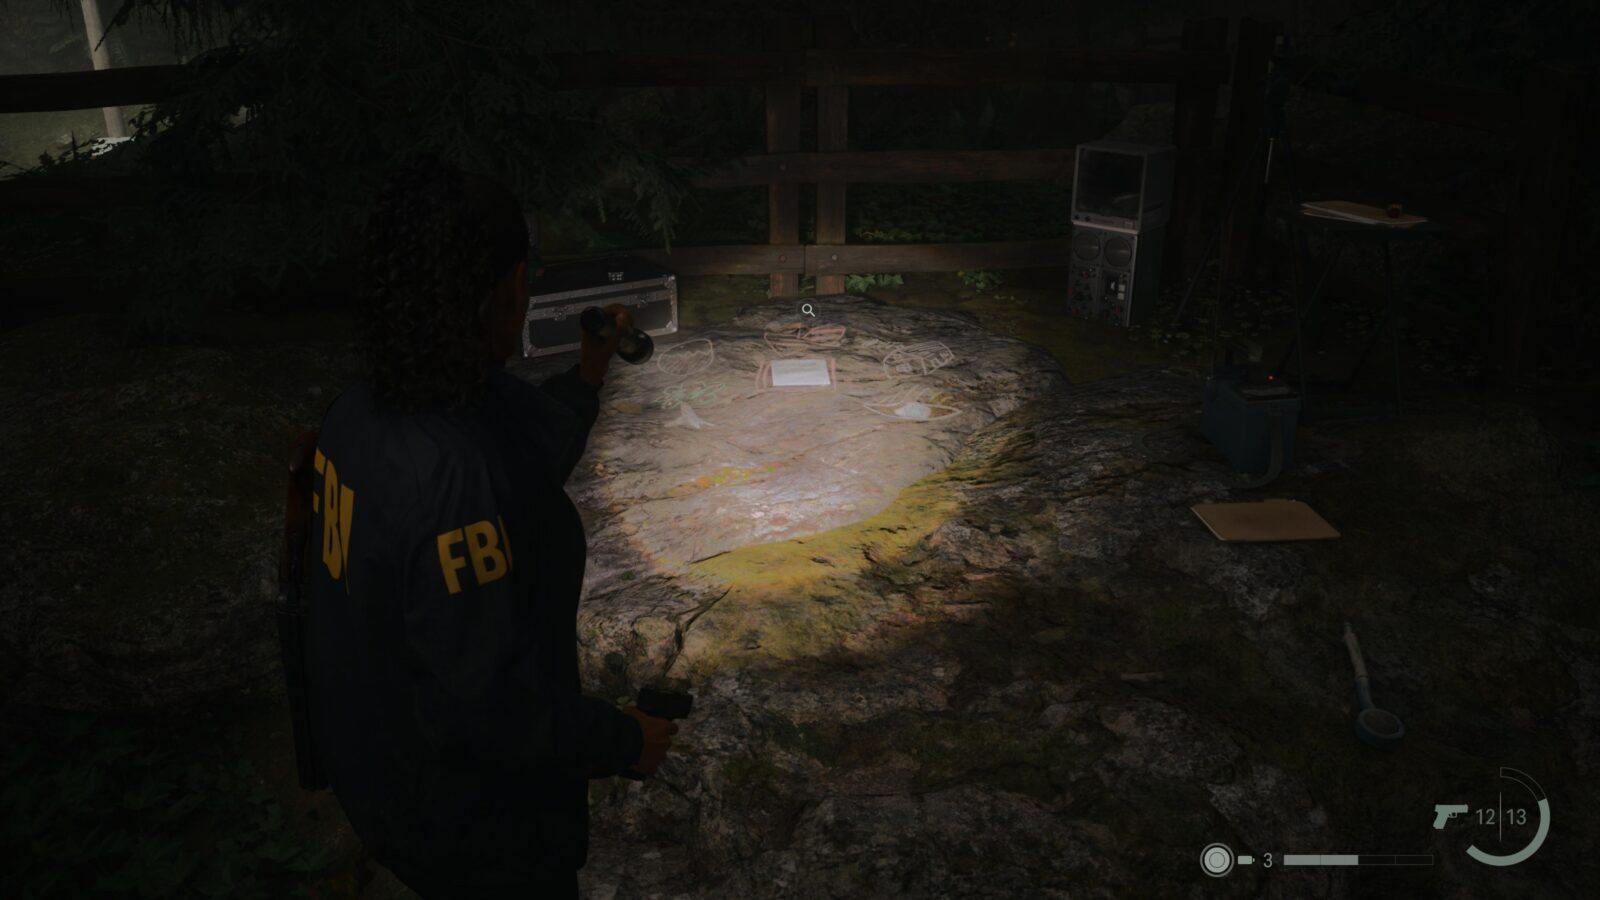
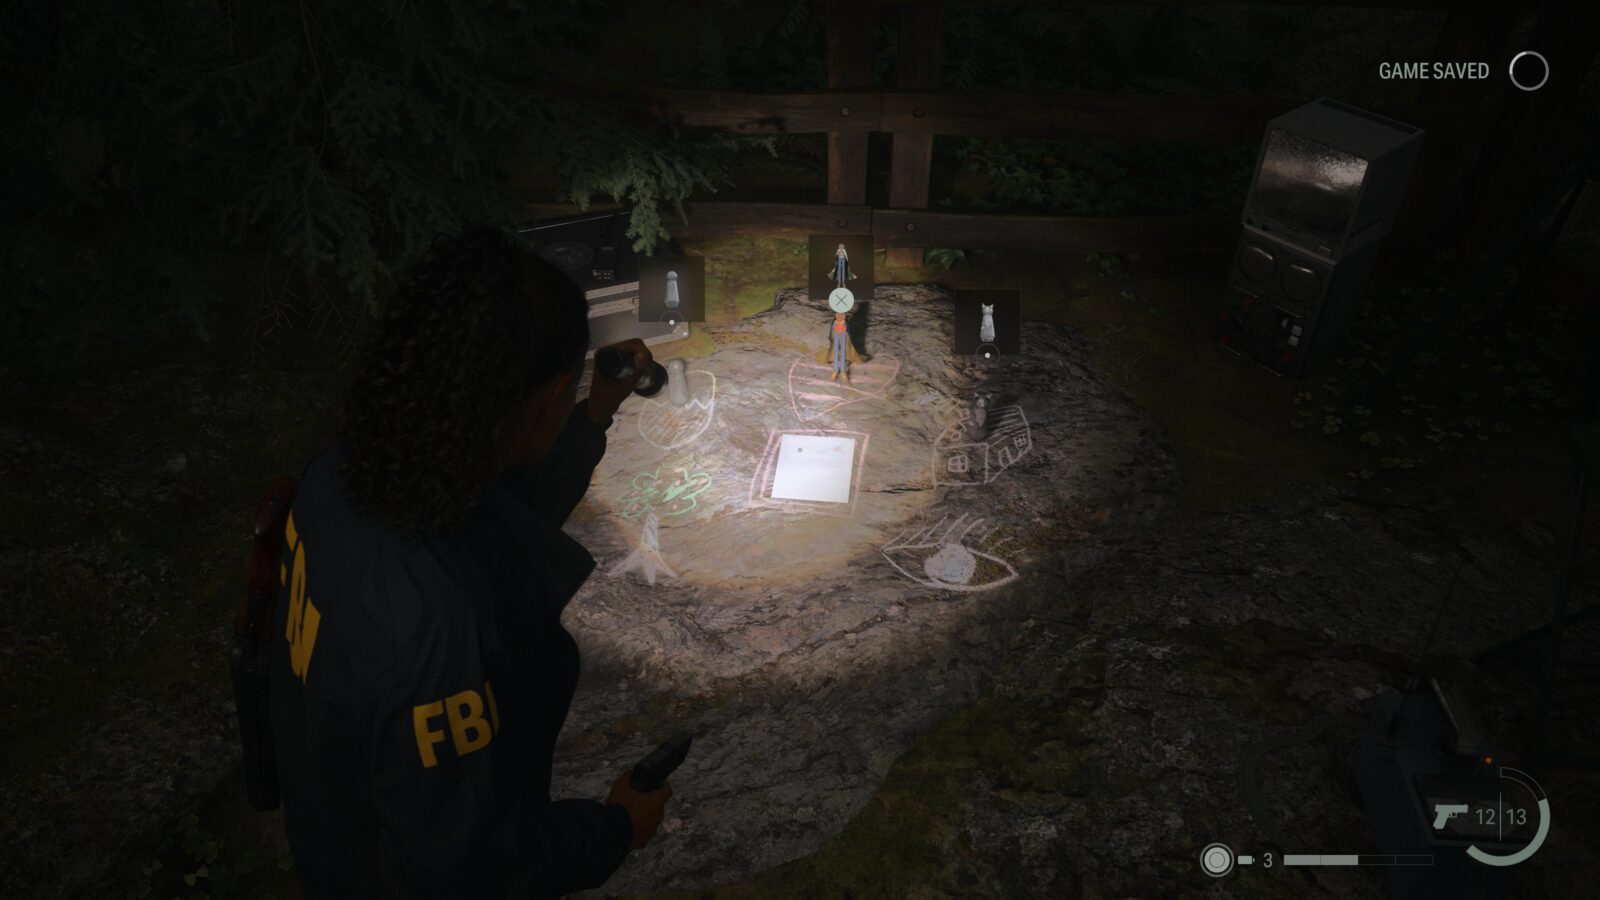
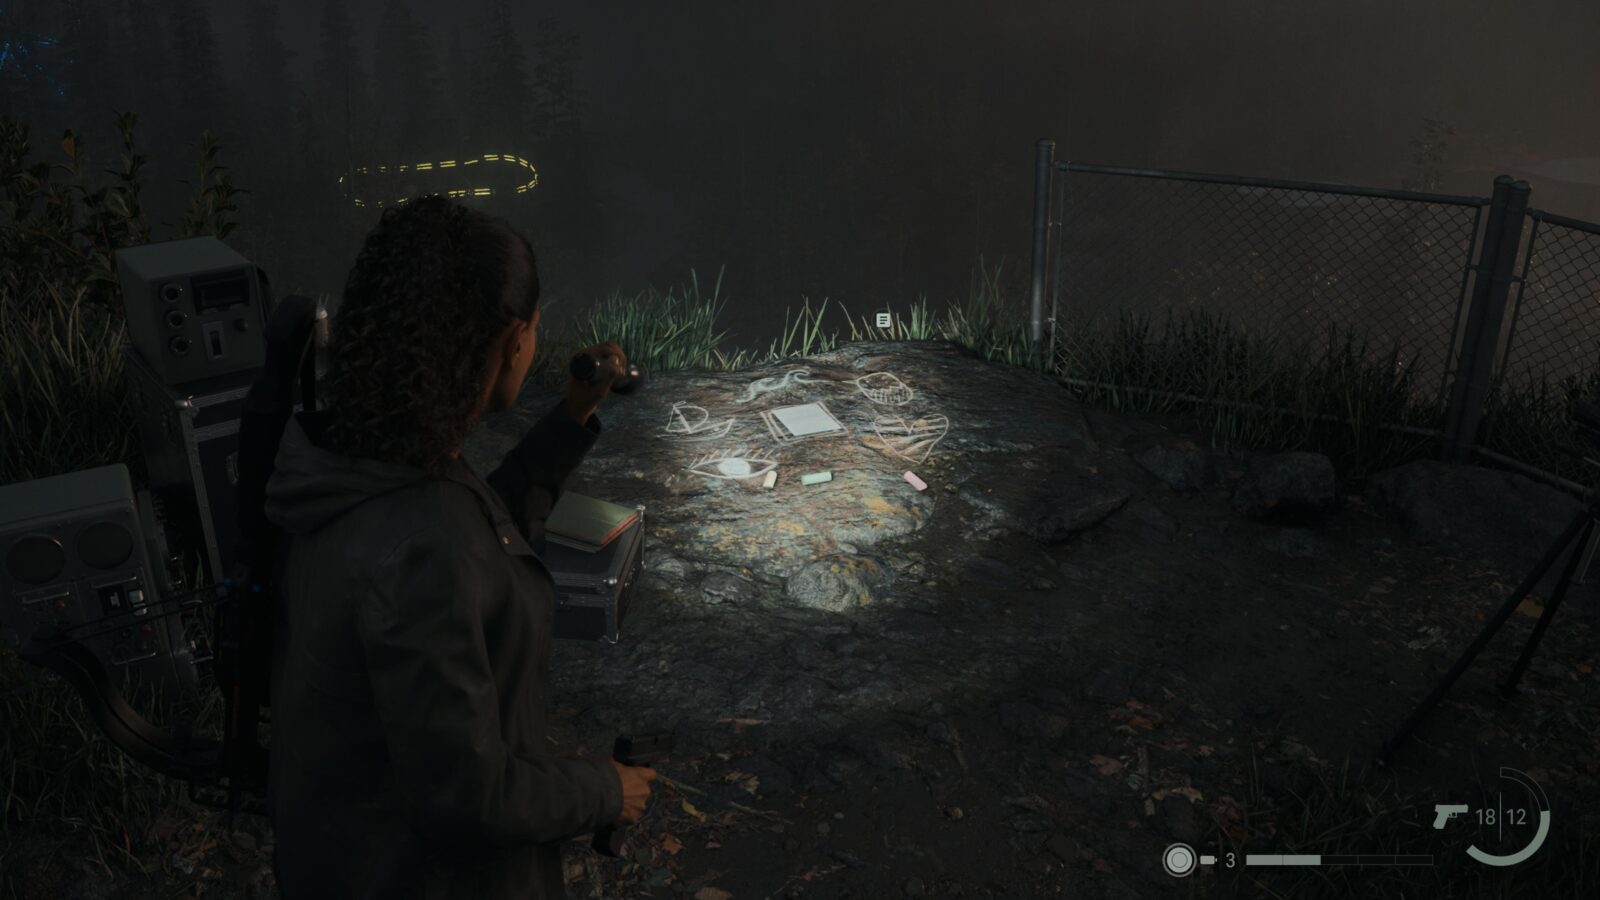
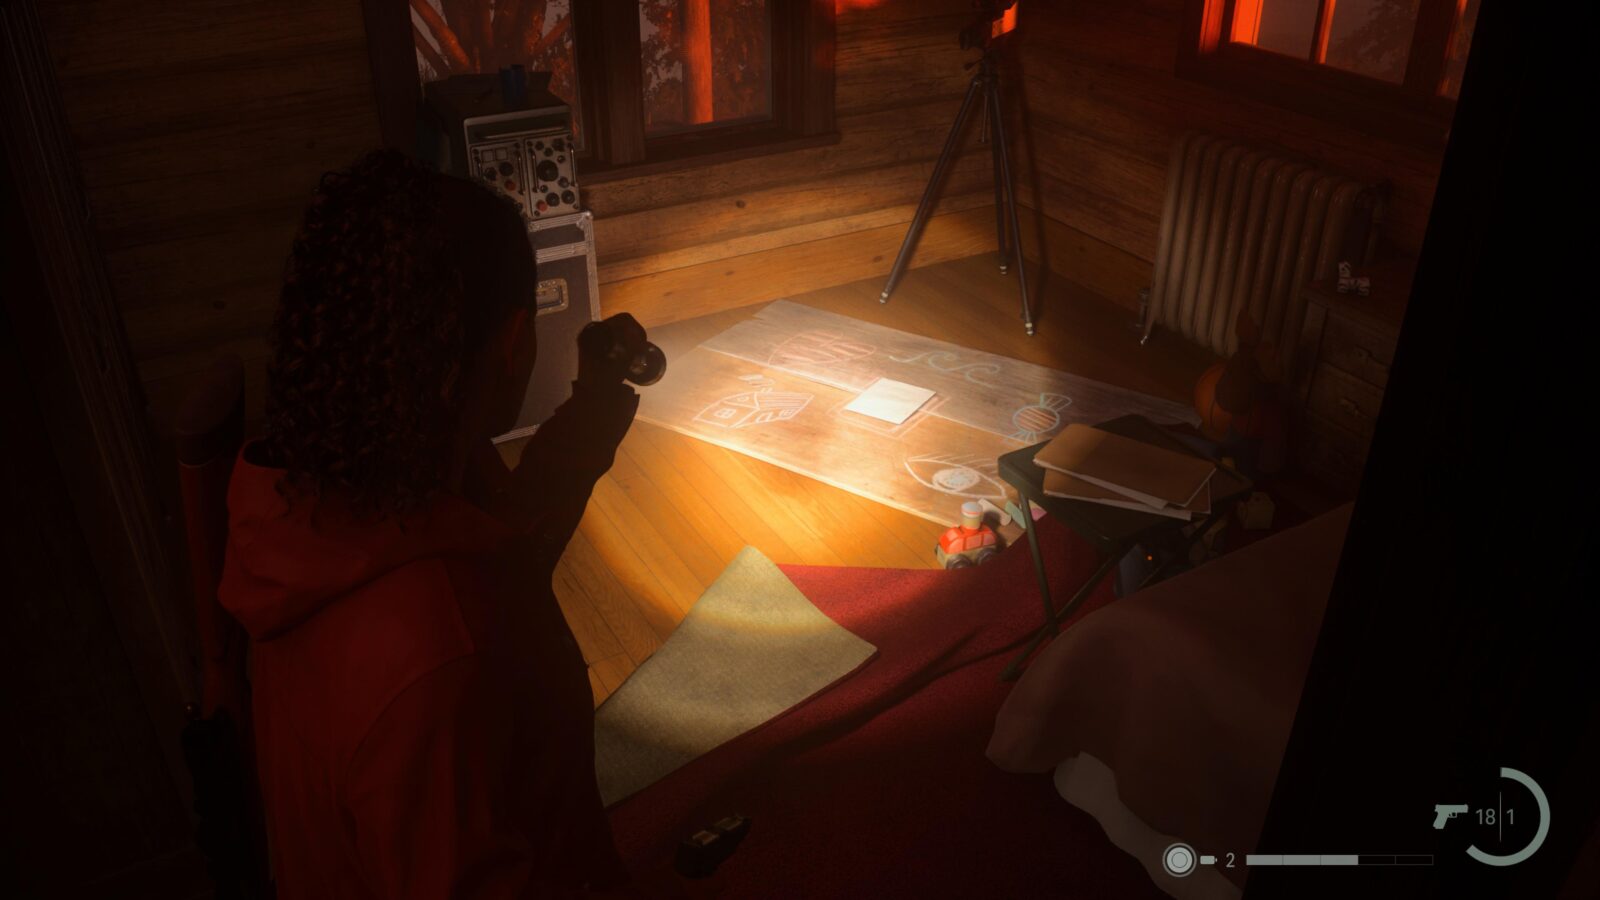
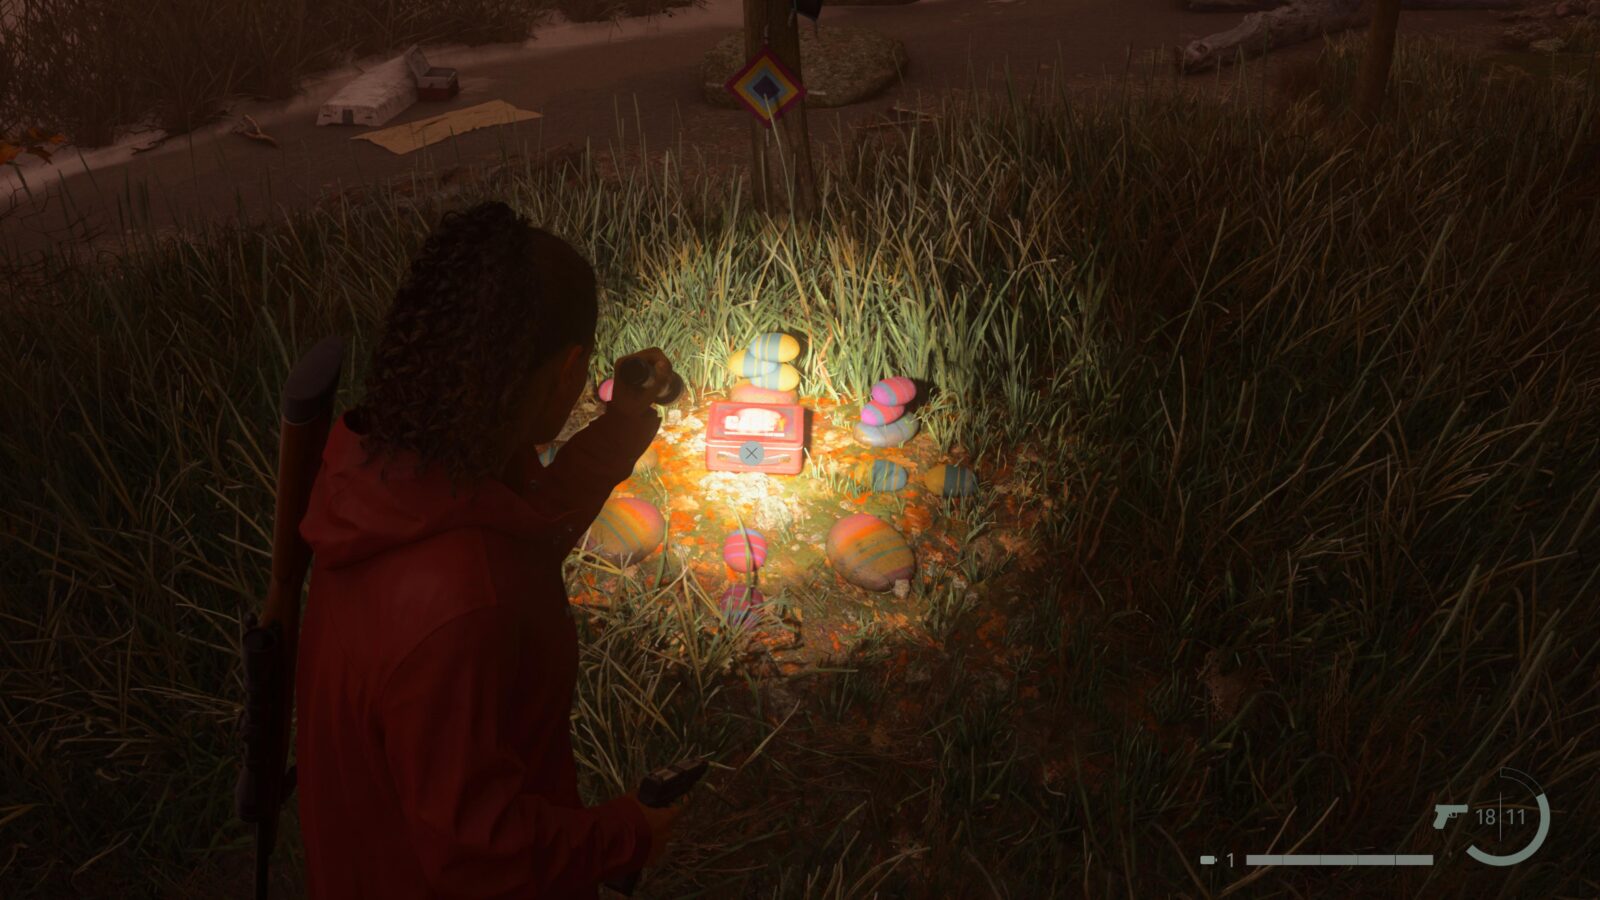
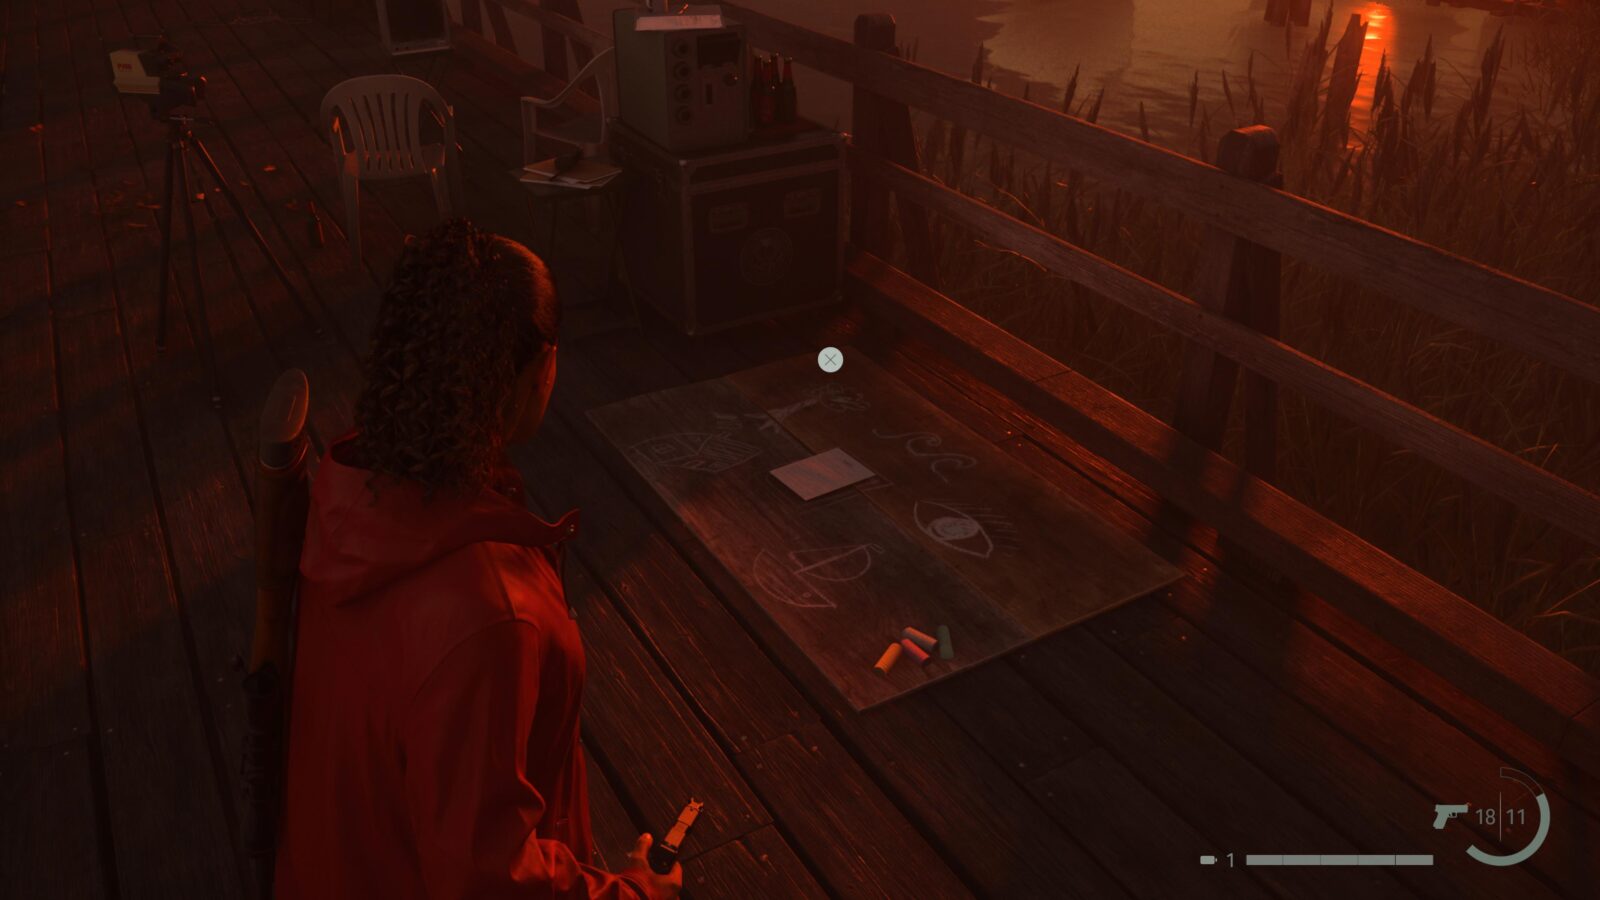
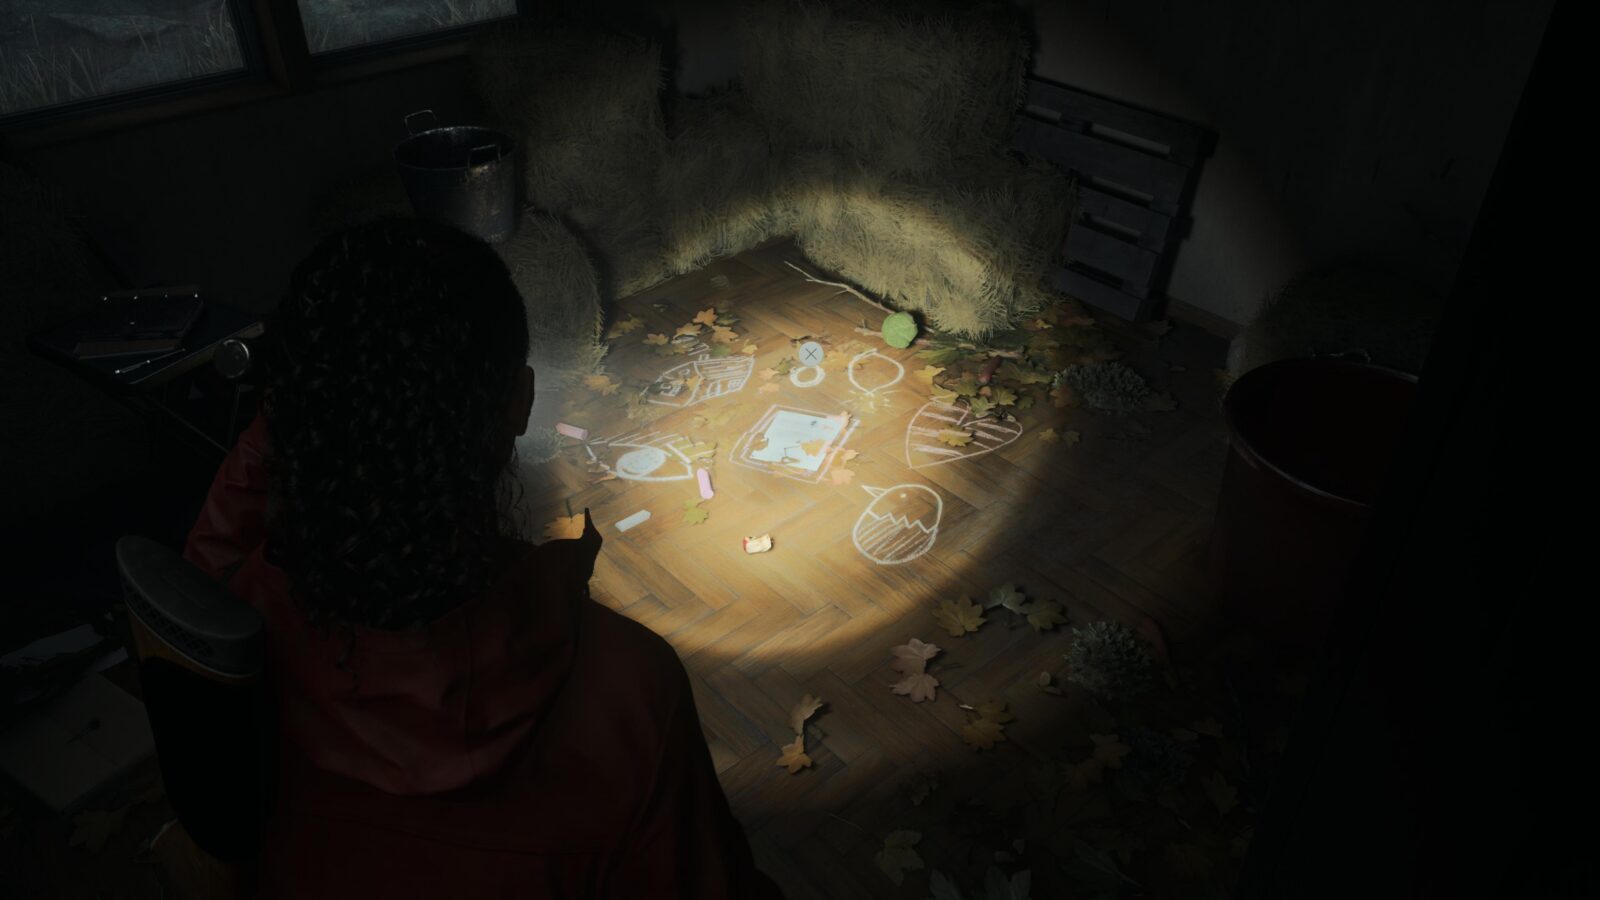
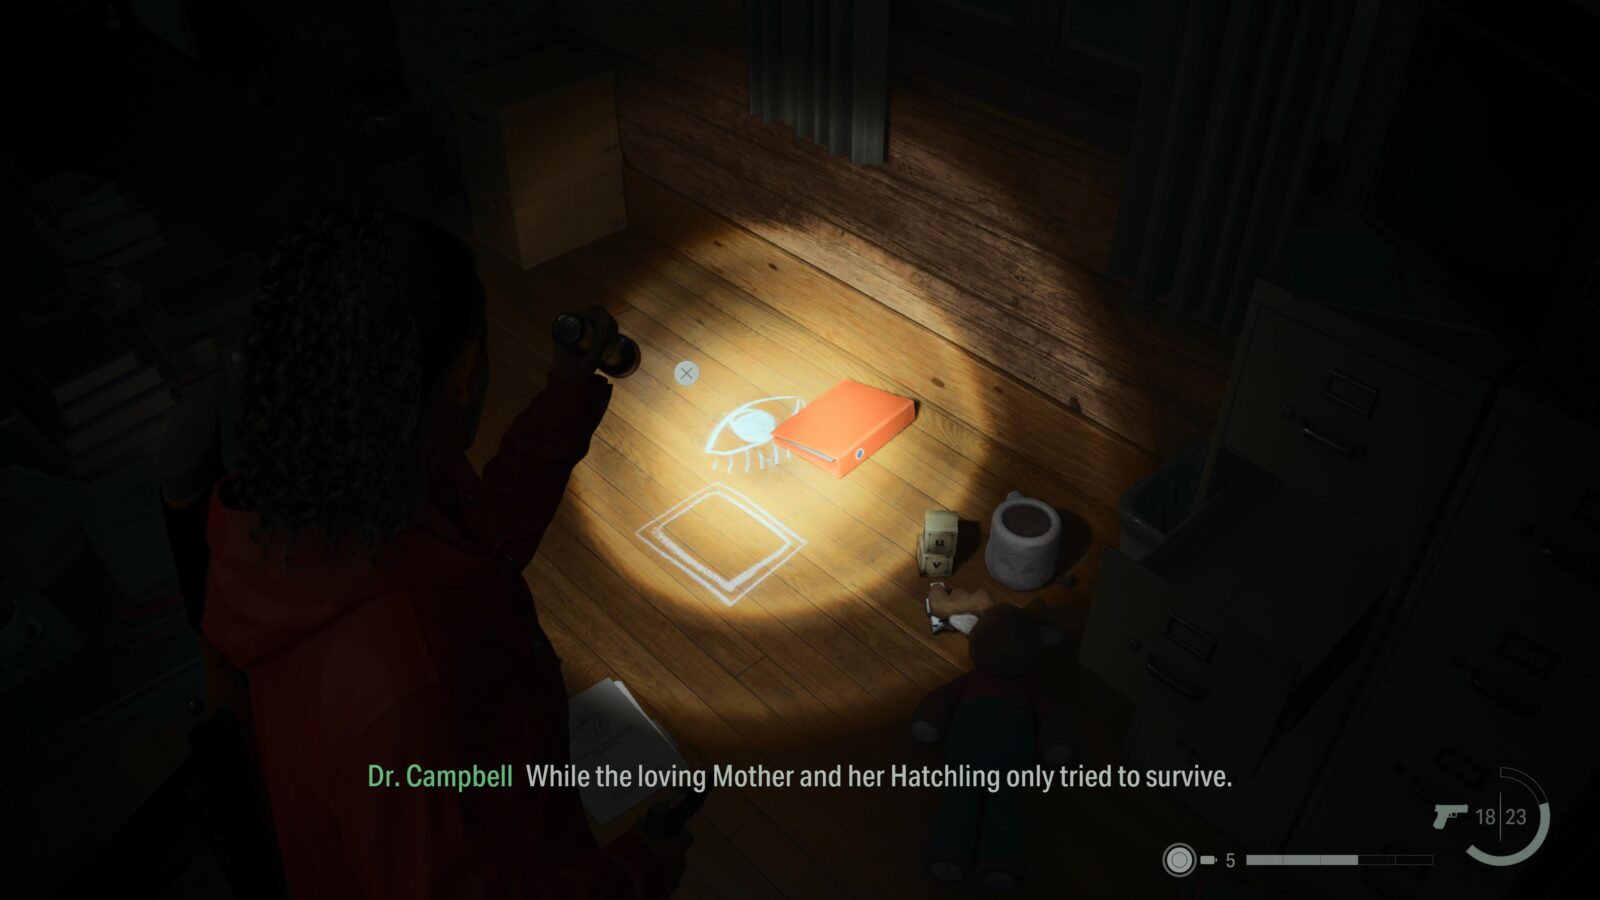
While at the Cult Stash #3 lockbox head to your left and follow the trail across a bridge. Keep an eye out on your left for a picnic area with a camera on a tripod. On the ground in the middle of this area is a collection of chalk drawings and a piece of paper. This is the Nursery Rhyme Puzzle. To complete this puzzle you first need to pick up the Crow Doll from the picnic table in front of the Nursery Rhyme Puzzle. Then place the Doll on the chalk drawing of the Sun. A real crow will appear and drop a Charm on the table where the doll was.
Charm #2 - Hammer Charm
Dropped by the crow after solving Nursery Rhyme Puzzle #1.
Nursery Rhyme Doll #1 - Crow Doll
Used to solve Nursery Rhyme Puzzle #1. Make sure you pick this Crow Doll up for a 2nd time after finishing the puzzle for it to count.
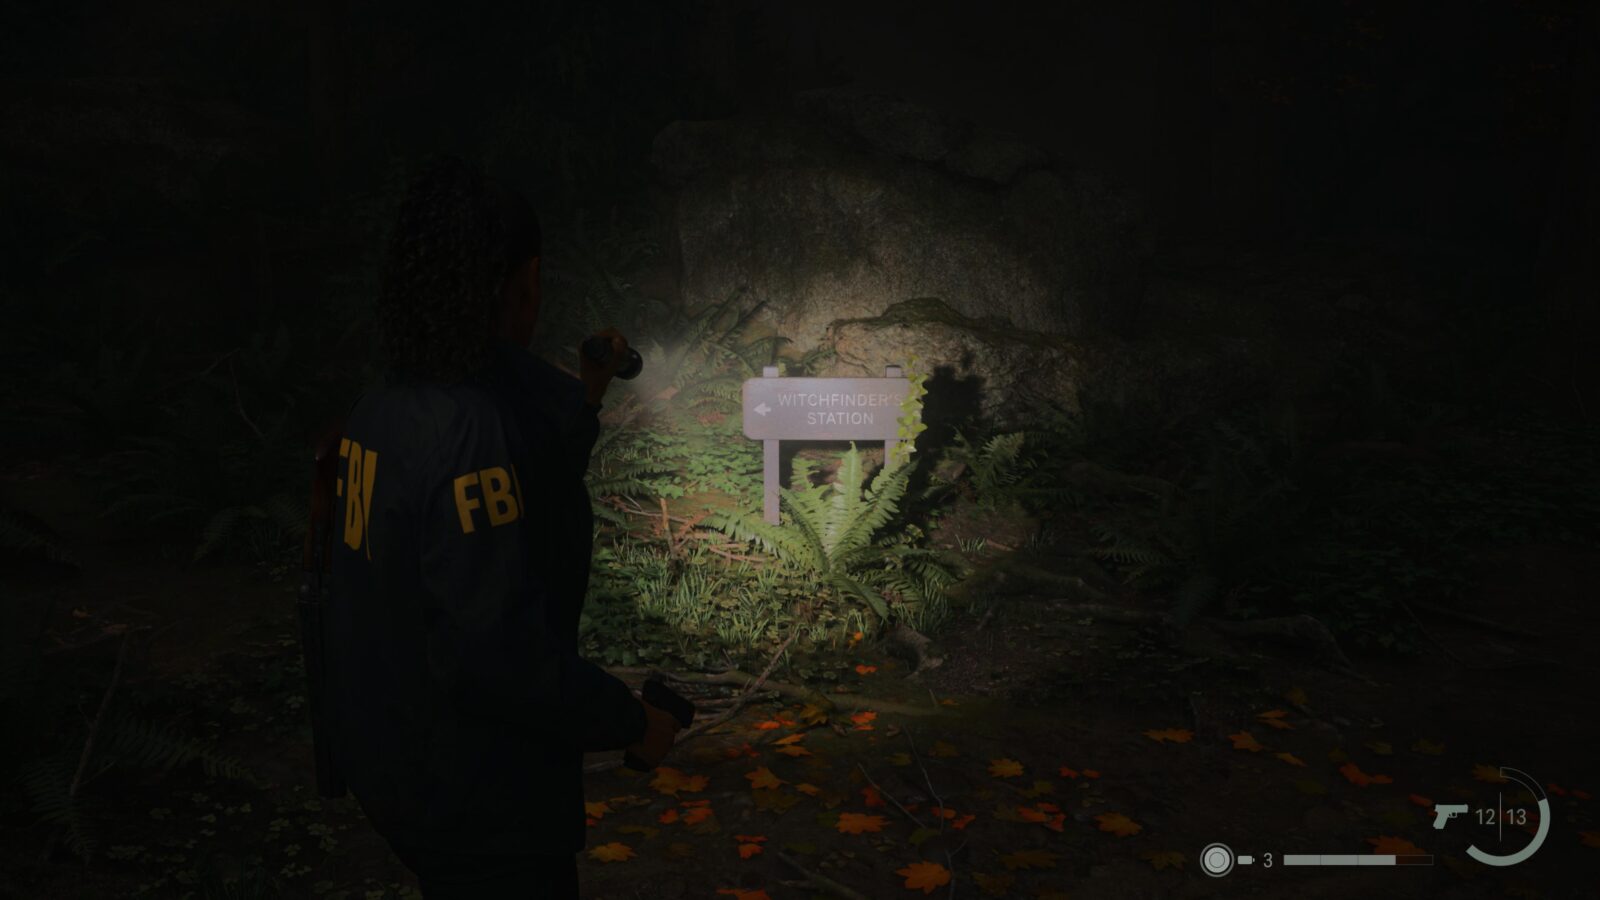
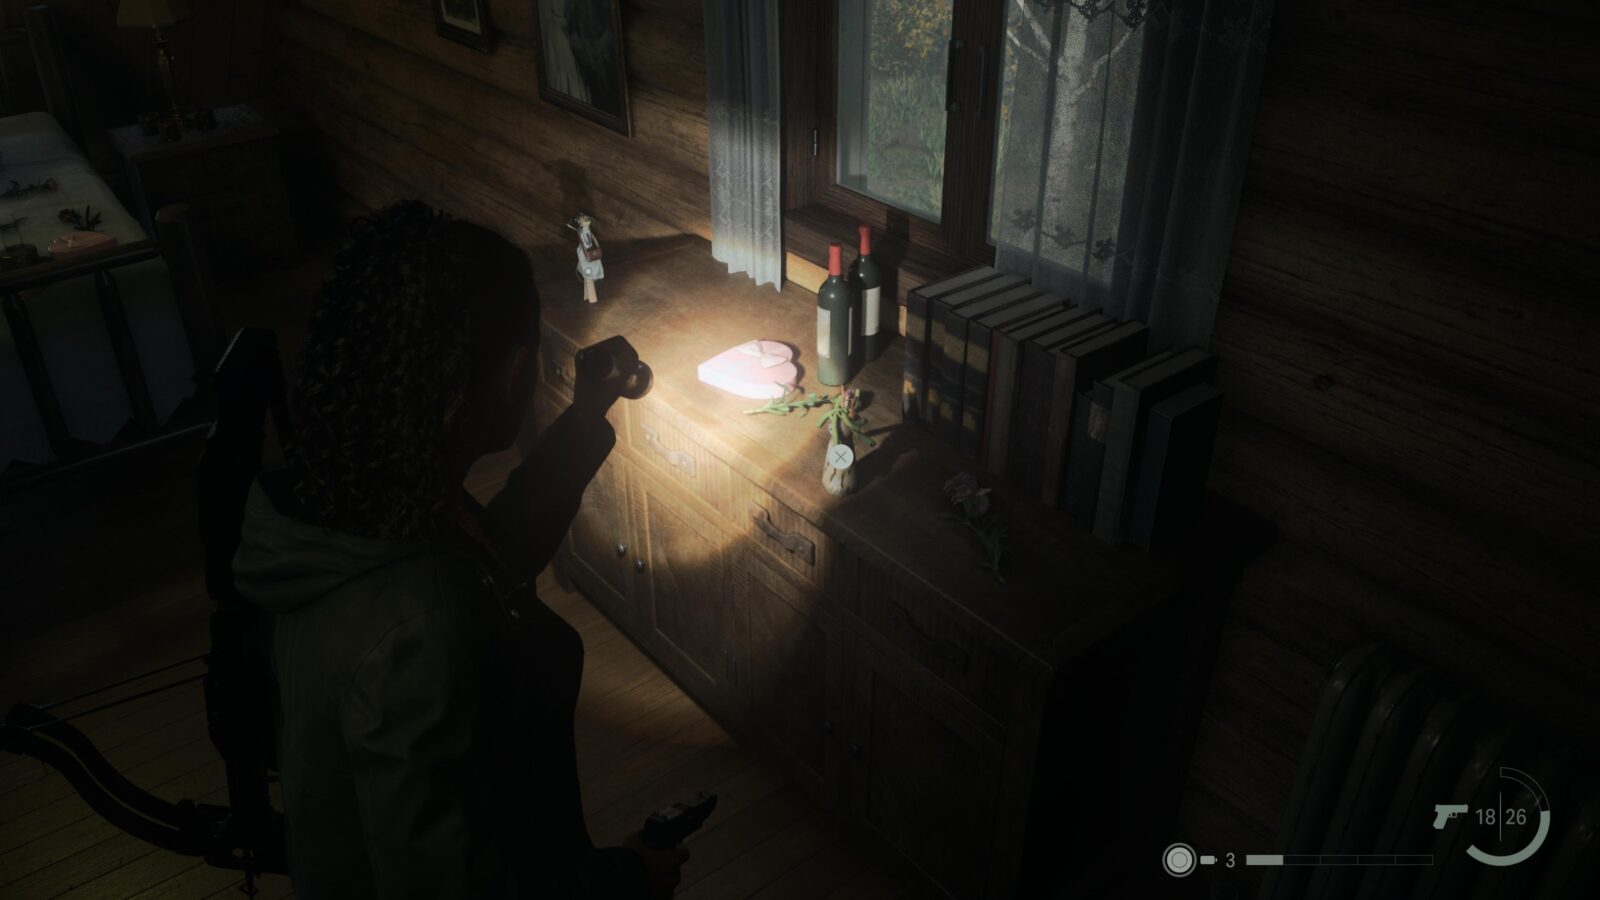
Nursery Rhyme Puzzle #2
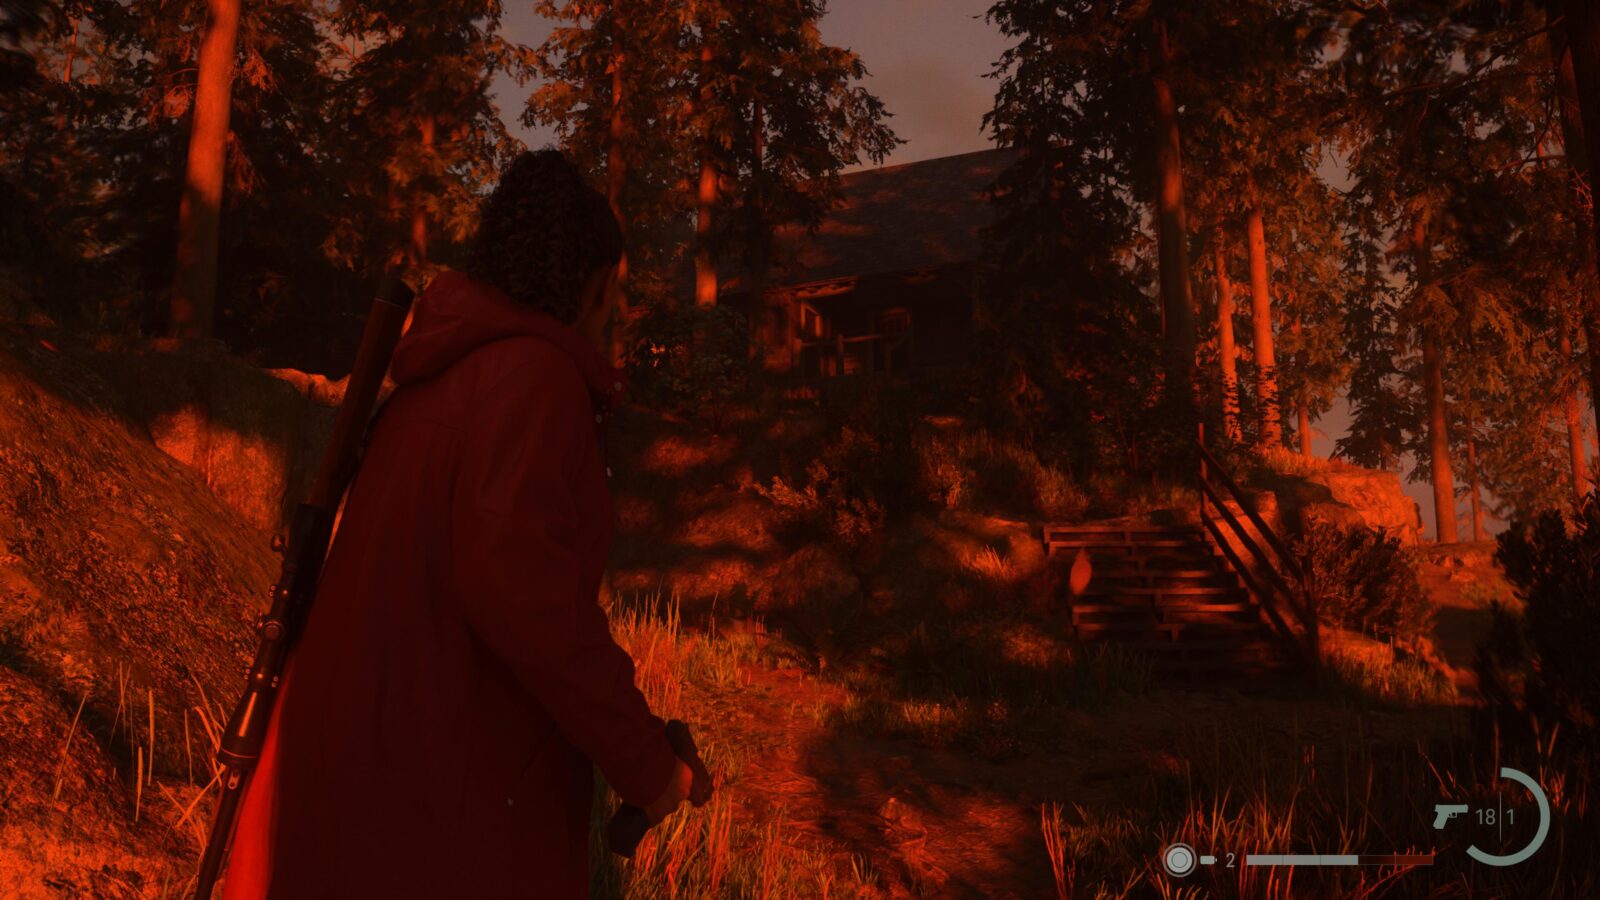
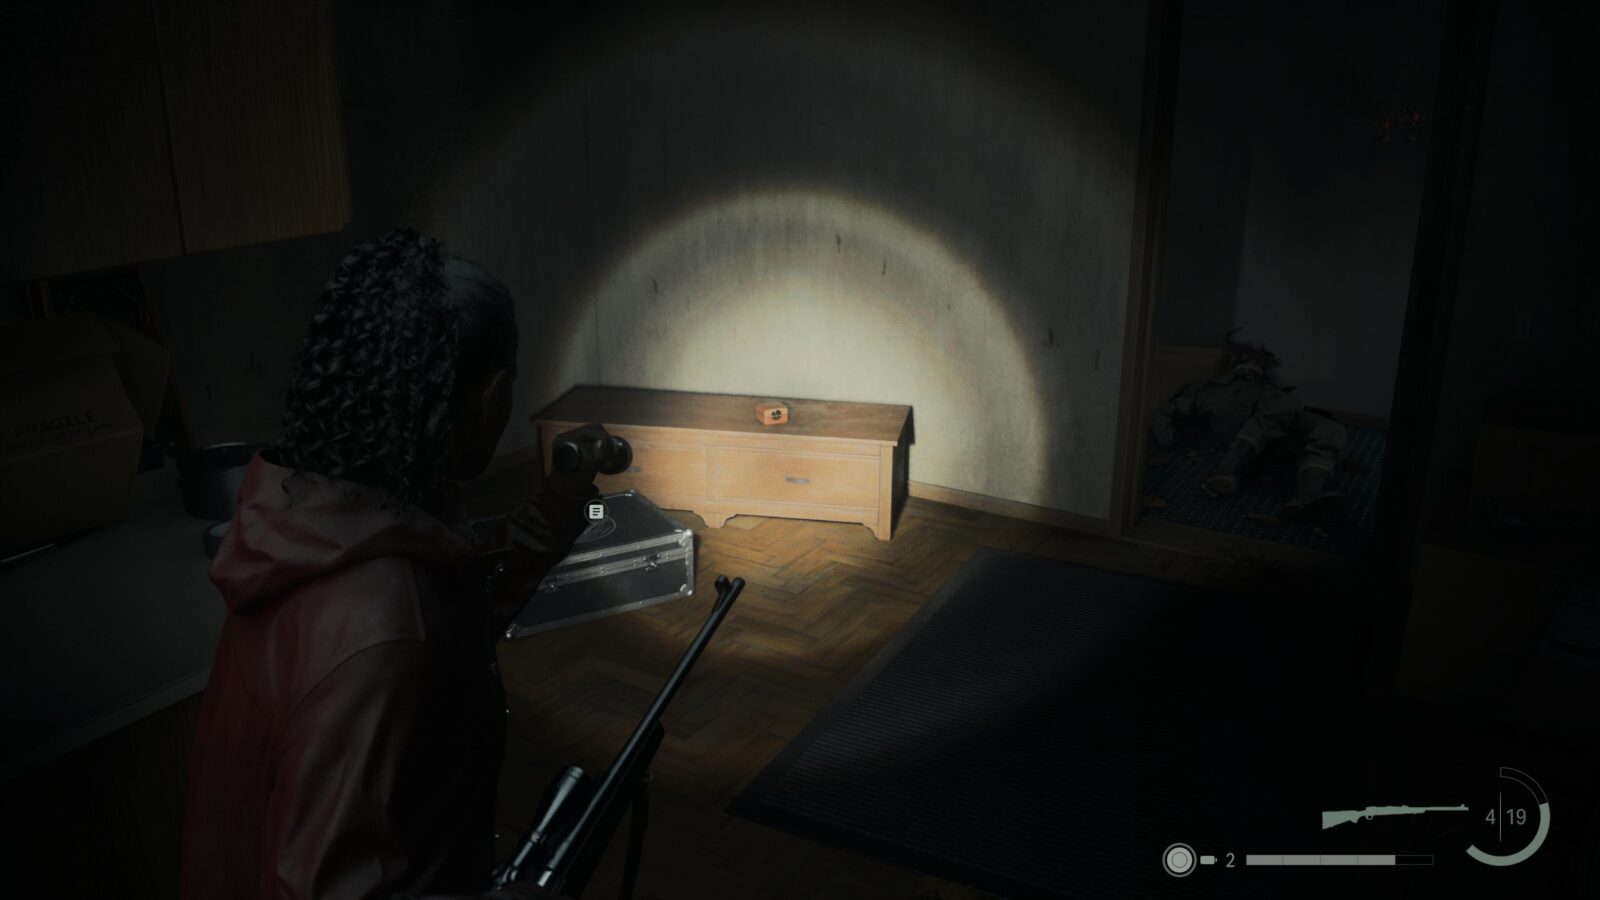
Continue heading on the path and it will lead you to the Witchfinder’s Station. Outside on the ground is another piece of paper and some chalk drawings. Just like the previous puzzle you need to find some Nursery Rhyme Dolls to proceed. Head inside the Witchfinder’s Station and go upstairs to find a playroom with a Hero Doll and a Wolf Doll. Take them back outside and place the Hero Doll on the Boat drawing, and the Wolf Doll on the Tree drawing. Some wolf footprints will appear that lead into the house which you can follow to find a Charm.

Charm #3 - Coffee Mug Charm
Following the wolf pawprints after solving Nursery Rhyme Puzzle #2 will lead you to the Coffee Mug Charm.
Nursery Rhyme Doll #2 - Hero Doll
Make sure to pick the Hero Doll back up after completing Nursery Rhyme Puzzle #2.
Nursery Rhyme Doll #3 - Wolf Doll
Make sure to pick the Wolf Doll back up after completing Nursery Rhyme Puzzle #2.
Deer Head #3
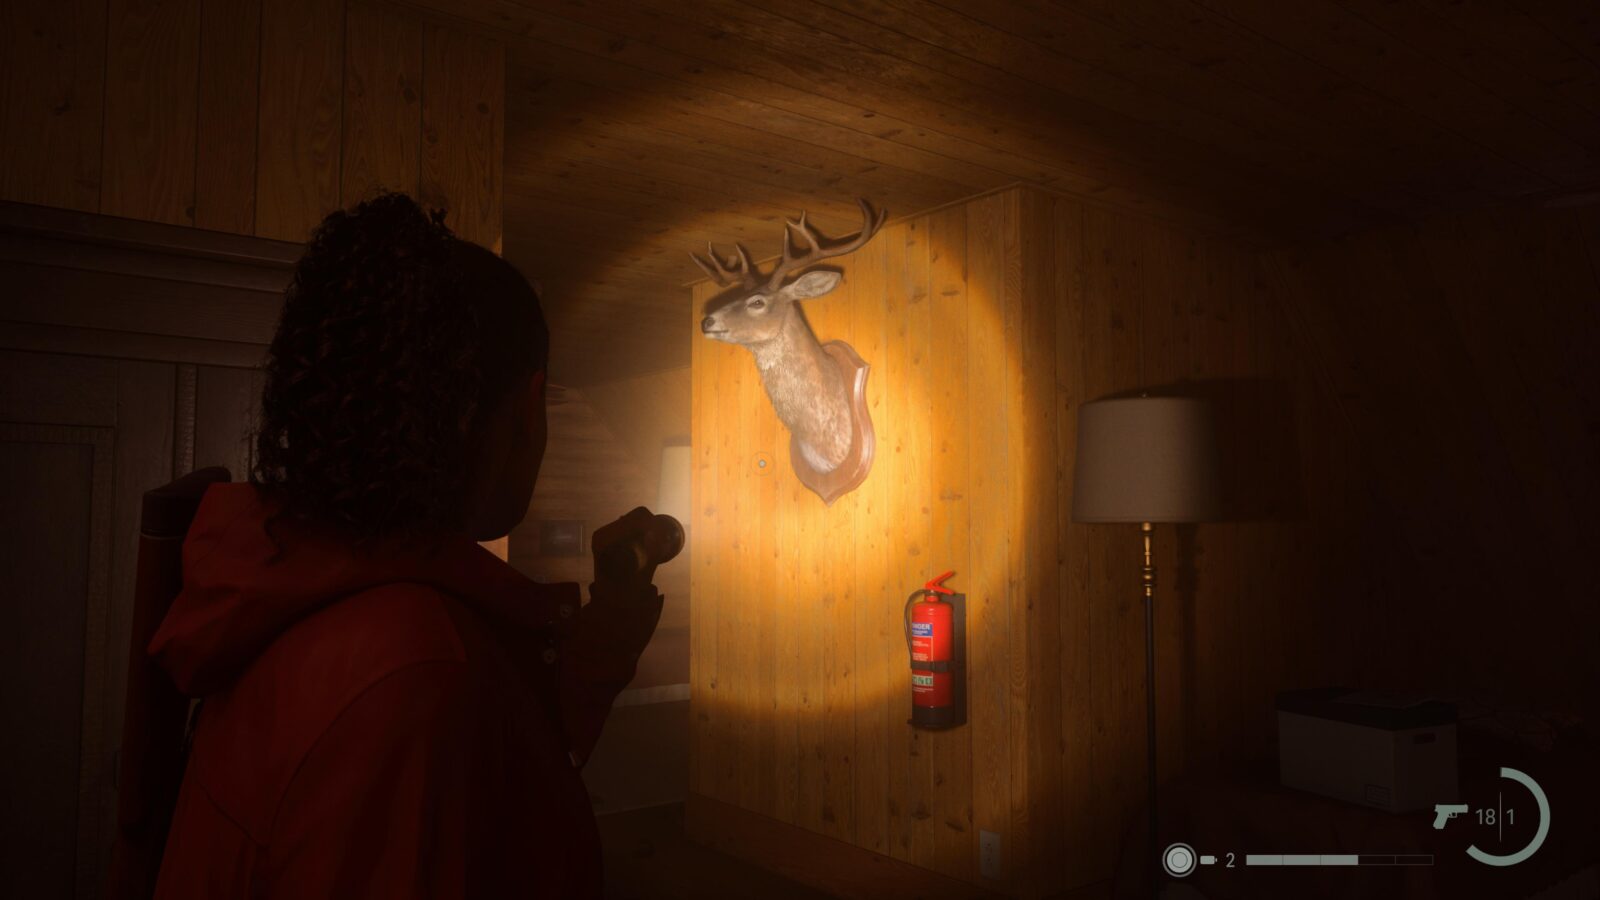
Go back inside Witchfinder’s Station and look above the fireplace in the first room to find another Deer Head.
Lunch Box #7
Go around the back of Witchfinder’s Station and you will see a picnic table. Directly opposite this table is a tree with some dreamcatcher-like things hanging from a branch. Head down the trail where this tree is and you will spot a lunch box on your left with 9 Manuscript Fragments inside.
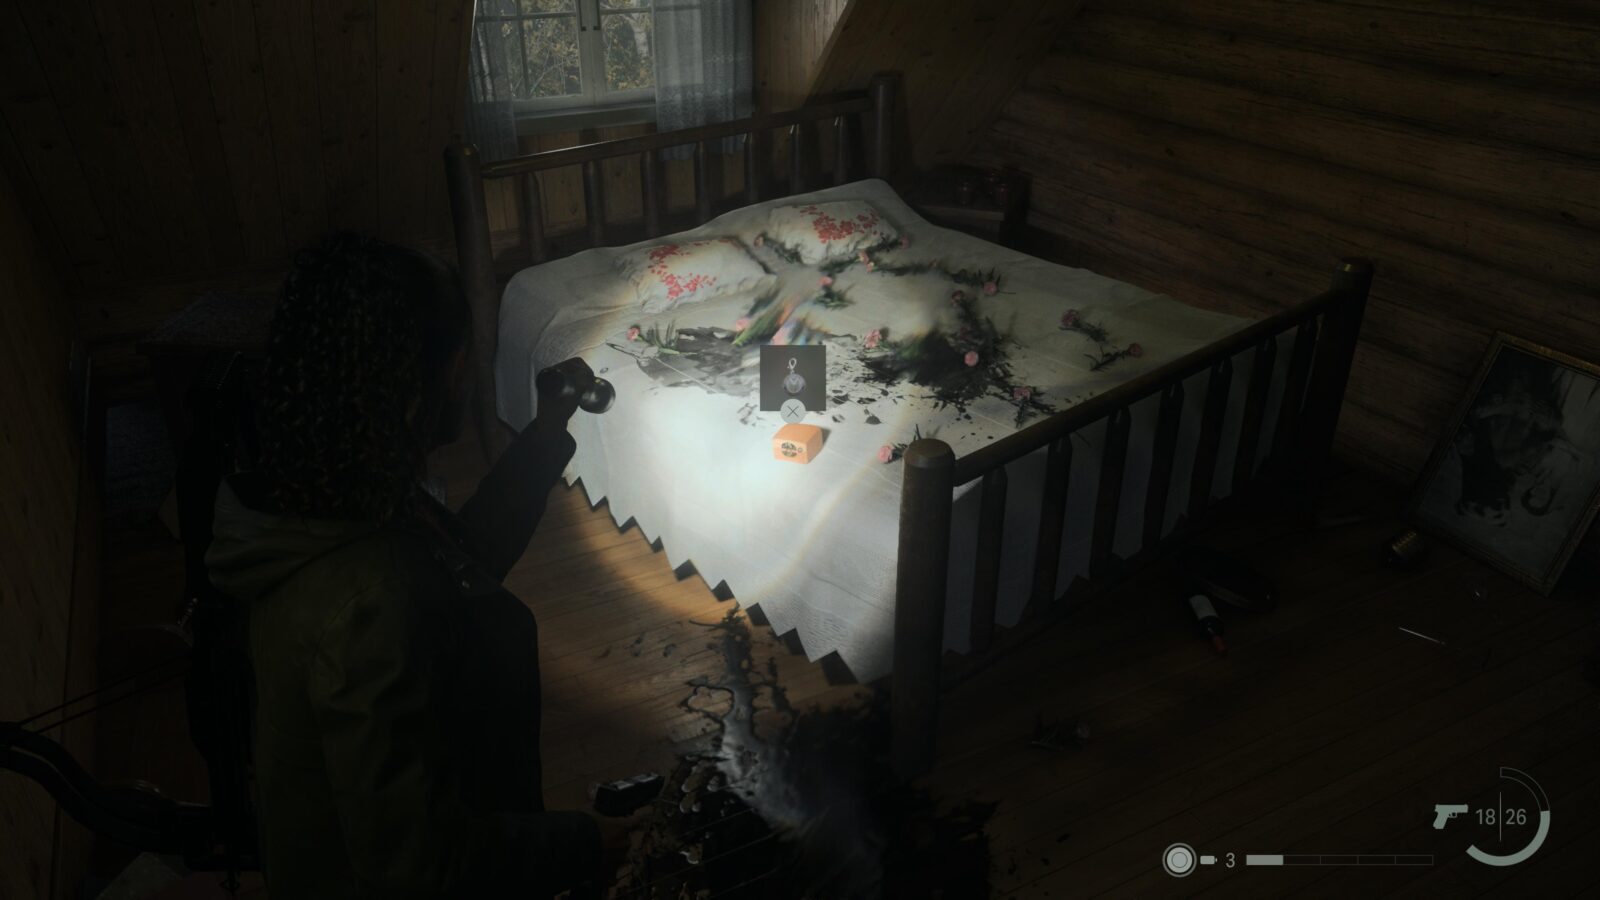
Nursery Rhyme Puzzle #3
Keep following the path where Lunch box #7 was and you will drop off at the end. To your right will be the Private Cabin. Head there and you will find another Nursery Rhyme Puzzle. To complete this one you need to place the Crow Doll on the Hatched Chick drawing, the Hero Statue on the Heart drawing, and the Wolf Doll on the House drawing. A Bird House will fall from a tree near where you jumped down from the path a minute ago. Head there for another Charm but make sure you pick up your Nursery Dolls.
Charm #4 - Kalavela Knights Charm
This Charm falls out of the Bird House after completing Nursery Rhyme Puzzle #3.
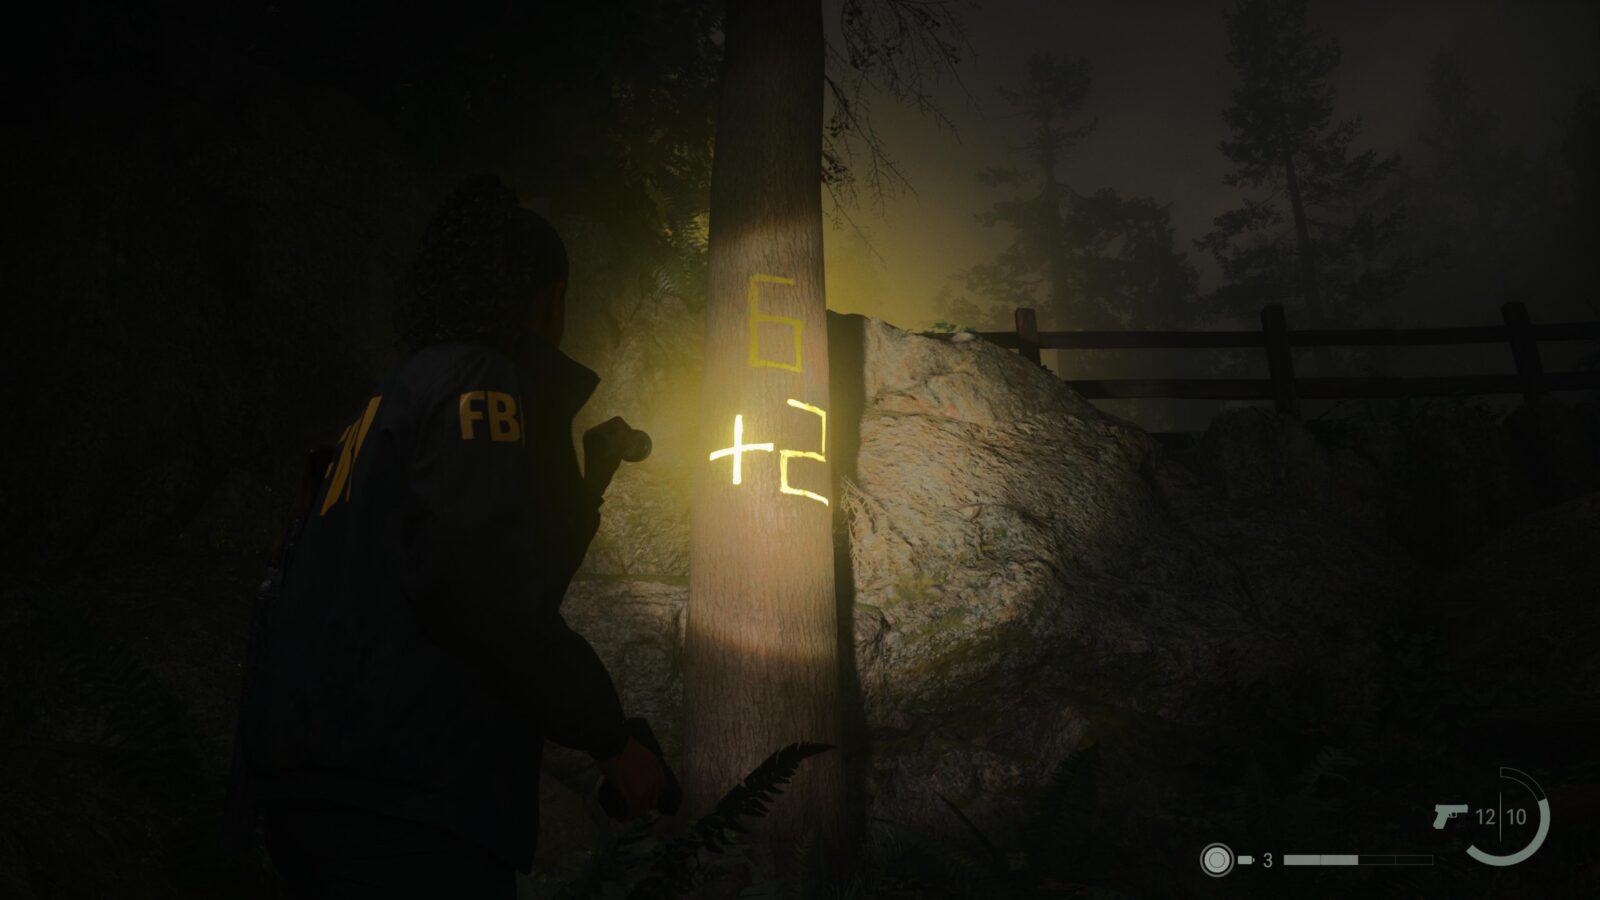
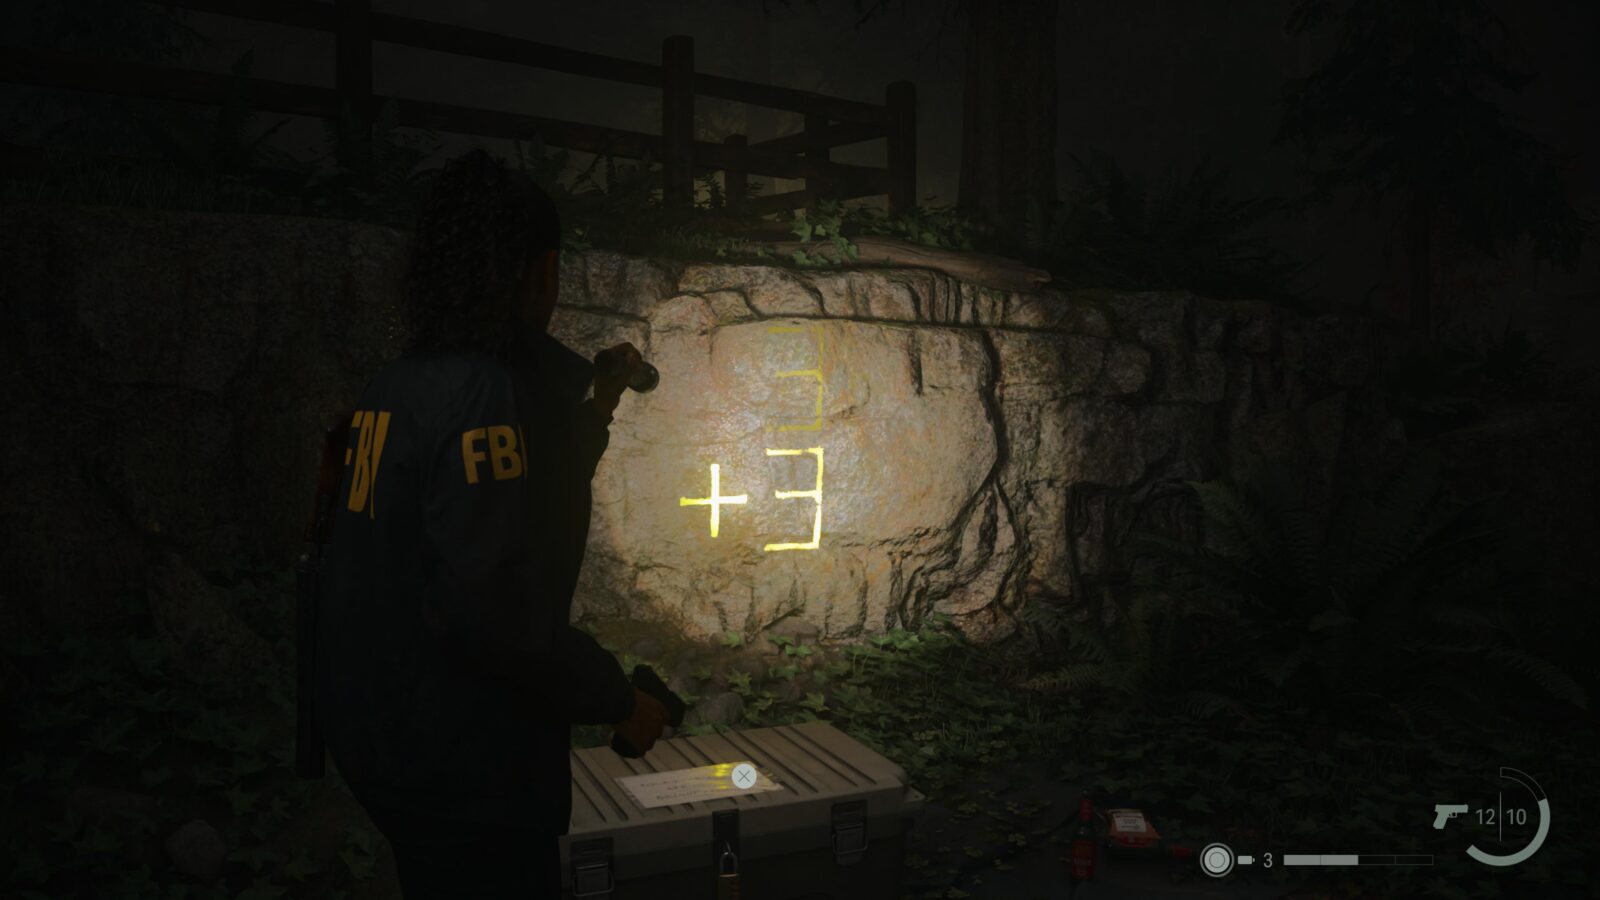
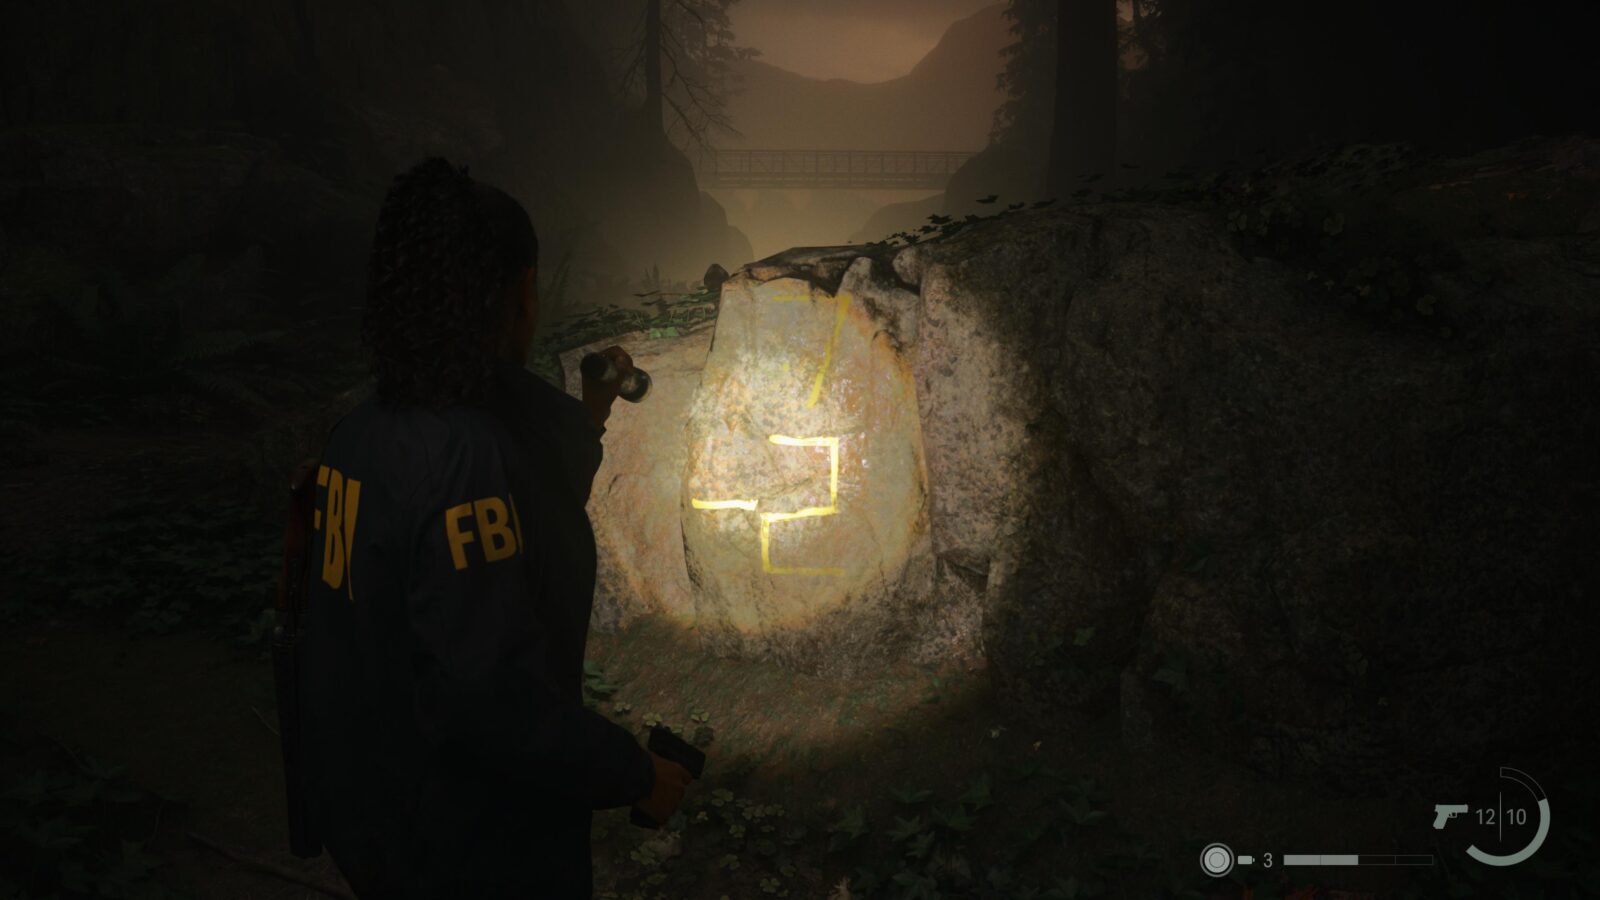
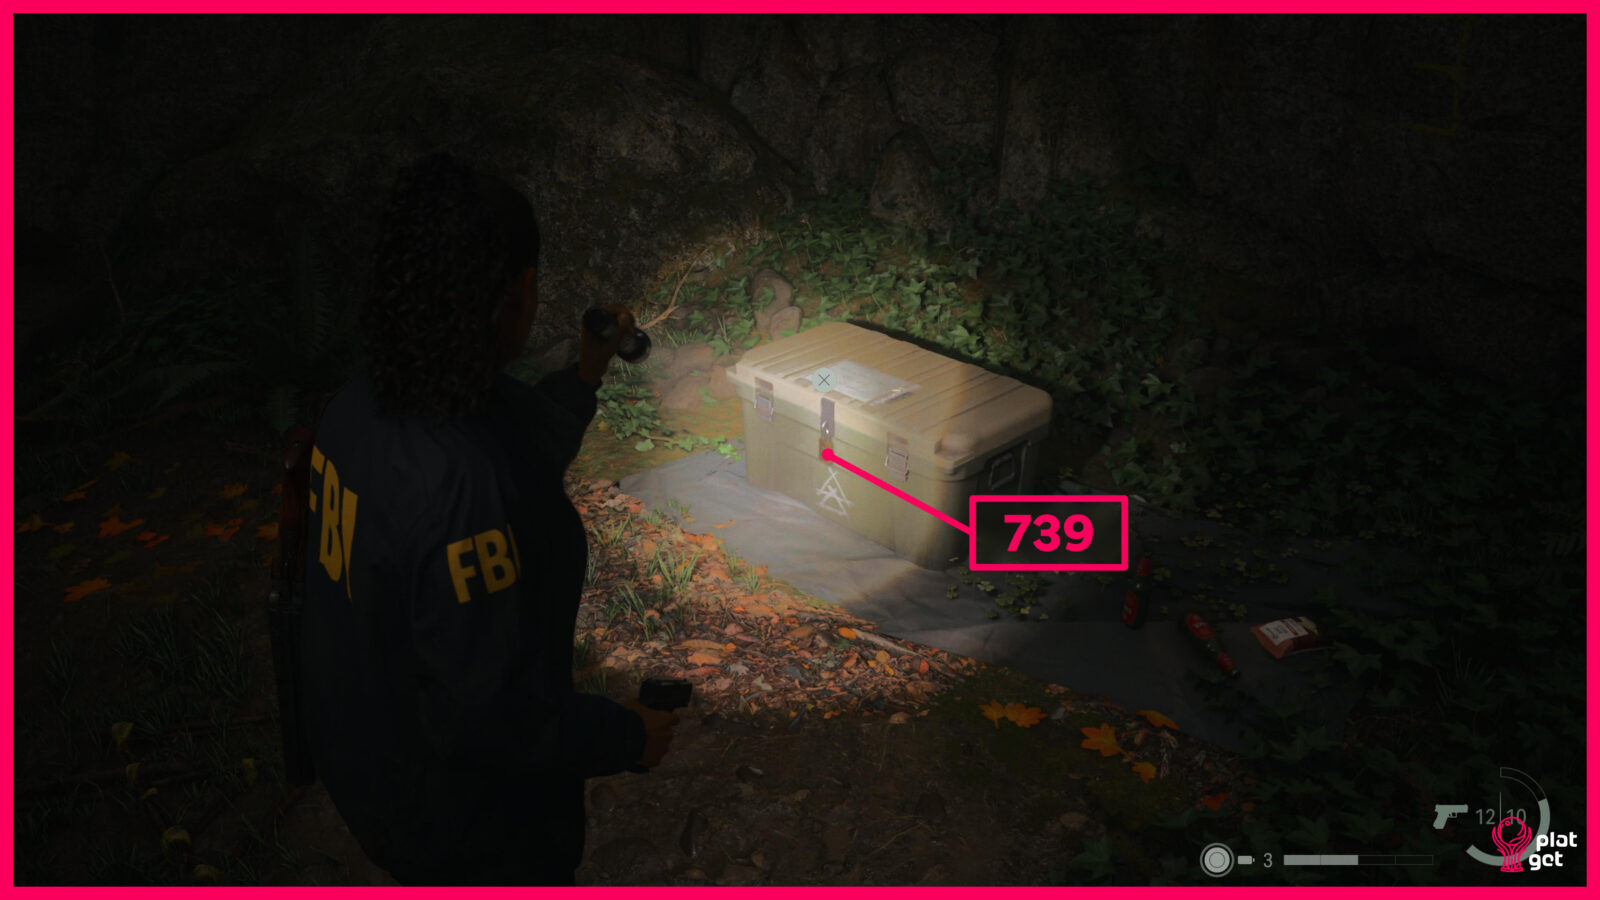
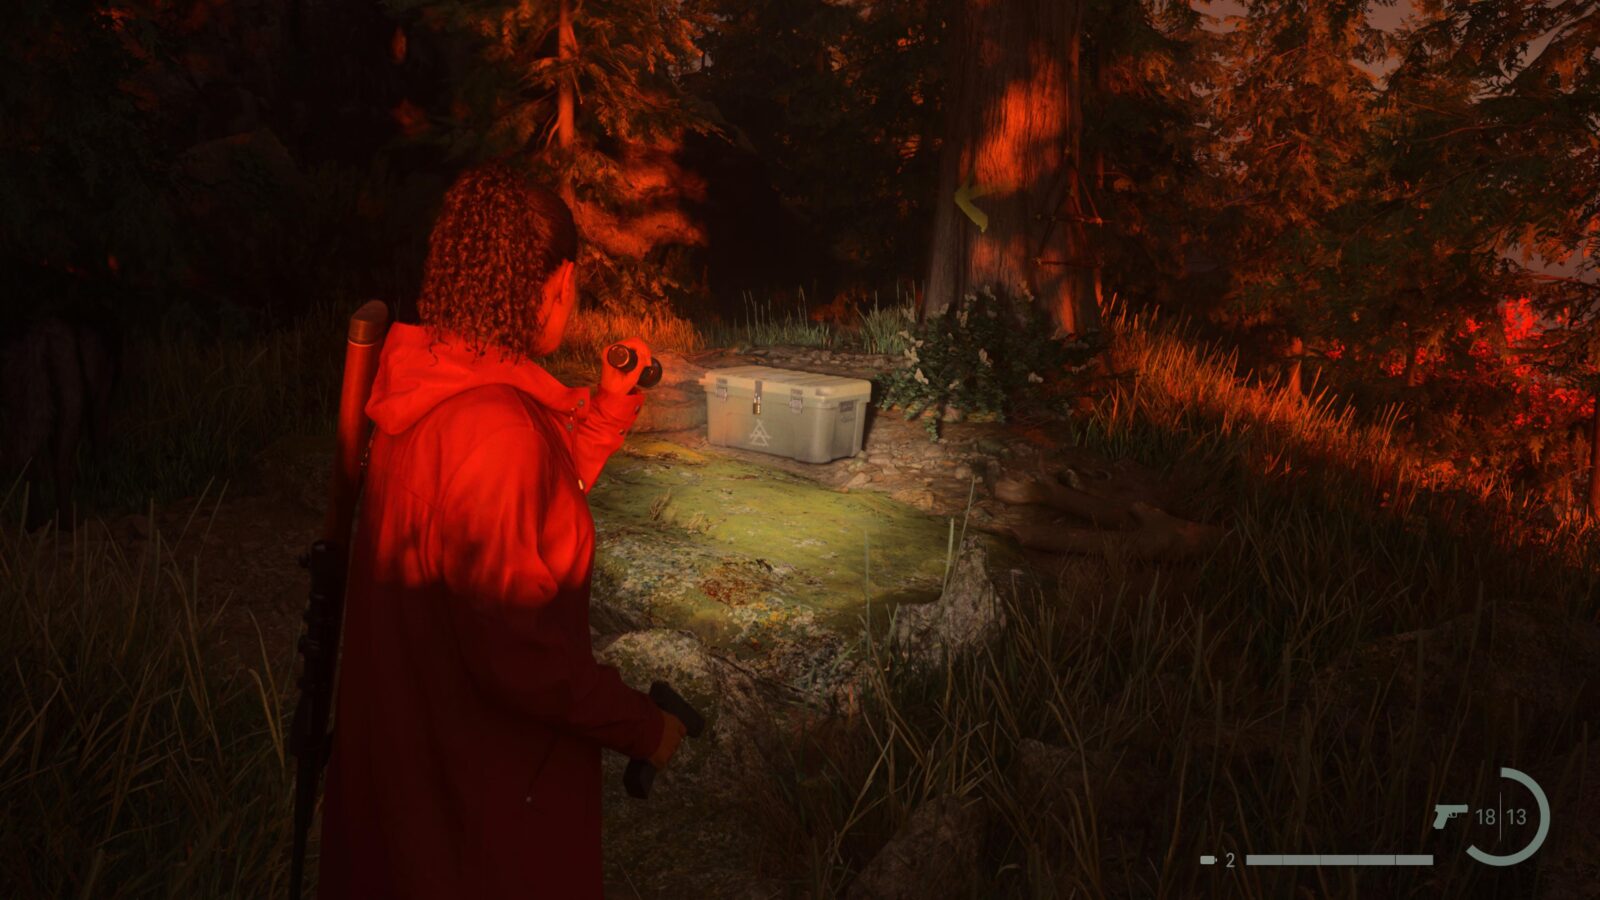
Cult Stash #4
Head back towards the Private Cabin and then follow the path down to the stream. To the right of this stream is another Cult Stash lockbox which requires a 3 digit code. The code is written in yellow paint on the environment.
You can find 3+3 written on the rock above the lockbox, 6+2 written on a tree to your left, and 7-2 written on a rock in the river. You will need to do some very light mathematics to solve this one (the answer is 658).
Lunch Box #8
Cross the river and follow it upstream. When a wolf attacks you you will be in the right area. Head into the river and cross over to the waterfall to find a lunch box with 9 Manuscript Fragments inside.
Initiation 1: Late Night
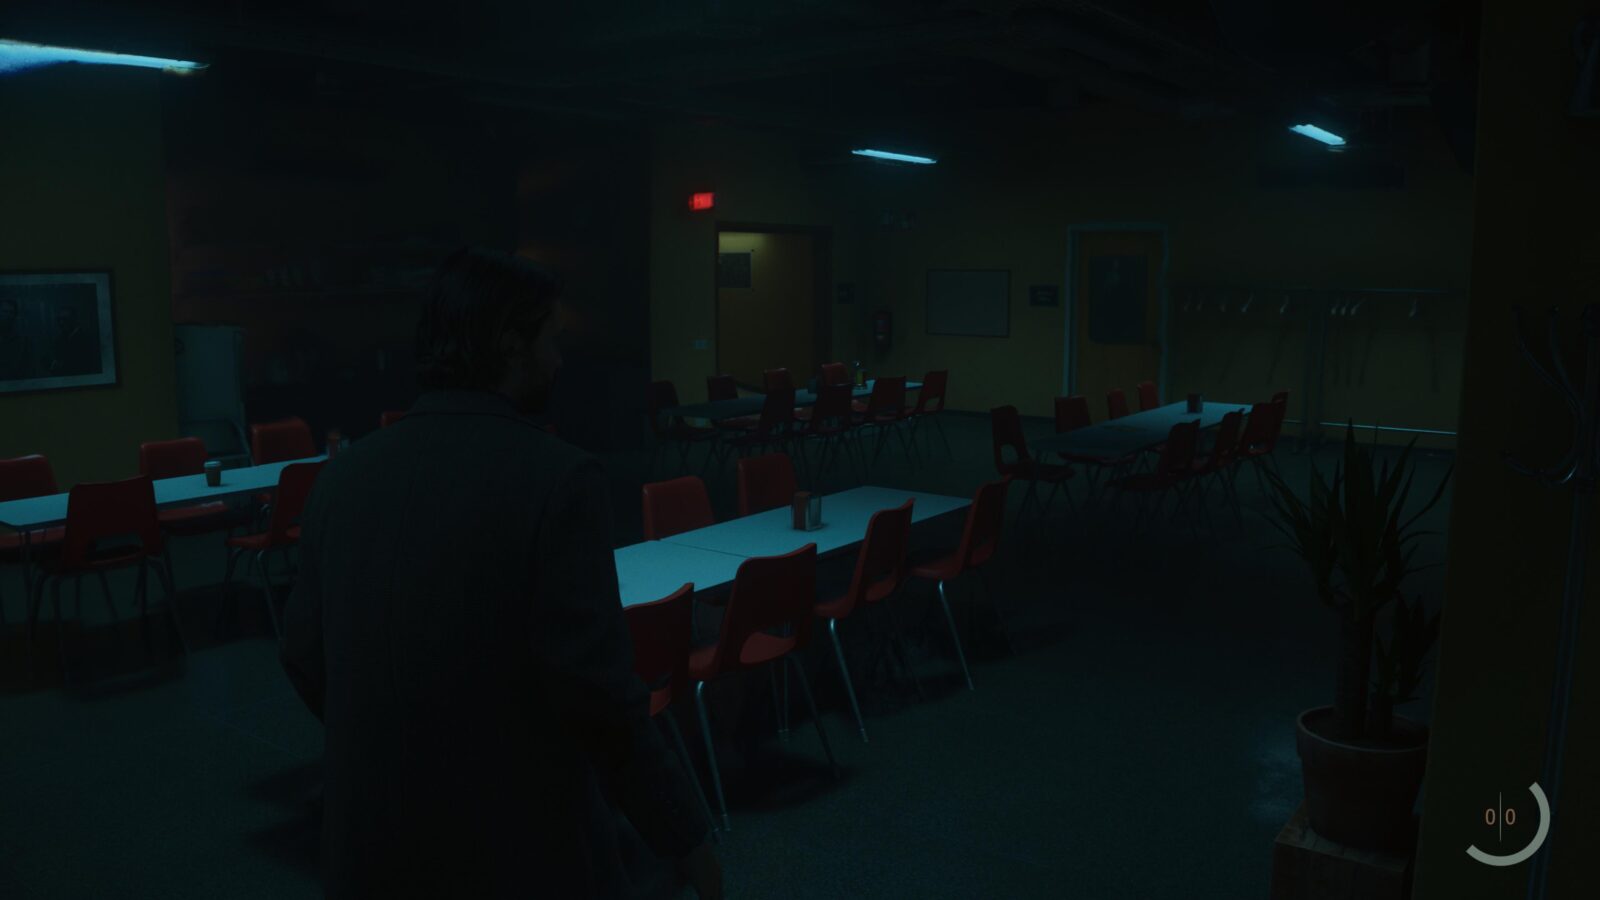
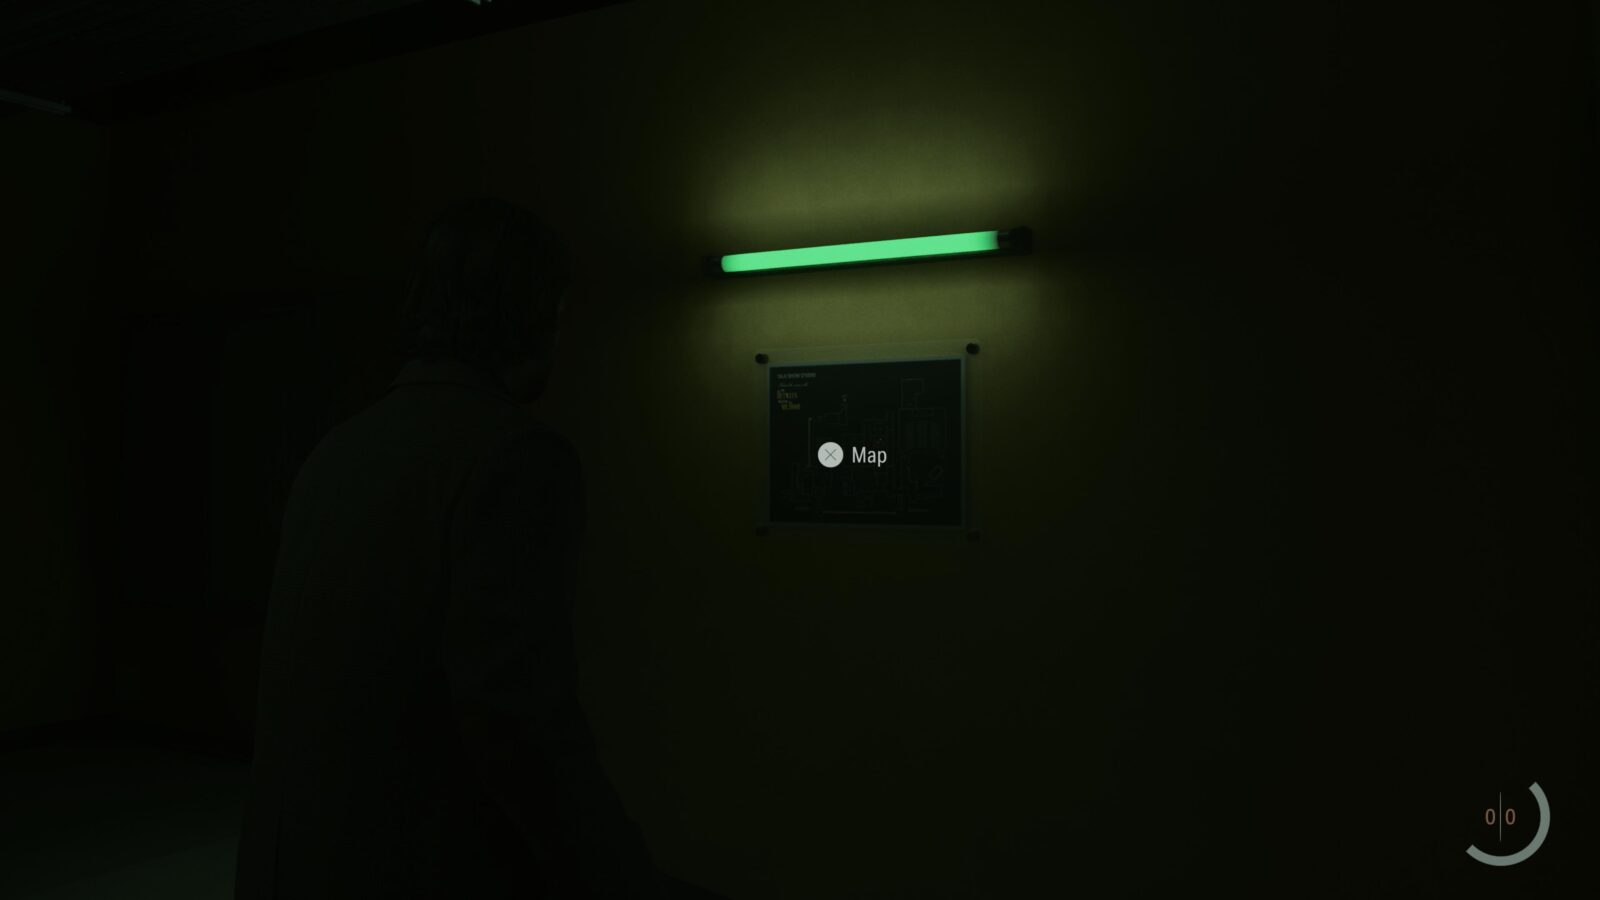
Map - Talk Show Studio
When you try to escape the Talk Show Studio a second time you will enter a Cafeteria. In the corridor where the exit doors are is a map on the wall with a green light above it.
Writer's Journey Video #1 - The Dark Place (unmissable)
This Writer’s Journey is unlocked as part of the story and can’t be missed.
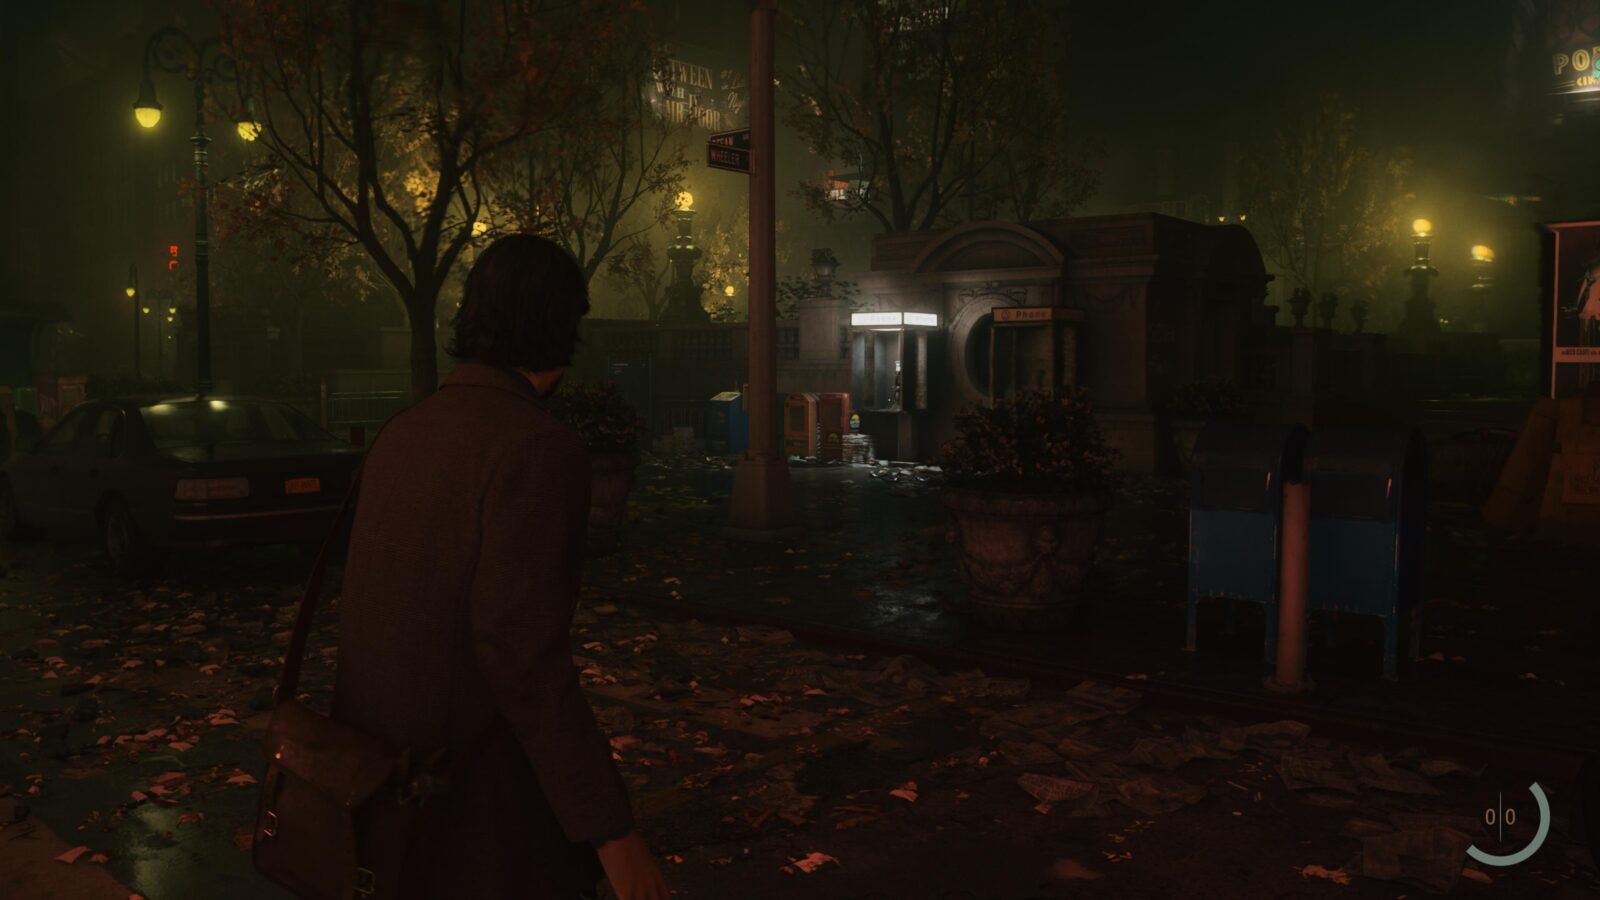
Map - The Dark Place
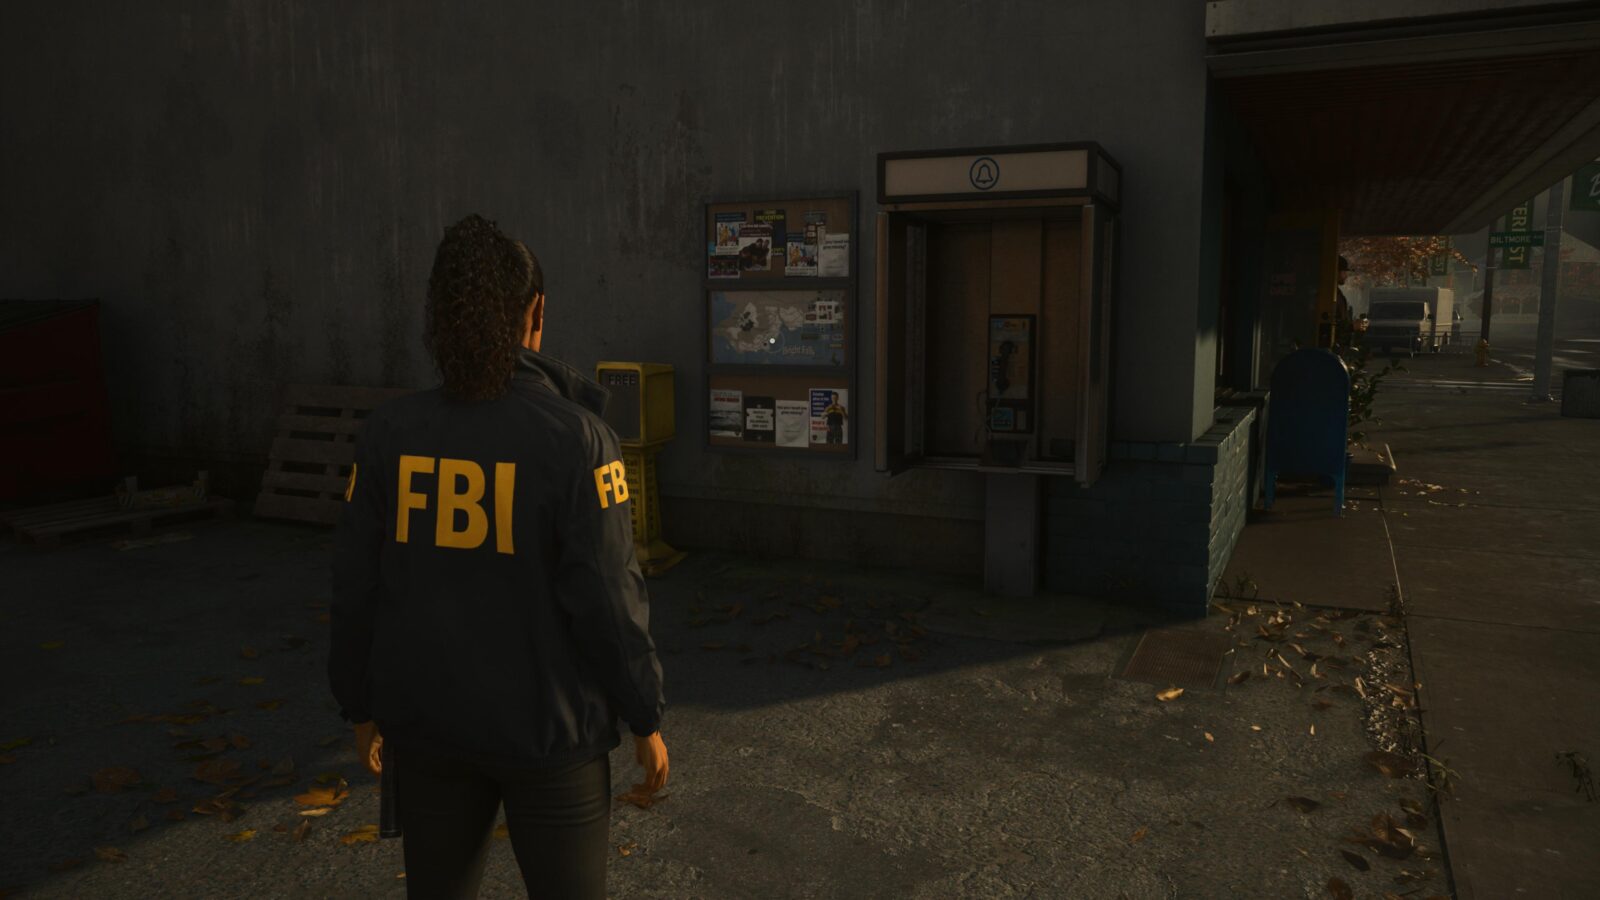
Once you make it to street level you will hear a ringing payphone. Head over to it and you should see a map to the left of the phone.

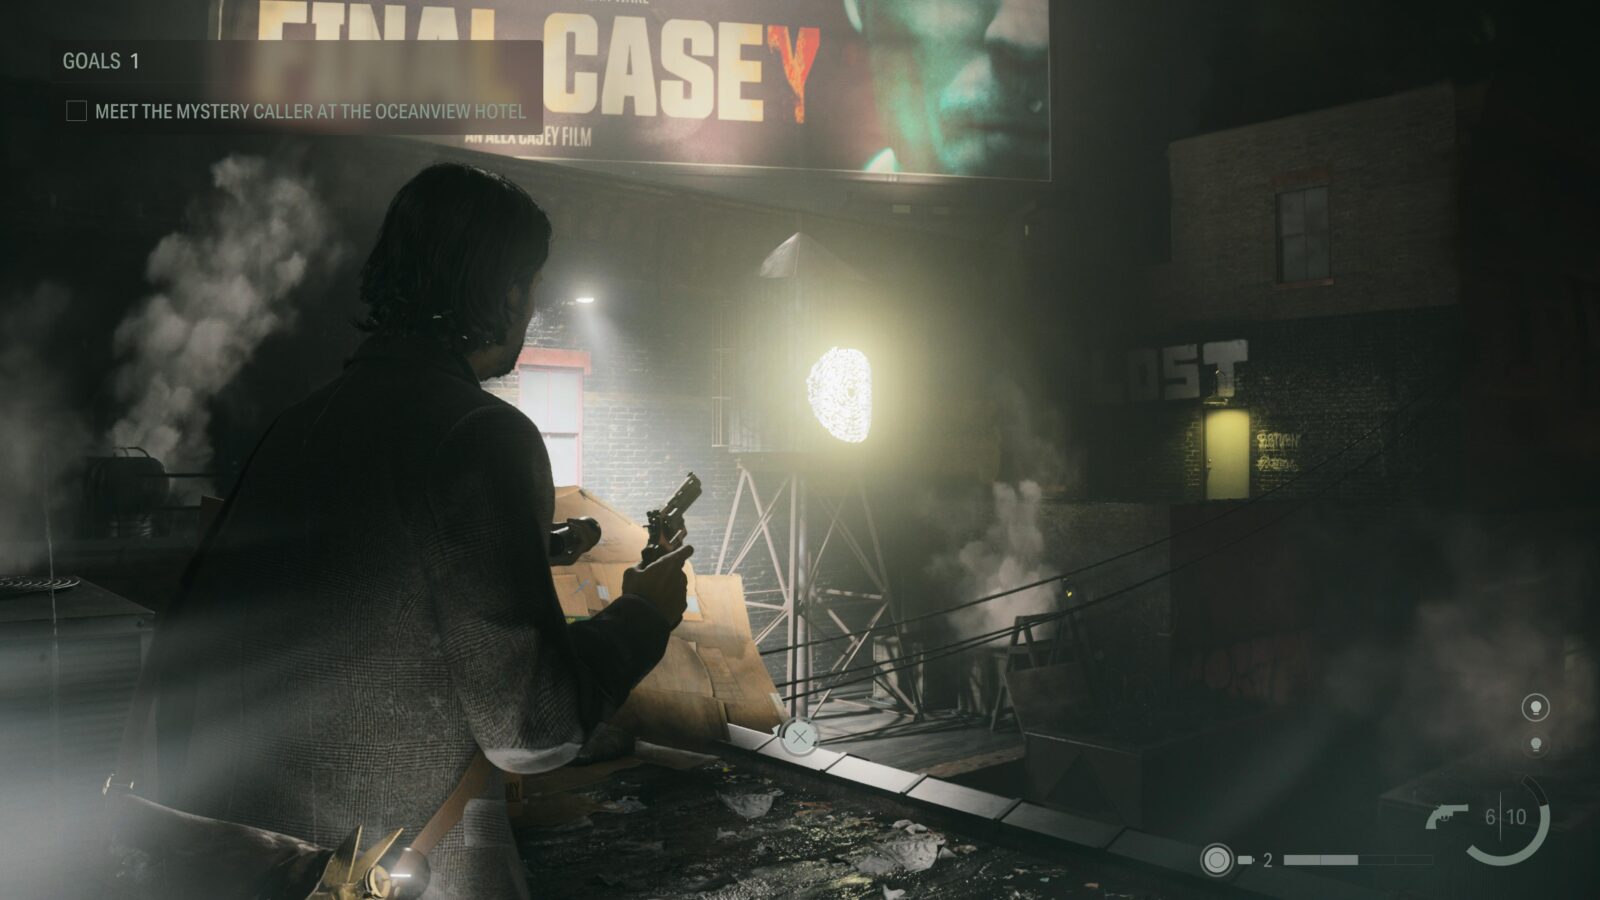
Initiation 2: Casey
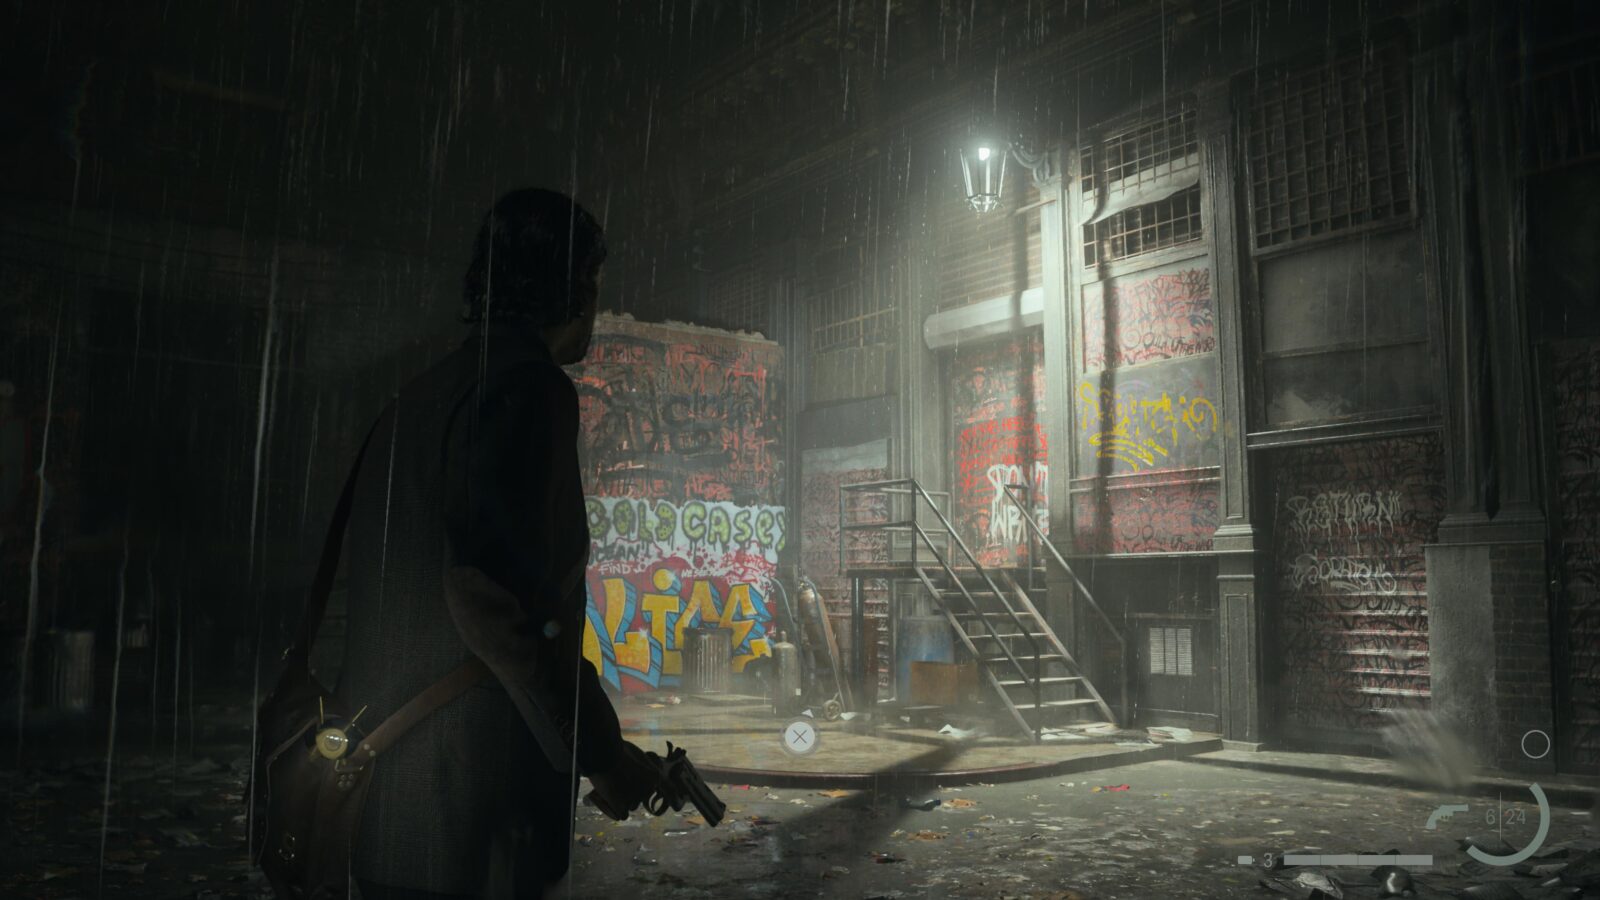
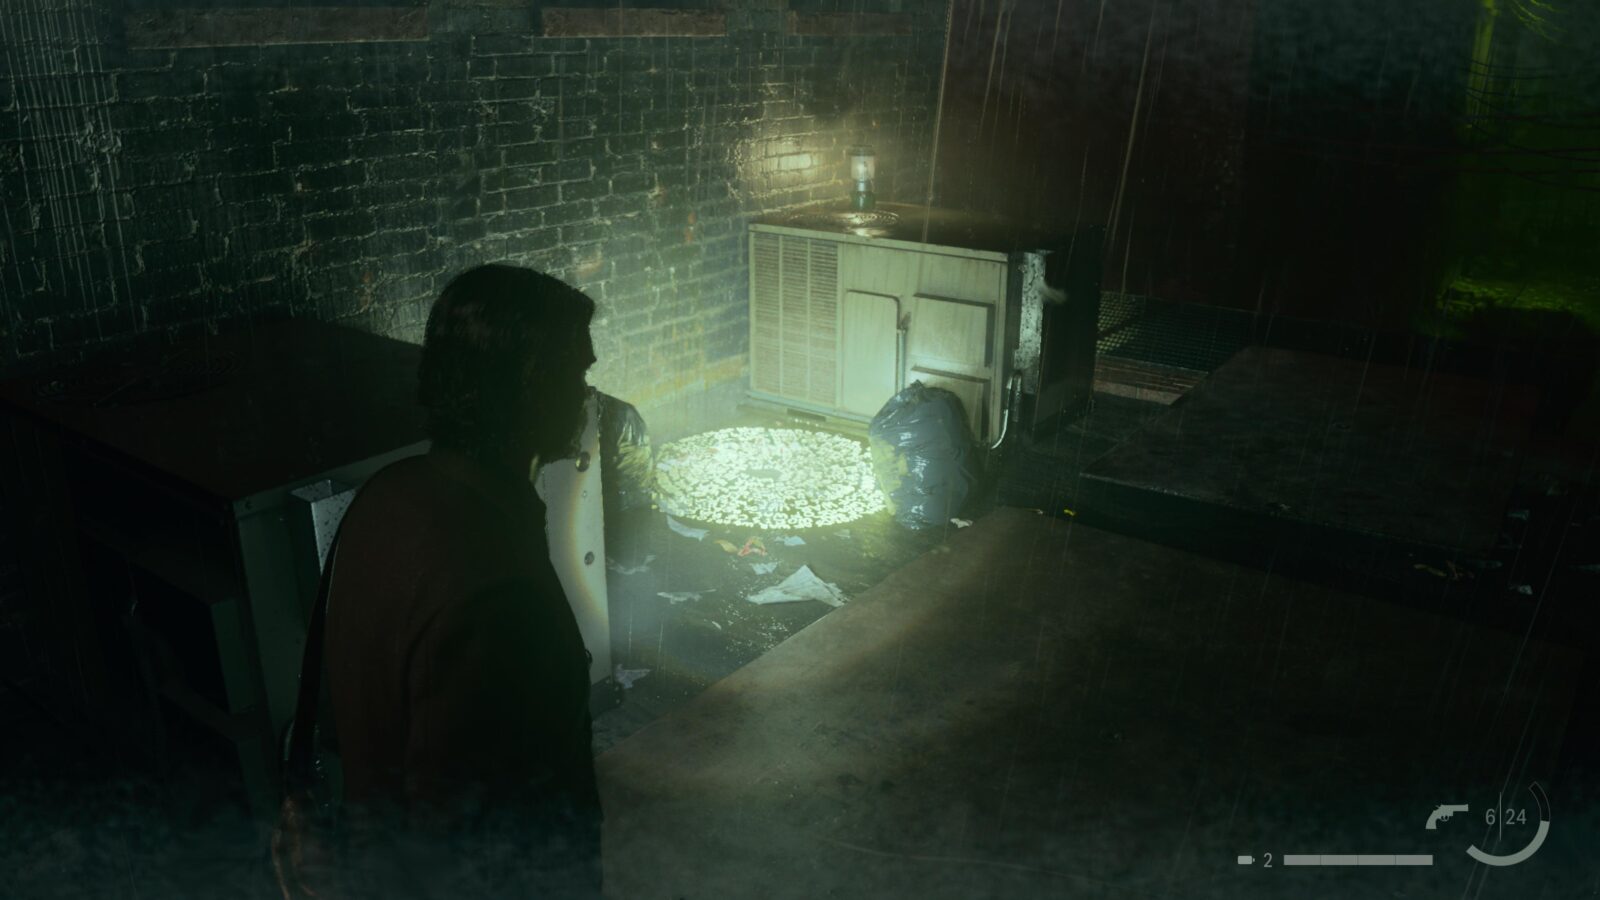
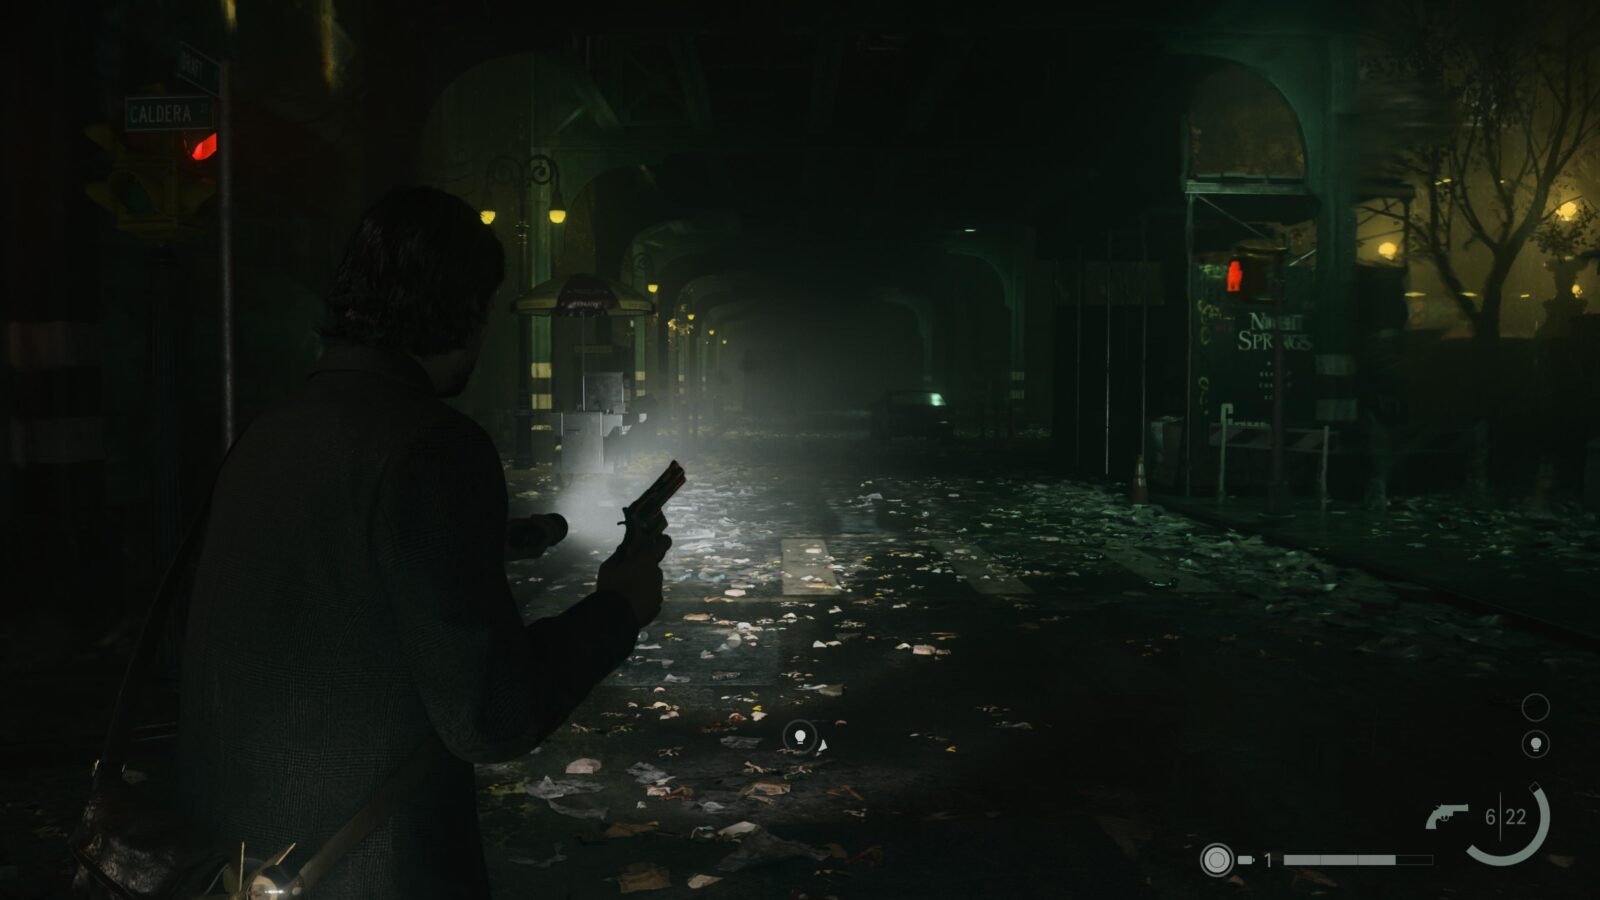
Weapon #3 - Flashlight and Revolver (unmissable)
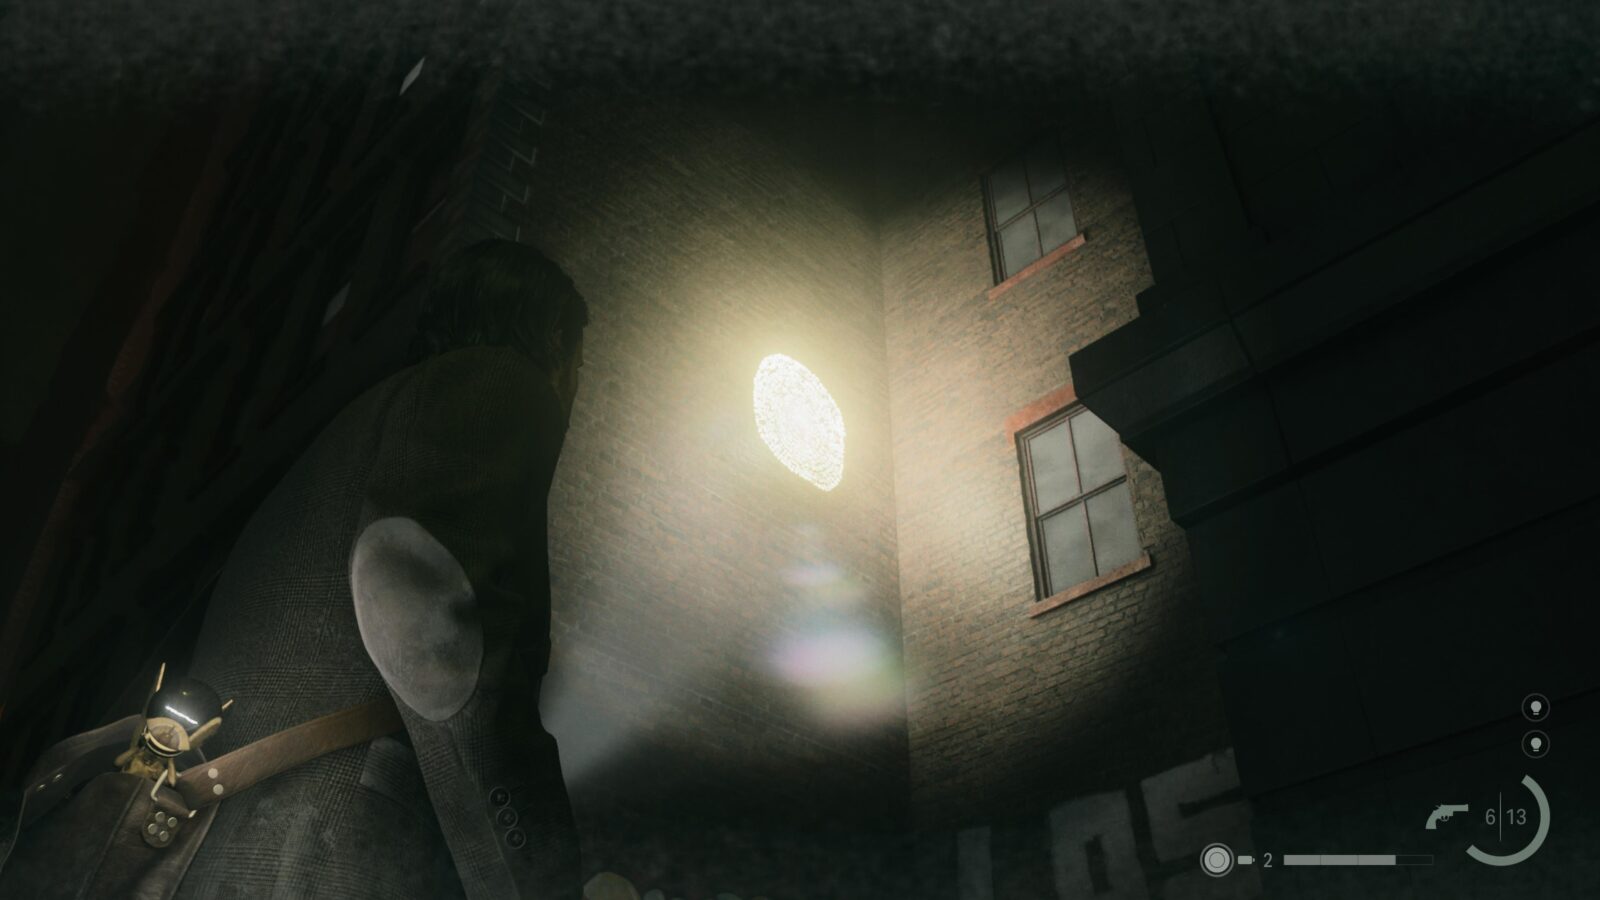
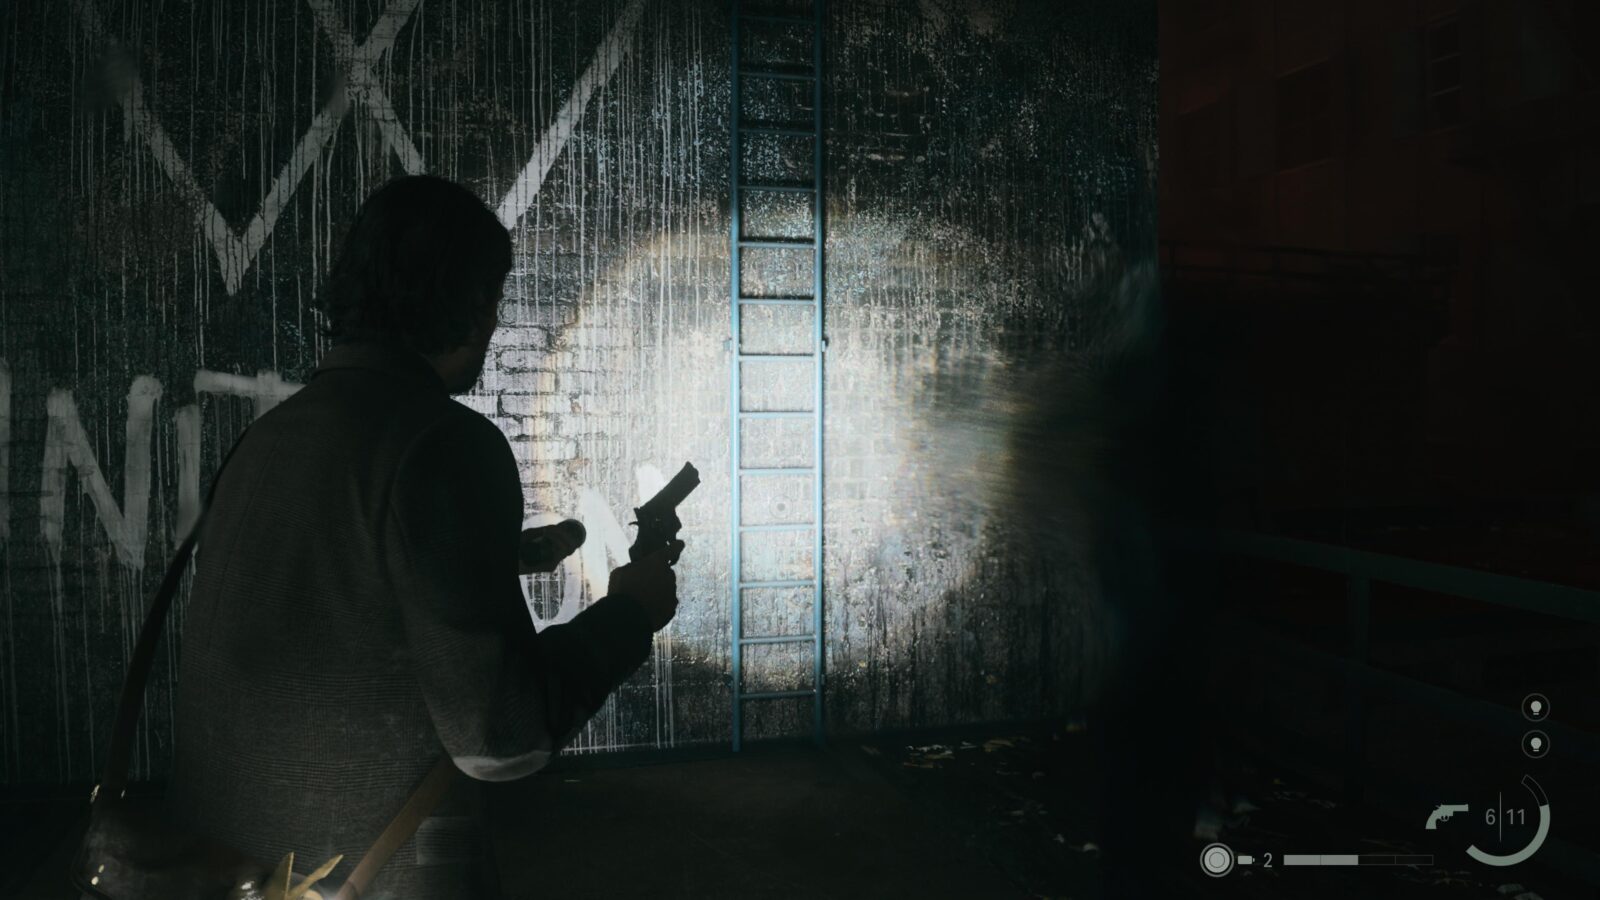
Across the street from the payphone is an alley way you need to enter to progress the story. After a cutscene you can pick up a Flashlight and Revolver.
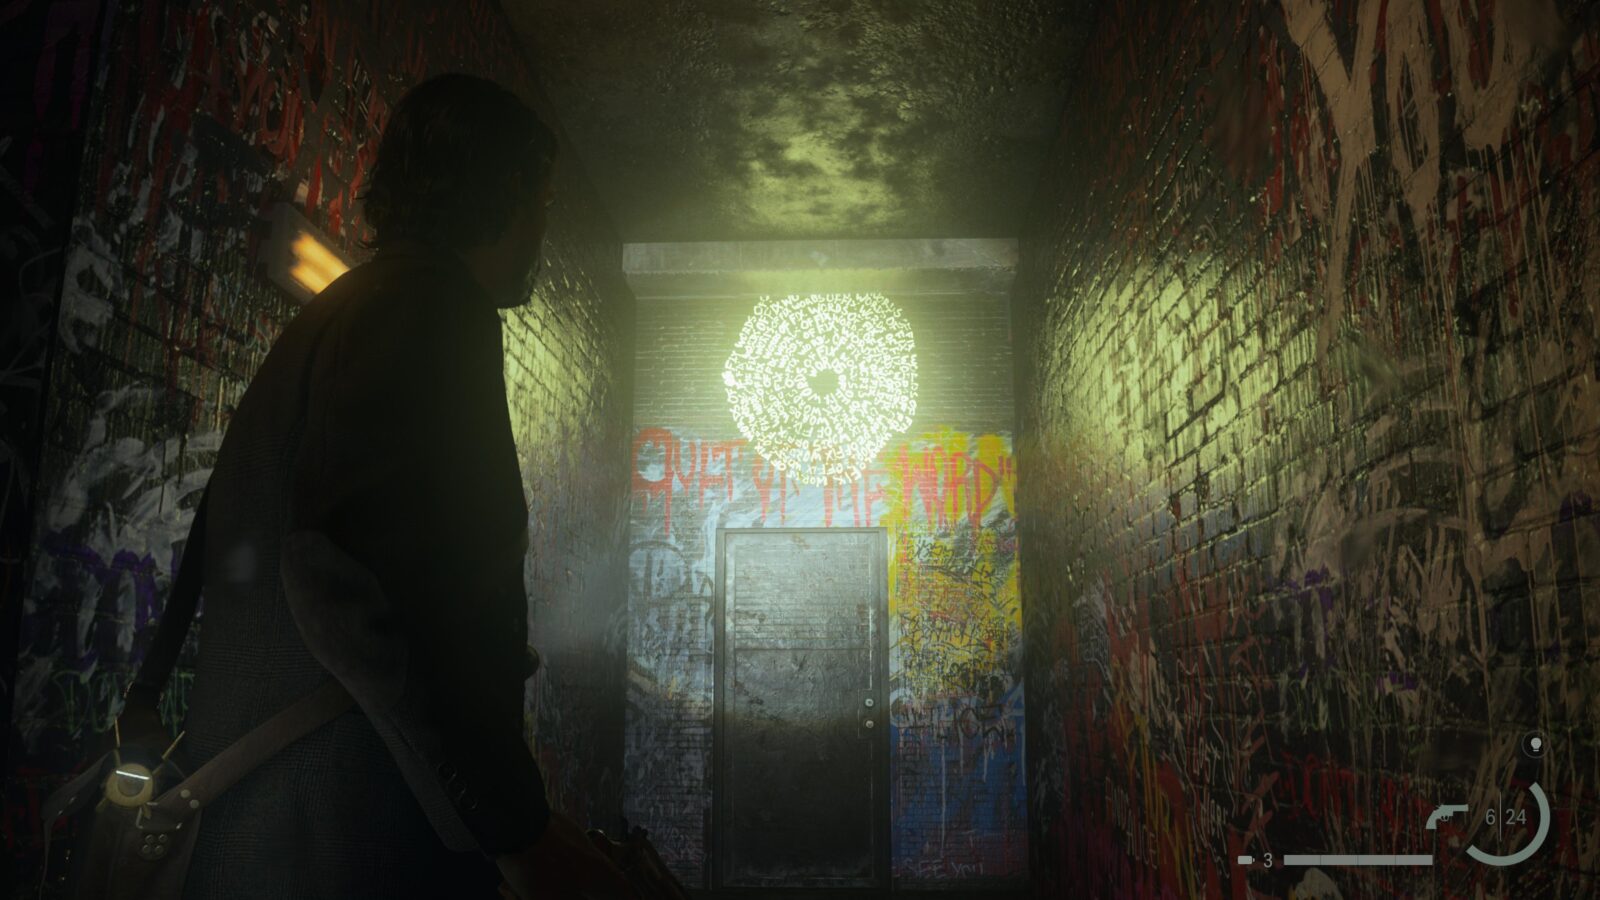
Words of Power #1 - Words of Fix
Immediately after picking up the Flashlight and Revolver you can use the Lamp to collect the overhead light source. When you do this a passage opens up directly to the left of where the light source was. Walk down the passage to the end and you will find a Word of Power on the wall above a door. Aim your Flashlight at it and press ![]() to collect it.
to collect it.
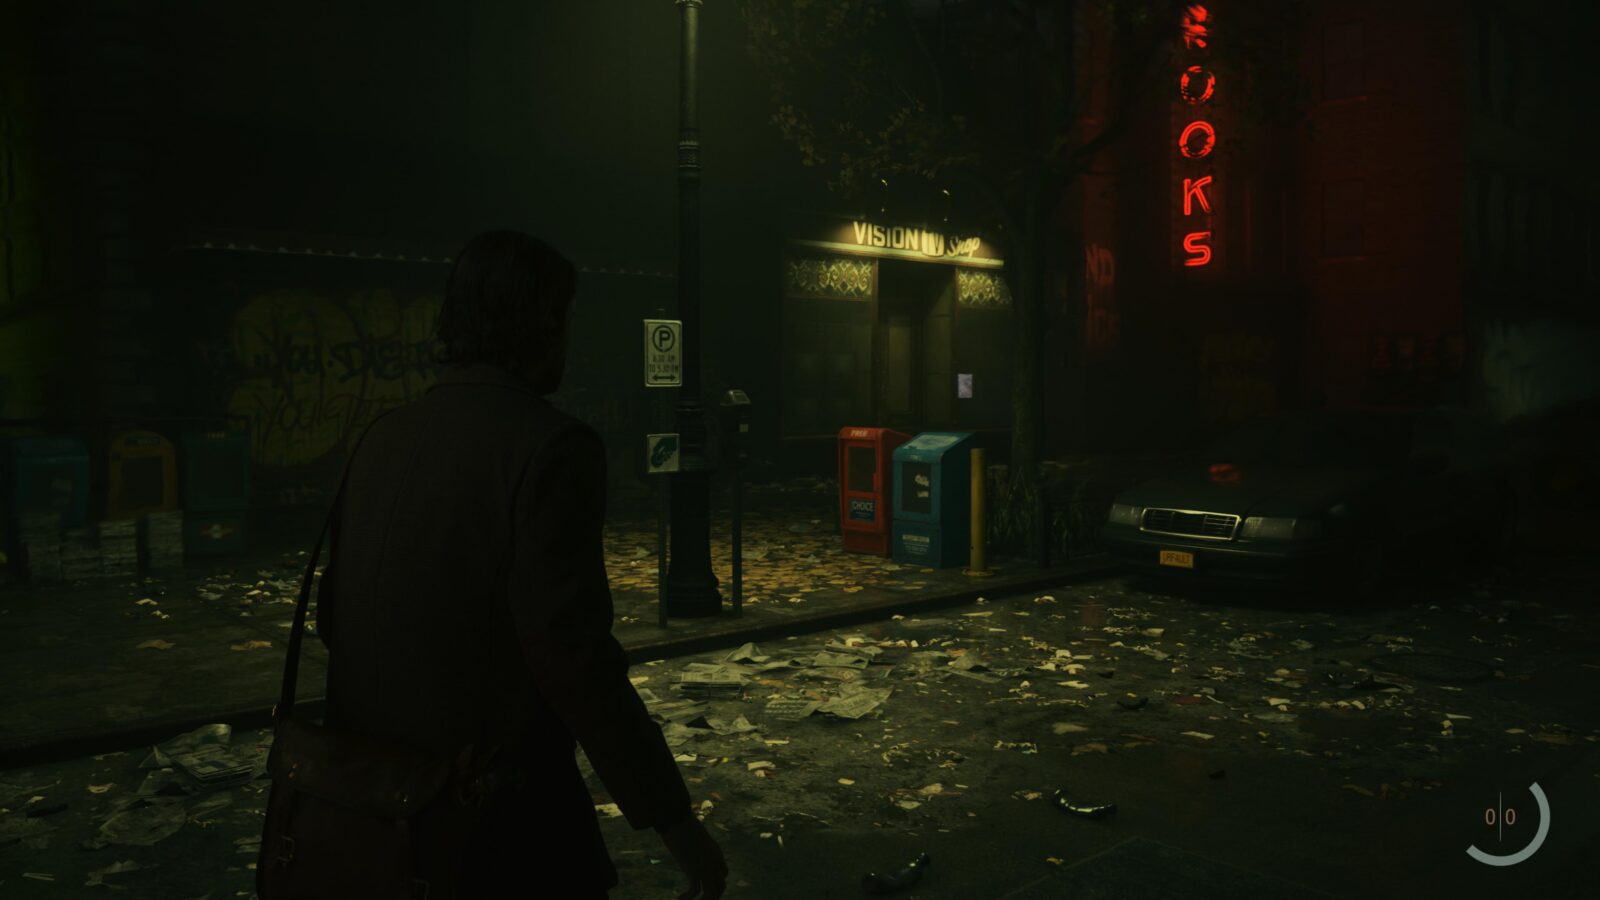
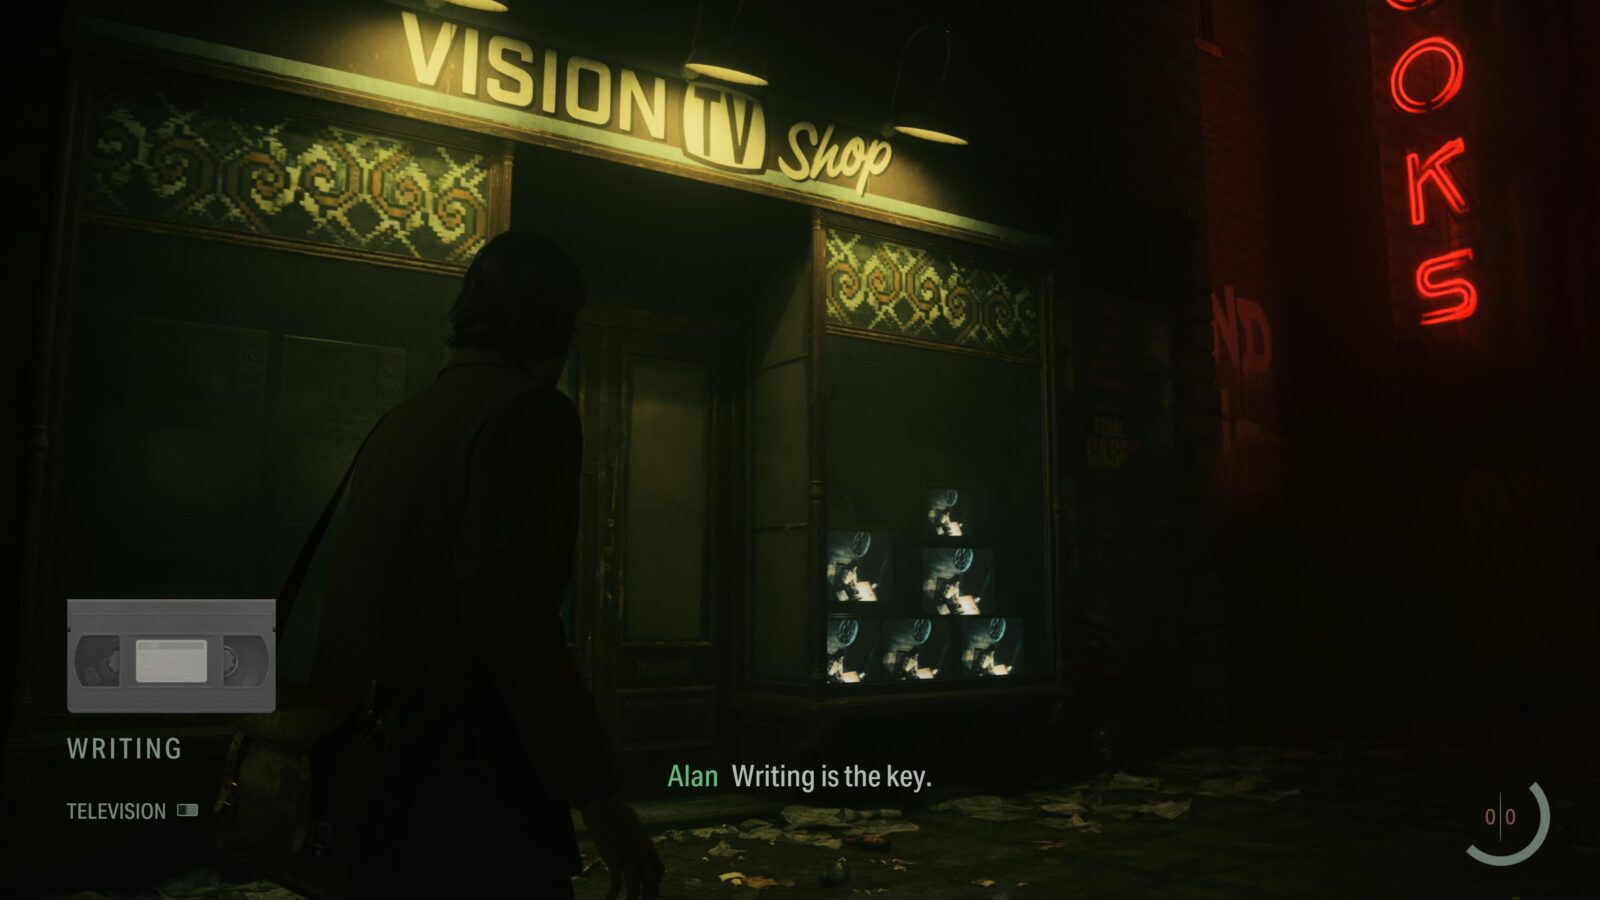
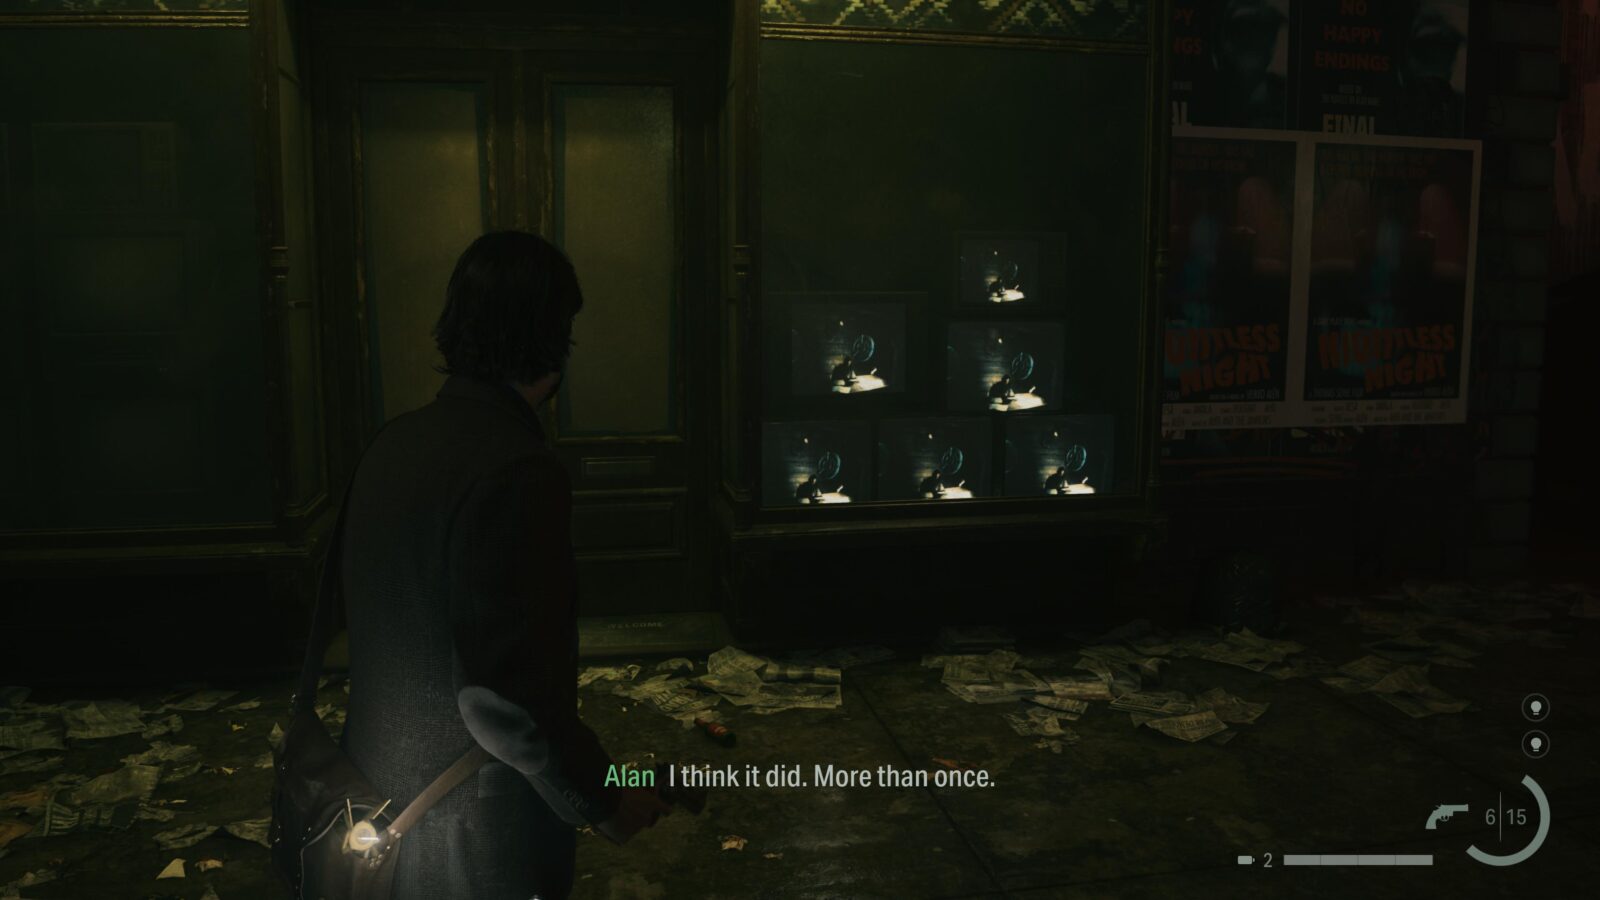
Writer's Journey Video #2 - Writing
Return to the entrance to the alley where you found the Flashlight and Revolver and look around for a shop called Vision TV Shop. There should be a TV with some flashing static in the window of the shop. Approach it and you will collect another Writer’s Journey Video.
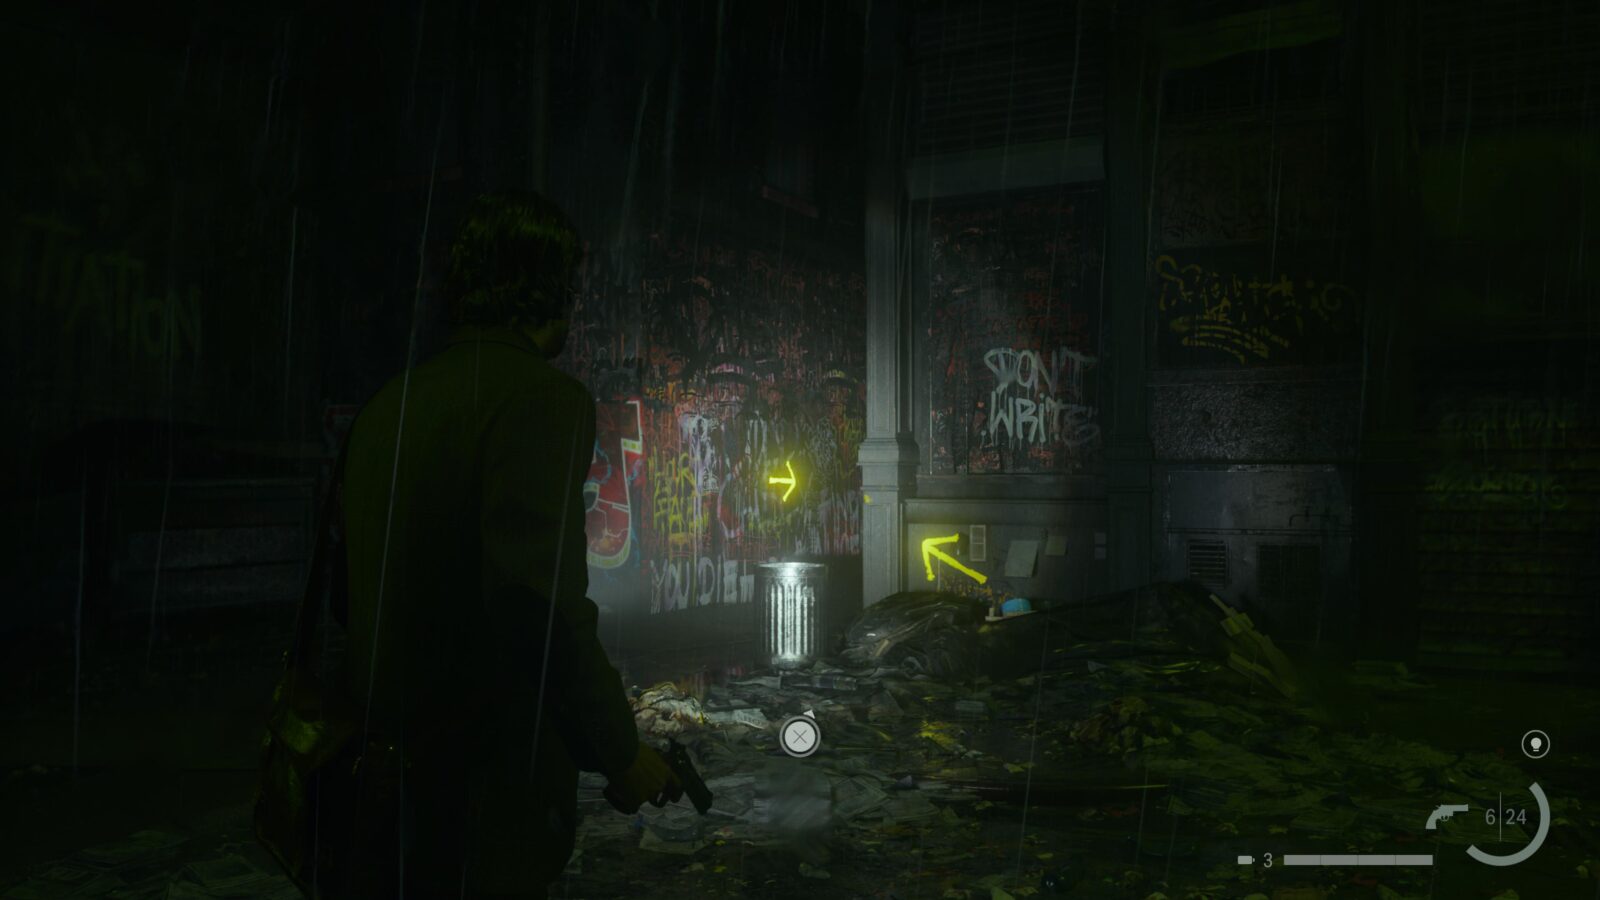
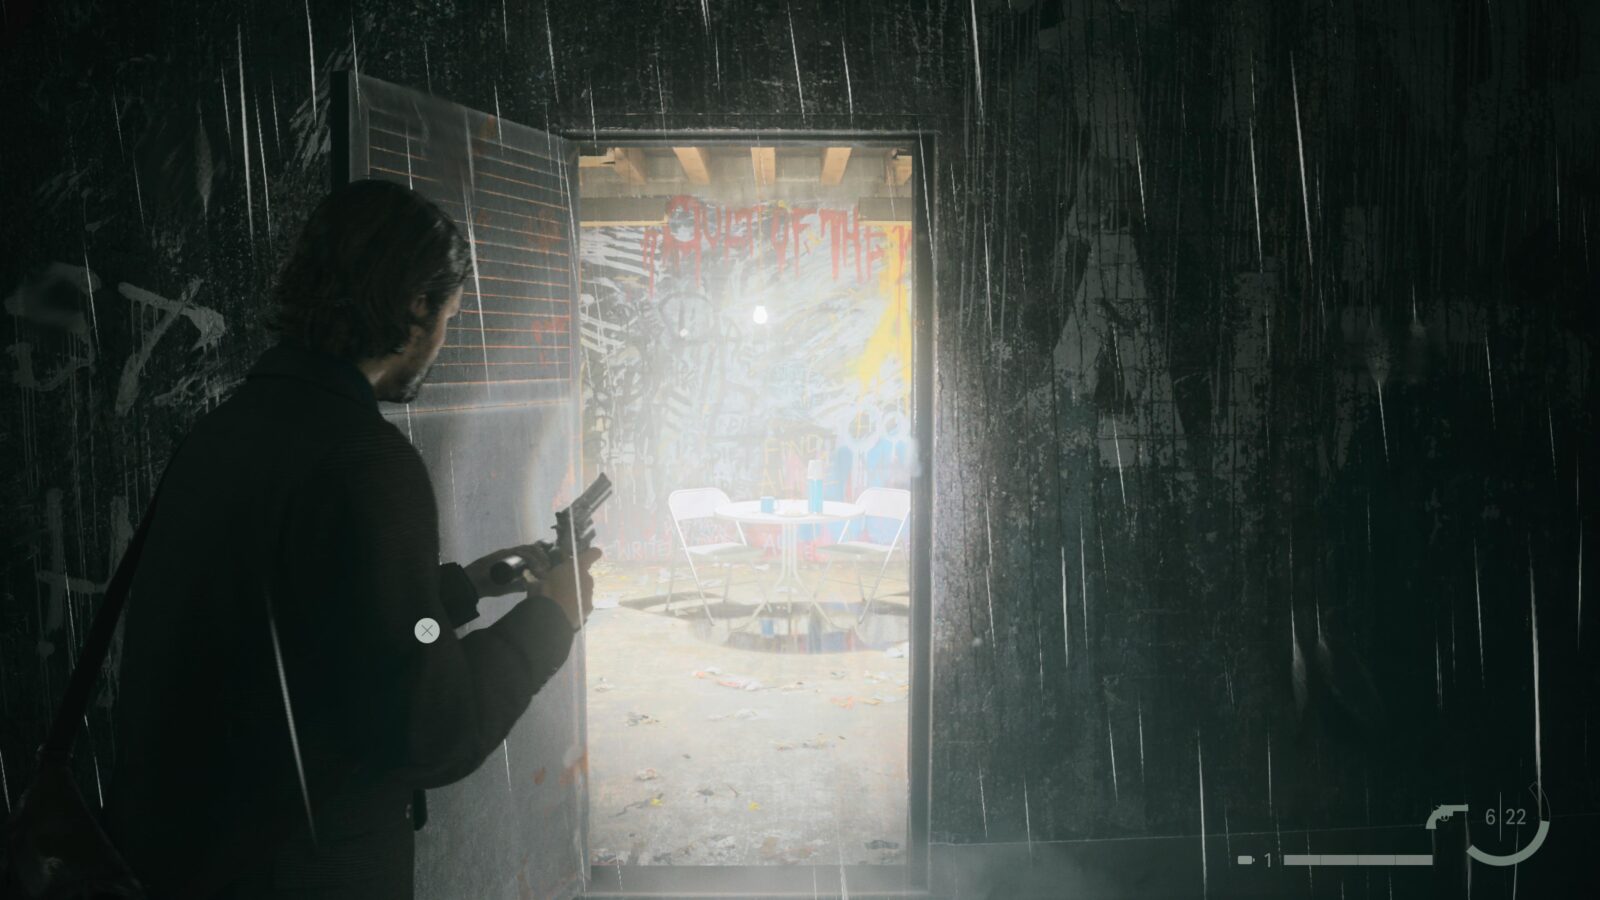
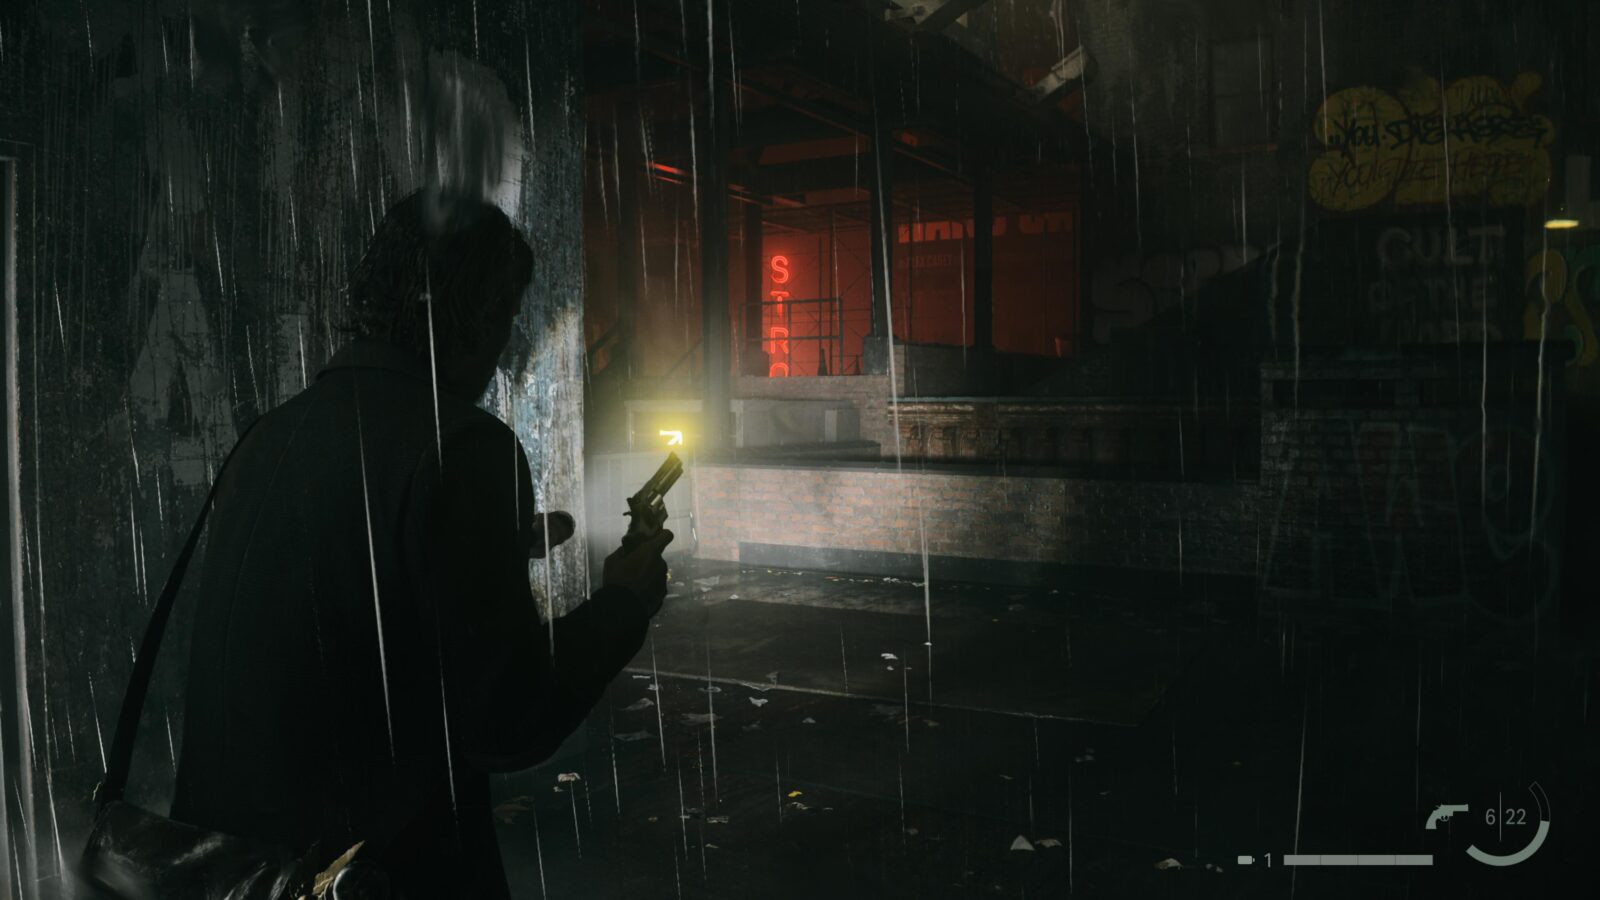
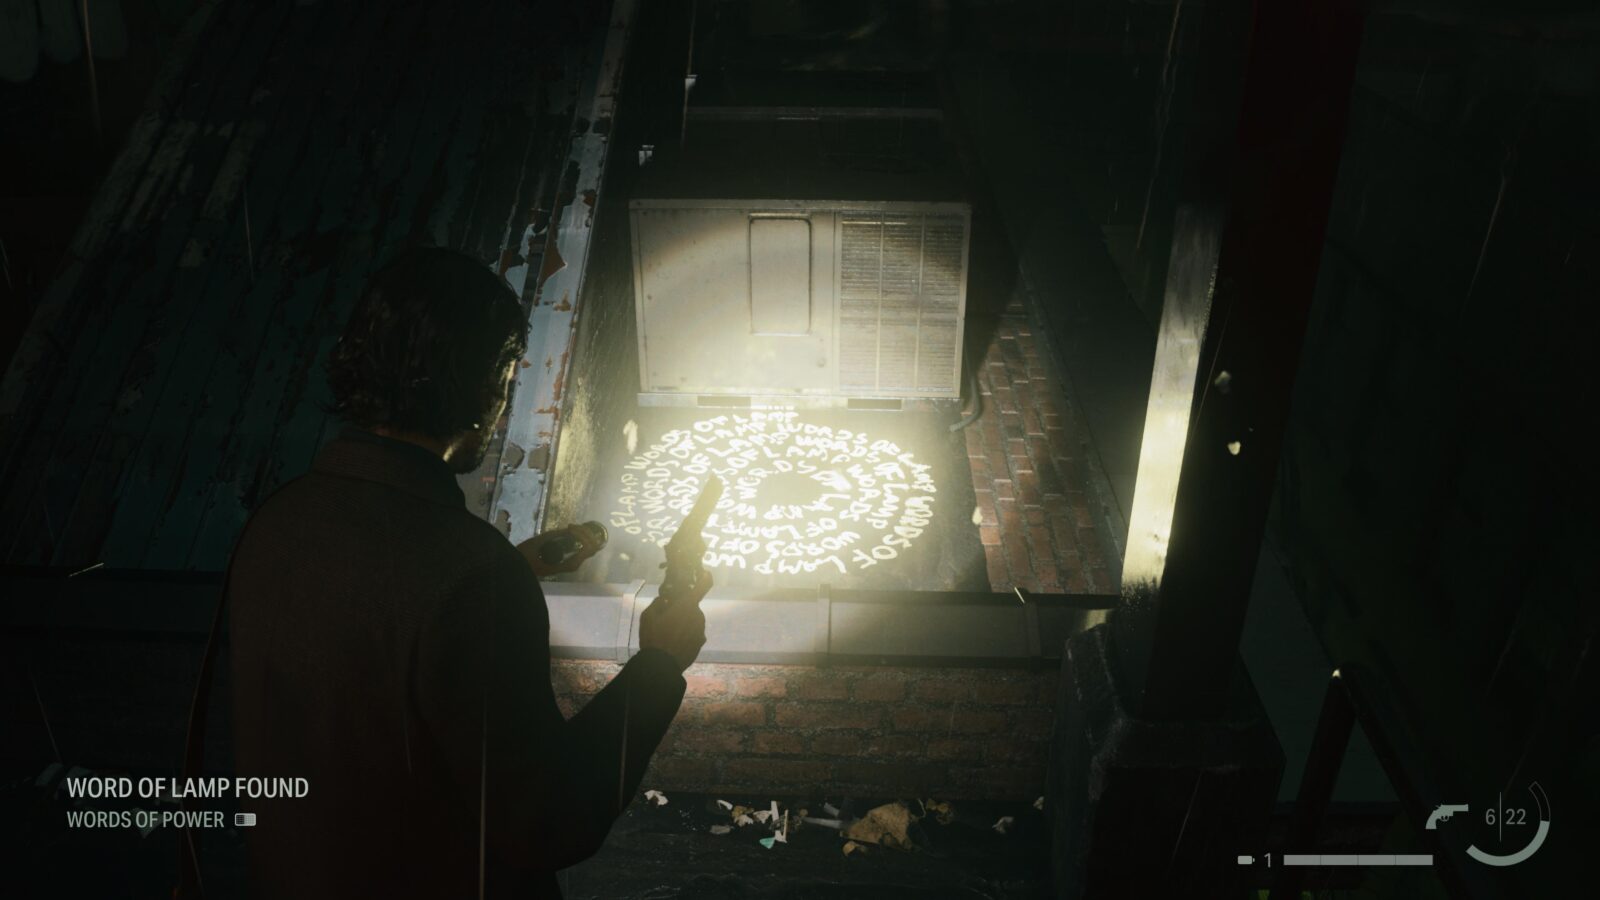
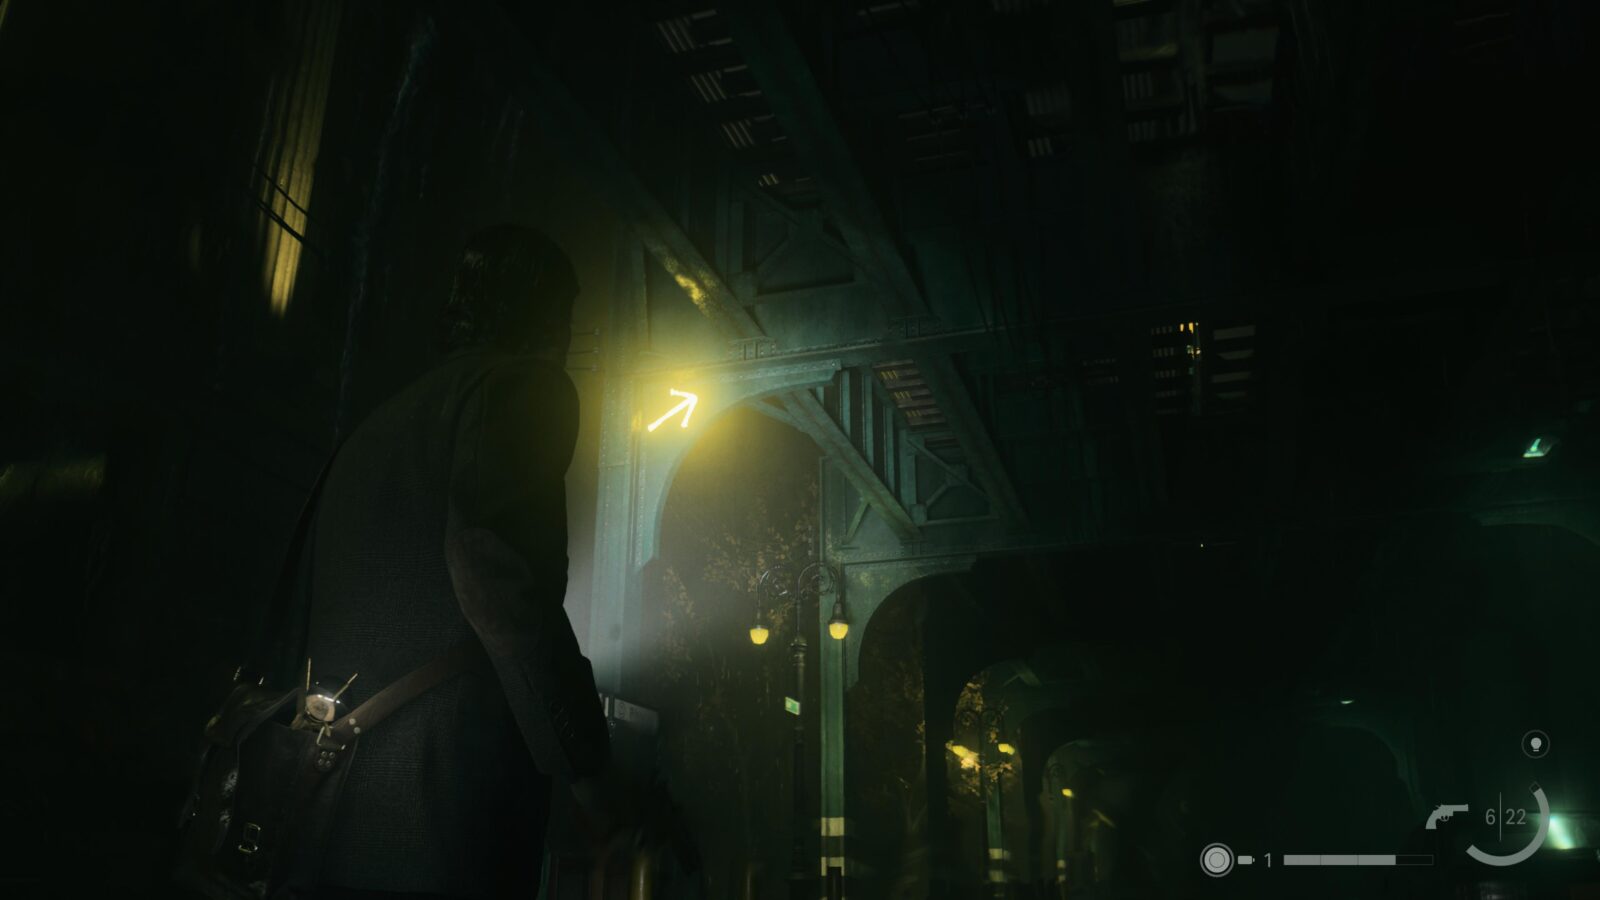
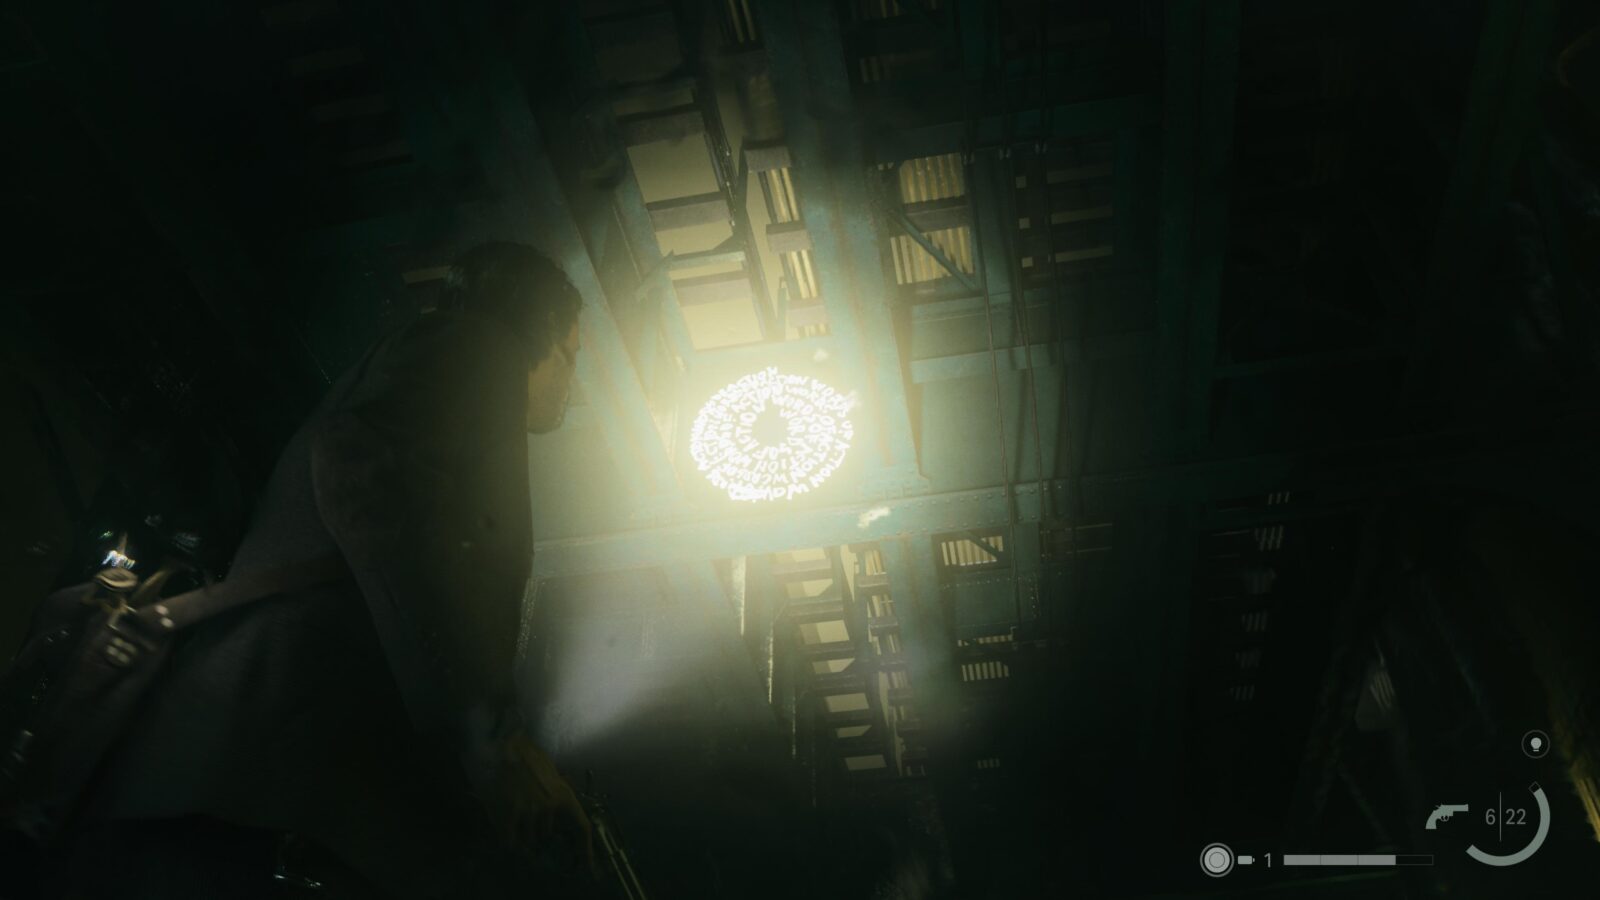
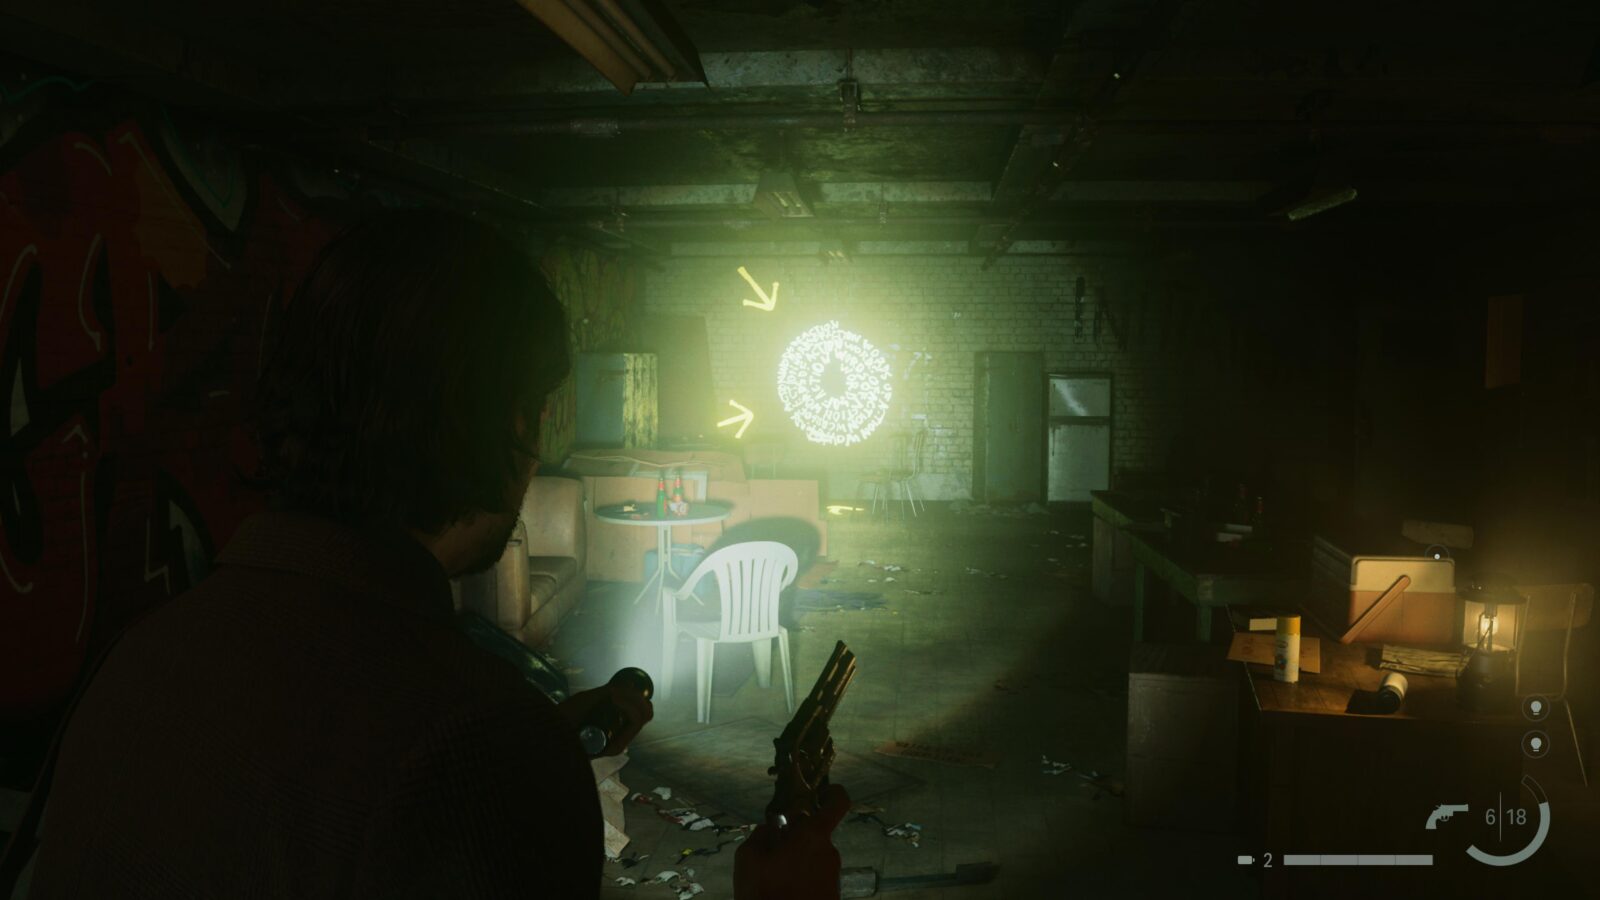
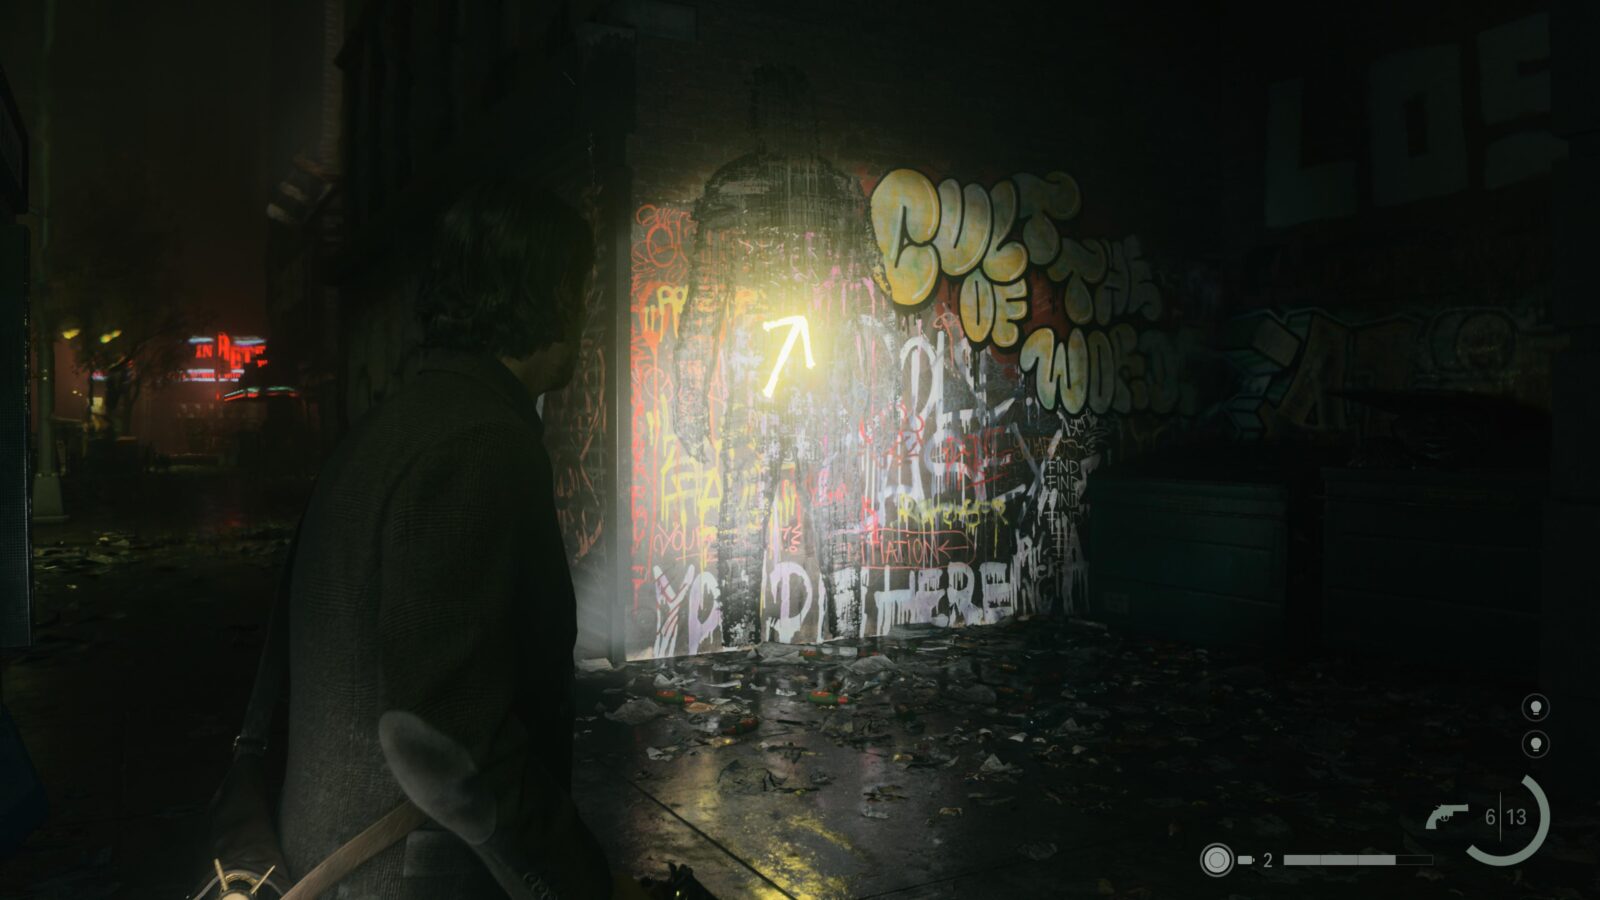
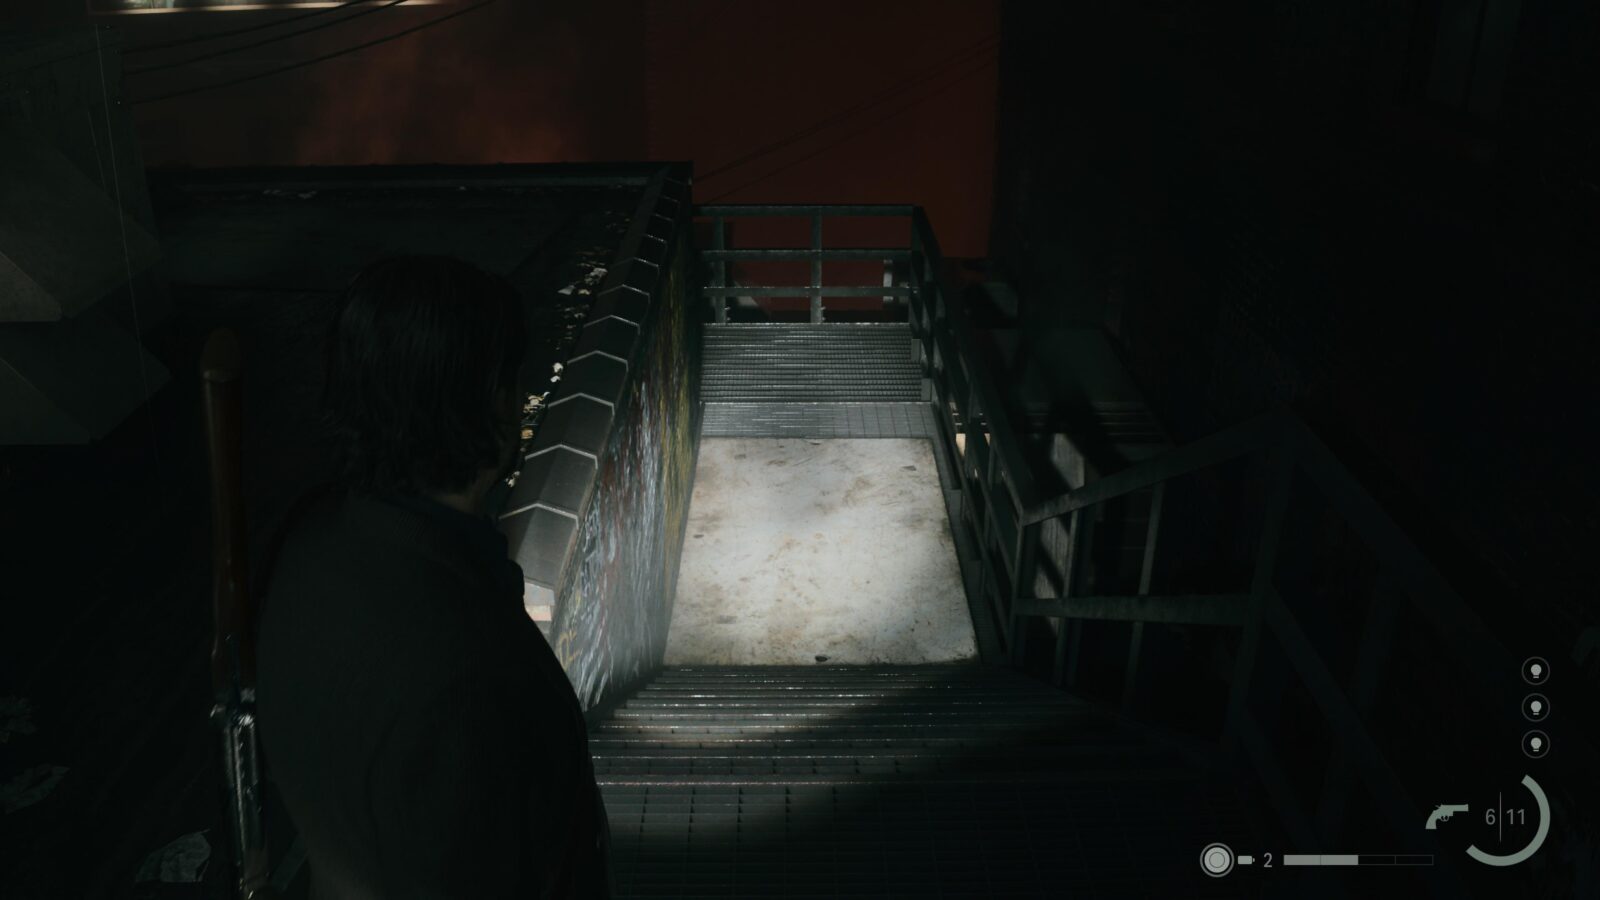
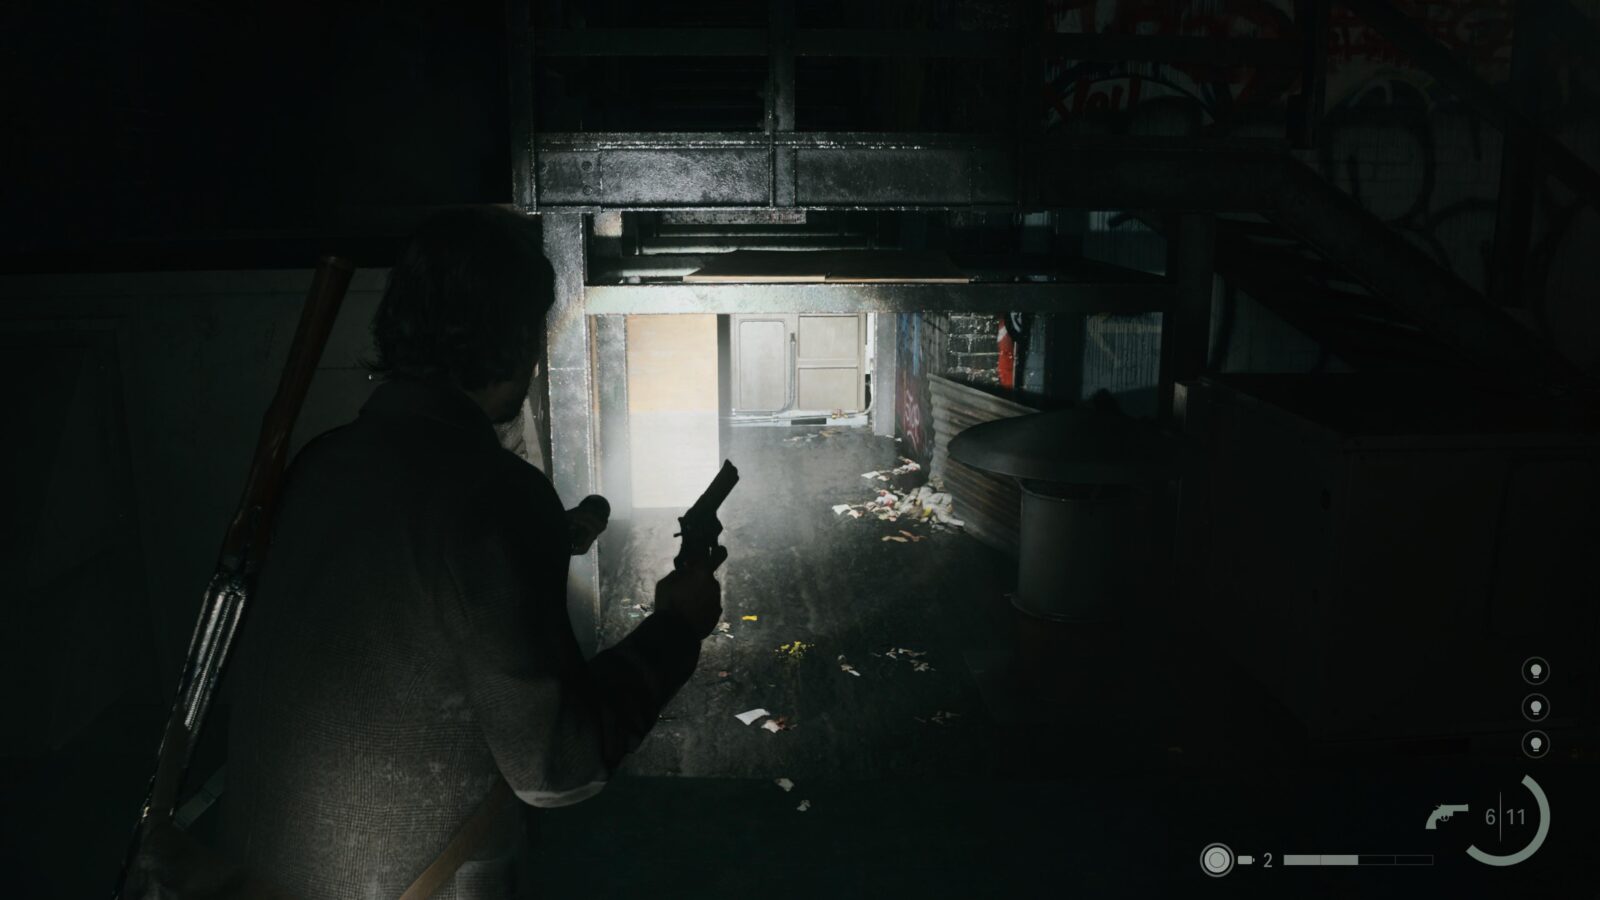
Words of Power #2 - Words of Lamp
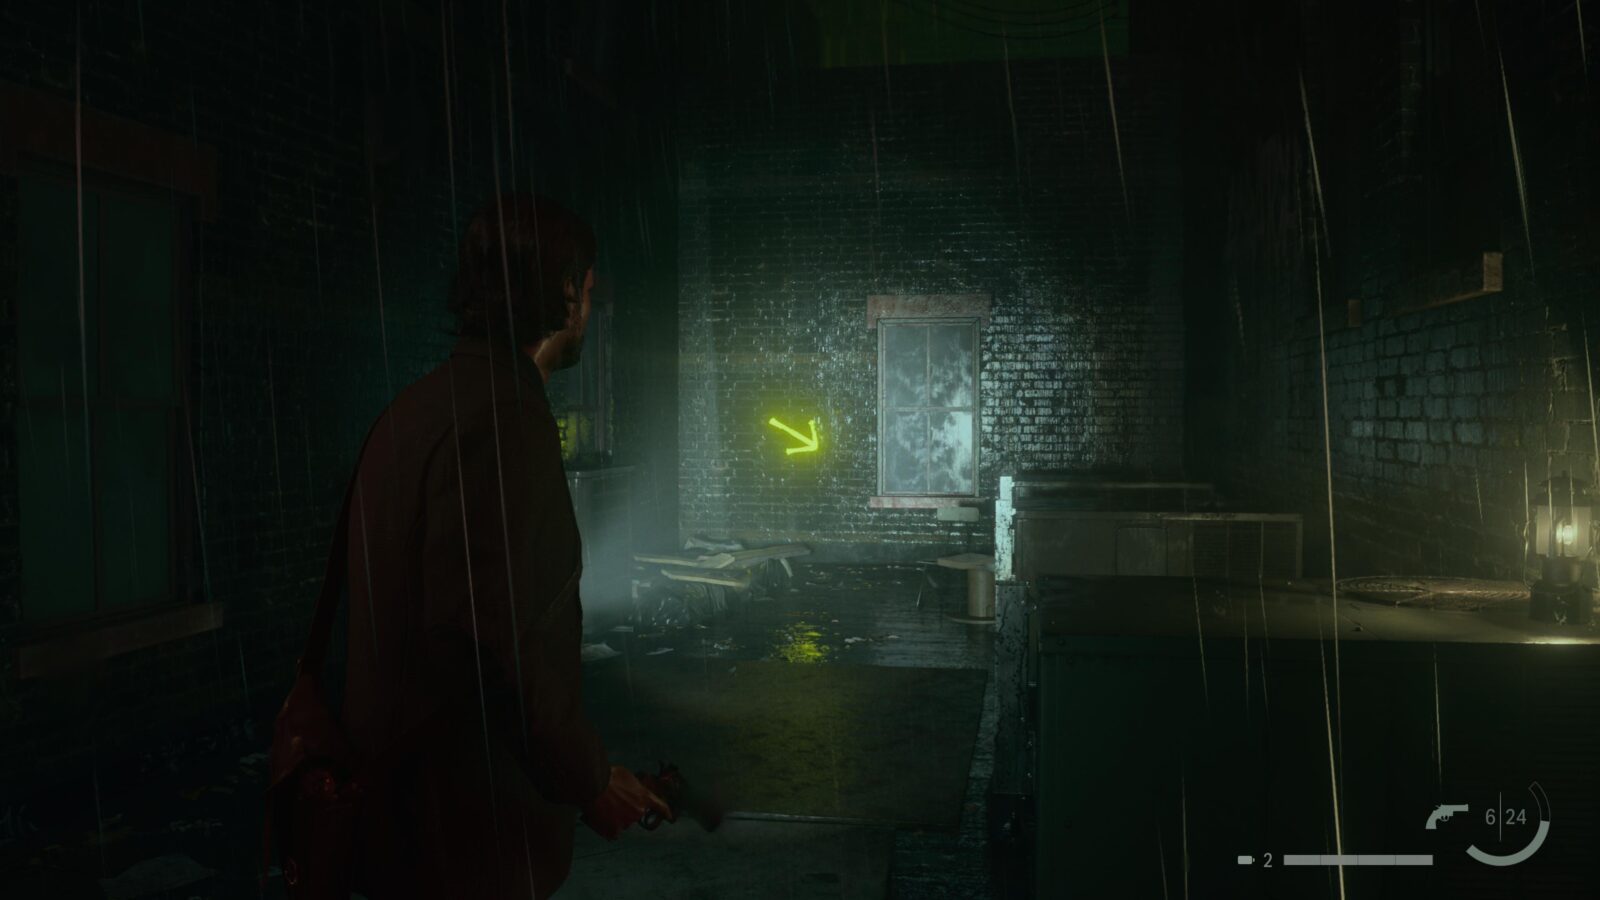
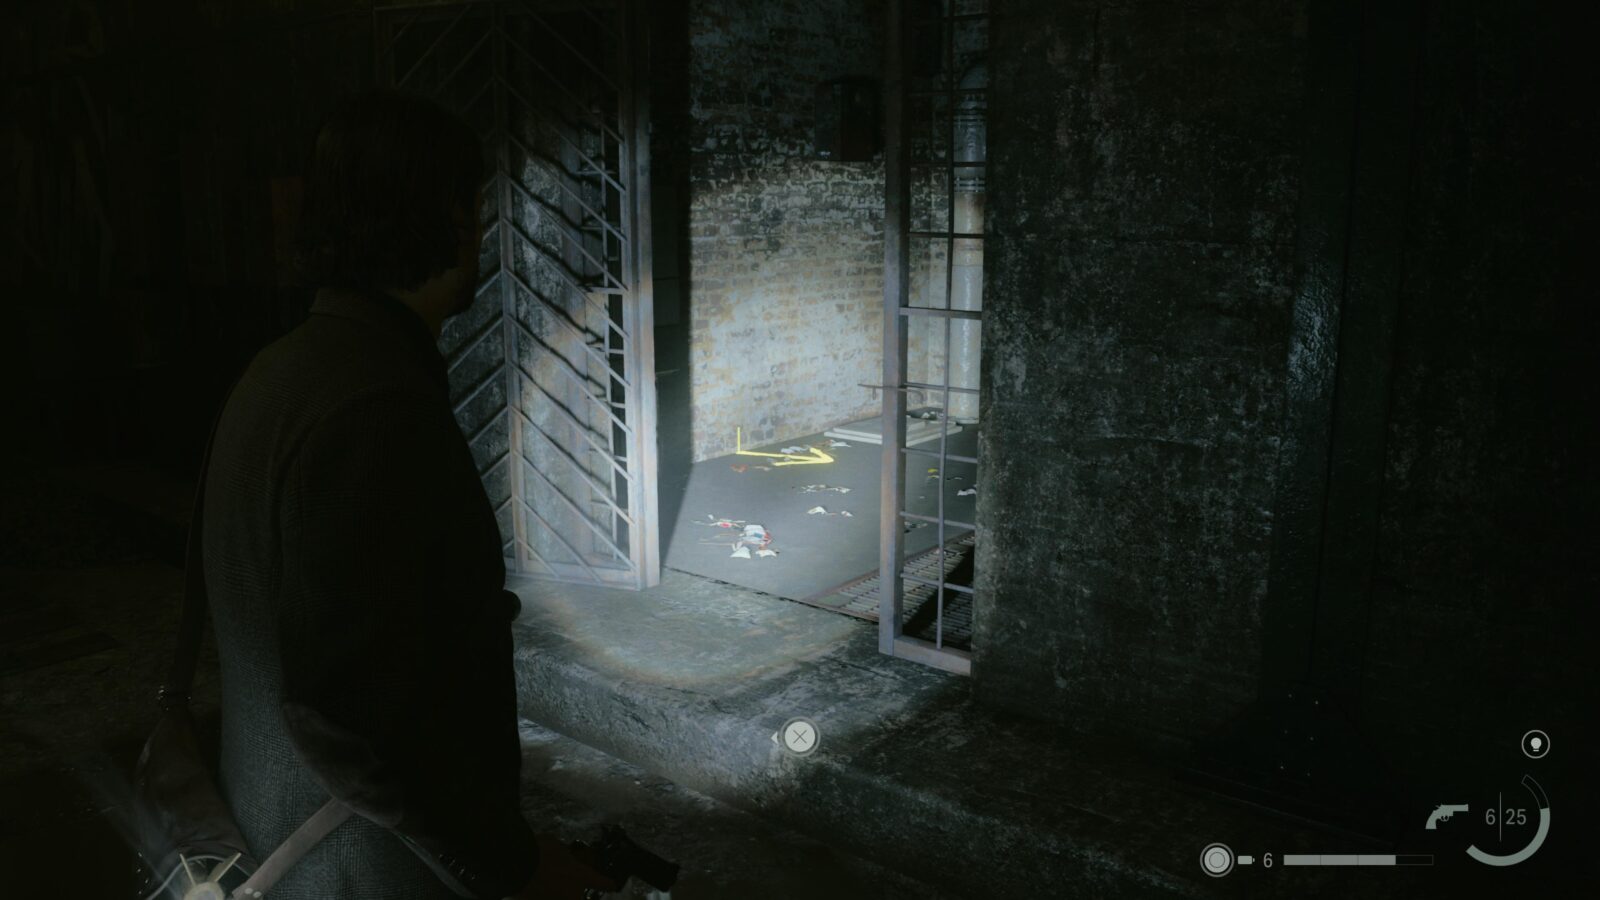
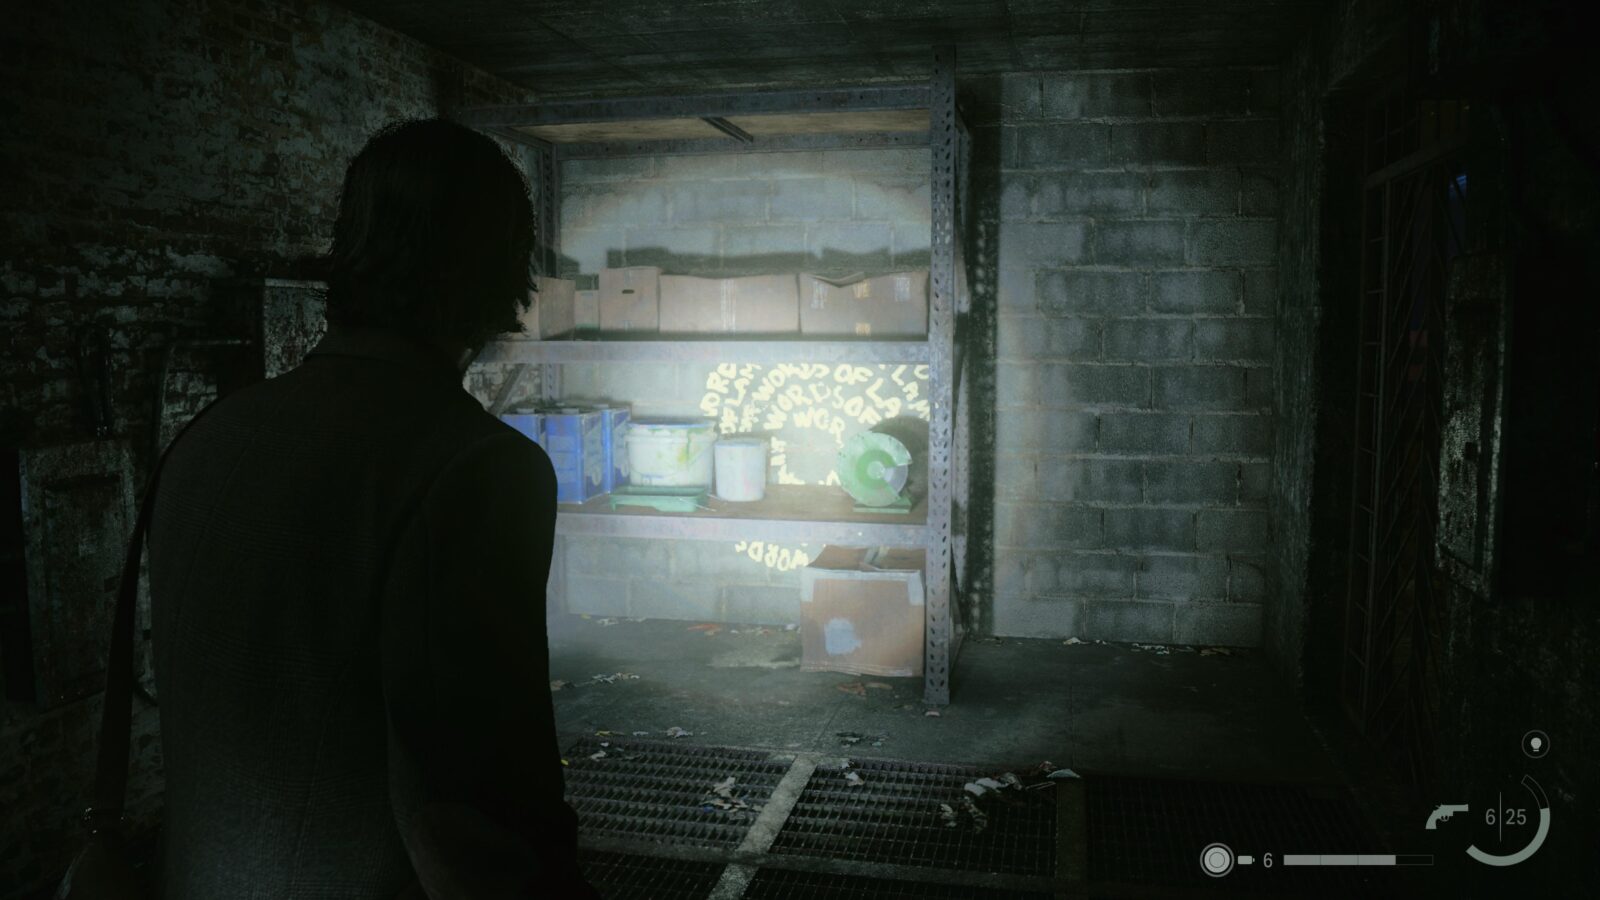
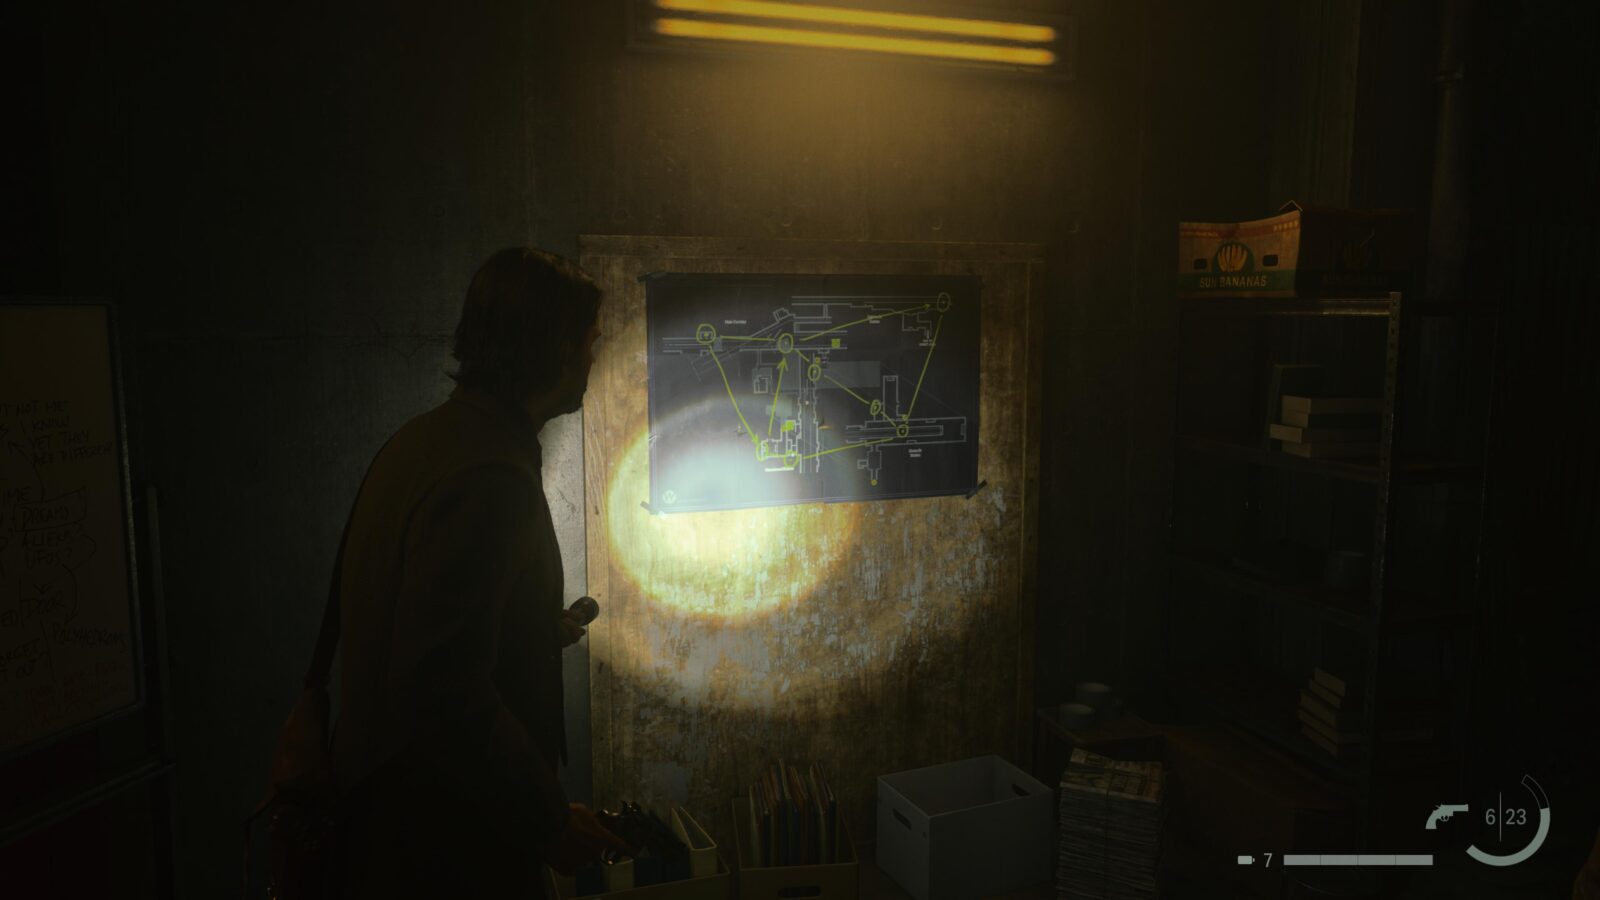
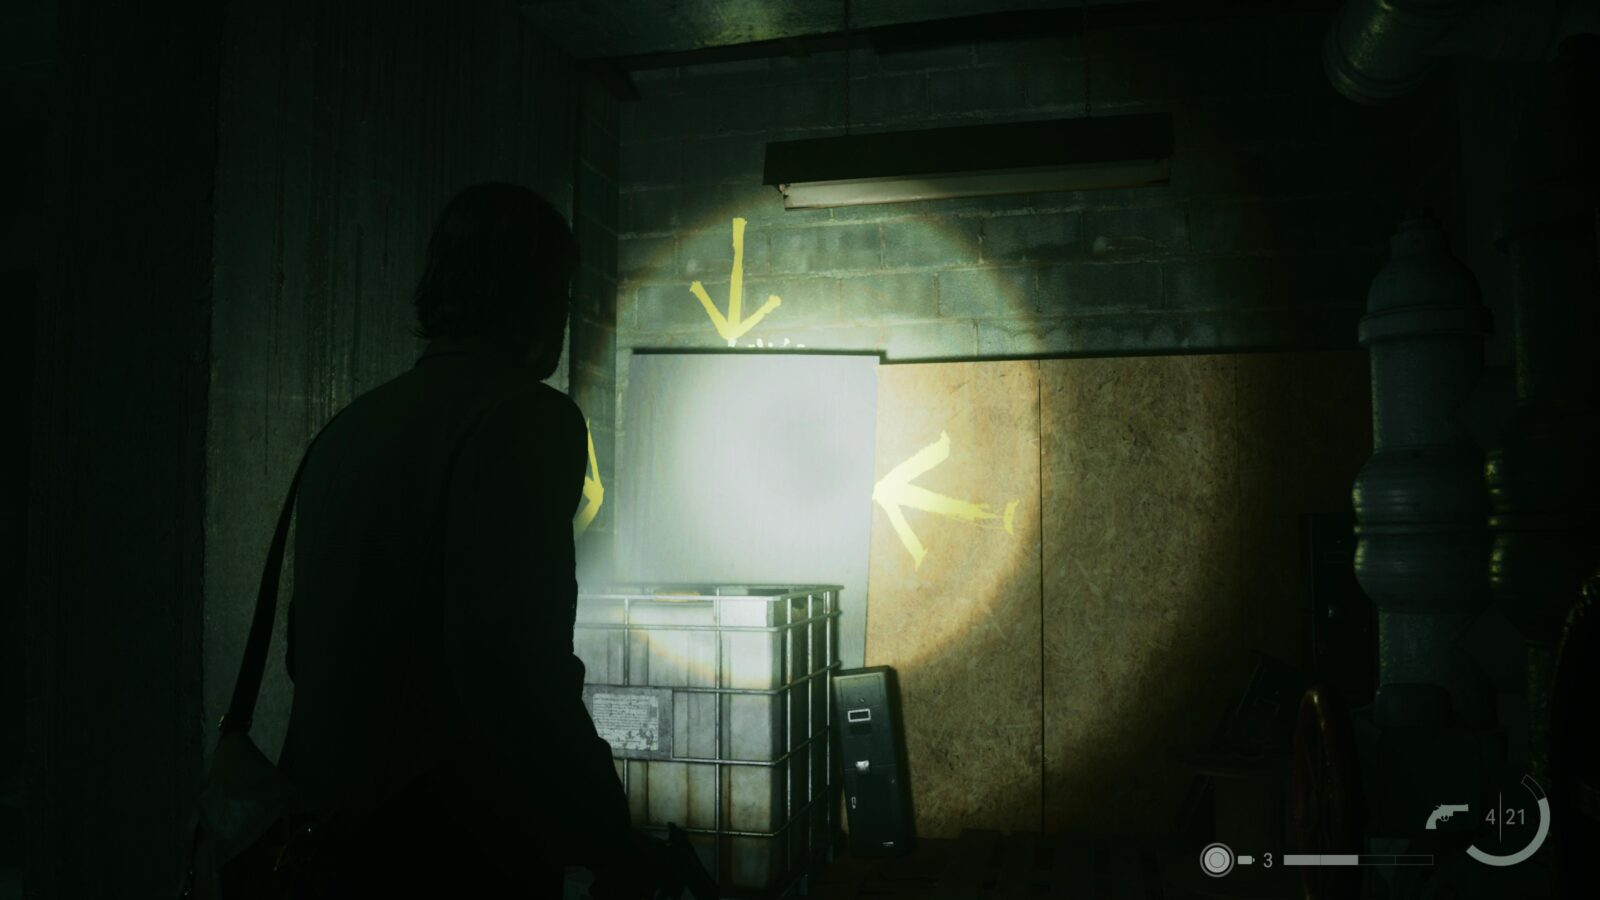
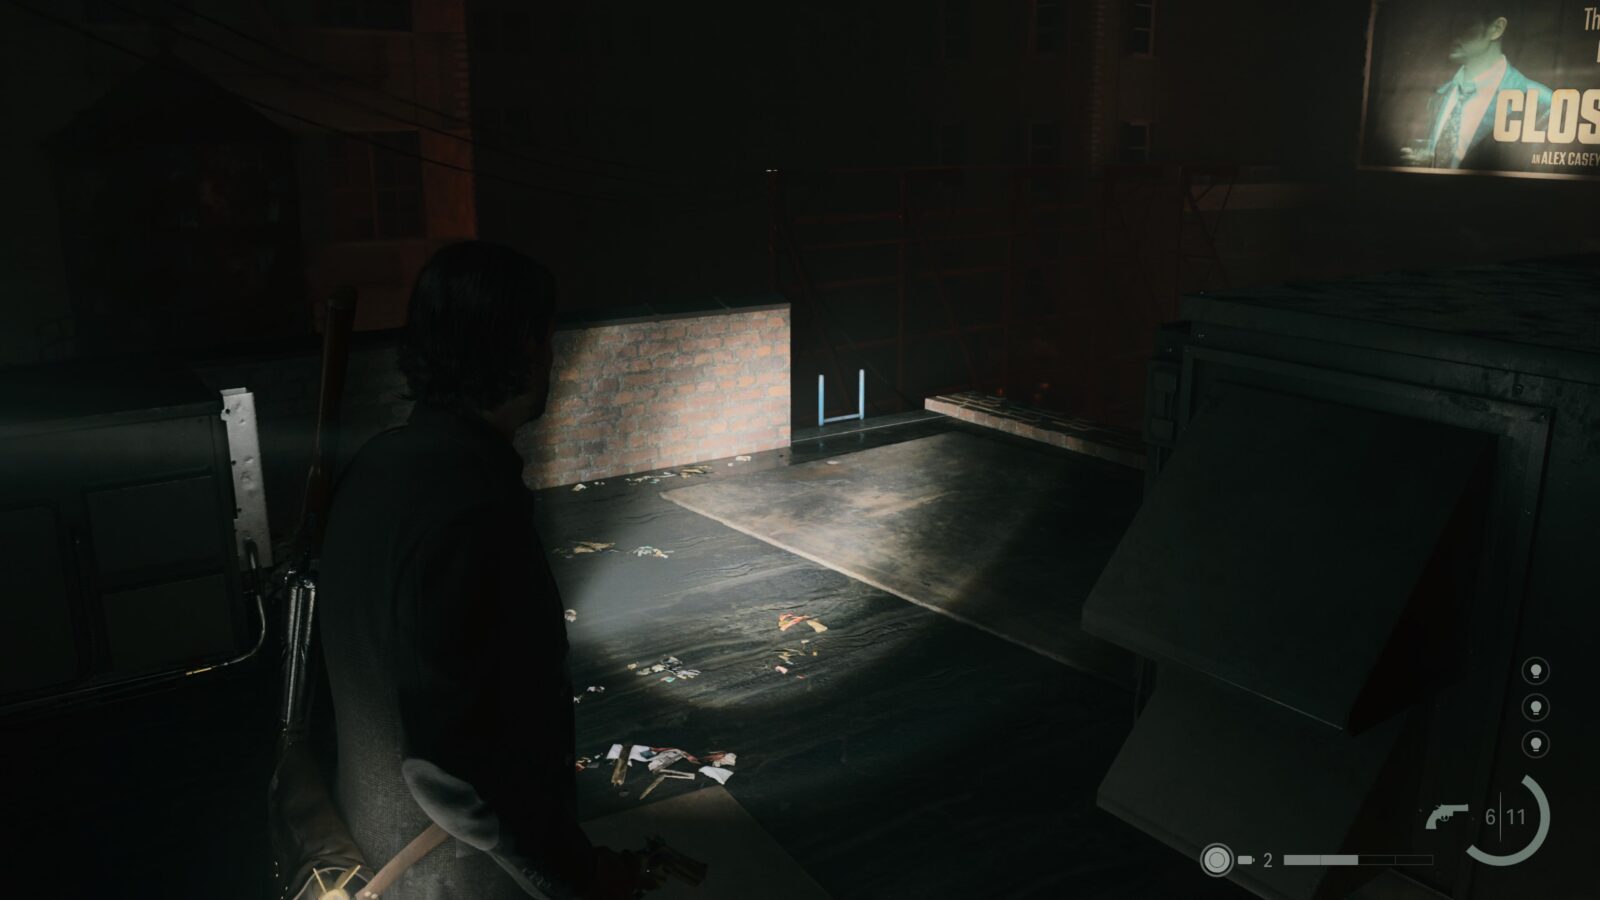
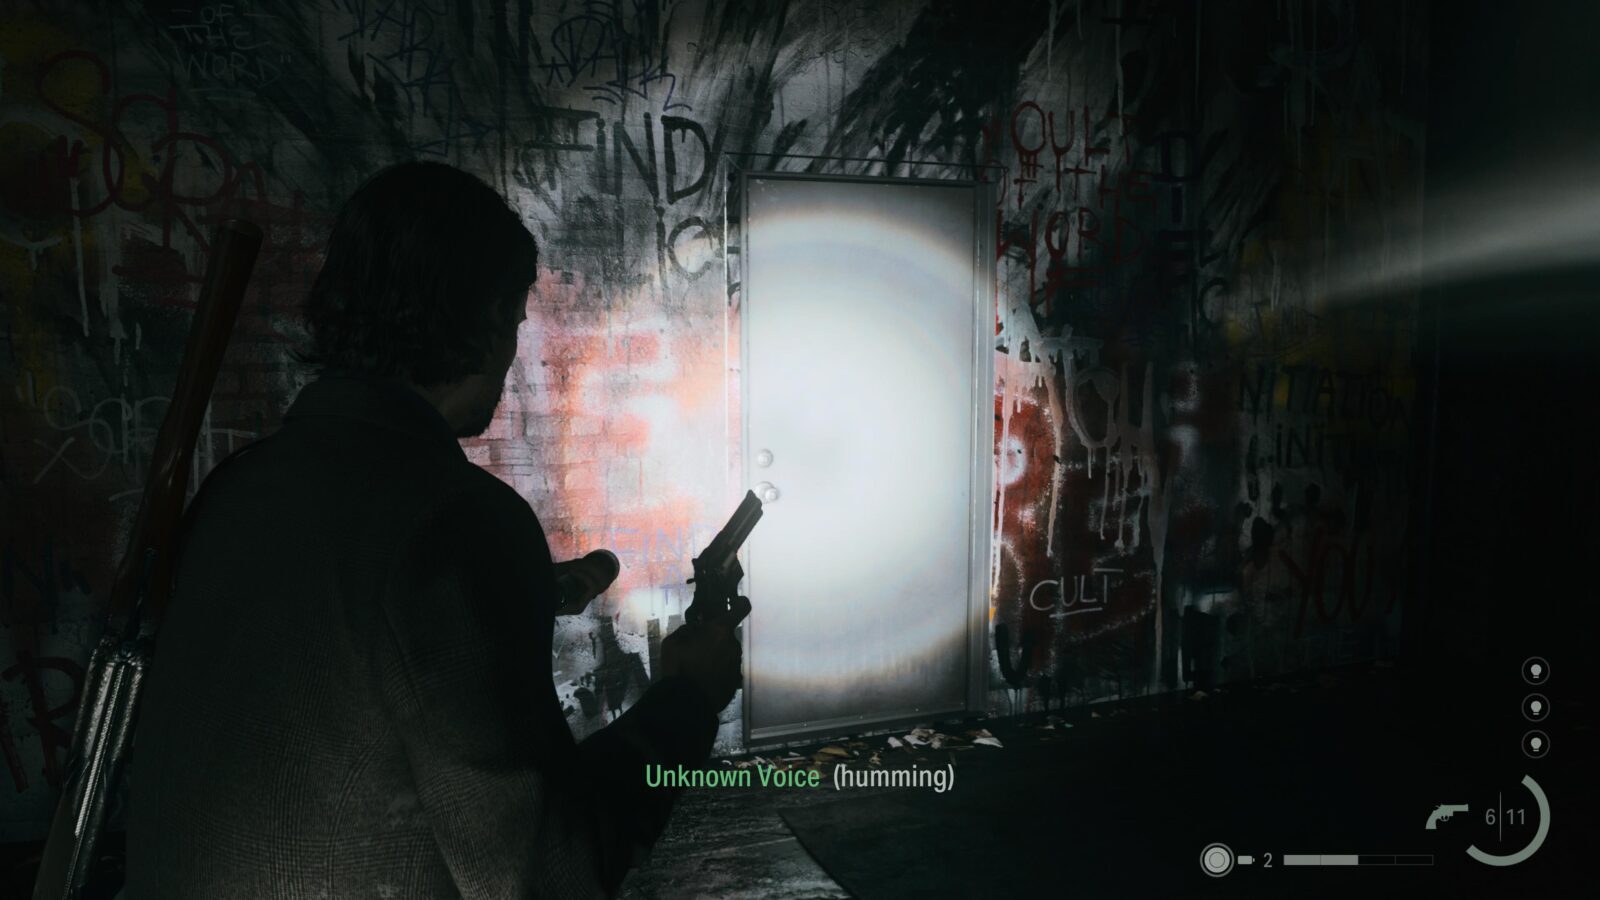
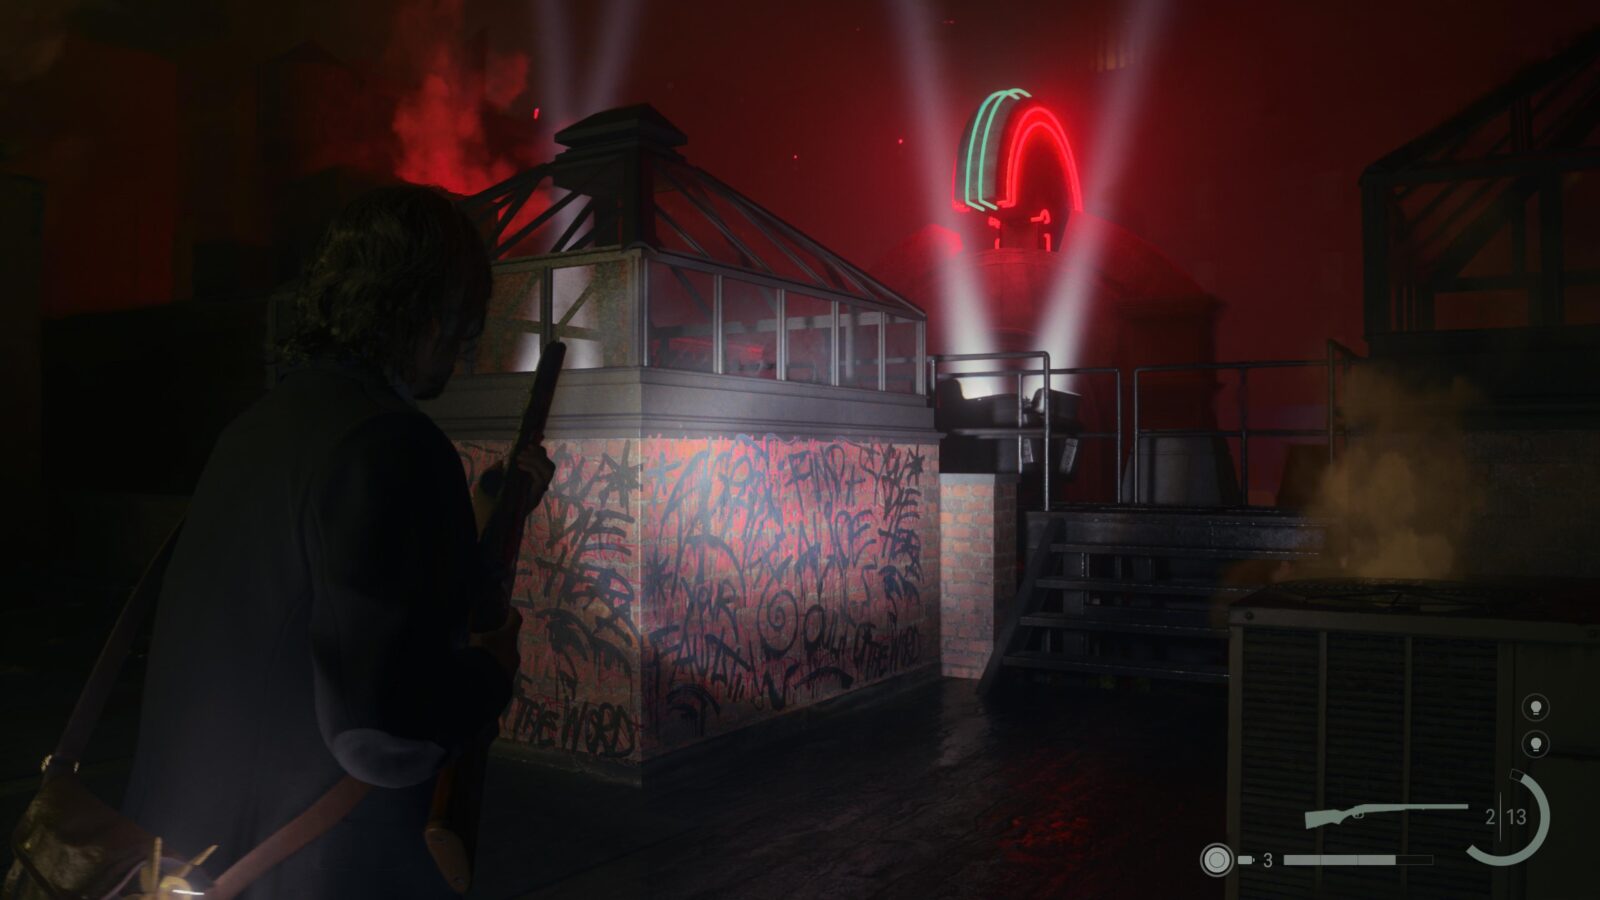
Take the light source from the alley where you acquired the Flashlight and Revolver and place it in the inactive light source above the stairs leading up to the train tracks outside Caldera Station. Proceed through the rooftops for a bit and you will come to a Break Room with loads of graffiti. At the door to the Break Room head to your right and you should spot some yellow arrows pointing the way to another Word of Power.
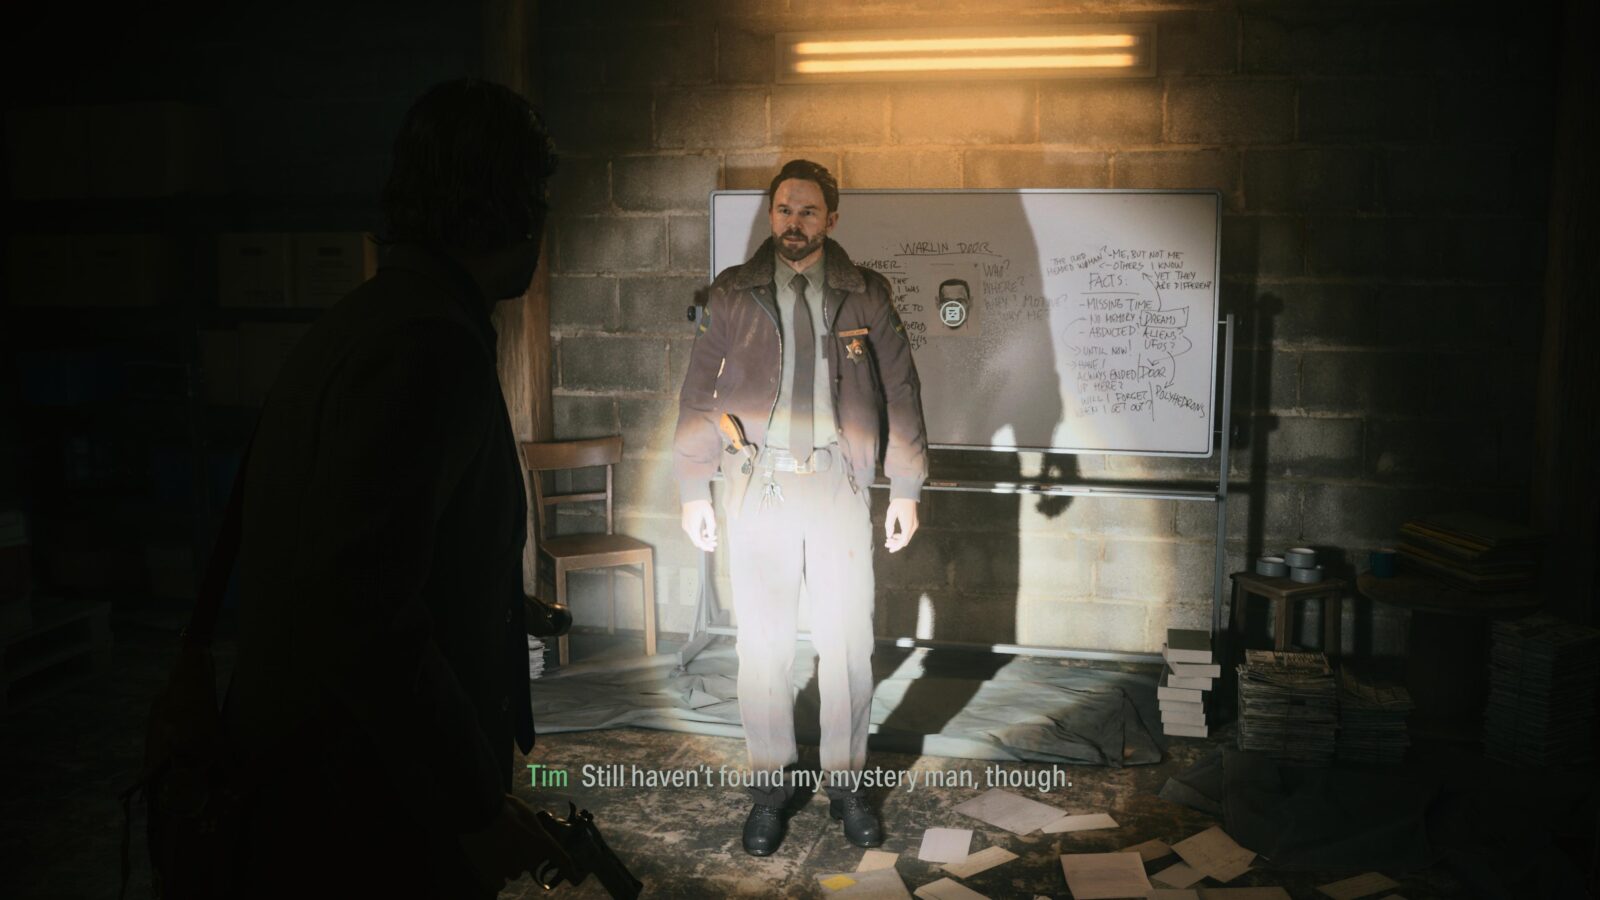
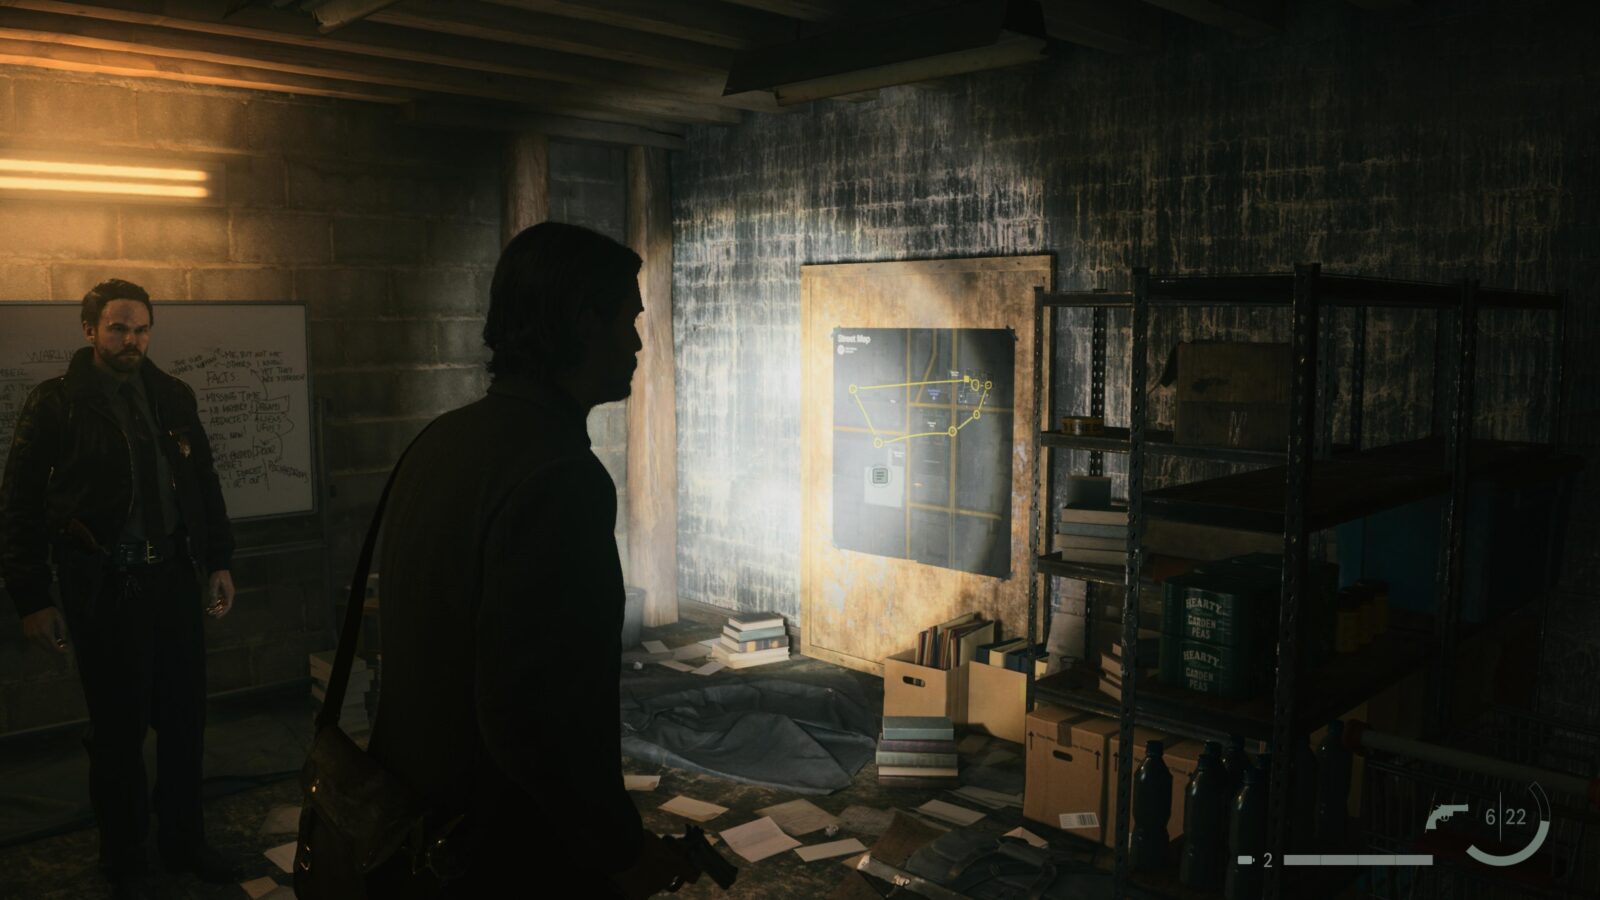
Map - Words of Power Locations #1
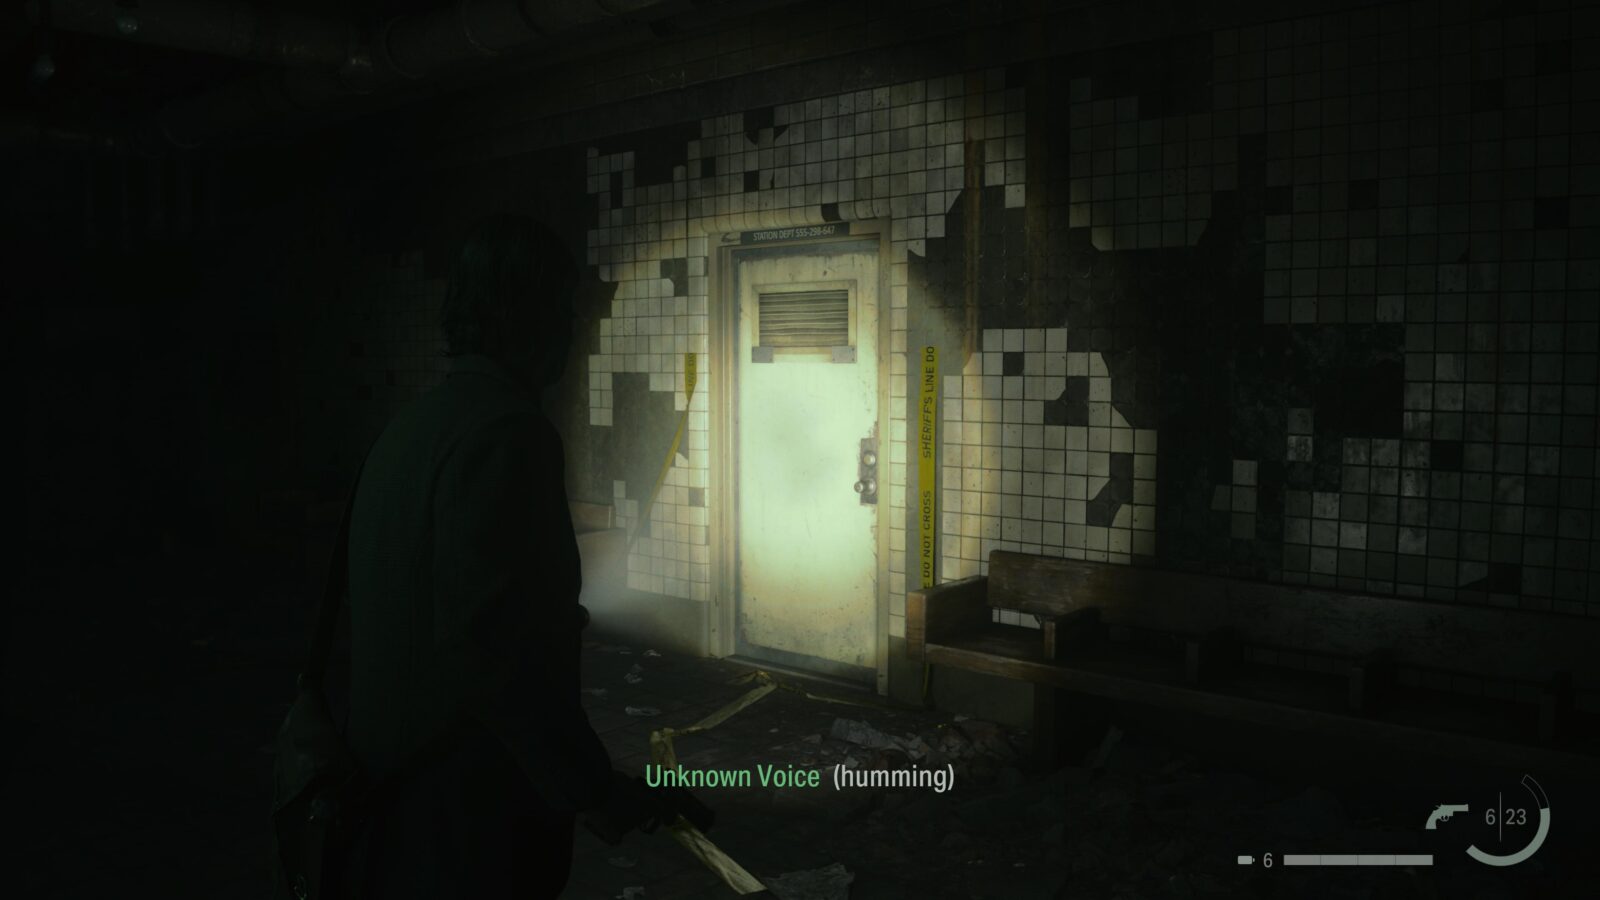
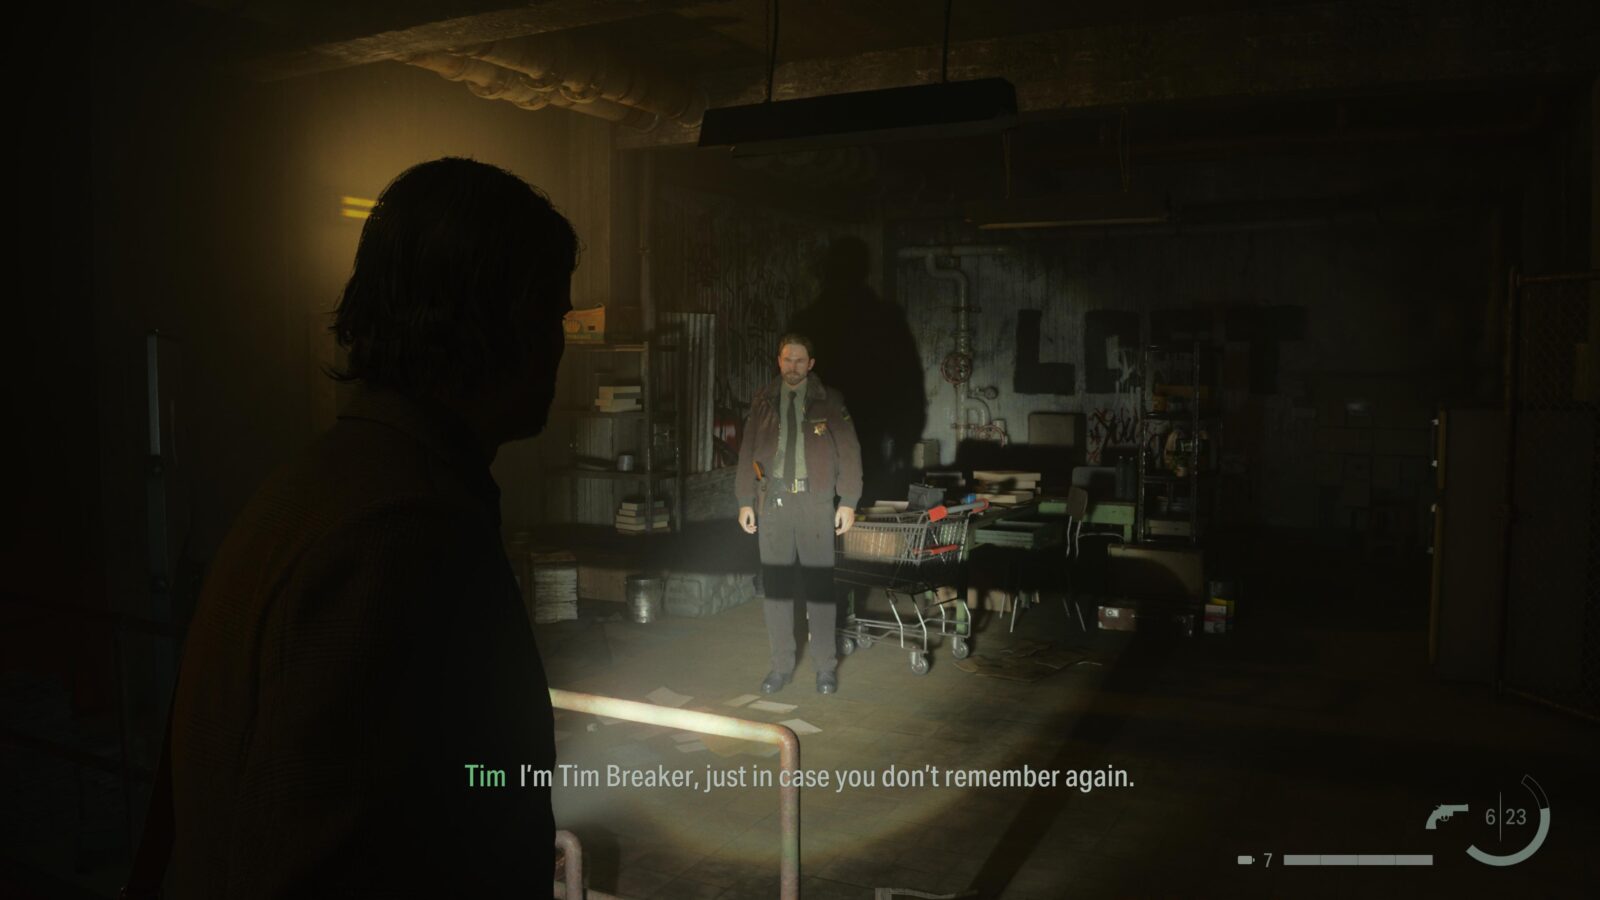
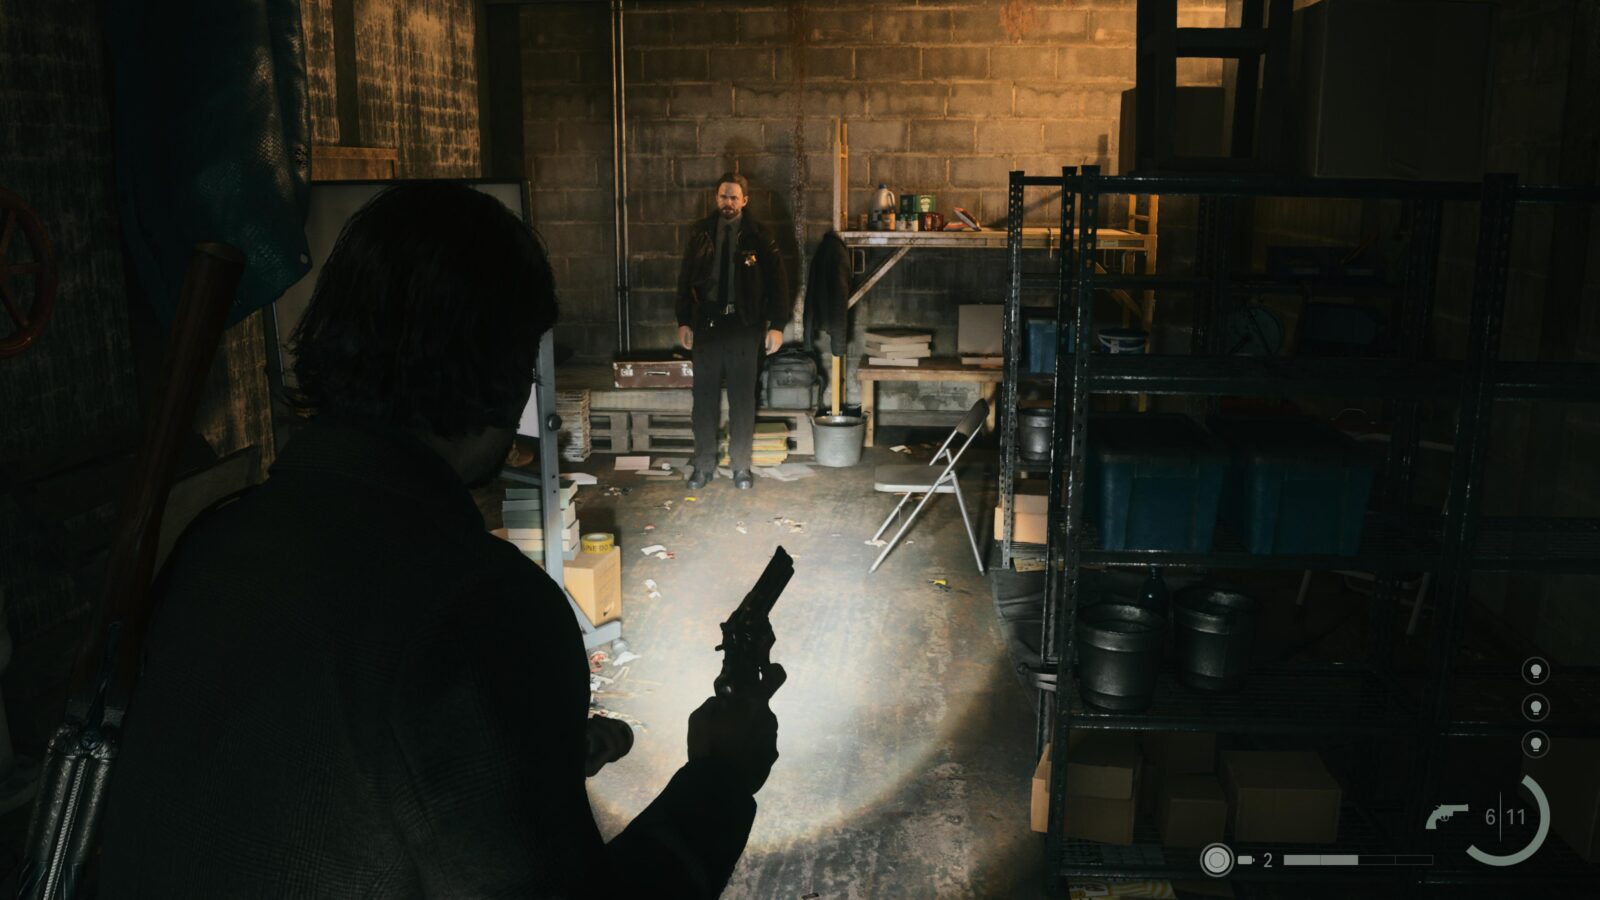
You can find a map that will pin Words of Power on your current map. It’s in a room with the Sheriff from Saga’s storyline right near the Words of Power #2 – Words of Lamp. From the location of that Words of Power location, turn around and head back towards the Break Room but keep a look out on your right. You should see some metal stairs leading up to an open door. Inside that room is a Sheriff and a map on the wall.
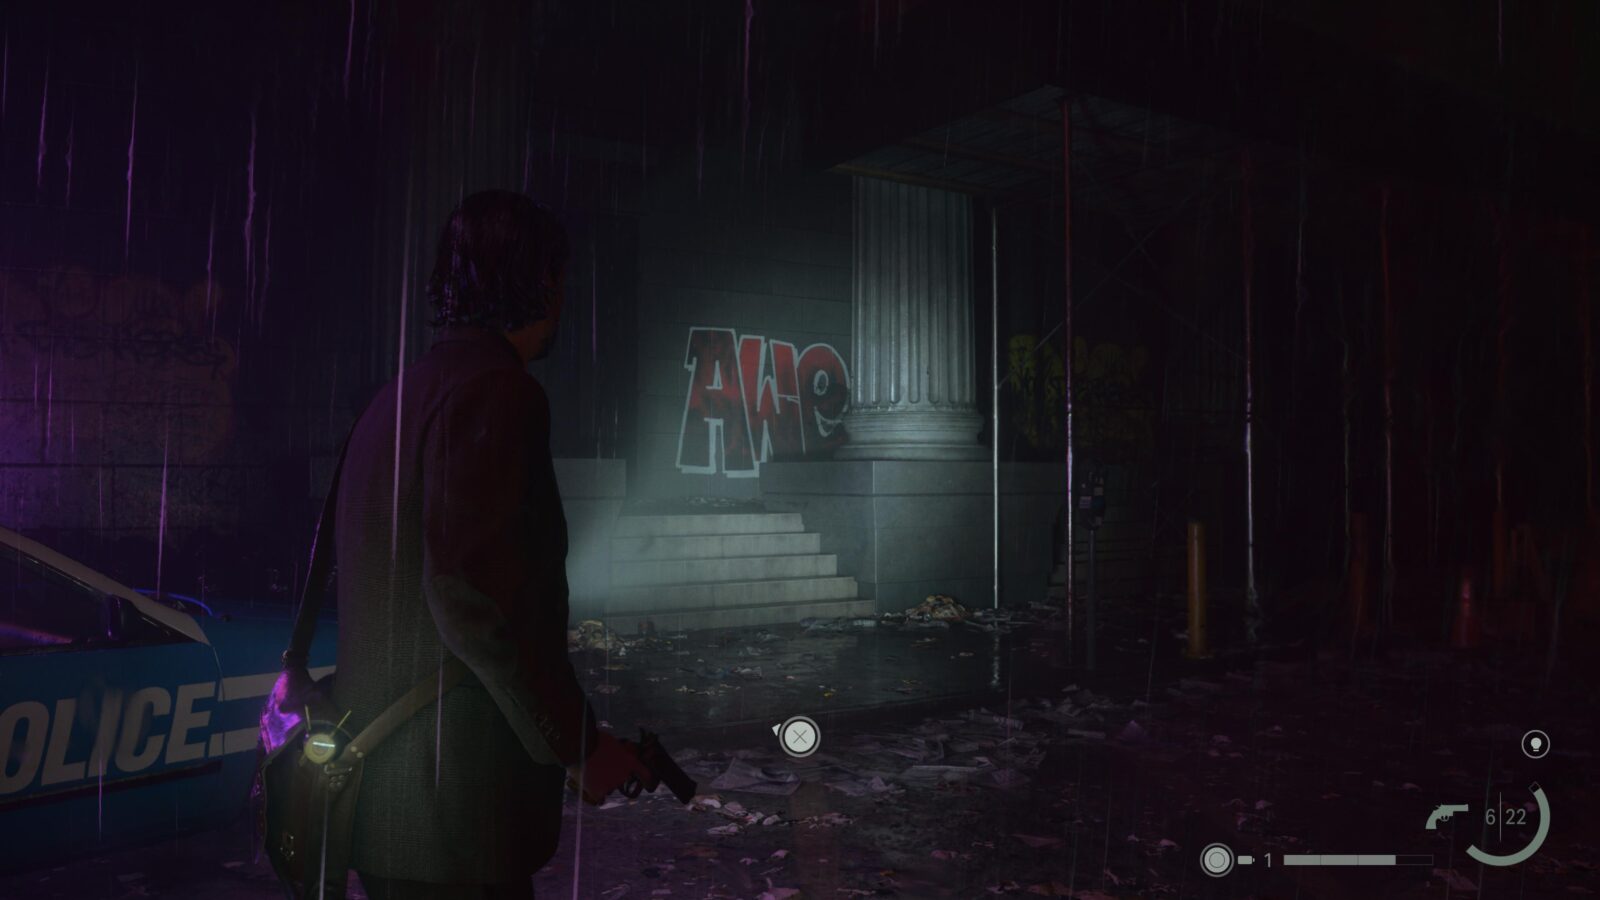
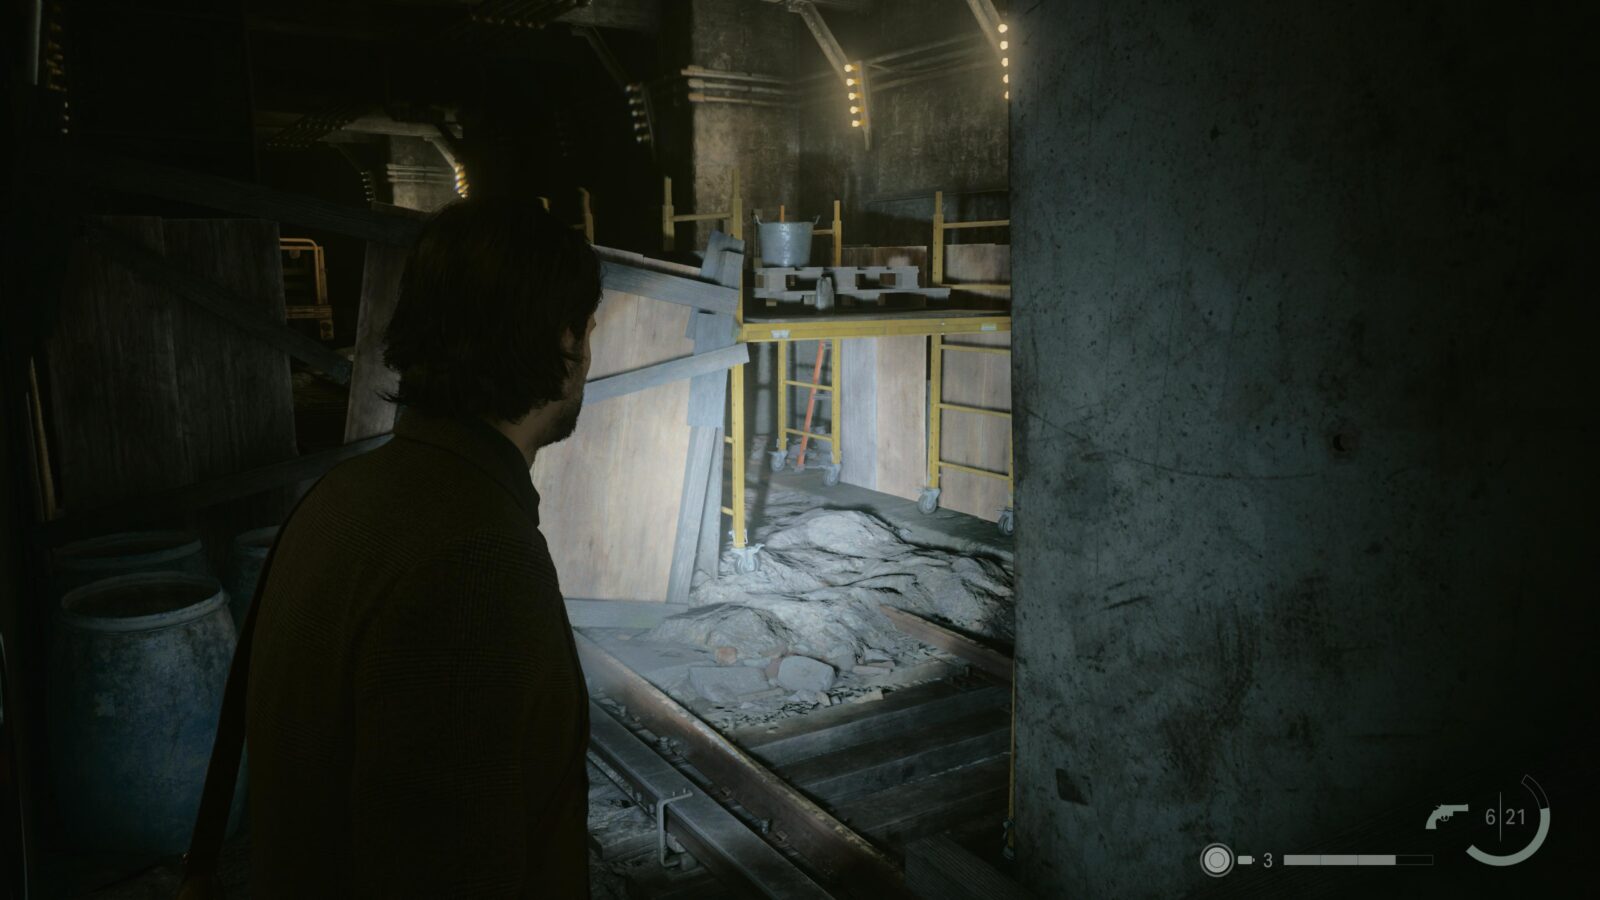
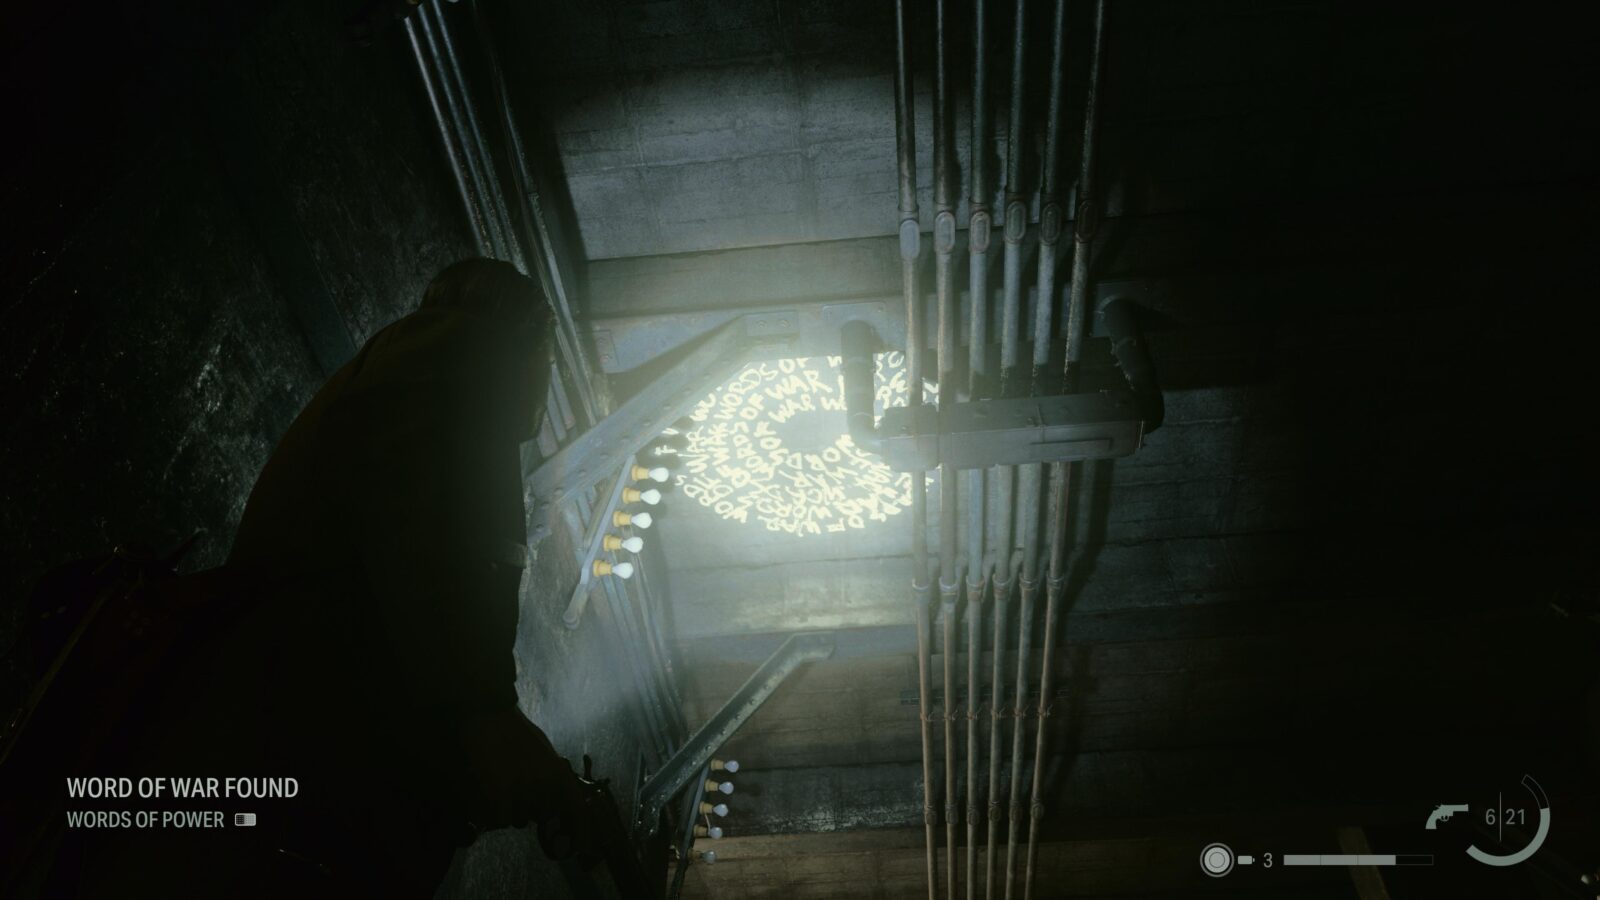
Words of Power #3 - Words of War
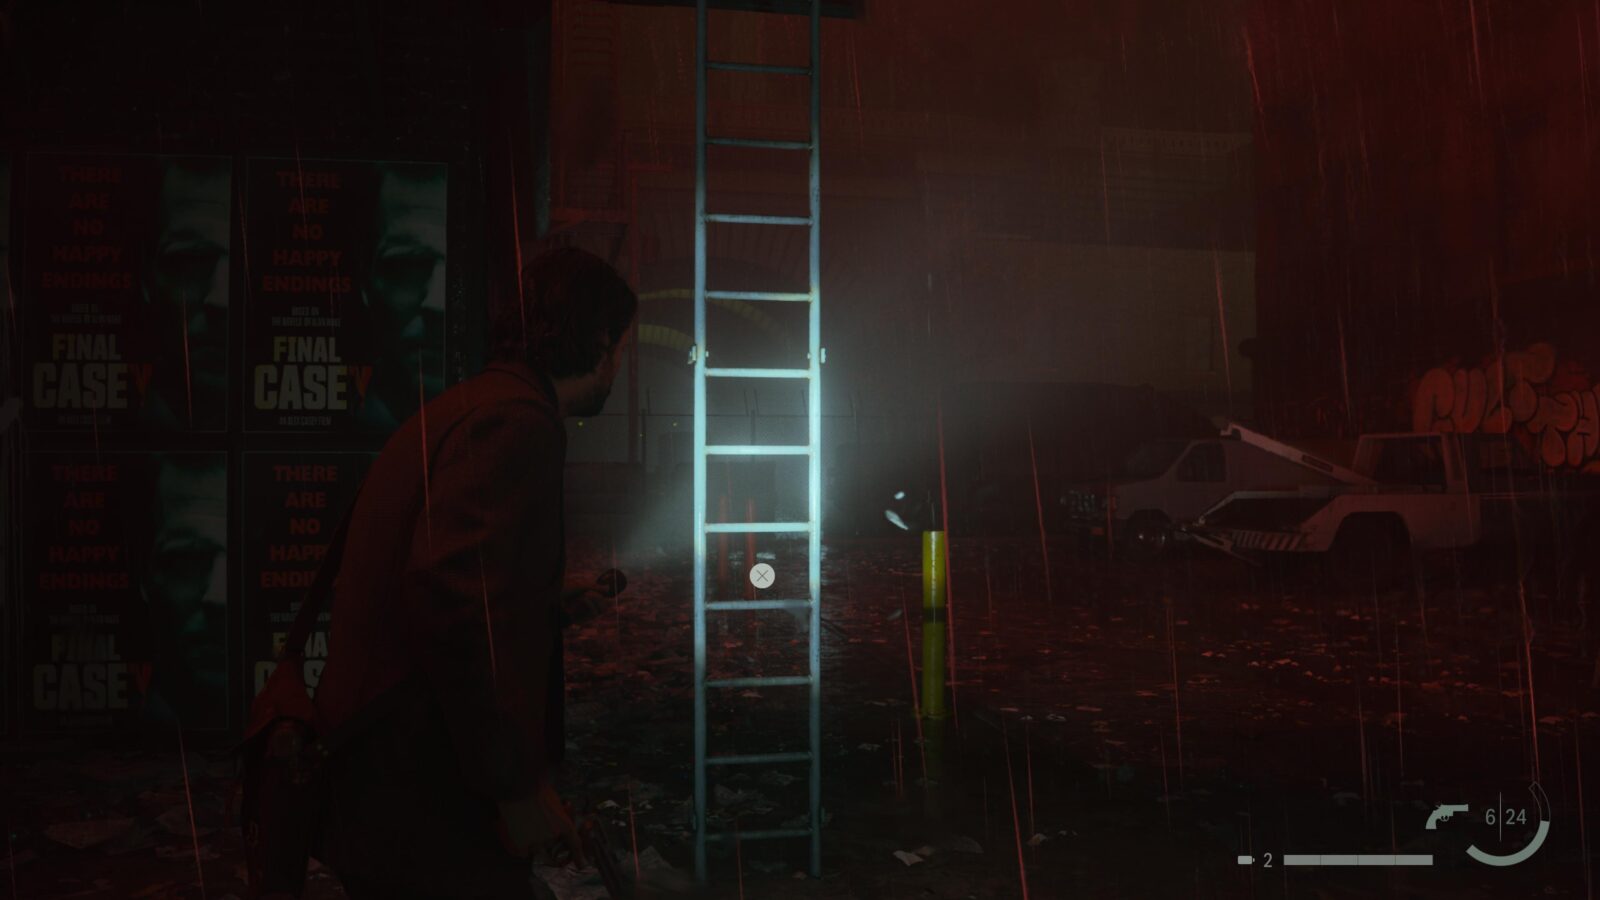
After finding the map continue heading across the scaffolding where the Words of Lamp was and you will end up on a street. Walk forward and you should notice a ladder leading up to a ledge. Climb the ladder and follow the ledge to the left to find a yellow arrow that points to the location of the Words of Power.
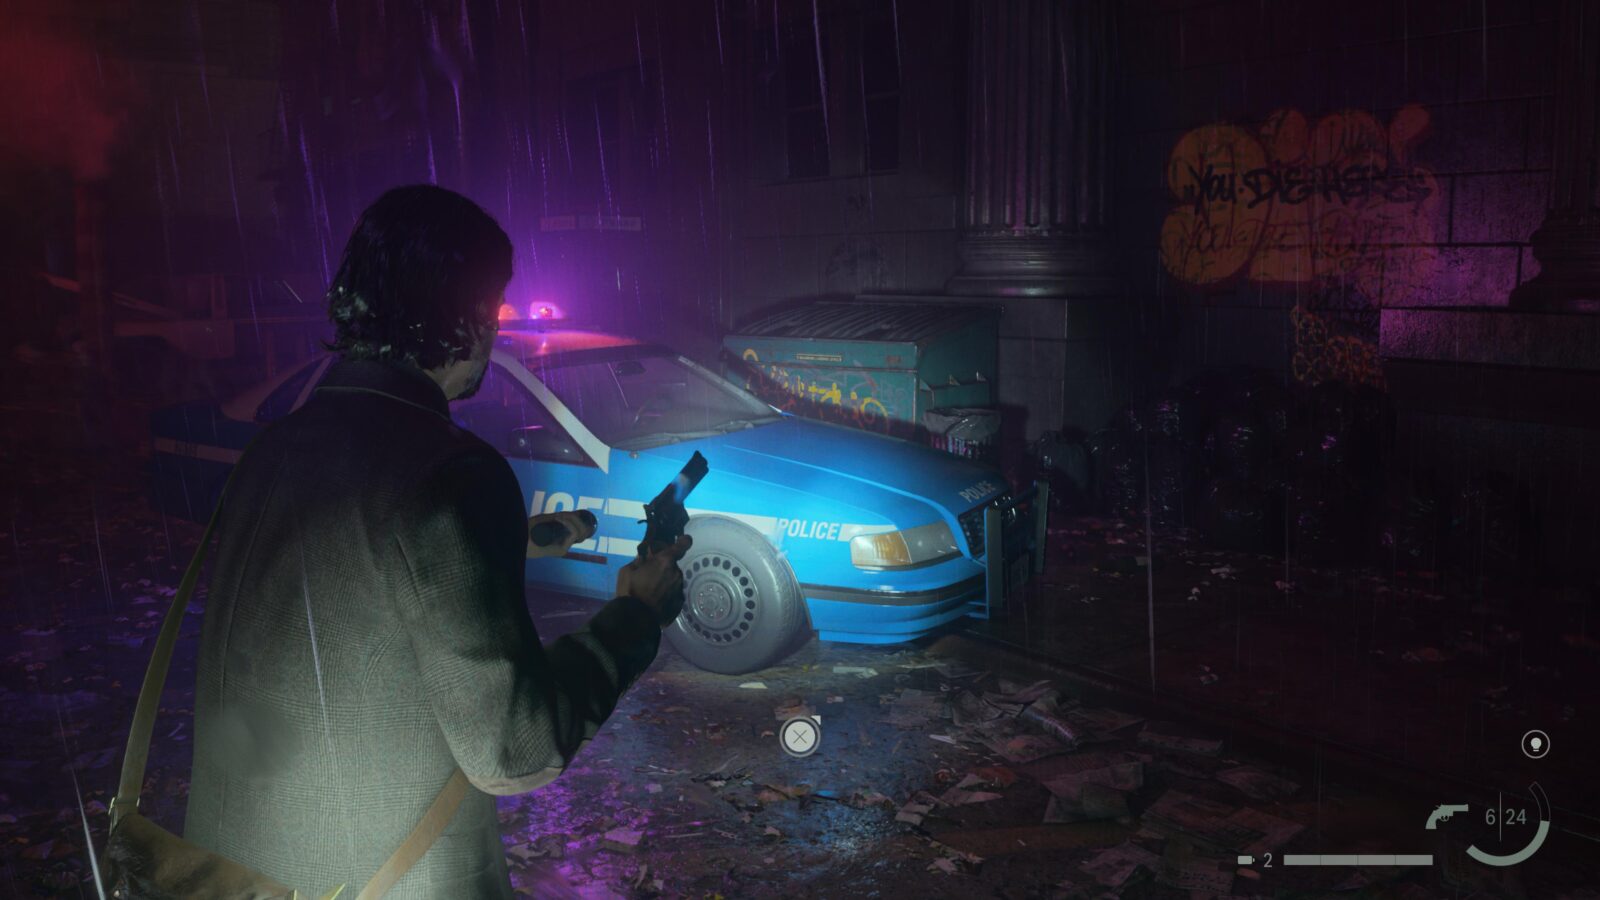
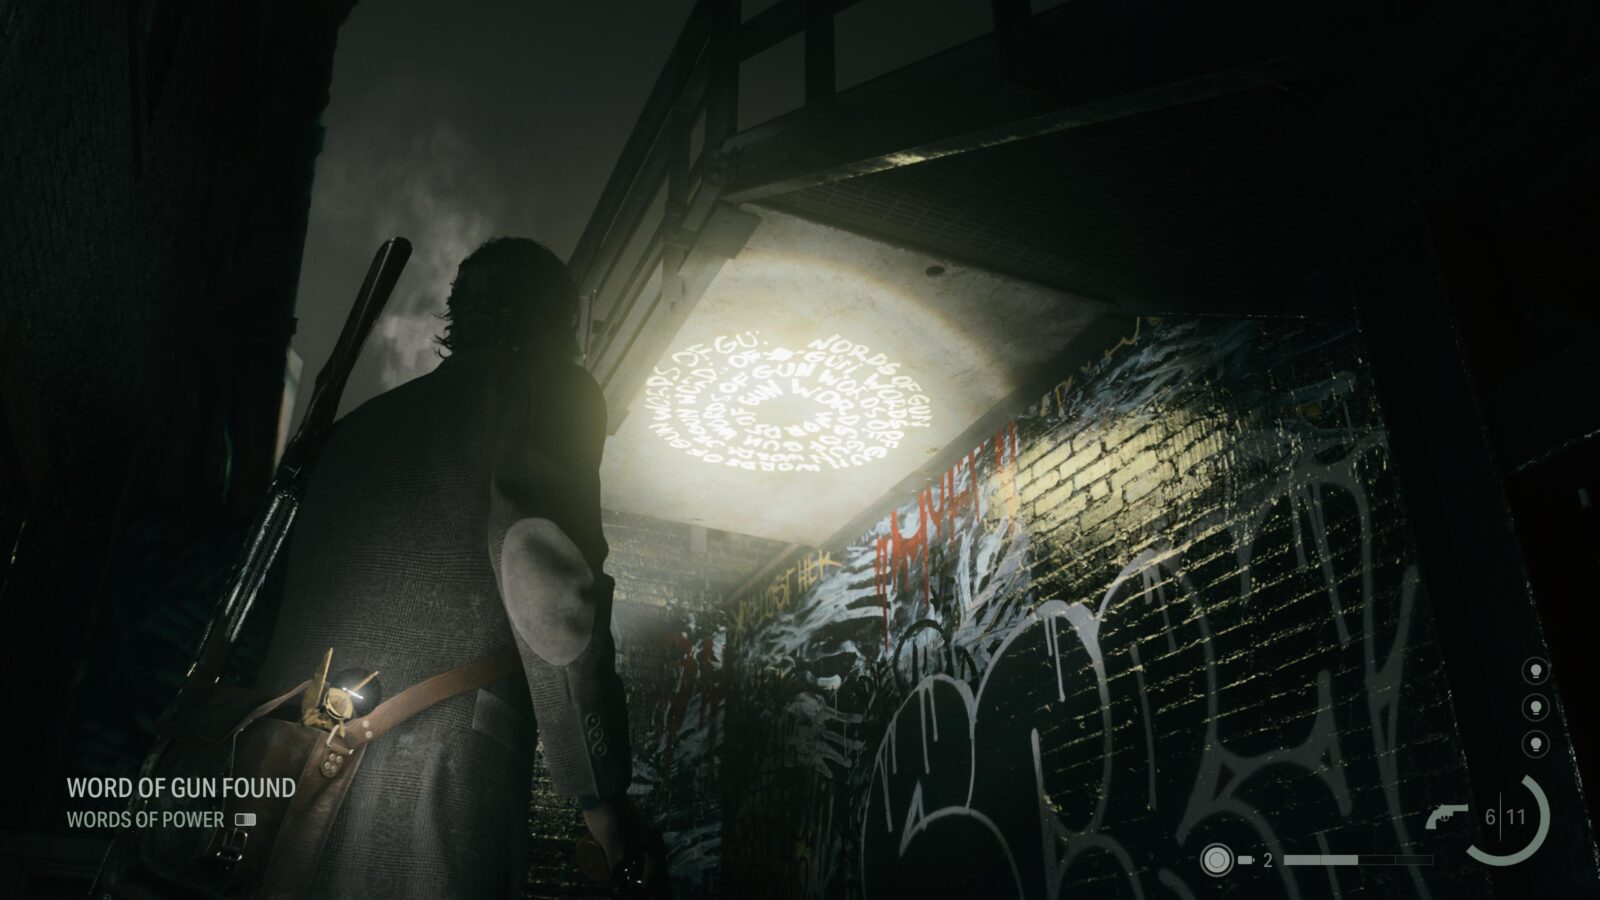
Words of Power #4 - Words of Gun
Climb back down the ladder from the location of Words of Power #3 – Words of War and walk to the front of the Taxi Cab nearby. You can use the Lamp to syphon the light source from the headlights and when you do it will turn into a police car and some enemies will spawn. Defeat the enemies and head into where they spawned, i.e. the steps where the front of the car is pointing. You will see a yellow arrow pointing to the location of the Words of Power.


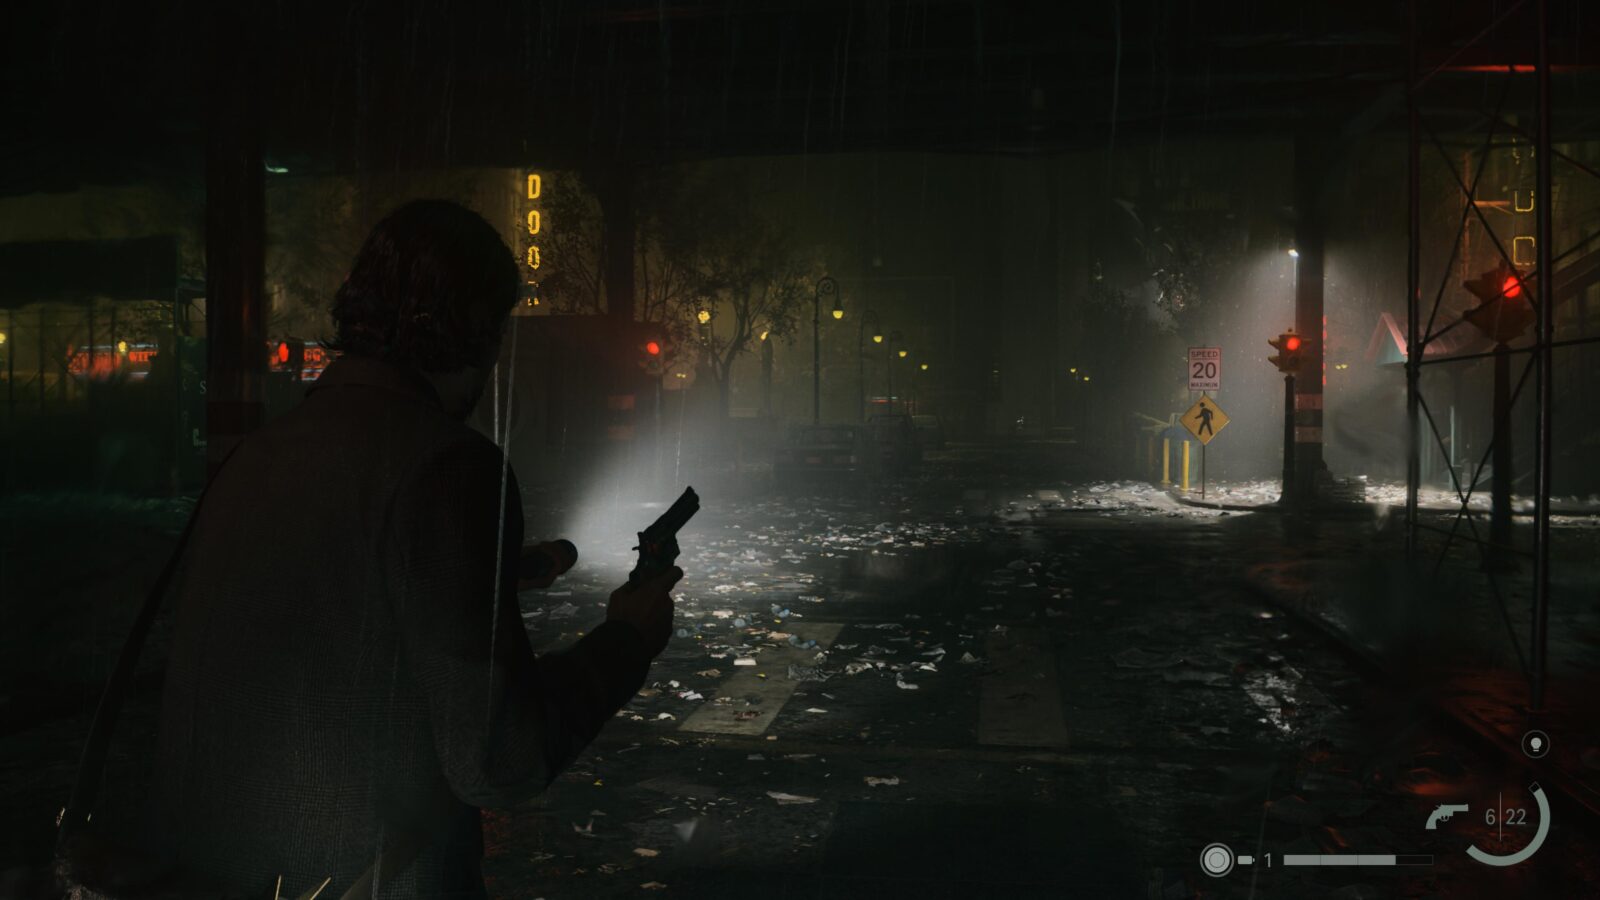
Words of Power #5 - Words of Action
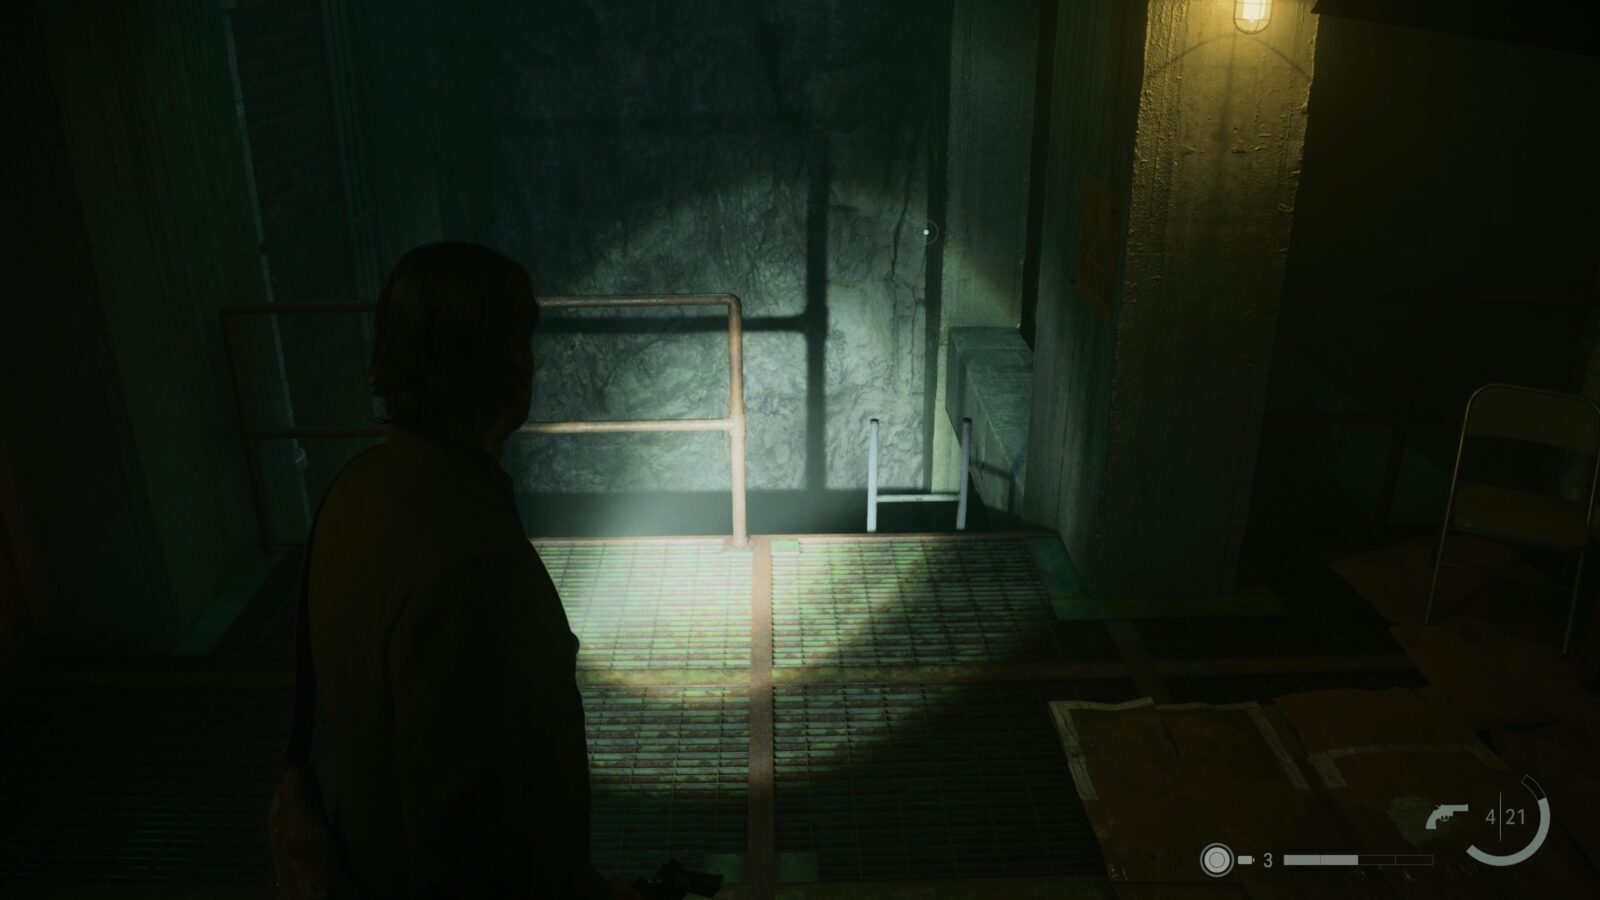
Head through the chain fence and walk into the intersection under the train tracks. Turn left and follow the road while looking up at the underside of the train tracks to spot a yellow arrow pointing to the location of the Words of Power.
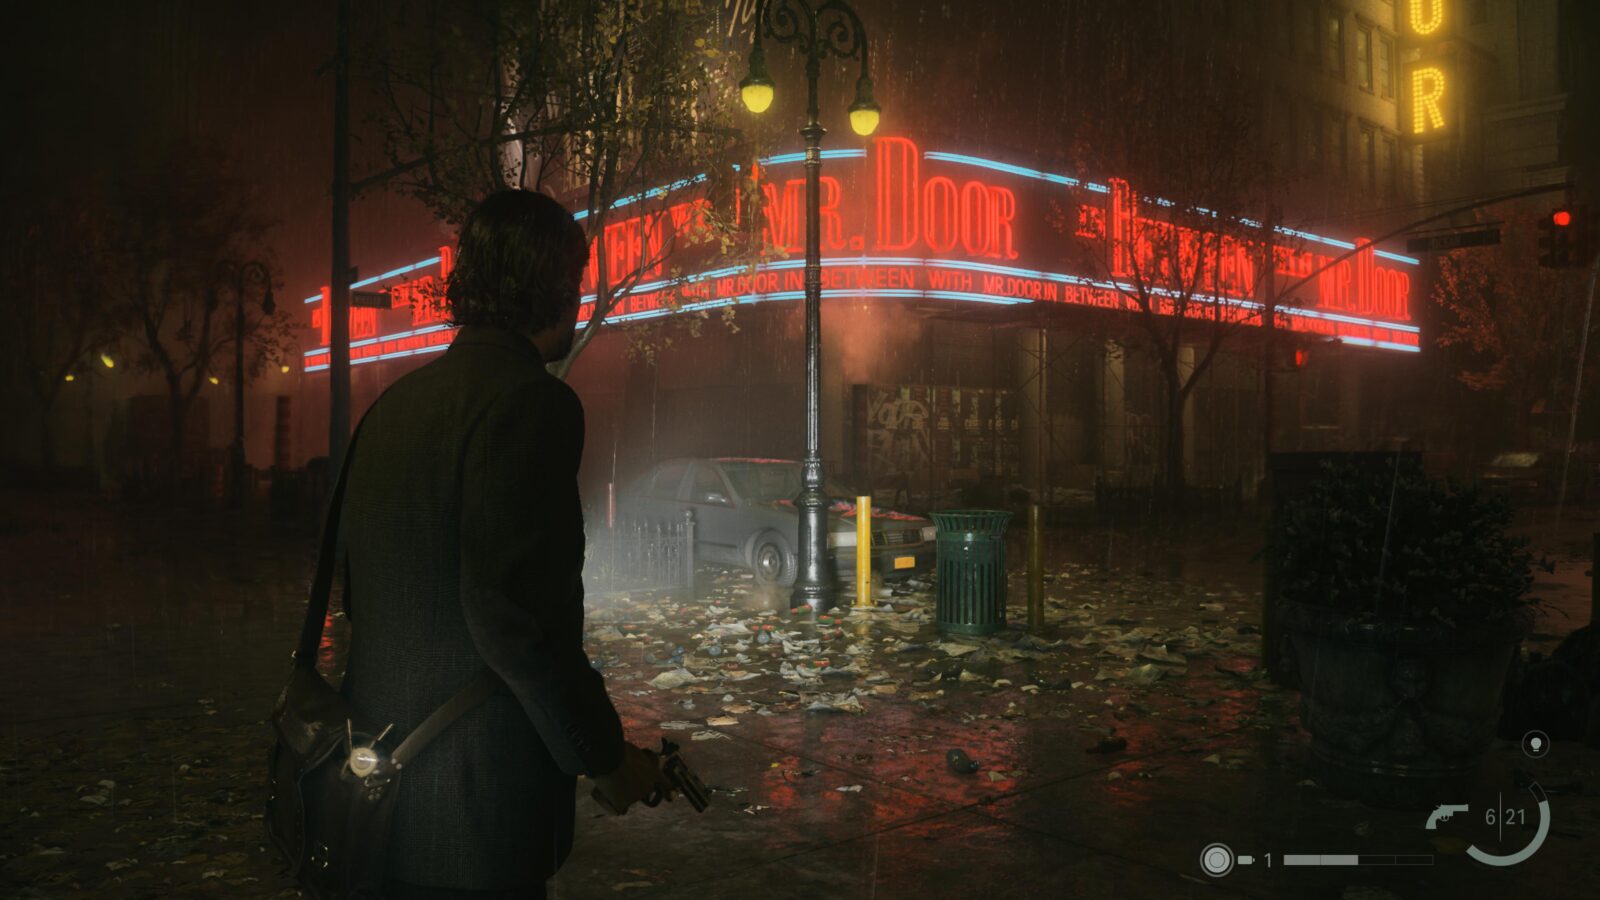
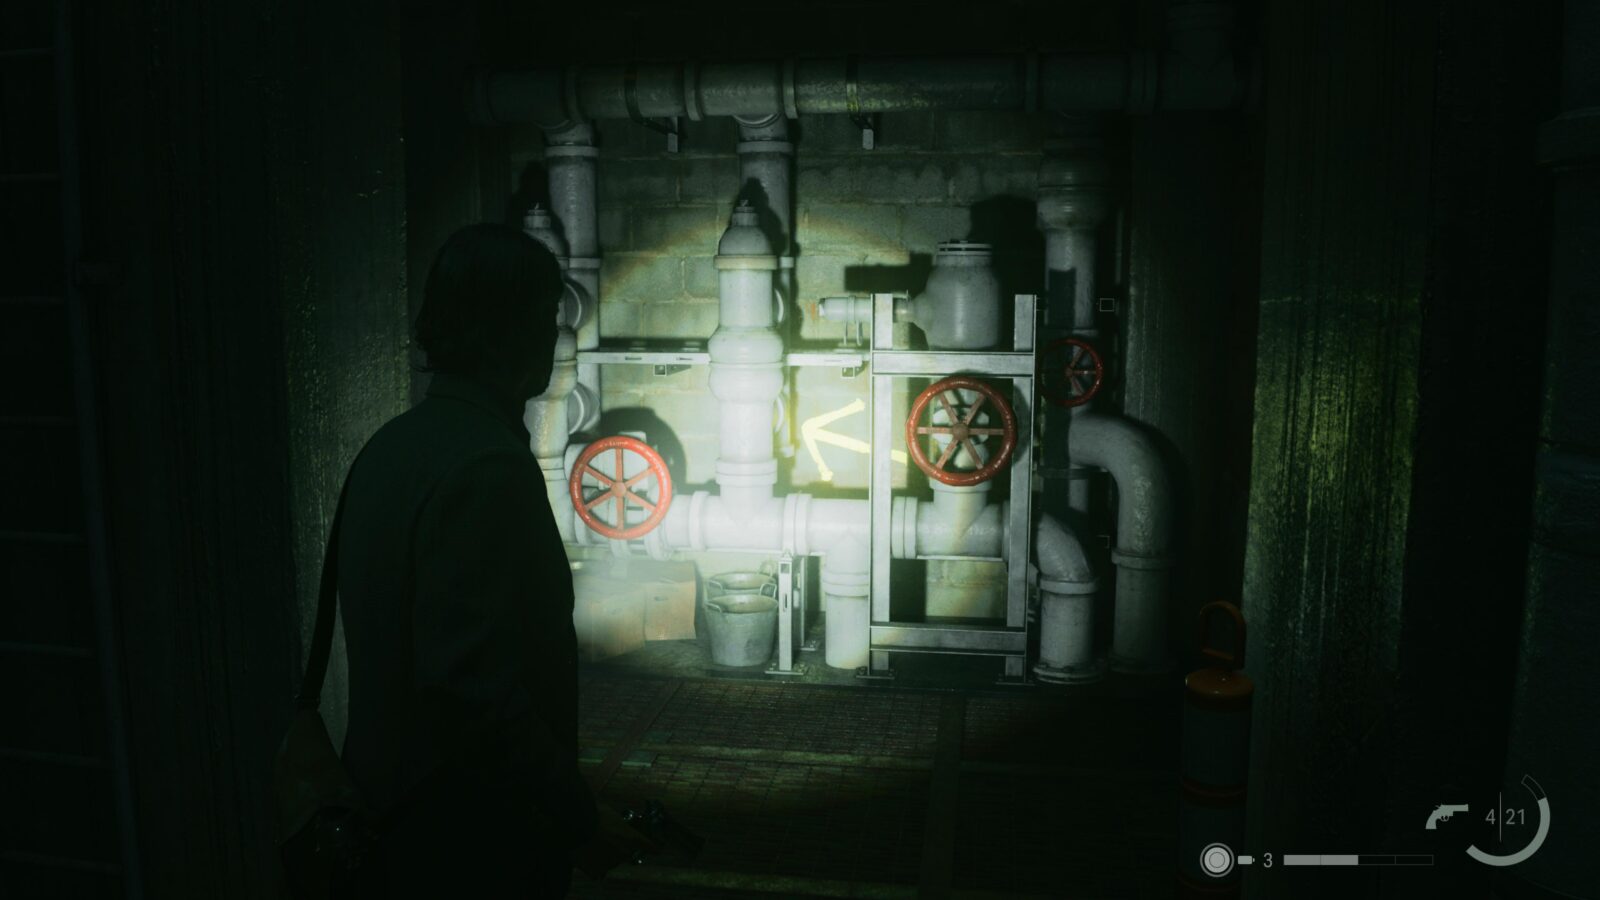
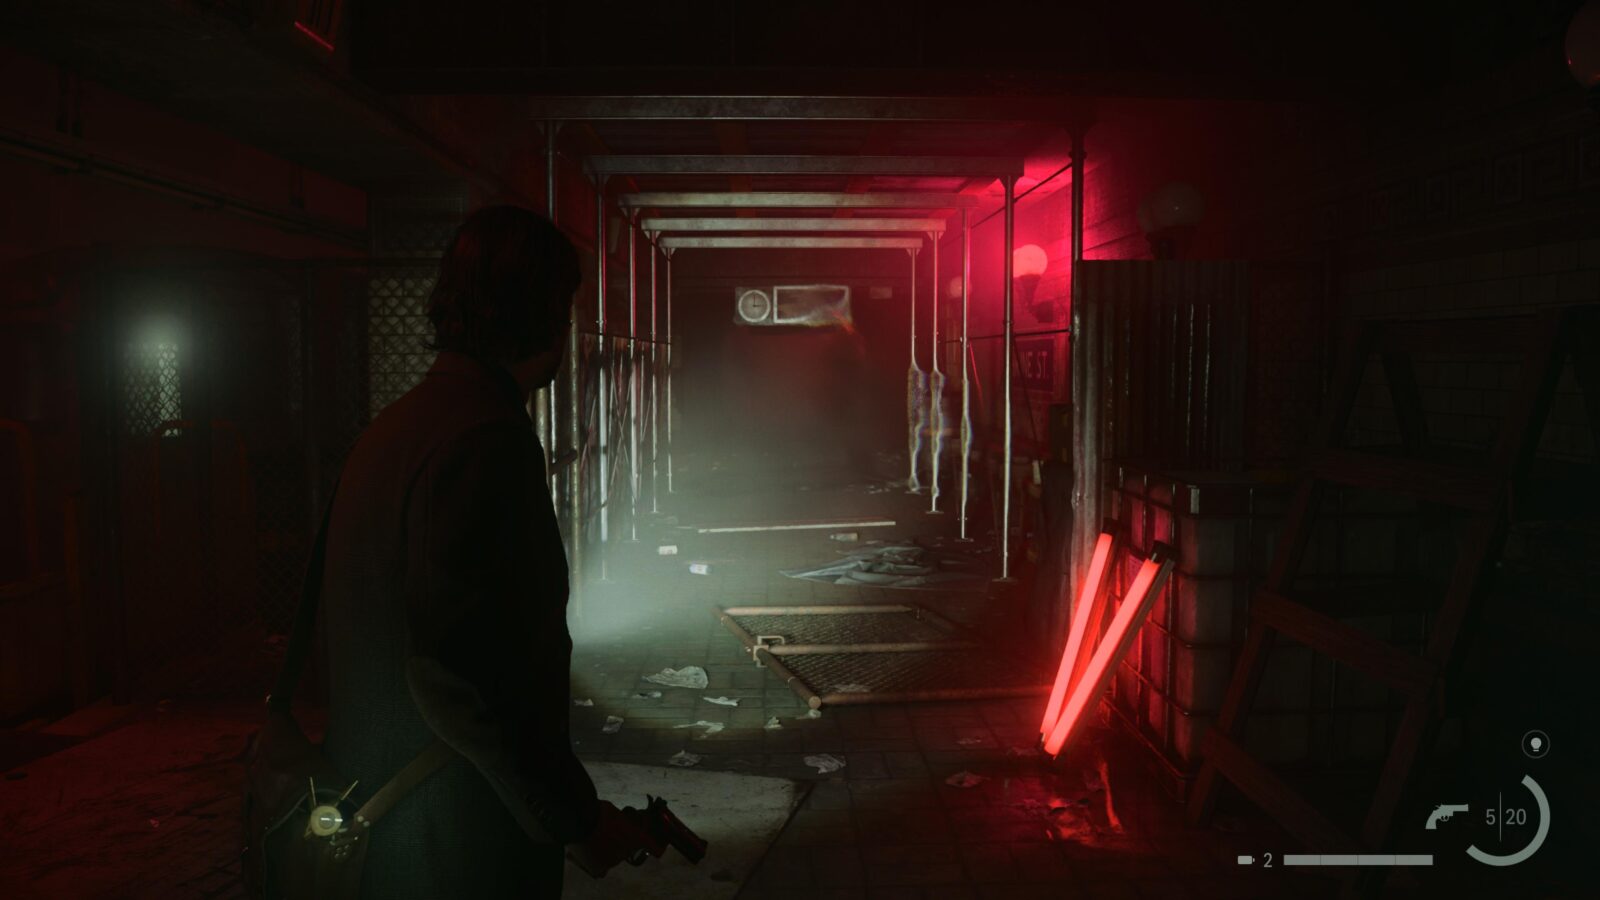
Words of Power #6 - Words of Fix
Head back towards the In Between with Mr. Door studio where you started the chapter and head down Wheeler St. (check the map). On the wall of the studio near the end of the street is a yellow arrow pointing to the Words of Power on the floor.

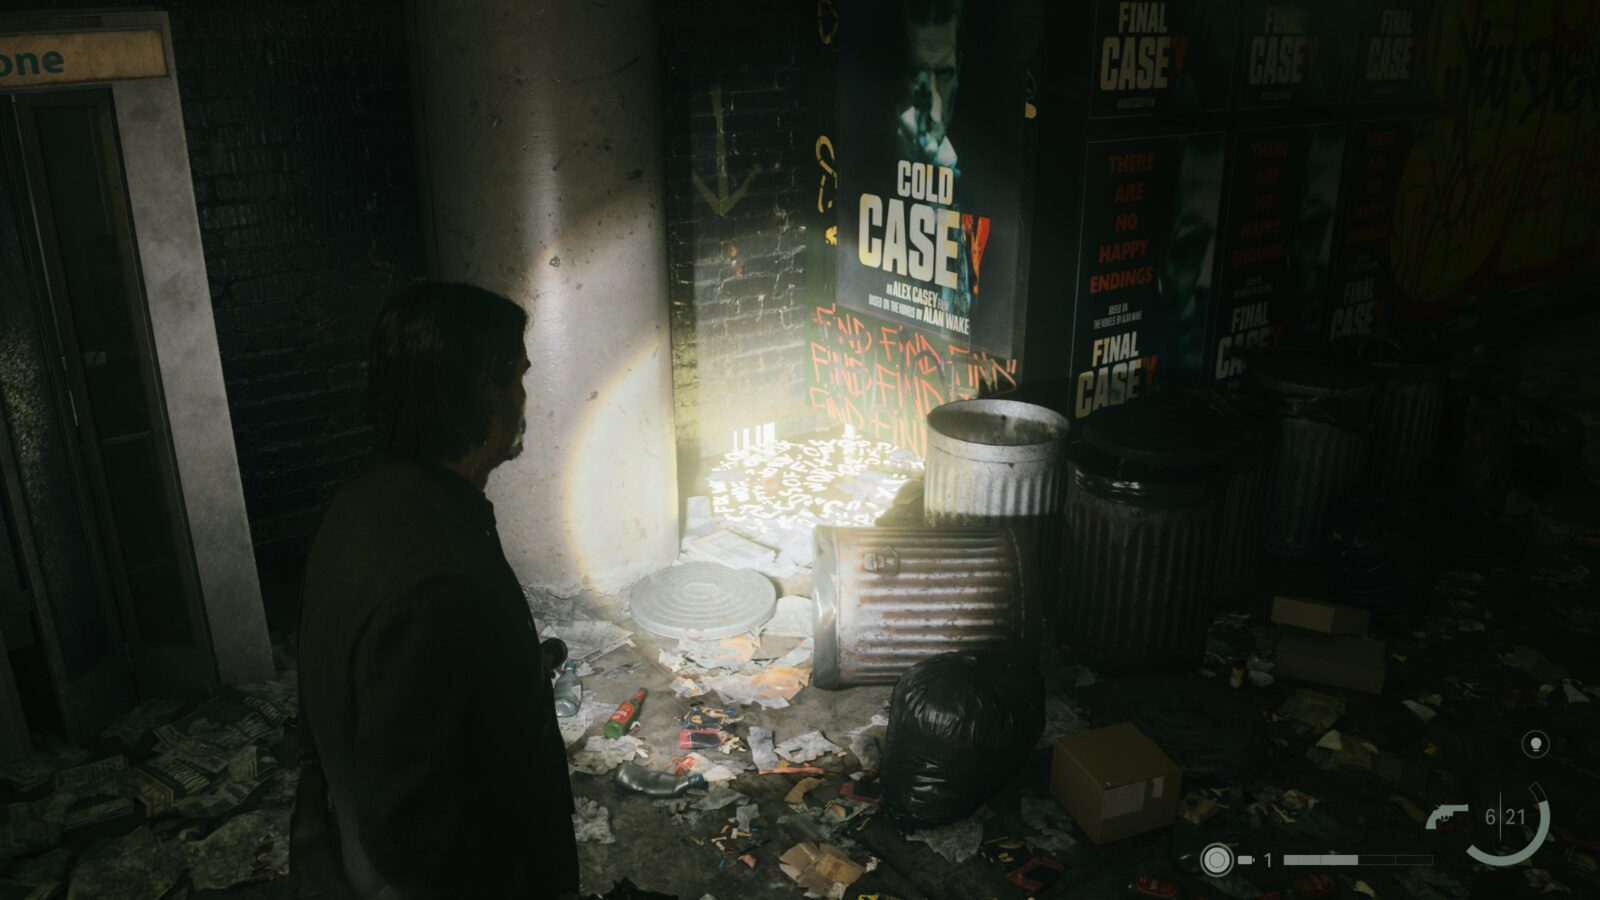
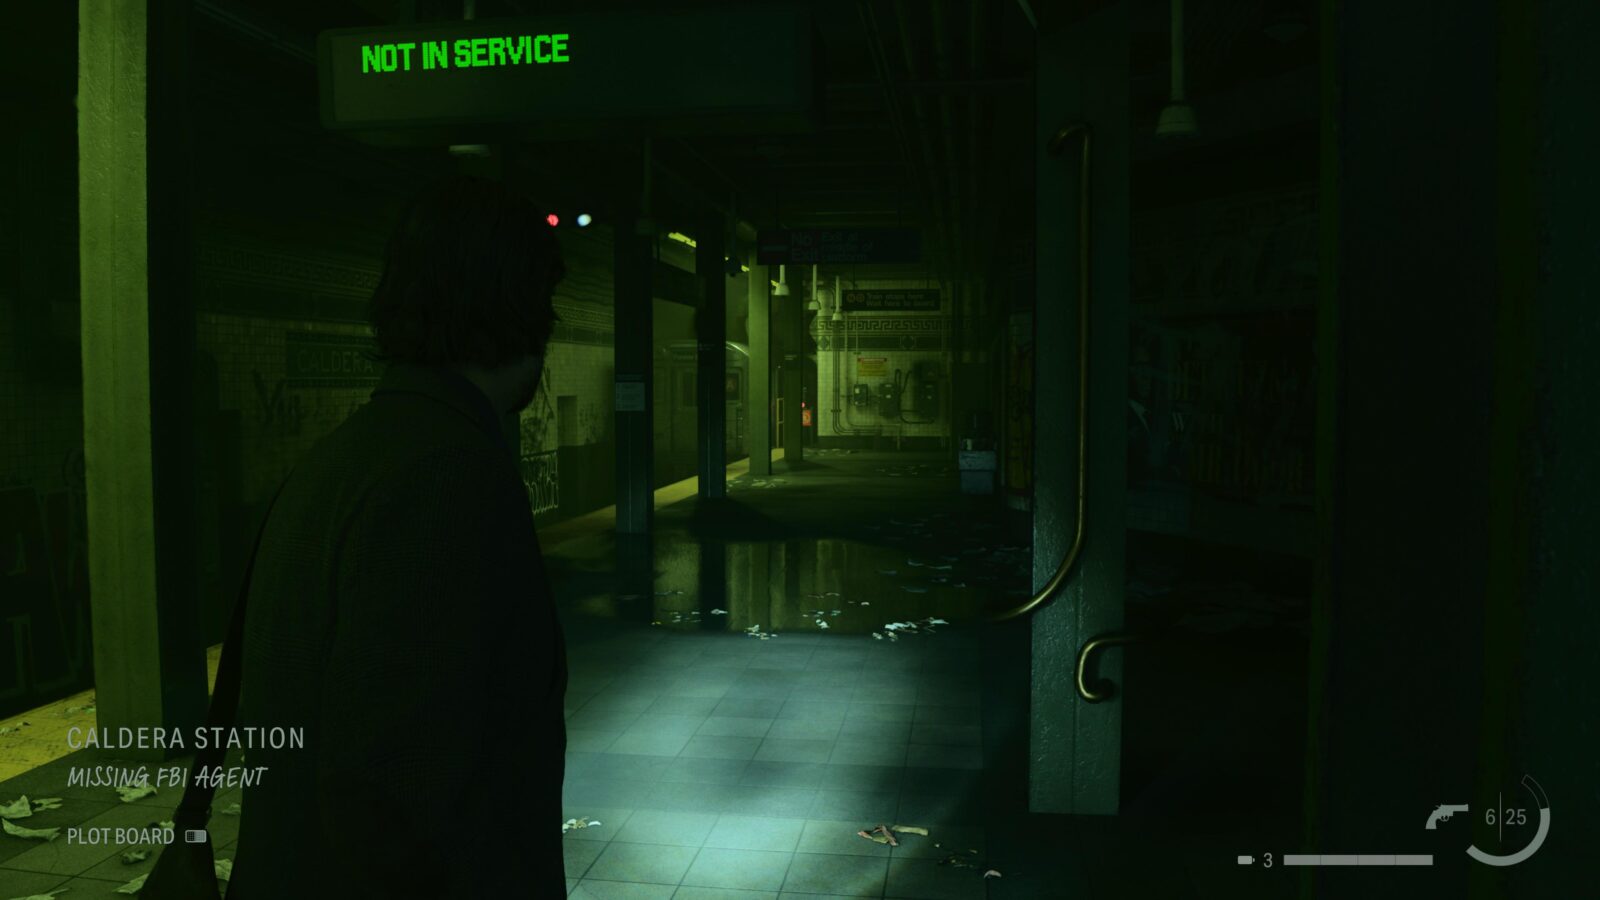
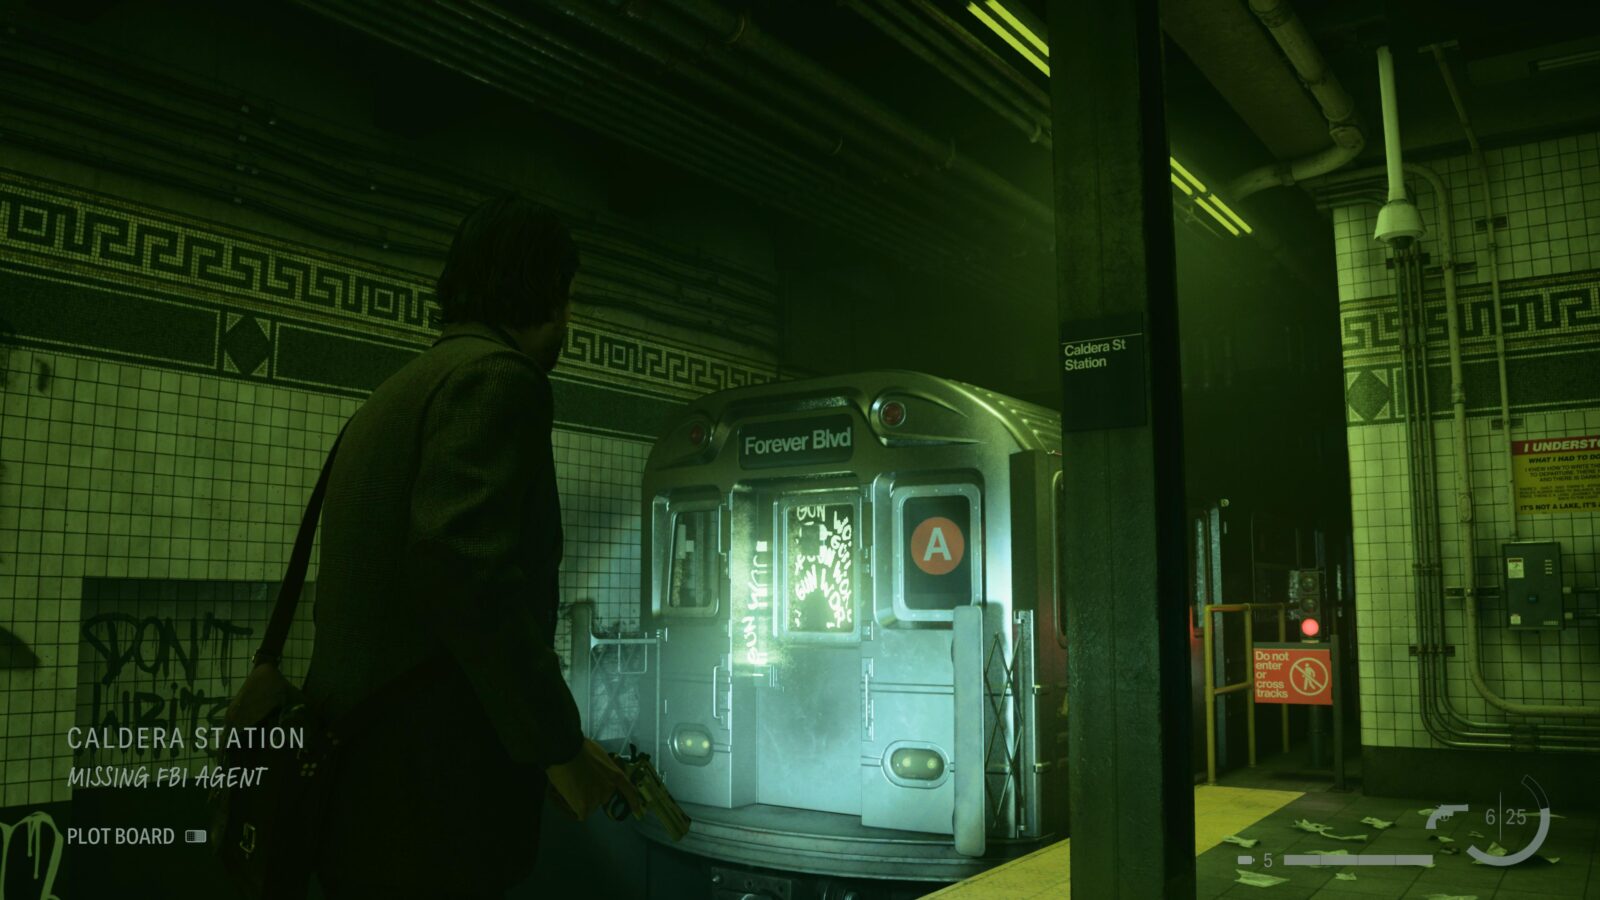
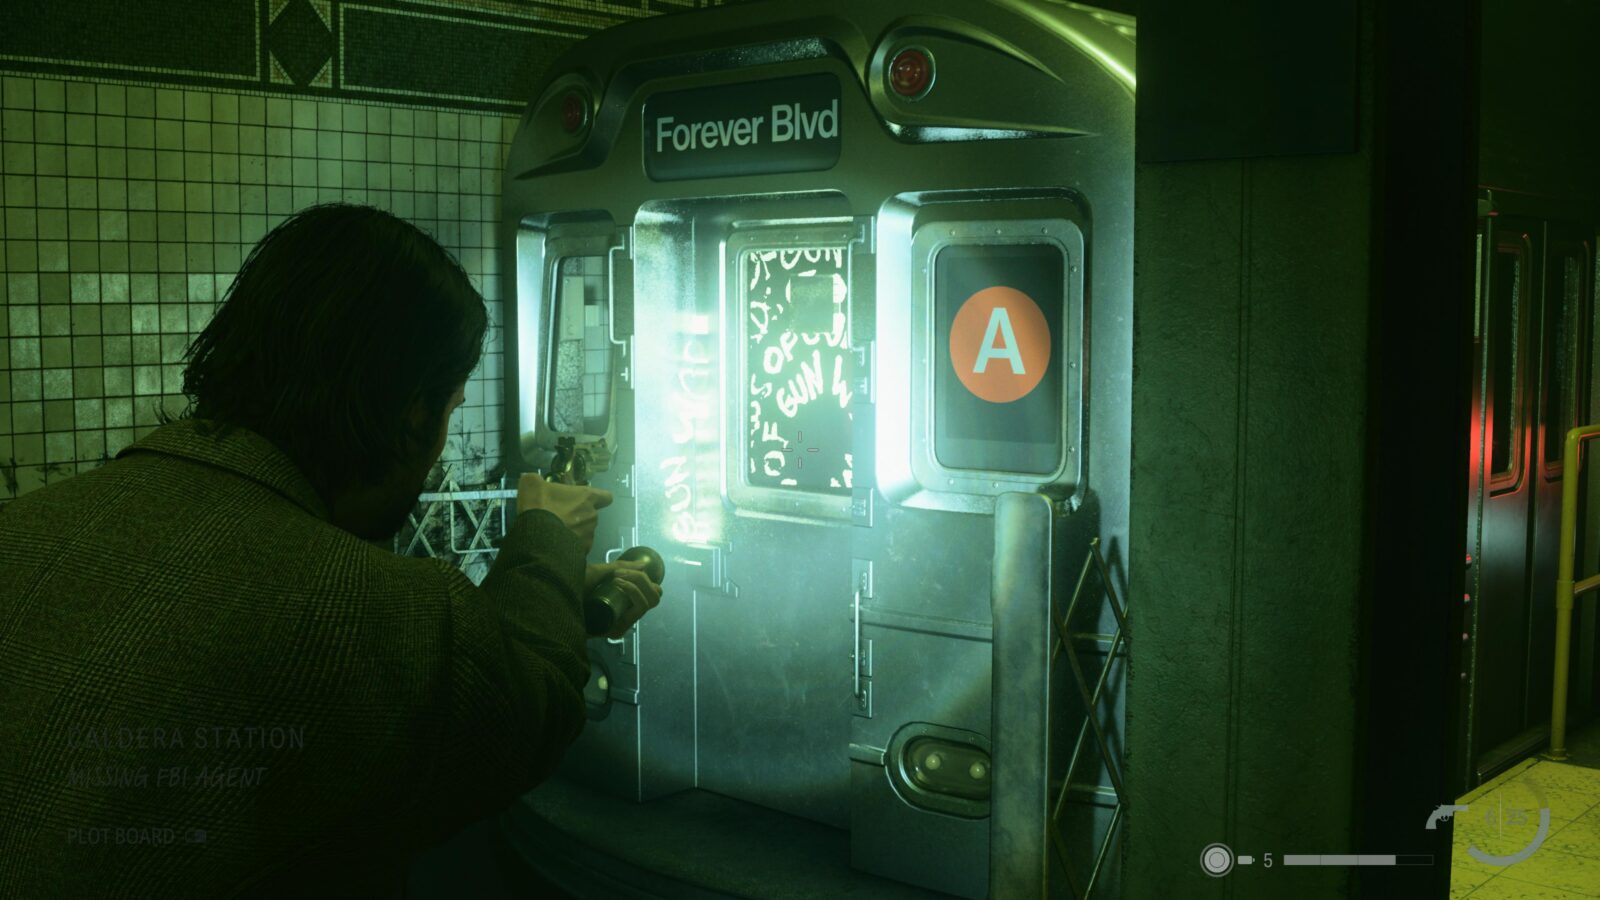
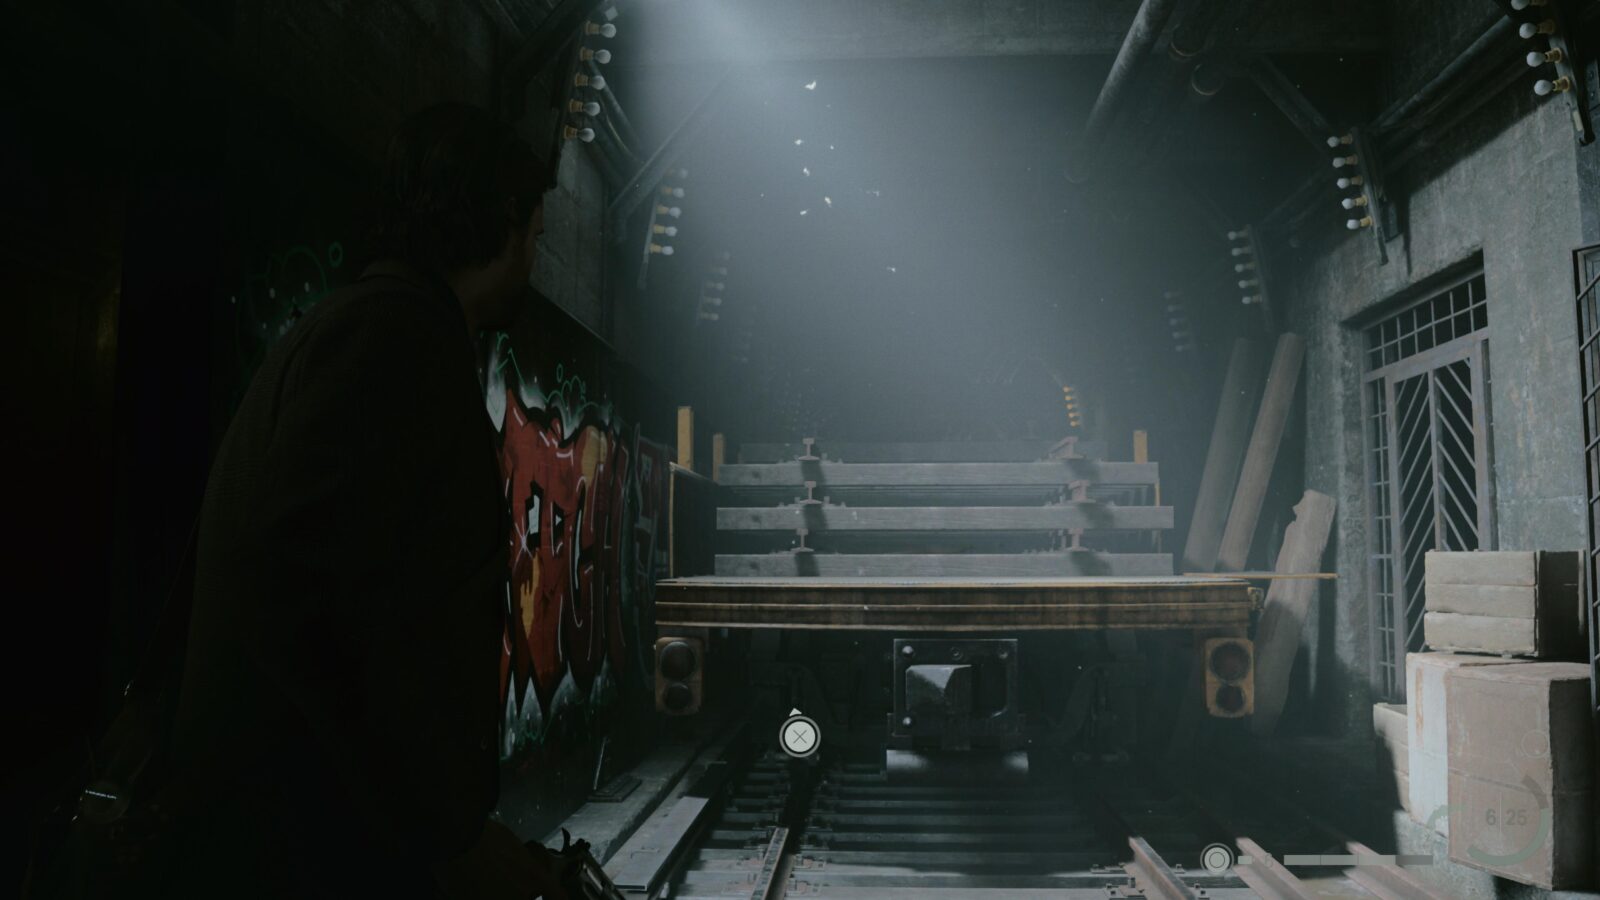
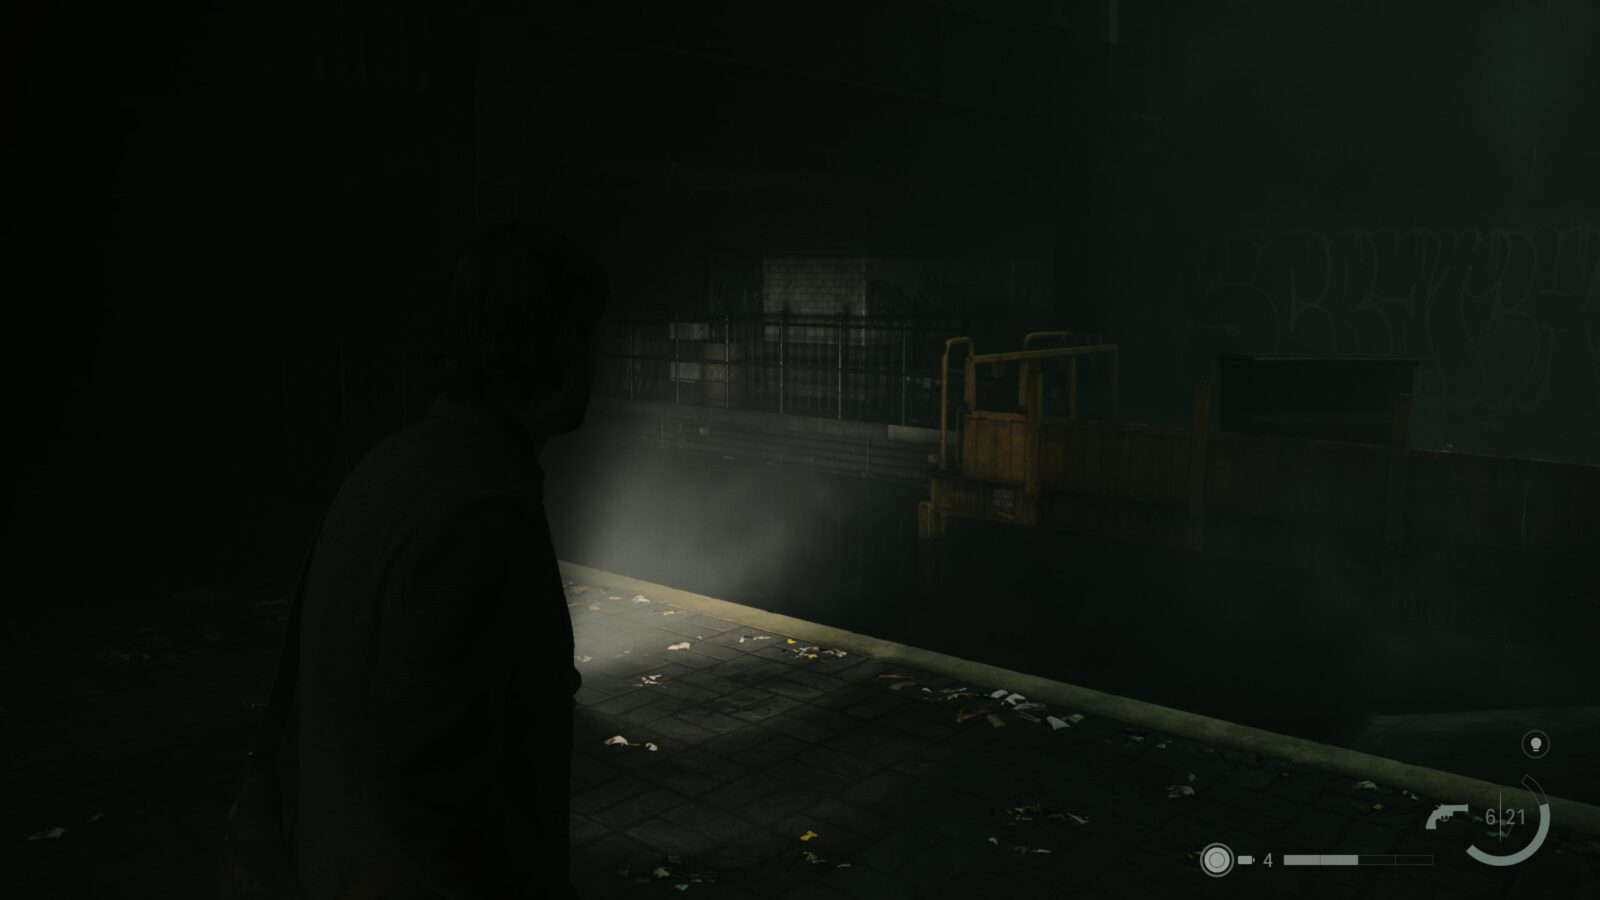
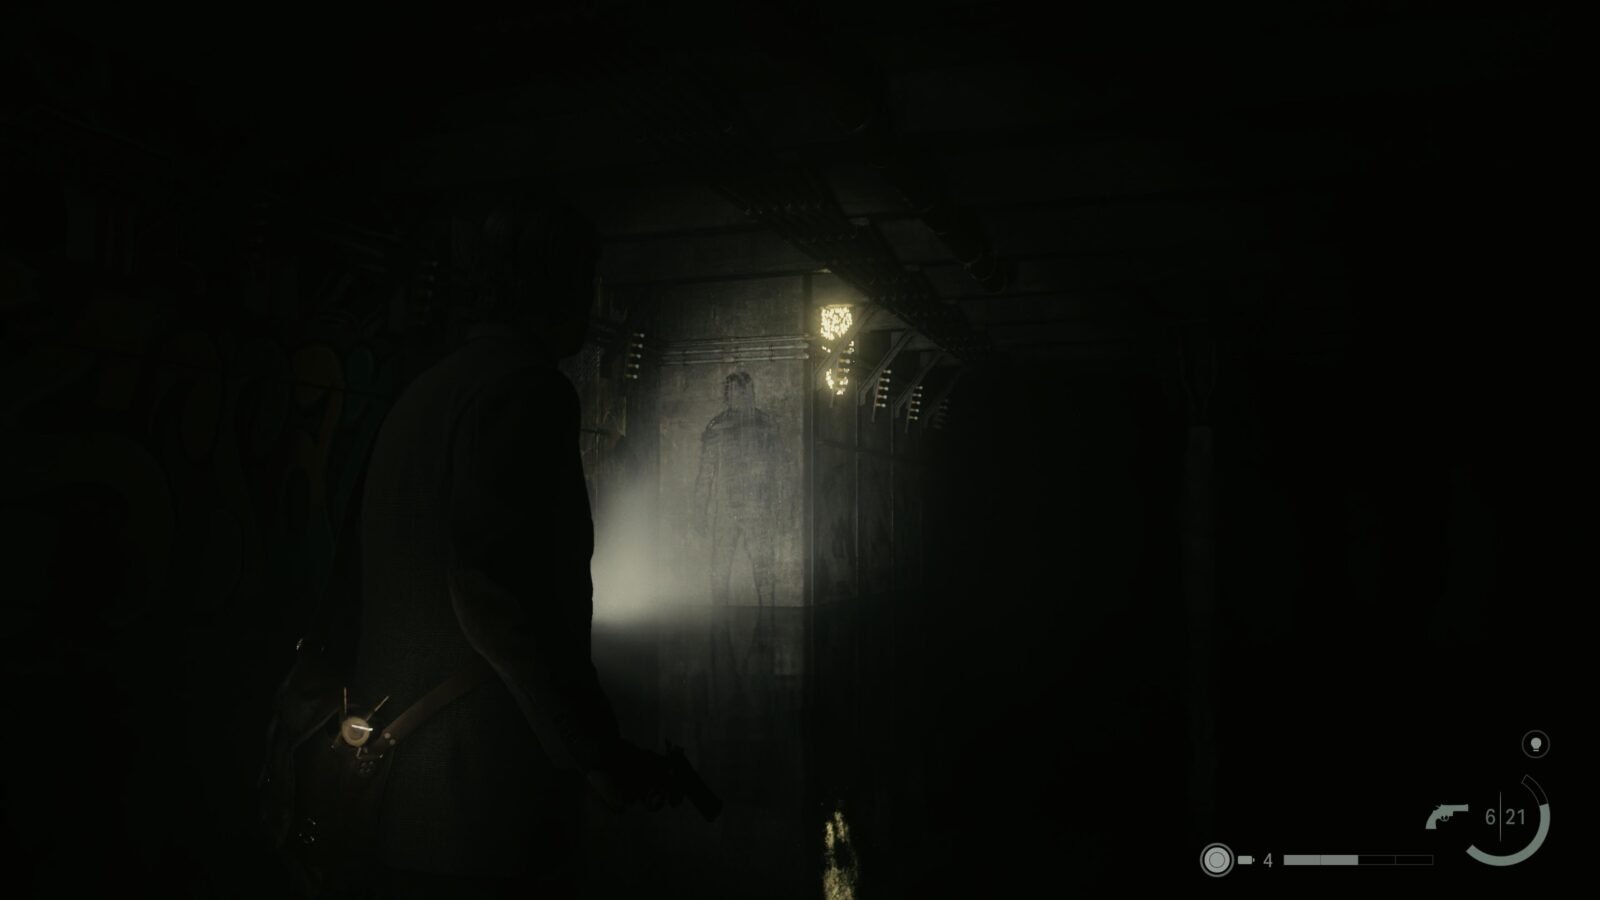
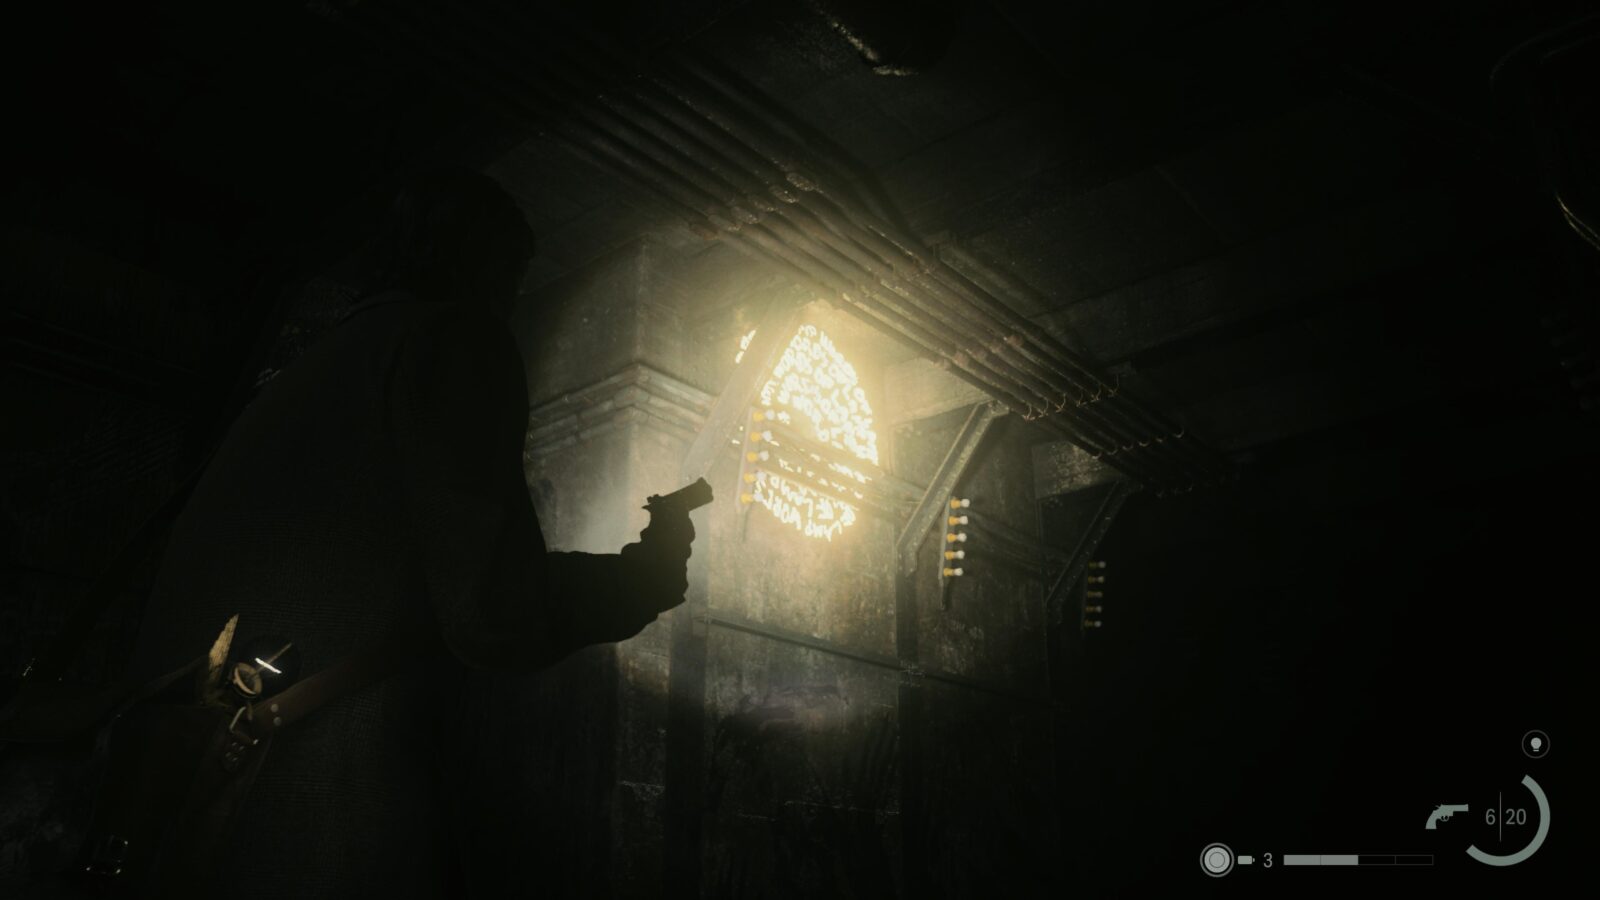
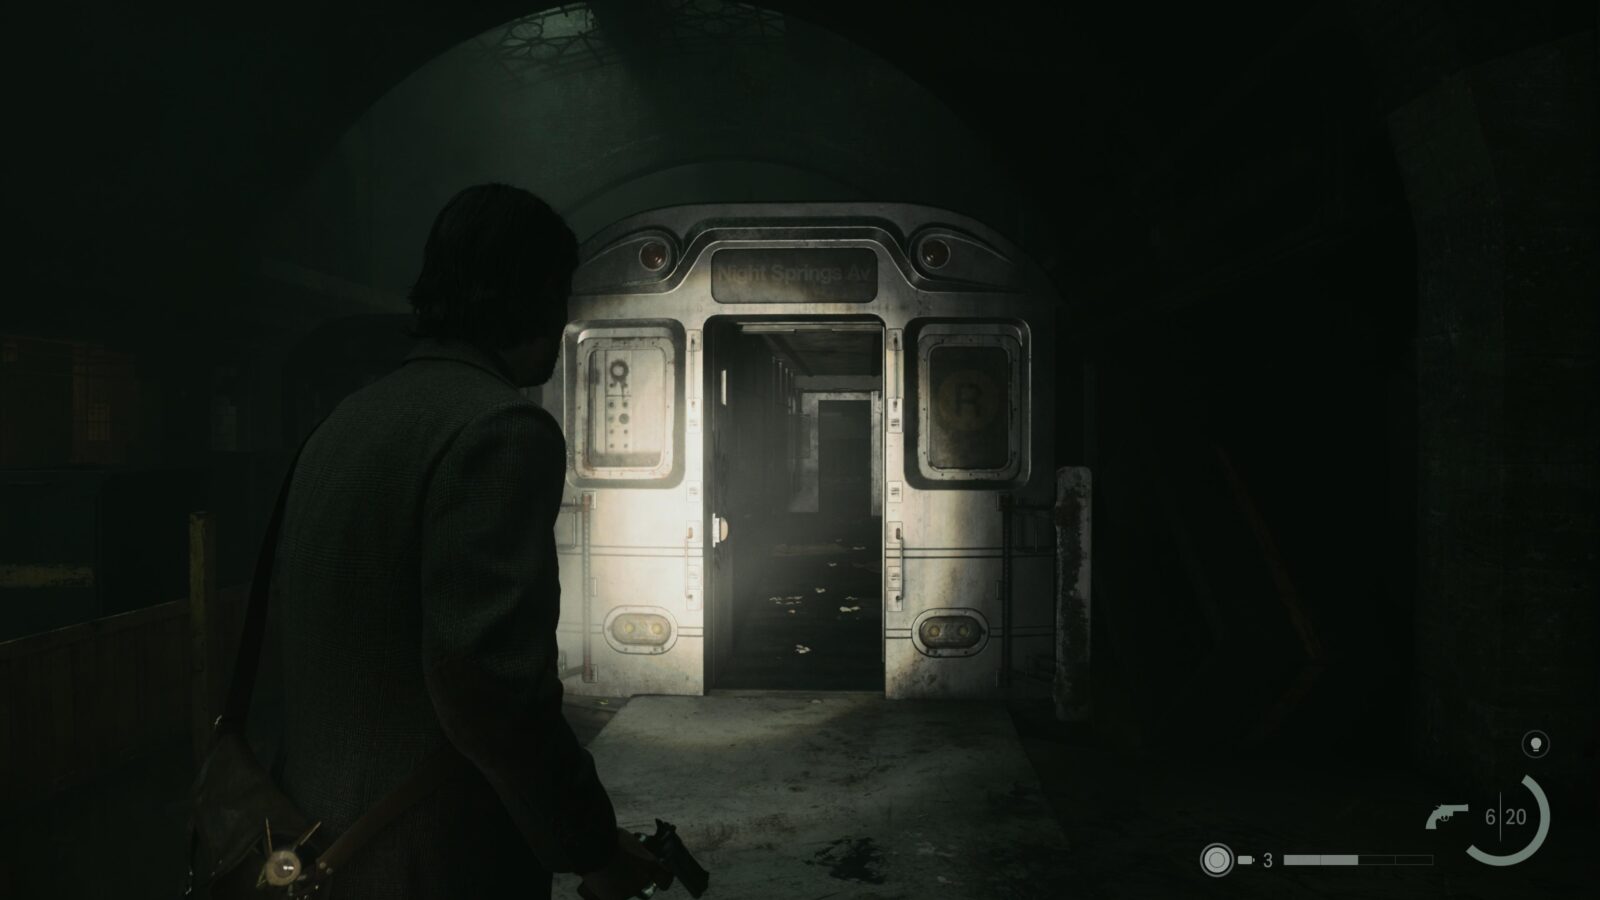
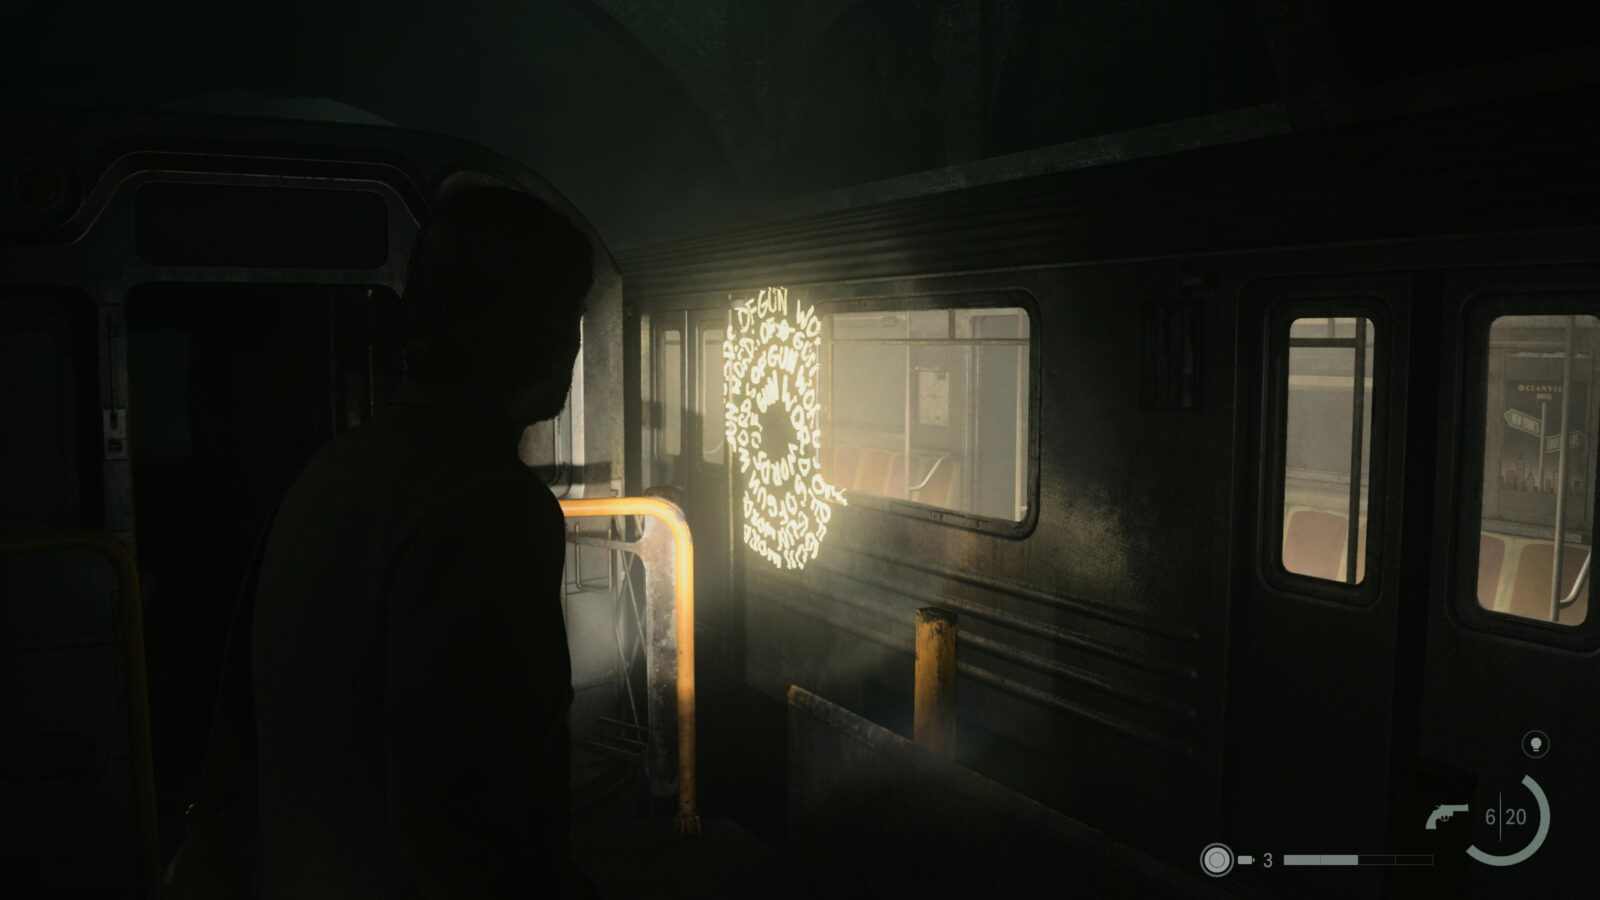
Words of Power #7 - Words of Gun
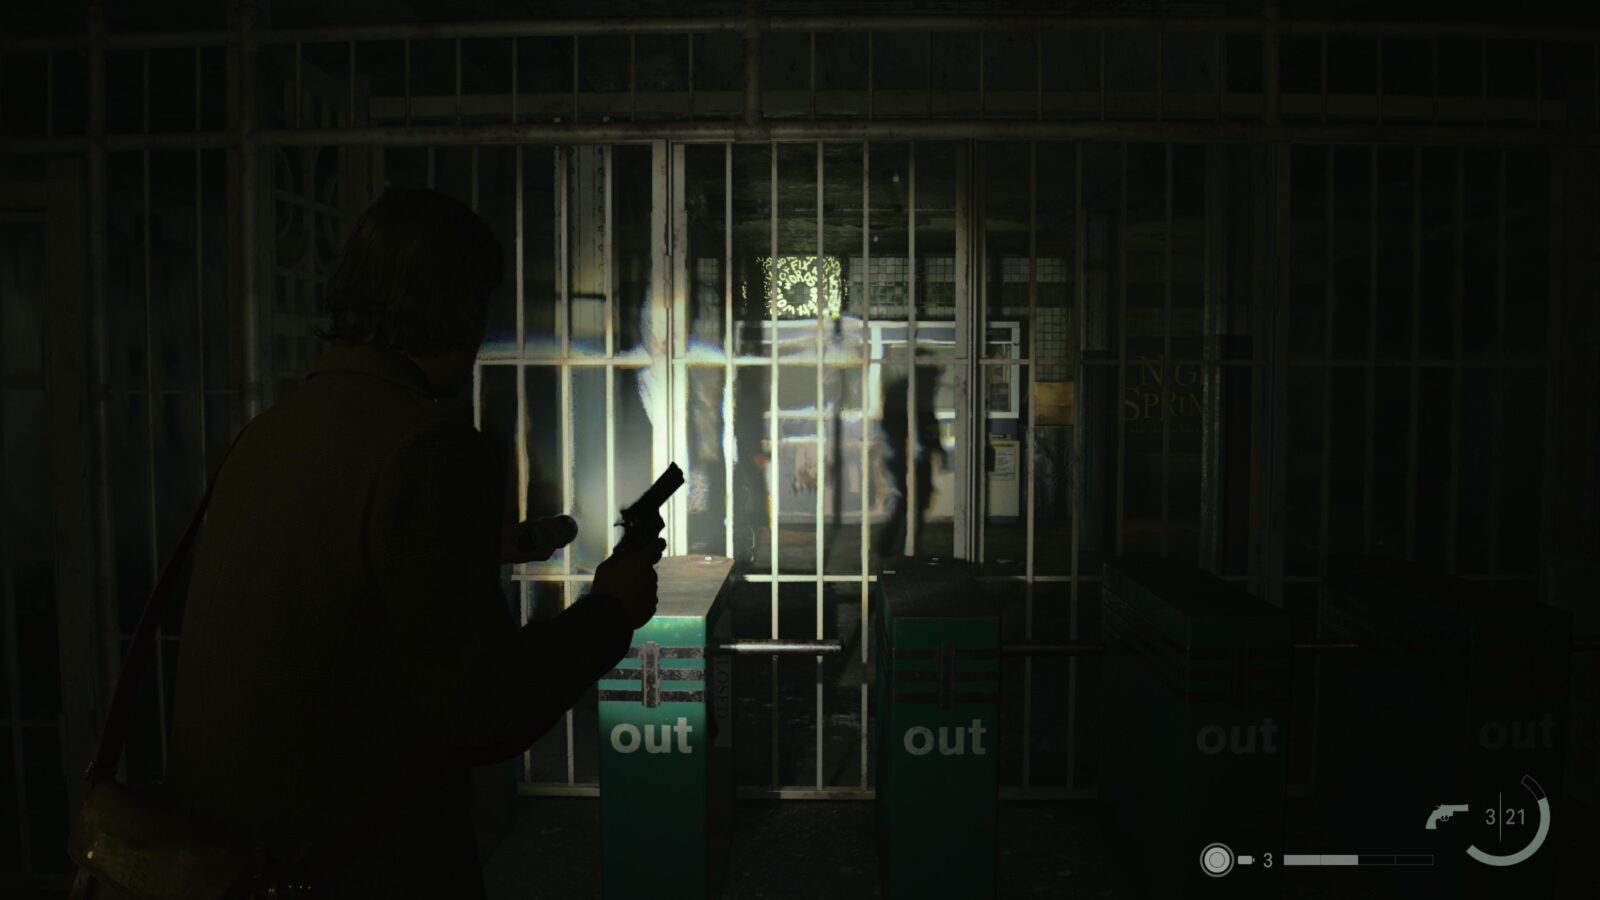
Inside the Subway you will have to use an Echo to change the scenery on the Station Platform. After, turn around and head to the opposite end to find a Train cart sticking out of the tunnel. Inside this Train is a Word of Power. You need to find the right angle to get it to trigger.
Map - Subway
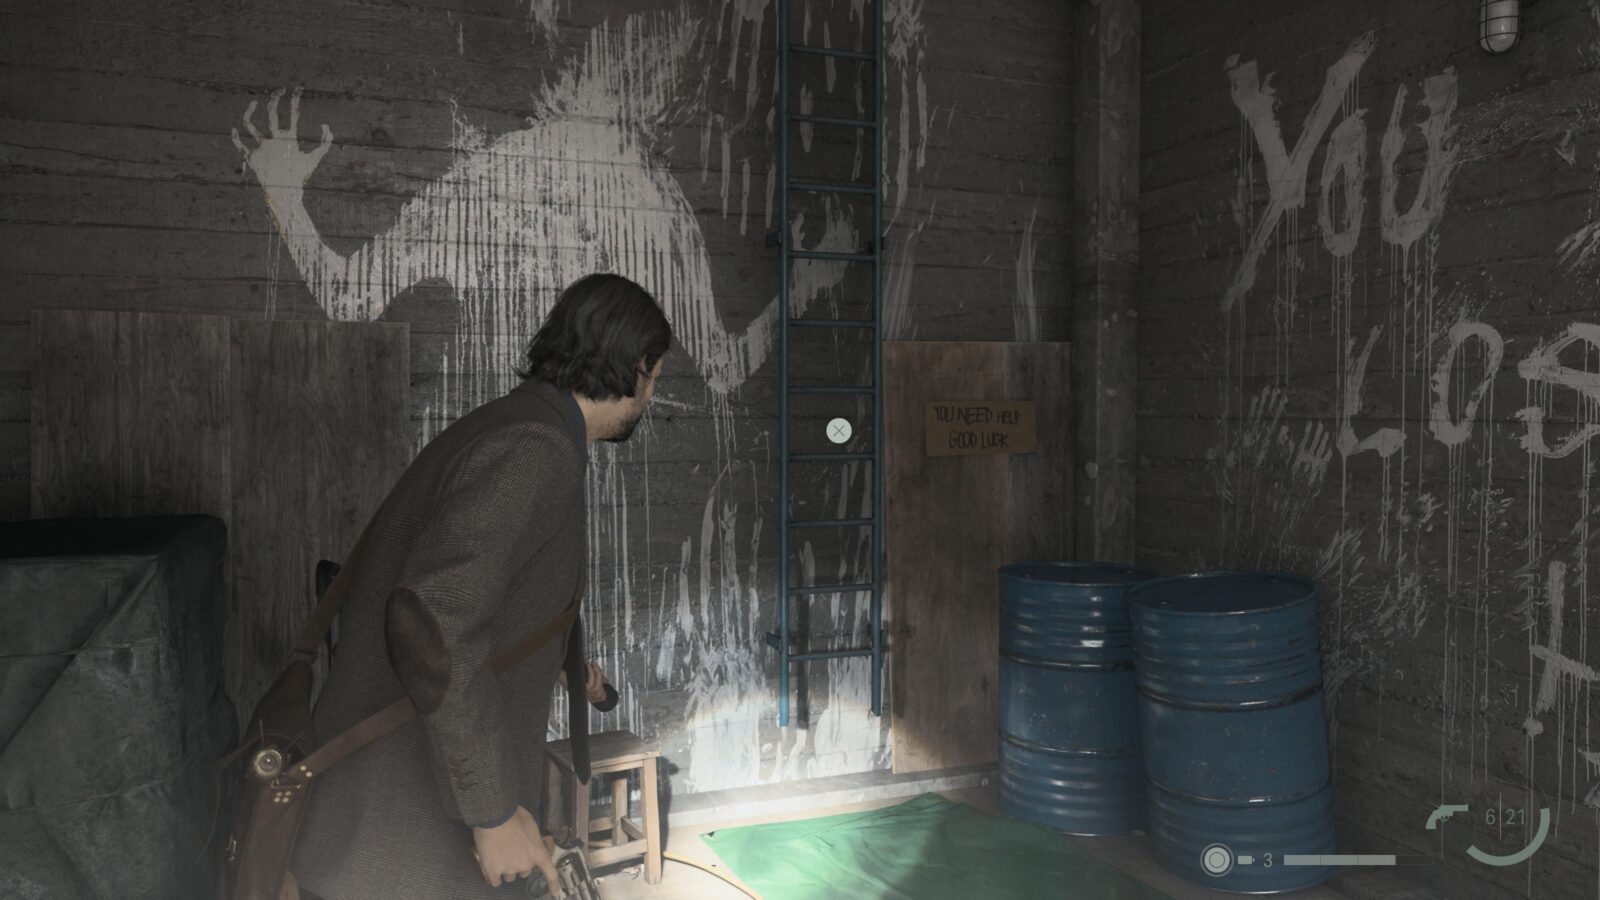
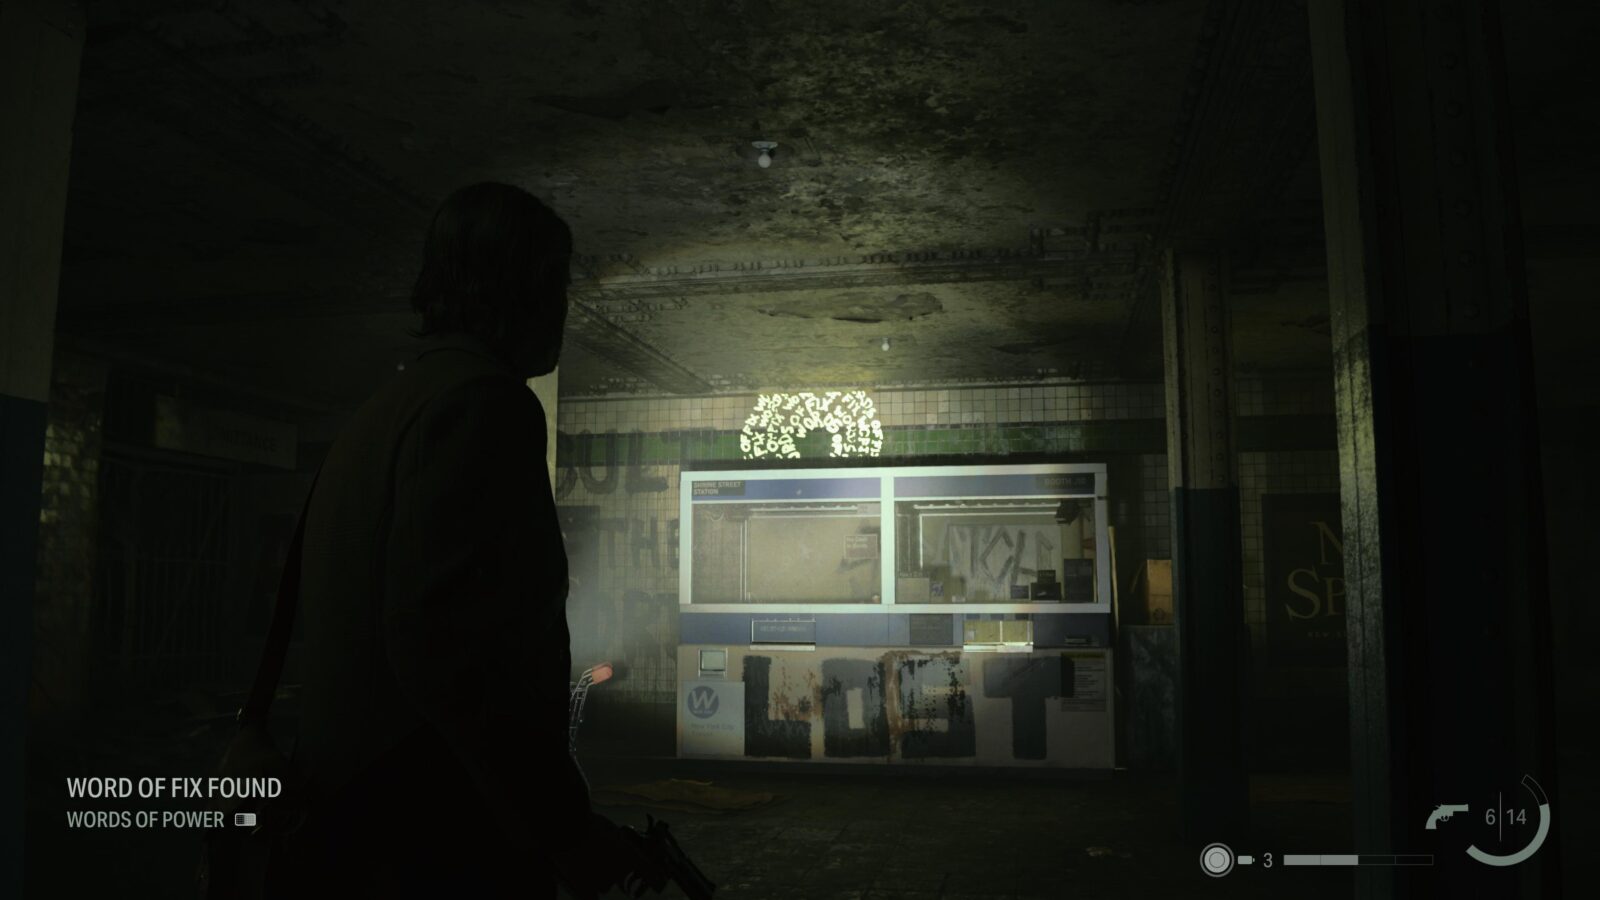
Head deeper into the Subway and you will come to a Break Room with the words “LOST” written above the door. To the left of the door is the Subway Map.
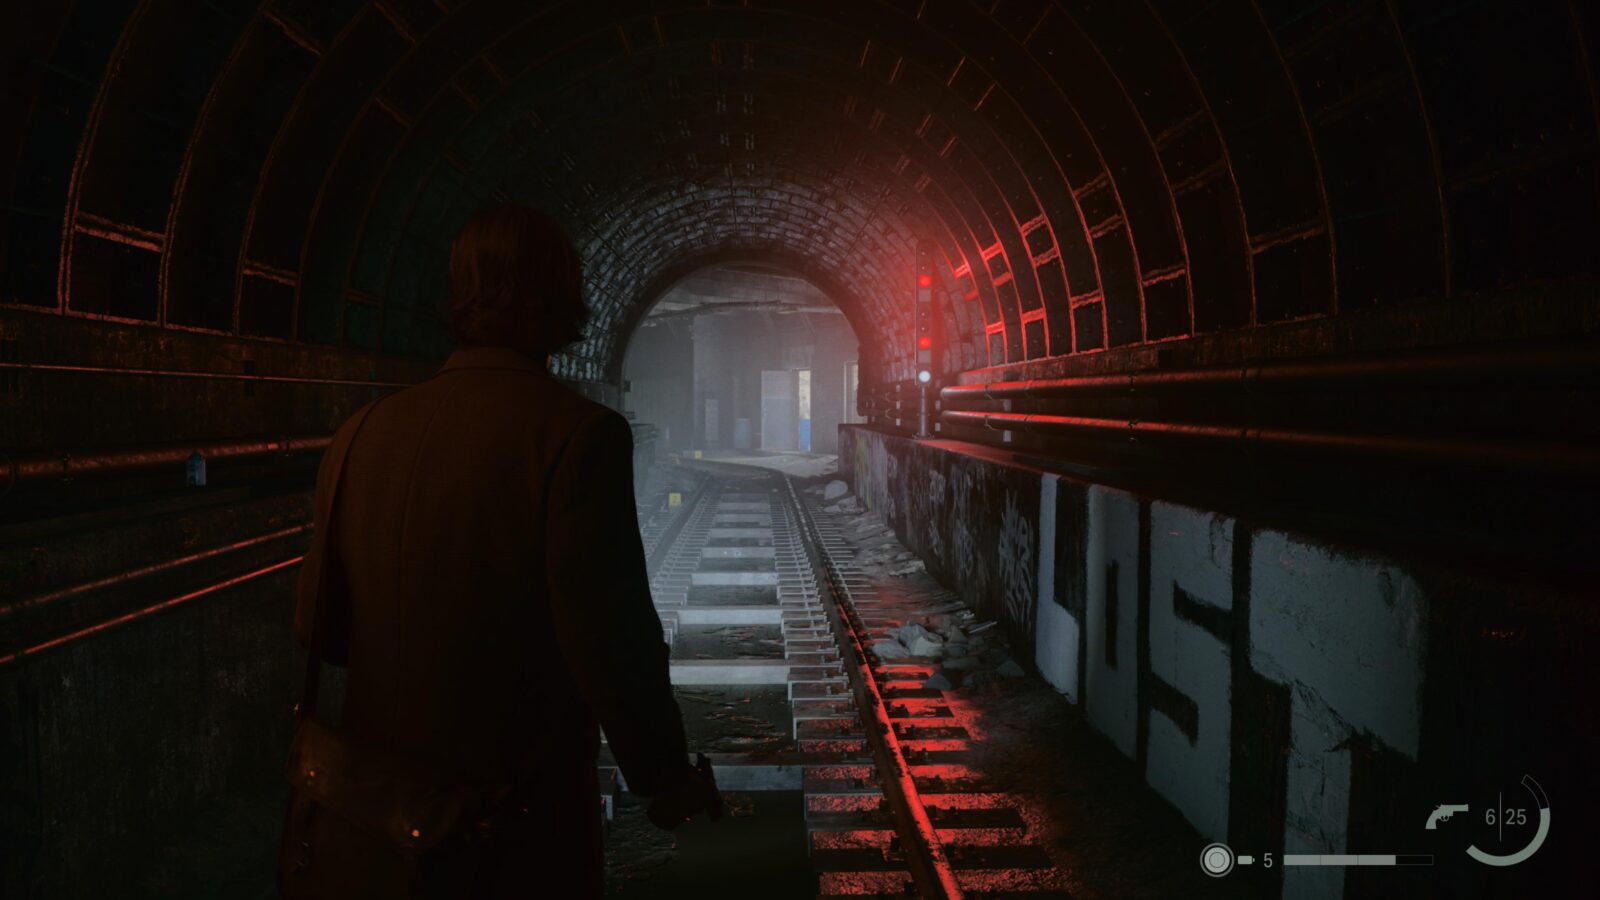

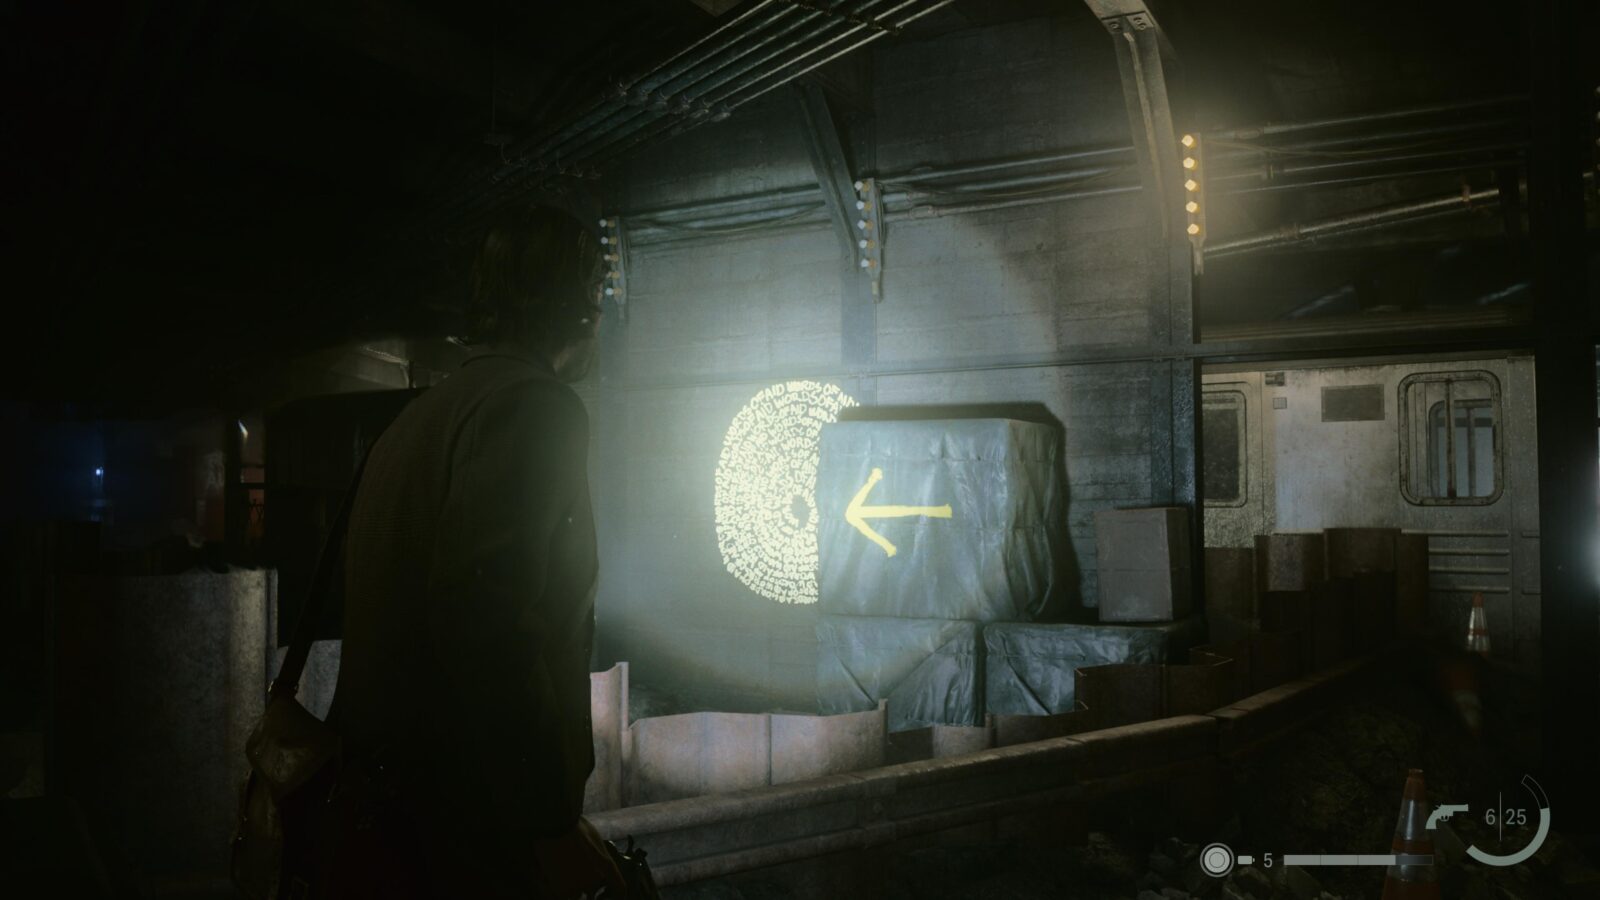
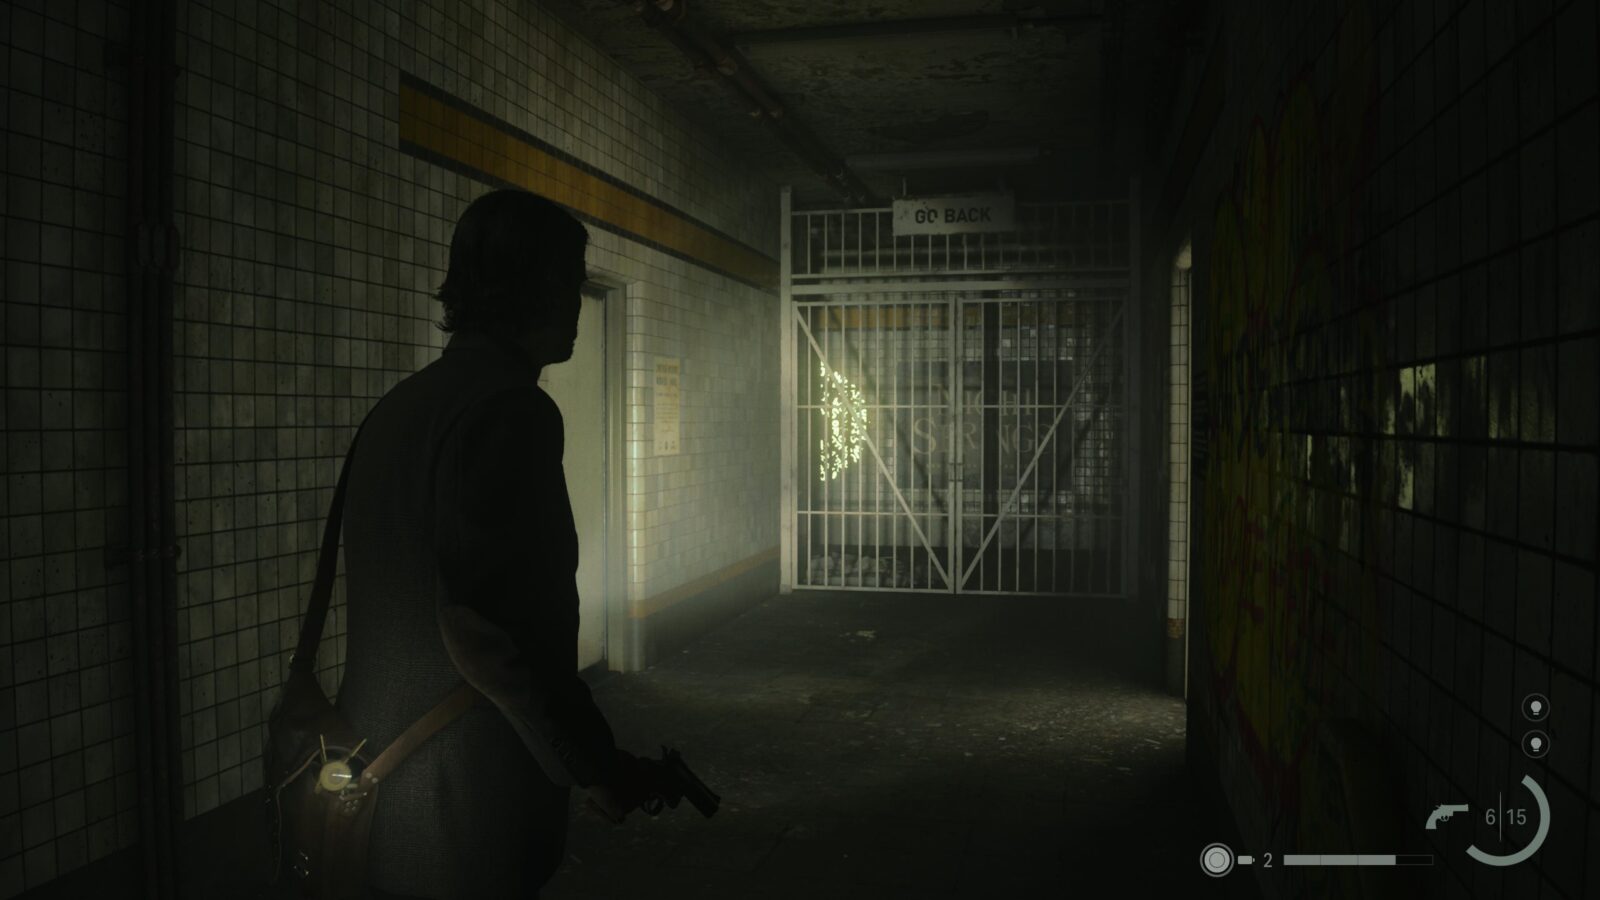
Words of Power #8 - Words of Aid
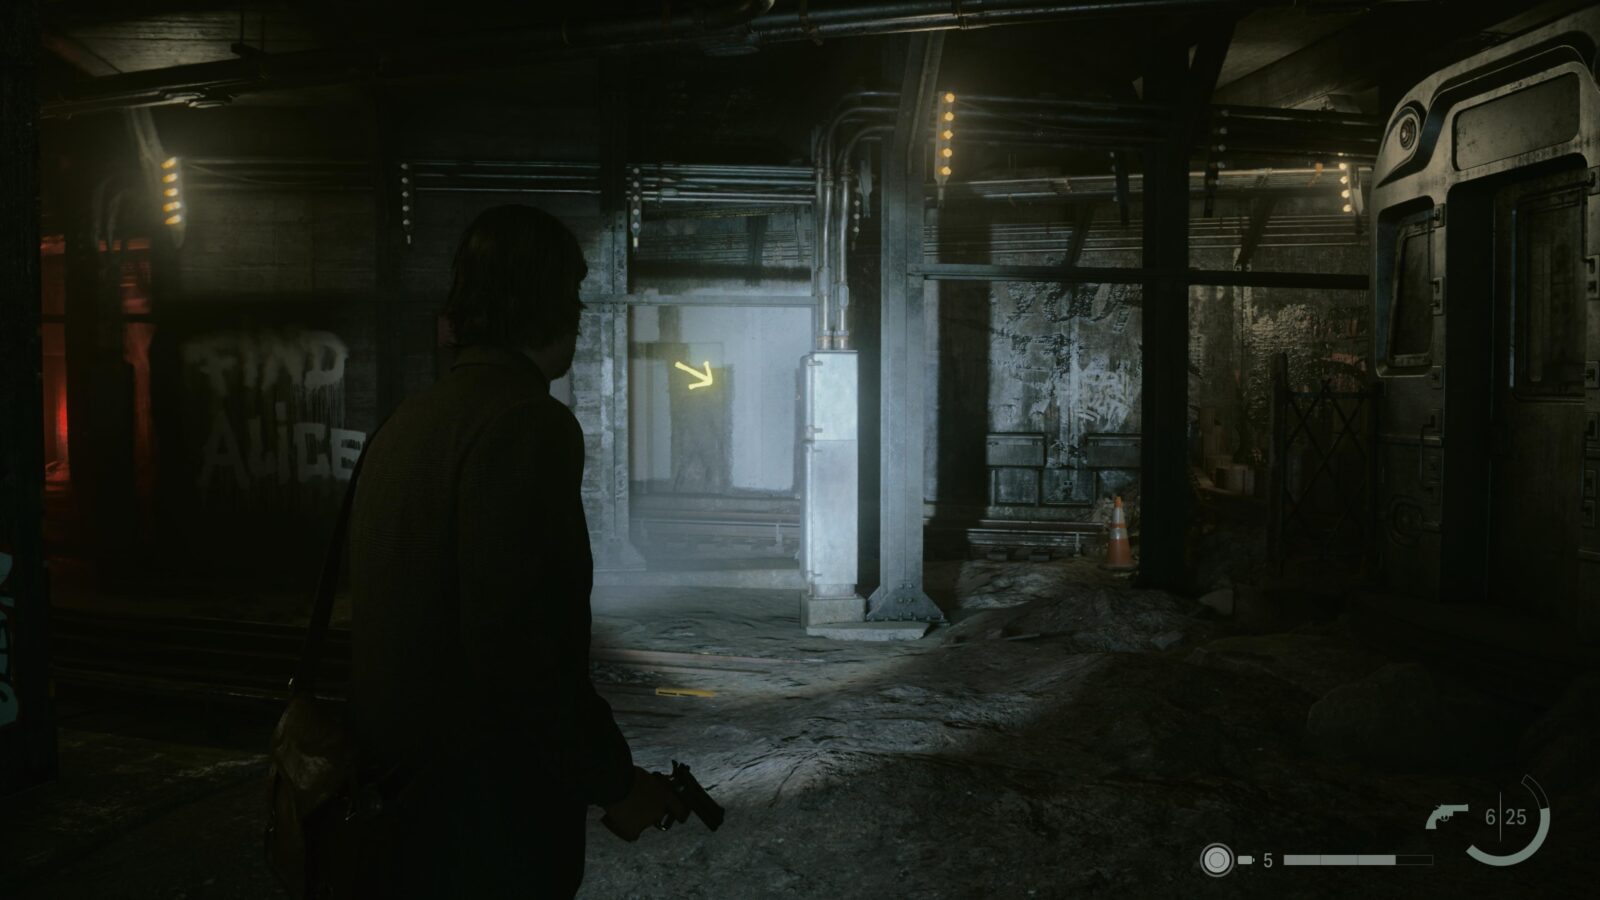
Opposite the Break Room on the far wall is some large text that also says “LOST”, you can also see some “Find Alice” graffiti in front of it. On the LOST wall is a yellow arrow pointing to another Words of Power.
Words of Power #9 - Words of Lamp
In the Subway Tunnels you will use the Lamp to take a light source. Once you do the train in front of you will disappear. Next to where the train was will be an open door with a yellow arrow pointing to the Words of Power inside.
Map - Words of Power Locations #2
Use the Lamp to clear the flooded corridor in the Tunnels and proceed forward and enter the very first room on your right. Inside is the Sheriff and another Words of Power map on the wall next to him.
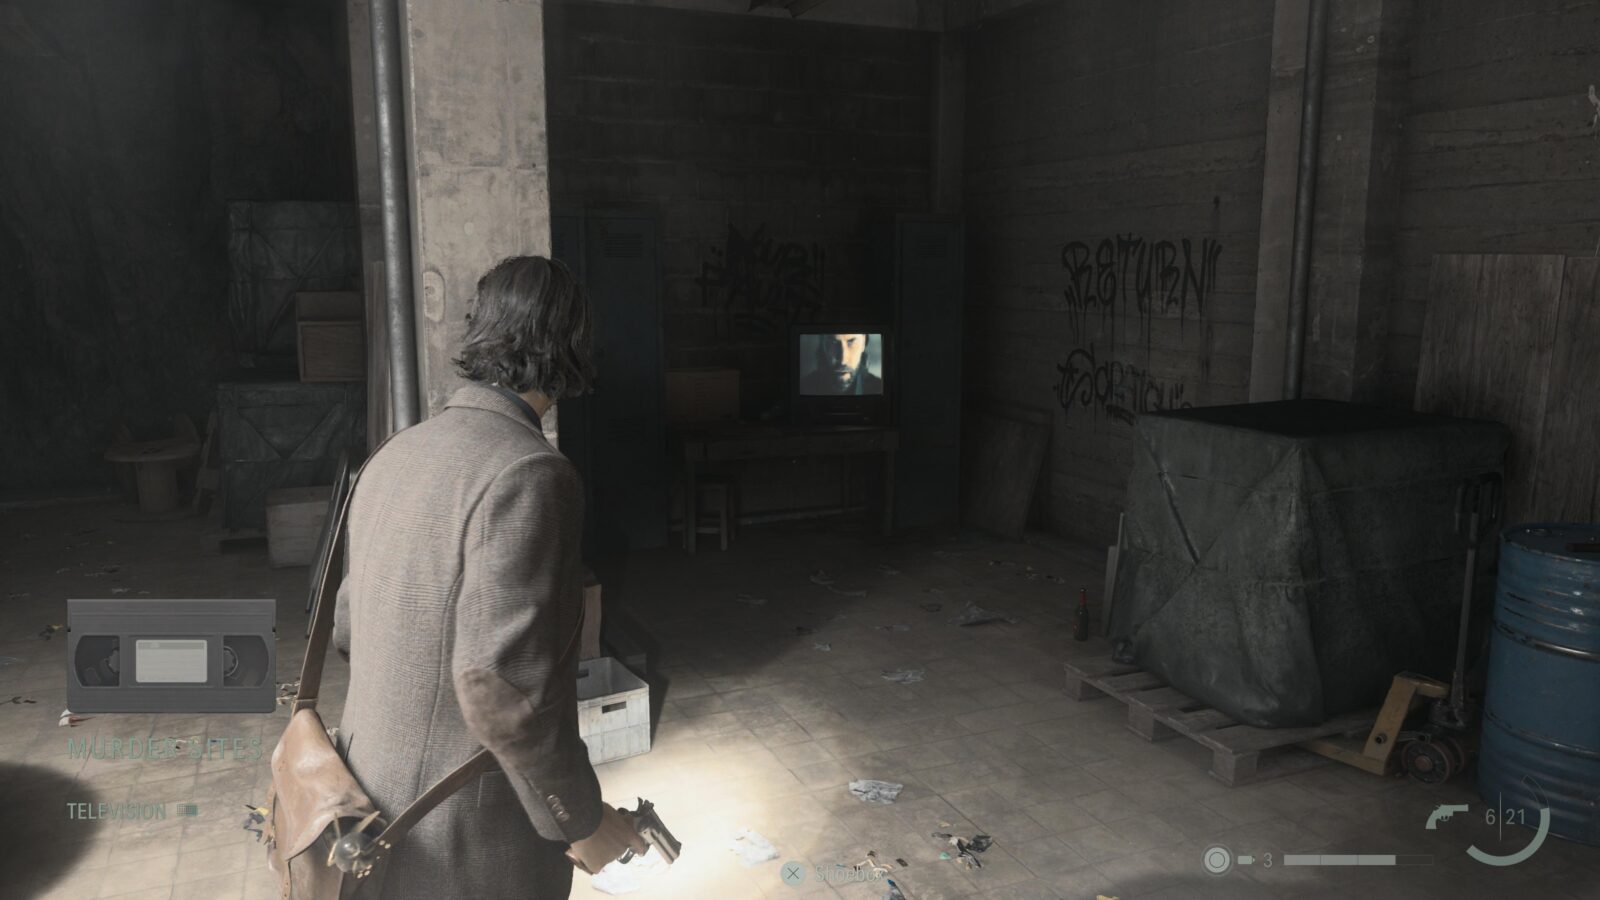
Writer's Journey Video #3 - Murder Sites (unmissable)
When you reach the Break Room you will find a TV with static on the screen. When you approach it this Writer’s Journey will play.
Words of Power #10 - Words of War
Climb up the ladder in the Break Room and turn around at the top. Look for a bit of scaffolding you can crawl under and immediately look up and check the ceiling to find a Words of Power.
Words of Power #11 - Words of Action
After climbing through the Burning Train you will come to a ladder. Once you climb down look around the base of the ladder for a yellow arrow on the wall that points to a wooden pallet that you need to shoot to reveal the Words of Power.

Words of Power #12 - Words of Fix
Head down the steps after collecting Words of Power #10 – Words of Action and head into the next room. Immediately to your left will be a gate. Behind the gate on the far wall will be a Words of Power and a handful of enemies.
Words of Power #13 - Words of Lamp
Once you reach Shrine St. Station which is partially flooded you should head into the water and go left into a tunnel. On a wall on your left by the ceiling is a Words of Power.
Words of Power #14 - Word of Gun
Turn around from the previous Words of Power and enter the train in front of you. Exit the other side and immediately turn around and look at the side of the train next to the one you just exited.
Words of Power #15 - Word of Action
As you progress through Shrine St. Station you will enter a room with the Word of Power on a wall directly in front of you. It’s hard to miss this one.
Words of Power #16 - Word of Fix
Head up the stairs in the next room and you will see a closed metal gate in front of you and a Break Room to your right. On the wall behind the metal gate is a Word of Power.

Initiation 3: Haunting
This chapter is very short and features no new collectibles. However, if you forgot to collect one of the many Words of Power from the previous chapter you can use this chance to backtrack through New York City and grab them before you enter the new building that appears on the street.
Return 3: Local Girl
From this point on you can choose to play as either Saga or Alan. This guide will play a chapter of each alternatively—i.e. a Return chapter, then an Initiation chapter. Feel free to play whichever chapters you want in any order and use the navigation links in our side bar to get to the corresponding collectibles for that chapter.
Be warned, if you choose to play in a different order you will need to track which collectibles you do and don’t have externally.
Deer Head #4
At the start of the chapter after talking with Alan Wake, turn around and look for a Deer Head above the fireplace.
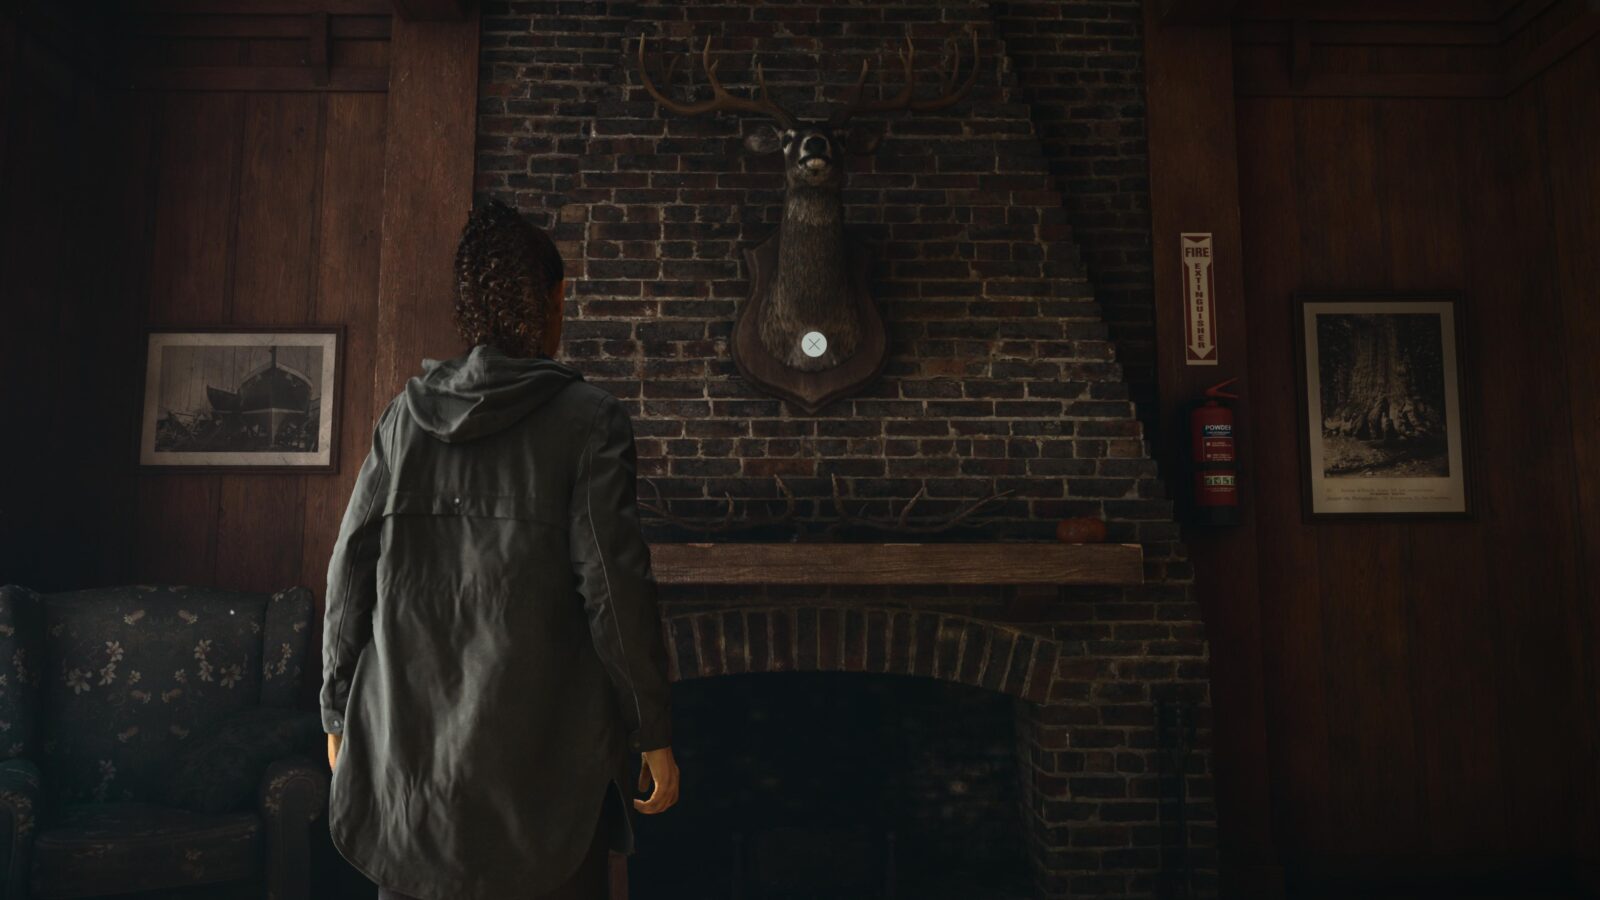
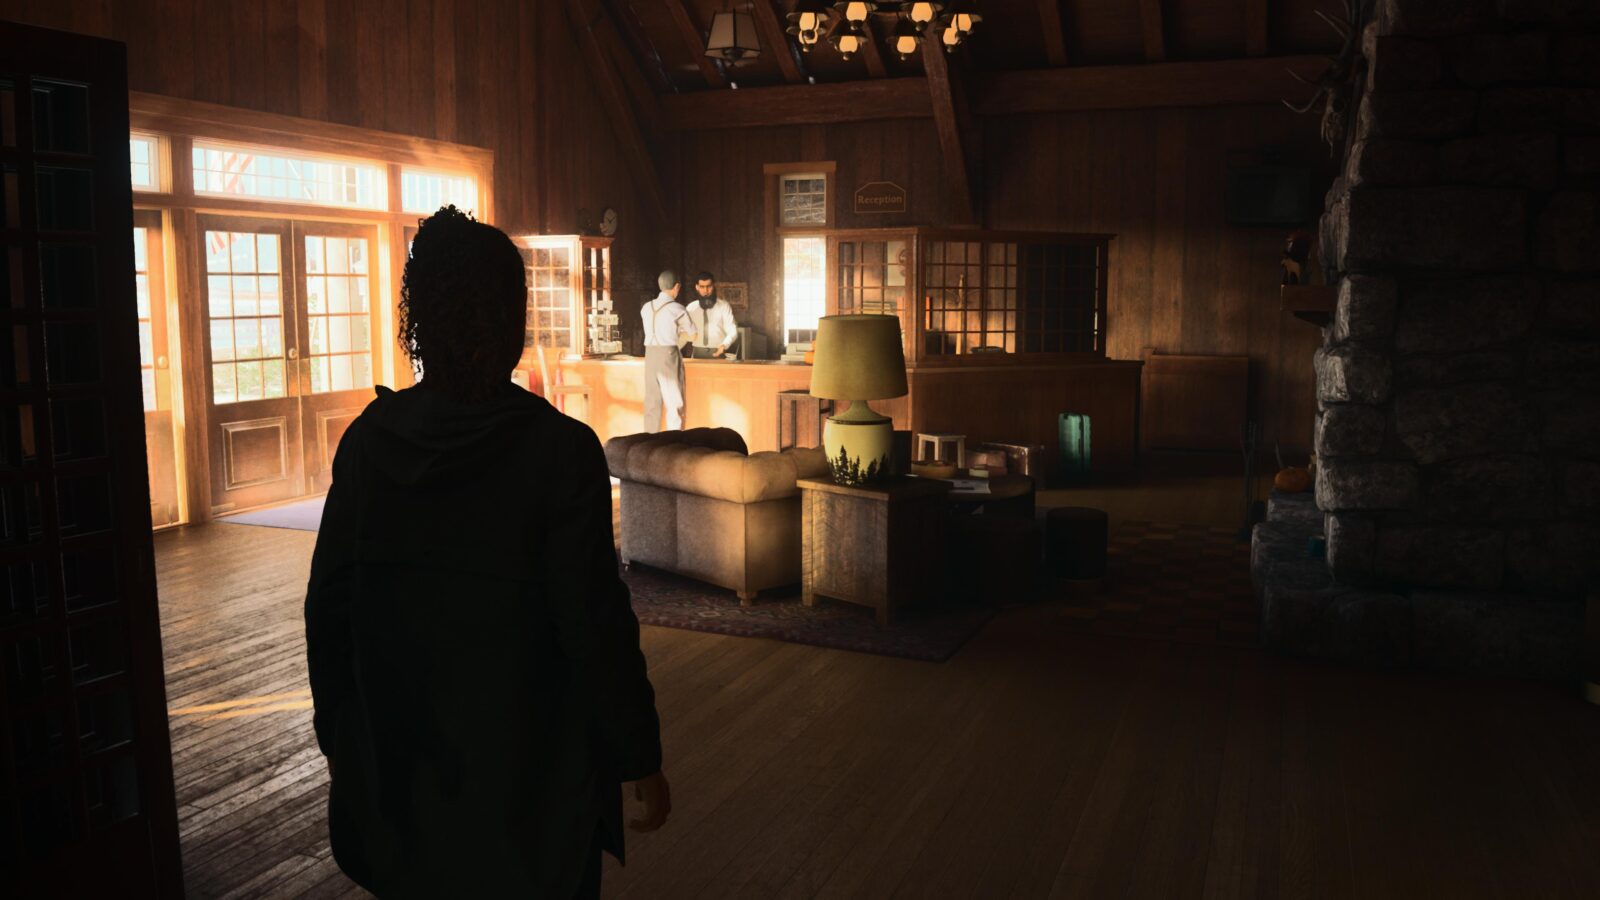
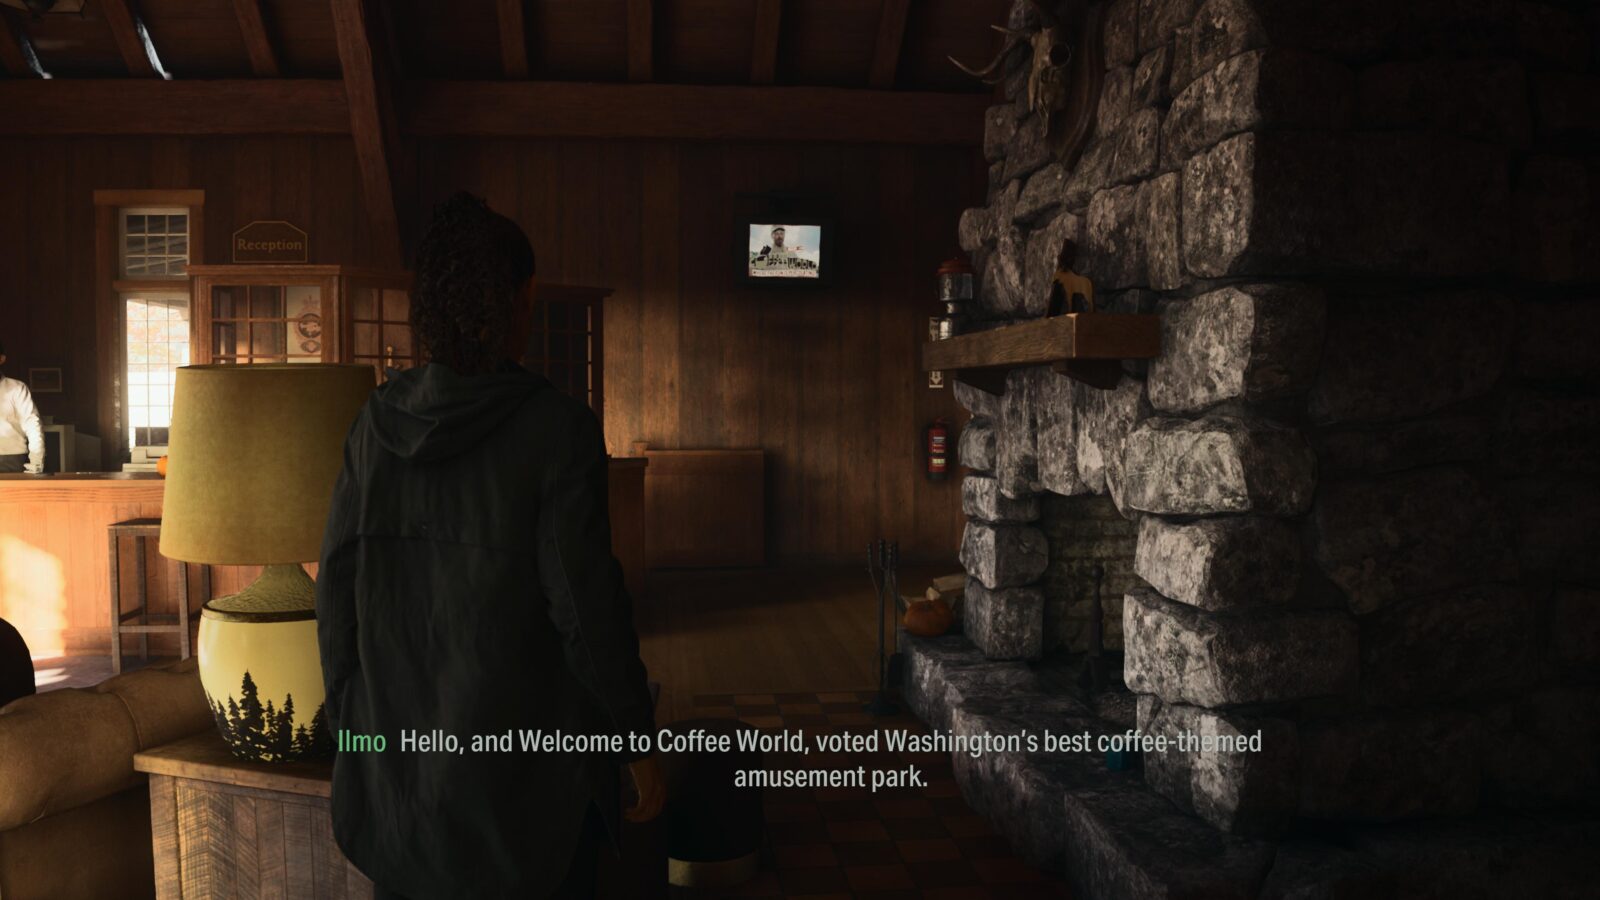
Koskela Brother Commercial #2 - Coffee World (unmissable)
As you leave the Lodge at the start of the chapter a TV in the Reception will turn on and automatically play a Koskela Brothers Commercial.
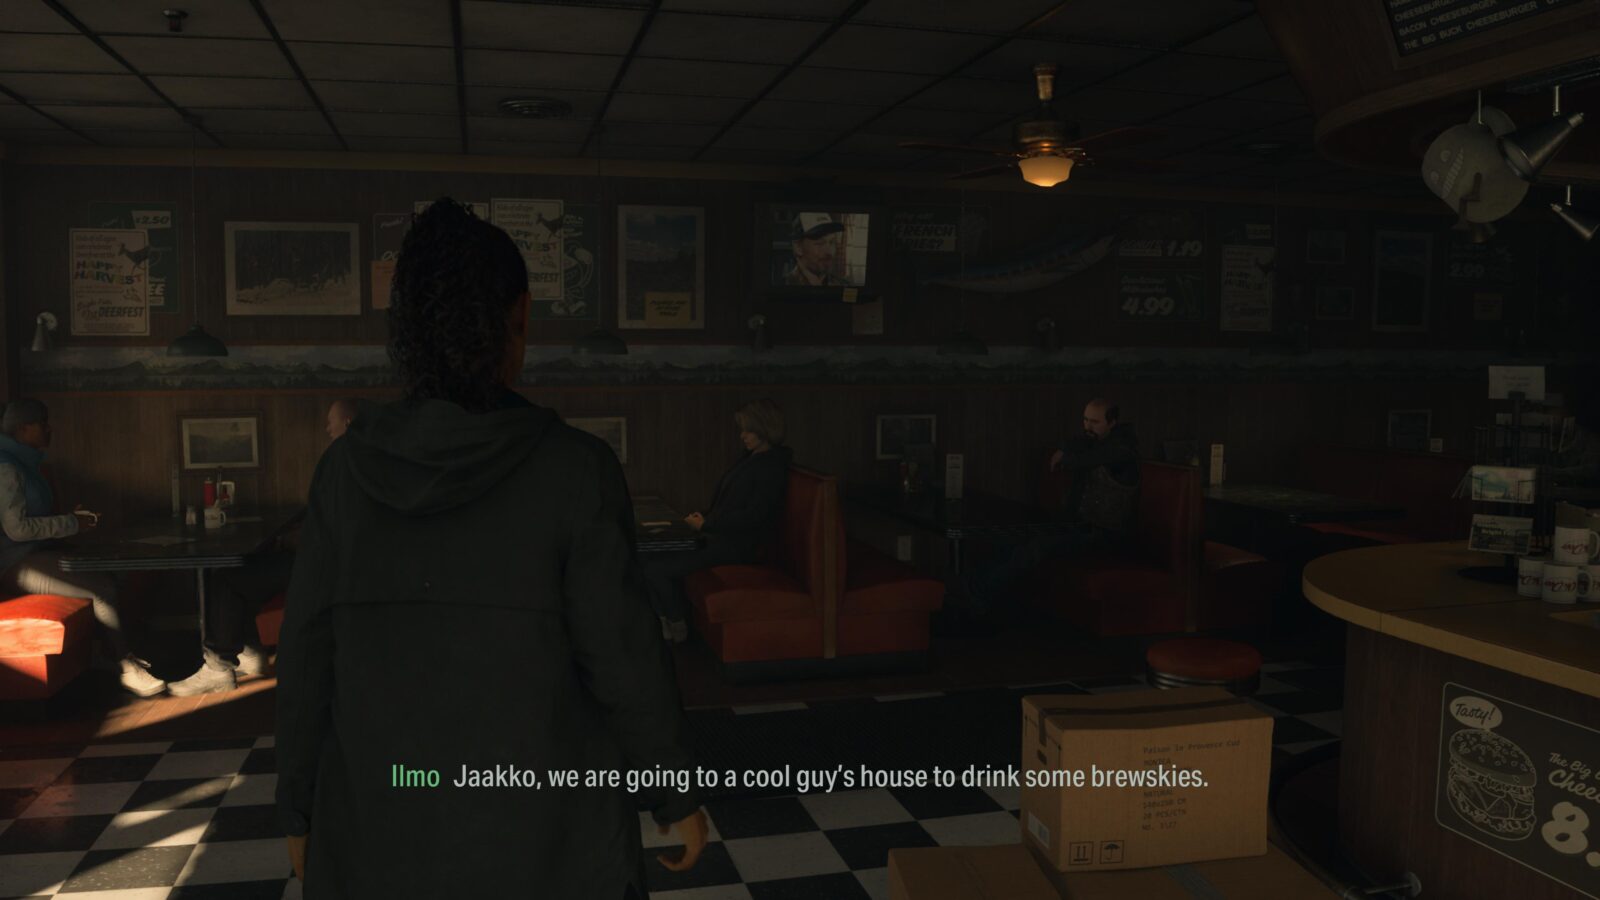
Koskela Brothers Commercial #3 - Ahma Beer
Before heading to Watery, go to the Oh Deer Diner to find another Koskela Brothers Commercial.
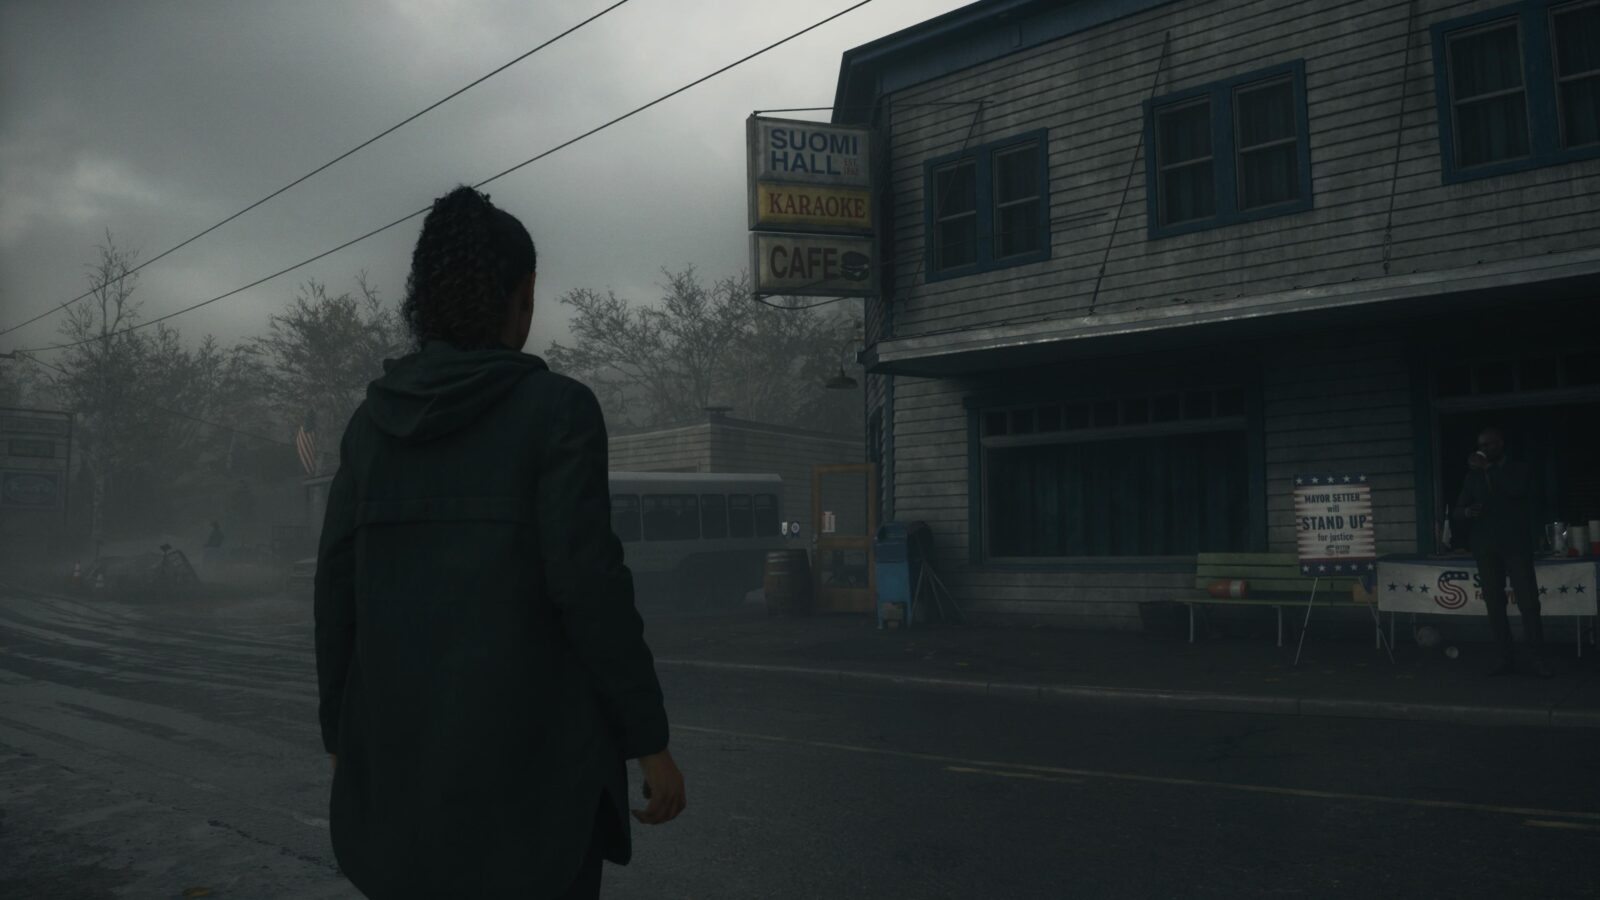
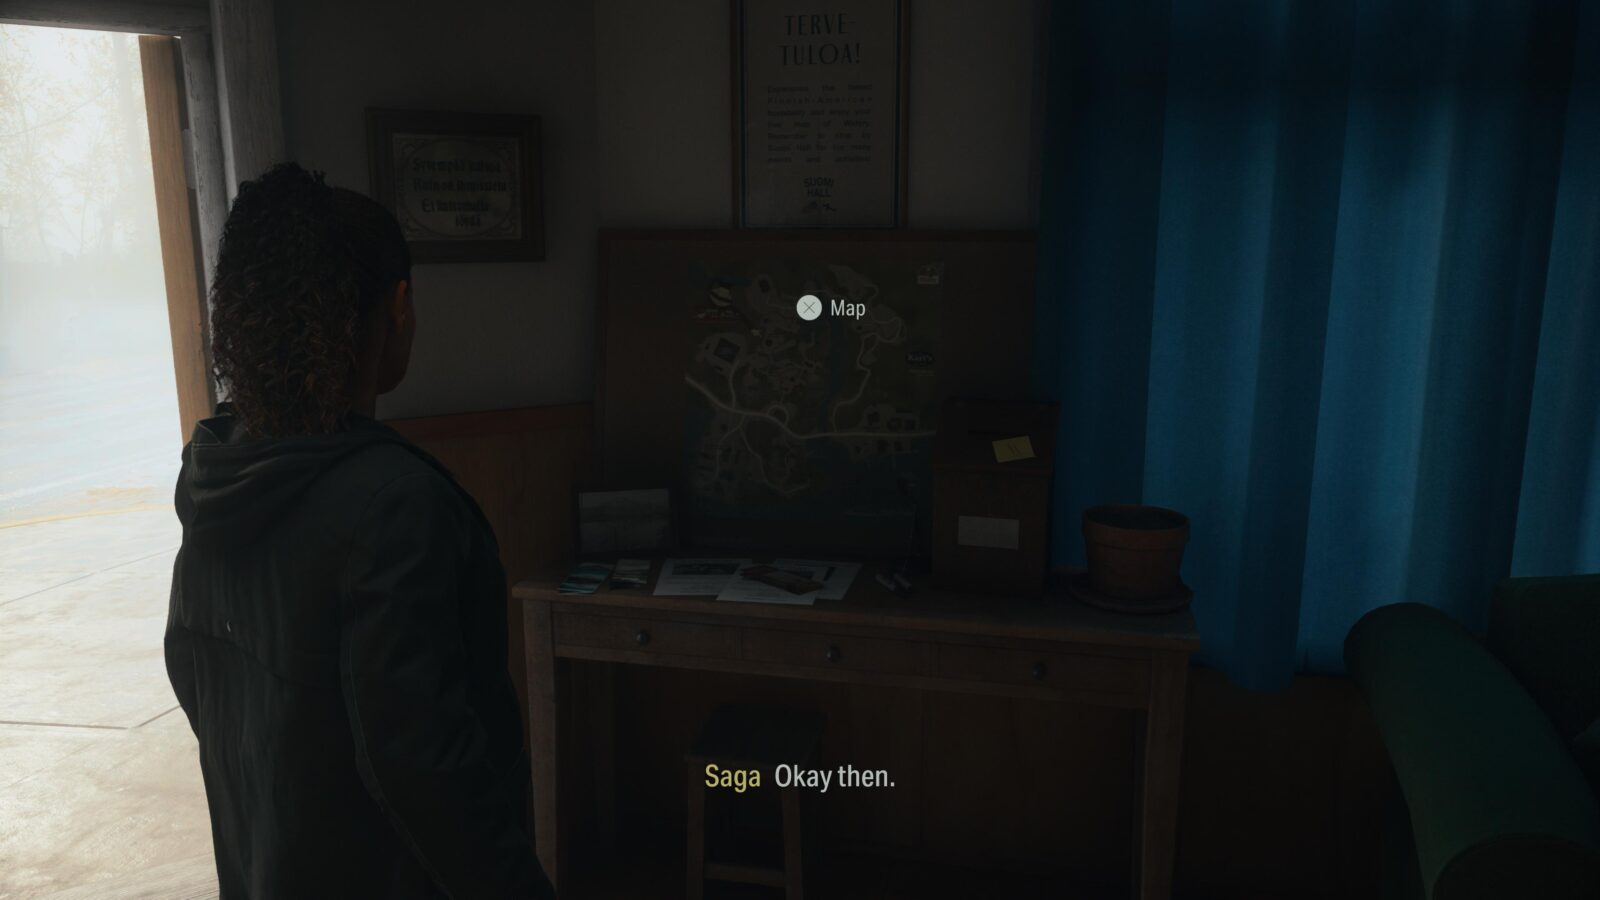
Map - Watery
Once you reach Watery the Suomi Hall will be directly in front of you. Enter the building and immediately check the wall inside to the left as you enter to find a map.
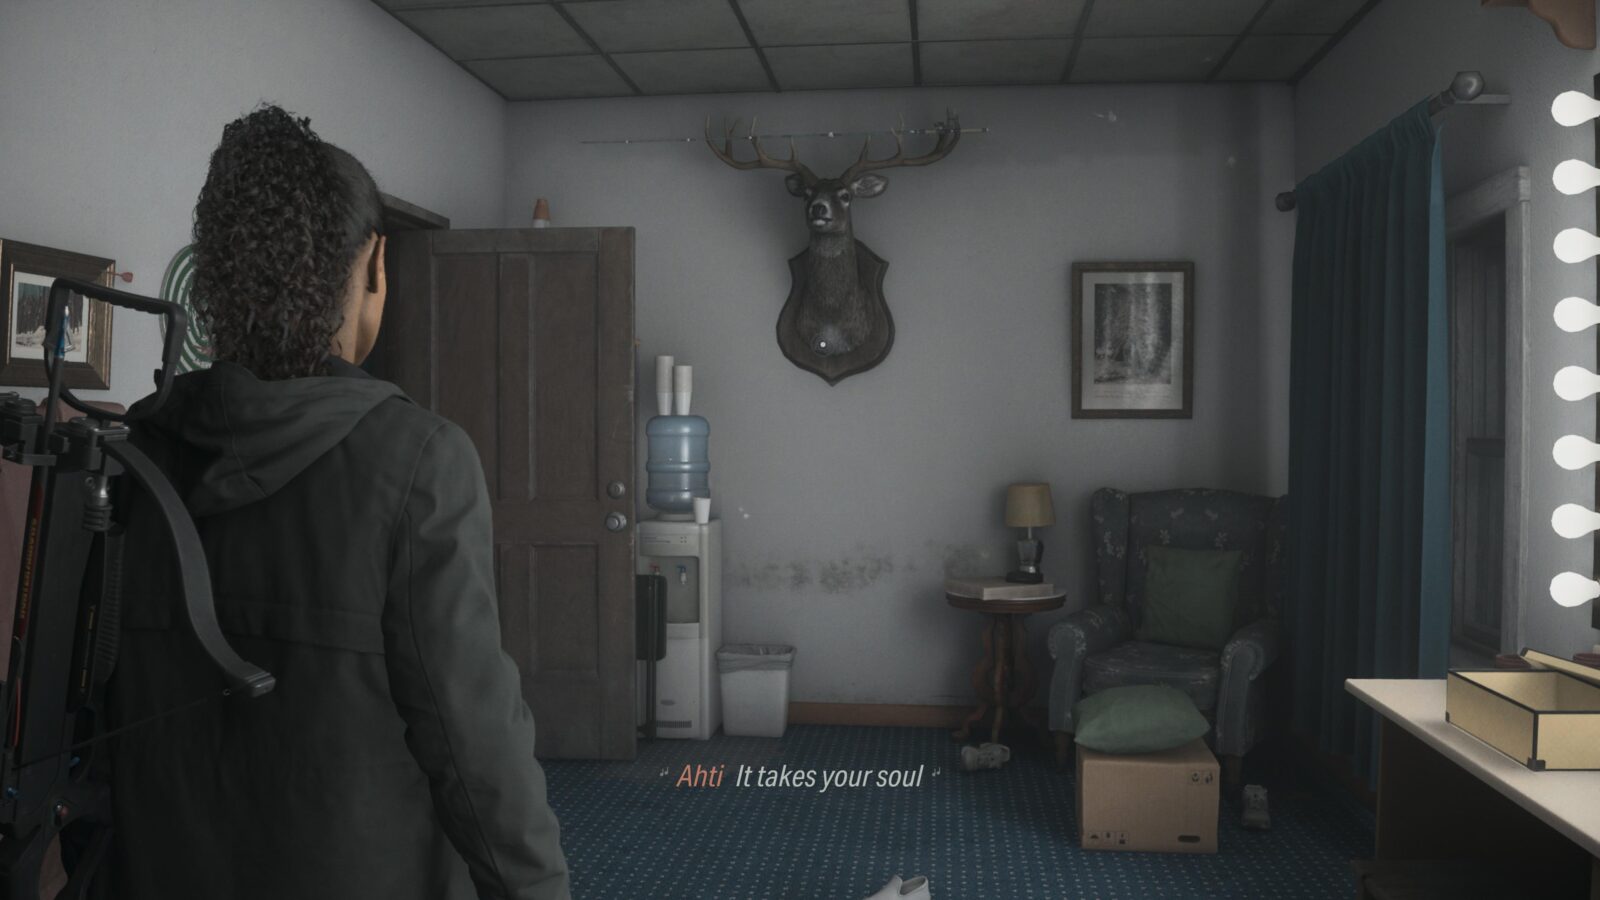
Deer Head #5
Inside Suomi Hall is a Break Room. On the wall in the break room is a Deer Head.
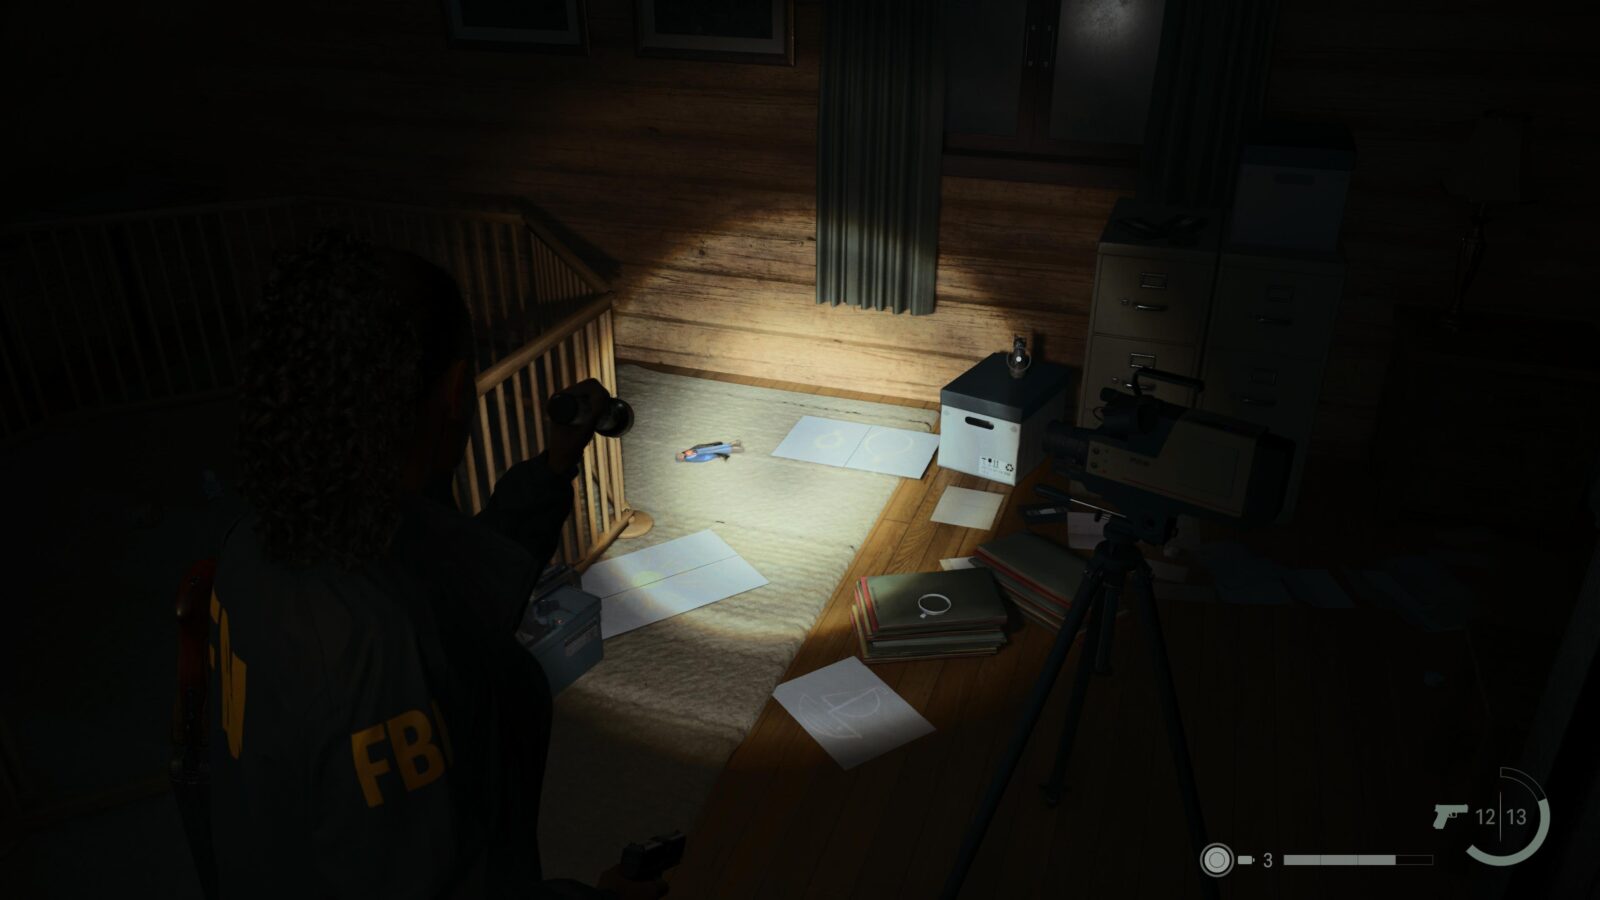
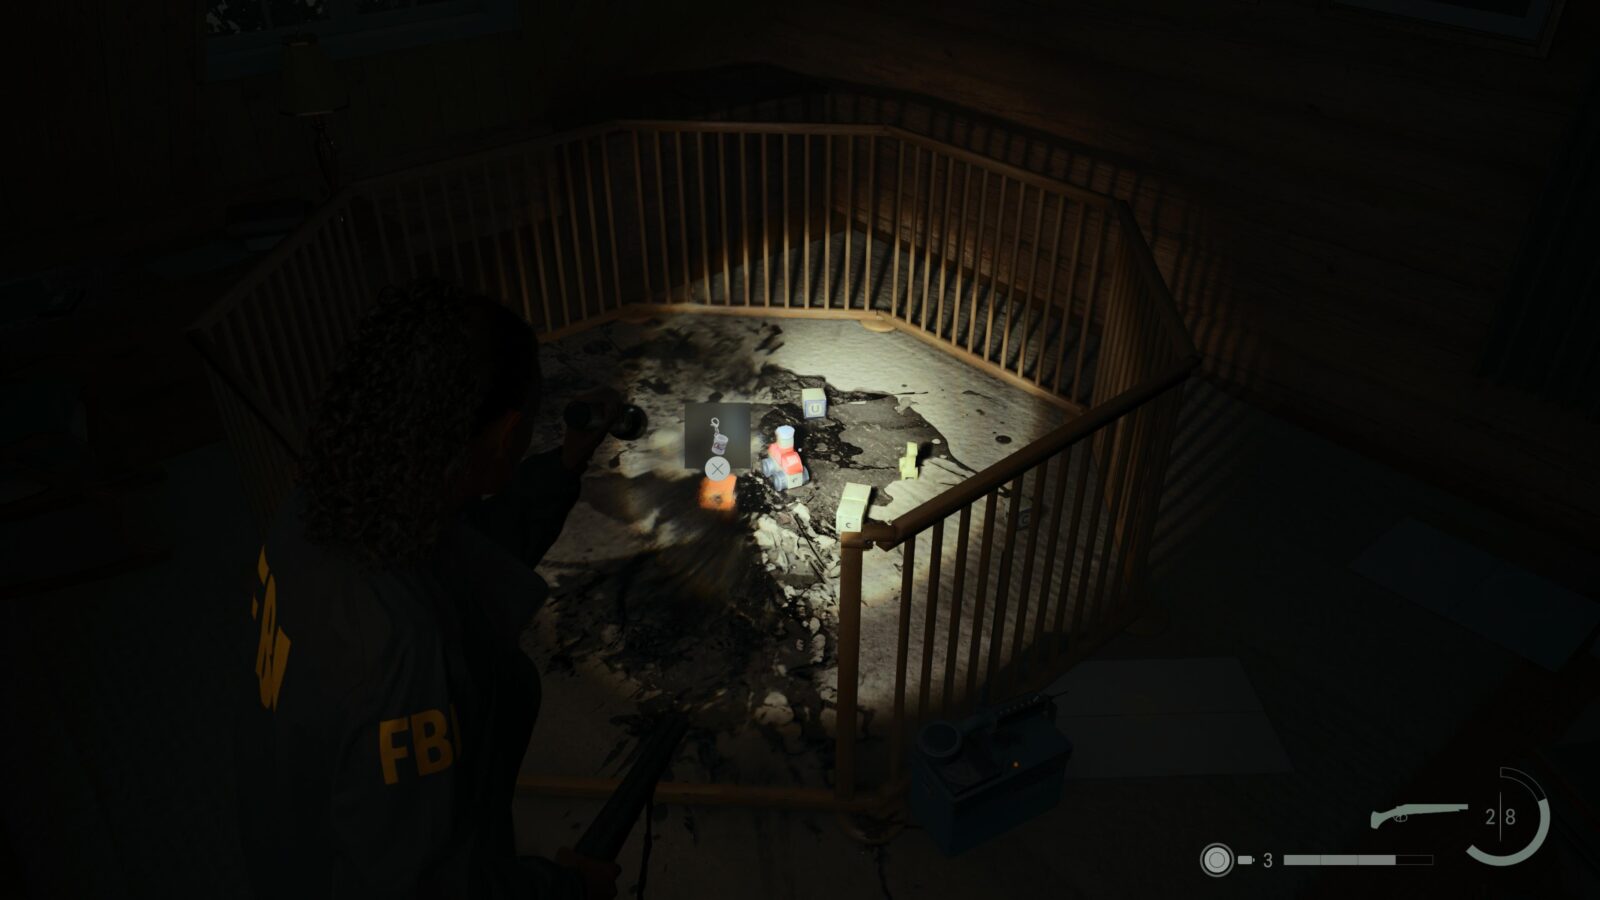
Nursery Rhyme Puzzle #4
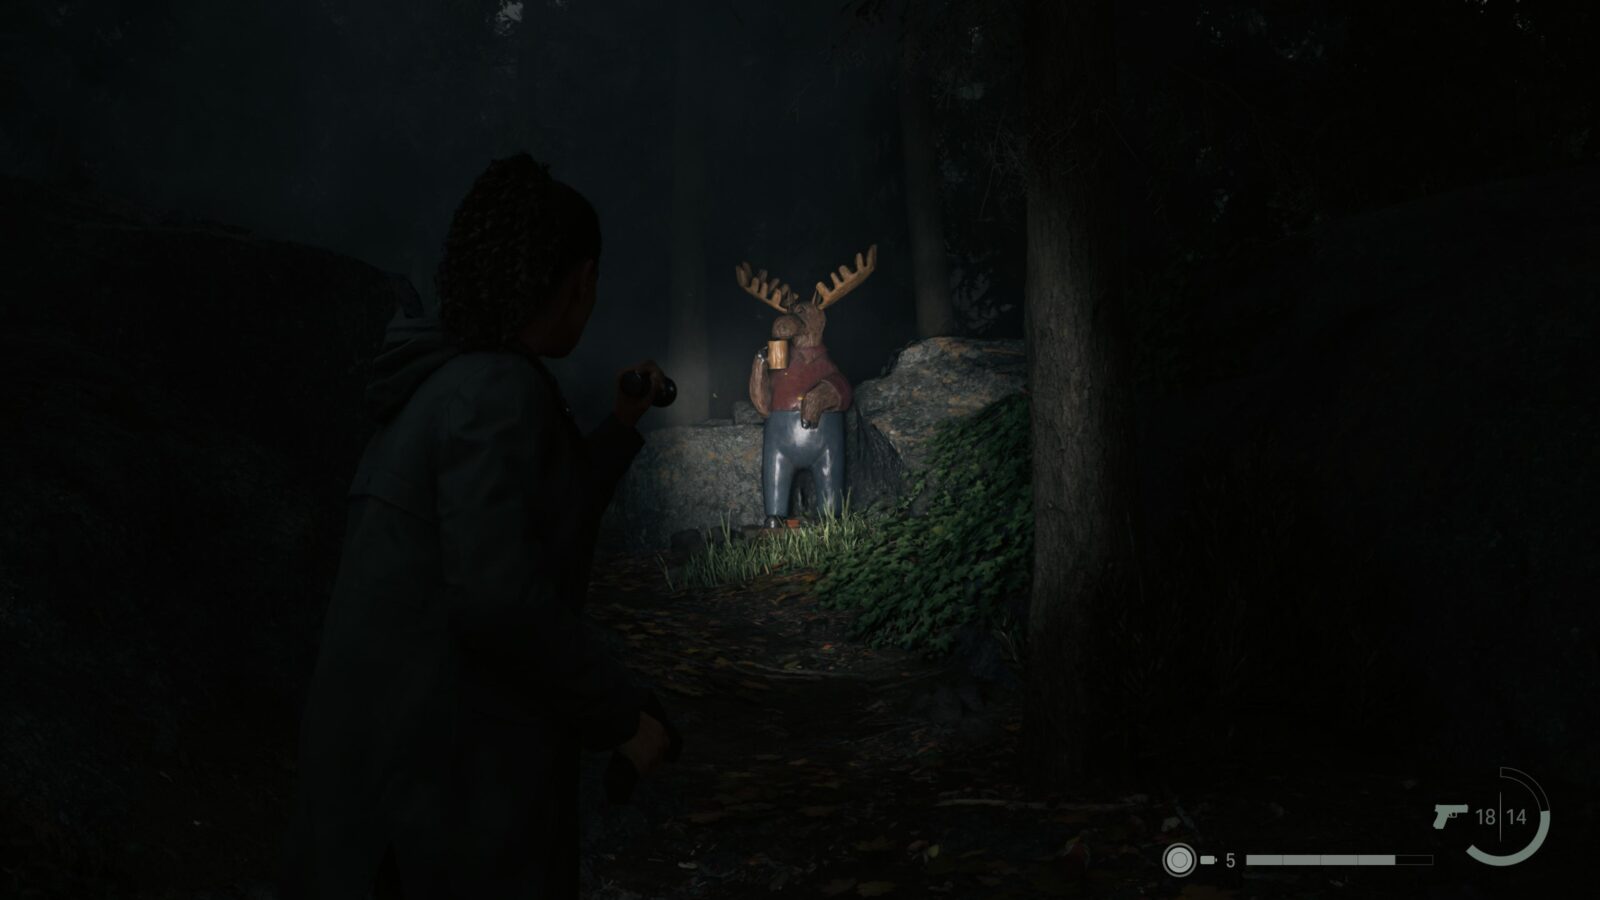
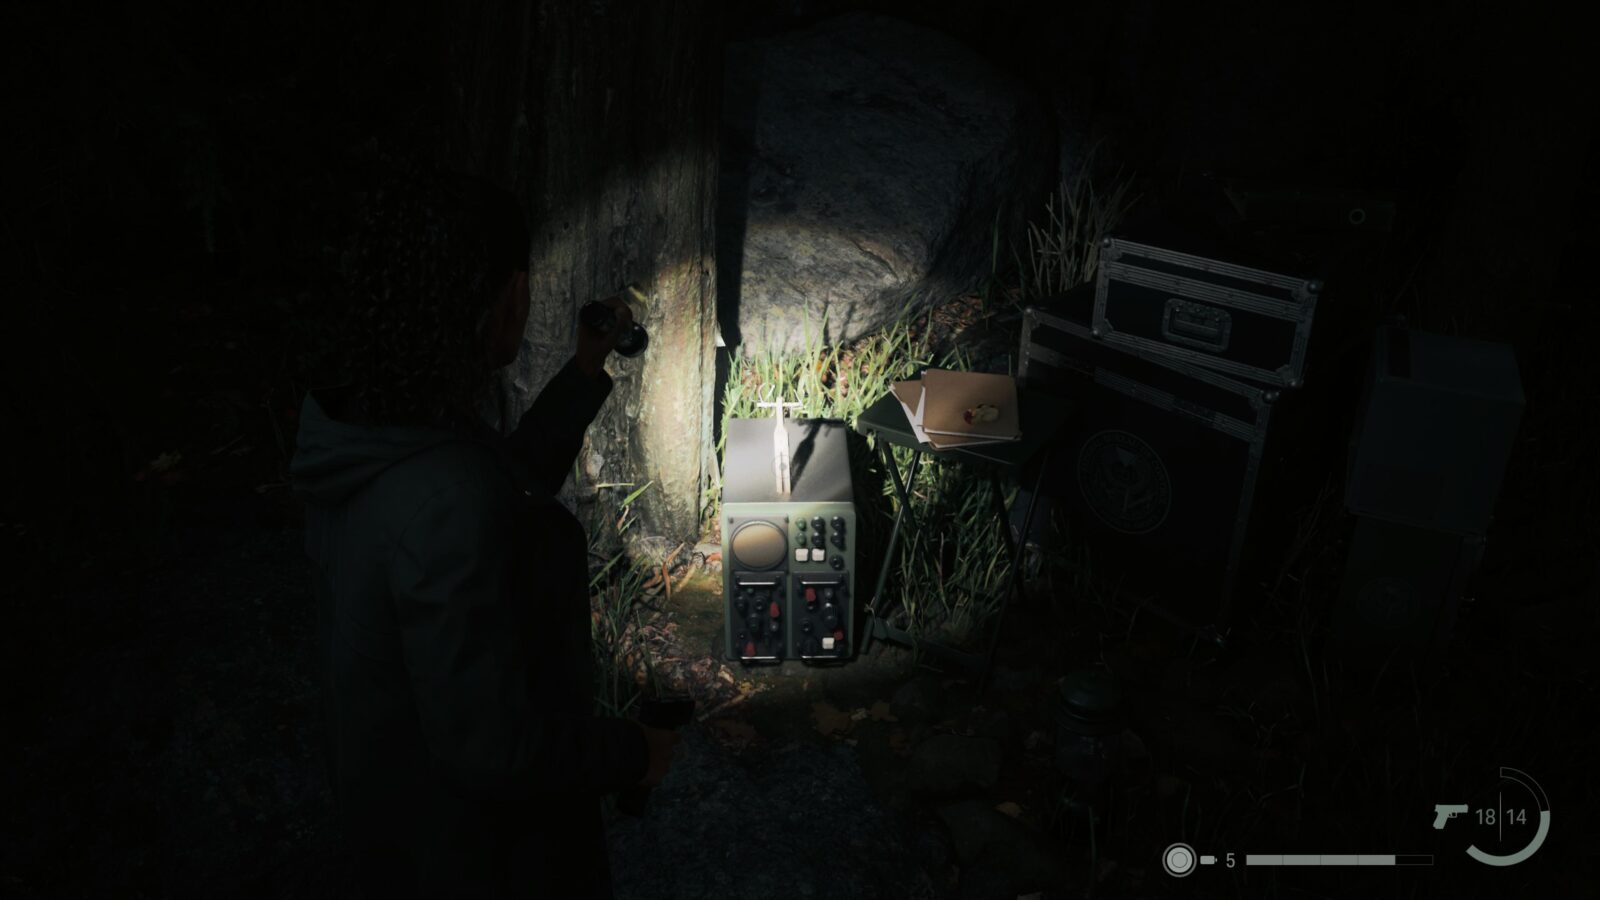
As you make your way to the trailer after speaking with the Koskela brothers you will be attacked by a Taken who throws axes at Saga. Follow the trail after the first axe is thrown and eventually you will be able to turn right into a section that overlooks the previous trail (use your map). If you’ve reached a hut then you’ve gone too far. Here is some observation equipment and another puzzle for you to solve. Solving this puzzle rewards you with another Coffee Mug Charm—which you can find at the base of a Moose Statue on the main trail—which doesn’t count towards the Rustic Charm trophy (for finding all charms) as there are several of these and are one use only items.
Spoilers! Click to Show
Nursery Rhyme Doll #4 - Deer Doll
Next to Nursery Rhyme Puzzle #4 is a Deer Doll on some observation equipment.
Nursery Rhyme Doll #5 - Moose Statue
Also next to Nursery Rhyme Puzzle #4 is a Moose Statue which you need to use to complete the puzzle. Make sure to pick up the Moose Statue before you move on.
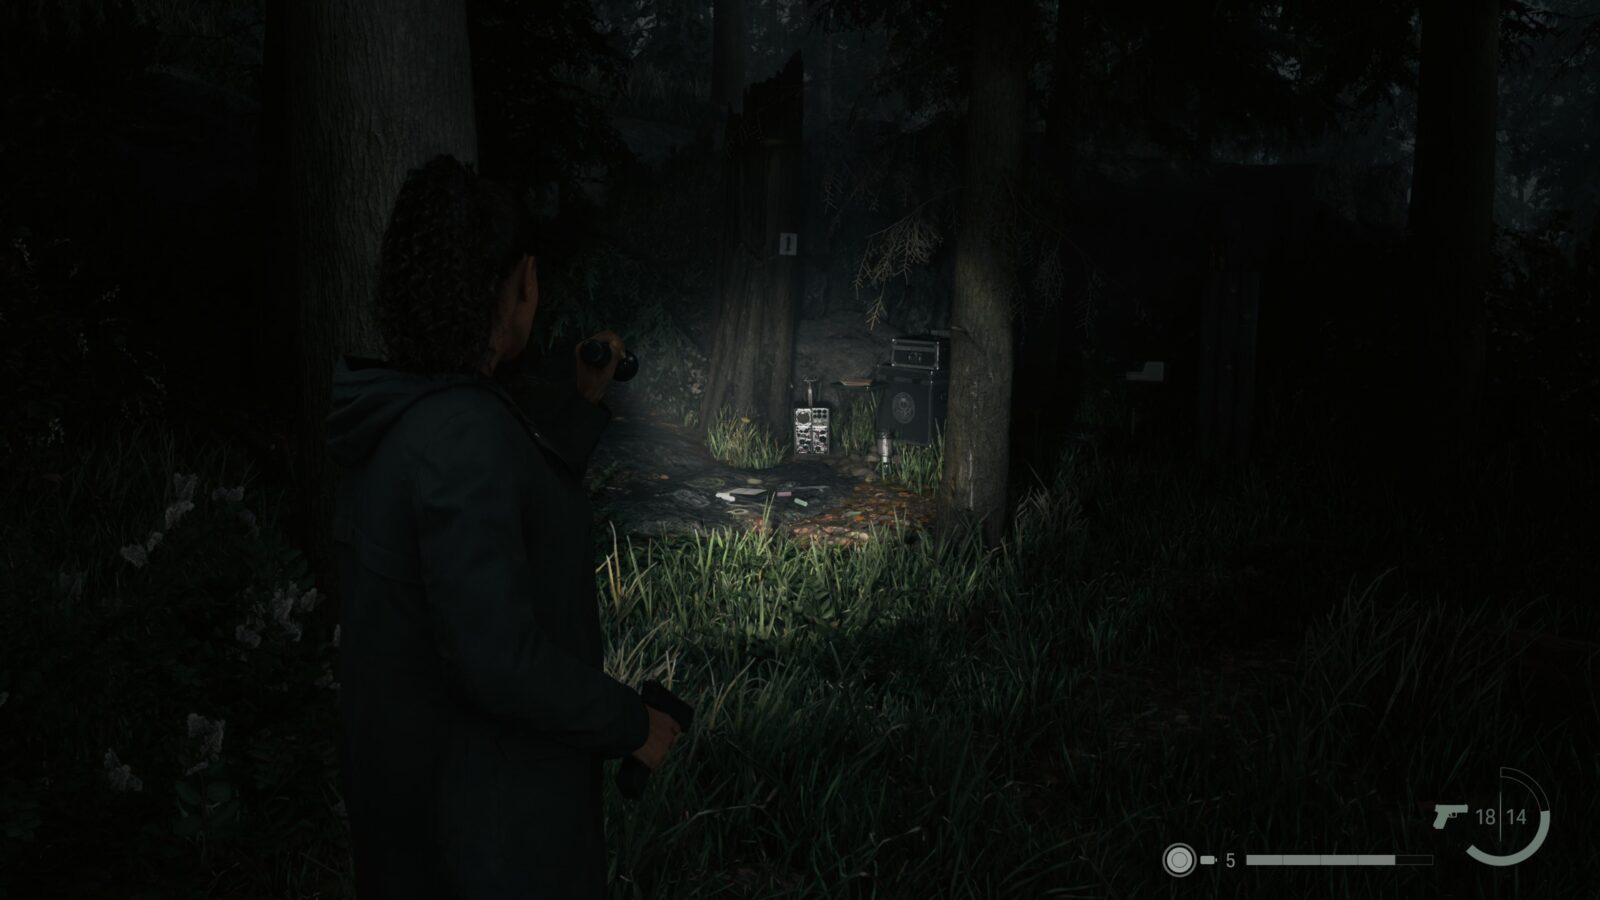
Cult Stash #5
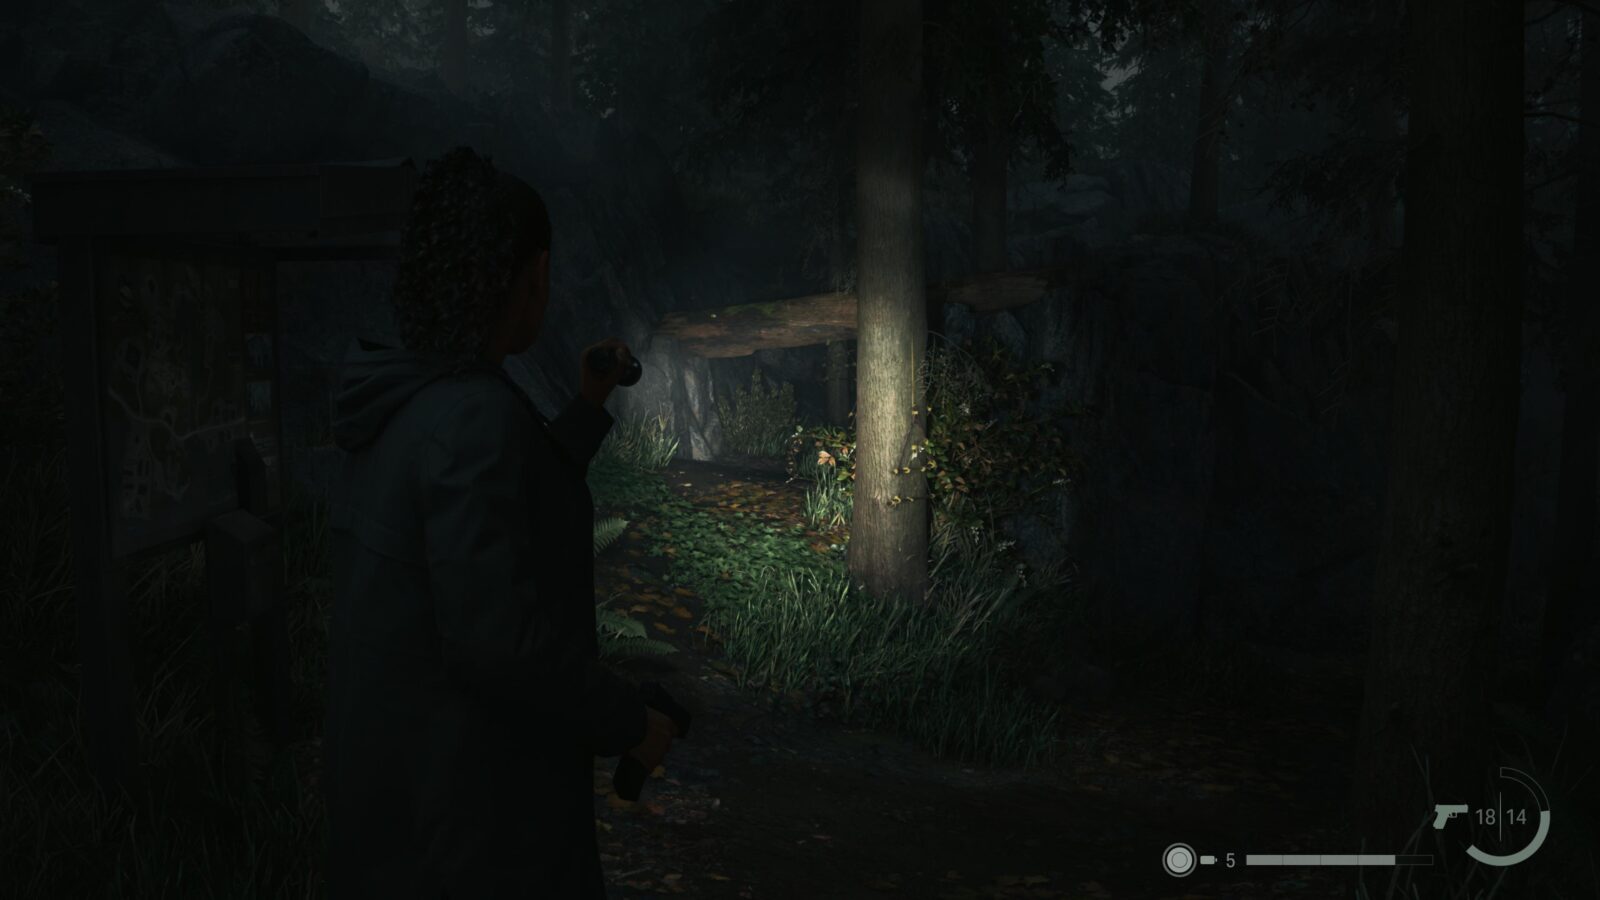
Continue on the main trail and keep an eye out on your right for a map board. To the right of the map board is a fallen tree you can duck under to find another stash. If you’ve reached the hut then you’ve gone too far and need to turn back. This stash is another random pattern memory padlock but this time it’s a 4 light pattern.
Cult Stash #6
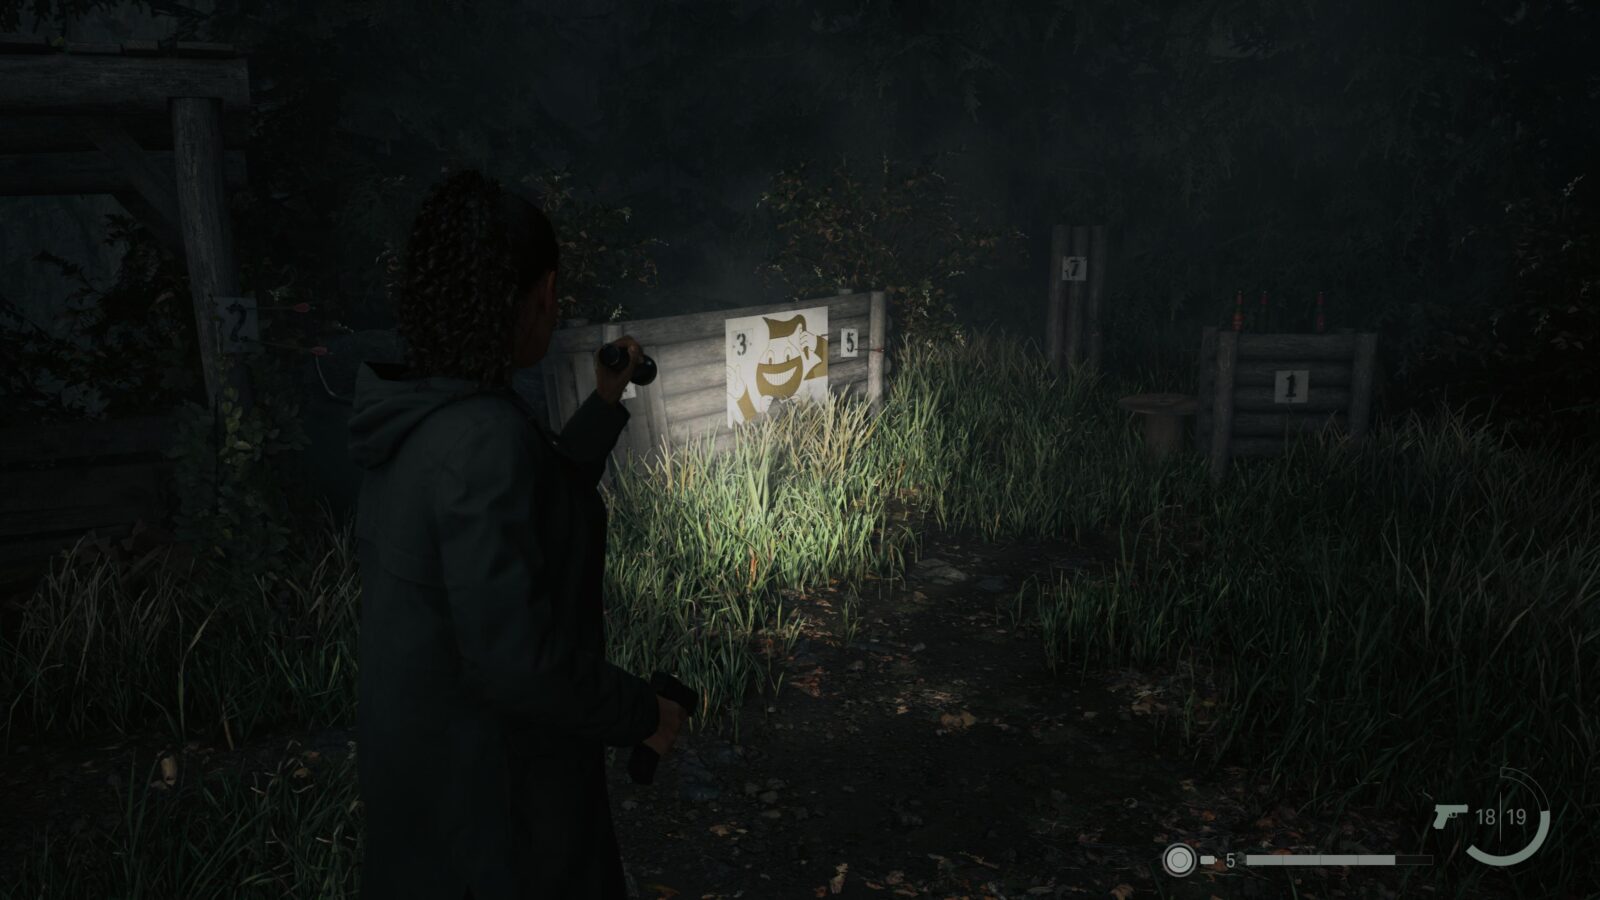
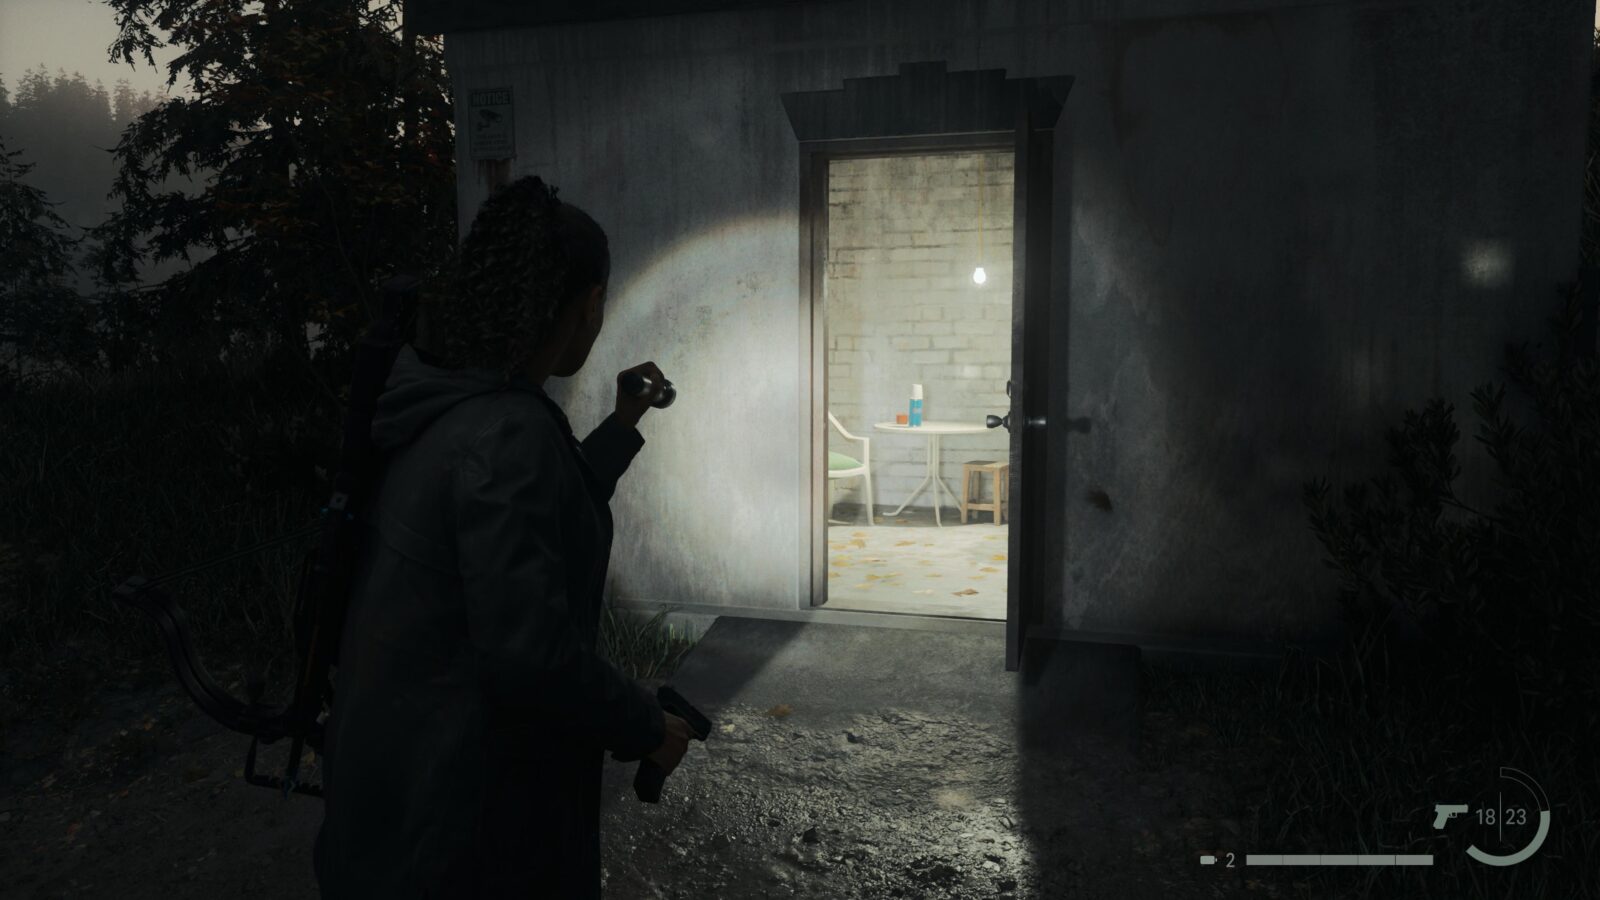
Outside the hut—which is actually a Break Room—is another stash with a padlock. To find the code you only need to look at the numbers pinned to the wood to the right of the stash. The numbers with arrows in are the ones you want; you just need to find the right order.
Spoilers! Click to Show
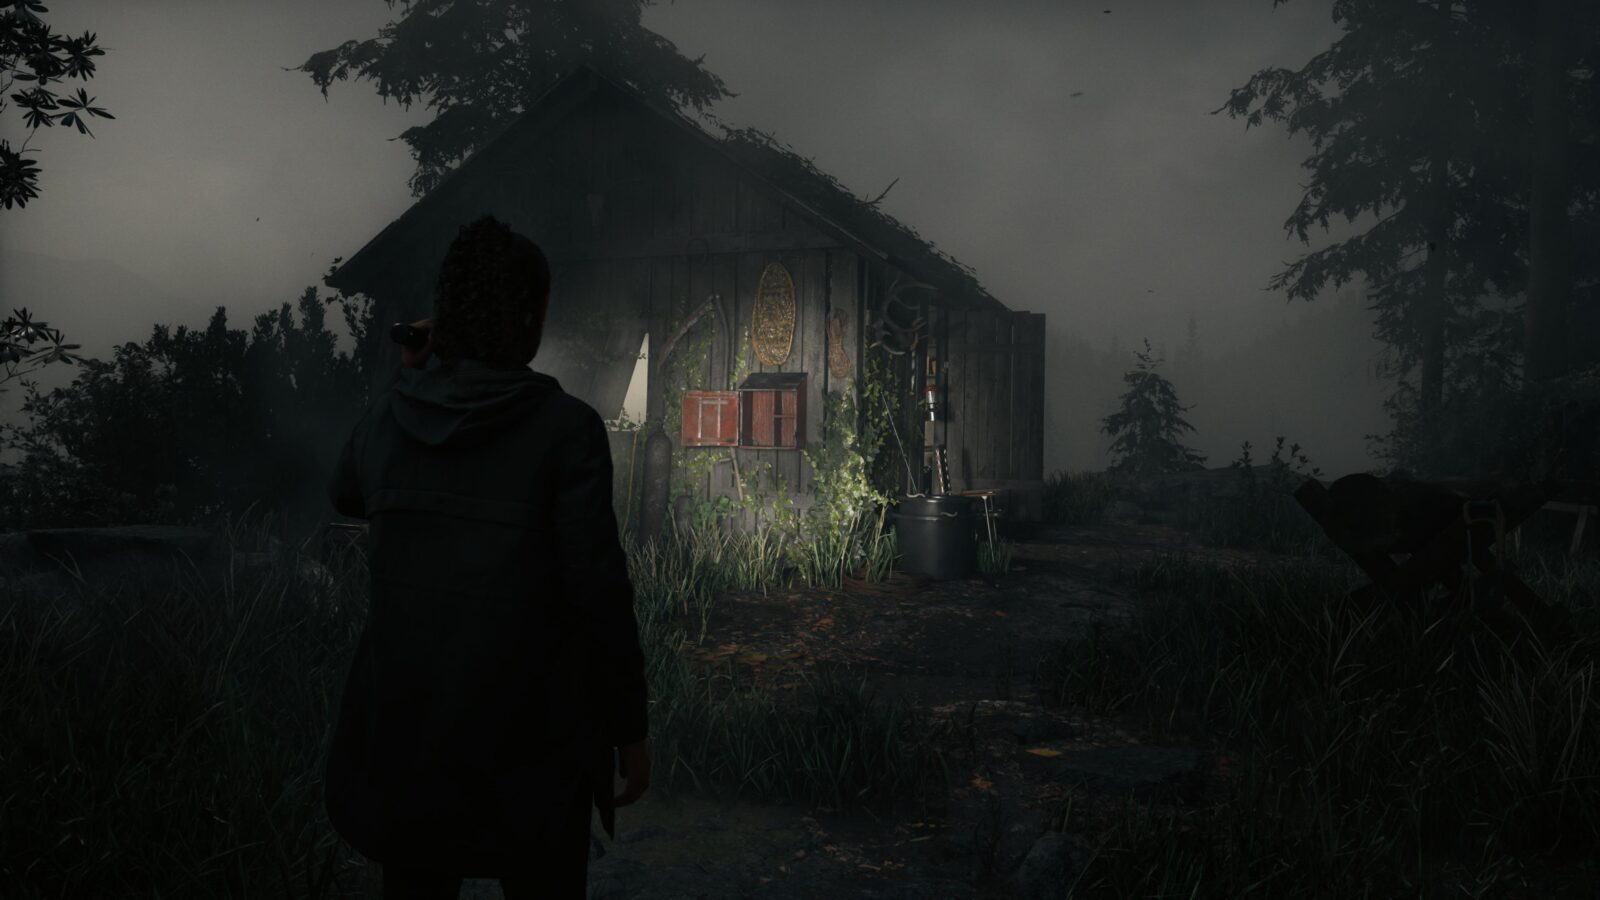
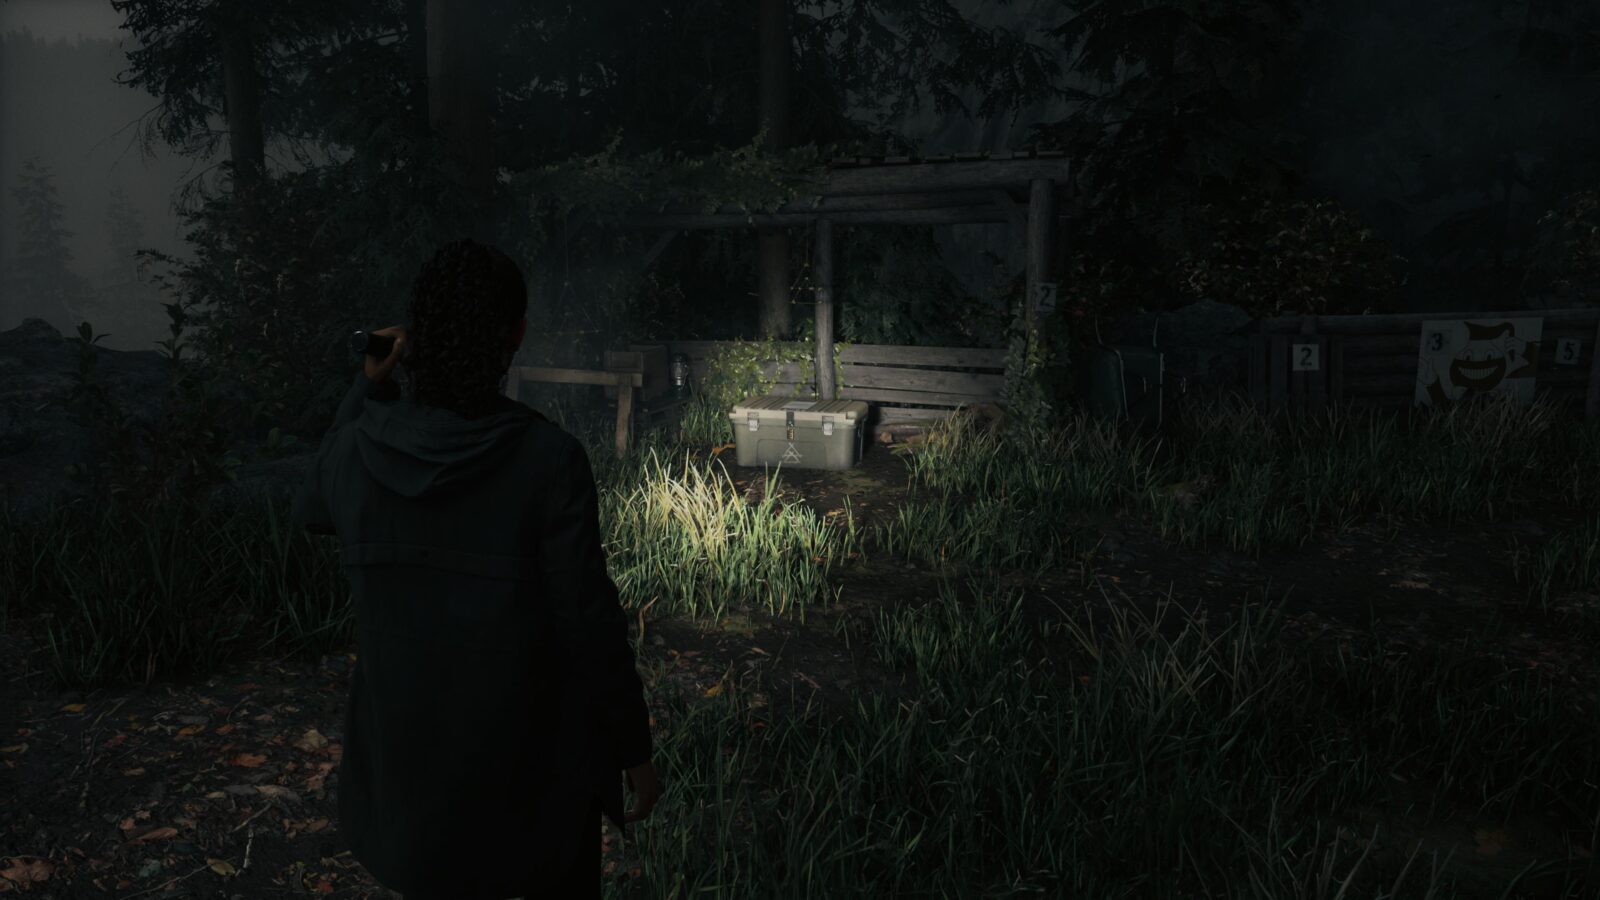
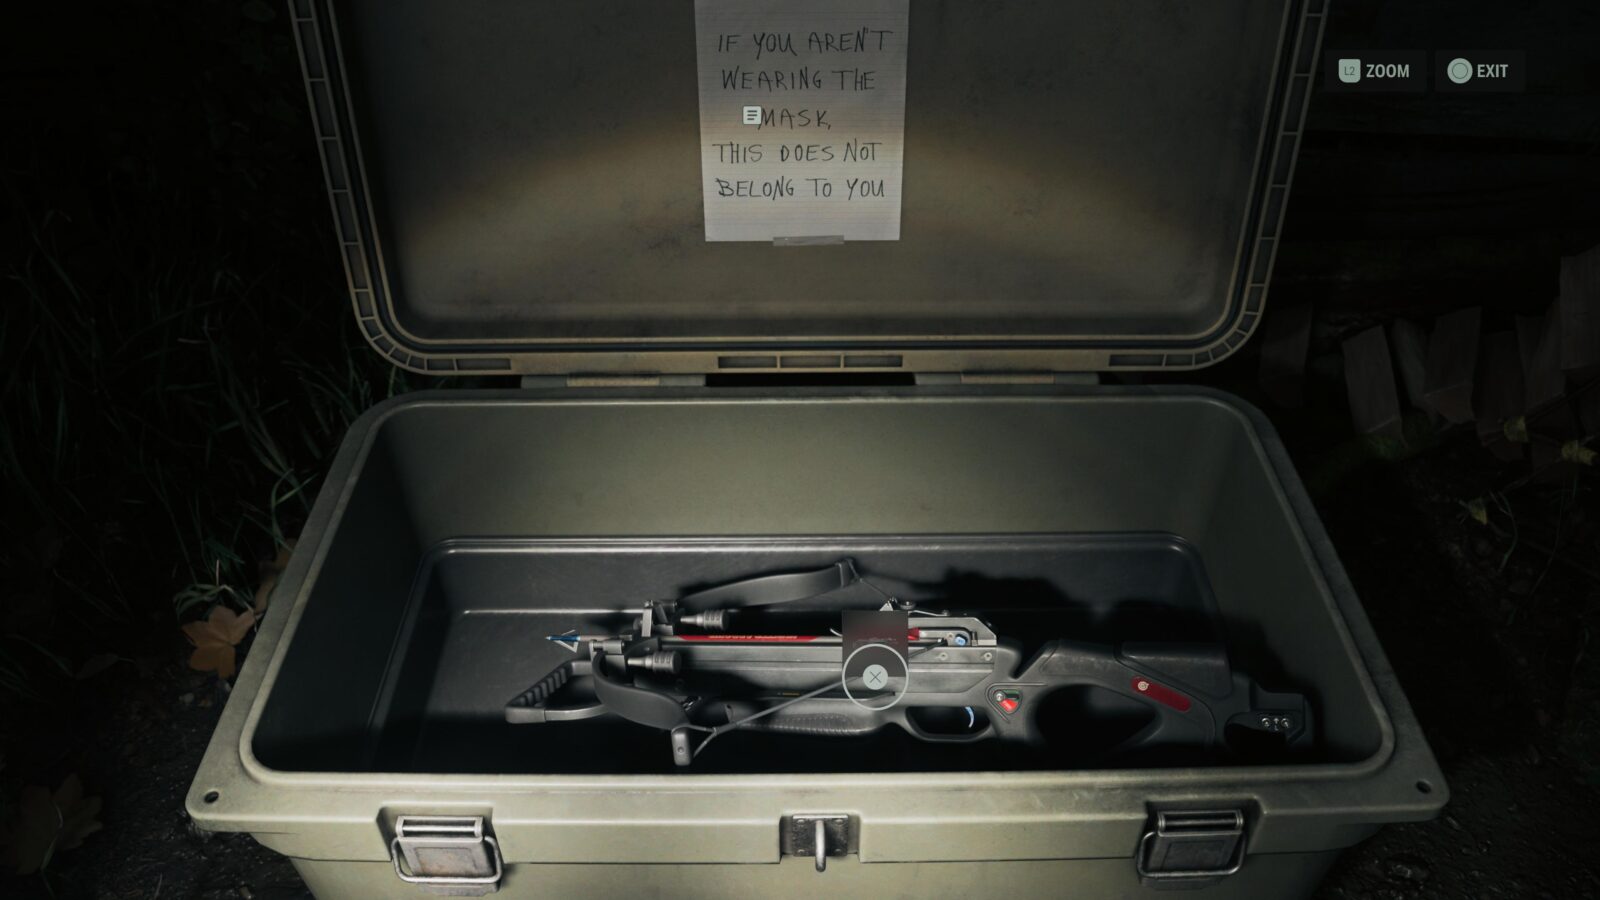
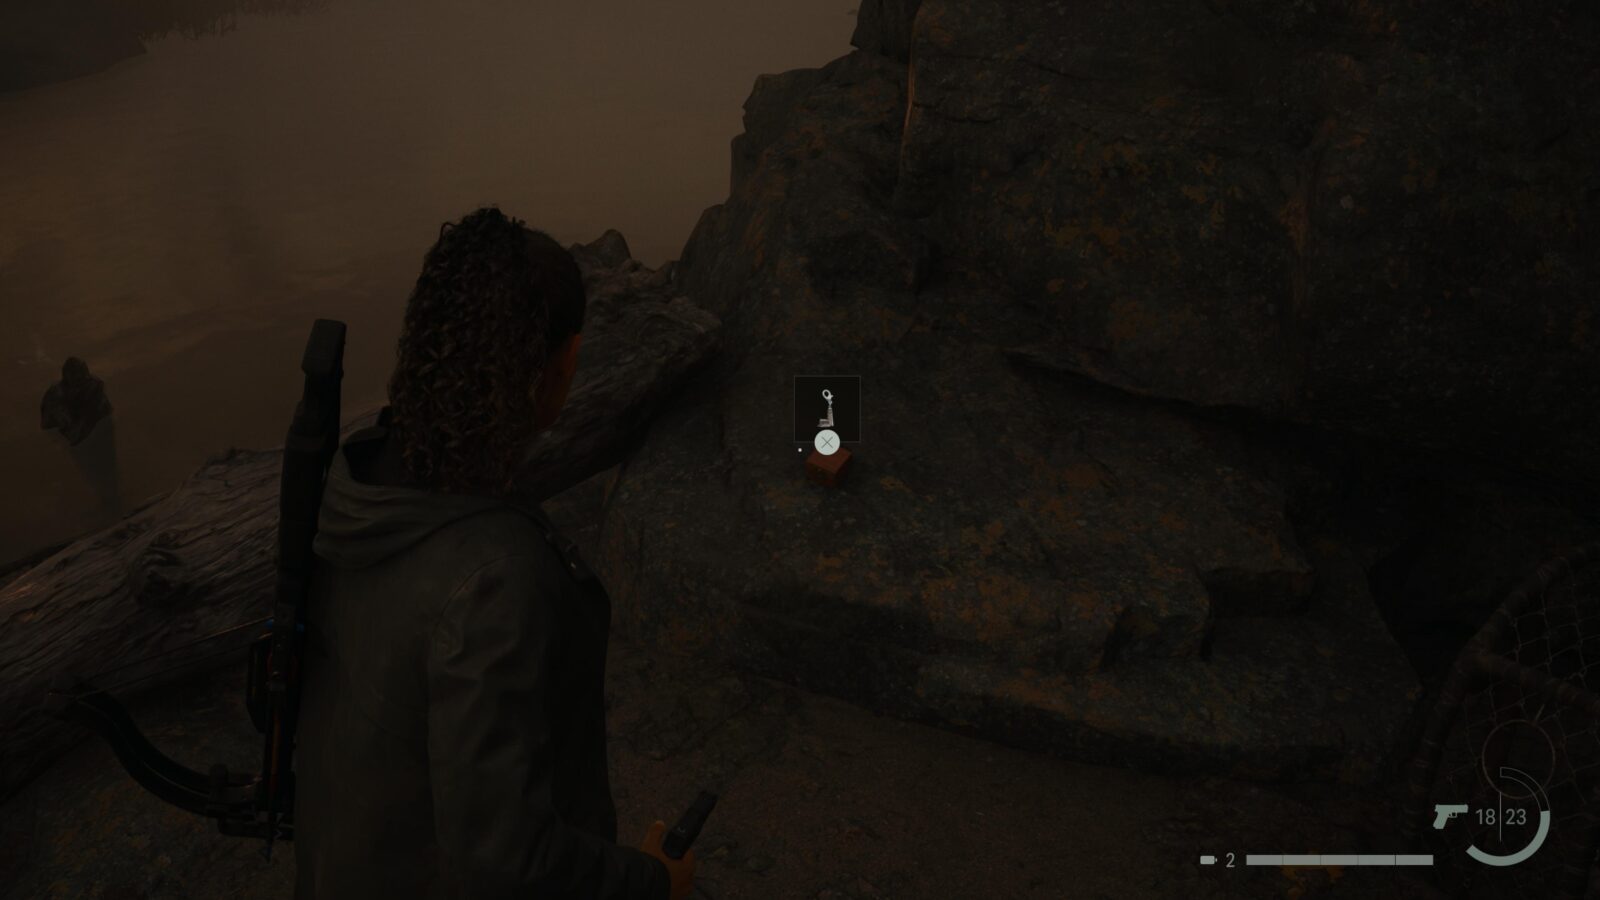
Weapon #4 - Crossbow
Inside Cult Stash #6 is the Crossbow weapon.
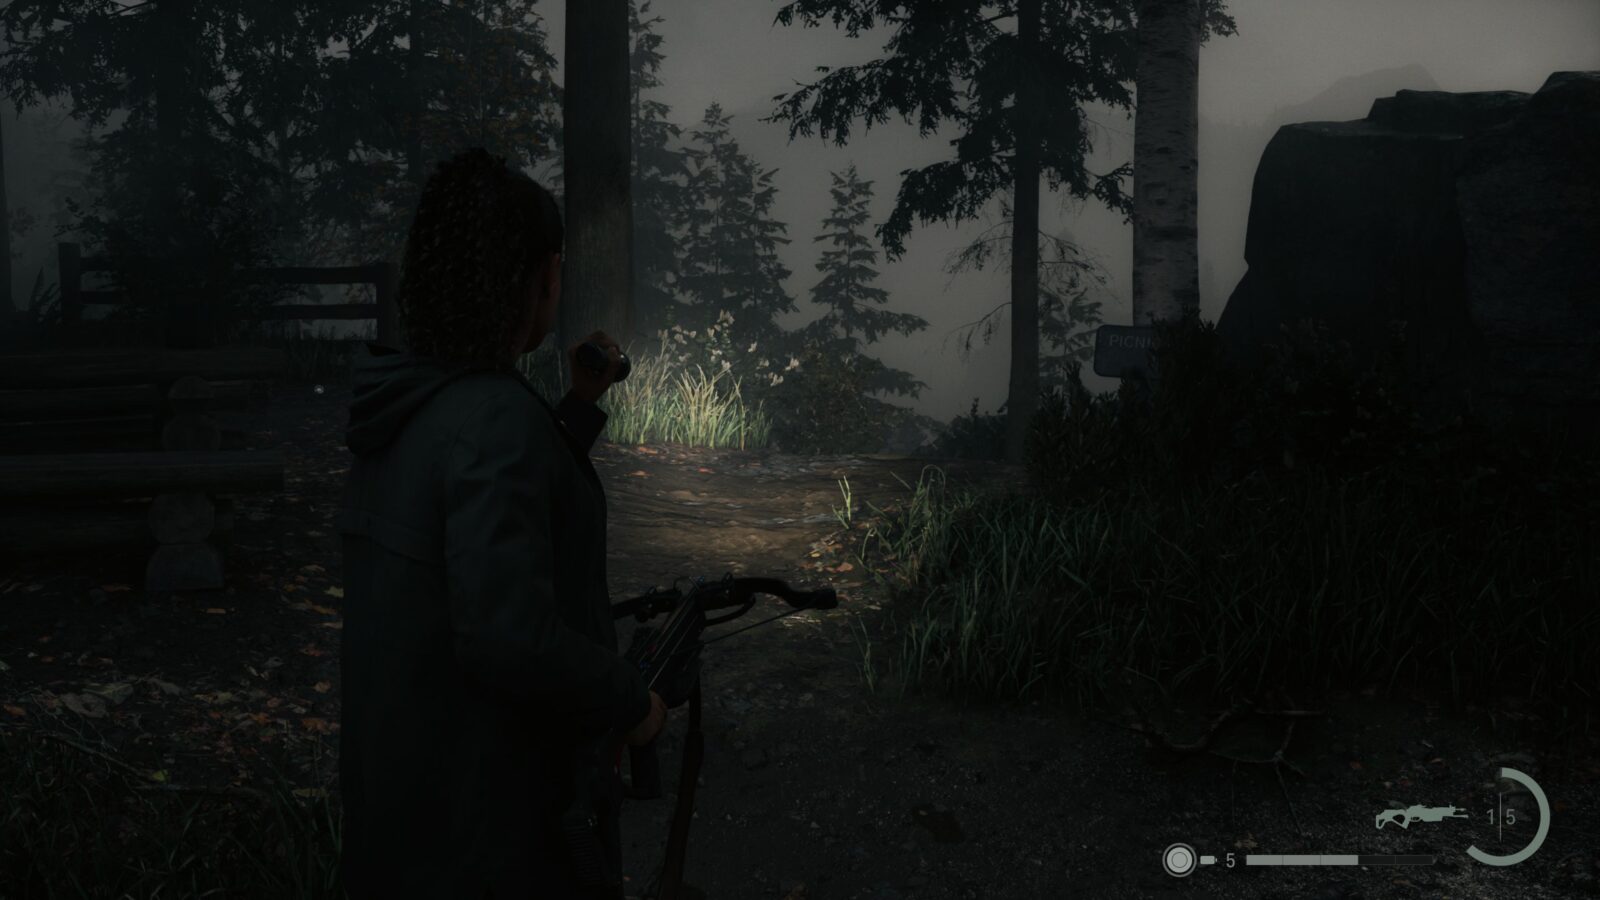
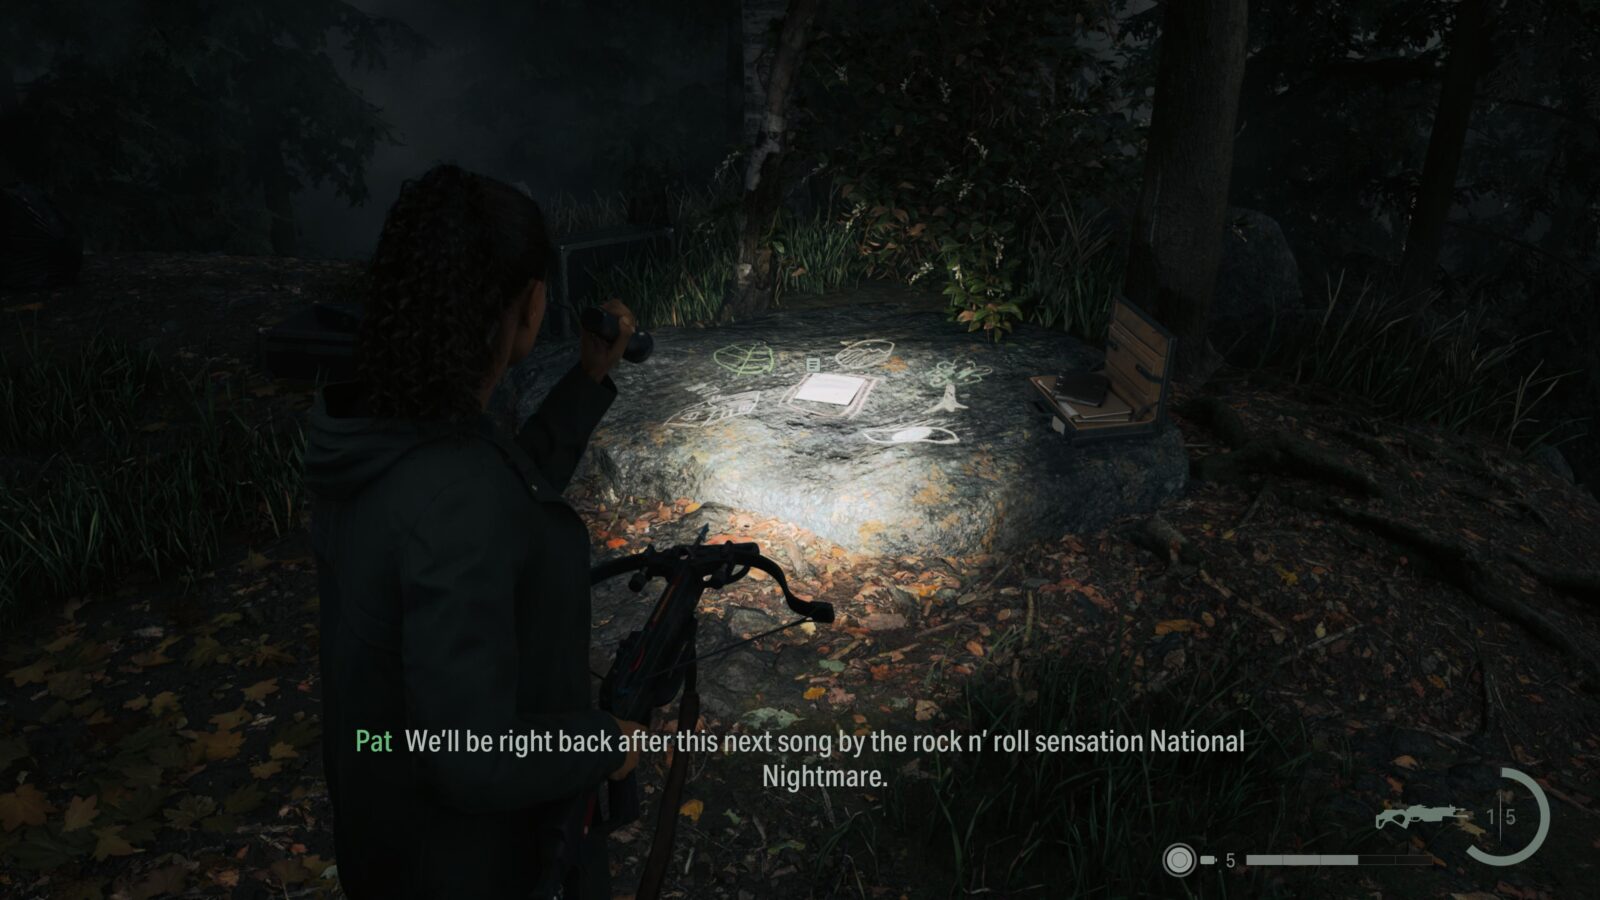
Nursery Rhyme Puzzle #5
Just outside the Break Room hut is a trail that diverges to the right and leads to the Radio Tower. If you’re heading down then you’ve gone in the wrong direction. At the top where the Radio Tower is will be a picnic table and a white tree with a sign that says “Picnic Area”. Between these two is a trial that leads to more picnic tables and a Nursery Rhyme Puzzle. Remember to pick the Nursery Rhyme Doll up once you complete the puzzle.
Spoilers! Click to Show
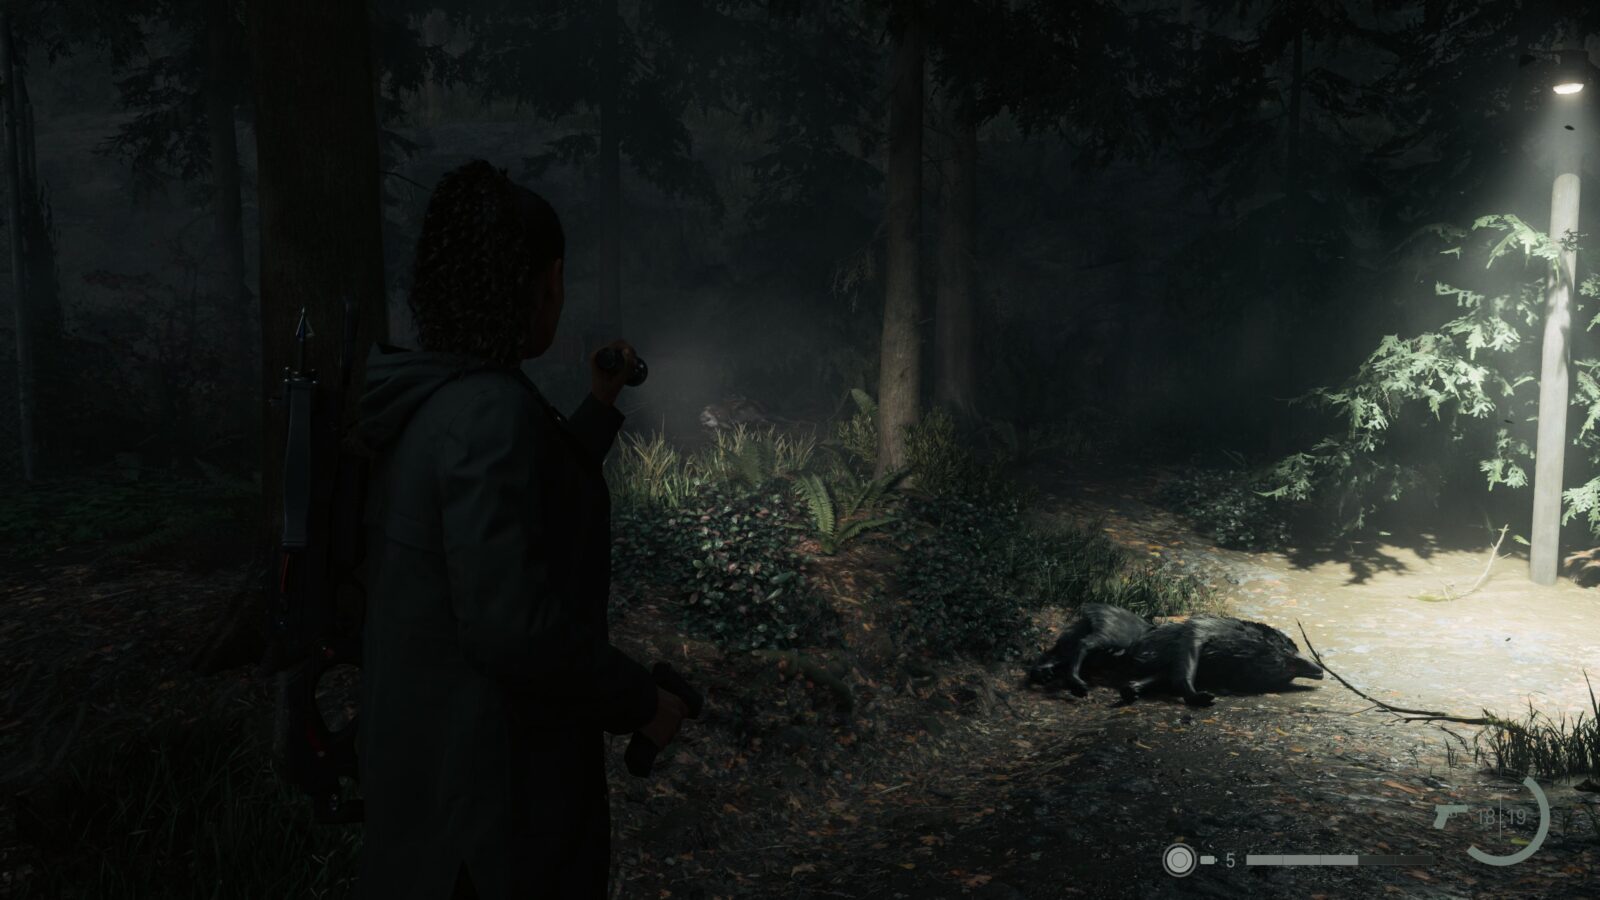
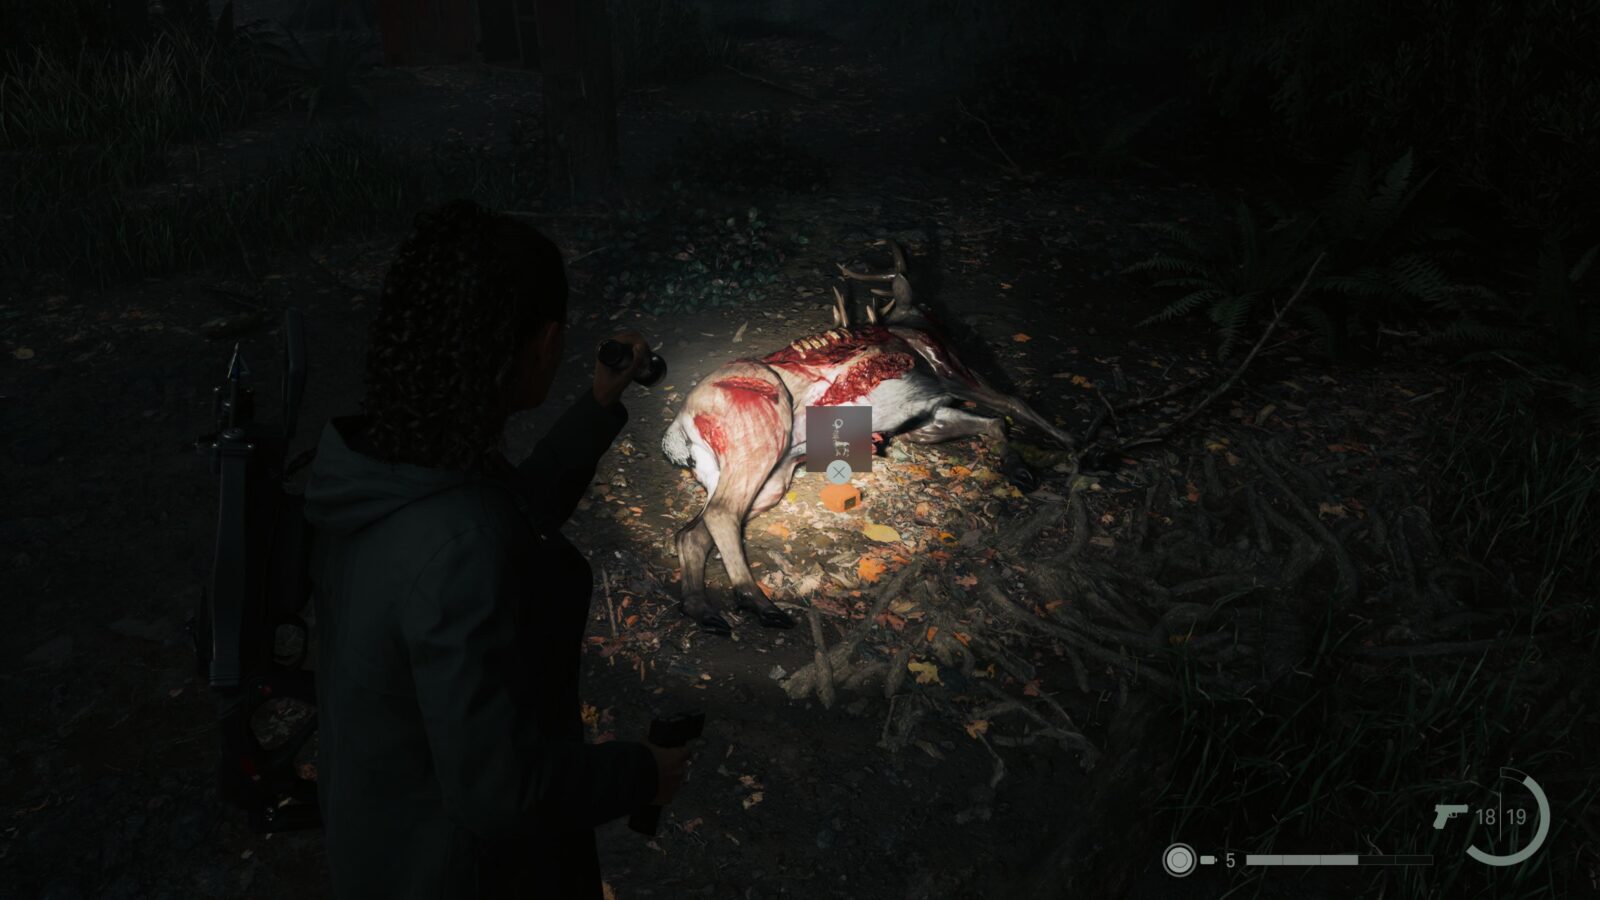
Charm #5 - Deer Charm
After completing Nursery Rhyme Puzzle #5 you can find a Deer Charm by a deer corpse to the left of the light near the Radio Tower. You will be attacked by two Taken Wolves in the area.
Lunch Box #9
To the left of the deer corpse where you found the Deer Charm is a tree with a dreamcatcher like decoration hanging from it. Follow the decorations to the cliff ledge to find another Lunch Box with 9 Manuscript Fragments inside.
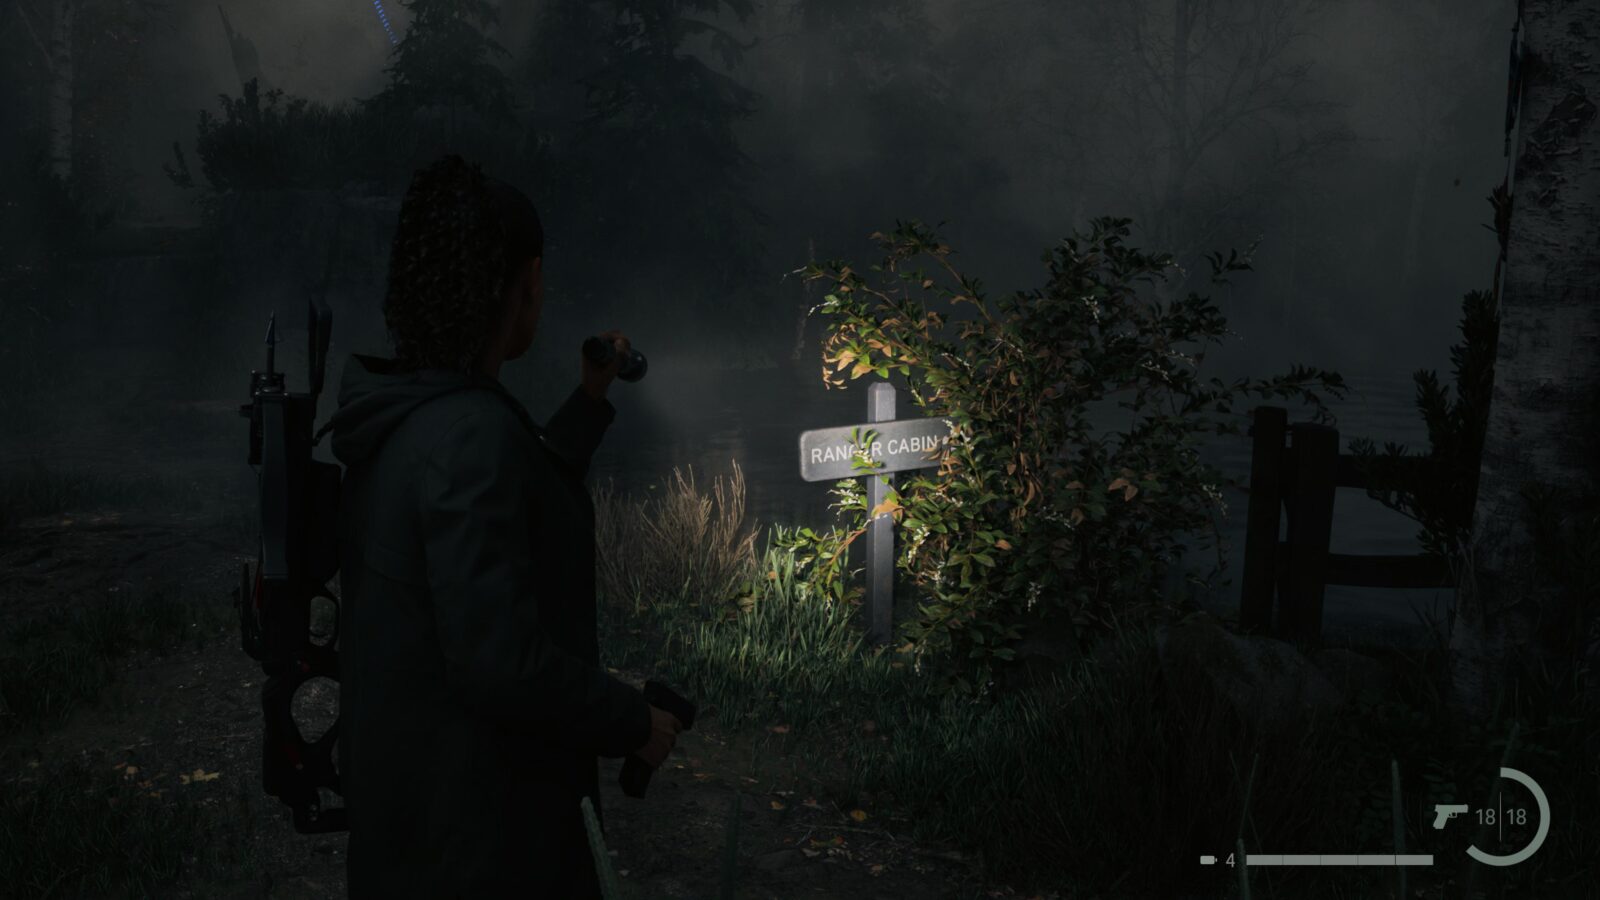
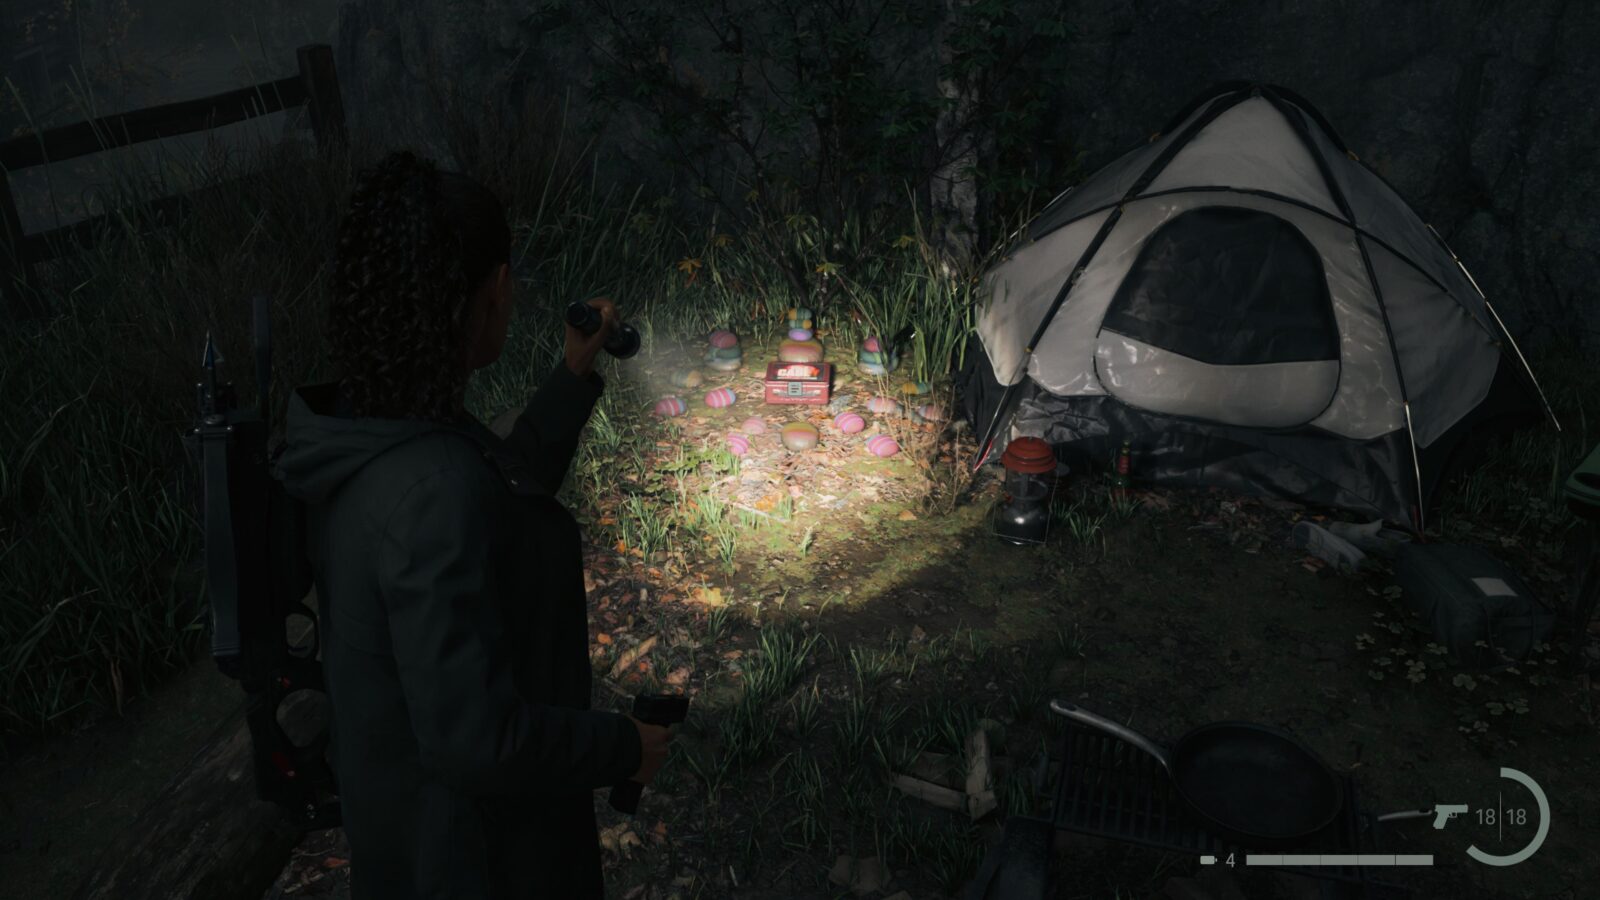
Lunch Box #10
Back on the main trail you will come to a sign saying “Ranger’s Cabin”. To the right of this sign is a small campsite with a white tent. On the ground next to the tent is a Lunch Box with 5 Manuscript Fragments.
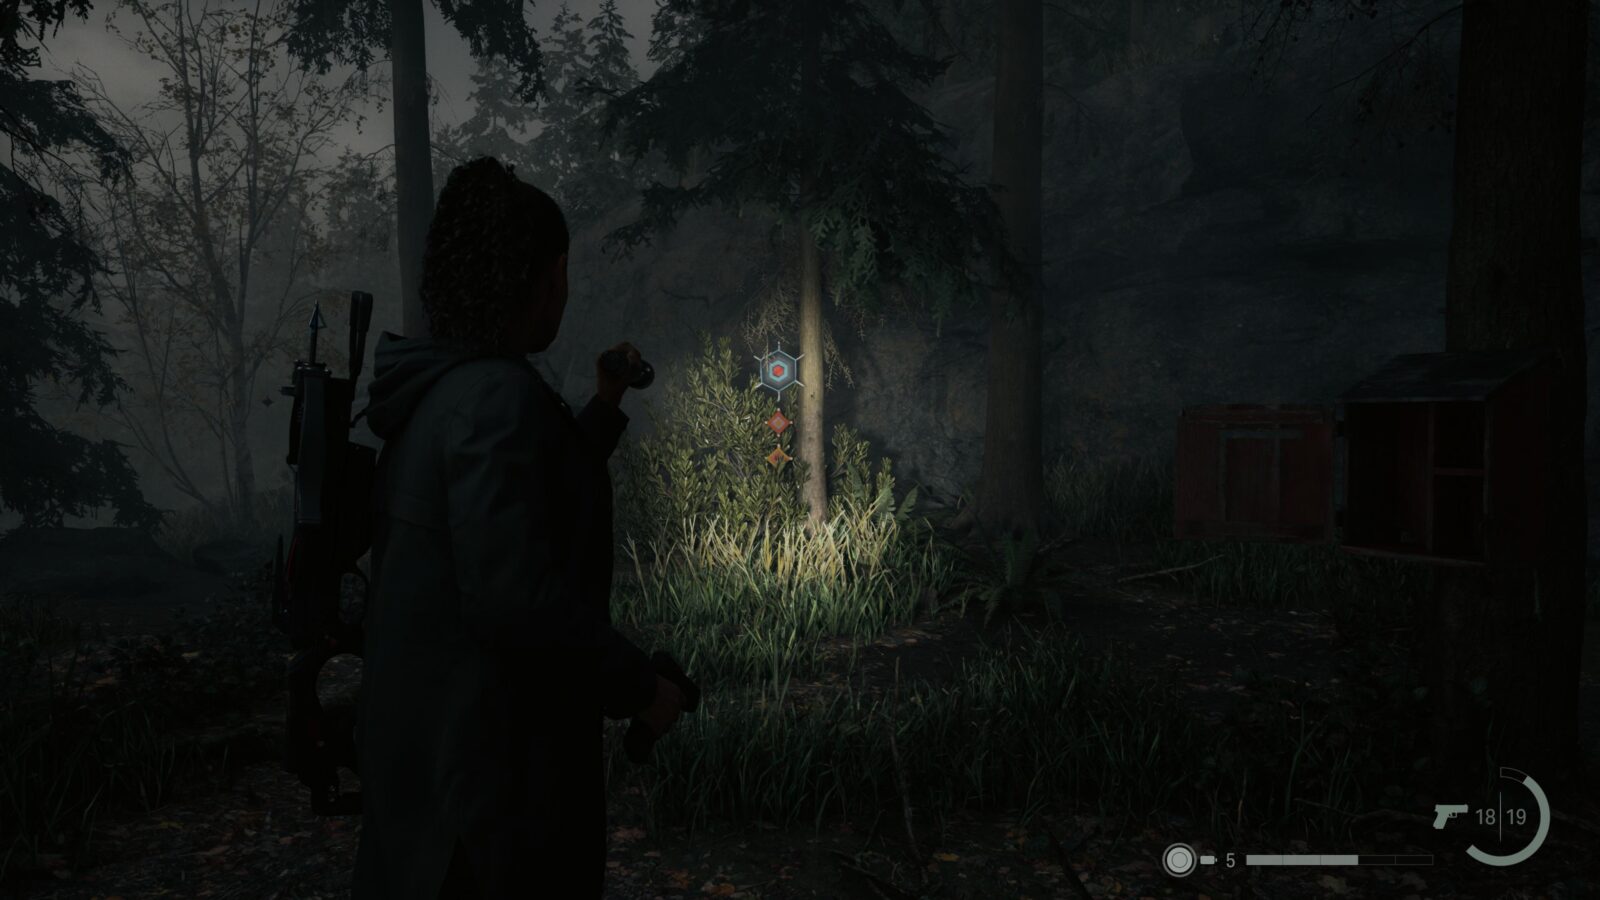
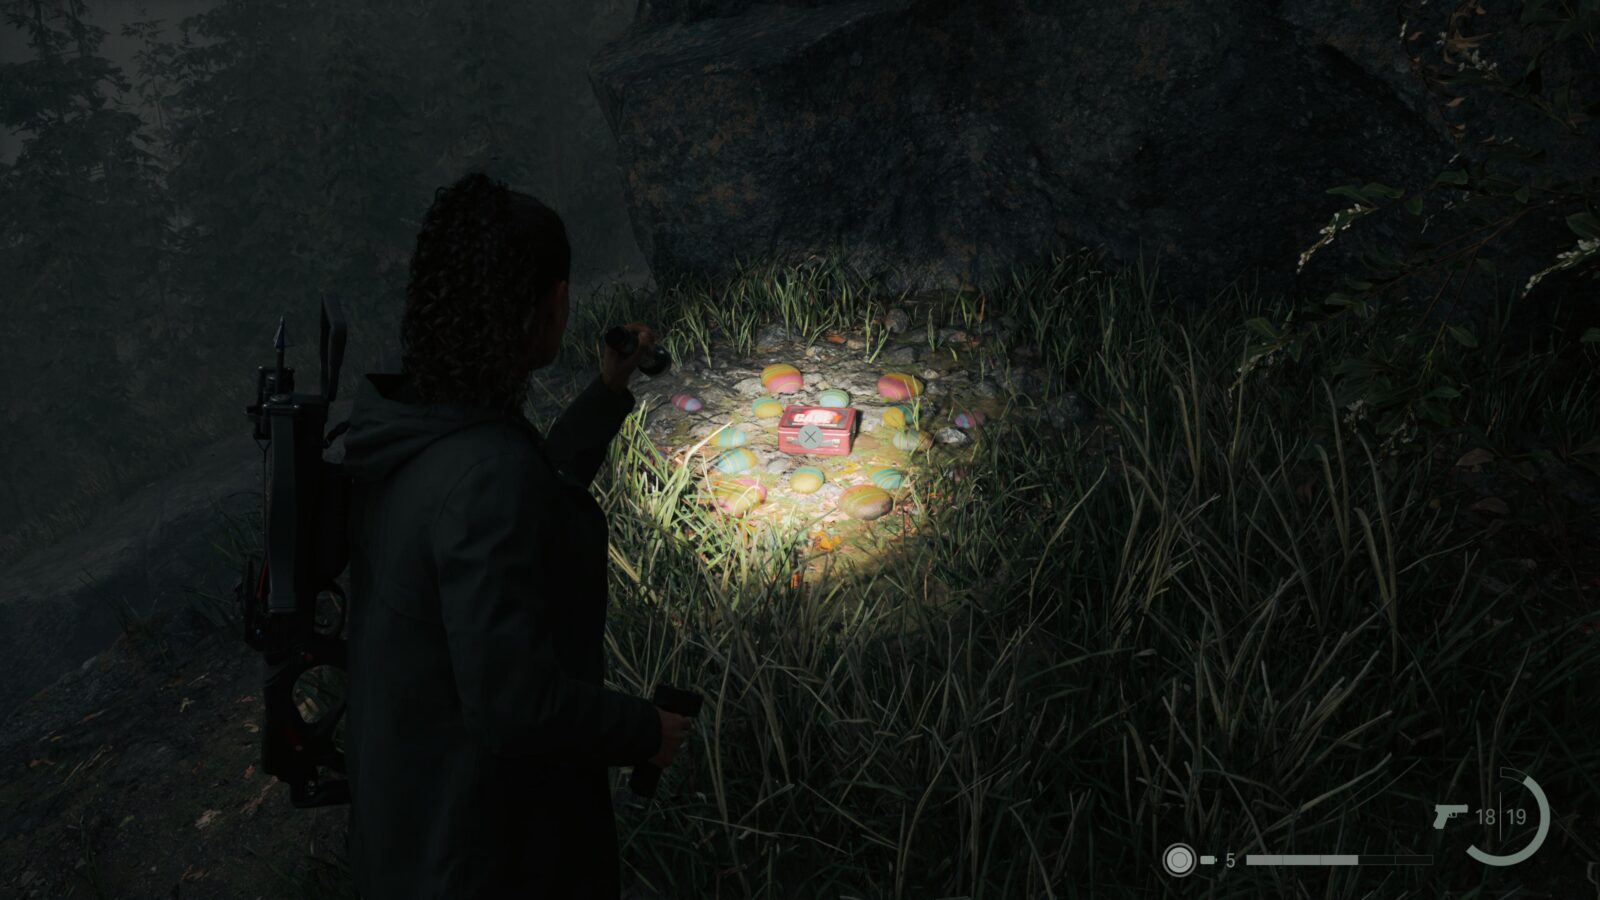
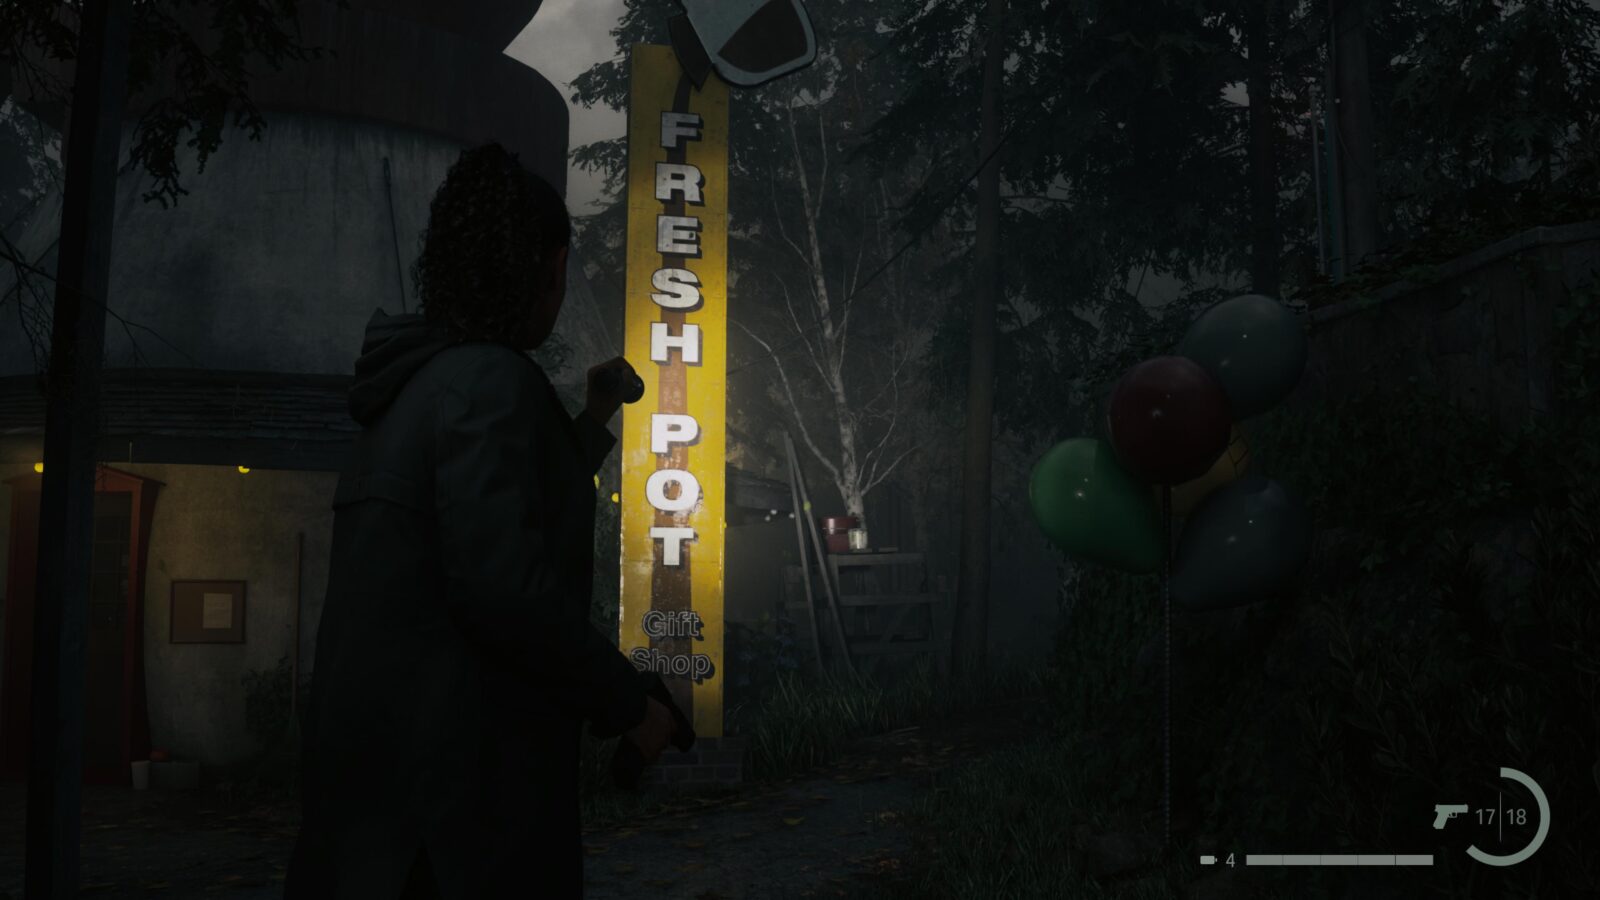
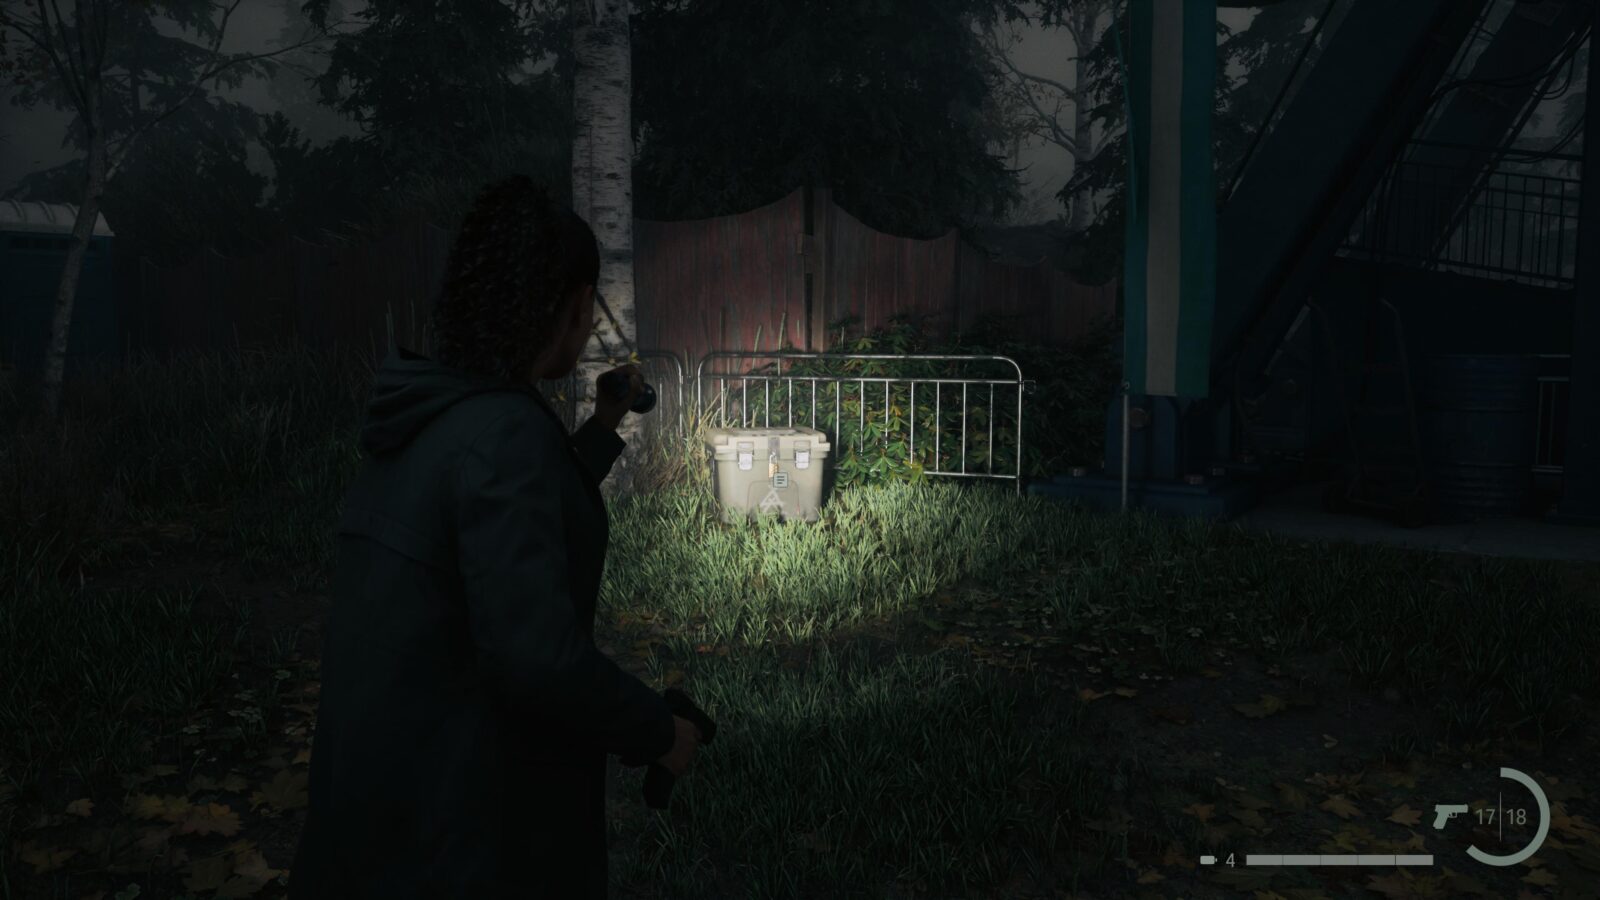
Cult Stash #7
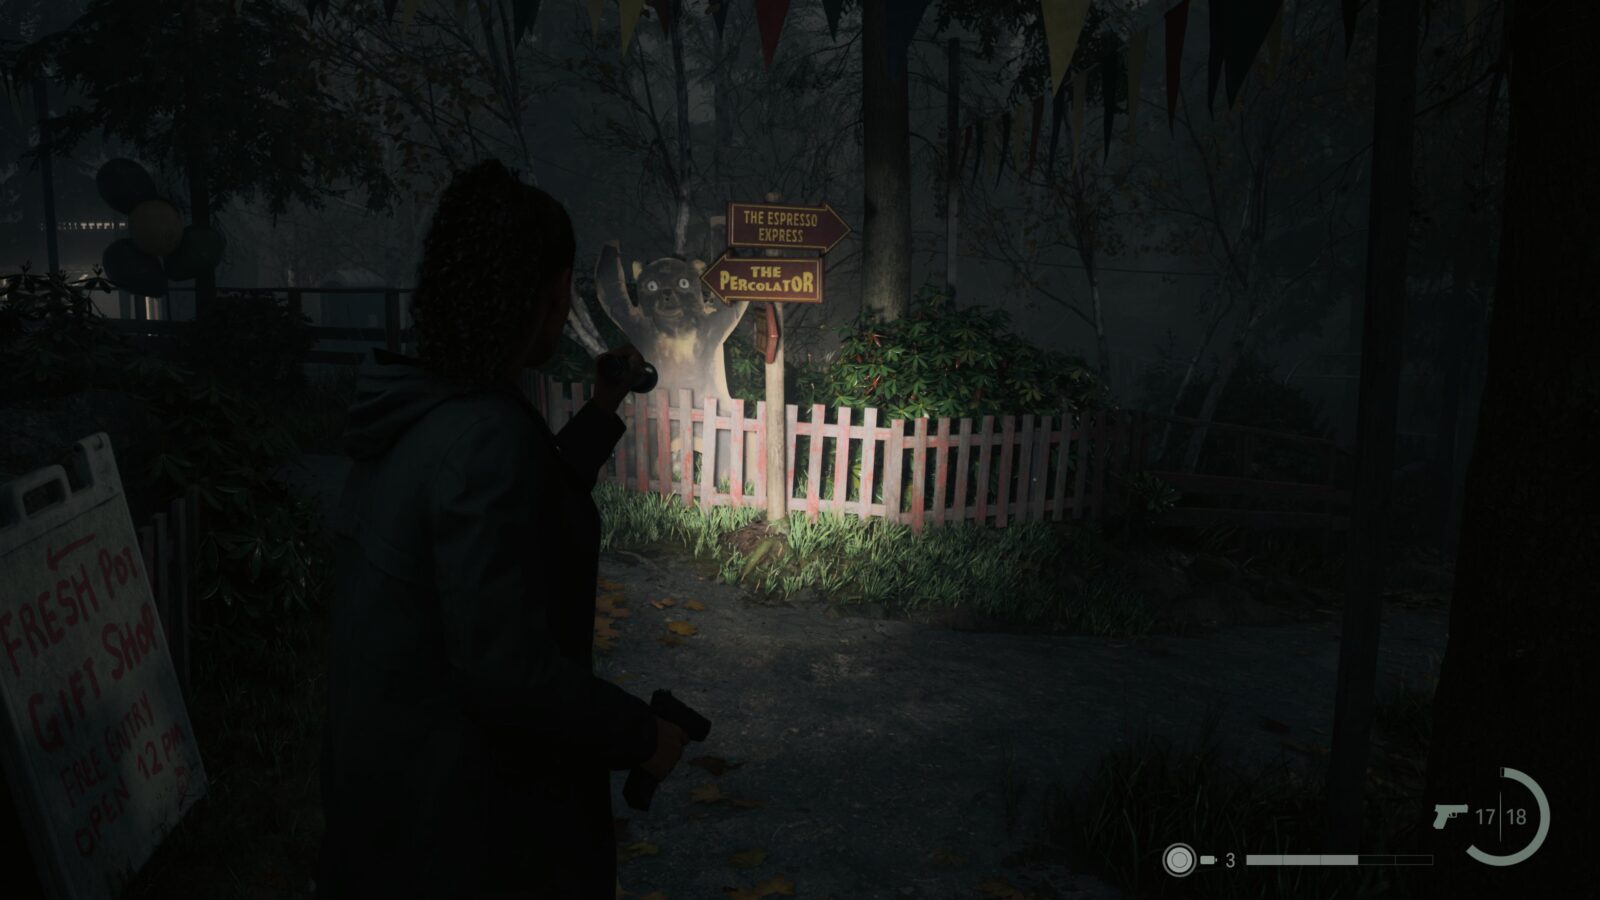
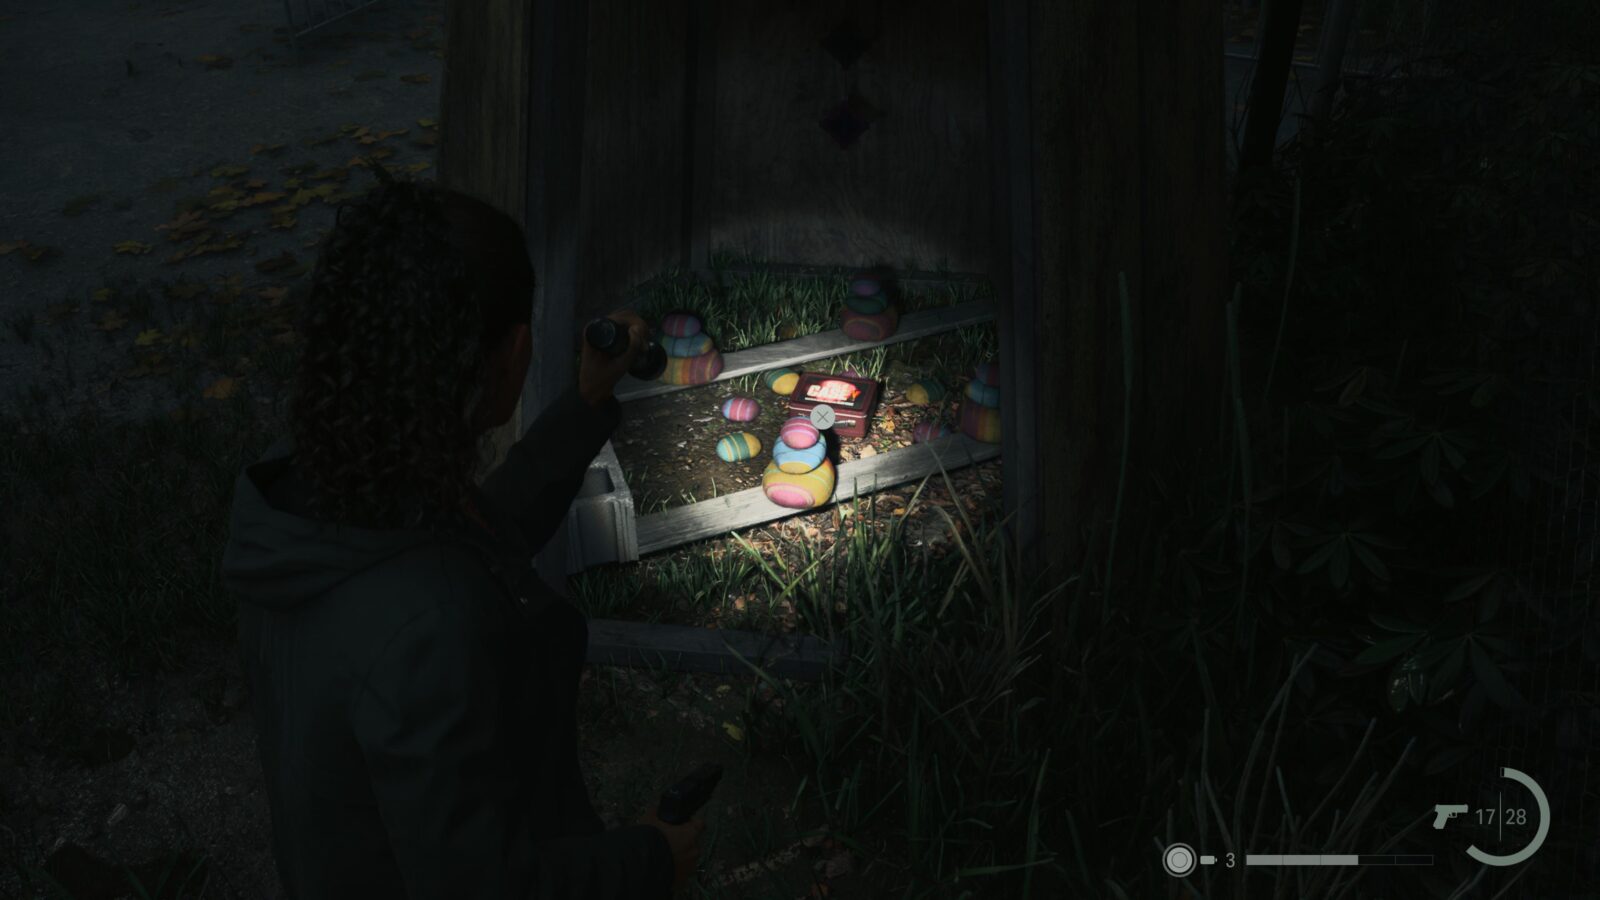
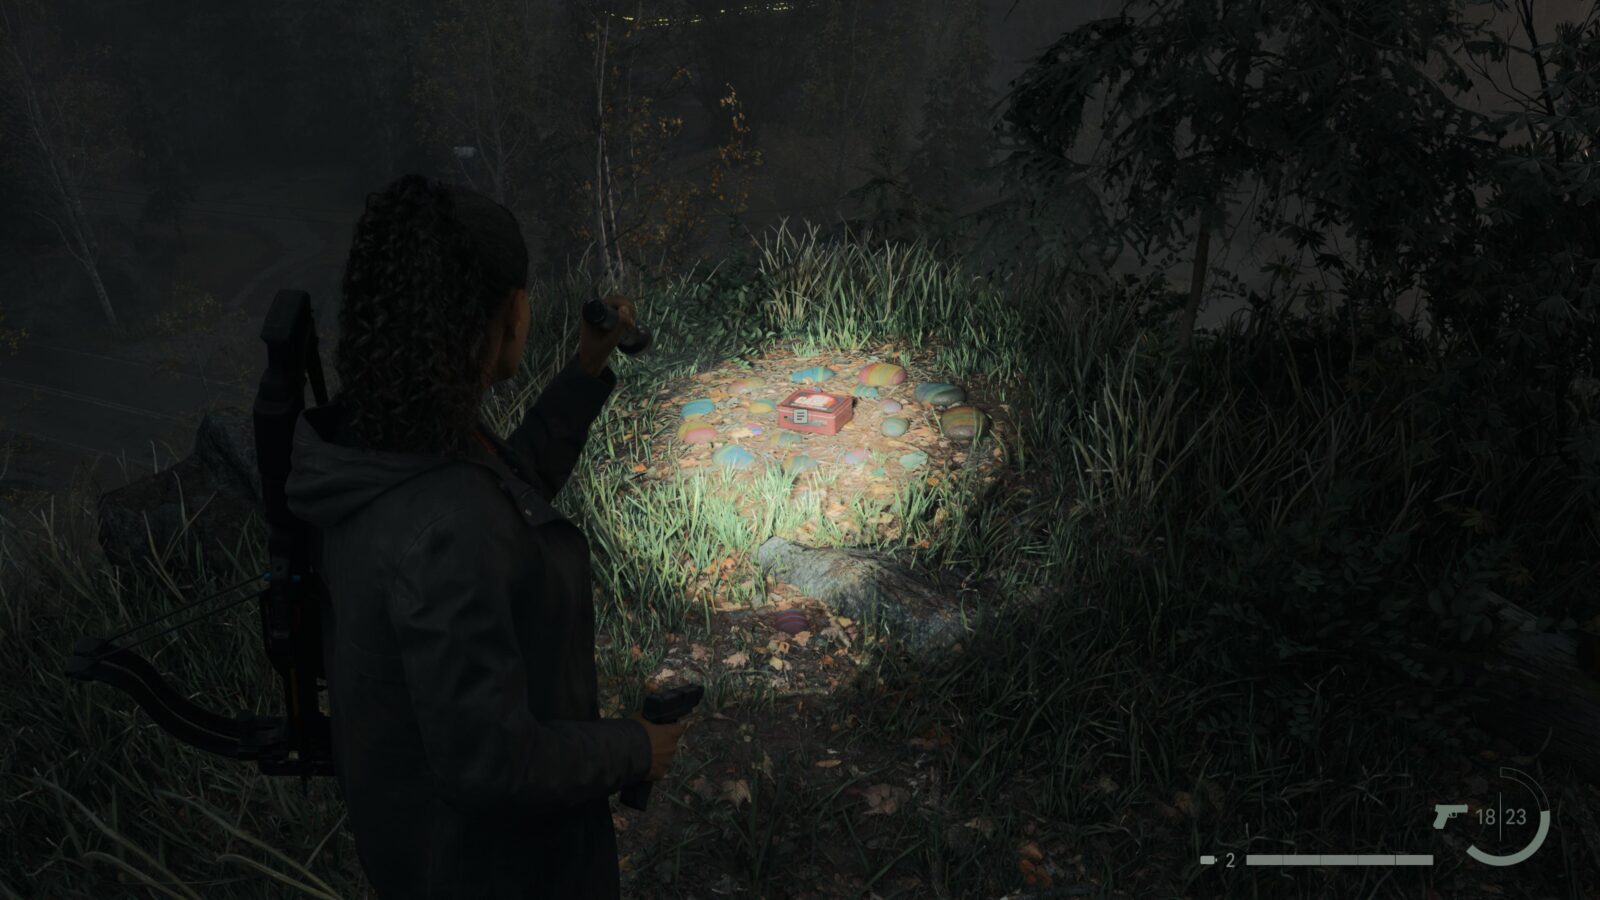
When you reach the Fresh Pot Gift Shop you can go down the right hand side—where the sign is—to reach the base of the Slow Roaster ride. To the left of the ride is a stash with a note on top that says “only striped cups”. This tells you how to find the code for the stash.
Spoilers! Click to Show
Cult Stash #8
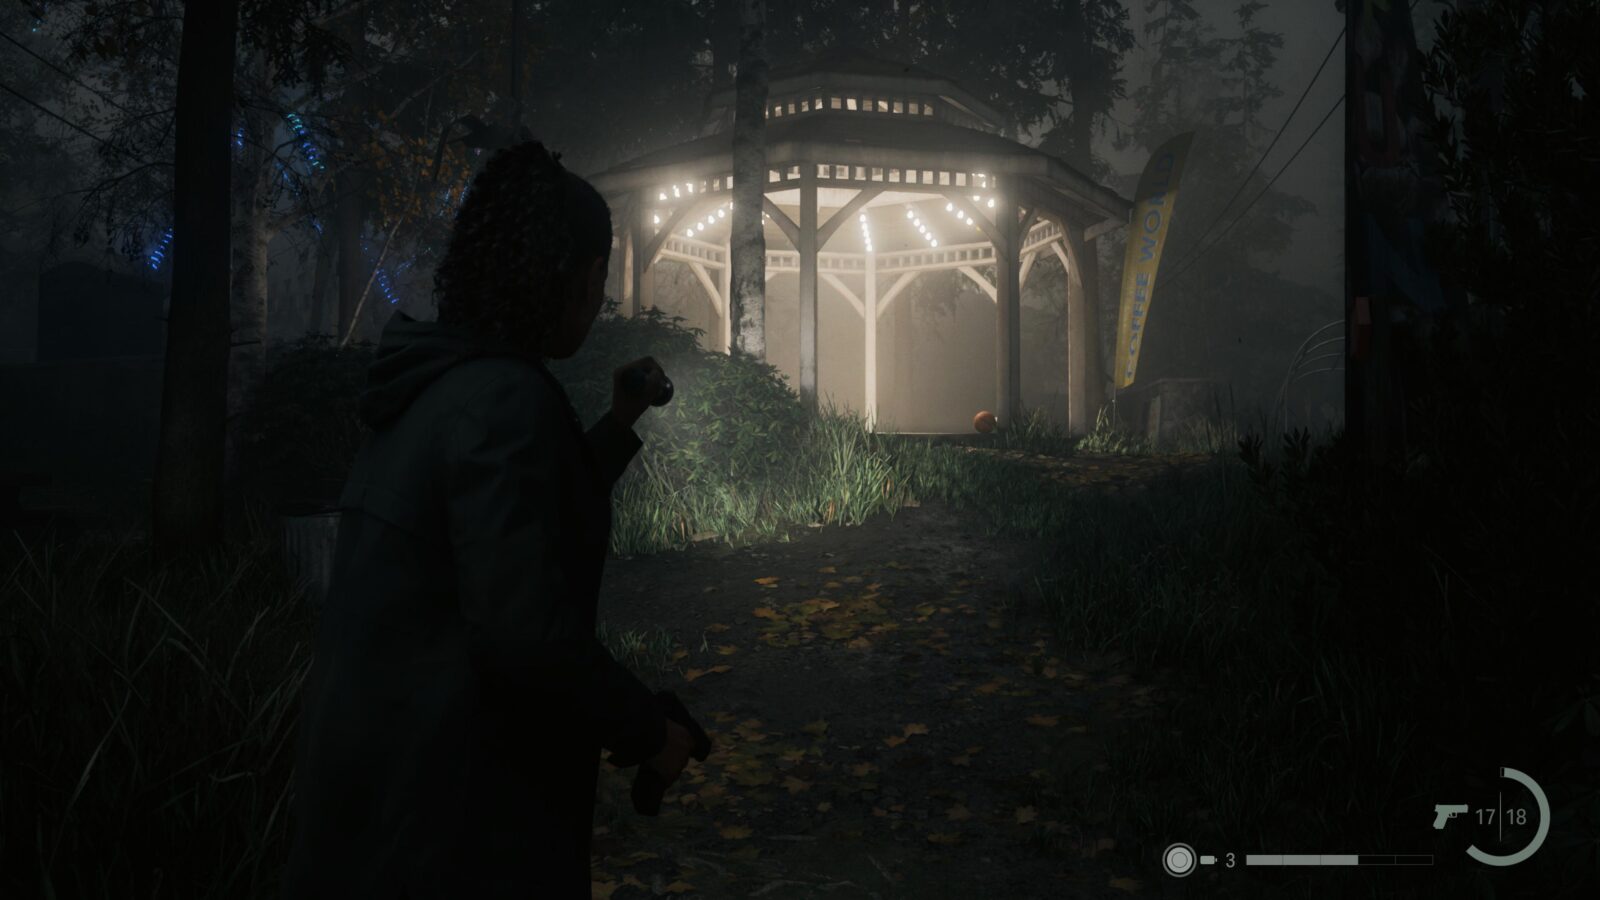
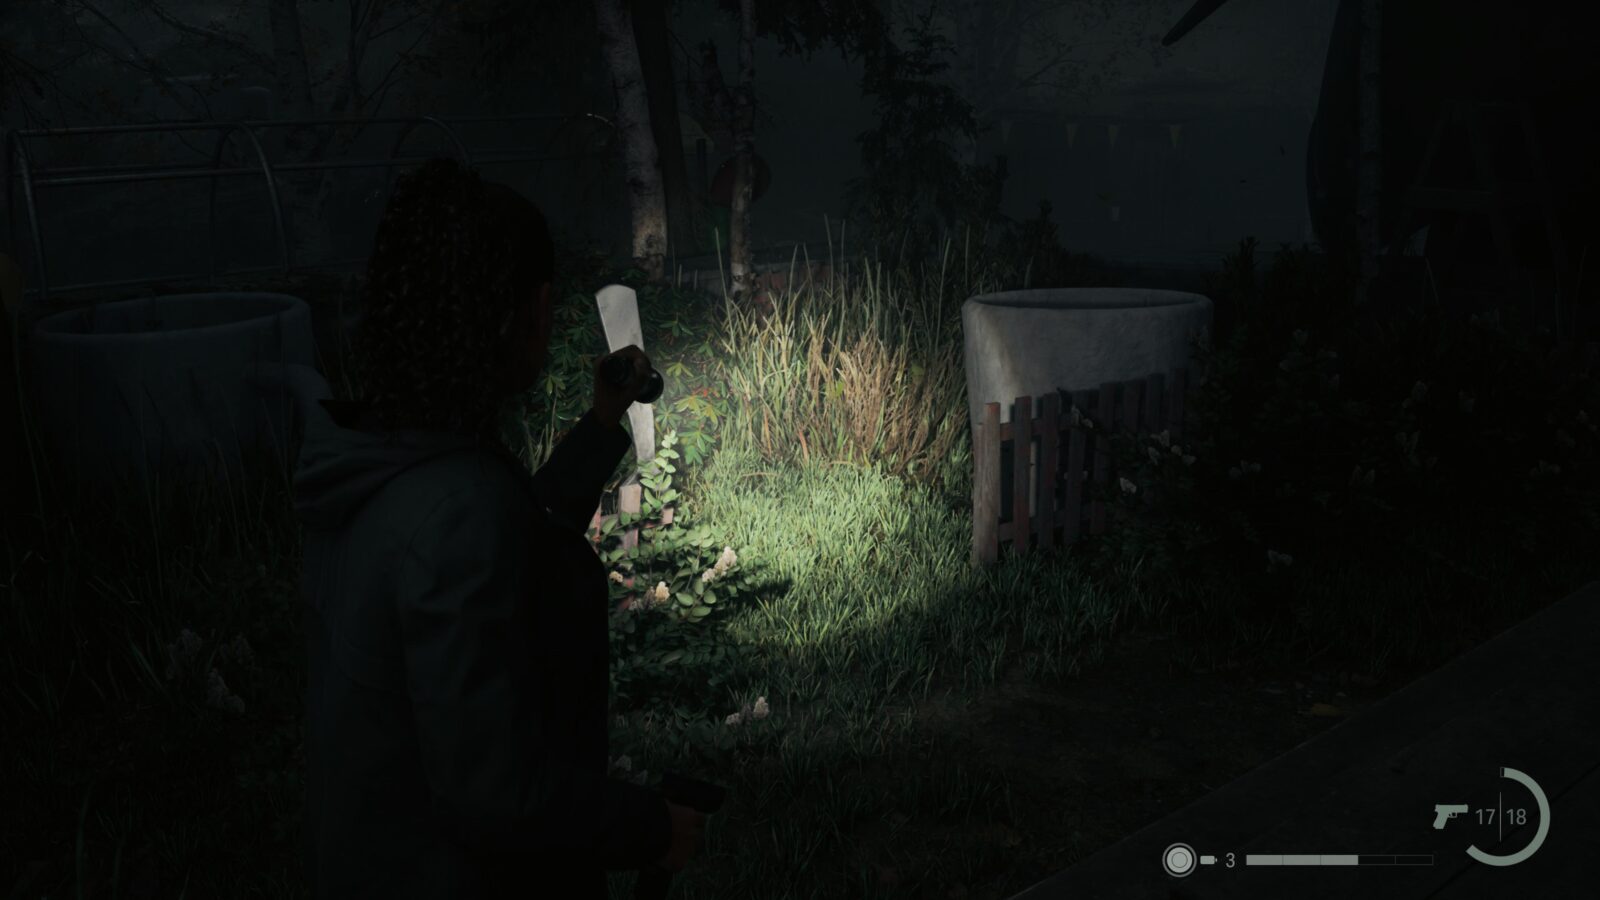
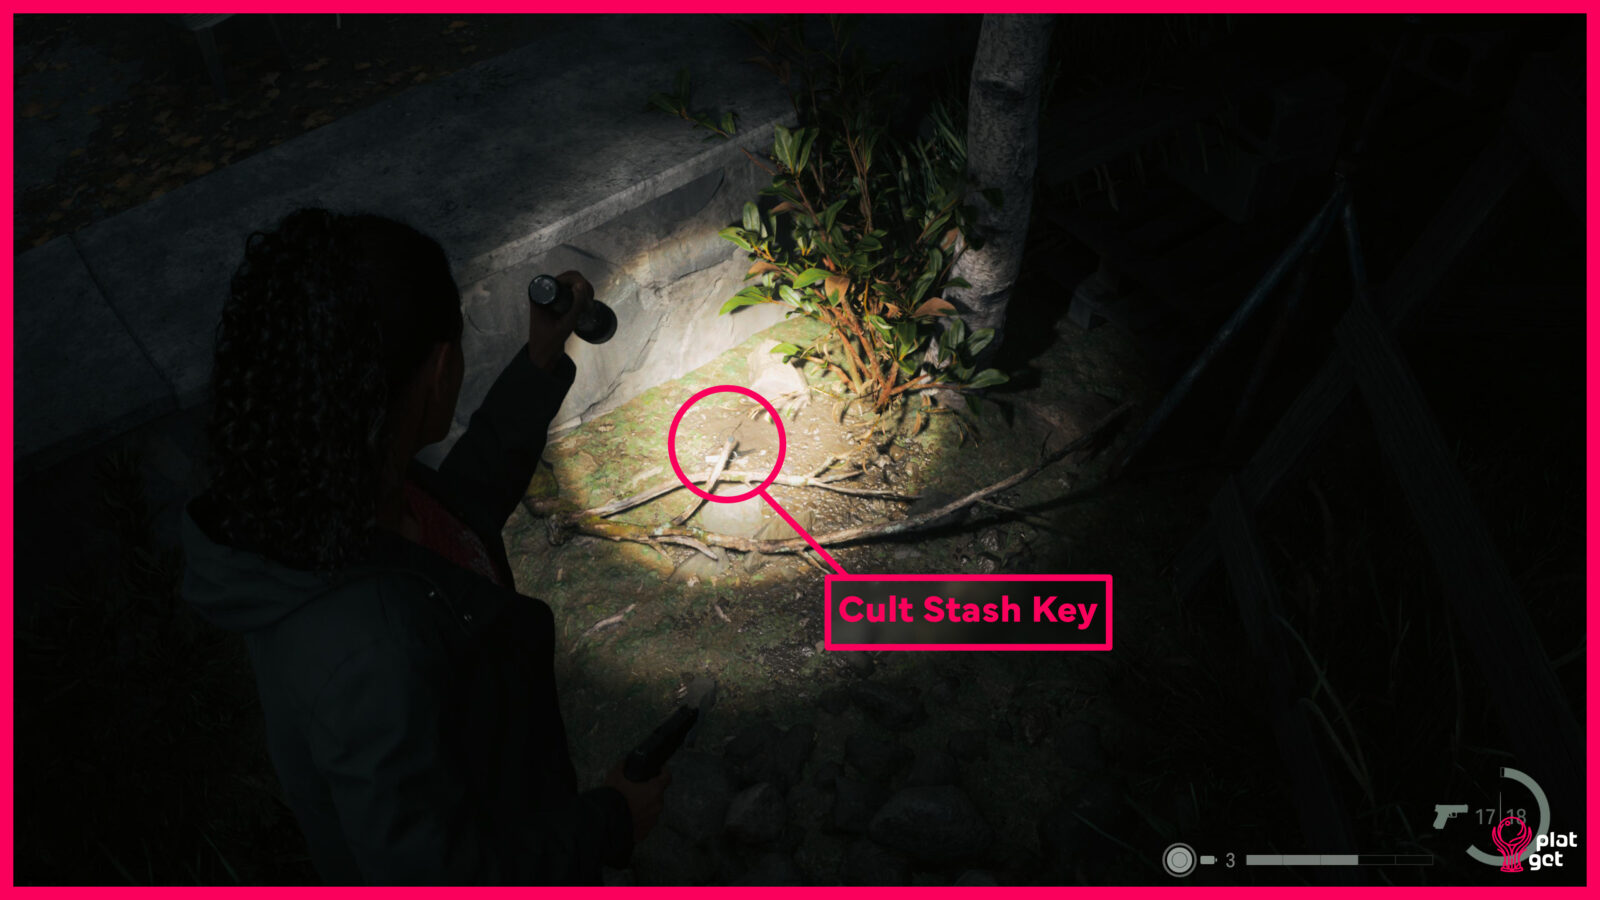
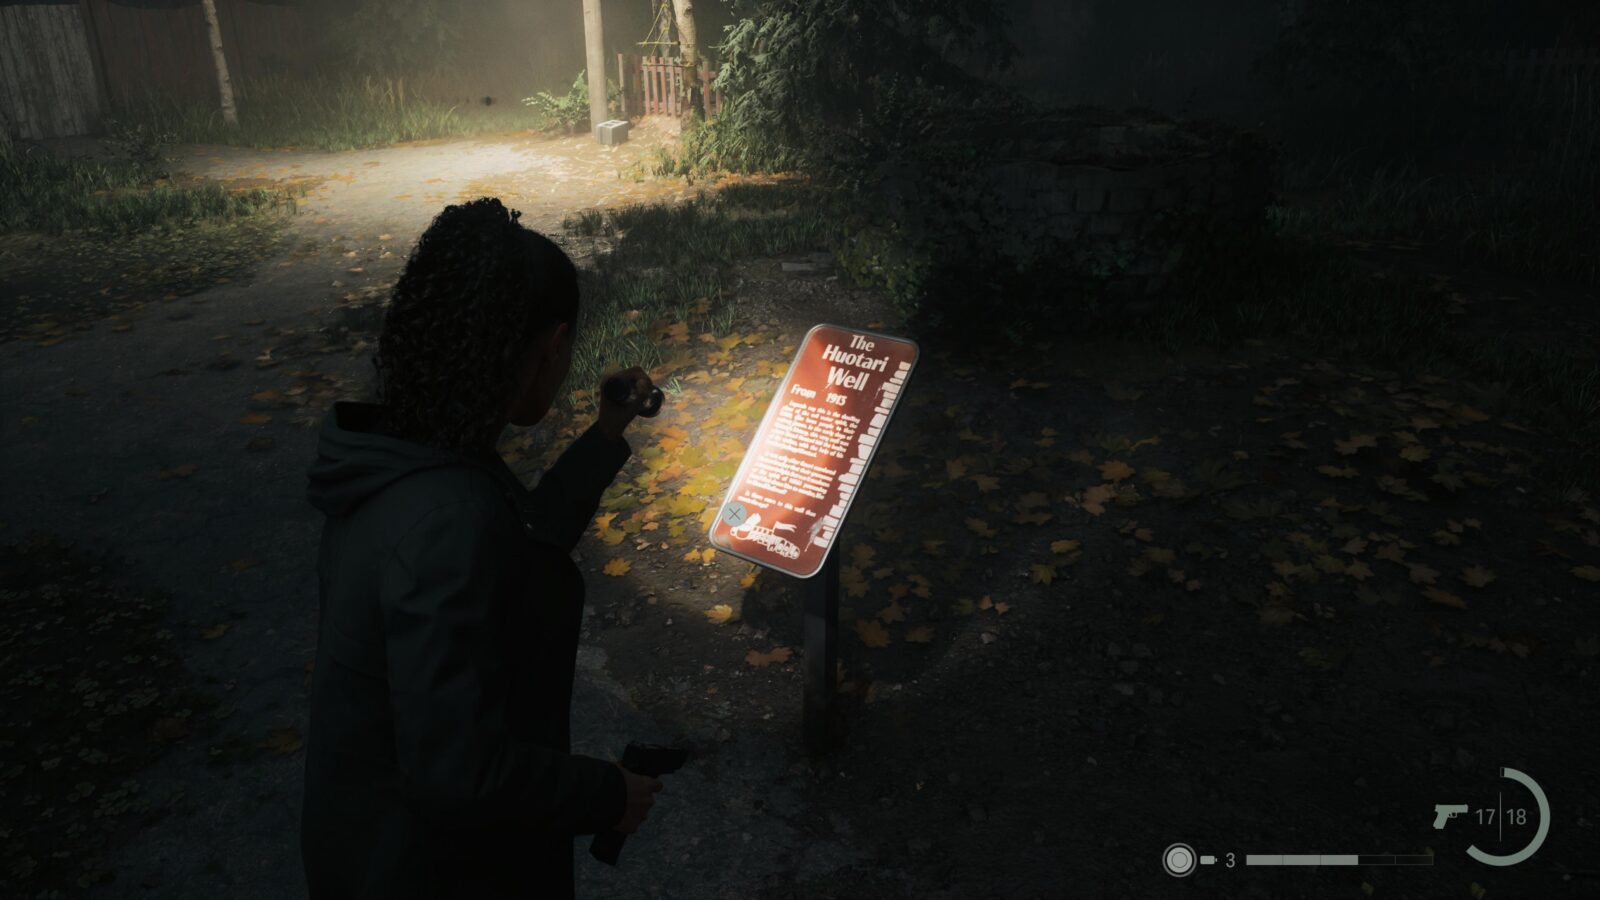
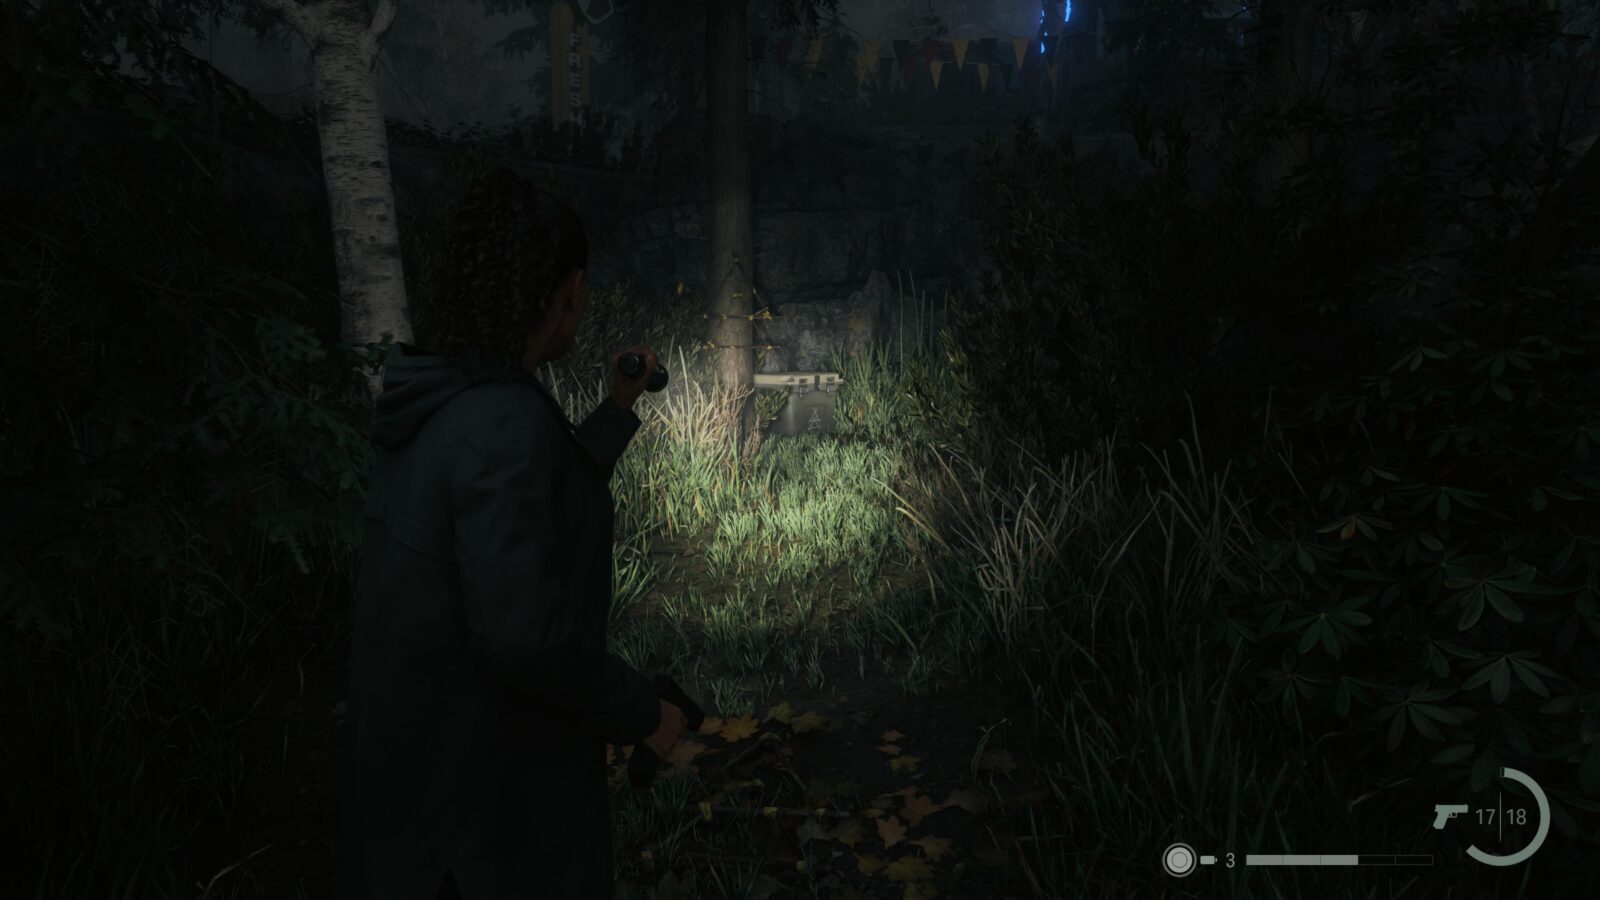
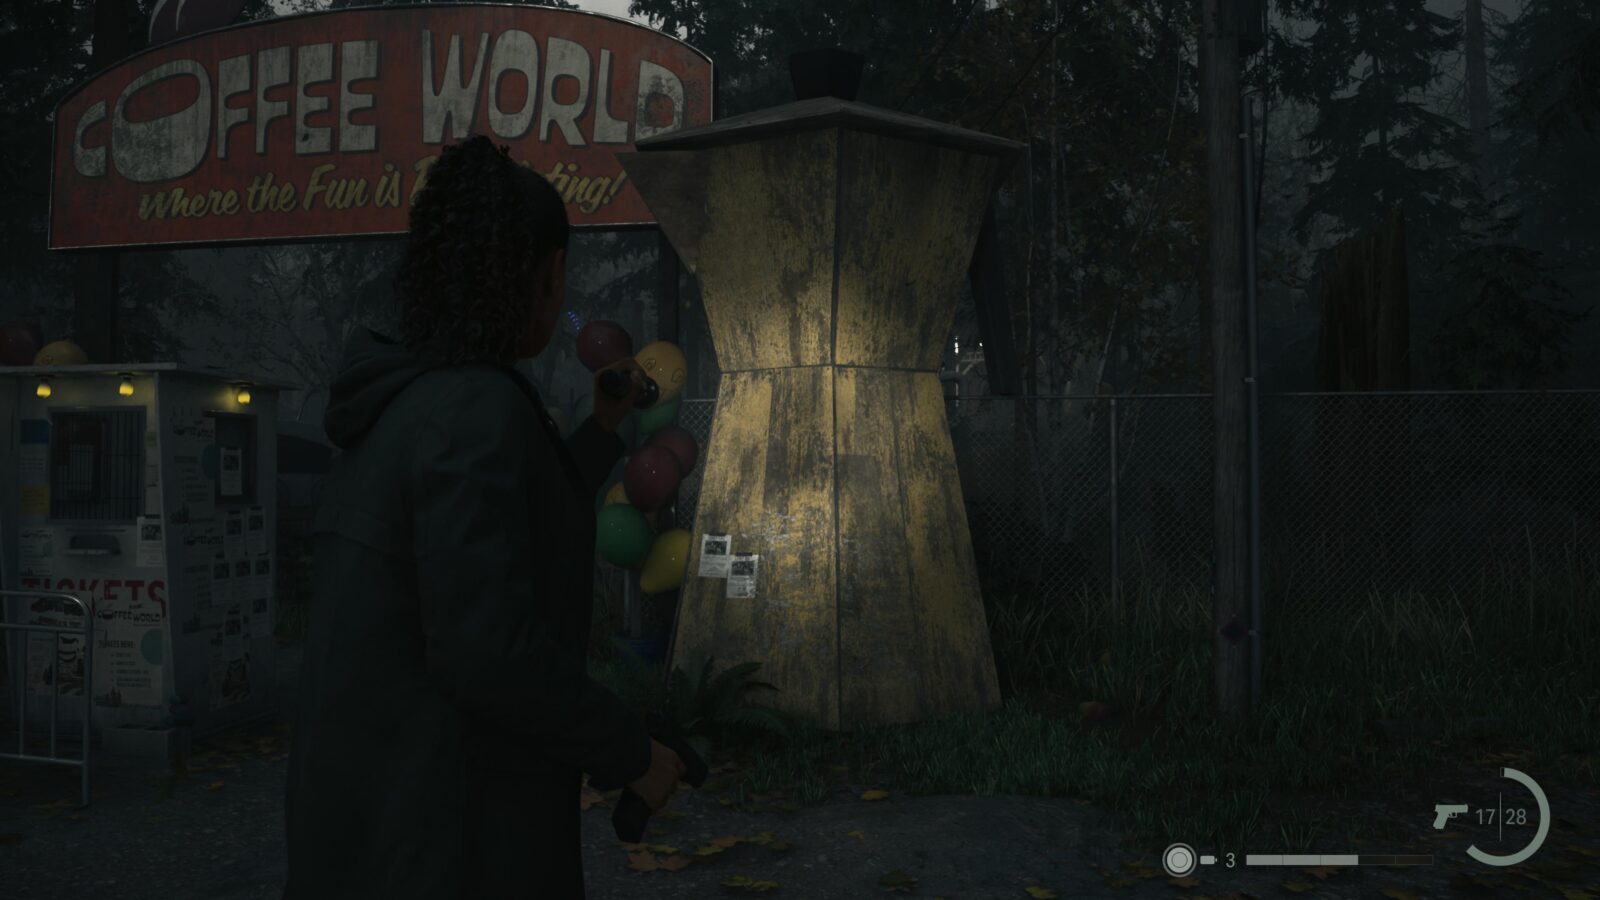
Follow the signs for “Espresso Express” in Coffee World until you reach the The Huotari Well. Behind the well is a stash but it needs a key to open it. There is a drawing of Coffee World’s mascot, Mr. Drippy, on top of the stash. You need to find a statue of Mr. Drippy in Coffee World and search around it for the key.
Spoilers! Click to Show
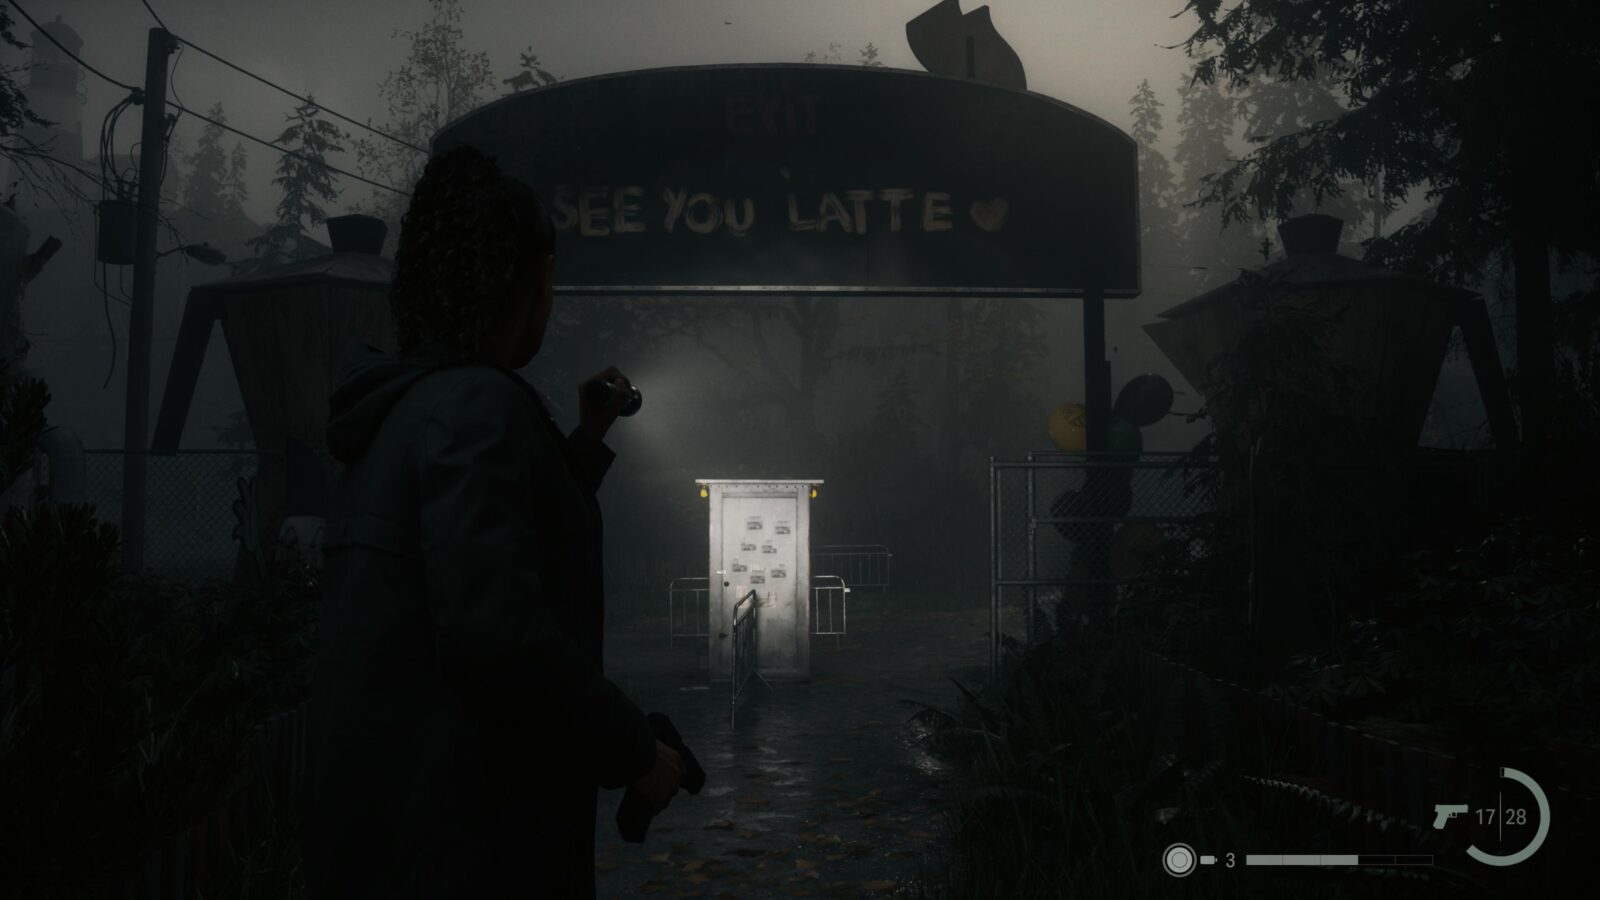
Lunch Box #11
Cut through the gazebo and exit Coffee World. As you walk out you will spot two large yellow Moka Pots. The one on your left as you exit can be entered around the back. Inside is a Lunc Box with 9 Manuscript Fragments.
Lunch Box #12
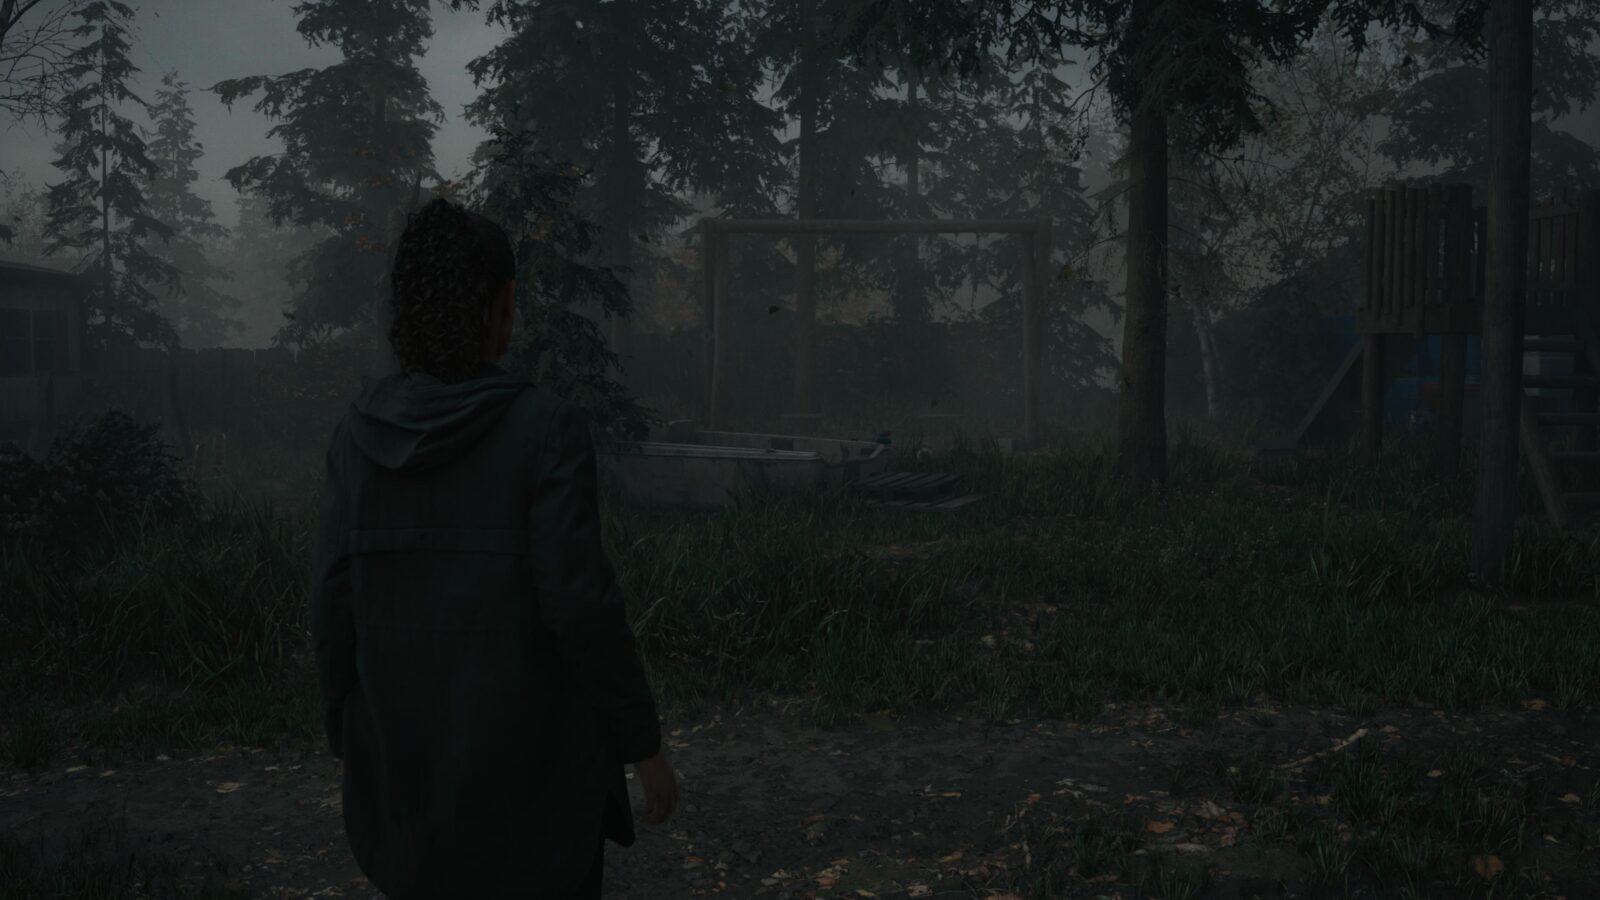
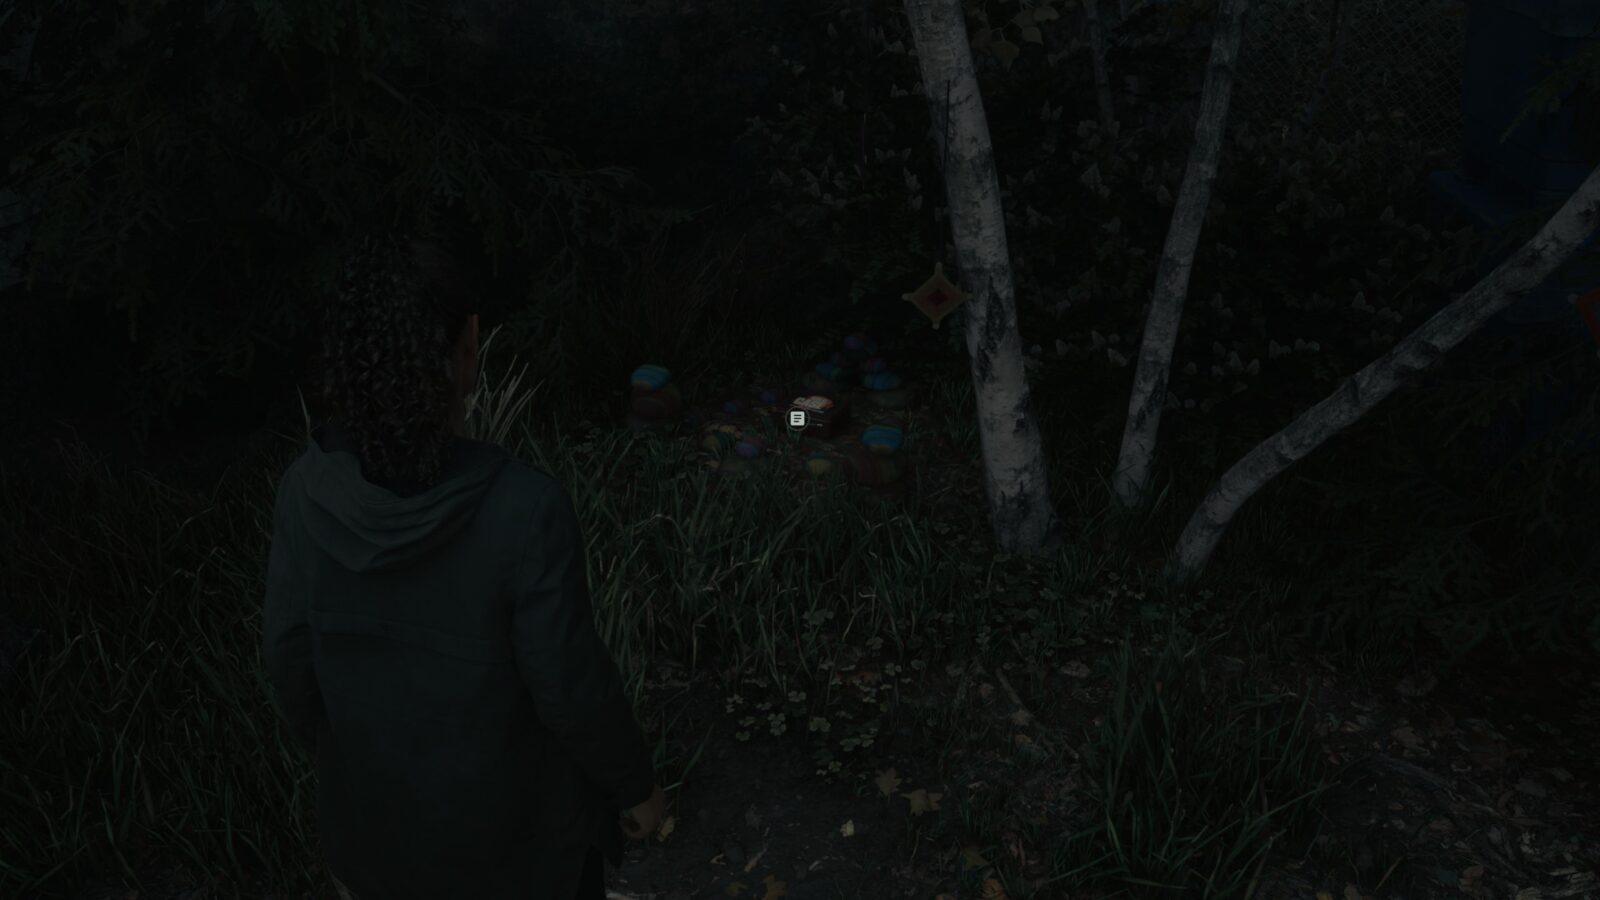
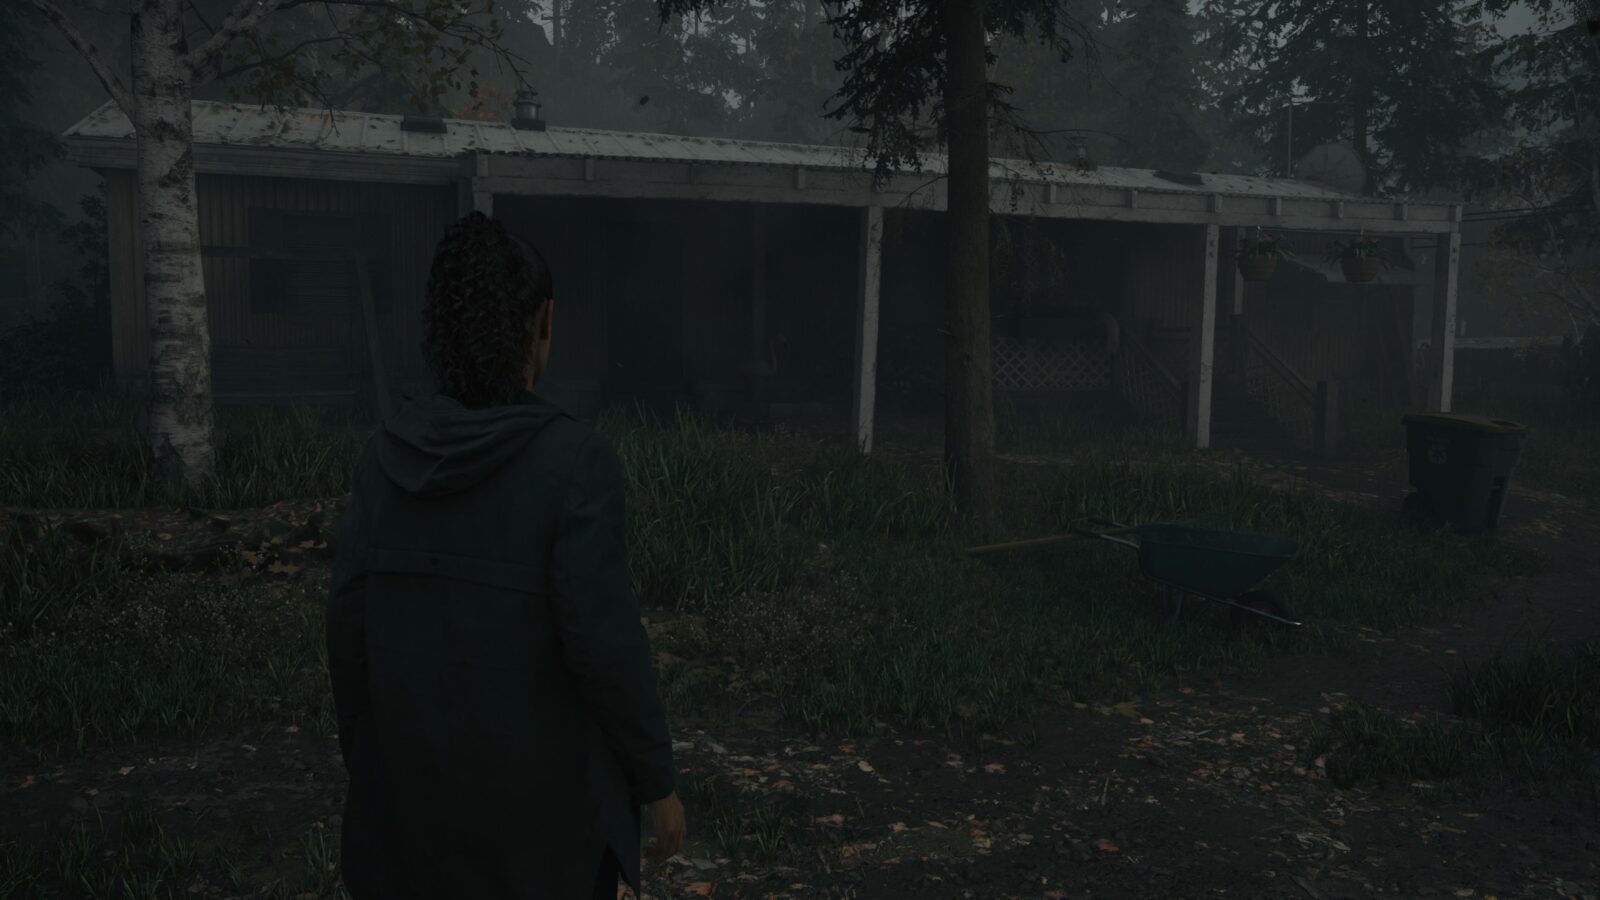
After the cutscene when entering Lighthouse Trailer Park, look to your right to see a set of swings. Go behind the swings and look by a tree to the right to find another Lunch Box with 7 Manuscript Fragments inside.
Koskela Brothers Commercial #4 - Parade Floats
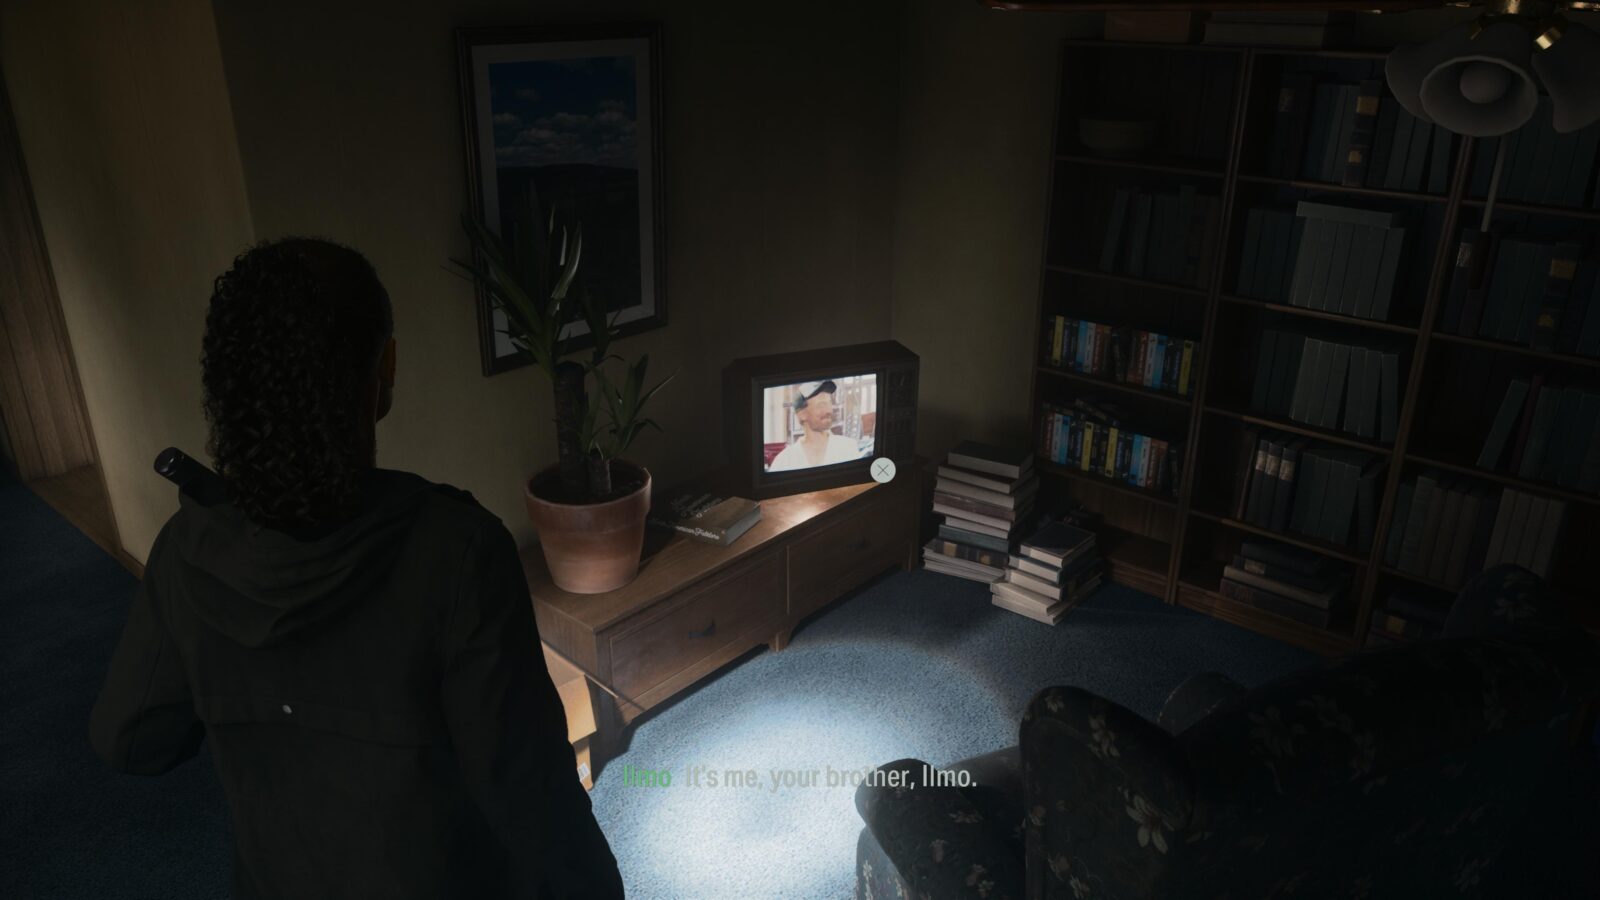
Go inside the first trailer on the left from the entrance to Lighthouse Trailer Park and go into the living room to trigger a Koskela ad.
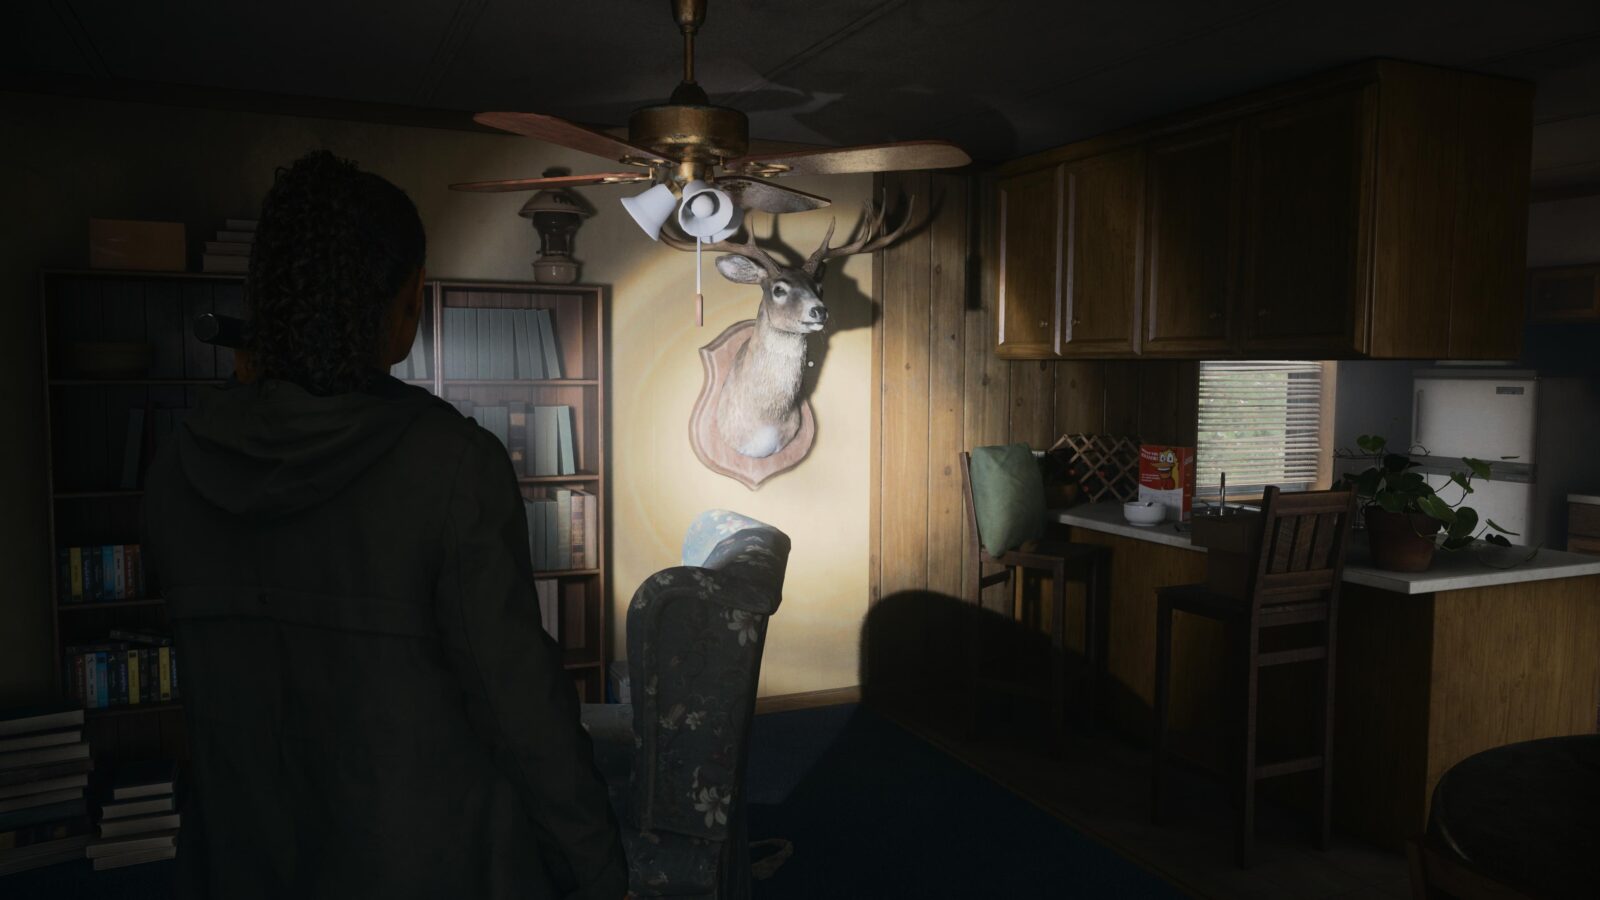
Deer Head #7
Inside the same trailer as Koskela ad is a Deer Head on the wall next to the kitchen area.
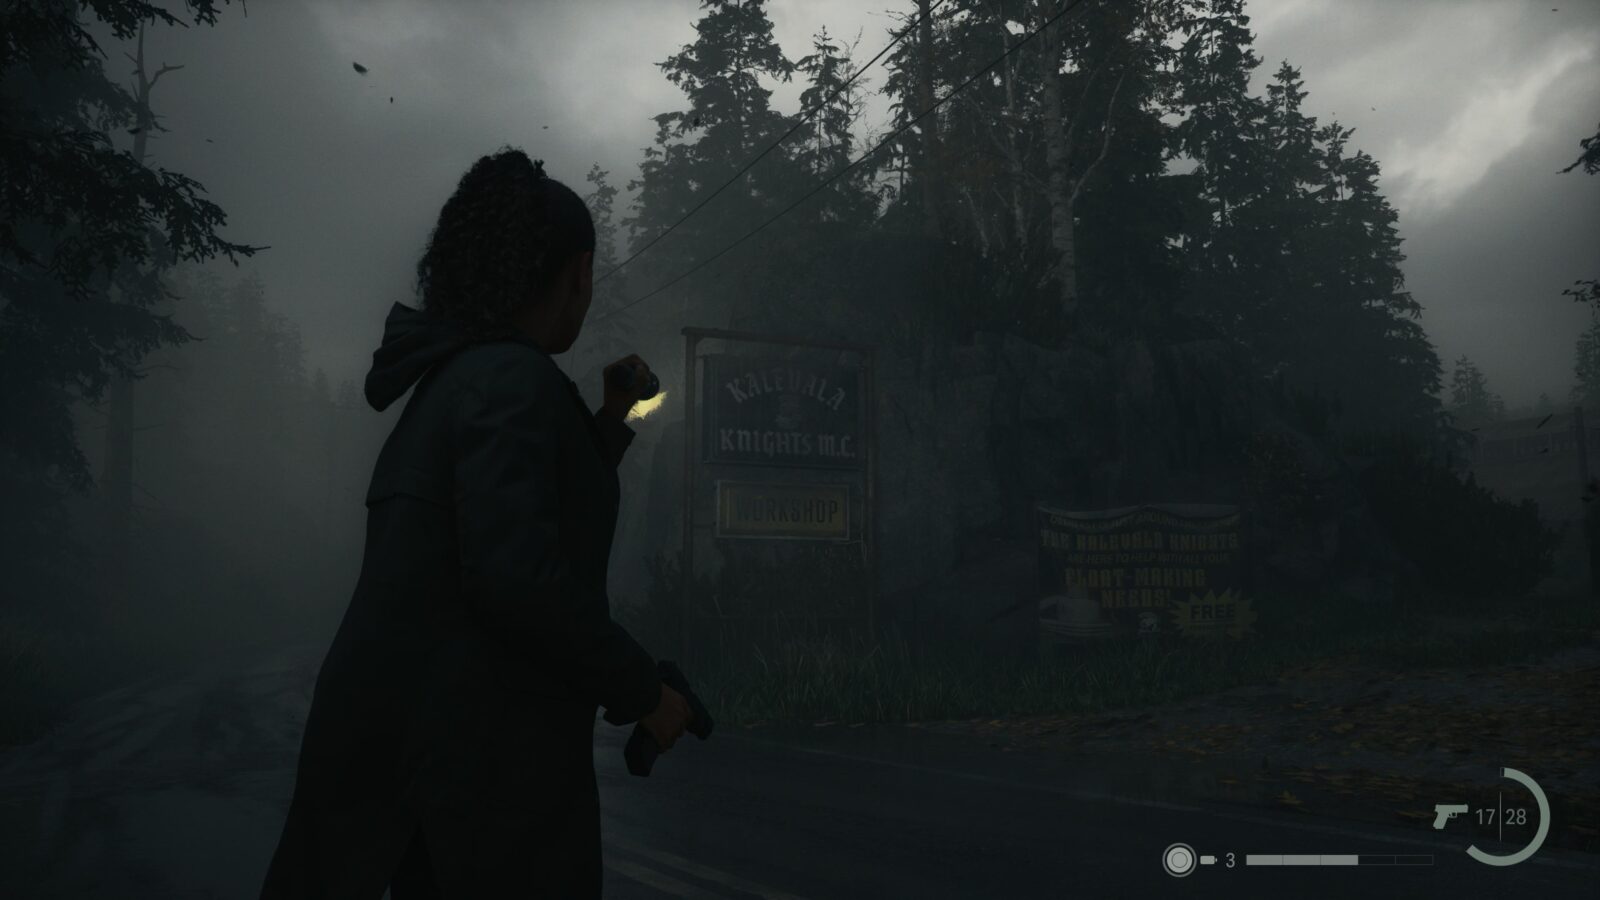
Lunch Box #13
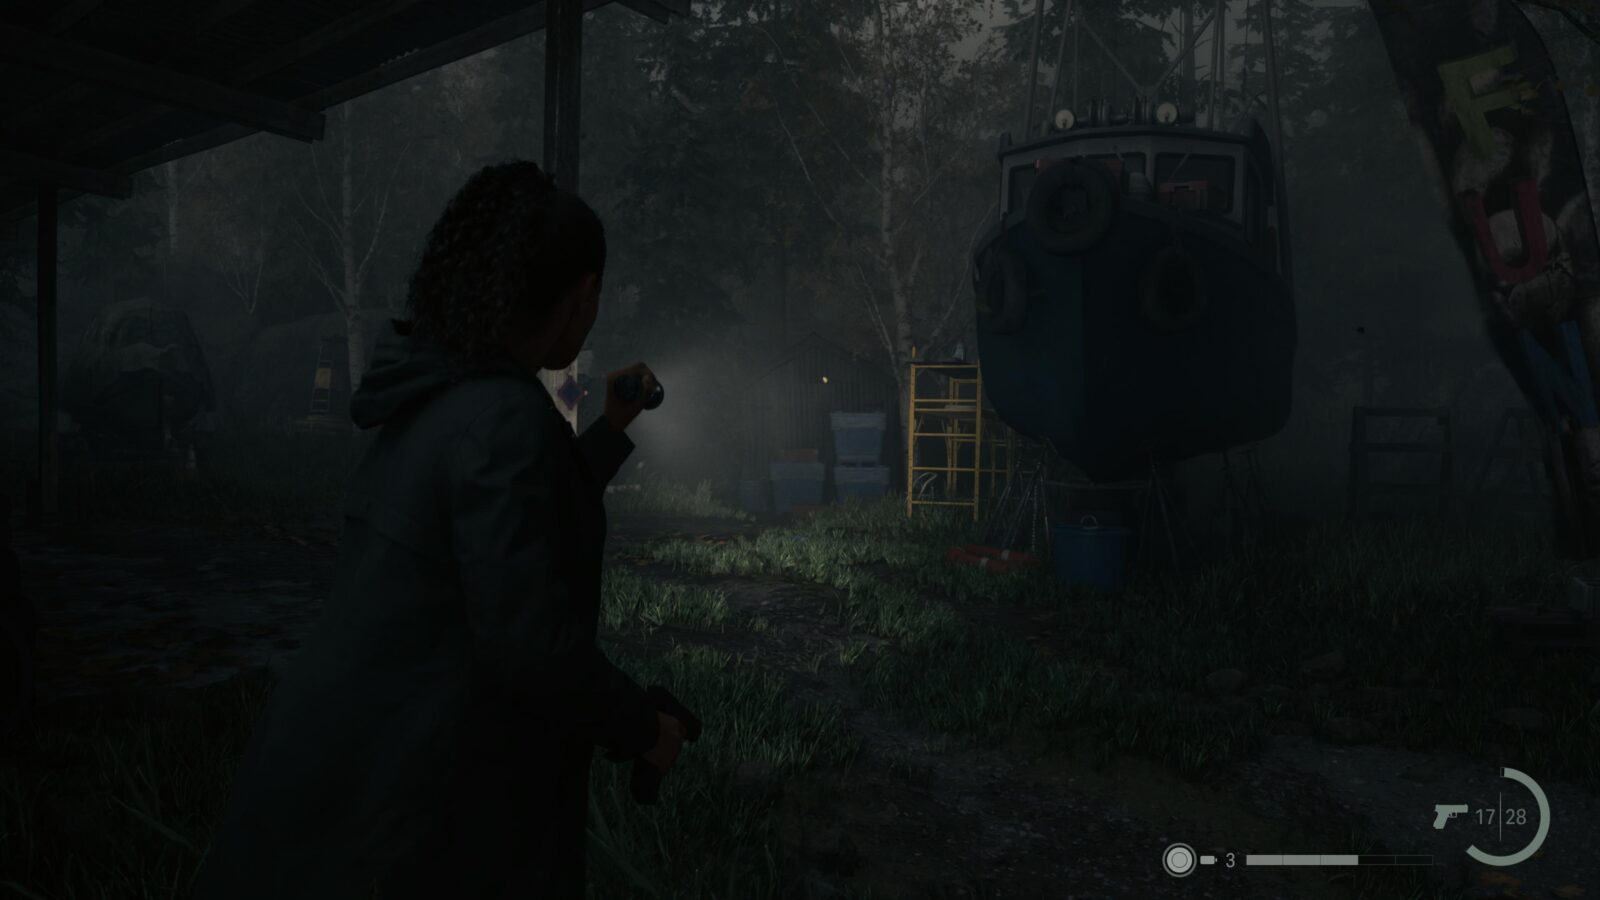
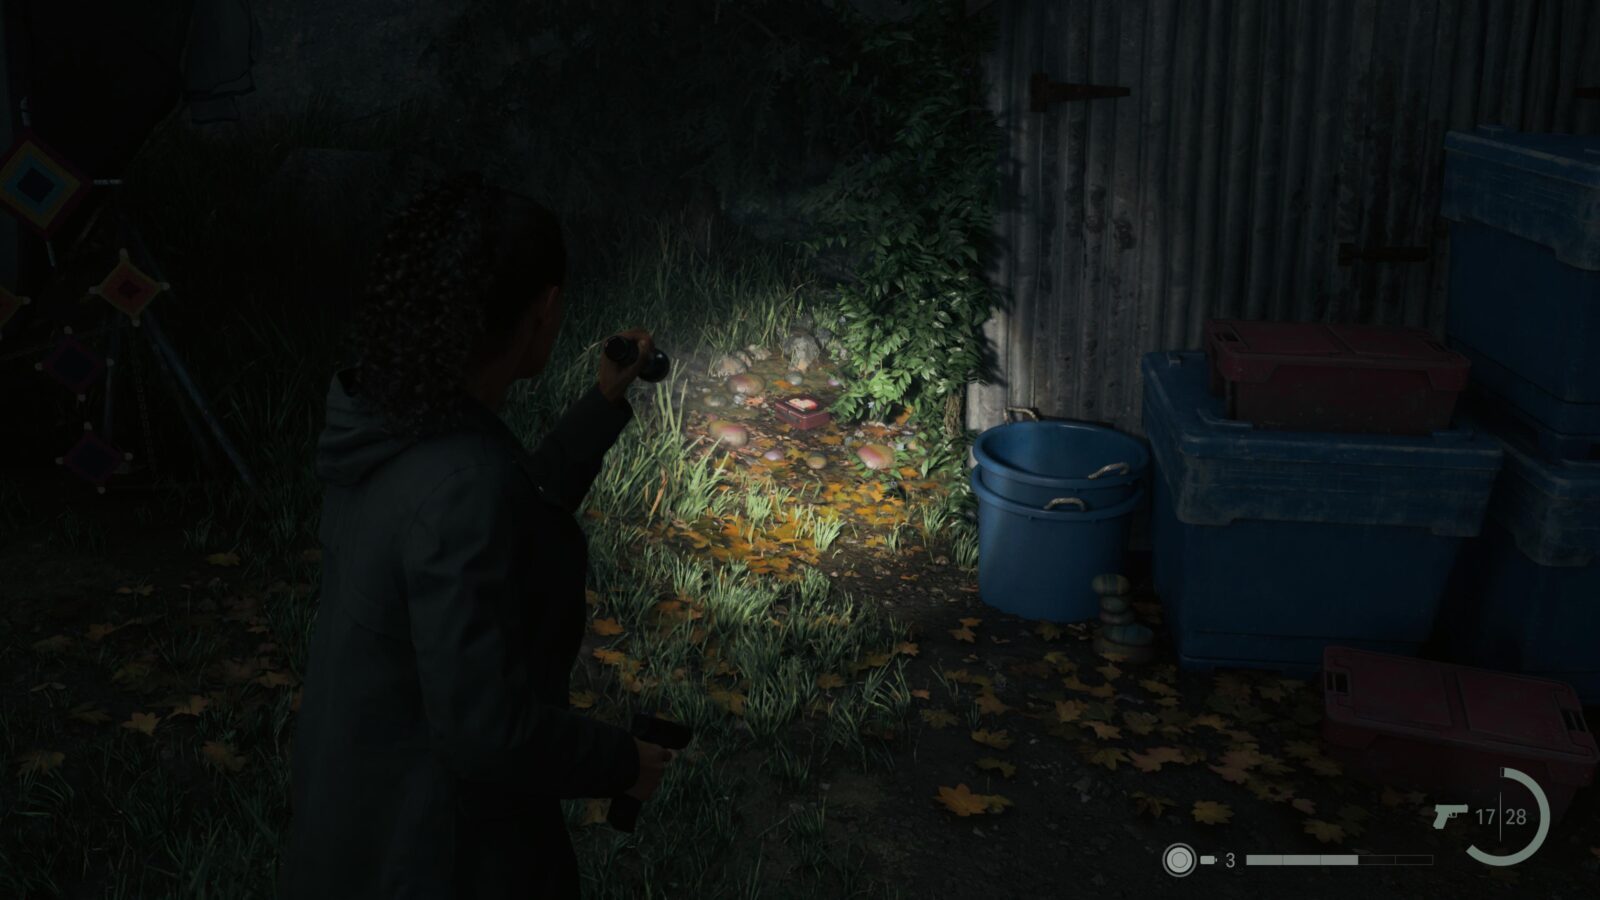
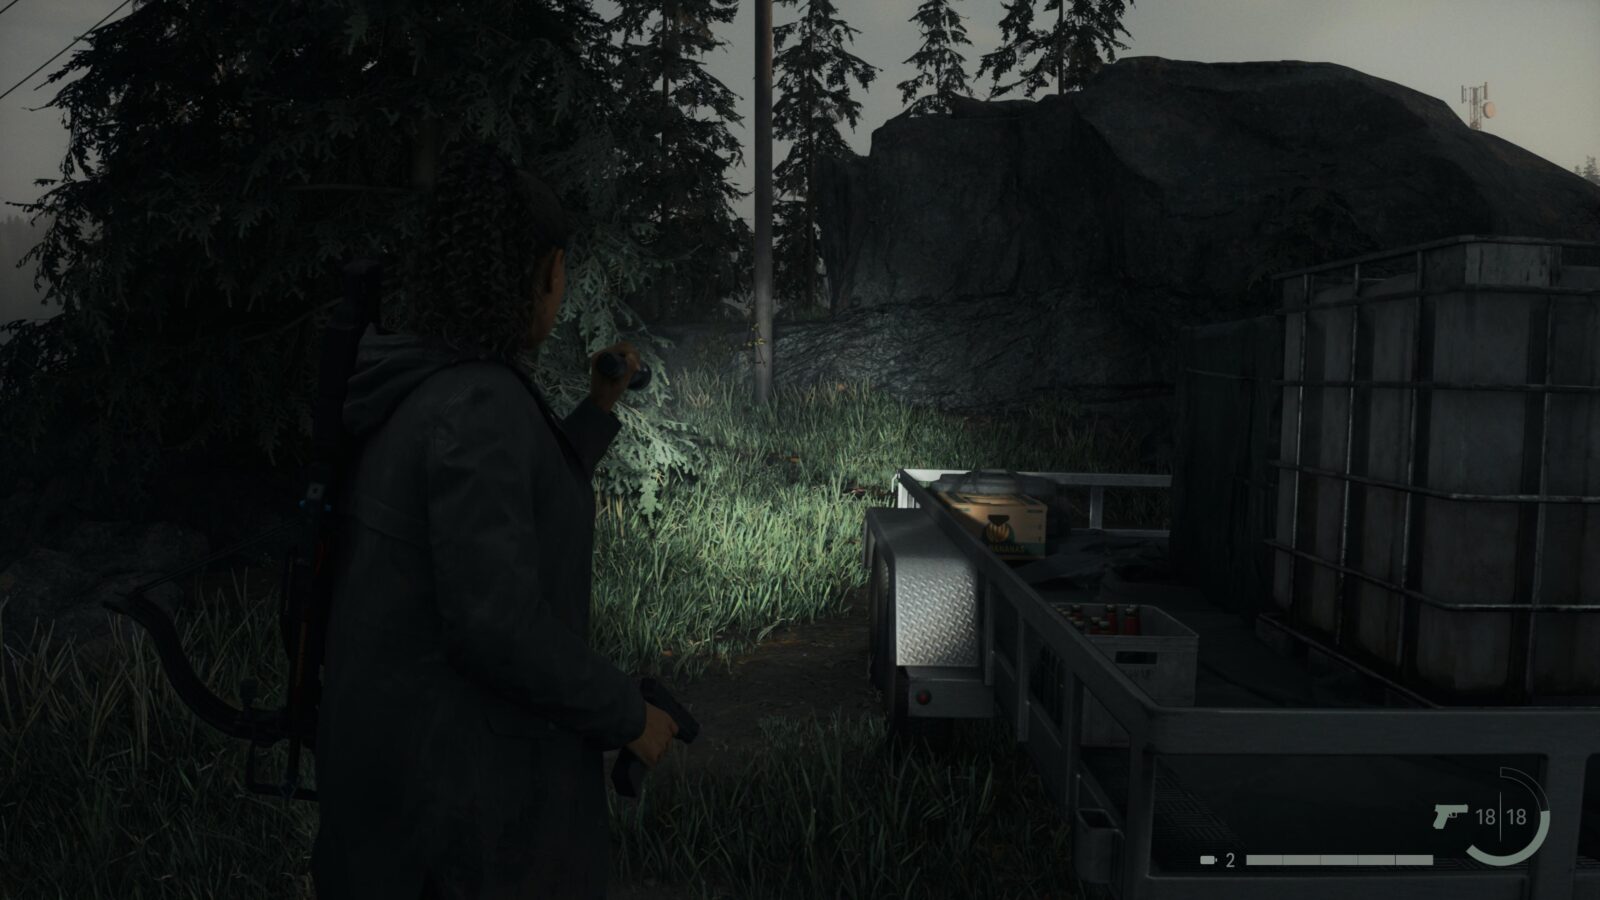
After finishing up at the Lighthouse Trailer Park you will head to Kalevala Knights Workshop. Before going inside head past the float outside and check the ground next to the metal shed to the left of a boat to find a Lunch Box with 6 Manuscript Fragments inside.
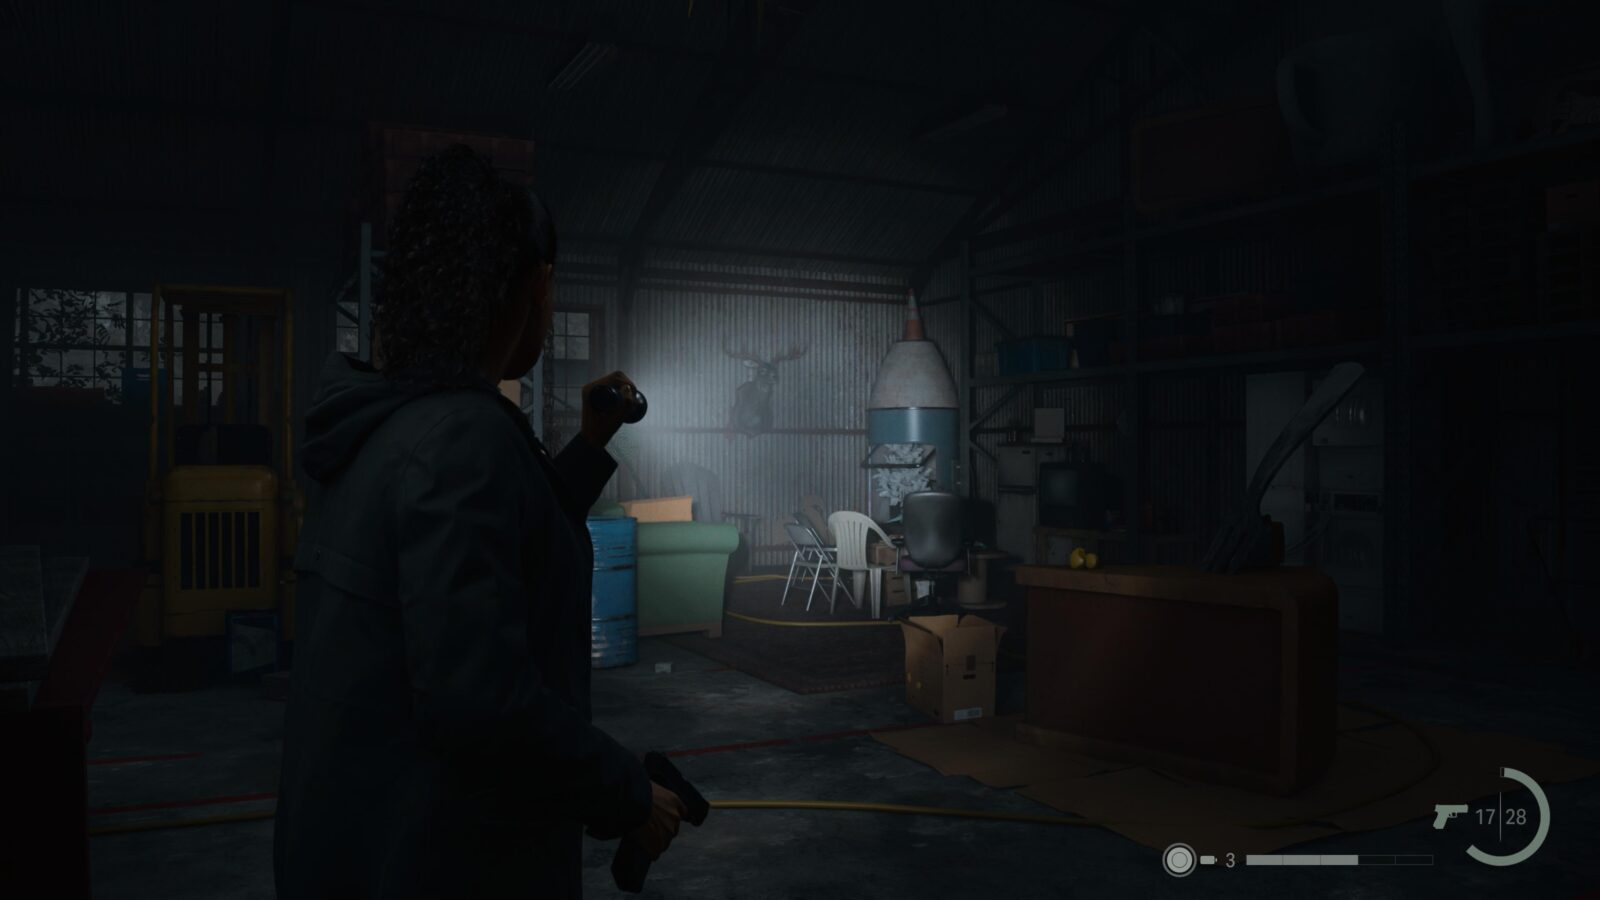
Deer Head #8
Head inside Kalevala Knights Workshop and go to the back left corner where the lounge area is to find a Deer Head on the wall.
Cult Stash #9
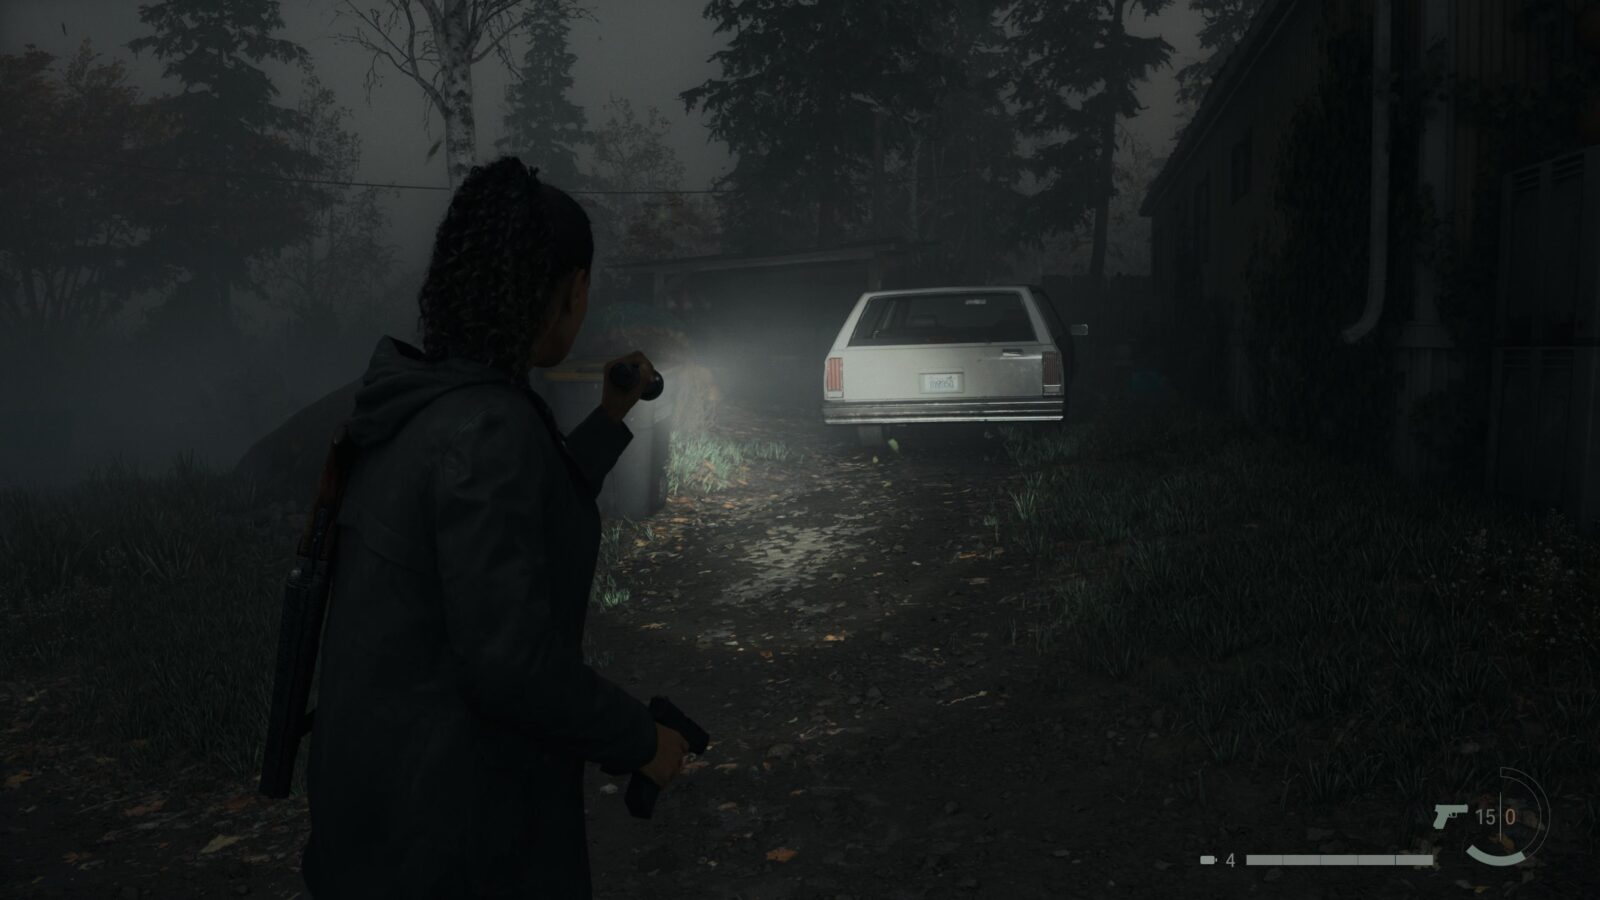
After defeating Mulligan and Thornton the flooded part of the Lighthouse Trailer Park will clear. Head there and look for a stash by a white car outside the first trailer, in the previously flooded section, on your right. This stash requires a key which can be found nearby.
Spoilers! Click to Show
Nursery Rhyme Doll #6 - Bear Doll
At the bottom of the Lighthouse Trailer Park is a Fish Cleaning station with two dolls. One of them is the Bear Doll.
Nursery Rhyme Doll #7 - Wise Elder Doll
At the bottom of the Lighthouse Trailer Park is a Fish Cleaning station with two dolls. One of them is the Wise Elder Doll.
Nursery Rhyme Doll #8 - Child Doll
To the right of the Fish Cleaning station in the Lighthouse Trailer Park is a pier. On a bench at the start of the pier are two dolls. The Child Doll is one of them.
Nursery Rhyme Doll #9 - Mother Doll
To the right of the Fish Cleaning station in the Lighthouse Trailer Park is a pier. On a bench at the start of the pier are two dolls. The Mother Doll is one of them.
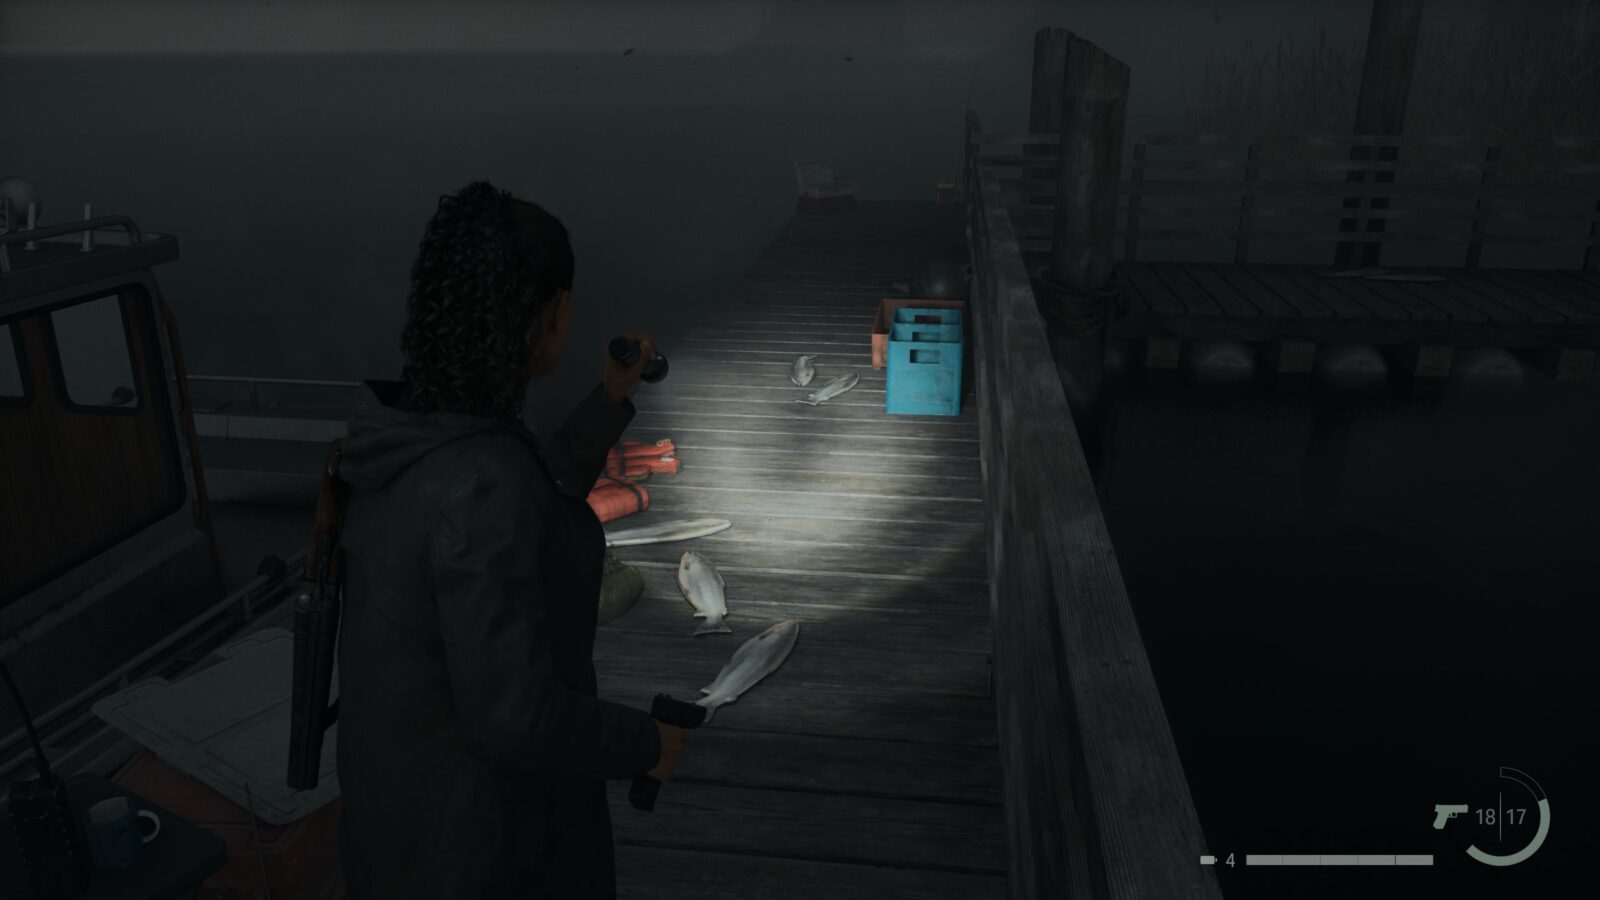
Nursery Rhyme Puzzle #6
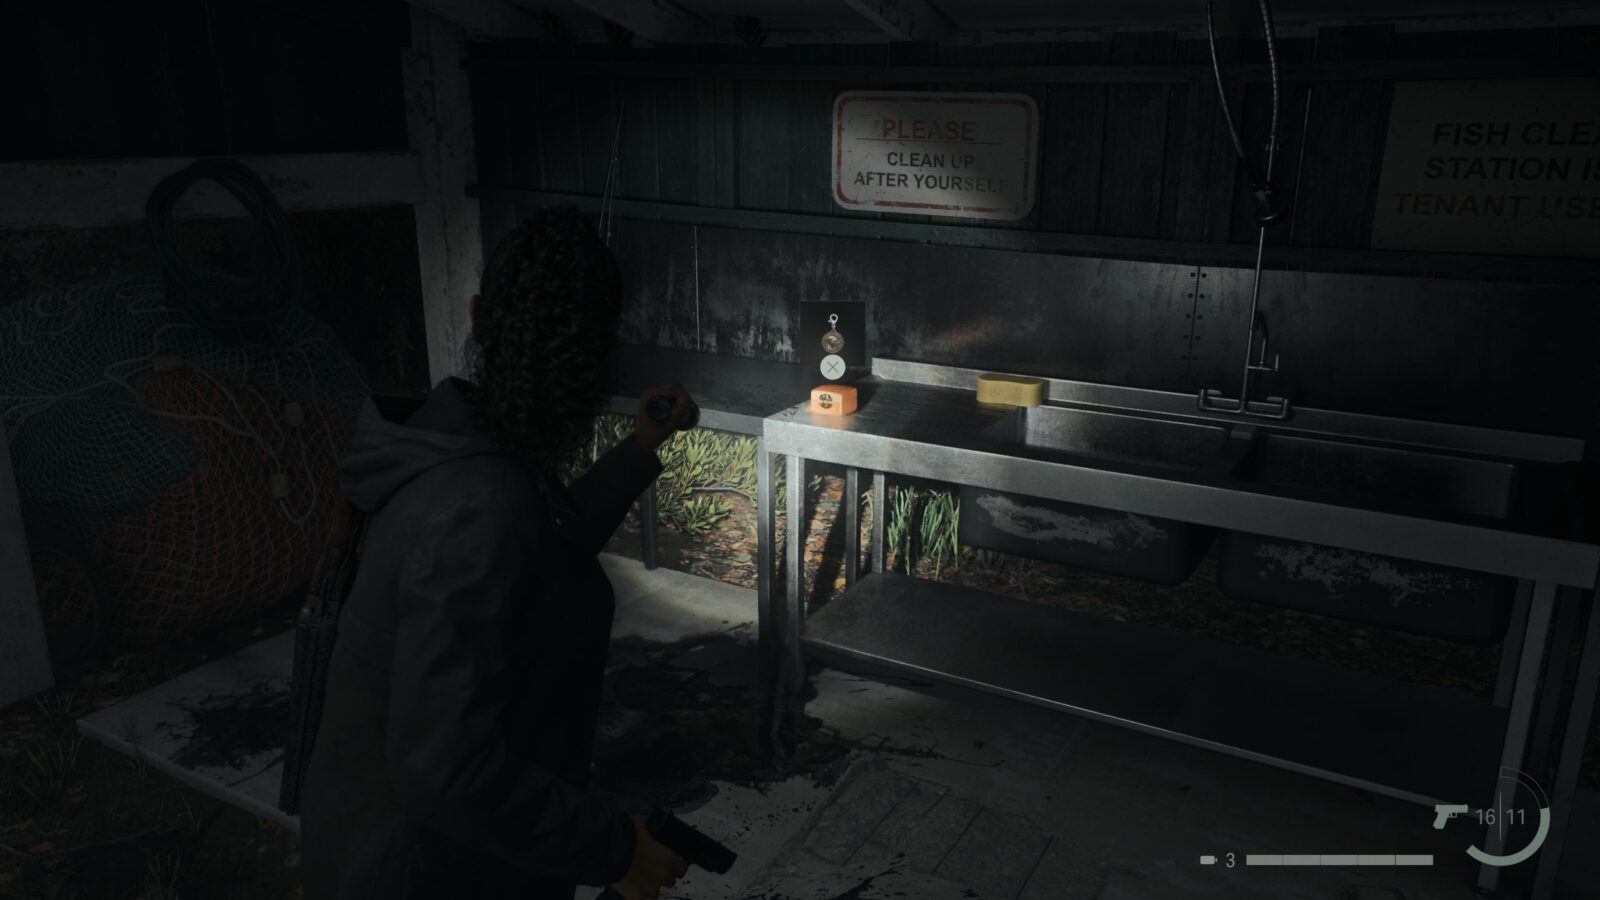
At the end of the pier at the bottom of Lighthouse Trailer Park is a Nursery Rhyme Puzzle. When you solve it you can pick up a Charm at the Fish Cleaning station. Pick up your Dolls before leaving.
Spoilers! Click to Show
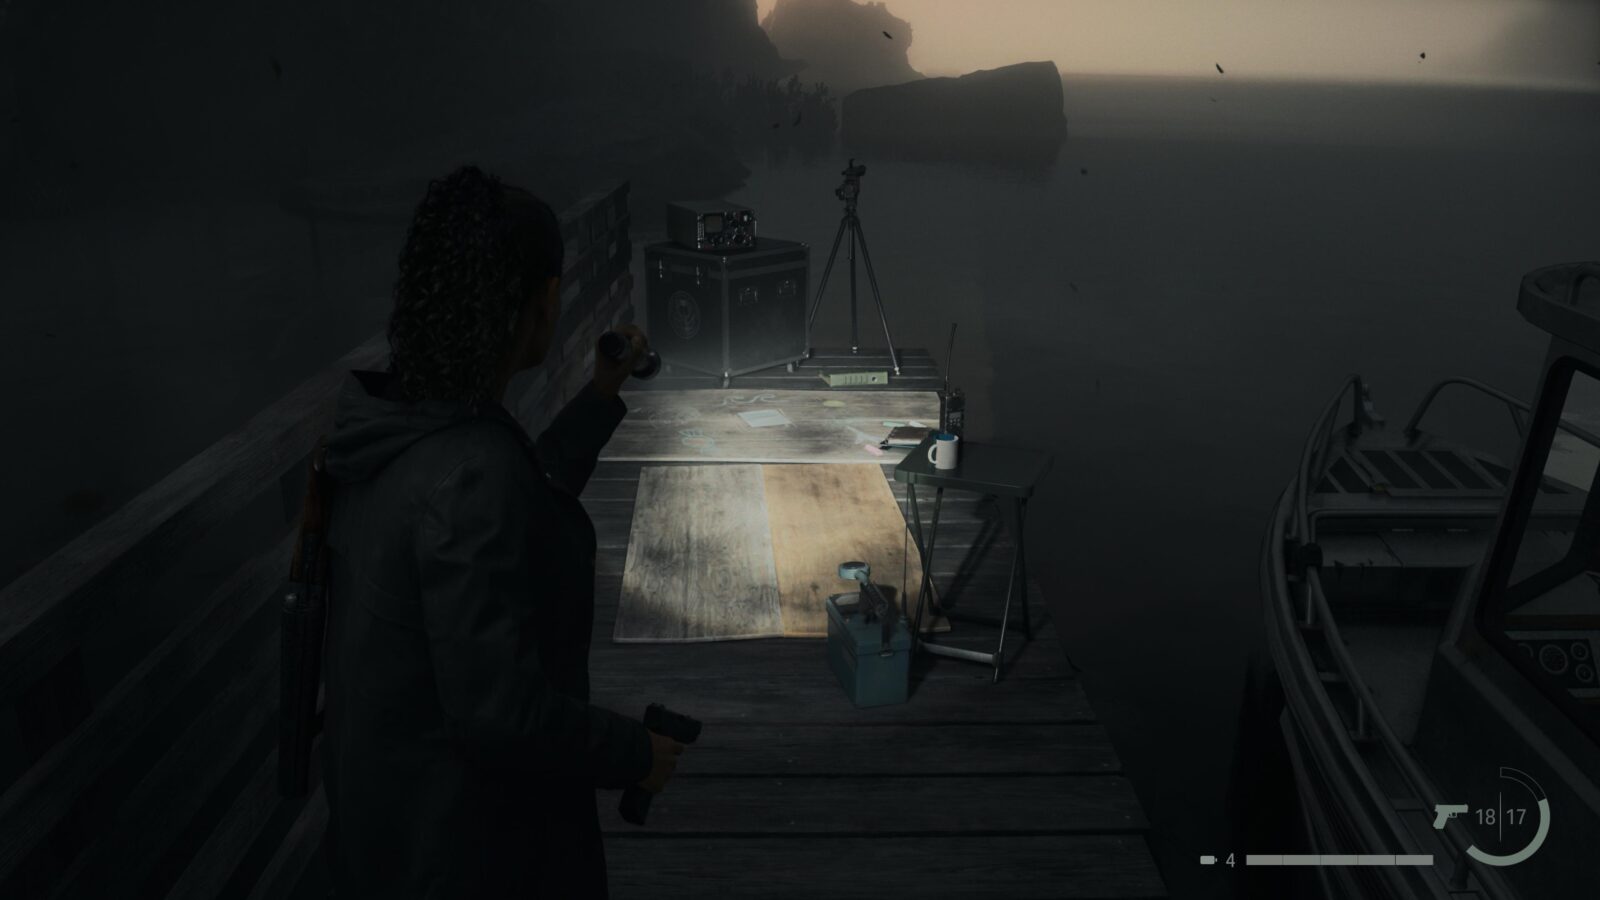
Charm #6 - Coffee World Token Charm
After completing the Nursery Puzzle Rhyme a trail of dead fish will appear. Follow the trail back to the Fish Cleaning station—you will be attacked by Taken on the way—and pick up the Charm.
Cult Stash #10
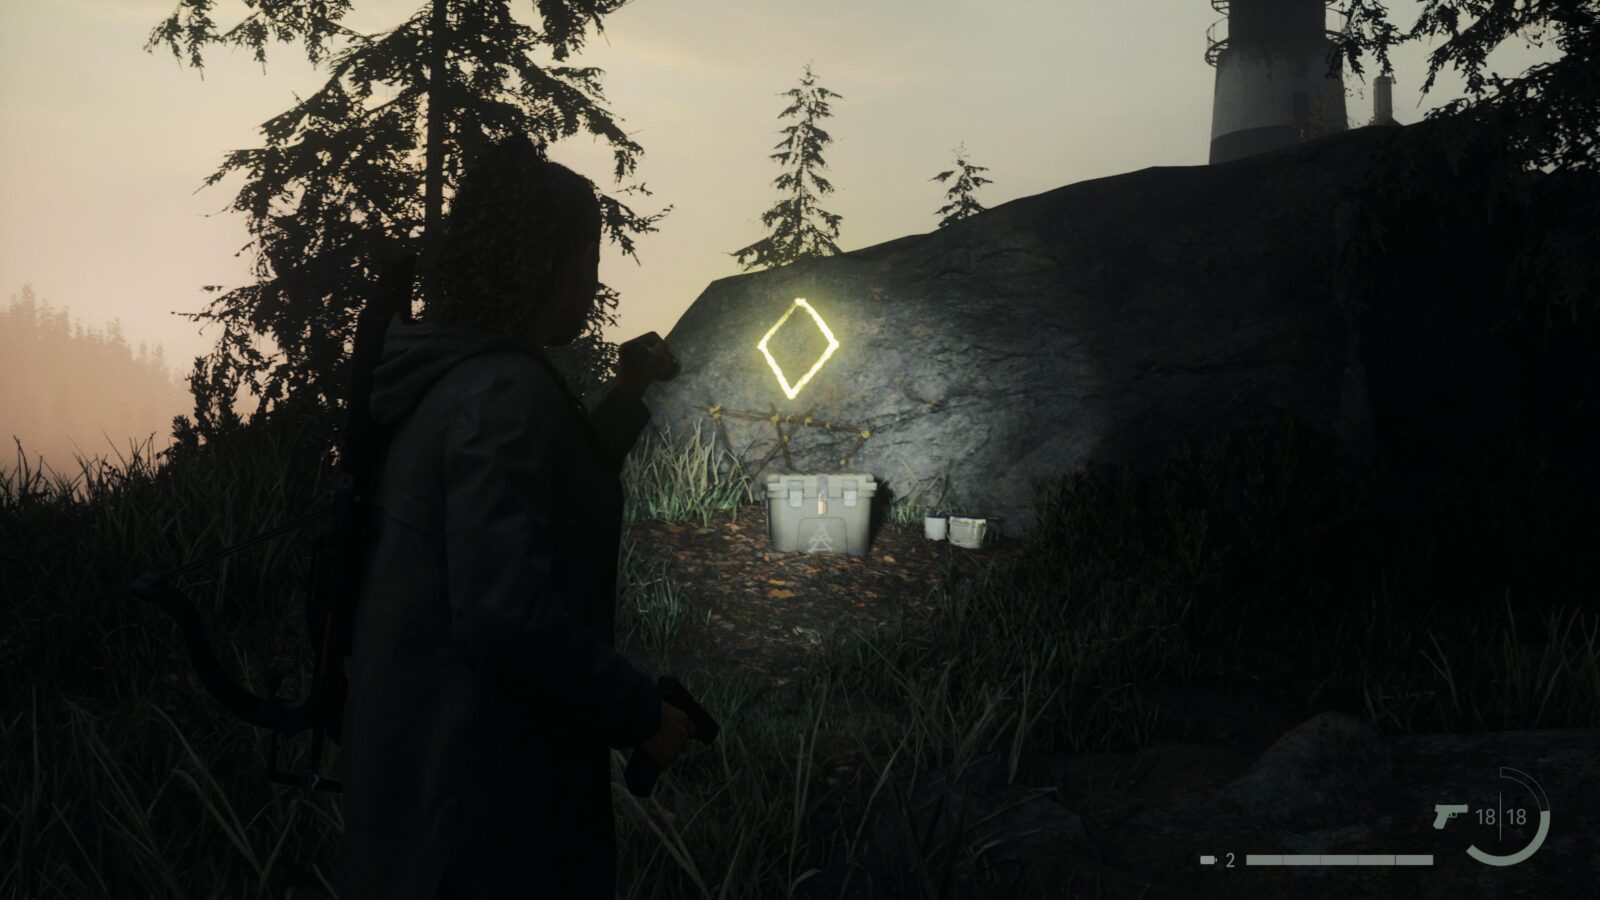
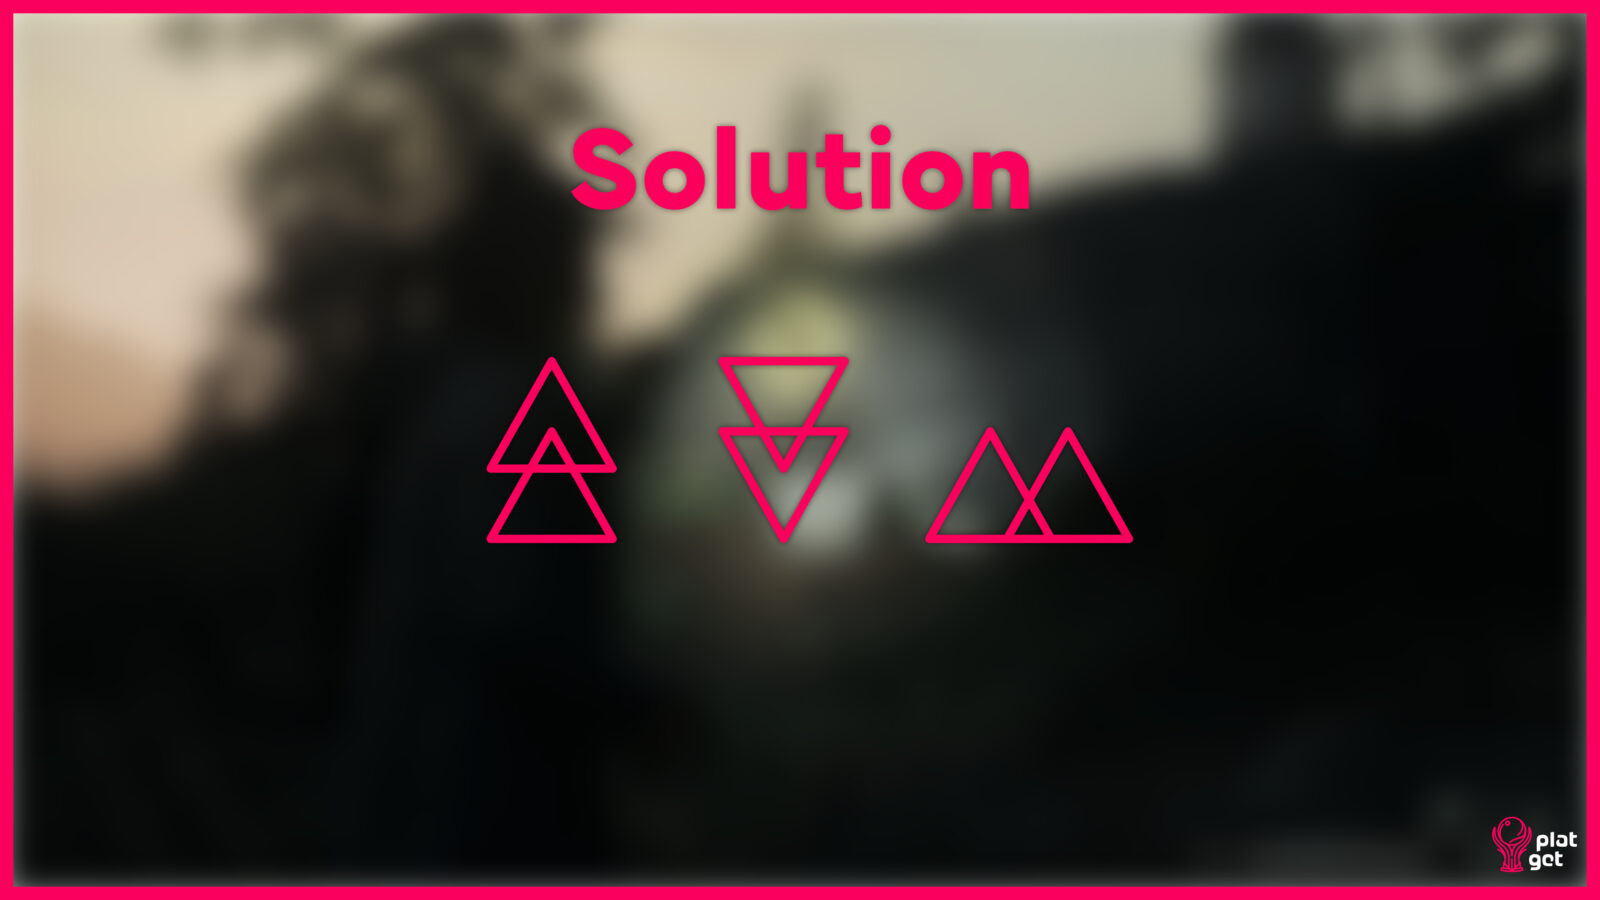
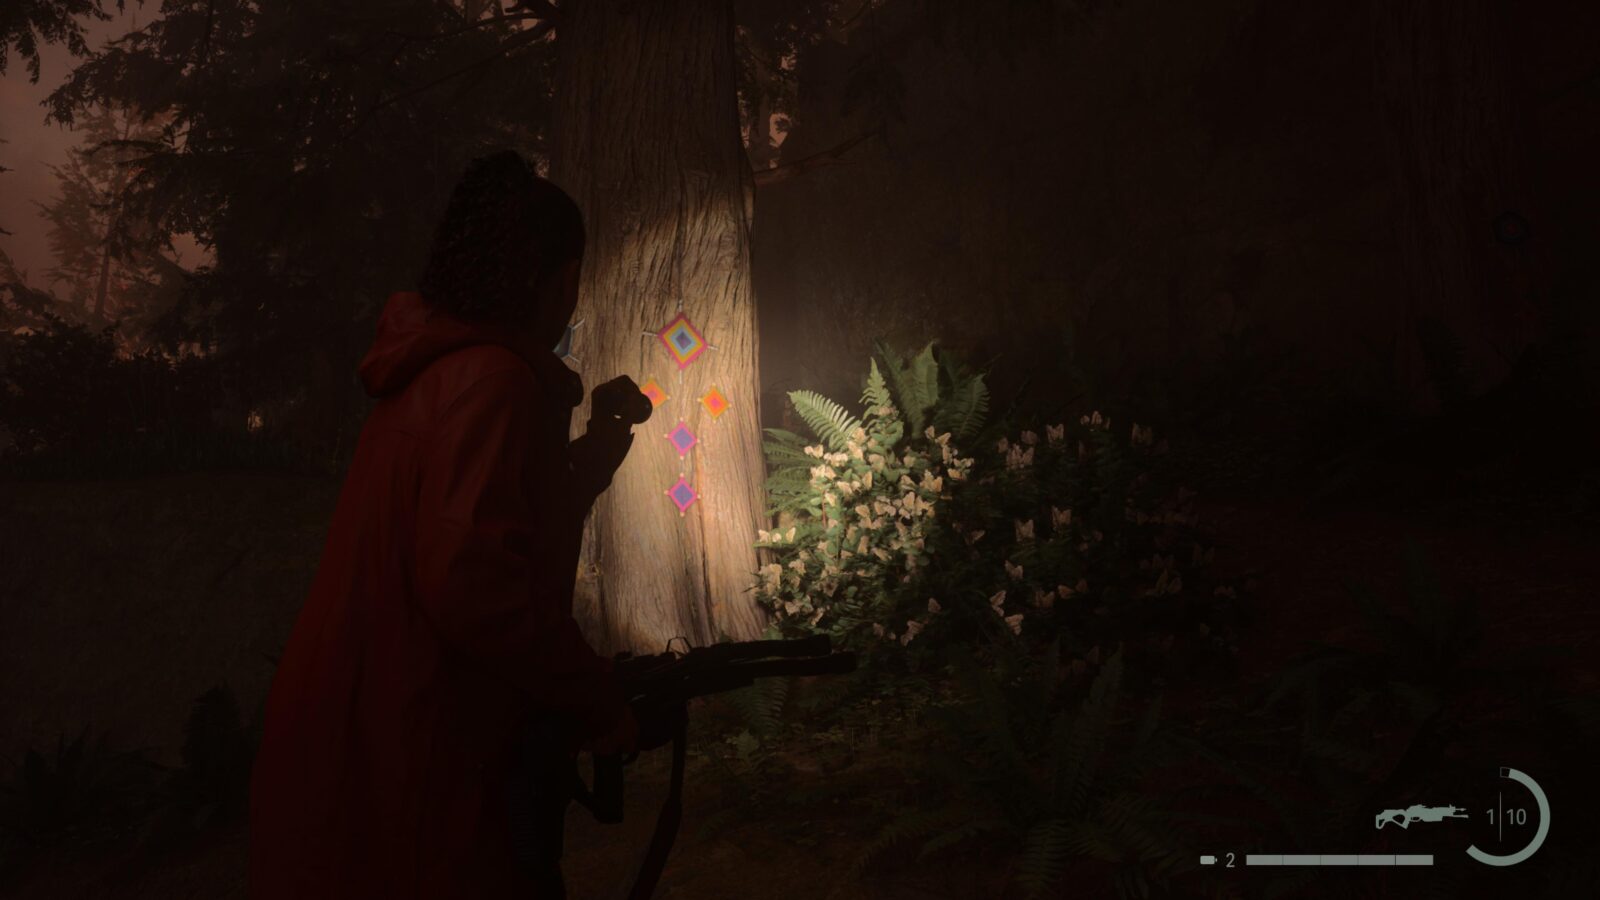
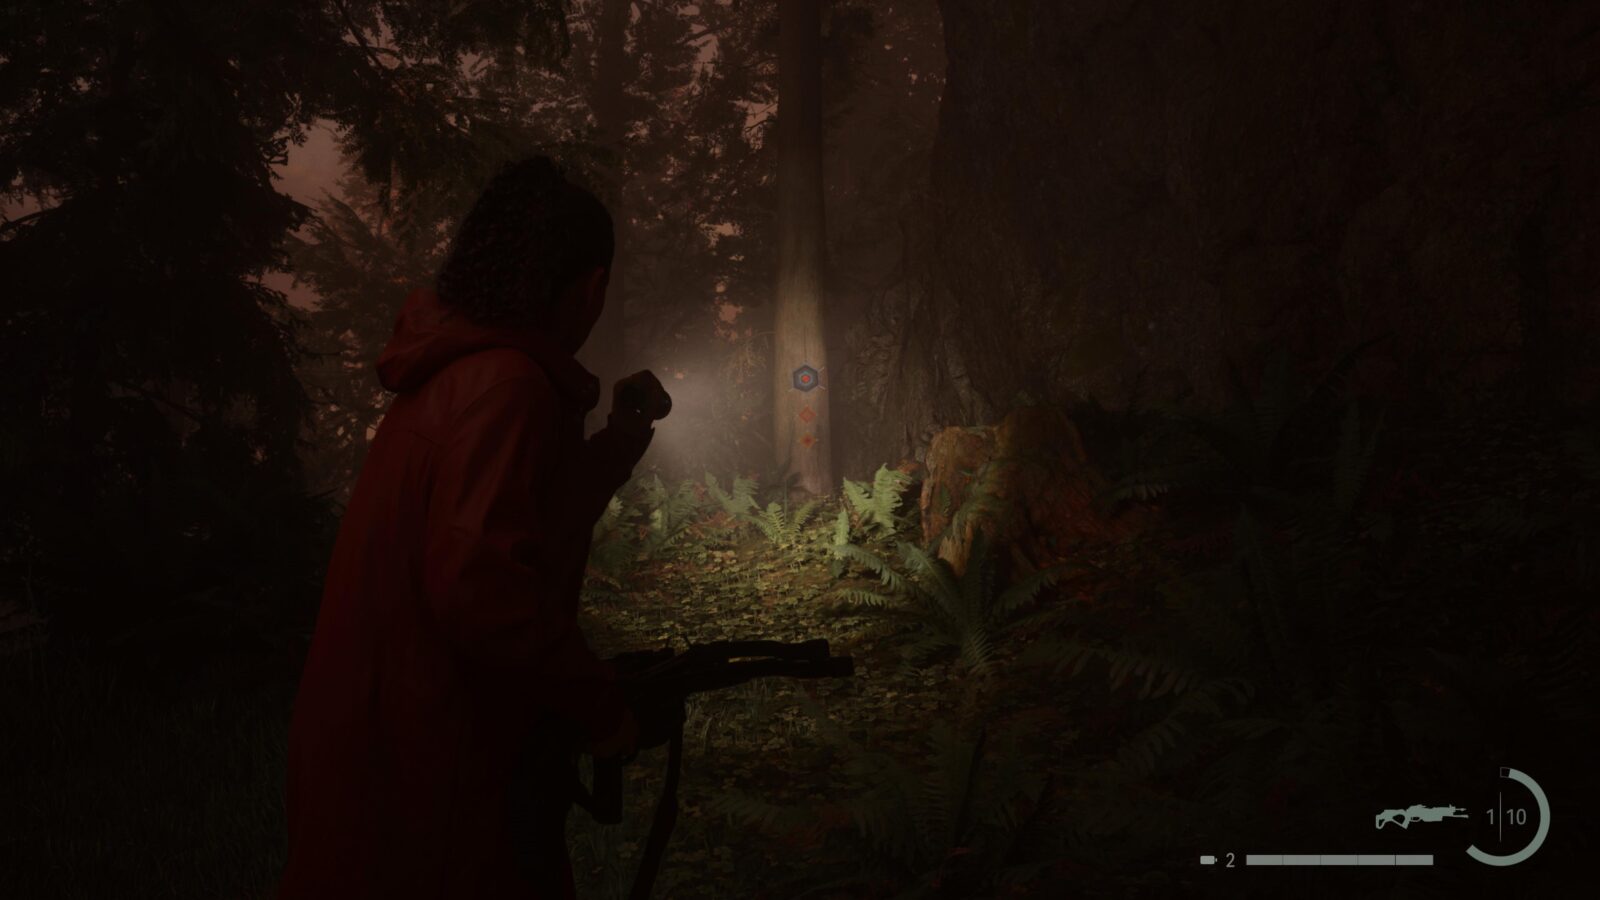
To the right of the Lighthouse Trailer Park on the map is the actual Lighthouse. There are two paths you can take to get to it. Either way when you get there you should head behind the trailer behind the car you find there. There is a ledge that leads to a Cult Stash. To open the stash you need to look at the surrounding yellow marks for the correct symbols.
Spoilers! Click to Show
Nursery Rhyme Doll #10 - Trickster Doll
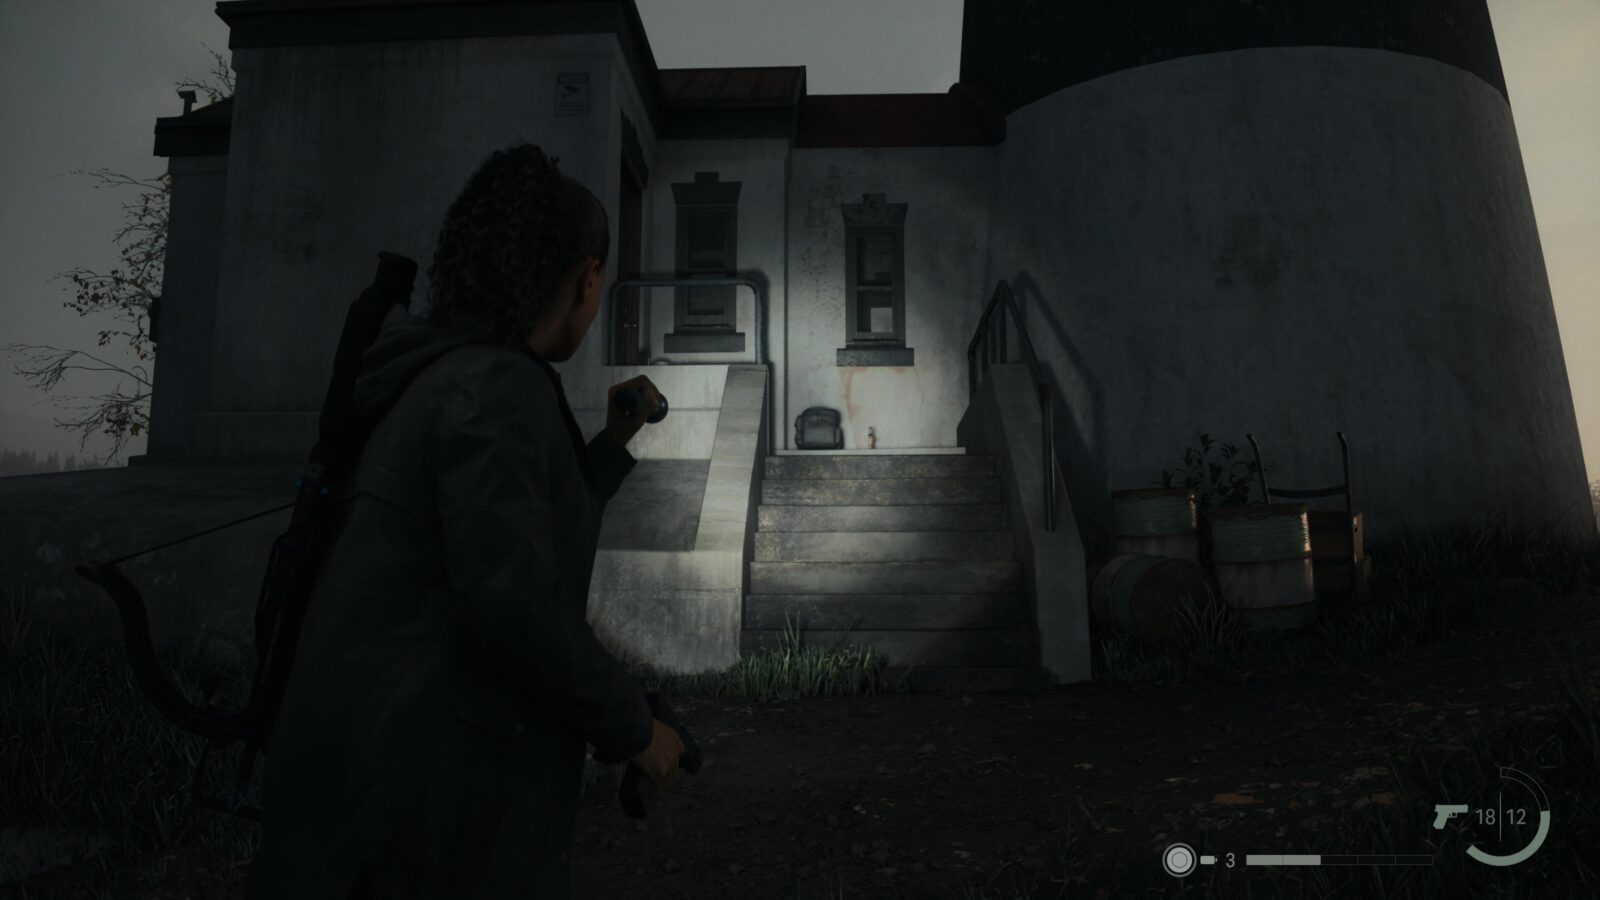
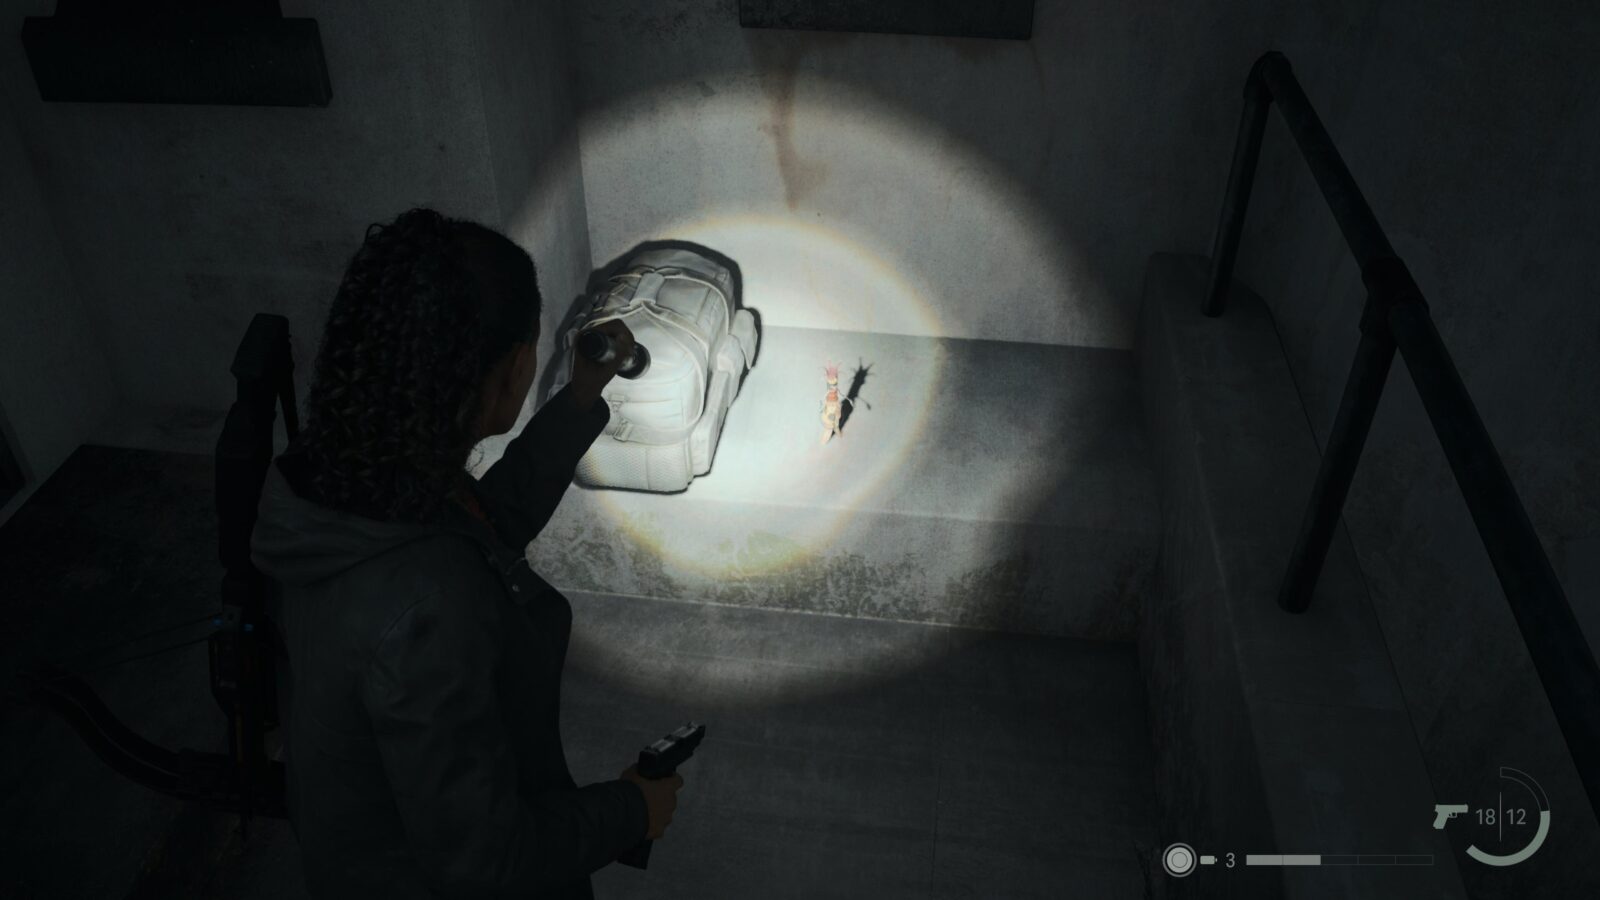
Head to the Lighthouse and grab the Trickster Doll from atop the steps leading to the front door of the Lighthouse.
Nursery Rhyme Puzzle #7
To the right of the Lighthouse by the edge is a Nursery Rhyme Puzzle you need to solve. When you solve this one it will spawn a Charm on the small bit of beach below the puzzle.
Spoilers! Click to Show
Lunch Box #14
The path leading down from the Lighthouse has a Break Room to the right. On the ledge to the left of the Break Room has a Lunch Box with 9 Manuscript Fragments inside.
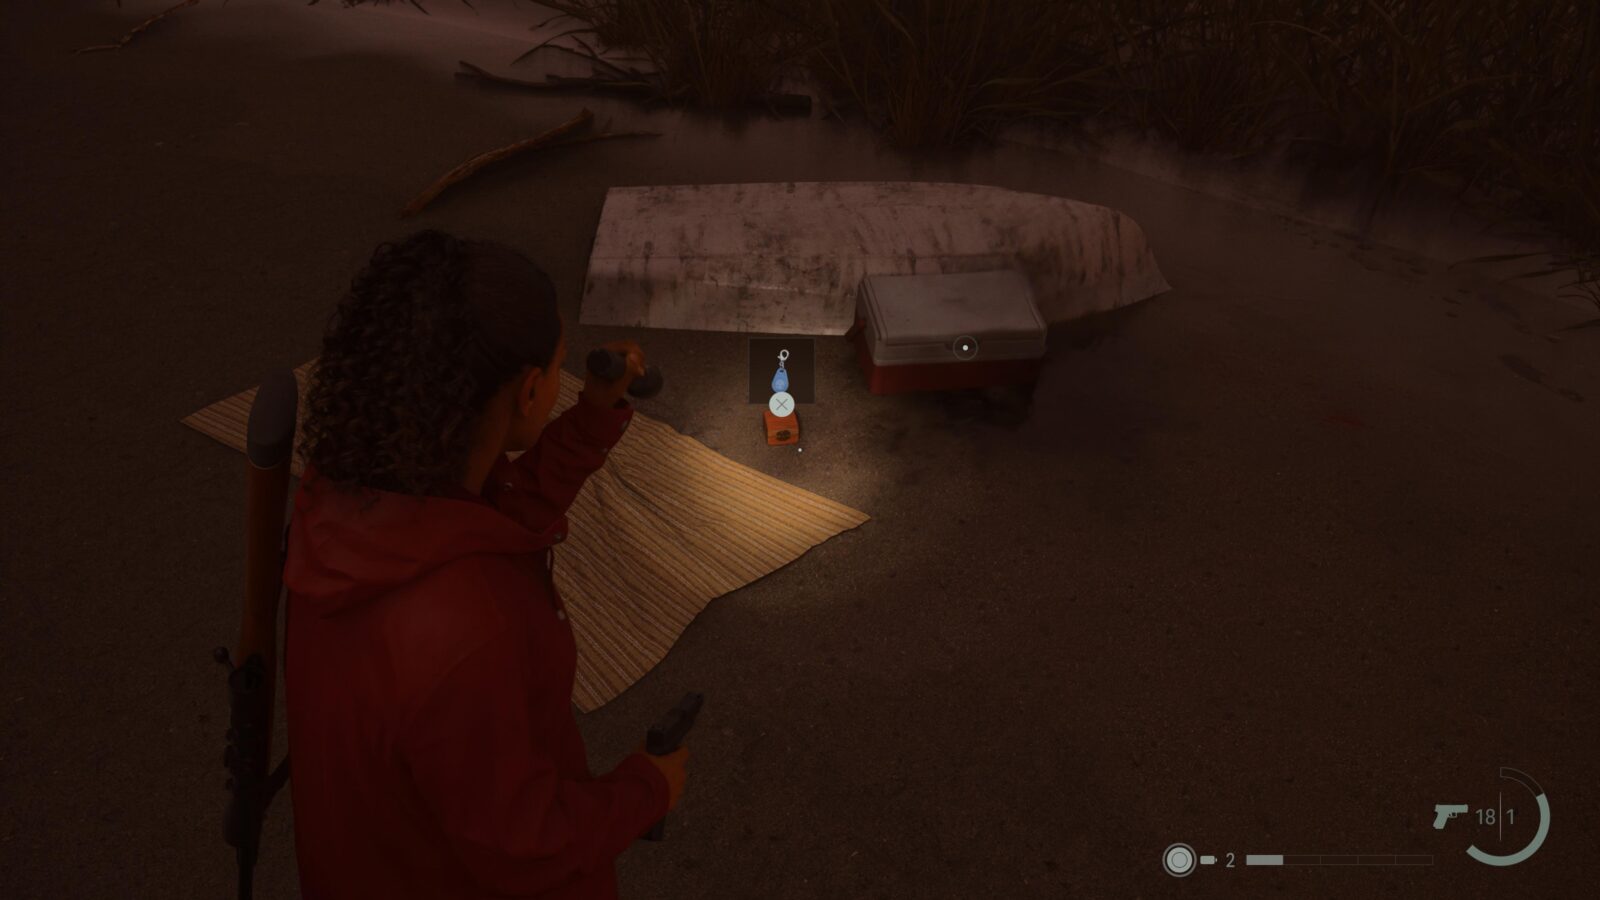
Charm #7 - Lighthouse Charm
Follow the trial down from the Lighthouse and when you hit the road take a right. Follow the road towards the bridge and keep an eye out for a path onto the beach to your right. Duck under a fallen tree and look for the Charm on a rock near a beached boat.
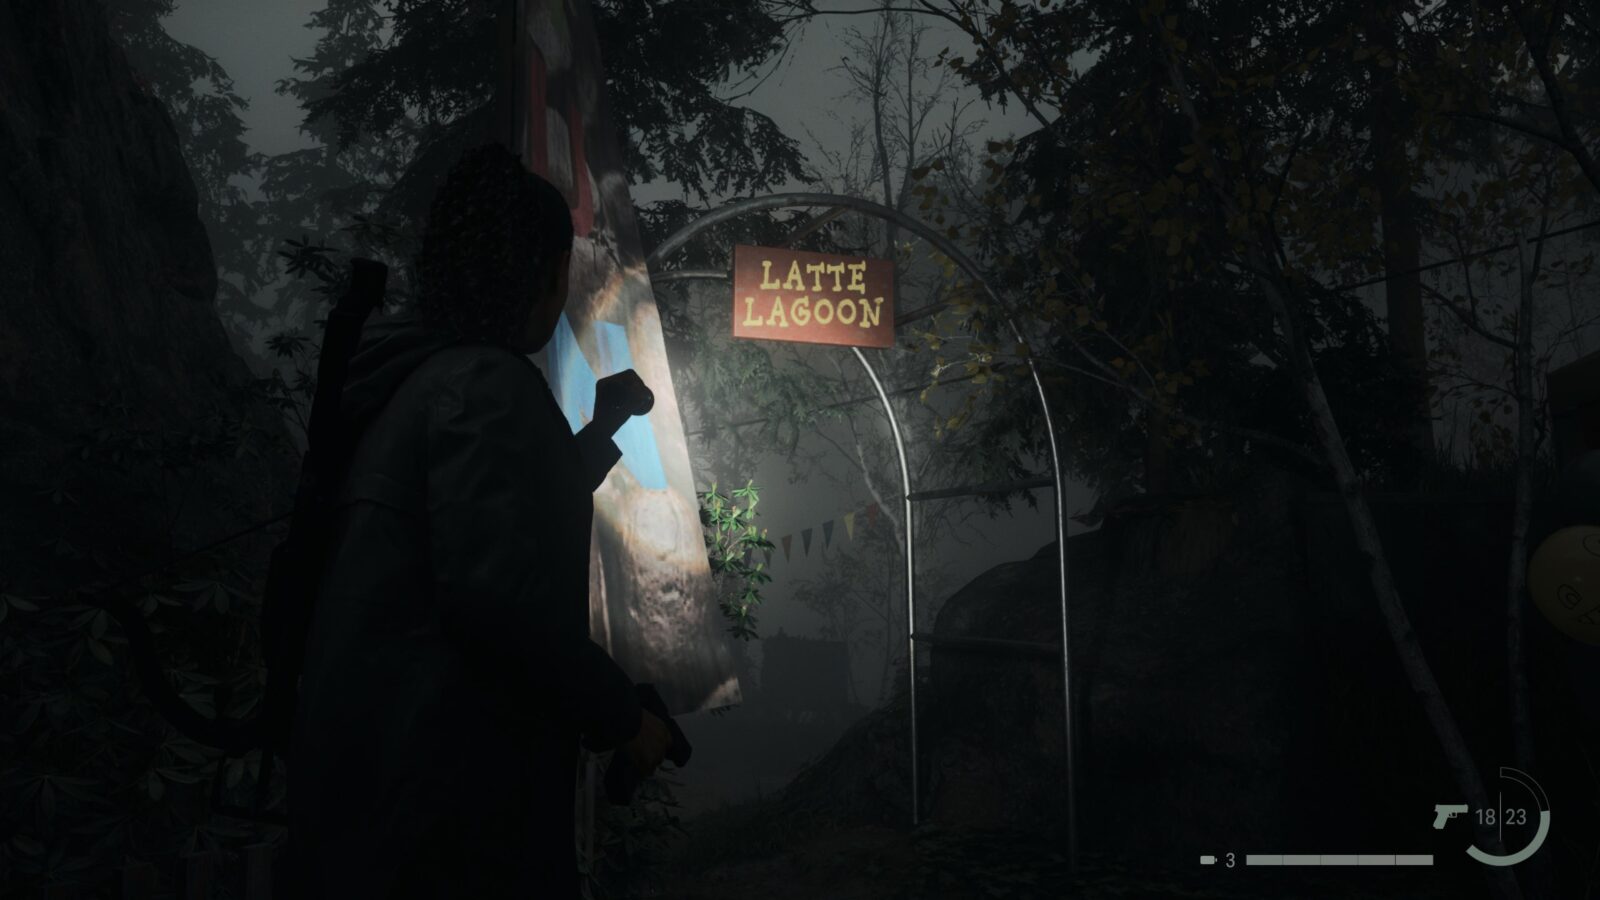
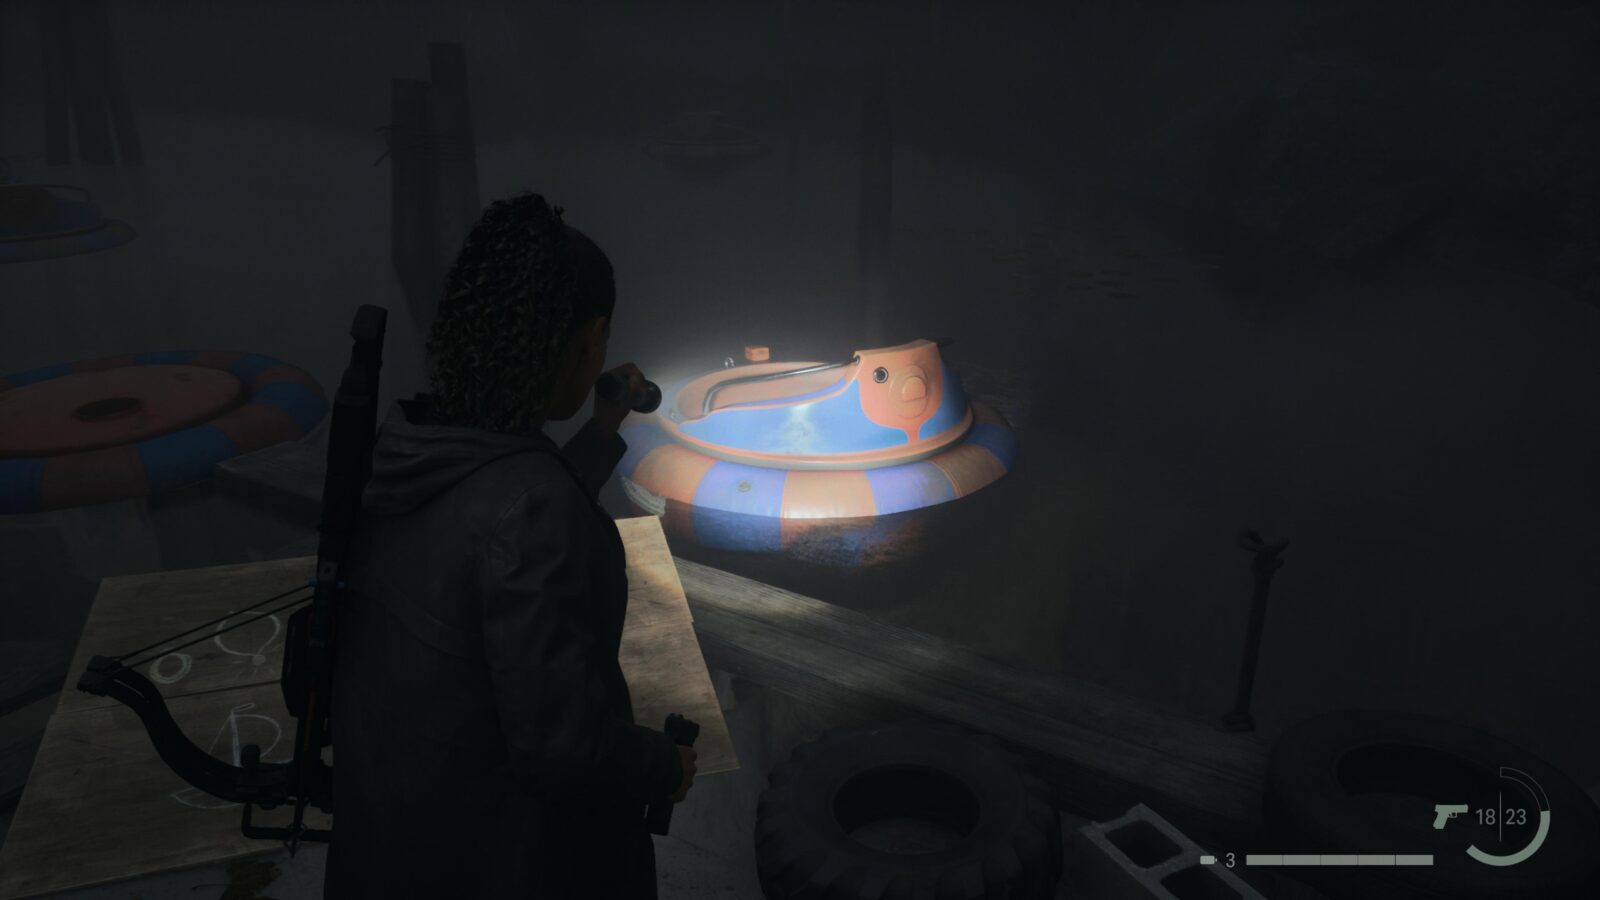
Nursery Rhyme Puzzle #8
Head back into Coffee World and go to the Latte Lagoon section. At the end of the pier in Latte Lagoon is another Nursery Rhyme Puzzle that rewards you with a Charm when you solve it.
Spoilers! Click to Show

Charm #8 - Mr. Drippy Charm
After completing Nursery Rhyme Puzzle #8 the deer statue at the end of the pier will vanish and a small boat will float up to the pier with the Charm on the edge of it.

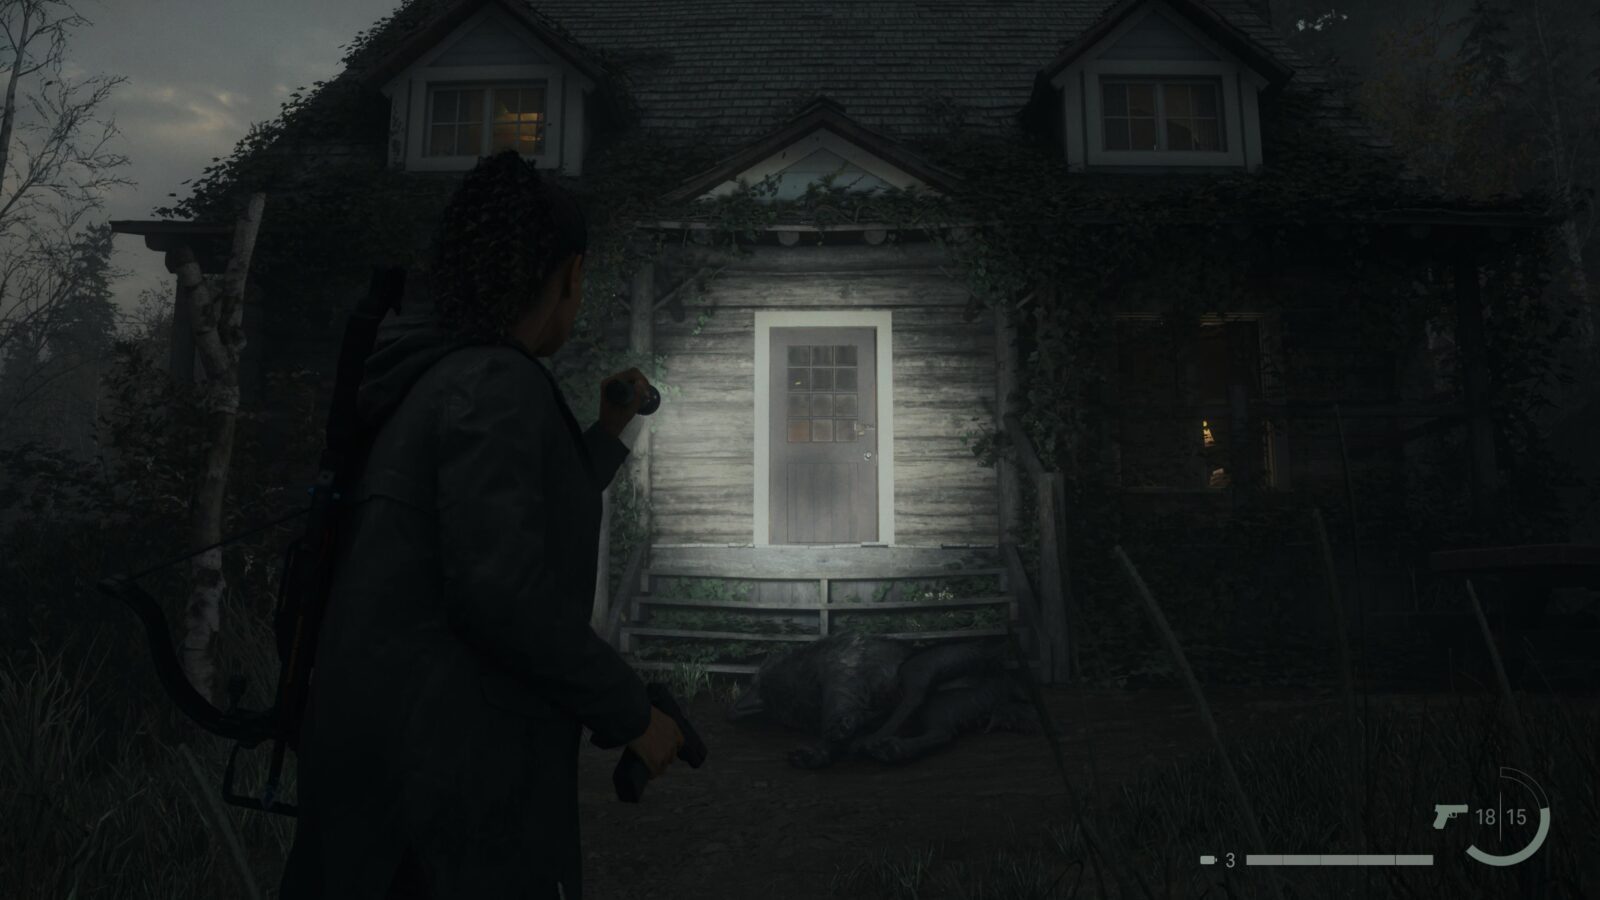
Deer Head #8
Leave Coffee World via the Gift Shop exit where the Break Room is and head to the Ranger Cabin. Use the Screwdriver to open the door and in a room on the left is a Deer Head.
Nursery Rhyme Doll #11 - Monster Doll
Head upstairs in the Ranger Cabin to find two dolls. One of them is the Monster Doll.
Nursery Rhyme Doll #12 - Maiden Doll
One of the two dolls upstairs in the Ranger Cabin is the Maiden Doll
Nursery Rhyme Puzzle #9
Go behind the Ranger Cabin building to find another Nursery Rhyme Puzzle to solve which rewards you with another Charm.
Spoilers! Click to Show
Charm #9 - FBC Charm
After completing Nursery Rhyme Puzzle #9 head upstairs in the Ranger Cabin to find another Charm.
Nursery Rhyme Puzzle #10
Return to Watery and use your Screwdriver to unlock the trailer home behind Suomi Hall. Inside is another puzzle for you to solve and when you do you can collect another Coffee Mug Charm from the mailbox outside. This charm is a duplicate and doesn’t count towards the Rustic Charm trophy (for collecting all charms).
Spoilers! Click to Show

Cult Stash #11
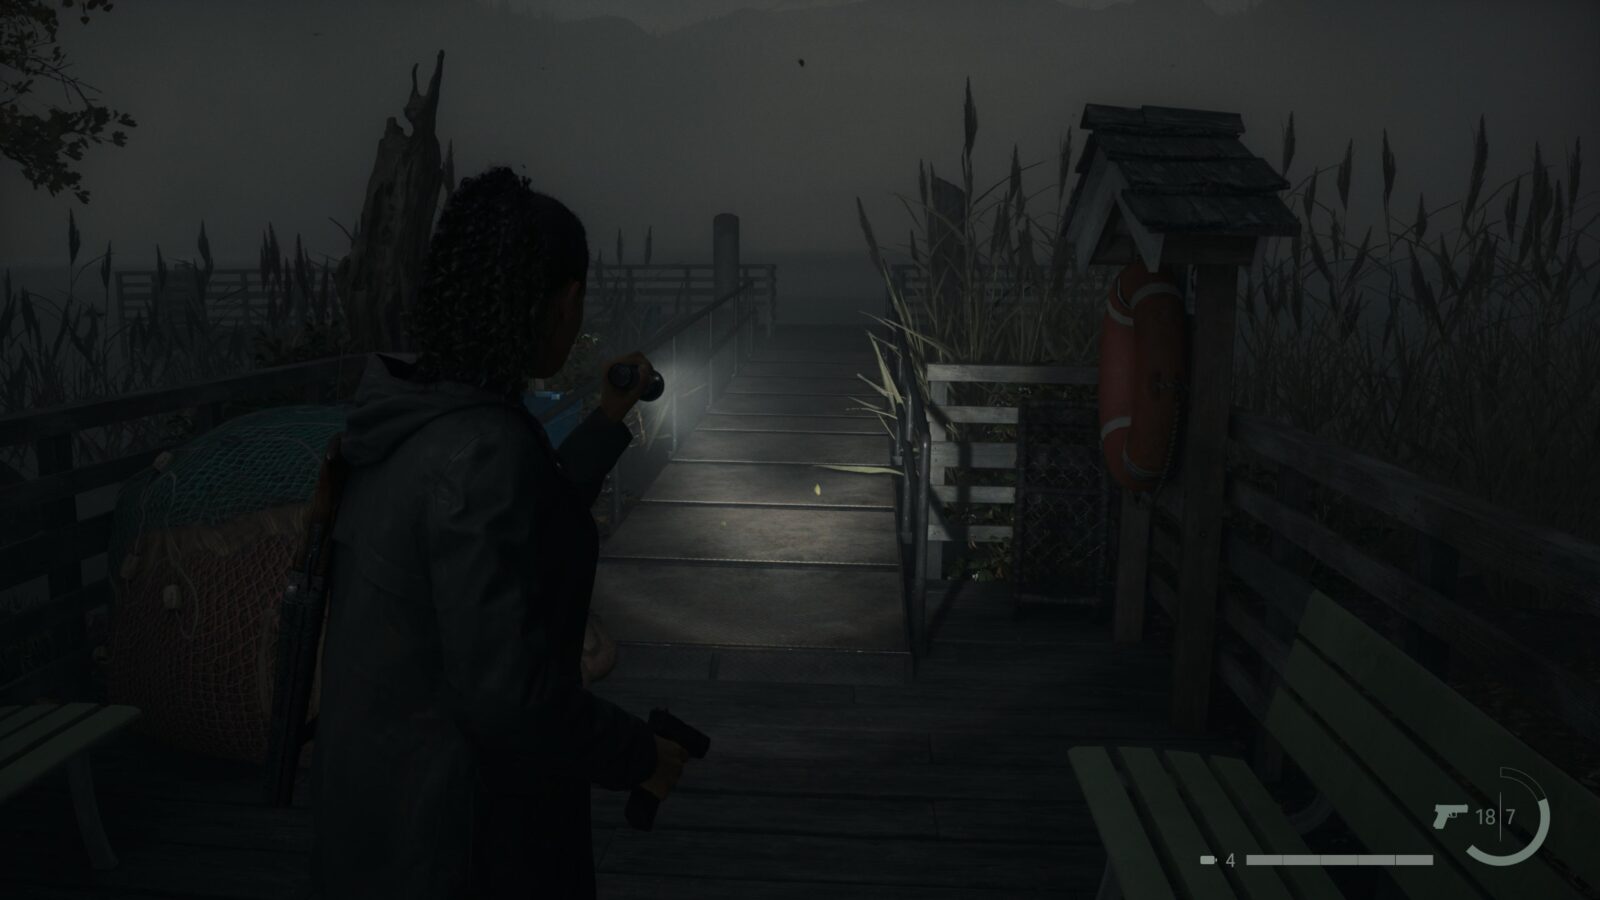
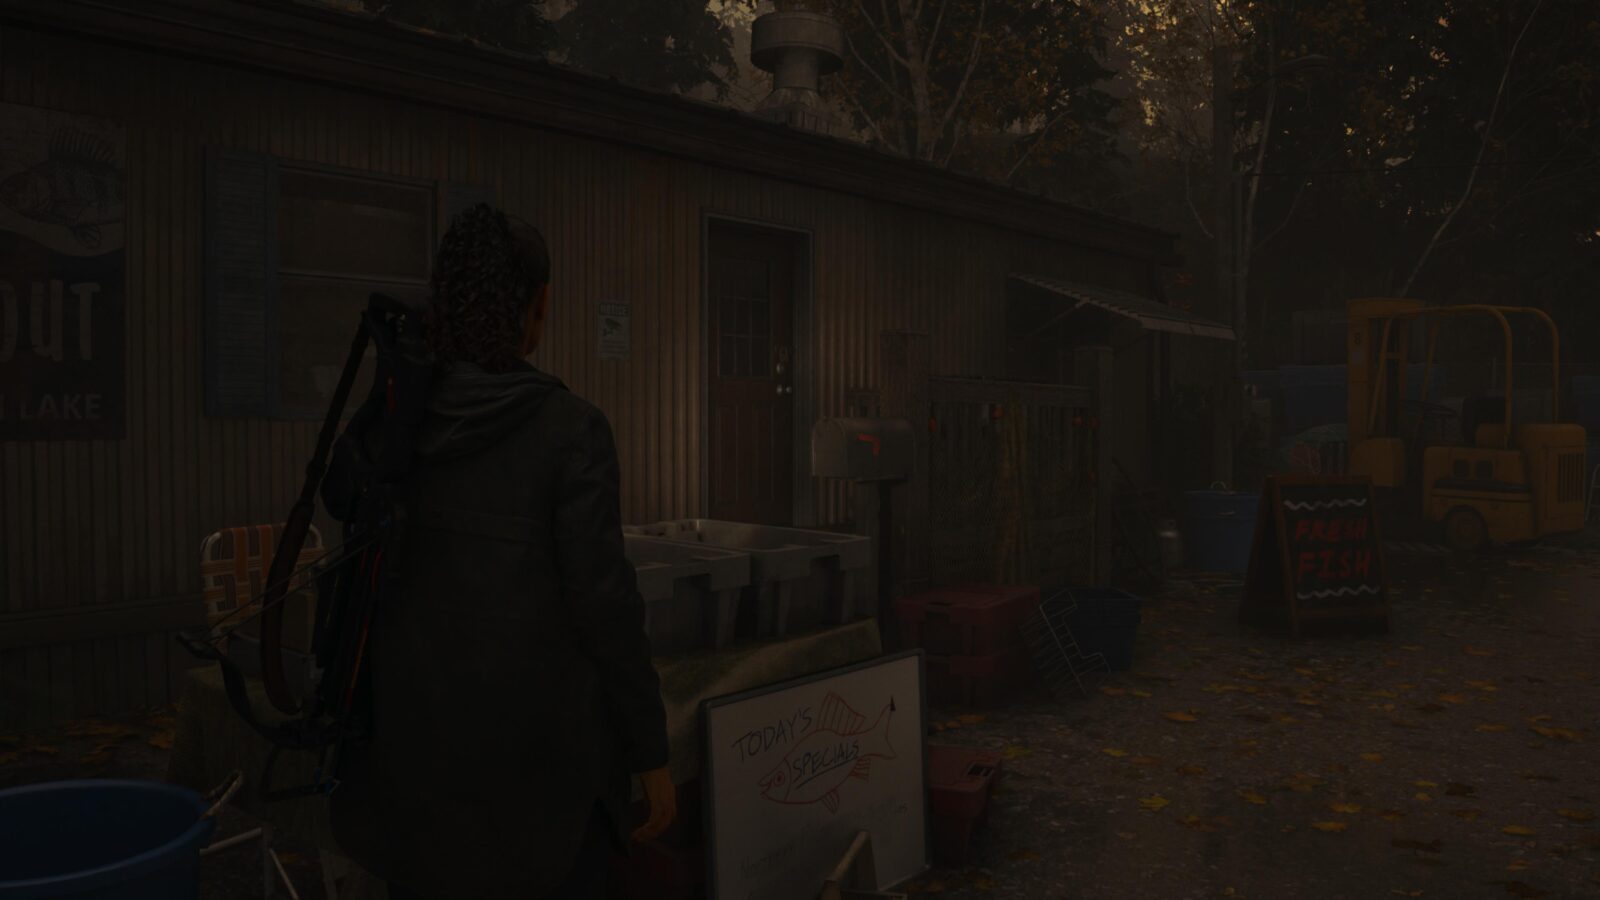
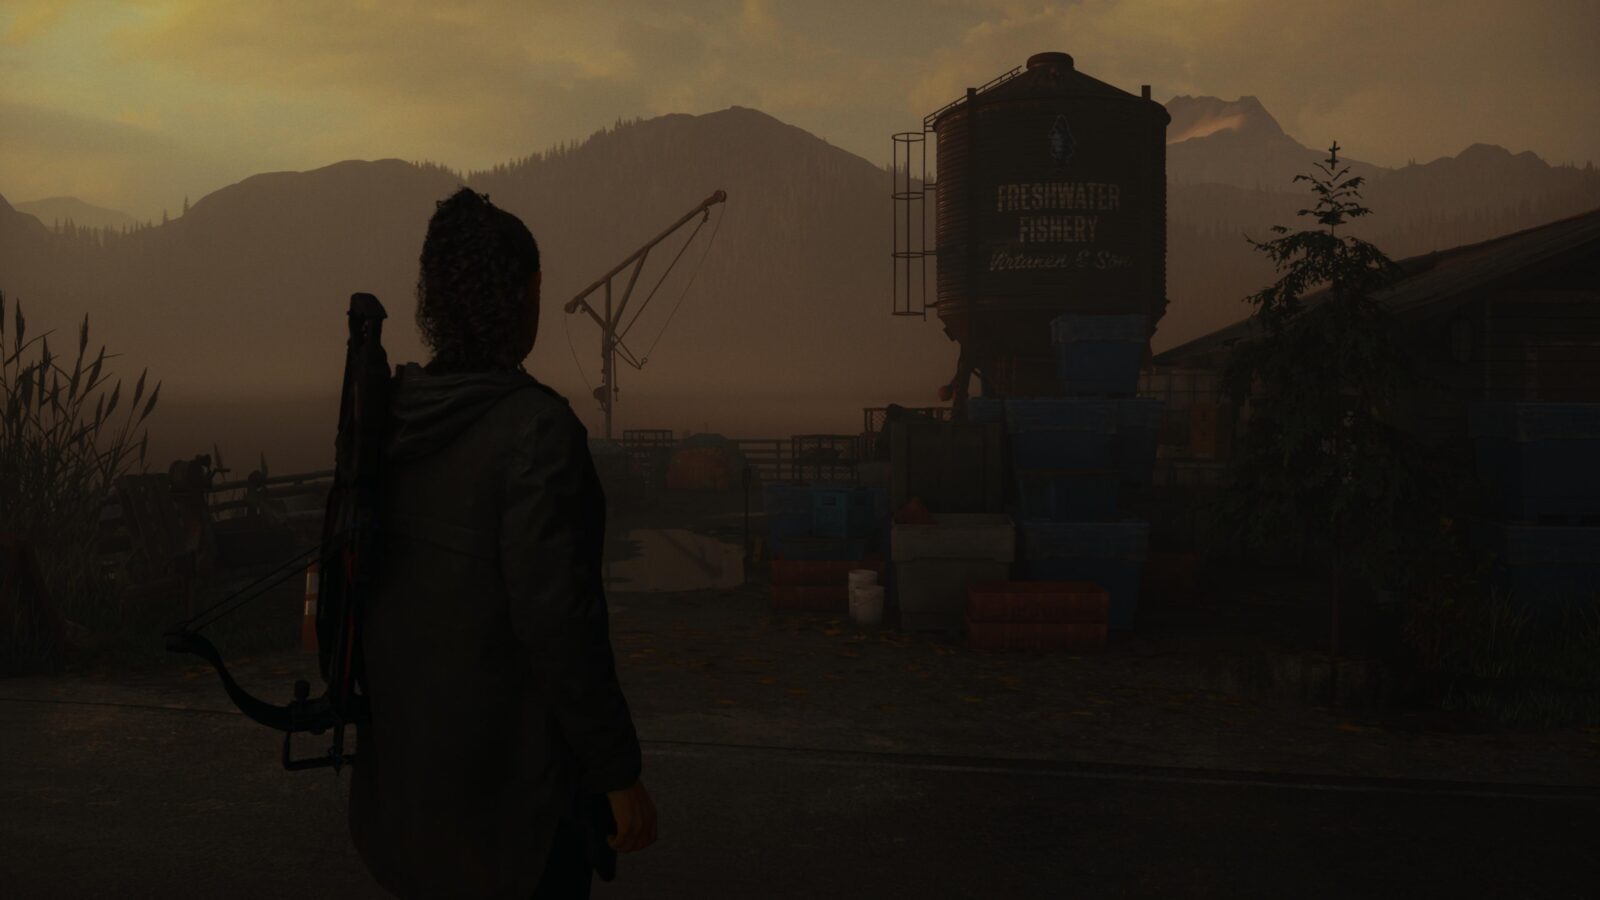
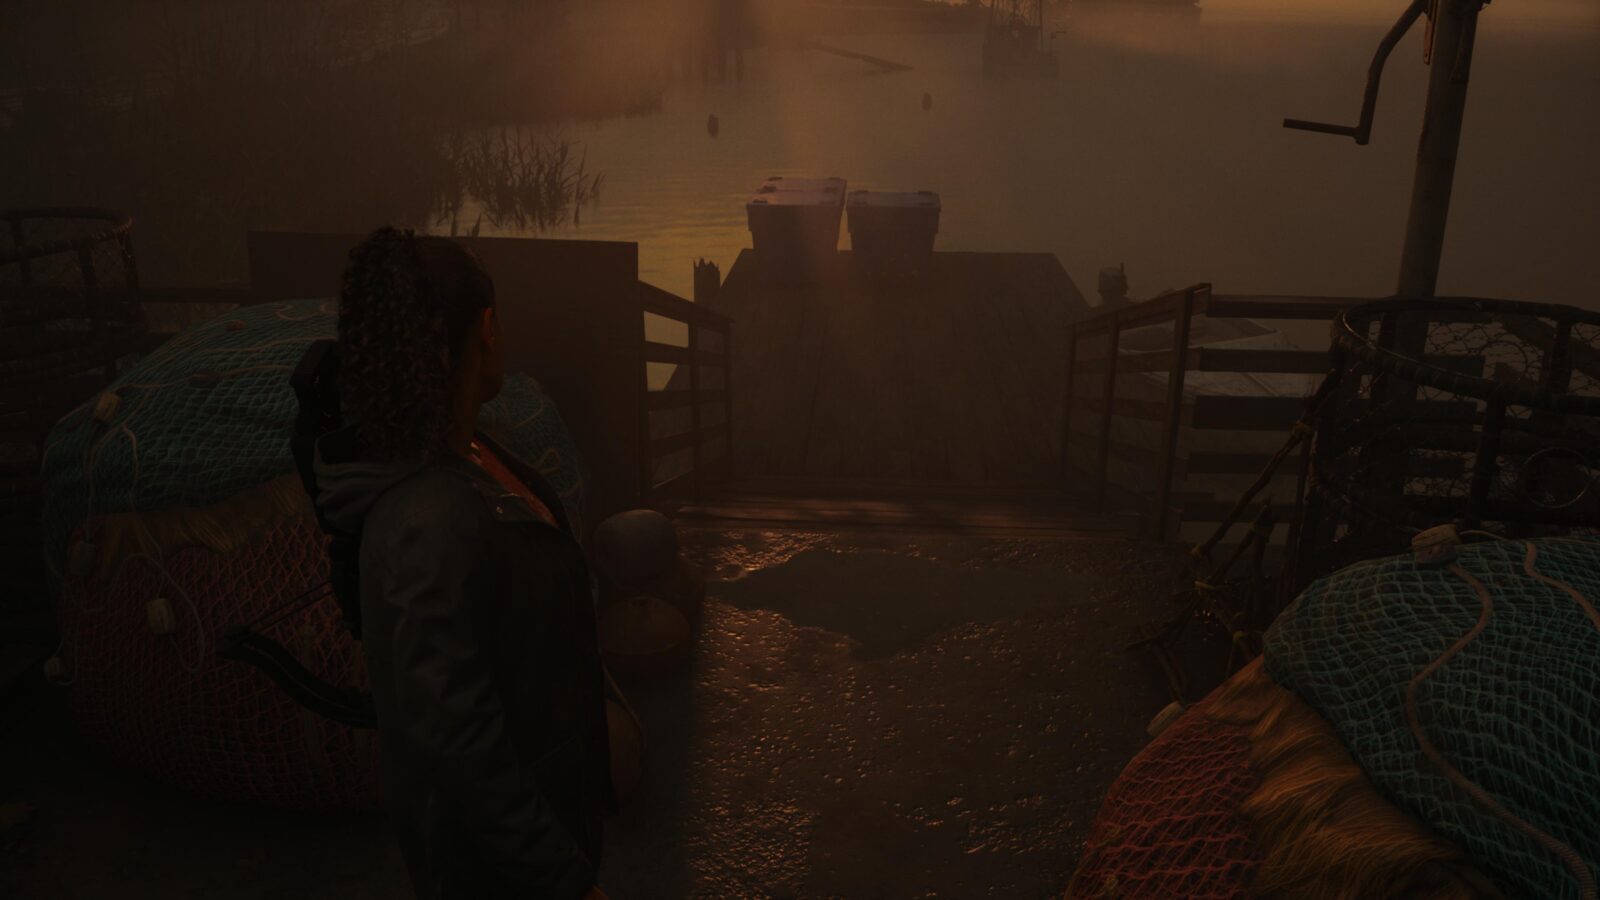
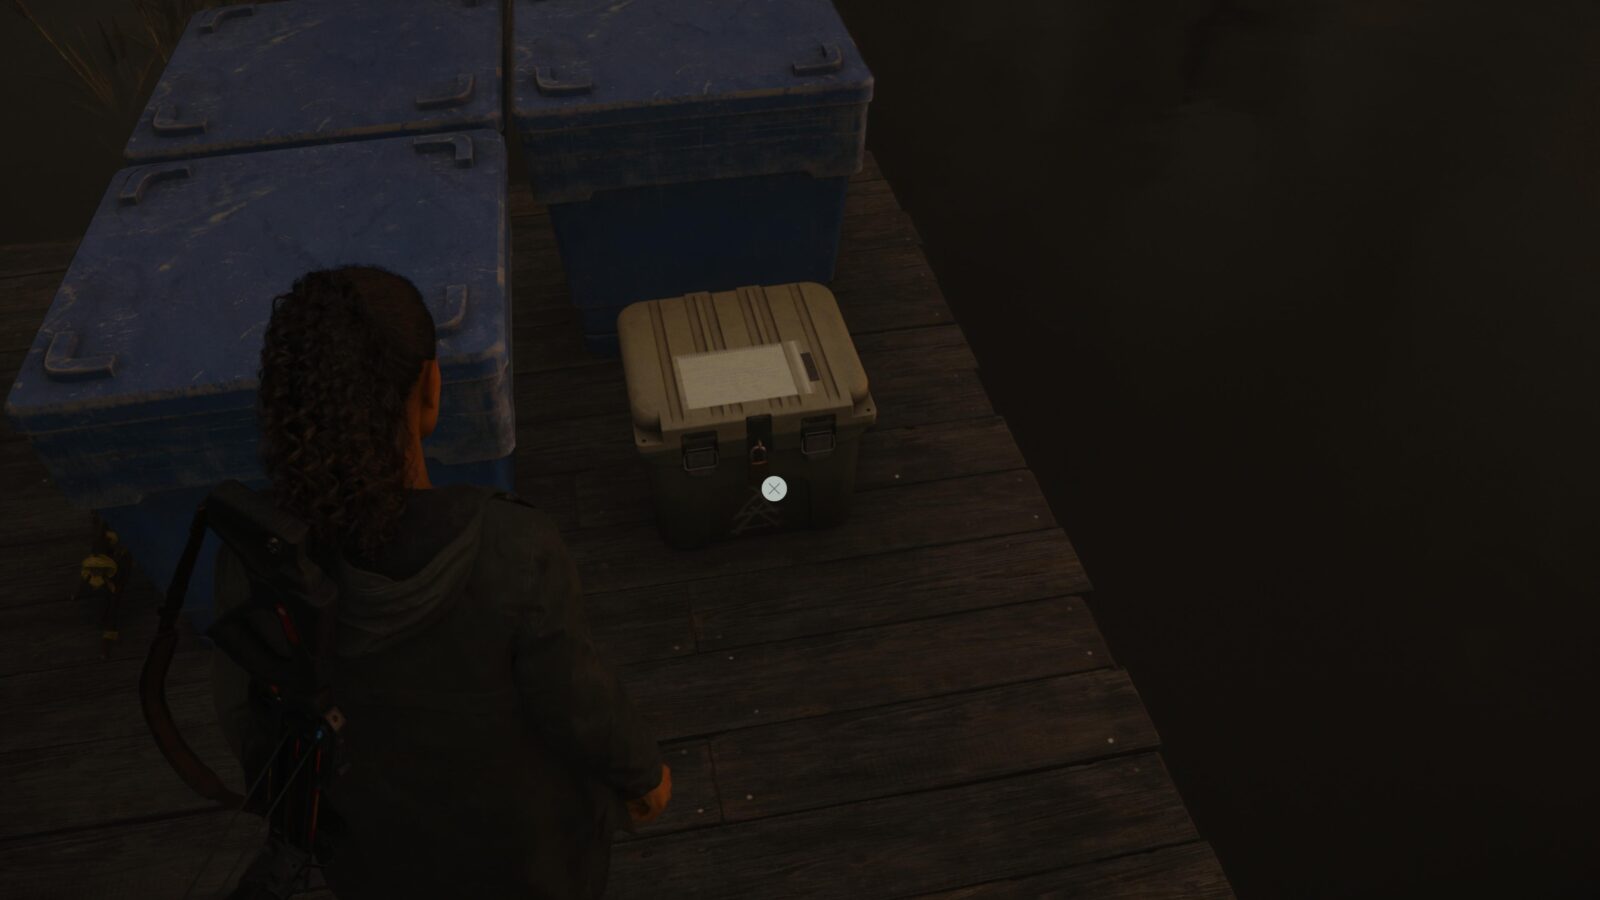
Head to the Freshwater Fishery dock opposite Suomi Hall and go to the end of the pier at the corner to find a stash. I hope you’re good at algebra because this one wants you to flex your brain to find the code.
Spoilers! Click to Show
To solve this we can use the following equation:
x + (x + 128) + 2x = 1600 which we'll have to simplify and solve for x.
x + x + 128 + 2 = 1600
4x + 128 = 1600
Now subtract 128
4x = 1600 - 128
4x = 1472
Now divide by 4
x = 1472 ÷ 4
x = 368 which is the charge of B3 and can figure out the charge of B2
x + 128 = 368 + 128 = 496
The charge in B2 is 496 as is the code for the lock on the Cult Stash.
Return 4: No Chance
This chapter carries on immediately after Return 3: Local Girl and features only one collectible
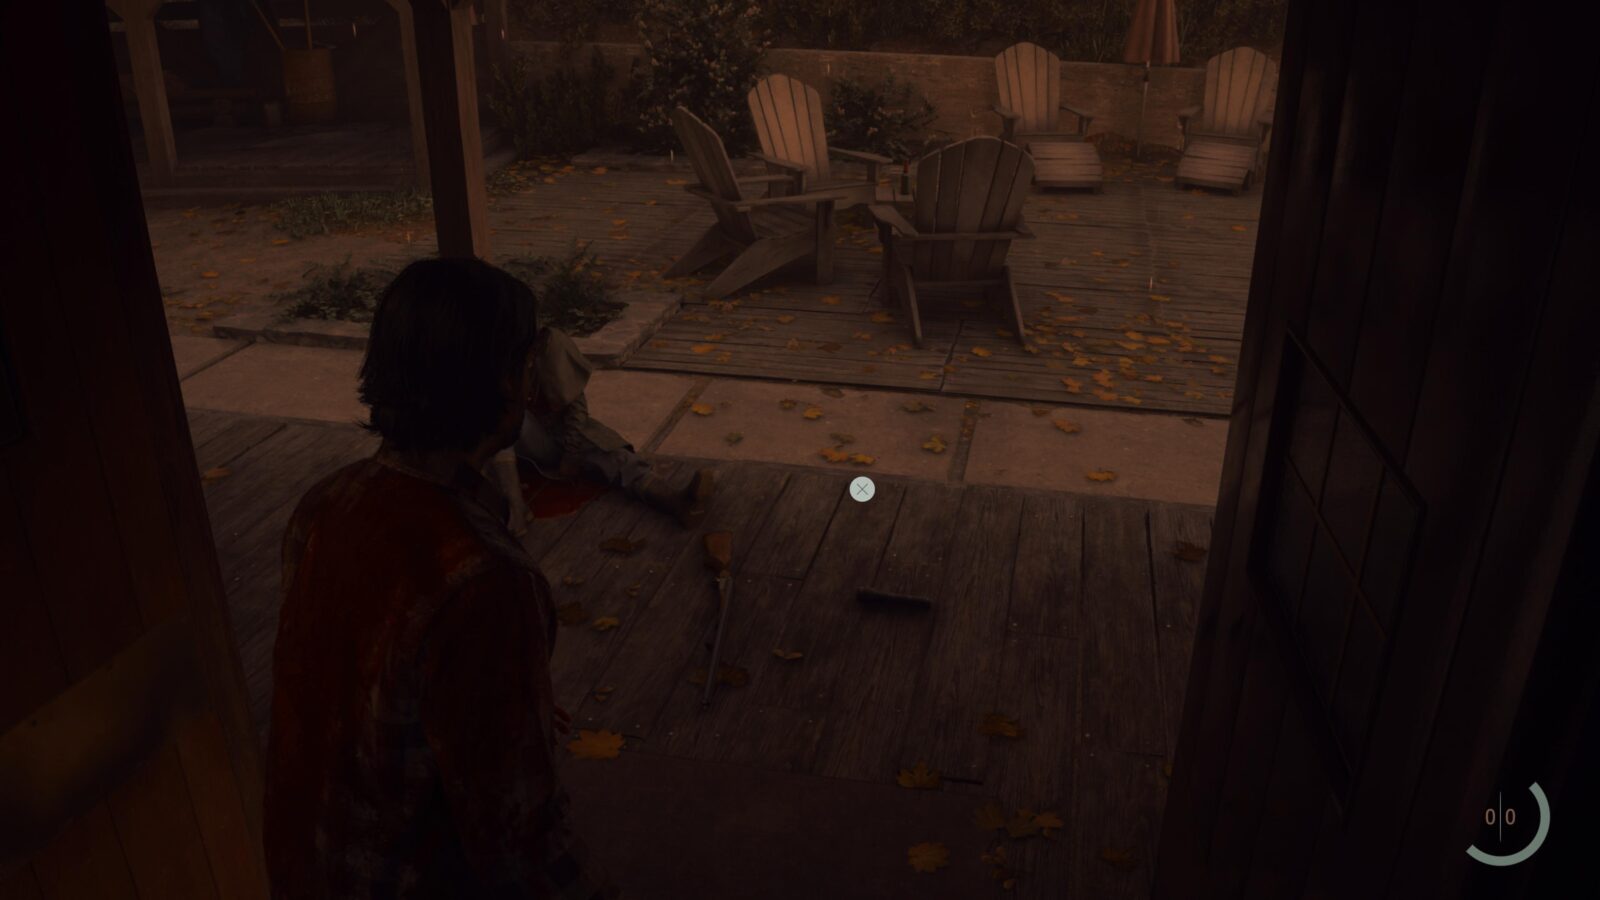
Weapon #5 - Double-Barrelled Shotgun (unmissable)
At the start of the chapter you will be at the Lodge. Walk outside and the gun will be directly in front of you on the ground. You need to pick it up to advance the story.
Initiation 4: We Sing
At the start of the chapter you will be still playing as Saga. Instead of proceeding forward, turn around and head into the Lodge and interact with the Puddle to switch to Alan.
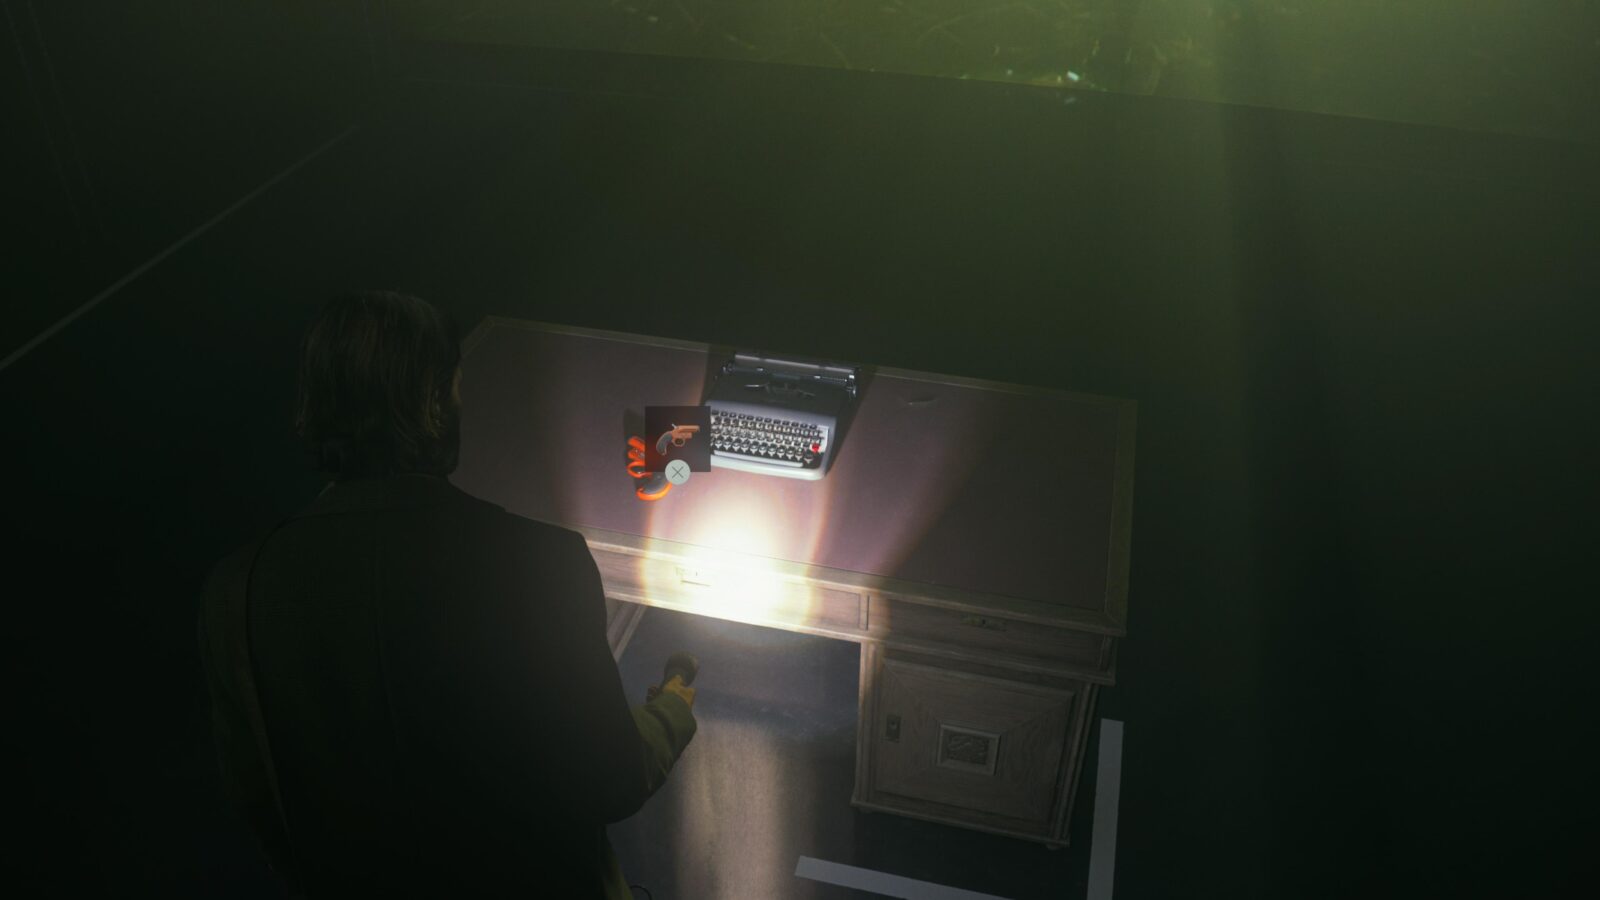
Weapon #6 - Flare Gun (unmissable)
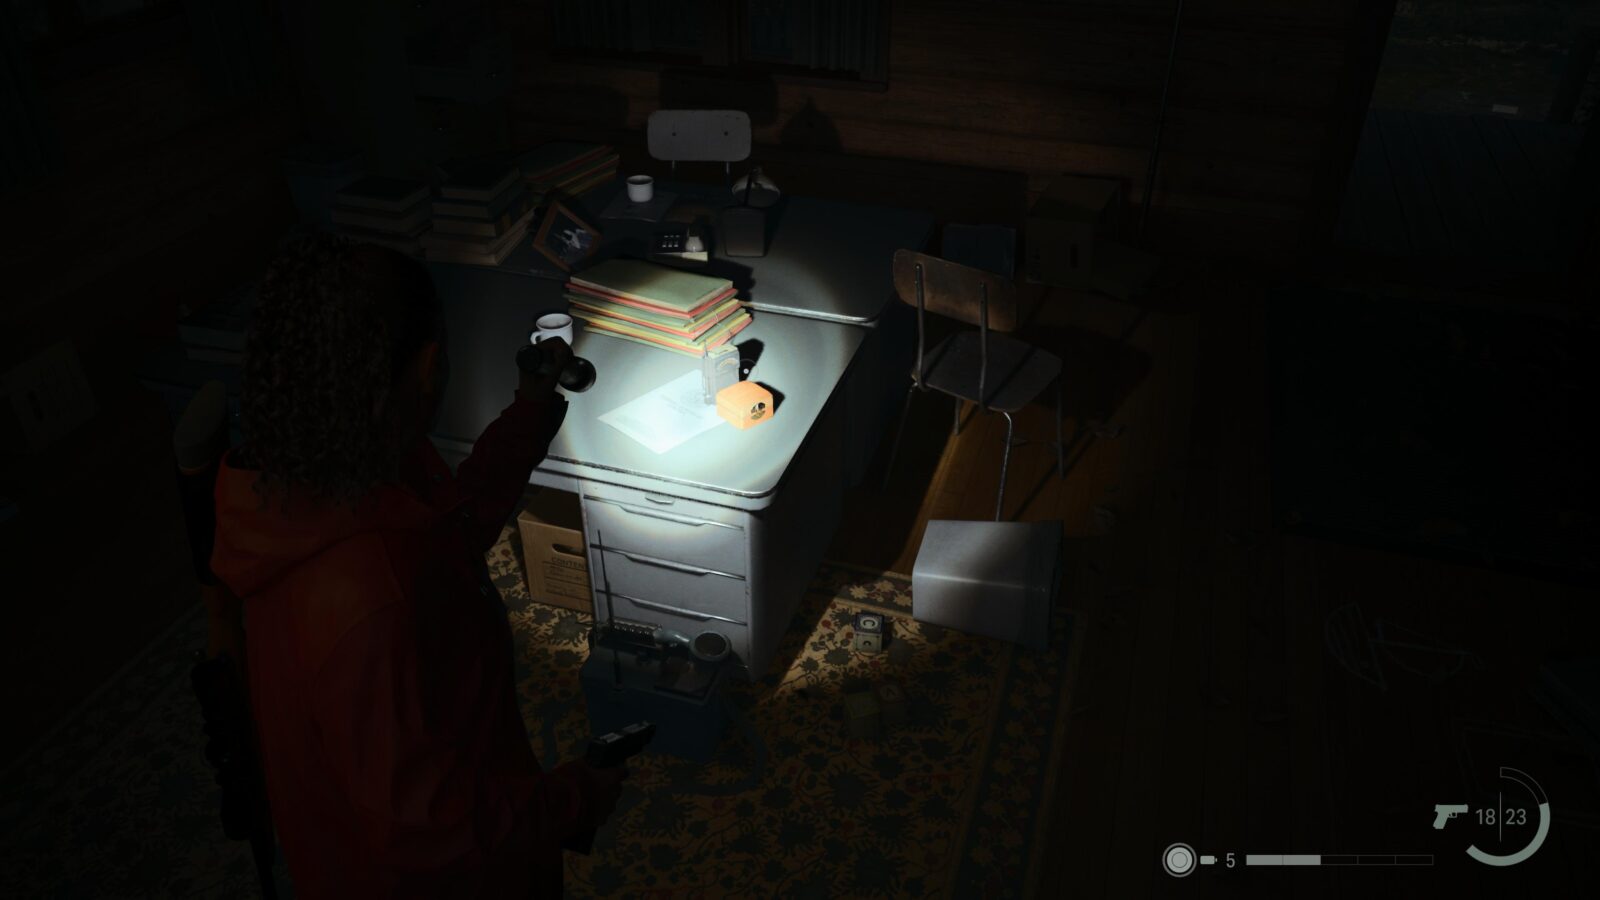
At the start of the chapter you will be traversing a studio while FMV music video of the Old Gods of Asgard are playing everywhere. At a certain point you’ll climb a ladder find a Flare Gun on a desk and you have to pick it up to continue the story.
Writer's Journey Video #4 - The Dark Presence (missable)
After the trophy for completing Initiation 4: We Sing unlocks you can head outside back onto the streets of New York City. Head left up the street back to Vision TV Shop and a TV in the window will start playing this video. If you don’t collect it now you will miss it forever and have to do another playthrough.

Initiation 5: Room 665
Since Alan’s previous chapter, Initiation 4: We Sing, was such a short one we’ll be sticking with him for another chapter before returning to Saga.
Words of Power #17 - Word of Aid
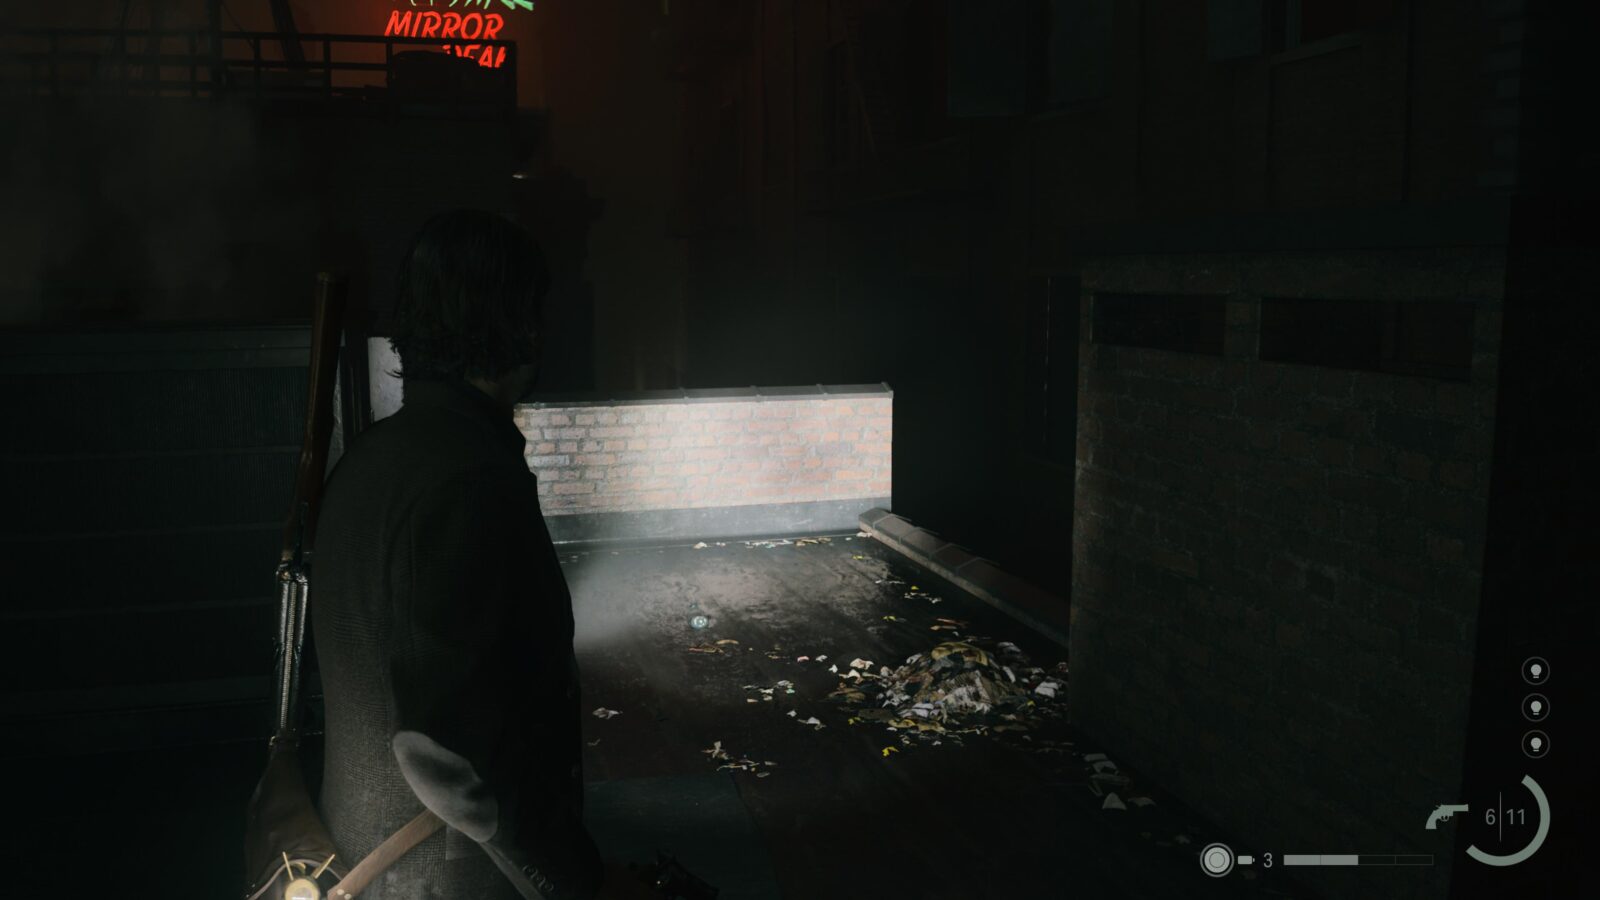
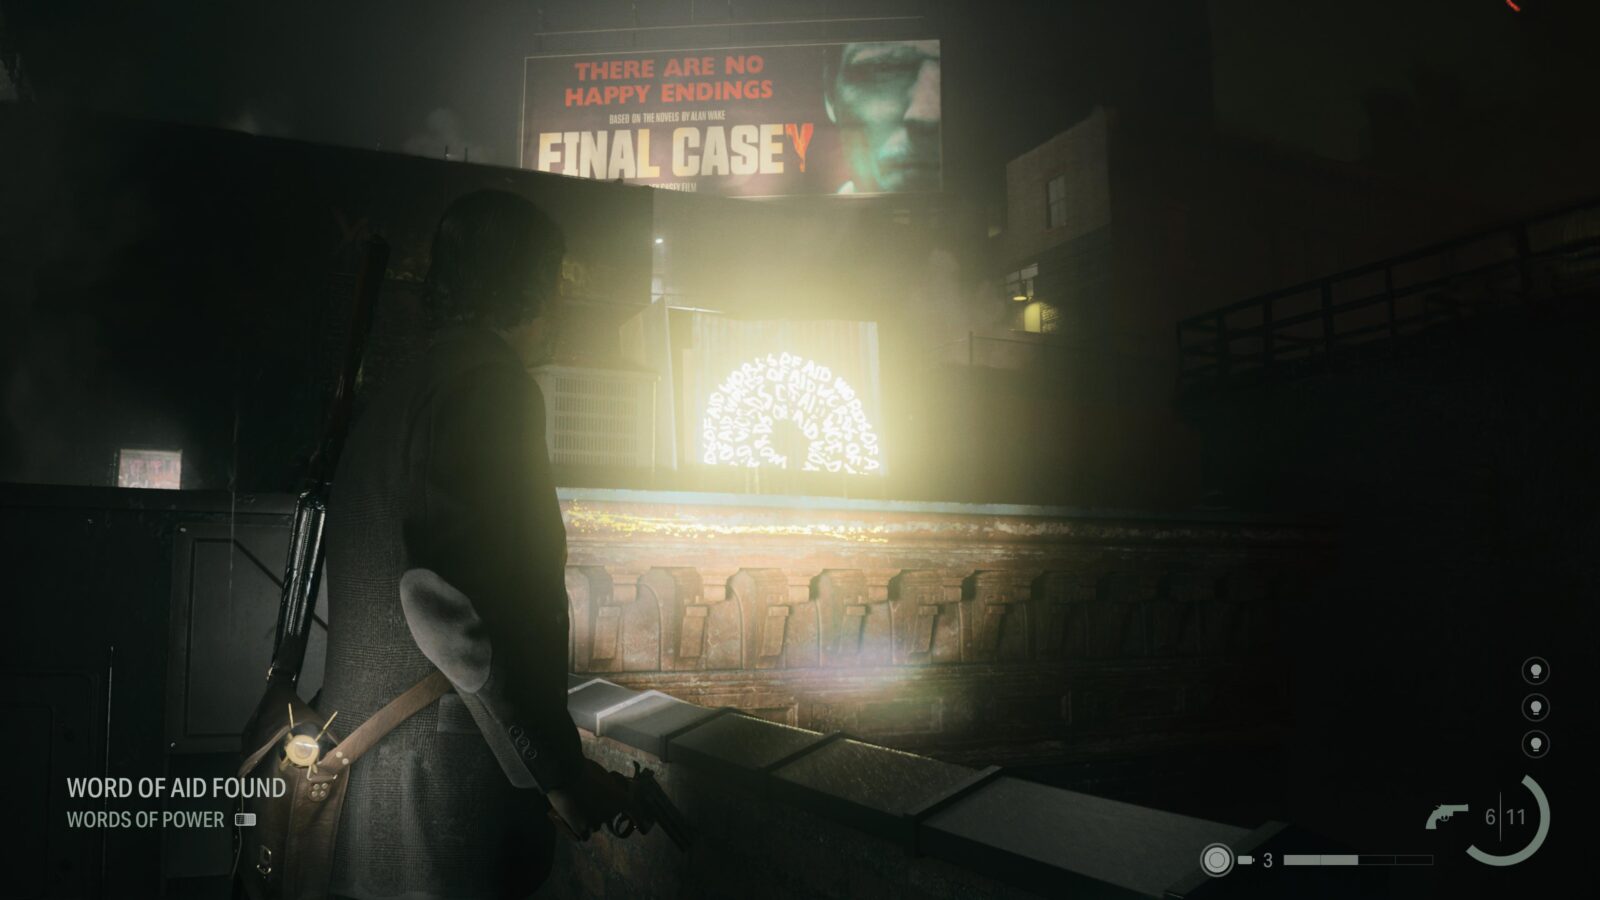
After answering the payphone head up Ocean Avenue St all the way to the end and look at the walls on the left for a yellow arrow pointing up to another Word of Power.
Words of Power #18 - Word of Aid
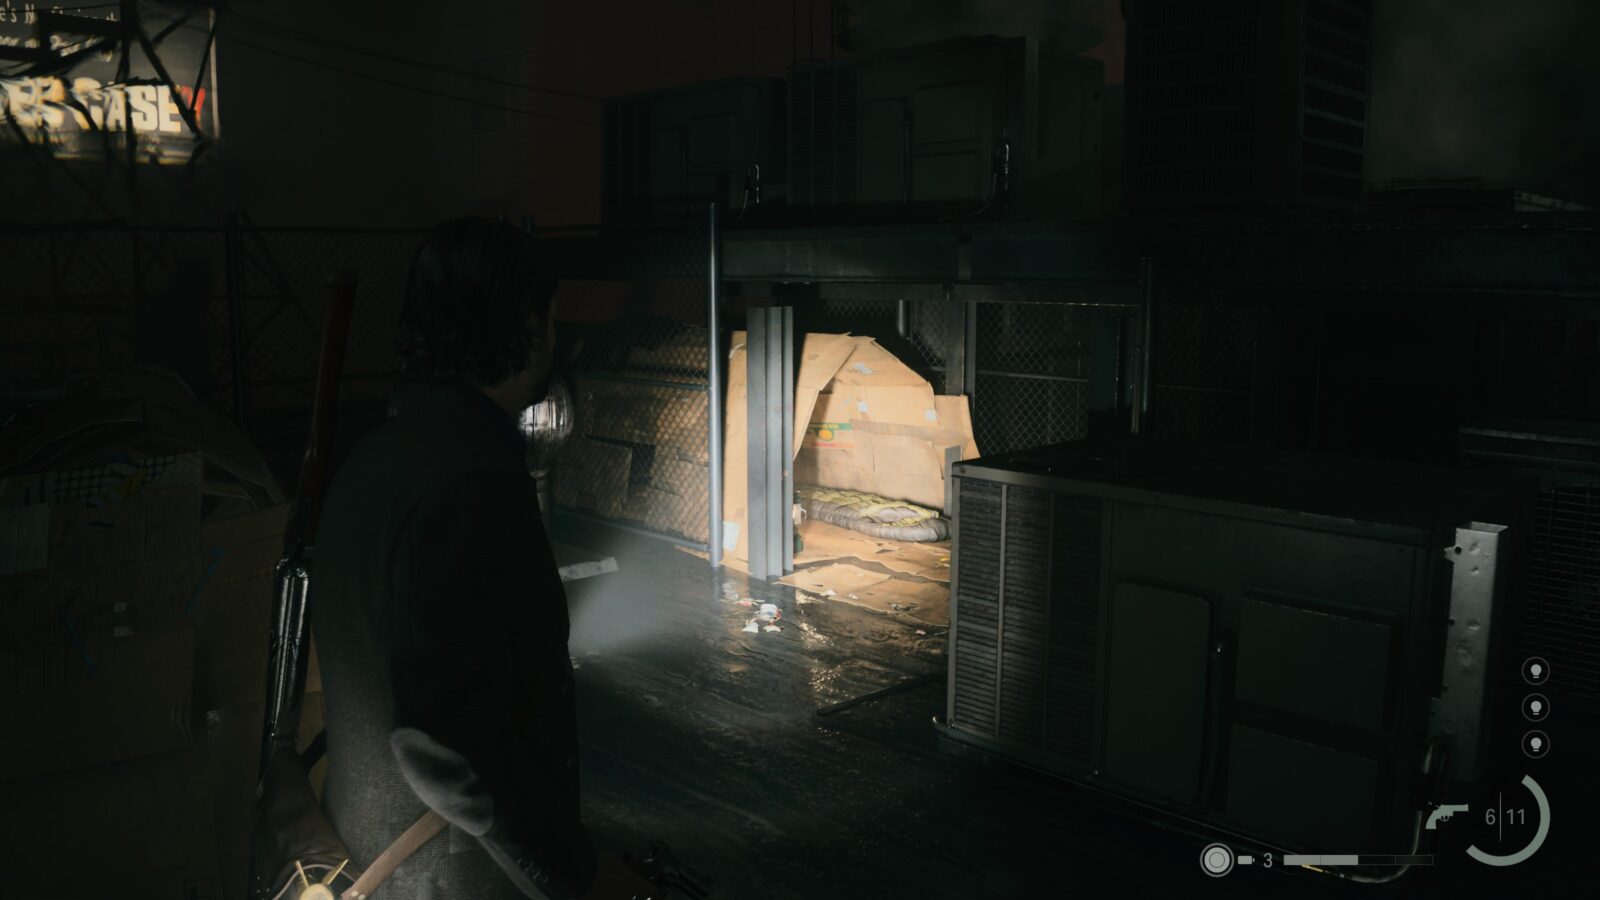
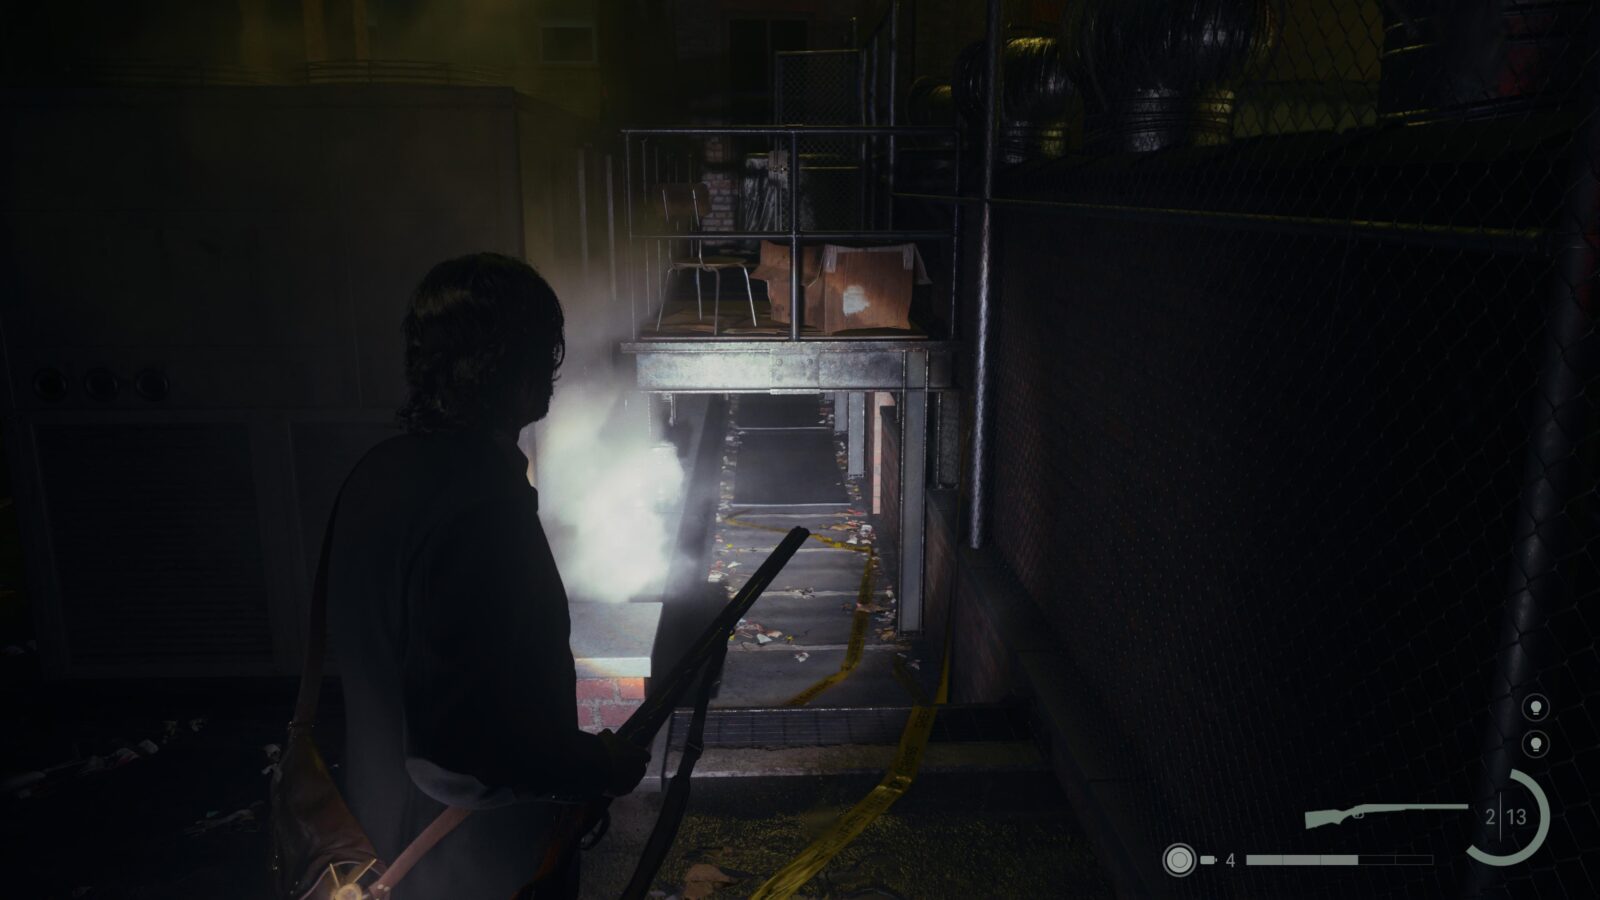
On the rooftops you will crawl under a piece of cardboard. As soon as you exit go to the corner of the building and look to the left to find a Word of Power on the side of some metal.
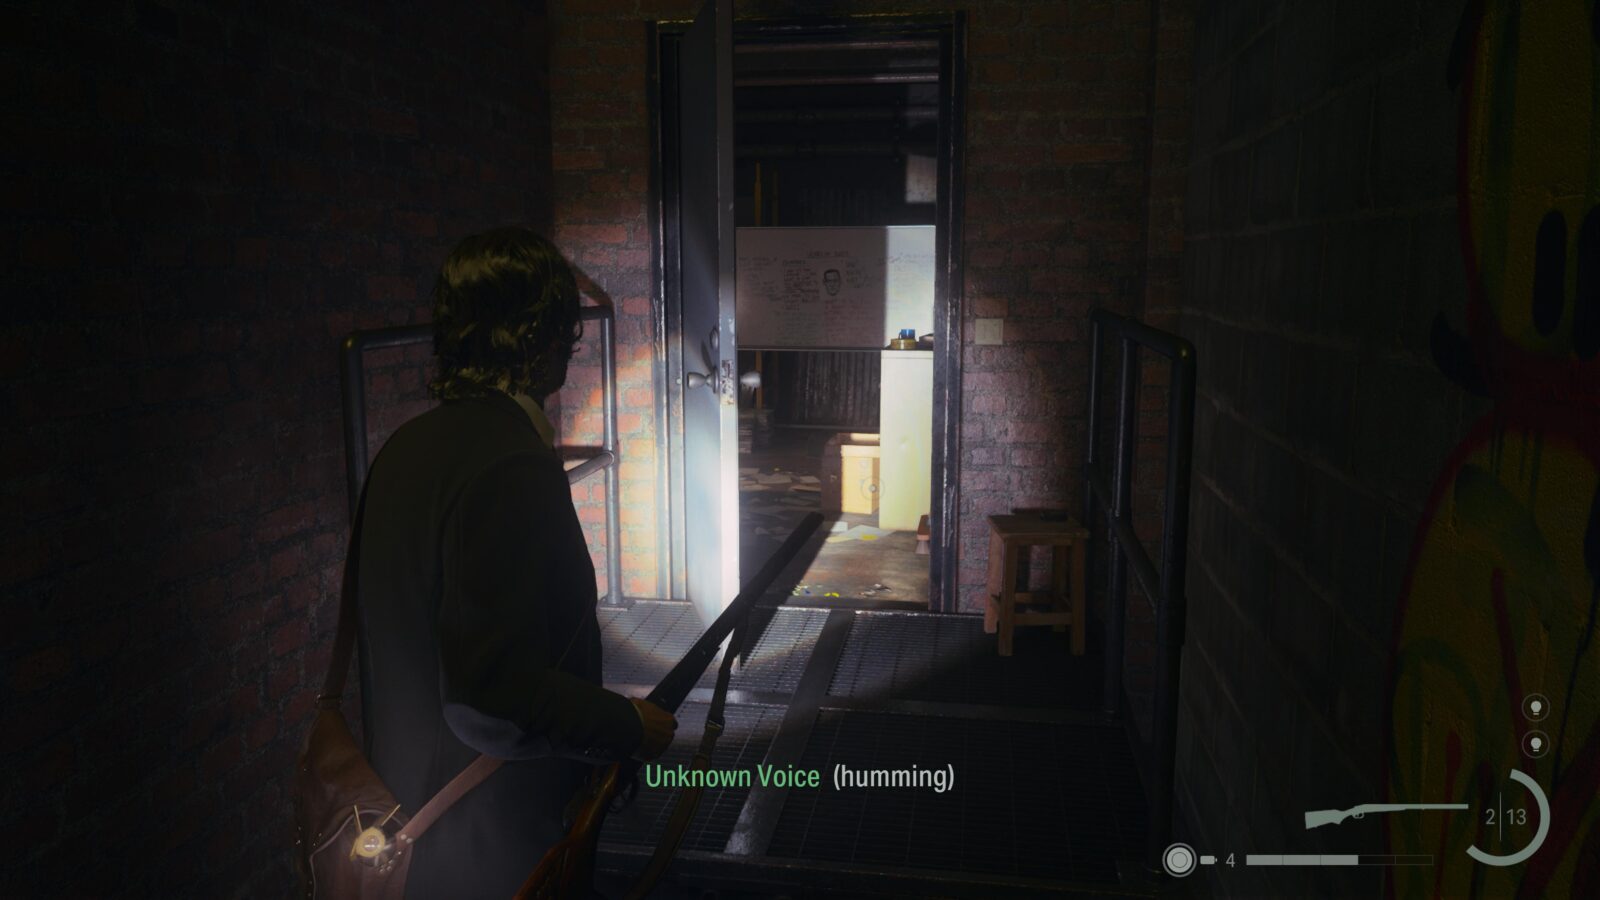
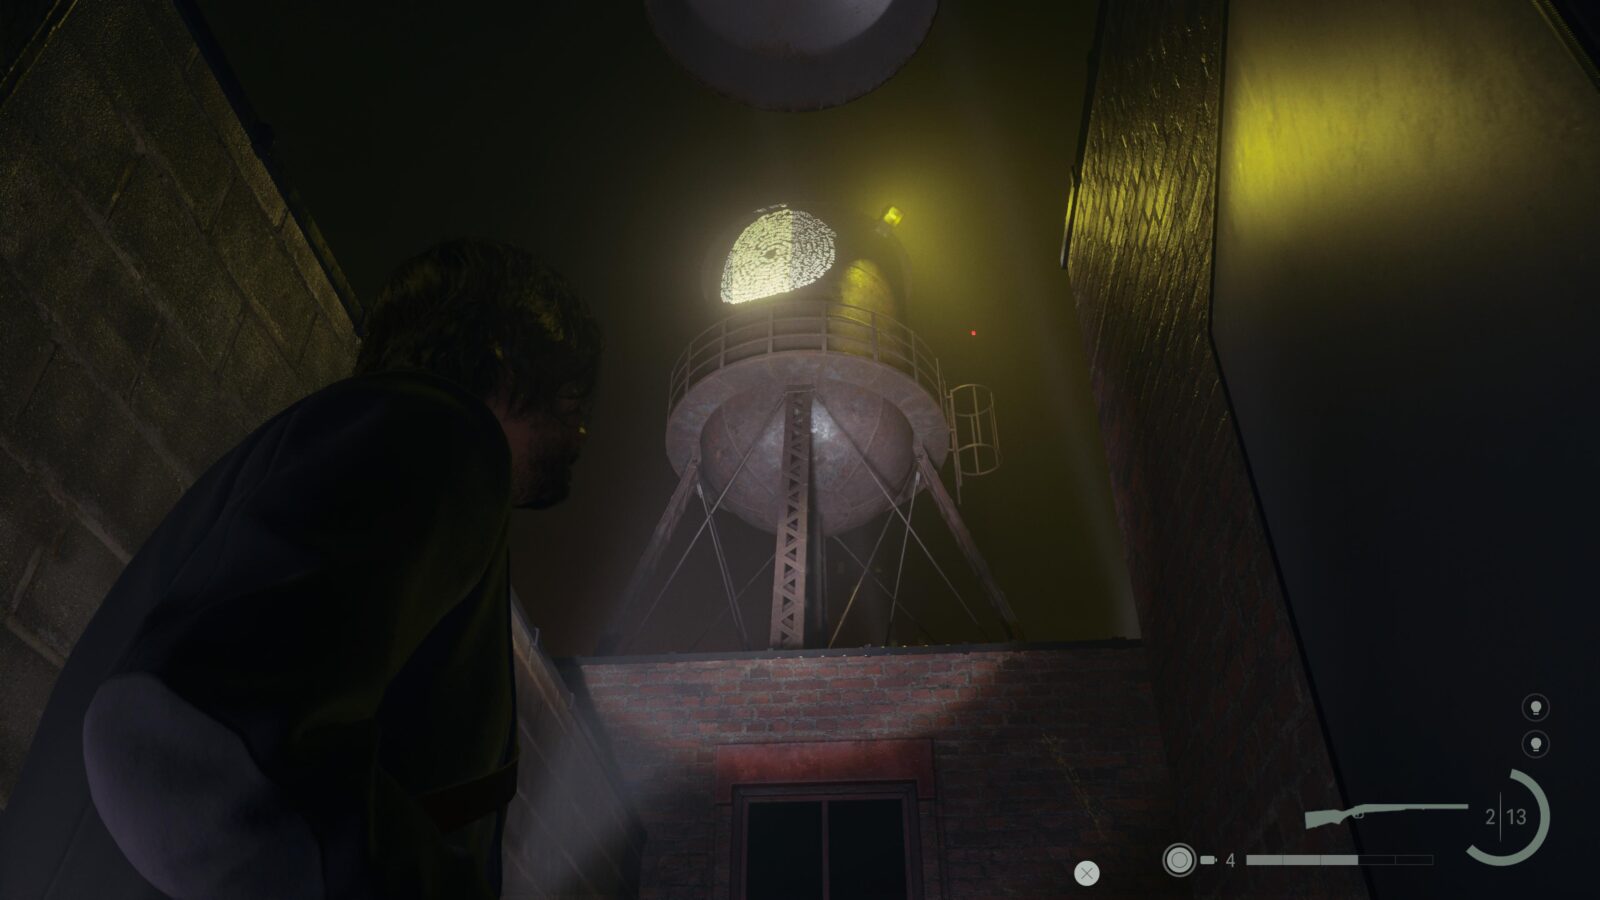
Words of Power #19 - Word of Lamp
Just next to the Break Room on the rooftops is a ladder. Climb it and and another ladder will be in front of you. Atop this ladder is a water tower with a Word of Power on it.
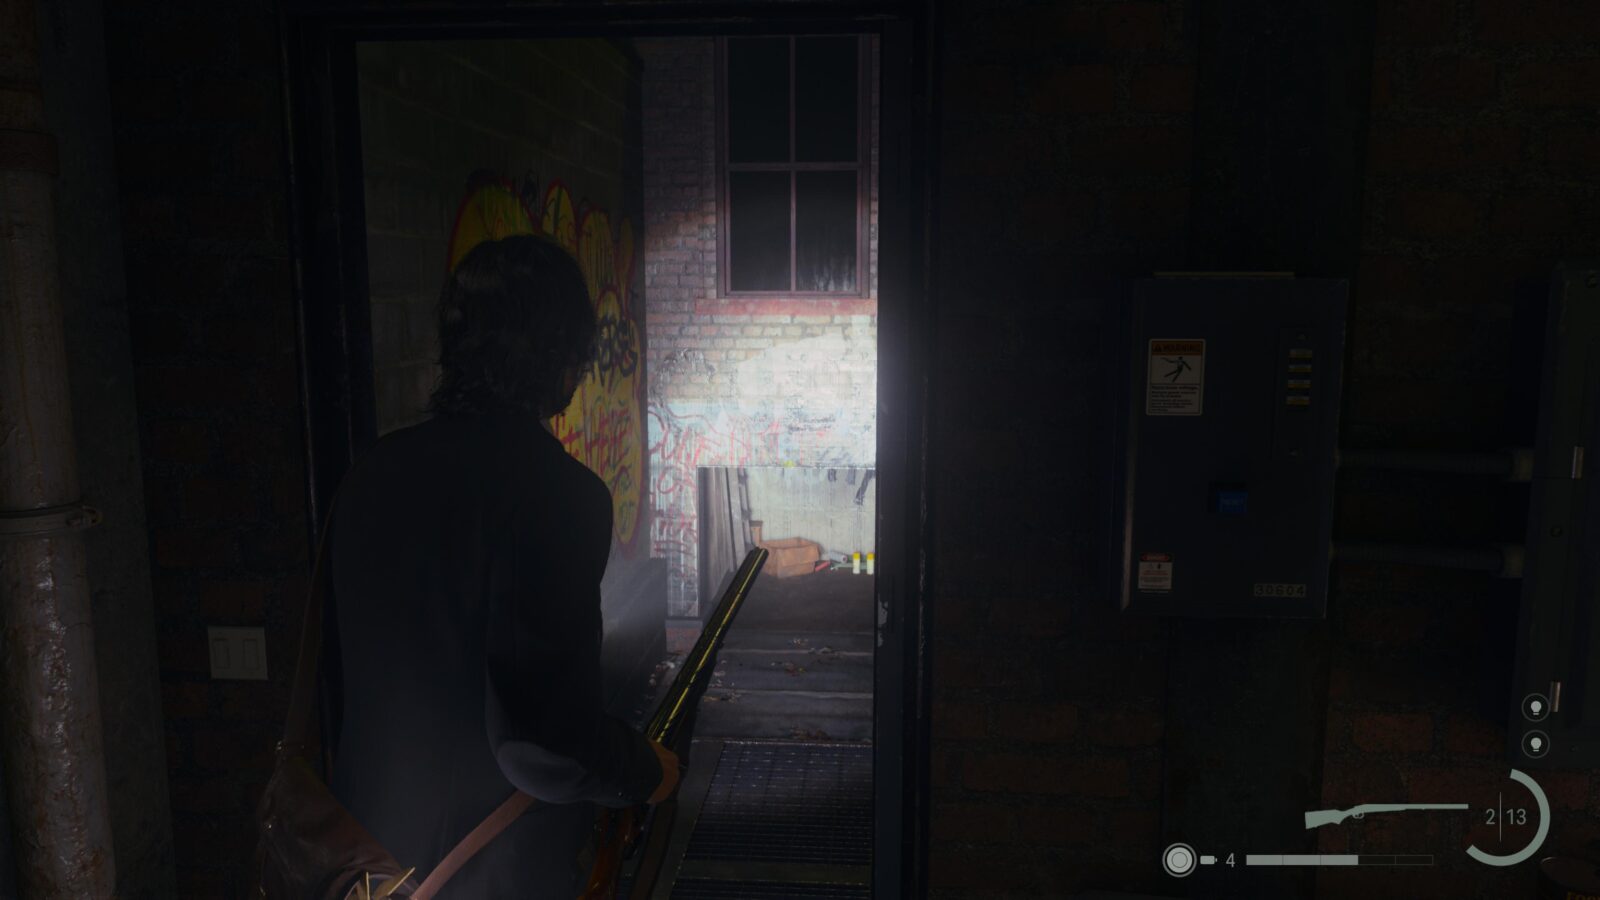
Words of power #20 - Word of Gun
At the top of the 2nd ladder turn around and you’ll see a door. to the left of the door is a well-hidden staircase leading down. Go all the way down and immediately turn around at the bottom. Look on the floor near the back of the stairs for a yellow arrow leading to the next Word of Power.

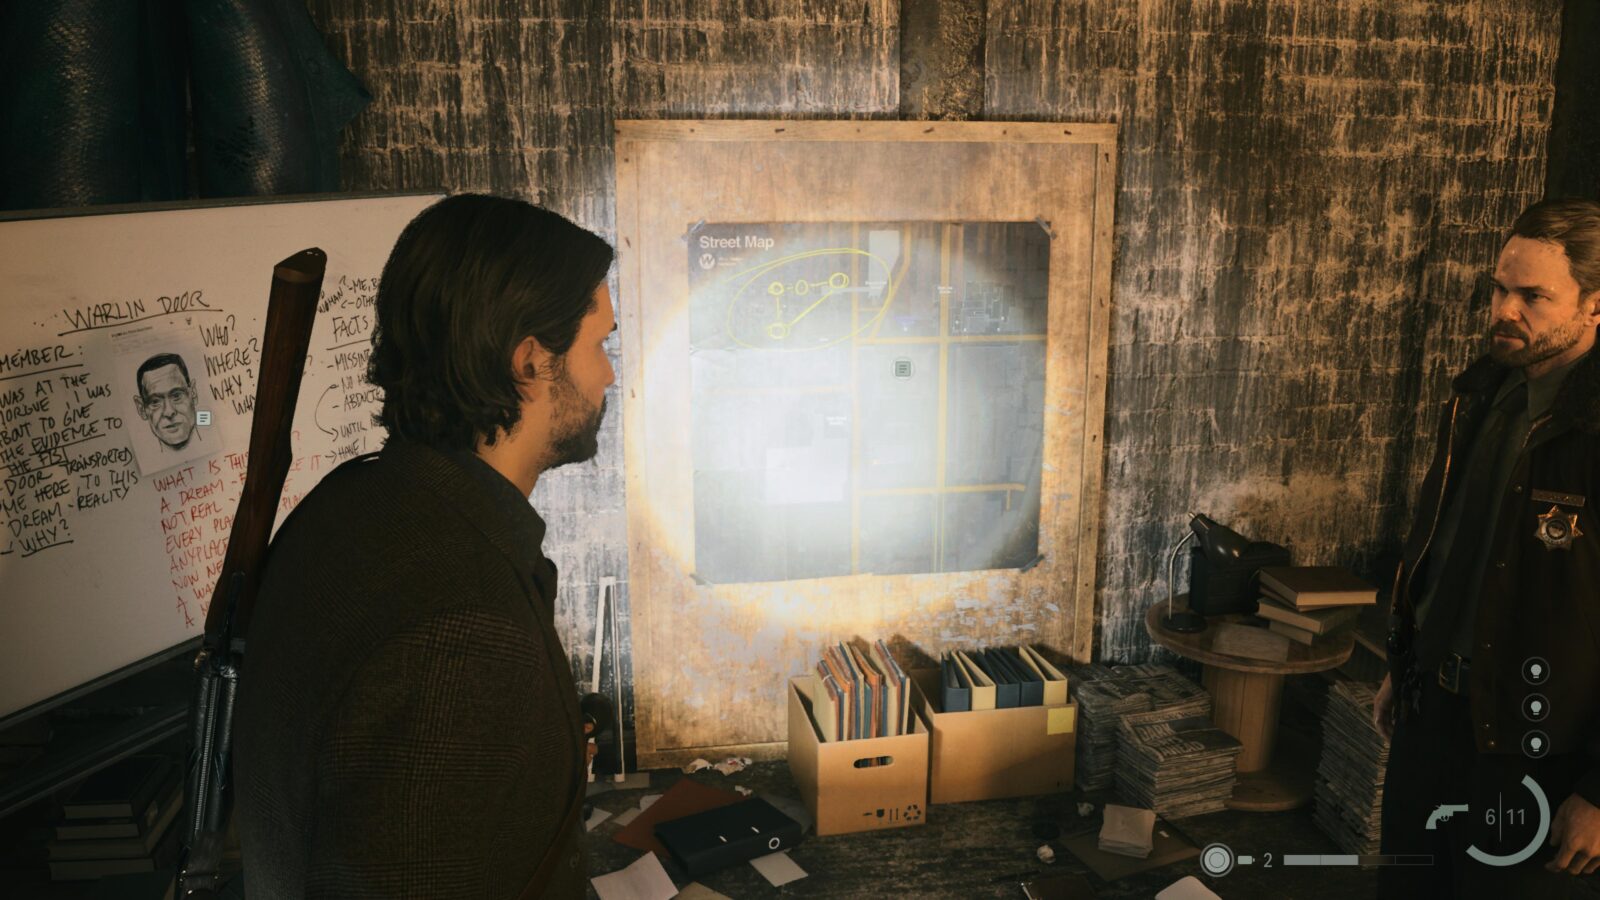
Map - Words of Power Locations #3
Return to the foot of the stairs and look at the edge of the building for a ladder. This ladder leads to a room with the Sheriff and another map on the wall.
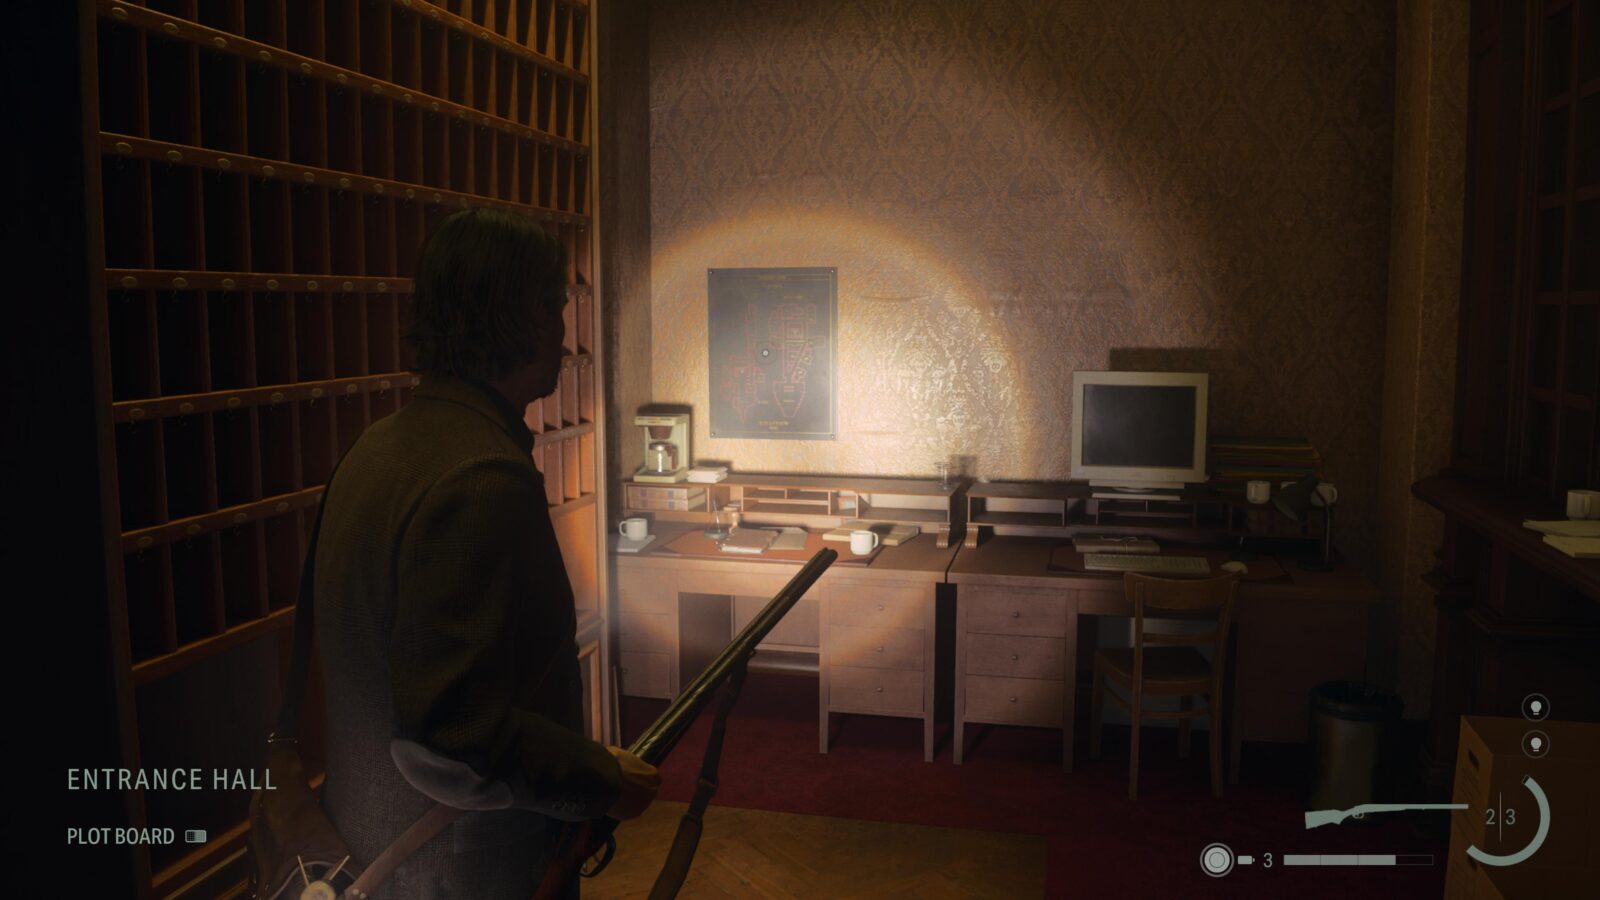
Map - Oceanview Hotel
After talking the elevator down inside Oceanview Hotel you will see a reception desk in front of you. Go behind the desk and you will find a map on the wall.
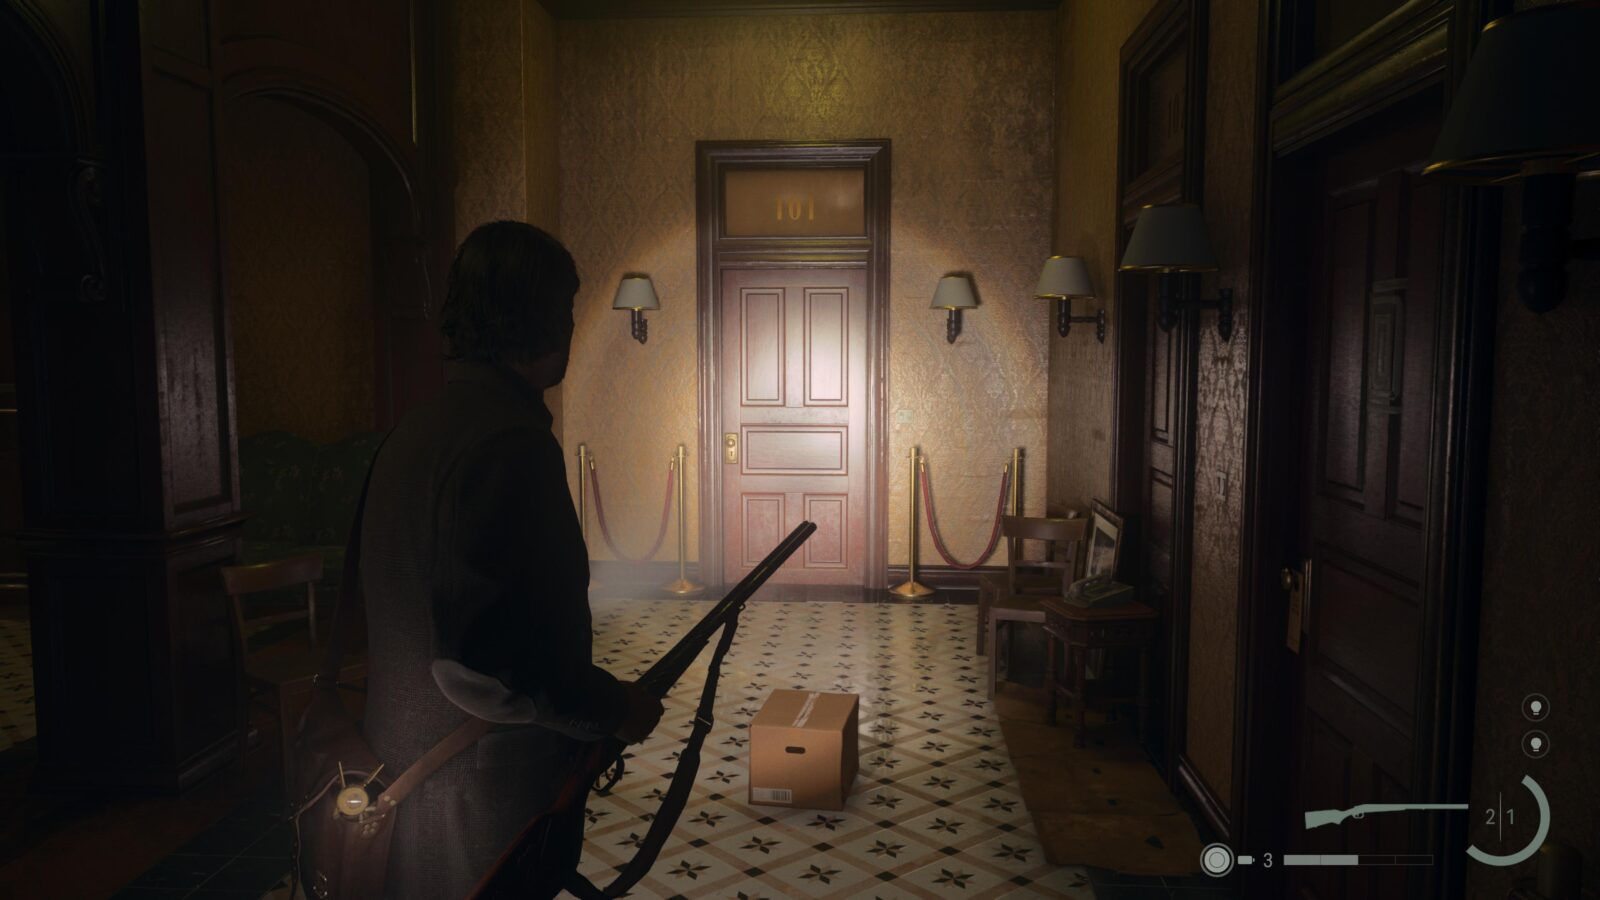
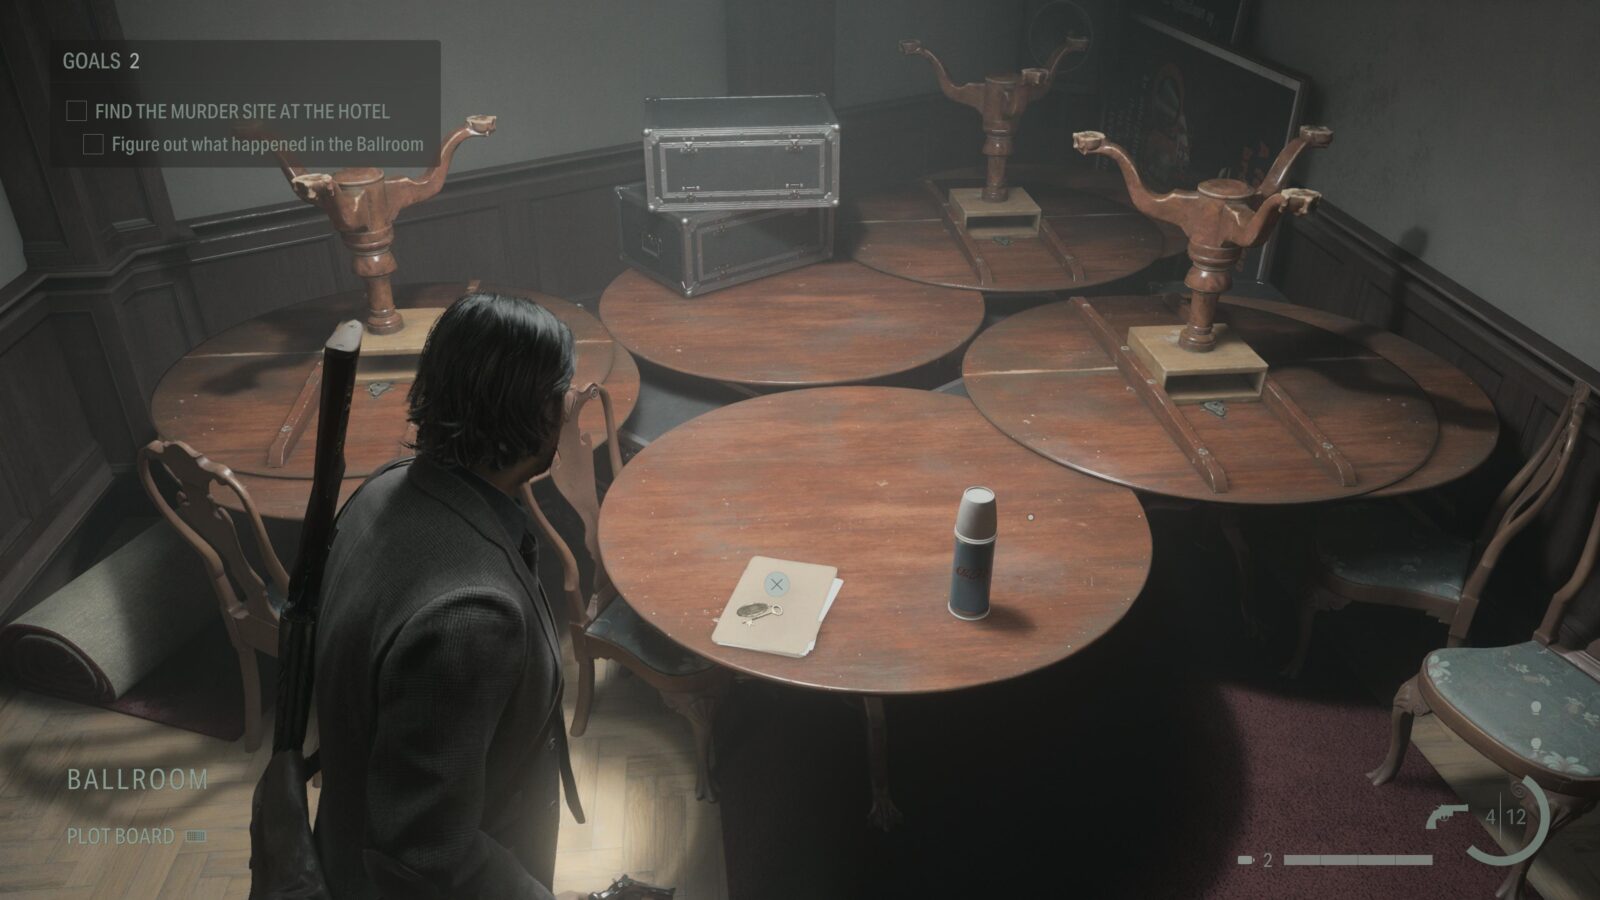
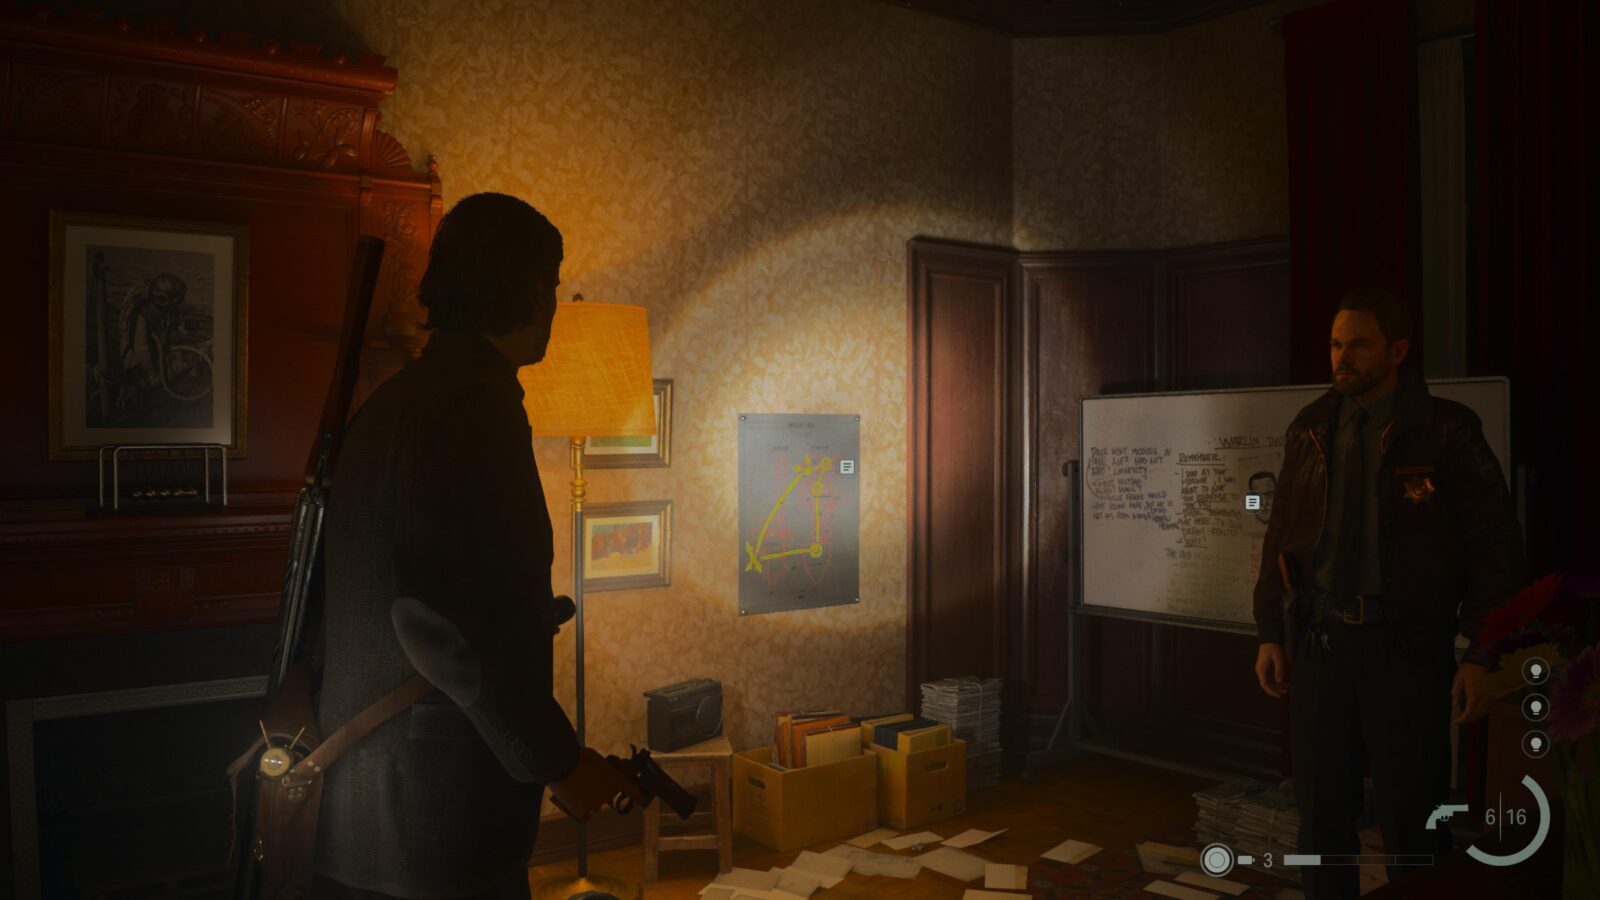
Writer's Journey Video #5 - Visions (missable)
This Writer’s Journey is in Room 101 in Oceanview Hotel, however, the door is locked and needs a key. The key is on Floor 2 on a table in the Break Room inside the Ballroom. One you have it return to Room 101 to collect the Writer’s Journey. If you don’t get this collectible here you will lock yourself out of getting it at all and have to do another playthrough.

Words of Power #21 - Word of War
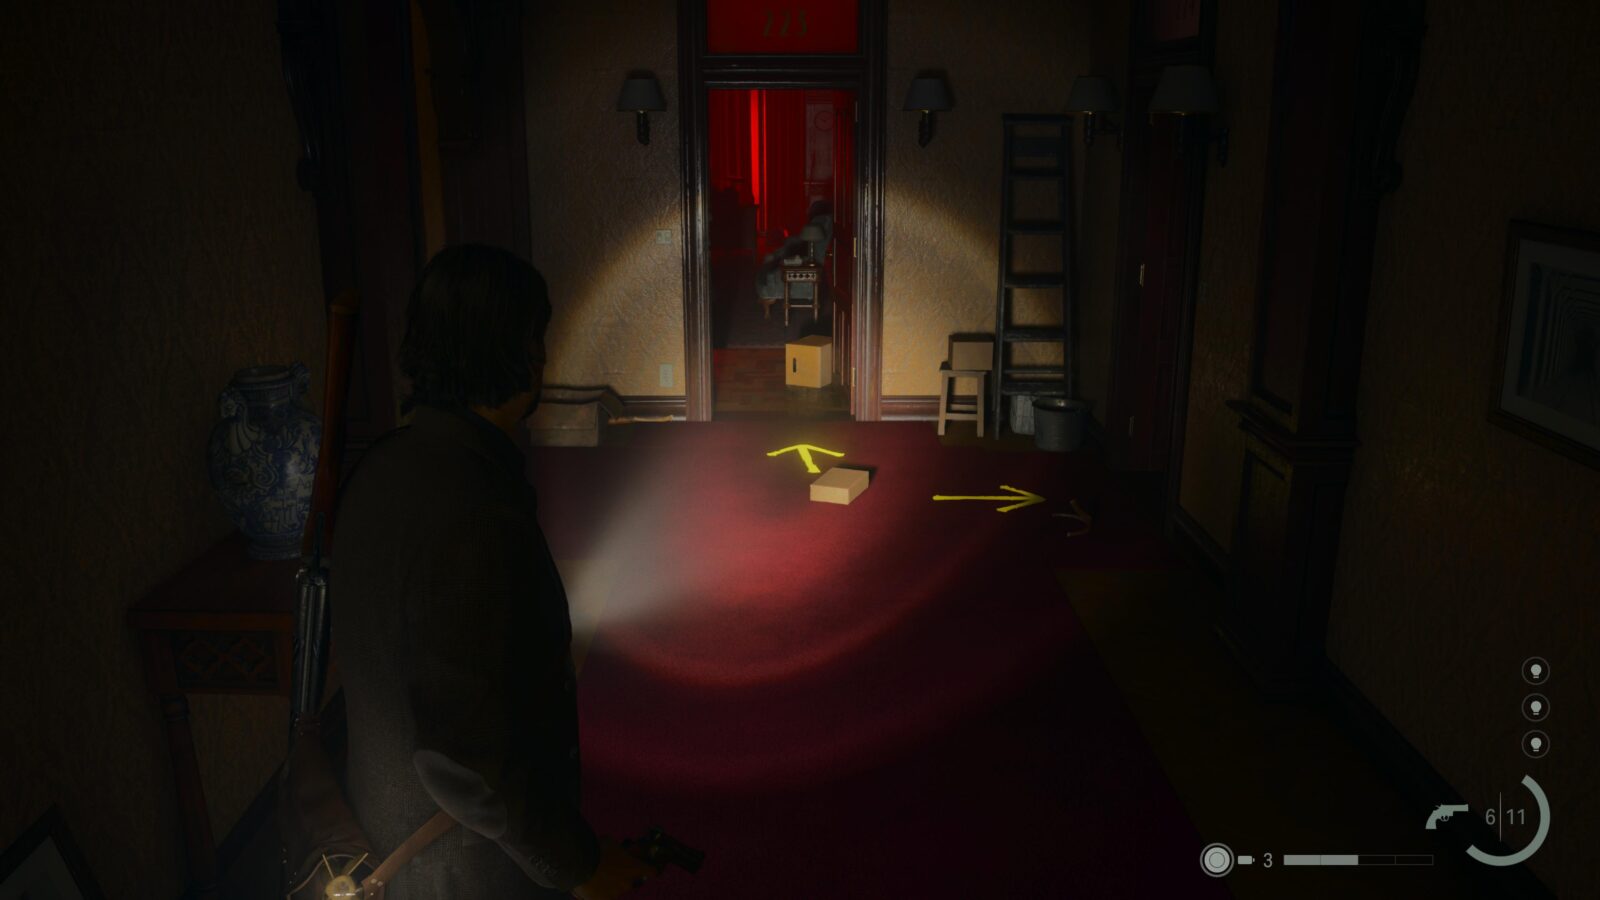
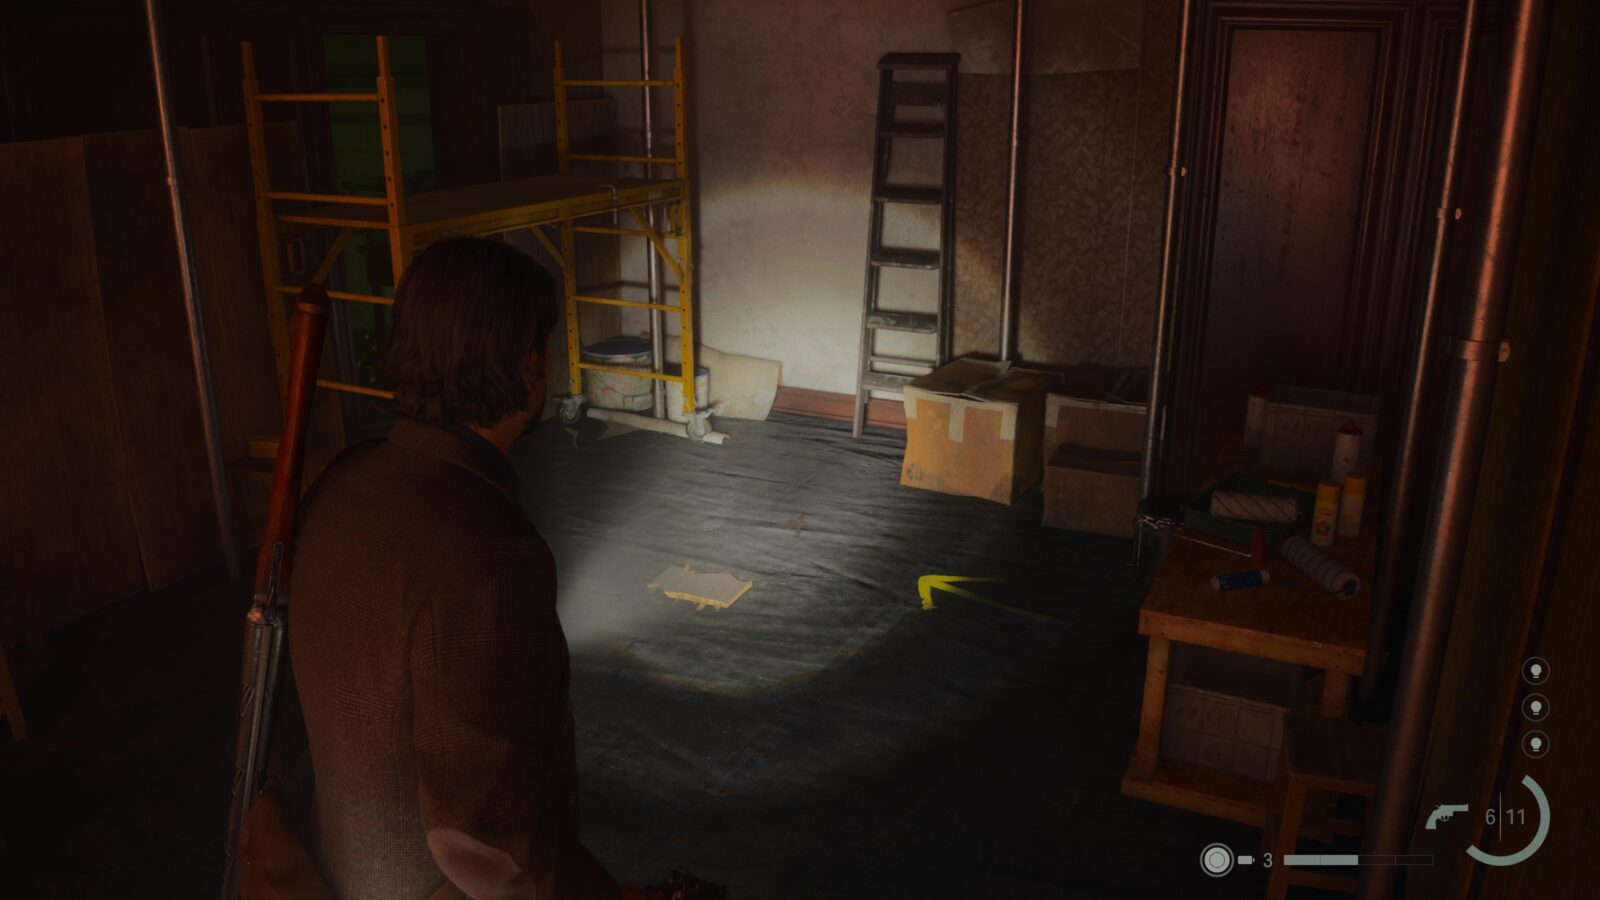
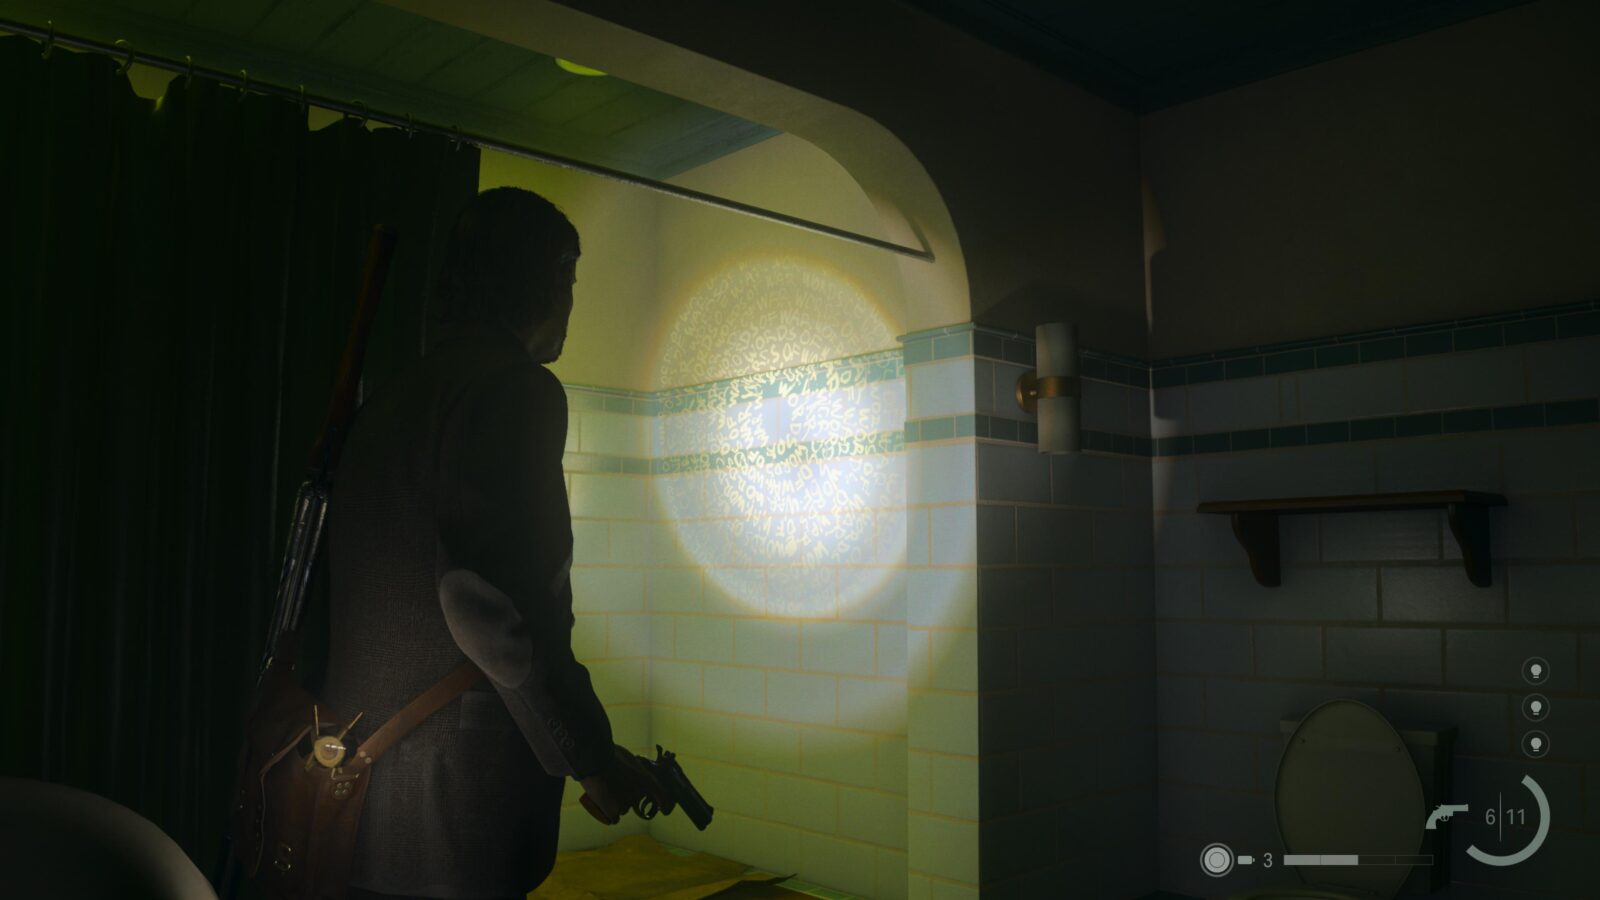
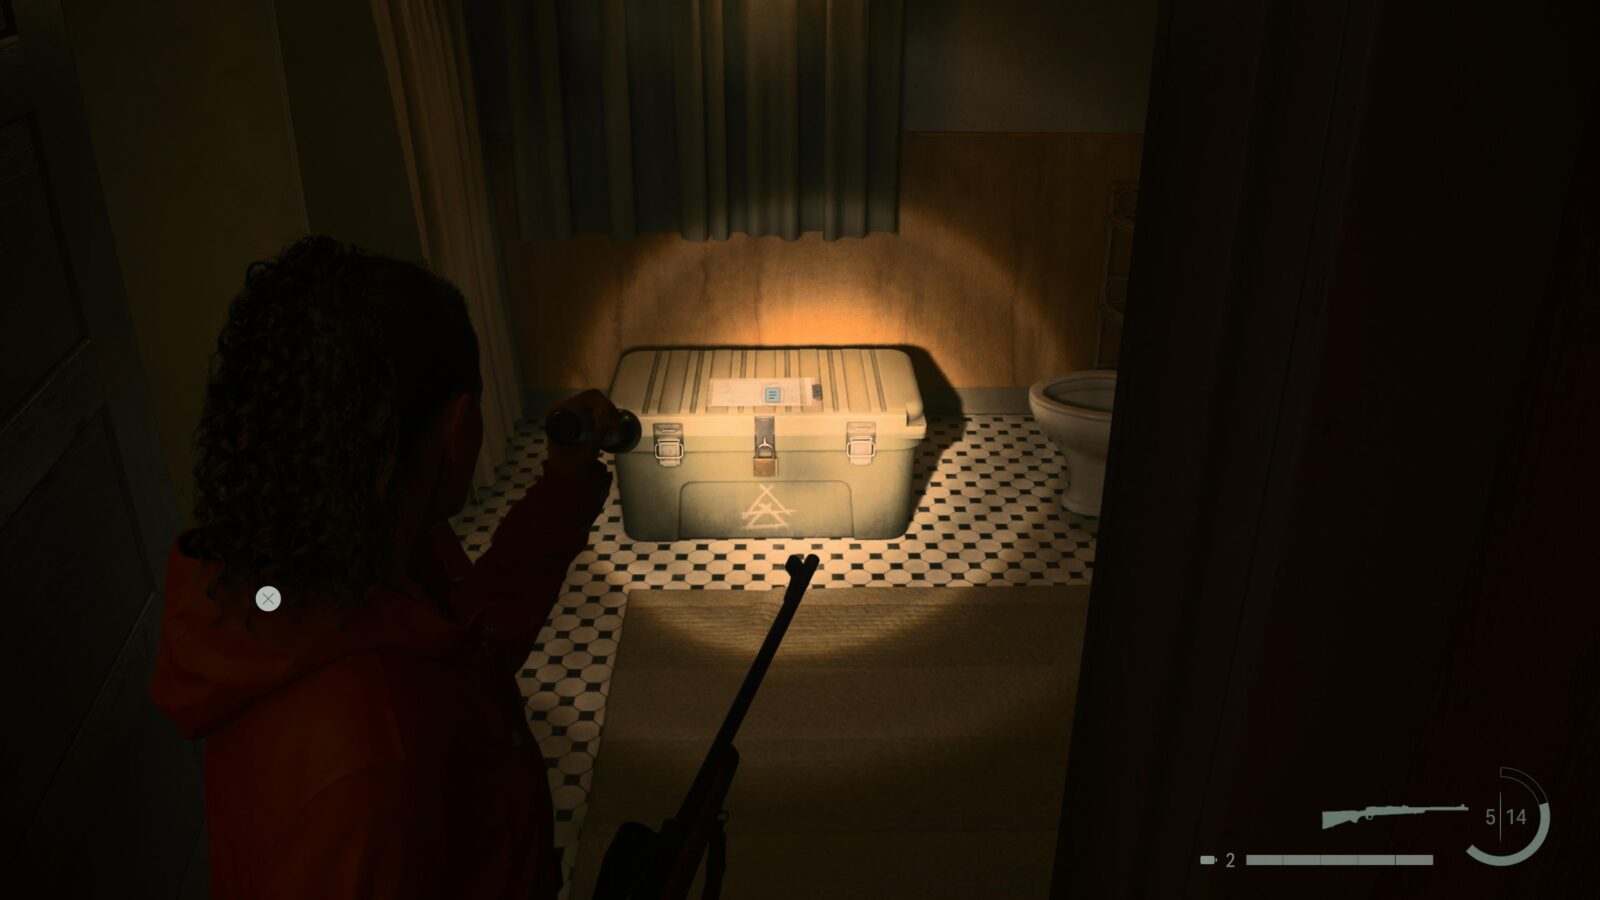
On the 2nd floor of Oceanview Hotel you can find a yellow arrow on the floor outside Room 224. Go into the room and you can find 2 pieces of wood blocking access to the bathroom. Shoot the wood and go into the bathroom to find this Word of Power on the wall to the right of the curtain.
Words of Power #22 - Word of War
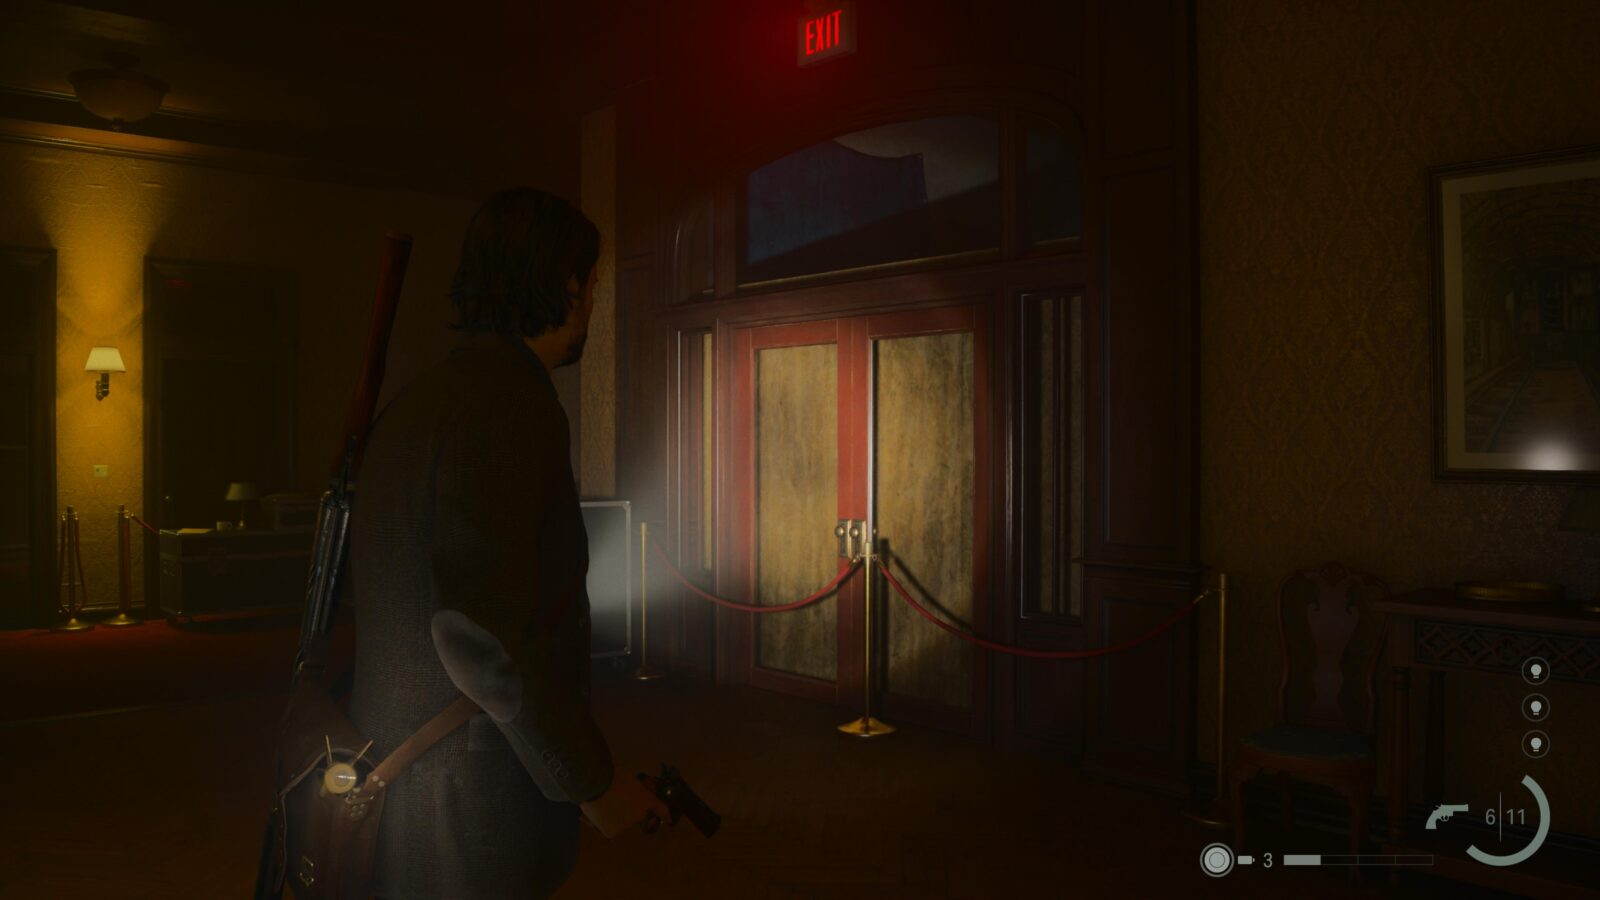
On the 2nd floor in Oceanview Hotel you can find 2 double doors that should lead to the stairwell, however, they are boarded up. Look through the glass above the left-most double door to find a Word of Power on the ceiling in the stairwell.
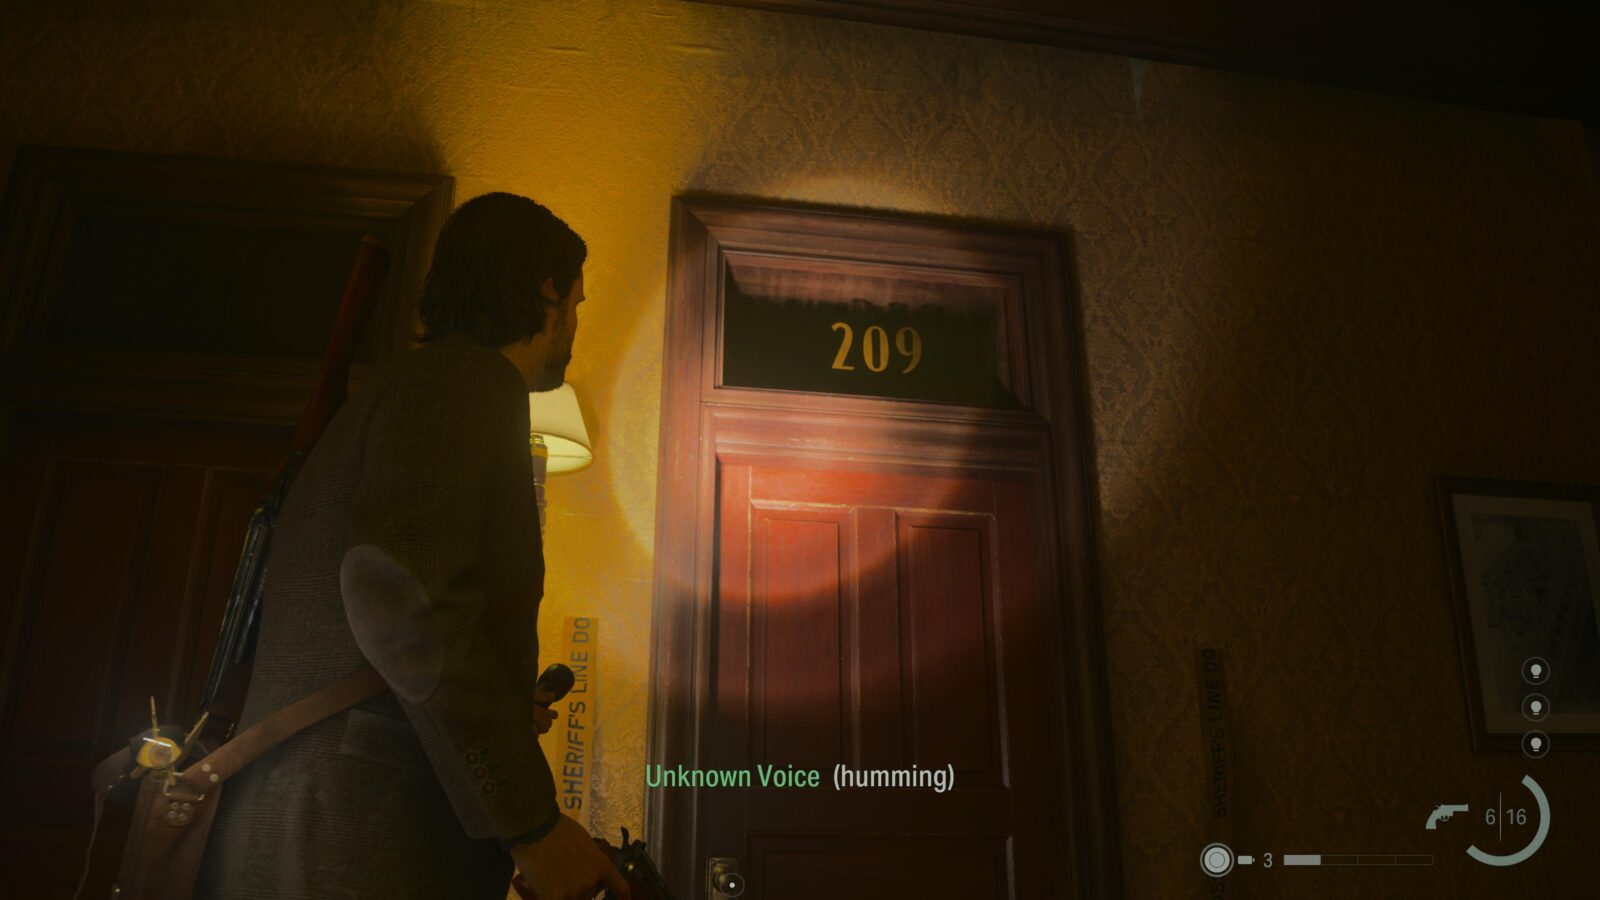
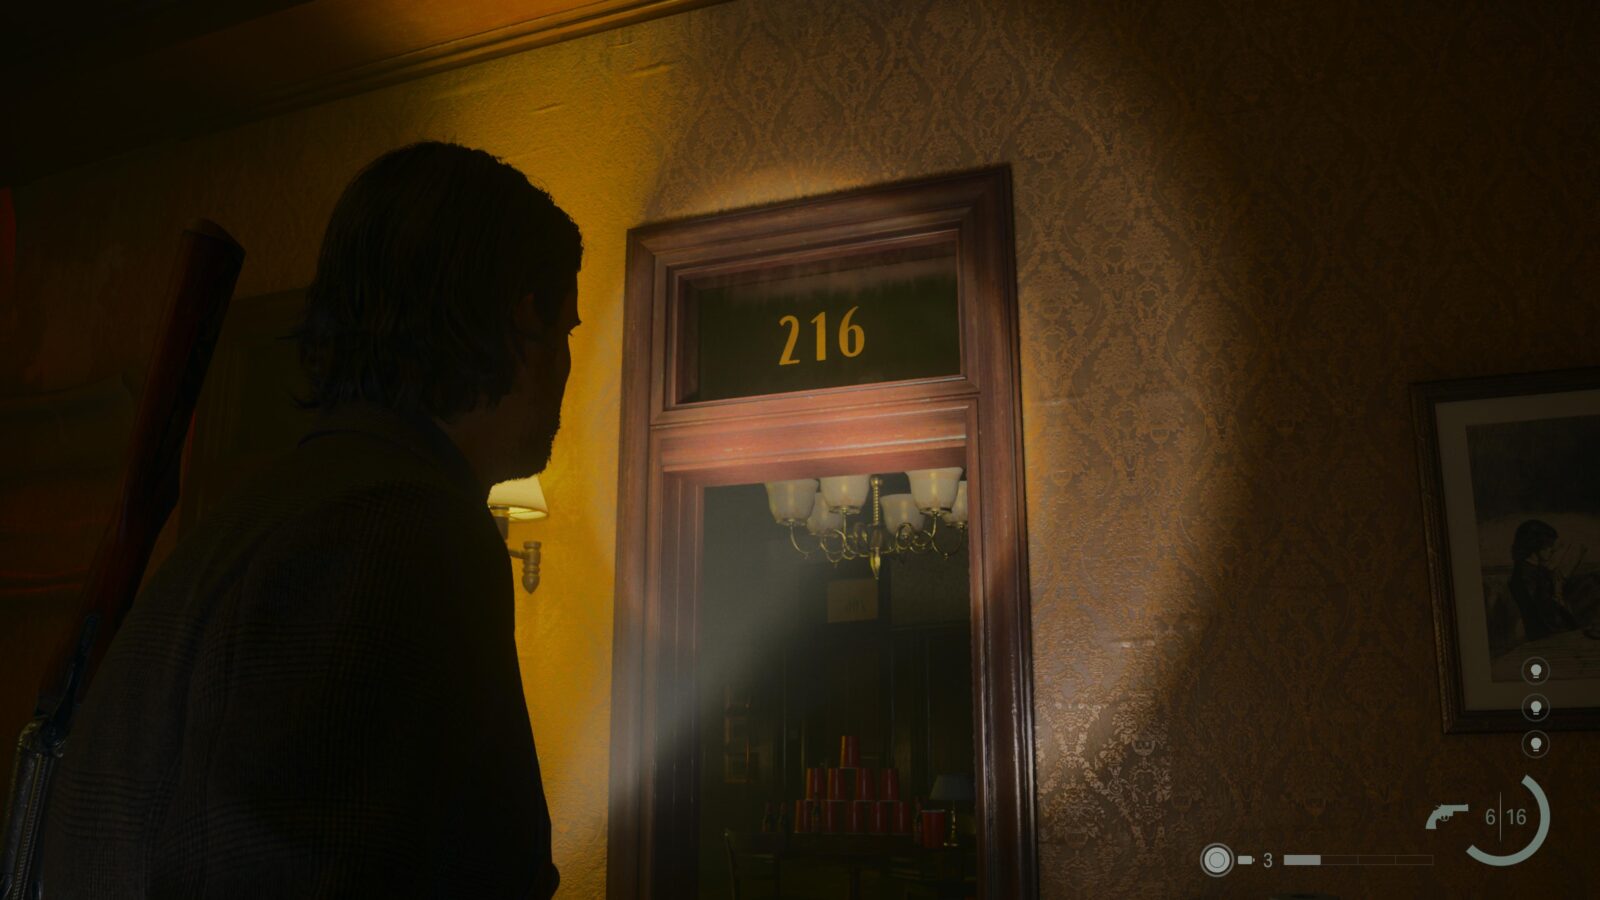
Map - Words of Power Locations #4
On the 2nd floor the Sheriff can be found inside Room 209 along with another map. To get inside Room 2009 you need to grab a key from inside Room 216.
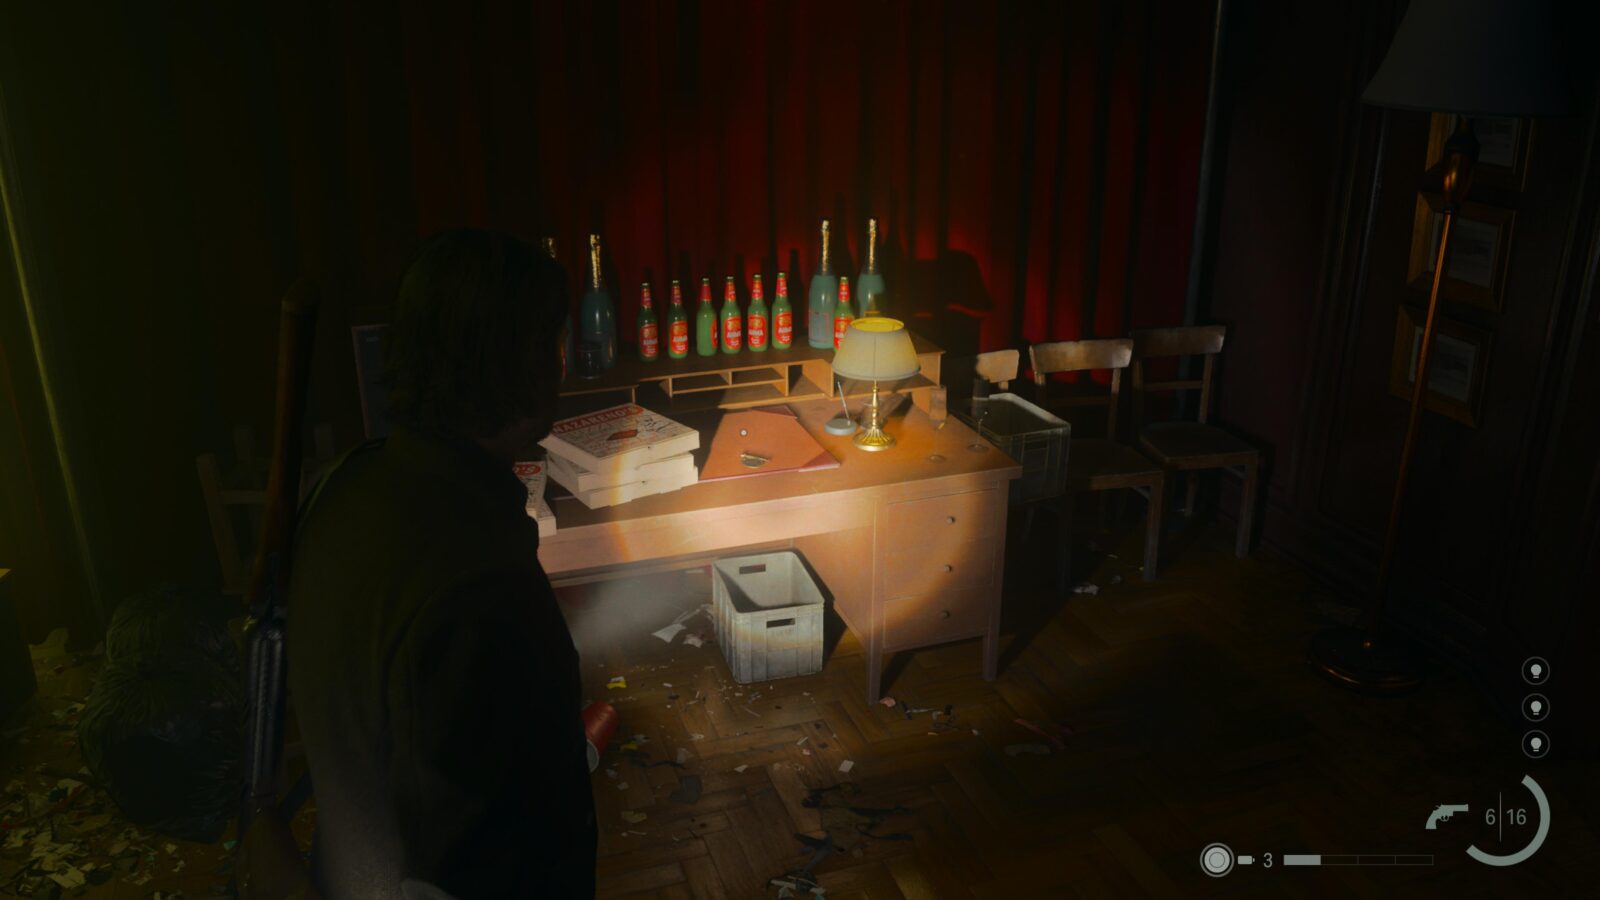
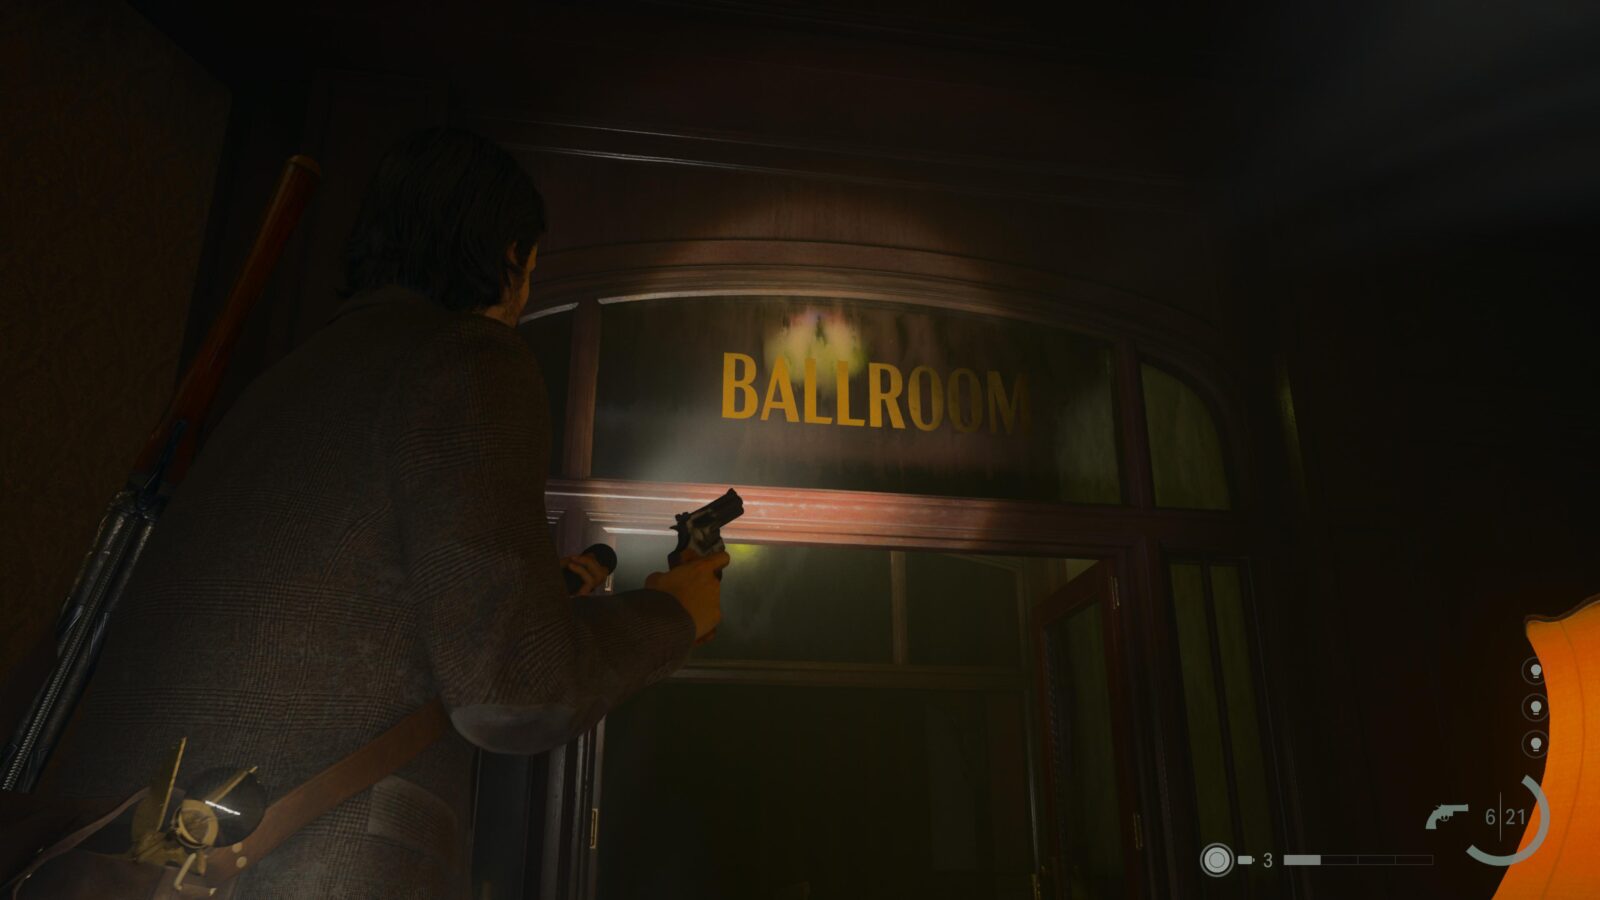
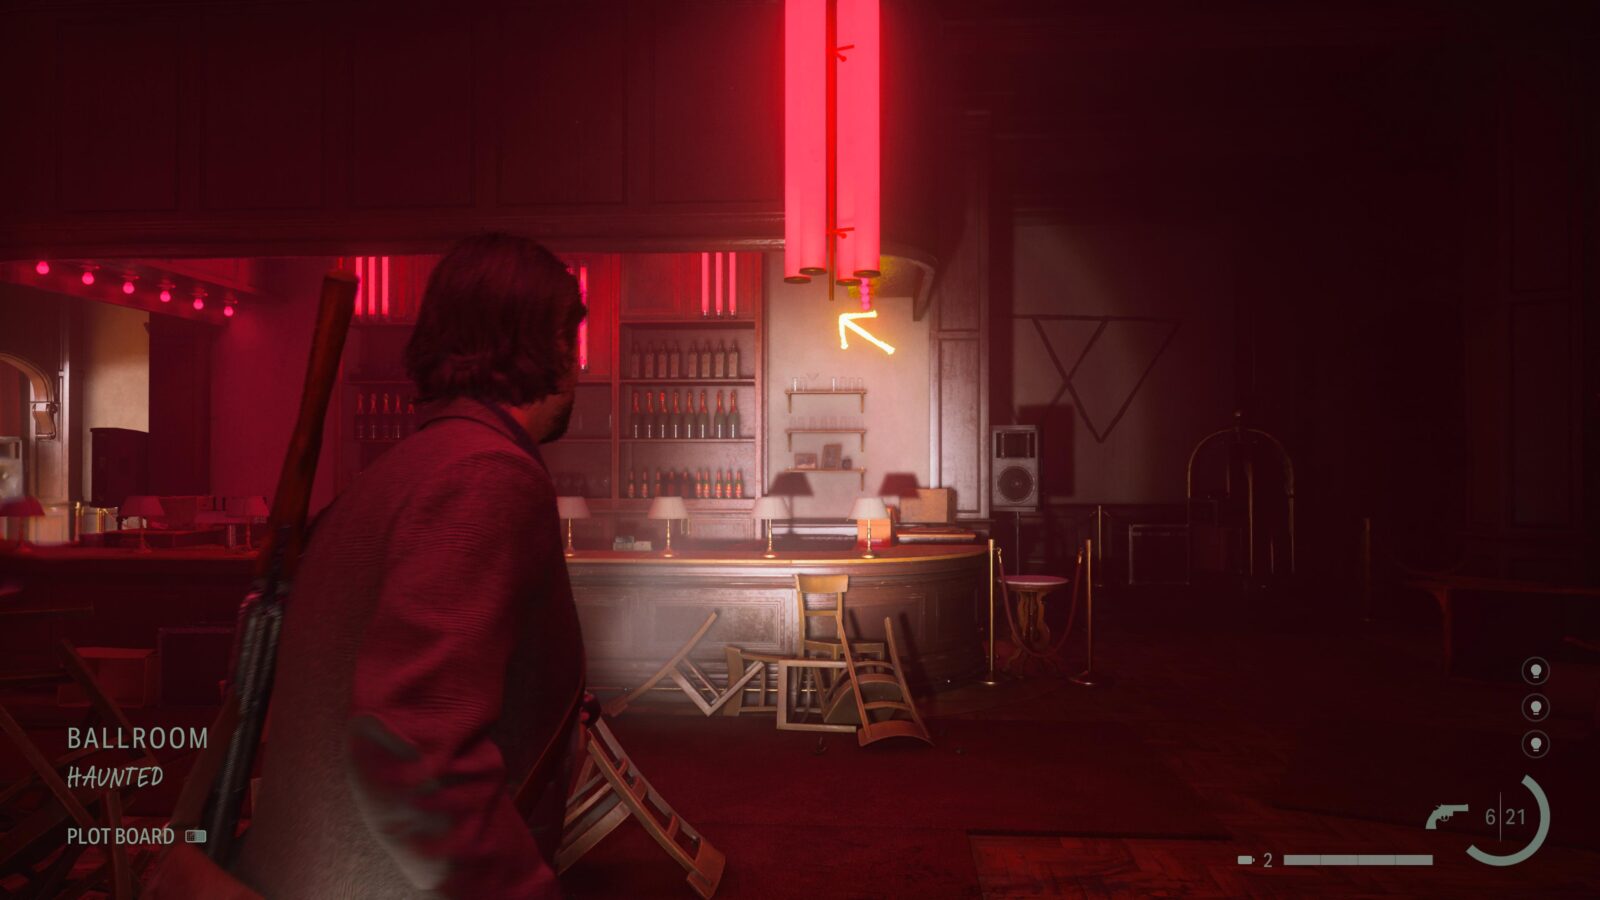
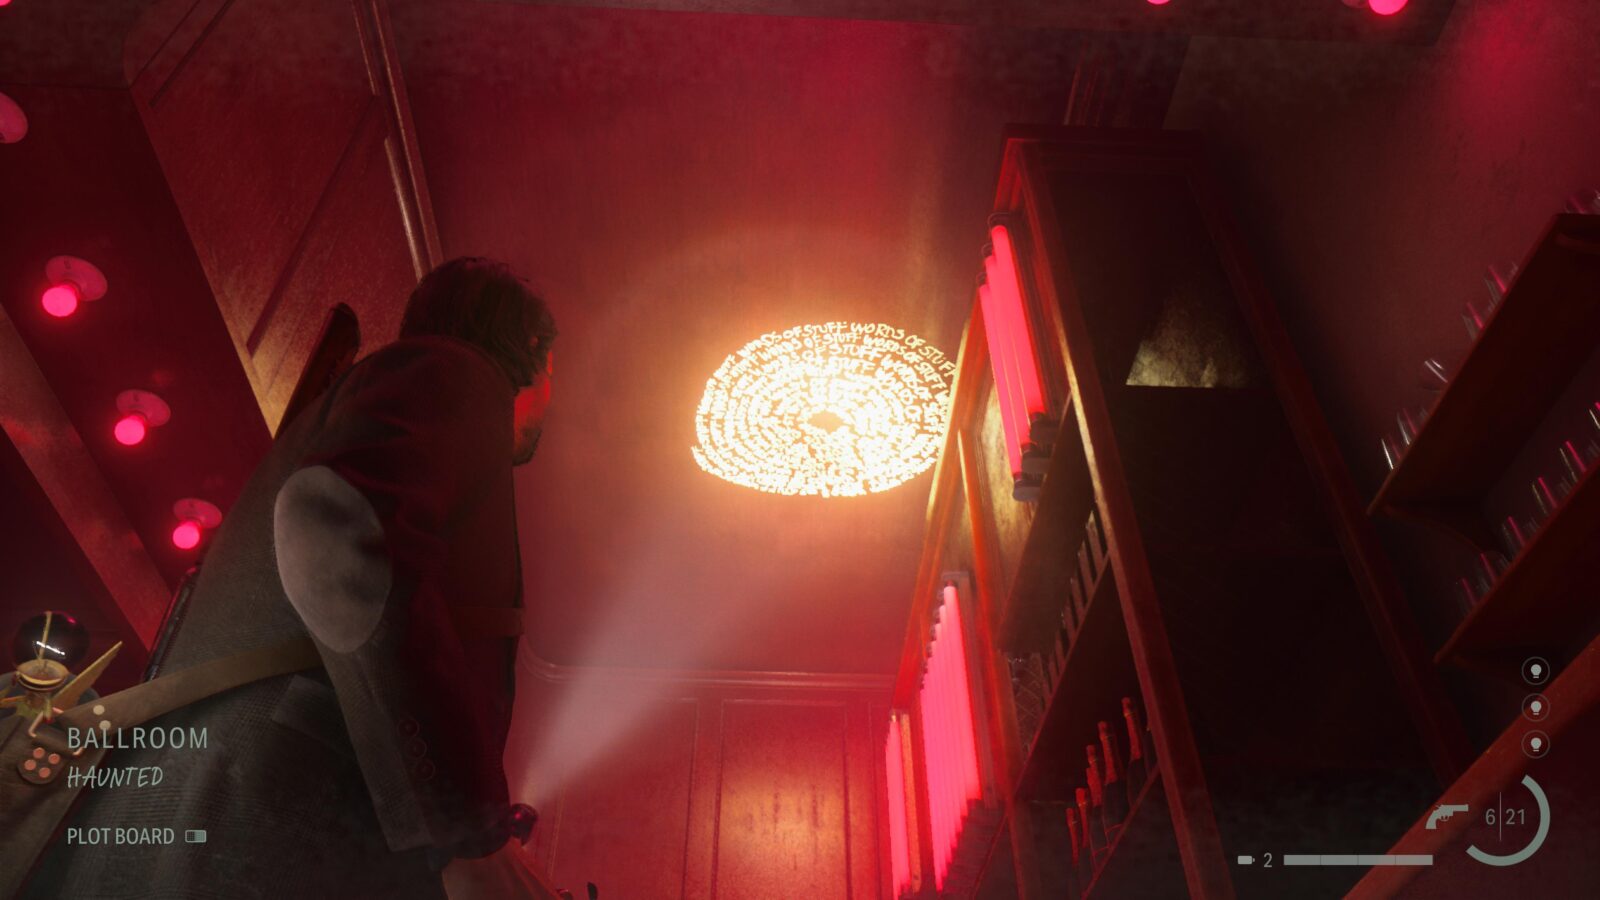
Words of Power #23 - Word of Stuff
The last Word of Power in this chapter is inside the Ballroom. Face the bar and you will see a yellow arrow pointing to the Word of Power on the ceiling behind the bar.
Initiation 6: Return
Since this is such a short chapter with no collectibles we’ll be completing this before switching back to Saga. Just make sure to go back to the In Between with Mr. Door studio and use the mop puddle there to switch back to Saga when Initiation 7: Masks starts.
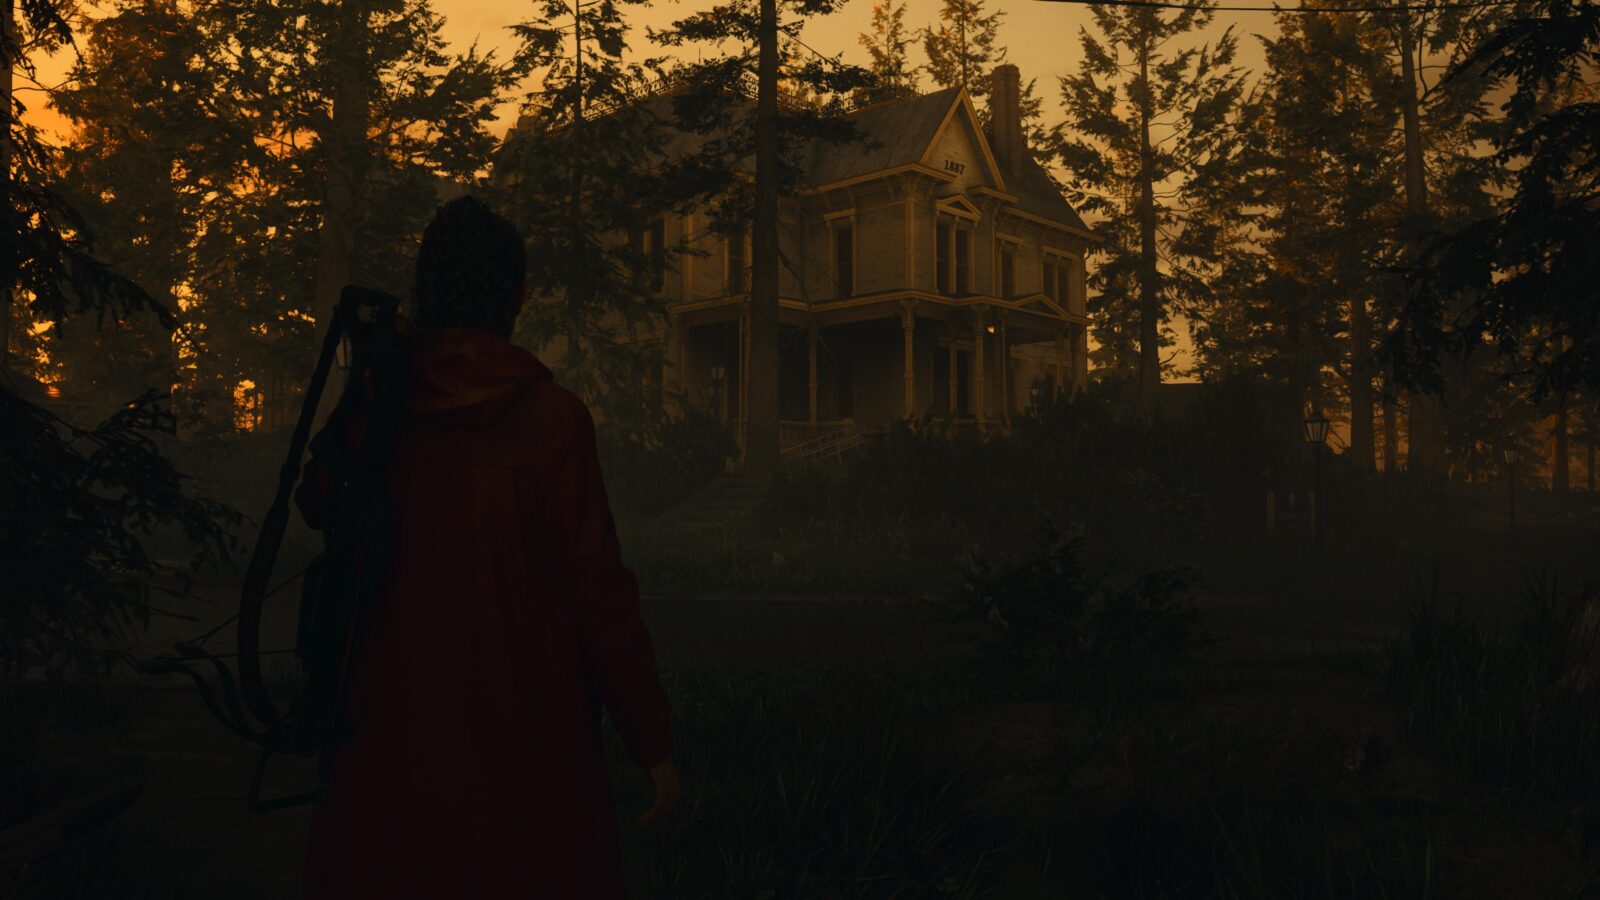
Return 5: Old Gods
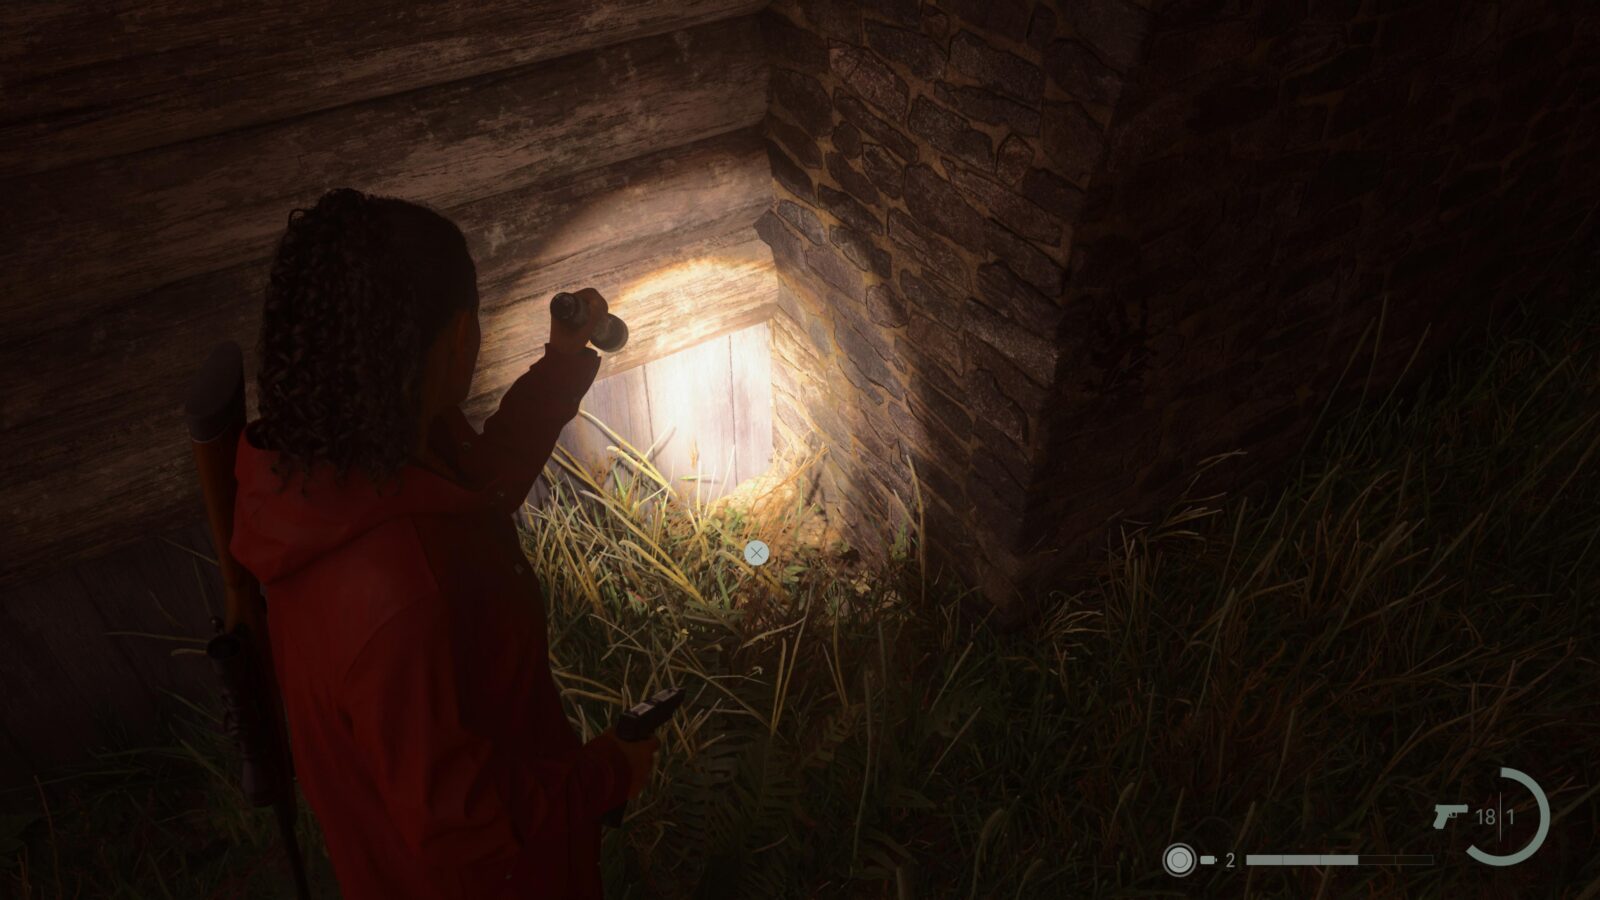
Cult Stash #12
After crossing the bridge towards Valhalla Nursing Home you will come to a Break Room. To the right of the Break Room is two trails. Follow the right-most trail and look for a stash behind a large tree and some rocks. This is another pattern memory lock.
Nursery Rhyme Puzzle #11
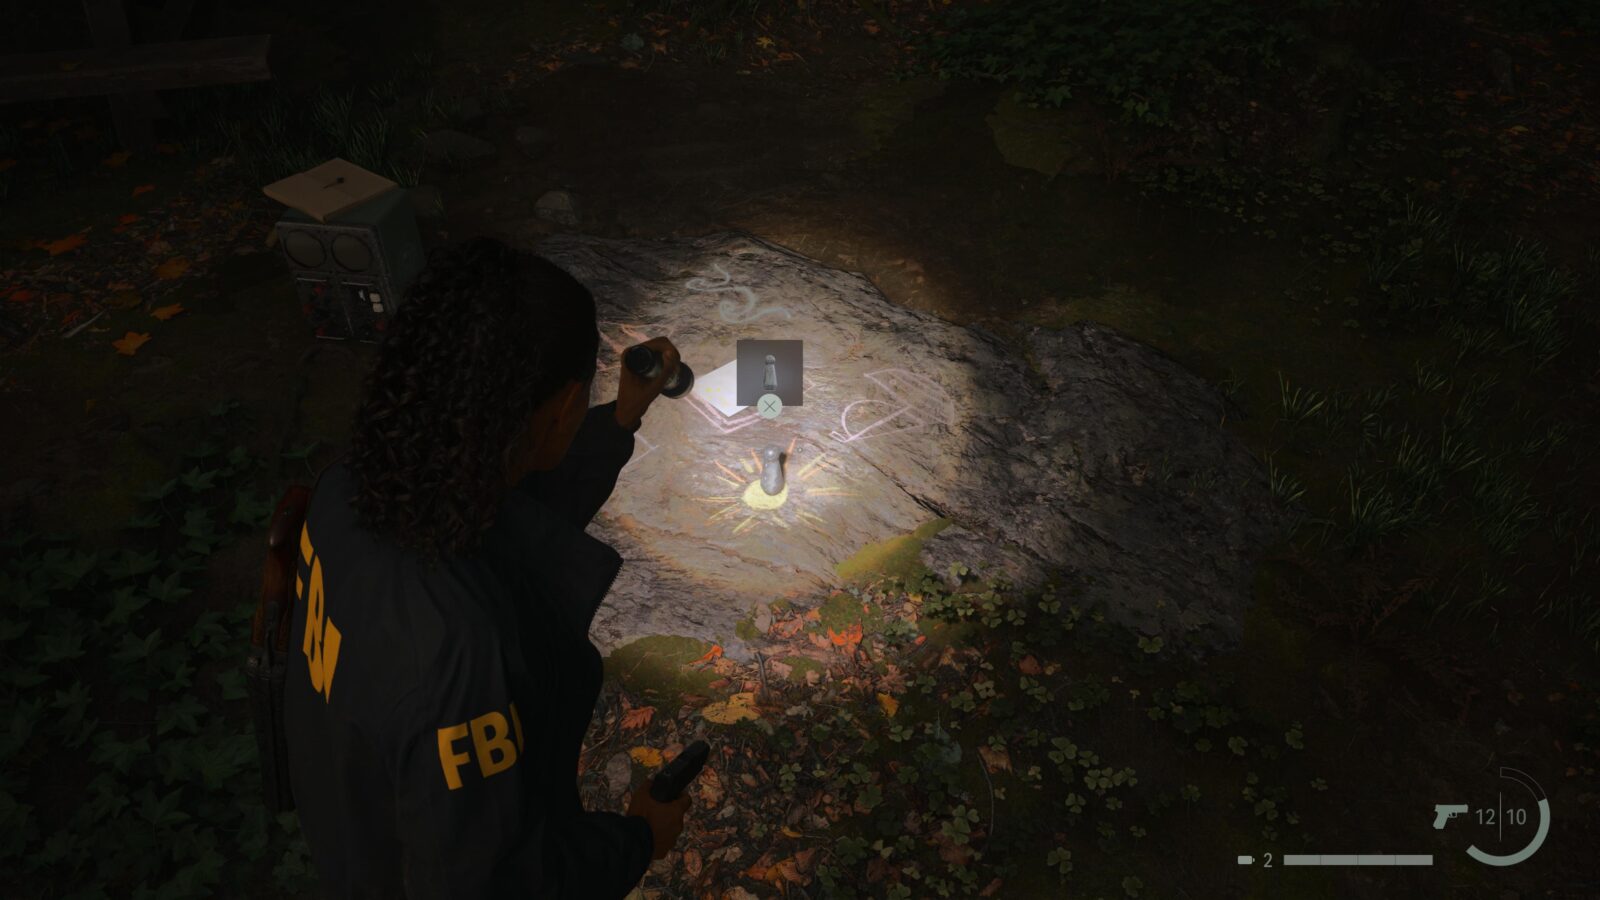
While facing Cult Stash #12 turn to your left and walk until you see the next puzzle. You should also be able to look down on the Break Room when you’re close. Like usual, you get a Charm form this.
Spoilers! Click to Show
Charm #10 - Lantern Charm
Follow the black marks on the ground after completing the Nursery Rhyme Puzzle and you will find this Charm. If you have the pre-order bonus this charm will be a Coffee Mug Charm instead since the Lantern Charm is stored in the Shoebox in the Break Rooms at the start of the game.
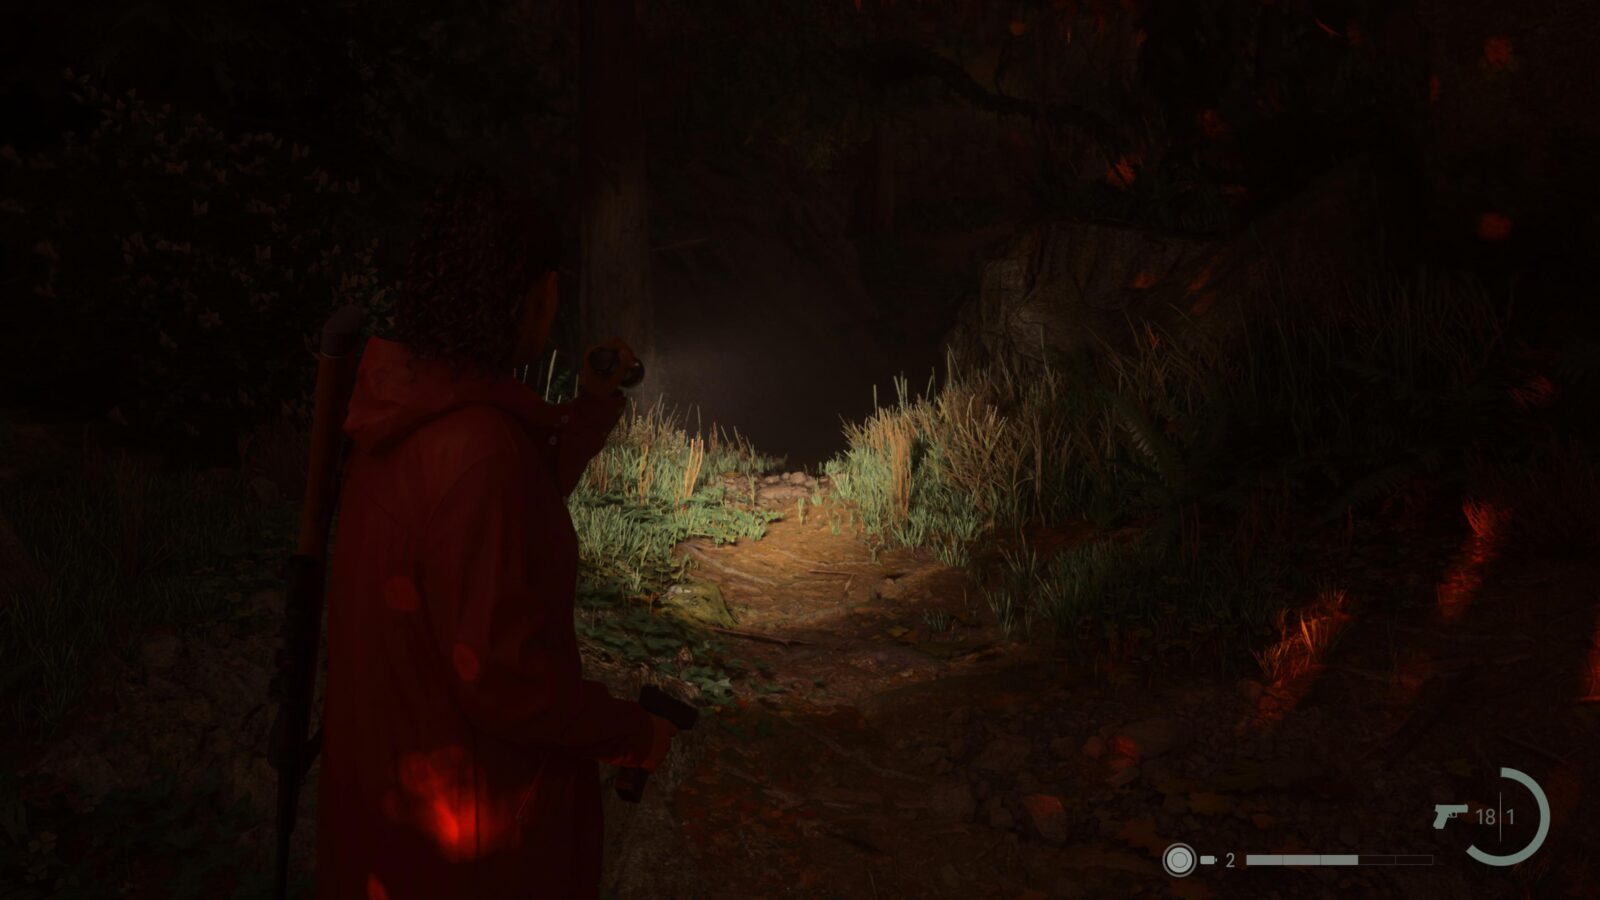
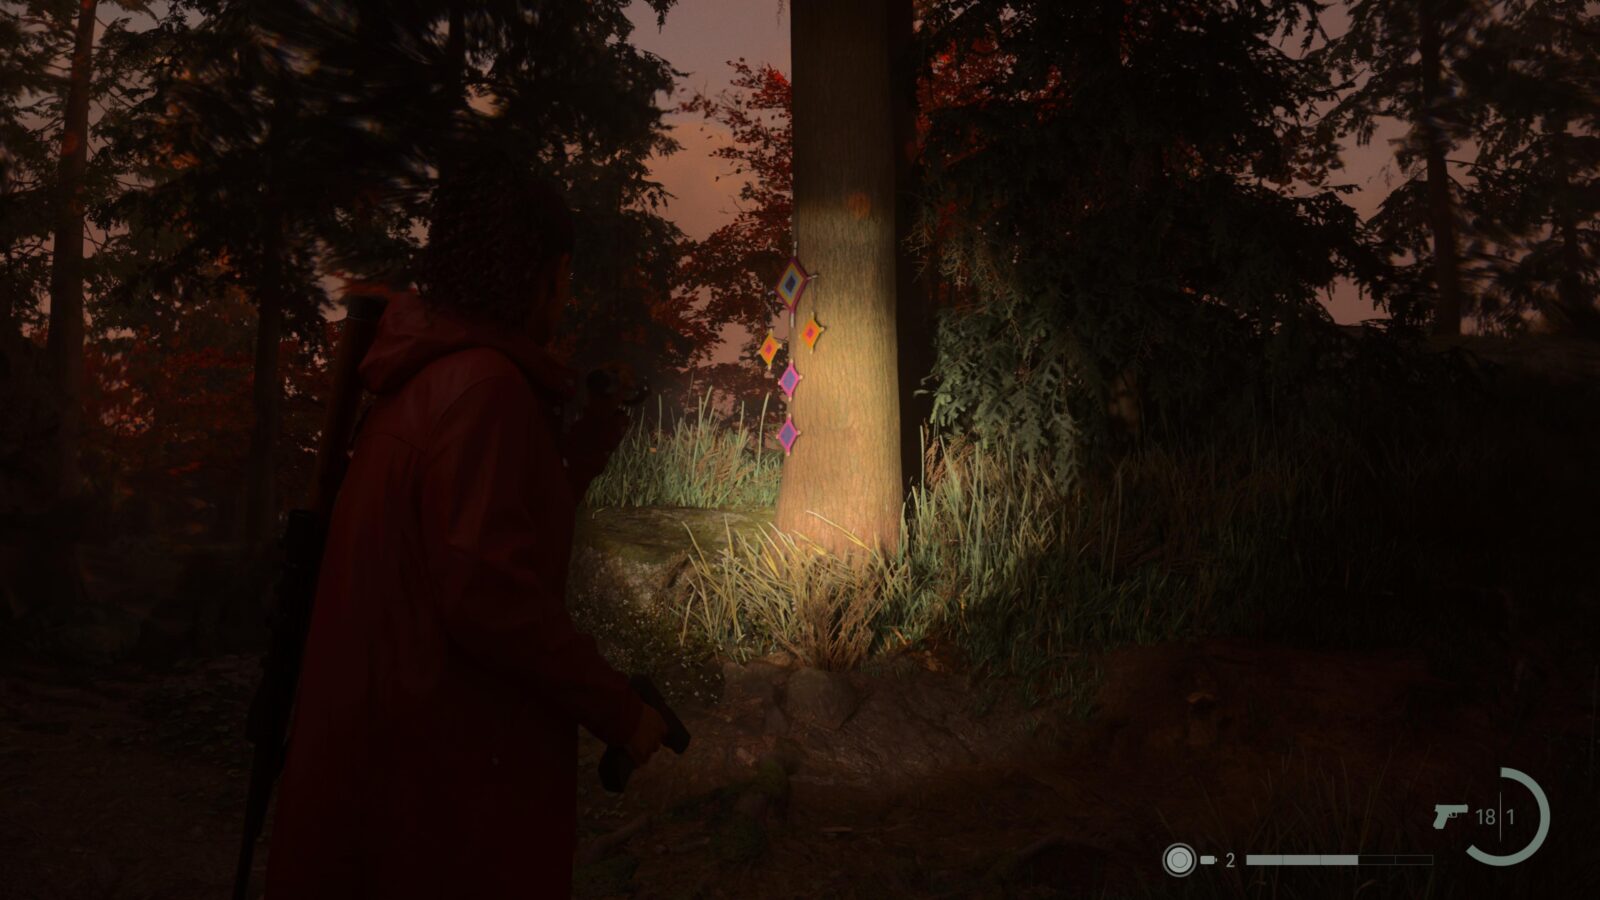
Lunch Box #15
Back at the Break Room, proceed down the left trail until you see the sign for Valhalla Nursing Home. Turn left at the sign and walk until you reach some wooden stairs. To the right is a tree with another dreamcatcher-like decoration. Follow the decorations to find another Lunch Box with 7 Manuscript Fragments inside.
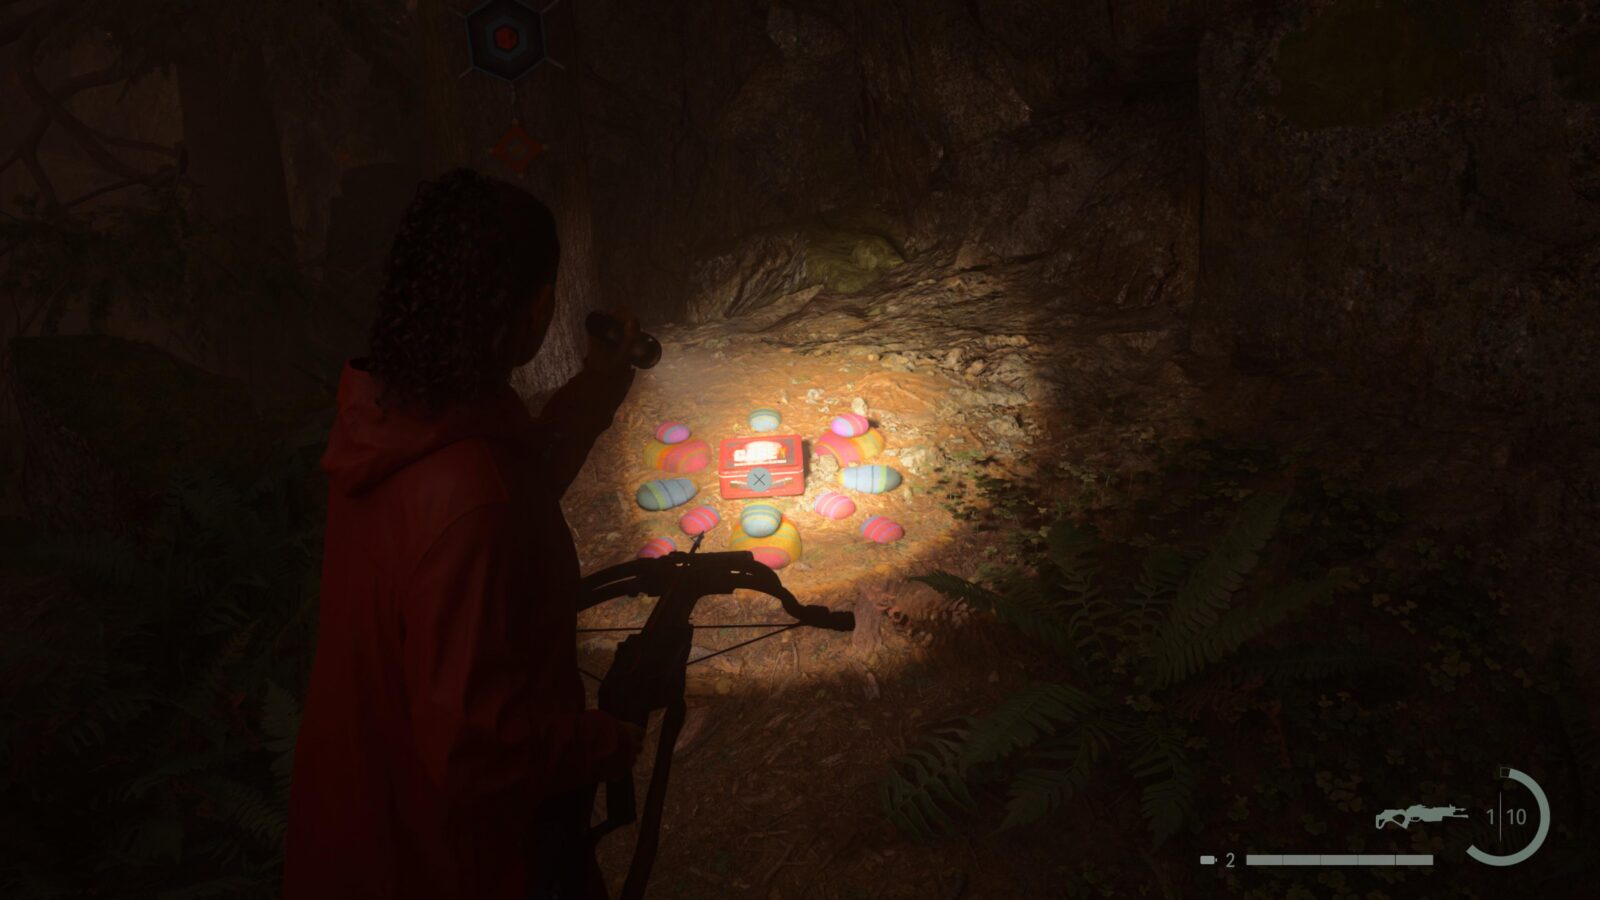
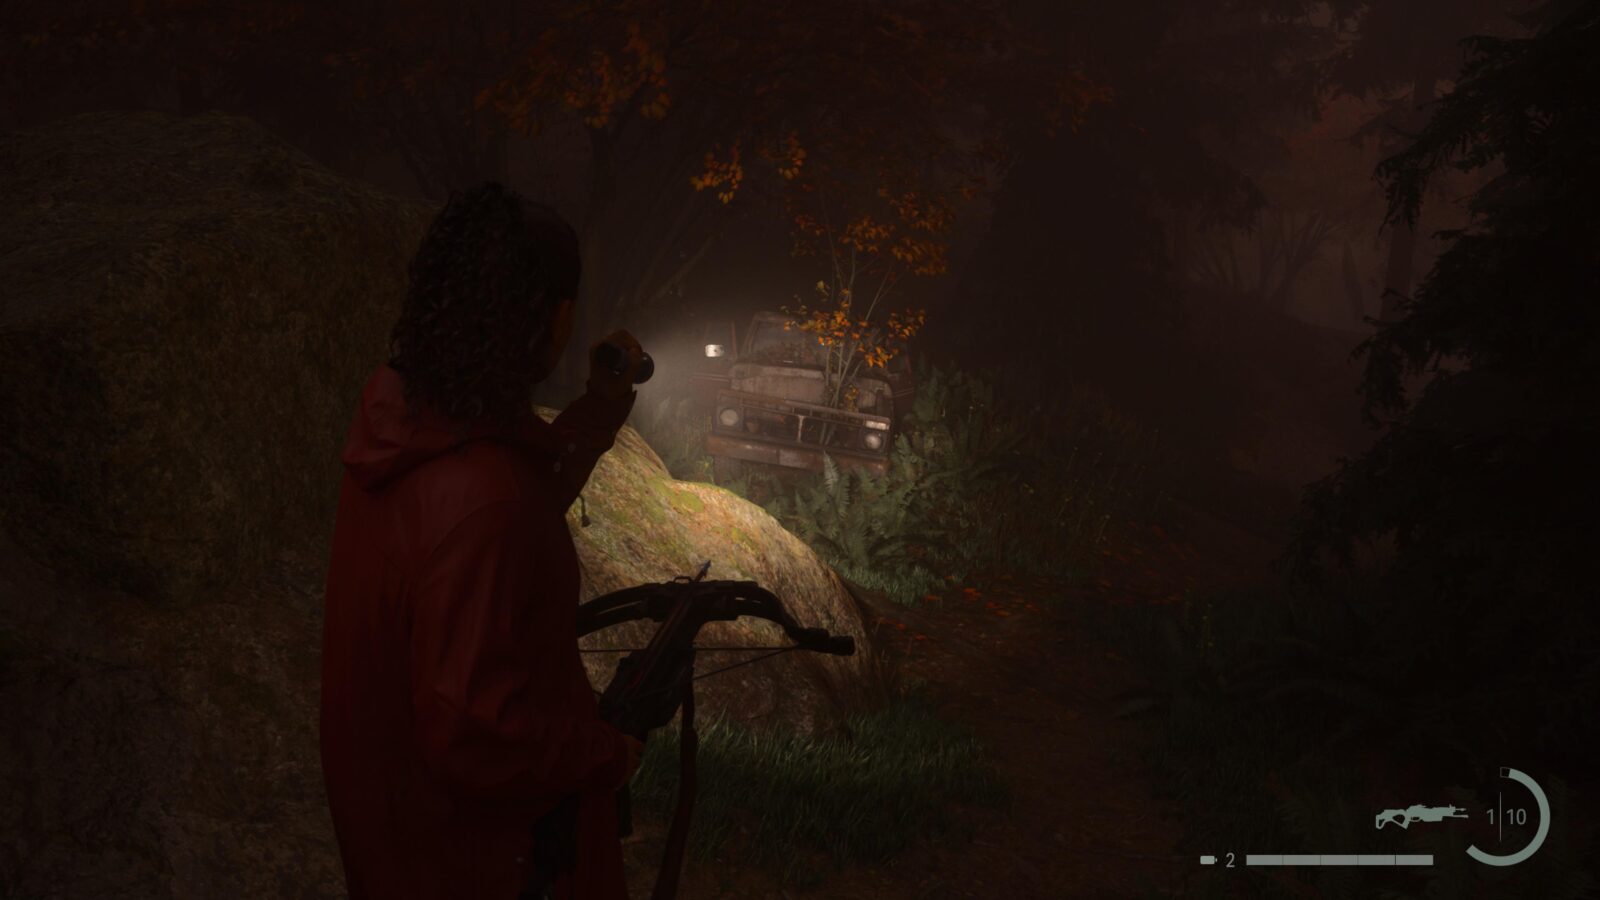
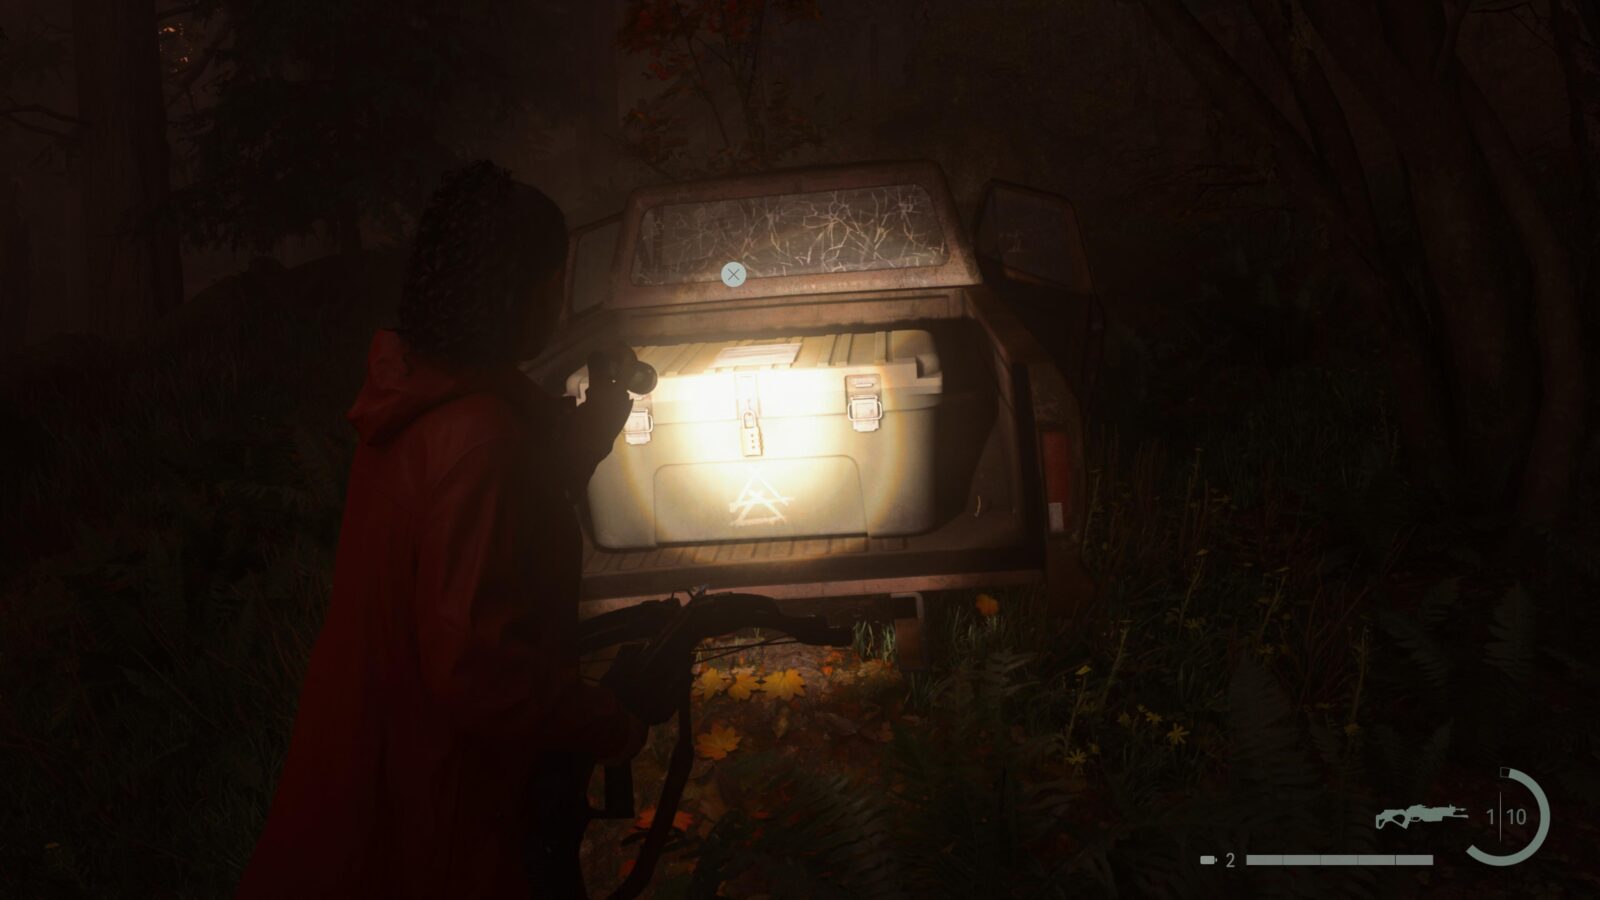
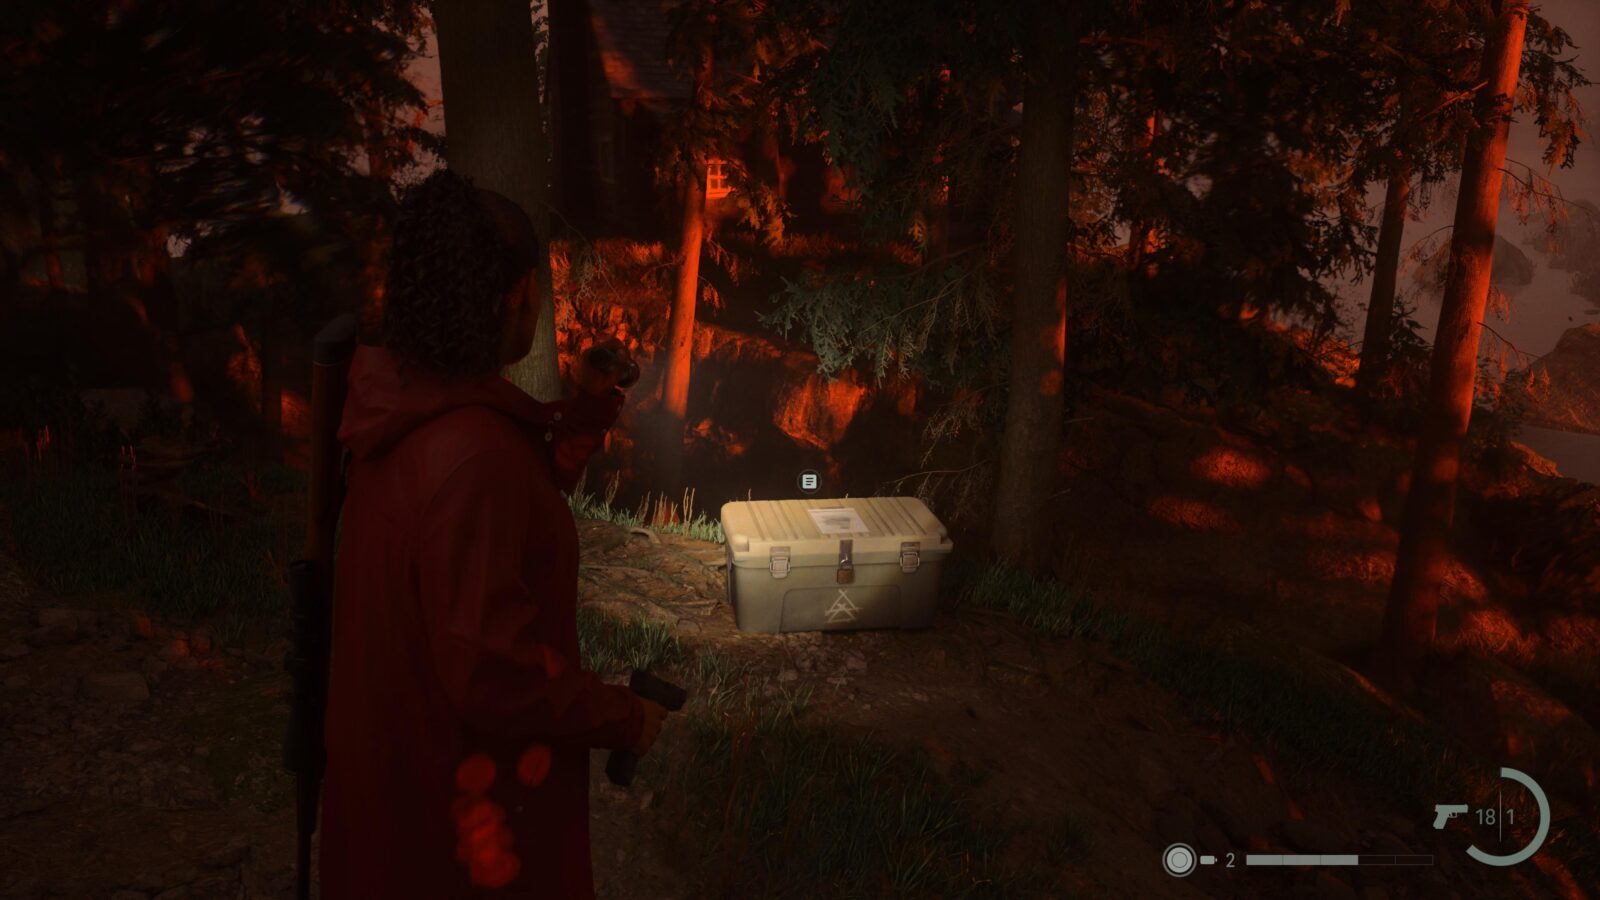
Cult Stash #13
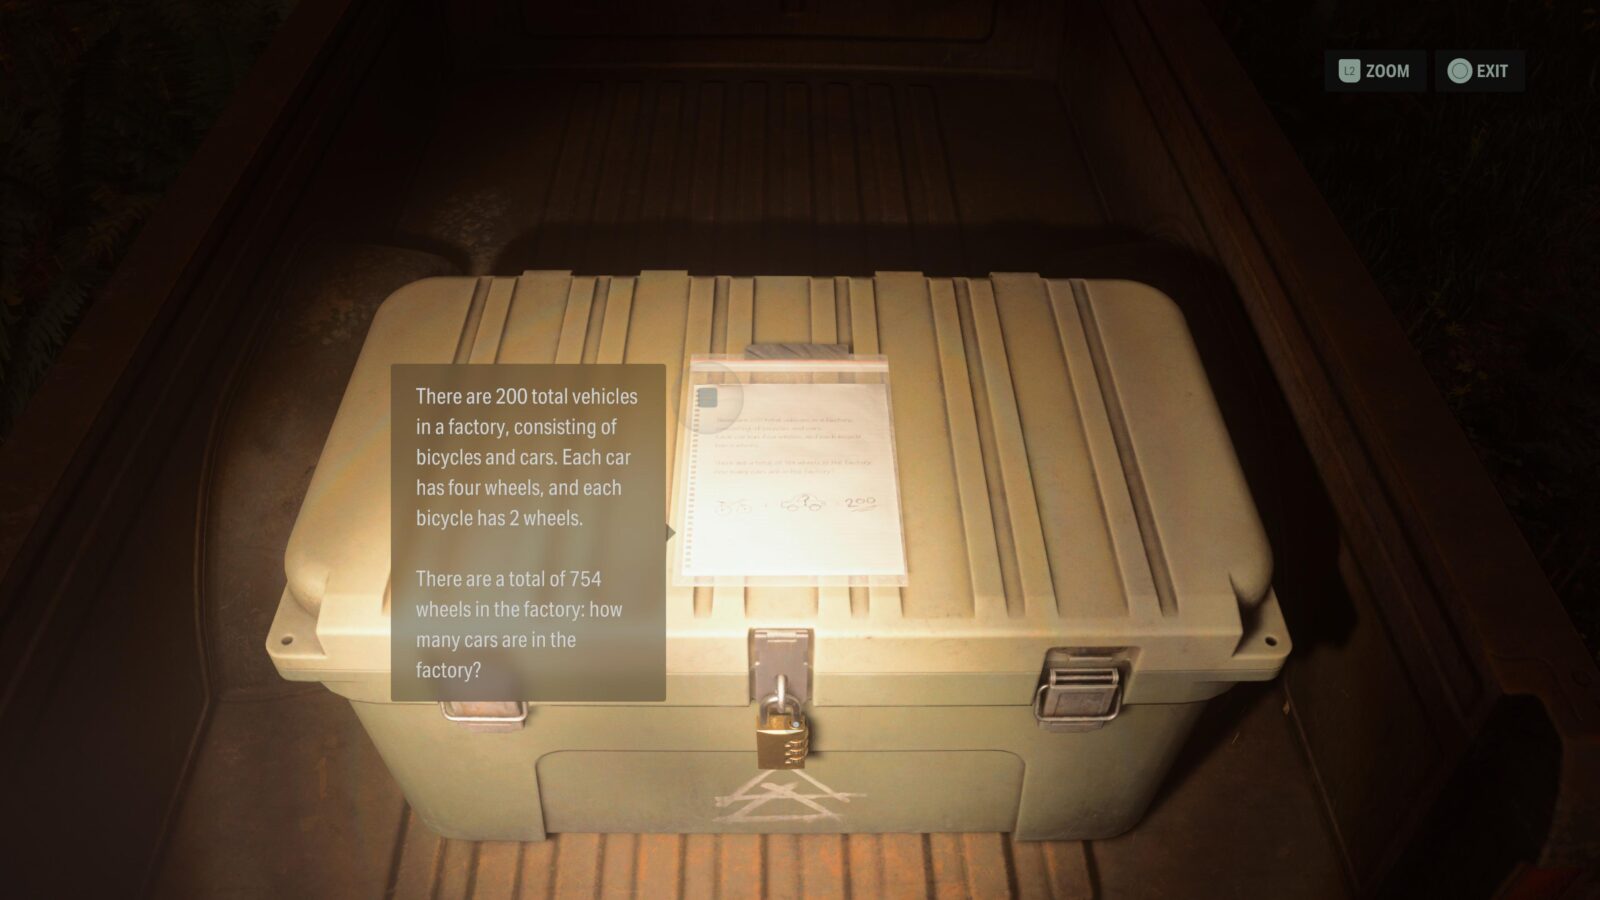
Go to the top of the wooden stairs nearby and look to the left. You should see a broken down truck—you may need to walk a bit to see it properly as there is a large rock in front of it. The note pinned to the top of the stash tells you how to figure out the code.
Spoilers! Click to Show
Let’s represent Cars as C and Bicycles as B in this equation. We know there are 200 vehicles split between Cars and Bicycles and each Car has 4 wheels and each Bicycle has 2 wheels. This gives us two equations to solve.
C + B = 200
4C + 2B = 754
Start with the first equation and solve for B.
B = 200 - C
We can now substitute this into the second equation, simplify it, and solve for C.
4C + 2 (200 - C) = 754
4C + 400 - 2C = 754
Combining the terms we get:
2C + 400 = 754
Now all we need to do is subtract 400 from both sides and divide by 2.
2C = 754 - 400
2C = 354
C = 354 ÷ 2
C = 177
The code for the Cult Stash is 177 as there are 177 Cars in the Factory.
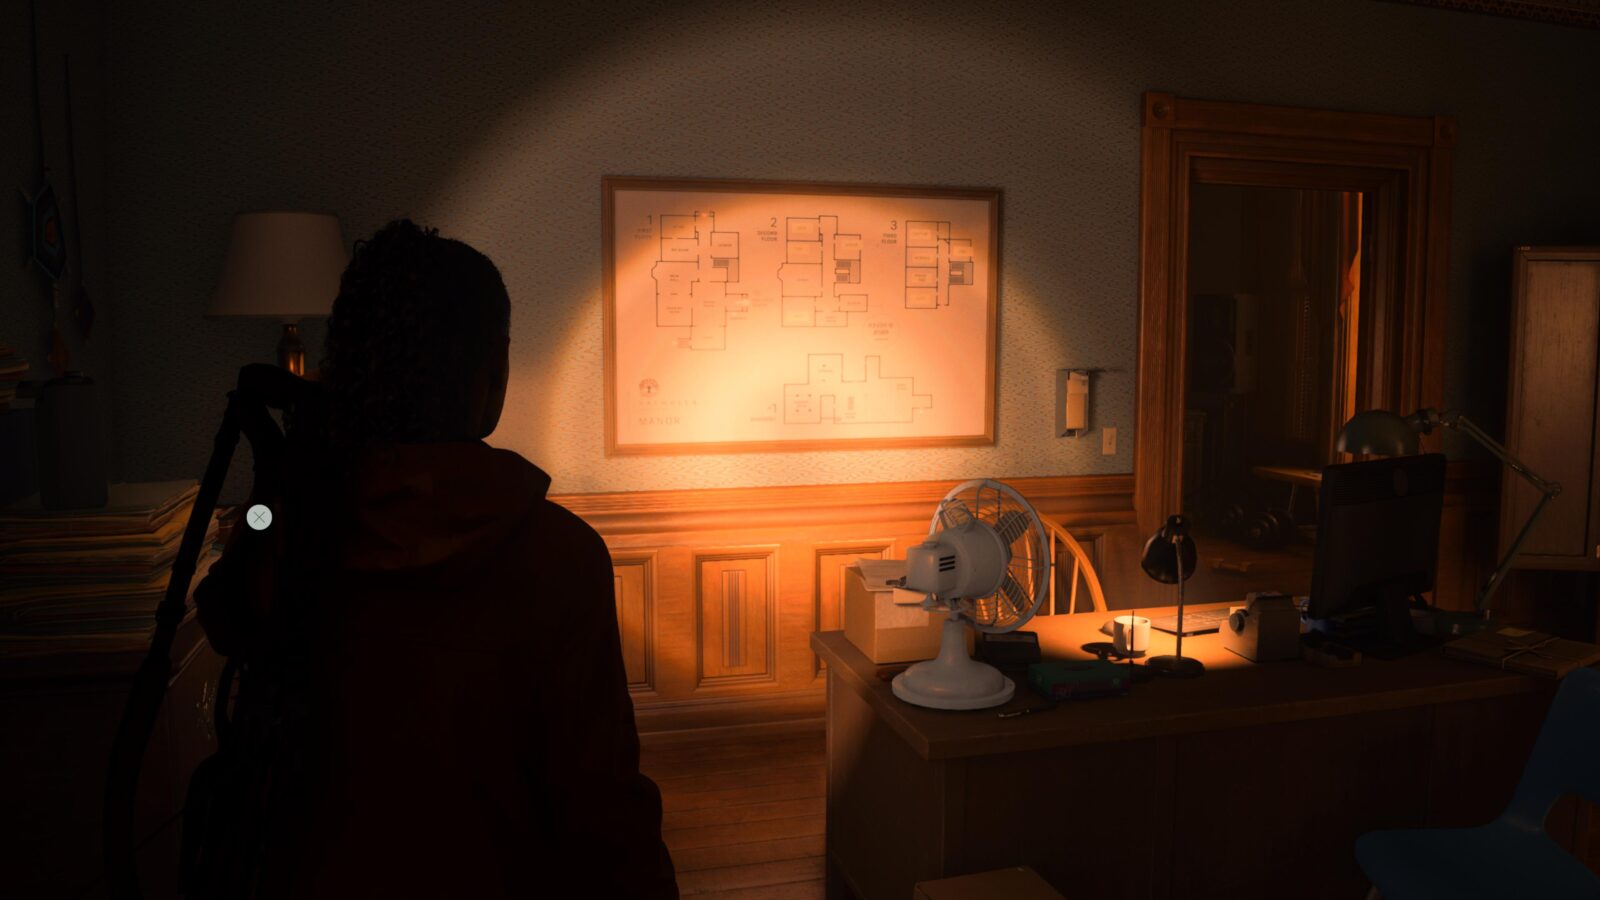
Map - Valhalla Nursing Home
None of the routes in this area lead anywhere just yet as they are all flooded so return to the Valhalla Nursing Home sign and head in that direction to reach the home. Ring the door bell and when you are let inside immediately go into the room to your right to find the map on the wall.
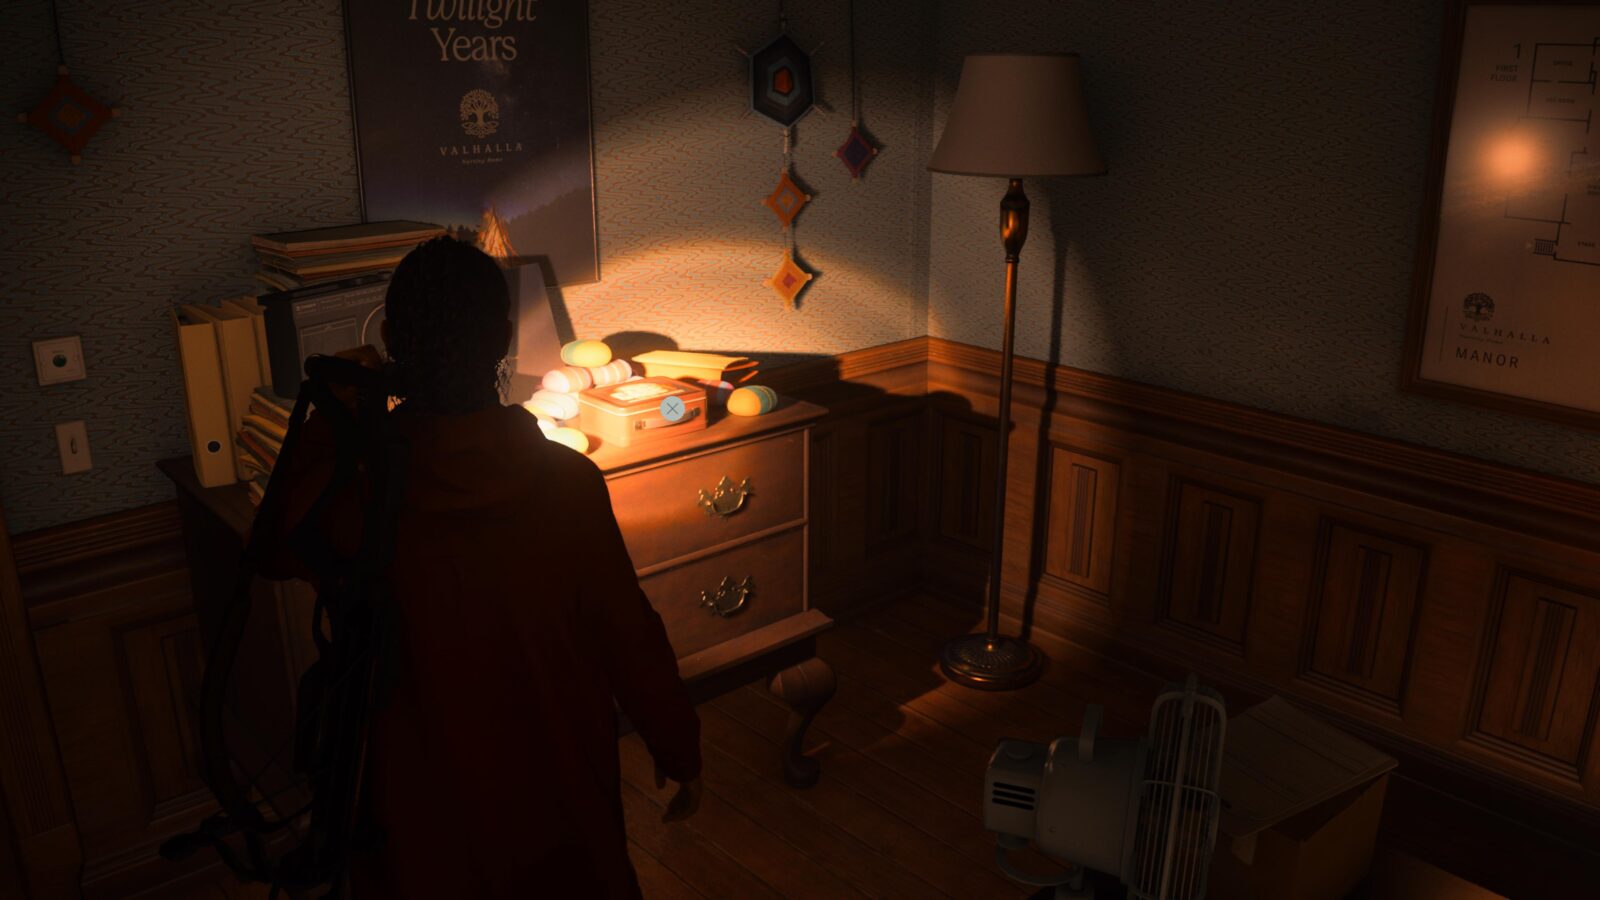
Lunch Box #16
On some drawers next to the Valhalla Nursing Home map is another Lunch Box with 5 Manuscript Fragments inside.
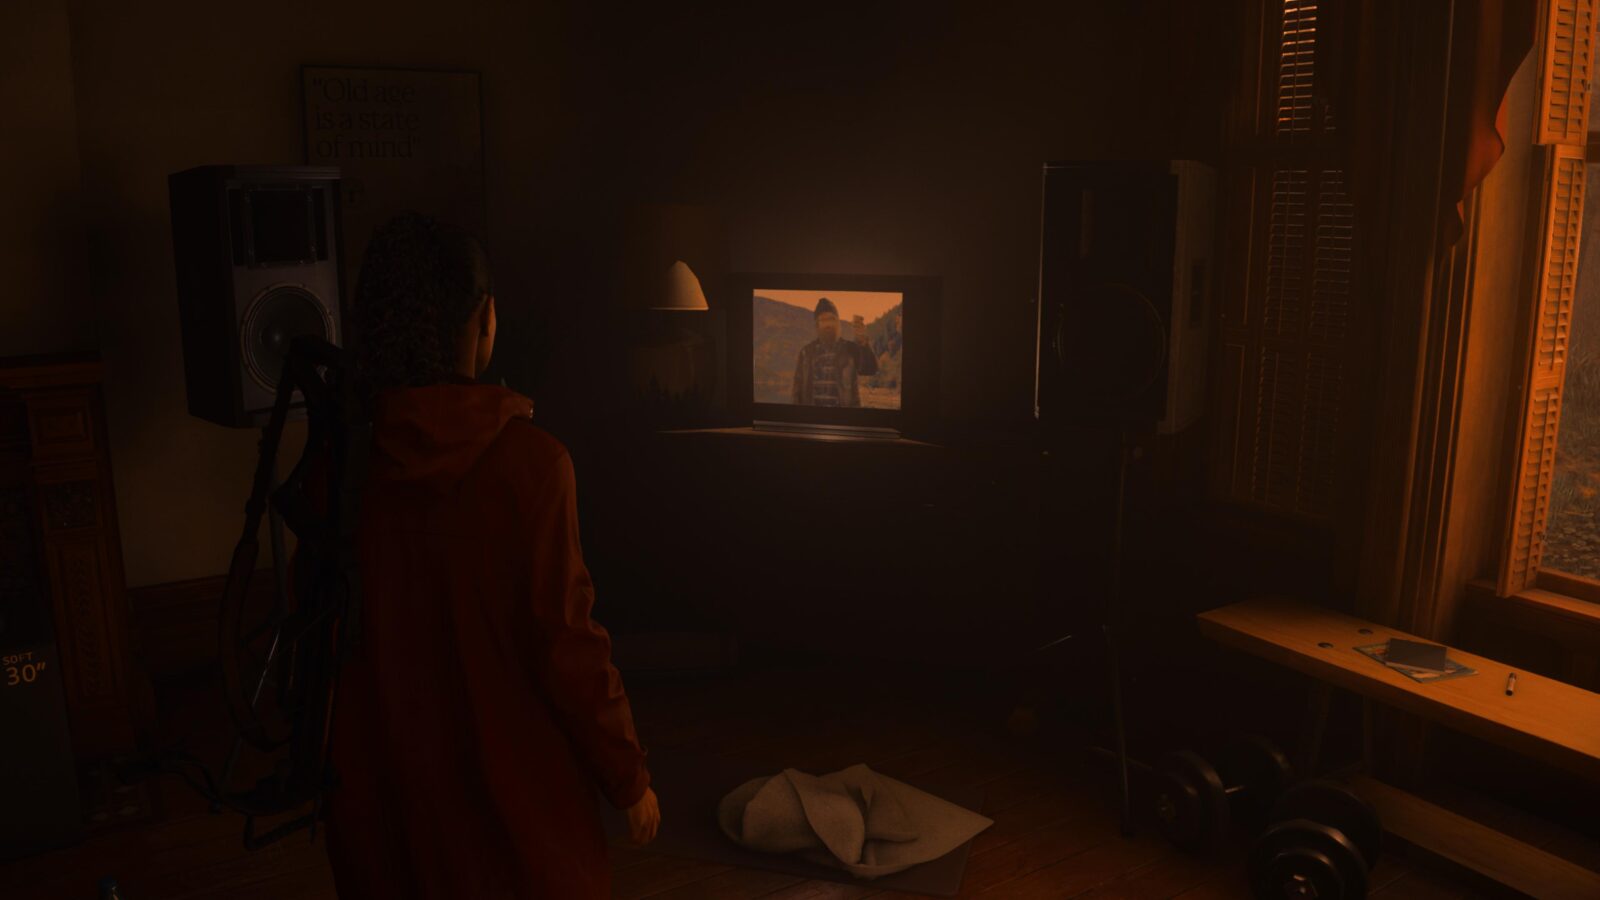
Koskela Brothers Commercial #5 - Bright Falls Blend
The room next door to the Office where you find the Valhalla Nursing Home map is a TV with another Koskela ad.
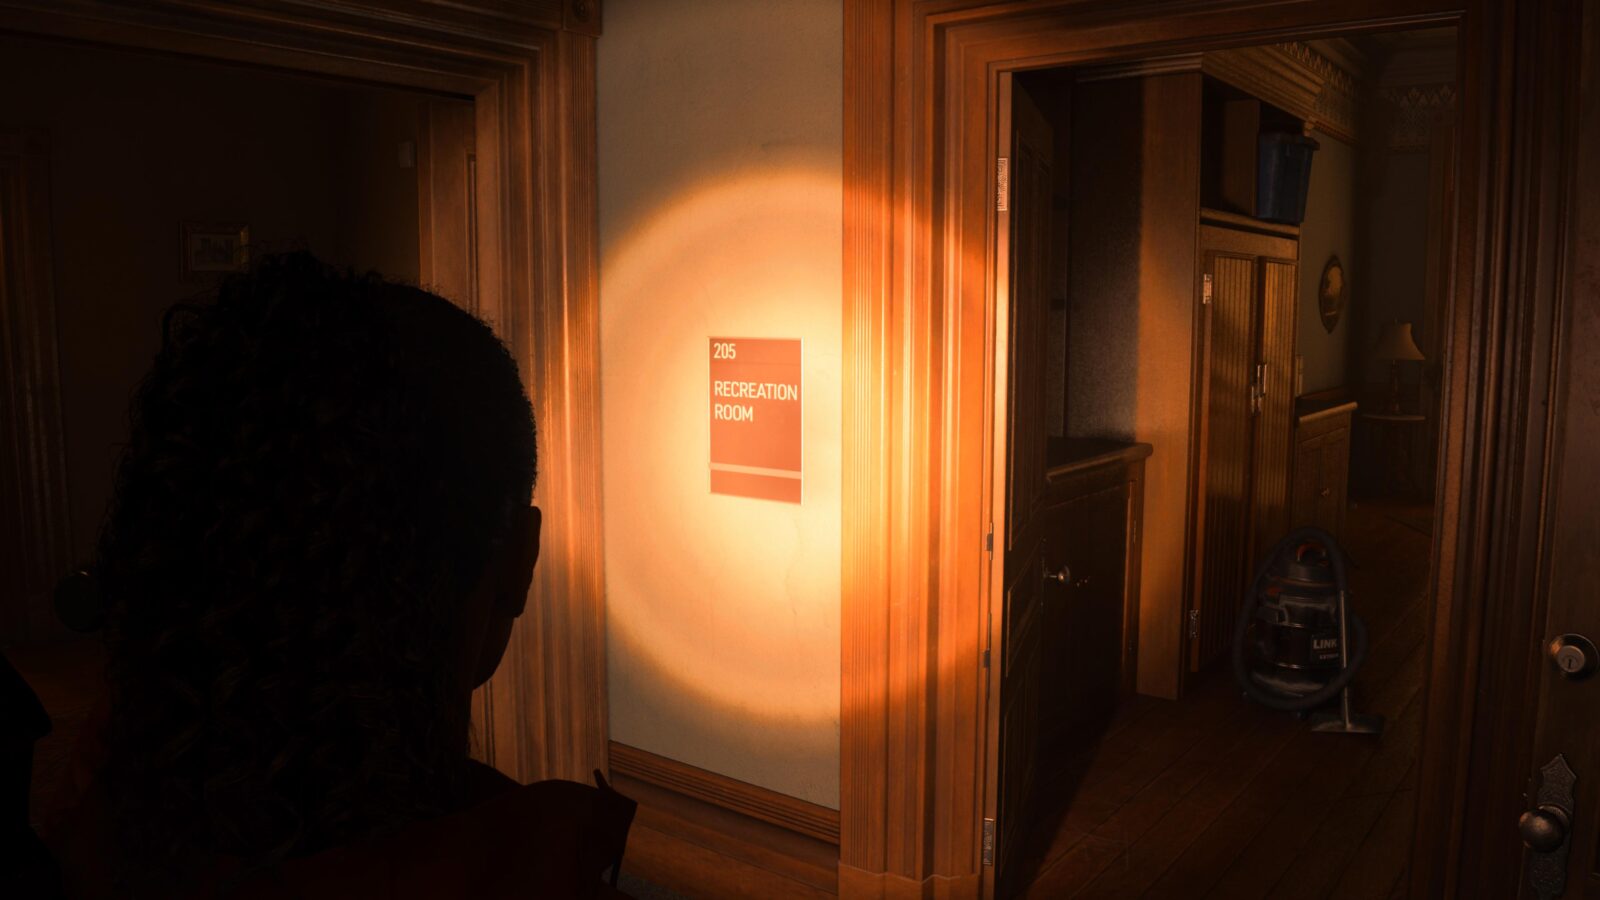
Deer Head #9
Head up to the 2nd floor of the Valhalla Nursing Home Manor after Rose leaves you alone. At the top of the stairs turn left and enter the Recreation Room to find another Deer Head.

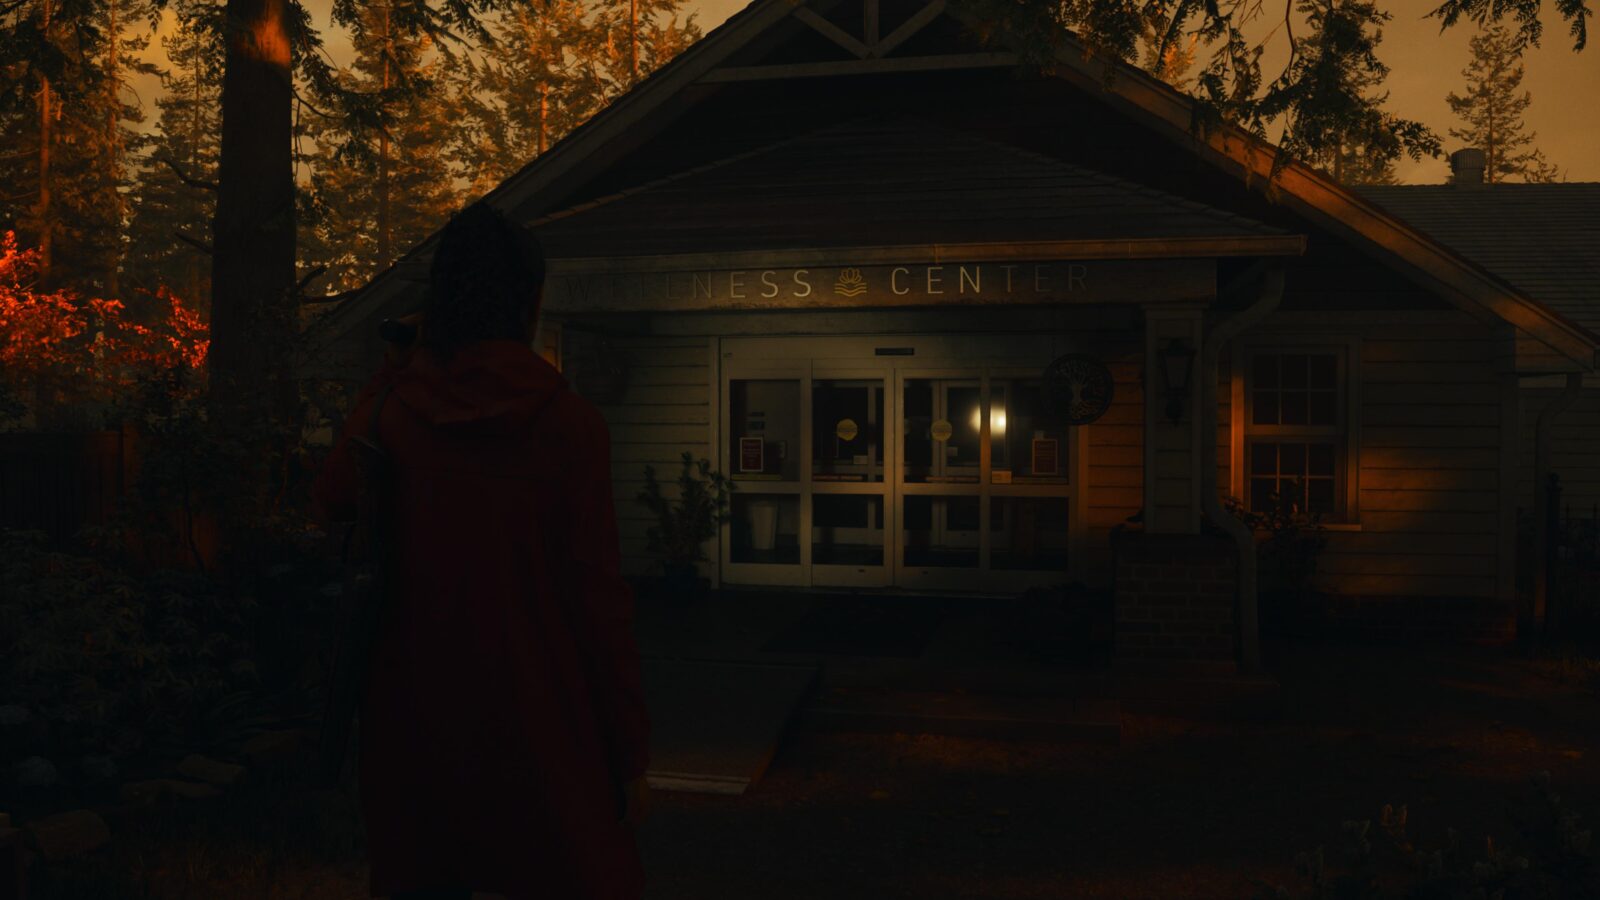
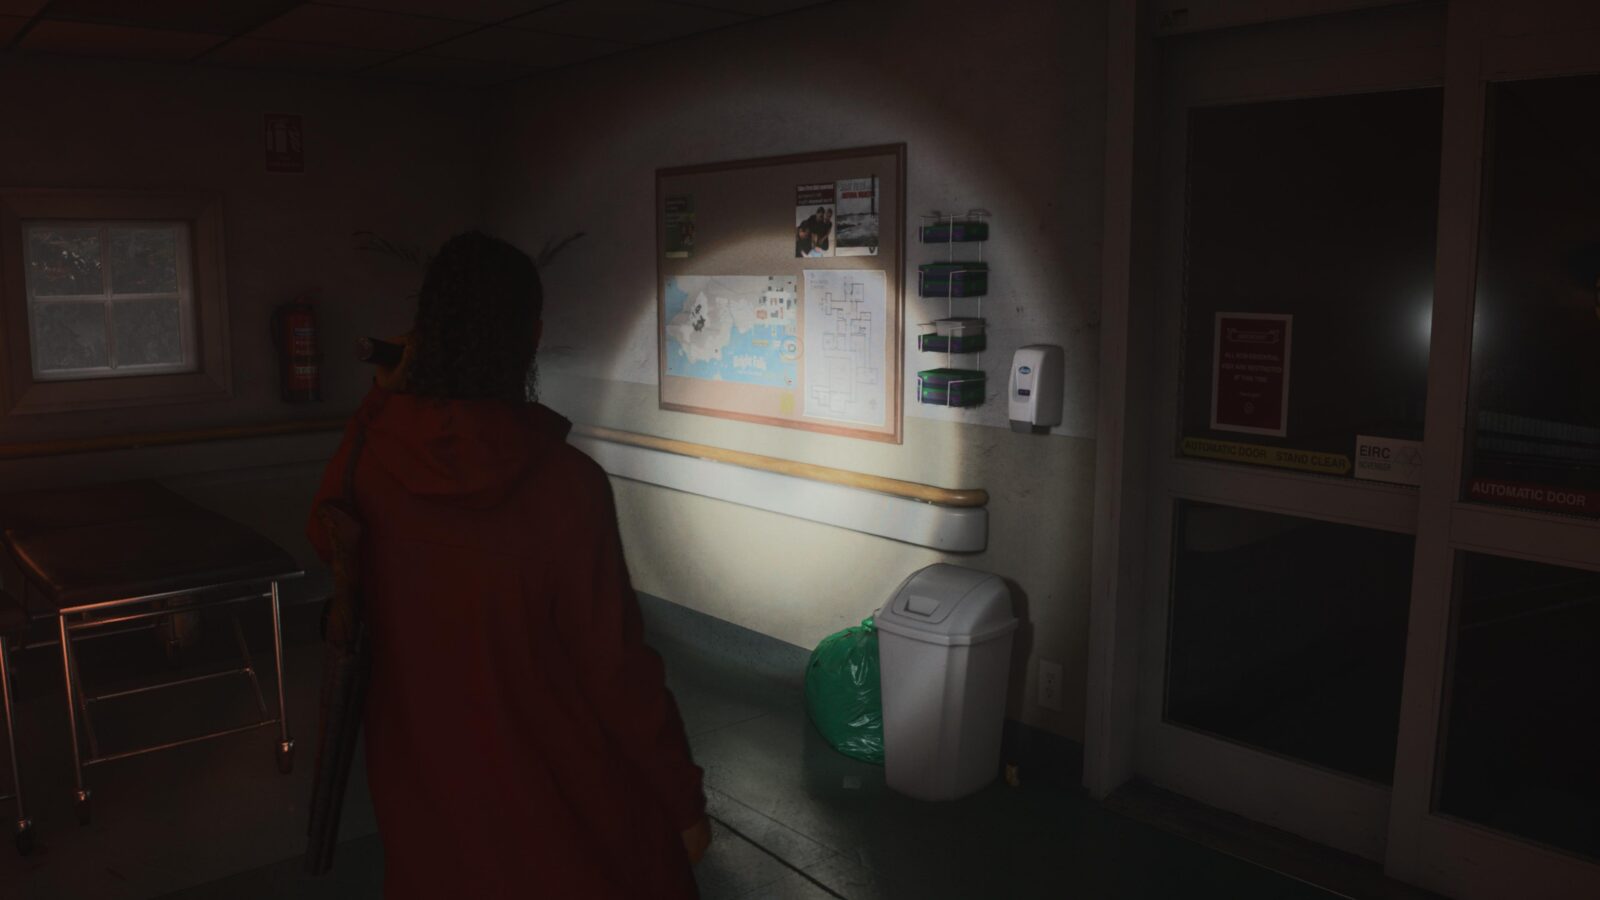
Map - Wellness Center
After investigating the Valhalla Nursing Home Manor you will be allowed to enter the Wellness Center. To your left as you enter the first set of automatic doors is a map.
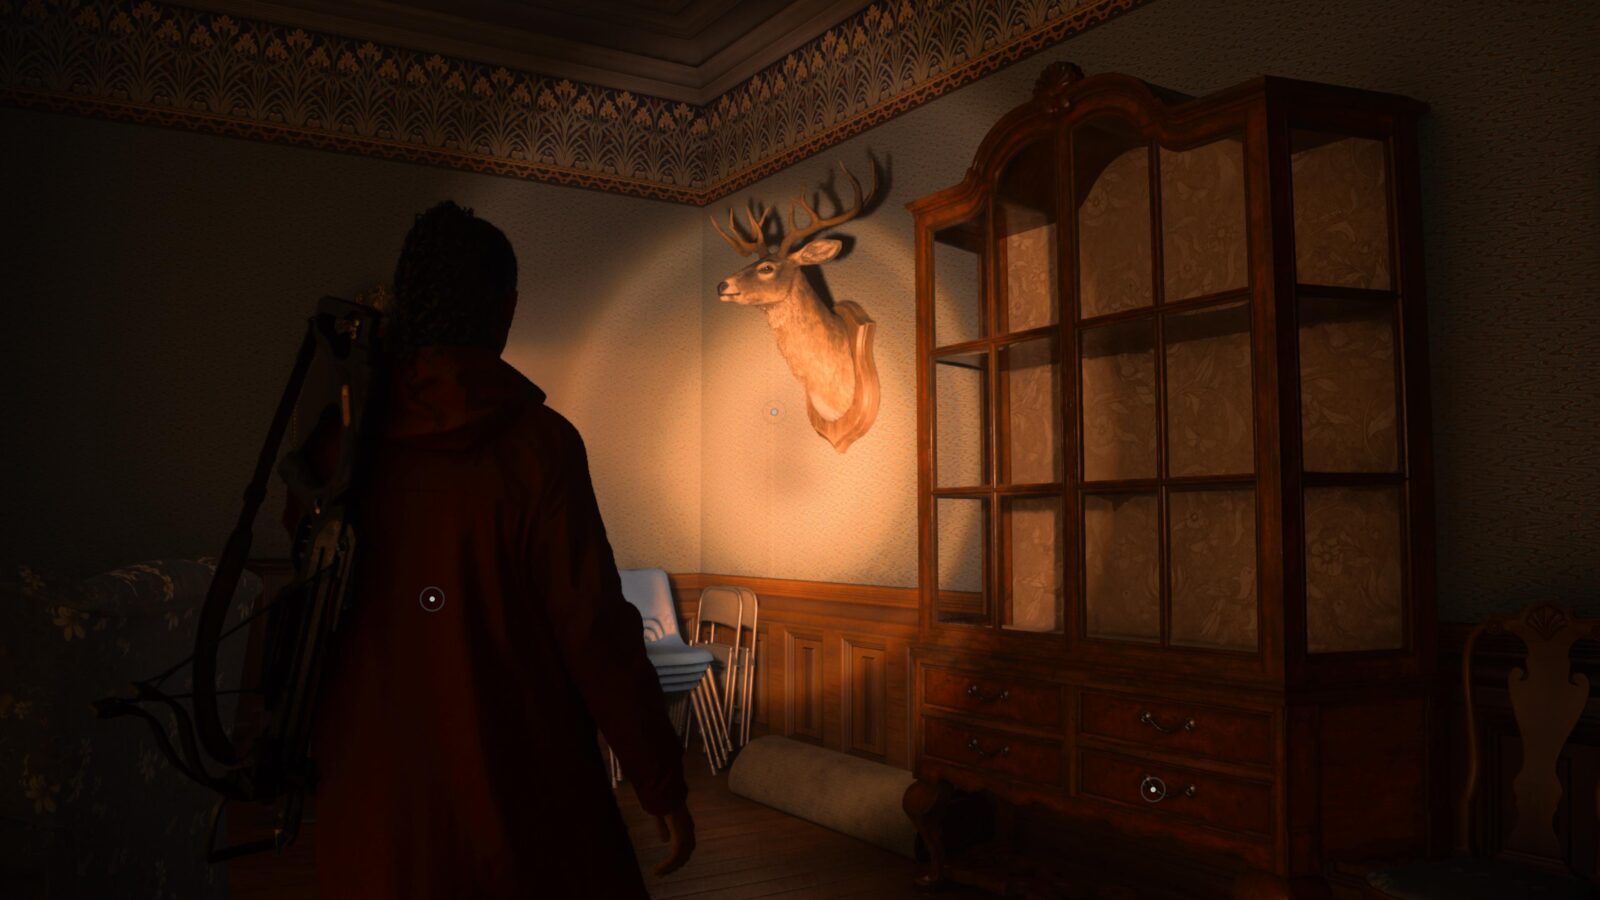
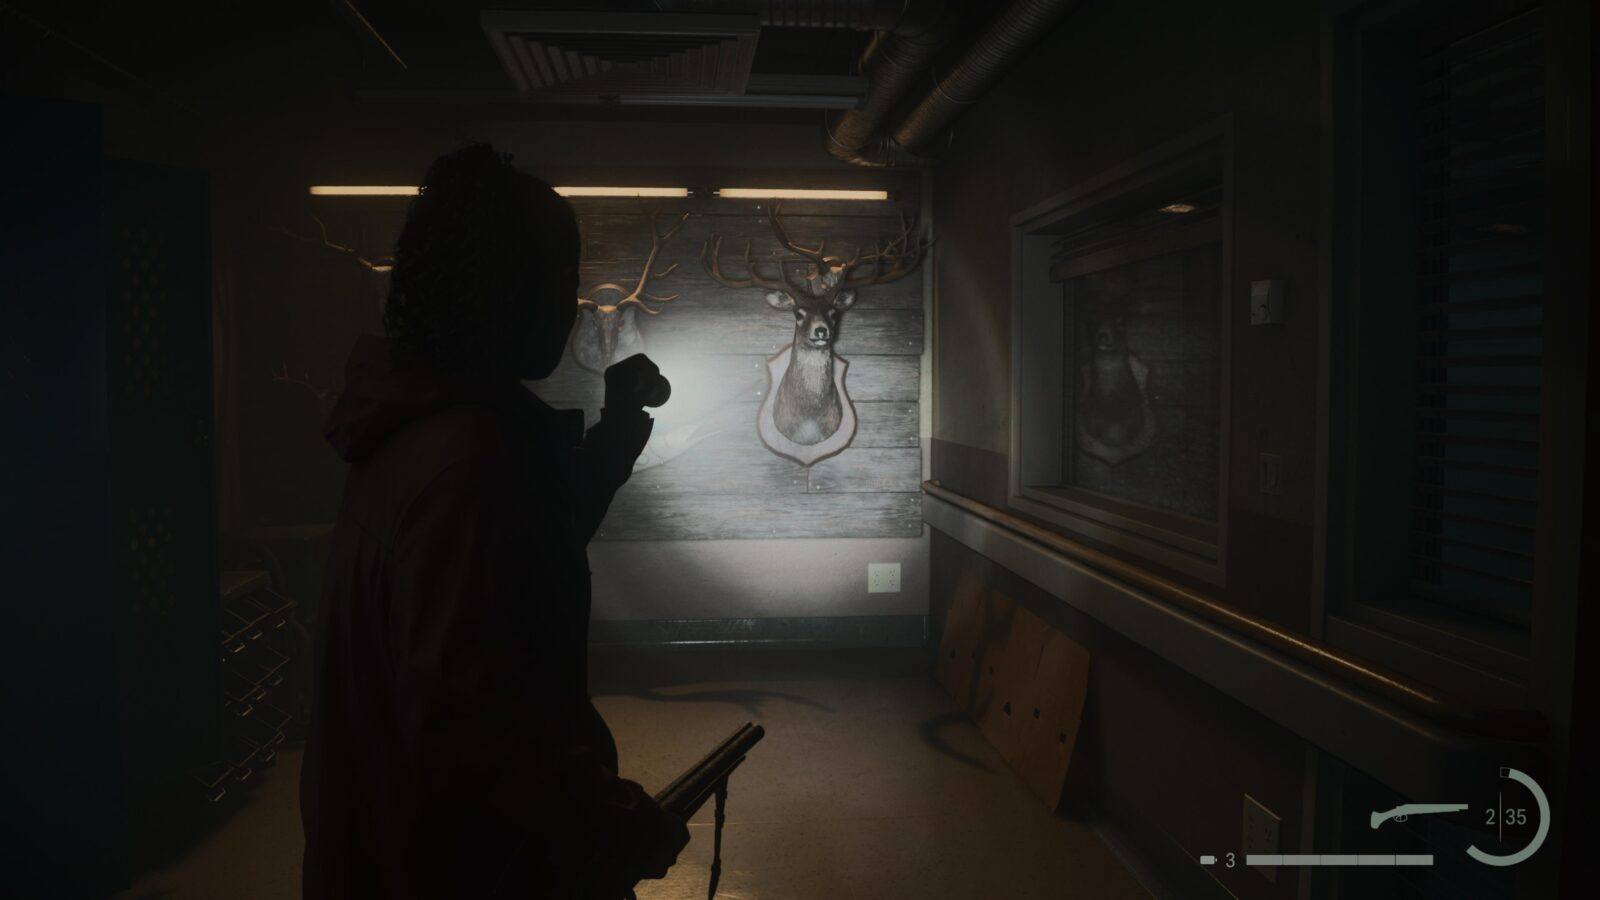
Deer Head #10
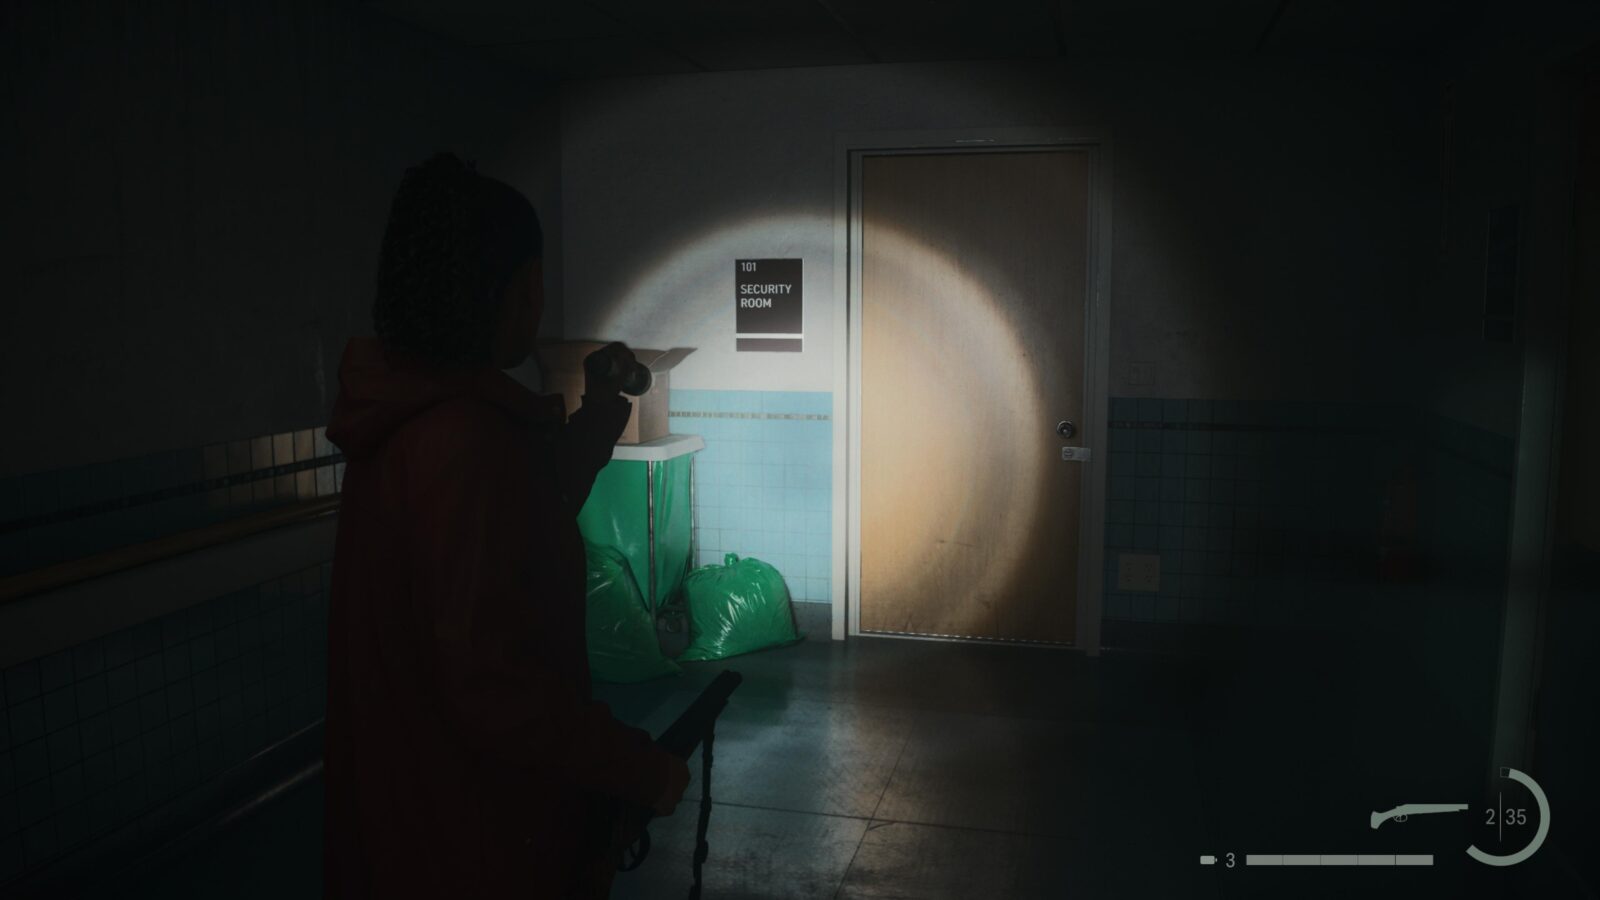
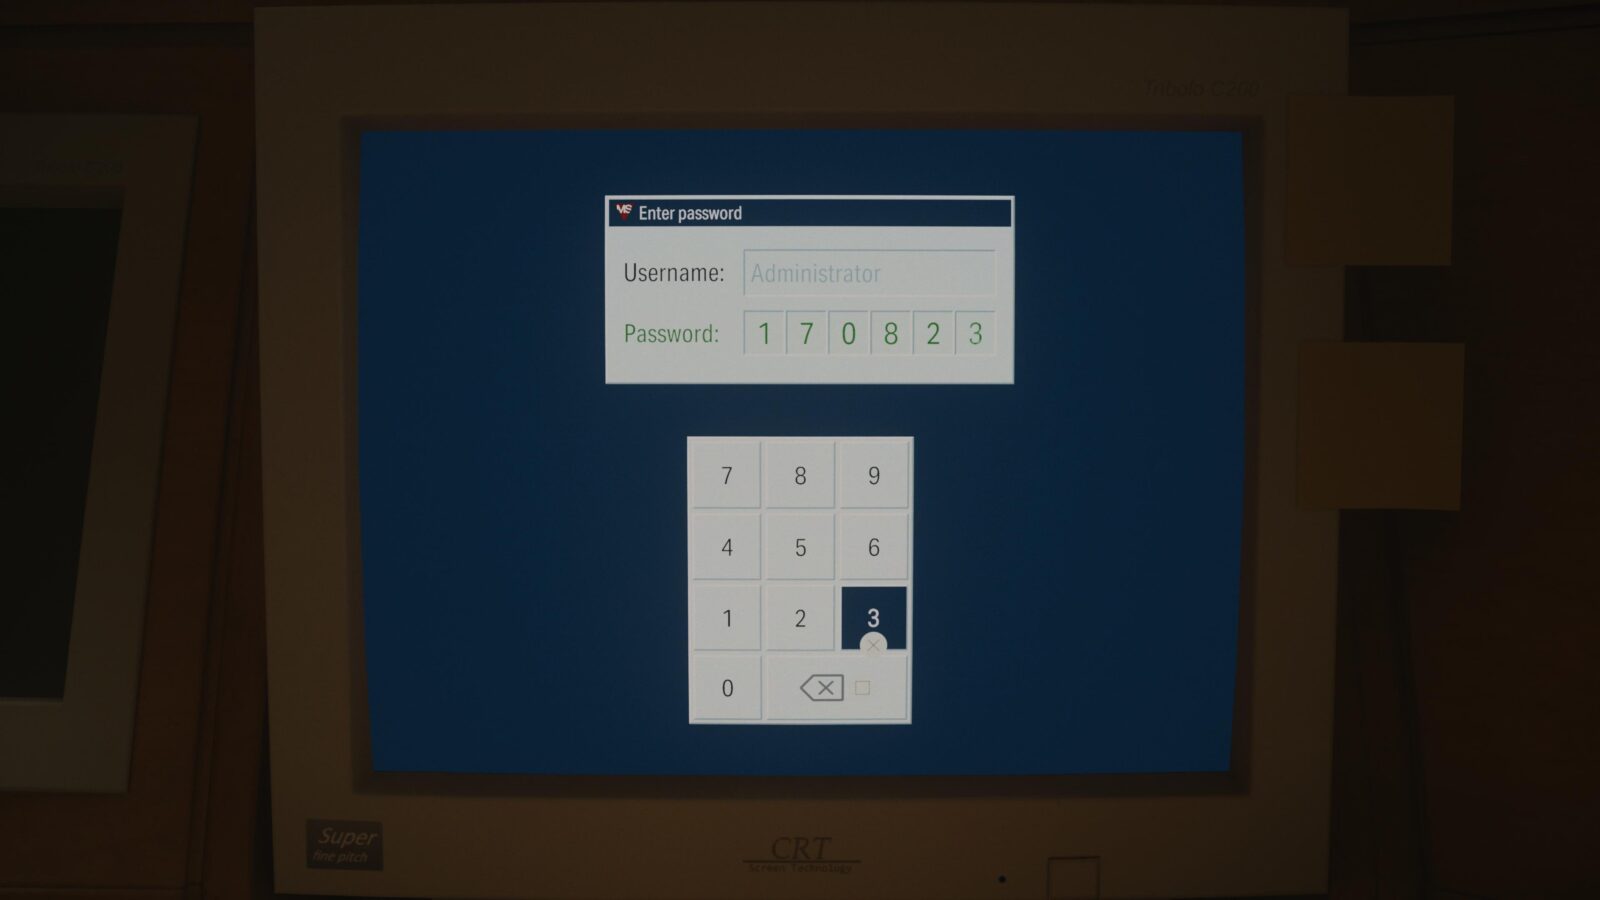
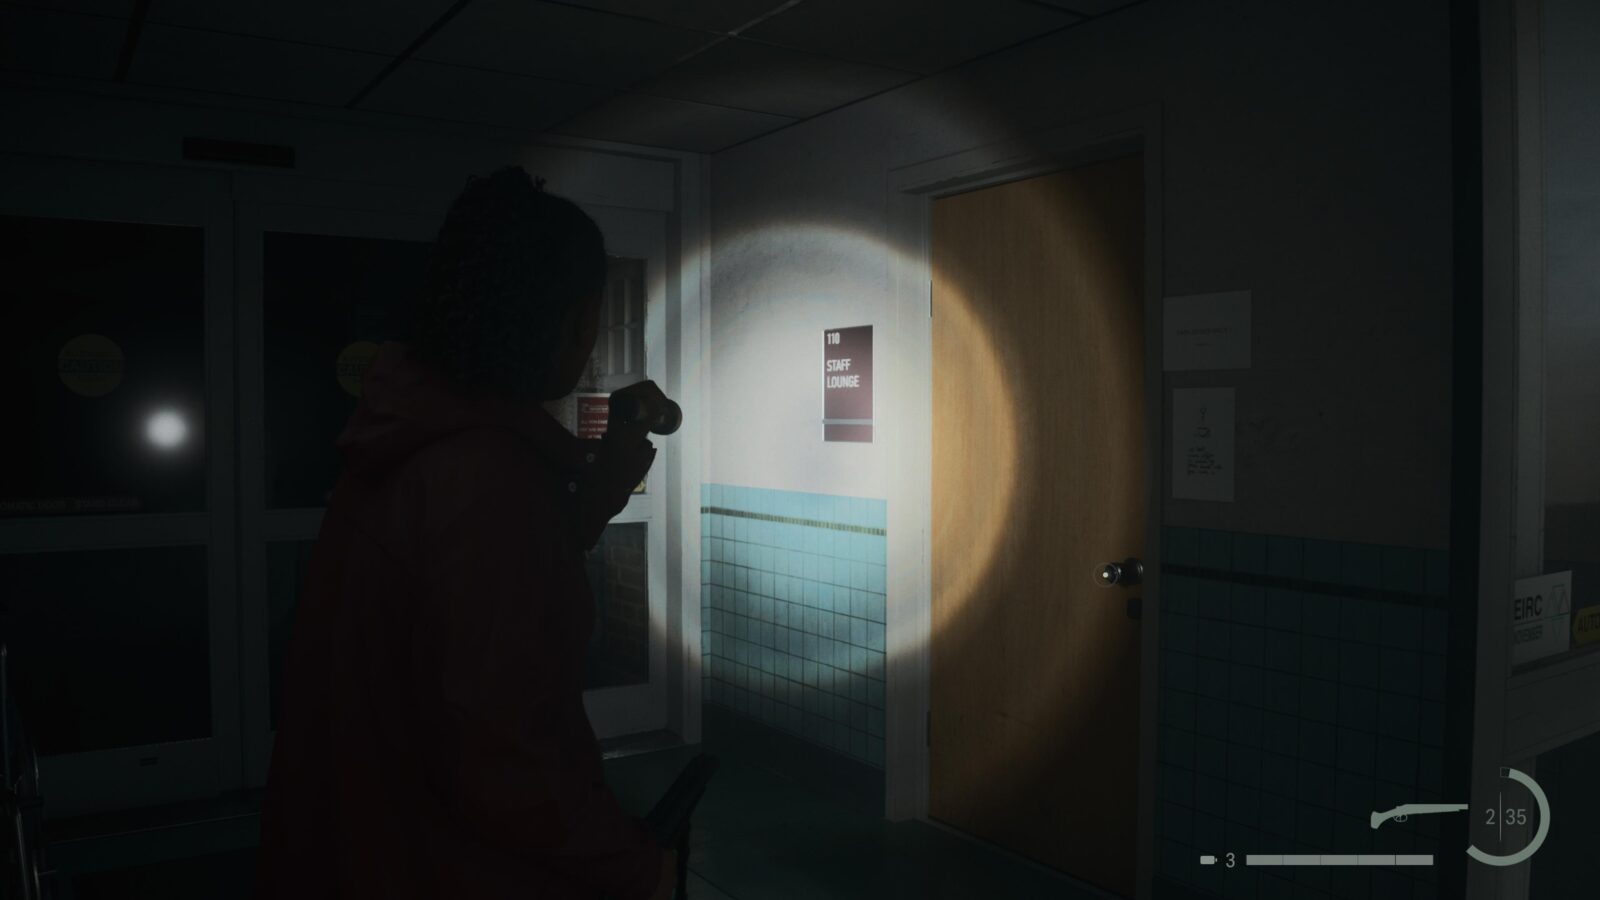
Outside the Security Room in the Wellness Center you will find a door with a missing door knob. To open it you first need to go into the Security Room and read all notes you find to learn how to figure out the password for the computer there. Once you have access to the computer you can unlock all doors at which point you can head to the Staff Lounge to find the missing door knob. Place it back where it belongs and inside on the wall you will find a Deer Head.
Spoilers! Click to Show
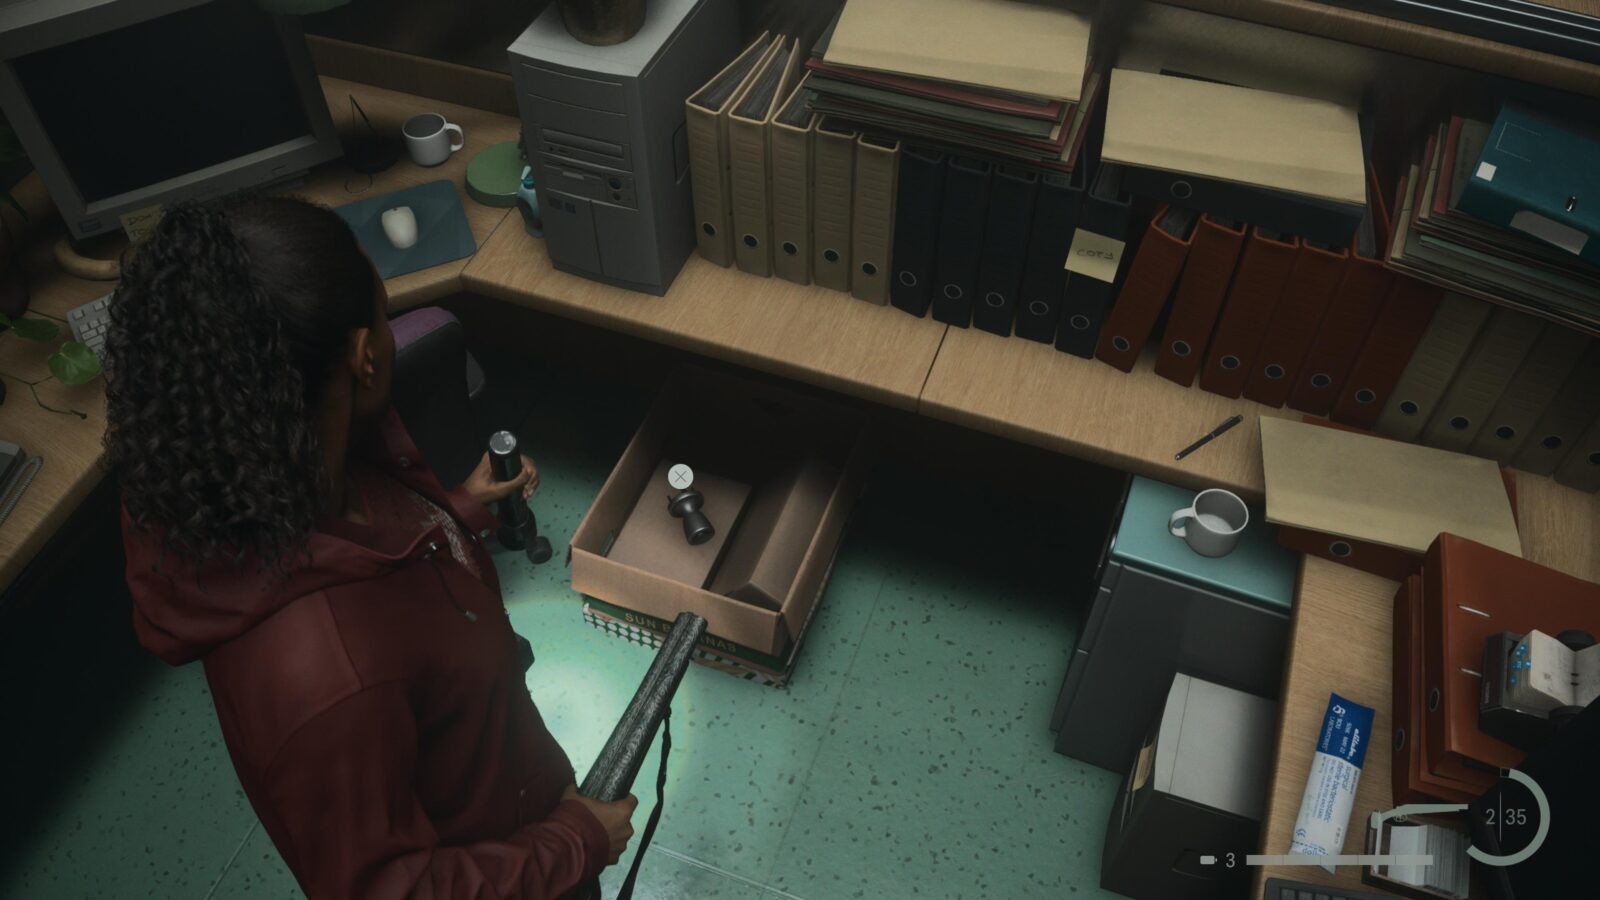
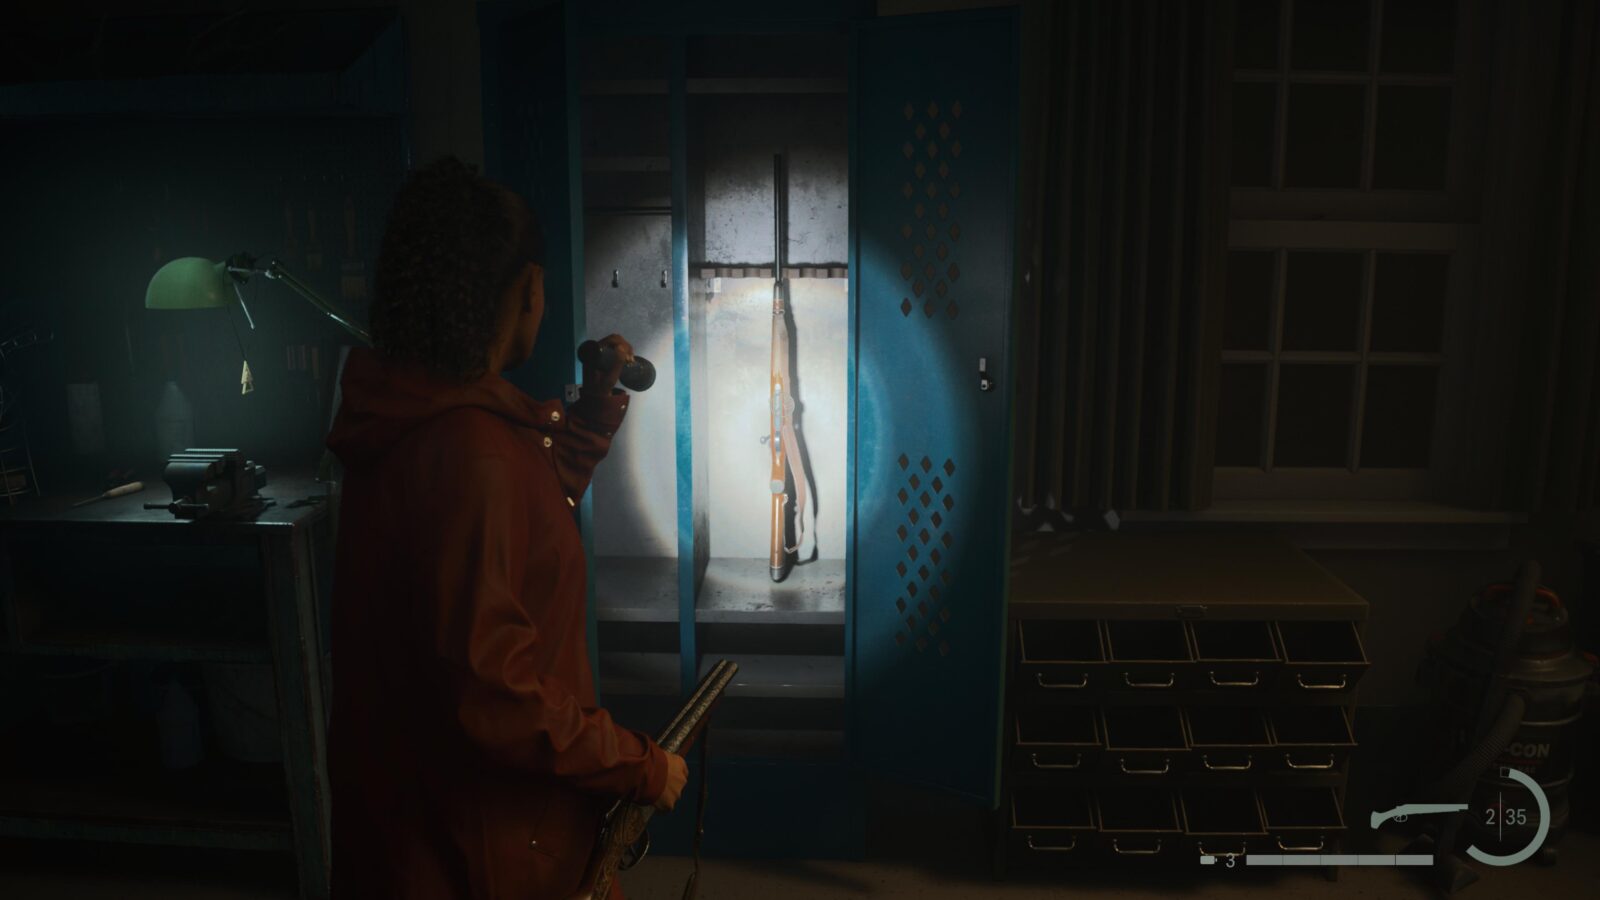
Weapon #7 - Hunting Rifle
The Hunting Rifle is in the same room as Deer Head #10. It’s in a gun locker to the left of the hanging Deer Head.
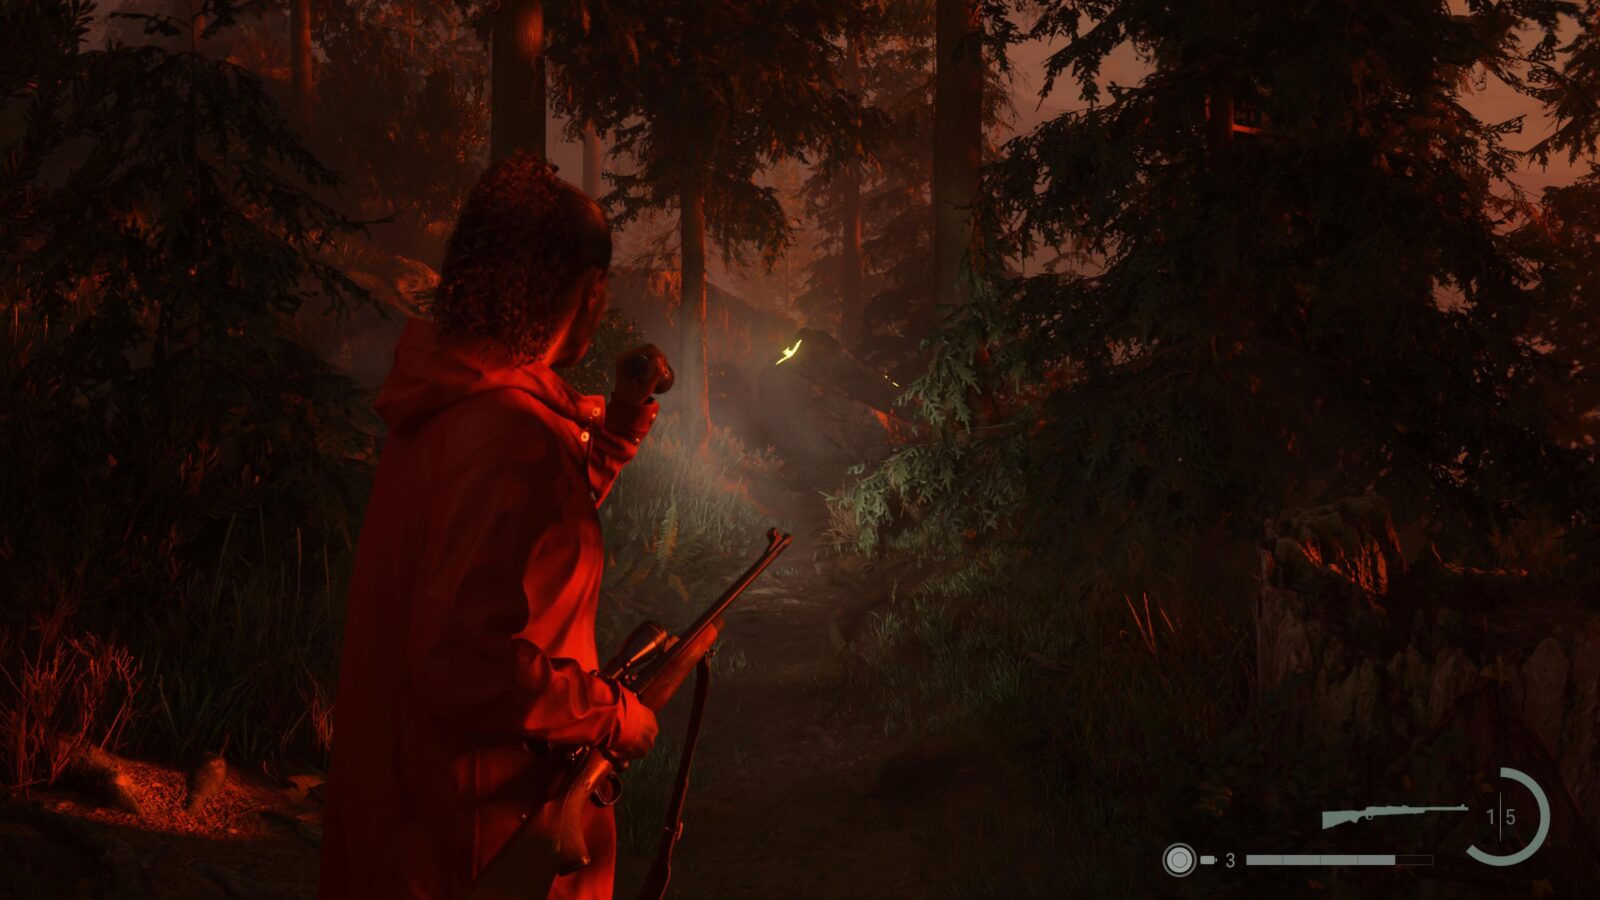
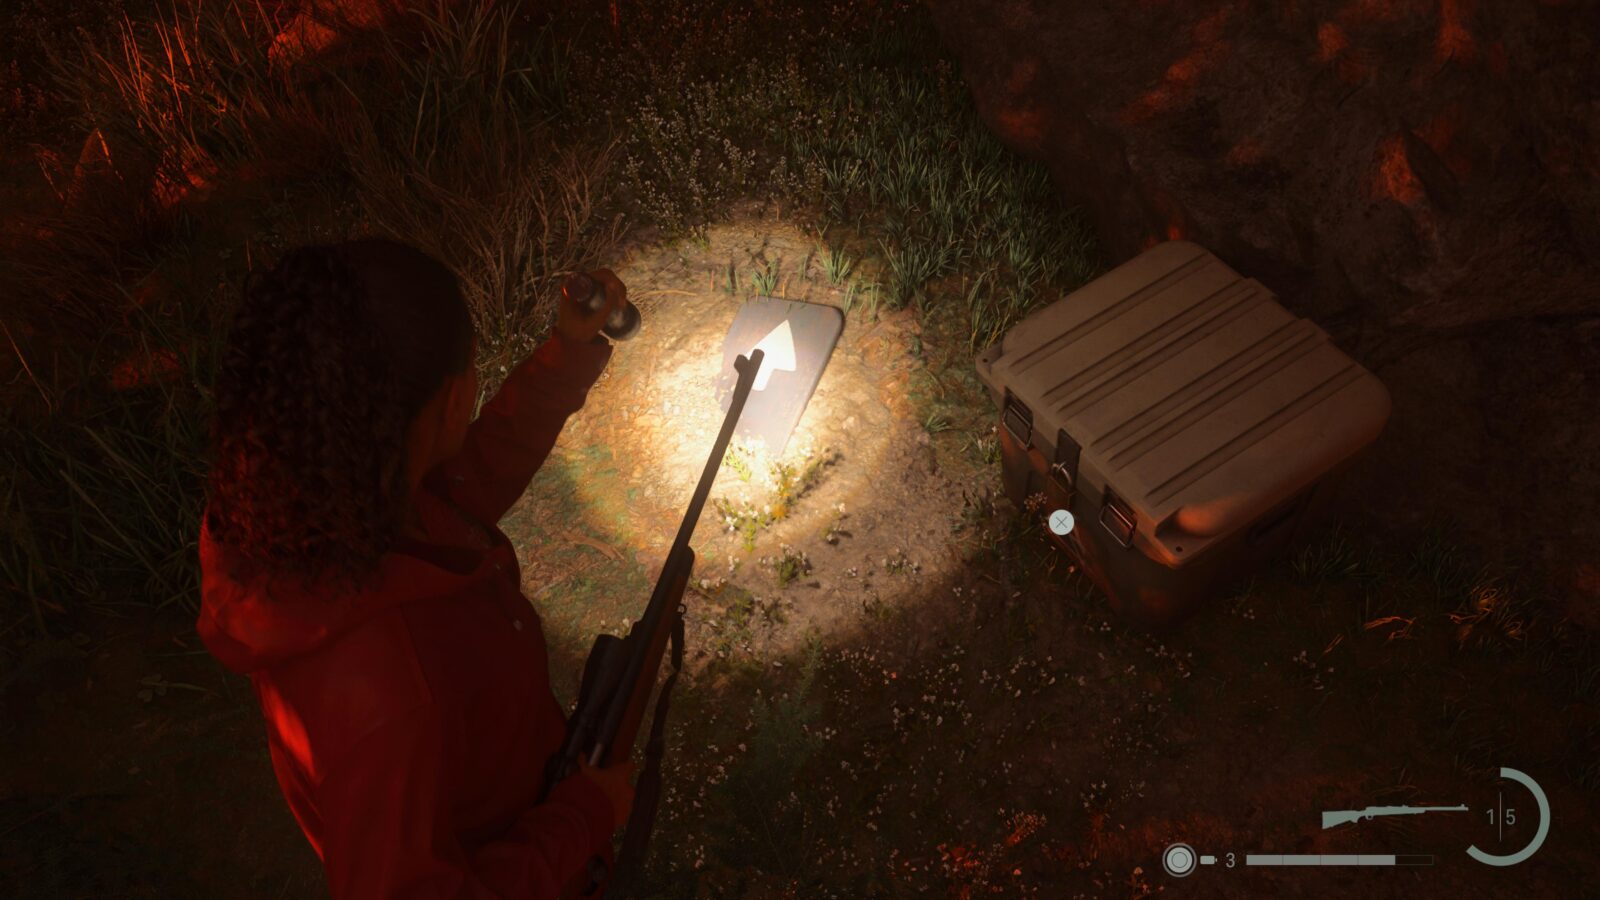
Cult Stash #14
After defeating the boss and finishing at the Nursing Home you can use the Boltcutters on a gate in the garden; just follow the lanterns on the floor. Follow the trail after the gate, keep to the left trail, and you should reach another stash hiding behind a rock. This stash is locked and requires a key which can be found by following the white arrows (ignore the glowing yellow arrows) on the trees nearby.

Lunch Box #17
Return to the trail and follow it south but keep an eye out for decorations hanging from trees on your right. When you see one follow them to find another Lunch Box with 9 Manuscript Fragments inside
Cult Stash #15
Keep following the trail South and you will come to a Break Room. Just past this Break Room, on the trail, you can find a rock with a Cult of the Tree symbol on it. Head just past the rock and you should see a stash. There are yellow arrows on the tree that show you the correct symbols for the padlock and their order.
Spoilers! Click to Show

Nursery Rhyme Puzzle #12
Follow the trail once again and it will lead you to the Ranger Station—you might see another Cult Stash on your left along the way but we need a key for it which is at the Ranger Station—where you’ll find another puzzle. You’ll get another Coffee Mug Charm. Pick up your Dolls before leaving.
Spoilers! Click to Show
Deer Head #11
Head upstairs in the Ranger Station and you will find a Deer Head directly in front of you.
Cult Stash #16
Leave the Ranger Station and go around the side of the building to where the chimney is. On the ground next to the chimney is a key for a Cult Stash. Grab the key and go to the trail you were on earlier and head left up the small hill to find a stash.
Lunch Box #18
Get back on the trail and start following it North. When the trail splits, take the left path that dips down and squeeze between to large rocks. You should spot a tree with a decoration which you can follow to find another Lunch Box with 8 Manuscript Fragments inside.
Nursery Rhyme #13
Open your map and look south of where you found Lunch Box #18 and you should see a small strip of beach. Head there and you can find another puzzle which rewards you with another charm. Pick up your dolls once you have solved the puzzle.
Spoilers! Click to Show
Charm #11 - Valhalla Nursing Home Charm
After solving Nursery Rhyme Puzzle #13 this Charm will spawn by an upturned rowing boat on the beach. Two Diver Taken will attack you when you get close.
Lunch Box #19
While stood in front of the upturned rowing boat on the beach, look to your left to find a tree with a decoration on it. On the ground in front of this tree is another Lunch Box with 6 Manuscript Fragments inside.
Lunch Box #20
Get on the main trail and follow it East to find a bridge. Cross the bridge and follow the trail towards Billie’s Boat Yard and you’ll spot a tree with a decoration hanging from it. Follow the decorations to find another Lunch Box with 9 Manuscript Fragments inside.


Nursery Rhyme Puzzle #14
Head into Billie’s Boat Yard and go onto the pier. You will find a puzzle there which rewards you with another Charm. Pick up your Dolls before you leave.
Spoilers! Click to Show
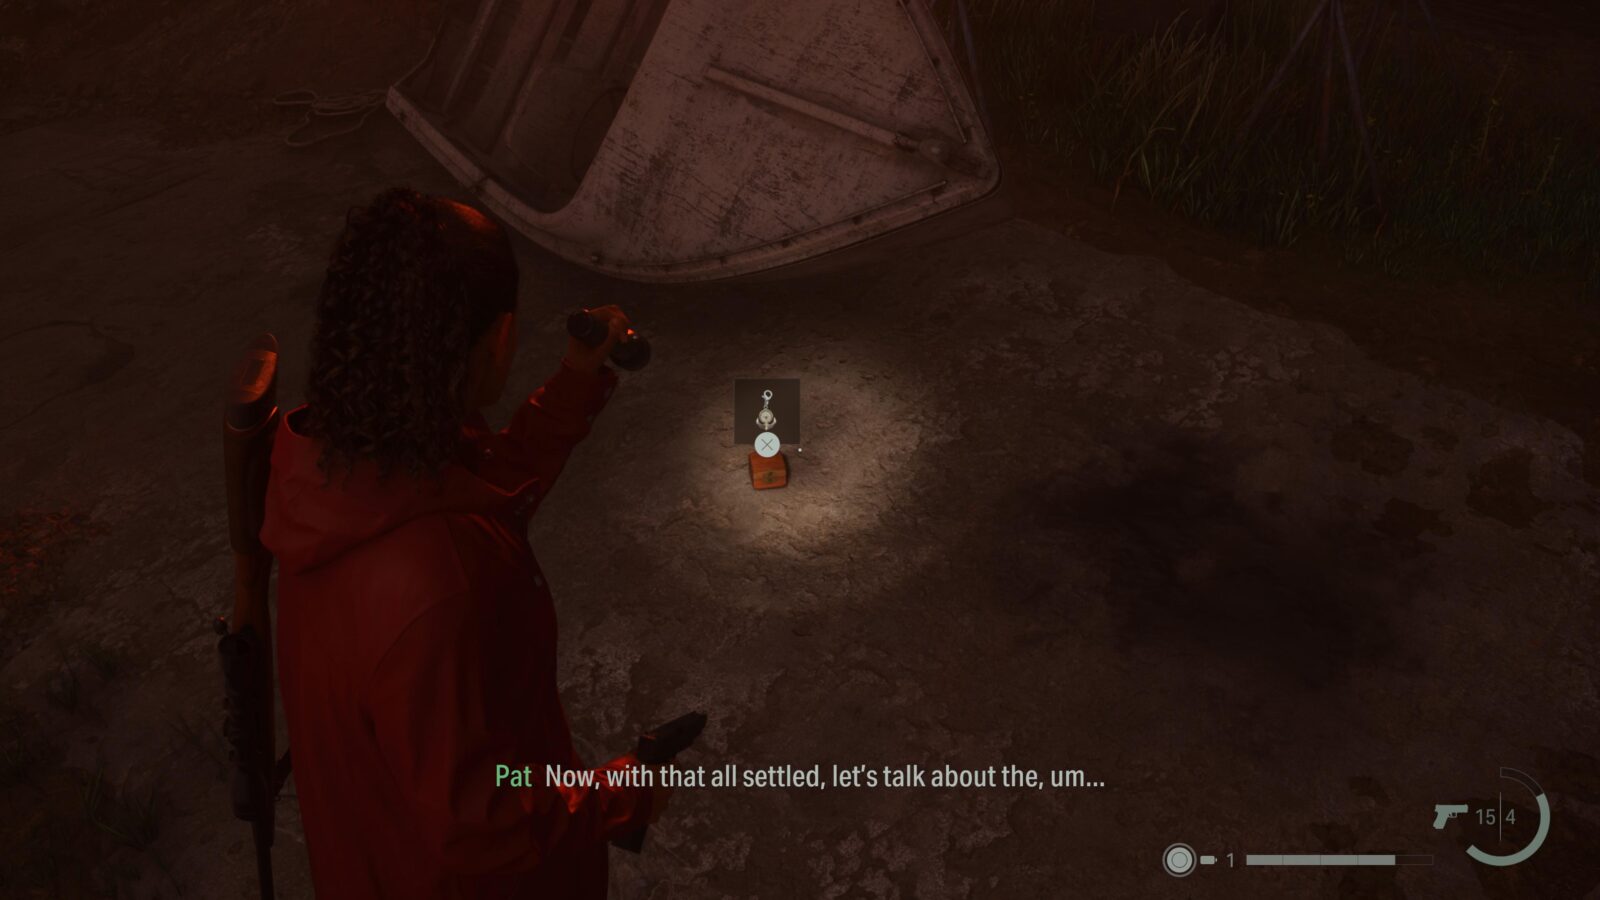
Charm #12 - Anchor Charm
After solving Nursery Rhyme Puzzle #14 go into the middle of Billie’s Boat Yard and bunch of Taken will spawn. After defeating them check the small motorboat laying on its side to find a Charm.
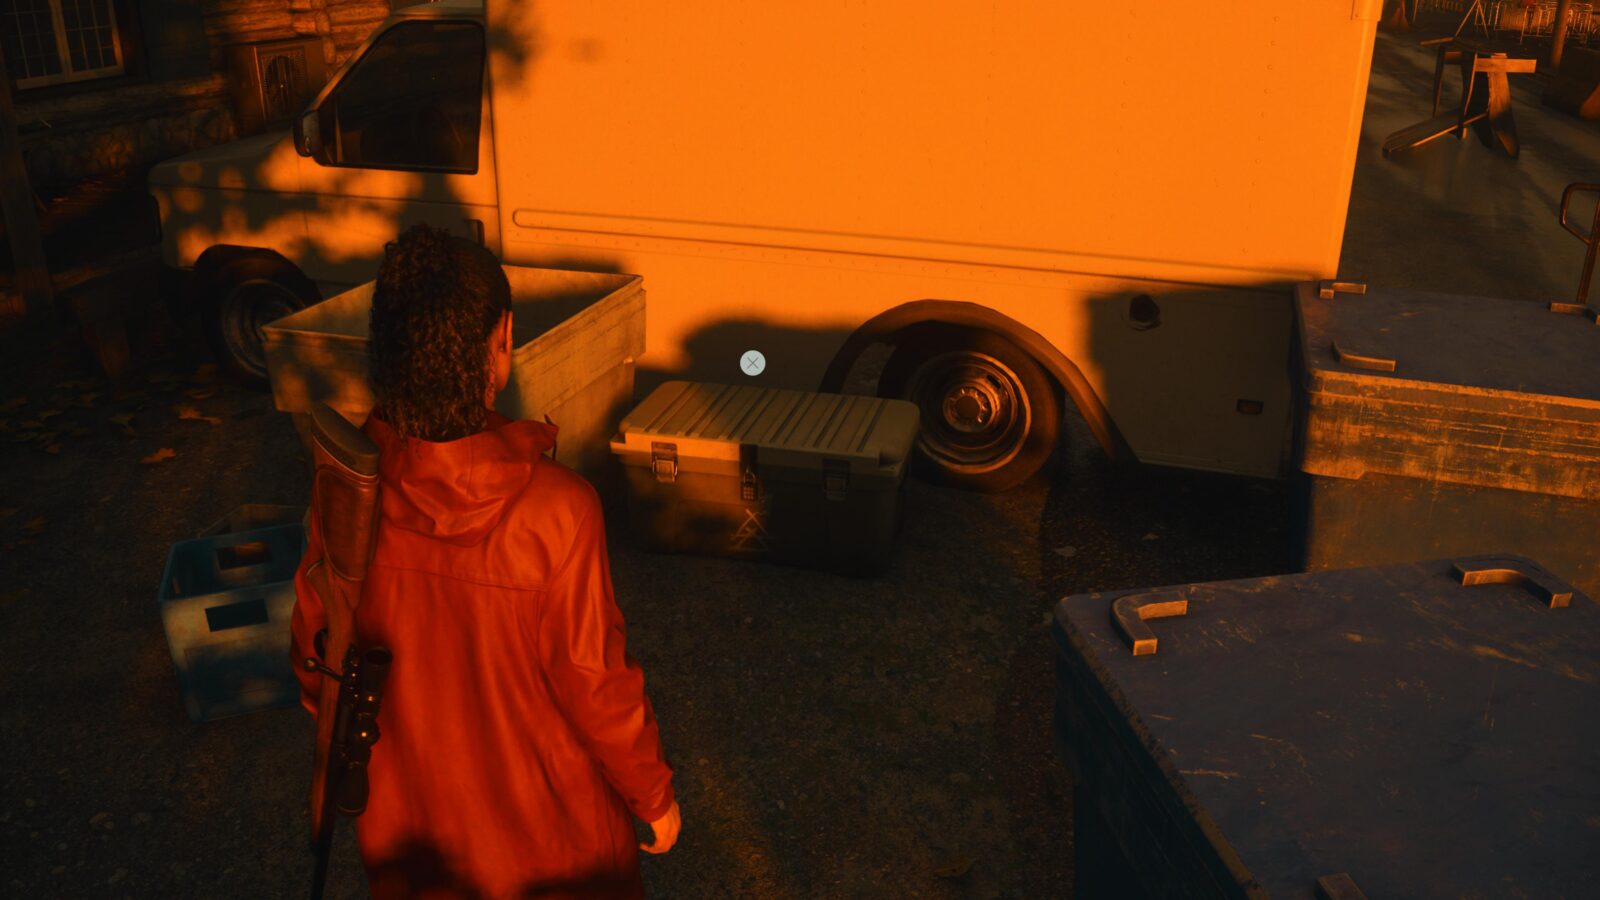
Cult Stash #17
Go to the far Eastern side of Billie’s Boat Yard to find a gate that you can use the Boltcutters on to open. This gate leads to the front of the Lodge that Saga and Casey have been using as a HQ. In front of you is a parked box van with a stash on the ground next to it. This one is another pattern memory lock.
Cult Stash #18
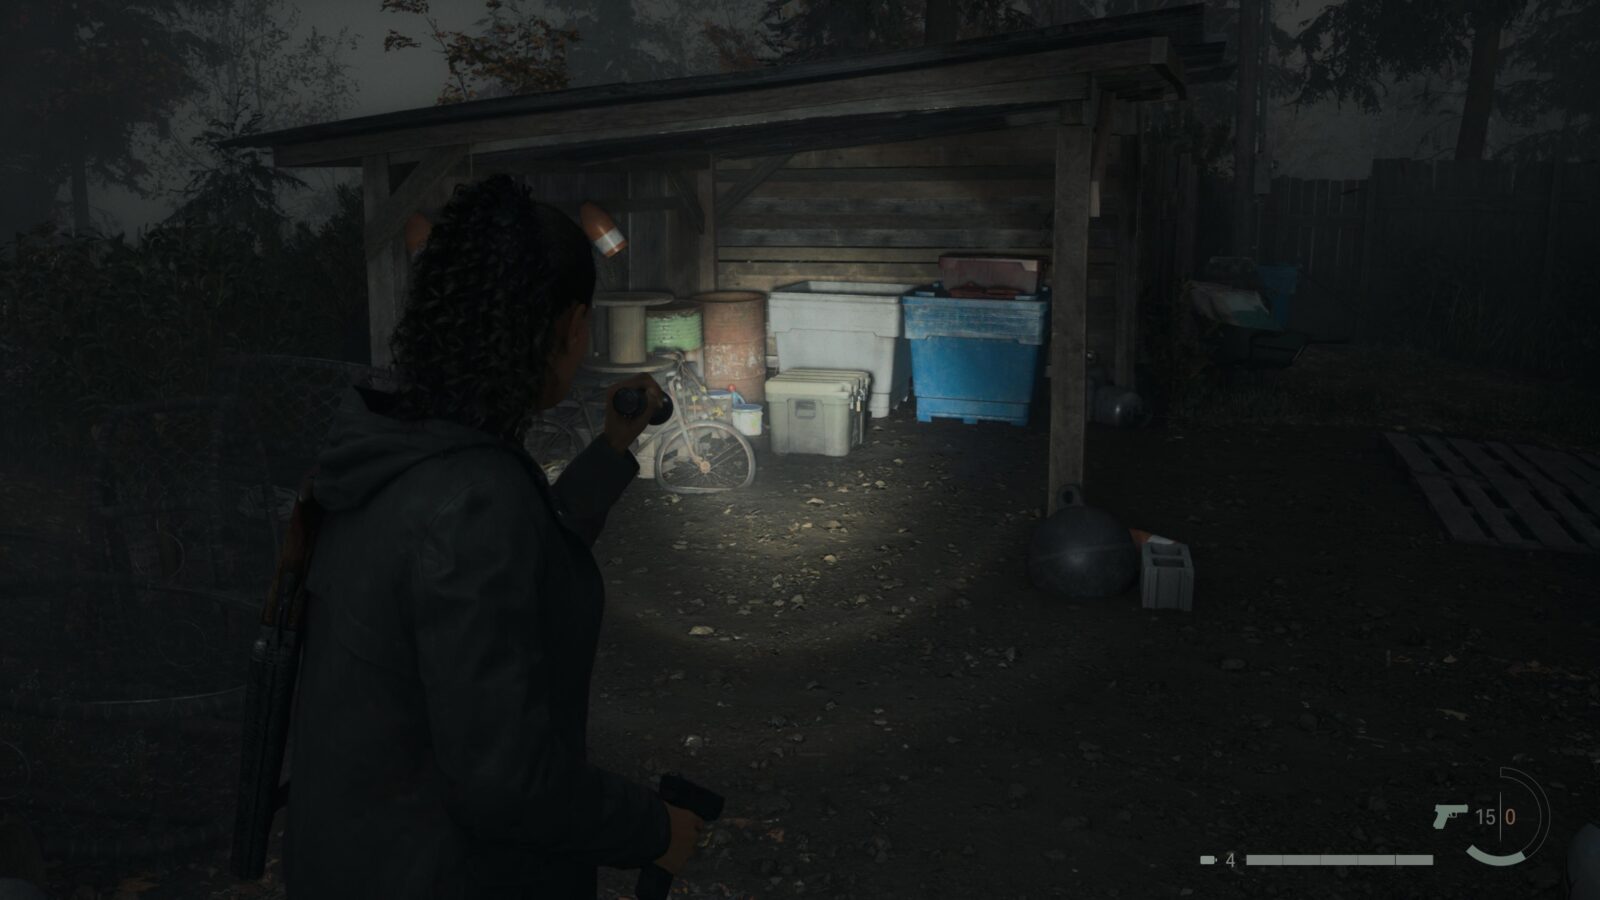
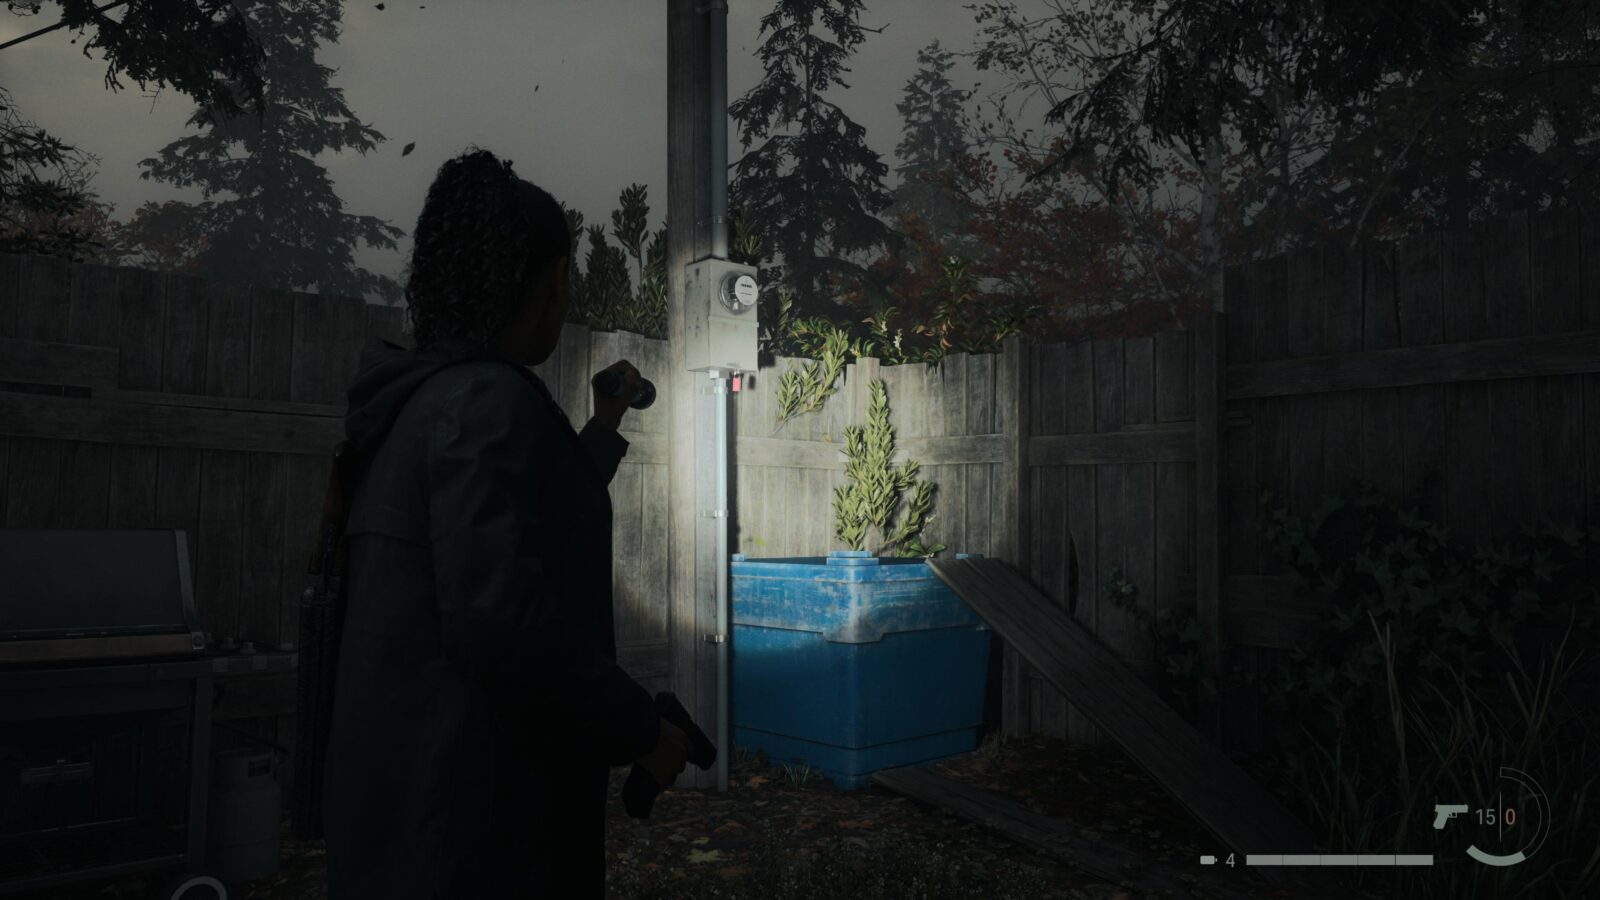
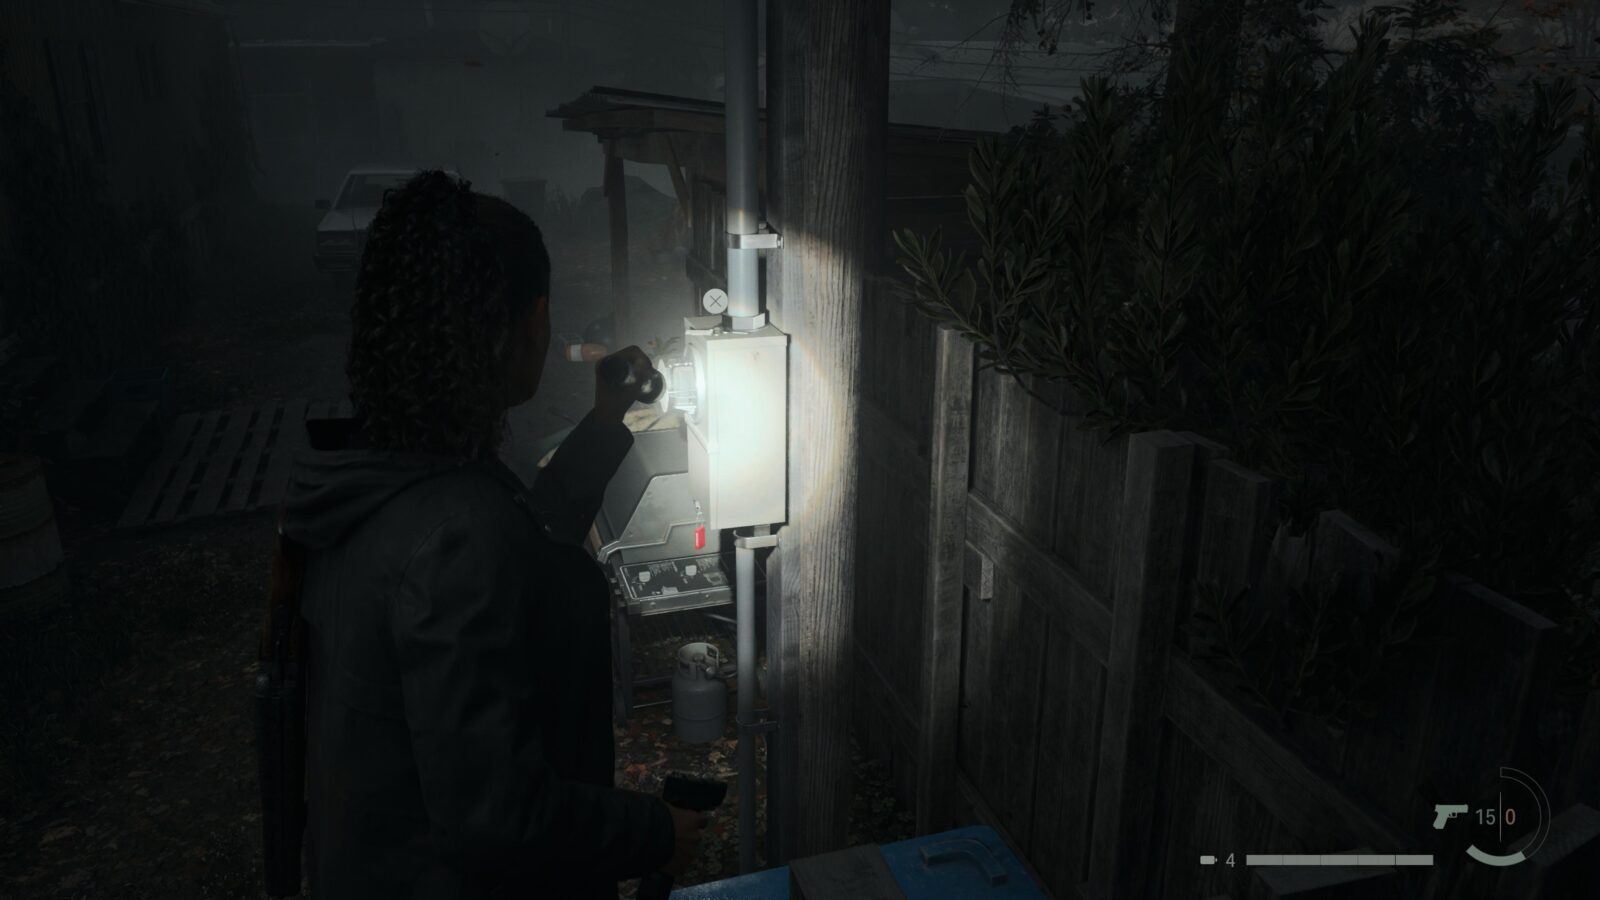
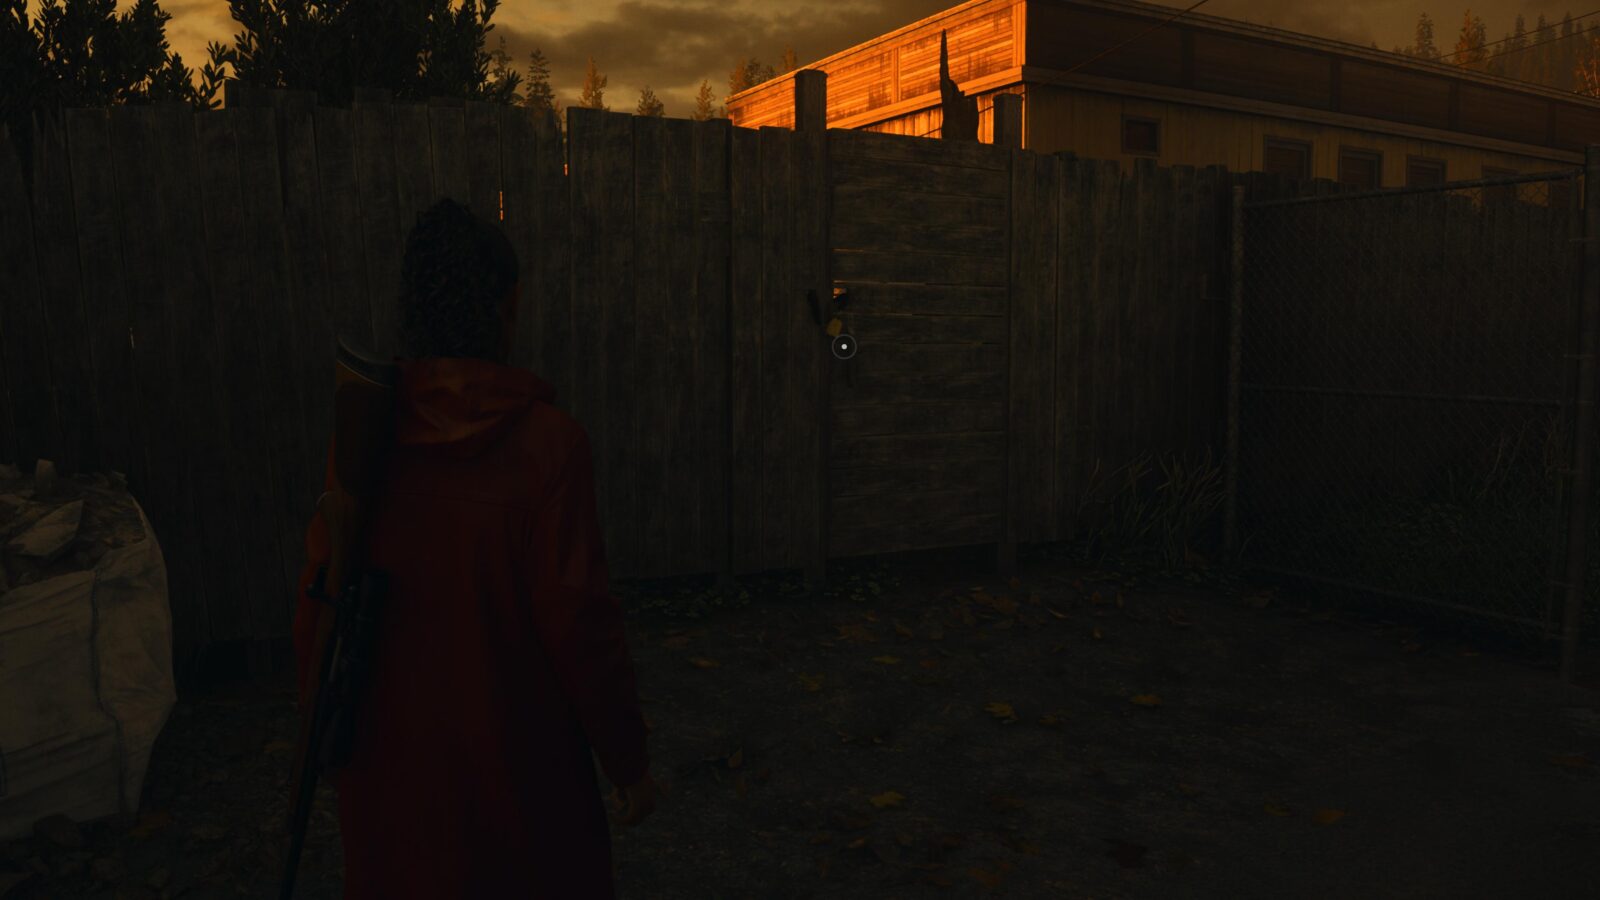
Walk down the street in Bright Falls and when you see a ladder leaning against a pole stop and look for the locked gate next to it. Use the Boltcutters and open the gate and then go into the shed to your right. Inside is a stash with a clue to finding the code.
Spoilers! Click to Show
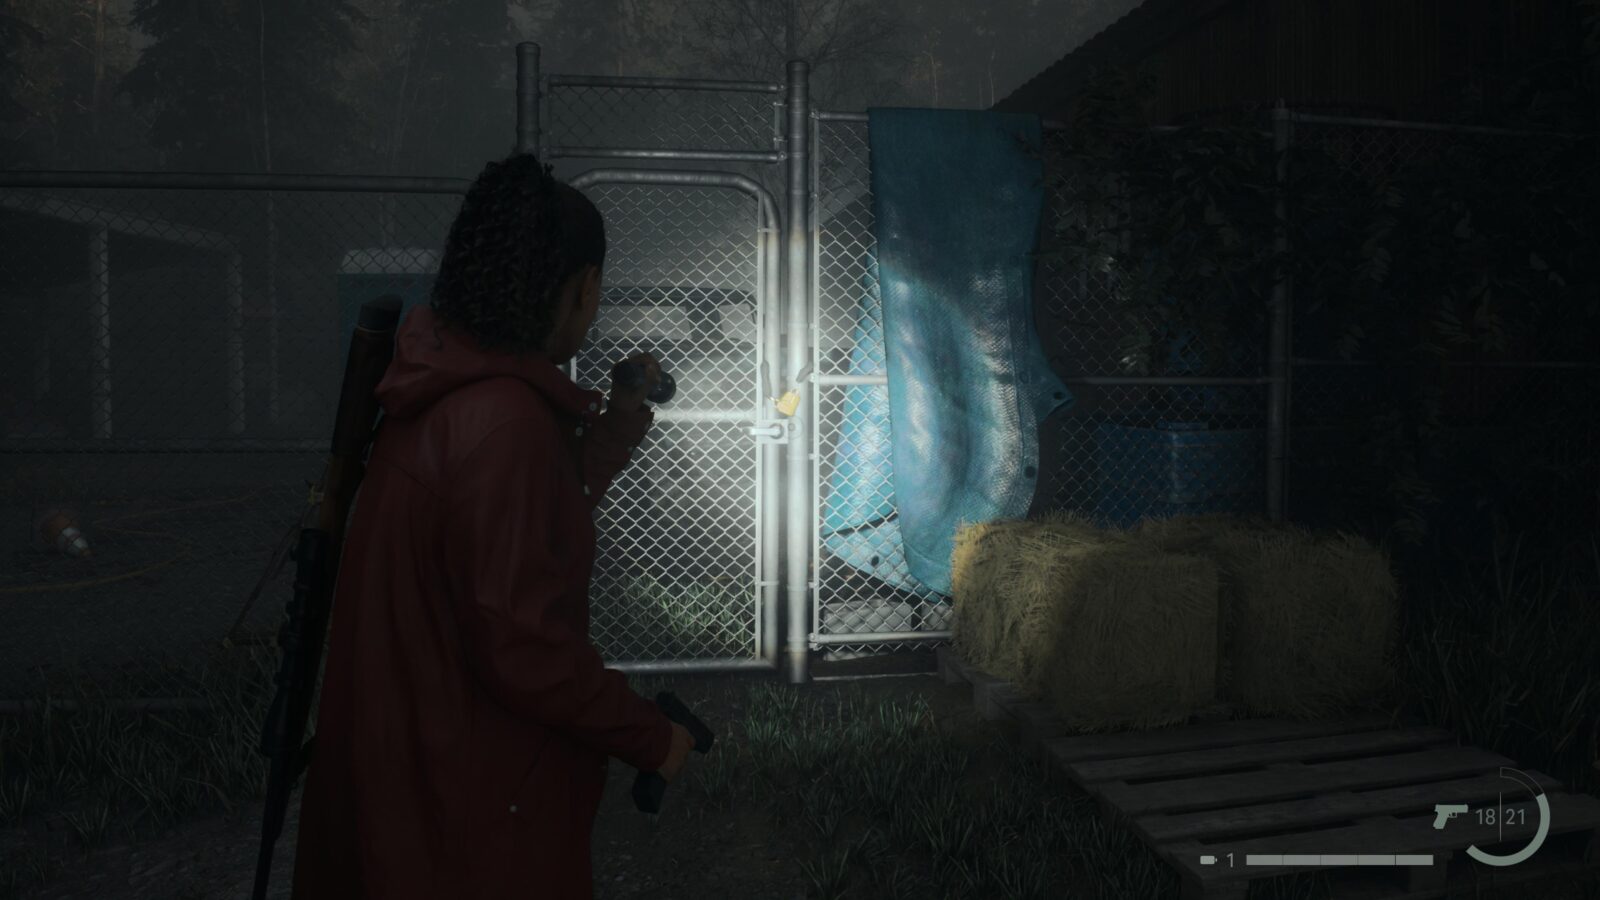
Cult Stash #19
Head down the left side of the Oh Deer Diner to find a gate that you can open with the Boltcutters. On the other side is a stash. You can find what symbols are needed for the lock by using your flashlight to search for them in the park across the road from the Oh Deer Diner.
Spoilers! Click to Show
Cult Stash #20
Since we have the Boltcutters now we can access the Rental Cabins at Cauldron Lake. Head back to your car outside the Lodge and travel to Watery. Head straight to Kalevala Knights and open the chain gate with the Boltcutters. Behind the workshop is a stash. On top is a note that tells you how to find the code. Since you can already kind of make out a 5 and a 4 on the page all you need to do is head to the Ferris Wheel ride to find the last number.
Spoilers! Click to Show
Nursery Rhyme Puzzle #15
Head to the Trailer Park south of Kalevala Knights and open the gate to Trailer 5. Inside is another puzzle. Solving this one will grant you another Charm.
Spoilers! Click to Show

Charm #13 - Deerfest Charm
After solving Nursery Rhyme Puzzle #15 you can find this Charm as you exit Trailer 5.
Lunch Box #21
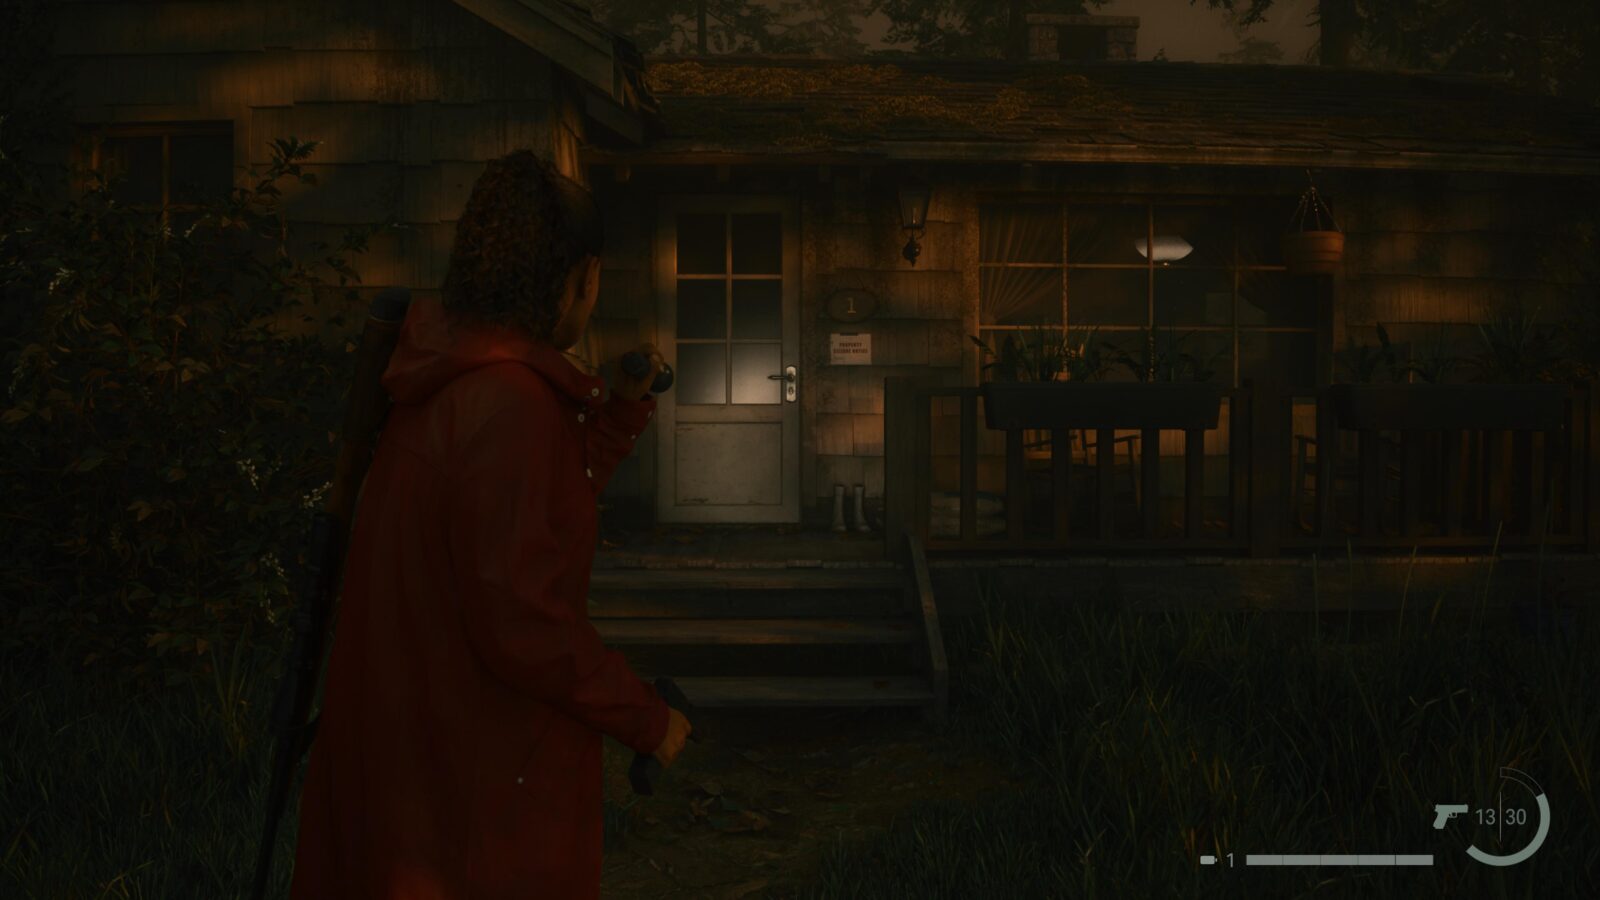
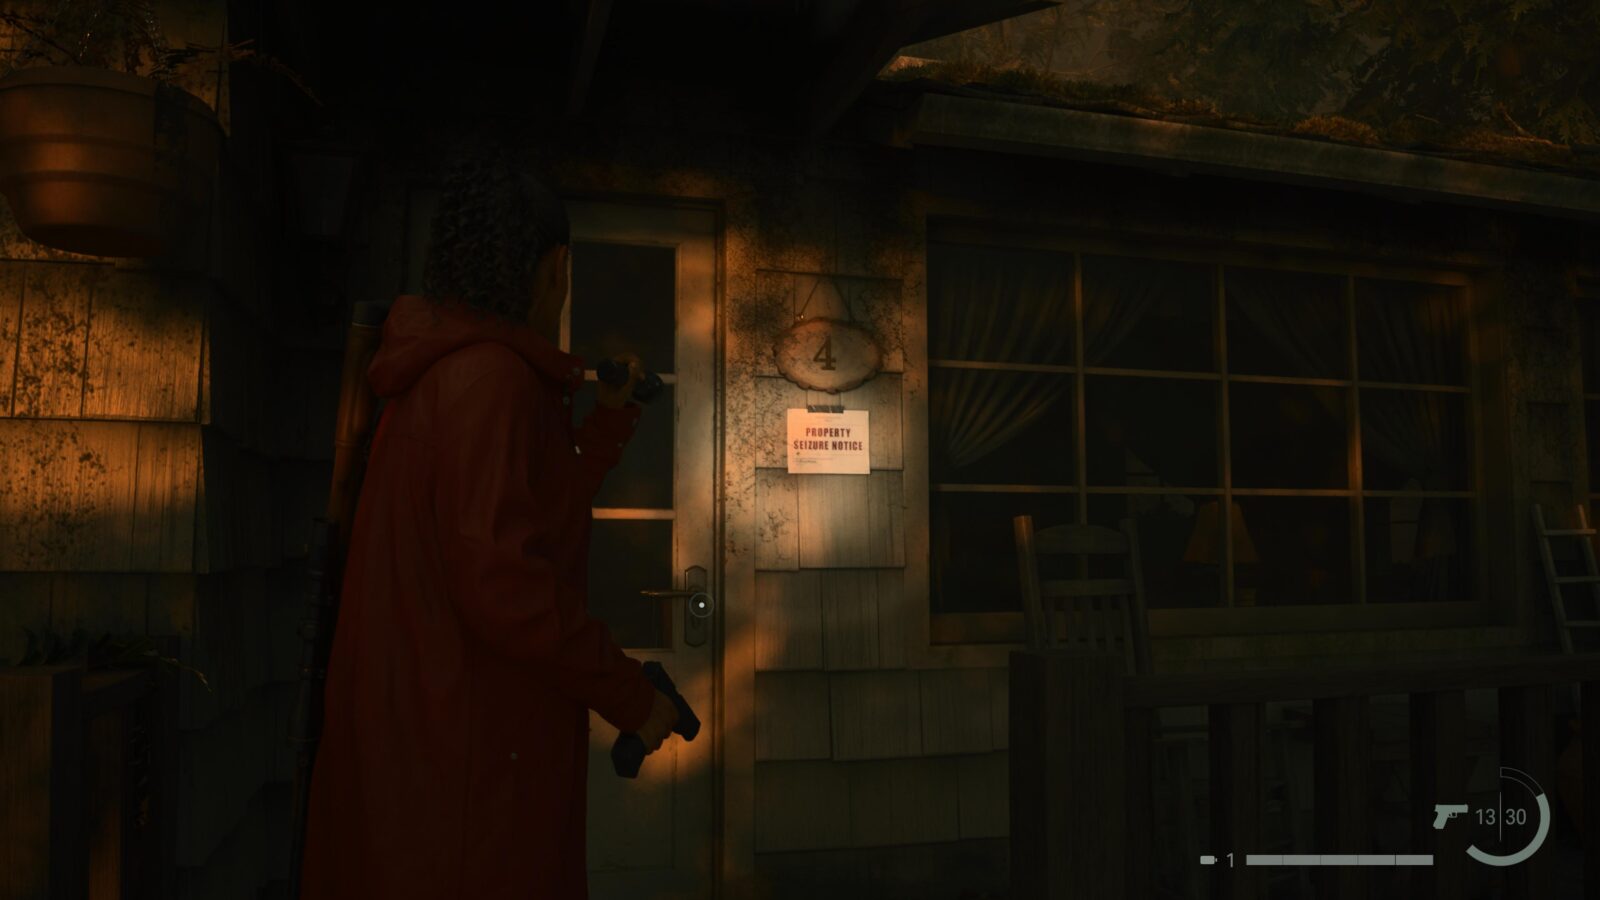
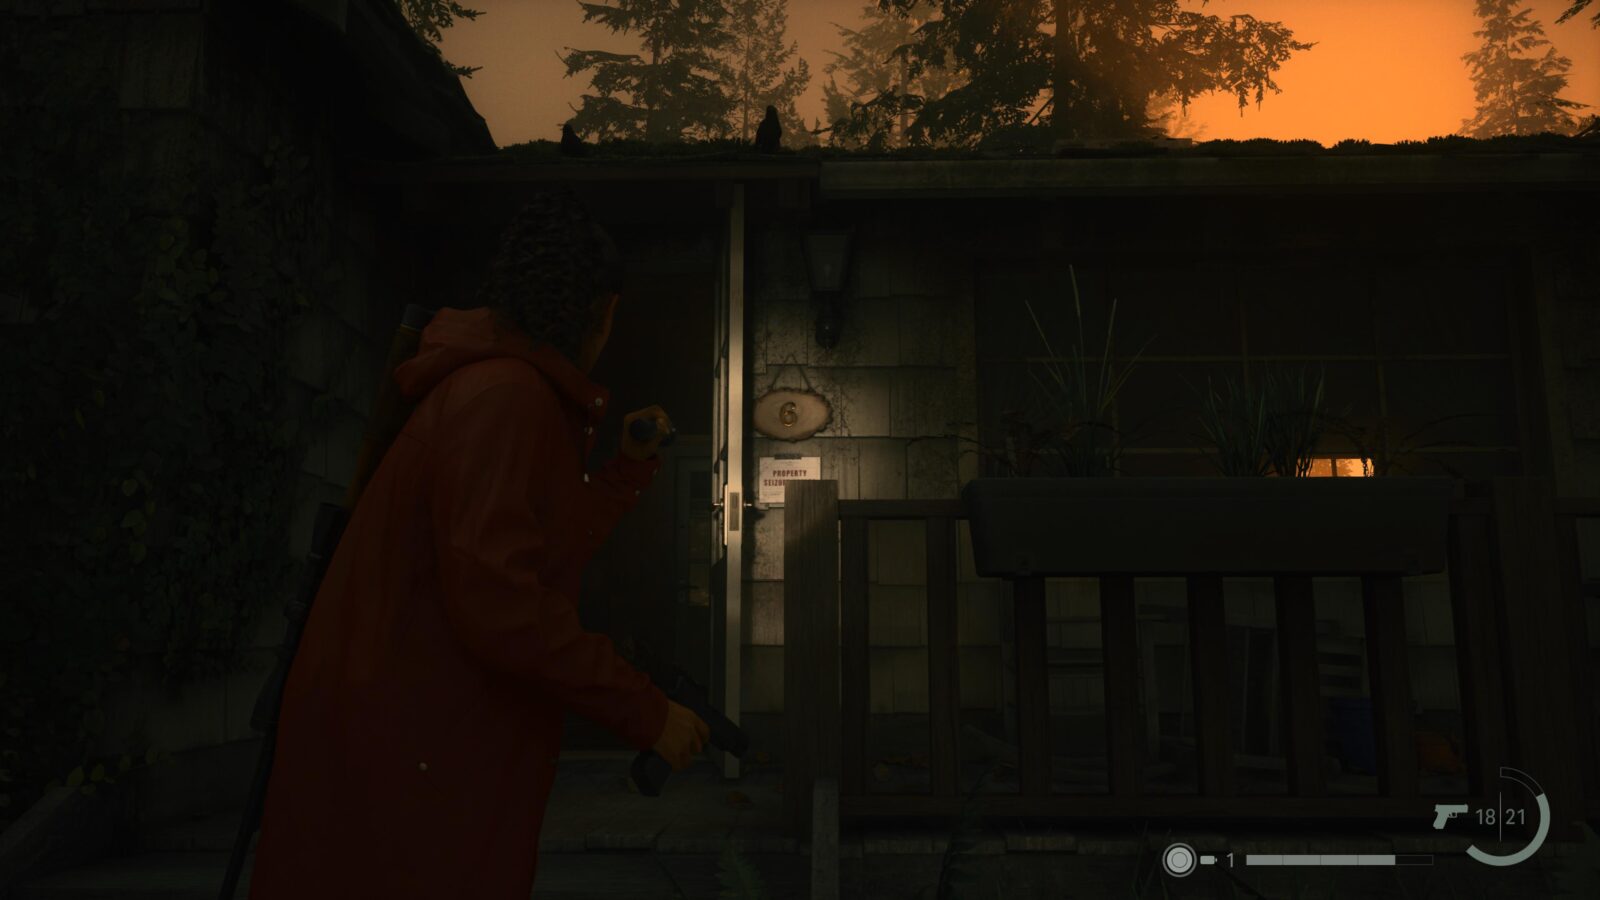
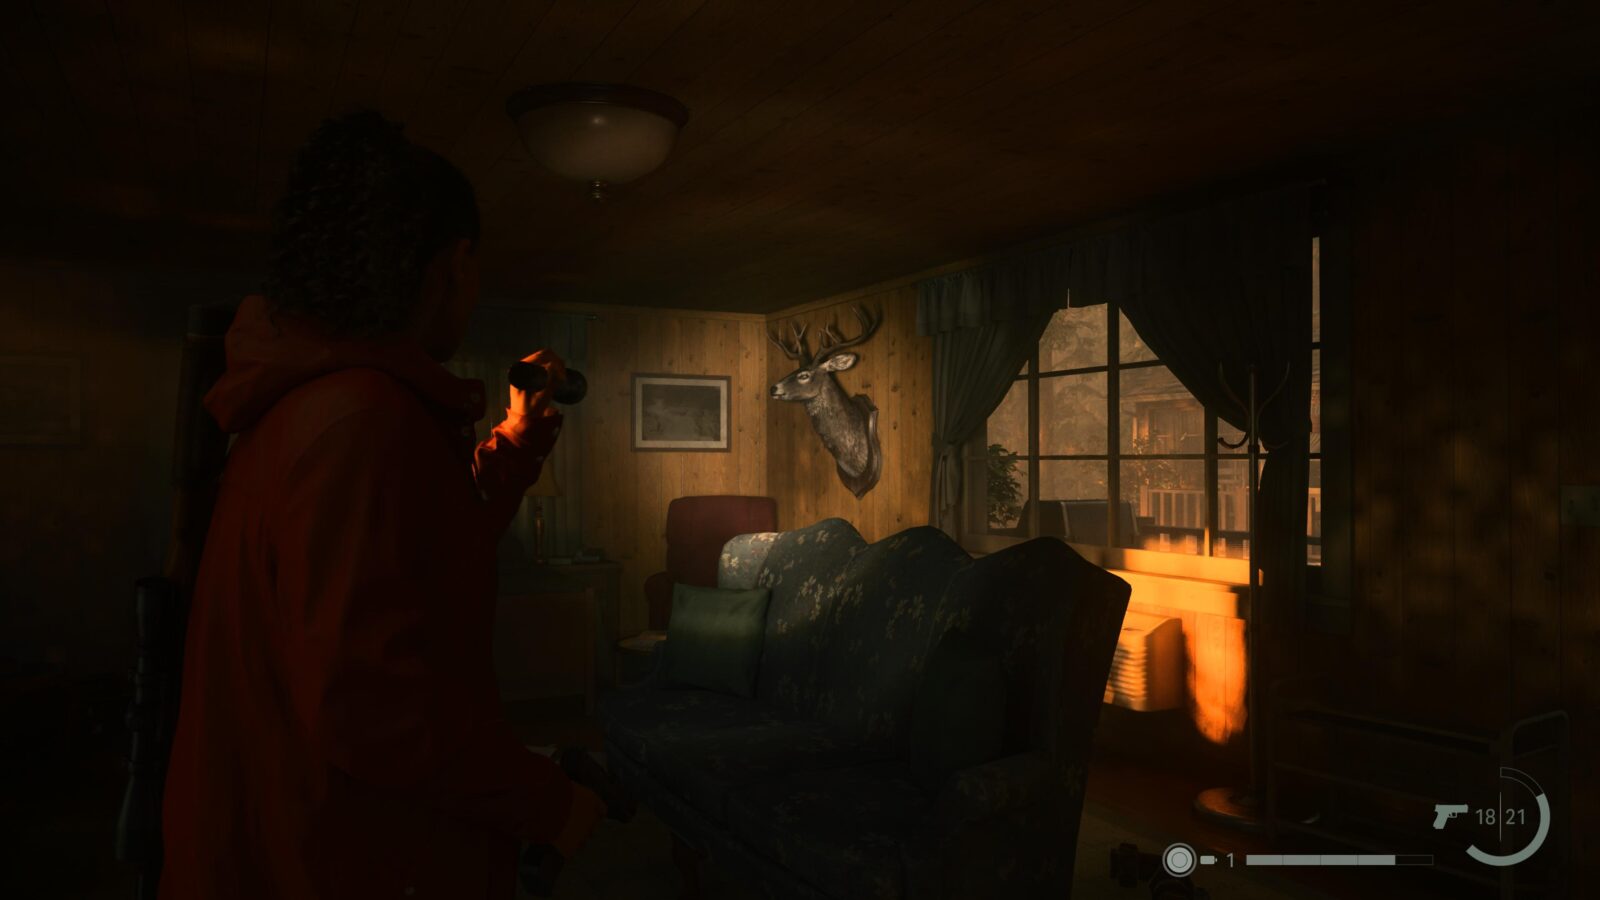
There’s nothing left to collect in Watery now so head back to your car and travel to Cauldron Lake. Once there, follow the trail you first took at the start of the game and when you see some broken wooden stairs to your right, turn around and follow the trail up to some locked wooden gates. Use the Boltcutters to open them and head through Cabin 2, take a right, and go inside Cabin 3 via the back door. Inside this cabin is a Lunch Box with 9 Manuscript Fragments inside. This is the last Lunch Box in Alan Wake 2.
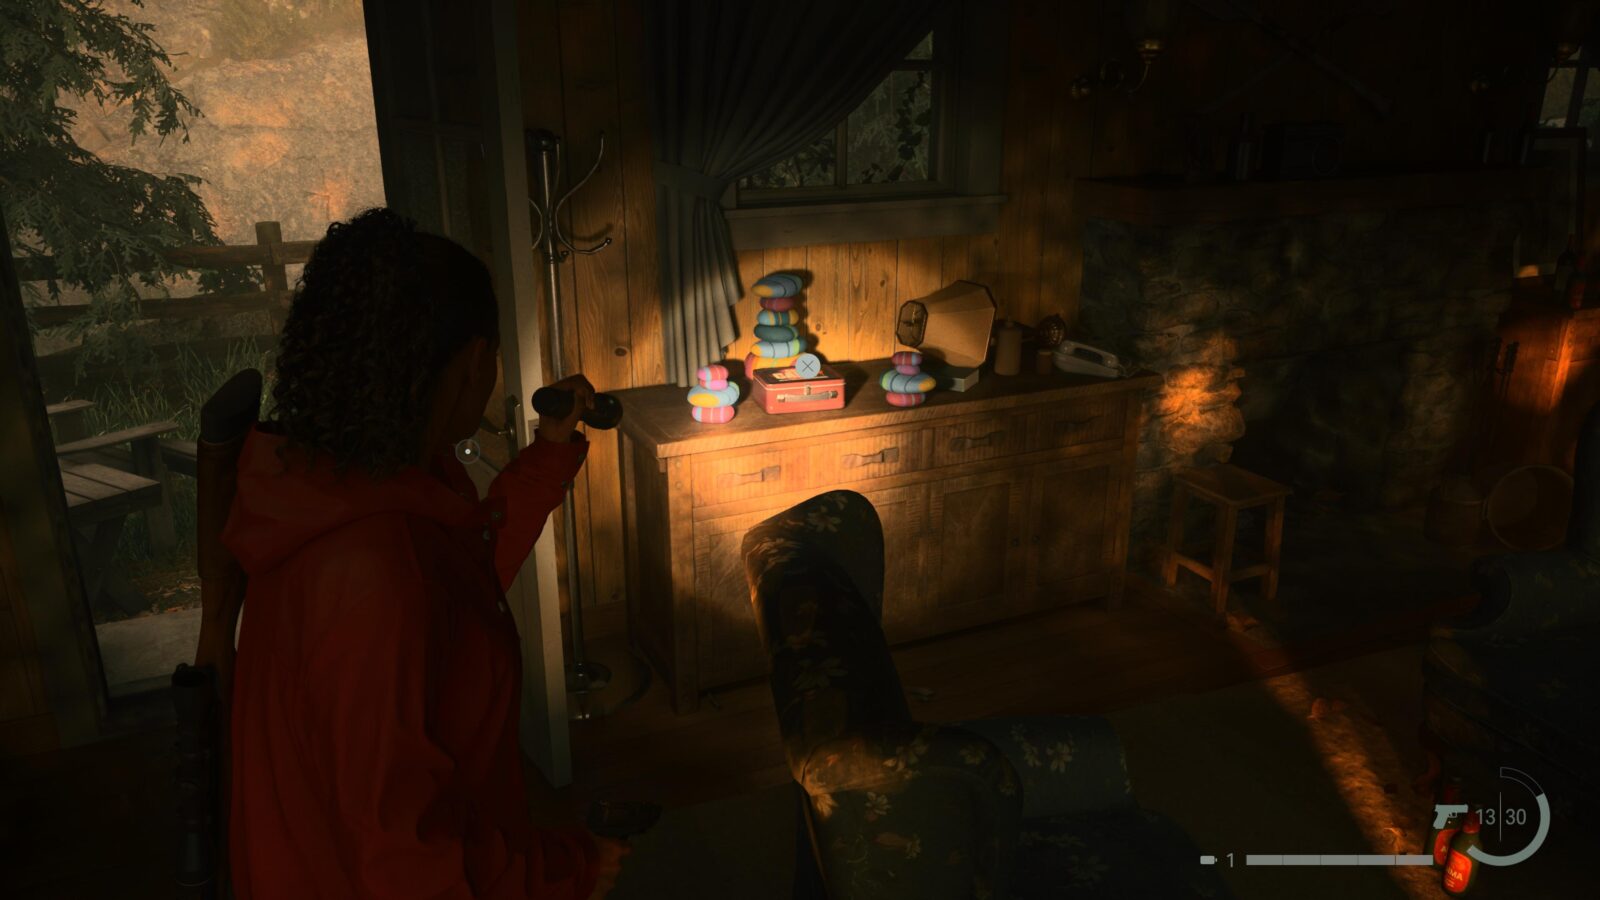
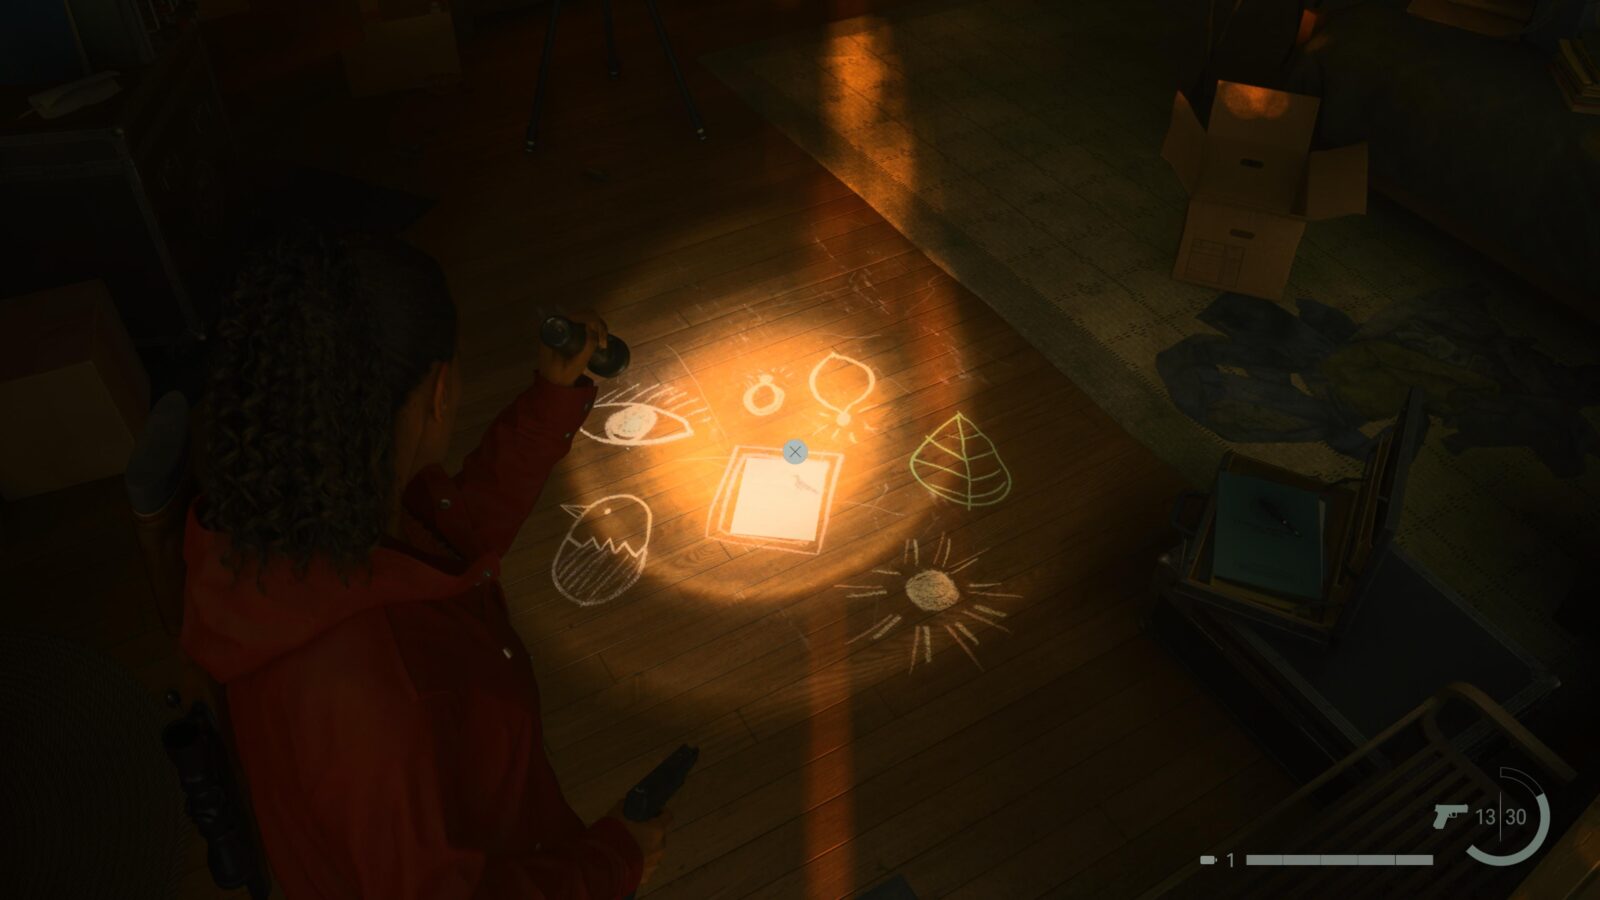
Nursery Rhyme Puzzle #16
Leave Cabin 3 via the back door and head left, duck under a fallen tree, and enter Cabin 5 via the back door. Leave Cabin 5 from the front door and enter Cabin 4 next door to find a puzzle. This puzzle will give you a Coffee Mug Charm when you solve it.
Spoilers! Click to Show
Nursery Rhyme Doll #13 - Father Doll
After completing the 16th Nursery Rhyme Puzzle, no matter which order you complete them, an FBC case will appear with the Father Doll inside.
Deer Head #12
After solving Nursery Rhyme Puzzle #16, head into Cabin 6 after the Taken emerges from it and look on the wall in the right corner of the room for the last Deer Head. Now that you have all the Deer Heads you can return to the Lodge in Bright Falls and a deer should appear and lead you to a stash of supplies.
This could be bugged as I couldn’t get the deer to spawn despite collecting all Deer Heads.
Cult Stash #21
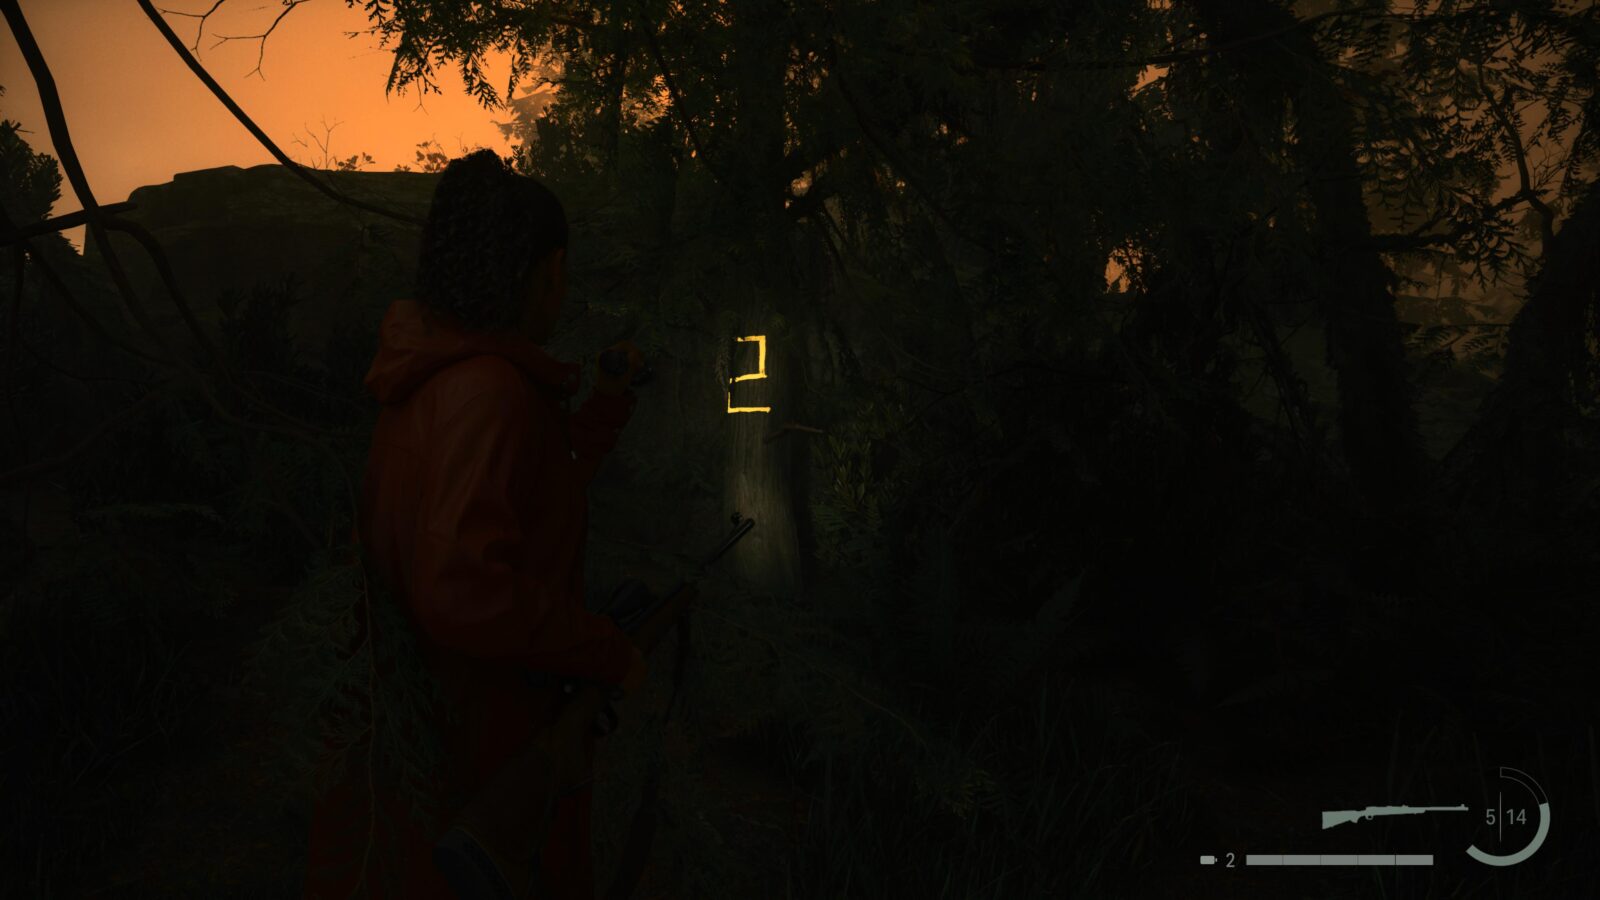
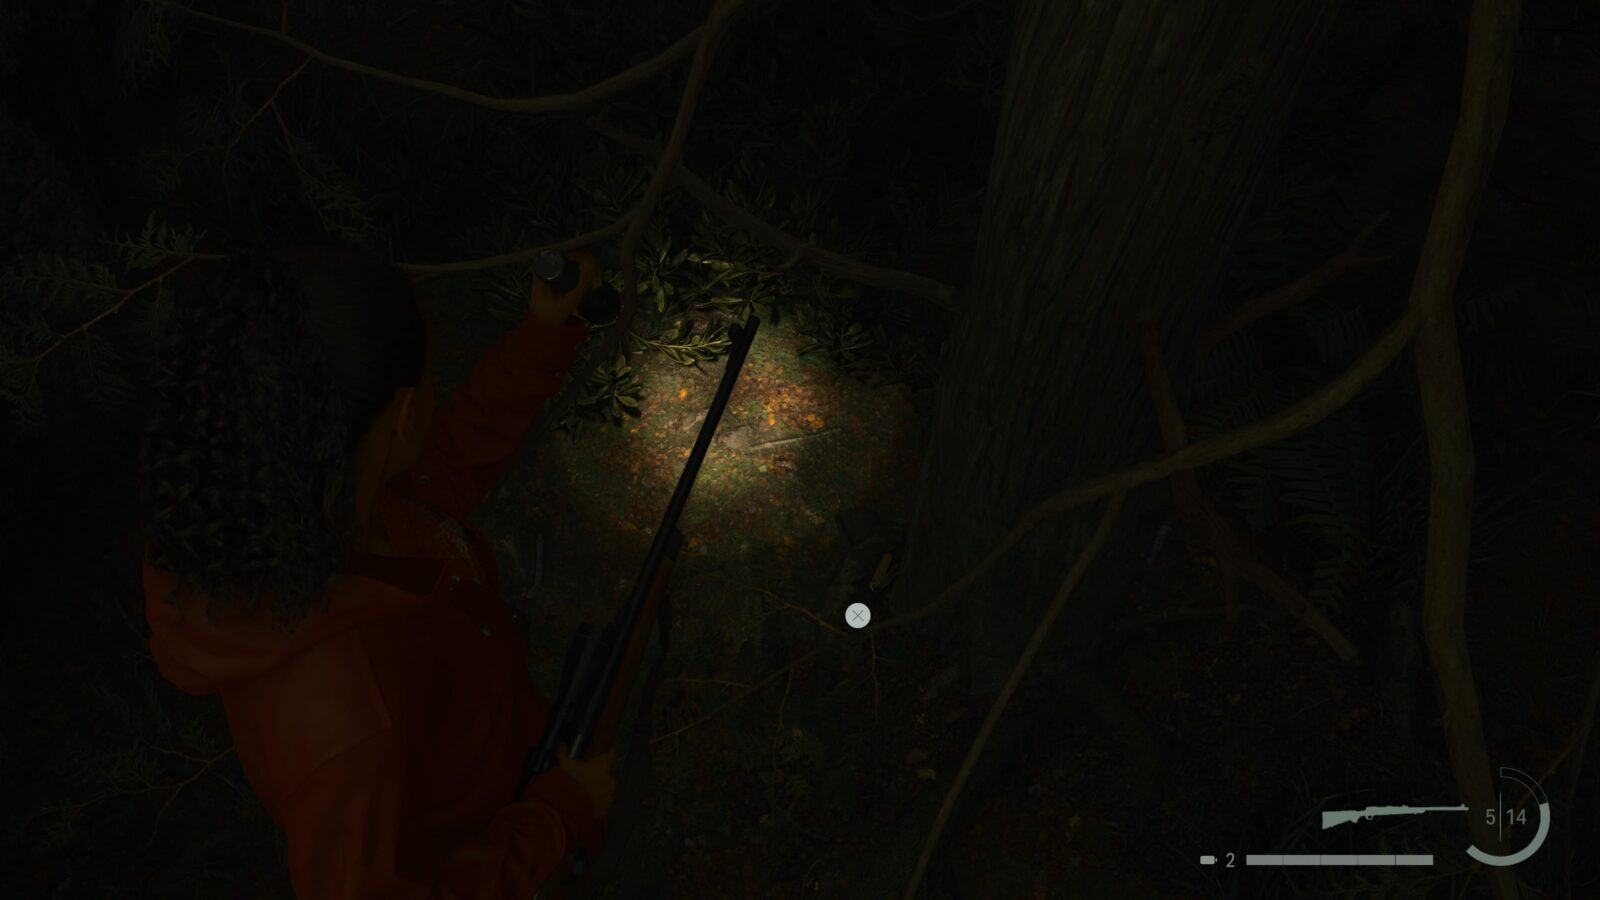
Inside Cabin 1 is a Cult Stash that needs a key to be opened. Head North from Cabin 6 to find an old broken vehicle. To the left of the vehicle are yellow numbers that appear in the beam of your flashlight. Behind the tree with a 2 on it is the key. Grab it and take it to Cabin 1 to open the stash.
Nursery Rhyme Puzzle #17
Head to the Witchfinder’s Station for the very last Nursery Rhyme Puzzle in Alan Wake 2. When you arrive you will hear a radio message playing over and over. This message tells you where you need to place which Doll. This is important because this puzzle is slightly different. The chalk drawing are scattered throughout the building on both floors. Once you place each doll on the correct drawing you are awarded with an extra charm slot.
Spoilers! Click to Show
Initiation 7: Masks
Make sure to return to a Break Room, such as the one in the Lodge in Bright Falls, and switch from Saga to Alan so we can continue his side of the story.
Writer's Journey Video #6 - Drowning (missable)
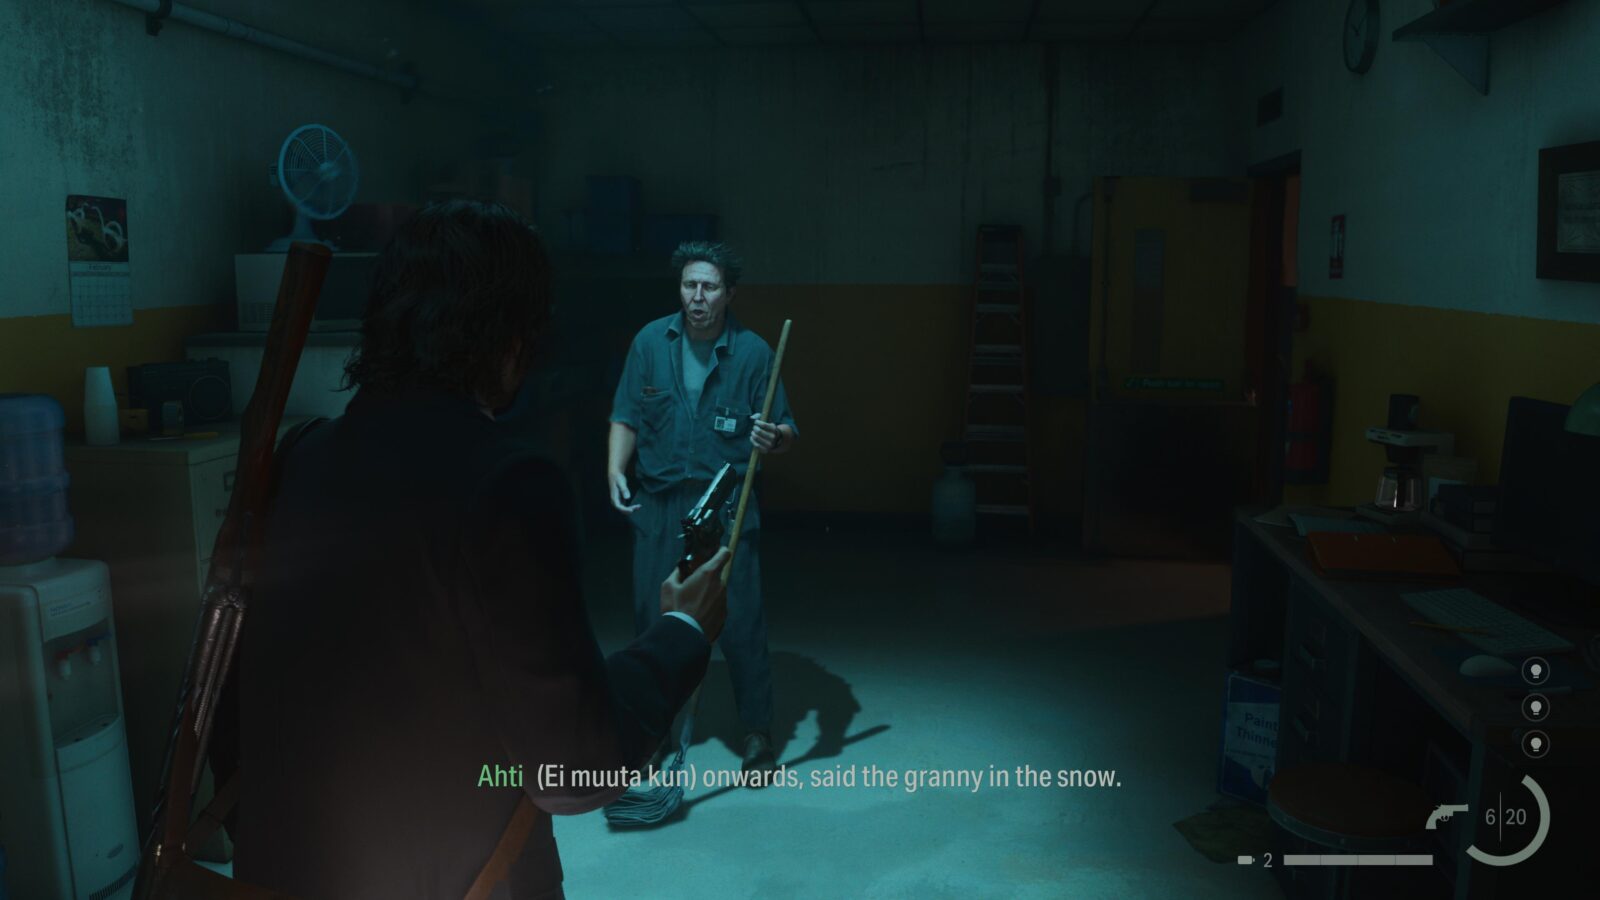
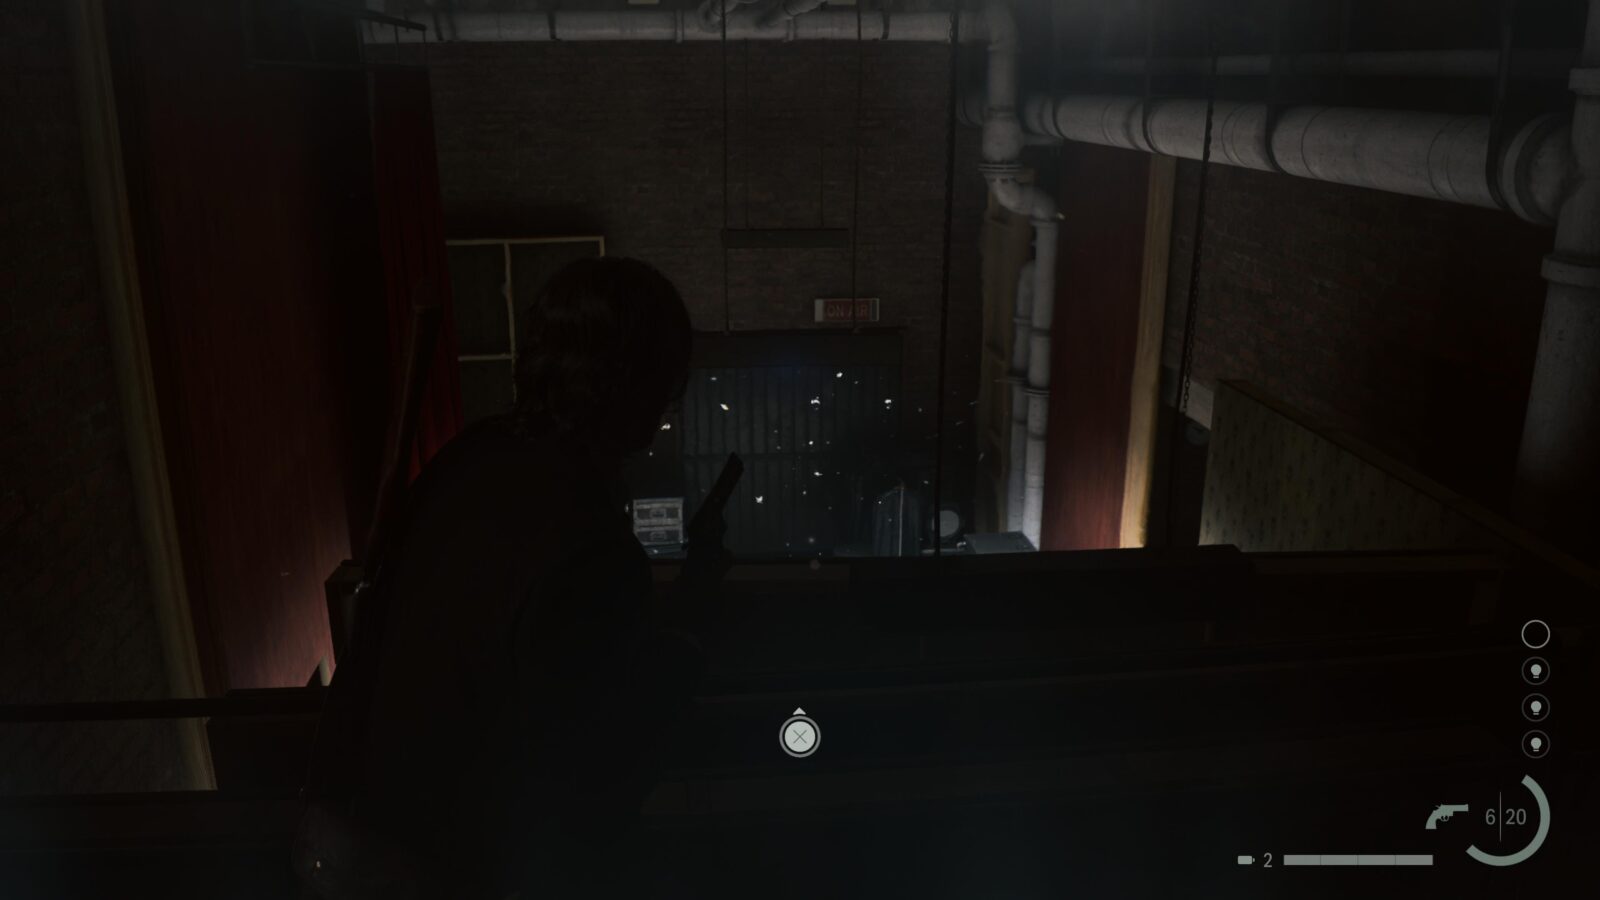
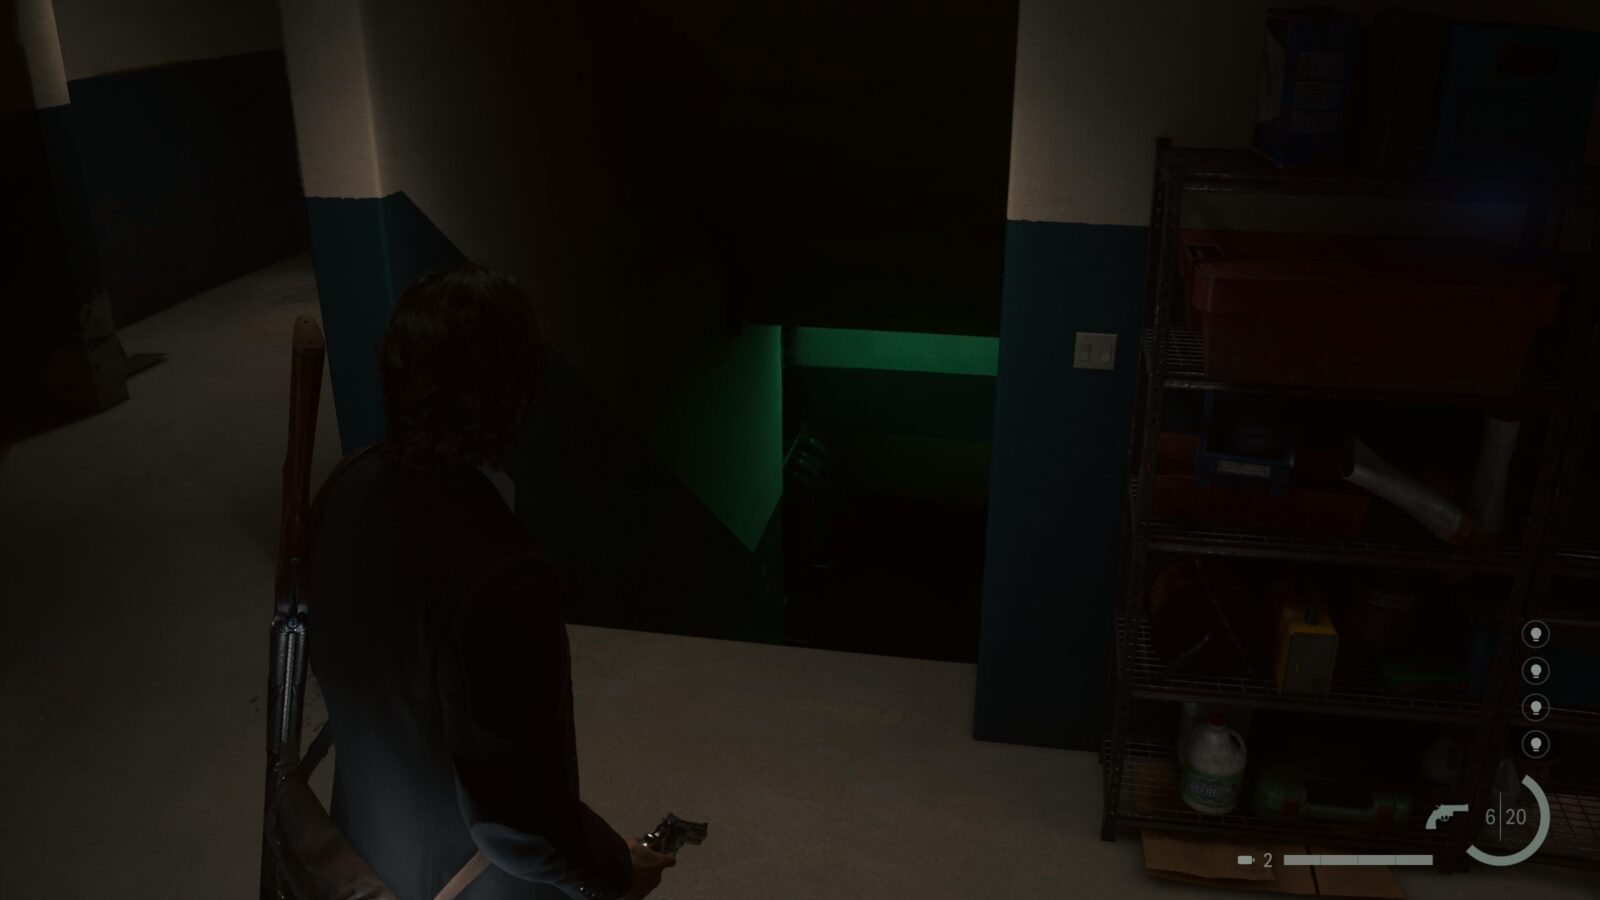
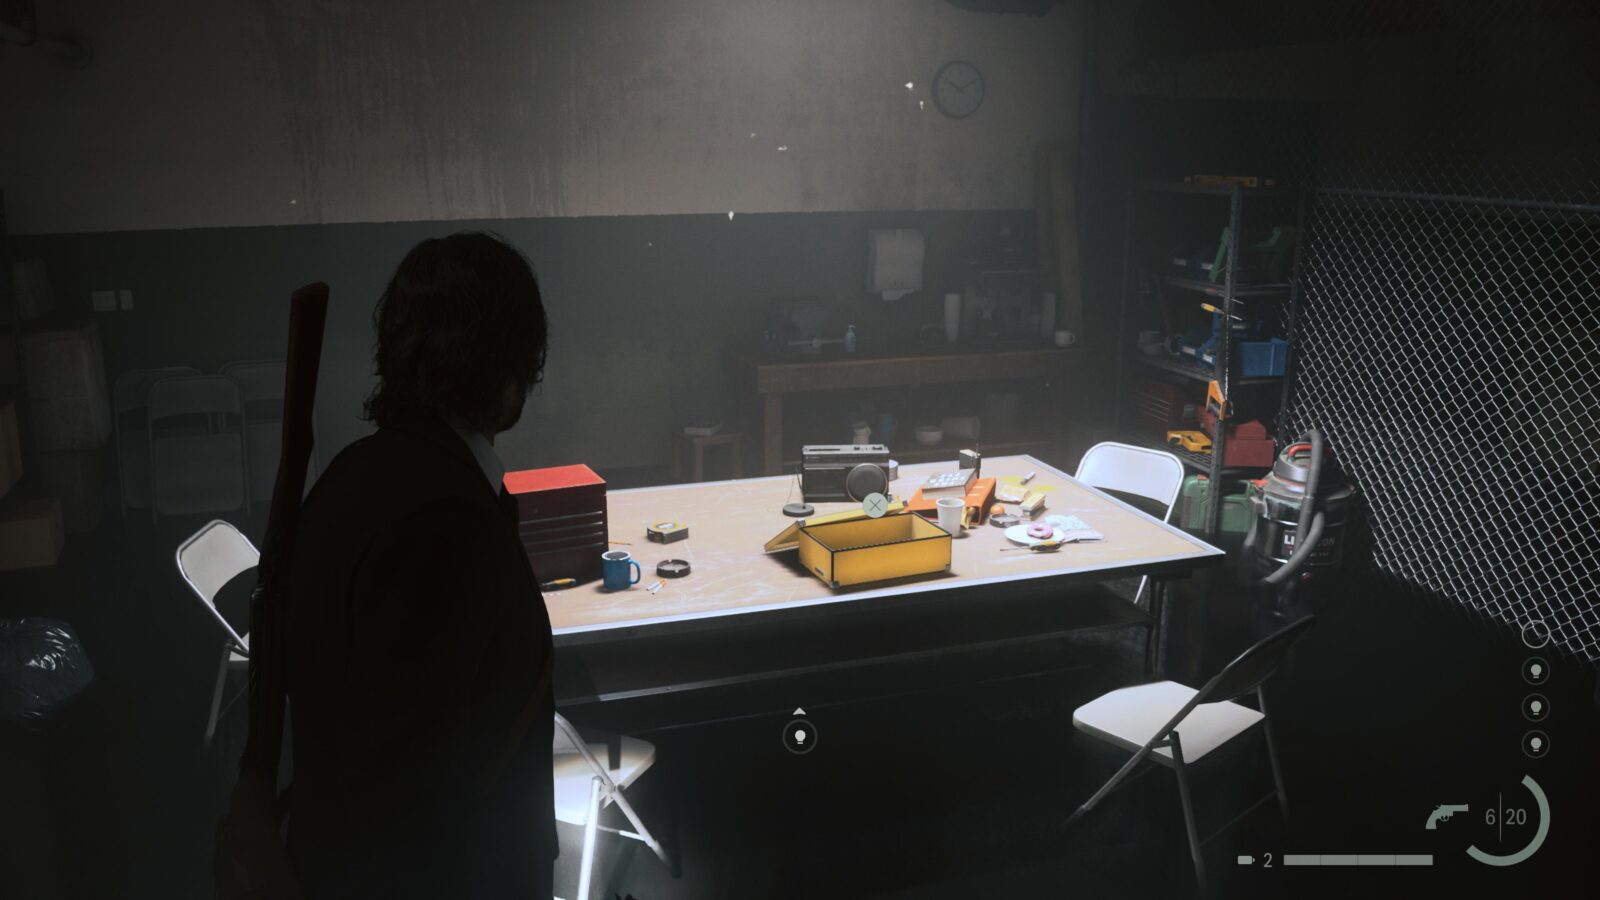
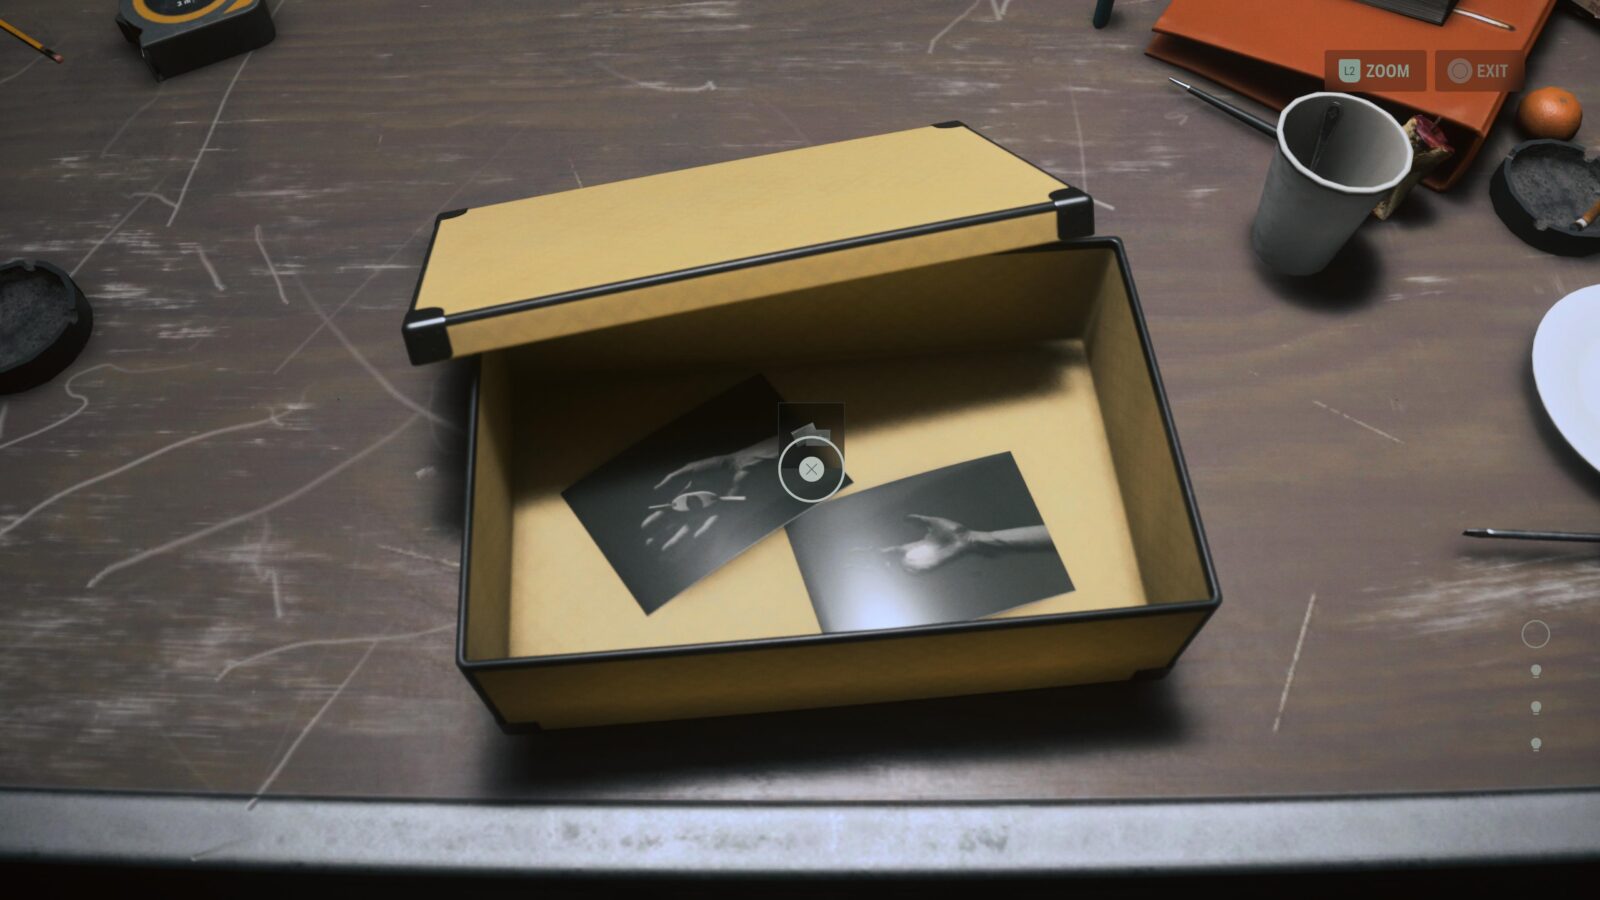
At the start of the chapter go and talk to Ahti. Afterwards go through the door behind him and onto the balcony—take a right at the bottom of the steps to find it—to take the light source. After taking the light source a staircase will appear next to the door to the balcony. Go down the stairs and head to the Workshop on the map and use a light source to make a Shoebox appear. Inside the Shoebox is two of Alice’s photographs that you must pick up in order to unlock this Writer’s Journey. After grabbing the photos return back to the floor with the balcony and head down the corridor to the room with a single TV and use the lamp to end this part of the chapter. The Writer’s Journey Video will play automatically after the trophy for “completing” the chapter unlocks.
This collectible is highly missable so make sure to grab the photographs before interacting with the TV in the room.
Initiation 8: Zane's Film
Since the previous chapter was so small, we’ll be continuing as Alan to obtain the last few Writer’s Journey Videos and Words of Power.
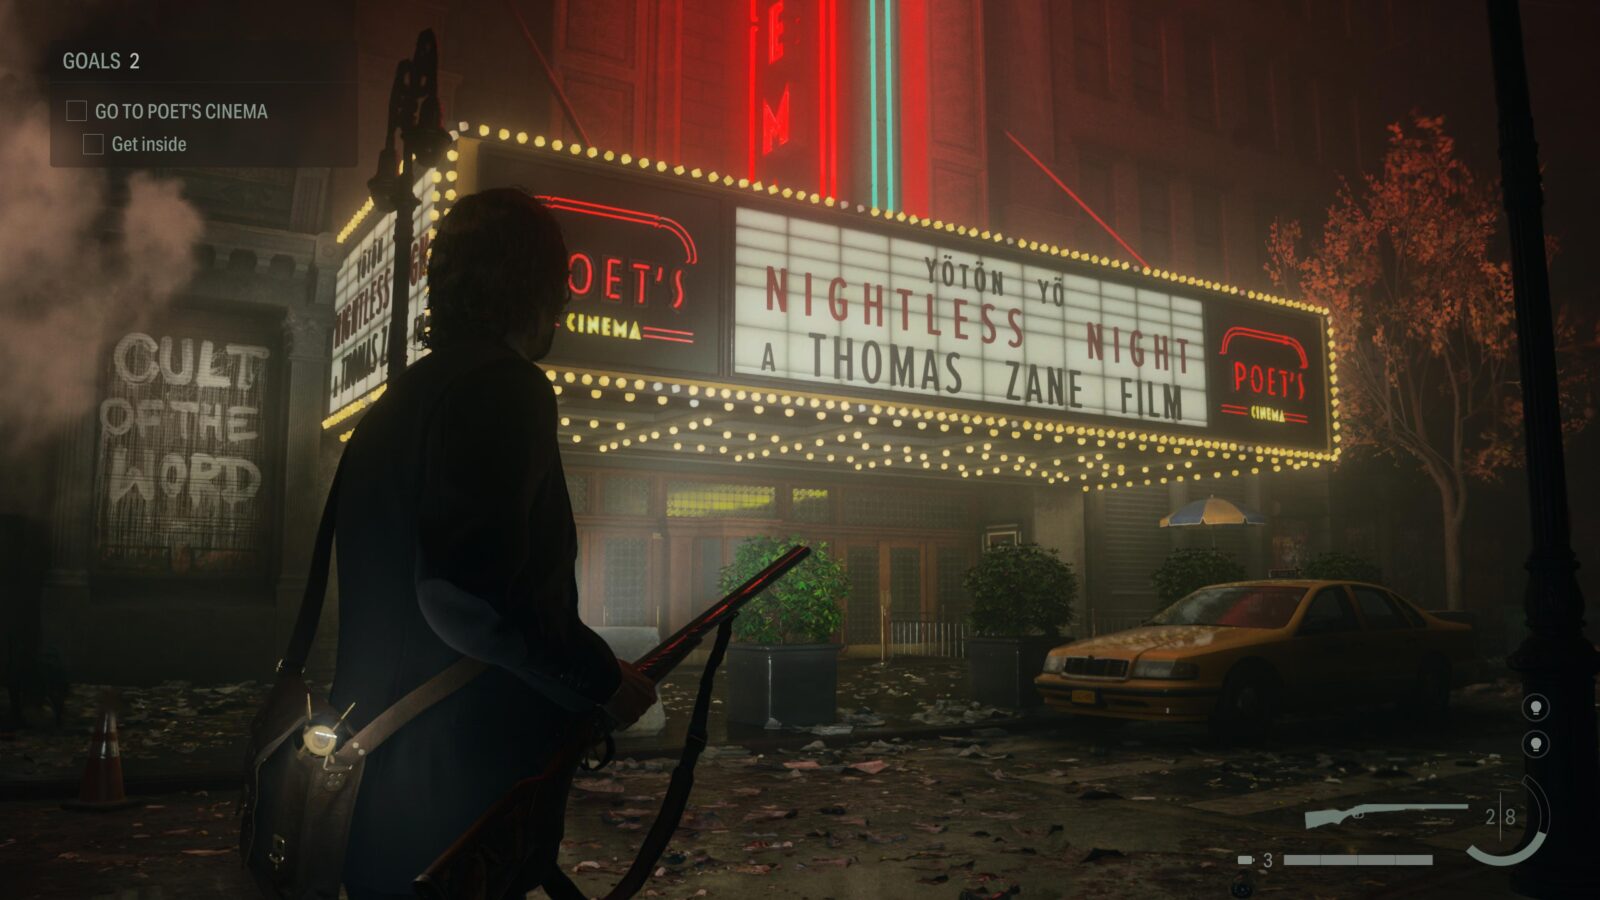
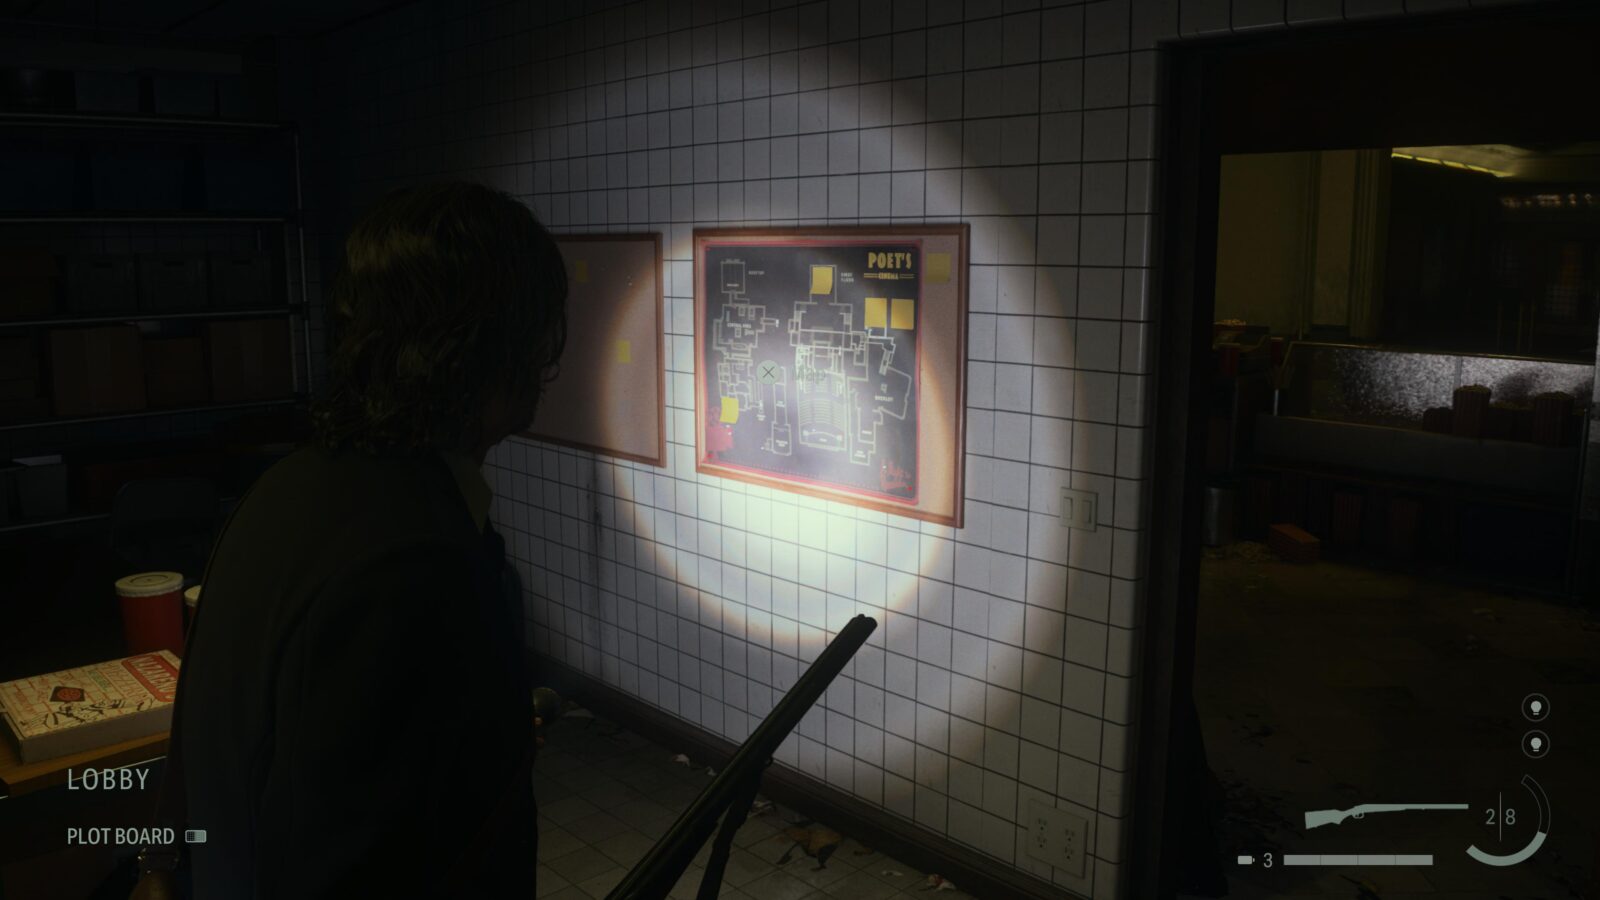
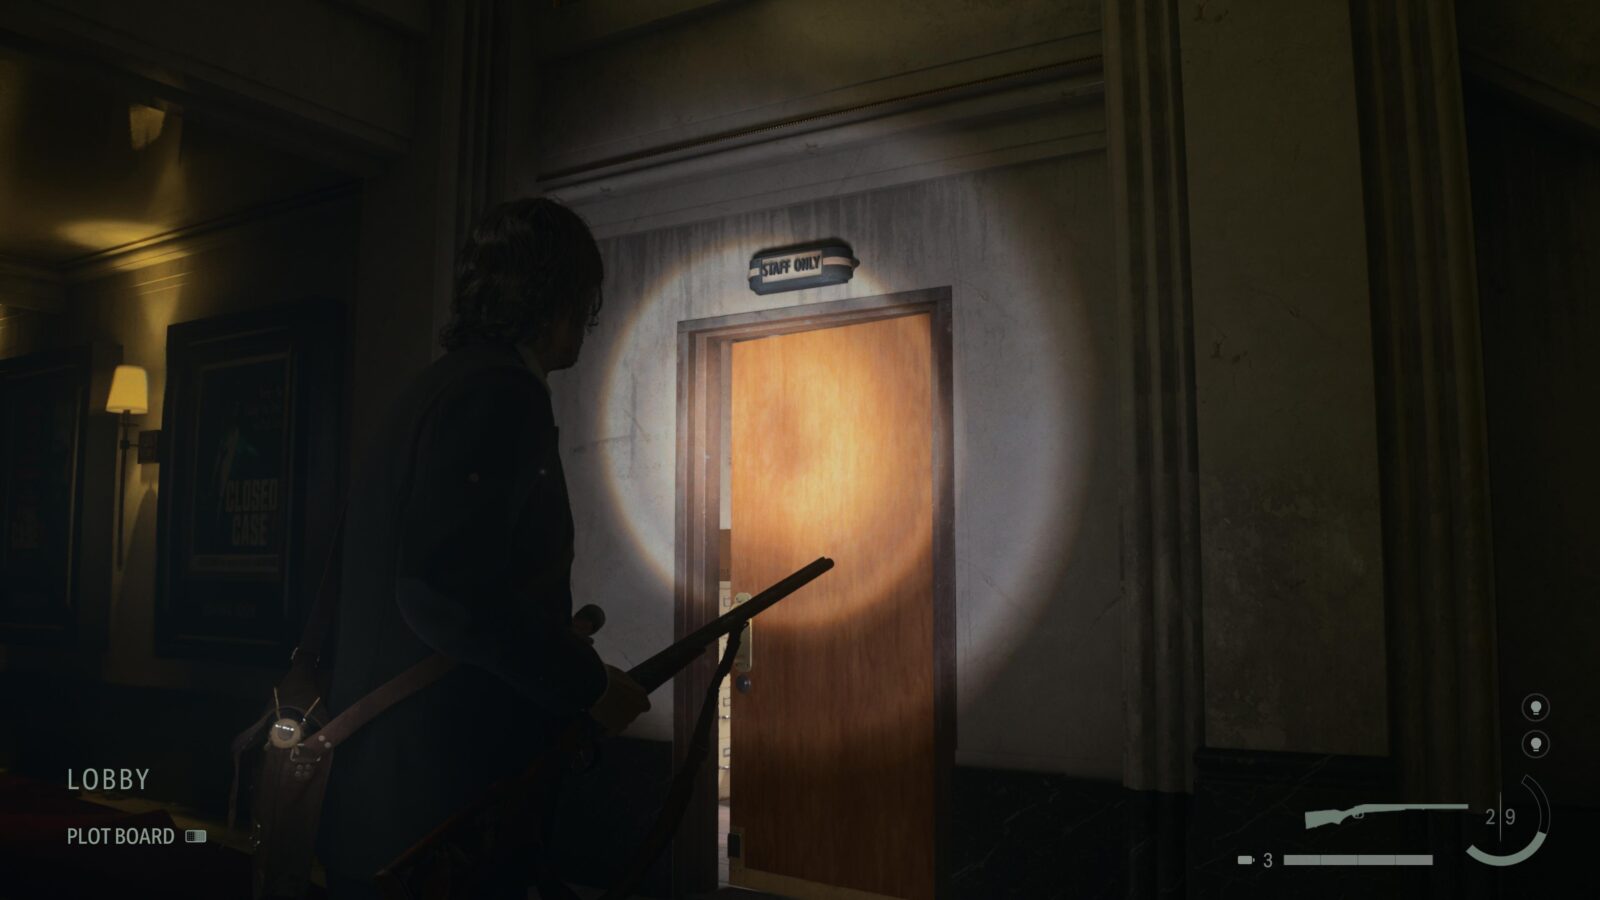
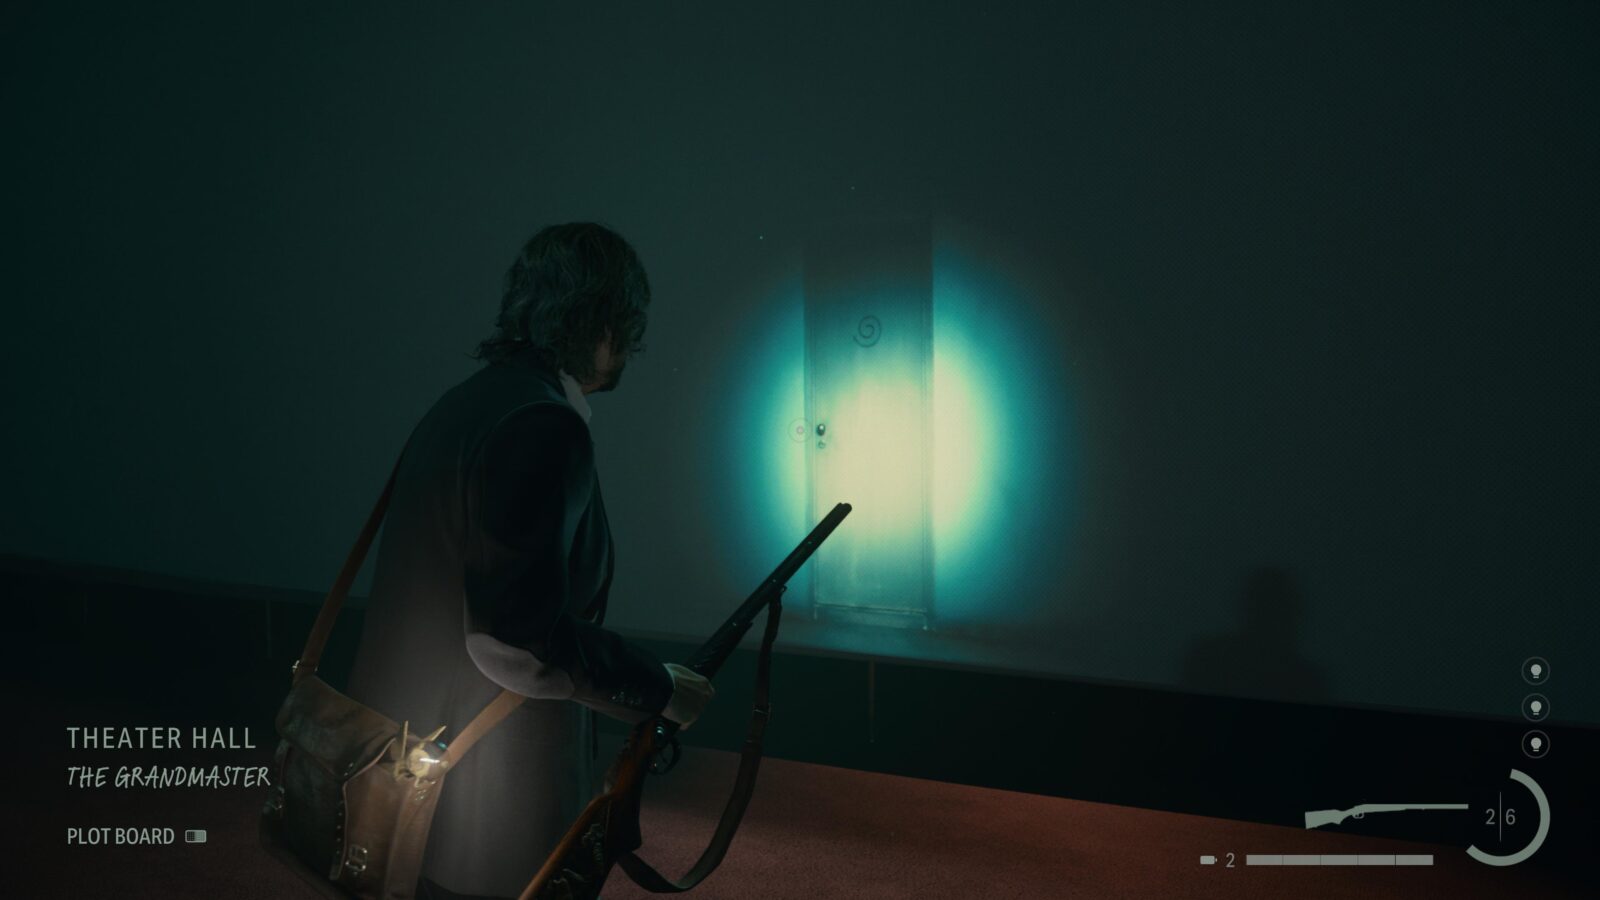
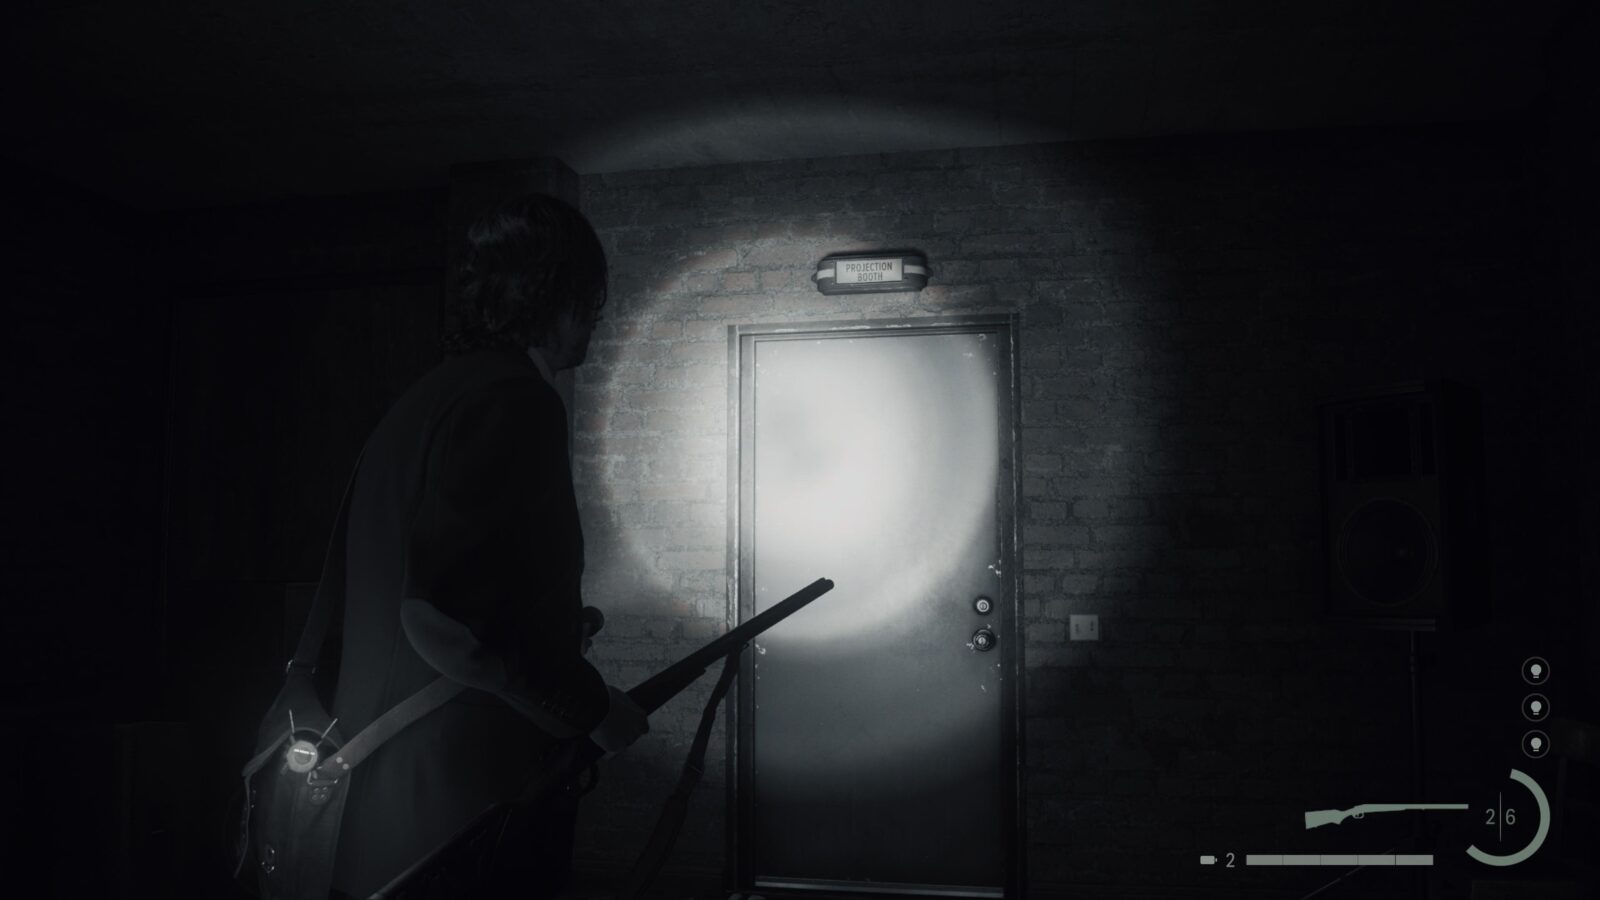
Map - Poet's Cinema
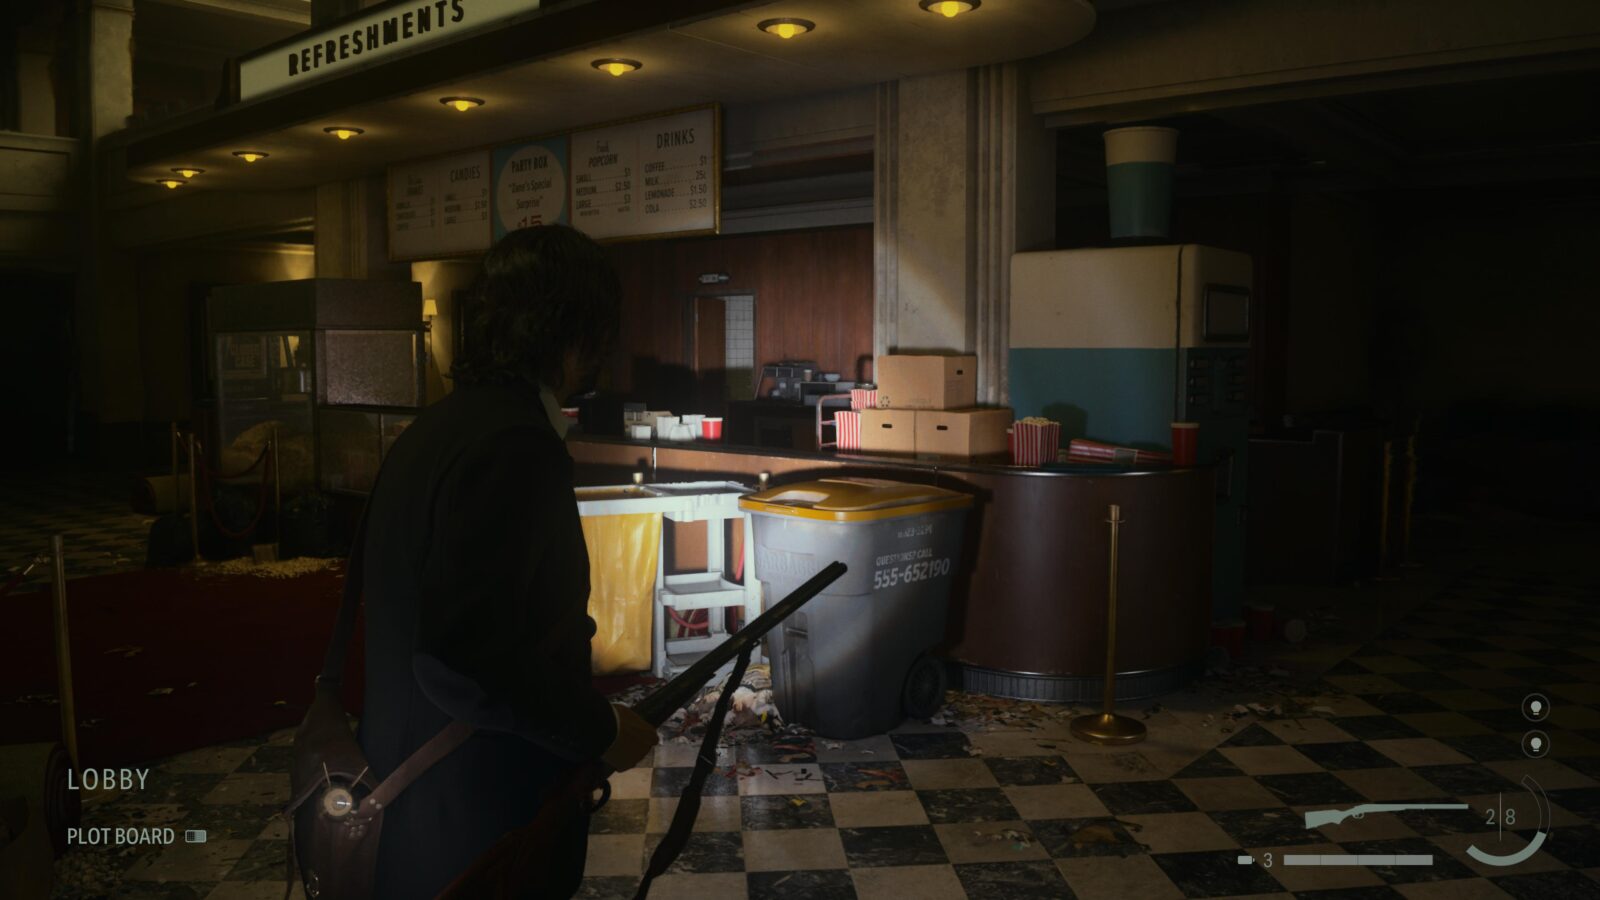
Upon entering Poet’s Cinema you will see the concession stand directly in front of you in the Lobby. Go behind the stand and into the Staff Only room to find a map on the wall.
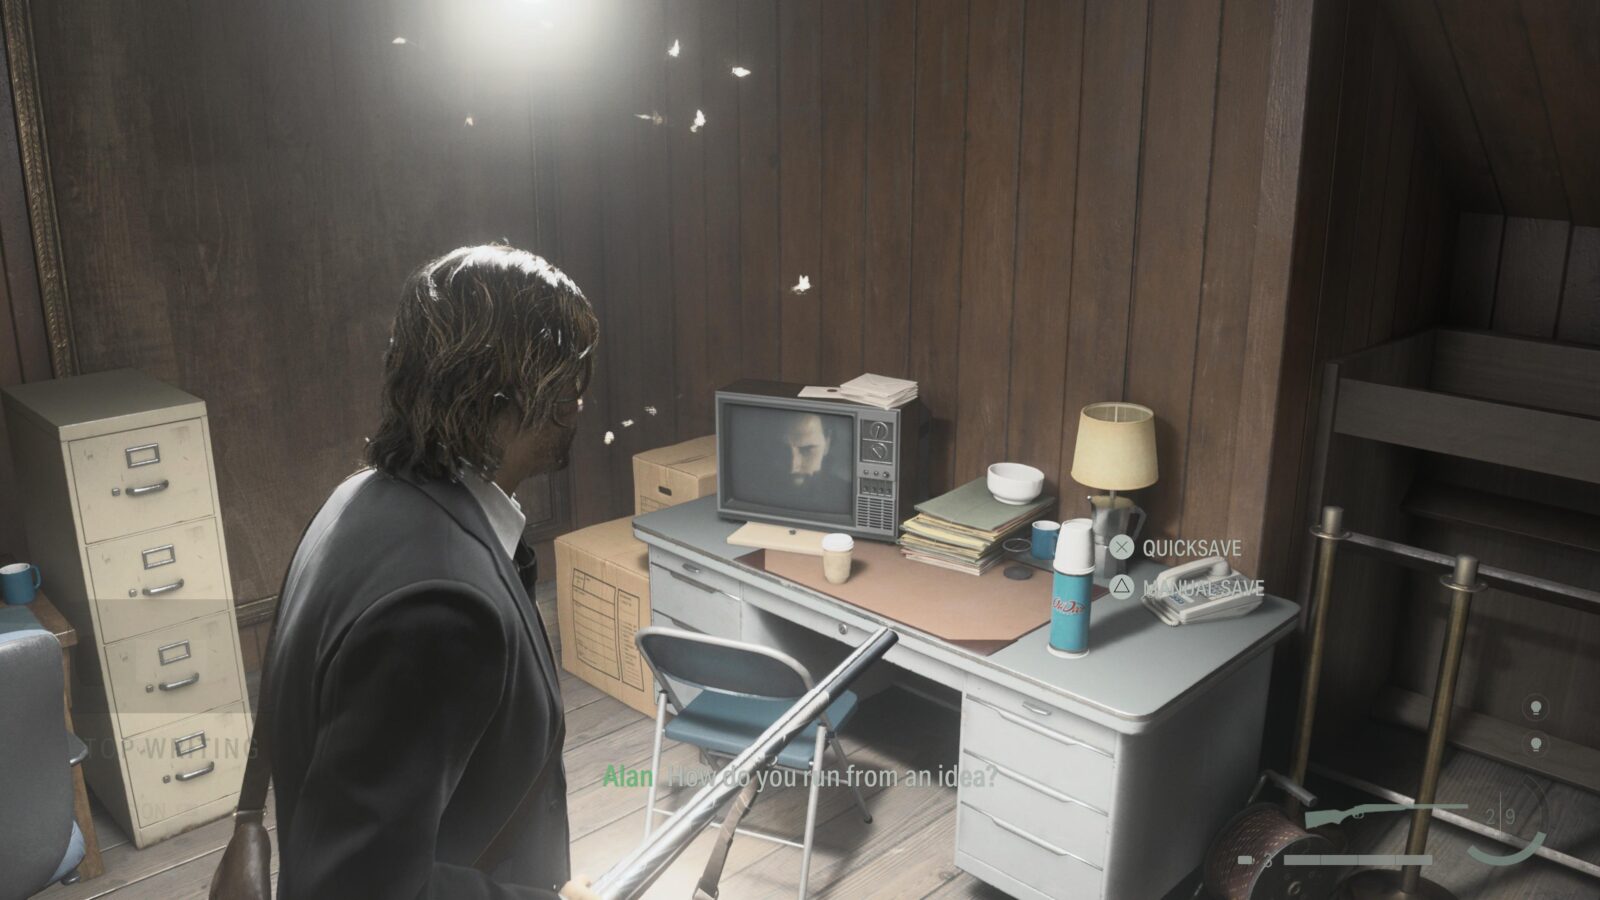
Writer's Journey Video #7 - Stop Writing
In the Lobby of Poet’s Cinema is a Staff Only room to the right of the concession stand. This is a Break Room and as soon as you enter a Writer’s Journey Video on a TV will begin to play.
Words of Power #24 - Word of Action
On the ground floor in the Lobby on the left side are the restrooms. Head into the Ladies restroom and go through the grey door inside. On the ceiling in the next room is a Word of Power.
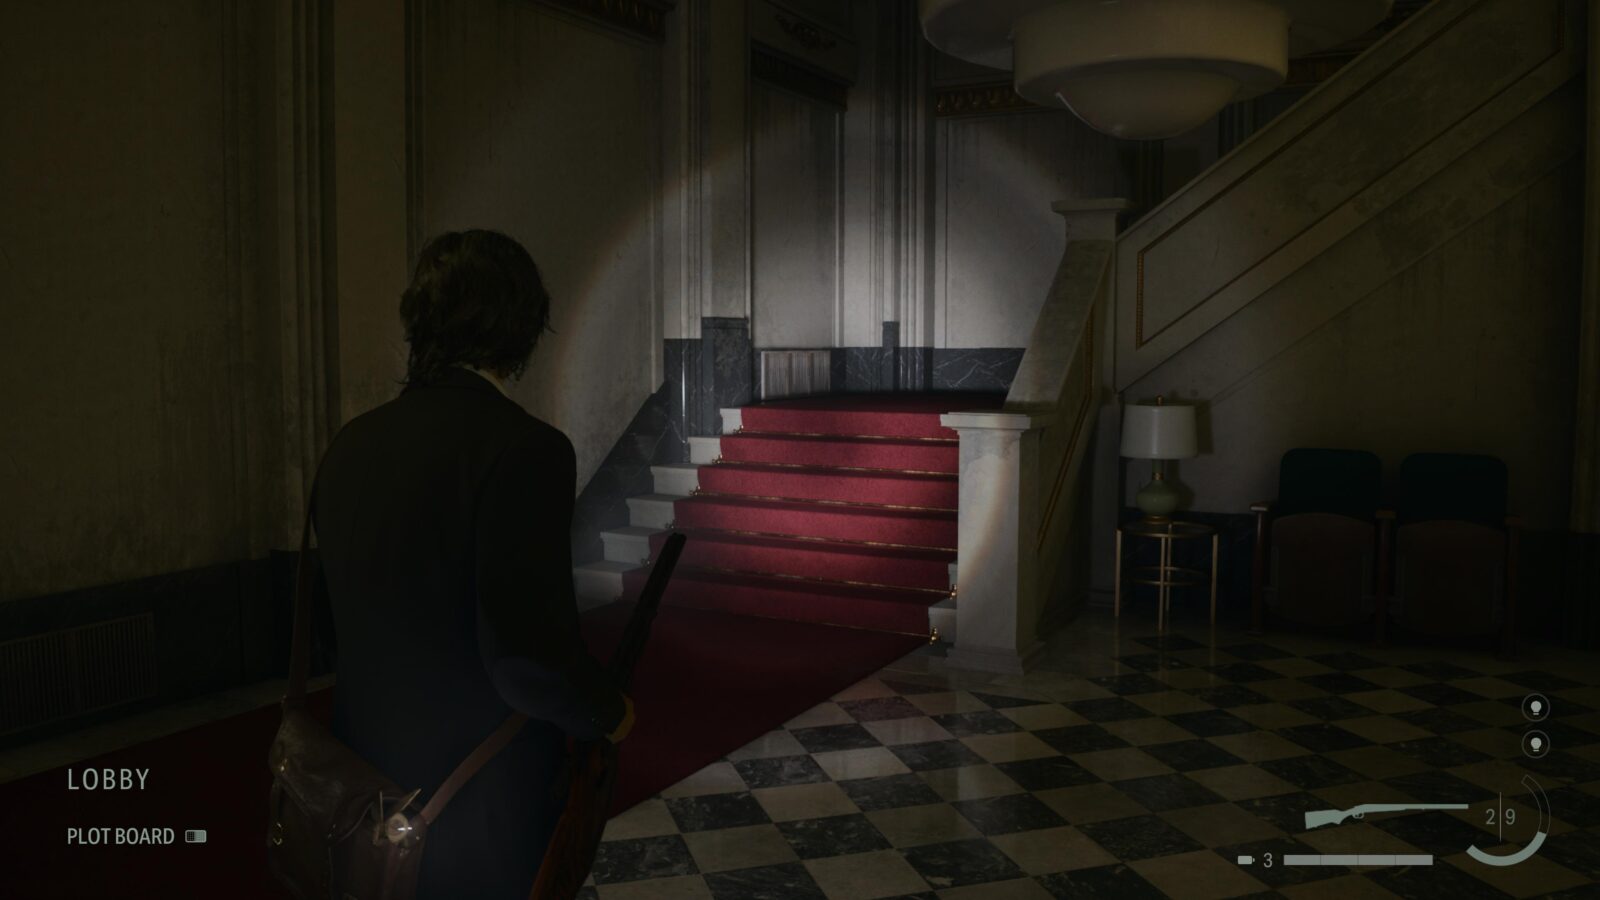
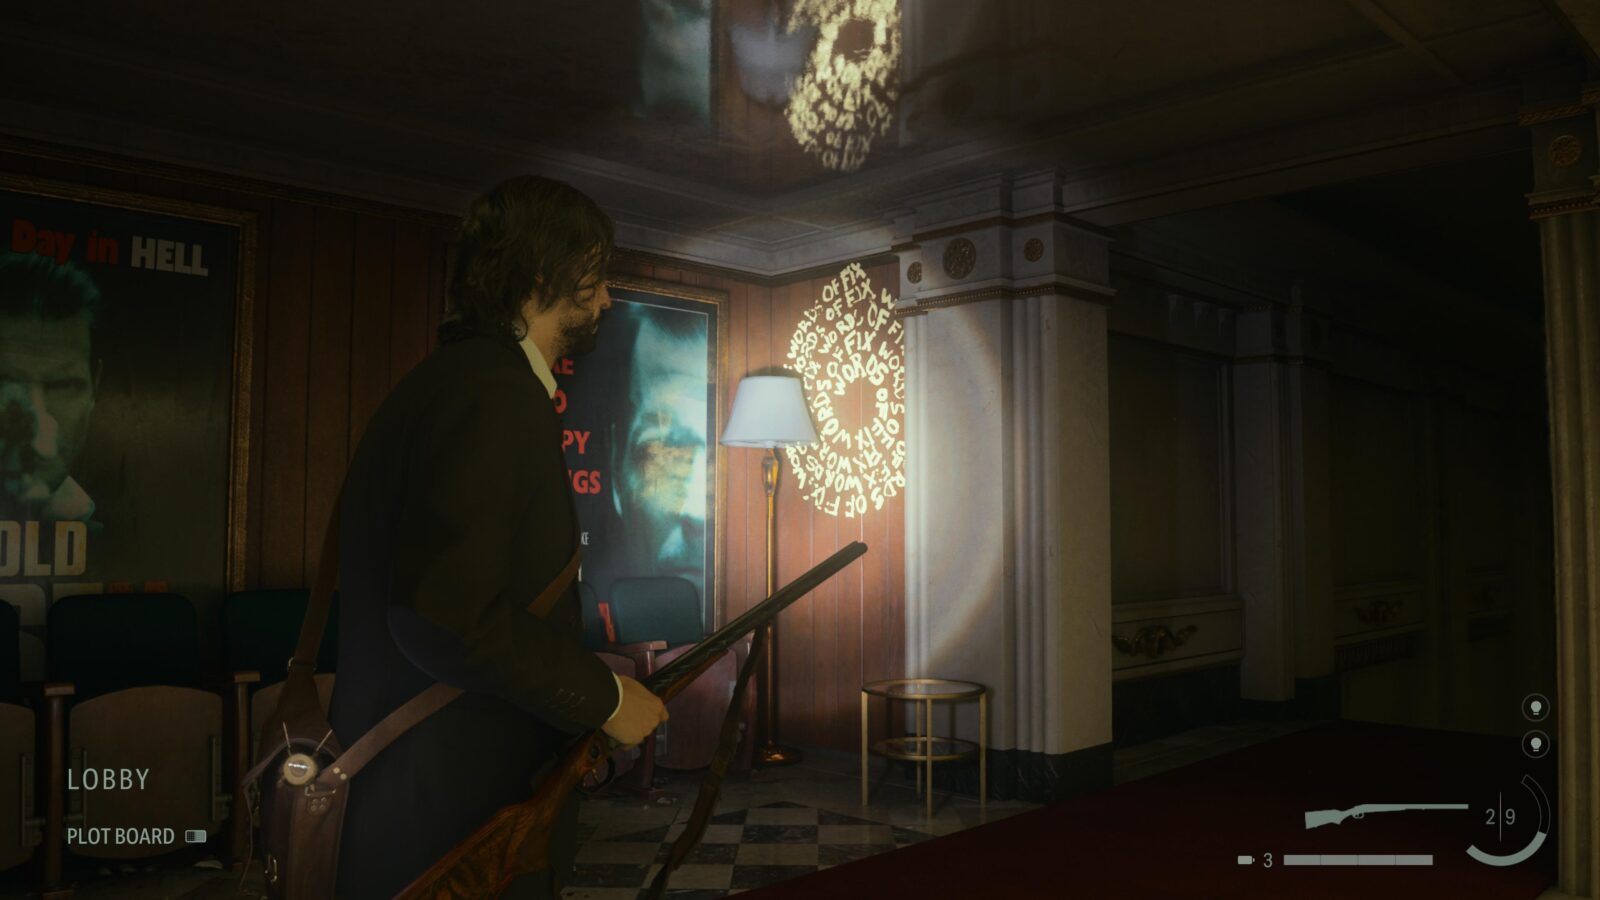
Words of Power #25 - Word of Fix
Head up the stairs in the Lobby and follow the balcony to roughly above where the Break Room is to find a Word of Power on the wall.
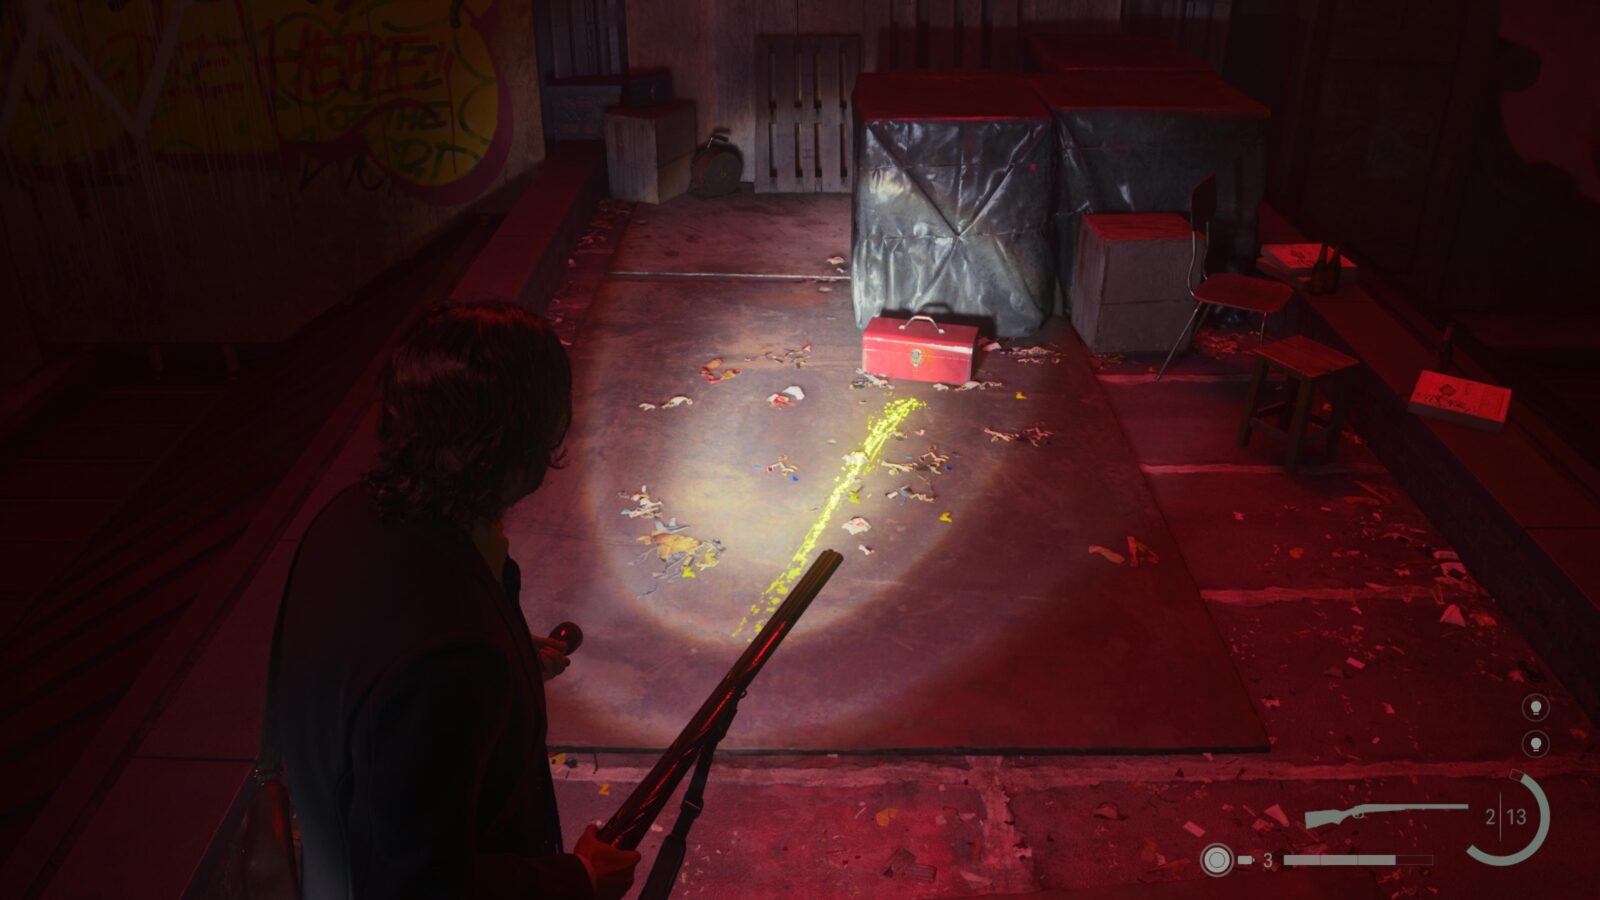
Words of Power #26 - Word of Stuff
As soon as you reach the rooftop via a ladder you will see some spots light shining into the sky. Walk towards them at at the end of the roof where there is a red toolbox and some boxes, turn around and look for a Word of Power on a wall tucked behind a spotlight to your right.
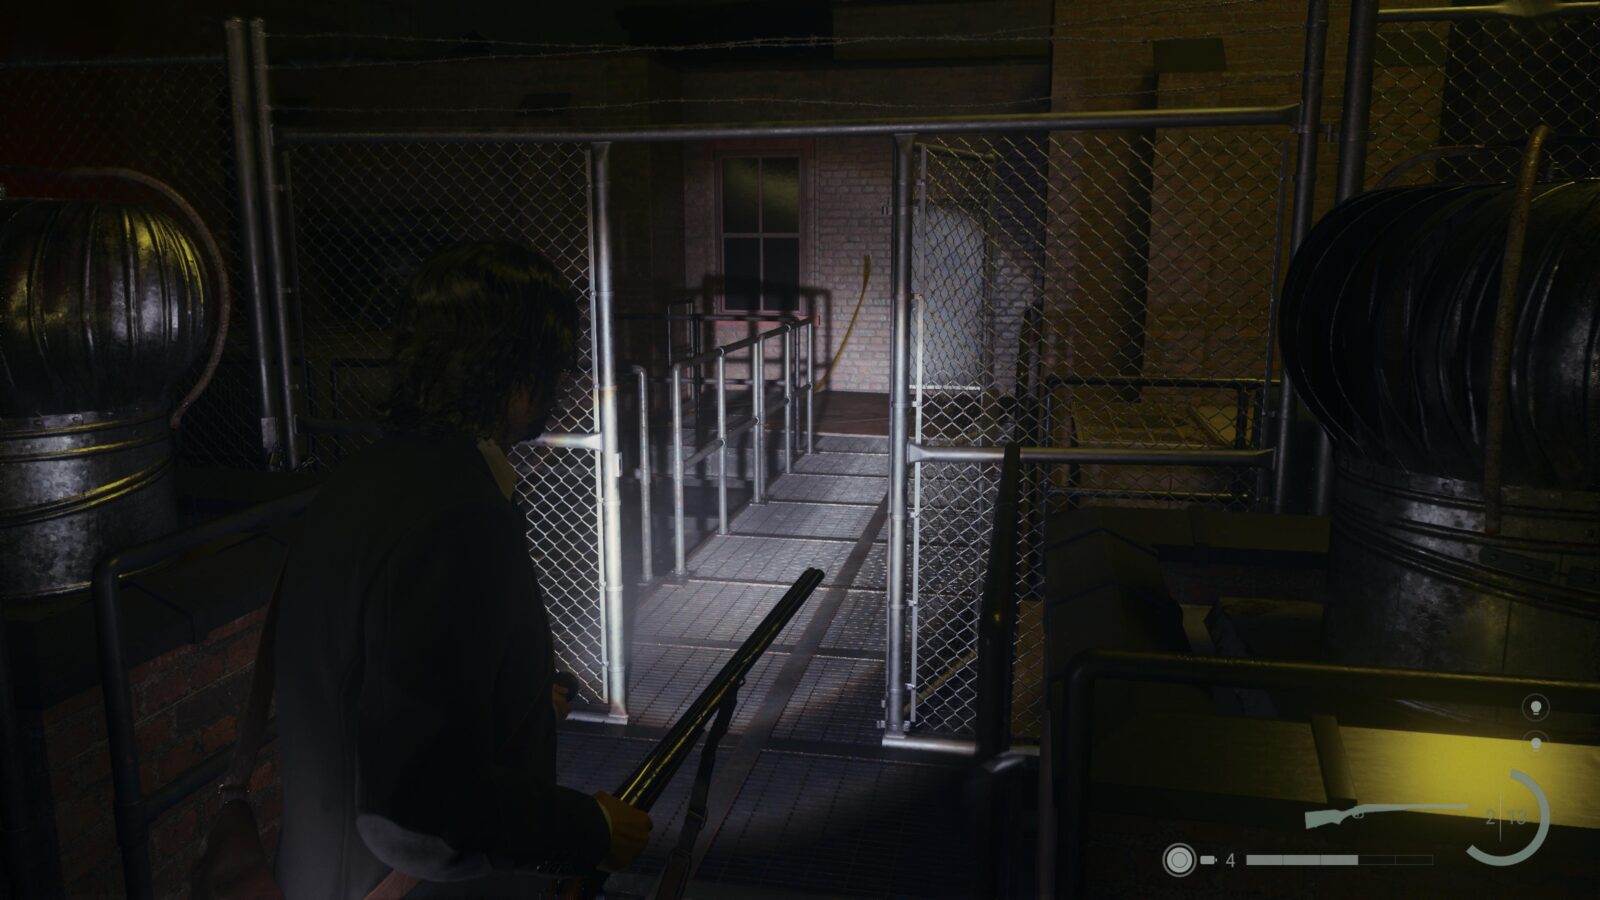
Map - Words of Power Locations #5
On the same rooftop as Words of Power #26 is a metal gate. Open it and follow the platform past a locked door and then immediately head left to find a passage underneath the previous platform. Follow it and you will reach the Sheriff again with a map on the wall to his right.

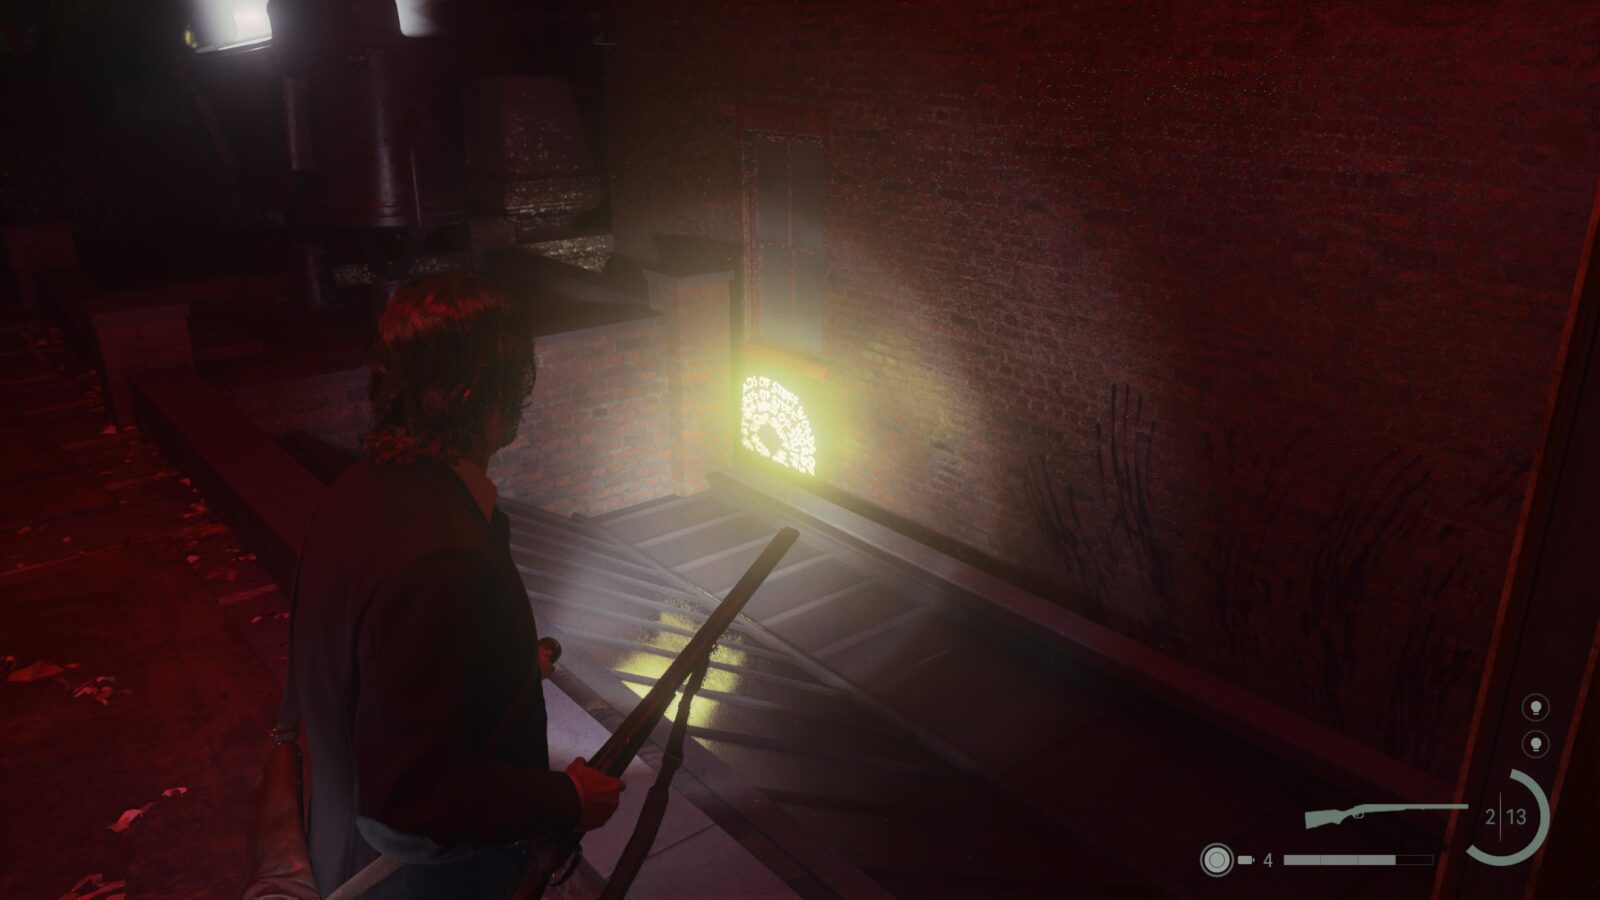
Words of Power #27 - Word of Lamp
While stood in front of the Sheriff, turn around and look for a Word of Power on the water tower above you.
Writer's Journey Video #8 - Initiation (missable)
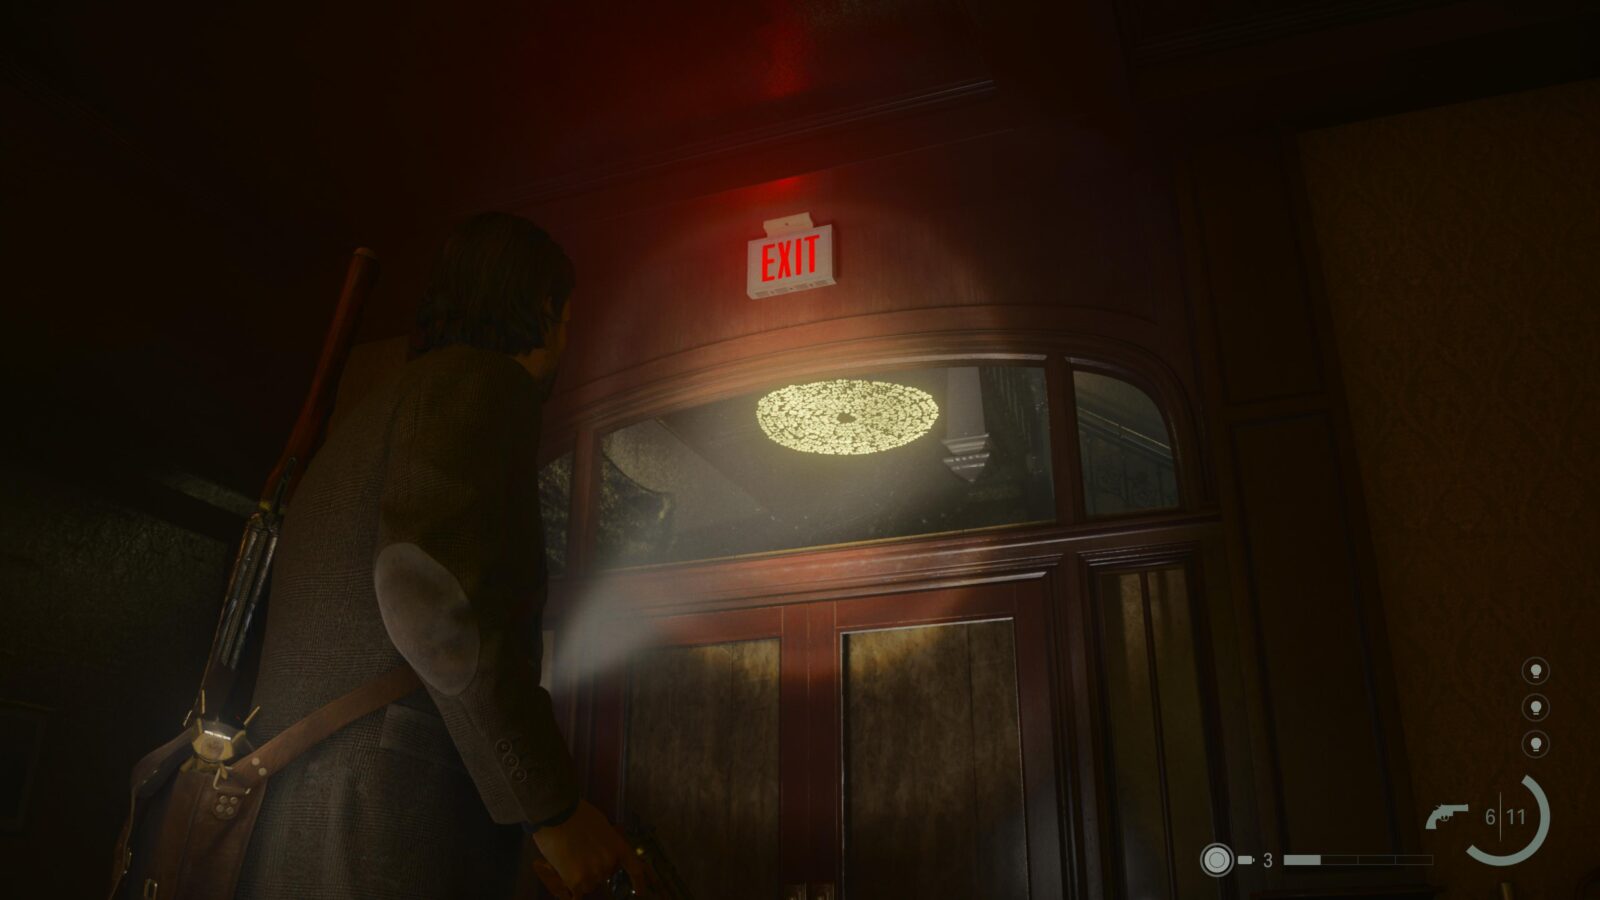
After unlocking the room behind the theater screen you will be stuck in a loop. On the third loop you will need to open a door with an Exit sign above it. This room has nothing but a TV screen in it that will play the final Writer’s Journey Video but you need to walk into the small room to make it play; just opening the door won’t work. You can’t come back to get this one so make sure you get it now.
Manual Save for Backup
Before you head to Parliament Tower, it’s advised that you stop by the Break Room in the Lobby of Poet’s Cinema to make a Manual Save. This is essentially Alan’s Point of No Return and if you have yet to find all collectibles in Alan’s story you will be completely locked out if you continue without saving. Alan has no more collectibles beyond this point so if you want you can keep playing as him to finish his side of the story.
Return 6: Scratch
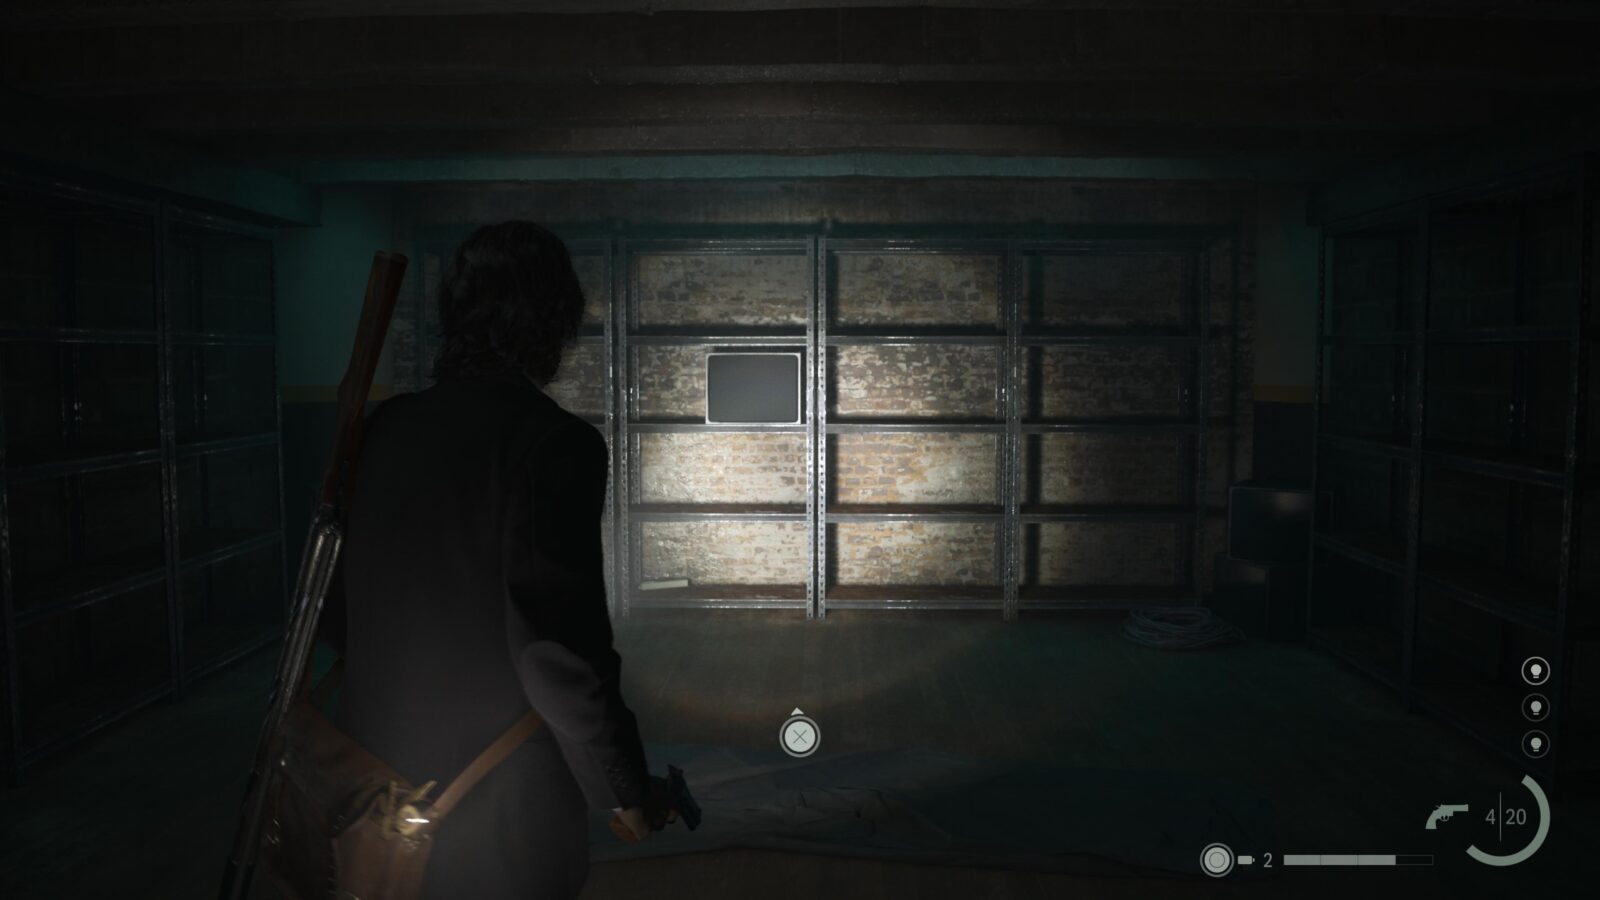
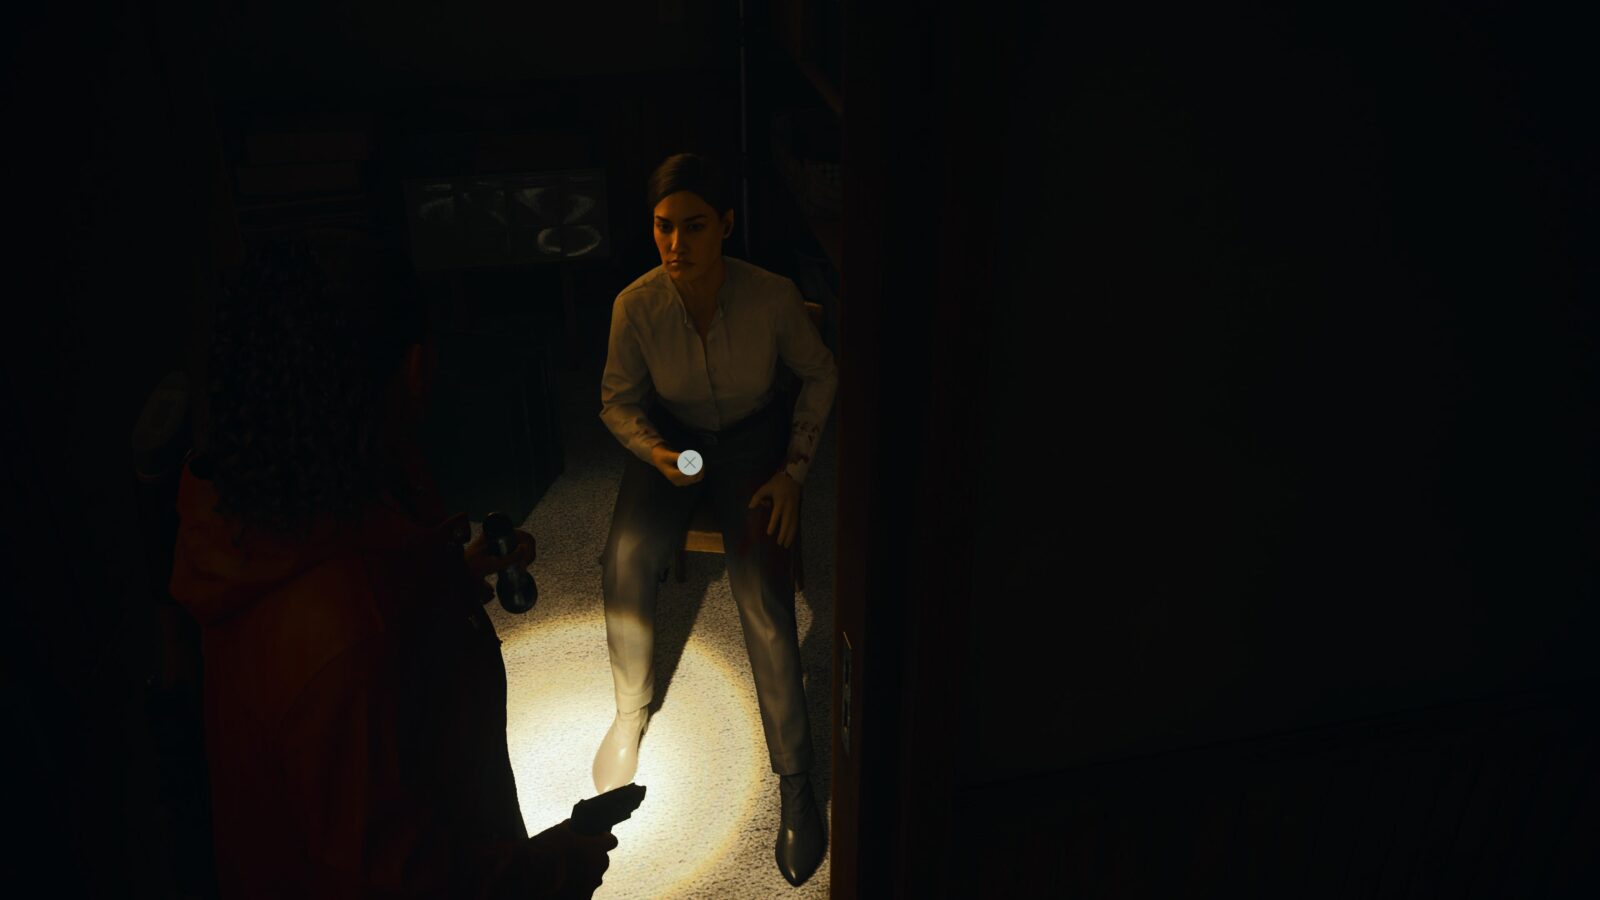
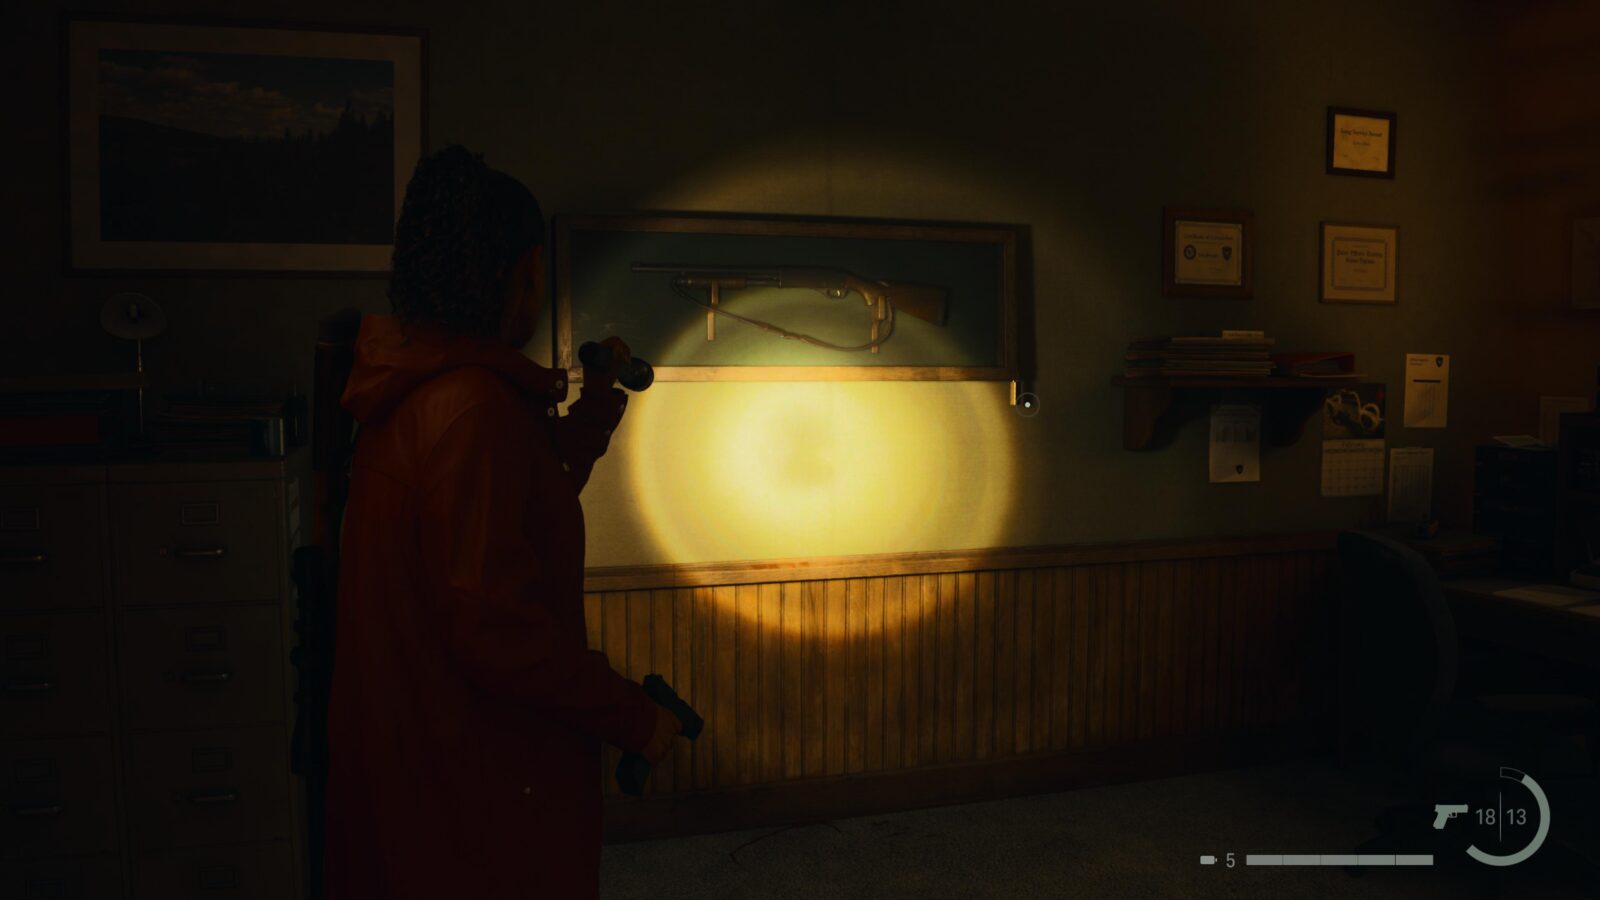
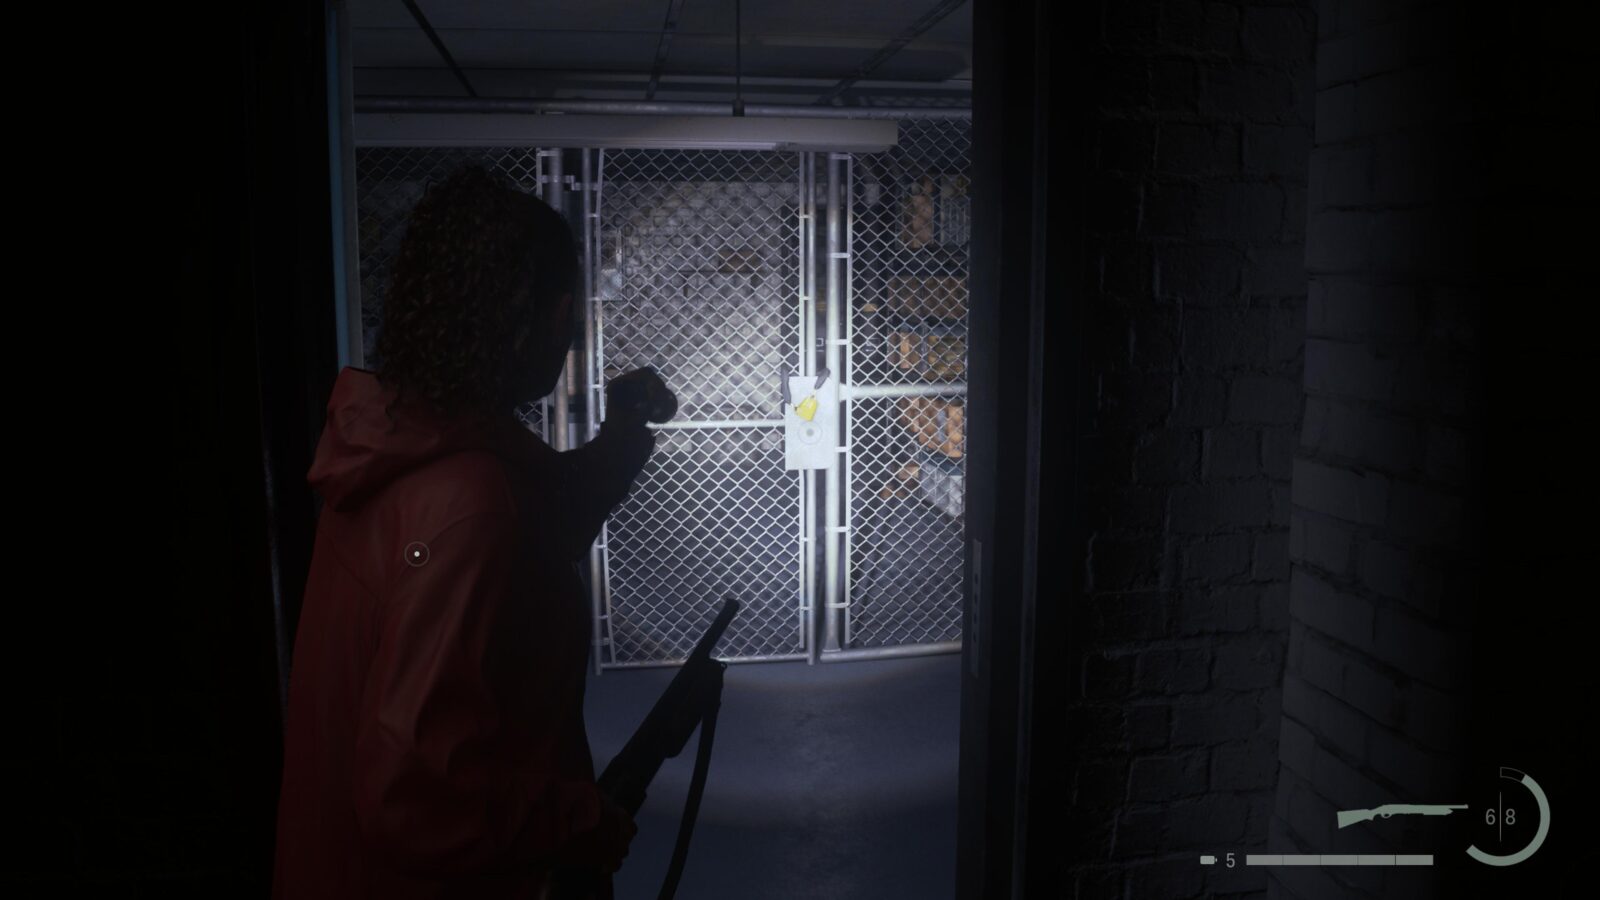
Weapon #8 - Pump-Action Shotgun
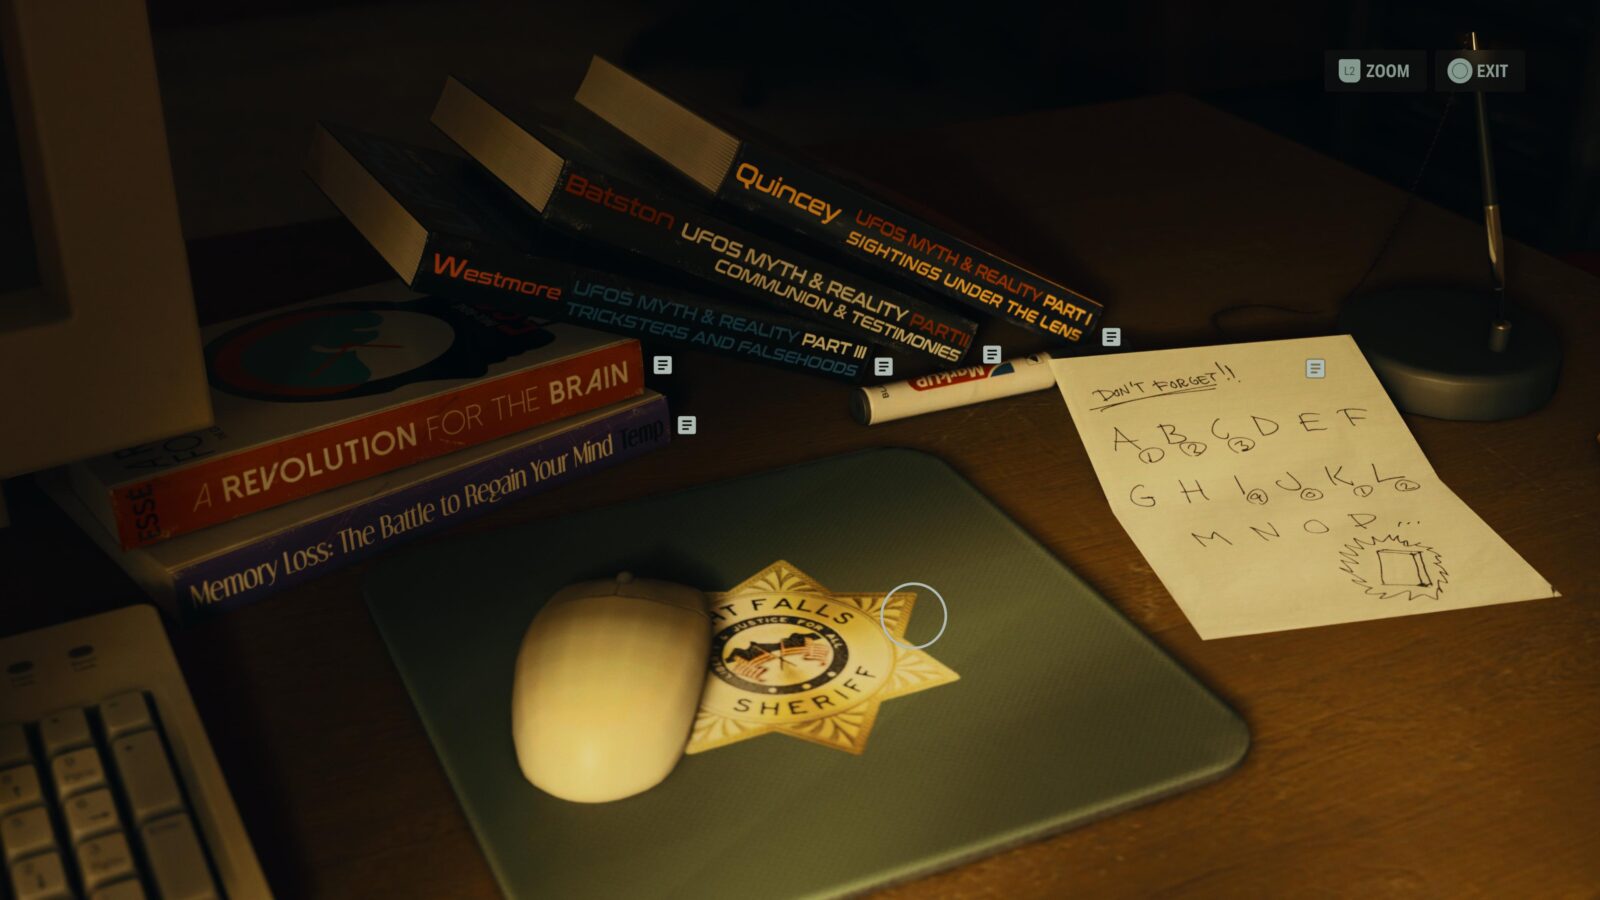
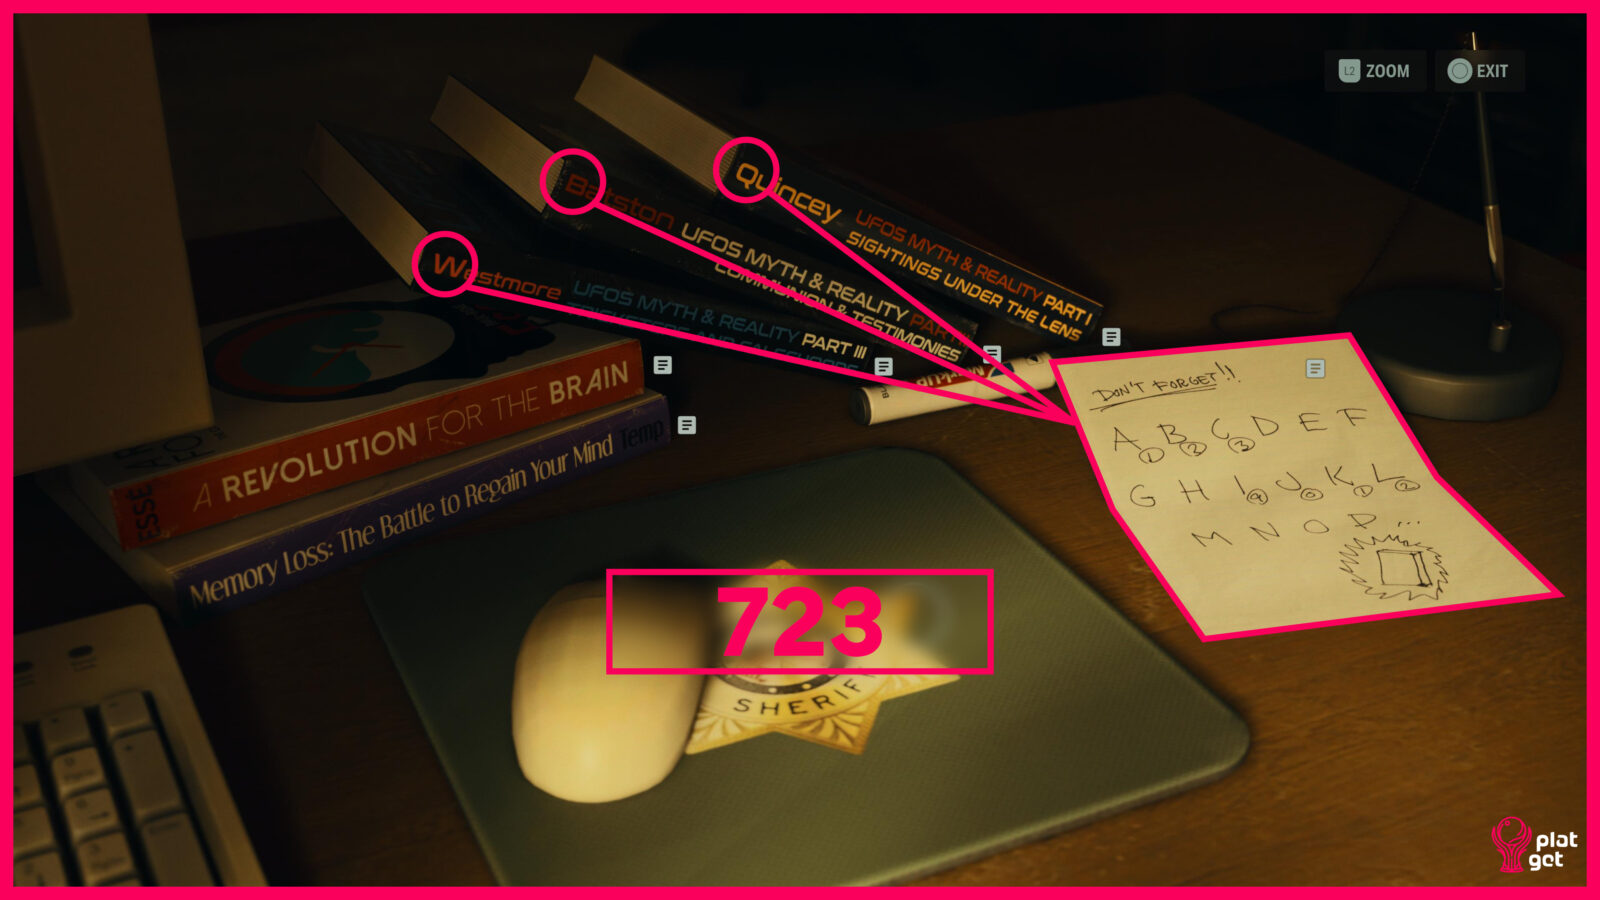
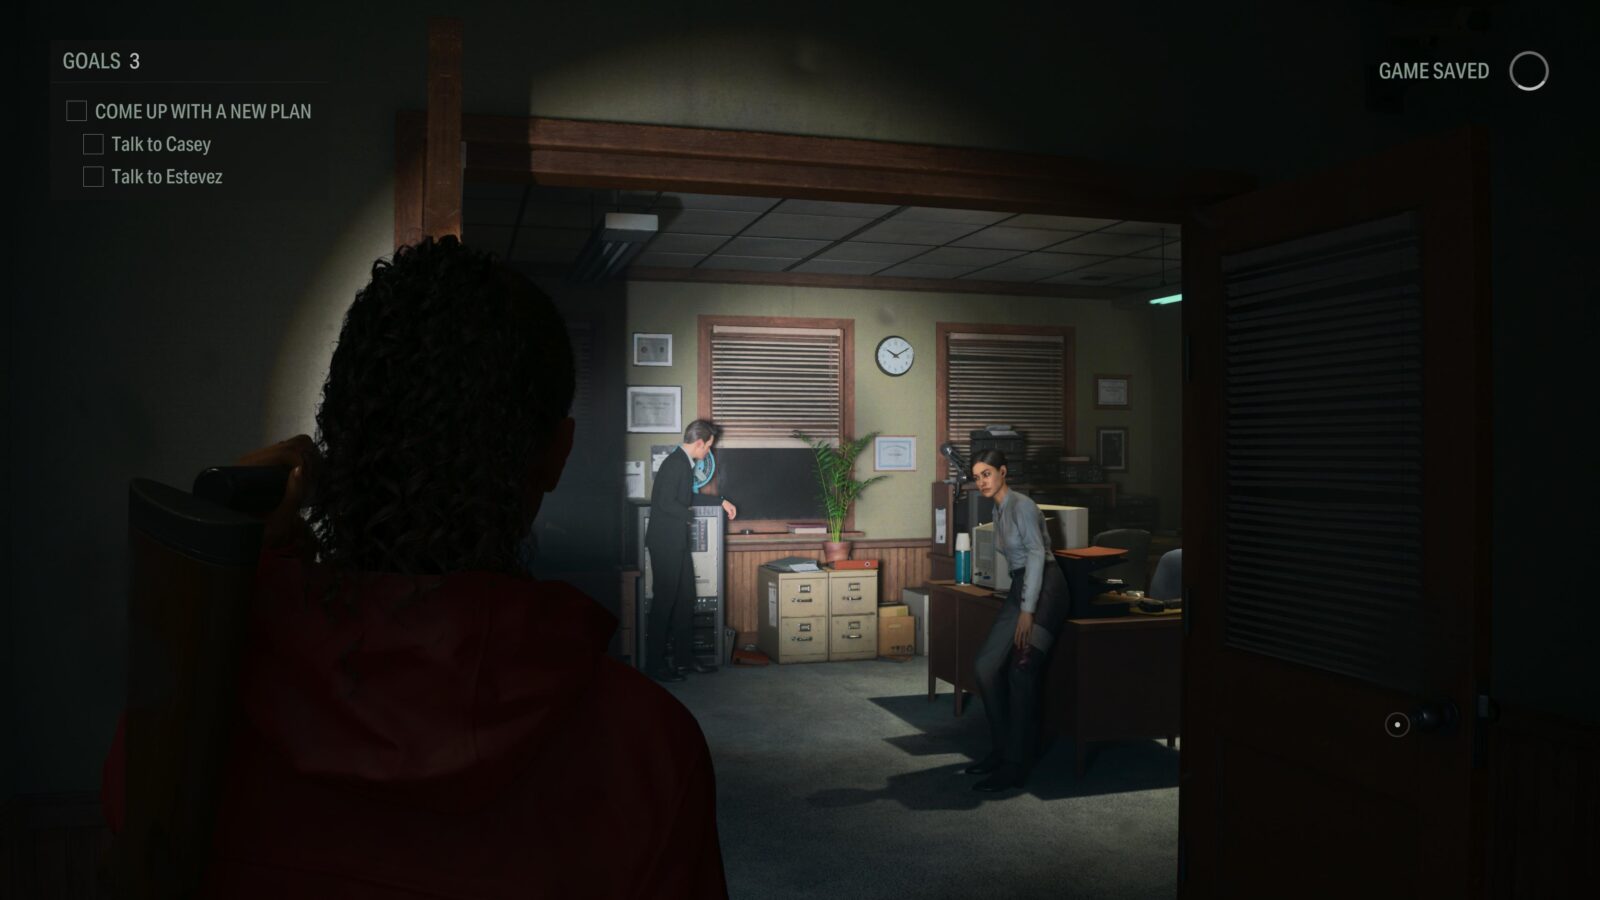
Inside the Police Station you will find Agent Estevez. She’ll ask you to deal with a Taken enemy in a room nearby. Afterwards she will give you the keys to the station. Immediately head to Sheriff Breaker’s Office to find a Shotgun in a display case on the wall. To find the code you should look on Sheriff Breaker’s desk for a note which gives numbers to the letters of the alphabet. You then need to use this information in conjunction with the books on the desk to find a 3-digit code.
Spoilers! Click to Show
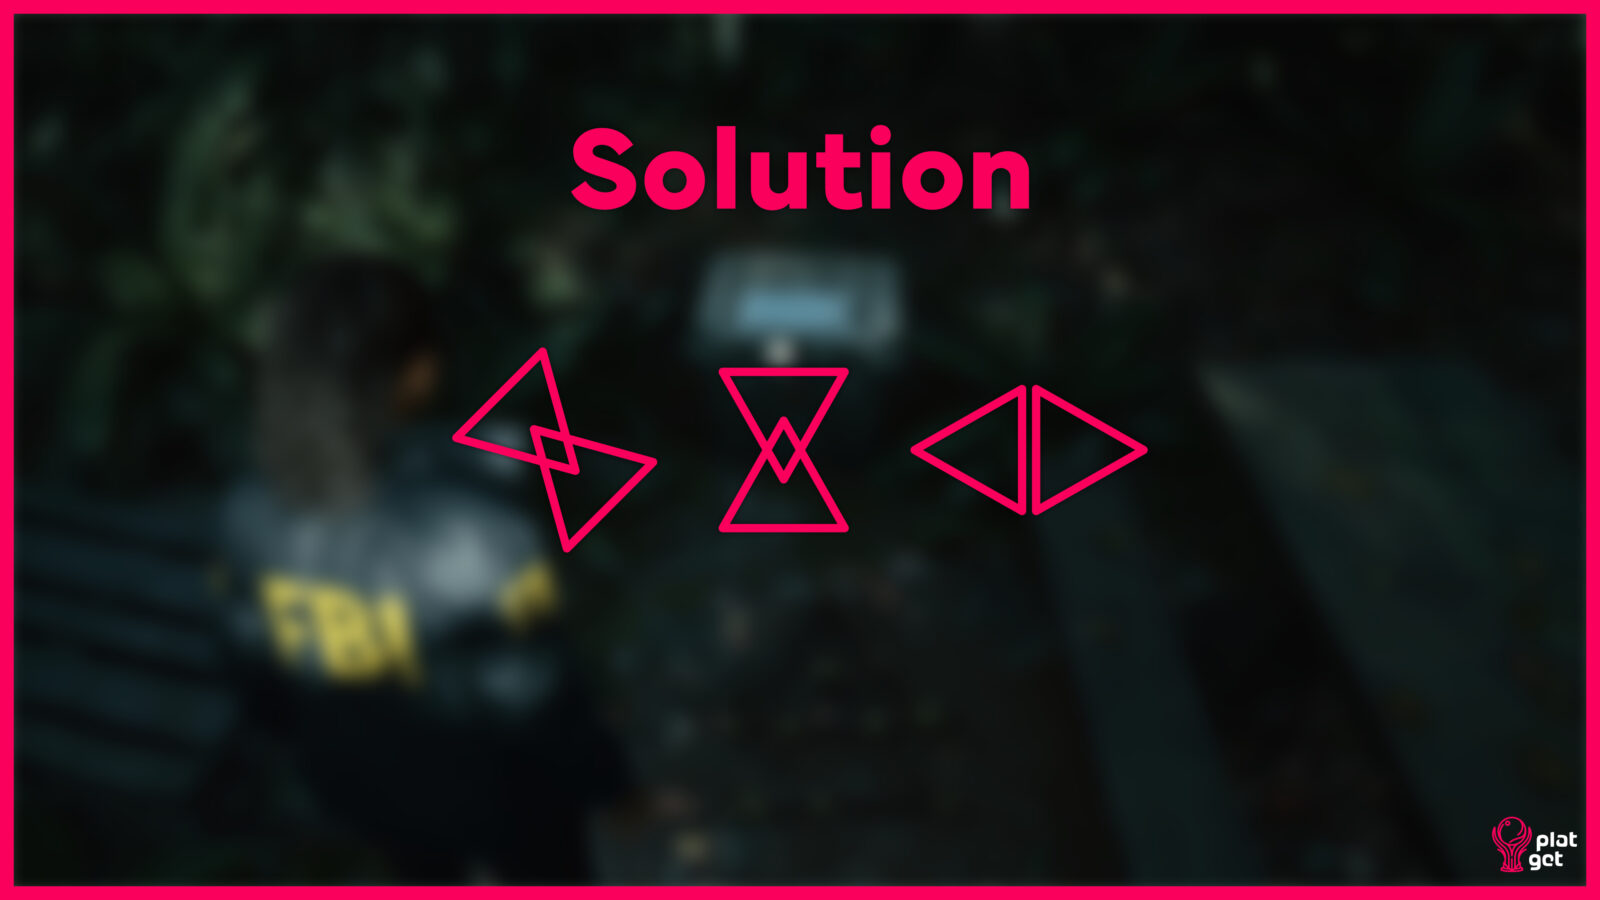
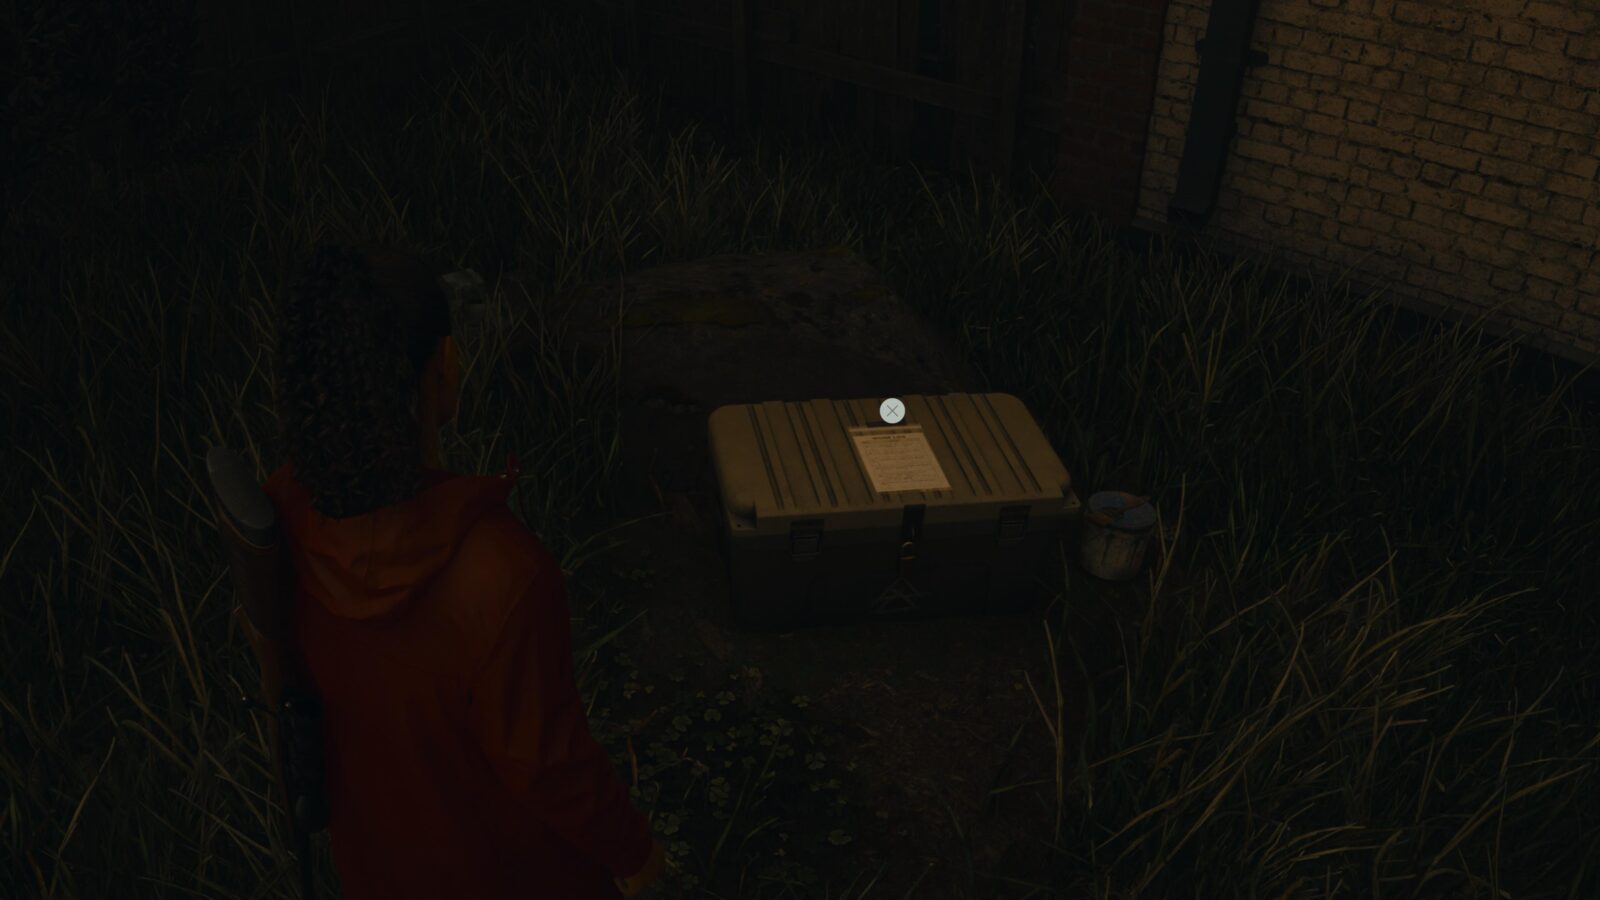
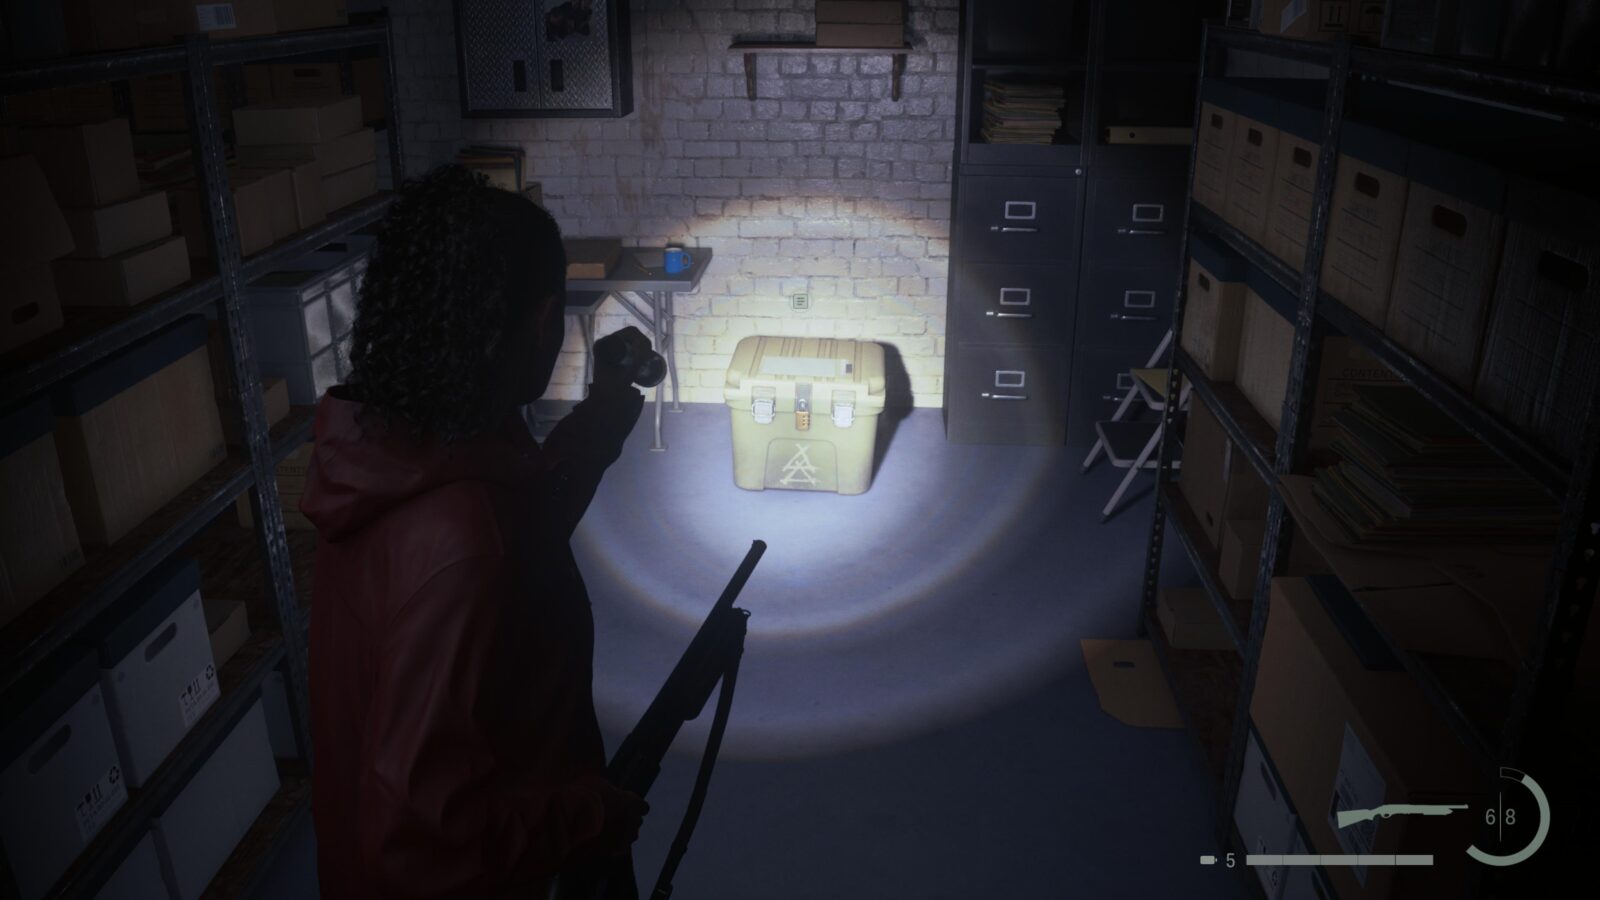
Cult Stash #22
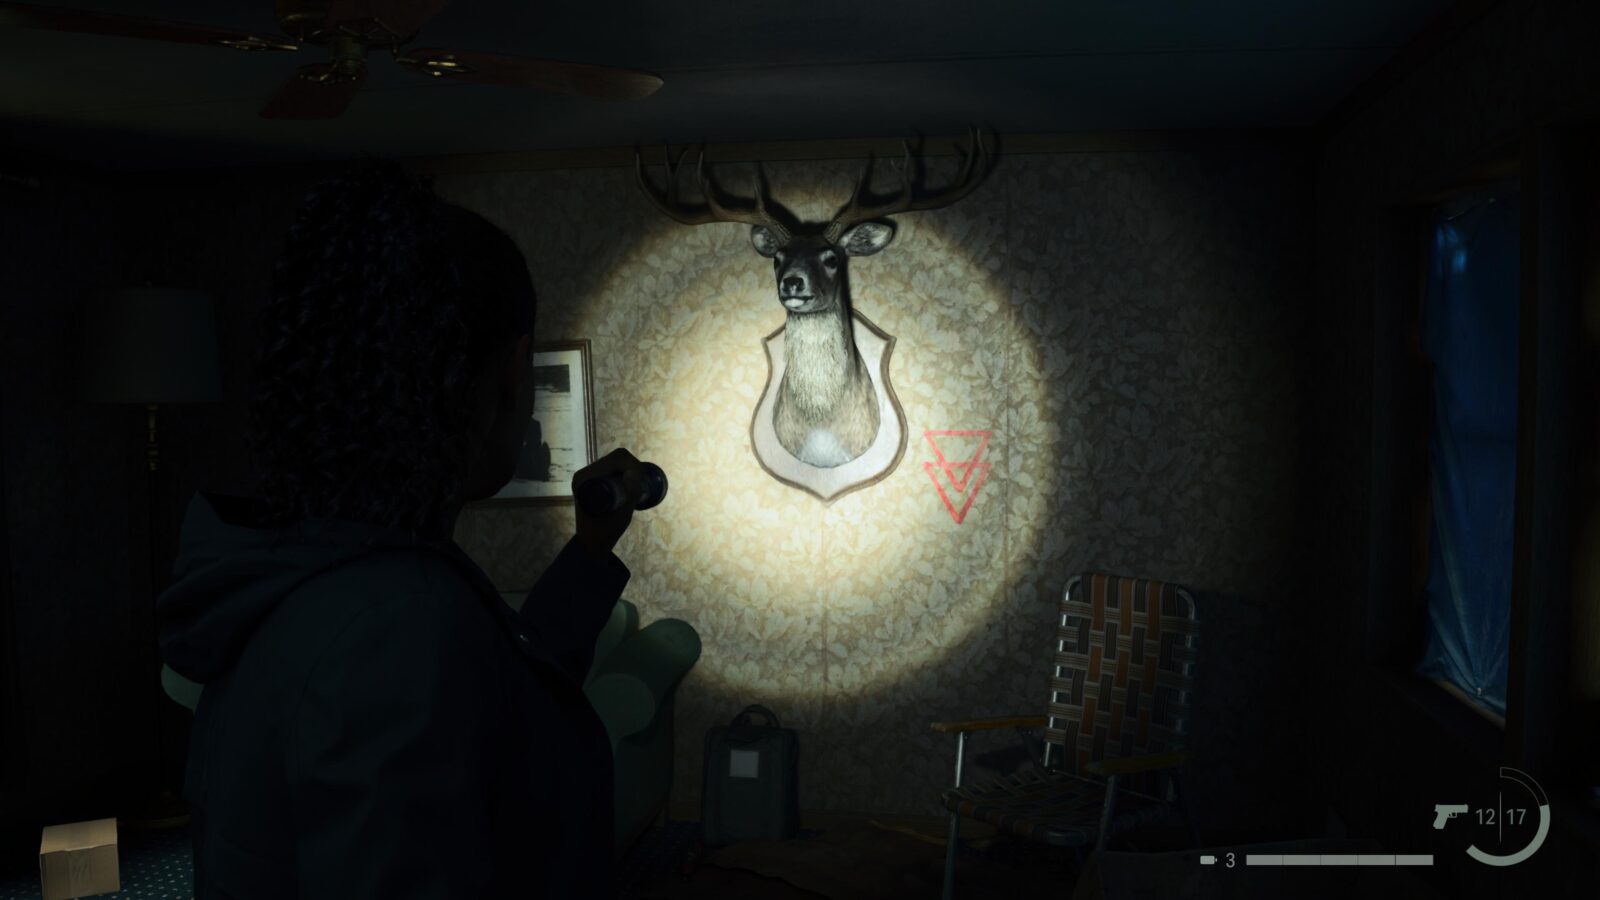
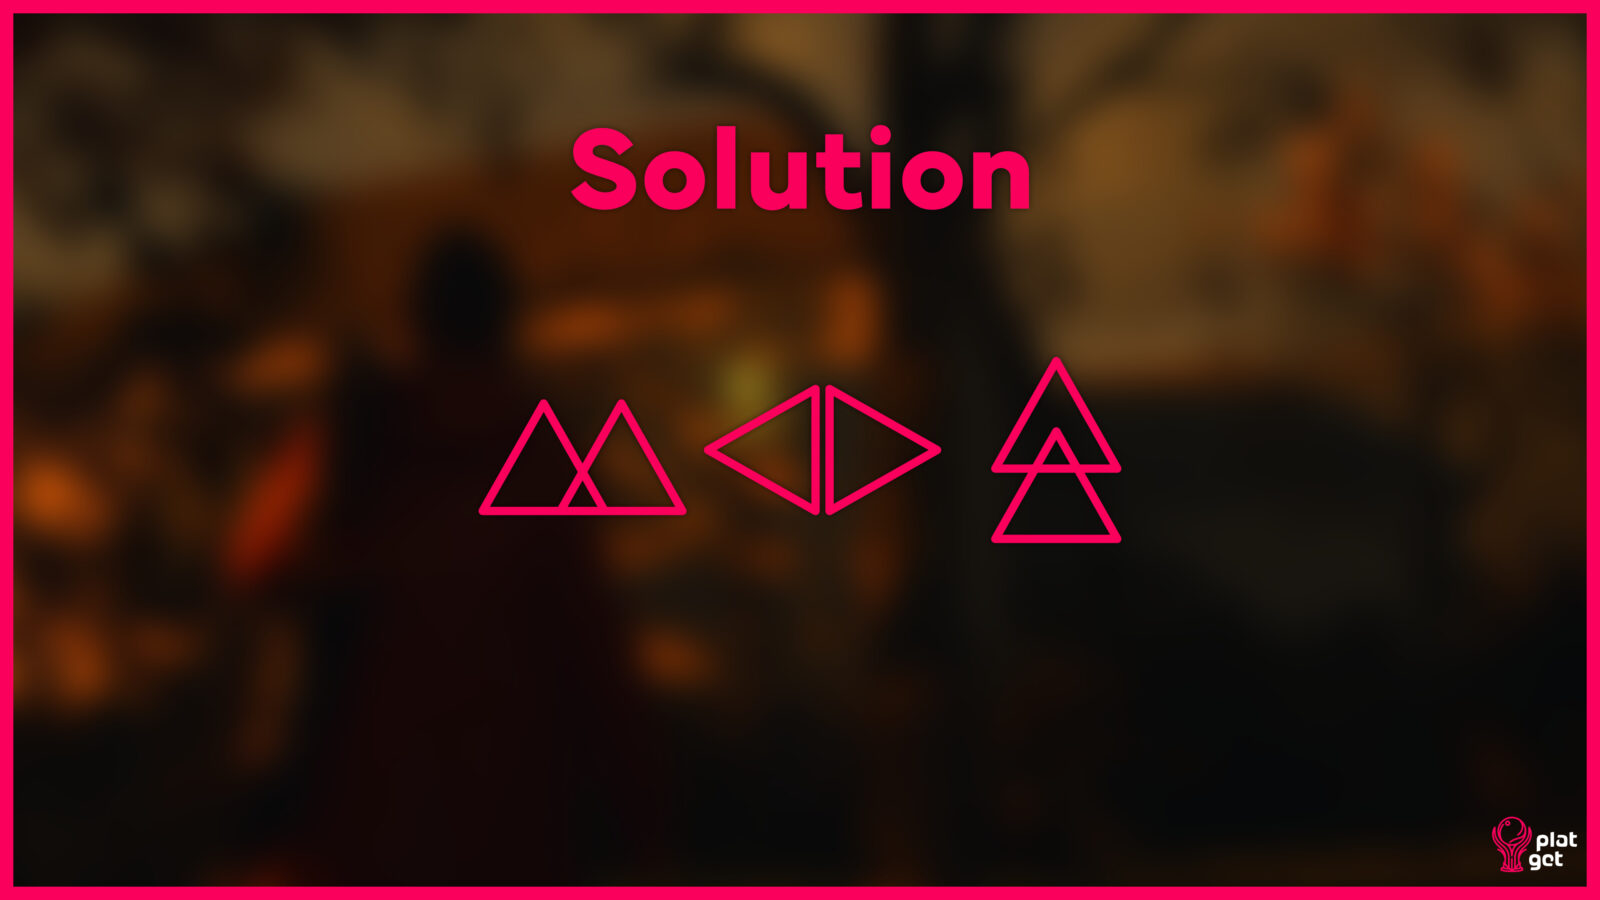
In the Basement of the Police Station you can find the Evidence Room. At the back of this room is the final Cult Stash in Alan Wake 2. Figuring out the combination for this one is really simple. Just count the lines for each shape and you have your code.
Spoilers! Click to Show
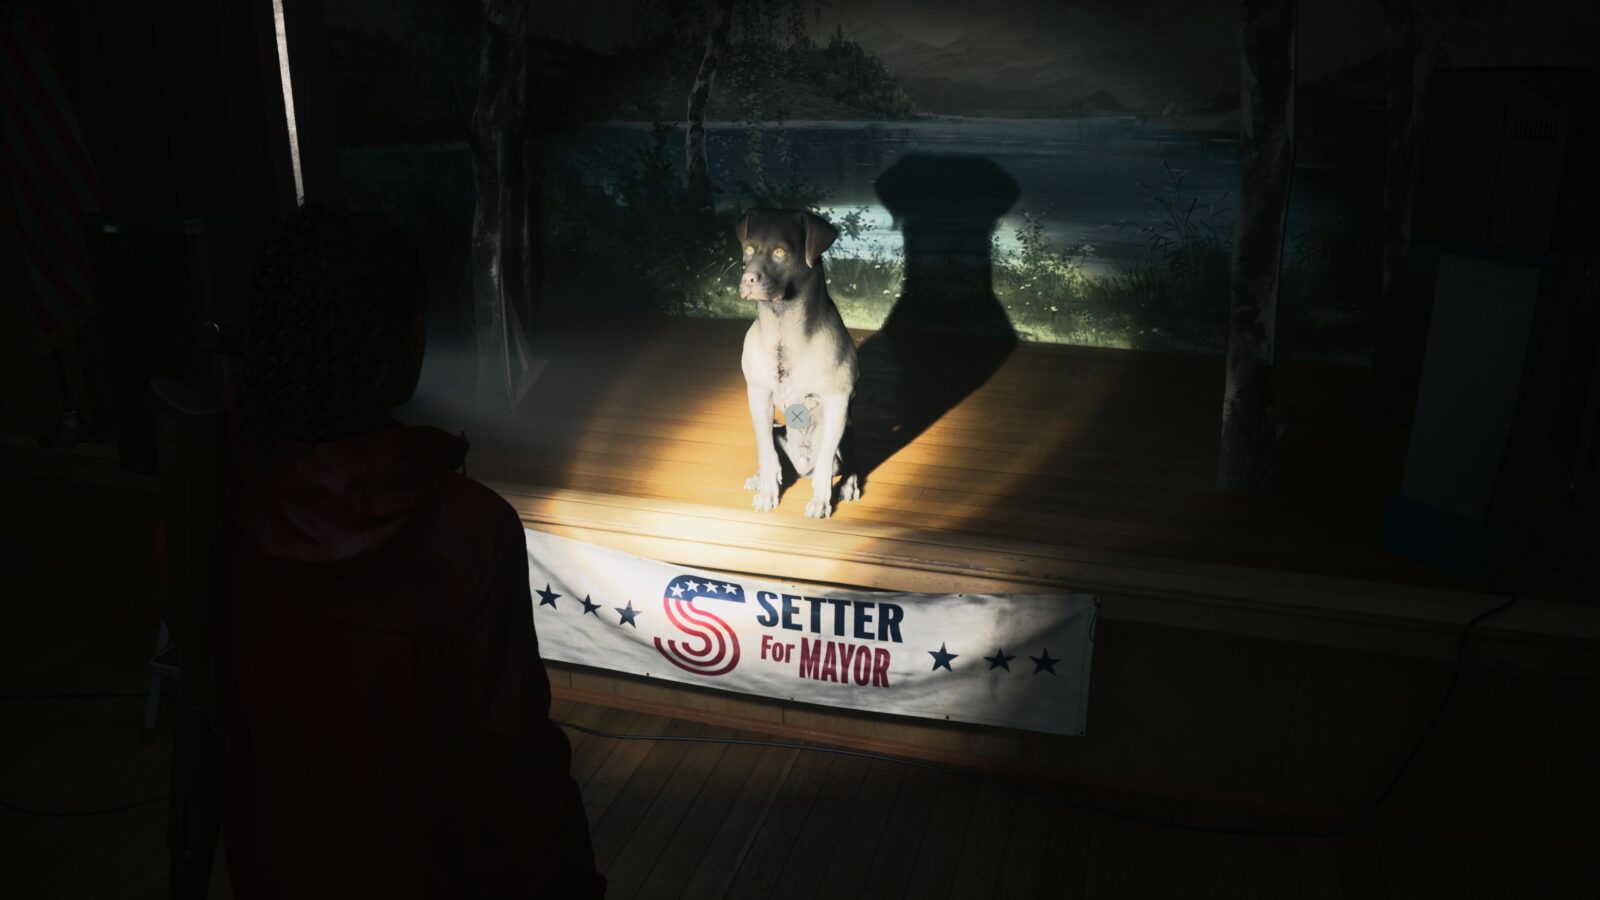
Charm #14 - Mayor Setter Charm
After fighting Scratch you will be placed back in the Police Station with Casey and Etevez standing in front of you. Completely ignore them and instead head to Watery. Once there go inside Suomi Hall to find a good boy that you can pet and receive the very last Charm in Alan Wake 2.
Manual Save
You can either make a Manual Save for Saga now or wait until the game prompts you. Either way, if you have yet to mop up everything in Saga’s story you’ll want a save file to return to later as there is no chapter select after finishing the story.
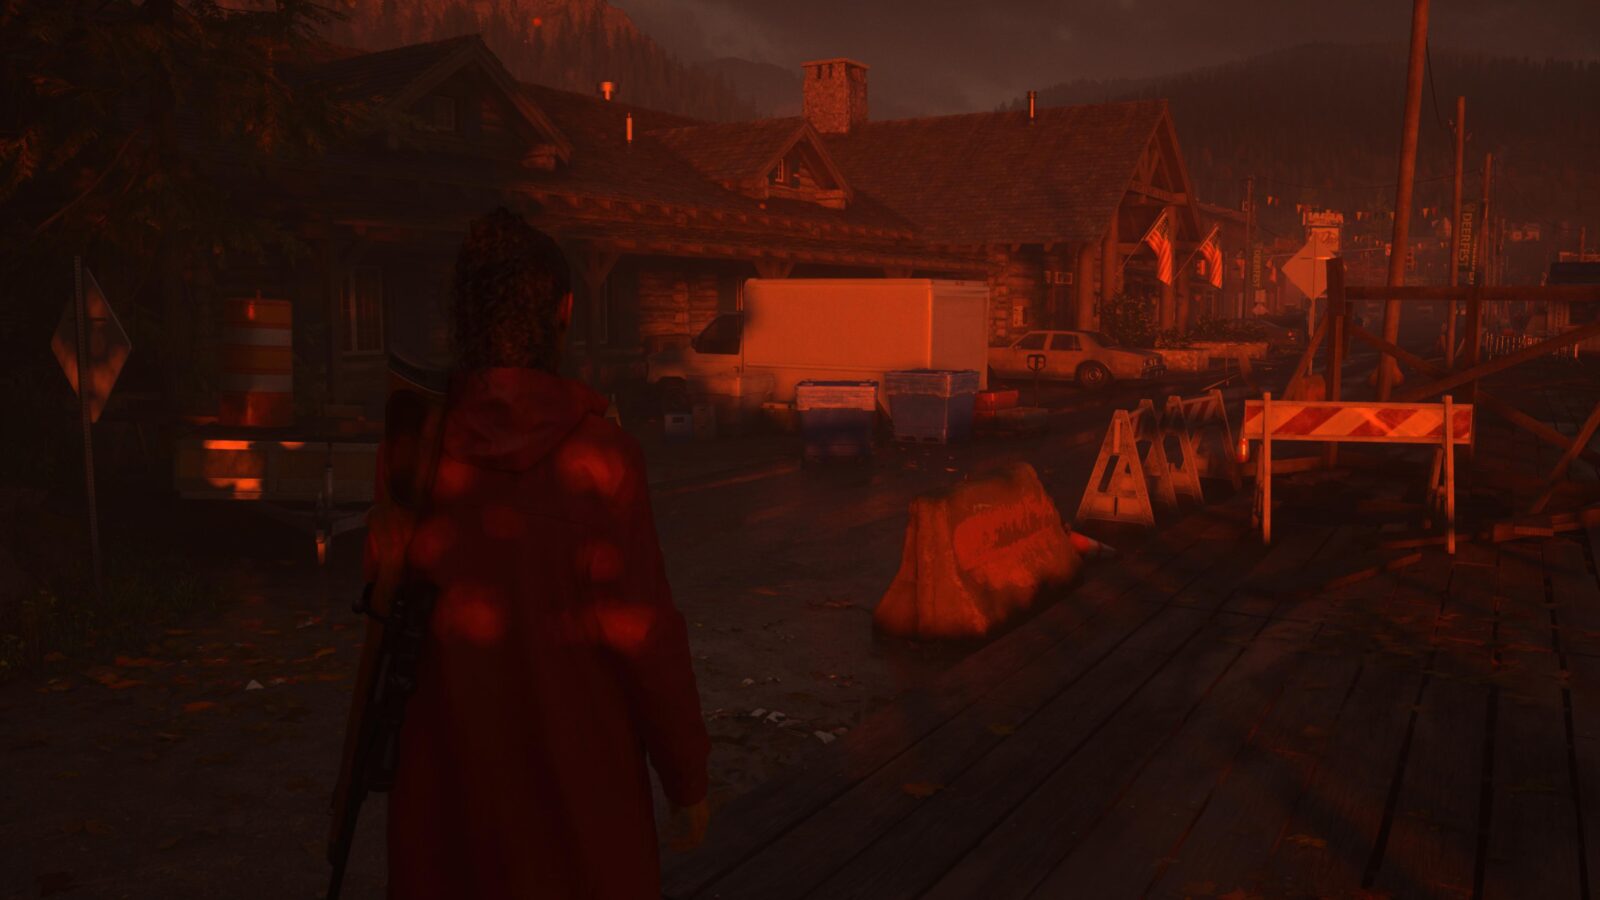
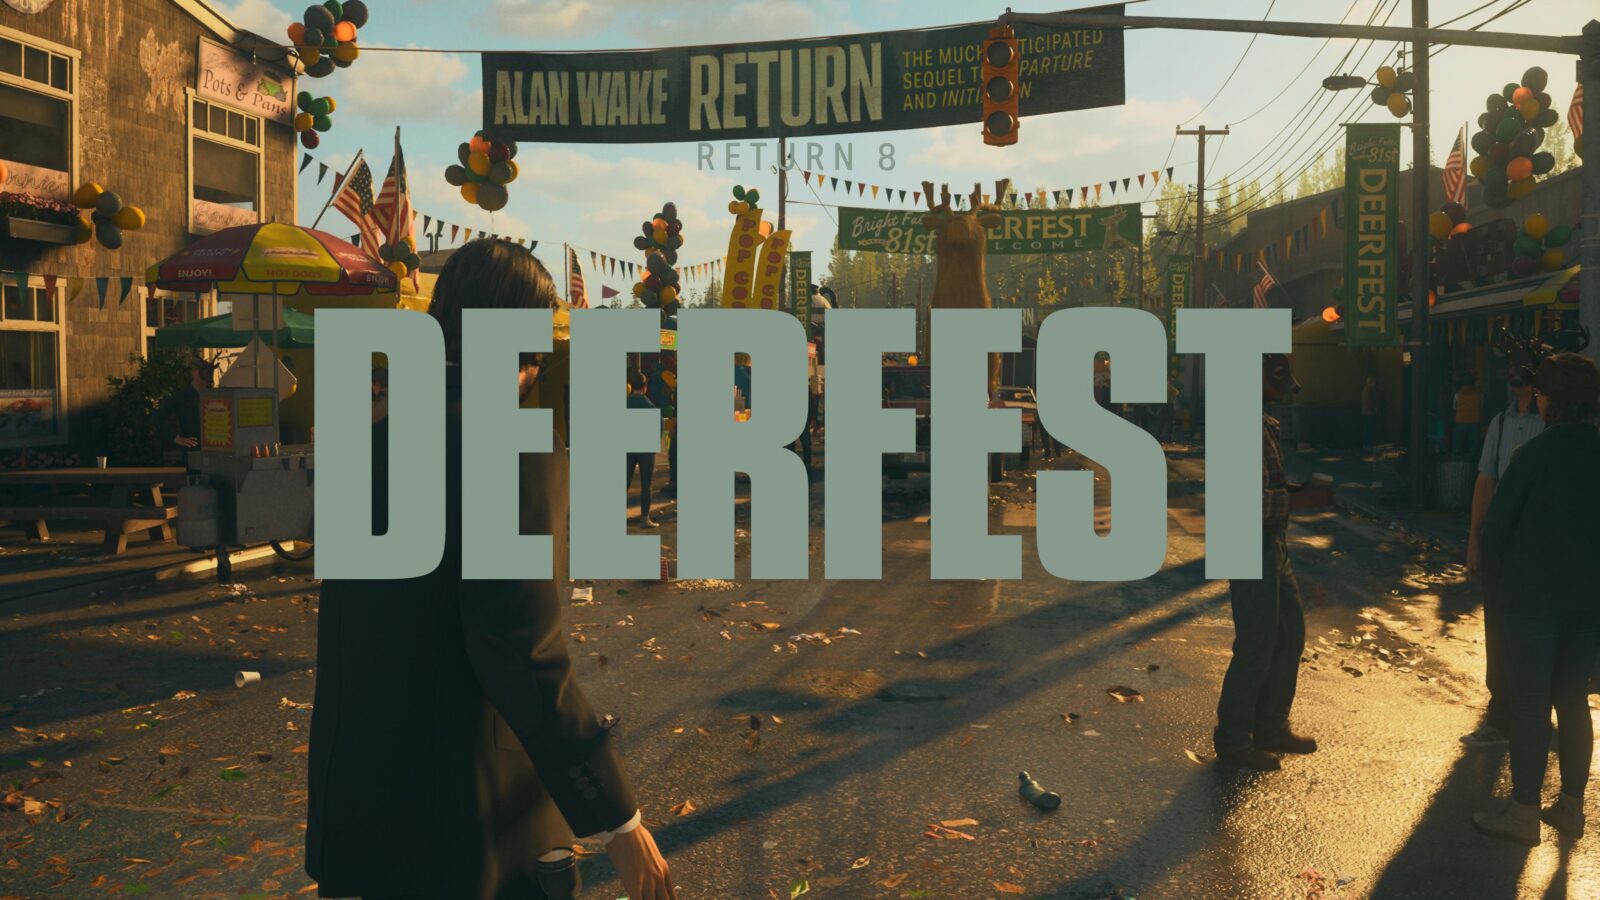
Return 8: Deerfest
Koskela Brothers Commercial #6 - "Return" Review
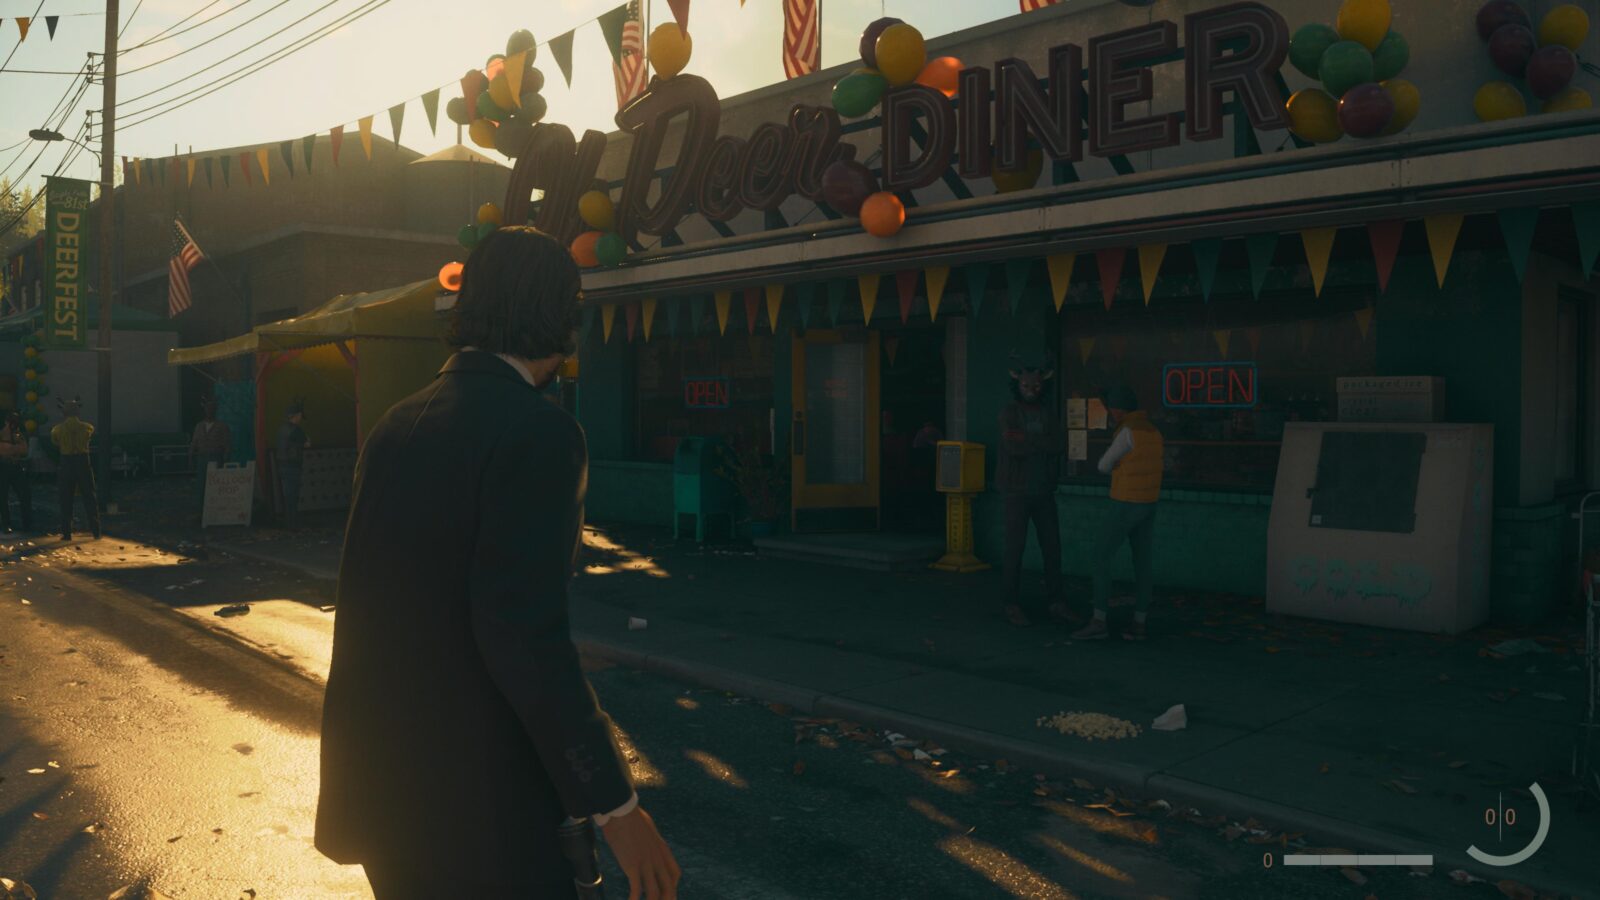
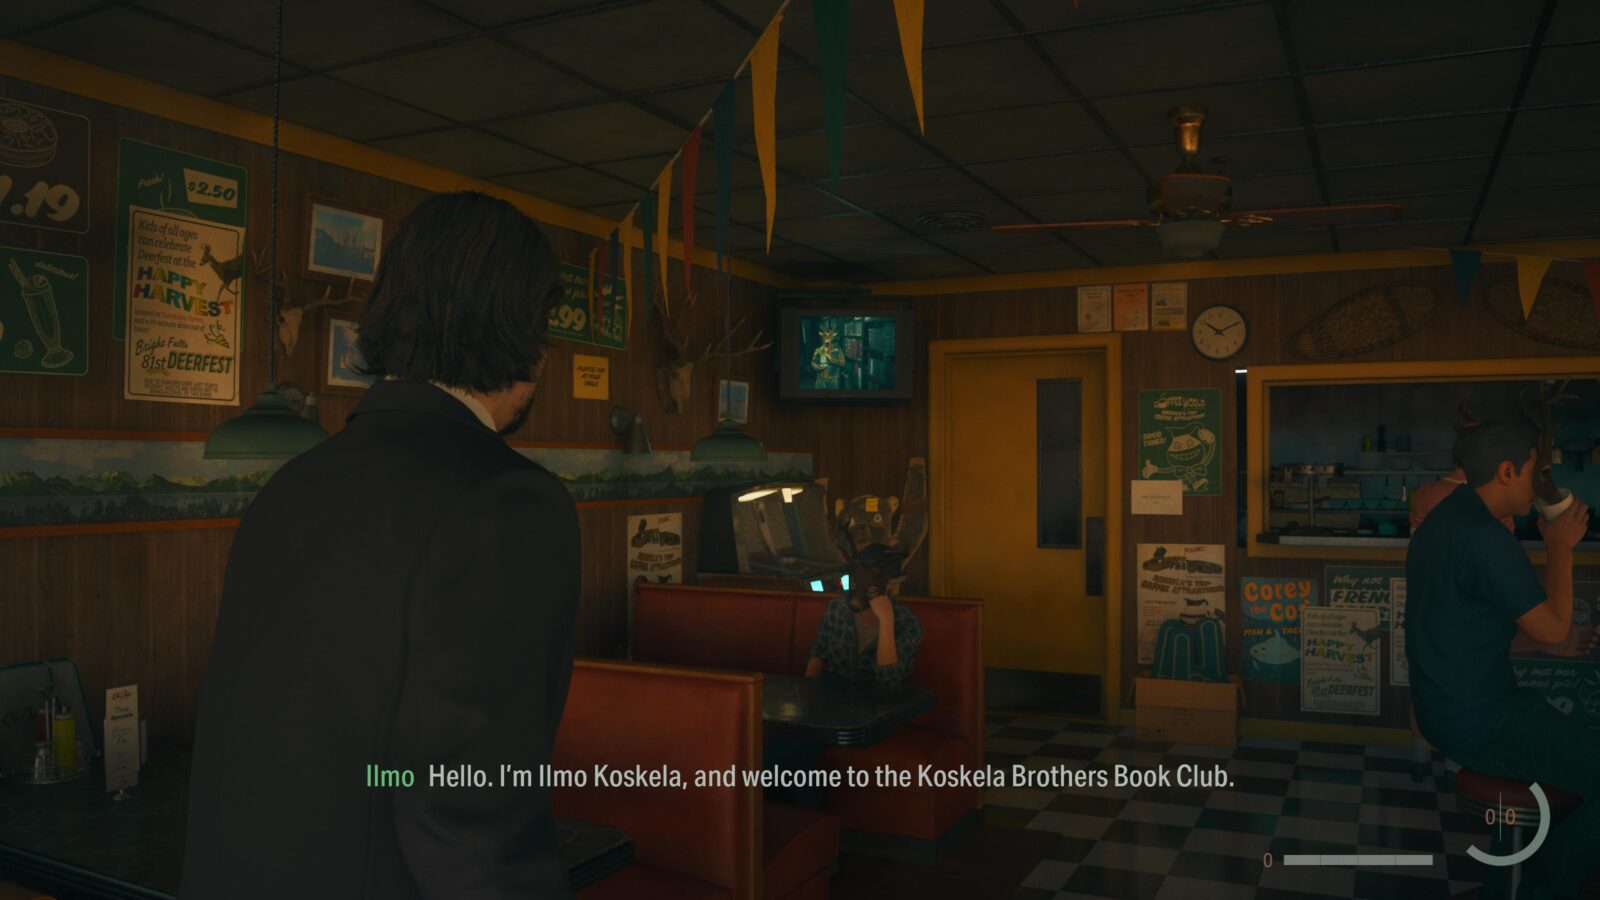
As Alan you will return to The Dark Place only this time it’s very bright and in the middle of Deerfest. As soon as you have control of Alan head into the Oh Deer Diner and the final Koksela ad will automatically play on a TV at the back of the Diner.
Thanks for Reading
Plat Get!
Thank You!
Thank You for choosing PlatGet as your source for this Alan Wake 2 All Collectibles Guide.
Wondering what to complete next? Browse our complete guide selection or check out our friends at PlatPrices.com to filter the PS Store based on price, trophy difficulty, or completion time.
Got a question, some feedback, or just want to say thanks? Drop a comment in the discussion section below, we'd love to hear from you! No account required!!