PlayStation 4, PlayStation 5
Stray Collectibles Guide
Game Guide
Where to Find all Music Sheet, Badge, and B-12 Memory Collectibles in Stray for PlayStation 4 & 5
Welcome to our Stray Collectible Guide. Within, you’ll not only find all collectibles, like B-12 Memories, Badges, and Music Sheets (Chapter 4 only), but also Chapter-Specific Trophies, Nuzzle Opportunities (Ch4 & Ch10 only), and at least one Scratch Opportunity in each of the 12 levels.
Note that for the Scratch Opportunities, you should scratch the object with both paws at least once for it to count, then you can leave the scratch sequence by pressing ![]() . You just need to complete one of these sequences per chapter for Territory.
. You just need to complete one of these sequences per chapter for Territory.
Scratch Opportunities are also not saved like other collectibles are, so if you die shortly after completing one without going through a checkpoint, you will need to scratch that object again for it to count.
You will only need to Nuzzle 5 Robots, but I’ve listed all 10 opportunities to do so. Once you have the Cat’s Best Friend trophy, you can stop nuzzling robots, of course.
To help make this guide a bit easier to follow, the collectibles are numbered, however, these numbers don’t correlate to anything in-game. It’s just to help you keep track if you choose to follow along while playing.
Chapter One: Inside the Wall
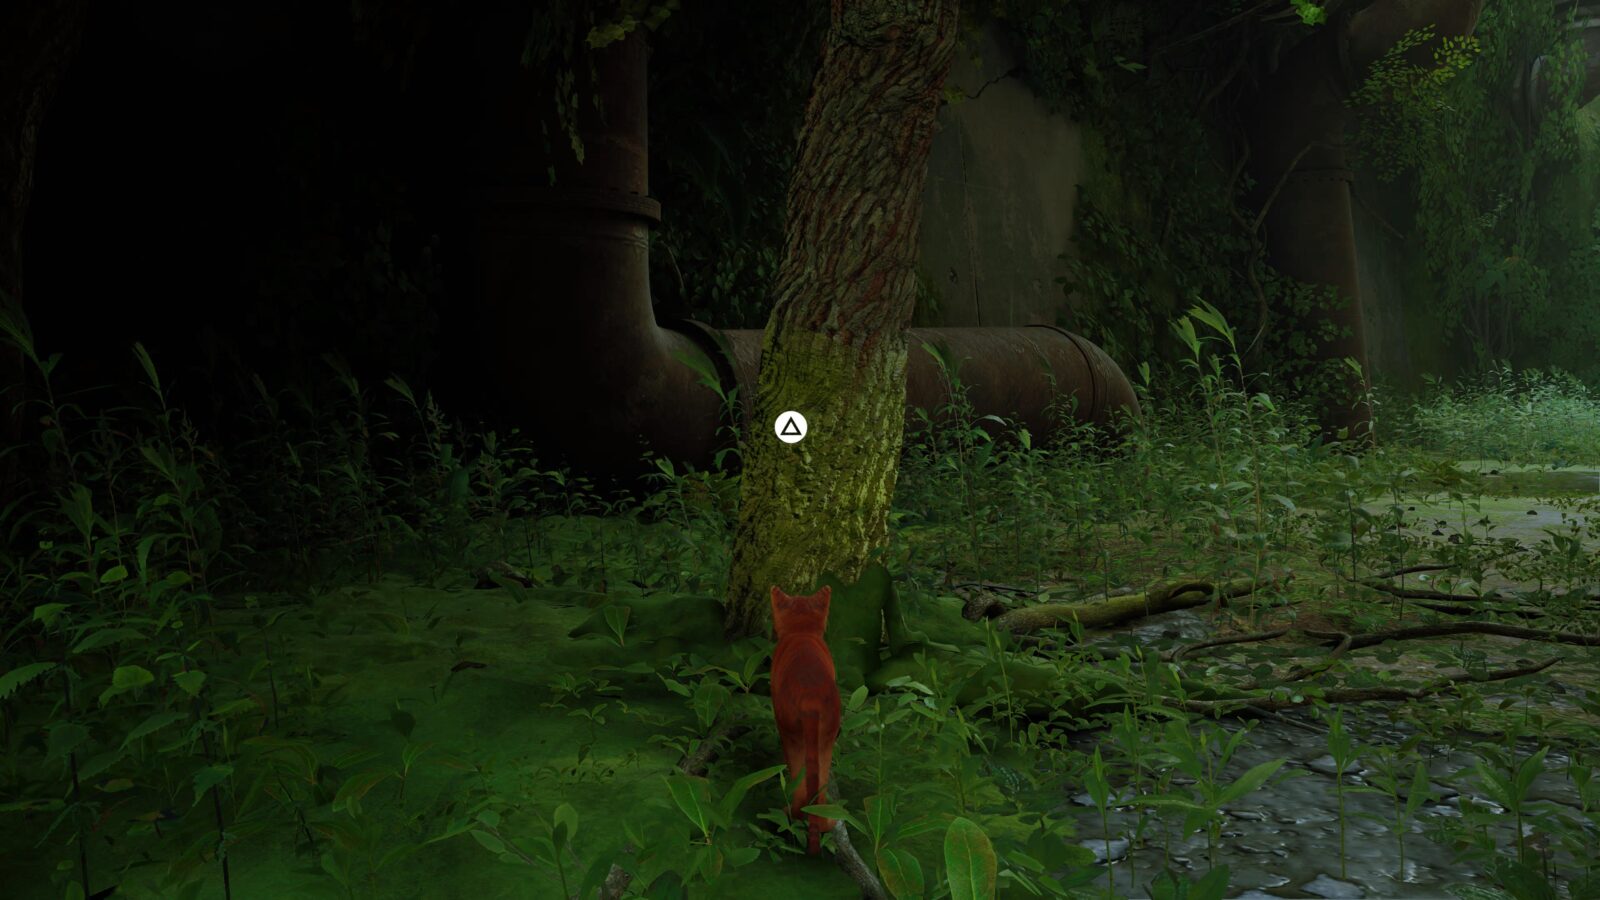
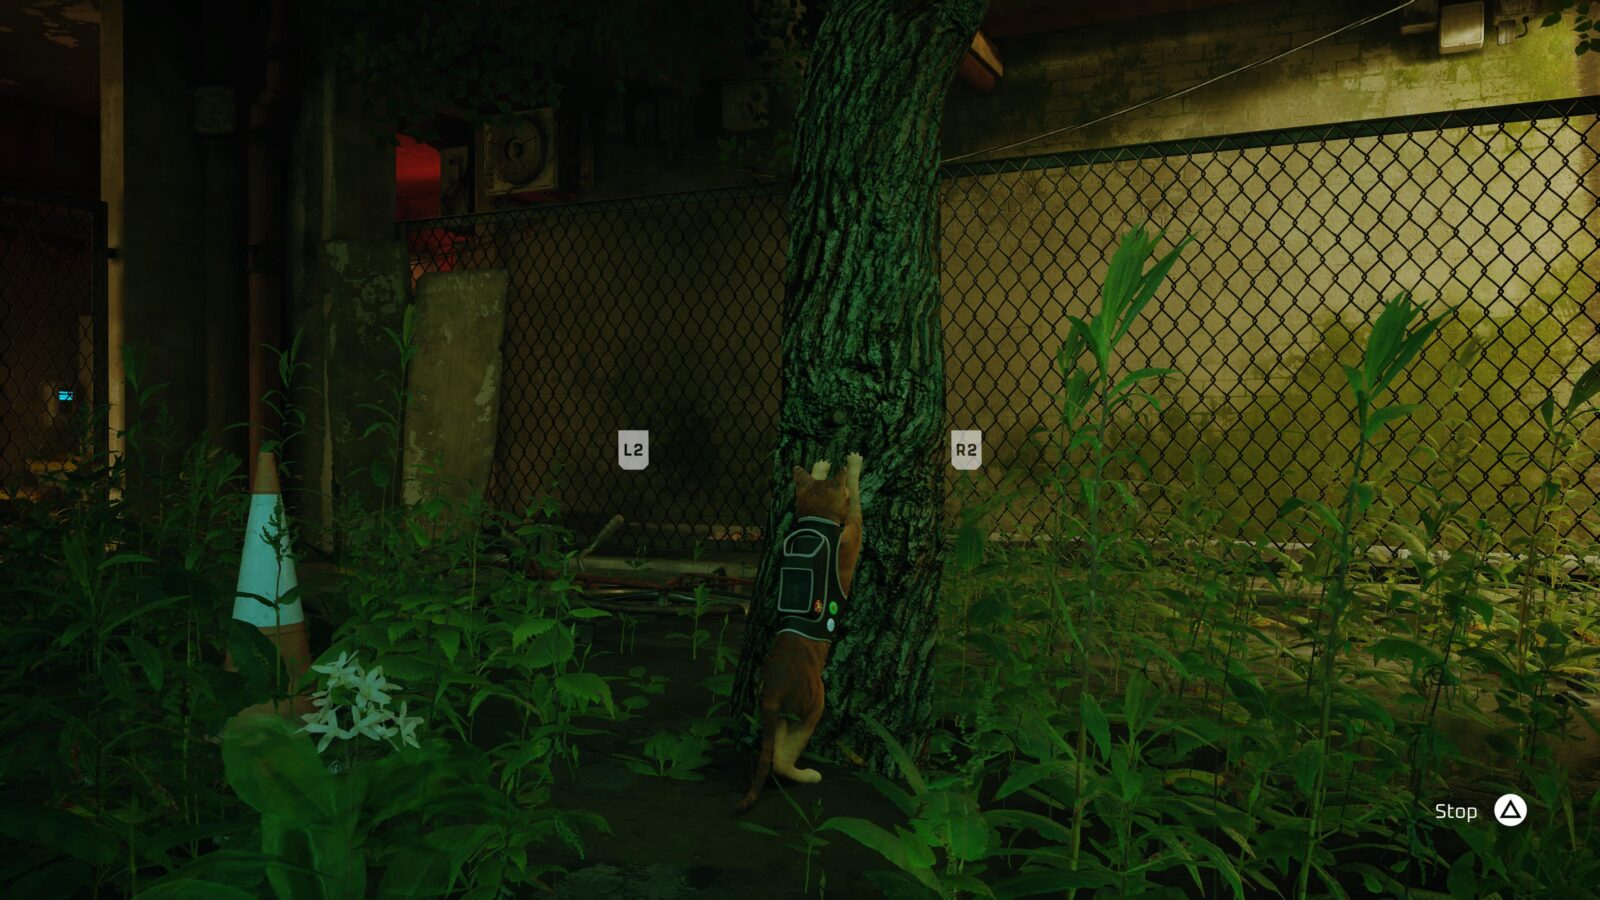
The only thing you need to do in this chapter is find something to scratch (1/12). After completing a Jump for the first time, by pressing ![]() to leap up a ledge, jump up the next ledge and then look for a tree on your left.
to leap up a ledge, jump up the next ledge and then look for a tree on your left.

Scratch this tree by approaching it and pressing ![]() , and then alternate between
, and then alternate between ![]() and
and ![]() presses.
presses.
Chapter Two: Dead City Collectibles
In Chapter 2, you will need to find another object to scratch (2/12).
There’s a certain point in the level where you need to push a paint can off a ledge and into a glass window below.
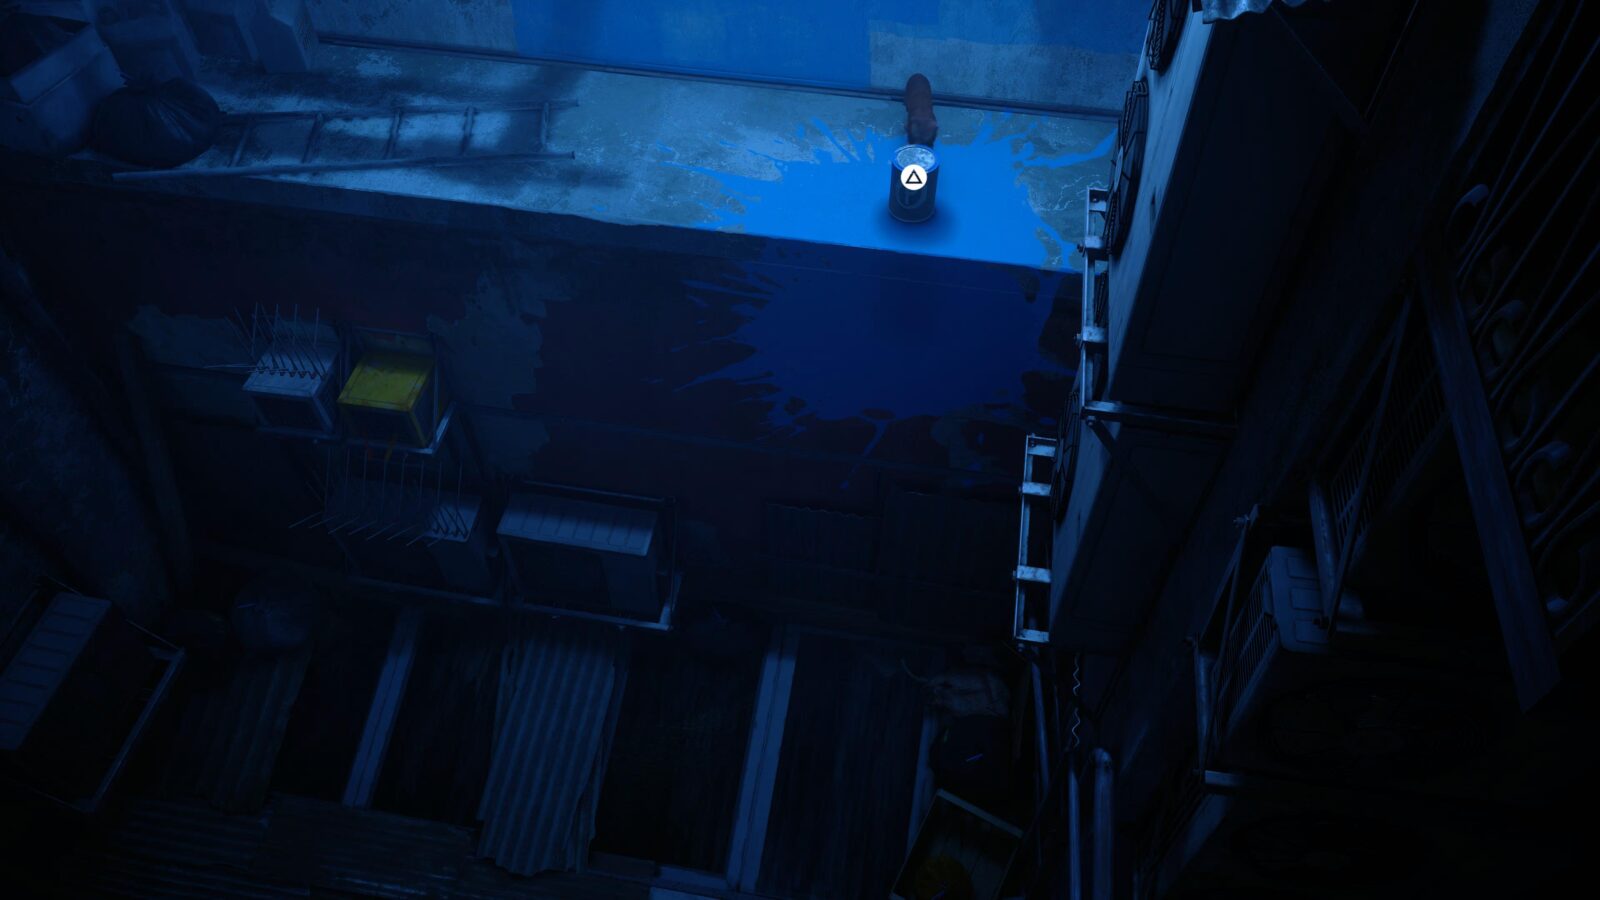
Drop through the broken window to wind up in an apartment with two rugs that you can scratch.
Towards the end of the chapter, there’s a chase sequence where you’ll be pursued by tick-like creatures called Zurks. You will need to complete this chase sequence without being hit to unlock a Chapter-Specific Trophy. See Can’t Cat-ch Me.

Chapter Three: The Flat Collectibles
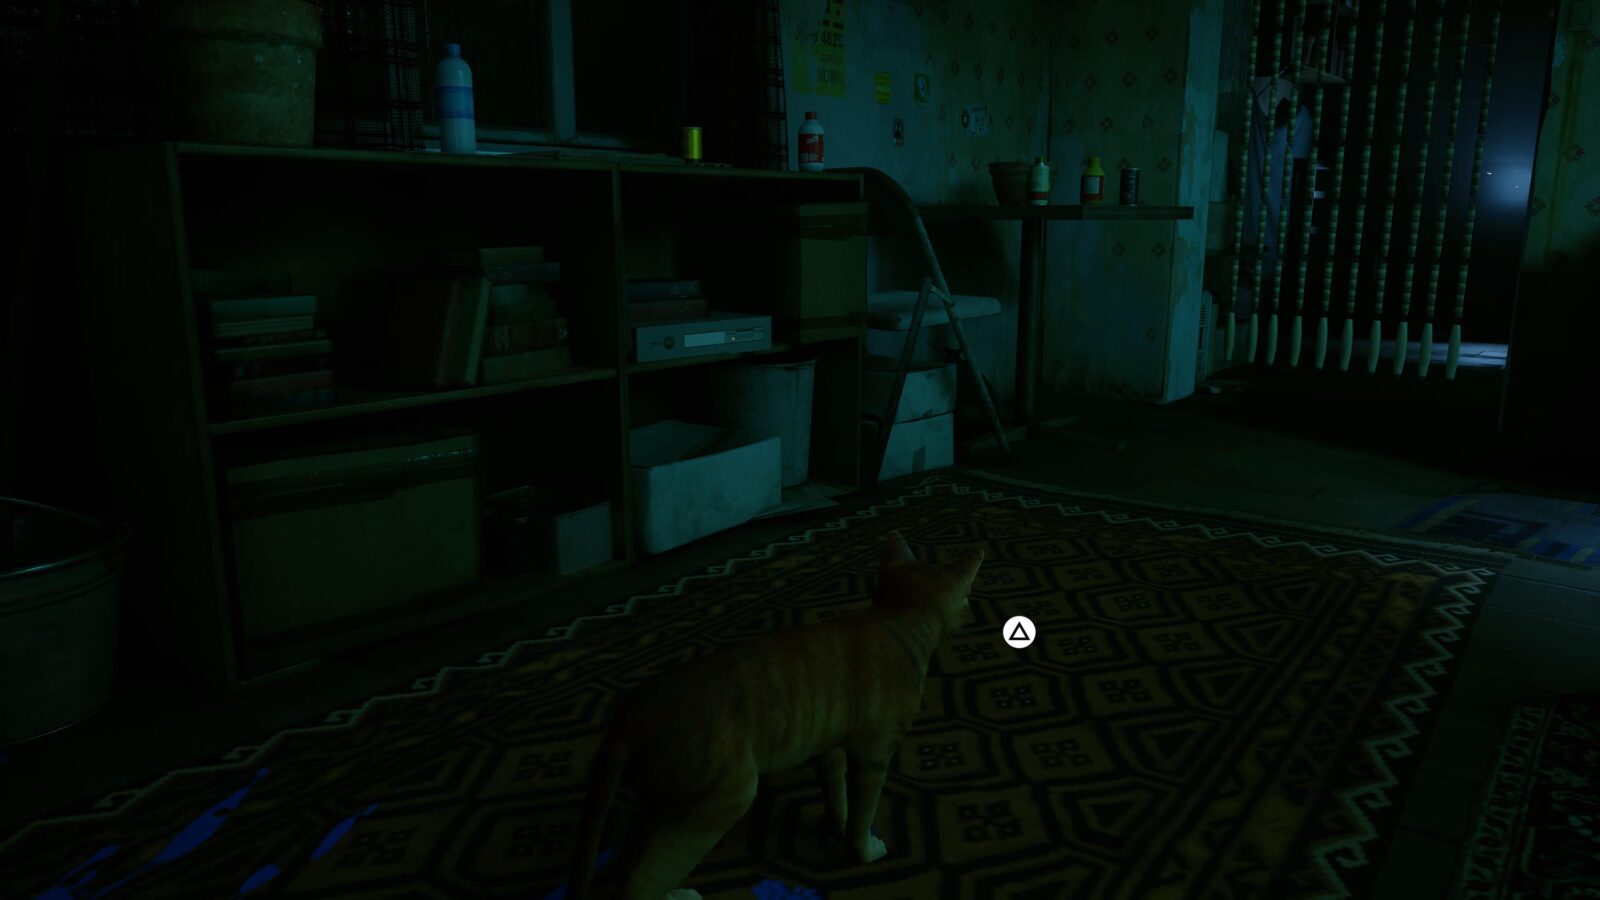
Chapter 3, again, is a short chapter with very few collectibles. In the apartment that you start this chapter in, you can find the first Scratch Opportunity (3/12).
Just head into the next room, and you’ll see a rug on the floor that you can scratch.
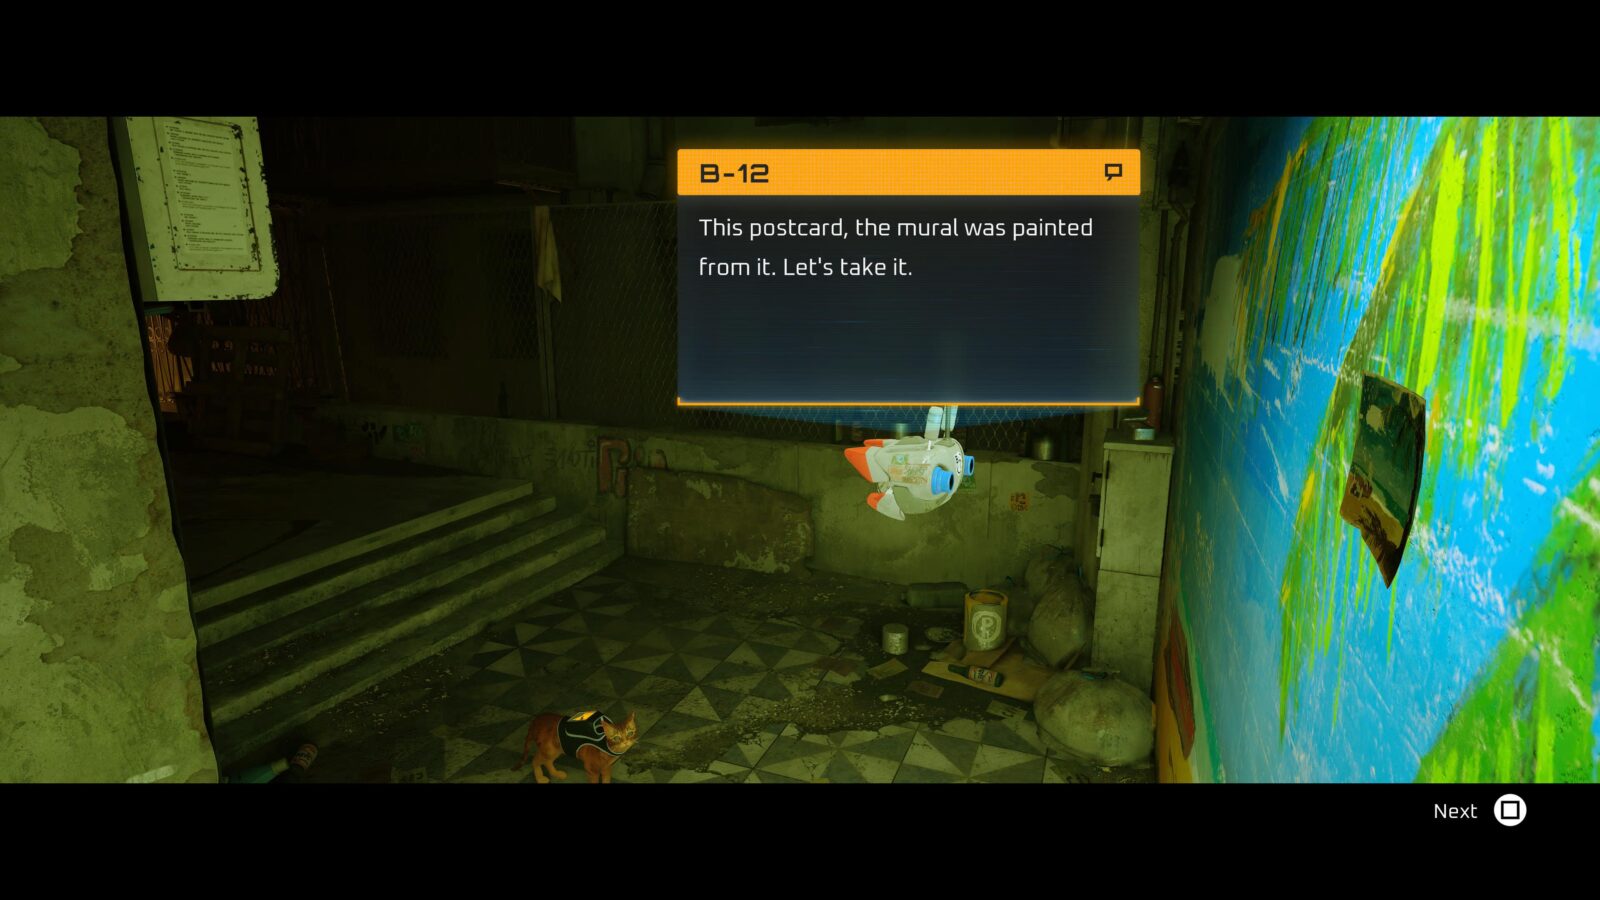
Later in the chapter, you will receive the first B-12 Memory (1/27); a Postcard. It is totally unmissable because B-12 will grab it for you.
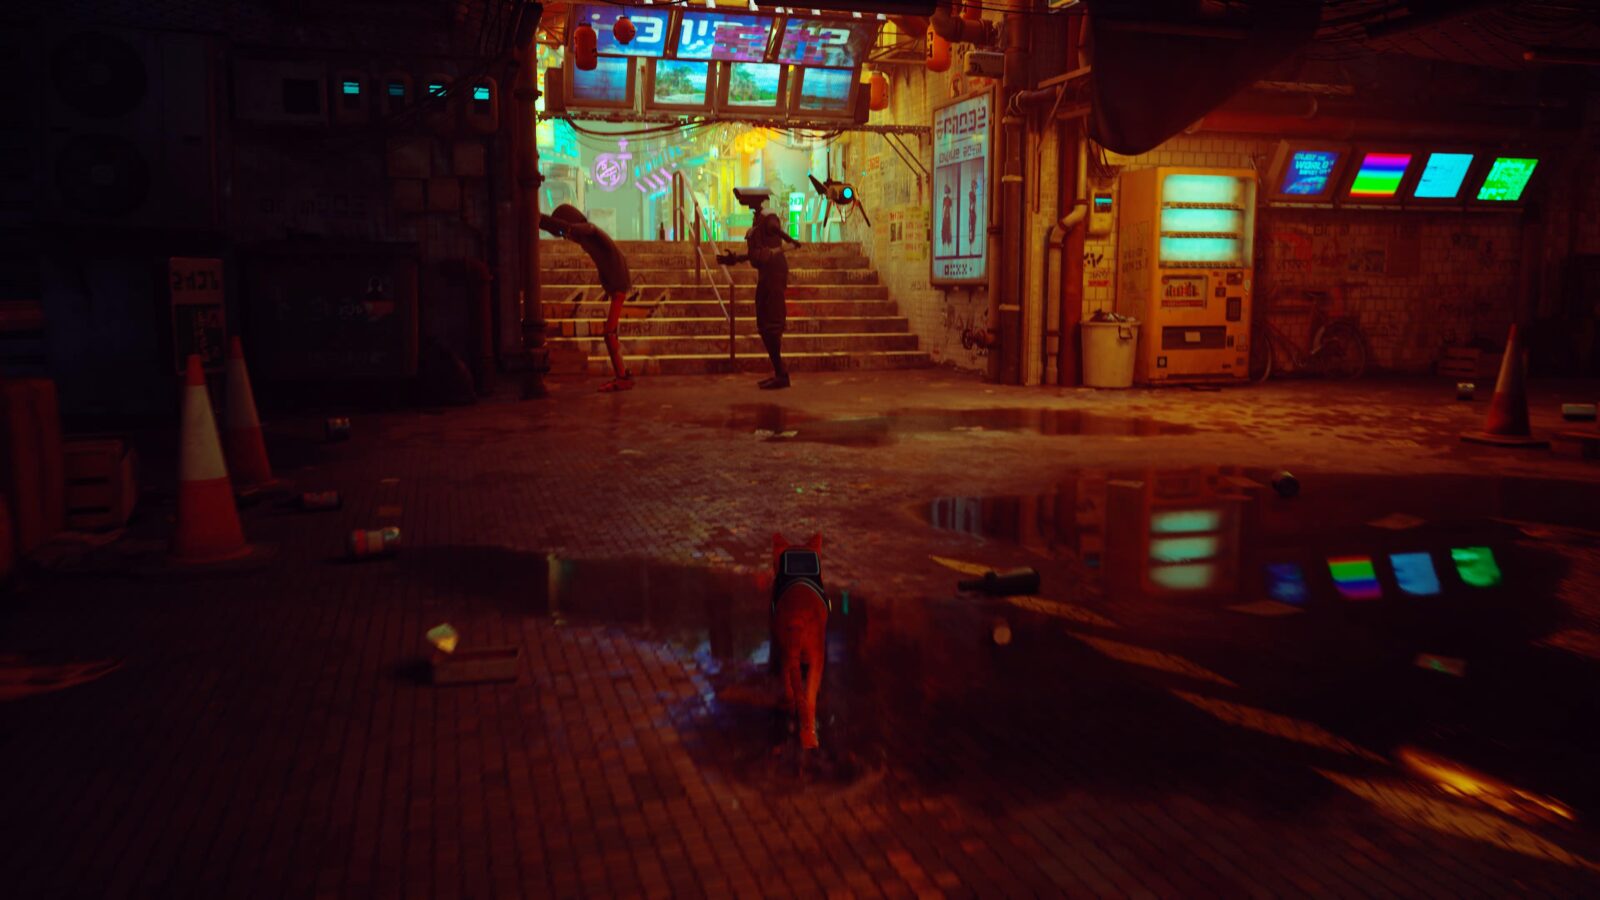
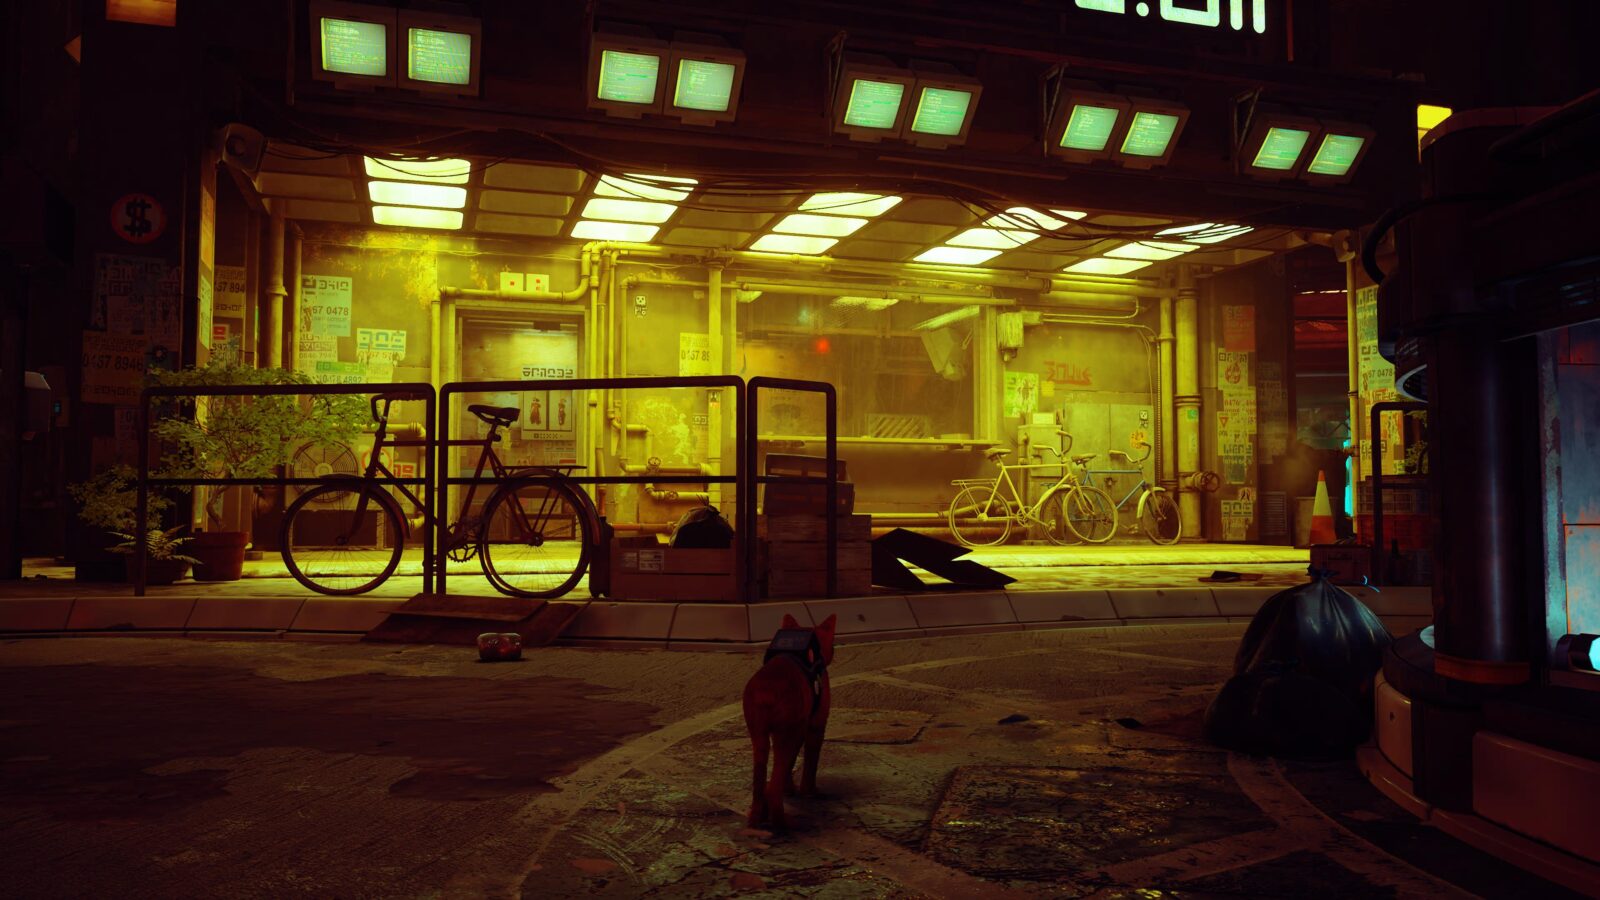
Chapter Four: the Slums Collectibles
Chapter 4 is the first chapter with a full array of collectibles for you to find. It’s also the only chapter to feature Music Sheet collectibles. Follow along closely so as to not miss any.
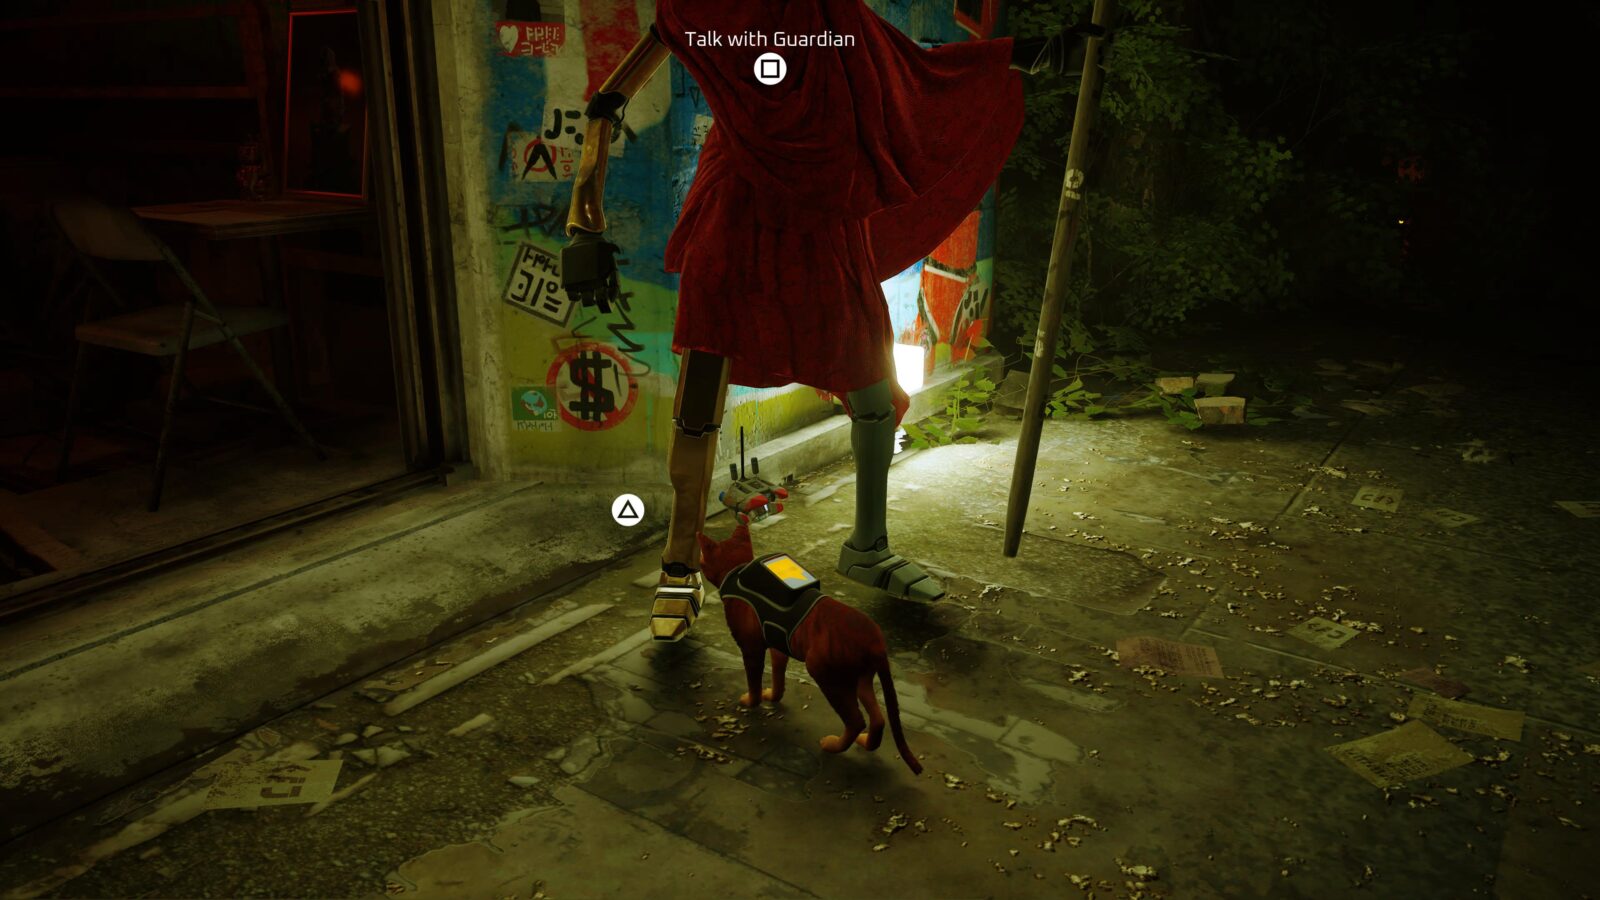
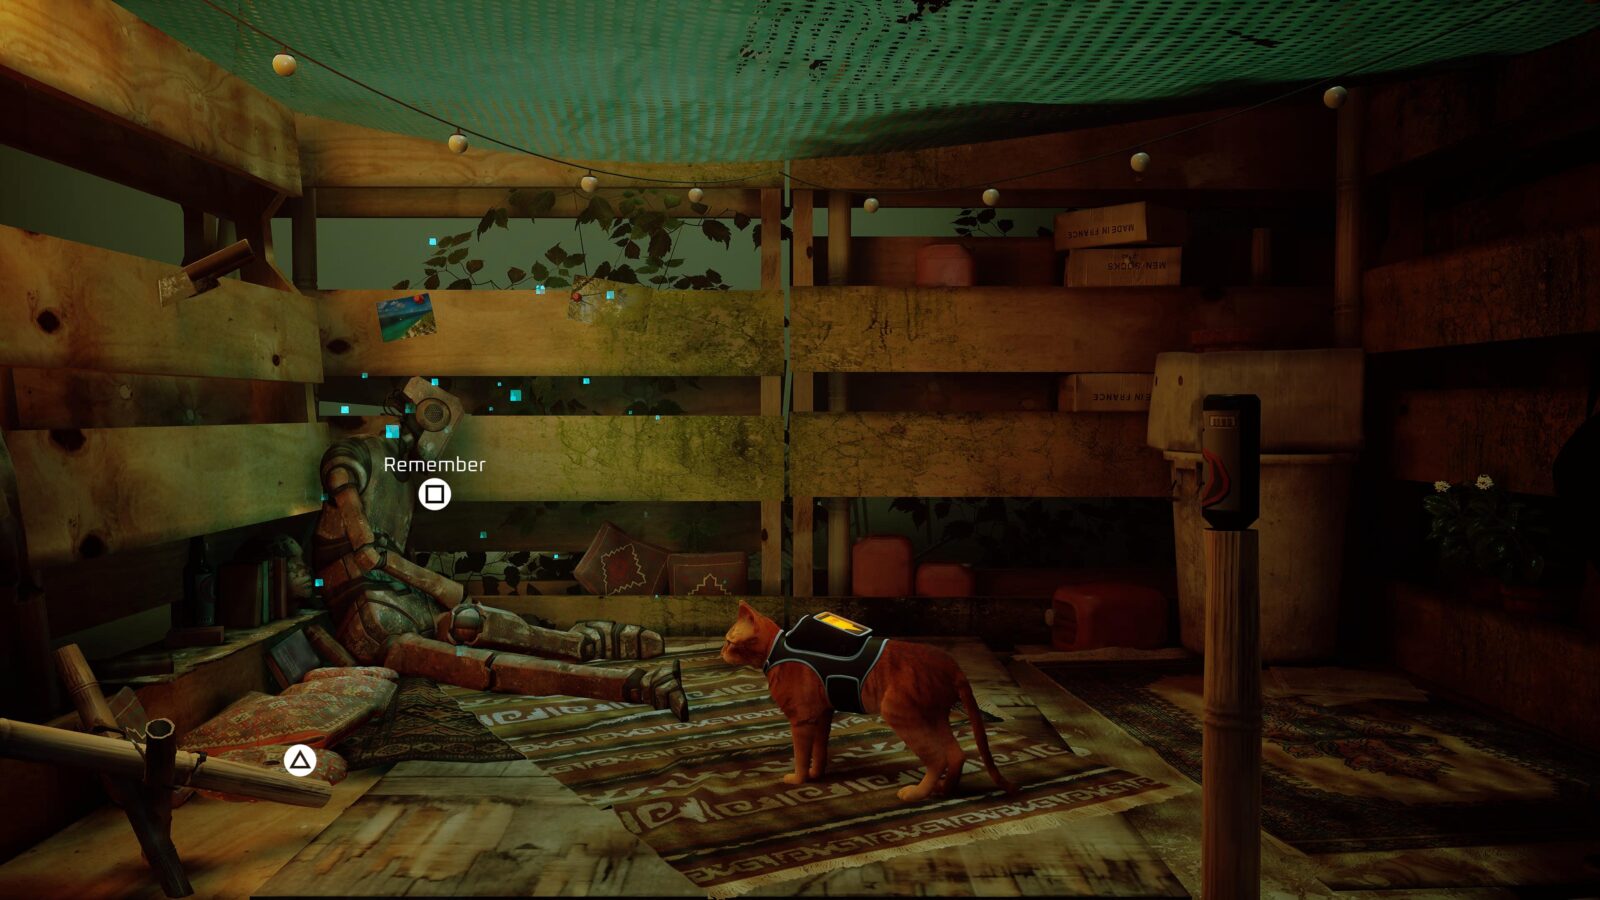
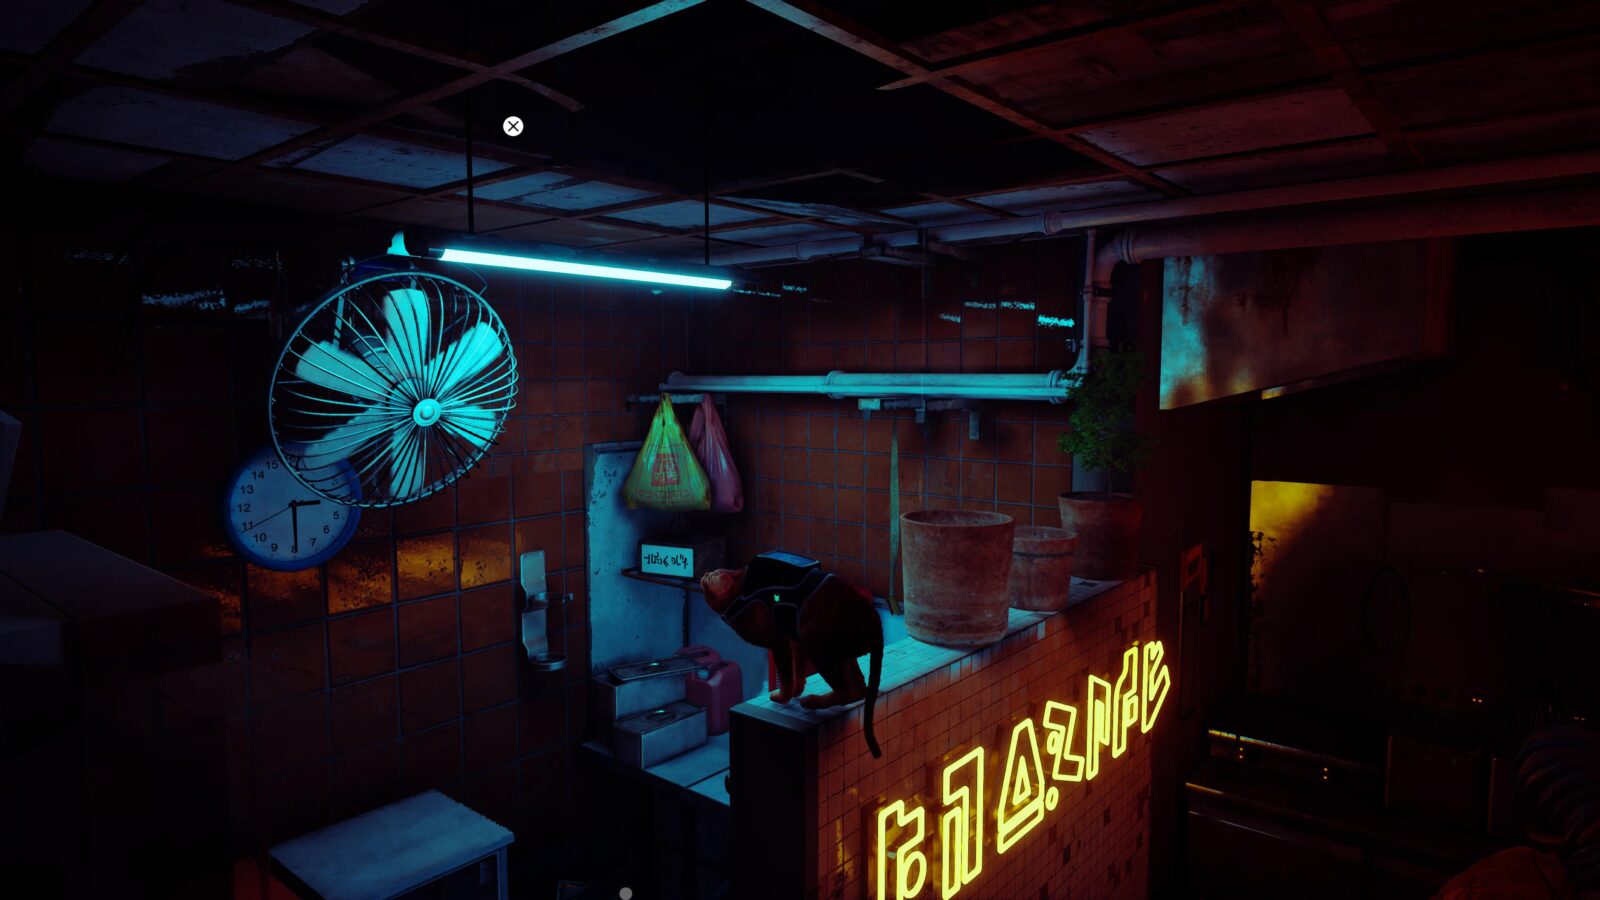
After B-12 translates a robot named “Guardian” as part of the story, enter a nearby garage with sleeping robots inside.

There, you’ll find a rug on the ground that you can scratch (4/12).
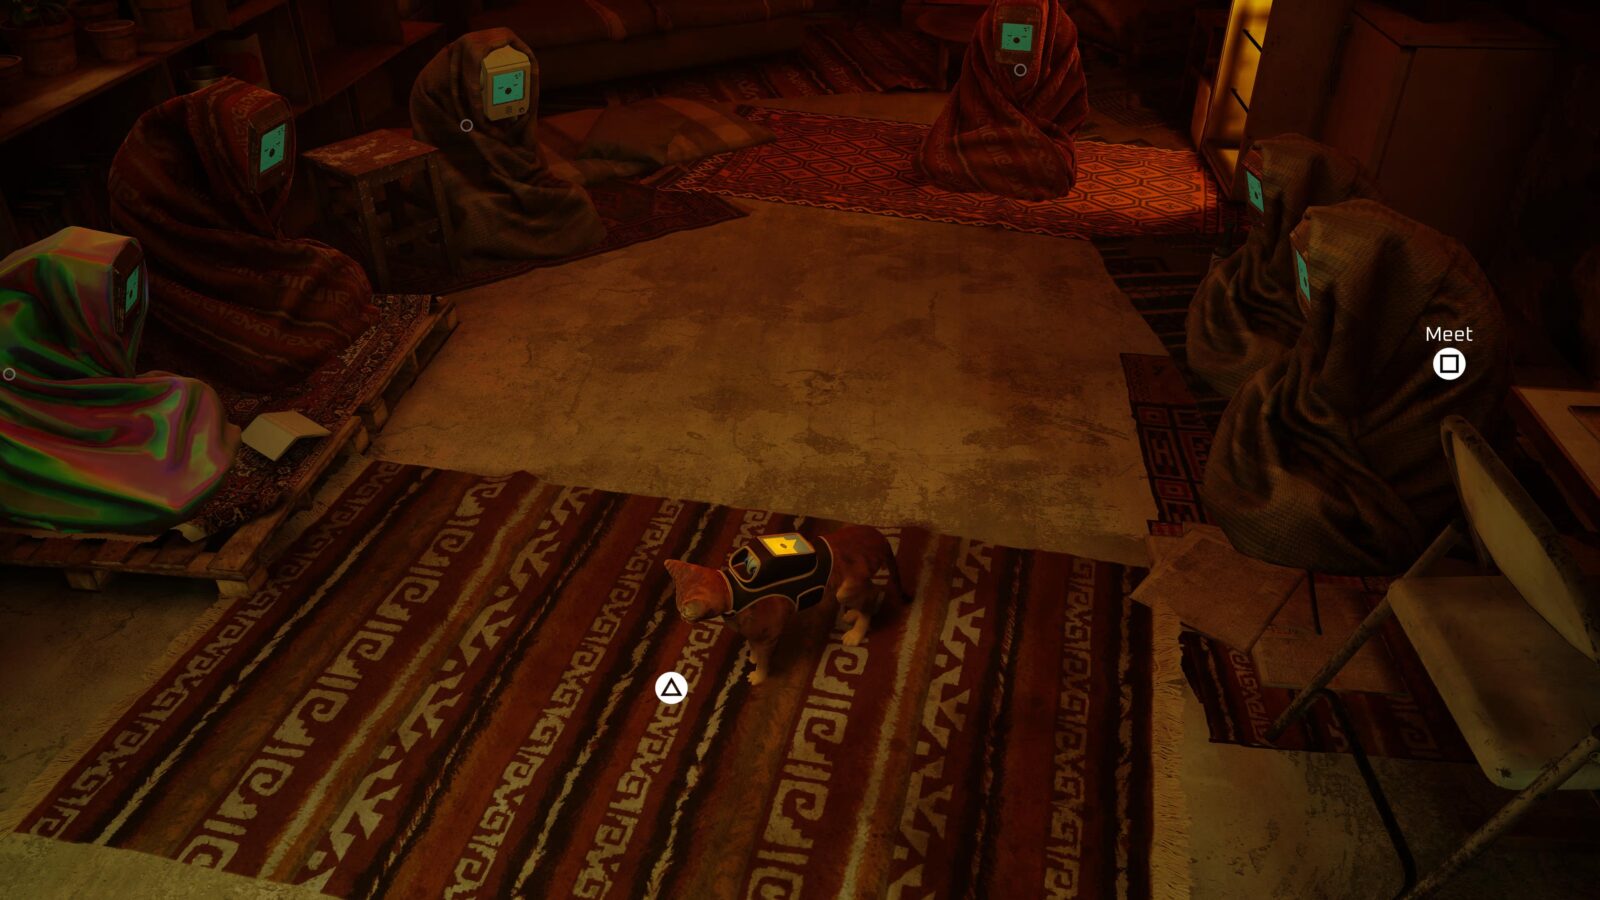
Next, show the postcard item to Guardian so that you can explore more freely.
Nuzzle (1/5) against his leg with ![]() .
.
Before you move on, there’s a couple of Chapter-Specific Trophies that you won’t want to miss.
The first is Boom Chat Kalaka, for getting a Basketball into a bucket. See instructions in our Stray Trophy Guide.
The second is Curiosity Killed the Cat, for interacting with a hidden paper bag. See instructions in our Stray Trophy Guide.
You could also get the Productive Day trophy here if you wish, or come back for it with Chapter Select later.
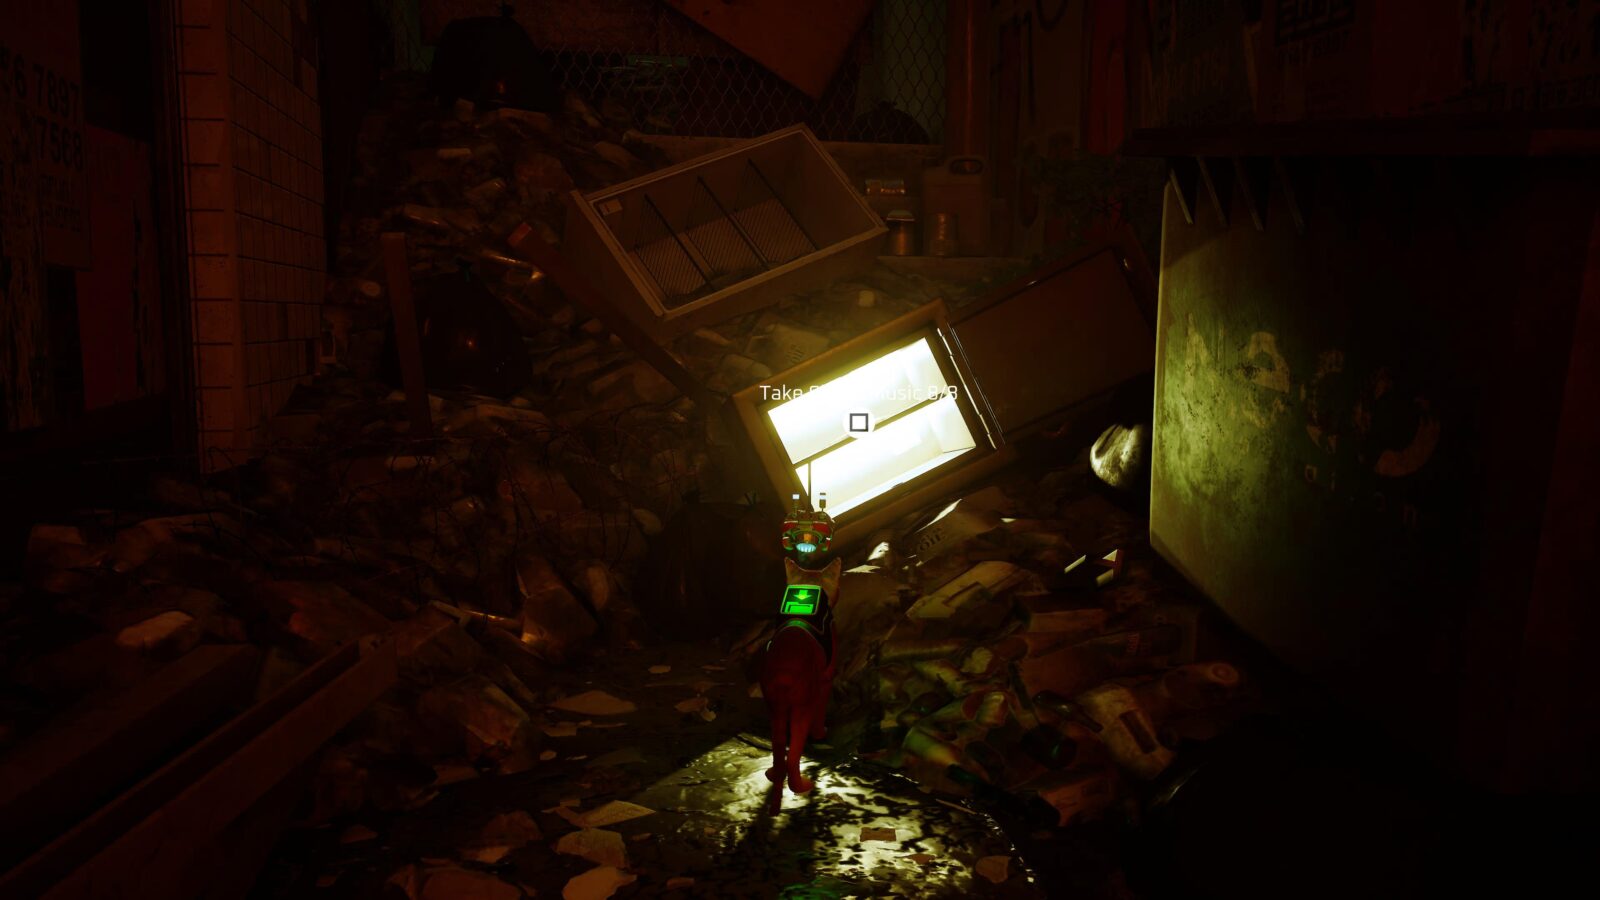
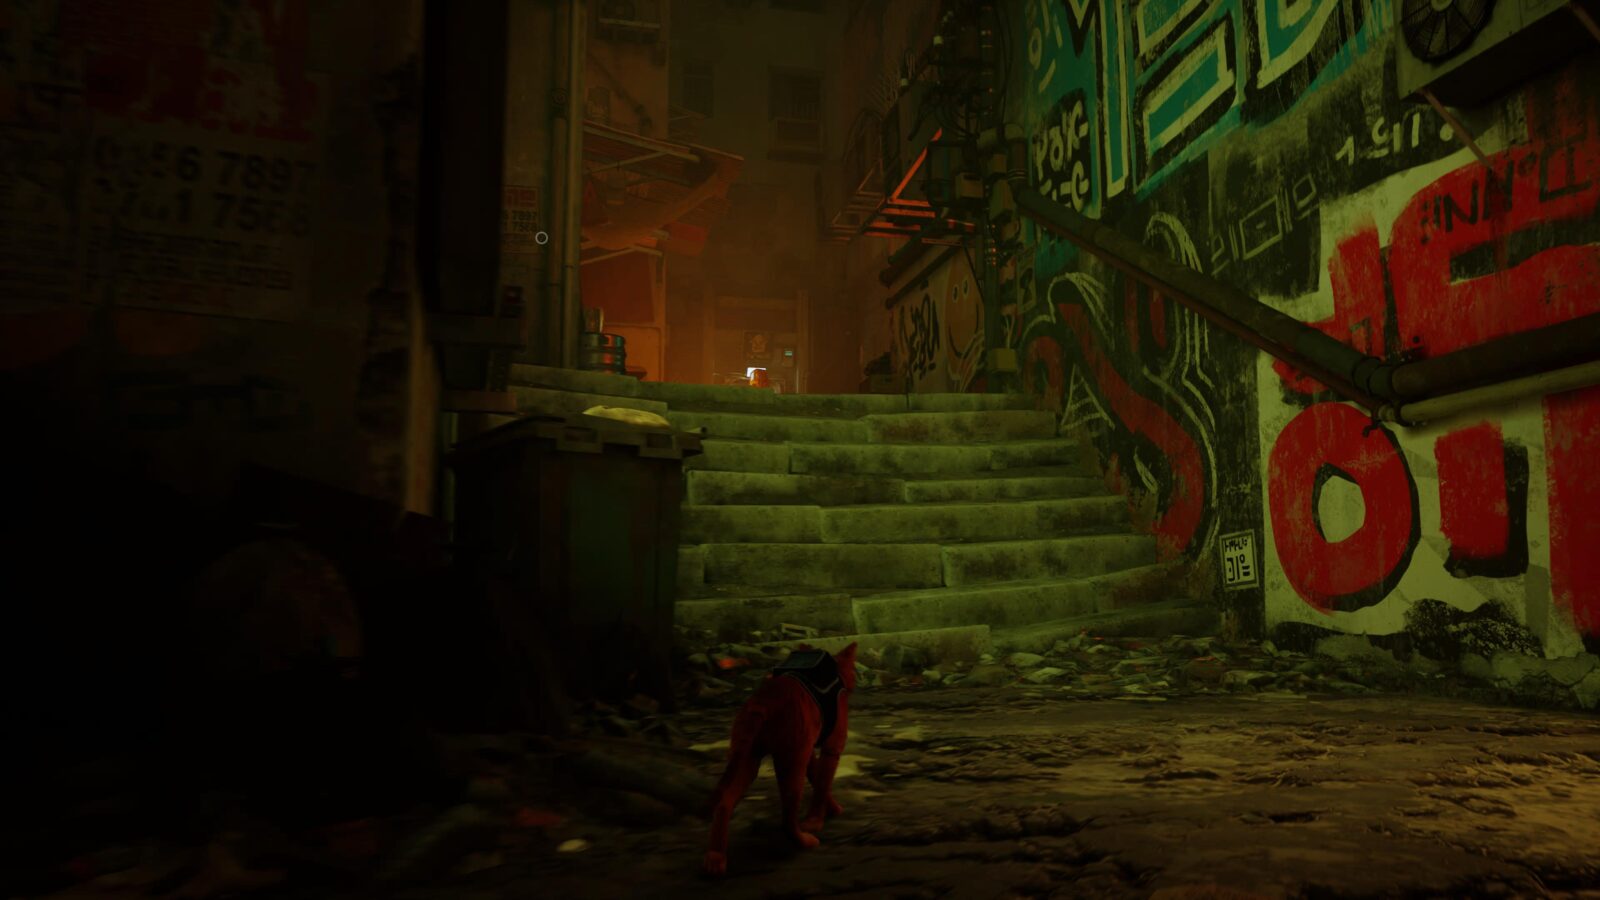
At the bottom of the stairs to the left of Guardian, to the right of a guitar-carrying character called “Morusque” you will see an alleyway with a safe in it.
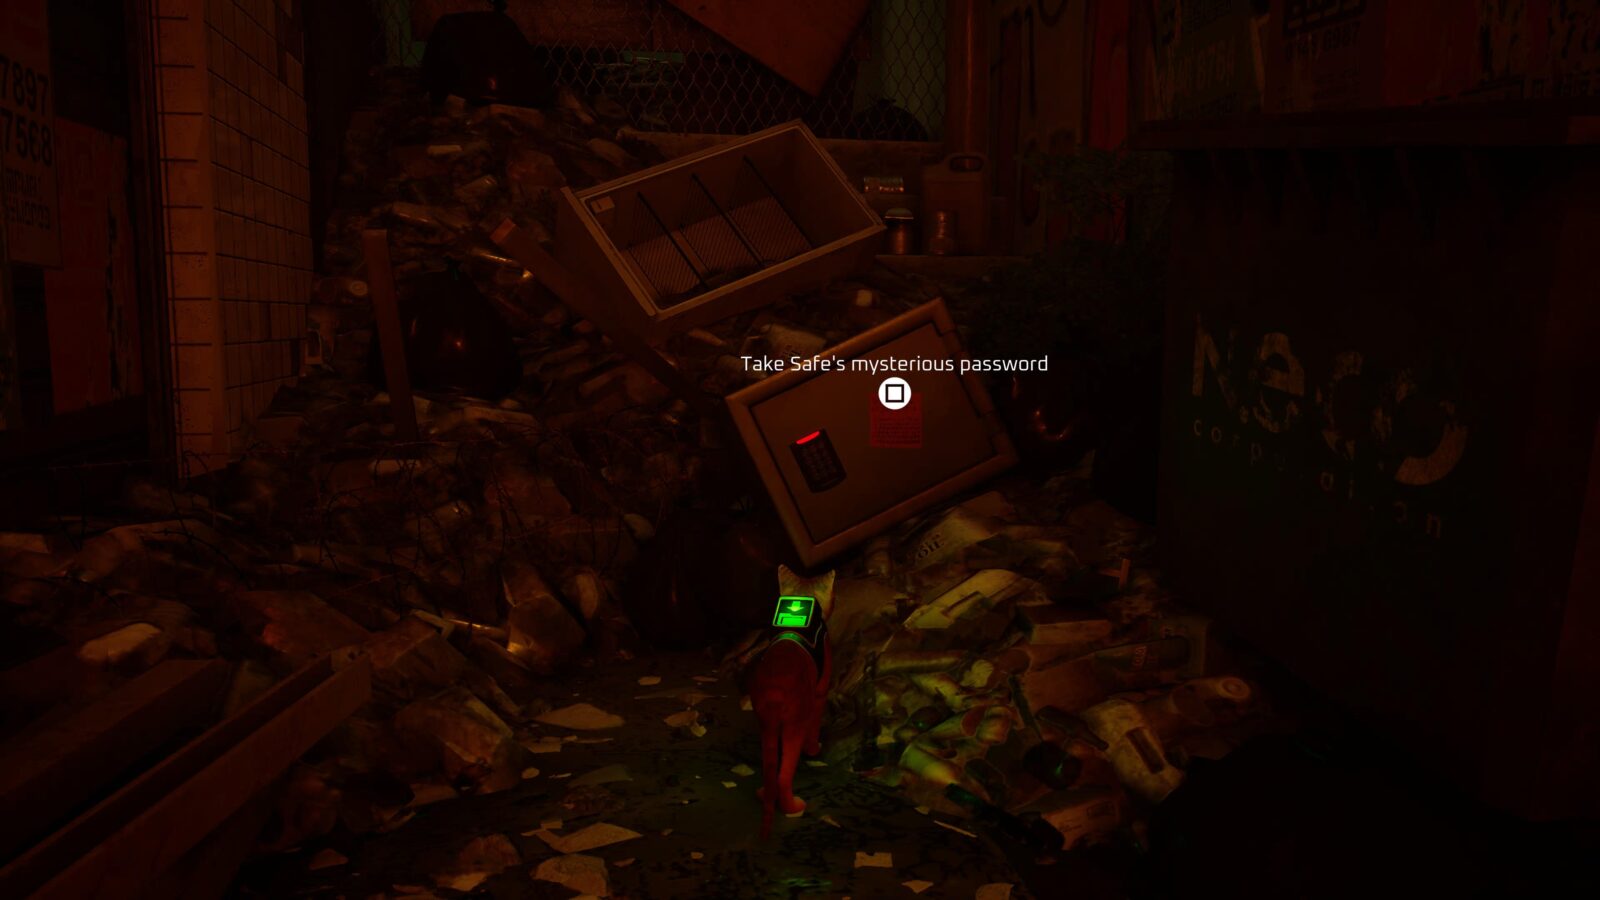
Enter the combination “1283” to get the Music Sheet (1/8) from within.
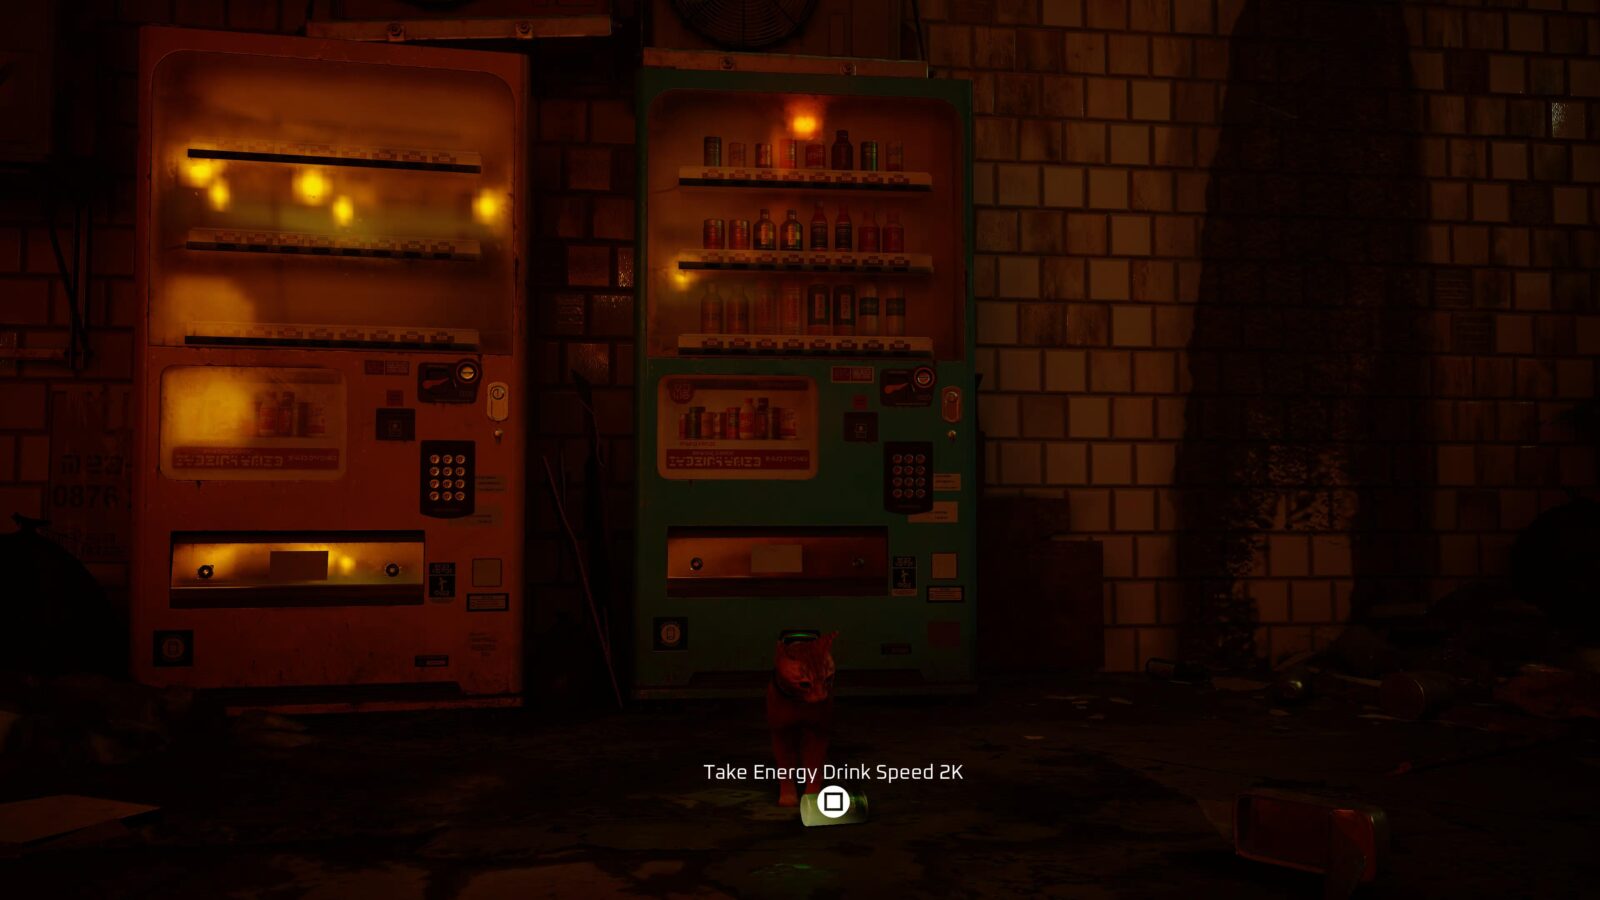
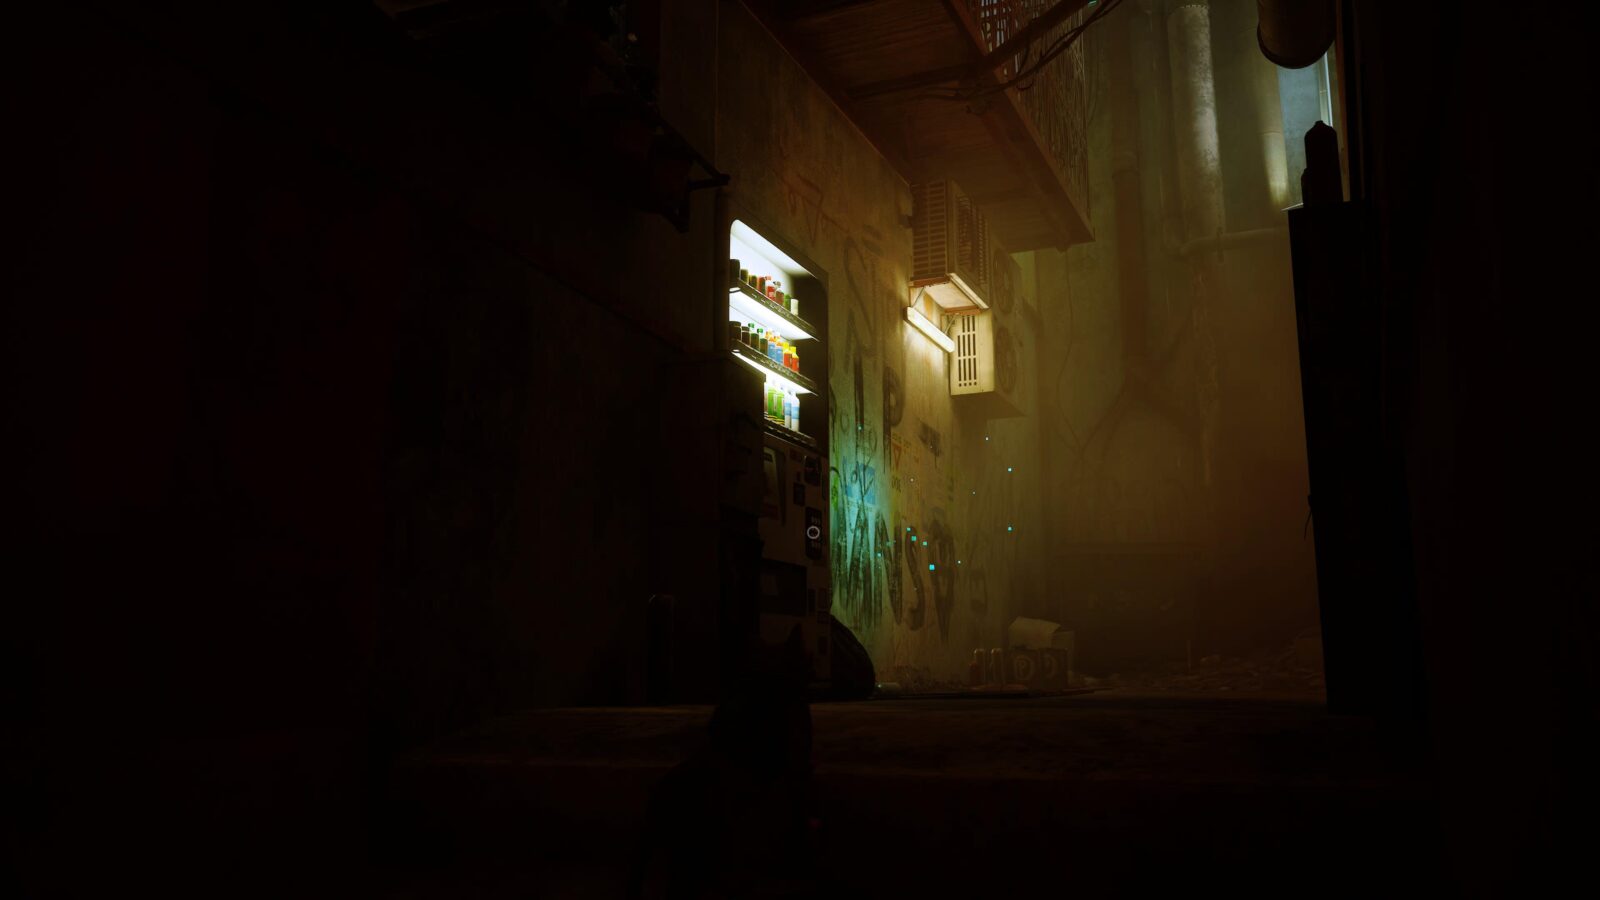
Opposite Morusque, interact with the Vending Machine to get an Energy Drink (1/4) can.
Take the can up the stairs, past Guardian, and down the stairs at the other side.
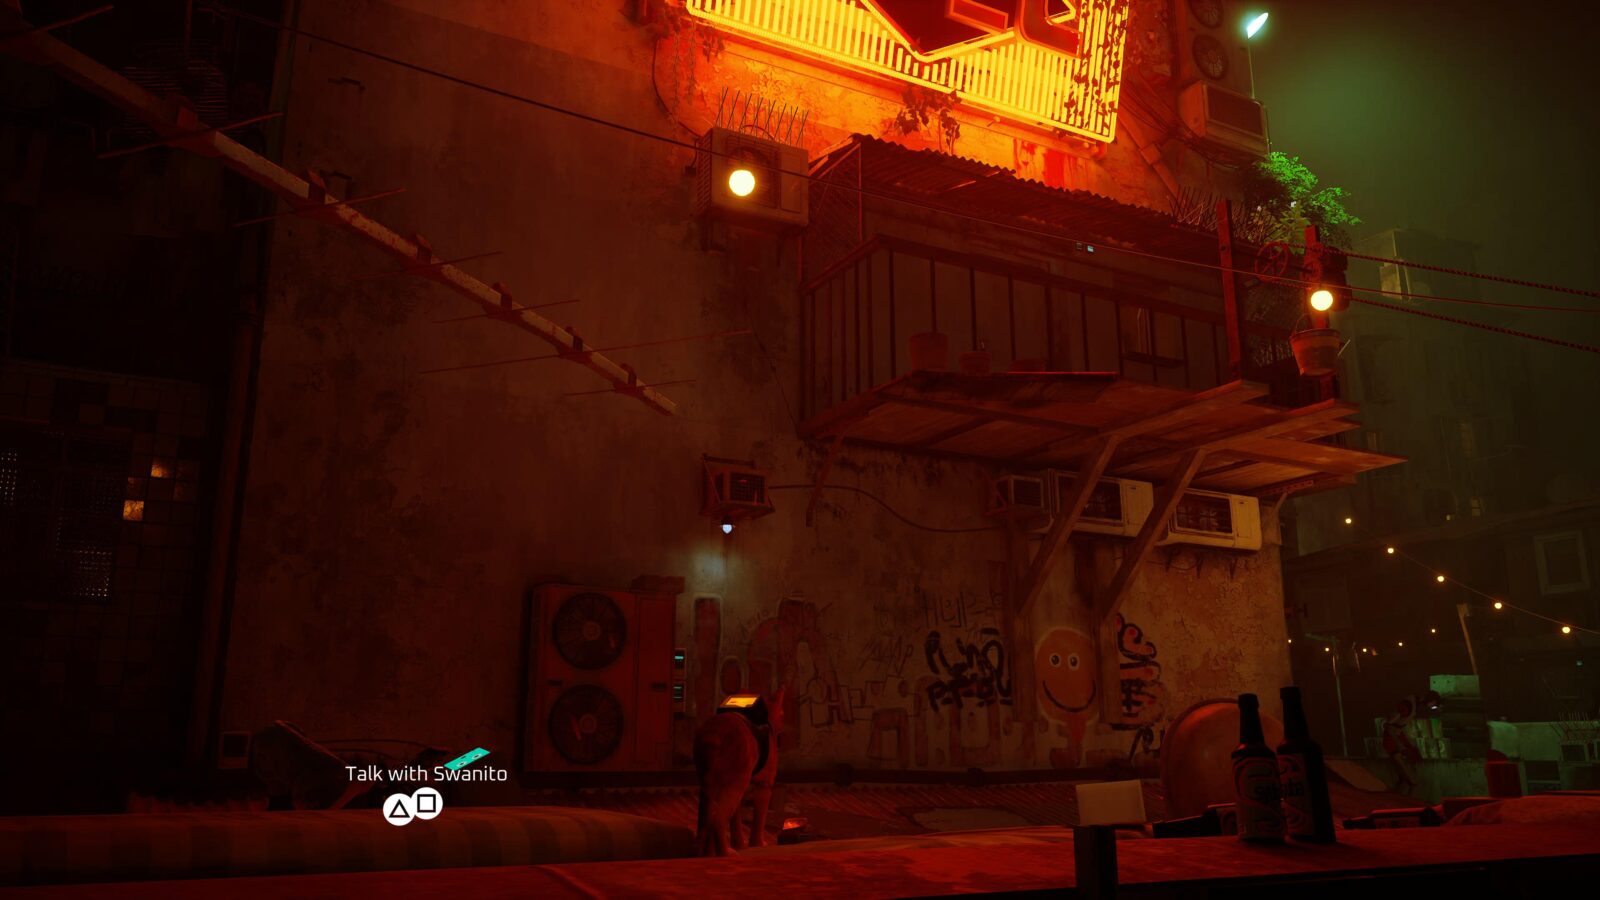
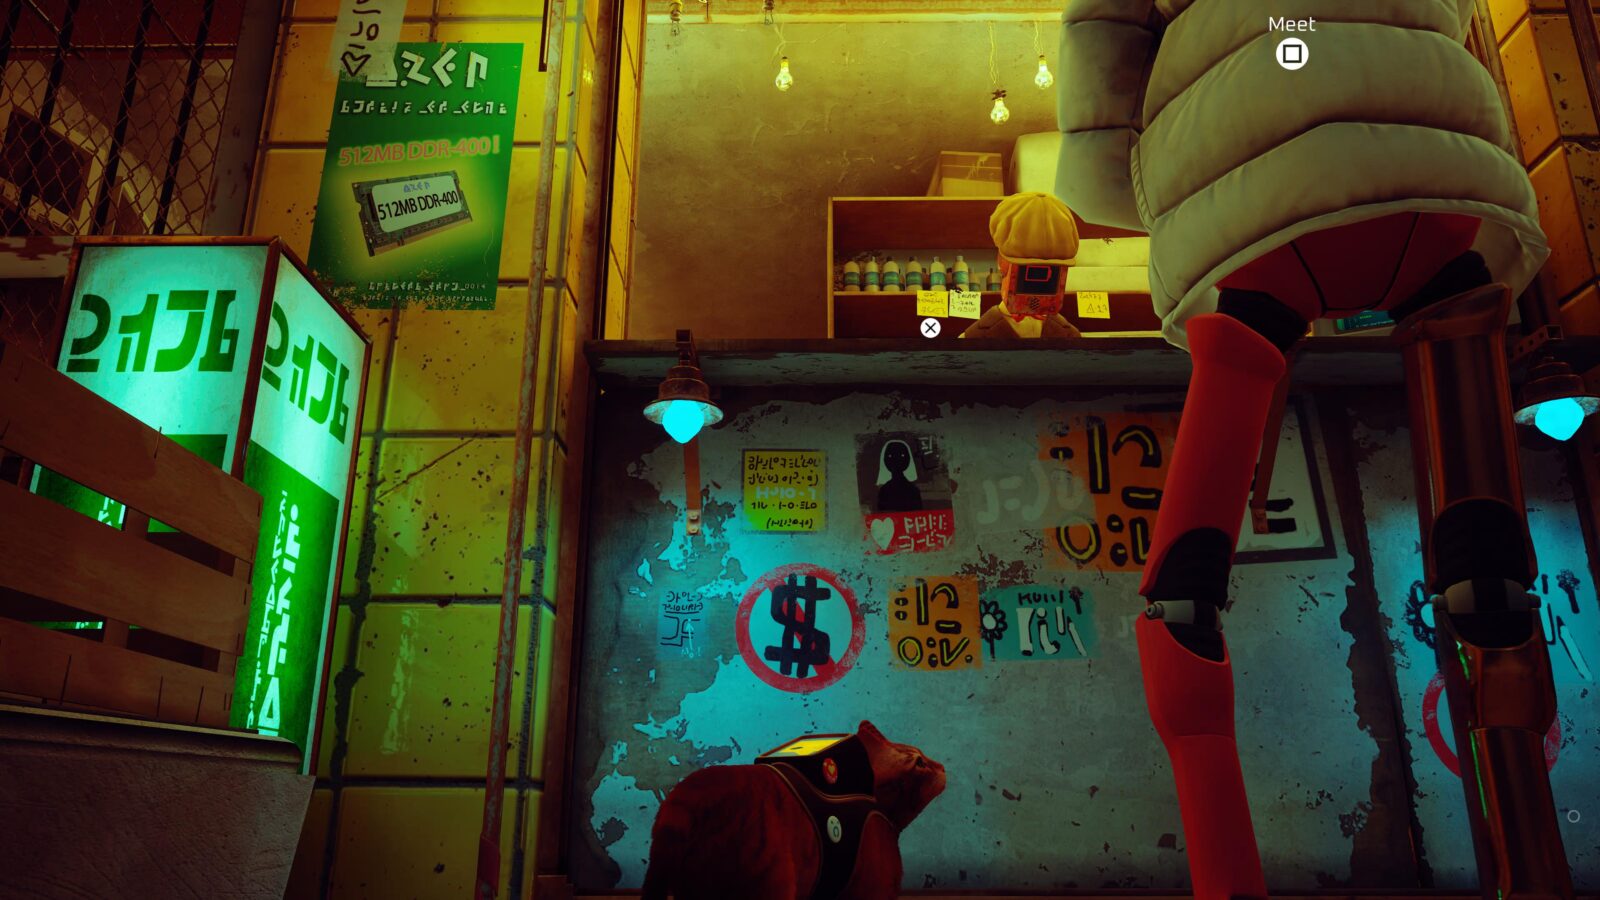
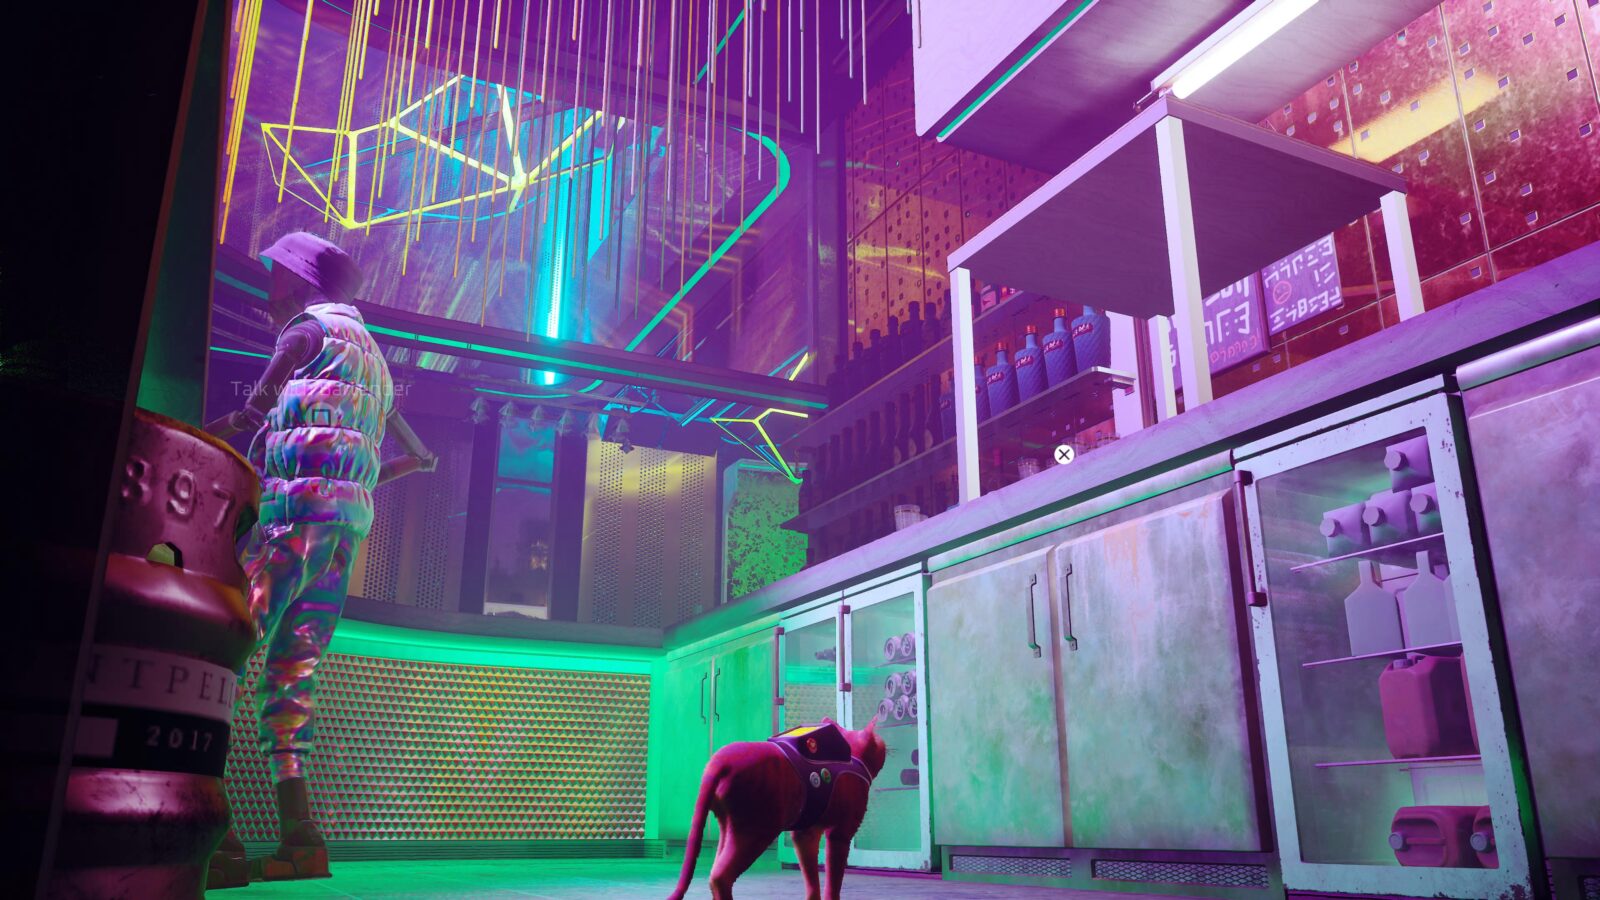
There, on the left, there’s a merchant selling his wares.
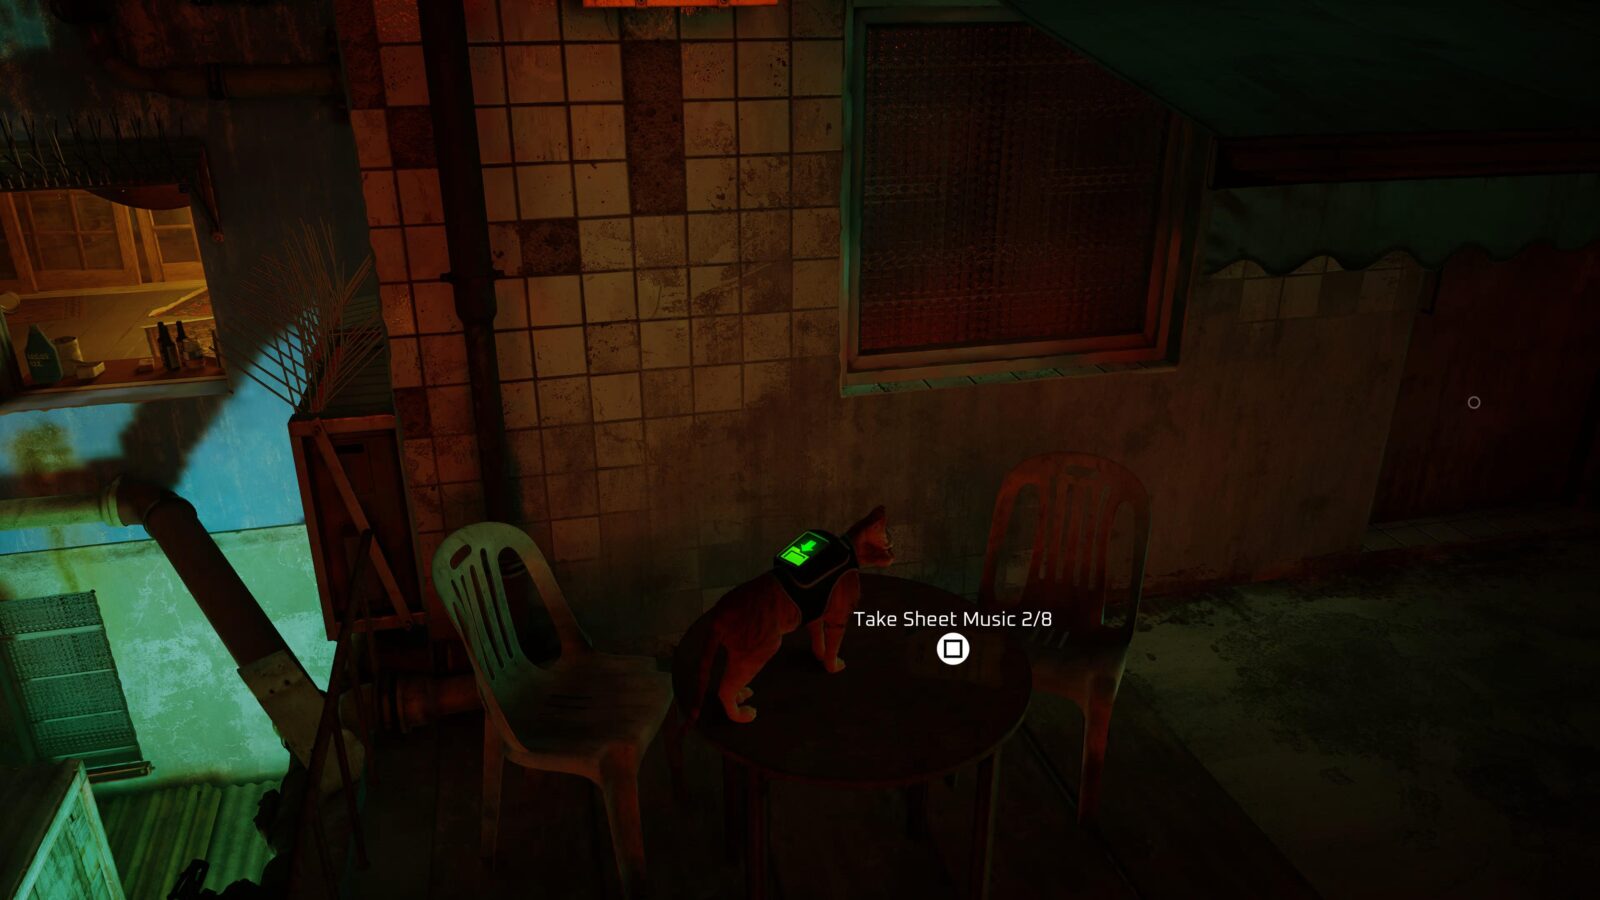
Buy the Music Sheet (2/8) from him using your Energy Drink.

Next, go down the stairs opposite Guardian and then head left up the stairs.
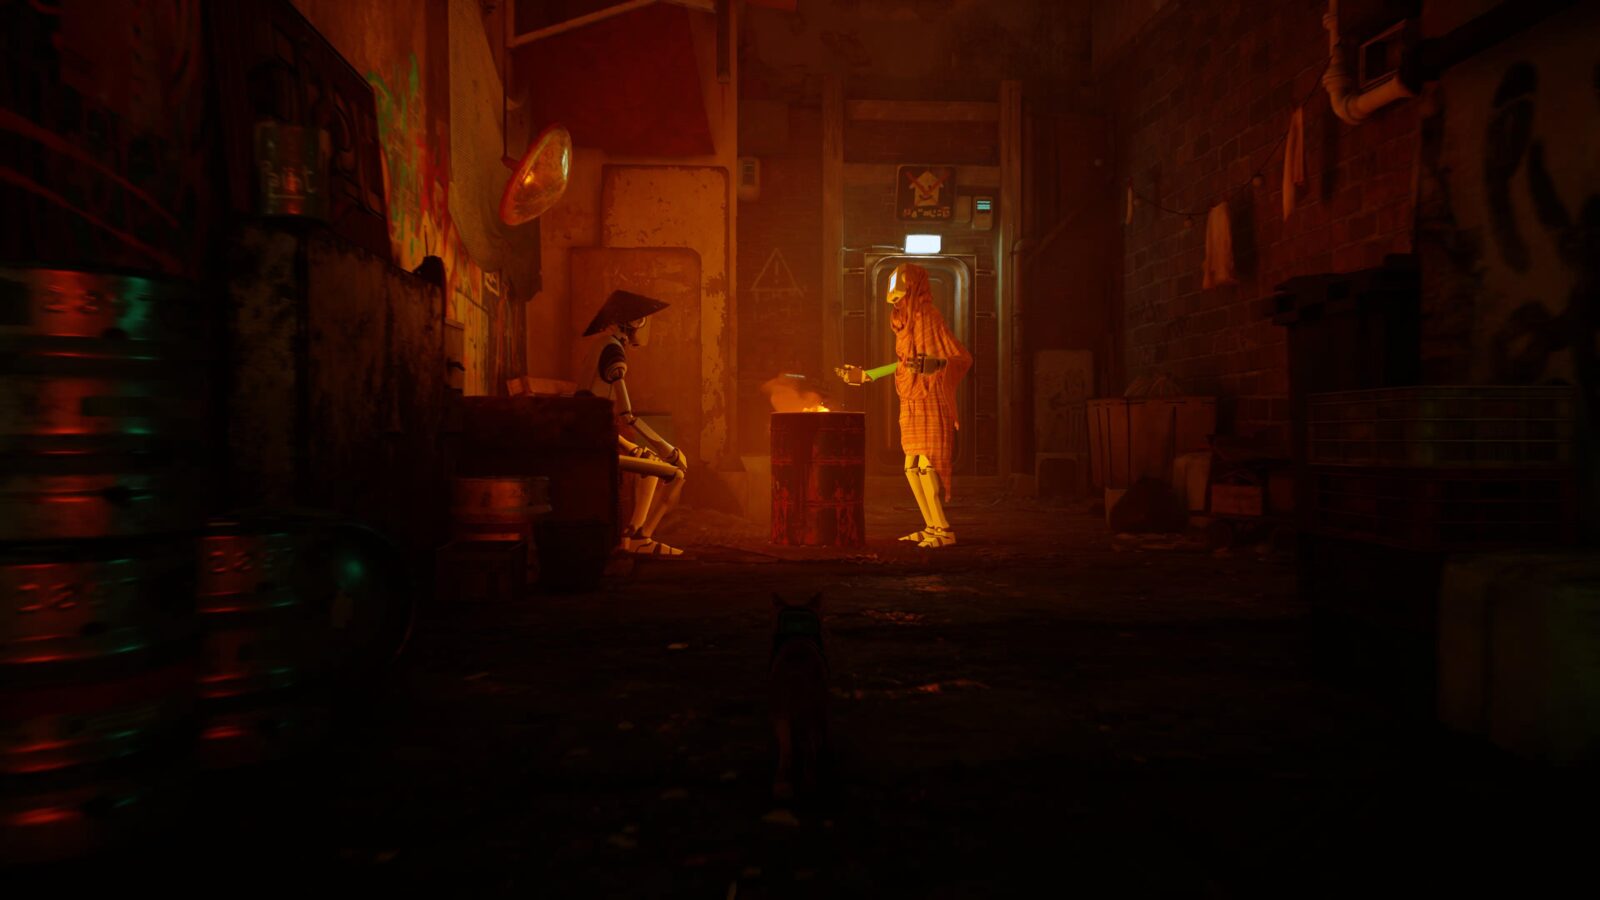
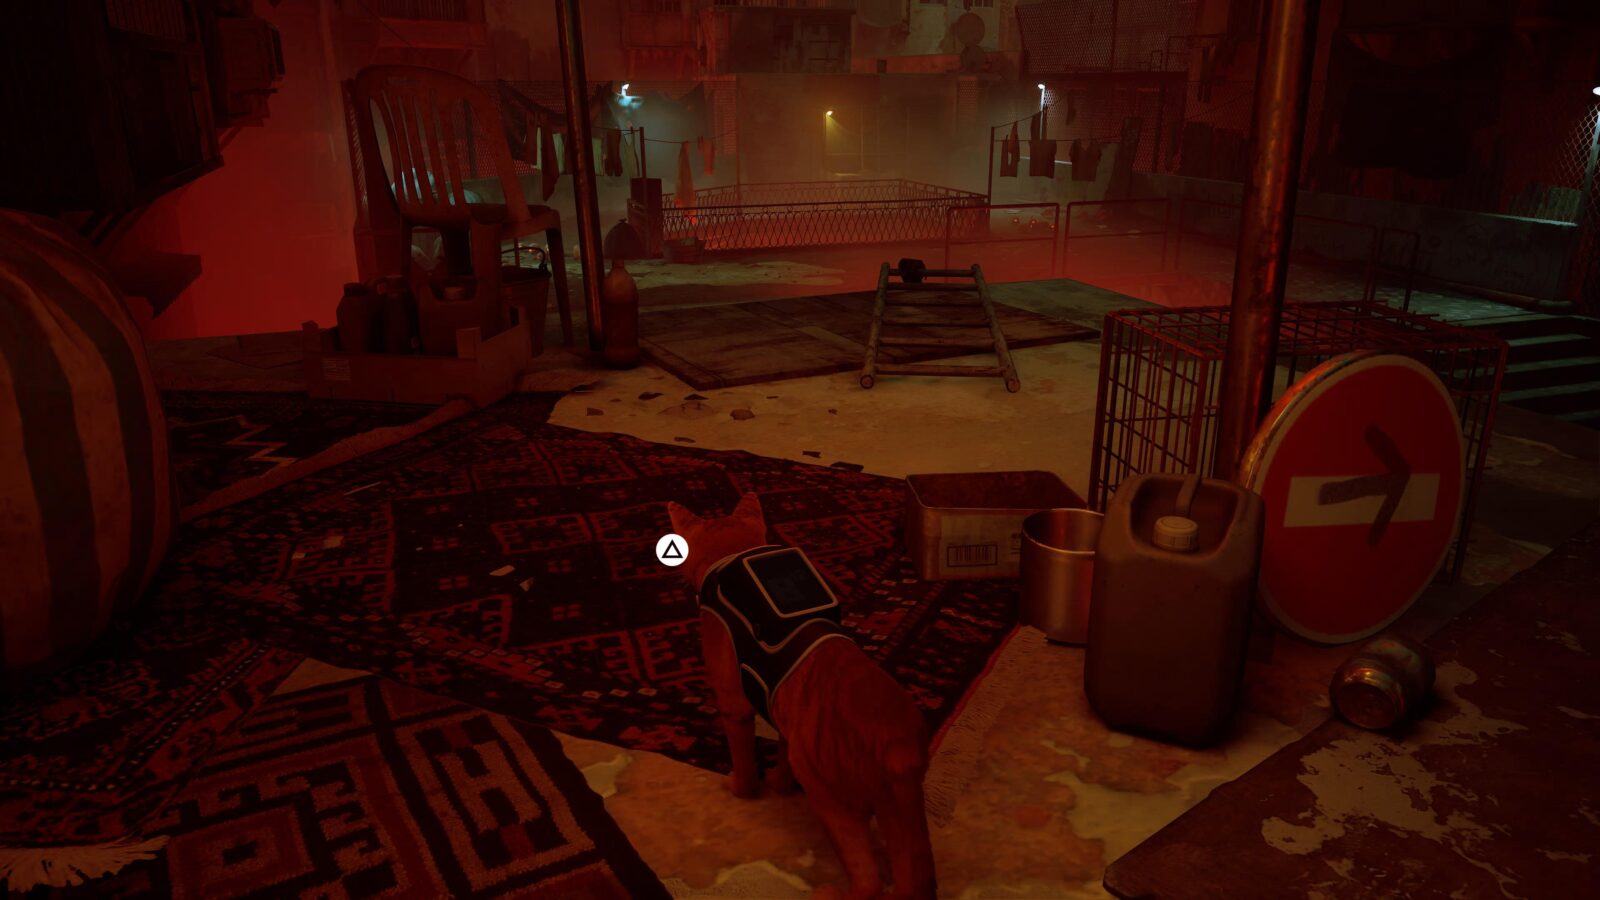
You should see Zakk and Riko standing together near a barrel. You can Nuzzle (2 & 3/5) both of them.
Go right into the alleyway from Riko & Zakk and then go left at the bottom of the stairs.
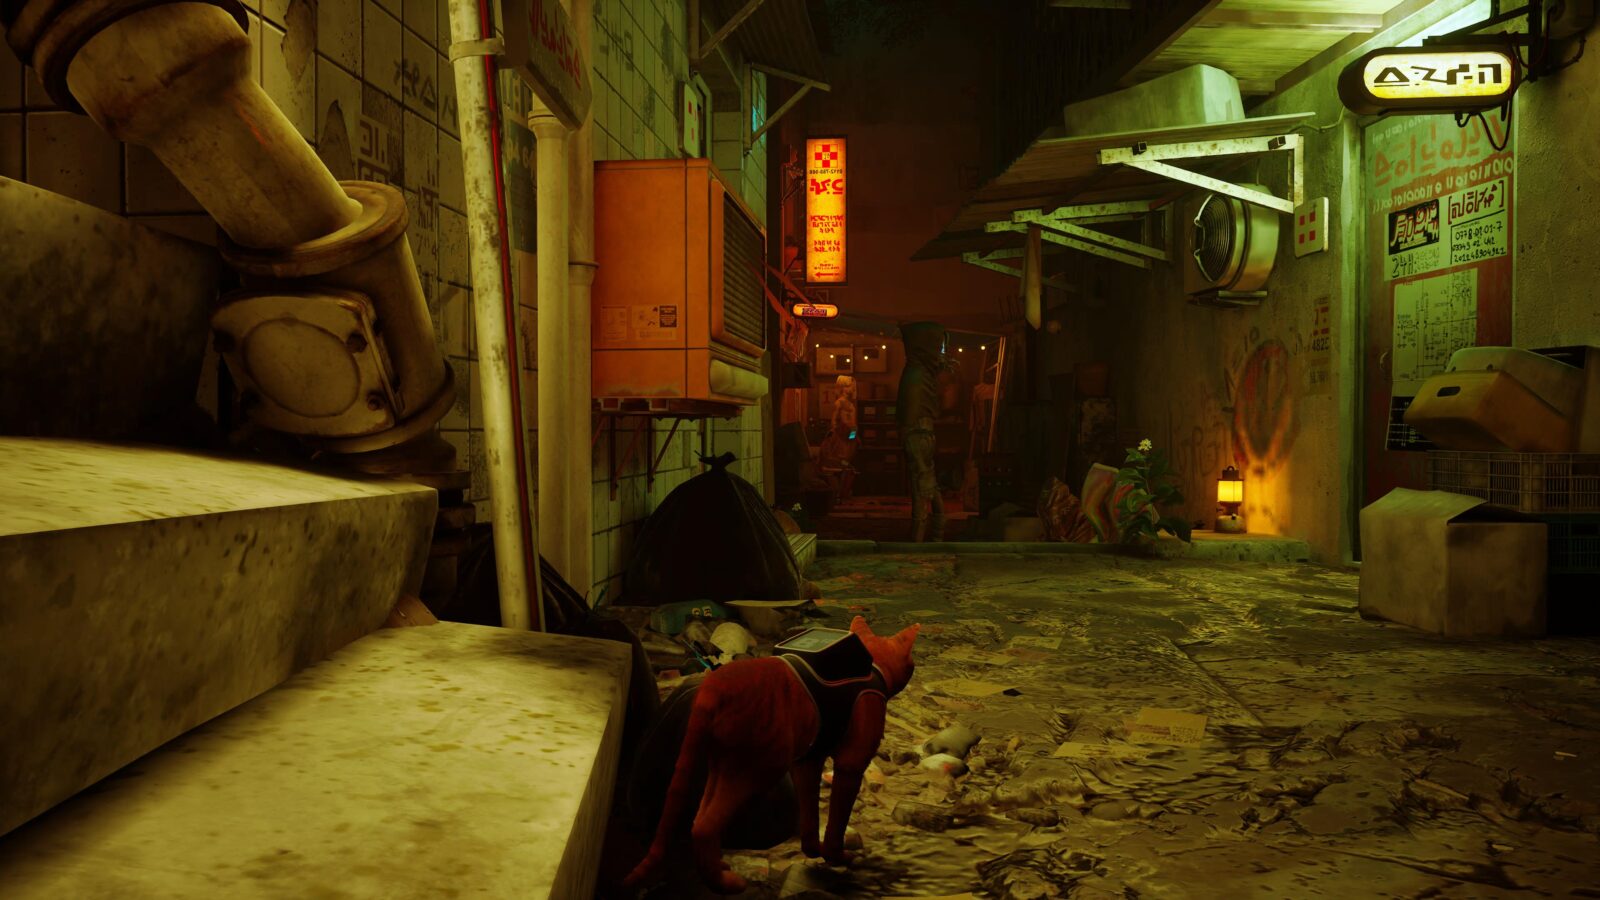
There, you’ll see a Robot called “Grandma.” Nuzzle (3/5) her.

From Grandma, go right into the alleyway, then jump up onto the wooden crate stack ahead of you.
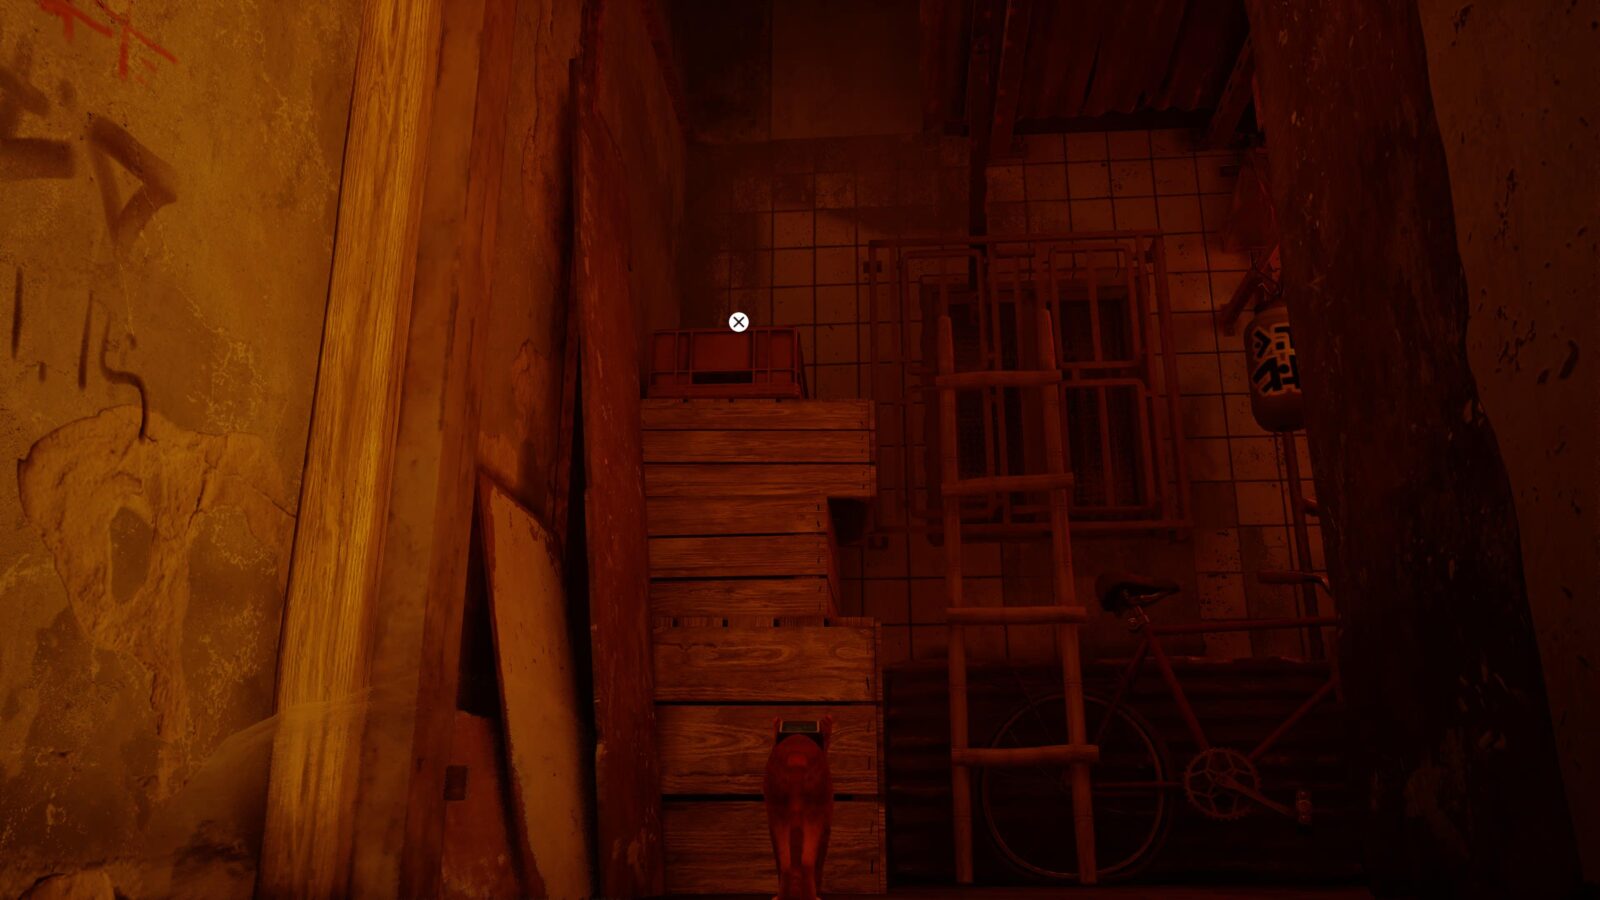
From there, loop up and to your right where there’s a wooden platform you can jump to.
Jump up with ![]() and you’ll find a Vending Machine from which you can retrieve another Energy Drink (2/4) can.
and you’ll find a Vending Machine from which you can retrieve another Energy Drink (2/4) can.
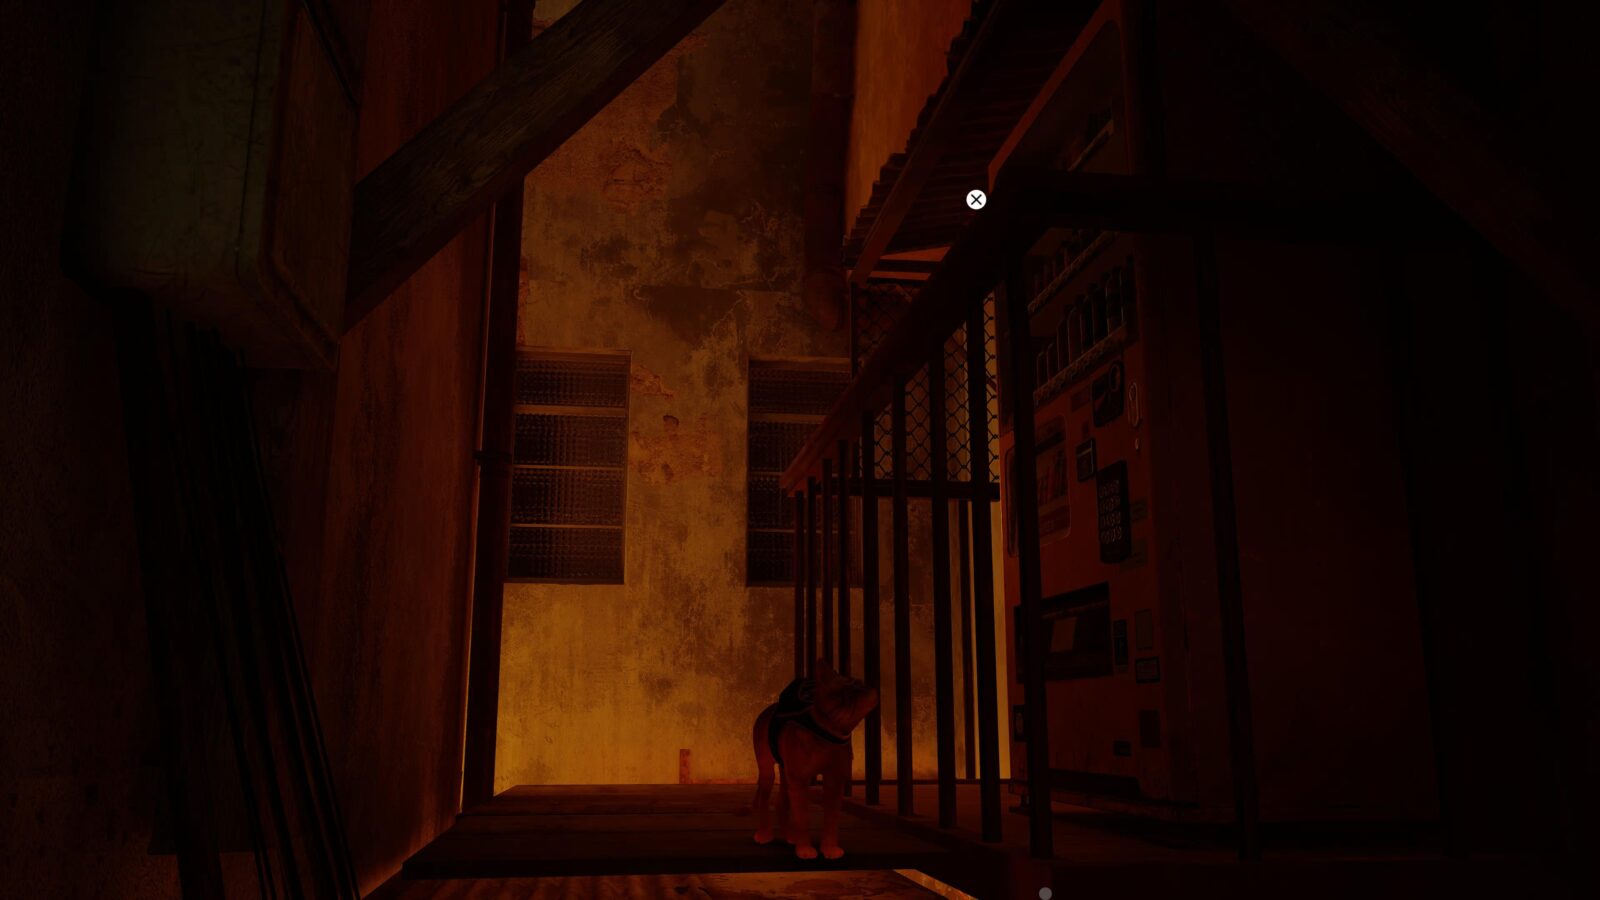
Go back to Grandma, then go right into the alleyway, then take the first left into another alleyway, and then go up the stairs on your right.
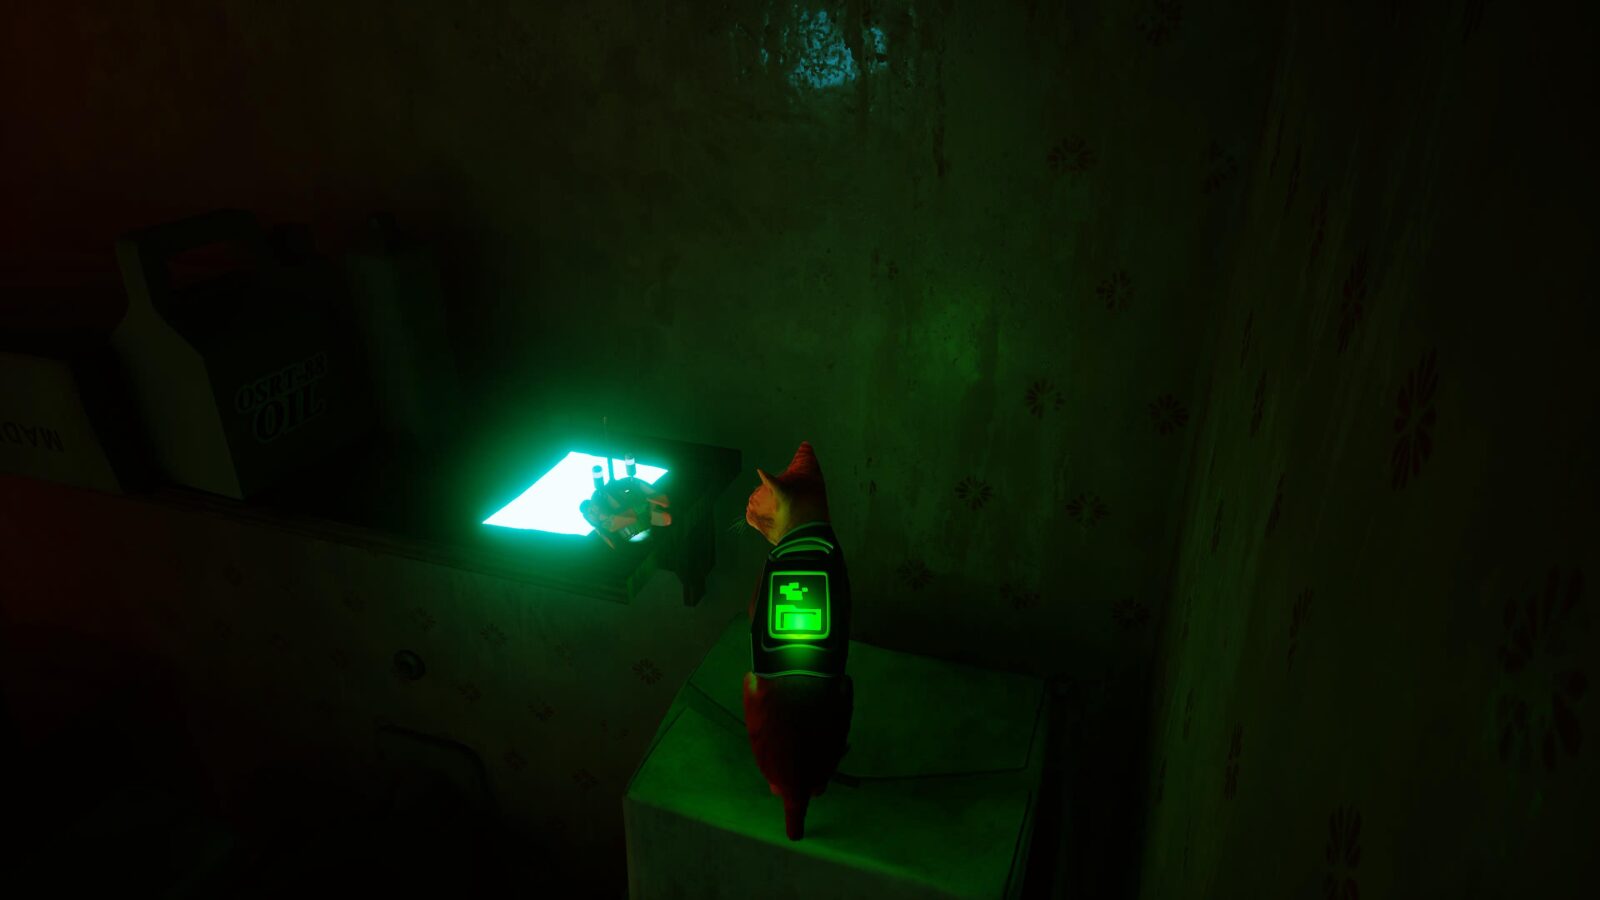
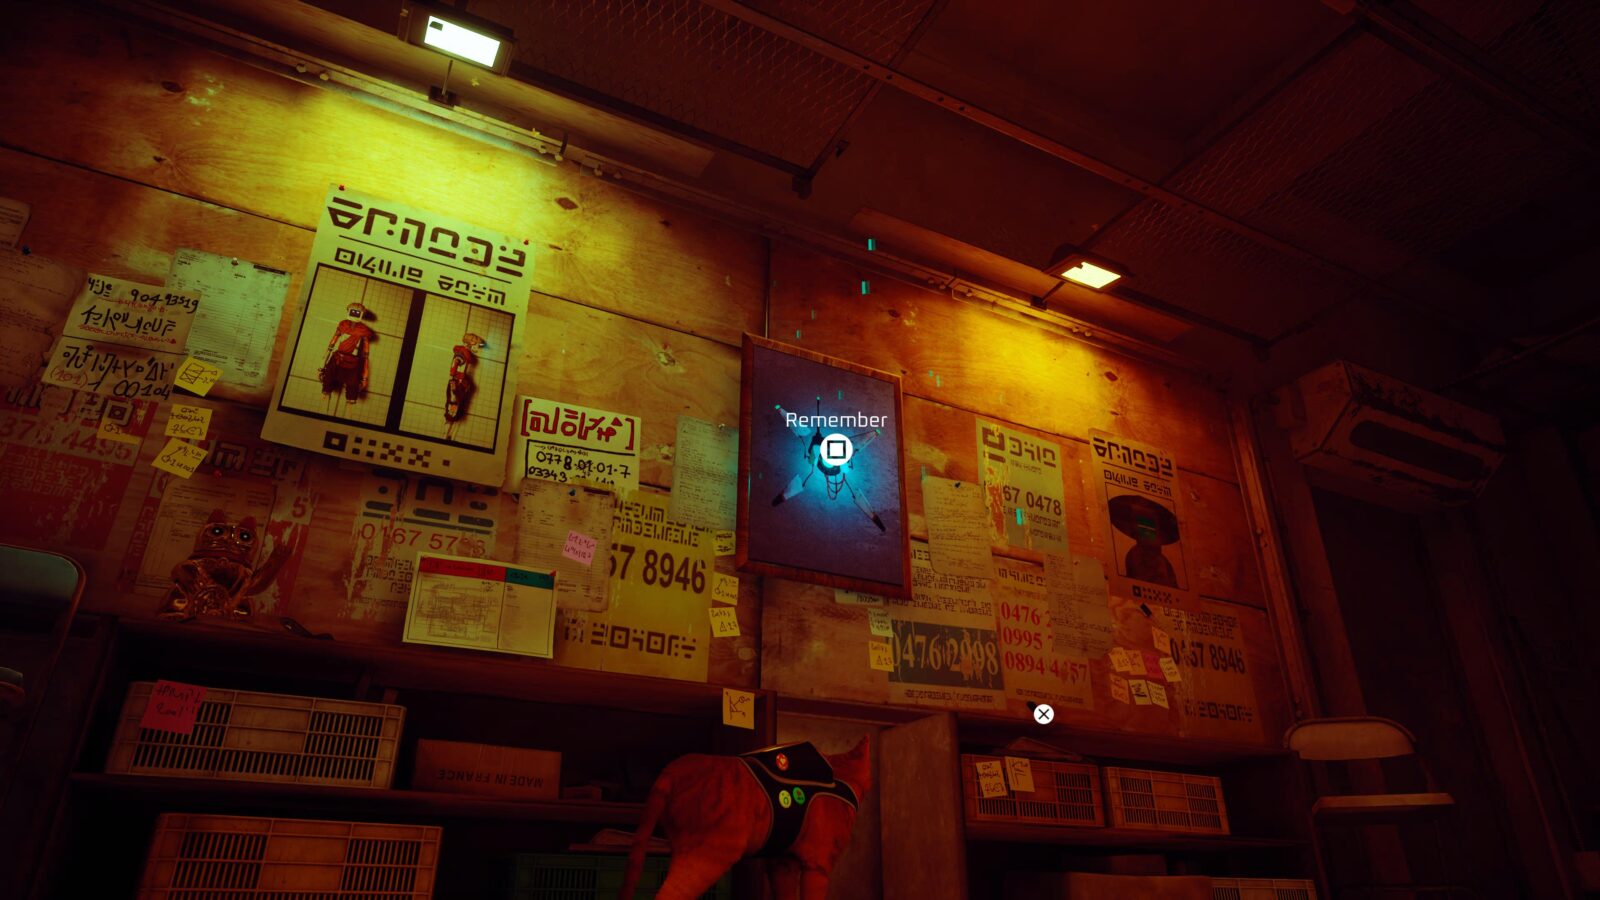
At the top of the stairs, on the wall to your left, you’ll see a B-12 Memory (2/27)!
You should also interact with the Vending Machine next to the Memory for Energy Drink 3/4.
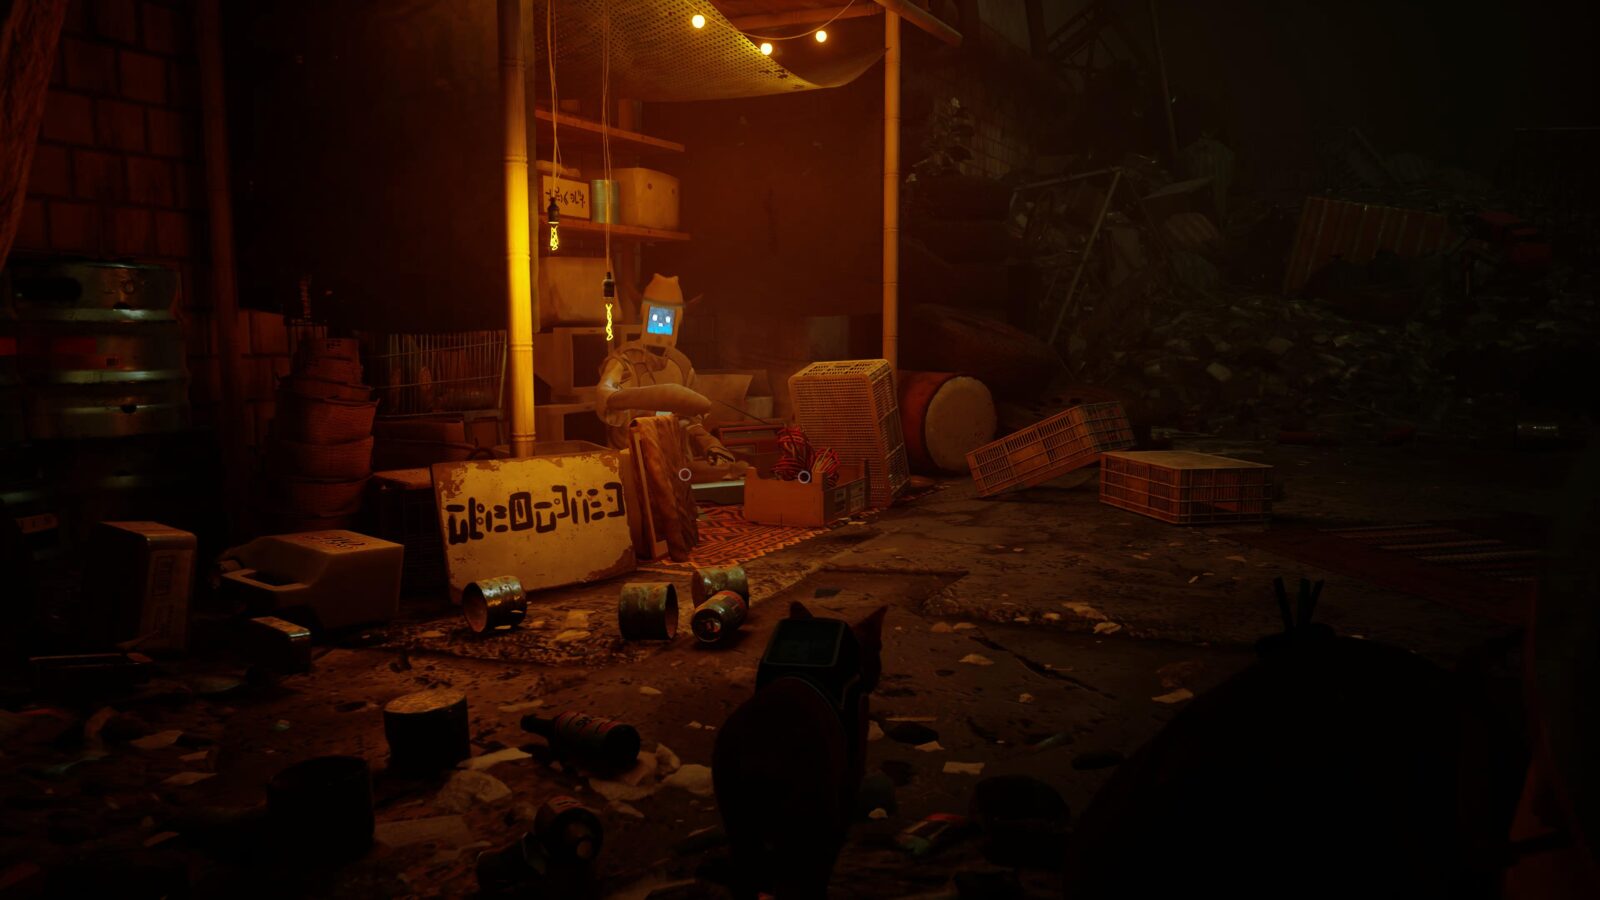
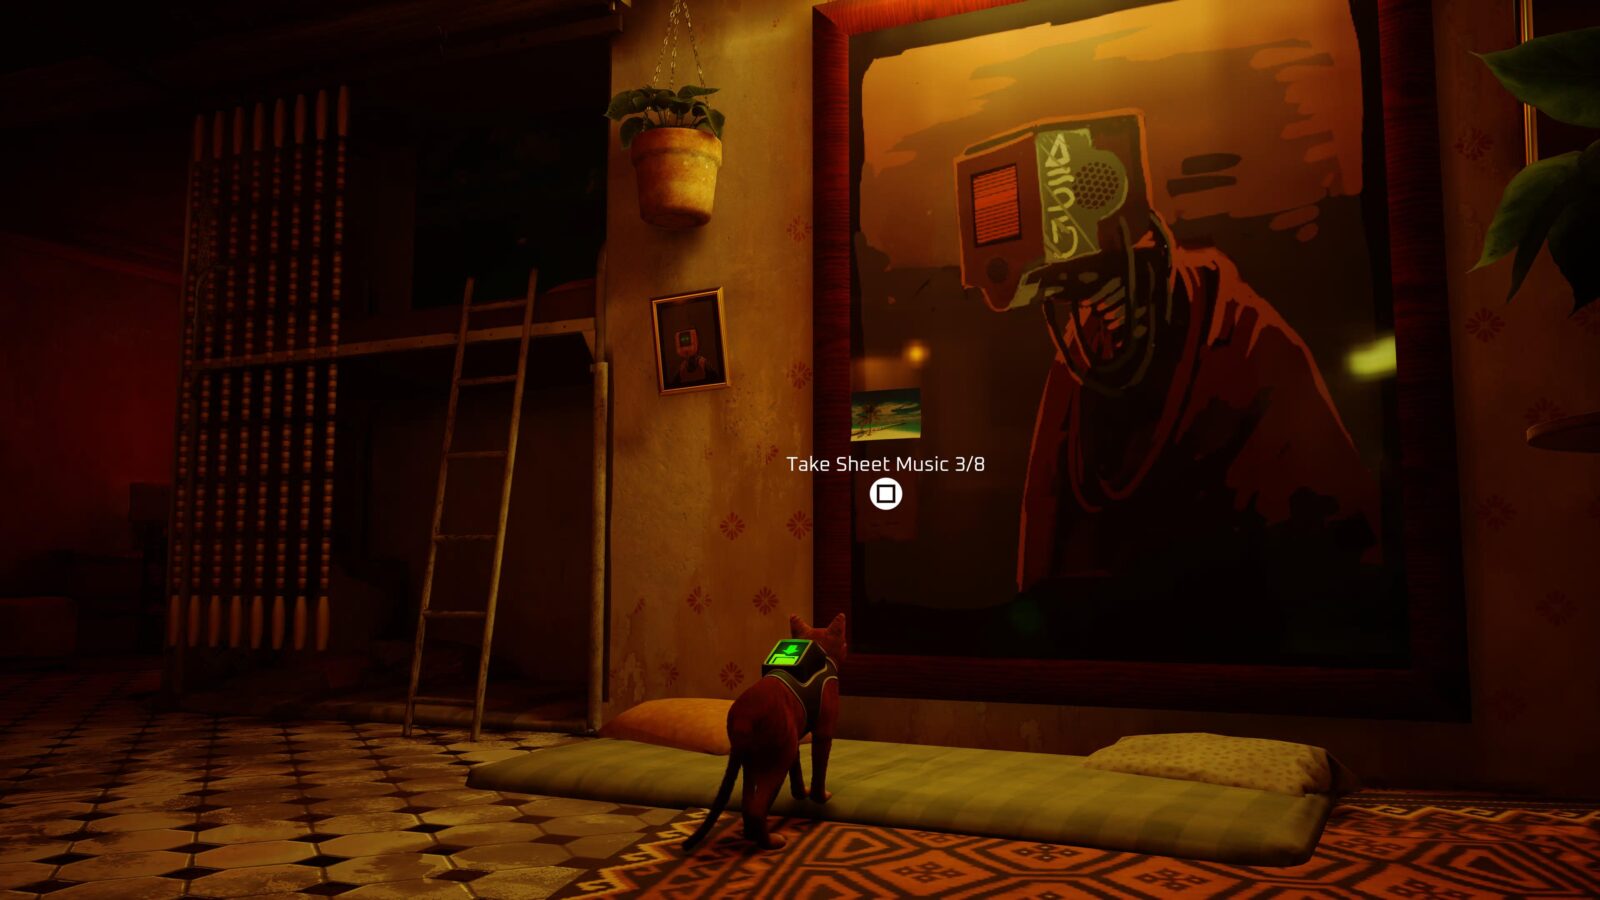
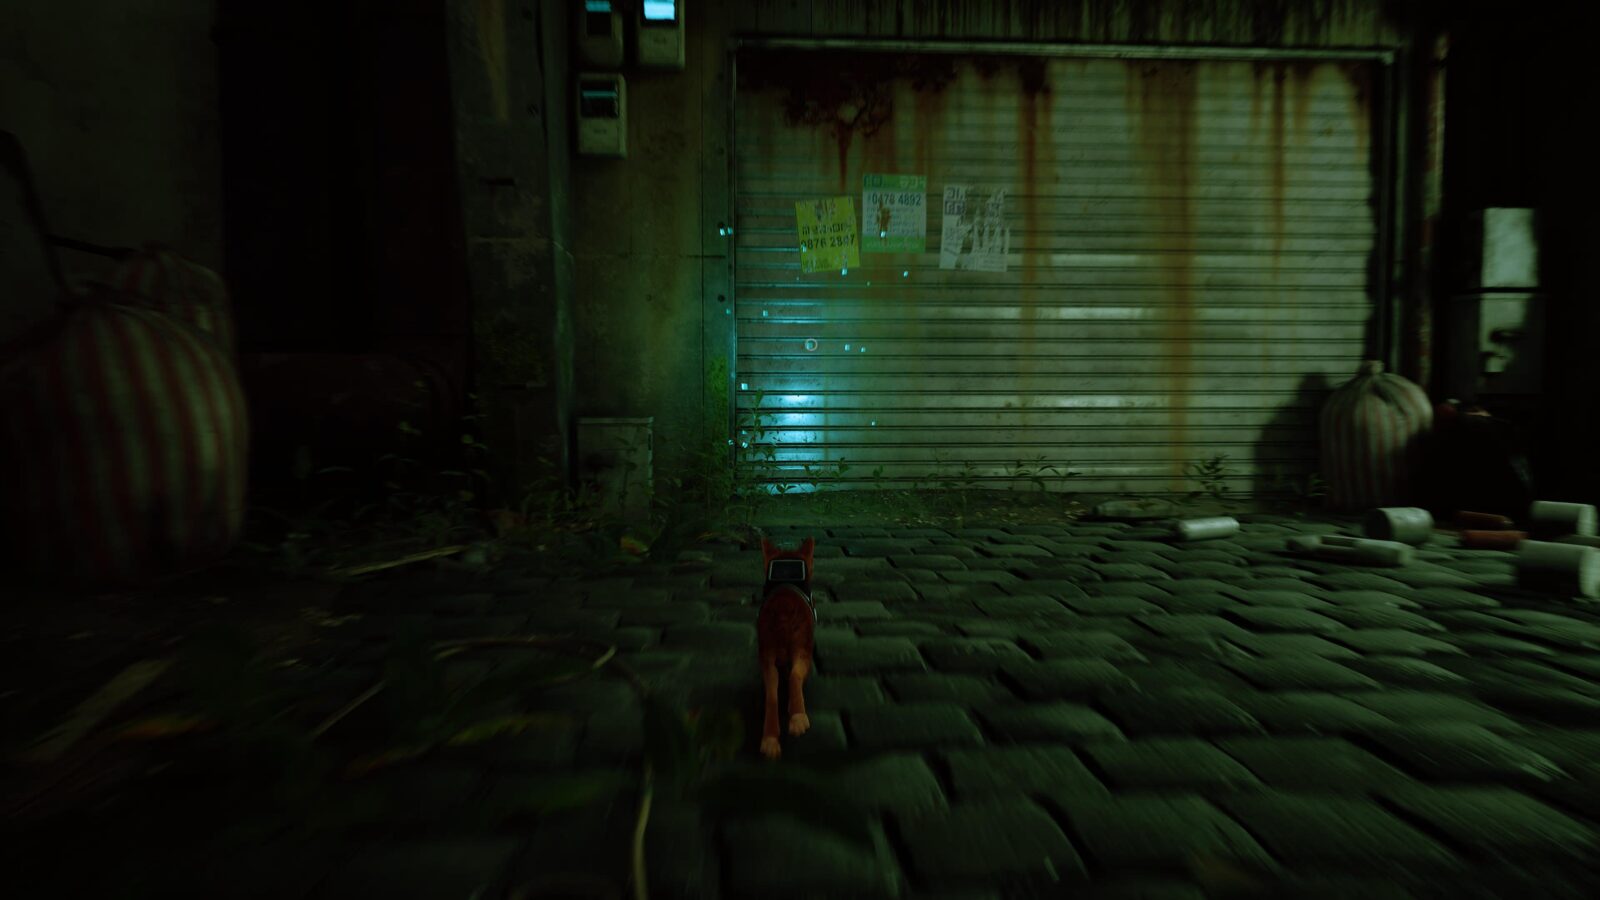
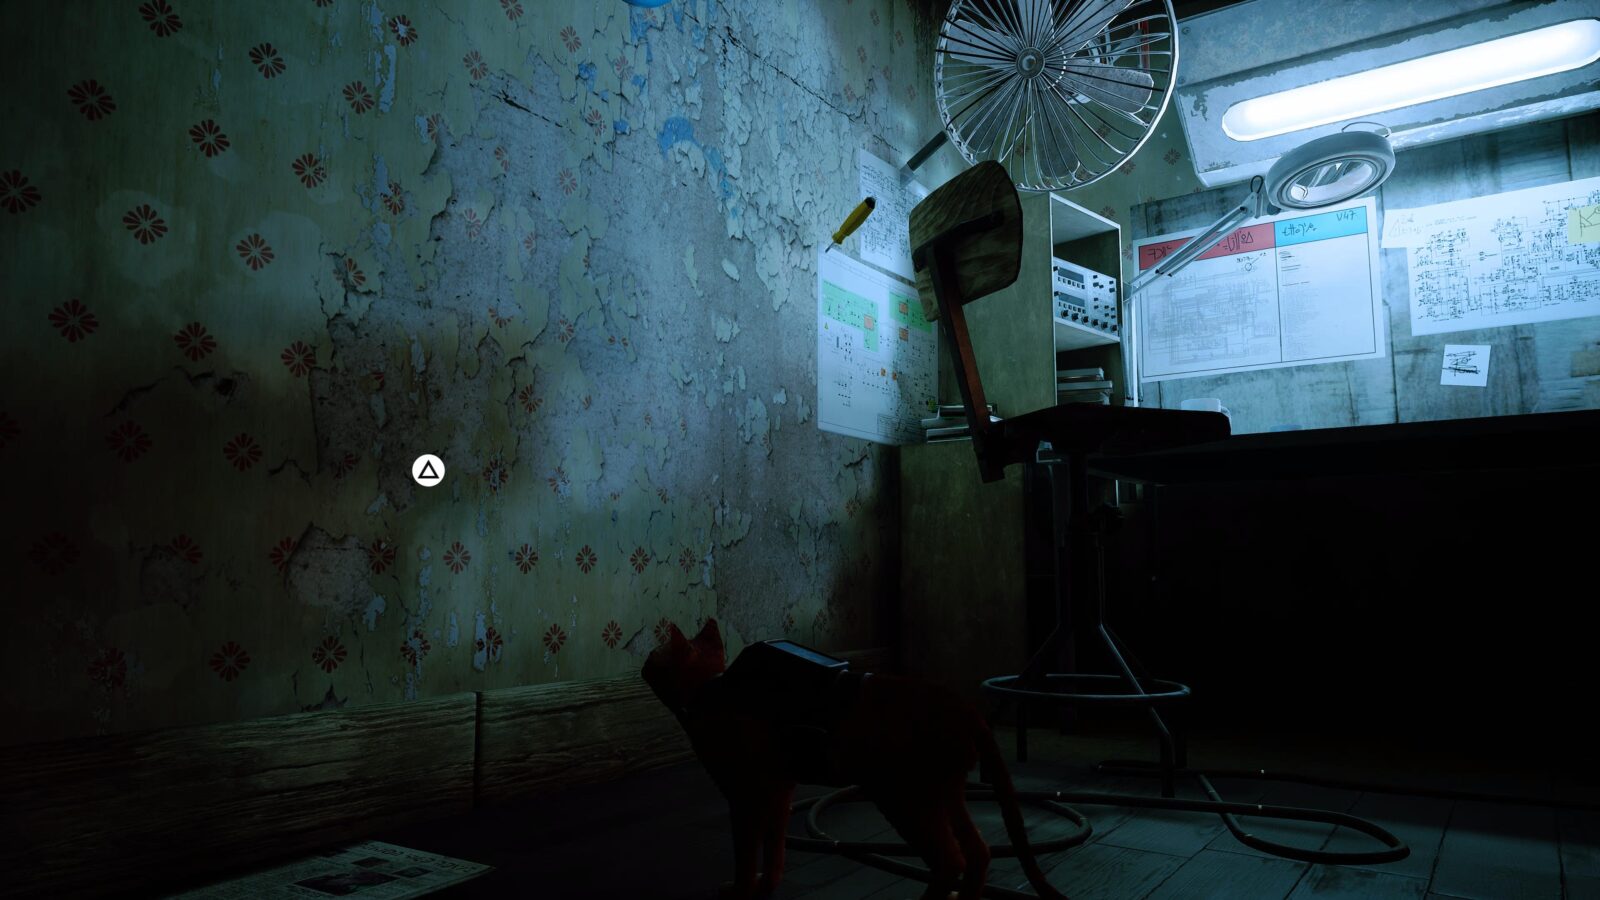
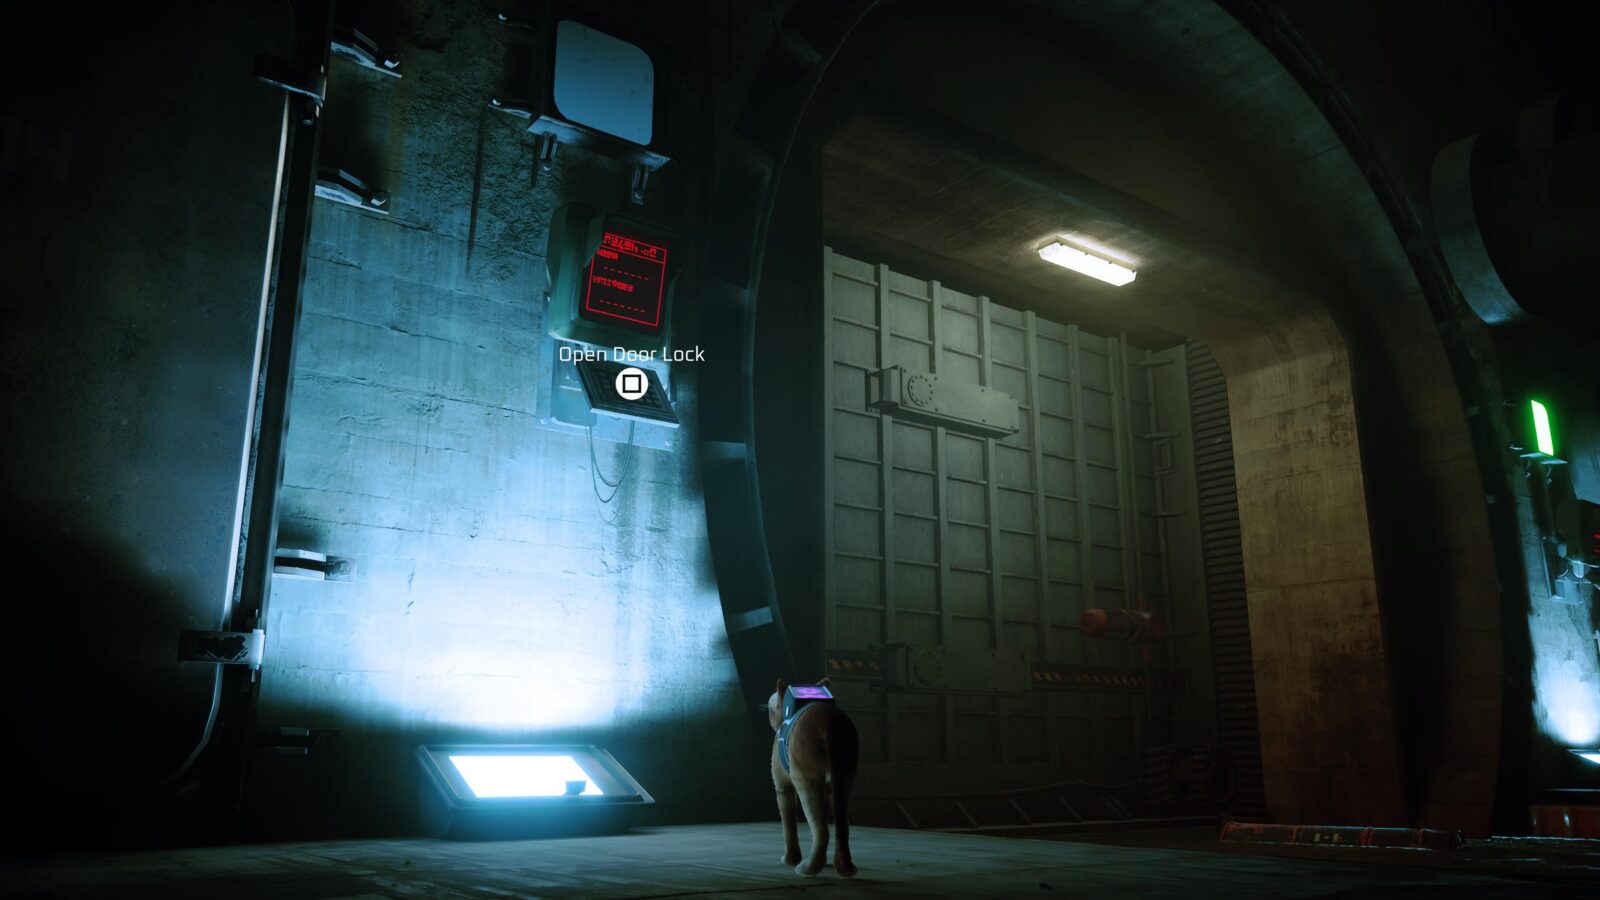
Go back to Grandma’s shop and go past her to find a door with some circuit blueprints on it. When translated, these blueprints say “Elliot Programming.”
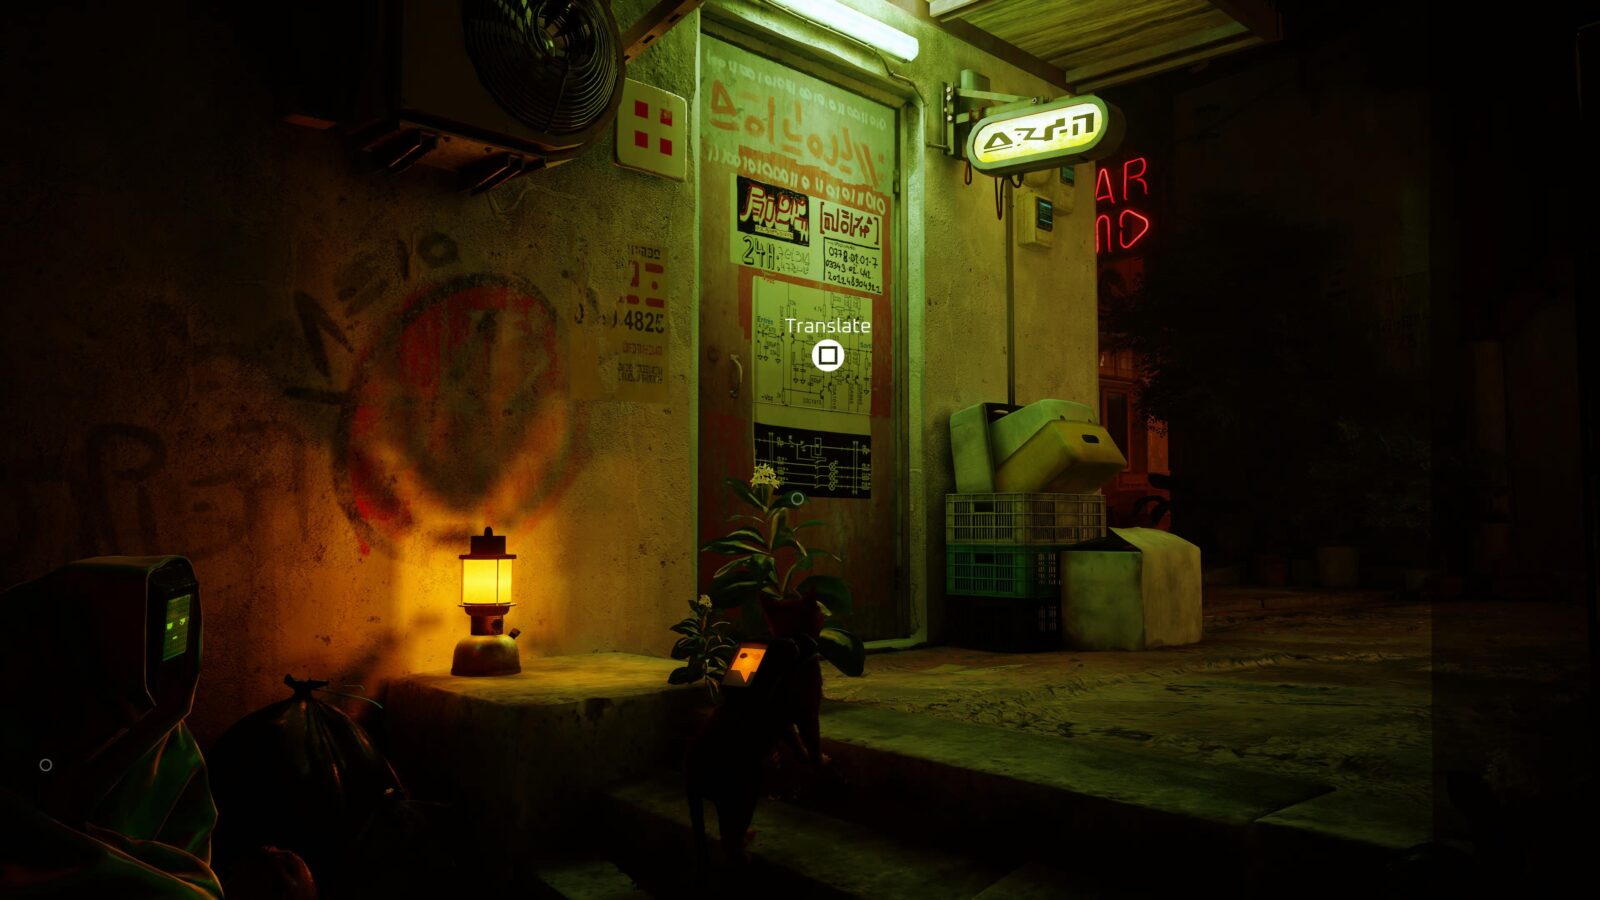
Scratch the door until someone comes to open it, letting you inside.
There, you’ll see some Sheet Music (3/8) in plain sight.
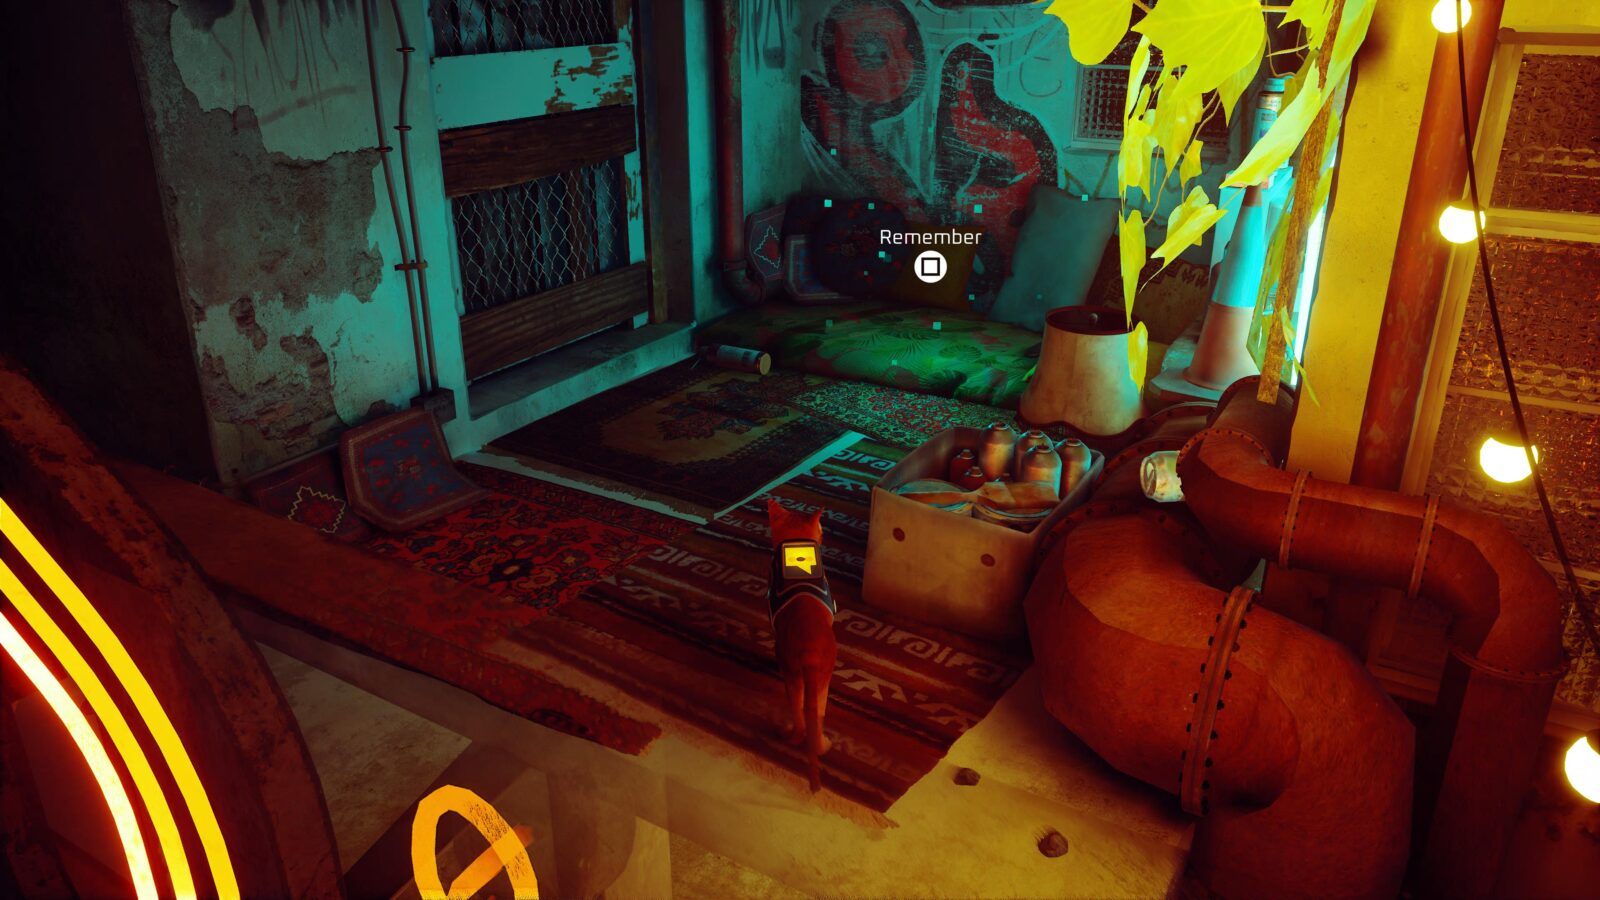
Continue up the stairs to the second floor of the building, where you’ll find another B-12 Memory (3/27) among the plants.

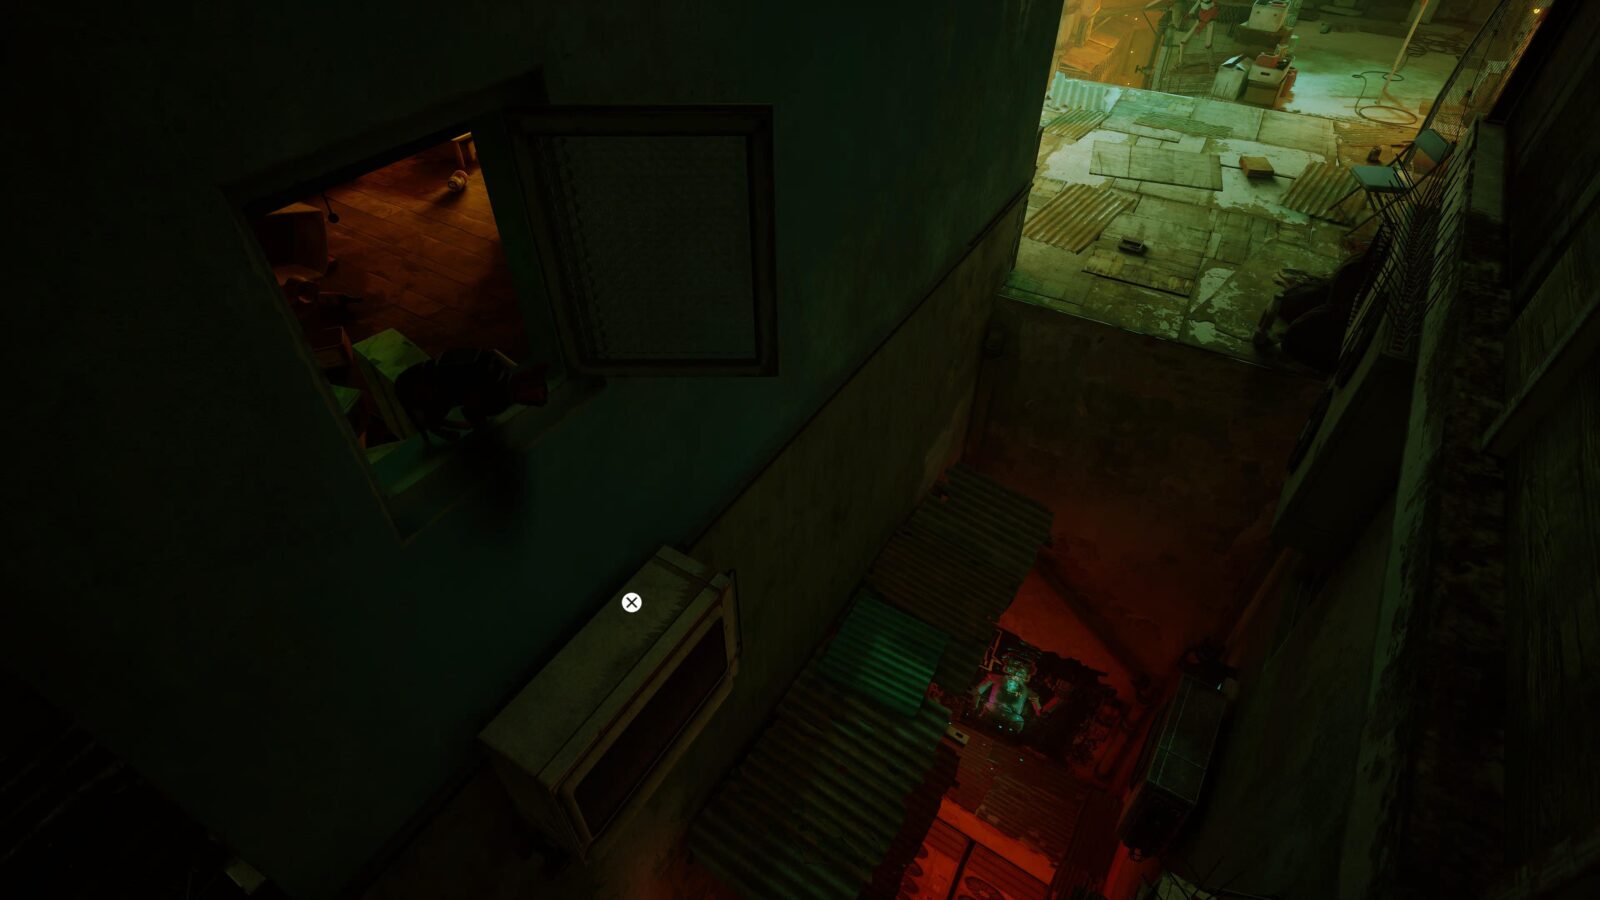
Leave Elliot Programming via the window on the second floor and drop down onto the street.
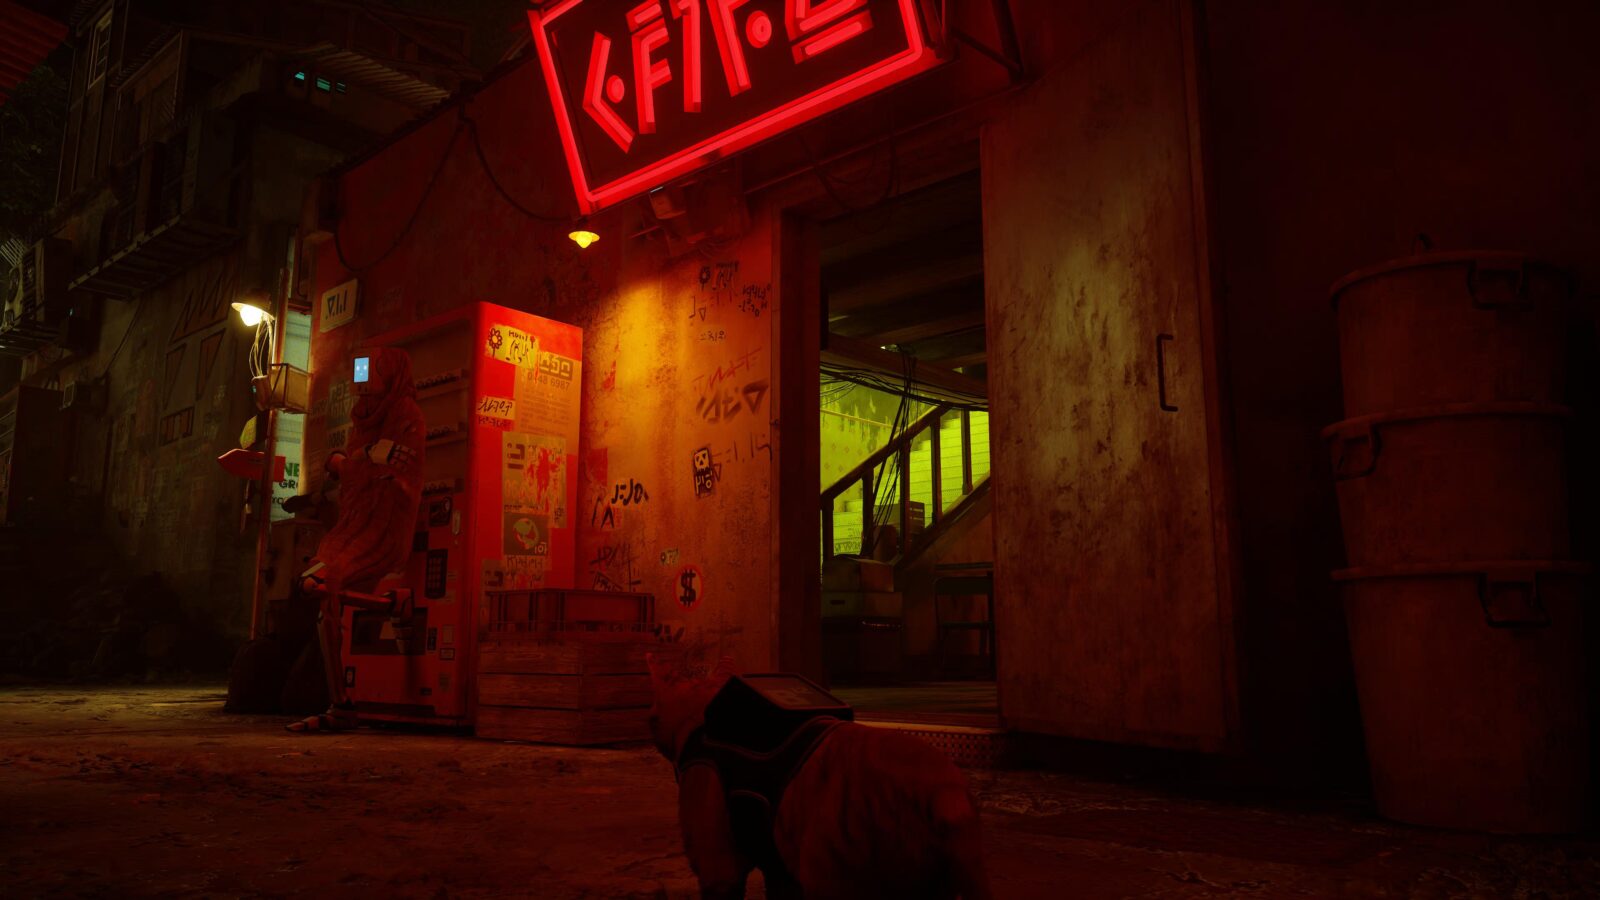
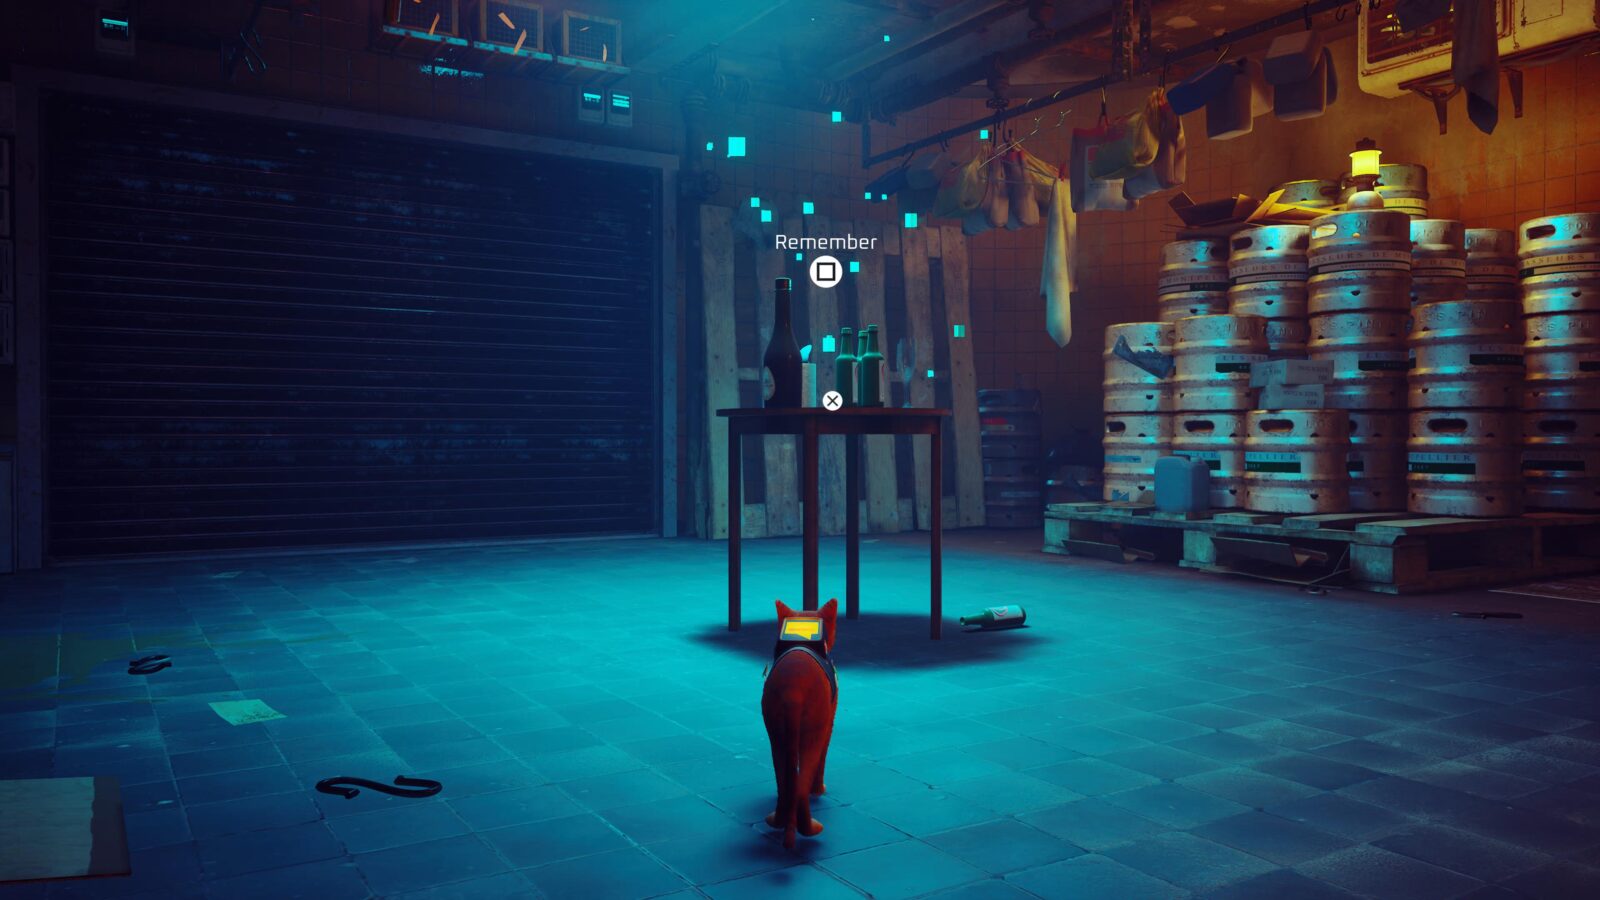
To your right, there’s a bar you can go inside. Go inside and head upstairs.
Look for another B-12 Memory (4/27) on a table up here.
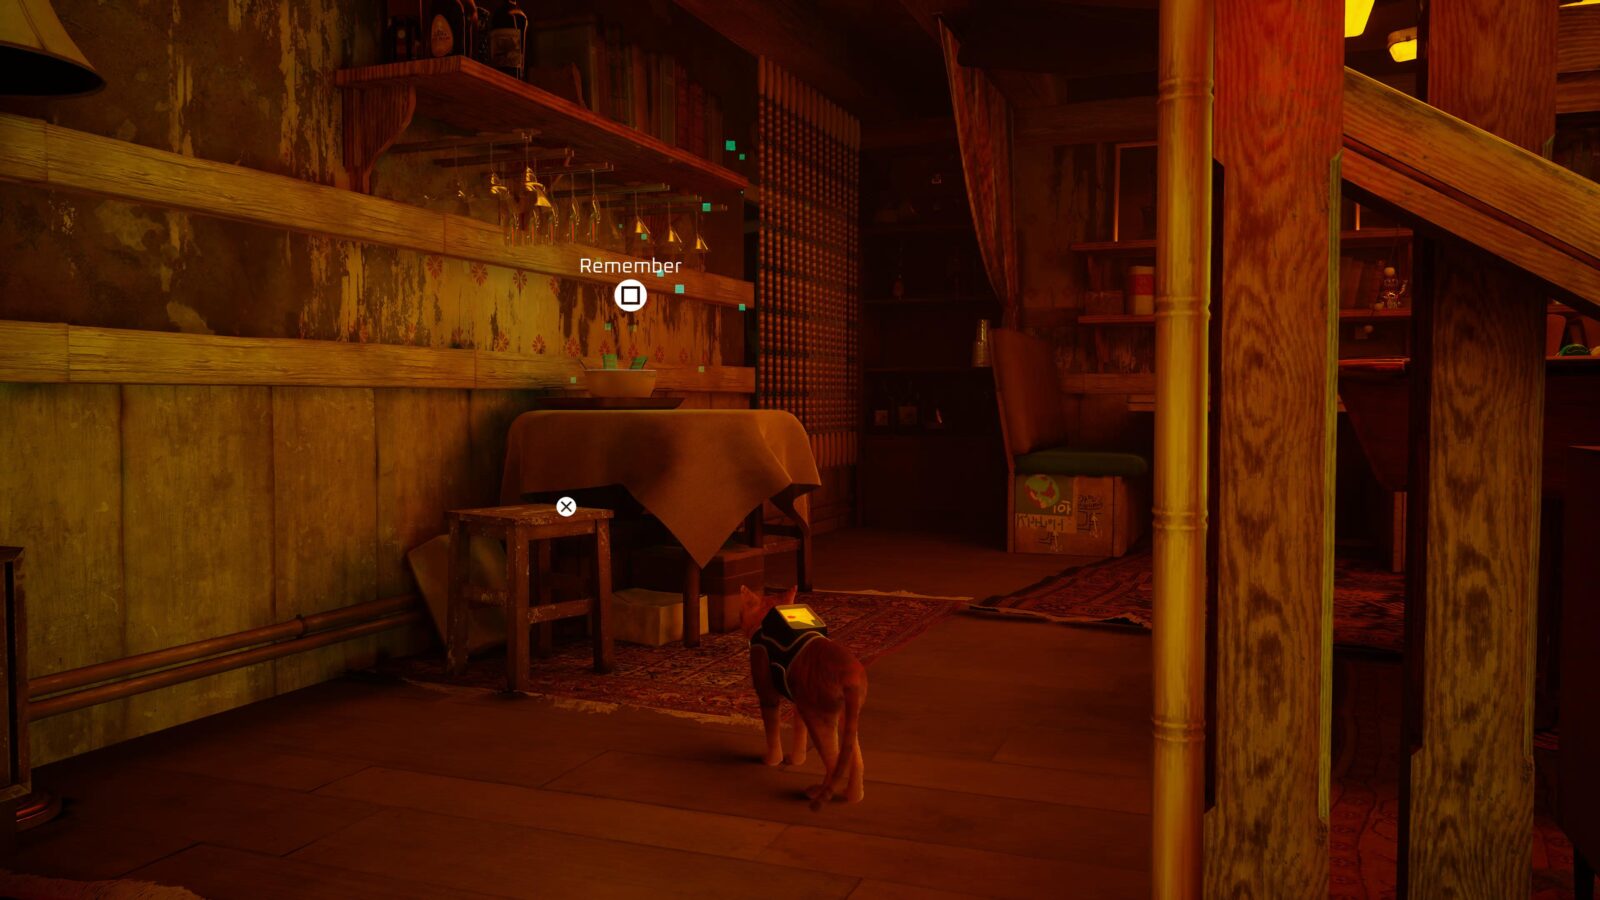
Nearby, you’ll also find some Sheet Music (4/8) on another table.

Once done, exit the bar via the window on the second floor.
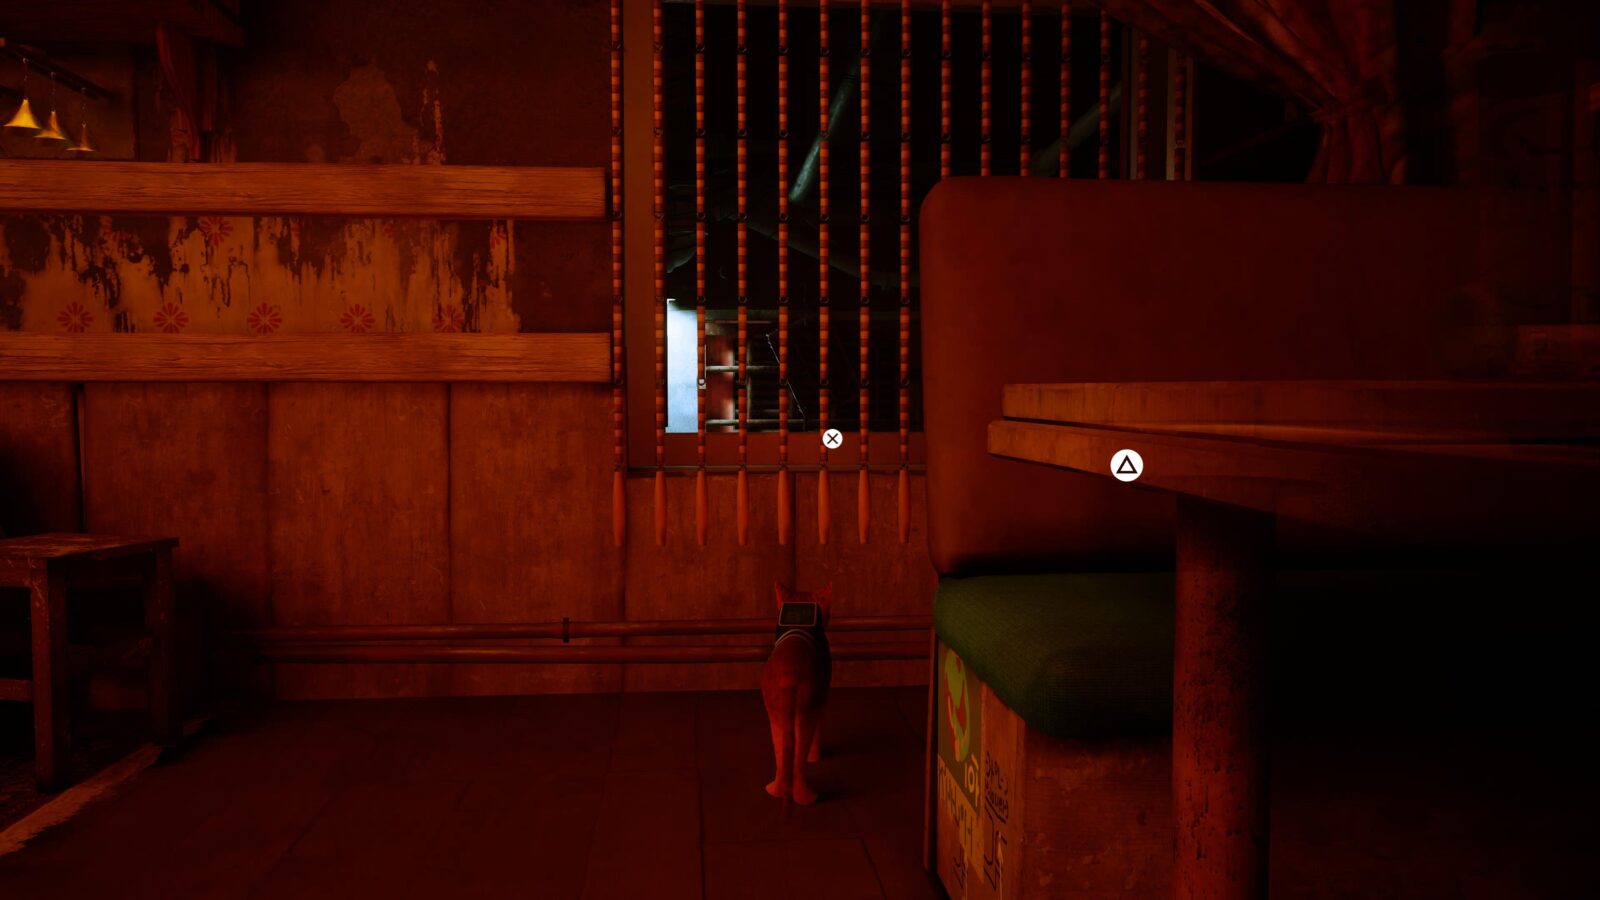
In the alleyway outside, use the dumpster to jump to an air conditioning unit and then the roof.

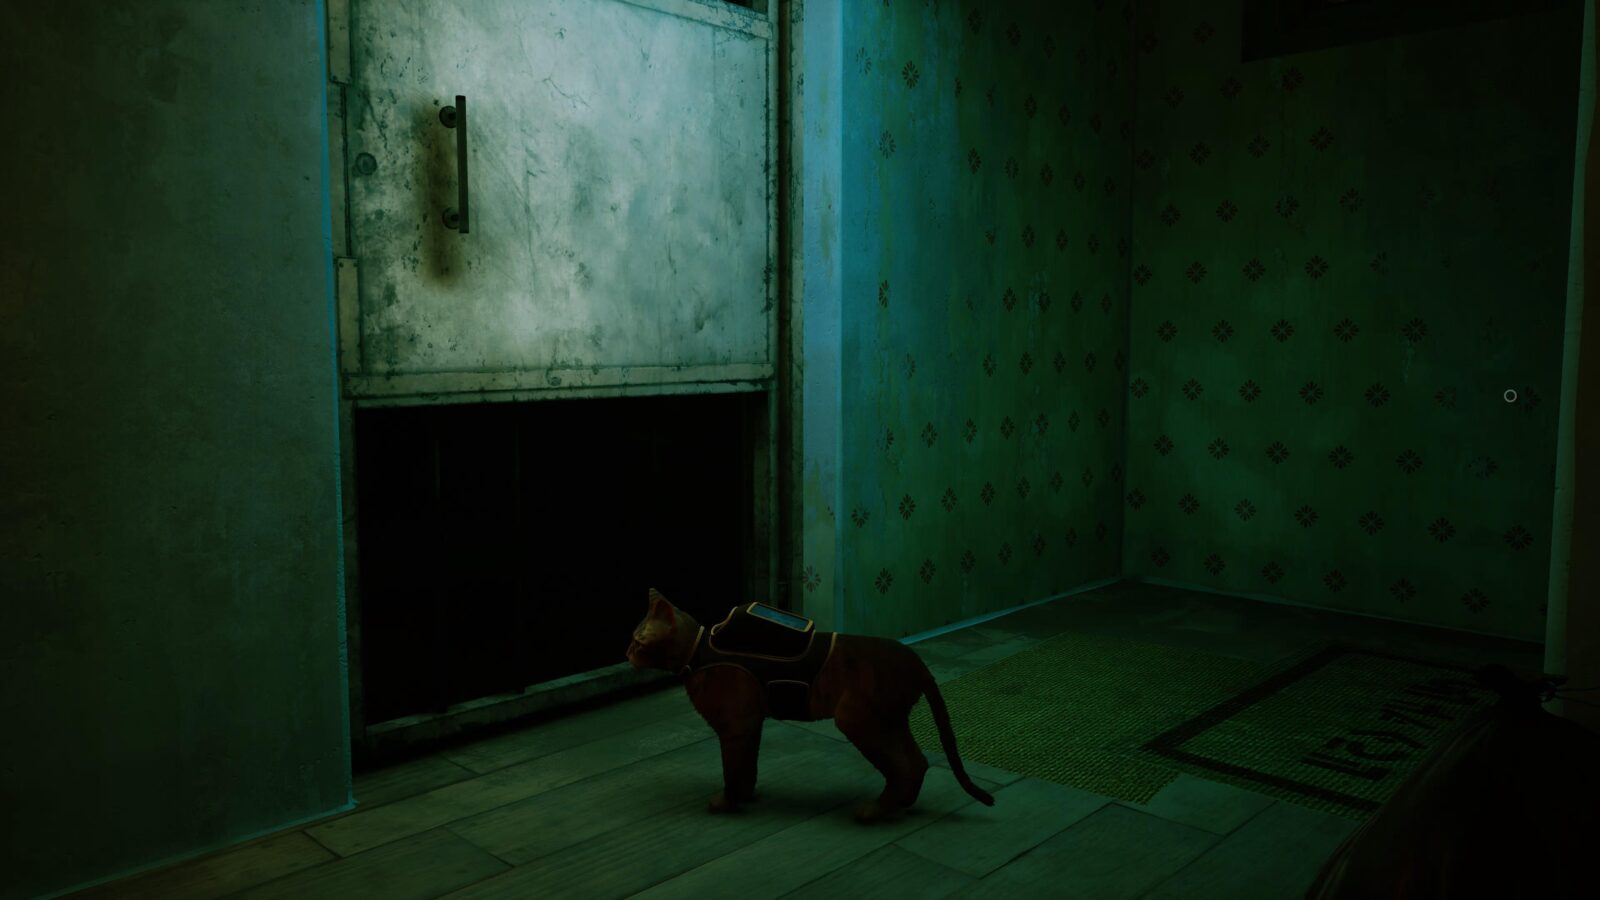
From there, make your way up to a blue-colored apartment above and head inside via the open window.
Inside this apartment, look for some Sheet Music (5/8) that can be found on the thin, tall shelf at the end of the bed.

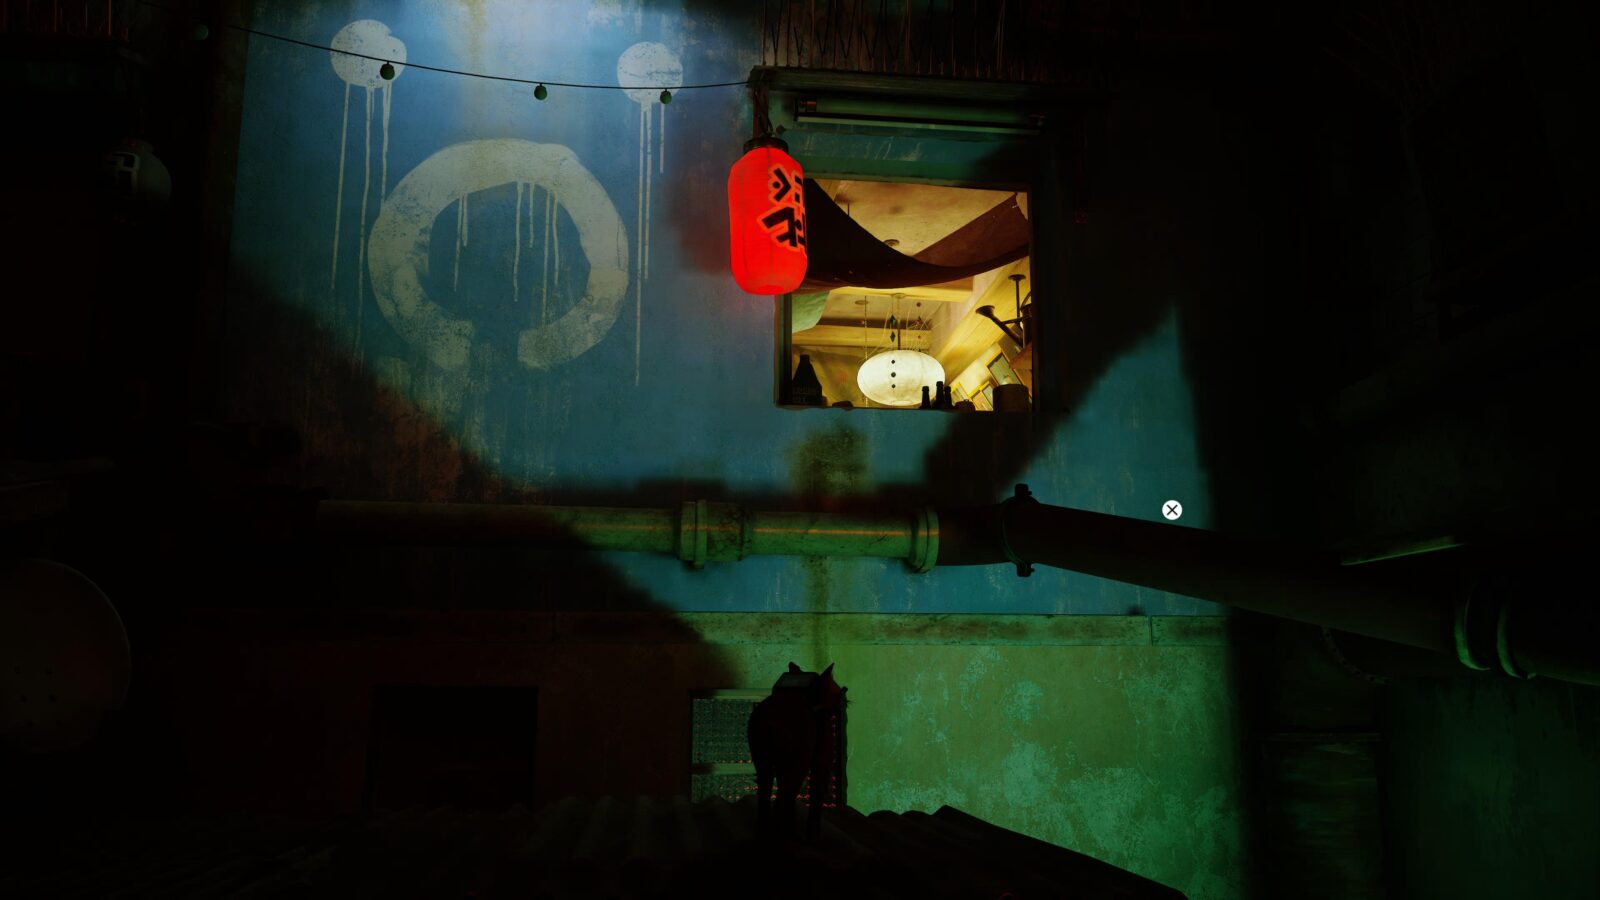
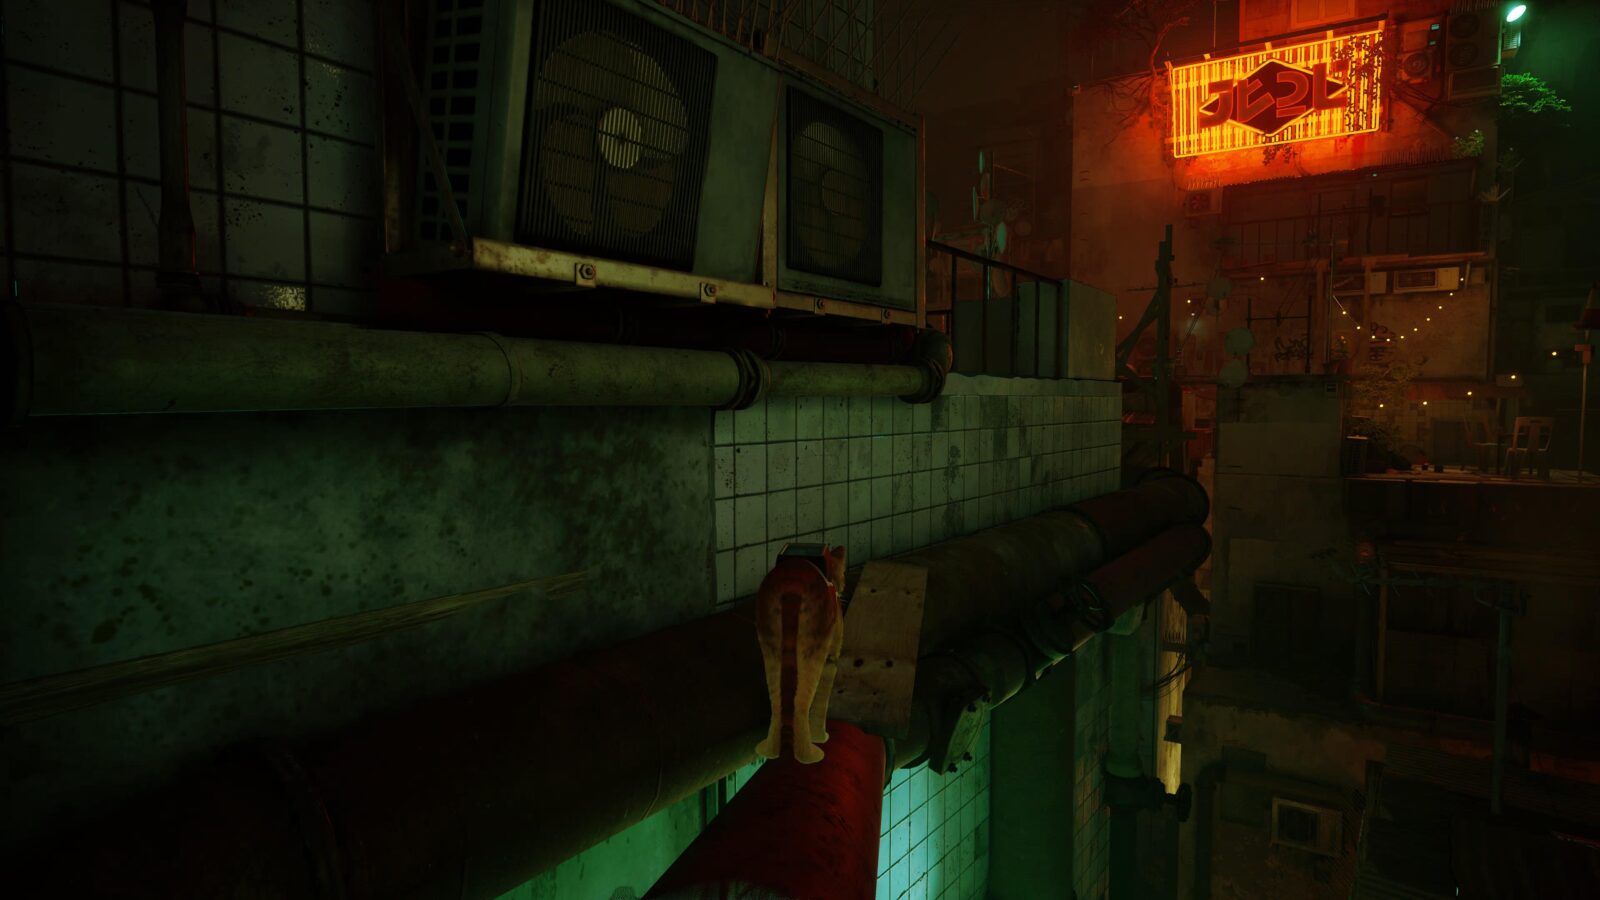
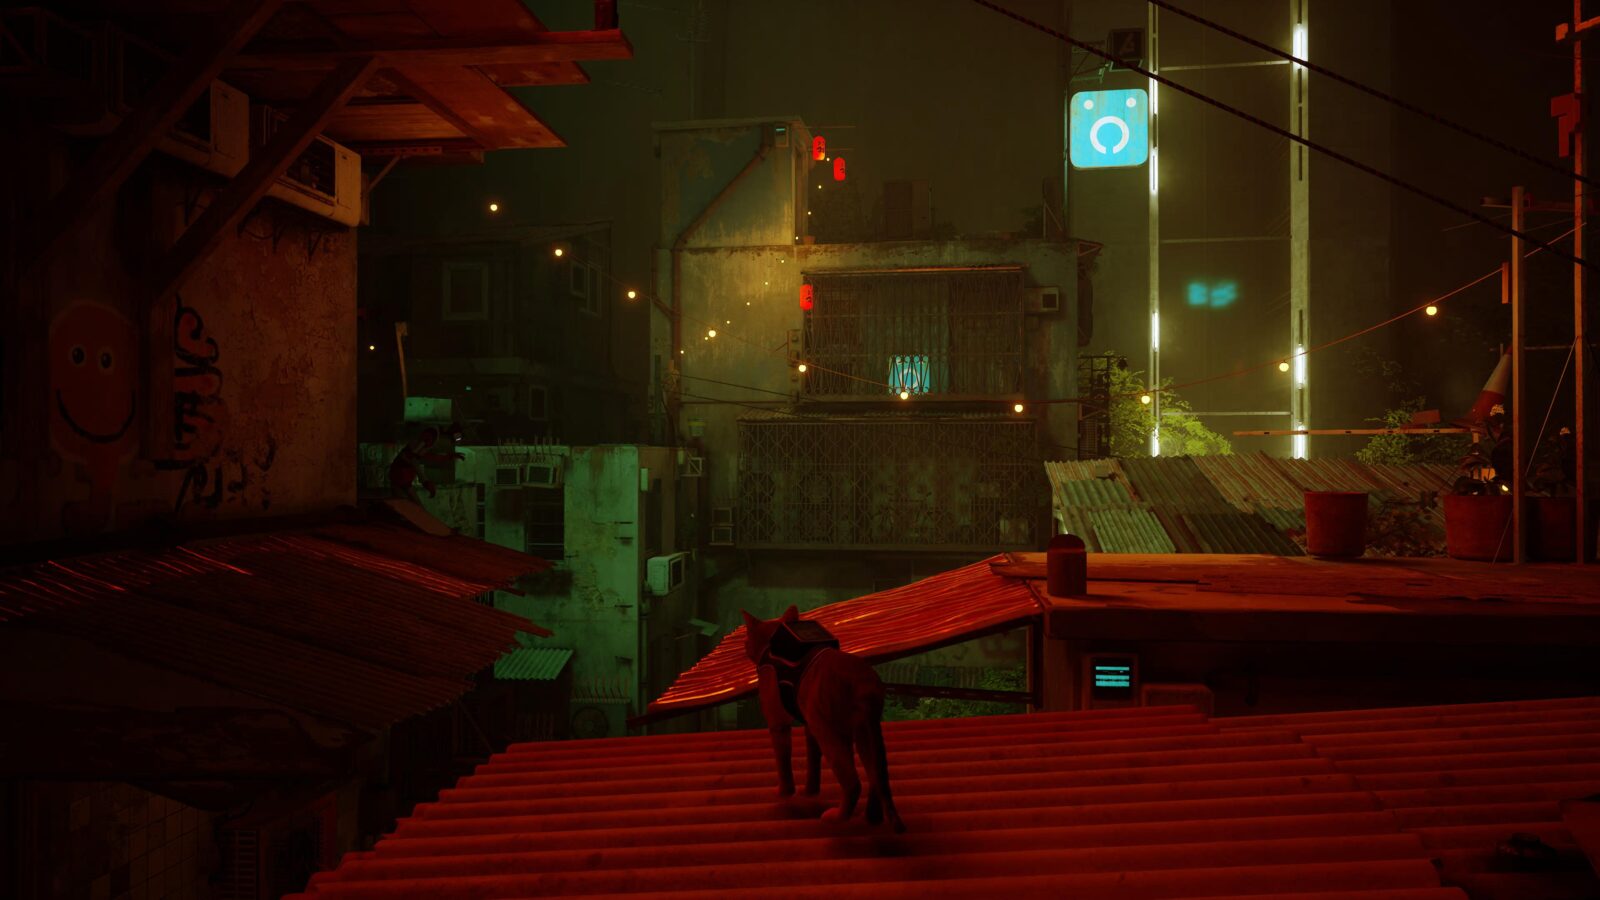
Head back out the way you came and go right to the building with the deactivated neon beer bottle sign.

Make your way up to the roof and you will find a B-12 Memory (5/27) behind the aforementioned sign.
Go back to the window you entered earlier and this time, cross the pipe going left instead of going right.
From the pipe, jump onto the balcony to your left and collect the Sheet Music (6/8).
Continue across the roofs to a robot on a mattress on one of the central roofs.
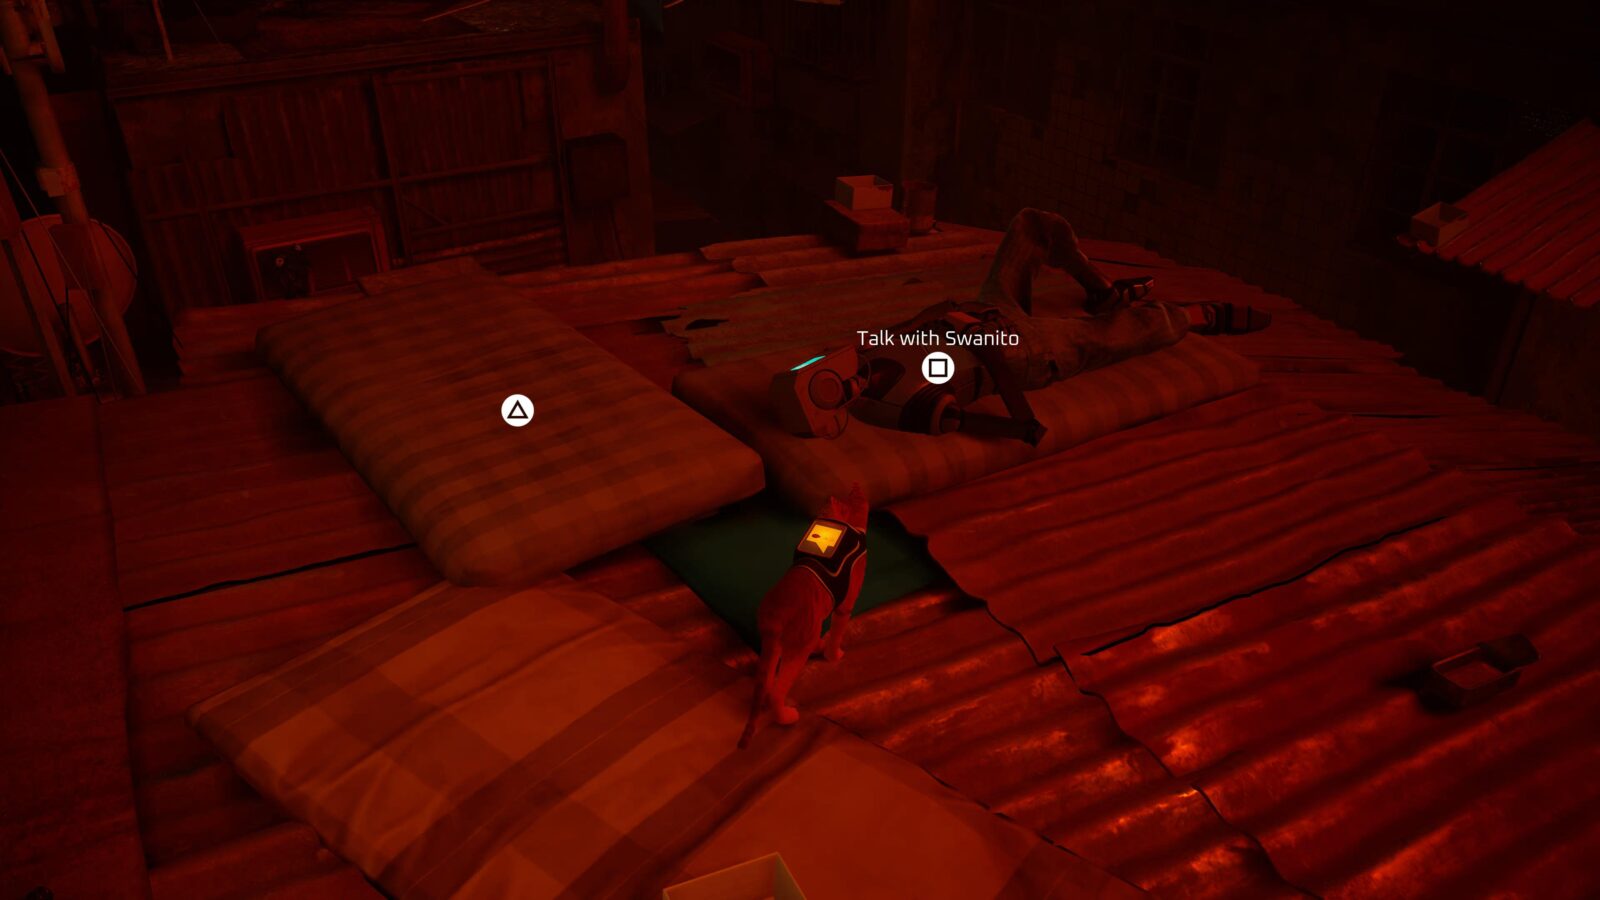
From that NPC, you should be able to see a sofa, television, and traffic cone.
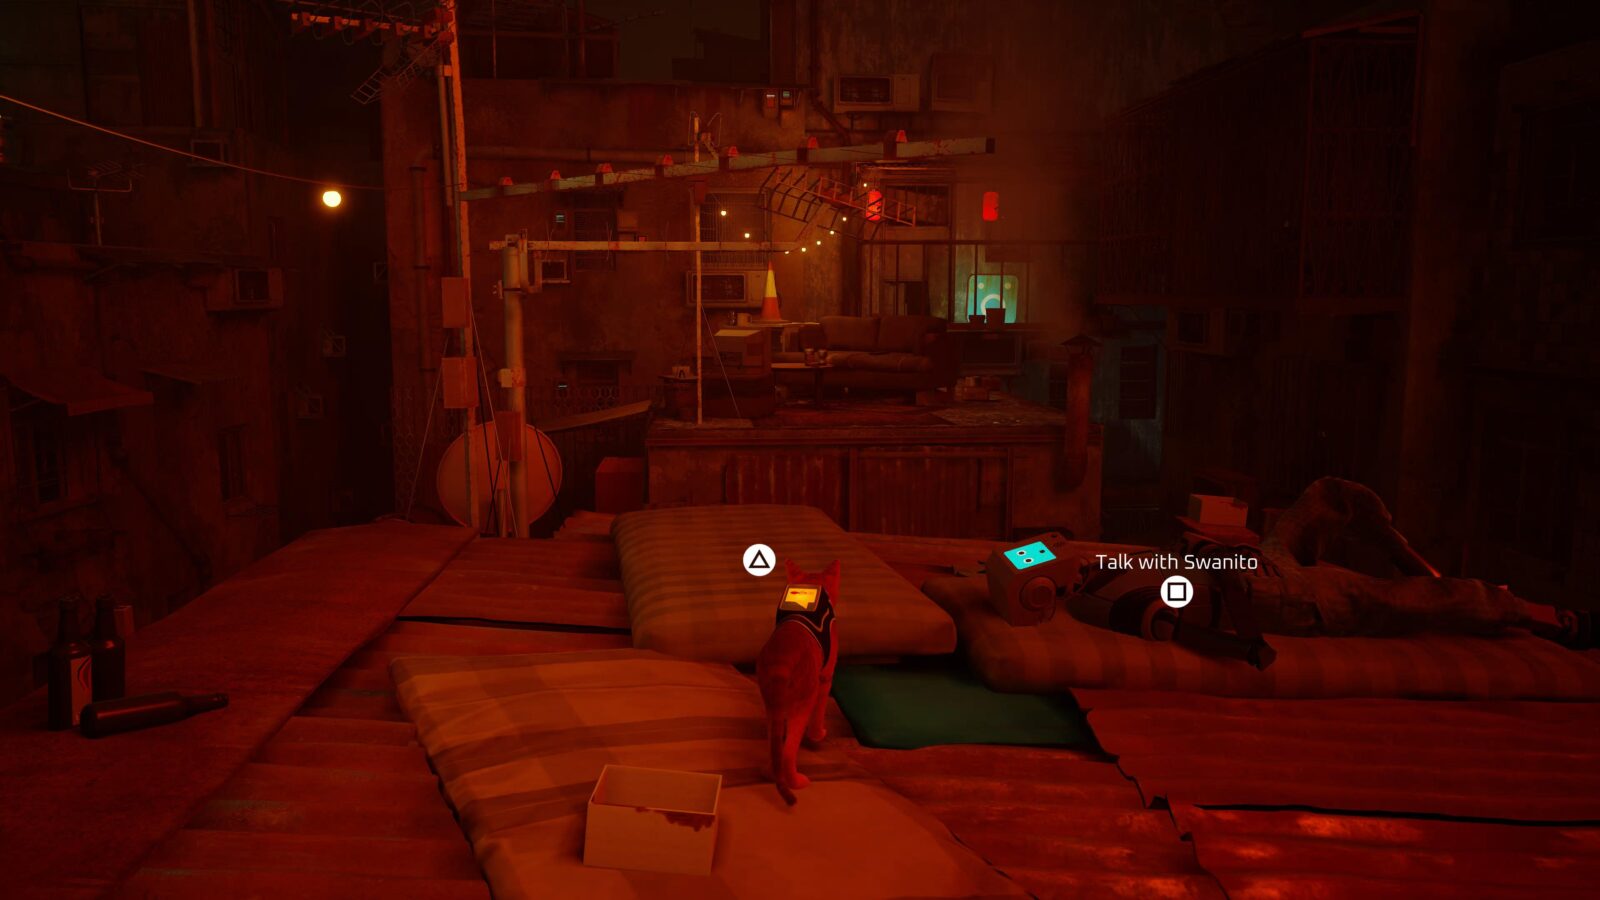
Jump to the roof with the sofa and then see our Télé à Chat Guide for instructions on collecting this Chapter-Specific Trophy.
Drop down behind the TV, where there’s another Vending Machine with Energy Drink 4/4.
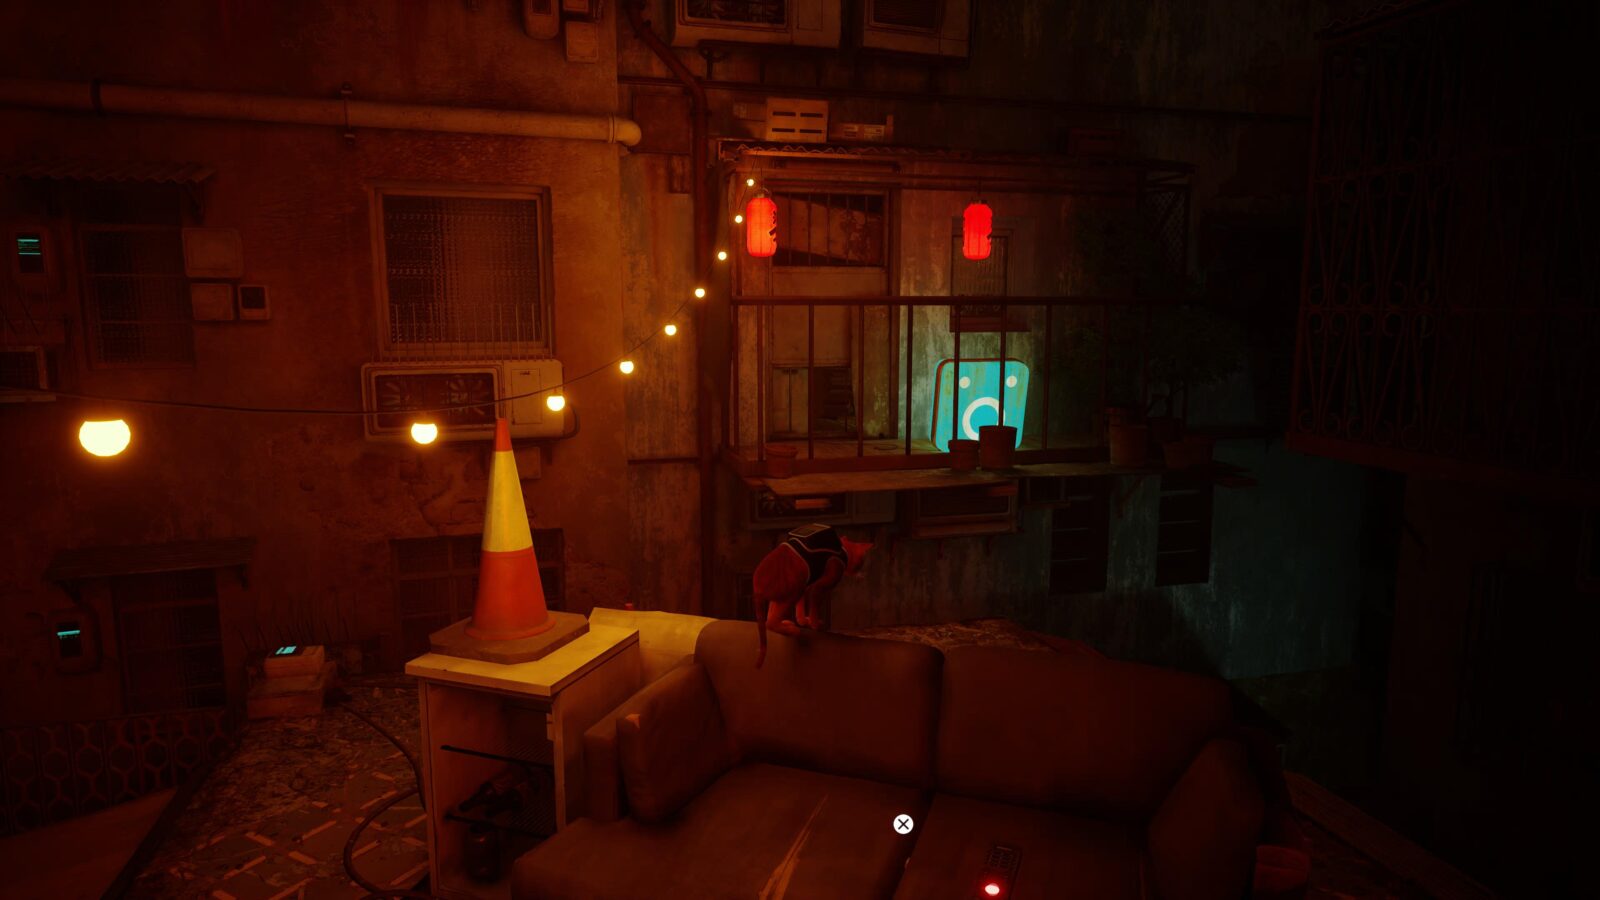
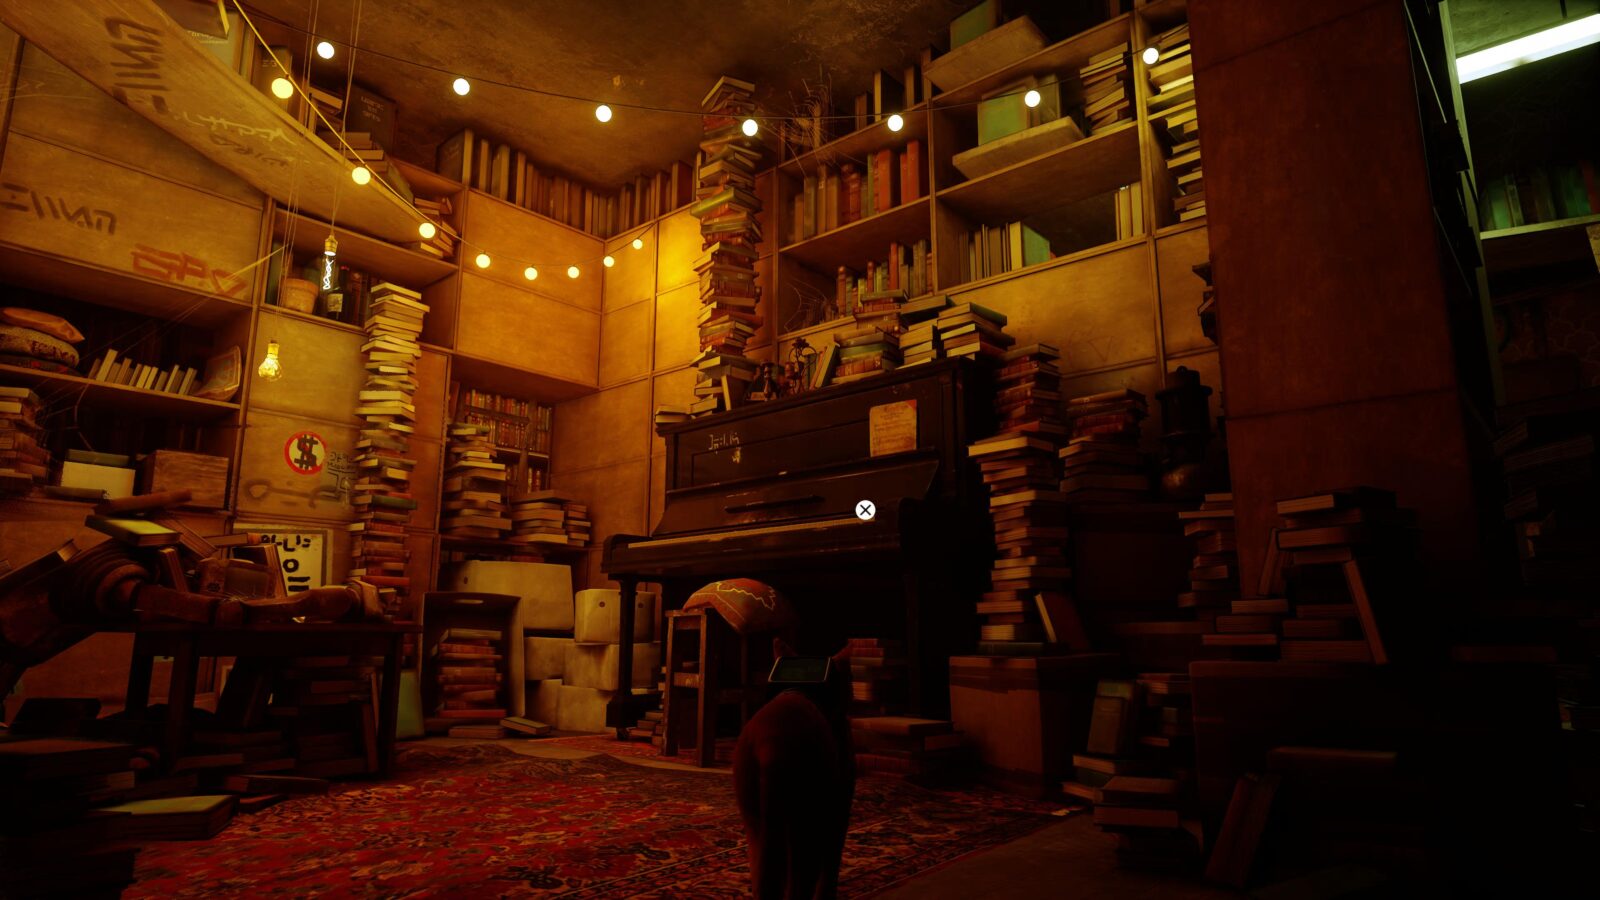
Behind the aforementioned sofa, you’ll see an apartment with a small cat door and a blue backlit sign. Jump to it and head inside.
Look for a Piano to your right and collect the Sheet Music (7/8) from it.
Exit back out onto the rooftops and head to the roof of the apartment opposite you, which also has a blue backlit sign outside.
On the roof, unplug the power source for the ventilation to turn it off, allowing you to drop into the apartment.
One of the story objectives is in here, but for the collectible we want, scratch the blinds over the window at the back of the apartment to cause them to open.
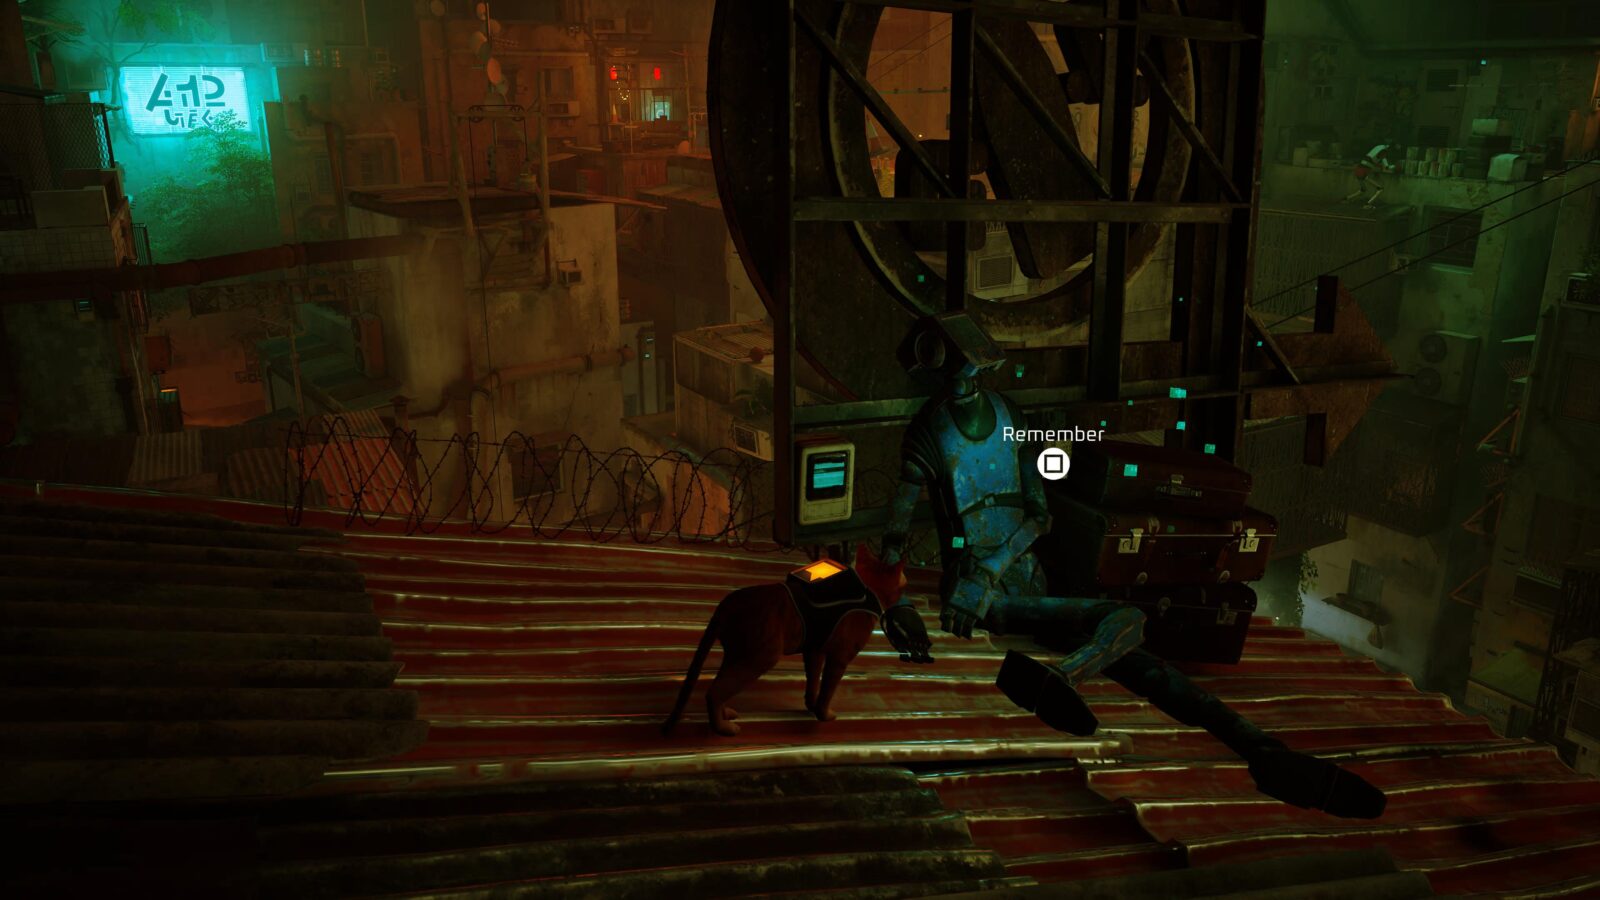
Jump out through the window and you’ll see a mural of a Robot on the wall in the alley below.
Make your way down there and interact with the mural to get a B-12 Memory (6/27).

Return to the Robot on the mattress at the center of the rooftops and use the nearby AC units to climb up to Momo’s Apartment.
Be careful when interacting with Momo. Feel free to speak to them but if you complete the story objective by showing them the Notebooks hidden around Chapter 4, you will lock yourself out of their Apartment and the collectibles within.
Go left from Momo and walk to the end of the short hallway. On your left are some bars you can slip through.
Go through to enter a Storage Room where you can find this Sheet Music (8/8) on a shelf!
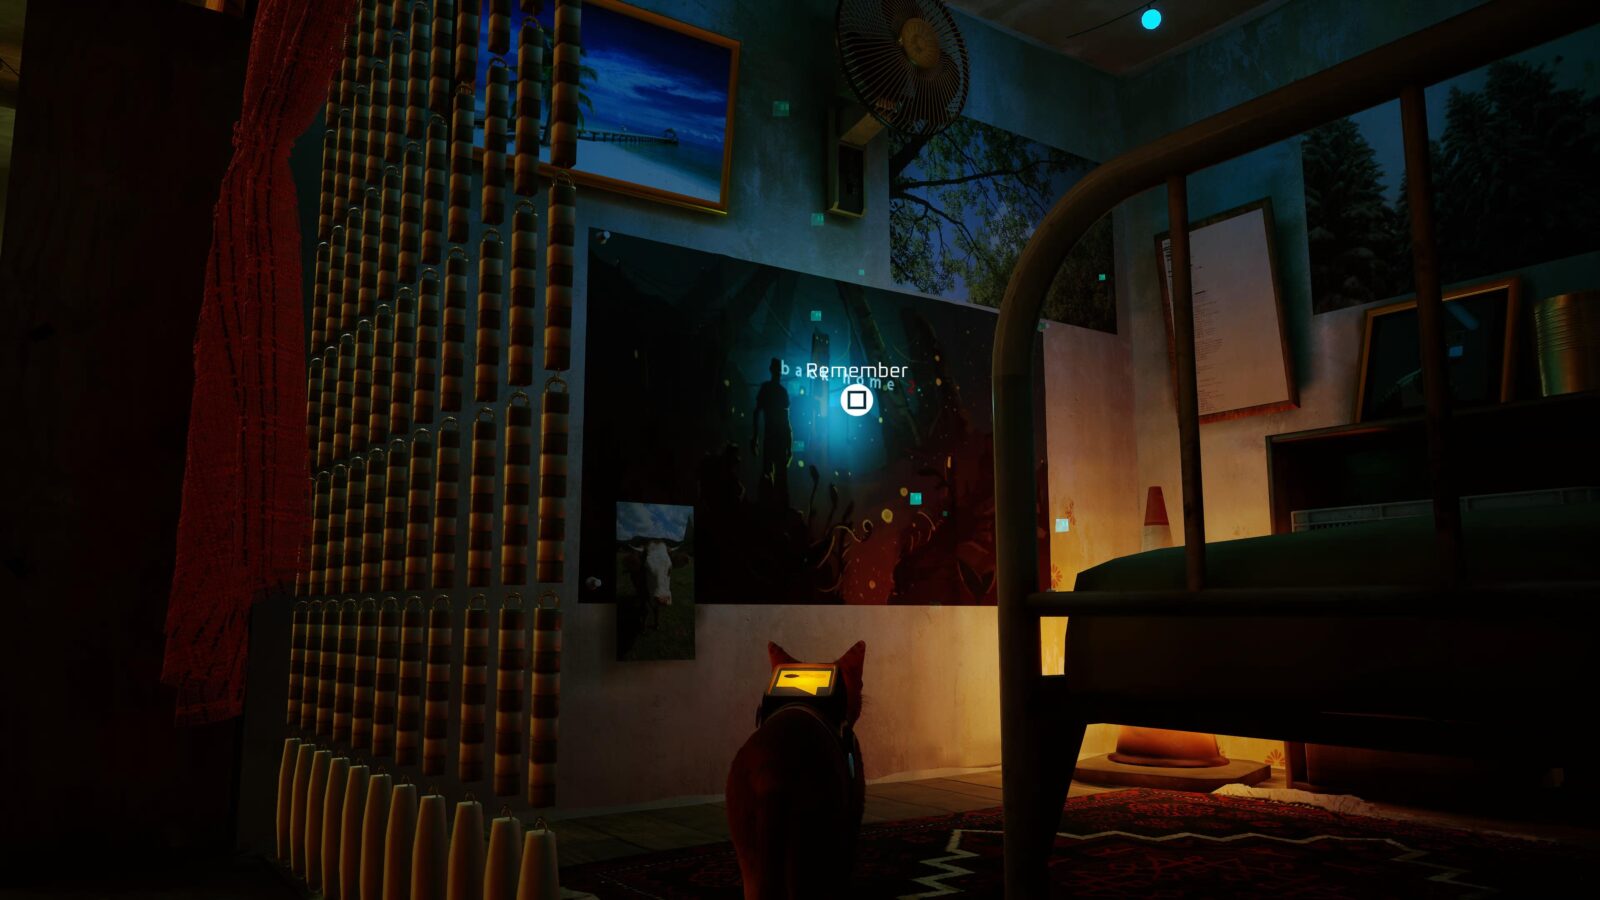
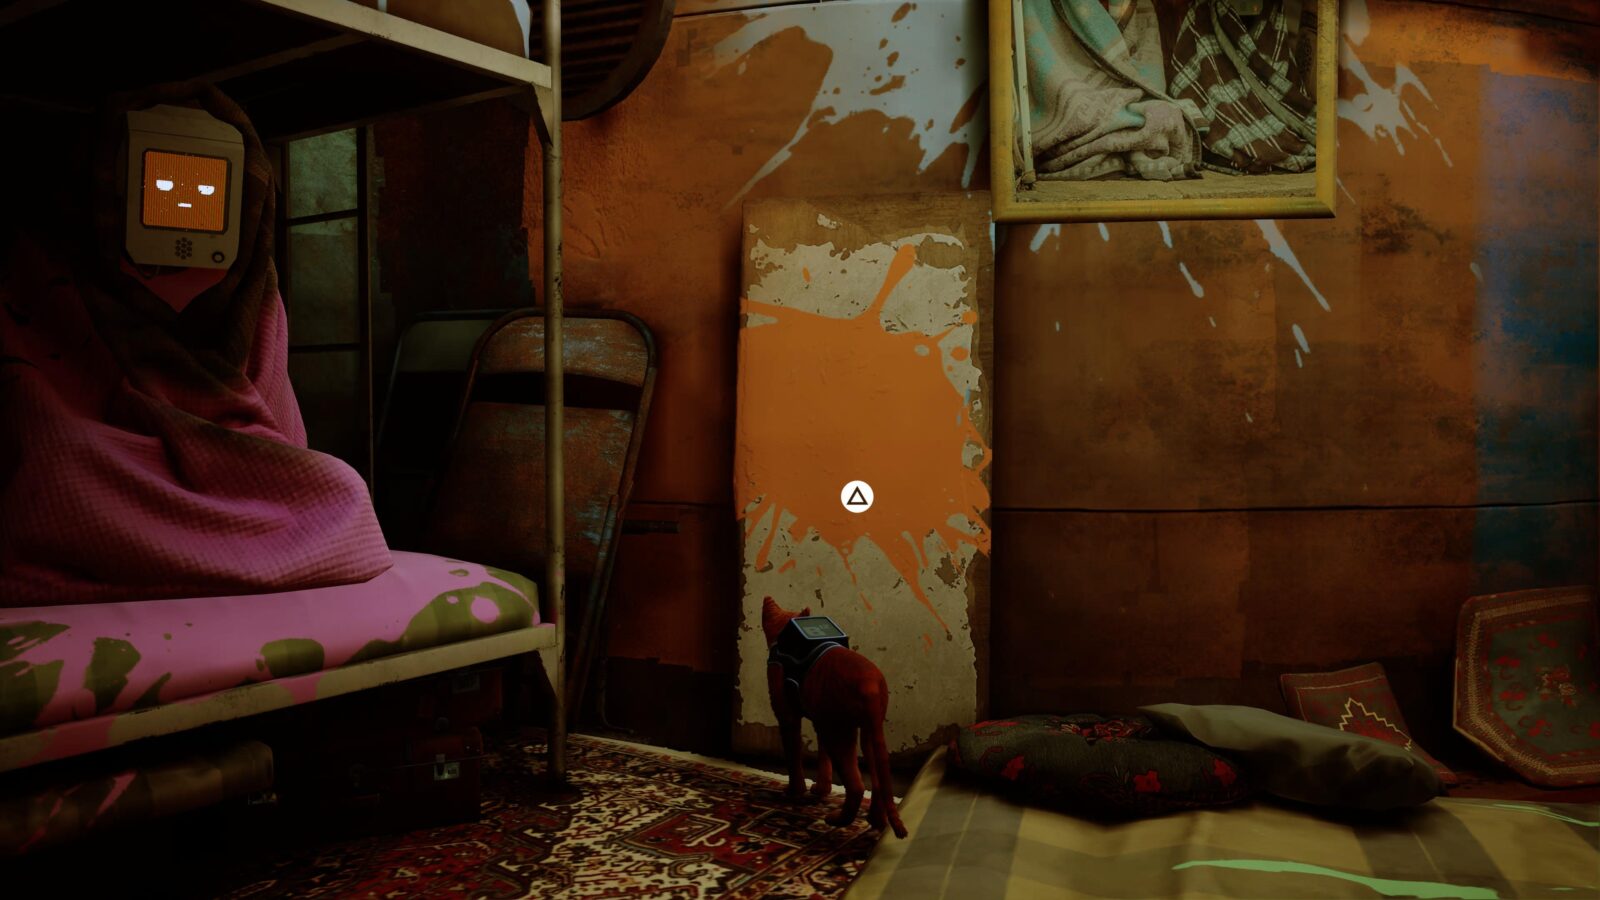
Go back to Momo and look for his bed in the small room by his TV set. Next to his bed, on the wall, is a poster which is also a B-12 Memory (7/27).
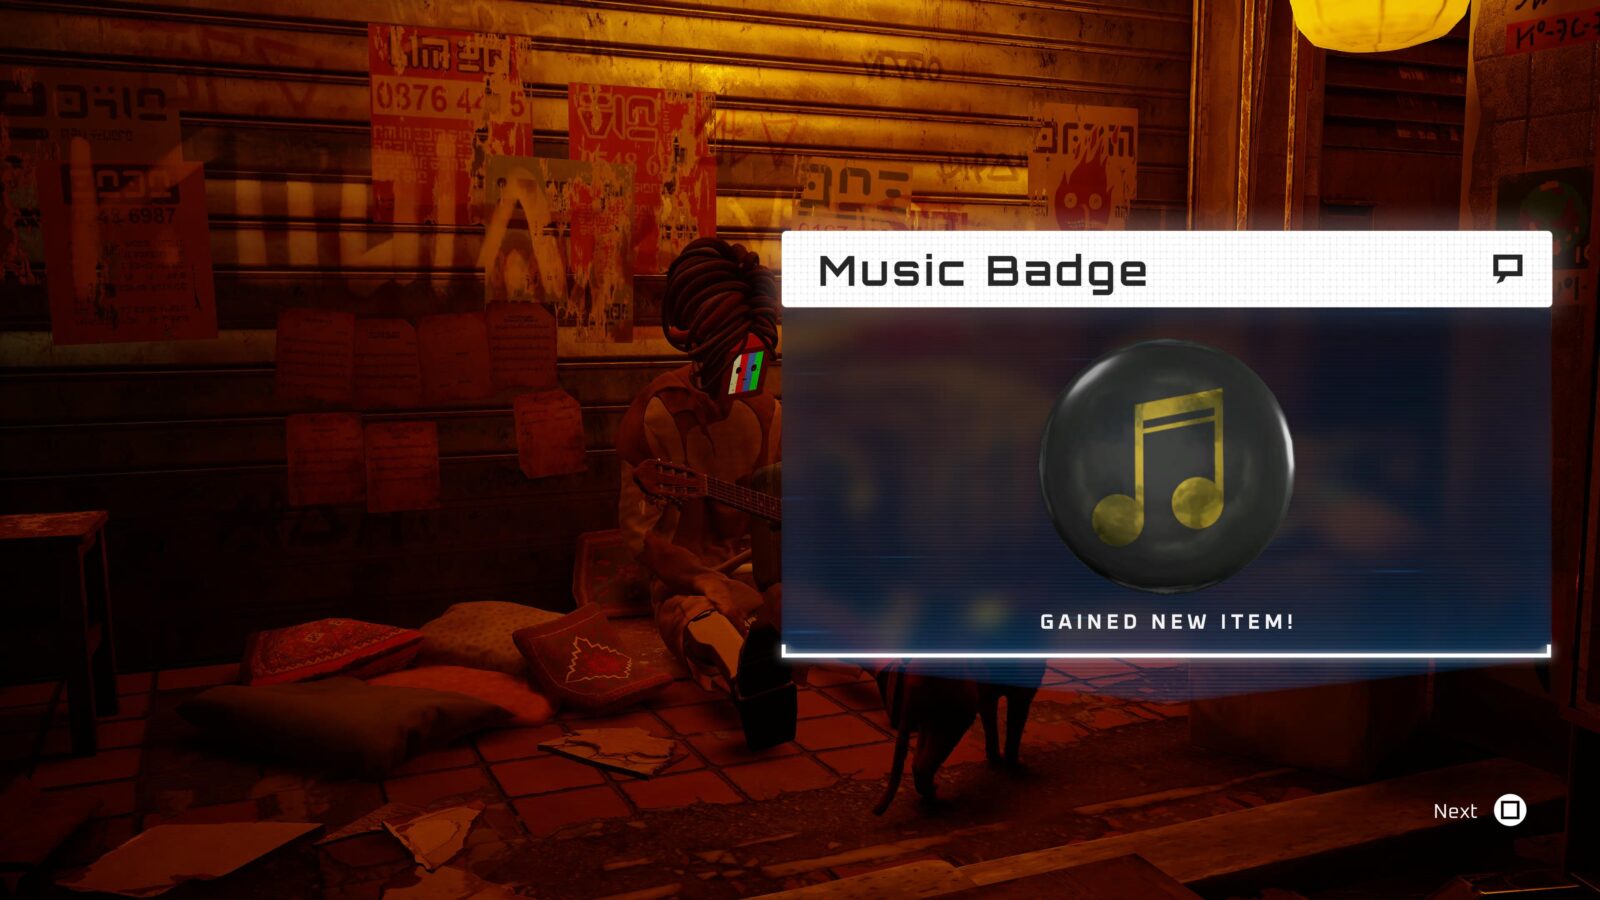
Now you should head all the way back to Morusque, the guitar-playing robot from before.
Speak to him and offer him the 8 Music Sheets you have collected. This will unlock the Chapter-Specific Meowlody Trophy as well as the Music Badge (1/6).
Lastly, go up the stairs, down the ones opposite, and then speak to the trader again on your left.
You should trade him the other three Energy Drink cans you’ve collected to receive a B-12 Memory (8/27).
That’s everything in this chapter. Feel free to return to Momo and complete your main objectives.
Chapter Five: Rooftops Collectibles
At the start of the chapter, look for a rug nearby that you can scratch (5/12).
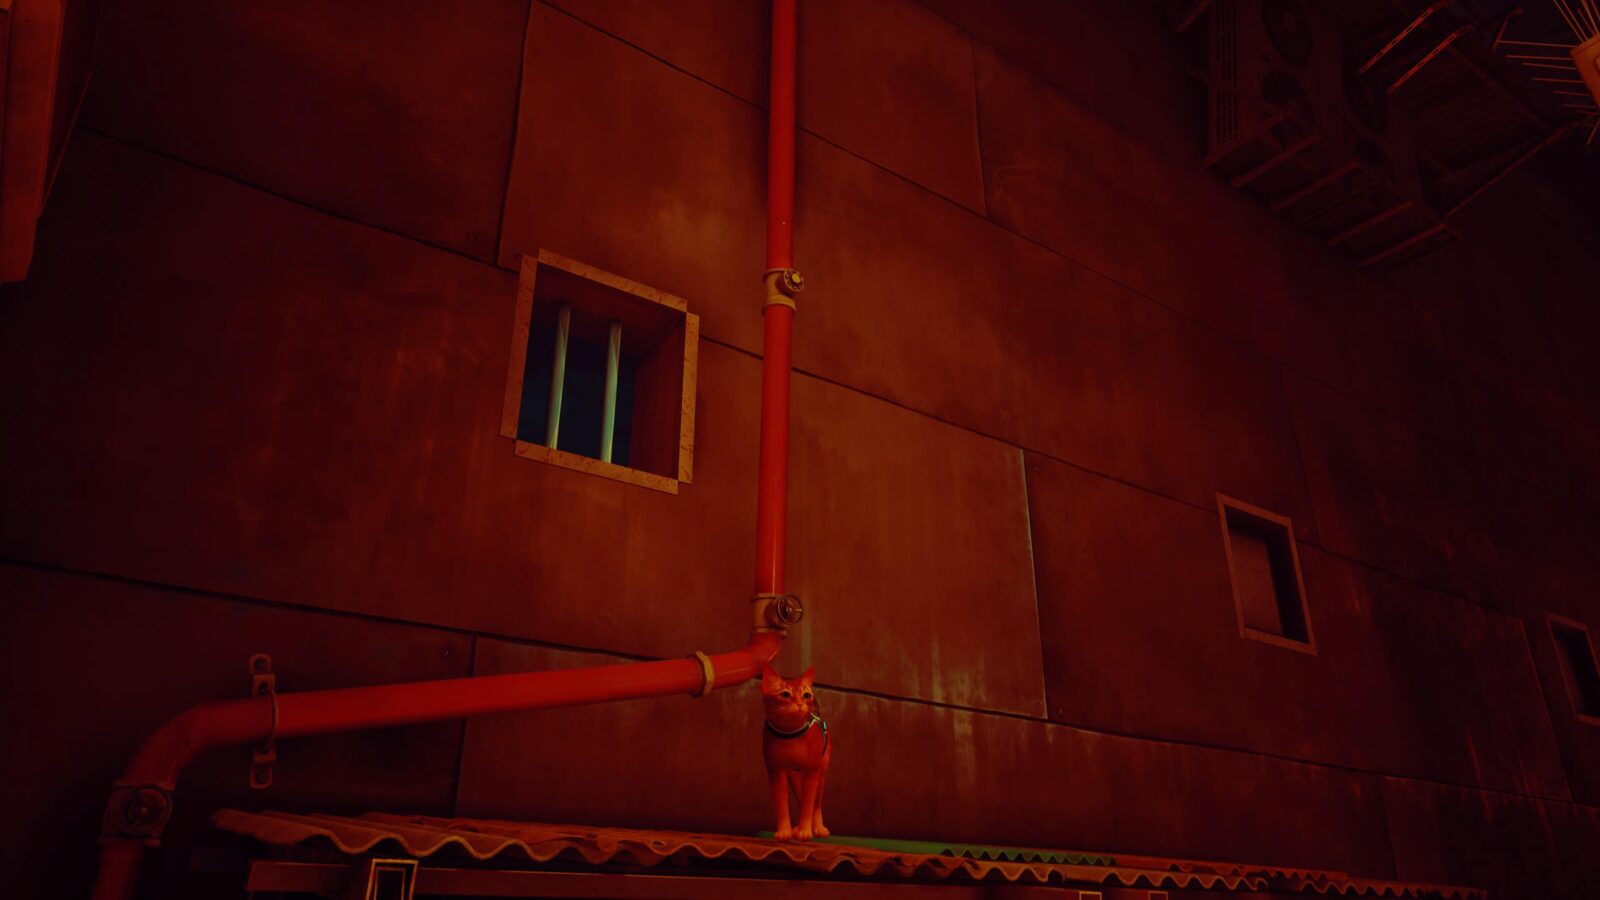
Continue through the stage until you pass the second set of Zurk enemies (the ones you use the girder to bypass). Climb up the ledge and then look for a flickering red neon sign above a ledge ahead of you.
Climb up the ledge, and this B-12 Memory (9/27) is on the neon sign in plain sight.

Later on, while moving through the upper floor of an infested construction site. There’s a switch you need to interact with in order to open a gate as part of the Zurk puzzle in this room.

Instead, go past it and jump onto the low wall ahead to see another B-12 Memory (10/27) on the sign there.
The last collectible in this Chapter is another B-12 Memory (11/27), but it’s completely unmissable and will be collected as part of the story.
Chapter Six: The Slums Part 2 Collectibles
Chapter Six is another Chapter void of annoying collectibles. All you need to do is find something to scratch.
Luckily there’s a carpet you can scratch (6/12) inside Momo’s Apartment right at the start of the Chapter.
Chapter Seven: Dead End Collectibles
At the start of the Chapter, an NPC named Seamus opens a door for you. He’ll unavoidably give you the Outsider Badge (2/6) as he does so.

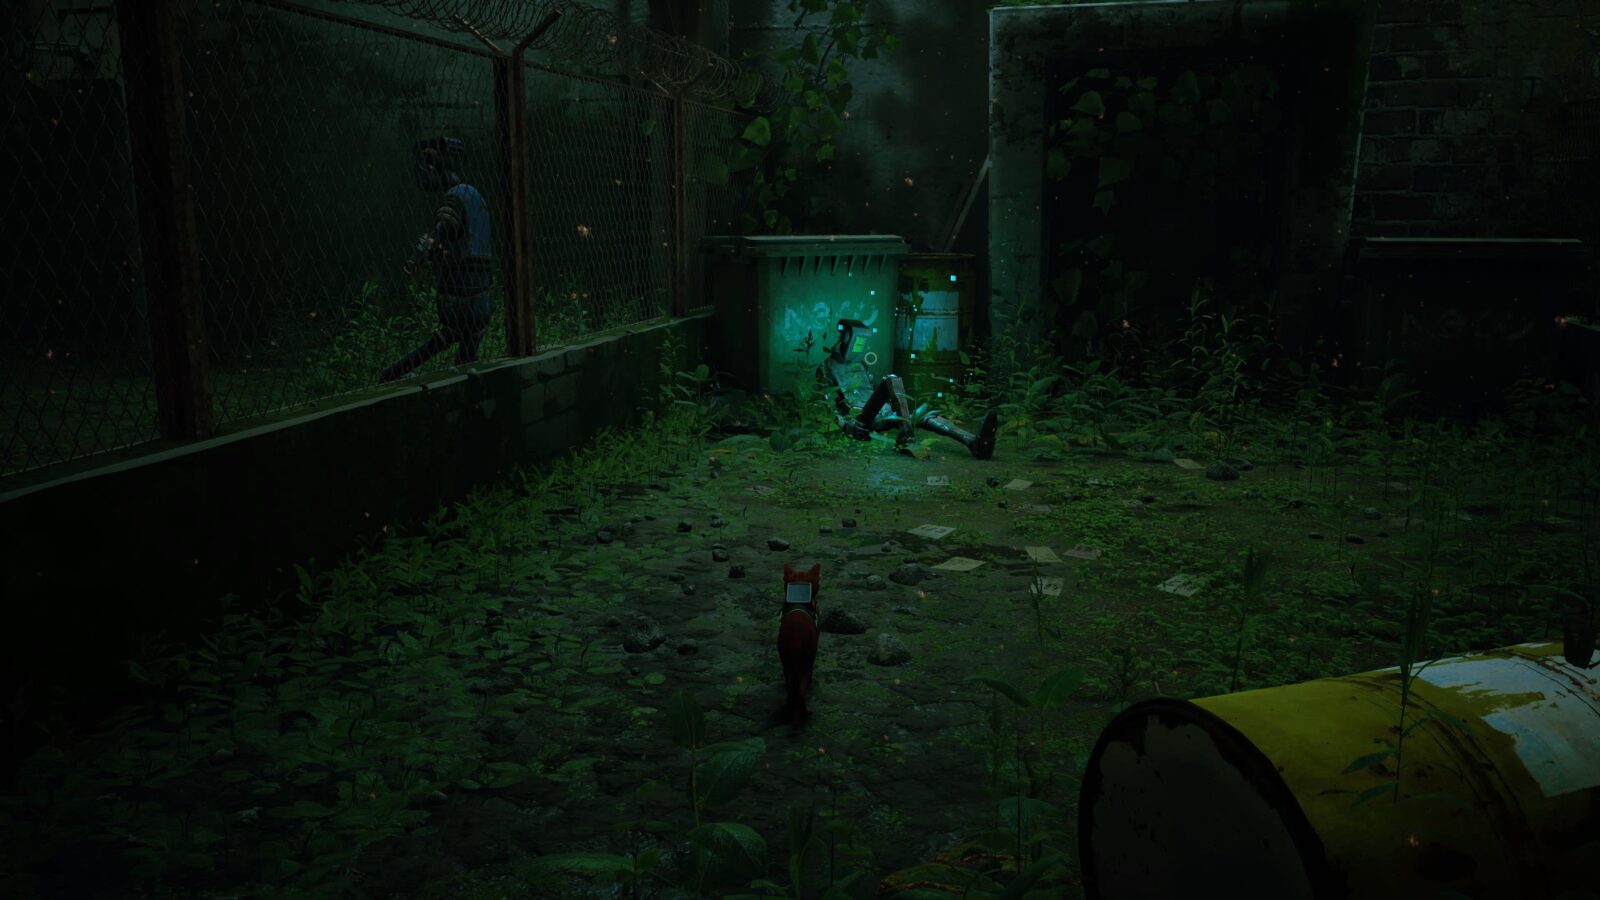
After entering the door that Seamus opens for you, go down the path on the left and you’ll reach a wall with another B-12 Memory (12/27) on it.
Continue through the level until you complete a Zurk chase sequence. At the end, climb the truck nearby to reach a ledge above it.
From there, head into the alley ahead of you and through the hole in the chain-link fence.
On your right, you will find another B-12 Memory (13/27).
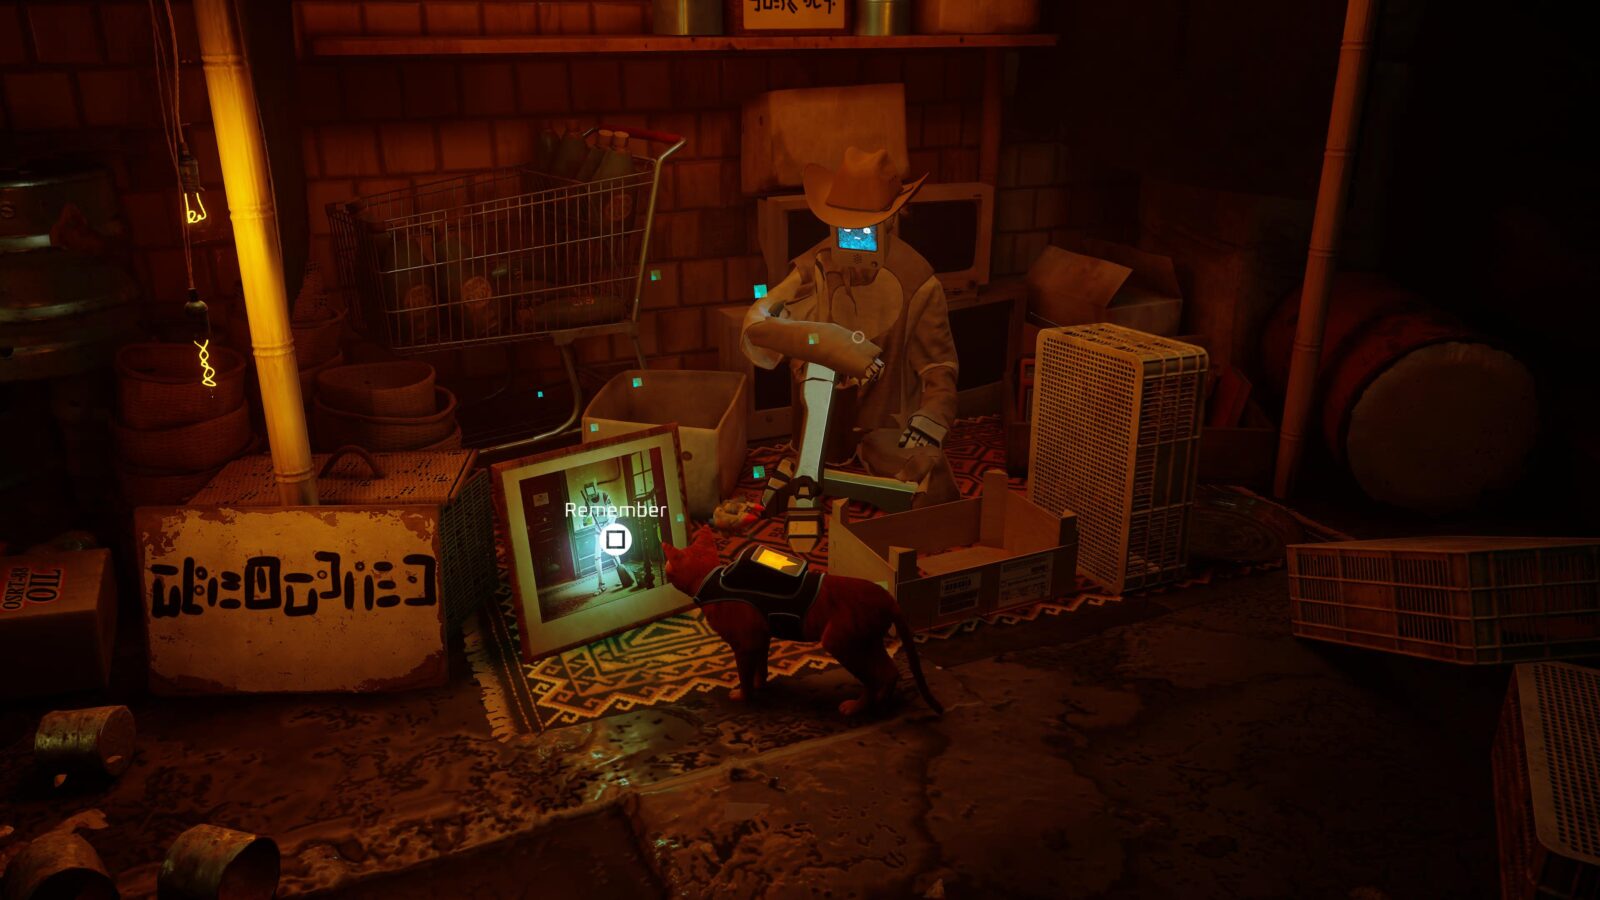
Continue on until you meet an NPC named “Doc.” Next to him you will see a Mannequin.
Interact with it to get another B-12 Memory (14/27).

The only thing left to do is find something to scratch (7/12). Luckily the wall right next to Doc’s desk can be scratched.
Chapter Eight: The Sewers Collectibles
You will have learned by now that Zurks can be killed with the Flashlight’s new powerup. However, you must not do that at all for this entire chapter.
There is a Chapter-Specific Trophy called Pacifist which you will void if you kill any Zurks with your flashlight. Using ![]() to throw them off is fine, even if they fall in the water.
to throw them off is fine, even if they fall in the water.
After riding the boat through the sewers for a second time, Momo will open a large doorway for you. Use the barrels in the water to go through it.

Immediately ahead of you, there’s a small bridge. Jump up onto it and then go left.
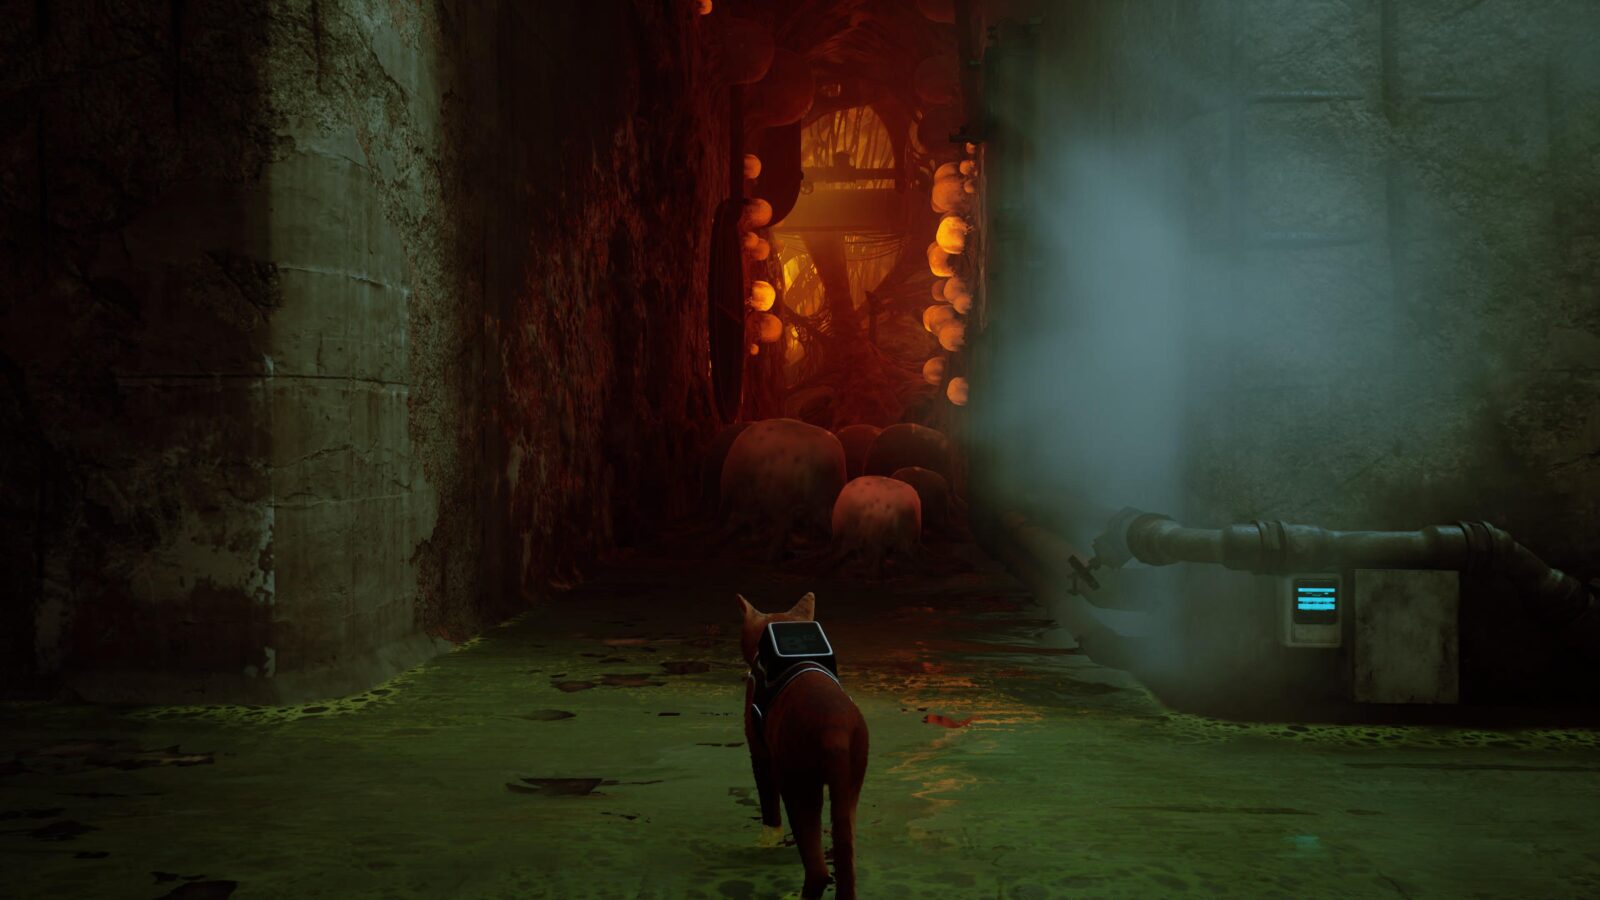
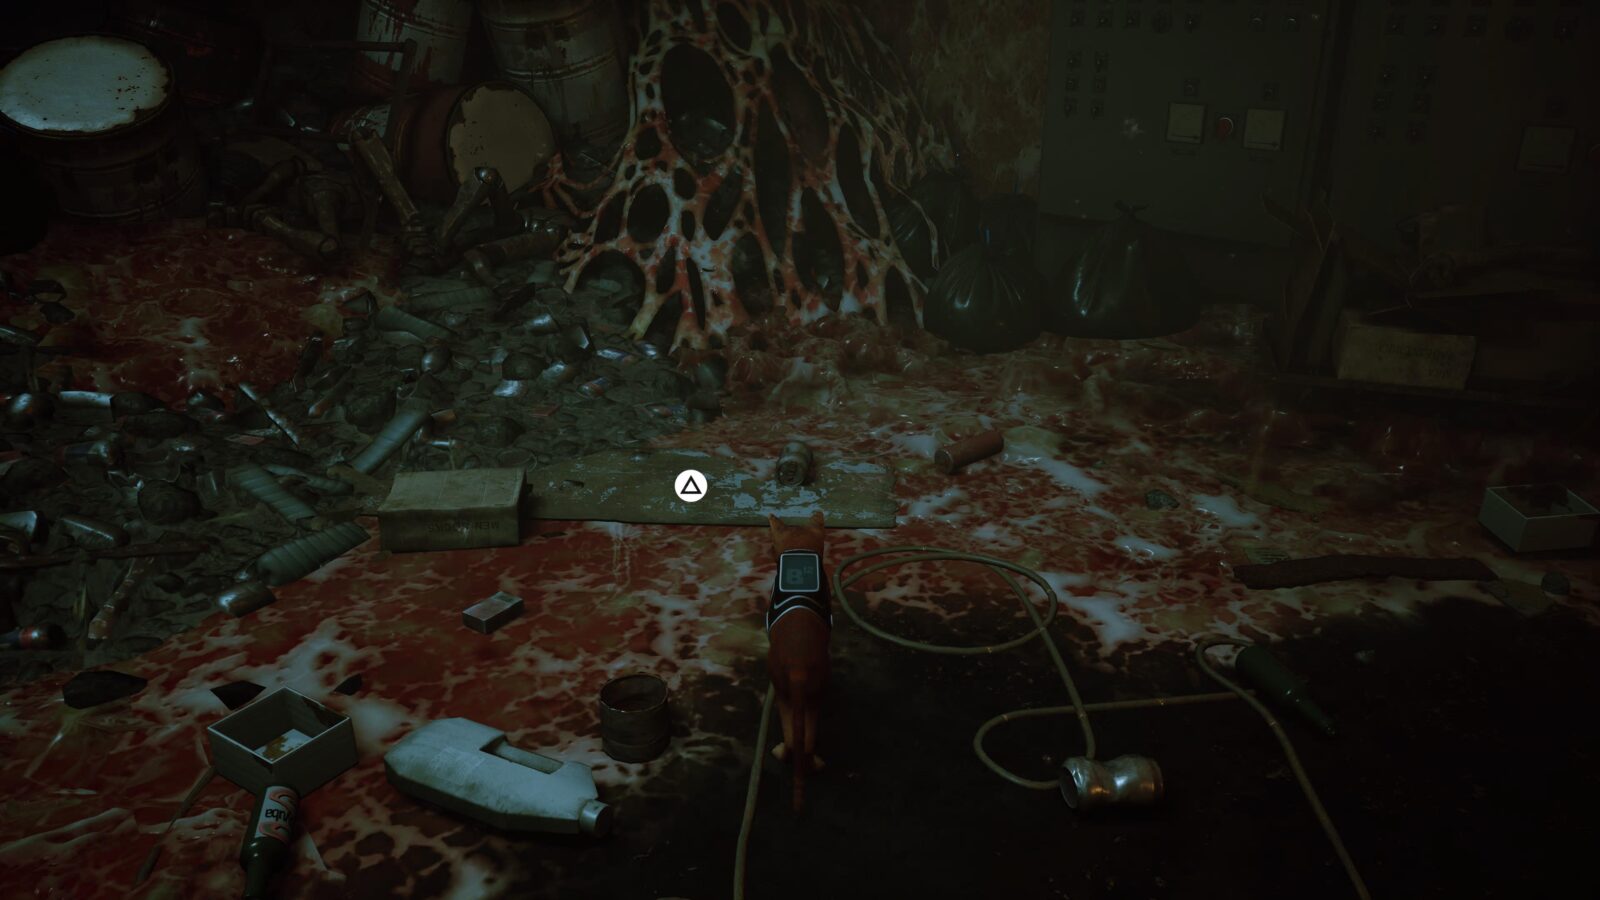
Follow this path past some Zurk Pods.
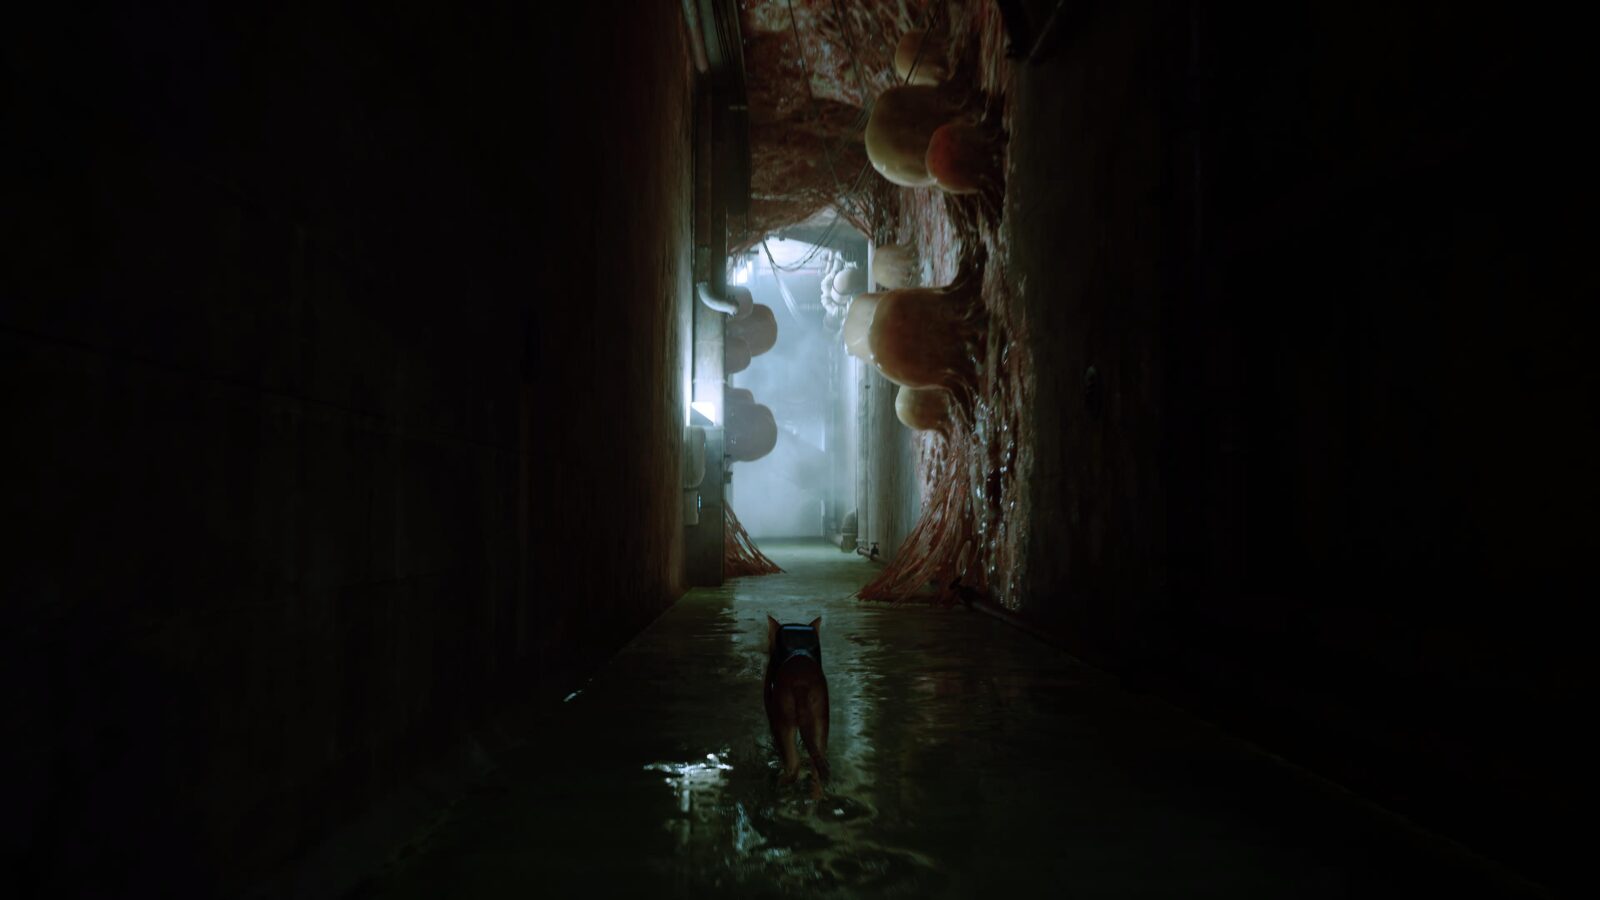
At the crossroads, stop and look left. You’ll see some more Zurk Pods with a large pipe entrance beyond them.
Jump into it and walk to the very end, where you’ll find a B-12 Memory (15/27).
This next collectible is a bit tricky, so try to follow closely.
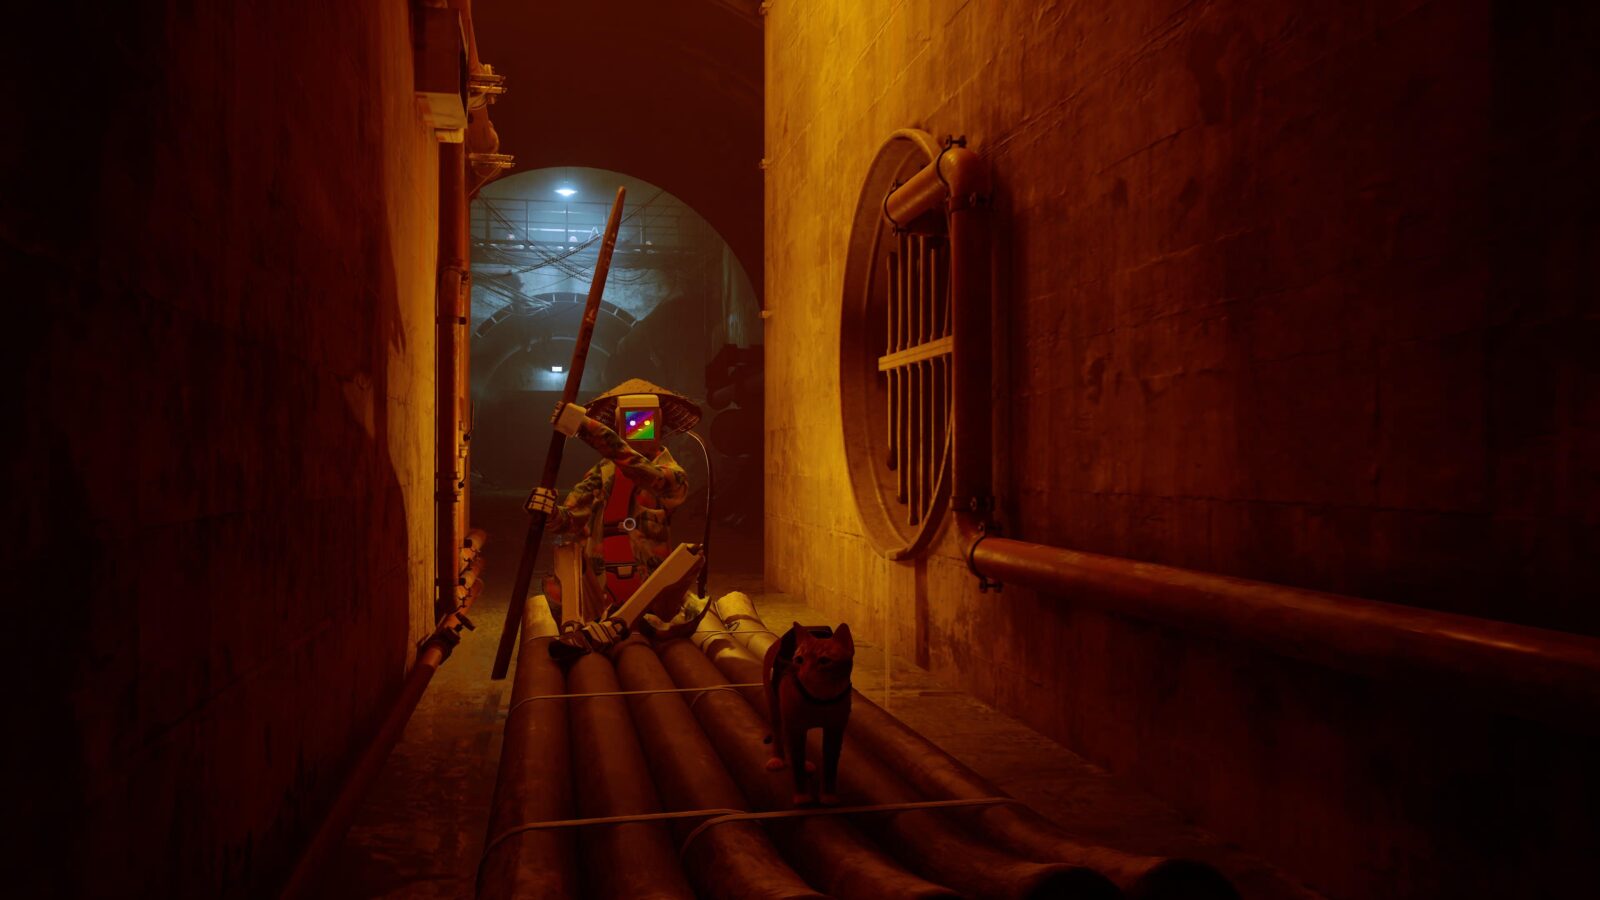
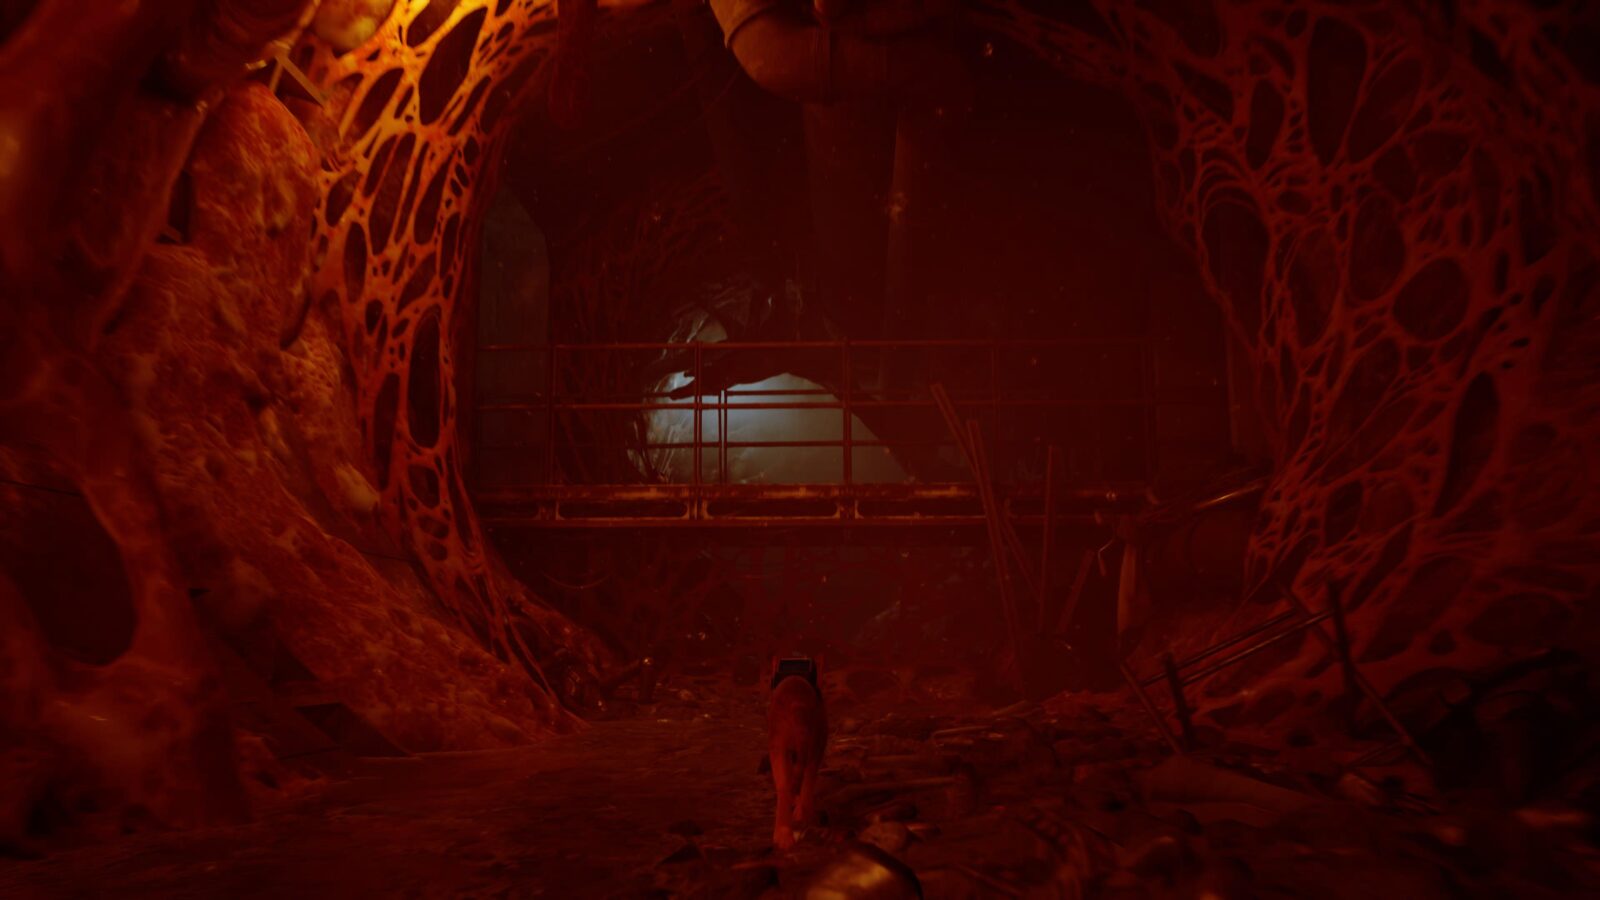
Proceed through the level until you pass through a dark tunnel filled with red eyes.
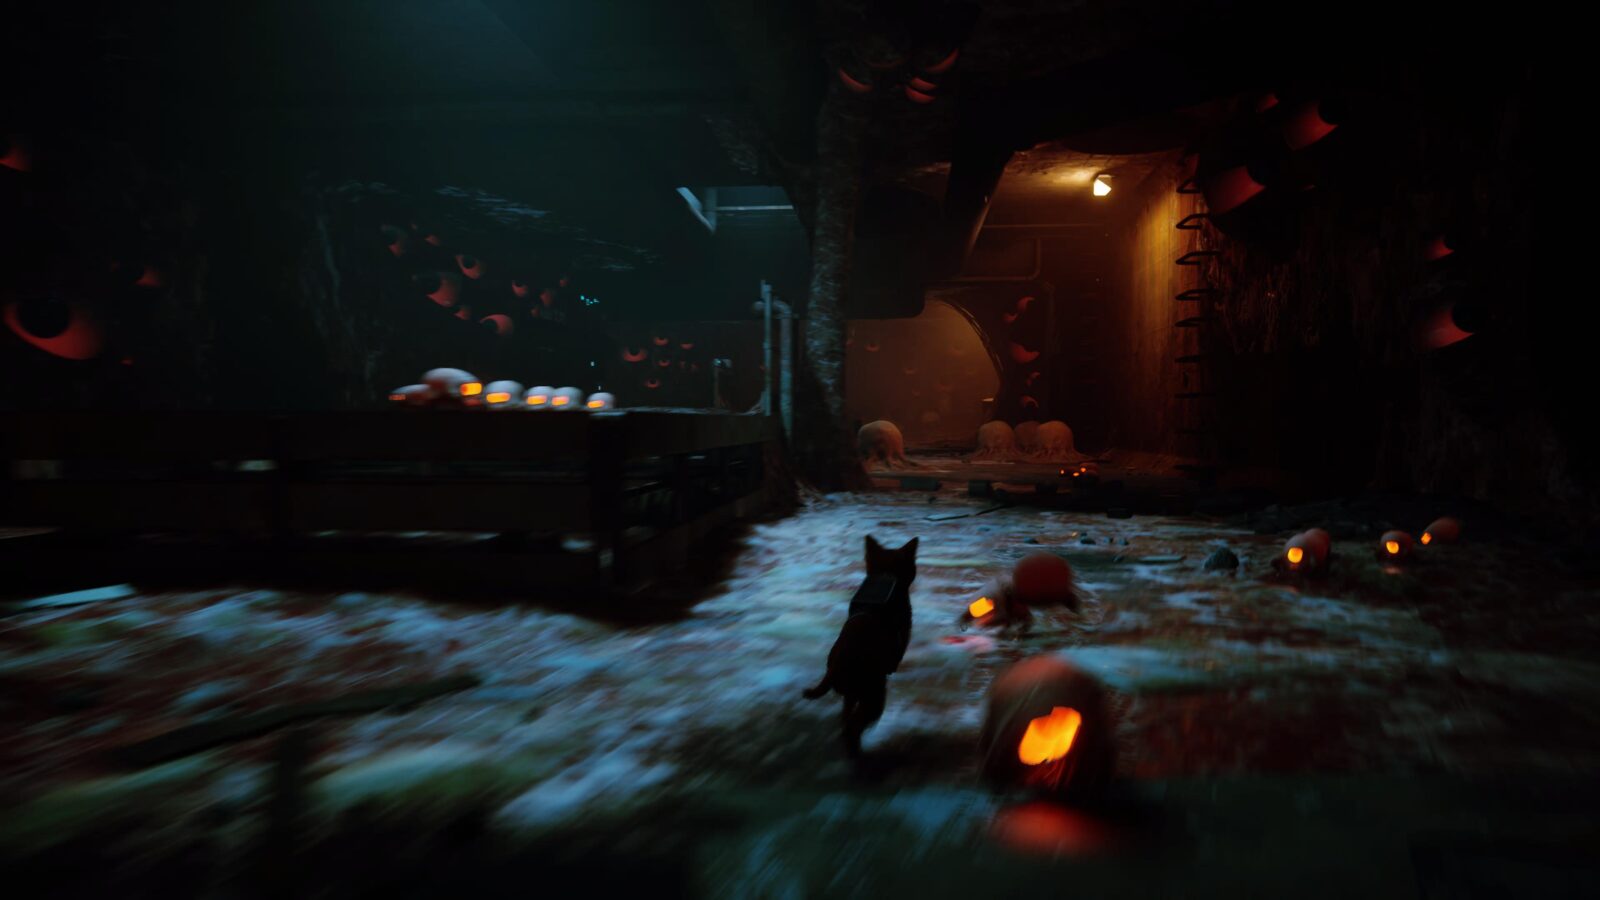
At the end of it, you’ll jump up to a big pipe.
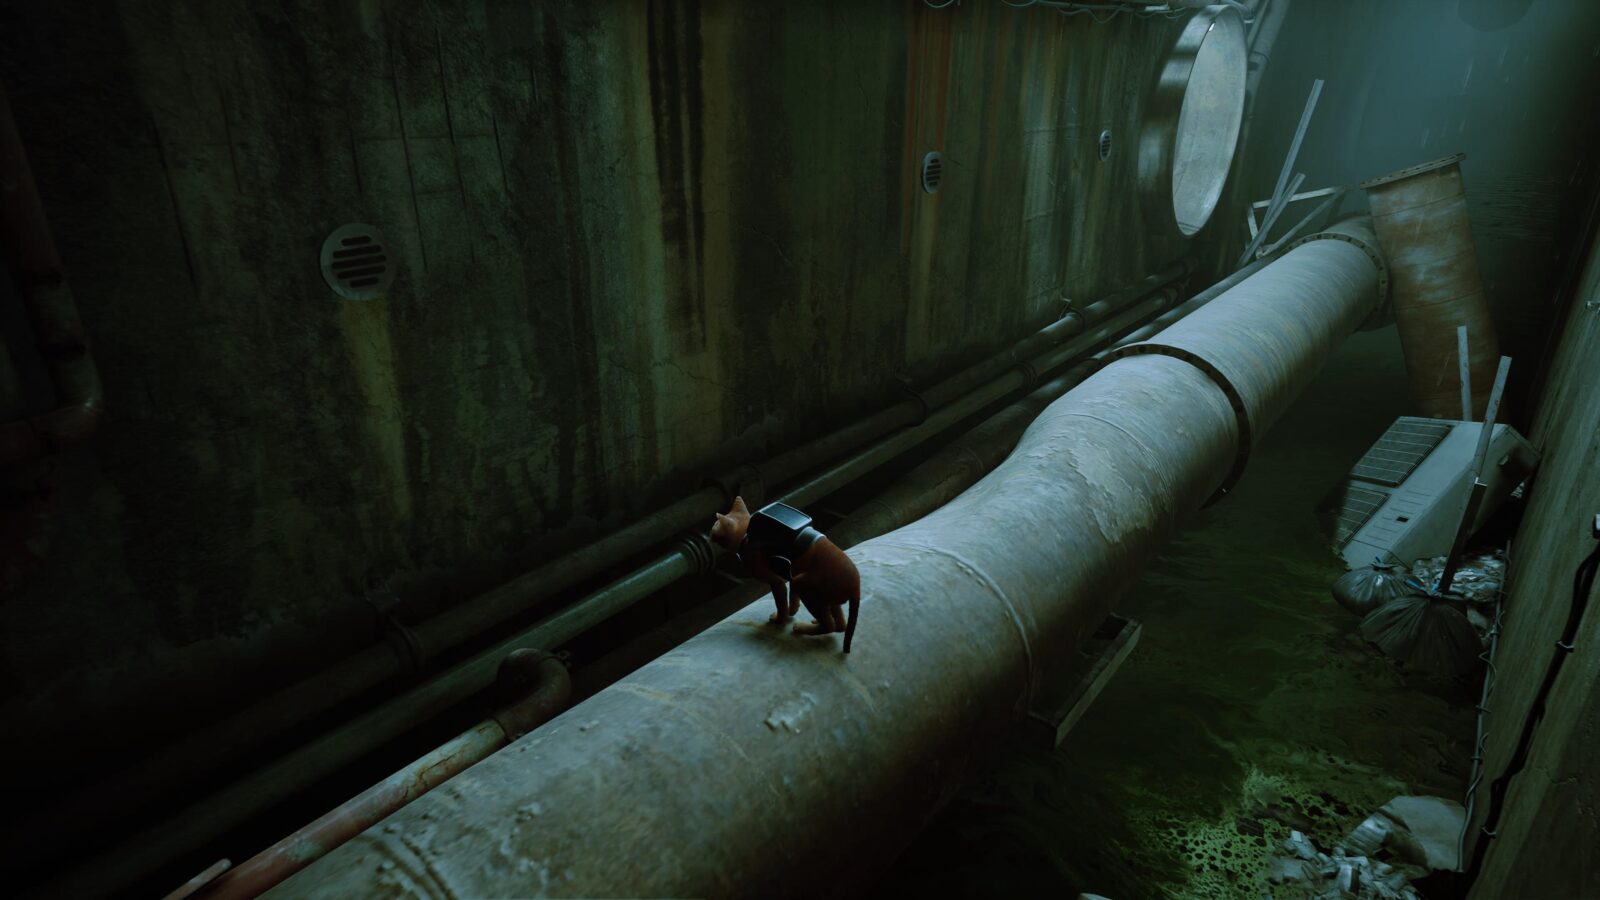
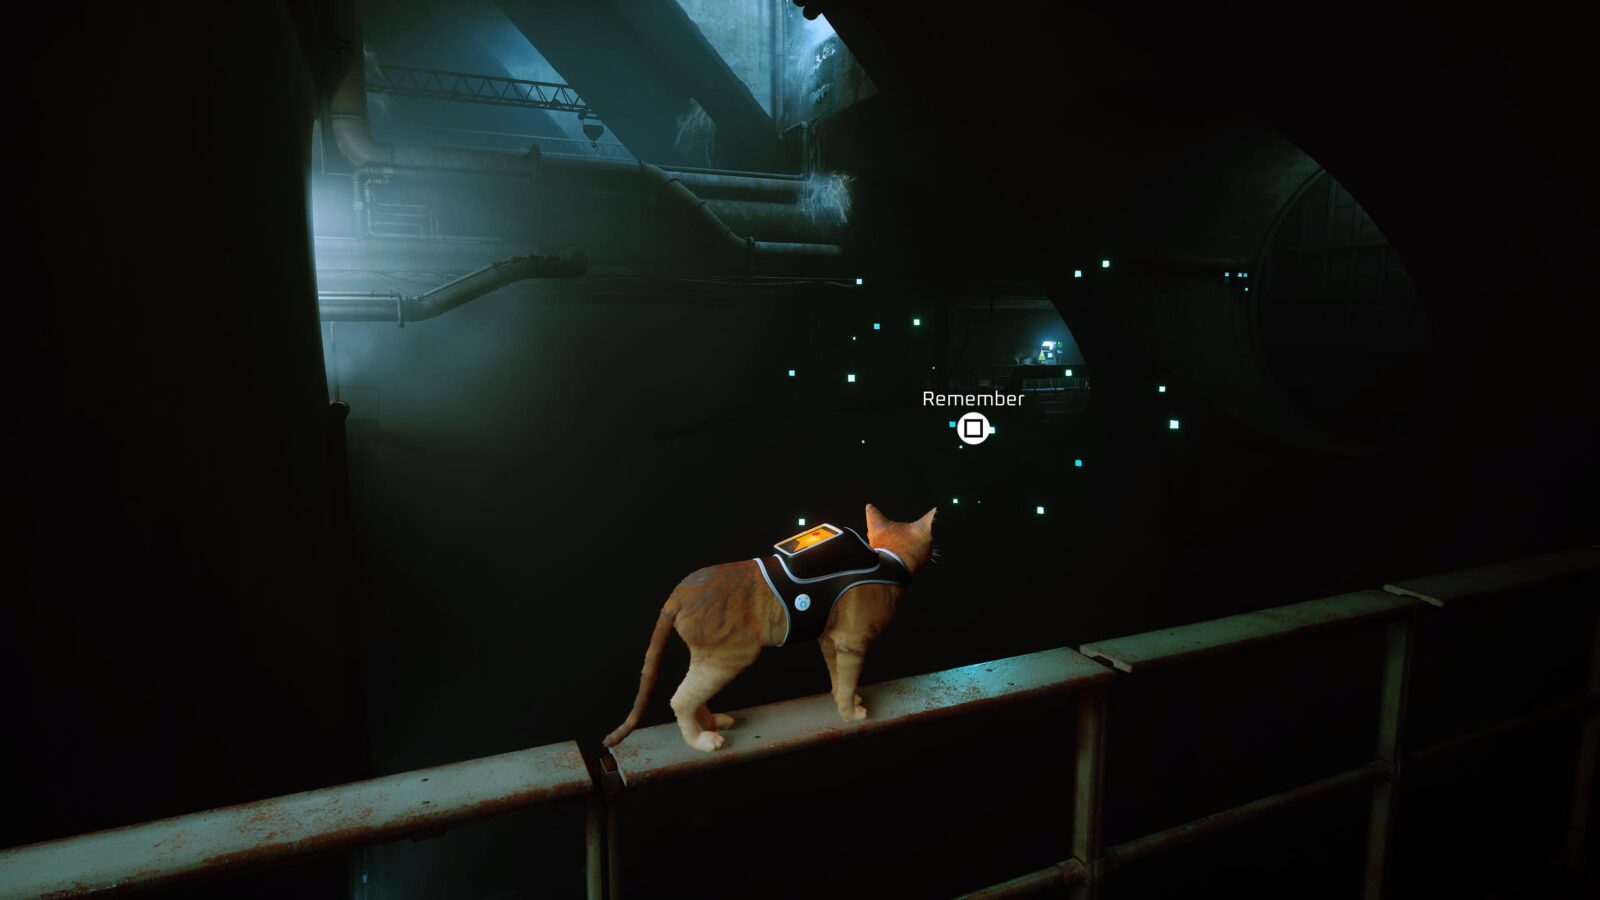
Go all the way to the left and jump onto a smaller pipe running along the left wall.

From there, jump to the barrel in the water, another barrel, and then finally the pipe in the wall.
Right in front of you, you will see the B-12 Memory (16/27) in plain sight.
Continue on until you open a huge gate by using two separate switches.
When you pass through the gate, go to the back-left corner ahead of you, and you’ll see some cardboard on the ground that you can scratch (8/12).
Chapter Nine: Antvillage Collectibles
At the start of this chapter, you’ll get another B-12 Memory (17/27) unavoidably as you enter the village. Just ten more to go!

Look for a ladder on your left once you have control again and climb up it. Jump onto the table with 2 Robots playing Mahjong on it to unlock a Chapter-Specific Trophy; Cat-a-strophe.
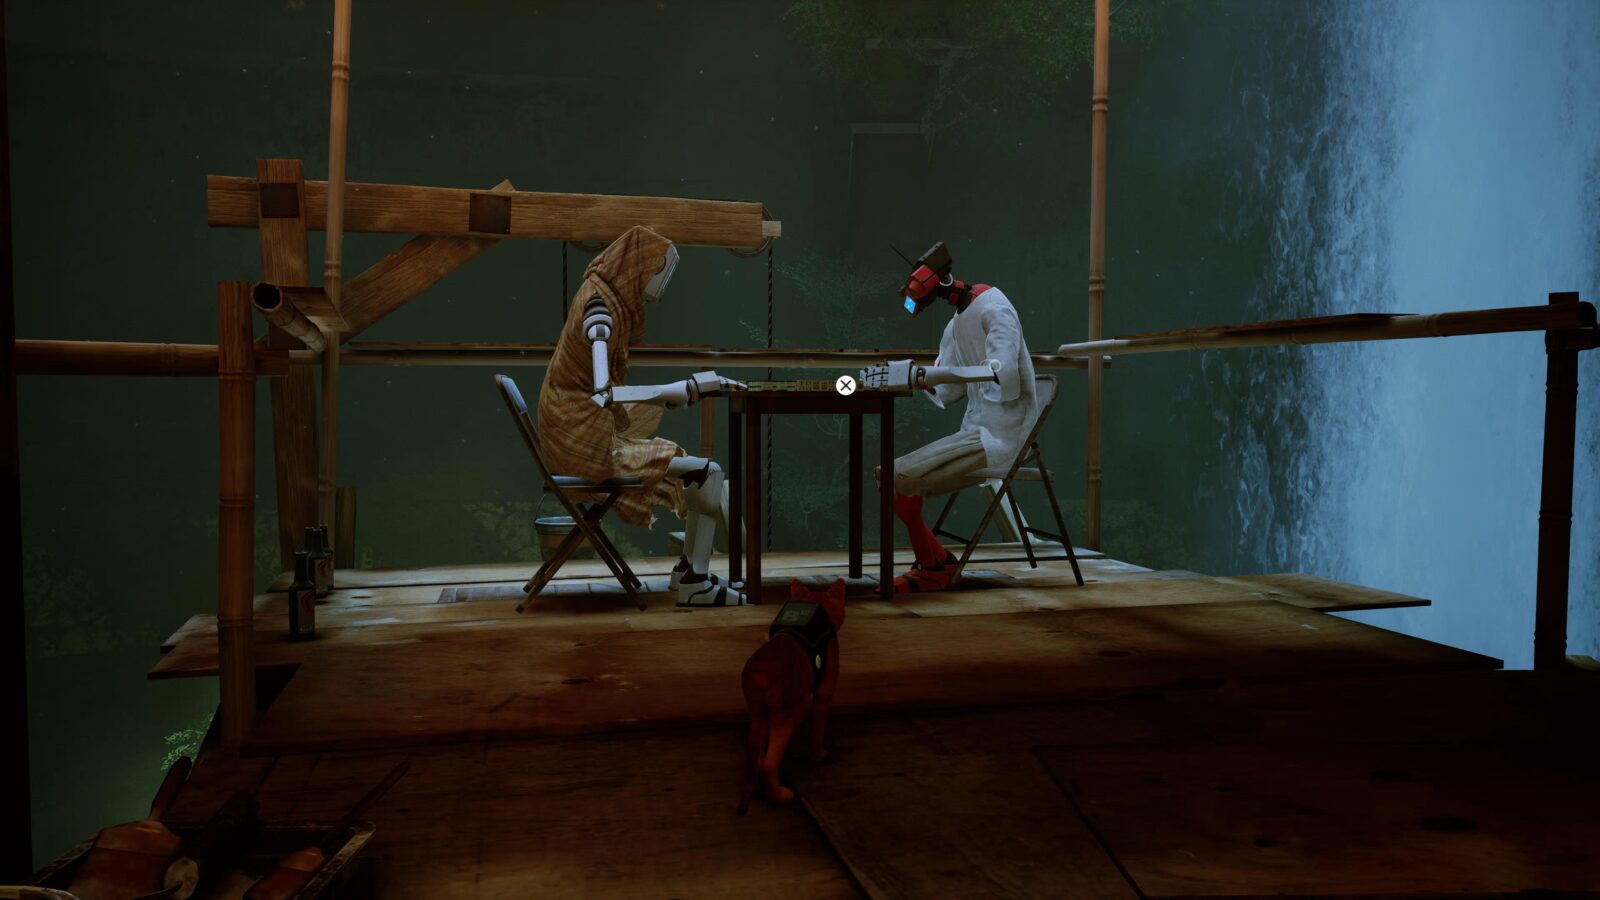
In that same area, you can also scratch (9/12) the board leaning on the wall.
Around the corner, there’s a robot sitting on a couch and a ladder you can climb up.
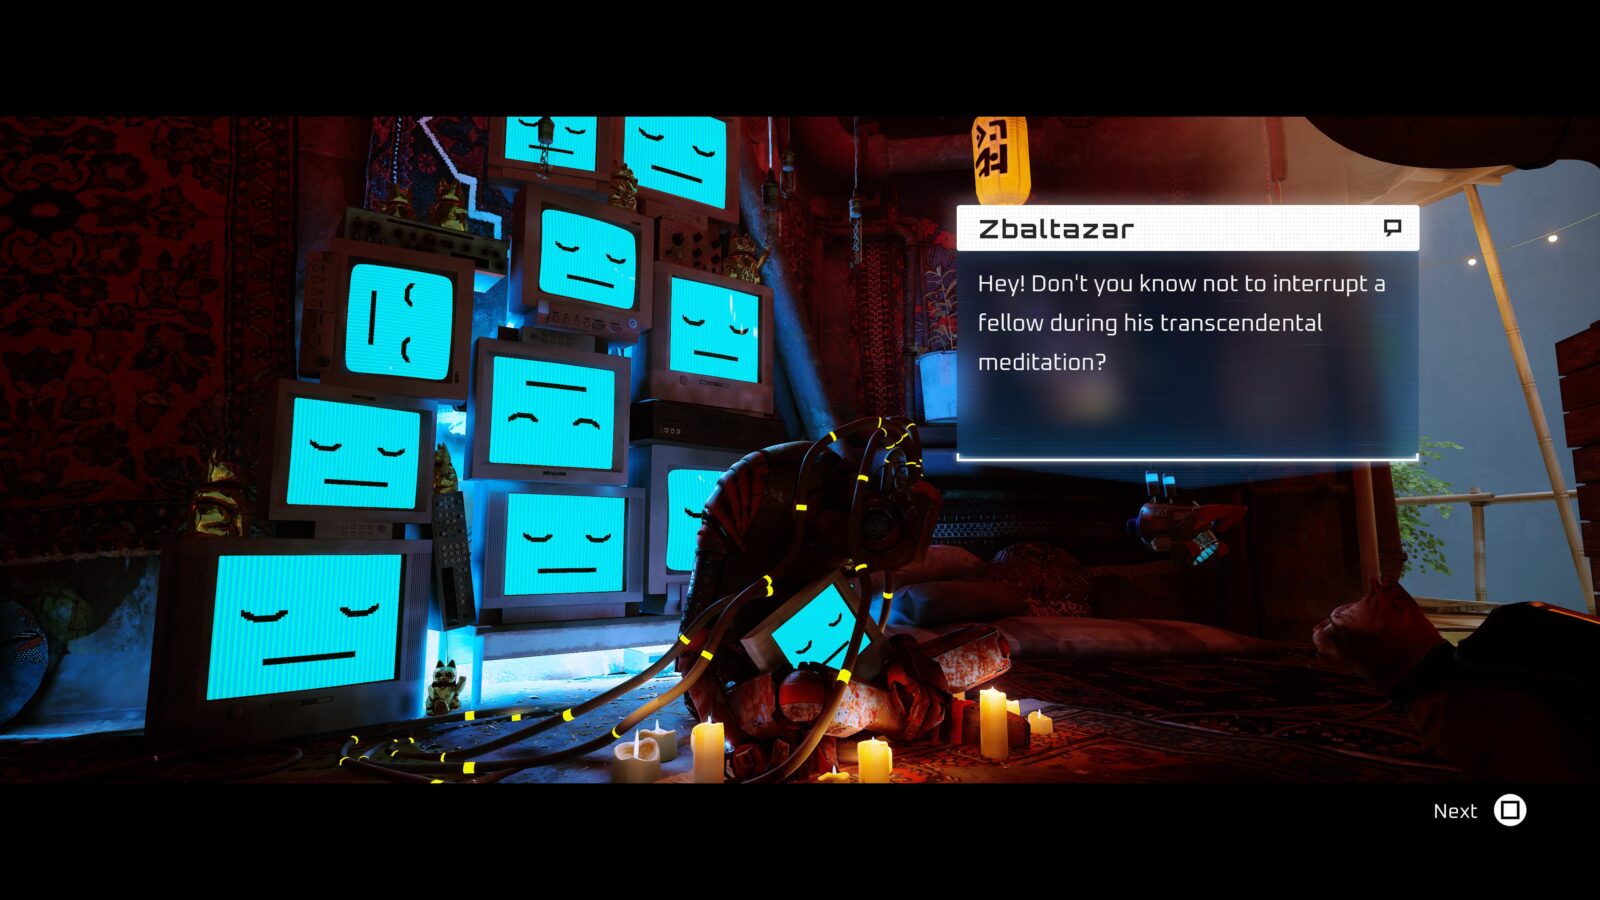
Climb the ladder and make your way up to the top of the village, where you’ll meet a character named Zbaltazar, triggering a cutscene.
We can now grab some collectibles that we couldn’t earlier. Go back down to the robot on the couch. Next to him, you will find another B-12 Memory (18/27) on the wall.

Next, go to the right of the ladder and then press ![]() to jump onto the tree branch.
to jump onto the tree branch.
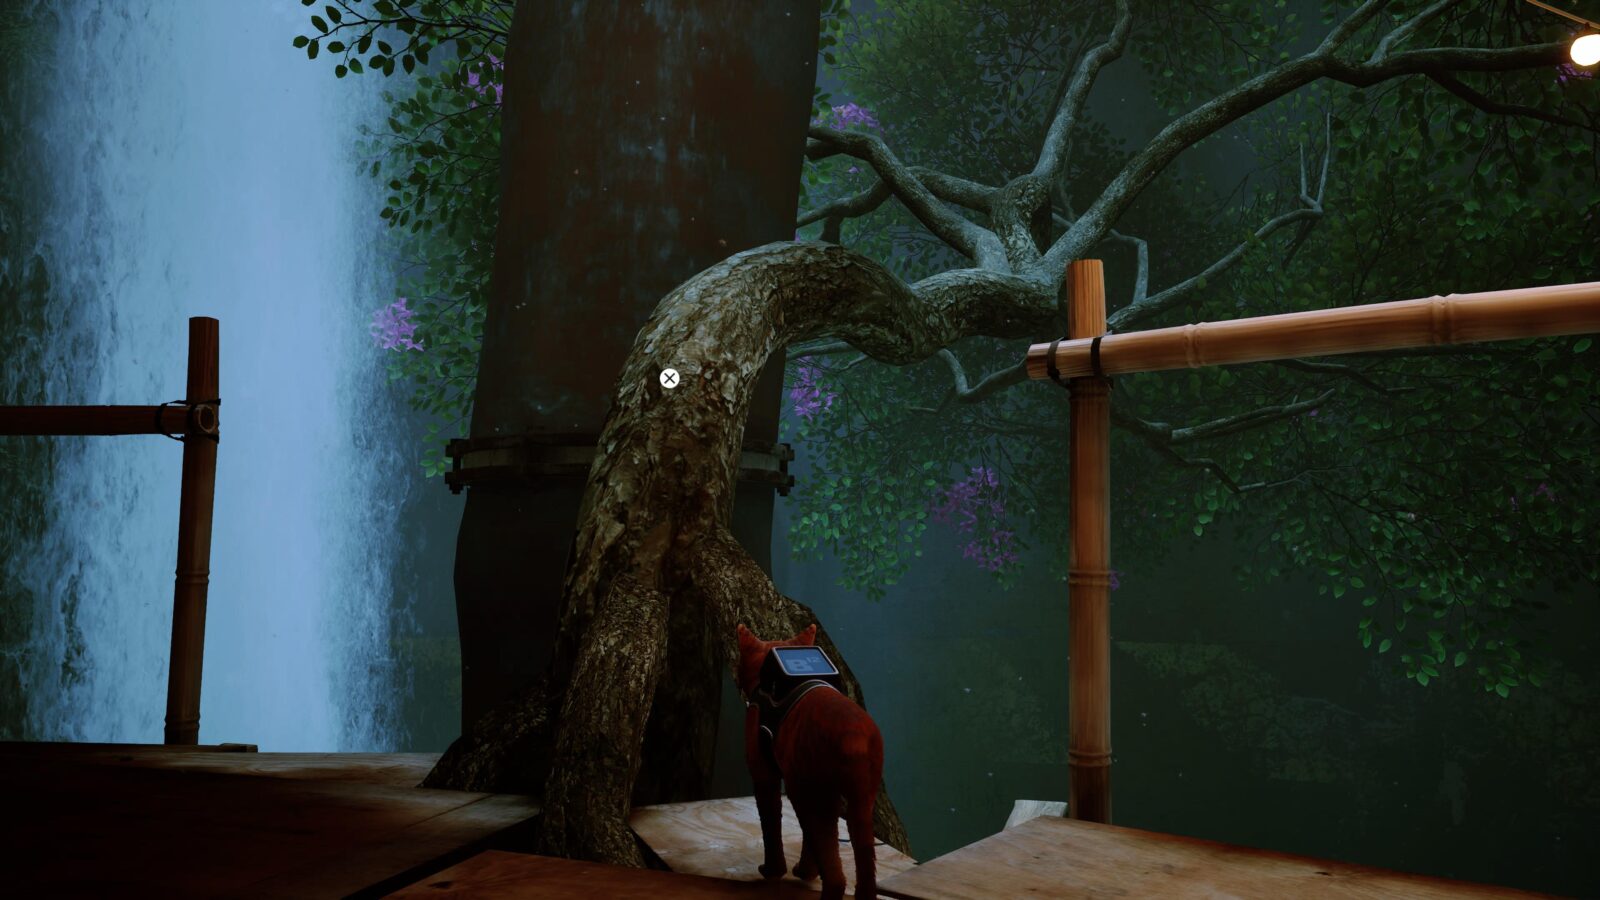
From there, follow the linear path along the branches and look for a Purple Plant.

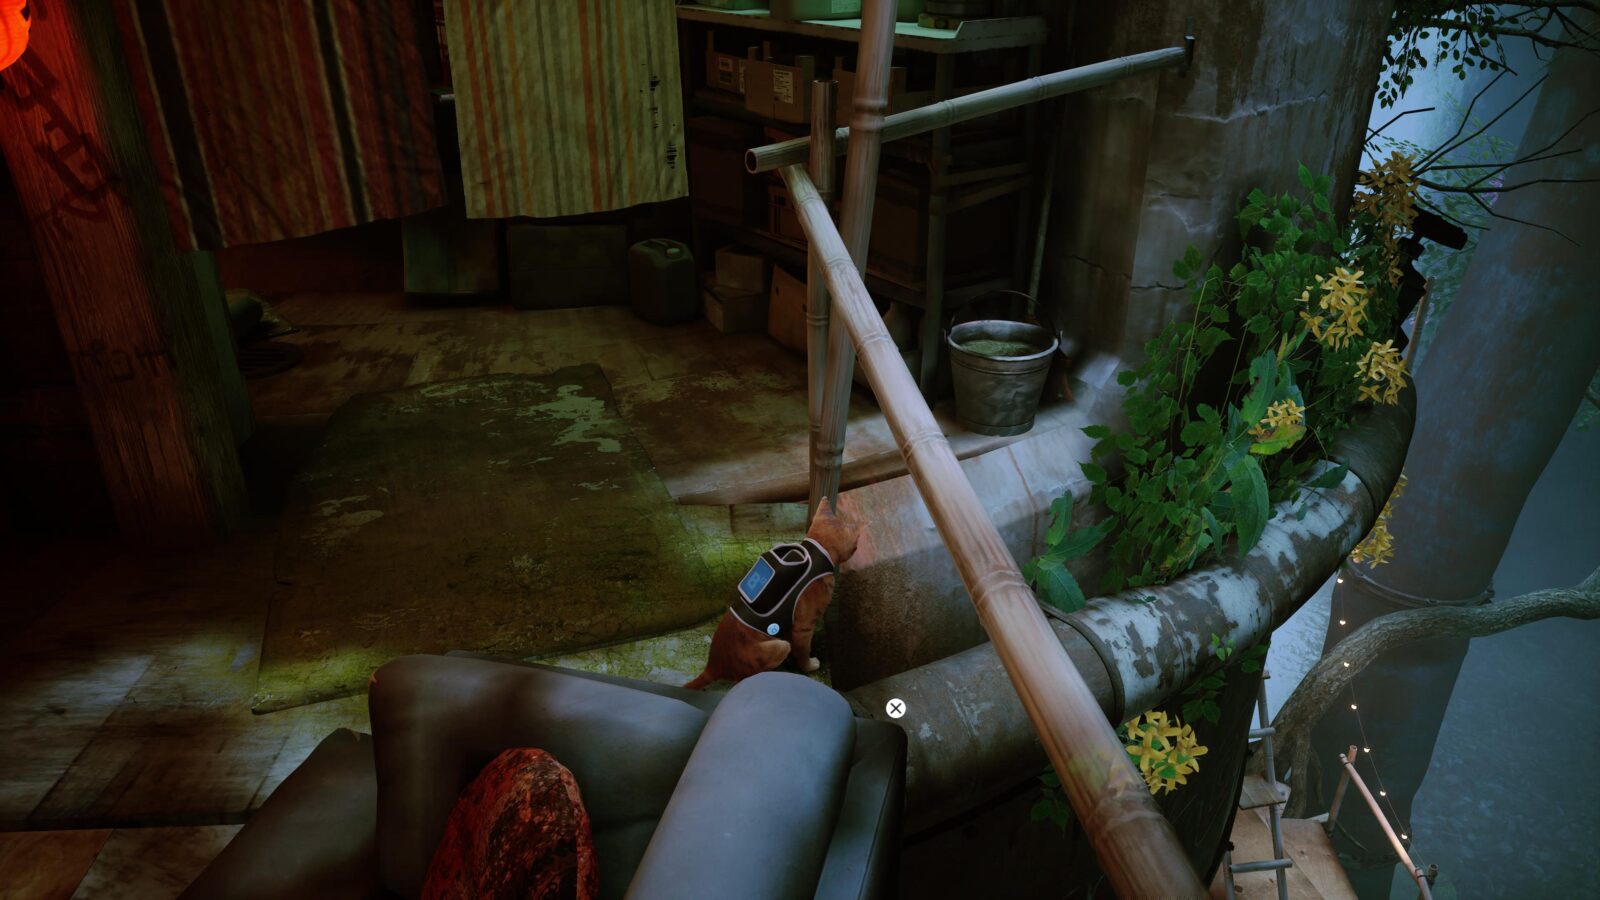
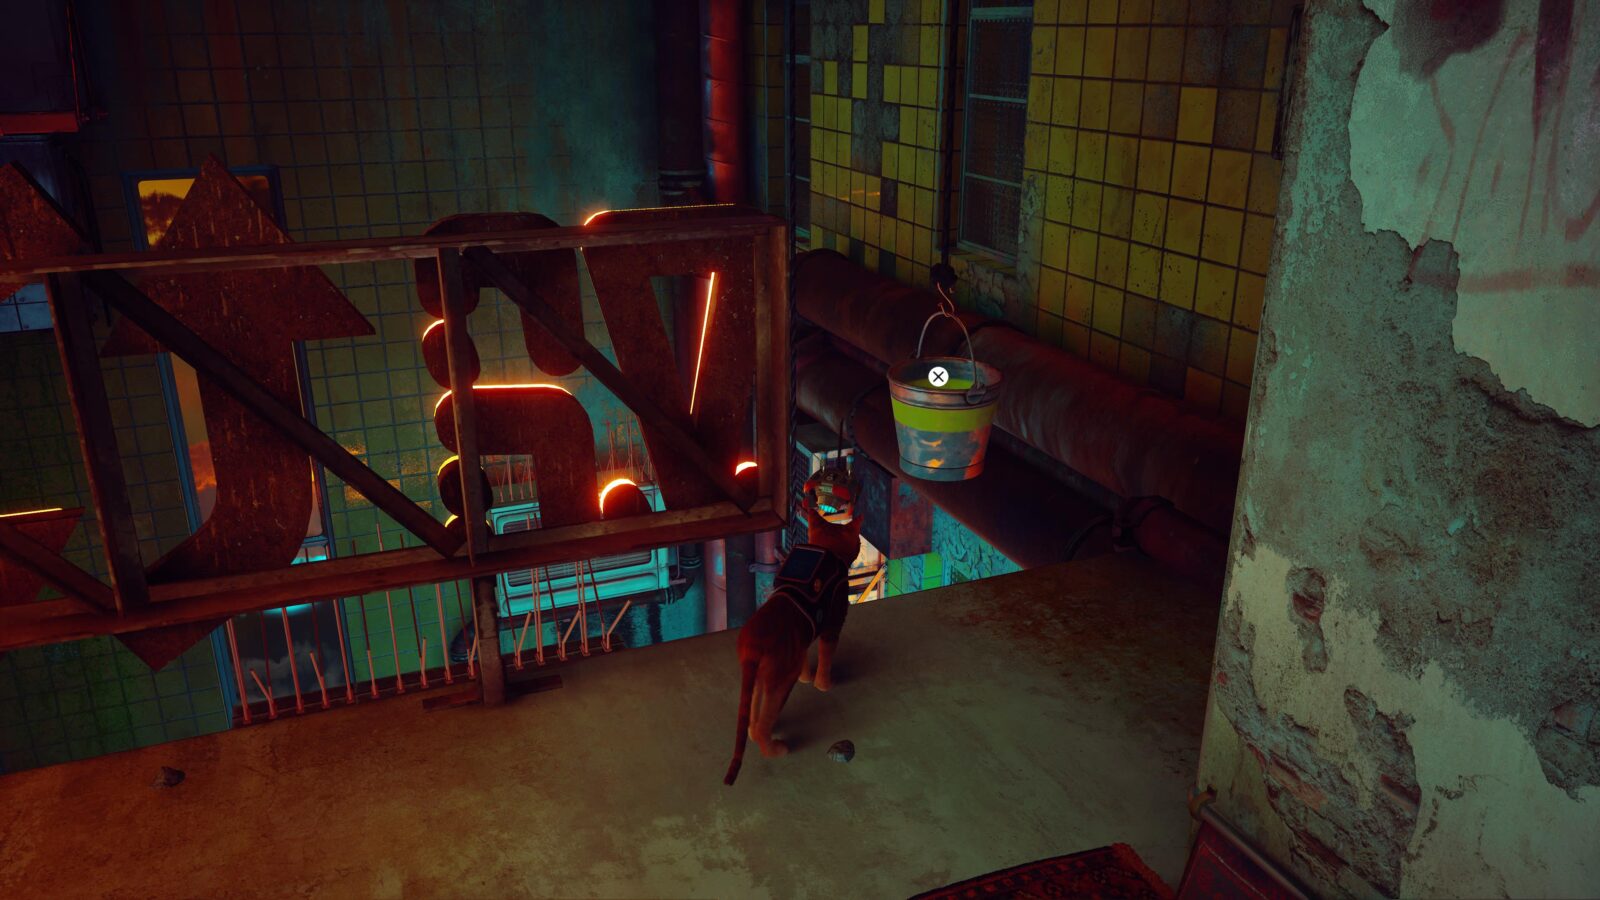
Come back down from the branch and return to the Mahjong Players. Behind them there is a bucket.
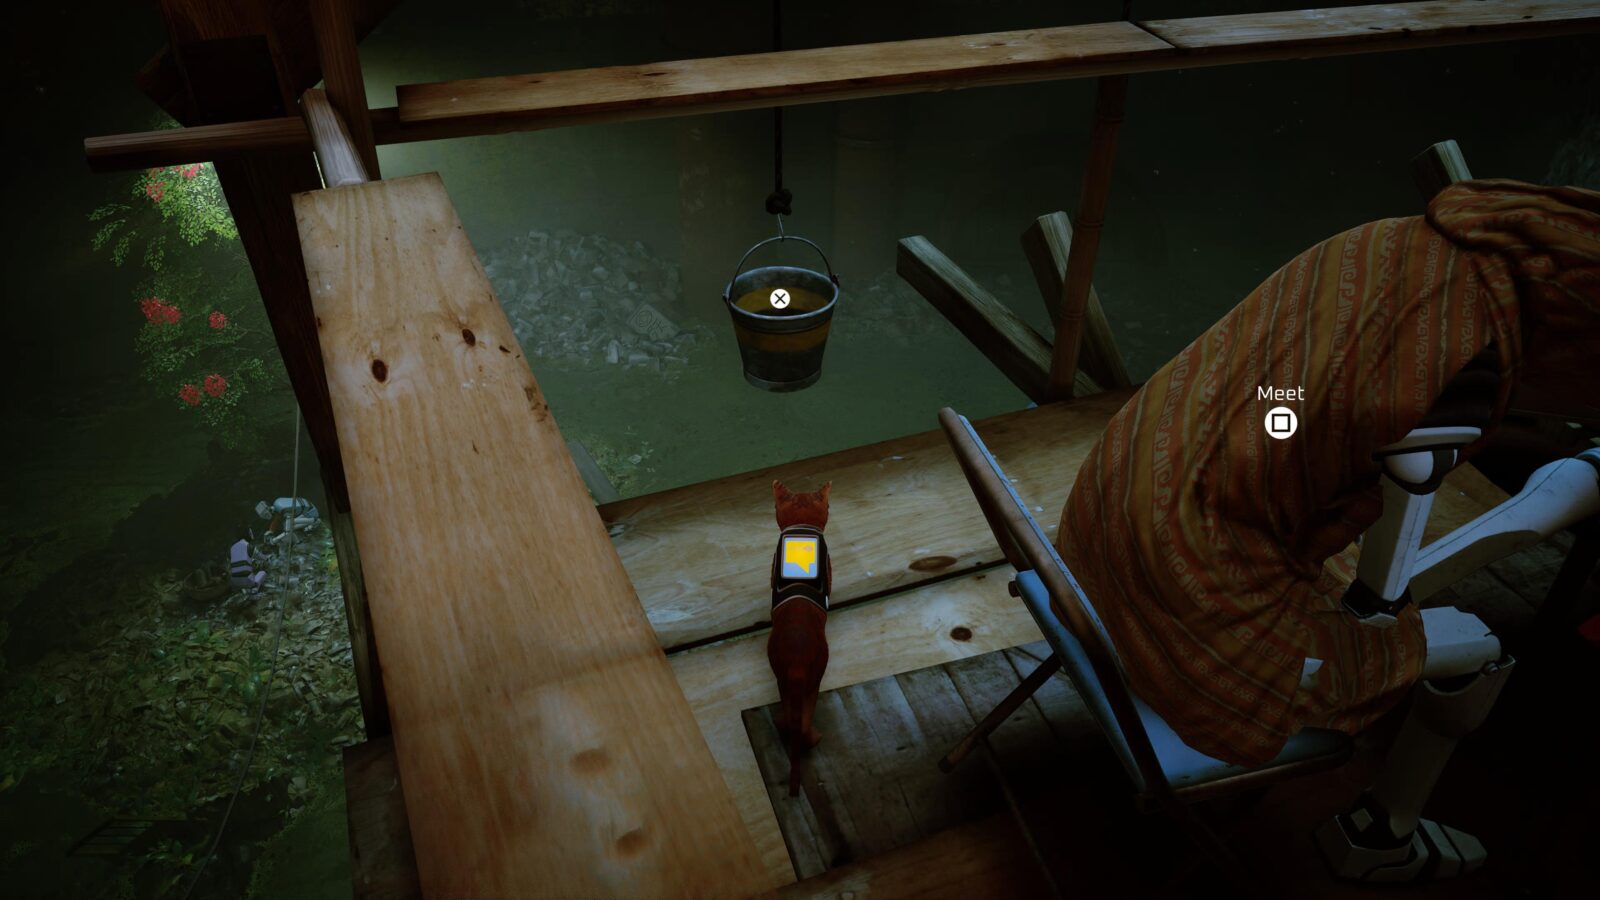
Jump into the bucket to reach and grab a Red Plant.

Go back up to Zbaltazar and continue past him to a restaurant.
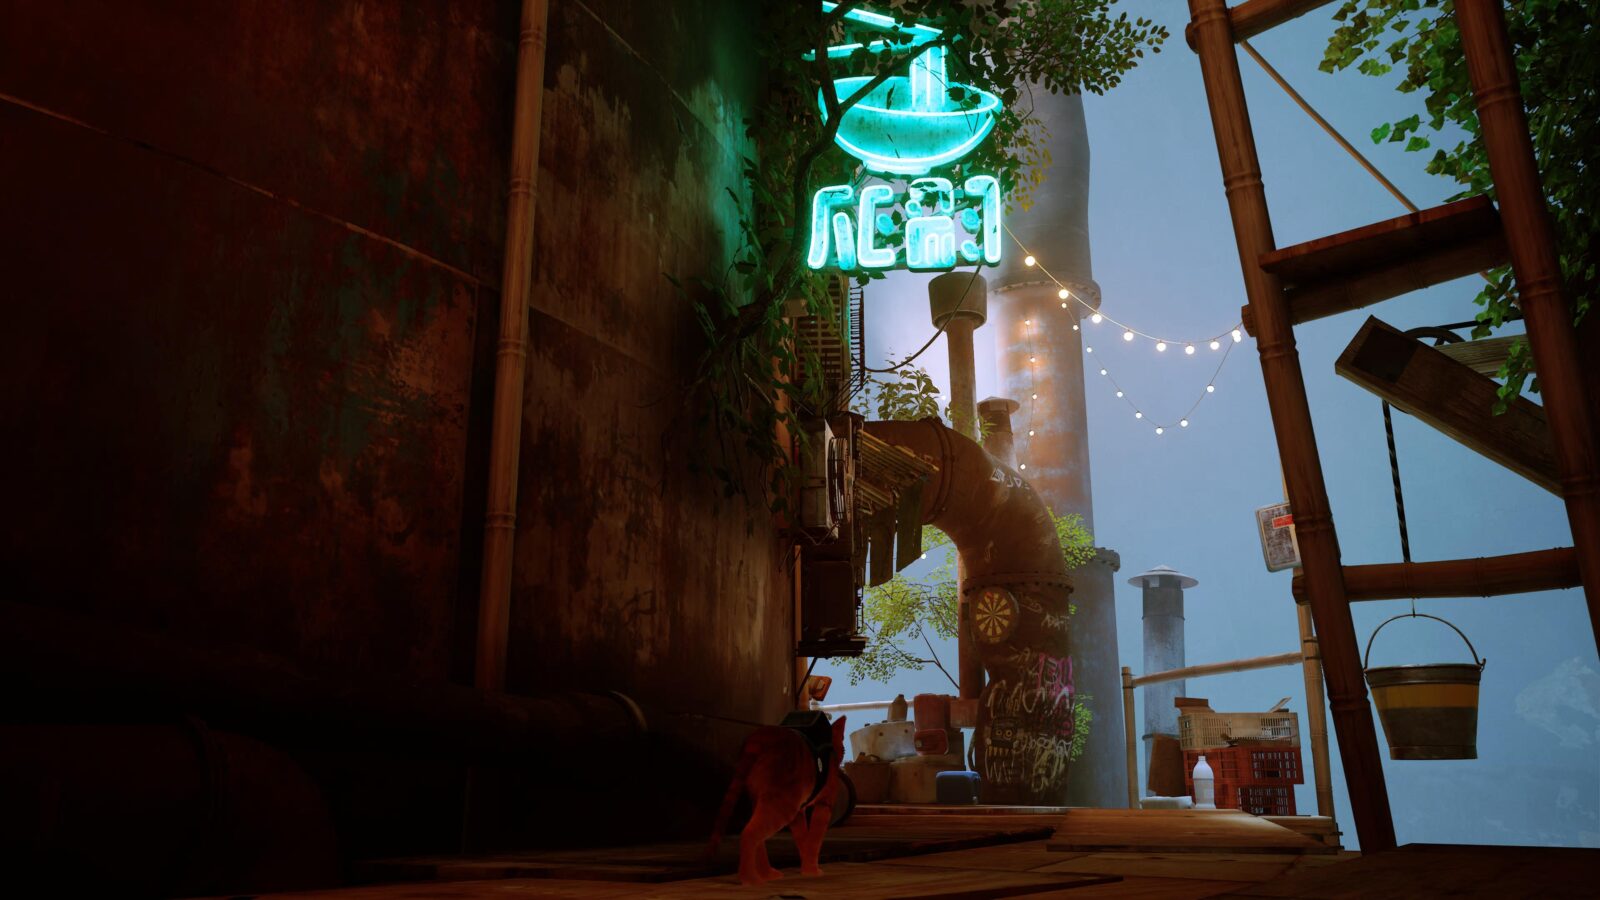
Go to the back of the Restaurant and drop onto the pipes at the back to reach a Yellow Plant.
Return to the Restaurant and use the ladders to reach the second floor.

Use the pipes here to reach the floor above and you will see a character named Malo holding a watering can.
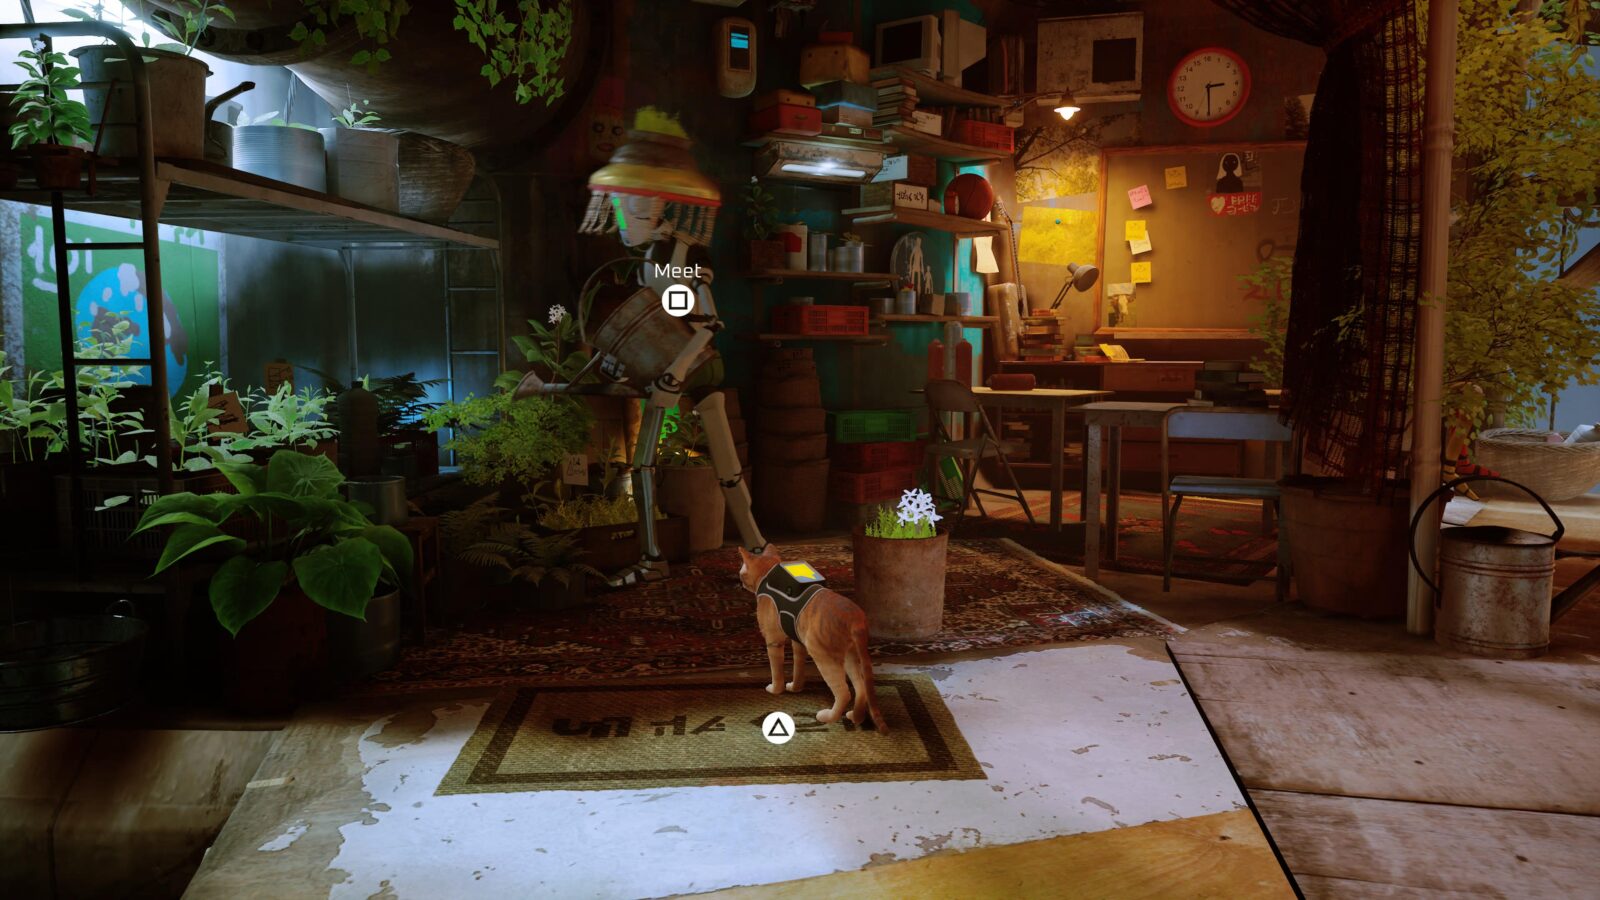
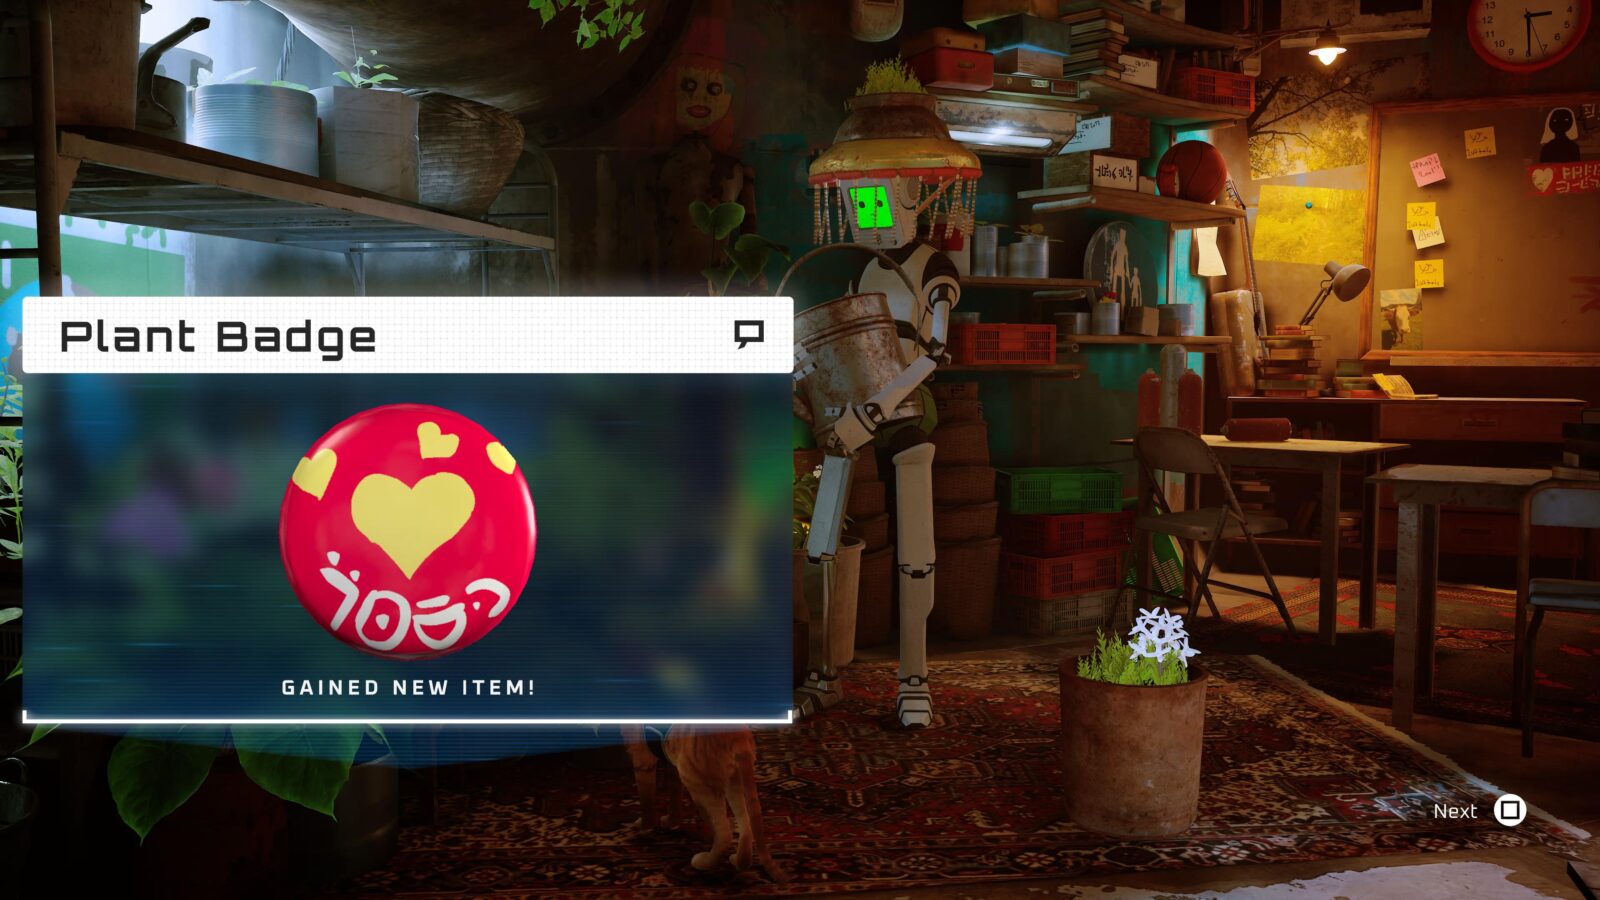
Give Malo the Yellow Plant, Purple Plant, and Red Plant. They will give you the Plant Badge (3/6) in return!
Chapter Ten: Midtown Collectibles
Chapter Ten, much like Chapter Four, takes place in a rather large explorable area, so there are a lot of collectibles to look for!
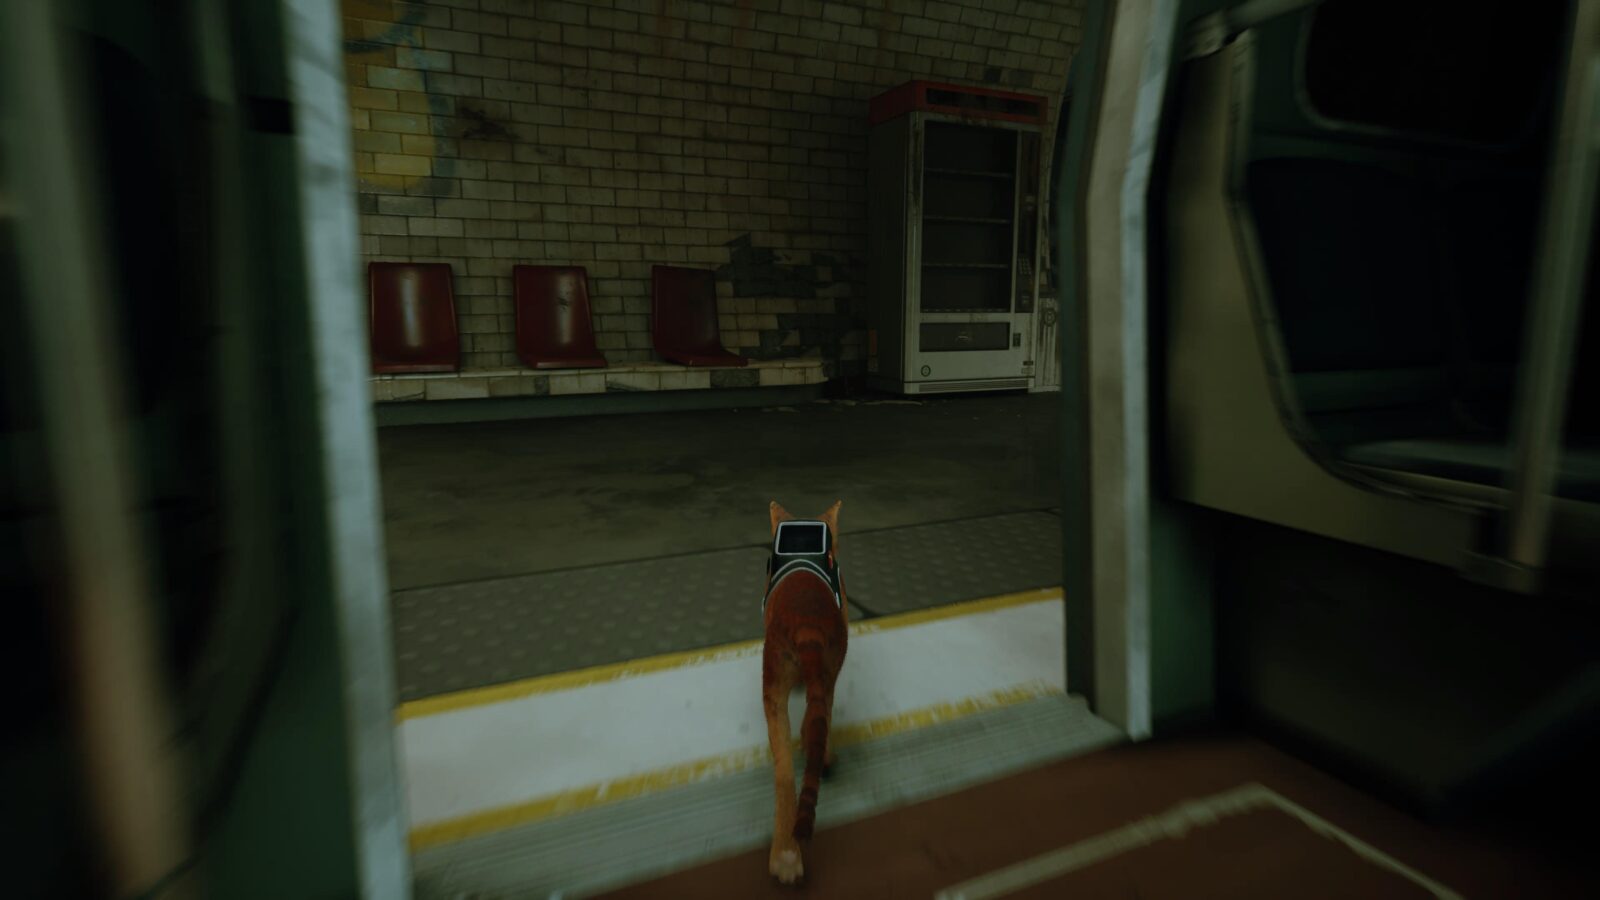
As you enter the train station at the start of the level, a cutscene will play out, and you’ll unavoidably receive another B-12 Memory (19/27).
Once you have control again, pass through the train’s open doors to the opposite platform and head up the escalators.
At the top, enter the hole in the chain-link fence and look to your right.
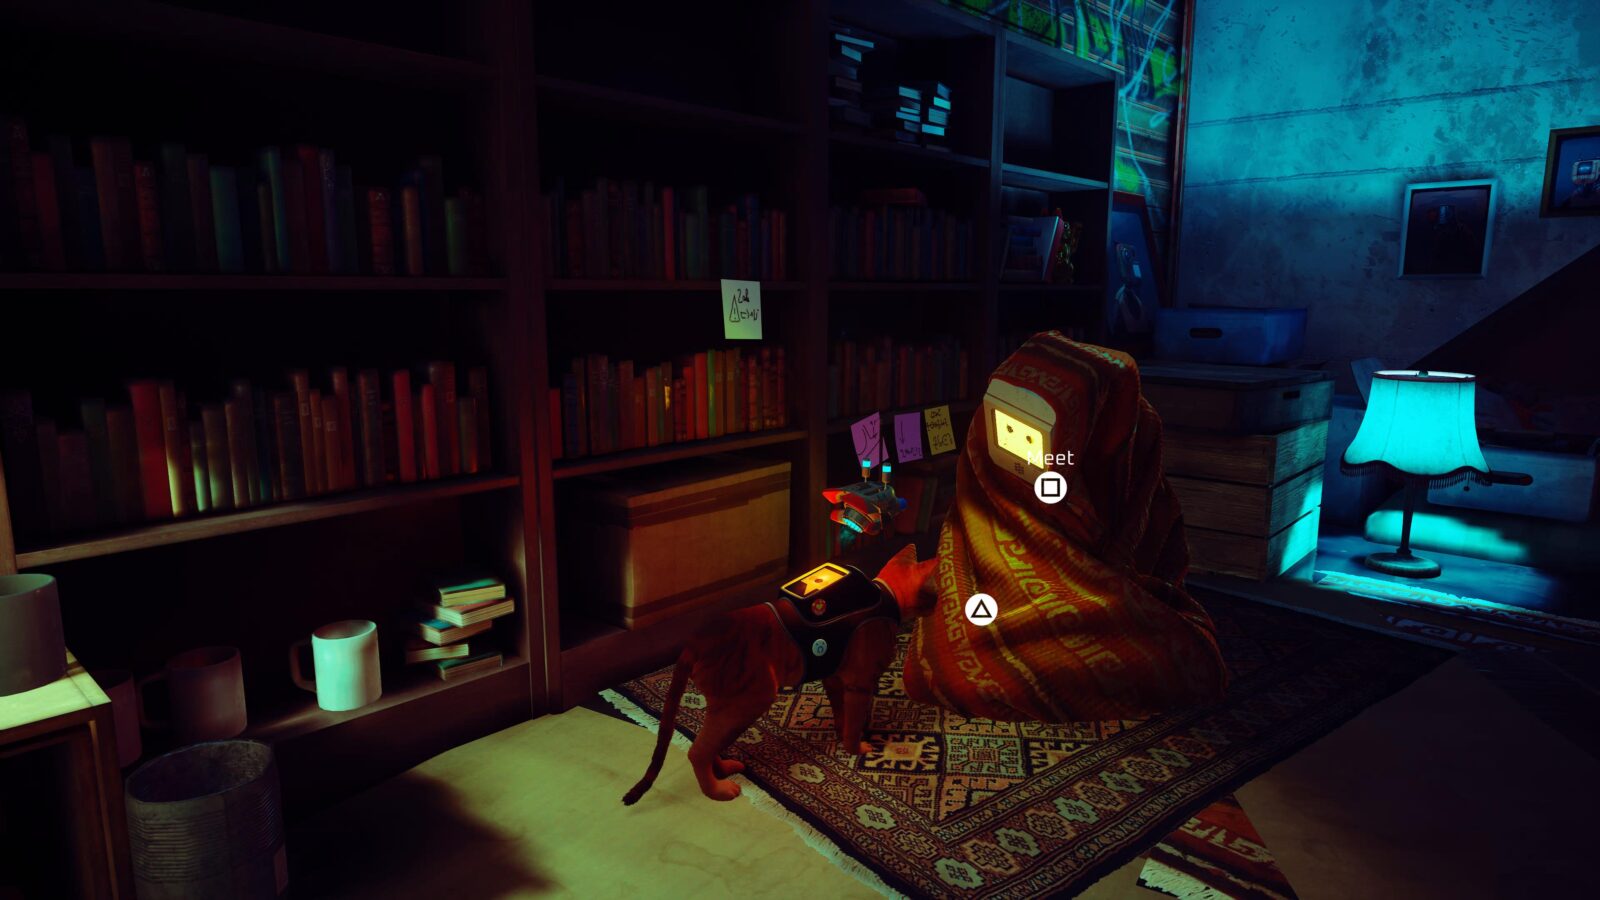
You should see another B-12 Memory (20/27) on a bookshelf ahead.
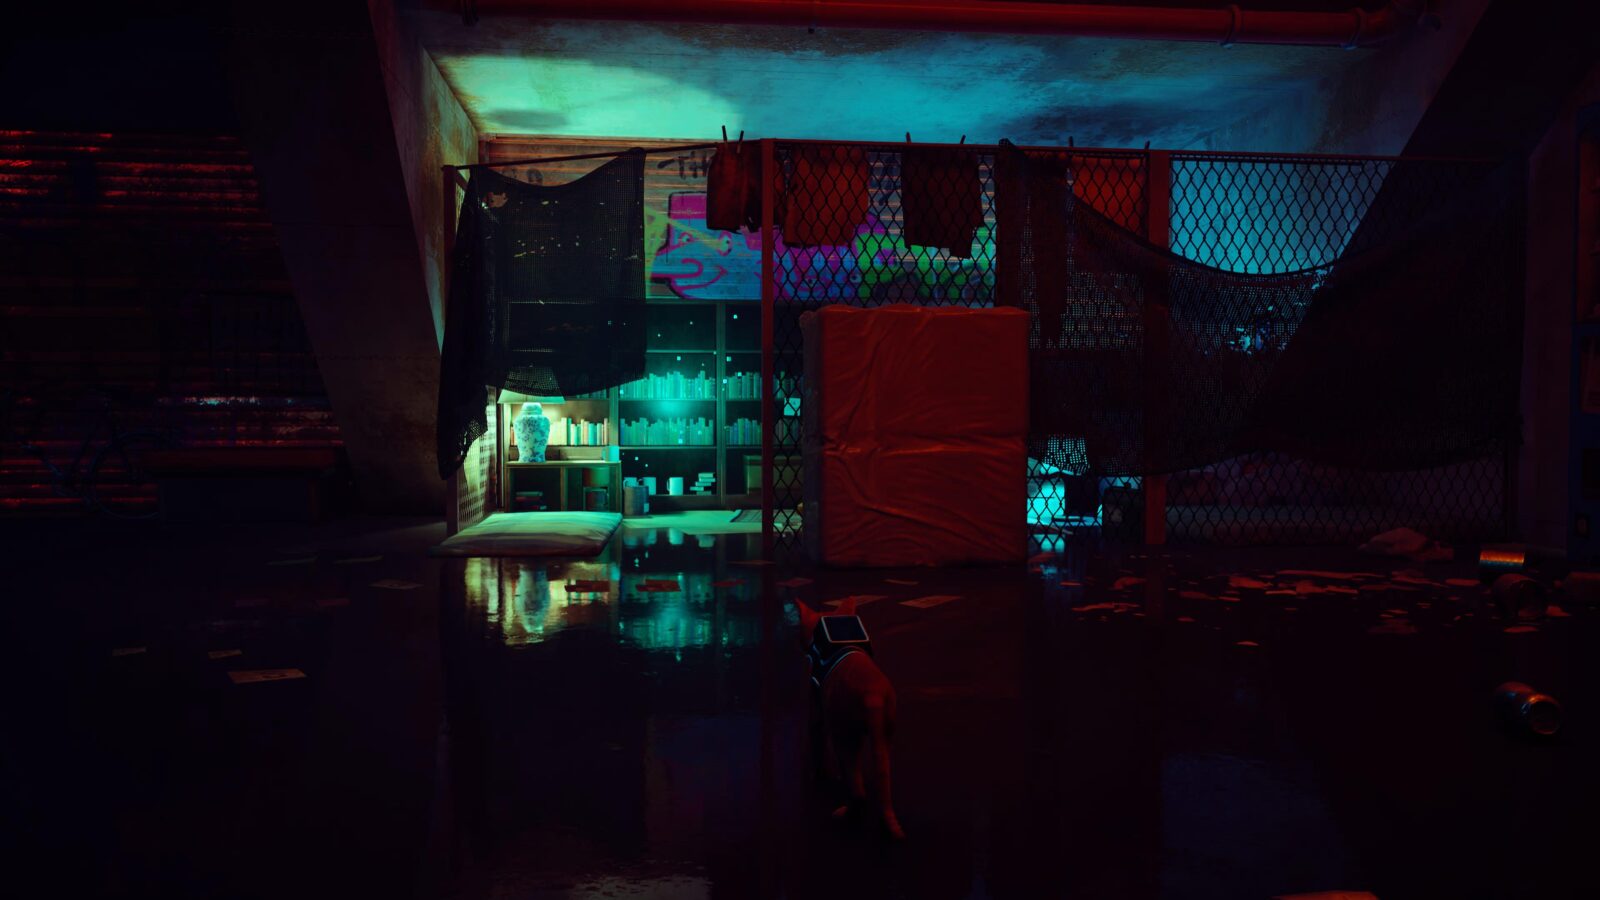
Directly to the right of this collectible, there’s a robot draped in a shawl. Press triangle on it to Nuzzle (5/5) . If you’ve taken every nuzzle opportunity so far, the Cat’s best friend trophy should unlock when you do this.
If not, don’t worry, there are more than enough Robots to Nuzzle in this chapter, so I’ll continue to point them out!
Continue out through the doorway opposite the escalators and then head up the steps on your right.
At the top of the steps, look to your left and you’ll see a caged-off elevator. Go around the back of it.
Here, you’ll find a robot you can Nuzzle (6/5) and a spot where you can Scratch (10/12)!

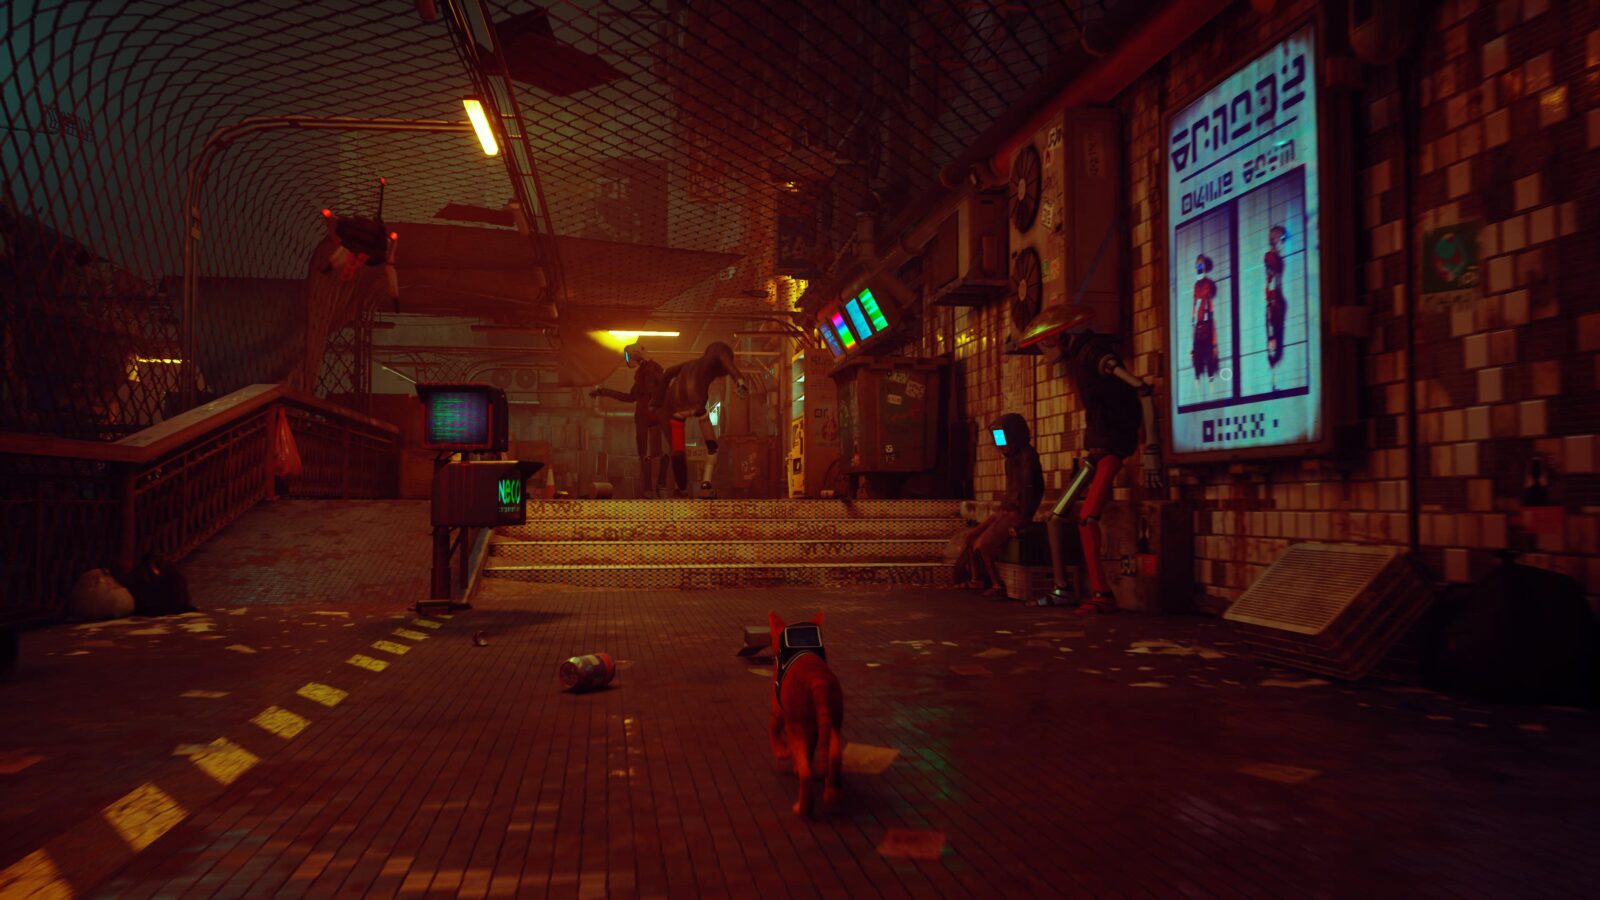
Go back around to the front of the elevator and head up the stairs opposite, into Midtown!
In front of the shops on the right-hand side of the street, there’s a robot in a white jacket. You can Nuzzle (7/5) his leg if needed.

Next to this robot, there’s a window with a yellow frame. Jump up into it and enter the shop.
Go to the back of the shop and climb to the top of the shelves on your right.
At the top, you’ll find a Safe. Enter the code “8542” to retrieve the Cat Badge (4/6).

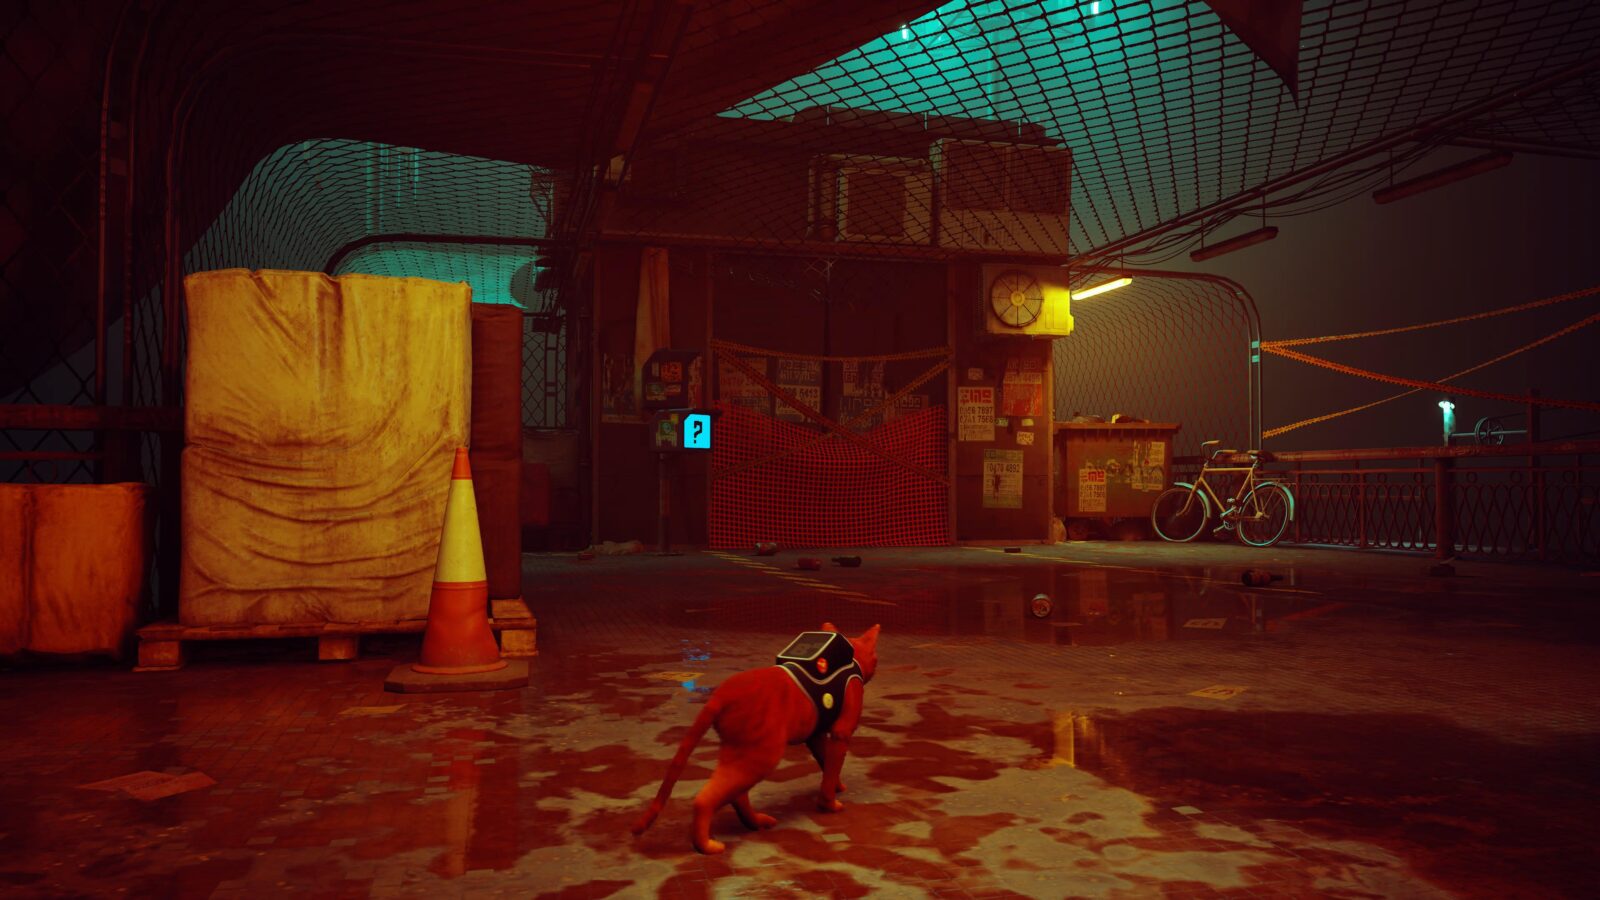
Leave the shop and then head into the alleyway next to it.

Go down the alleyway until you see an NPC called Albert with a cone on his head.

In the corner, do the following:
- Jump onto the green dumpster next to the yellow vending machine.
- Turn right and jump onto the blue canopy.
- When you land, turn around and jump onto the yellow air-conditioning unit.
- Continue heading in this direction via the AC units and canopies to reach an alcove behind a red/yellow neon sign.
On some cushions in that alcove, you should see another B-12 Memory (21/27).
Turn around and jump into the bucket to the right of the Neon Sign.
Jump down from the bucket and pass through the alley on your right with the red tiles.
When you reach the main road, go left and then go through the next window on your left, entering the Barber Shop.
Jump onto the sofa and then up into the attic space where you’ll find another B-12 Memory (22/27). Just five left!

Leave the Barber Shop and enter the restaurant on the corner across the street.
Inside, climb up the wall behind the Robot Chef and then jump up through the hole in the roof.
Up here, you should see yet another B-12 Memory (23/27)!
Go out to the front of the restaurant, where there are two Robots you can Nuzzle (8 & 9/5) near the seating area.
To the right of those Robots, there’s a Police Robot NPC that you can also Nuzzle (10/5). This is your last chance to unlock the Cat’s best friend trophy. If you don’t have it, look for the other opportunities in this Chapter!
At the center of the plaza, there’s a huge hologram of a Robot. Go past it and down the stairs on the right side of the street.

At the bottom of the stairs, you’ll see an alley on your immediate right. Go down it.
Use the various appliances and structures on the walls to reach a barred window high up on the right side of the alley.
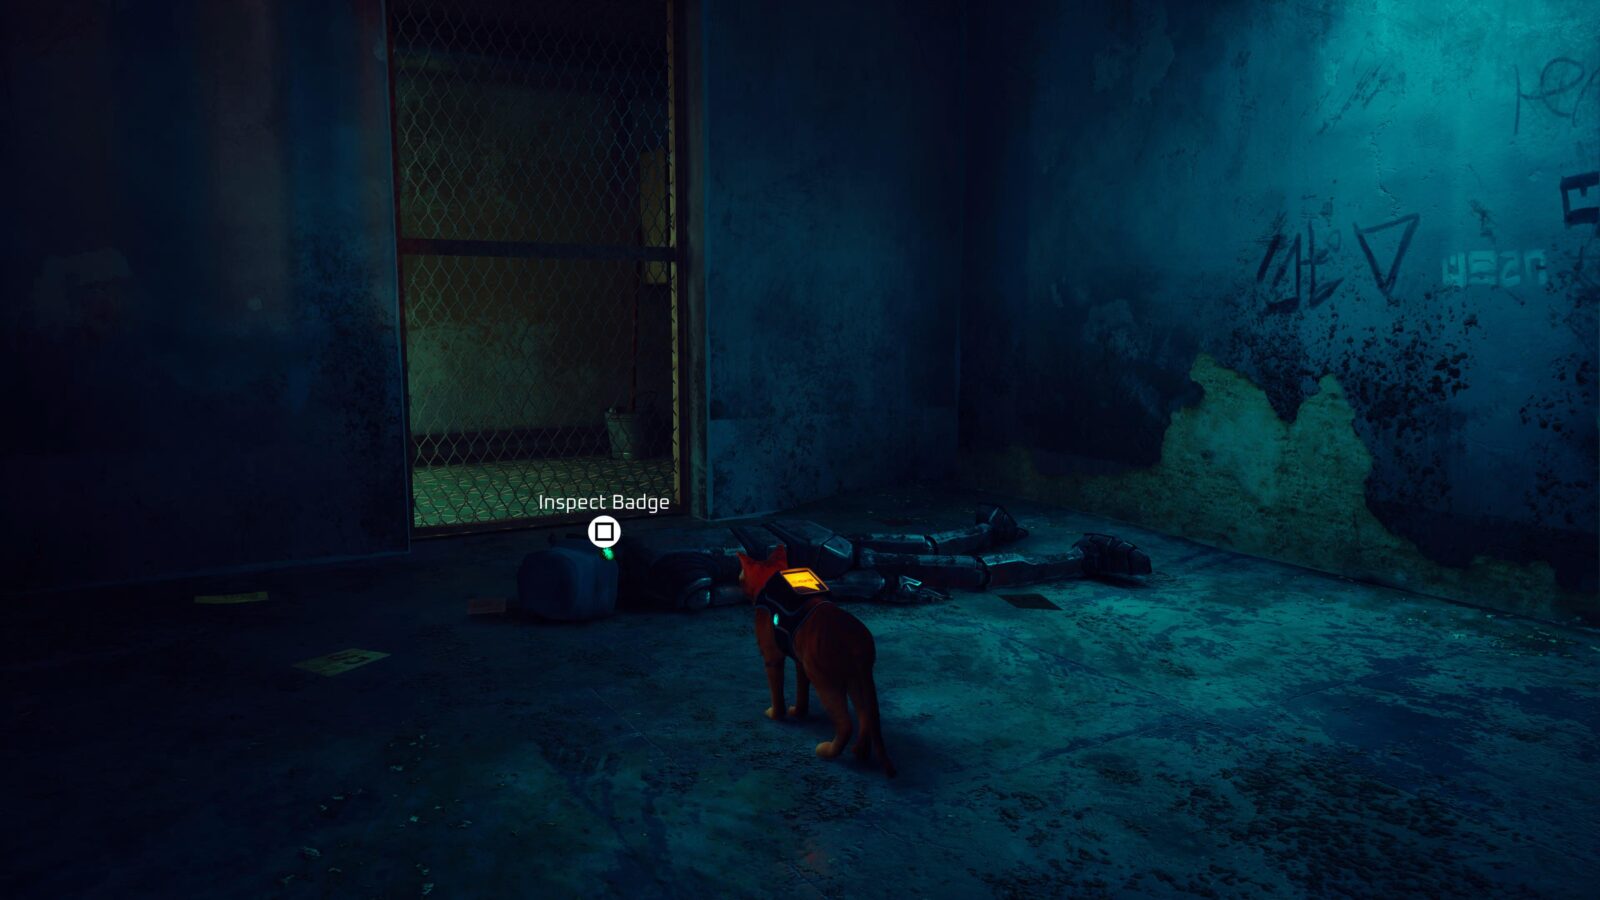
Climb inside and you’ll find yourself in a jail cell. Interact with the deactivated Robot to collect the Police Badge (5/6).
You can now continue with the main story to get Blazer to carry you into the factory.
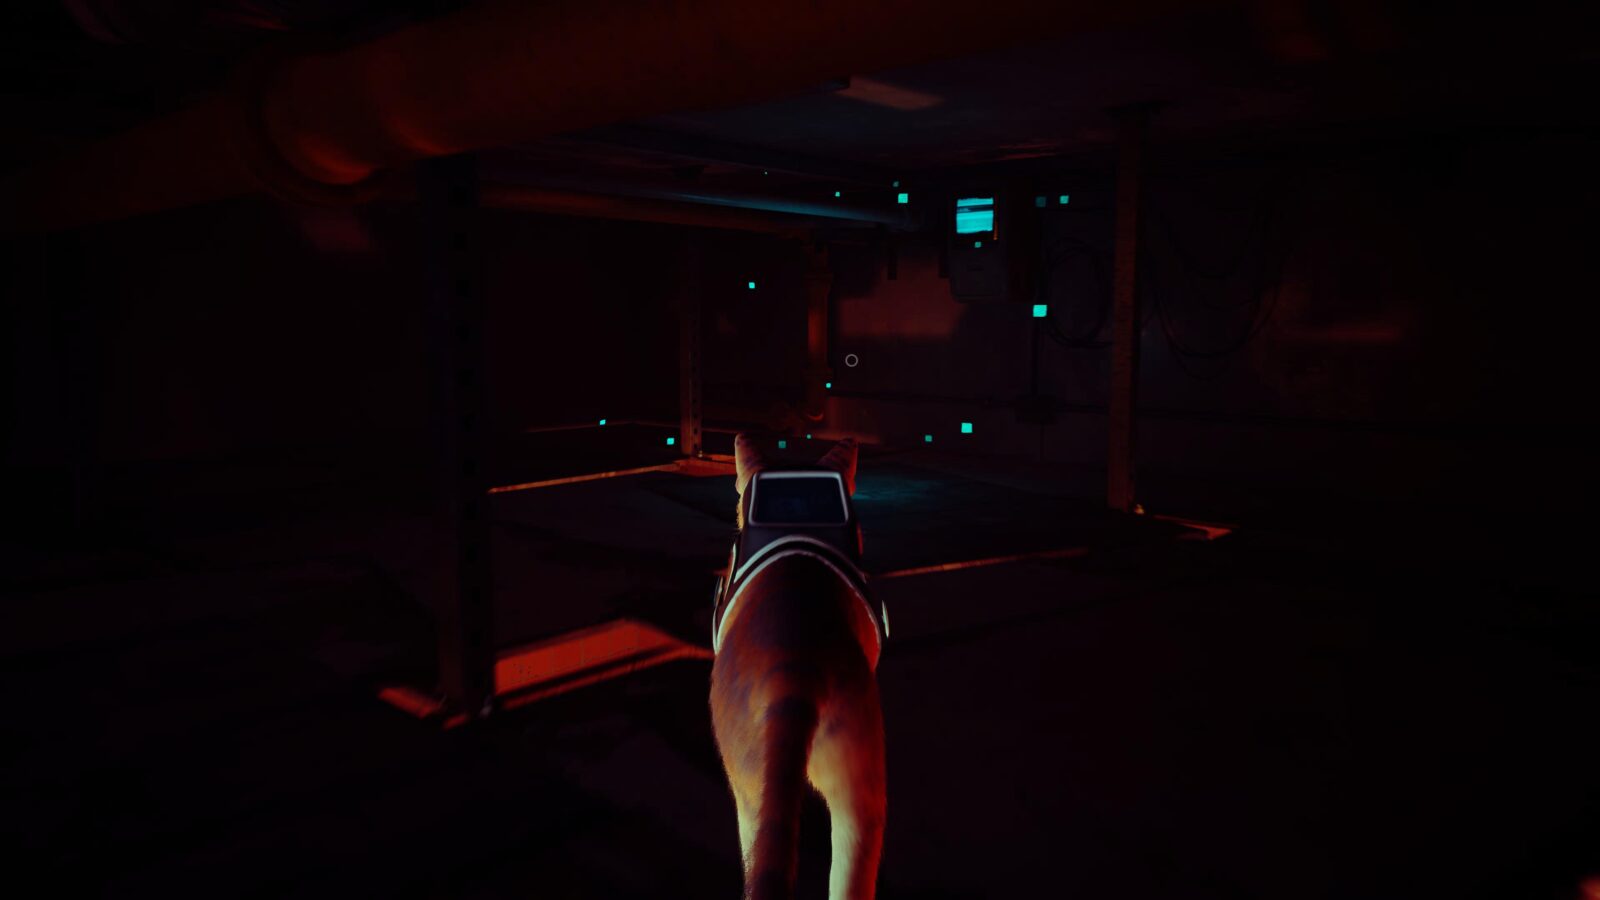
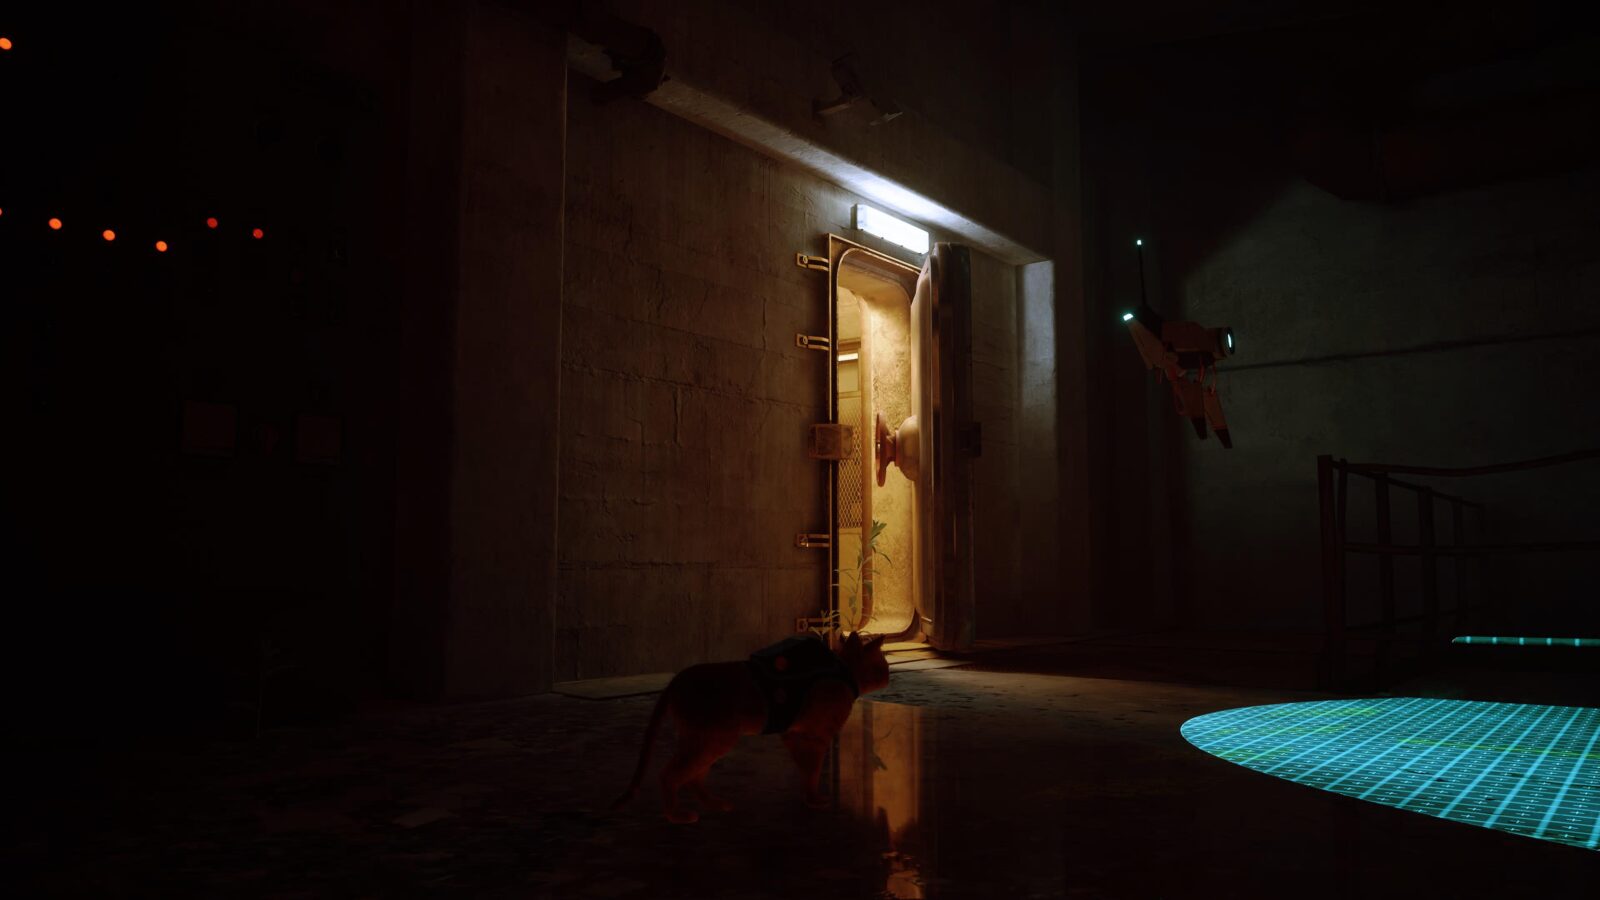
Inside the factory, there’s an opportunity to unlock the Sneakitty Chapter-Specific Trophy. To do so, you will need to reach the very end of Chapter 10 without getting spotted by any of the Sentinels (hovering robot drones) in the Factory or on the way back to Clementine’s Apartment.
This means that the Sentinels’ eyes must stay blue. If they turn yellow or red, then you have voided the trophy and should Load the last Checkpoint from the ![]() menu to try again.
menu to try again.
Just stop at each Sentinel and wait to observe their movement patterns. Once you are clear on how they move, slip past them without entering their detection grid, when it’s safe to do so. you can also hide in cardboard boxes to avoid detection.
You will still need to look out for collectibles during this sequence, though, which can be tricky when you’re trying not to get spotted.
It may be easier to just attempt this later in your Speedrun playthrough or via Chapter Select. Up to you!
So, continue through the factory past the first three Sentinels.
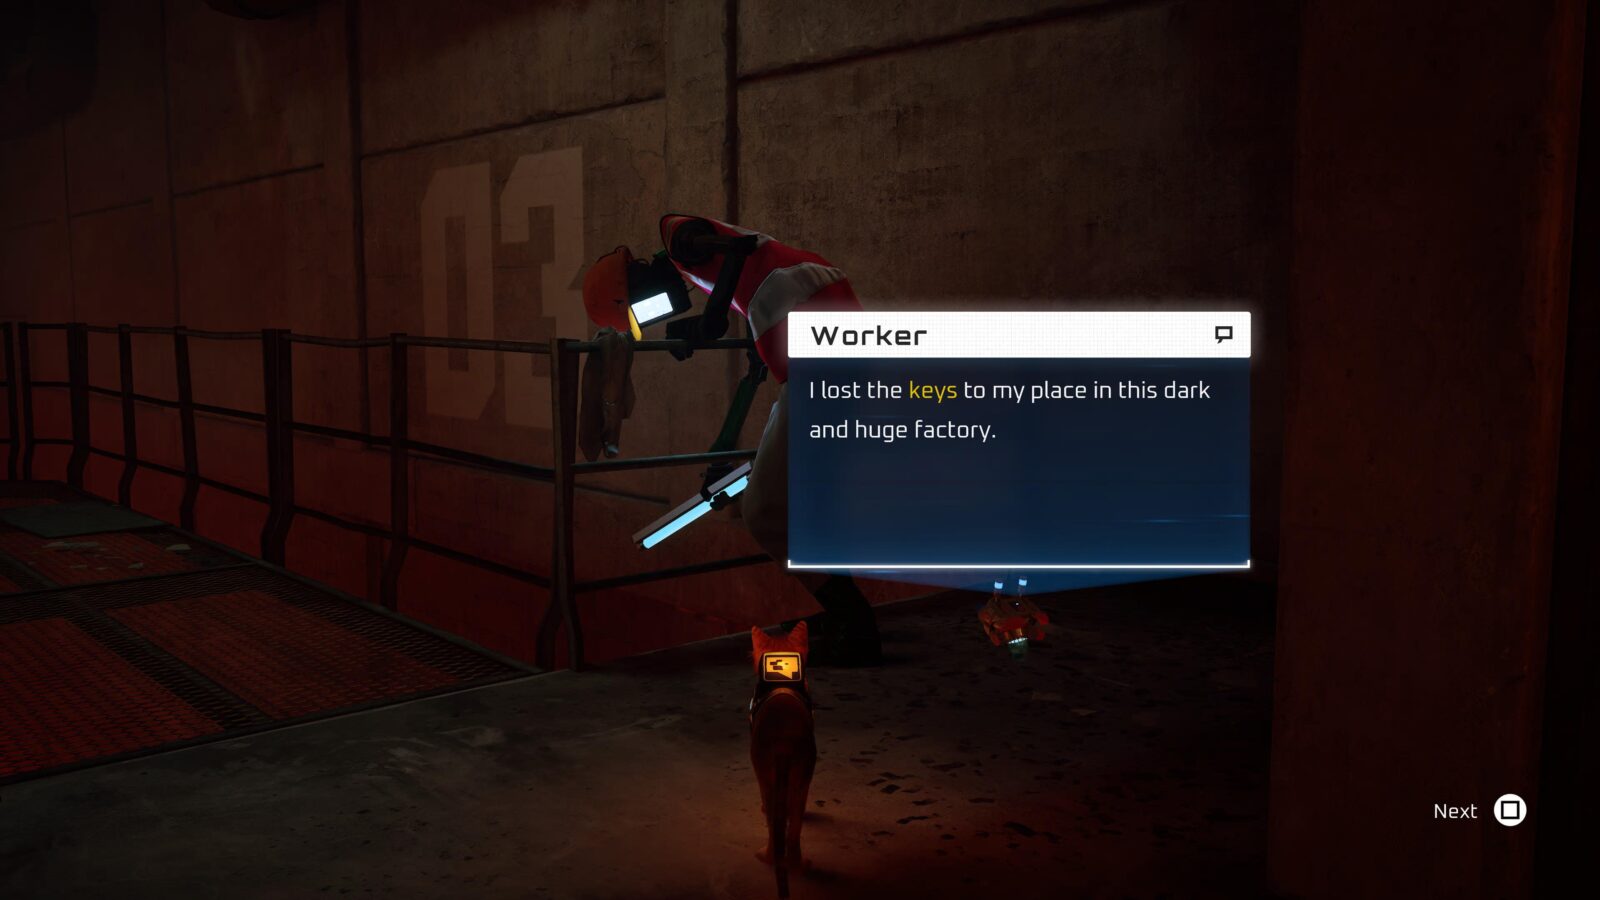
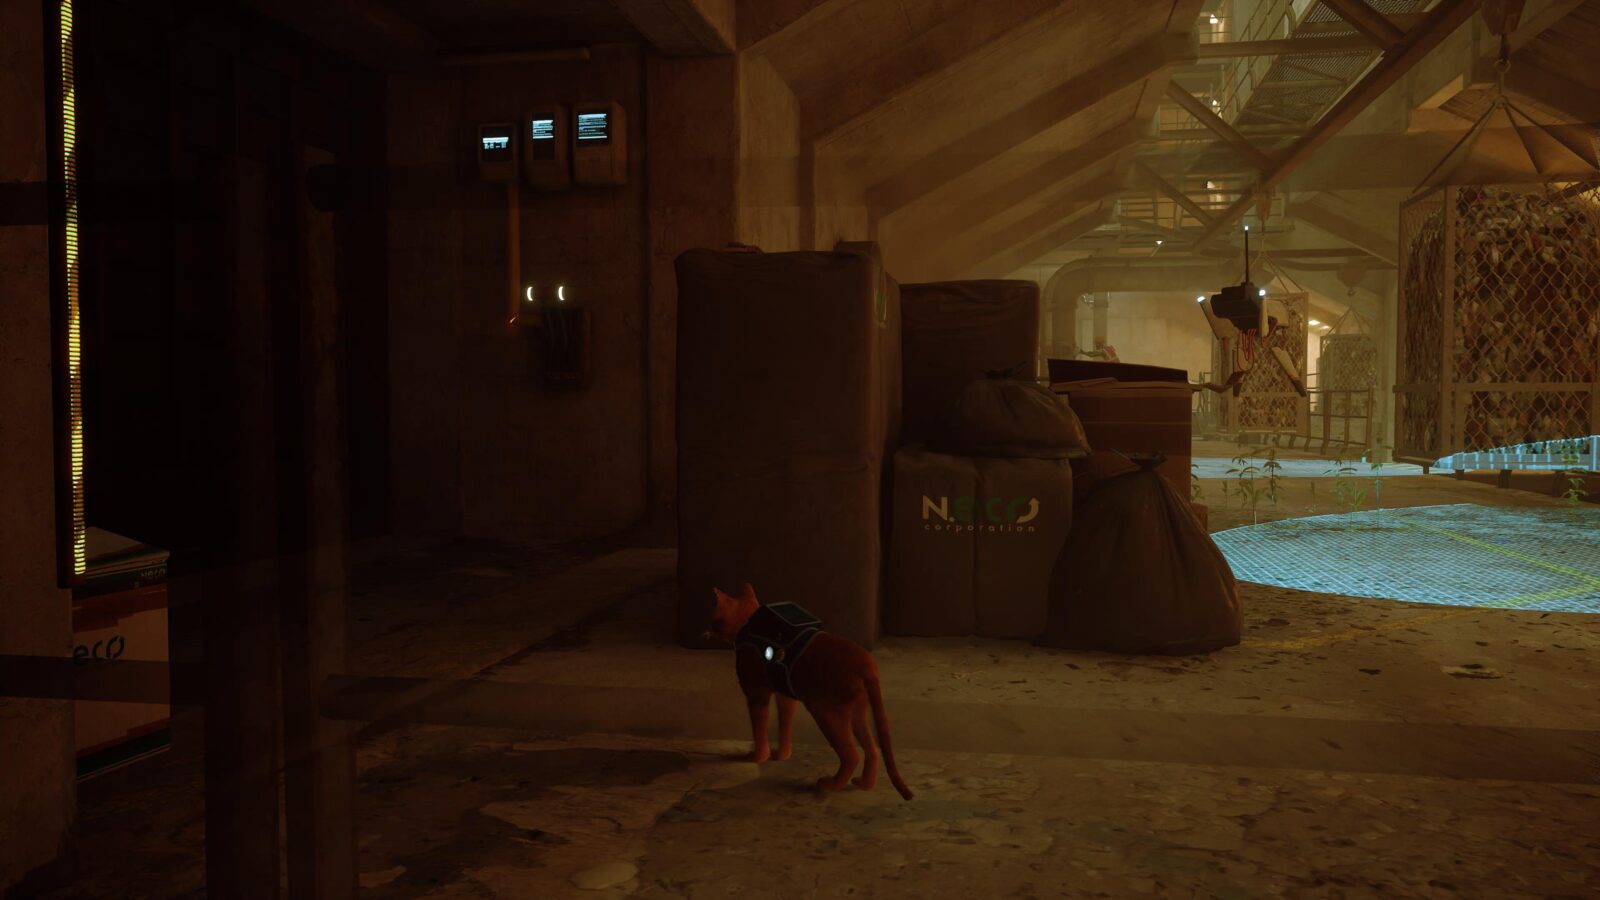
There, enter the next room, and you should see a worker bot leaning against a railing. He will give us a collectible if we bring his keys to him.
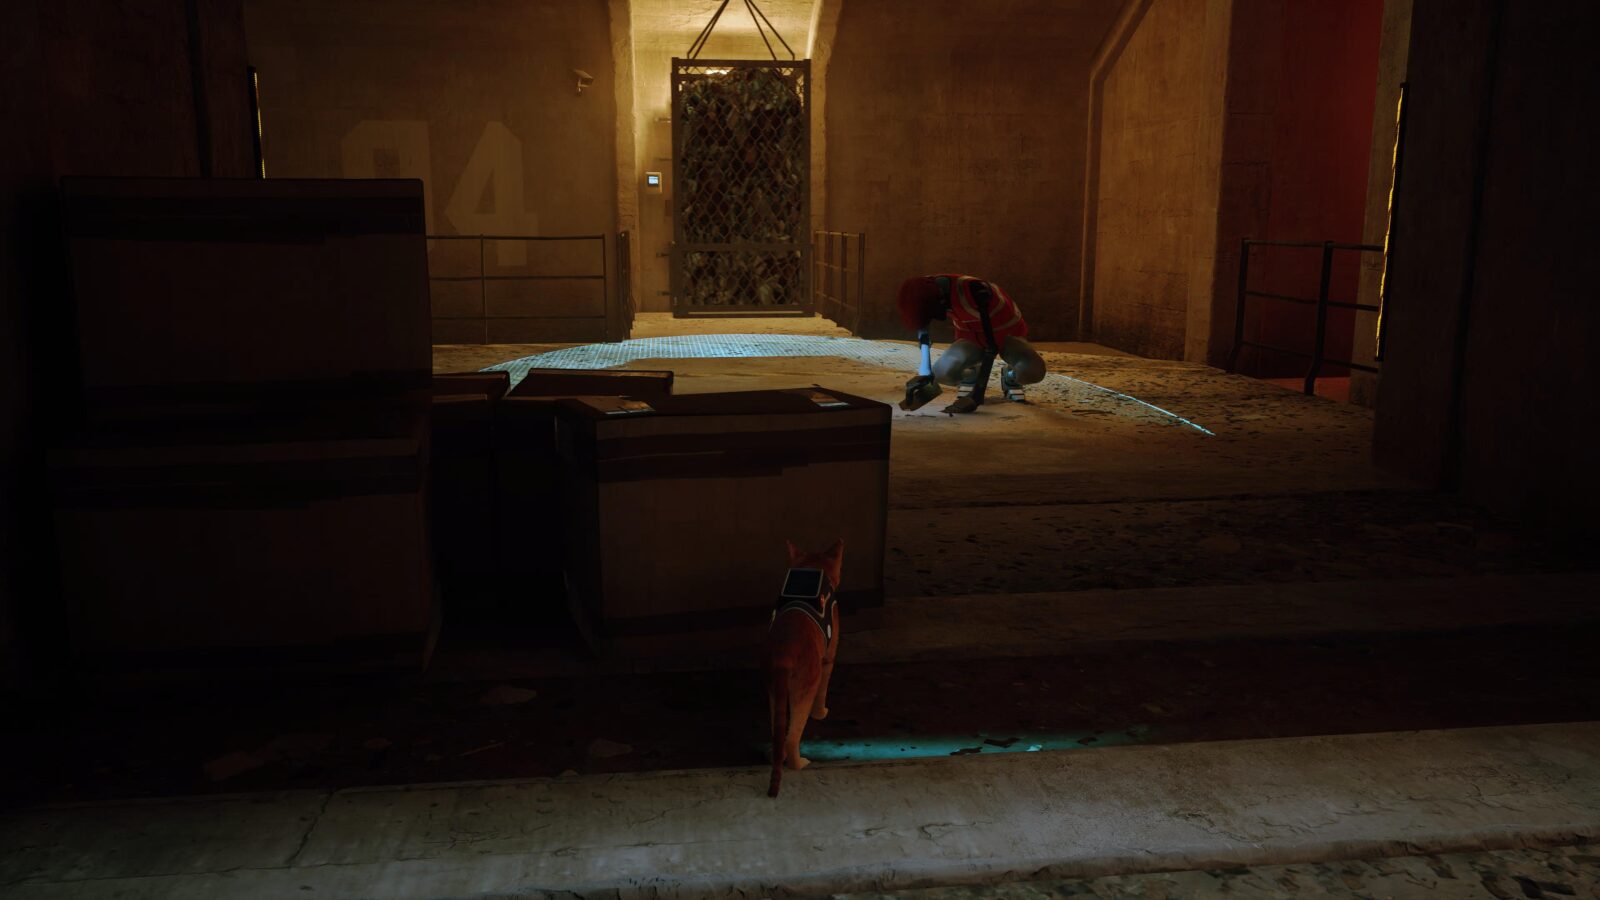
From the worker, go left past the Sentinel and jump onto the beam leading to a switch on the wall.

Pull the switch to open the door and then enter the next room, where you will need to hide behind the moving cages of trash to avoid detection from the sentinels.
At the end of the corridor, jump onto the barrel floating in the water.
From that first barrel, look to your right, and you’ll see two more barrels.
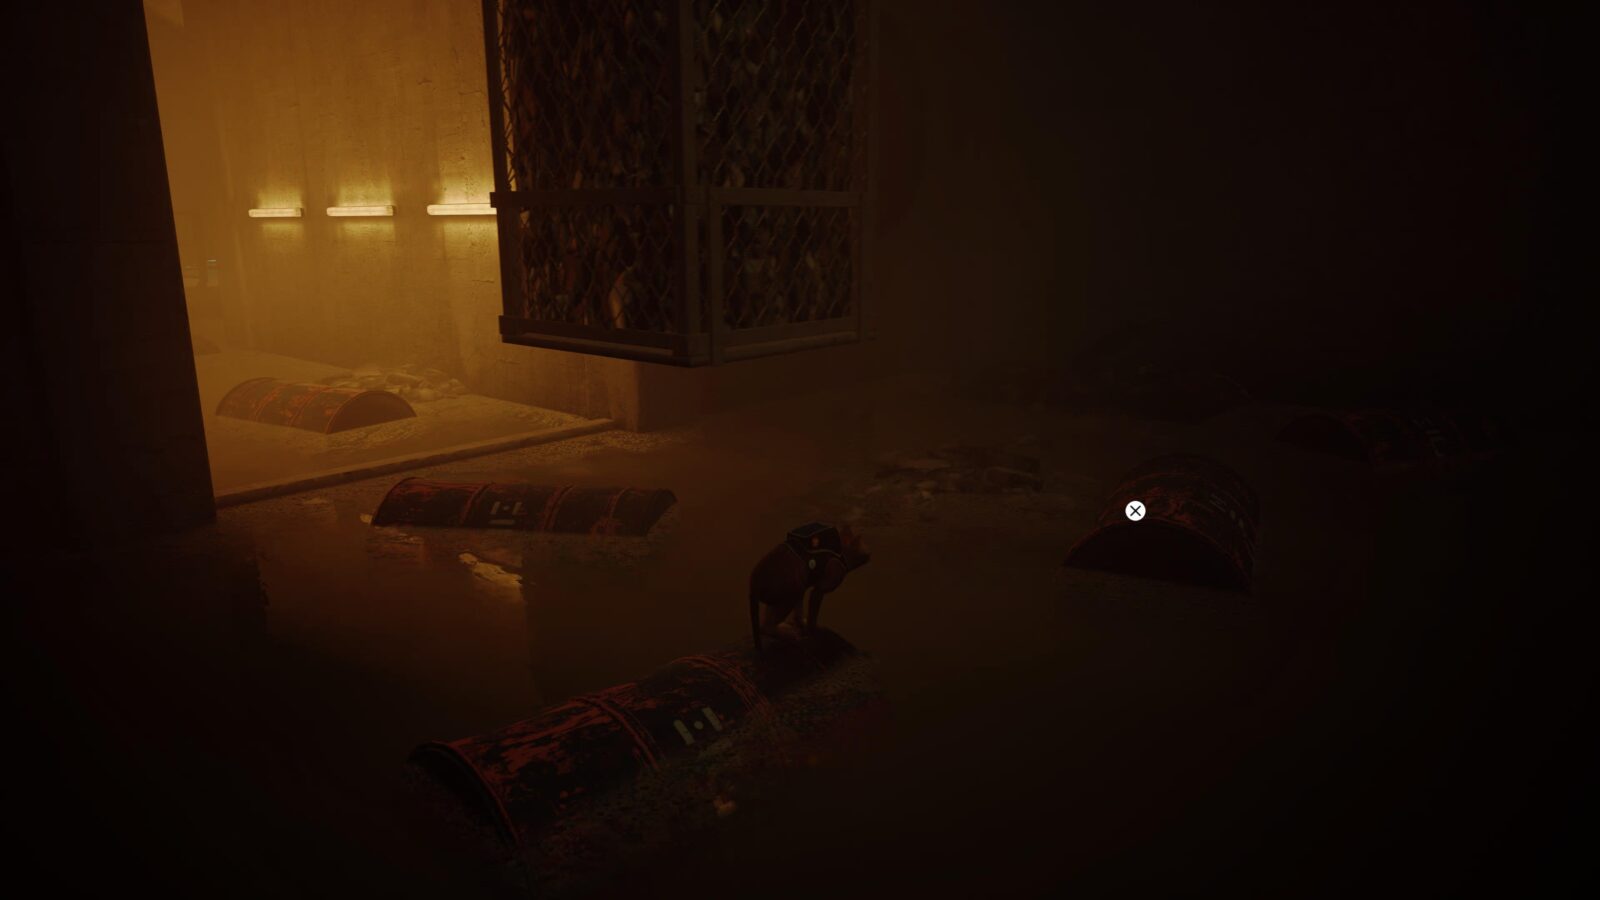
Jump to those to find the key in the corner.
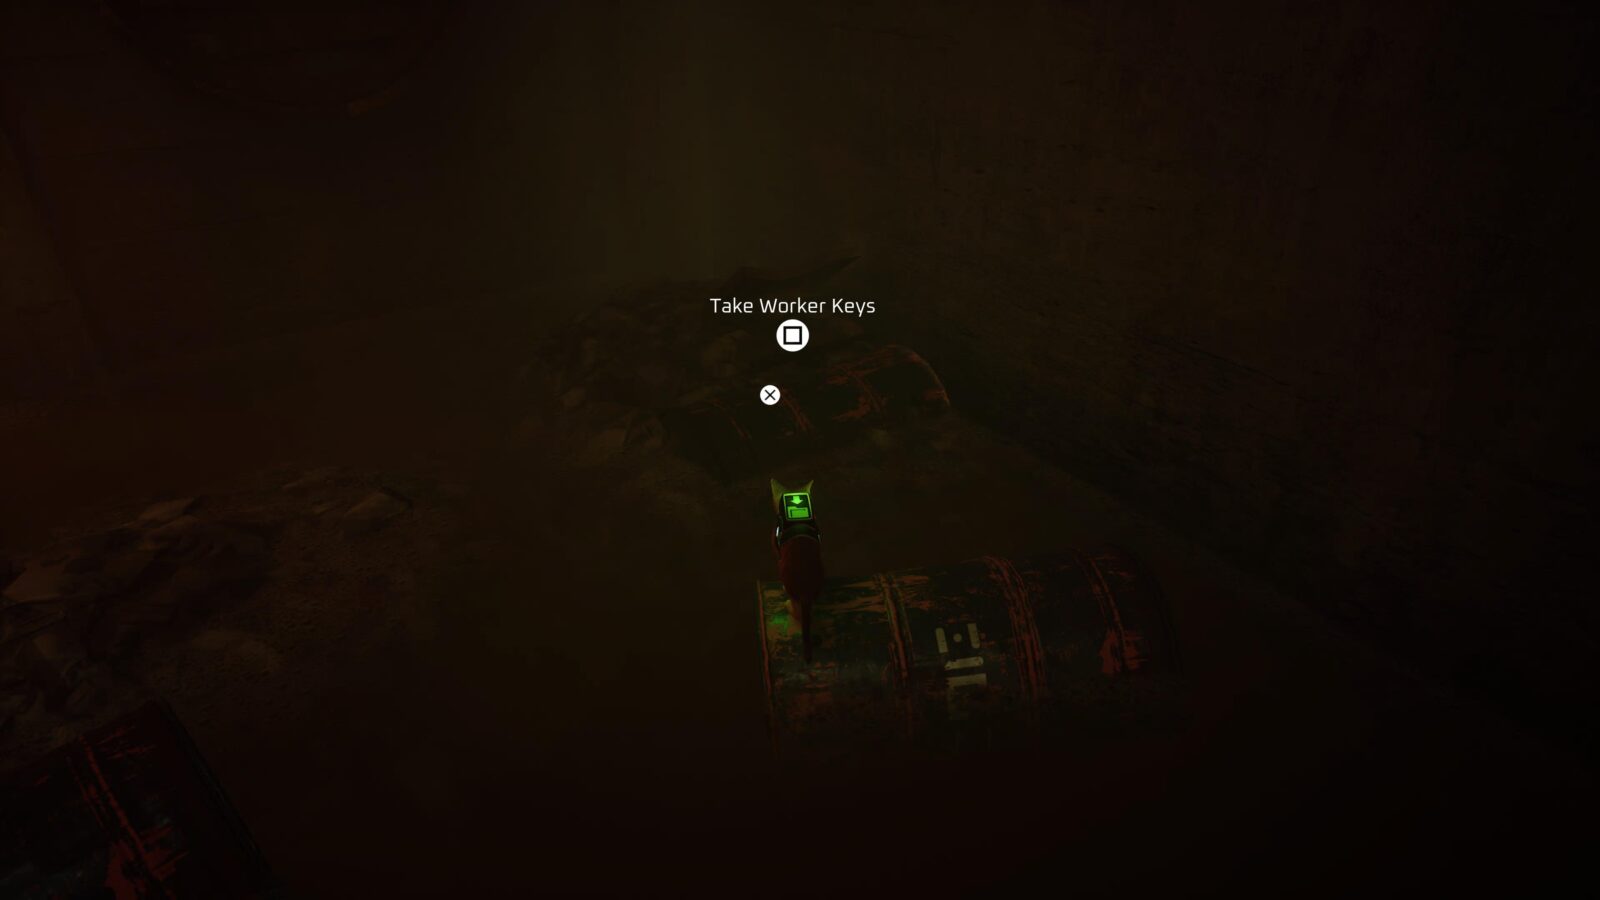
Continue across the barrels to the next Sentinel. Next to it, there’s a switch on the wall. Pull the switch to open a doorway leading back to the Worker.
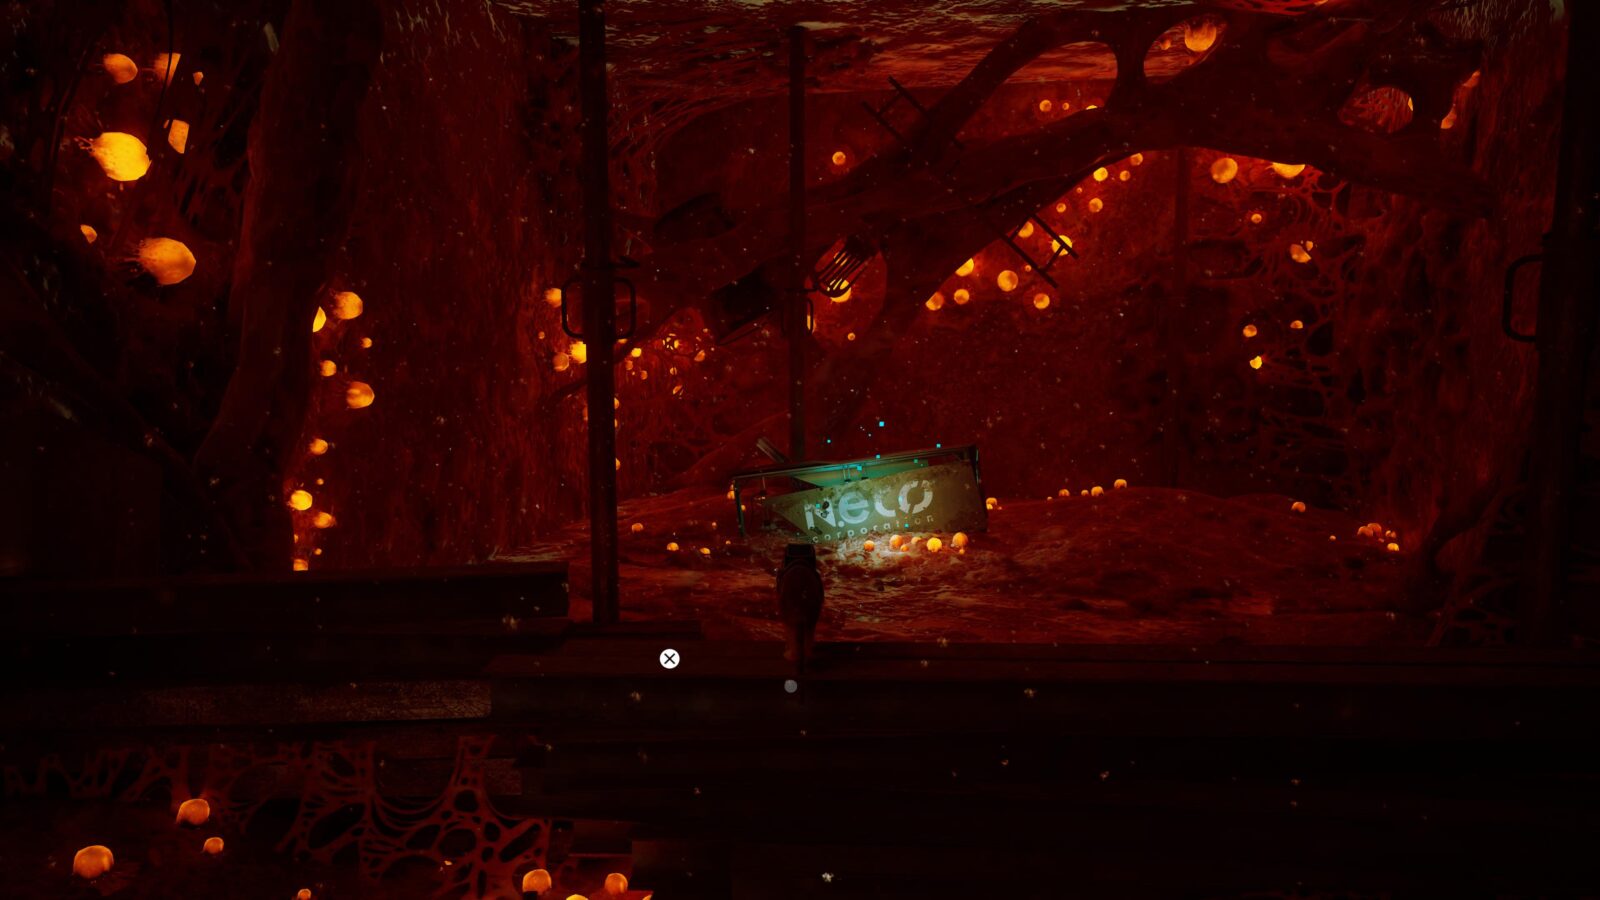
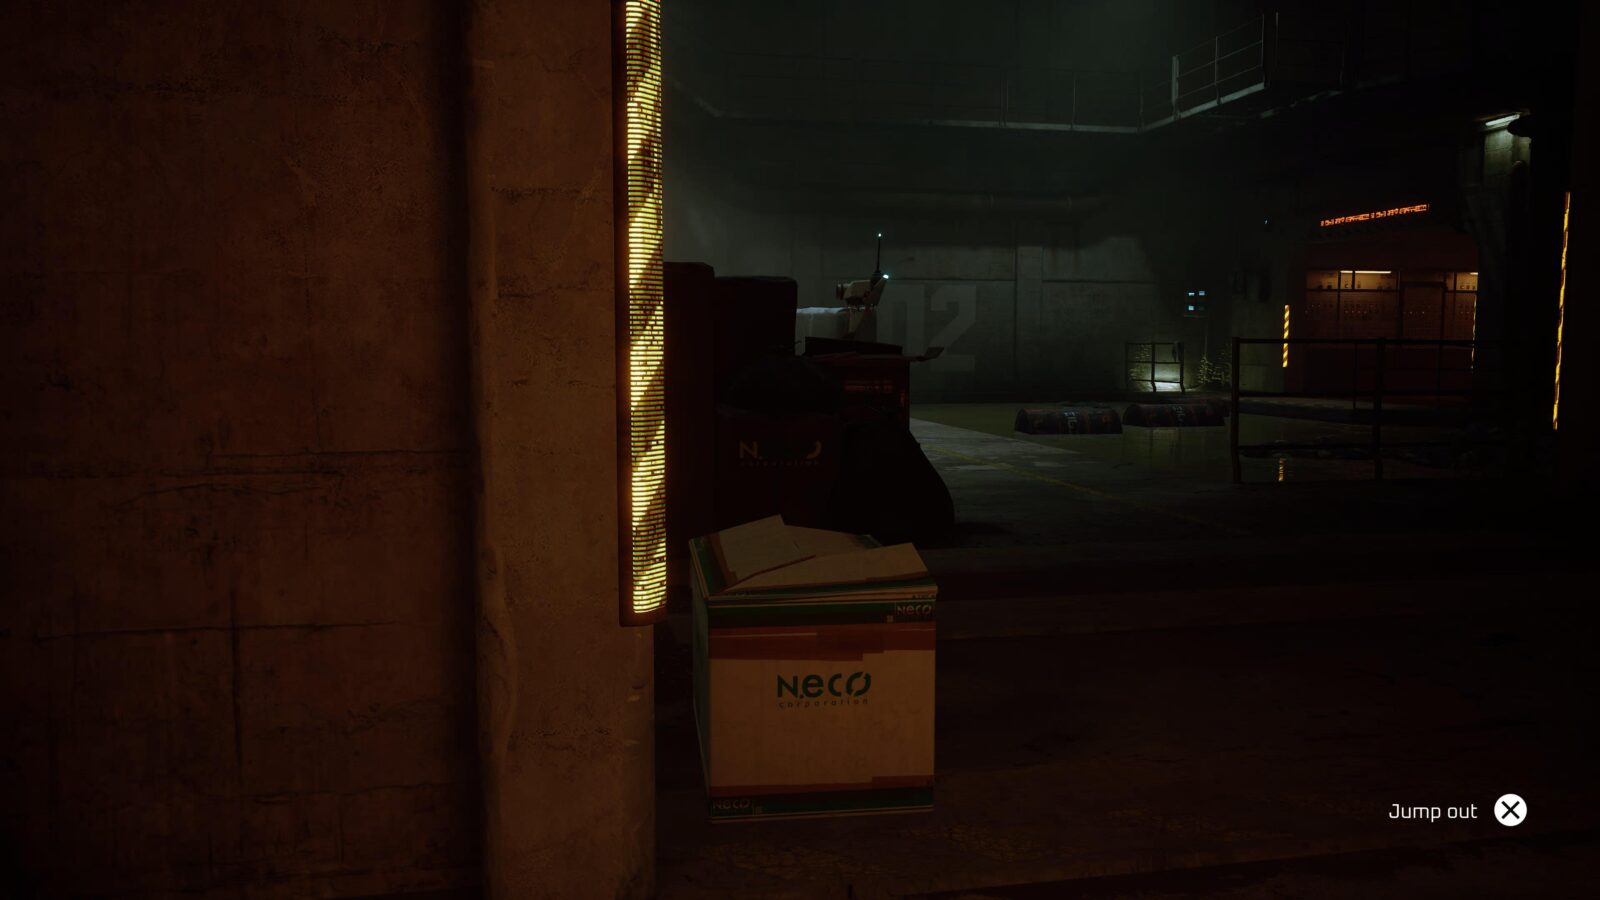
When you pull the switch, quickly jump into the cardboard box opposite it, as there’s a chance a Sentinel will come right up to the doorway and spot you immediately.
Return to the Worker and give him his keys to receive the Neco Badge (6/6).

Continue with the Factory objectives until you’ve collected a battery and left the Factory via a bucket-lift.
On the way back to Clementine’s apartment, continue to look out for Sentinels.
Back at the town plaza where the robot hologram is, enter the yellow-colored shop on your left.
Inside, you’ll find a portrait of a Sentinel, which is also another B-12 Memory (24/27).
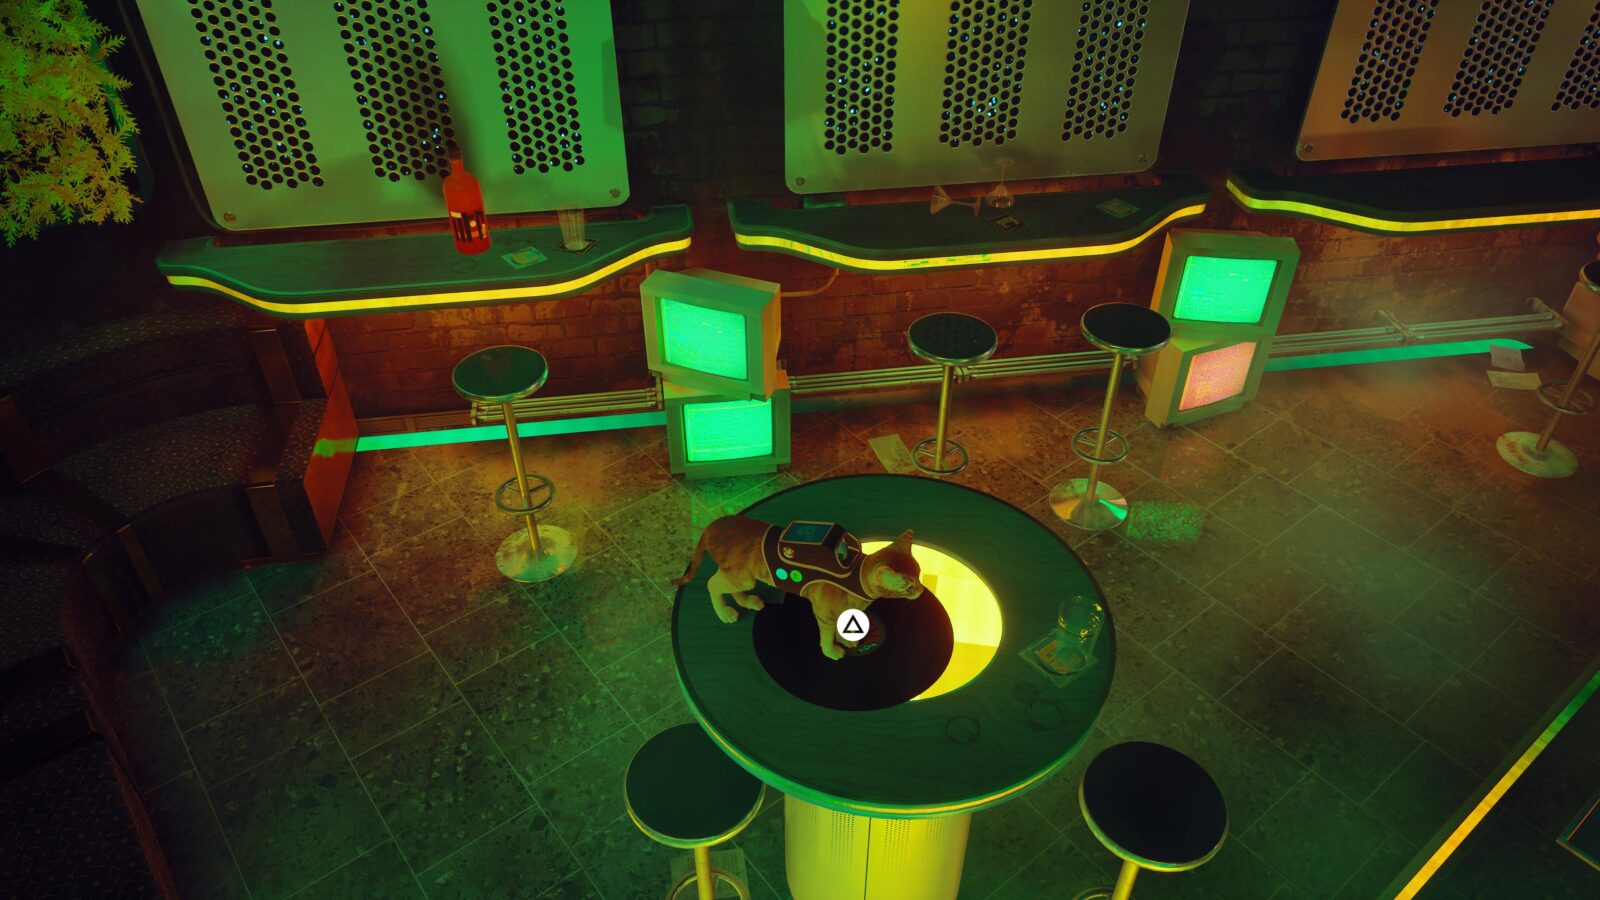
Continue back to Clementine’s apartment (remembering to stay wary of Sentinels) and continue through the Chapter as normal until you reach the Nightclub.
Inside, go behind the bartender and jump onto the counter to activate a dumbwaiter, taking you into the basement.
Down there, you’ll find the last collectible in Chapter 10; a B-12 Memory (25/27) on the table.
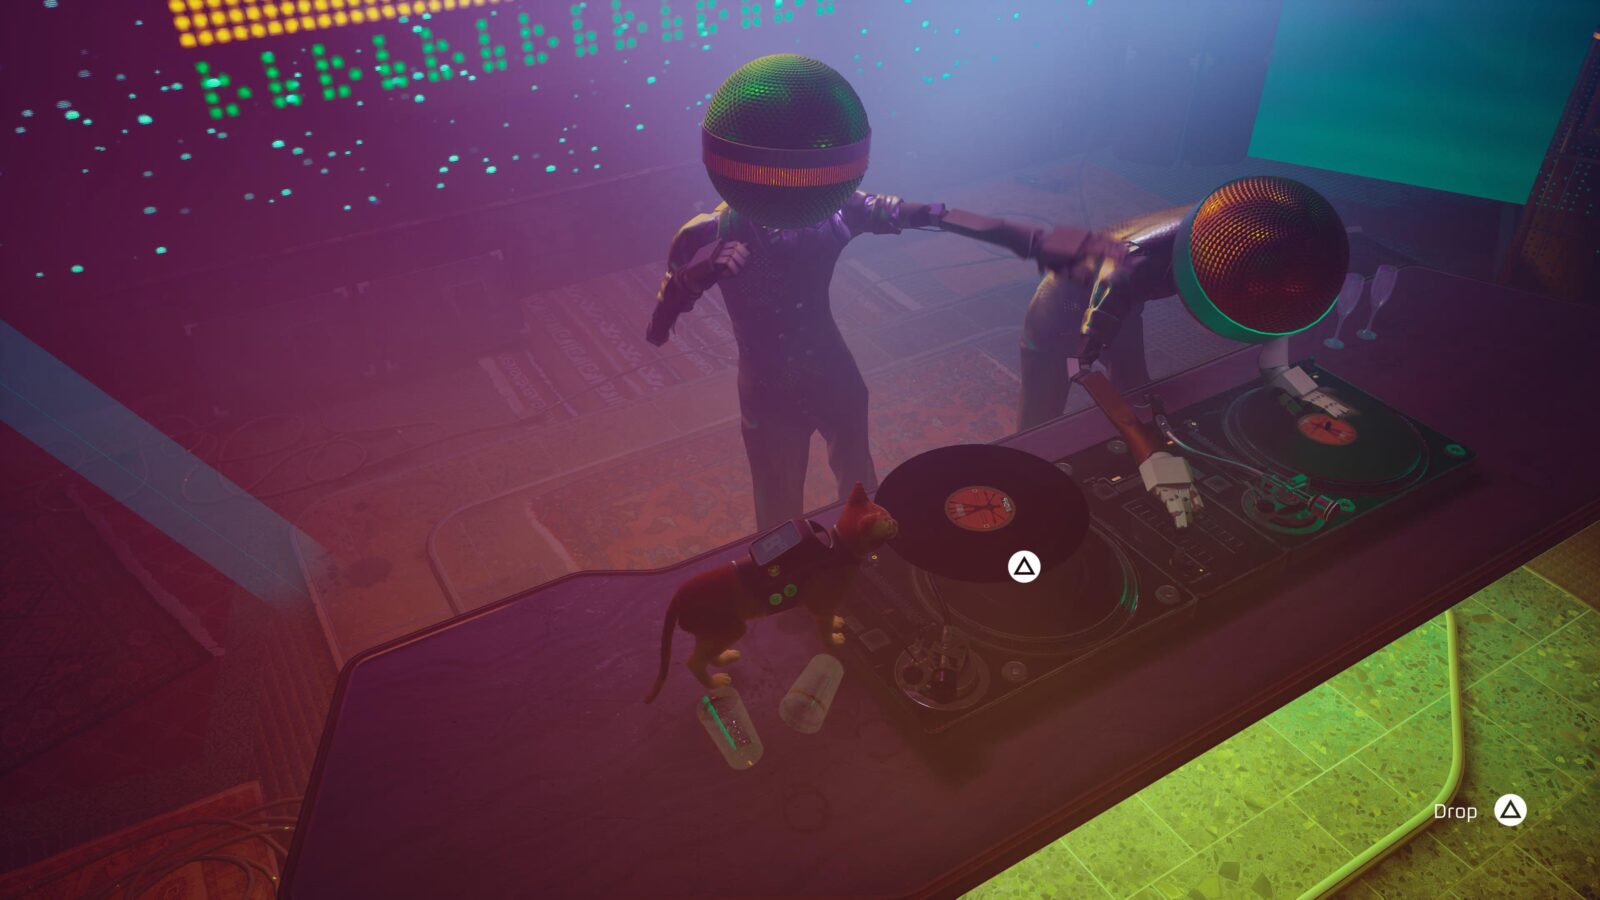
Before continuing on, we need to grab one last Chapter-Specific Trophy; Scratch.
Ride the dumbwaiter back up to the Nightclub and then look for a vinyl record on a table nearby.
Grab it and bring it to the DJ’s turntable on the stage. Place it on the turntable and then press ![]() at the prompt to scratch the record, unlocking the trophy.
at the prompt to scratch the record, unlocking the trophy.
It’s now safe to complete your objectives and finish the game.
Chapter Eleven: Jail Collectibles
A little while into the chapter, after you’ve reunited with B-12, you will need to trap a Sentinel in a cell.
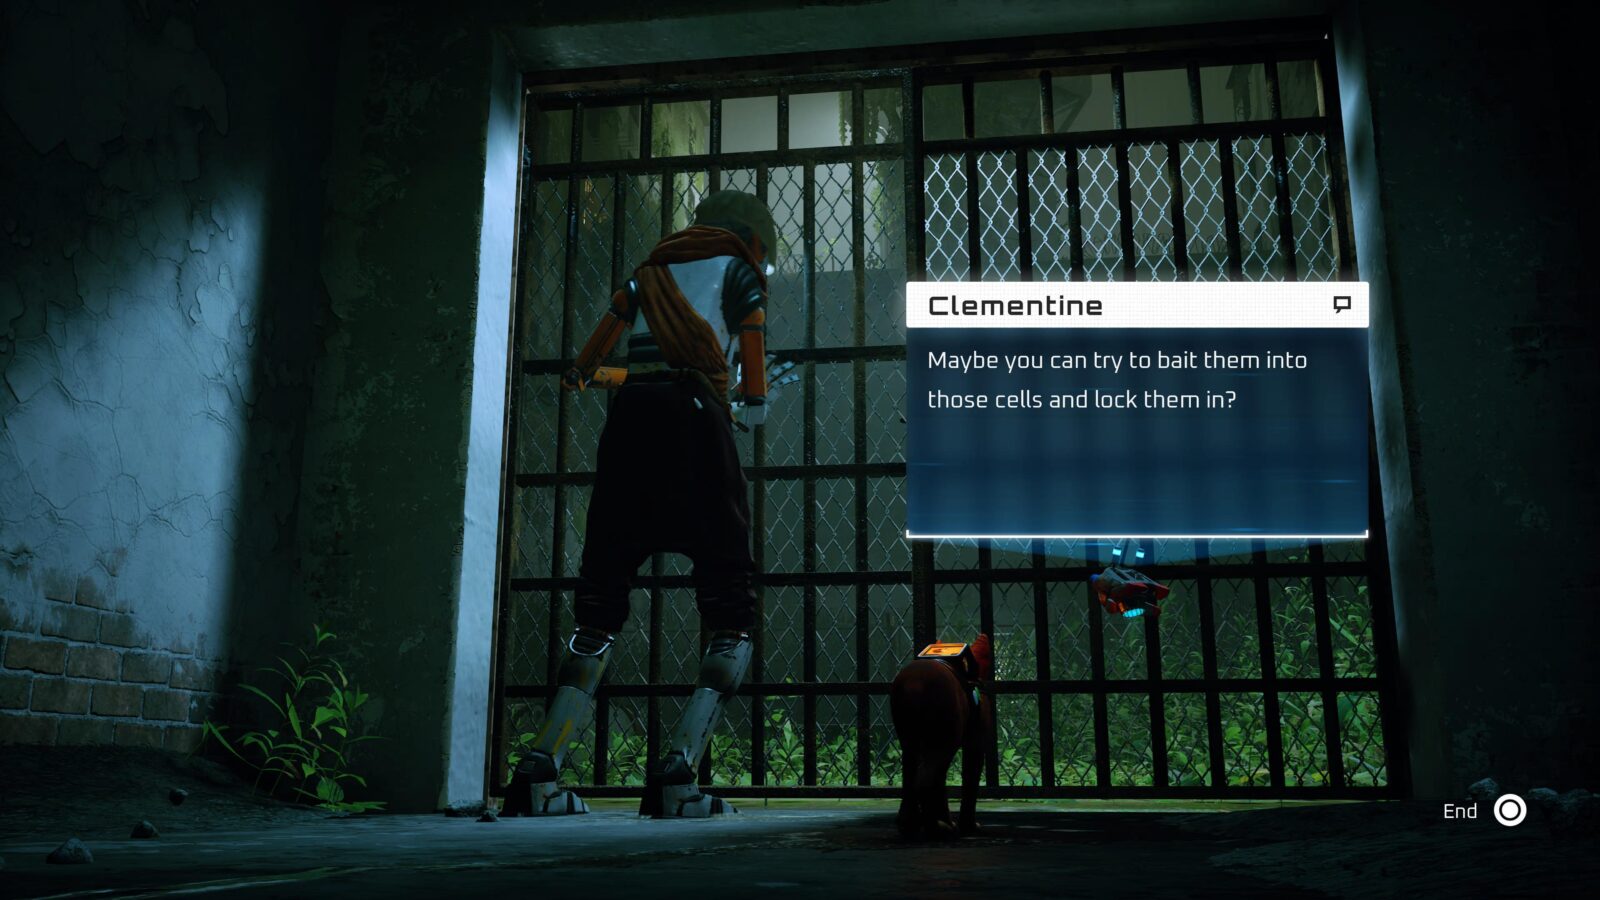
Once done, Clementine will come out of hiding and open the door into the next area.
There, look for this B-12 Memory (26/27) to your right, on a deactivated Robot.
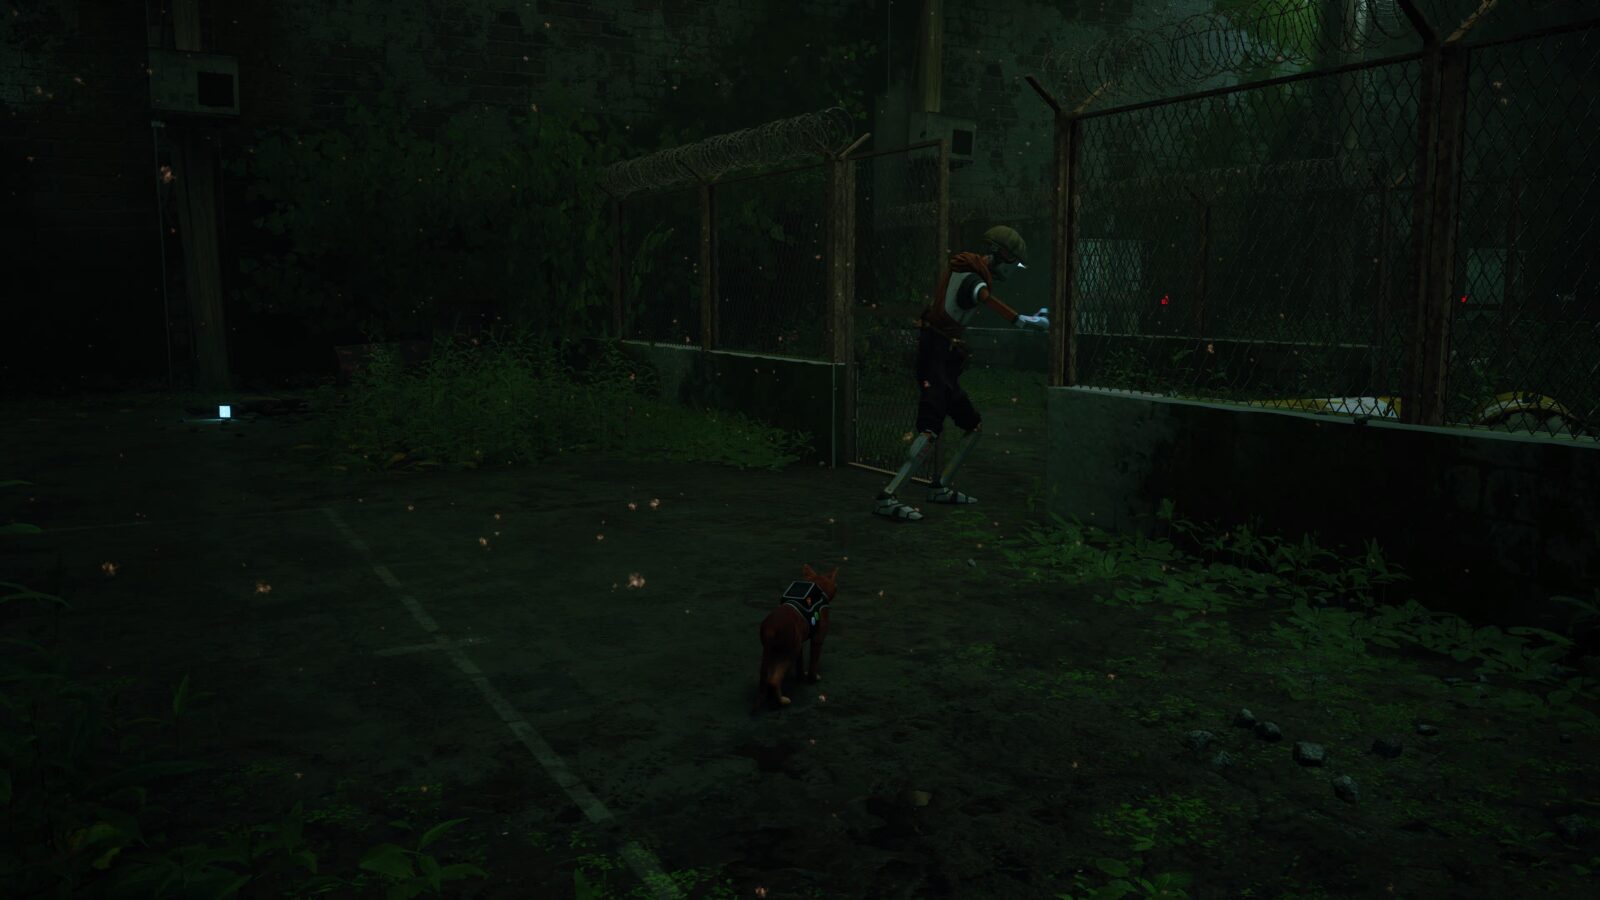
Don’t forget that we need to find something to scratch in this chapter, too.
Continue through the chapter, trapping the next two Sentinels in a room together. Once done, Clementine will open the way again.

In the very next area, there’s a tree that you can scratch!
Chapter Twelve: Control Room Collectibles
You’re finally here at the final Chapter of Stray. You will only need to collect one B-12 Memory (27/27) and the final Scratch Opportunity. Fortunately, both are unmissable. Just complete the Chapter however you like, and you’ll grab them along the way!
Thank you for choosing PlatGet as your source for a Stray Collectible Guide. Consider checking out our other guides!
Follow us on Twitter @GetPlat or Instagram @platget for updates on new reviews and guides, as well as small anecdotes about our platinum journeys.