PlayStation 4, Playstation 5
Solar Ash Trophy Guide


General Info
FAQ
How long does it take to beat Solar Ash and unlock all trophies?
About 10-20 hours depending on your skill.
How difficult is it to beat Solar Ash and unlock all trophies?
Easy (3/10).
Does Solar Ash have online trophies?
No.
Does Solar Ash have difficulty-specific trophies?
Yes.
Does Solar Ash have missable trophies?
Yes, VoidSprinter.
Does Solar Ash have glitched trophies?
No.
What is the minimum number of playthroughs required to unlock all trophies in Solar Ash?
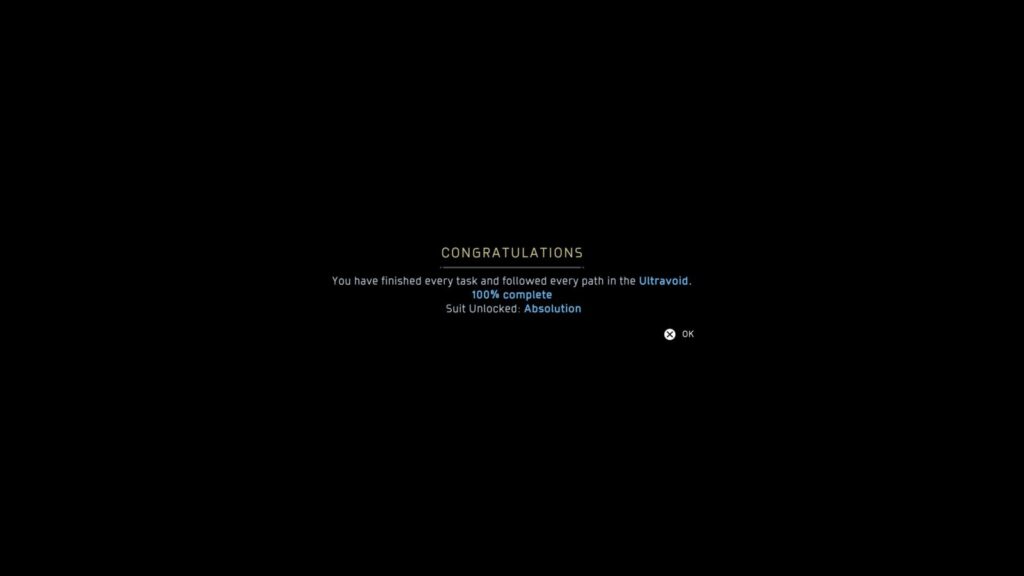
You will need to get 100% completion, beat the game on Hardcore, and complete it in 3 hours. This is easiest achieved in 3 playthroughs but is possible in 2.
Does Solar Ash have a Platinum Trophy?
Yes.
Other Useful Guides:
Solar Ash Collectible Guide
Trophy Guide
Solar Ash Trophy Guide and Road Map for PS4 & PS5
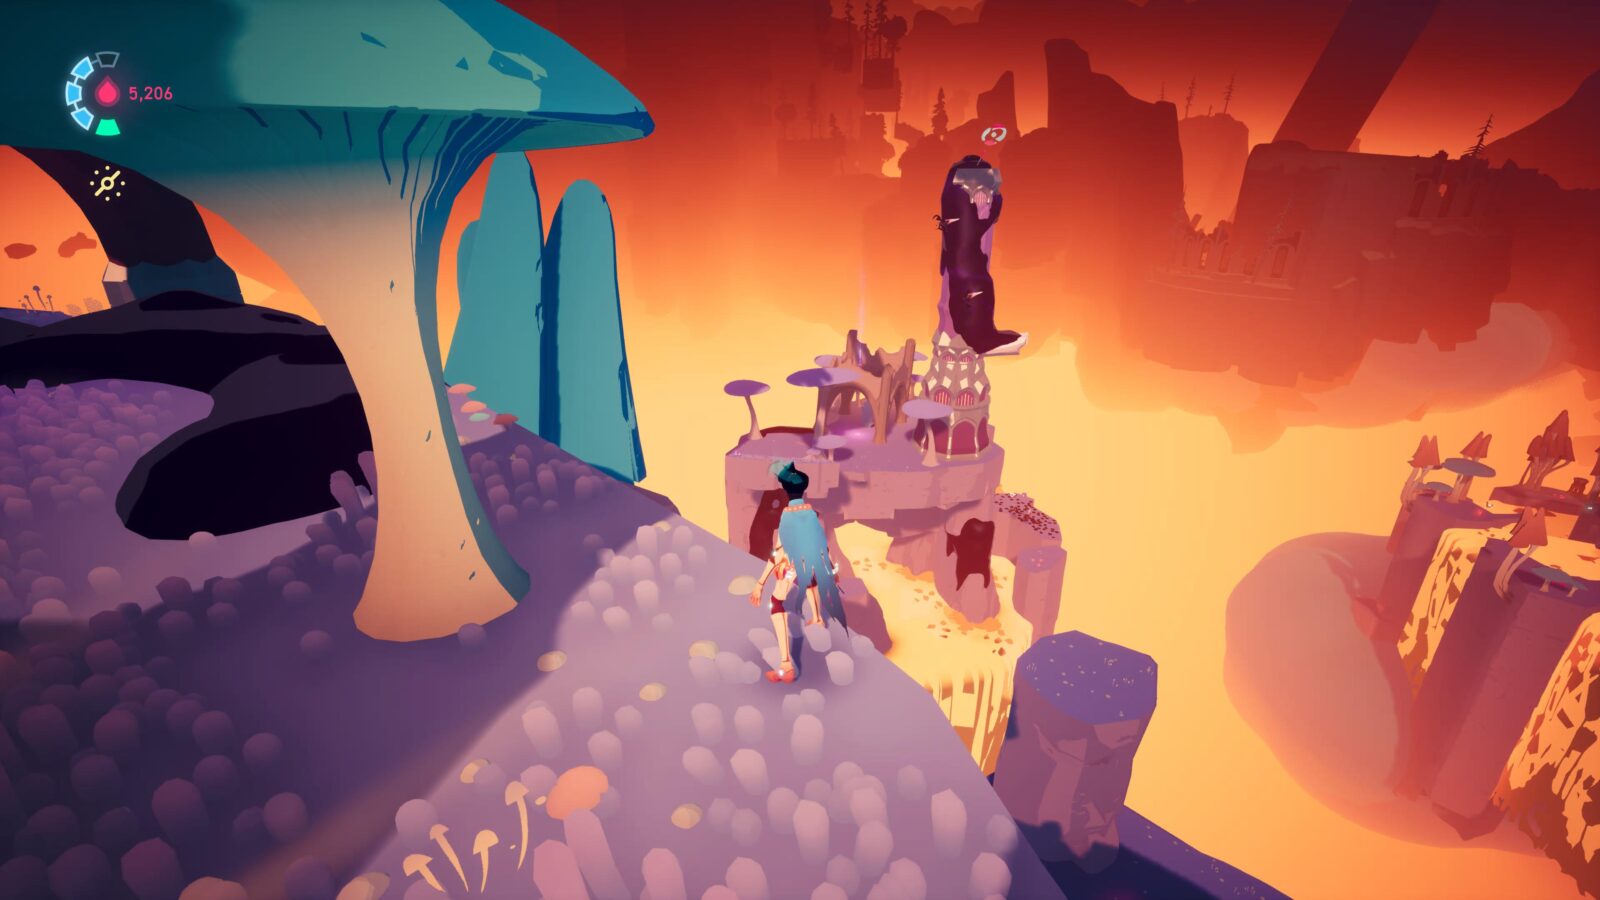
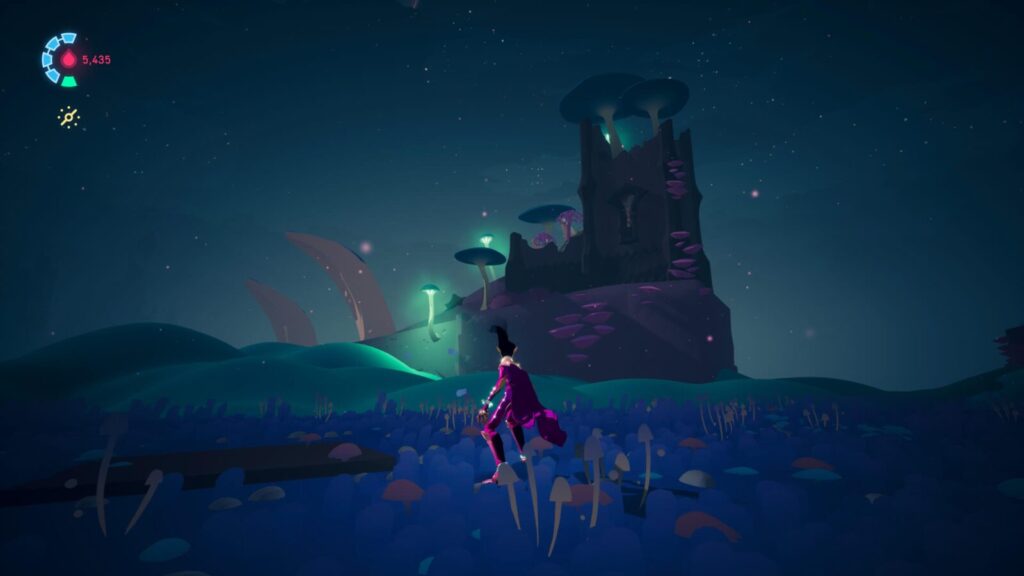
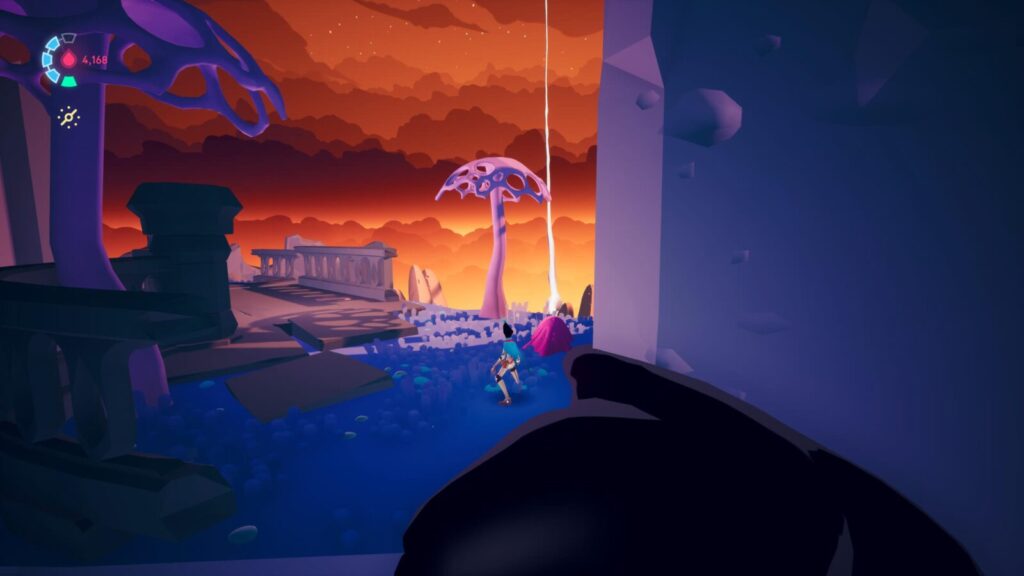
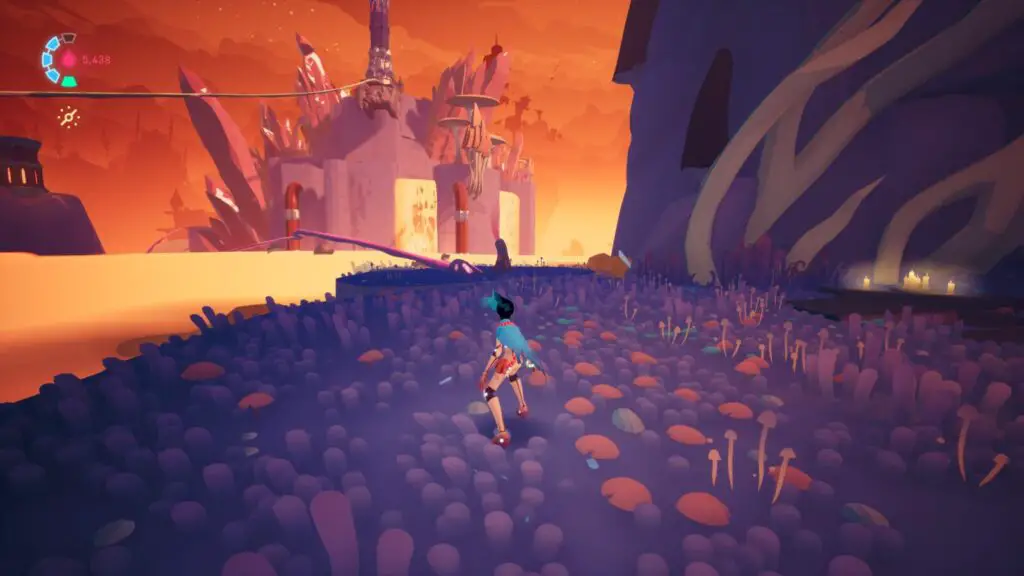
Welcome to our Solar Ash Trophy Guide. In this exciting indie sci-fi adventure, you take control of Rei as she hopes to save her home planet from being destroyed by the Ultravoid. Standing in your way are six powerful enemies in the form of Remnants that you’ve got to take down in an excitingly fast-paced homeage to Shadow of the Colossus.
Using incredibly fluid controls and an array of combo-able abilities, make your way through 6 complex and trippy environments to reactivate the Starseed and save your home!
PS4 & PS5 Trophy Differences
For some reason, the trophies in this game differ slightly between the PS4 and PS5 versions. You’ll be pleased to know that you can earn all the same trophies for fulfilling the same requirements across both versions of the game, and this Solar Ash Trophy Guide can be used to earn both the PS4 and PS5 Platinum trophies, but some trophies have different value.
On PlayStation 5 we have; 1 Platinum, 5 Gold, 13 Silver, 14 Bronze trophies whereas on PS4 we have 1 Platinum, 4 Gold, 15 Silver, and 13 Bronze.
For this Trophy Guide in particular we have chosen to use the PS5 version of the trophies for reference, so you may notice that certain Bronze, Silver, and Gold trophies differ if you are playing on PlayStation 4.
The important takeaway, however, is that you can still earn the Solar Ash Platinum on PS4 by using this PS5-centric Trophy Guide.
Phase One – Complete the Campaign (Any Difficulty)
During this first phase of our Solar Ash Trophy Guide, your main objective is just to reach the story’s conclusion.
You can do as much or as little extra content here as you like, but we will be going on to achieve 100% completion on this save in phase two of this Solar Ash Trophy Guide.
If you would prefer not to do a blind run, then please see Rei-gn Supreme for details on what you will need to do along the way for 100% completion.
This Solar Ash Collectible Guide will prove useful too. It is written in a chronological walkthrough-like manner which will make it a breeze to pick up collectibles as you go.
Additionally, there are two endings you will need to experience for their attached trophies. You cannot miss anything and don’t need to be concerned as you can simply continue the game after seeing one ending to make another choice and view the other.
Unmissable Story Trophies


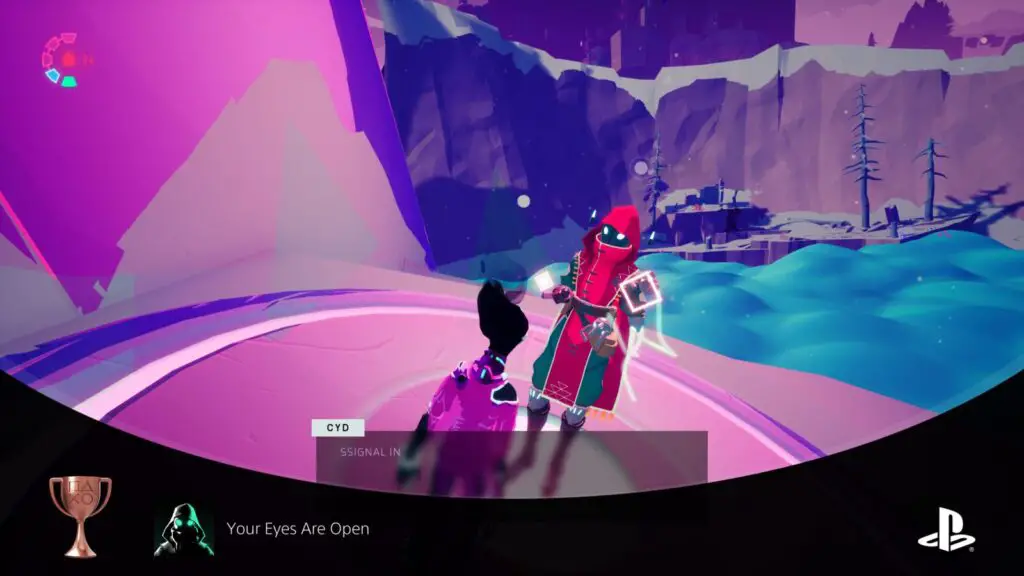
Your Eyes Are Open
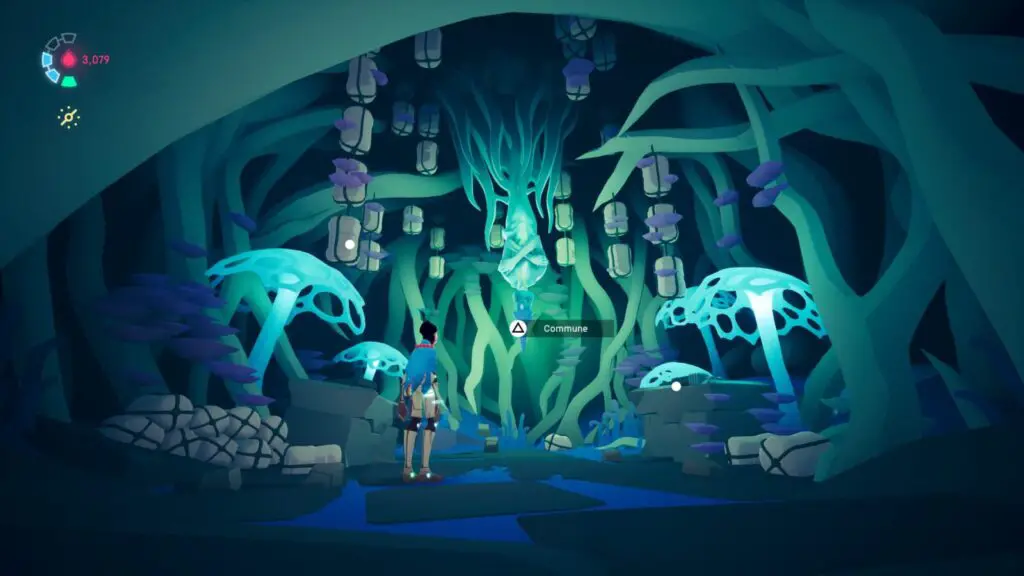
Activate Cyd
This will likely be the very first trophy you unlock, as reaching and activating Cyd is your first story objective.

Wyrmslayer
Destroy the Remnant in the Crater
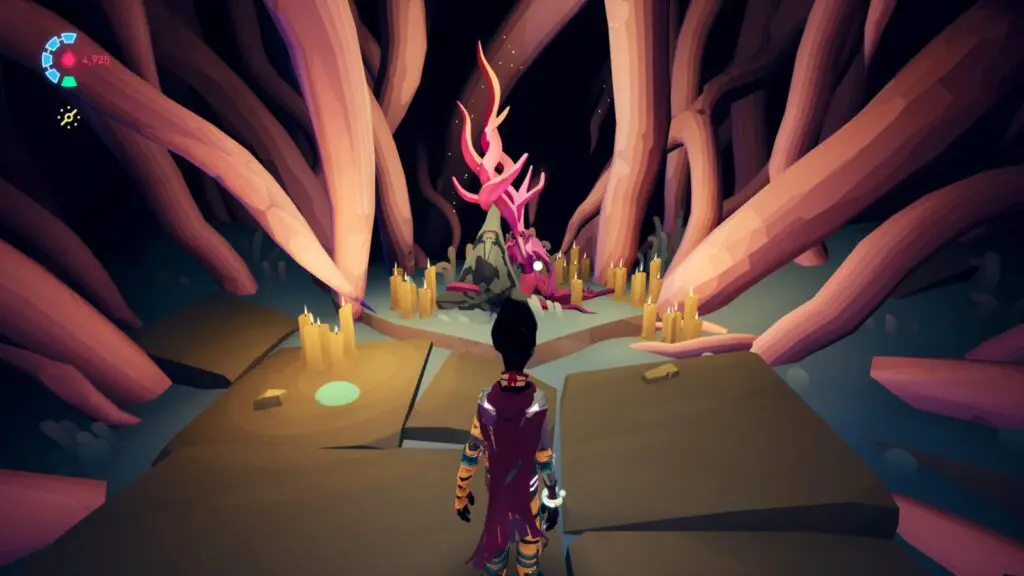
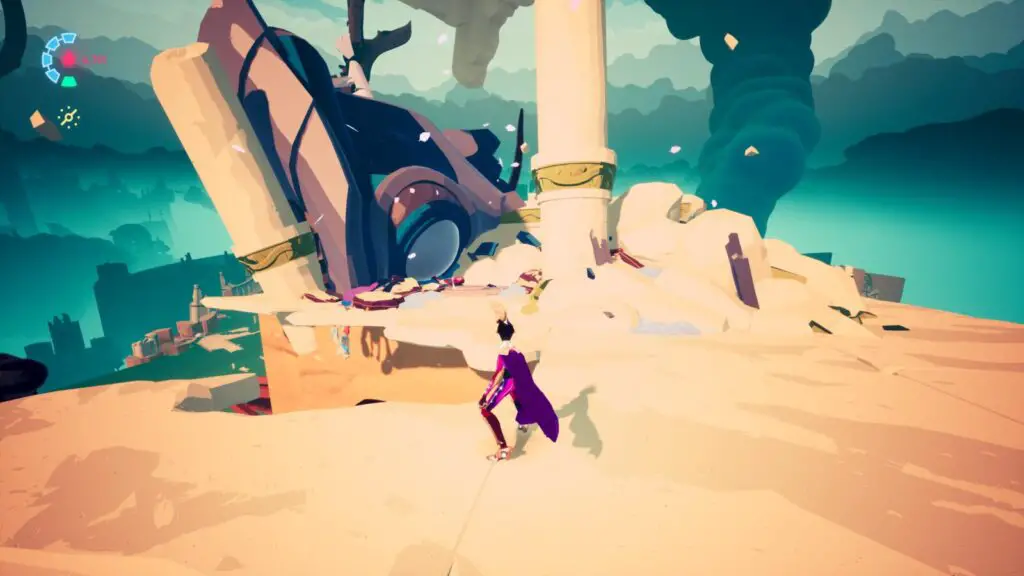
The Crater Oroborous is the first Remnant/ Massive Anomaly boss you will fight and is a giant flying snake in the Crater area. You will need to defeat it to progress, which will in turn unmissably unlock the Wyrmslayer trophy.
Once you’ve destroyed the anomalies in the area, you’ll be able to fight the boss. You need to start by grappling onto the point at the tip of its tail, this will get you onto its back, where you must skate across the boney plates on its back, hitting weak spots as you go.
However, whenever you’re on the remnant’s back, it will charge up an attack that knocks you off, so you will need to quickly skate across the remnant’s back, from point to point, as quickly as possible. Boosting ![]() will help you get to each weak spot and eventually reach the main weak spot on it’s head, which you can grapple to.
will help you get to each weak spot and eventually reach the main weak spot on it’s head, which you can grapple to.
You will need to repeat this three times to defeat the boss fully. Each time you attack the main weak spot, its bony plates will crumble, giving you a more treacherous surface to navigate on your next attempt.
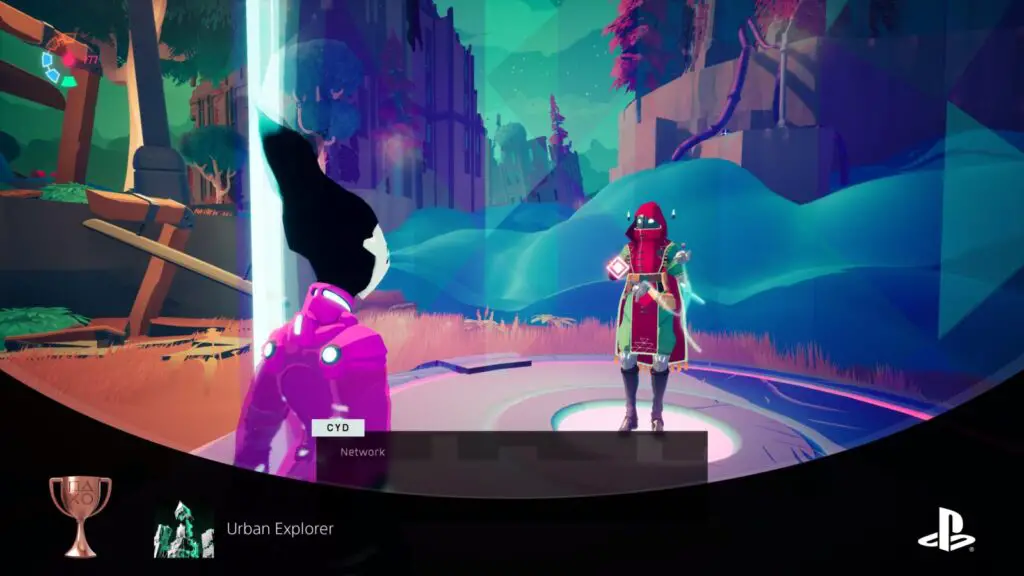
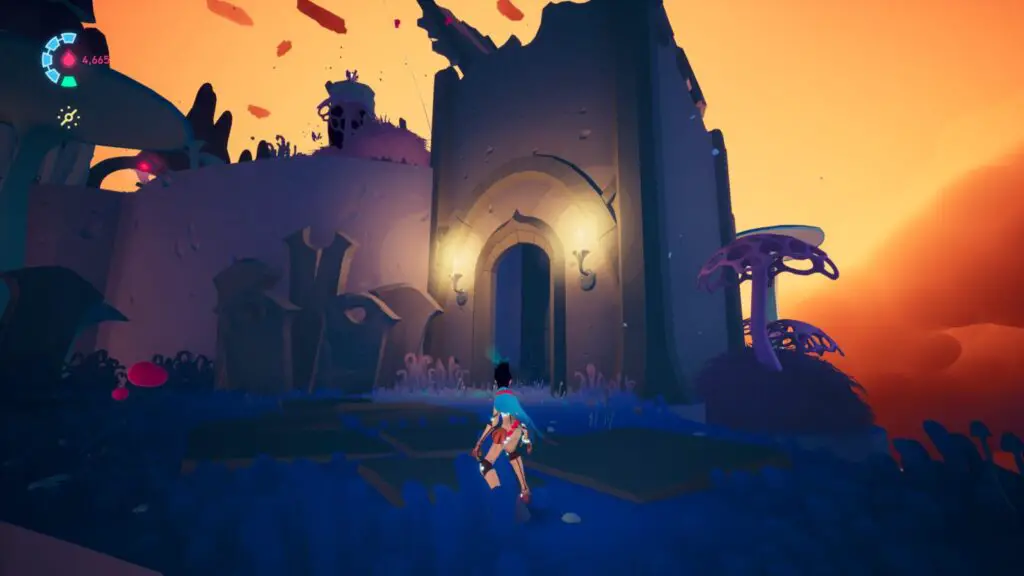
Urban Explorer
Locate Cyd in the Broken Capital
Locate and activate Cyd in the Broken Capital area–the game’s second main location–and the Urban Explorer trophy will unlock. This is your main objective when you arrive in the Broken Capital, making the trophy unmissable.
City Slicker
Destroy the Remnant in the Broken Capital
The Forgotten Thresher is the second Remnant/Massive Anomaly boss fight, found in the Broken Capital area. This fight is very similar to the first remnant given the boss’ movements and shape.
The main difference is the sheer size of this monster. You will need to be a bit quicker than you had to in your previous boss fight and will have to use grapple attacks a lot more, especially for actually getting onto the remnant.
Once again, you will need to hit the boss’ main weak spot three times and the route to said main weak spot will change after each hit.
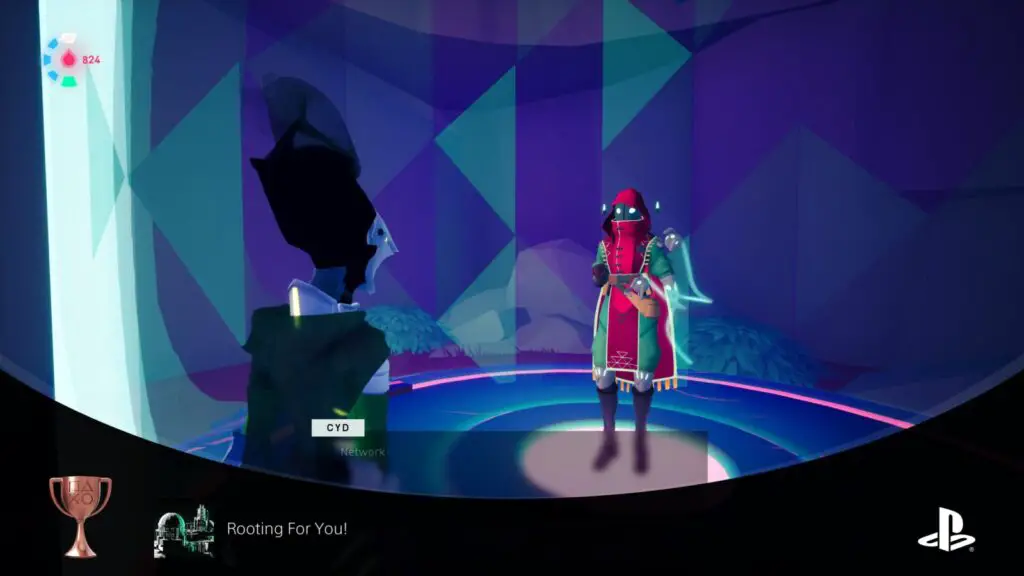
Rooting For You!
Locate Cyd in Ironroot Basin
Locate and activate Cyd in the Ironroot Basin area–the game’s third main location–and the Rooting For You! trophy will unlock. This is your main objective when you arrive in the Ironroot Basin making the trophy unmissable.

Tripod Toppled
Destroy the Remnant in Ironroot Basin
The Lost Sentry is the third Remnant/Massive Anomaly boss fight, found in the Ironroot Basin area. The concept of this fight is the same as the others, but the Remnant’s shape differs much more, making the fight a little different.
While on the ground, you will need to look out for a massive beam attack the boss can use which peppers the ground with spike hazards. Make your way to one of its tendrils, which you can use to reach its back. From there on, it’s just like any other boss fight. Use your boost ![]() and grapple
and grapple ![]() to quickly make your way through a series of weak points until you can hit its main weak spot.
to quickly make your way through a series of weak points until you can hit its main weak spot.
Hit its main weak spot three times to defeat it and unlock the Tripod Toppled trophy.
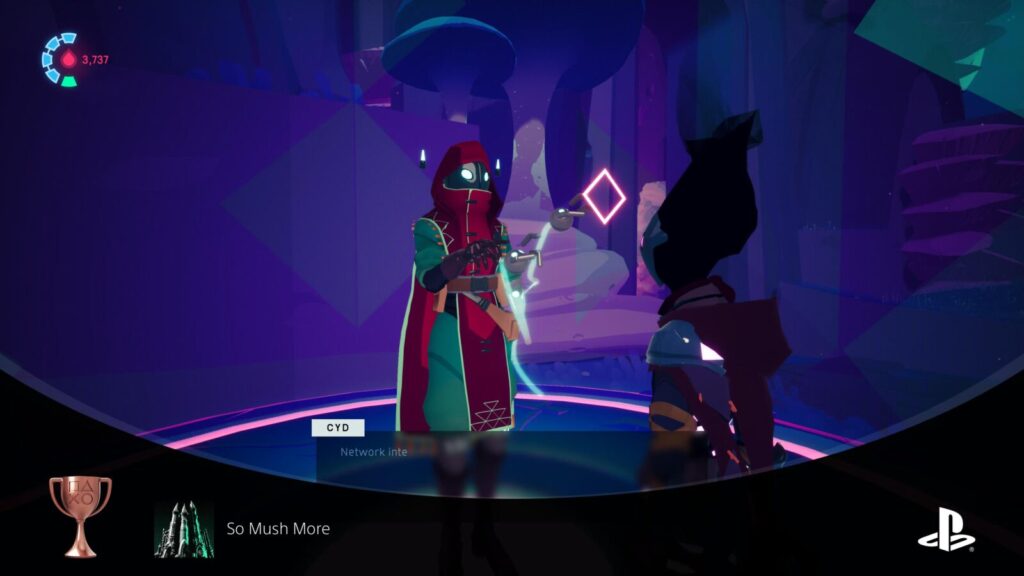
So Mush More
Locate Cyd in the Eternal Garden
Locate and activate Cyd in the Eternal Garden area–the game’s fourth main location–and the So Mush More trophy will unlock. This is your main objective when you arrive in the Eternal Garden making the trophy unmissable.

Head In The Clouds
Destroy the Remnant in the Eternal Garden
The Withered Eye is the fourth Remnant/Massive Anomaly boss fight, found in the Eternal Garden area. By now, you should have a good grasp of how to fight these bosses.
The Withered Eye is crawling around a large moon-like satellite above the central building. To reach it, look for the grind rail leading up to it. This fight is a lot more isolated than others as you have very little room to move around, but so does your enemy!
The boss doesn’t have a weak spot at first, but it will have one on its hand after attempting to hit you. Get the creature’s attention and avoid its slap attack before you then quickly get to its other hand and attack the weak point, beginning the chain of weak-spot attacks which lead to you eventually hitting its main weak spot.
Repeat this and hit its main weak spot three times to defeat it and unlock the Head In The Clouds trophy.

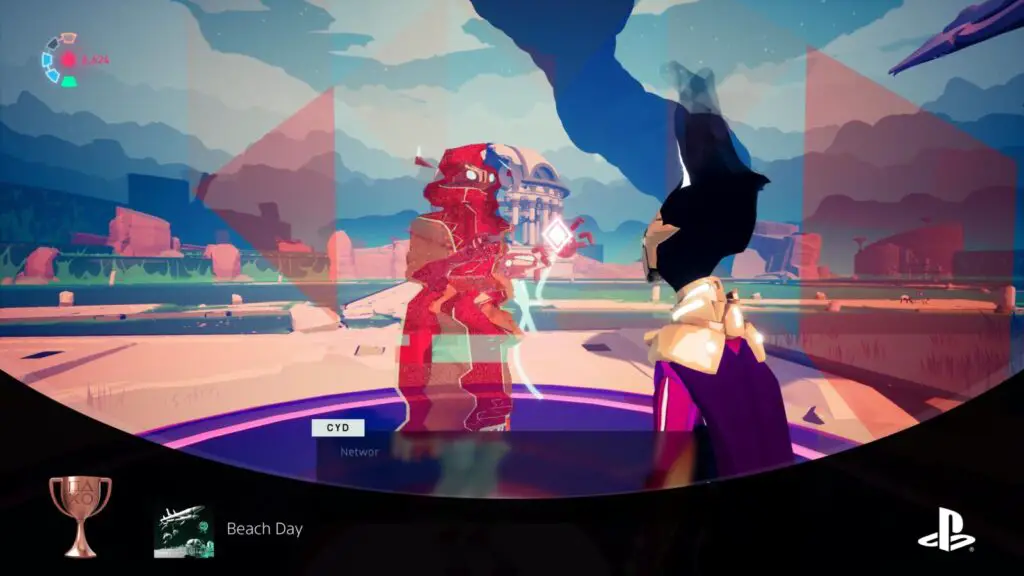
Beach Day
Locate Cyd in the Mirrorsea
Locate and activate Cyd in the Mirrorsea area–the game’s fifth main location–and the Beach Day trophy will unlock. This is your main objective when you arrive in Mirrorsea making the trophy unmissable.
Disarmed
Destroy the Remnant in the Mirrorsea
Rust Dragger is the fourth Remnant/Massive Anomaly boss fight, found in the Mirrorsea area.
The Rust Dragger is a huge humanoid creature with a massive sword. You will need to fight him over the acid lake in front of the pavilion, which is going to make things a bit tricky. You will need to reach and attack the tip of his sword while avoiding getting overwhelmed by the acid water.
Once you have hit his main weak spot for the first time, you’ll need to climb him via his fist. To do so, goad him into attacking you, then when he punches the ground, avoid the attack and grapple to the new weak point.
On the third attack, you will need to get him to attack you again, this time with his sword. Once he does, avoid the attack and grapple onto his blade to ride a rail up to his hand.
Once you get onto him in all three instances, though, it’s just like any other boss fight. In fact, I found this to be one of the easier bosses due to the simple and linear sequence for each attack. Hit the weak points in quick succession to get a chance at hitting the boss’ main weak spot.
Repeat this and hit its main weak spot three times to defeat it and unlock the Disarmed trophy.
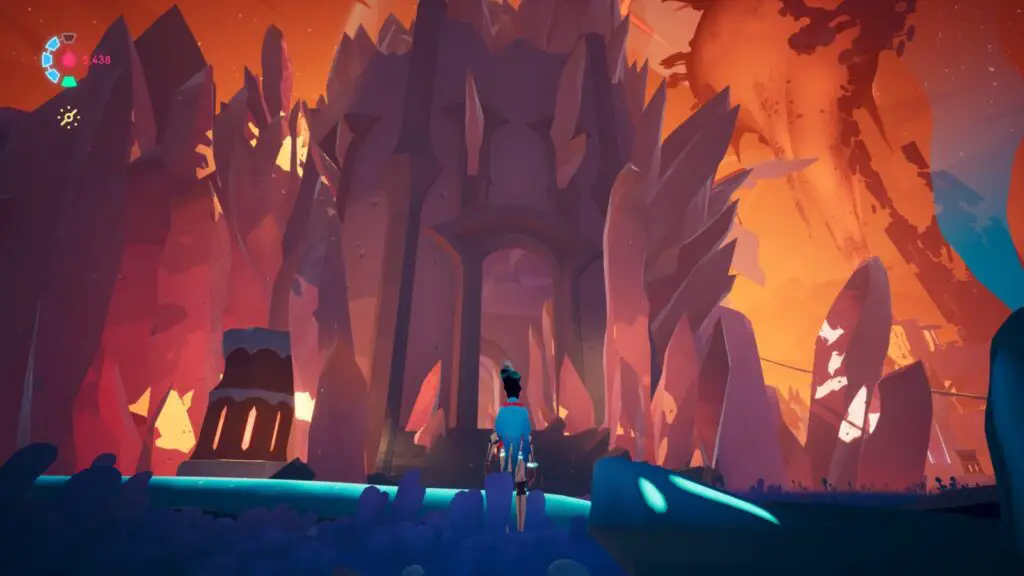
A Lava-ly Time
Locate Cyd in The Luminous Peak
Locate and activate Cyd in the Luminous Peak area–the game’s final main location–and the A Lava-ly Time trophy will unlock. This is your main objective when you arrive in Luminous Peak, making the trophy unmissable.

Towers of Power
Destroy the Remnant in the Luminous Peak
Burning Hunter is the final Remnant/Massive Anomaly boss fight, found in the Luminous Peak area.
While you’re on the ground, just like the Lost Sentry, the boss will fire beams at you that pepper the ground with spike hazards, so be careful to avoid these as you attempt to reach the creature.
Getting to this massive creature requires finding yellow mushrooms next to the area’s cylindrical towers that spawn grind rails when you hit them. The easiest one to find is close to Cyd, just ride the rail next to Cyd and you’ll be taken to it.
When you use these mushrooms, they’ll launch you straight up the nearby tower and into the air. From there, you need to grapple onto the Remnant’s wing and then begin the chain of attacks required to hit its main weak spot.
Repeat this and hit its main weak spot three times to defeat it and unlock the Towers of Power trophy.


All Systems Go
Fully power the Starseed
After you defeat the final Remnant and unlock Towers of Power, you will also unlock All Systems Go.
Ending Trophies
There are two endings in Solar Ash but only one is the true intended ending. You will need to experience both to get both of these ending trophies.
When you have seen one ending, you can choose to continue the game from your save file and it will bring you back just before your choice so that you can do it again and see the other ending.
Alternatively, you can just make the other choice when you finish the game on Hardcore, or in your Speedrun playthrough.

Moving Forward
Destroy the Starseed and free Echo
This is the “good” ending, a proper conclusion to the story. To get this ending and unlock Moving Forward, you will need to choose to destroy the Starseed at the end of the game.
Following your decision, you’ll need to fight an extra final boss that you wouldn’t otherwise. Defeat this boss and Moving Forward will unlock.

Return to Forever
Activate the Starseed
This is technically the bad ending. Choose to activate the Starseed at the end of the game and the Return to Forever trophy will unlock after a short moment. This ending does not contain any additional gameplay or boss fights, the game will simply end right there.
Phase Two – 100% Completion
In this second phase of our Solar Ash Trophy Guide, we are going to focus on reaching 100% completion to acquire the Rei-gn Supreme trophy, as well as several others along the way.
There’s essentially three things you will need to do:
- Complete all Sidequests
- Collect 10,000 Plasma
- Collect all Voidrunner Caches (Solar Ash Collectible Guide)
- Collect all Lost Journal Pages (Solar Ash Collectible Guide)
Sidequest Trophies

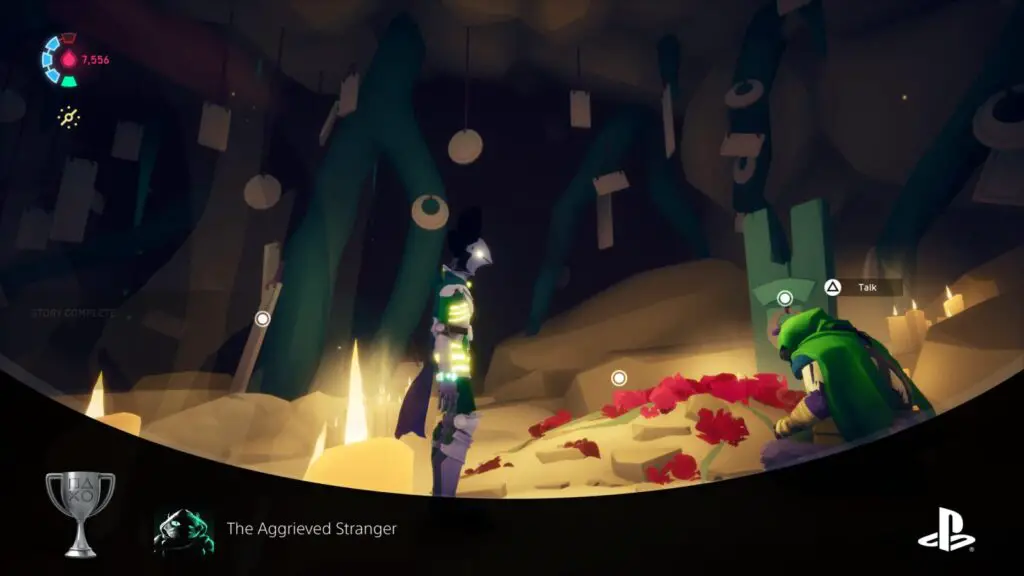
The Aggrieved Stranger
Complete Lyris’ Quest
Lyris will be the first character besides Cyd that you actually meet in the game. You’ll first come across them unavoidably during the Broken Capital section of the game, just before reaching Cyd in that area.

Speak to them there, at the fountain and this quest will start. To complete the quest, you will need to find her in several locations throughout Broken Capital and Ironroot Basin.
The first place to look is at the top of the clocktower in the Broken Capital.
Once the anomaly there is destroyed, you can drop down into a room below where it was. Inside, you will find Lyris.
Then you should look for her inside a ruined apartment building at the back of the Broken Capital area.

There are some large purple pipes that lead into the building.

You’ll then be able to find her in the “Dross Harvester” building in Ironroot Basin. It’s a large ruined building with an absurd number of purple pipes coming from it.
Then, finally, you can speak to her one last time in the Forest Altar within Ironroot Basin. The Forest Altar is inside the locked building (which you activate three switches to open) and can be accessed through a small doorway at the back of the tree.
The Aggrieved Stranger trophy will unlock when you speak to her at the grave in the Forest Altar.

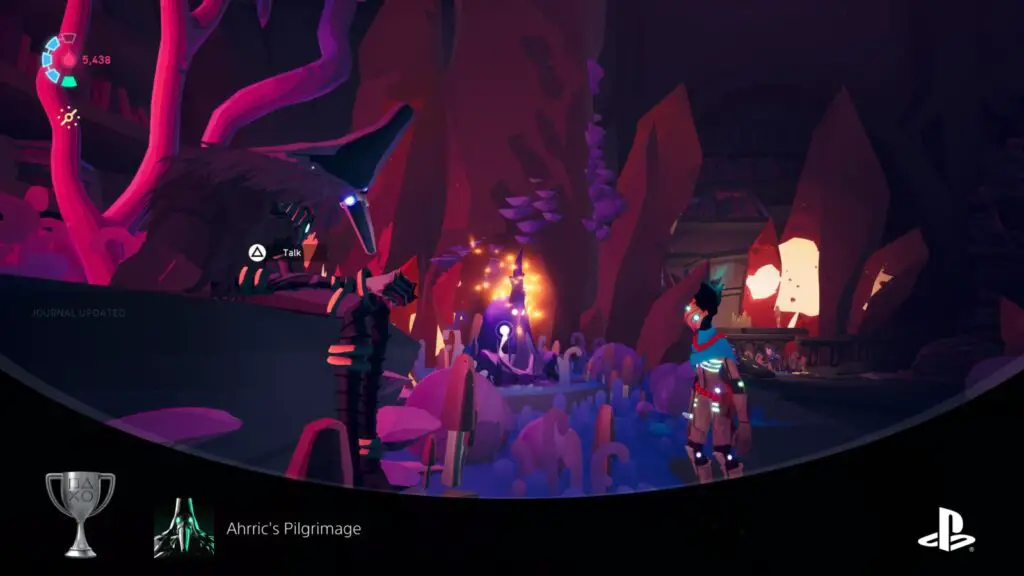
Ahrric’s Pilgrimage
Complete Ahrric’s Quest
Ahrric is an NPC who you will meet while travelling from the Broken Capital to the Eternal Garden. They will tell you to speak to the Elders using a chant that they then provide.
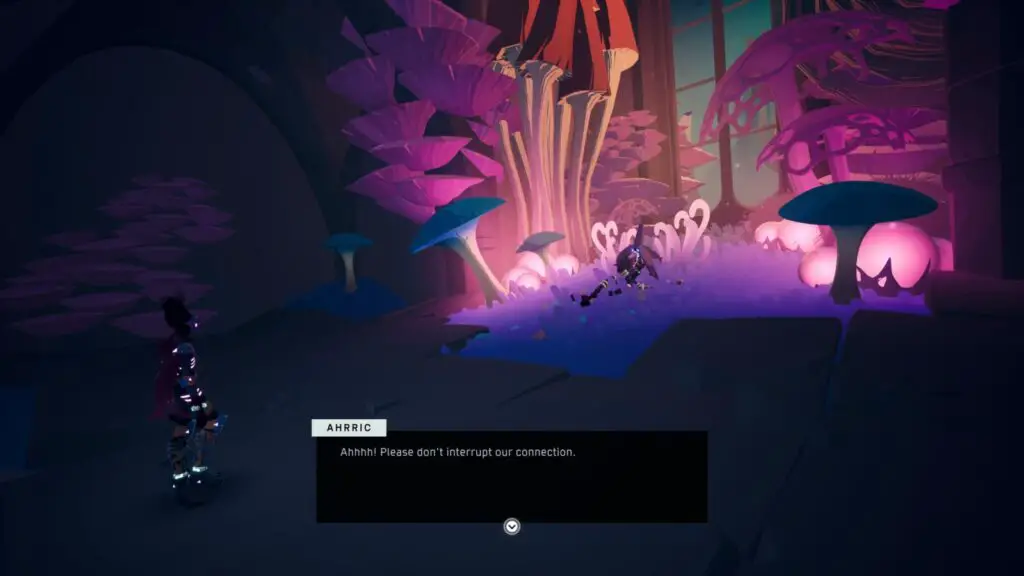
You may speak to Ahrric again in a tower to the left of Cyd in the Eternal Garden area. Do so and they will list off a few places to check for the Elders.
You will need to find all four Elders and say to them, “Elders who dream, in crepuscular infinity, part the eternal veil, and enlighten me!”
The first place you should go is on the far right side of the area from Cyd. There’s a building there that contains an Anomaly (if you haven’t already disposed of it).

From the front of that building, go right and drop down to the ledge below.
After landing, turn around to see a doorway in the cliffside below some shrooms. Head inside and follow it to the end to find the “Keeper of Rights” Elder.
The other Elder in the Eternal Garden is hidden under the central building, next to Cyd.
Head to the anomaly in the dark underground area beneath the central building. Once the anomaly is destroyed, you’ll be able to speak to the “Speaker for the Silent” Elder at the end of a red-lit path on the left side of the room.
The next two Elders can be found in Luminous Peak. On the same island where you can find Cyd, go into the cave near the red mushroom rail on the lower-most platform of this island.
At the back of the cave, you can find and speak to the “Tender of the Garden” Elder.
Also in Luminous Peak, after destroying one of the anomalies on a really tall tower, you’ll progress on the same island until you find a very long grind rail.
At the end of it, there’s another island with another anomaly on it, but before you reach the anomaly you will see this stone doorway.
Go through the doorway and all the way to the end of the corridor, where you’ll find the “Collector of the Missing” Elder.
Once you’ve recited the correct chant for all four Elders, you will gain access to the “Crystal Palace”.
To reach it, return to the location where you found the “Tender of the Garden” near Cyd and ride the nearby mushroom rail.
Inside the palace, speak to Ahrric again and the Ahhric’s Pilgrimage trophy will unlock!

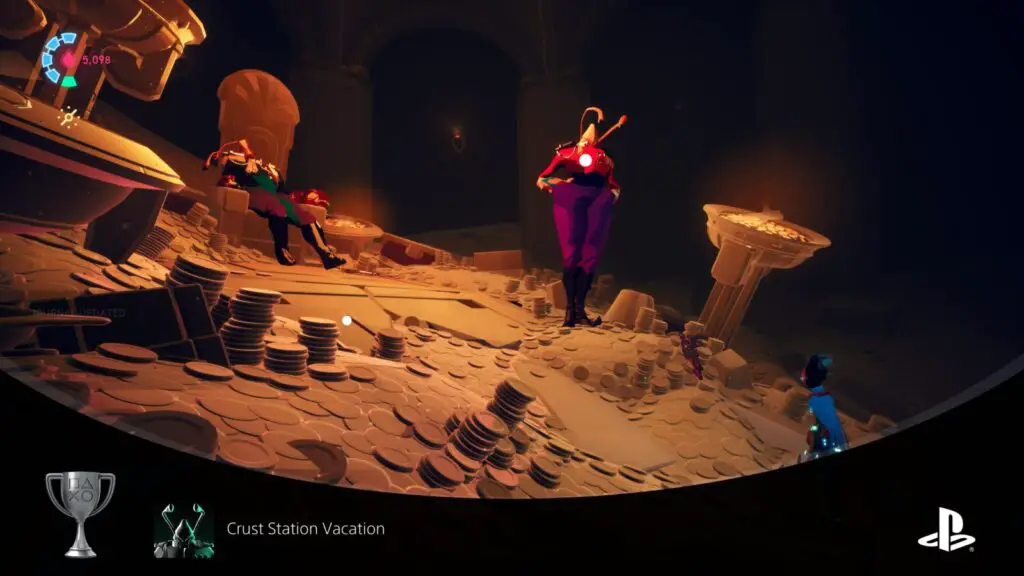
Crust Station Vacation
Complete Ames’ Quest
You will unavoidably come to meet Ames on his ship, on your way into the Mirrorsea area.
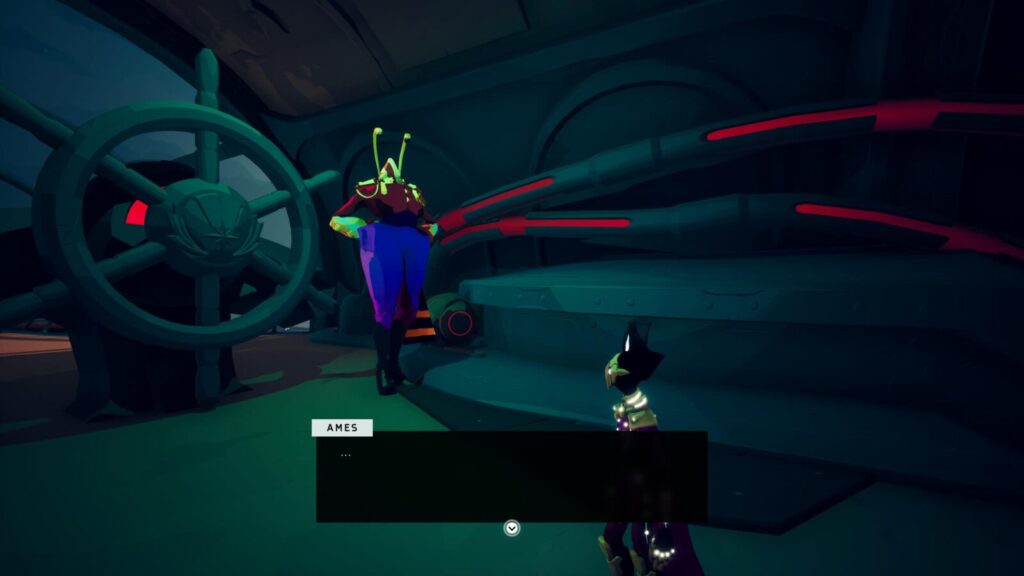
He will ask you to look around Mirrorsea for the 4 Away teams they dispatched. Each time you speak to Ames, he will give you details on where to find them.
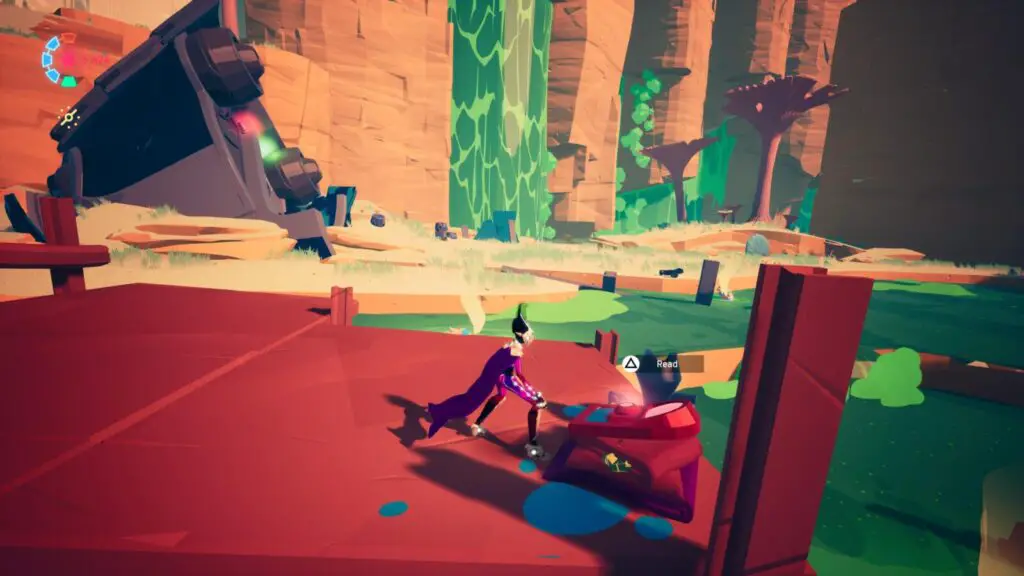
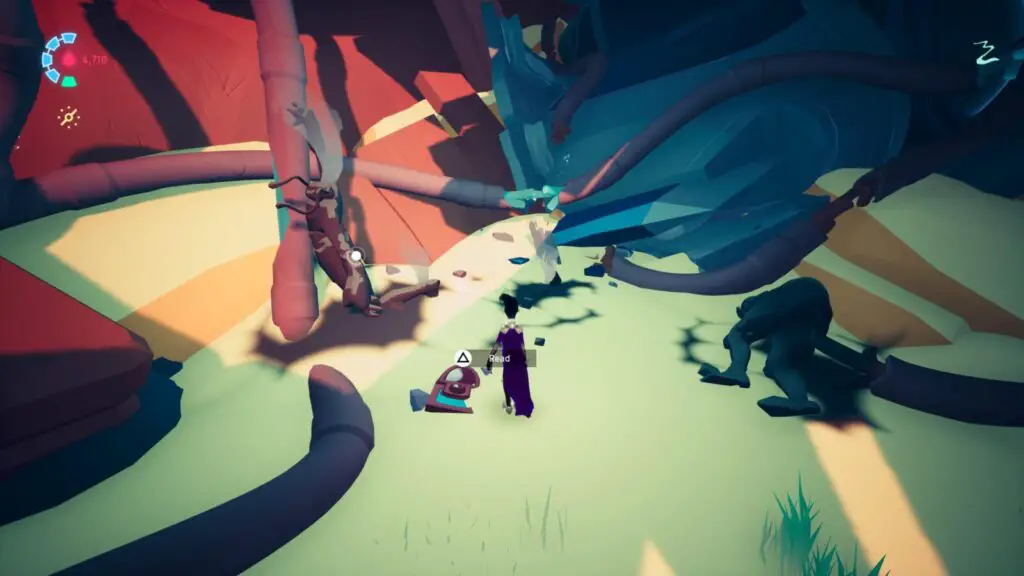
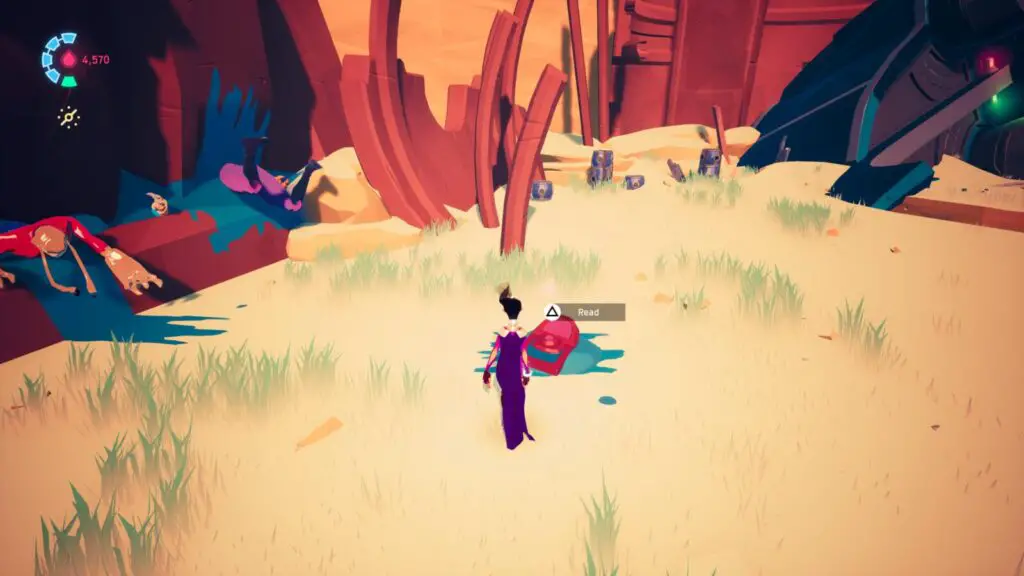
Each location will feature a crashed ship. Near each of the ships there is a small red device you must interact with. You will need to choose to listen to the log, and then contact Ames about it at each device.
First, look for Lernea Squad’s ship just before Cyd’s location in Mirrorsea. You should see it on the way to Cyd and your character will say “Is that one of Ames’ ships?
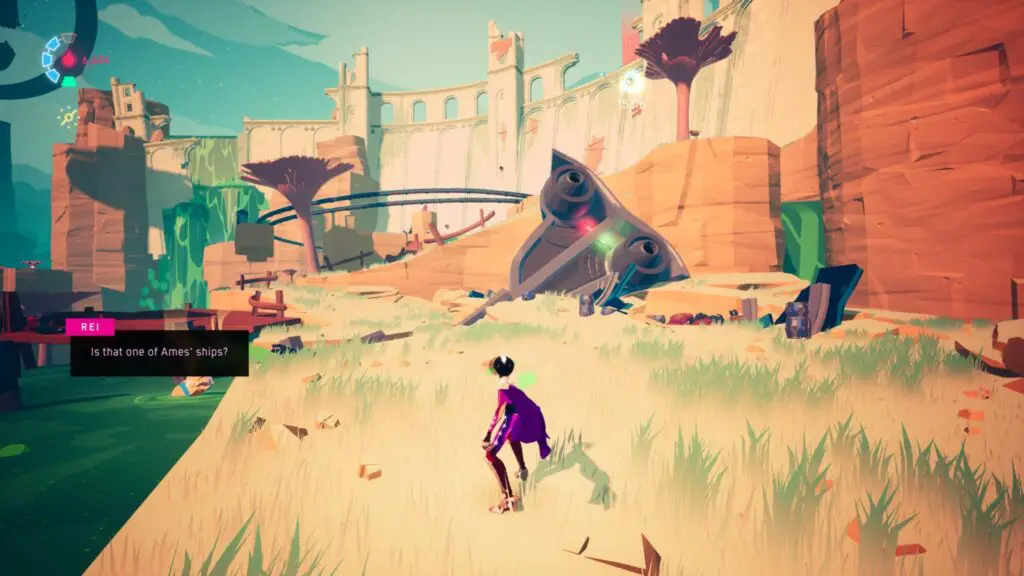
You’ll find it crashed by an acid pool, close to the dam. The device you need to interact with is nearby on a pier-like structure.
Cymothoae Squad is located underneath the anomaly in the flooded city area of Mirrorsea.
This is to the right from the pavilion, behind the dormant Remnant if you haven’t dealt with it yet. There are a lot of waterfalls here and you must get up to the city via some black goo. The plasma globs near the cliffside will help you find the way.
The device is next to the wreckage, just a couple of feet away from some smoking charred remains.
Gnathia Squad’s ship, also in the same flooded city, is crashed into a crumbling white stone tower.
Climb the tower to reach the ship and the device is right in front of the ship’s glass dome window.
To find Argulus Squad’s ship, go to the Pavilion building and then leave via the left side. Look for it crashed into a cliffside across the acid pool.
The device is on the ground in a puddle of blue gunk, near some corpses.
Once you’ve found all four squads’ devices, Ames will suggest there’s something to be found underneath the Pavilion building. Go to the Pavilion area and look for an opening in the floor at the back of the structure.

Follow this underground path all the way to the end, where you’ll speak to Ames a final time and then unlock the Crust Station Vacation trophy.

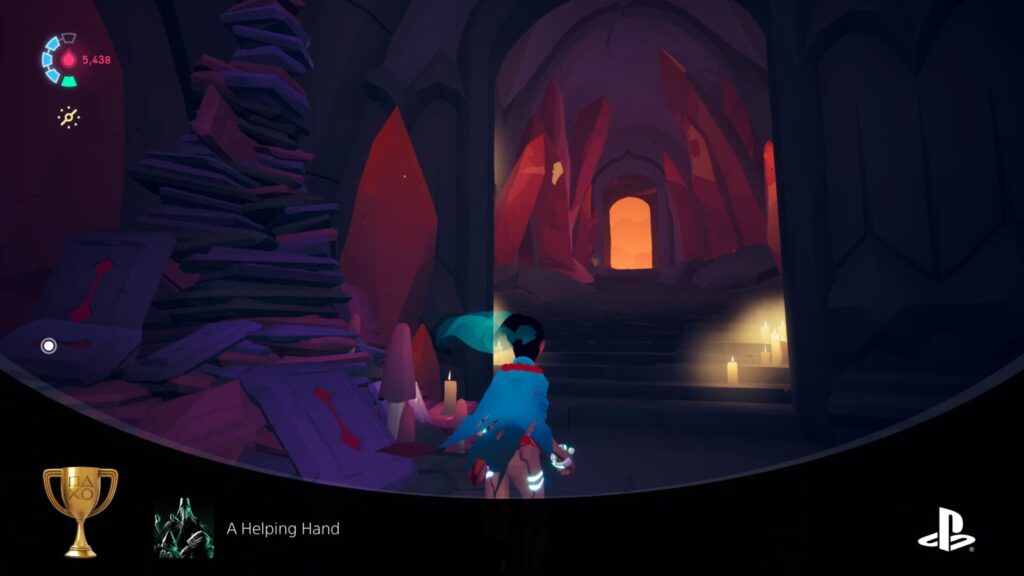
A Helping Hand
Complete all NPC quests
To unlock A Helping Hand, you must first unlock The Aggrieved Stranger, Crust Station Vacation, and Ahrric’s Pilgrimage. Once you have all three trophies, A Helping Hand will unlock automatically.
Collectible Trophies
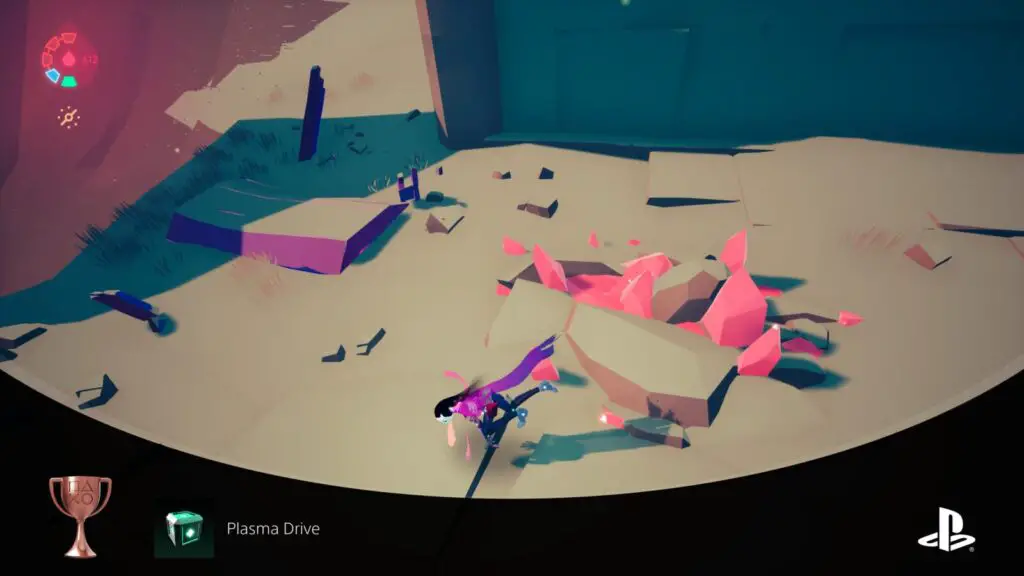
Plasma Drive
Collect 1000 Plasma
Plasma Drive unlocks after you have collected your first 1,000 Plasma. See Universal Donor.
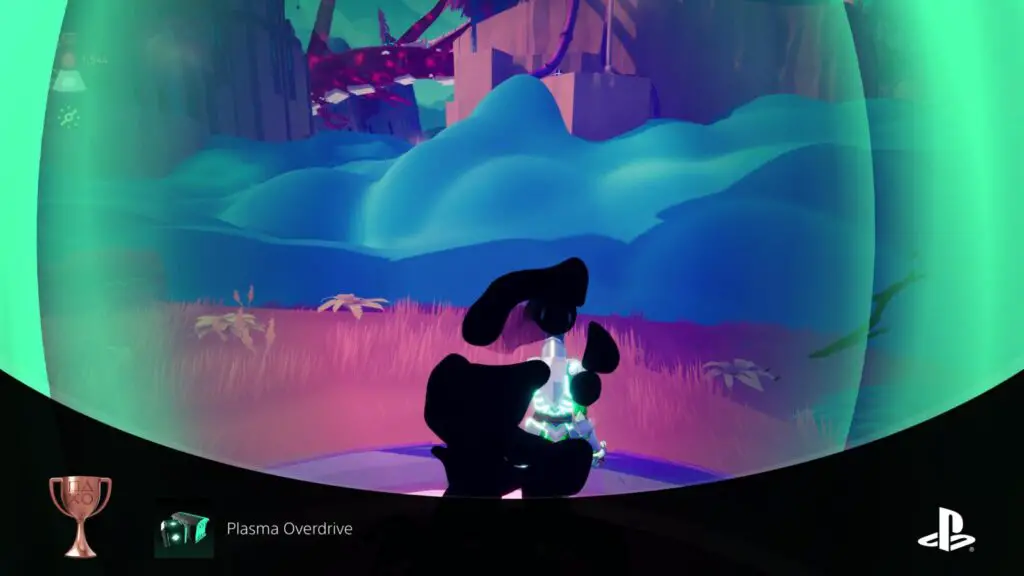
Plasma Overdrive
Collect 5000 Plasma
Plasma Overdrive unlocks after you have collected your first 5,000 Plasma. See Universal Donor.

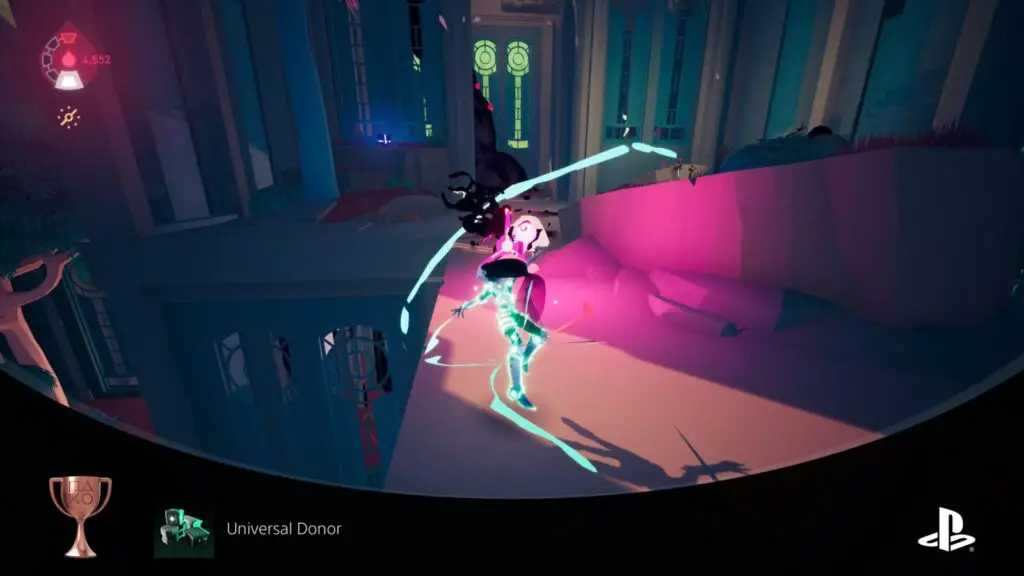
Universal Donor
Collect 10000 Plasma
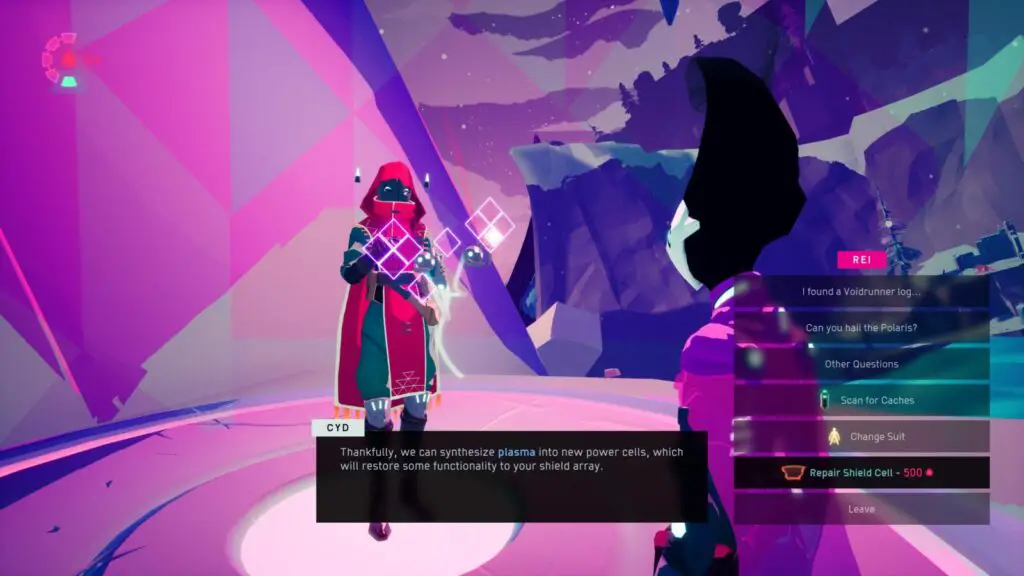
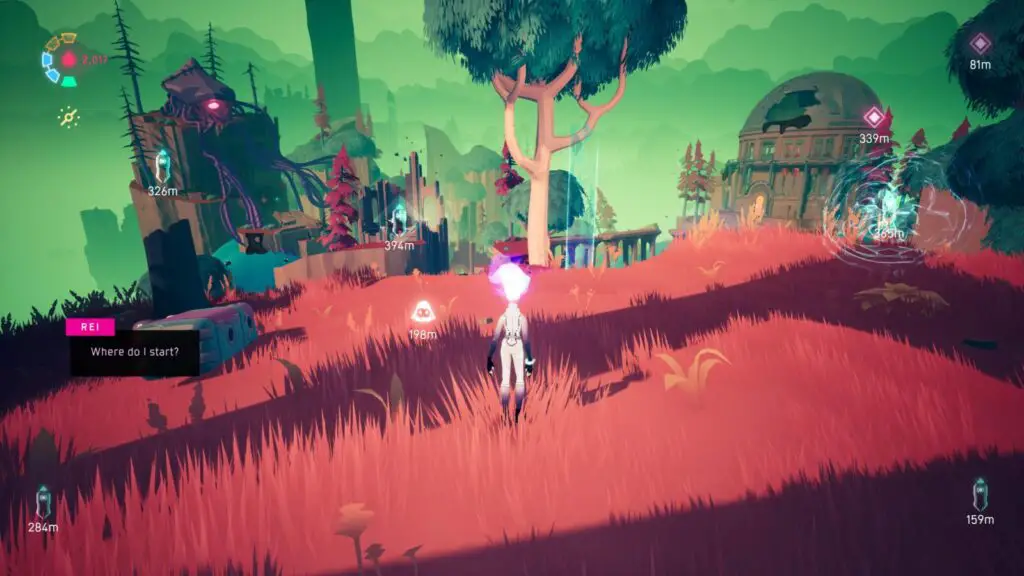
Universal Donor unlocks after you have collected your first 10,000 Plasma. Plasma is the small red globules found floating around throughout the game. How much Plasma you have can be tracked via the counter in the top-left corner of the UI.
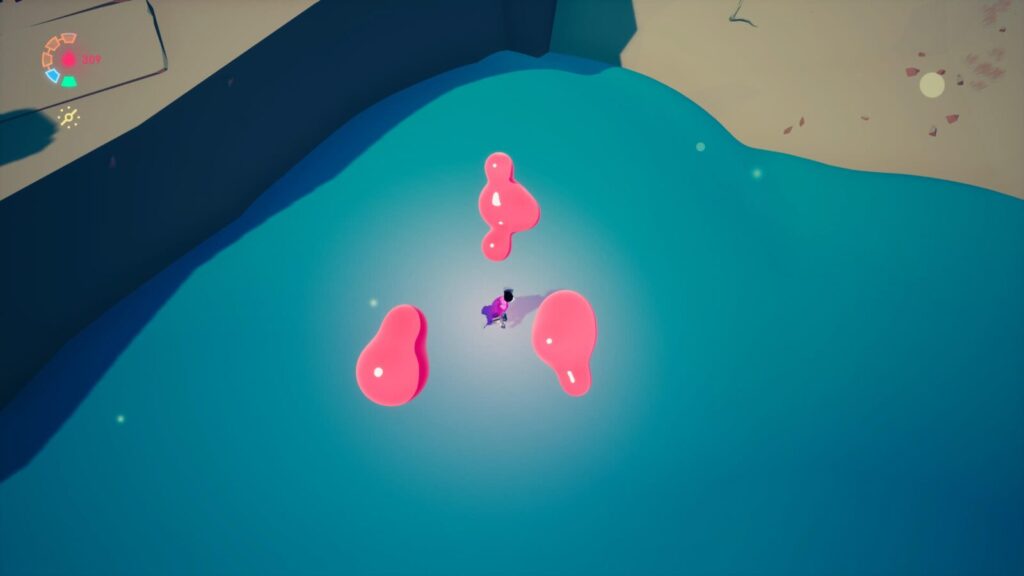
You can spend Plasma to buy shield upgrades from Cyd, which get more expensive with each one you buy.
You can also collect Plasma by hitting large pink crystals until they break. These crystal deposits typically contain a large amount of Plasma.
Please note that you do not need to have 10,000 Plasma at one time to unlock this trophy (or Plasma Drive and Plasma Overdrive). All three Plasma trophies track how many you have collected cumulatively, so even those that you have spent will count towards the total!
If you collect all of the Voidrunner Stashes in the Broken Capital, you will receive “Erving’s Suit” which doubles the amount of Plasma you collect. You can use our Solar Ash Collectible Guide to help you find all of the Voidrunner Stashes.
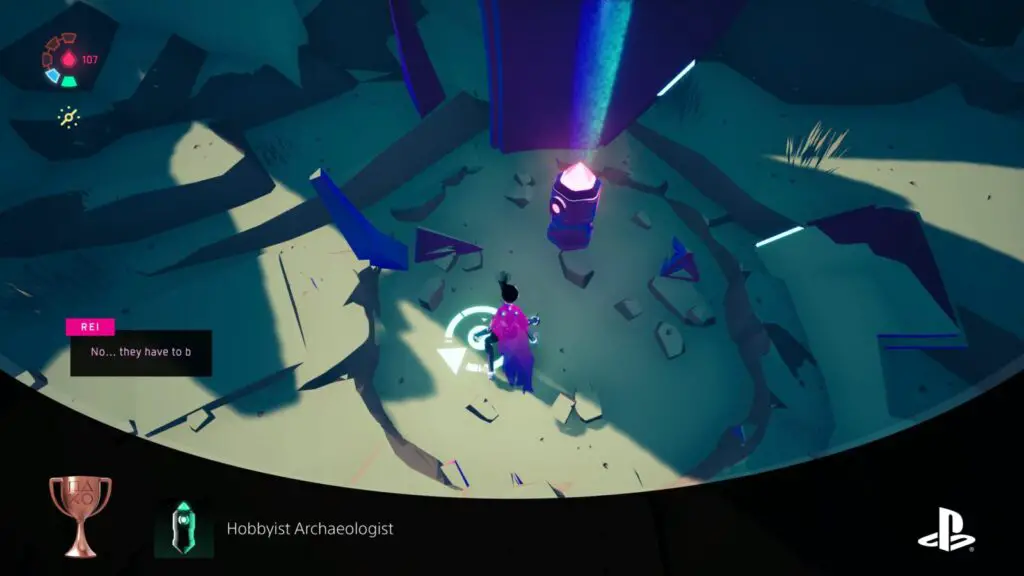
Hobbyist Archaeologist
Collect 1 Voidrunner Stash
The Hobbyist Archaeologist trophy will unlock when you find your first Voidrunner Stash. You will need to find all 28 Voidrunner Stashes for Reliquarian anyway.
Check out our Solar Ash Collectible Guide if you’d like help finding them all.
Reliquarian
Collect all Voidrunner Stashes
There are 28 Voidrunner Stashes hidden throughout the game. They’re distributed throughout the levels like so:
| Location | Stashes |
|---|---|
| Crater | 1 |
| Broken Capital | 5 |
| Ironroot Basin | 5 |
| Eternal Garden | 5 |
| Mirrorsea | 6 |
| The Luminous Peak | 6 |
If you collect all of the Voidrunner Stashes in The Luminous Peak area, you’ll unlock Tufte’s Suit, which reveals Voidrunner Stash locations when you scan by holding ![]() .
.
You can also ask Cyd to scan the area for Voidrunner Caches and he will tell you how many are left in the area.
The easiest way to find them all, though, is just to use our Solar Ash Collectible Guide – if you want help finding them all.
The Reliquarian trophy will unlock once you have all 28 Voidrunner Stashes, and therefore all 6 suits.


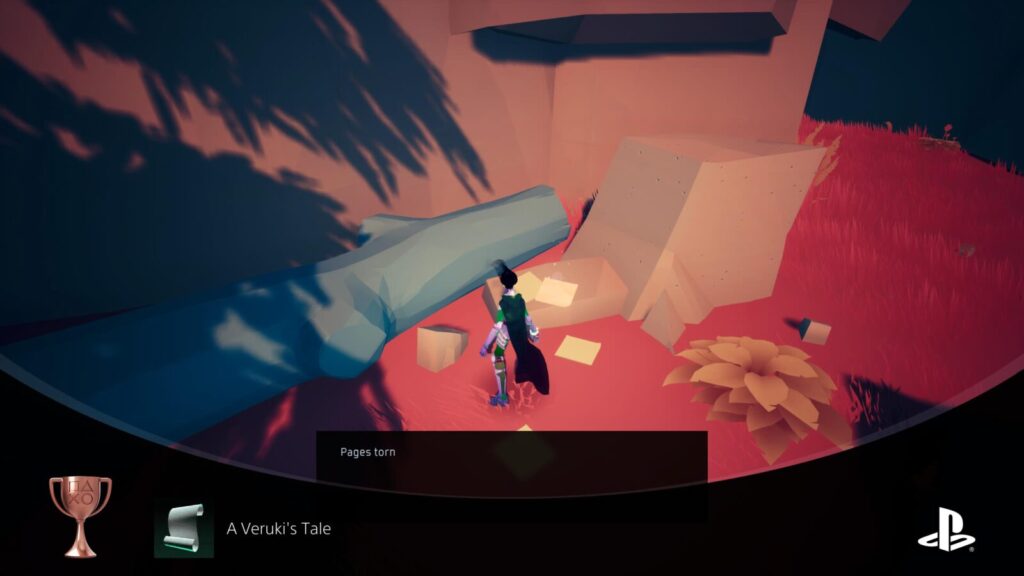
A Veruki’s Tale
Find 5 of Tarragon Danderpaw’s lost journals
A Veruki’s Tale unlocks when you collect your first five Tarragon Danderpaw Lost Journal Pages. You will need to collect all 15 for There and Back Again.
Check out our Solar Ash Collectible Guide if you’d like help finding them all.
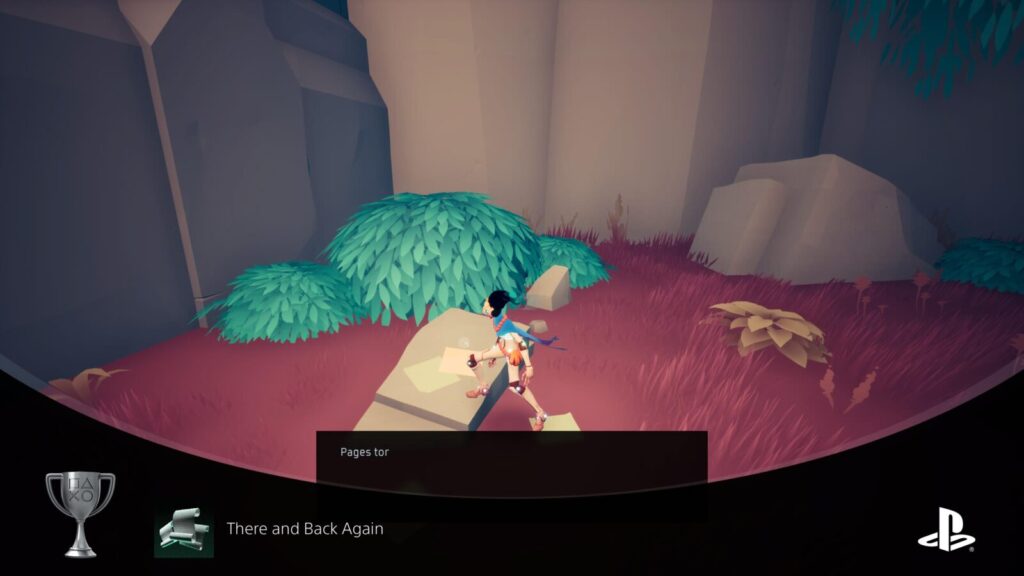
There and Back Again
Find all of Tarragon Danderpaws’ lost journals
There are 15 Lost Journal Pages throughout the game, which have all fallen from Tarragon Danderpaw’s Journal. These collectibles are distributed like so:
| Location | Pages |
|---|---|
| Crater | 0 |
| Broken Capital | 3 |
| Ironroot Basin | 5 |
| Eternal Garden | 3 |
| Mirrorsea | 3 |
| The Luminous Peak | 2 |
Check out our Solar Ash Collectible Guide if you’d like help finding them all. Once you have all 15, the There and Back Again trophy will unlock.
100% Completion

Rei-gn Supreme
Attain 100% completion on a save file
The Rei-gn Supreme trophy can be unlocked by unlocking the following trophies if you do them all on the same save file:
Once any single save file (regardless of difficulty setting) has 100% completion on it by finishing the story, gathering all collectibles, and completing the three side quests, you can expect the trophy to unlock.
Misc Trophies
Speedy Slayer
Kill 5 enemies in under 5 seconds
To unlock Speedy Slayer, you will need to kill five enemies in quick succession, all within a 5 second period of time.
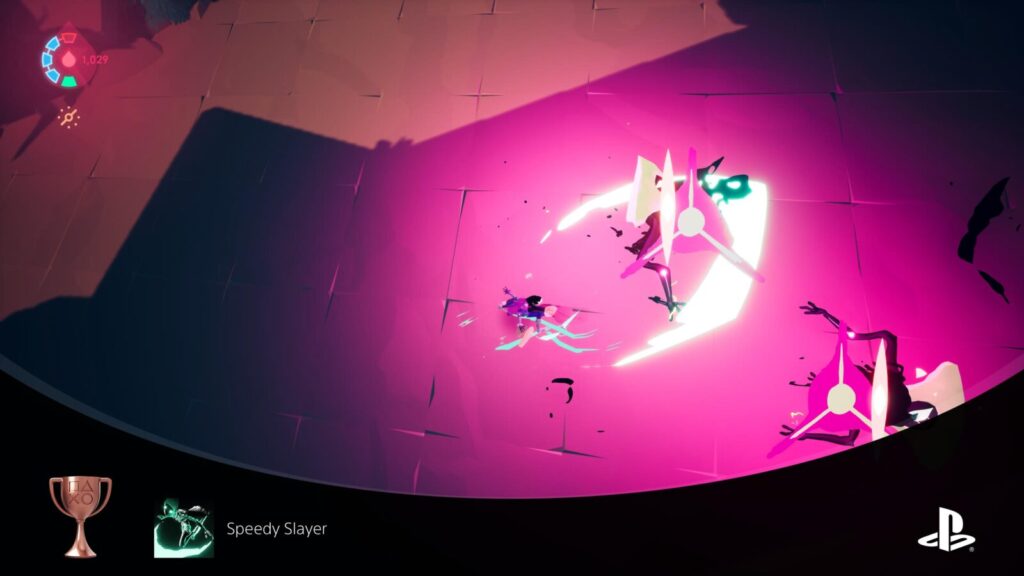
There are multiple opportunities to earn this trophy throughout the game, wherever multiple enemies are together in a group.
That being said, I earned it within the Broken Capital area on top of a ruined building. To reach it, climb up to the roof of the building that has (or had, if you already beat it) an anomaly on it.
From there, look for a short rail with a sigil on it. Grind the rail and you’ll be launched towards a short building with around 6 small enemies all grouped together at the center.
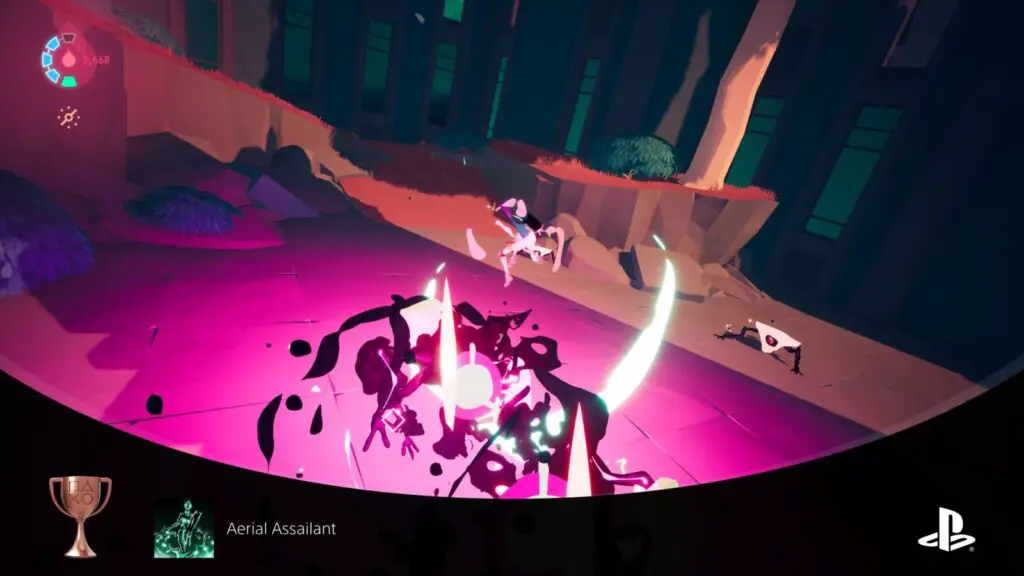
Aerial Assailant
Kill 3 enemies without touching the ground
There’s no specifically good place to earn the Aerial Assailant trophy, you just need a group of weak enemies in the same place. Like the location used for Speedy Slayer, for example.
You can simply jump above a group of enemies and kill three or more of them while in the air to unlock the trophy.
This is made easier by Ghozam’s Suit (unlocked for collecting all Voidrunner Caches in Mirrorsea) as it has double damage. With this, you can kill basic ground-based enemies with a single hit!
Kill any three enemies while airborne and the Aerial Assailant trophy is all yours.
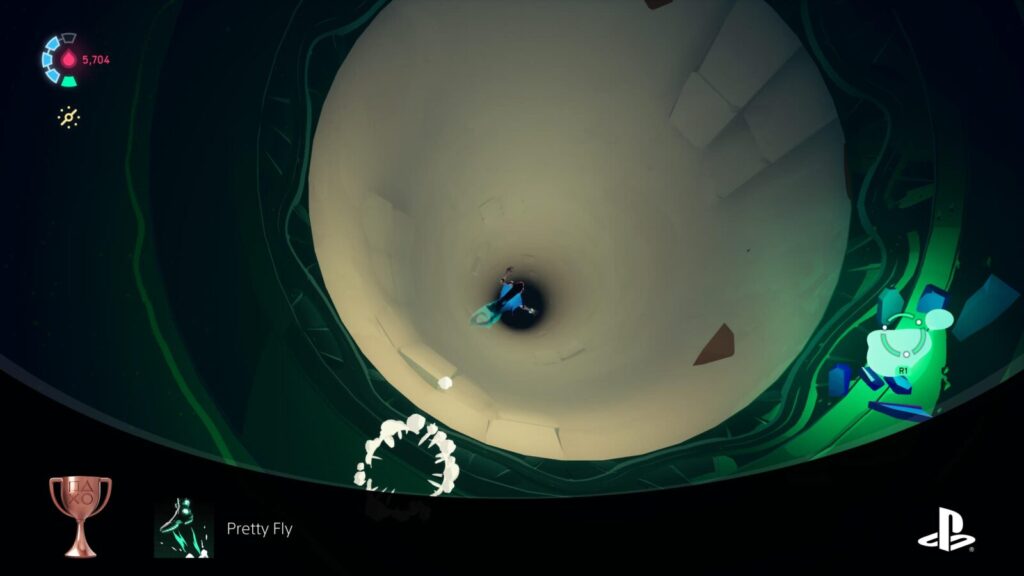
Pretty Fly
Remain airborne for 10 seconds
The Pretty Fly trophy is pretty difficult to achieve normally. You can’t use grapples or double-jumps and must not touch anything for the full 10 seconds. Even pressing ![]() to slow time doesn’t work.
to slow time doesn’t work.
Your best bet is to go to Mirrorsea and climb to the top of the cloud pillar next to the pavilion.
On the island at the top of that pillar, there’s a hole in the ground, which leads to an upside-down island at the other side of the cloud. When you drop through this hole, gravity flips at the end so that you can land upside-down. However, if you just let yourself fall back into the hole, you can keep infinitely falling up and down between the two sides of the island.
I’ve prepared a video of this process here:
Do this until the trophy unlocks!
Phase Three – Hardcore & Speedrun
You have pretty much three options ahead of you here, in the third phase of our Solar Ash Trophy Guide;
- Complete a Speedrun playthrough of the game in under 3 hours, then complete the game again in a third playthrough on Hardcore Difficulty.
- Save the Speedrun playthrough for your third playthrough once you’ve completed the game on Hardcore in a second playthrough. (Recommended)
- Really prove your skill by completing your sub-3-hour speedrun on Hardcore difficulty.
Personally, I would recommend that you do your Speedrun and Hardcore playthroughs separately, but that you complete your Hardcore run first. This is because you might end up having a really good Hardcore run that ends up being under 3 hours, but also because you will learn a lot from your Hardcore playthrough that will help you master the Speedrun.
However you choose to go about it, we’re at the end of your trophy journey now. Just two tough trophies stand between you and the platinum. You’ve got this!
Hardcore Playthrough

Glutton For Punishment
Complete the game on Hardcore Mode
The main difference between Hardcore difficulty and other difficulty options is that the time between weak spots on anomalies and in boss fights is massively reduced, to the point that even a minor error in your inputs will fail the entire attempt.
You will need to be incredibly precise, and most of your attempts will be purely for practice’s sake. Just take it one step at a time and don’t try to rush your way through the game.
To give you an idea of just how tight these new timings are; if you so much as jump unnecessarily during an attack chain, you will slow down too much and fail the sequence. You really have to constantly be skating, dash as soon as it’s cooled down and only jump where absolutely necessary. The same goes for double-jumping, which slows you down far too much if you do it without needing to.
You will also notice that during boss fights, the boss’ gooey body will already be red and untouchable. This means that even from the very start of each boss fight, you will be unable to touch the boss’ skin and must stay on the bone plating.
Keep in mind that whenever you touch the boss you will be sent back to the last checkpoint. This will take 1 shield off you. If you repeatedly die to the point that your shields and health segments are fully depleted, you will have to restart the boss fight from the first sequence, and nobody wants that. So, always try to refill your shields between attempts, especially when you only have a few segments at the start.
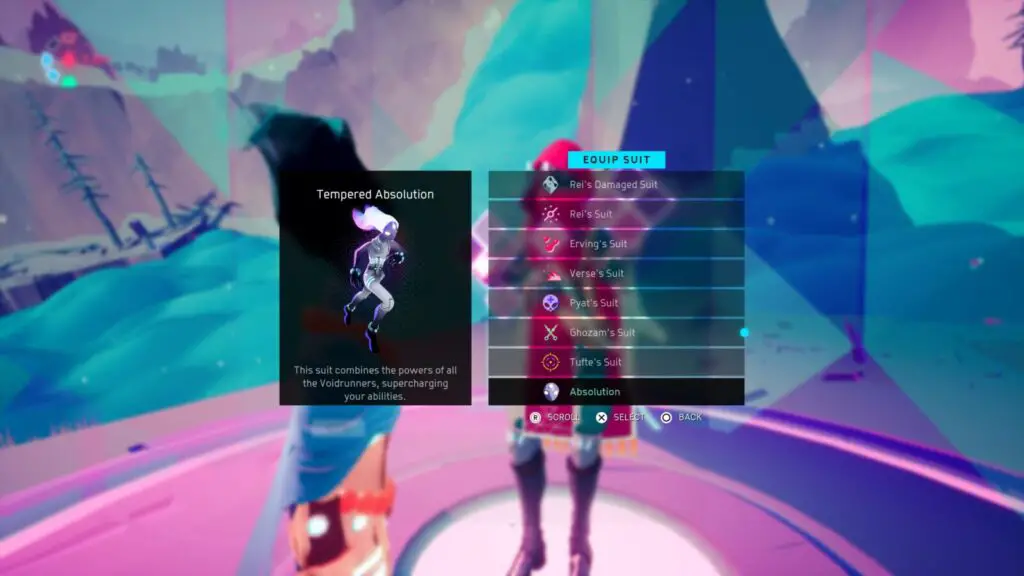
Note that if you have already done your 100% playthrough (which you should have if you’re using this guide) you will get access to the “Absolution” suit immediately after defeating the first boss.
This suit gives you all of the ability boosts that the other suits provide, combined into a single suit. You can equip it by speaking to Cyd. I strongly recommend using this as it will prove extremely helpful in the coming challenges.
Speedrun Playthrough
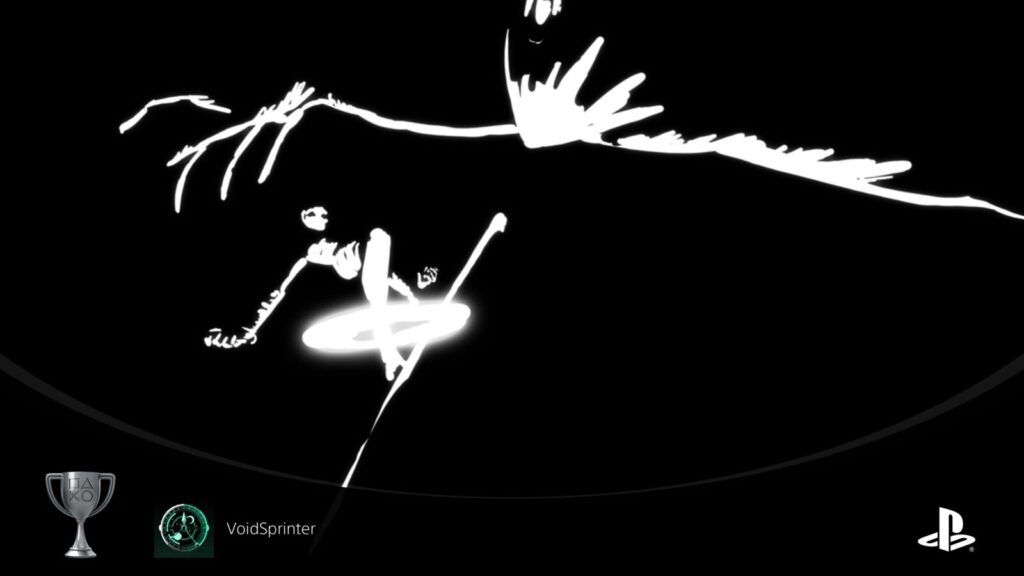
VoidSprinter
Complete the game in under 3 hours
The chances of most players completing your Hardcore run in under 3 hours are–let’s face it–pretty slim. So that means that you’re probably going to need to do a separate speedrun playthrough to unlock Voidsprinter.
I would recommend that you do this on the easiest difficulty to prevent any mishaps from setting you back. You should also avoid worrying about collectibles or enemies, simply focus on destroying the anomalies and destroying the remnants as fast as you can in each area.
If you break your 3 hours down across the 6 regions, you will have 30 minutes per region, including the Crater which you can probably do in 10 minutes or less. The faster you do the earlier areas, the longer you’ll have for trickier levels like Mirrorsea and The Luminous Peak.
With your brain stuffed full of knowledge about this game thanks to your 100% playthrough (and your hardcore playthrough if you chose to do it first), you should have no problem plowing your way through this game in under 3 hours. It’s a relatively short game anyway and having played it before will only help to improve your chances.
Reach the end of the game’s full ending in under three hours and the Voidsprinter trophy is all yours.
For your reference, my time was 2 hours 35 minutes, and I even lost a lot of time in Ironwood Basin for about 20 minutes when I forgot where one of the switches was, and I accidentally left the game unpaused while afk for several minutes at one point too.
Plat Get!


All Done
Attain all trophies
Once you have acquired every other trophy in this Solar Ash Trophy Guide, the “All Done” platinum trophy will unlock.
Thank you for choosing PlatGet as your source for a Solar Ash Trophy Guide. Consider checking out our other guides!
Follow us on Twitter @GetPlat or Instagram @platget for updates on new reviews and guides, as well as small anecdotes about our platinum journeys.