PlayStation 4, Playstation 5
Solar Ash Collectible Guide
Game Guide
Where to Find All 28 Voidrunner Stashes and 15 Lost Journal Pages in Solar Ash
Welcome to our Solar Ash Collectible Guide. Within, I’ve written an extensive and walkthrough-like guide to every collectible in chronological order. This guide is perfect for reading as you play, helping to ensure you don’t miss anything!
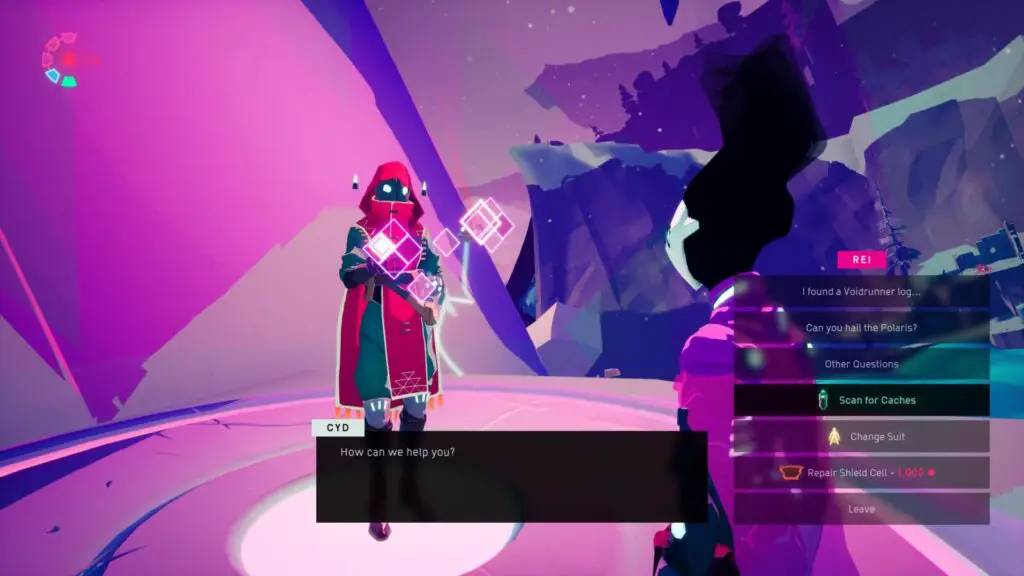
It is useful to note that you can speak to CYD in each area and ask them to “Scan for Caches”. When you use this, they will tell you if you have already recovered all of the caches in the area or not. If you have not, Cyd will also tell you how many you still need to find.
You will also unlock Tufte’s Suit for collecting all of the Voidrunner Stashes in The Luminous Peak. This suit will reveal the location of Voidrunner Stashes when you scan by holding ![]() .
.
If you would rather play the game blindly before looking for collectibles, then you should start at the Luminous Peak, collect the stashes there, and then backtrack to the other areas while equipped with Tufte’s suit.
Here’s a breakdown of how many collectibles you can expect to find in each level:
| Location | No. of Stashes | No. of Pages |
|---|---|---|
| Crater | 1 | 0 |
| Broken Capital | 5 | 3 |
| Ironroot Basin | 5 | 5 |
| Eternal Garden | 5 | 3 |
| Mirrorsea | 6 | 3 |
| The Luminous Peak | 6 | 2 |
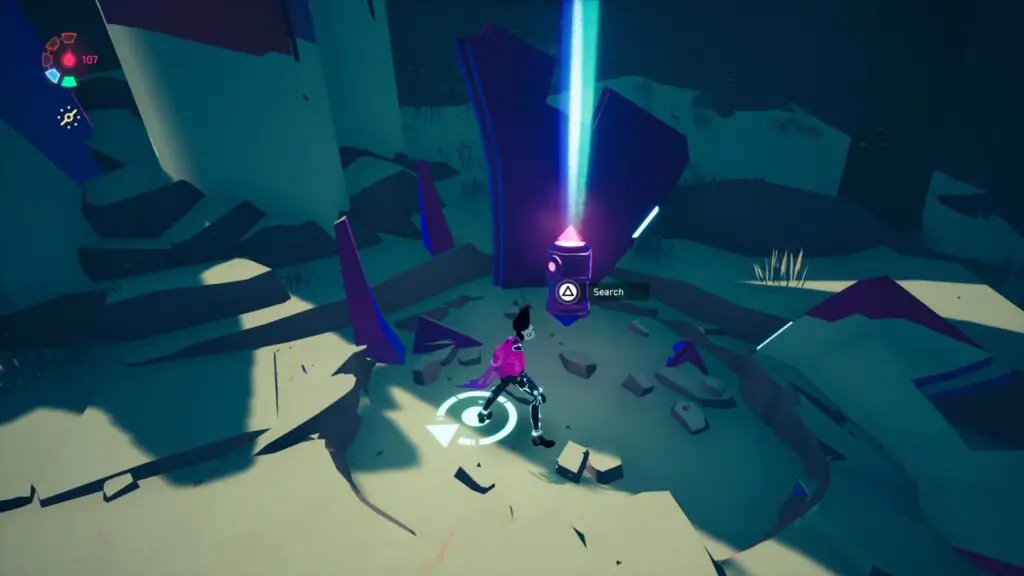
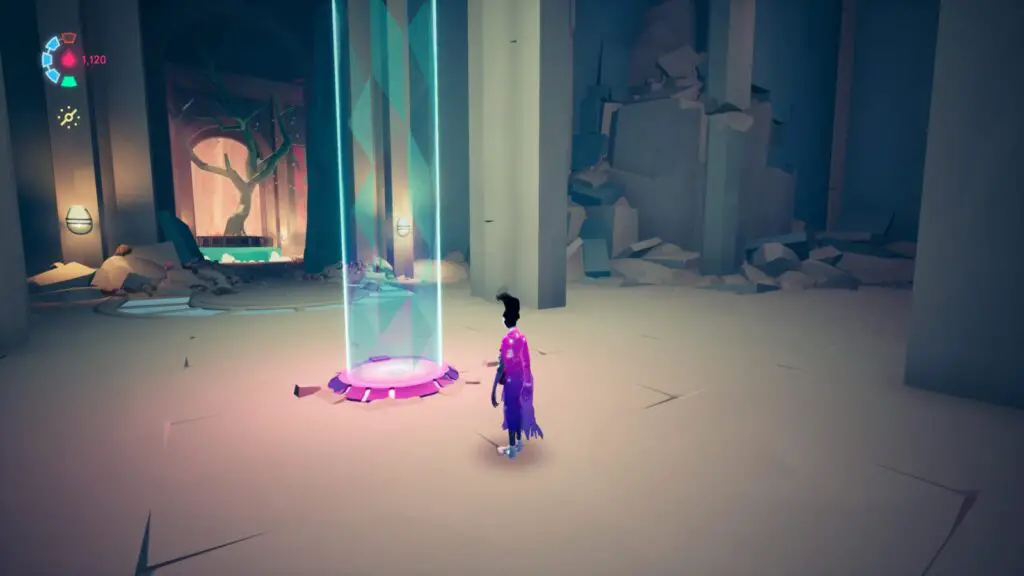
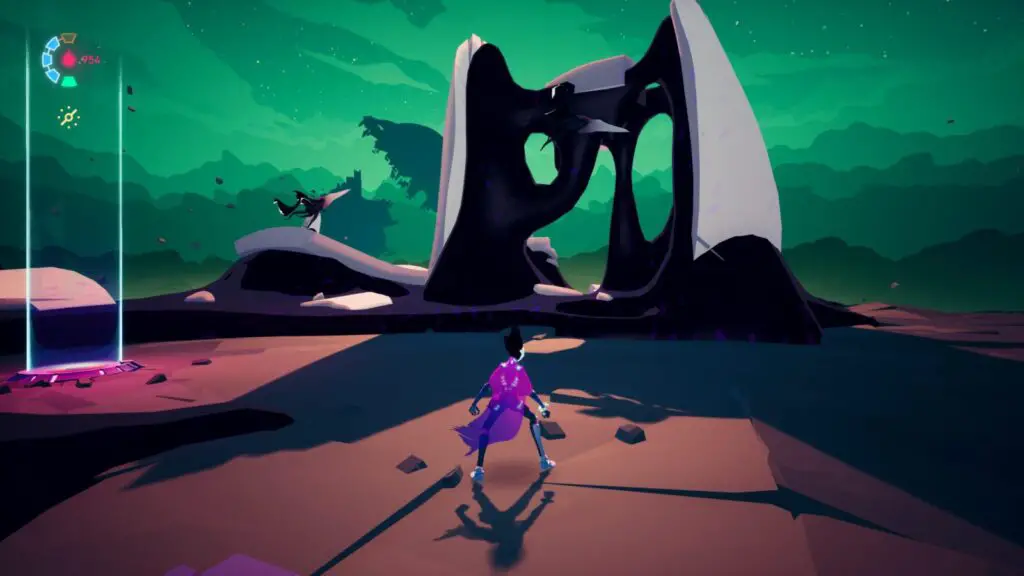
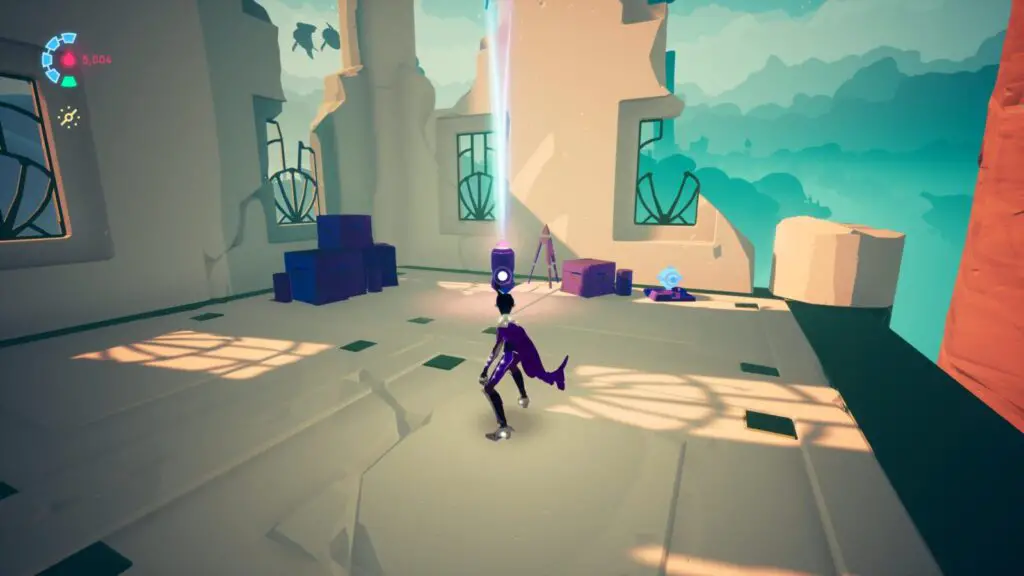
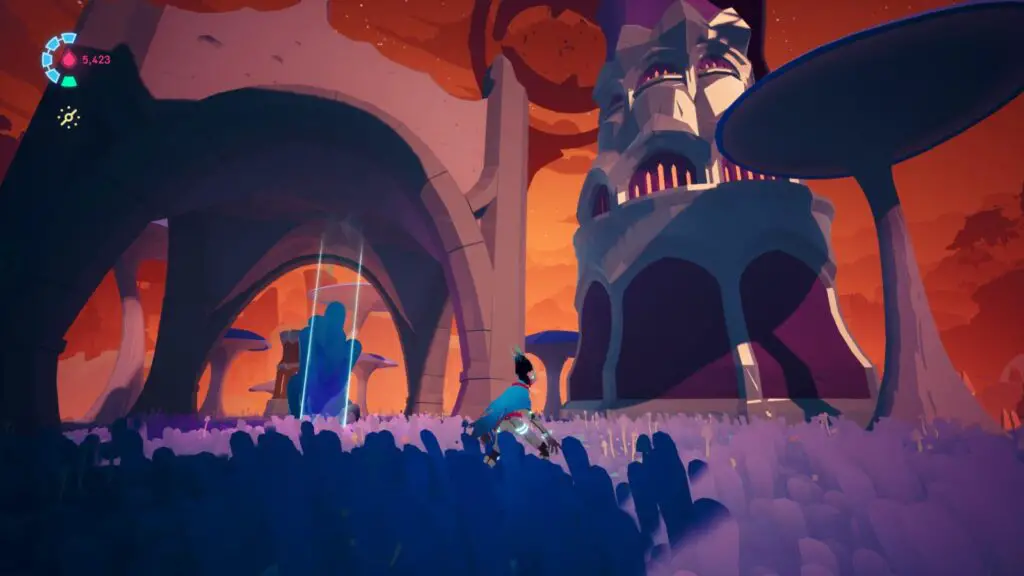
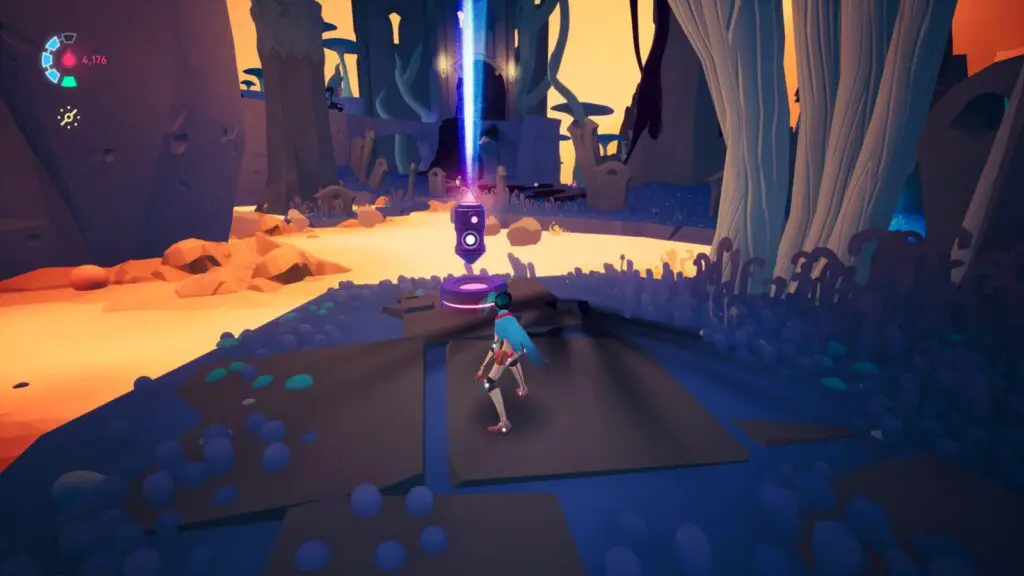
Crater Voidrunner Stash Collectible
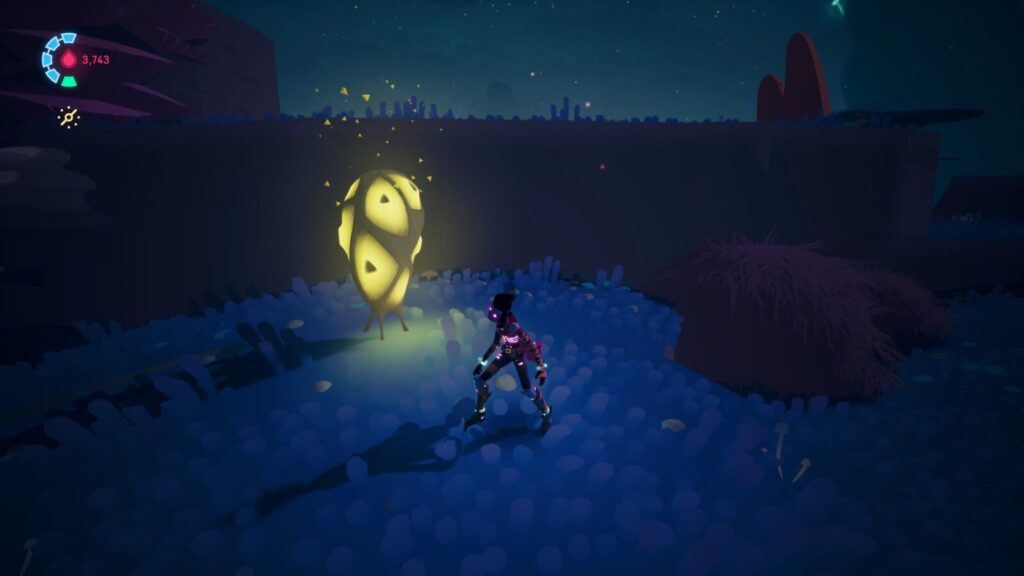
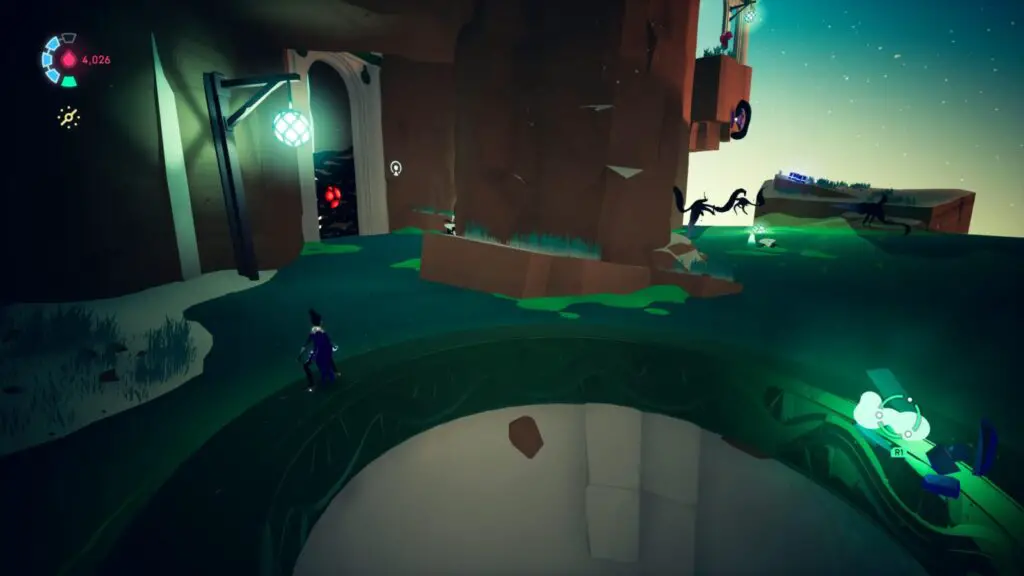
After activating Cyd, you will need to locate and destroy three nearby anomalies in the small free-roam crater area.
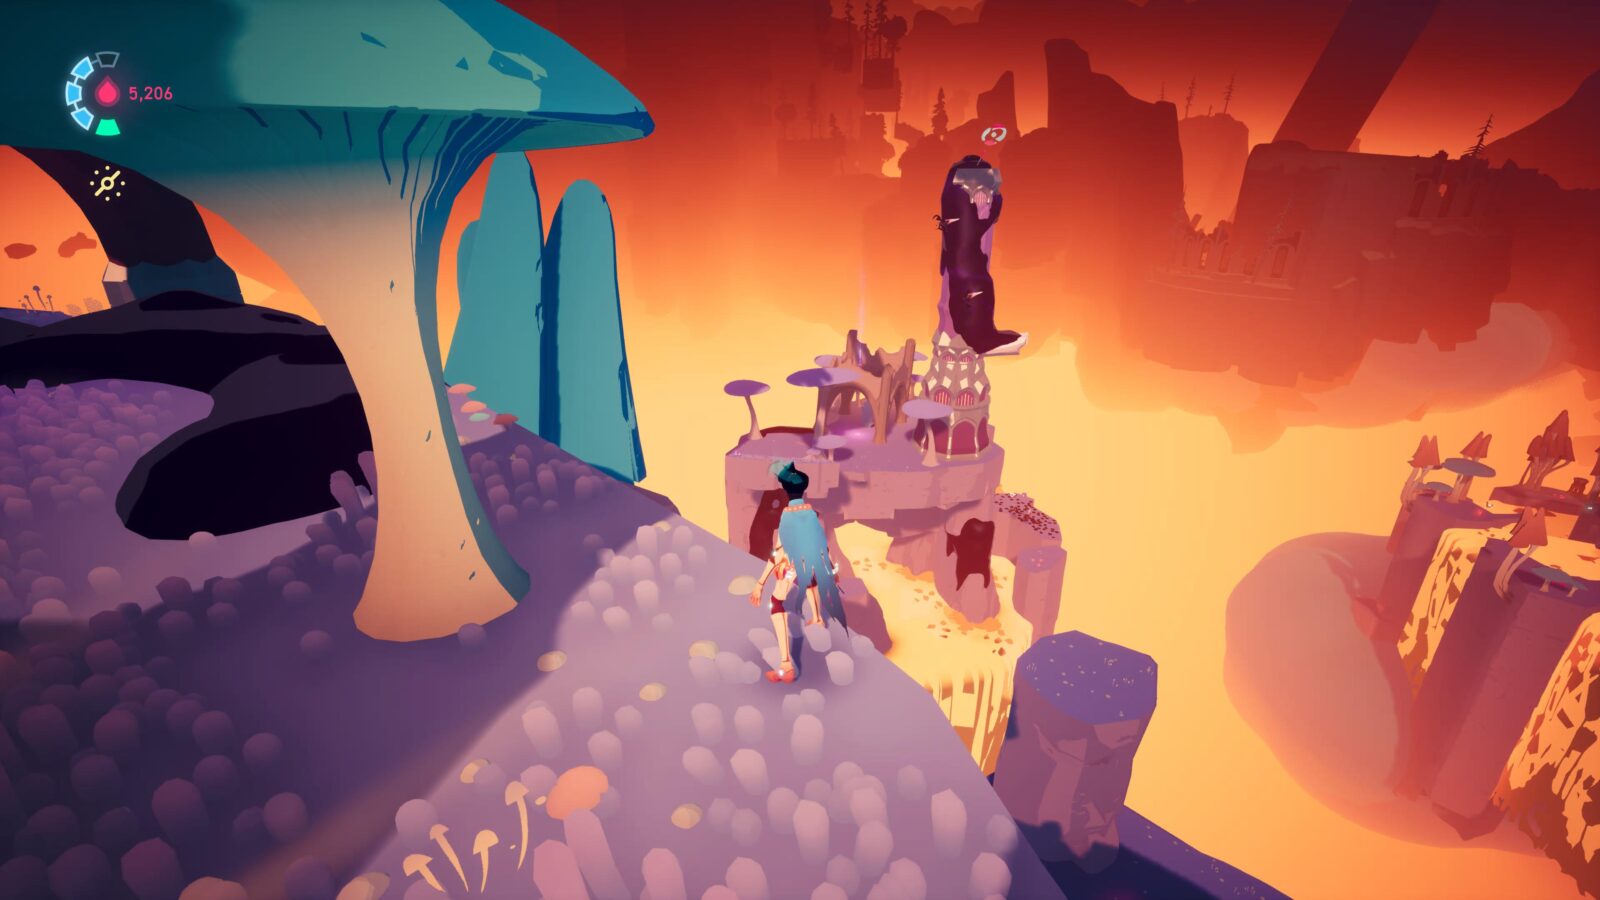
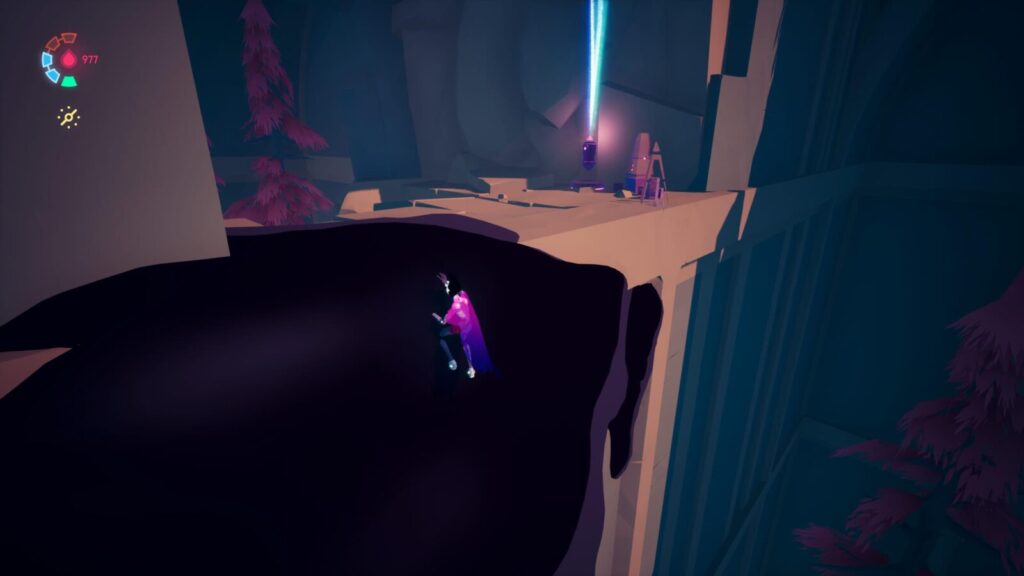
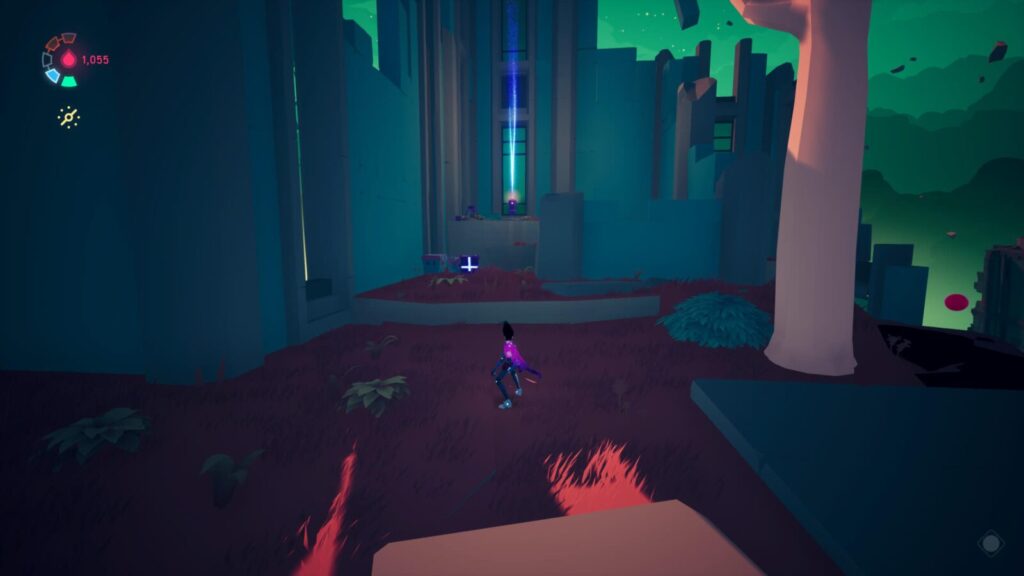
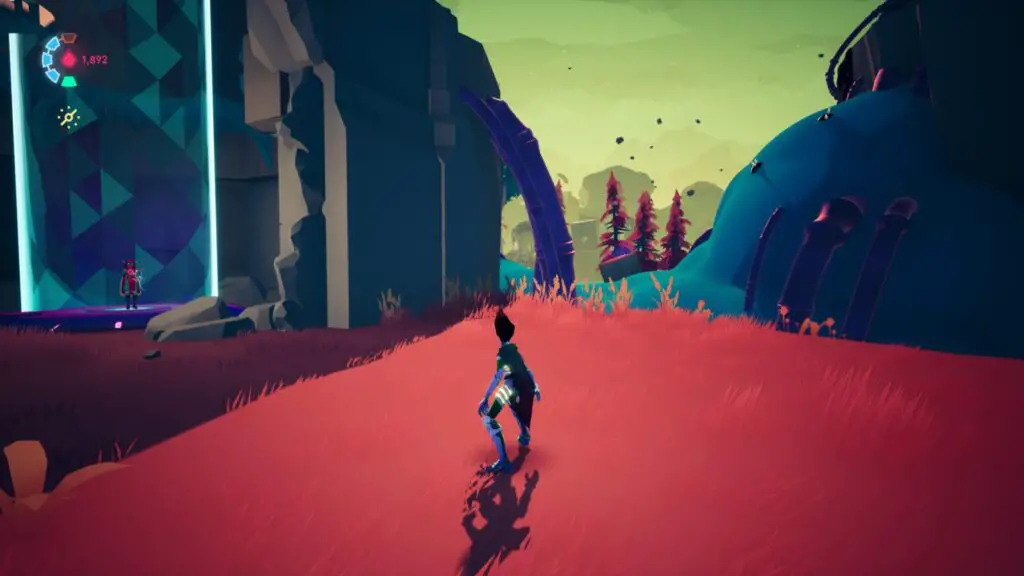
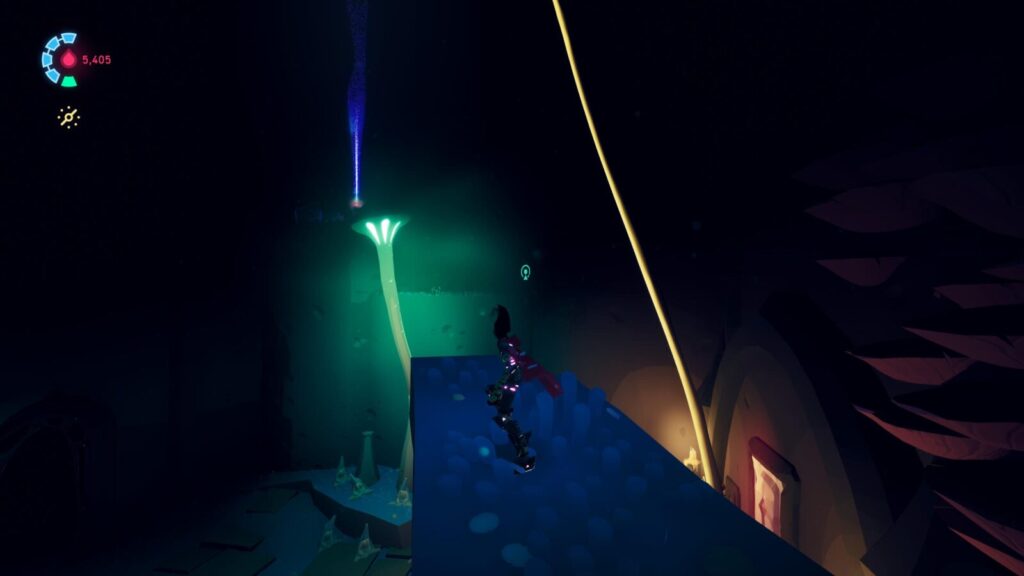
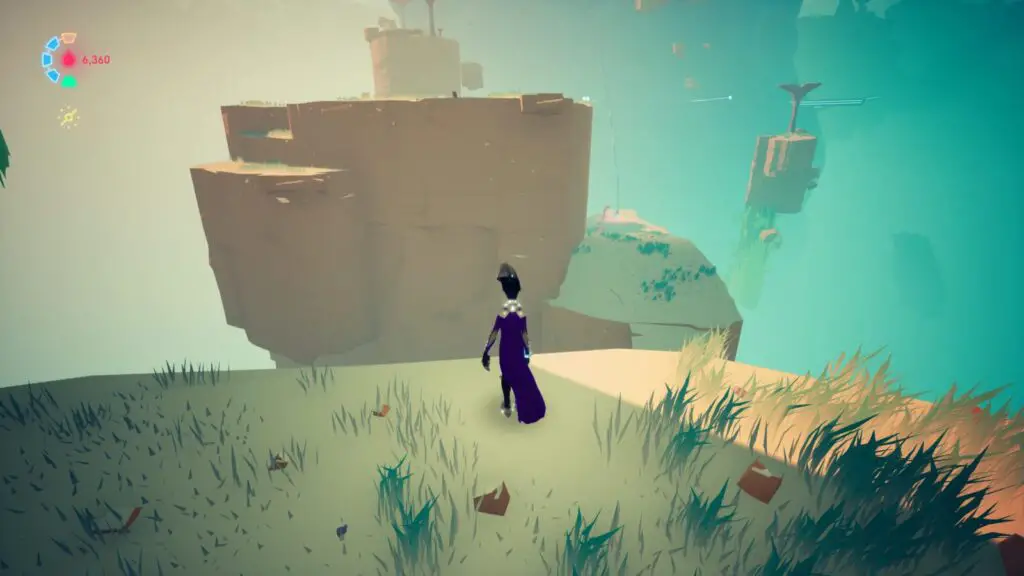
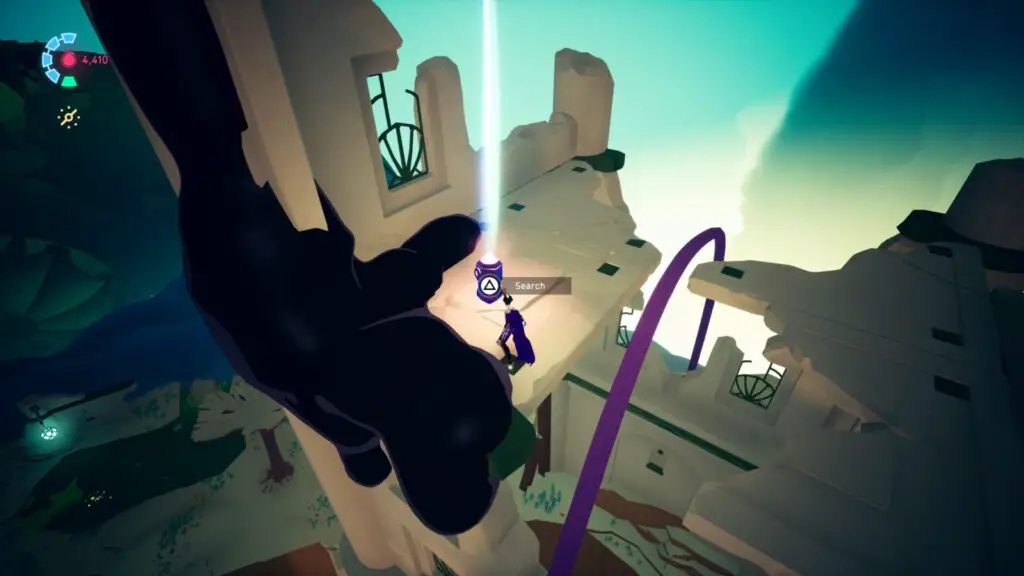
Around the back of the Starseed pillar where Cyd is, there’s a large archway leading to an anomaly. Upon a ledge to the right of this, you will see a blue stream of light. This is the first Voidrunner Stash.
On the ledge opposite, there’s a ramp that you can use to reach the collectible.
Simply skate up the ramp ![]() , dash
, dash ![]() , and then double-jump
, and then double-jump ![]() >
> ![]() to the other side.
to the other side.

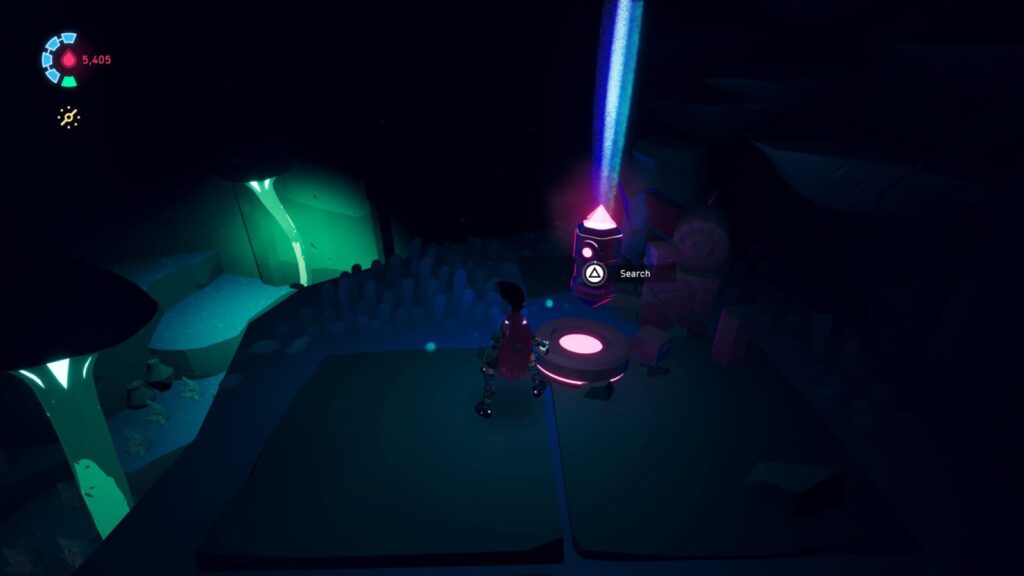
Hold triangle on the stash to retrieve the log. It is the only collectible in this area so you may now feel free to destroy all three anomalies and proceed onwards.
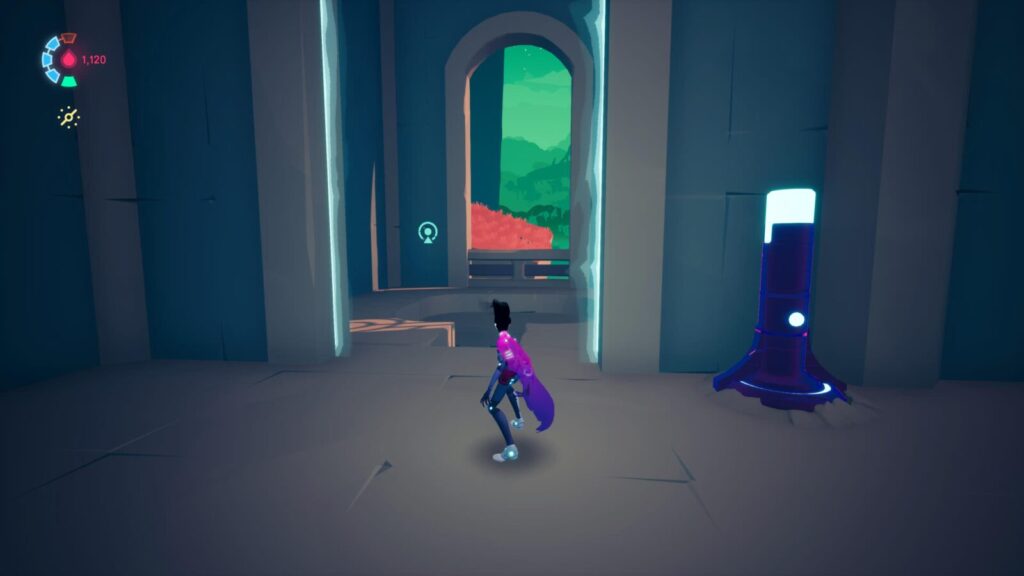
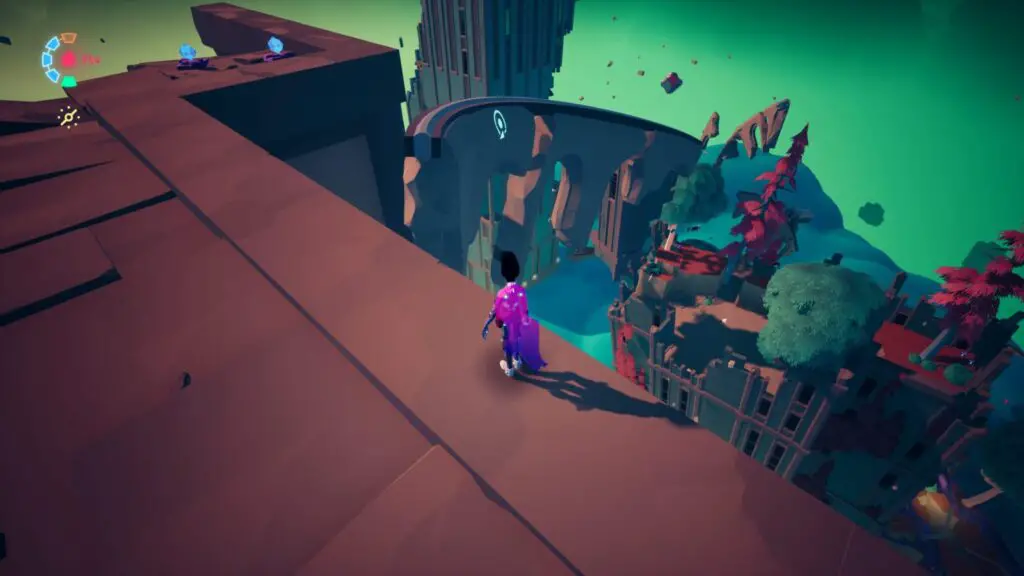
Broken Capital Voidrunner Stash & Lost Journal Page Collectibles
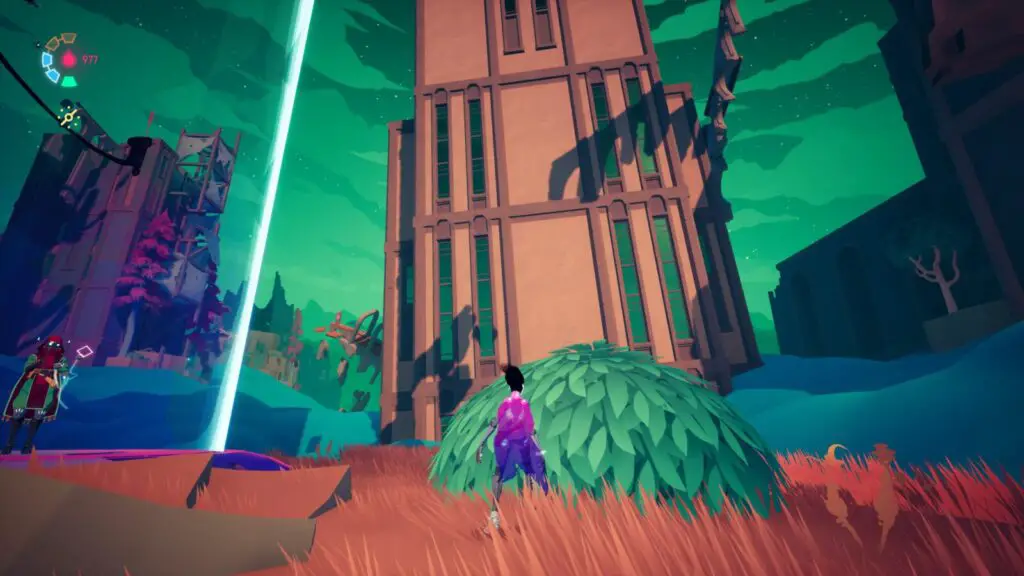
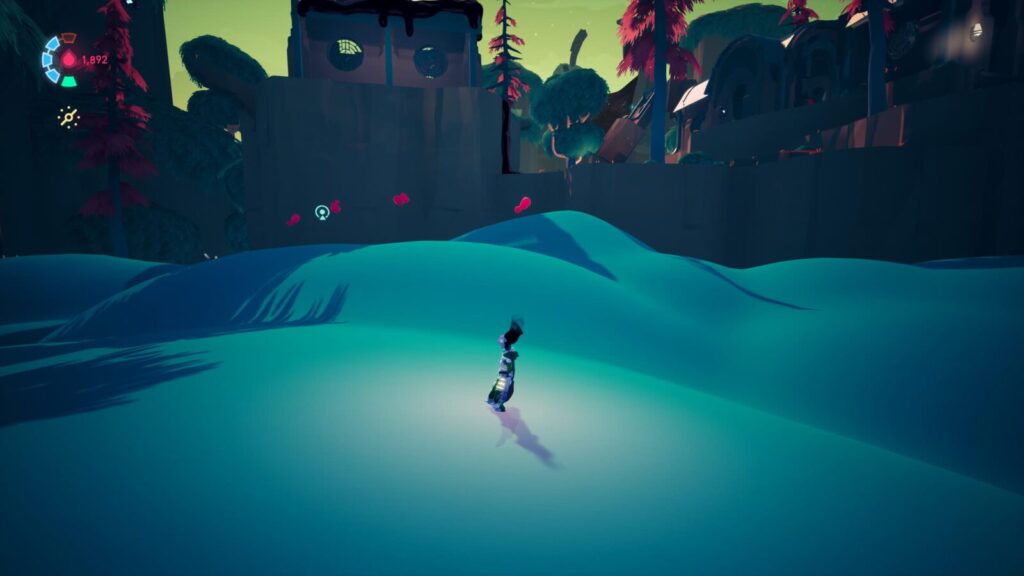
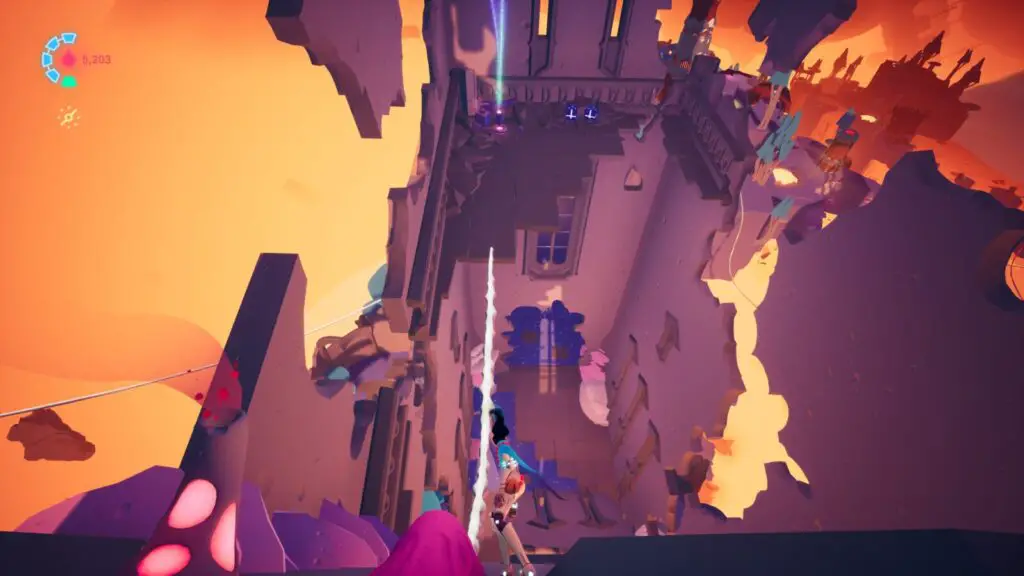
After grinding up a rail and entering the Broken Capital area proper, you’ll be on a ledge facing another sea of clouds.
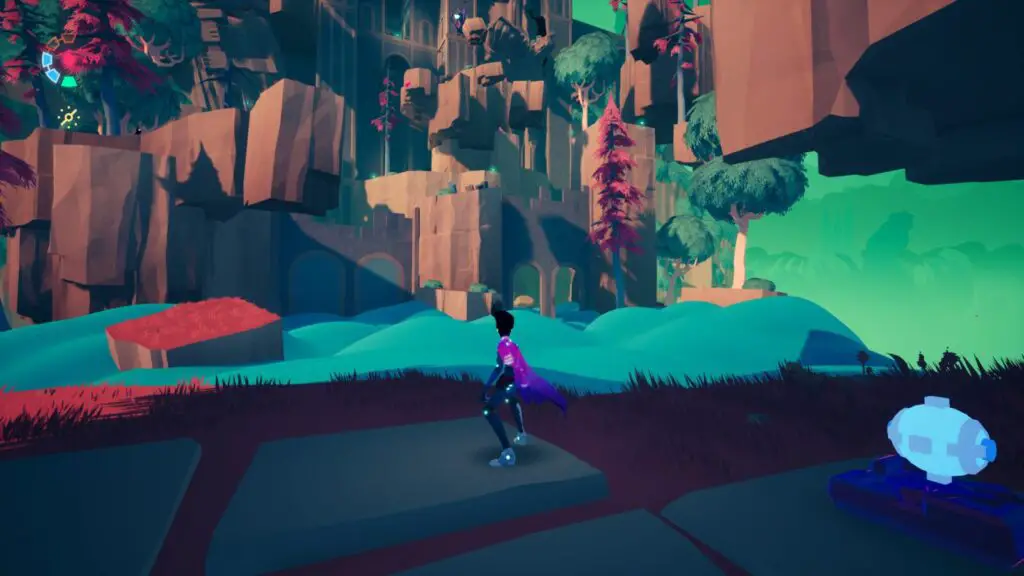
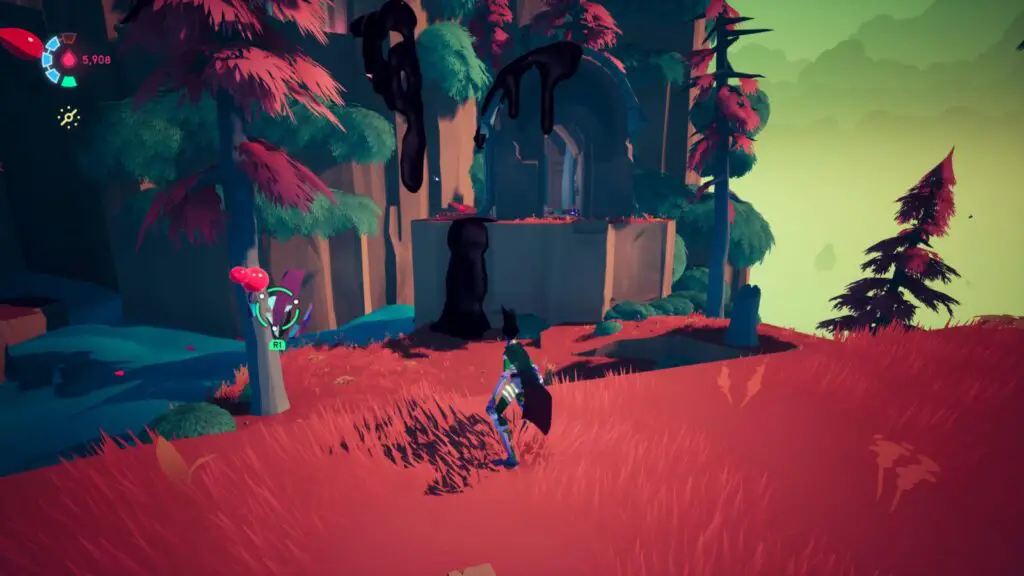
Jump onto the clouds and skate to your immediate right, where you’ll see a tree with a glowing Voidrunner Sigil marker on it.
Continue past the tree, over what feels like the edge of the map. You’ll wrap around and find a ledge with a Voidrunner Stash on it!
Once you’ve collected it, continue to destroy the anomaly in the area and proceed into the building on the upper level.
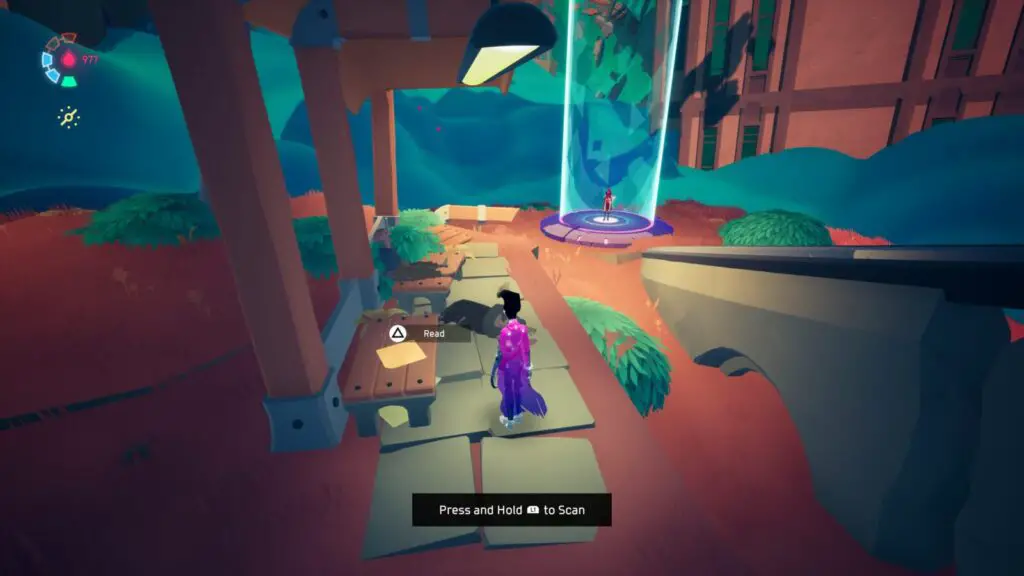
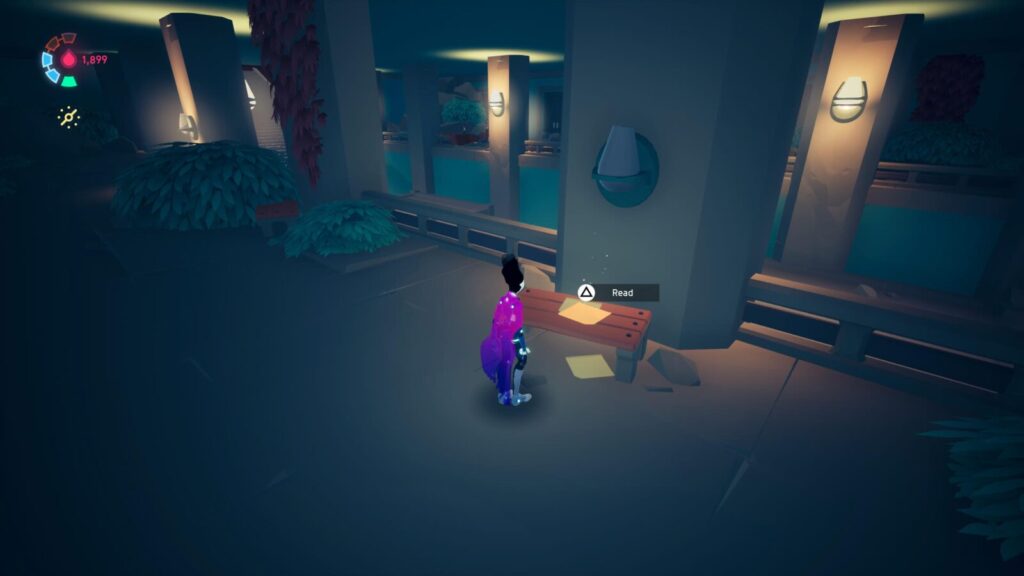
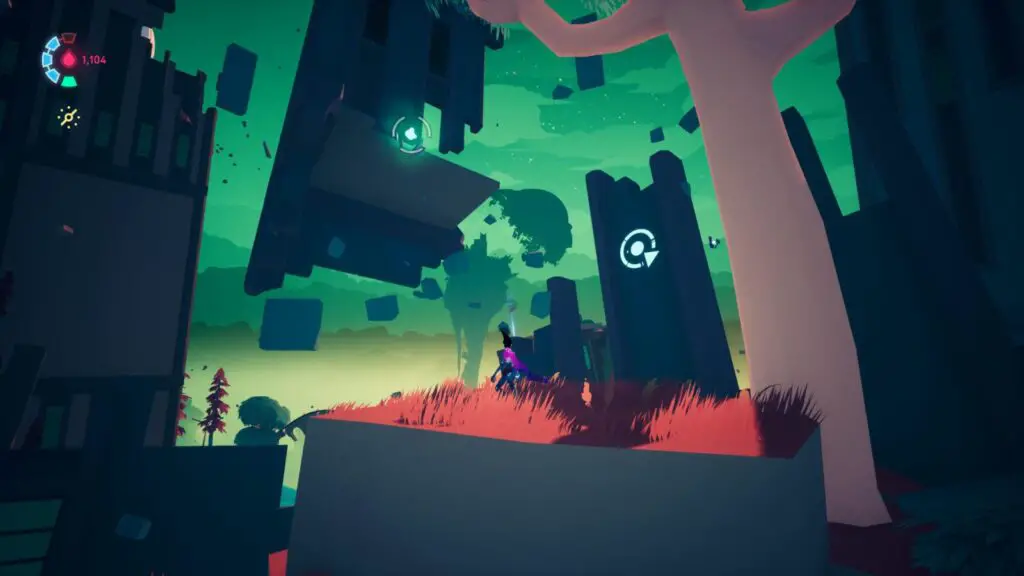
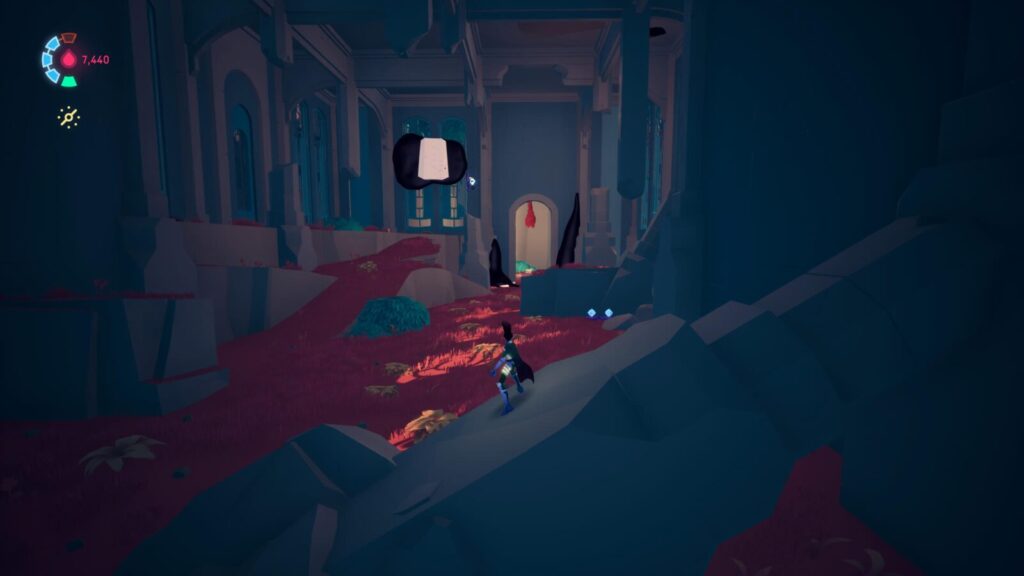
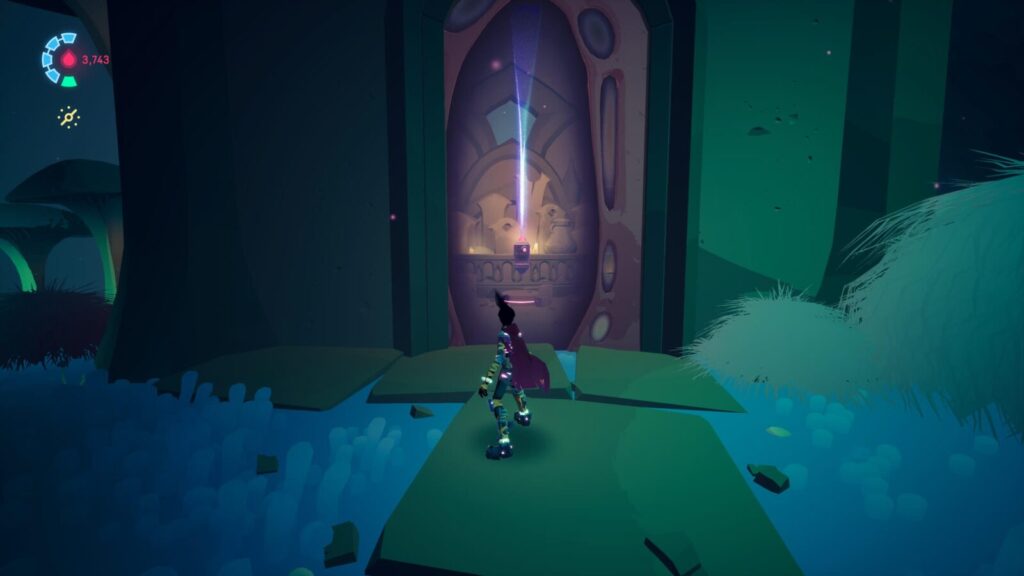
Once you reach the checkpoint inside the building, with a tree and fountain in the room ahead of you, turn right.
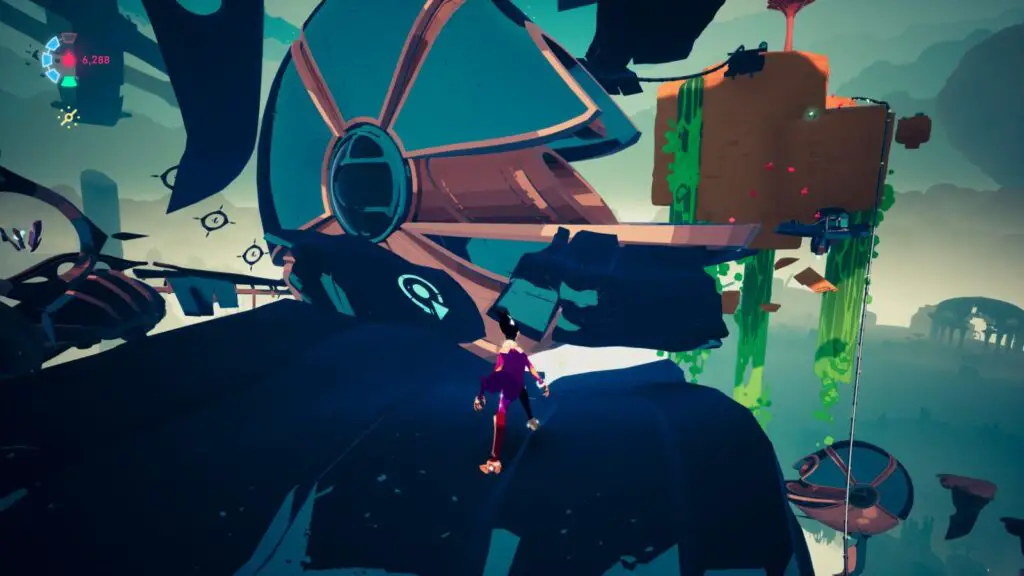
Interact with the console there to open access to a room containing a grind rail that you can use to quickly get back up to this building if needed. Inside, you will see a sigil marker by the window.
Go through the window to land on a rock. Go left and climb up the goo to the head of the statue where you’ll find a Voidrunner Stash!

Behind the Cyd checkpoint, up on a ledge, there is a row of tables with two corpses. On the furthest of the three tables, you will find the first Lost Journal Page.
Next to Cyd, there’s a grind rail which you may have already used to reach him.
Grind on it and keep your eye out for a grapple point about halfway up, on your right.

Use Time Shift to have an easier time grappling it, and then use it to reach the black goo on the wall. Climb up the goo and you’ll find this Voidrunner Stash at the top.
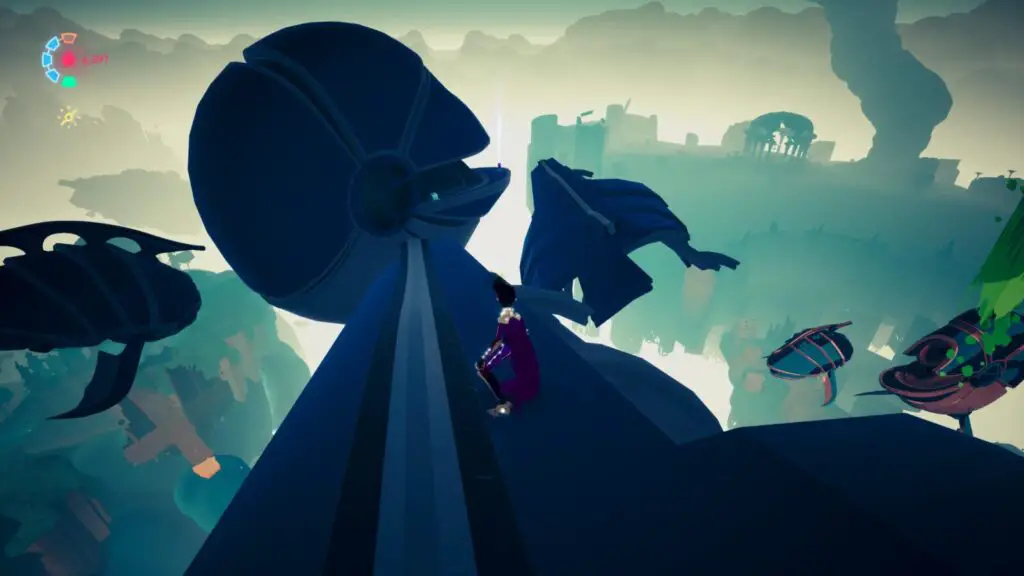
Return to Cyd and then look to your right to see a large building.
Skate across the clouds around to the back of it. You should see another long rail you can grind, which has a train at the end of it.
Skate up the rail and jump to the black goo on the wall.
Climb to the top of this goo and then jump back onto the rail at the other side of the train. Continue along this rail and the next one into a building at the other side with two enemies inside.
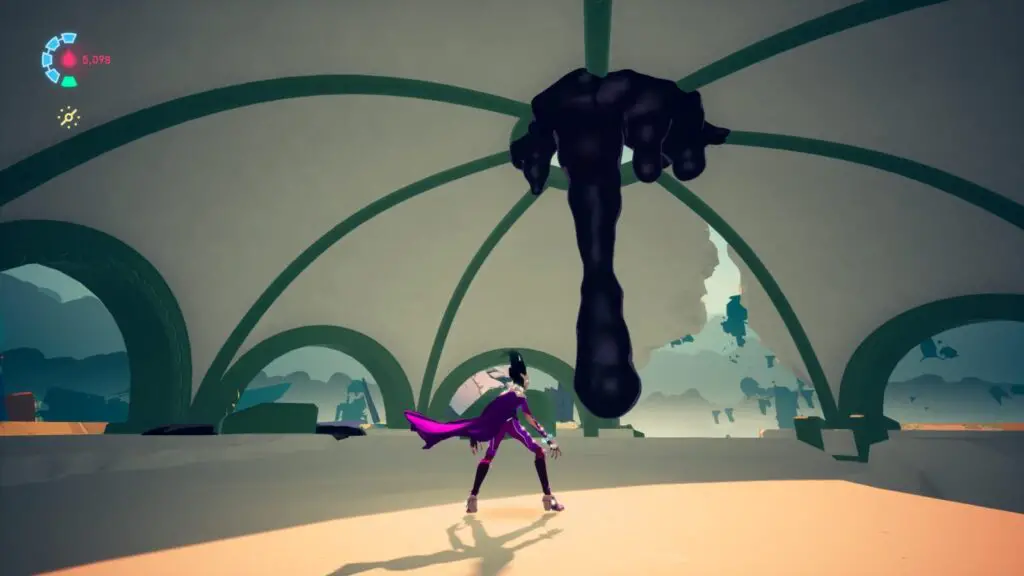
At the back of the building, there’s an area blocked off by black tentacles. Hit the tentacles’ weak spot and you’ll find another Voidrunner Stash in the area behind them.
Continue through the level as normal now, looking for and destroying anomalies if you haven’t done so yet. You will end up exploring the surrounding structures to reach the various anomaly hiding spots.
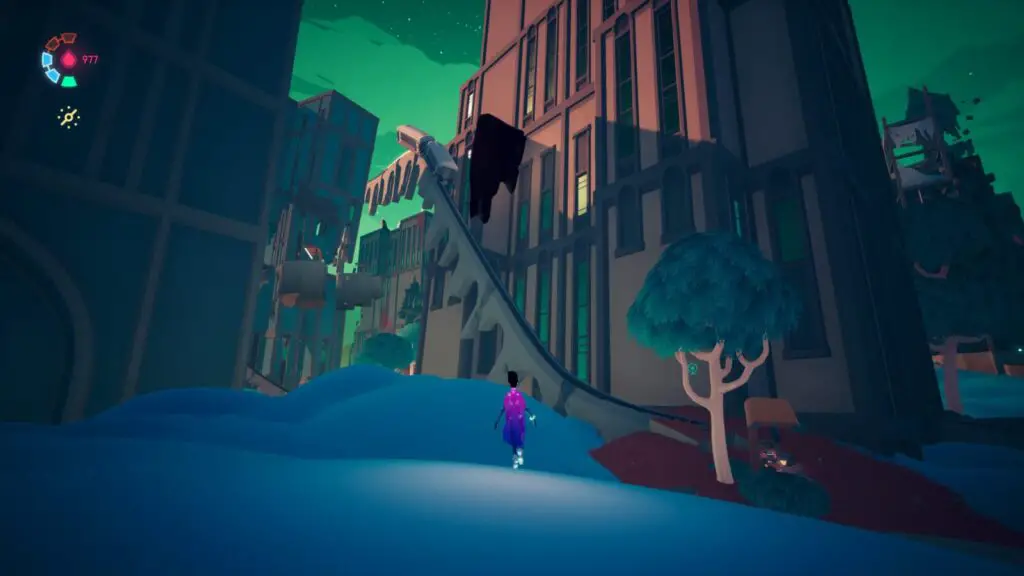
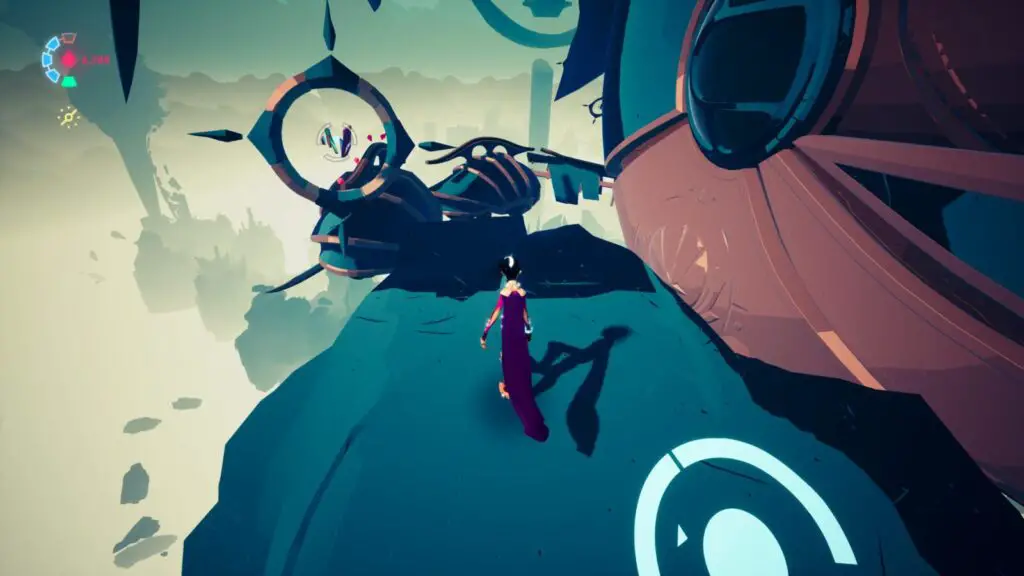
Look for a giant clocktower at the back of the area and enter the tunnel underneath it. This will lead you into a train station.
Destroy the tentacle obstruction by going around the back of it, and then head up the stairs.

At the top of the stairs, jump onto the upper area to your right and collect this Lost Journal Page from the table there.
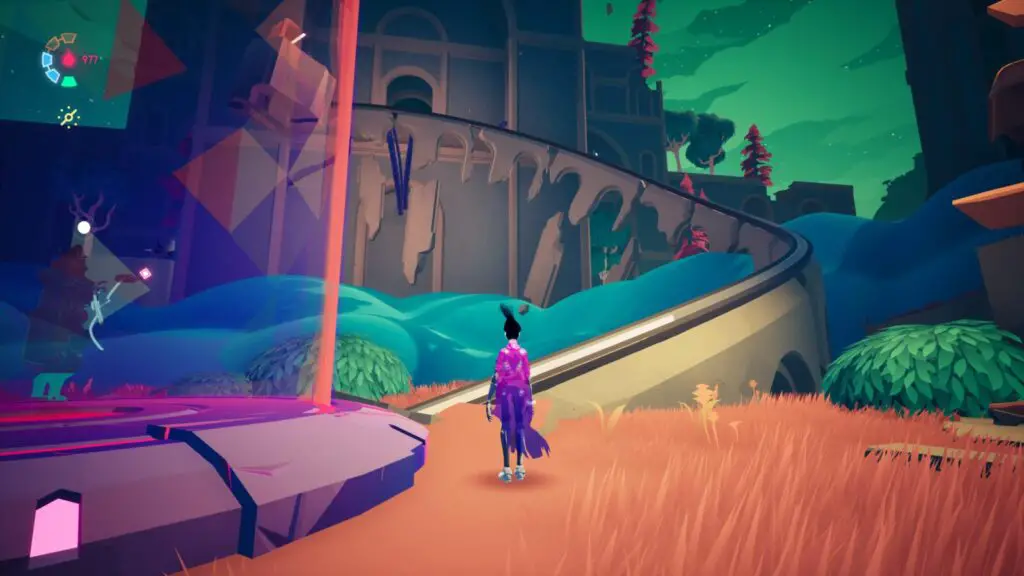
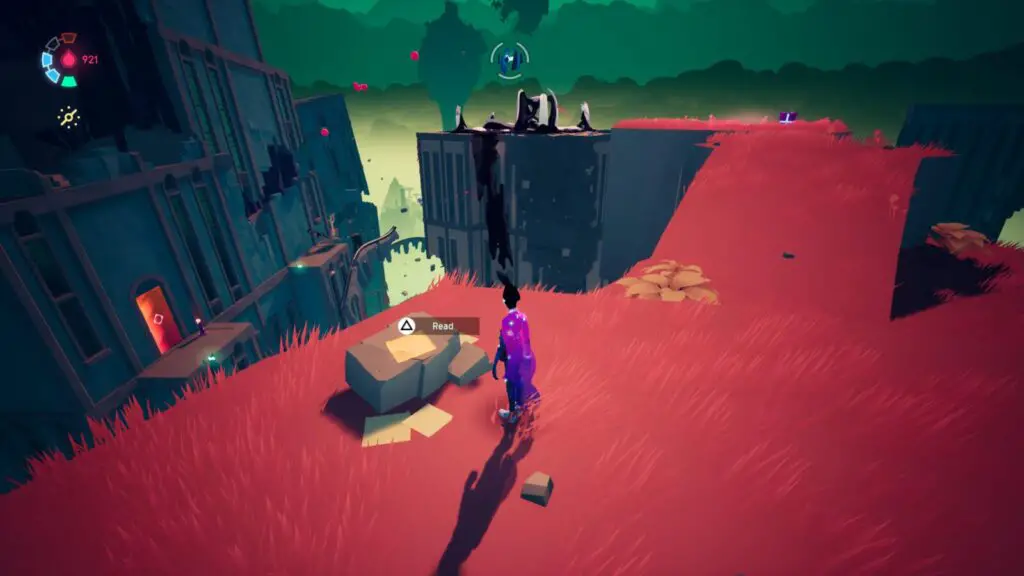
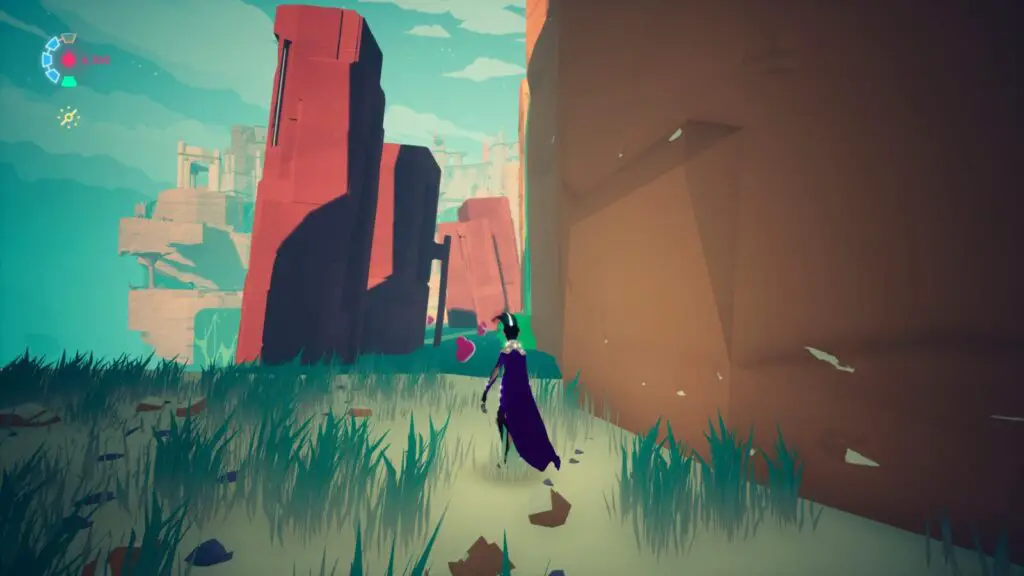
Go to the back of the building next to the clocktower and grind up the rails there to reach the building’s roof where there should be two enemies.
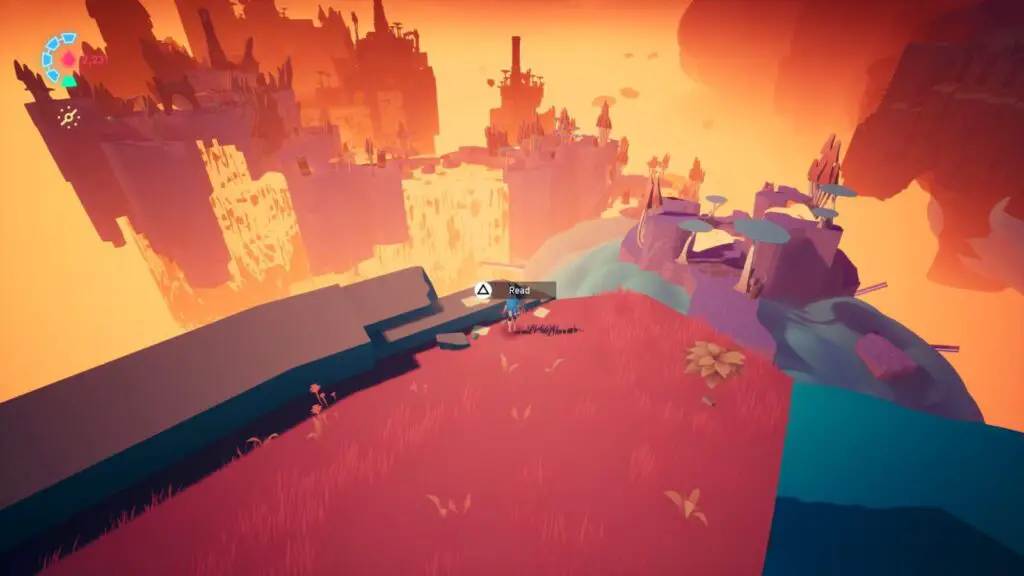
Defeat them and walk up onto the red grassy ledge at the back. On a rock there, you will find another Lost Journal Page.
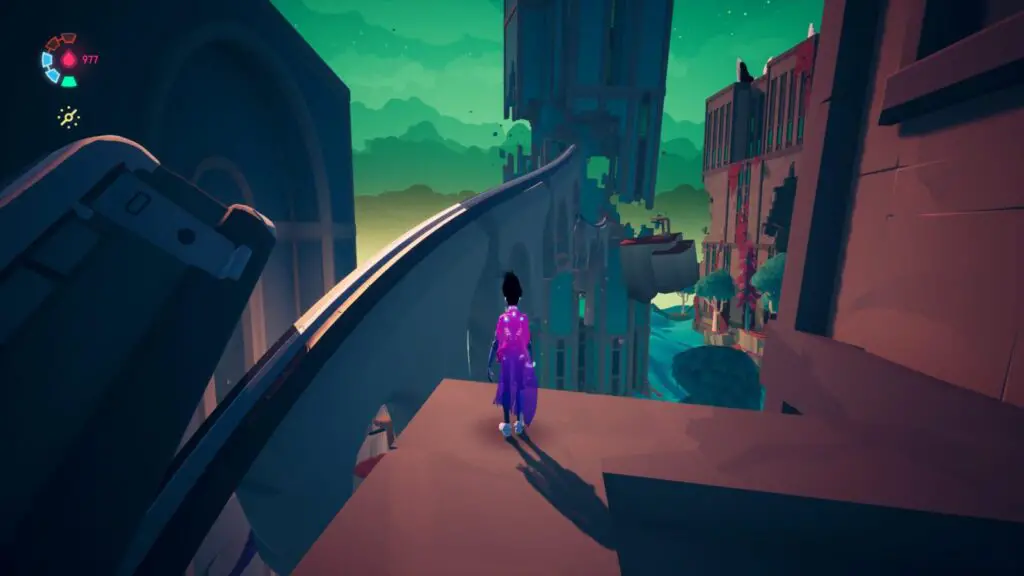
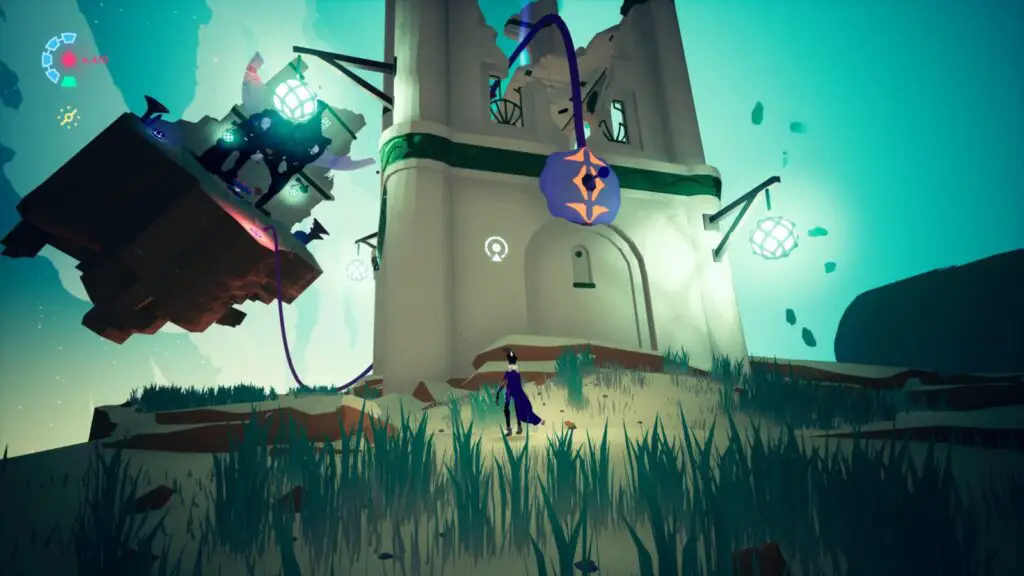
From the tall building which has/had an anomaly on the roof, look for a short rail with a sigil marker on the side of it, which leads to another, shorter building below.
Grind across to the smaller building, defeat the enemies there, and then look for a nearby grapple point next to a sigil marker.
Grapple up to the floating section of the building and you’ll then see a series of grapple points leading to another building in the distance.
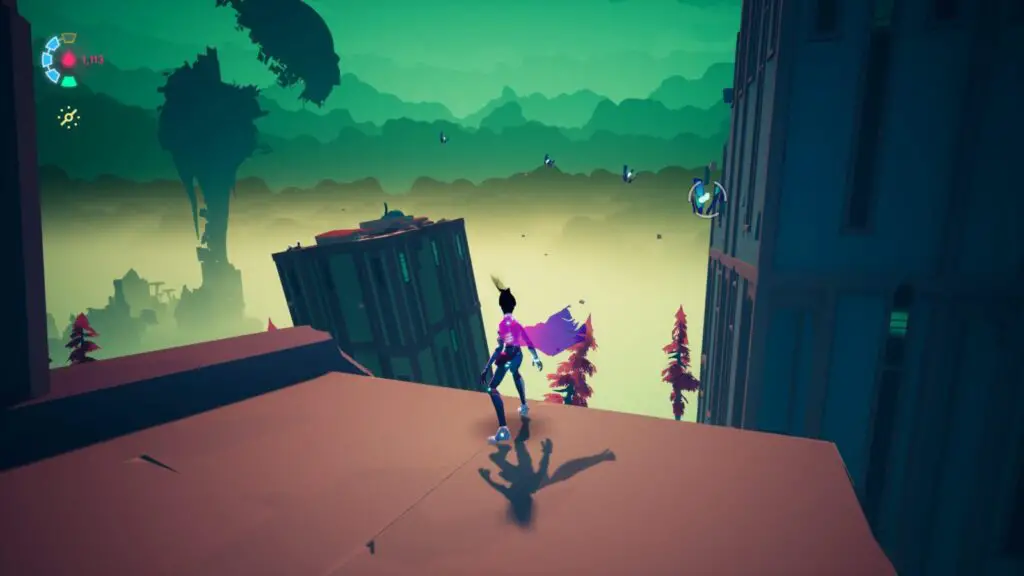
Use each grapple point in quick succession to reach the building and collect the Voidrunner Stash on the roof!
You should now have all 3 Lost Journal Pages and 5 Voidrunner Stashes in this area and can proceed until the next one. The Voidrunner Stashes should have unlocked a suit that doubles the amount of Plasma you earn.
You may want to consider progressing The Aggrieved Stranger before leaving, though.
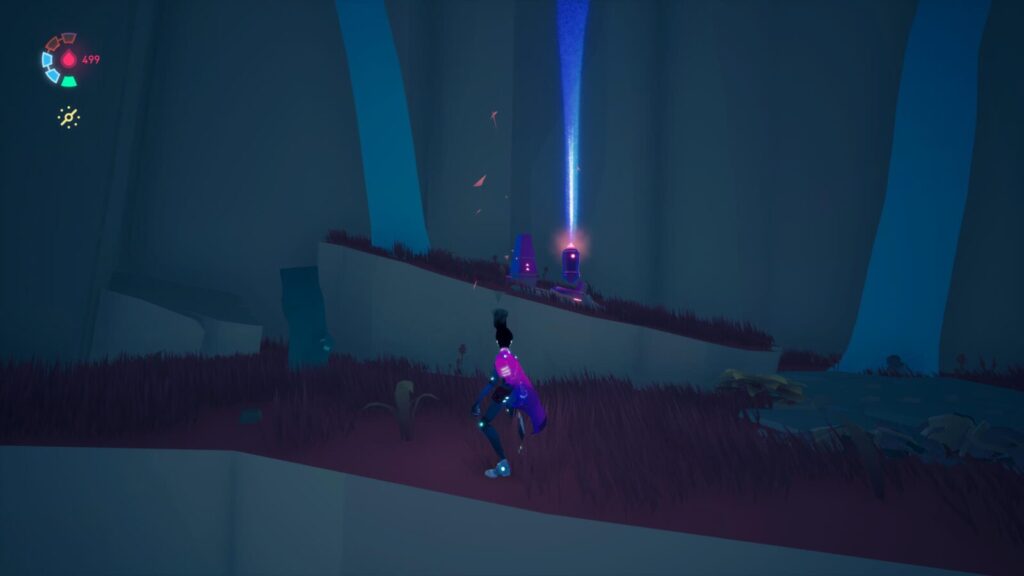
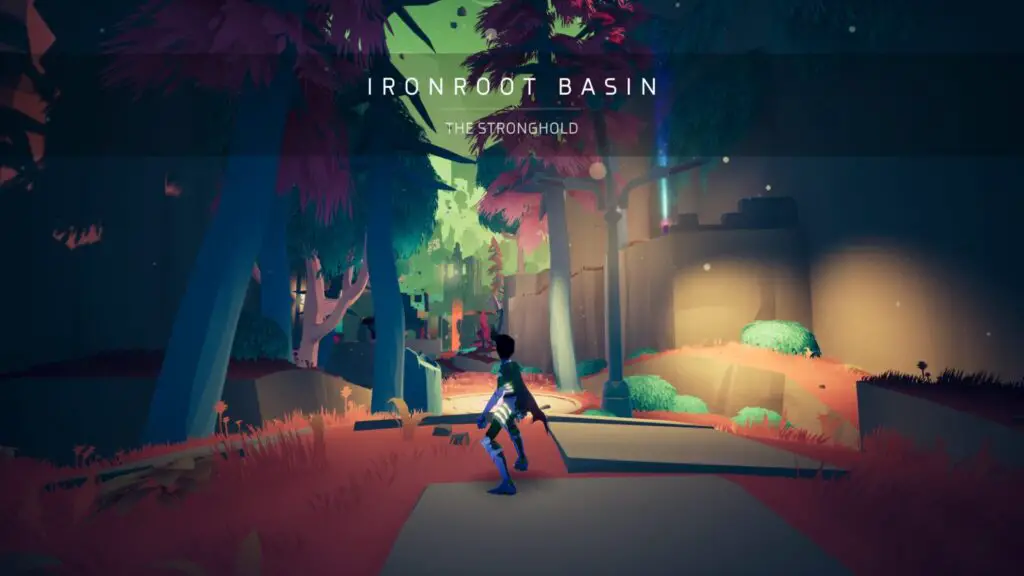
Ironroot Basin Voidrunner Stash & Lost Journal Page Collectibles
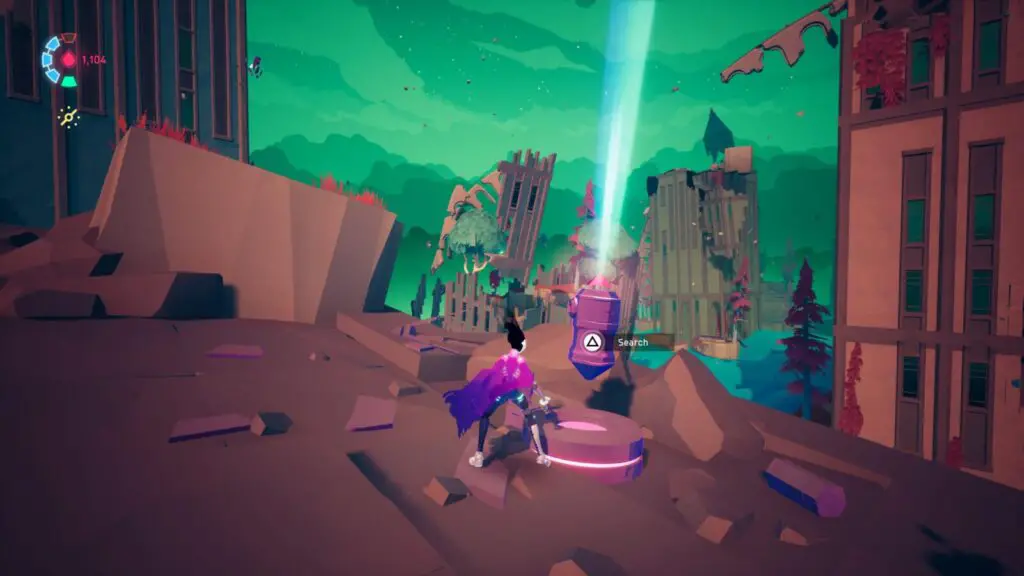
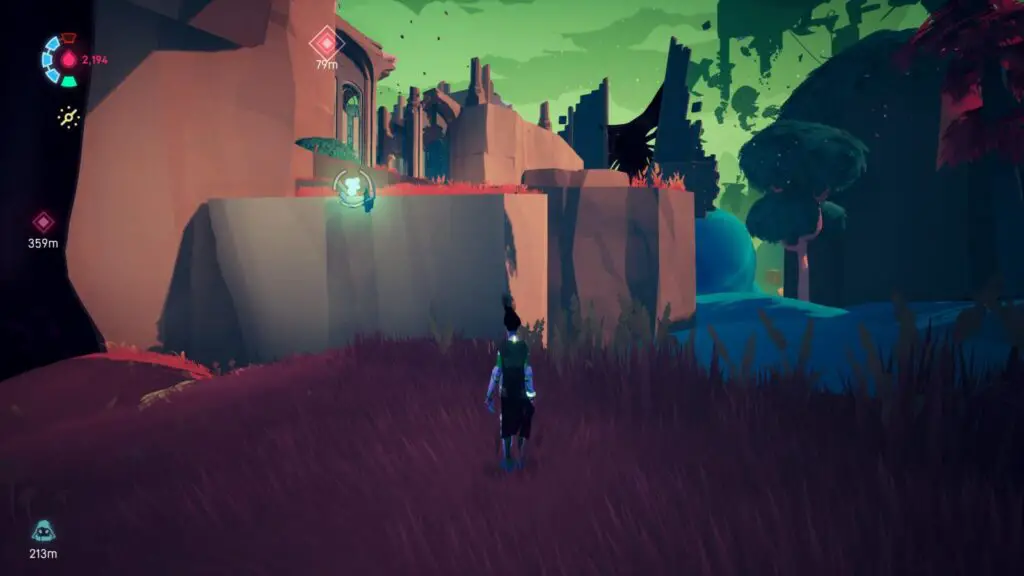
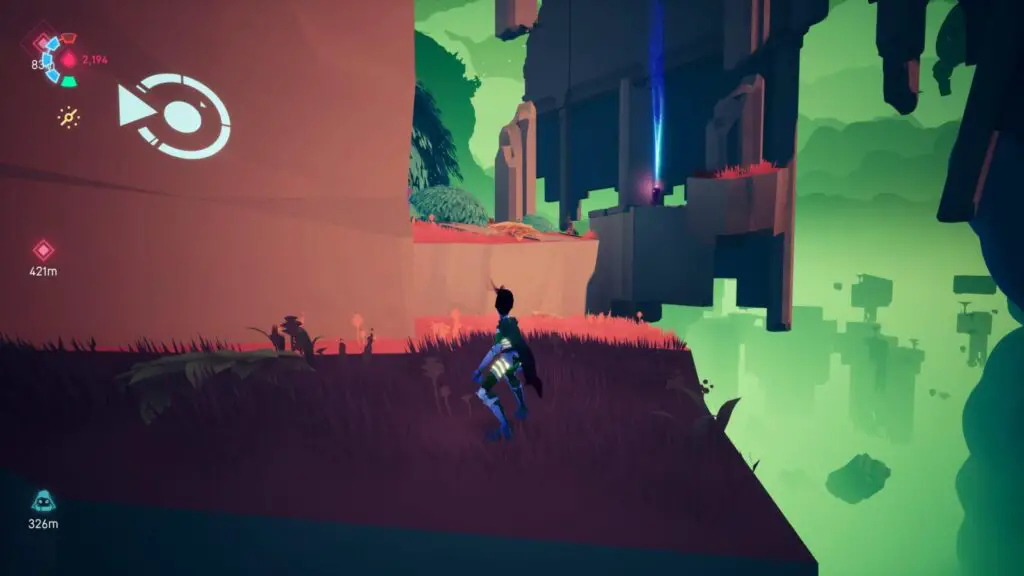
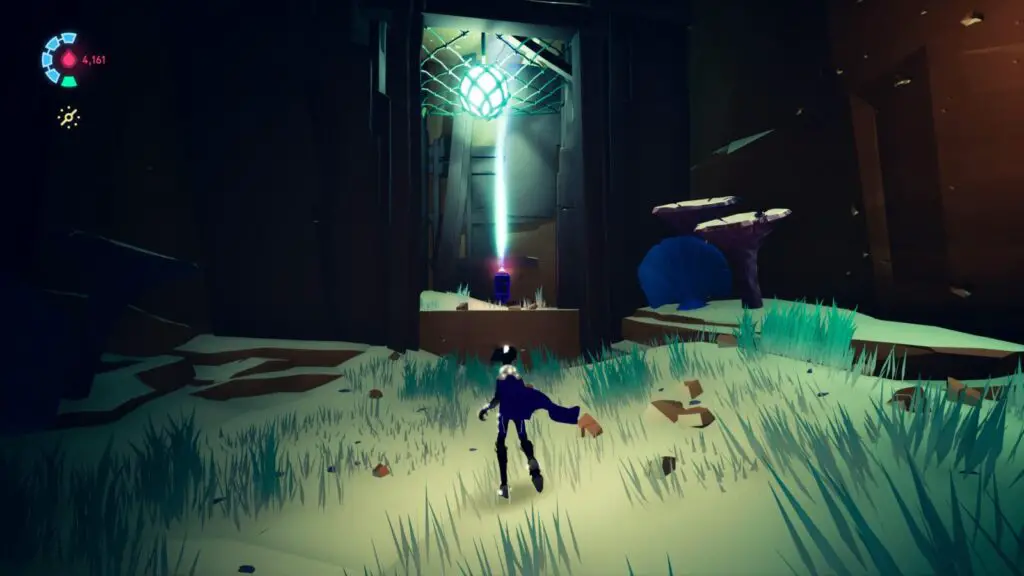
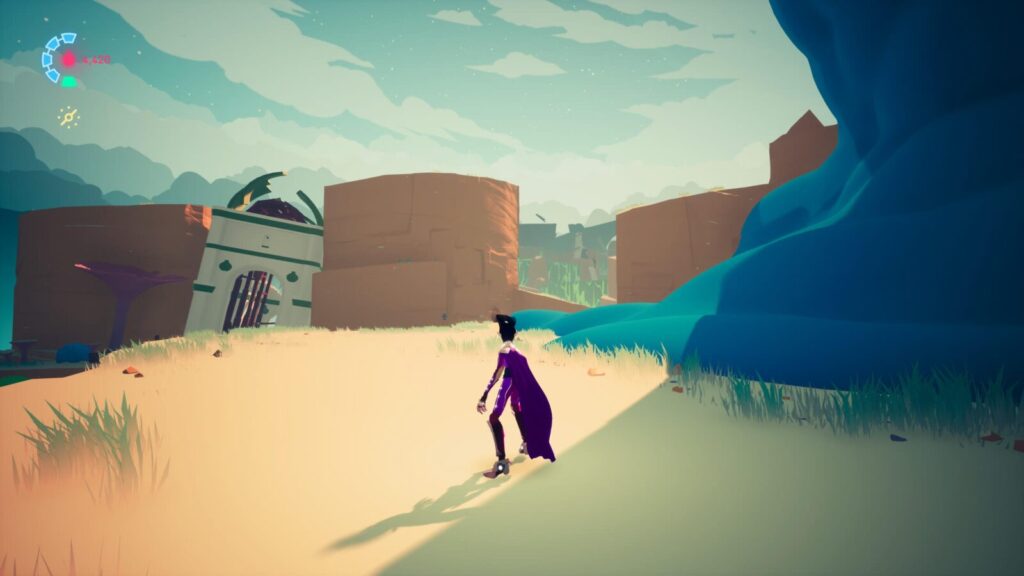
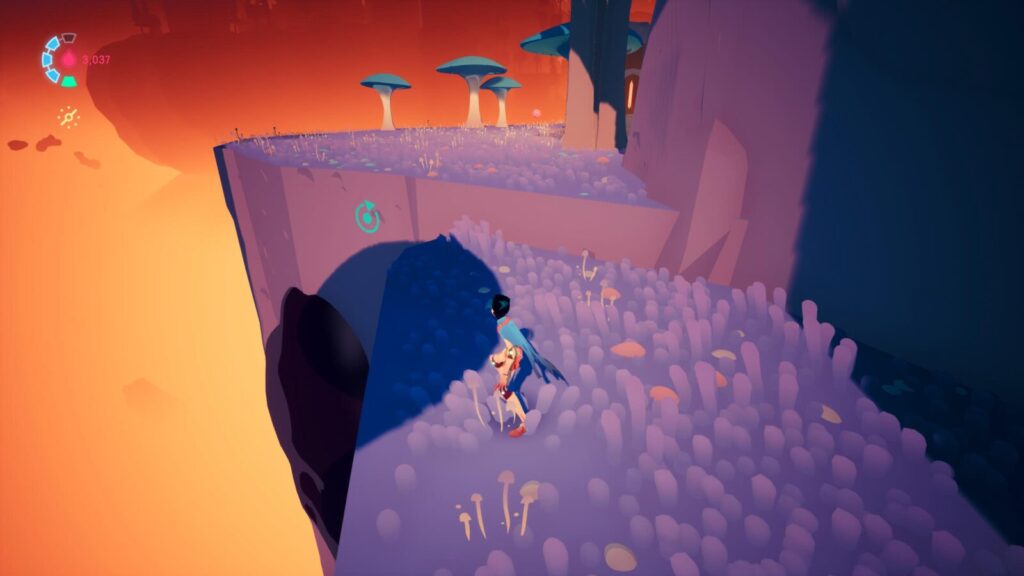
When you enter Ironroot Basin from the Crater, you will see a collectible emitting a stream of light on the ledge to your right.
To reach it, continue forward and drop down onto the clouds. From there, turn right and skate ![]() up to a black mine at the top of a cloud slope.
up to a black mine at the top of a cloud slope.
Next to it, there’s a ledge with a Voidrunner sigil on it. Follow the ledge back towards the entrance of the area.
You’ll then be able to see that you’re on the ledge opposite the collectible we saw earlier. Skate ![]() , Dash
, Dash ![]() , and then Double Jump
, and then Double Jump ![]() >
> ![]() across and collect the Voidrunner Stash.
across and collect the Voidrunner Stash.
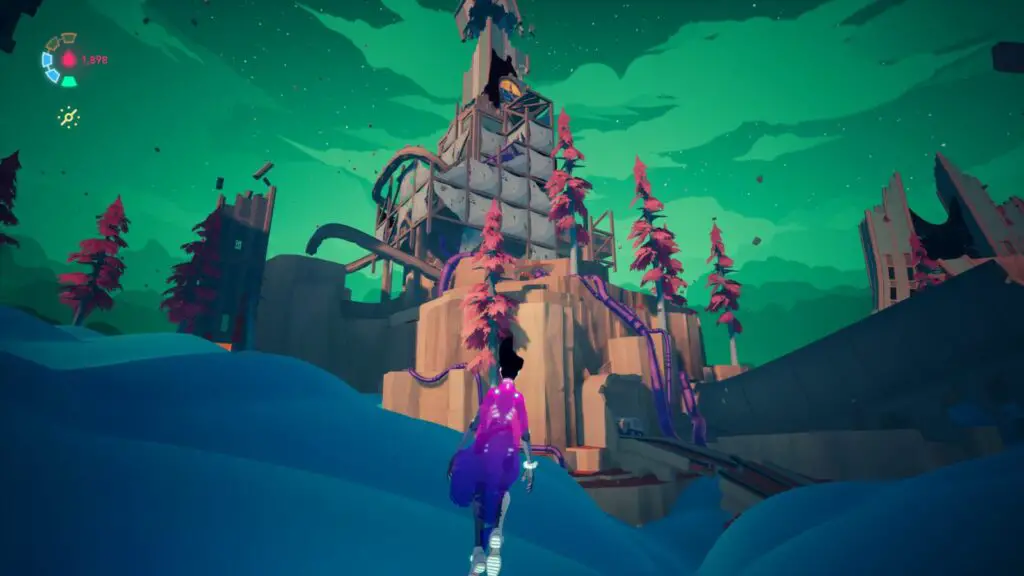
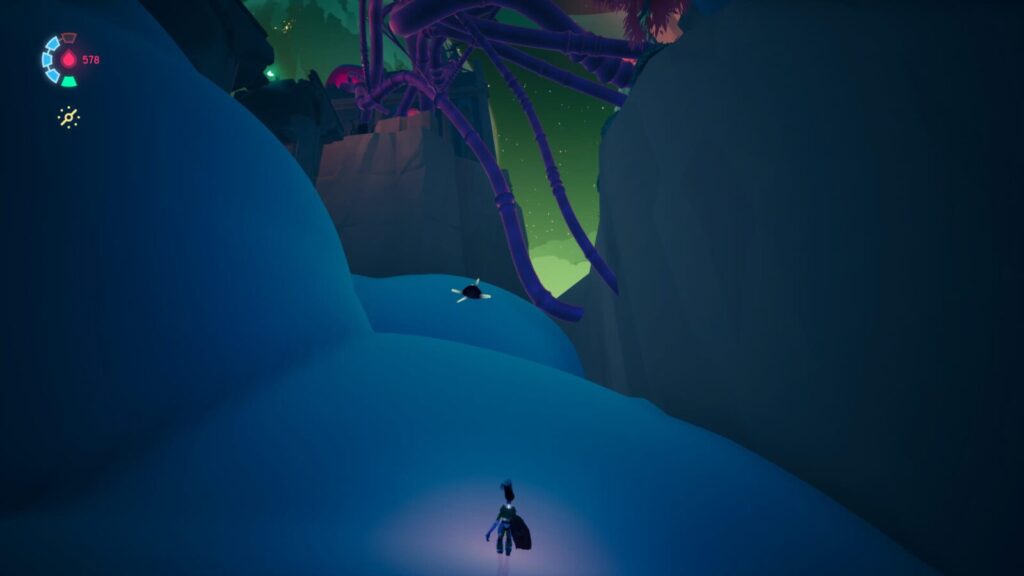
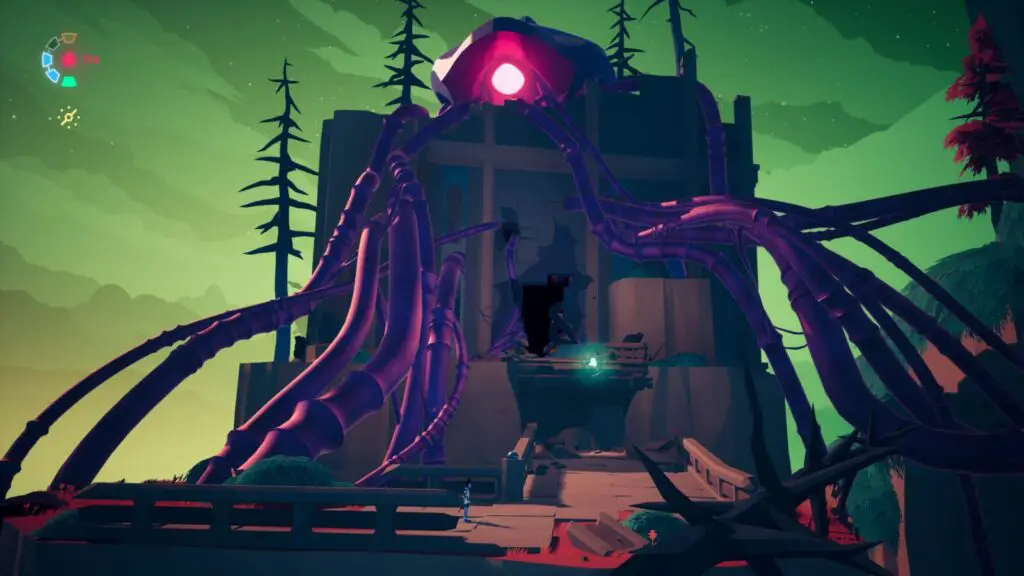
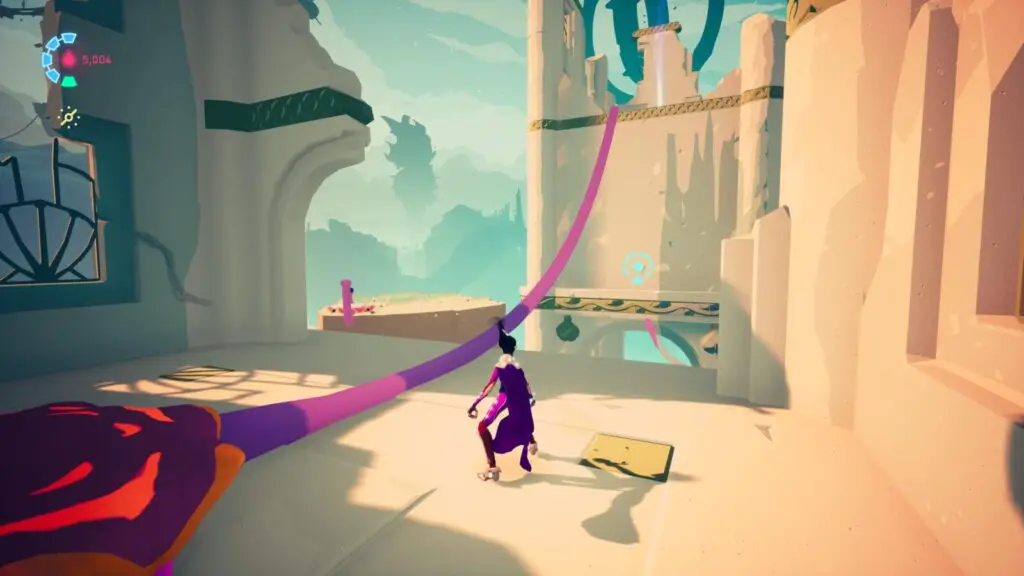
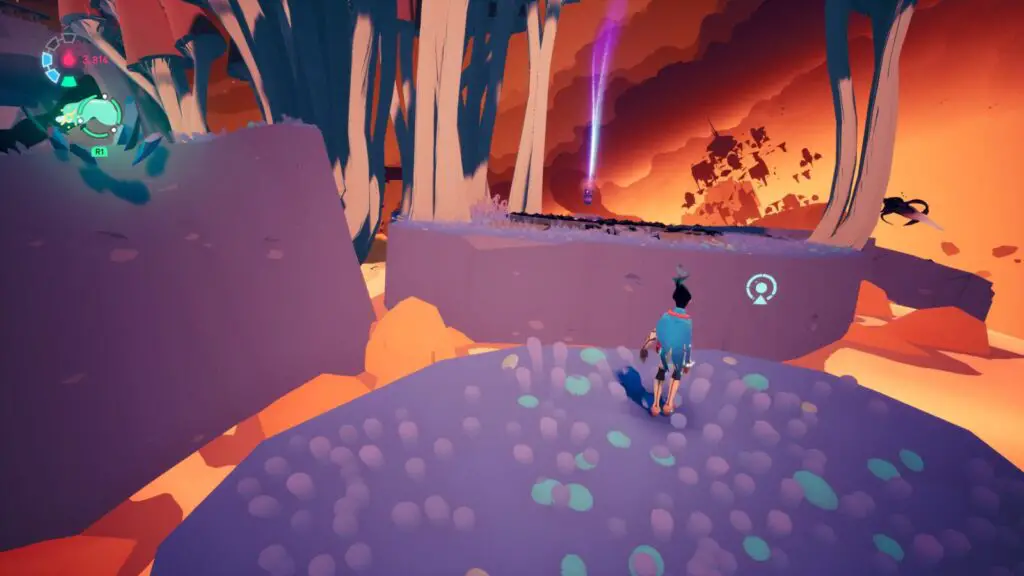
Further into the area, climb up to the large ruined building with the “Dross Harvester” sitting on it. It has a lot of purple pipes leading up to it:
To the left of the doorway, there’s a Voidrunner sigil on the wall.
Follow the ledge near it around to the back of the building, where there’s another Voidrunner Stash.
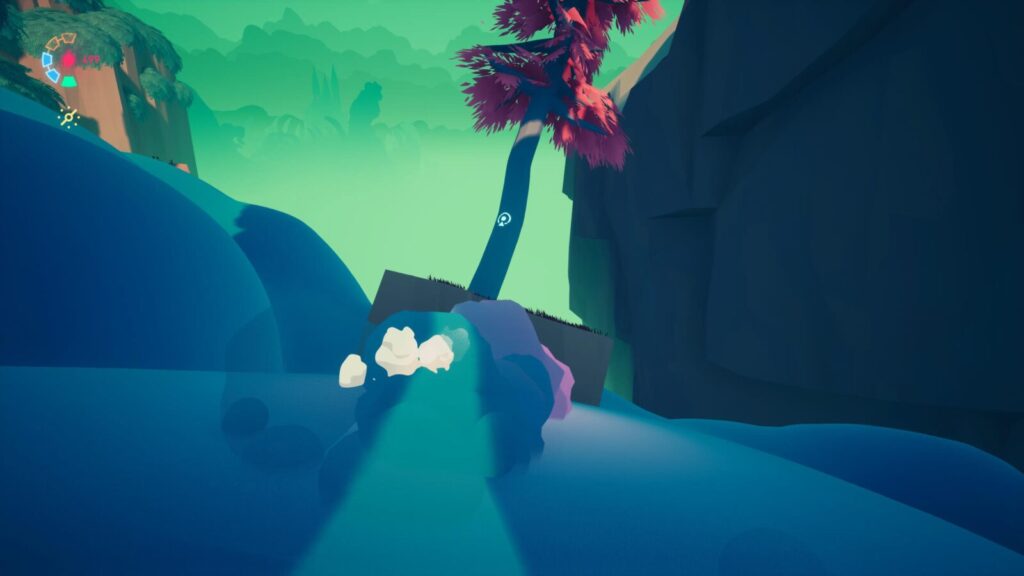
Continue into the level now and find the Cyd checkpoint. To the left of it, there’s a ramp heading up above it.
Follow it around to the ledge above the checkpoint and look for another Lost Journal Page on a rock by a bush.

Continue up the hill towards the anomaly at the far end. Head up the ramp until you come to a grapple point on a ledge.
Here, go to the right and skate across the clouds. Head towards the mines at the far end and carefully make your way past them. Jump up to the wall with the Voidrunner Sigil on it.
From there, make your way to the Voidrunner Stash in plain sight ahead of you.
Now head back towards the anomaly by breaking through the barrier on the nearby side entrance.
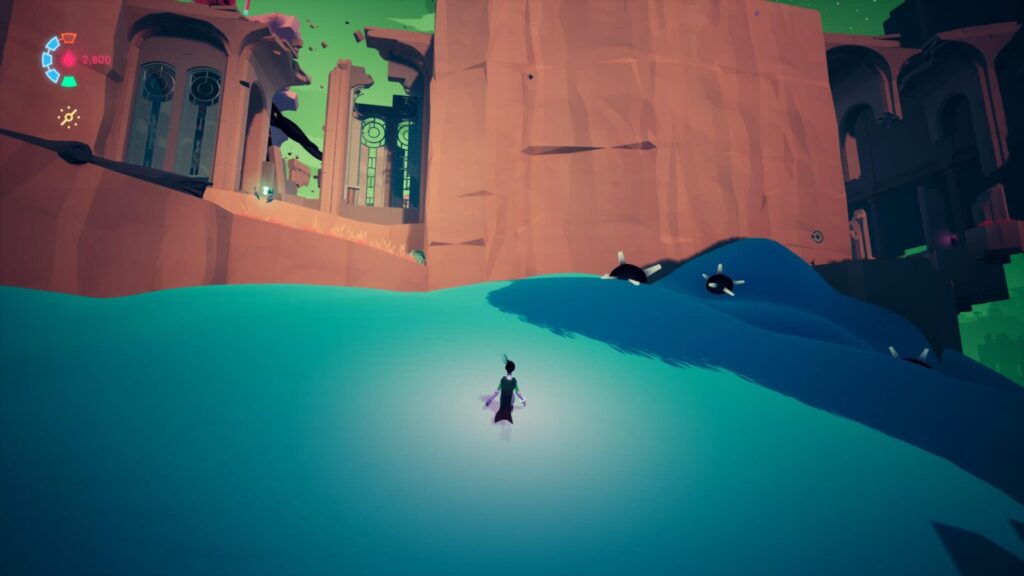
In this area, drop down into the clouds and head towards the back, avoiding the mines.
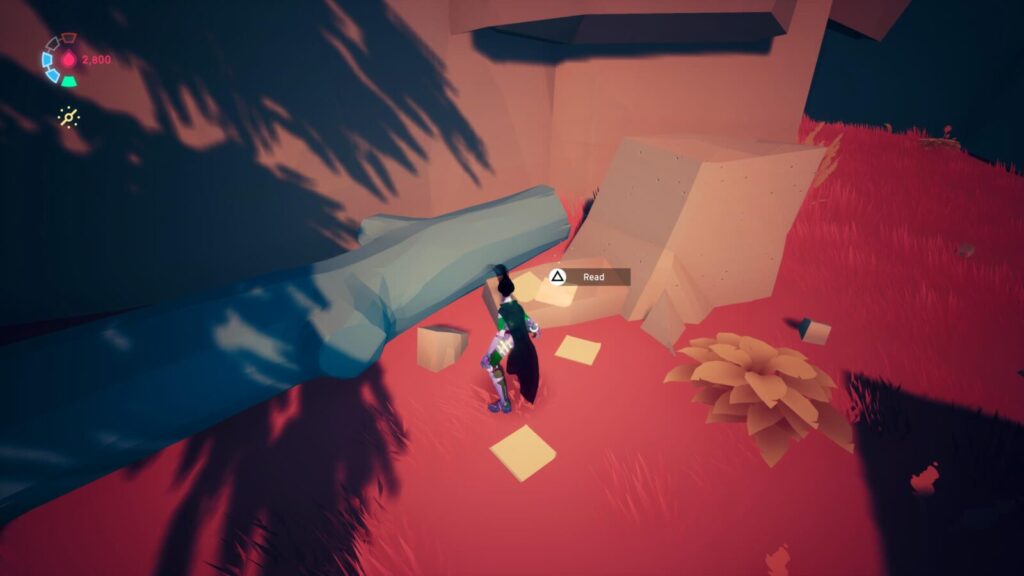
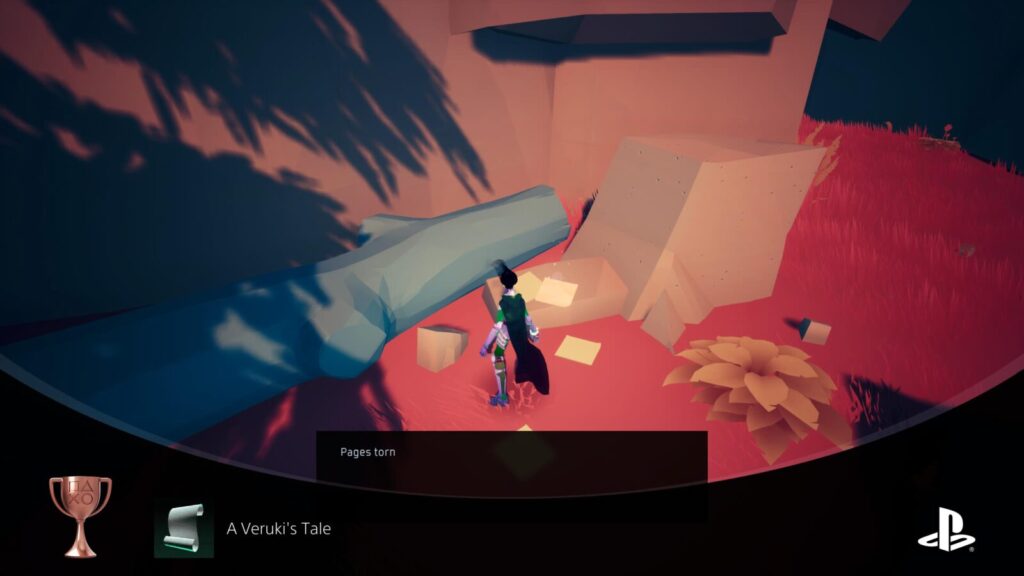
On a log at the back, you’ll find another Lost Journal Page. You should unlock the “A Veruki’s Tale” trophy for collecting this one if you don’t already have it and have collected all pages up to this point.
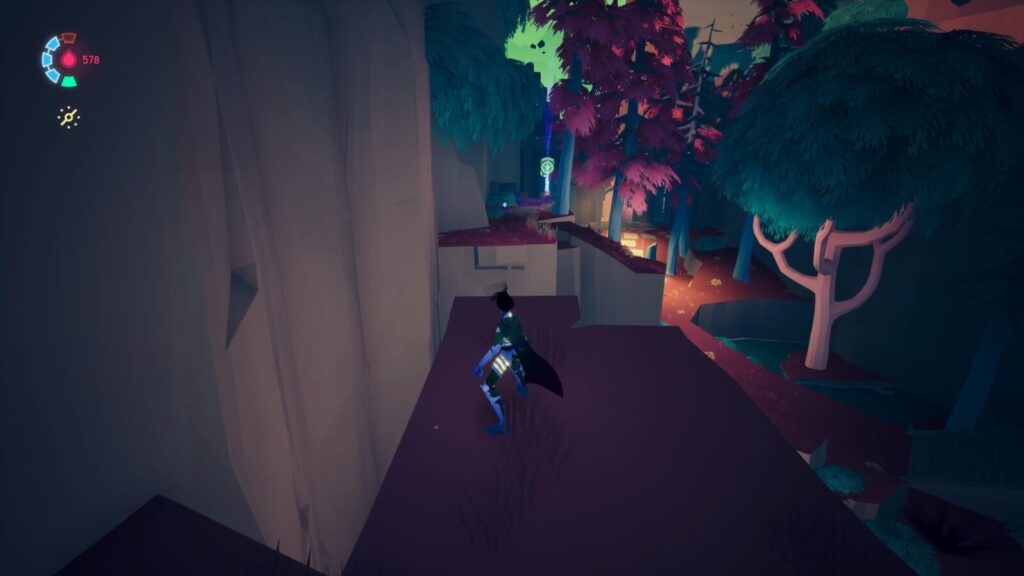
Return to the Cyd checkpoint and then head right towards a building with an anomaly in it.
Before heading into the building, follow the clouds to the left of it and look for a Voidrunner Sigil on the cliffside wall.
Being careful of the mines, hug this wall around to the back of the plateau with the building on it, and you’ll find a doorway leading to a small room containing another Voidrunner Stash. Be careful as you approach it because there’s a beam-firing enemy on the roof.
Return to the front of the building above the last collectible and grapple over to it from the checkpoint.
As soon as you land, feel free to deal with the anomaly, but then go left and climb up the black goo to reach a small building.
Inside the building, you will find another Lost Journal Page.
From that last collectible, continue up the black goo on the nearby cliff wall up to a large building and a checkpoint above.
From the checkpoint, climb into the window via the goo, and destroy the anomaly.
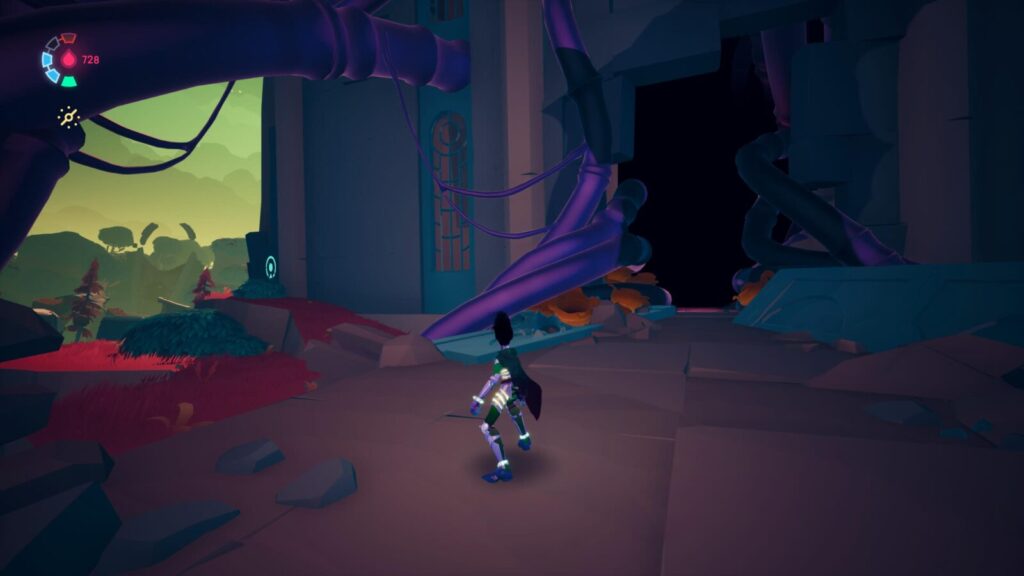
At the back of the room where the anomaly was, you will see a doorway:
On a rock in that room, you will find another Lost Journal Page.
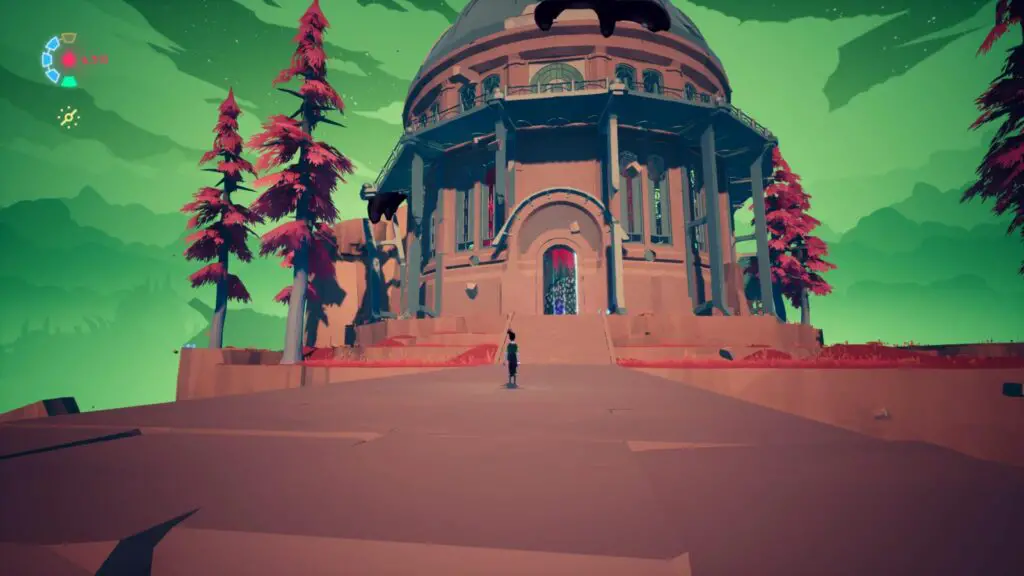
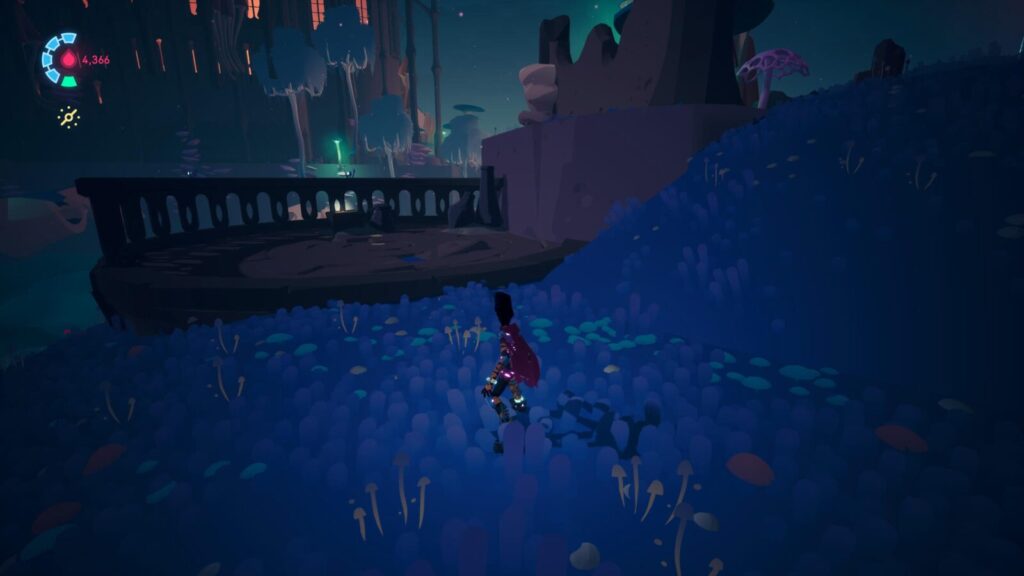
At the opposite side of the area, there’s a huge building with a domed roof and a doorway that is unlocked by activating three switches in the area.
Go behind the building to find a load of black splotches which hurt you if you stay still on them.
Among these splotches, you’ll find another Voidrunner Stash!

Continue around to the building’s left side, where you’ll see a Lost Journal Page on a rock.
You should now have all 5 Journal Pages and 5 Voidrunner Stashes in this area and can proceed into the next one. The Voidrunner Stashes should have unlocked Verse’s Suit, which reduces booster cool down significantly.
You may want to consider completing The Aggrieved Stranger before leaving.
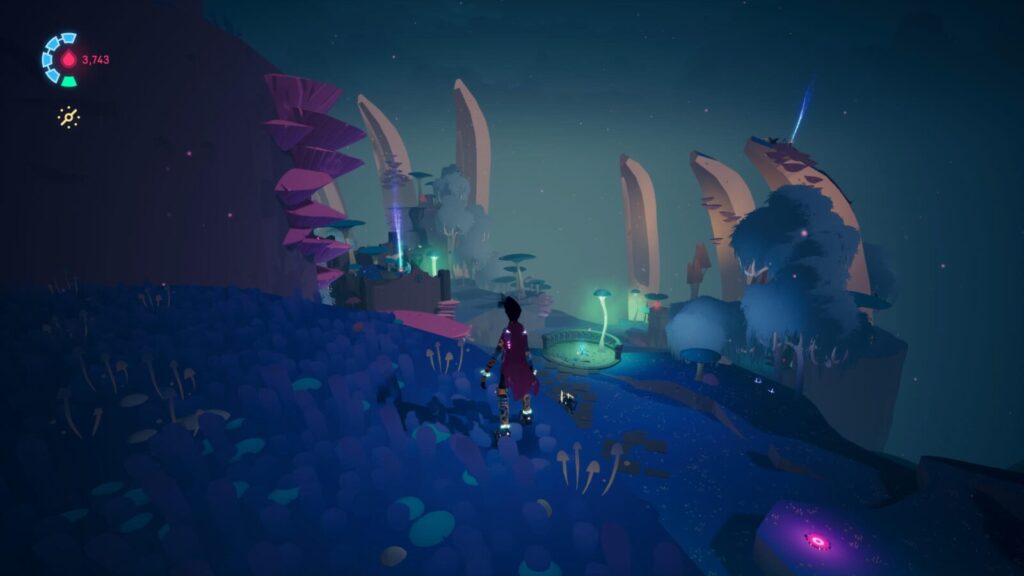
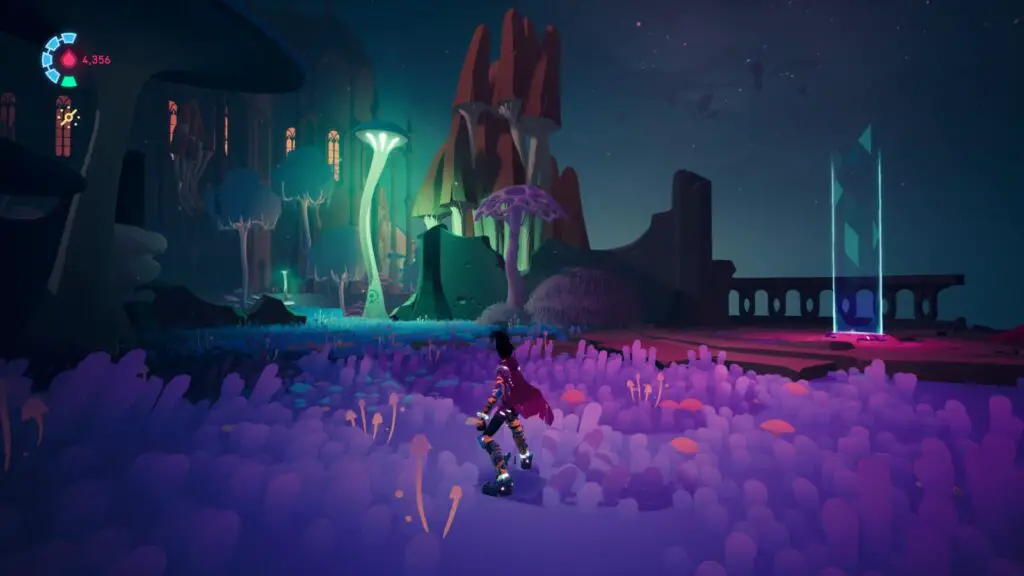
Eternal Garden Voidrunner Stash & Lost Journal Page Collectibles
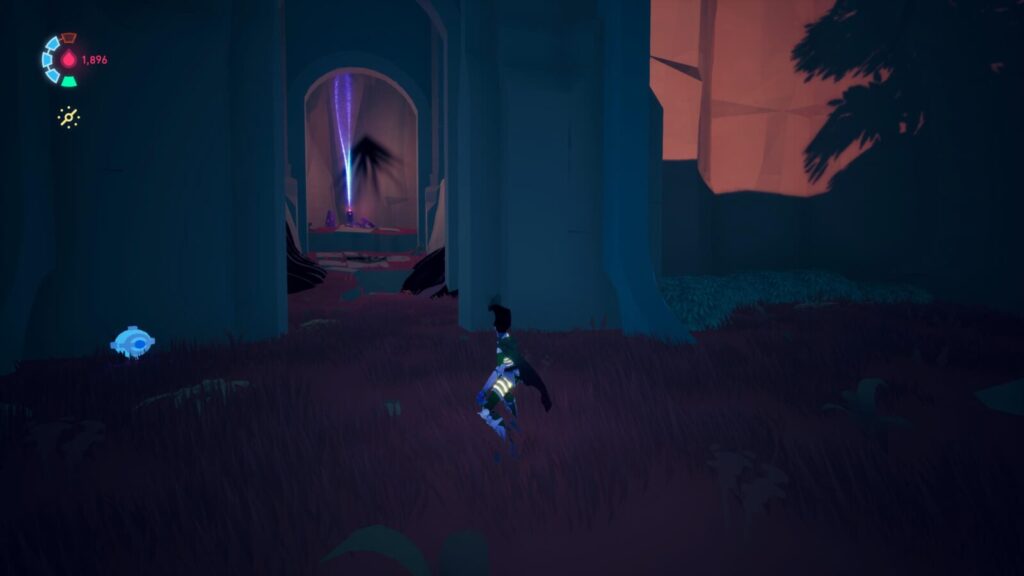
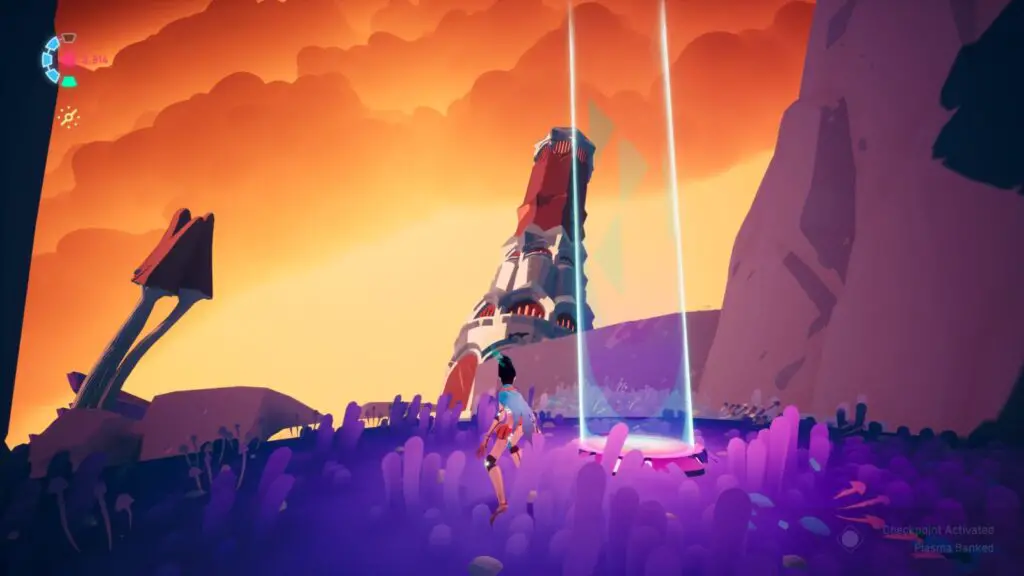
When you enter the Eternal Garden area, feel free to proceed until the Cyd checkpoint before you start looking for collectibles. The linear route leading up to the checkpoint is void of collectibles.
Once you have activated Cyd’s checkpoint, turn around and you should see a tall pillar of clouds with a glowing blue light at the top.
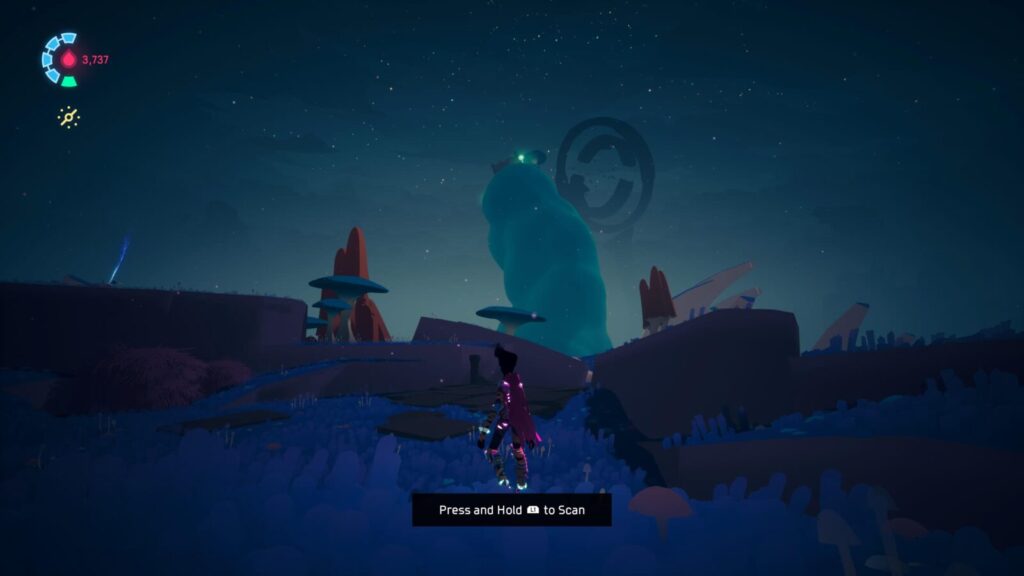
At the top, there’s a building with a collectible inside it, but you will need to first hit the yellow mushroom next to Cyd to apply a spore effect to yourself.
Then, rush up to the top of the cloud pillar as fast as you can. If you reach it while still surrounded by spores, the doorway will open and you can grab the Voidrunner Stash inside. If you’re struggling to get there fast enough, try using Verse’s Suit, acquired by collecting all Stashes in Ironroot Basin.
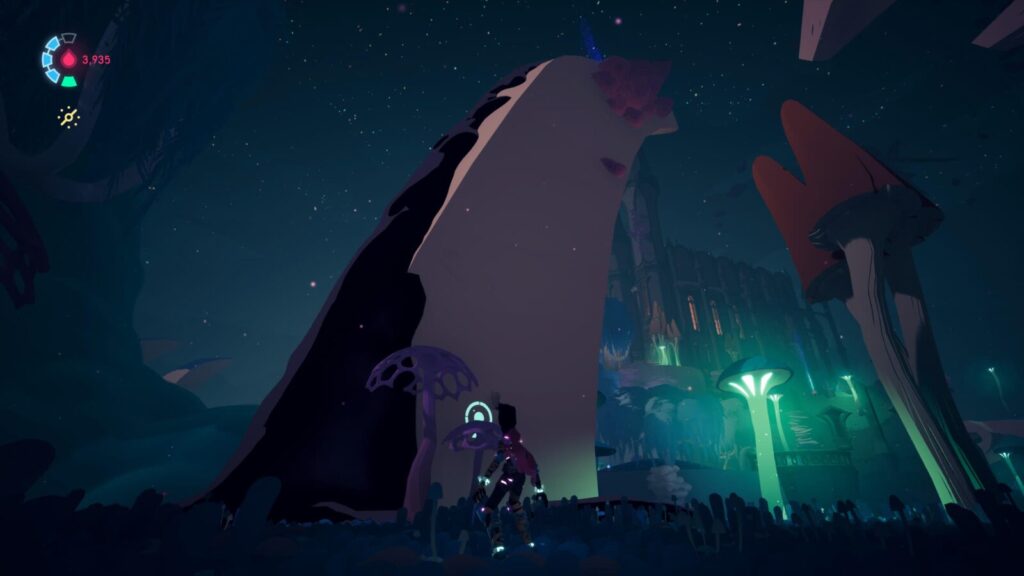
Return to Cyd and then turn right towards the yellow mushroom. Jump onto the ledge behind the mushroom.

From there you will be able to see two collectibles in the distance. Let’s start with the one to the right, on top of the huge bone.
Simply go around the back of the bone and climb up the black goo there to reach the top and collect the Voidrunner Stash up there.
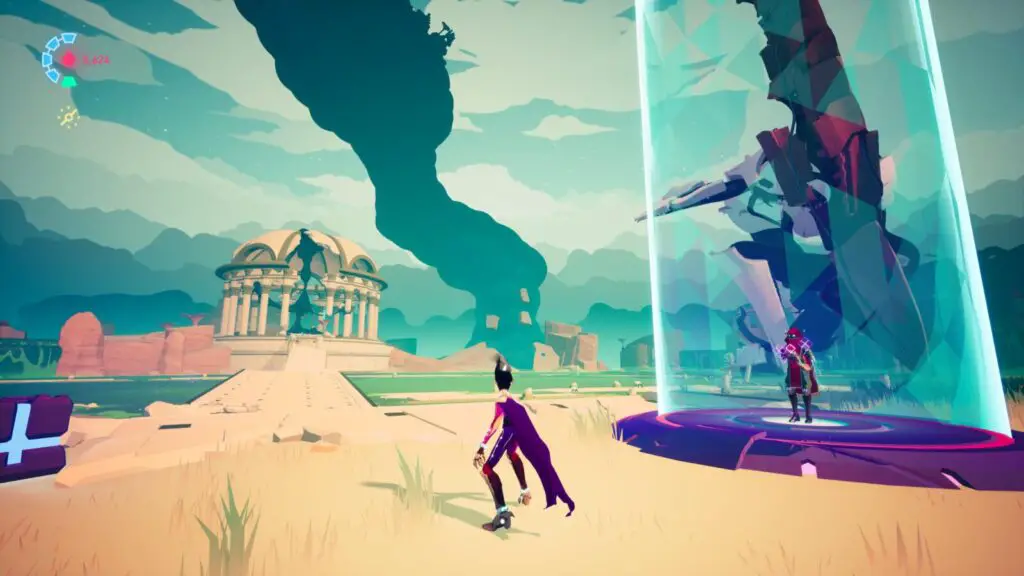
Next, while facing the other collectible on the small tower ahead of you, turn right and look for some ruins in the distance. To get the collectible, we will first need to reach that building.
From there, go up the ramp where one of the building’s towers has fallen and you’ll find a checkpoint at the top.

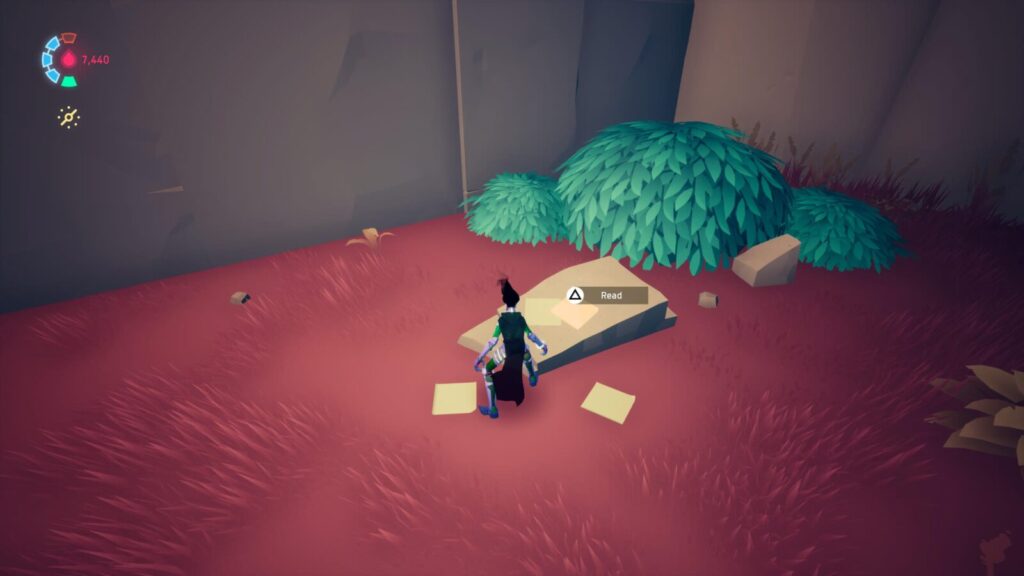
Just before the top, look on your left to see a stone plateau with a Lost Journal Page on it.
Turn left while facing the checkpoint to find a ledge under a luminescent mushroom. From underneath said mushroom, jump across to the bones sticking out of the clouds.
Once on the bones, use the series of grapple points to reach the next bones.
From the next bone, either keep your momentum going and jump to the next bone and then the tower where the collectible is, or use a combination of skating ![]() , boosting
, boosting ![]() , and double-jumping
, and double-jumping ![]() >
> ![]() to reach the tower.
to reach the tower.
Once on the tower, interact with the Voidrunner Stash there.
Return to Cyd and this time go to the left rather than the right.
When you drop down, follow the blue grass while keeping an eye out to your right for a platform with a Voidrunner sigil on it.
Once you spot it, jump onto it and the subsequent platforms to reach an upper area.
Follow the plasma blobs around the back of the main building to the other side, where you’ll find a Voidrunner Stash.
Now go back towards Cyd, but look even further on the left side of this area to see a large tower alone in the distance. This is where you can find Ahhric, the NPC you met on the way into the Eternal Garden.
On the path leading up to his tower, in a planter on your left, you will find another Lost Journal Page.
Return to Cyd and this time head straight forward into the large building. You will need to use the yellow mushroom spores to open the door.
Destroy the anomaly in this building, then use the mushroom spores in the area to activate the three nodes at the back of the building. This will open a doorway leading underground.
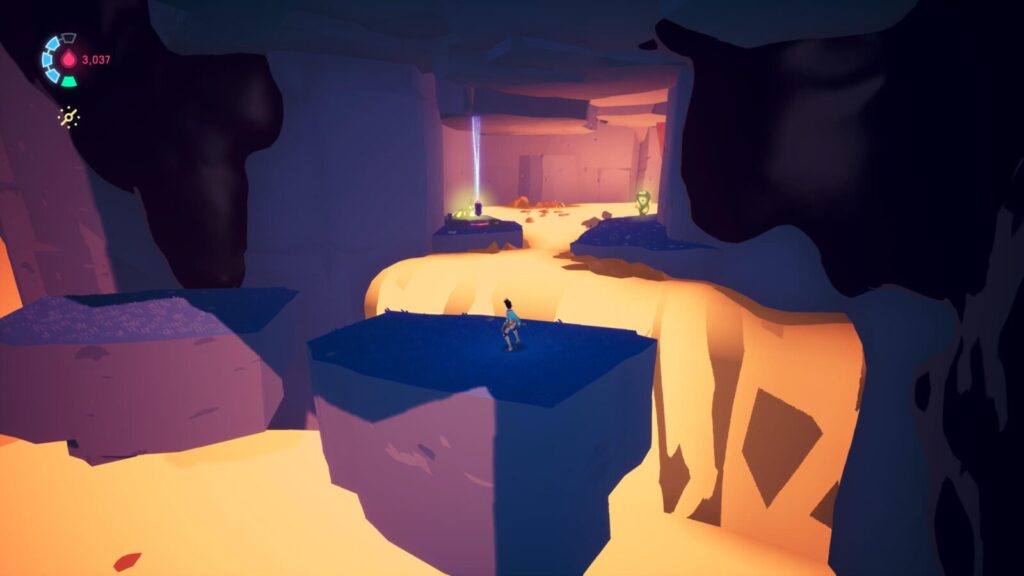
Down here, you’ll have to use mushrooms and intuition to solve a few puzzles, destroy an anomaly, and activate yellow grind rails.
Inside the room behind the door under the anomaly, there’s a yellow spore point which–when activated–will spawn another yellow grind rail that takes you back outside.
To the right, there are some ledges you can climb. Jump up them to the top and then look at the other side of the room, where you can see the next collectible.
Dash ![]() while skating
while skating ![]() towards the collectible and then double-jump
towards the collectible and then double-jump ![]() >
> ![]() in the air to reach and collect the Voidrunner Stash.
in the air to reach and collect the Voidrunner Stash.
You should now have all 3 Journal Pages and 5 Voidrunner Stashes in the Eternal Garden and can proceed into the next area. The Voidrunner Stashes should have unlocked Pyat’s Suit, which makes you regain shield units every time you destroy an enemy.
You may want to consider progressing Ahrric’s Pilgrimage before leaving.
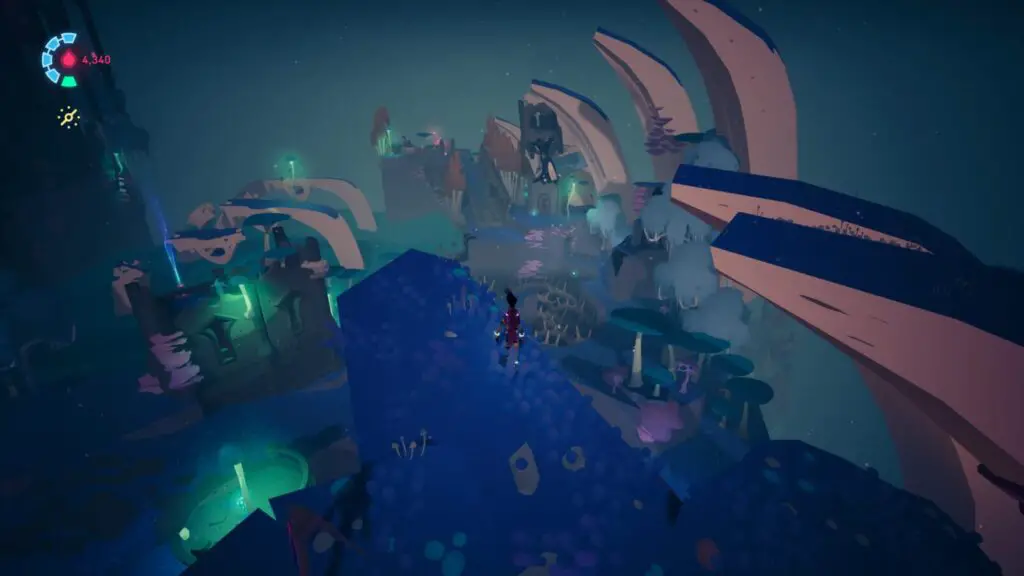
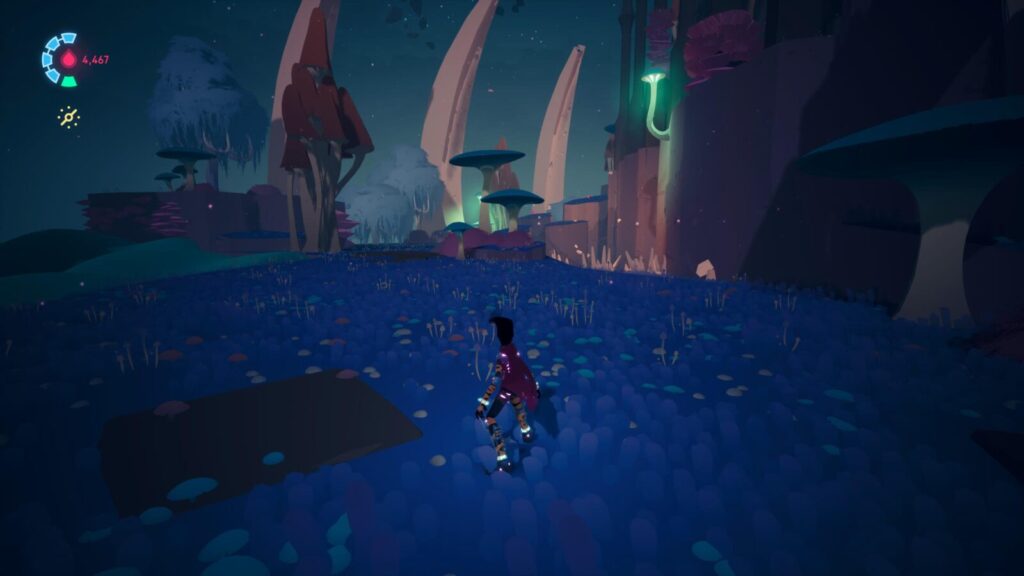
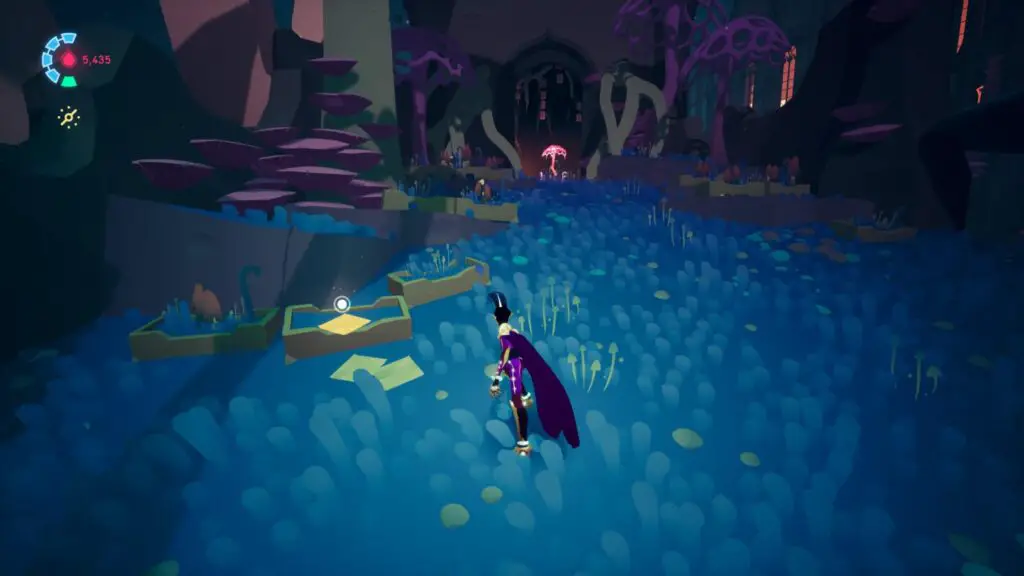
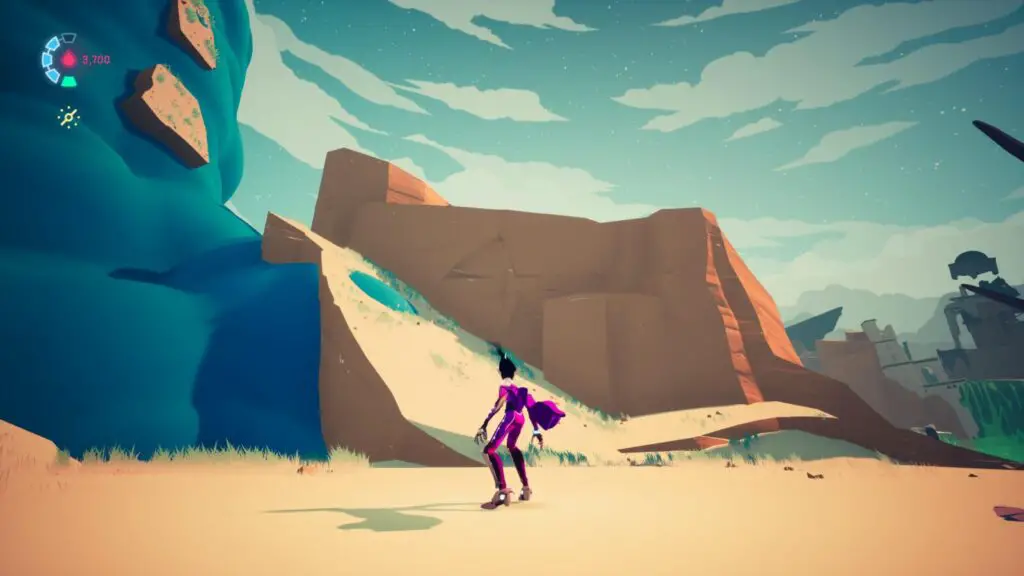
Mirrorsea Voidrunner Stash & Lost Journal Page Collectibles
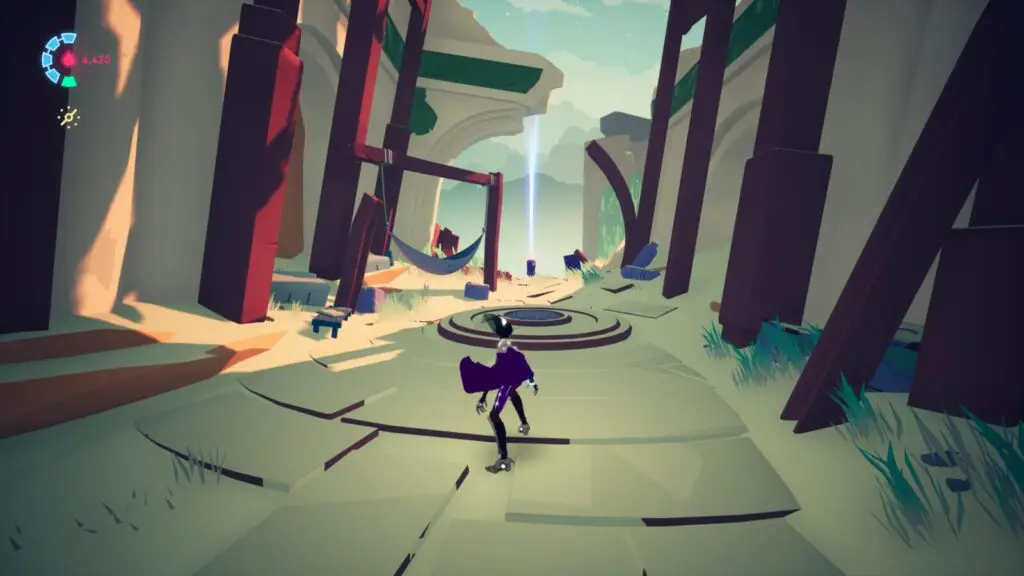
As you enter Mirrorsea from Ironroot Basin, you’ll pass through a double-archway structure.
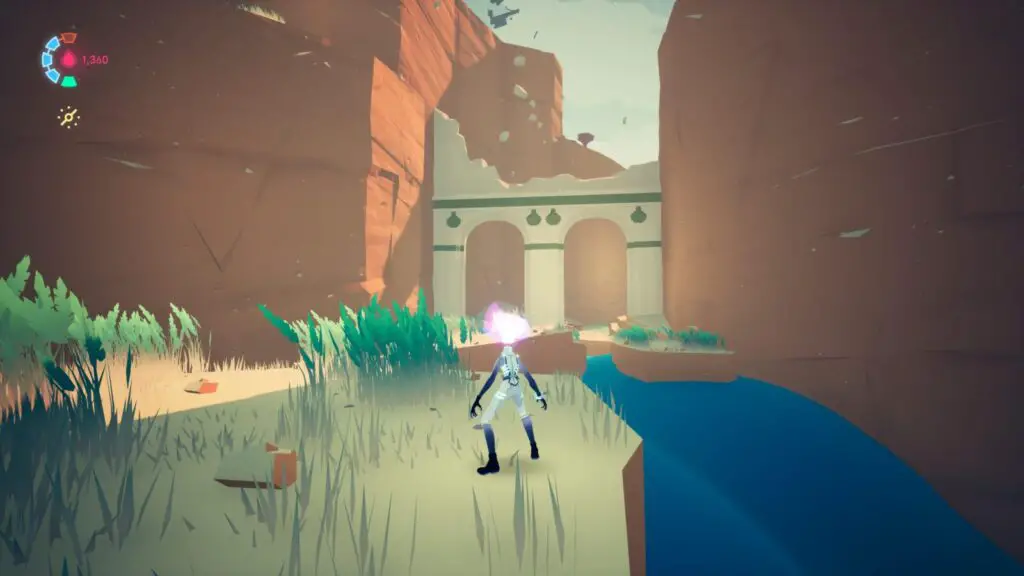
Immediately behind it, on some dark metal debris, you will find a Lost Journal Page.
Proceed further into this area, through a long and linear platforming/rail-grinding section that leads up to a ship owned by an NPC named “Ames”. Before you reach his ship, along the linear path, you will eventually see a hard-to-miss Voidrunner sigil on a piece of floating blue metal.
Jump to it and then follow this side-path series of rails and grapples to a ship with a collectible on the front.
Land on the ship’s deck and collect the Voidrunner Stash with ![]() .
.
Make your way back to where the sigil was and then continue along the linear route to Ames’ ship. After you’ve met him, hit the glass tank behind his ship’s wheel to turn off the electric rail and then grind it to proceed.
You will eventually come to a pool of acid that has large stone pillars protruding from it which you will need to skate across to progress. Don’t go over it yet.
Instead, turn around and jump to the island ahead of you. You will need to dash ![]() while skating
while skating ![]() and then double-jump
and then double-jump ![]() >
> ![]() to make it across.
to make it across.
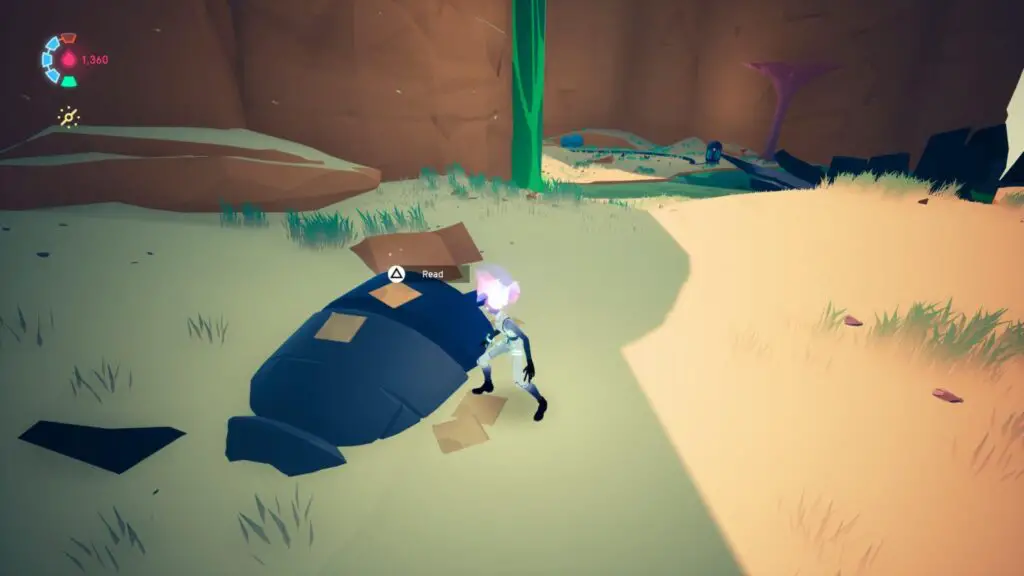
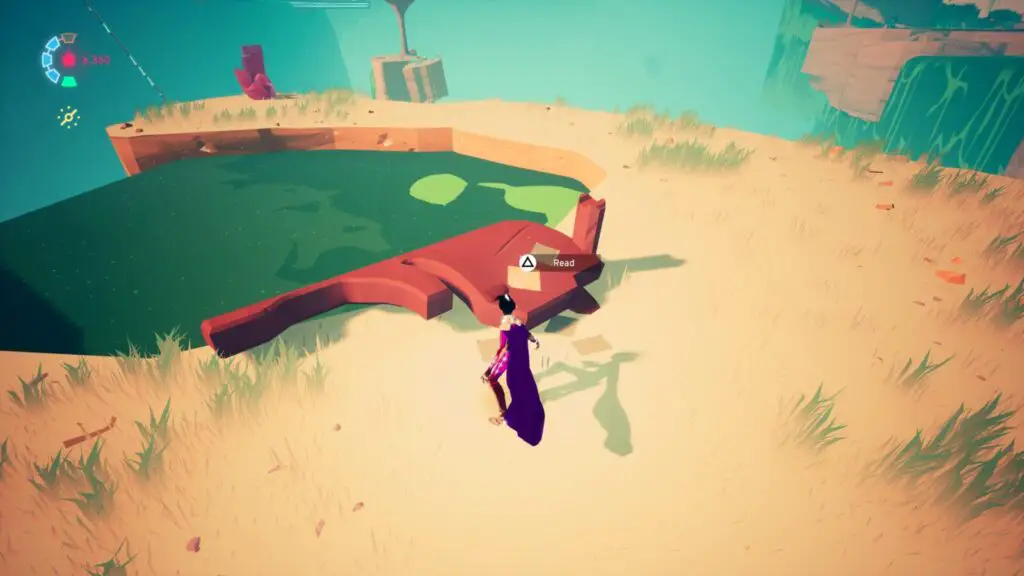
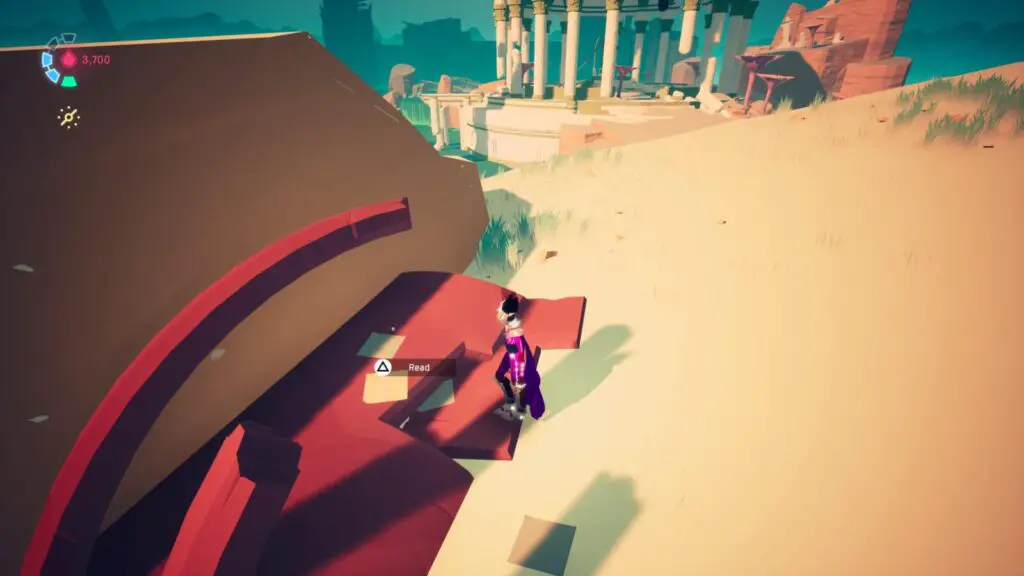
Up on this plateau, look for some orange debris sticking out from the acid pool. On it, you will find another Lost Journal Page.
Once you have that, you may safely proceed to (and activate) Cyd. There’s a collectible among a small cluster of buildings before you reach Cyd, but it’s easier for me to tell you how to get there from Cyd, as there are two routes you can take towards the checkpoint.
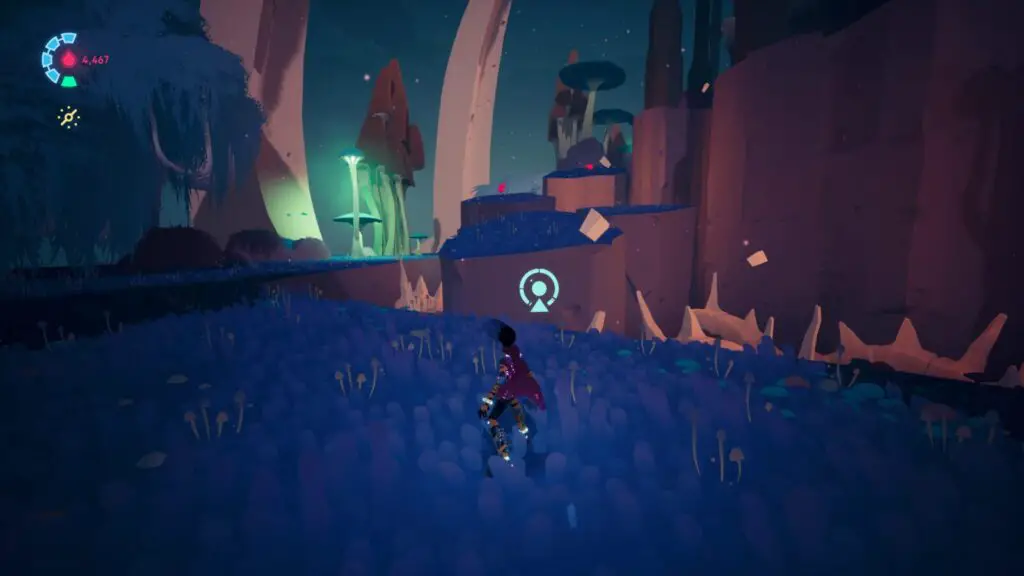
From Cyd, turn around and look out over the area you came from. You should be able to see two short towers from up there, one of which has a Voidrunner Sigil on the side, and a collectible on top.
Make your way over to these towers and use the oyster creatures to make a grind rail that you can reach the collectible with.
Once you get up onto the roof of the tower, collect the Voidrunner Stash.
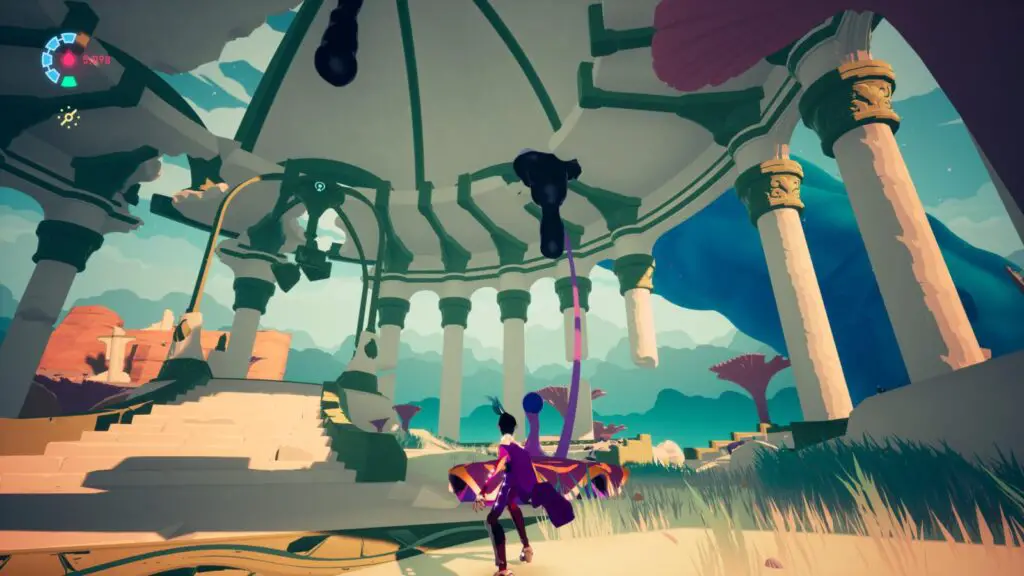
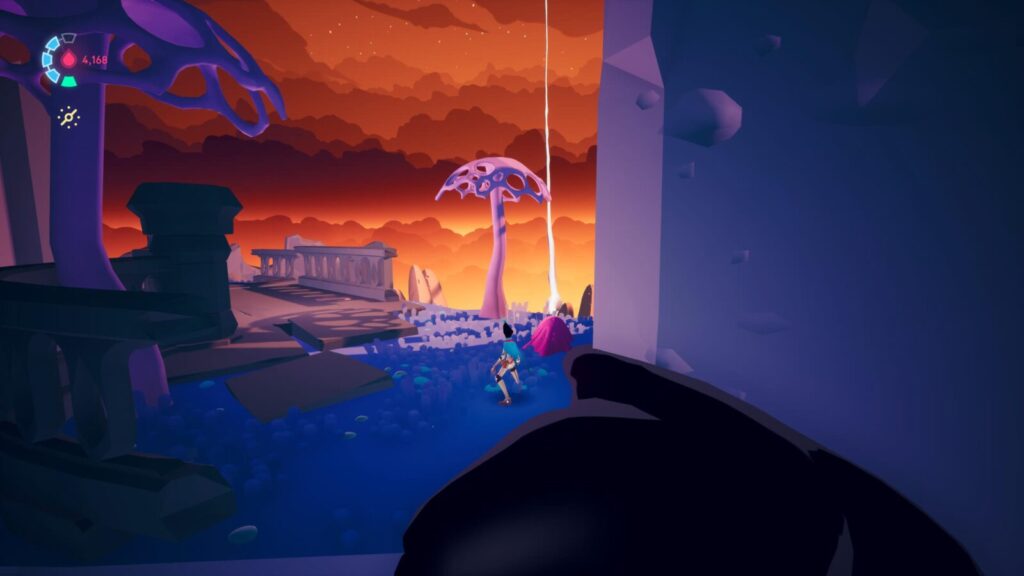
From Cyd, you should be able to see another big Cloud Pillar, to the right of the large domed pavilion building.
Make your way over to the pillar and then get up onto the stone ridge next to it.
This is quite difficult to do, as you will need to jump from the stone ramp leading up the cloud pillar, over to a ledge on the side of the ridge. Then, you need to hop onto a small lip on the ridge and dash ![]() > jump
> jump ![]() to another small ledge on the far side, which you can then use to jump up.
to another small ledge on the far side, which you can then use to jump up.
These instructions are much easier to follow by watching this short video clip:
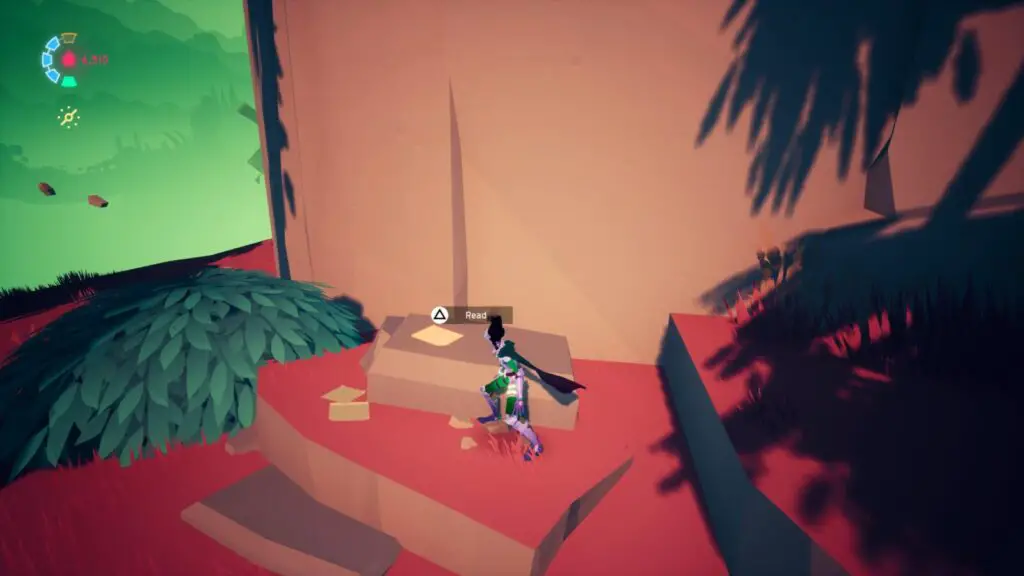
At the top of this ridge, look for a bit of scrap metal with a Lost Journal Page on it.
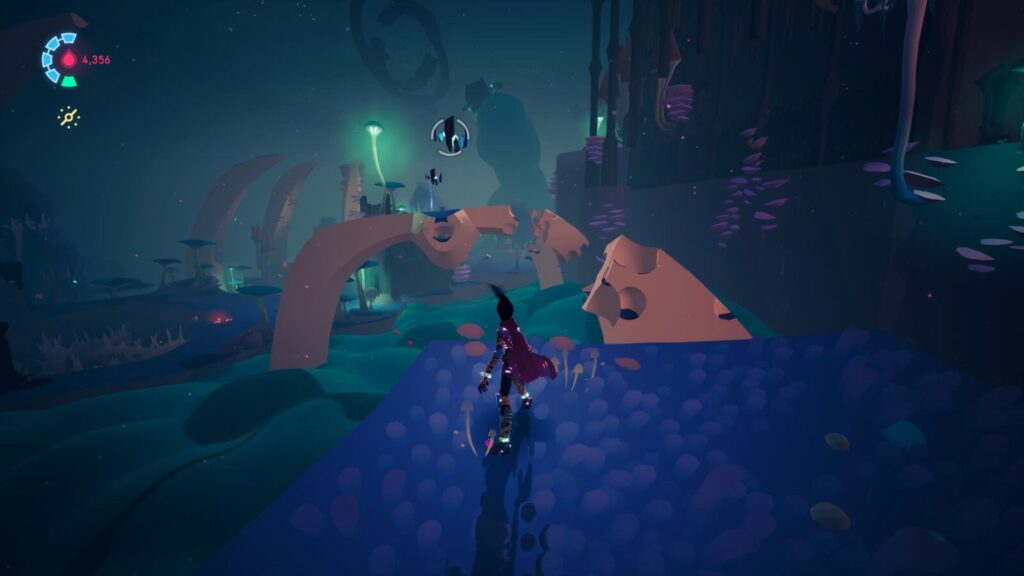
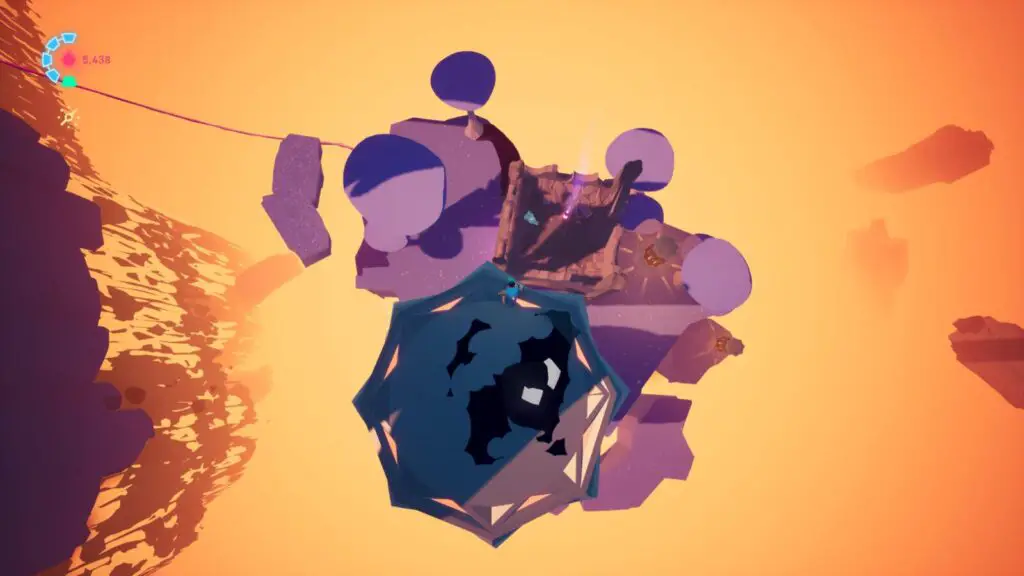
Once you have that, make your way up to the top of the cloud pillar, where there’s a whole area to explore.

The small island at the tip of the cloud pillar is split into two halves. The top half is lighter and the bottom half (upside-down) is darker. Make your way to the darker underside via a tunnel on the light side.
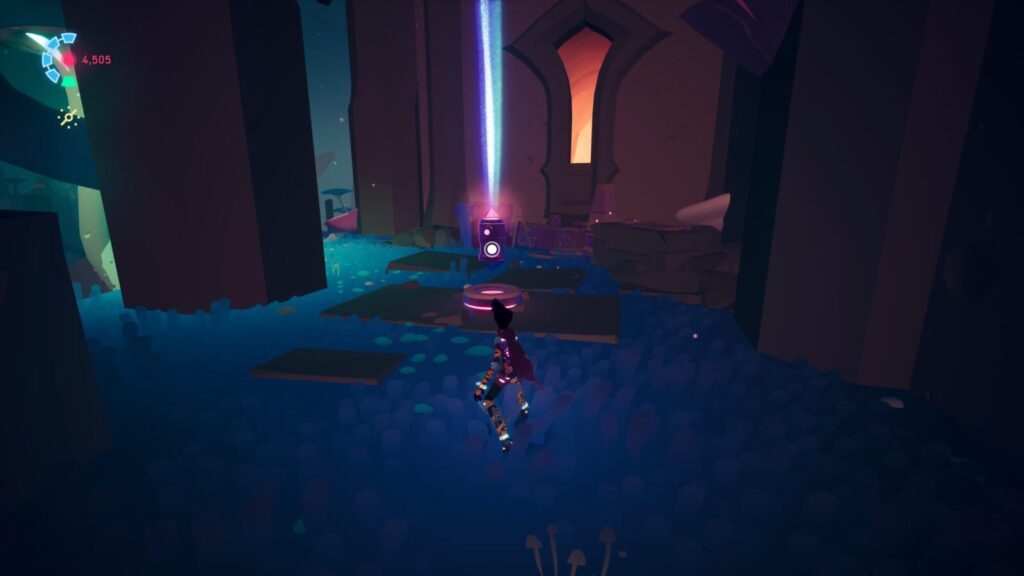
When you come out at the other end, look for a breakable barrier next to a Voidrunner Sigil.
Break through the barrier and enter the area beyond it. Climb up the black goop onto a ledge where you’ll see a red and purple oyster-like object.
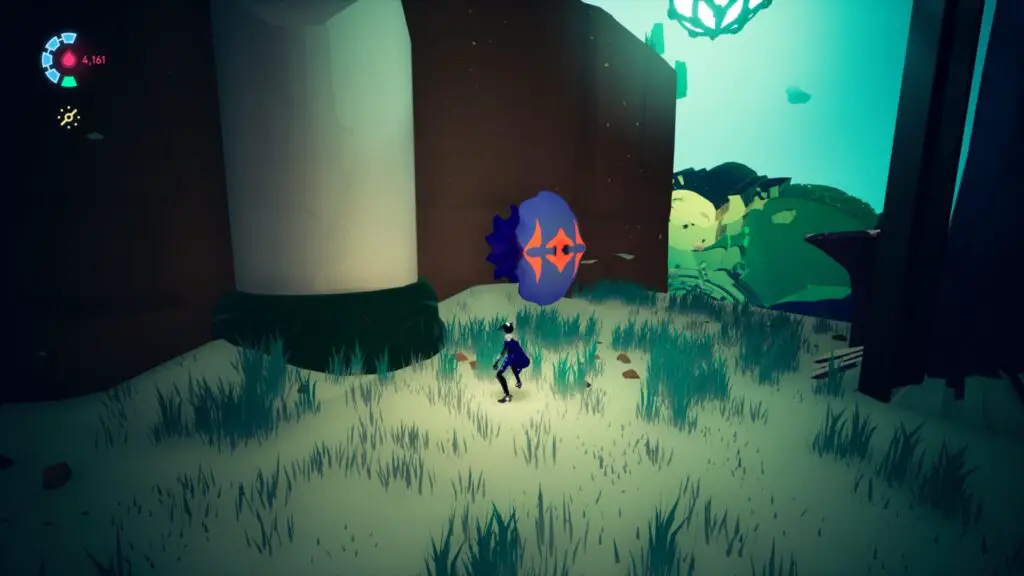
Hit it and it’ll extrude a grind rail you can use. Grind on it to be taken into a cave with a Voidrunner Stash inside it.
Now, return to the light side of the cloud pillar island and proceed towards the anomaly. As you do so, you’ll need to activate an oyster grind-rail at the back of a tower which has a Voidrunner Sigil on it.
The collectible is actually on top of this tower, but you will need to ride the grind rail to the anomaly, then ride it back and jump off to grab the Voidrunner Stash on your way back.
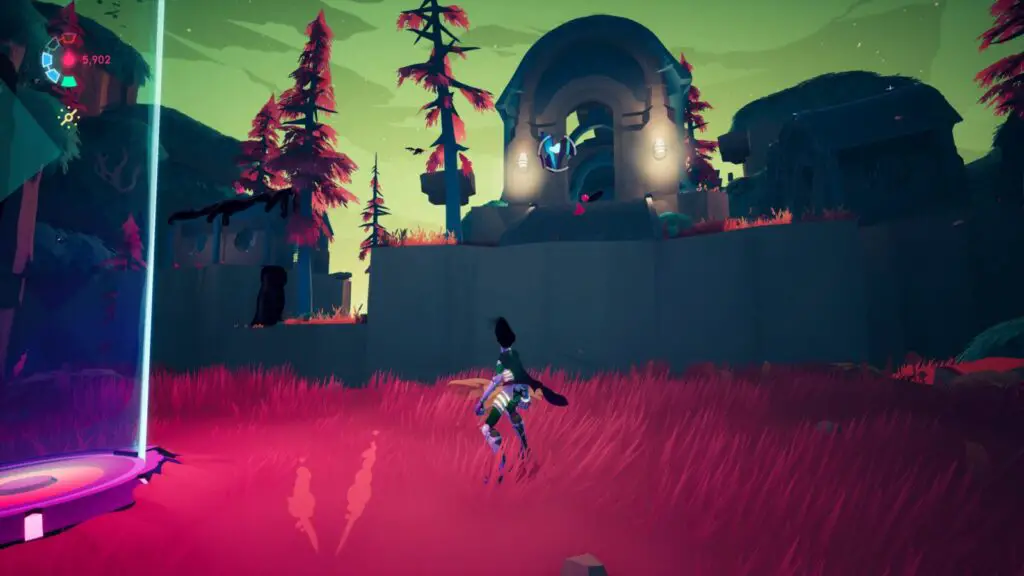
Once done here, go back down to the base of the cloud pillar.
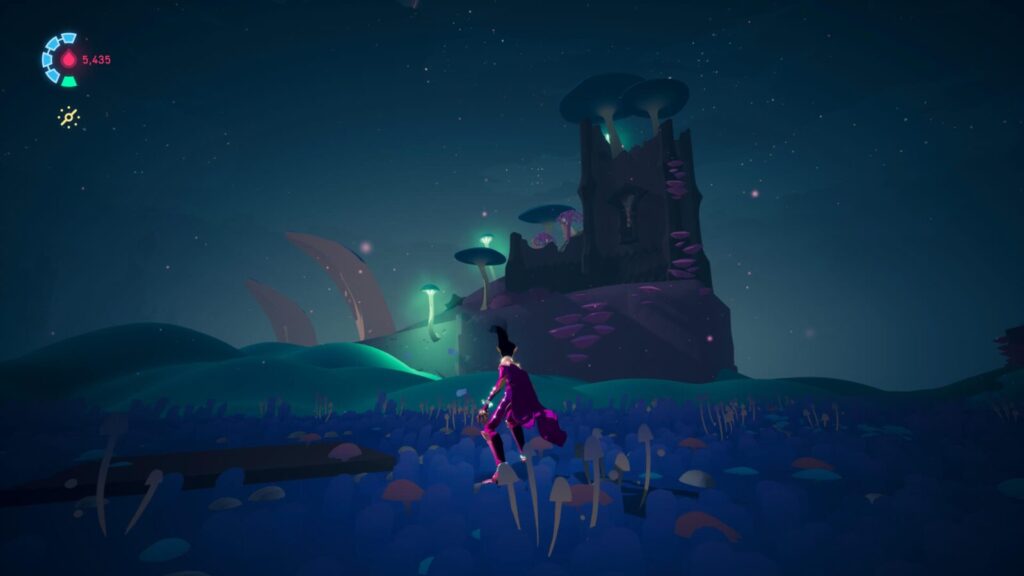
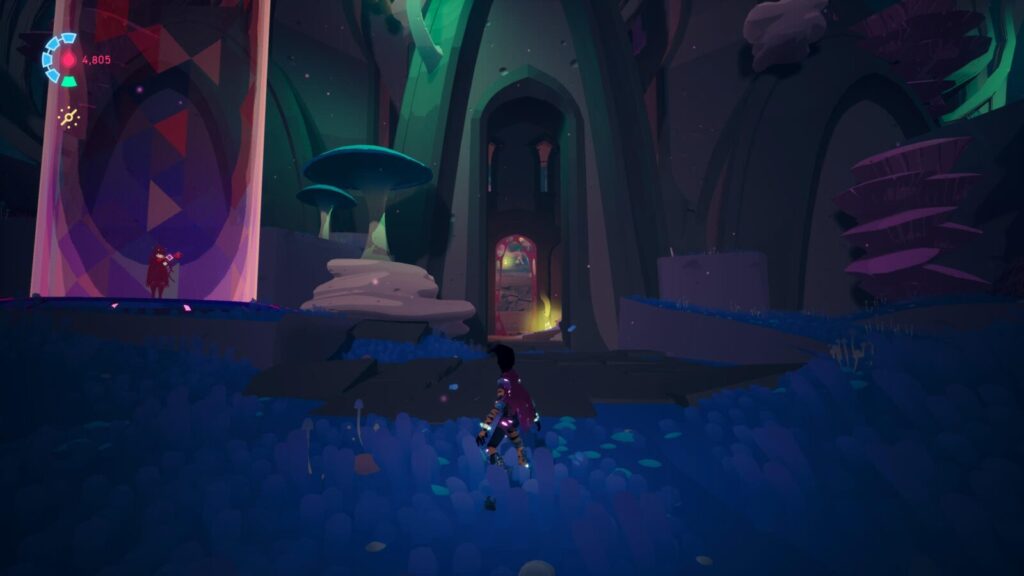
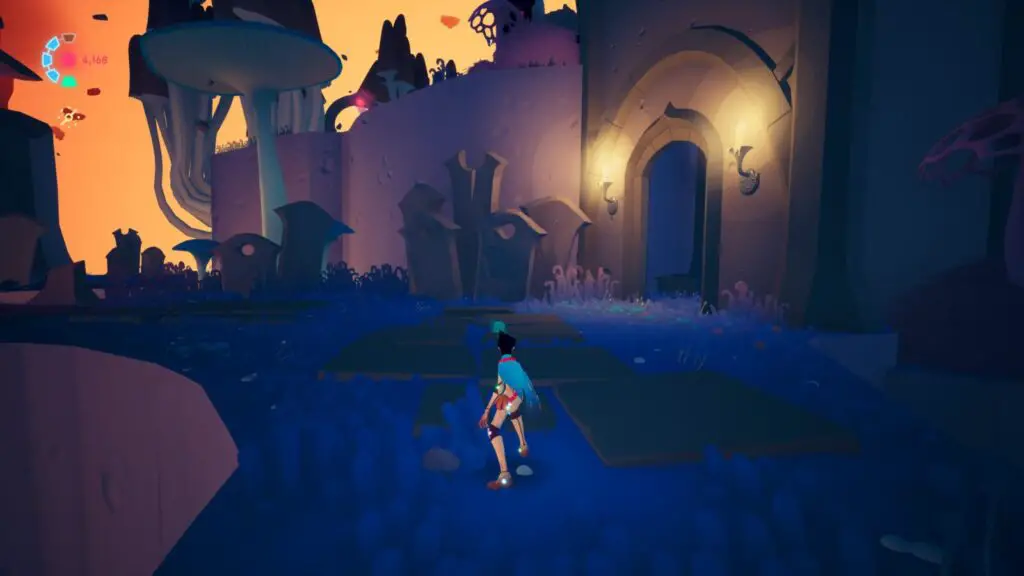
At the opposite side of the pillar from Cyd, you will be able to see a white and green structure embedded in a nearby cliffside.
Enter this building to find another Voidrunner Stash.
The last collectible is on the roof of the Pavilion. Once the Anomaly has been destroyed, use the Oyster Rail to launch yourself at a hanging blob of black goo.
Climb up it and make your way to the goop hanging from the ceiling which you can use to climb up and grab the Voidrunner Stash.
You should now have all 3 Journal Pages and 6 Voidrunner Stashes in Mirrorsea and can proceed into the next area. The Voidrunner Stashes should have unlocked Ghozam’s Suit, which doubles your attack power.
You may want to consider finishing Crust Station Vacation before leaving.
The Luminous Peak Voidrunner Stash & Lost Journal Page Collectibles
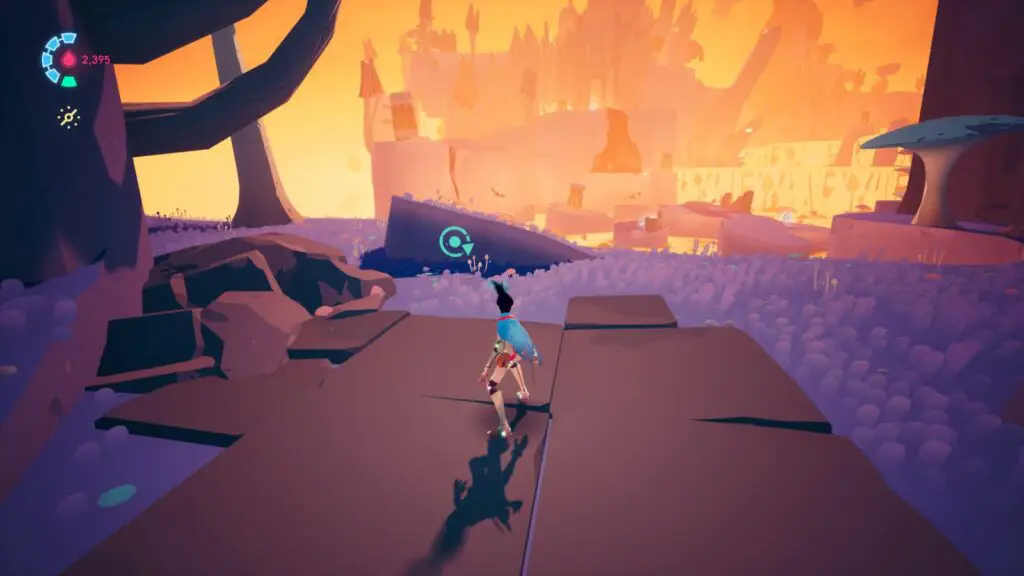
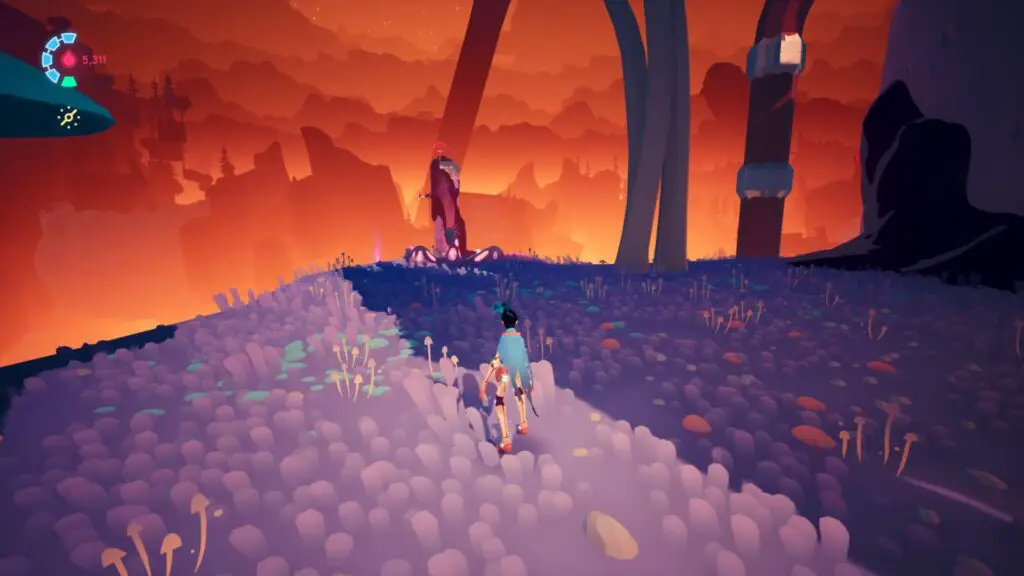
Starting from Ironroot Basin and entering Luminous Peak, keep an eye out on your left for a Lost Journal Page on the stone ledge.
Proceed further into Luminous Peak, through the first mushroom spore doorway. If this is your first time visiting Luminous Peak, you will see the cutscene introducing the Remnant for this area.
After that, you should see a Voidrunner Sigil on a rock ahead of you.
Go left past it and follow the ledge around to some black goo. Climb the goo and then continue across the platforms along the perimeter of this island.
You will eventually come to a Voidrunner Stash on a stone tower that you can jump to.
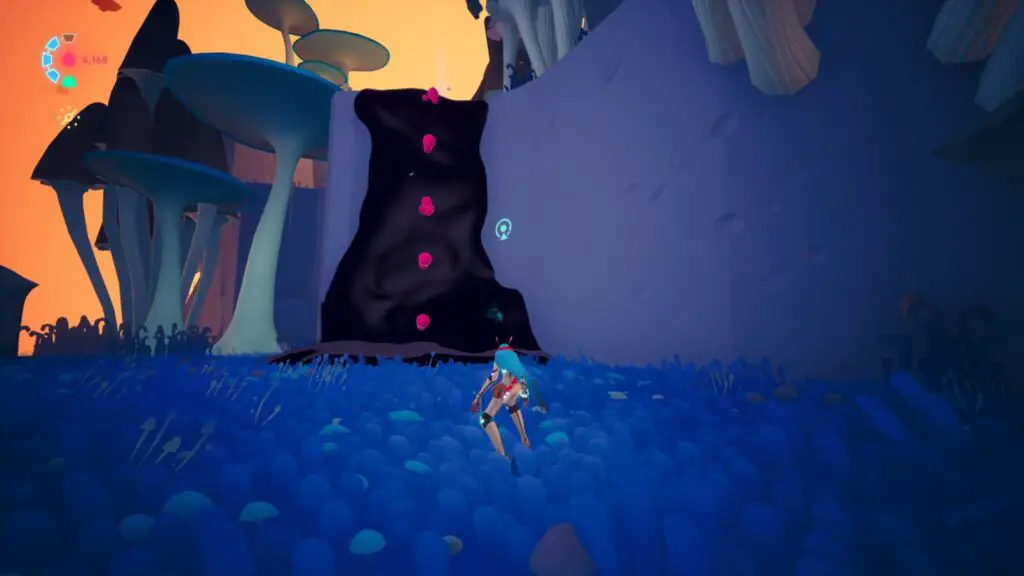
Continue towards the Cyd checkpoint, but keep your eye out for another Voidrunner Sigil on a wall you will jump over.
It’s pointing down towards some black goo on the wall. Use it to climb down and retrieve the Voidrunner Stash on the platform down there.
Go back up from here and continue on a short way until you see a mushroom rail spawner.
To activate it, you will need to take spores from the red mushroom on the lower level (to the right of it) and then quickly skate ![]() and dash
and dash ![]() your way around the island back up to this spawner. You’ll have just enough time to make it.
your way around the island back up to this spawner. You’ll have just enough time to make it.
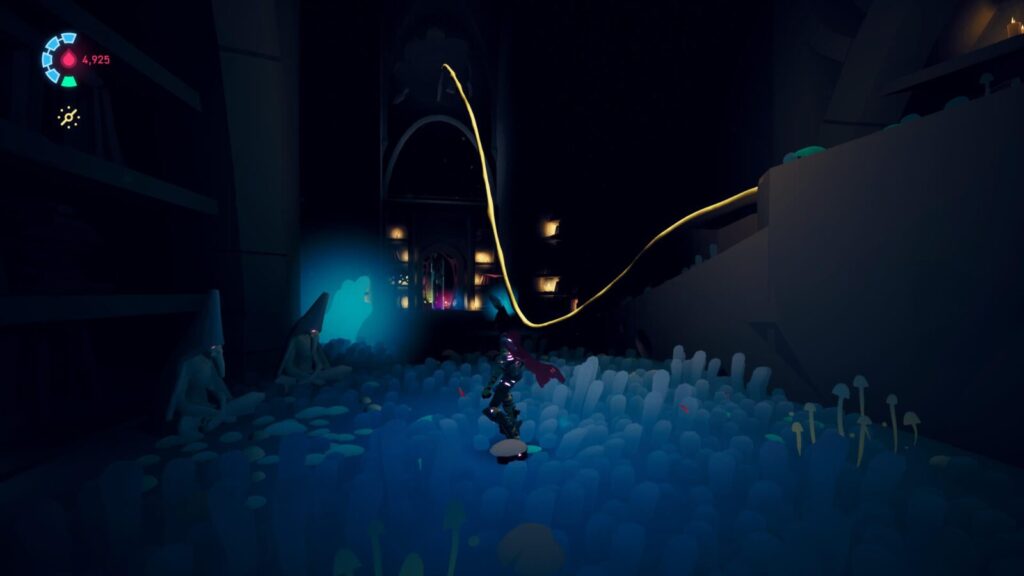
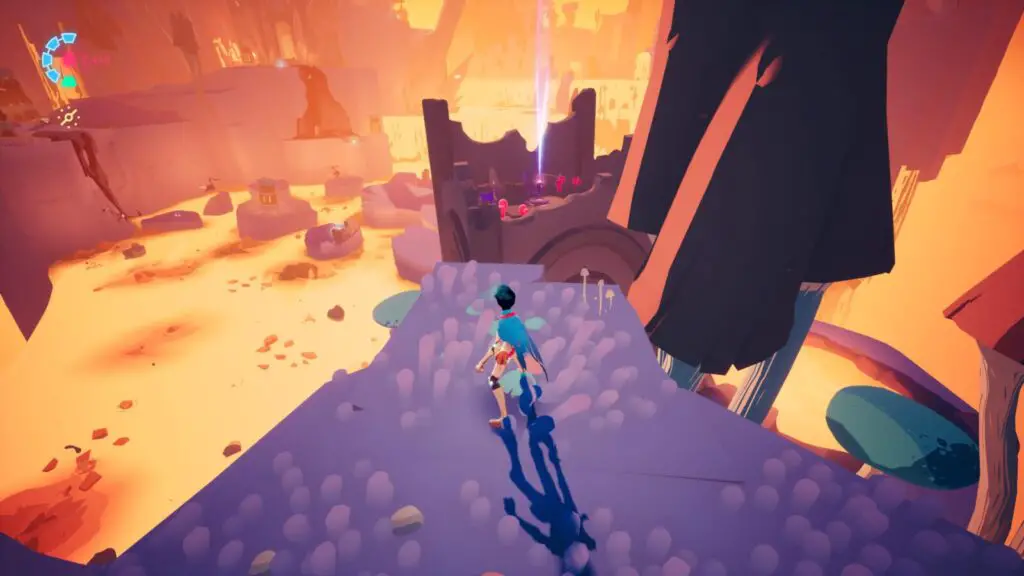
Once the rail is spawned, use it to reach an anomaly on a tower ahead.
Next to the tower, under some ruins, there’s a blue mushroom that shoots out a grind rail when hit (similar to the anomaly you find on your way to Cyd for the first time).
Use the mushroom rail to destroy the anomaly, then use it again to get up onto the roof of the tower.
From there, jump down onto the roof over the mushroom, where you can clearly see another Voidrunner Stash.
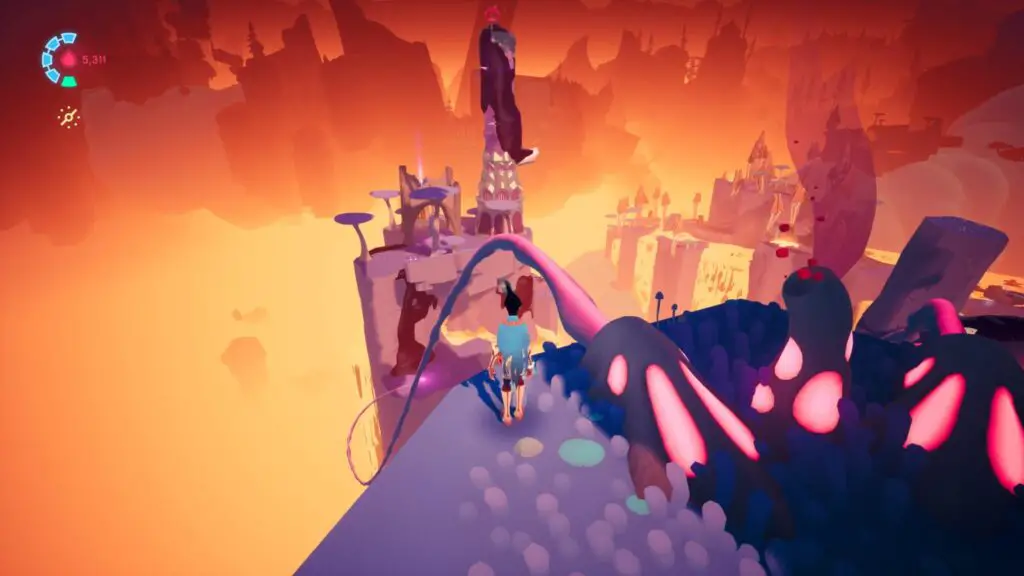
Continue through the level as normal until you reach a square and very tall ruined tower that stretches up into the sky. The rubble of this tower is used to reach one of the first few anomalies.
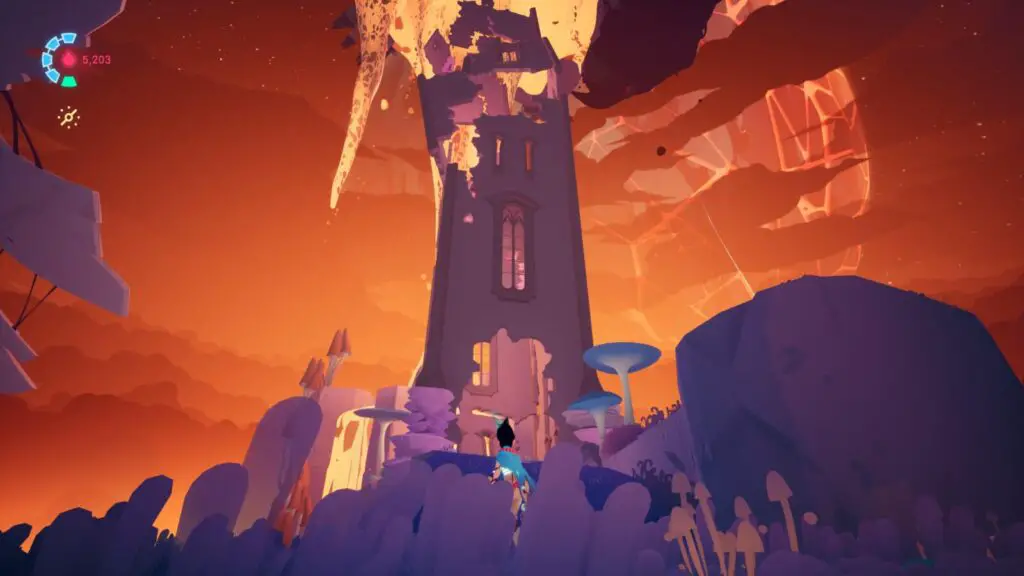
On your way up this rubble, you’ll see a mushroom rail point with a Voidrunner Sigil next to it.

Proceed further up the rubble to a red mushroom, from which you’ll actually be able to see the collectible we’re after.
Hit the mushroom to get its spores and then bring them to the mushroom rail spawner, which will take you to the Voidrunner Stash above you.
Continue up the tower’s rubble to another anomaly on a very tall tower. Destroy the anomaly before moving on.
From the checkpoint next to that tower, turn left to see another route past the lavafall.
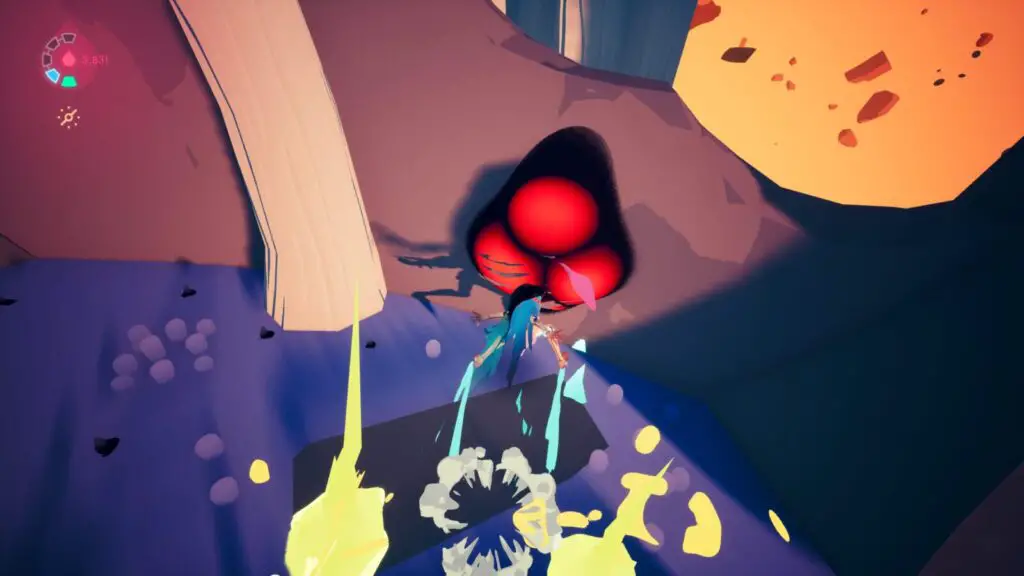
As you head in this direction, you’ll see a very obvious collectible ahead of you, but the island it’s on is covered in spike hazards.
You will need to jump over and quickly make your way to the red blob you can attack to remove the hazards. Once they’re gone you can go back and collect the Voidrunner Stash.
Return to where you spotted the collectible and continue along the path with the grapple points until you come to a long rail. Ride the rail to the next island.
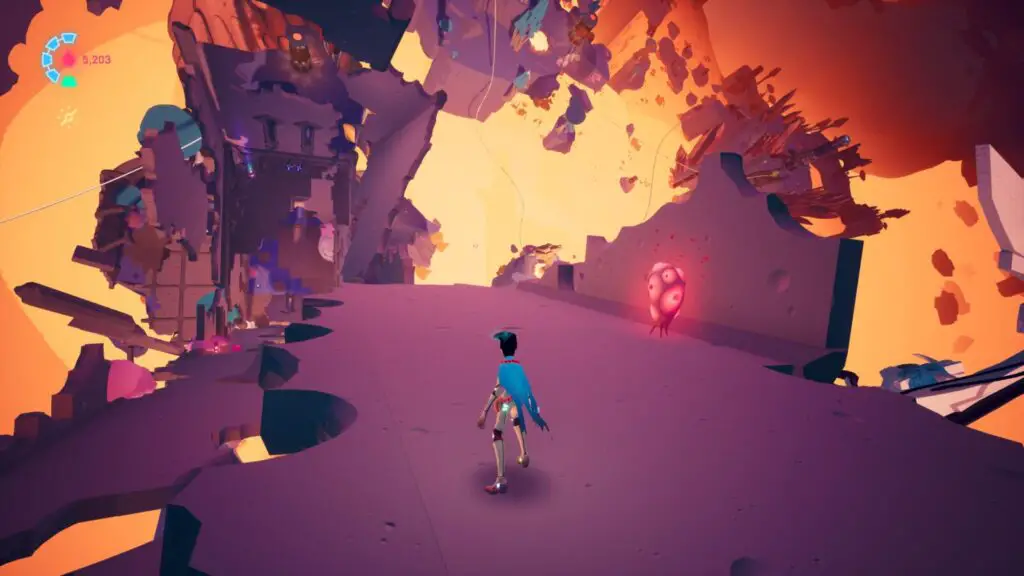
When you land, there will be a lot of enemies. Get rid of them and then work your way up to the next level of the island.
You should come to a stone doorway, with a path leading off to the left. At the end of the corridor through the door, you will find one of the four Elders for Ahrric’s Pilgrimage. Once you’ve spoken to said Elder, go down the left path.
Follow it all the way around until you see a large collection of black goo on the wall ahead, with a Voidrunner sigil next to it.
Climb up the goo and open the Voidrunner Stash at the top, near the checkpoint. If you have every stash up to this point, you should now unlock the Reliquarian trophy.
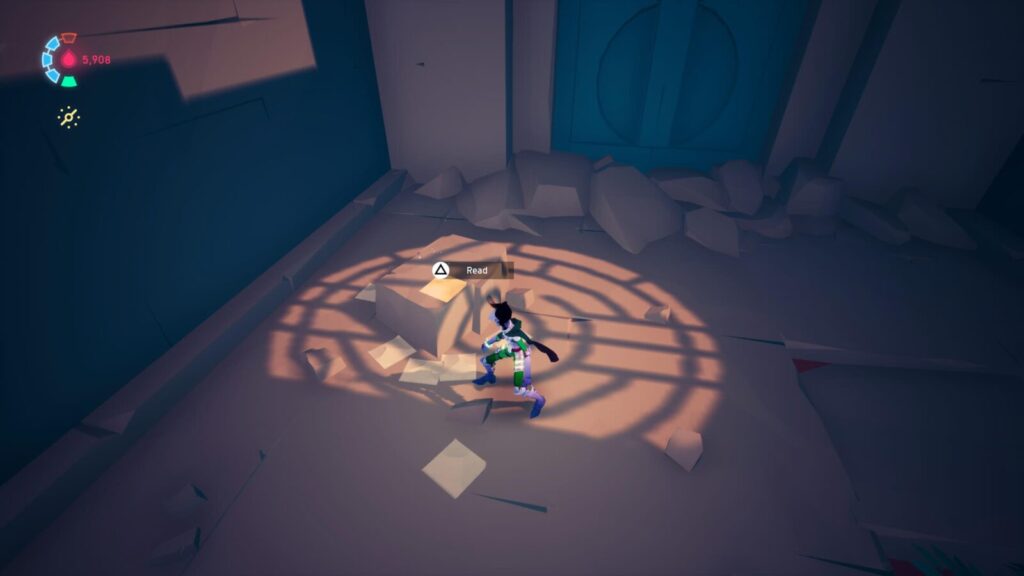
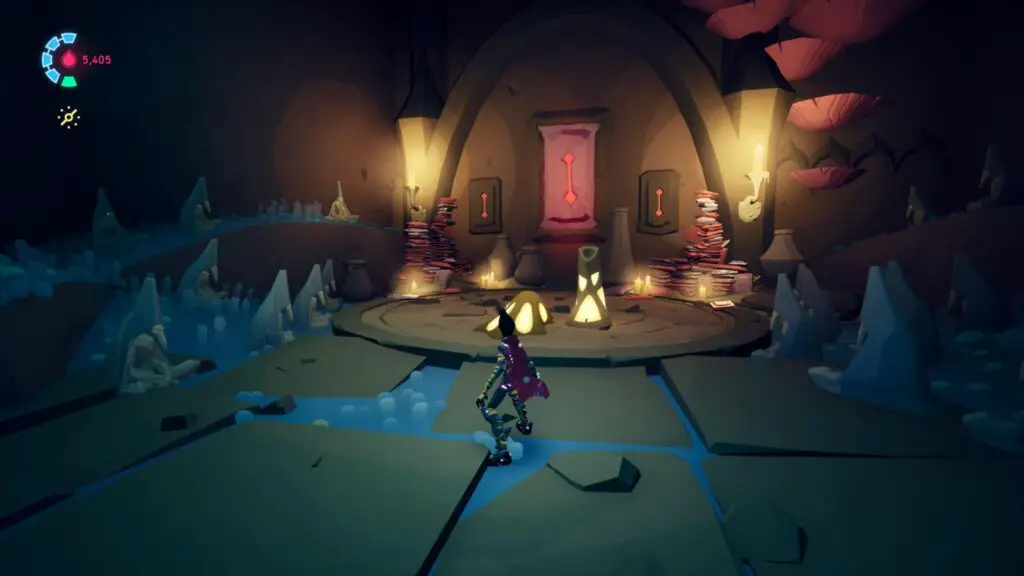
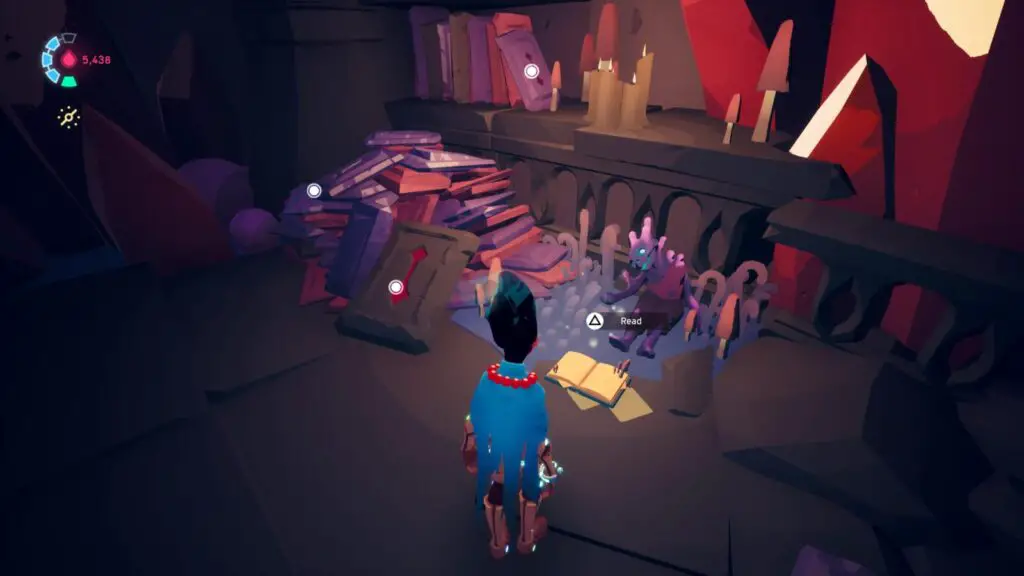
The final collectible can only be found by completing Ahrric’s Pilgrimage. By speaking to all four Elders, you will gain access to the “Crystal Palace”. Inside, you will find a body with the rest of Tarragon Danderpaws’ journal beside it. The final Lost Journal Page. You should unlock the There and Back Again trophy after picking it up.
You should now have all 2 Journal Pages and 6 Voidrunner Stashes in The Luminous Peak and can proceed into the next area. The Voidrunner Stashes should have unlocked Tufte’s Suit, which reveals Voidrunner Stash locations when you scan with ![]() . This is very useful for going back to retrieve any you may have missed — which is hopefully none with our guide in hand!
. This is very useful for going back to retrieve any you may have missed — which is hopefully none with our guide in hand!
Thank you for choosing PlatGet as your source for a Solar Ash Collectible Guide. Consider checking out our other guides, such as our Solar Ash Trophy Guide & Road Map!
Follow us on Twitter @GetPlat or Instagram @platget for updates on new reviews and guides, as well as small anecdotes about our platinum journeys.