PlayStation 4, PlayStation 5
Man of Medan Collectibles Guide
Collectible Guide
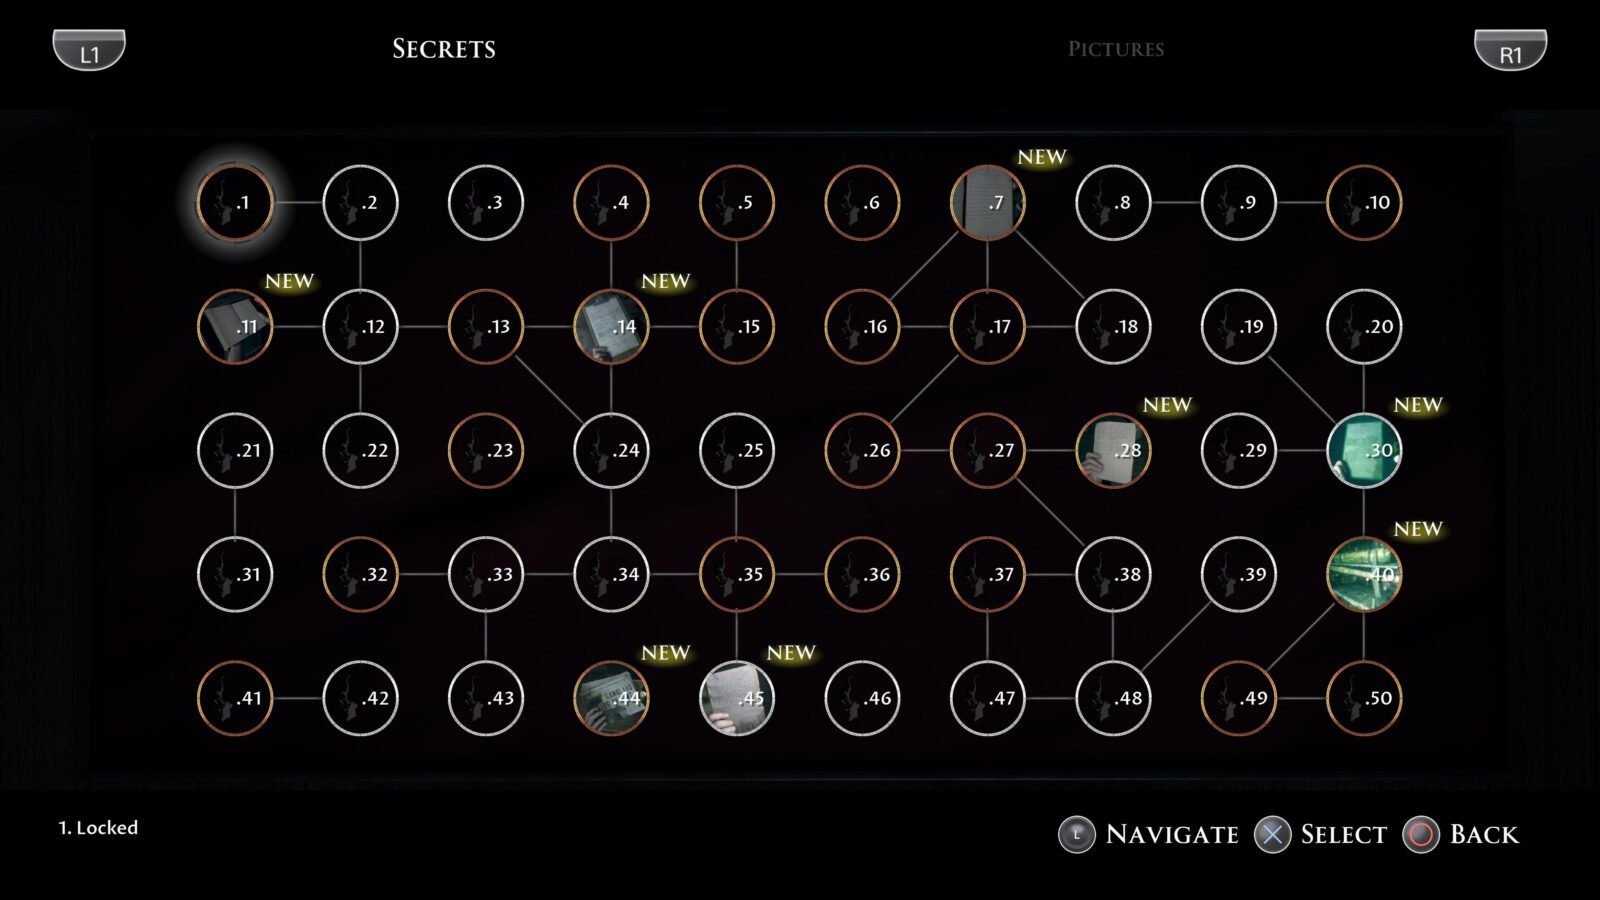
Man of Medan, All Secrets & Frames Pictures
The Collections in Man of Medan are found out of order. This means you can find a Black Framed Picture in the Wreck chapter, however, this picture will be listed as #2 in the Collections Tracker, but it’s the first picture you can find in the entire game. To make things easier, This guide will list both the order in which you actually find it and it’s collection order, and which character you’ll be controlling at the time. This is to help you better cross-reference the Collections you pick up with your in-game tracker with this guide. This guide will also list Chapter-Specific Trophies in order and how to unlock them.
Finally, this Man of Medan Collectible Guide will cover both the Theatrical Cut and the Curator’s Cut; the first half of the guide is written from the perspective of the Theatrical Cut with the latter half switching to the Curator’s Cut. You will need to play both version to unlock 100% of the secrets in Man of Medan. You can circumvent this by playing Co-Op mode as collectibles are shared so while one player is grabbing things only found in the Theatrical Cut, the other player can grab things exclusive to the Curator’s Cut and both will count for each player. However, this is a bit more hassle as there are a few moments where each player can advance the story which will lock one or both players out of a collectible so unless you’re both willing to coordinate in an efficient manor, I’d advise against this route.
Man of Medan | Theatrical Cut Secrets
During the Theatrical Cut playthrough we will be keeping all characters alive so that we are not locked out of any collectible.
Chinese Market
Joe and Charlie spend some time at the Chinese Market in the Prologue.
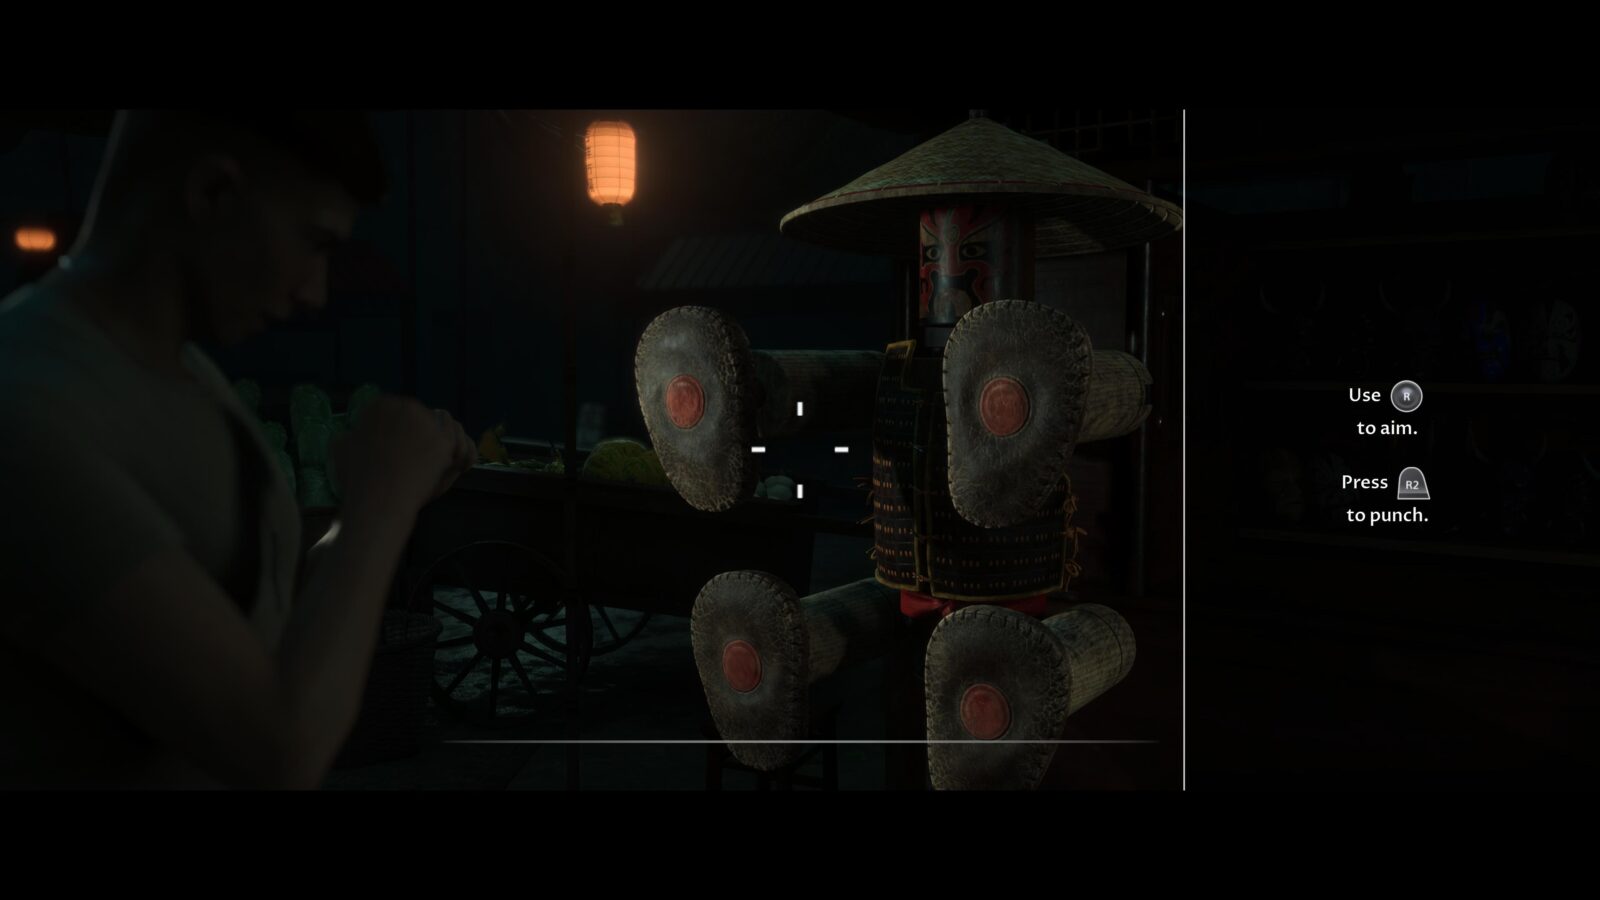
Karate Master | Chapter-Specific Trophy #1 | Joe
During the opening chapter, Joe will visit a Fortune Teller and then a Training Dummy. To unlock this trophy you will need to successfully hit every Jab Pad and press every QTE in time. The order of the Jab Pads you need to hit and QTE buttons you have to press never changes so if you check out the order below and prepare you can grab this trophy without any issue.
The Order:
Round 1 | Top-Left. Bottom-Left.
Round 2 | Top-Right. Top-Left.
Round 3 | ![]() .
. ![]() .
. ![]() .
.
Round 4 | Top-Left. Bottom-Right. ![]() . Bottom-Right.
. Bottom-Right. ![]() . Bottom-Left.
. Bottom-Left. ![]() .
. ![]() . Top-Left.
. Top-Left.
Wreck
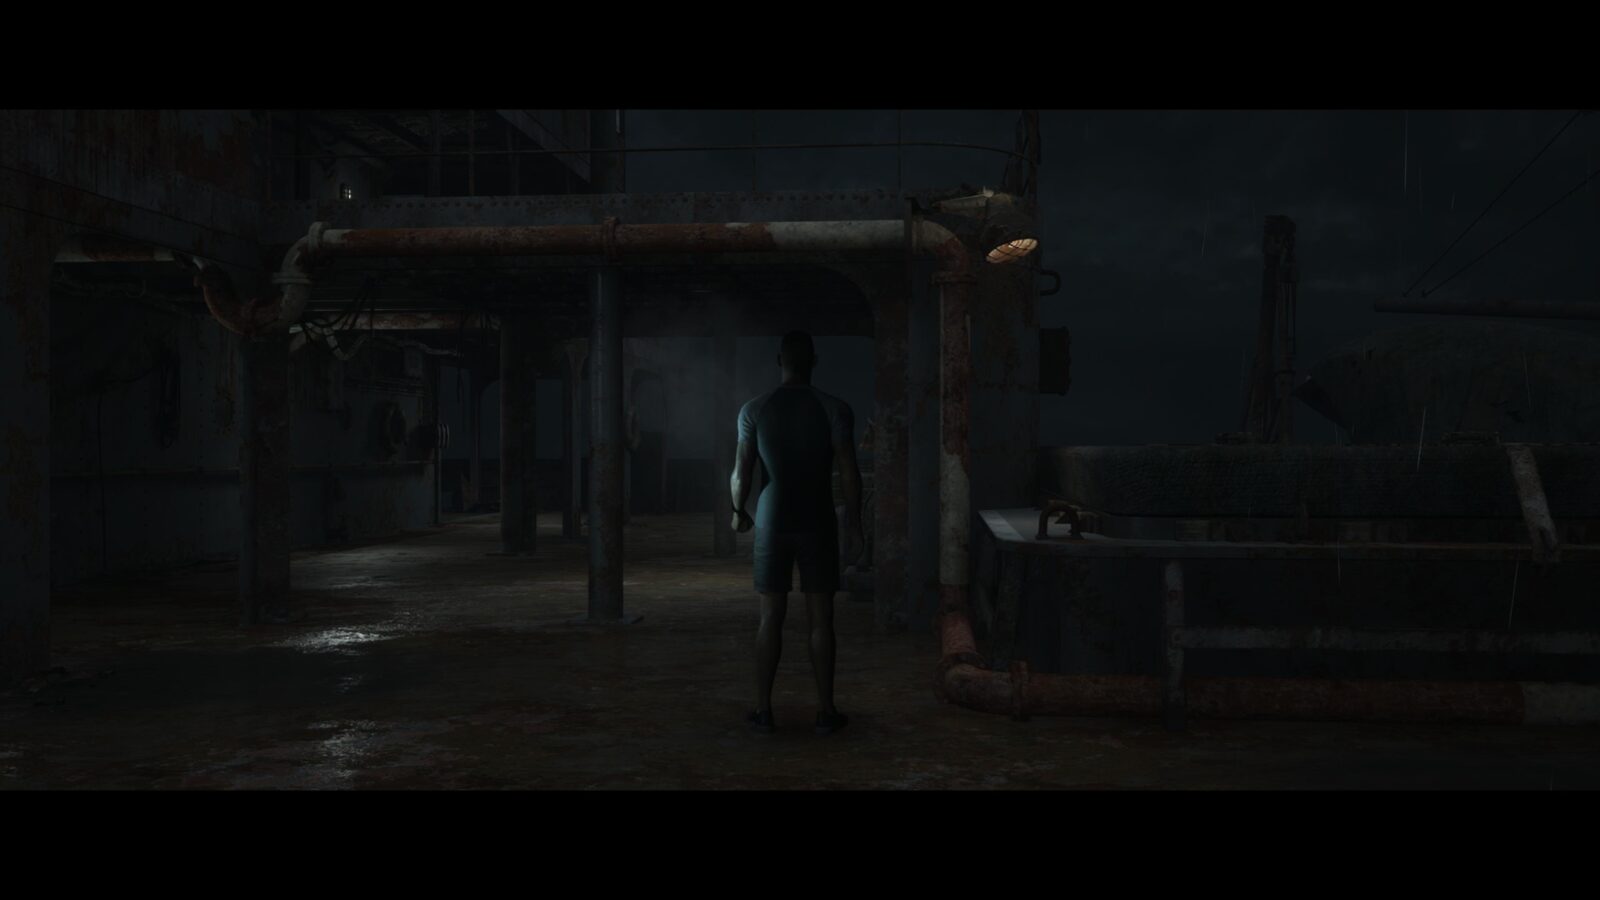
The Gang spend time on board the Duke of Milan as they check equipment and prepare for a dive.
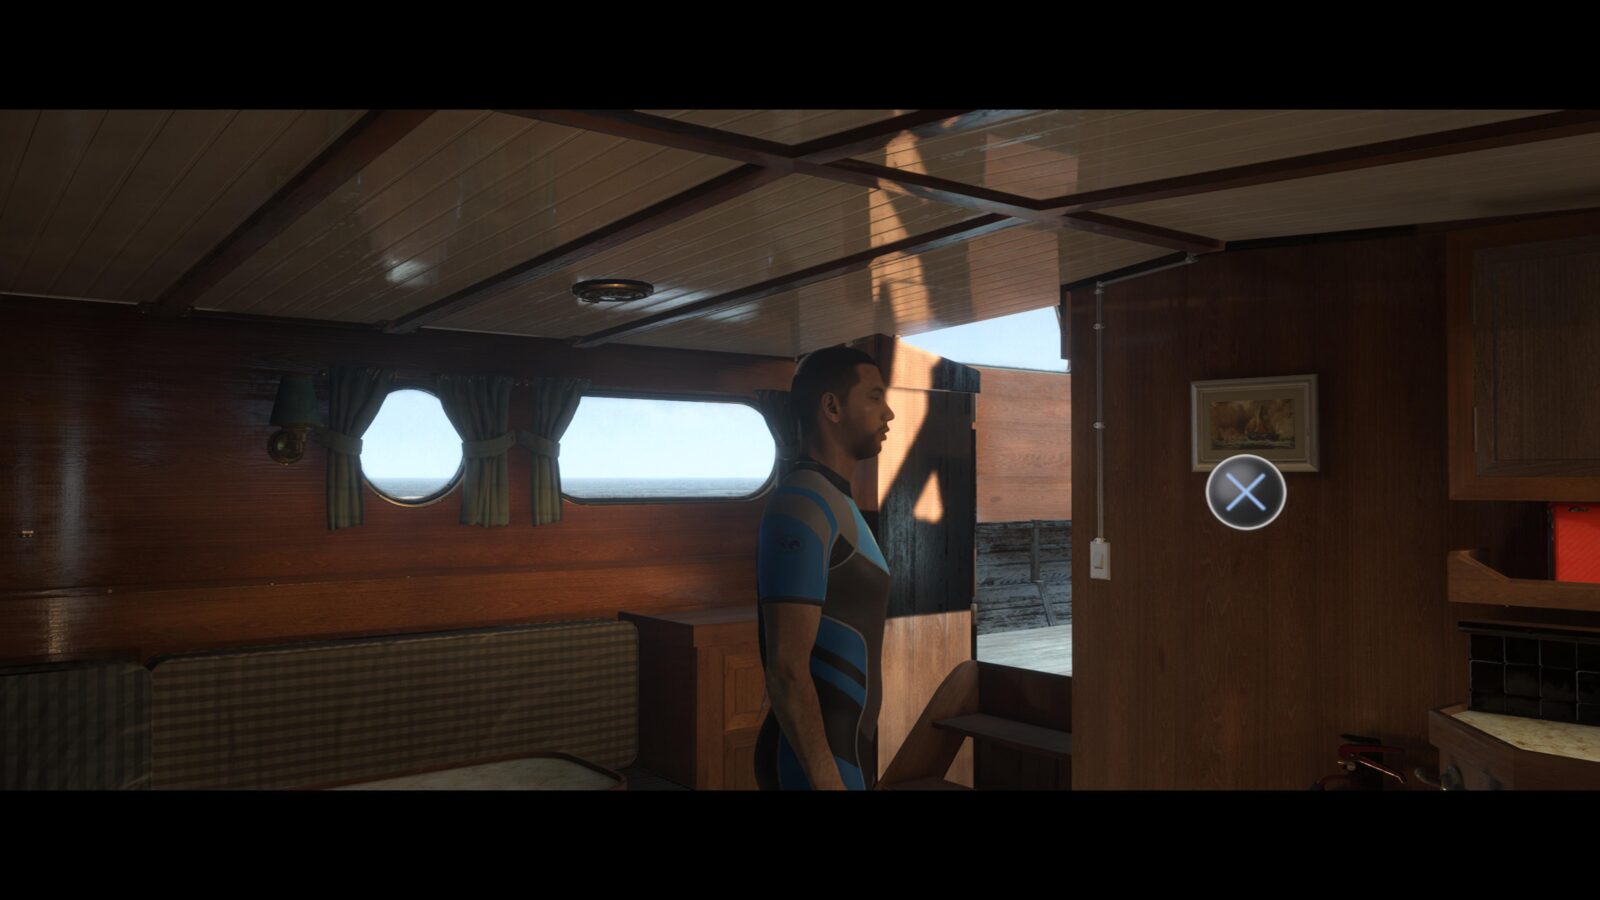
Picture #1 | White Framed Picture #2: Hight and Dry | Alex
While Julia prepares the tanks onboard the Duke of Milan, head below deck and as soon as the camera switches to the interior you can spot a hanging picture on the wall to the right of the stairs leading back up to the deck. Press ![]() on it to collect it.
on it to collect it.
Pick up the Camera | Alex
Thought not a Secret, you will need to pick up the Camera when Julia finishes preparing the tanks. This camera is needed for a future Secret.
Uninvited Guests
Fliss and Conrad are left to monitor the dive onboard the Duke of Milan. Meanwhile, Julia and Alex are searching the wrecked plane below the water surface.
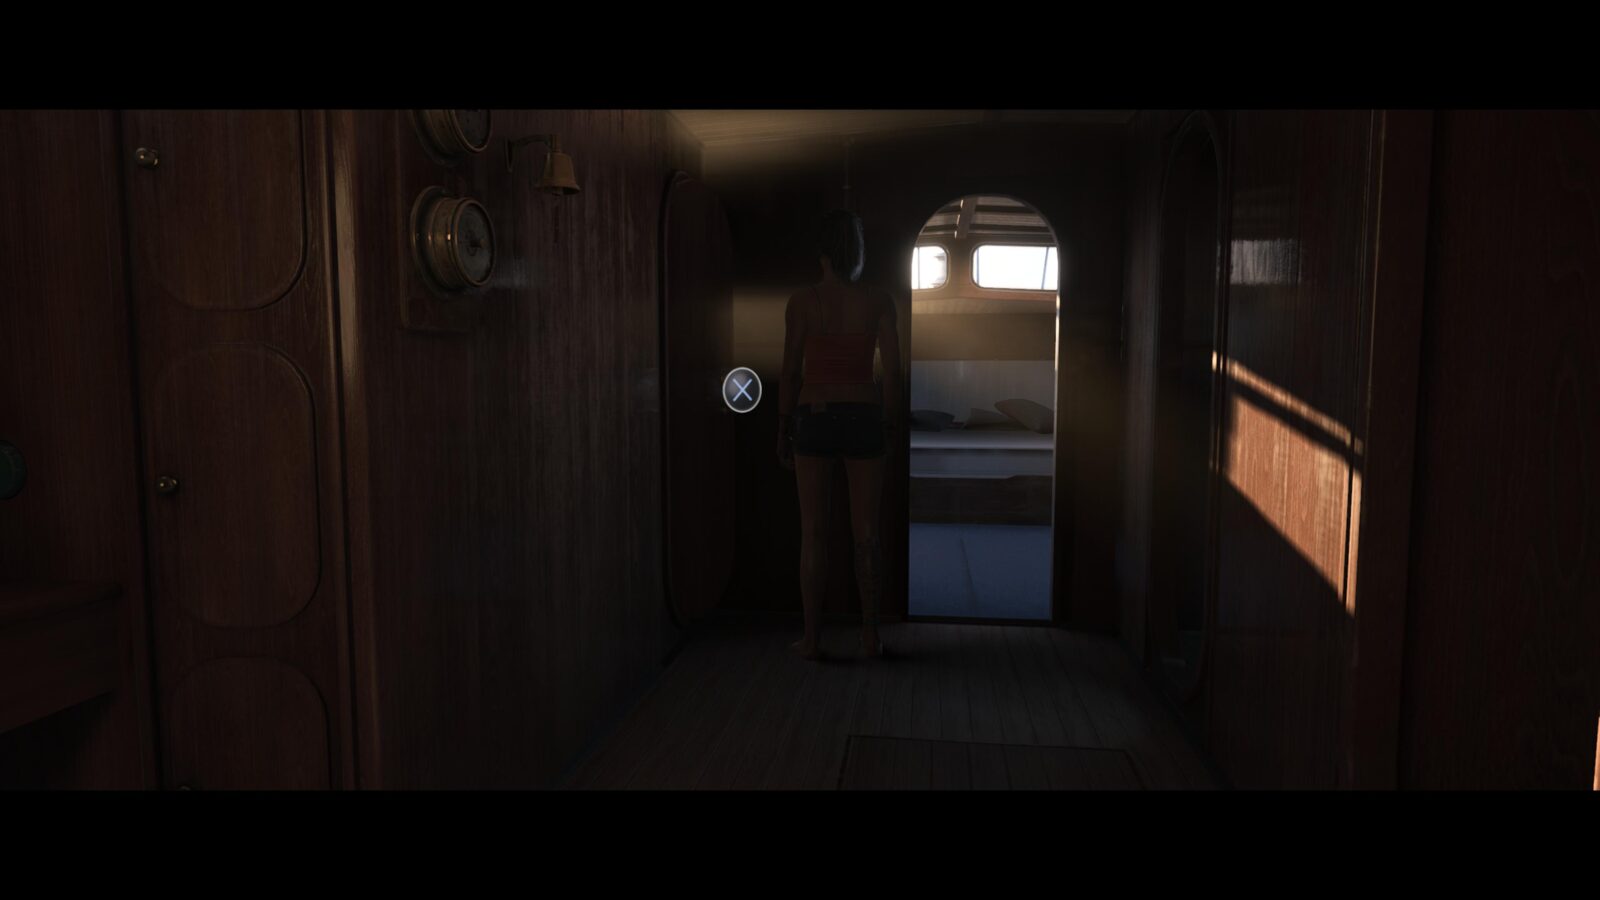
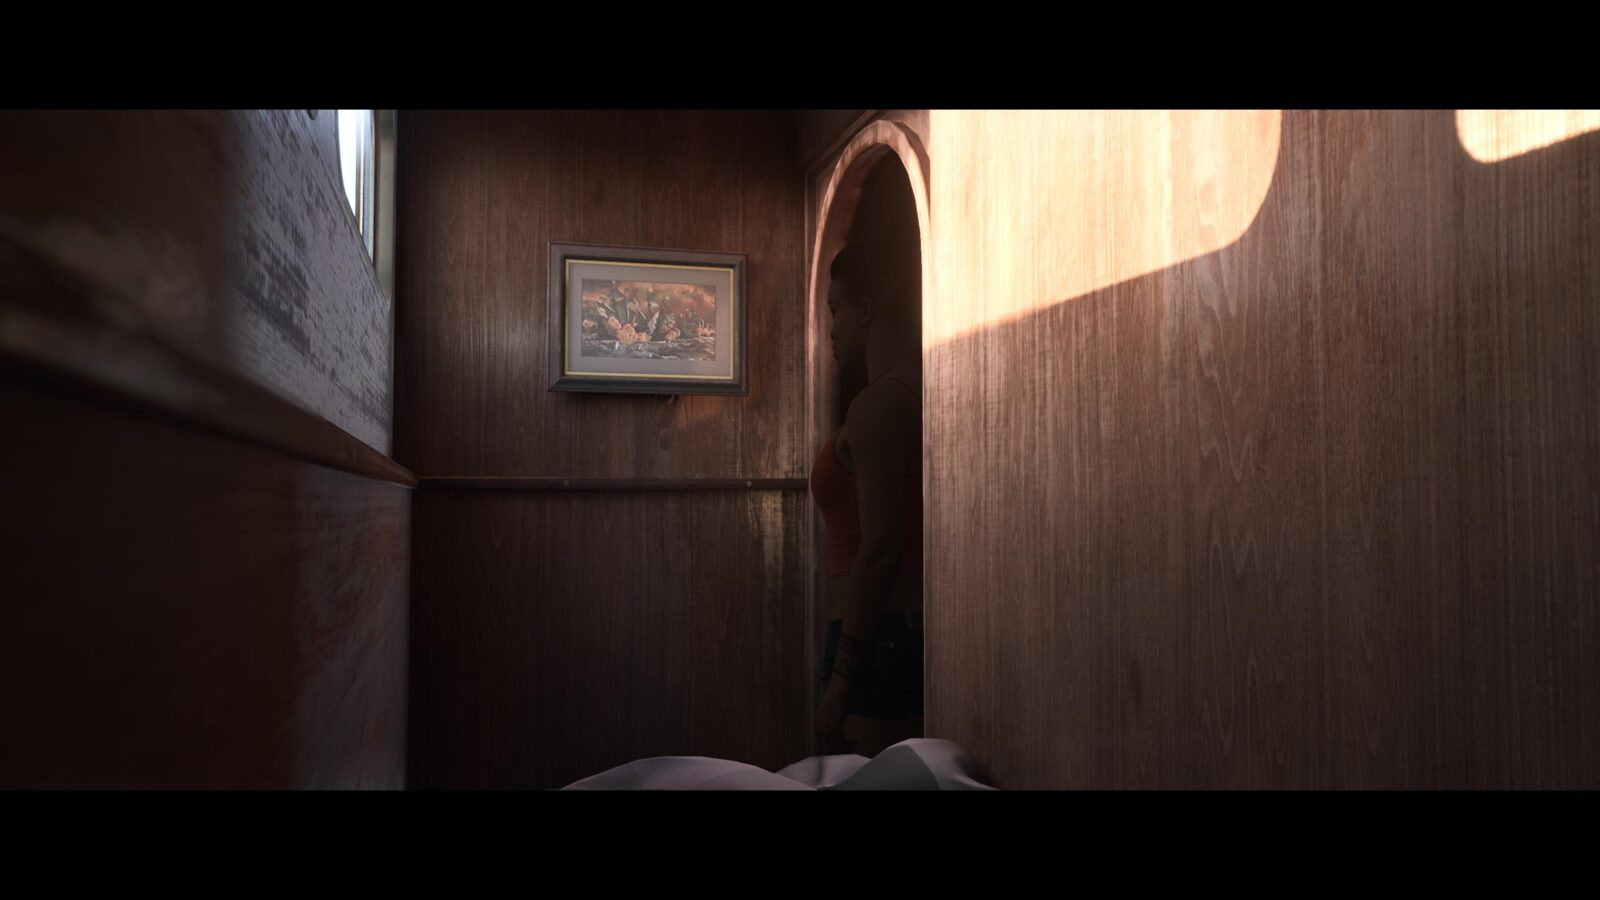
Picture #2 | Black Framed Picture #2: Cut and Run | Fliss
While waiting for the others to return from the dive, you will have to head below deck to check on Brad. Directly opposite the room he’s in is Fliss’ room. Inside on the wall is a picture frame.
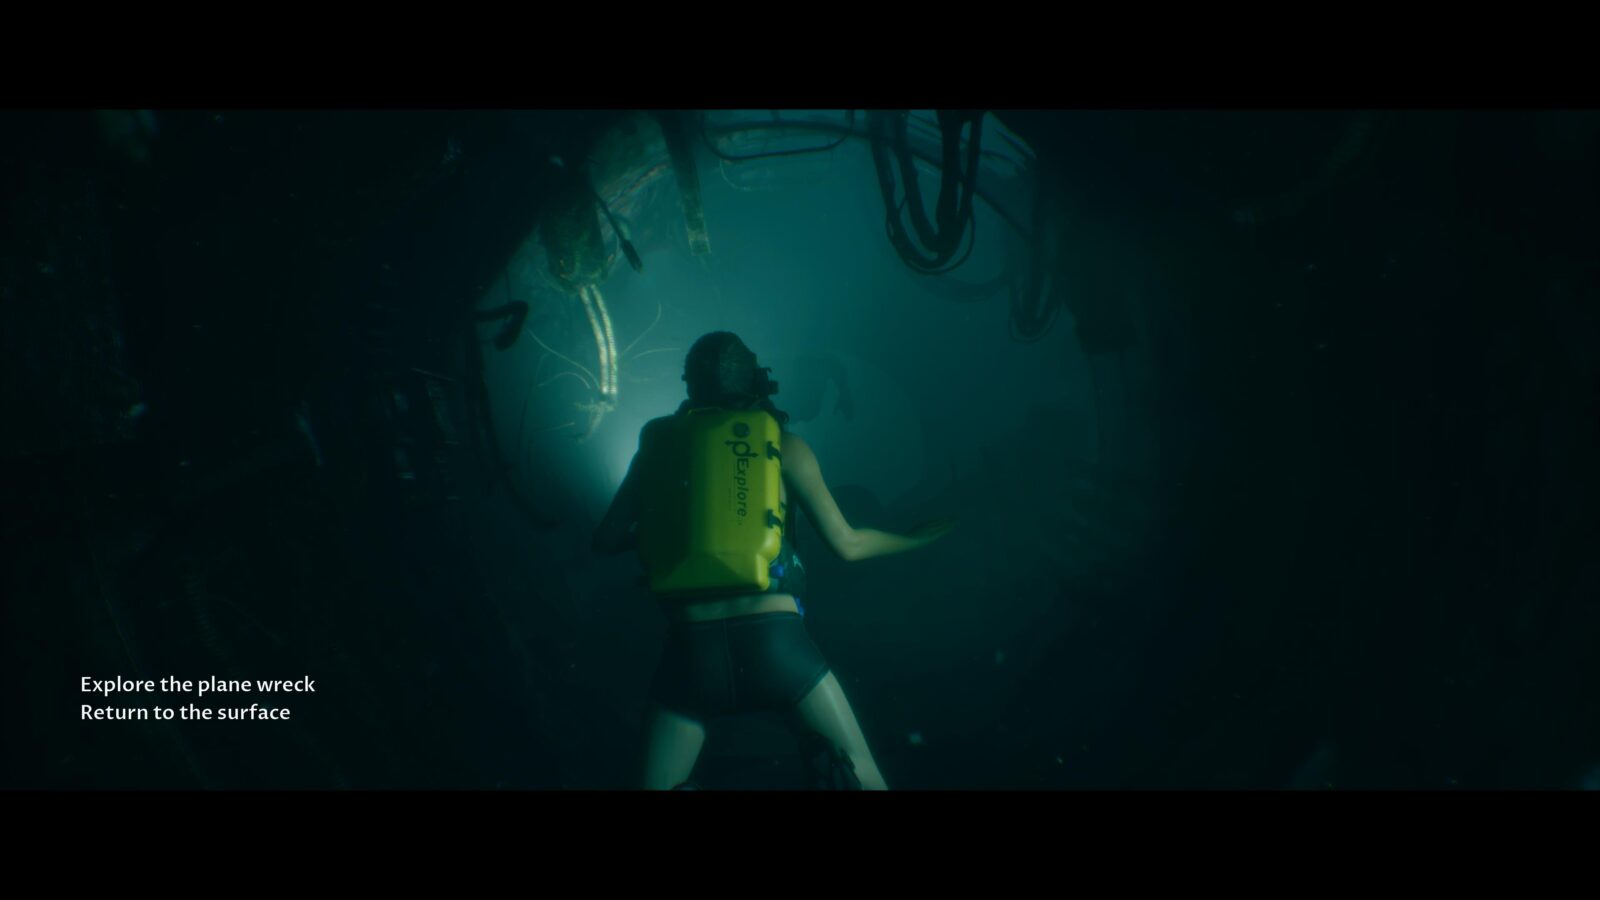
Picture #3 | Black Framed Picture #1: Devil and the Deep | Julia
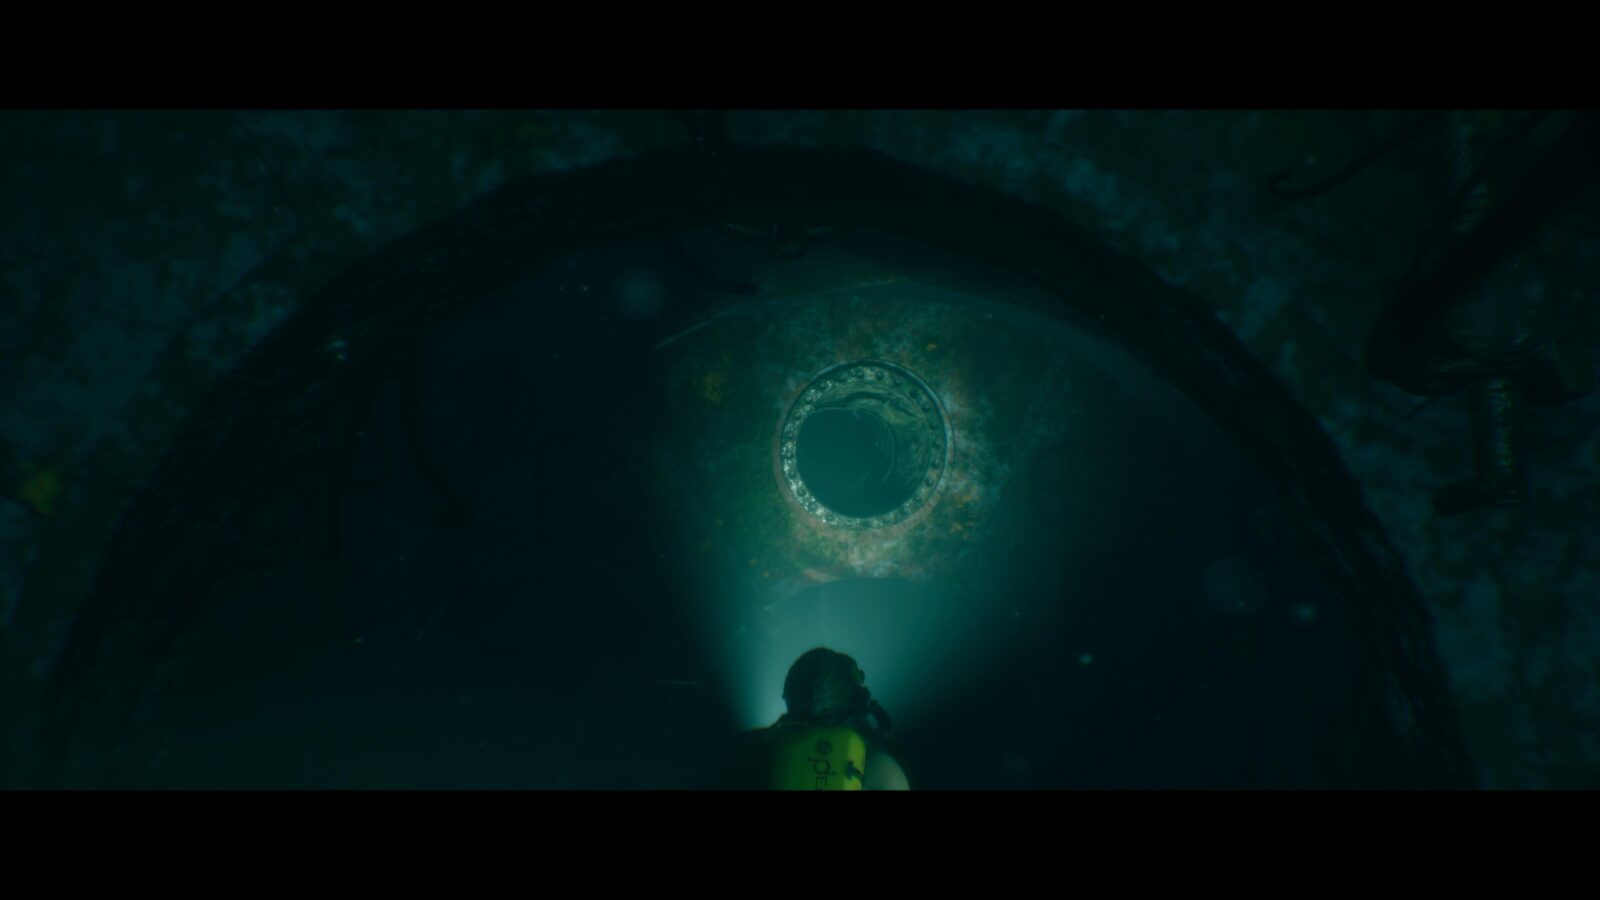
Inside the B-29 wreck you can find a Black Framed picture to the left of the very first circular opening inside the fuselage. It’s just a few feet from where you first gained control of Julia.
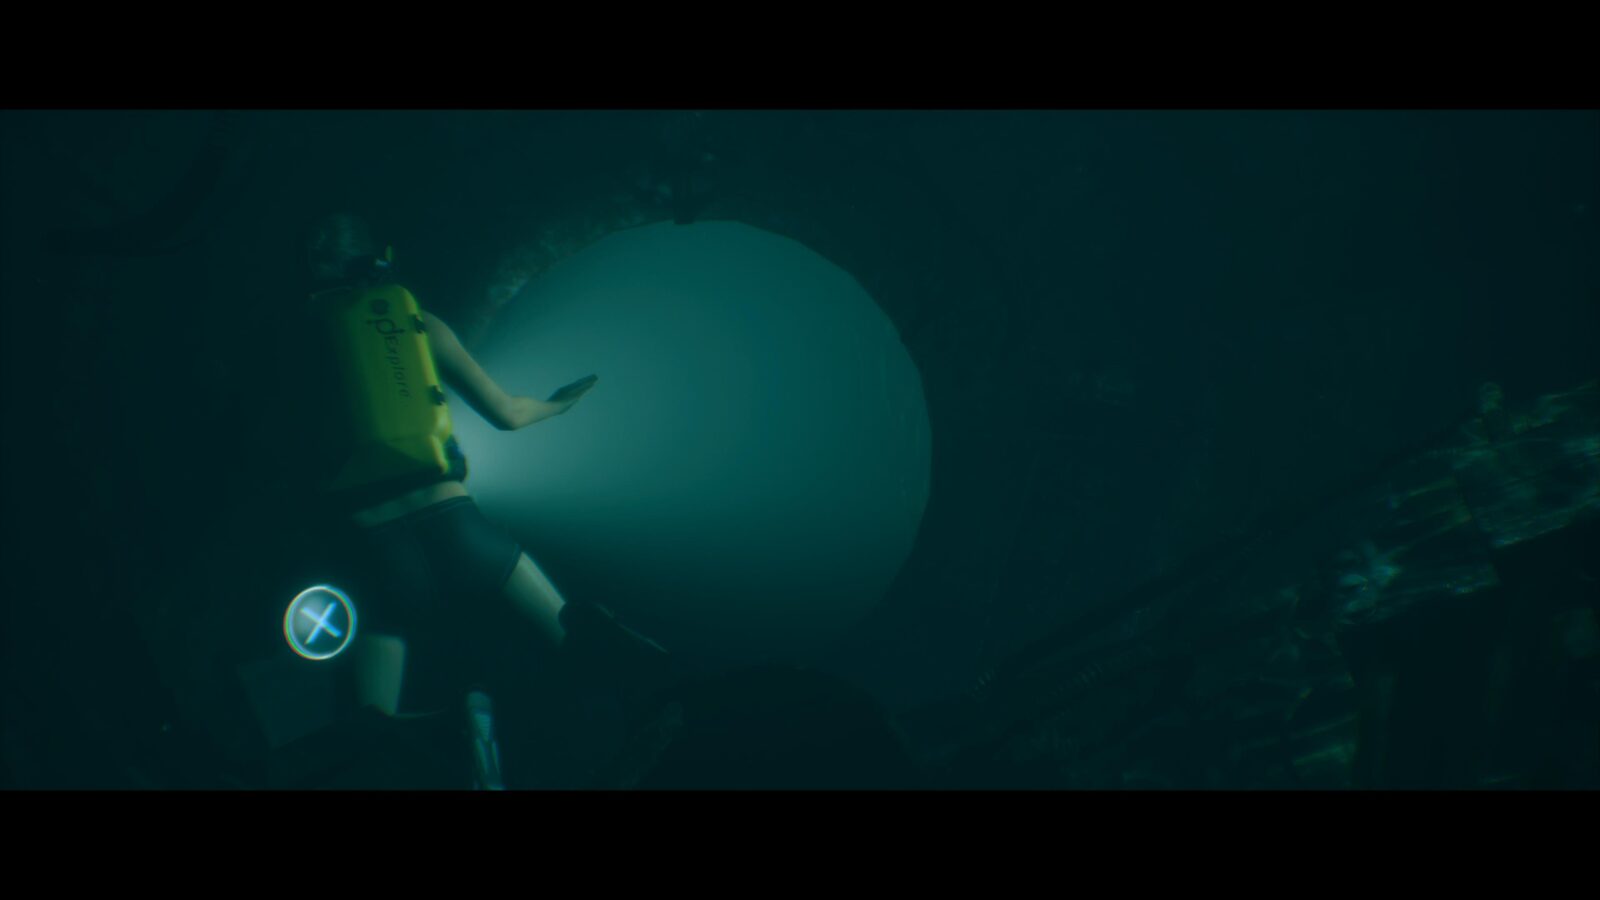
Secret #1 | Flight Plan #30 | Julia
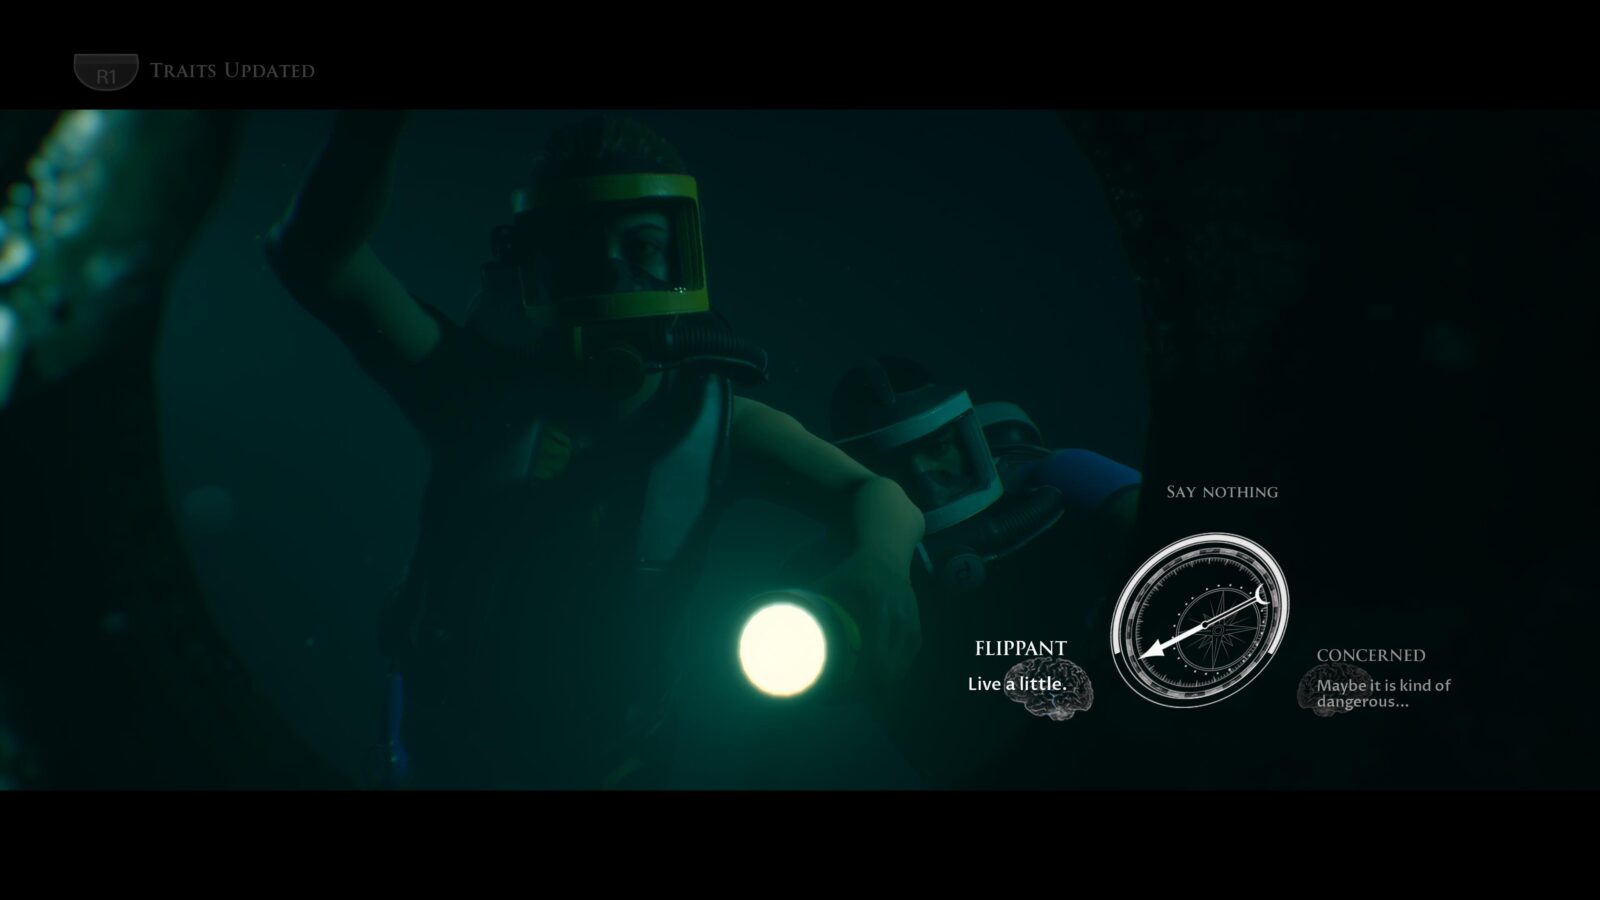
Just a few feet from the Black Framed Picture will be a pipe opening above a doorway. Swim up to it and press ![]() to start a conversation with Alex. You will have to select the FLIPPANT option to enter.
to start a conversation with Alex. You will have to select the FLIPPANT option to enter.
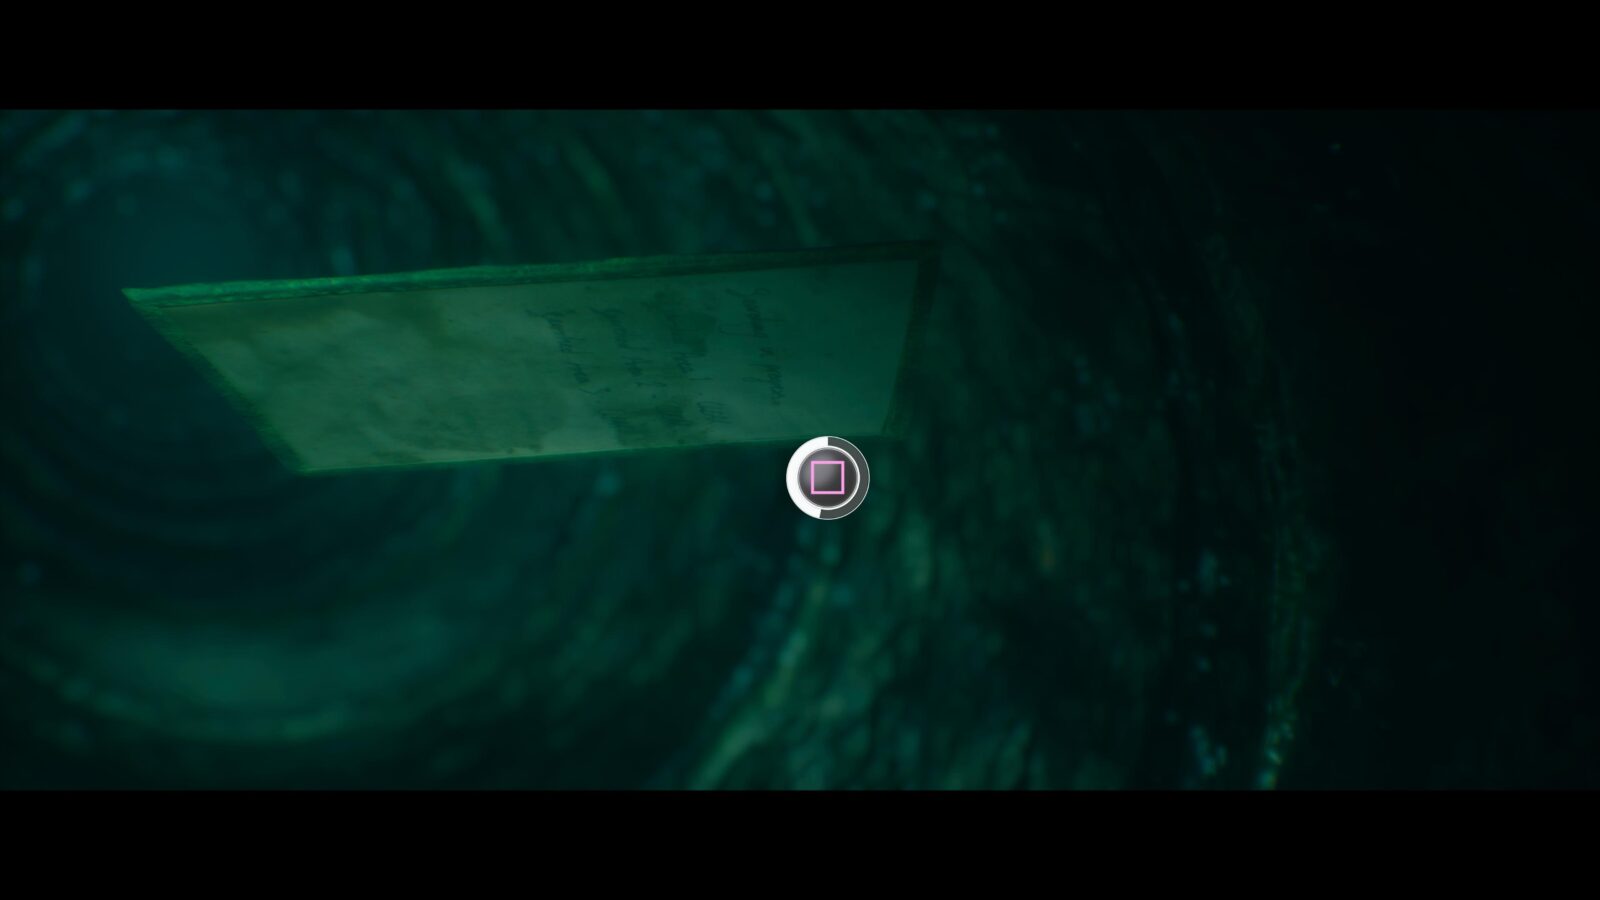
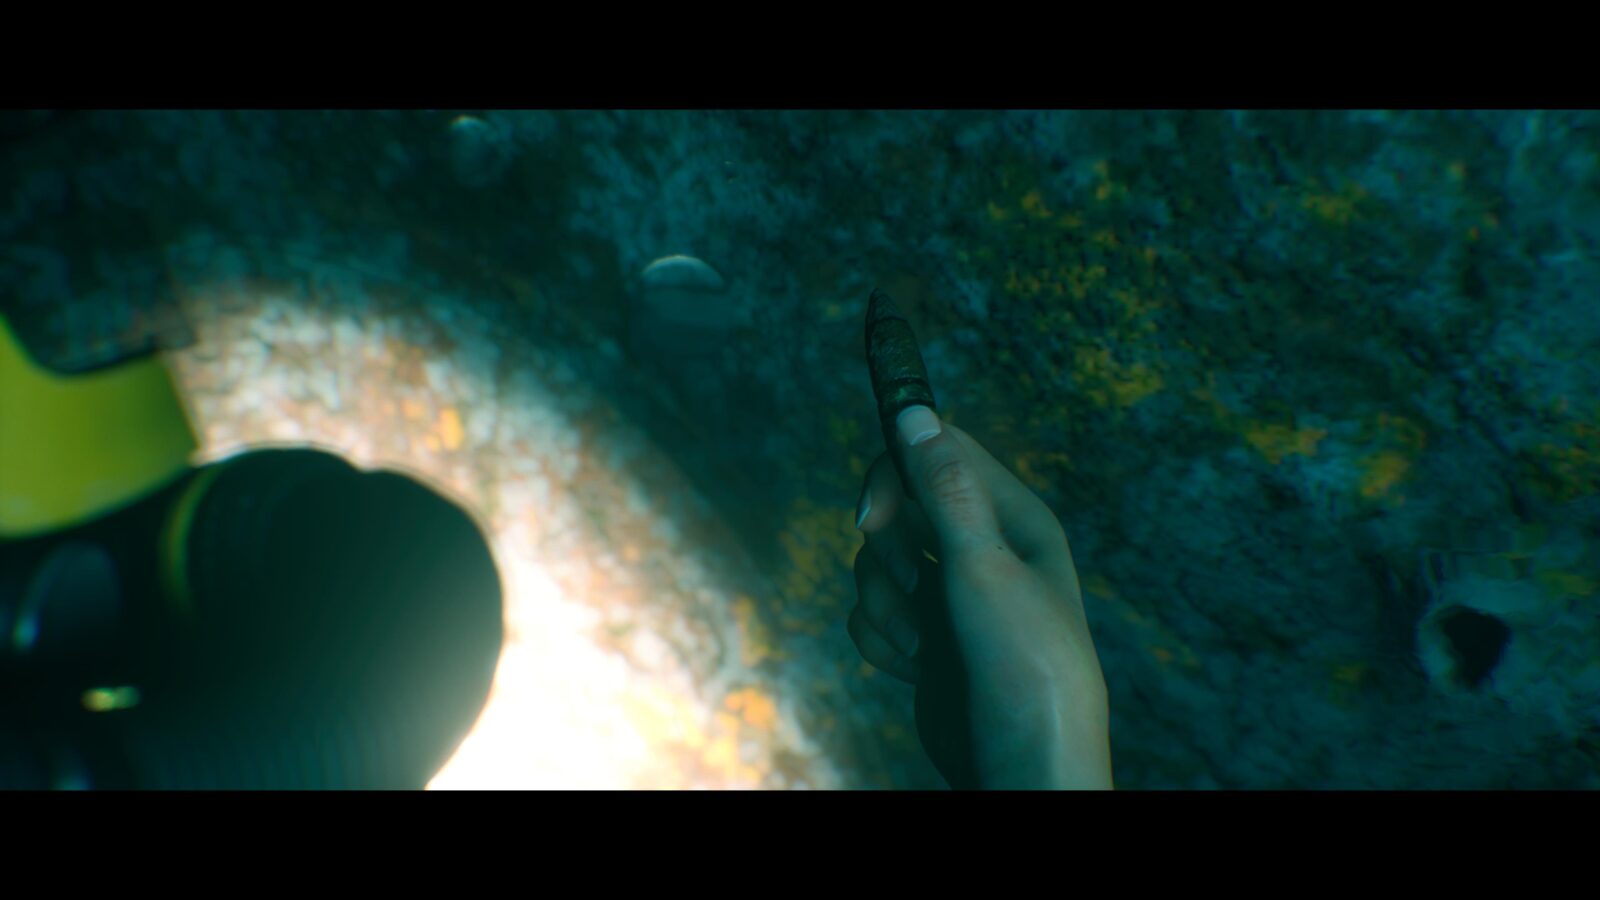
Secret #2 | Anti-Aircraft Shell #49 | Julia
Immediately after the previous secret you can find a ![]() prompt on the right side of the fuselage where some light is shining through a bullet hole. Pressing
prompt on the right side of the fuselage where some light is shining through a bullet hole. Pressing ![]() will let Julia pick out a bullet from the inside of the fuselage.
will let Julia pick out a bullet from the inside of the fuselage.

Secret #3 | Missing Lifeboat #40 | Julia
In the same section of the fuselage where you found the bullet is a missing lifeboat in the rack on the left side. As you approach it a ![]() prompt will appear.
prompt will appear.
Yes ! Yes, I'll Marry You! | Chapter-Specific Trophy #2 | Julia
After finishing the search of the submerged plane wreck, Alex will propose to Julia. You can either accept or tell him you need to think about it. To unlock Yes! Yes, I’ll Marry You! you need to accept his proposal.
Intrusion
The group are awakened in the night as masked men intrude on the Duke of Milan.
There are two optional Chapter-Specific Trophies you can unlock in this chapter for getting Conrad to escape. However, if you do unlock them, you will need to go back to the Main Menu and choose to restart Intrusion from the Chapter Select menu. Make sure to save in a New Slot and progress through the chapter as normal without letting Conrad escape.
Help Brad stay hidden
Another non-Collection event that’s important for later. Brad must remain hidden on the boat during this chapter. To help him stay hidden, Conrad must not start a fight with the pirates as he’s being escorted back to Alex and Julia. Just make sure you pick dialogue options that avoid conflict as much as you can.
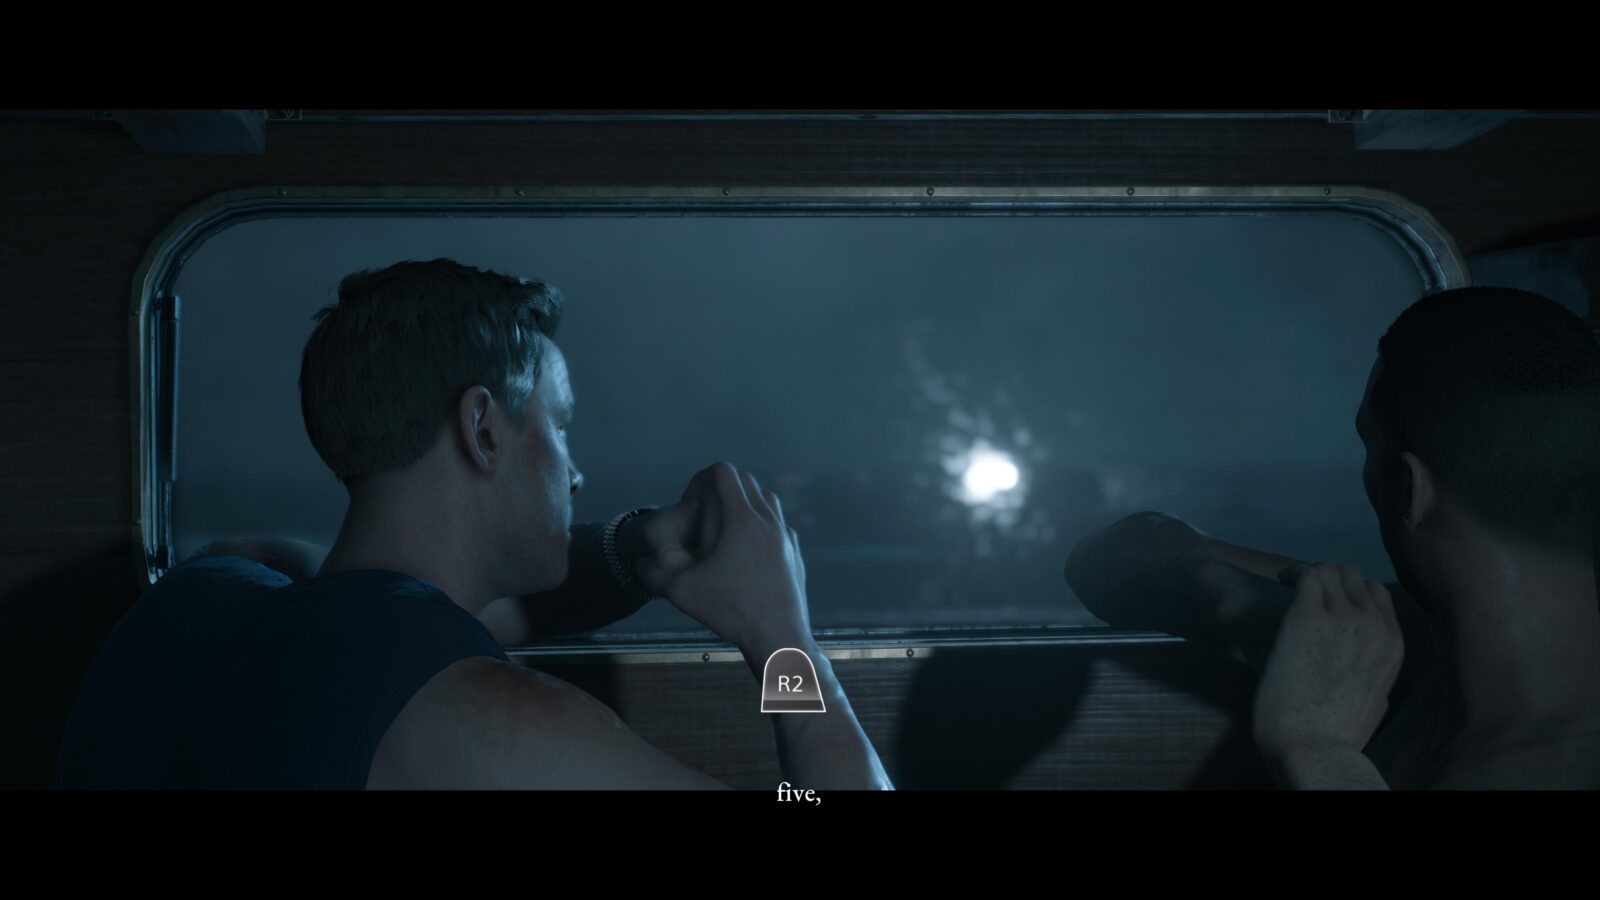
Break 'Em During the Thunder | Chapter-Specific Trophy #3 | Conrad
While discussing how to escape Conrad can choose to be the one to get to the boat to escape and find help. Once Conrad has decided to be the one to get to the boat, both he and Alex will approach a window and an ![]() prompt will appear. To unlock this trophy you must press
prompt will appear. To unlock this trophy you must press ![]() when the lightning strikes in order to disguise the sound of the window being broken. Conrad will count to six in this section and you must press
when the lightning strikes in order to disguise the sound of the window being broken. Conrad will count to six in this section and you must press ![]() as he says six in order to break the window open successfully otherwise Julia will get impatient and break it herself, voiding the trophy.
as he says six in order to break the window open successfully otherwise Julia will get impatient and break it herself, voiding the trophy.
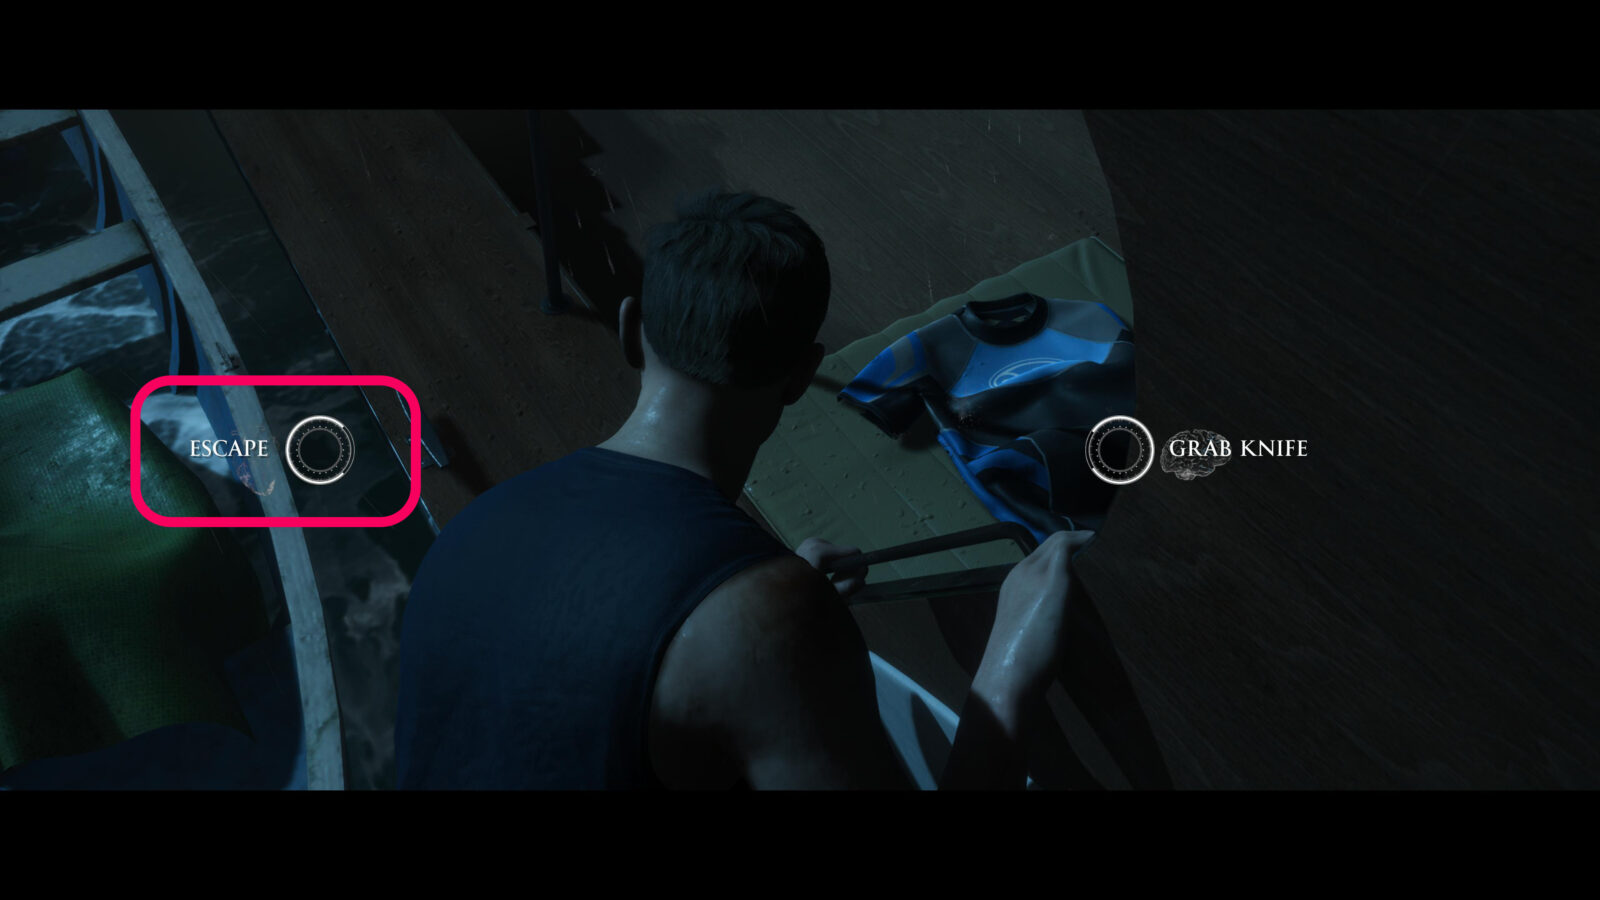
Can't Catch Him With This Old Junker | Chapter-Specific Trophy #4 | Conrad
After Conrad climbs out of the window you will have to complete a Stay Calm event where you need to press ![]() in time with a heartbeat track. You will then need to select “Escape” when given the choice and successfully complete the following QTEs.
in time with a heartbeat track. You will then need to select “Escape” when given the choice and successfully complete the following QTEs.
Abandoned Ship
The Gang are forced to board the Abandoned Ship.
If Conrad escaped in the previous chapter, it’s advised that you restart Intrusion and this time let Conrad stay on the Duke of Milan and let Brad stay hidden under the bunk bed.
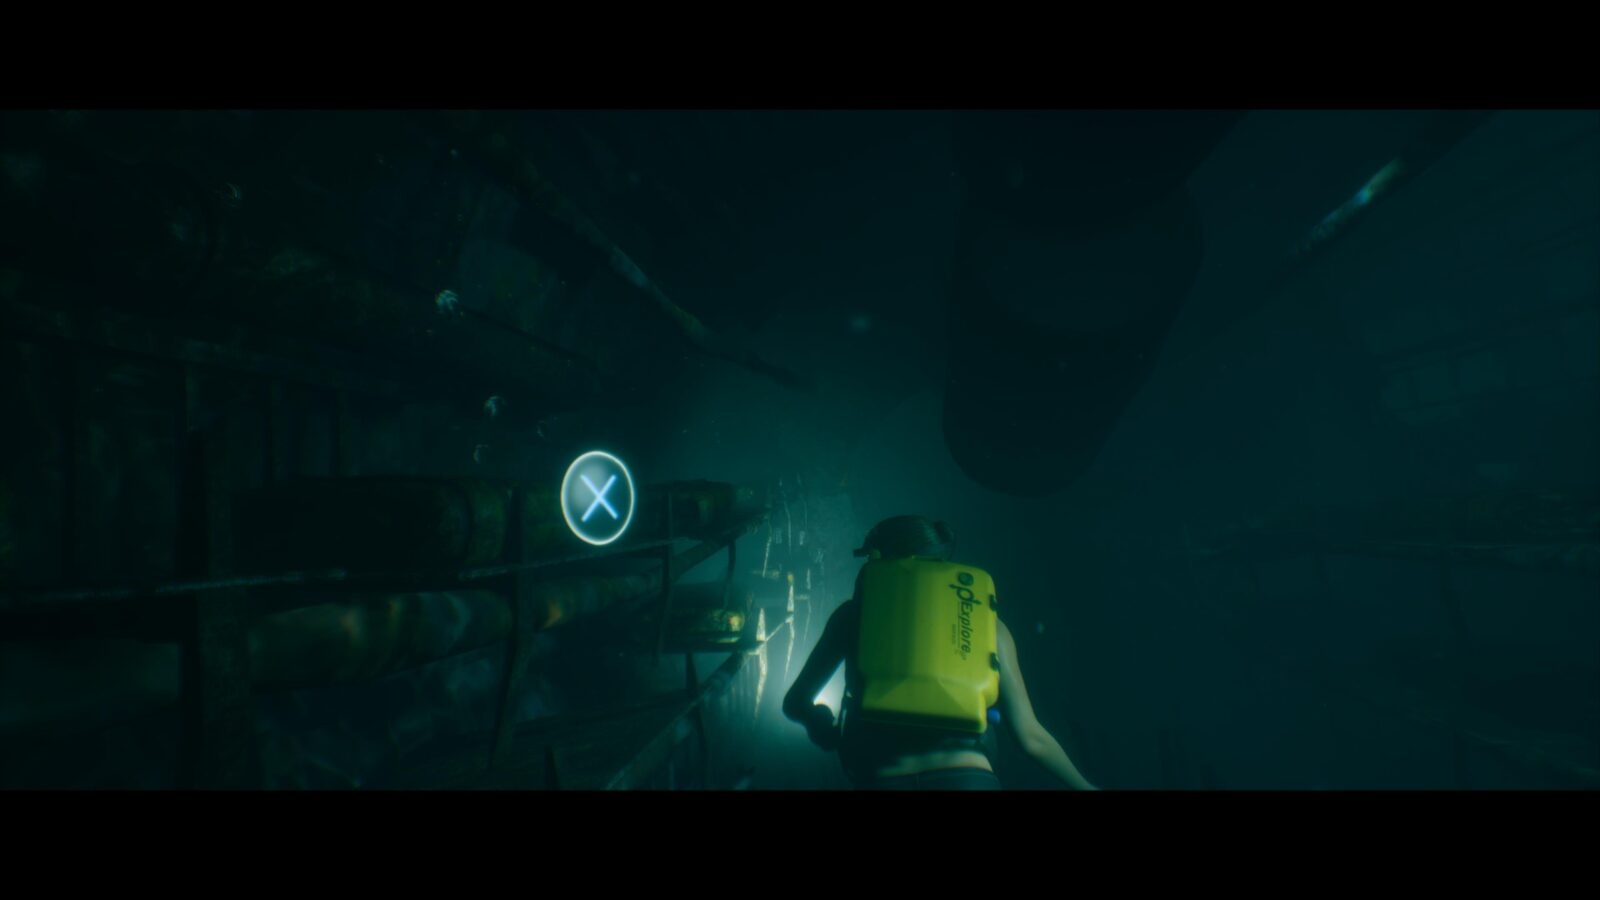
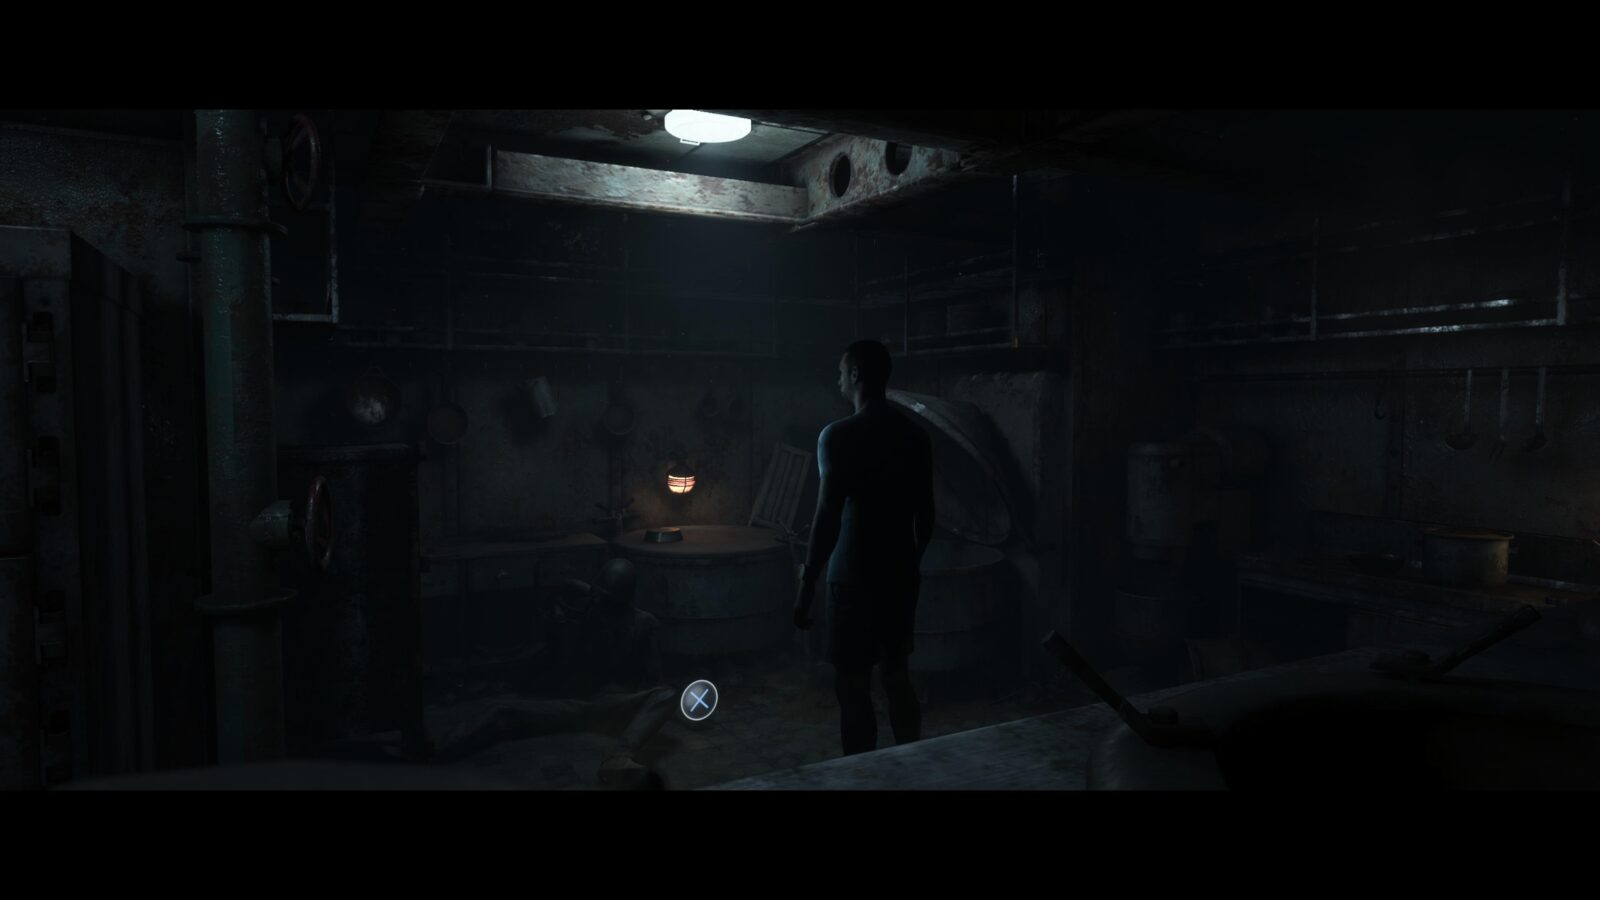
Secret #4 | Guard Duty Note #26 | Conrad (Fliss, if Conrad escaped)
While being escorted through the abandoned ship you will reach a section where Alex is scared by a rat who runs by him. Right where Alex is standing when this happens will be a barrel and some wooden crates. On top of one of the crates is a guard note. Flip it over when you pick it up to collect the secret.
Trapped
The Gang are locked inside a room with seemingly no way out.
A Pint of Frosty Amber Liquid | Chapter-Specific Trophy #5 | Conrad
Conrad and Fliss will have plenty of opportunities to flirt with each other during the first few chapters in Act 1. Always choose the nicer of the two options whenever Fliss and Conrad talk to each other and A Pint of Frosty Amber Liquid will unlock pretty easily. However, the exact combination of choices are:
Uninvited Guests | Fliss
- RELAXED
- SELF-ASSURED
- IMPRESSED
- (talk to Brad and then Conrad) RELAXED
- PLAYFUL
- ROMANTIC
- (when Conrad throws money at the fishers) AMUSED
Intrusion | Conrad
- Conrad must not escape
Trapped | Conrad
- PUZZLED (trophy should unlock here)
- APPROVING
- CURIOUS
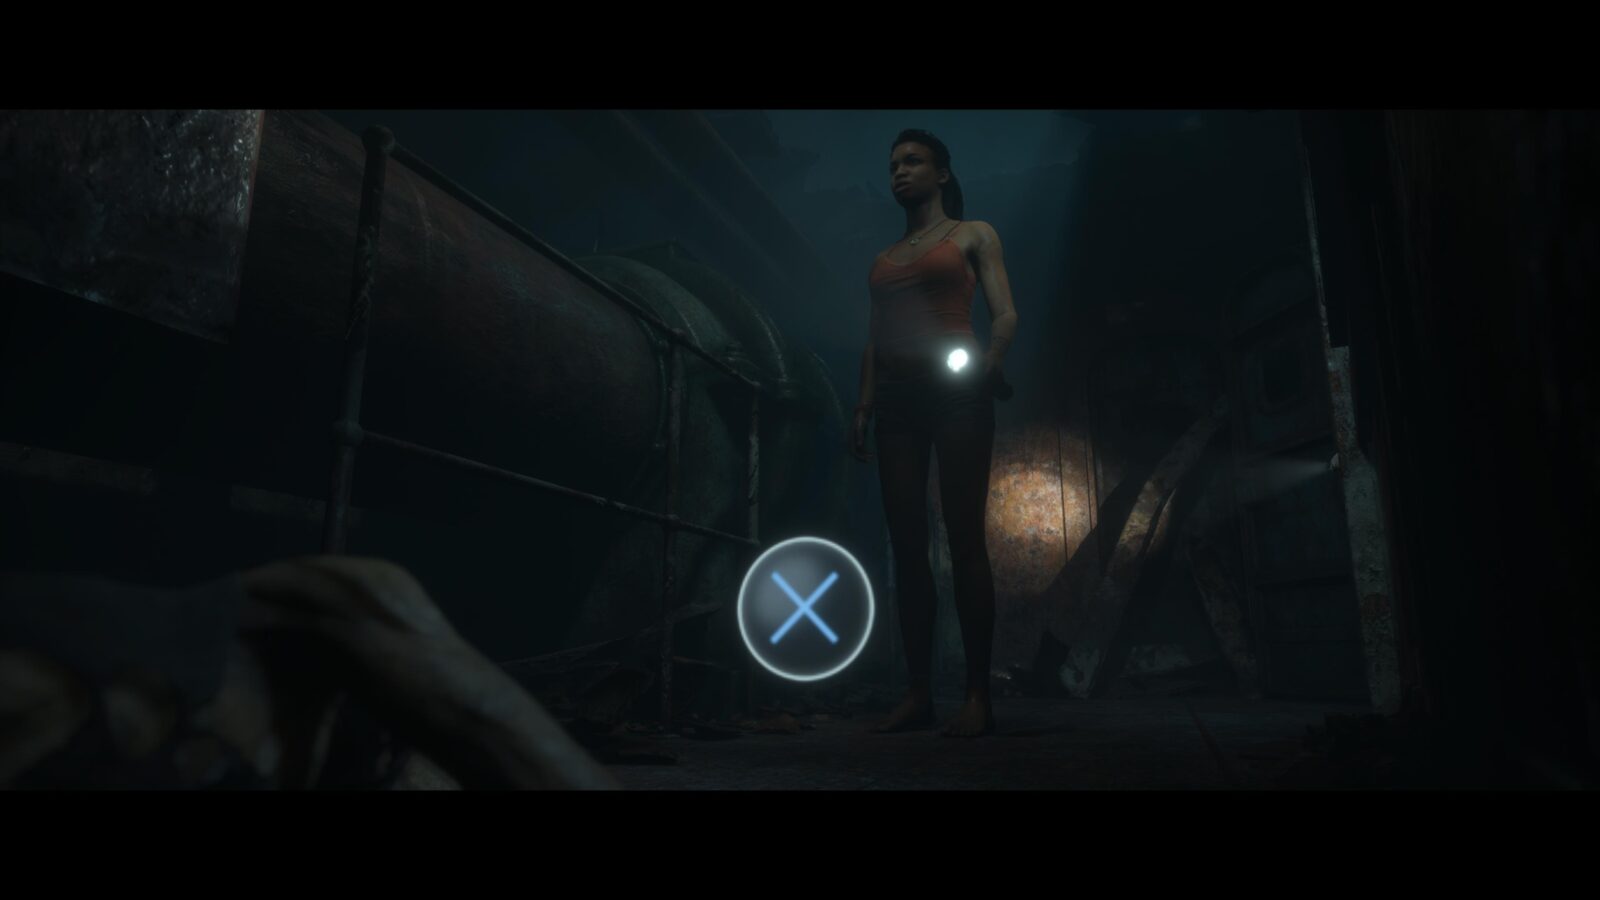
Secret #5 | 1947 Newspaper #44 | Conrad (Fliss, if Conrad escaped)
Check the table directly in front of Conrad—or Fliss—for a newspaper. Pick it up and turn it over to collect the secret.
Secret #6 | Private Miller's Letter #28 | Conrad (Fliss, if Conrad escaped)
In the room where the pirates lock Julia, Fliss, and Alex—Conrad can also be here—there will be a piece of paper on the table where Julia is sitting. Pick it up and turn it over to properly collect the secret.
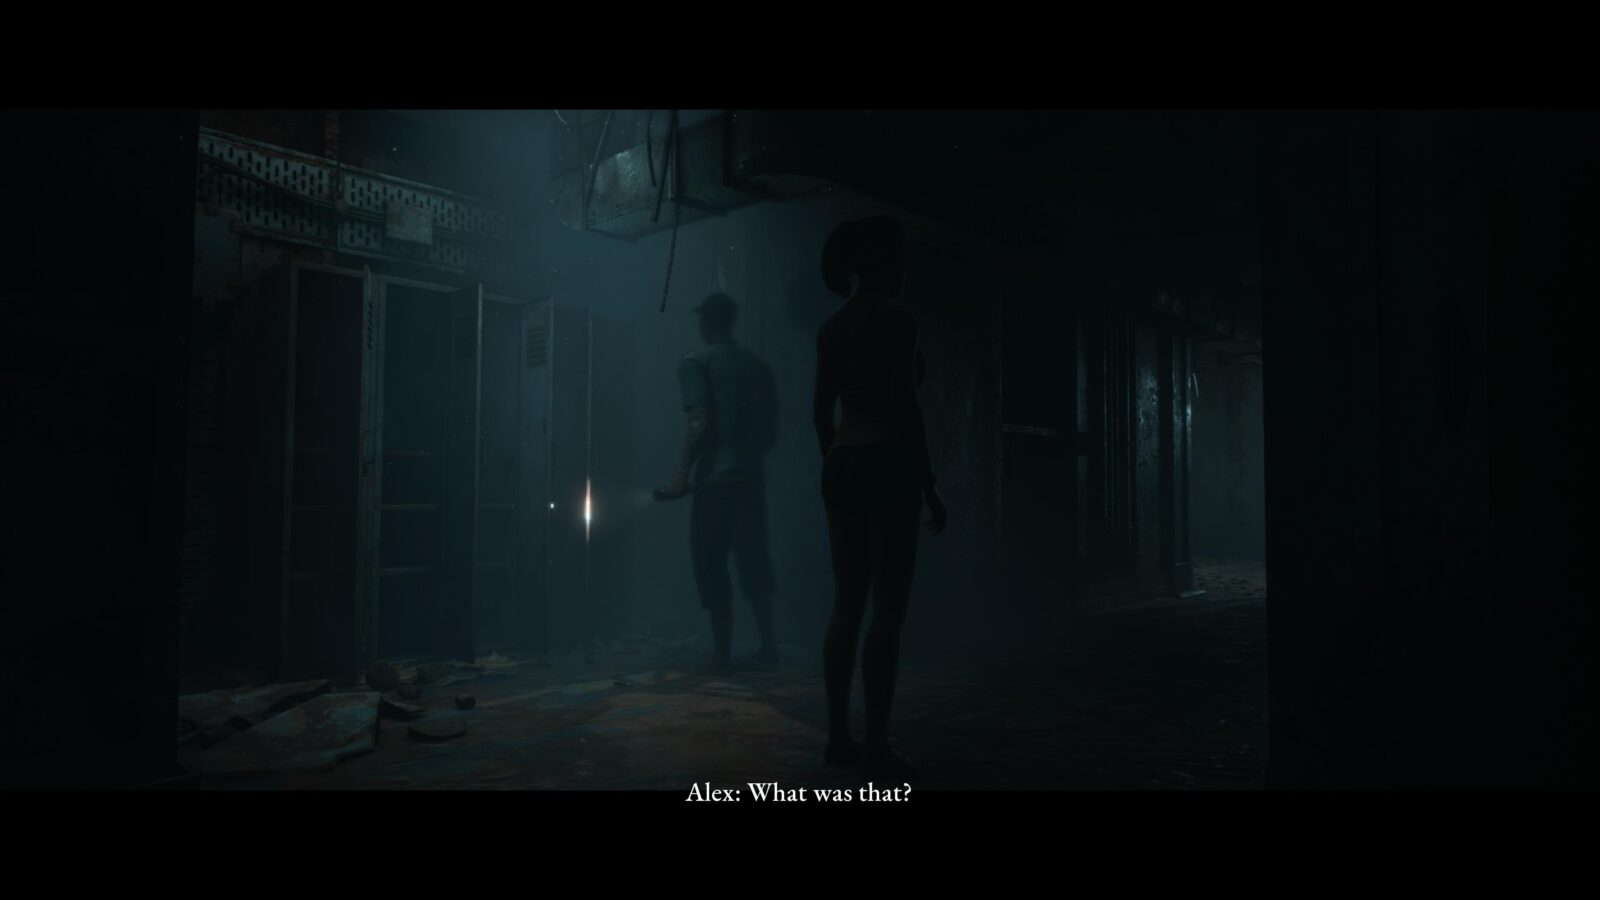
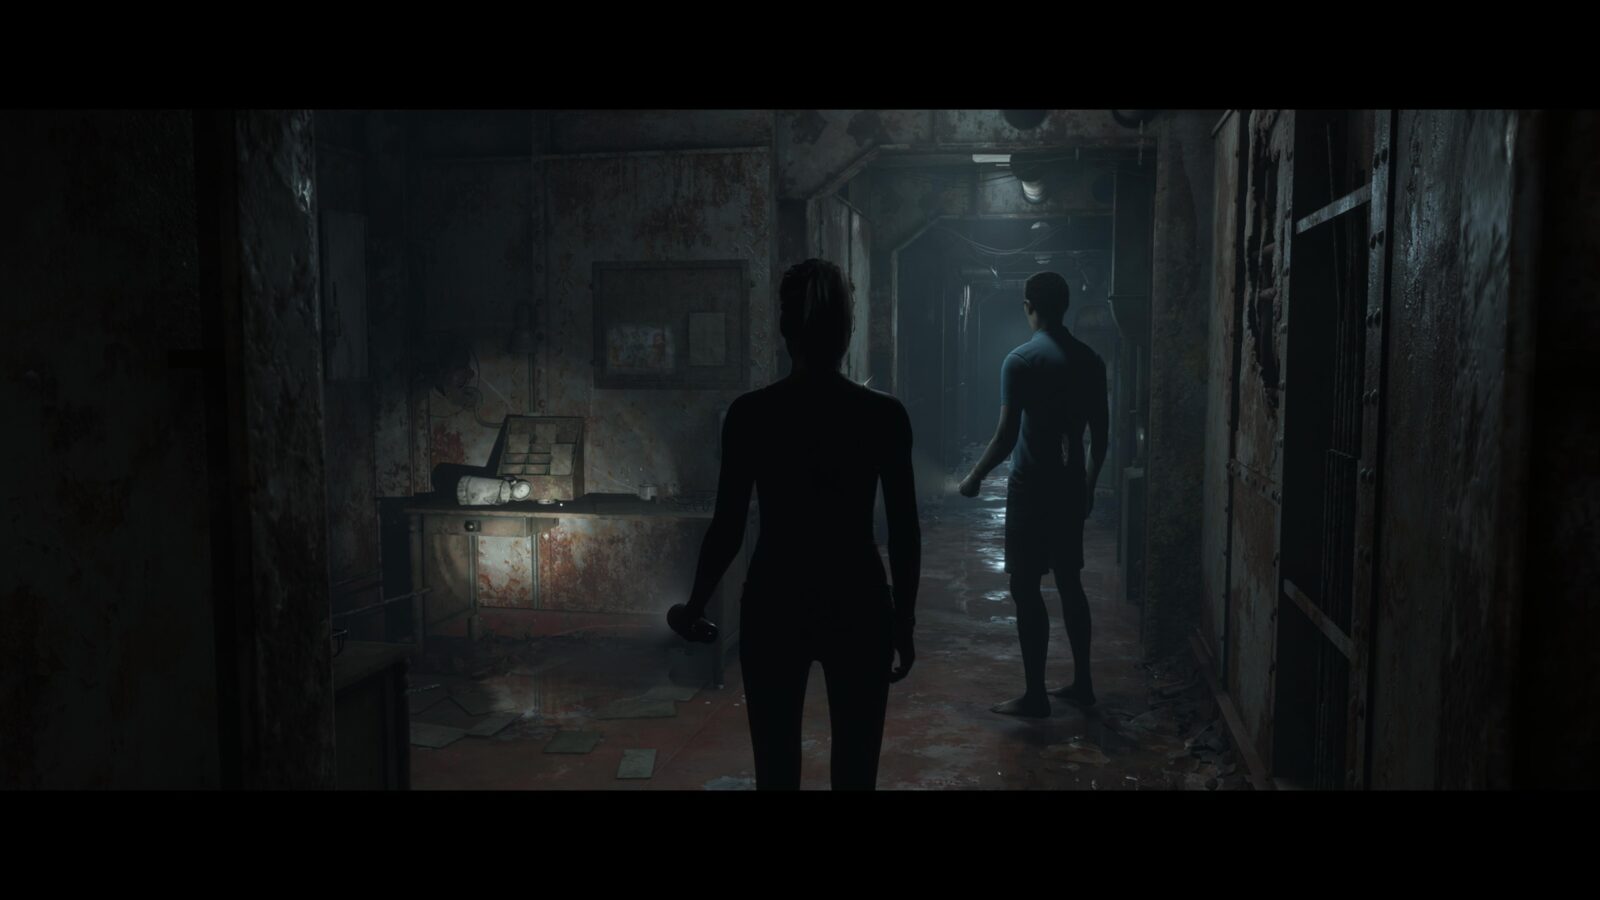
An Escape
The Gang managed to escape the room and now have to search for the Distributor Cap which was removed from the Duke of Milan.
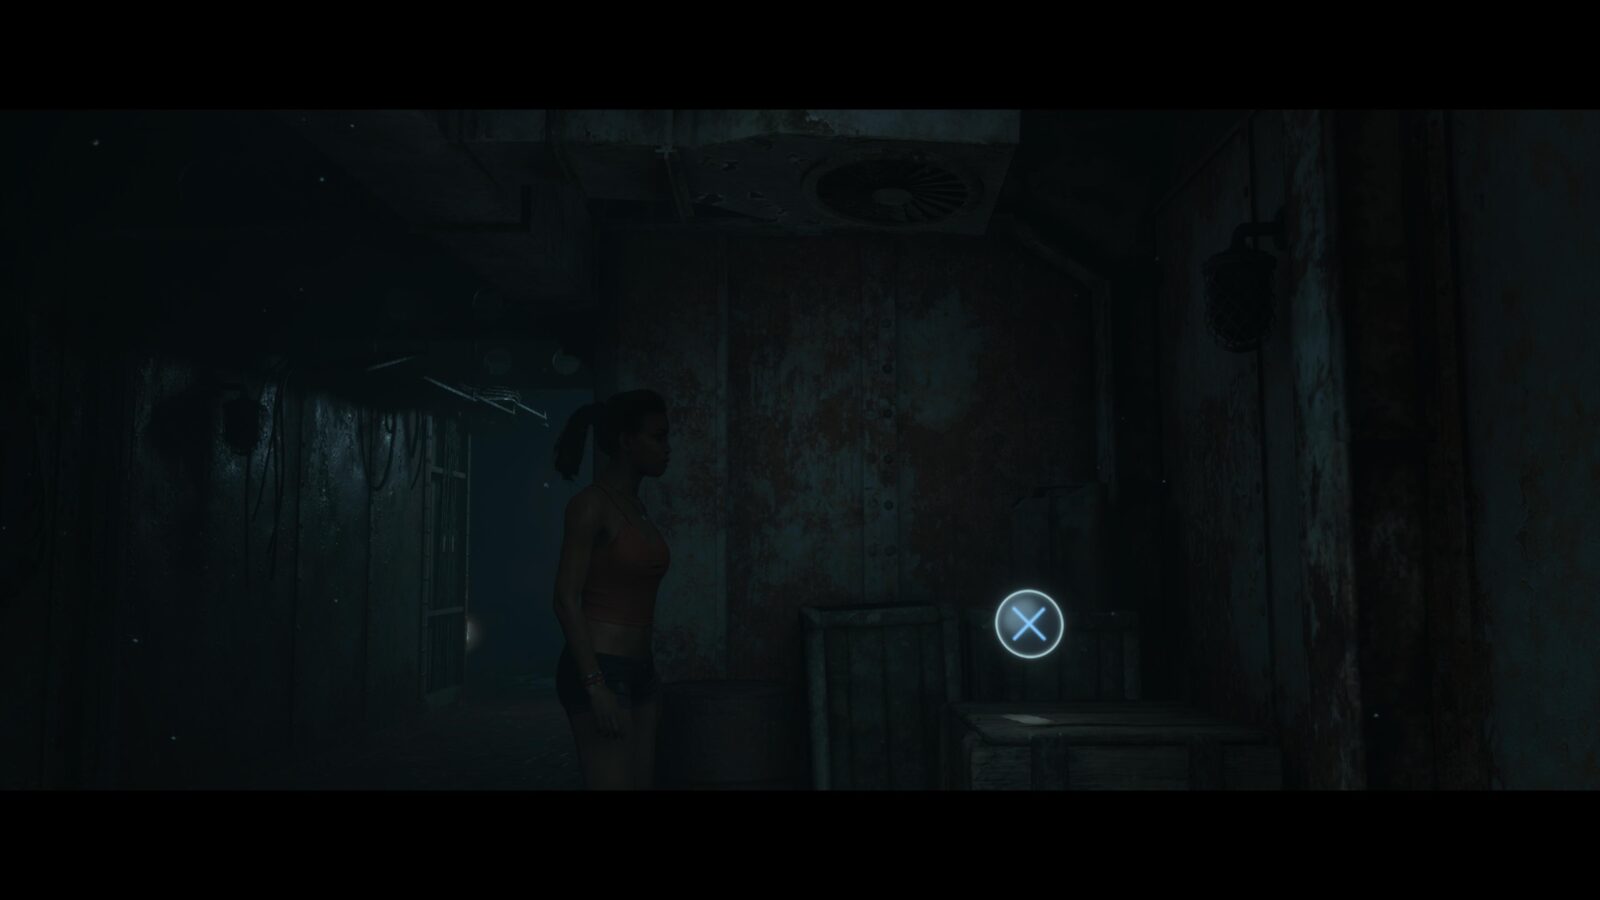
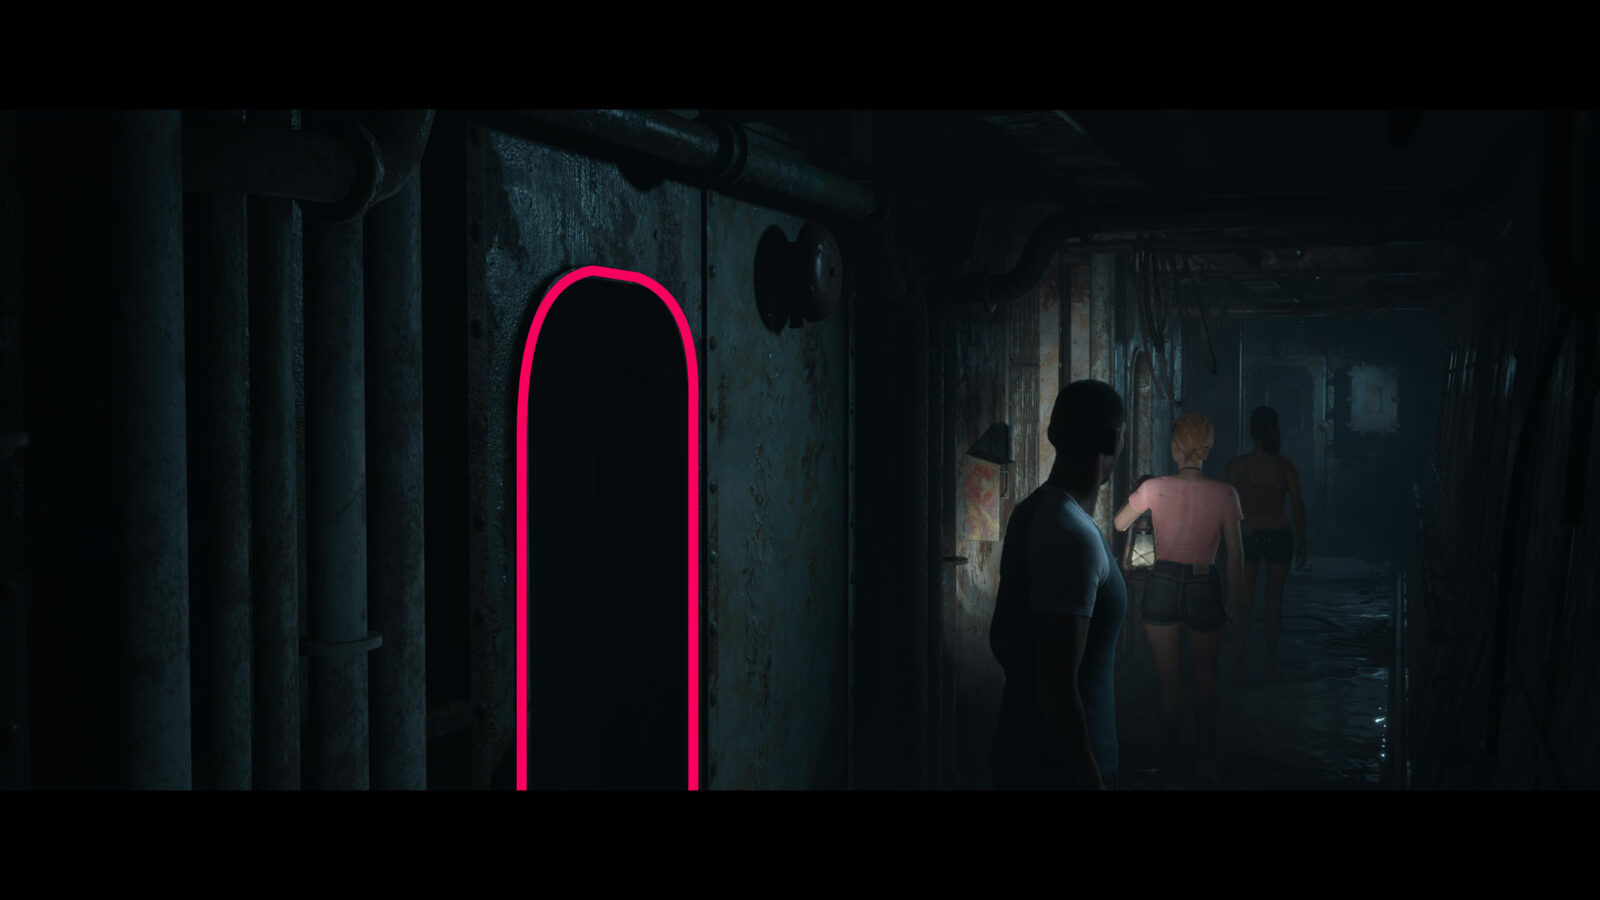
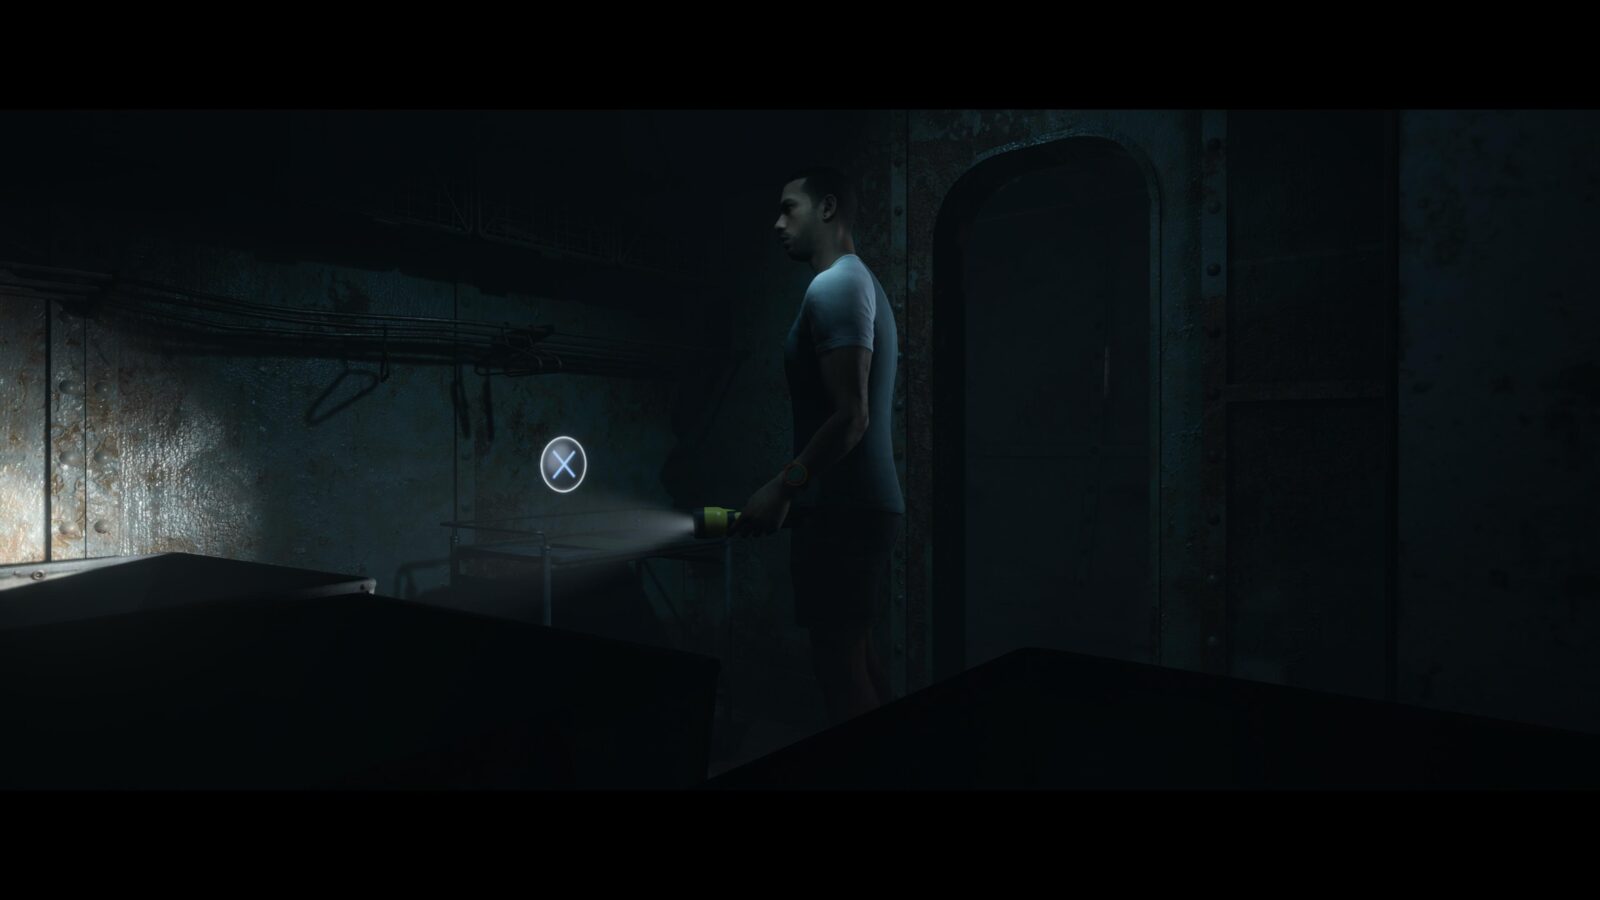
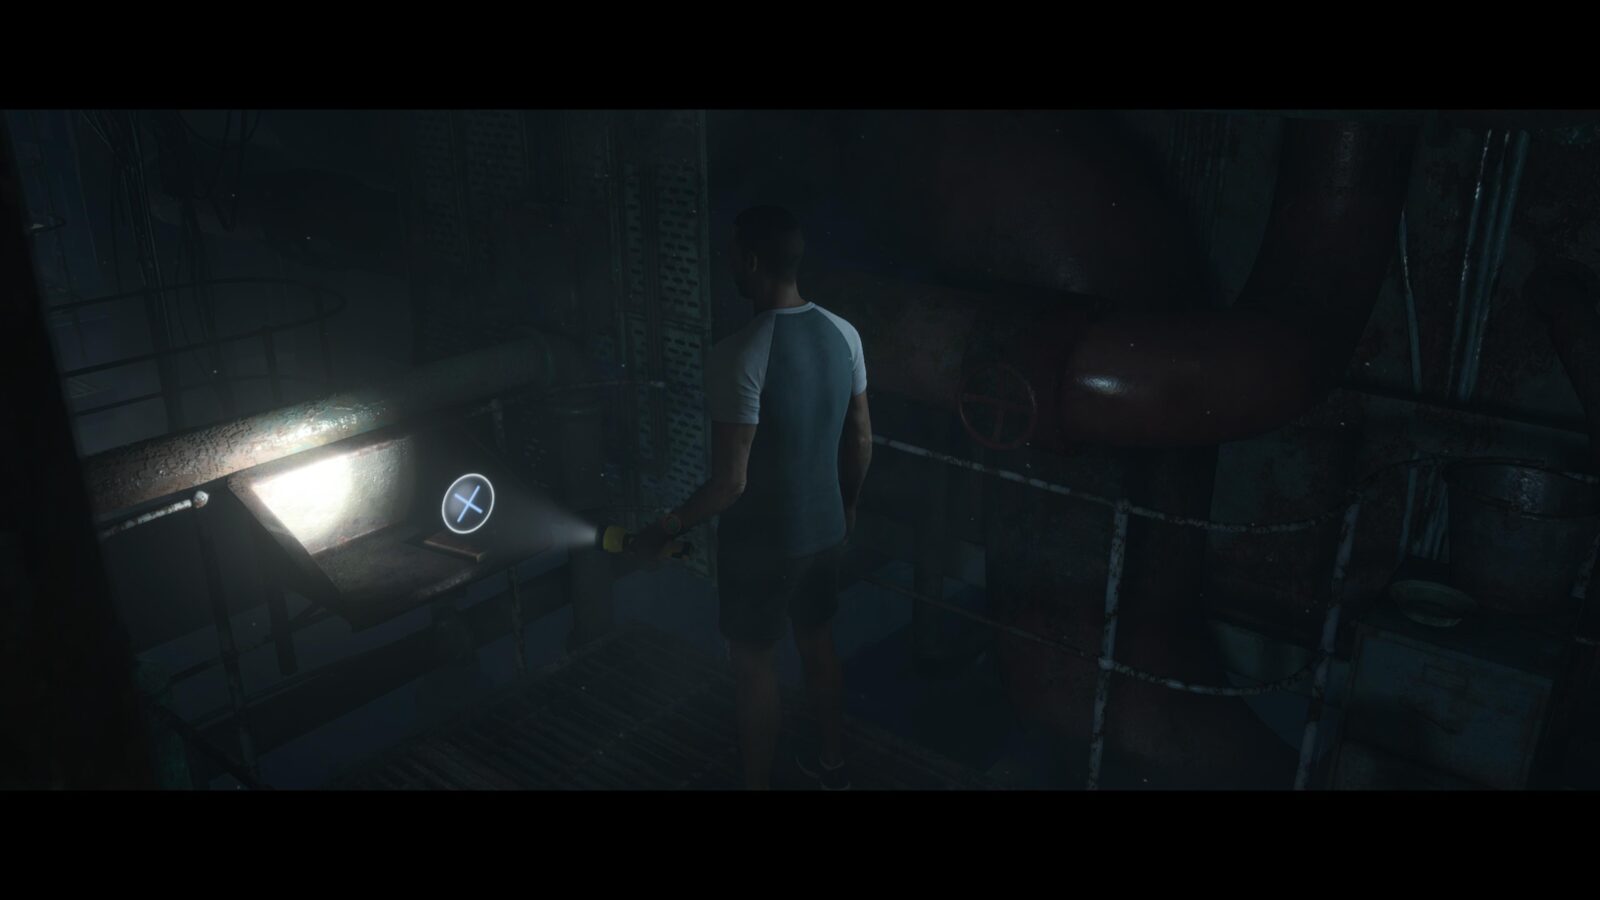
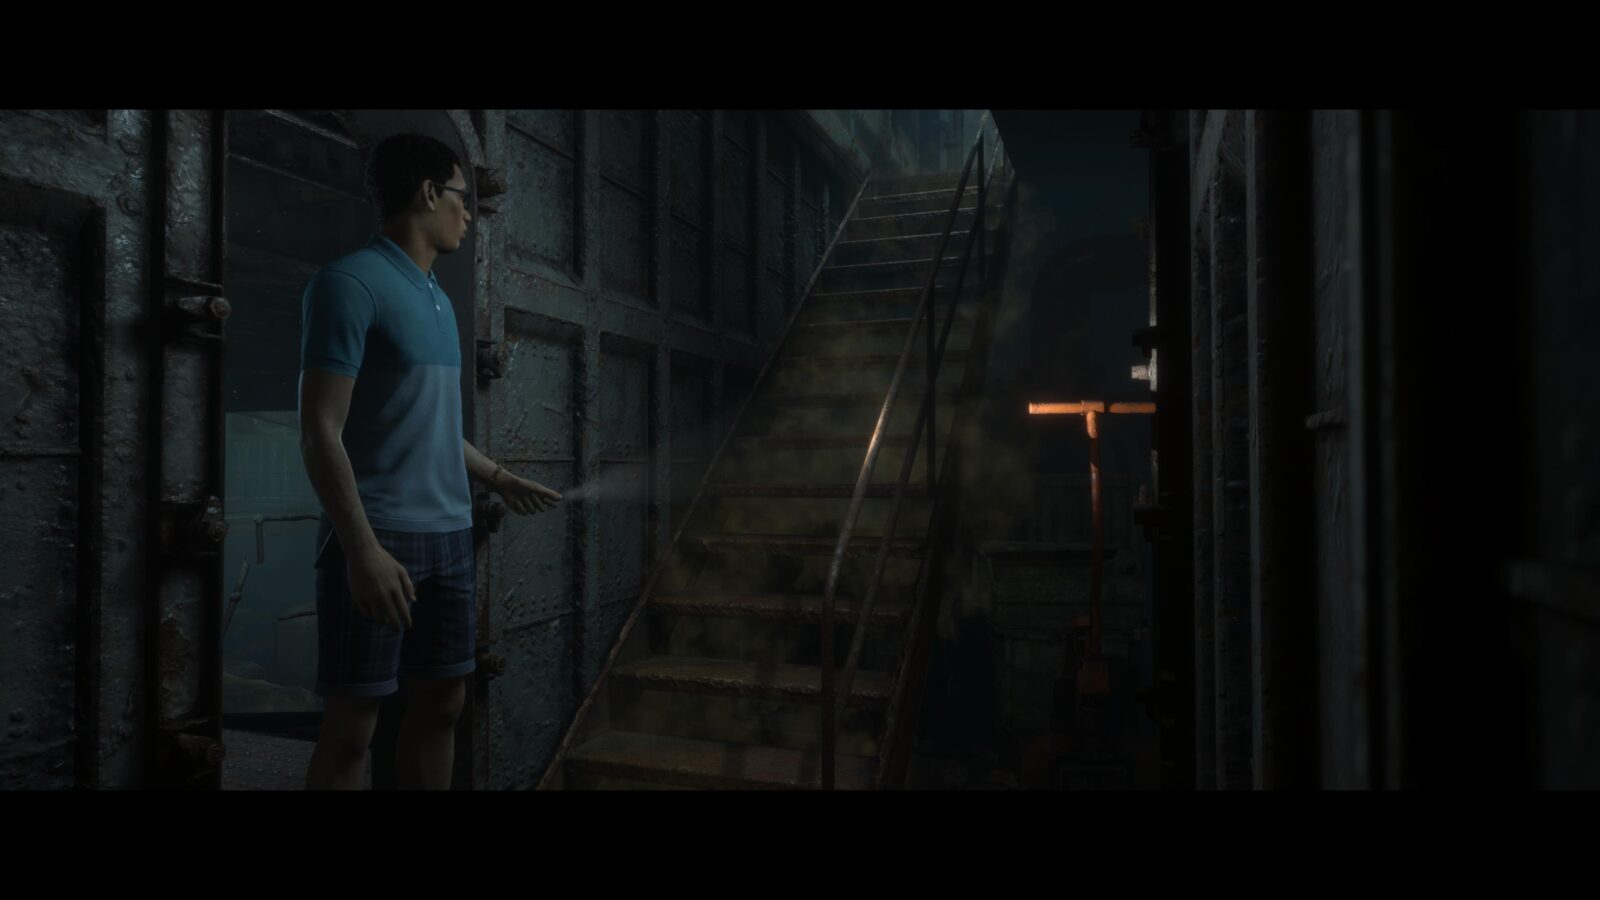
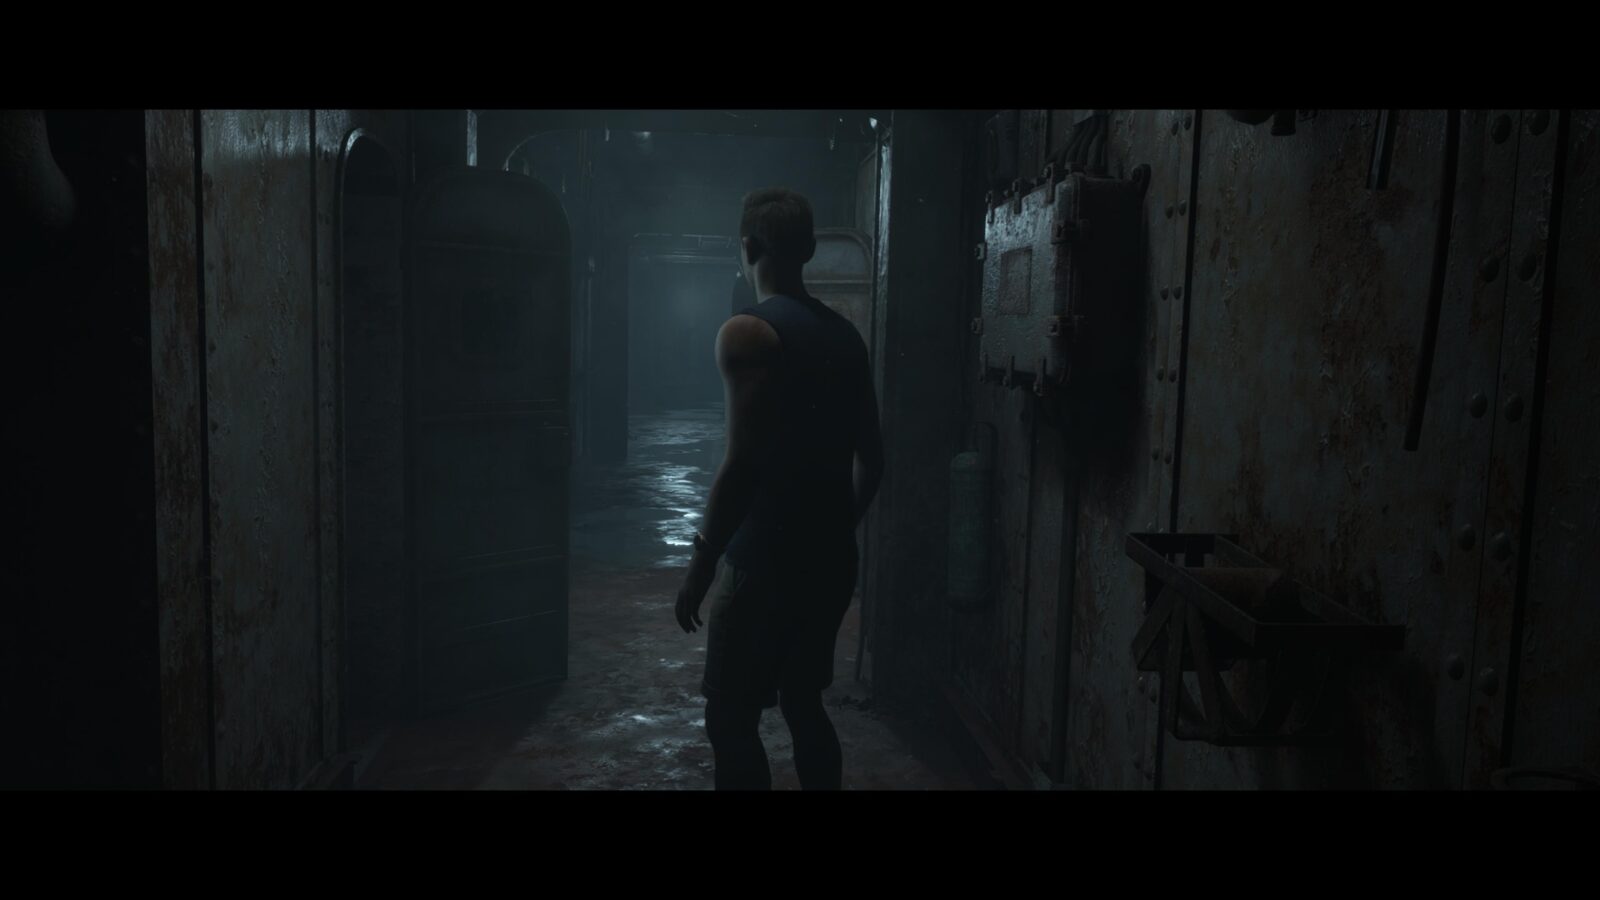
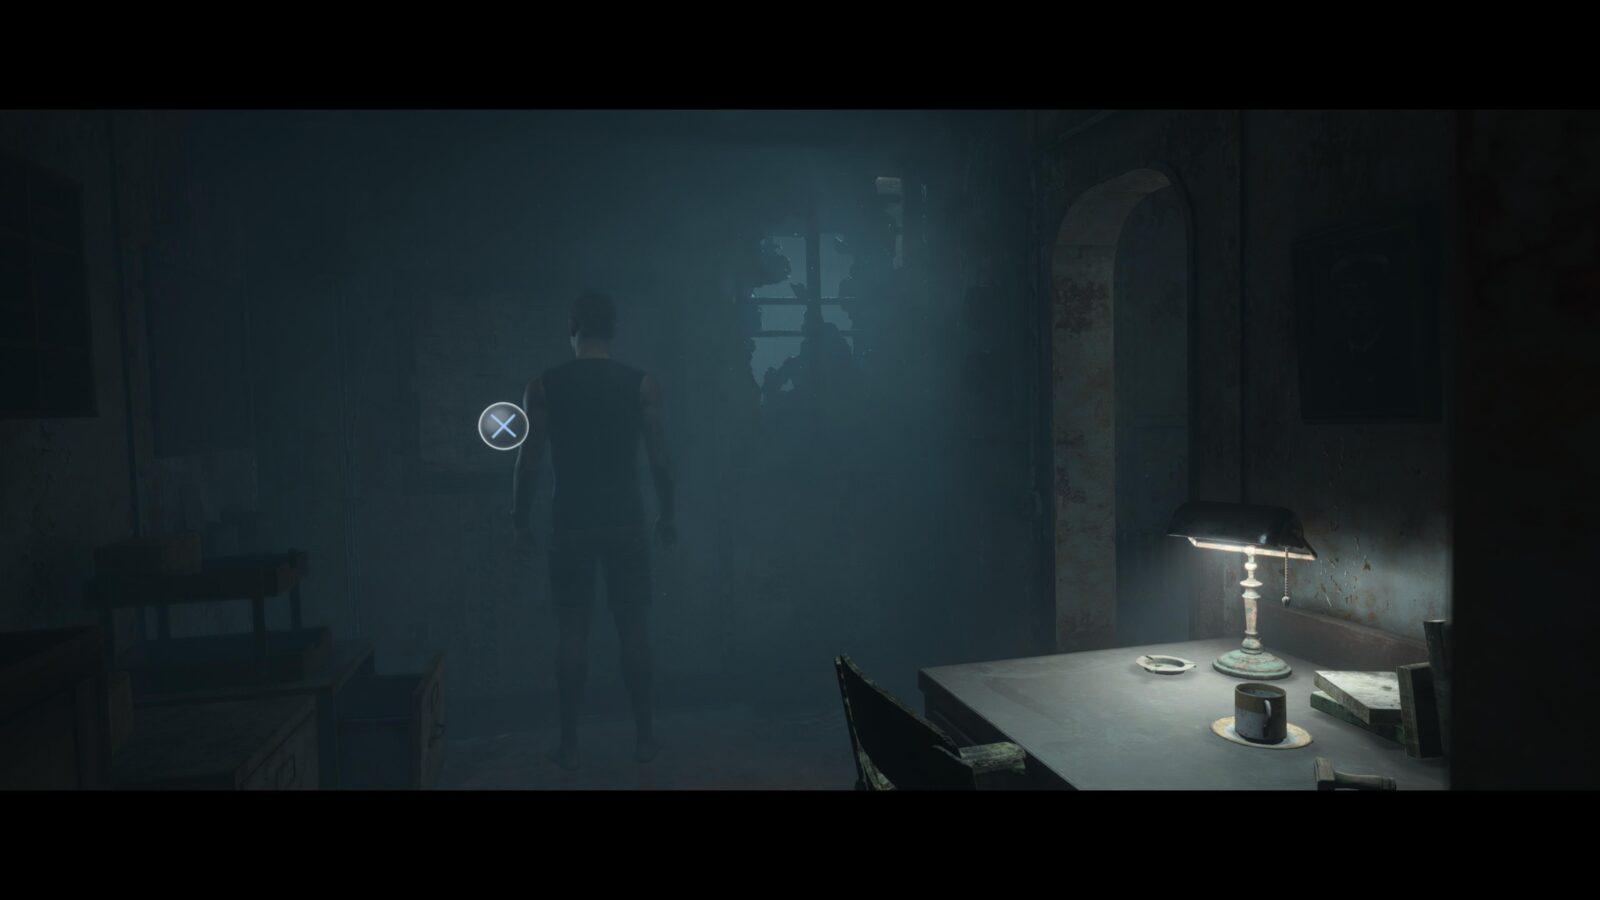
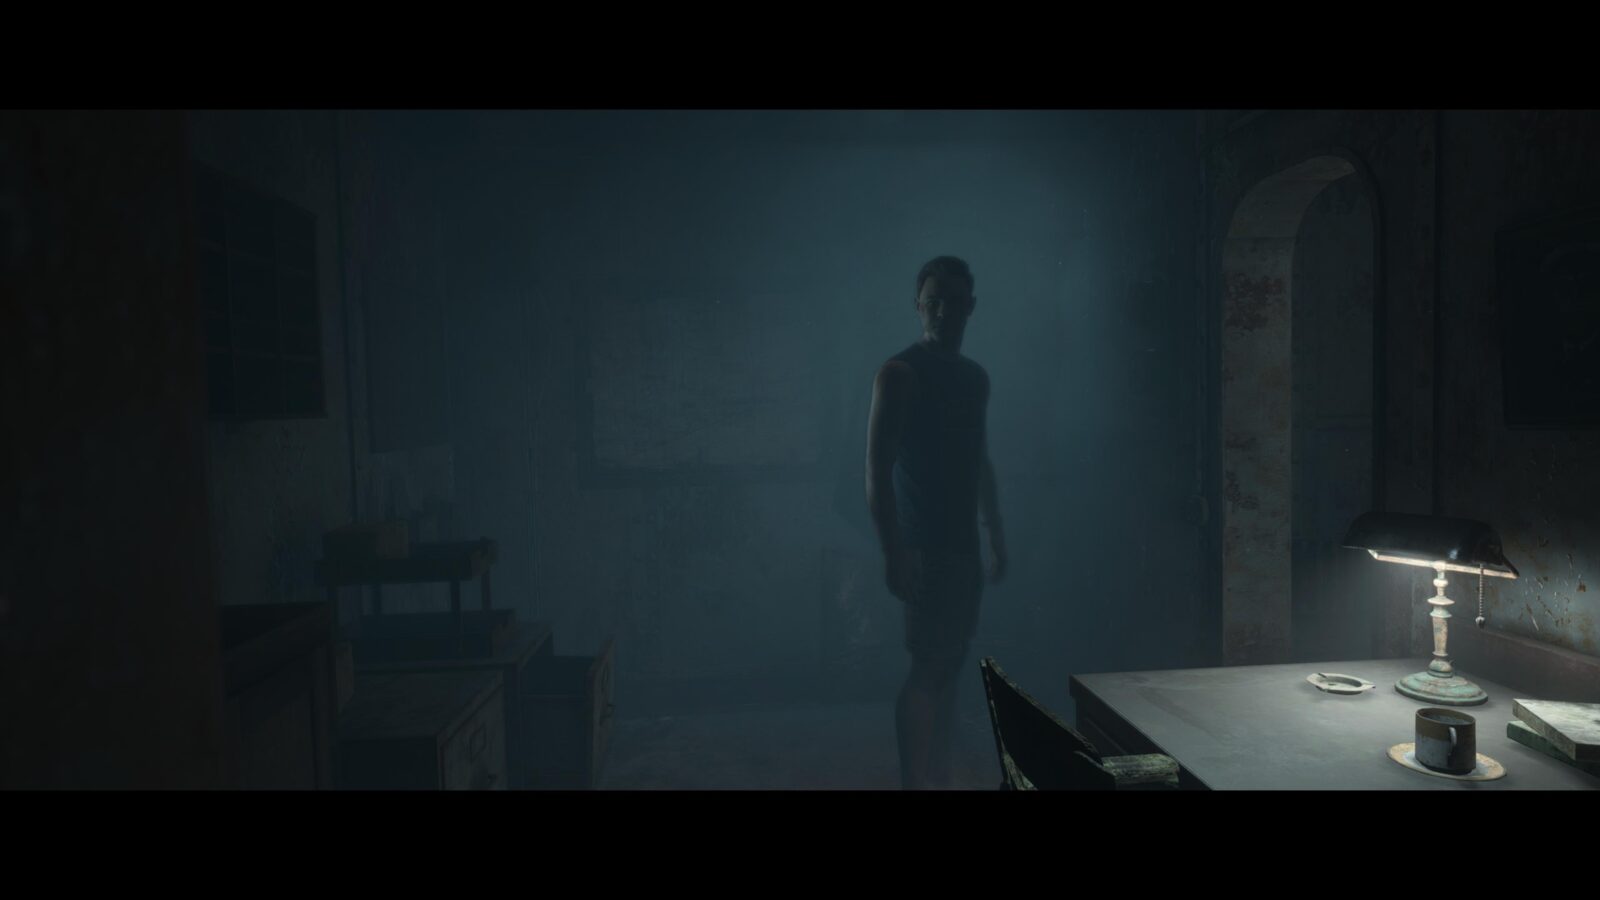
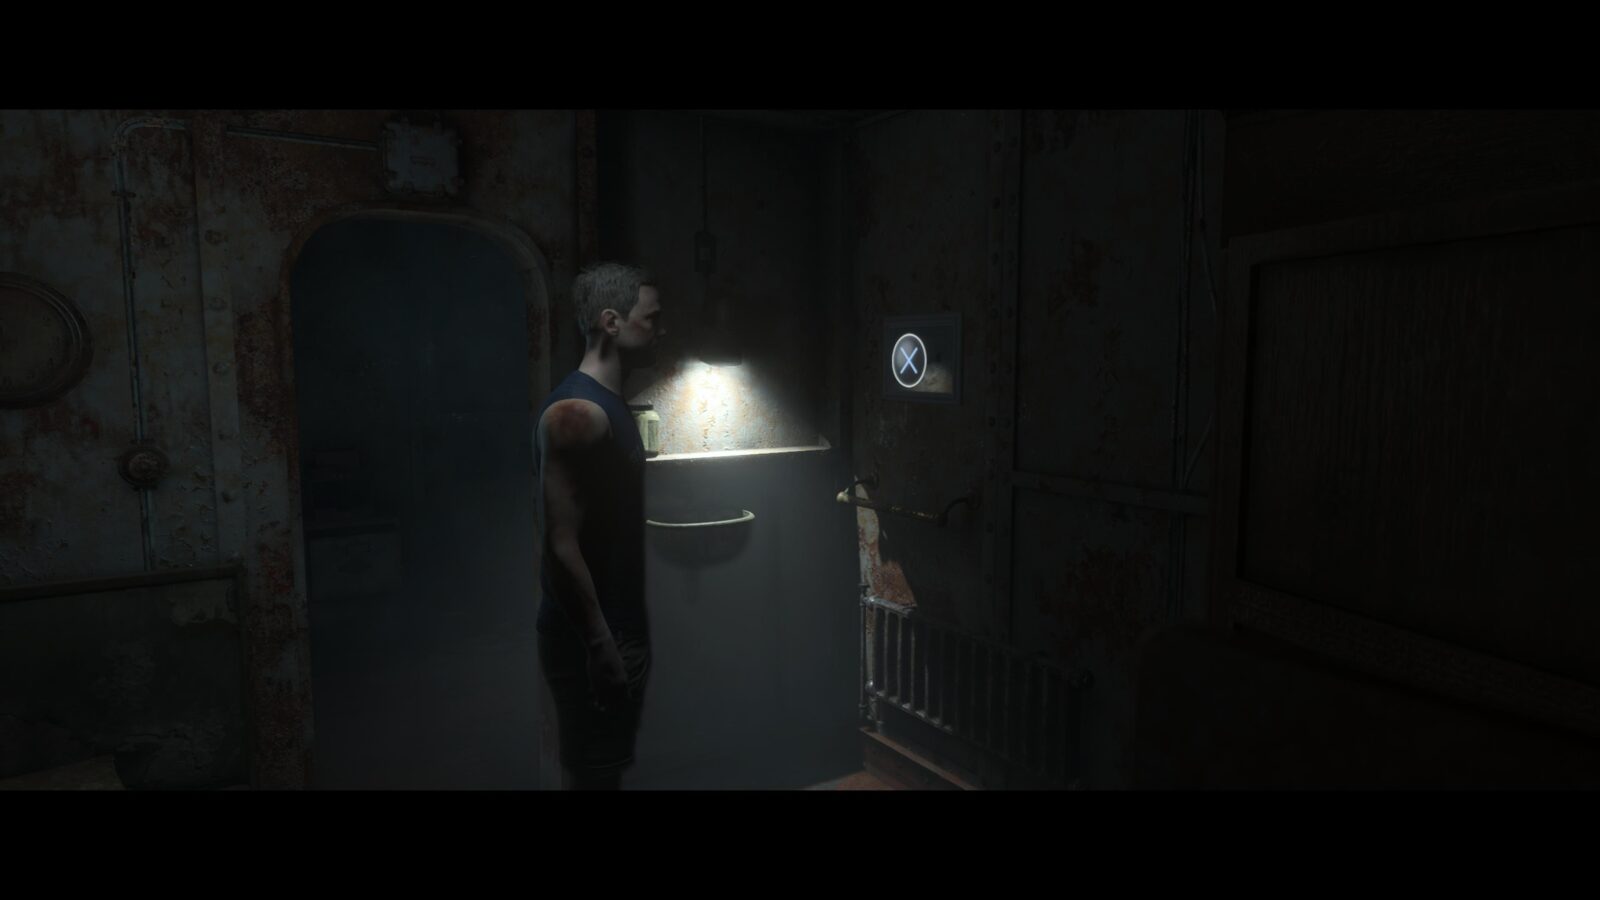
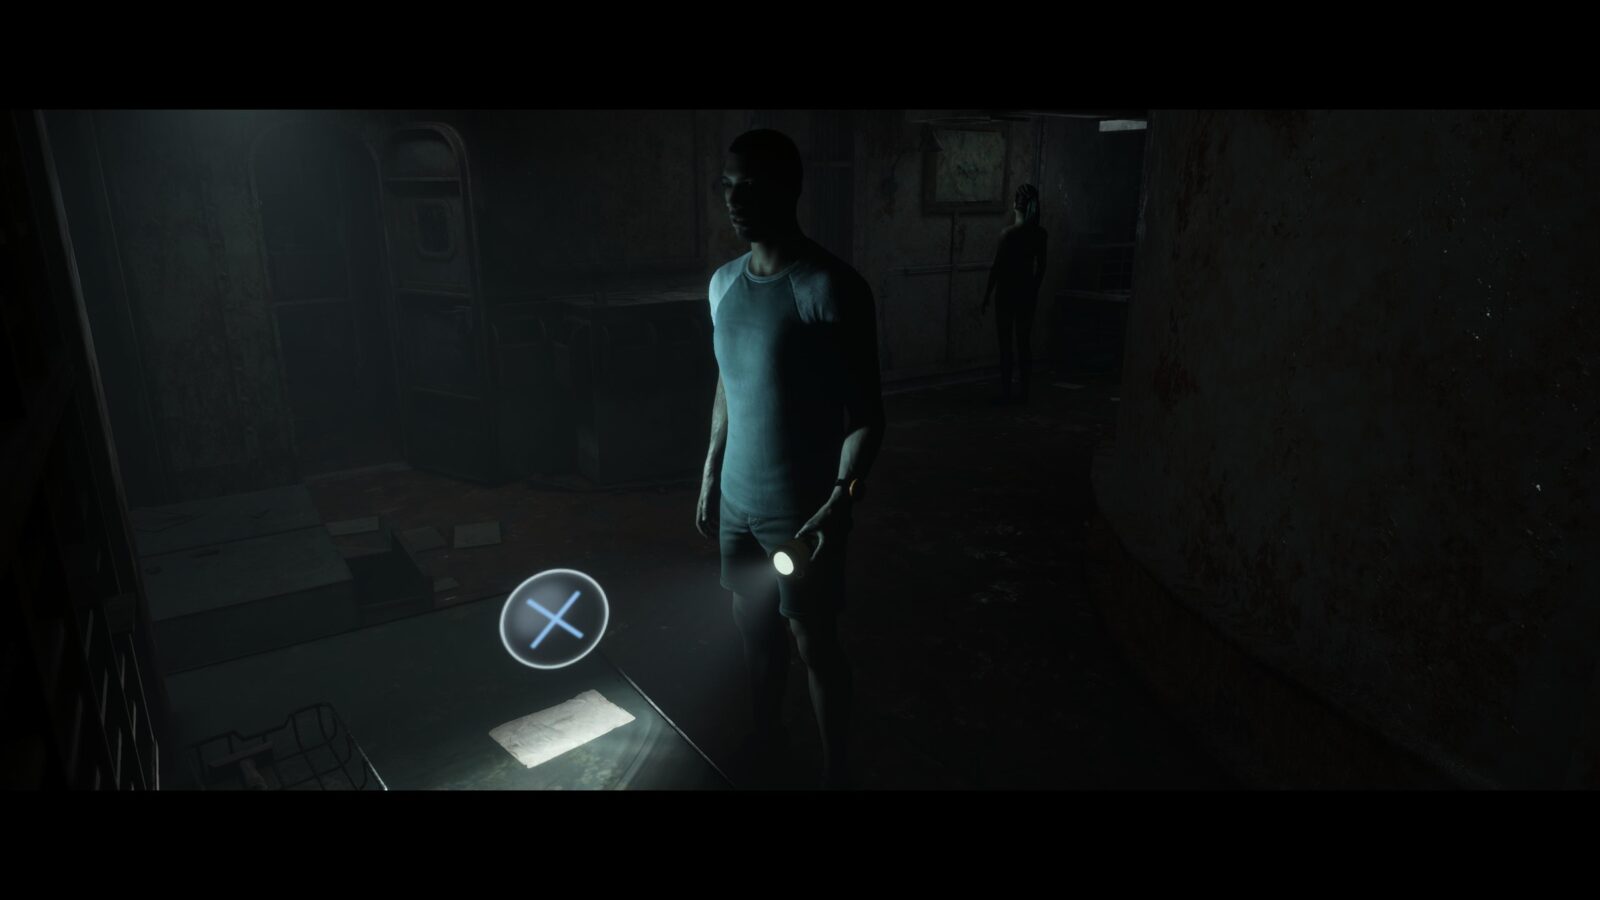
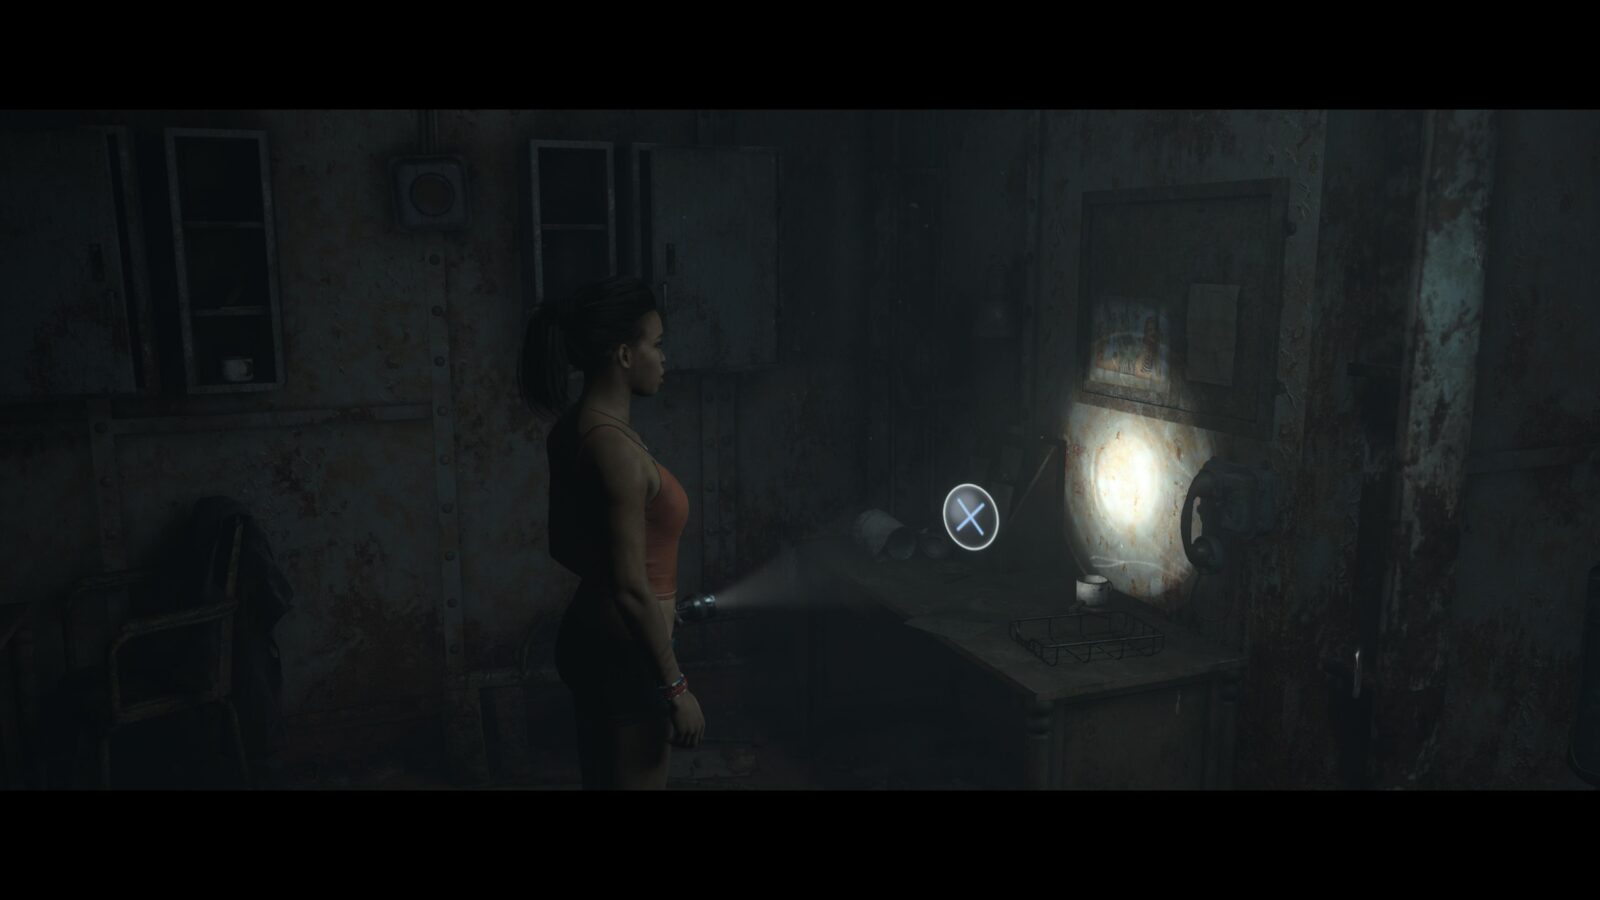
Secret #7 | Guard Duty Roster #14 | Conrad (Alex, if Conrad escaped)
After escaping the room the pirates locked you in you will find yourself in a corridor. Check the room immediately to the right of Alex/Conrad to find a clipboard on a metal table. Flip the clipboard over to collect the secret.
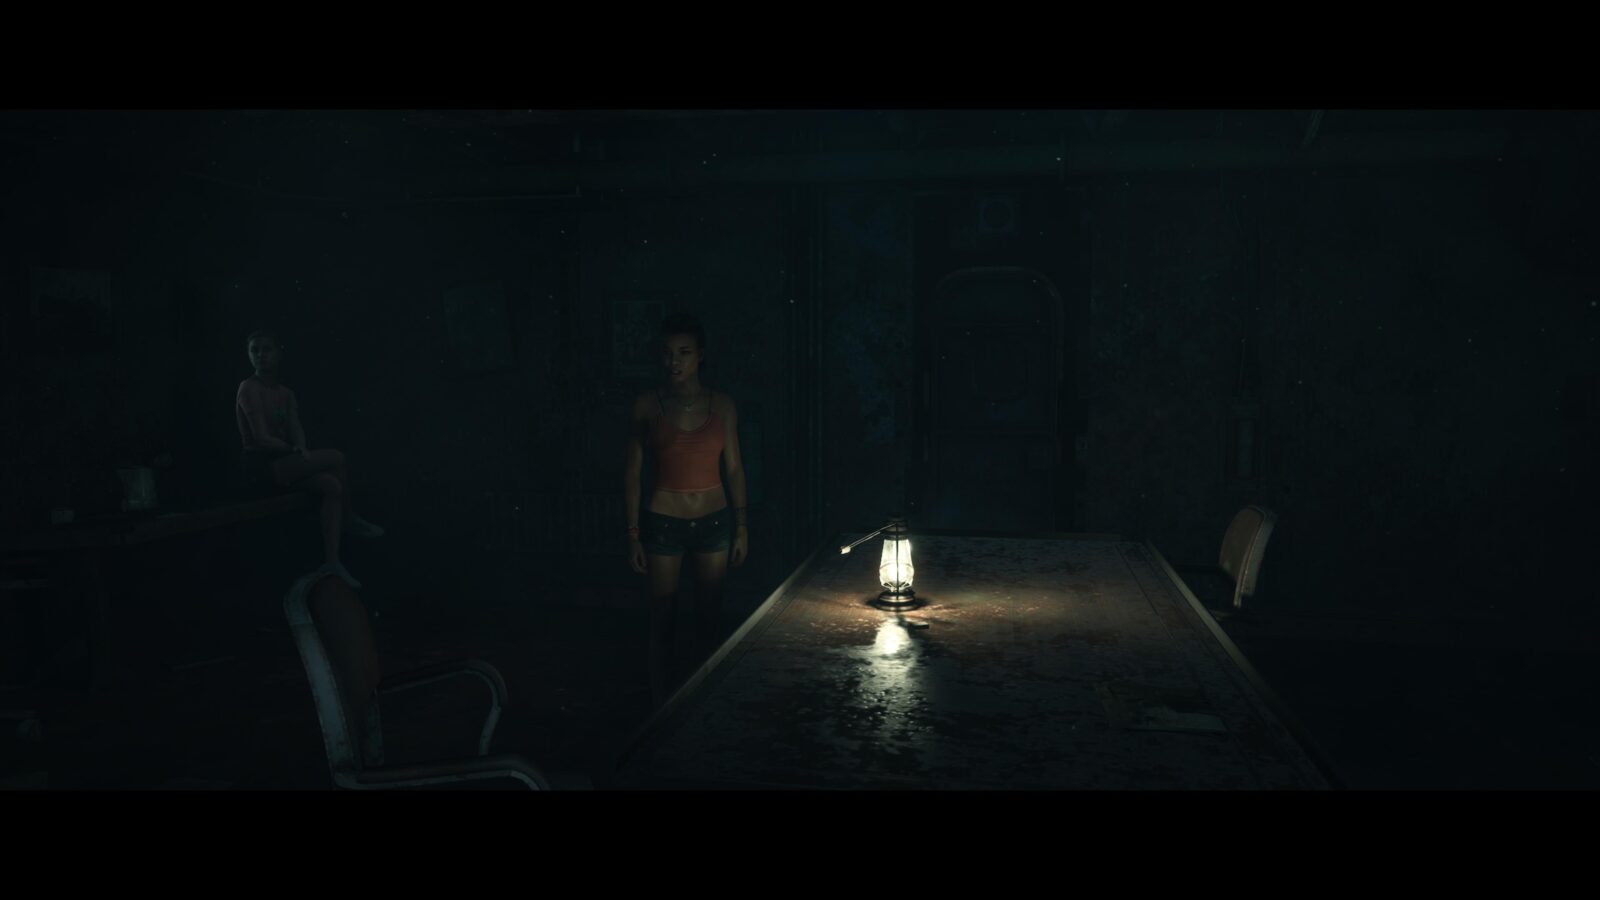
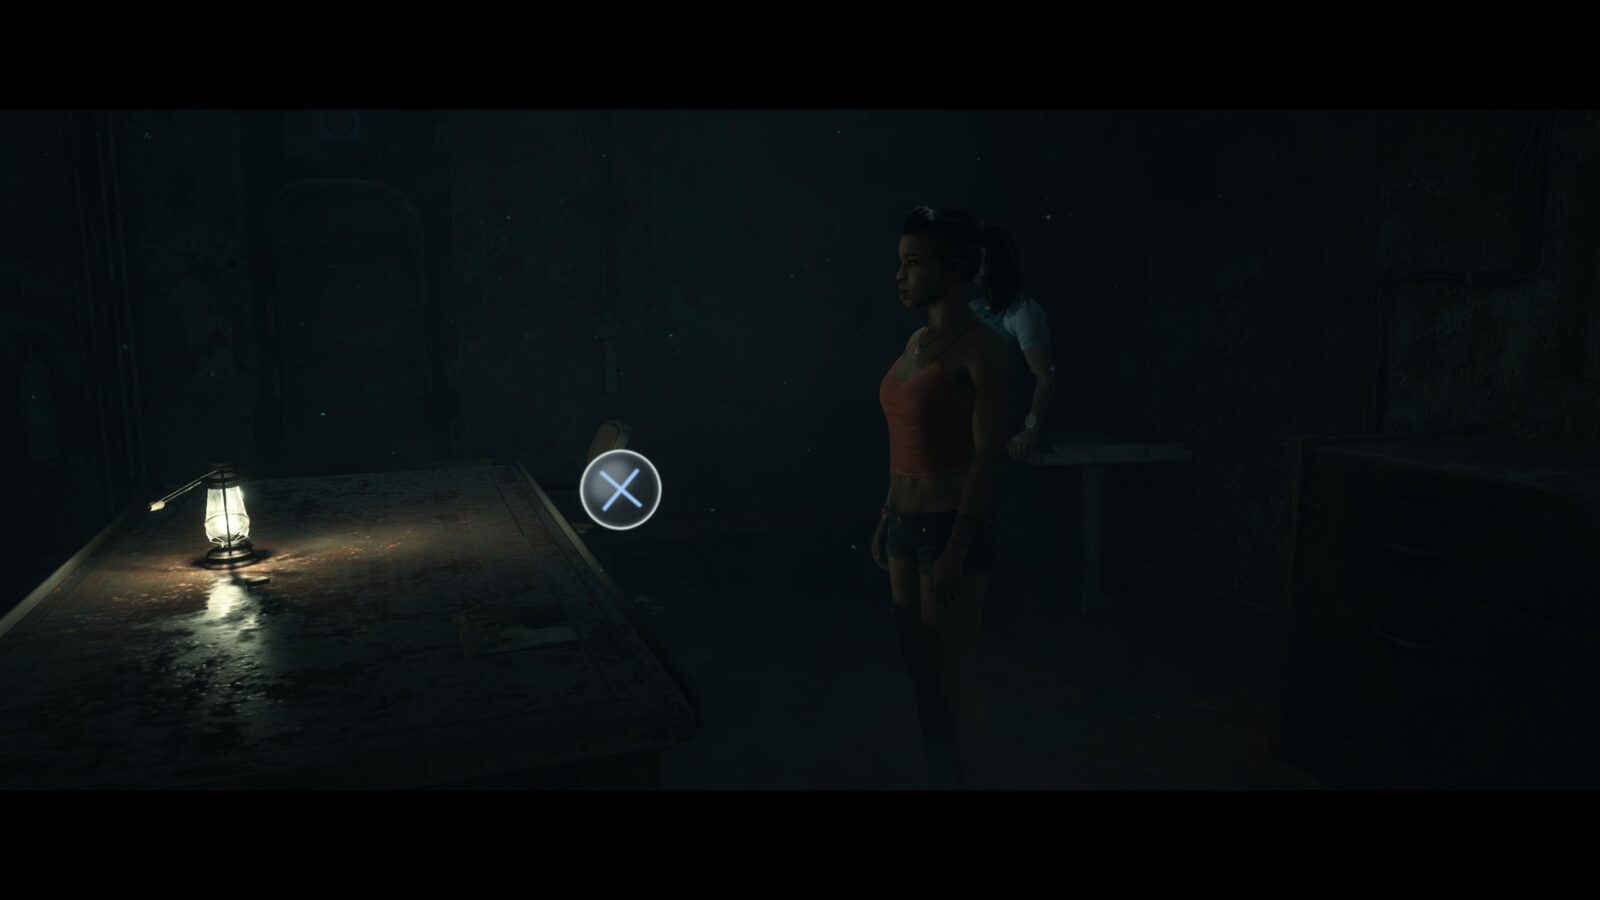
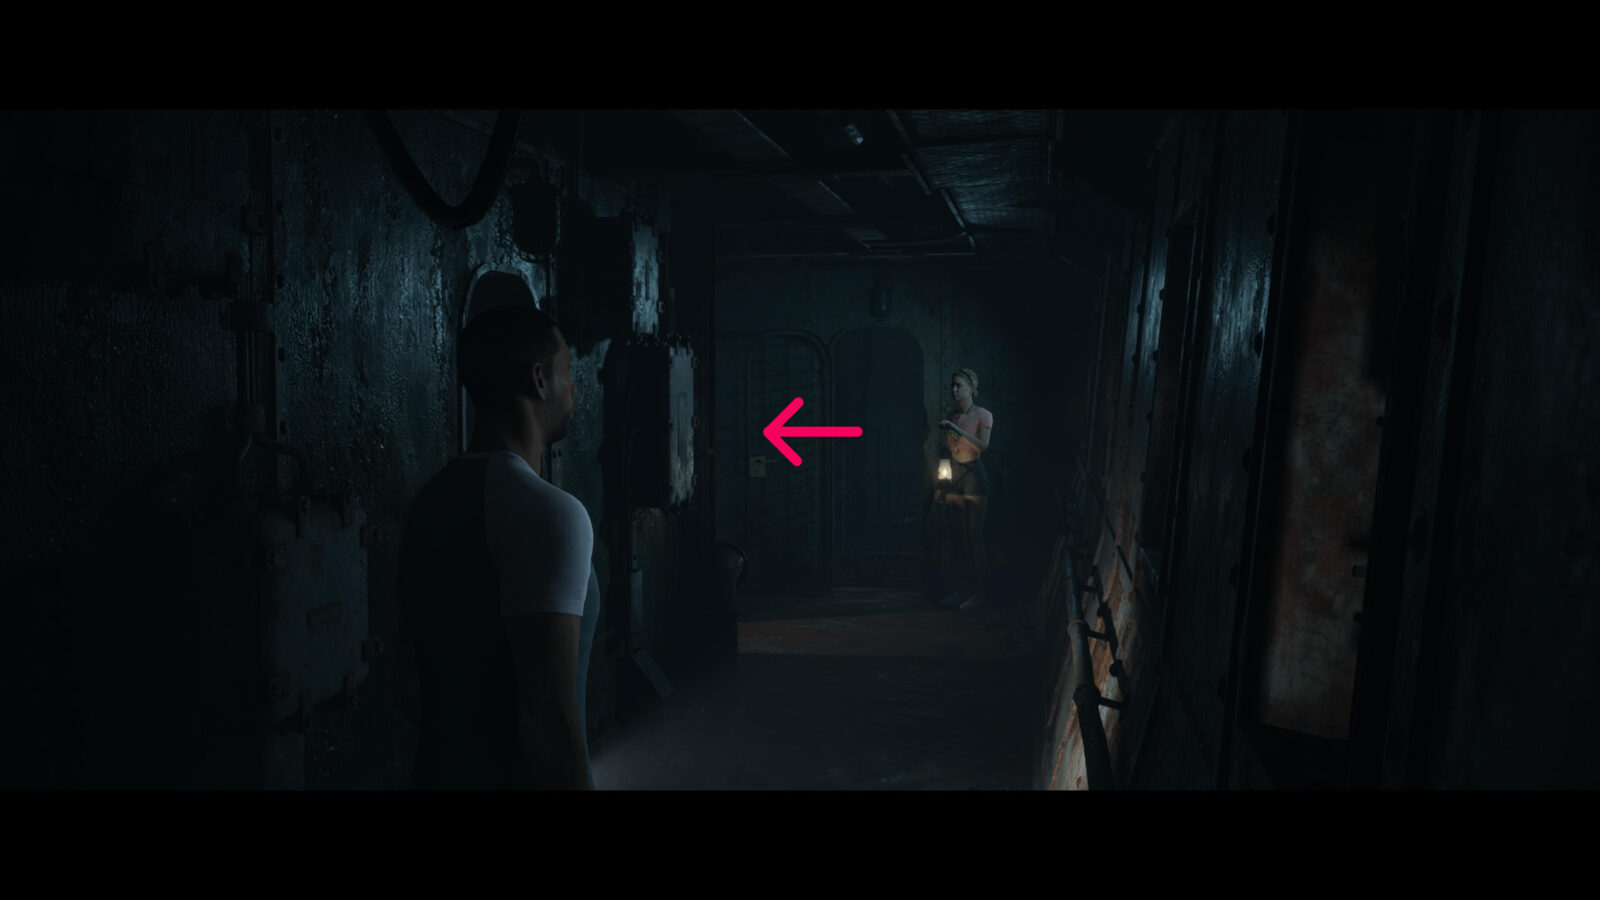
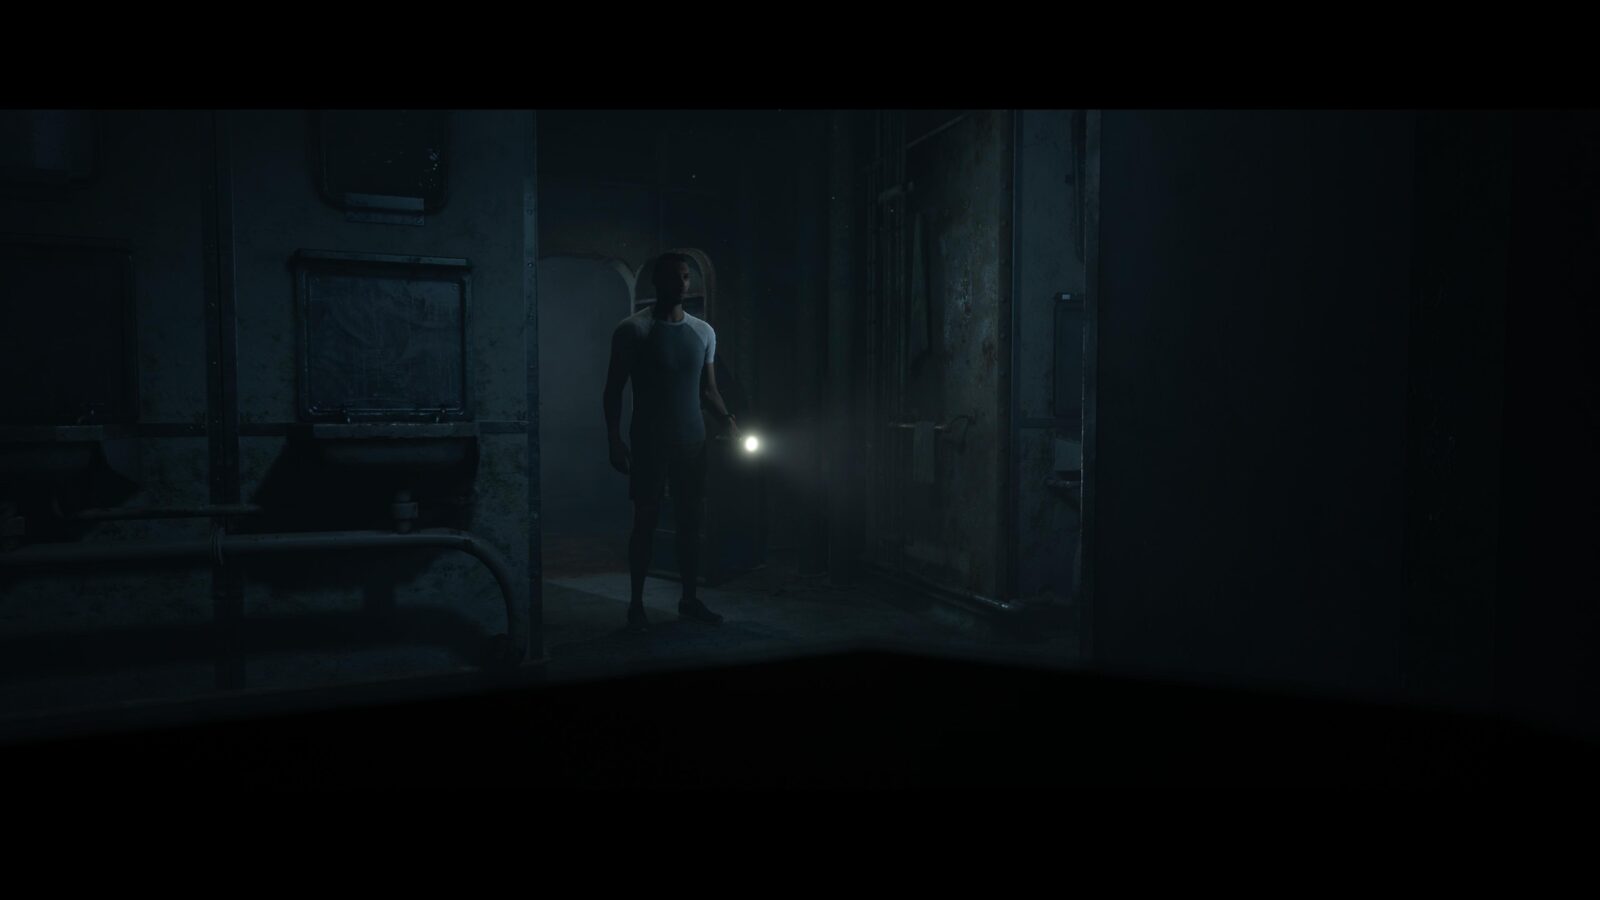
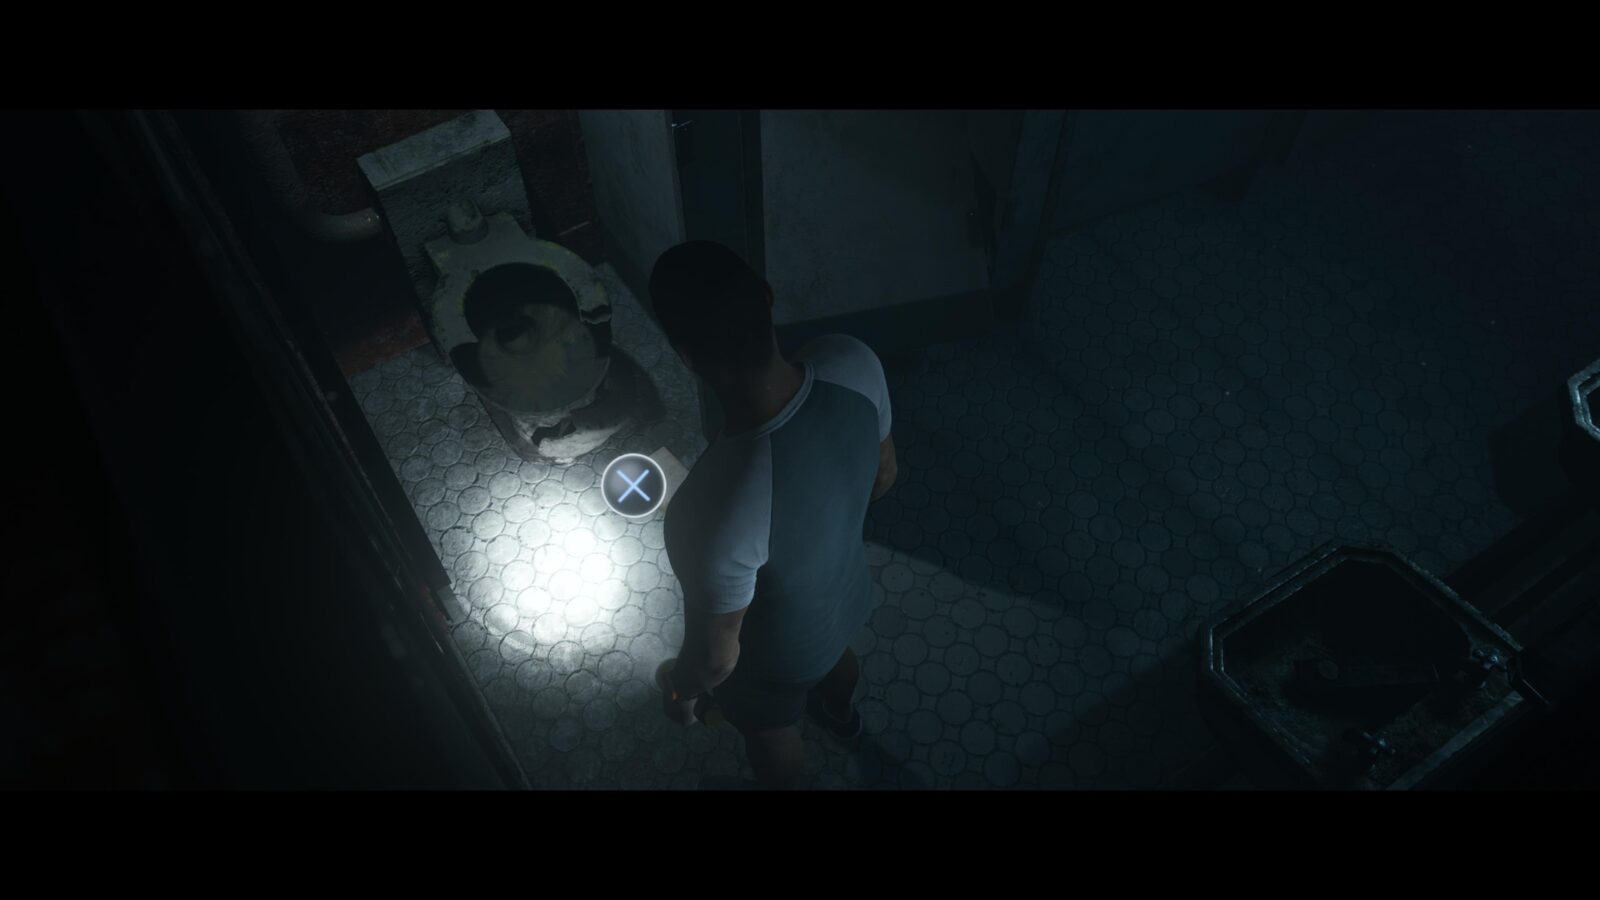
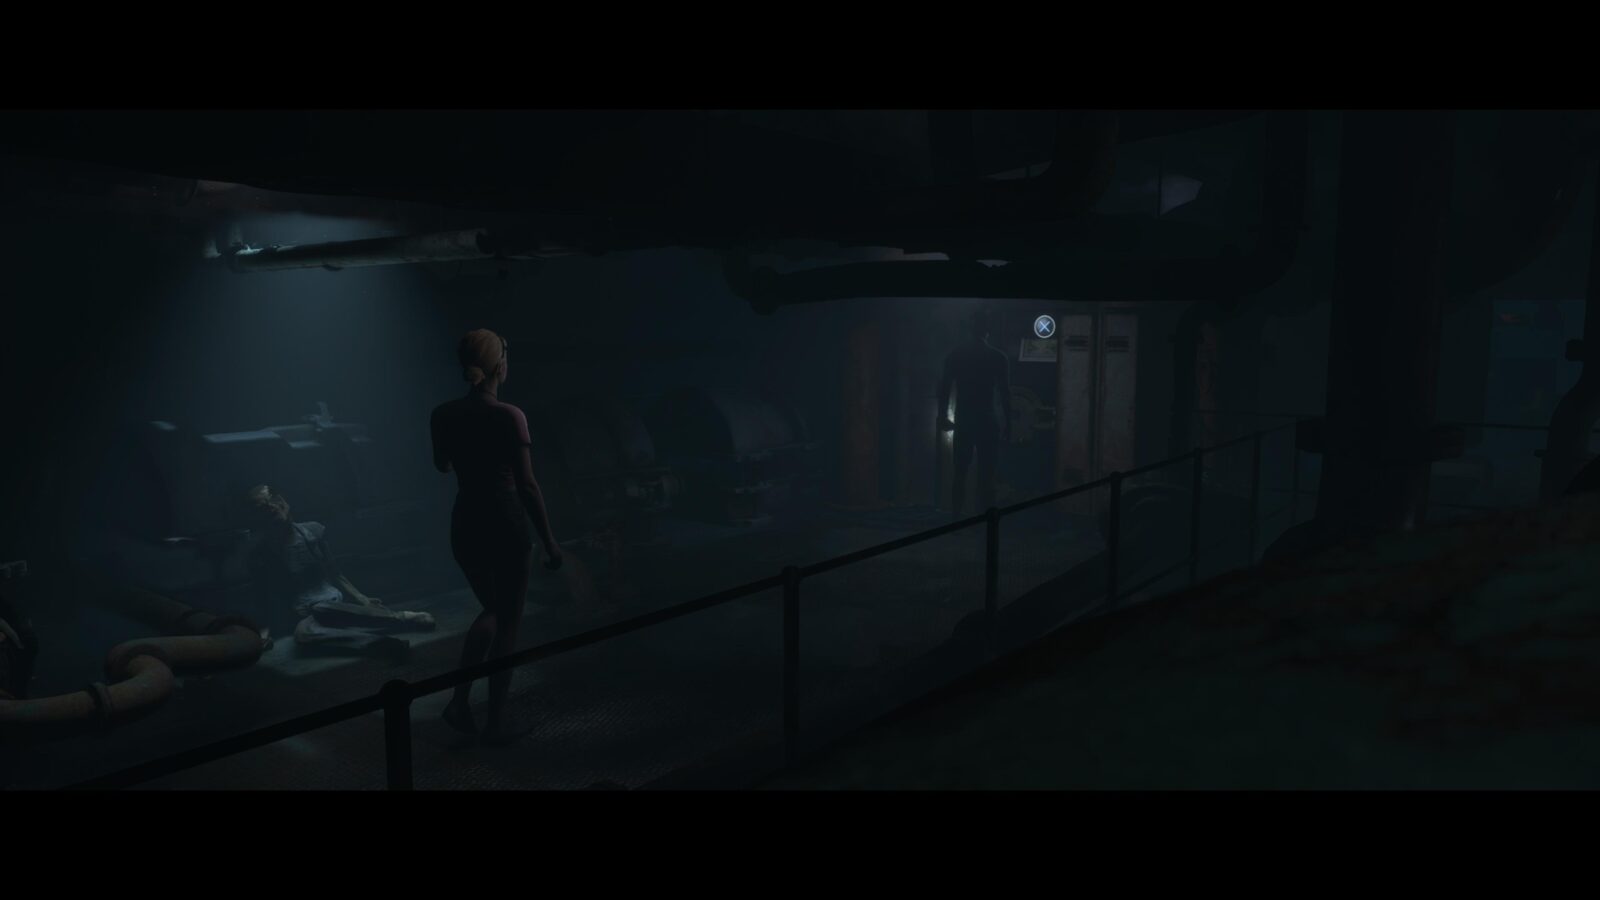
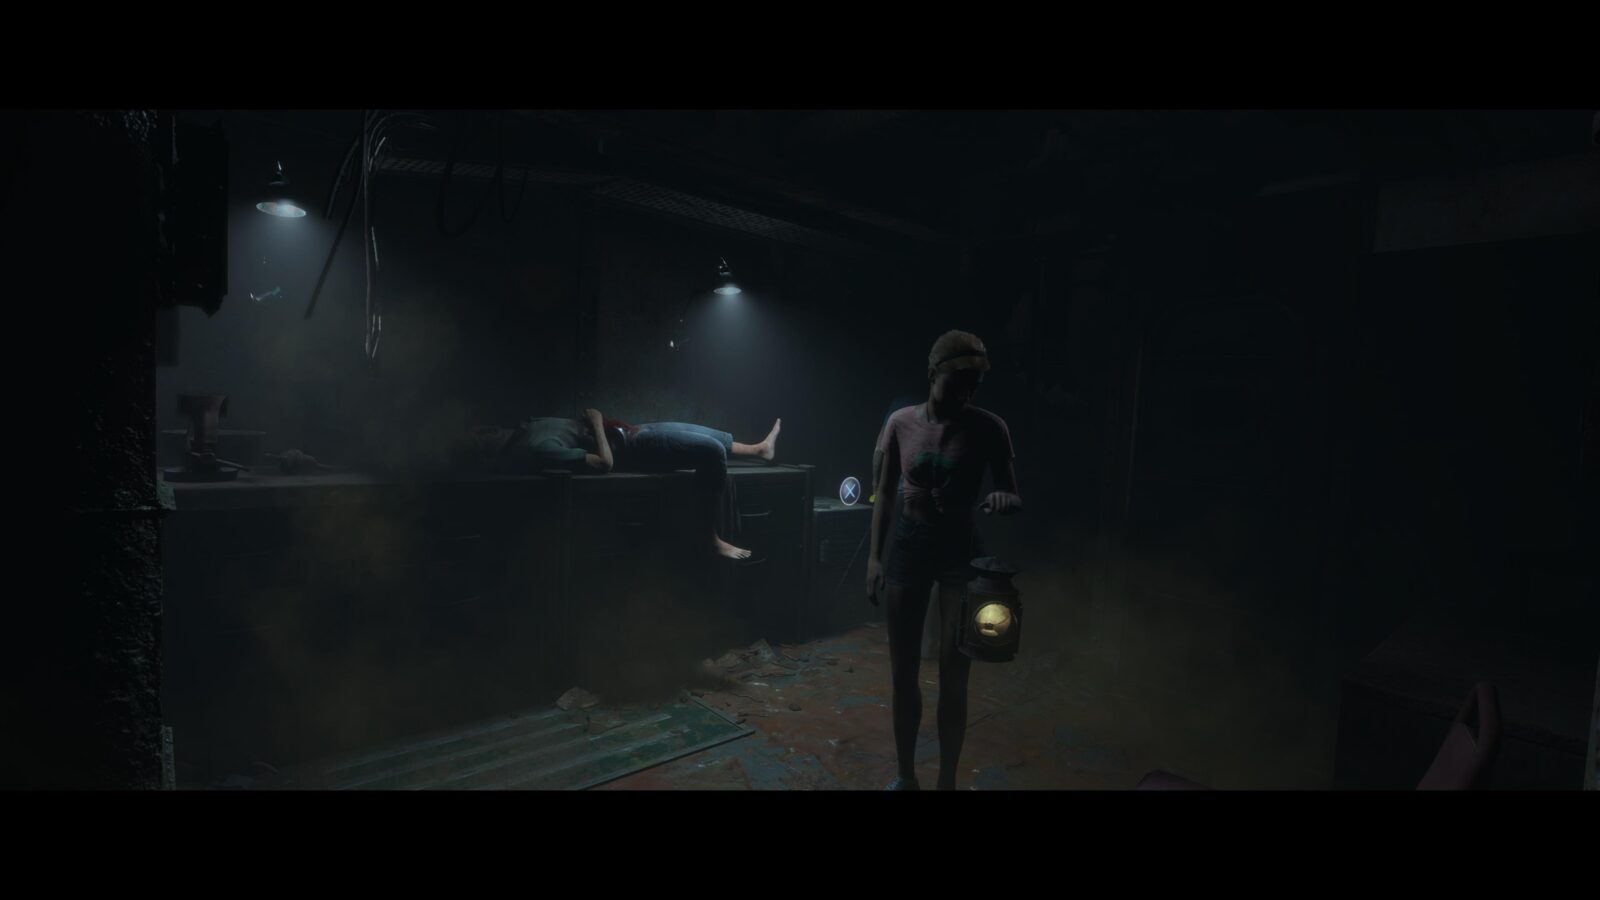
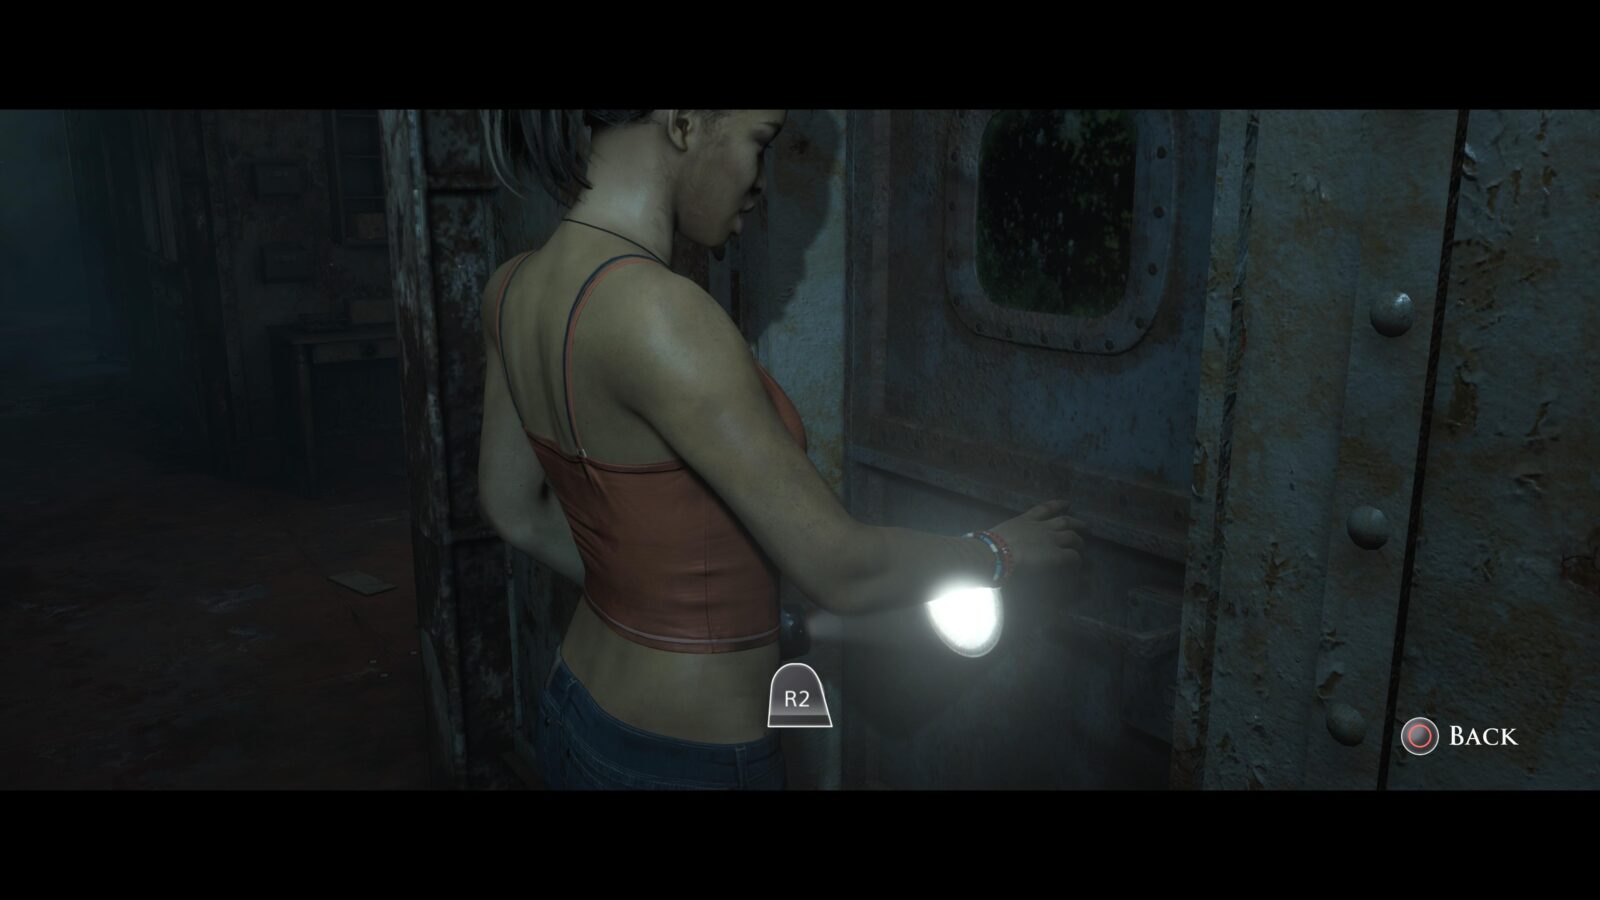
Secret #8 | Private Reed's Letter #45 | Conrad (Alex, if Conrad escaped)
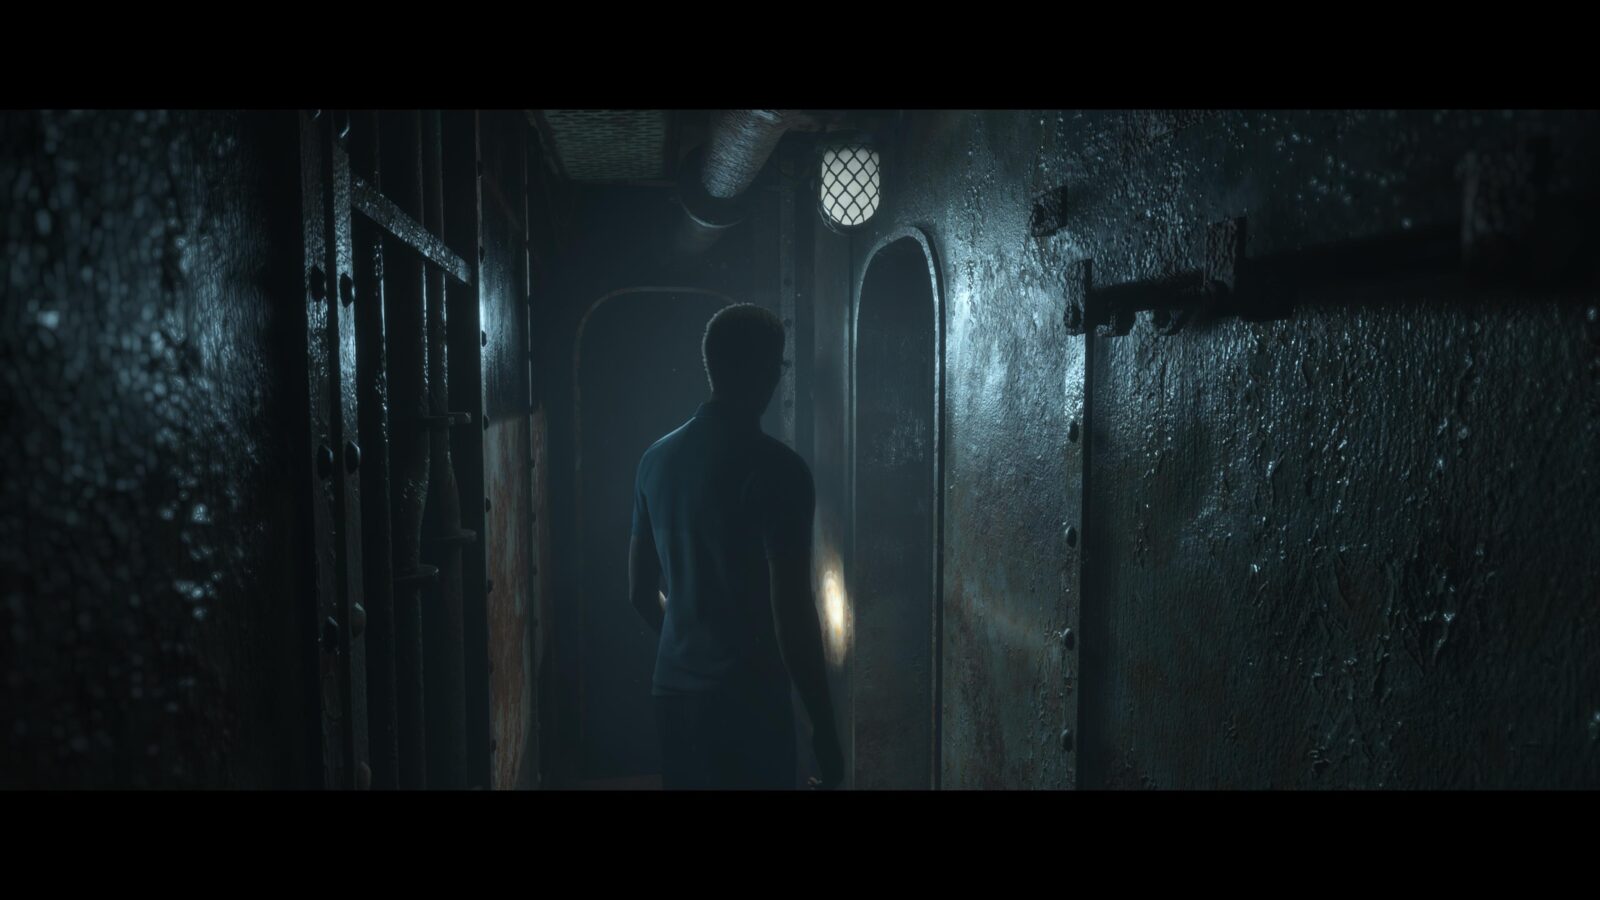
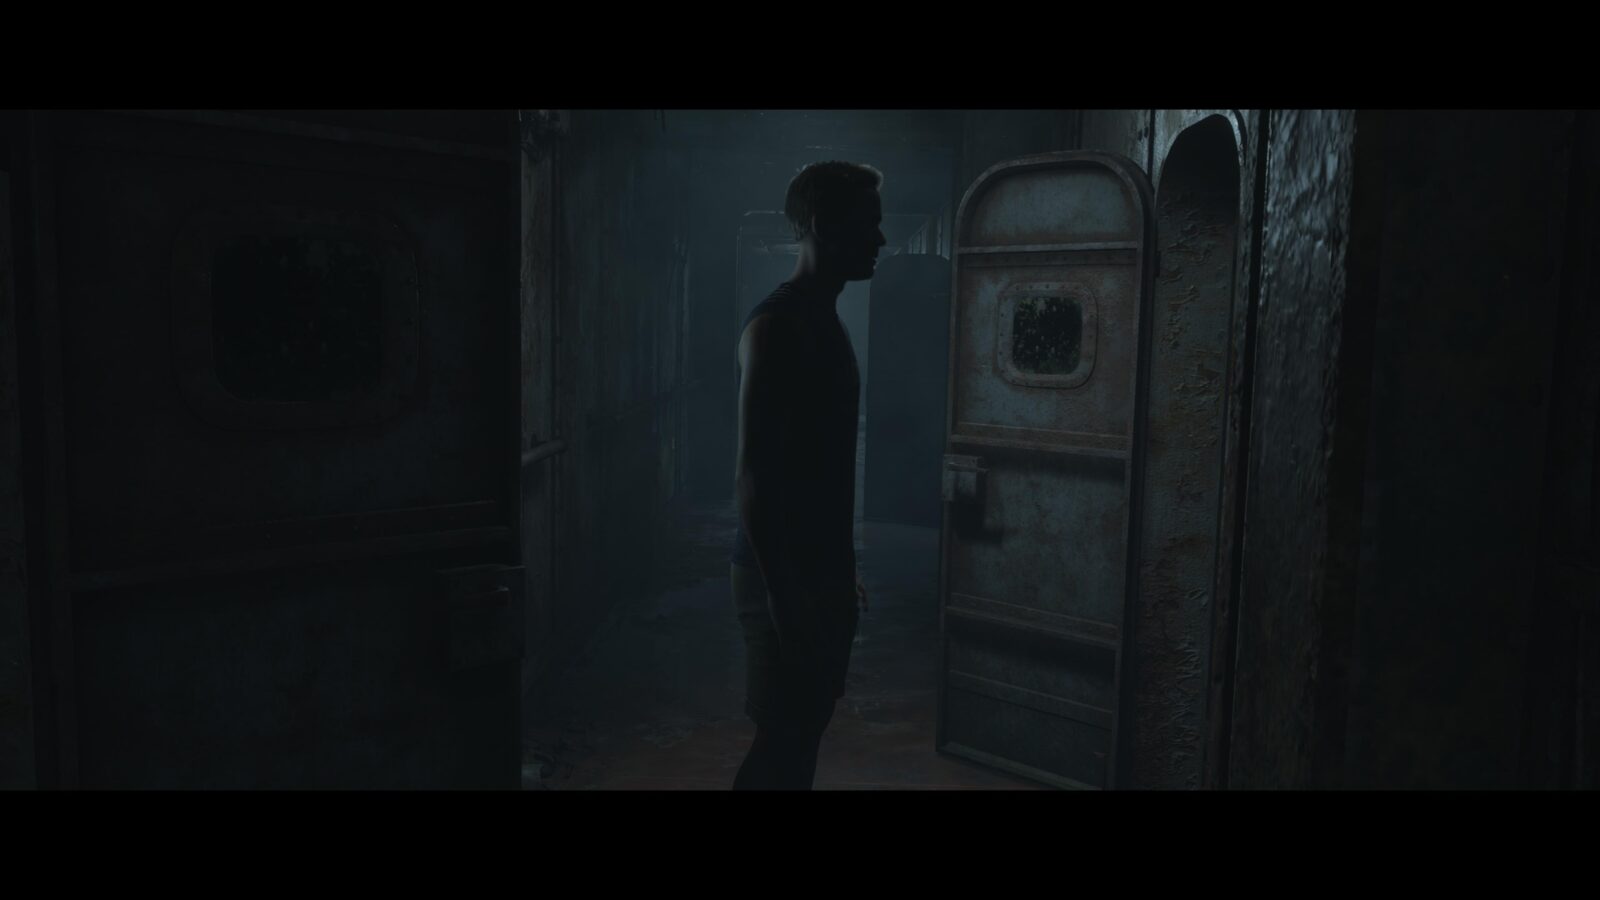
Head to the end of the corridor to where Julia is waiting with the lantern. To the left of the door she’s waiting at is the restroom. In the end stall is a letter on the ground.
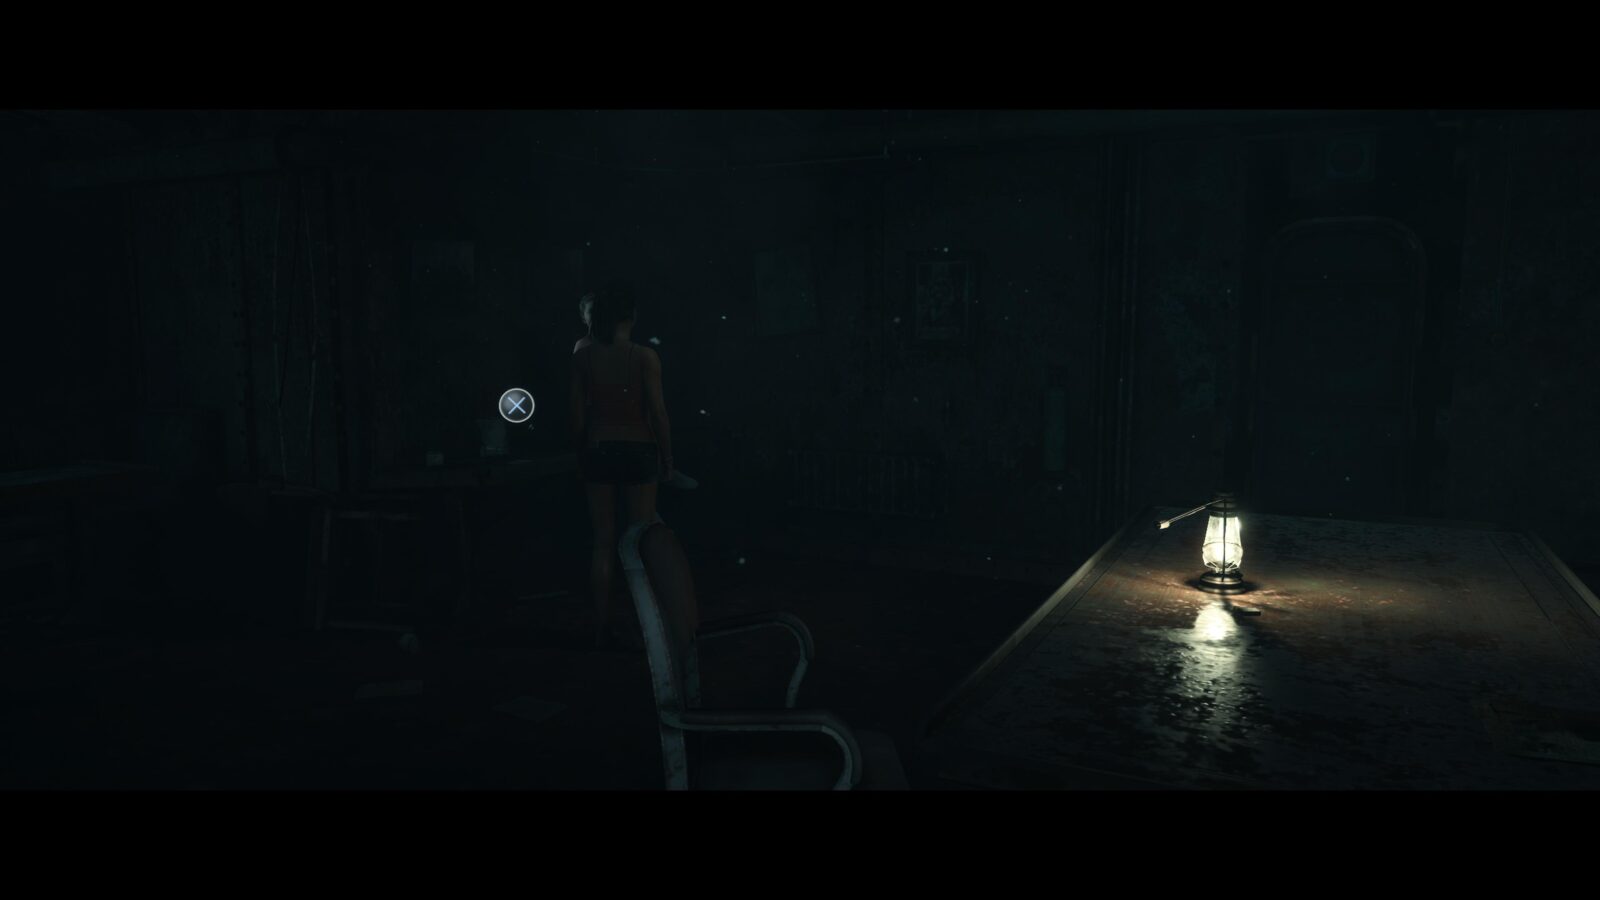
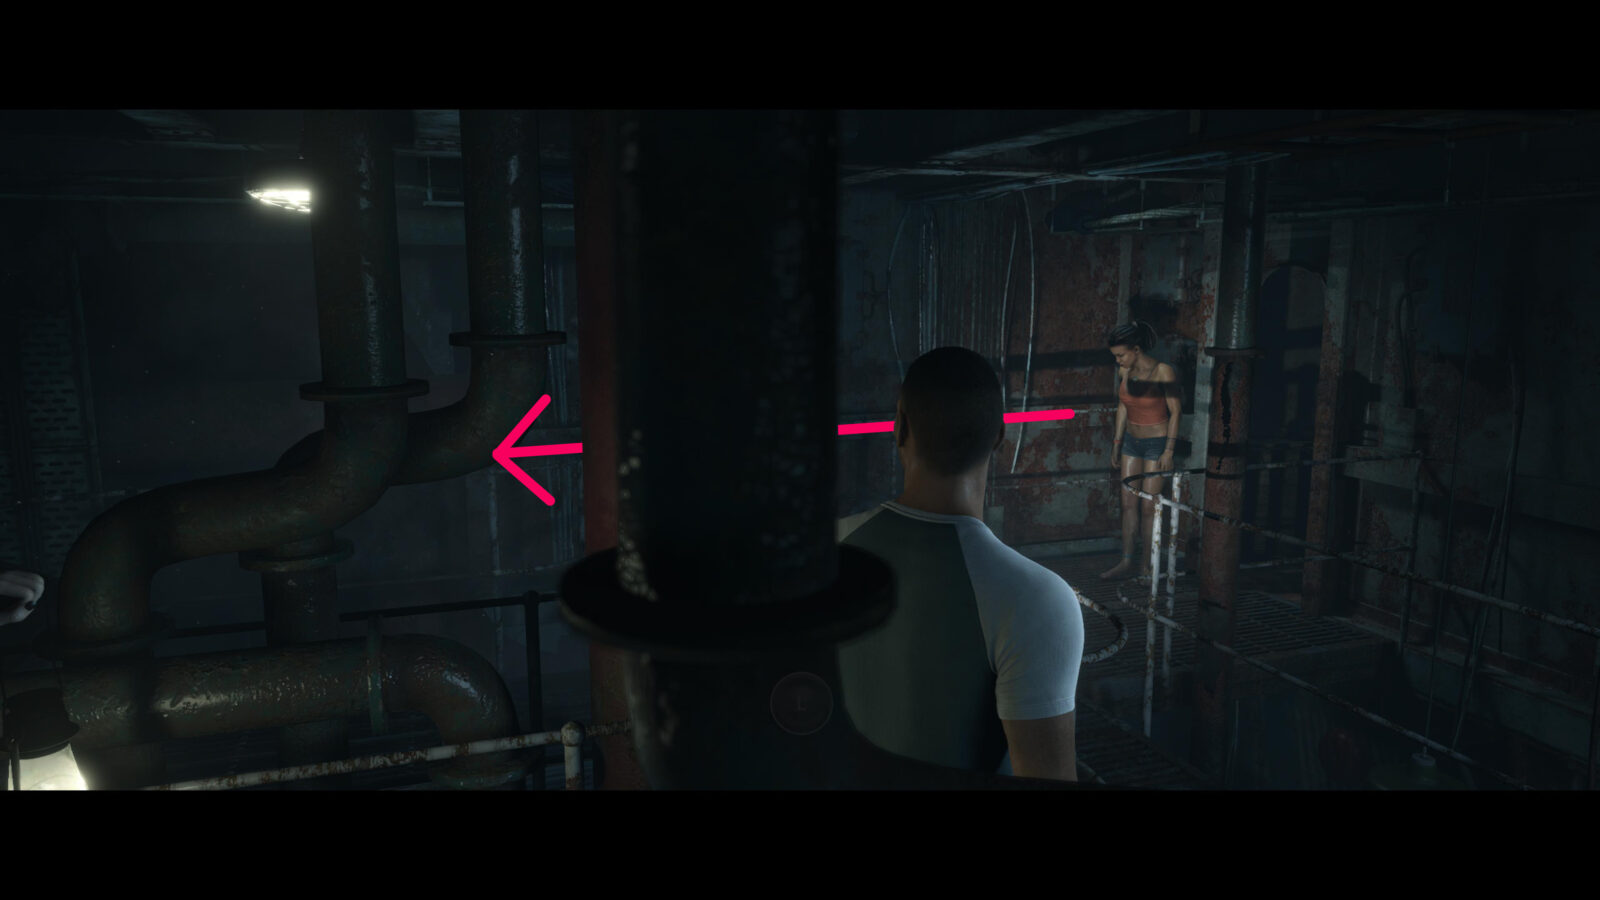
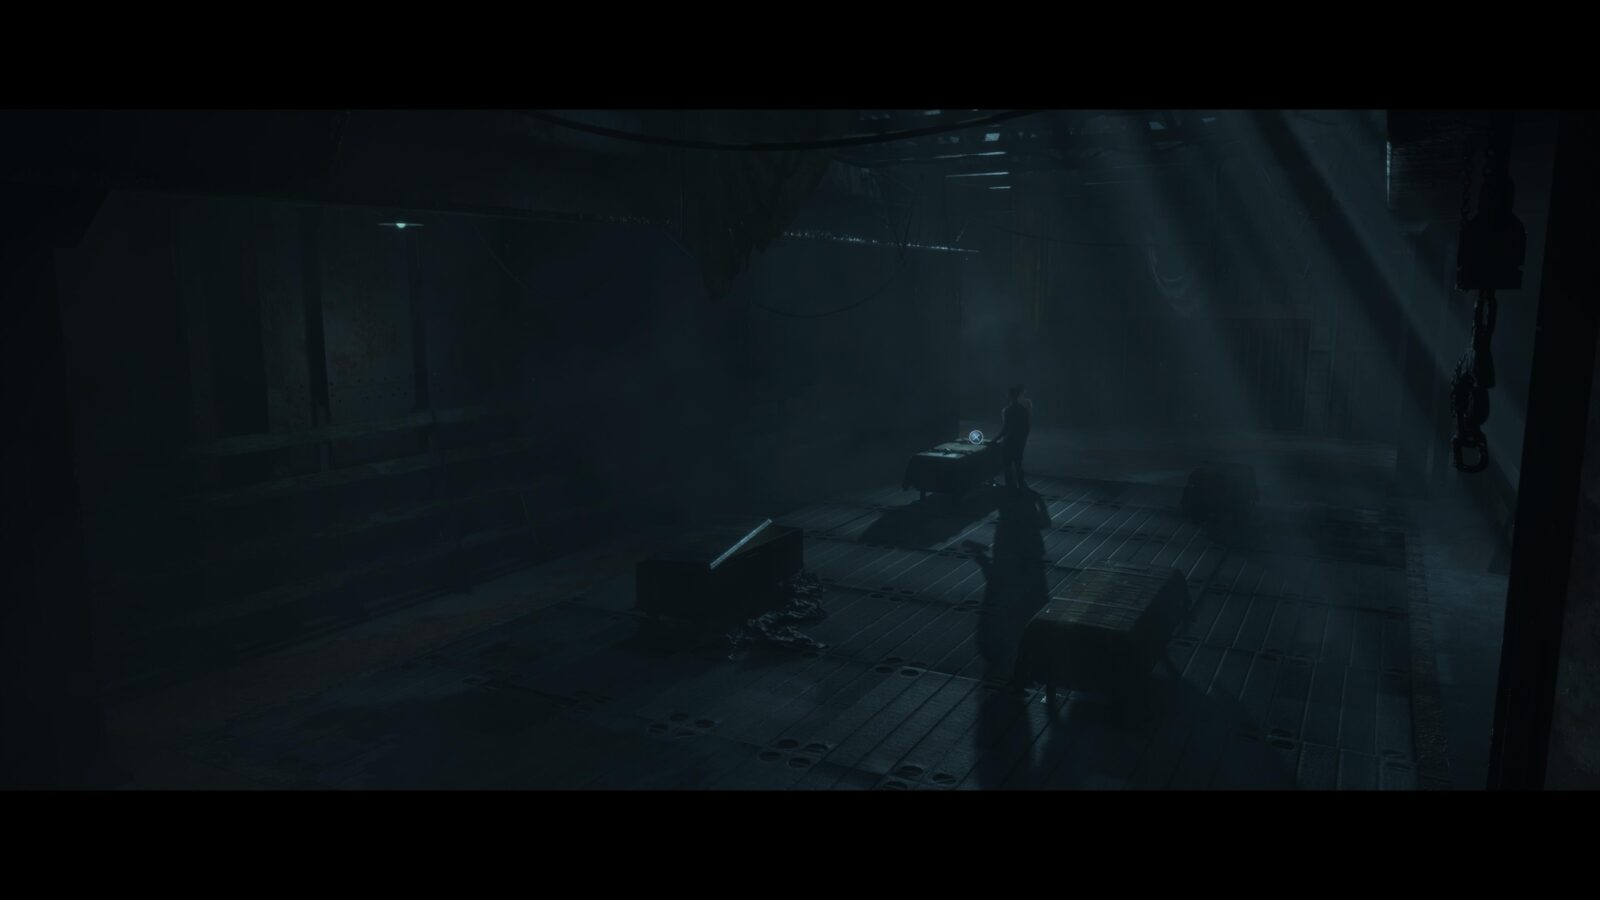
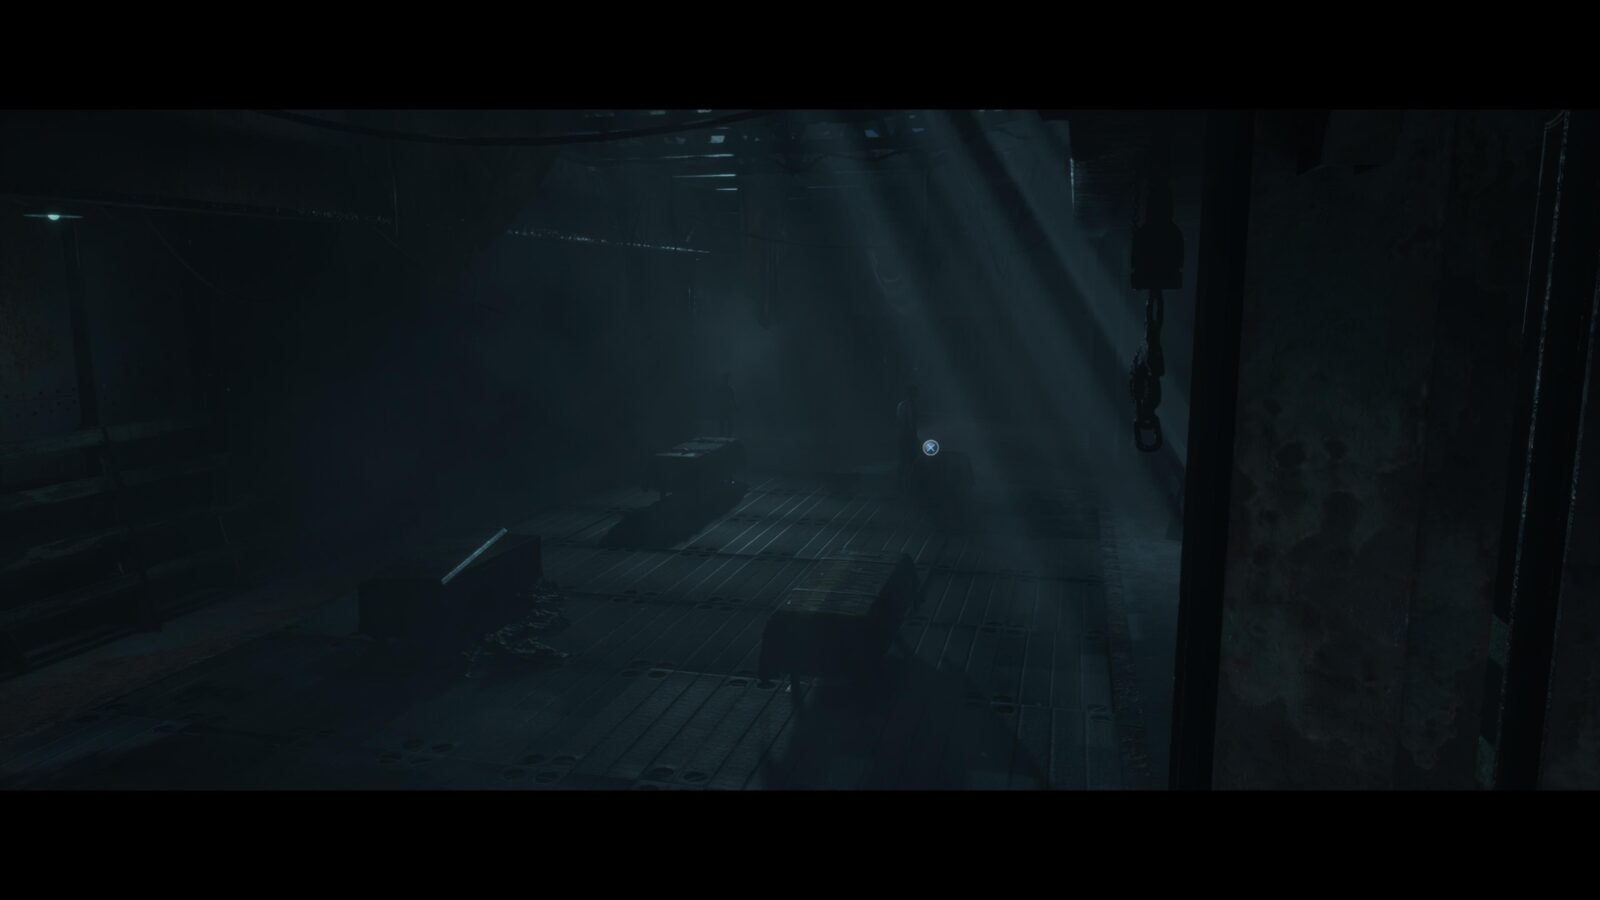
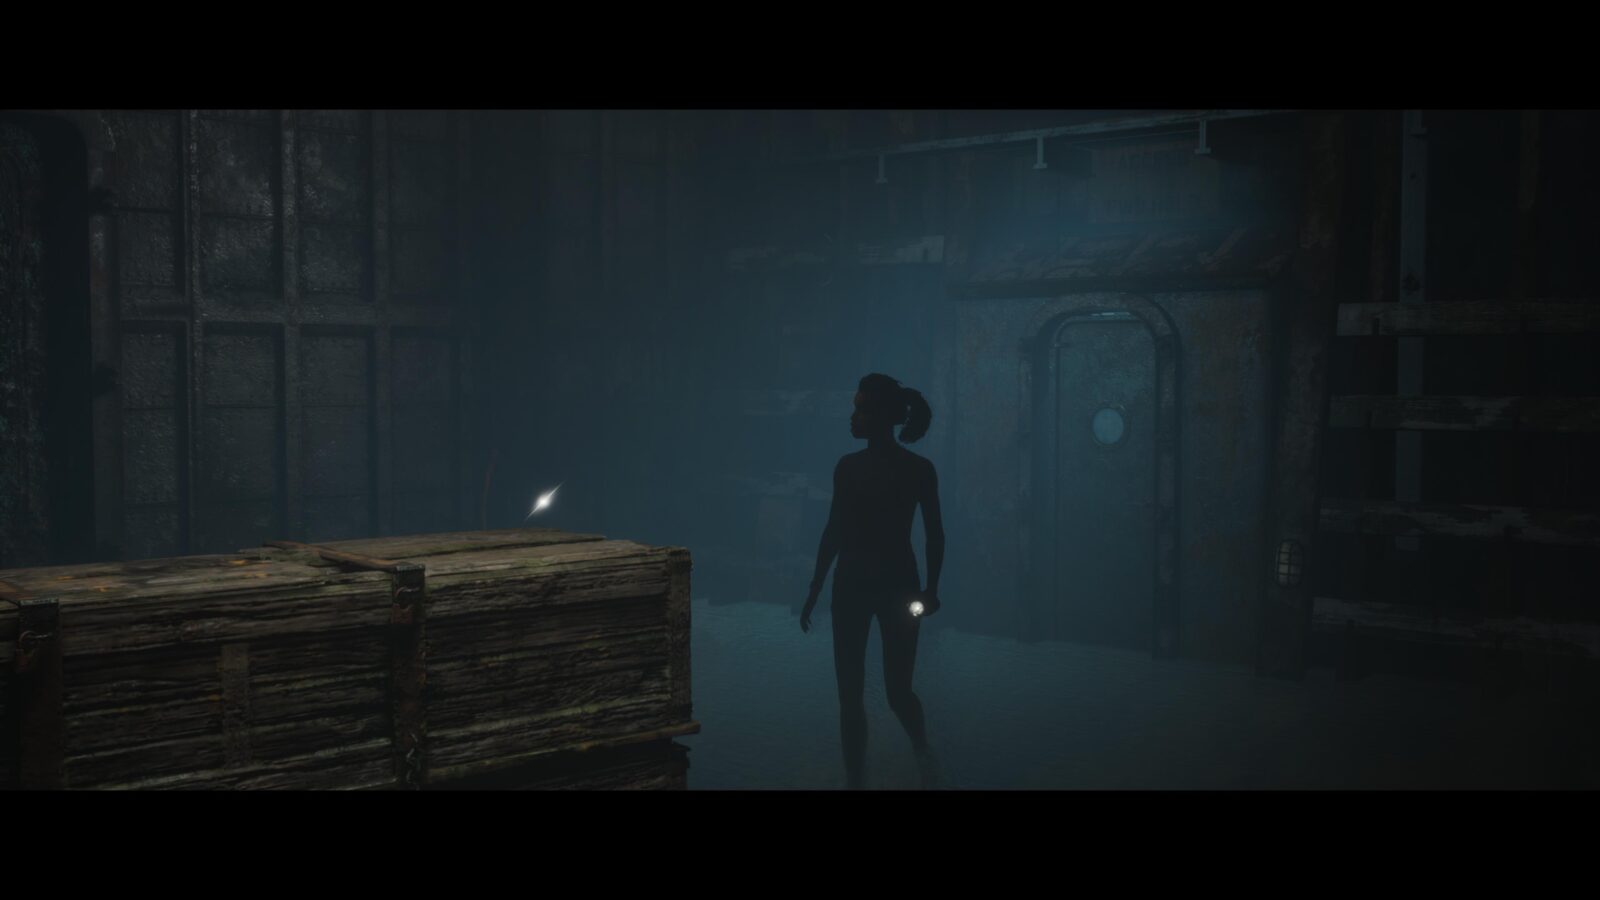
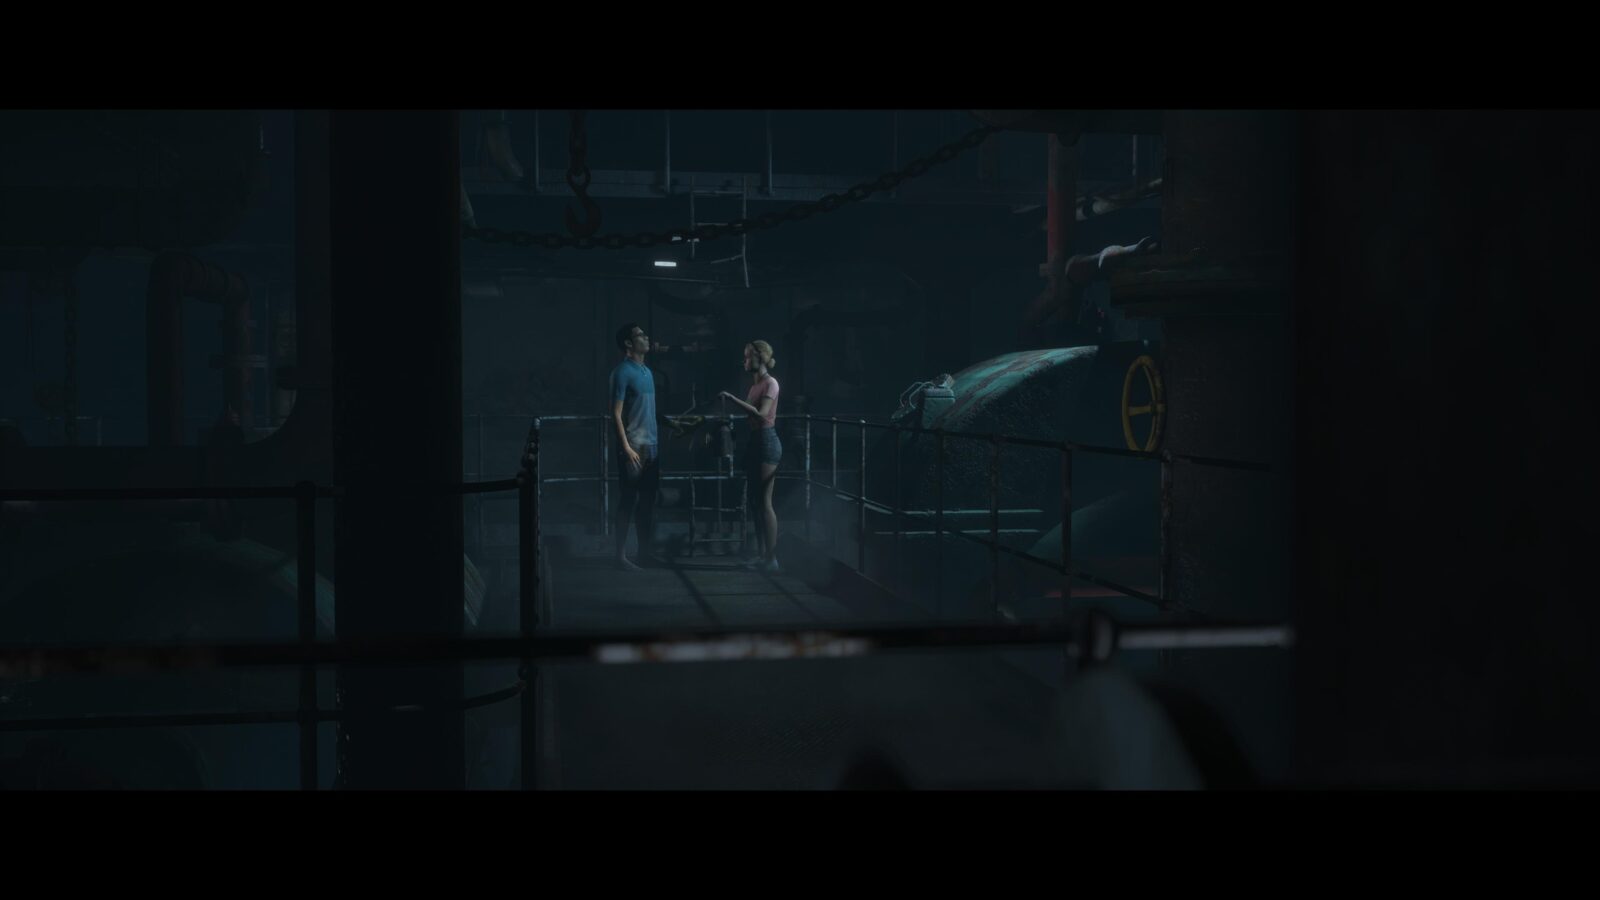
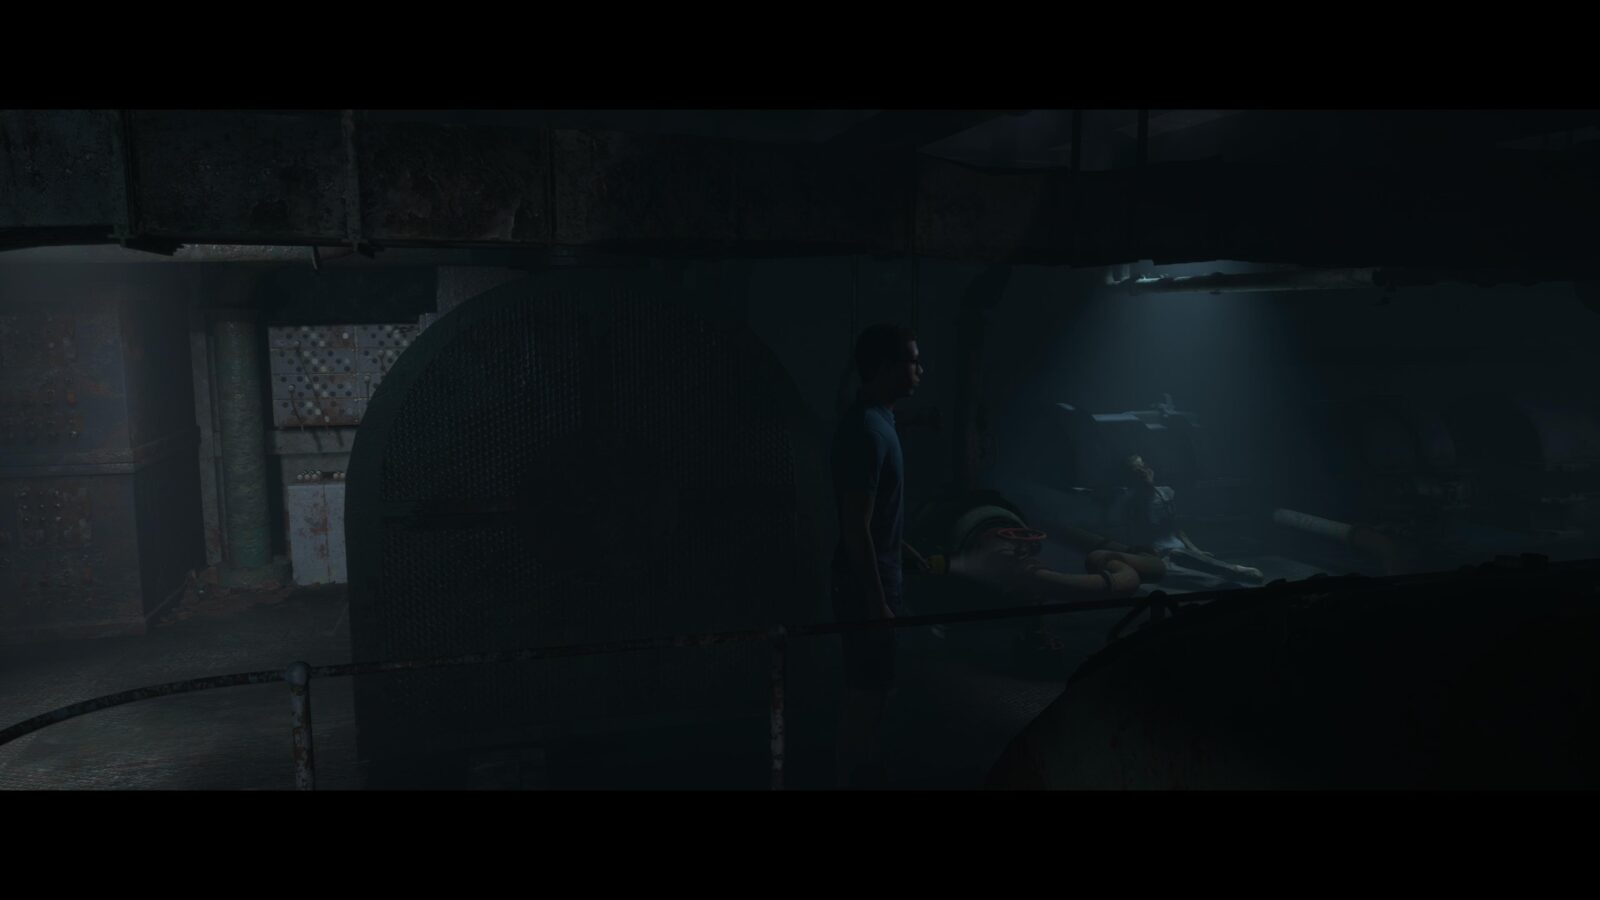
Secret #9 | Engineer's Logbook #7 | Conrad (Alex, if Conrad escaped)
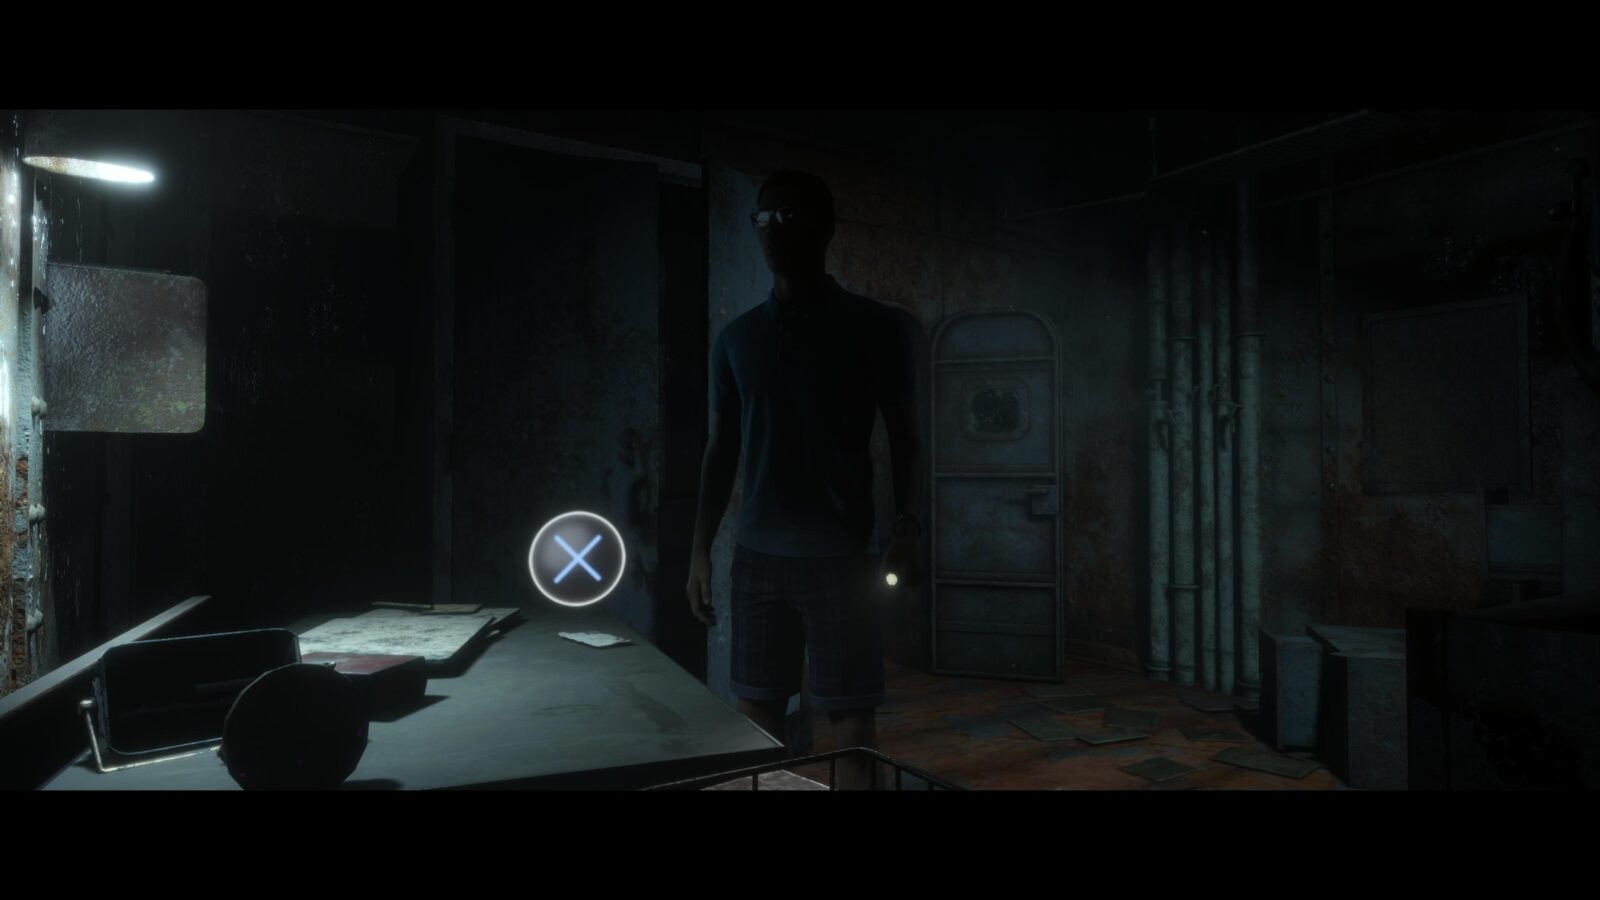
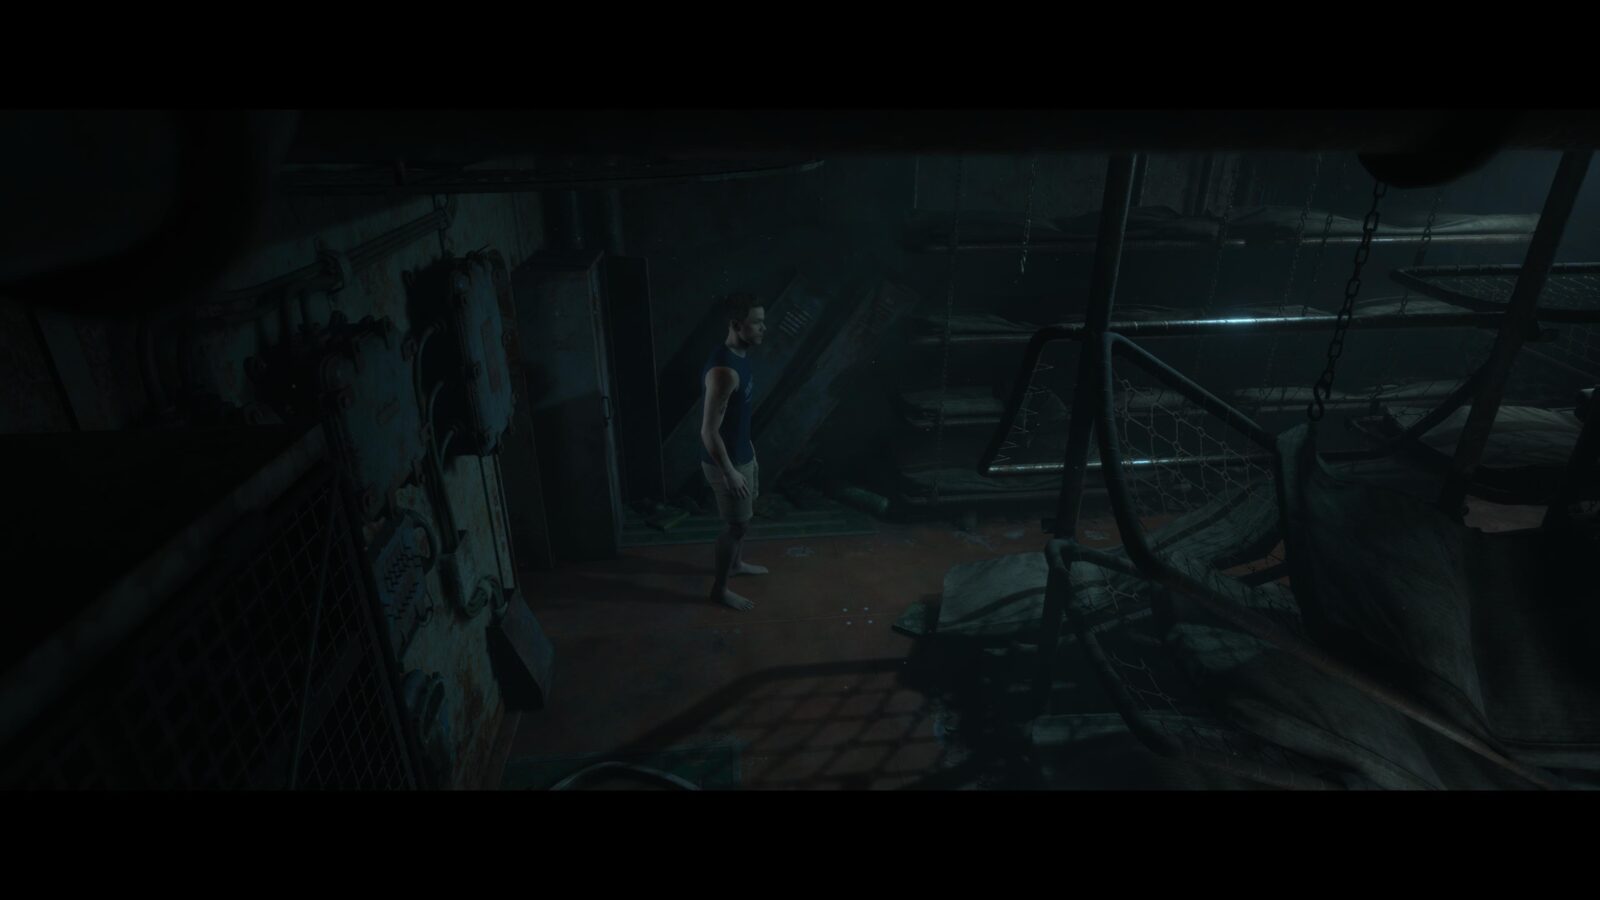
Head through the door where Julia is waiting and follow the catwalk to where Fliss/Alex is waiting. Instead of following them through the next door, take a left and you can find a logbook. Pick it up and read all the pages to collect the secret.
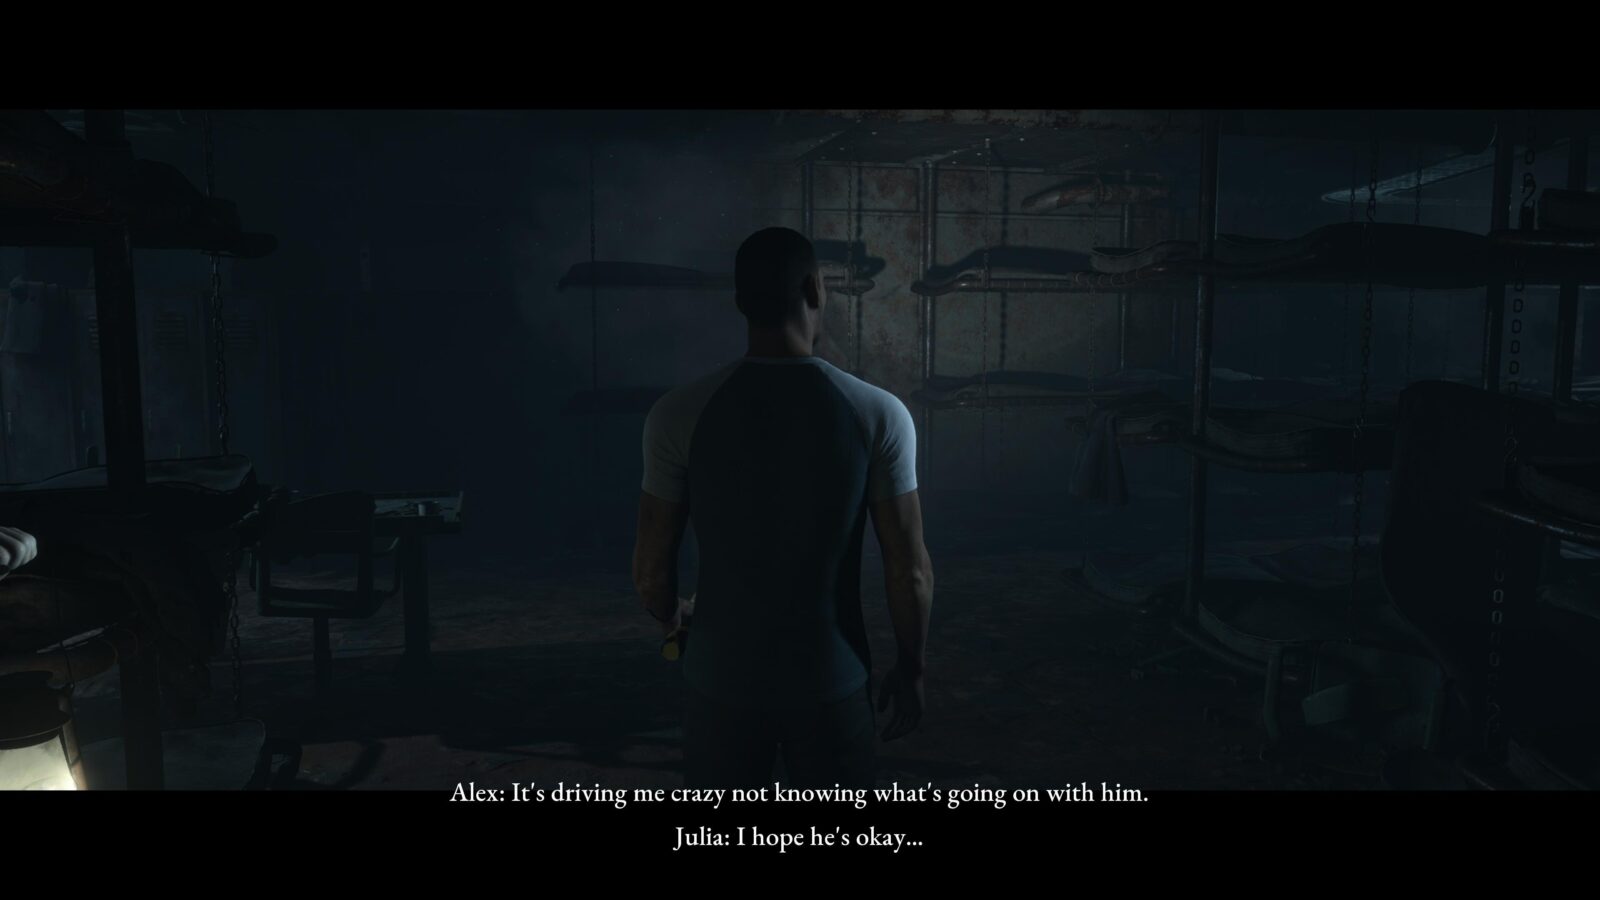
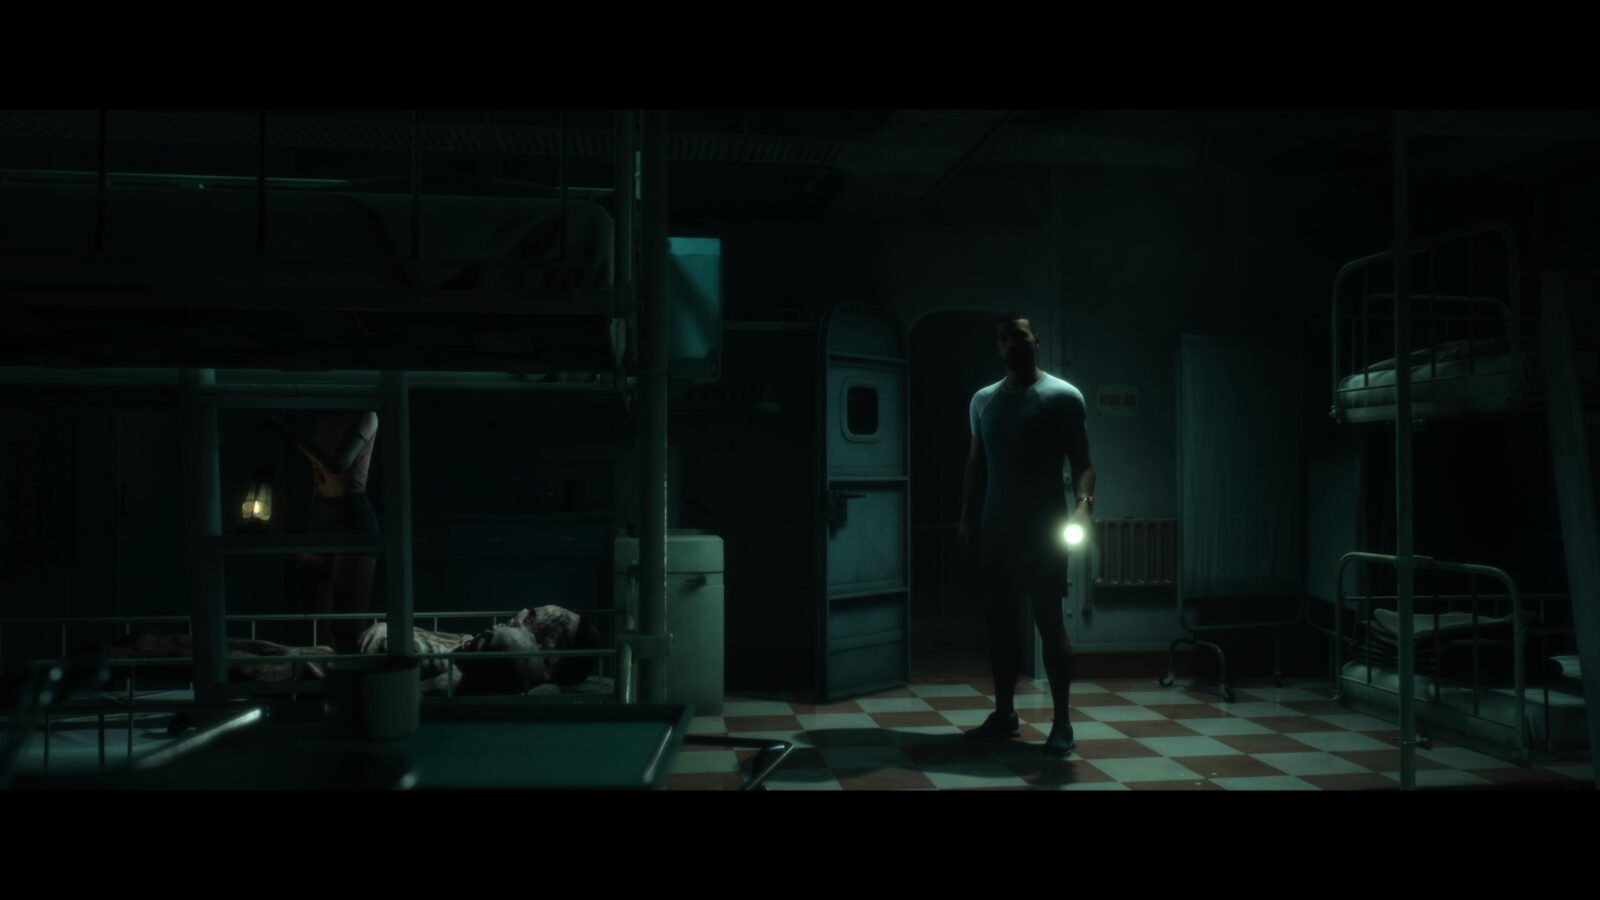
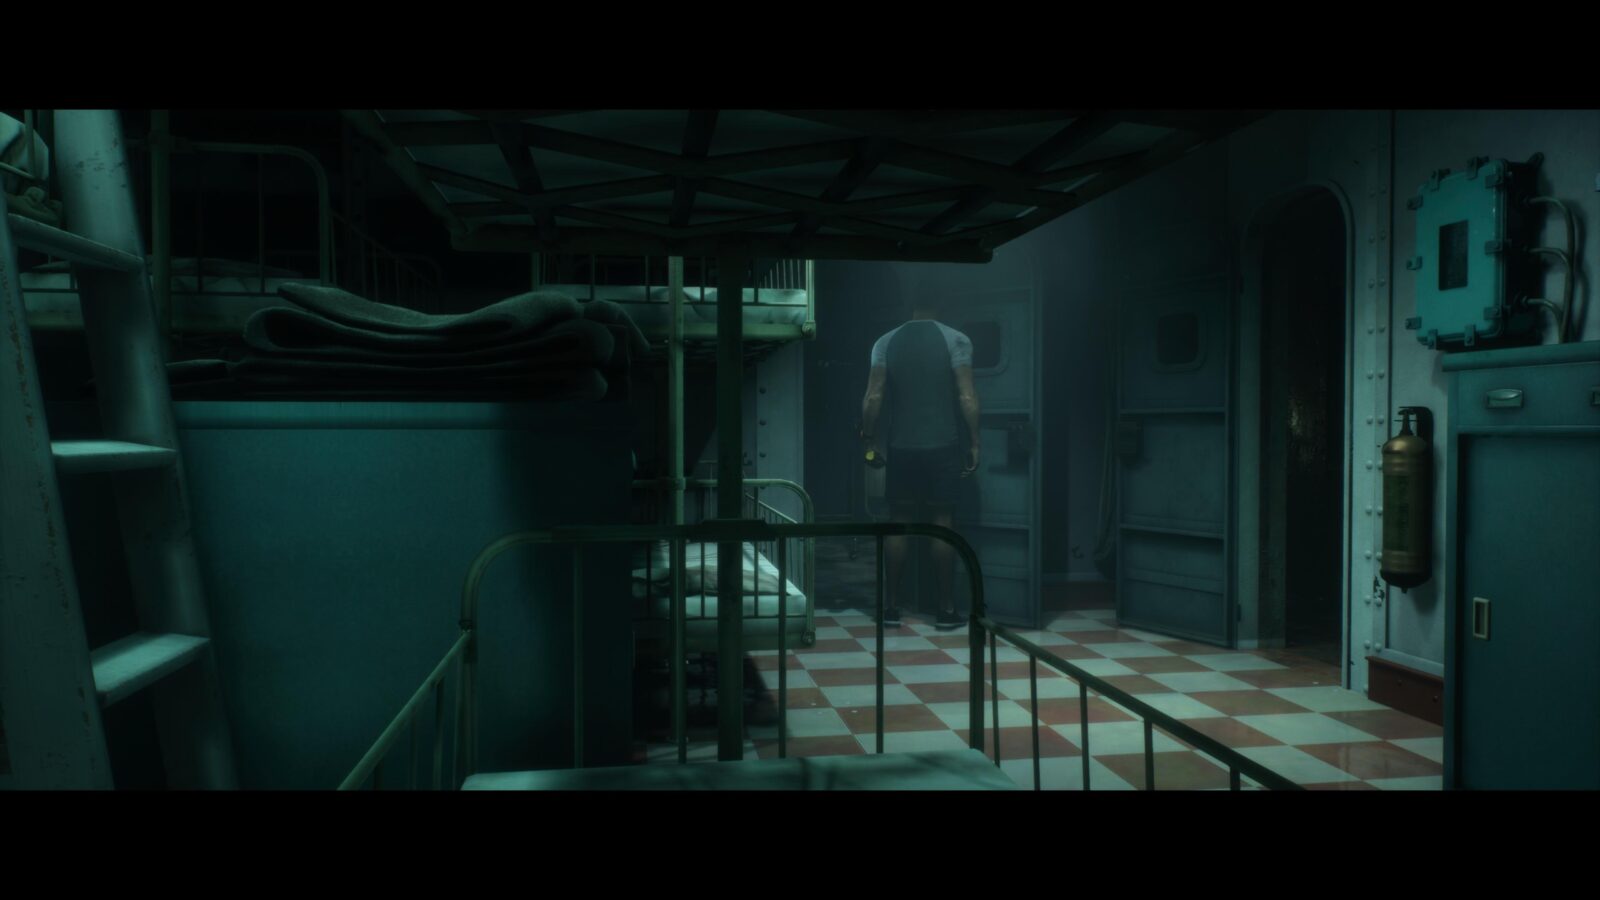
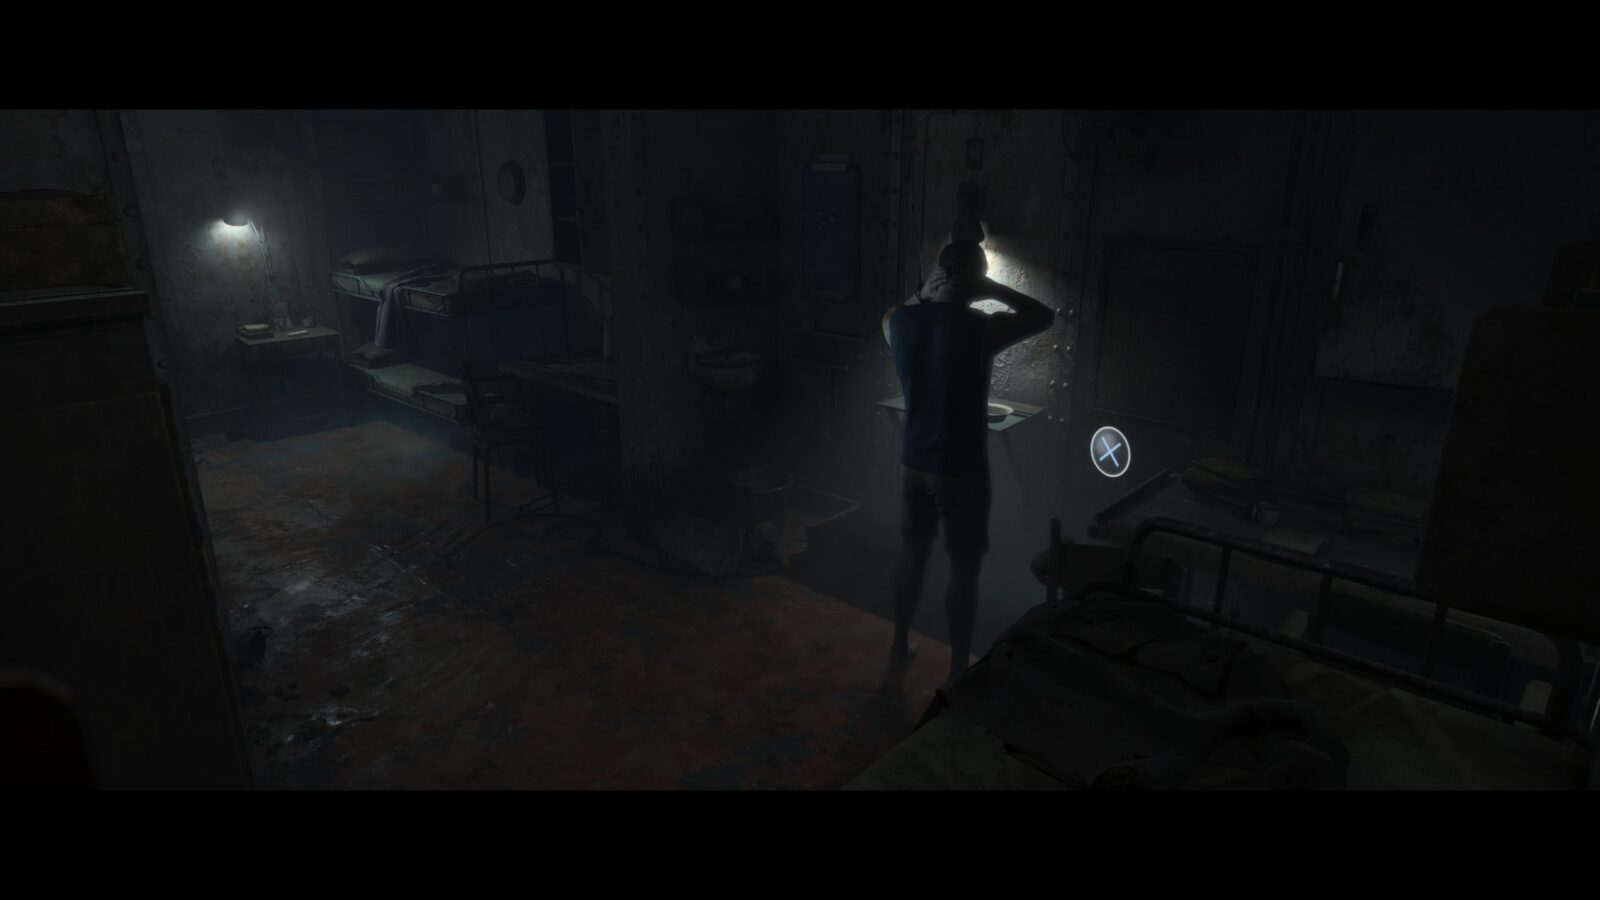
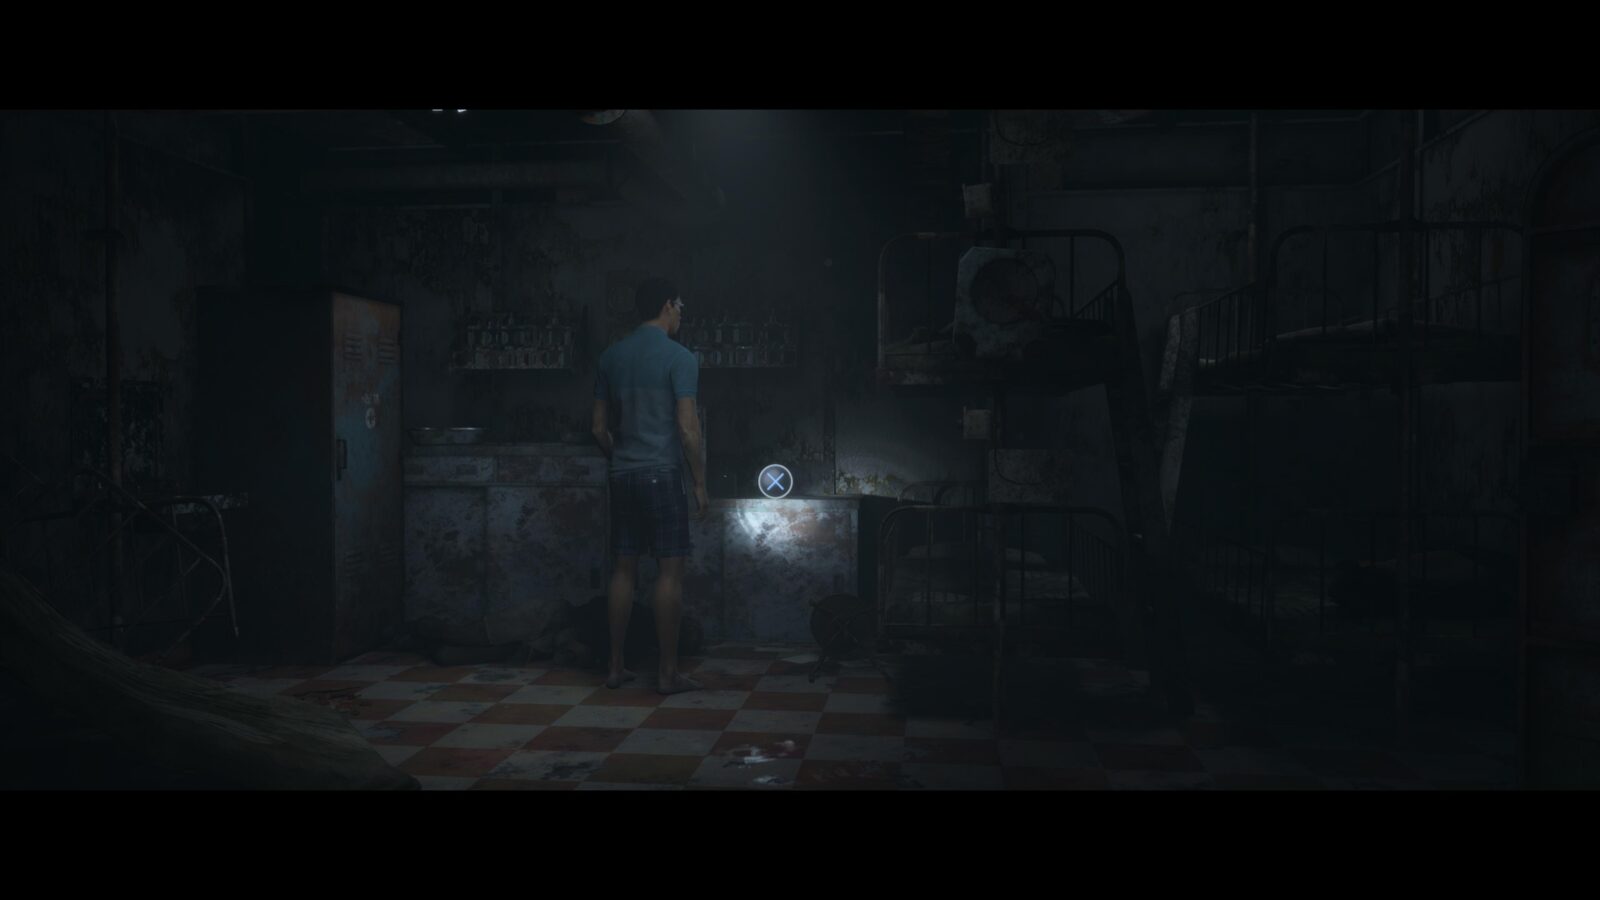
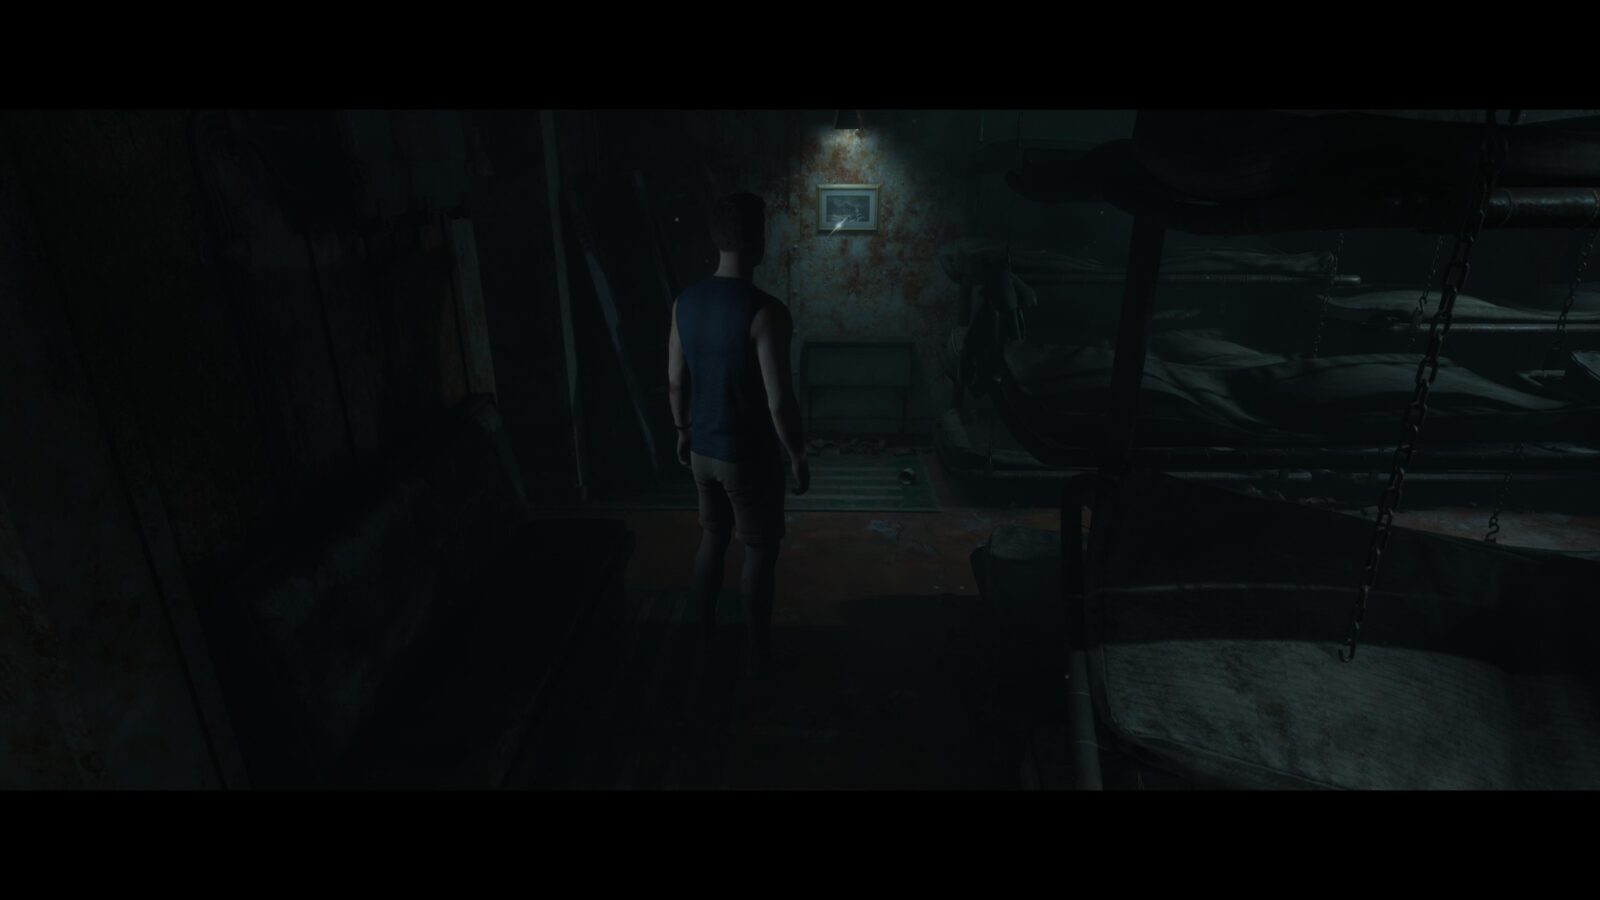
Secret #10 | Journal #11 | Conrad (Alex, if Conrad escaped)
Enter the room at the end of the catwalk where Fliss/Alex went and you will see a bunch of bunkbeds. Head to the far left of the room and you can find a book on a table by some lockers. Pick it up and read all pages to collect the secret.
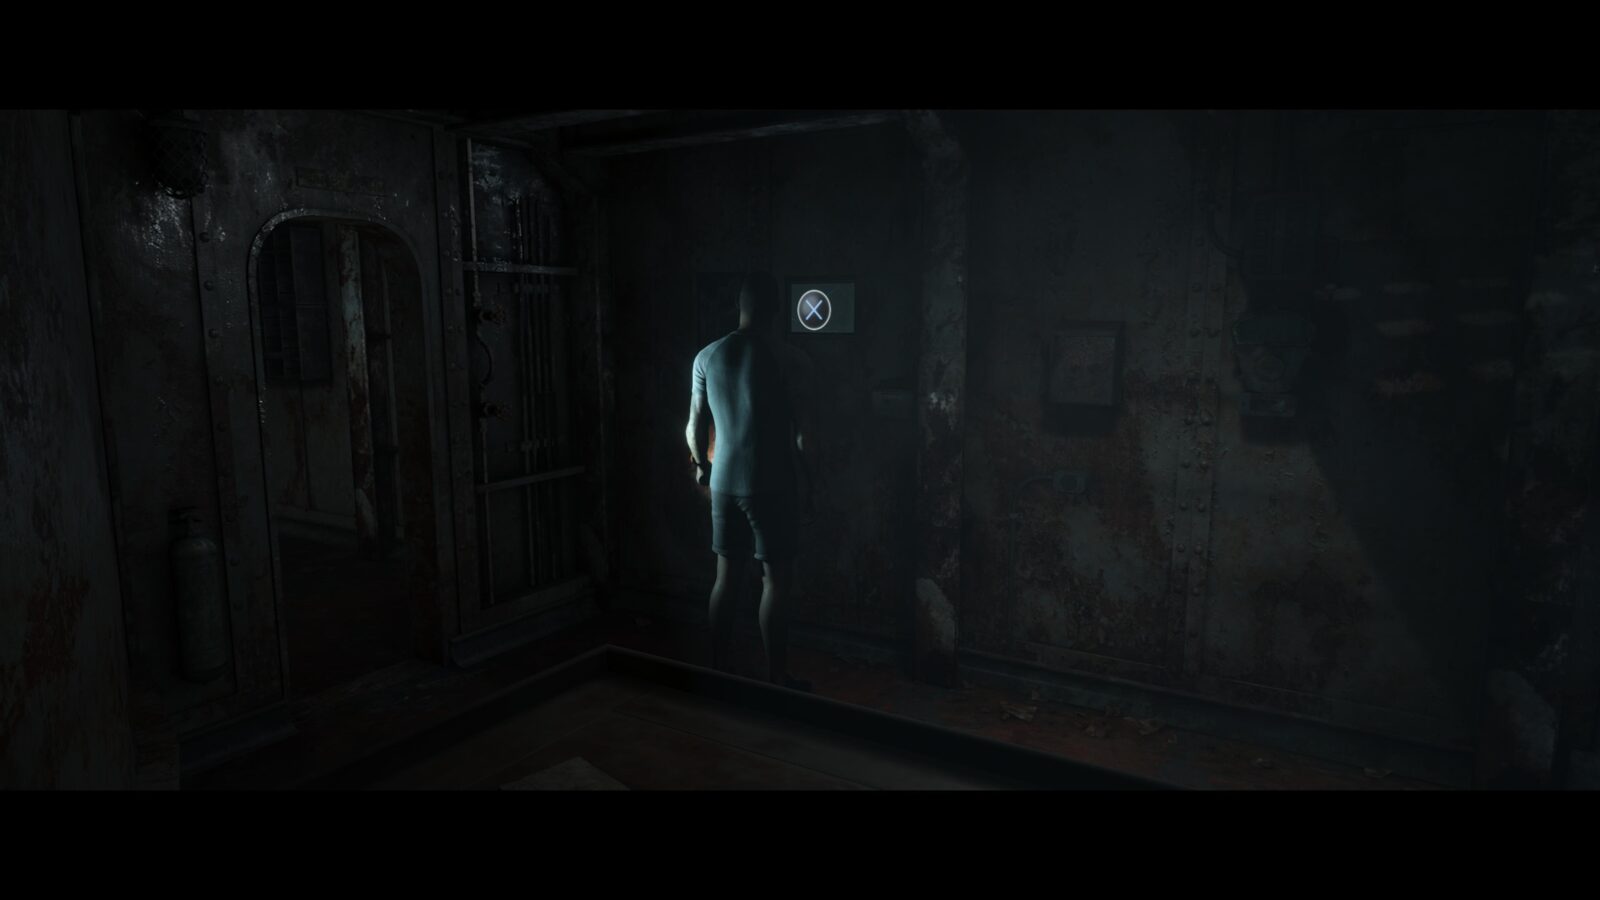
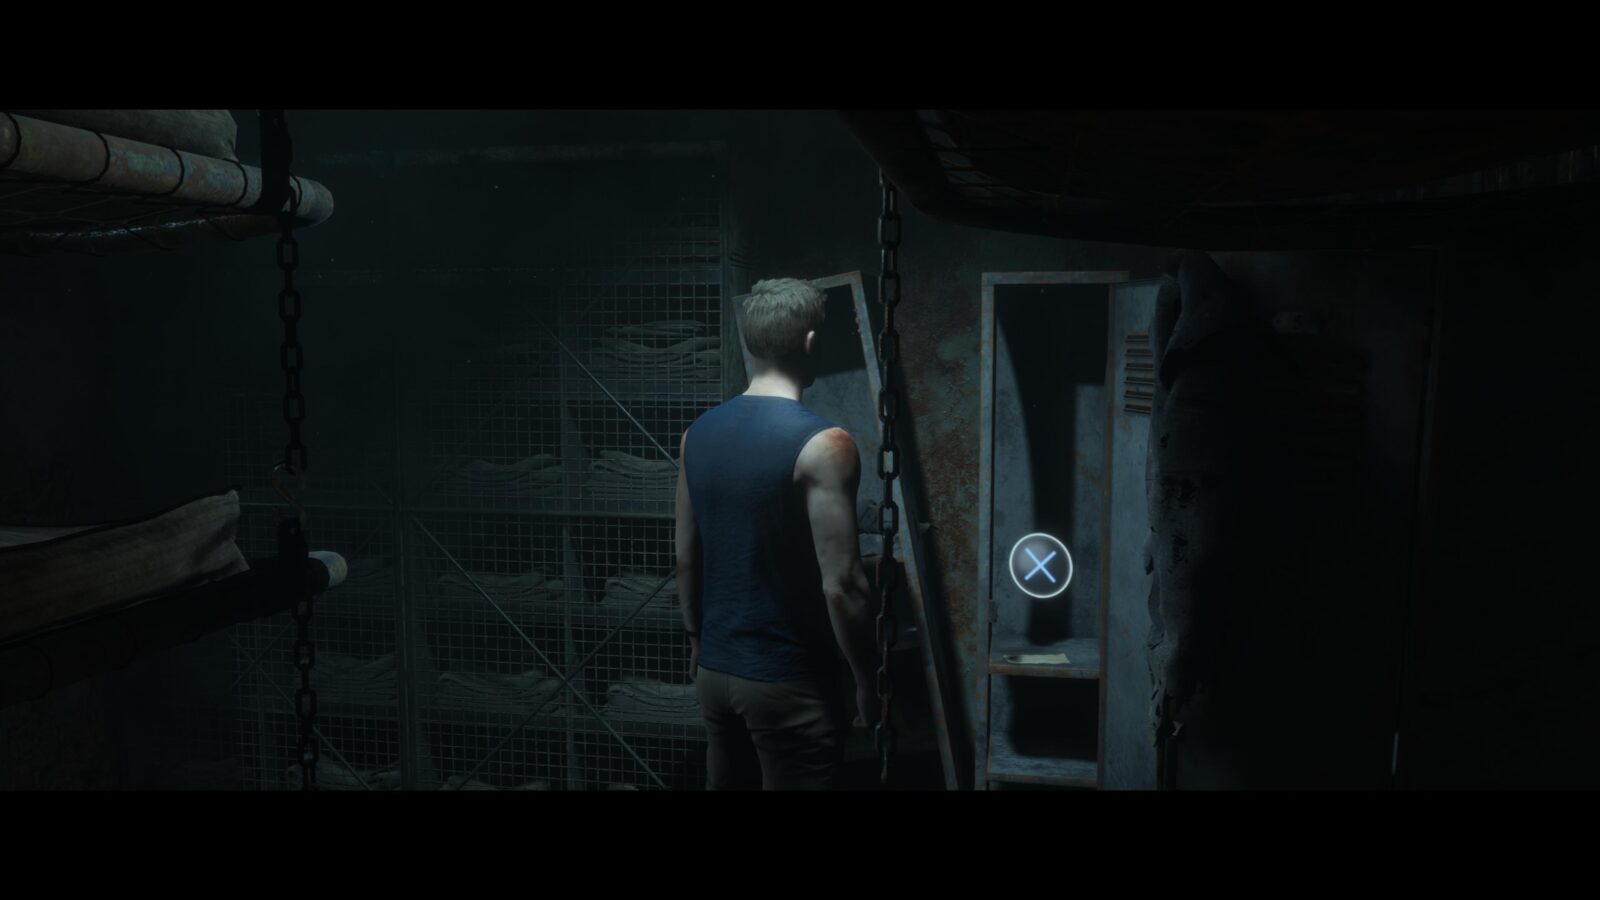
Picture #4 | Black Framed Picture #3: In the Offing | Conrad (Alex, if Conrad escaped)
In the bunkbed room, on the far right side, is an open cabinet with a picture frame inside. Approach it and press ![]() to collect it. This is to the left of the exit door.
to collect it. This is to the left of the exit door.
Caskets
Separated. Alex and Julia must make their way through the Abandoned Ship.
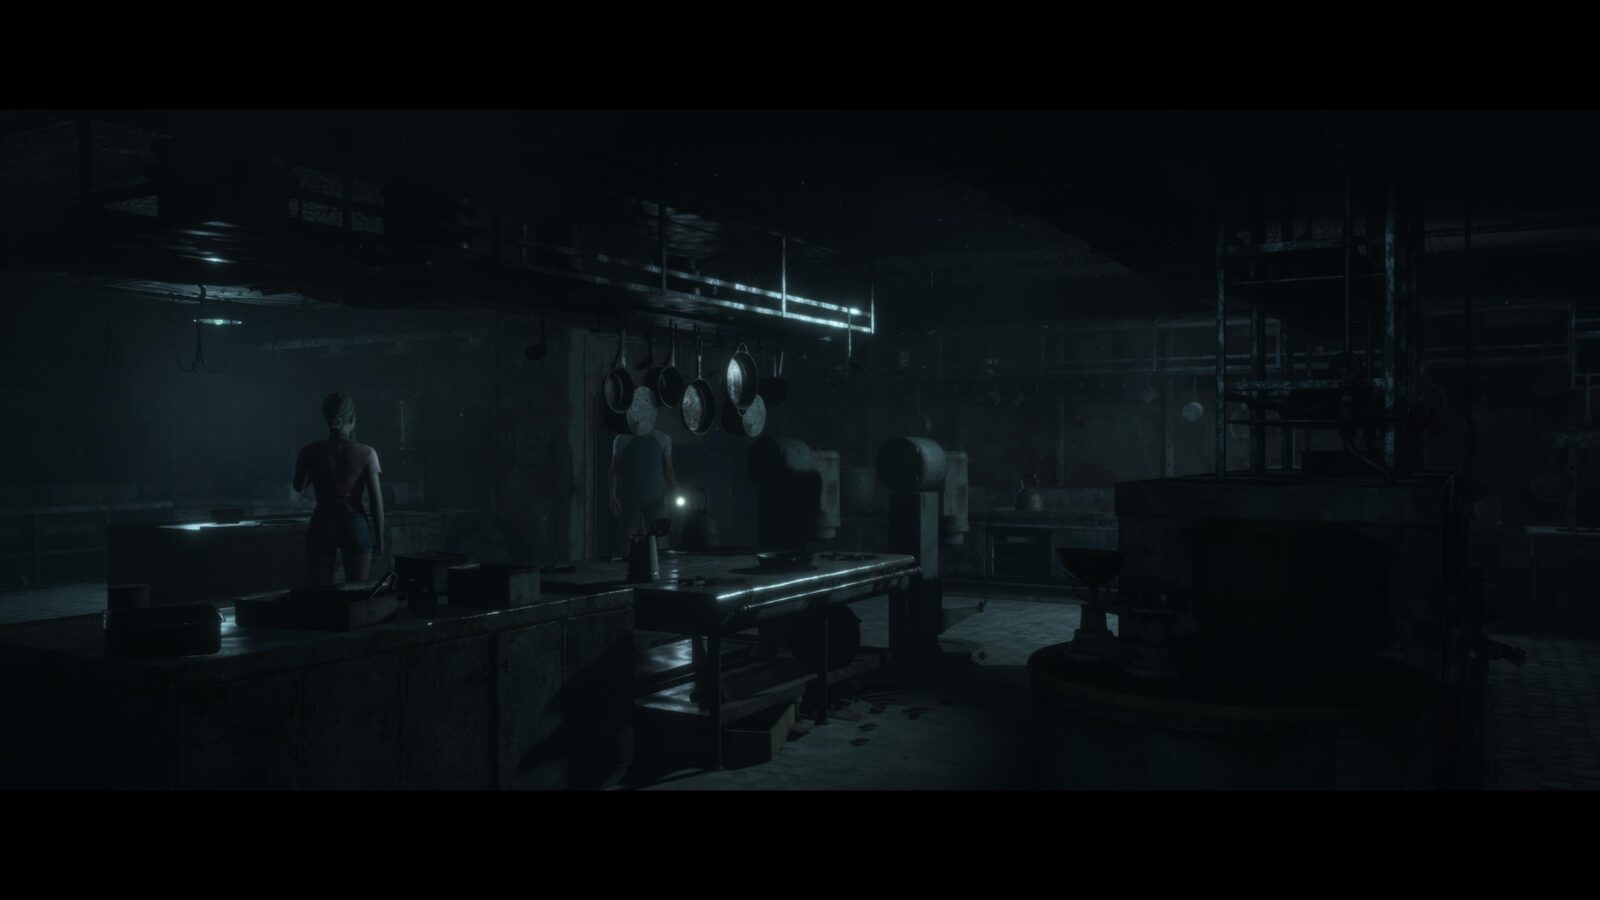
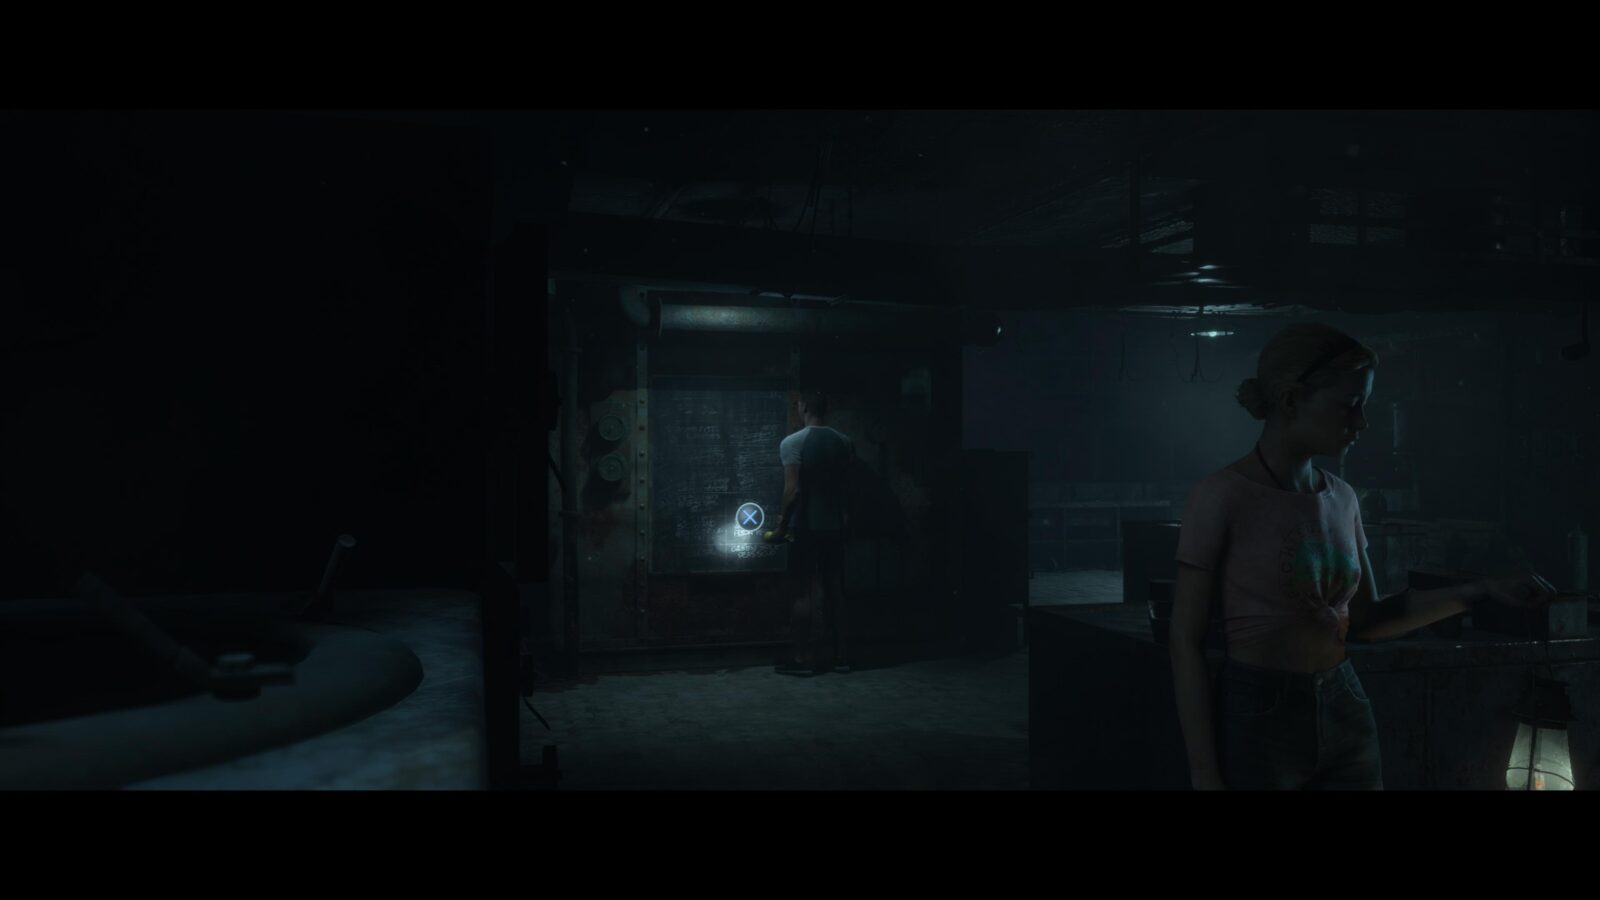
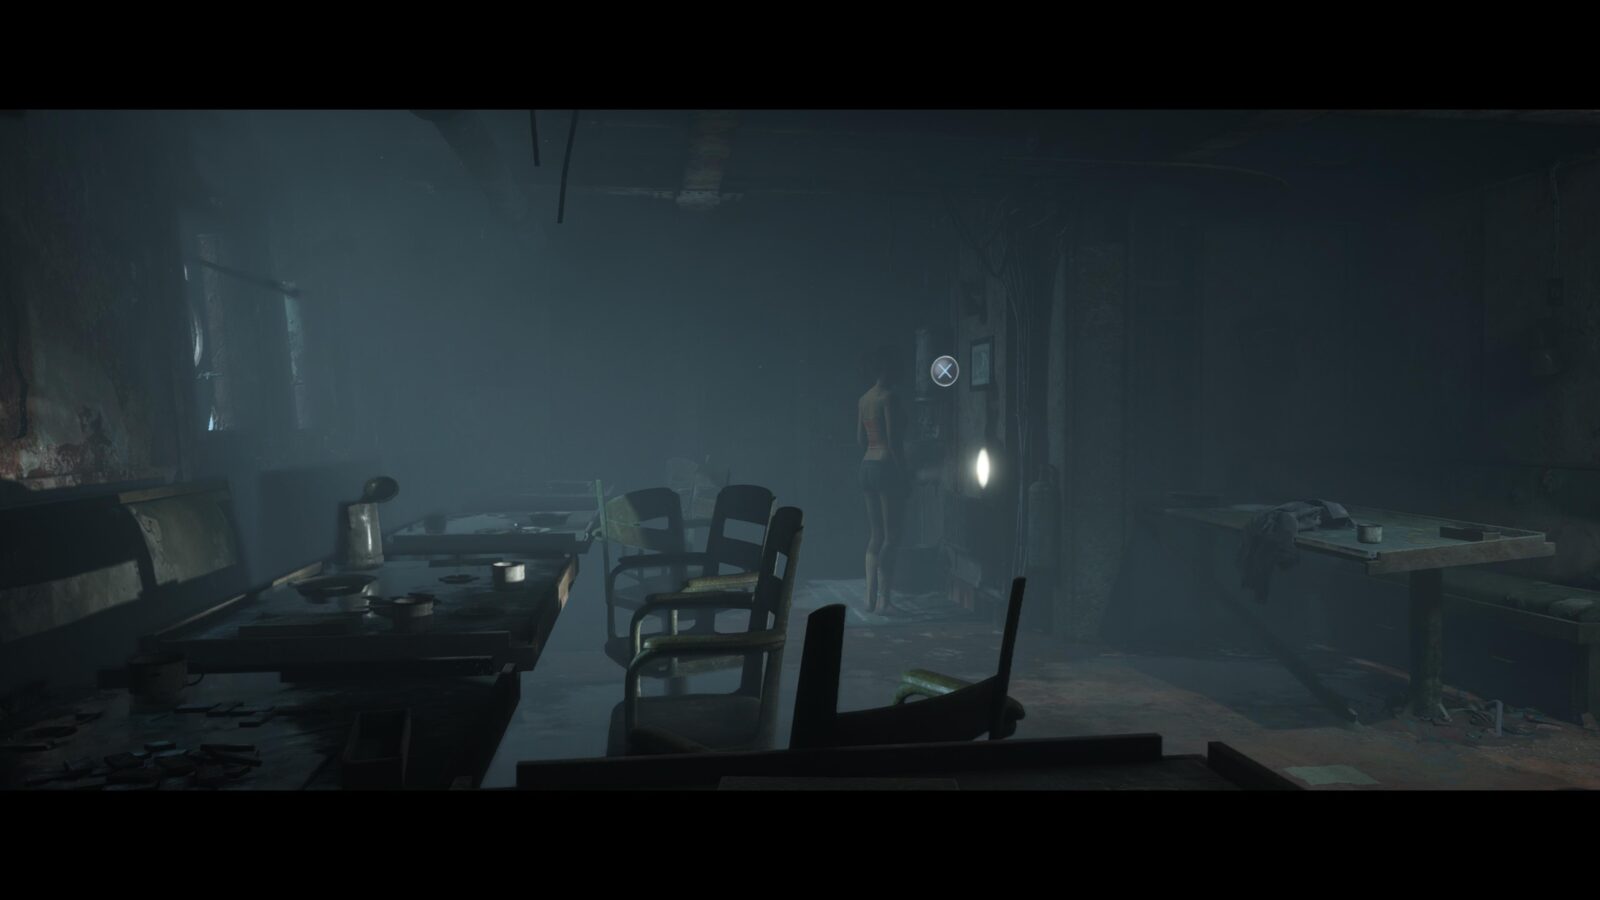
Secret #11 | Catering Staff Schedule #23 | Alex
Follow Julia while making your way through the ship and she will lead you into the kitchen. On the left side of the room is a blackboard with the kitchen menu written on it. Walk up to it and press ![]() to inspect it.
to inspect it.
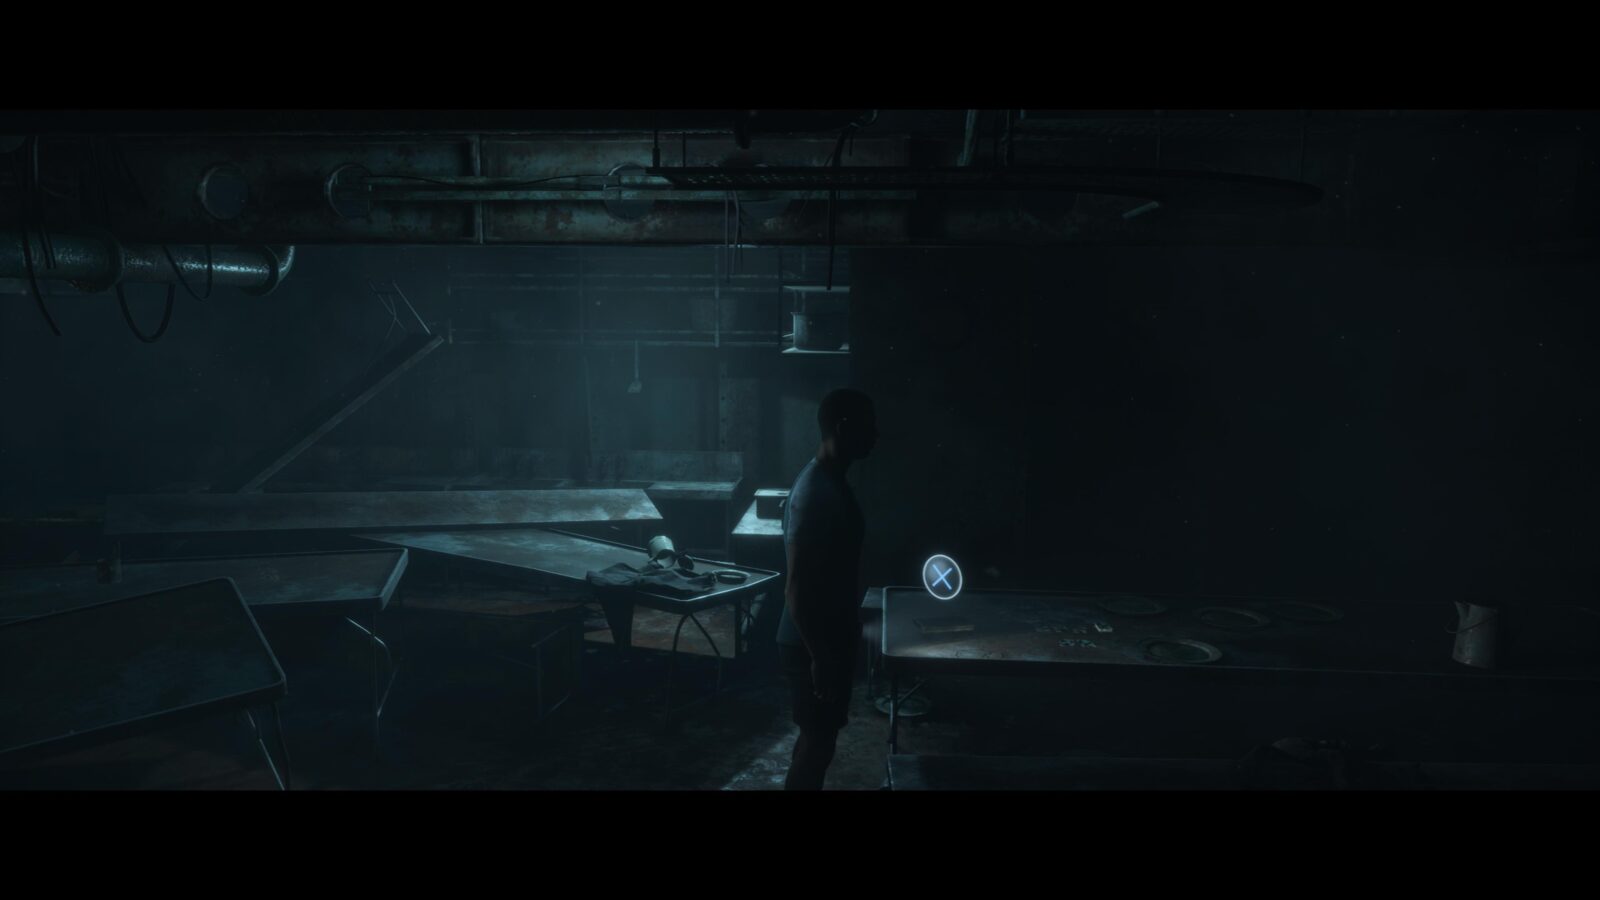
Secret #12 | Diary #1 | Alex
Exit the kitchen via the right side of the room and you will enter the dining hall. On the right side of the room is a book on a dining table. Pick it up and read every page to collect the secret.
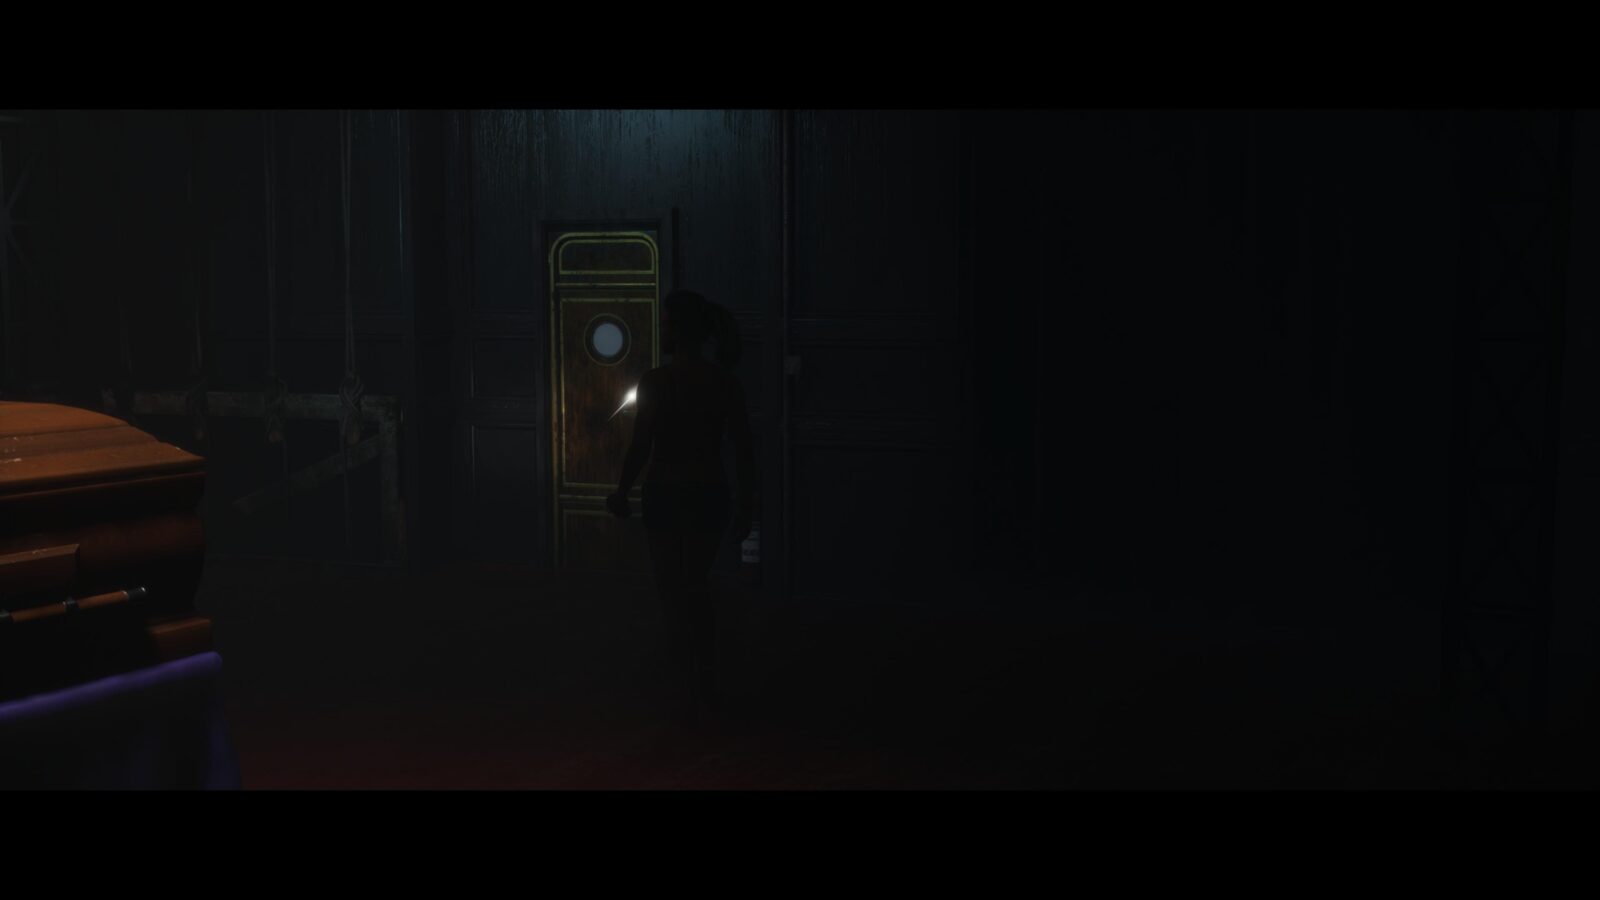
Picture #5 | Black Framed Picture #4: Cut of Your Jib | Alex
On the back wall in the dining room is a framed picture. Approach it and press ![]() to collect it.
to collect it.
Secret #13 | Casket Nameplate #22 | Alex
Keep following Julia and you’ll reach a cargo hold with four caskets in the middle. Examine the right-most casket—the one closest to the camera—and you’ll unlock a secret as Alex reads the nameplate.
Secret #14 | Open Casket #24 | Alex
Examine the casket to the left of the previous one to reveal another secret.
Secret #15 | Locked Casket #13 | Alex
Inspect another casket directly in front of the the Open Casket and you’ll get another secret.
Secret #16 | Small Casket #35 | Alex
Examine the last casket in the cargo hold for the last secret in this area.
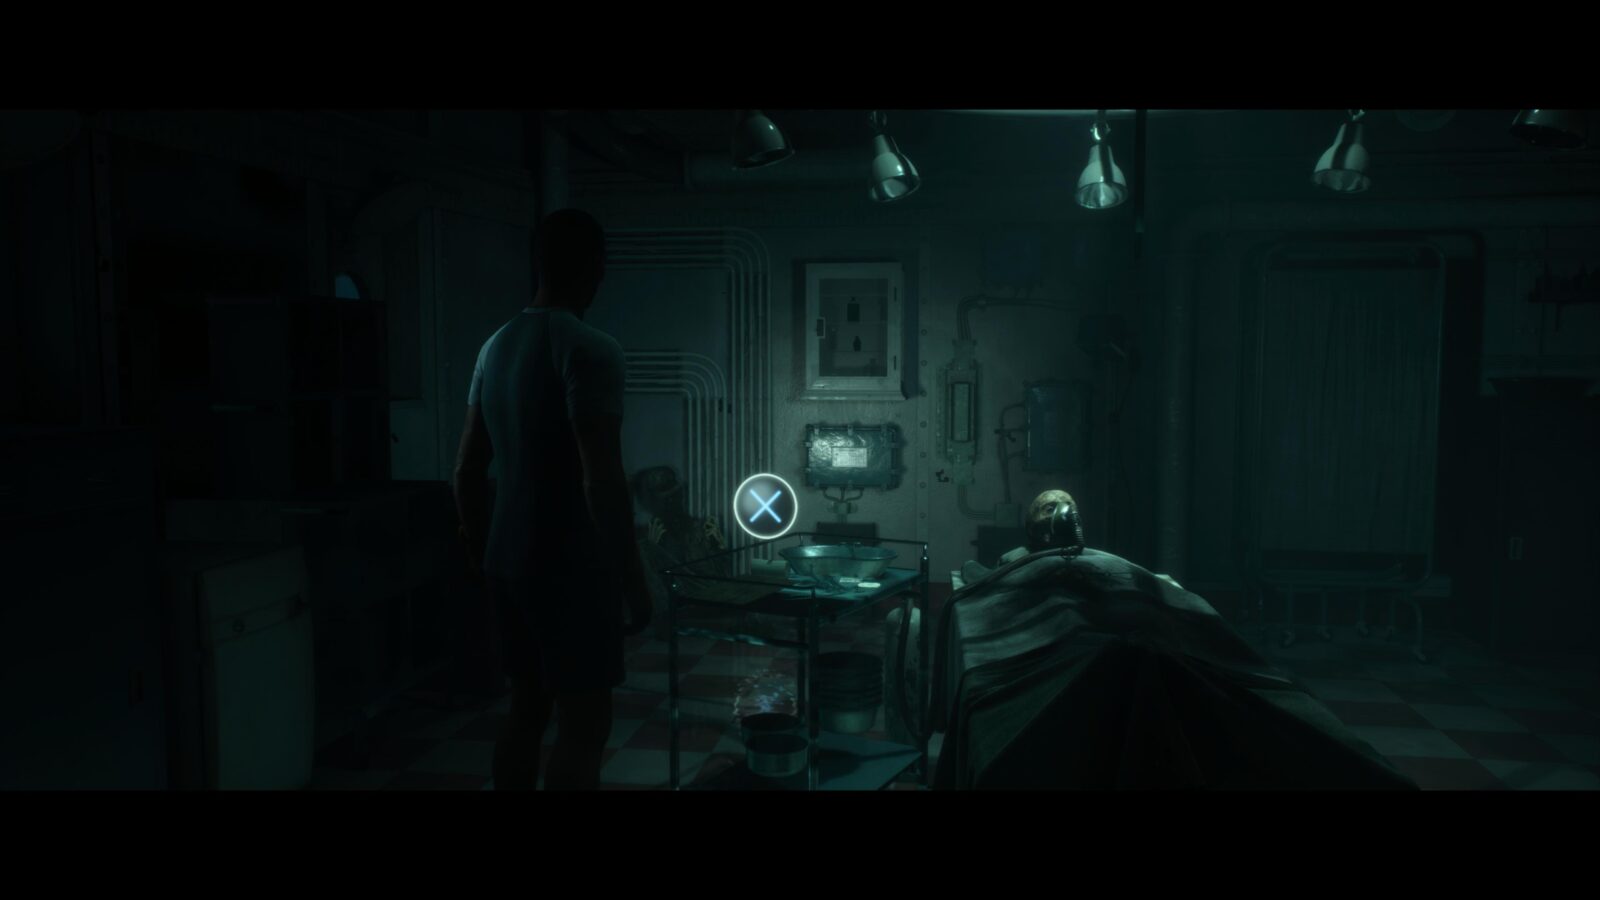
Secret #17 | Terrified Corpse #18 | Alex
Follow Julia into the sick bay where you’ll see a corpse on a bed. Julia will get agitated and leave via a door on the right. Ignore where she went and head through the door on the left. In this surgery room there is a corpse on the floor in the far left corner. Walk over to it and inspect it with ![]() to collect a secret.
to collect a secret.
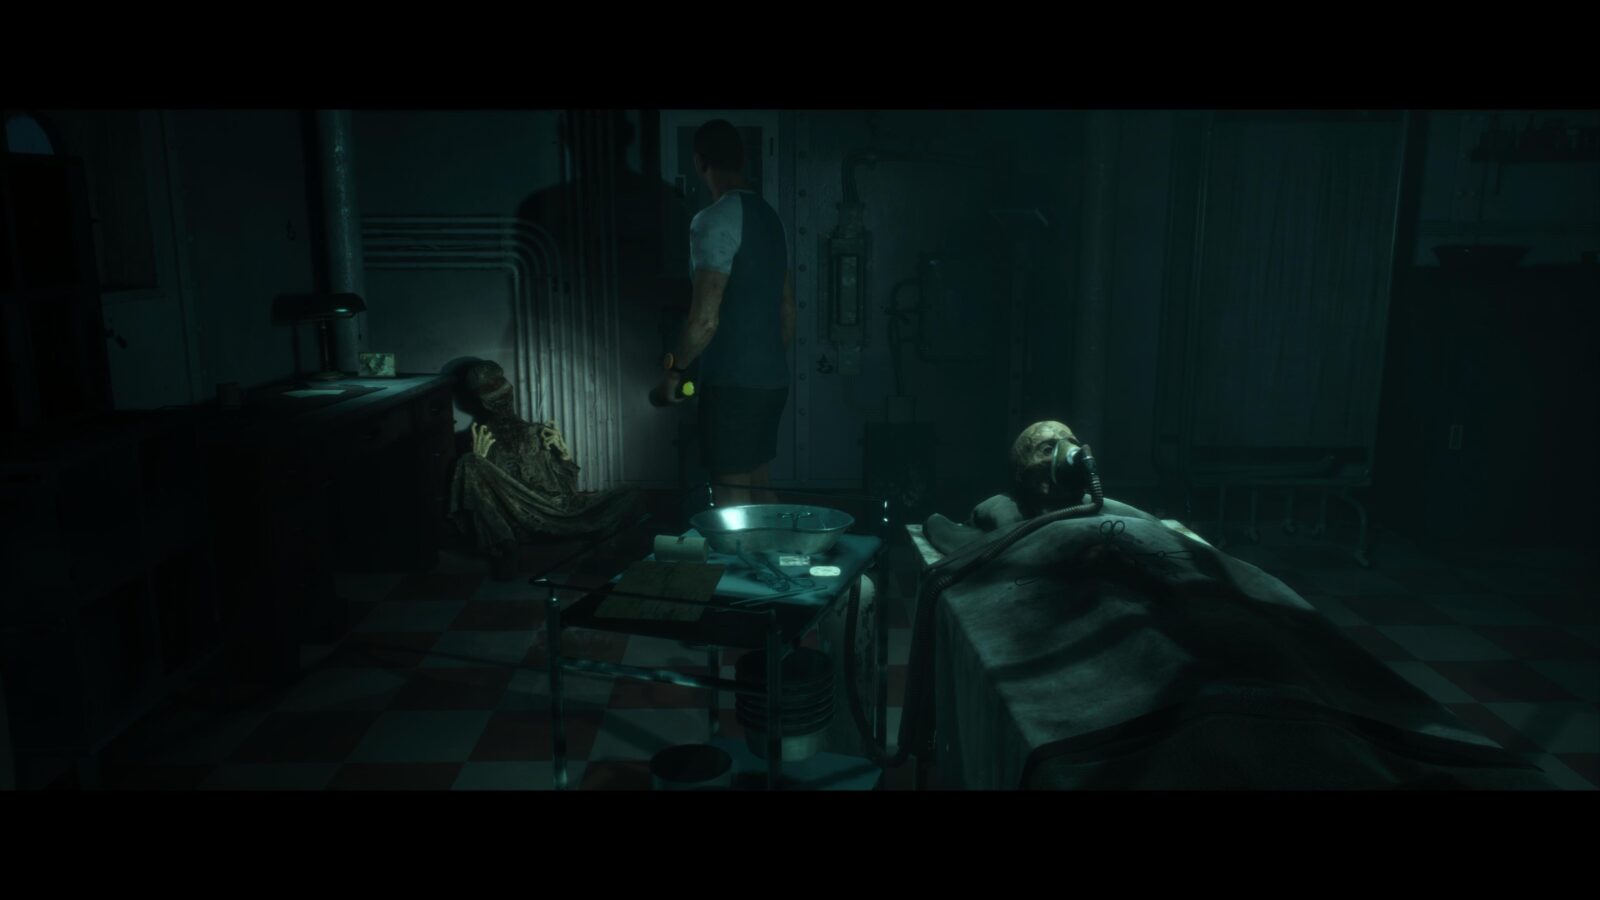
Secret #18 | Electrocardiogram Results #39 | Alex
In the surgery room with the frightened corpse is a prep table with a clipboard on it. Pick it up and flip it over to pick up a secret.
Danny
Fliss is escorted through the lower deck by Danny, one of the masked kidnappers.
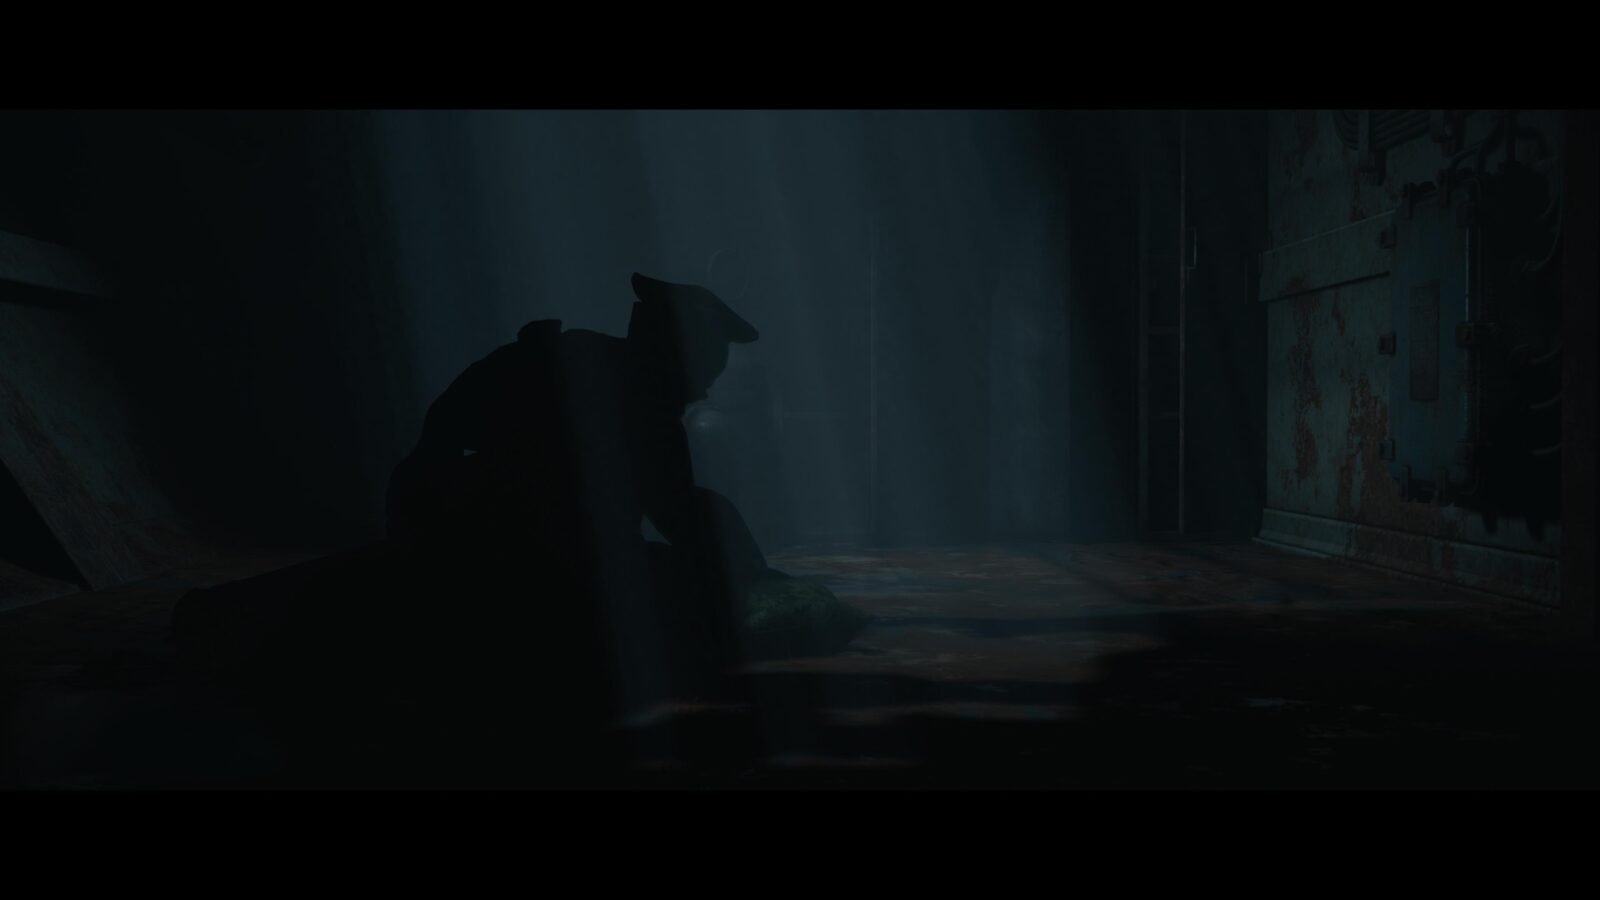
Secret #19 | Medan Hat #41 | Fliss
Fliss will be escorted through the ship by a pirate called Danny. At a certain point Danny will be spooked by a hat on some sandbags. He will approach it slowly and kick it to the floor. After, as Fliss, approach the hat by the door and pick it up and flip it around to collect the secret.
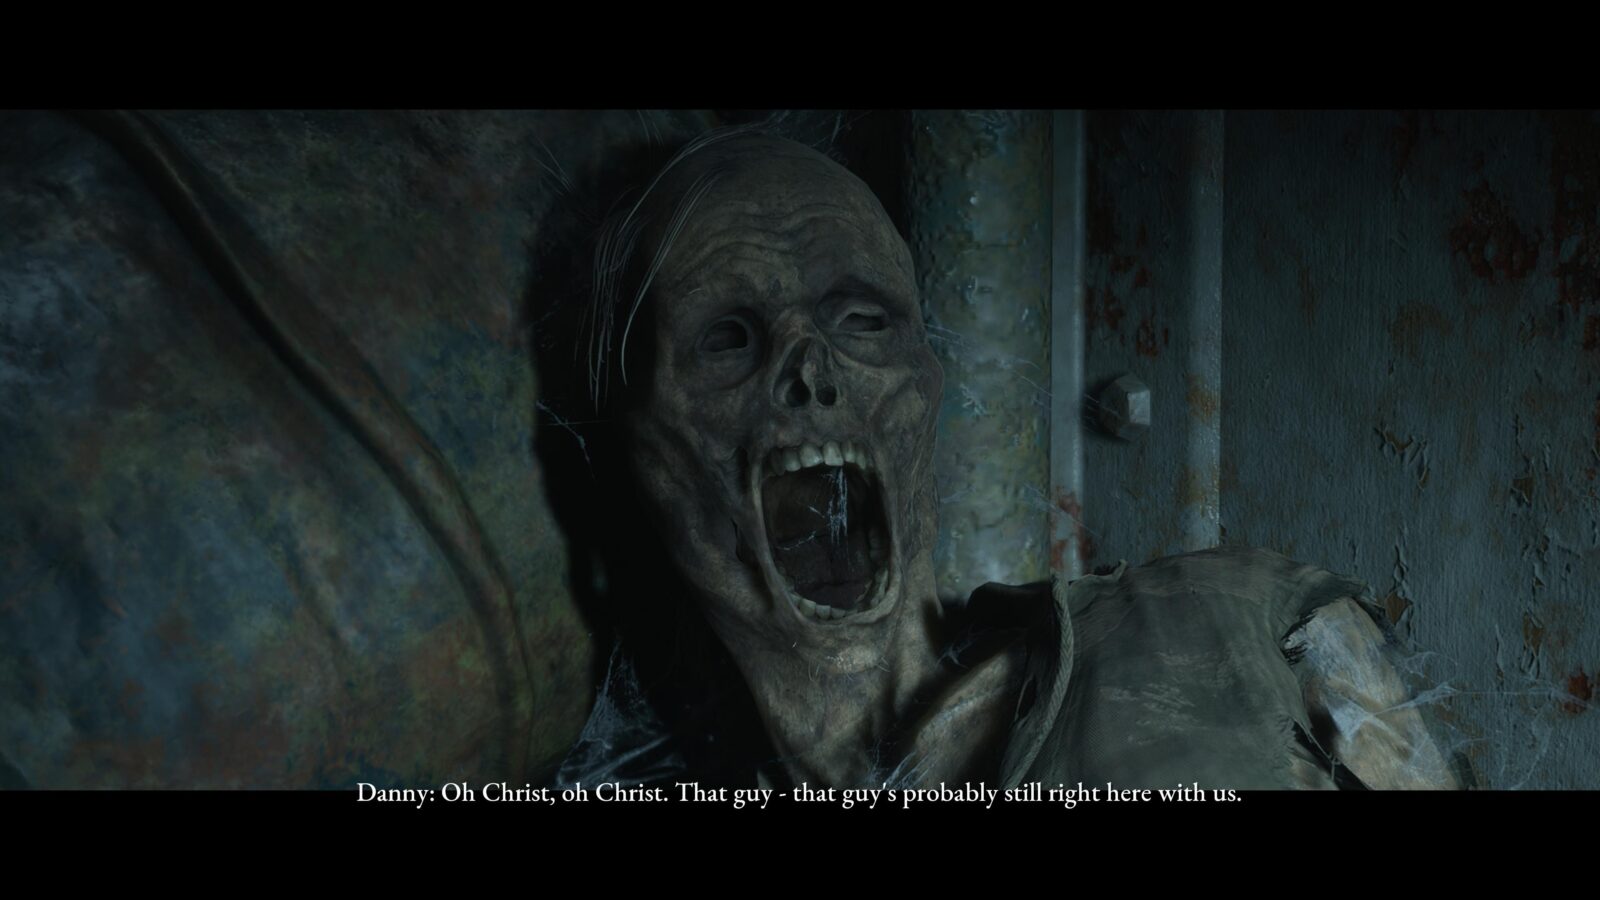
Secret #20 | Screaming Corpse #16 | Fliss
Continue through the ship and eventually Fliss and Danny will come across a corpse where the latter will begin to talk about his ghost being trapped on the ship. After the brief exchange, approach the corpse and press ![]() to inspect it and collect the secret.
to inspect it and collect the secret.
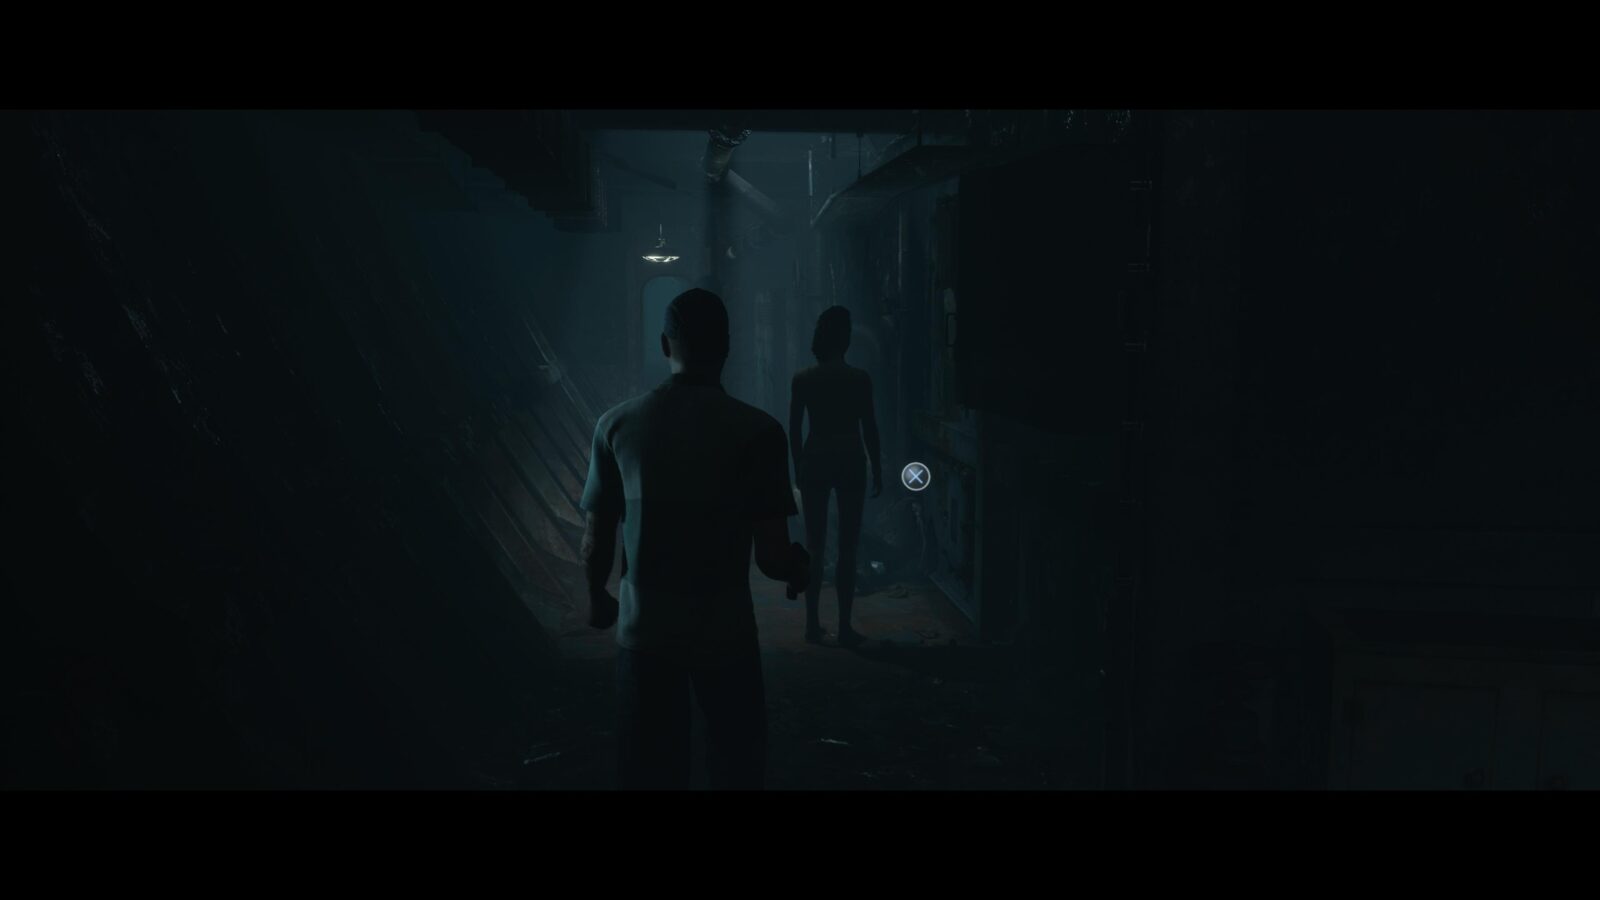
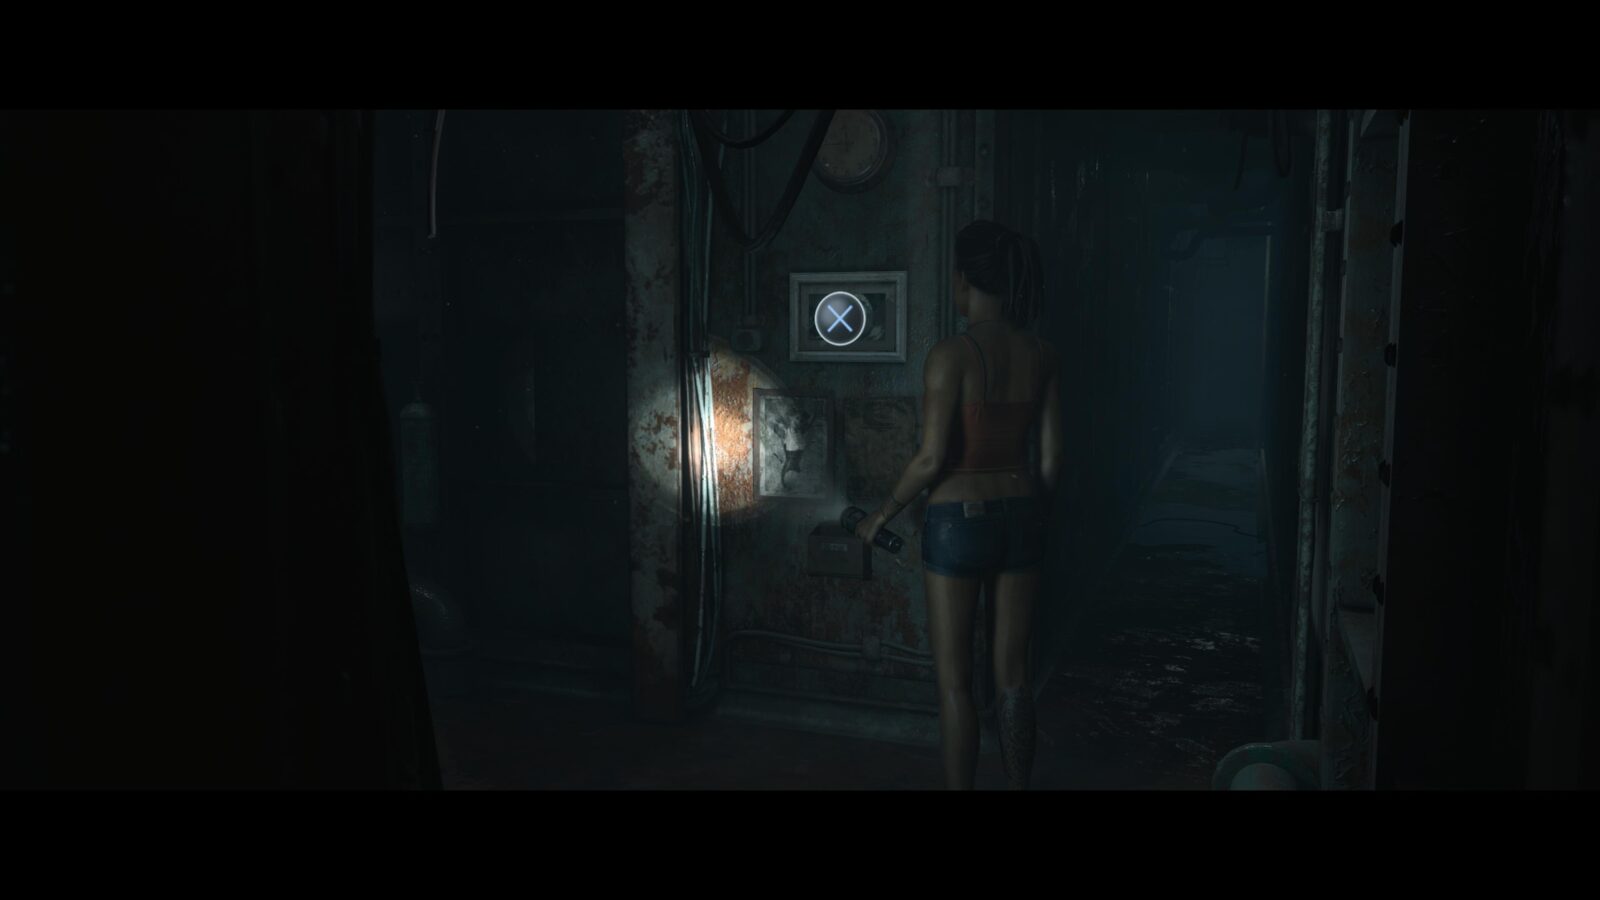
Picture #6 | White Framed Picture #3: Close Quarters | Fliss
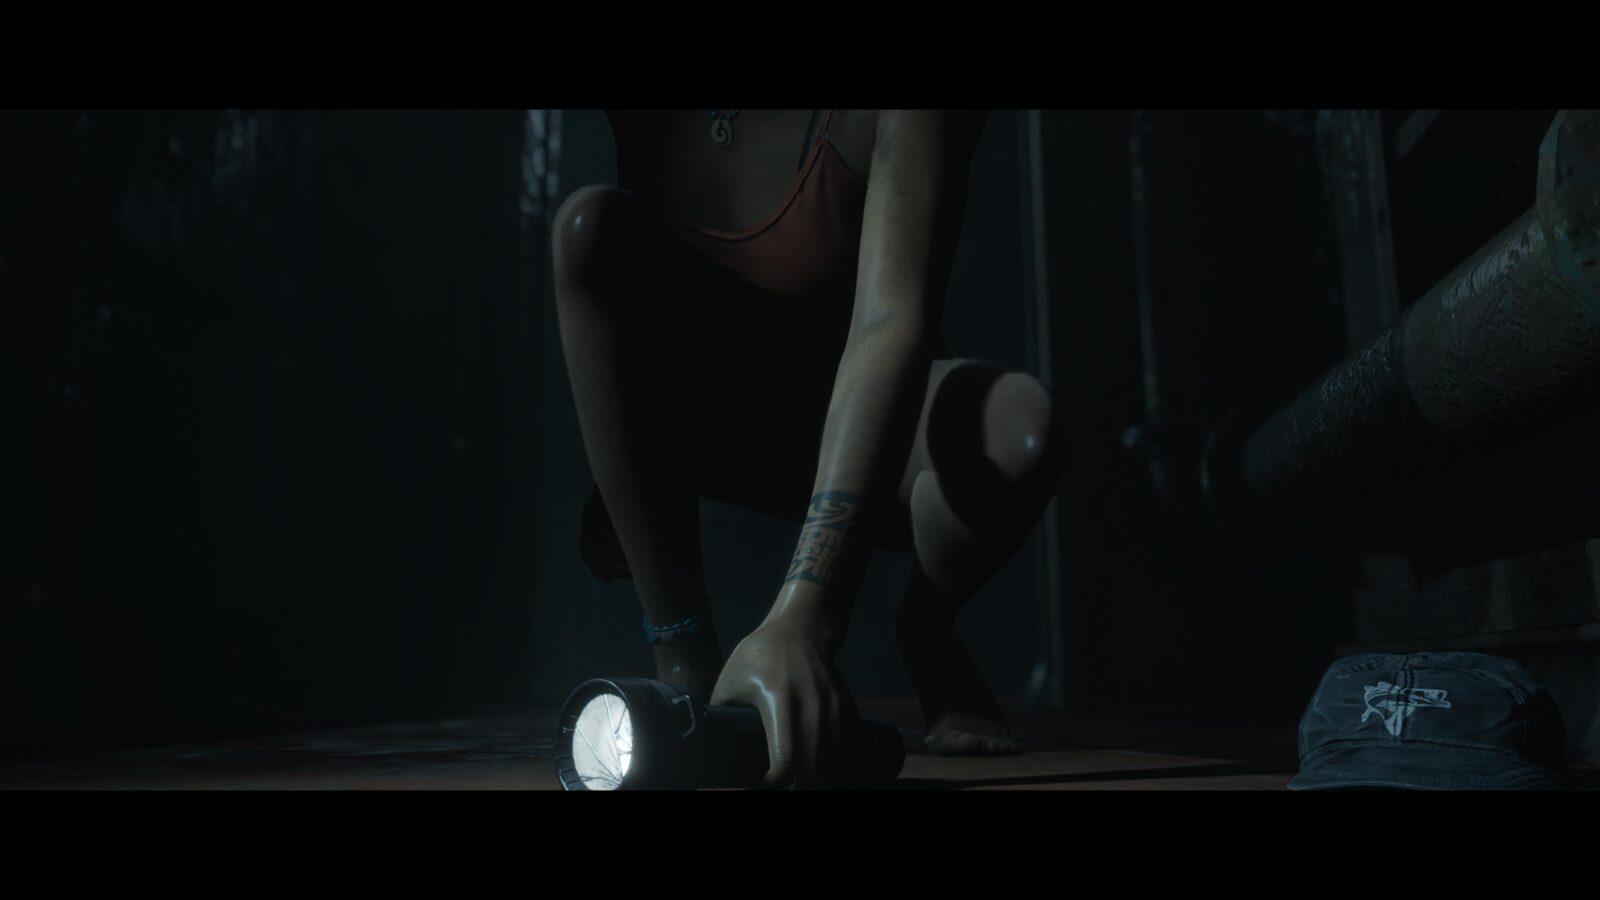
As you proceed through the ship you will spot a White Framed Picture on a wall at the end of the corridor but when you try to inspect it, Danny will push you away. Keep going and eventually Danny will drop his flashlight and run back in the direction of where you just came. Pick up his flashlight and follow where he came from to find the picture again and press ![]() to collect it.
to collect it.
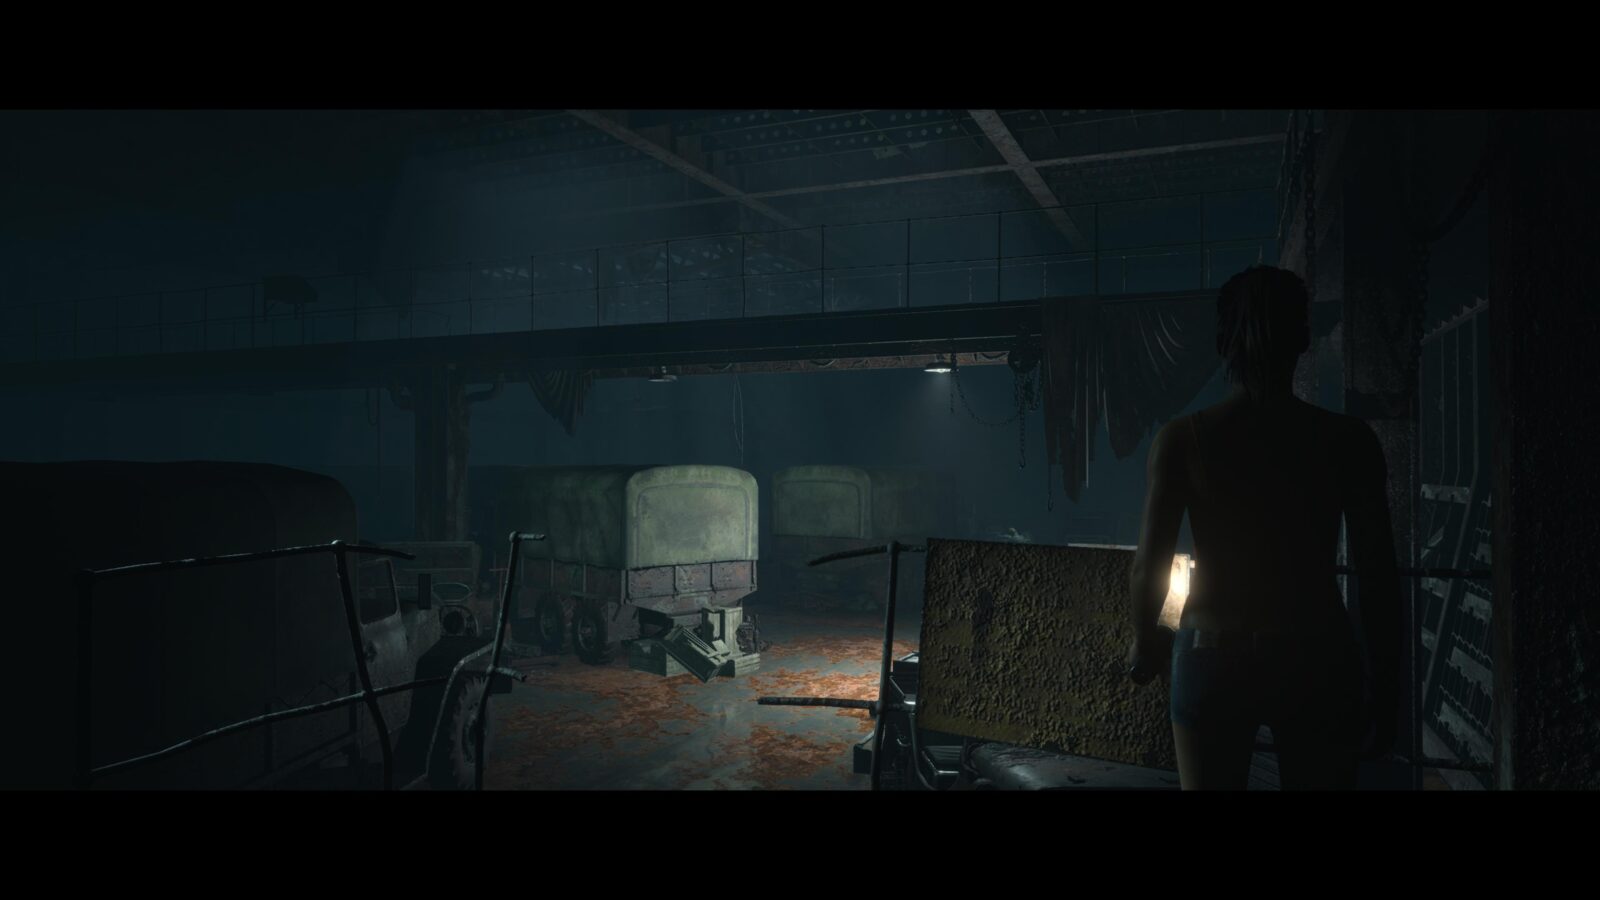
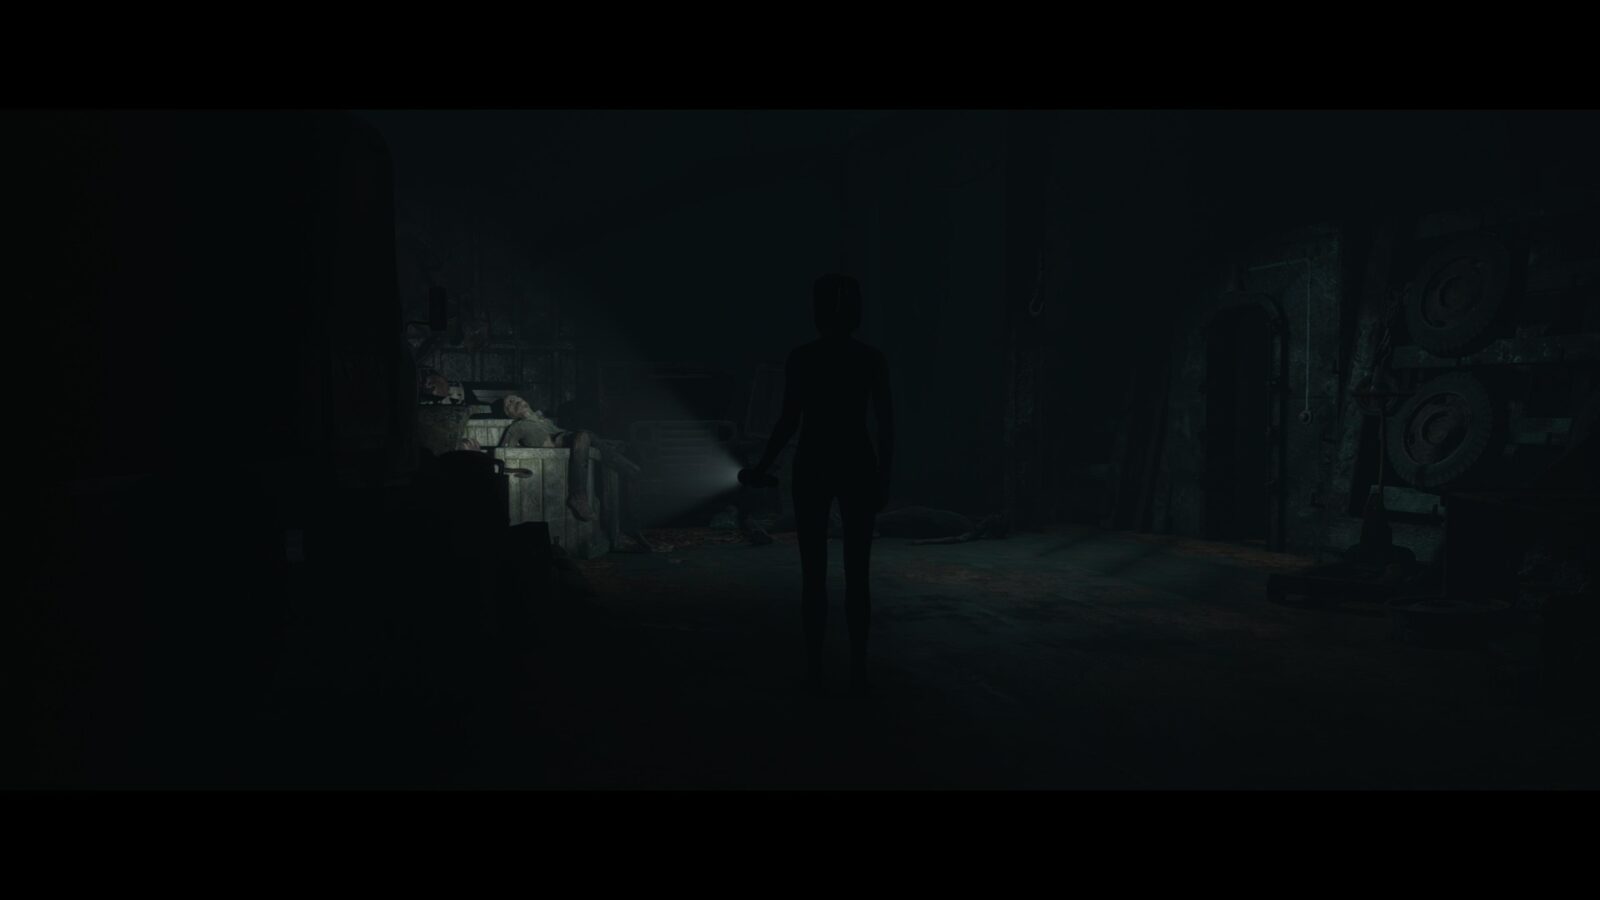
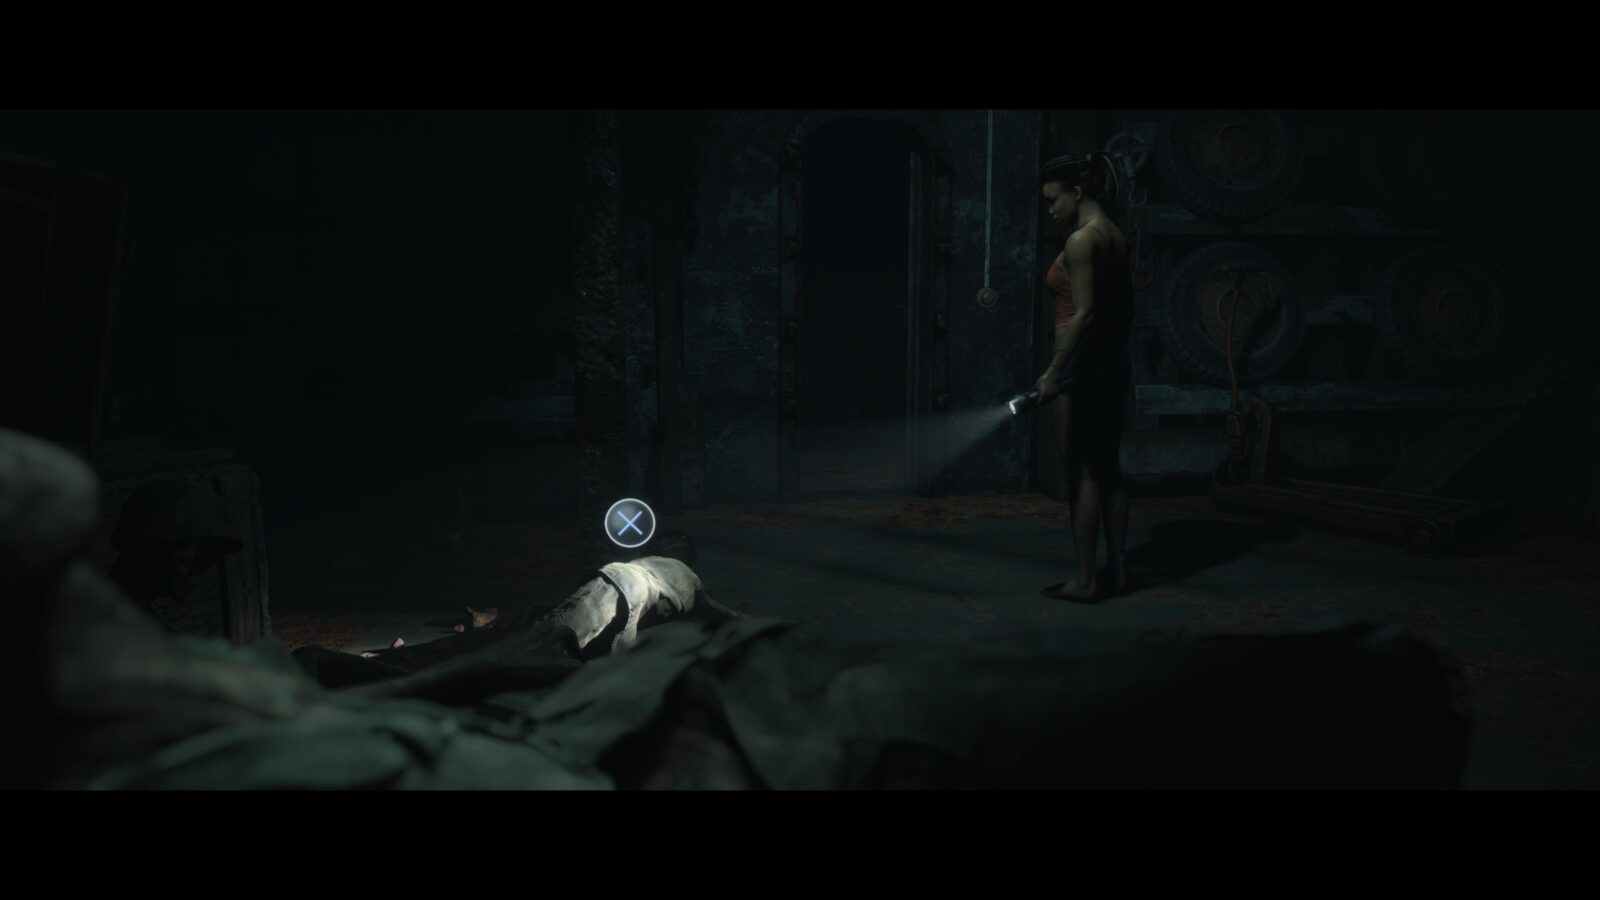
Secret #21 | Dog Tag #32 | Fliss
After picking up Danny’s flashlight, continue on the main path and you will come to a cargo hold filled with trucks. In this area on the far right is a corpse on a crate with another corpse on the ground next to it. Approach them and press ![]() on the corpse on the ground to find a dog tag. Pick it up and flip it over to collect the secret.
on the corpse on the ground to find a dog tag. Pick it up and flip it over to collect the secret.
Finding Friends
Brad climbs aboard the Abandoned Ship in search of his captured friends.
Brad must have remained hidden during Intrusion and Storm. To keep him undetected you have to go along with the captor’s demands in order not to start a fight. Conrad can be pushed to the ground and spot Brad, however, if this happens you must make sure not to bring attention to Brad.
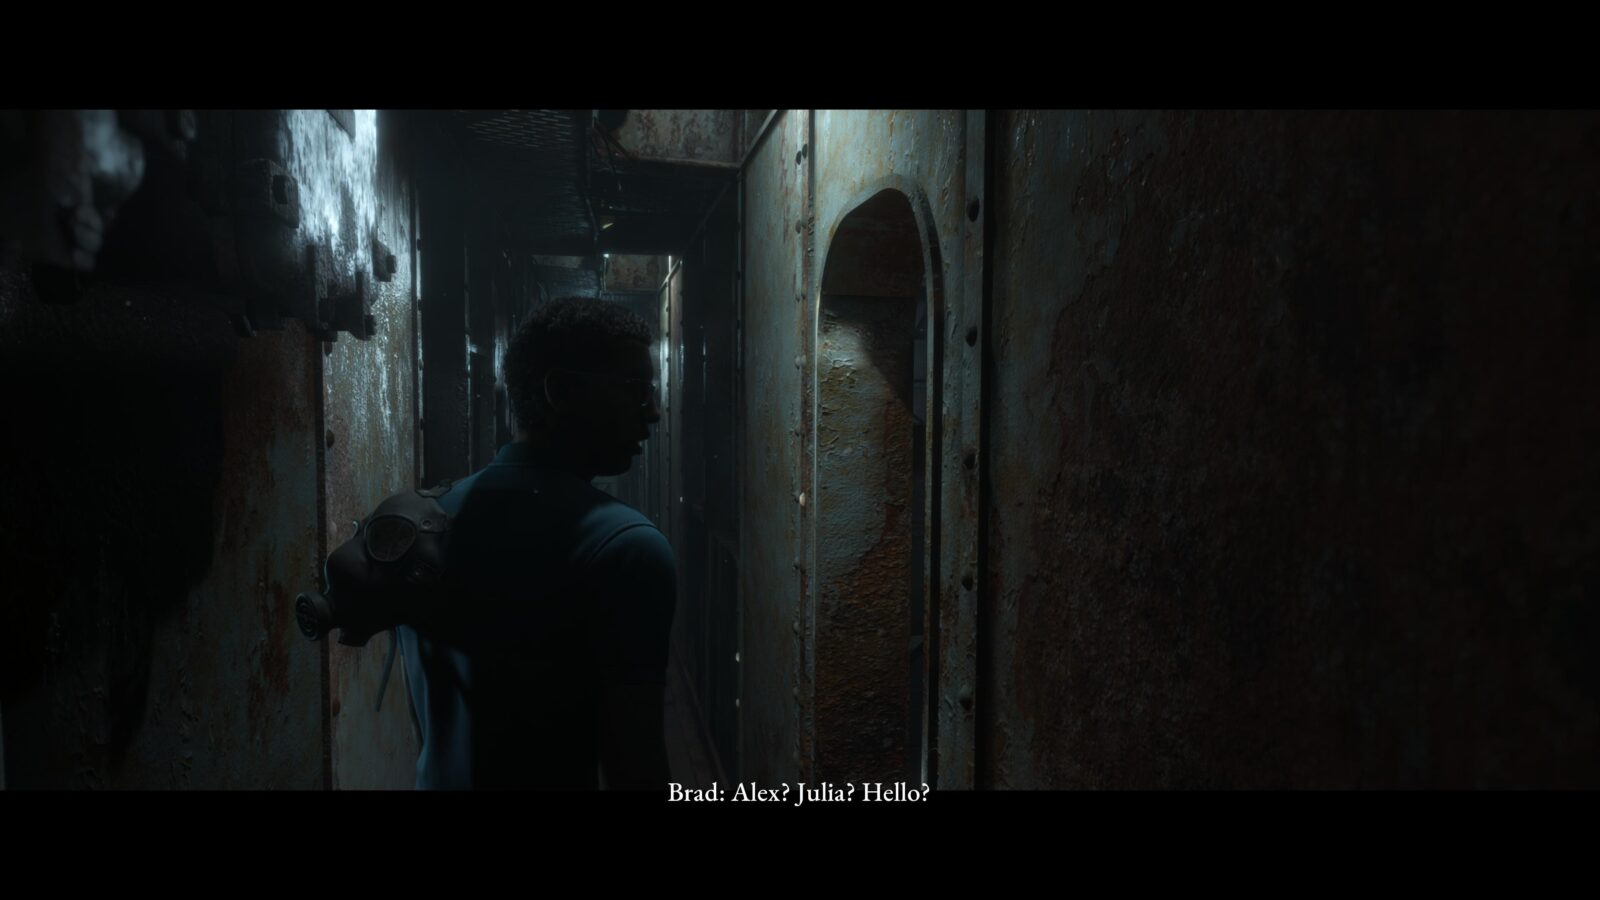
Secret #22 | Hastily Written Message #21 | Brad
After Brad enters the Abandoned Ship you will open a door and climb some stairs. At the end of the next corridor there will be a locked door. Check the room directly to the right of the locked door to find a note on the table. Flip it over to reveal the secret.
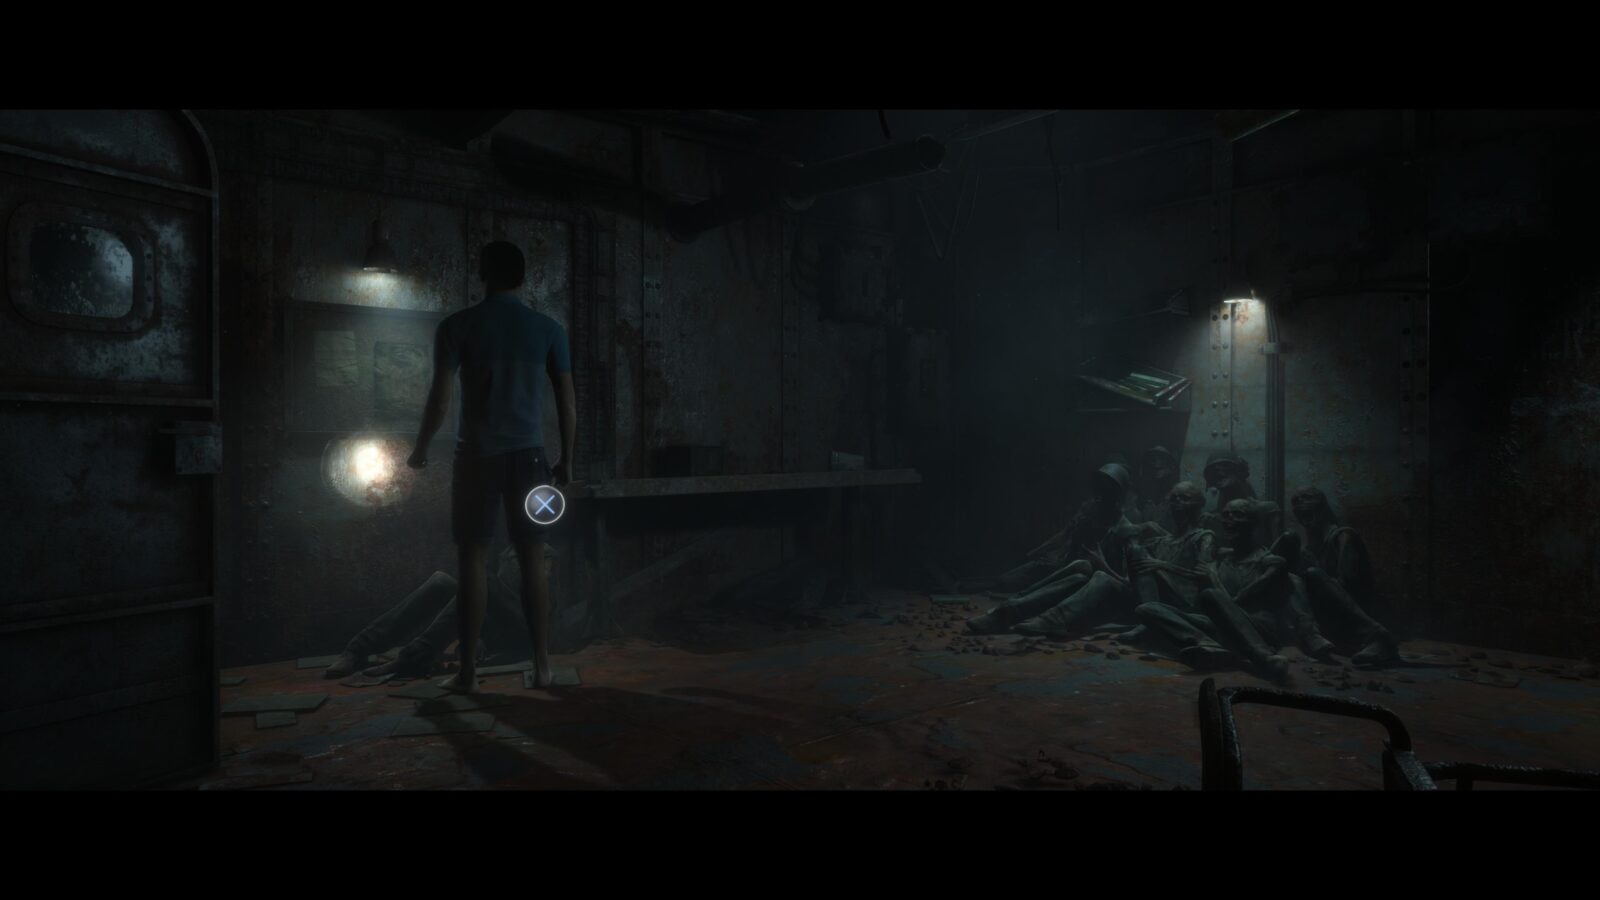
Secret #23 | Infantry Badge #43 | Brad
Backtrack down the corridor to the next room to find a group of frightened corpses all huddled together. To the left of this group is another corpse with a patch on his arm that you can inspect for another secret.
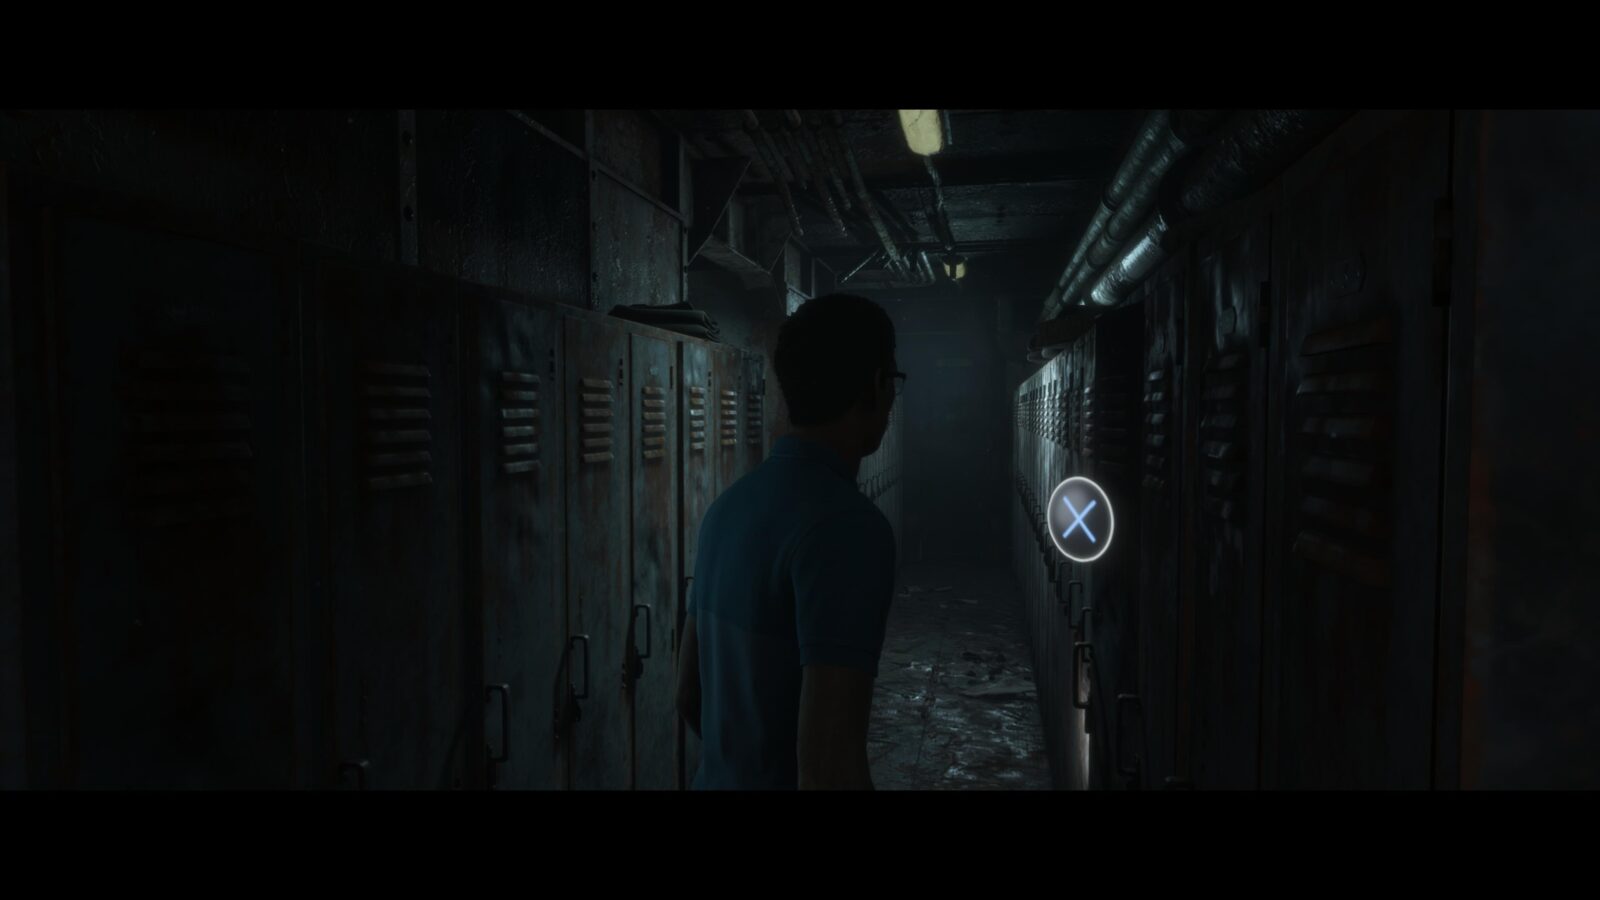
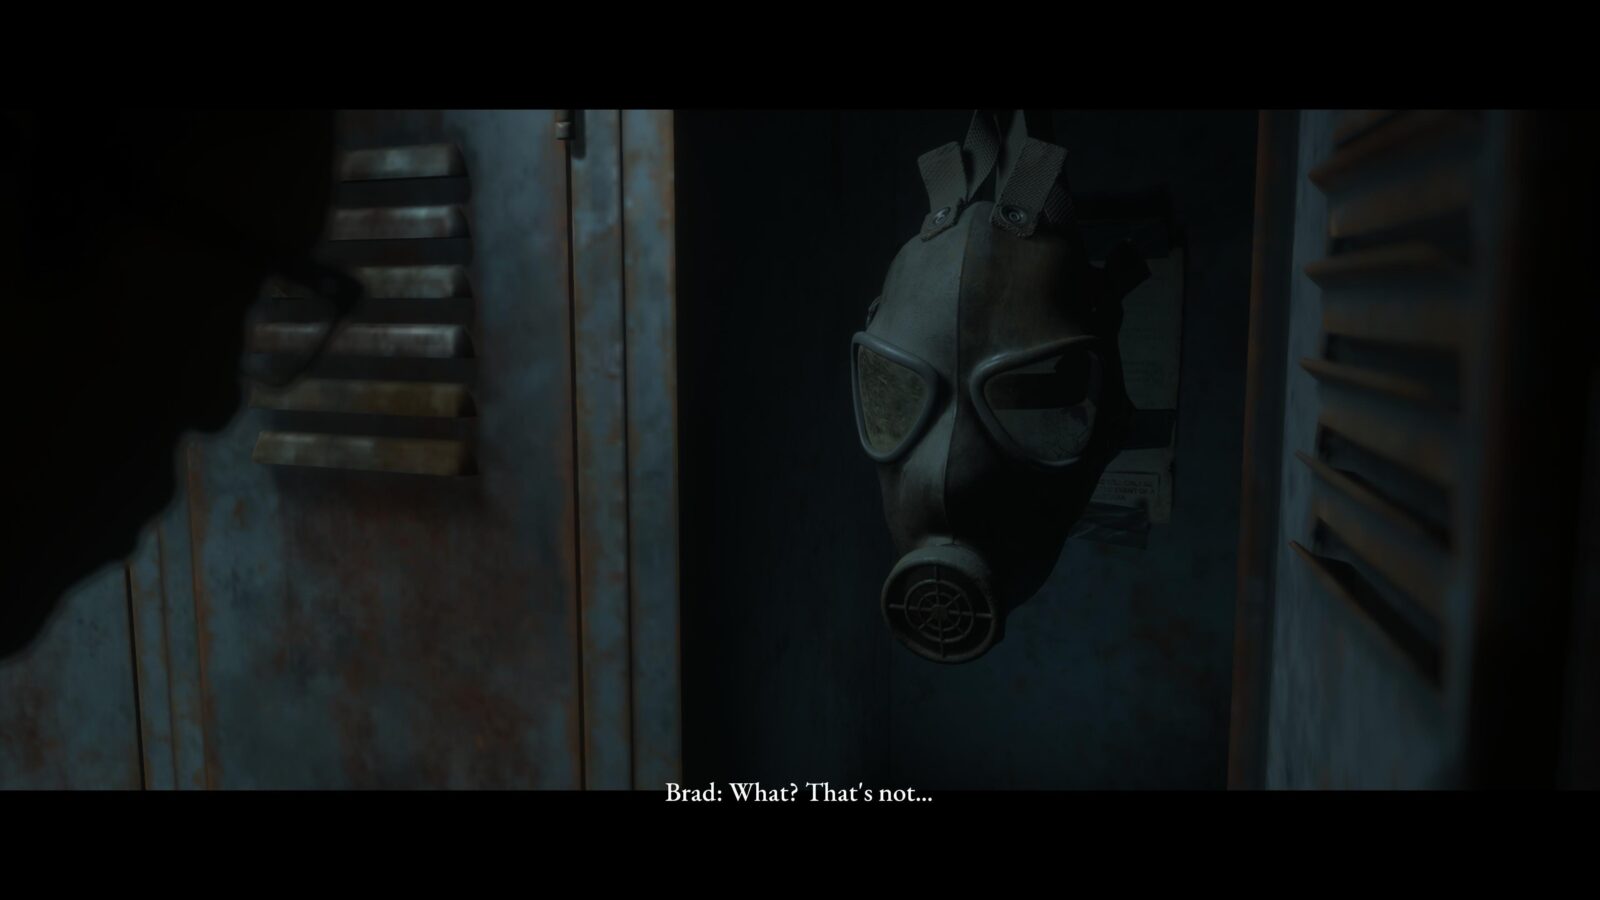
Gas Mask
While not a secret, you can grab a gas mask for Brad which can be crucial later on. As you progress through the locker room you will be able to open one. A face will swing down and scare Brad resulting him in slamming the door. As you walk away the locker door will pop open again. If you go back and open it a second time you will find a gas mask that you can pick up.
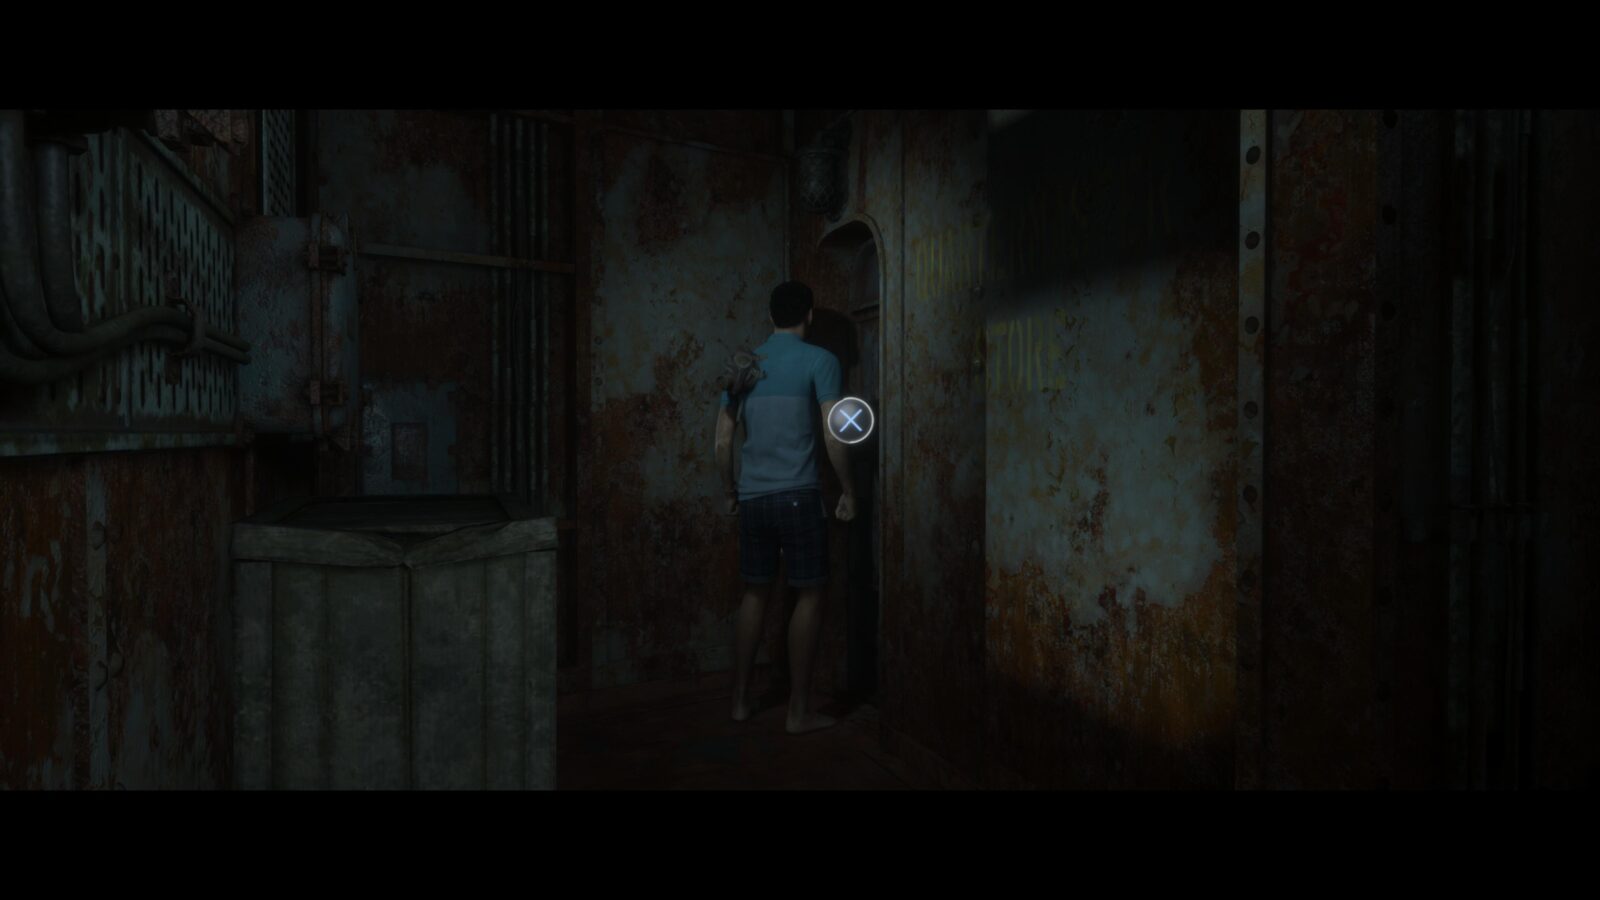
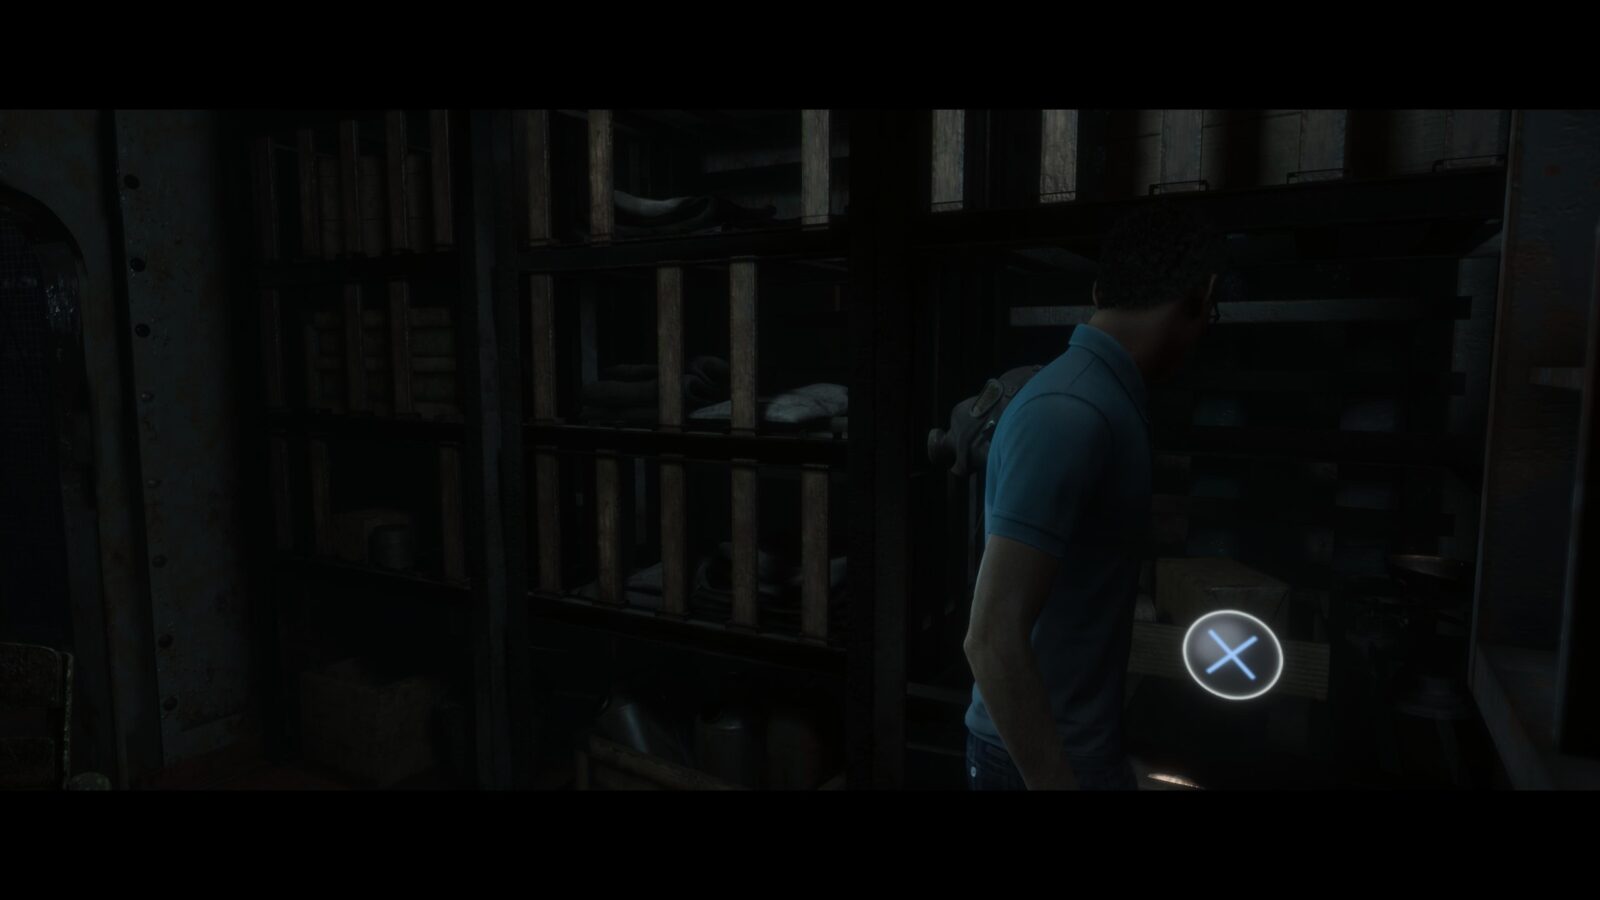
Secret #24 | Locks Memo #4 | Brad
Progress through the locker room and into the next area where you will need to push a crate over to a wall so you can climb over. Before you move the crate, open the door to the room next to it. At the end of the room is a note about locks. Pick it up and flip it over.
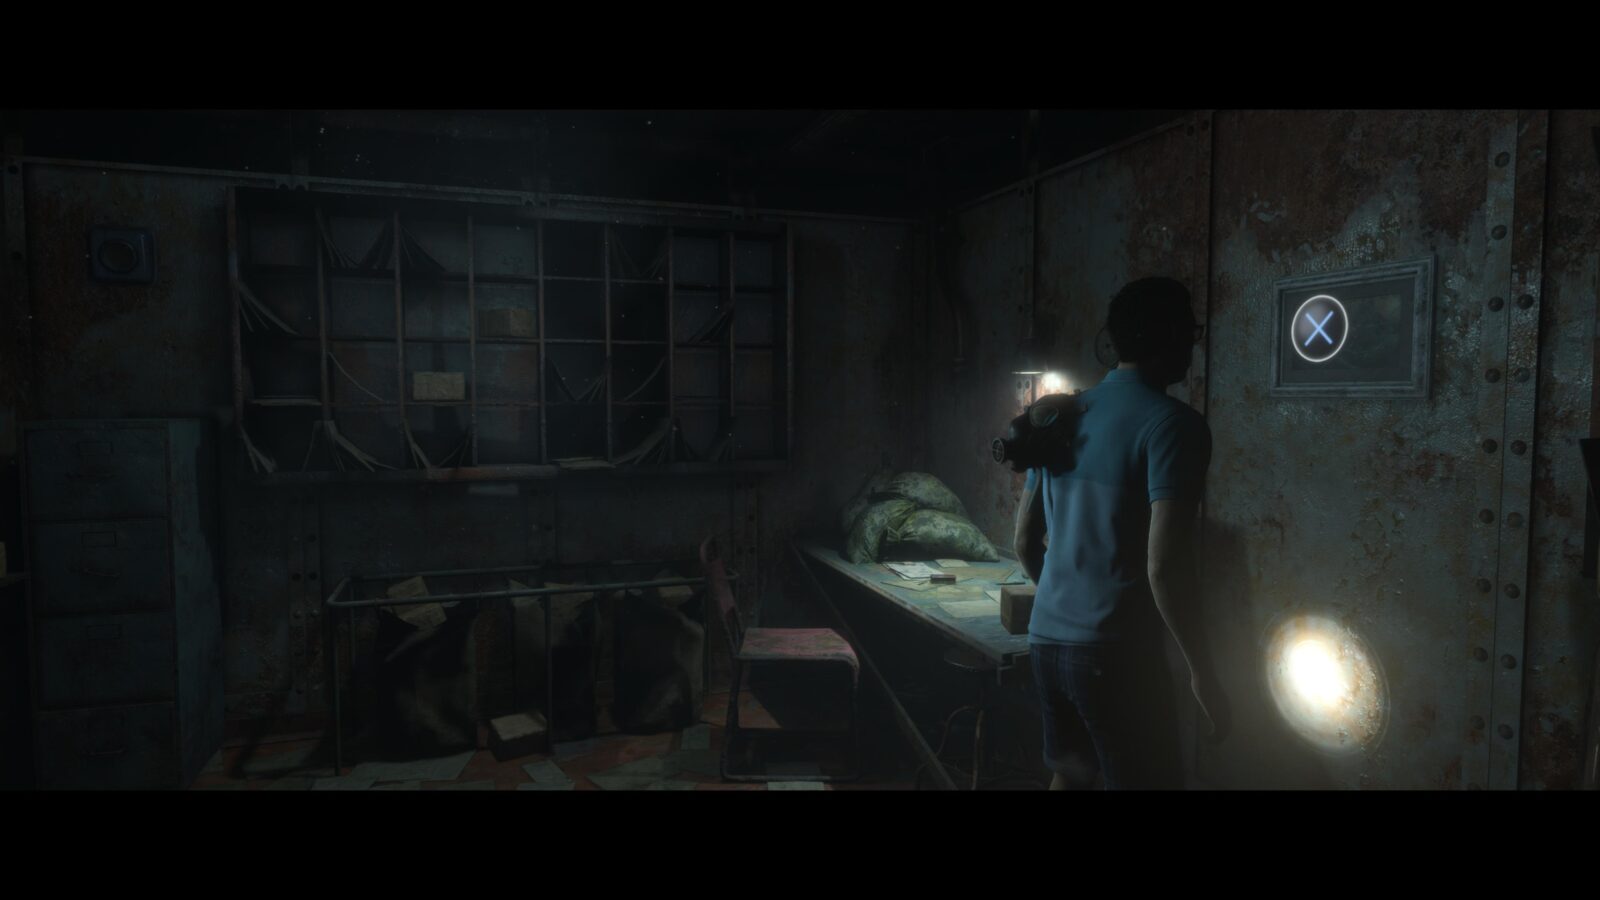
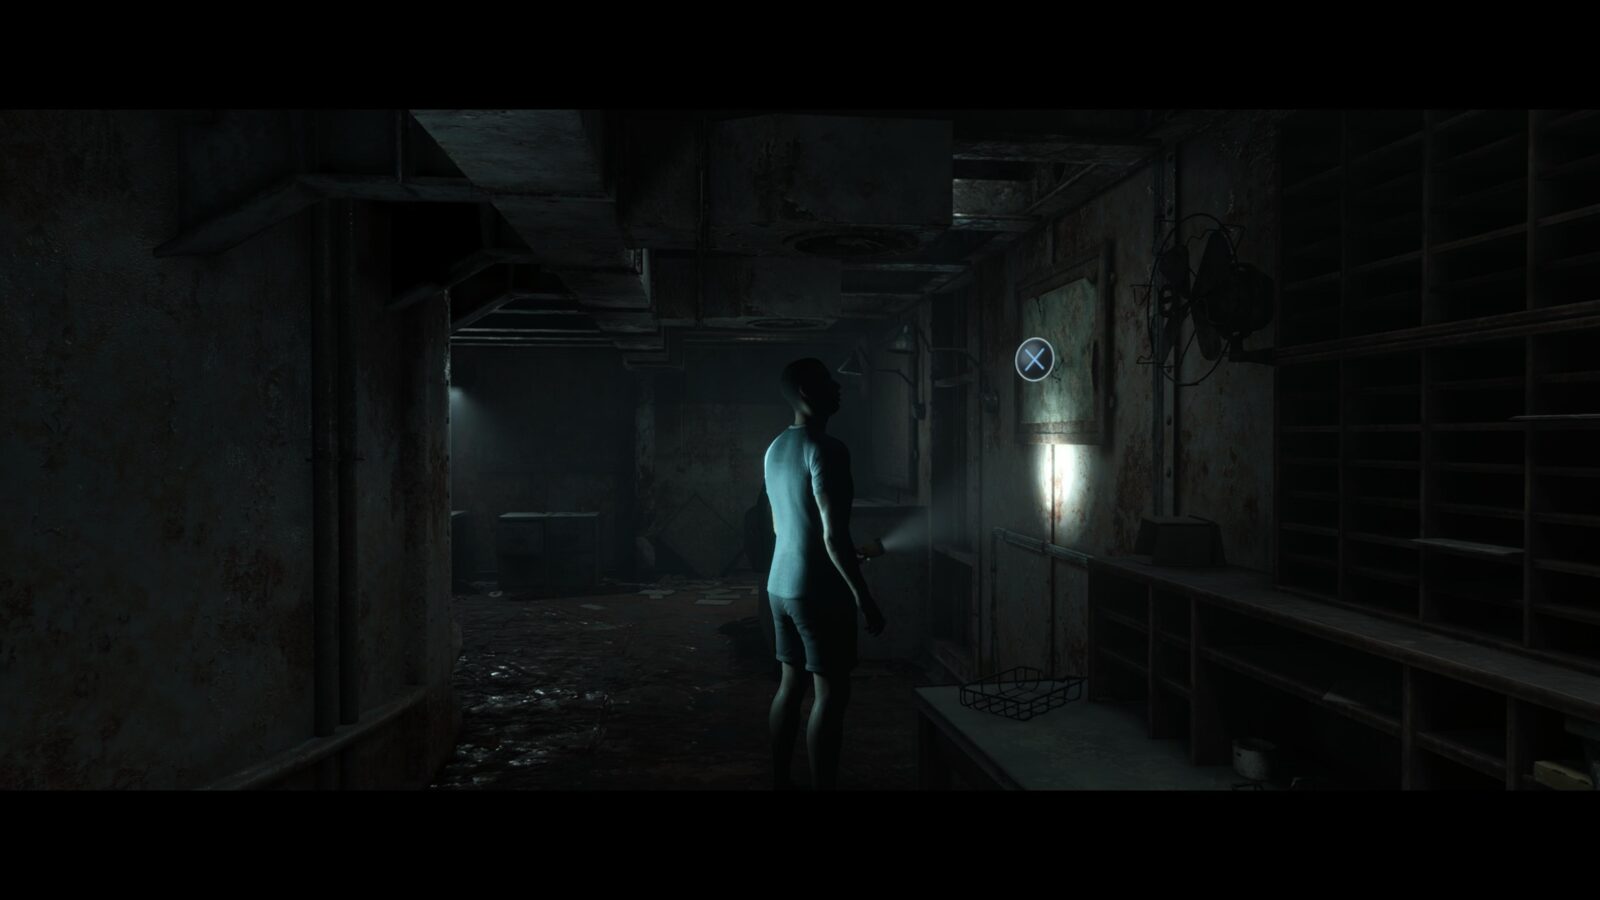
Picture #7 | White Framed Picture #5: Copper Bottomed | Brad
Use the crate to climb over the wall and in the very next room on your right is a mail room with a framed picture on the wall to the very right of the screen.
Secret #25 | Radio Operator's Memo #19 | Brad
Proceed to the next are where Brad will find himself on a catwalk. Head to the left side of the catwalk where you can find two corpses. Approach the corpse on the box and inspect the note near his face. Flip it over to find the secret.
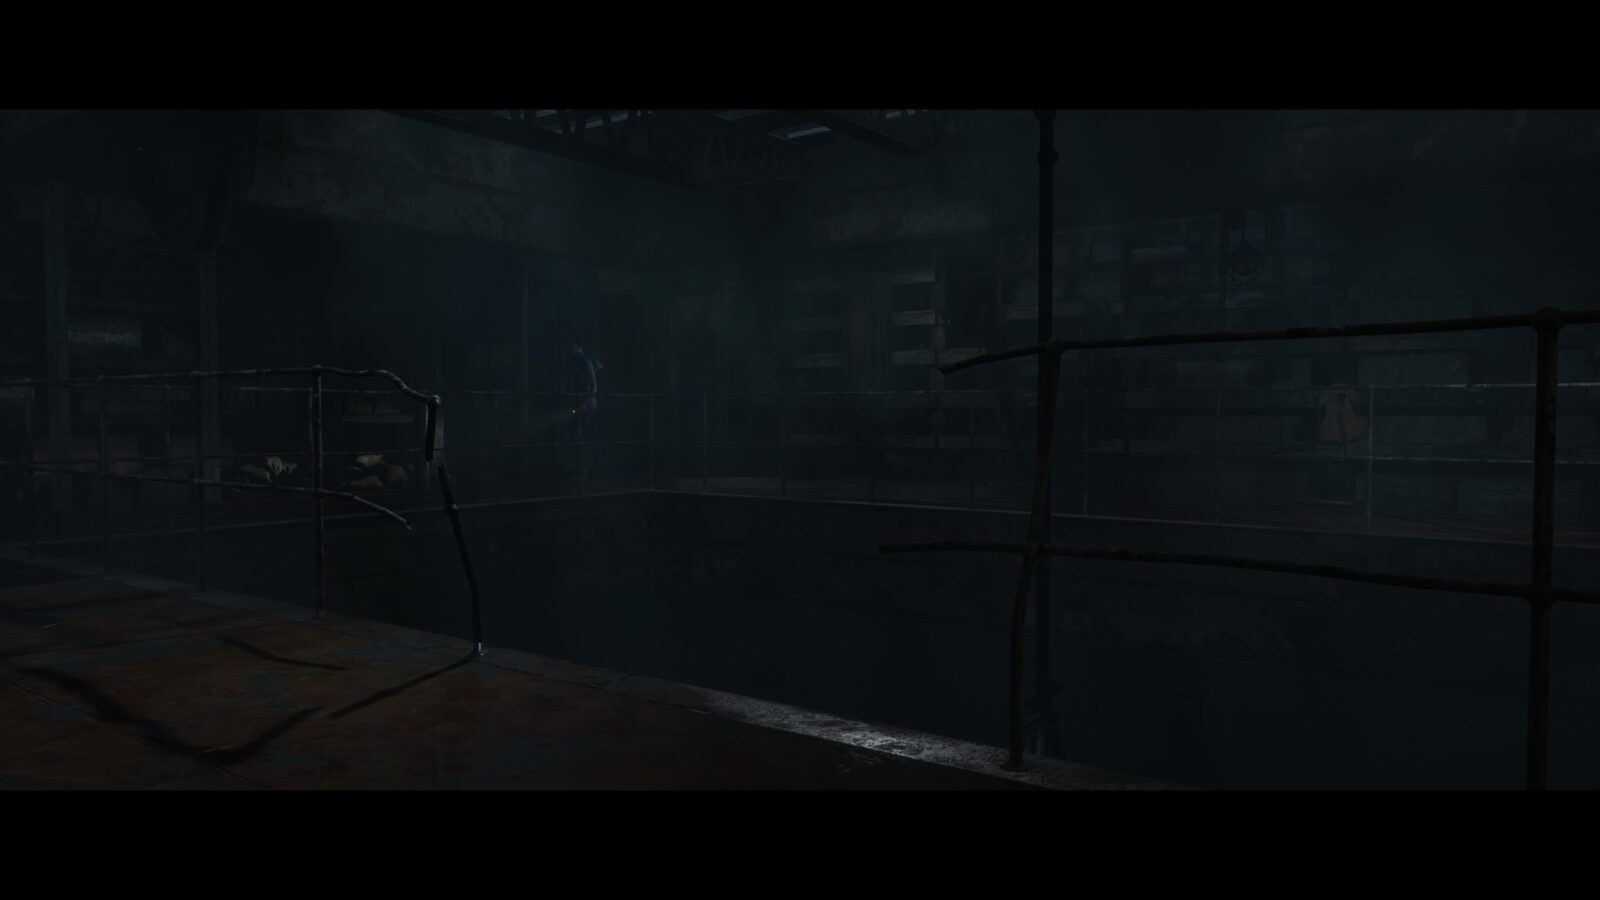
Ritual
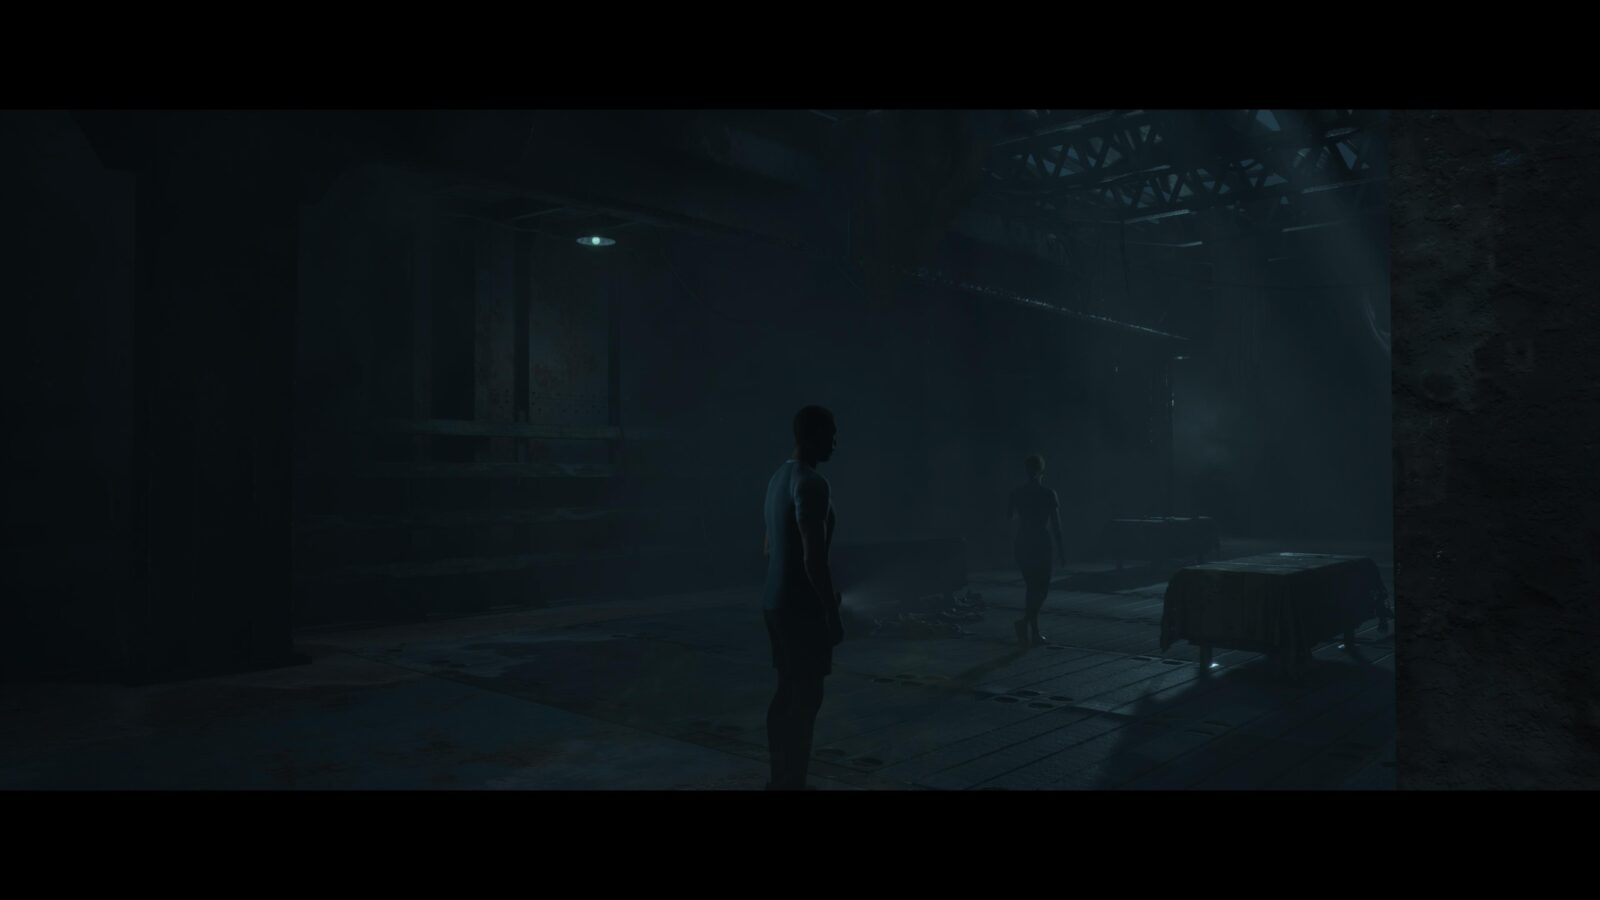
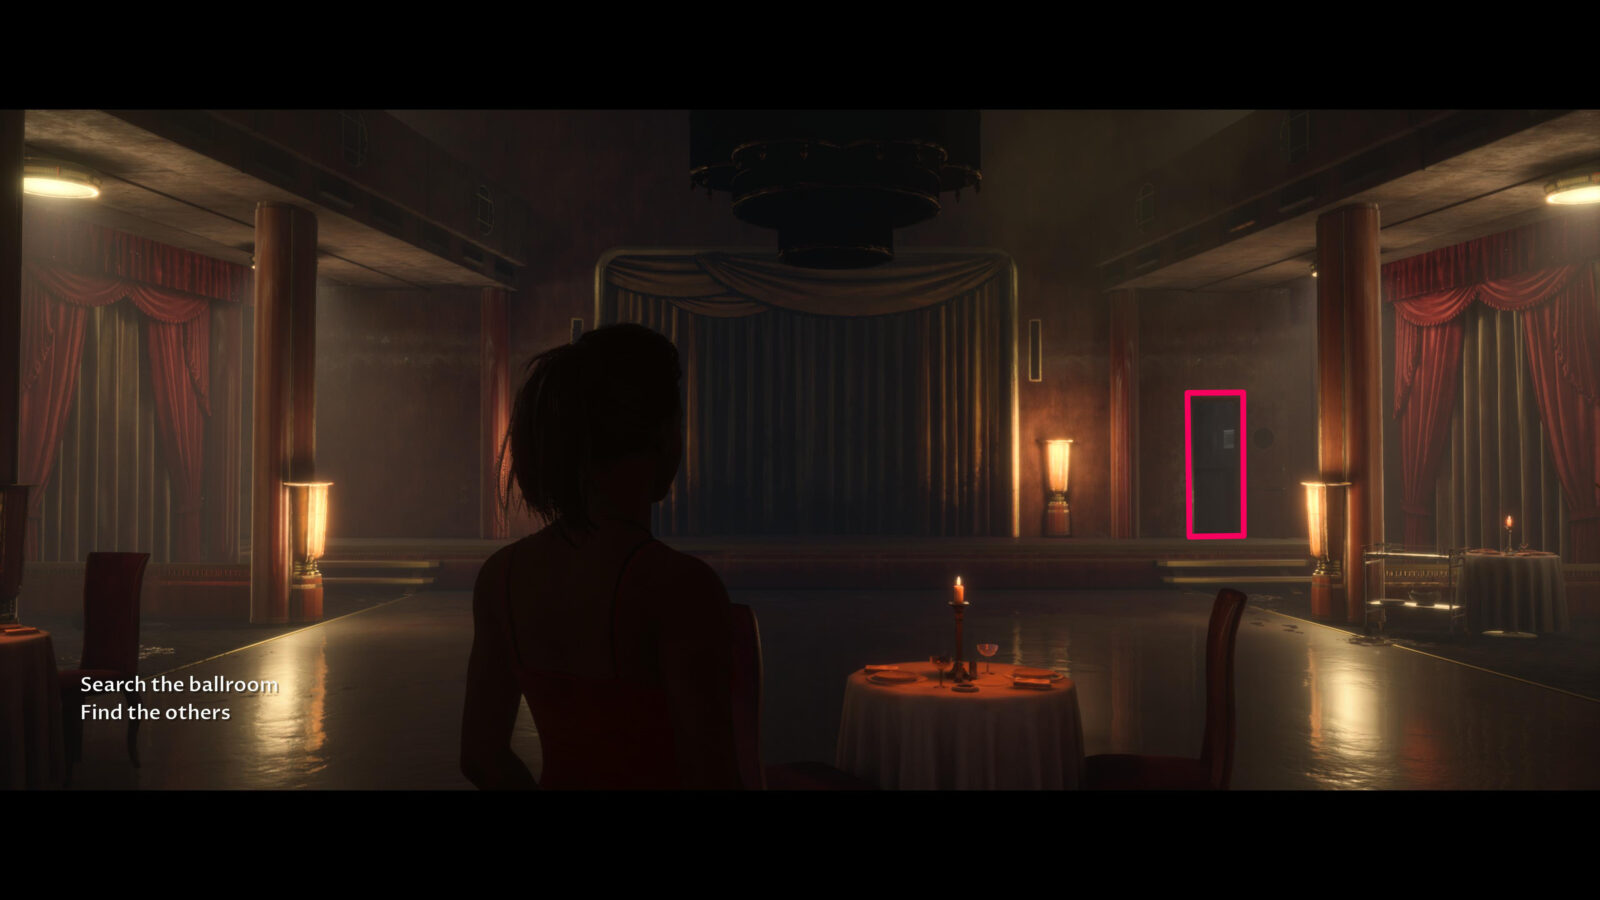
Fliss finds herself in a strange Ballroom and must find a way to escape.
Don’t spend too long in this area as an entity will spawn and chase Fliss away. Make sure to grab the following collectibles as quickly as you can—pause often to read the guide.
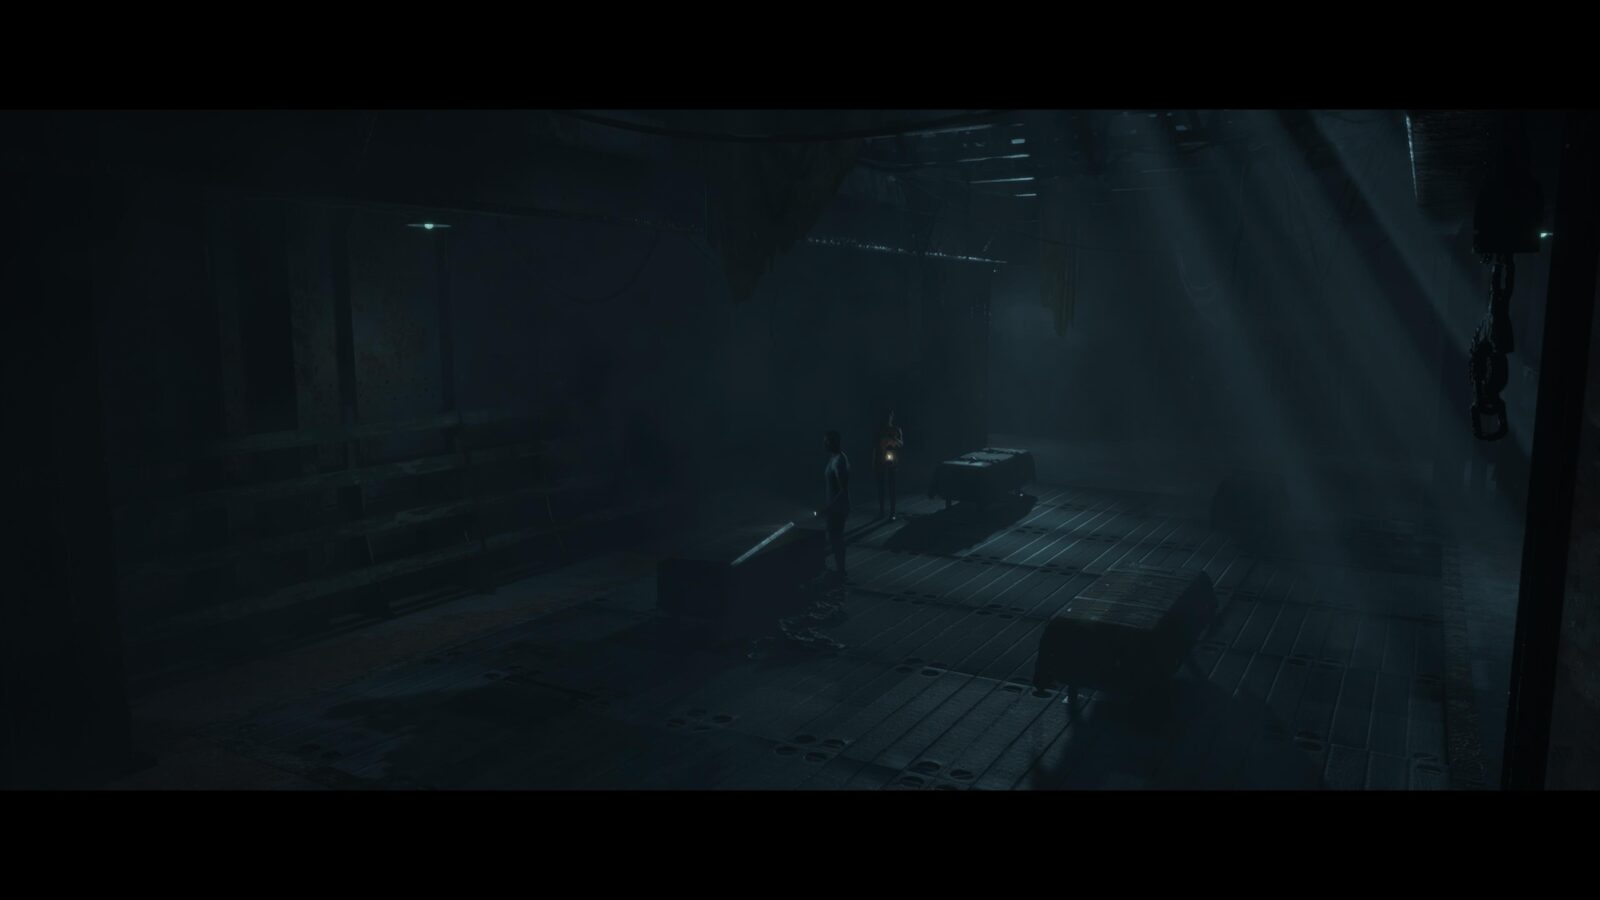
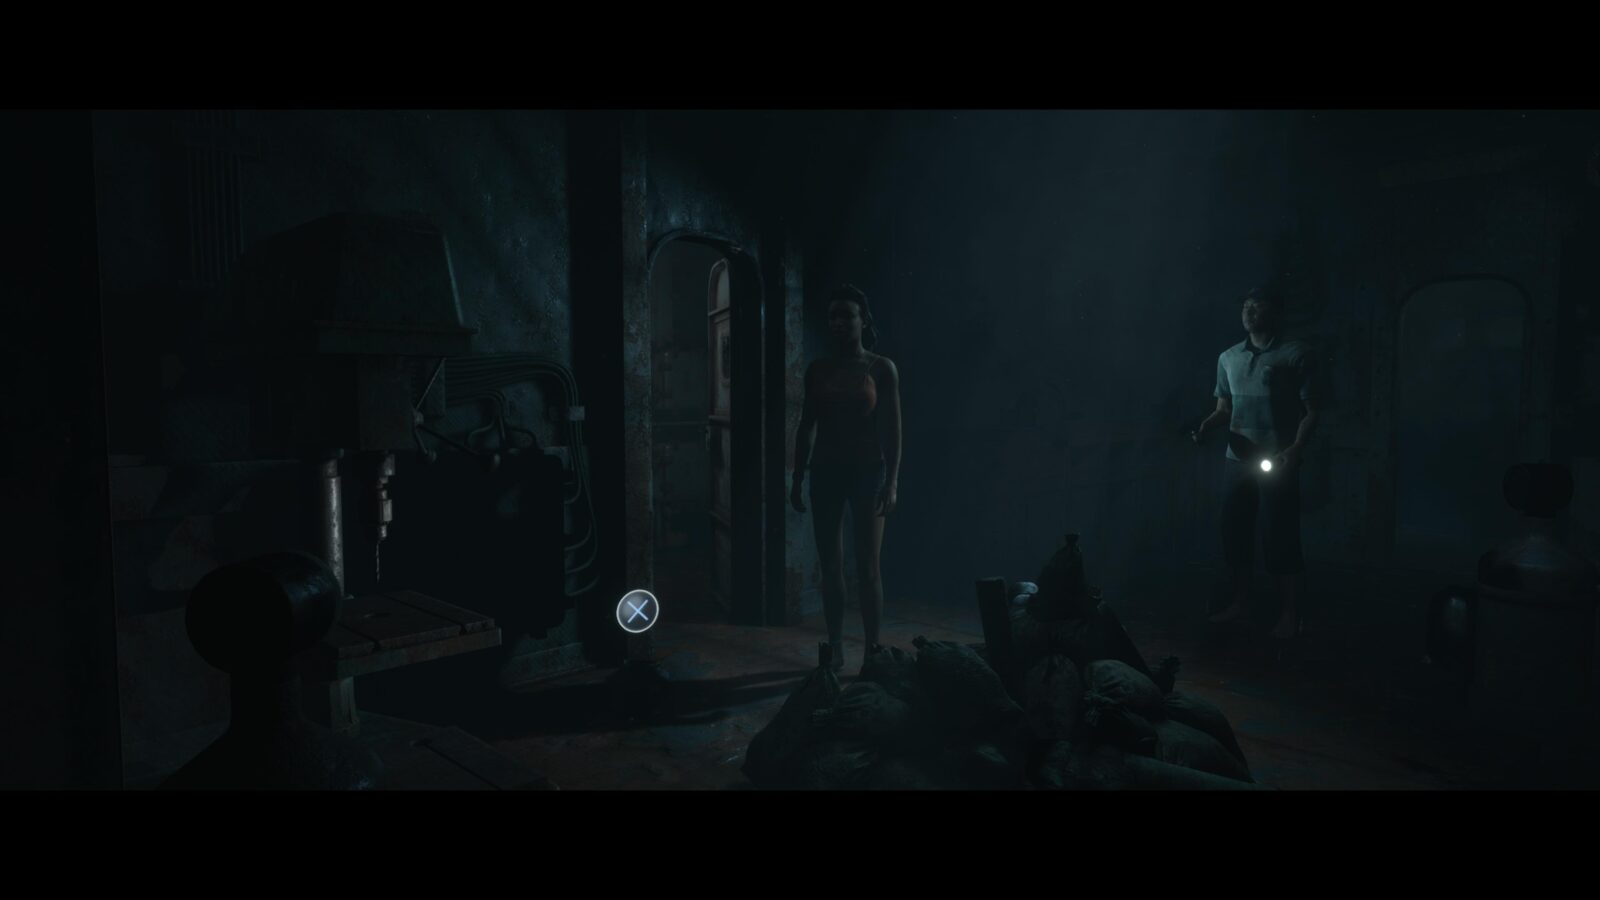
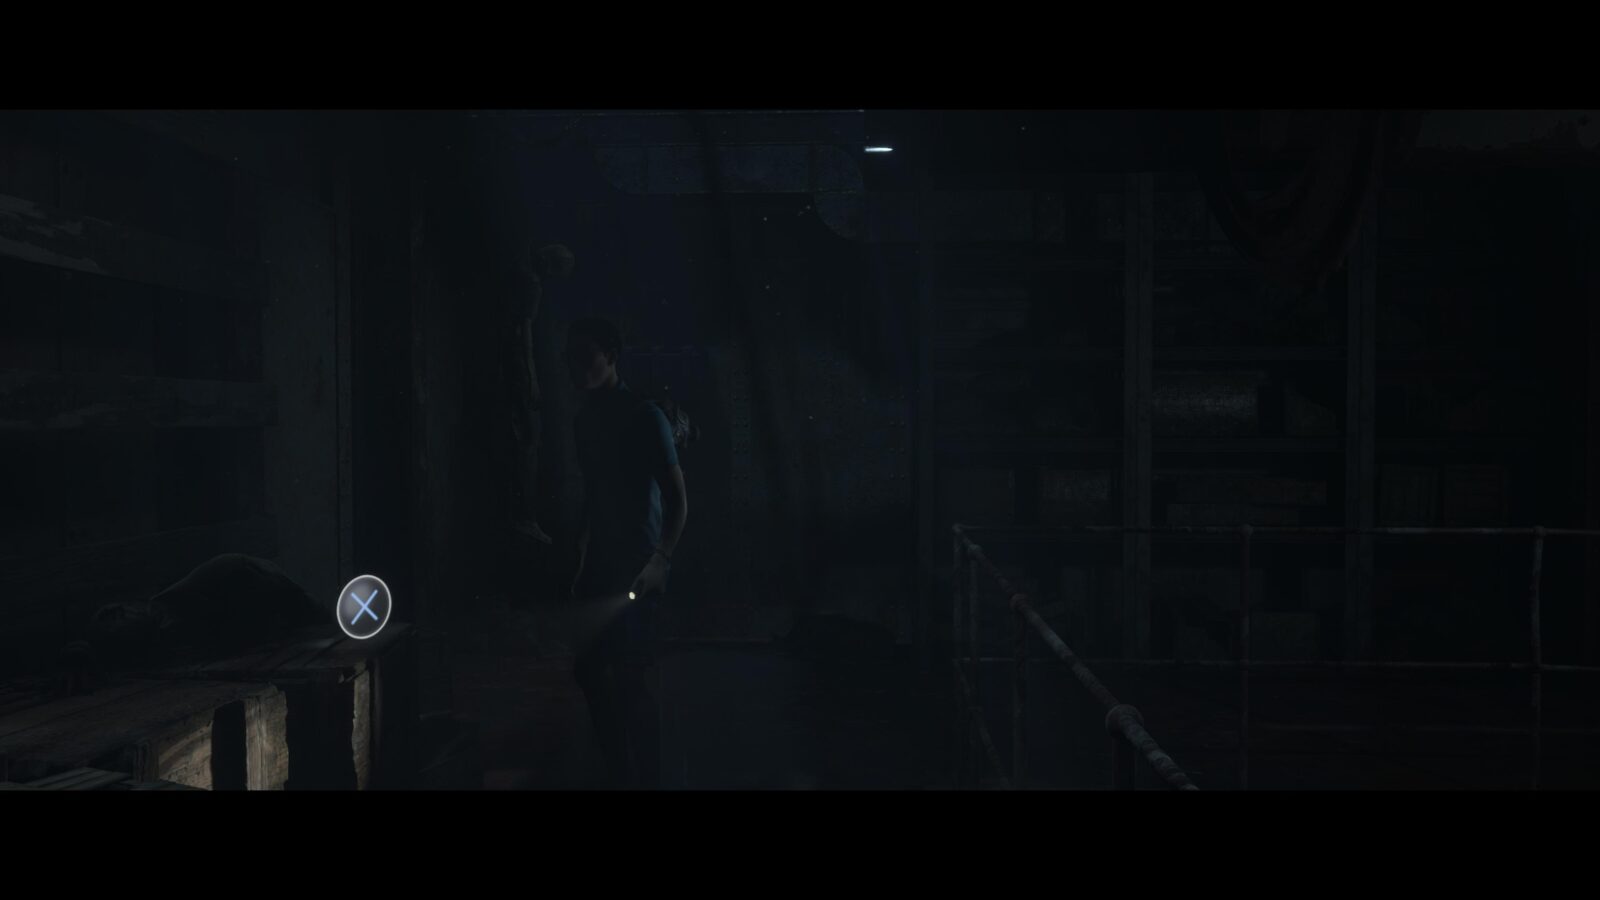
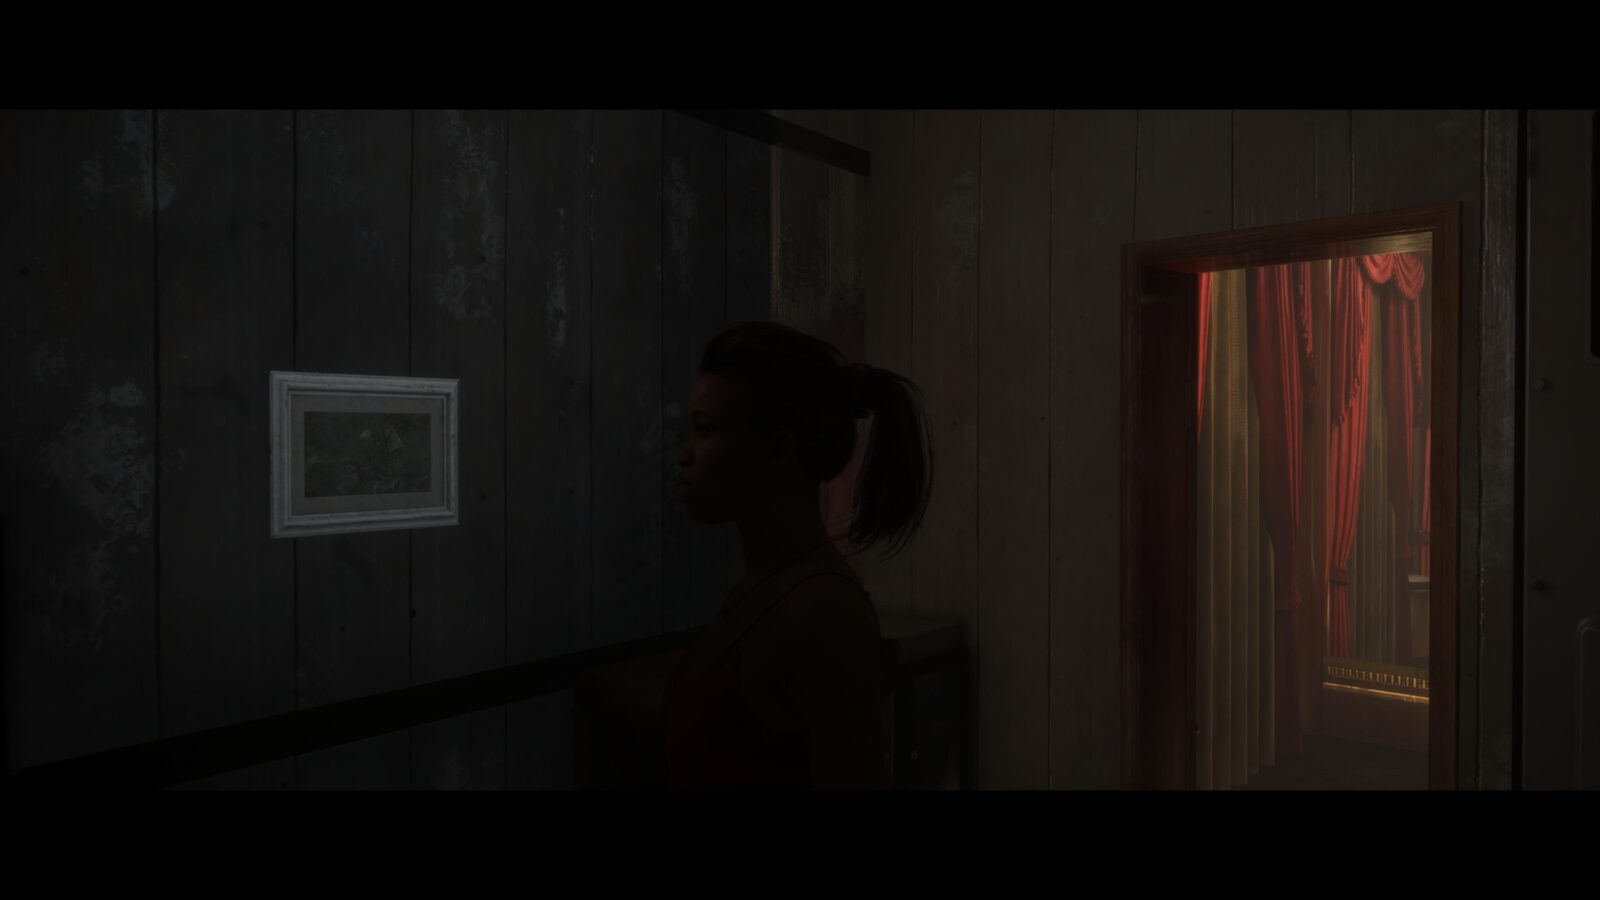
Picture #8 | White Framed Picture #4: Keelhaul | Fliss
Inside the Ballroom, immediately head towards the stage and go through the door to the right. In this small room on the left of the camera is a framed picture. Be sure to collect it quickly.
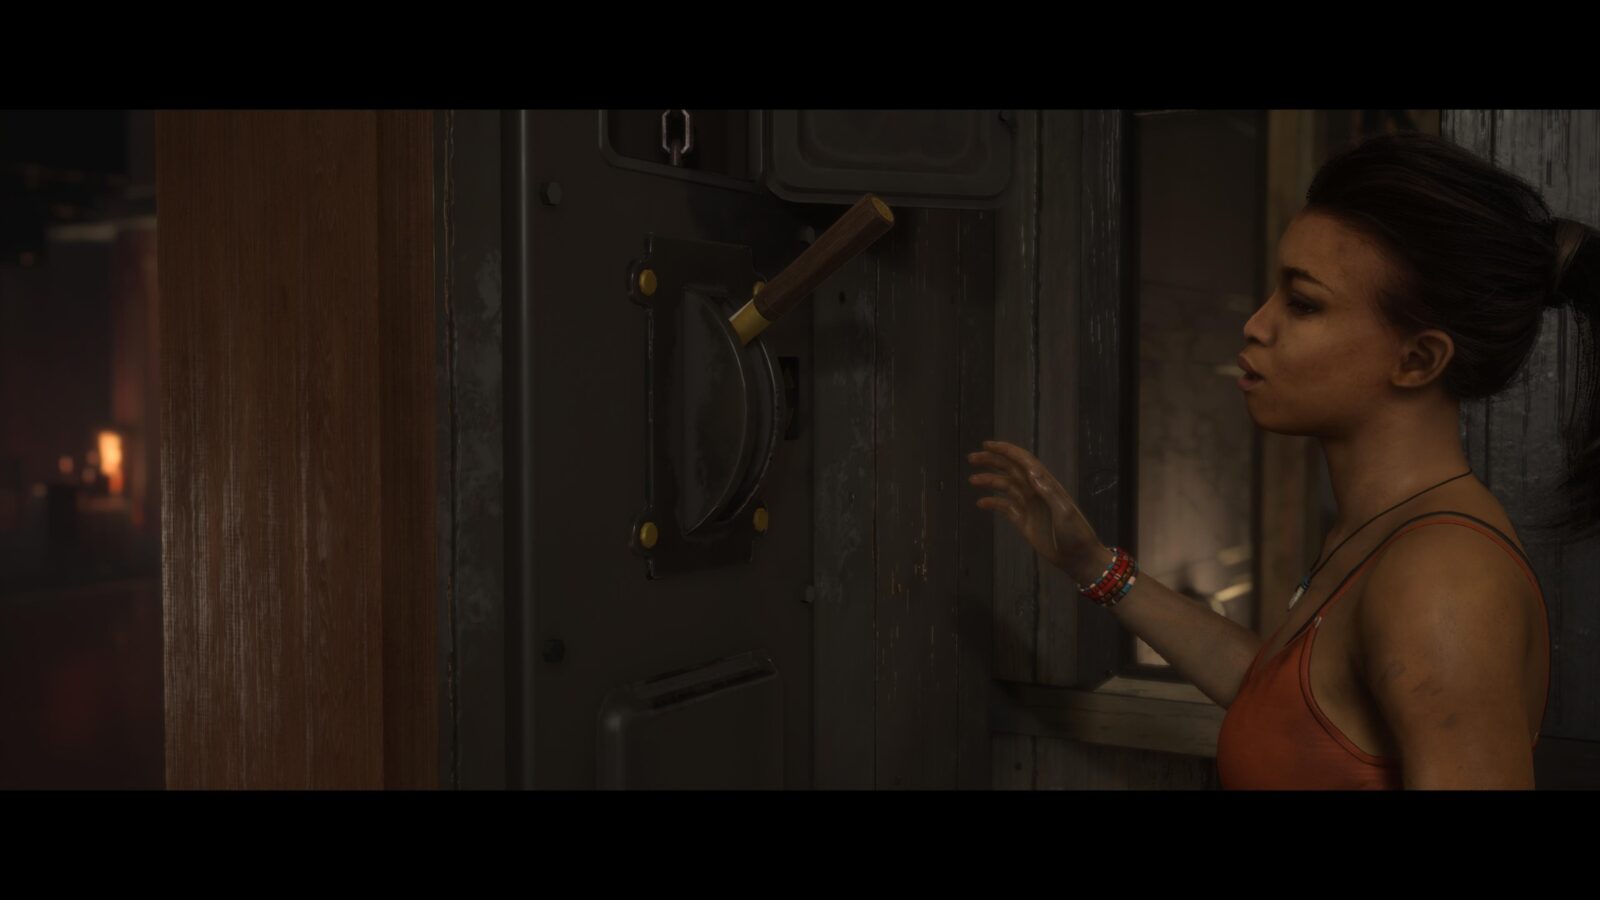
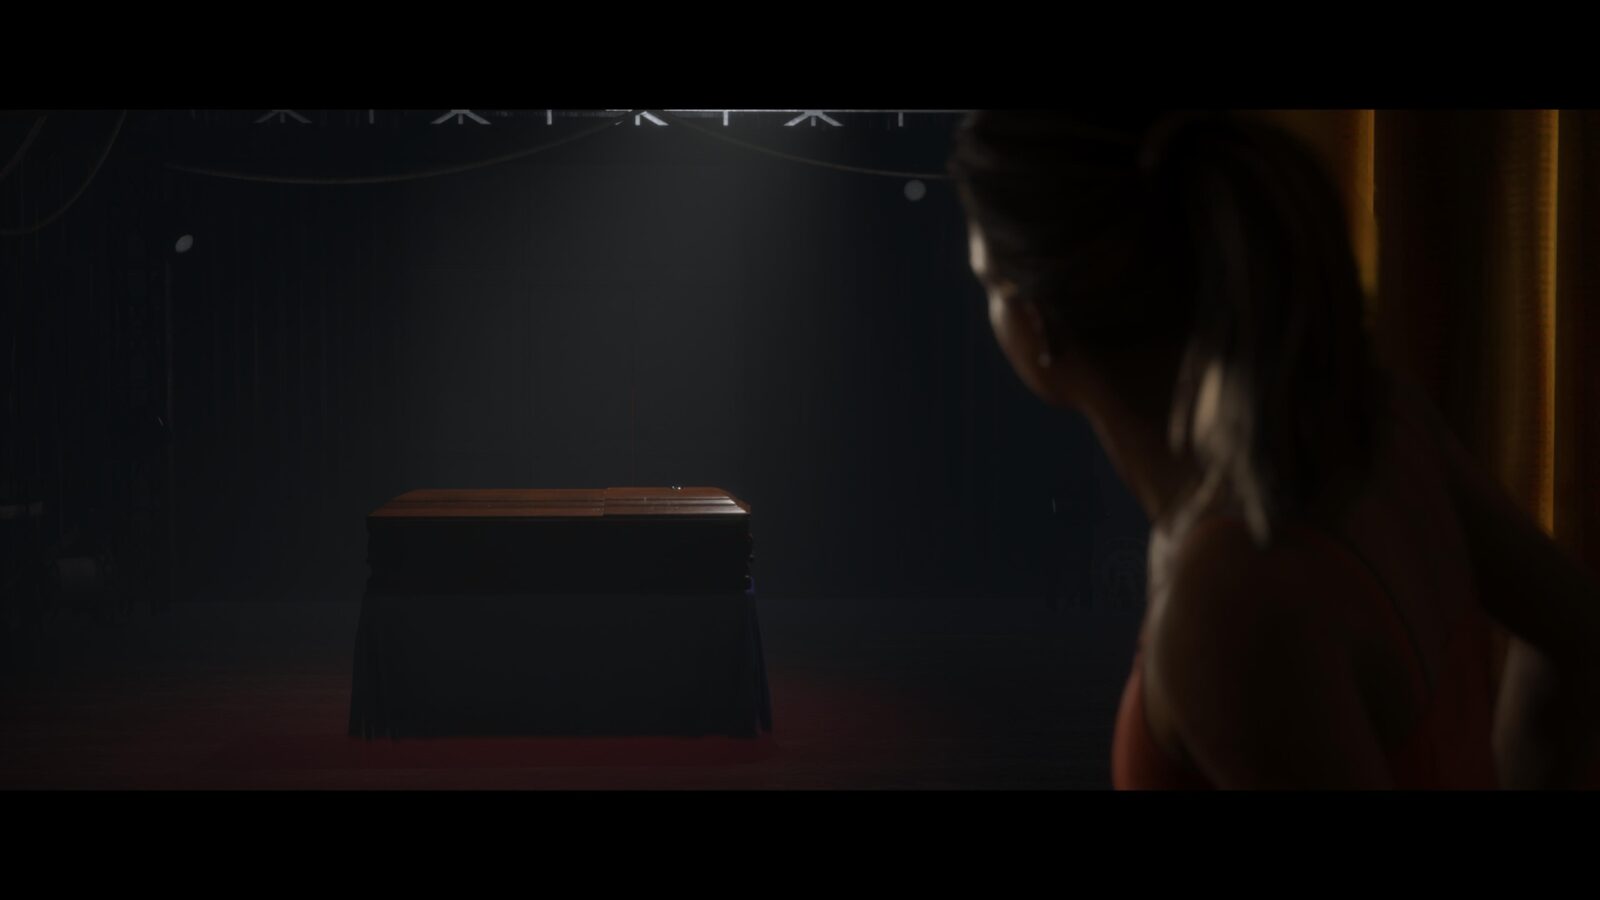
Secret #26 | Chemical Leak #38 | Fliss
In the small room to the right of the stage—where the framed picture is—is a lever on the wall. Pull it and the stage will reveal a new room with a casket. Go into the new toom and through the door to the right of the casket to reach the exterior of the ship. When Fliss returns to the interior of the ship, the casket will have turned into a crate. Open the crate to reveal a secret.
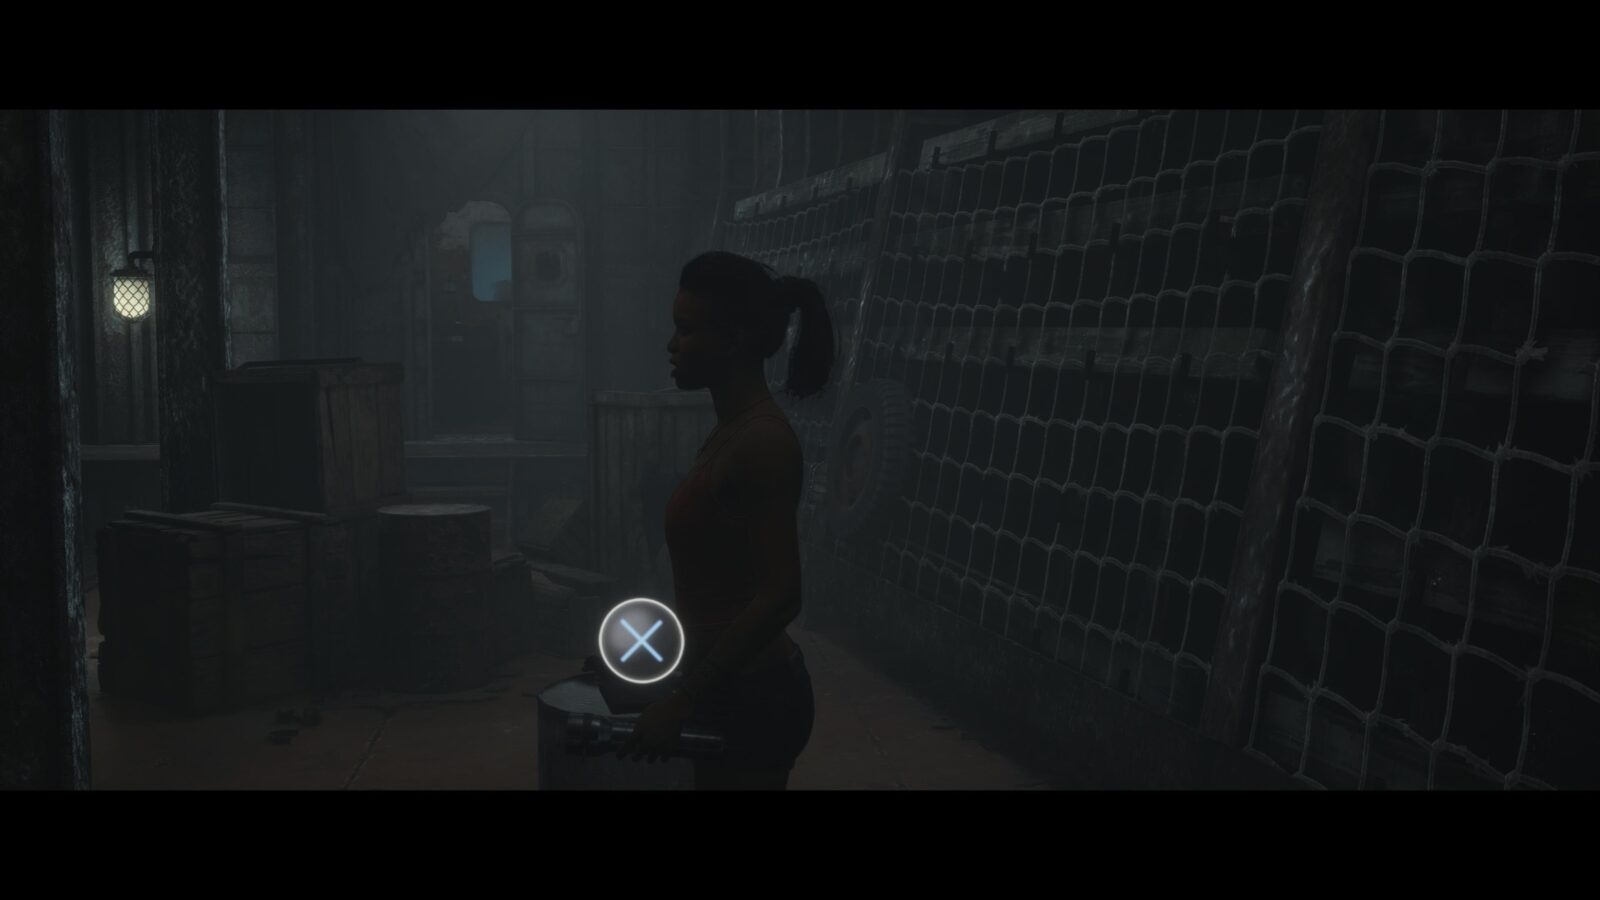
Secret #27 | Broken Wires #37 | Fliss
Head back into the ballroom—only now it’s a storage area—and head to the left side of the area to find a hanging sparking wire. Walk up to it and inspect it to find a secret.
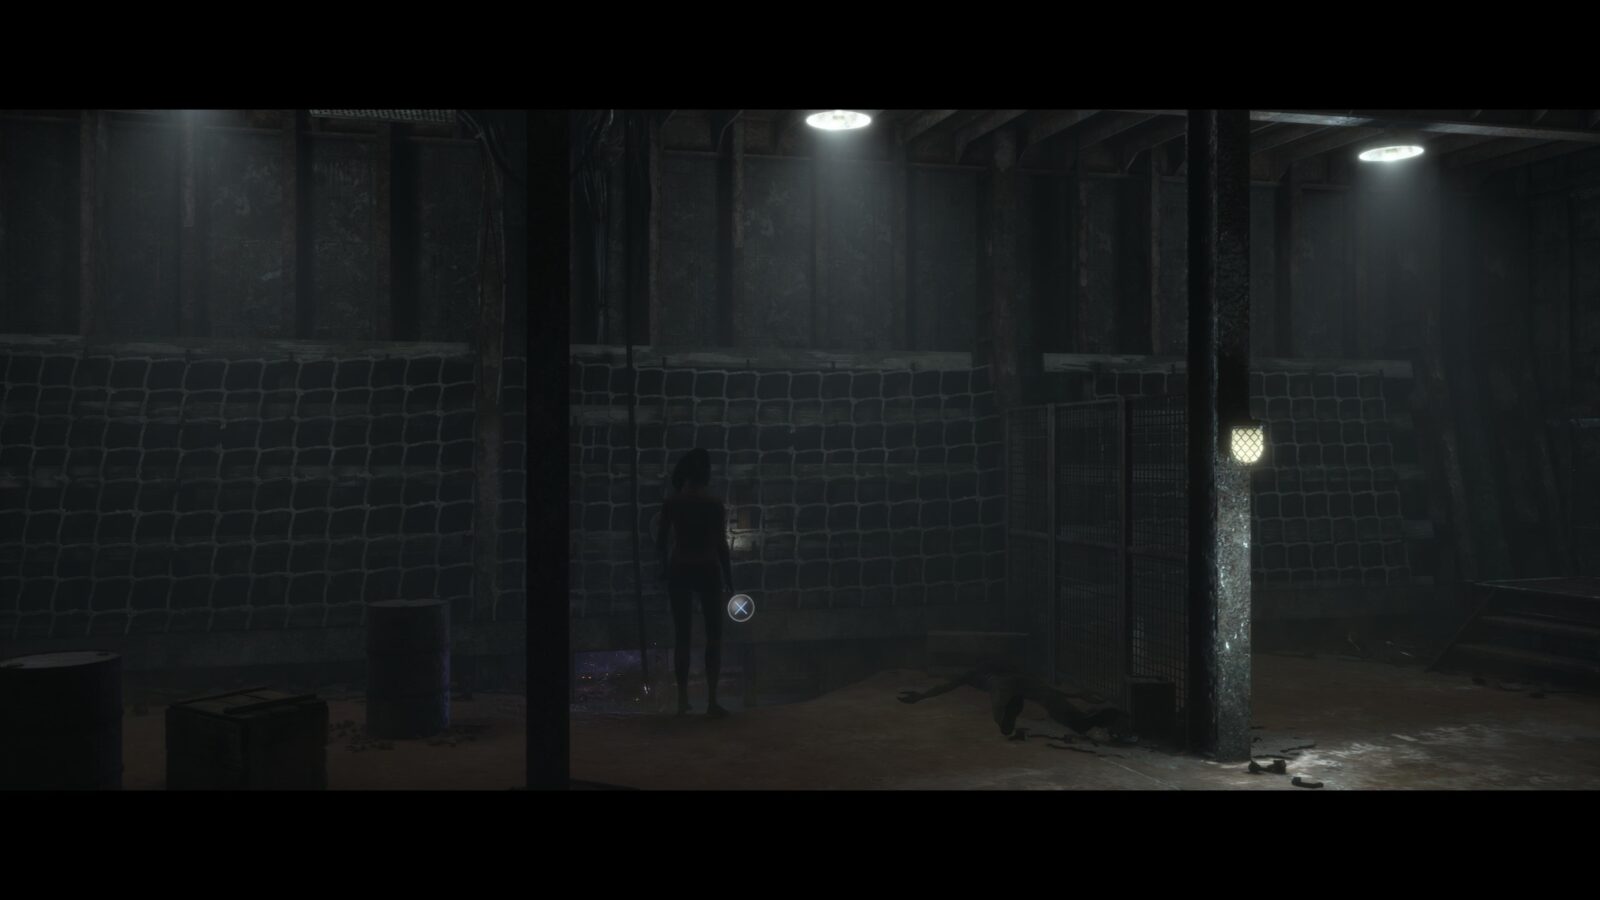
Secret #28 | Cargo Ship Manual #47 | Fliss
Directly opposite the hanging electrical wire on the other side of the hold is a barrel with a book on it. Pick it up and flick through all pages to collect the secret.
Pressure
Fliss and Brad must find a way to the upper deck.
Secret #29 | Ghost Rumours Report #25 | Conrad
After reuniting with Brad you will reach a point where you have to climb up to the next level of the ship. Before you climb up, turn around and look at the corpse on the floor to find a note. Flip it over to reveal the secret.
Glamour Girl
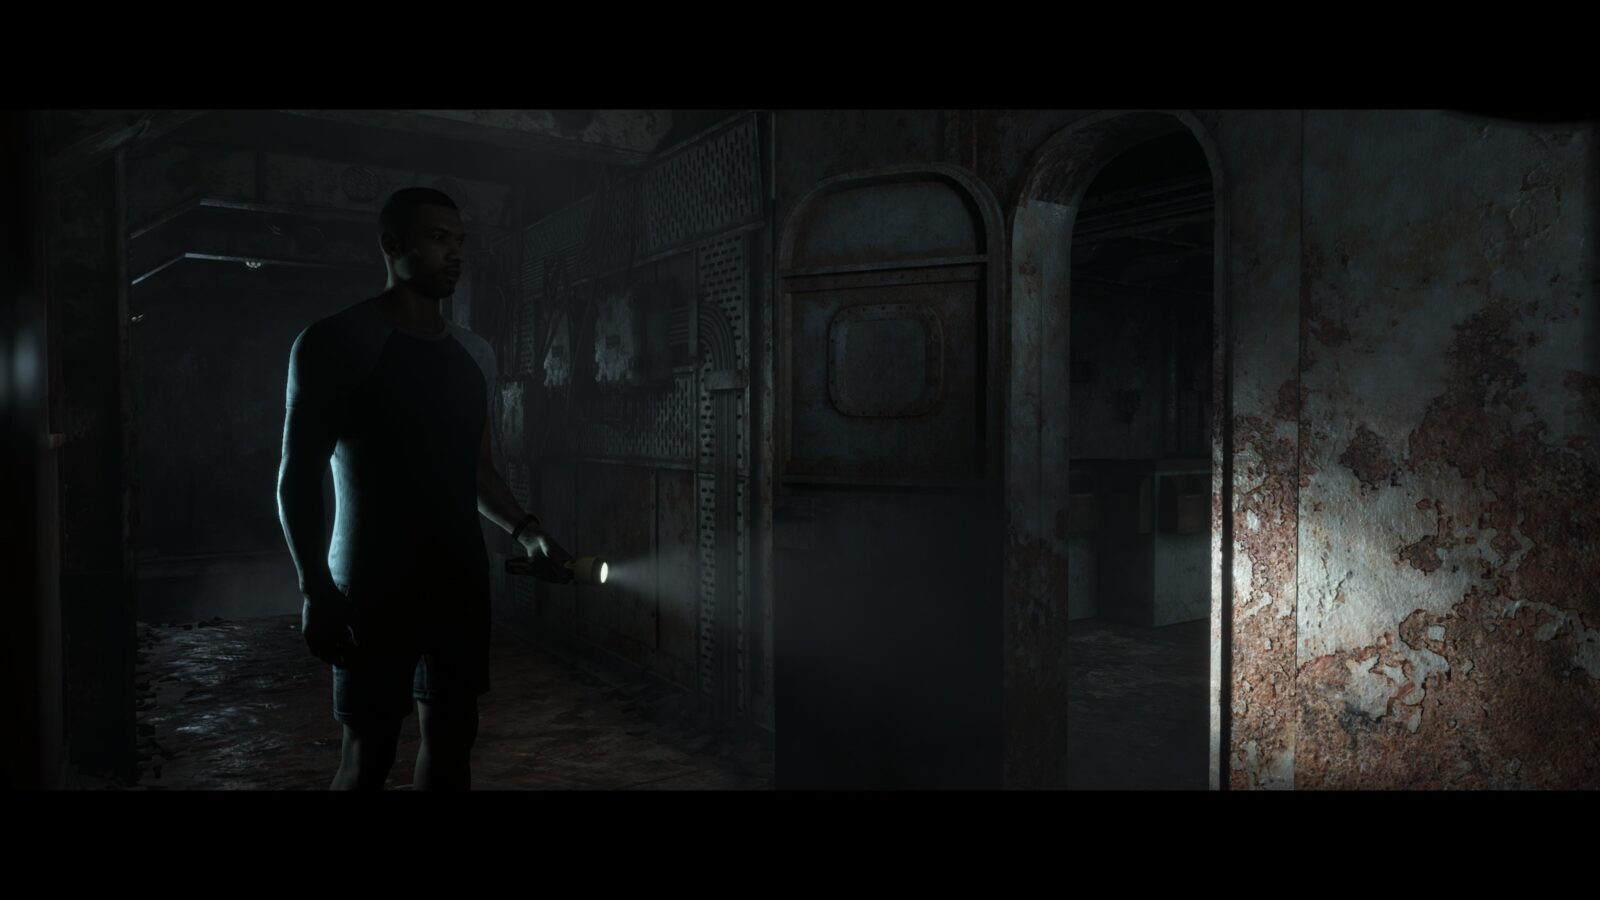
Conrad is alone and must find his way back to the group.
Glamour Girl is technically a missable chapter as it only appears if Conrad didn’t escape or if Fliss and Brad ran away from each other in Ritual due to their individual hallucinations.
Secret #30 | Water Purification Plant Map #5 | Conrad
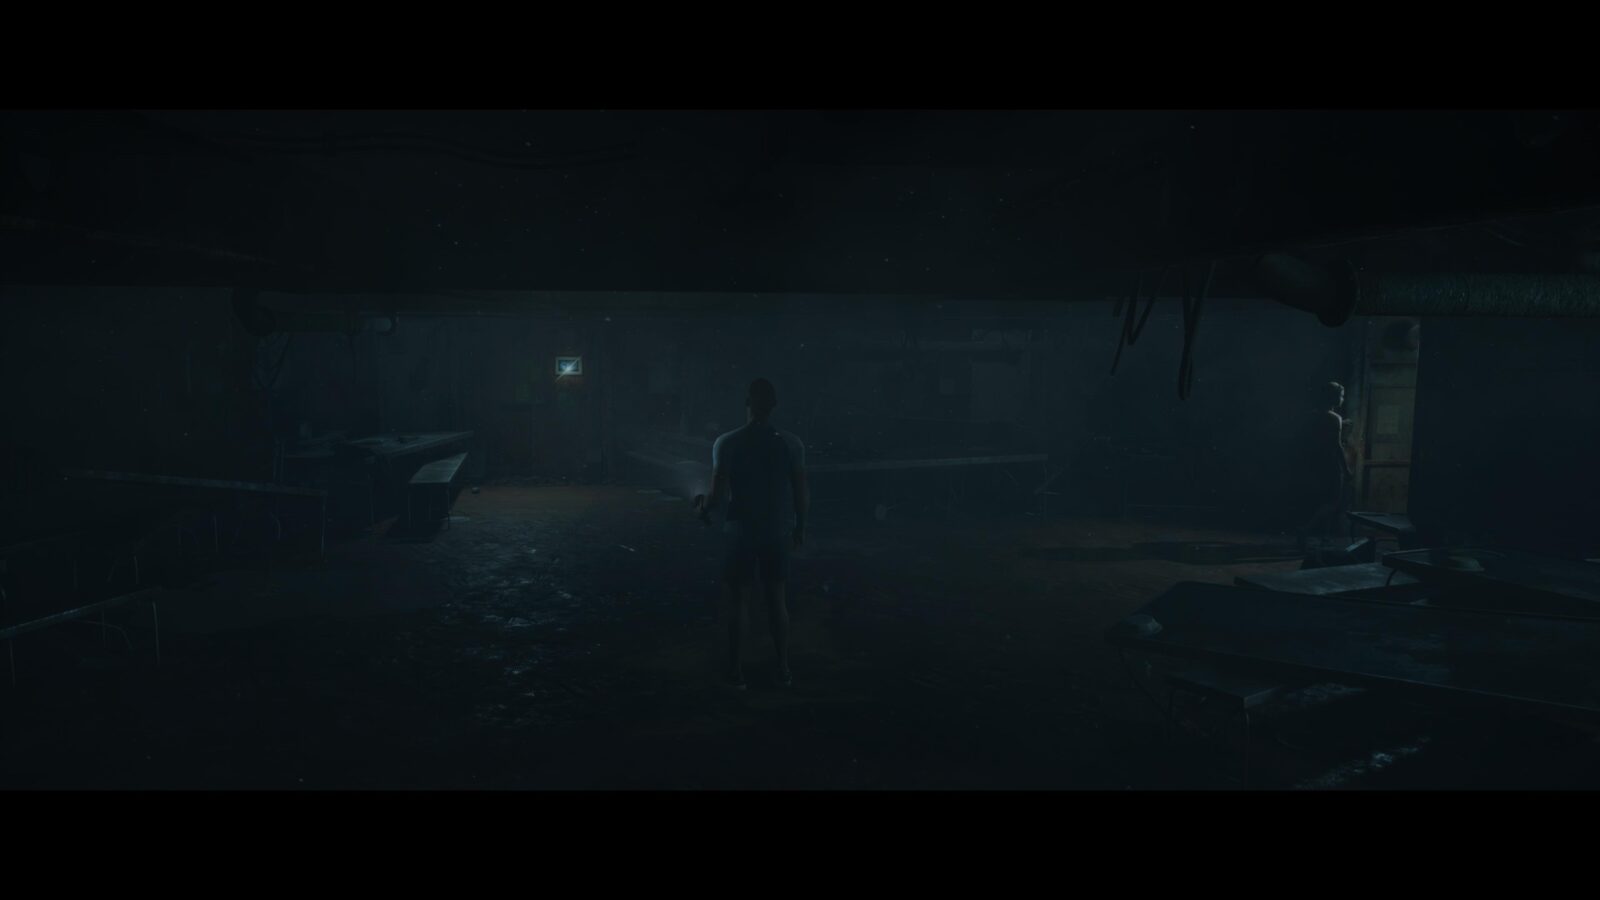
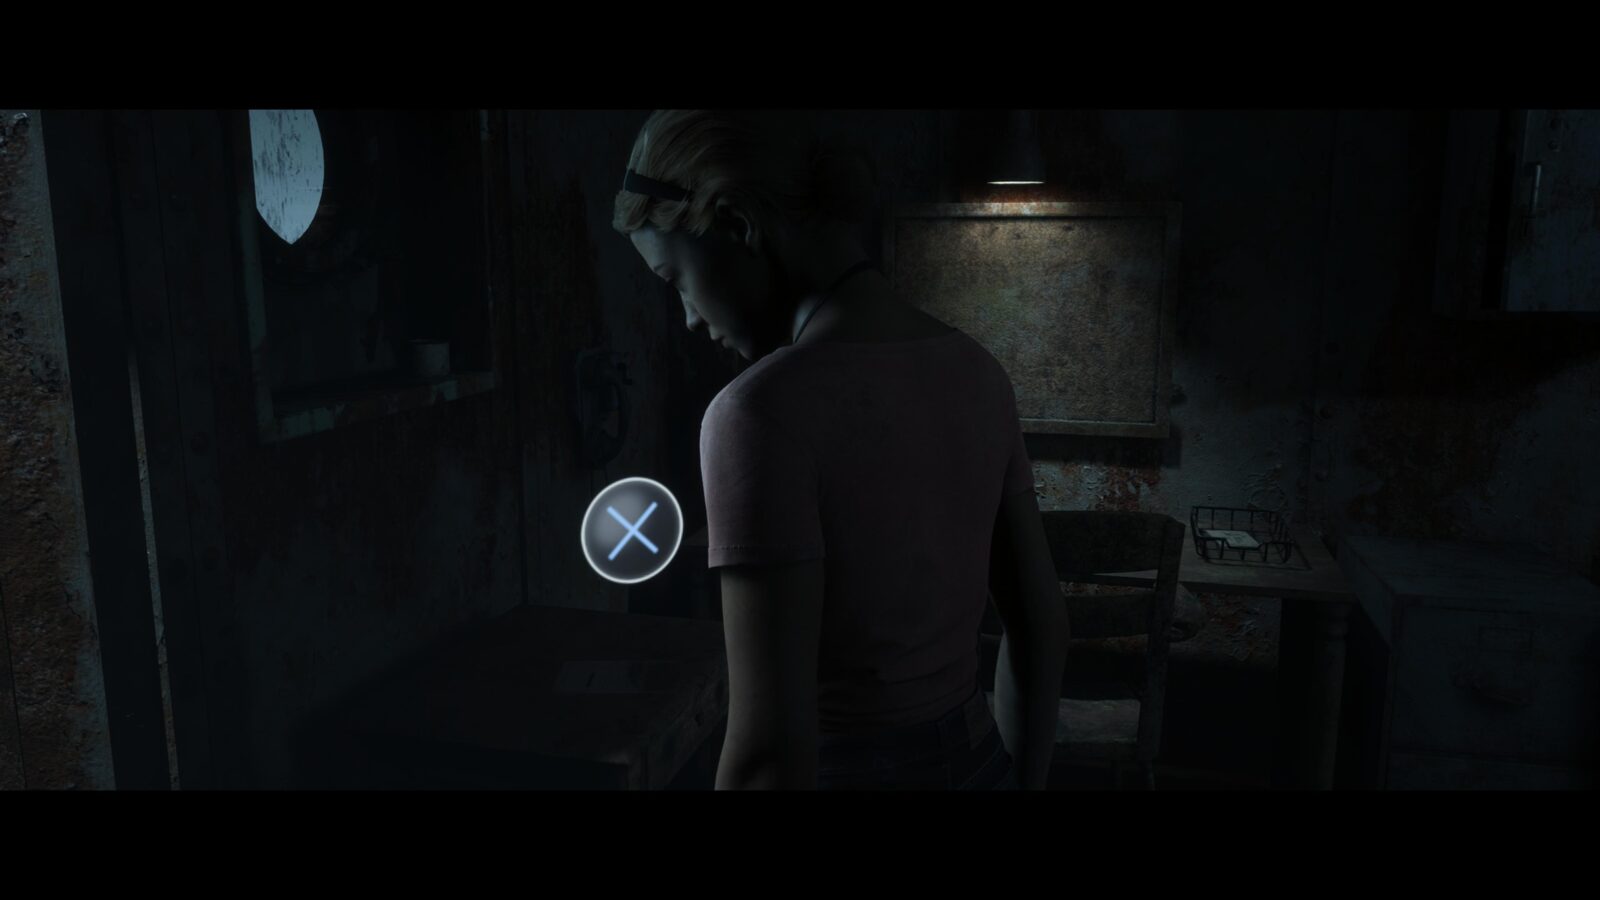
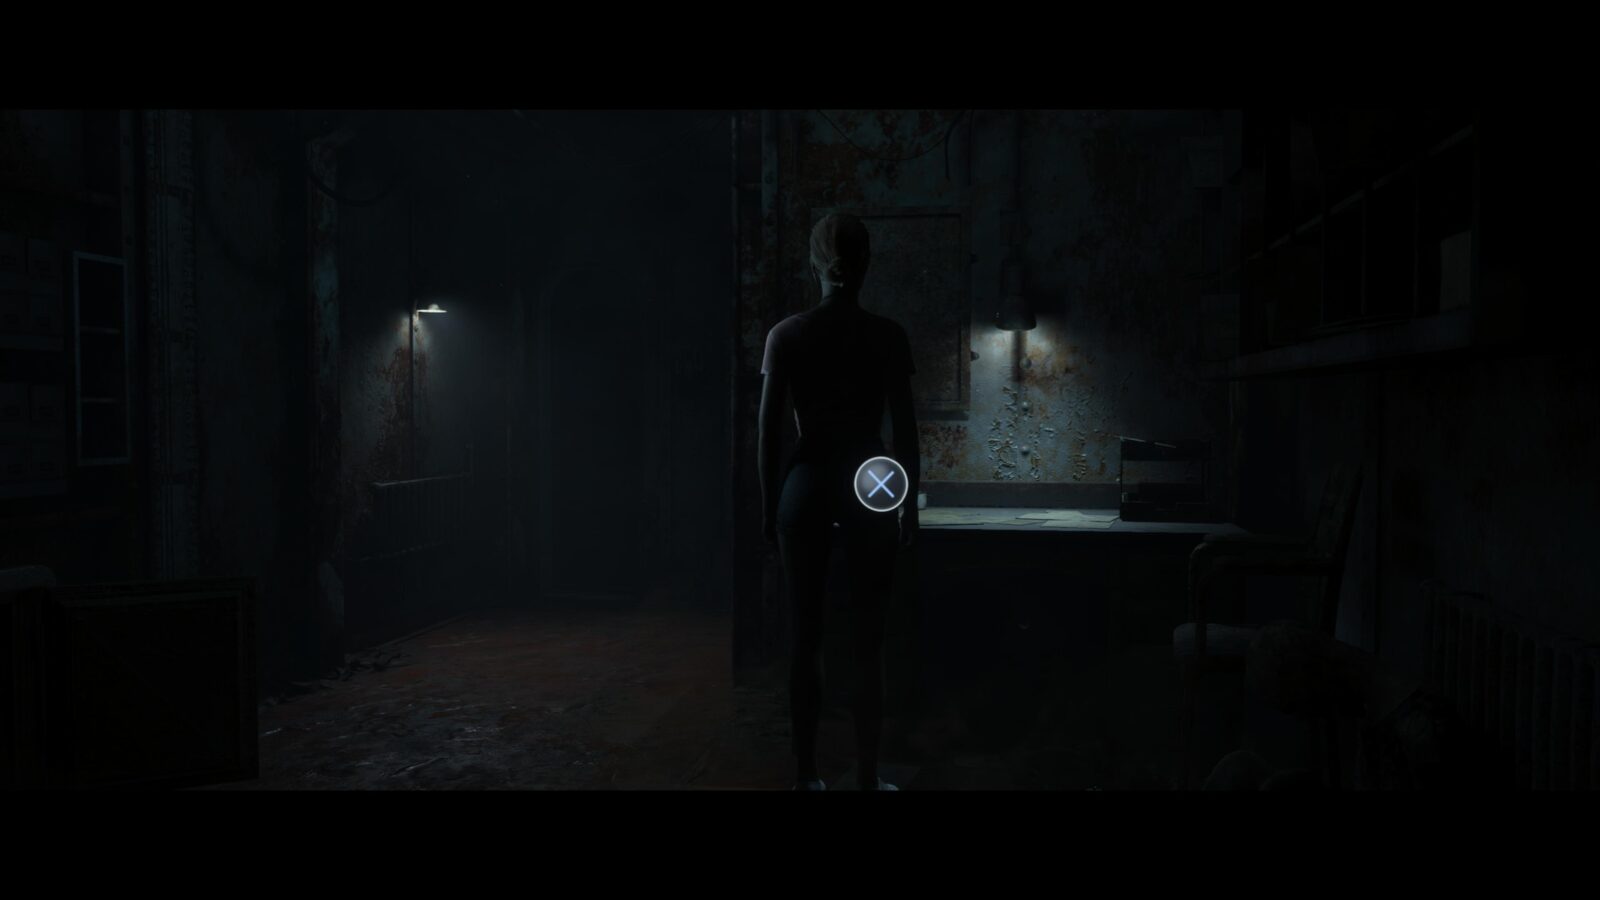
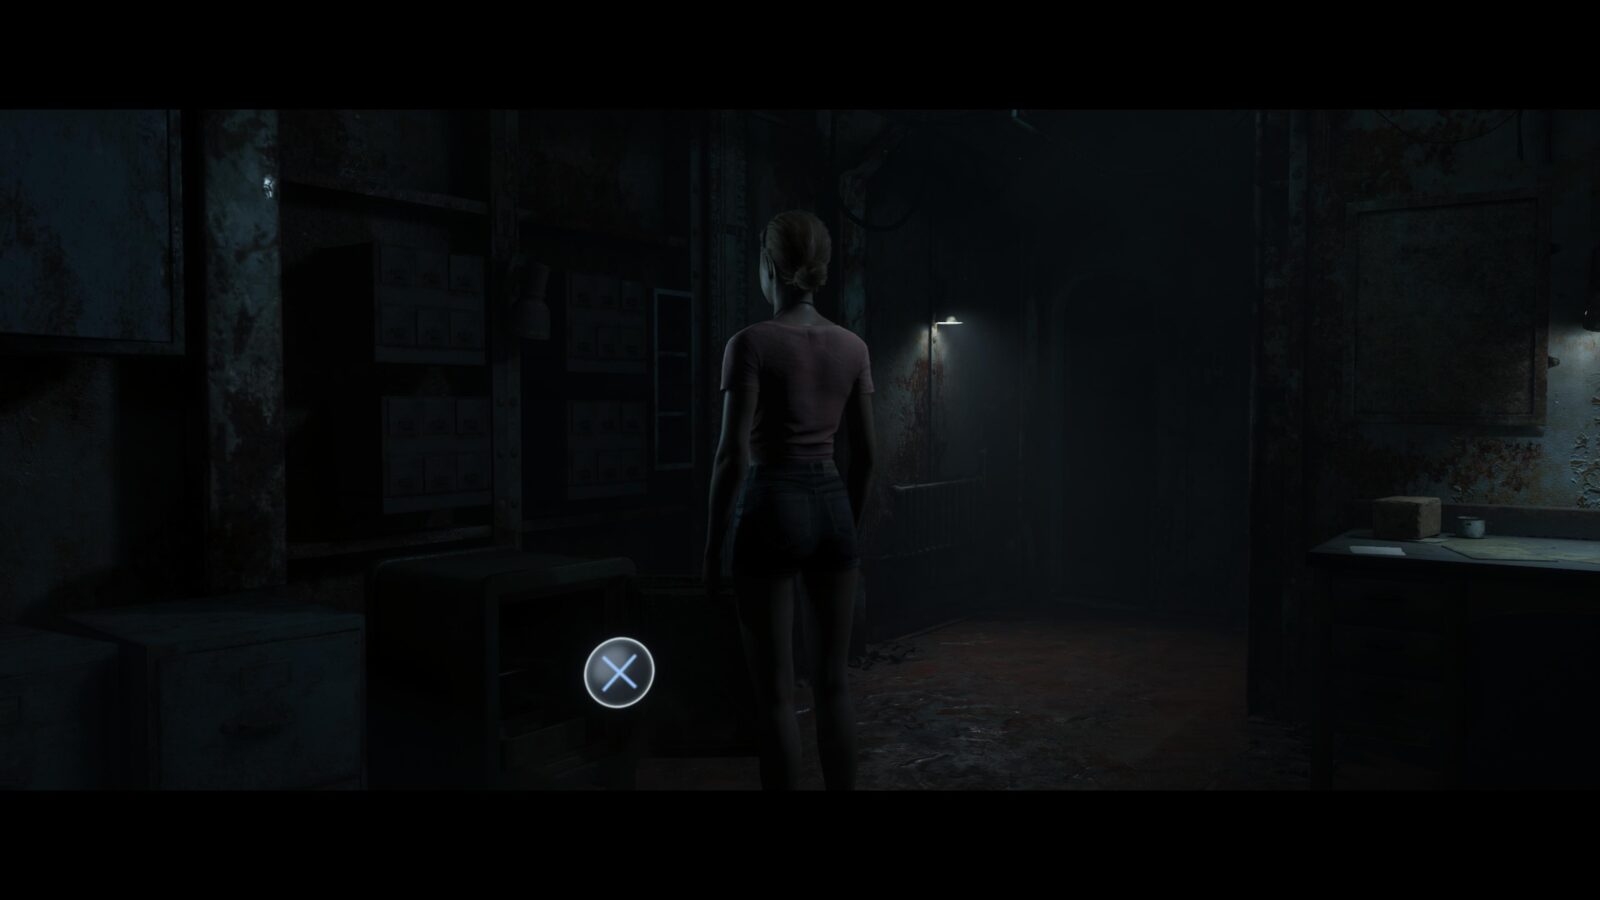
As soon as you gain control of Conrad, enter the first open room to your left and look on the back wall for a map.
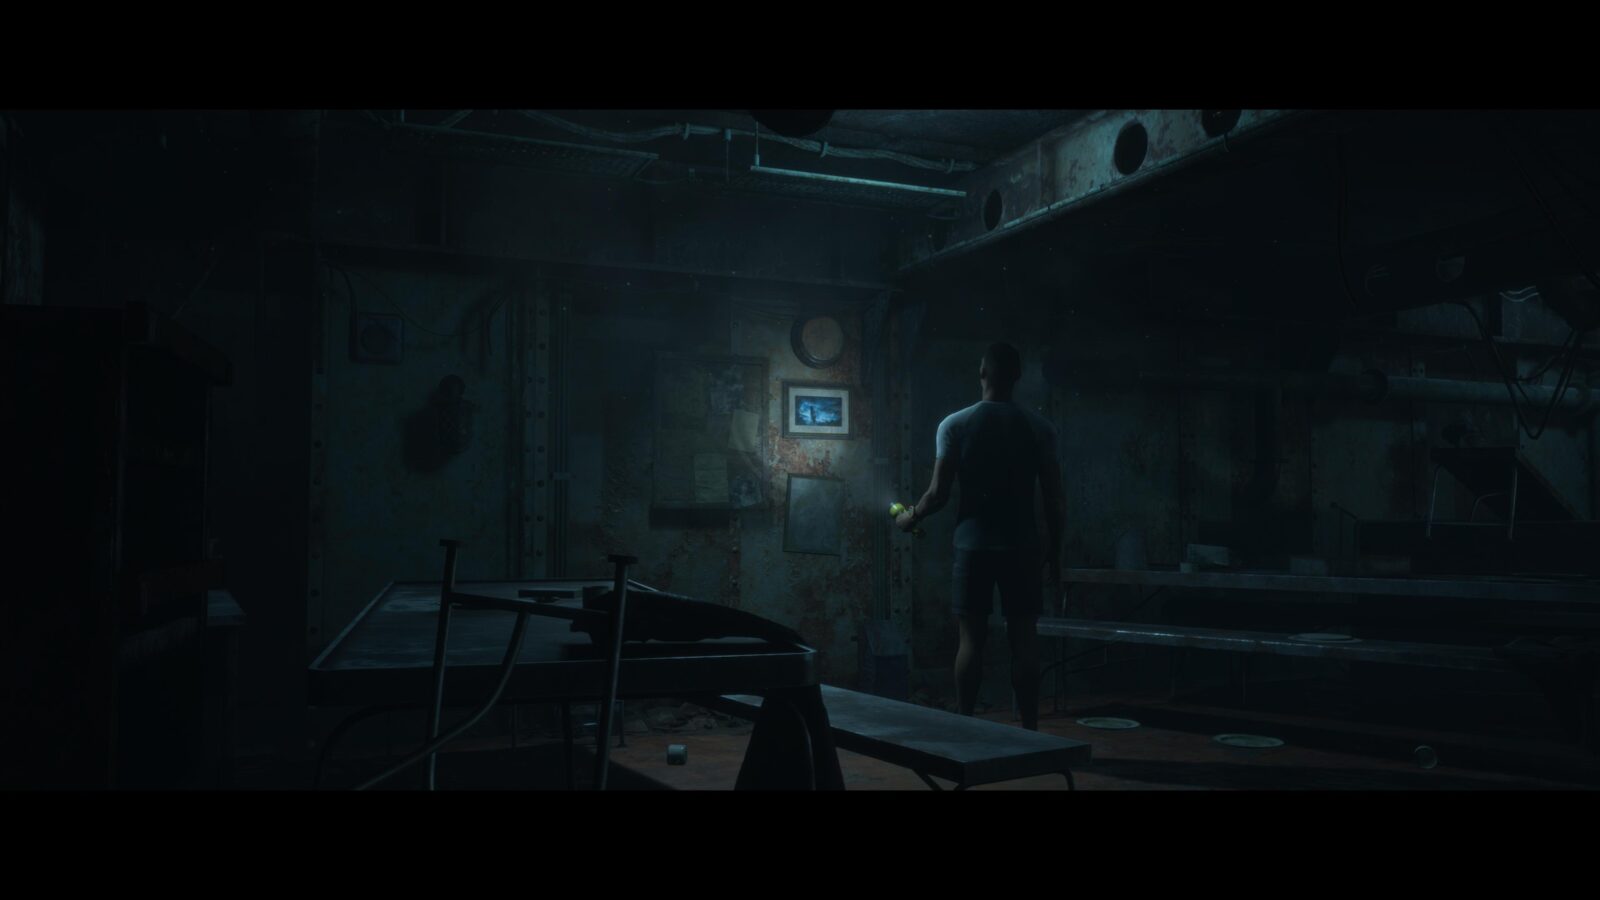
Picture #9 | White Framed Picture #1: Plain Sailing | Conrad
In the same room as the map is an open door to the right. Go inside and immediately on the right side of the screen after the camera switches is a picture on the wall.
Secret #31 | Man Overboard Search Orders #9 | Conrad
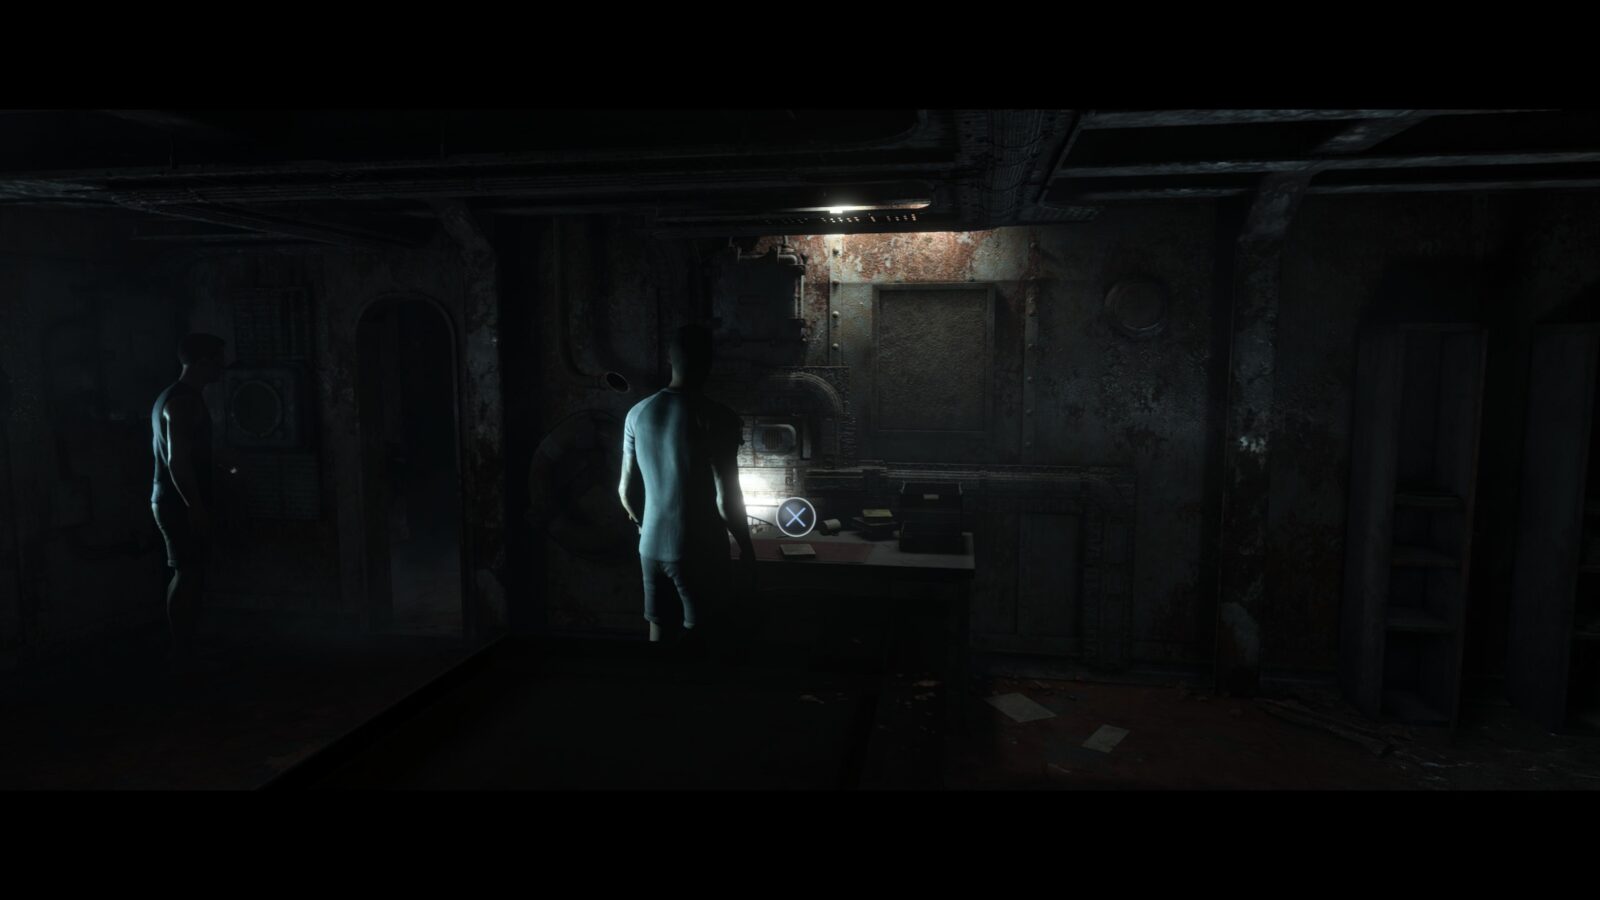
Leave the room where the map was and directly opposite the corridor is another room with a piece of paper on a table.
Distress Signal
The group must make their way to the Bridge to find a radio.
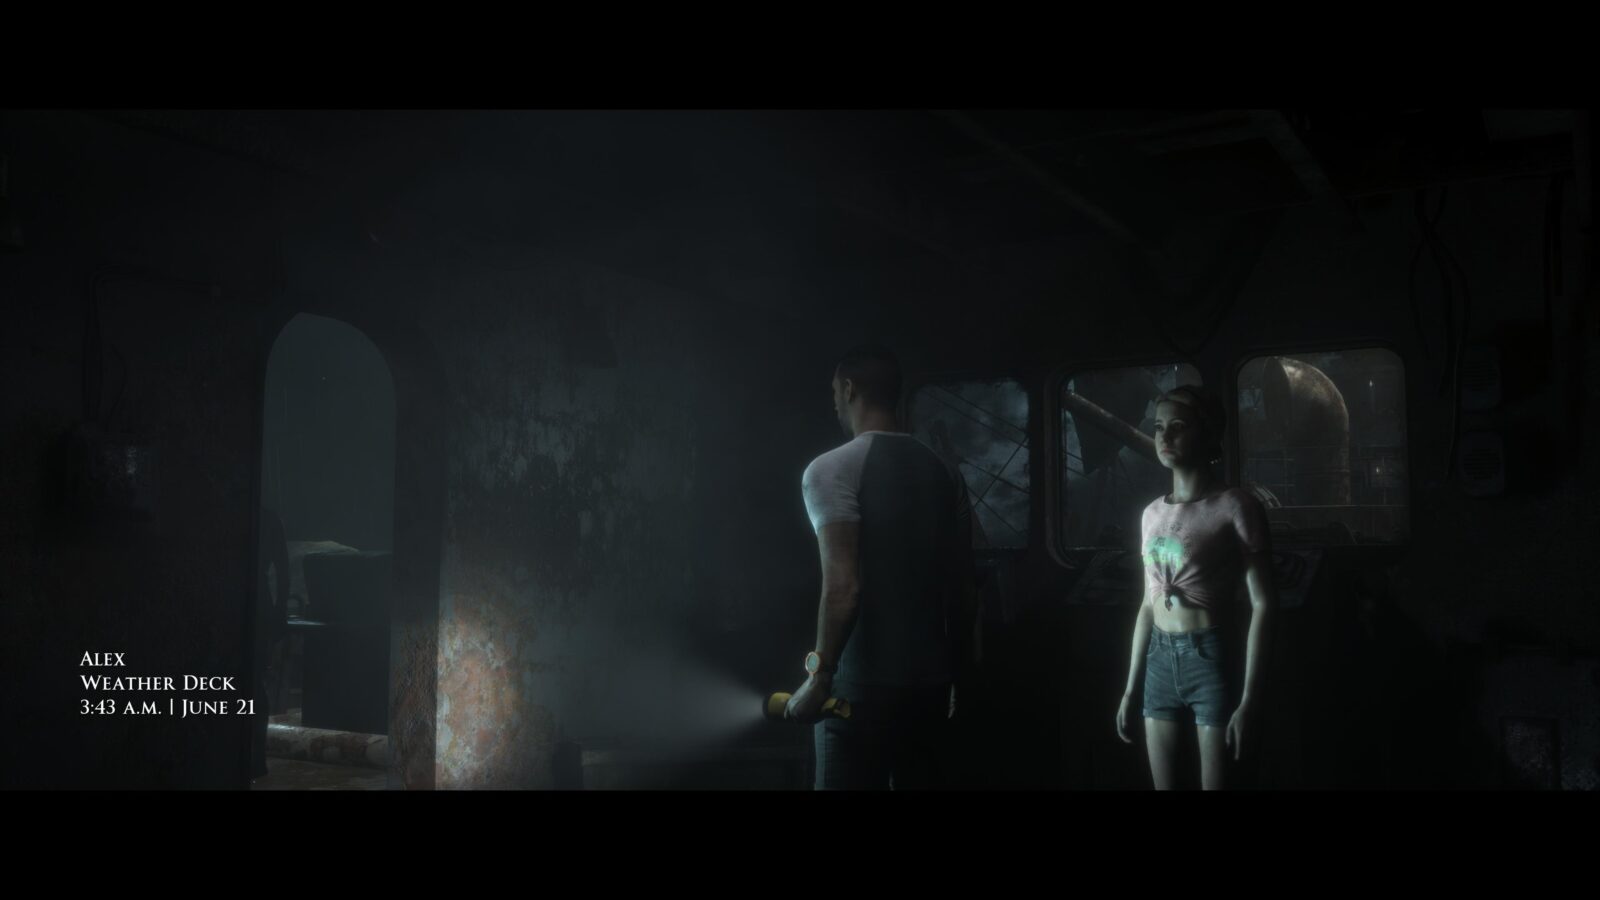
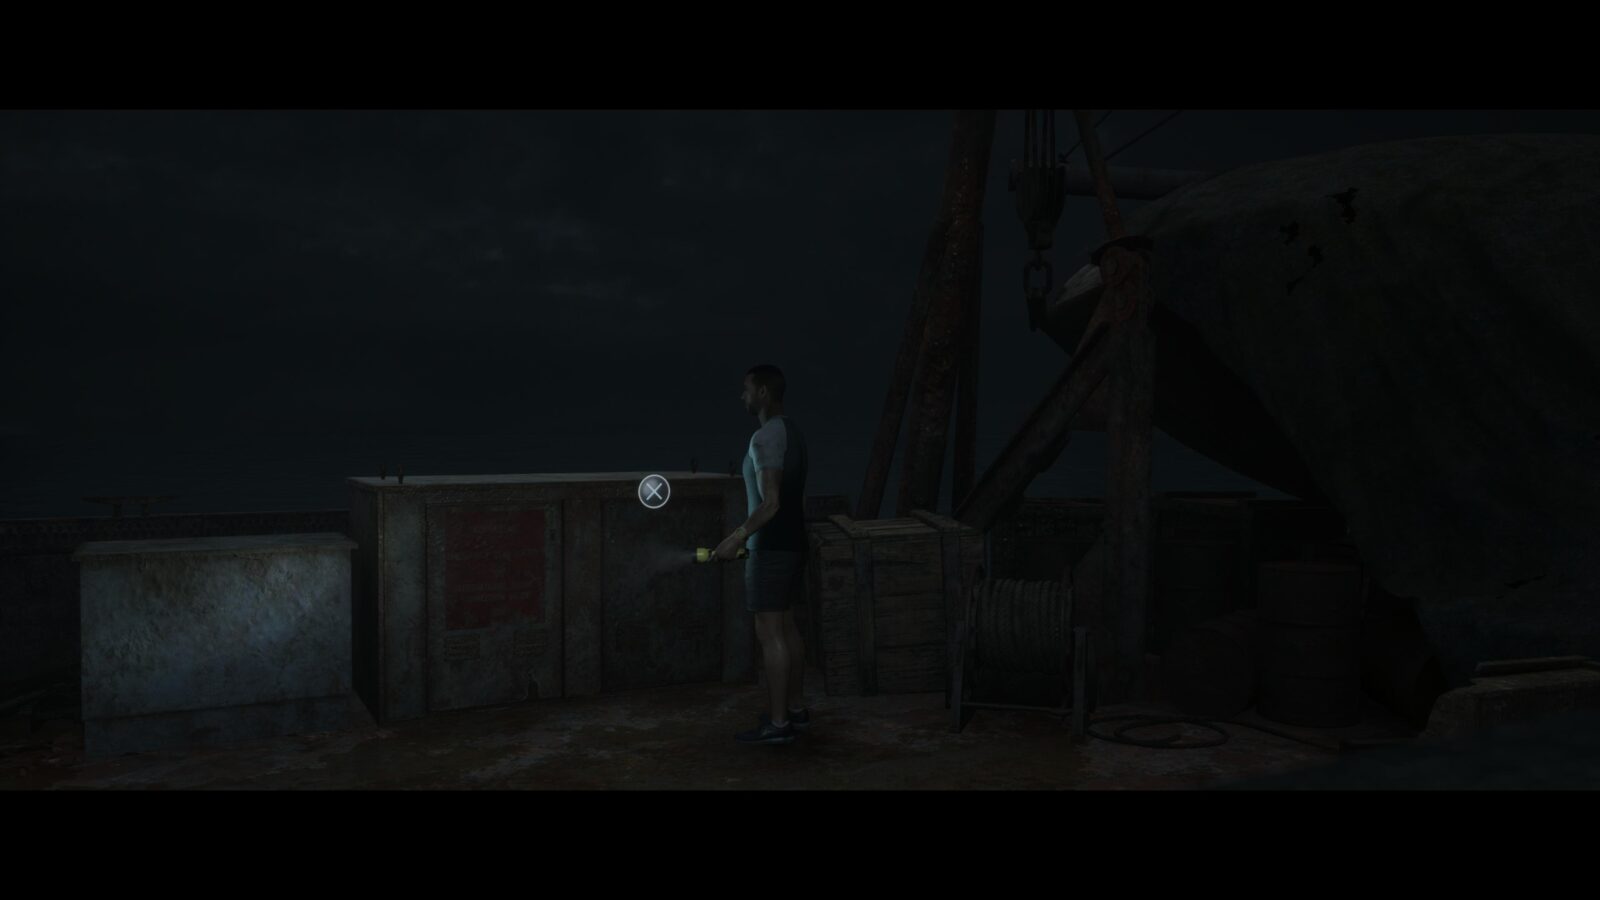
Secret #32 | Anti-Aircraft Shell Casing #50 | Alex
As soon as you have control, exit the room the gang were hiding in and start walking down the Weather Deck. On the left are some crates with a shell casing on them.

Secret #33 | Gas Mask Instructions #3 | Alex
Head to the end of the Weather Deck and over to the opposite side. To the right of where Conrad is standing is a large box that you can open revealing a dead soldier inside. Next to the soldier is a piece of paper you can pick up. Flip it over and read all the text (scroll down with ![]() ) to collect the secret.
) to collect the secret.
Secret #34 | Ship's Logbook #42 | Alex
After climbing up to the next level you will have to push open a door to gain access to the Bridge. Inside, enter the room directly in front of Alex and look for a book on a table to the right of the screen. Read all pages to collect the secret.
Picture #10 | Black Framed Picture #6: Loose Cannon | Conrad
In the same room, head to the opposite side to find a picture on a wall to the right of an open door.
Secret #35 | Nautical Chart #6 | Alex
Head into the open door next to the Black Framed Picture and right next to Fliss is a map on the wall.
Secret #36 | Navigator's Notebook #10 | Alex
In the same room as the map, head to the other end and opposite an open door is a table with a note on it. Flip it to reveal the secret.
Secret #37 | Radio Operator's Final Message #29 | Alex
Be careful in this next room as if you get too close to the radio you will trigger the next chapter and be locked out of this secret.
Head into the next room, the Radio Room, and stop immediately after the camera switches. To the very right of the screen is a note on a table. However, to the left, directly in front of Alex, is the radio. Don’t approach the radio, but try to get to the note so you can pick it up. Flip it over to collect the secret.
The Name of this Vessel | Chapter-Specific Trophy #6 | Alex
As Alex tries to make contact over the radio, you can choose to reveal the name of the ship by selecting the INSTRUCTIVE option to reveal your coordinates followed by the ANXIOUS response to reveal the name of the ship. This is only possible if you picked up the Medan hat as Fliss in the Danny chapter, and investigated the Ship’s Logbook as Alex in the Distress Signal chapter.
Depths
The gang must reach a generator in the lower decks.
It doesn’t matter who you chose to go down the hole to find the generator in this section as who is available to jump down is determined by who has survived at this point. Nothing is changed based on who is selected to go so anyone will do.
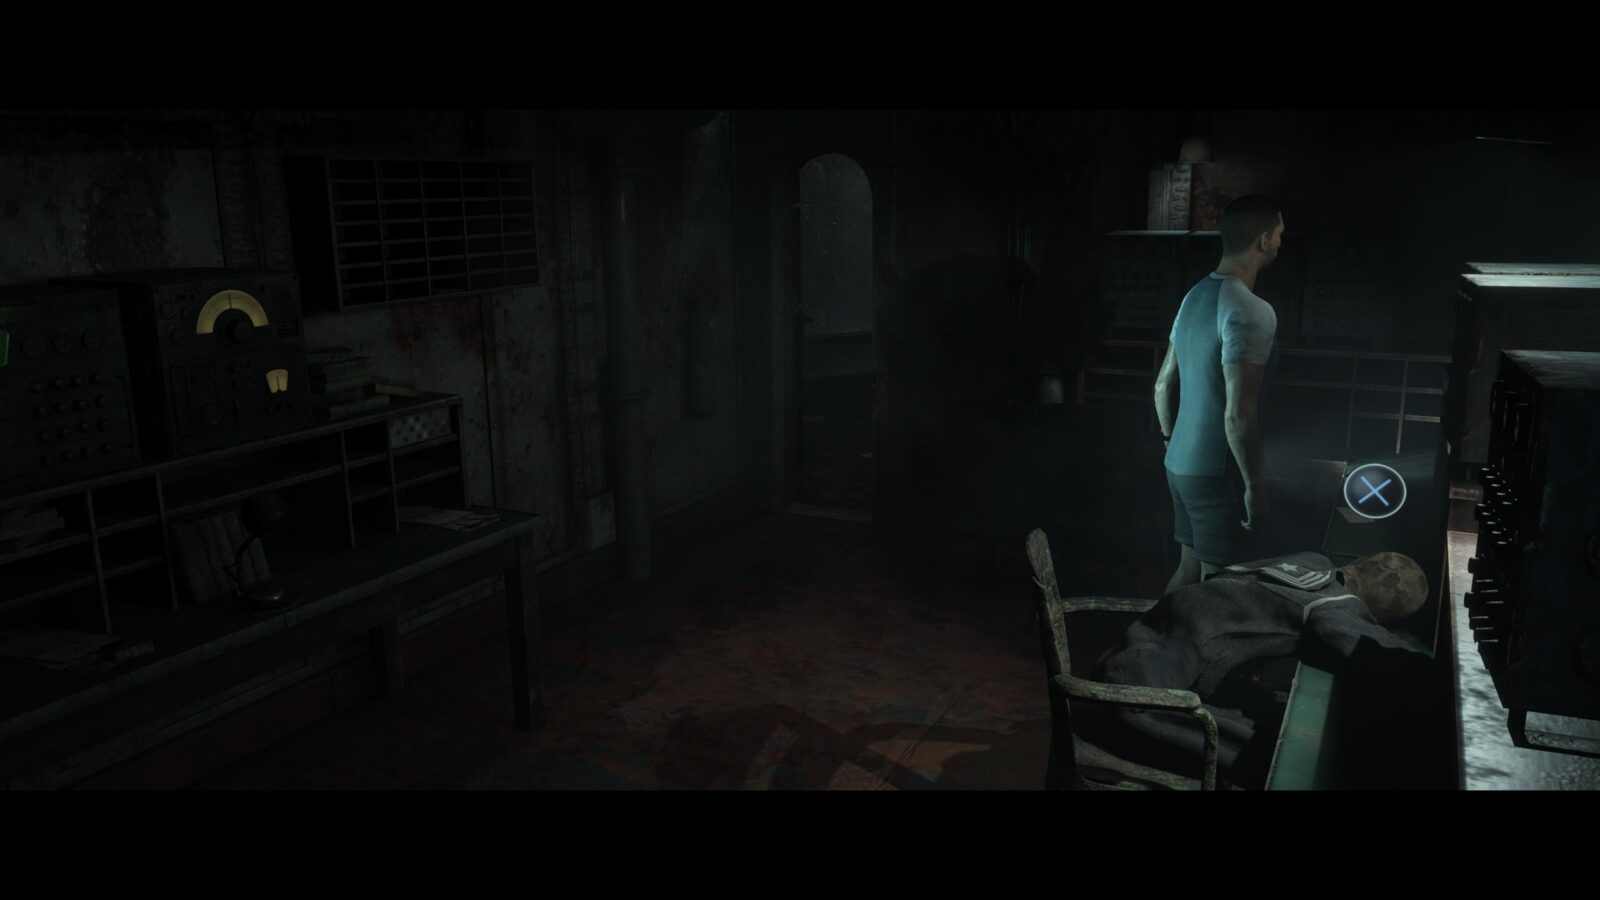
Secret #38 | Minutes of Meeting #48 | Anyone
Walk through the corridor towards the Sick Bay until you can enter the first open room on your left. Inside on the right of the screen by the door is a safe. Examine it by pressing ![]() to and fully inspect the note you find to collect the secret.
to and fully inspect the note you find to collect the secret.
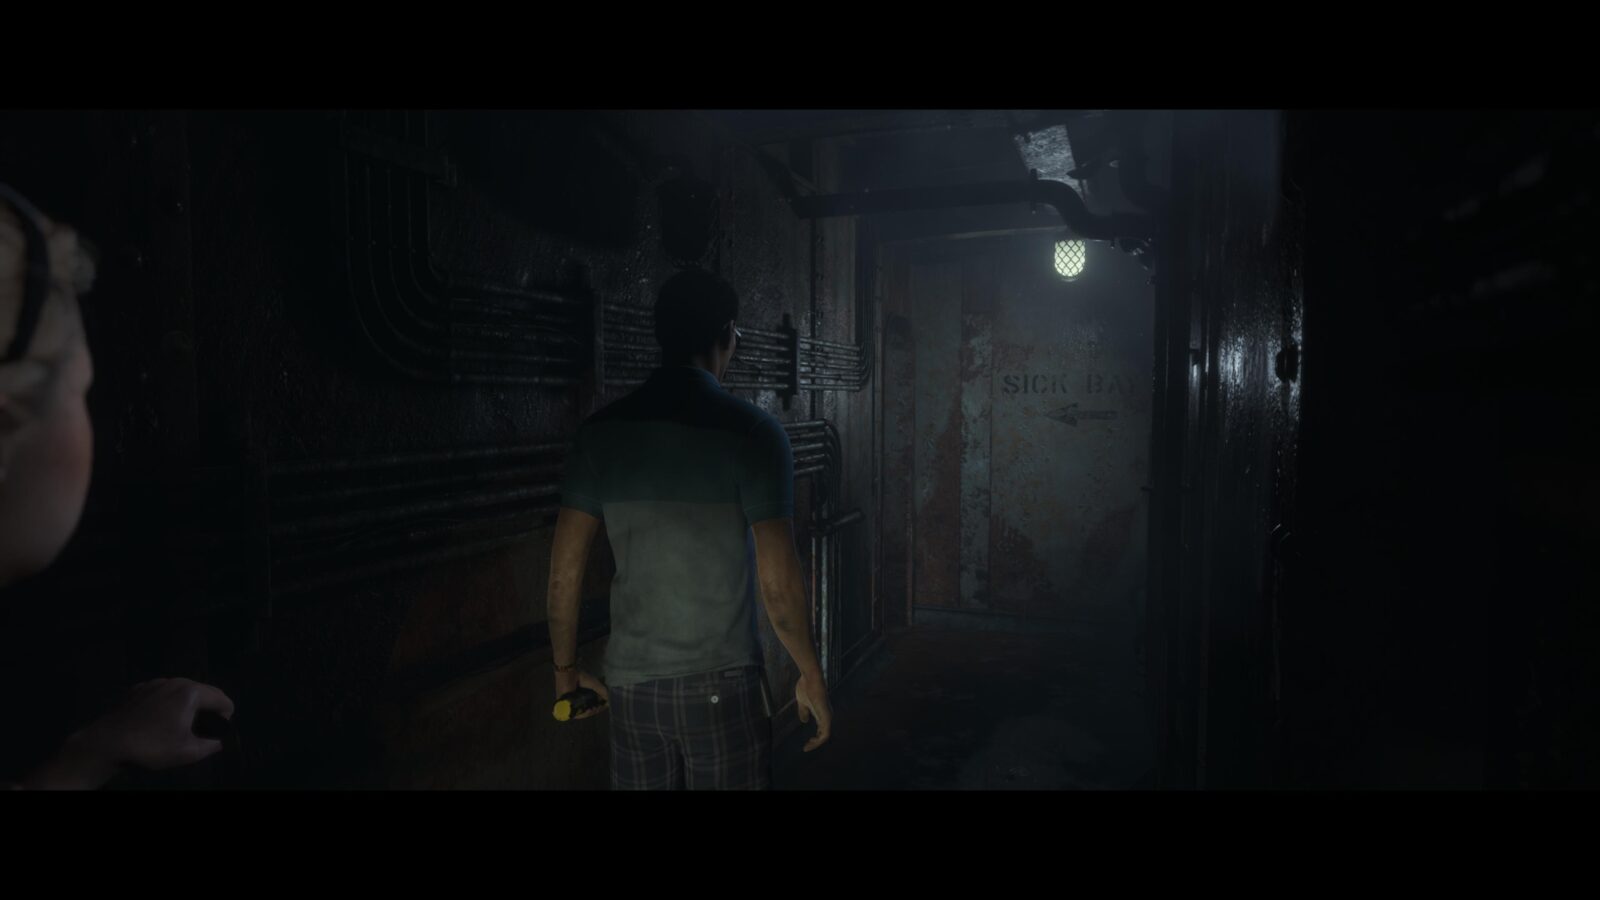

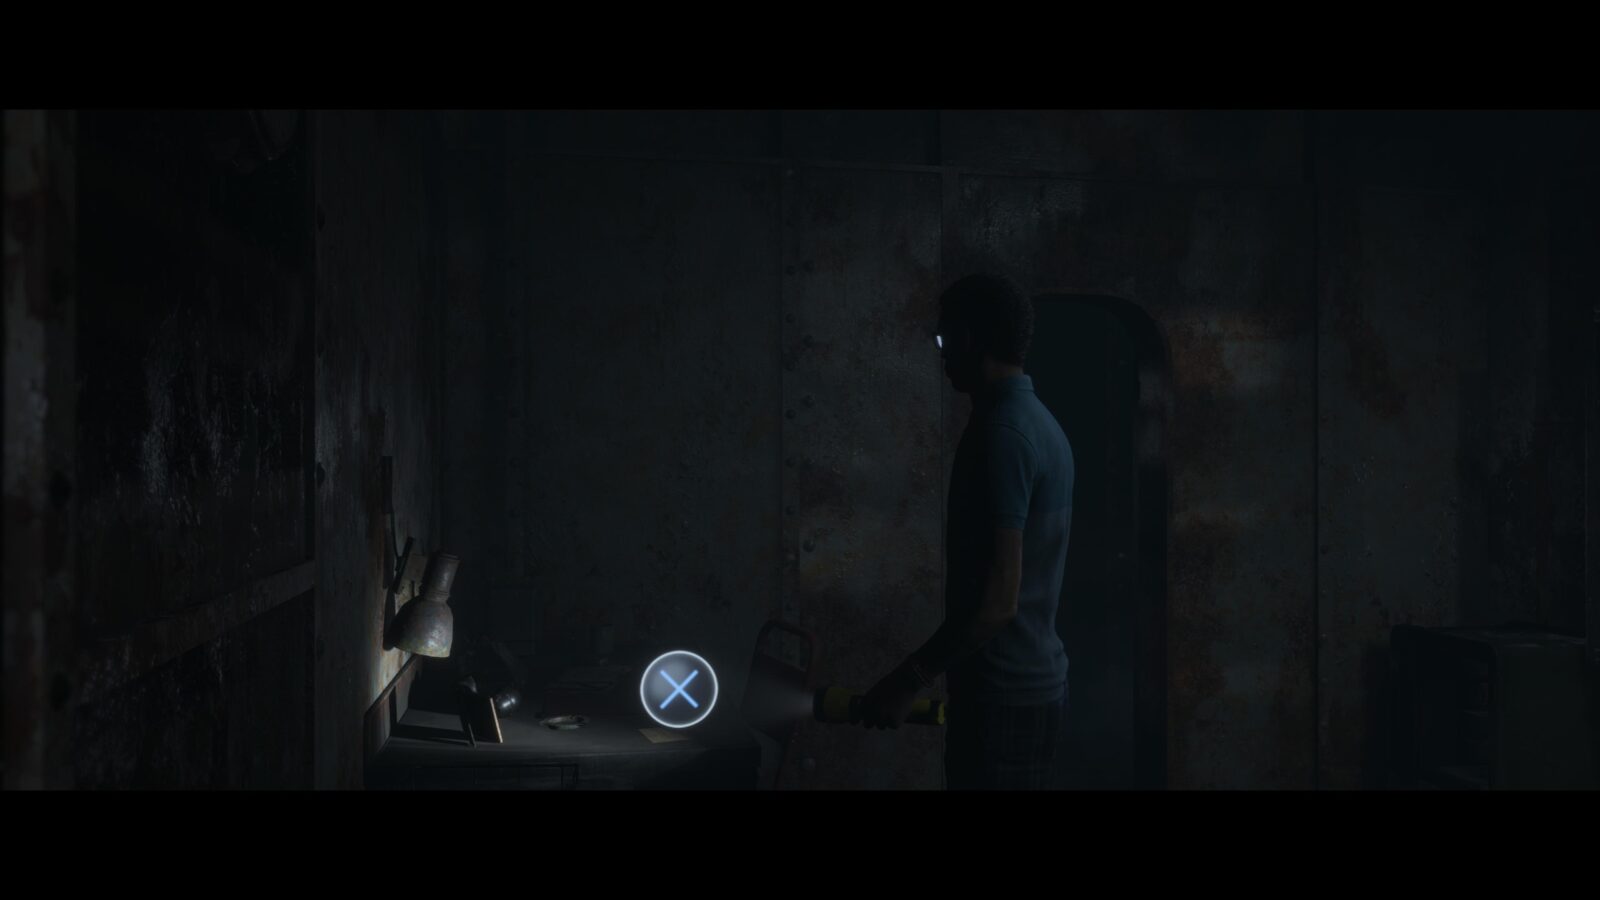
Secret #39 | Private Patterson's Medical Record #27 | Anyone
Continue through the corridor until you enter the First Aid room. Inside on a table next to some bunkbeds is a note. Flip it to collect the secret.
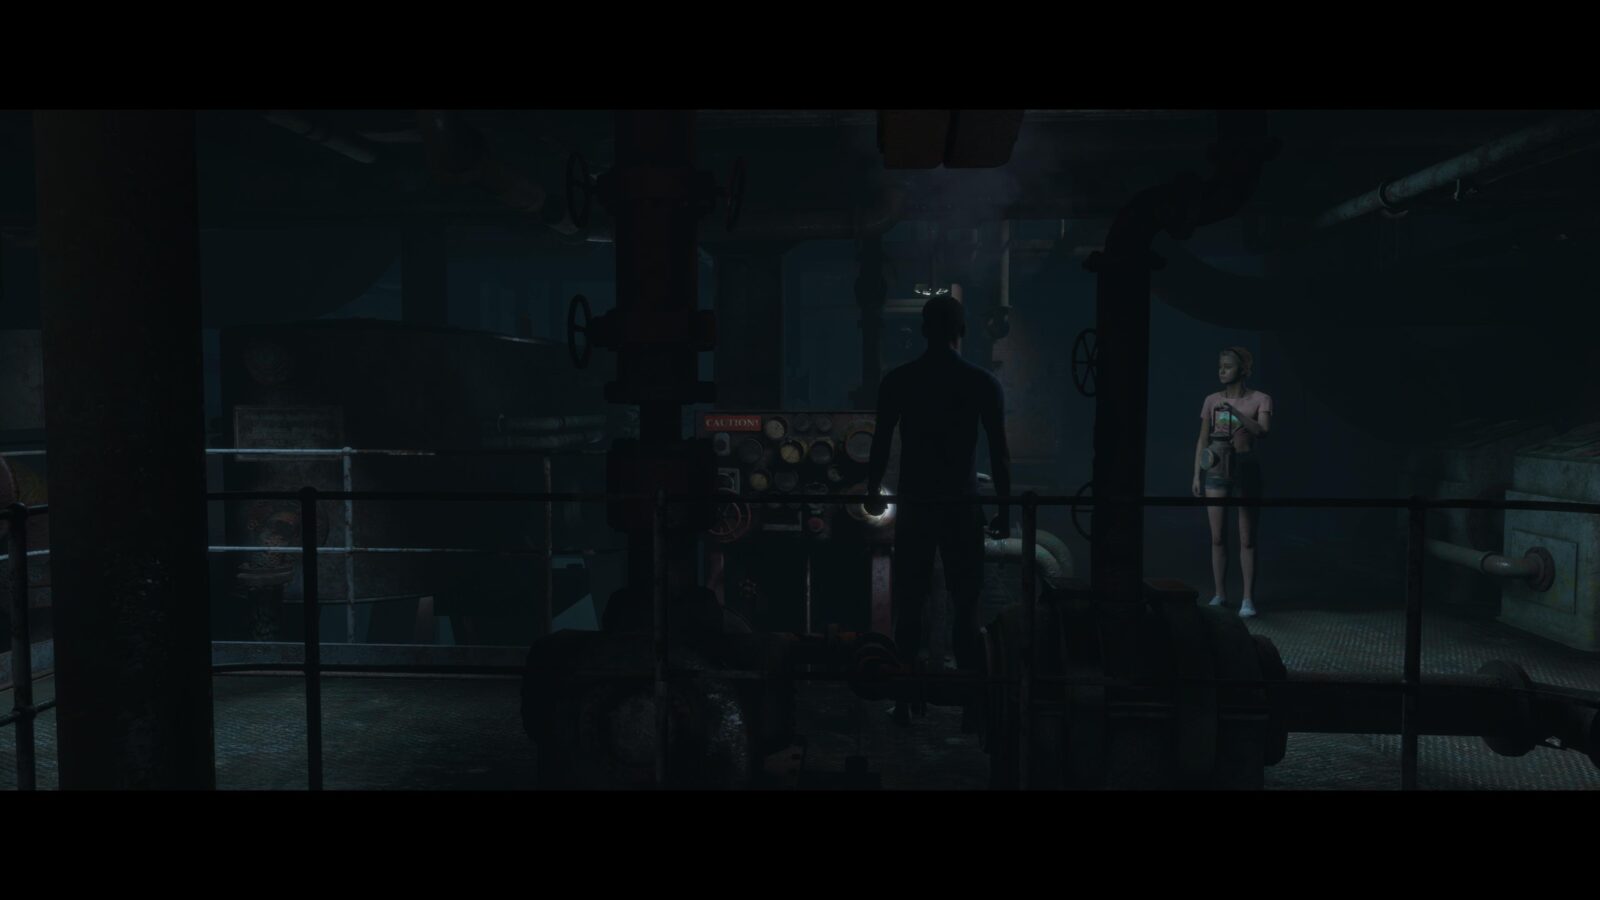
Secret #40 | Engine Room Telegraph Log #8 | Anyone
After dropping down into the engine room, follow the catwalk until you reach a panel with several valves and a caution sign on it. As you walk by this you can head left (away from the camera) into a small area. In this area is a book on a small cabinet. Read all pages to reveal the secret.
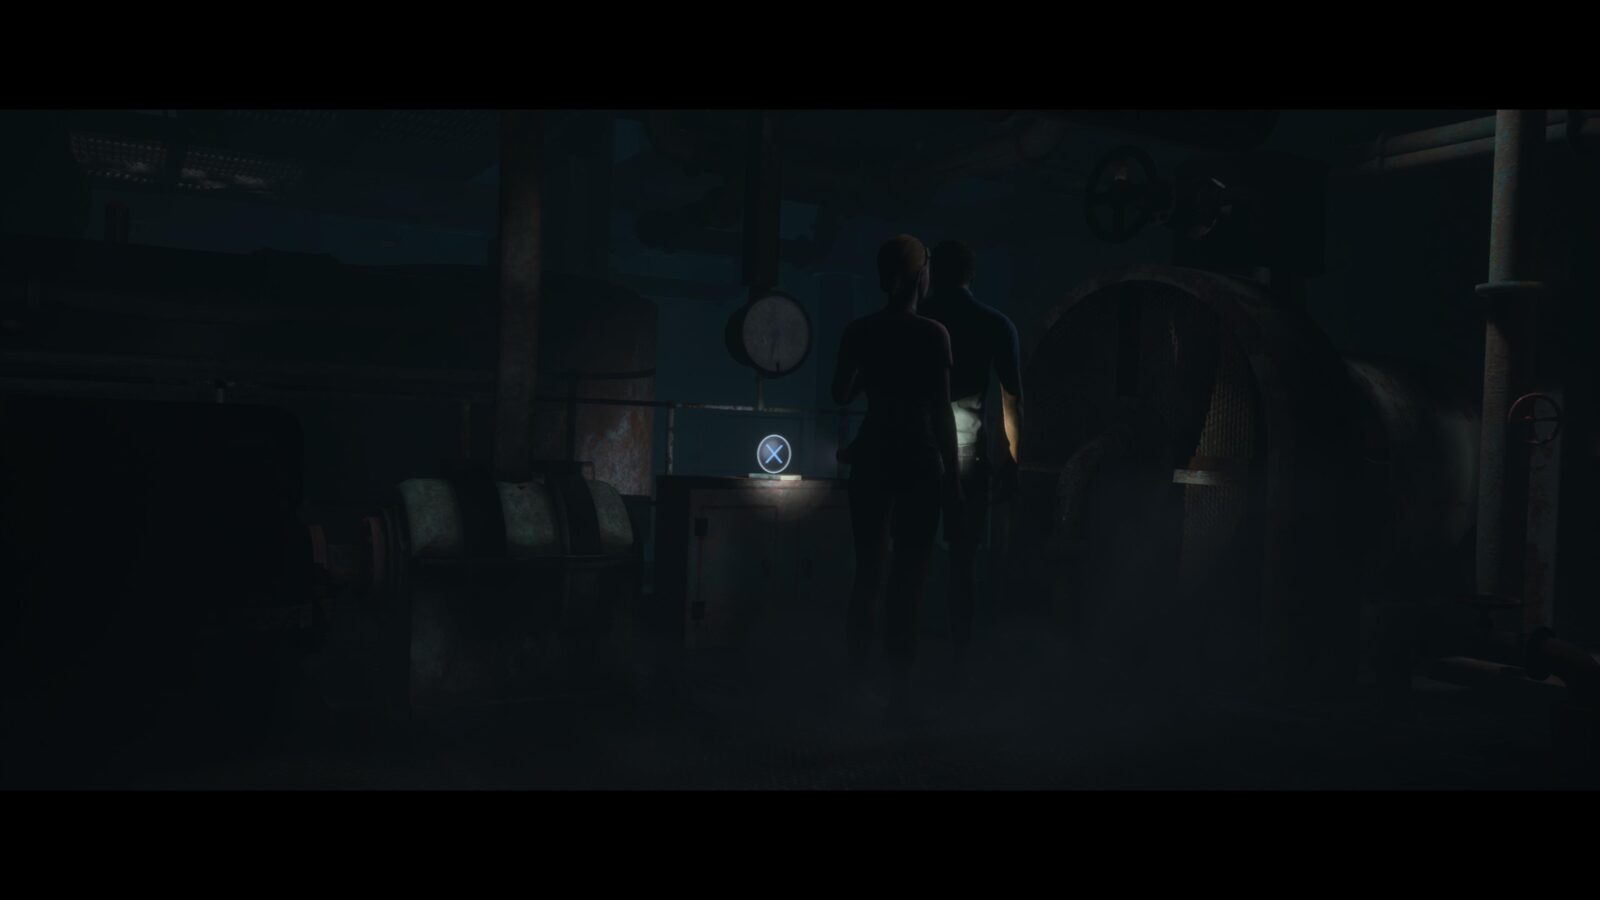
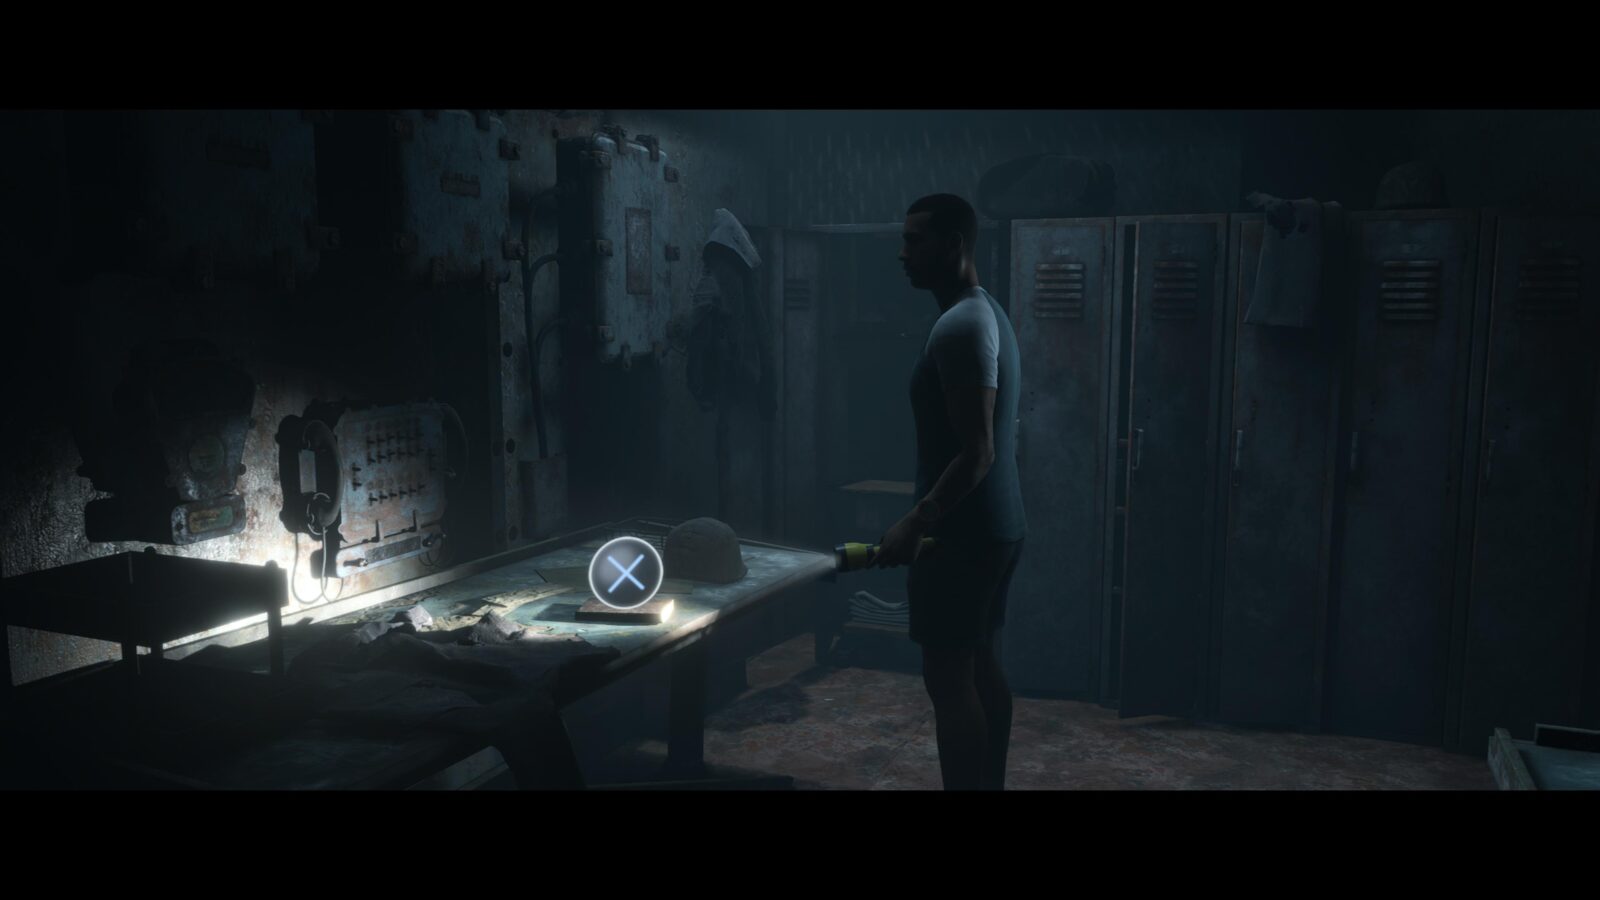
Picture #11 | White Framed Picture #6: Know the Ropes | Anyone
Follow the path around the engine room until you see the power lever. Don’t interact with the lever just yet. Walk to the right of the lever and you will find the last white framed picture in Man of Medan next to two lockers.
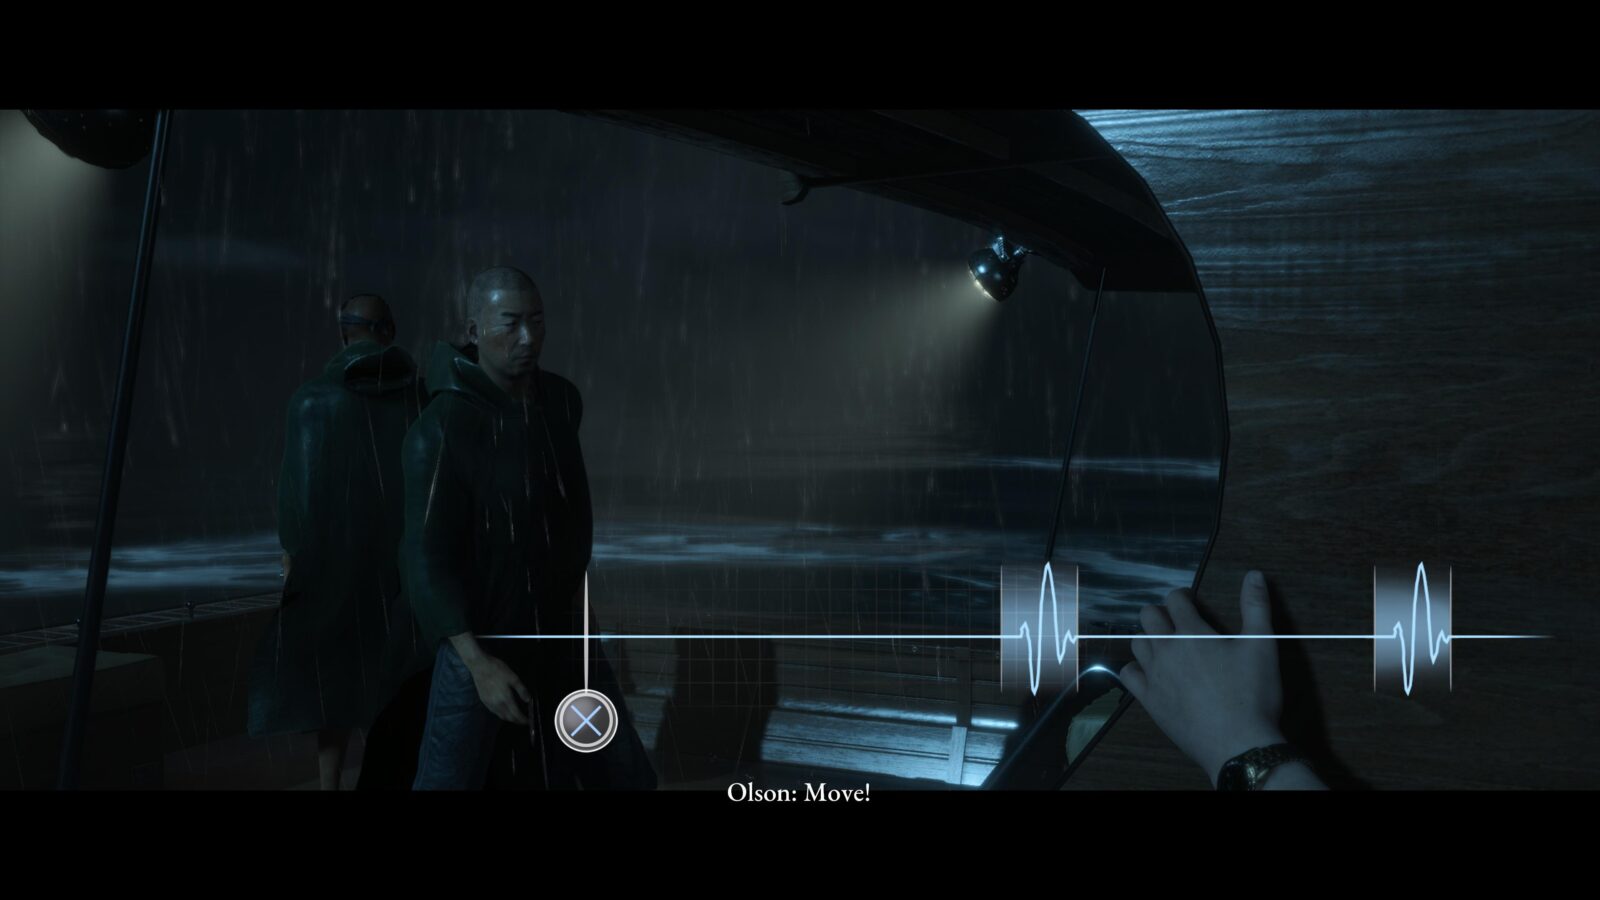
Secret #41 | Military Orders #34 | Anyone
After flipping the lever in the engine room you will come across a rebreather and be given an option to take it. Pick it up and you’ll find Olson with Danny in a room. After a while Olson will burst out of the room and you will have to pass a Stay Calm section (press ![]() in time with a cardiogram). Once Olson moves on and you’re inside the room you will need to search the corner to the right of where Danny is laying. Flip the note to collect the secret. Make sure to search this room as quickly as you can as there is a hidden timer which, if it runs out, will start a cutscene and lock you of this collectible.
in time with a cardiogram). Once Olson moves on and you’re inside the room you will need to search the corner to the right of where Danny is laying. Flip the note to collect the secret. Make sure to search this room as quickly as you can as there is a hidden timer which, if it runs out, will start a cutscene and lock you of this collectible.
It's All Gone Changing on Me | Chapter-Specific Trophy #7 | Anyone
There are a few steps to unlocking this trophy that all can be completed in this chapter.
- You need to choose to take the rebreather
- You need to either be ASSERTIVE or DISTURBED when fleeing Olson. Both options work; the only difference is ASSERTIVE will make you do another Stay Calm sequence whereas DISTURBED will only make you do a QTE (
 )
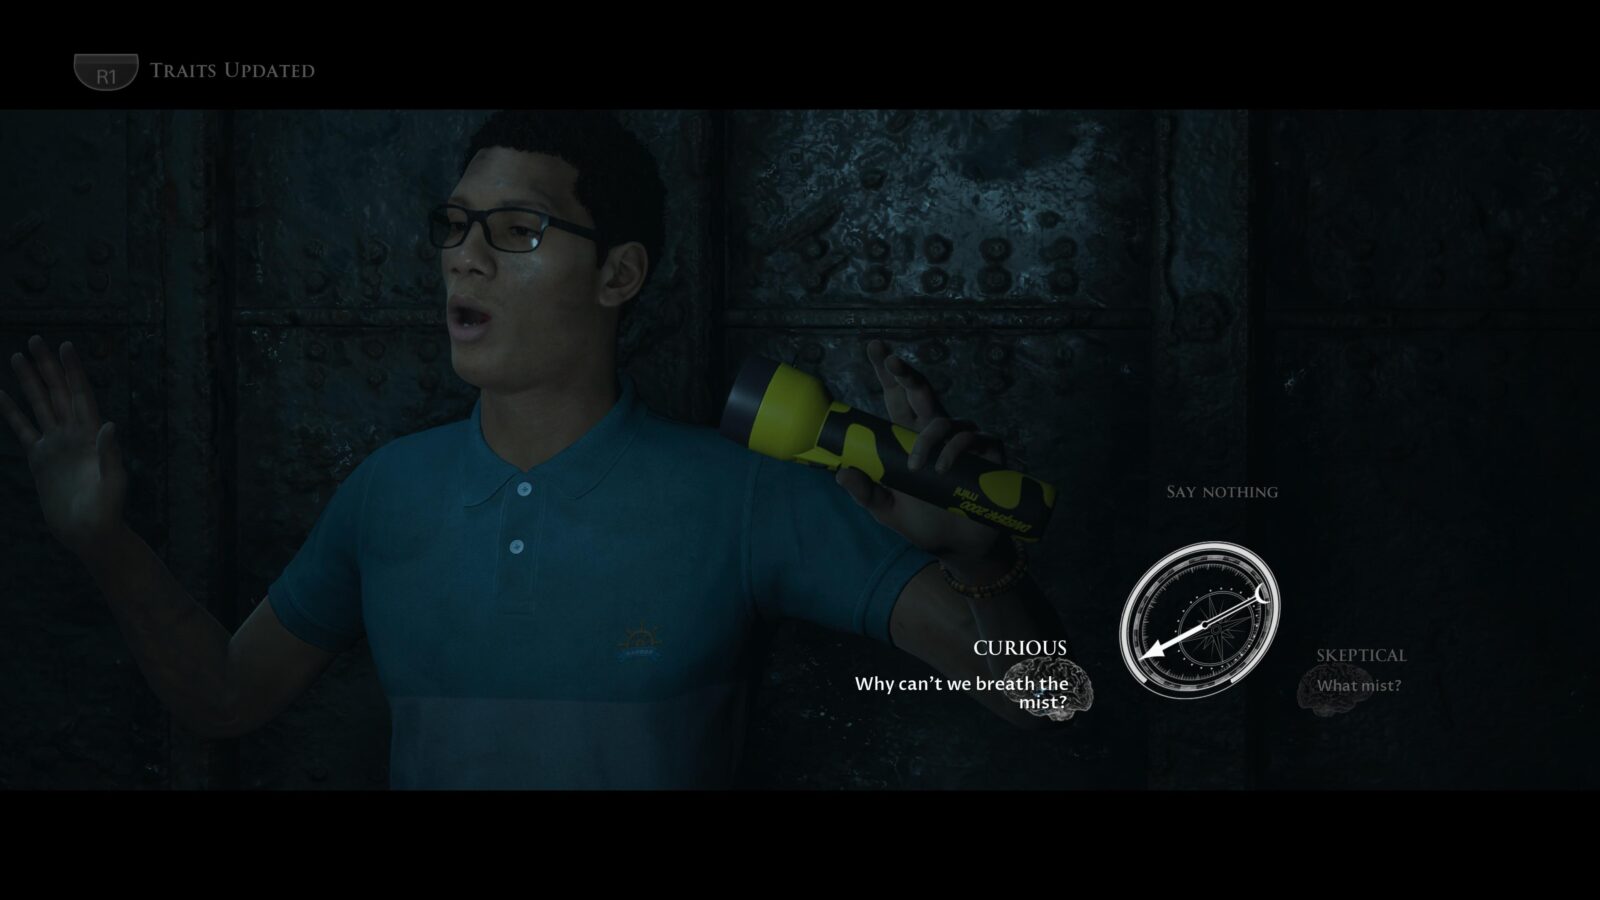
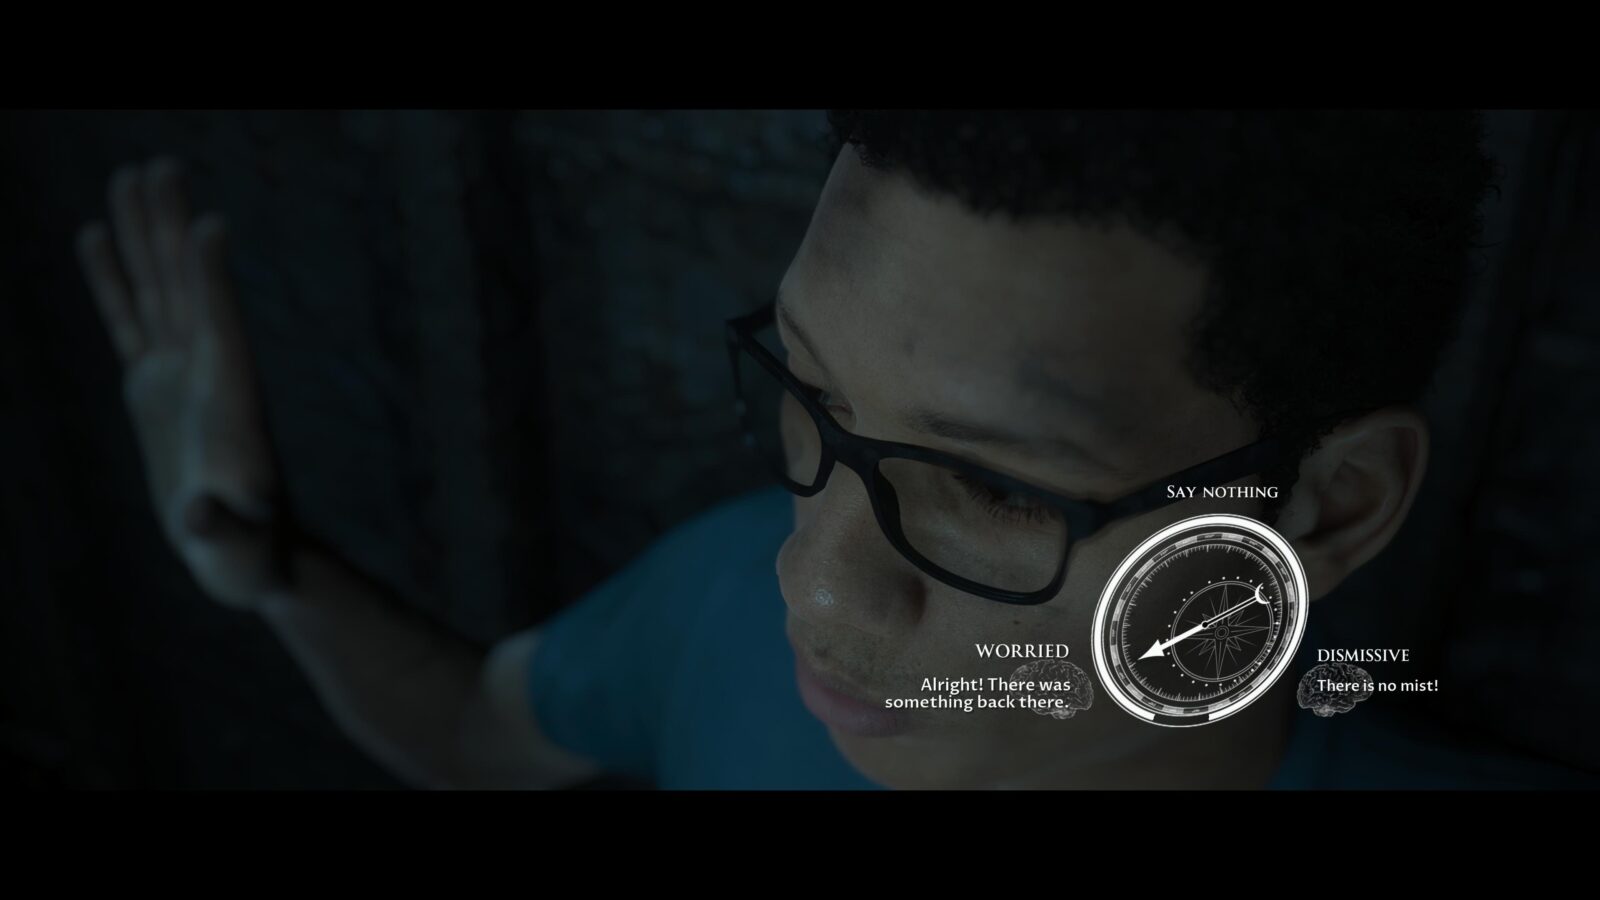
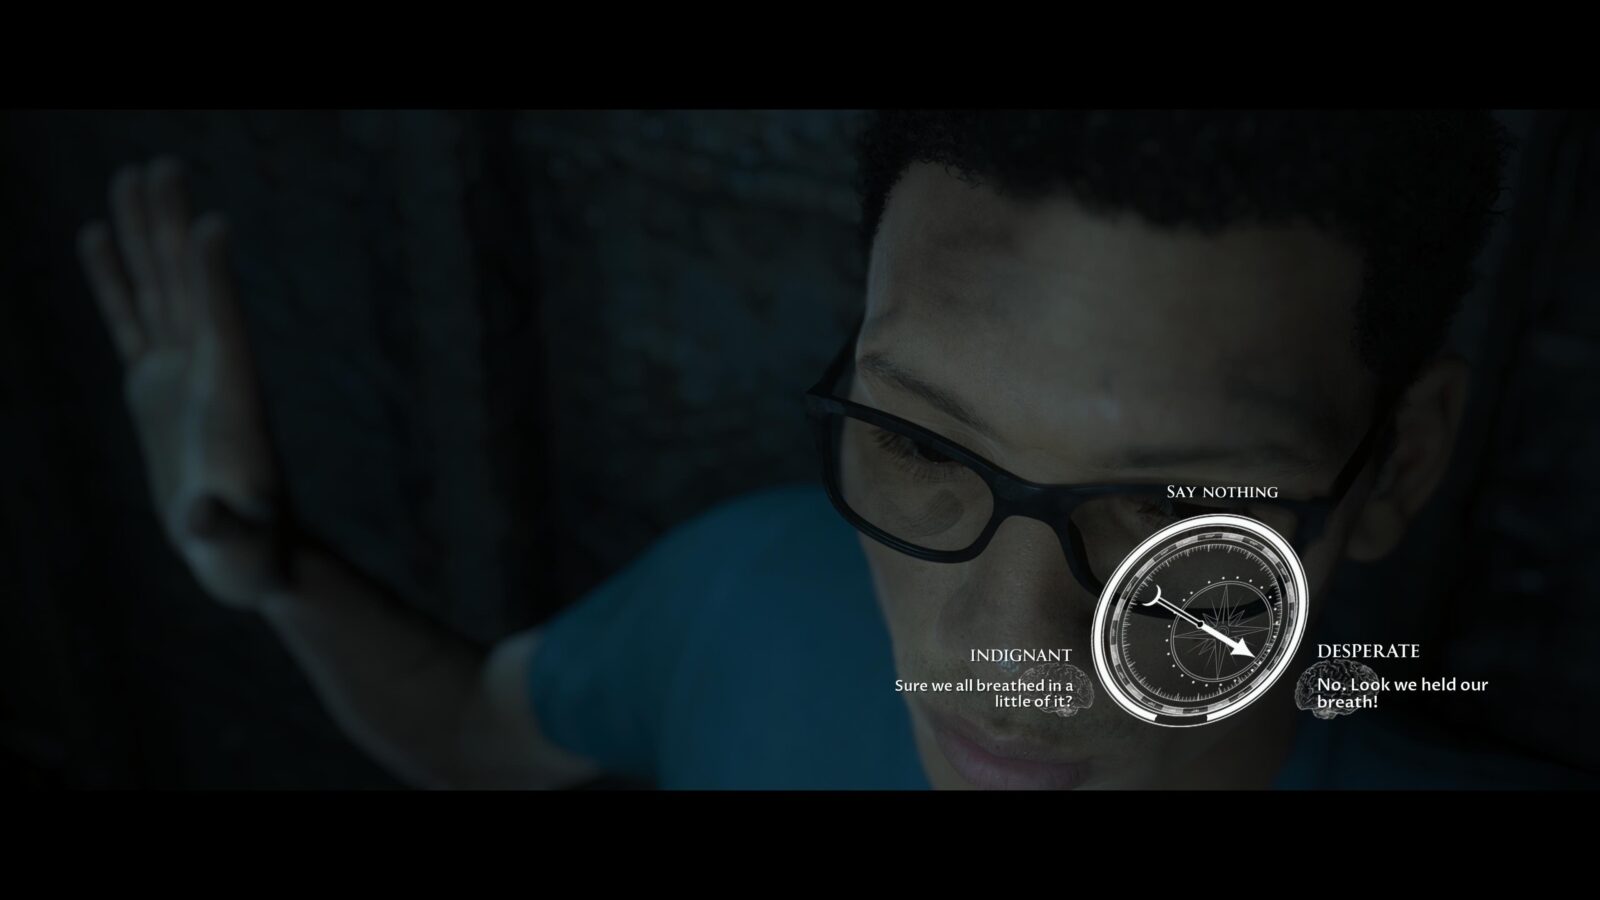
) - When talking to Junior you need to select: CURIOUS, followed by WORRIED, and then finally DESPARATE
- When given the option, choose GRAB PISTOL
This will successfully talk down, and disarm, Junior.
Matters of the Heart
The gang attempt to retrieve the distributor cap so they can make their escape.
Secret #42 | Top Secret Intelligence Note #2 | Alex
After Alex jumps over a gap to keep following Olson, you will pass through a kitchen area with a corpse sat on the ground on the left side. There is a note on the ground next to the corpse. Flip it over to collect the secret.
Man of Medan | Theatrical Cut Secrets | Alternate Route
There were 2 secrets we couldn’t collect in the Theatrical Cut as the conditions weren’t met. It’s best to grab these secrets now before we move on to the Curator’s Cut.
Distress Call
In order to get the last 2 secrets we need to unlock the Olson chapter. To do this we need to let Junior shoot Alex.
Alex & Julia
When deciding who to send down the hole into the engine room, make sure Alex and Julia go.
Junior
R.I.P Alex
When confronted by Junior, repeatedly choose to dismiss his claims of the mist. This will result in Alex being shot. After, Julia will spot Olson and chase after him.
Olson
Conrad hears a gunshot and investigates.
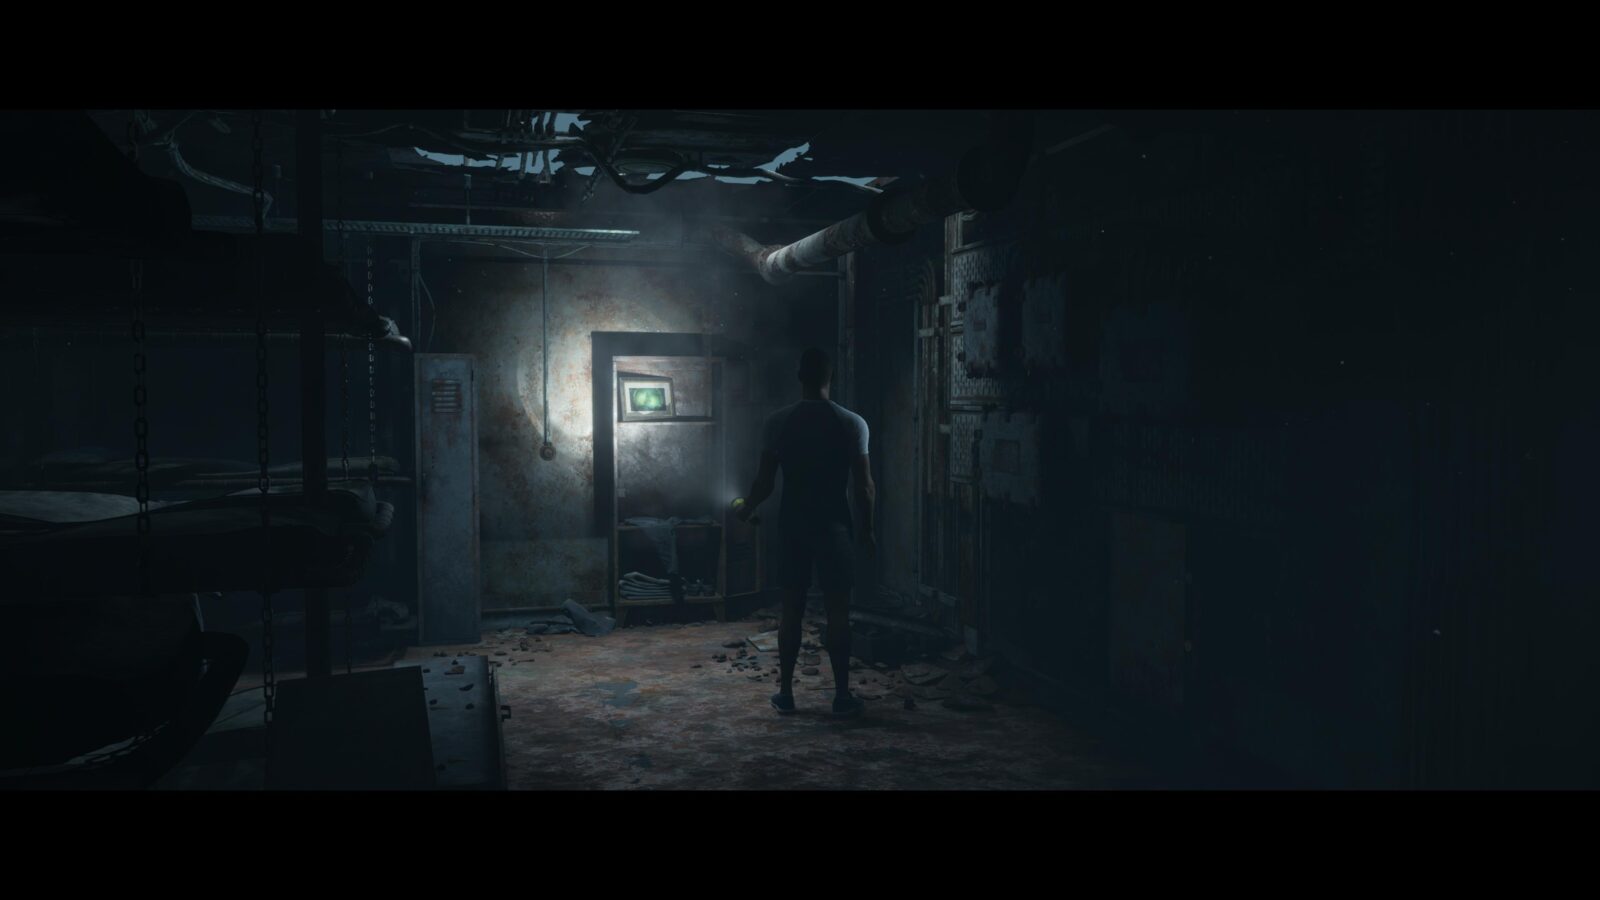
Picture #12 | Gold Framed Picture #1: A Little Hope | Conrad
You will reach a room with loads of bunkbeds. In the room connected, which also has bunkbeds in, you can see a framed picture on the far wall as soon as the camera switches. This is the only gold framed picture in Man of Medan and acts as a little teaser for the next game in the Dark Pictures Anthology series, Little Hope.
Secret #43 | Casket Shortage Memo #36 | Conrad
In the same room as the gold framed picture. Head to the right and you will see a door. To the right of this door, in the corner with the lockers, is a note. Pick it up and flip it over to get the secret.
Man of Medan | Curator's Cut Secrets
The following secrets are only available while playing the Curator’s Cut version of Man of Medan.
Before you start, make sure to download the Curator’s Cut content from the PlayStation Store. Once activated, head to the main menu, select “Play Alone”, start a “New Story”, and then finally you should be able to choose between the Theatrical Cut and Curator’s Cut. Choose “+ New Saved Data” when prompted.
Ghost Story
The gang goes over the discovers Julia and Alex made while exploring the submerged bomber plane.
Secret #44 | Co-Pilot Patch #20 | Brad
As soon as you have control of Brad, pick up the camera on the seat directly in front of him. Press ![]() to flick through the images until you see the co-pilot patch.
to flick through the images until you see the co-pilot patch.
If the patch isn’t on the camera, reload the dive chapter and make sure Julia and Brad make it to the cockpit before the scene switches.

Glamour Girl
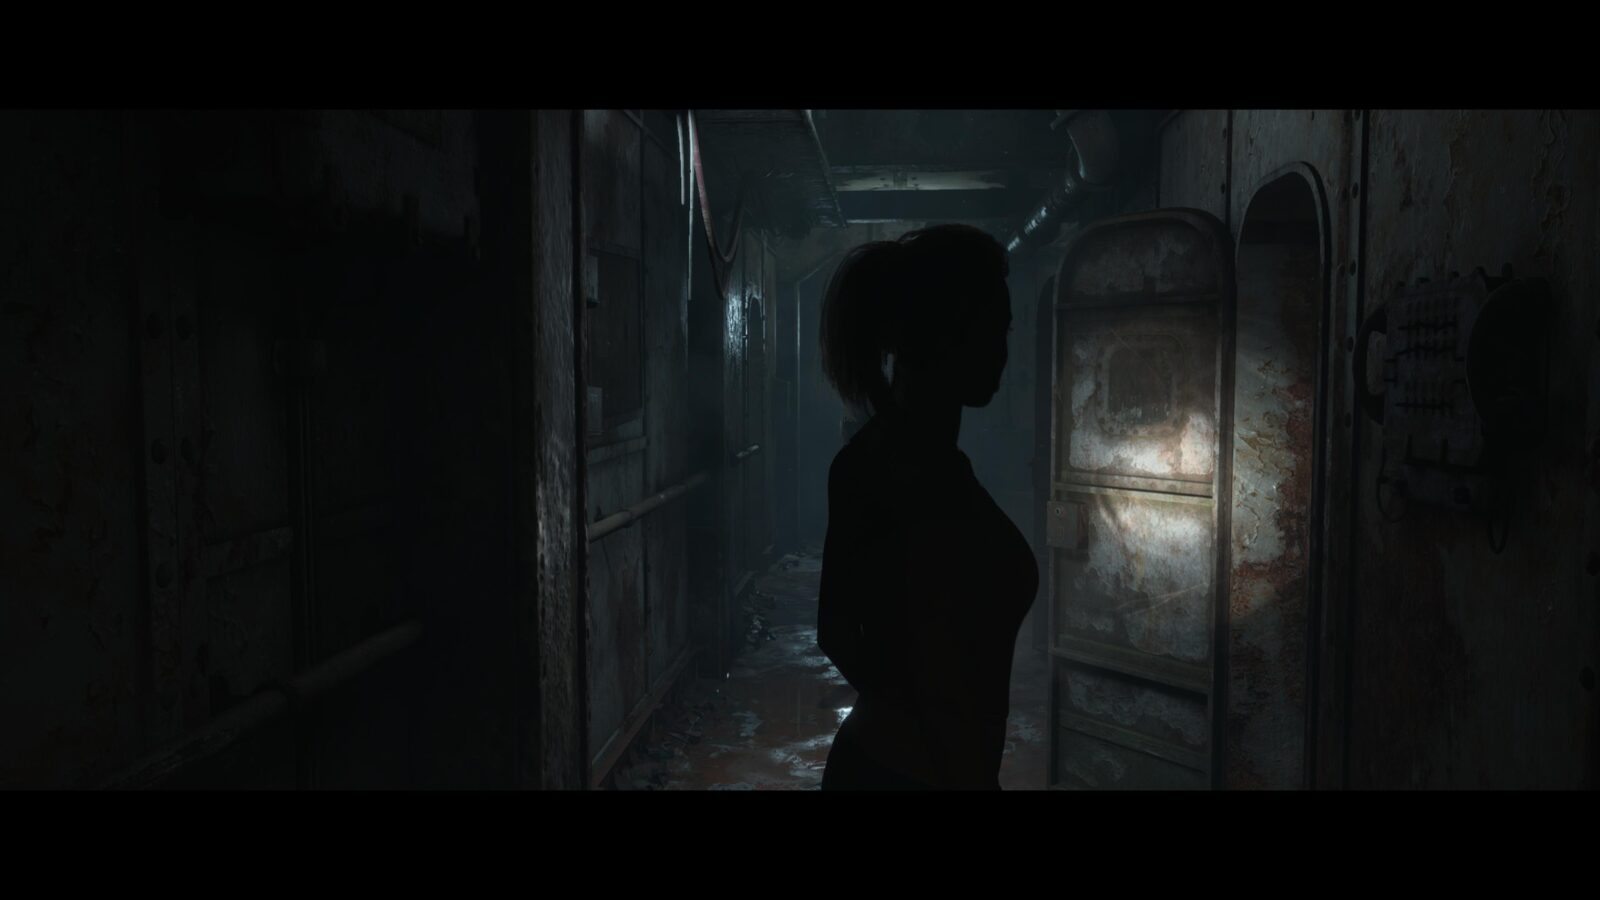
Fliss and Brad try to catch up to a scared Conrad.
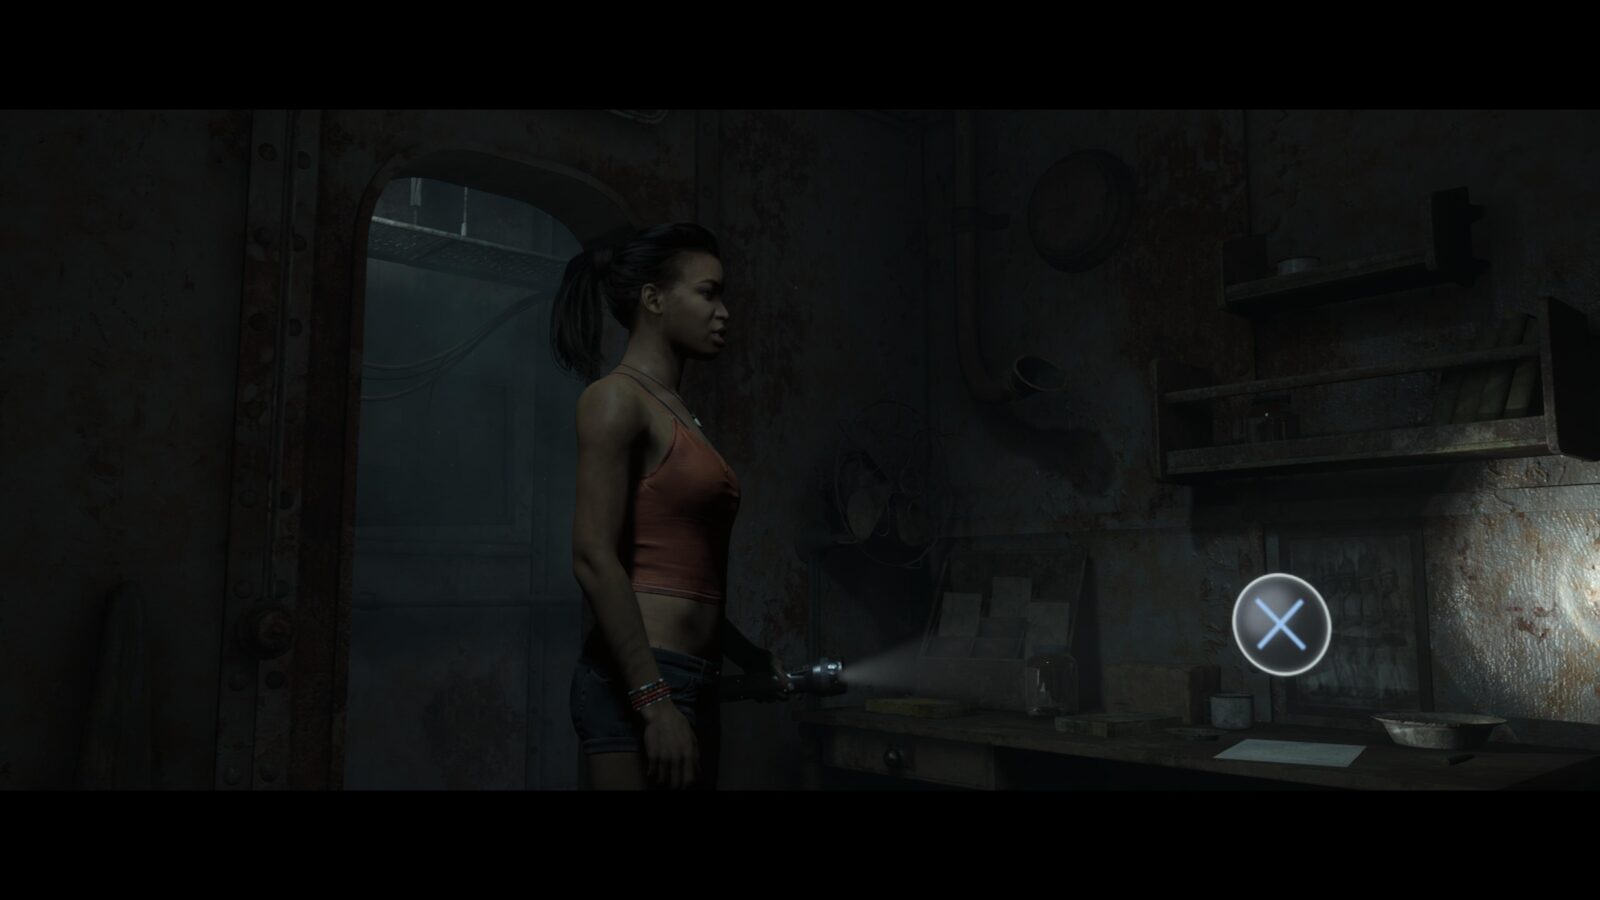
Secret #45 | Cargo Bill of Landing #15 | Fliss
As soon as you gain control of Fliss, keep an eye on the left side of the corridor to find a desk with a clipboard on it. Pick it up and flip it over to collect the secret.
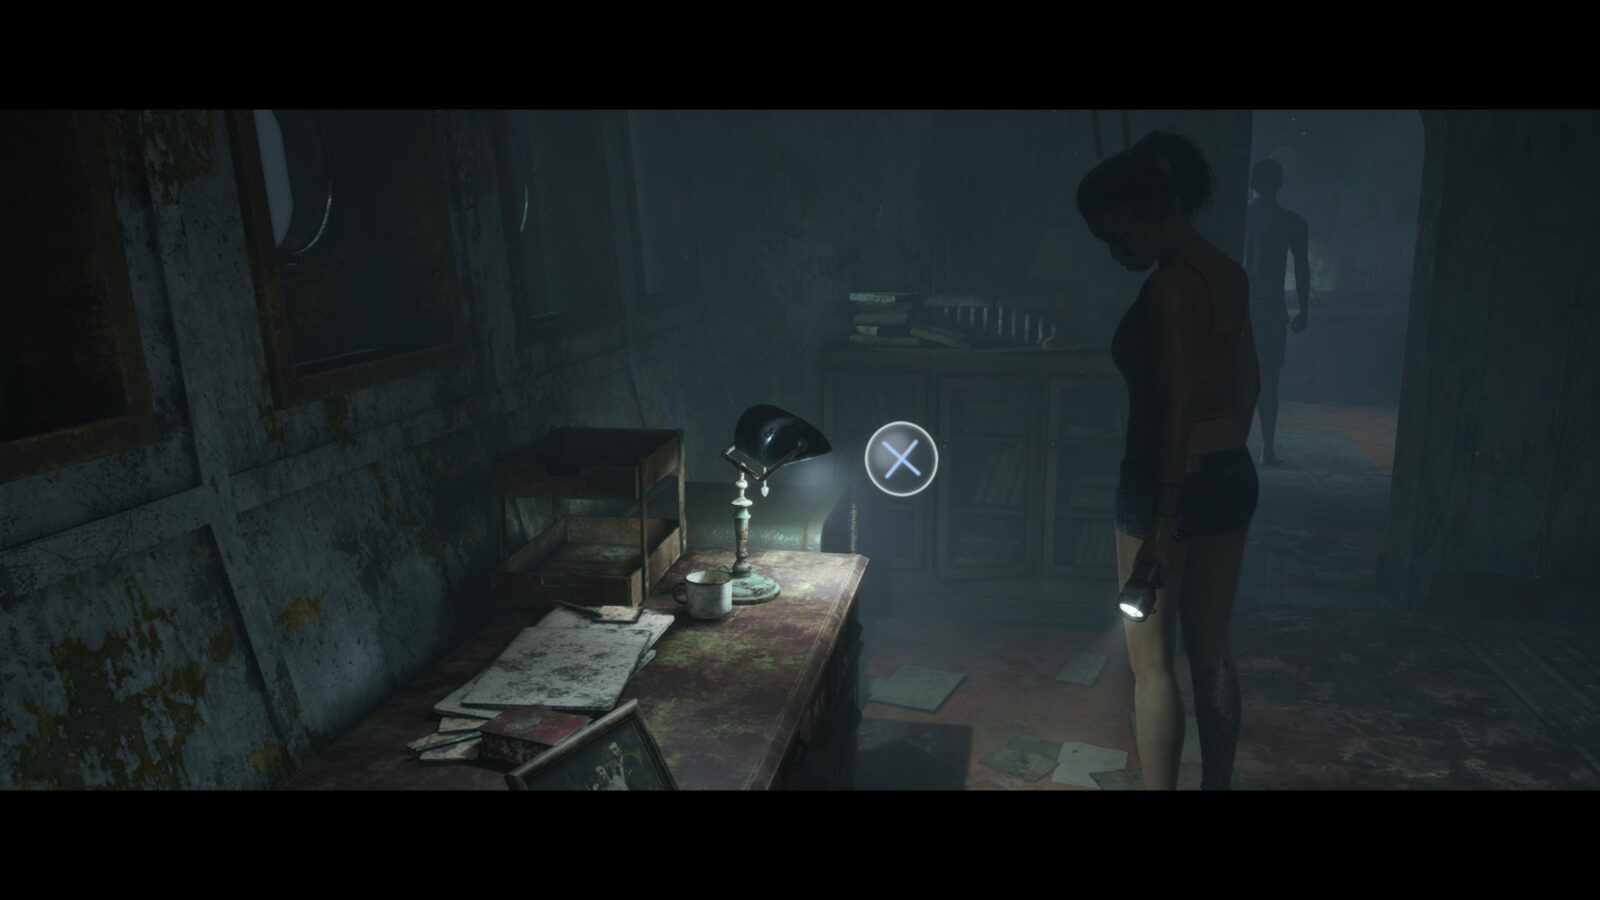
Picture #13 | Black Framed Picture #5: Ship Shape | Fliss
Next to the table where you found the Cargo Bill of Landing is a door on the left side of the corridor. Fliss will attempt to open it and Brad will come to help. Once inside, check the far side of the room for a picture on the wall. This is the last Black Framed Picture in Man of Medan.
Secret #46 | Violent Incident Report Sheet #31 | Fliss
In the same corridor there are two open rooms on the right side. In the second open room is a piece of paper on a table.
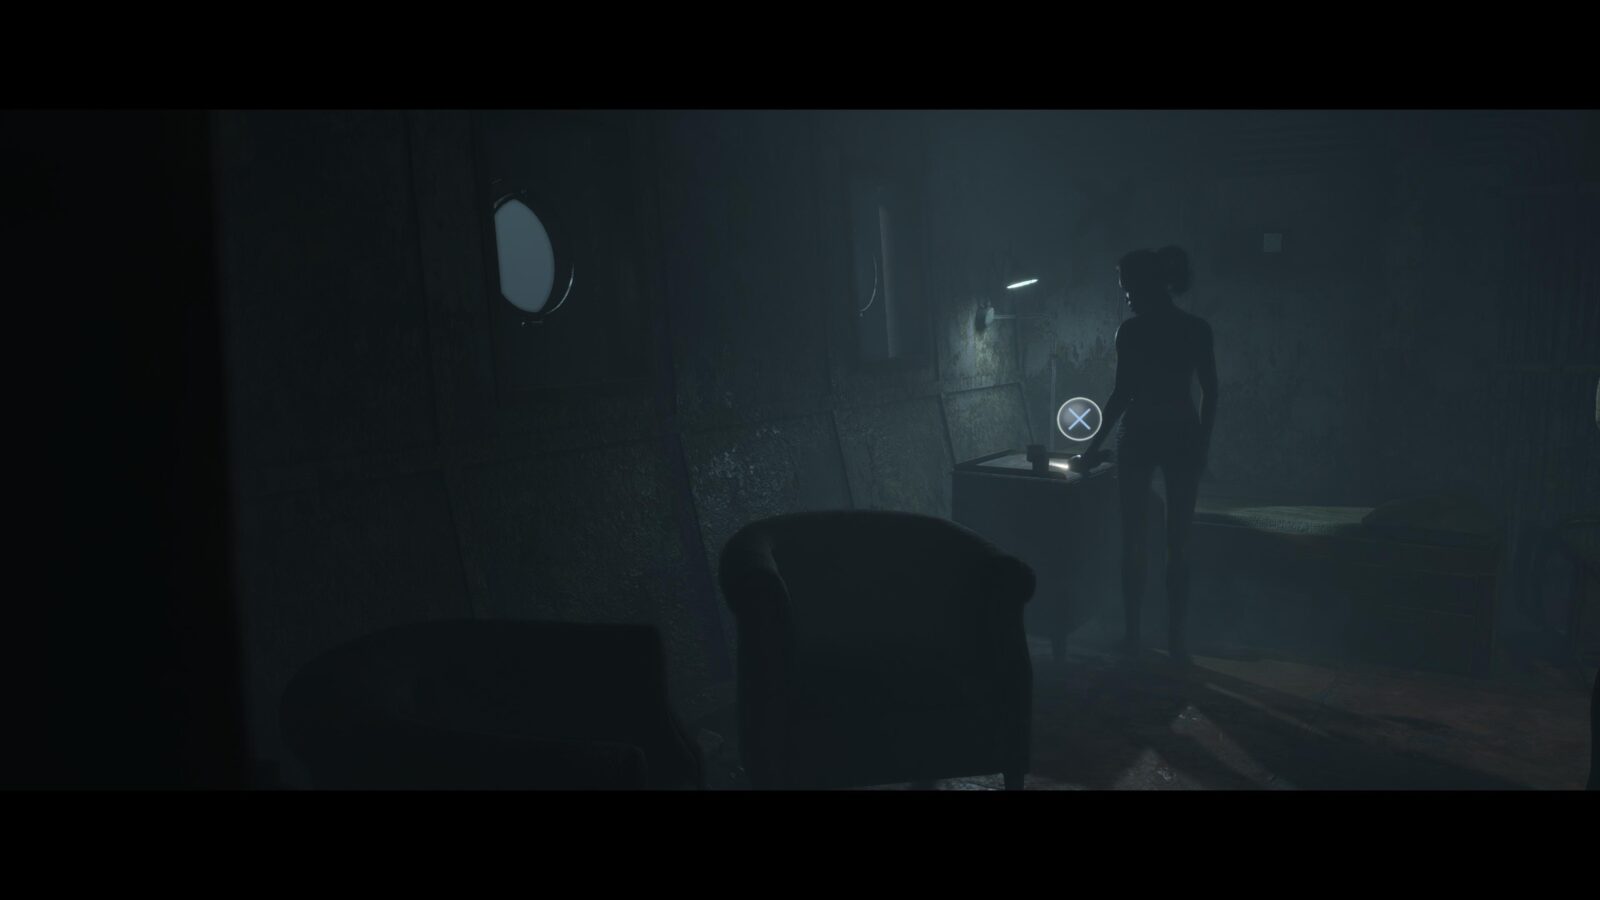
Secret #47 | Manchurian Gold Test Results #17 | Fliss
In the last room you can find a locked safe. To open it you need to get the key from the connected room. However, if you walk too close to the exit (Brad will be stood looking at the exit door) you will trigger a cutscene and be locked out of the secret. Instead, keep to the left side of the room and behind Brad. By the bed is an end table with a drawer you can open. Inside is the key. Take it back to the safe in the previous room and open it to get the paper inside. Flip it over to reveal the secret.
Matters of the Heart
Secret #48 | Manchurian Gold Test Results #46 | Julia/Fliss
After being separated from Alex, you will reach the exterior of the ship where you will enter a room. Immediately to your left as you enter is a note on a table. Flip it to reveal the secret.
Secret #49 | Toxins Research #33 | Julia/Fliss
In the same room, on a table directly opposite the door you entered, is a note. Flip it to collect the secret.
Secret #50 | ID Badges and Documentation #12 | Julia/Fliss
Directly to your left after picking up the previous secret is a safe with a note inside. Flip it to collect the secret.
Thanks for Reading
Plat Get!
Thank You!
Thank You for choosing PlatGet as your source for this Man of Medan Collectibles Guide.
Wondering what to complete next? Browse our complete guide selection or check out our friends at PlatPrices.com to filter the PS Store based on price, trophy difficulty, or completion time.
Got a question, some feedback, or just want to say thanks? Drop a comment in the discussion section below, we'd love to hear from you! No account required!!