PlayStation 4, PlayStation 5
Like a Dragon: Infinite Wealth Trophy Guide


General Info
FAQ
How long does it take to beat Like a Dragon: Infinite Wealth and unlock all trophies?
Around 70-100 Hours.
How difficult is it to beat Like a Dragon: Infinite Wealth and unlock all trophies?
Easy (3/10).
Does Like a Dragon: Infinite Wealth have online trophies?
No.
Does Like a Dragon: Infinite Wealth have difficulty-specific trophies?
No.
Does Like a Dragon: Infinite Wealth have missable trophies?
No.
Does Like a Dragon: Infinite Wealth have glitched trophies?
No.
What is the minimum number of playthroughs required to unlock all trophies in Like a Dragon: Infinite Wealth?
One.
Does Like a Dragon: Infinite Wealth have a Platinum Trophy?
Yes.
Other Useful Guides:
Like a Dragon: Infinite Wealth Ijincho Photo Rally Locations
Like a Dragon: Infinite Wealth Hawaii Photo Rally Locations
Like a Dragon: Infinite Wealth Sujimon Substories Guide
Like a Dragon: Infinite Wealth Miss Match Responses Guide
Like a Dragon: Infinite Wealth Ounabara Vocational School Answers Guide
Trophy Guide
Like a Dragon: Infinite Wealth Trophy Guide and Road Map for PlayStation 4 & PlayStation 5
Welcome to our “Like a Dragon: Infinite Wealth” Trophy Guide. You will join Ichiban Kasuga and Kazuma Kiryu on their intertwining adventures in this sequel direct sequel to “Yakuza: Like a Dragon,” which takes place in both Hawaii and Japan.
As well as the typical Yakuza/Like a Dragon content, you can find shockingly fleshed-out new side content, including Sujimon battling (a full-blown Pokemon clone) and the brand new Dondoko Island (an extensive Animal Crossing Game) mode.
The trophy list will feel familiar to series veterans but with a balanced endgame and a further reduced requirement to complete everything.
The launch DLC, Master Vacation Pack, adds NG+, Harder difficulties, and a third dungeon, but this Trophy Guide focuses solely on the Main Game on the assumption that you do not own the premium content.
Phase One | Story Completion
Focus on the story, where you’ll acquire a decent number of unmissable trophies. Manage side content as you wish, or just follow the in-game guidance for major story sections.
Fans familiar with Yakuza/Like a Dragon Trophy Lists will know to frequently dip into side-content to ease the workload ahead but to also strengthen themselves for the story ahead. Below are some things you can do to try and smooth out your trophy journey:
- First and foremost; save, and do it often. Death isn’t permanent in Like a Dragon: Infinite Wealth. Instead, you will lose a huge chunk of your Yen if you die. Worse yet; the more money you have when you die, the more you’ll lose! Saving regularly ensures you always have something to go back to if the worst happens and you don’t want to lose all your money.
- Complete any sub-stories, Memoirs, and Life Links you feel like completing. You’ll need to complete a cumulative total of 40 Sub-stories for Living Your Best Life, 70 Memoirs for Abundant Memories, and all Life Links for Renewed Purpose, so every little helps.
- Each character has a bond level with Kasuga, which increases when you do certain activities with your companions, such as fighting a battle or eating a meal. Every 10 Bond Levels, you will be able to take part in a “Drink Links” event with that character to learn more about them. Whenever you see a companion’s bond reach a division of 10, be sure to speak to them at either Survive Bar or Revolve Bar to keep making progress. See Squared Away for more details.
- Once you get access to them as part of the story, call Poundmates in battle regularly. You need to do this 30 times to unlock Pound for Pound.
- Whenever you have a large amount of money in your account, I recommend that you donate as much of it as you can to Julie’s Gearworks. Similar to Romance Workshop in the previous game, You need to donate a cumulative total of 22 million yen for the Investing in the Future trophy. You could also just put the money away in an ATM at any Convenience Store, but this way you’d be progressing a trophy instead of just hoarding cash.
- When you unlock Aloha Links in Chapter 3, make sure you befriend as many people in Hawai’i as you can. You’ll need to befriend a total of 50 people to unlock the Spirit of Aloha trophy. There are 200 total people you can befriend by waving at them so as long as you wave at a few people here and there you’ll unlock this naturally.
- Keep your eye out for a Rainbow while you play. If you see one, press
 and take a picture of it with
  . That’ll earn you Somewhere Over the Rainbow.
 - Though you don’t need to master the two dungeons until much later in your trophy journey, they are a great place to level up and earn exp between story missions!
Optionally, feel free to engage in Sujimon and Dondoko Island activities, but you can also come back to them later. The more you do now, the less you need to do in the next Phase.
Unmissable Story Trophies

Back in Action
Completed Chapter 1.
You will unavoidably receive the “Back in Action” trophy at the end of Chapter 1.

Fish Out of Water
Completed Chapter 2.
You will unavoidably receive the “Fish Out of Water” trophy at the end of Chapter 2.

Time Marches On
Completed Chapter 3.
You will unavoidably receive the “Time Marches On” trophy at the end of Chapter 3.

Down and Out
Completed Chapter 4.
You will unavoidably receive the “Down and Out” trophy at the end of Chapter 4.


Misgivings
Completed Chapter 5.
You will unavoidably receive the “Misgivings” trophy at the end of Chapter 5.

Hiding in Plain Sight
Completed Chapter 6.
You will unavoidably receive the “Hiding in Plain Sight” trophy at the end of Chapter 6.

Separate Ways
Completed Chapter 7.
You will unavoidably receive the “Separate Ways” trophy at the end of Chapter 7.

Layered Lies
Completed Chapter 8.
You will unavoidably receive the “Layered Lies” trophy at the end of Chapter 8.

Found and Lost
Completed Chapter 9.
You will unavoidably receive the “Found and Lost” trophy at the end of Chapter 9.

Dying Breed
Completed Chapter 10.
You will unavoidably receive the “Dying Breed” trophy at the end of Chapter 10.

Reunion
Completed Chapter 11.
You will unavoidably receive the “Reunion” trophy at the end of Chapter 11.

Holding the Line
Completed Chapter 12.
You will unavoidably receive the “Holding the Line” trophy at the end of Chapter 12.

Turning the Tides
Completed Chapter 13.
You will unavoidably receive the “Turning the Tides” trophy at the end of Chapter 12.

The Man Who Regained His Name
Completed the final chapter.
You will unavoidably receive the “The Man Who Regained His Name” trophy at the end of Chapter 13, Like a Dragon: Infinite Wealth’s final chapter.

Wandering Dragon
Reached level 10 with Kasuga.
You will unlock the Wandering Dragon Trophy naturally on your way through the story when Kasuga reaches Level 10.

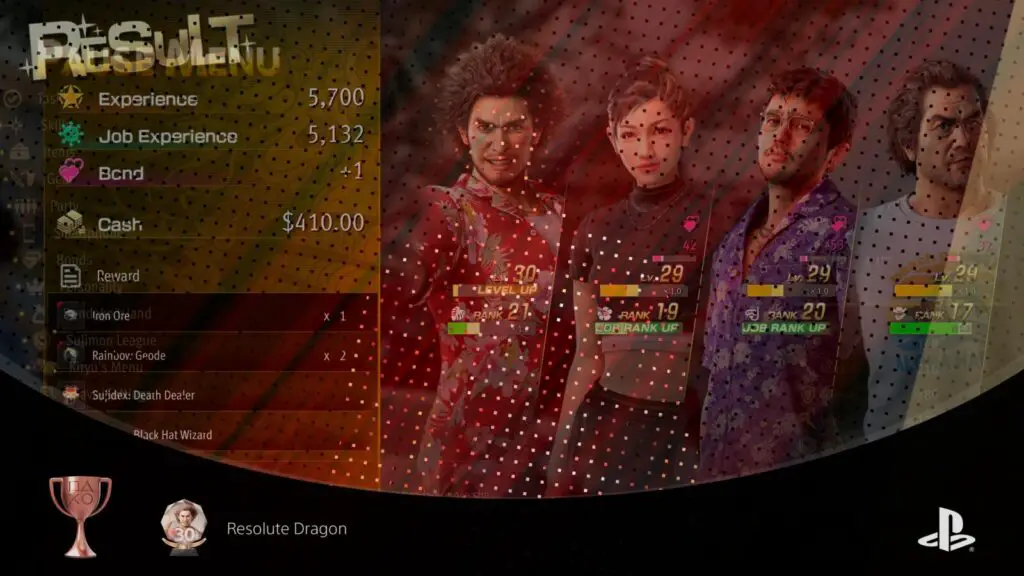
Resolute Dragon
Reached level 30 with Kasuga.
You will unlock the Resolute Dragon Trophy naturally on your way through the story when Kasuga reaches Level 30.
Phase Two | Side-Content
Once the story is finished, as with Yakuza: Like a Dragon, you will enter into Premium Adventure Mode. Here, you should begin by focusing on completing the Sujimon League Trophies and working through the various Dondoko Island Trophies.
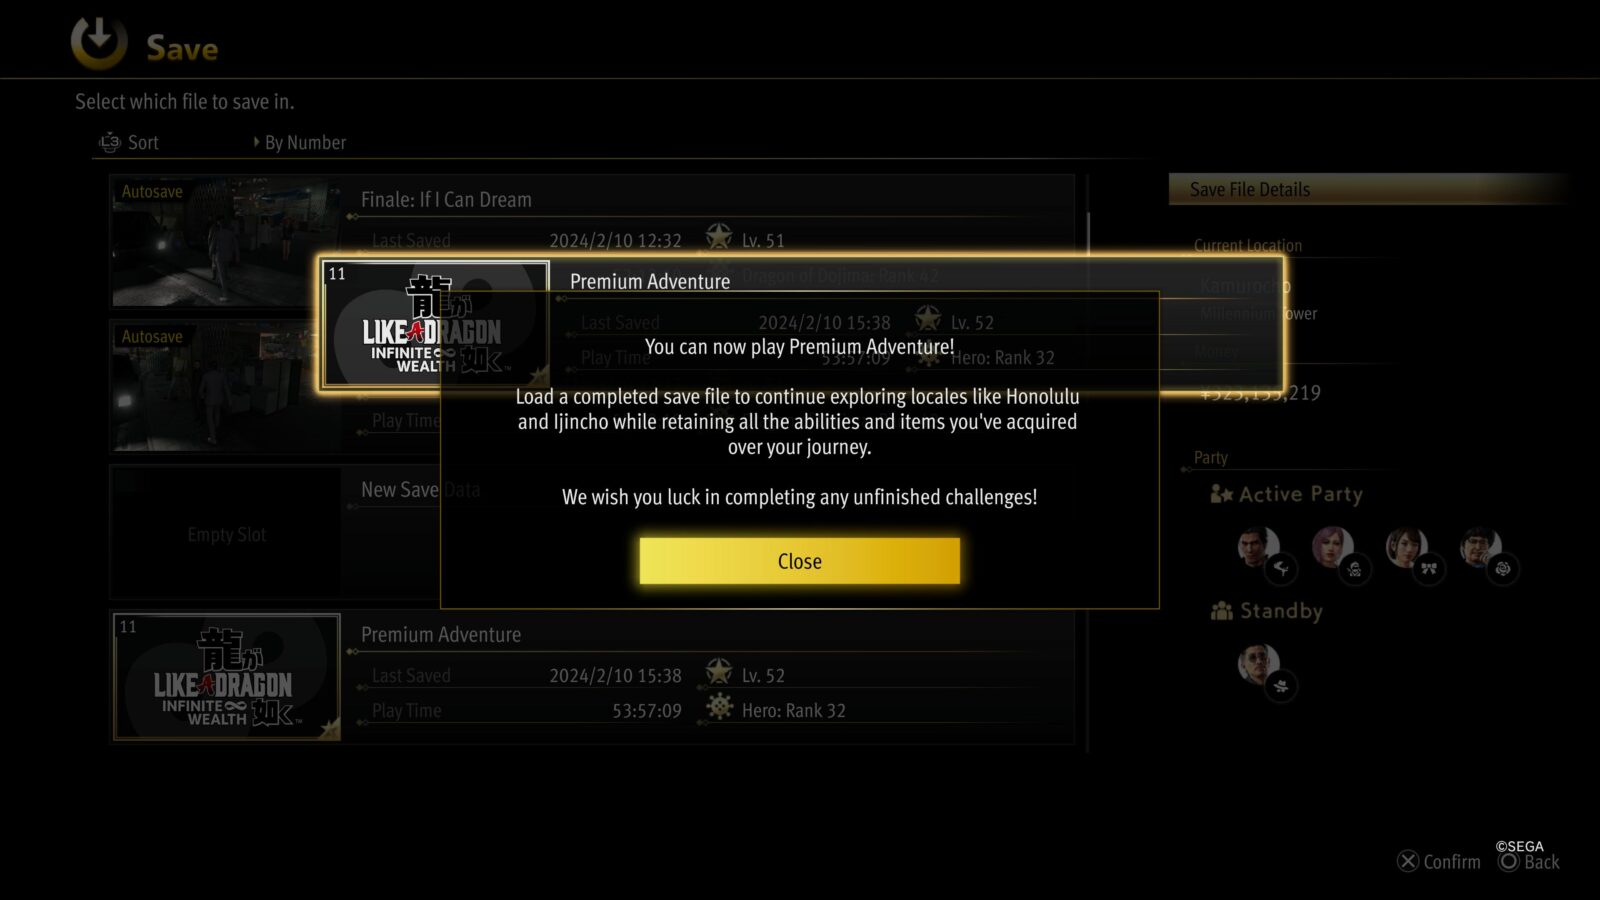
Specifically do them in that order, as completing the Sujimon quests unlocks some useful things for Dondoko Island!
Other than that, there are a few other Side-Activity Trophies for the smaller minigames and side-stories with Side-Story Trophies. Leave Dungeons for later, though, we’ll tackle those in Phase Three.
While you’re doing minigames and side-content, Kasuga’s & Kiryu’s Personalty & Awakening Stats will be incrementally increasing from the various completion rewards and challenges. You’ll need to max almost all of these stats out to then unlock Metahuman, Renewed Purpose, and Funk Goes On.
Sujimon League Trophies

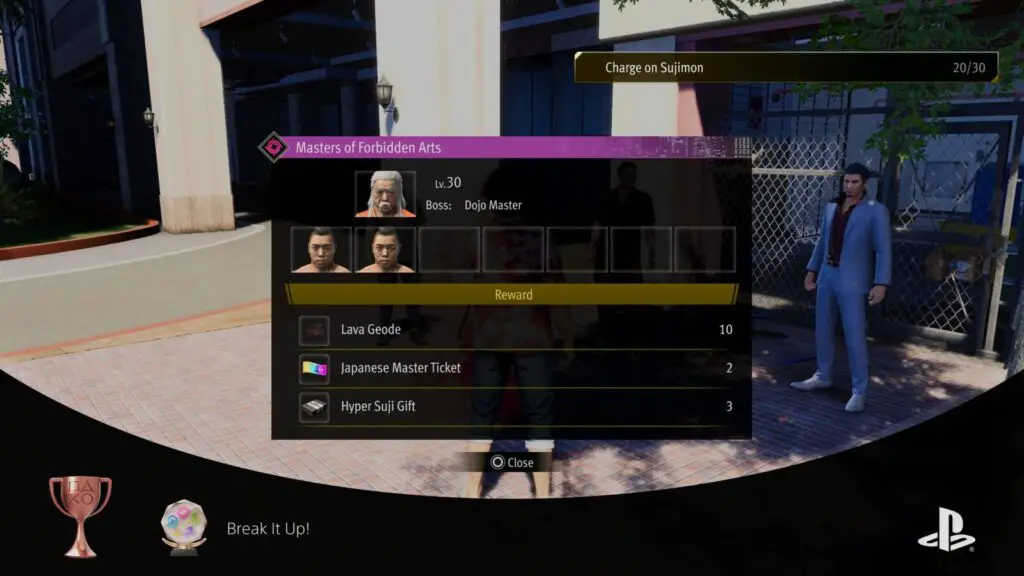
Break It Up!
Won 20 raids.
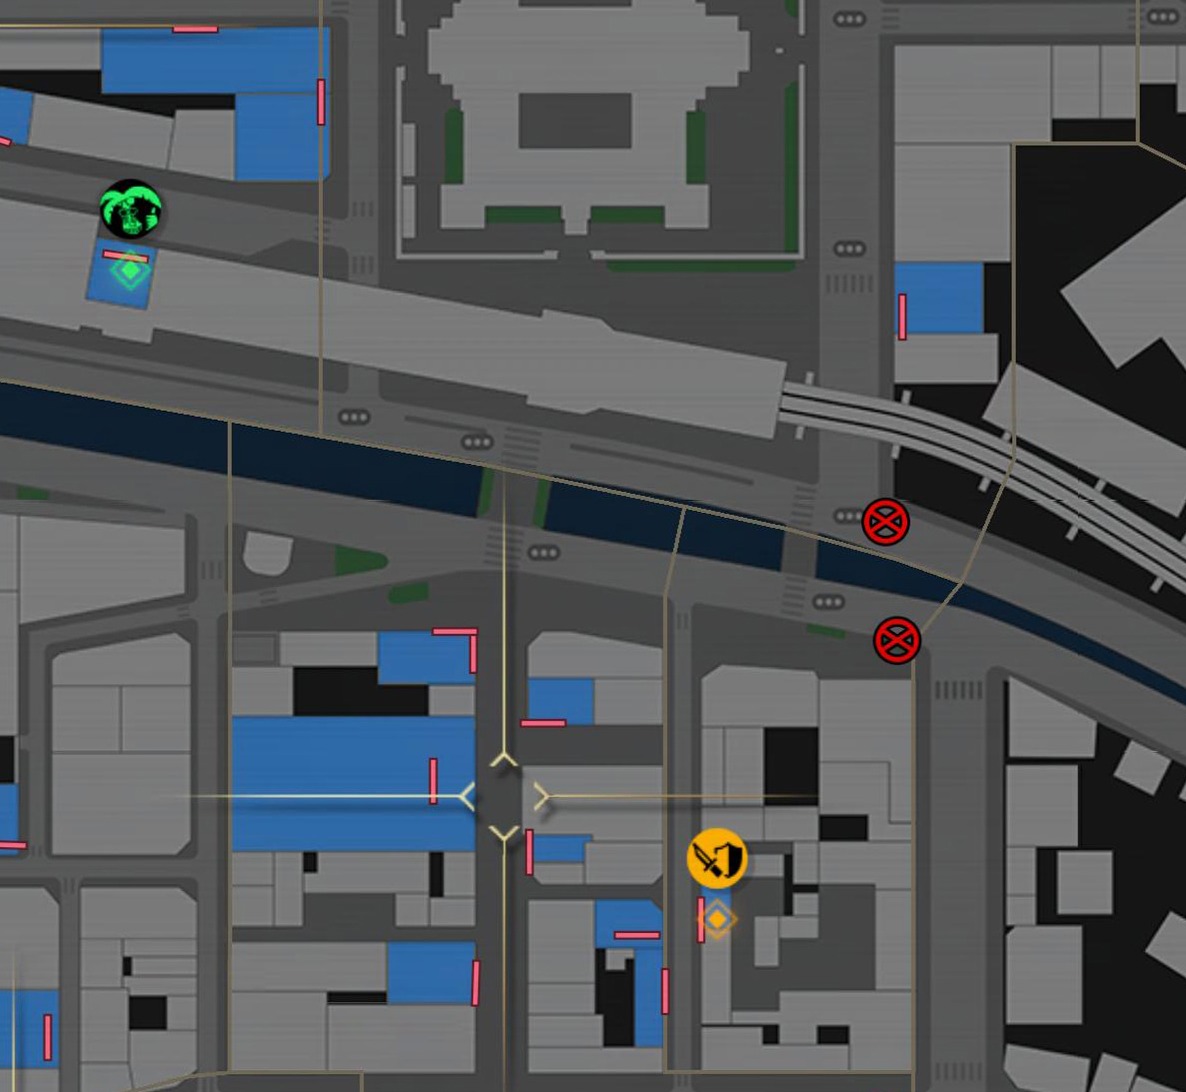
Raids in Like a Dragon become available once you’ve been introduced to the Sujimon portion of the game. These raids can then be found at rhombus-shaped elemental icons on the map.
Each one contains a group of enemies for you to fight as Kasuga & co. If successful, you’ll receive lots of Sujimon items such as Suji Gifts and Master Tickets.
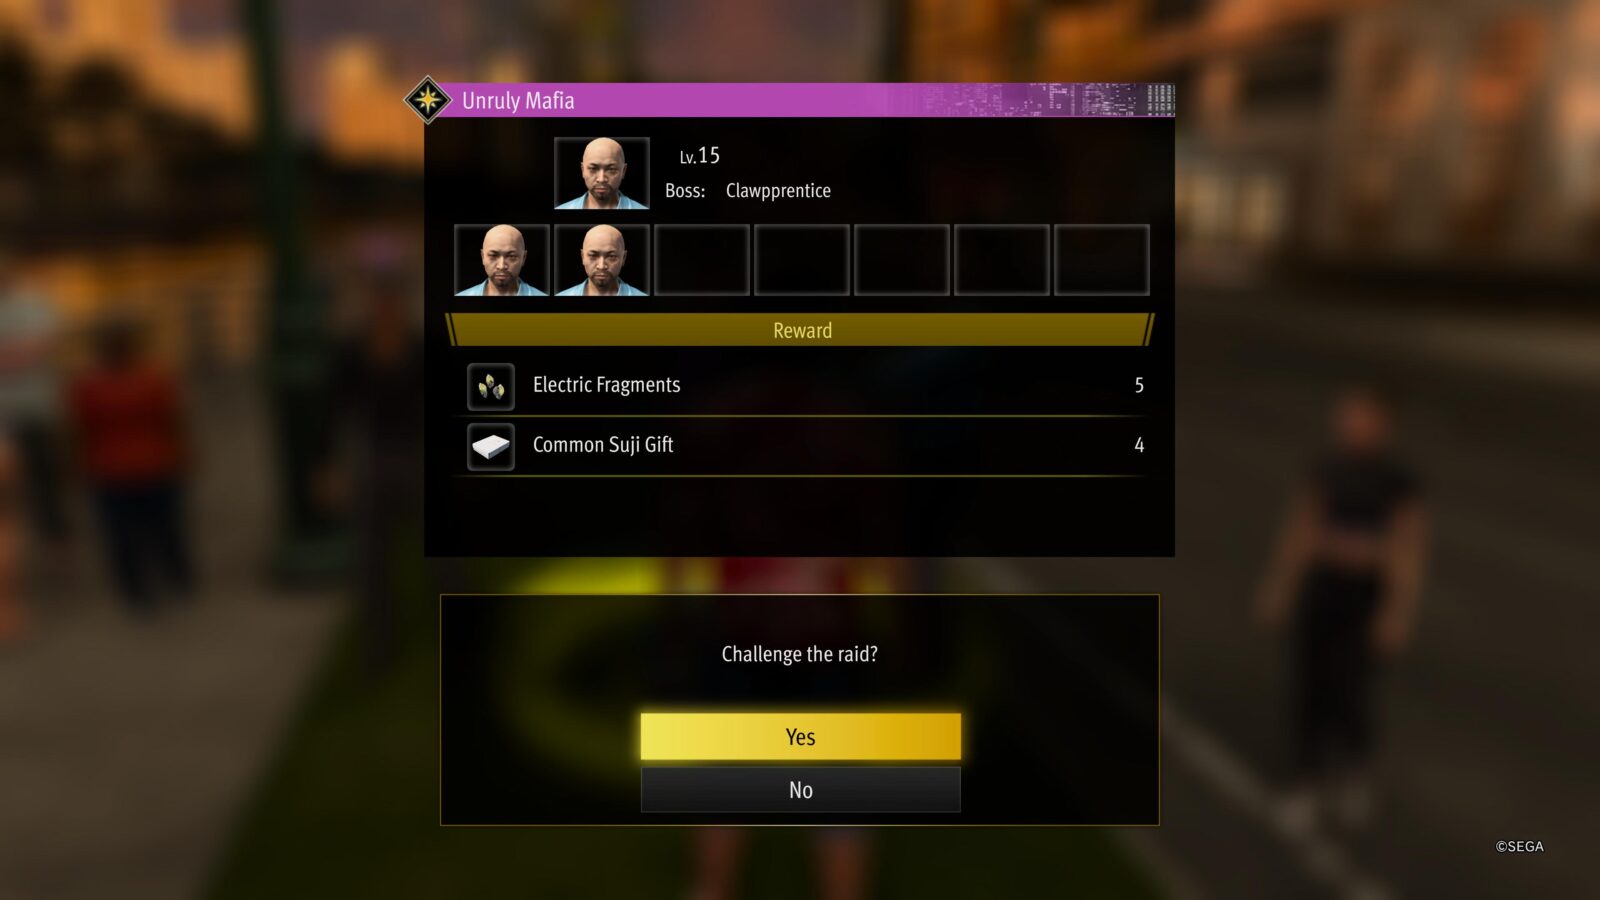
After the raid, one of the enemies you faced will stay behind for you to attempt to “snag” them.
All you need to do is complete 20 of these fights, it doesn’t matter if you recruit the Sujimon afterward, though I do recommend getting as many as you can.

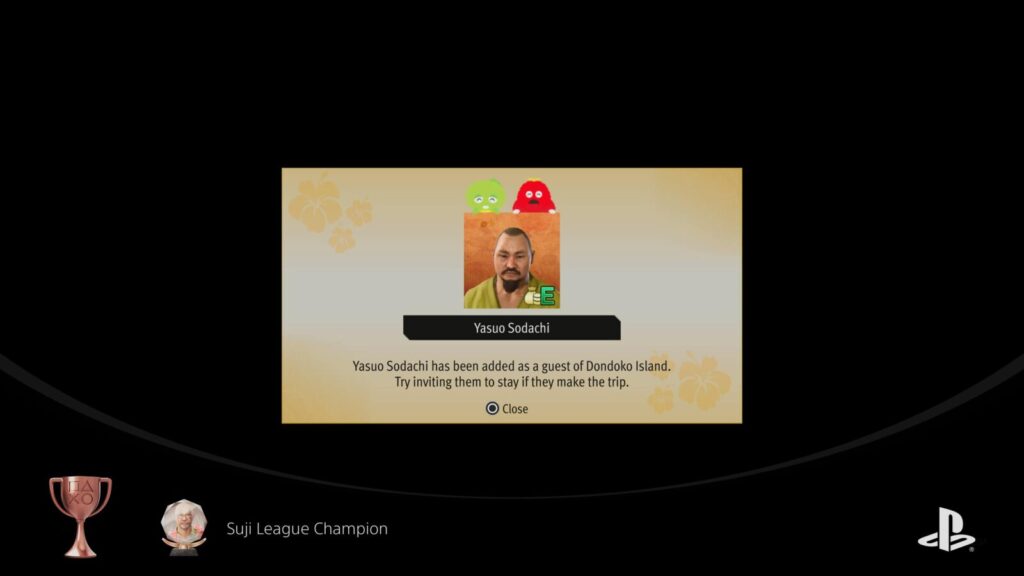
Suji League Champion
Completed all Sujimon-related substories.
To unlock the “Suji League Champion” trophy, you’ll need to complete all 5 of the Sujimon Substories. These are Substory #38, 39, 40, 41, and 42 in the Substory list. Below, I’ve provided a table with details of each gym’s location and the recommended types of Sujimon to have in your team.
It should be noted that after each Gym, the Sujimon level cap will be increased by 10 and you will not be able to challenge the next gym until you increase your Trainer Level to that cap. It’s also advisable to increase your Sujimon team’s levels to that cap too.
This is easily done by just pumping money into Sujimon Food and then strengthening your team at a Suji Spot or Suji PC Shop. By Premium Adventure, you should have a fair bit of disposable income for this. Then, raise your Trainer Level by engaging in Sujimon Trainer Battles at red shield icons on the map.
I’ve included these level caps in the table below too.
| Substory # | Name | Location | Level Cap | Recommended Sujimon Type |
|---|---|---|---|---|
| 38 | The CEO of Suji | Just East of Aloha Bridge. | 10 | Dark (vs. Light Sujimon). |
| 39 | The Queen’s Subilee | West end of Aloha Beach. | 20 | Nature (vs. Frost Sujimon). |
| 40 | A True Gym Battle | Large grass area off Makani Ave. | 30 | Bring a balanced variety. |
| 41 | Sodachi’s Revenge | Return to Ace’s gym, then go to the pier for Joker’s gym. | 40 | Bring a balanced variety. Healing abilities recommended. |
| 42 | Atop the Plateau | Sujigami PC Shop in the mall. | 50 | Balanced team, but with extra Frost. |
After you’ve completed all five of these Substories, the Suji League Champ trophy is all yours! If you need more guidance or find yourself lost at any point, consider using our full Like a Dragon: Infinite Wealth Sujimon Substories Guide!

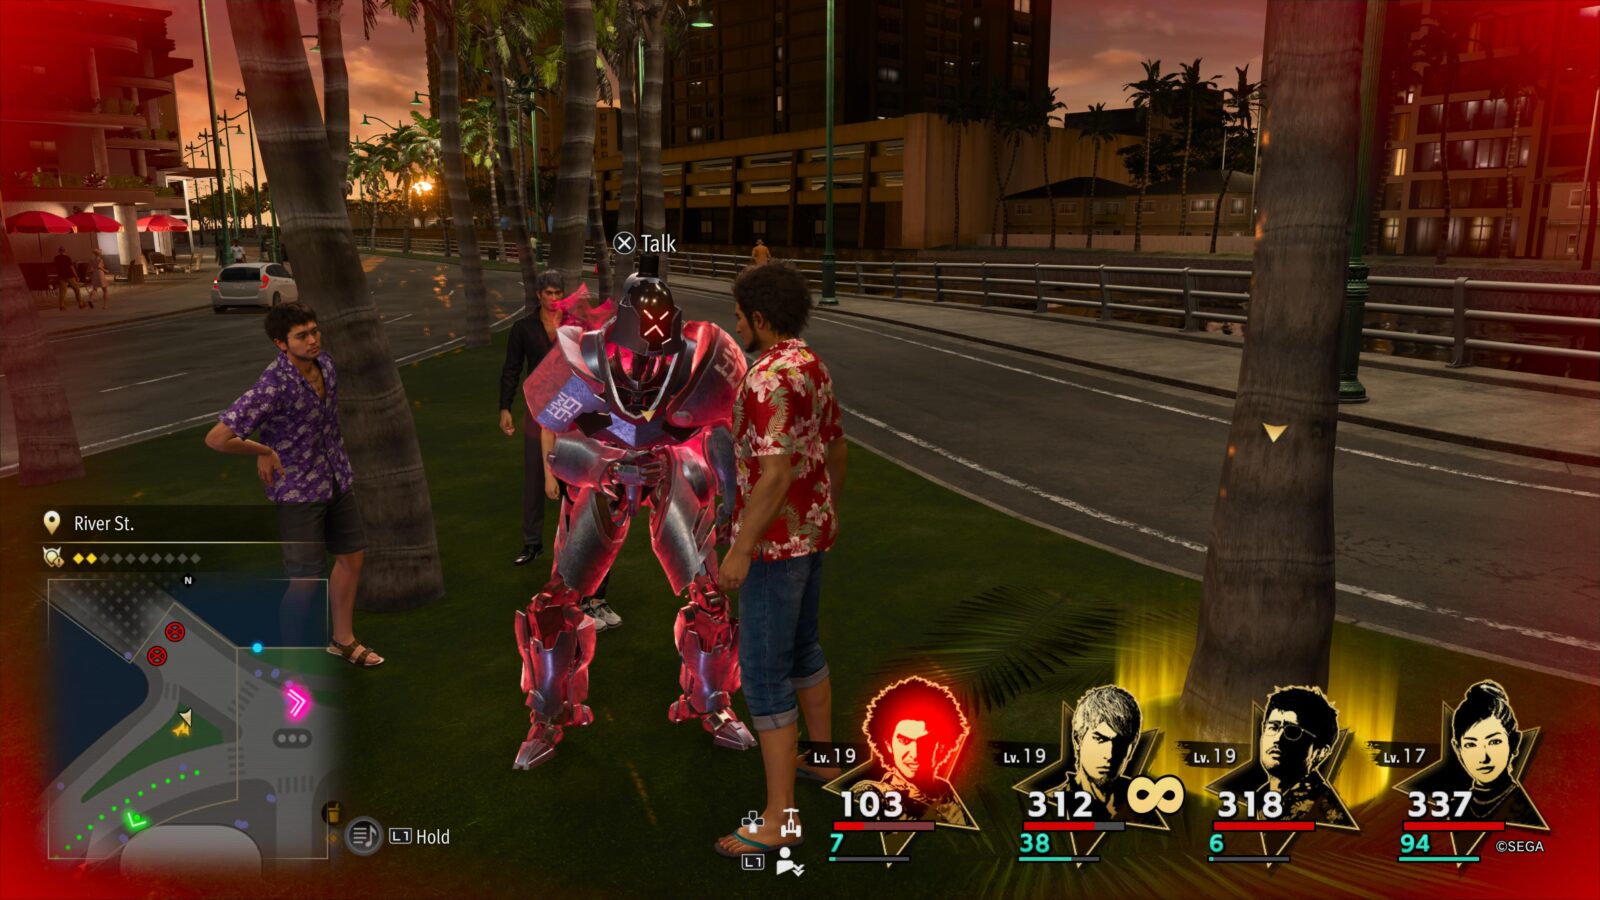
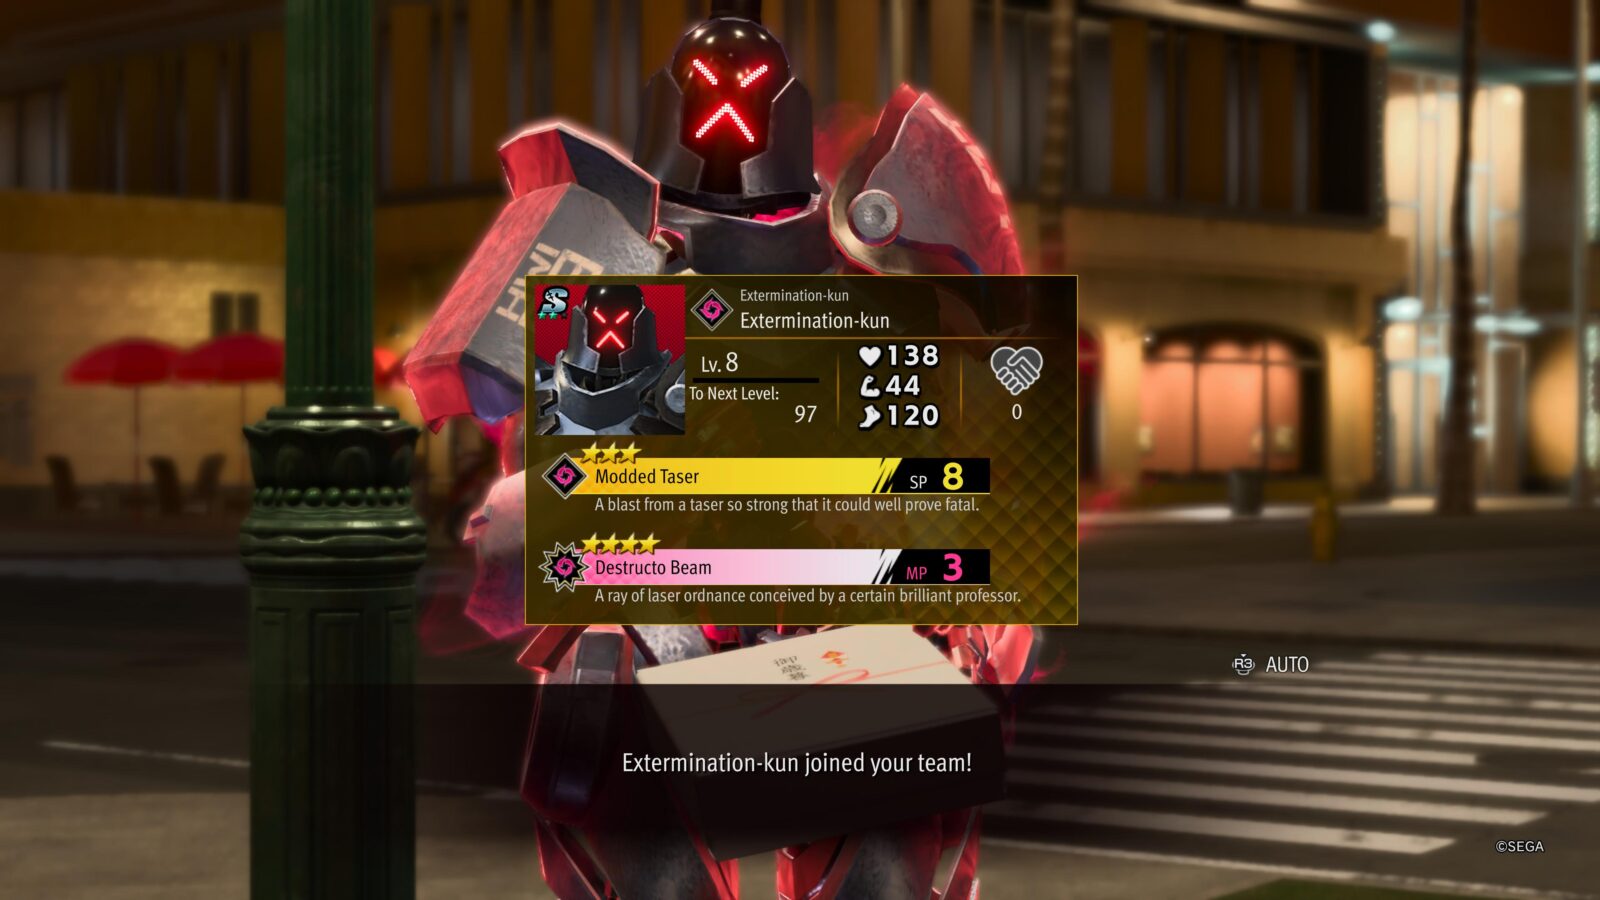
Sujimon Snag 'Em
Recruited 10 Sujimon from battle.
To earn the “Sujimon Snag ‘Em” trophy in “Like a Dragon: Infinite Wealth,” you need to recruit 10 Sujimon from battle encounters.
After you complete a Sujimon Raid (and sometimes after regular battles), one of the Sujimon will stay behind, glowing red.
Speak to the Sujimon for a chance at recruiting them, here’s how:
- Start by presenting a gift to the Sujimon, which you can acquire from the Sujimon PC shop or win from Trainer Battles/Sujimon Raids.
- Next, you will need to press with correct timing to present the gift in the best way. The bar is actually only divided into thirds; aim for the upper third when timing the gift meter to get a perfect score.
- Follow this up by rapidly mashing to compliment the Sujimon.
- Successful recruitment depends on your performance in the above actions.
Capture a cumulative total of 10 Sujimon this way to unlock the Sujimon Snag ‘Em trophy.

Prize Fighter
Maxed out a Sujimon's level and friendship.
Before even thinking of unlocking the Prize Fighter trophy, you’ll need to progress through the 6 Sujimon Substories (See Suji League Champion) to increase the level cap from 10 to 50. After that, you’ll just need to increase your Sujimon to Level 50 by any means.
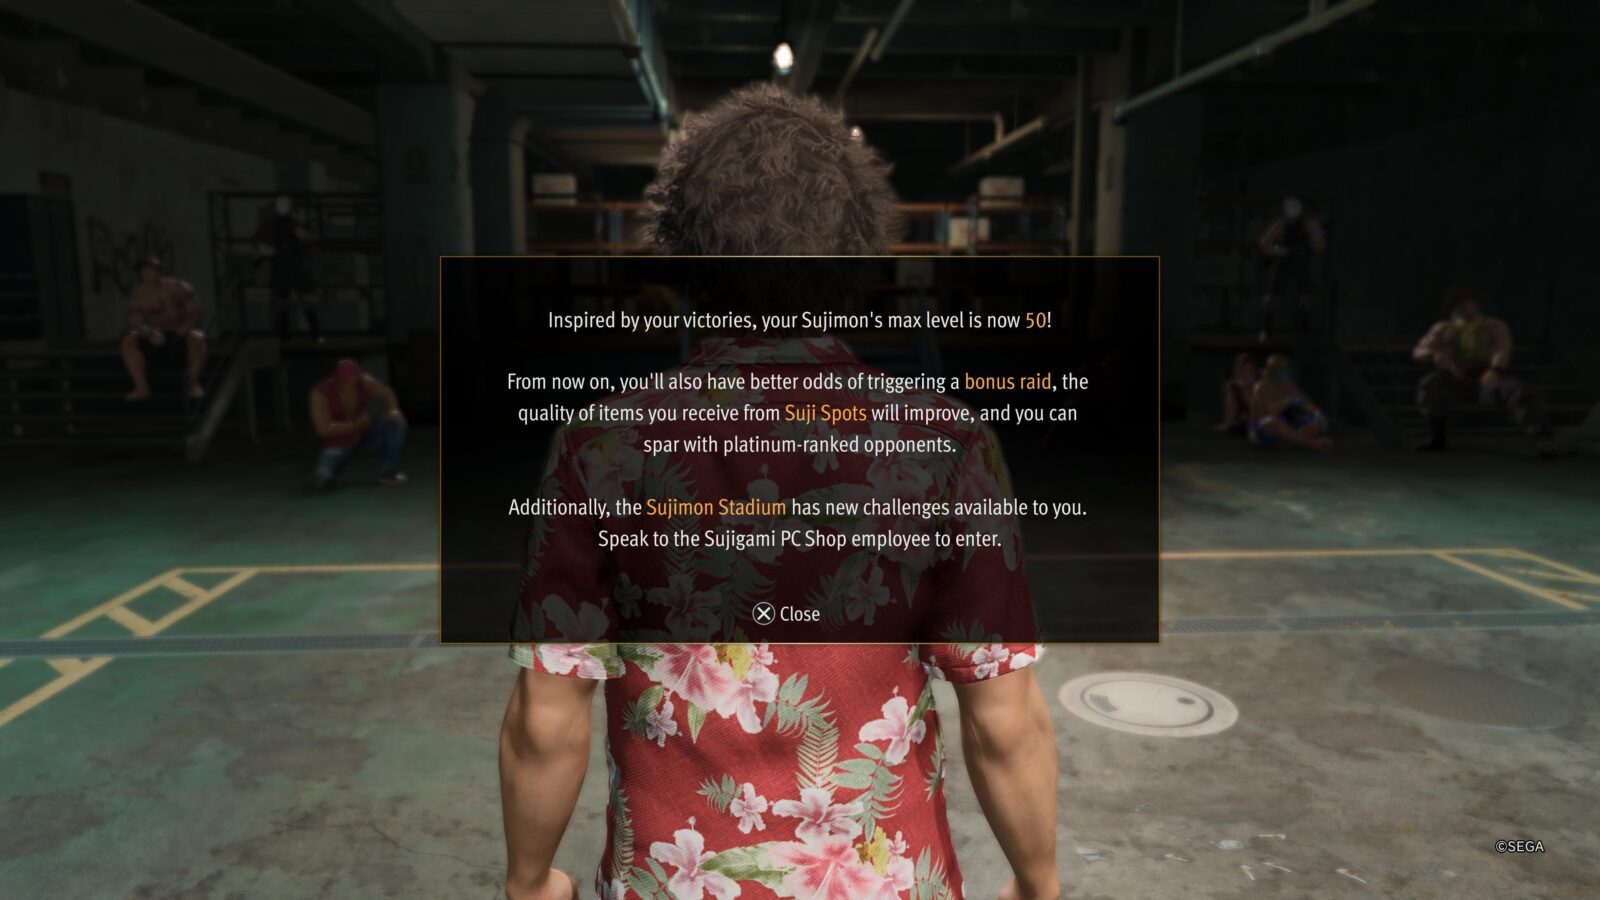
The friendship level complicates things a little, as it’s there to ensure you don’t just spend all your money on Sujimunch and earn the trophy that way. Friendship XP is gained through battles, but all you need to do to max out a Sujimon’s friendship level is to use it in as few as 10 battles.
To unlock the “Prize Fighter” trophy, raise any of your Sujimon to Level 50 and max out their Friendship Level. This may happen naturally as you work on Suji League Champion.
Dondoko Island Trophies

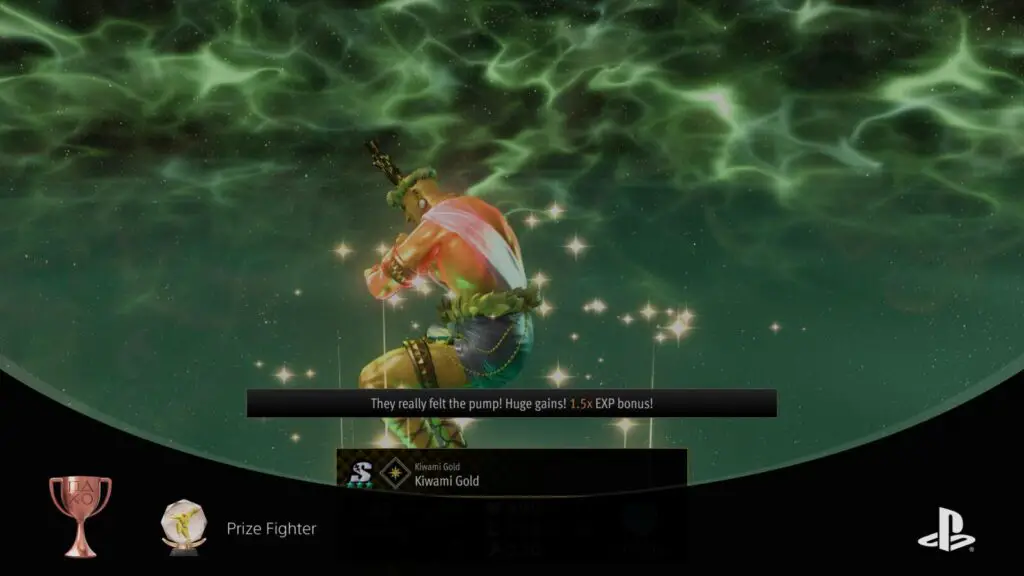
Craftaholic
Crafted 100 different pieces of DIY furniture.
In the Dondoko Island portion of the game, a major and frequently-recurring mechanic is the ability to craft “Furnishings” at the DIY table next to your home shack. Most days, you’ll be asked to craft at least 3 furnishings this way.
The game’s use of the words “Furniture” and “Furnishings” is very loose. This term is stretched to include chairs, tables, fountains, minivans, derelict buildings, even entire strip clubs, and much more.
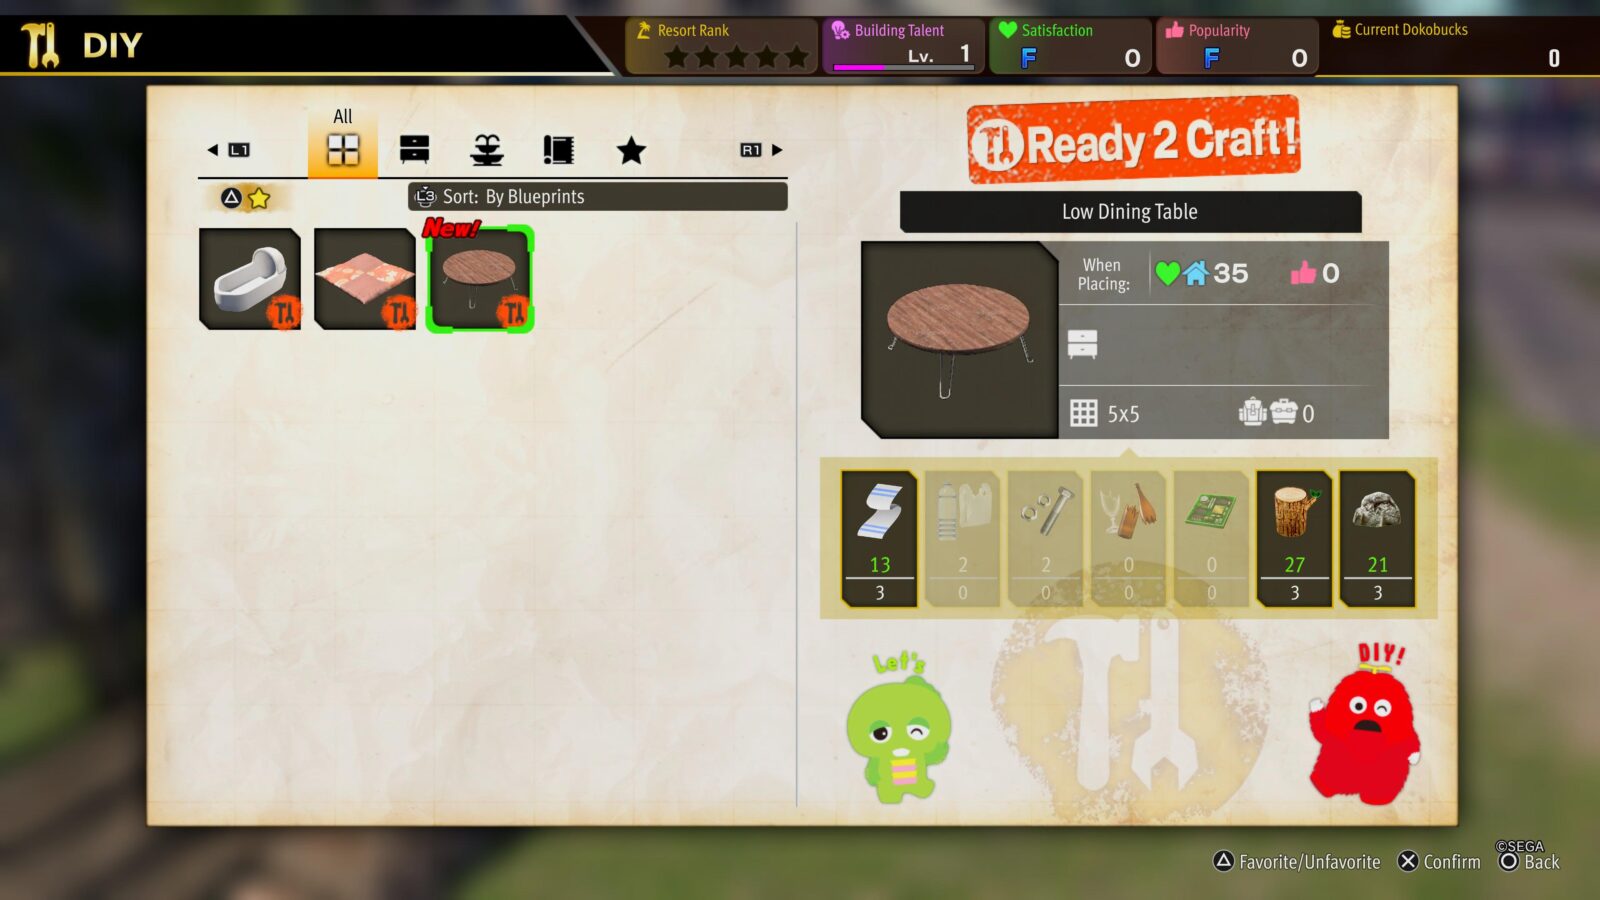
You will need to use the trash, wood, stone, and other resources you gather on the island to craft such “Furnishings” and then decorate the island with them. This will increase your popularity with guests (Island Hospitality), thus helping you rise through the star ranks (Basking in Glory).
As such, crafting 100 of these Furnishings for the “Craftaholic” trophy should not be too much of a grind, and should mostly happen naturally as you work on other objectives and trophies.

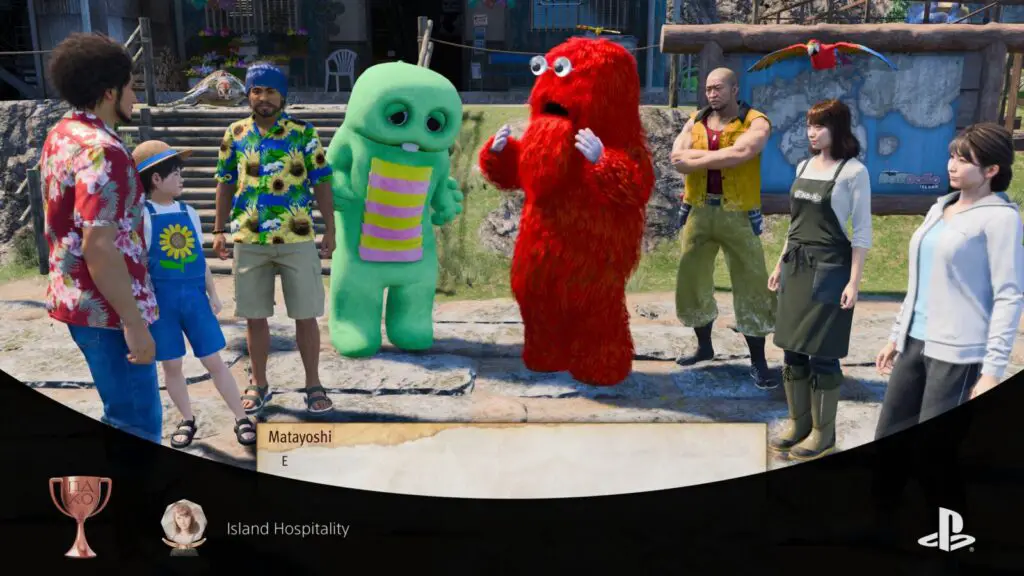
Island Hospitality
Welcomed 100 guests to Dondoko Island.
A big part of running things on Dondoko Island is accepting guests on “tours.” To accept guests, you first must build lodgings, which you’ll be introduced to after working on the island for a good long while. The lodgings can be purchased from Kenzo in the shop on Dondoko Island.

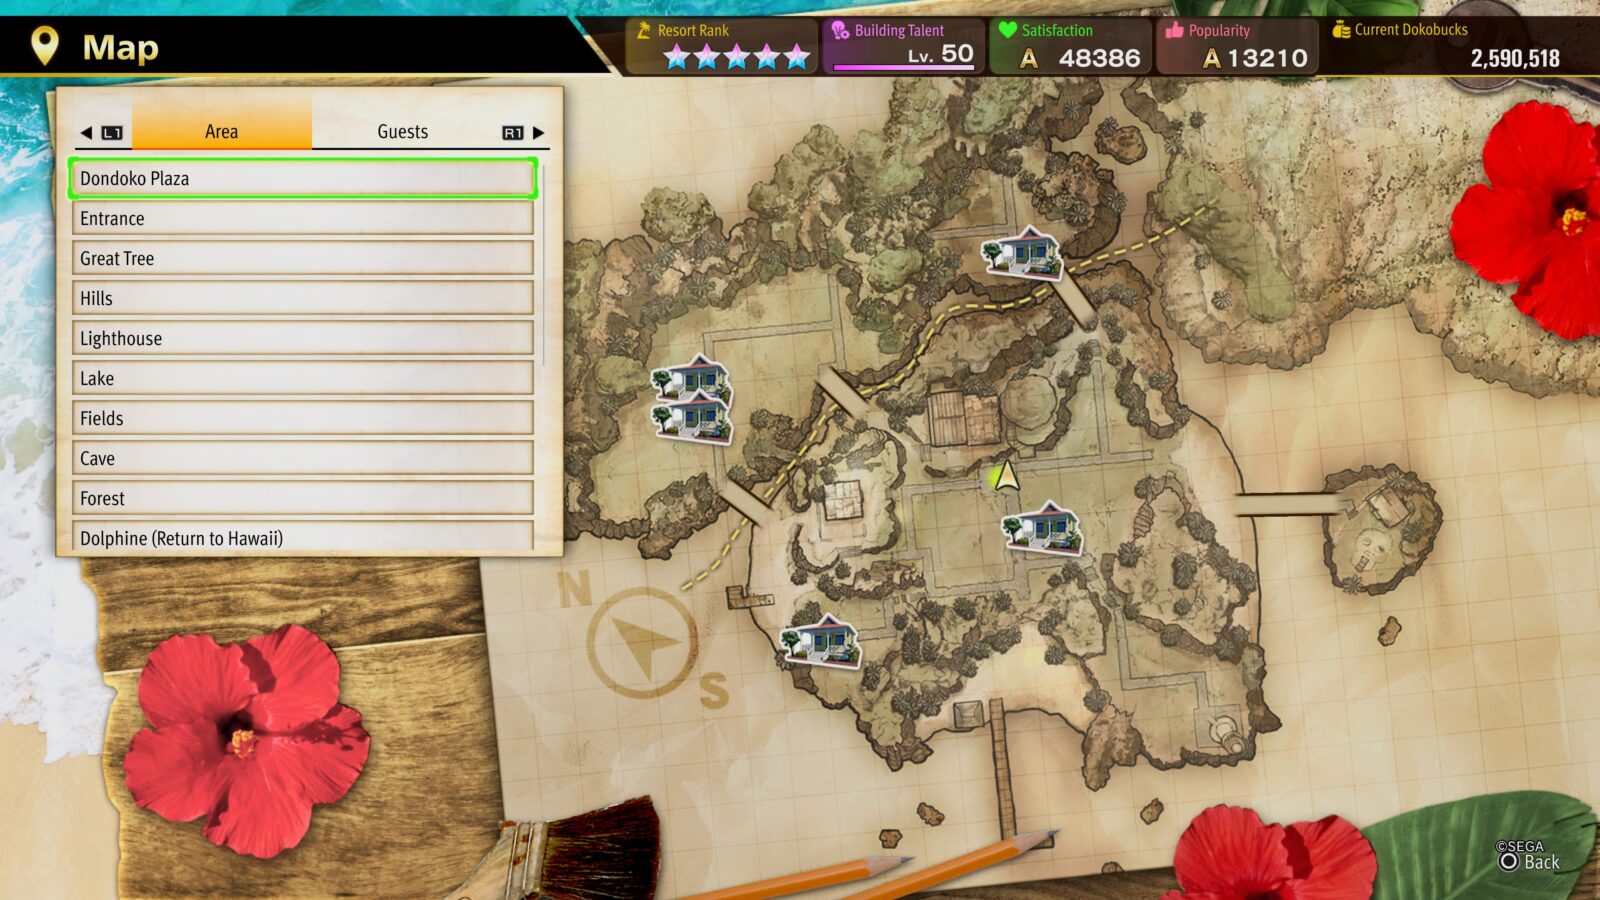
Once you’ve placed a lodging and can accept tours, you’ll be able to begin taking in up to 5 guests per lodging every 3 days. If you have 5-slot lodgings available in all 5 locations—Entrance/Great Tree, Hills, Fields, Cave, and Forest—you will be able to take in around 25 guests per tour, taking in new guests every 3 days.
At that rate, you could accept 100 guests in as few as 5 tours (15 days). To build lodgings in all those locations, however, you’d first need to increase your island to a 3-star resort, then clear the Cave and the Forest. These are all things you’ll do to unlock Basking in Glory, so go earn that trophy first and then come back here.
You will have already accepted a good 30-40 guests in pursuit of your four-star rating, so by the time you come back, you should only need to upgrade your lodgings and then run 3-4 more tours.
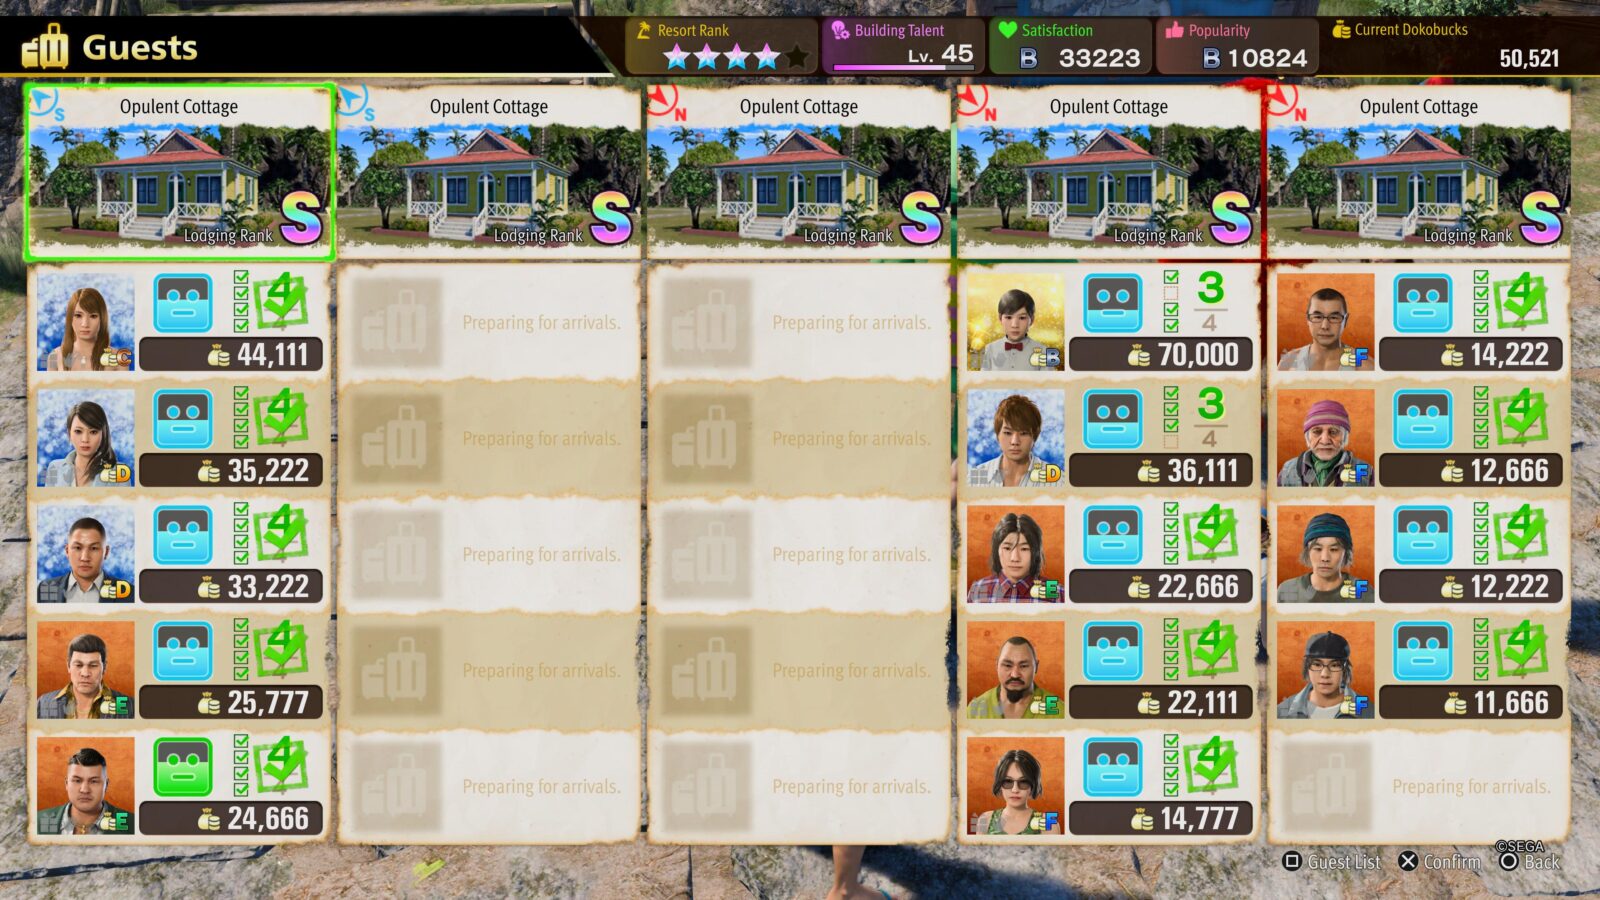
When purchasing new lodgings, you will need to buy the “Opulent Cottage” five times, as this is the only lodging that can hold a full five guests. Focus your next few Dondoko Island days on saving up for and purchasing these lodgings to go in all 5 locations on your island and then farm away!
You can track how many guests you’ve had at your resort so far via the “Suggestion Box” under the ![]() menu. You’ll find it near the top of the list in the “Guests” tab. Note that a guest only counts as having visited when they check out and not when they check in.
menu. You’ll find it near the top of the list in the “Guests” tab. Note that a guest only counts as having visited when they check out and not when they check in.

If you need more guests to fill out your available guest spots, run a TV Ad via Subaru in his shack on the South Beach (See Dondoko A-Go-Go!).
You’ll make a decent amount more progress as you wrap things up on the island for Dondoko Denouement, but will probably need to play for a few more tours even then.

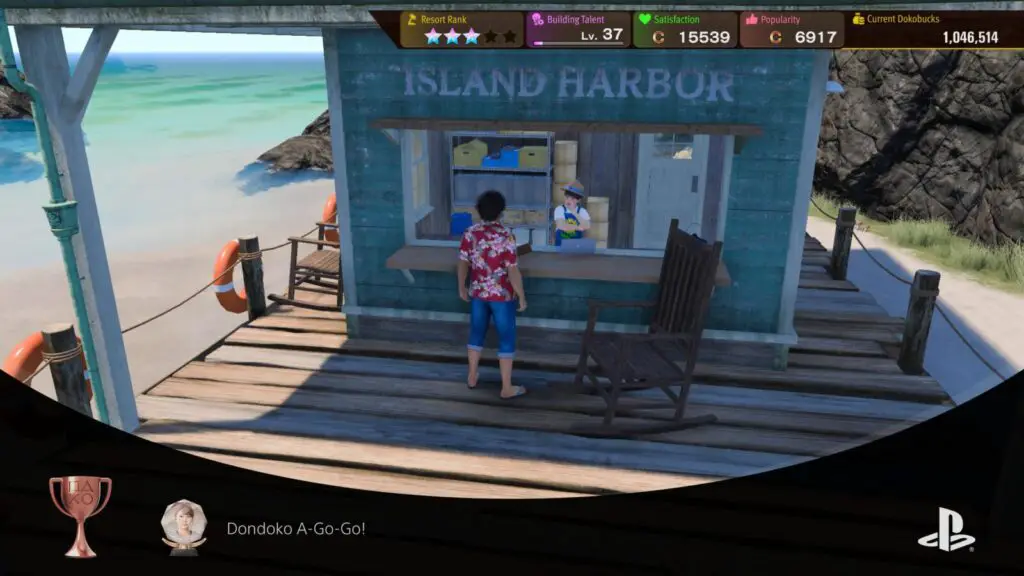
Dondoko A-Go-Go!
Ran a TV ad on Dondoko Island.
Once you have improved Dondoko Island into a 3-star resort (See Basking in Glory), you will unlock a new feature, available at Subaru’s Shack on the South Beach; TV Ads!
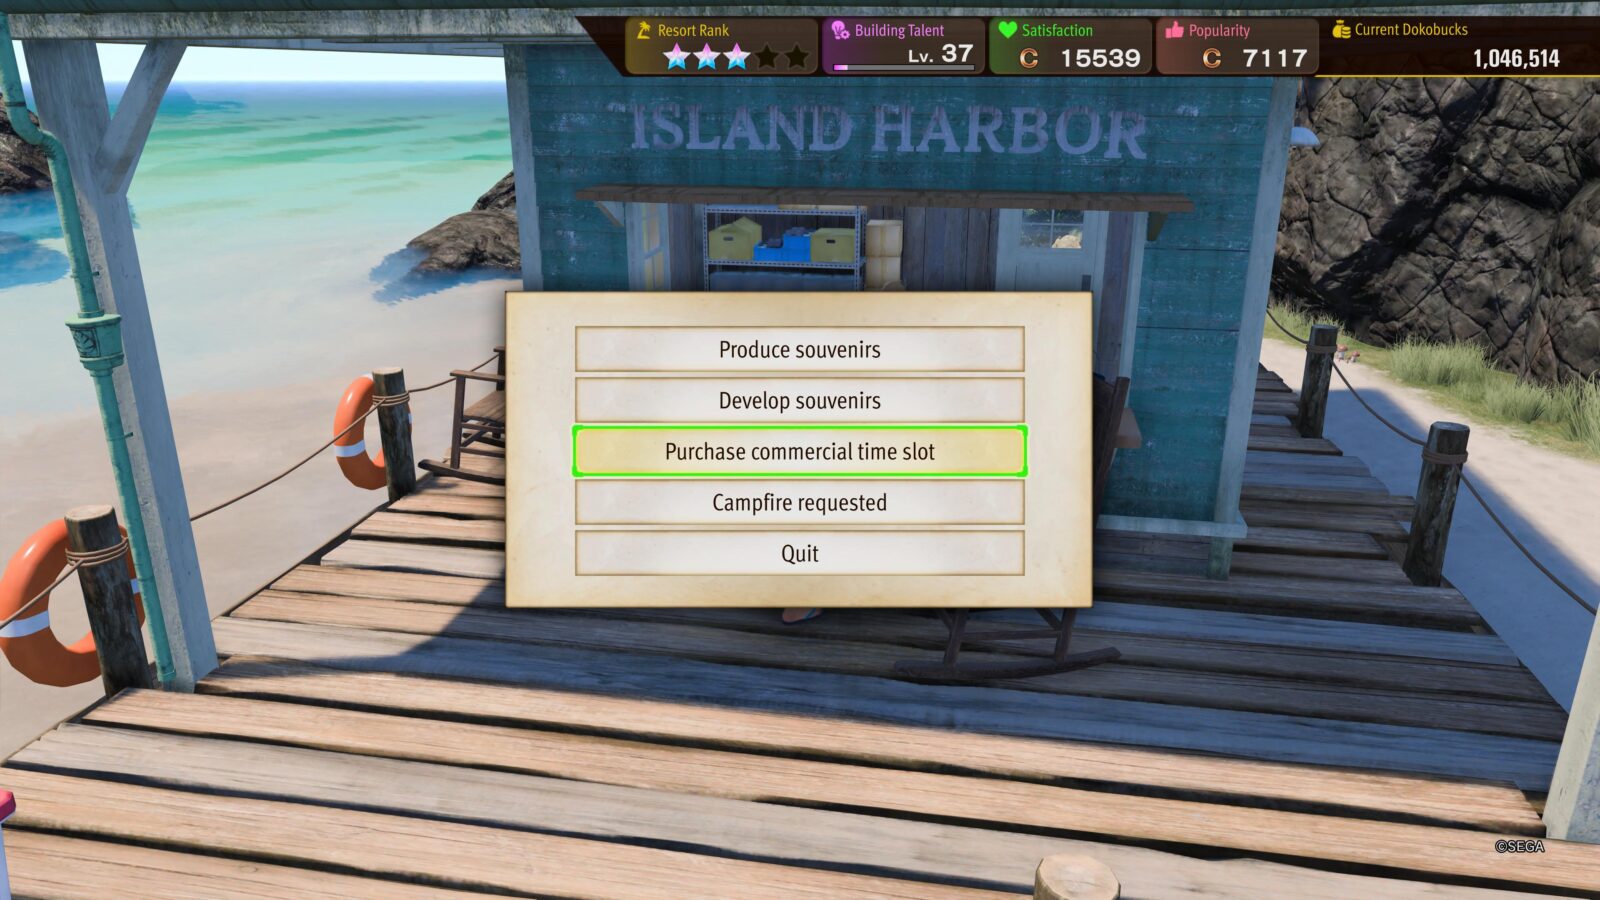
Speak to Subaru and select the new “Purchase commercial time slot” option to run an advertisement for Dondoko Island on TV. This attracts a wave of fresh new faces for visitor assignment, but it costs 100,000 Dokobucks, so you’ll need to weigh the cost against your other objectives.
Whenever you do run a Dondoko Island TV Spot for the first time, you’ll unlock the “Dondoko A-Go-Go!” trophy

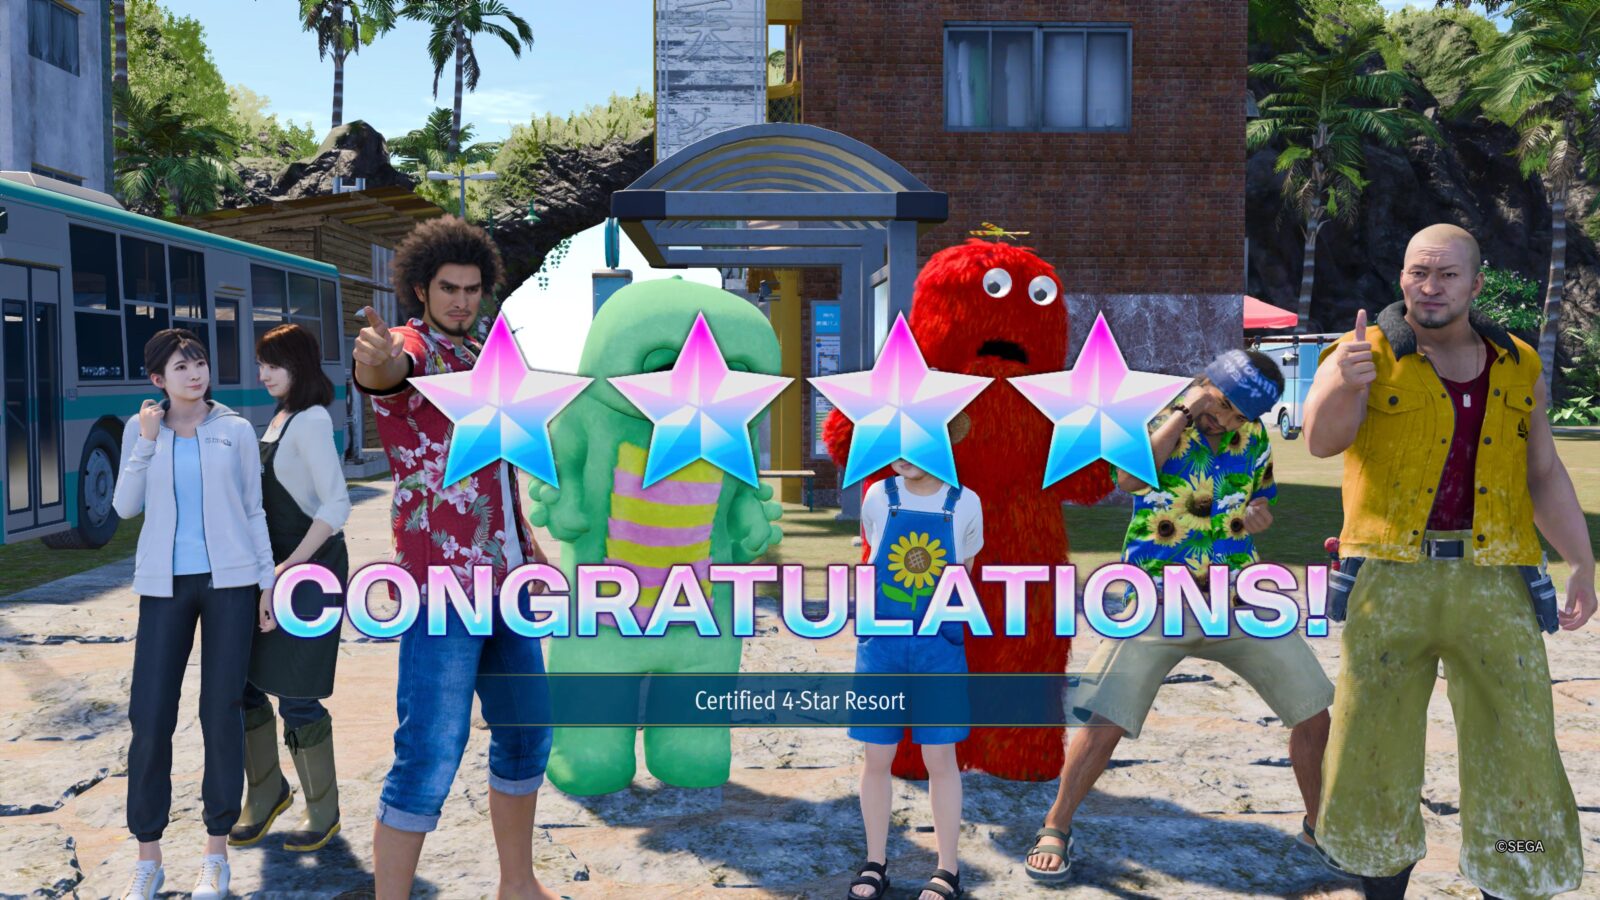
Basking in Glory
Transformed Dondoko Island into a 4-star resort.
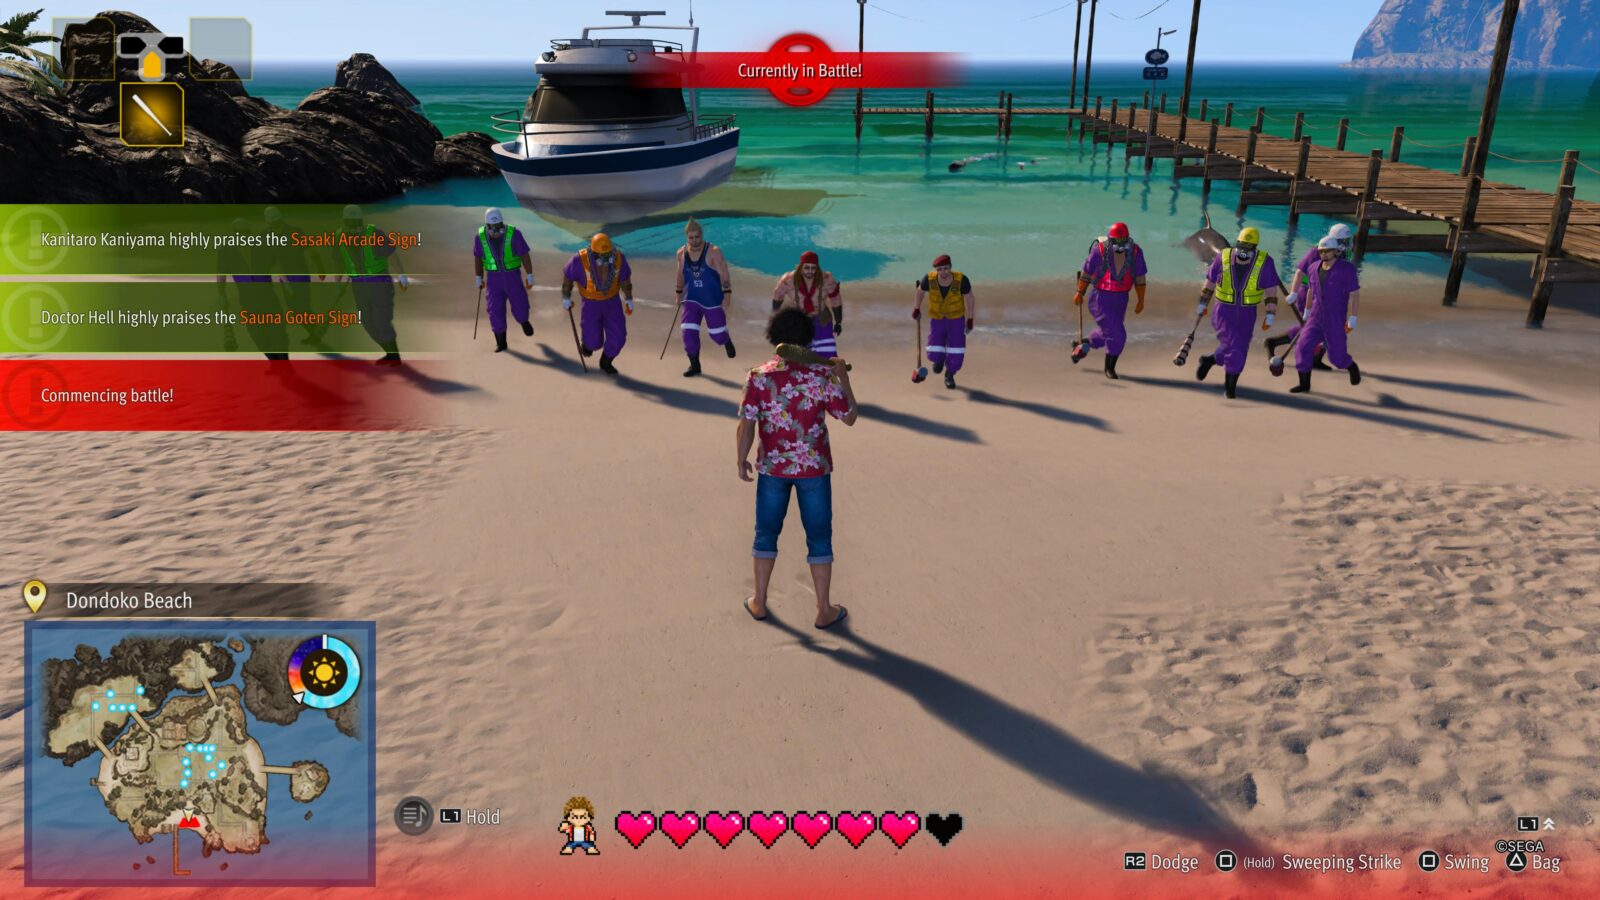
The Dondoko Island Resort is an Animal Crossing-inspired minigame in which you have full creative control over an island and get to build it from a junkpile into an opulent and successful resort for characters of all kinds to kick back at.
Each day you’ll be given a set of sub-objectives in the form of “Dondoko Dailies.” Doing these will help you make steady progress on the island and slowly build your bank up to afford to construct bridges, clear areas, and erect lodgings.
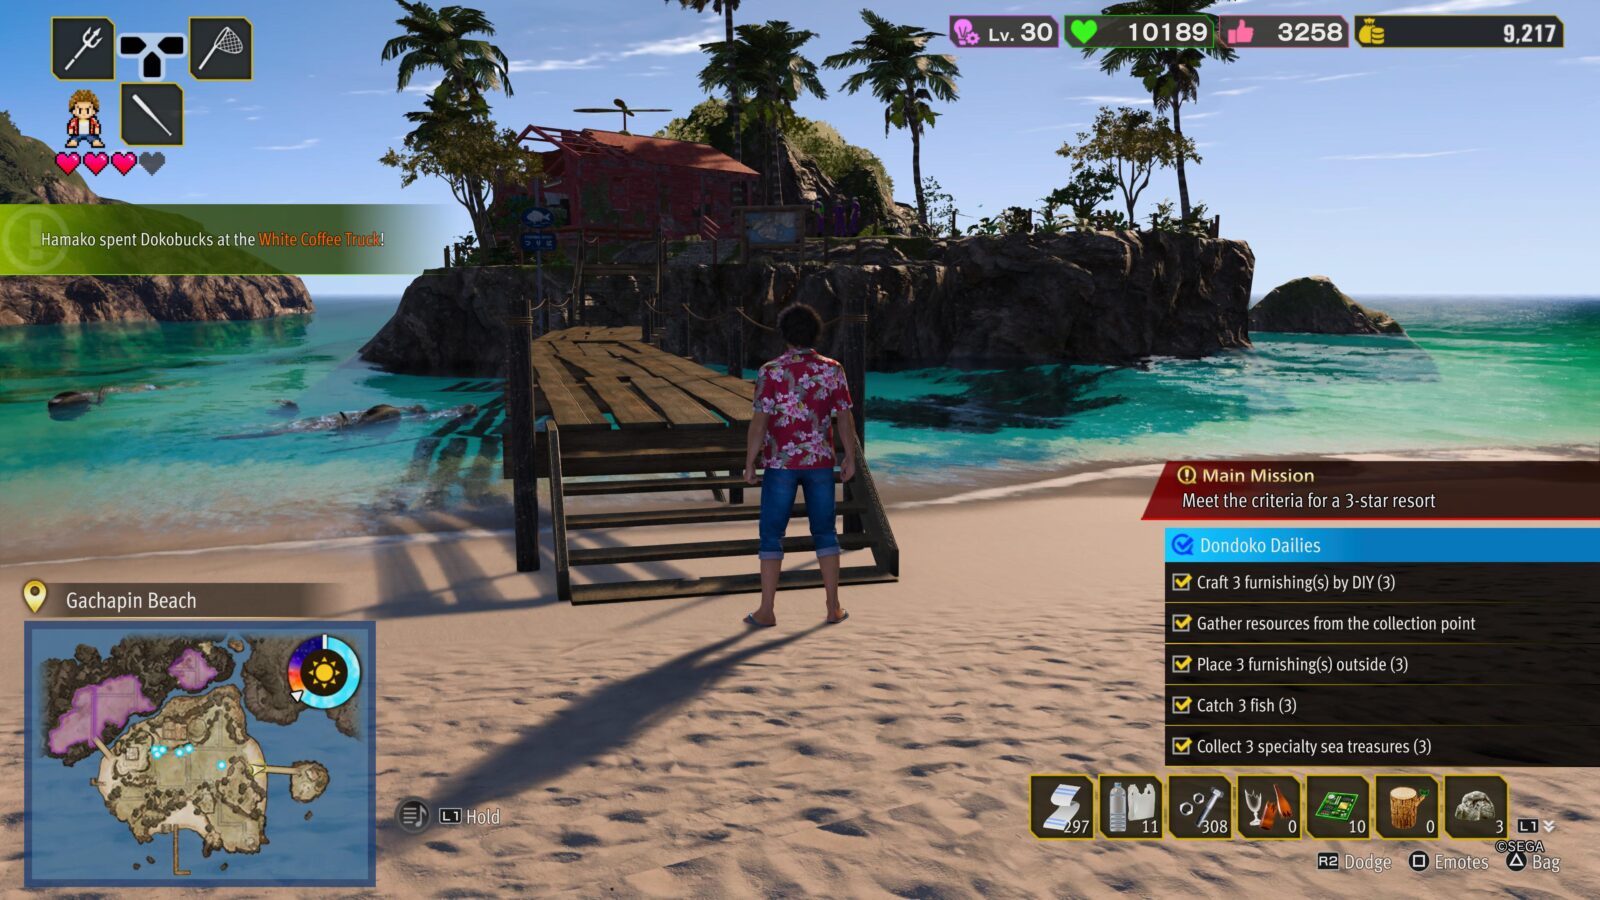
As you clear away debris such as trash piles, boulders, trees, and more, you’ll collect resources that can be used to craft everything from karaoke bars to sports cars. Using your building talents, the resources you gather, and a splash of creativity, you’ll need to decorate the island to increase its popularity and guest satisfaction. All the while, you’ll also need to raise money for construction efforts to meet further requirements.
You’ll note that some areas cannot be cleared unless you have the right “Building Talent Level.” This stat increases the more you produce furnishings at the DIY Table. See Craftaholic for more info.
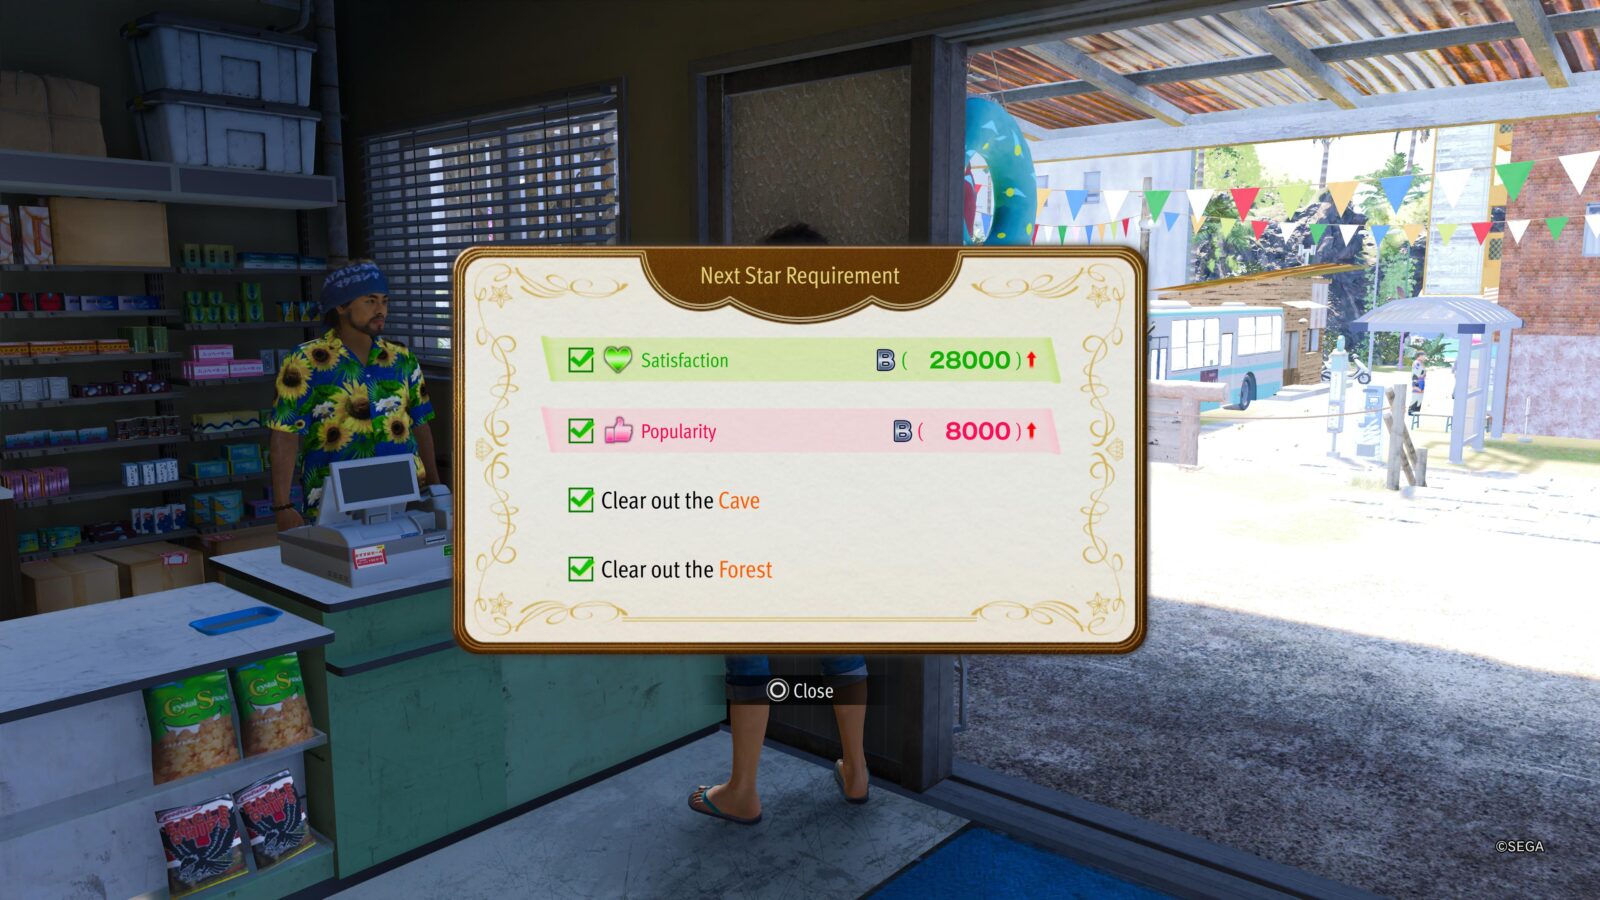
To unlock the Basking in Glory trophy, you will need to meet the requirements for a four-star resort and then speak to Matayoshi. Once the inspector has approved your new rating in a cutscene, the trophy is yours.
You’ll then need to continue playing to unlock Dondoko Denouement.
| Star Requirement | Satisfaction | Popularity | Requirements |
|---|---|---|---|
| 1-Star | 1000 | 700 | – Clear out Entrance – Clear out Great Tree |
| 2-Star | 5000 | 2000 | – Clear out Lighthouse (Req. Building Talent lv.20) – Clear out Hills (Req. Building Talent lv.15) |
| 3-Star | 15000 | 4500 | – Clear out Fields (Req. Building Talent lv.25 + $200,00 bridge construction) – Win a battle at the Lake (Req. $200,00 bridge construction, followed by Washbucklers fight) |
| 4-Star | 28000 | 8000 | – Clear out Cave (Req. Building Talent lv.30 + $200,00 bridge construction) – Clear out Forest (Req. Building Talent lv.40 + $200,00 bridge construction) |

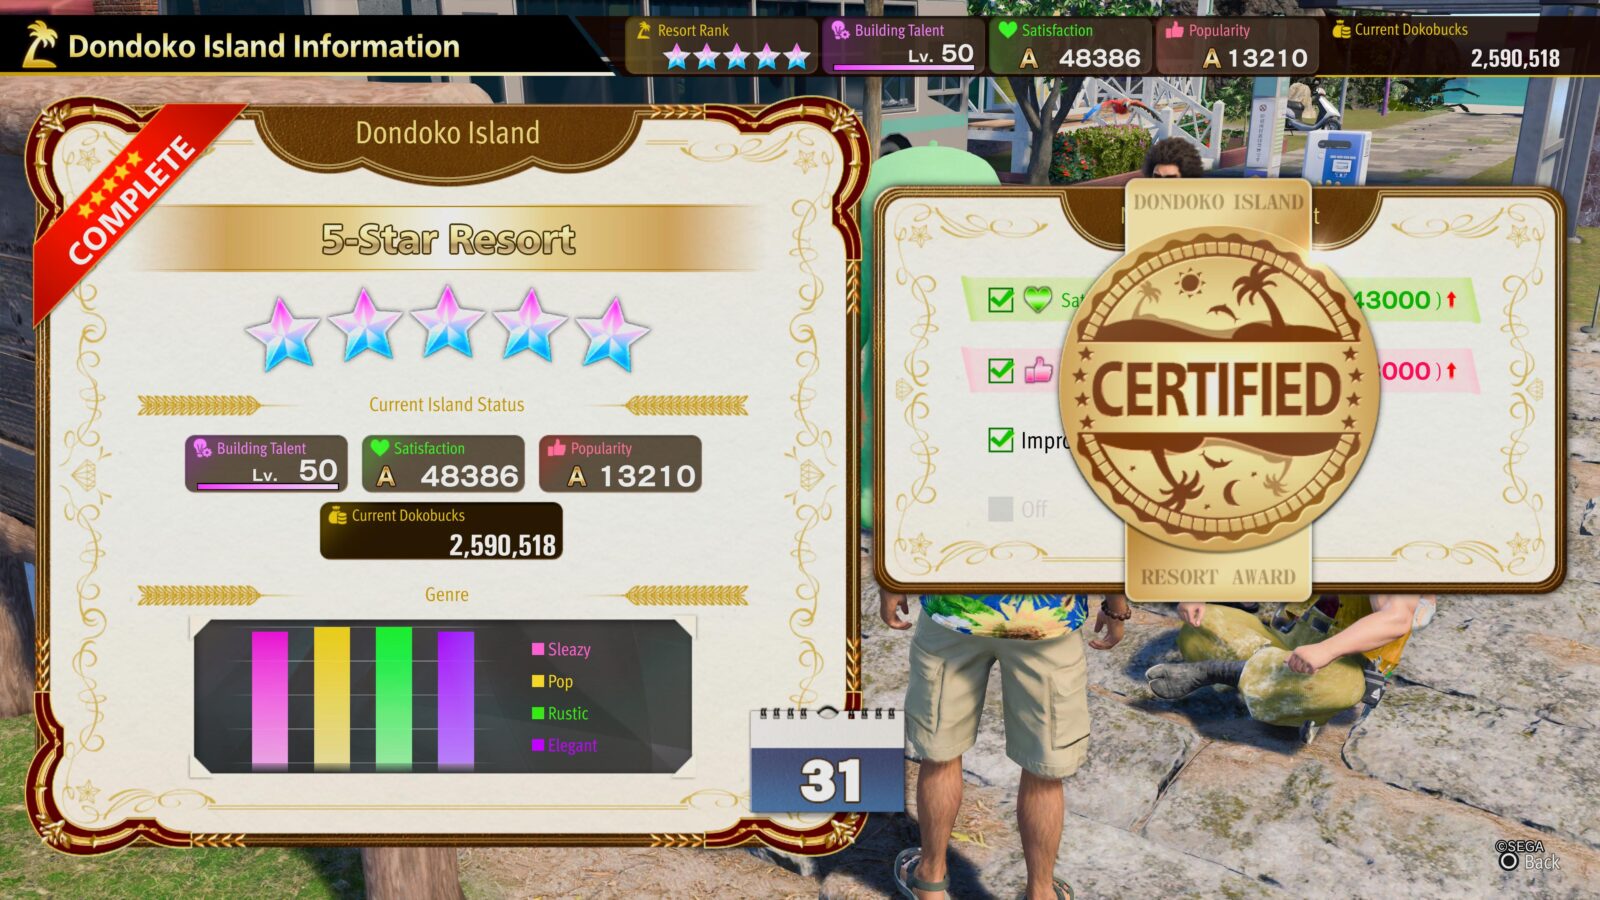
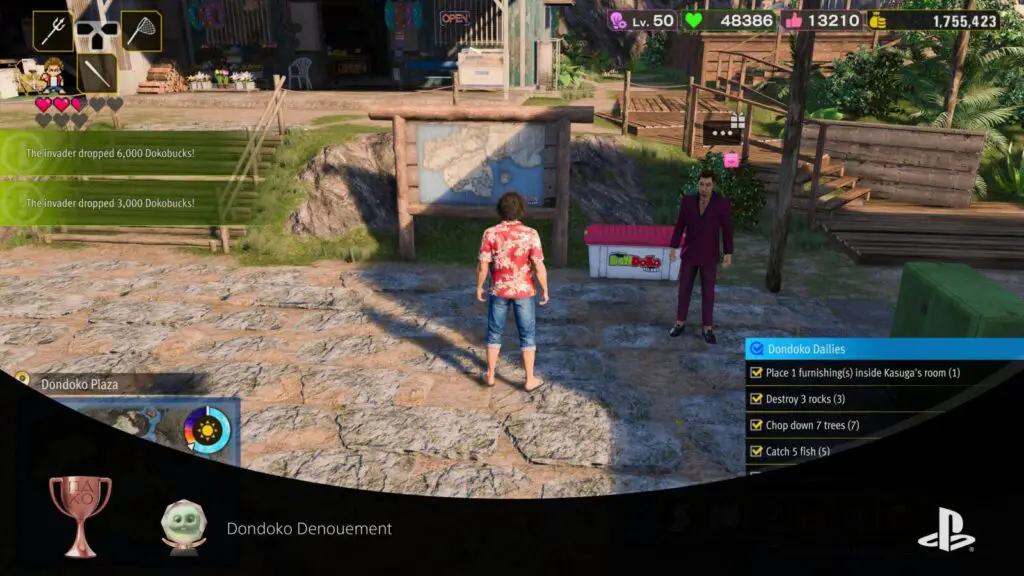
Dondoko Denouement
Completed the Dondoko Island story.
Once you’ve raised Dondoko Island to a 4-star resort, there are just three things left to do to turn it into a 5-star resort:
- Raise your Satisfaction Level to 43,000
- Raise your Popularity Level to 13,000
- Defeat the Washbucklers for good
While raising your satisfaction and popularity, I strongly recommend following the steps laid out for Island Hospitality to ensure you’re maximizing your guest intake and reducing the grind ahead.
Before heading off to defeat those pesky Washbucklers, you might also want to consider crafting some decorations for Kasugas home, and then stuffing it full of as many as you can cram in there. The more opulent and plentiful the decorations in Kasuga’s Home; the higher his HP. Having a lot of health will help you in the final fight.
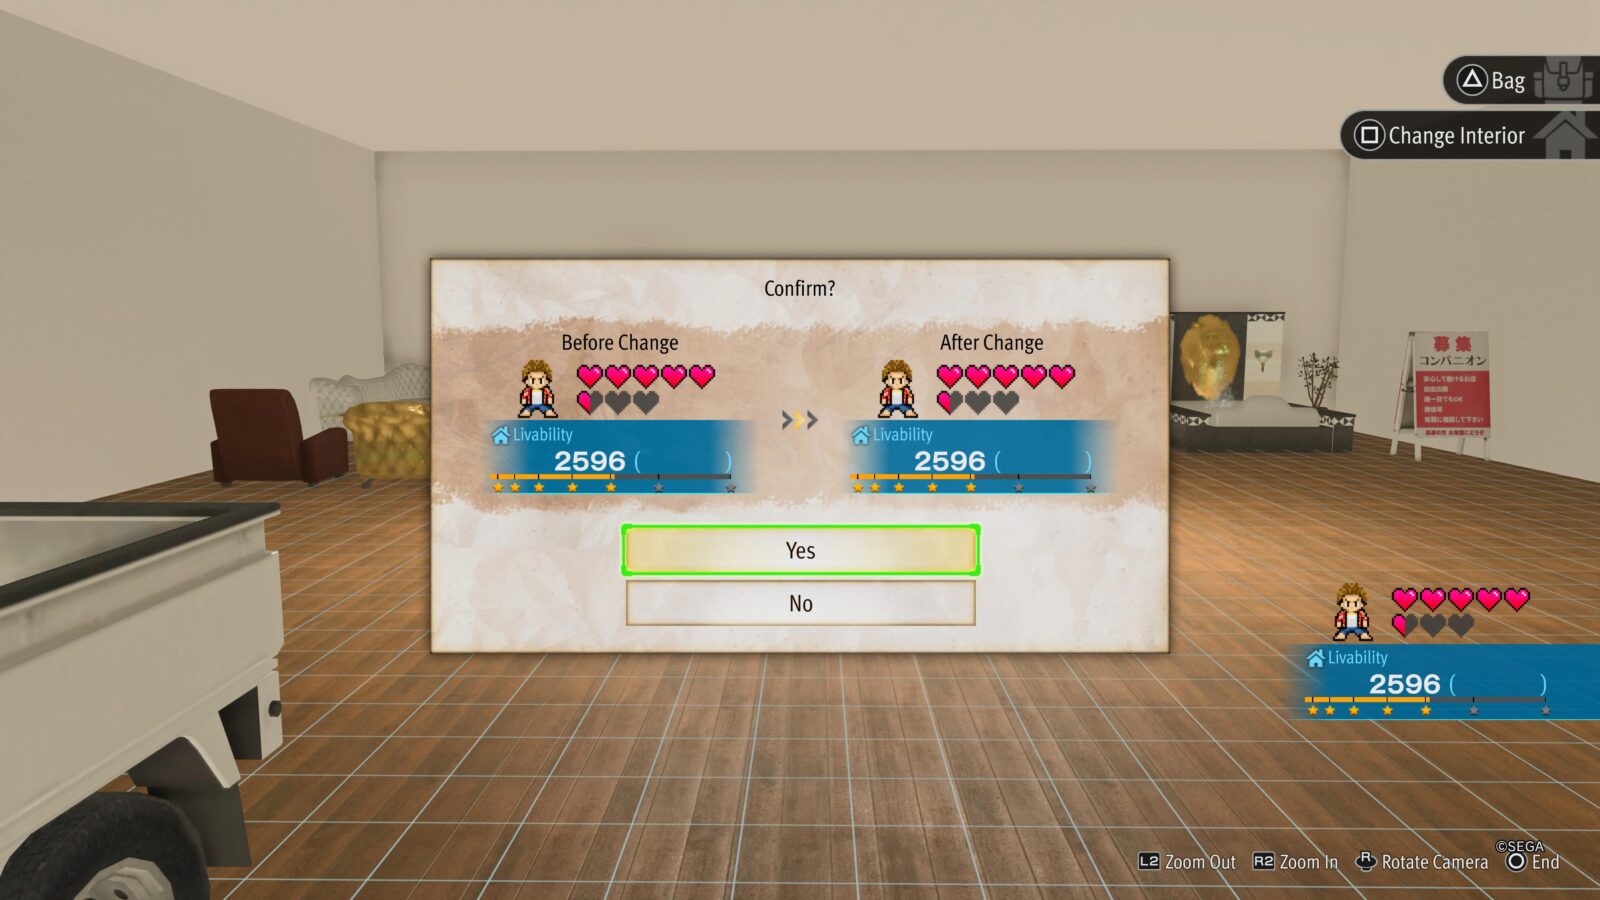
Note that you can also increase the attack speed of Kasuga’s Bat if you improve it via Kenzo in the Dondoko Island Shop.
When you’ve met the Popularity and Satisfaction goals for a 5-star resort, speak to Matayoshi to kick things off, setting you on the path to a final fight with the Washbucklers.
Once you defeat the Washbucklers and conclude the Dodonko Island main story, you and your five-star resort will have earned the “Dondoko Denouement” trophy!
There’s a good chance you’ll need to stick around for a few more tours to unlock Island Hospitality.
Side-Story Trophies

Touching Lives
Completed 10 substories.
The Touching Lives trophy will unlock once you’ve completed a cumulative total of 10 sub-stories. A handful of these will be completed automatically as you progress through the main story, but you’ll eventually need to complete 40 to unlock Living Your Best Life.

Saving Lives
Completed 20 substories.
The Saving Lives trophy will unlock once you’ve completed a cumulative total of 20 sub-stories, but you’ll eventually need to complete 40 to unlock Living Your Best Life.

Living Your Best Life
Completed 40 substories.
There are a total of 52 Sub-Stories you can complete in Like a Dragon: Infinite Wealth. They gradually become available over time as you progress through the story and are clearly marked on the map in the form of a speech bubble.
There are several you’ll complete as part of the story, and other trophies like Suji League Champion will have you complete several more. Still, you’ll need to go out of your way to dedicate some time to completing a good majority of the remainder. You can do this as they become available, or you can ignore them all and blast through them post-game in Premium Adventure—none are missable or timed.
Once you’ve completed a cumulative total of 40 Sub-Stories, you’ll receive the Living Your Best Life trophy!

Precious Memories
Gathered 30 Memoirs of a Dragon.
In “Like a Dragon: Infinite Wealth,” Memoirs are introduced in Chapter 8 as part of the storyline.
They serve a dual purpose: firstly as collectibles and also kind of like Kiryu-specific substories. Gathering these Memoirs whenever you can is strongly recommended as each one grants you Soul, Tech, or Body XP.
You will unlock the Precious Memories trophy after completing just 30 of these, but will need to go on to complete a cumulative total of 70 for Abundant Memories.

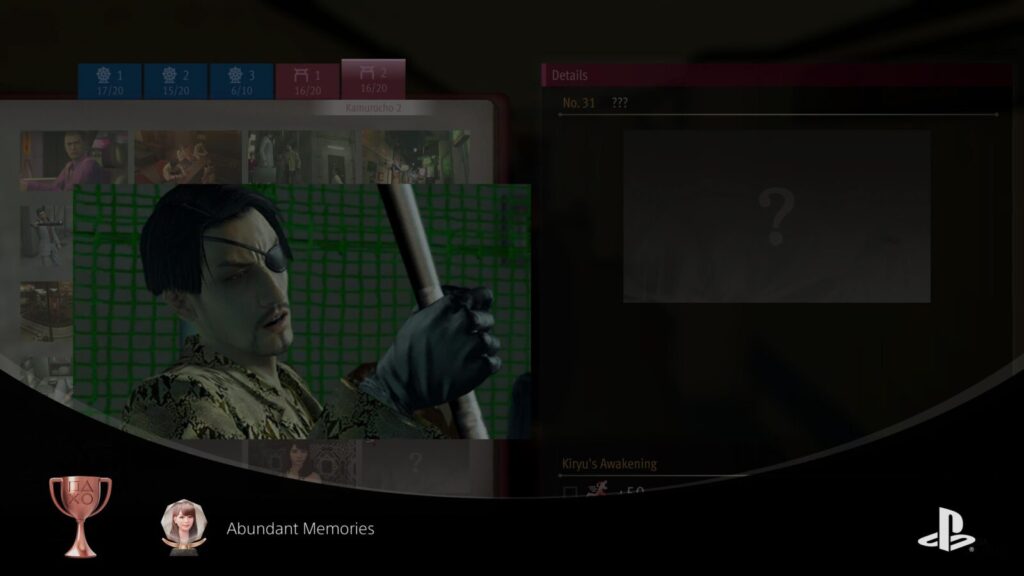
Abundant Memories
Gathered 70 Memoirs of a Dragon.
Memoirs of a Dragon are a special type of collectible that become available from Chapter 8 onwards. They are all clearly marked on the map in the form of open book icons as soon as they’re available.
Through them, Kiryu—and returning fans of the series—can revisit nostalgic memories from past installments.
Each time you collect one, Kiryu’s Soul, Tech, or Body stats will increase, so it’s great to farm these for the Funk Goes On trophy.
You may also receive some Memoirs by completing Life Links and Story events.
Once you have collected a cumulative total of 70 Memoirs, you will unlock the Abundant Memories trophy. You can either do this as and when the Memoirs become available, or you can mop them up post-game in Premium Adventure—none are time-limited or missable.

Renewed Purpose
Completed all Life Links.
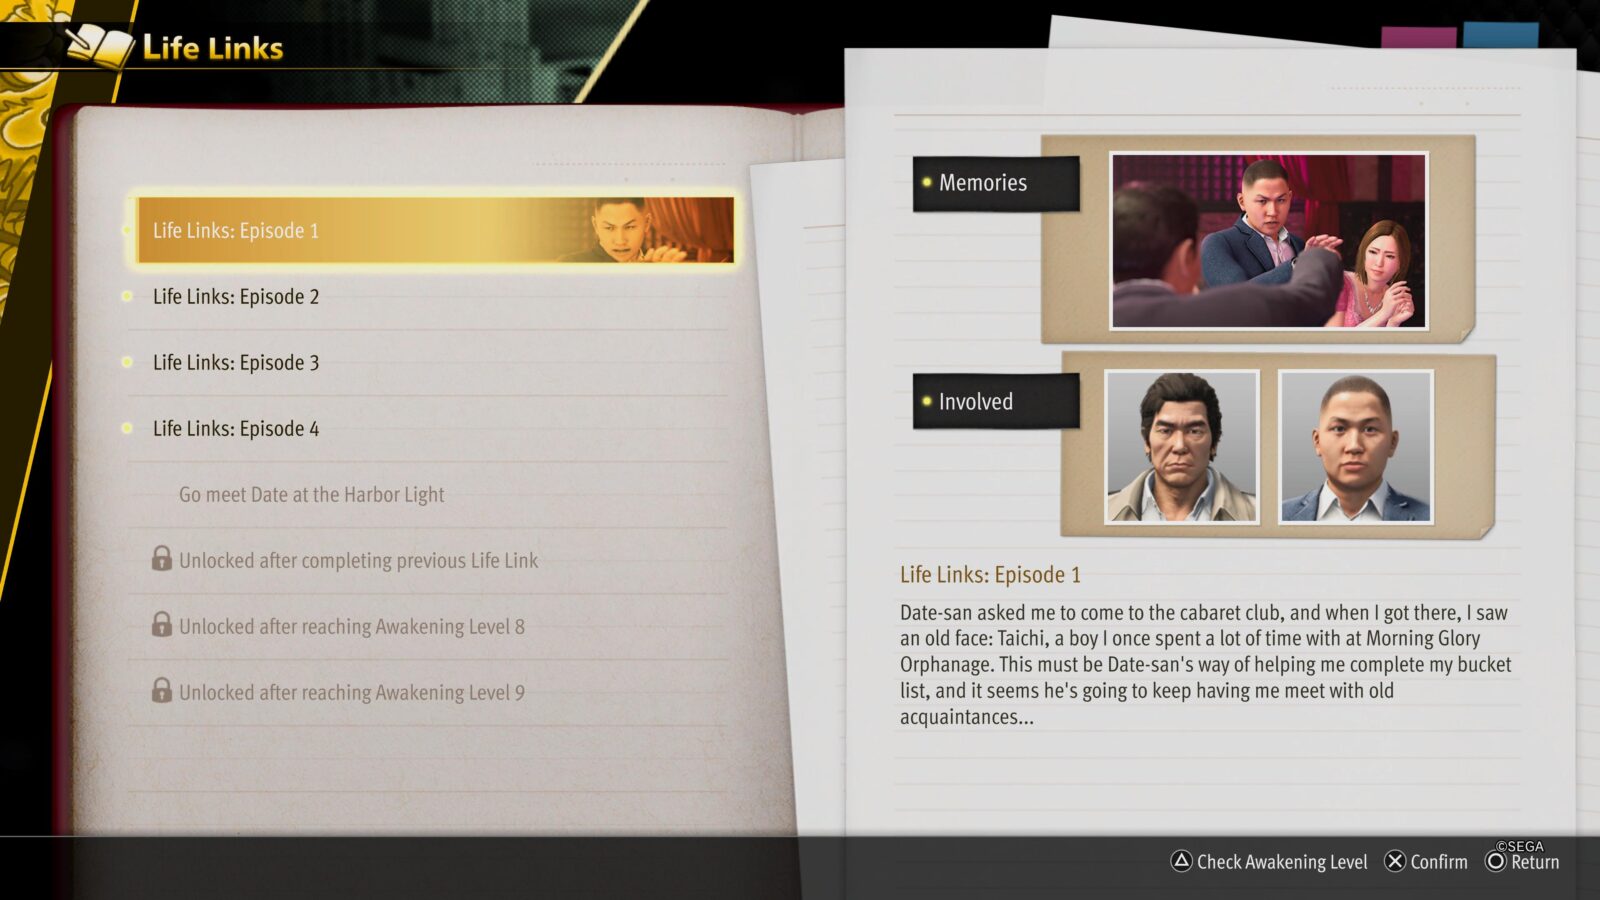
Various Life Link Substories gradually become available throughout the game, specific to Kiryu, between Chapter 8 and Chapter 12. You’ll only get access to one at a time and you’ll have to wait for a phone call after each mission. You can check on these Life Links in Kiryu’s Bucket List Menu, where you’ll also see their unlock requirements.
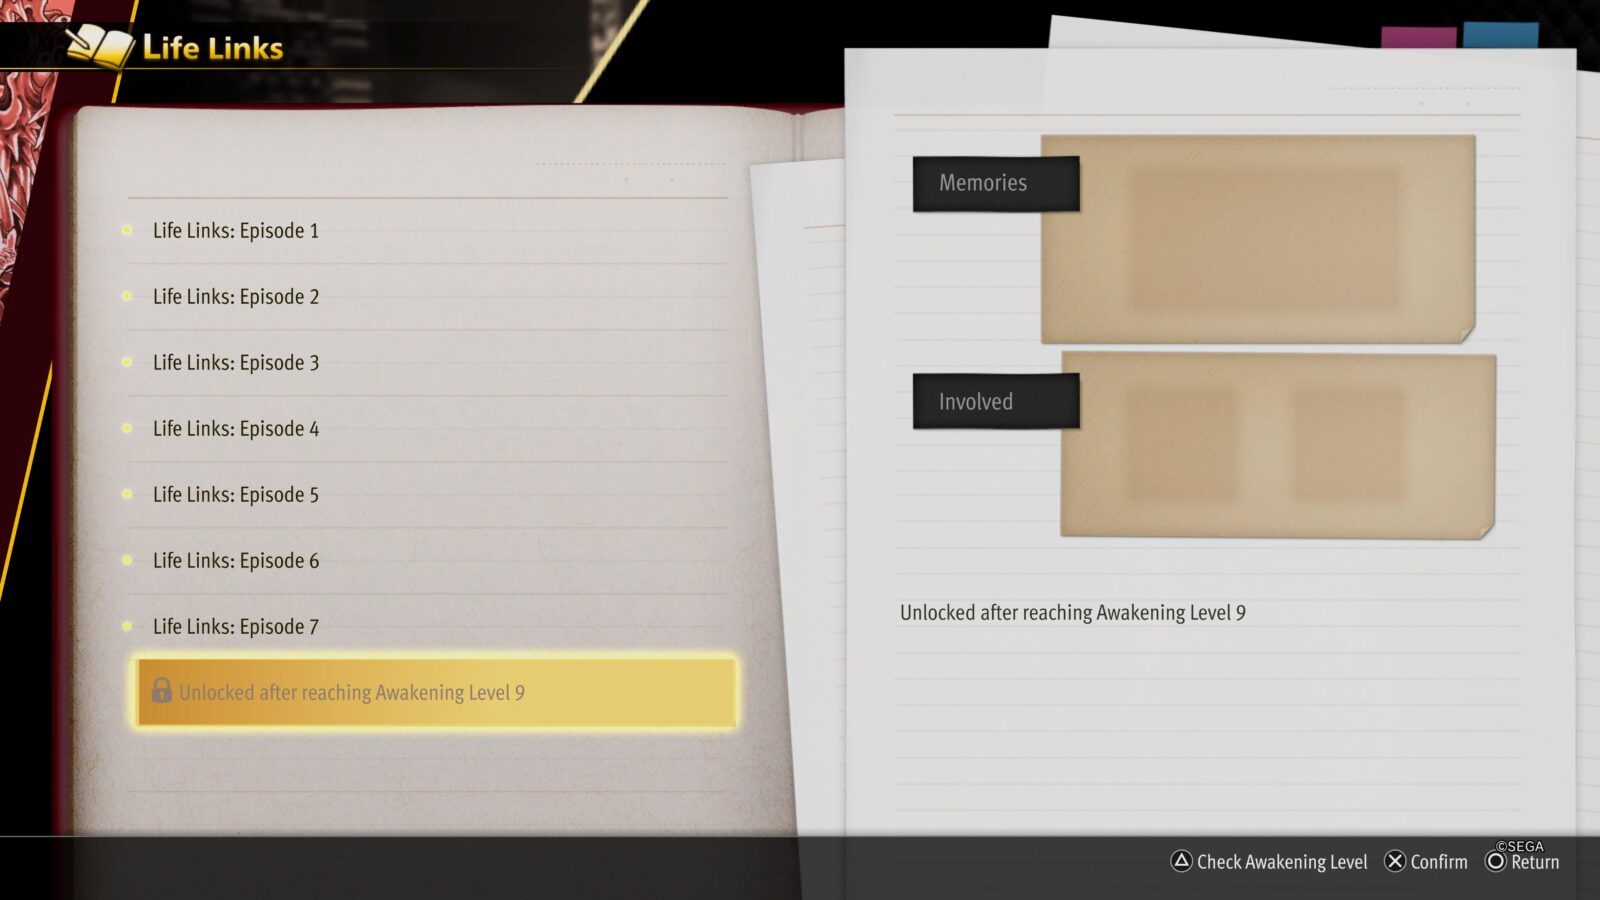
Sometimes, you’ll need to have a specific Awakening Level to access a Life Link, so be sure to check Funk Goes On for Awakening Level tips. The final Life Link, for example, requires you to have Level 9 in all three of Kiryu’s Awakening Levels, which is no small feat.
Most of these Substories are just lengthy cutscenes centered around characters from Kiryu’s past, but some will require you to complete a short fight sequence, with enemies up to Level 44 in strength, which shouldn’t be a problem for you post-story.
Keep completing these each time you get a phone call until you’ve completed them all. Upon completing the final Life Link Sub-story, you’ll unlock the silver Renewed Purpose Trophy!

Funk Goes On
Pushed Kiryu's Soul, Tech, or Body to the max.

You’ll be introduced to Kiryu’s three stances early in the game, but won’t get access to his Awakening Level until Chapter 8.
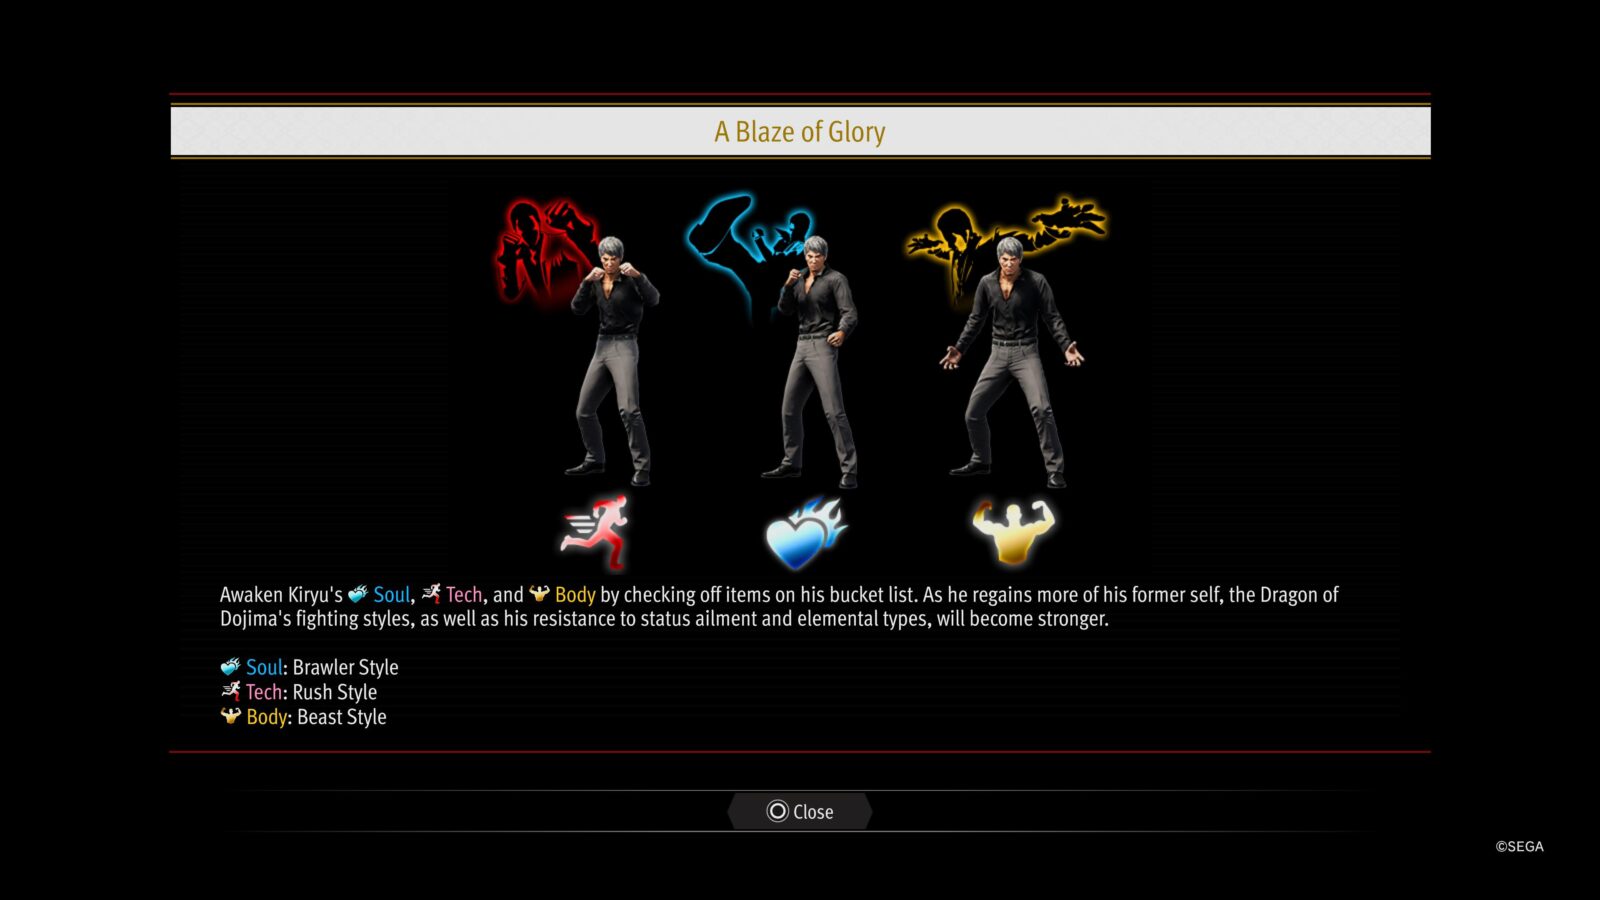
From then on, much like Kasuga’s six Personality Levels, you will be able to increase Kiryu’s three Awakening Levels—Body, Soul, and Tech—by doing any of the following things:
- Completing story events
- Completing Memoirs of a Dragon (See Abundant Memories) — It’s highly recommended that you get as many of these as you can, they’re a very low-effort way of quickly increasing your Awakening Levels.
- Complete Challenges — under the Bucket List menu when playing as Kiryu, you’ll see a “Challenges” option. In here, there are a plethora of challenges similar to the Personality Challenges you’ll complete to unlock Metahuman. These are how you’ll farm the last few Awakening Levels you need.
To unlock the Funk Goes On trophy, you need to increase just one of your three Awakening Levels to the maximum value of 10. That said, you cannot access the final Life Links Substory for the Renewed Purpose Trophy without raising all three of your Awakening Levels to at least 9.
Minigame Trophies

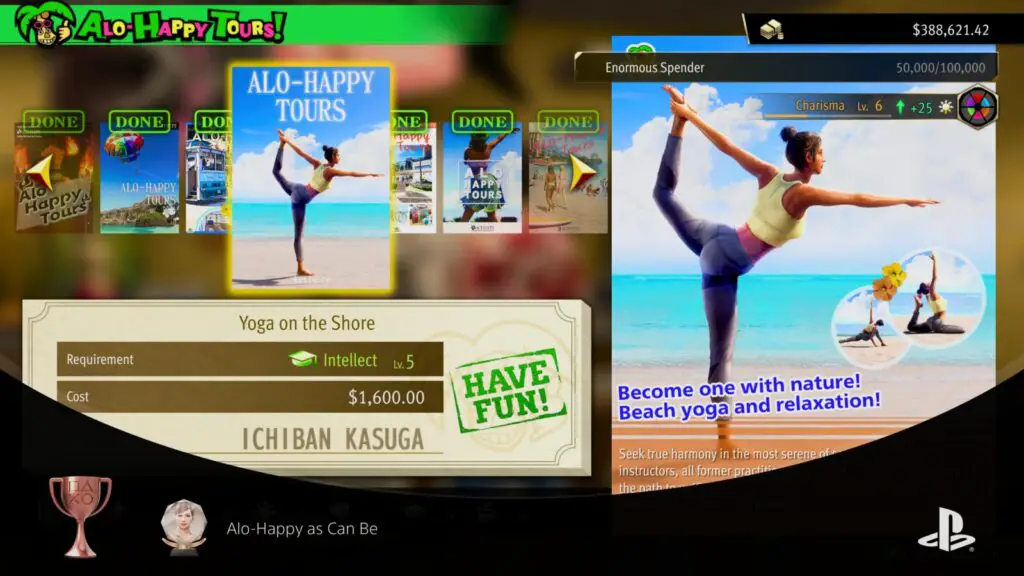
Alo-Happy as Can Be
Experienced 8 activities offered by Alo-Happy Tours.
Alo-Happy Tours, introduced during a mandatory Sub-story in Chapter 5, is a way to access the array of new jobs available for Kasuga and co. in Like a Dragon: Infinite Wealth.
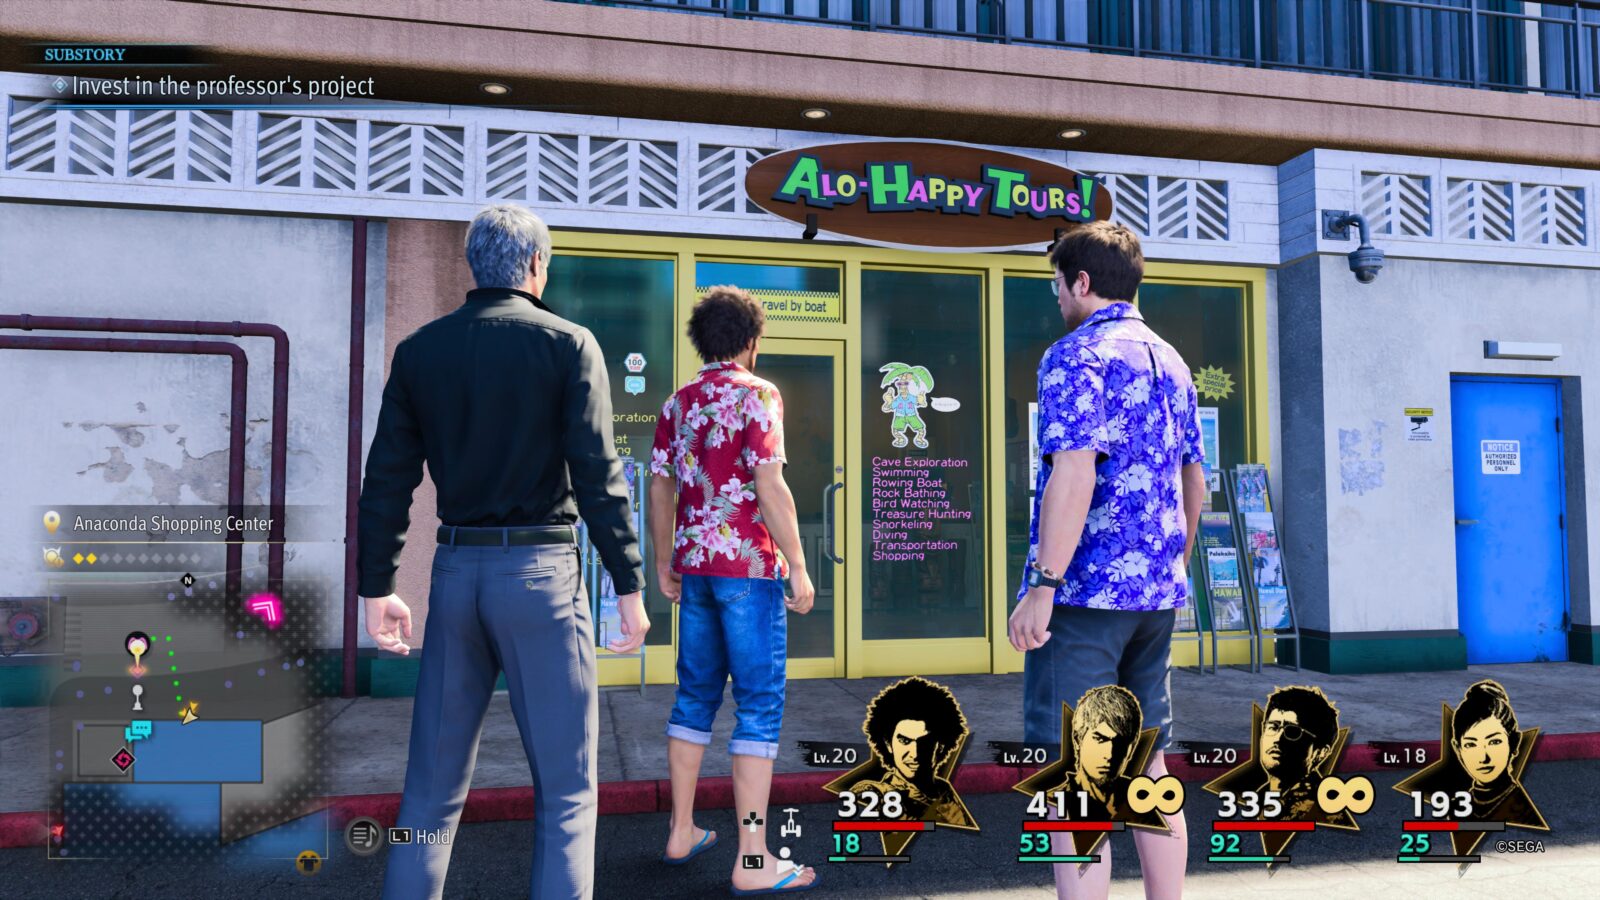
Each one, disguised as a tourist-friendly vacation activity, triggers something deep within your party, giving them access to new instincts perfect for adopting new roles such as Fire Dancer, Aquanaut, and Samurai.
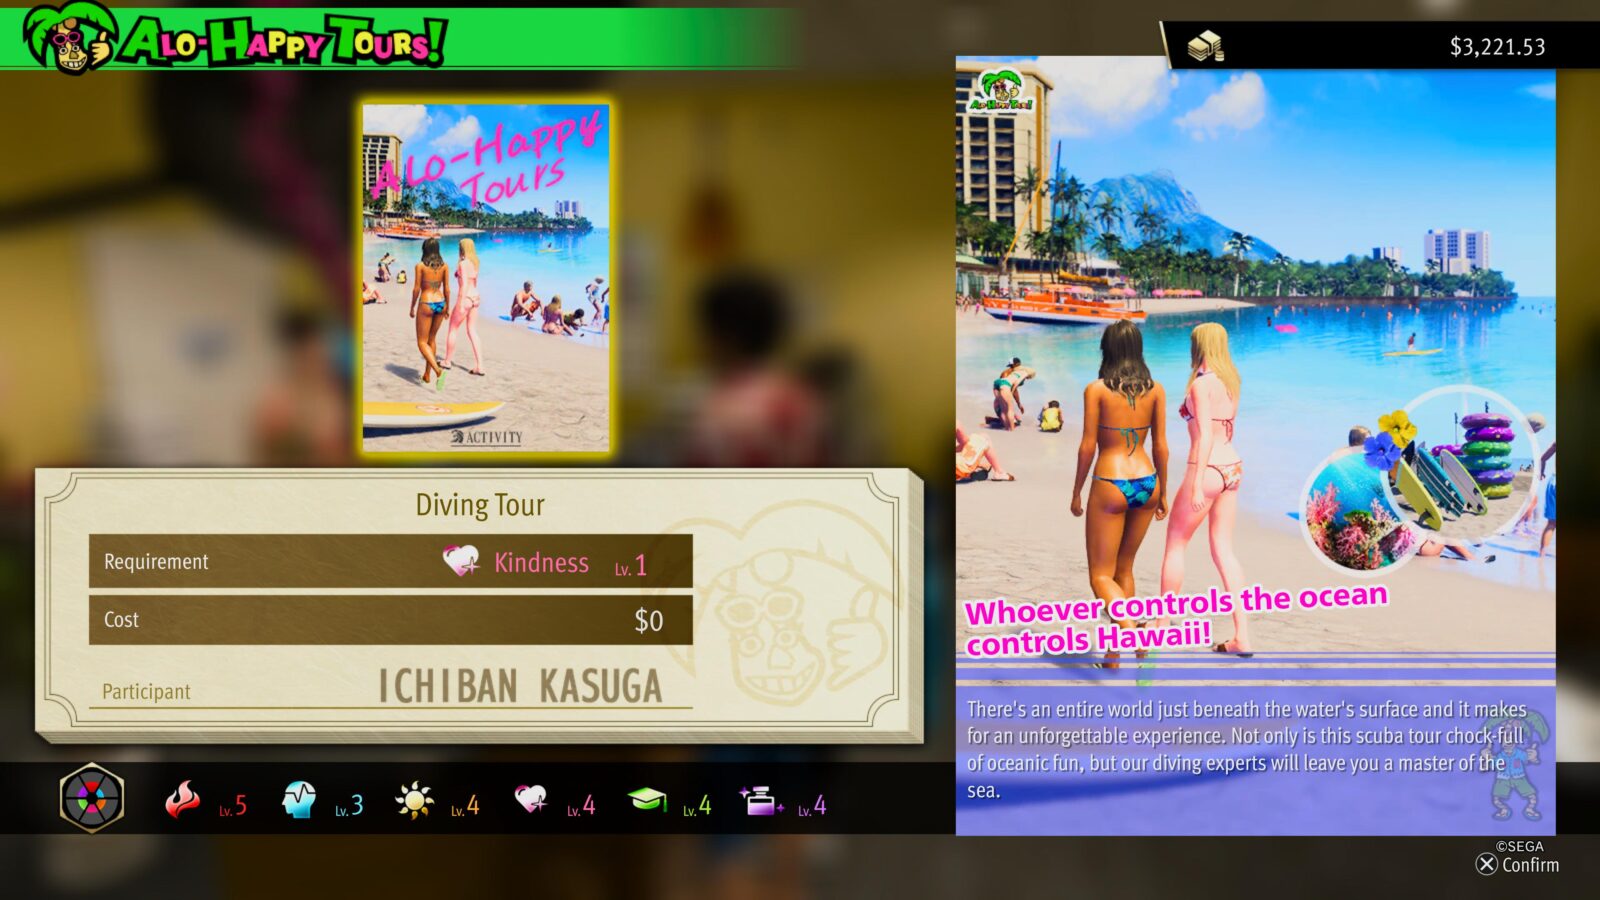
Many of these activities have Personality Requirements, but they’re not too high. By the time you reach Premium Adventure, you should be able to access all of the activities on offer. They also cost quite a bit of money, but it’s pocket change by the end-game.
Complete all 8 of the activities available to unlock all possible jobs and receive the Alo-Happy as Can Be trophy!

Having Fun Yet?
Played 10 different minigames.
Engaging with a variety of minigames—both series staples and new additions—is a much-expected part of any Yakuza/Like a Dragon Trophy Journey. Completing—and not necessarily winning—any 10 minigames at least once each will unlock the “Having Fun Yet?” Trophy.
Here’s a structured overview of all 14 available minigames, including locations and brief descriptions:
| Minigame | Location | Description |
|---|---|---|
| Arcade Games | Sasaki/GiGO Arcades, Anaconda (Honolulu) | Play SEGA classics, with claw machines for prizes. |
| Batting Cages | Mirai Batting Center (Isezaki Ijincho) | Hit home runs for points and prizes. |
| Casino Games | Black Hibiscus (Honolulu) | Bet in classic games for cash rewards. |
| Can Quest | South of Homeless Camp (Isezaki Ijincho) | Collect cans for cash. |
| Crazy Delivery | Near Aloha Beach (Honolulu) | Deliver food in Honolulu for points and recipes. |
| Driving Range | Heaven’s Golf (Isezaki Ijincho) | Golf for points and unique items. |
| Darts | Bars in Honolulu/Isezaki Ijincho | Play darts to improve Bonds with party members. |
| Dondoko Island | Chapter 6 onwards | Island management sim with extensive rewards. |
| Dolls & Devils | Honolulu, Ijincho | Cabaret club for Bond improvement. |
| Fishing | Honolulu (near water bodies) | Catch fish for various rewards. |
| Gambling Hall Games | North of Homeless Camp (Isezaki Ijincho) | Traditional games for cash rewards. |
| Karaoke | Bars in Honolulu/Isezaki Ijincho | Sing songs to improve Bonds with party members. |
| Mahjong | Honolulu, Isezaki Ijincho | Play Mahjong for cash in tournaments. |
| Miss Match | Cream and Berry (Honolulu) | Improve Ichiban’s Personality through a dating app. |
| m HOLD’EM Poker | Near Ounabara School (Isezaki Ijincho) | Play poker for cash rewards. |
| Vocational School | Honolulu | Take tests to improve Personality stats. |
| Shogi | Ijincho, Honolulu | Japanese Chess with cash rewards for puzzles. |
| Sicko Snap | Honolulu | Photo minigame with prizes for capturing “sickos.” |
| Sujimon Battles | After Anaconda Shopping Center Substory | Battle Sujimon for various rewards, including a new class and cash. |

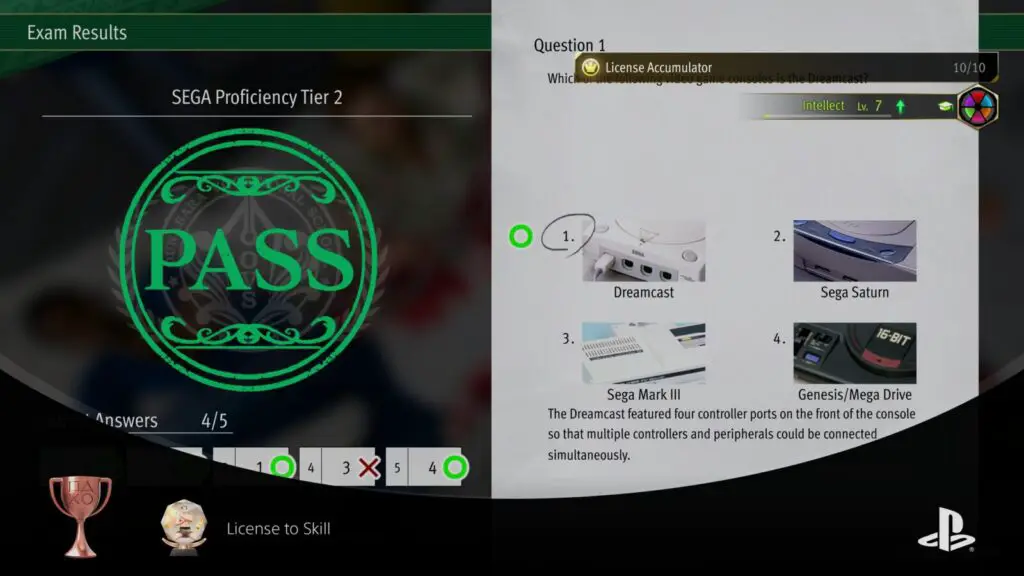
License to Skill
Obtained 10 certificates from the Ounabara Vocational School.
In Like a Dragon: Infinite Wealth, you can once again take exams at the Ounabara Vocational School to further Kasuga’s Personality Traits! There are 20 to take in total but you’ll only need to complete 10 for the “License to Skill” trophy.

That said, reaching Level 10 with all 6 of Kasuga’s Personality Traits for Metahuman is very hard to do without completing most—if not all—of the Ounabara Vocational School Exams.
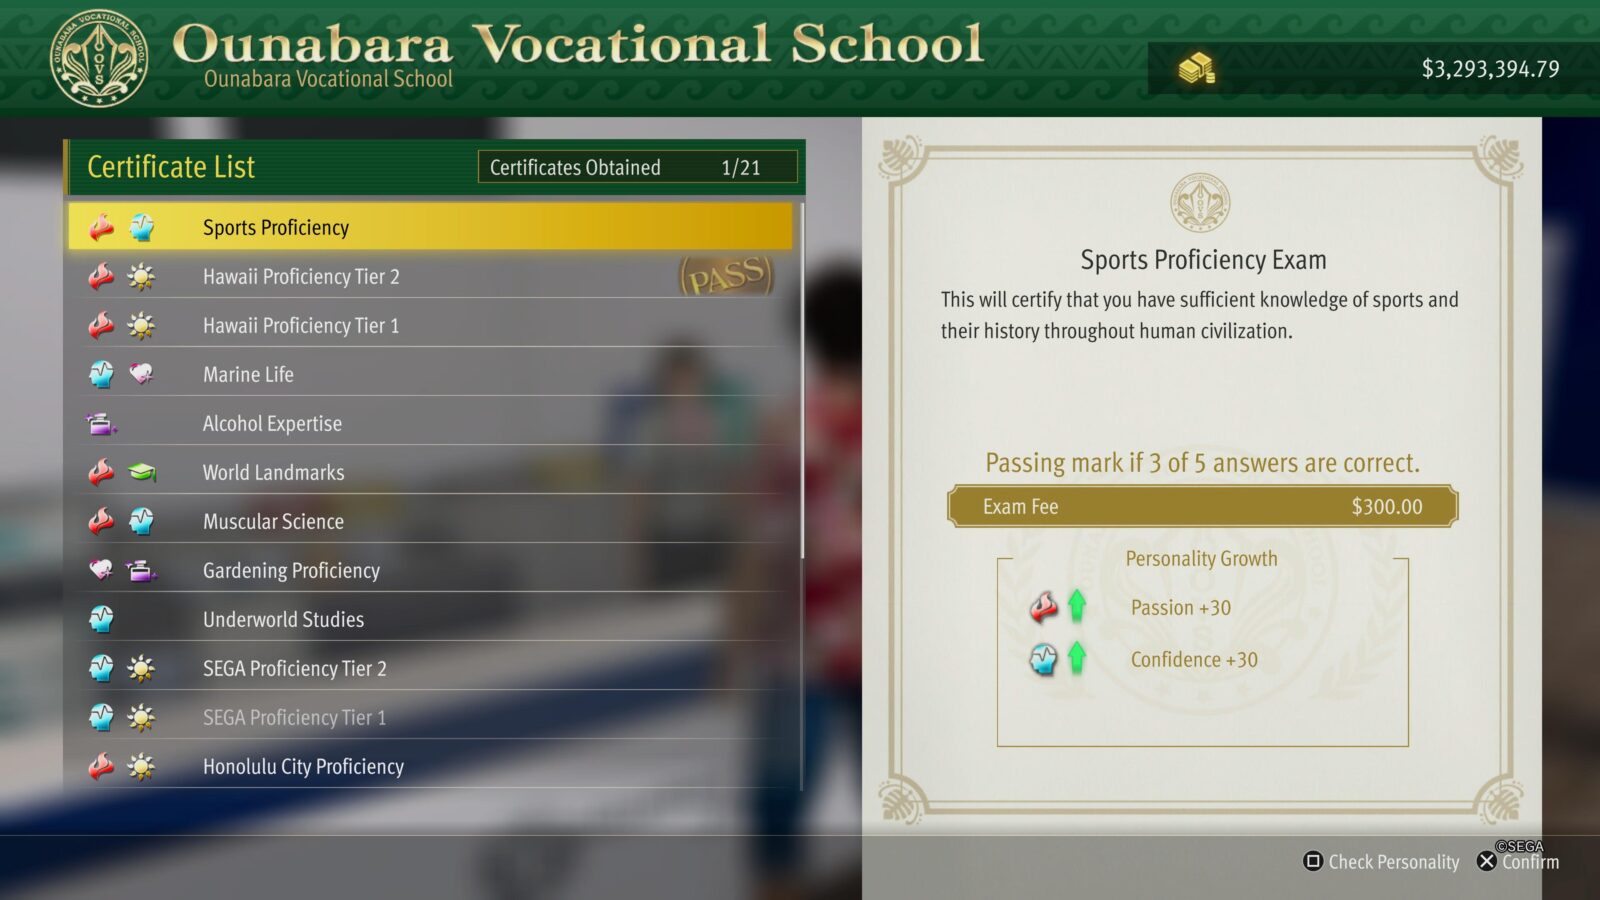
Fortunately, we’ve prepared the Like a Dragon: Infinite Wealth Ounabara Vocational School Answers Guide which includes the correct answers for all possible questions in all 20 Vocational School Exams!

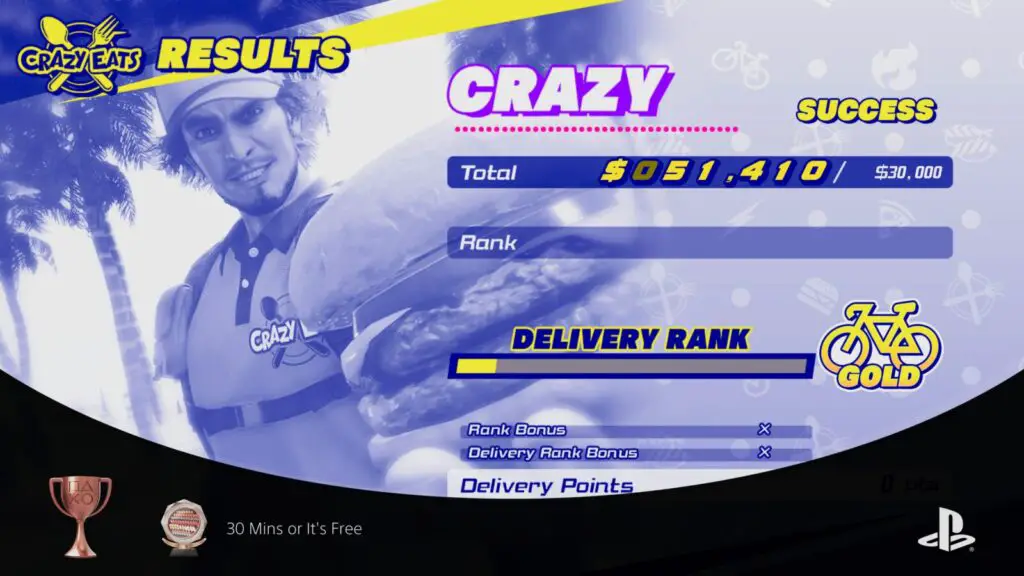
30 Mins or It's Free
Completed all Crazy Delivery courses.
Crazy Delivery is an awesome new delivery minigame based on the revered SEGA classic; Crazy Taxi. Instead of picking up and delivering passengers in a taxi, though, you’re stunting over obstacles in a BMX to deliver food to customers as fast as you can. It’s a lot of fun!
With just four courses to complete, it won’t take you long to blaze through each of the Crazy Delivery Courses and secure the “30 Mins or It’s Free” trophy for your collection.
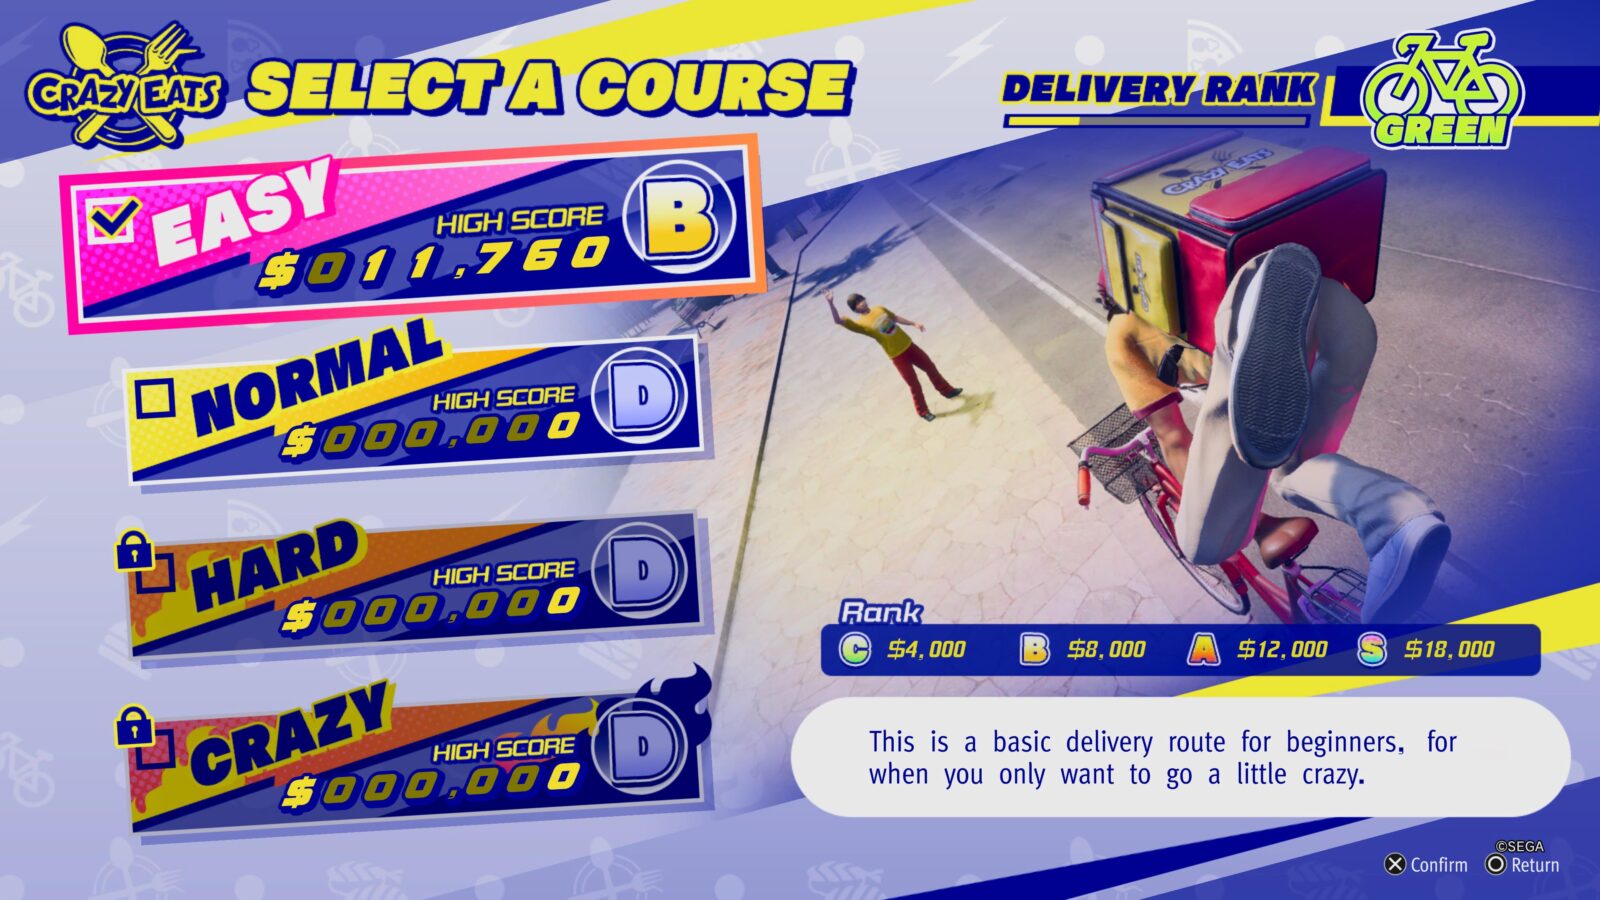
You’ll get access to the minigame during Chapter 2, where you’ll play through the first course automatically. From then on, you can find Charlie near Aloha Beach to play the other courses anytime. Each one unlocks as you beat the previous one, so just work your way through and achieve at least a C rank in all 4 courses.

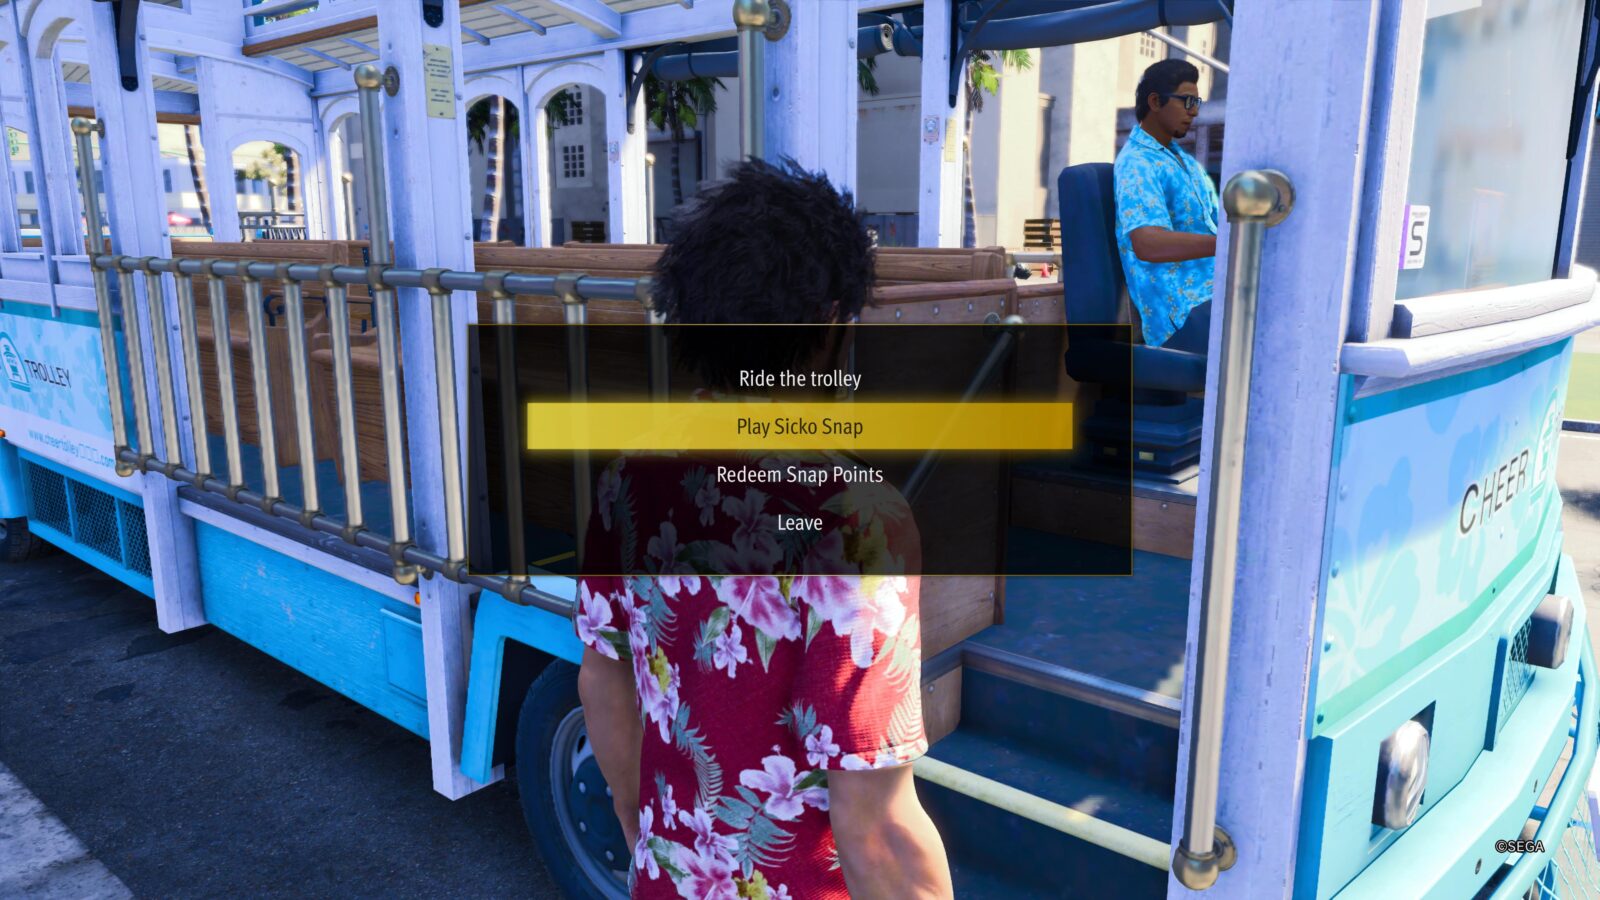
Sicko Stopper
Completed all Sicko Snap courses.
Sicko Snap is a Minigame that you get access to as part of Substory #8, available near the Trolley Stop on Aloha Beach. It’s a minigame similar to Pokemon Snap, but instead of cute and imaginative critters, you’ve got to take photos of scantily-clad Joe Rogans in butterfly masks.
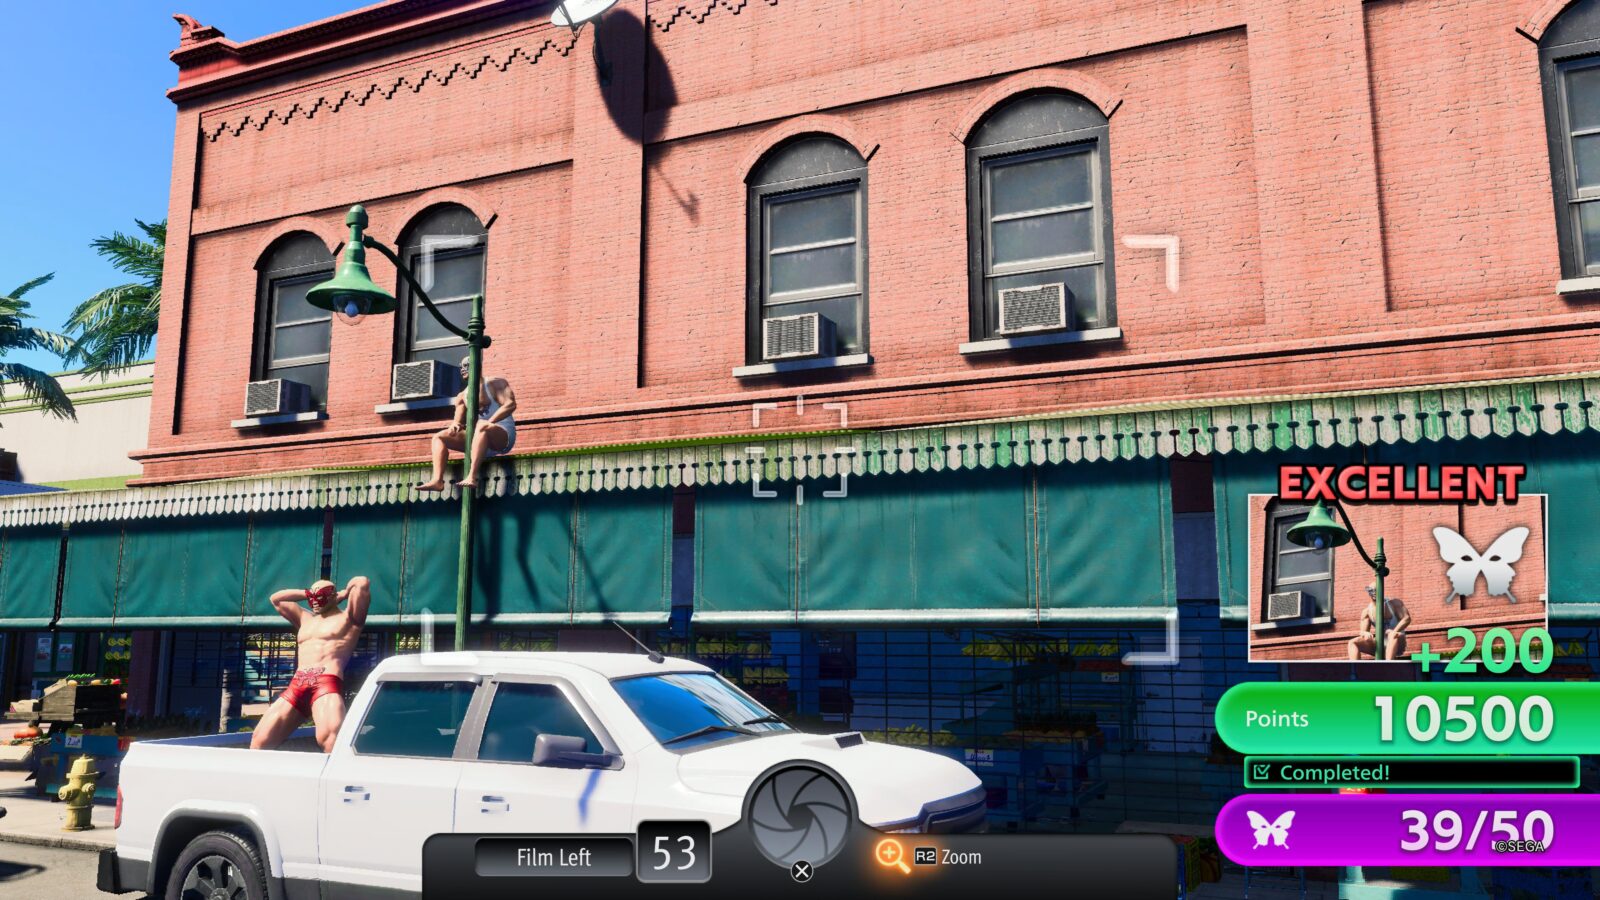
You need to frame the “Sickos” up correctly with your camera reticule, achieving a “Good” score if they’re near the center. You’ll also get a bonus “Excellent” rating if you catch them doing an interesting pose or you zoom in with ![]() before taking the photo with
before taking the photo with ![]() .
.
Each Sicko you take a photo of will earn you points. Gold sickos give more than Red Sickos, who give more score than Blue sickos, who are more lucrative to snap than White Sickos. You’ll also get more score for an “Excellent” photo than a “Good” one.
Regardless, you simply need to achieve the goal score on each Sicko Snap course to unlock the Sicko Stopper trophy. There are three courses; the Easy course on Aloha Beach, the Intermediate Course on Anaconda Boulevard, and the Hard Course on Harbor Street. All in Hawai’i, of course.
Each obviously has a higher goal score than the last, but as long as you snap around 70% of the sickos you should be in good stead to achieve the goal each time!
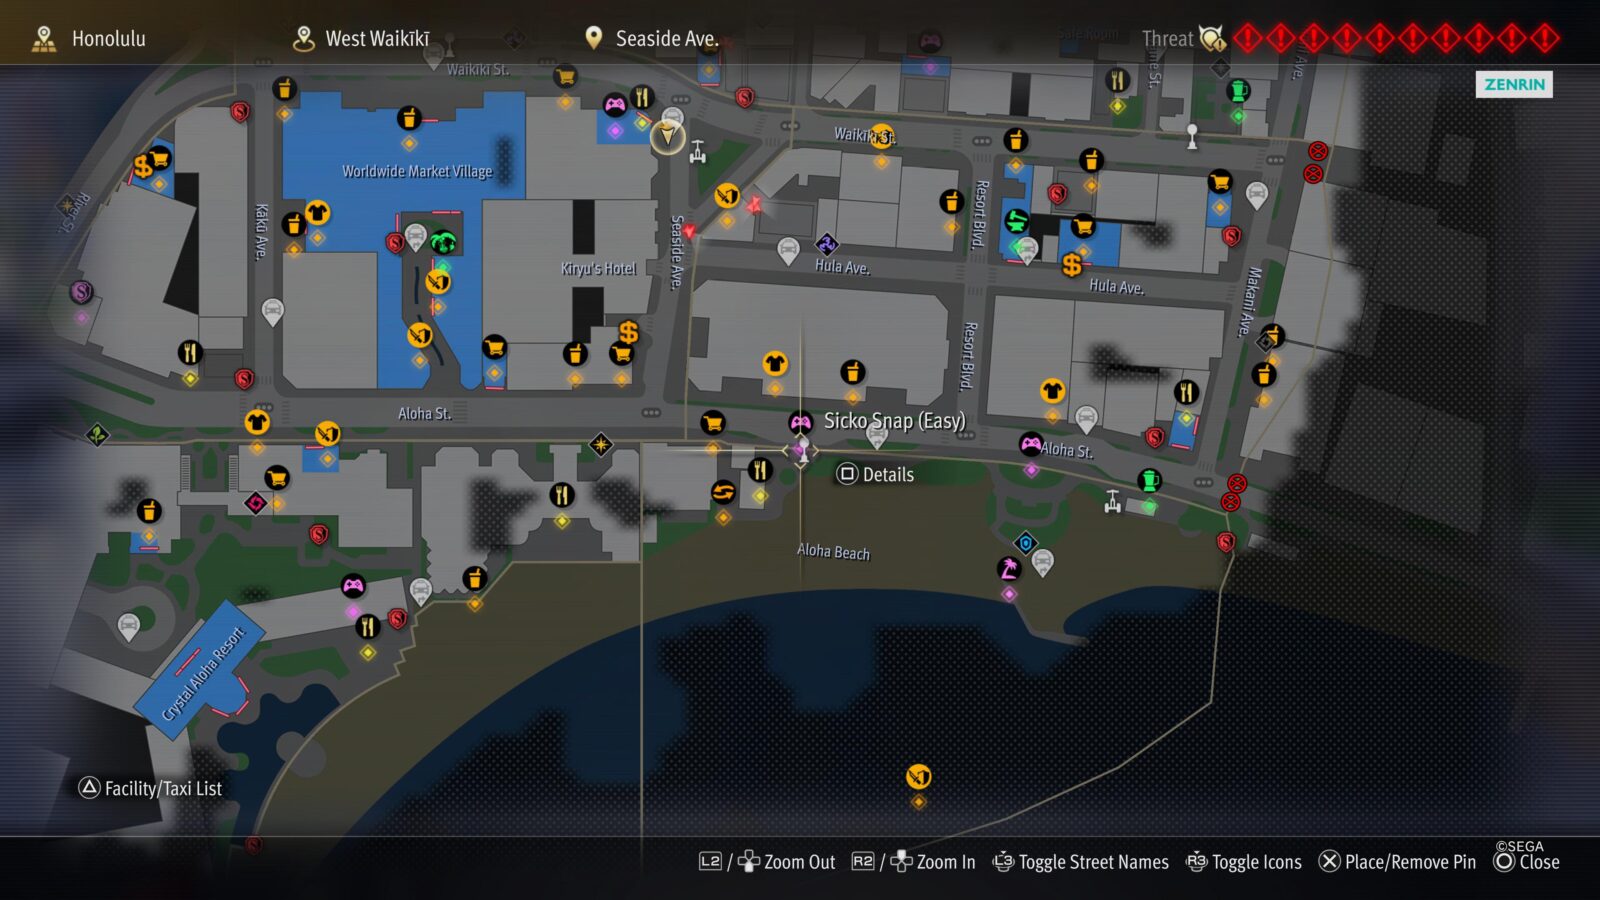
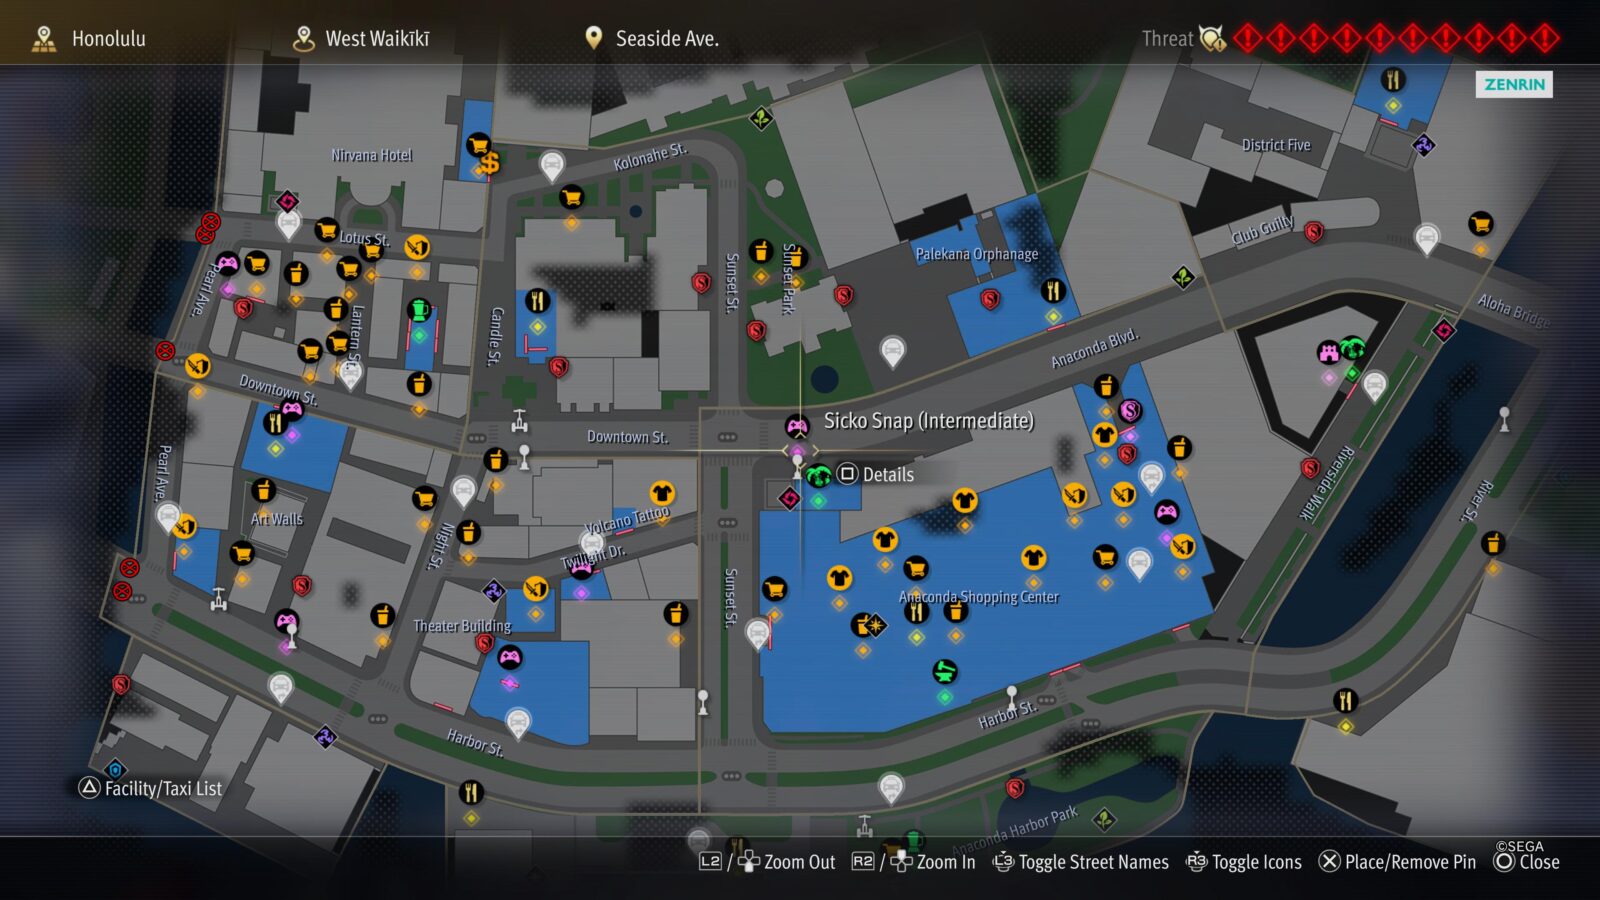

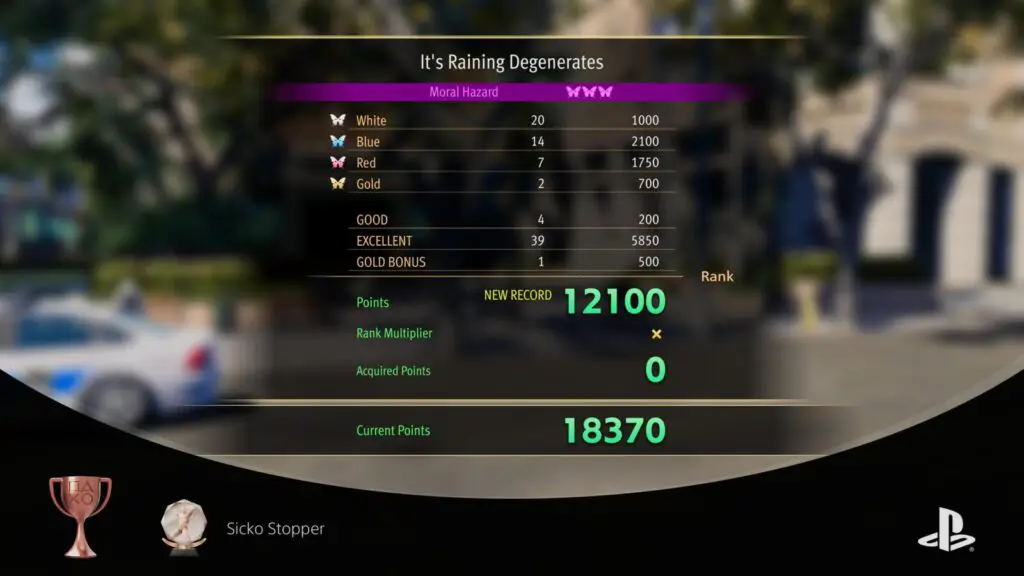

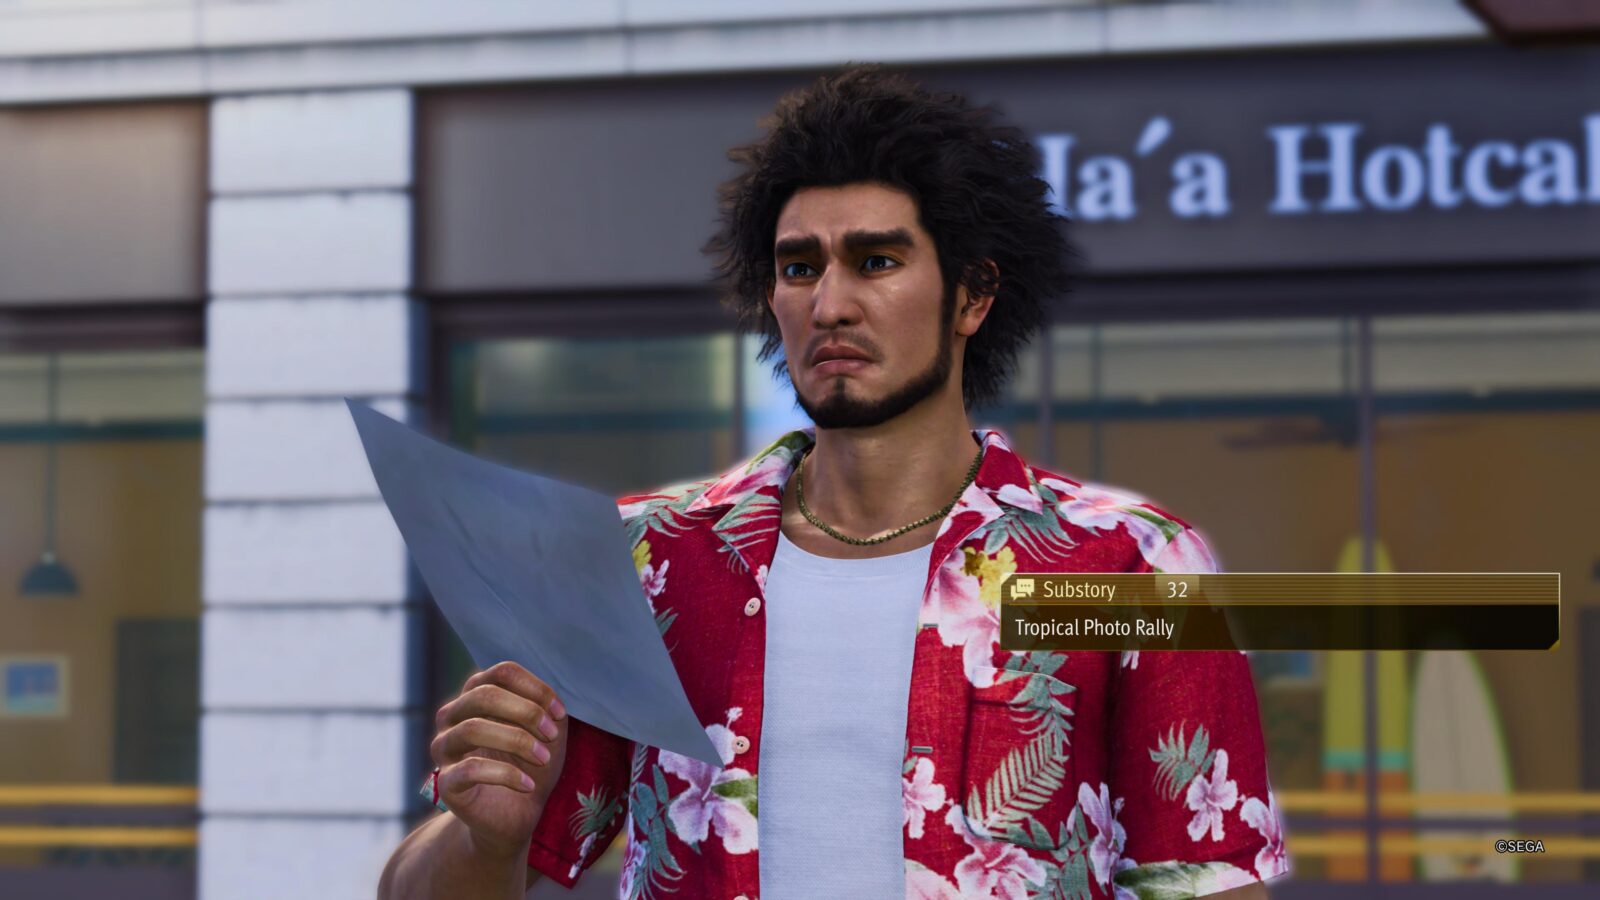
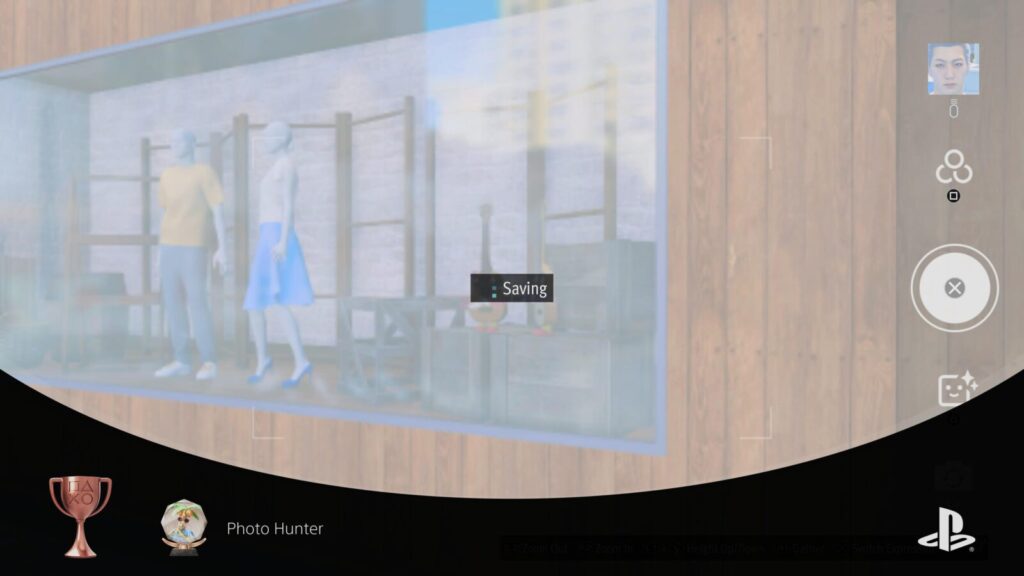
Photo Hunter
Took 30 different photos for the Photo Rally.
After you discover Alo-Happy Tours unavoidably in Chapter 5, the unsettling palm tree mascot will meet with you outside to introduce you to the Photo Rally.
The Photo Rally App can be accessed via your smartphone in the ![]() menu. From there, you’ll see that each photo set is specific to a specific region of Hawaii (and later—Ijincho too!) When you complete each set, you can trade them in at Alo-Happy Tours to get some really rare and high-end rewards!
menu. From there, you’ll see that each photo set is specific to a specific region of Hawaii (and later—Ijincho too!) When you complete each set, you can trade them in at Alo-Happy Tours to get some really rare and high-end rewards!
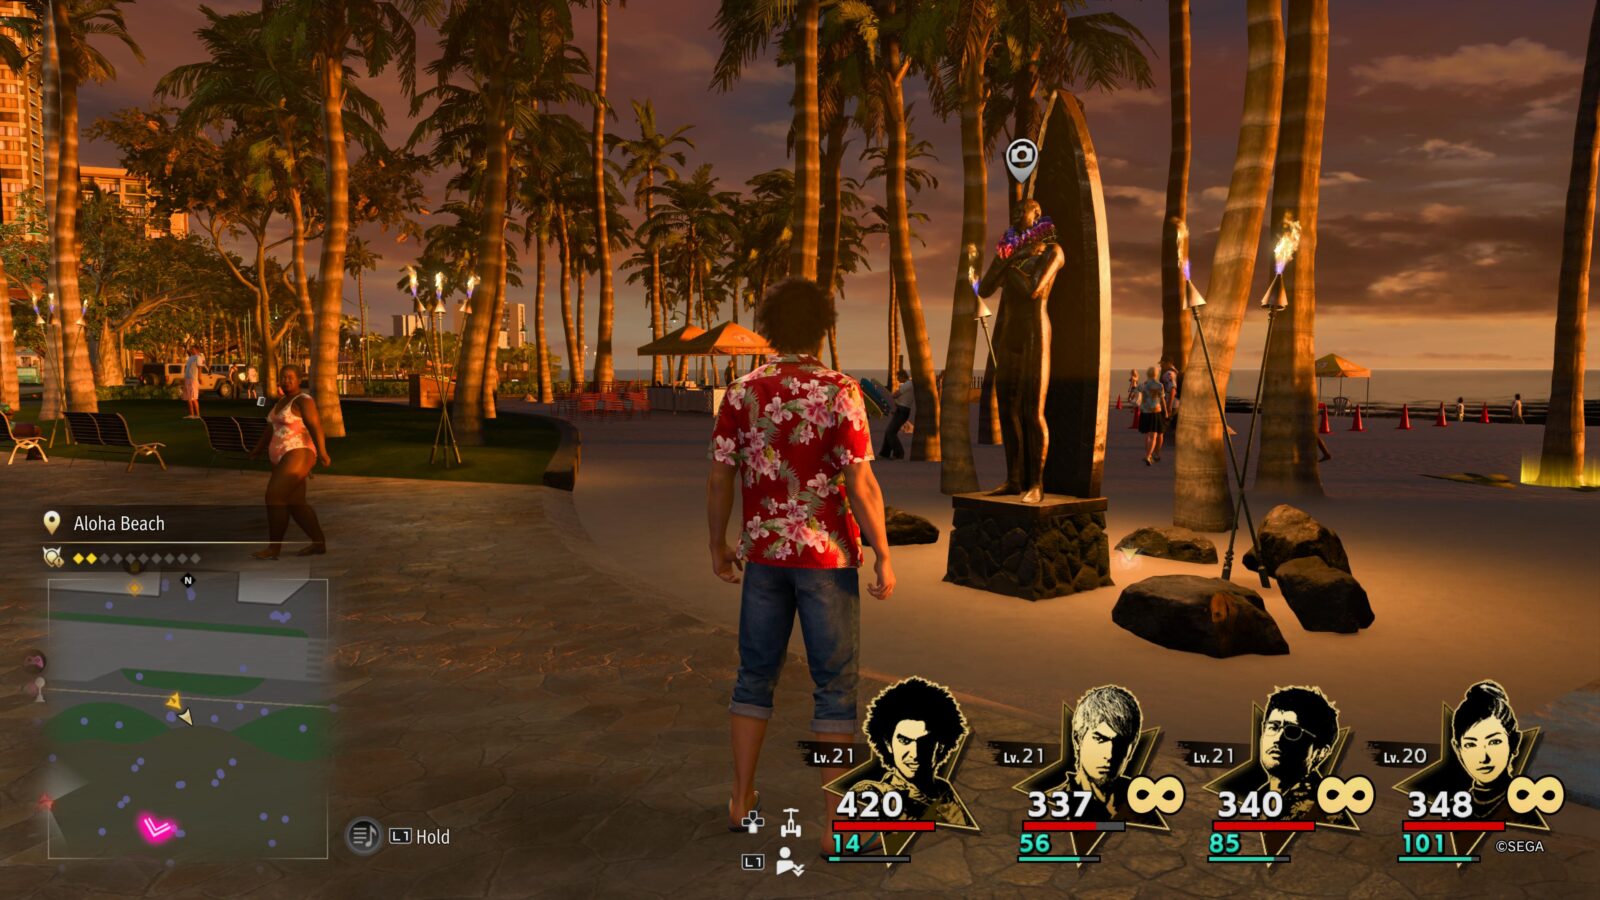
You only need to take 30 of these photos to unlock the Photo Hunter trophy, and you don’t need to even complete or hand in a photo set either. Simply take any 30 of the 110 available Photo Rally photos.
You can find clues to the location of each photo in the Photo Rally App, and you will also see a silver camera icon on things you need a photo of, such as the statue on Aloha Beach, shown below:
If you need a little extra guidance, the Photo Op locations are all marked on the below interactive maps that I prepared:
- Like a Dragon: Infinite Wealth Hawaii Photo Rally Locations
- Like a Dragon: Infinite Wealth Ijincho Photo Rally Locations

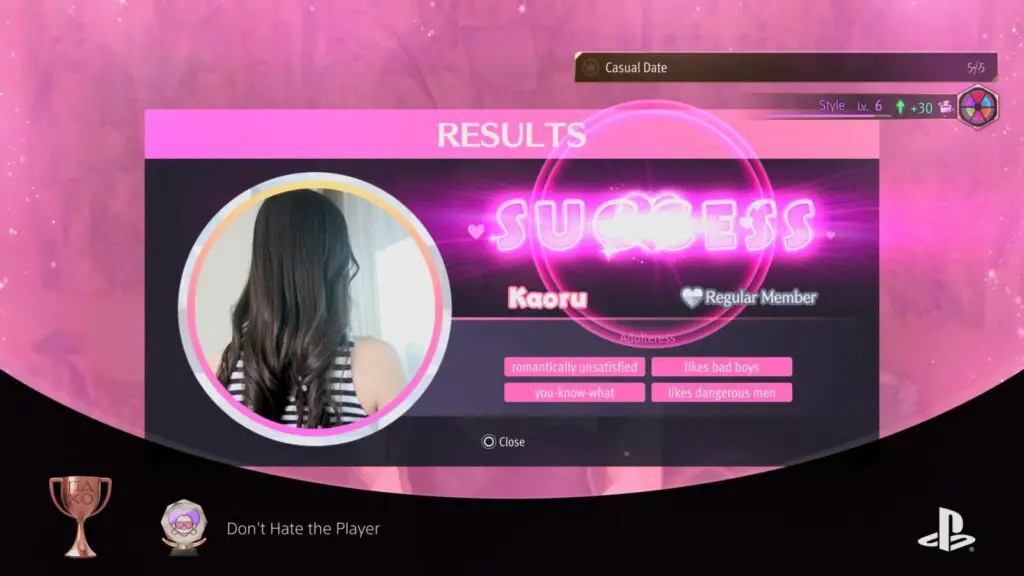
Don't Hate the Player
Met up with 5 people from Miss Match.
To unlock the “Don’t Hate the Player” trophy, play the Miss Match dating minigame, accessible via Substory 3 from Chapter 3 onwards.

You’ll need to successfully meet up with 5 out of the 10 potential matches.
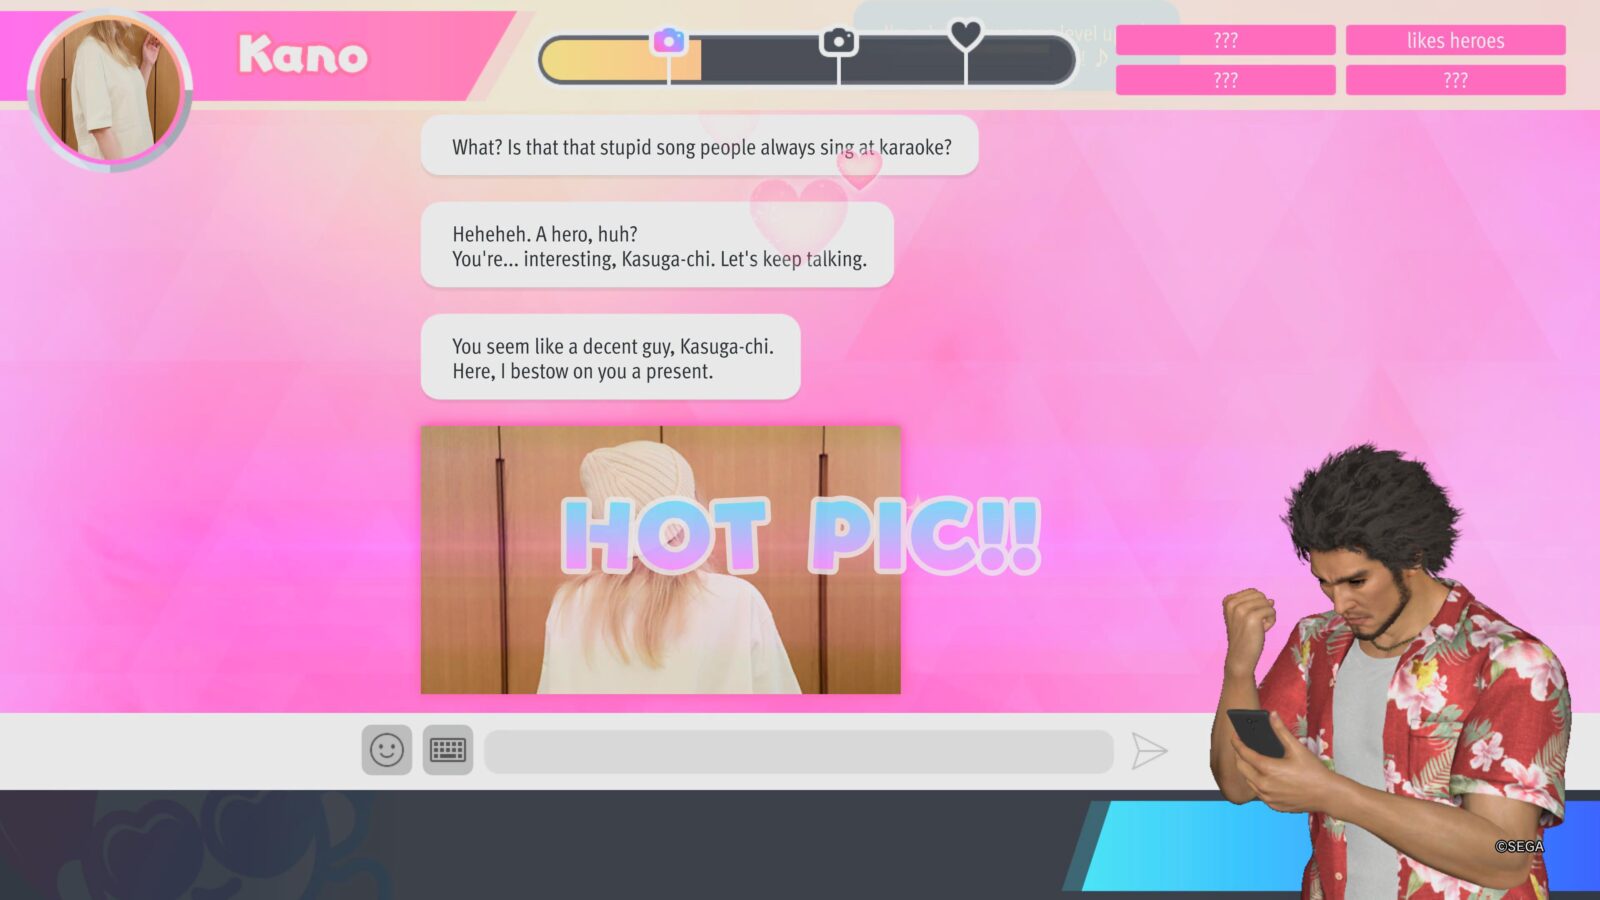
Matches don’t require perfect compatibility, so don’t be afraid to “shoot your shot” with lower % matches, as long as you’re careful about your dialogue options you can still succeed.
If you really want to be prepared, we’ve also prepared a Like a Dragon: Infinite Wealth Miss Match Responses Guide with which you can ace every match-up!
Personality Trophies

Superhuman
Raised one of Kasuga's personality stats to max.
You will unlock the Superhuman trophy the first time one of Kasuga’s Personality Levels is maxed out, but you will need to max out all of Kasuga’s Personality Levels for Metahuman.

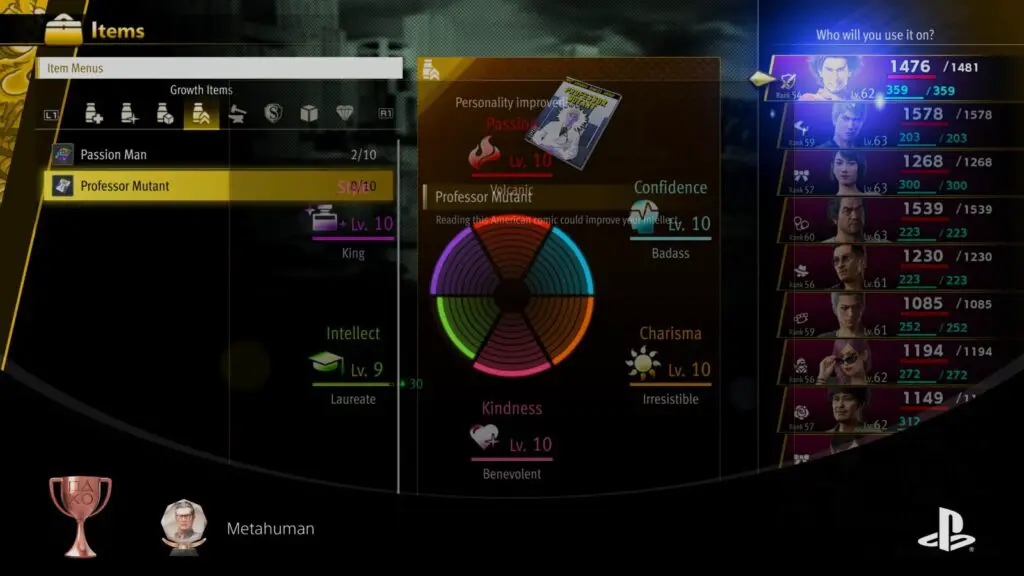
Metahuman
Raised all of Kasuga's personality stats to max.
To unlock the “Metahuman” trophy in Like a Dragon: Infinite Wealth, you must reach the maximum level of 10 with all 6 of Kasuga’s Personality Levels.
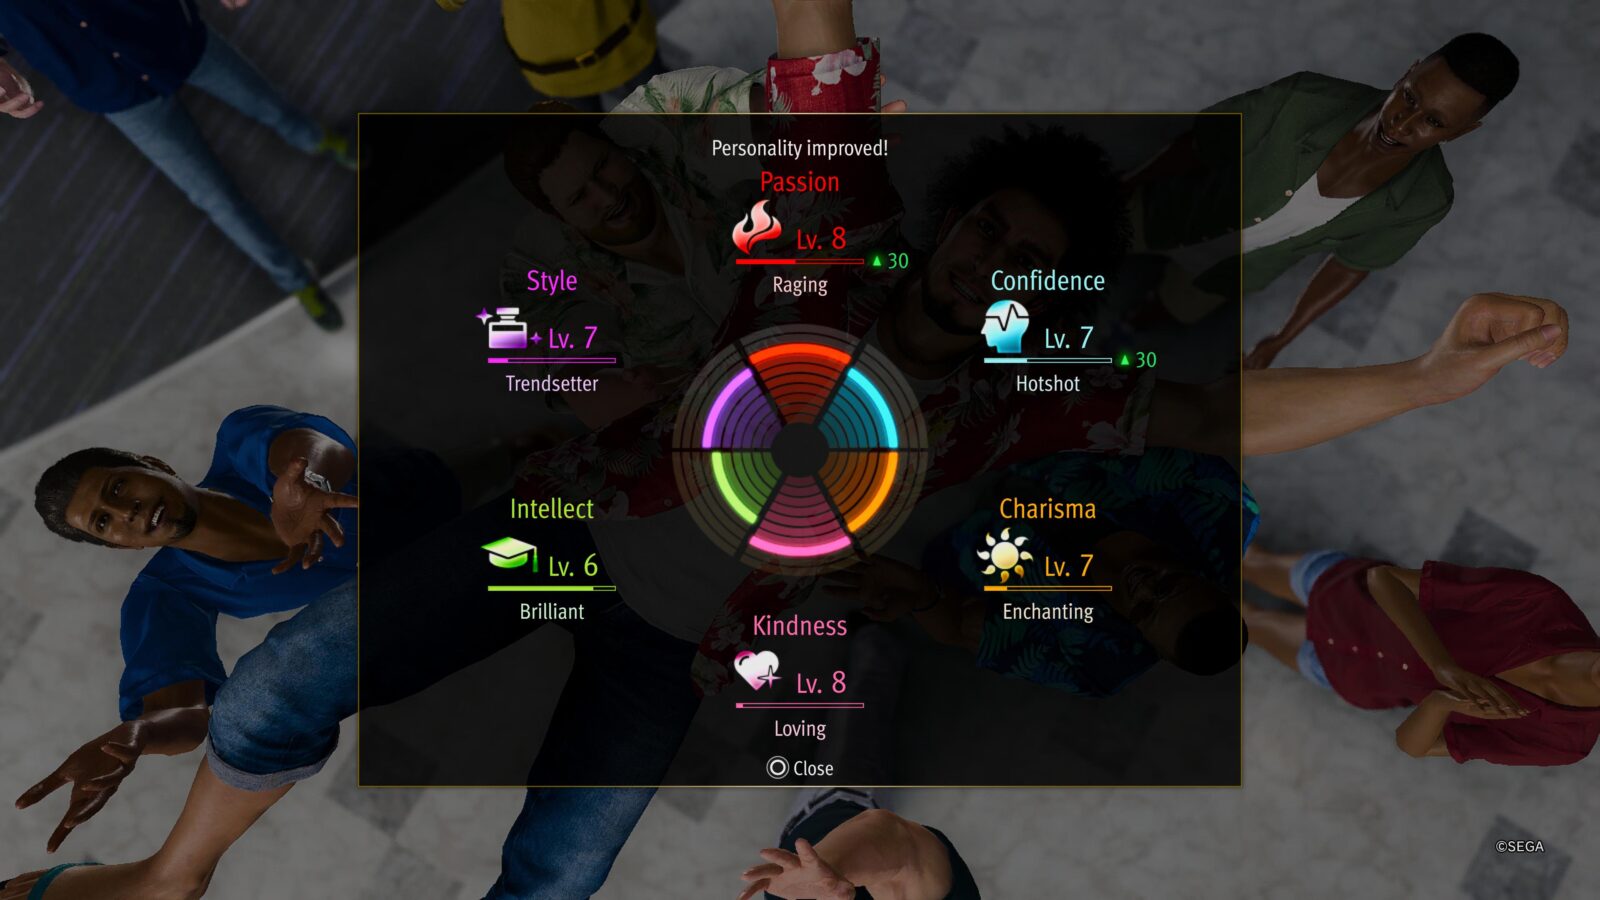
There are a few activities which, above all others, provide a large amount of Personality Level exp. These activities are all mostly optional, of course, but the more of them you complete, the faster you’ll achieve the Metahuman trophy:
- Ounabara Vocational School Courses: Completing these courses offers substantial increases in all personality stats. You’ll do some of these anyway for License to Skill. We have a full Like a Dragon: Infinite Wealth Ounabara Vocational School Answers Guide which includes the correct answers for all possible questions in all 20 Vocational School Exams!
- Hawaii Photo Rally Sets: An enjoyable way to explore and capture the beauty of Hawaii while boosting your stats. Check out our Like a Dragon: Infinite Wealth Hawaii Photo Rally Locations and Like a Dragon: Infinite Wealth Ijincho Photo Rally Locations Interactive Maps for general locations.
- Alo-Happy Tours: Participating in these tours not only enriches your game experience and unlocks new jobs, but also enhances Kasuga’s personality. You’ll do all of these for Alo-Happy as Can Be
- Crazy Delivery, Sicko Snap, and Miss Match: These unique side activities provide fun diversions with the added benefit of boosting personality stats. You’ll play these for 30 Mins or It’s Free, Sicko Stopper, and Don’t Hate the Player respectively.
- Sujimon Storyline/Substories: Completing these battles and narratives enrich Kasuga’s experiences, reflecting in his stats. You’ll be doing the whole Sujimon storyline for the Sujimon League Trophies.
- Hawaiian Haunt Dungeon: Conquering this dungeon challenges Kasuga’s abilities and rewards with personality improvements. Technically we’re leaving the dungeons for phase three, but there’s no reason why you can’t go in and do a bit of farming!
In addition to completing the above content for major stat boosts, you can also drip-feed some extra exp into Kasuga’s Personality Levels by doing the following things regularly. They don’t offer huge gains, but over time they will stack up!
- Job Switching: Each job comes with specific personality challenges that are completed by defeating a certain number of opponents, offering a perfect opportunity to boost stats while grinding in dungeons. Switch jobs every 100 enemies.
- Restaurant Exploration: Make it a goal to order every item from each restaurant. This not only completes challenges but also triggers party chats that contribute to other areas of your Trophy Journey.
- Weapon and Armor Collection: Investing in a diverse arsenal not only prepares you for any battle but also meets job-specific collection challenges, enhancing personality stats.
- Aloha Links: Regularly interact with Aloha Links characters beyond the Spirit of Aloha trophy requirement, as befriending and deepening these relationships significantly boosts Kasuga’s personality metrics.
When you start getting down to the last few levels of the Personality XP grind, you’ll find yourself scraping the bottom of the barrel for exp. The best way to farm those last few dregs of XP is by targeting specific Challenges from under the Personality menu.
There, you’ll find hundreds of challenges, each of which offer a different amount of Personality XP for specific Personality Levels. Work your way through the list, completing as many as you can for the levels you still need until you’ve maxed all 6 levels!
Drink Links Trophies

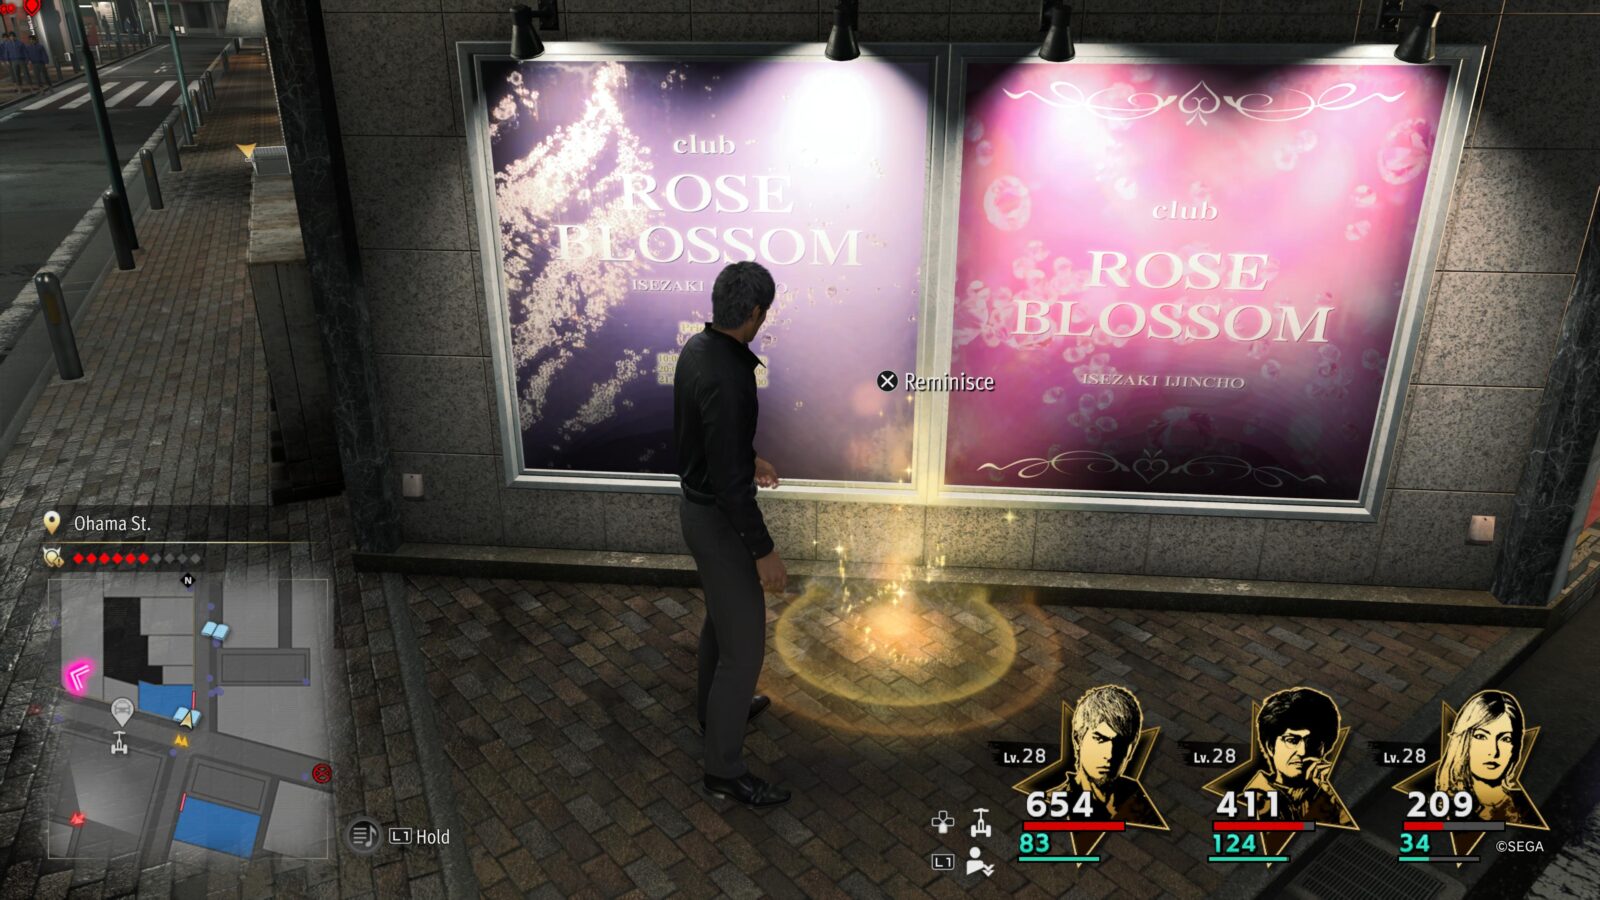
Squared Away
Viewed all of Nanba's Drink Links.
To unlock the “Squared Away” trophy and similar Drink Links trophies in “Like a Dragon: Infinite Wealth,” focus on deepening bonds with each party member (excluding Kiryu).
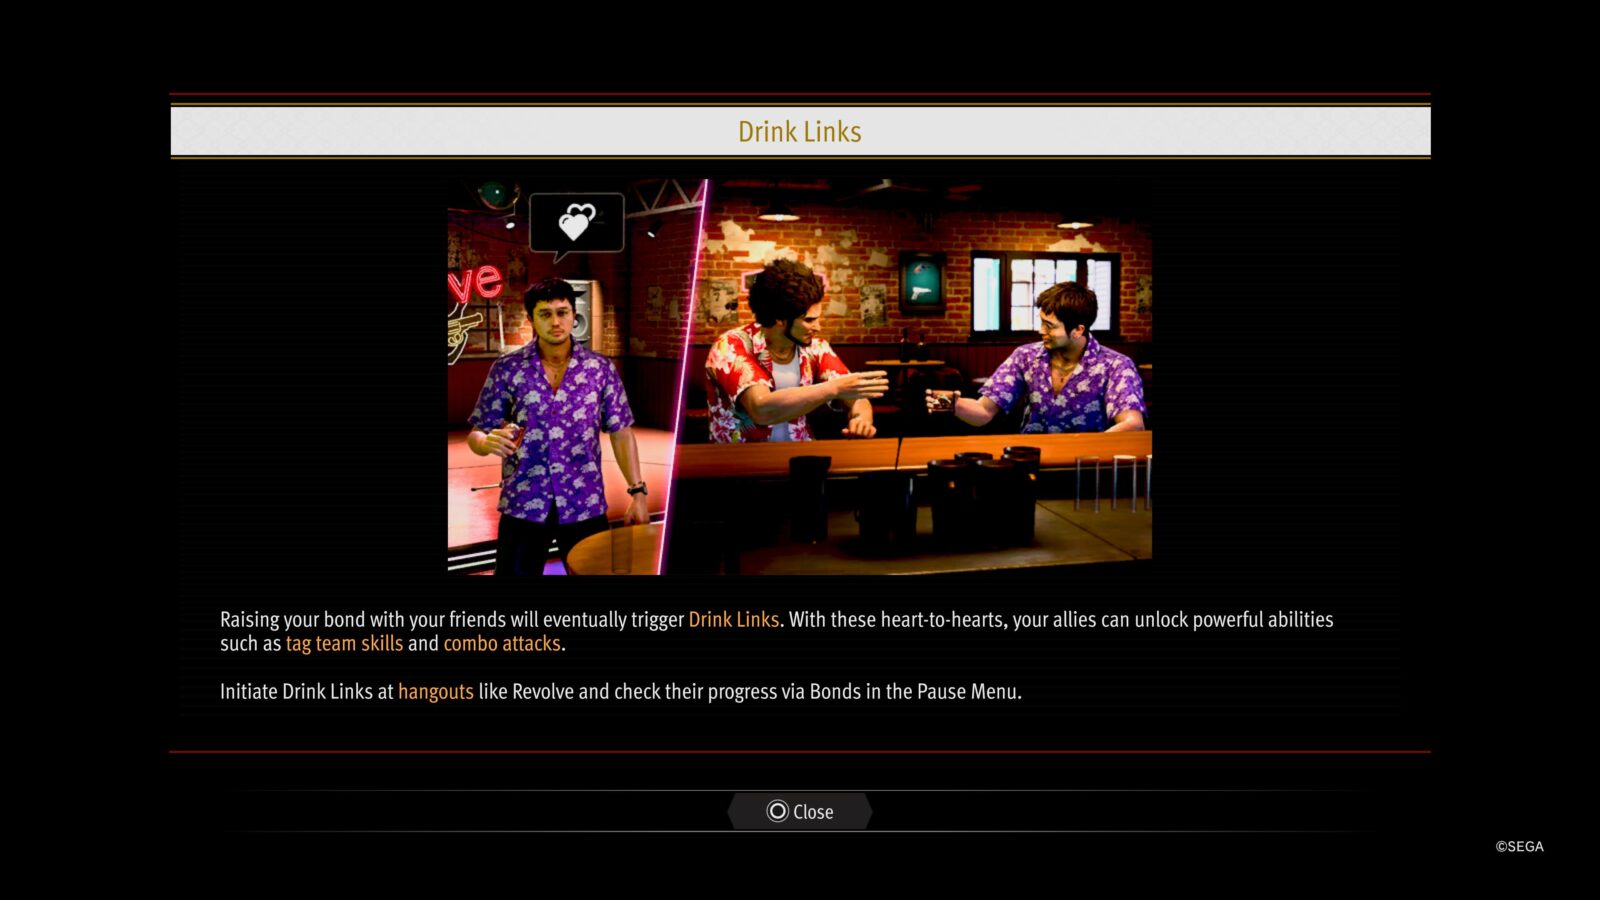
Drink Links are unlocked at every 10th bond level, up to level 50, across five scenes. While initial scenes involve enriching conversations—in which the responses you select will influence the type of Personality XP bonus you receive—the final one at level 50 always culminates in a battle.

Unfortunately, some Drink Links events are locked behind story progression and some characters won’t even begin gaining bond exp until much later in the game—Nanba’s Drink Links, for example, are available from Chapter 8 upon joining the party. That said, they are all accessible by the time you reach Premium Adventure.
You can gain Bond EXP by doing pretty much anything in the game. Playing minigames with companions, eating at restaurants, fighting together, and many more activities will increase the Bond level between you and your allies.
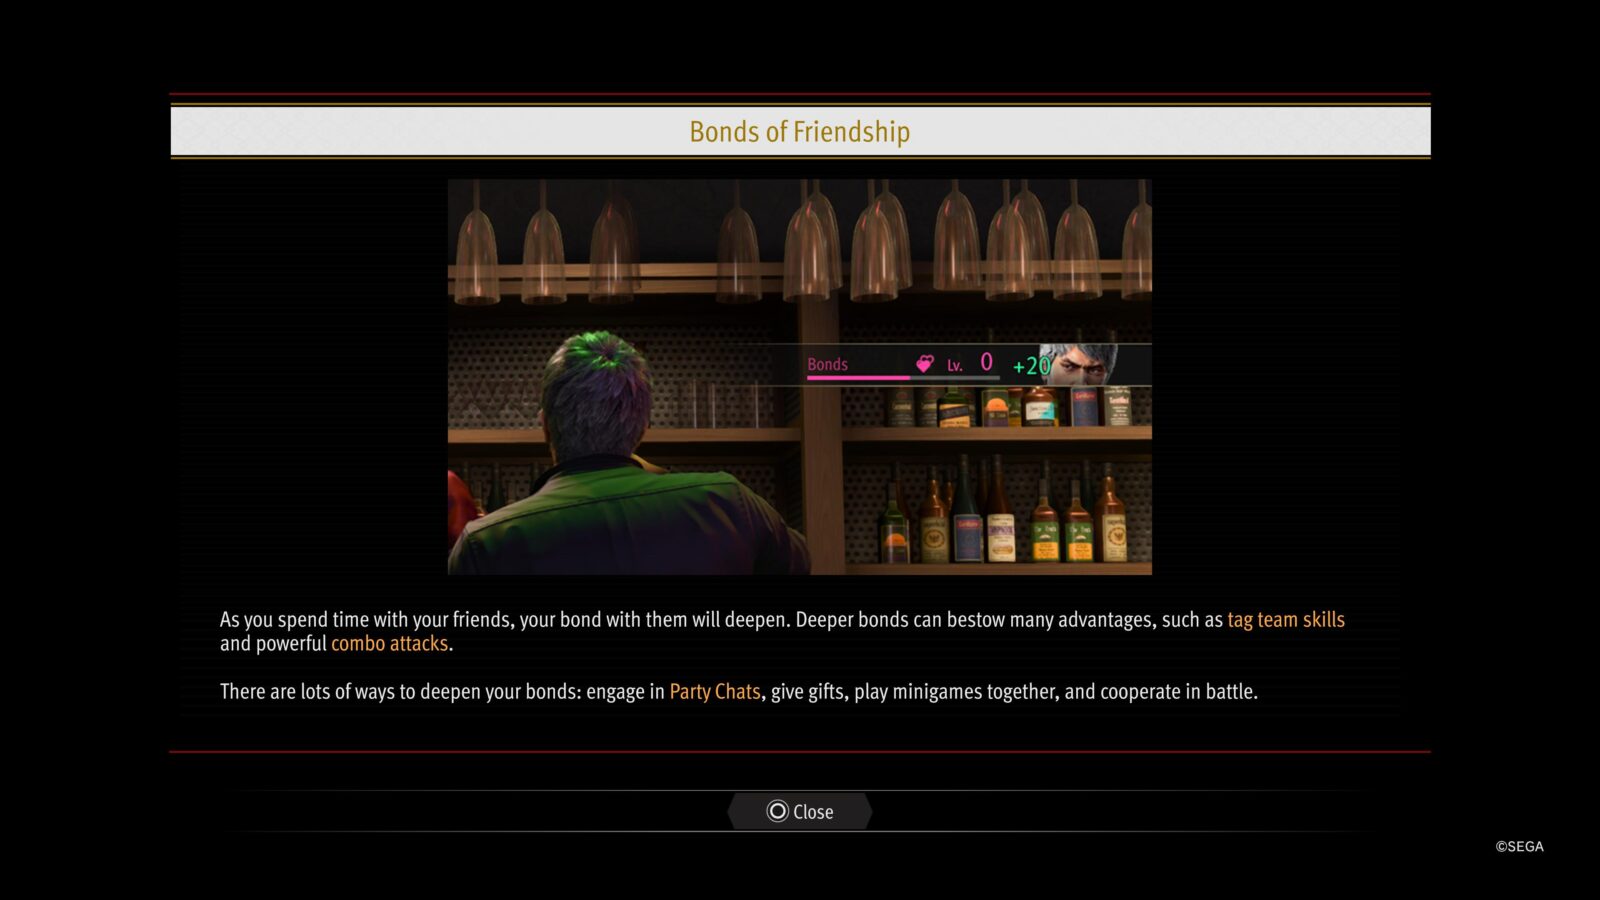
Key differences between Infinite Wealth and the previous game in the series are that;
- Bond levels do not get locked between Drink Links, you can go all the way up to Level 50 and beyond without even completing the first one.
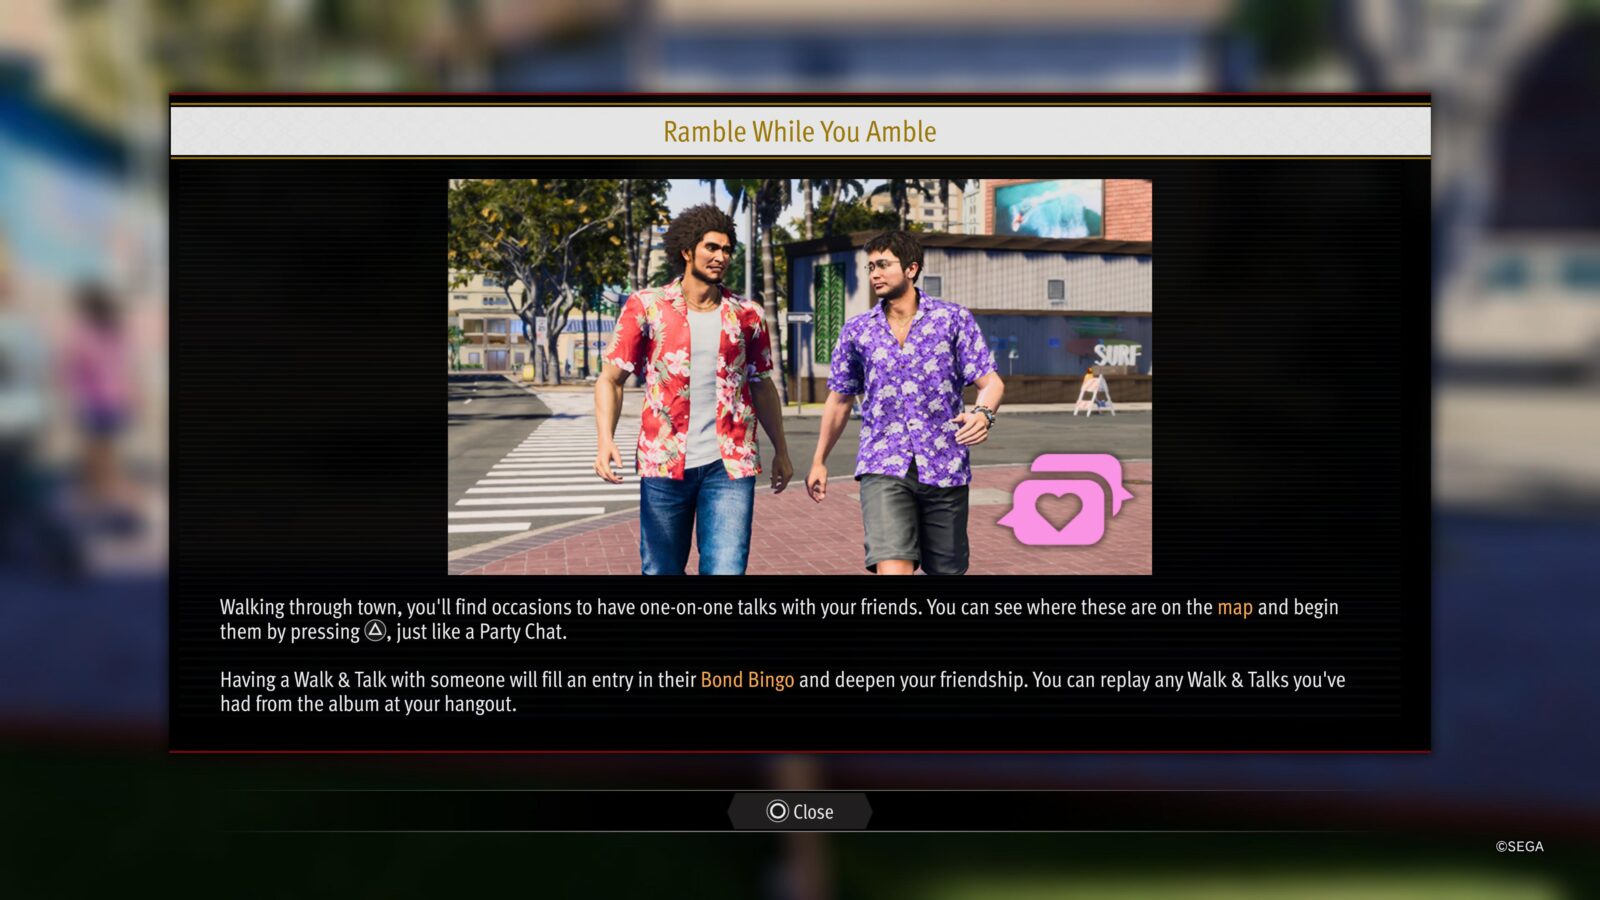
- There are new Walk-and-talk events all over town at pink speech bubble icons on the map, these give a huge boost in Bond exp!

No Regrets
Viewed all of Adachi's Drink Links.
Reach Level 50 Bond with Adachi and view all 5 Drink Links to unlock No Regrets. See Squared Away for more info.

Missing Words
Viewed all of Saeko's Drink Links.
Reach Level 50 Bond with Saeko and view all 5 Drink Links to unlock Missing Words. See Squared Away for more info.

Breaking Free
Viewed all of Joongi's Drink Links.
Reach Level 50 Bond with Joongi and view all 5 Drink Links to unlock Breaking Free. See Squared Away for more info.

Starting Fresh
Viewed all of Zhao's Drink Links.
Reach Level 50 Bond with Zhao and view all 5 Drink Links to unlock Starting Fresh. See Squared Away for more info.

Rest Assured
Viewed all of Chitose's Drink Links.
Reach Level 50 Bond with Chitose and view all 5 Drink Links to unlock Rest Assured. See Squared Away for more info.

Letting Go
Viewed all of Tomizawa's Drink Links.
Reach Level 50 Bond with Tomizawa and view all 5 Drink Links to unlock Letting Go. See Squared Away for more info.

Commanding Respect
Viewed all of Seonhee's Drink Links.
Reach Level 50 Bond with Seonhee and view all 5 Drink Links to unlock Commanding Respect. See Squared Away for more info.
Julie's Gearworks Trophies

Something from Nothing
Made 10 pieces of gear at Julie's Gearworks.
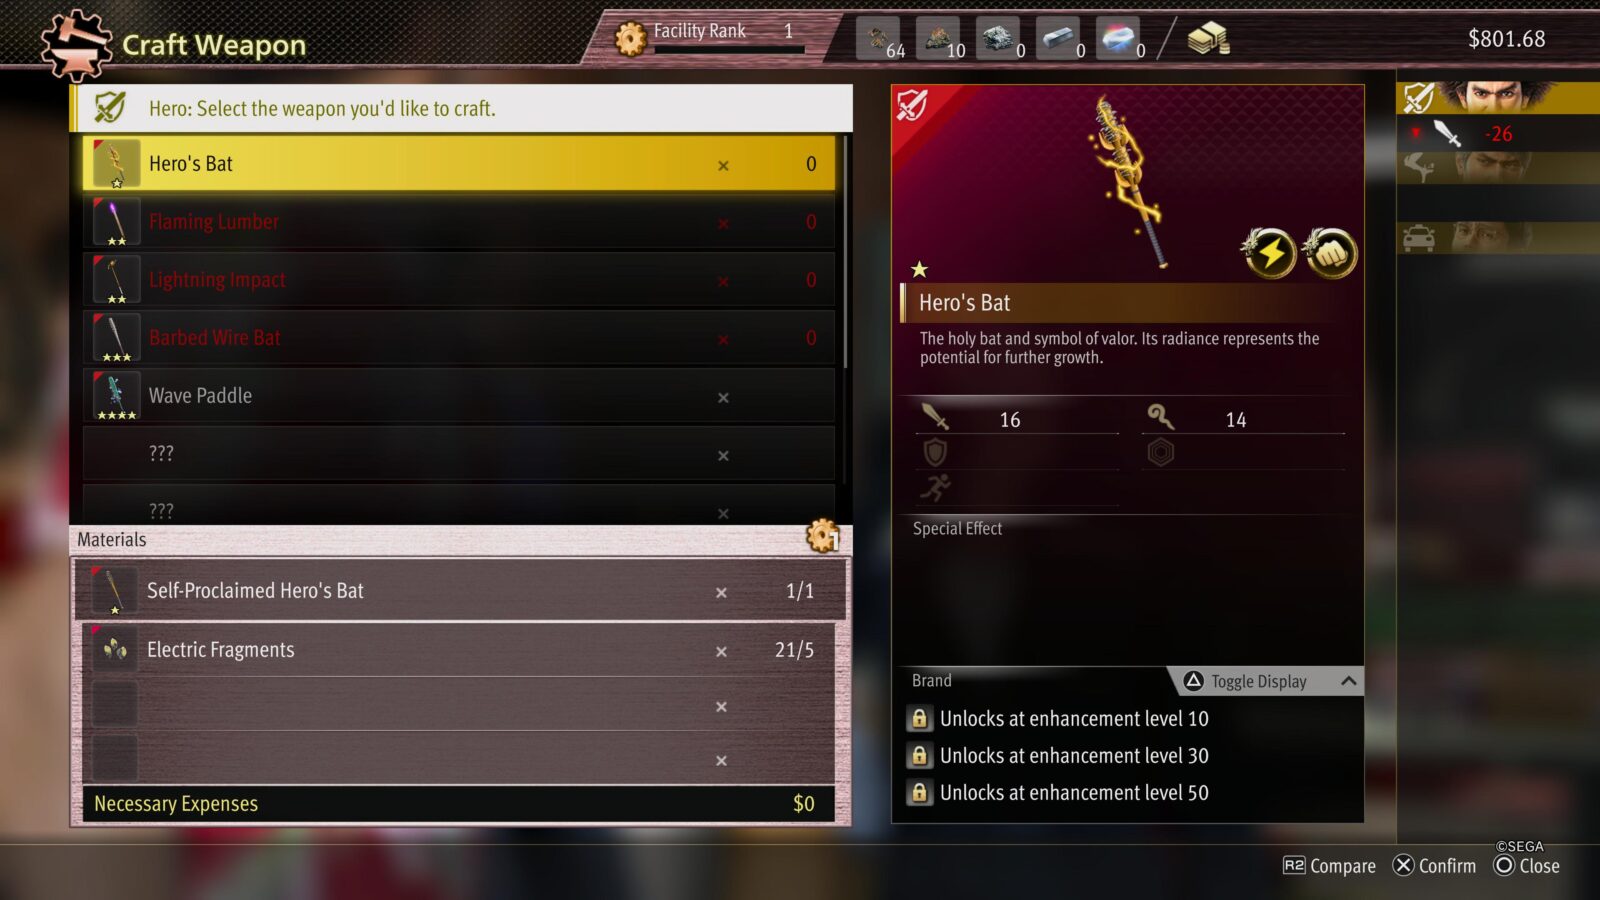
To secure the “Something from Nothing” trophy, focus on creating at least 10 pieces of equipment at Julie’s Gearworks, which becomes accessible after completing Unmissable Substory #20 in Chapter 4.
At Julie’s Gearworks, you can either forge new weapons or enhance existing ones. Crafting weapons requires elemental materials of various types—Electric, Lava, Ice, Rainbow—combined with a base weapon and, for higher level gear, unique items like empty cough drop tins and shark fins.

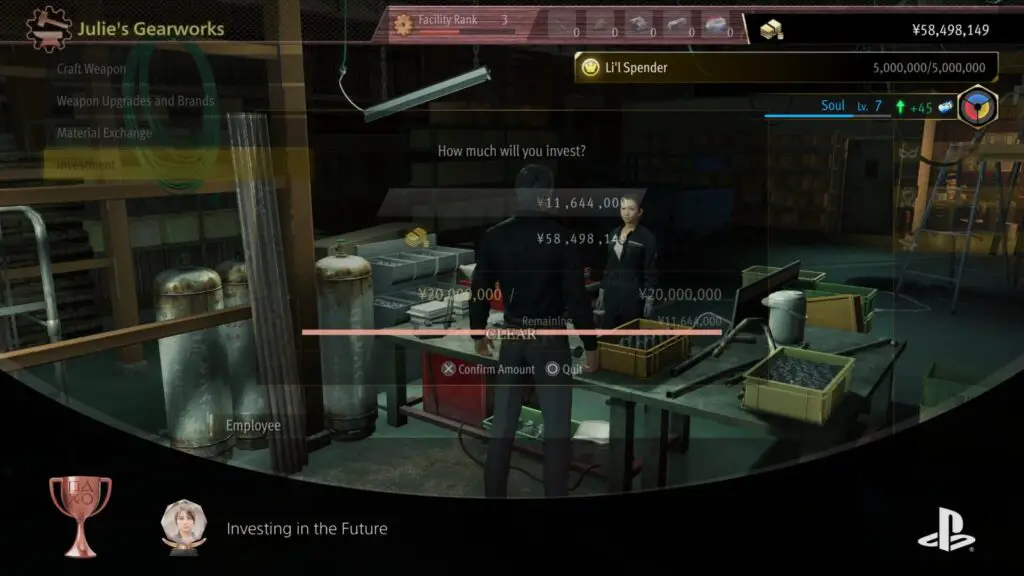
Investing in the Future
Completed all of Julie's investments.
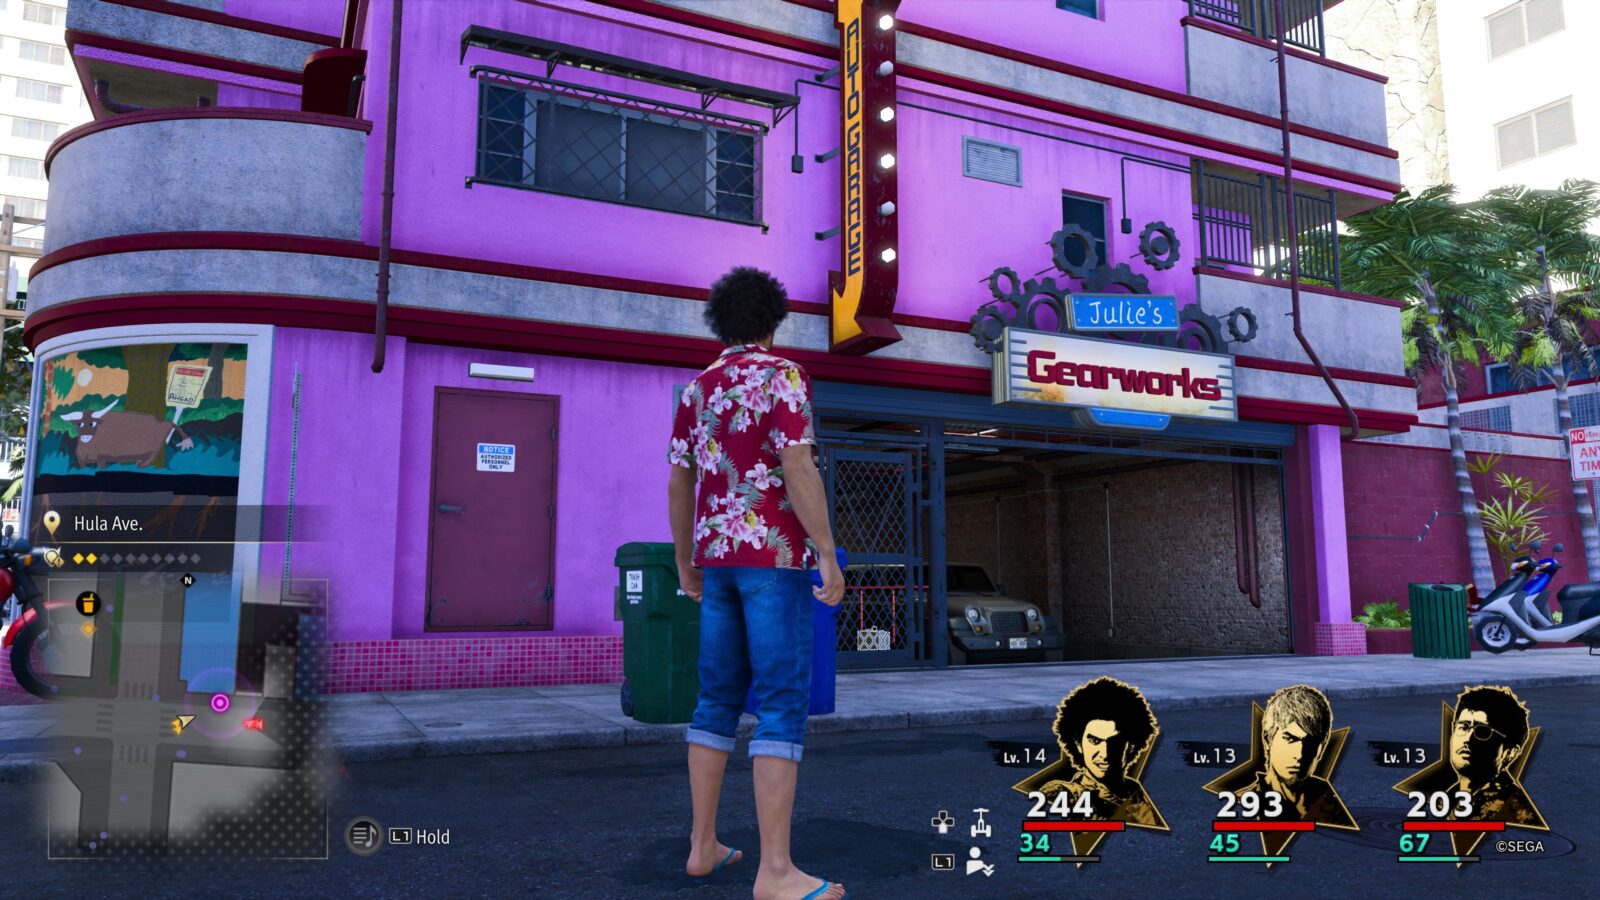
During Chapter 4, you will be introduced to Julie’s Gearworks in Hawaii (which later opens up in Japan, too!).
To earn the “Investing in the Future” trophy, visit her shop again after leaving, and select the new investment option when speaking with Julie. Here, you can donate money to the workshop to improve equipment and thus broaden the range of weapons that can be crafted there.
Investment Levels and Costs:
- Level 2: 200,000 yen / $2,000
- Level 3: 2 million yen / $20,000
- Level 4: 20 million yen / $200,000
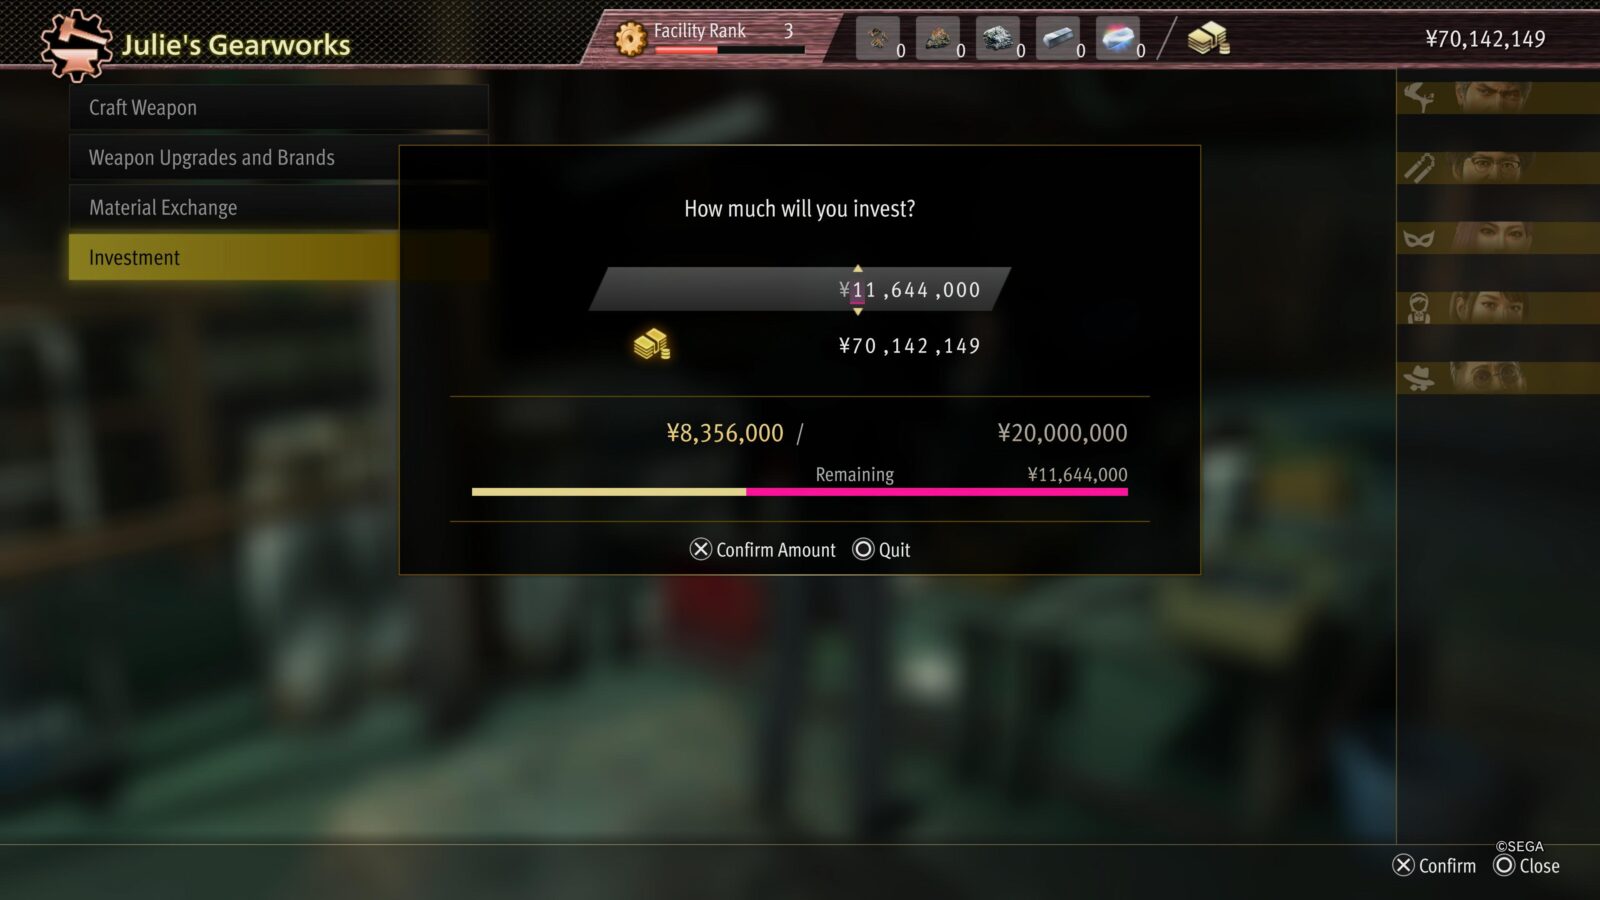
Reaching Level 4 both unlocks the ability to craft the strongest weapons and secures the trophy.
Unlike the Romance Workshop in Infinite Wealth’s predecessor, crafting and upgrading weapons at Julie’s Gearworks will actually contribute towards the overall investment, so not all of the investments need to be made as cash donations.
Phase Three | Dungeons
Now that you’ve completed a majority of the side-content, you’ll have a lot of resources and equipment which will be invaluable here in Phase Three of our Like a Dragon: Infinite Wealth Trophy Guide.
You’ll not only need to complete the Hawaiian Haunt and Yokohama Underground dungeons, but you’ll need to revisit them to complete their EX forms too!
Dungeon Trophies

Ruffians Beware
Conquered the Hawaiian Haunt.
The Hawaiian Haunt Dungeon is on a construction site just west of Aloha Bridge. The first dungeon you get access to; it becomes available during Chapter 5. From then on, Kasuga & Co can challenge the dungeon at any time!
Each sector of the dungeon, comprised of 10 floors, culminates in a boss fight on the 5th and 10th floors, designed to test your mettle.
Hawaiian Haunt Bosses
| Level | Boss | Recommended Level |
|---|---|---|
| B5 | Boomstick Banneret | 18 or more |
| B10 | Top Dog | 18 or more |
| B15 | Stress Tester | 32 or more |
| B20 | King of Bling | 32 or more |
| B25 | Jaws of Death | 39 or more |
| B30 | Robo Michio | 39 or more |
| B35 | Dosukoi Gigantes | 50 or more |
| B40 | Robo Michio | 50 or more |
The first three sectors available are crafted to complement the main storyline’s progression, while the final EX sector is a gauntlet meant for those who have reached Premium Adventure.
Within these subterranean depths, you can also rescue endangered souls for bonus rewards and extra dungeon currency (useful for buying resources like Empty Cough Drop Tins and Squid Tentacles from the Dungeon Shop). Every 5 floors, just before the boss rooms, you’ll get an opportunity to heal and save the game, which makes things a lot easier than they’d be without.
To unlock the Dungeon Sweeper Trophy, make your way through all four sectors of the dungeon, as detailed in the table below:
Hawaiian Haunt Recommended Levels
| Sector | Floors | Recommended Level |
|---|---|---|
| One | B1-B10 | 18 or more |
| Two | B11-B20 | 32 or more |
| Three | B21-B30 | 39 or more |
| EX | B30-B40 | 50 or more |
By the end of the story you should be around Level 45-50 so it shouldn’t take you long to prepare for the EX Sector!

Dungeon Sweeper
Conquered the Yokohama Underground.
The Yokohama Dungeon is underground in the northwest corner of Yokohama. The second dungeon you get access to; it becomes available during Chapter 10. From then on, Kiryu & Co can challenge the dungeon at any time!
Each sector of the dungeon, comprised of 10 floors, culminates in a boss fight on the 5th and 10th floors, designed to test your mettle.
Yokohama Underground Bosses
| Level | Boss | Recommended Level |
|---|---|---|
| B5 | Five Hollow Followers | 32 or more |
| B10 | Nicotine Lich | 32 or more |
| B15 | Sparkle Juggernaut | 37 or more |
| B20 | Angel of Megadeth | 37 or more |
| B25 | Edison of Anarchy | 44 or more |
| B30 | Utamaru | 44 or more |
| B35 | Arminator | 52 or more |
| B40 | Jo Amon | 52 or more |
The first three sectors available are crafted to complement the main storyline’s progression, while the final EX sector is a gauntlet meant for those who have reached Premium Adventure.
Within these subterranean depths, you can also rescue endangered souls for bonus rewards and extra dungeon currency (useful for buying resources like Empty Cough Drop Tins and Squid Tentacles from the Dungeon Shop). Every 5 floors, just before the boss rooms, you’ll get an opportunity to heal and save the game, which makes things a lot easier than they’d be without.
To unlock the Dungeon Sweeper Trophy, make your way through all four sectors of the dungeon, as detailed in the table below:
Yokohama Underground Recommended Levels
| Sector | Floors | Recommended Level |
|---|---|---|
| One | B1-B10 | 32 or more |
| Two | B11-B20 | 37 or more |
| Three | B21-B30 | 44 or more |
| EX | B30-B40 | 52 or more |
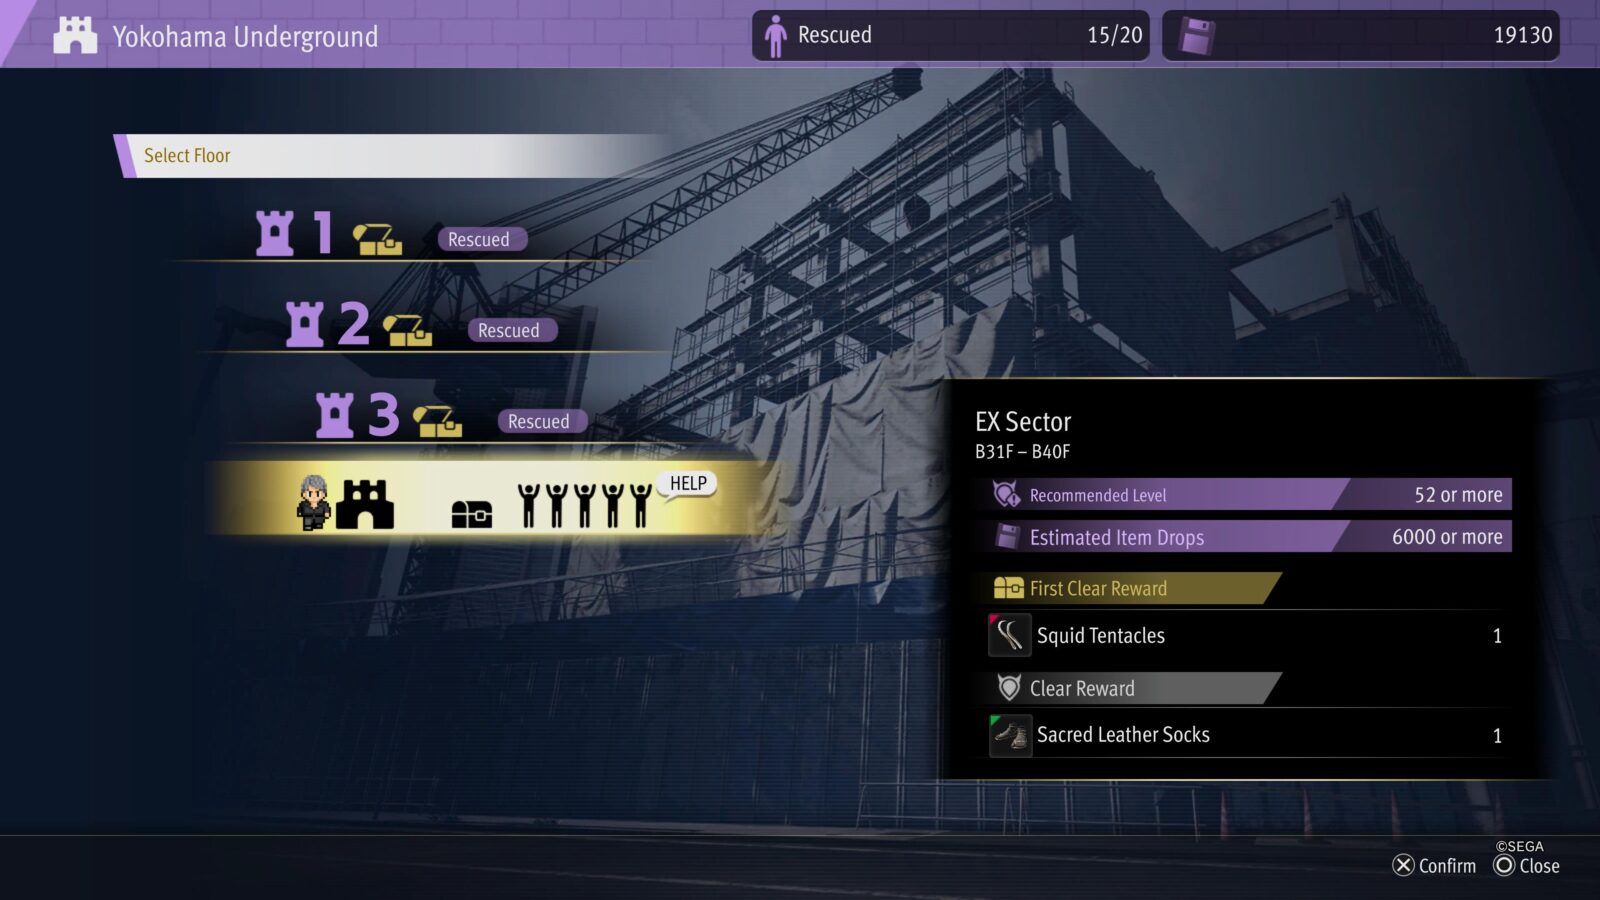
By the end of the story you should be around Level 45-50 so it shouldn’t take you long to prepare for the EX Sector!
Phase Four | Misc Trophies, Level Grind & Drink Links
Lastly, it’s time to cap off your Infinite Wealth trophy journey by mopping up any miscellaneous trophies you’ve yet to acquire, and then level-grinding Kazuga to Level 70. While you do this, if there are any characters with Job Ranks lower than 30, now would be a good time to resolve that and acquire any outstanding Job Rank Trophies.
If you do have the Master Vacation Pack DLC, you can use the Big Swell dungeon to grind exp to Level 70 a lot quicker than you would without. But for little more than New Game Plus and one extra Dungeon, the price tag is currently a tough pill to swallow.
Reach Level 70

Apex Dragon
Reached level 50 with Kasuga.
The “Apex Dragon” trophy unlocks when Kasuga reaches level 50. There’s a decent chance you’ll achieve this sometime around the end of the story, but you might need to grind a few levels in Premium Adventure to cap off the last few levels you need.
Either way, Level 50 is not the end of the road. You will eventually need to reach Level 70 to unlock the Legendary Dragon trophy.

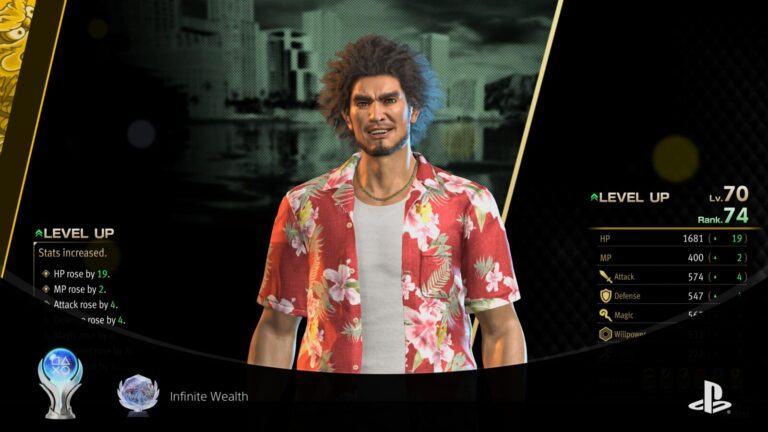
Legendary Dragon
Reached level 70 with Kasuga.
By the time you’re done with the story, you should have reached somewhere around Level 40-45 with both Kasuga and Kiryu. After completing all side-content and dungeons, you should find that you’re around Level 55-60. To unlock the Legendary Dragon trophy, you’ll need to push yourself even further to reach the Level 70 milestone.
If you happen to have the game’s DLC content, then there will be extra content in which to farm these last few levels. However, if you’re playing just the base game, you’ll need to continue replaying the Hawaiian Haunt and/or Yokohama Underground dungeons with Kasuga in your party (Yokohama Underground outputs more XP per run on average). The EX Sectors have recommended levels of 50 and 52 respectively, so you’ll eventually start breezing through the dungeon with minimal effort. Sadly, this will also mean minimal exp. The closer you get to Level 70, the further away it’s going to feel.
Just find a good series or channel to watch in the background and then get stuck in, repeatedly clearing out each floor of your chosen dungeon until the trophy unlocks.
If you want to speed things up, open your wallet and shell out for the Master Vacation DLC. The Big Swell Dungeon in said DLC will offer up the extra EXP you need.
Job Rank Trophies

Side Hustle
Raised a job to rank 30.
You will unlock Side Hustle when one of your Jobs on one of your characters reaches Rank 30. This is bound to happen naturally as you make your way through the story, unless you tend to switch jobs a lot. You’ll need to achieve this for 7 different jobs across all of your characters to unlock Ultimate Hustle.

Mad Hustle
Raised 3 jobs to rank 30.
You will unlock Side Hustle when three of your Jobs across all of your characters reach Rank 30. You’ll need to achieve this for 7 different jobs across all of your characters to unlock Ultimate Hustle.

Ultimate Hustle
Raised 7 jobs to rank 30.
As you play the game and complete a series of fights, you’ll naturally be earning Job Rank EXP for all of your party members alongside normal EXP. As you level up in a Job’s rank, you’ll gradually unlock more abilities. Each Job Rank caps out at Level 30, at that point you will stop learning new abilities but can continue to raise the job’s rank for more stat boosts.
Given that you have 10 characters across two parties who will be naturally earning Job Rank exp all throughout the game, it’s highly likely that at least a handful of your party members will reach Rank 30 in their active job while you work on other trophies, unless you tend to switch jobs a lot. Even by the end of the game, you earn so much XP from the EX versions of the Dungeons that you can farm from Job Rank 0 to Job Rank 30 in no time at all. Due to the enemies present there, the Hawaiian Haunt Dungeon is the best place to farm Job Rank exp.
That said, I personally switched all of my characters’ jobs at least twice but still managed to earn this trophy naturally without any additional effort before I’d even finished the story campaign. To unlock it yourself, raise at least 7 of your characters’ jobs to Rank 30. This doesn’t have to be on 7 unique characters, you could max out multiple jobs per character if you wanted.
Miscellaneous Trophies

Pound for Pound
Dialed up Poundmates 30 times.
The Pound for Pound trophy is very similar to a trophy from Yakuza: Like a Dragon, called “Pound It,” for which you had to use the new Poundmates feature 30 times. That trophy, unfortunately, was much easier to earn.
The main reason for this is that you no longer get a free call for every new character on the Poundmates roster. Instead, your first call is free but you have to pay for every call from then on. Additionally, the prices are much steeper than they were before and the support each character offers is much less potent.
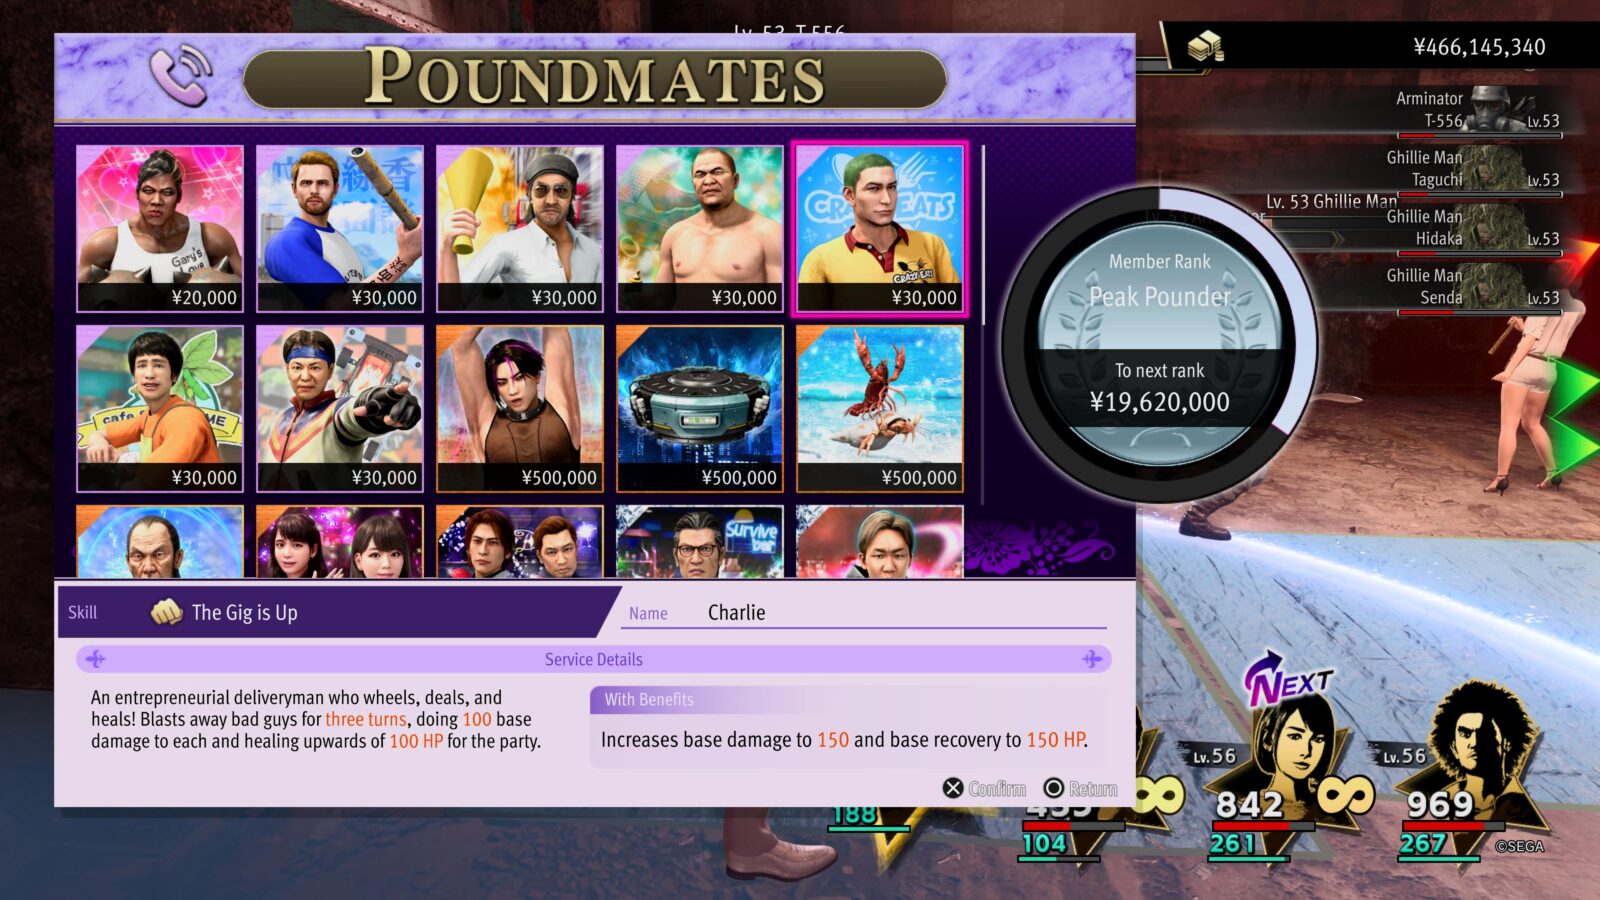
When playing as Kasuga or Kiryu, once you unlock access to the feature via story progression, you can press ![]() during battle to bring up the Poundmates menu. From in there, select a character and pay their fee to have them join you in battle as a support character for a set number of turns.
during battle to bring up the Poundmates menu. From in there, select a character and pay their fee to have them join you in battle as a support character for a set number of turns.
My favourite Poundmate to call is “Charlie,” the NPC from the Crazy Delivery minigame. He not only damages enemies in an area, but heals your full team a small amount each time he attacks. What’s more, he has one of the lower call fees and so isn’t expensive to use in multiple back-to-back fights.
To unlock the Pound for Pound trophy, call Poundmates in battle this way a cumulative total of 30 times.


Sujimaniac
Registered 100 Sujimon to the Sujidex.
Sujimaniac unlocks after you have defeated 100 unique enemy types (since unlocking the Sujidex in Chapter 2). You’ll need to register double that for Sujimon Sensei.

Sujimon Sensei
Registered 200 Sujimon to the Sujidex.
To unlock the “Sujimon Sensei” trophy in “Like a Dragon: Infinite Wealth,” you’ll need to register 200 Sujimon in the Sujidex, introduced in Chapter 2 via mandatory substory #2.
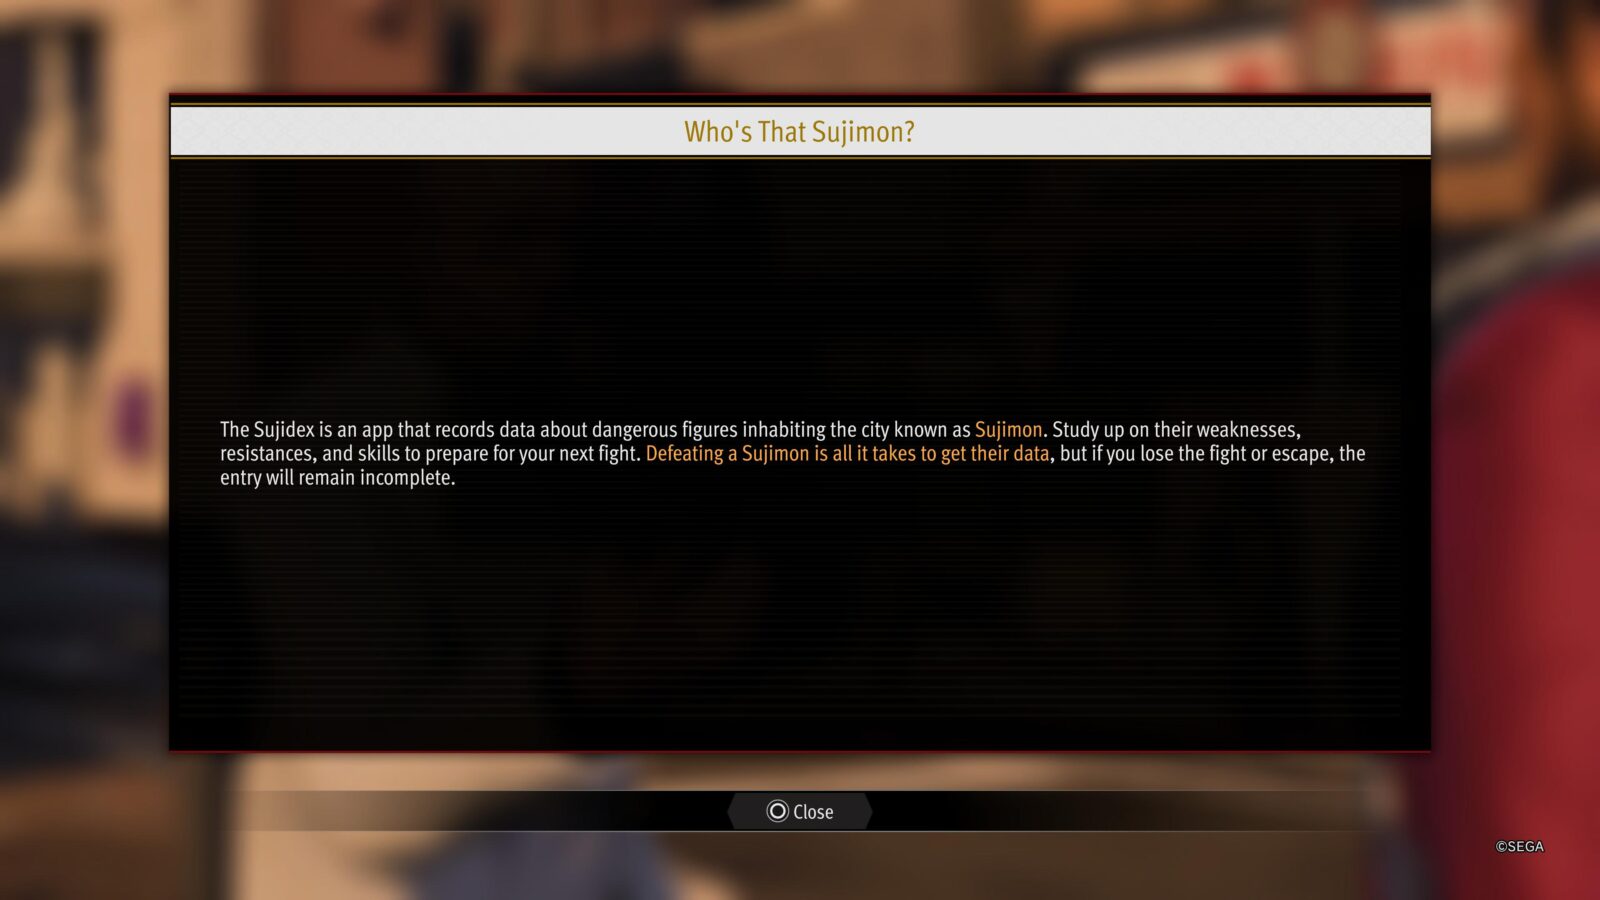
With 317 total Sujimon available in the game, you’ll be pretty much guaranteed to unlock the trophy while progressing through the story and engaging with side content for other trophies.

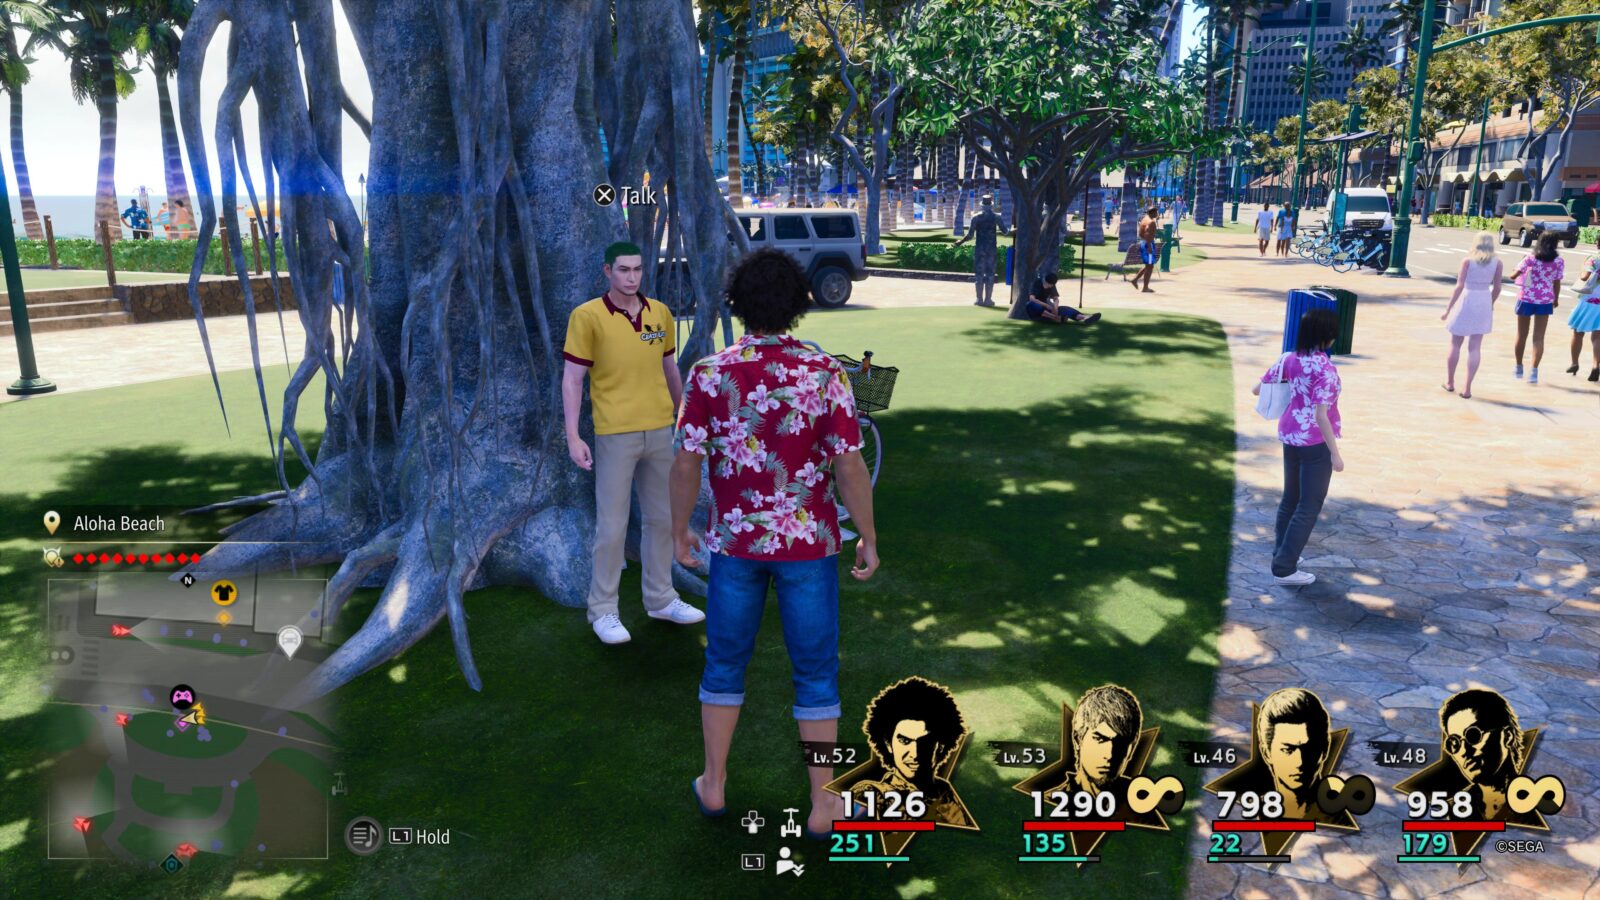
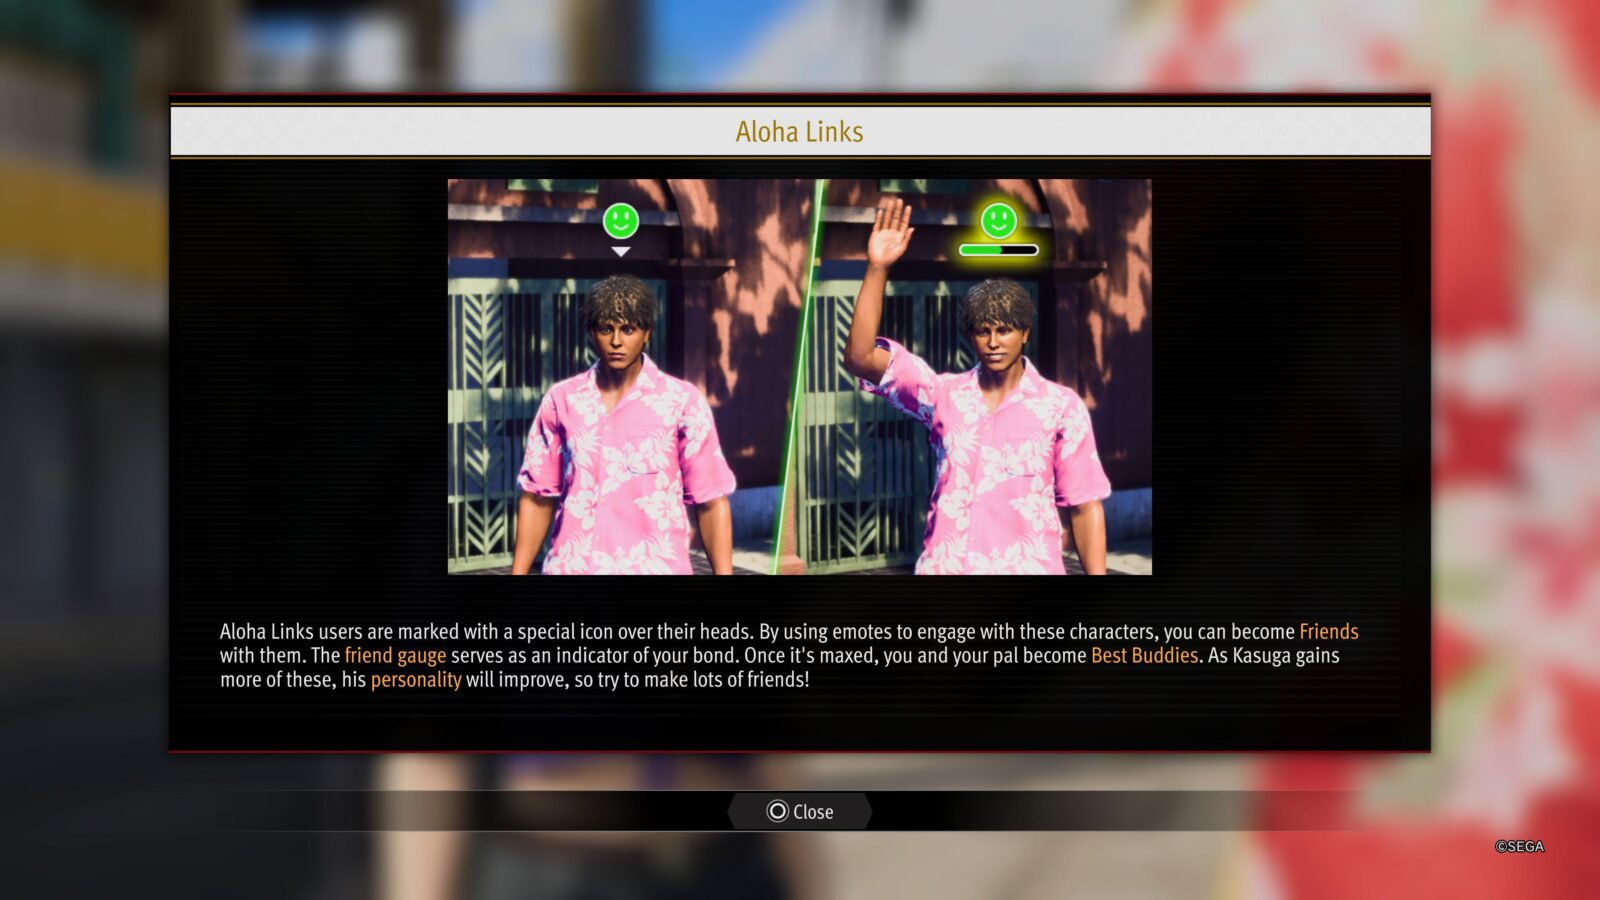
Spirit of Aloha
Befriended 50 people through Aloha Links.
During Chapter 3, you’ll unlock access to the “Aloha Links” Hawaiian Social Media Network. Through this, you will be able to begin building friendships with various inhabitants of the island—including some animals!
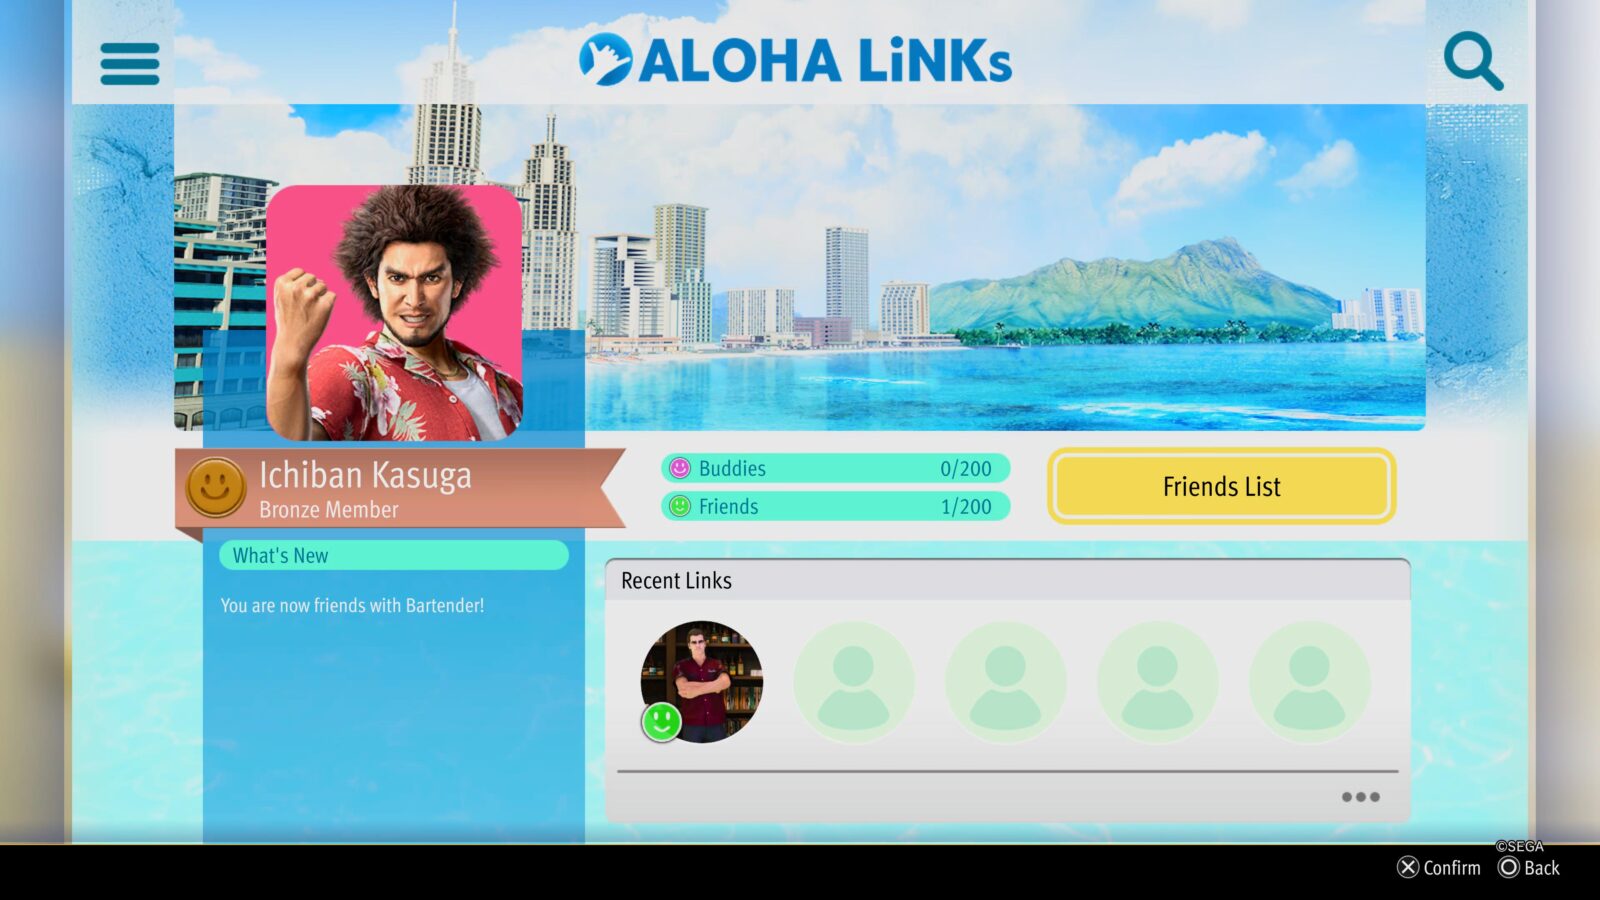
There are a total of 200 people and animals that you can befriend, all of whom will have a smiley-face emoji above their head, indicating they have the Aloha Links app. There are multiple ways to befriend people depending on who they are:
- Shopkeepers and clerks will become befriended the first time you purchase something from them.
- Animals will expect some food in return for their friendship. Choose a food they’ll enjoy from your inventory to give them and they’ll join your friends list.
- Some workers like Security Guards who are holding their posts around town will sometimes accept energy drinks and other such gifts in exchange for their friendship.
- The vast majority of these NPCs are just walking around in Hawaii. Press
 while facing them to greet them and they’ll immediately become your friend! Easy peasy!
Just befriend a mere 50 of the 200 available Aloha Links NPCs and you’ll receive the Spirit of Aloha trophy!


Not a Total Waste
Obtained an item from a toilet bowl.
Toilet bowls in Like a Dragon: Infinite Wealth can be looted if you approach them and press ![]() when the prompt appears.
when the prompt appears.
The first time you do this, you will receive the “Not a Total Waste” trophy. There’s one toilet in the Revolve Bar restrooms that you can use for this.


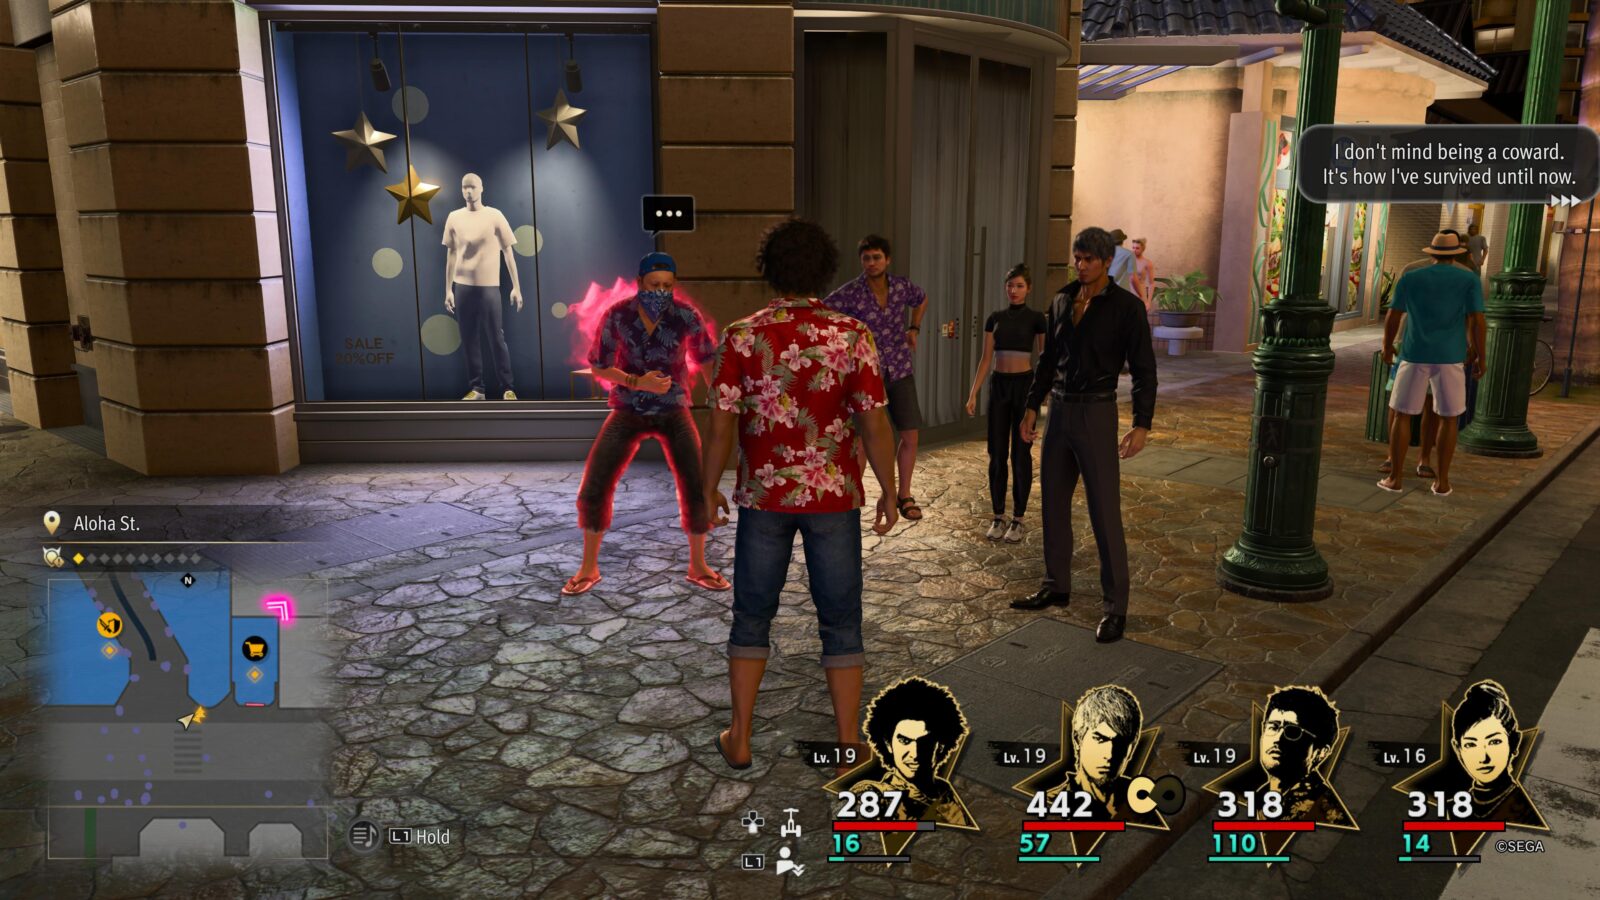
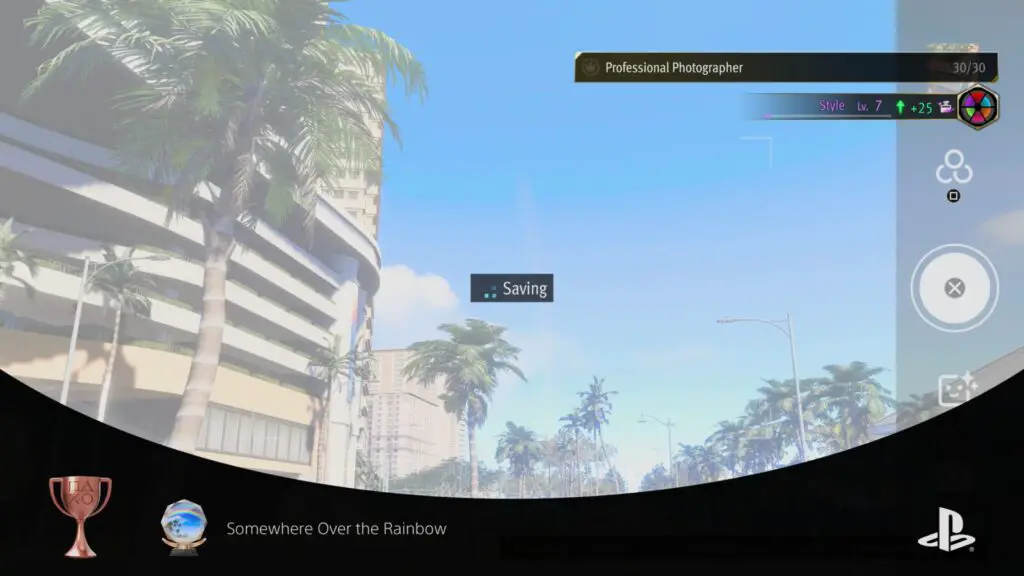
Somewhere Over the Rainbow
Photographed a rainbow in the skies of Hawaii.
Even in sunny Hawai’i it rains sometimes! Occasionally, freak rainstorms will break out that last a few minutes at a time. When one of these happens, look to the skies to find a rainbow against the picturesque blue backdrop.
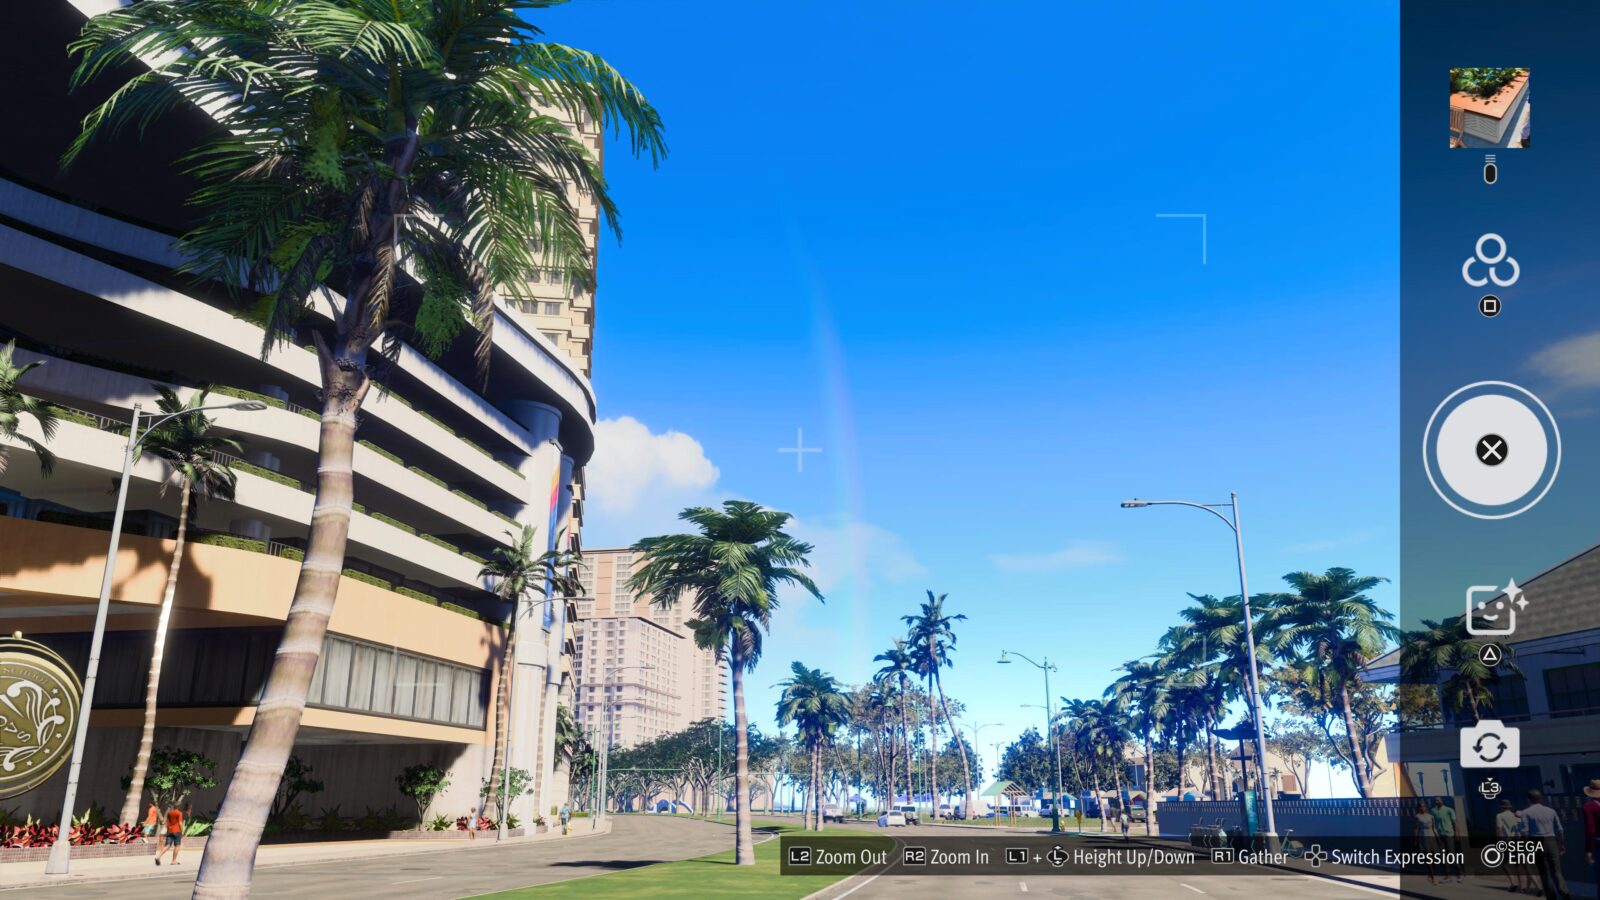
Press ![]() to open you camera and snap a photo of the rainbow with
to open you camera and snap a photo of the rainbow with ![]() to instantly unlock the “Somewhere Over the Rainbow” trophy!
to instantly unlock the “Somewhere Over the Rainbow” trophy!
PlatGet!

Infinite Wealth
Obtained all trophies.
After collecting every trophy in this Like a Dragon: Infinite Wealth Trophy Guide, the "Infinite Wealth " Platinum Trophy will unlock. Congratulations!
Thanks for Reading
Plat Get!
Thank You!
Thank You for choosing PlatGet as your source for this Like a Dragon: Infinite Wealth Trophy Guide.
Wondering what to complete next? Browse our complete guide selection or check out our friends at PlatPrices.com to filter the PS Store based on price, trophy difficulty, or completion time.
Got a question, some feedback, or just want to say thanks? Drop a comment in the discussion section below, we'd love to hear from you! No account required!!