PlayStation 4
Creature in the Well Trophy Guide
General Info
FAQ
How long does it take to beat Creature in the Well and unlock all trophies?
Around 10 Hours.
How difficult is it to beat Creature in the Well and unlock all trophies?
Easy (3/10).
Does Creature in the Well have online trophies?
No.
Does Creature in the Well have difficulty-specific trophies?
No.
Does Creature in the Well have missable trophies?
No.
Does Creature in the Well have glitched trophies?
No.
What is the minimum number of playthroughs required to unlock all trophies in Creature in the Well?
One.
Does Creature in the Well have a Platinum Trophy?
Yes.
Trophy Guide
Creature in the Well Trophy Guide and Road Map for PlayStation 4
This Creature in the Well Trophy Guide was created to accompany my Platinum Trophy Review, check that out if you have a few minutes and are interested to know my thoughts on the Platinum Journey as a whole.
Creature in the Well Trophy Guide: Before You Begin
One thing I strongly recommend before you start is remapping some controls. It’s actually possible to dodge/dash while holding orbs and will be vital to some parts of the game, but they don’t make it easy with the controls you start with given that everything happens on the face buttons.
In the Settings tab of the pause menu, select the “Controller Config” option and then set your controls up like this:
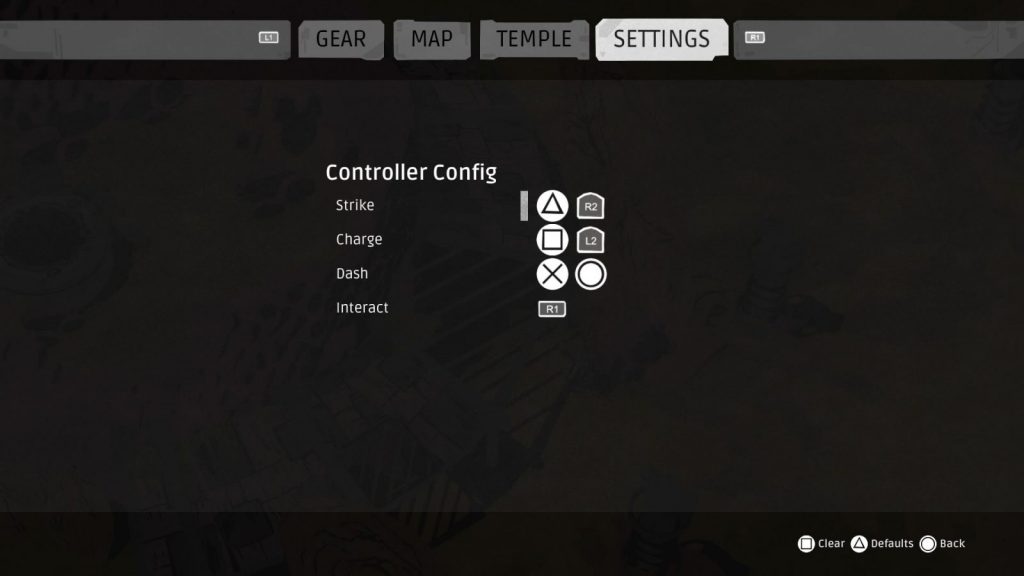
Being able to use the ![]()
![]() triggers to Charge and Strike is just a much more comfortable way of playing and makes dodging while charging much easier to do.
triggers to Charge and Strike is just a much more comfortable way of playing and makes dodging while charging much easier to do.
The next thing to be aware of is how the game’s maps work. Firstly, you can see any unvisited rooms as small greyed-out dots on the map, these will help you a lot in figuring out where secret rooms are and which rooms to access them from. Often, if there’s a room you haven’t visited and there is no obvious door leading in that direction, then you can complete the puzzle in one of the adjacent rooms to unlock a secret entrance, leading to a collectable or simply more power resources.
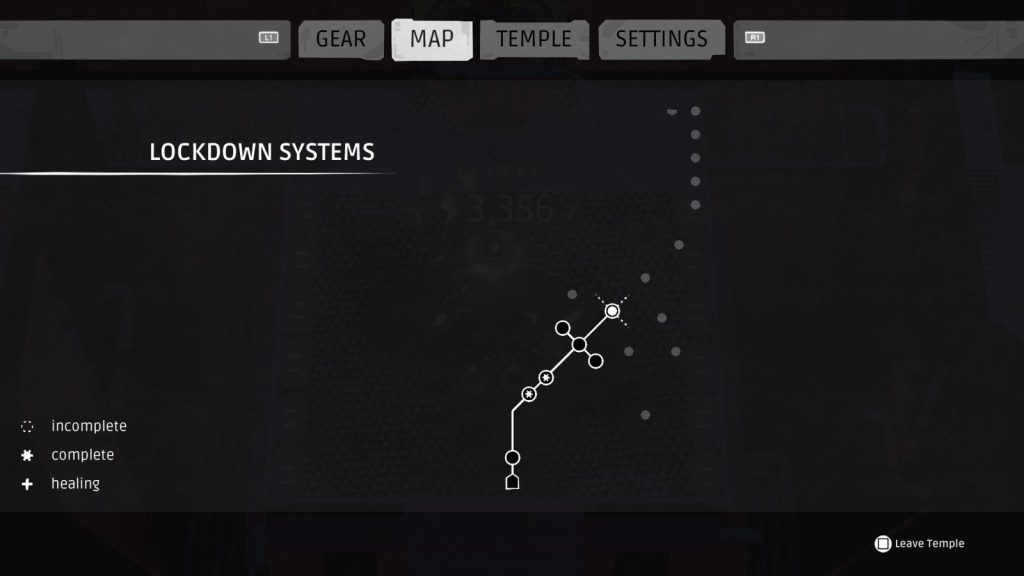
A circle with a dashed outline will indicate that there is a power core to charge up in any given room and this will change to an asterisk if you have charged the power core in that room. You can actually track your progress on this via the “Temple” tab in the pause menu.
I recommend ensuring you have visited every single room on a map before moving to the next stage. This way, you will ensure you have collected every possible Bot Core to increase your health and every Charge or Strike tool to help make the game a lot easier. Here are some tools to look out for which will make your life a lot easier:
- Dual Blades Charge Tool – You can find this tool in the Lockdown Systems stage, it will allow you to aim your weapon using a laser-sight allowing you to be more accurate when needed. You can get this ability permanently by finding the Bot-C Helmet later in the game, making the tool obsolete.
- Fan Blade Charge Tool – Found in the Power Grid stage, this incredibly useful charge tool will allow you to recover health by catching orange orbs with
 . Helpful in a lot of difficult puzzles and boss fights.
 - Thunder Staff Strike Tool – Insanely useful for reducing how long puzzles and boss fights take, the Thunder staff will charge any orb it hits with purple energy and then when that orb hits a chargeable object, it will send out arc lightning. This will then charge other objects nearby. It is found in the Atmospheric Analysis stage.
- Magnetic Fork Charge Tool – This tool has the largest range for catching orbs, which is vital for some stages in which you must avoid letting orbs hit certain objects so they don’t send out drones or shockwaves to damage you. It is found in the Synchronous Field.
- Folded Edge Axe Strike Tool – This tool will split any orb you hit into three orbs, which is fantastic for clearing away drones in the same level you find it; the North Star Conduit.
Lastly, make sure you interact with every single piece of lore you come across. Every stage has a control room at the end of it which is filled with consoles you can check for lore, this is needed for one of the trophies, but you can back-track to collect them if you miss them.
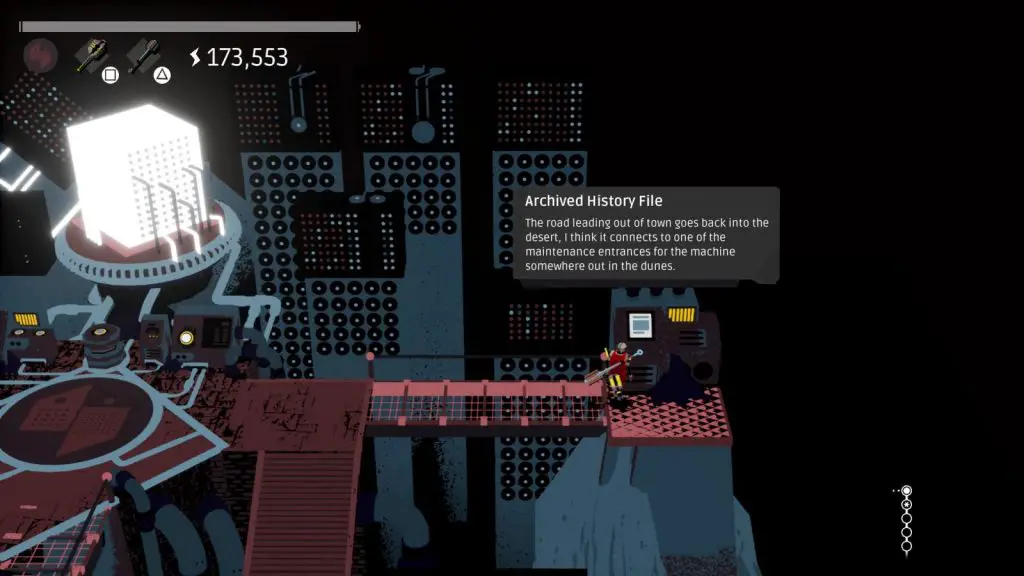
Phase One – Complete the Campaign Up Until the Well
In order to complete the entire game and earn the platinum in a single playthrough, I recommend you stop making progress once you have unlocked the Weather System Control stage. Then, before progressing, you’ll want to make sure you have every collectable except the two you find inside the Weather System Control before progressing any further.
For this part of the Creature in the Well Trophy Guide, though, focus on just reaching the Weather System Control. Note that there is a pretty big spike in difficulty at the Synchronous Field stage and you may struggle to progress without the right equipment.
Progression Trophies

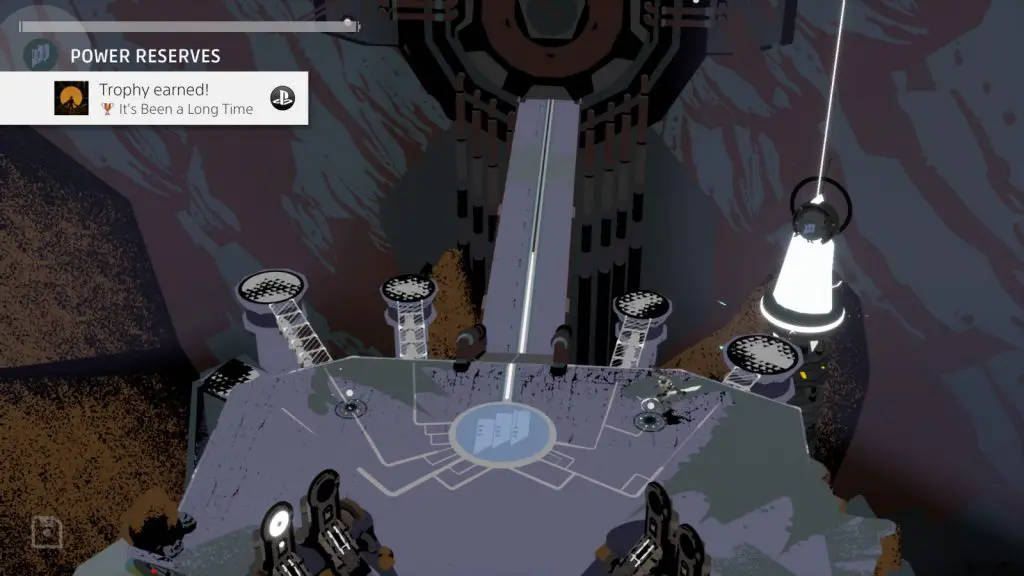
It’s Been a Long Time
Open the temple
For this trophy, you will need to activate the Power Reserves stage inside the Temple. You can do this by ![]() charging one of the two orbs inside the main entrance and then
charging one of the two orbs inside the main entrance and then ![]() striking it towards the cone-like structure with the Power Grid icon on top of it.
striking it towards the cone-like structure with the Power Grid icon on top of it.

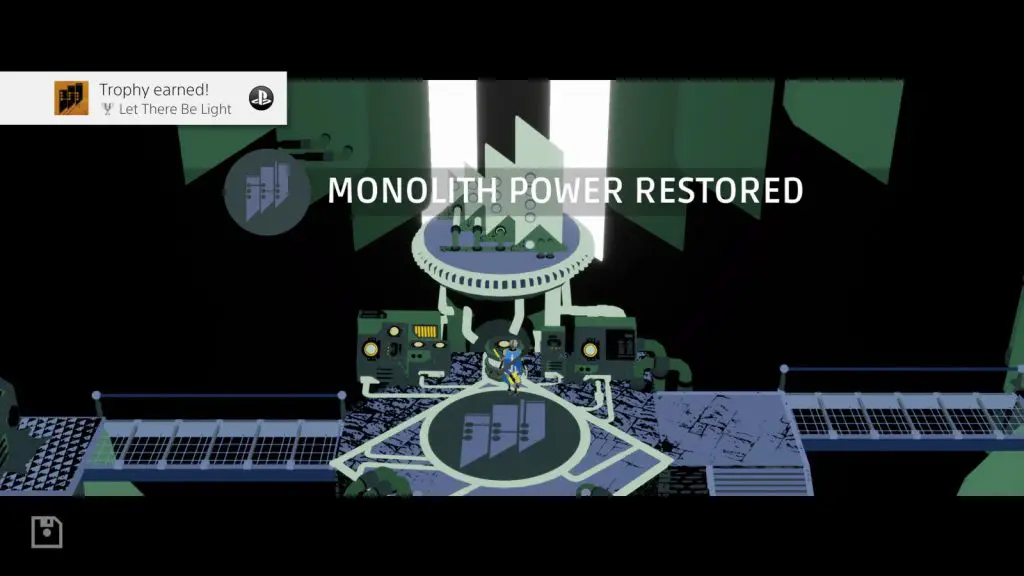
Let There Be Light
Activate the Power Reserves
To earn this trophy, progress through the stages until you activate the machine at the end of the “Power Reserves” stage. This will re-activate the second monolith in the main entrance, allowing you to access more stages.

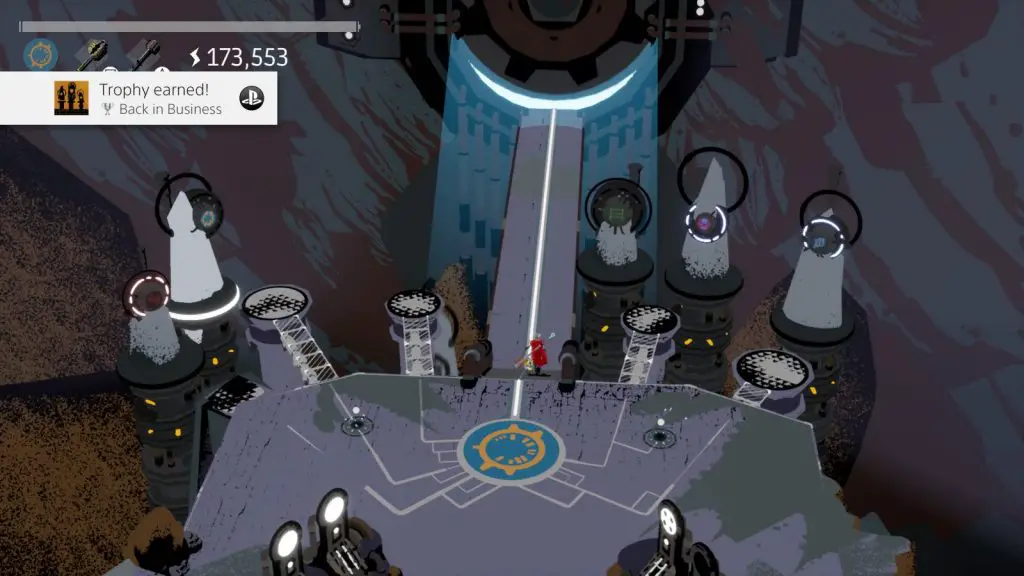
Back in Business
Unlock the Support Monoliths
For this trophy you will want to progress even more, completing the following stages; Power Grid, Lockdown Systems, Power Reserves, and Archives.
This will unlock the third Monolith for re-activation in the temple’s main entrance. Activate it to earn this trophy and gain access to the Atmospheric Analysis, Synchronous Field, and North Star Conduit stages.

R0g3rFr0g
Unlock the Weather Control Monolith
This trophy is essentially the same as the last one, but you will now want to activate the fourth monolith. First, complete every one of the 7 available stages, and then interact with the monolith once it is available for re-activation. This will give you access to the 8th and final stage, which you do not want to complete during this phase of your trophy journey.
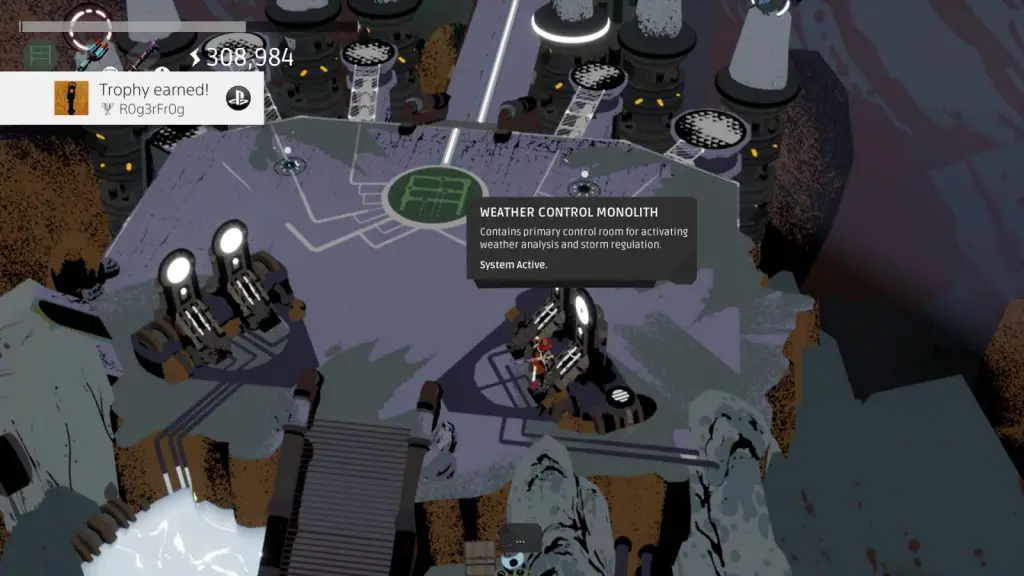
In-fact, once you have this trophy is the point at which you should stop making progress and instead move on to phase two, where you will get every collectable you can before progressing.
Phase 2 – Collectable & Misc Cleanup
Collect Almost Everything
Now that the Weather Control Monolith is active, you’re in the final stretch of the game. I know! Exciting stuff! You’re almost there, especially if you’ve been completing every stage as much as you can like I suggested. Now, though, it’s time to really knuckle down and get every last collectable before we move on…

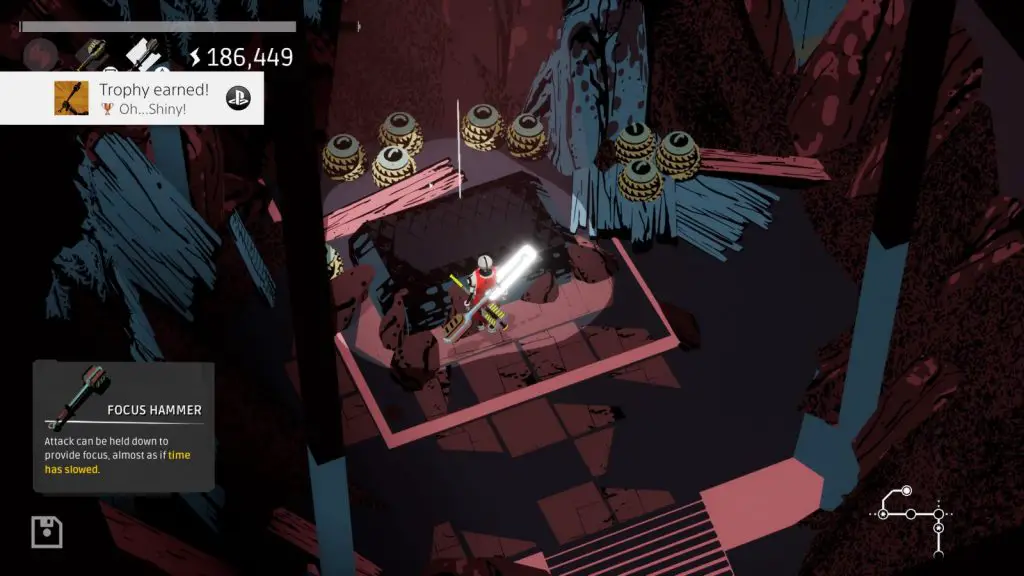
Oh…Shiny!
Find a secret strike tool
For this trophy, you will want to find your first hidden Strike Tool. My first was the Focus Hammer you can find in the Archives stage. Check out the Hand Crafted trophy for details on all Strike Tool locations.

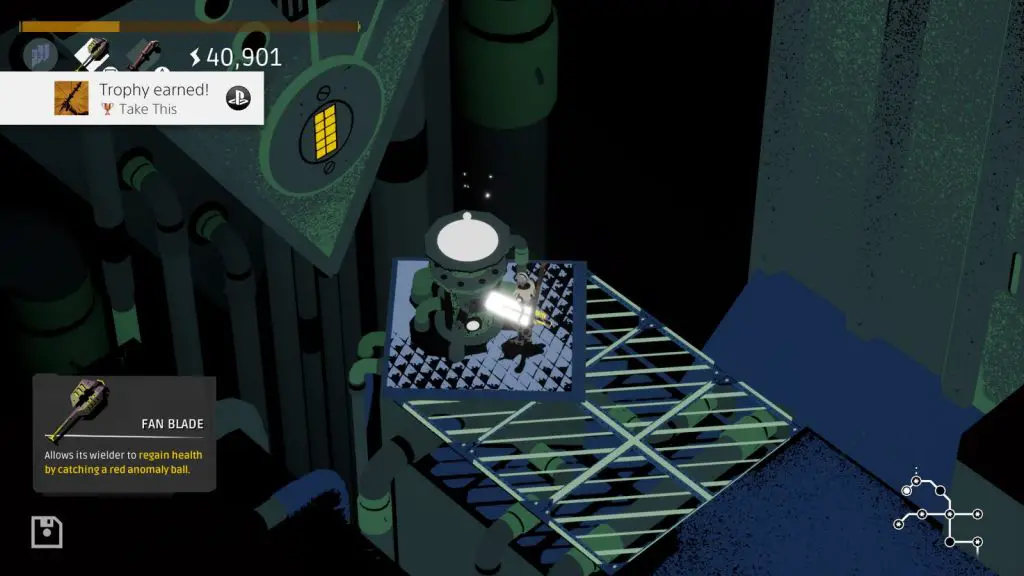
Take This
Find a secret charge tool
For this trophy, you will want to find your first hidden Charge Tool. The first one I found was the Fan Blade hidden in the Power Grid Stage.
Check out the Hand Crafted trophy for details on all Charge Tool locations.

Little Engineer
Upgrade your BOT-Core
To earn this trophy, you will need to upgrade your character for the first time using an Old Bot-C core. These cores are found in each temple and there are a total of 9 to find, taking your own Level up to a maximum of 10. Check out the Fully Charged trophy for details of where to find every core.
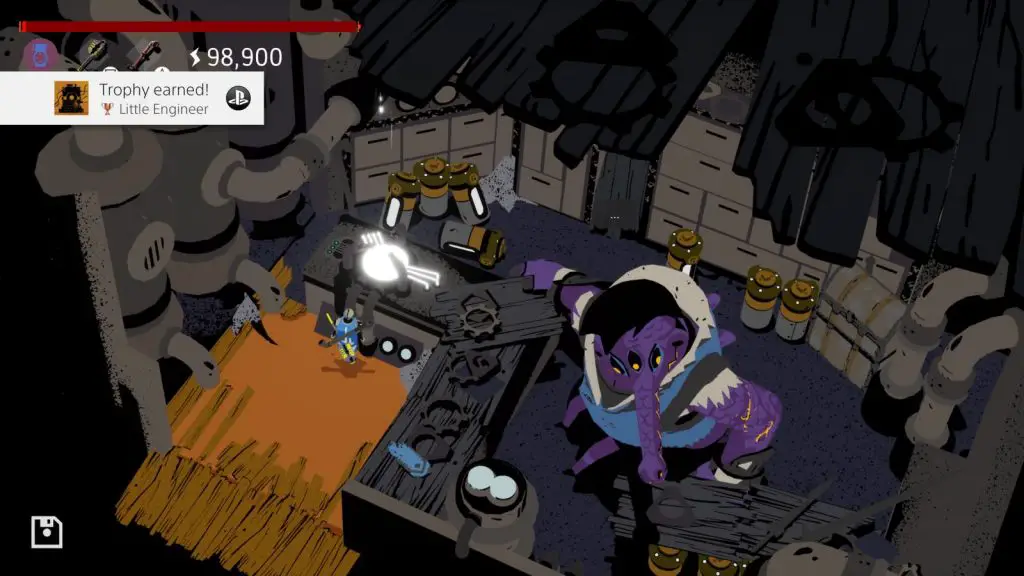
Once you have found a core, go to Danielle’s workshop, which you can find at the top of the stairs on the eastern edge of the town. There, you can interact with her workstation to use the Bot-C Core and increase your max health.
Once you do that, the trophy will pop.
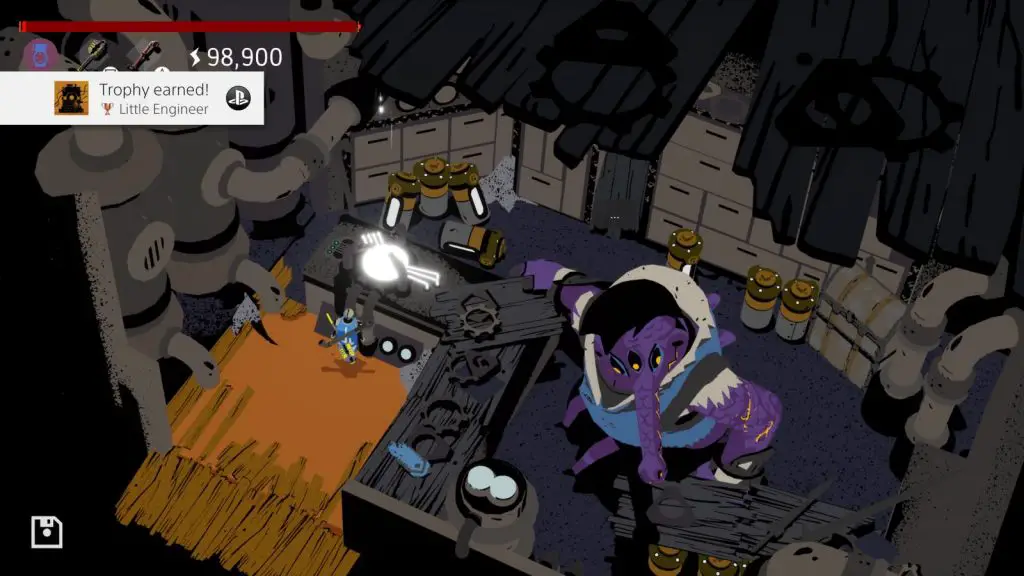
Speak to Danielle after using her workstation for the first time, and she will give you another Bot-C core!

Old Memories
Find all the lore
For this trophy, you will need to find and read all 29 pieces of lore. There are 4 pieces of lore to find in each of the control rooms at the end every one of the 7 stages, at consoles like this one:

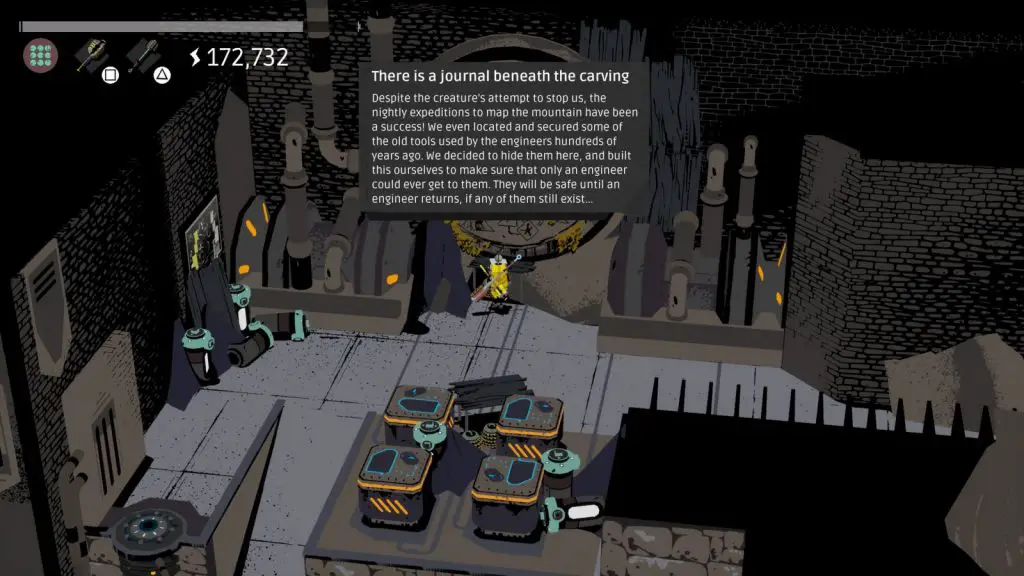
That, of course, leaves just one piece of lore to find elsewhere. It can be found inside the Scavenger’s Hidden Stash secret area – check out the Stock Tools trophy to find out more about the Scavengers Hidden Stash. Once in there, you can find the final piece of lore here:
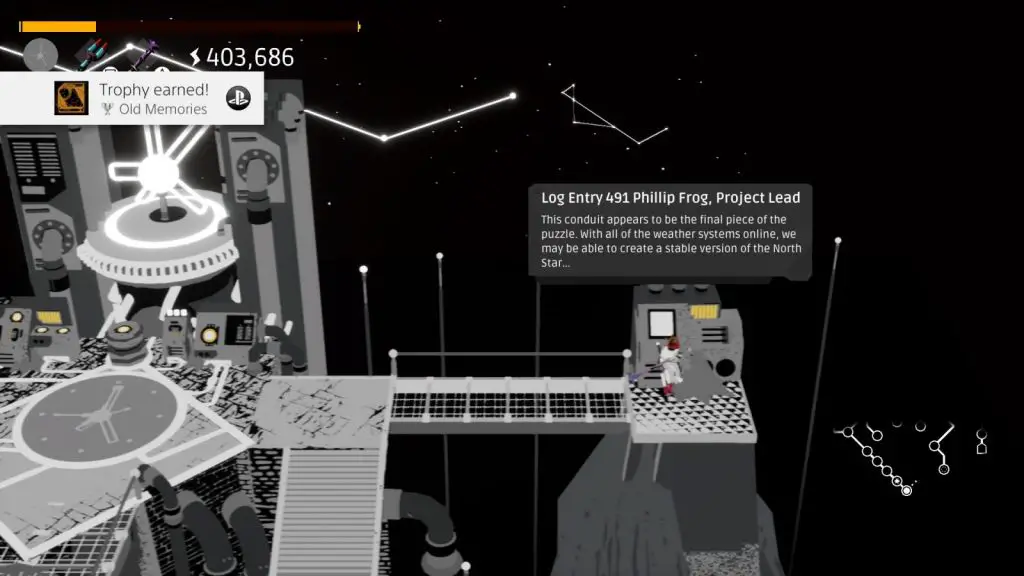
When you have successfully read all 29 items of lore, the trophy will pop:

Fully Charged
Fully upgrade the BOT-Core
There are 9 Bot-C cores to collect in the game. You can find one in each of the 7 stages, found inside hidden rooms. You will have to complete puzzles to gain access to these hidden rooms but by ensuring you don’t leave any room incomplete within each stage then you will be sure to find them all.
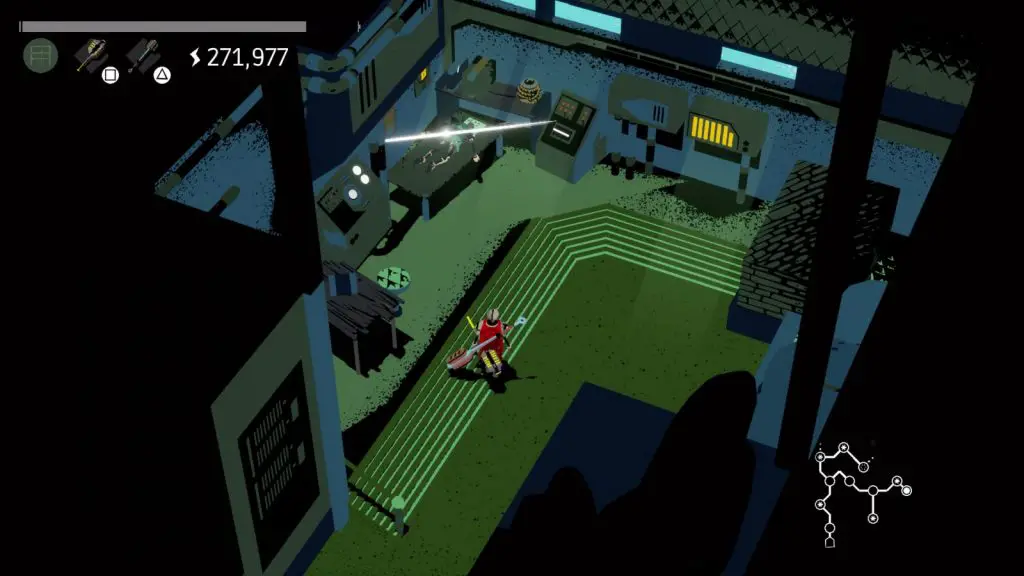
That leaves 2 Bot-C cores to find elsewhere. Well, the first can be acquired from Danielle. Speak to her ![]() after using her Workstation at least once and she will give you a Bot-C core, allowing you to upgrade yourself again right then and there.
after using her Workstation at least once and she will give you a Bot-C core, allowing you to upgrade yourself again right then and there.
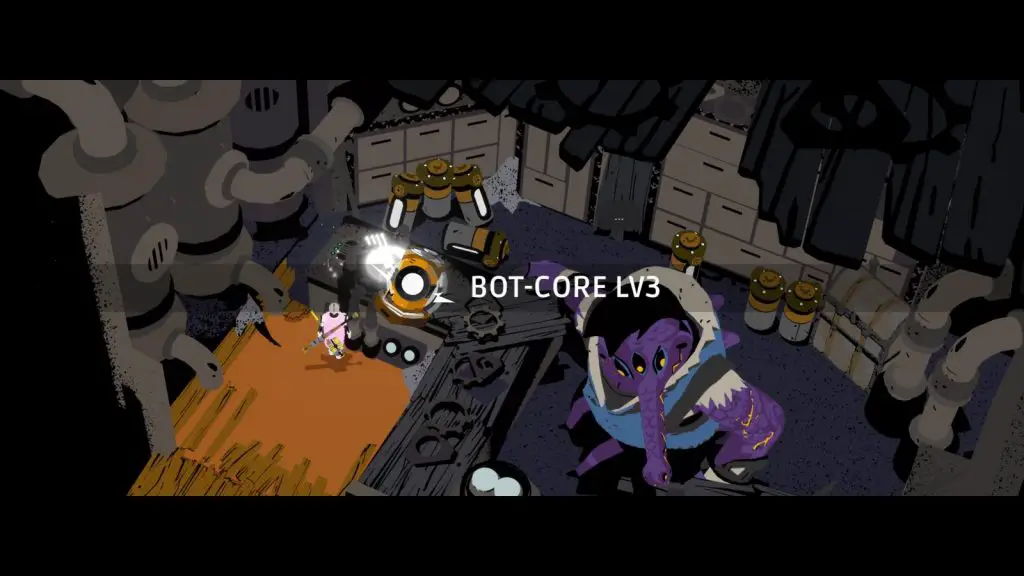
The final Bot-C core is acquired from Roger T. Frog, the Janitor inside the temple:
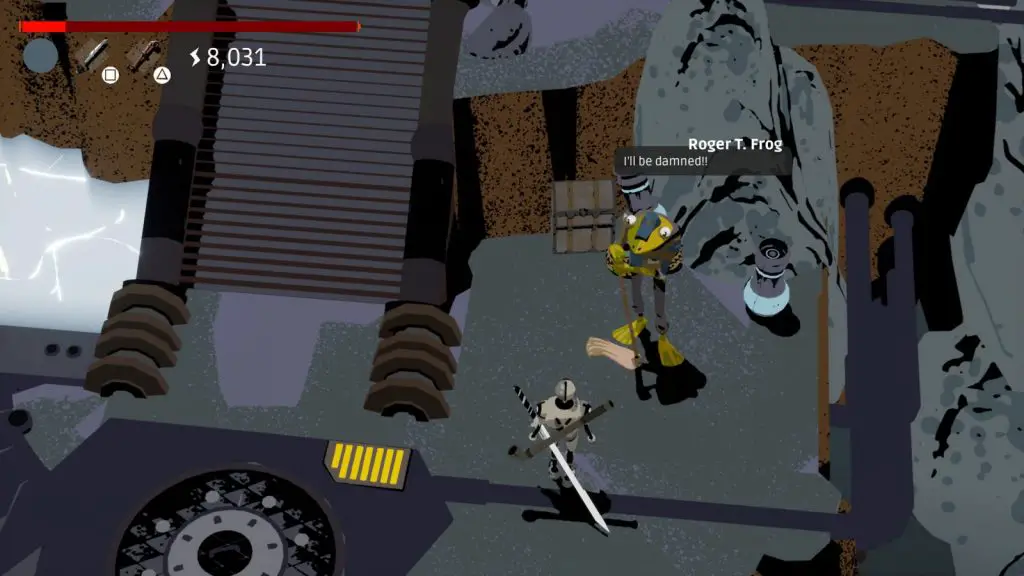
However, he won’t just give you it right away. You will first need to complete all 7 stages, then speak to him with ![]() . Make sure you keep pressing
. Make sure you keep pressing ![]() to move through his dialogue until he places the Bot-C core on the ground behind him, where you can collect it.
to move through his dialogue until he places the Bot-C core on the ground behind him, where you can collect it.
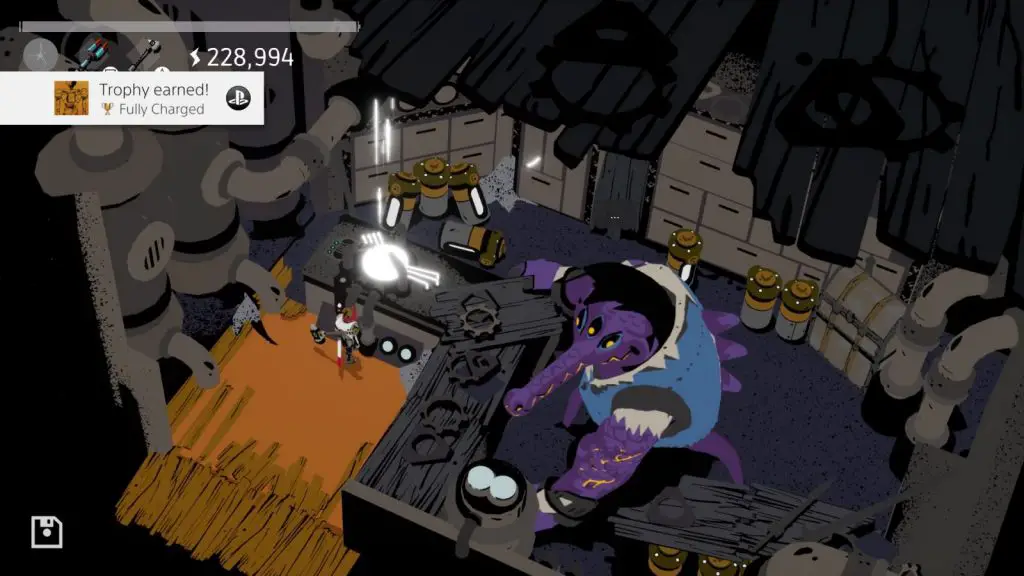
Take all of your cores to Danielle and once you’ve installed your final core and reached Level 10, you will see the trophy pop:

Hand Crafted
Find all of Danielle’s tools
For this trophy, you are going to need to find all of the Strike Tools and Charge Tools in the game. Note that one of these tools is found inside the Weather System Control stage, which I have suggested you don’t visit yet, so you’ll actually finish this trophy in the next phase of your journey.
Pipe Strike Tool
The Pipe strike tool is the first strike tool you earn and you’ll find it in the very first moments of the game, by a rock in the sandstorm.
Charge Sword Charge Tool
The Charge Sword is the first Charge Tool you earn and is found inside the first temple you enter. It’s all part of the game’s tutorial so don’t worry about missing it.
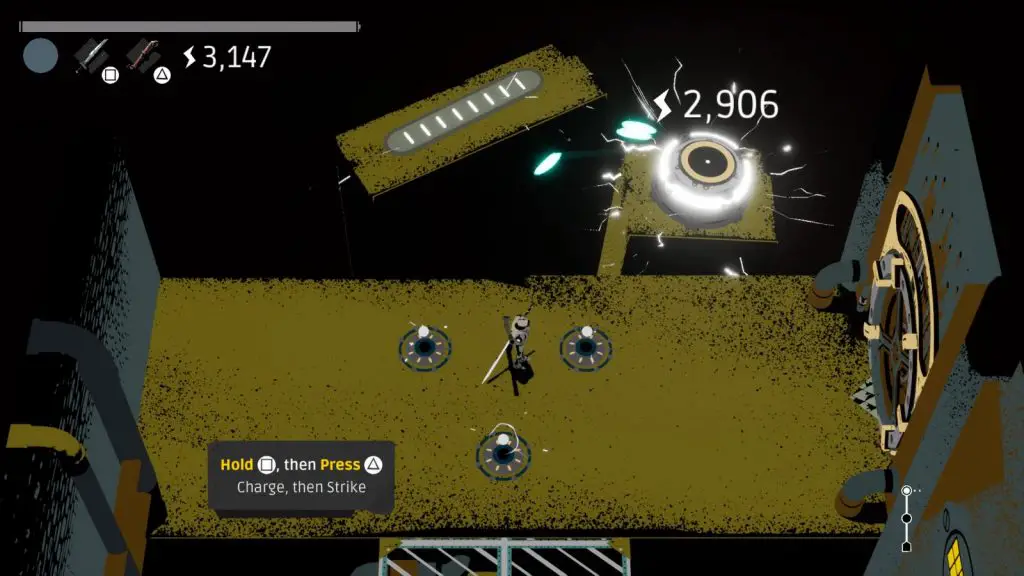
Baseball Bat Strike Tool
On the left side of the village you’ll find the well. From there, go right and a little bit south to find a fenced-off area with a small metal shed in it. Head inside and you will find the Baseball Bat.
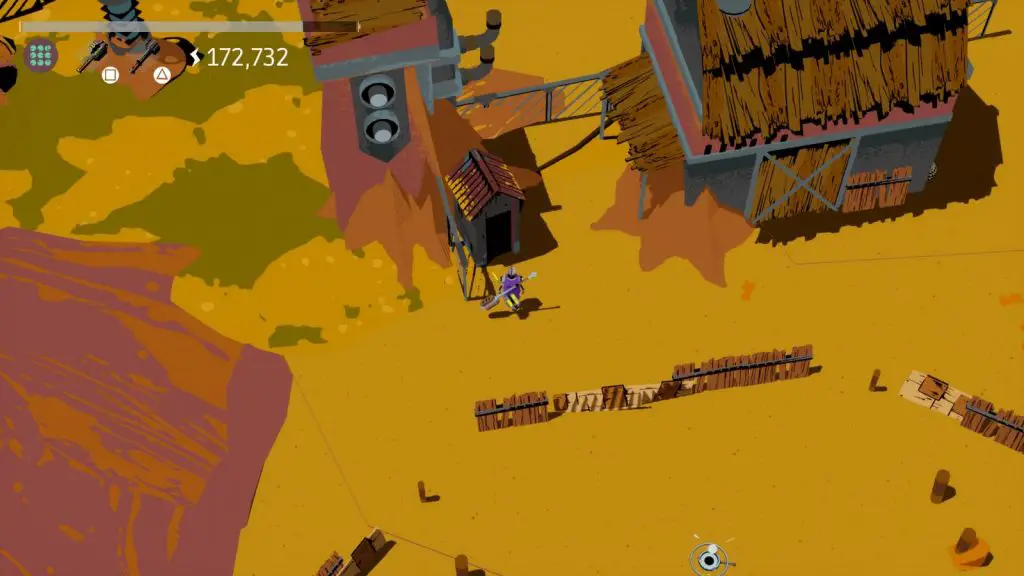
Cooking Pan Strike Tool & Wooden Spoon Charge Tool
Go to the right-hand side of the village, as far as you can, and just at the bottom of the stairs leading to Danielle’s workshop you will find this doorway:
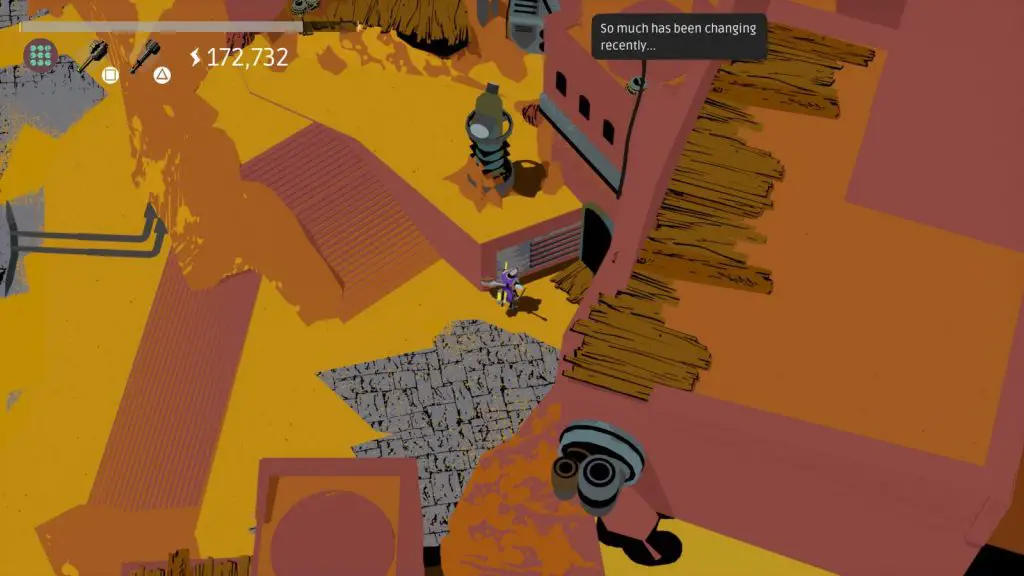
Inside here is where you will find the Cooking Pan Strike Tool and the Wooden Spoon Charge Tool.
Twig Charge Tool
At the northern-most edge of the village you can cross a pipe to get back up to the Temple. Just outside the Temple entrance, on the left-hand side, you will find the Twig Charge Tool.
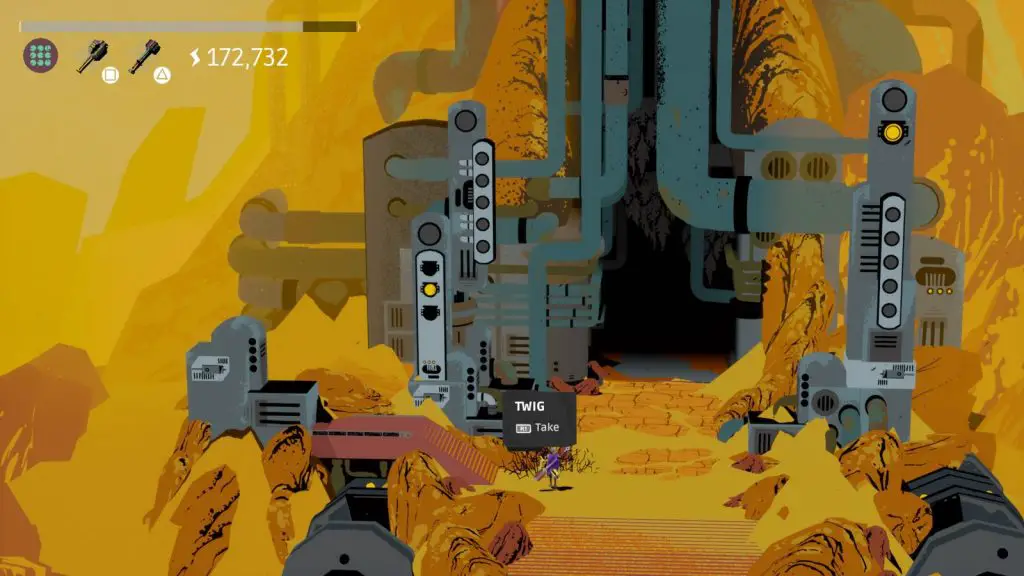
Chain Blade Charge Tool
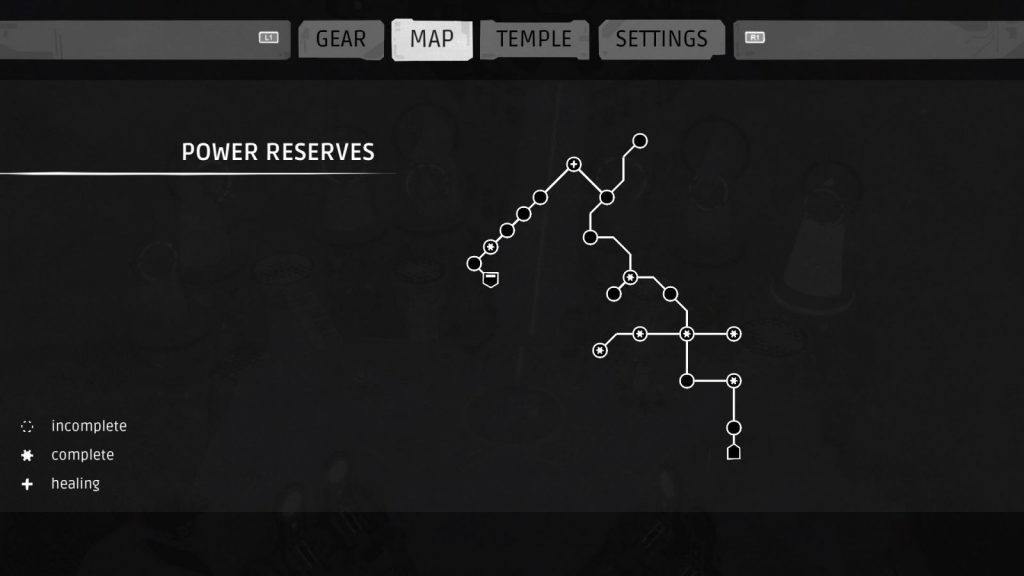
The Chain Blade can be found in a secret room in the “Power Reserves” stage. Here’s the completed Power Reserves map:
Focus Hammer Strike Tool
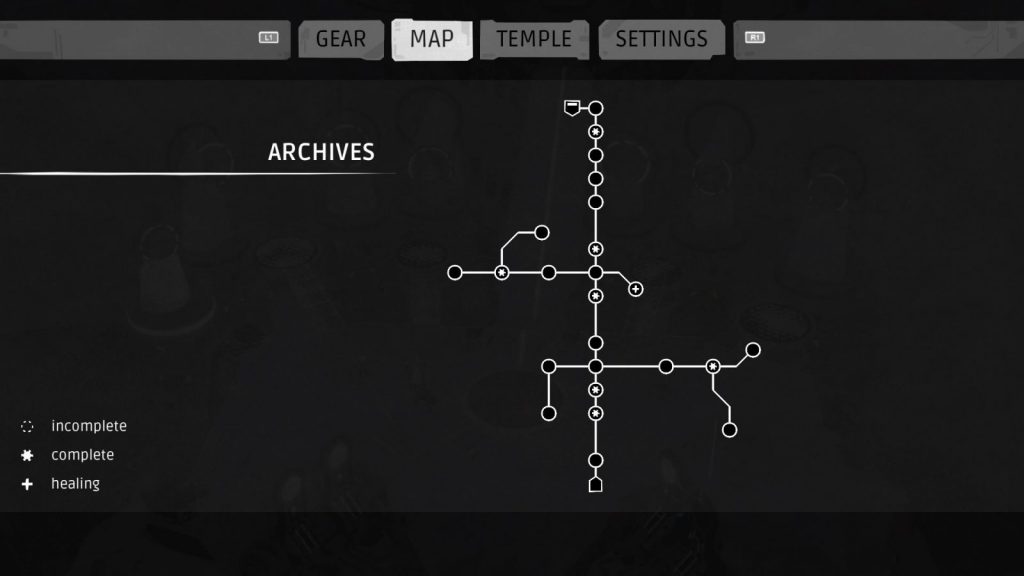
The Focus Hammer can be found in a secret room in the “Archives” stage. Here’s the completed Archives map:
Dual Blades Charge Tool
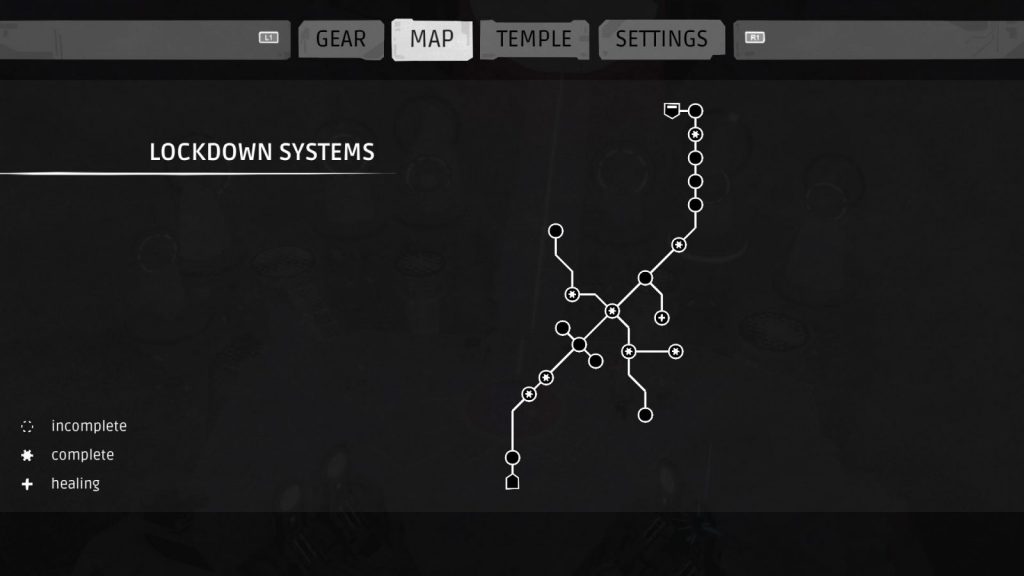
The Dual Blades can be found in a secret room in the “Lockdown Systems” stage. Here’s the completed Lockdown Systems map:
Fan Blade Charge Tool
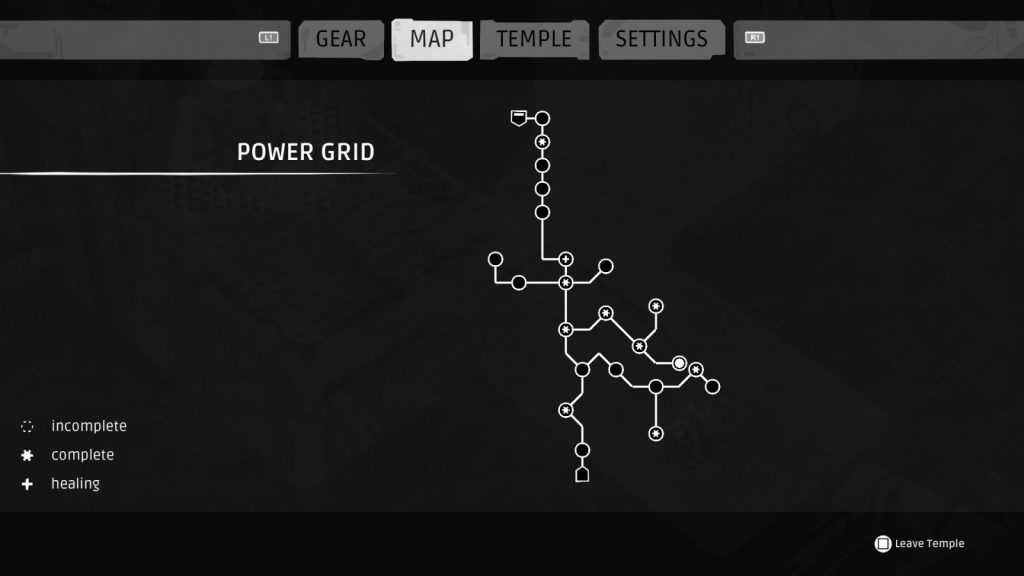
The incredibly useful Fan Blade can be found in a secret room in the “Power Grid” stage. Here’s the completed Power Grid map:
Thunder Staff Strike Tool
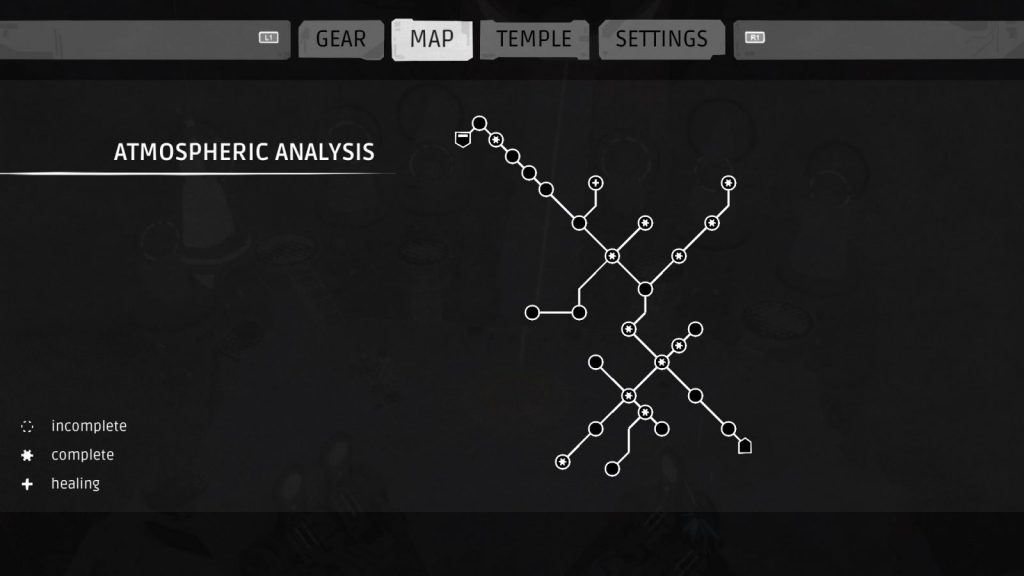
The Thunder Staff can be found in a secret room in the “Atmospheric Analysis” stage. Here’s the completed Atmospheric Analysis map:
Magnetic Fork Charge Tool
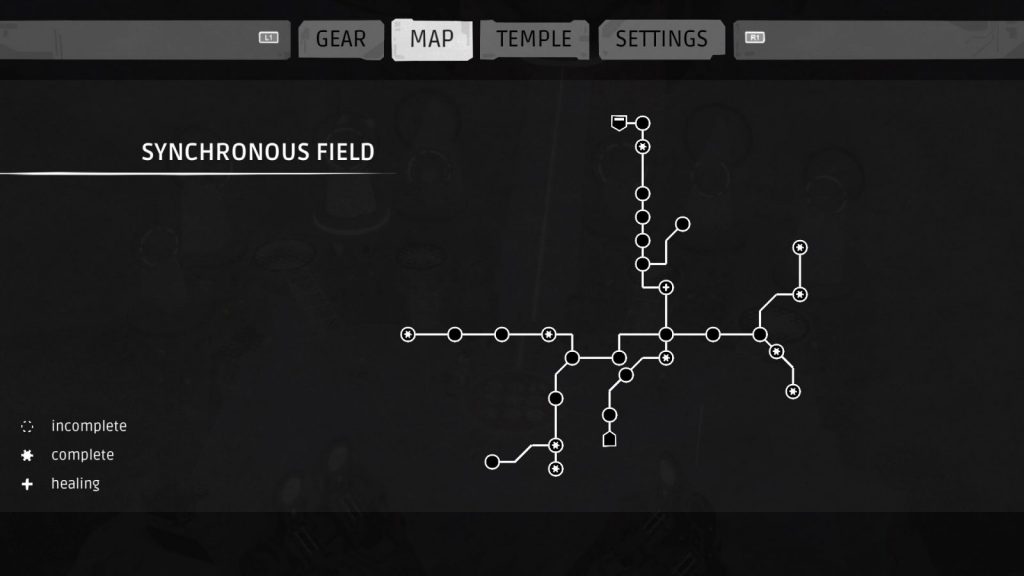
The Magnetic Fork can be found in a secret room in the “Synchronous Field” stage. Here’s the completed Synchronous Field map:
Folded Edge Axe Strike Tool
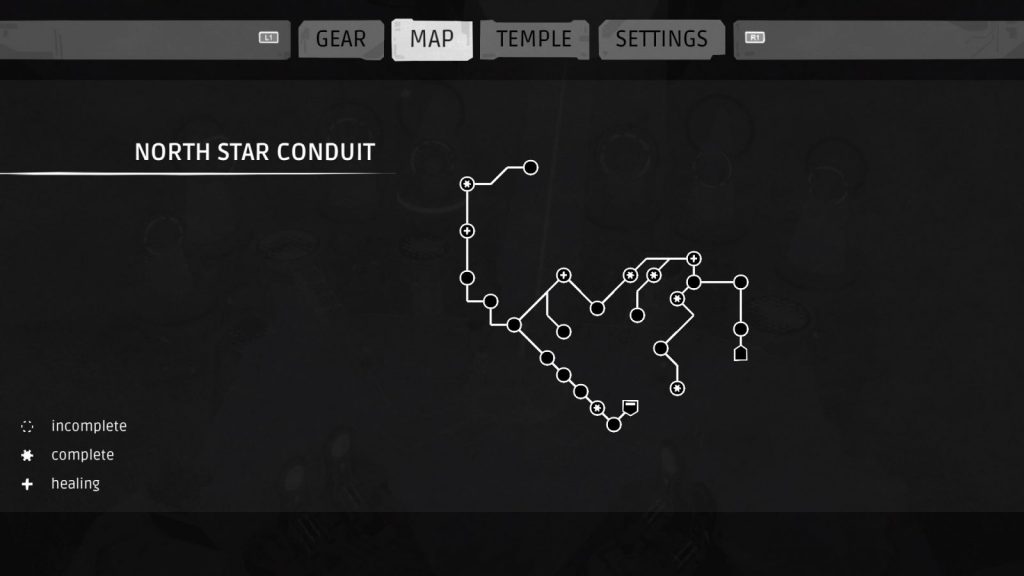
The Folded Edge Axe can be found in a secret room in the “North Star Conduit” stage. Here’s the completed North Star Conduit map:
BOT-C CHRGR Charge Tool & BOT-C STRKER Strike Tool
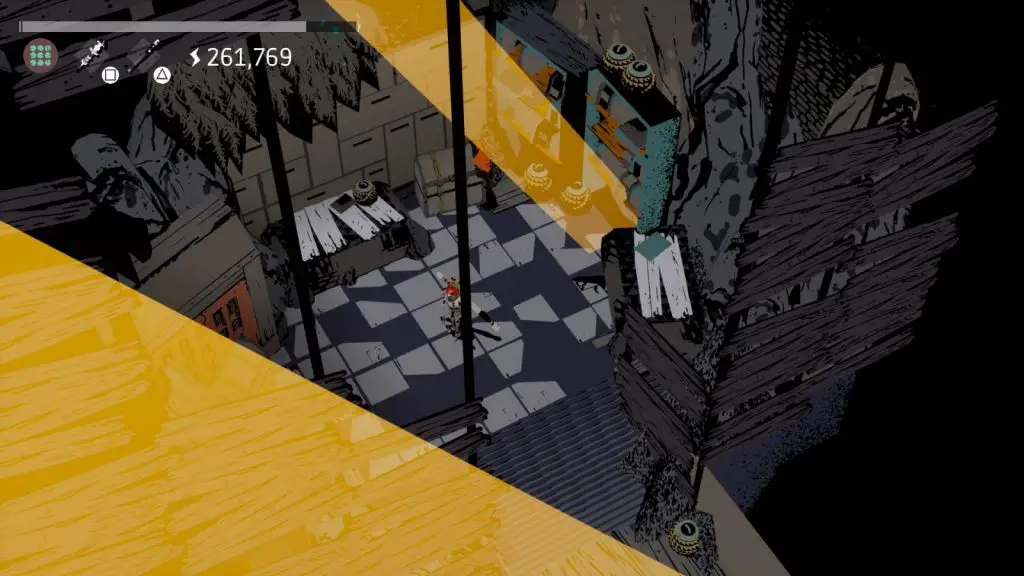
The BOT-C CHRGR and BOT-C STRKR can be found at the end of the Scavenger’s Secret Stash. Check the Stock Tools trophy for information on how to reach these items.
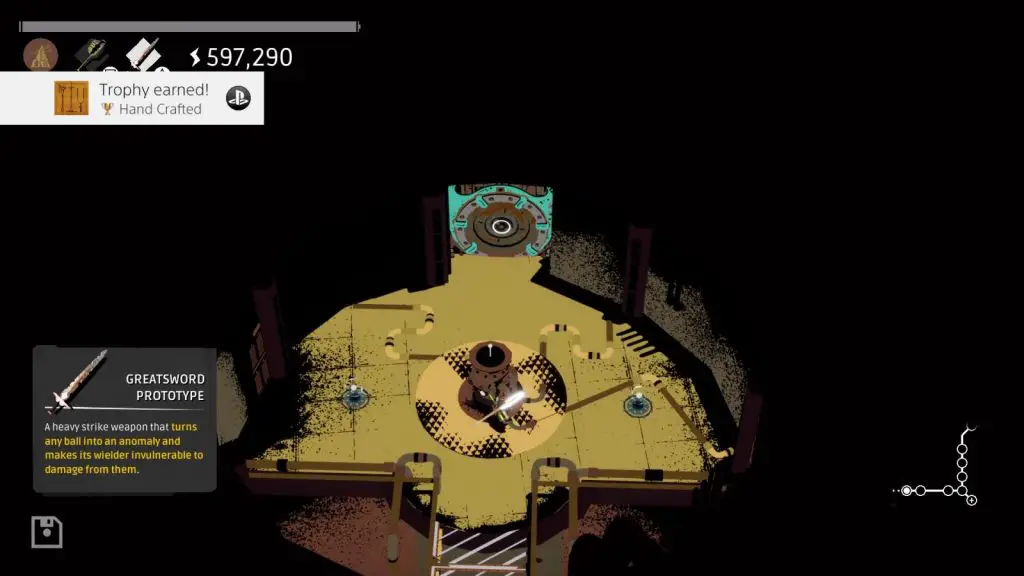
Greatsword Prototype Strike Tool
The Greatsword Prototype can be found in the “Weather System Control” stage. It will be given to you as part of the story towards the end of the stage, no secret rooms involved.

Looking Fancy
Find all capes
For this trophy, you will need to find every single cloak in the game. Much like Bot-C cores and weapons, these are found mostly in hidden rooms throughout the game’s 7 stages. In-fact, every secret room containing a Bot-C core also contains a cloak.
Child’s Cape
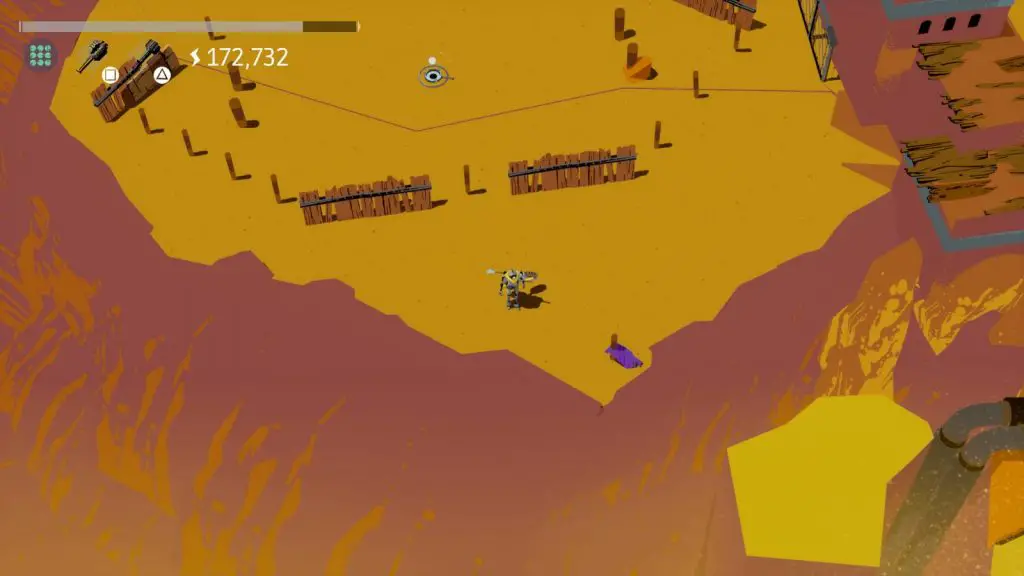
Go as south-ward as you can on the left side of the village and you will find this cloak billowing in the wind, caught on a wooden post.
Blacksmith’s Rag
Inside Danielle’s Shop, this cloak is a blue cloth and can be found along the bottom edge of her counter, in front of her. You can see it in this image:
Reserves Banner
The Reserves Banner can be found in a secret room in the “Power Reserves” stage. Here’s the completed Power Reserves map:

Archive Banner
The Archive Banner can be found in a secret room in the “Archives” stage. Here’s the completed Archives map:

Lockdown Banner
The Lockdown Banner can be found in a secret room in the “Lockdown Systems” stage. Here’s the completed Lockdown Systems map:

Power Grid Banner
The Power Grid Banner can be found in a secret room in the “Power Grid” stage. Here’s the completed Power Grid map:

Atmospheric Analysis Banner
The Atmospheric Analysis Banner can be found in a secret room in the “Atmospheric Analysis” stage. Here’s the completed Atmospheric Analysis map:

Synchronous Field Banner
The Synchronous Field Banner can be found in a secret room in the “Synchronous Field” stage. Here’s the completed Synchronous Field map:

North Star Conduit Banner
The North Star Conduit Banner can be found in a secret room in the “North Star Conduit” stage. Here’s the completed North Star Conduit map:

Old Cloth
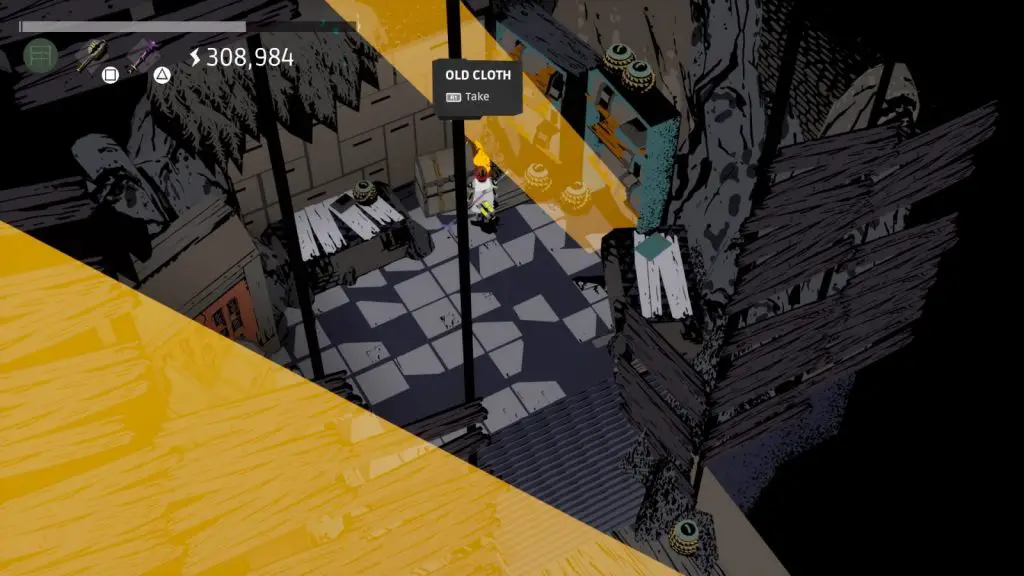
The Old Cloth can be found at the end of the Scavenger’s Secret Stash. Check the Stock Tools trophy for information on how to reach this item.
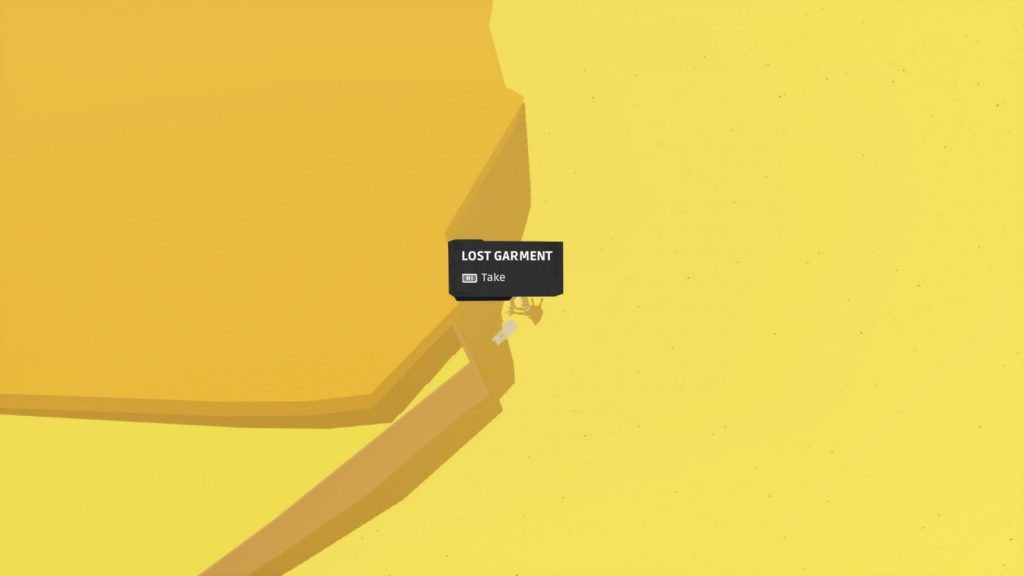
Lost Garment
The Lost Garment can be found at the secret cave entrance which you will travel through for the Open Sesame Trophy. Check the Open Sesame trophy for information on how to reach this item.
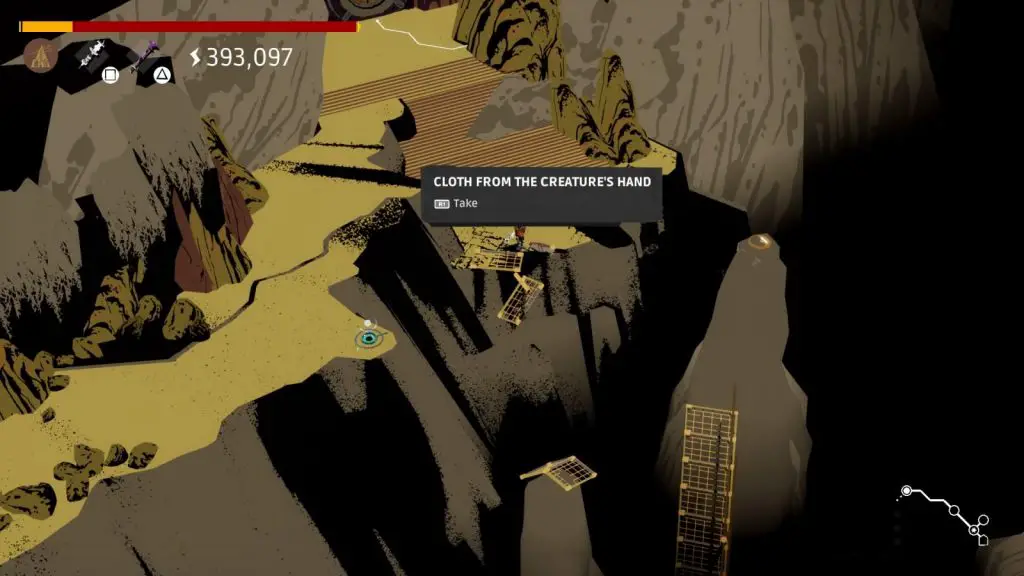
Cloth from the Creature’s Hand
The Cloth from the Creature’s Hand cape can be found in the Weather System Control, once you enter it via the Well. Go through the cave system a bit until you reach the broken walkway, and the cloth can be found snagged on a part of the walkway which is still attached to the cliff edge.

Stock Tools
Find the scavenger’s hidden stash
Earning this trophy requires reaching the end of the Scavenger’s Secret Stash. This is a secret and optional stage. It is quite short but arguably very difficult.
I’ll provide text instructions below, but for those who prefer it, here’s a video of me getting through the stage, edited slightly to remove failed attempts at puzzles:
Note that I am using the BOT-C HLMT which is why I have a helpful laser-sight. You can view the Open Sesame trophy guide for info on how to get that.
The Secret Stash can be entered by going through the doorway on the right-hand side of the southern route leading out of the village.
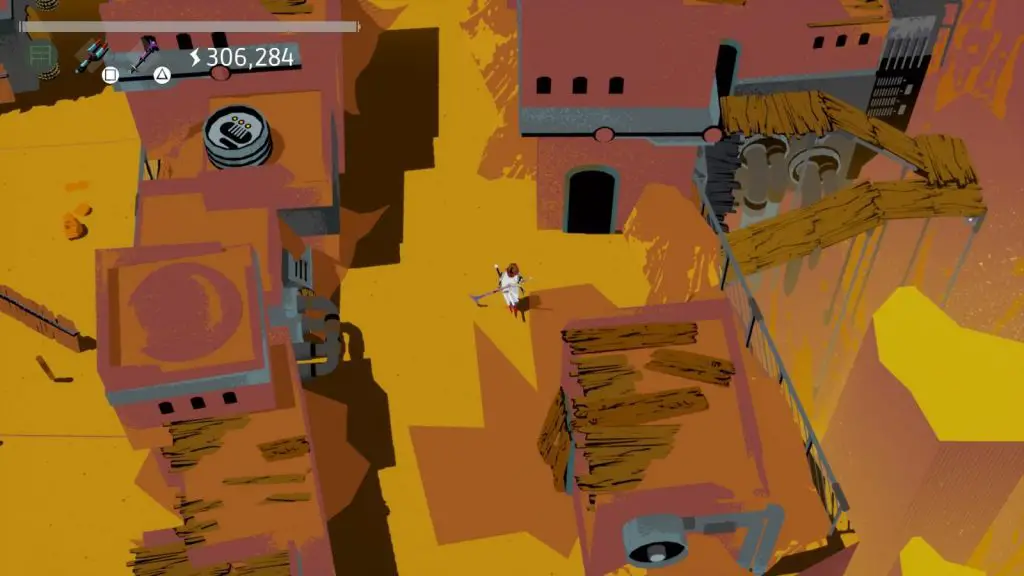
You will want the Magnetic Fork for the first and third puzzle, and the Fan Blade for the second puzzle. You will also want to make ![]() charge to
charge to ![]() as I instructed at the top of this guide, because the second puzzle will require you to dodge while charging, and you can just keep
as I instructed at the top of this guide, because the second puzzle will require you to dodge while charging, and you can just keep ![]() held down and the orb will stay with you.
held down and the orb will stay with you.
First Puzzle
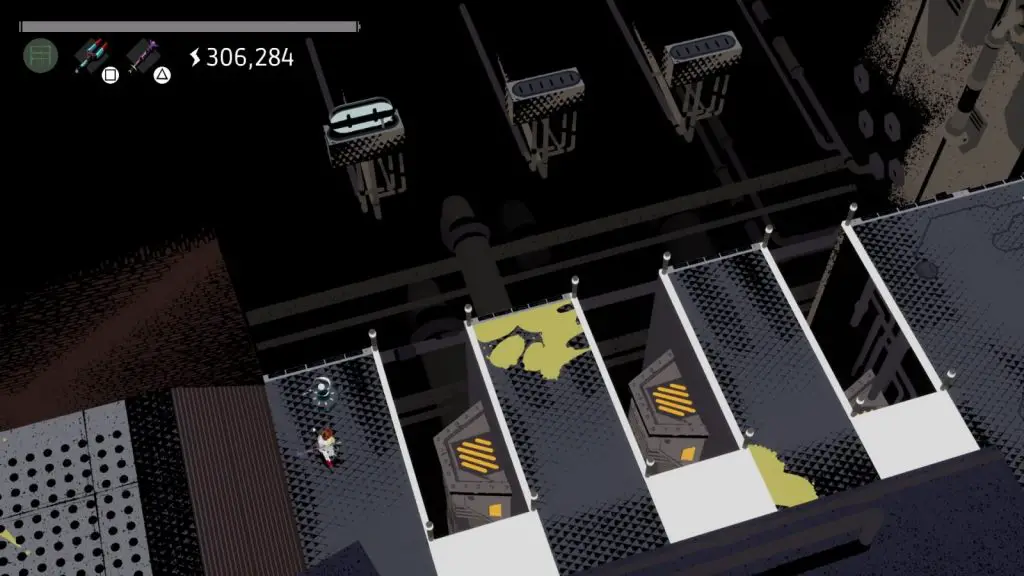
For this part, you cannot move the orb past the white areas. Instead, you need to grab the orb with your charge tool, and then strike it at the panel at the top of the screen. With the right angle, the orb will bounce over to the next grey platform, which you will need to run to and then catch the ball, which is why the Magnetic Fork is recommended for this part.
Repeat the process until you have the orb on the fourth grey platform. Here, several bollards will rise out of the ground and you will need to hit each one with your orb.
This whole puzzle is timed from the moment you hit the first panel until the moment you hit the last bollard. It is very difficult so don’t feel bad if it takes a few attempts.
Second Puzzle
For the next part, grab the orb at the top of the ramp, as you can see in the bottom left of this screenshot:
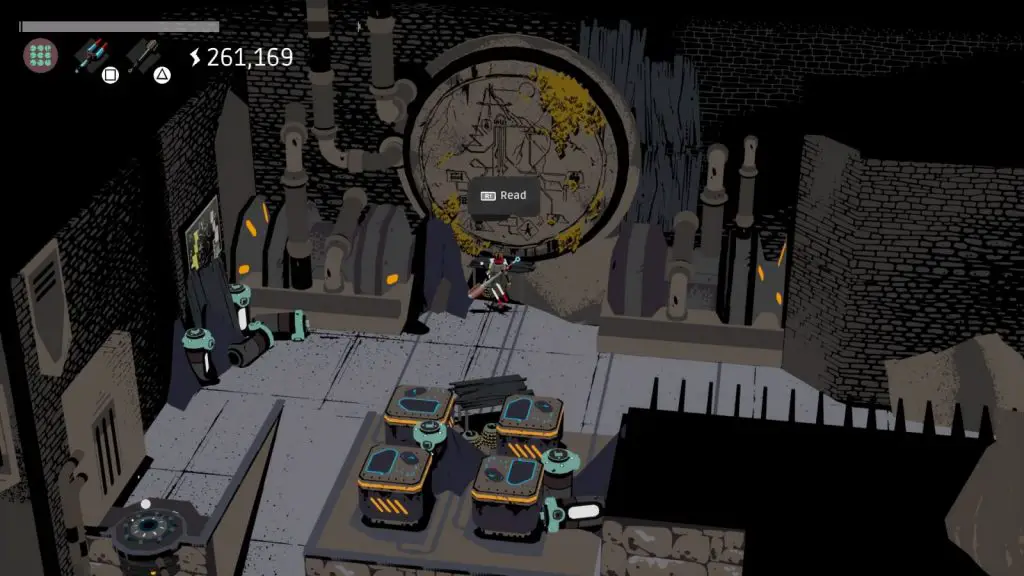
You will then need to grab it with charge, which hopefully you have mapped to ![]() . Now, keeping L2 held down, you can move with the orb by hitting dash repeatedly.
. Now, keeping L2 held down, you can move with the orb by hitting dash repeatedly.
You will need to move through this maze with it:
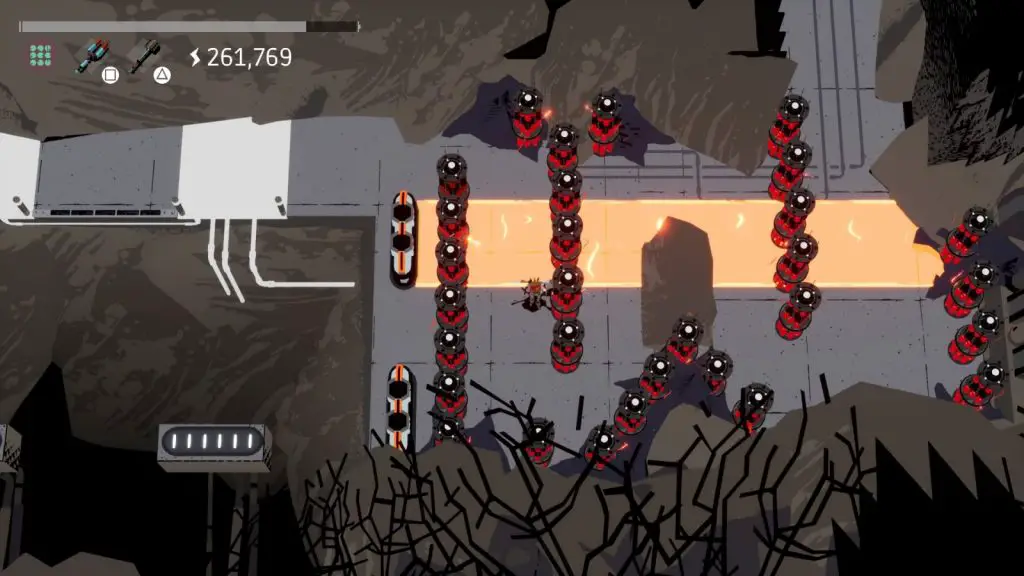
Letting go of the ball at any point and letting it hit the walls of the maze will result in one of the EMPs activating. The ball will be destroyed and you will take damage.
There are also the large orange lasers which periodically run along the ground, but if you use the Fan Blade, you will recover any health you lose while stood inside one of the lasers, as long as the ball is in there too.
Third Puzzle
The whole point in the second puzzle was just to get the ball over here for the third puzzle. Failure of this third puzzle will result in having to do the second puzzle again.
You will want the Magnetic Fork again for this, so switch back to it. Don’t worry, you can do it while holding an orb, just be sure to hold ![]() again as soon as you close the menu (or whatever you have as your Charge button).
again as soon as you close the menu (or whatever you have as your Charge button).
First, you’ll want to move the orb from the maze over to the next area, by repeating the process of the first puzzle, bouncing the orb off the panels, then catching it again on the other side of the next white area, until you reach the end.
The last part requires you to hit 4 large barrel-shaped nodes (I clearly have no idea what to call these.) within a time limit, hitting all four will result in the secret door at the end opening.
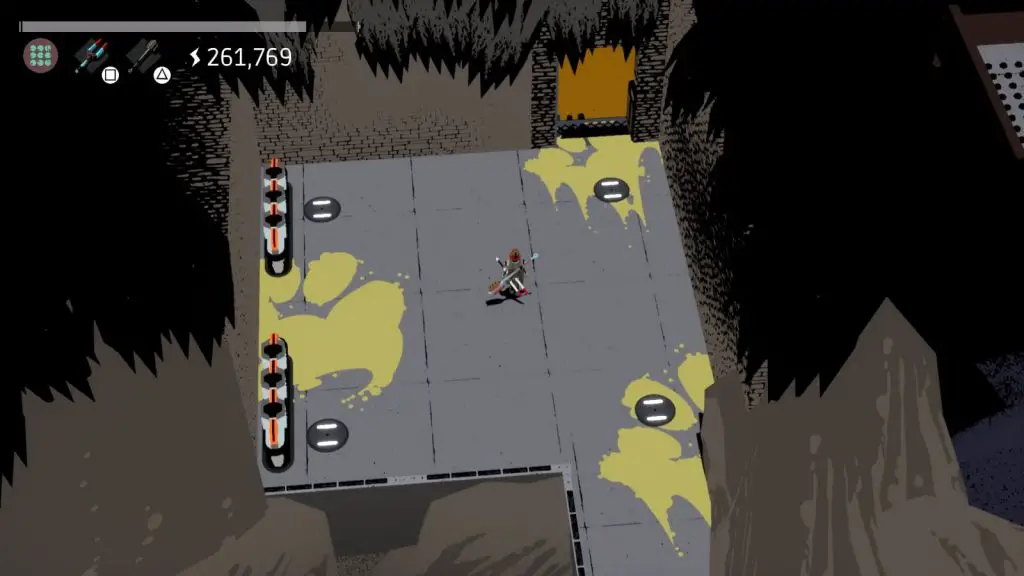
Head through the door and you’ll be taken outside where there’s a small wooden walkway which will take you to the final room where you can collect the BOT-C STRKR, BOT-C CHRGR, and Old Cloth collectables.

Open Sesame
Find Phillip’s prototype
This trophy involves entering a secret area with some really rather difficult puzzles and so before attempting it, I really recommend having a good BOT-C Level, 7 to 9 would be ideal, I personally went in with BOT-C level 10 and I still struggled a little.
I also recommend having some really good tools, so you’ll want at least the Fan Blade and Magnetic Fork, but the Thunder Staff would be really useful if you can get that too.
You are also going to need around 250,000 points of energy charged up in your reserves, but I had so much excess energy towards the end of the game that I don’t think you’ll really need to make a conscious effort to do that.
Once you meet the above recommendations, leave the Village via the route to the south, which goes past the Scavenger’s Secret Stash entrance:

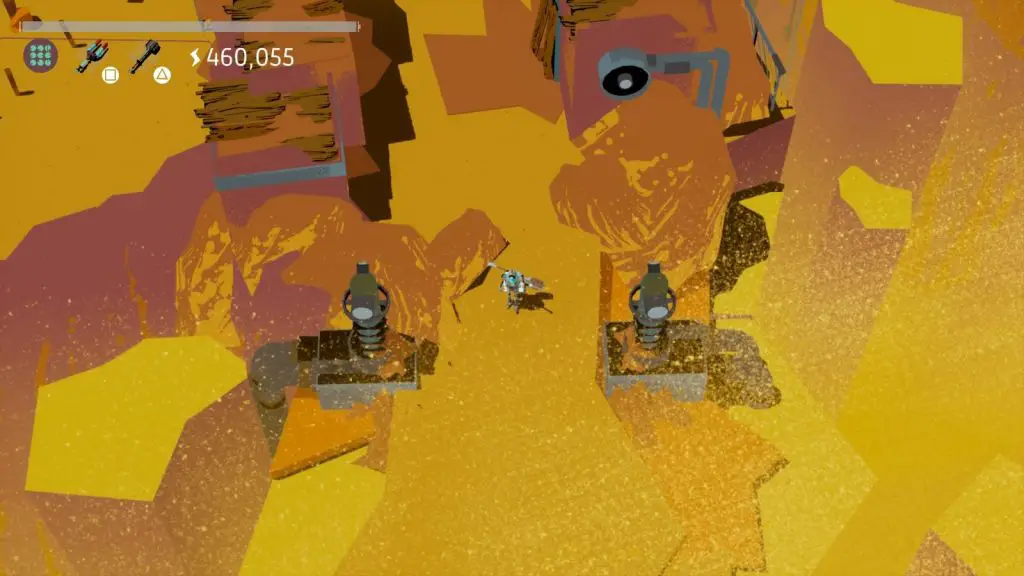
Once outside, in the sandstorm, follow the stone ramp down and to the left, where you should see a small stone in the sand. You will need to keep heading left, looking out for these small stones, and being very careful not to stray too far from the path they’re plotting out in the sand, otherwise, you’ll faint and wake up back on the stone ramp.

The route will curve slightly towards the south so if you feel like you can’t find the next stone, try going south slightly. Eventually, you will come to a rock wall with a “Lost Garment” item stuck in it, which you can take with you, it’s one of the cloaks you need.

Once you have grabbed the collectable, keep heading left. You will find that you can walk through the rock here; there’s a hidden cave! The cave curves northwards at some point so you will just need to blindly feel your way around for the exit.
Once you leave the cave on the opposite side, take note of your surroundings because you will have to make the journey back again and you don’t want to get lost. Then, head north a short distance and you’ll soon see a wooden post in the sand, with another in the distance to the northeast:
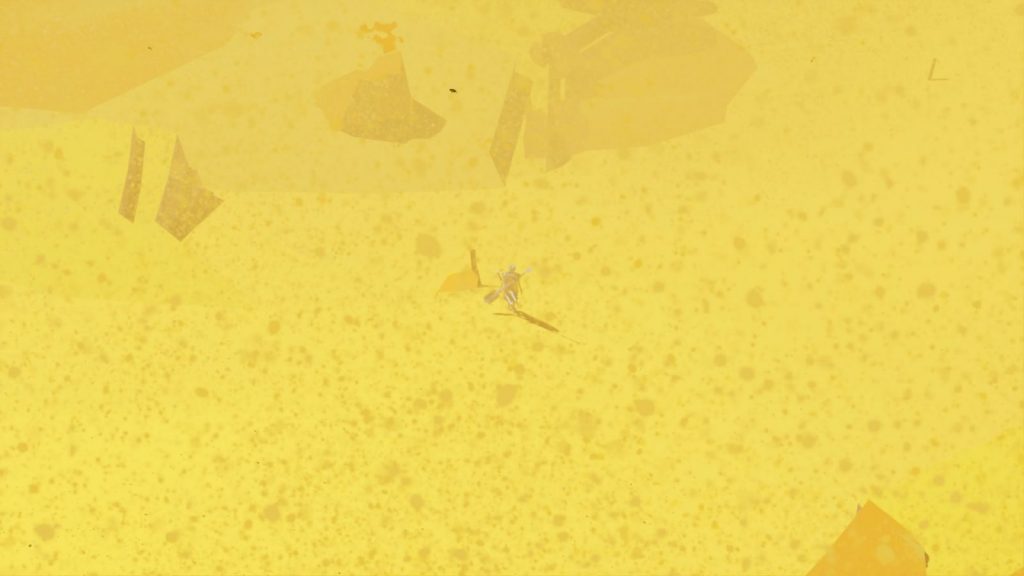
Just like the stones, these posts draw out a path for you to follow, and you may recall doing this at the beginning. Which is no coincidence as the place we are going to is the temple from the start of the game, where you got your first charge tool and were introduced to the game’s mechanics.

Keep following the posts all the way up to the Temple and head inside…
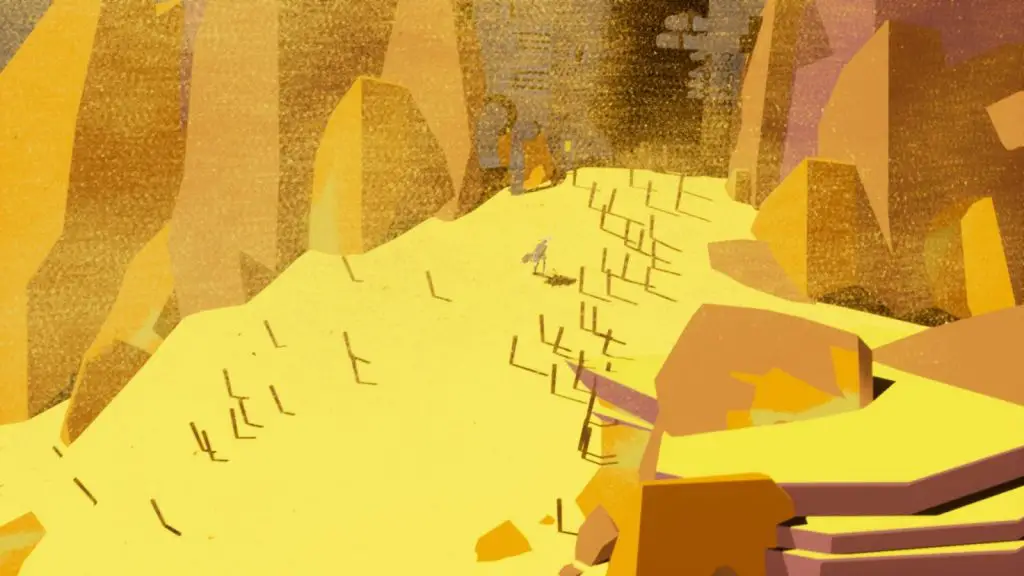
Now, you may already know what we are here to do, but in-case you don’t remember, there was a fork in the path on our first visit, a room with two exits. However, one of the exits requires 215,000 energy to power and couldn’t be entered so early in the game. As you now should have plenty of power, work your way through the temple until you reach that room, and open the door on the right.
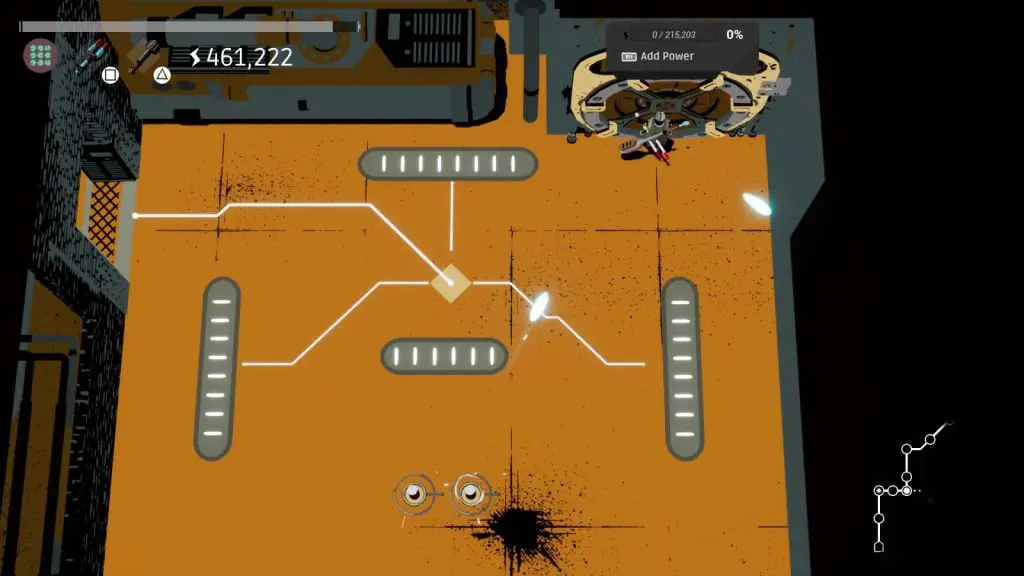
The puzzles in this part of the temple are really quite difficult and you’ll need to use everything you’ve learned, but I’m confident you can do it if you just play around with timing for a little while. Eventually, you’ll come out at the other end and find the BOT-C HLMT prototype, which will give you a permanent laser-sight to help with aiming. It really comes in handy.
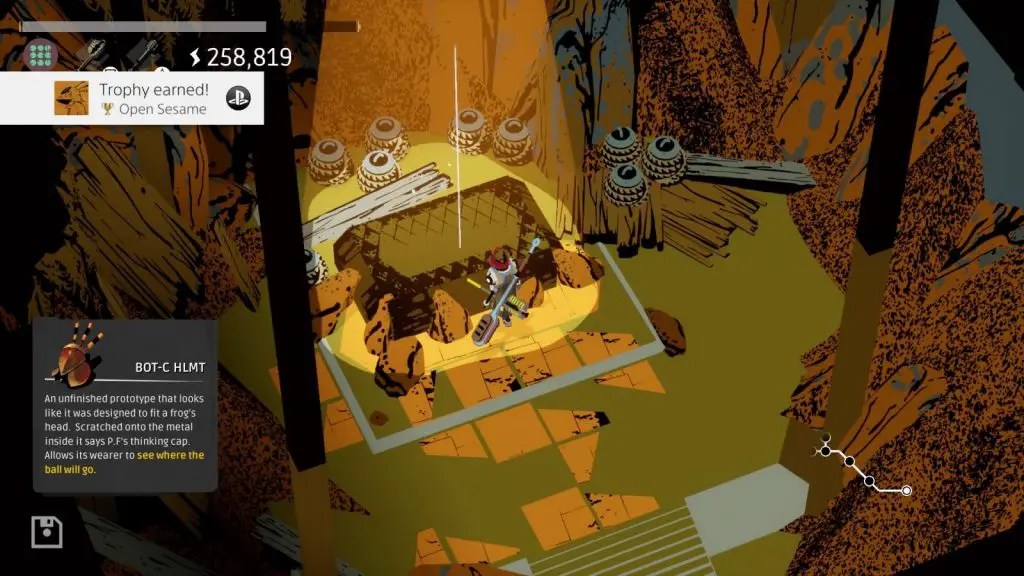
Miscellaneous Trophy Cleanup
The miscellaneous trophies in this game are not too difficult, I’m certain that most of them will occur naturally without any conscious effort, but I’ll provide descriptions anyway in the hopes that they help anyone who might need help farming them out. There are also a couple that just require you to do goofy things you probably wouldn’t think of.

Helpless
Get thrown out of the machine
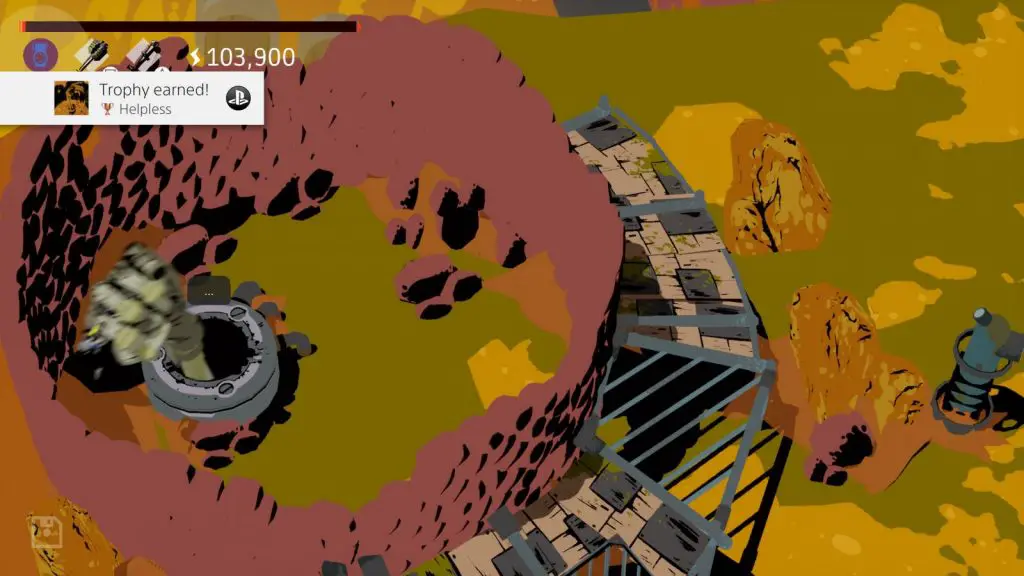
The first of these is probably the easiest trophy; just die. Go into any temple and let your health run down to 0. At that point, a skeletal hand (the Creature’s) will grab you by the cape and you’ll be thrown out of the well, landing in the village. The first time this happens, you’ll earn the trophy:

Stick Ball
Let’s Play
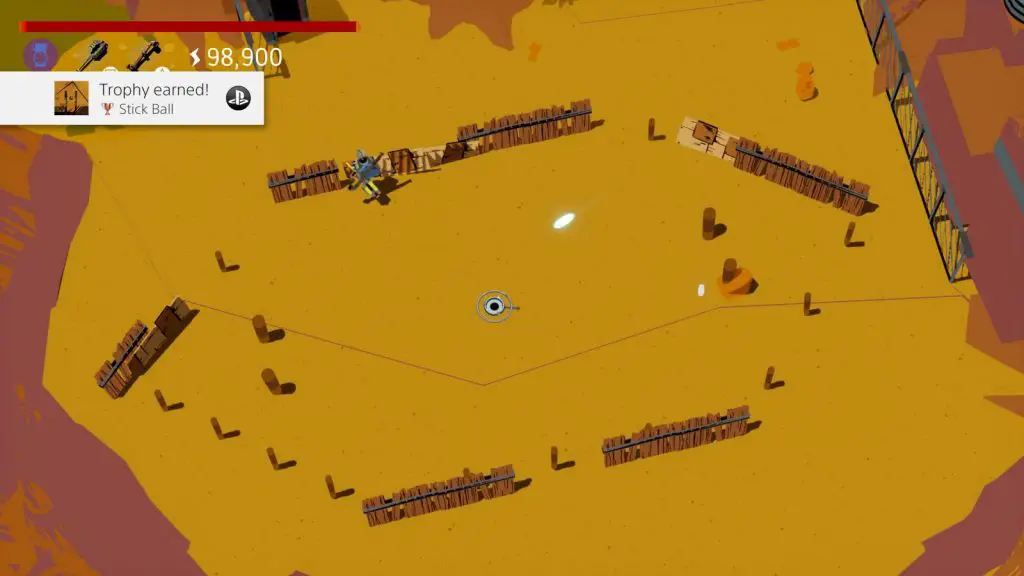
In the eastern side of the village, south of the well there is a small “Stick Ball” field. It’s in the same place where you can find the Child’s Cape collectable.
In the center of this “field” there is an orb. And what do we do with orbs? That’s right, we whack em! Go up and press the strike button (![]() by default) and this trophy will pop then and there. Simple!
by default) and this trophy will pop then and there. Simple!

There is Nothing
Try to escape the sandstorm
Here’s another trophy where you need to pretty much just kill yourself. Head out of the village through the southern-most exit, and down the stone ramp there. From here, head off in any direction. Just walk blindly into the desert and in no time at all you’ll be overcome by the sandstorm and this trophy will pop.


Sustained
Heal a total of 1,000 health absorbed from anomaly balls
This trophy is a little bit of a grind, but I’ll give you a neat trick.
Firstly, you’re going to want the Fan Blade Charge Tool, and then secondly you’ll need to find some “anomalies” – Orange/red orbs. These orbs damage you, as you probably know from playing the game so far, but if you catch them with the Fan Blade then they will heal you a little.
Essentially, what you want to do for this trophy is use that mechanic to heal any damage you may have sustained, whenever you possibly can. But that will take a good long while I’m not gonna lie.
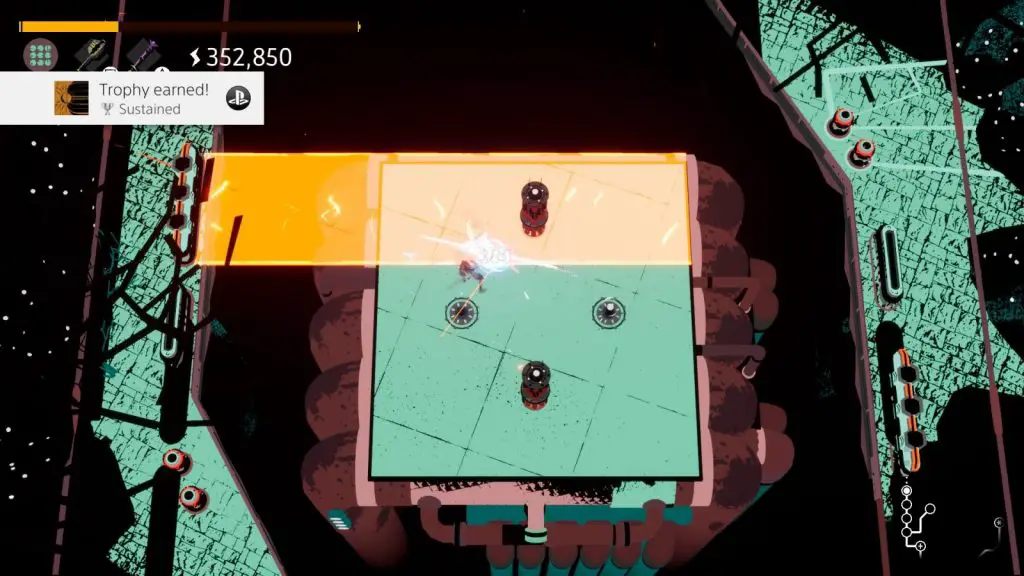
Luckily, I have a trick. If you hold an orb with the Charge button (![]() by default) and then carry it – by dashing without letting go of the Charge button – into one of those orange light beams, you will constantly take damage from the beam, but it will also constantly turn the orb into an anomaly. Meaning you can just get yourself stuck in an endless loop of taking damage and recovering that damage, thus earning yourself the trophy.
by default) and then carry it – by dashing without letting go of the Charge button – into one of those orange light beams, you will constantly take damage from the beam, but it will also constantly turn the orb into an anomaly. Meaning you can just get yourself stuck in an endless loop of taking damage and recovering that damage, thus earning yourself the trophy.

Stay Clear
Destroy 100 drones using EMPs
This trophy can be a little confusing because the game isn’t clear on what a drone is, or what an EMP is, so let me clear that up a bit.
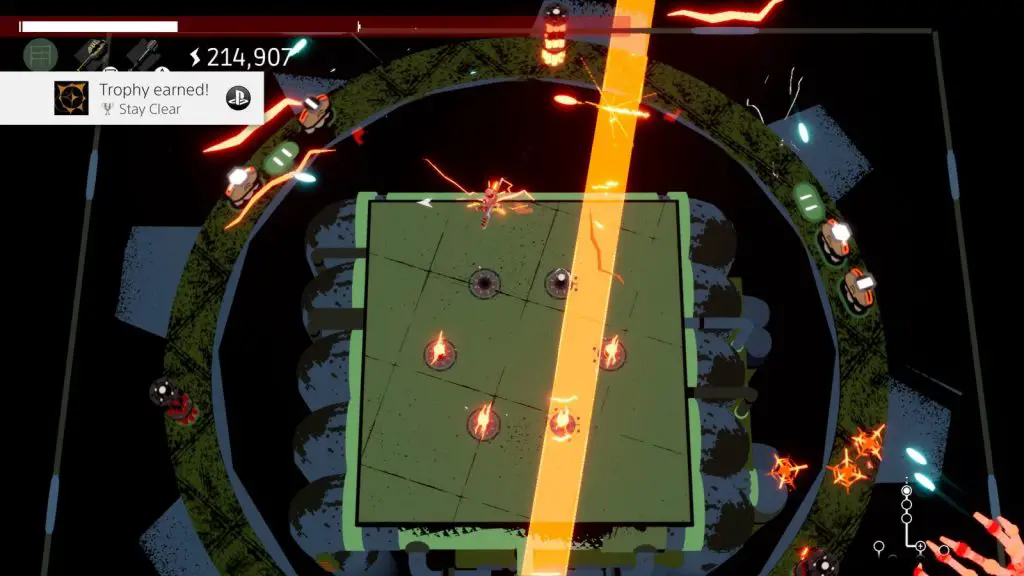
A Drone is an orange star-looking thing which you cannot damage, but it can damage you. The only way to get rid of these is by hitting them with an orb or triggering an EMP. You will find a lot of these within the North Star Conduit stage.
EMPs are the tall red towers which make the game a living hell sometimes because of how difficult they can be sometimes.
The best places to earn these are in the Lockdown Systems and North Star Conduit stages, particularly during the boss fights. I managed to earn this trophy during the Lockdown Systems boss fight, but the North Star Conduit stage has way more drones in it than any other.

It’s Electric
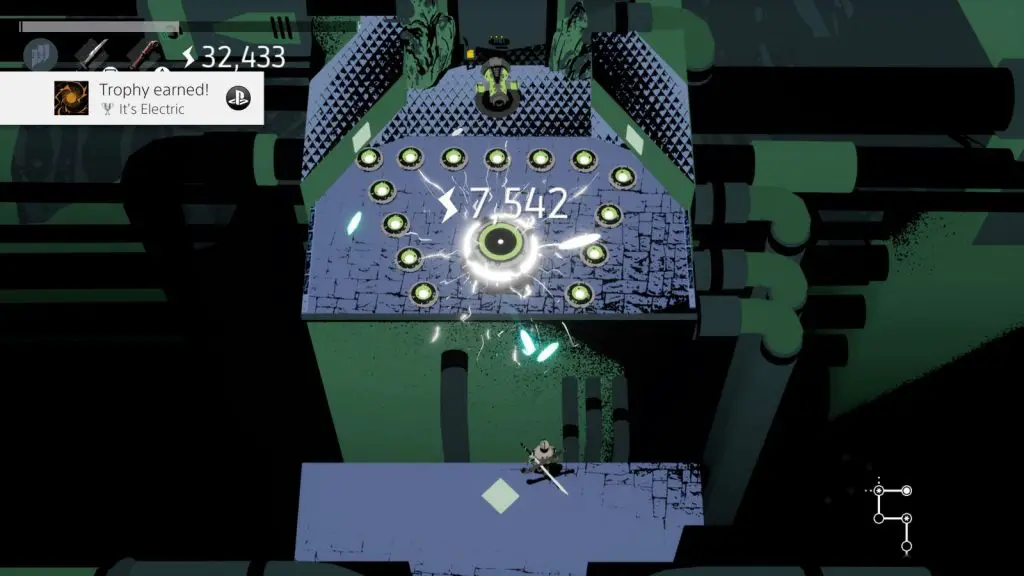
Generate 1,000 power in one hit
This will happen naturally quite early in the game, just by the nature of the game. Essentially, though, you will need to hit a single ball and have it bounce off of so many objects that it generates 1,000 power or more.
The likelihood is that you’ll earn it from one of the large power cores, though, as you often earn far more than 1,000 from those, so your trophy screenshot will probably look a lot like mine:

Moonlighting
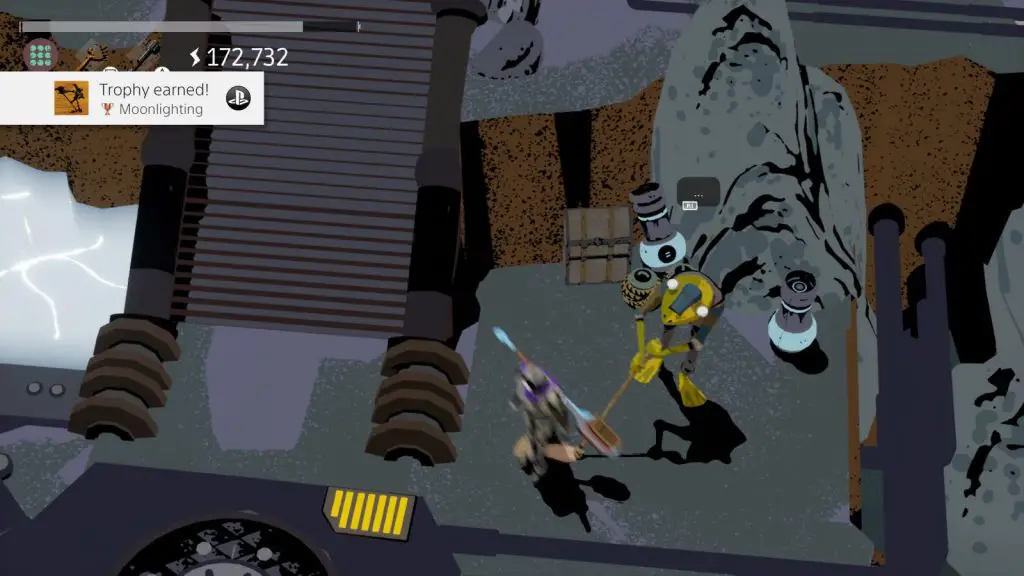
Help Roger mop the floor
This is one of the better trophies in the game. Both for it’s simplicity and goofiness. All you need to do is approach Roger T. Frog in the main entrance area of the temple, and step on his mop-head while he mops the floor.
What you’ll find is that you actually move with it. Stay in that spot and after a few seconds of being swept around, you’ll get the trophy:

Ricochet
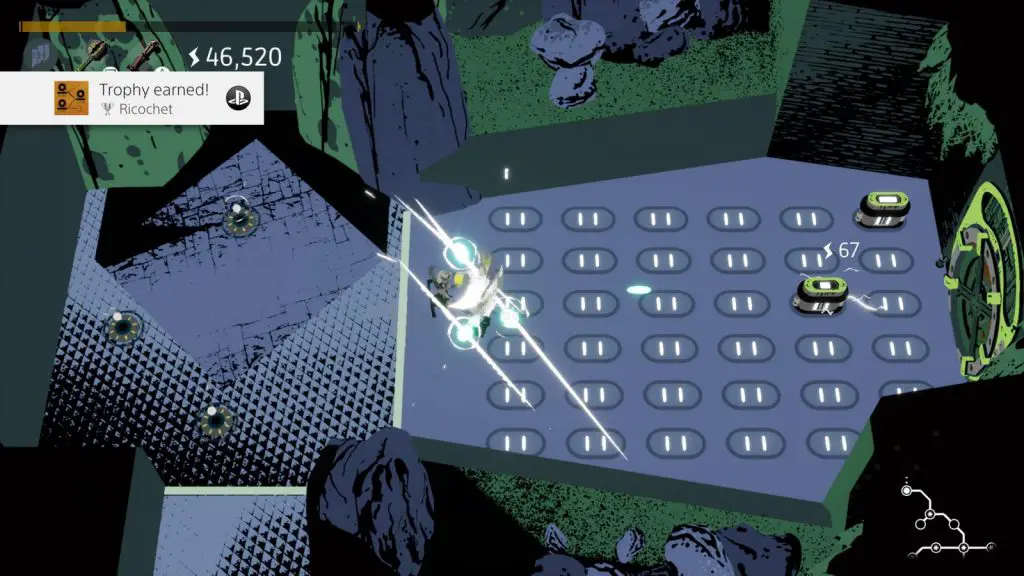
Hit 20 bumpers with one shot
To earn this trophy you just need to hit a single orb and have it bounce off of at least 20 objects.
This is another trophy which seems like it’s going to require noticeable effort, but actually, a lot of the rooms in the game are set up to encourage this kind of thing happening naturally. There are some rooms in particular which occur quite often that are just basically filled with panels for you to bounce an orb off of. Which is exactly where I earned my trophy:

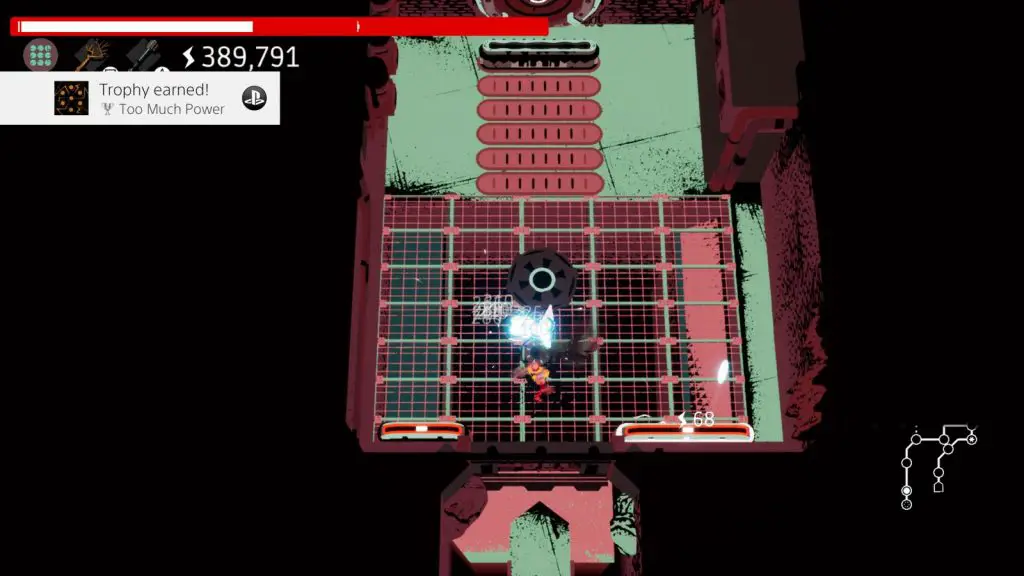
Too Much Power
Charge 7 orbs at once
Whilst holding the charge button, you can gather quite a few orbs at once. To earn this trophy you’re going to need to gather 7 orbs and have them all held within your charge field at one time.
This is a lot easier with the Magnetic Fork item, but actually it isn’t as difficult as it sounds. Orbs usually spawn from small black circles on the floor, and often these circles can keep spawning orbs. As long as there isn’t currently an orb sat on that spawn point, it will spawn another.
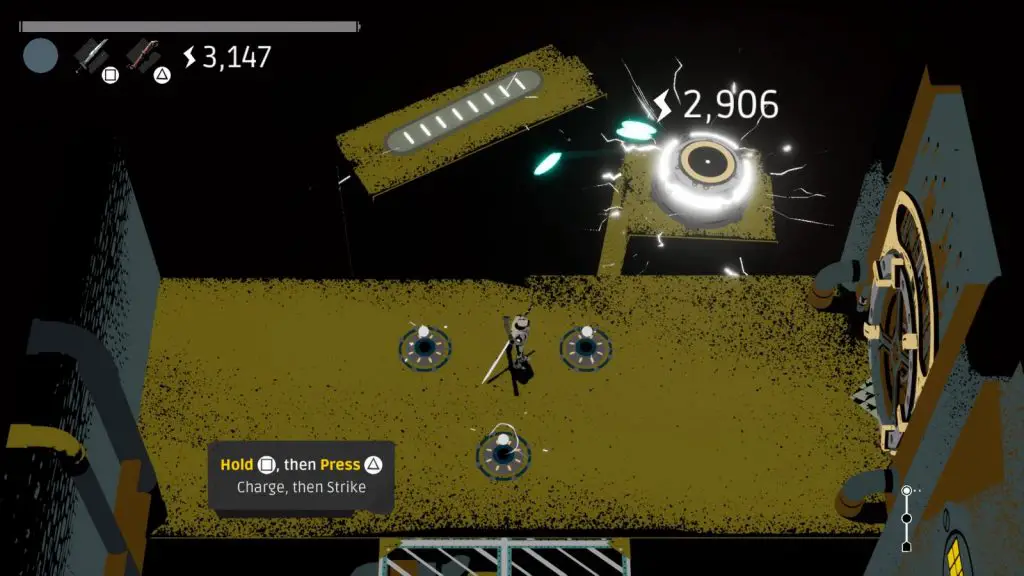
So you can simply stand near one of those spawn points and collect the orbs as it spits them out until you have seven, and the trophy will pop. Of course, it may just happen naturally too.
It may be worth noting that I earned this trophy before getting the Magnetic Fork tool, I used the Twig charge tool. The Twig works in a similar way but it has no power limiter so you can actually over-charge an orb to the point that you take damage, as seen by my red health-bar:

Backup Power
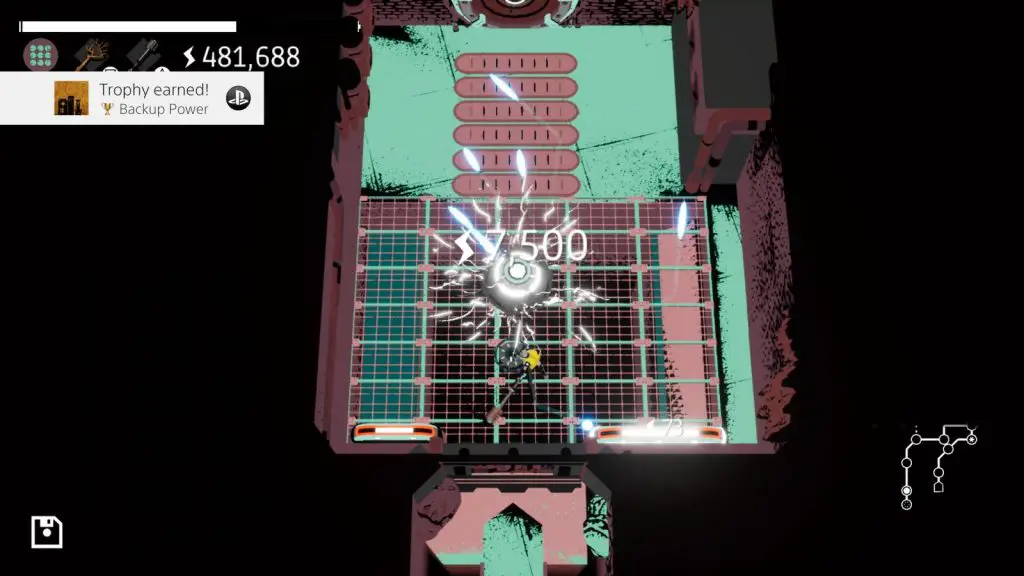
Generate a total of 2,000,000 power
Every time a charged orb hits a panel or other chargeable object, you’ll receive some units power, displayed next to the thunderbolt icon below your health.
For this trophy, you will need to charge up 2 million units of power, but the total is cumulative; across your whole time playing the game, rather than all at once.
Therefore, you really do not need to make a conscious effort to get this trophy. You’ll easily earn double or even triple that amount in a single playthrough, so as long as you’re working towards the platinum trophy, you’ll earn this along the way.
Phase 3 – Finish the Game
Finish Your Collection
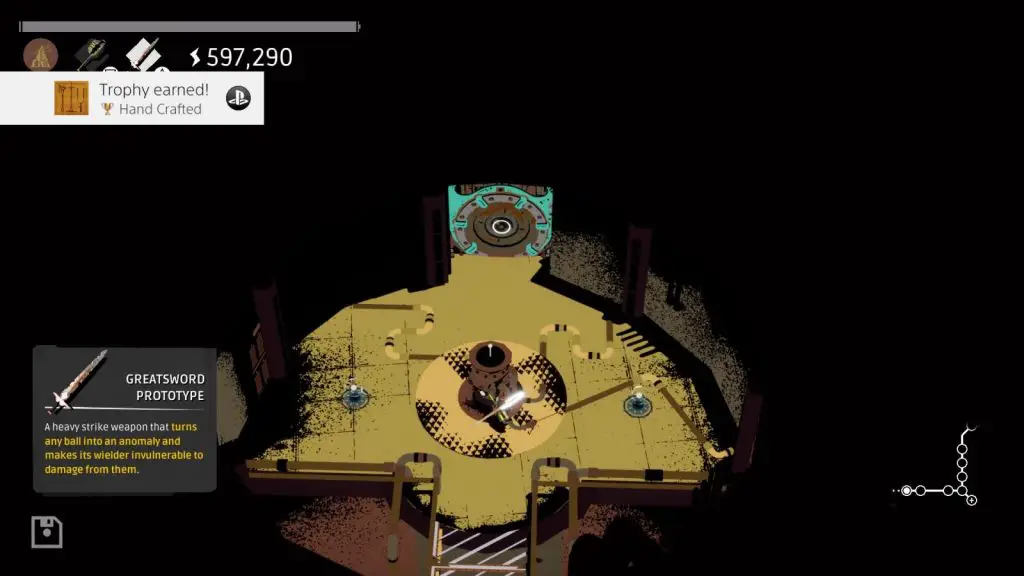
With everything else done, it’s now safe to enter the well! So, don’t forget that when you’re in there you’ll need to look out for the Cloth from the Creature’s Hand collectable, found just a short distance into the Well.

Provided you did everything correctly and collected all of the other cloaks, you’ll earn the Looking Fancy trophy at that point.
The only other collectable left, then, is one that you will receive as part of the stage. A strike tool called “Greatsword Prototype” and so once you collect it, you should earn the Hand Crafted trophy.
Complete the Weather Control System/Well

Into the Well
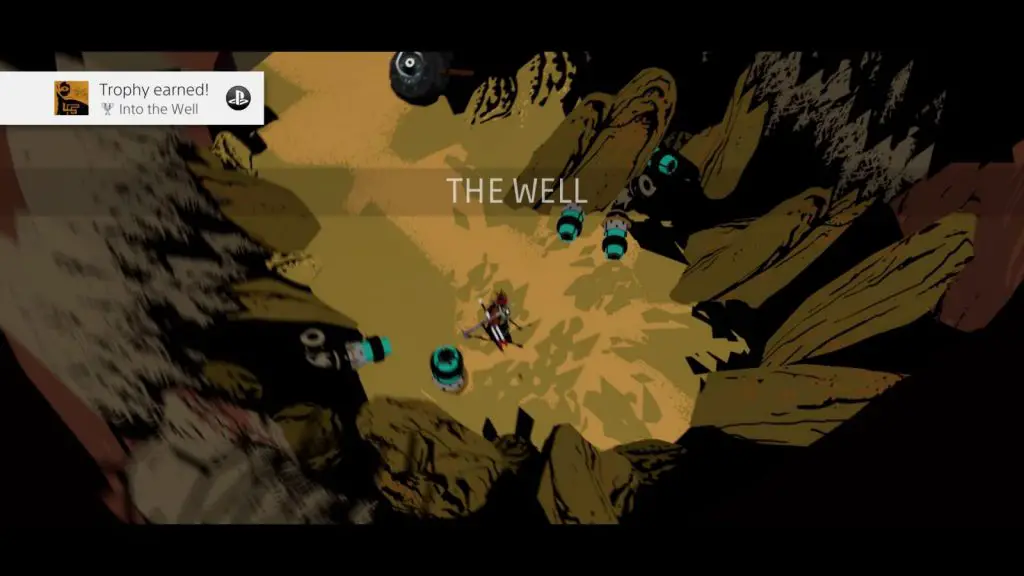
Enter the Creature’s well
Once you activate the Weather System Control stage in the temple, you’ll find that the bridge inside has been destroyed by the Creature. Following some heavy hinting by the game, you would deduce – were I not literally about to tell you – that the best way to gain entry is via the Well.
Once you approach the Well and press ![]() to enter it, you’ll earn this trophy:
to enter it, you’ll earn this trophy:

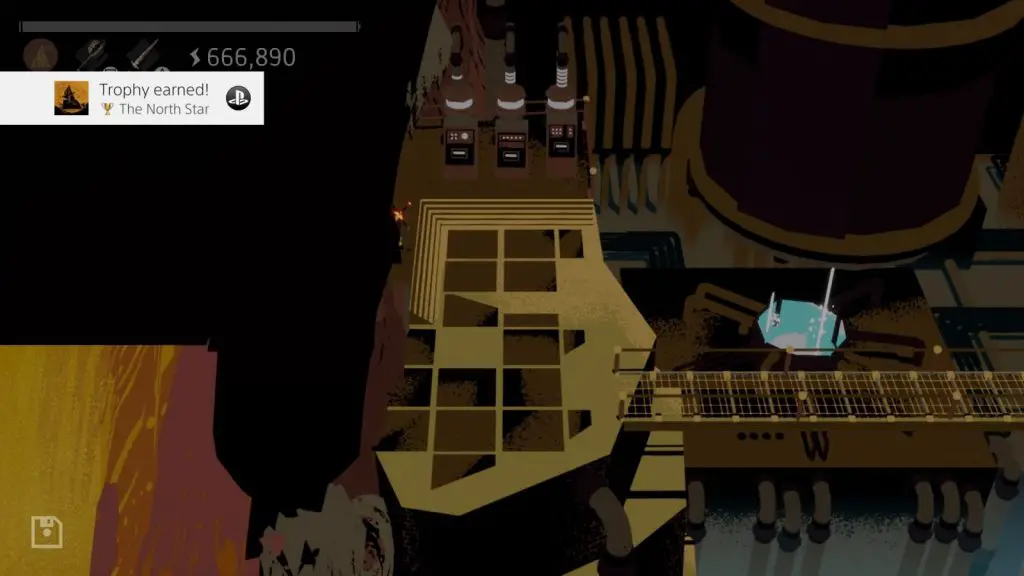
The North Star
Save Mirage from the sandstorm
Finish the Weather System Control stage, and therefore the game, by activating the Weather System console and you’ll be treated to this trophy.
Creature in the Well Trophy Guide: Plat Get

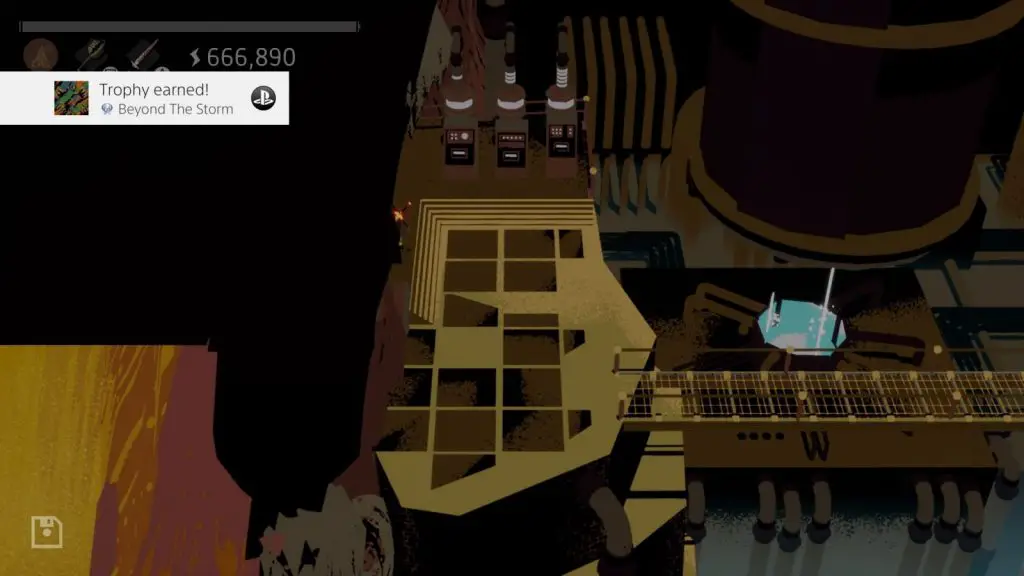
Beyond The Storm
Unlock all other trophies
Naturally, collecting every trophy in this Creature in the Well Trophy Guide will unlock the Platinum for you to add to your growing collection!
Thank you for choosing PlatGet as your source for this Creature in the Well Trophy Guide, consider checking out our reviews and other guides!
Follow us on twitter @GetPlat or Instagram @platget for updates on new reviews and guides, as well as small anecdotes about our platinum journeys.
Discussion
We've Partnered with NordVPN

