PlayStation 4, PlayStation 5
Balan Wonderworld Collectible Guide Chapters 10-12
Game Guide
Where and How to Find all Gold Statues and Costumes in Balan Wonderworld in Chapters 10, 11, and 12.
This Balan Wonderworld Collectible Guide / Walkthrough will give you the locations of all key items and activities in each Act of the game. In order to collect all Balan Statues, you will need a few extra costumes so you should first complete the story before doing a collectible run. Using this guide you will find:
- All Costumes
- All Balan Statues
- All Stages
- All Minigames
Once you have completed the last stage and have access to a majority of costumes, you should be fully equipped for 100% completion. I’ve listed at the top of each section which costumes you’ll need to use. If there’s no Chapter and Act indicator next to a costume that means you can get it in the level, and I’ll tell you how.
You can change costumes as you see fit at any checkpoint, just stand still on it for a moment until the wardrobe tent appears.
The X-Ray Ape costume from Chapter 10 Act 1 will allow you to see Drops and Balan Statues through walls, highlighted in green. This is very useful for spotting those tricky-to-find collectibles.
Sections in this Guide:
To keep the guide loading relatively quick, and be able to add plenty of images to help you out, I had to split this guide into four pieces.
- Balan Wonderworld Chapters 1, 2, and 3 Collectibles
- Balan Wonderworld Chapters 4, 5, and 6 Collectibles
- Balan Wonderworld Chapters 7, 8, and 9 Collectibles
- Balan Wonderworld Chapters 10, 11, and 12 Collectibles
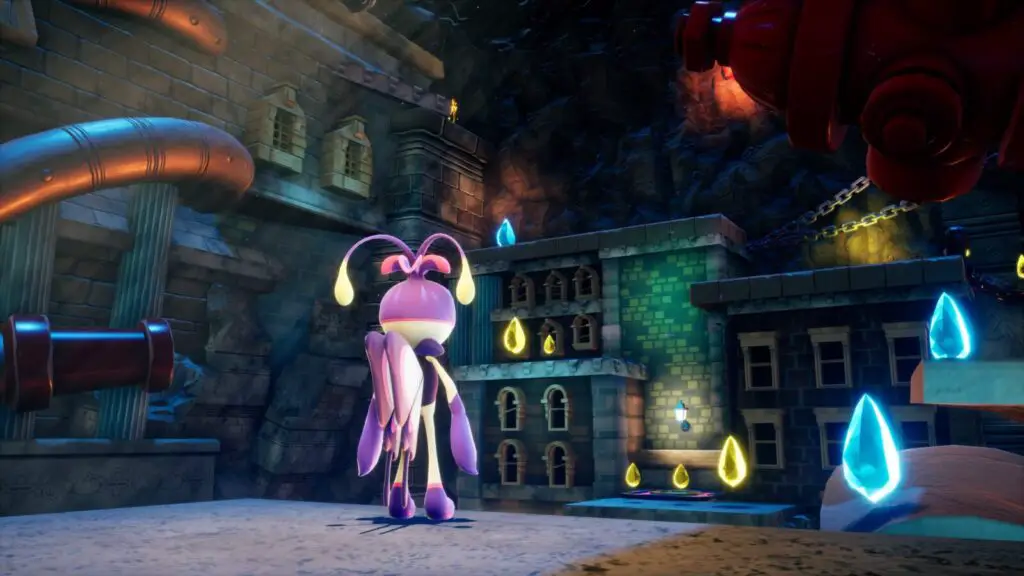
Balan Wonderworld Chapter 10: Act 1 Collectibles
Costumes required for 100% completion:
- Inky Blaster
- Air Unicorn
- X-Ray Ape
- Double Jumper (Chapter 2 Act 2)
- Frost Fairy (Chapter 8 Act 1)
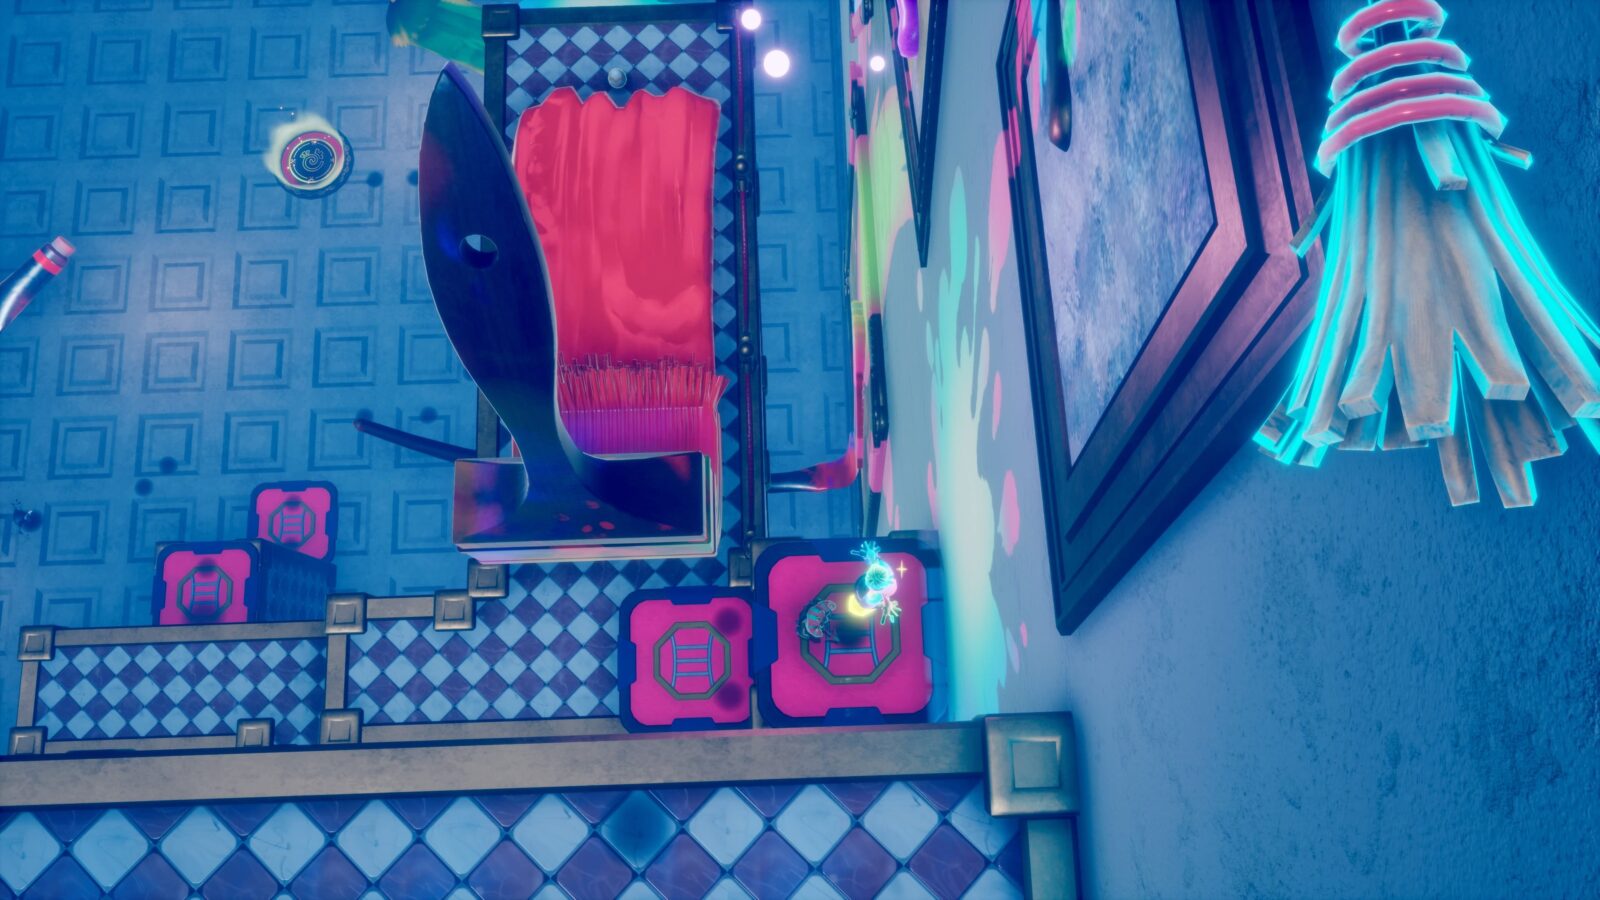
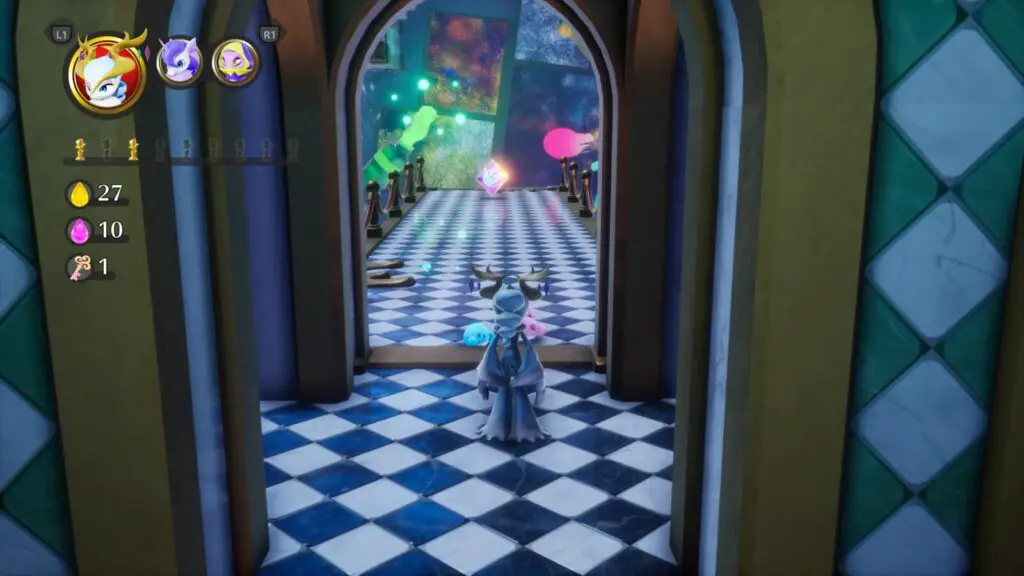
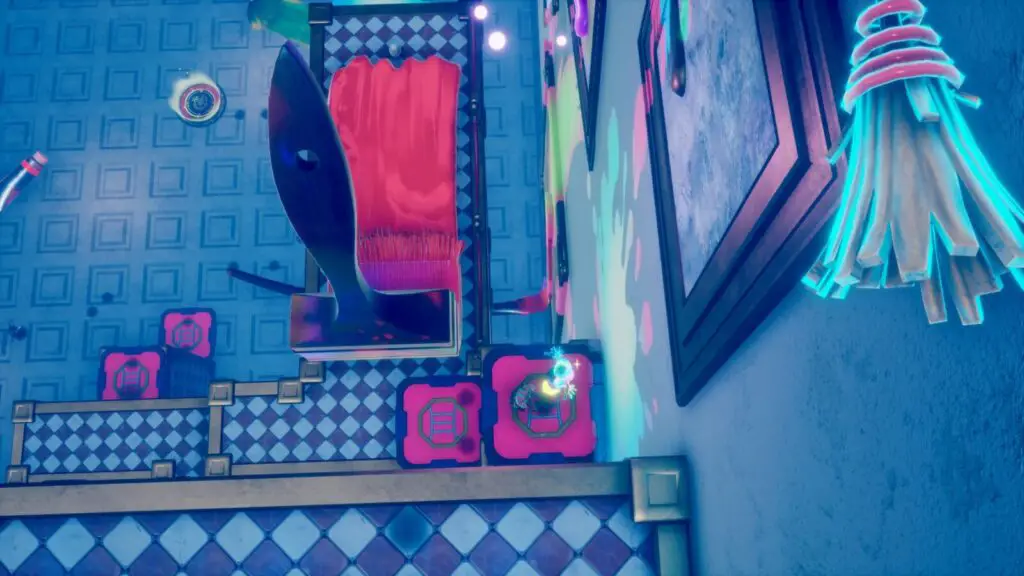
At the start of the level, turn around and look up, you’ll see a paintbrush handle. Double-jump to it and go through the mirror it is attached to.
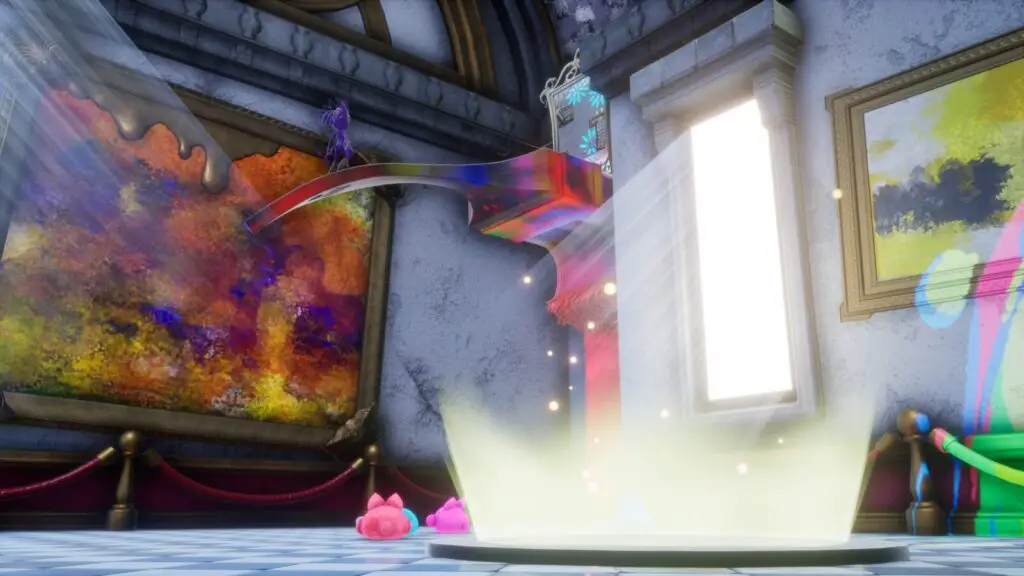
You’ll enter a room with another paintbrush in the center and a god-awful platforming section on the back wall. Rather than losing tens of costumes to the puzzle at the back, you can just double-jump onto the tip of the paintbrush in the center (it’s tricky but it can be done) and then use Frost Fairy to air-walk up to the Air Unicorn Costume on the platform in the corner.
Head back through the mirror and continue along the main route. Immediately on your right, up the stairs, you’ll find an X-Ray Ape Costume.
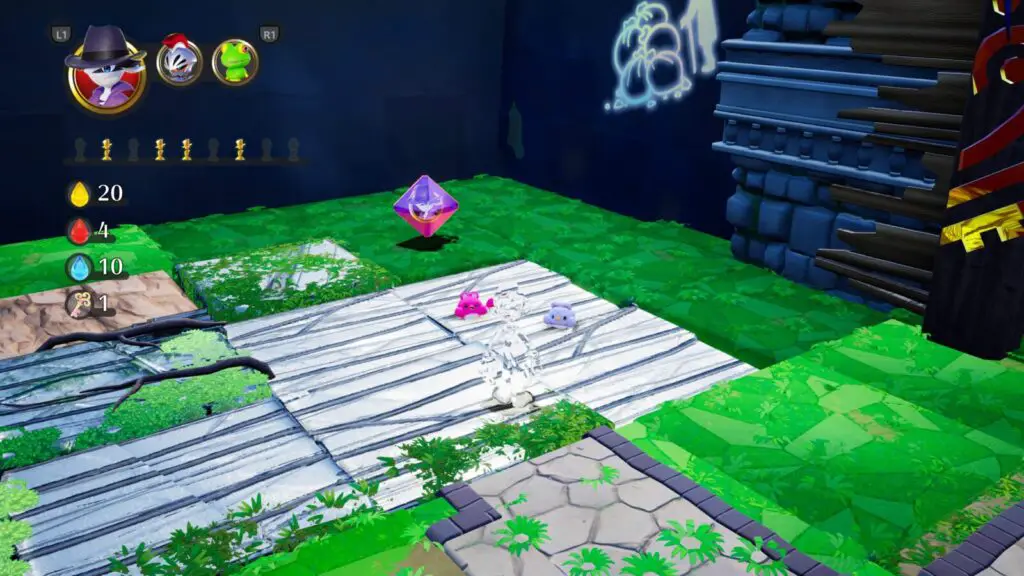
From that costume, look down over the edge and you should be able to see Two Balan Statues right in front of you. You can use Air Unicorn to reach them both easily.
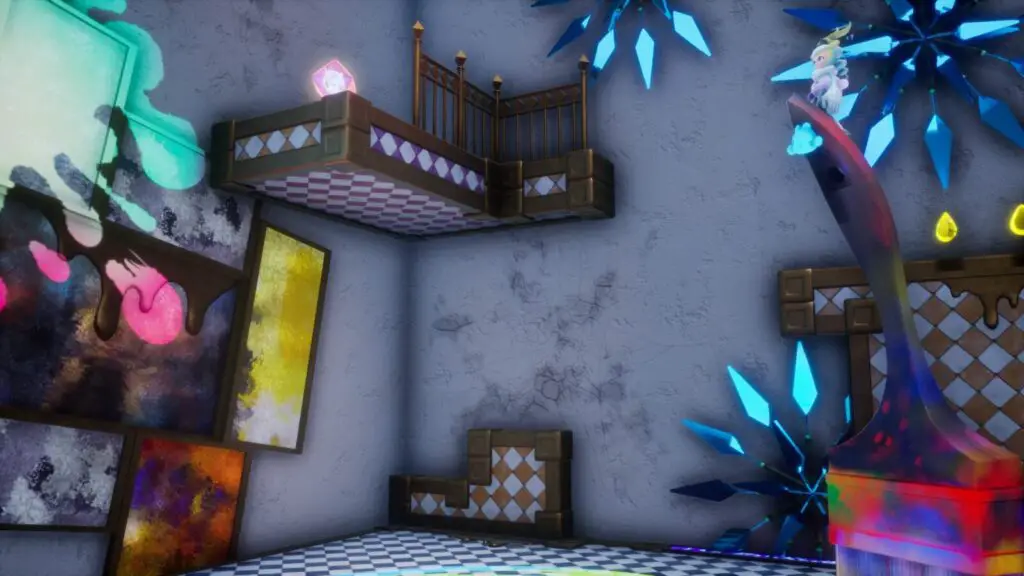
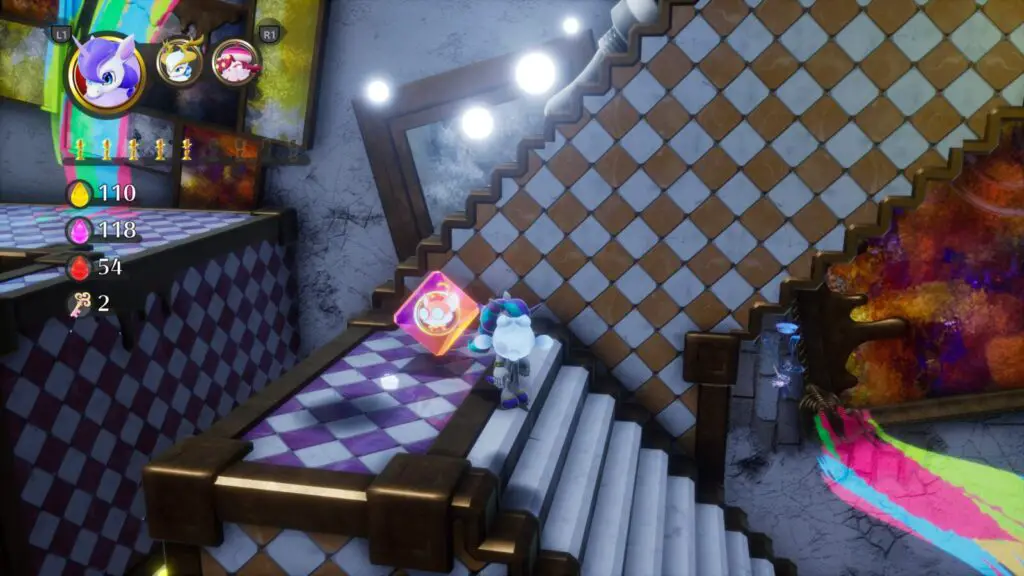
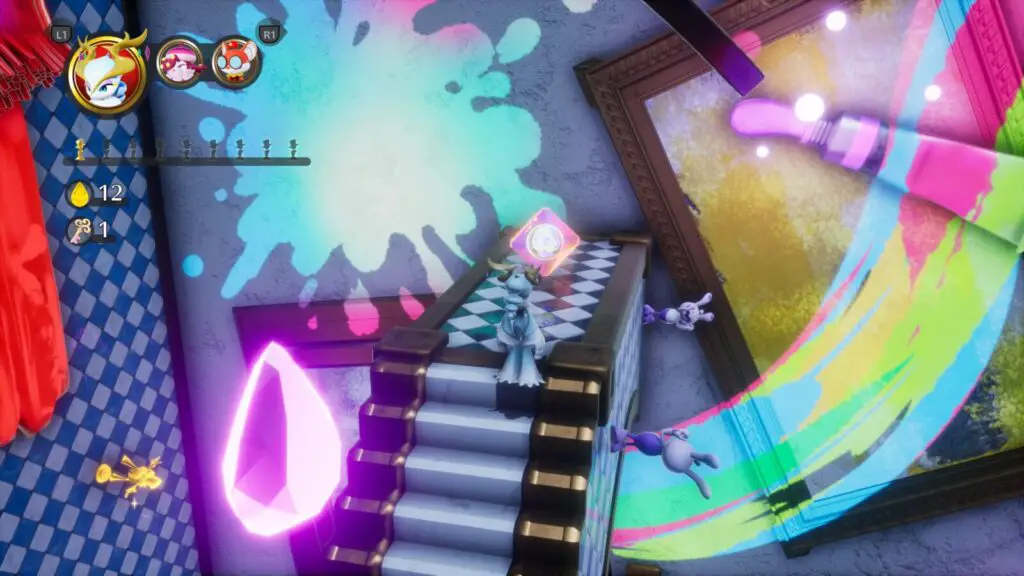
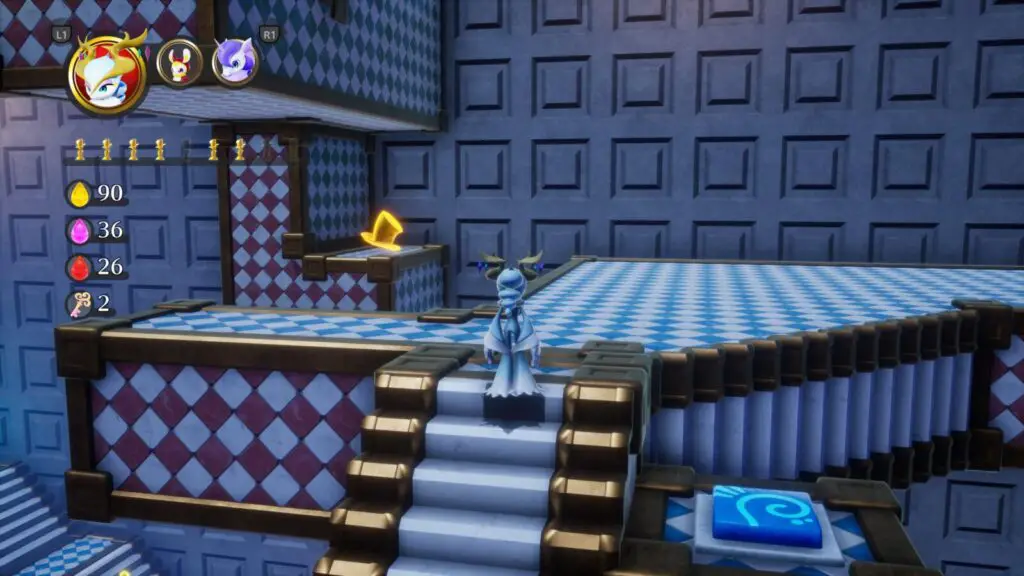
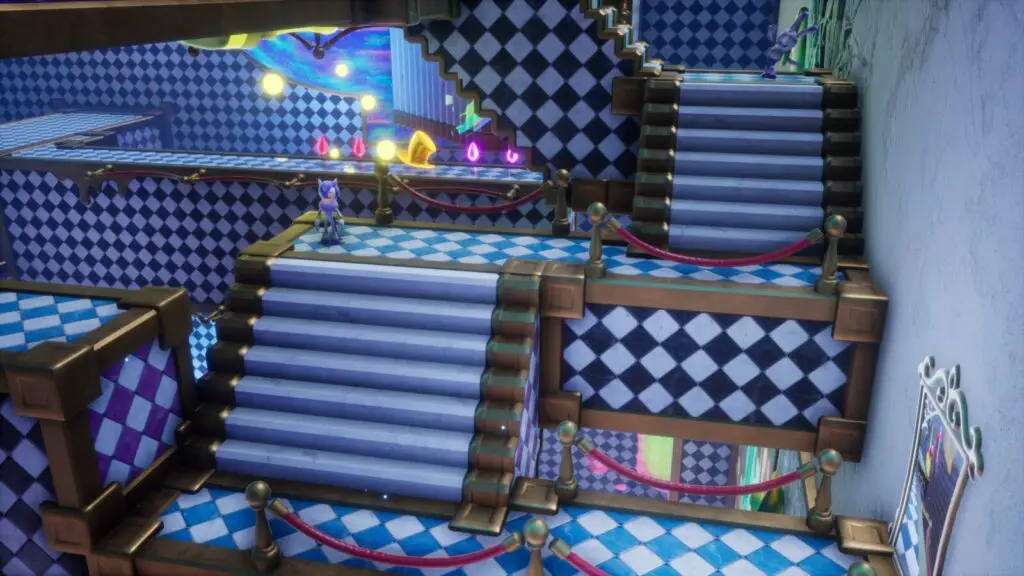
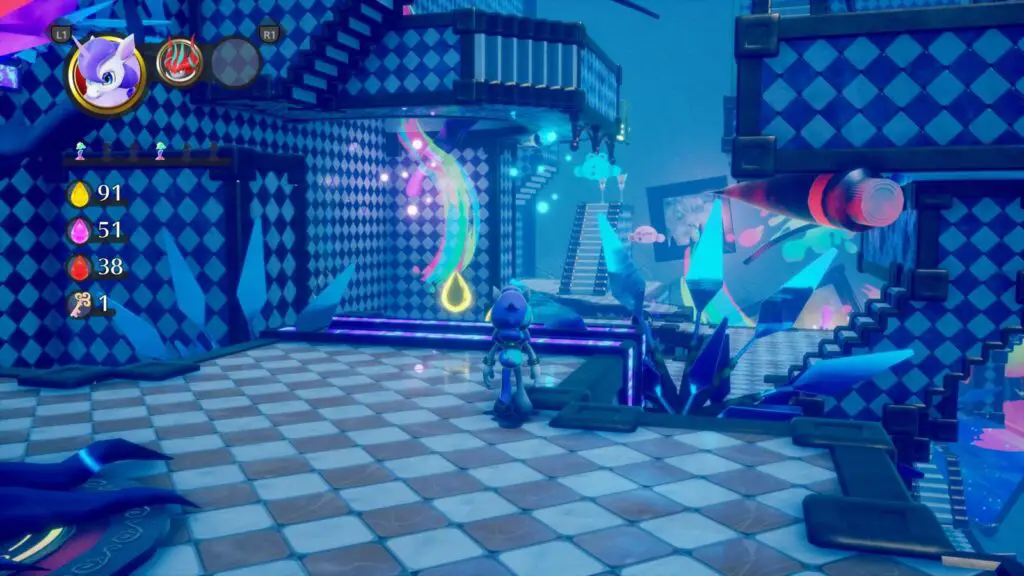
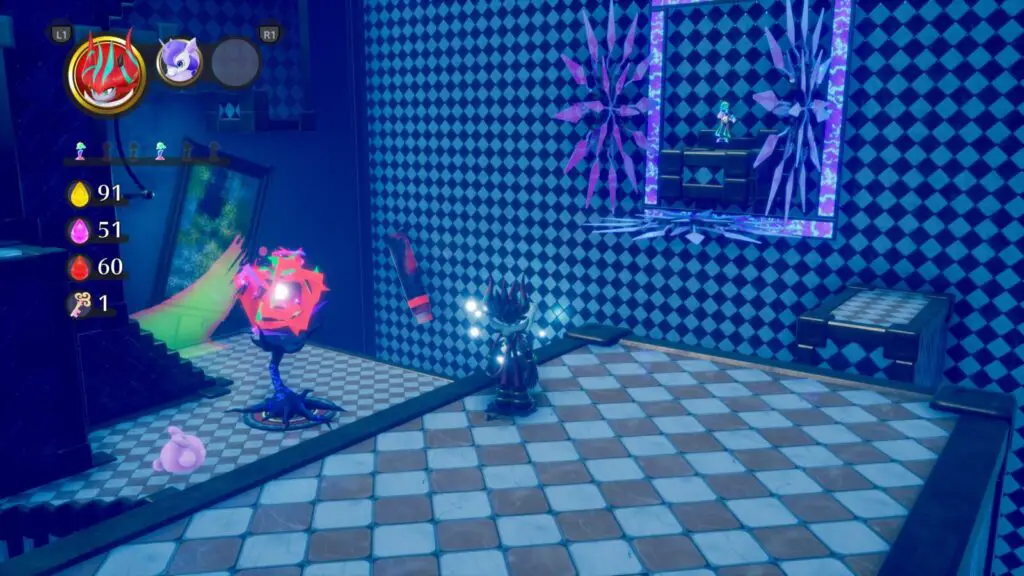
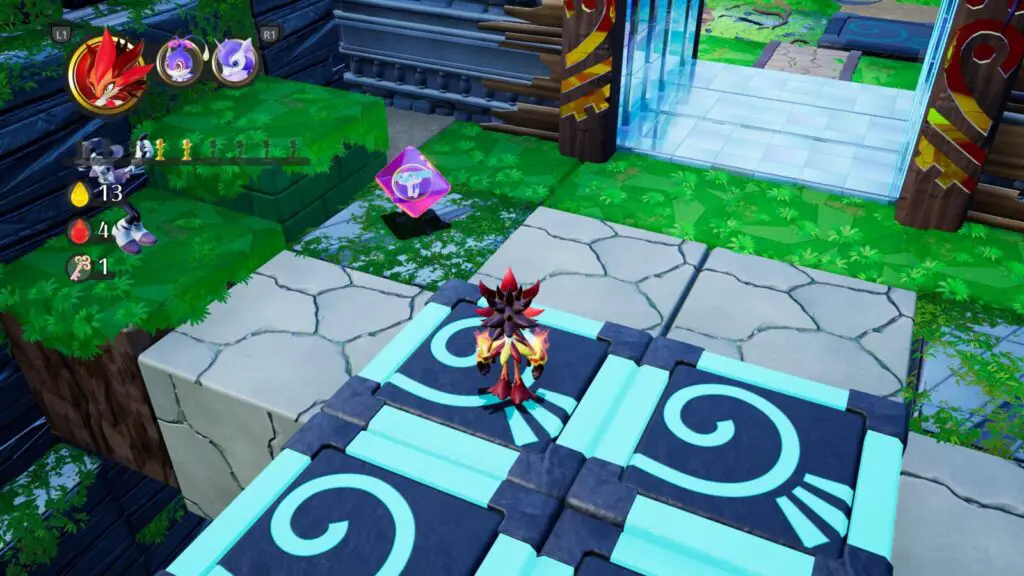
Head all the way up the stairs in the center of the room to find a mirror. All this mirror does is flip the room upside down. Go through it. Continue up the stairs and about halfway up you’ll see an Inky Blaster Costume on your right next to a canvas. Hit the Canvas with Inky Blaster’s ability to open the gate up ahead.
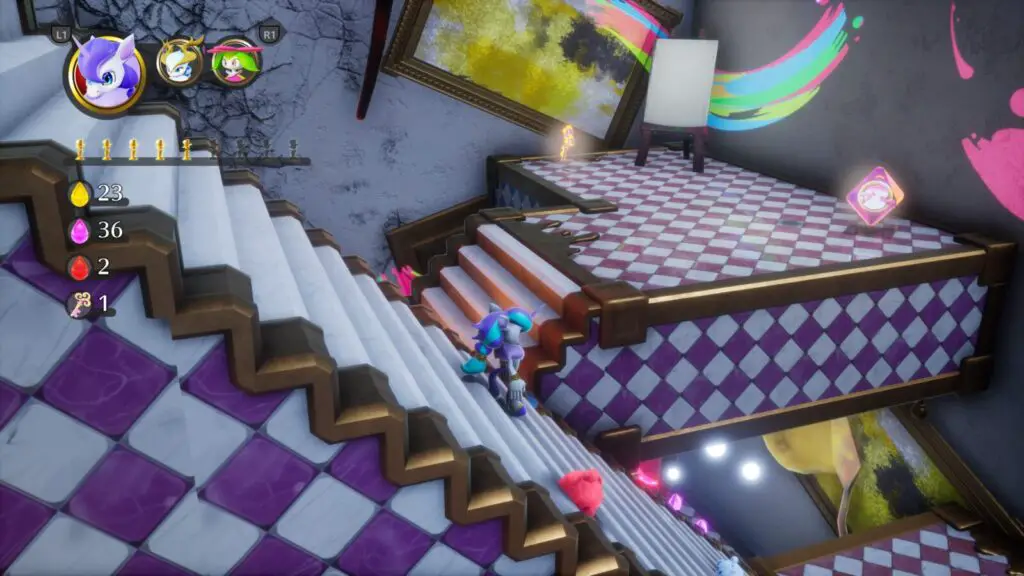
Go through the newly-opened door to a checkpoint. Head up the stairs, past a rolling metal block and then turn around. There’s a Balan Statue above the rolling metal block, which you can easily jump to.
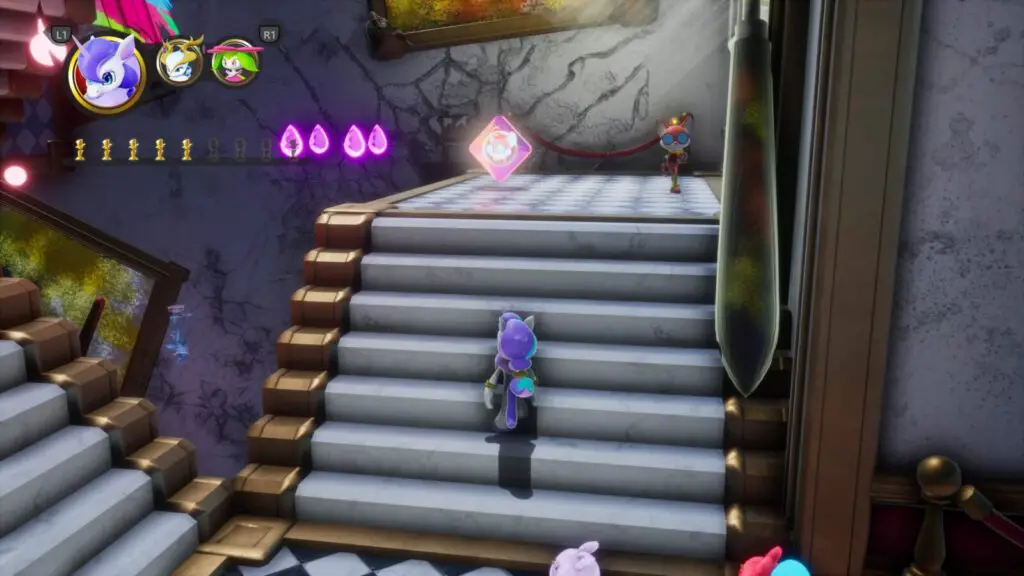
Continue up the stairs and you’ll come to a set of stairs which is rotating, allowing you to jump on and off at different areas of the room. use it to reach the Balan’s Bout hat on a ledge behind you. Get an “Excellent” rating to earn a Balan Statue.
From the top of the stairs, to the right of the hat, you’ll be able to see another Balan Statue on a paintbrush. Use Frost Fairy or Air Unicorn to reach it.
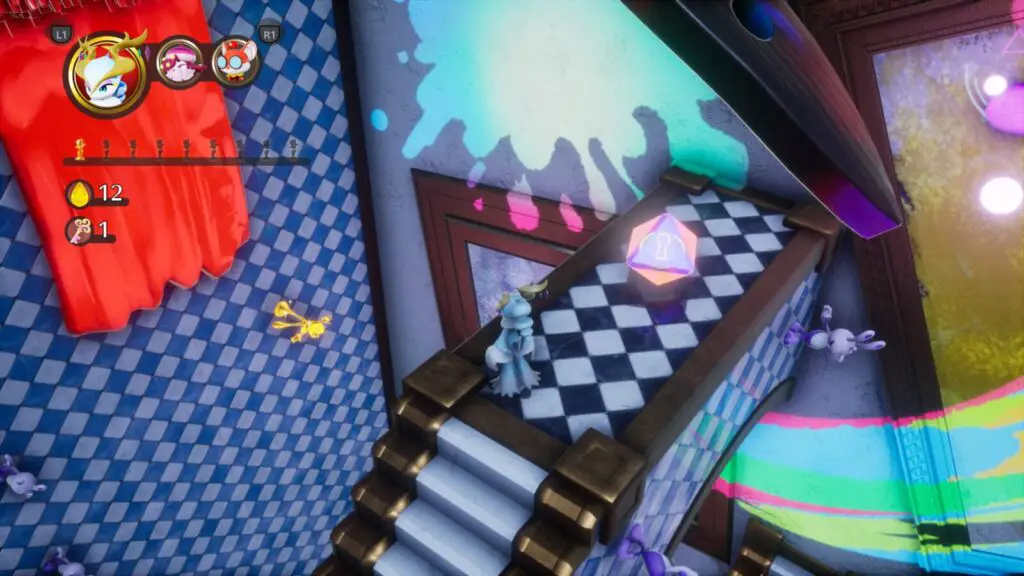
Head up the stairs opposite the hat and use Inky Blaster’s ability on the canvas to gain access to the mirror, which will rotate the room again.
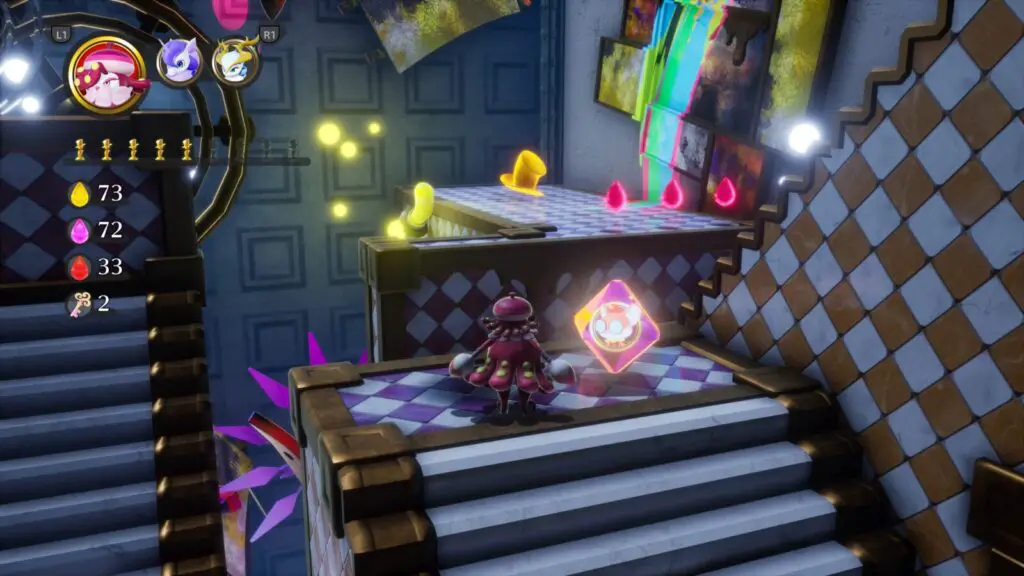
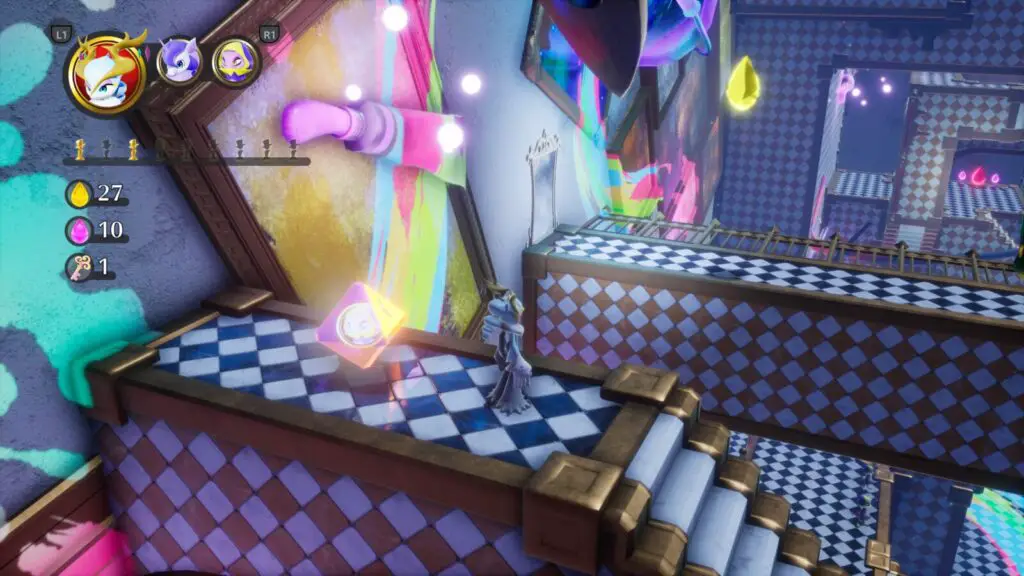
Continue up the stairs in the back-right corner and stop at the X-Ray Ape Costume, there are two things to look for here. The first is behind you and to the right, a Balan Statue that you can easily jump to.
You’ll also see another Balan’s Bout hat ahead of you when you reach an X-Ray Ape costume. Get an “Excellent” rating for a Balan Statue.
Continue to the top of the stairs, hit the two canvases on the right with Inky Blaster and enter the newly-opened mirror. The room will turn a final time.
Continue up the stairs until you reach a spinning blade trap and a giant paintbrush. There’s a Balan’s Bout hat behind that paintbrush. Get an “Excellent” rating for a Balan Statue.
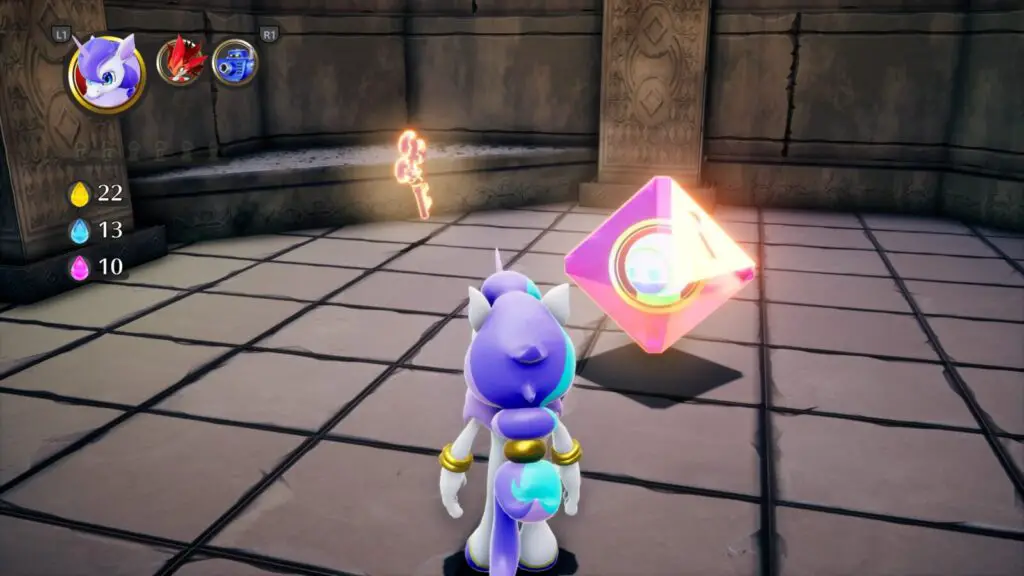
Continue now all the way to the end of the level, but don’t touch the level-end tree. Instead, switch to the X-Ray Ape costume and head behind the painting at the back of the room. On the right side, thanks to the X-Ray abilities, you should be able to see a Balan Statue you can just jump up and grab!
Balan Wonderworld Chapter 10: Act 2 Collectibles
Costumes required for 100% completion:
- Sneaky Lizard
- Air Unicorn {Chapter 10 Act 1)
- Frost Fairy (Chapter 8 Act 1)
- Double Jumper (Chapter 2 Act 2)
- Itsy-bitsy Elf (Chapter 3 Act 1)
This level is essentially one big room with a lot of complex parts, but if you use Frost Fairy and Air Unicorn you can get just about anywhere in the stage with little confusion, so I recommend keeping those on you. It’s also going to be tricky for me to direct you around this complicated room, so I may make you return to checkpoints a few times.
The first thing to do is go up the big stairs on your right. This will take you to a lowered central platform (We will be raising it later). If it is already raised for whatever reason, you’ll need to beat the Chapter 10 boss again to reset the level.
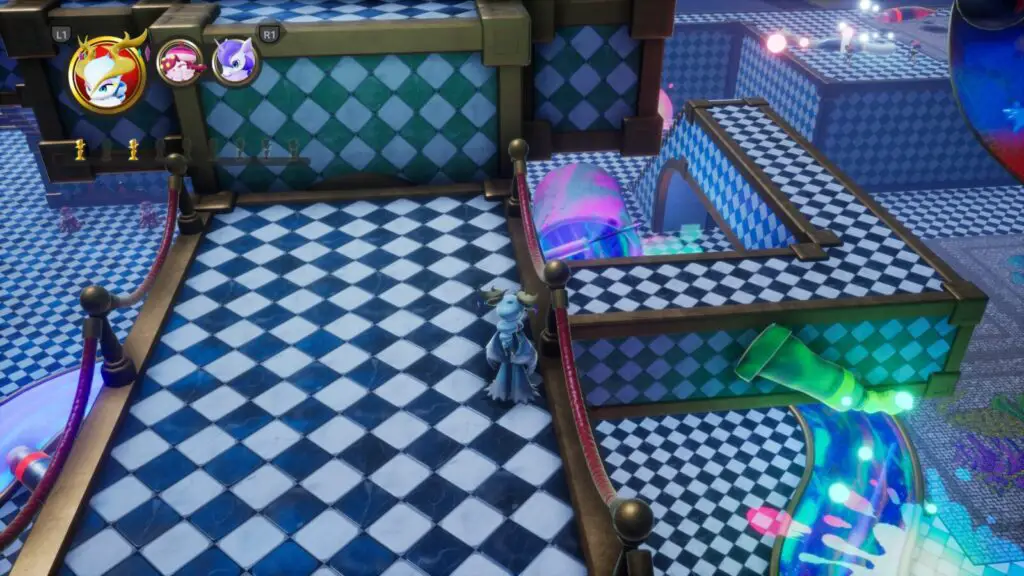
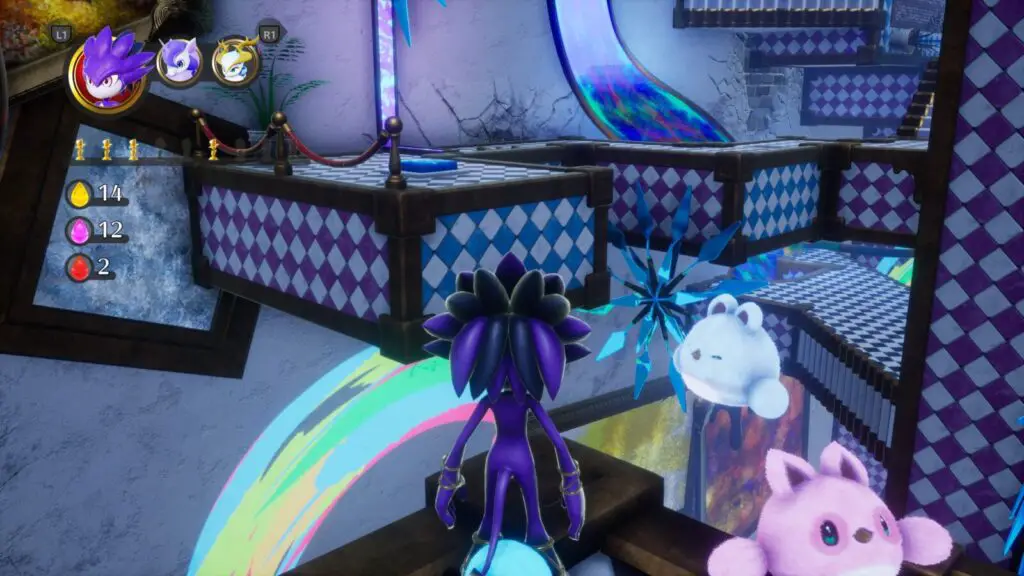
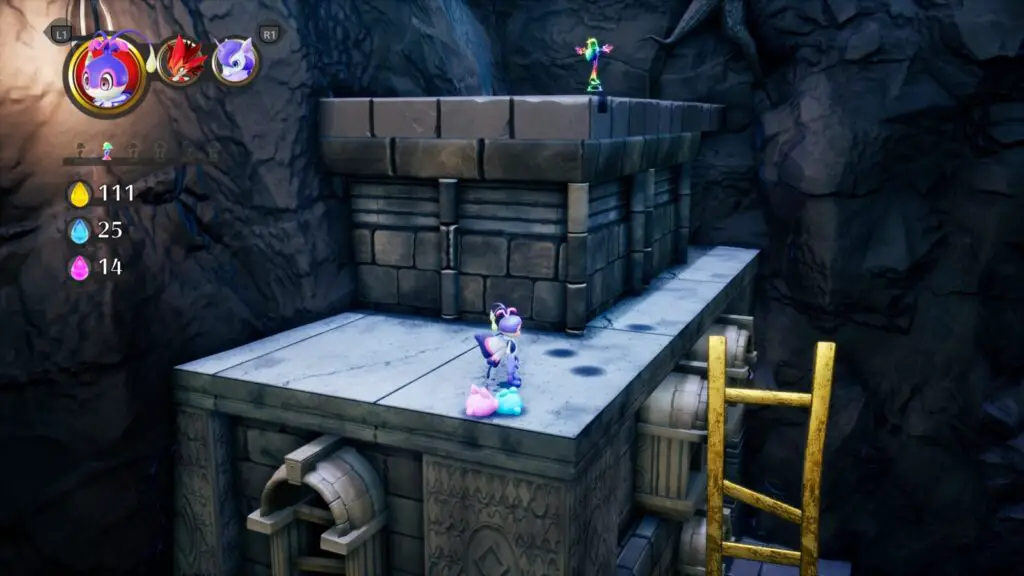
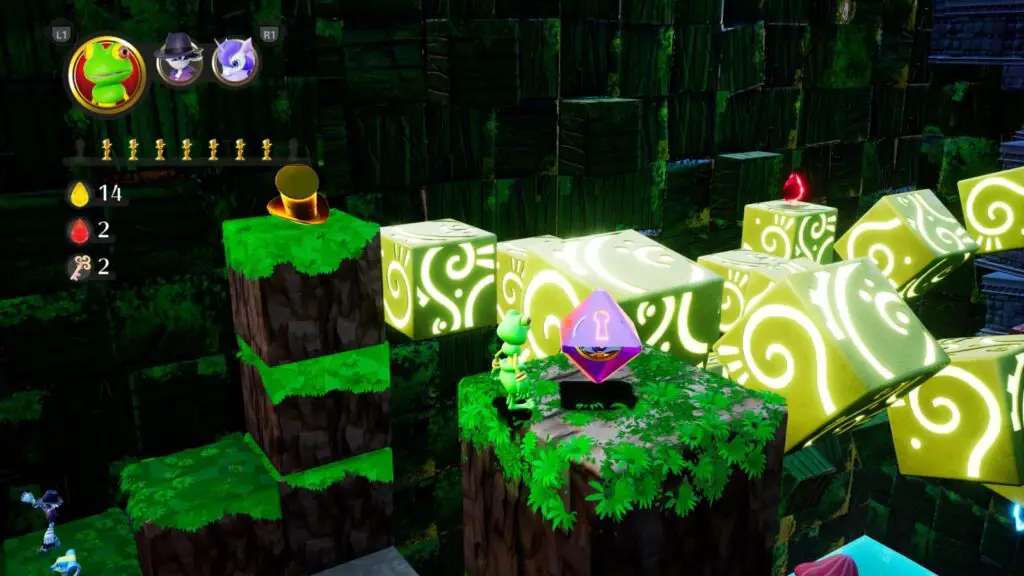
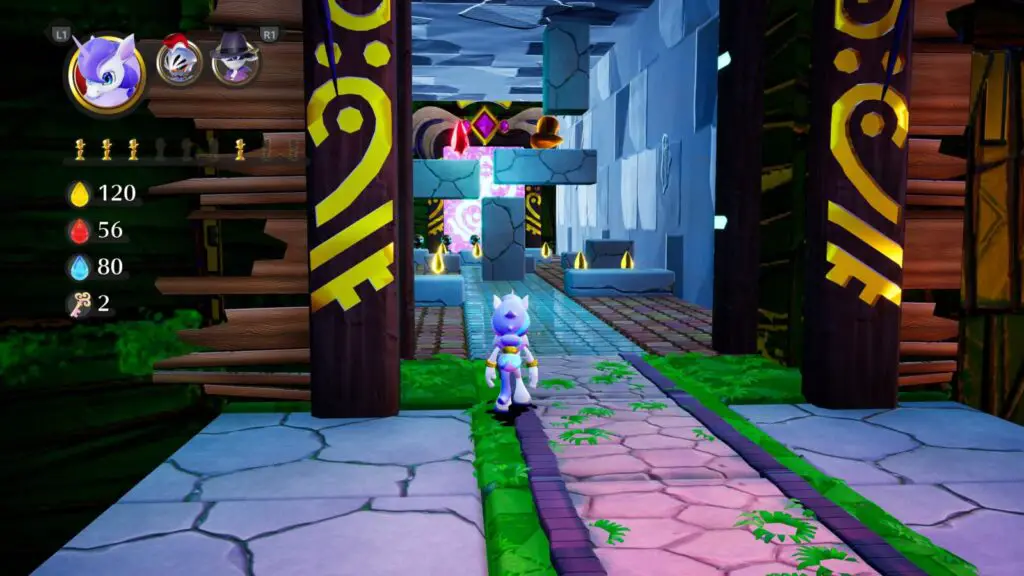
Once you reach it, jump down to the path below you on the right, with a green paint tube on the side of it. Then head inside the archway under the central platform and you’ll find a Balan Statue!
Back at the starting checkpoint, go up the narrow stairs in front of you and continue upwards to the right to get the Sneaky Lizard Costume.
On the left wall, next to it, you’ll see a Balan Statue you can easily use the Air Unicorn or Frost Fairy to drop down onto it.
Go back to the Sneaky Lizard Costume and you’ll see a mirror on a path to your right. Use Air Unicorn to make your way over to it, head inside, and push the button to raise the central platform.
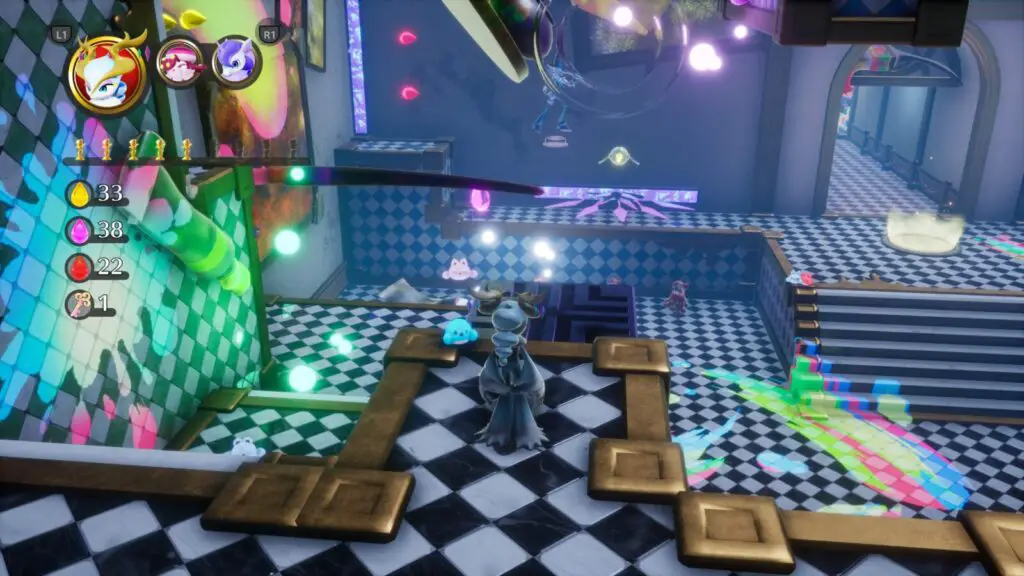
Head back out of the mirror and go up the stairs to the right of it to head through the archway under the central platform, there’s a Bowling Minigame at the end of the path.
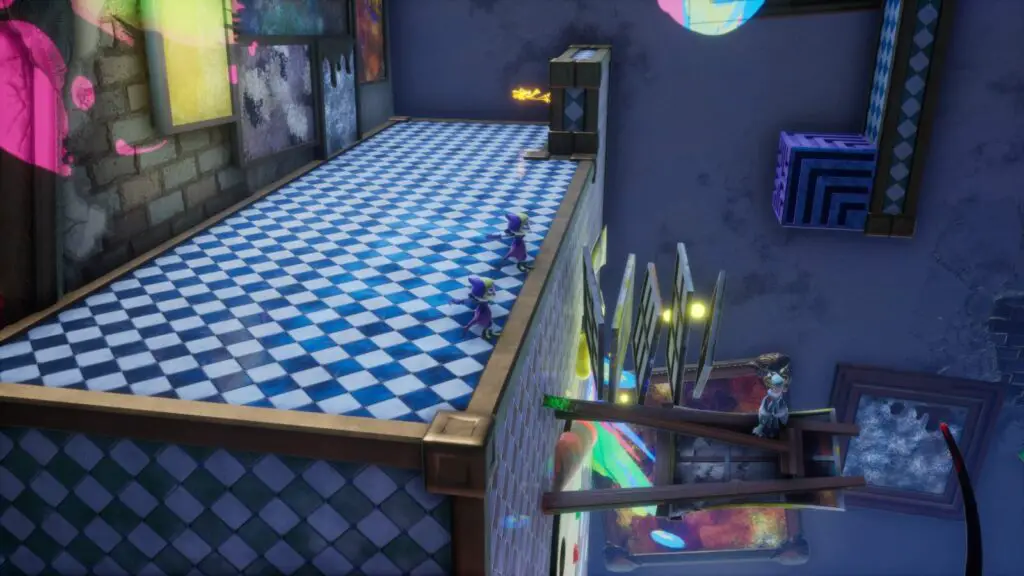
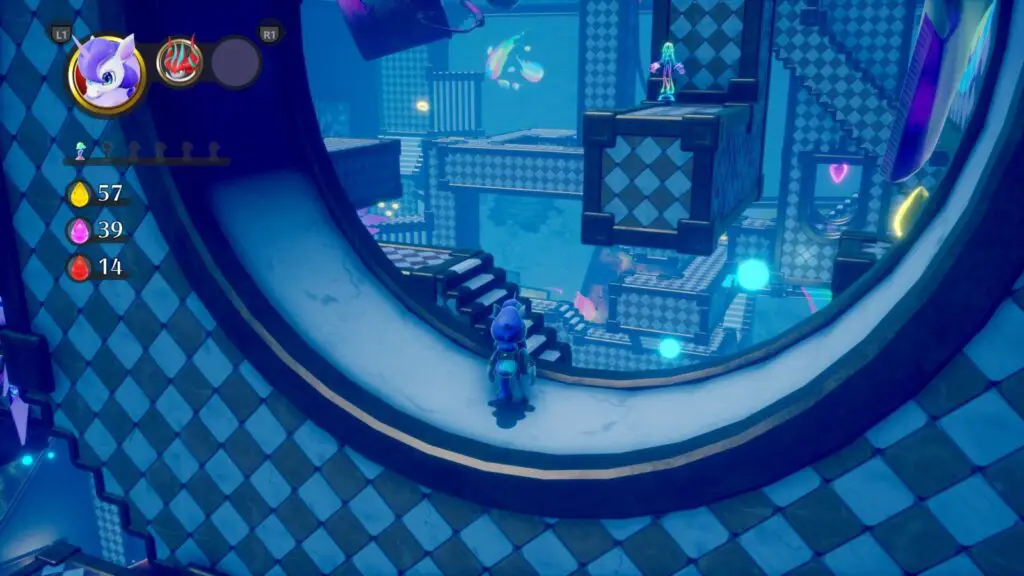
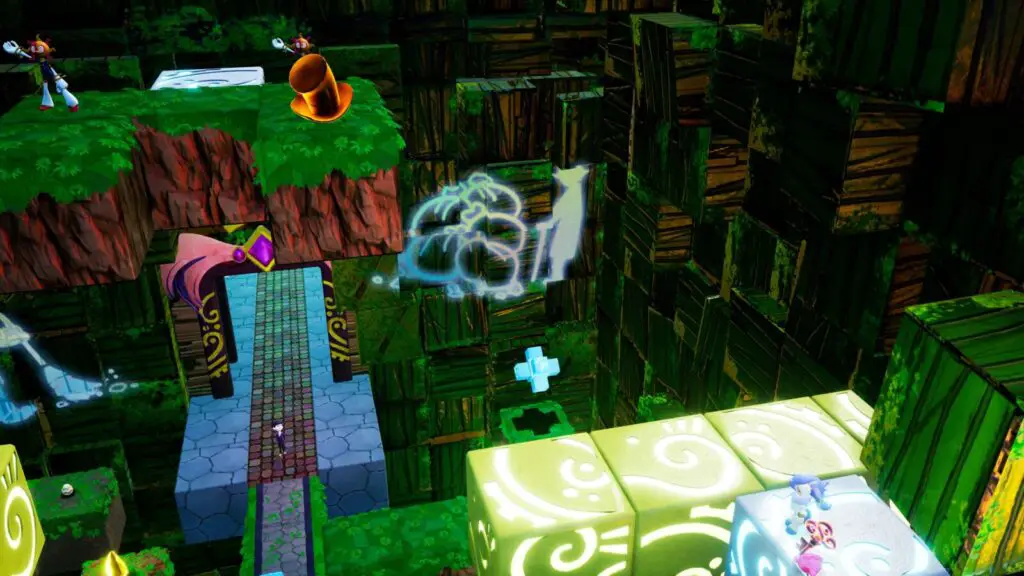
Make your way up on top of the central platform that we raised, and go down the path which goes towards the starting checkpoint. At the end, look to your right. You’ll see some Sneaky Lizards dancing on a ledge in the distance, with a sideways Balan Statue at the end of that same platform.
Use the Frost Fairy to reach the easel sticking out of the wall, and then use Double Jumper from there to claim the statue.
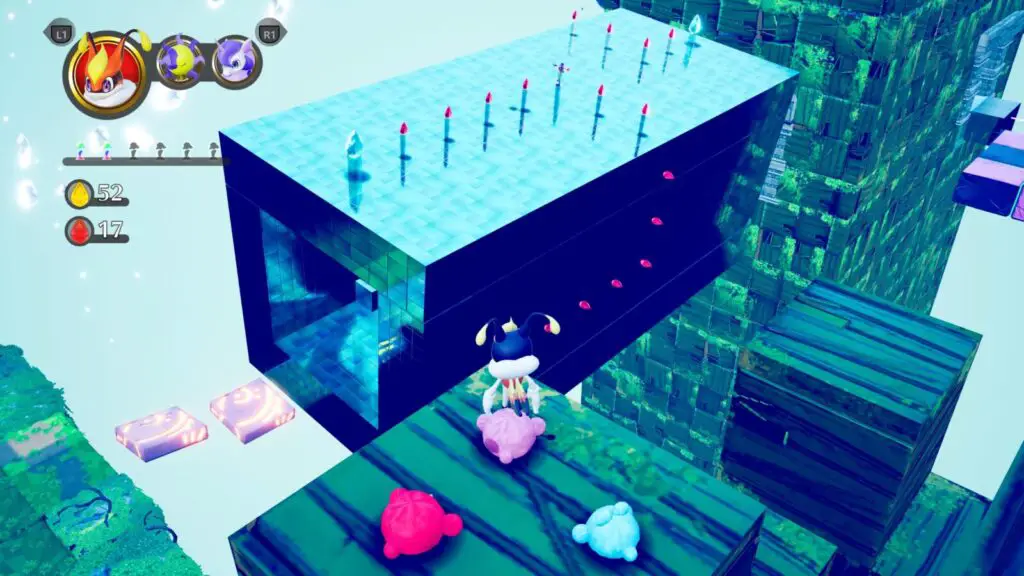
Return to the Central Platform and then head to the opposite end of it, towards some spinning blade traps. When you reach the rolling metal block, use it to get up on the platforms to the left side, where you’ll find a Balan Statue.
From there, you can use Air Unicorn to air-walk over to the button by the spinning blade traps.
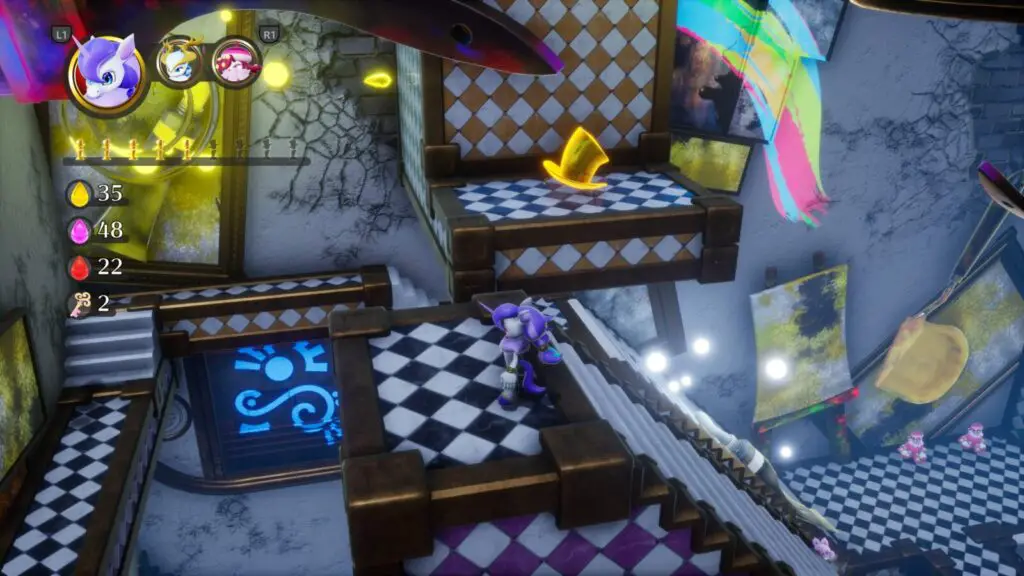
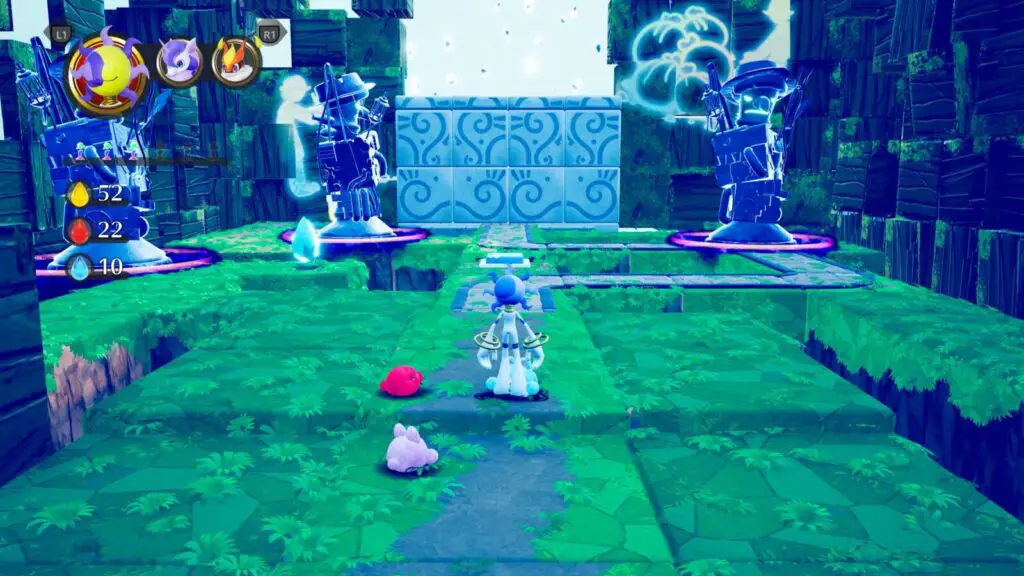
Press it to gain access to a mirror and then head inside it. This will rotate the room and you’ll be at a new checkpoint. In the back left corner of the room, ahead of you on the back wall, there’s an Itsy-bitsy Elf doorway.
Head inside and use Frost Fairy to easily climb the blocks at the back for another Balan Statue.
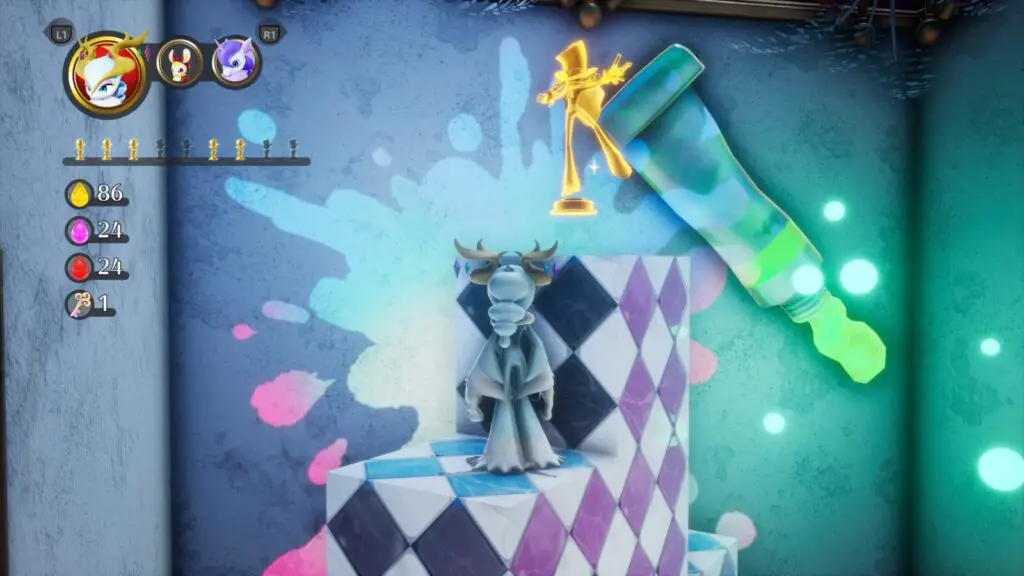
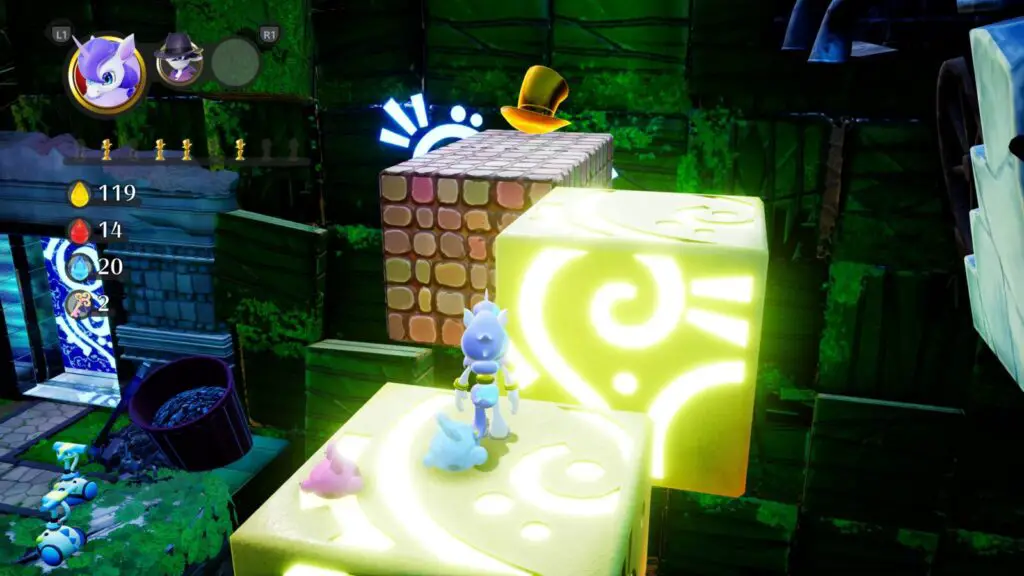
Near to the Elf doorway, there’s a Balan’s Bout hat on a ledge up on the left wall. Climb up the stairs opposite the Elf door and then use Frost Fairy to reach it. Get an “Excellent” rating to earn a Balan Statue.
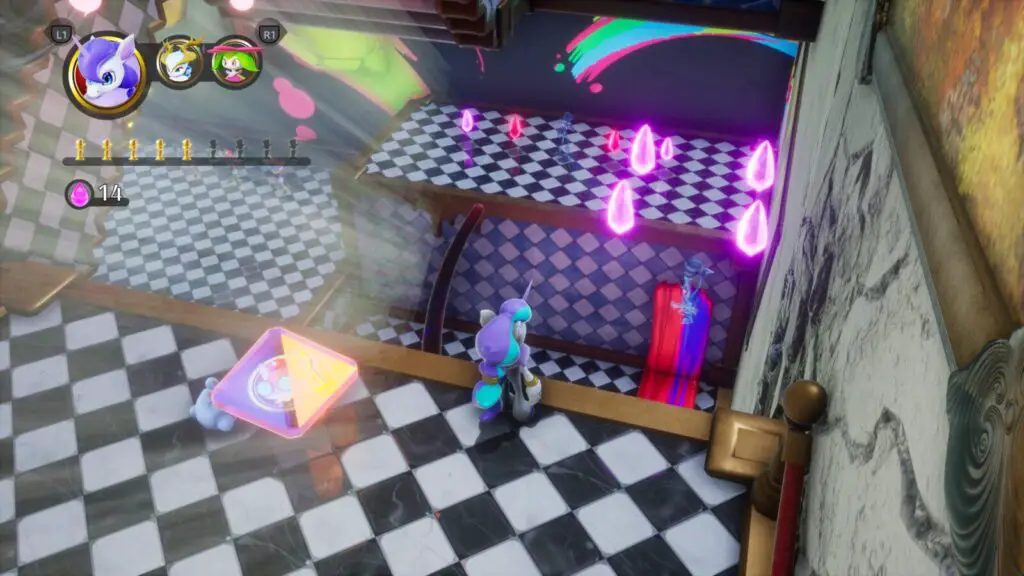
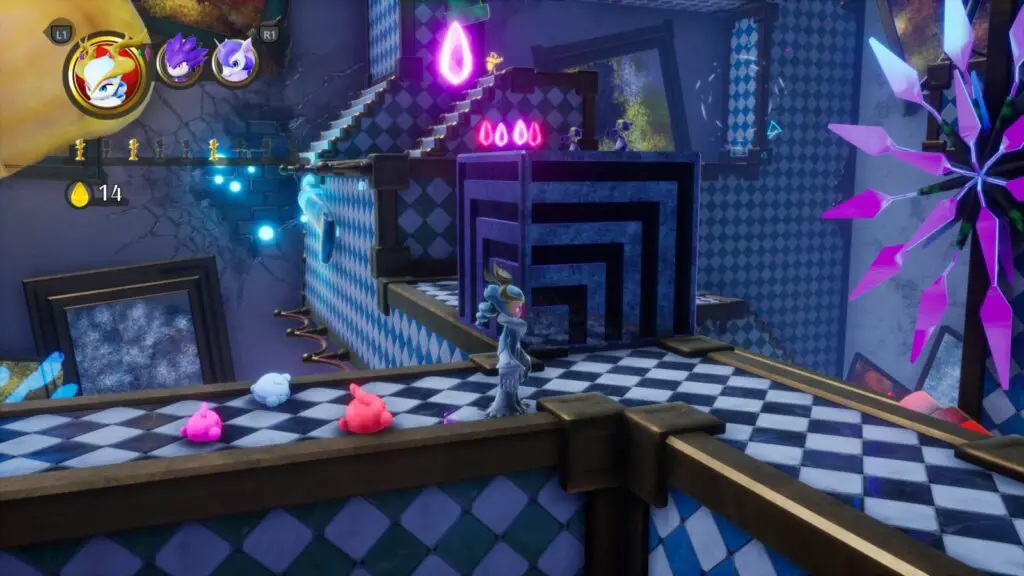
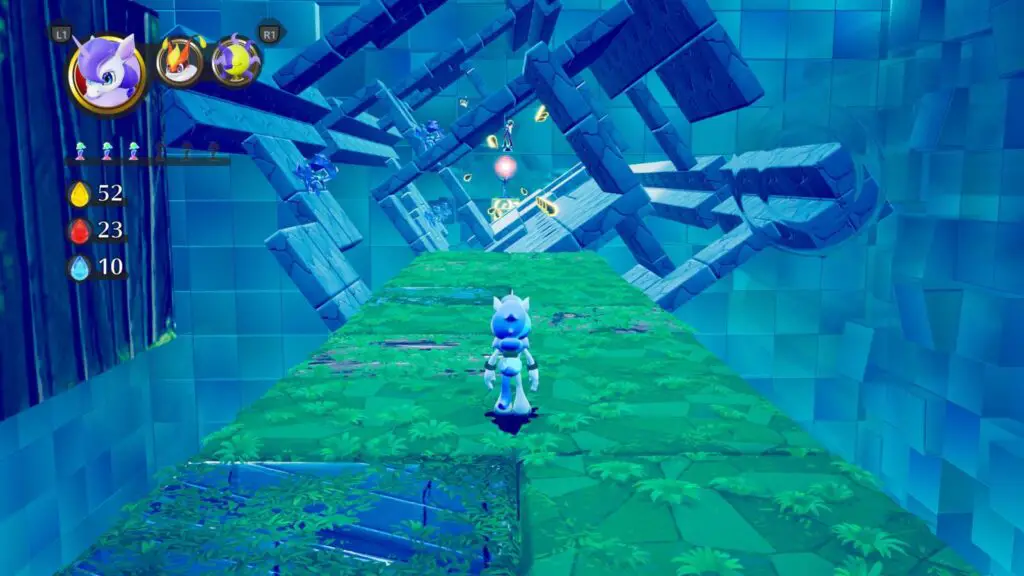
Continue through the level as you normally would, working your way up to the top of the room, where you’ll come to a platform with a blue button on your right and a Balan’s Bout hat on a ledge head and to the right. Use Air Unicorn to reach the hat and then get an “Excellent” rating for your Balan Statue.
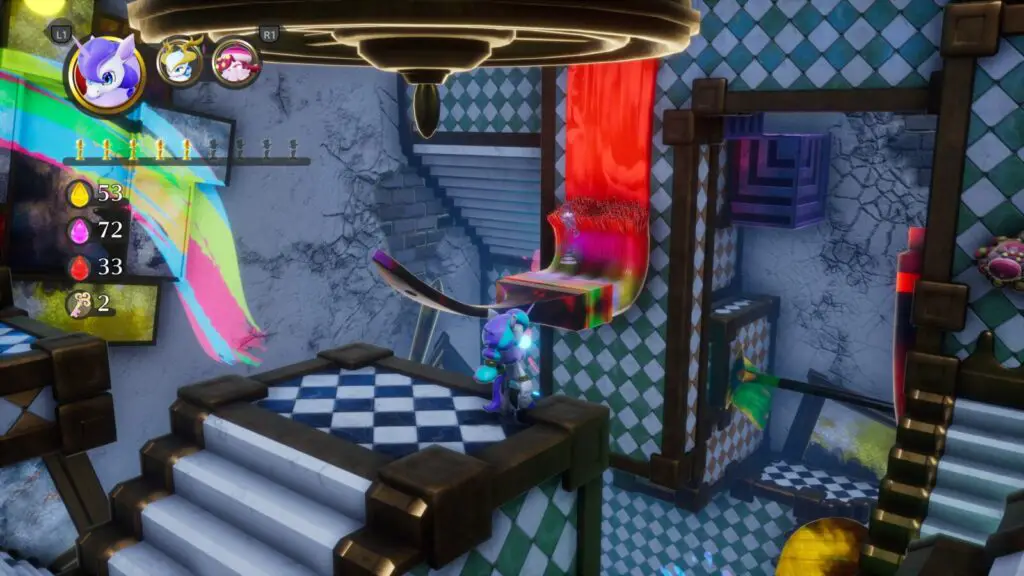
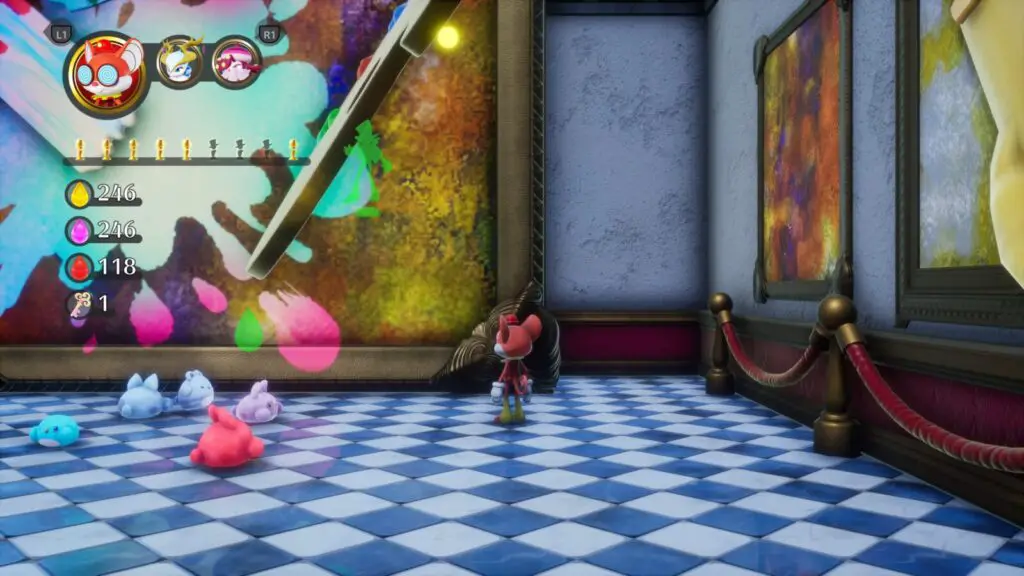
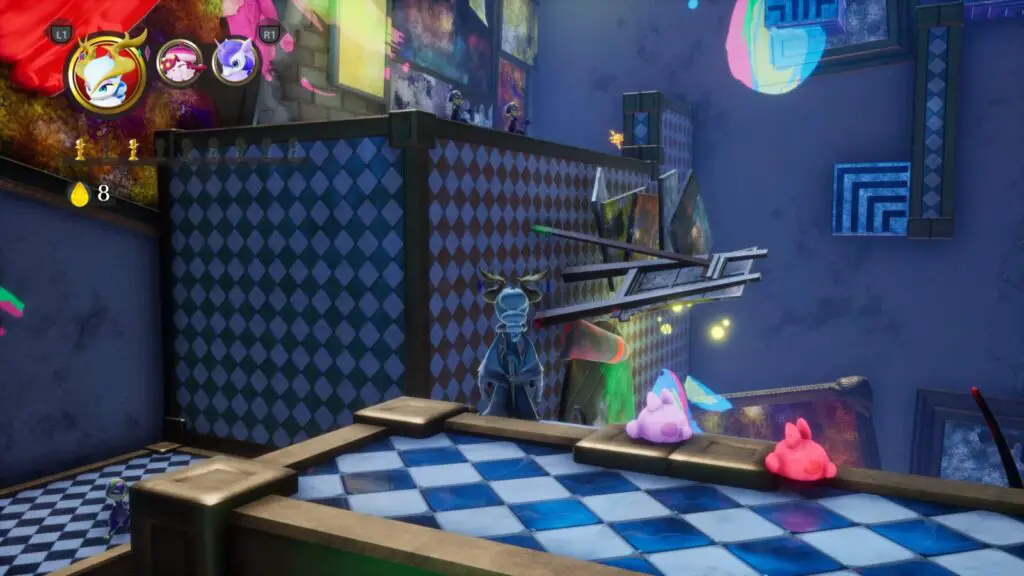
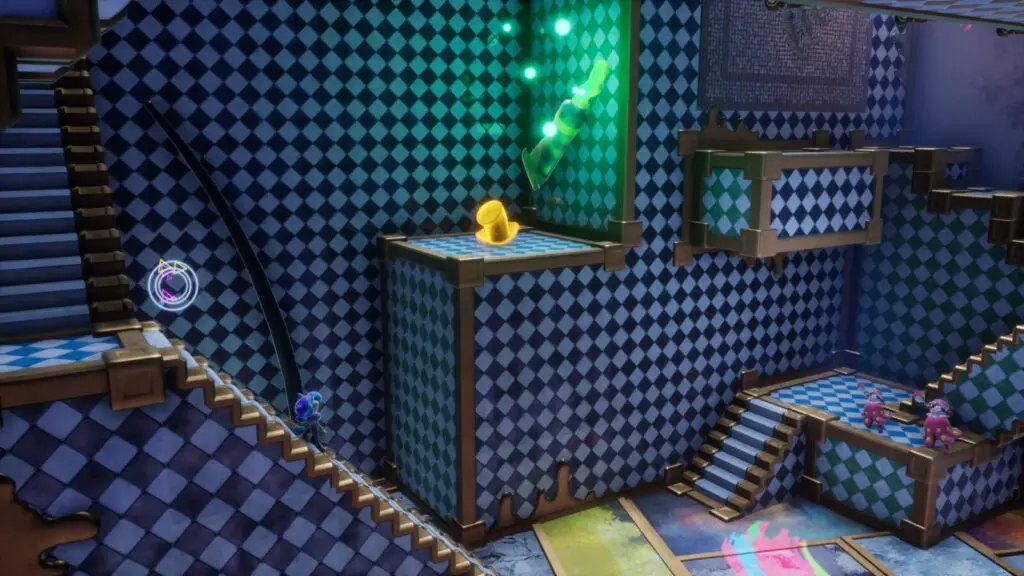
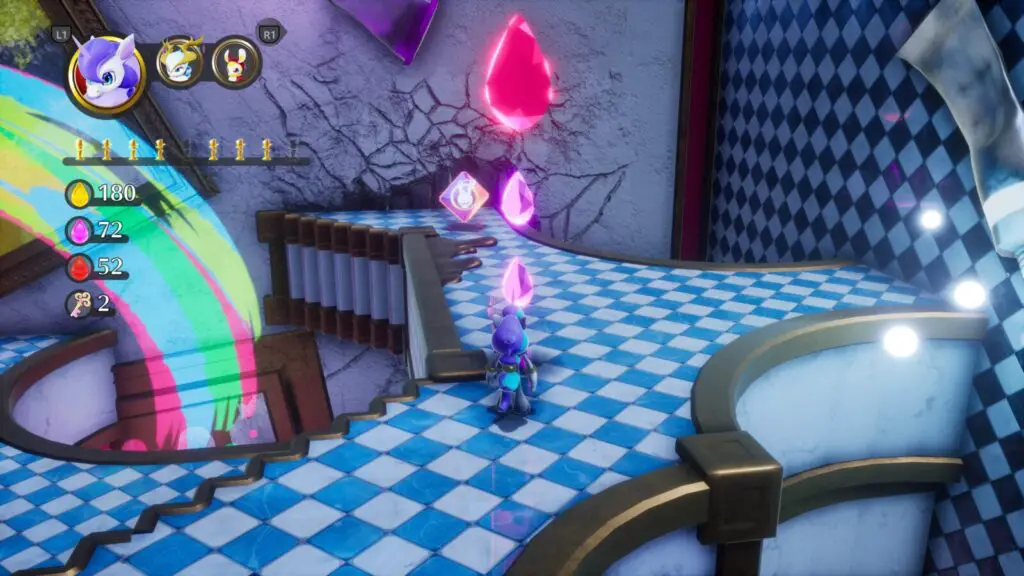
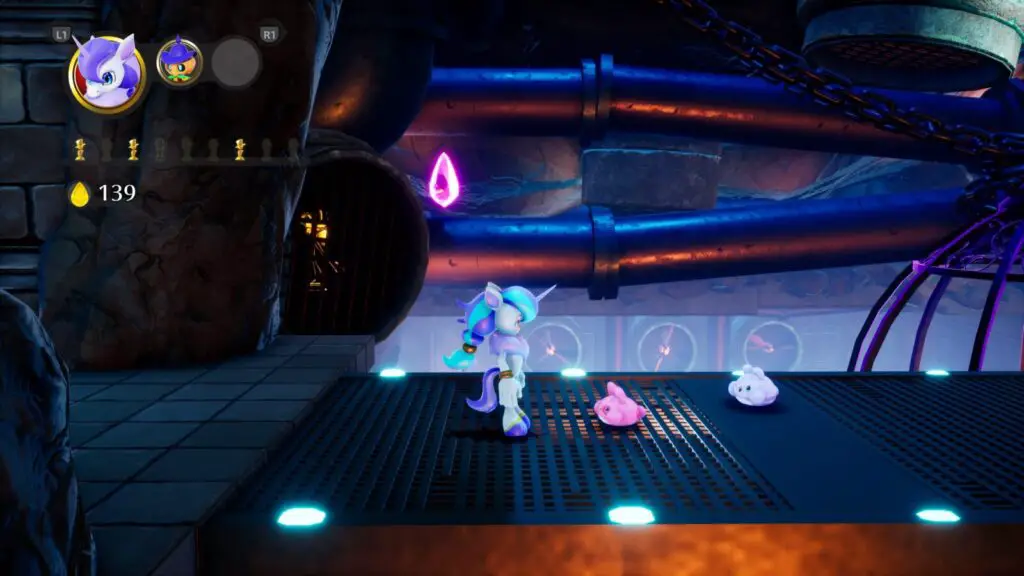
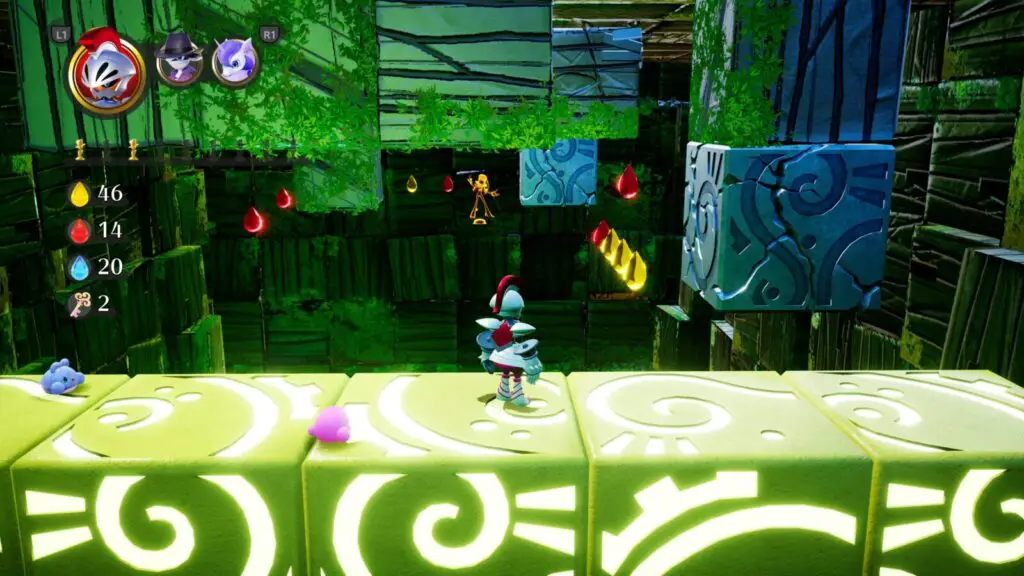
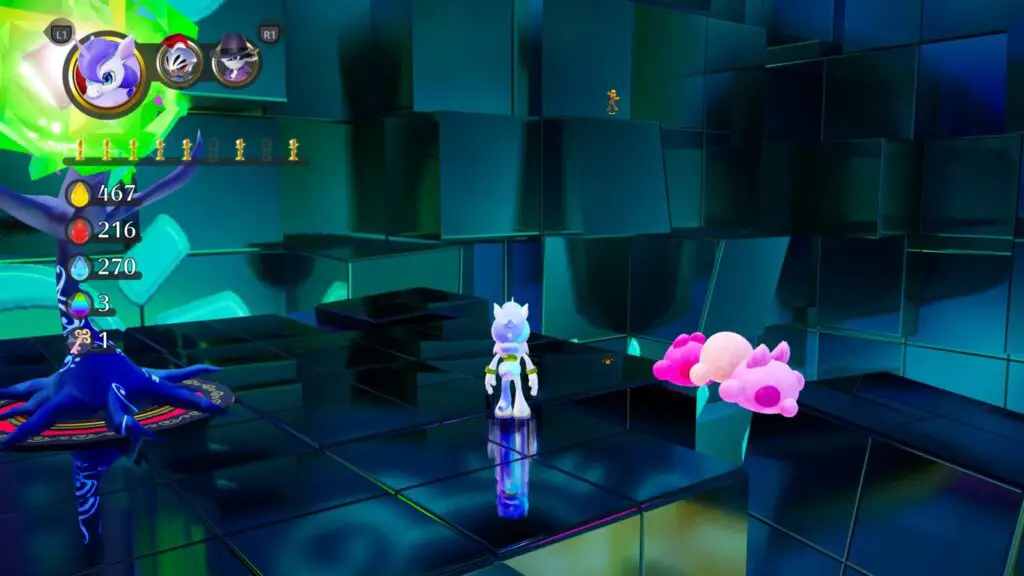
From your vantage point up here, look for a big red Drop with two small pink Drops under it, near the opposite wall.
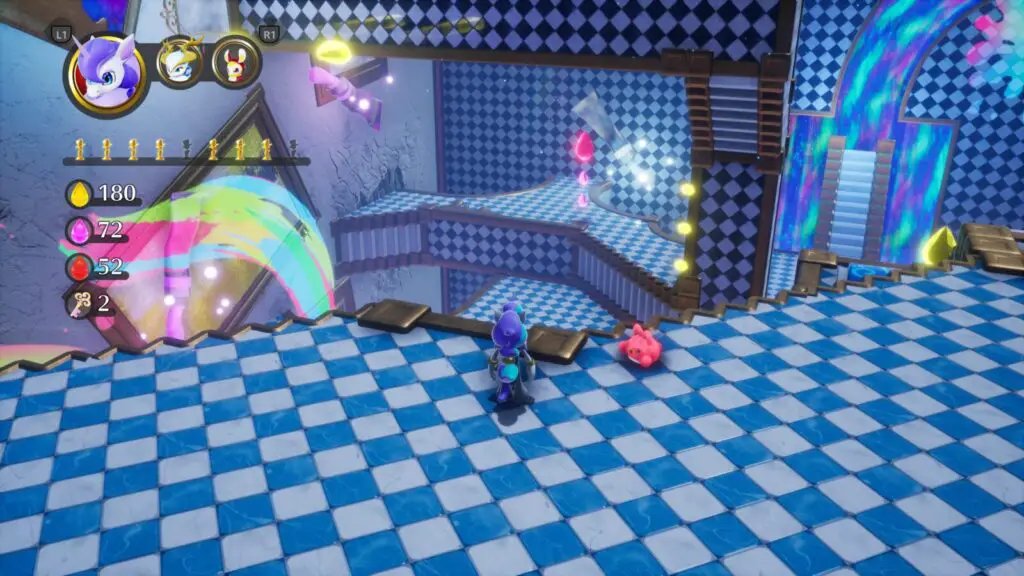
Use Air Unicorn to reach them and, when you land, you’ll see a Double Trouble Costume you can grab.
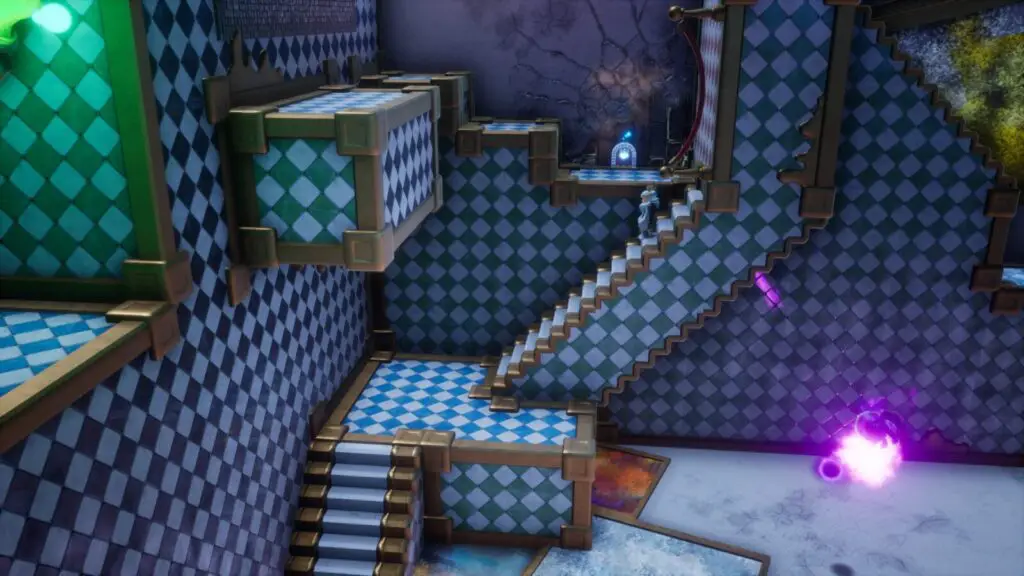
Return to the uppermost platform where the previous Balan’s Bout hat was and use the blue button in the far right corner to rotate the staircase so you can proceed even higher up the room.
At the top of the staircase you just rotated, turn around and you’ll see a Balan Statue in the distance ahead of you. Use the Air Unicorn to reach it.
Continue upwards and you’ll pass through a mirror, rotating the room, and then another, rotating it again. At the top of the stairs immediately after that last mirror, you’ll see a Balan’s Bout hat on a platform out in front of you. Use Air Unicorn to reach it and get an “Excellent” rating for the final Balan Statue in this Act.
Balan Wonderworld Chapter 10: Boss Statues
In this boss fight, you must attack the boss in the following three ways to get all three balan statues:
- When the boss throws paint cans on the floor, hit them with the Inky Blaster ranged ability to knock them at the boss.
- When you’ve hit the boss, she’ll spawn spiked picture frames. Watch their rotation to get past them and hit the orb on her head while she’s upside down.
- When the boss spawns the ink blot creatures and some of the platforms disappear, use the X-Ray Ape to see the invisible platforms and get close to her, hit the orb on her head when you’re close enough.
Balan Wonderworld Chapter 10: Act 3 Collectibles
Costumes required for 100% completion:
- Dawn Butterfly
- Triple Jumper (Chapter 7 Act 3)
- Air Unicorn (Chapter 10 Act 1)
- Hothead (Chapter 5 Act 2)
- Paladin Puncher (Chapter 7 Act 2), Tackling Bull (Chapter 7 Act 2), or equivalent.
This level is even harder to direct you through than any other in this chapter. It’s just a mess. Because of that, I’m unfortunately going to have to leave a lot of the work up to you, but I’ll use key points in the main route to help you figure out where the next statue is.
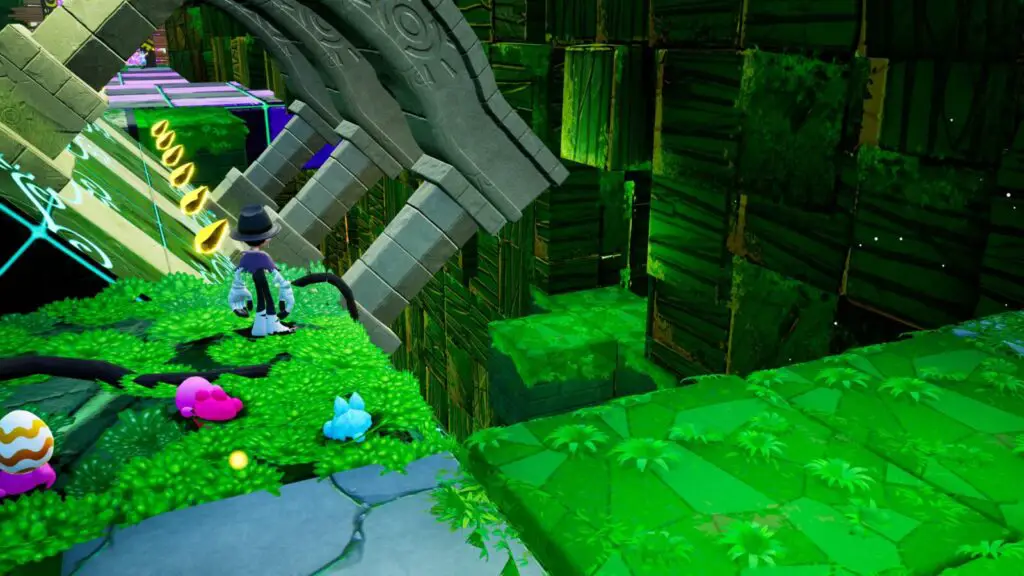
To your immediate left when you start, look for a Ladder Man symbol on the floor and use Triple Jumper to follow the trail of Ladder Man Symbols all the way up to a Balan Statue. Note that if you decide to use Ladder Man instead, you’ll need Double Jumper for a bit in the middle. It’s easier to just use Triple Jumper.
Continue along the main route until you reach a button you need to step on to open a gate so you can enter the first mirror.
Head up the stairs behind this button and look out towards the opposite side of the room. You’ll see a Balan Statue on a ledge in the distance.
Use Air Unicorn on the various platforms around the edge of the room to reach the archway behind the statue, and then just Triple Jump over to it.
Once you’ve stepped through the first mirror, look for a black mirror around the corner. Head inside and you’ll see a Balan Statue at the other side.

You could do the intended platforming to reach it, but why not just Air Unicorn across instead?
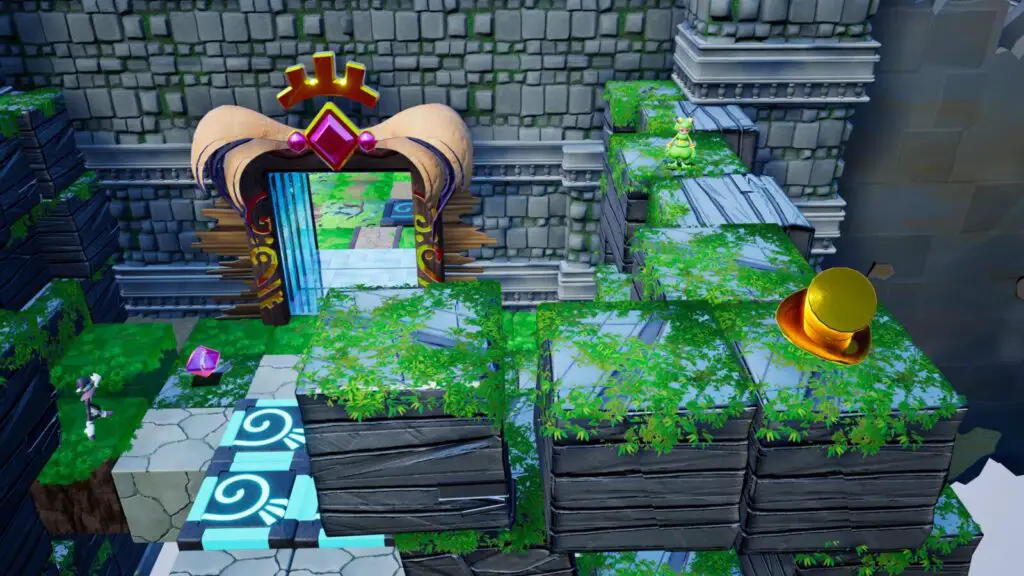
Once you reach the tree at the end of the level, turn around and you should see some Tiki torches at the other side of the room, behind a key.
From those torches, Triple Jump to the platform on the right, where there’s a cage with a Balan Statue inside. You’ll need to defeat the four typically-invincible spiked enemies with a Paladin Puncher, Tackling Bull, or equivalent, in order to unlock the cage.

Once you have it, turn left again and look towards the wall, there’s a ledge over there which has the Dawn Butterfly Costume on it (You’ll need to get closer for it to spawn if you can’t see it).

Triple Jump or Air Unicorn on over and grab it for yourself! You may need to stop on the edge of that yellow platform to reach it.
Back at the level-end tree, use Triple Jumper to climb the platforms to the left and follow them around so that you can see a Balan Statue on the wall opposite. Use Air Unicorn to reach it safely.
Return again to that ledge where you just jumped from to reach the last statue, and look down. You’ll see another Balan Statue in a similar situation to the last; trapped in a box of spinning blade traps.

Fall down in front of it and then use Air Unicorn to catch yourself and grab the statue. Or use the Dawn Butterfly Costume we acquired to gently flutter to it.
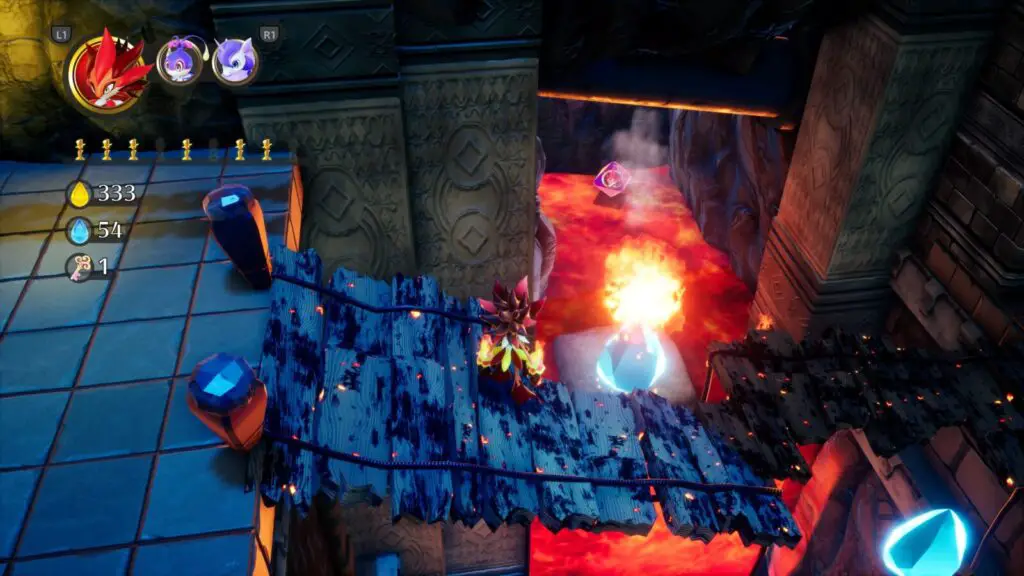
Balan Wonderworld Chapter 11: Act 1 Collectibles
Costumes required for 100% completion:
- Bulldozer
- Frost Fairy (Chapter 8 Act 1)
- Any Musical Costume for the Stage
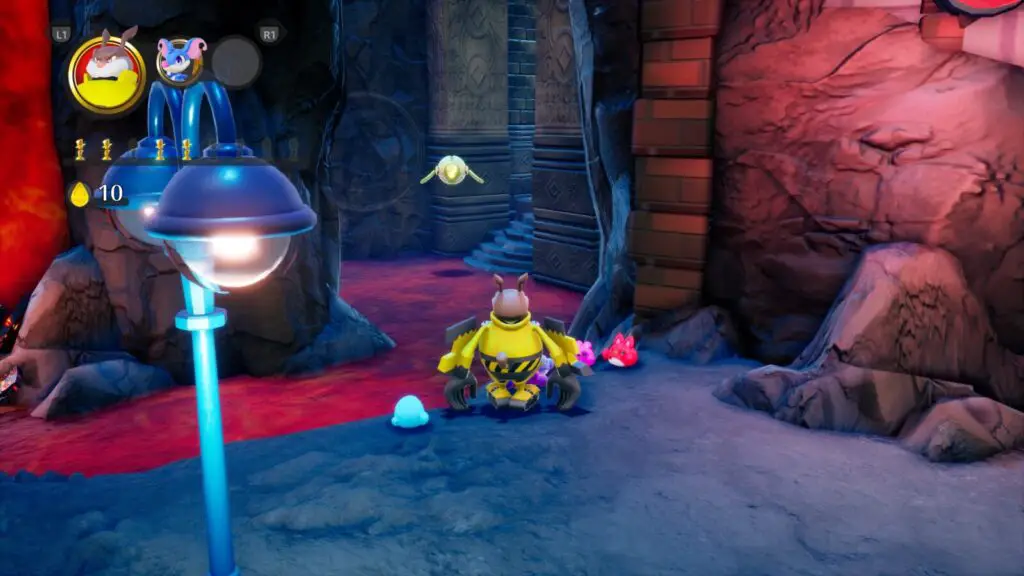
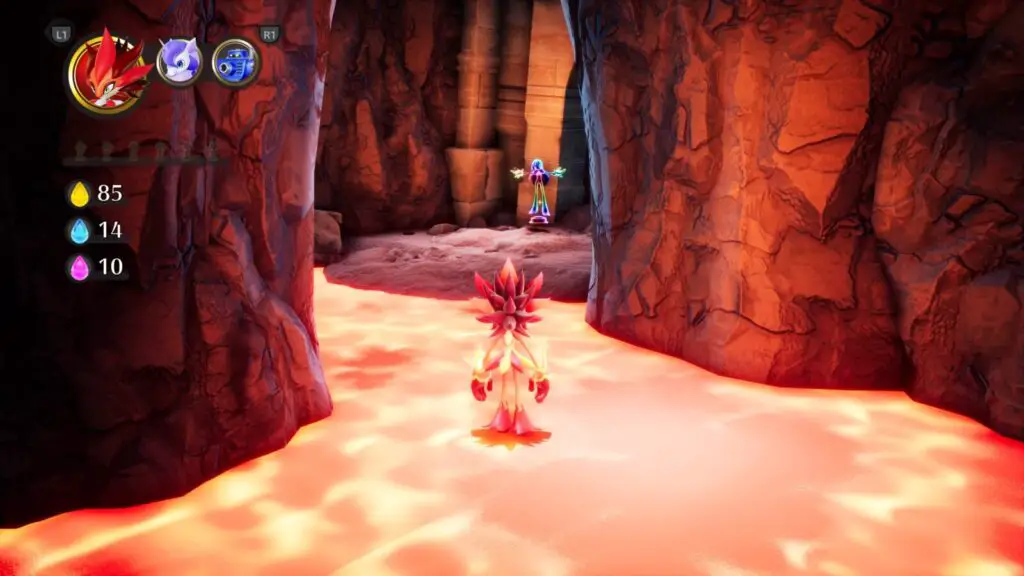
At the start of the level, immediately look to your left and you’ll find a Key Mouse Costume on a platform over there. It’s safe to walk across to it when the lava isn’t lit up.

Continue on and you’ll be attacked by enemies in a large area with a big yellow block in it. Next to that block is the Bulldozer Costume.

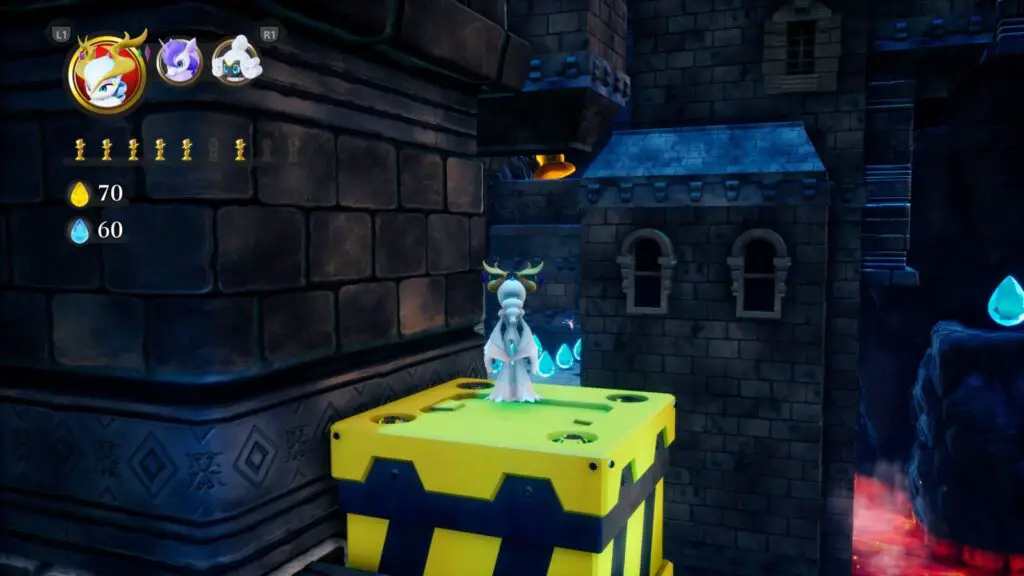
At the opposite side of this area from the Bulldozer costume, there’s a hidden stairway in the corner, across some lava. Walk across to it when the lava is not lit and grab the Balan Statue inside the small room.
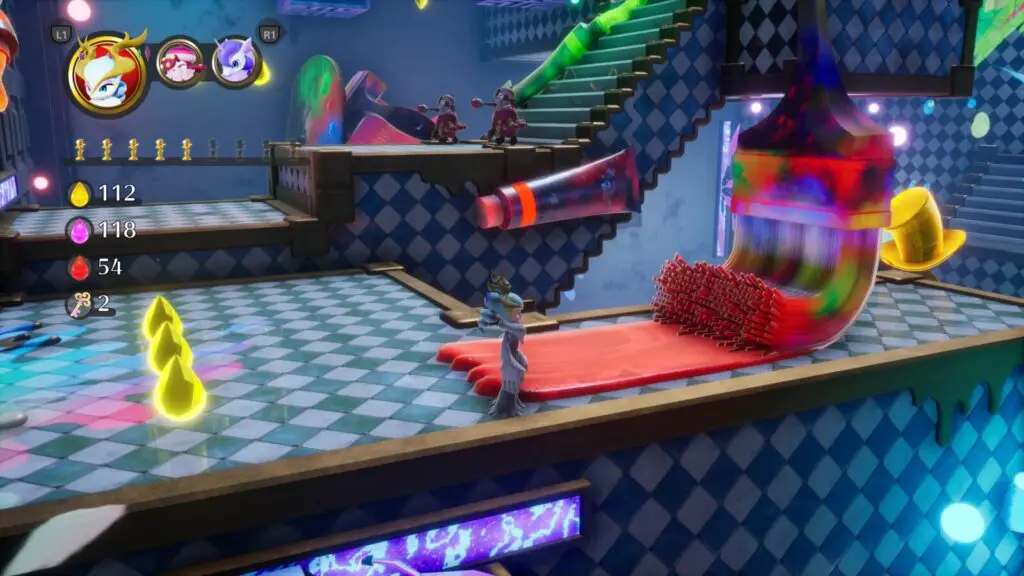
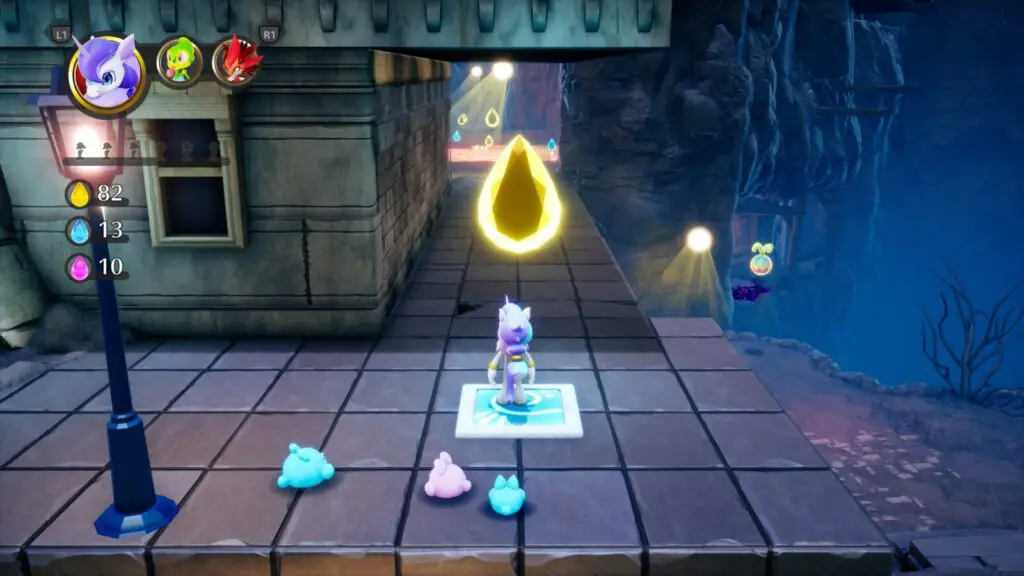
Push the yellow block into the hole in the ground with the Bulldozer (or just air-walk up with Frost Fairy) and you’ll come to a bridge across some more lava. To your left, there will be a big yellow Drop. Use Frost Fairy to reach it and you’ll see there’s a Balan’s Bout hat right next to it. Get an “Excellent” rating for a Balan Statue.
Continue through the tunnel with the flamethrowers into an area with another yellow construction block. Use Bulldozer to push it into the hole at the opposite end of the area to open the gate. There’s no secrets hidden in here so head through the gate once you have opened it.
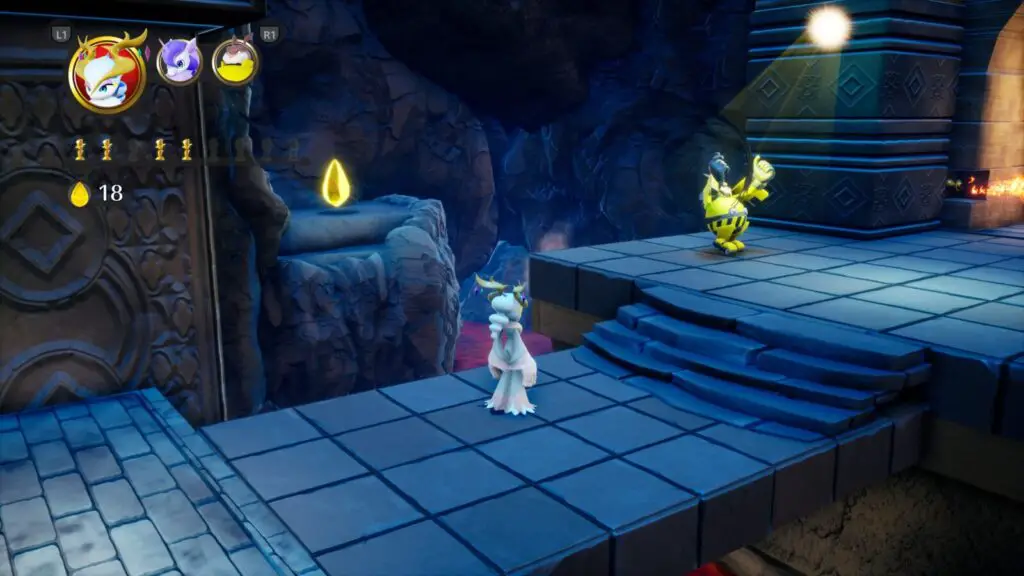
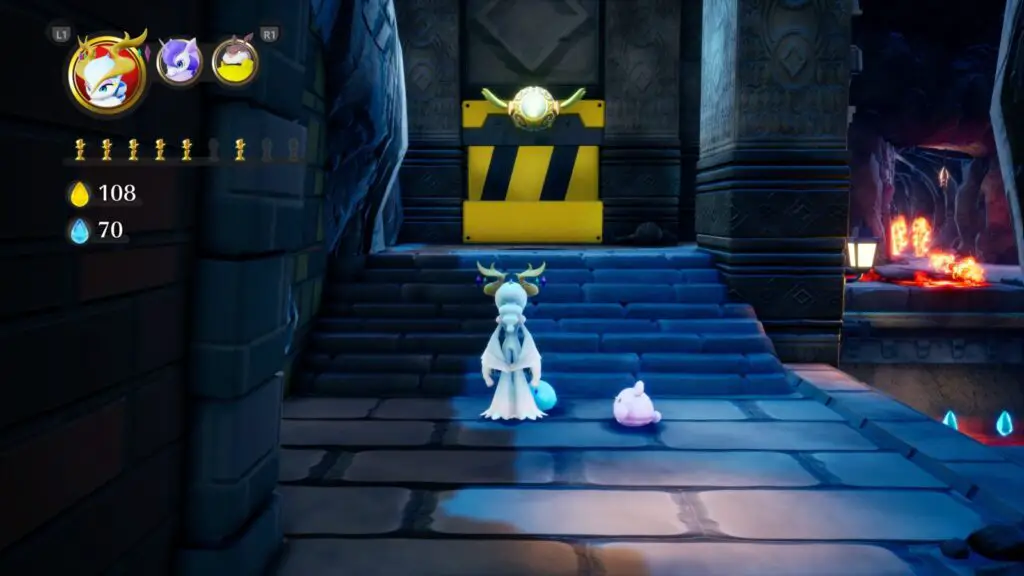
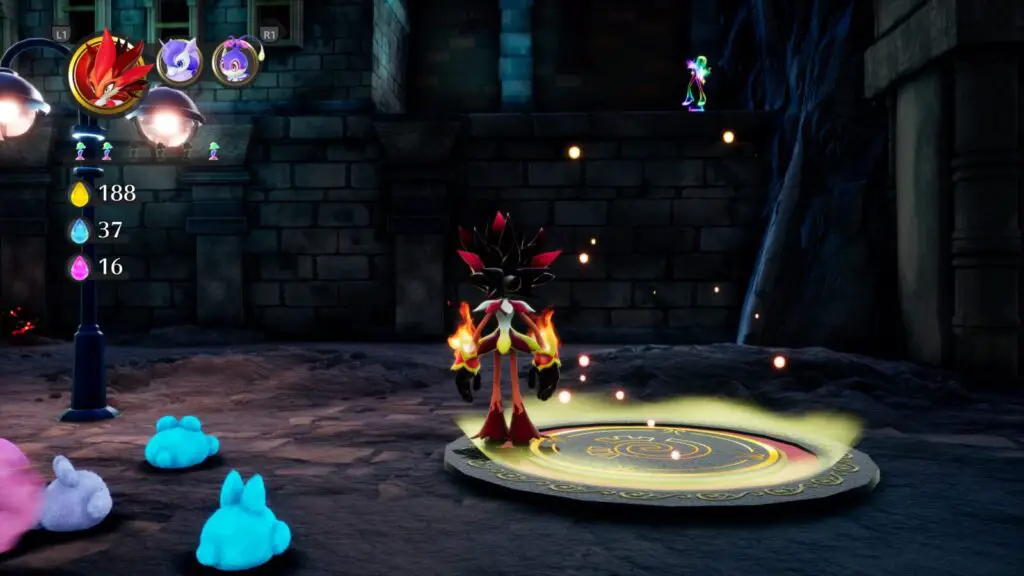
Jump on the platform to the right of the flamethrower. You’ll see a narrow path ahead on the wall to your right. Head to the end of this path to find the Iron Apollo Costume.
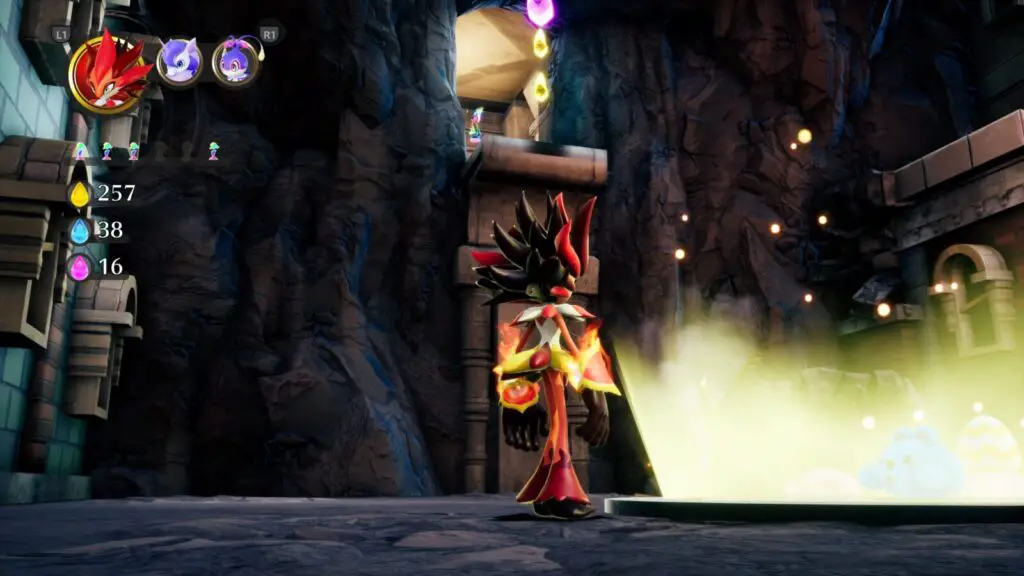
Back at the flamethrower, you’ll see a Balan Statue in plain sight behind it, on a ledge. To reach it, use the Frost Fairy to get onto the ledge behind the Stage which is in plain sight towards the left. Then just walk around and jump across to the statue!
At the opposite side of the room, in the far corner there’s another secret room with a Balan Statue in it. But, above that in an even more secret room, there’s a Balan’s Bout hat that you can reach using Frost Fairy on the platforms along the edge of the room. Complete it with an “Excellent” rating for another Balan Statue.
Opposite the Balan’s Bout hat, on that same side of the room, there’s a yellow construction block obstructing a doorway. Push it further in and it will fall into a hole allowing you to access a Balan Statue behind it.
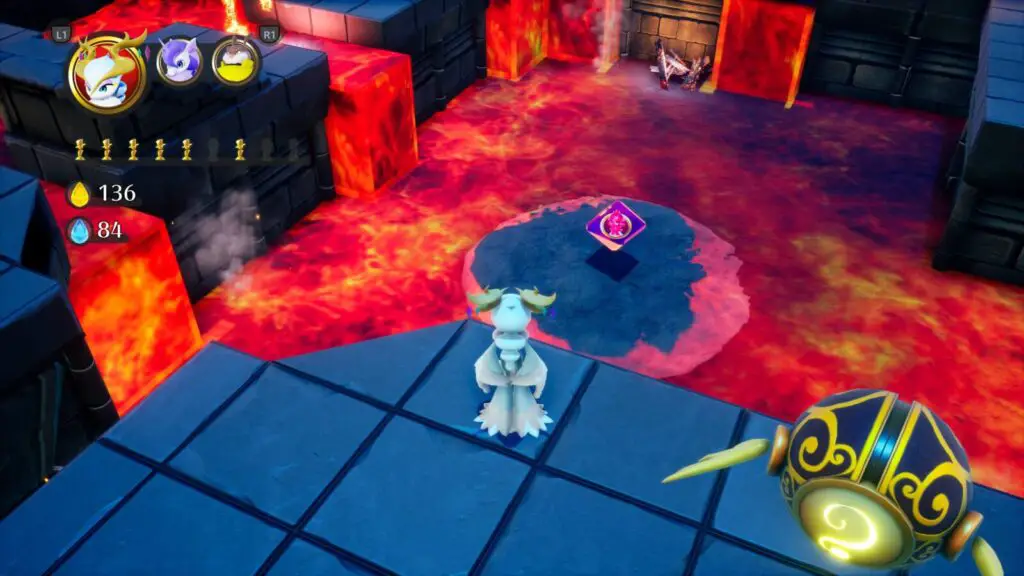
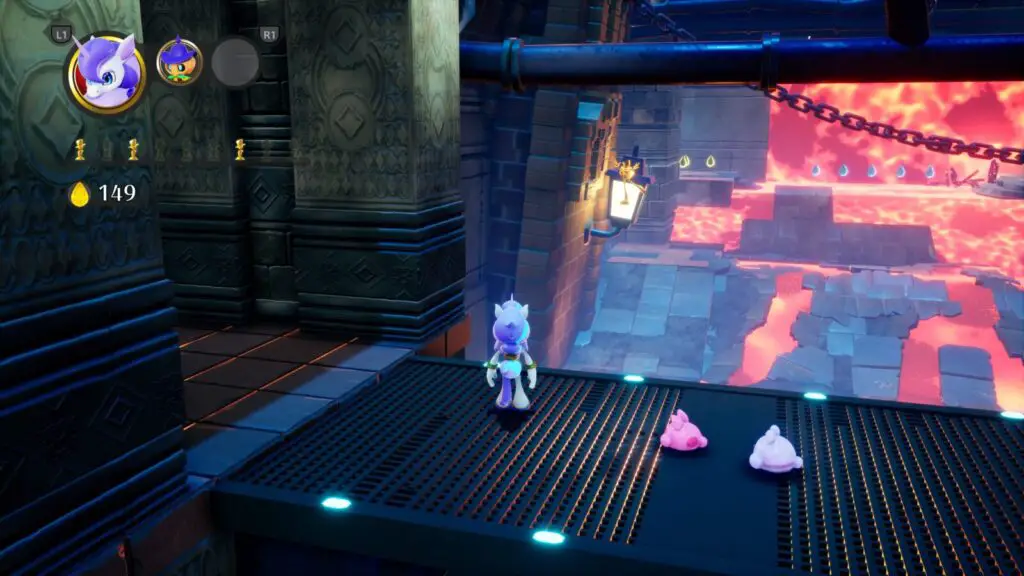
Head through the flamethrower cave at the end of the room to enter the next area. Push the yellow construction block into the hole next to it and a small cutscene will play, showing you exactly where the next Balan Statue is, hovering over the lava below you. Wait for the lava to cool and then drop down to retrieve it!
Cross the platforms to the next area where there’s a checkpoint and plenty of yellow construction blocks. You normally have to do a lot of puzzle-solving with the yellow blocks in here, but with Frost Fairy we have nothing to worry about.
On a pillar to your immediate right, there’s a Balan’s Bout hat. Use Frost Fairy to reach it via the various surrounding blocks and platforms, and then get an “Excellent” rating to earn a Balan Statue.
On the far side of the room from the checkpoint, there’s a big pool of lava with an island in the middle. On that island, you can find the Water Blaster Costume.
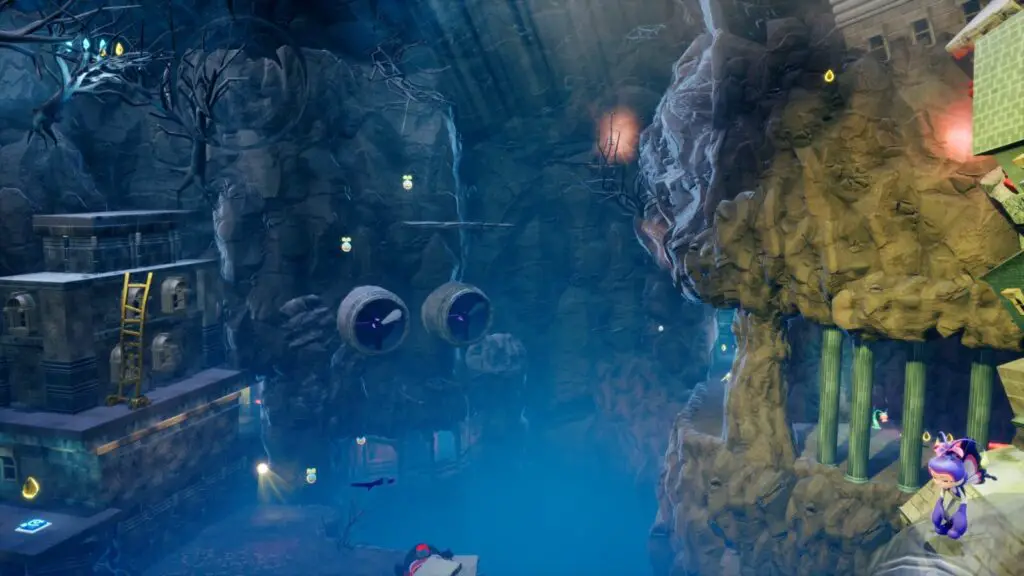
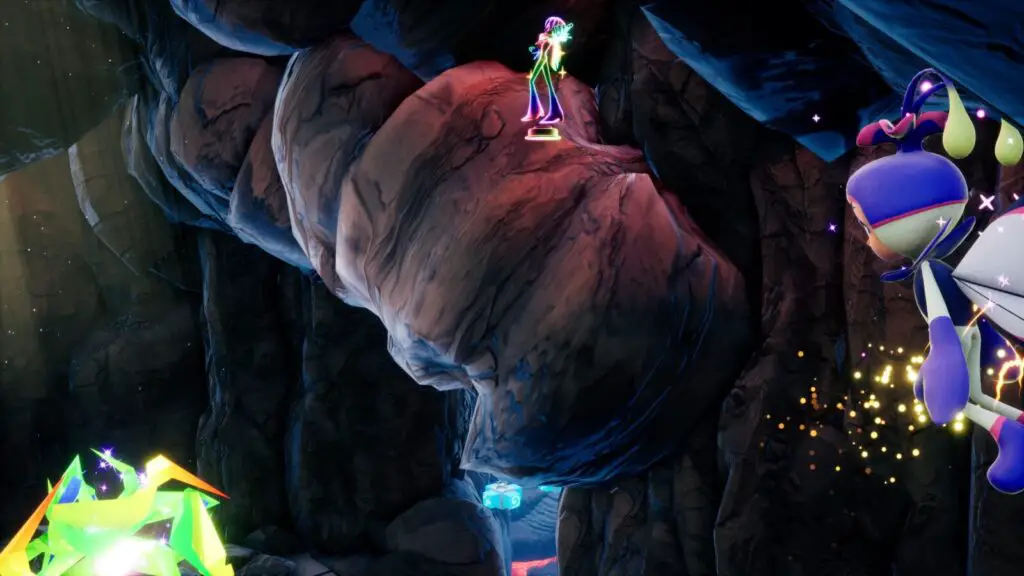
Continue on to the level-end tree. Way up above it, there’s a Balan Statue on a seemingly impossible-to-reach ledge.
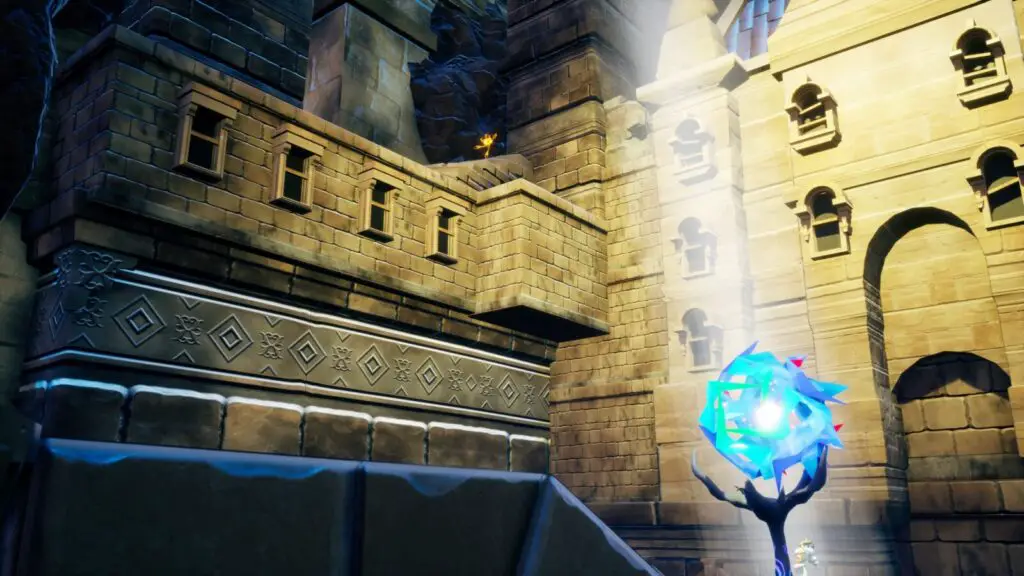
You can actually get to it by using Dusk Butterfly. You’ll first need to flap up to the blueish building opposite it though.

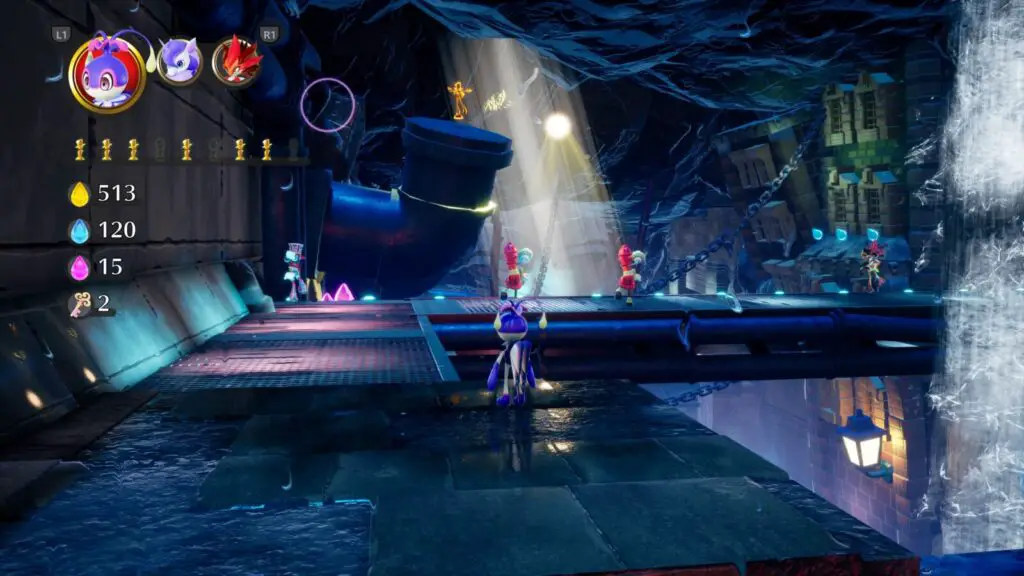
Balan Wonderworld Chapter 11: Act 2 Collectibles
Costumes required for 100% completion:
- Flame Blaster
- Frost Fairy (Chapter 8 Act 1)
- Air Unicorn (Chapter 10 Act 1)
- Pumpkin Puncher (Chapter 6 Act 1)
- Itsy-bitsy Elf (Chapter 3 Act 1)
- Leap Frog (Chapter 2 Act 3) or Triple Jumper (Chapter 7 Act 3)
- Vacuum Blaster (Chapter 12 Act 1)
- Dusk Butterfly (Chapter 3 Act 2)
At the start of this level, you can essentially skip most of this annoying Water Blaster x Lava situation by just using Frost Fairy to carefully make your way to the top of the area. You may notice a statue behind you at the start, which you can get with the Water Blaster, but we’ll come back for this later when the lava is gone.
Also if you already have the Flame Blaster costume we will be getting in this level, use it and keep it on you, it makes you immune to fire and lava, super helpful!
To open the gate, you’ll need to kill the enemies. Use a Pumpkin Puncher for this as it’s a good combat choice. Head through the doorway at the top-right once it’s open and enter the next area where the checkpoint is.
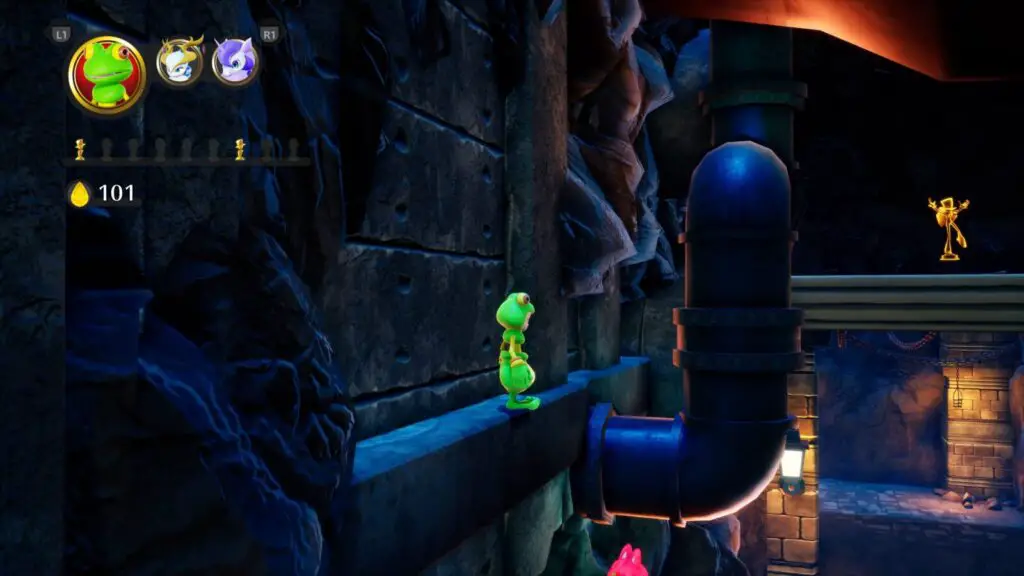
Behind and above the checkpoint, you’ll see a Balan Statue above the corridor you just passed through. Use a Leap Frog to get onto the ledge on the wall, then onto the pipe, then Air Unicorn over to it, and grab it. Triple Jumper Would be easier, of course, if you have it.
Left of the checkpoint, you’ll see an Itsy-bitsy Elf door. Head inside and activate the Balan’s Bout hat. Get an “Excellent” rating for a Balan Statue.
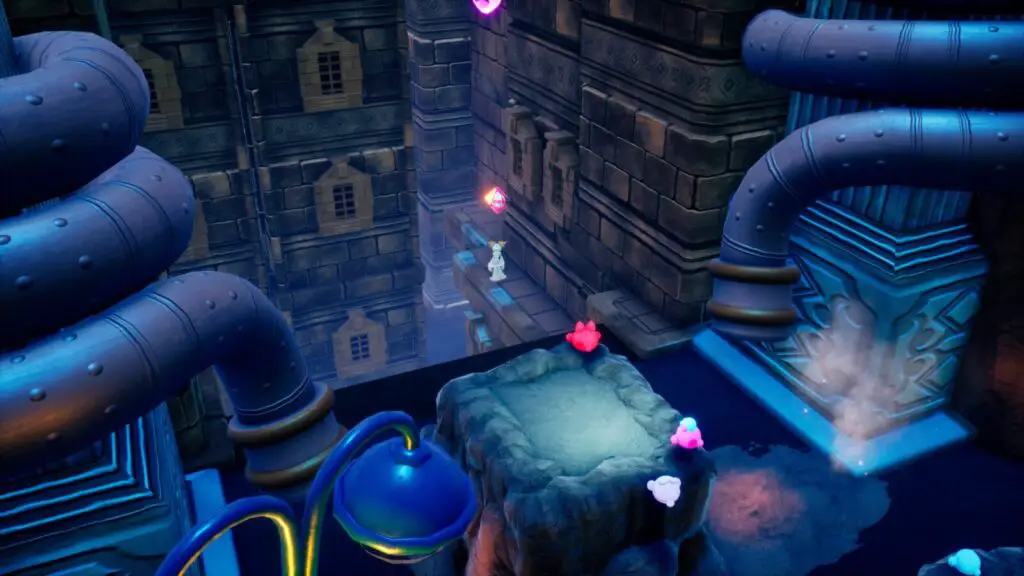
Head back out the door and step on the blue button to the left to open the way forward. Use the pathway that created and enter into the next area through the doorway. You’ll end up on a bridge and to your immediate left is a Balan Statue behind a grate. You need to use a Vacuum Blaster to pull it towards you.
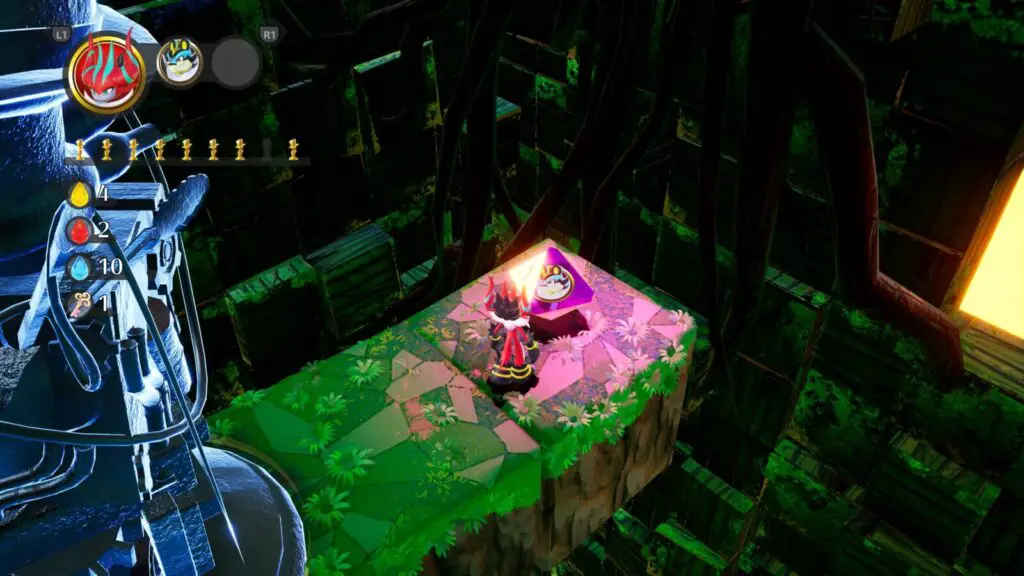
At the opposite end of the bridge, look to your right and you’ll see a Balan Statue by a lantern. Use Air Unicorn to air-walk over and grab it.
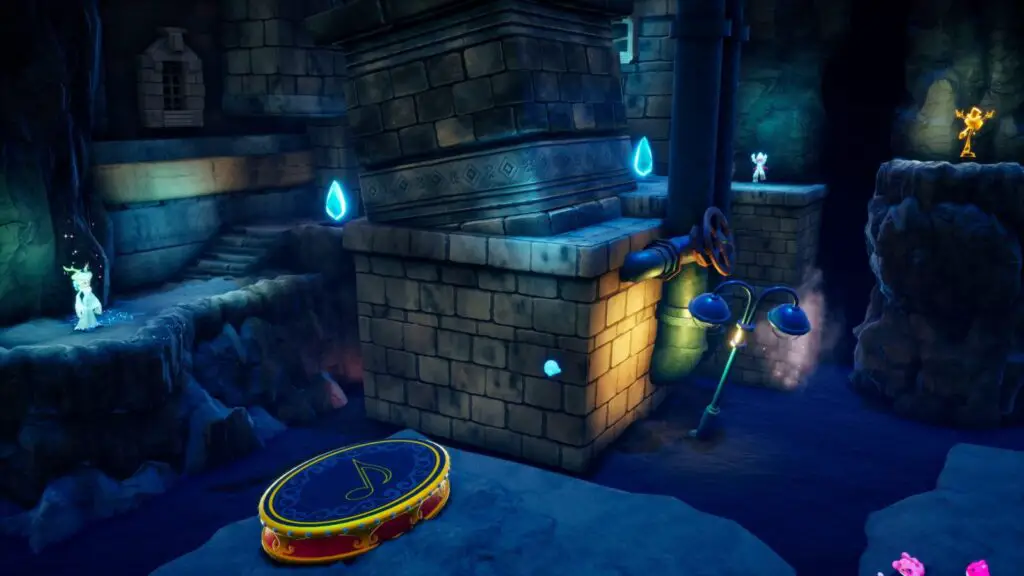
Return to the bridge and pass through the corridor at the end to the next checkpoint. Around the corner to the left, you’ll find the Ladder Man Costume.

To the right of this costume there’s a Soccer Minigame.
Use the Dusk Butterfly to reach the Balan’s Bout hat opposite the checkpoint, at the top of the wall. Get an “Excellent” rating for a Balan Statue.
High up on the left side of the buildings opposite, there’s a well-hidden Balan Statue. Keep using the Dusk Butterfly as you can easily use the other roofs and ledges to make your way up there with it.
Once you have it, turn around and head forwards to a rope bridge. Look over the left edge and you’ll see a lava-filled cave with a Flame Blaster Costume in it. This costume is extremely useful because it makes you impervious to fire and lava, so keep it on you for the duration of this level, if you weren’t already sporting one you collected in your initial playthrough.
When you drop down from this cave, you can actually stand on the fireballs shooting up from the lava and ride them back up to the bridge if you have the Flame Blaster costume equipped.
Continue into the next area, where you will need to fight a boss to open a Dam, which will send water flooding into the area below, getting rid of that pesky lava! After the cutscene of the area flooding, turn around to find a Balan’s Bout hat where the Dam Wall used to be. Get an “Excellent” rating for a Balan Statue.
Turn back around and look up at the pipe on the left side. See it? A Balan Statue! Use Dusk Butterfly to get up there and grab it.
Now all that remains is to go all the way back down to the level-end tree (which is also the start of the level) and grab the Balan Statue against the wall behind it.

Balan Wonderworld Chapter 11: Boss Statues
On this rare occasion, you need to bring a specific costume into the fight with you. Grab the Bulldozer costume from your wardrobe on the way in because it doesn’t spawn in the fight.
In this boss fight, you must attack the boss in the following three ways to get all three balan statues:
- When the lava pool in the center spreads out to the white lines, use the Water Blaster’s charged ranged attack to cool all four of the lava-spewing pipes, stunning the dragon and letting you get a hit in.
- Instead of cooling the lava pipes again, wait until the dragon launches flaming boulders into the air. One of them will stay intact when it lands on the ground and then cool down. Hit the boulder send it flying at the Dragon.
- When the boss spawns a ring of boxes around himself, switch to the Bulldozer costume and then align yourself with a yellow construction box. Press up against it and then keep pushing it and mashing
 until it launches in the air and lands on the dragon’s head.
Balan Wonderworld Chapter 11: Act 3 Collectibles
Costumes required for 100% completion:
- Flame Blaster (Chapter 11 Act 2)
- Dusk Butterfly (Chapter 3 Act 2)
- Super Skater (Chapter 1 Act 3) or Air Unicorn (Chapter 10 Act 1)
- Lethal Laser Launcher (Chapter 8 Act 3)
Again, keep the Flame Blaster on you for that sweet fire and lava immunity!
At the start of the level, go around the corner and jump across to the platform ahead of you. Use the Lethal Laser Launcher to hit all three switches on the right at once.
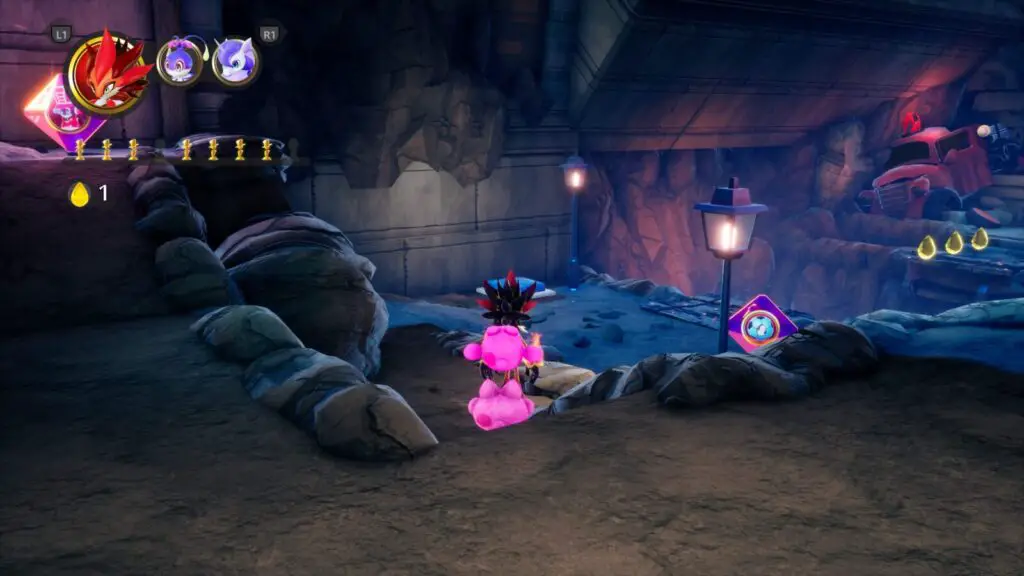
This will open a door to the right of them, which you can go into for the Airy Apollo Costume.
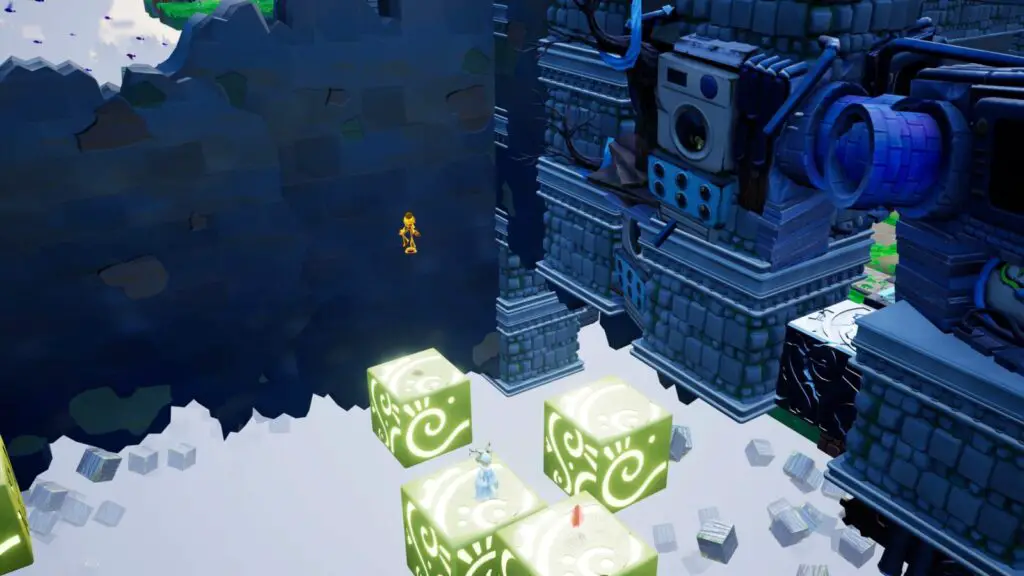
Go back up to the cave which leads to the starting checkpoint and then climb the building next to it using the Dusk Butterfly to find a Balan Statue on the roof!
From there, still using Dusk Butterfly, make your way right, along the wooden platforms and rocky ledges (use the Drops to guide where you can land) all the way onto the hose on the buildings on the opposite side of the room.
From there, continue around the room to a Balan Statue way up high on the cliff wall.

Back at the cave which leads to the starting checkpoint, there’s a blue switch you can stand on to move a wall out of the way. You’ll need the Super Skater to reach the other side before the wall moves back, or you can just use the Air Unicorn to air-walk around the wall to the other side.
In the next room, on the left, there’s a metal box you can break with the Lethal Laser Launcher. Fire at it from one of the yellow platforms.

Then use the Flame Blaster to walk across the lava and find the Balan Statue at the end.
Continue on deeper into the level to the next Checkpoint at the other side of the cave where you originally shot the metal block.
Immediately on your right, there’s a Balan Statue up on a ledge. Use the Dusk Butterfly to reach it.
Continue through the stage, out of this room and across another pool of lava with moving yellow platforms on it, after which you’ll find another Checkpoint.
Immediately on your left, there’s an opening high up in the wall, use Dusk Butterfly to get up there and grab the Balan Statue inside.
Head out through the corridor at the end of this area, which has some burning hot metal blocks in it. No bother for you with your Flame Blaster, you can walk right over them.
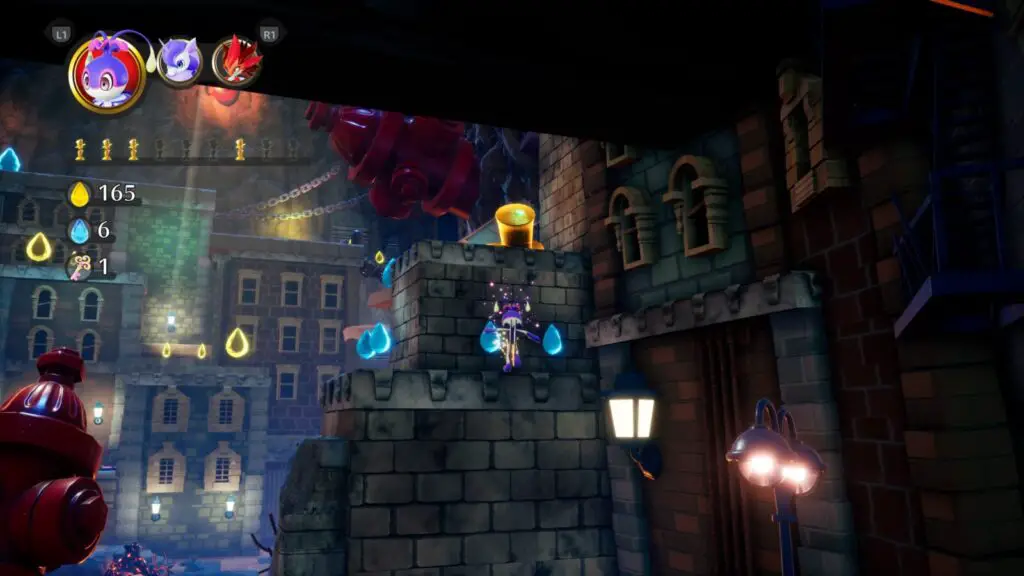
This path will lead you to the level-end tree. Just in-front of which, near the ceiling, there’s a final Balan Statue. Use the Dusk Butterfly to simply flutter up to it.
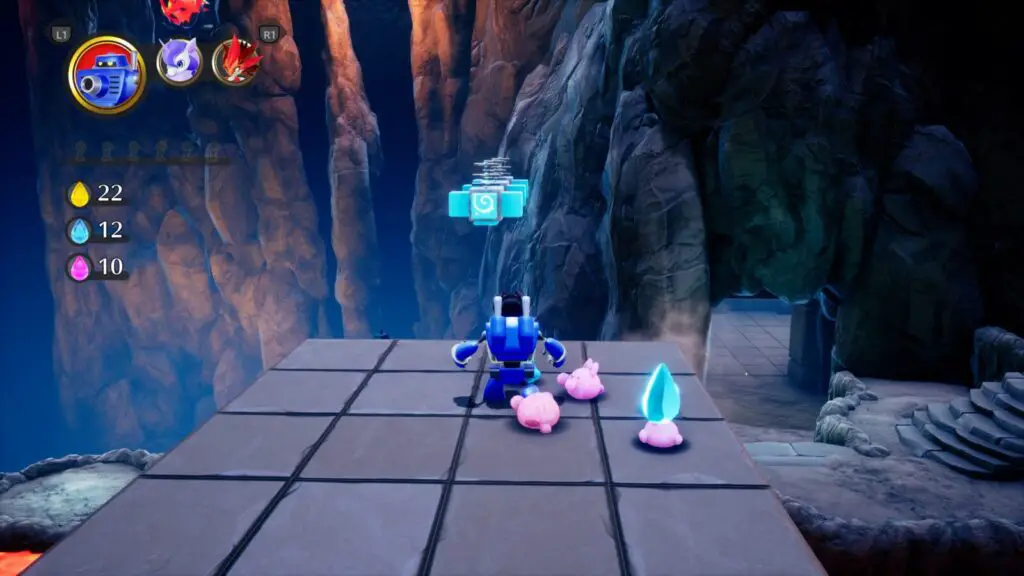
Balan Wonderworld Chapter 12: Act 1 Collectibles
Costumes required for 100% completion:
- Vacuum Blaster
- Leap Frog (Chapter 2 Act 3)
- Frost Fairy (Chapter 8 Act 1)
- Air Unicorn (Chapter 10 Act 1)
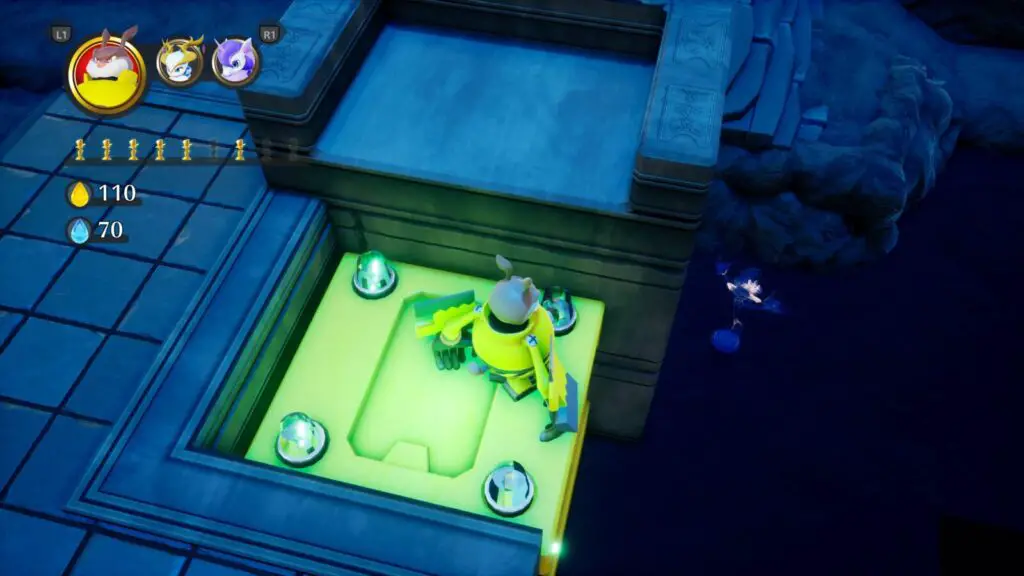
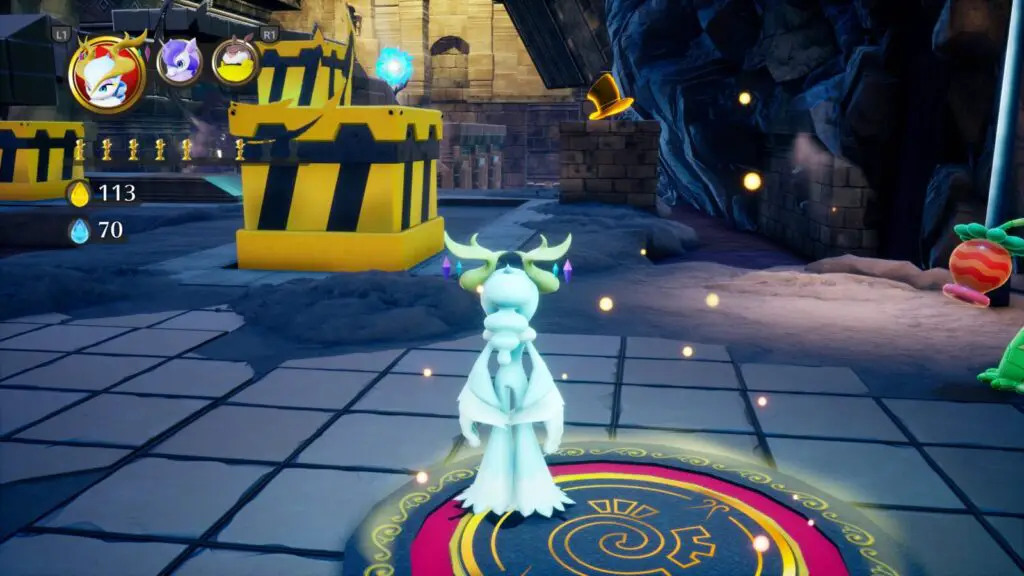
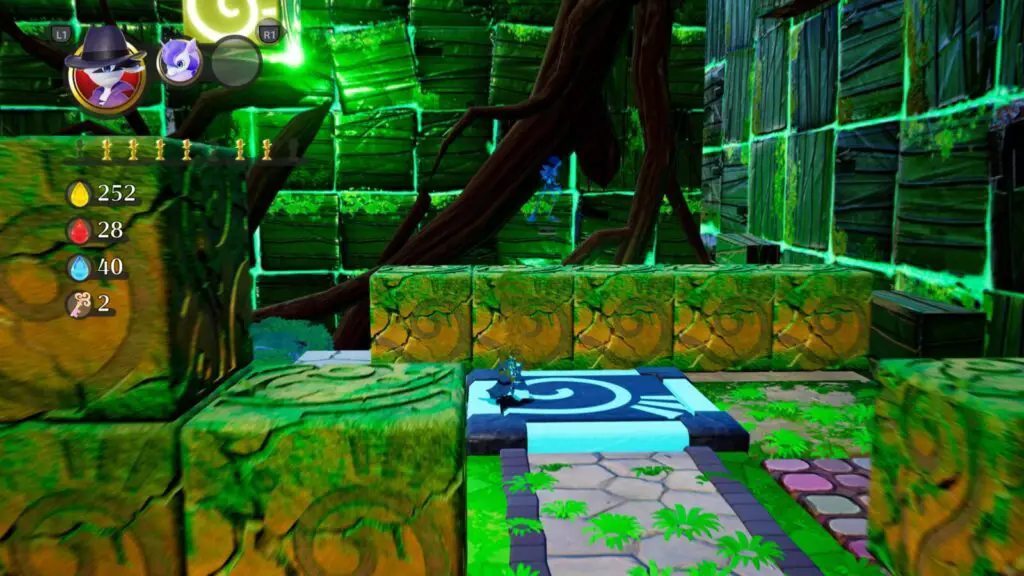
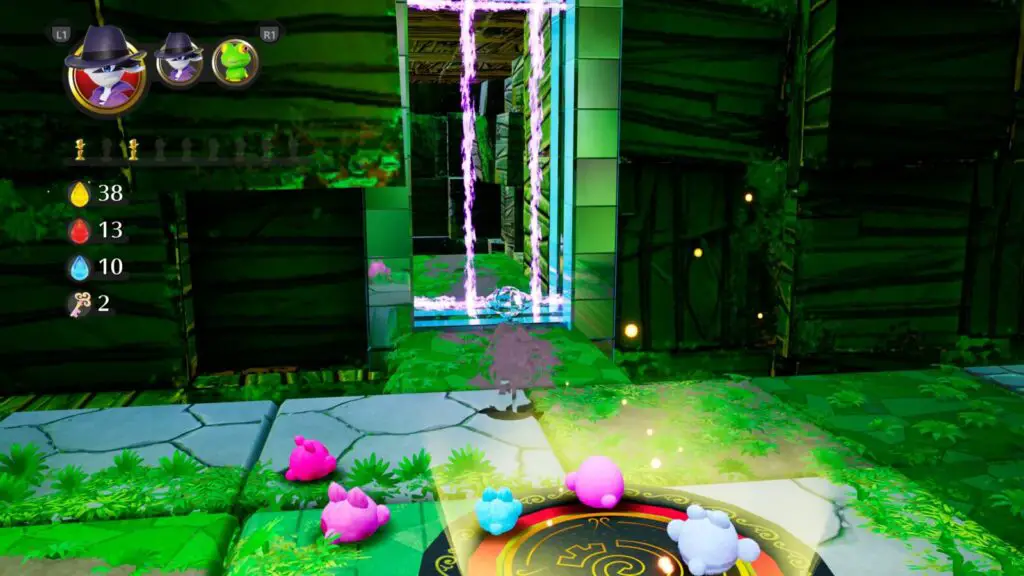
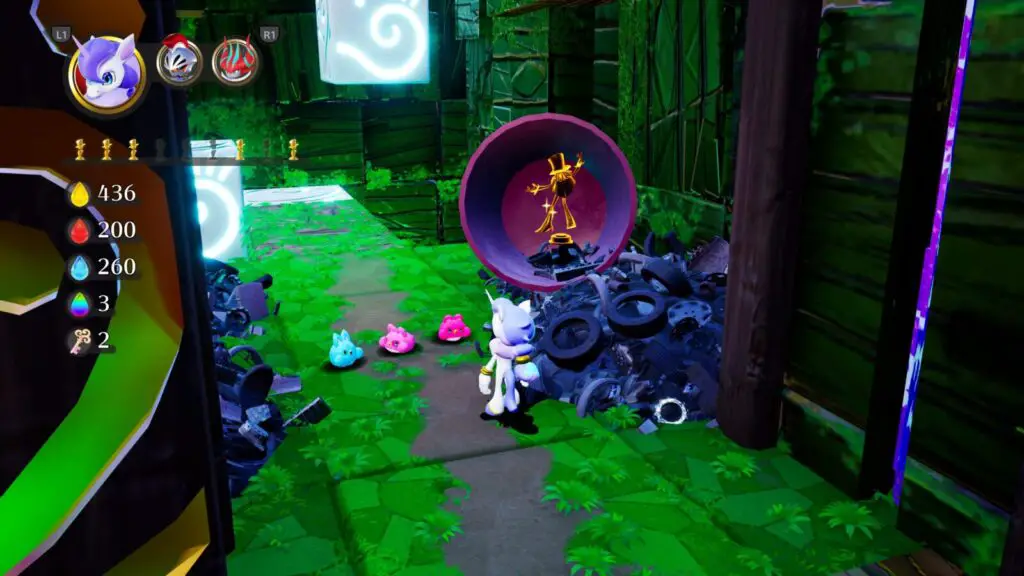
Step on all 4 tiles of the blue platform in front of you to set it off moving forwards. At the end, on the left, you’ll find the Vacuum Blaster Costume.
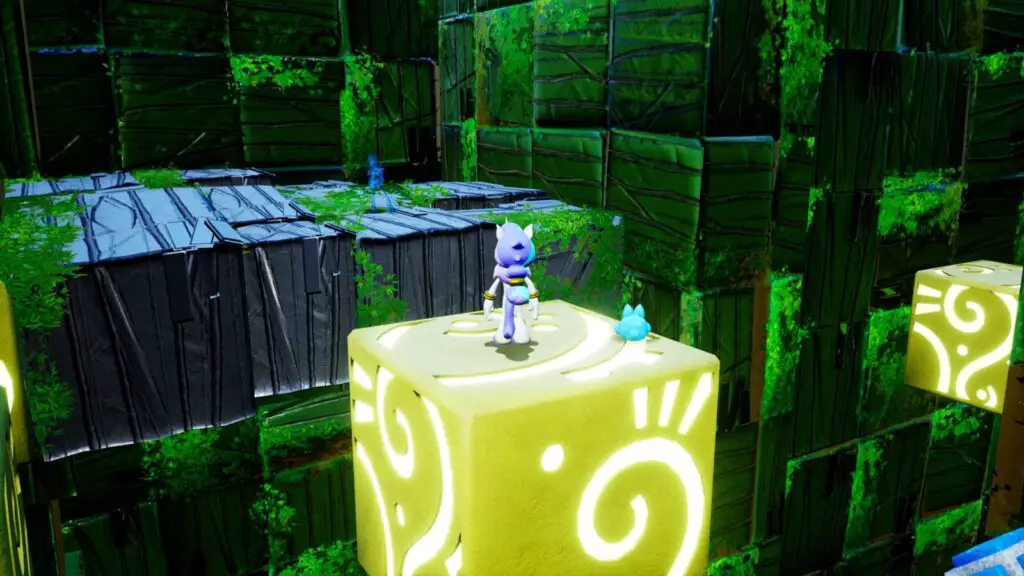
On top of the trash blocks to your right, there’s a Balan’s Bout hat. Use Leap Frog to make your way up the various ledges to the top. Get an “Excellent” rating to earn a Balan Statue.
Continue into the nearby door and try not to have a heart attack from the giant creepy old man peering around a corner at you. Turn to your right and you’ll see an opening in the wall, blocked by a destructible metal block. Air-walk on top of it with the Frost Fairy to get inside (Or use Paladin Puncher or some equivalent, but it isn’t necessary) to see loads of yellow blocks moving back and forth. Carefully traverse them with a Frost Fairy to reach the Balan Statue.
Back in the room where the creepy old man was, look left and you’ll see a Balan Statue on one of the structures there. To get it, step on all of the blue pressure pads in the area and then use Leap Frog to jump up to the statue once the platform moves close enough. Alternatively, you can just wait until the platform moves all the way to the other side, and then jump up the breakable blocks at the back of the structure.
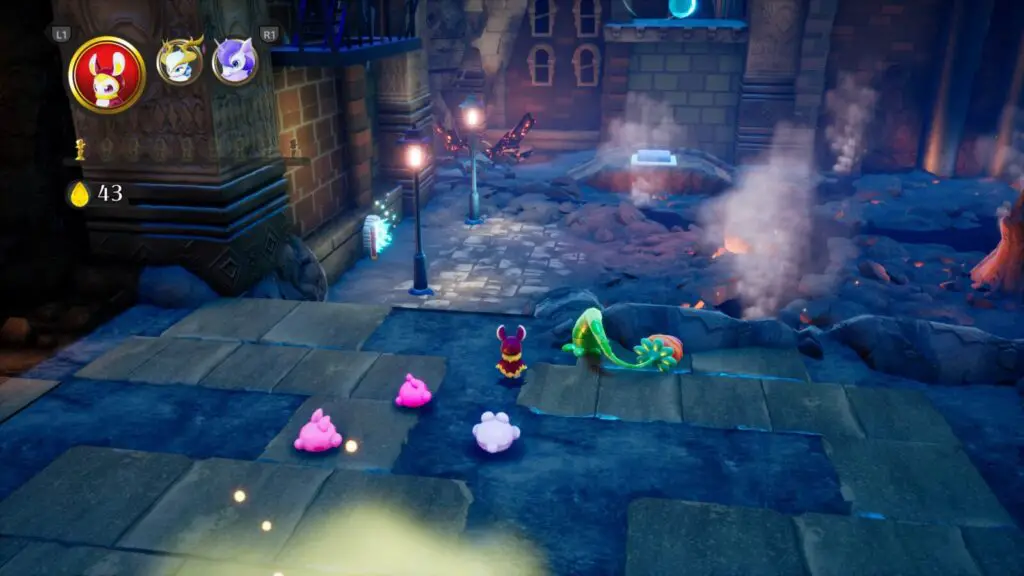
To the left of the door, where the platform stops, there’s an Invisible Man Costume to collect. Defeat the nearby enemies to open the way into the next area and head inside for a checkpoint.
Continue through the next door and there’s a Bowling Minigame in front of you that you cannot miss.

Head through the doorway at the other end of this room and activate the four pressure pads to make the platform start moving. At the other end, kill all of the Negati to open the way and head inside.
In the next room, there’s a lot of moving yellow platforms. Ride the vertically-moving ones on the right side to reach the upper blocks where you’ll find a Balan’s Bout hat. Get an “Excellent” rating to earn a Balan Statue.
On the other side of the room, back towards the checkpoint, there’s another similar-looking ledge which leads into a secret area.
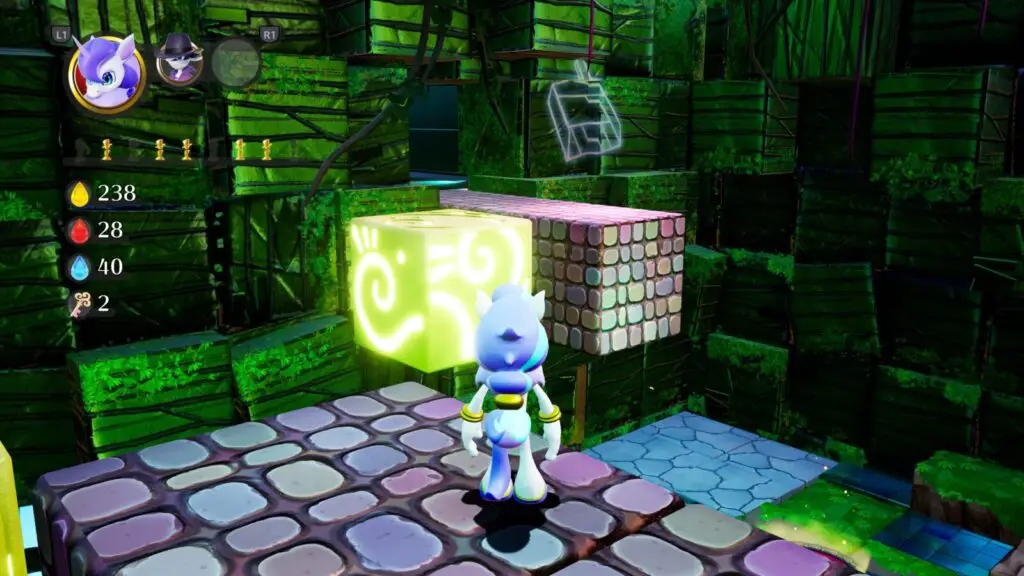
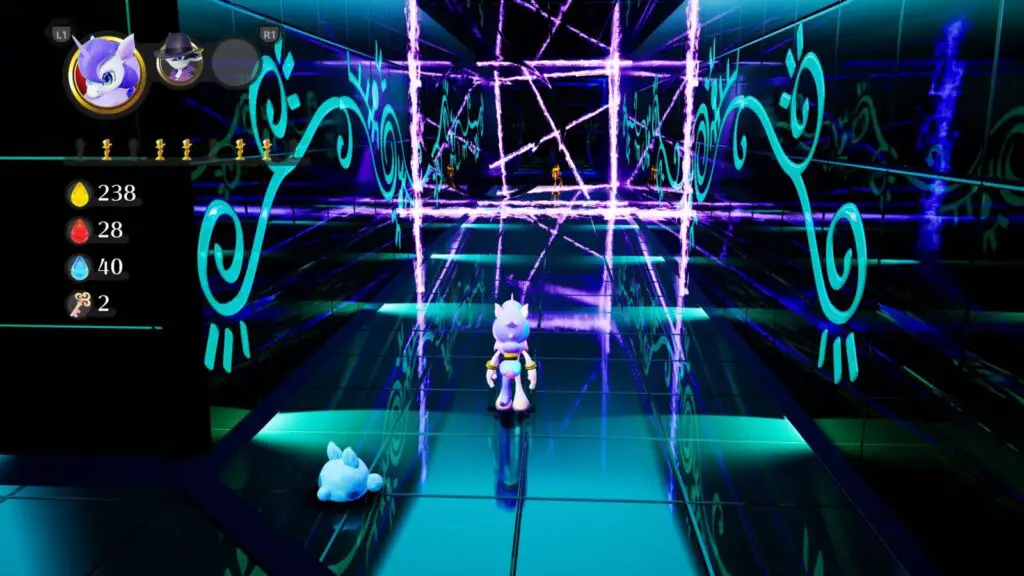
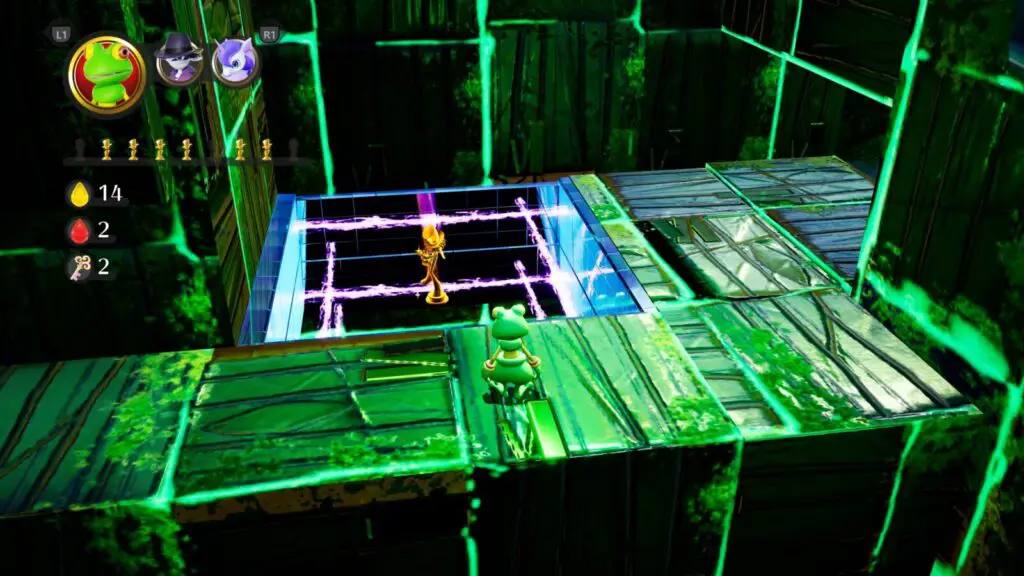
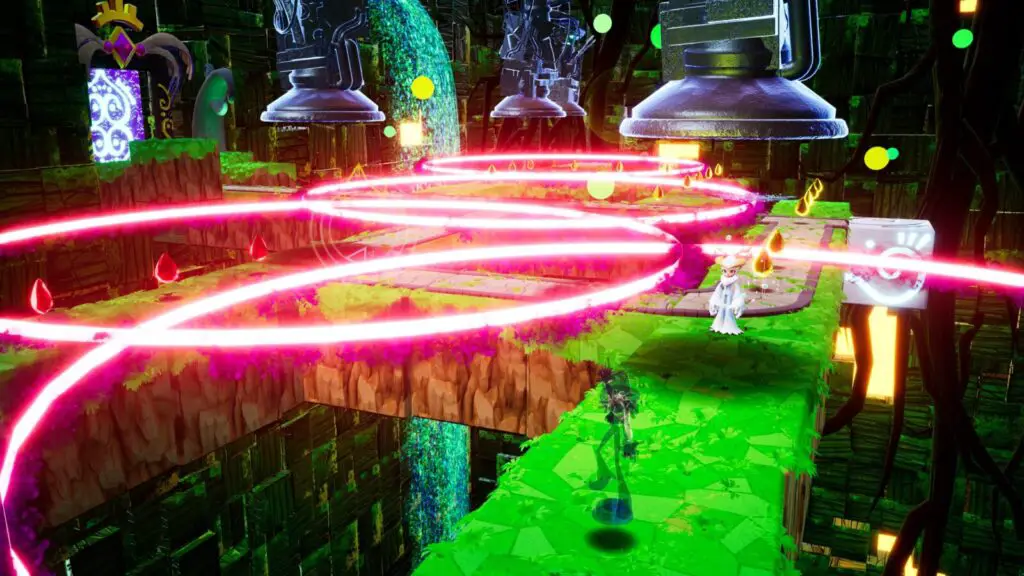
Jump across to it and head inside to find a treacherous laser-puzzle you’ll need to navigate to reach the Balan Statue at the end.
Back at the checkpoint, continue on into the next room, defeat the enemies, and then activate the pressure pads. As the platform is moving, look to the right side of the area, and you’ll see a Balan Statue. While avoiding (or breaking) the obstacles, position yourself so that you can grab it as the platform reaches it.
Immediately after you grab it, the platform will rotate. Look to your right and you’ll see more moving yellow platforms. Jump to them as the platform moves past so as to not miss your chance.
Continue up the yellow blocks to your left and you’ll find the next Balan Statue on a ledge your right.
Jump back onto the main platform and activate all the floating switches to open the next door, but don’t leave. Instead, leap-frog onto the ledge at the opposite side of the room from the last statue you collected and you’ll find another Balan Statue.
Head into the next room and Leap Frog onto the pillar on your immediate right. There, you’ll find the Fixer Upper Costume.
On the opposite pillar, you’ll find a Balan’s Bout hat, you know the drill; “Excellent” = Balan Statue.
Balan Wonderworld Chapter 12: Act 2 Collectibles
Costumes required for 100% completion:
- Hardy Hammer (Chapter 8 Act 2) or Paladin Puncher (Chapter 7 Act 2)
- Triple Jumper (Chapter 7 Act 3)
- Dawn Butterfly (Chapter 10 Act 3)
- Air Unicorn (Chapter 10 Act 1)
At the start of the level, just pass through the first two doors, there’s nothing to worry about grabbing in the first couple of rooms.
Eventually you’ll come to a room with stomping scrap sculptures. The one on the left, closest to you, has a Jolt Tiger Costume behind it.
The one on the far right at the back has a Balan Statue behind it. Carefully grab it while trying not to get stomped or hit by the shockwaves.
Continue to the end of the area and defeat the enemies to open the doorway. Head inside and make your way to the door at the opposite end of this rotating corridor and you’ll be at a new checkpoint. On your left, there’s a doorway with some very fast-moving lasers over it.
With a well-timed jump, you can get through and enter the room. There’s a yellow platform inside, moving back and forth. Use a Hardy Hammer or, better yet, Paladin Puncher here so you can clear the metal blocks and find the Balan Statue hiding inside one of them.
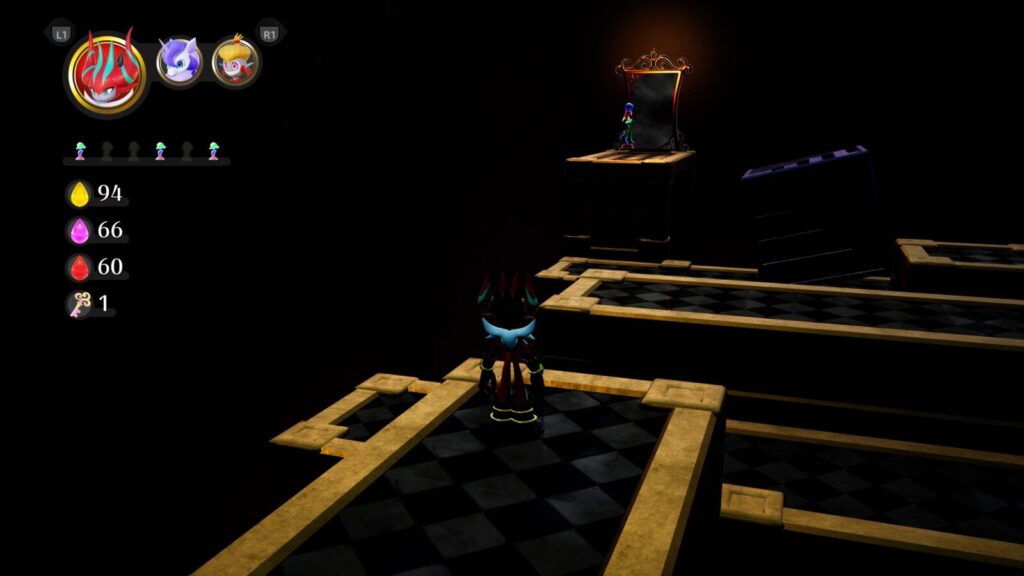
Back at the checkpoint, there’s a temple-like structure on a platform which is tilting back and forth. When it tilts down to the right, you’ll be able to see a secret entrance on the side of the wall, jump down and head inside if you want a Father Tim statue.
Return to the temple platform and then look on the opposite side of it for another Balan Statue.
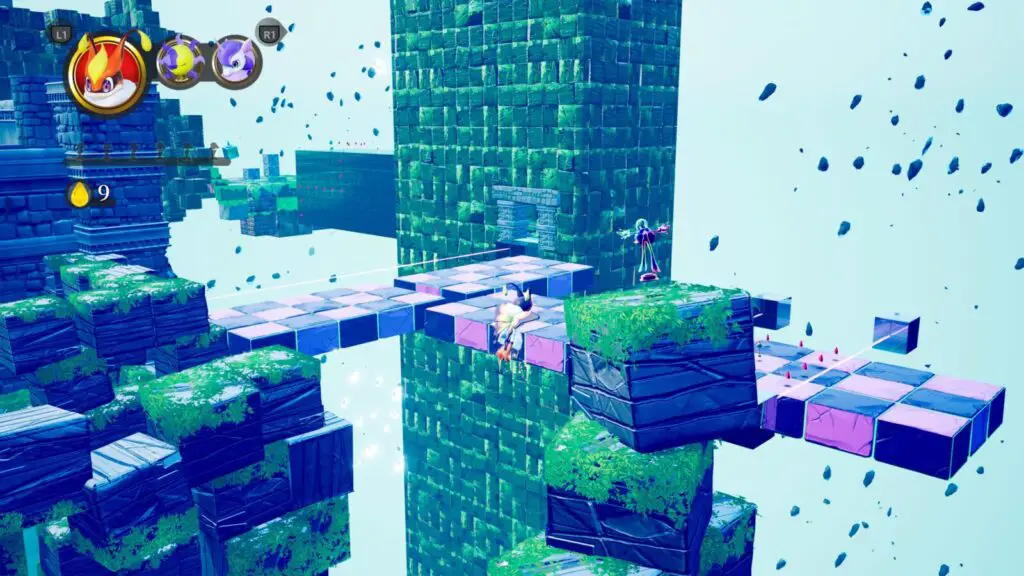
Continue onwards along the purple/white checkerboard platforms to the next doorway. Immediately on your right before entering, there’s a Balan’s Bout hat. Get an “Excellent” rating for a Balan Statue.
As you enter the doorway, you might be surprised to see another Balan’s Bout hat already. It’s on a platform above the turret-like Negati ahead of you. Reach it, Get “Excellent” rating, get a Balan Statue.
Head on into the next room (where there are 3 floating switches to activate) and look for a grey platform on the right side of the room. Ride it up to the yellow platforms above and use Triple Jumper from the yellow platforms when they meet in the middle to reach yet another Balan’s Bout hat which is high up in this area. “Excellent” = Balan Statue.
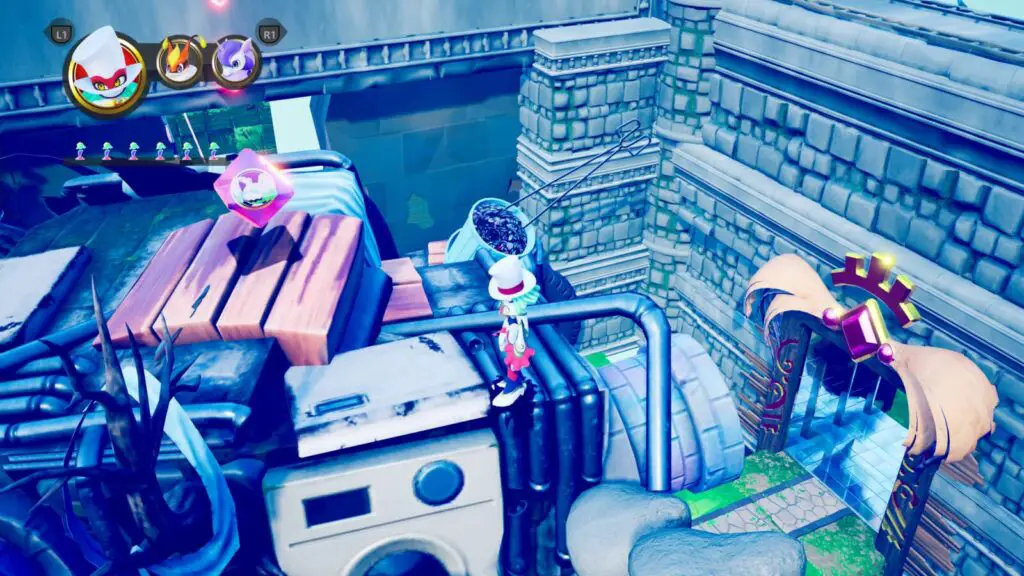
Activate the three switches and leave the room to find a grey platform. It will move down when you step on it and take you to the next doorway. Before heading inside, though, look in the giant red bin to the left of the door for a Balan Statue.
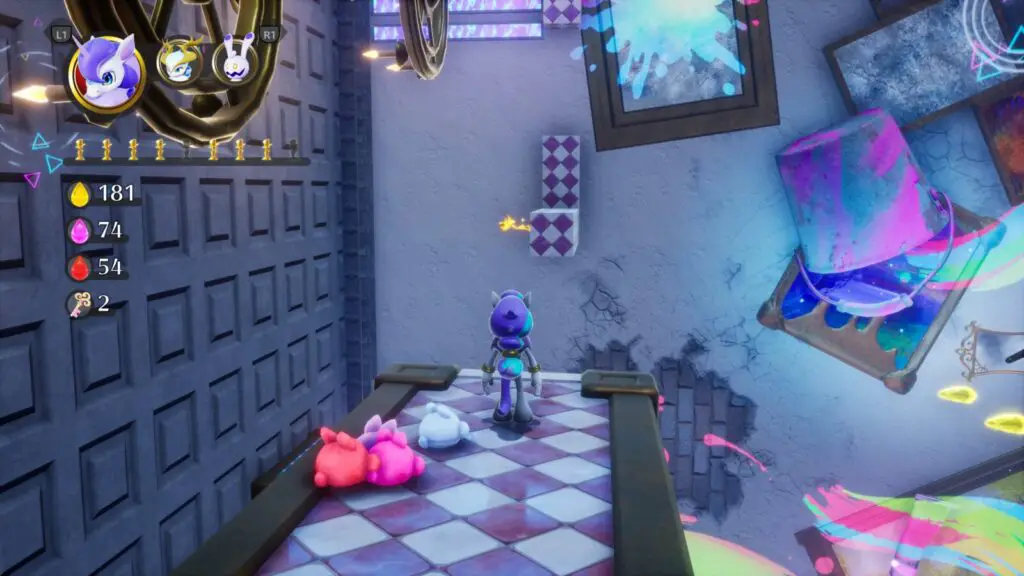
Continue into the next room and very carefully make your way past the stomping scrap sculptures. At the end of this section, there’s a rotating propeller-like platform with a Balan Statue under it. Unfortunately, unless you have the Dawn Butterfly costume, the only way to get it is to sacrifice a costume for the cause.
To the left of that same propeller-like platform, there’s a doorway in the wall. Jump across to it or use Air Unicorn to get inside.
There’s a Sun Walker Costume at the back of the room.
Head back out and continue along the main route. After the propeller platform, you’ll have to fight a miniboss while one of those scrap sculptures is pounding the ground. Defeat it to gain access to the level-end tree.
Go past the level-end tree and look out to the very back wall of this area, you should be able to see a Balan Statue. Use Air Unicorn to get to that back wall and then Triple Jumper to reach the statue.
Balan Wonderworld Chapter 12: Boss Statues
This is another rare occasion where you will need to bring a specific costume into the fight with you. Get a Jolt Tiger costume and bring it in with you. Alternatively, you can use a Jellyjolt costume, which deals damage while jumping upwards, which actually makes things a bit easier. They’re a lot easier to come by, too.
In this boss fight, you must attack the boss in the following three ways to get all three balan statues:
- When the boss has placed down a large electricity pylon, stand behind it. Eventually, he’ll fire a multi-colored projectile at you, but it should hit the pylon, which will fly up into the air and hit the boss. (Remember to move out of the way once he’s fired it, because it will still hit you.)
- After you’ve hit the boss, he’ll slam his electrified fists into the ground, but they have exposed orbs on the front of them. Using the Jolt Tiger or Jellyjolt costume, you’ll be immune to the electricity fields and able to jump up and hit the orbs. Do so for this statue.
- When the boss spawns Bomb Negati, use the vacuum blaster to suck one up and keep hold of it. Wait for the boss to slam down his electricity pylon and then when he starts vacuuming up parts of the stage, fire the stored bomb at him so that he sucks it up.
Balan Wonderworld Chapter 12: Act 3 Collectibles
Costumes required for 100% completion:
- Dawn Butterfly (Chapter 10 Act 3)
- Key Mouse (Chapter 11 Act 1)
- Air Unicorn (Chapter 10 Act 1)
- Moon Walker (Chapter 9 Act 3)
This is it! The final act! If you’ve made it this far with me, I really appreciate you choosing this guide, it took an insane amount of work to put together! Consider following us on twitter @GetPlat or Instagram @platget to show your appreciation. Right, well, let’s get this done!
At the start of the level, activate all four pressure pads on the platform ahead and then ride it to the door. Use Dawn Butterfly to fly up onto the surrounding blocks of junk and then across to the Balan Statue you should be able to see a little further back towards the start. You can use Air Unicorn a bit here too, if it makes you more comfortable.
Go through the doorway, and use Dawn Butterfly to climb the sculpture in front of you. The Air Double Trouble Costume can be found up here, but you should probably bring a Key Mouse with you to open it.
Going back to the doorway you entered through, turn right, head through the opening, and turn right again, you should also be able to see a checkerboard platform in the distance with some lasers and another Balan Statue on it. Use Air Unicorn to make it all the way out there and then grab the statue. Just be aware that the platforms will start moving once you get close to them.
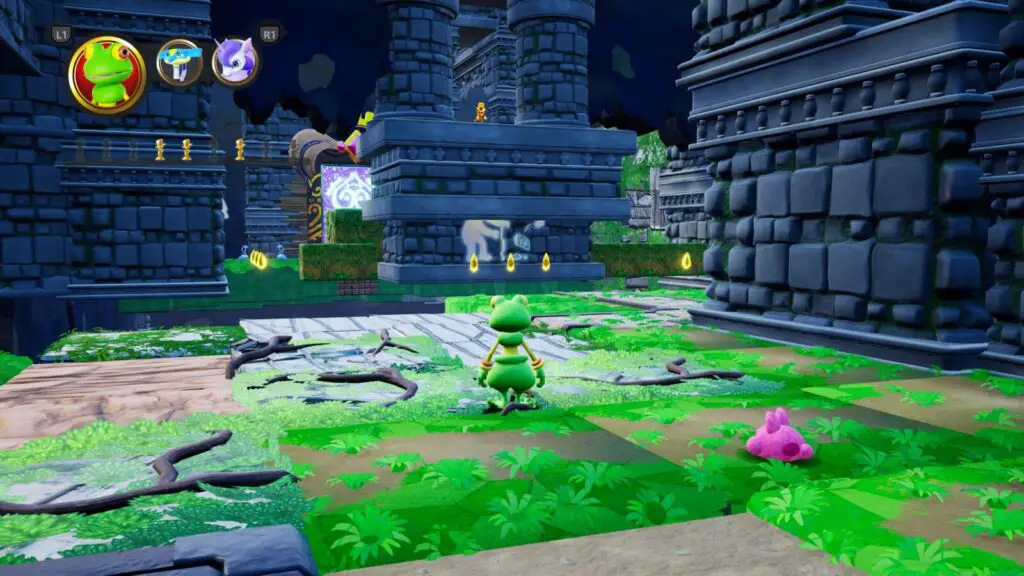
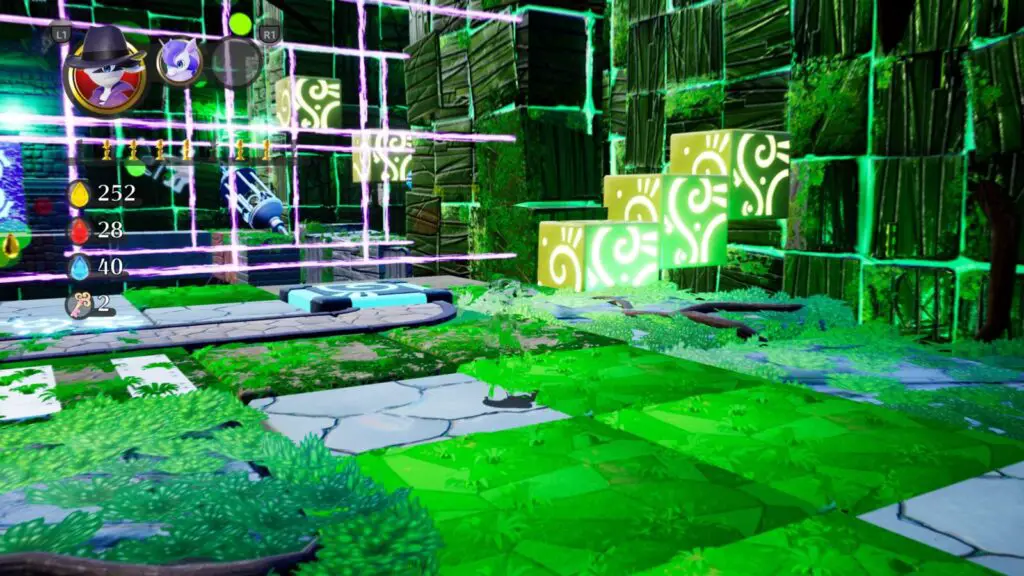
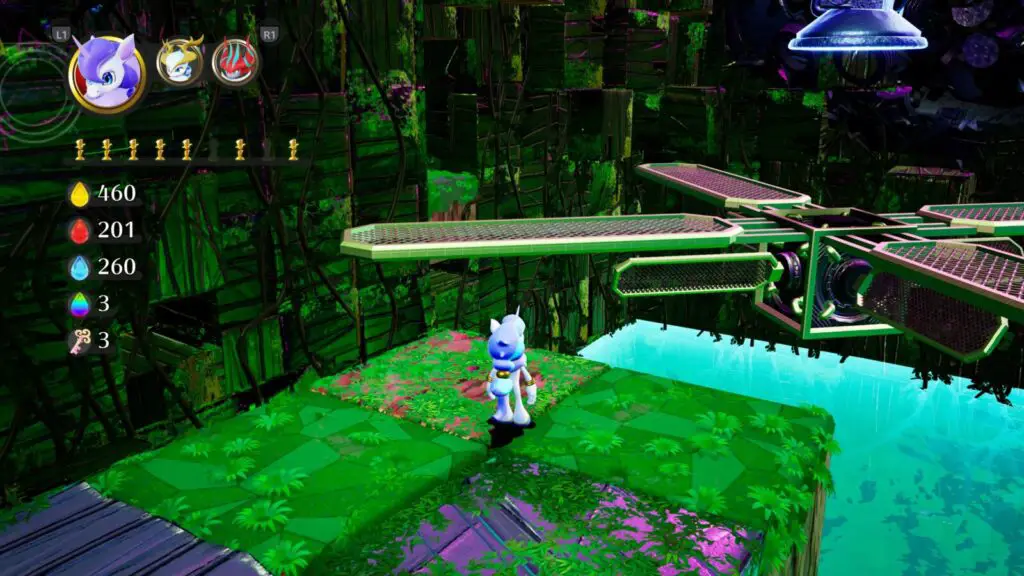
Continue on to the next check-point by crossing the checkerboard platforms to the next room. Continue on, through the rotating corridor with many lasers to the grassy area on the other side. (That corridor is super easy with the Moon Walker).
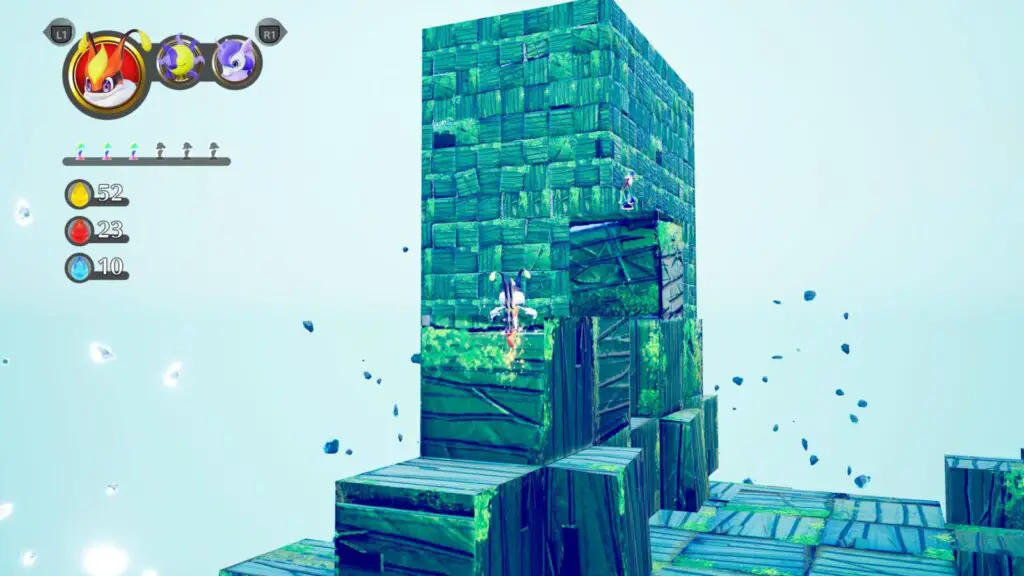
At the other side, you’ll have to fight some enemies (just go around with Moon Walker and jump on all their heads while they can’t move) and then use Dawn Butterfly to climb the trash blocks to the left. Go all the way up to the top and you’ll find a Balan Statue up there!
Make your way back down about halfway, so that you’re closer to the rotating corridor.
From there, it will be super easy to use Air Unicorn and simply air-walk over to the top of the rotating corridor. One of its sides has a Balan Statue on it, which you’ll want to grab. Use Moon Walker when you land and the corridor won’t be able to rotate anymore, letting you take all the time you need to grab it!
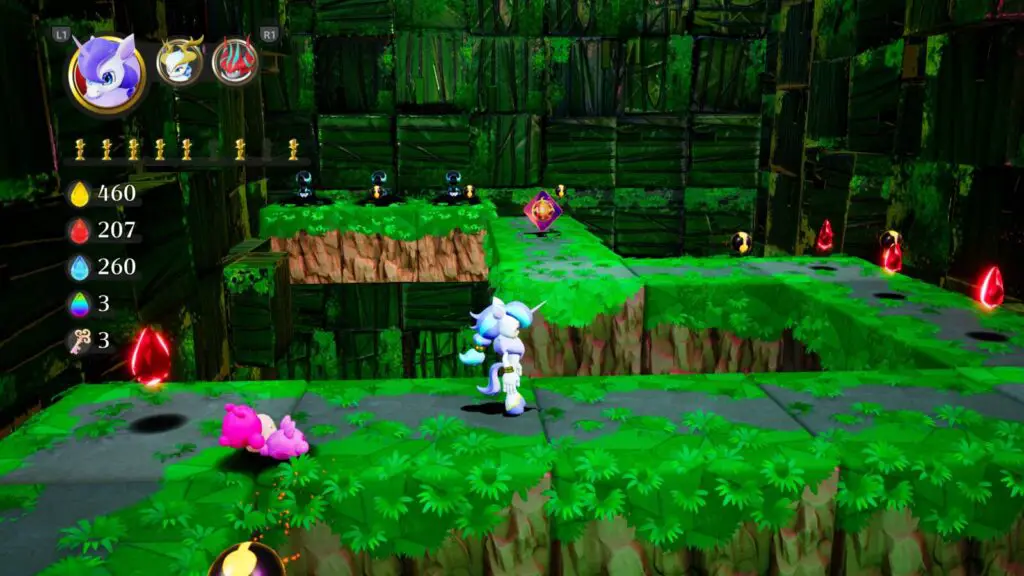
In the next area, there’s some of those annoying scrap sculptures that stomp on the ground and emit shockwaves. To open the way, you need to stand on a button in the middle of the room until the wall ahead of you opens up. Or you can just use Dawn Butterfly and fly onto the top of the wall… Up to you!
At the other side, there’s a propeller-like platform with some crystal orbs on it, but you can just air-walk to the next platform with the Air Unicorn to avoid all that nonsense. There’s another Checkpoint there.

In the next area, there’s another rotating structure which has Two Balan Statues on it. By using some combination of Air Unicorn, Dawn Butterly, and the Moon Walker, you shouldn’t have too much trouble grabbing them both.
Return to a previous section:
- Balan Wonderworld Chapters 1, 2, and 3 Collectibles
- Balan Wonderworld Chapters 4, 5, and 6 Collectibles
- Balan Wonderworld Chapters 7, 8, and 9 Collectibles
- Balan Wonderworld Chapters 10, 11, and 12 Collectibles
Or go to our Balan Wonderworld Trophy Guide.
Thank you for choosing PlatGet as your source for this Balan Wonderworld Collectible Guide, consider checking out our reviews and other guides!
Follow us on twitter @GetPlat or Instagram @platget for updates on new reviews and guides, as well as small anecdotes about our platinum journeys.