
PlayStation 4, PlayStation 5
Eiyuden Chronicle: Rising Trophy Guide


General Info
FAQ
How long does it take to beat Eiyuden Chronicle: Rising and unlock all trophies?
About 20 hours.
How difficult is it to beat Eiyuden Chronicle: Rising and unlock all trophies?
Easy (3/10).
Does Eiyuden Chronicle: Rising have online trophies?
No.
Does Eiyuden Chronicle: Rising have difficulty-specific trophies?
Yes.
Does Eiyuden Chronicle: Rising have missable trophies?
No.
Does Eiyuden Chronicle: Rising have glitched trophies?
No.
What is the minimum number of playthroughs required to unlock all trophies in Eiyuden Chronicle: Rising?
One full playthrough and then post-game cleanup on Hard Difficulty (not that hard, don't worry).
Does Eiyuden Chronicle: Rising have a Platinum Trophy?
Yes.
Trophy Guide
How to Unlock All Trophies in Eiyuden Chronicle: Rising for PlayStation 4 & 5
Welcome to our Eiyuden Chronicle: Rising Trophy Guide. Eiyuden Chronicle: Rising is a great RPG experience wrapped in a 2.5D side-scrolling Platformer.
Complete Quests for villagers in the ragged village of New Nevaeh to help rebuild the town as you explore surrounding areas to defeat monsters and collect resources to upgrade your gear.
There are over 160 quests which you’ll complete in your trophy journey, but each of them are bite-sized mini-adventures that can be stacked into single outings Monster Hunter style.
Phase One – Complete the Story and All Side Quests
In this first phase of our Eiyuden Chronicle: Rising trophy guide, you basically just need to focus on completing the story.
I would recommend that you take frequent breaks between story missions to complete the available Side Quests whenever you can, but you’ll be able to clean these up later.
I also recommend that you fight every enemy you run across for the exp you’ll need to reach Level 50, but also for the Natural Born Monster-Killer. Again, though, you’ll be able to clean these trophies up later if you’d rather rush the story.
To ensure you can continue to make progress, upgrade your gear whenever you can at the Smithy, Armor Shop, and Weapon Shop.

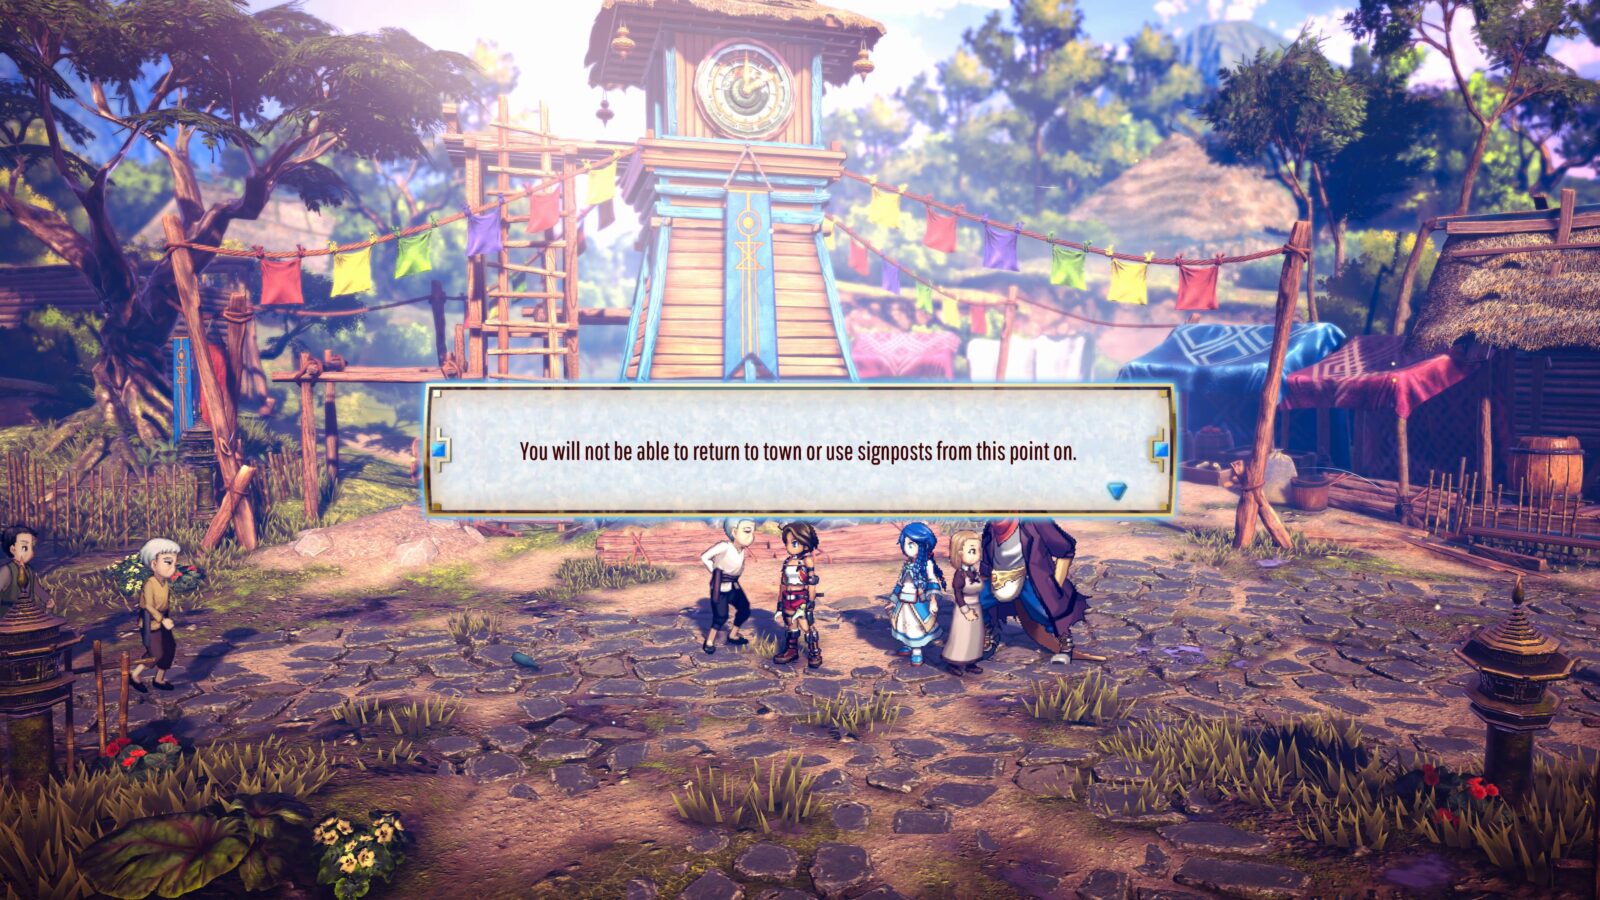
When you reach an objective called “Tell Shiva the repairs are complete in the Plaza” during the mission “After the Truth!” you’ll be warned that by proceeding you’ll be crossing a point of no return.
Worry not, though, you can proceed freely as you can return to the game before this point once the story is complete.
Unmissable Story Trophies

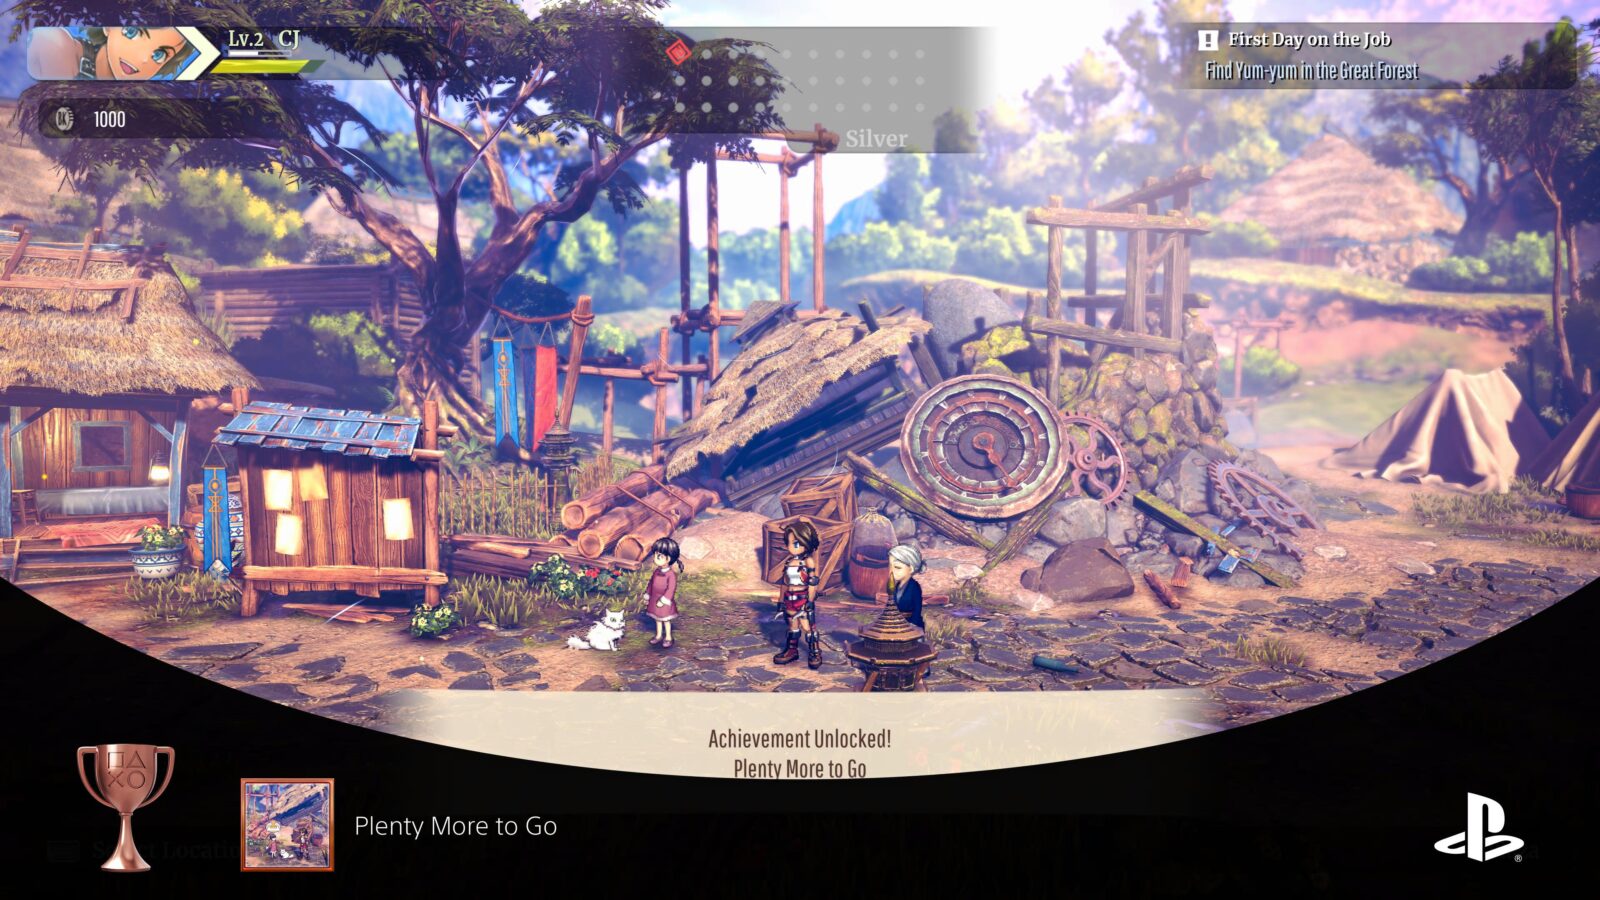
Plenty More to Go
Completed your first main scenario quest
The “Plenty More to Go” trophy will unlock once you’ve brought Priya’s Cat back to her at the end of a tutorial-like first main mission. It’s completely unavoidable.

All Bark, No Bite
Defeated the Great Tree Fiend
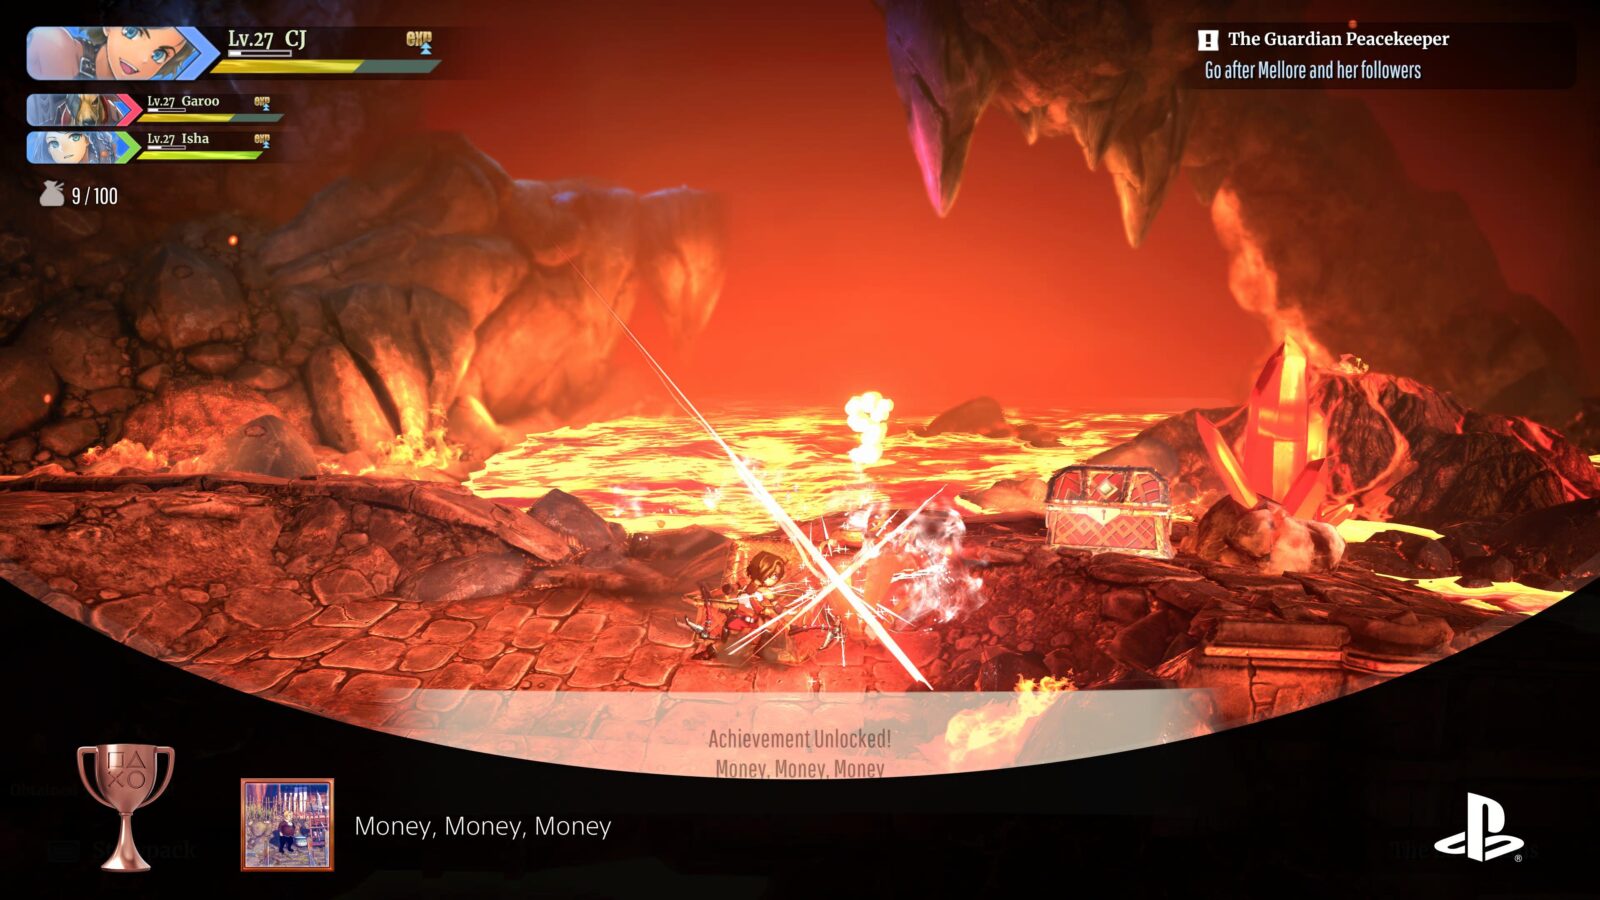
You will come across the Great Tree Fiend boss very early in the story during your third quest “Old Shiva’s Clock Tower.”
This boss fight is fairly simple but the gimmick is that you can’t hurt the tree. The tree is simply armor around the real boss hidden inside.
Avoid the tree’s attacks (which are all telegraphed via a red beam) until its red eyes turn black.
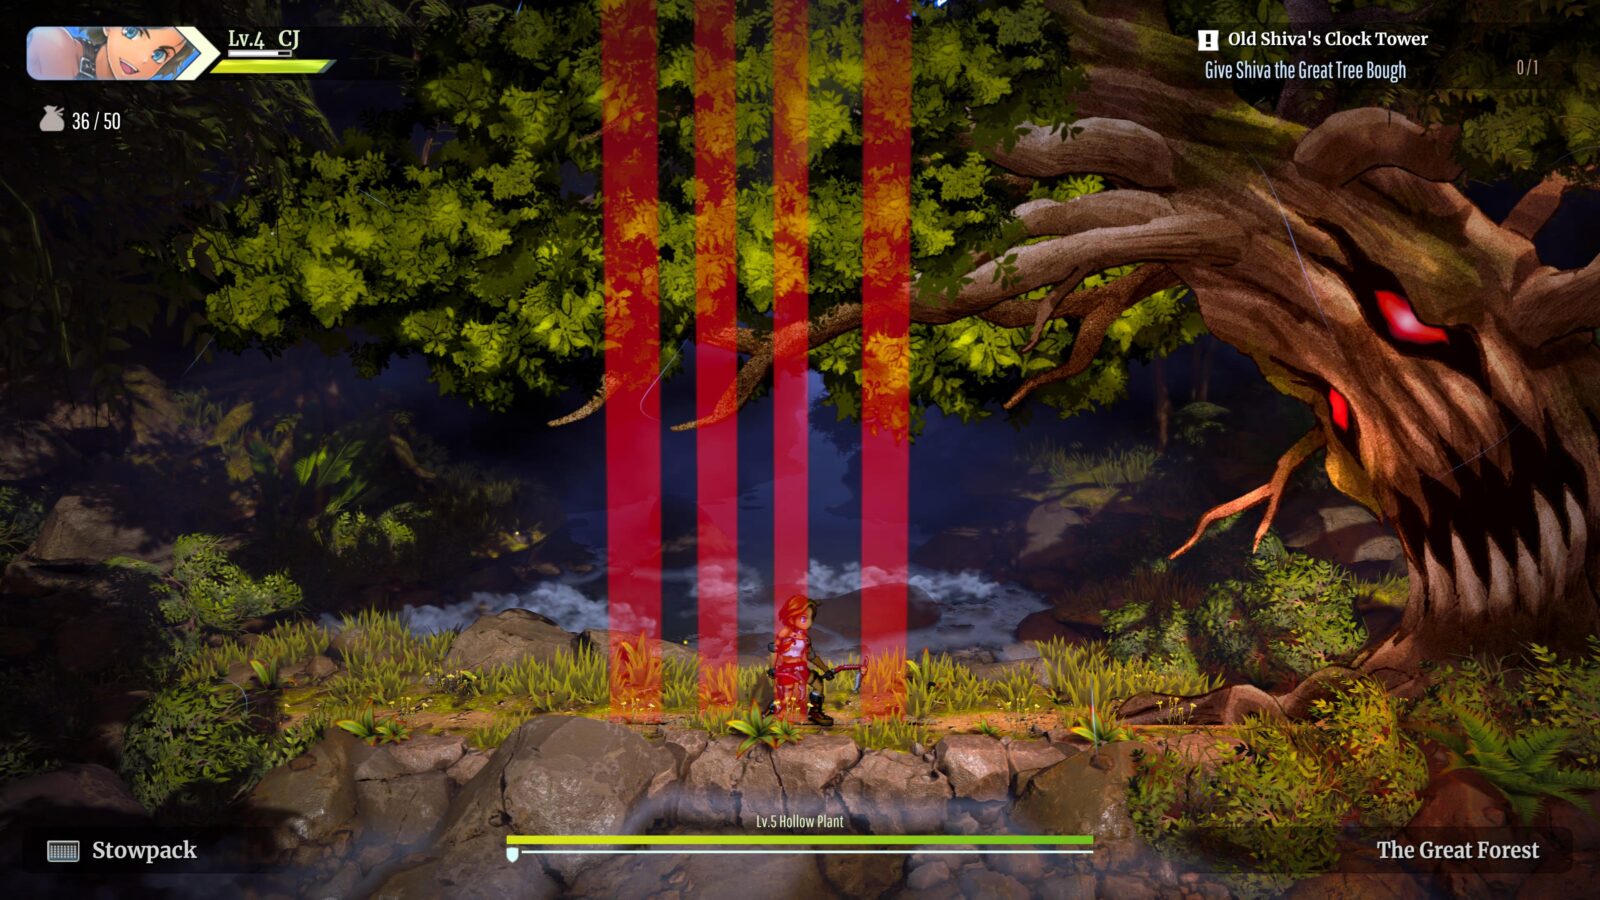
A moment later, a worm will come out of the tree’s mouth and shoot an energy sphere at you.
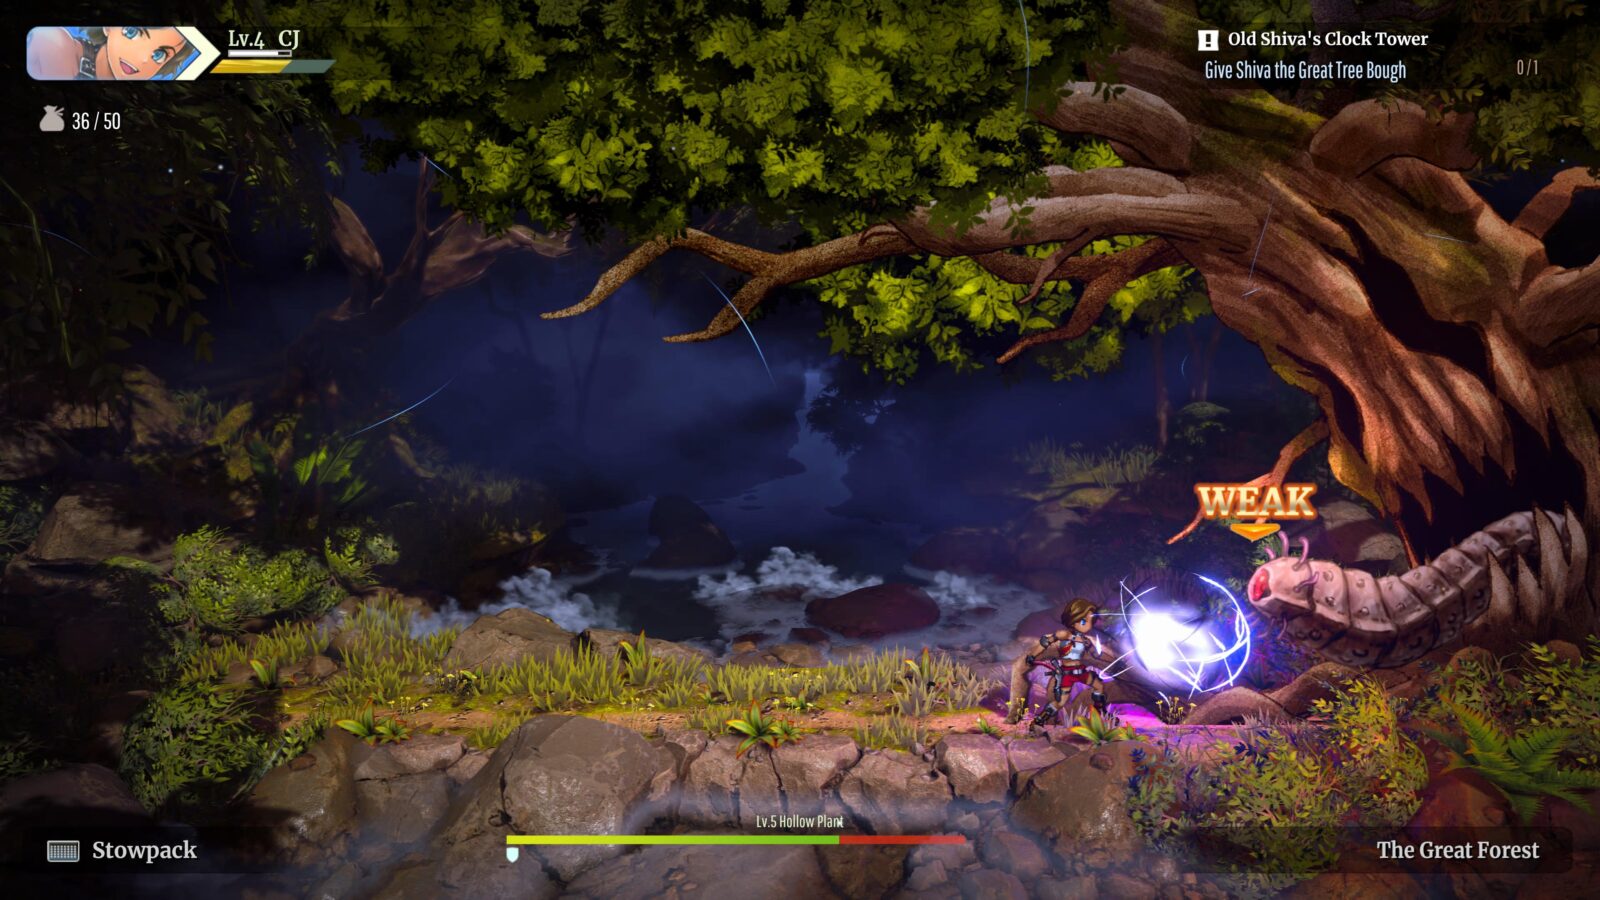
Jump over the worm’s projectile with ![]() and then quickly get in close to hit the worm until it retreats into the tree again.
and then quickly get in close to hit the worm until it retreats into the tree again.
Repeat the same steps until the boss is defeated, at which time the “All Bark, No Bite” trophy will unlock.

Partners?
Teamed up with Garoo
After your first visit to the Quarry, you’ll come back to the village unable to progress due to huge boulders. As a solution, you team up with Garoo, whose massive sword is hefty enough to knock down any boulder that blocks your path.
The “Partners?” trophy will unlock automatically at that point.

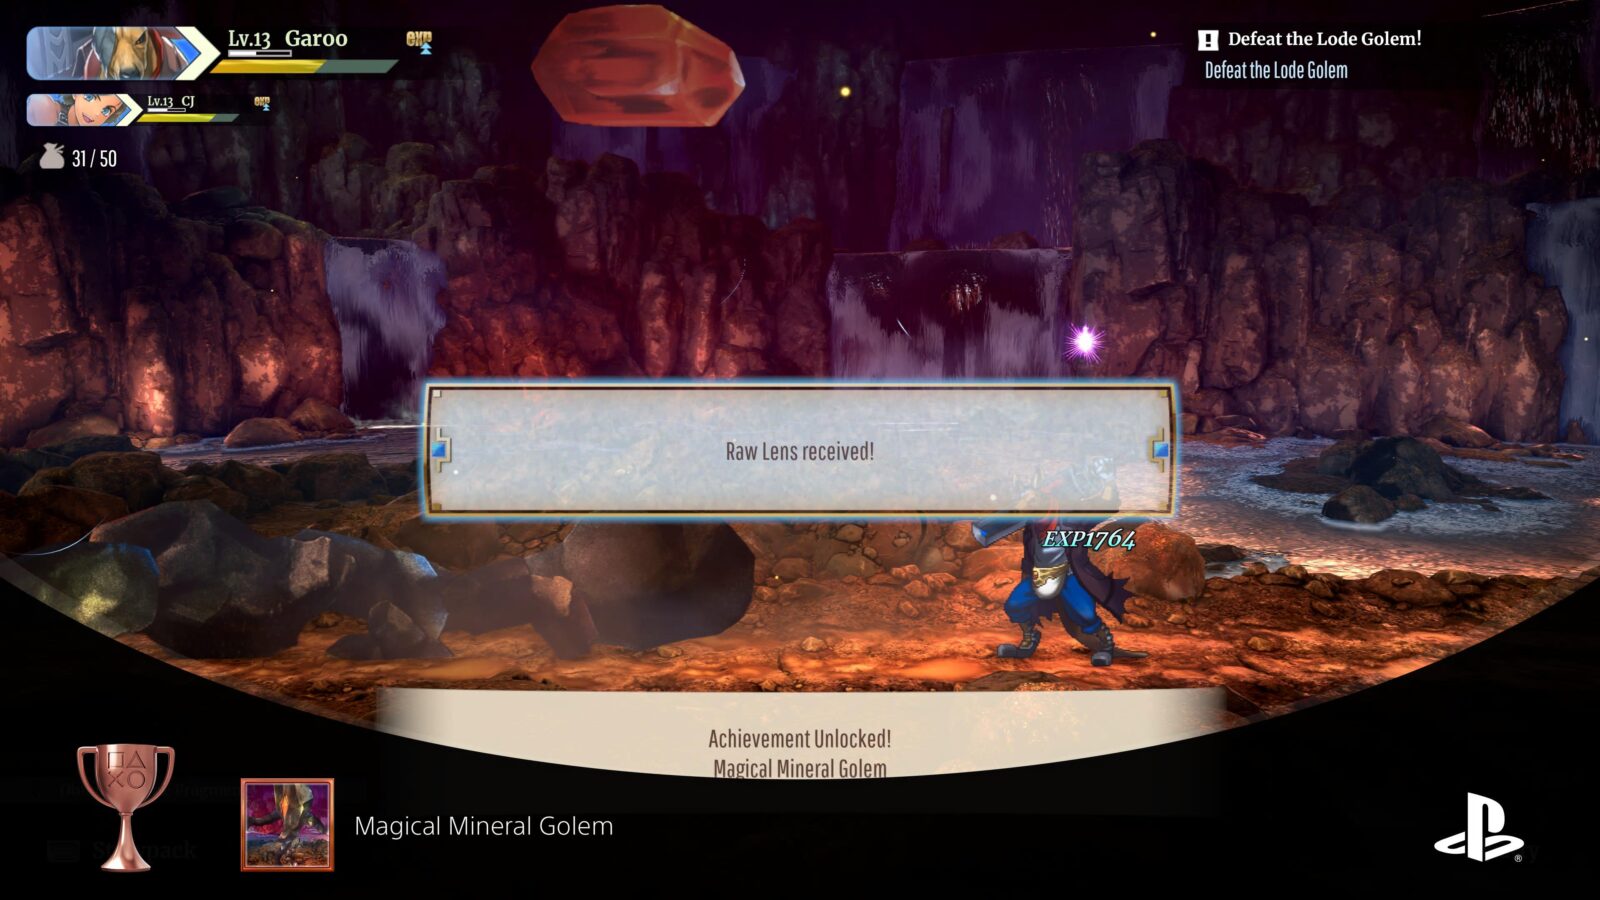
Magical Mineral Golem
Defeated the Lode Golem in the Quarry
The Lode Golem is the second main story boss and is found in the depths of the Quarry. You will be asked to go and fight it as part of the story so this trophy is unavoidable.
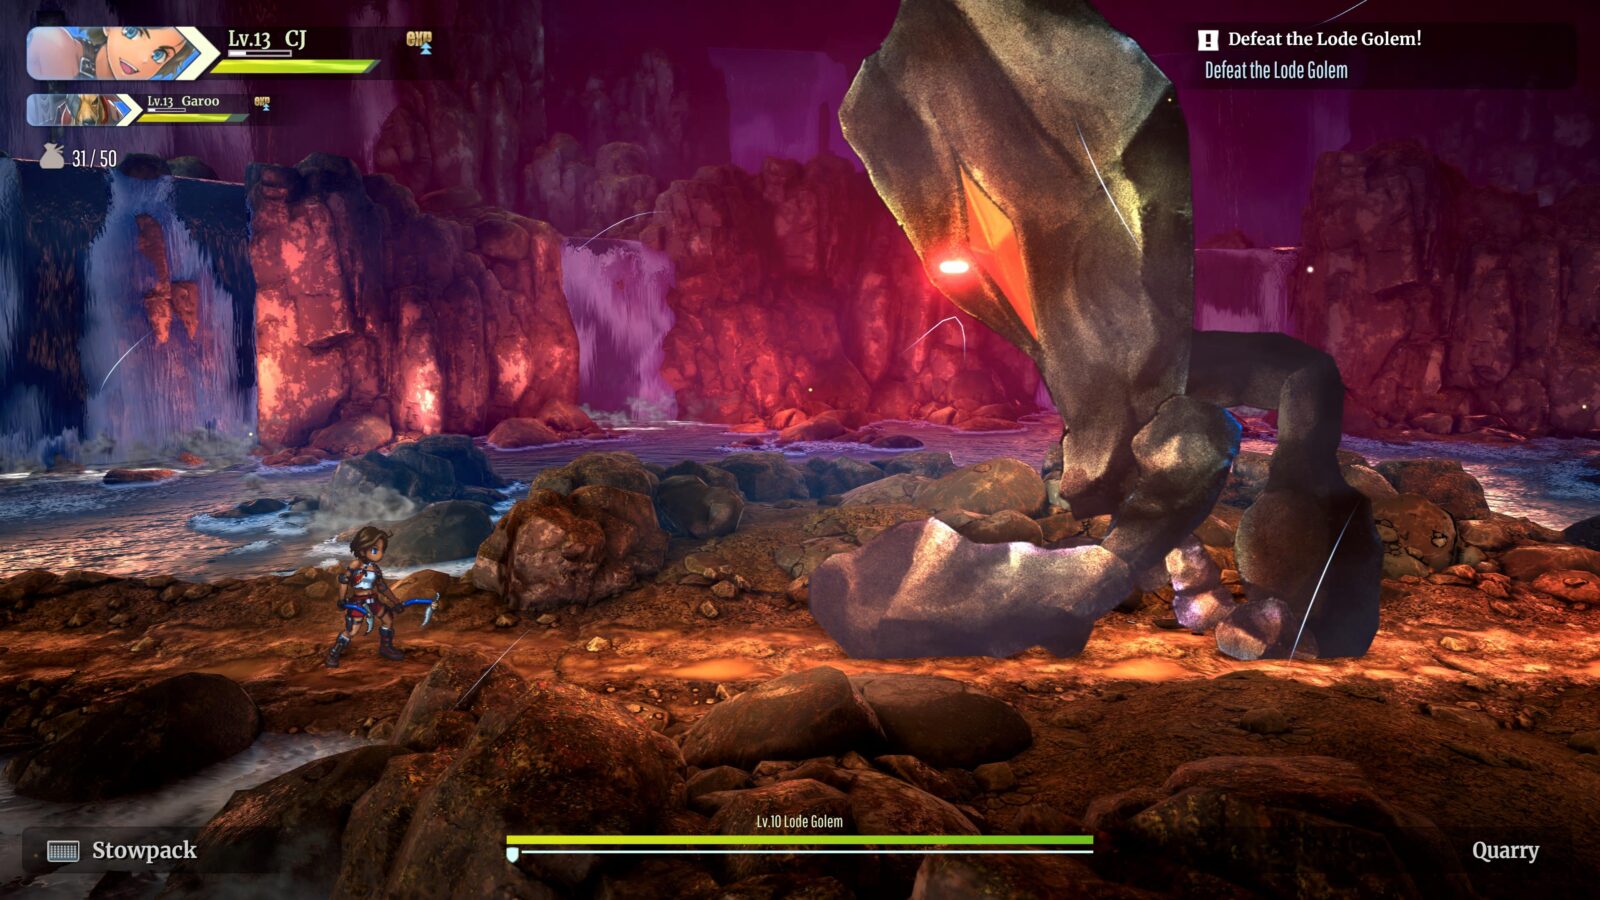
The Lode Golem is a pretty simple fight once you know how it works. You cannot use CJ for this fight, so you’ll need to use ![]() to attack as Garoo.
to attack as Garoo.
Whenever a boulder is dropped down from above (telegraphed via a beam of red light) try to hit it with a ![]() attack towards the boss to stagger him.
attack towards the boss to stagger him.
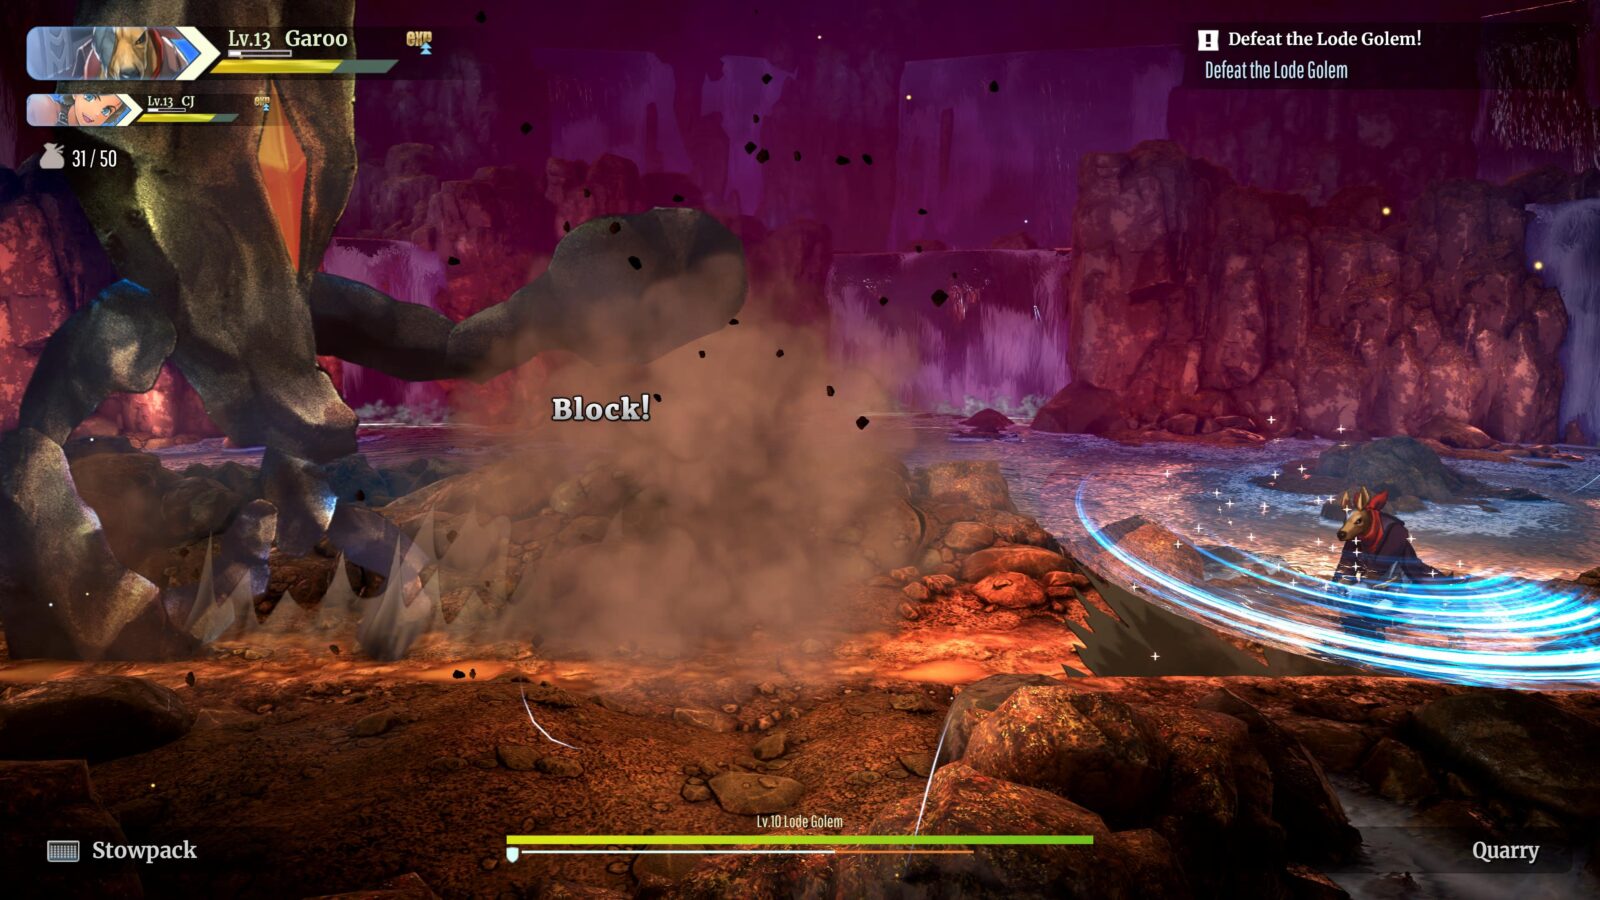
Once staggered, he’ll follow up by firing his whole arm at you! Deflect it with a ![]() attack to send it flying back at the Golem’s face.
attack to send it flying back at the Golem’s face.
This will expose the Golem’s gem core, which you can attack to finally reduce the boss’ health bar. Keep attacking it with ![]() sword swings until it gets back up and you should take off just over a third of it’s HP.
sword swings until it gets back up and you should take off just over a third of it’s HP.

Repeat this around two more times to fully defeat the boss and unlock the Magical Mineral Golem Trophy.
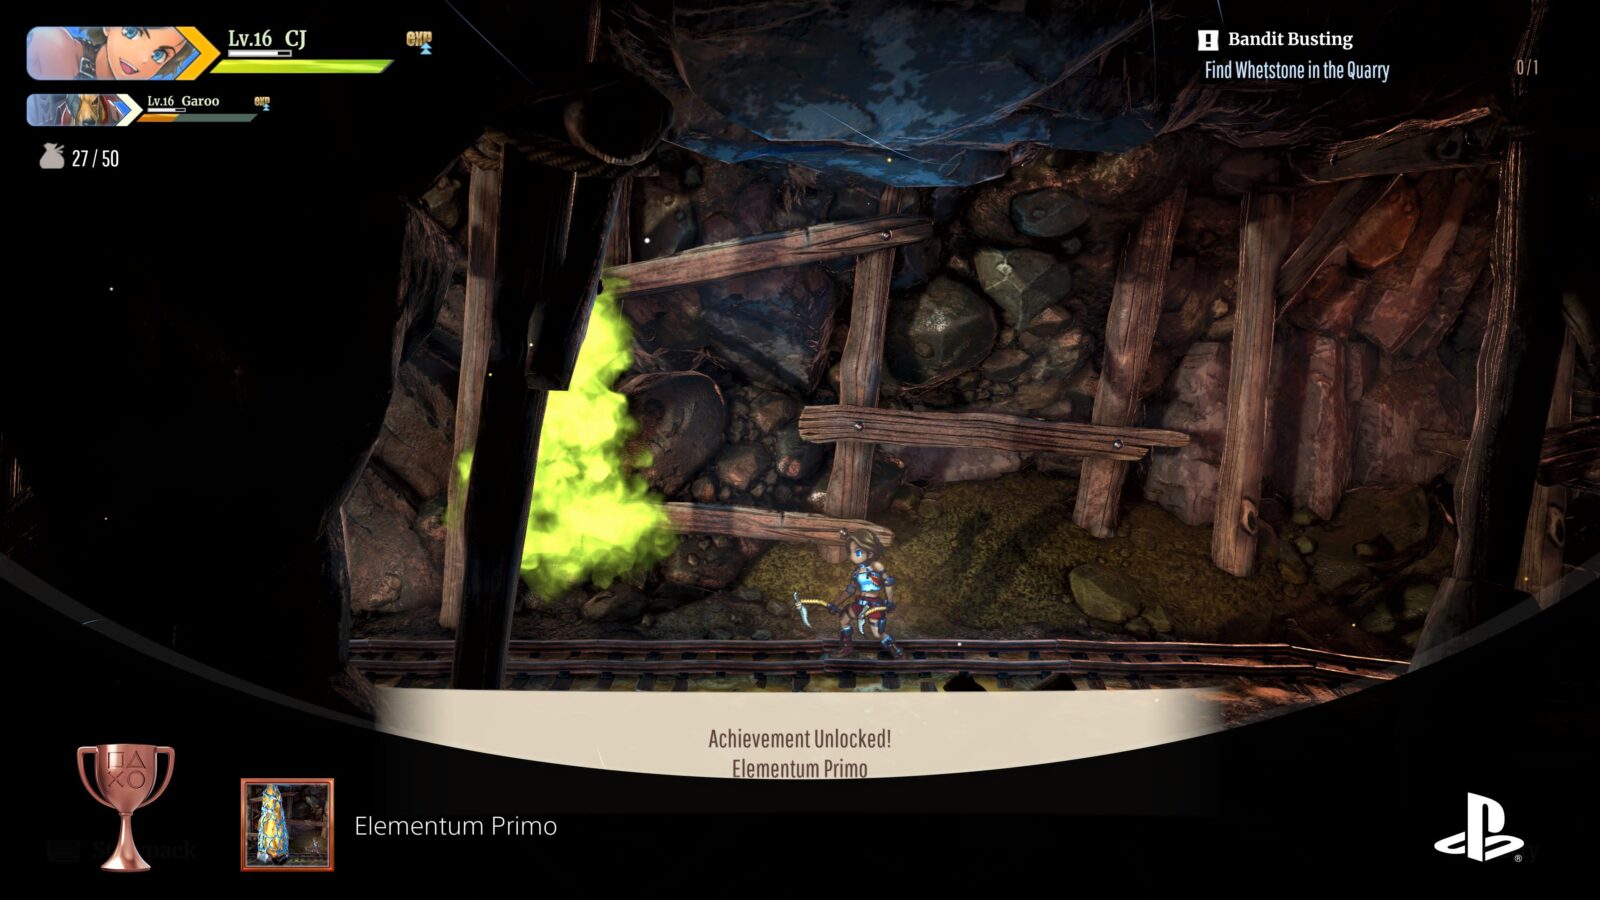
Elementum Primo
Destroyed an Elementum Pillar for the first time
Before you can destroy Elementum Pillars, you will need a Rune Lens imbued with the power of Earth. Fortunately, the main story quests will walk you through all of the steps in this process until you have an Earth Rune-Lens.
Equip your Earth Rune-Lens in the “Stats & Equipment” option on the ![]() pause menu. With this equipped, you will be able to break through Orange Elementum Pillars with your normal attacks.
pause menu. With this equipped, you will be able to break through Orange Elementum Pillars with your normal attacks.
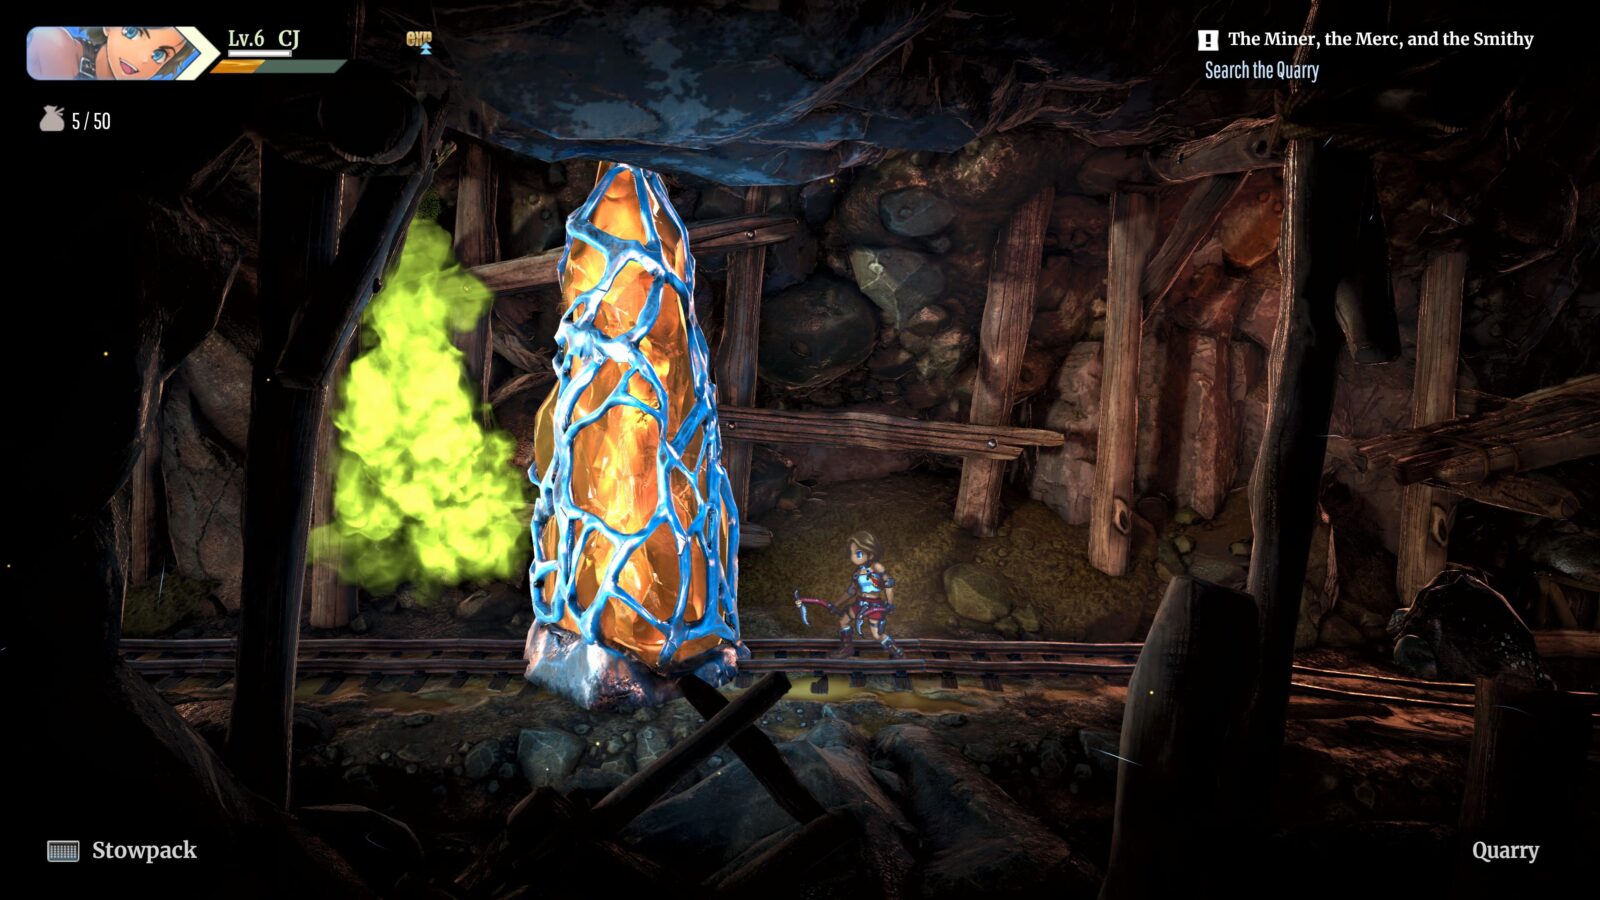
Doing this for the very first time, as instructed for the story, will unlock the “Elementum Primo” trophy.

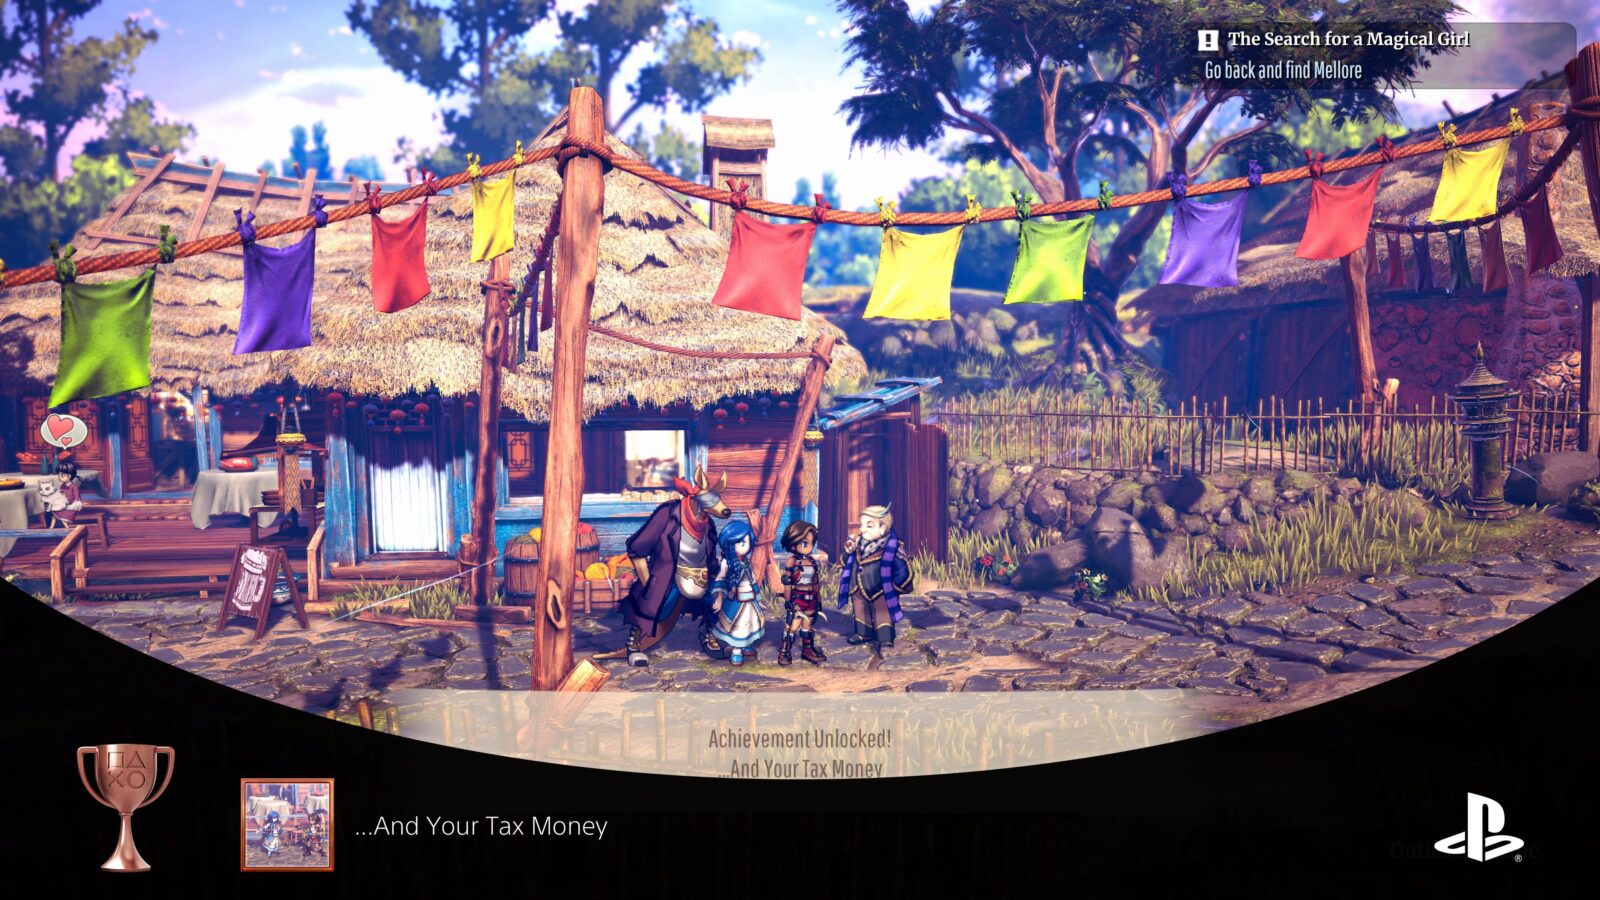
…And Your Tax Money
Teamed up with Isha
Isha will join your team shortly after your first visit to Snowpeak as part of the story when you’re asked to look for Mellore.
When she unavoidably joins the party, the “…And Your Tax Money” trophy will unlock.

The Lords of the Snowpeak
Defeated the Blizzard Brothers on the Snowpeak
The Blizzard Brothers Boss found on Blizzard’s Point in Snowpeak is one of the easiest bosses in my opinion.

All you really need to do is avoid his attacks and stop the additional enemies from getting too out of control.
Use ![]() to jump up to the boss’ heads and attack them in mid-air to deal damage. You can maximize your damage output and also stay airborne for longer by using Link Attacks. You can trigger Link attacks by combining
to jump up to the boss’ heads and attack them in mid-air to deal damage. You can maximize your damage output and also stay airborne for longer by using Link Attacks. You can trigger Link attacks by combining ![]() ,
, ![]() , and
, and ![]() attacks.
attacks.
Once you defeat the Blizzard Brothers for the first time, the “The Lords of the Snowpeak” trophy will unlock!

Elementum Mastery
Destroyed all types of Elementum Pillar
To unlock the “Elementum Mastery” Trophy, you would need to break an Elementum Pillar of each element in the game. There are four elements; Earth, Ice, Lightning, and Fire.
Since you will need to break all four types of Elementum Pillar to progress through the whole story, this trophy is unmissable.
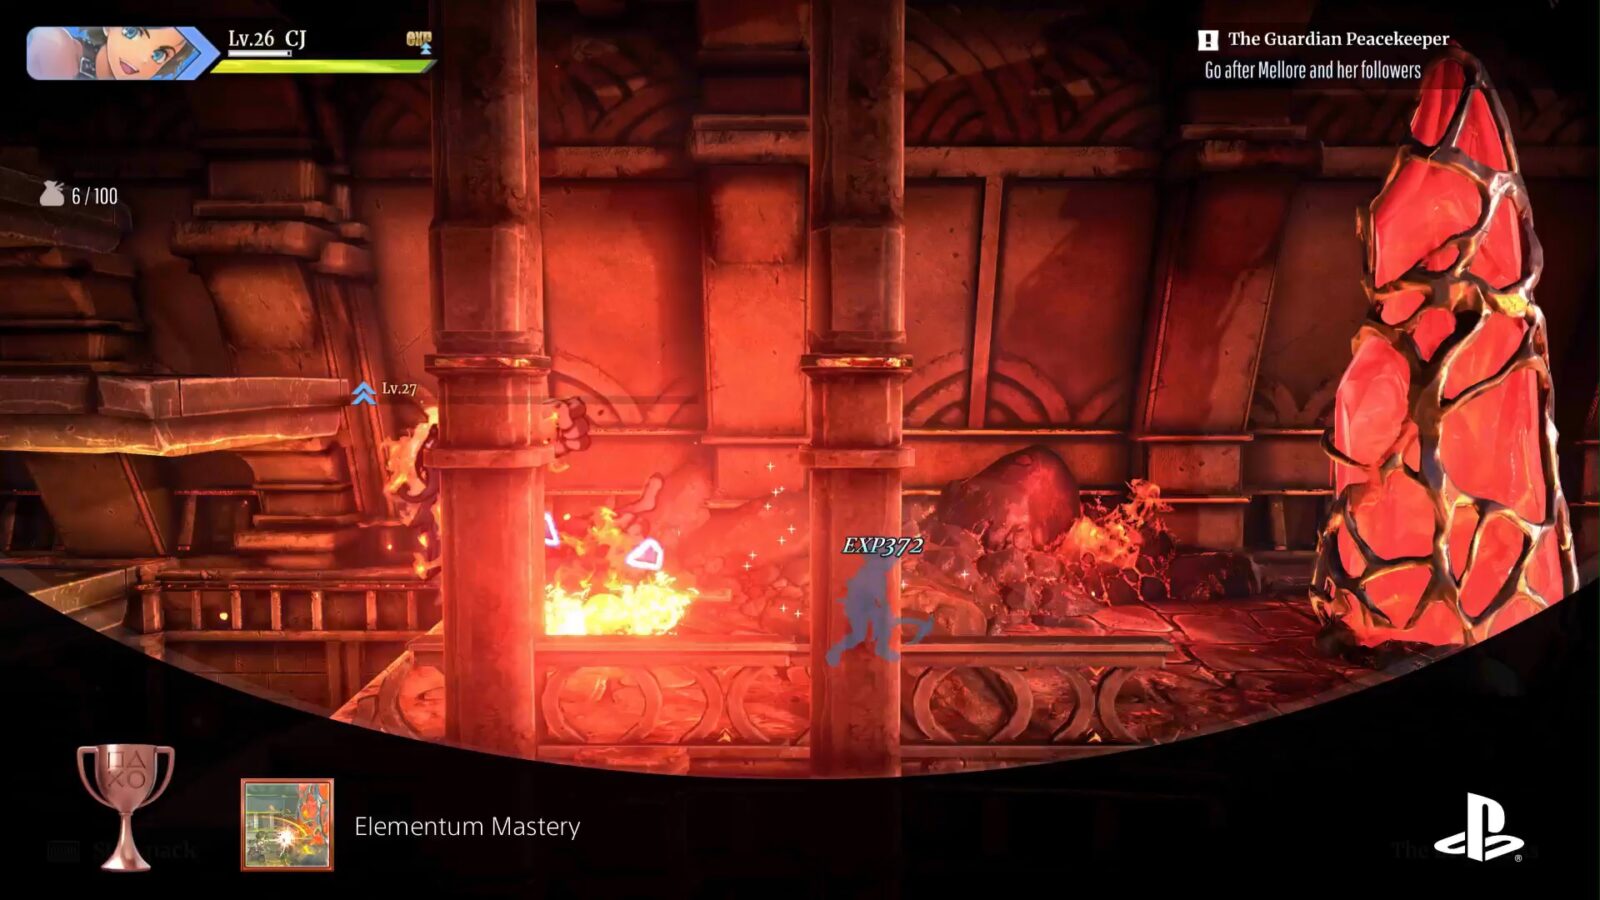
The game will teach you all this, but you essentially need to craft Lens Runes of each elemental type so that you can equip them across your three party members, swapping them out as needed. With the right elemental Lens Rune equipped, you can destroy Elementum Pillars just by hitting them.
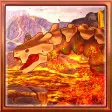
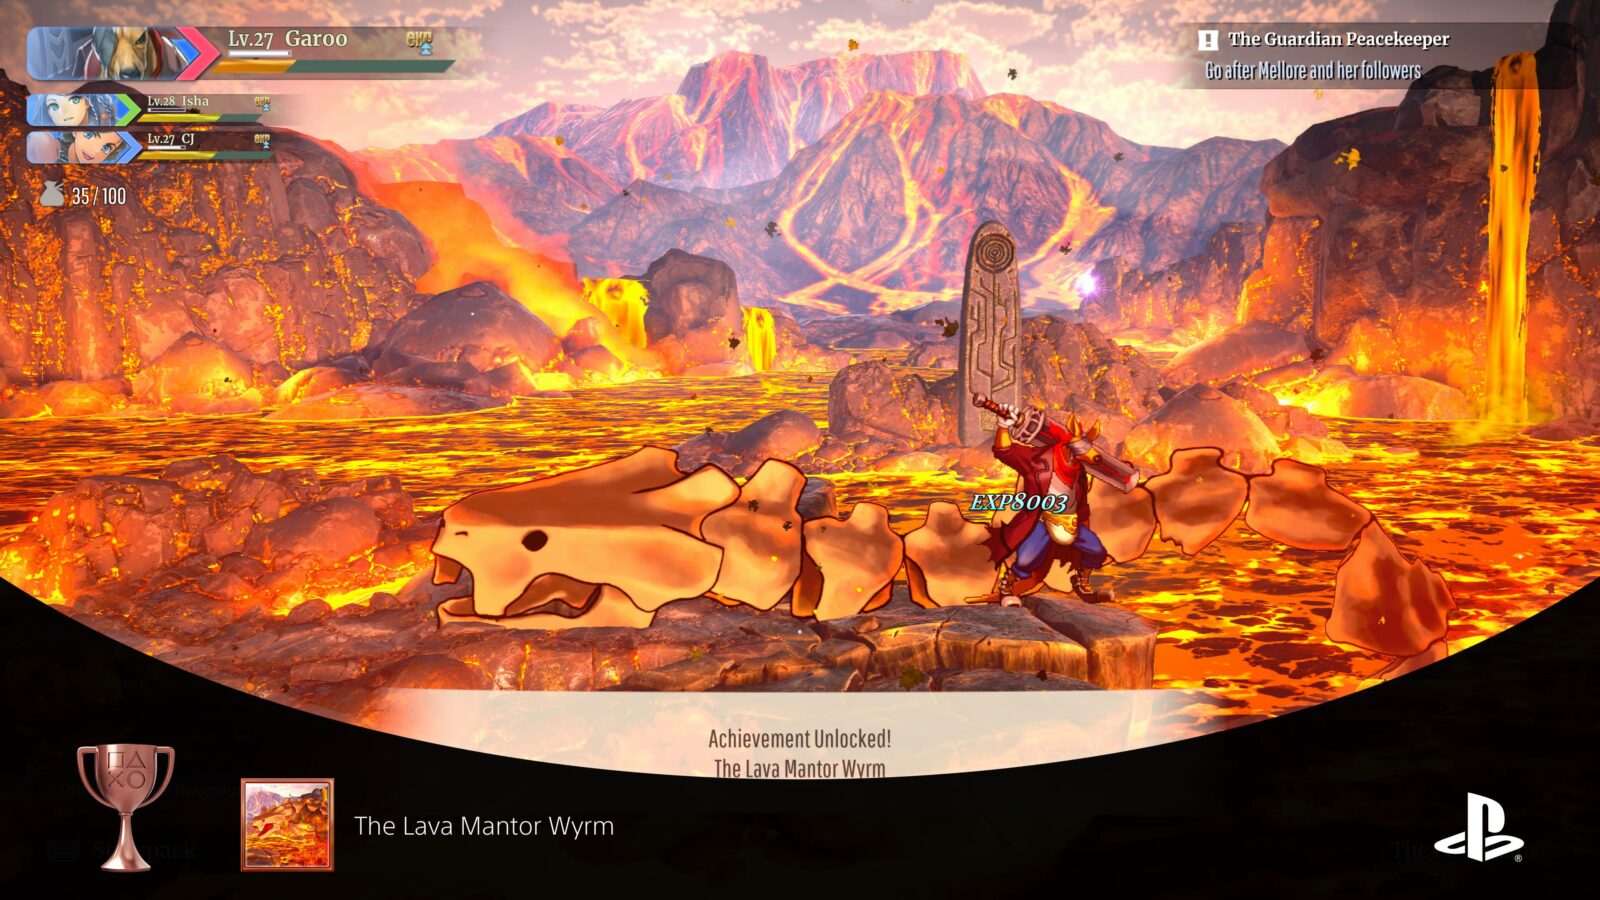
The Lava Mantor Wyrm
Defeated the Lava Mantor Wyrm
The Lava Mantor Wyrm, which you’ll fight in the Lava Ruins towards the end of the game, is probably the only actually challenging boss.
This is because it has the ability to burn you. While burned, you can’t switch between characters and are limited to just one form of attack with no Link Attacks.
That being said, I found that when I pressed myself as close as I could to the right side of the arena, most of its attacks would miss me. I could then sit there mashing ![]() and occasionally throwing in some
and occasionally throwing in some ![]() and
and ![]() presses to perform Link Attacks for quick extra damage.
presses to perform Link Attacks for quick extra damage.
Once you defeat him for the first time, the Lava Mantor Wyrm trophy will unlock.


This Treasure I’ve Found
Cleared all main scenario quests
Cross the point of no return in the story mission “After the Truth!” then continue to complete the story objectives until you’ve finally completed the story and unlock the “This Treasure I’ve Found” trophy.

Don’t worry, you can return to the game before the point of no return once the story is finished.
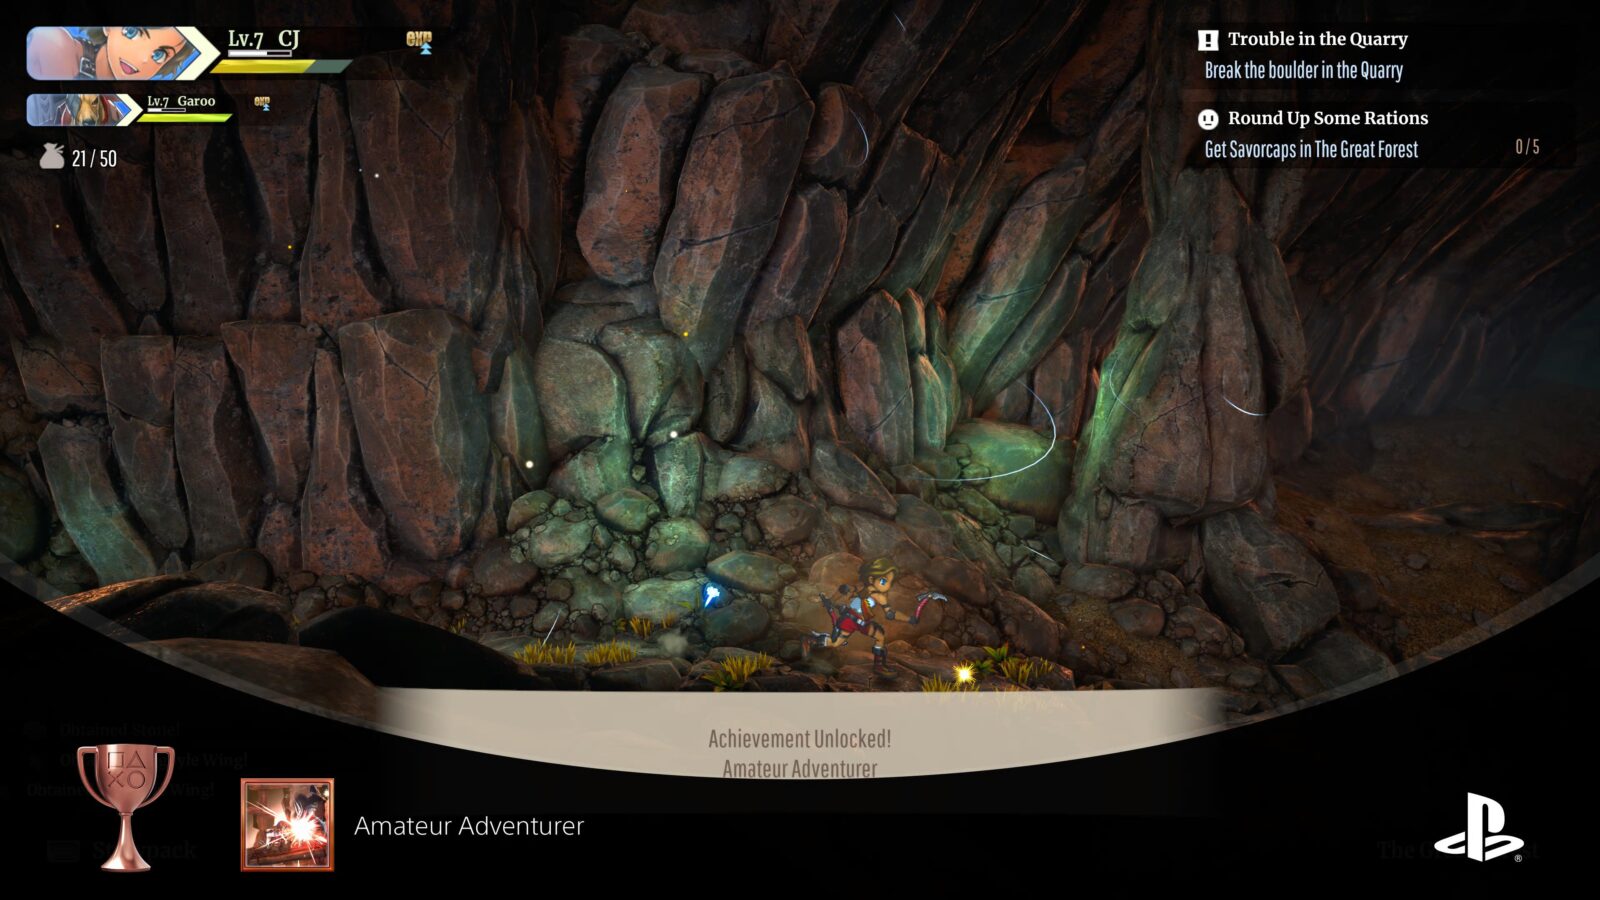
Amateur Adventurer
Obtained a total of 100 resources
The “Amateur Adventurer” trophy unlocks once you’ve collected 100 resources of any kind. Resources are tallied and shown to you whenever you leave a dungeon.

You’ll collect far more than 100 resources just by completing the story, making this an unmissable trophy.
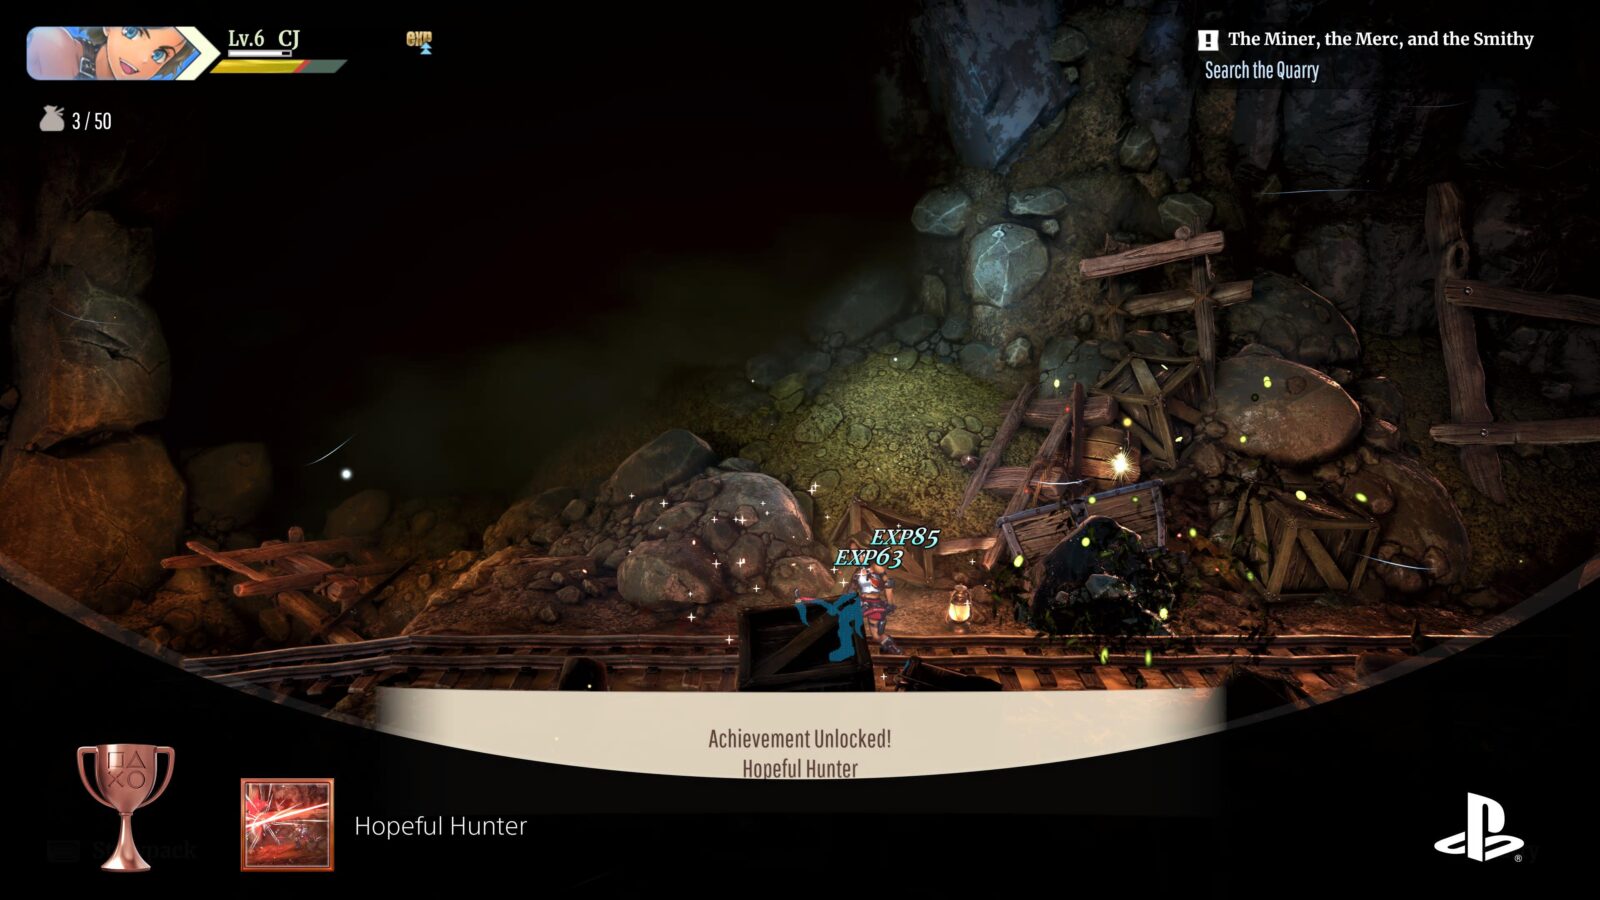
Hopeful Hunter
Defeated 100 enemies
The “Hopeful Hunter” trophy unlocks once you’ve defeated 100 enemies of any kind. You’ll defeat far more than 100 enemies just by completing the story, making this an unmissable trophy.
Phase Two – Complete Side Quests, Defeat Hard Bosses, Reach Level 50, and Cleanup
In this Second and Final Phase of our Eiyuden Chronicle: Rising Trophy Guide, as stated above, you will have three main key objectives, but there’ll be a fair amount of cleanup to perform too.
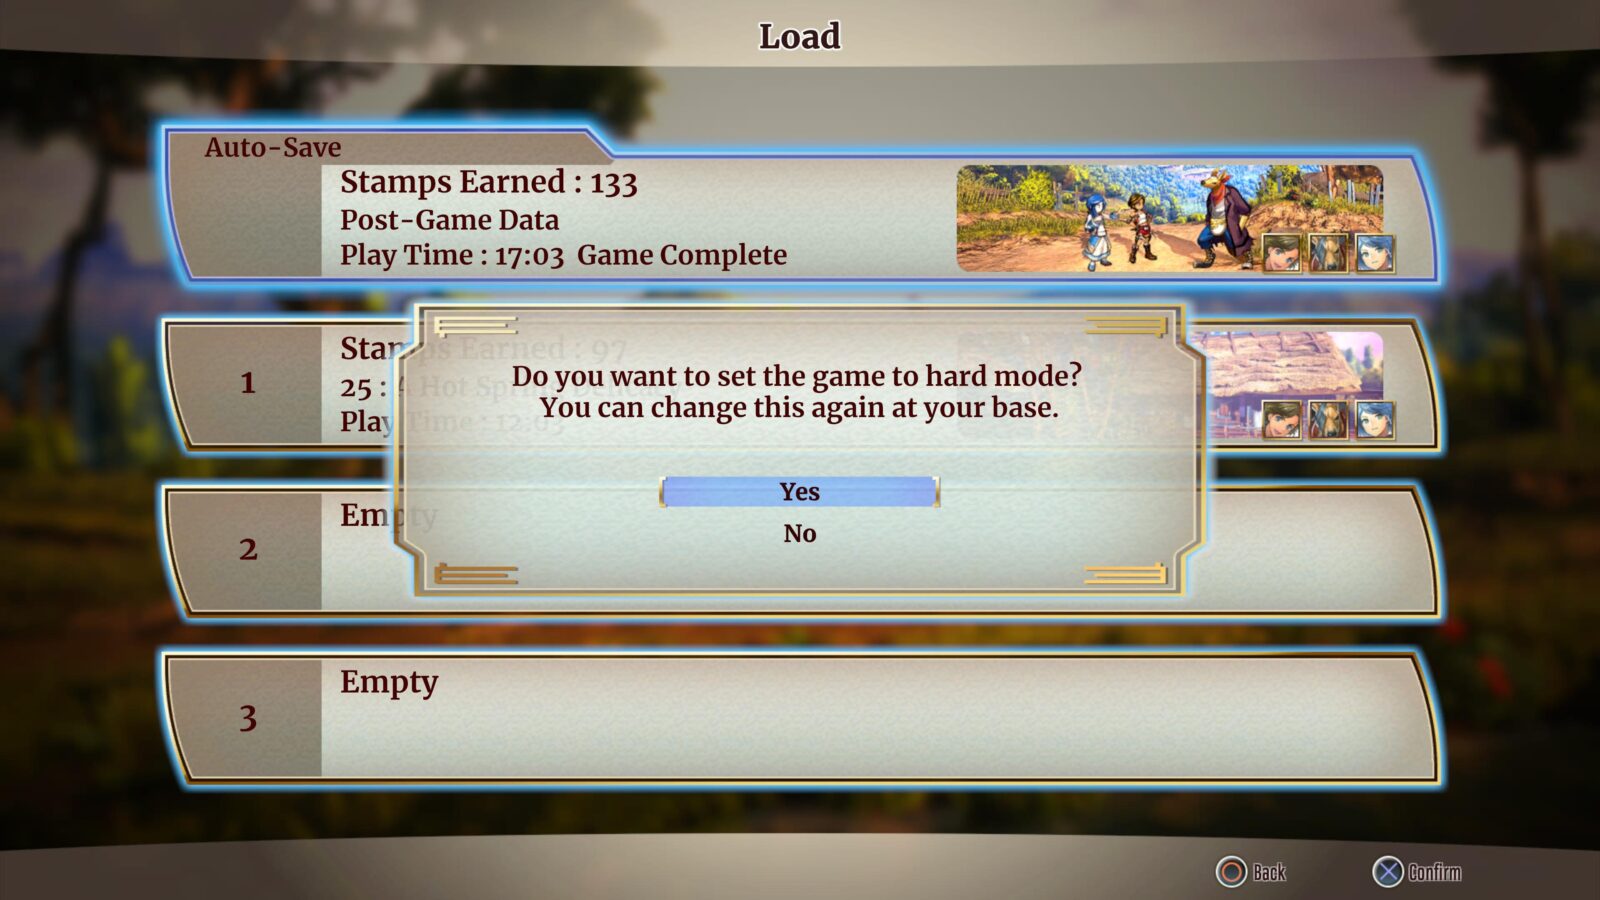
When you have finished the main game, you’ll be returned to the Title Screen. From there, select “Load Game” and you’ll see that your Autosave now says “Post-Game Data” and can be loaded. Load it up to return to the game from before the point of no return.
When asked if you want to set the game to hard mode, select “Yes.” You will need to do this for the Hard Difficulty Trophies.

I recommend starting by completing the last few Side Quests and earning all 160 Stamps. From there, you should then go and fight all bosses on Hard Difficulty.
After that, you should have everything you need except a few resources to use all Town Facilities, unlock all Gear and Equipment Trophies, clean up any remaining trophies, and then reach level 50.
Side Quest Trophies
The Road to Recovery
Completed your first side-quest
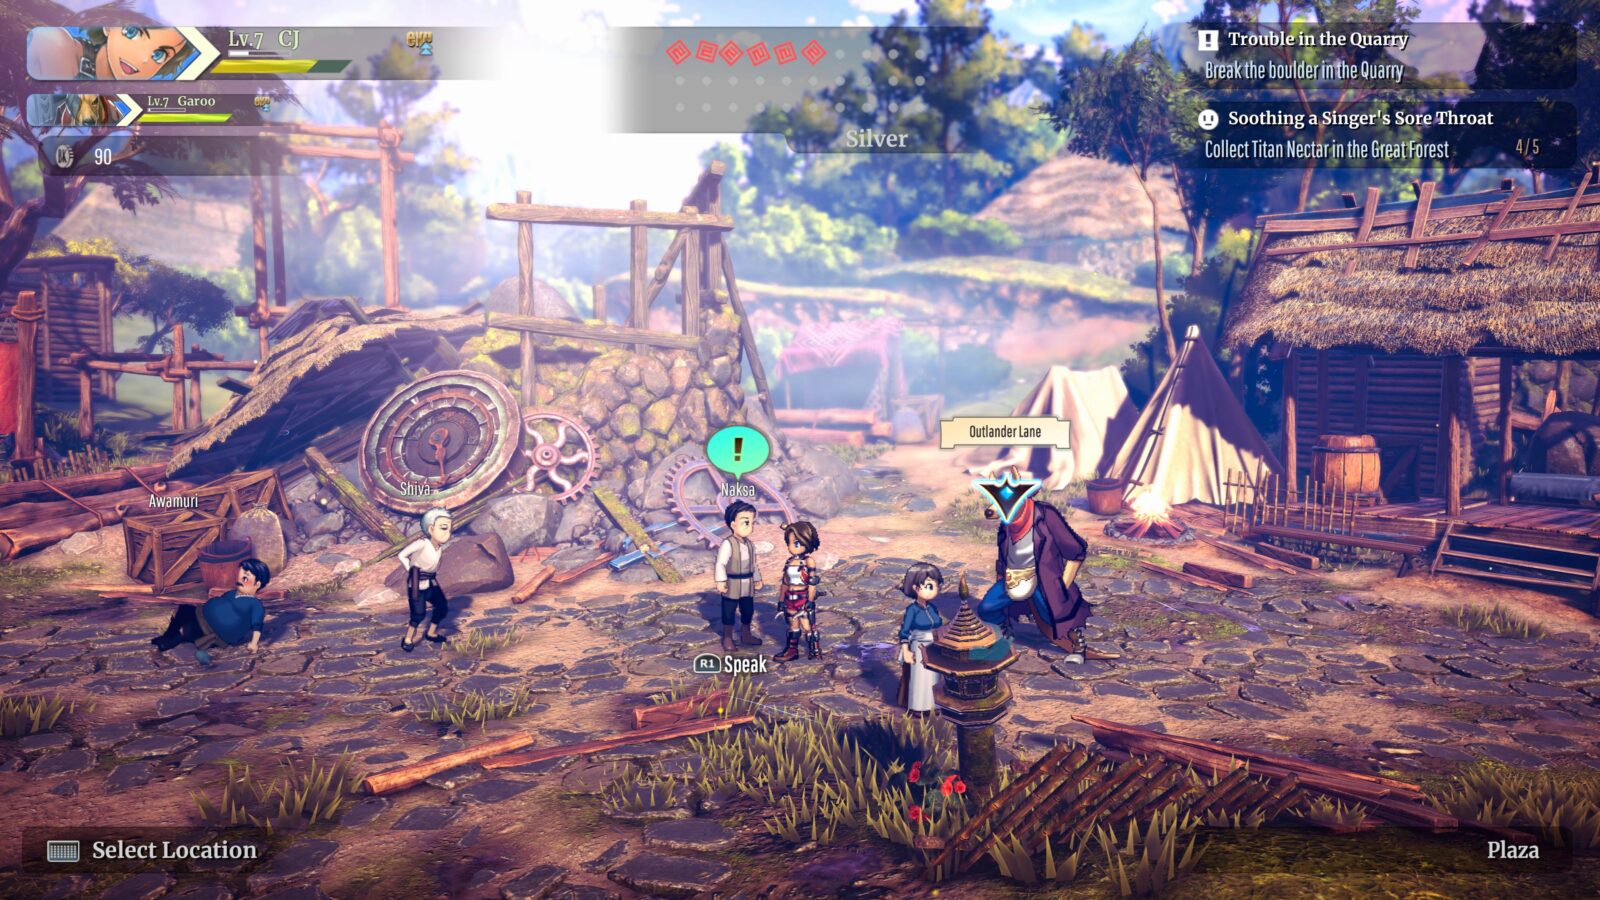
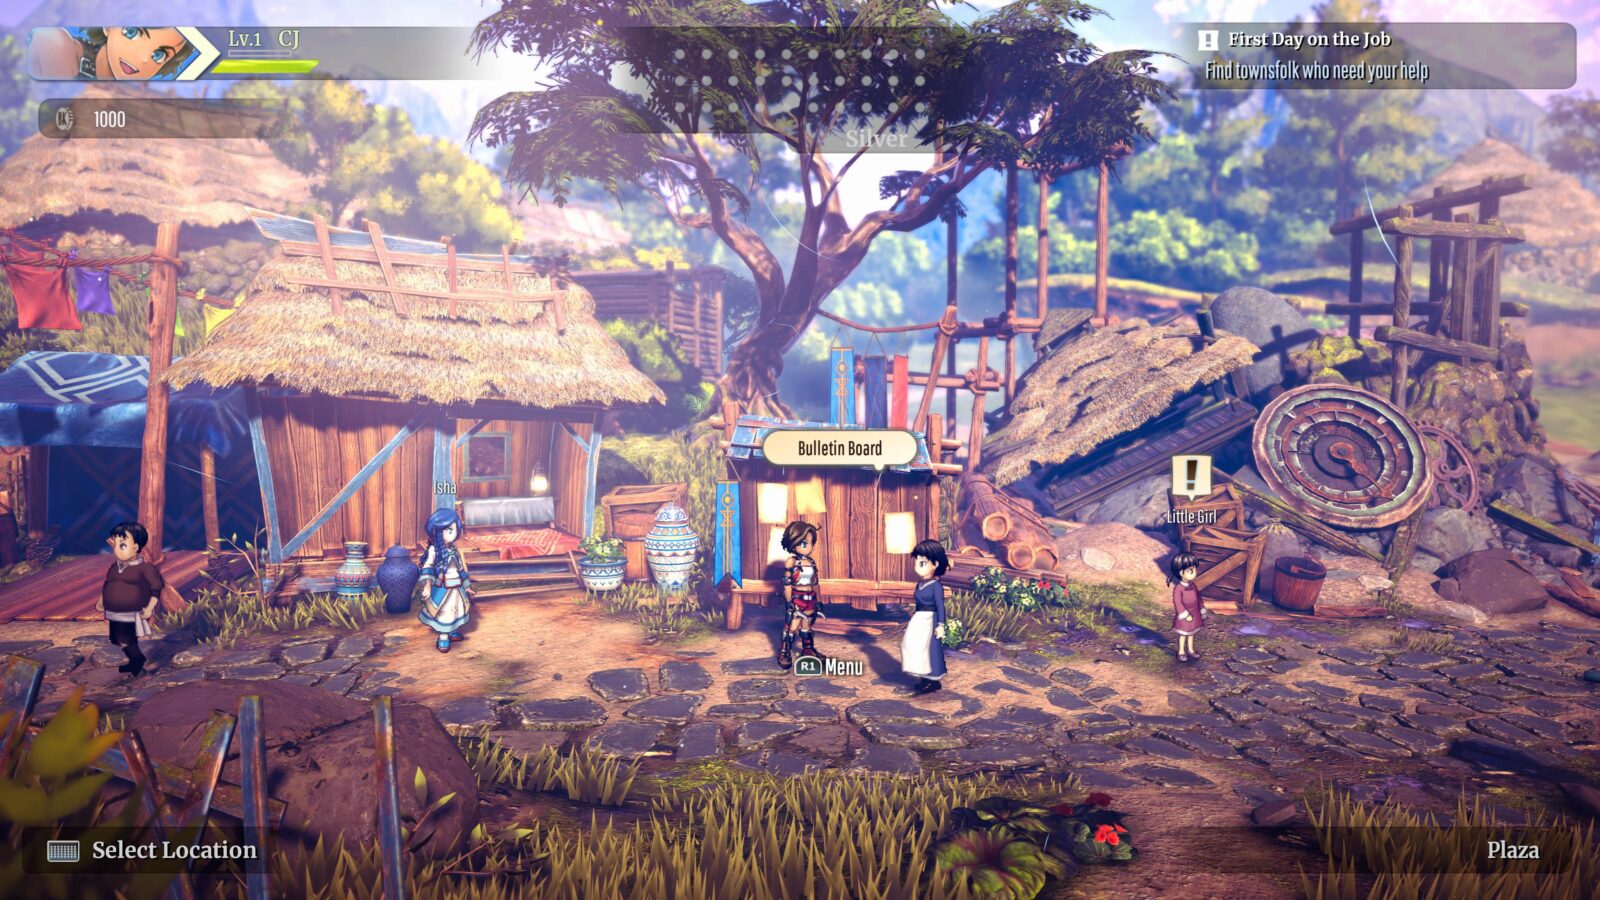
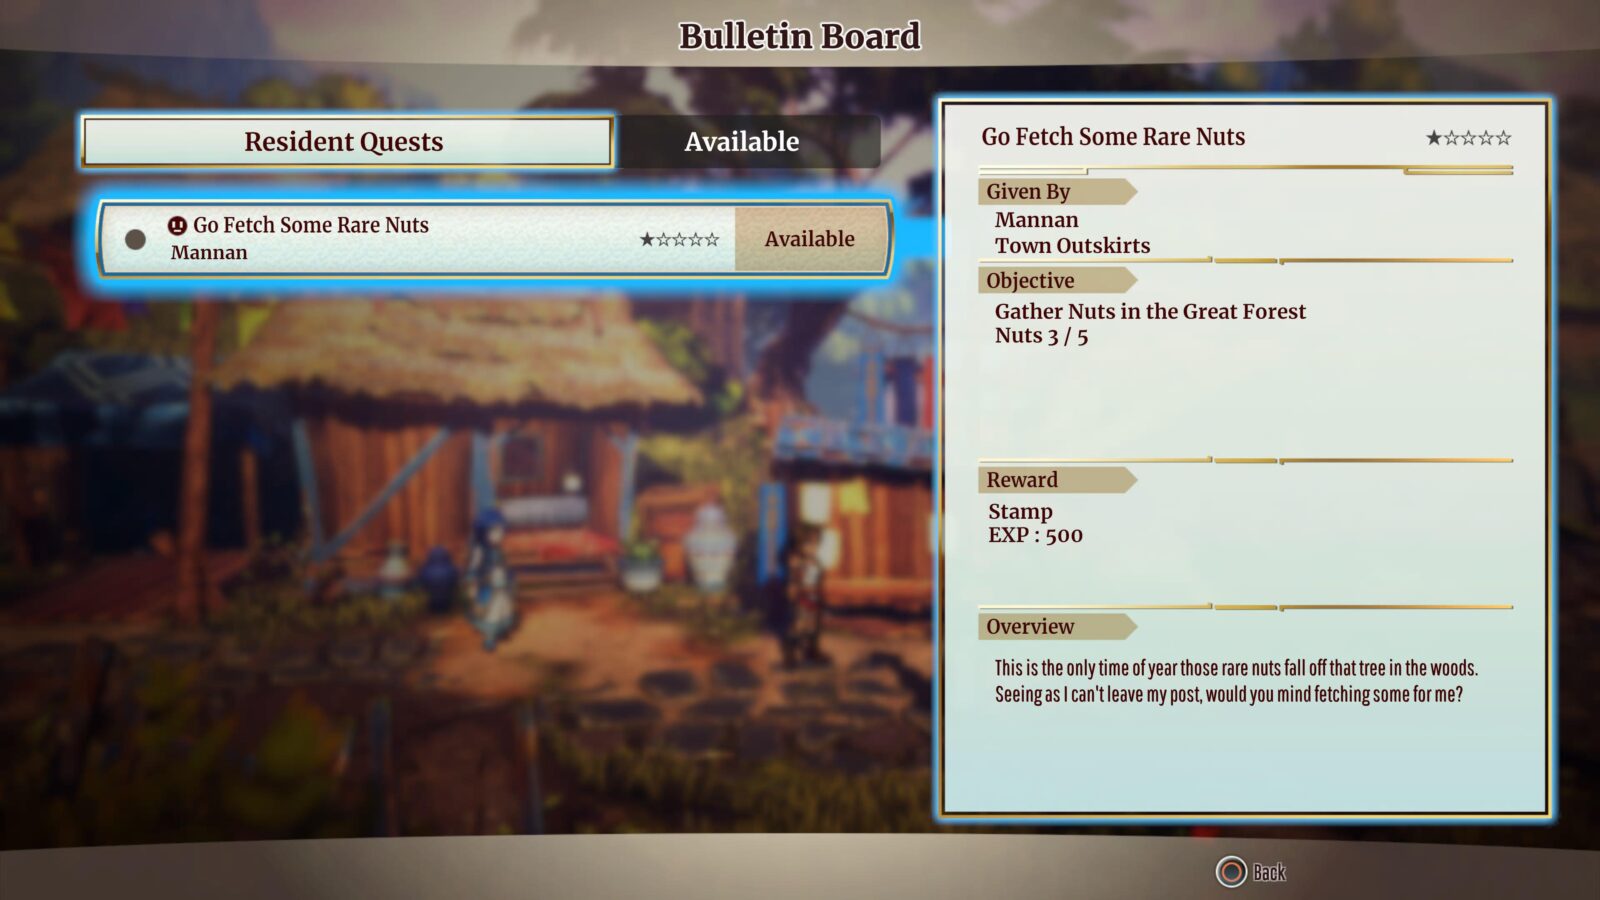
When a Side Quest is available, you can check the Bulletin Board in the Plaza of New Nevaeh to see where the NPC with the Side Quest can be found.
You can also press ![]() to open a map. If any Side Quests are available, you will see a blue “!” icon in the relevant area on the map.
to open a map. If any Side Quests are available, you will see a blue “!” icon in the relevant area on the map.
If you head to that location, you should see an NPC with a blue speech bubble or house icon above their head.
Speak to them with ![]() to get the details of the quest, which will be added to the “Quests” tracker in the
to get the details of the quest, which will be added to the “Quests” tracker in the ![]() pause menu.
pause menu.
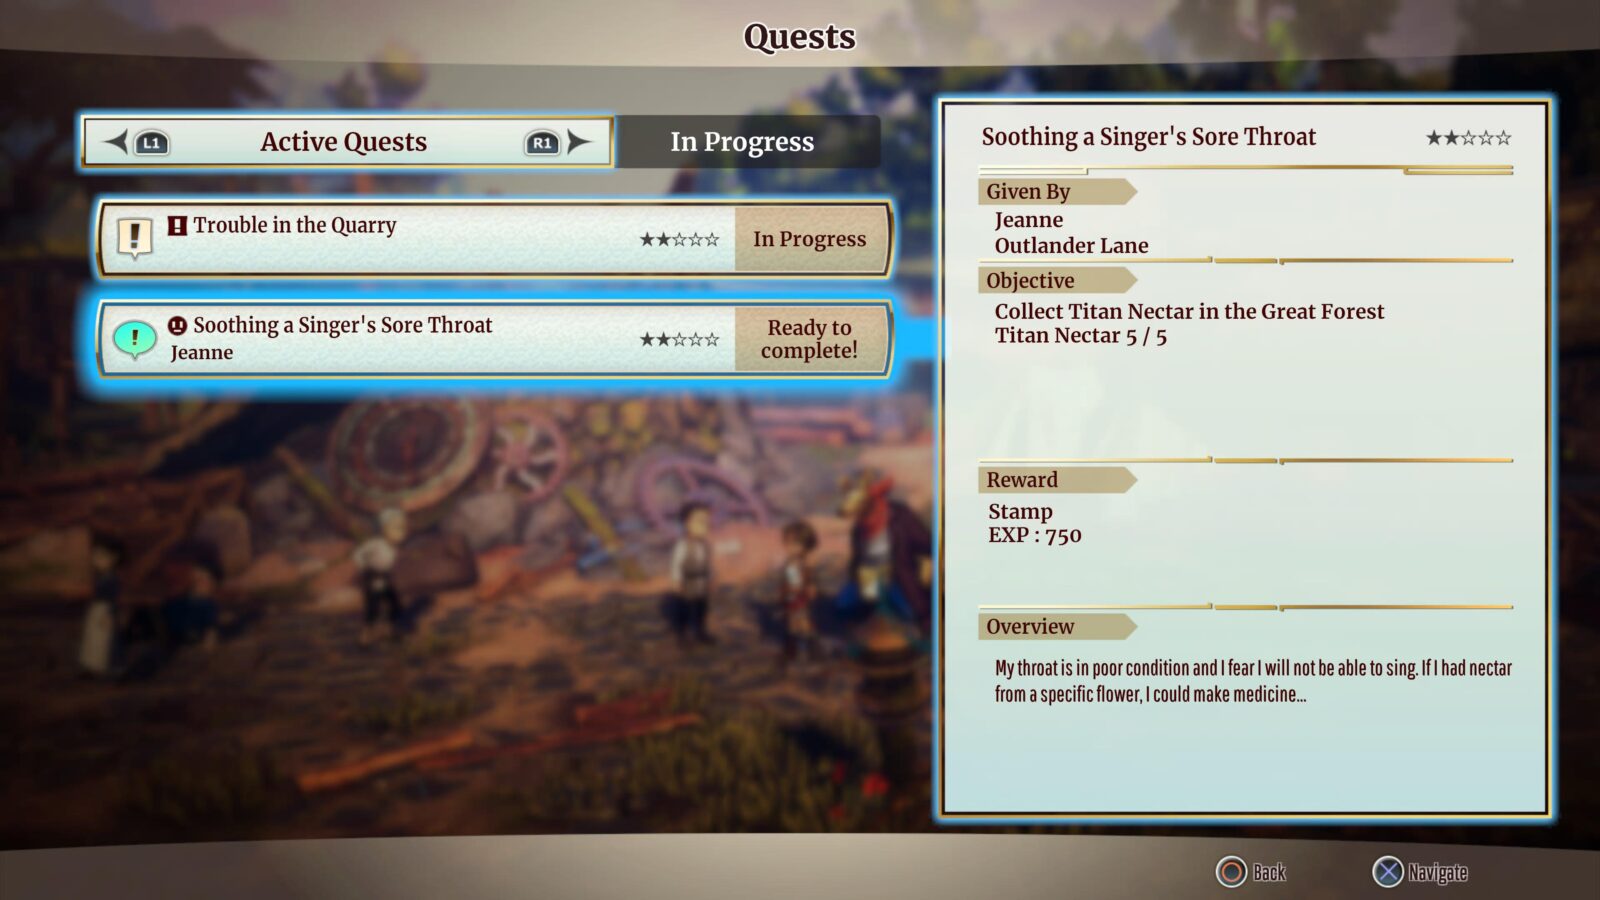
Complete the requirements of the Side Quest and return to the NPC to complete your first Side Quest and unlock the “The Road to Recovery” trophy.

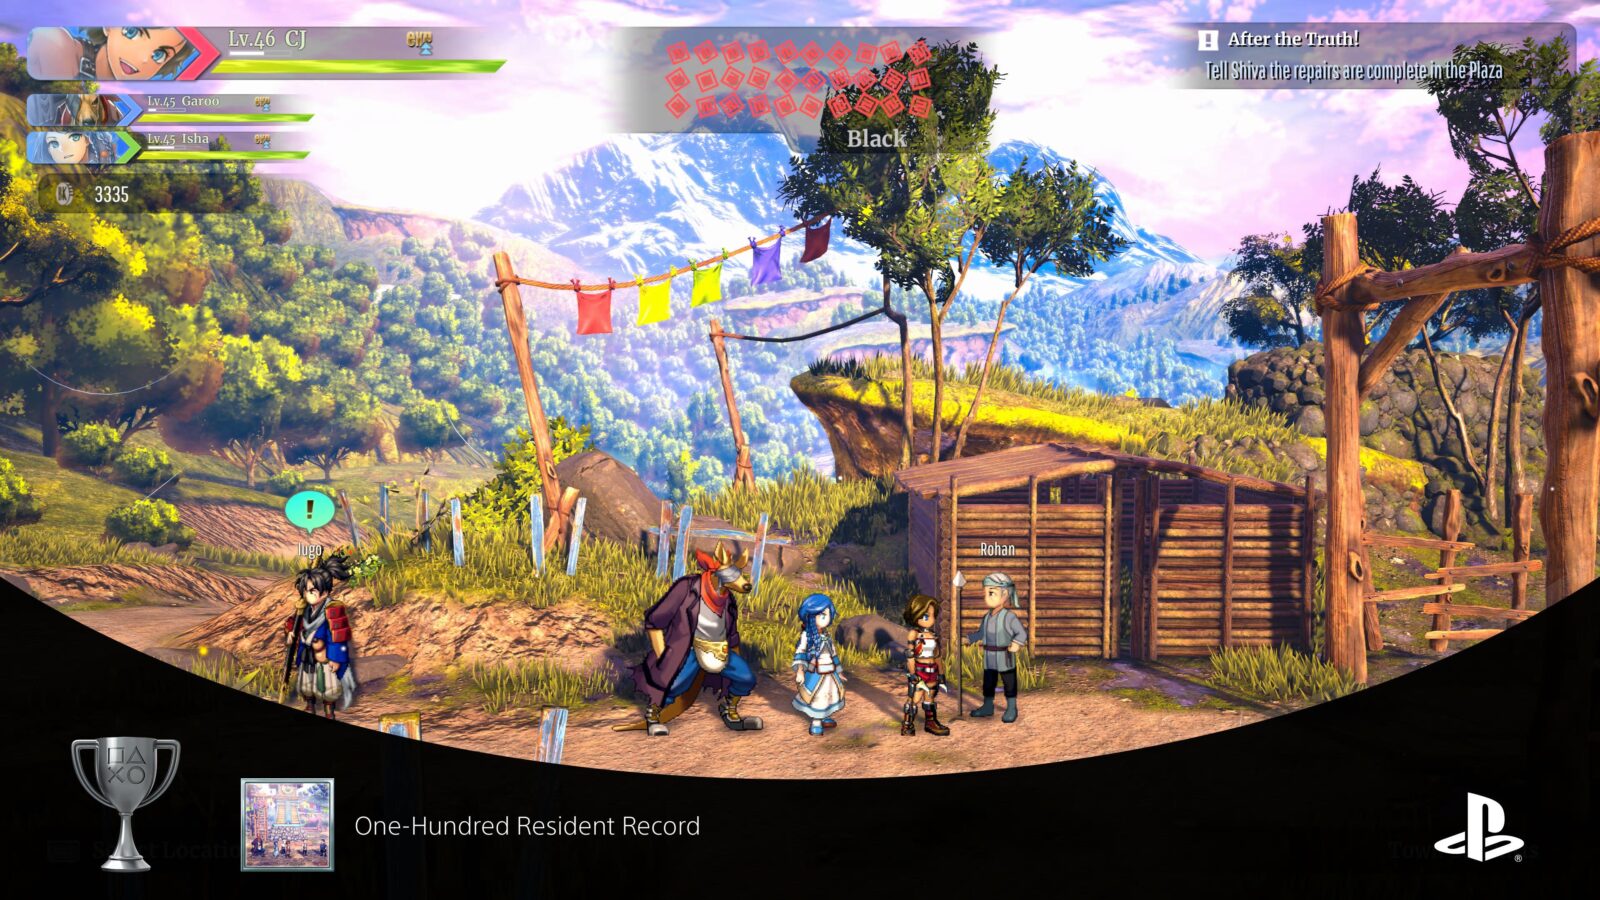
One-Hundred Resident Record
Cleared all resident quests
In order to unlock the “One-Hundred Resident Record,” you will need to complete every Side Quest in the game. That means completing the 160 you need to clear your Black Stamp Card.
You can check the Bulletin Board in the Plaza to see if there are any new Side Quests available and where they are. You can also press ![]() to open the map in town and see if there are any Side Quests indicated by blue “!” icons.
to open the map in town and see if there are any Side Quests indicated by blue “!” icons.
The Side Quests are all more or less just fetch quests, but they’re very quick and easy to complete, helping to keep the gameplay somewhat addictive.
When you complete the Black Stamp Card, several more Side Quests will become available. You don’t need to complete those for this trophy, which should be clear as the trophy will unlock at that point anyway.
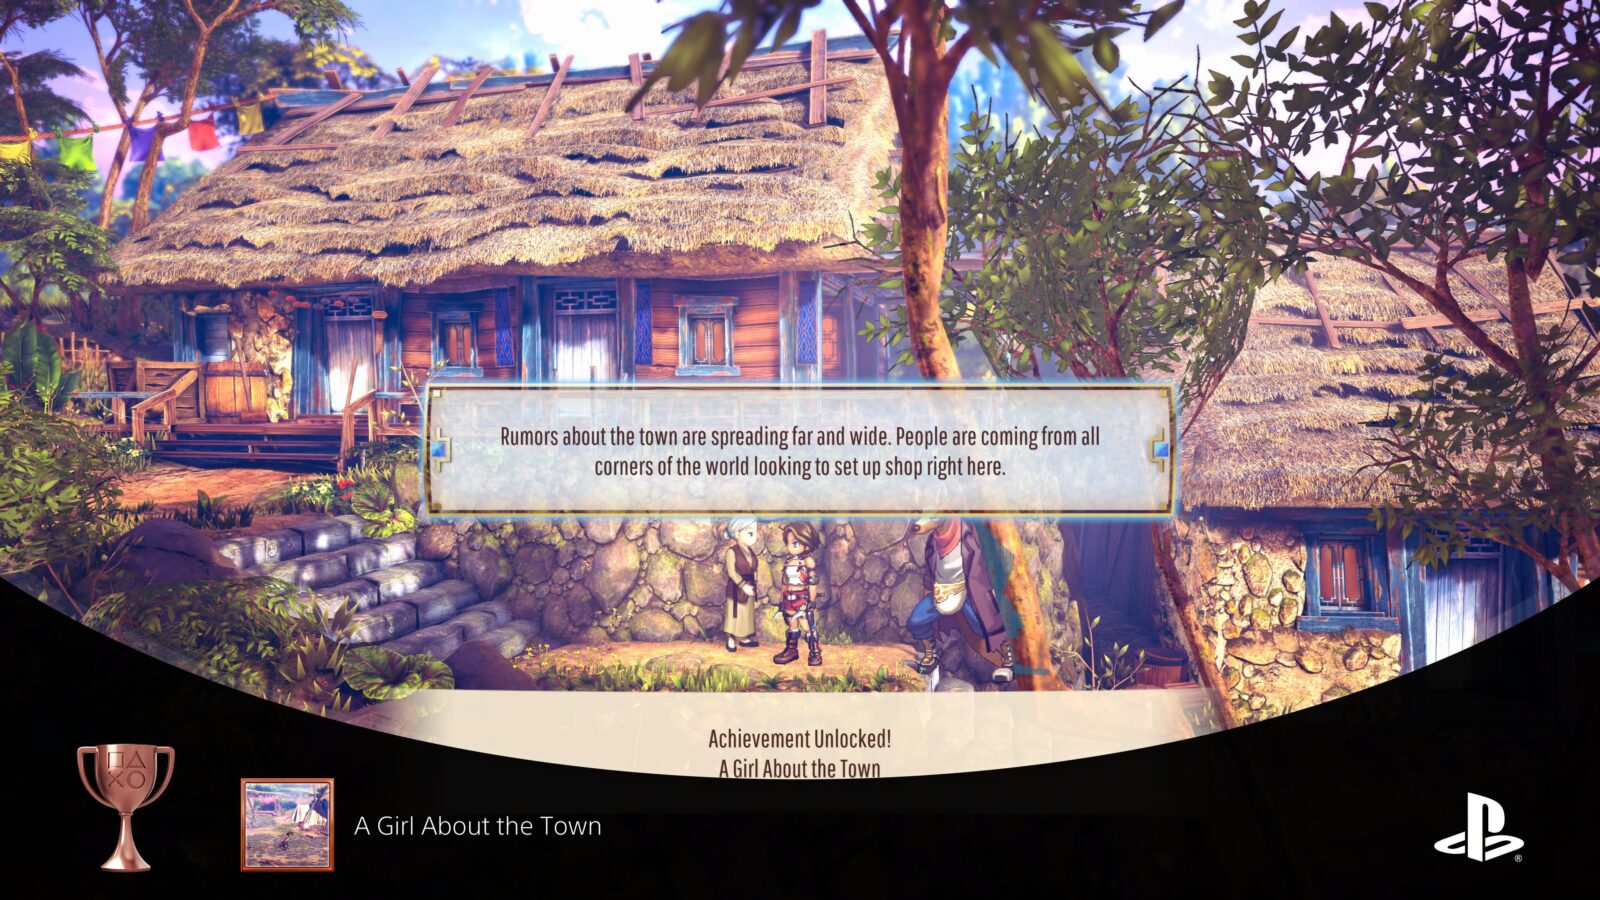
A Girl About the Town
Completed the silver stamp card
Early in the game, you will receive the Silver Stamp Card from the Acting Mayor. Everytime you complete a Resident Side Quest, a stamp will be added to your card.

To complete the Silver Stamp Card, and unlock the “A Girl About the Town” trophy, you will need to complete 30 Side Quests.
The Go-To Girl
Completed the gold stamp card
Once you have completed the Silver Stamp Card and unlocked the A Girl About the Town trophy, you will receive the Gold Stamp Card.
To complete the Gold Stamp Card, and unlock “The Go-To Girl” trophy, you will need to complete 50 more Side Quests for a total of 80 Quests completed.
The Pride of the Town
Completed the platinum stamp card
Once you have completed the Gold Stamp Card and unlocked The Go-To Girl trophy, you will receive the Platinum Stamp Card.
To complete the Platinum Stamp Card, and unlock the “The Pride of the Town” trophy, you will need to complete 50 more Side Quests for a total of 130 Quests completed.
A Local Hero
Completed the black stamp card
Once you have completed the Platinum Stamp Card and unlocked The Pride of the Town trophy, you will receive the Black Stamp Card.
To complete the Black Stamp Card, and unlock the “A Local Hero” trophy, you will need to complete 30 more Side Quests for a total of 160 Quests completed.

Character Level Trophies

Scavenger’s Honor
Brought CJ to level 30
Scavenger’s Honor will unlock when CJ, the main protagonist, reaches Level 30. You will earn exp for every Side Quest and Main Quest you complete, as well as every enemy you defeat.
You can actually increase the amount of exp you get from an enemy by juggling them after they’re dead. If you’re able to juggle their body in the air until it is destroyed, you’ll get around 2x as much exp.
That’s not really too necessary, though. If you’ve been completing Side Quests as you play and killing every monster you see, as we advised, then you’ll reach Level 30 with all three characters towards the end of the Main Story.
If you’re not quite there, you’ll definitely reach level 30 with all three characters while completing post-game content!

One Mean Merc
Brought Garoo to level 30
One Mean Merc will unlock when Garoo reaches Level 30. See Scavenger’s Honor for more info.


Adept, for an Acting Mayor
Brought Isha to level 30
Adept, for an Acting Mayor will unlock when Isha reaches Level 30. See Scavenger’s Honor for more info.


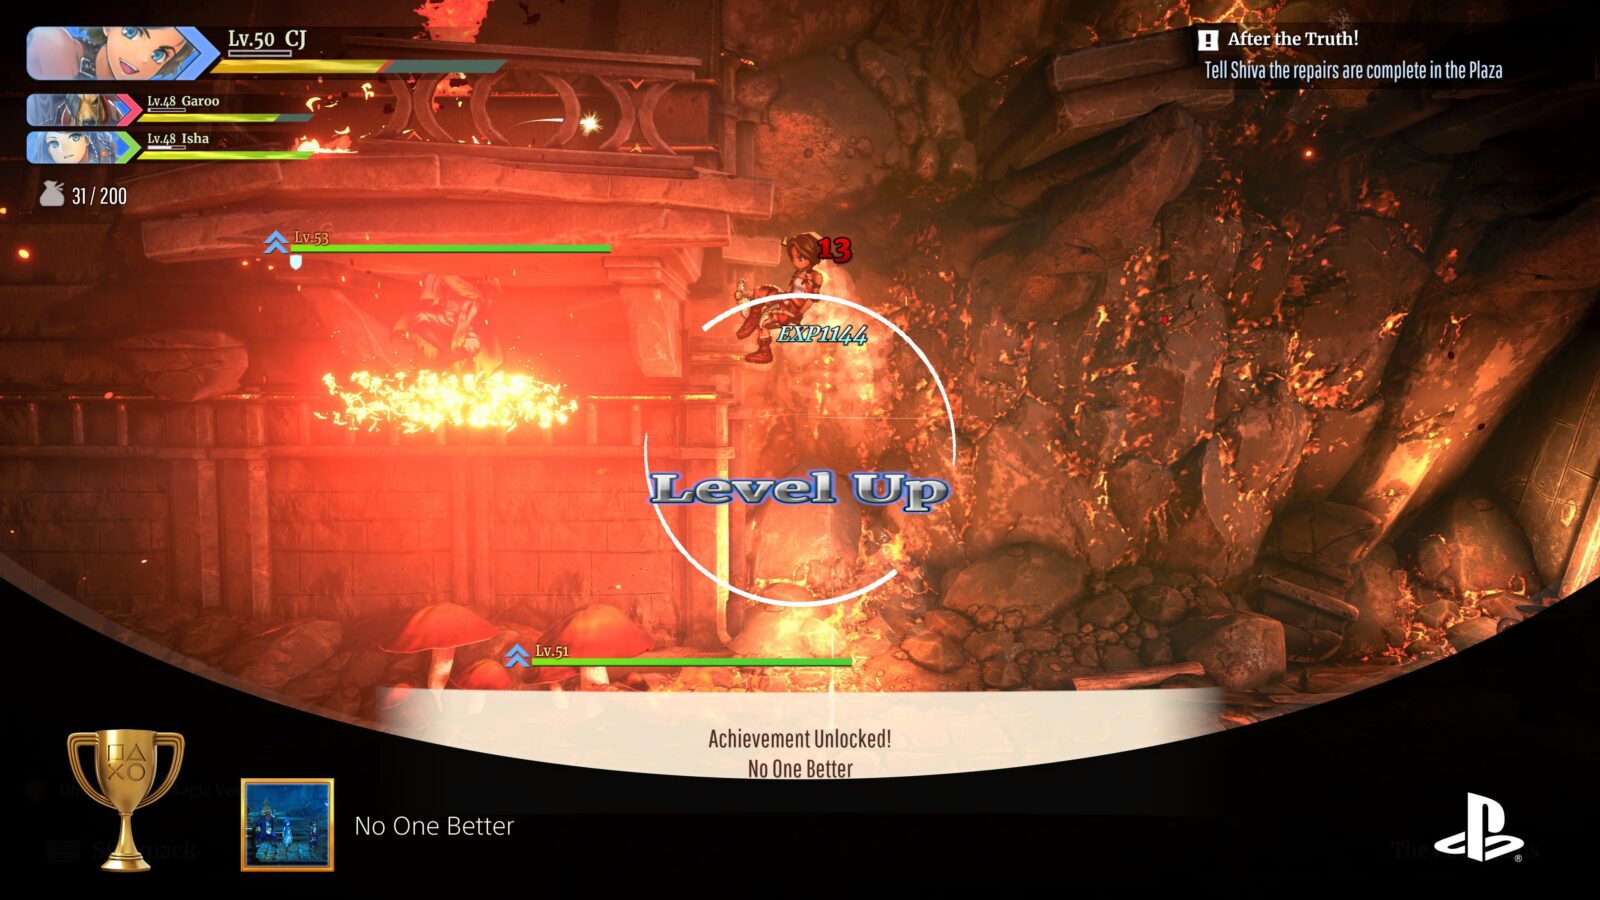
No One Better
Brought a character to level 50
After completing the story and all side-quests you should be between Level 30 and Level 40 depending on how much exploration and monster-killing you’ve done.
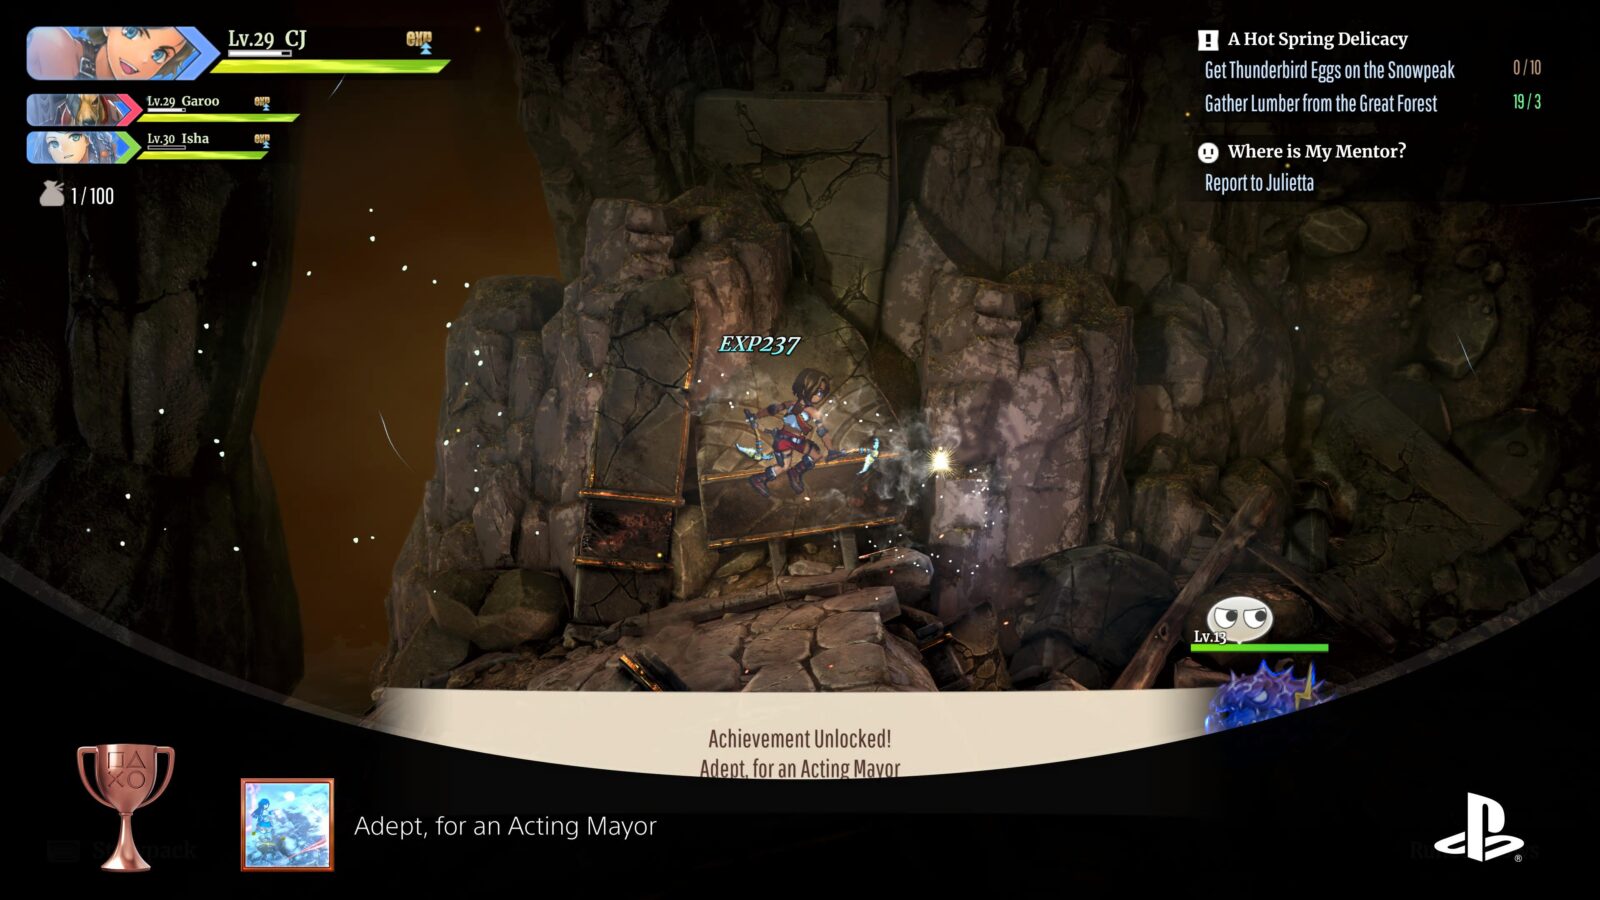
To reach Level 50 and unlock the “No One Better” trophy, you’ll need to farm some extra EXP. An easy way to do this, while playing on Hard Difficulty for extra EXP, is to continuously run the Great Forest and defeat the Hollow Plant boss each time.
You can equip a “Growth Pendant Lv. 5” which you get from Jashan for completing a Bagmaker Side Quest to boost your EXP gain by 15%.
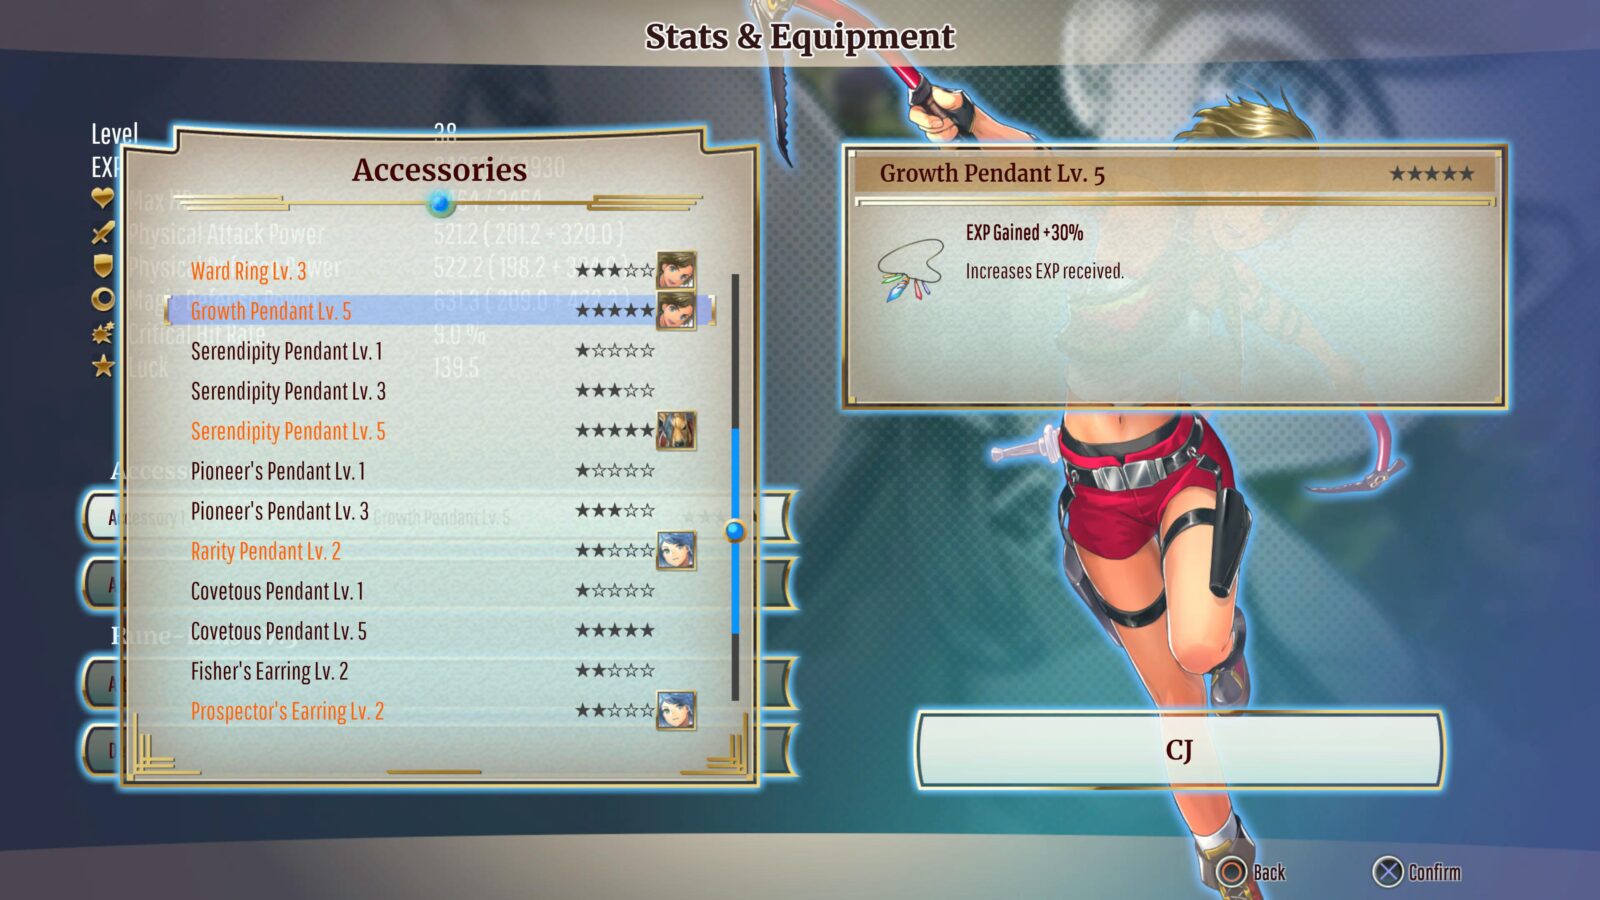
You can also use the Inn to purchase a “Nurturing Springs” bath, which will increase your EXP gain by up to 20%.
Another good way to earn extra EXP is to complete all of the Side Quest replays that appear when your Black Stamp Card is complete.
Gear and Equipment Trophies
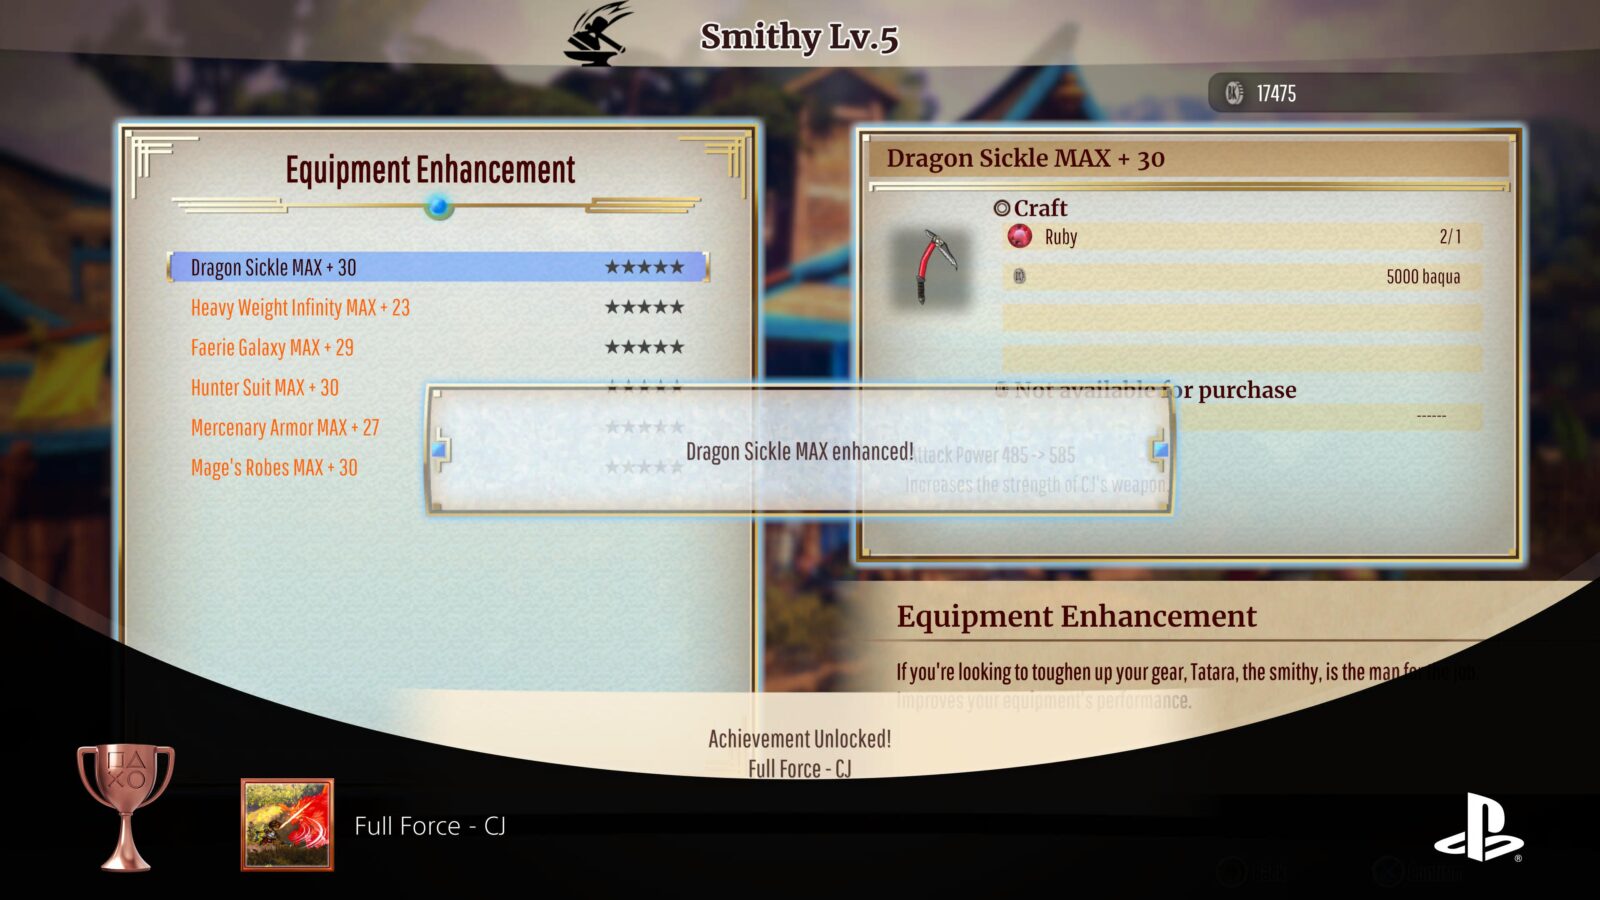
Full Force – CJ
Fully enhanced CJ’s weapon and armor
You will unlock the Smithy town facility during Main Story Mission 5. Once available, you can visit the Smithy to upgrade your gear. By completing Side Quests for the store owner throughout the story, you can eventually fully upgrade the Smithy, giving you full access to the maximum possible armor and weapon improvements for all three characters.

To buy a weapon or armor improvement, you will need the resources listed under “Craft” in the Smithy, as well as the specified amount of baqua.
In order to unlock the “Full Force – CJ” trophy, you will need to purchase all of the available upgrades for CJ’s weapon and the Hunter Suit. Once you have purchased the “+30” version of both pieces of gear, the trophy will unlock.

Full Force – Garoo
Fully enhanced Garoo’s weapon and armor
In order to unlock the “Full Force – Garoo” trophy, you will need to purchase all of the available upgrades for Garoo’s weapon and the Mercenary Armor. Once you have purchased the “+30” version of both pieces of gear, the trophy will unlock.
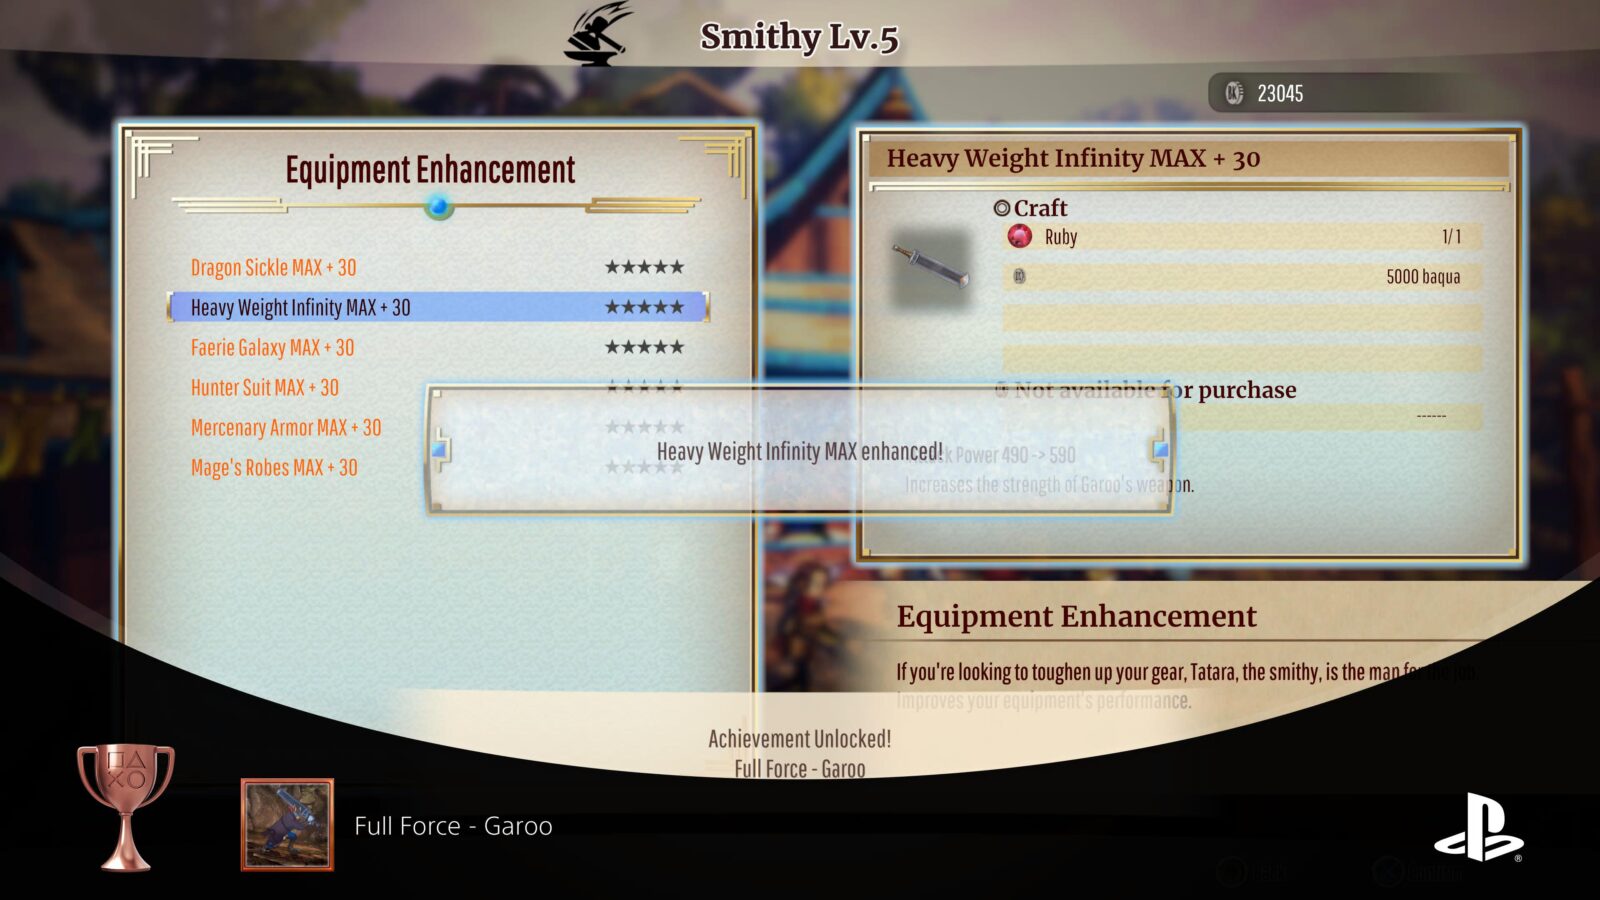
See Full Force – CJ for more info about Smithy Improvements.

Full Force – Isha
Fully enhanced Isha’s weapon and armor
In order to unlock the “Full Force – Isha” trophy, you will need to purchase all of the available upgrades for Isha’s weapon and the Mages Robes. Once you have purchased the “+30” version of both pieces of gear, the trophy will unlock.
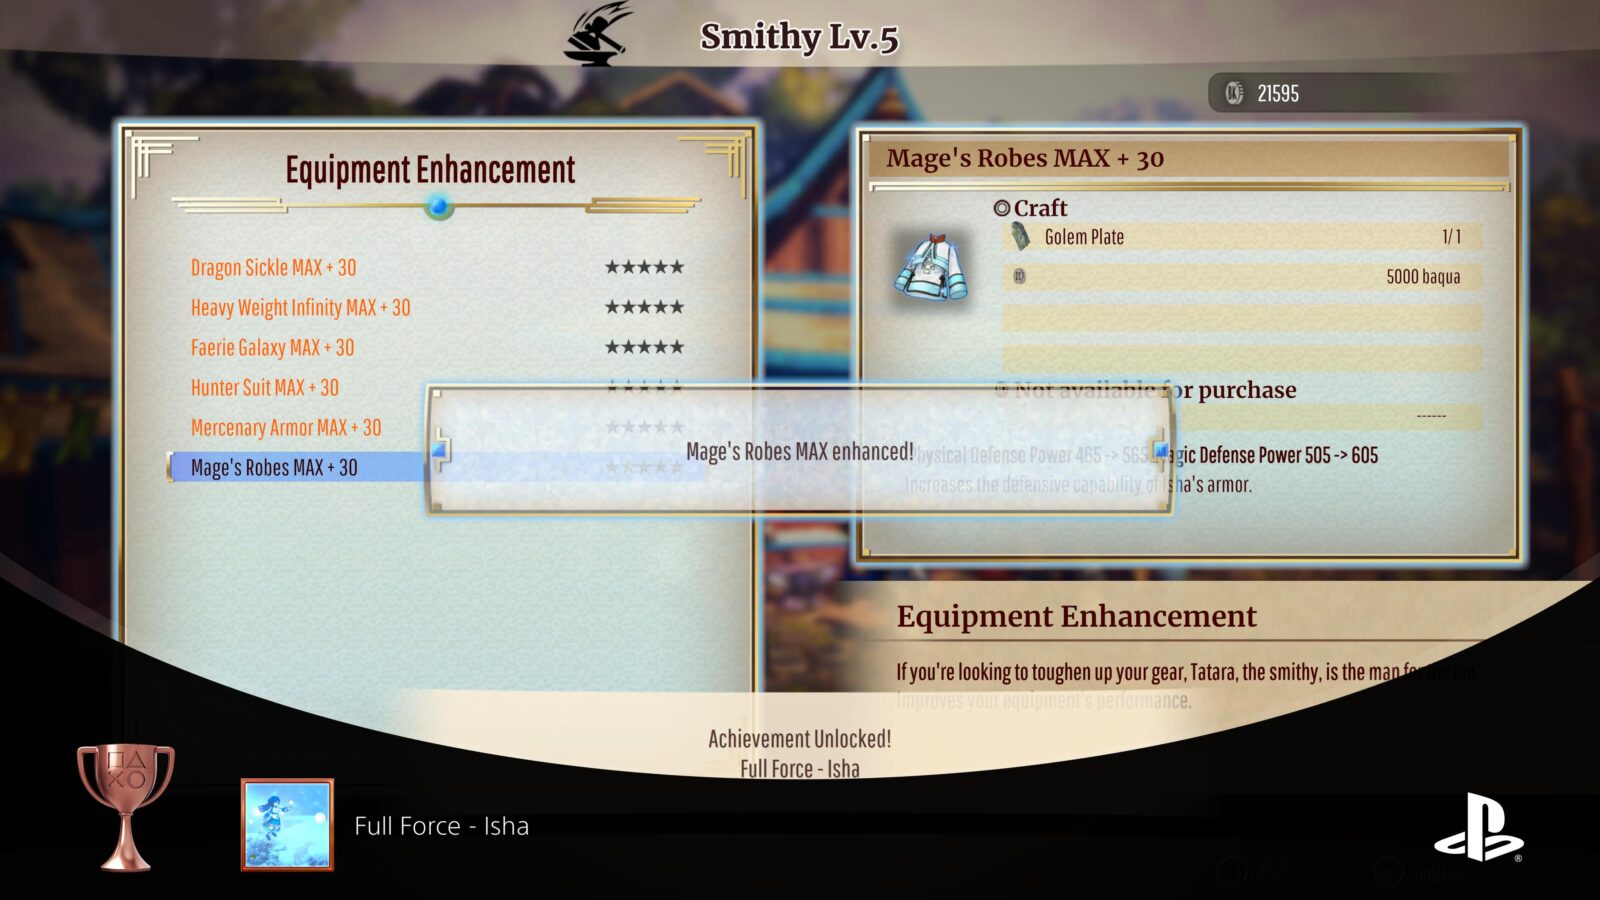
See Full Force – CJ for more info about Smithy Improvements.
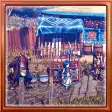
Arms Master
Brought all party members’ weapons to their max. level
You will unlock the Weapon Shop town facility during Main Story Mission 6. Once available, you can visit the Armor Shop to upgrade your weapons. By completing Side Quests for the store owner throughout the story, you can eventually fully upgrade the Weapon Shop.
Once the Weapon Shop is fully upgraded, you’ll have access to the maximum possible weapon upgrades for all three characters.
To buy a weapon upgrade, you will need the resources listed under “Craft” in the store, as well as the specified amount of baqua.
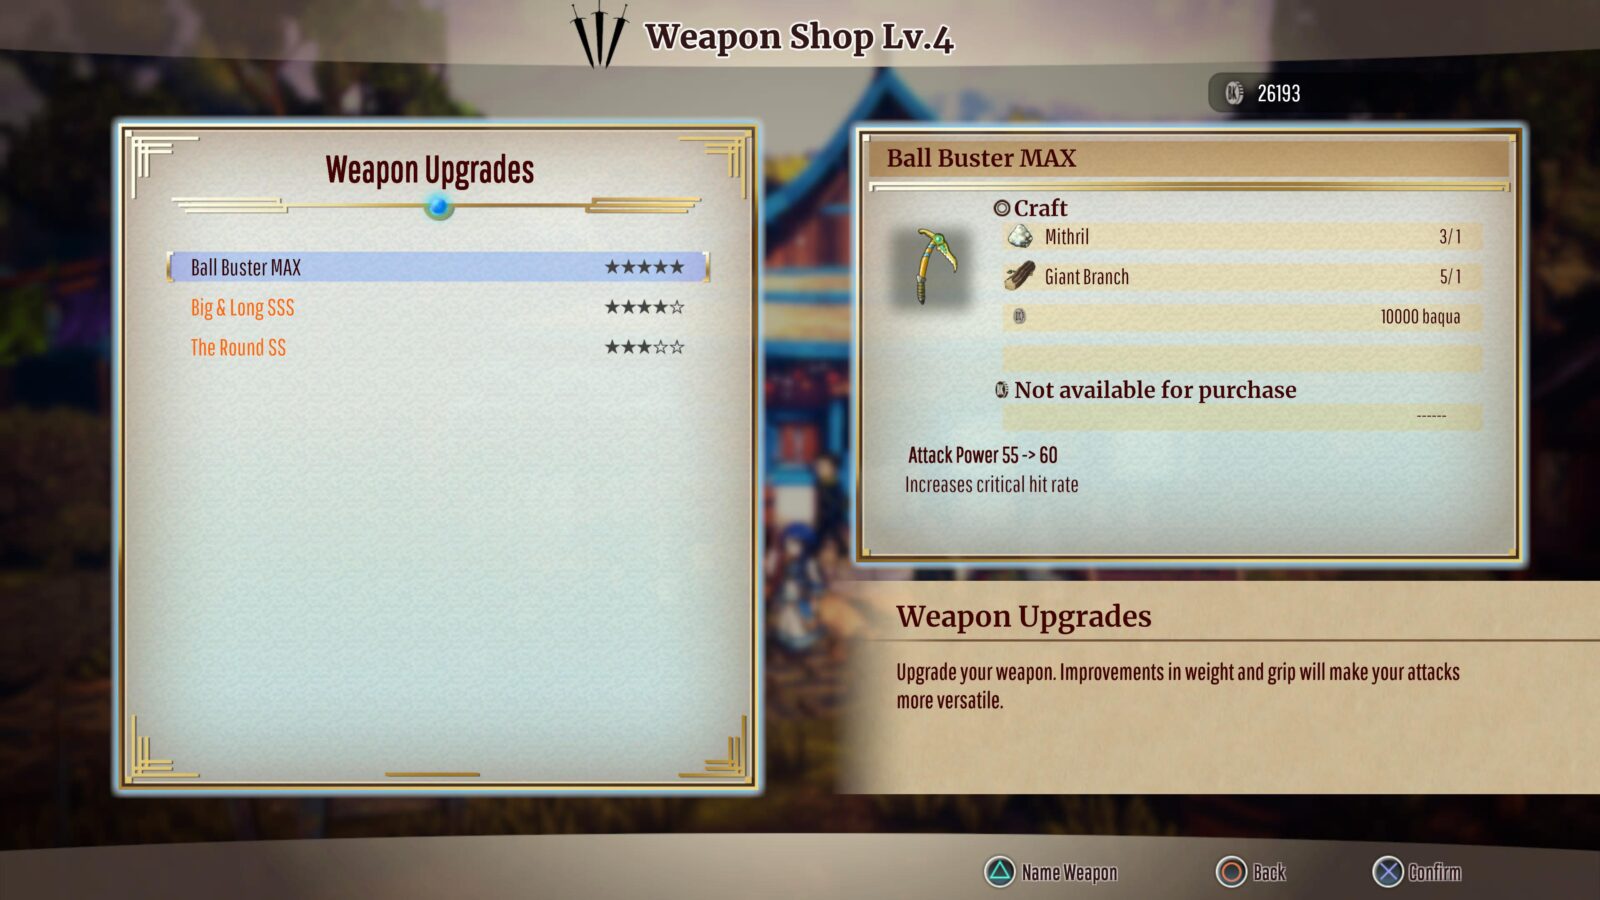
In order to unlock the “Arms Master” trophy, you will need to fully upgrade CJ, Garro, and Isha’s weapons. Once you have purchased the “MAX” version of all three weapons, the trophy will unlock.
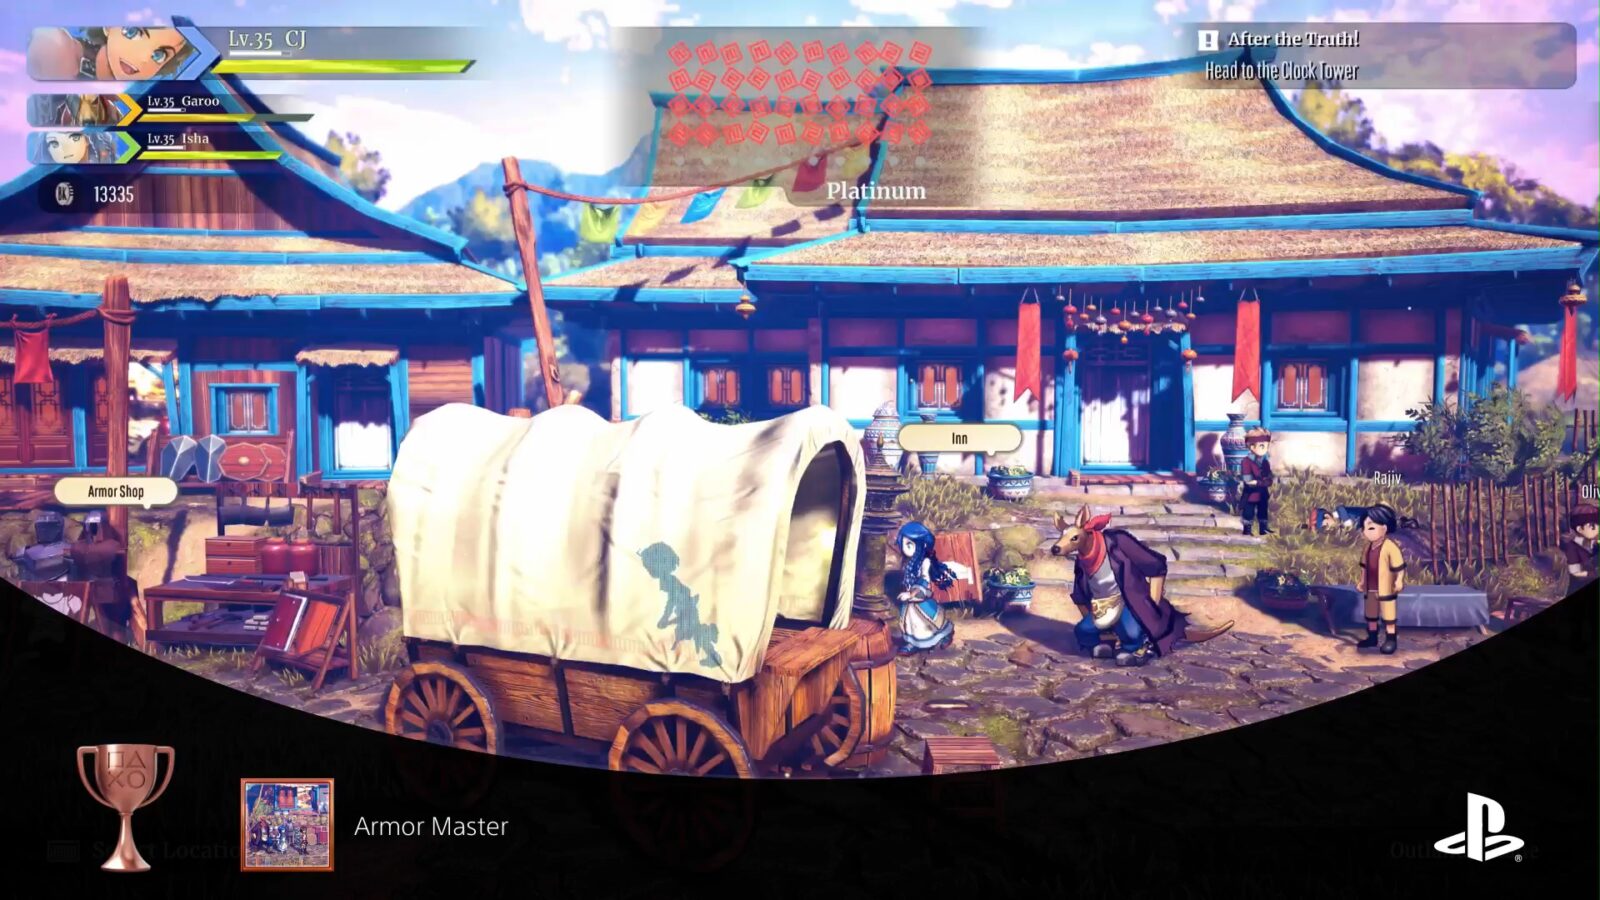
Armor Master
Brought all party members’ armor to its max. level
You will unlock the Armor Shop town facility during Main Story Mission 6. Once available, you can visit the Armor Shop to upgrade your gear. By completing Side Quests for the store owner throughout the story, you can eventually fully upgrade the Armor Shop.
Once the Armor Shop is fully upgraded, you’ll have access to the maximum possible armor upgrades for all three characters.
To buy an armor upgrade, you will need the resources listed under “Craft” in the store, as well as the specified amount of baqua.
In order to unlock the “Armor Master” trophy, you will need to fully upgrade the Hunter Suit, Mercenary Armor, and Mage’s Robes. Once you have purchased the “MAX” version of all three armor sets, the trophy will unlock.
Town Facility Trophies
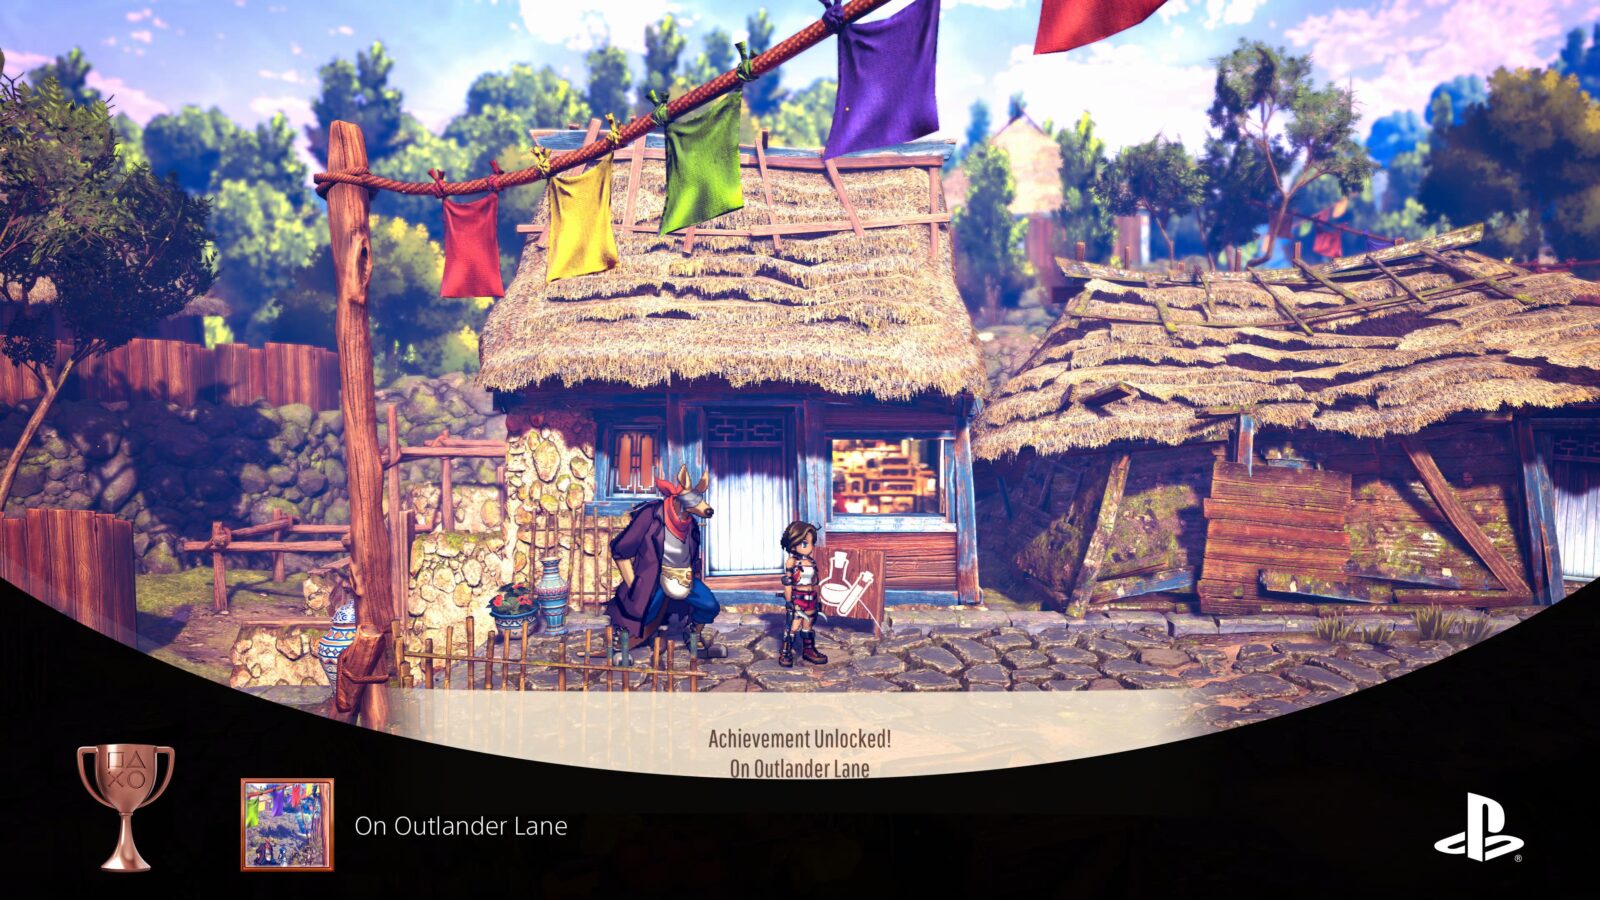
On Outlander Lane
Used town facilities 10 times
There are various facilities available to you throughout the game, such as the Inn, the Tavern, the Weapon & Armor Shops, and the Apothecary.
To unlock the “On Outlander Lane” trophy you will need to use any of these facilities in any combination a total of 10 cumulative times. This is highly likely to occur naturally throughout the game as the facilities are indeed very useful.

New Nevaeh’s Number One Customer
Used all town facilities
The “New Nevaeh’s Number One Customer” can’t be completed until all Town Facilities have been unlocked. Once done, you will need to purchase or craft at least one item at each of the available Town Facilities.
Please use the table below to track which facilities are available and where you’ll find them:
| Facility | Location |
|---|---|
| Tavern | Outlander Lane |
| Smithy | Outlander Lane |
| Weapon Shop | Outlander Lane |
| Armor Shop | Outlander Lane |
| Inn | Outlander Lane |
| Accessory Shop | Second Street |
| Apothecary | Second Street |
| Pawnshop | Second Street |
| Trading Post | Second Street |
| Bagmaker | The Rune Quarter |
| Rune Shop | The Rune Quarter |
| Lens Forge | The Rune Quarter |
| Farm | Farm |
| Pasturage | Pasturage |
Use all of them just once to unlock the trophy.


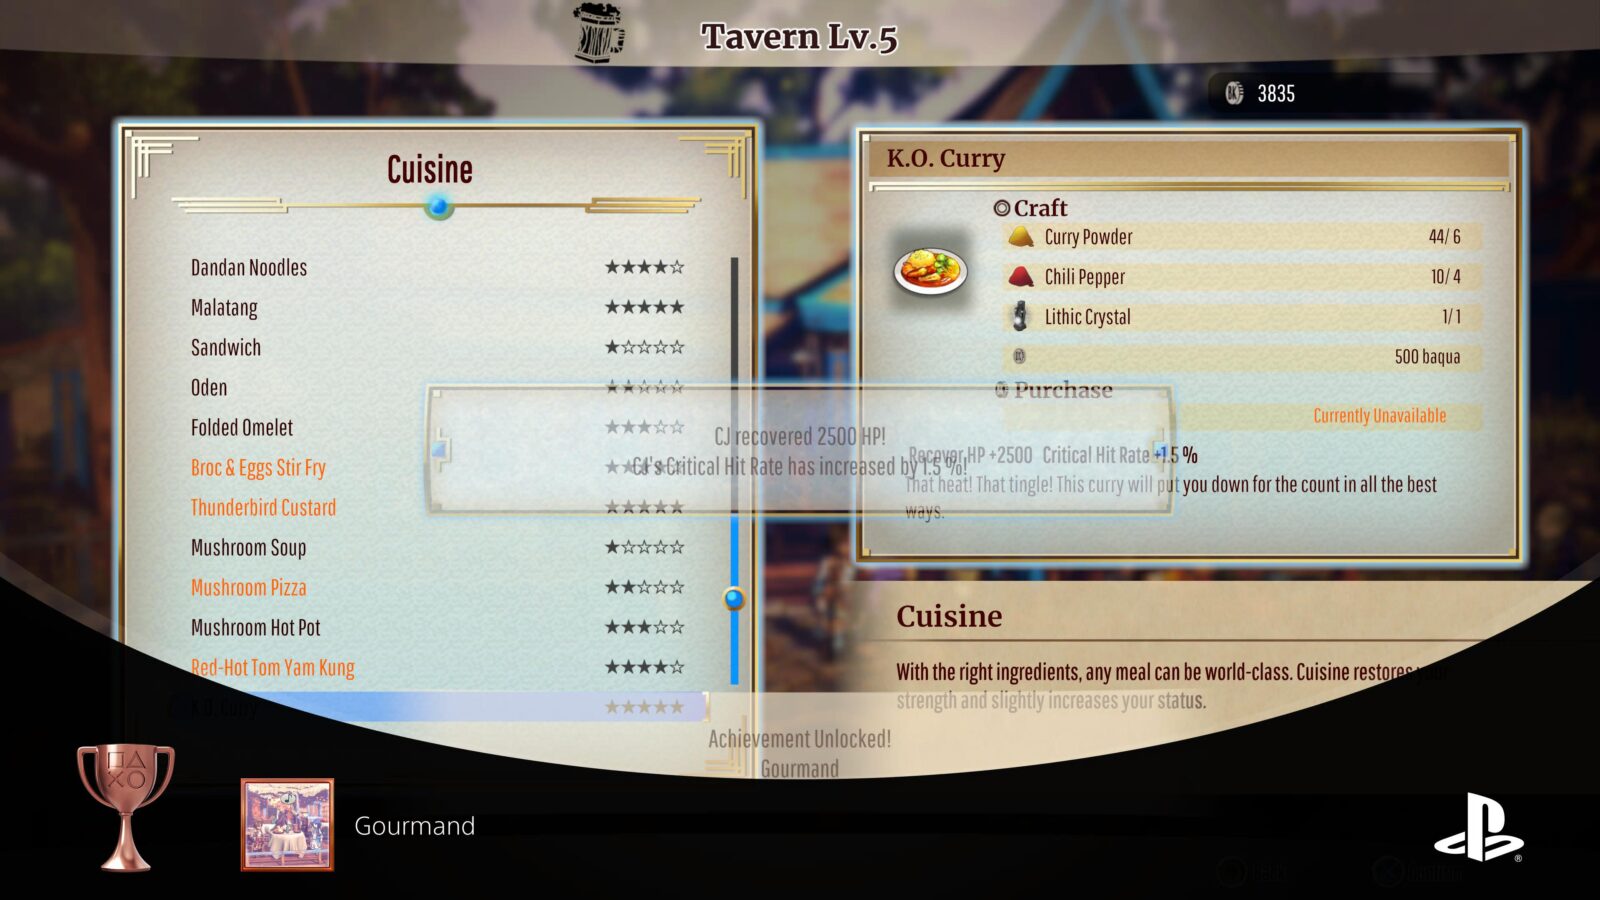
Gourmand
Ate max. level cuisine
For the Gourmand trophy, you will need to first fully upgrade the Tavern on Outlander Lane. When it is fully upgraded, you will be able to craft and/or purchase meals of Level 5 quality.
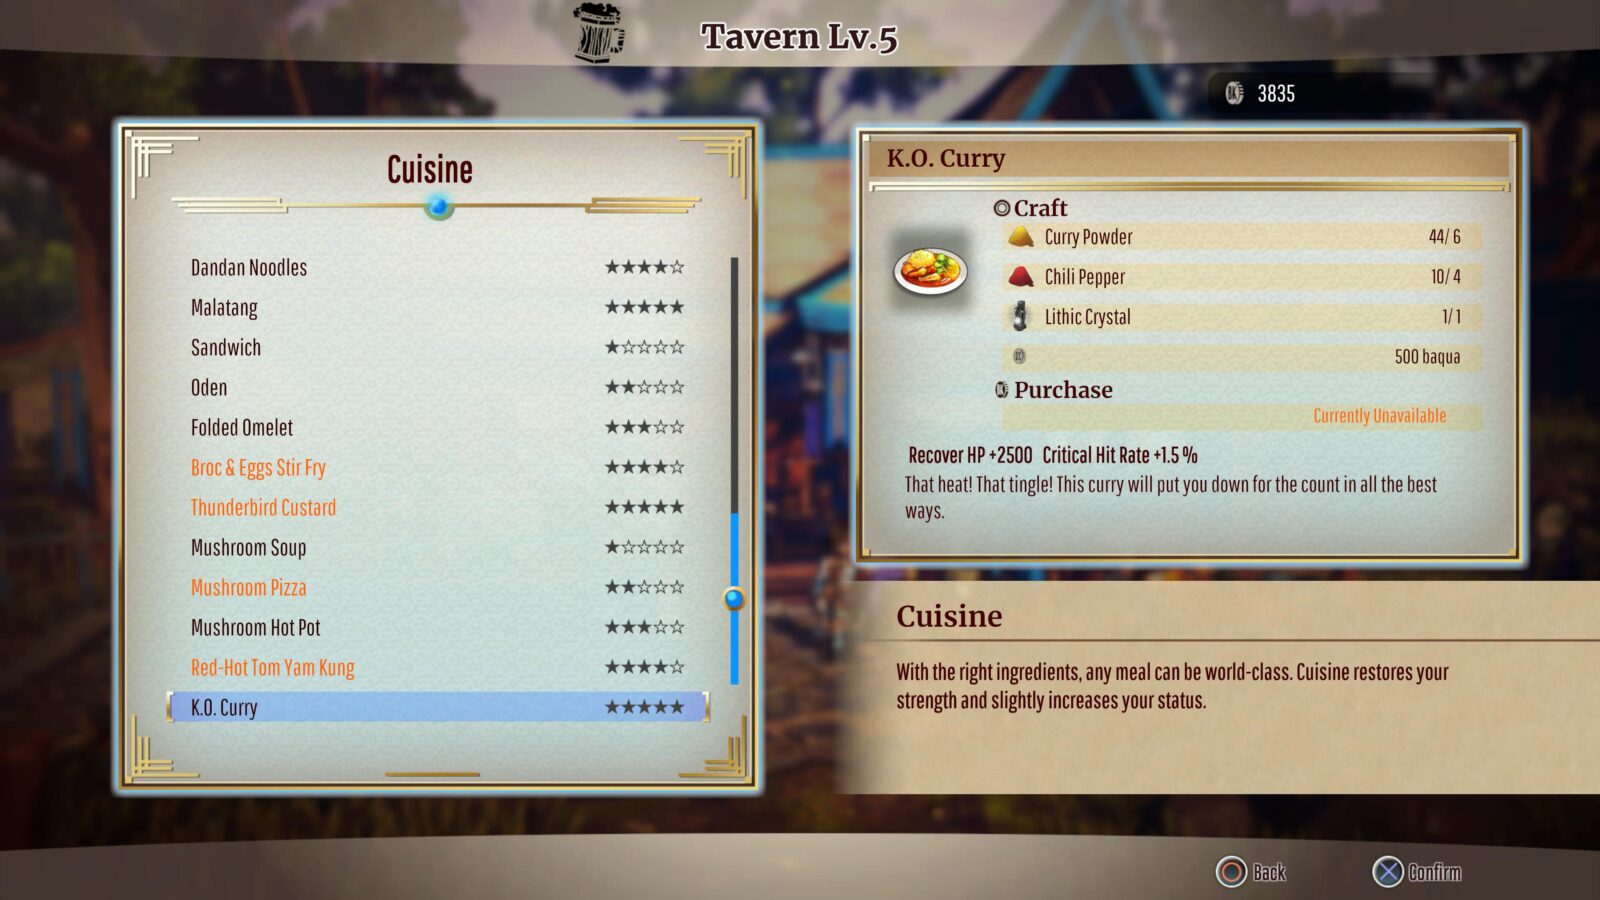
Craft a Level 5 recipe of any type (i.e. K.O. Curry) at the Tavern for the first time and the Gourmand trophy will unlock.
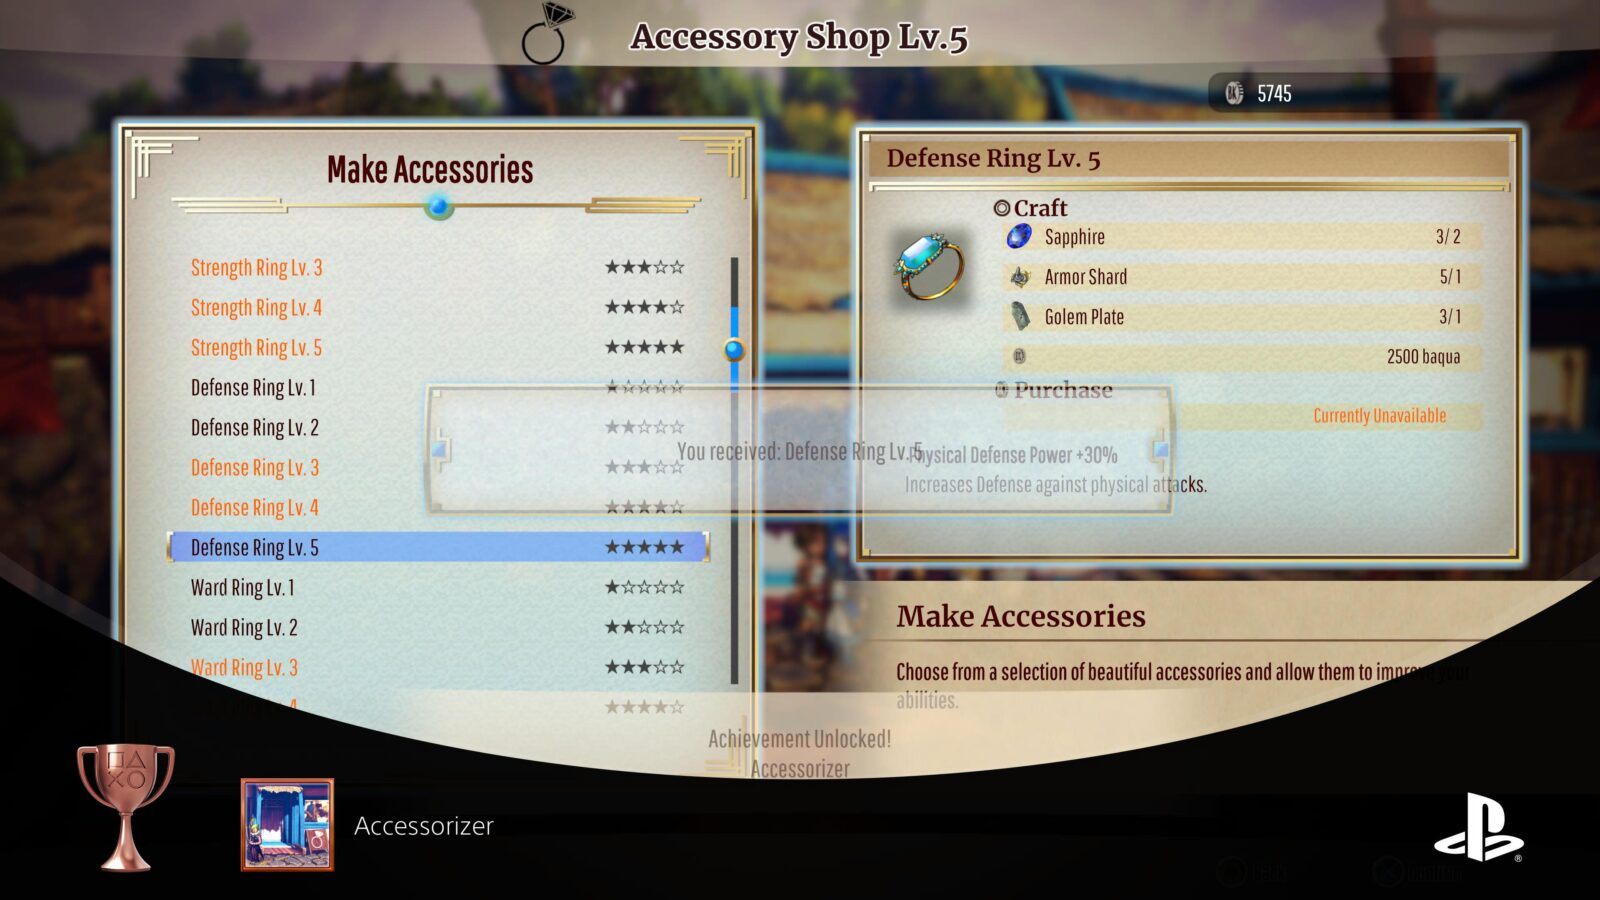
Accessorizer
Created a max. level accessory
For the Accessorizer trophy, you will need to first fully upgrade the Accessory Shop on Second Street. When it is fully upgraded, you will be able to craft and/or purchase accessories of Level 5 quality.
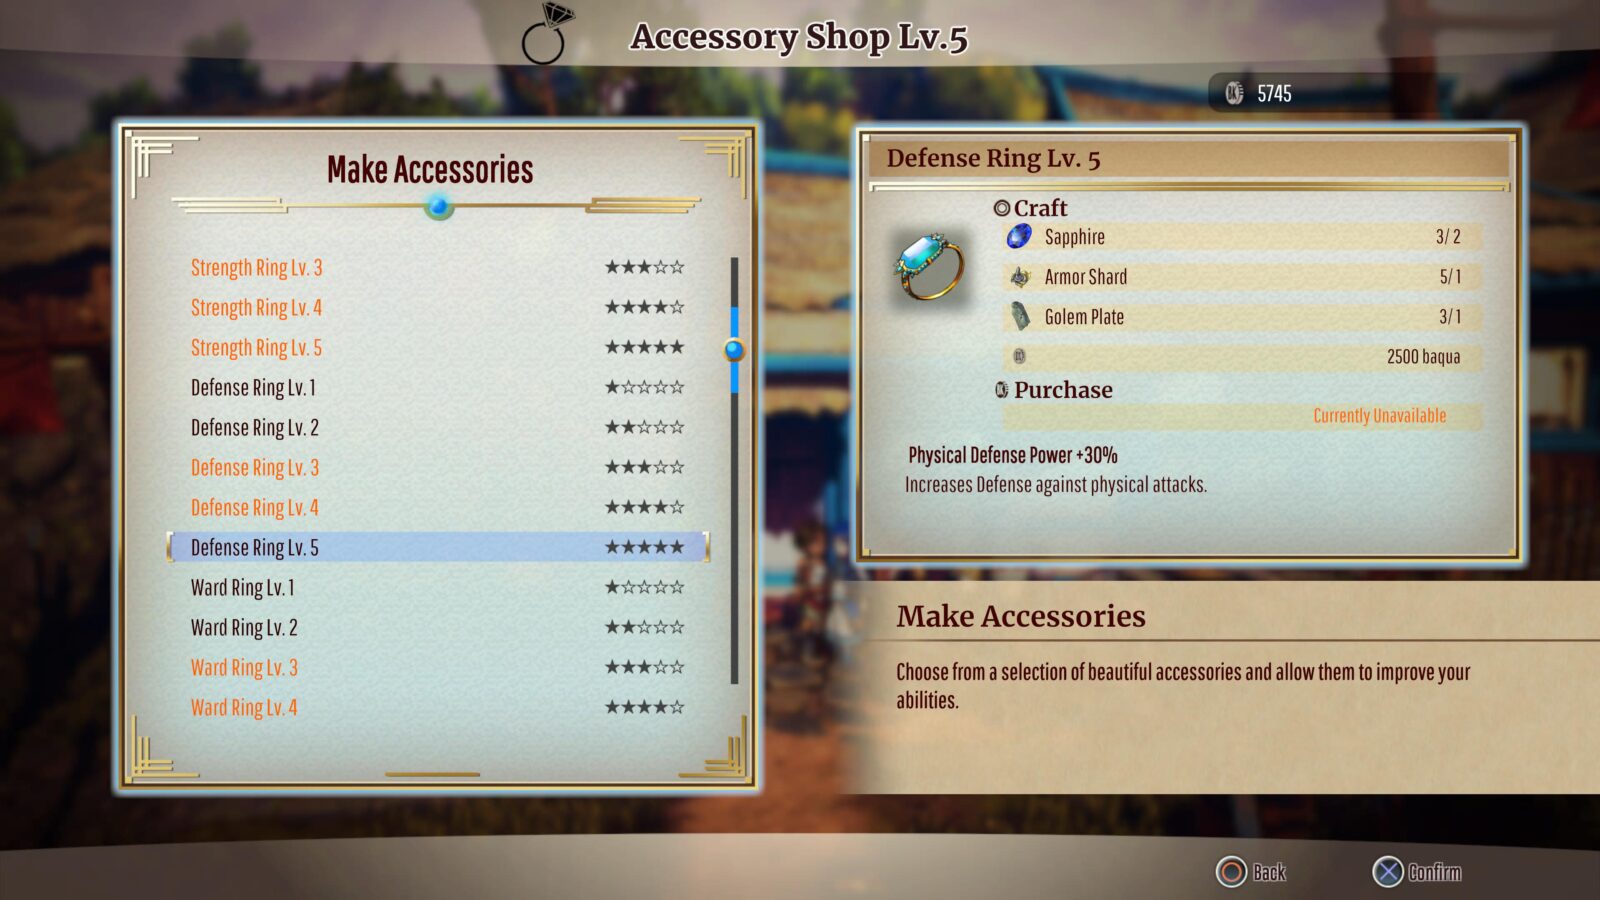
Craft a Level 5 accessory of any type (i.e. Defense Ring Lv. 5) at the Accessory Shop for the first time and the Accessorizer trophy will unlock.
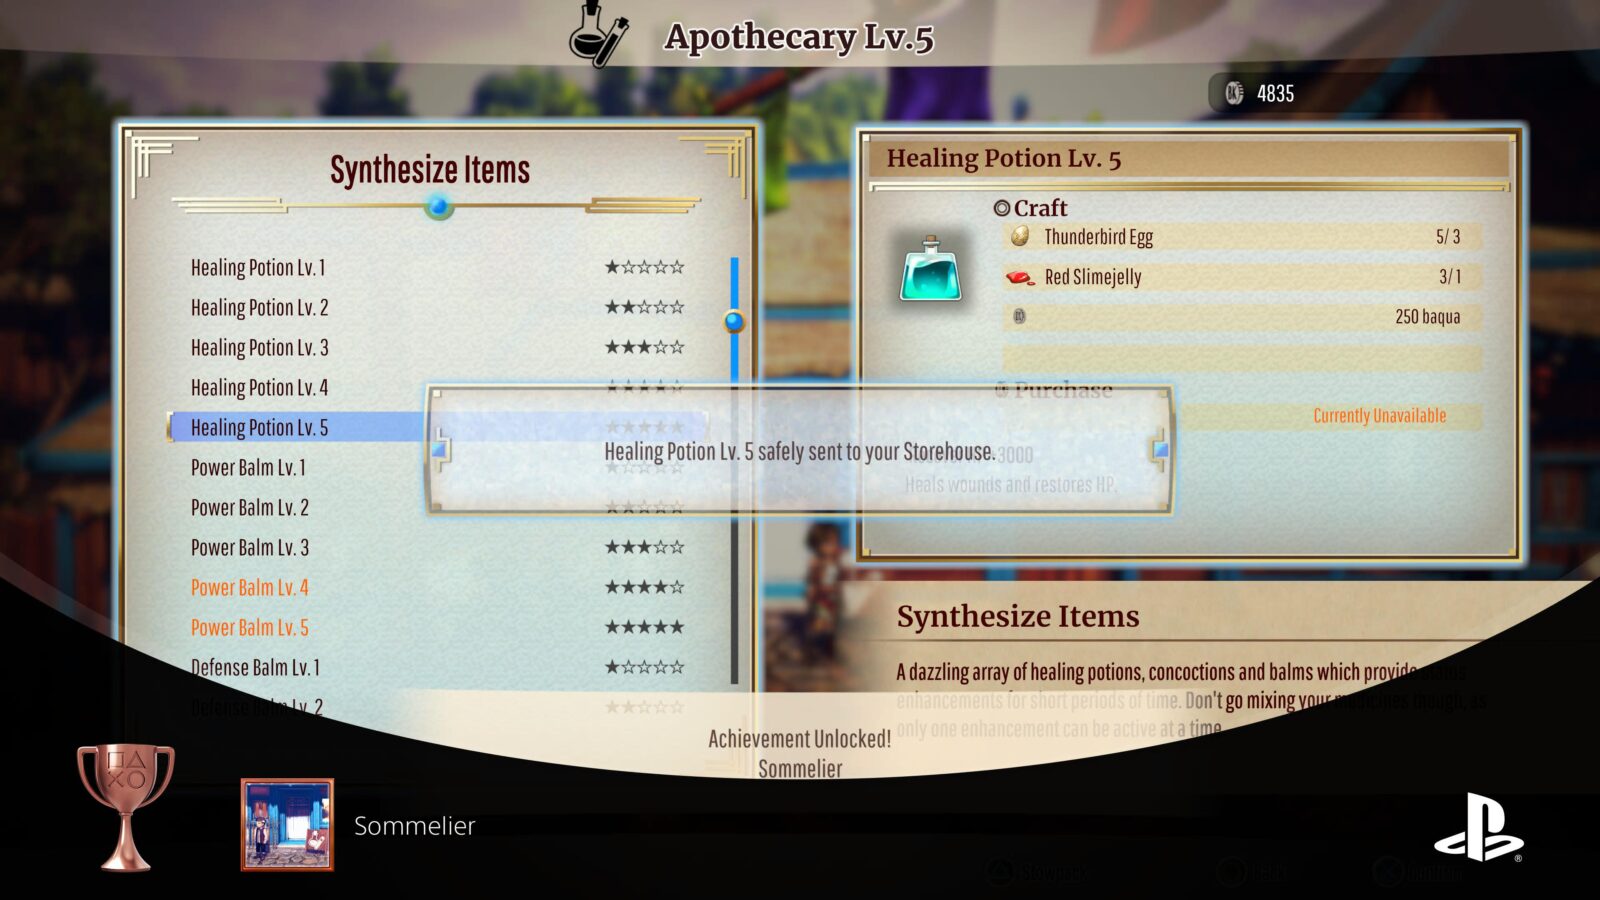
Sommelier
Obtained max. level a consumable
For the Sommelier trophy, you will need to first fully upgrade the Apothecary on Second Street. When it is fully upgraded, you will be able to craft and/or purchase potions of Level 5 potency.

Craft a Level 5 potion of any type (i.e. Healing Potion Lv. 5) at the Apothecary for the first time and the Sommelier trophy will unlock.
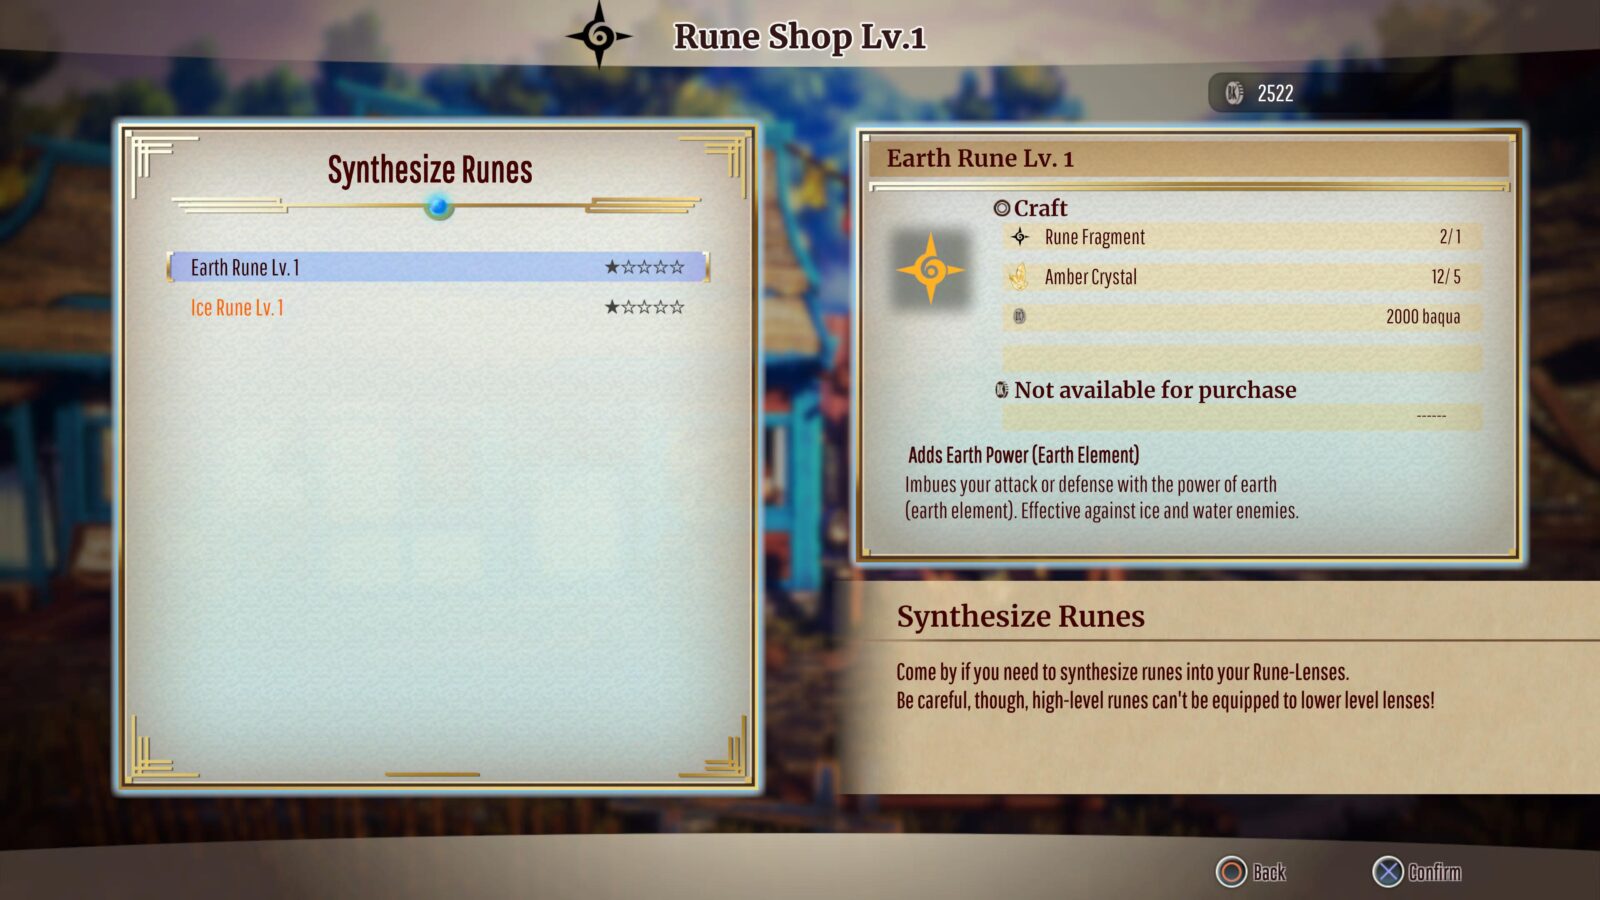
Rune Scholar
Created a max. level rune
For the Rune Scholar trophy, you will need to first fully upgrade the Rune Shop in the Rune Quarter. When it is fully upgraded, you will be able to craft and/or purchase Runes of Level 3 potency.
Craft a Level 3 Rune of any type (i.e. Lightning Rune Lv. 3) at the Rune Shop for the first time and the Rune Scholar trophy will unlock.

Exploration Trophies

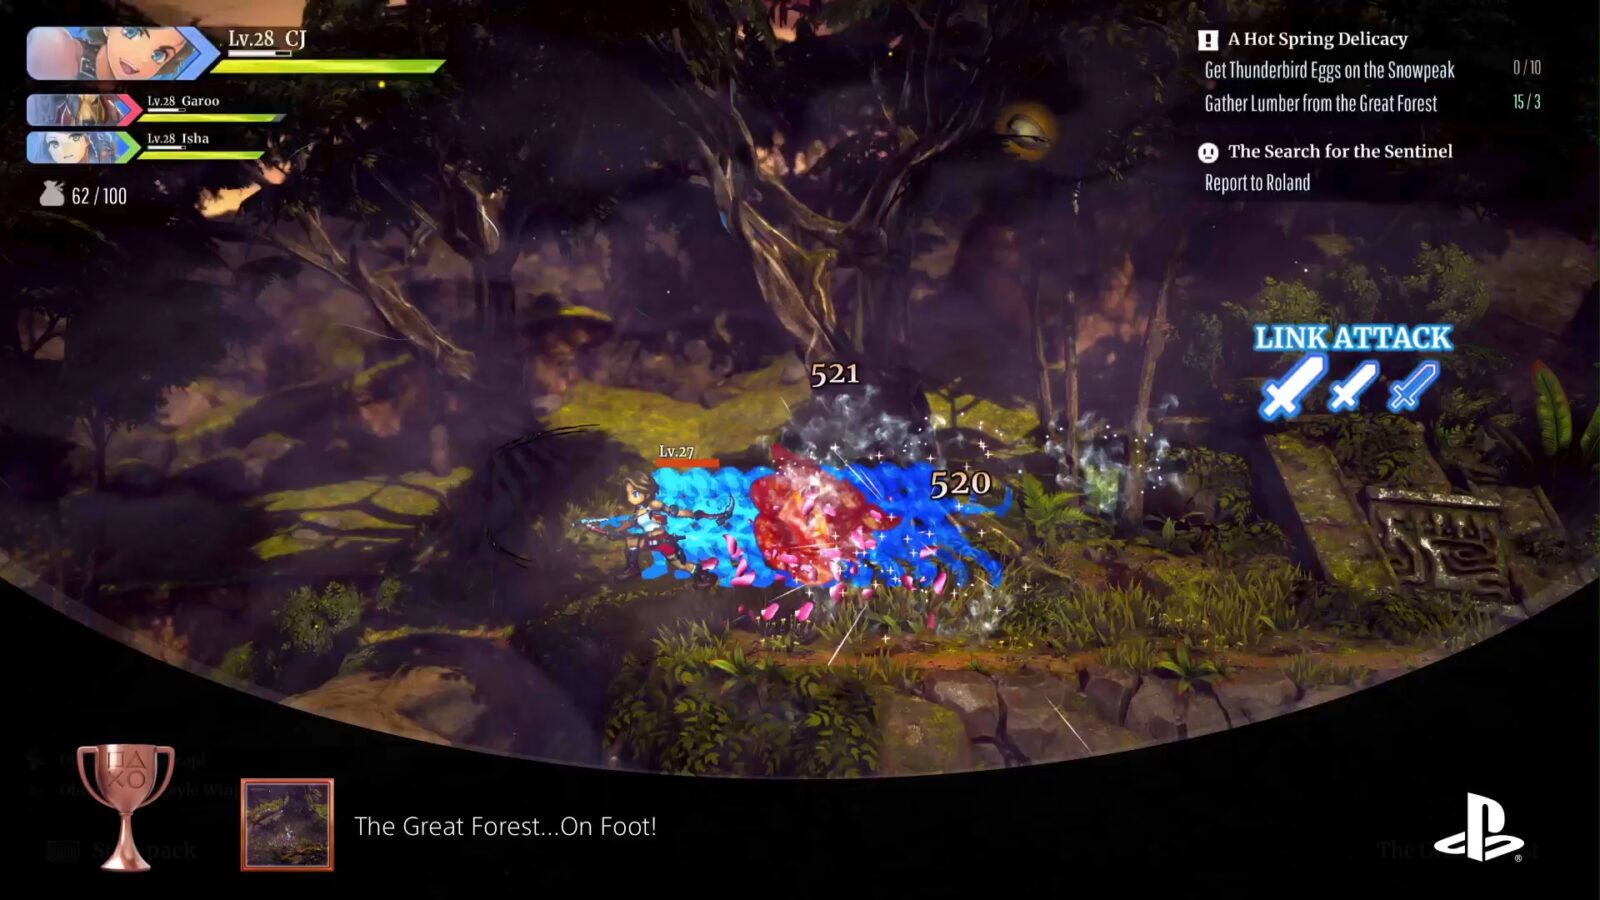
The Great Forest…On Foot!
Explored every area in the Great Forest
As soon as you have access to all four Rune-Lens elements (Fire, Ice, Earth, and Lightning) you will have everything you need to visit every possible area of The Great Forest.
You will only end up visiting a large portion of the map for the story and so will have to return on your own time to discover the few remaining areas.
You can press ![]() to open a map and use that as a reference for which areas you have and have not visited.
to open a map and use that as a reference for which areas you have and have not visited.

Once you have seen every possible area in the Great Forest the “The Great Forest…On Foot!” trophy will unlock!

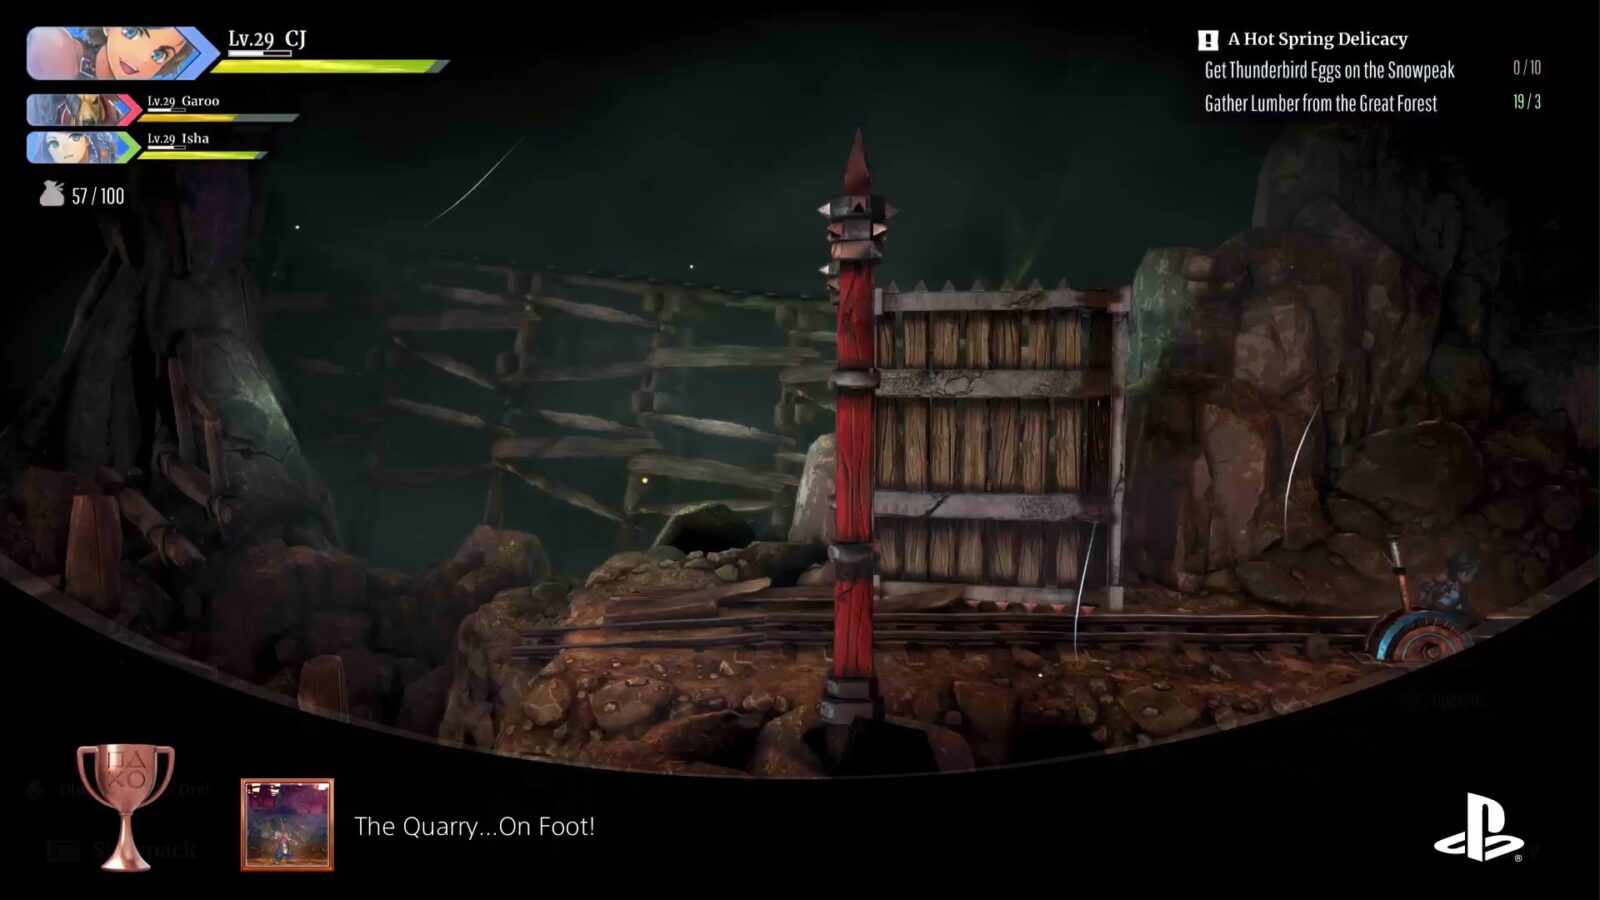
The Quarry…On Foot!
Explored every area in the Quarry
As with other trophies of this type, as soon as you have access to all four Rune-Lens elements (Fire, Ice, Earth, and Lightning) you will have everything you need to visit every possible area of The Quarry.
You will end up visiting a large portion of the map for the story but will still have to return on your own time to discover the few remaining areas.
You can press ![]() to open a map and use that as a reference for which areas you have and have not visited.
to open a map and use that as a reference for which areas you have and have not visited.
Once you have seen every possible area in the Quarry the “The Quarry…On Foot!” trophy will unlock!
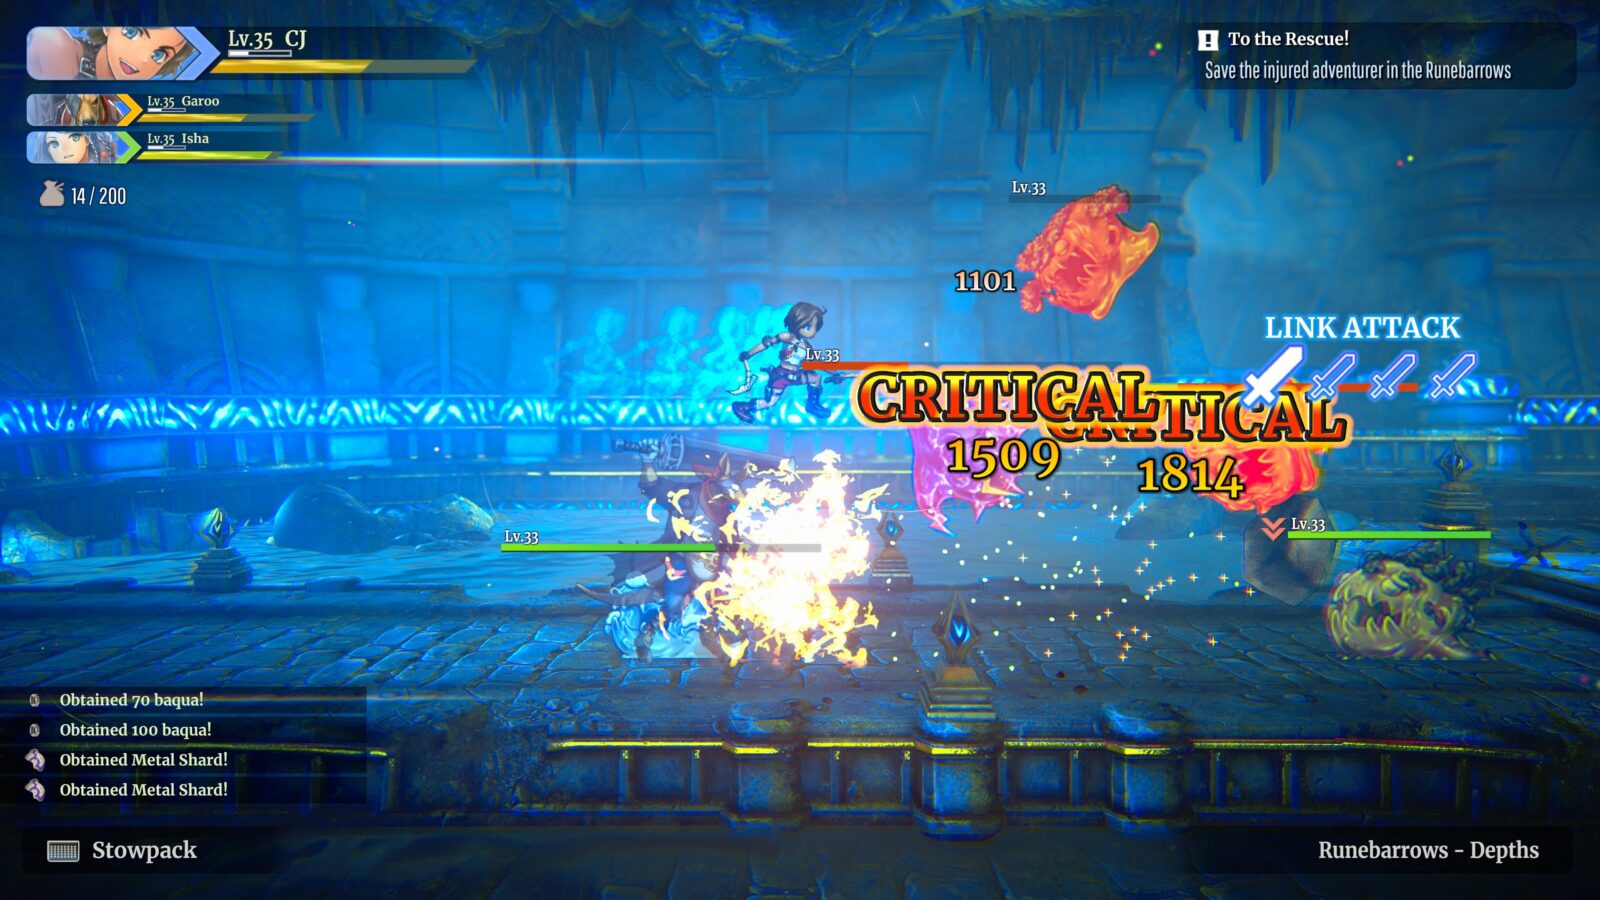
The Runebarrows…On Foot!
Explored every area in the Runebarrows
As with other trophies of this type, as soon as you have access to all four Rune-Lens elements (Fire, Ice, Earth, and Lightning) you will have everything you need to visit every possible area of The Runebarrows.
You’ll visit a decent amount of the map during the story but will still need to return on your own time to discover the remaining areas.
You can press ![]() to open a map and use that as a reference for which areas you have and have not visited.
to open a map and use that as a reference for which areas you have and have not visited.
Once you have seen every possible area in the Runebarrows, the “The Runebarrows…On Foot!” trophy will unlock!
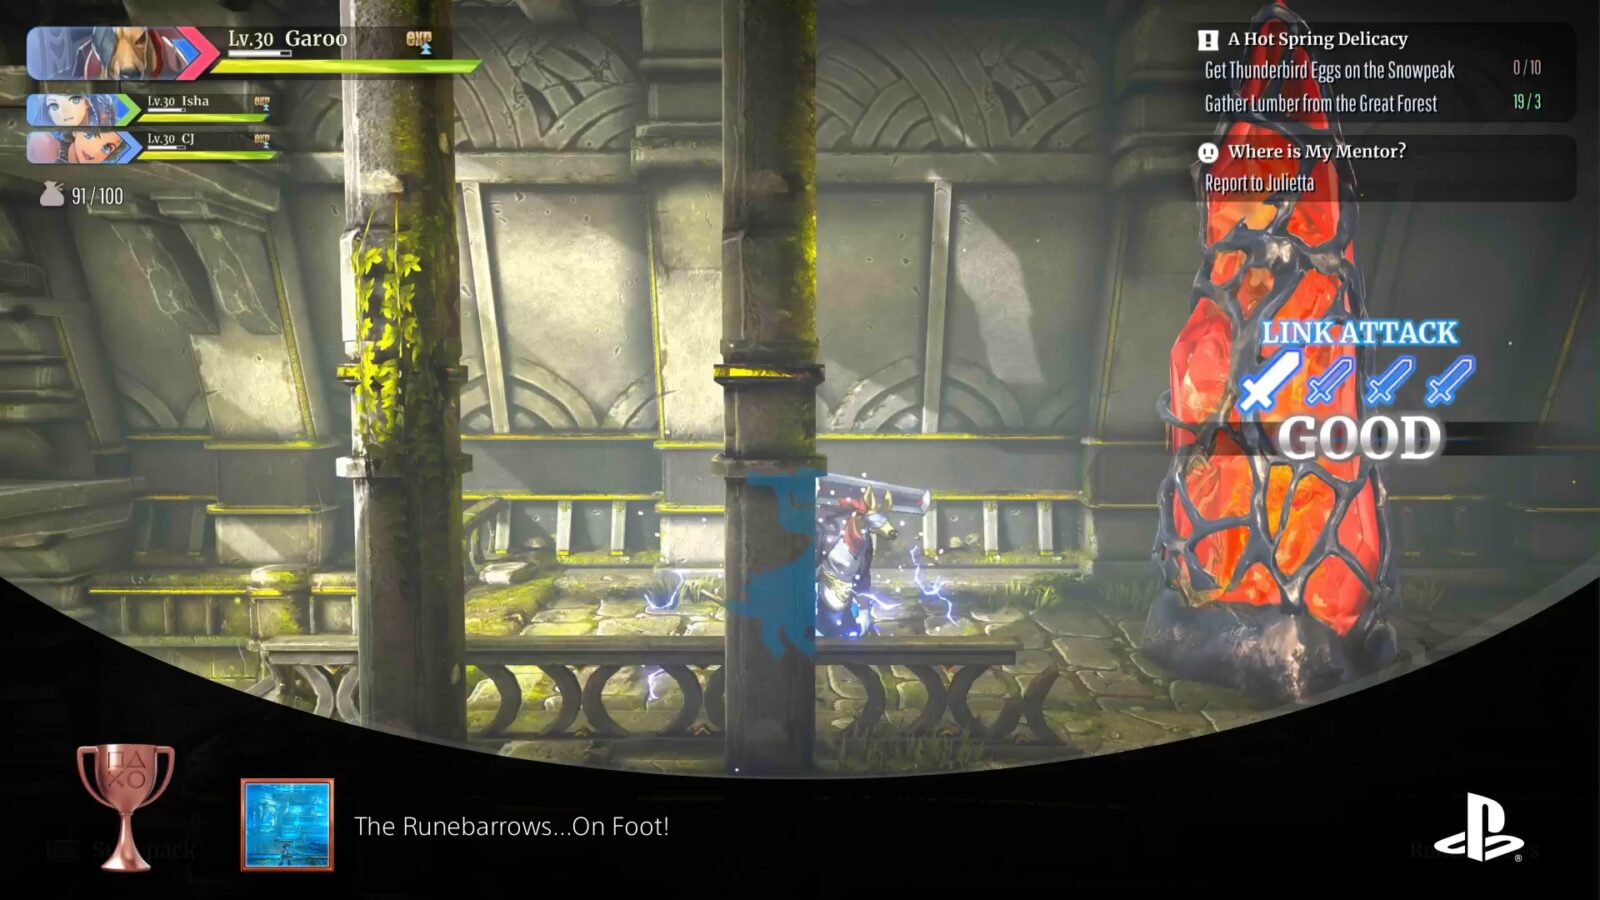
Note that you can unlock this trophy without ever visiting “The Runebarrows – The Depths.”

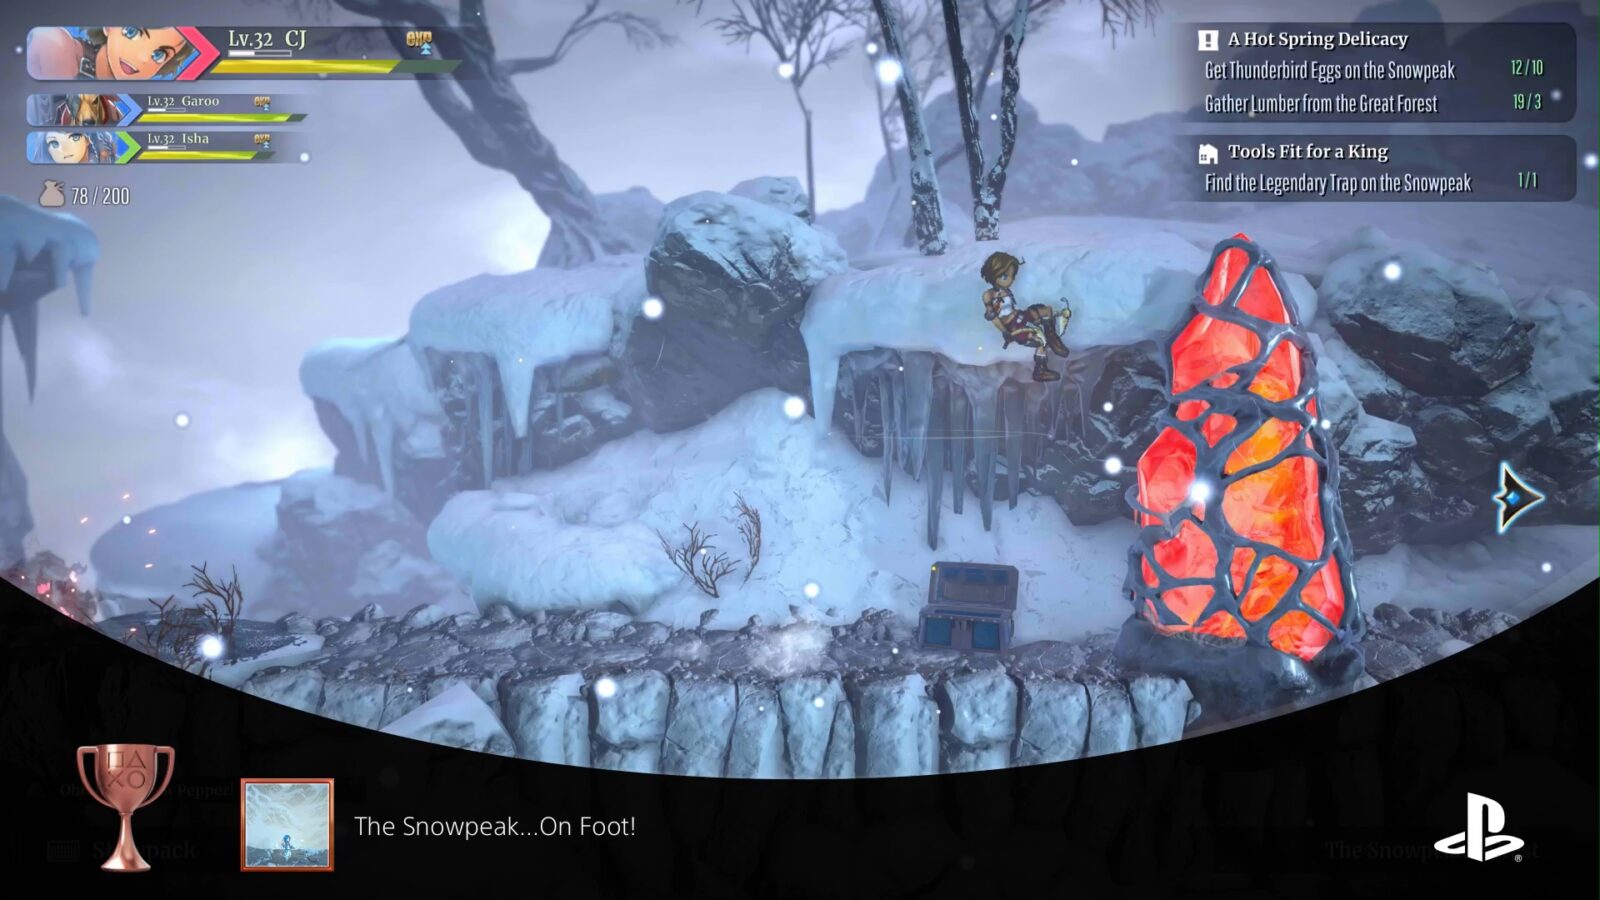
The Snowpeak…On Foot!
Explored every area in the Snowpeak
As with other trophies of this type, as soon as you have access to all four Rune-Lens elements (Fire, Ice, Earth, and Lightning) you will have everything you need to visit every possible area of Snowpeak.
You’ll visit a decent amount of the map during the story but will still need to return on your own time to discover the remaining areas.
You can press ![]() to open a map and use that as a reference for which areas you have and have not visited.
to open a map and use that as a reference for which areas you have and have not visited.
Once you have seen every possible area in Snowpeak, the “The Snowpeak…On Foot!” trophy will unlock!
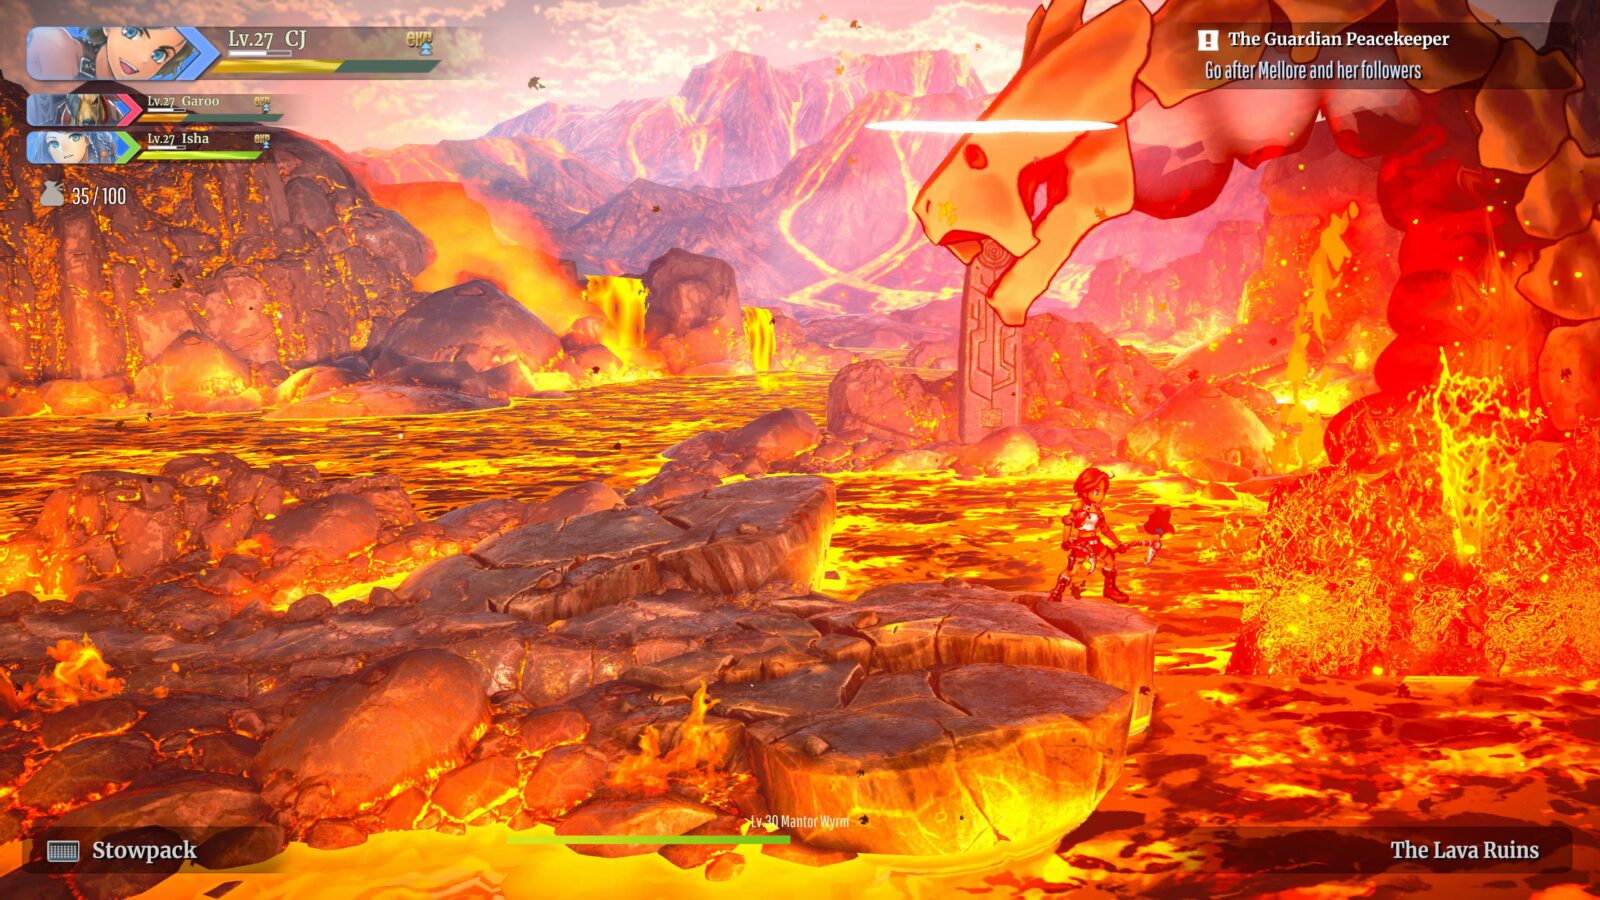
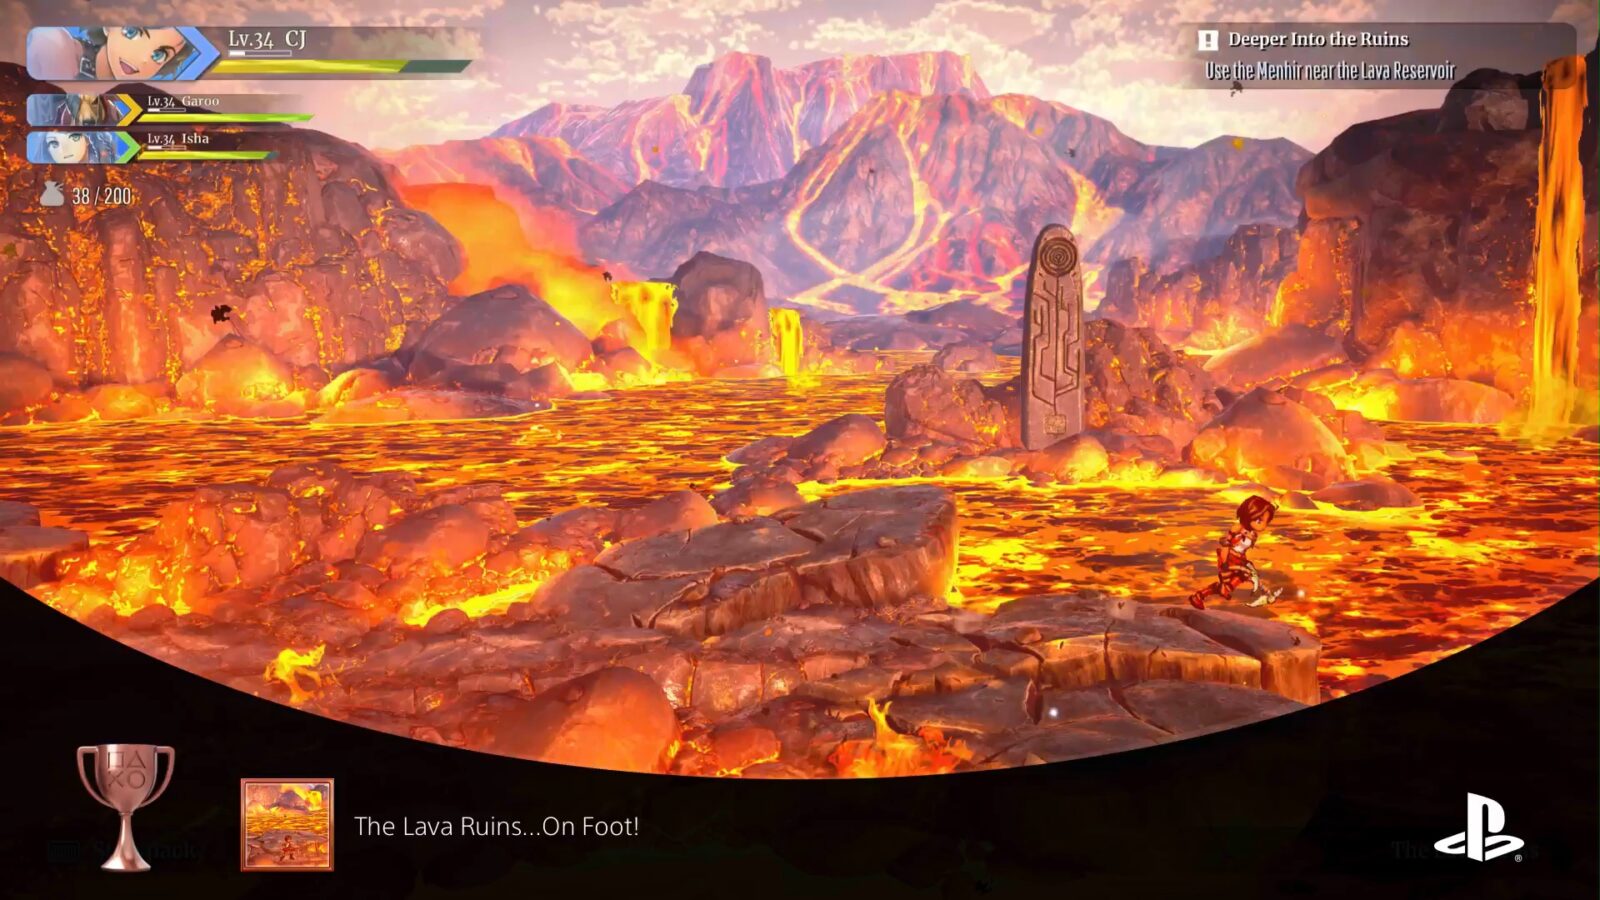
The Lava Ruins…On Foot!
Explored every area in the Lava Ruins
As with other trophies of this type, as soon as you have access to all four Rune-Lens elements (Fire, Ice, Earth, and Lightning) you will have everything you need to visit every possible area of The Lava Ruins. It helps to note that the Lava Ruins is one of the game’s smallest maps and has very little to explore.
You’ll visit a decent amount of the map during the story but will still need to return on your own time to discover the remaining areas.
You can press ![]() to open a map and use that as a reference for which areas you have and have not visited.
to open a map and use that as a reference for which areas you have and have not visited.
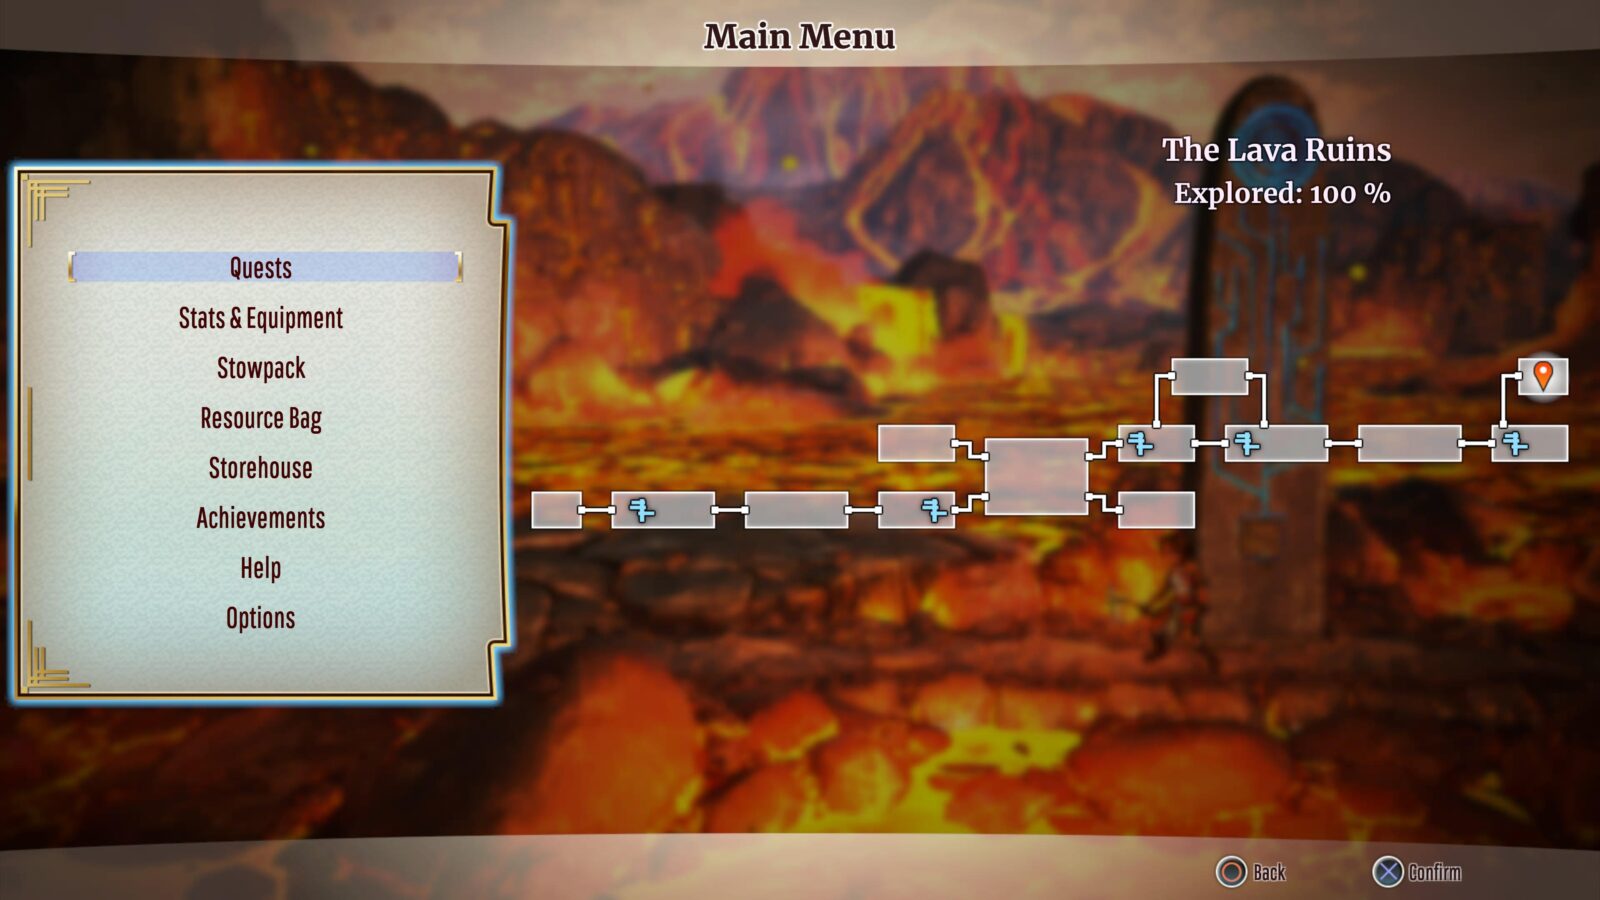
Once you have seen every possible area in The Lava Ruins, the “The Lava Ruins…On Foot!” trophy will unlock!
Hard Difficulty Trophies

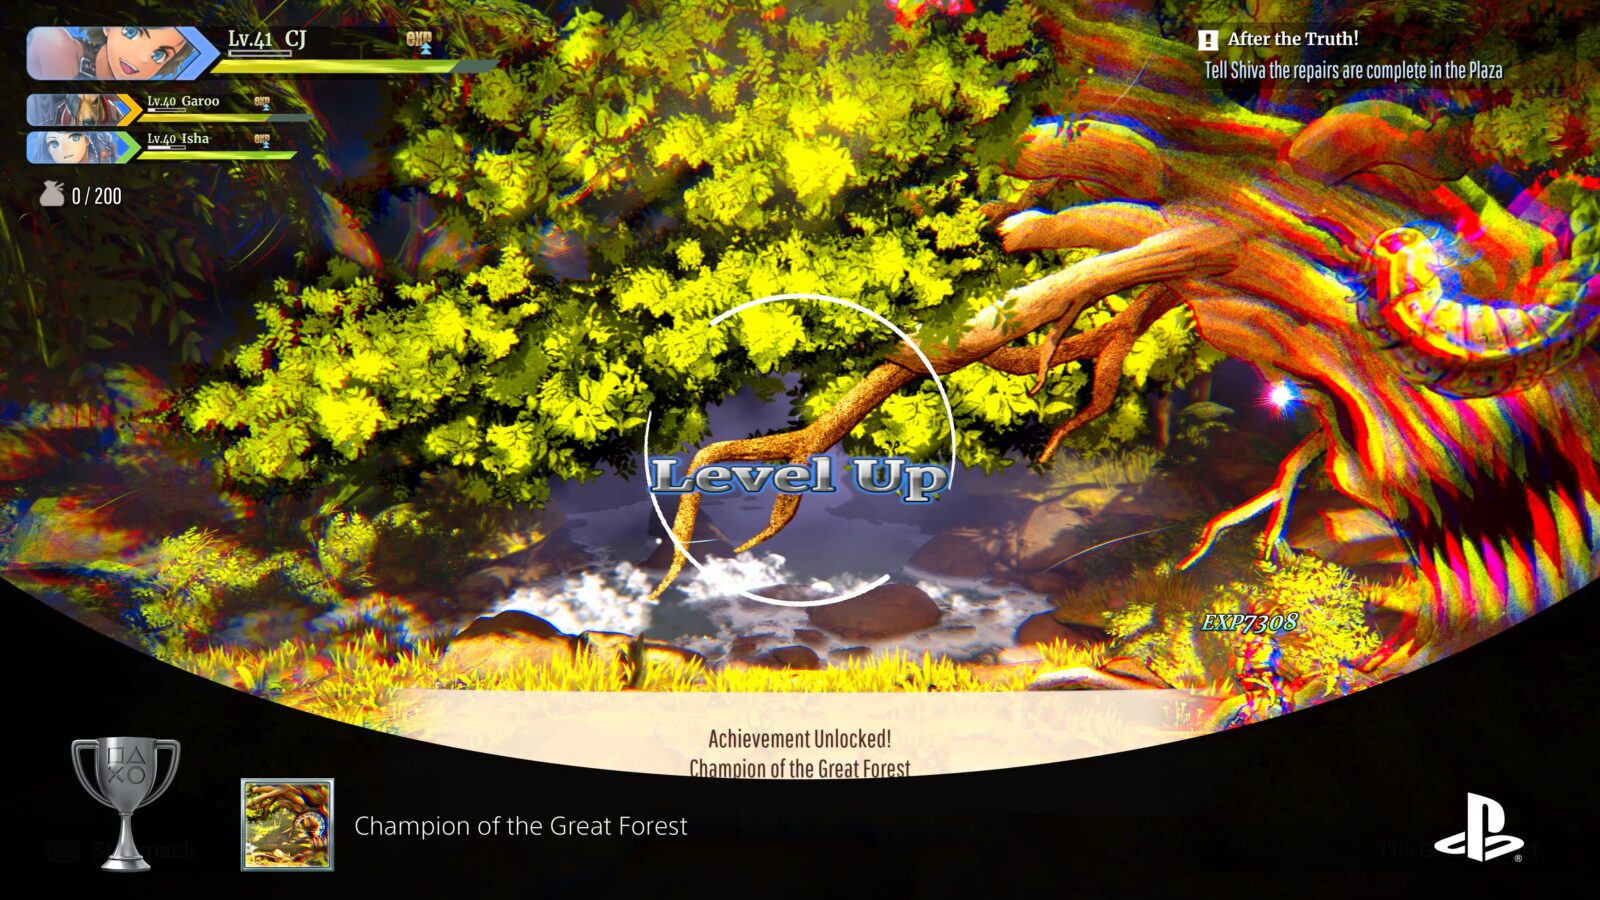
Champion of the Great Forest
Defeated the boss in the Great Forest on hard difficulty
Before you can earn this trophy, you will need to complete the story and switch the difficulty to “Hard,” either when prompted or via the Base.
On Hard Difficulty, the Hollow Tree is Level 55 and tougher than before, but the same strategies used for All Bark, No Bite will work here, you just need strong party members with good equipment!
Additionally, when you have Garoo in your party to fight the Hollow Tree, whacking the tree with his sword can cause the worm to come out early, allowing you to end the fight quicker.
You can just head to the Great Forest and then use a Signpost to fast travel to “Great Tree Glade” From there, head right until the boss spawns. Defeat it and the Champion of the Great Forest trophy will unlock.
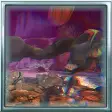
Champion of the Quarry
Defeated the boss in the Quarry on hard difficulty
Before you can earn this trophy, you will need to complete the story and switch the difficulty to “Hard,” either when prompted or via the Base.
On Hard Difficulty, the Lode Golem is Level 55 and a little tougher than before, but the same strategies used for Magical Mineral Golem will work here, you just need strong party members with good equipment!
You can just head to the Quarry and then use a Signpost to fast travel to “Golem’s Keep” From there, head right until the boss spawns. Defeat it and the Champion of the Quarry trophy will unlock.
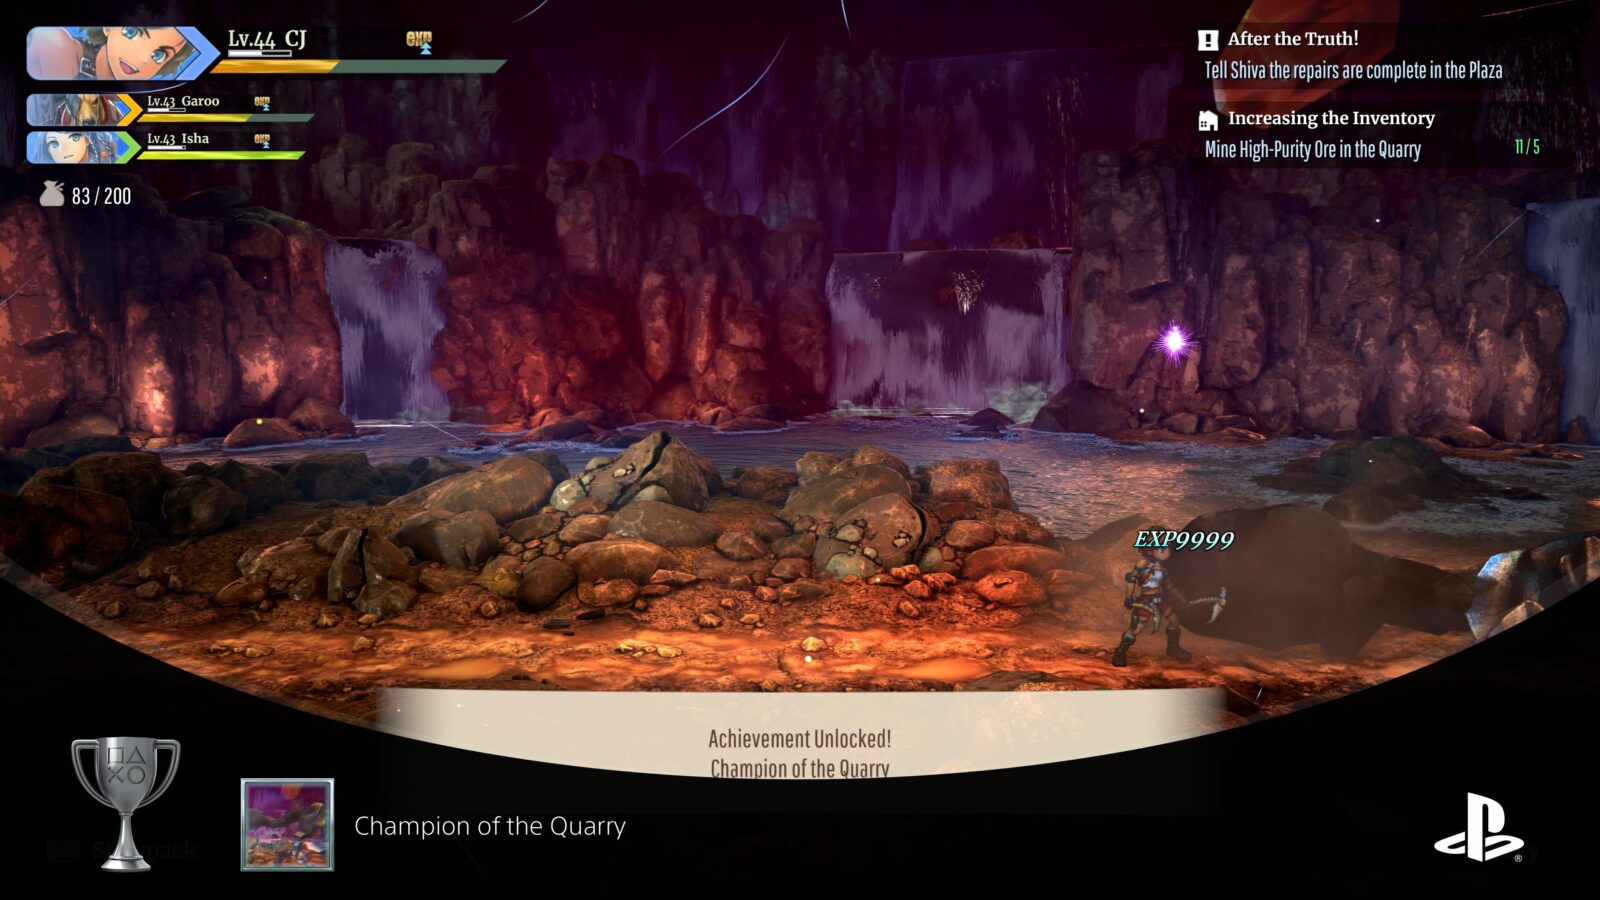

Champion of the Snowpeak
Defeated the boss in the Snowpeak on hard difficulty
Before you can earn this trophy, you will need to complete the story and switch the difficulty to “Hard,” either when prompted or via the Base.
On Hard Difficulty, the Blizzard Brothers boss is Level 55 and a lot tougher than before, but the same strategies used for The Lords of the Snowpeak will work here, you just need strong party members with good equipment!
You can just head to the Runebarrows and then use a Signpost to fast travel to “Blizzard’s Point” From there, head right until the boss spawns. Defeat it and the Champion of the Snowpeak trophy will unlock.
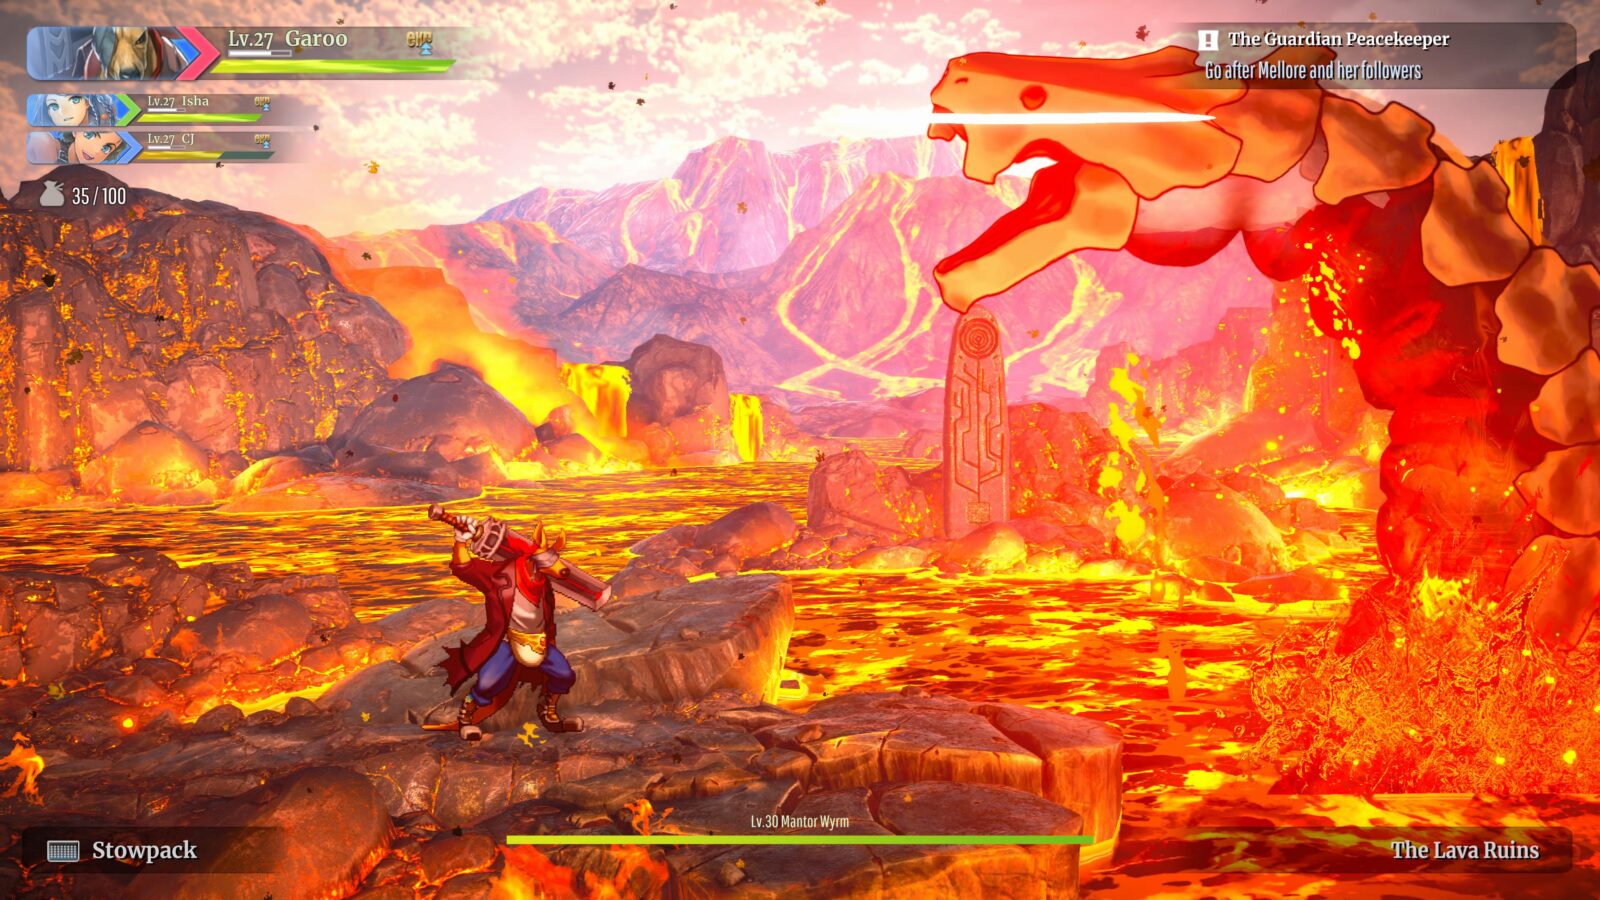
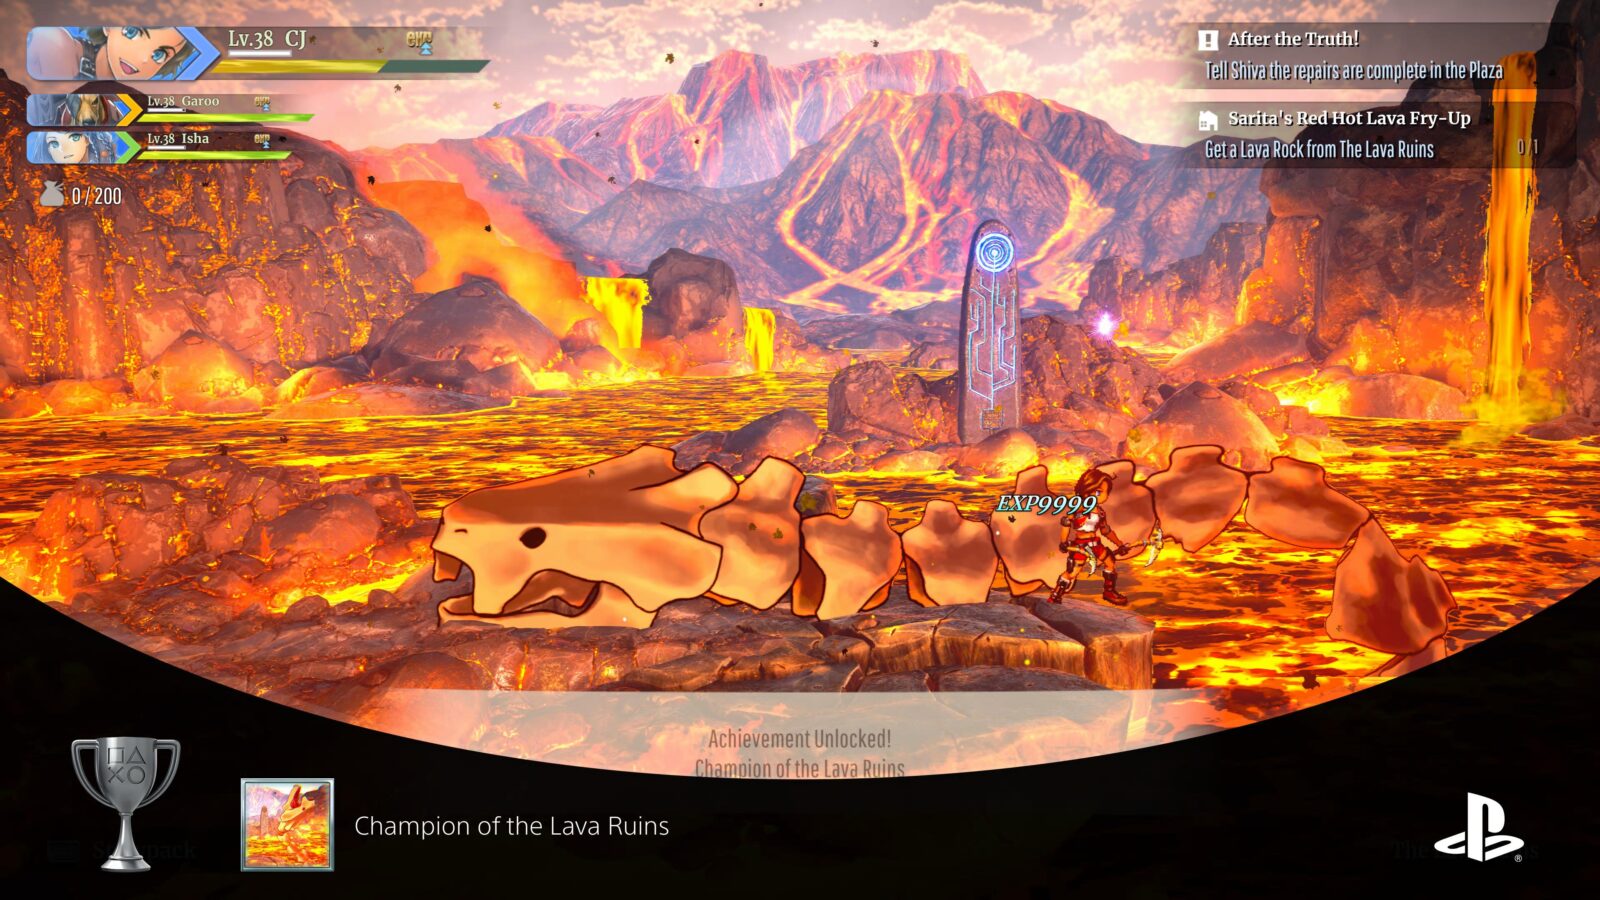
Champion of the Lava Ruins
Defeated the boss in the Lava Ruins on hard difficulty
Before you can earn this trophy, you will need to complete the story and switch the difficulty to “Hard,” either when prompted or via the Base.
On Hard Difficulty, the Mantor Wyrm is Level 55 and very powerful, but the same strategies used for The Lava Mantor Wyrm Trophy will work here, you just need strong party members with good equipment!
You can just head to the Runebarrows and then use a Signpost to fast travel to “Lava Reservoir.” From there, head right until the boss spawns. Defeat it and the Champion of the Lava Ruins trophy will unlock.

Rising Champion
Defeated the final boss on hard difficulty
When playing on hard difficulty in the post-game, you can still speak to Shiva in the town square to cross the point of no return and beat the game again. However, the increased difficulty means the enemies and, most importantly, the final boss will be much tougher to defeat.
I recommend fully upgrading your characters’ gear and levelling at least one of them up to level 50 before attempting this.You may want as many Level 5 Healing Potions as you can buy, too.
Once you do, follow the objectives again and beat the final boss to unlock the Rising Champion trophy.
The boss fight is surprisingly not much more difficult than previously, but the boss is now a stunning Level 60, and there are two Level 50+ mini-bosses to get through on the way.
During the final boss fight, while the boss is up near the ceiling, stay under the platforms to avoid the projectiles raining from above and use Isha’s ranged ![]() attacks to keep the additional enemies at bay.
attacks to keep the additional enemies at bay.
When the boss lowers itself down, wait for it to do it’s explosion attack, staying in the bottom-right or bottom-left corner until he does, and then jump up onto the nearest platform.
From there, jump up to the boss’ head and do as many back-to-back Link Attacks as you can by combining ![]() ,
, ![]() , and
, and ![]() attacks.
attacks.
Repeat until the boss is defeated, unlocking the Rising Champion Trophy, and then watch through the final cutscenes and credits.

You can still load your save after this.
Miscellaneous Trophies
No Treasure Left Behind
Obtained resources of all types
To unlock the “No Treasure Left Behind” trophy, you’ll actually need to ensure that you acquire at least one of each type of resource. This should happen naturally, but there’s a fair chance that there’ll be one or two items missing. You can either check the Trading Post to see if you can buy the item you need, or head out and start exploring.
The biggest difficulty with this trophy is that there’s no in-game way to track which items you have or have not collected before.
To help you with this, I’ve prepared the below table with all resources and their locations:
| Item | Category | Location |
|---|---|---|
| Slimejelly, Yellow Slimejelly, Blue Slimejelly, Purple Slimejelly, Red Slimejelly | Enemy Loot | Slimejelly items drop from Slime type enemies. The color of Slimejelly matches the type of slime you kill. |
| Gargoyle Wing, Stone Wing, Shock Wing, Icy Wing, Fiery Wing | Enemy Loot | Wing items drop from small flying Gargoyle enemies. The element of the wing dropped matches the element of the gargoyle. |
| Sugar, Salt, Black Pepper, Chilli Pepper, Curry Powder | Enemy Loot | Seasoning items drop from the volatile, fluffy balloon-like creatures in each stage. |
| Titan Nectar, Frozen Nectar | Enemy Loot | Nectar items drop from the large projectile-firing plant pods found in the Great Forest and Snowpeak areas. |
| Small Pelt | Enemy Loot | Only found from small white fox-like creatures on Snowpeak. |
| Yeti Whisker, Fire Whisker | Enemy Loot | Whisker items drop from the large Yeti and Fire Yeti enemies in Snowpeak and the Lava Ruins. |
| Ogre Horn, Shield Fragment, Armor Shard | Enemy Loot | These items drop from the large, muscle-bound, shielded enemies in the Quarry and all Runebarrow locations. |
| Ebony Pelt, White Pelt, Flaming Pelt | Enemy Loot | Large pelt items drop from the huge wolf enemies found in the Quarry, Snowpeak, and the Lava Ruins. |
| Golem Rubble, Golen Plate, Metal Shard | Enemy Loot | These Golem items drop from defeated Golem enemies in the Runebarrow. Specifically the machine-like enemies, not the Lode Golem. |
| Lightning Magic Vestige, Ice Magic Vestige, Fire Magic Vestige | Enemy Loot | The Magic Vestige items drop from the levitating mage enemies that spawn in the Great Forest, Snowpeak, and the Lava Ruins. |
| Sylvan/ Lithic/ Ancient/ Niveous/ Molten Crystal | Enemy Loot | These extremely rare crystals will drop from tough enemies in each stage. I recommend just getting them from the Trading Post if you’re struggling to find them. |
| Giant Branch | Boss Loot | From the Hollow Plant boss in The Great Forest. |
| Giant Stone | Boss Loot | From the Lode Golem boss in The Quarry. |
| Giant Hunk of Ice | Boss Loot | From the Blizzard Brothers boss in Snowpeak. |
| Giant Lava Rock | Boss Loot | From the Mantor Wyrm boss in the Lava Ruins. |
| Azure/ Viridian/ Crimson Crystal | Environment Loot | Rare colored crystals found throughout the game, most typically in secret areas or beyond Elementum Pillars. |
| Bronze/ Silver/ Gold Ore | Environment Loot | Found in breakable boulders in The Quarry and on Snowpeak. Make sure you upgrade your Pickaxe to Level 3 at the Tool Shop. |
| Crystal, Amber Crystal | Environment Loot | Found in white and yellow crystal growths within the Quarry and the Runebarrows |
| Fish, Choice Fish, Succulent Fish | Environment Loot | Found at fishing spots. Make sure you upgrade your Fishing Rod to Level 3 at the Tool Shop. |
| Wild Bird Egg | Environment Loot | These items can be found in patches where the ground emits blue sparkles in the Great Forest. |
| Lapis Lazuli | Environment Loot | A very rare blue gem. The easiest one to find is just past the Blizzard Brothers boss on Snowpeak. |
| Lumber, Lightweight Lumber, Hardwood Lumber | Environment Loot | Chop down trees in The Great Forest. Make sure you upgrade your Axe to Level 3 at the Tool Shop. |
| Meat, Choice Meat, Exquisite Meat | Environment Loot | Set traps at trapping spots in any level and then wait to find out if you caught anything when you return to town. Make sure you upgrade your Trap to Level 3 at the Tool Shop. |
| Ore, Huge Ore, High-Purity Ore | Environment Loot | Found in breakable boulders in The Quarry and on Snowpeak. Make sure you upgrade your Pickaxe to Level 3 at the Tool Shop. |
| Savorcap, Glowshroom, Fragrantelle, Shivercap | Environment Loot | There are large mushrooms in the background of some areas in all levels. Just swinging your weapon near one of these shrooms will cause it to burst and drop its resources. |
| Stone, Heavy Stone, Durable Stone. | Environment Loot | Found in breakable boulders in The Great Forest. |
| Topaz, Sapphire, Ruby, Emerald | Environment Loot | Found in treasure chests. Can also be bought at the Trading Post if needed. |
| Wheat, Broccoli, Strawberry, Nuts, Herbs, Wild Vegetables, Frostgrass | Town Facility | Buy it from the Farm facility in town. |
| Milk, Farm Egg, Cheese, Yogurt, Ham, Thunderbird Egg | Town Facility | Buy it from the Pasturage facility in town. |
Get each resource at least one time and the “No Treasure Left Behind” trophy will unlock.


Natural Born Monster-Killer
Defeated all types of enemies
To unlock the “Natural Born Monster-Killer” trophy, you need to kill every different type of monster except bosses at least once. This is almost guaranteed to unlock if you ensure that you fight and defeat every creature you come across.
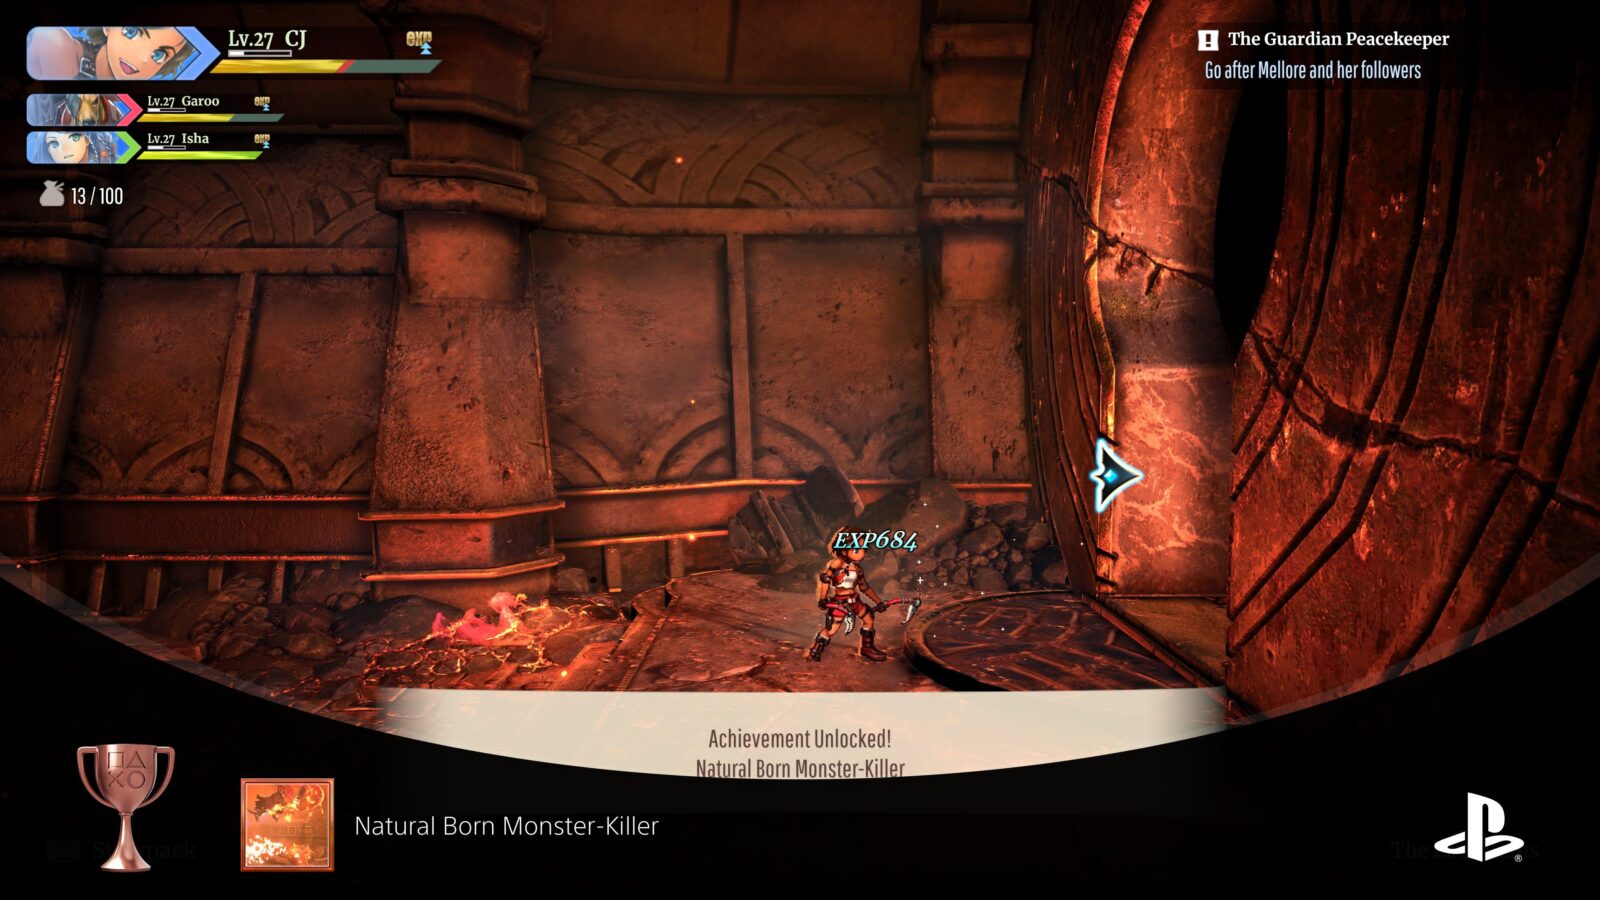
If you find yourself missing one, though, there is no way to track which ones you’ve done and which ones you still need to defeat. Due to this, you’ll have to go through each level one by one and defeat every monster type you can.
It’s very helpful to know that there’s an arena-like room in the game’s final area, named “The Runebarrows – The Depths.” In this arena, you’ll be forced to fight several variations of all monsters back-to-back, helping you to fight most, if not all, enemy types in just one area.
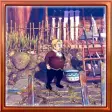
Money, Money, Money
Obtained 100,000 baqua
To unlock the “Money, Money, Money” trophy, you would need to collect a cumulative total of 100,000 baqua (the game’s currency).
You do not need to have 100,000 baqua in your inventory at once, so you’re free to spend your baqua as you wish without consequences. Every baqua you collect will count towards this trophy, even those you earn for buying items.
This trophy is highly likely to unlock naturally as you make your way through the story, but if you tend to skip breakable items or enemies then you may not quite have enough yet.
If that’s the case for you, go run a few laps of the Lava Ruins and make sure you destroy every object and enemy you can for the baqua drops.
You could also make a save at the Base, then go to the Pawn Shop and sell all your stuff until you get the trophy. Once it unlocks, you can load your save to return to a time when you had all your items.
First Time Fishing
Caught a fish for the first time
Before you can fish, you will need to help Felipe open his Tool Shop on Outlander Lane, Second Street. From there, purchase a Fishing Rod.

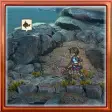
Once you have a Fishing Rod, you will need to find somewhere to fish. Every level has at least one fishing spot in it. The one you can find earliest is in the Great Forest.
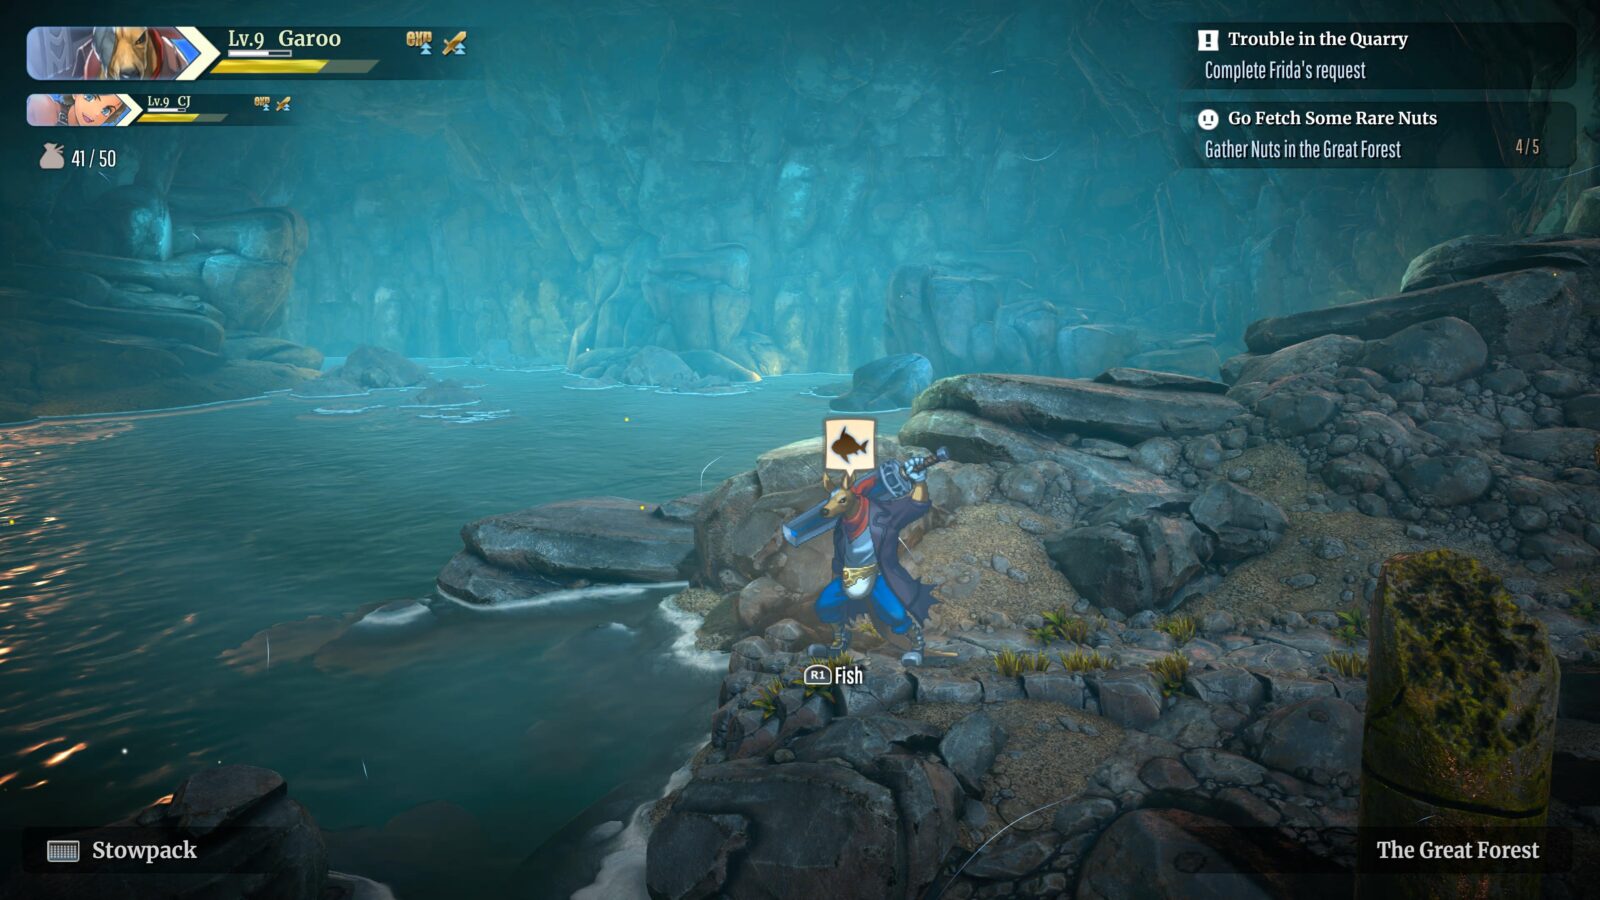
At a fishing spot, press ![]() to begin fishing with your fishing rod. A series of 5 face-button icons will appear on-screen and you will need to press them in the displayed order to successfully catch a fish.
to begin fishing with your fishing rod. A series of 5 face-button icons will appear on-screen and you will need to press them in the displayed order to successfully catch a fish.
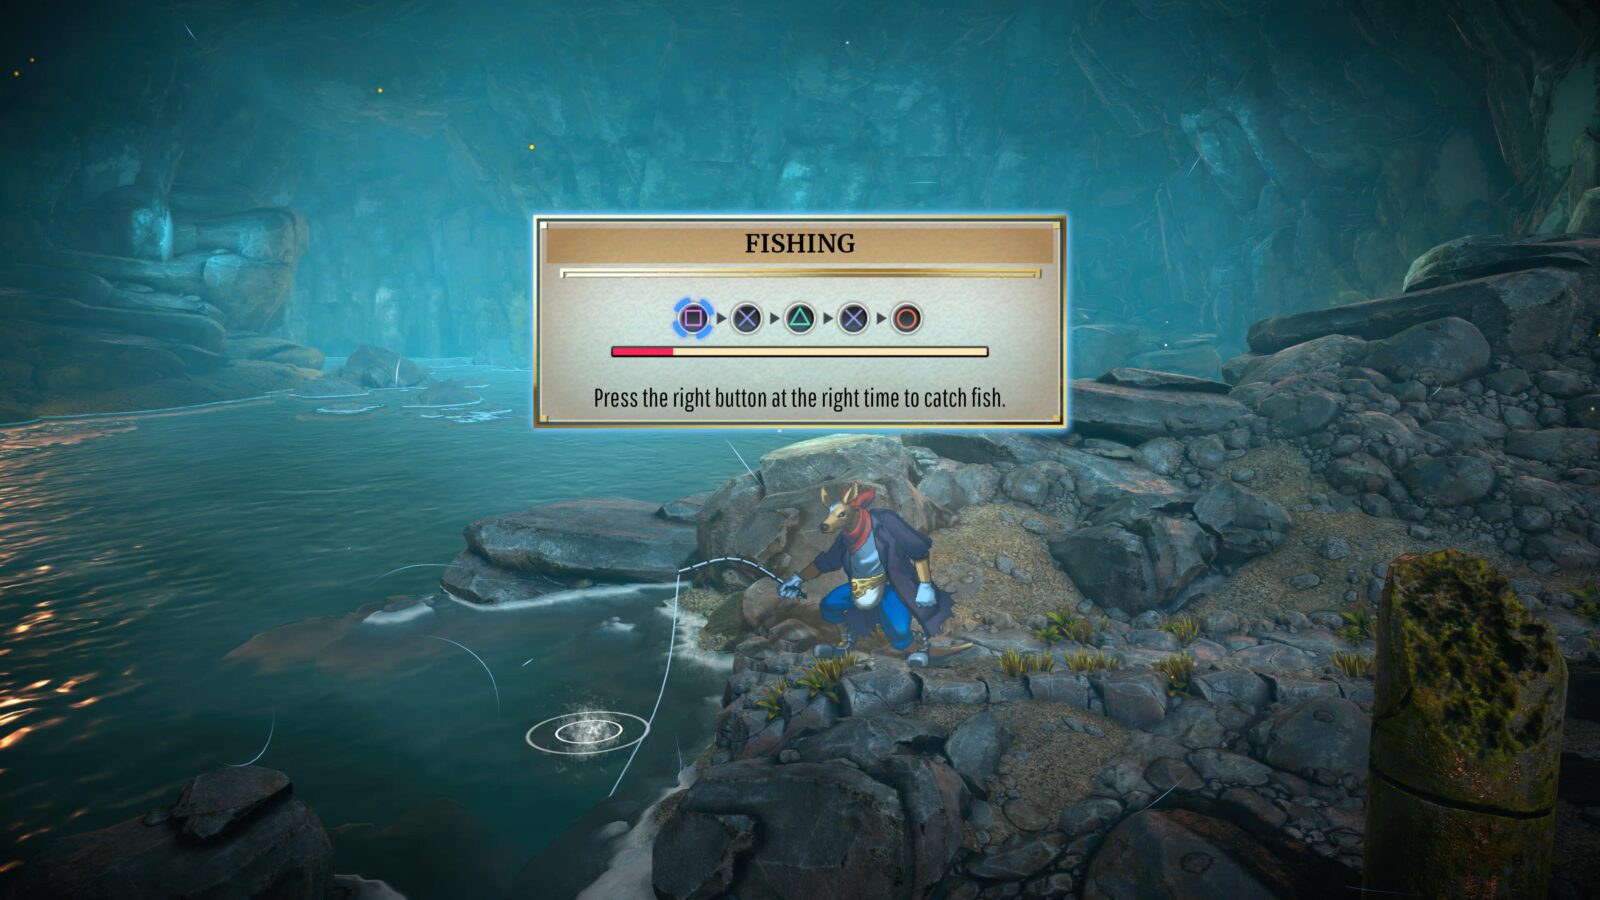
The first time you catch a fish, the “First Time Fishing” trophy will unlock.
There are some side quests that ask you to fish, meaning you’ll likely do this eventually.

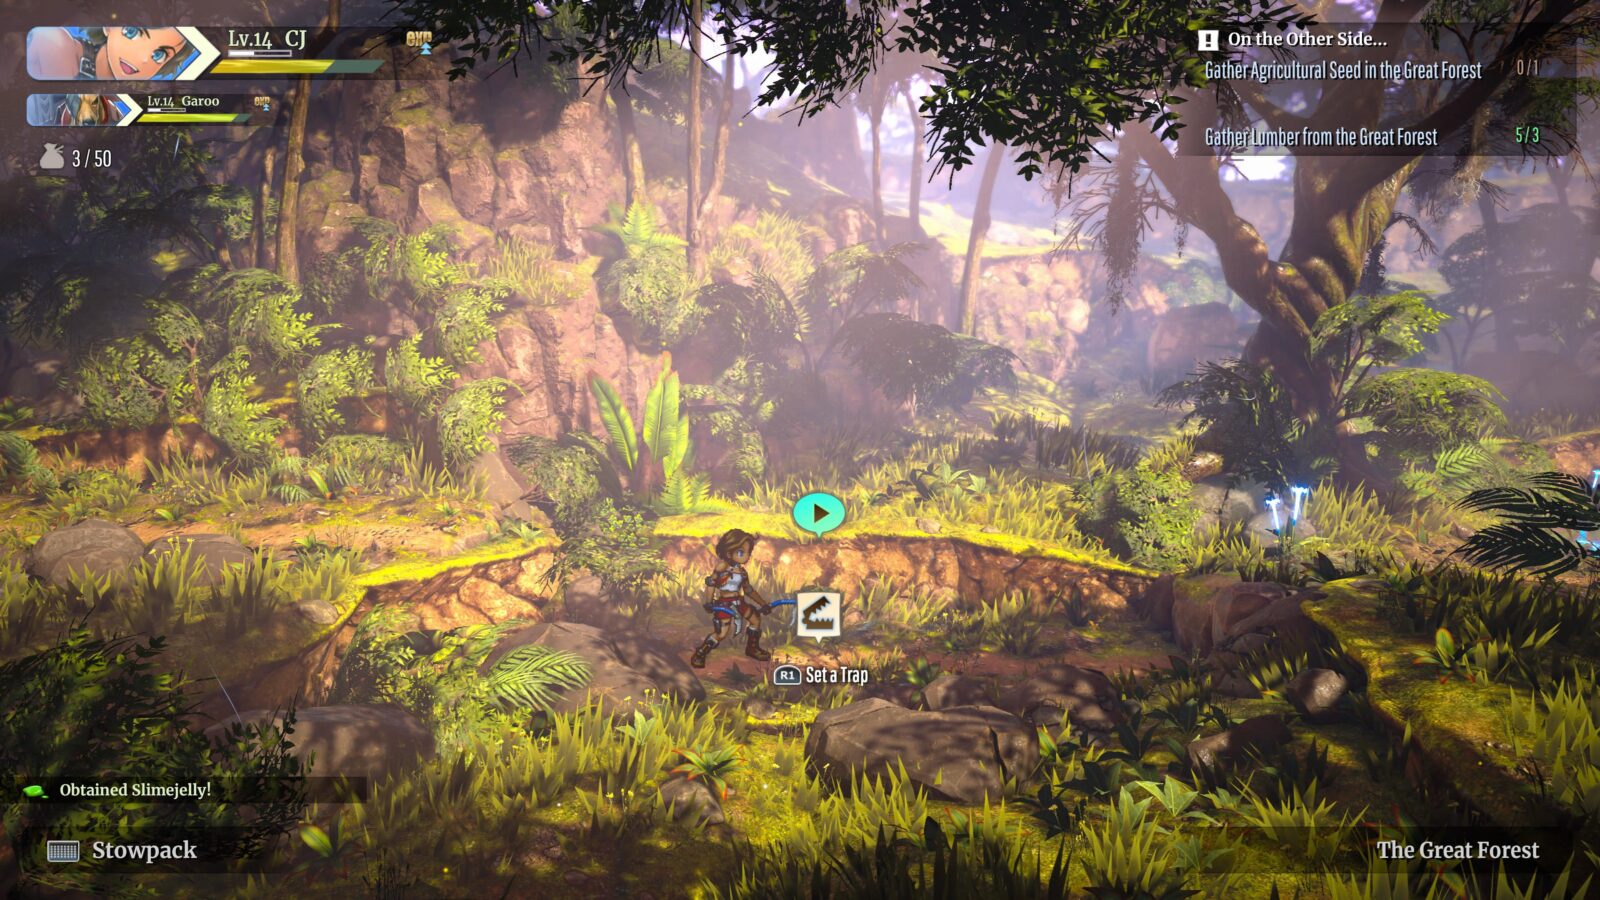
First Time Hunting
Trapped a beast for the first time
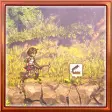
Before you can trap beasts, you will need to help Felipe open his Tool Shop on Outlander Lane, Second Street. From there, purchase a Trap.
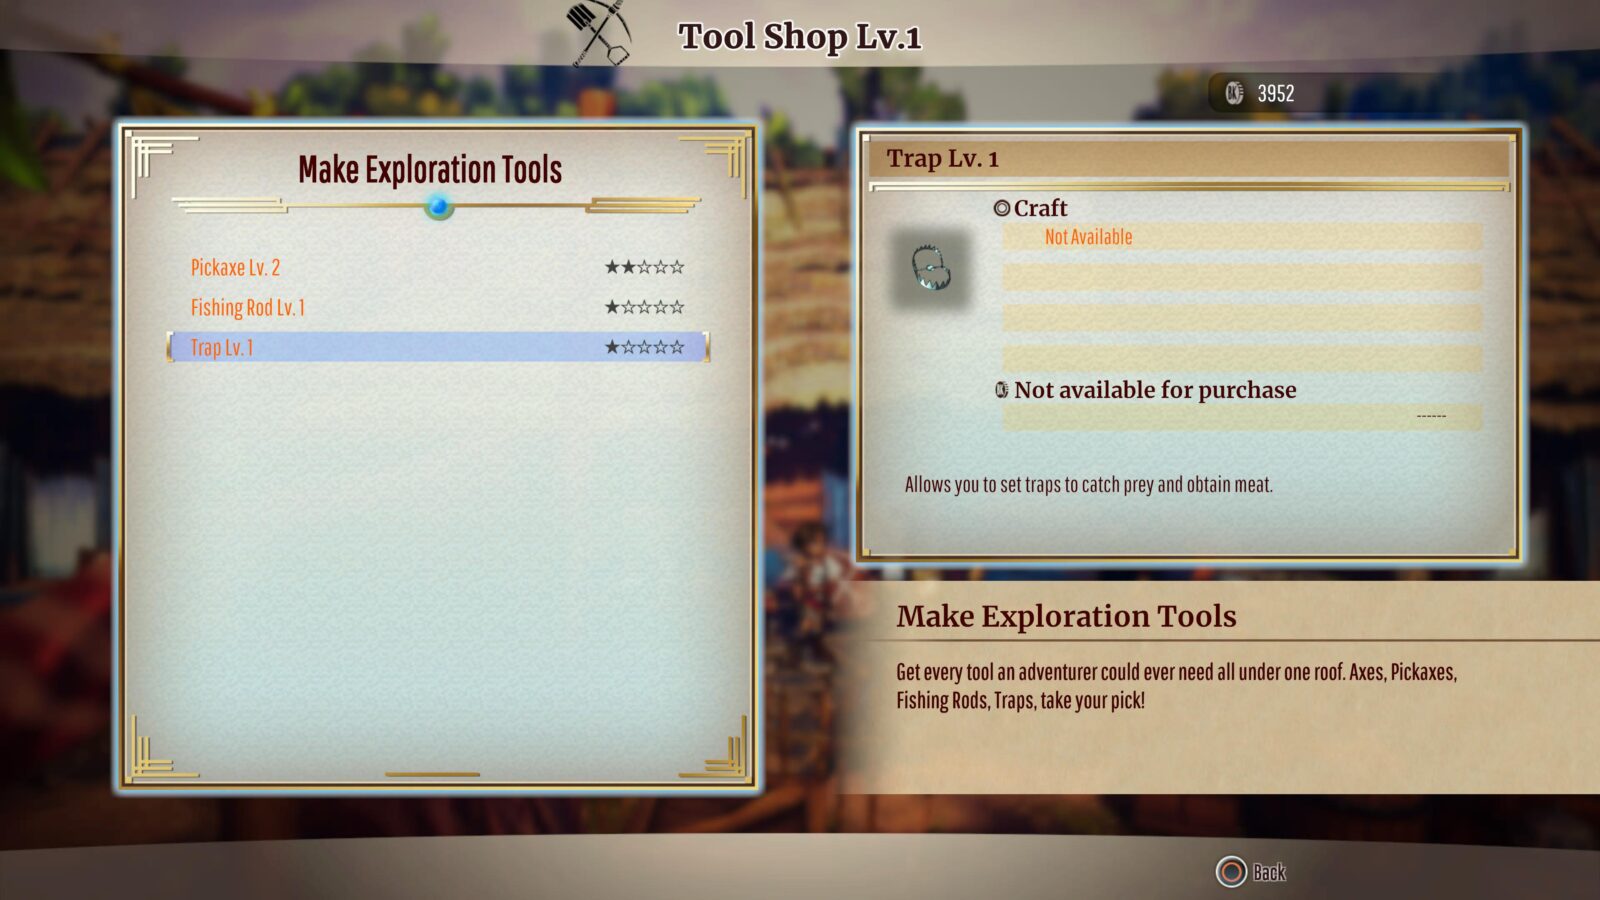
Next, you’ll need to find a trapping spot. These can be found in various places across all levels and are indicated by a bear trap icon in a white speech bubble on the ground.
Press ![]() over one of these spots to set a trap and then leave the level. At the results screen, you’ll find out if your traps caught anything.
over one of these spots to set a trap and then leave the level. At the results screen, you’ll find out if your traps caught anything.

There are some side quests that ask you to trap beasts for meat, meaning you’ll likely do this eventually.
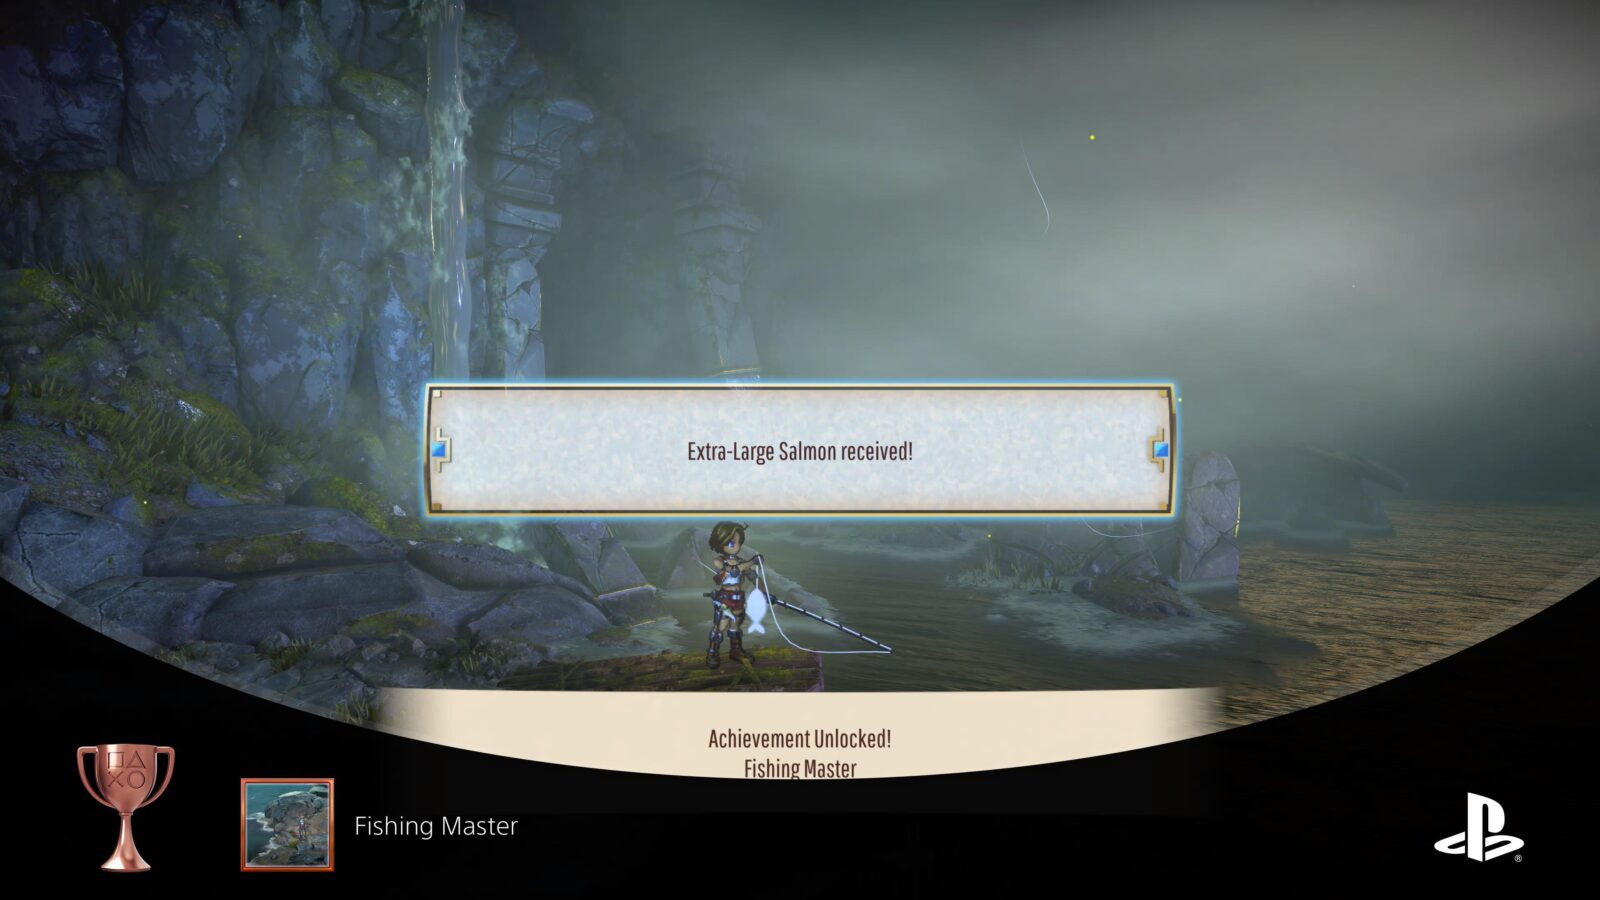
Fishing Master
Caught a max. grade fish
Once the Tool Shop on Second Street has been upgraded enough, you will be able to buy a Level 3 Fishing Rod from there.
Once you have a Level 3 Fishing Rod, you’ll be able to catch high-grade fish. You can go to any fishing spot to attempt this, but RNG will need to be on your side.
I recommend not worrying about this trophy, however. Eventually, an NPC will ask you to catch a max grade fish for a Side Quest, and that fish will be guaranteed when you go to the specified fishing spot, making this trophy a breeze!
Catch your first 5-star grade fish and the Fishing Master trophy will unlock.
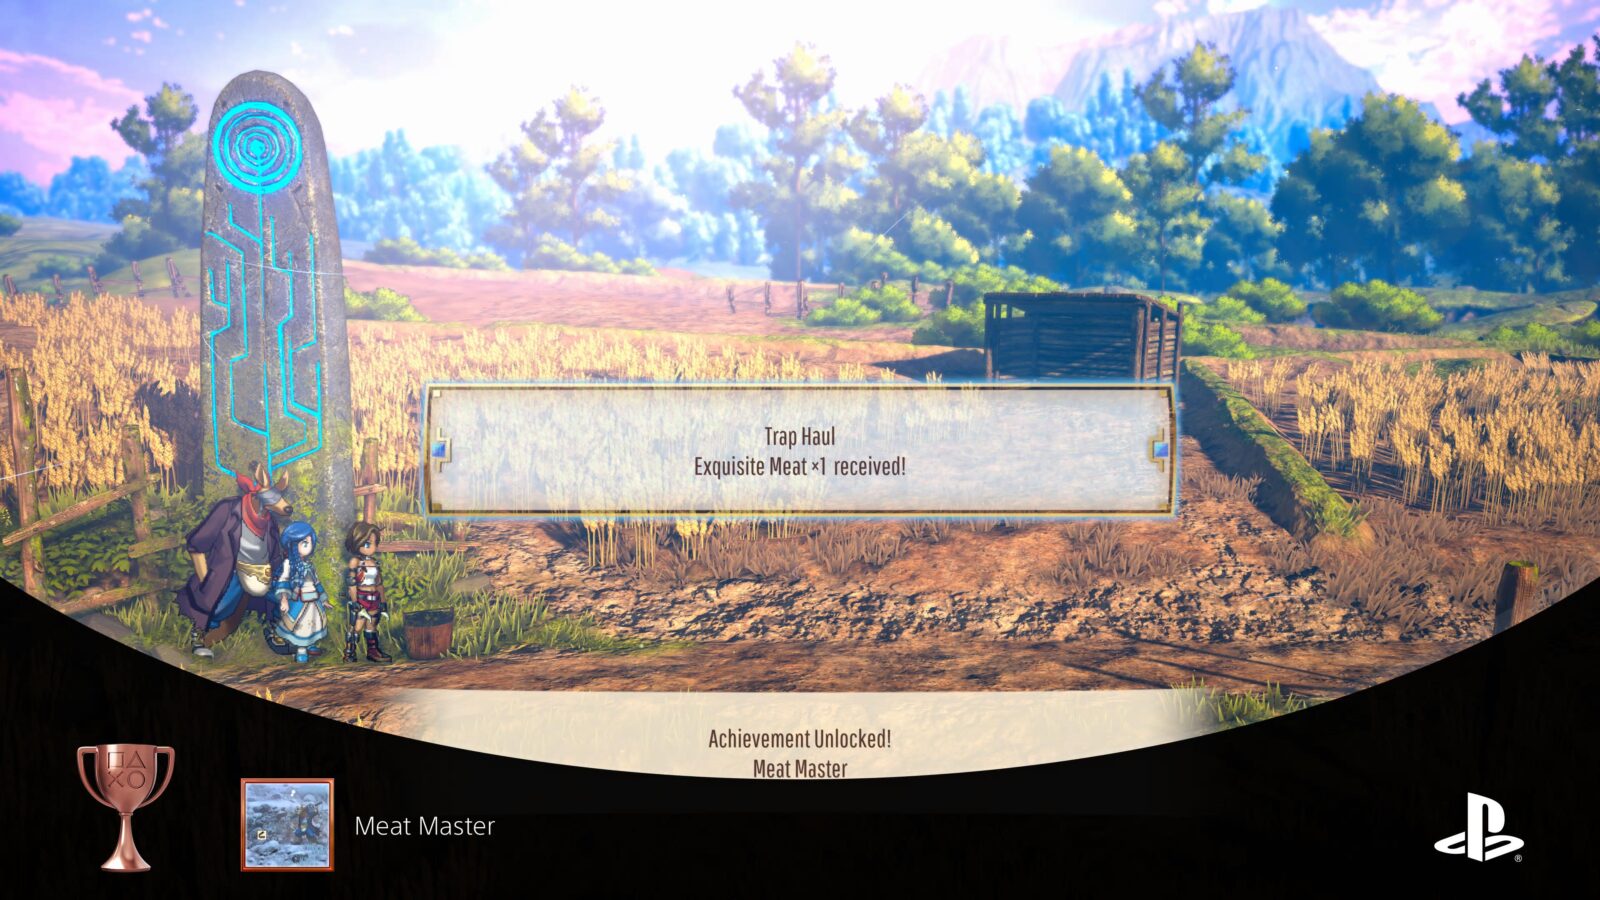
Meat Master
Obtained max. grade meat
Once the Tool Shop on Second Street has been upgraded enough, you will be able to buy a Level 3 Trap from there.
Once you have a Level 3 Trap, you’ll be able to trap high-grade meat. You can go to any trapping spot to attempt this, but RNG will need to be on your side.
I recommend not worrying about this trophy, however. Eventually, an NPC will ask you to trap some max grade meat for a Side Quest, and that meat will be guaranteed when you go to the specified trapping spot, making this trophy a breeze!
Obtain your first 5-star grade meat from a trap and the Meat Master trophy will unlock.
Plat Get!

An Adventurer for the Ages
Unlocked all trophies
Once you have acquired every other trophy in this Eiyuden Chronicle: Rising Trophy Guide, the “An Adventurer for the Ages” Platinum trophy will unlock.
Thank you for choosing PlatGet as your source for Eiyuden Chronicle: Rising Trophy Guide. Consider checking out our other guides!
Follow us on Twitter @GetPlat or Instagram @platget for updates on new reviews and guides, as well as small anecdotes about our platinum journeys.


