
PlayStation 4
Tasomachi: Behind the Twilight Trophy Guide


General Info
FAQ
How long does it take to beat Tasomachi: Behind the Twilight and unlock all trophies?
About 8 Hours.
How difficult is it to beat Tasomachi: Behind the Twilight and unlock all trophies?
Easy (3/10).
Does Tasomachi: Behind the Twilight have online trophies?
No.
Does Tasomachi: Behind the Twilight have difficulty-specific trophies?
No.
Does Tasomachi: Behind the Twilight have missable trophies?
No.
Does Tasomachi: Behind the Twilight have glitched trophies?
No.
What is the minimum number of playthroughs required to unlock all trophies in Tasomachi: Behind the Twilight?
One, plus cleanup.
Does Tasomachi: Behind the Twilight have a Platinum Trophy?
Yes.
Trophy Guide
Tasomachi: Behind the Twilight Trophy Guide and Road Map for PlayStation 4
Welcome to our Tasomachi: Behind the Twilight Trophy Guide. In Tasomachi, you play as a young airship pilot who stumbles across a Japan-inspired island that has been taken over by a mysterious fog.
You’ll complete puzzles and hunt down collectibles in this short yet peaceful Platinum Journey.
Phase One | Complete the Main Objective
In this phase of our Tasomachi: Behind the Twilight Trophy Guide, we’ll focus on just clearing the fog in the game’s three main areas and then fixing the Airship.
You will need to collect at least 150 Source of Earth Lanterns to reach the final level, but any extras that you can get along the way will come in handy for reducing cleanup time.
Unmissable Story Trophies


In the Beginning
Restore Silent Valley.
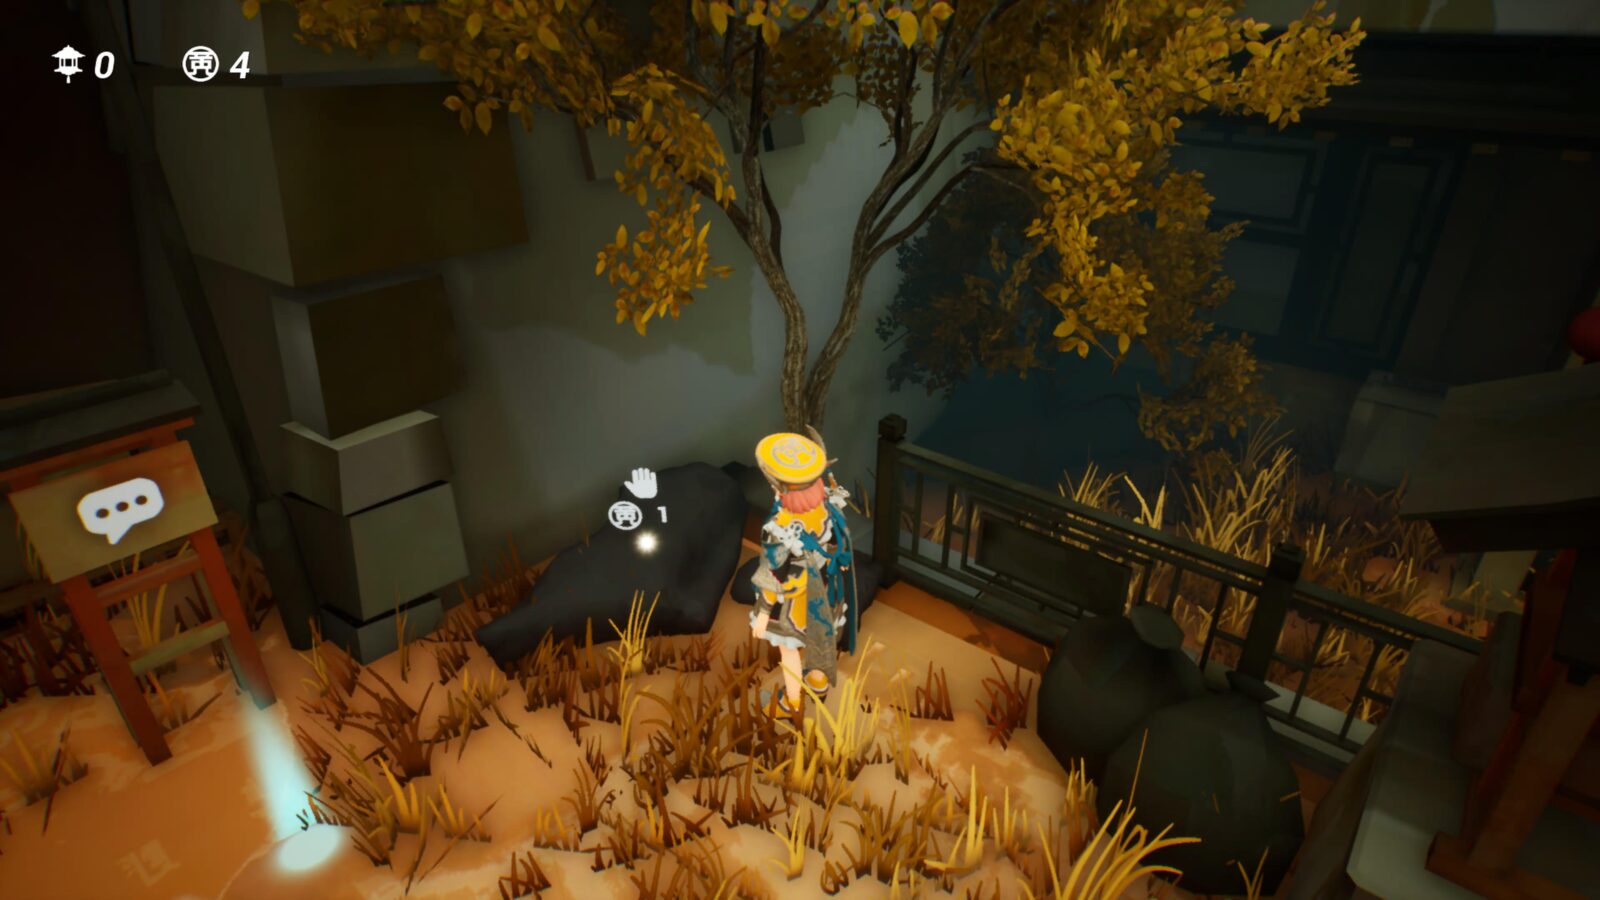
“In the Beginning” unlocks automatically after a short cutscene which plays once you collect the Source of Earth Lantern in the Sacred Tree Sanctuary near the start of the game.


Beautiful Port Town
Restore Shiokaze Harbor.
The Beautiful Port Town Trophy unlocks Automatically after you’ve finished clearing all of the Twilight Fog in Shiokaze Harbor, which requires two Sources of Earth to access.


Bustling Town
Restore Futago Bridge.
The Bustling Town Trophy unlocks Automatically after you’ve finished clearing all of the Twilight Fog in Futago Bridge, which requires thirty Sources of Earth to access.


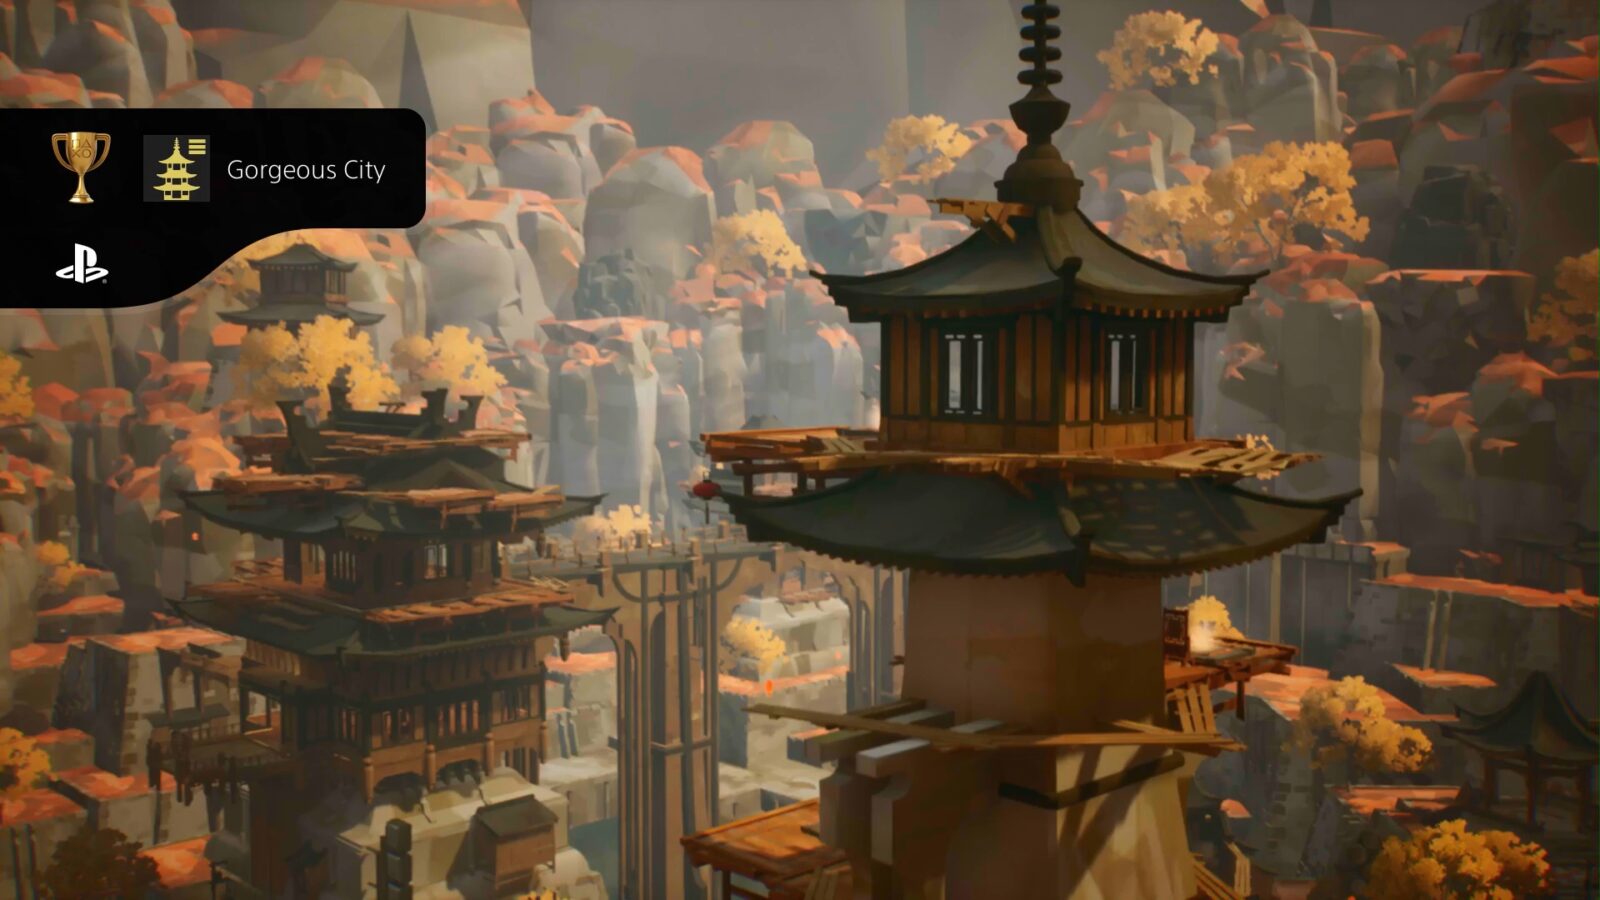
Gorgeous City
Restore Gengetsu Lakeside.
The Gorgeous City Trophy unlocks Automatically after you’ve finished clearing all of the Twilight Fog in Gengetsu Lakeside, which requires sixty Sources of Earth to access.

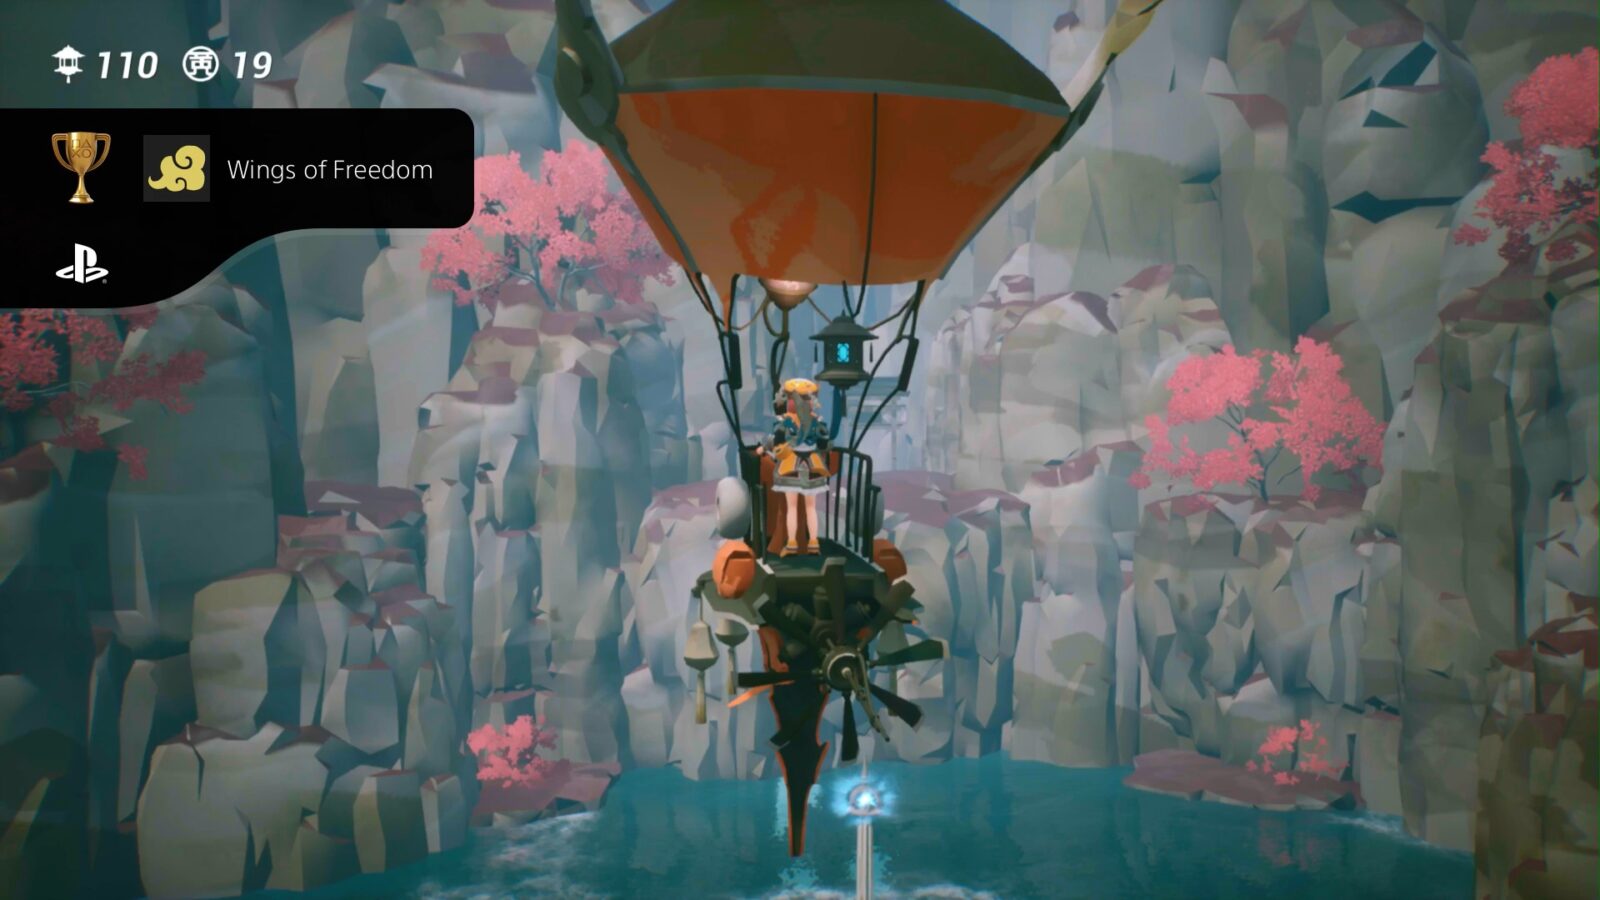
Wings of Freedom
Repair the airship in the Ring Sanctuary.
The Wings of Freedom Trophy unlocks automatically after you’ve activated the Ring Sanctuary and then flown your Airship into the center of the beams to repair it.
To go to the Ring Sanctuary, you will first need to collect 90 Sources of Earth.

The Journey Ends
Clear the Twilight Sanctuary.
The Twilight Sanctuary is the final area that you need to access for the story. To unlock it, you’ll first need to repair your Airship in the Ring Sanctuary, and then collect 150 Sources of Earth.
When you reach this point in the story, you will be able to use the Airship in the other towns you’ve already visited, making it much easier to collect Sources of Earth you couldn’t reach before.
You’ll also have access to three of the five abilities and will be able to acquire new Sources of Earth in the 5 challenges across the 6 Tree Sanctuaries.
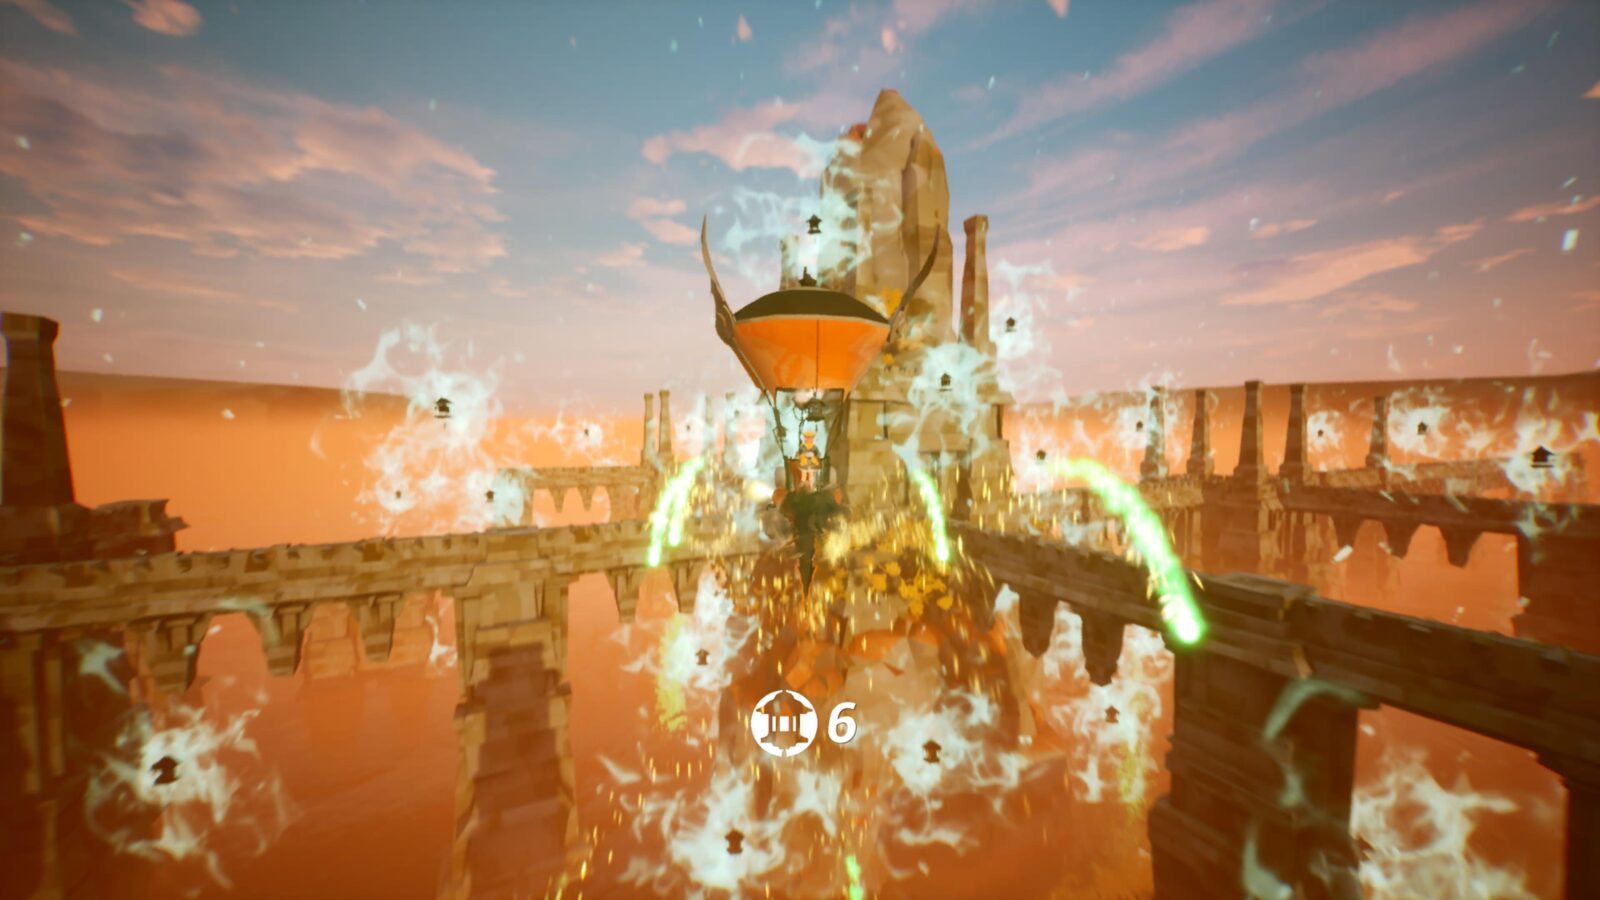
The Twilight Sanctuary contains 60 corrupted Source of Earth Lanterns, and you must destroy them with fireworks by using ![]() and
and ![]() .
.
You should try to hit all of the corrupted Lanterns to unlock Your Aim is True.
Unfortunately, your time in the Twilight Sanctuary is limited to 220 seconds, and you will need to hit as many as you can before the timer expires.
Once you complete this level for the first time, regardless of how many Lanterns you destroy, The Journey Ends trophy will unlock.
Phase Two | Cleanup
In this second and final phase of our Tasomachi: Behind the Twilight Trophy Guide, your objective is now to finish grabbing all of the collectibles in the game. You’ll need to grab all 250 Source of Earth Lanterns, and read all notes.
You’ll also need to gather as much currency as you can so that you can take it to the four stores in the game to purchase all furniture items and outfits. You can also purchase maps which show you the locations of all Source of Earth Lanterns in the three main areas.
Collectible Trophies

A Full Bag
Collect all Sources of Earth.
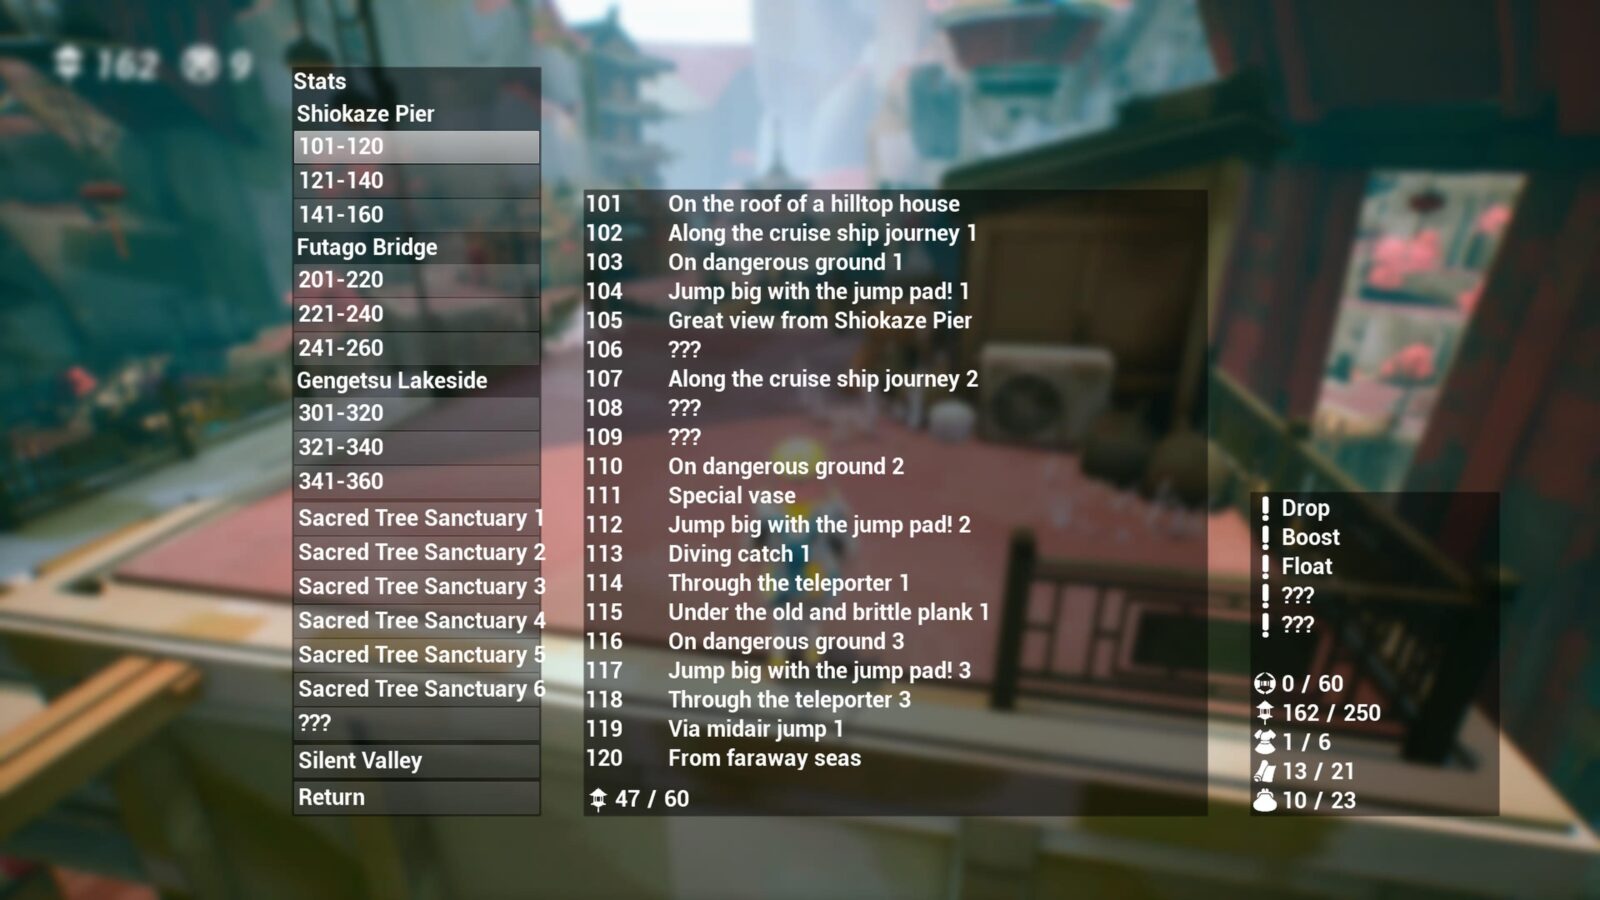
Sources of Earth are the main collectible in the game. There are 250 of them in total and you can use the “Stats” option in the ![]() Pause Menu to see which ones you are missing.
Pause Menu to see which ones you are missing.
You can find them in the following ways:
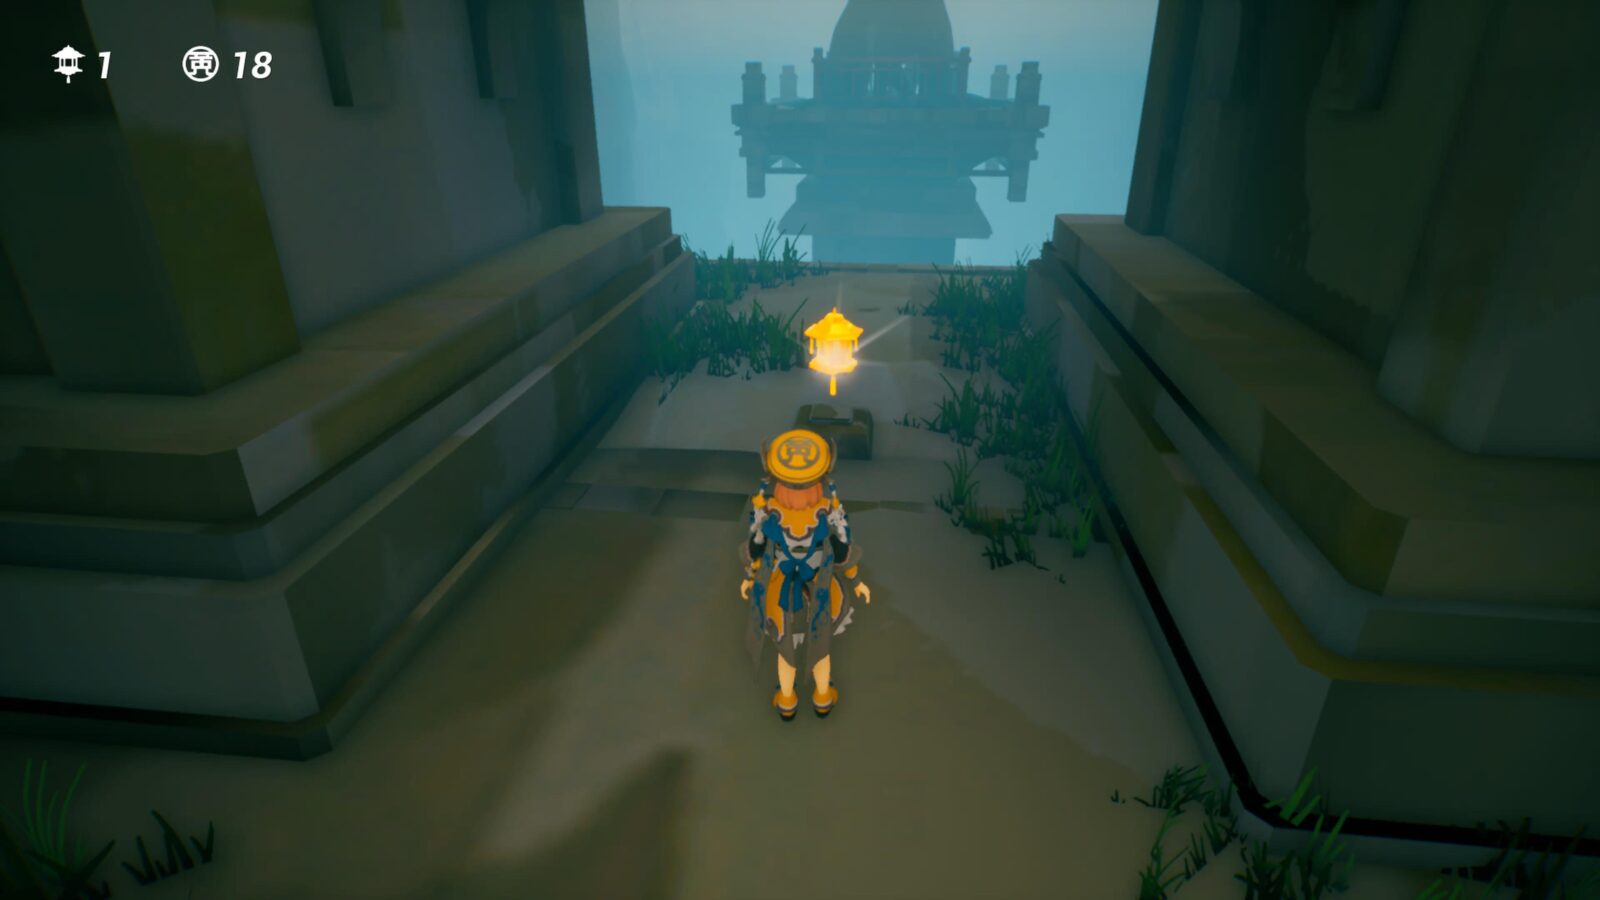
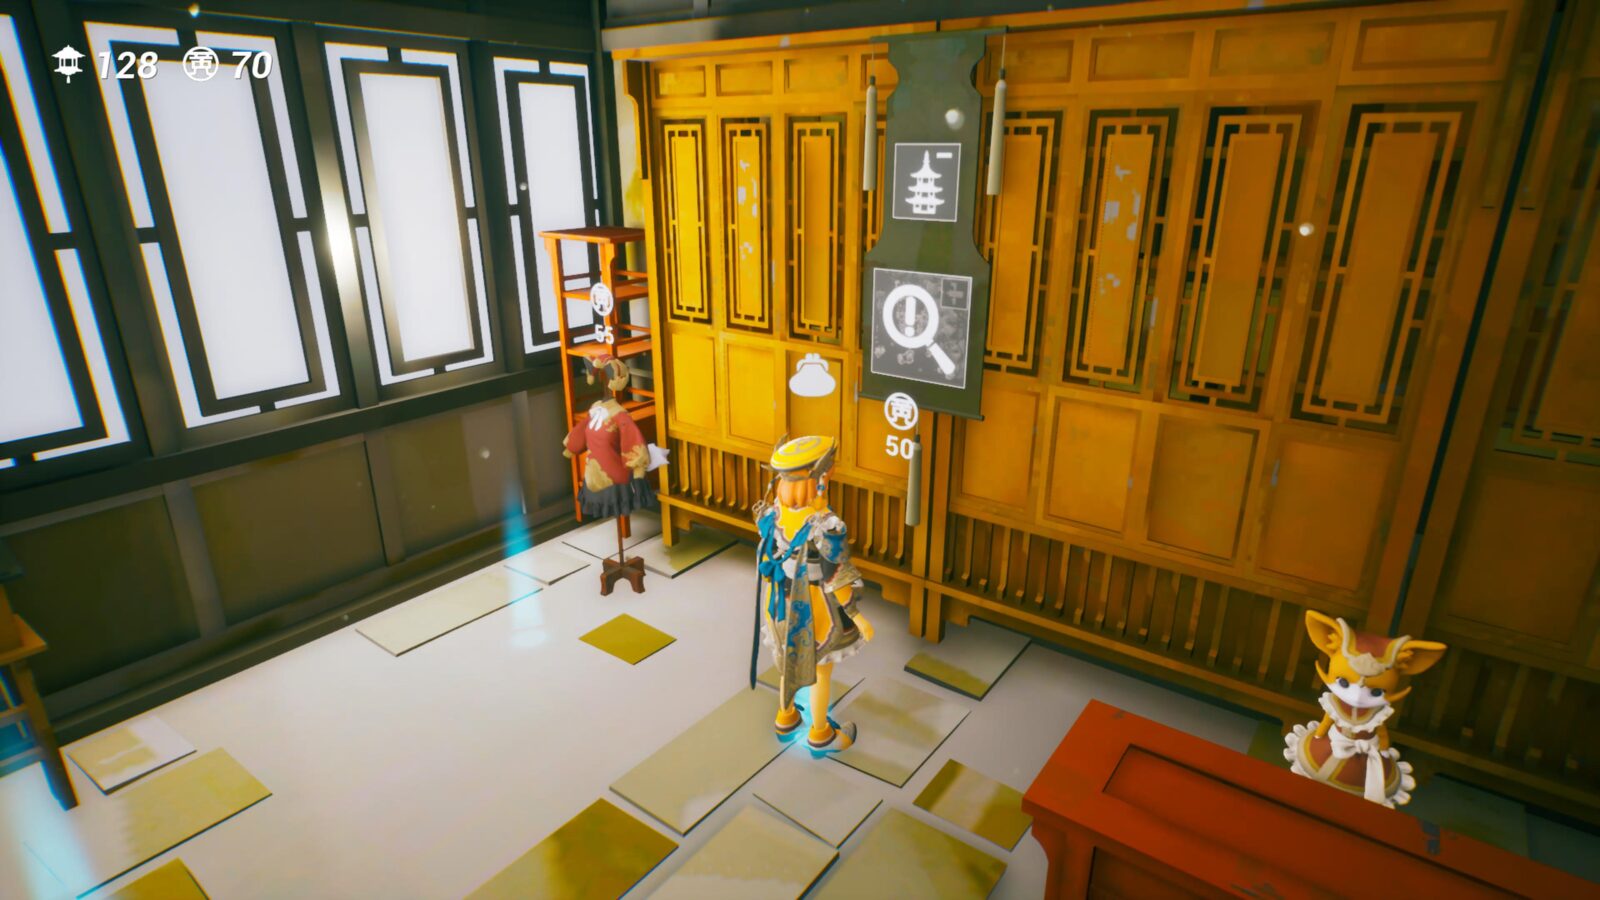
- Walk into the Sources of Earth Lantern that you see in the world to collect them.
- Fly your airship into the larger Source of Earth Lanterns that you see in the world to collect them.
- Complete mini-quests for the Feline NPCs to receive Sources of Earth as a reward. These are typically found near floor tiles with a lantern icon on them. Note that they typically reset if you leave the area without completing the objectives and collecting the lantern reward.
- Dig them from glowing spots on the ground.
- Purchase them from stores.
- Complete Airship Courses by passing through large torii gates with gold lantern floor tiles between them.
You will need a minimum of 150 Sources of Earth to complete the story, but in order to unlock the A Full Bag trophy, you will need to collect all 250.

Before you can do so, you will need all of the abilities that you unlock throughout the game, so it’s best to leave cleanup until you’ve completed the main story.
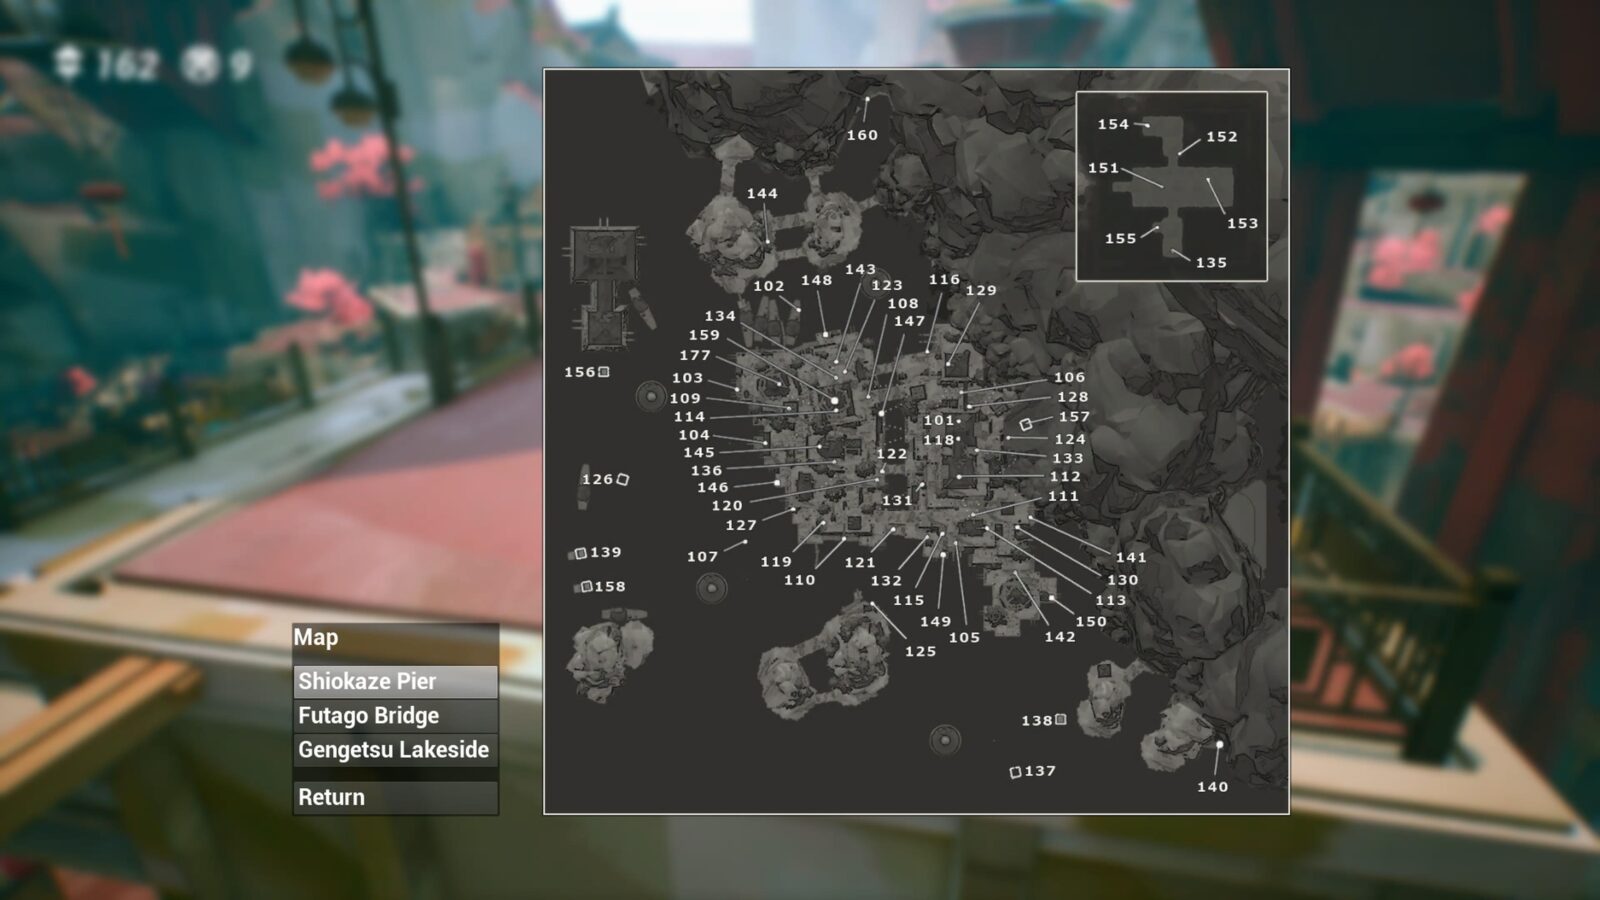
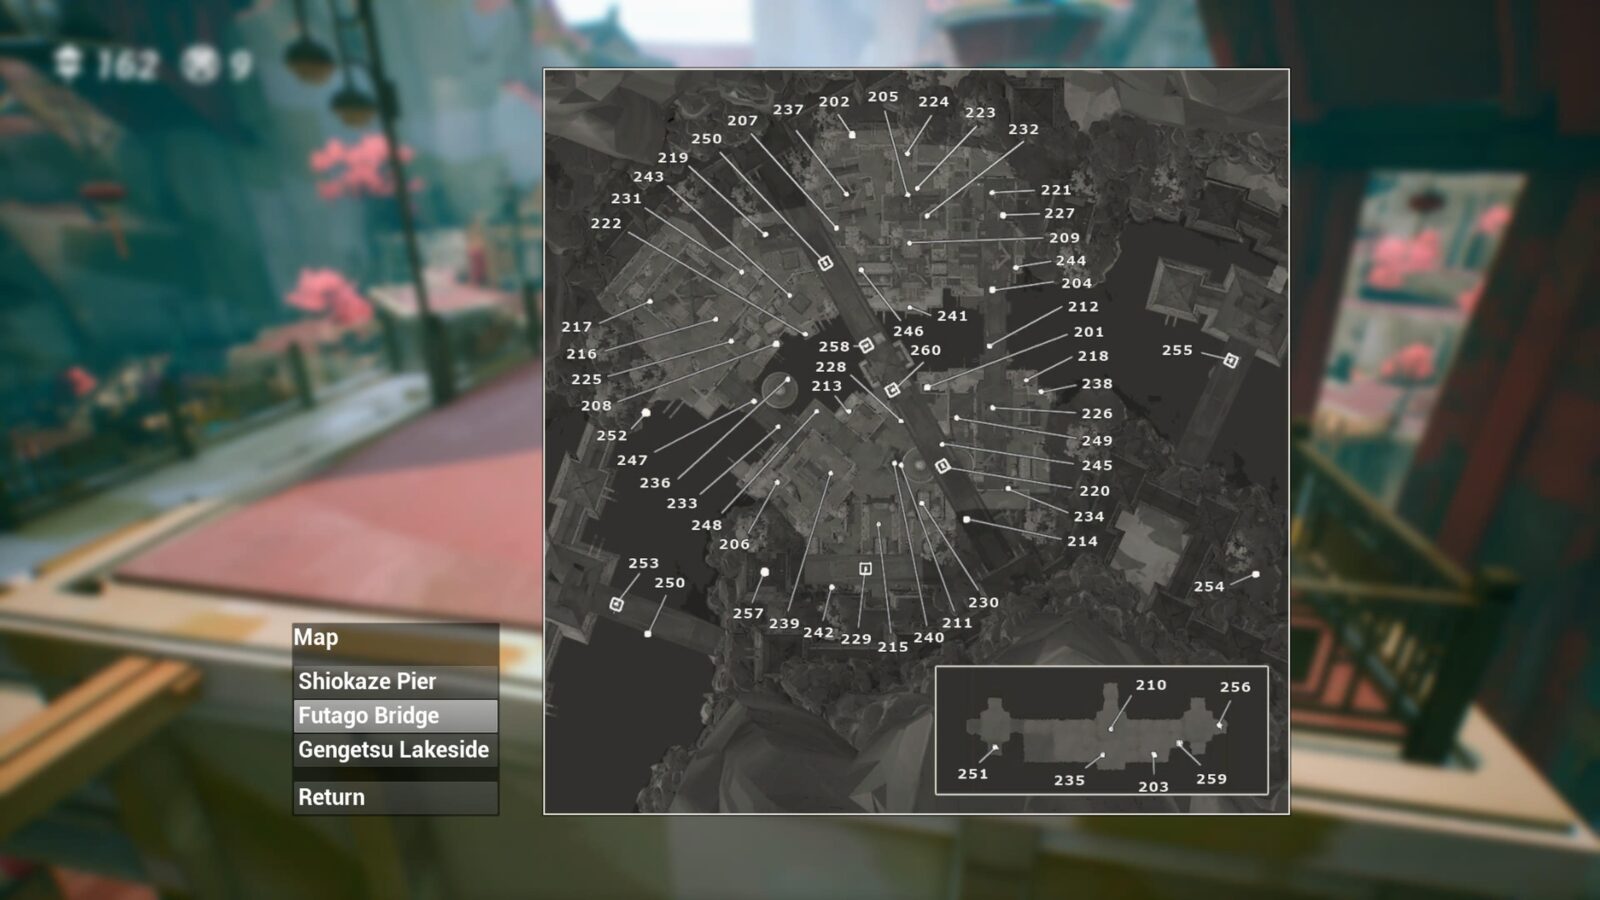
You can purchase maps from stores for 50 currency which will show you Source of Earth locations and can be accessed via the “Map” option in the ![]() Pause Menu. Regardless, I’ve provided them further down in this Tasomachi Trophy Guide.
Pause Menu. Regardless, I’ve provided them further down in this Tasomachi Trophy Guide.
Many of the Source of Earth Lanterns can’t be collected until you have various abilities that are unlocked throughout the game for both your character and the Airship, therefore it’s best to wait til the endgame to try and do cleanup.
You will also be able to access 5 more Lanterns in each of the 6 Tree Sanctuaries by completing the advanced versions of the puzzles and collecting the 10 Lantern Fragments within.
The names of each Source of Earth also serve as hints as to where to find them. For that reason, I’ve prepared lists of each Source of Earth Number and Name below.
Note that the numbering is a little unorthodox, but this is how they are in-game. The numbering goes as high as 360, but there are only 250 to collect. So don’t worry if you’re missing a number that’s not on the list.
Sacred Tree Sanctuaries (60)
- Collect the scattered fragments
- Run across the falling floor
- Run across the falling floor (Advanced)
- Overcome the moving floor
- Overcome the moving floor (Advanced)
- Overcome the rotating ring
- Overcome the rotating ring (Advanced)
- Via multi-jump
- Via multi-jump (Advanced)
- Deep within the Sacred Tree Sanctuary 1
- Collect the scattered fragments
- Correct order
- Correct order (Advanced)
- Teleporter Destination
- Teleporter Destination (Advanced)
- Clear memory floor
- Clear memory floor (Advanced)
- Invisible wall maze
- Invisible wall maze (Advanced)
- Deep within the Sacred Tree Sanctuary 3
- Collect the scattered fragments
- Flashing floor timing
- Flashing floor timing (Advanced)
- Switch by jump
- Switch by jump (Advanced)
- Room of confusion
- Room of confusion (Advanced)
- Overcome the rotating floor
- Overcome the rotating floor (Advanced)
- Deep within the Sacred Tree Sanctuary 5
- Collect the scattered fragments
- Sliding net and falling floor
- Sliding net and falling floor (Advanced)
- Swap floors
- Swap floors (Advanced)
- Against the rotating ring
- Against the rotating ring (Advanced)
- Sliding net and moving floor
- Sliding net and moving floor (Advanced)
- Deep within the Sacred Tree Sanctuary 2
- Collect the scattered fragments
- Correct order flyover
- Correct order flyover (Advanced)
- Teleporter trap
- Teleporter trap (Advanced)
- Moving floor and clear memory floor
- Moving floor and clear memory floor (Advanced)
- Jump through the net
- Jump through the net (Advanced)
- Deep within the Sacred Tree Sanctuary 4
- Collect the scattered fragments
- Flashing floor and falling floor
- Flashing floor and falling floor (Advanced)
- Lightning Decisions
- Lightning Decisions (Advanced)
- Jump on the narrow pillar
- Jump on the narrow pillar (Advanced)
- Overcome the rotating ring
- Overcome the rotating ring (Advanced)
- Deep within the Sacred Tree Sanctuary 6
Deep Sanctuary (6)
- After leaving the cave
- After avoiding the spinning relic
- After passing through the narrow channel
- After avoiding the moving relic
- After avoiding the vanishing relic
- After leaving the Deep Sanctuary
Silent Valley (4)
- Energy of the mysterious airship
- The key sleeping in the mist
- Hidden room in Silent Valley 1
- Hidden room in Silent Valley 2
Shiokaze Pier (60)
- On the Roof of a Hilltop House
- Along the cruise ship journey 1
- On dangerous ground 1
- Jump big with the jump pad! 1
- Great view from Shiokaze Pier
- Follow the traces 1
- Along the cruise ship journey 2
- Follow the traces 2
- Follow the traces 3
- On dangerous ground 2
- Special vase
- Jump big with the jump pad! 2
- Diving catch 1
- Through the teleporter 1
- Under the old and brittle plank 1
- On dangerous ground 3
- Jump big with the jump pad! 3
- Through the teleporter 3
- Via midair jump 1
- From faraway seas
- Diving catch 2
- Via midair jump 2
- Warm glow of a lantern
- Overflowing letters
- Exploring boulders 1
- Airship flying around town 1
- Discovery! In the bush 1
- Discovery! In the bush 2
- Jump big with the jump pad! 4
- Discovery! In the bush 3
- Discovery! In the bush 4
- A little help
- Troublesome weed problem
- Balloons disappearing into the sky
- Shop at Shiokaze Pier
- Mischievous posters
- Airship flying around town 2
- Collect the fragments floating in the sky
- Destroy the relics of the Earth
- In a hard, huge rock 1
- Under the old and brittle plank 2
- Collect the scattered fragments
- Under the old and brittle plank 3
- Exploring boulders 2
- On dangerous ground 4
- Buried at the edge of the pier 1
- Buried at the edge of the pier 2
- Buried at the edge of the pier 3
- Buried at the edge of the pier 4
- Buried at the edge of the pier 5
- Helping to collect books
- In a corner of the library
- Behind the hidden door 1
- Standing in the back of the library
- Behind the hidden door 2
- Balloons disappearing into the heavens
- Airship flying around town 3
- Destroy the relics of the Sky
- Looking down on Shiokaze Pier
- In a hard, huge rock 2
Futago Bridge (60)
- Buried at the edge of the valley 1
- Buried at the edge of the valley 2
- Standing in the back of the school
- Buried at the edge of the valley 3
- Diving catch 1
- Under the old and brittle plank 1
- Via midair jump 1
- Buried at the edge of the valley 4
- Balloons disappearing into the sky
- Helping with homework
- Along the elegant balloon journey 1
- On dangerous ground 1
- Below the old and brittle plank 2
- Buried at the edge of the valley 5
- Troublesome weed problem
- Collect the scattered fragments
- Discovery! In the bush 1
- A little help
- Through the teleporter 1
- Airship flying around town 1
- Searching over the bridge
- On dangerous ground 2
- Scattered around the shop
- Discovery! In the bush 2
- Under the old and brittle plank 3
- Via midair jump 2
- Buried at the edge of the valley 6
- Mischievous posters
- Airship flying around town 3
- Via midair jump 3
- On dangerous ground 3
- Through the teleporter 2
- Follow the traces 1
- Discovery! in the bush 3
- Shopping at Futago Bridge
- Along the elegant balloon journey 2
- Follow the traces 2
- On dangerous ground 4
- Special vase
- Follow the traces 3
- Great view from Futago Bridge
- Discovery! In the bush 4
- Overflowing letters
- Under the old and brittle plank 4
- Via midair jump 4
- Via midair jump 5
- On dangerous ground 5
- Warm glow of a lantern
- Diving catch 2
- Airship flying around town 2
- At the edge of the school 1
- In a hard, huge rock 1
- Collect the fragments floating in the sky
- In a hard, huge rock 2
- Balloons disappearing into the heavens
- At the edge of the school 2
- Looking down on Futago Bridge
- Destroy the relics of the Sky
- Under the floor in the punishment room
- Destroy the relics of the Earth
Gengetsu Lakeside (60)

- Airship flying around town 2
- A little help
- Through the teleporter 1
- Airship flying around town 1
- Buried at the edge of the lake 1
- Under the old and brittle plank 1
- Under the old and brittle plank 2
- Jump big with the jump pad! 1
- Through the teleporter 2
- Under the old and brittle plank 3
- Diving catch 1
- Via midair jump 1
- Discovery! In the bush 1
- Discovery! In the bush 2
- Buried at the edge of the lake 4
- Via midair jump 2
- Forsaken by a stranger
- Jump big with the jump pad! 2
- Airship flying around town 3
- Balloons disappearing into the sky
- In a hard, huge rock 1
- Discovery! In the bush 3
- On dangerous ground 1
- In a hard, huge rock 2
- Looking down on Gengetsu Lakeside
- Great view from Gengetsu Lakeside
- Along the airship journey 1
- Under the old and brittle plank 4
- Jump big with the jump pad! 3
- Buried at the edge of the lake 5
- Shopping at Gengetsu Lakeside
- Warm glow of a lantern
- Special vase
- On dangerous ground 2
- Below the old and brittle board 5
- Buried at the edge of the lake 2
- Mischievous posters
- Via midair jump 3
- Buried at the edge of the lake 3
- Destroy the relics of the Earth
- Destroy the relics of the Sky
- Via midair jump 4
- On dangerous ground 3
- On dangerous ground 4
- Help collecting documents
- Buried at the edge of the lake 6
- Overflowing letters
- Troublesome weed problem
- Along the airship journey 2
- Collect the scattered fragments
- Balloons disappearing into the heavens
- Collect the fragments floating in the sky
- The sealed guest room 1
- Follow the traces 1
- Diving catch 2
- Standing in the back of the inn
- Follow the traces 2
- Buried in the back of the warehouse
- Follow the traces 3
- The sealed guest room 2

Shopaholic
Buy all available furniture.
There are four stores in the game:
- The Library in Shiokaze Pier
- The School in Futago Bridge
- The Inn in Gengetsu Lakeside
- In ??? (180 Sources of Earth)
In these stores, you can purchase furniture, Sources of the Earth, Outfits, and Collectible Maps. To purchase them, you will need to press ![]() on the desired item in the store while having enough currency in your wallet.
on the desired item in the store while having enough currency in your wallet.
The game’s currency can be found at shining spots in the open world, these lootable spots will respawn each time you leave and revisit an area.
Once you have Airship access, the currency can also be found in the form of floating gold coins.

A good way to farm coins is to replay the Airship courses in Deep Sanctuary.
To unlock the Shopaholic trophy, you will need to purchase every item of furniture from the game’s four stores.

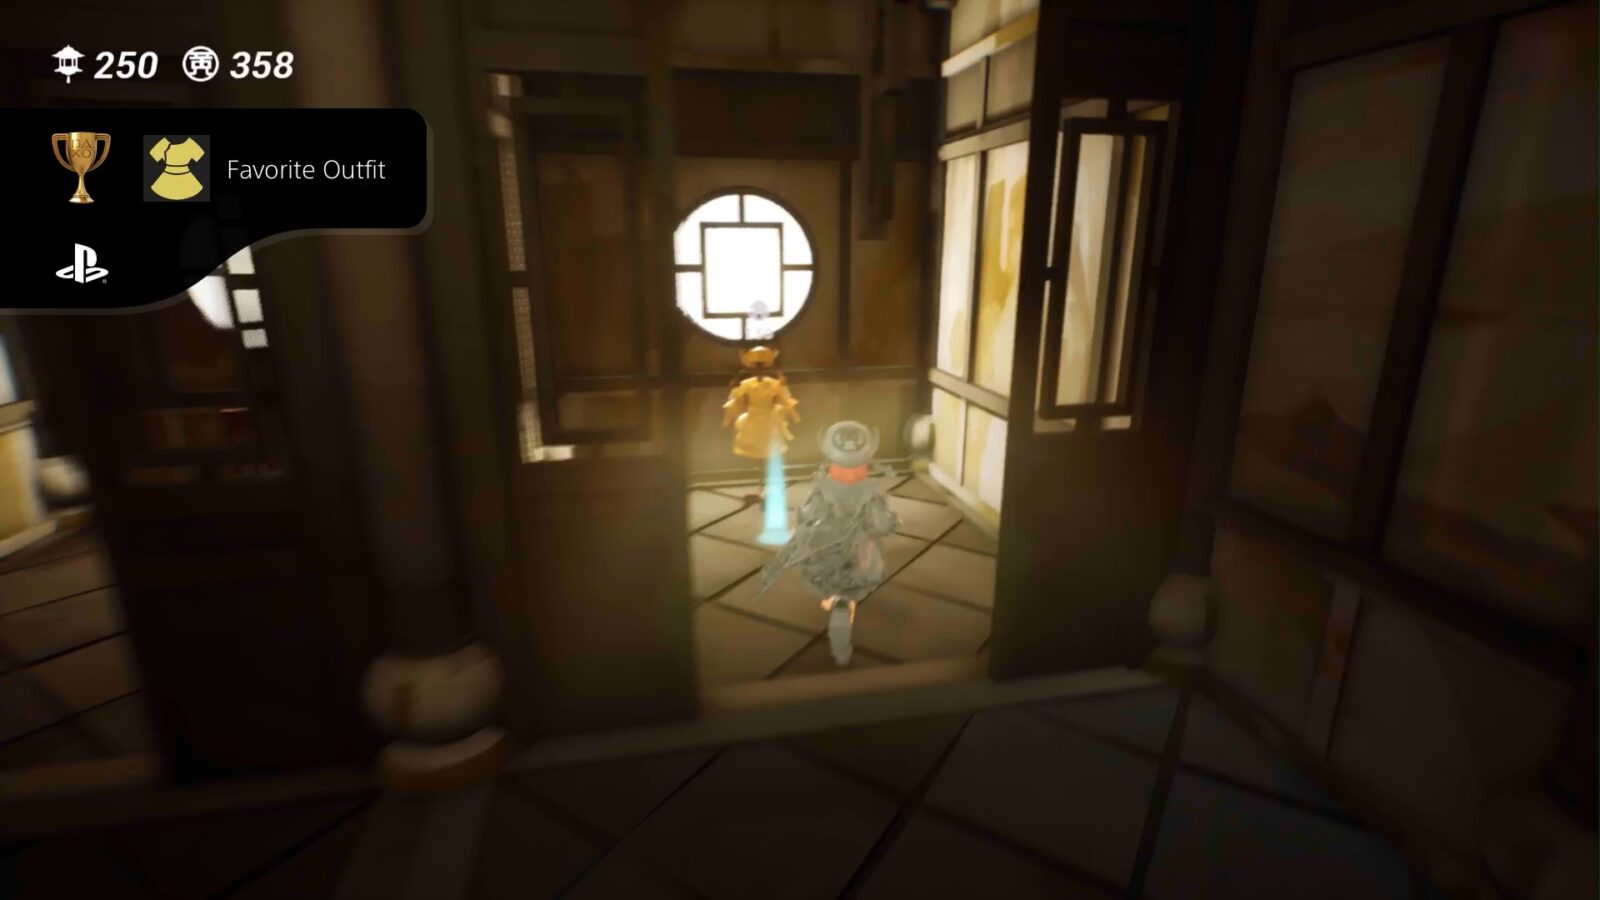
Favorite Outfit
Buy all available clothes.
To unlock the Favorite Outfit trophy, you will need to purchase the outfit from all four of the stores in the game. See Shopaholic for more info on buying items.

What Happened Here?
Read all of the notes found around town.
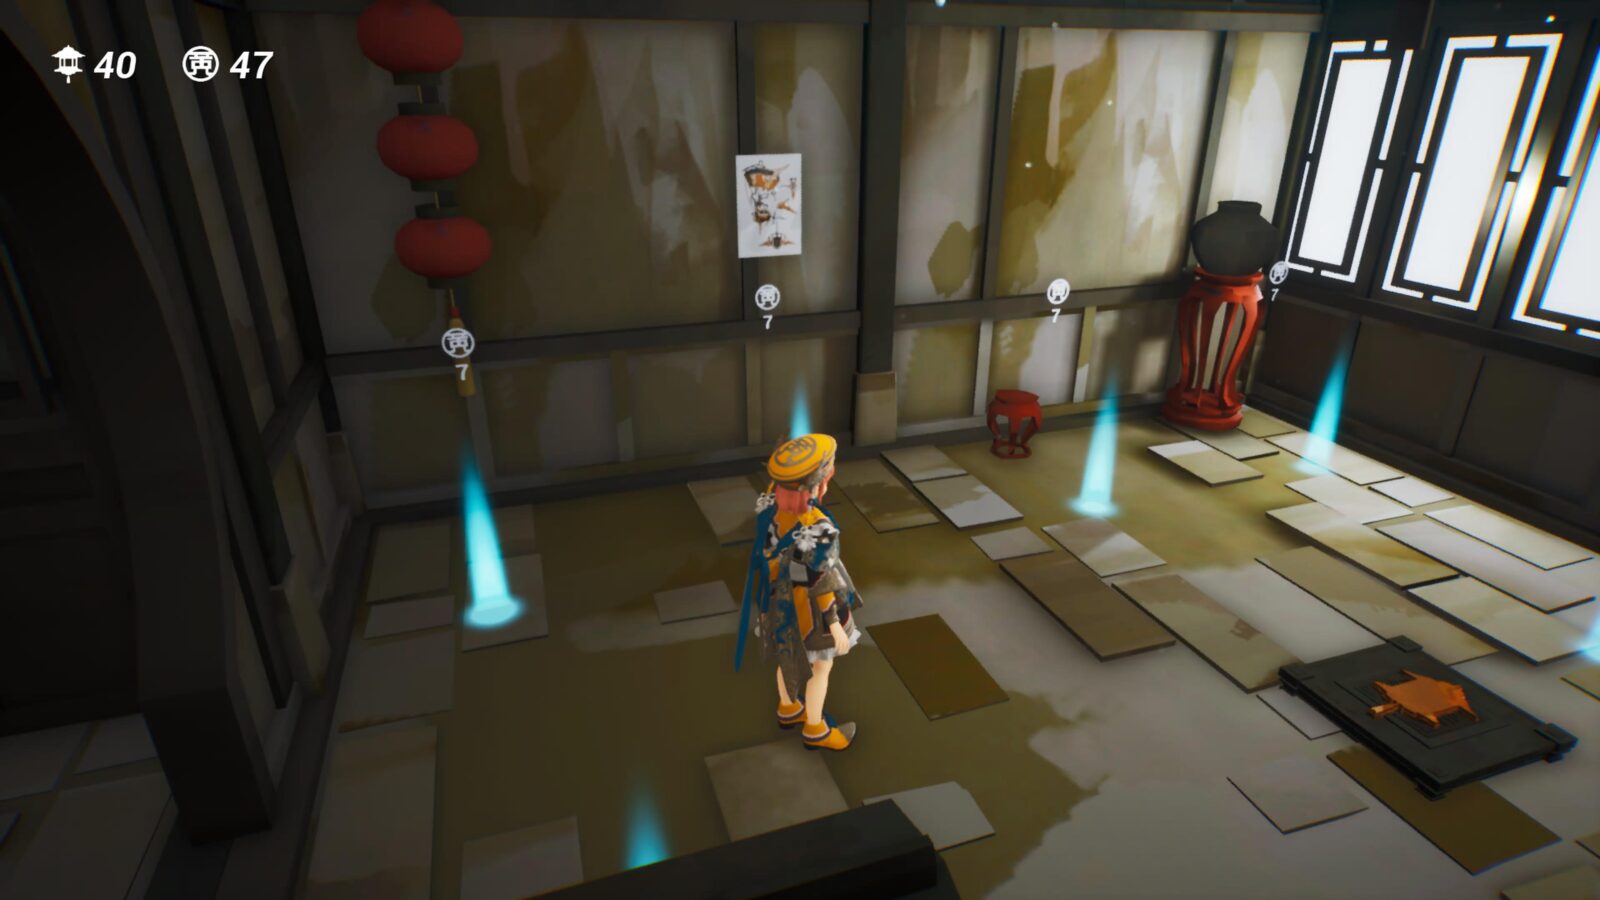
To unlock the What Happened Here? trophy, you will need to interact with the notes in every explorable area of the game.
Notes have a gold glow the first time you see them, but once you’ve pressed ![]() to read them, the glow becomes a silvery-blue color.
to read them, the glow becomes a silvery-blue color.

There are not too many in each stage and shouldn’t take you long to find. Make sure you check inside the four stores and any other buildings you can access via teleporters in each area.
The only one I found difficult to locate was the one in the Library in Shiokaze Pier. You will need to interact with empty shelves in the library to reveal hidden rooms. Two of these rooms contain Sources of Earth but one of them contains a hidden note.


Your Aim is True
Destroy all corrupted Sources of Earth.
In the Twilight Sanctuary stage, you can use your airship to fly around the structure and shoot missiles by pressing ![]() . You can also drop bombs with
. You can also drop bombs with ![]() .
.
The objective in this level is to hit all 60 Corrupted Source of Earth Lanterns with either a Missile or a Bomb. Unfortunately, you will only have 220 seconds to do so.
This will likely take a few attempts to get right as you’ll need to practice a bit. If you succeed in hitting all 60 Lanterns within the 220 second time limit, the Your Aim is True trophy will unlock.
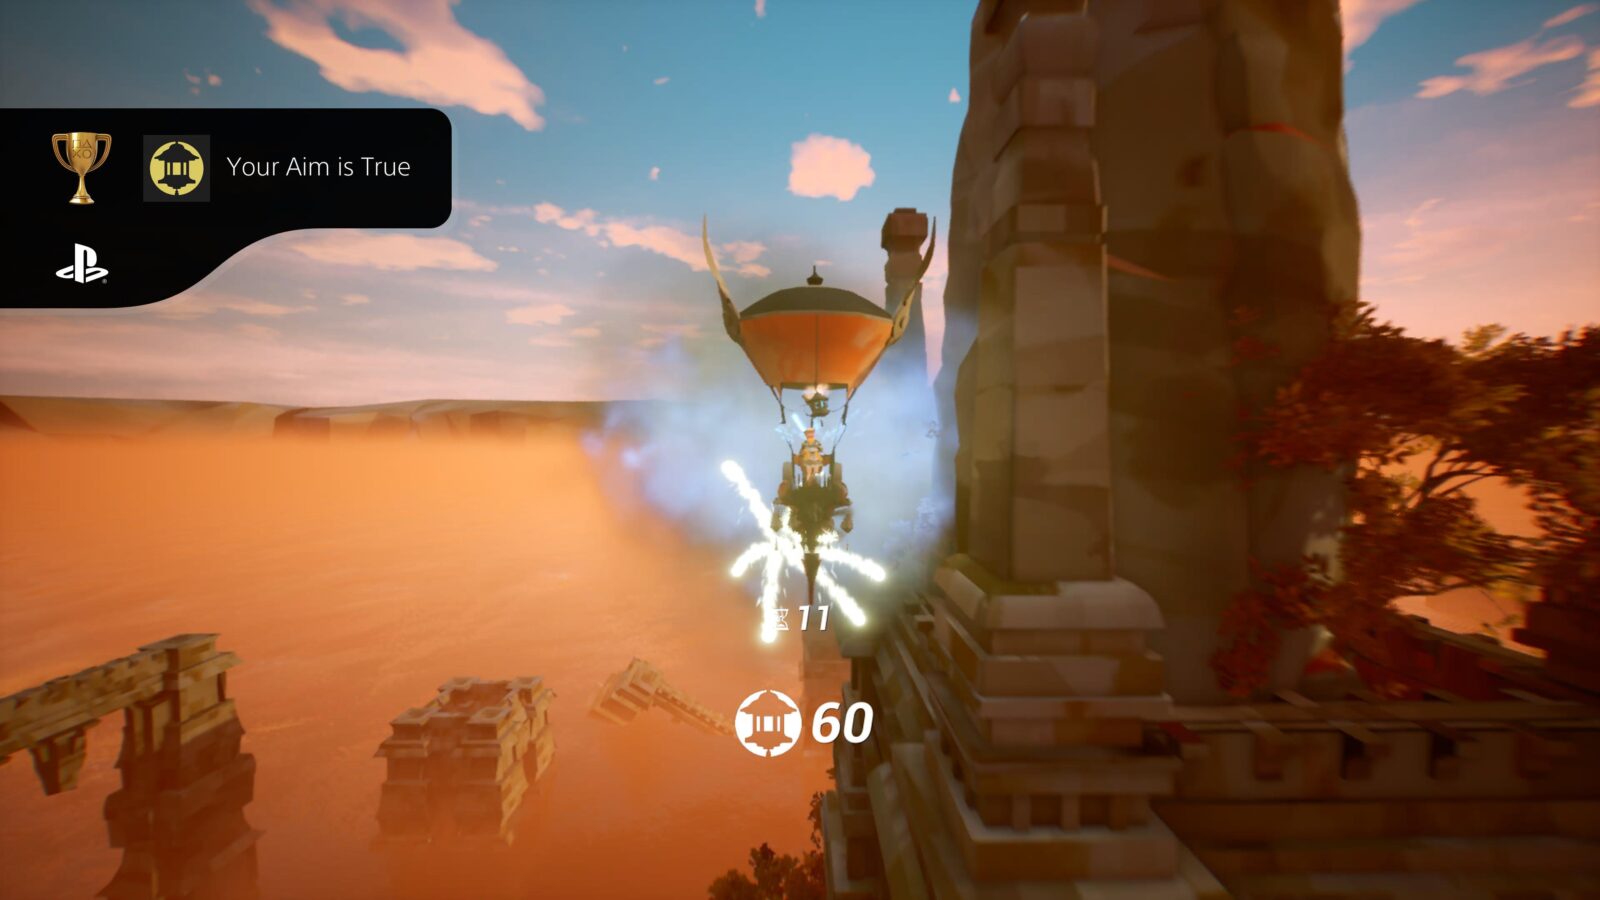
Check out the recording of my run below for a decent route through the level:
Plat Get!


Tasomachi Master
Earn all trophies.
Once you have acquired every other trophy in this Tasomachi: Behind the Twilight Trophy Guide, the “Tasomachi Master” platinum trophy will unlock.
Thank you for choosing PlatGet as your source for a Tasomachi: Behind the Twilight Trophy Guide. Consider checking out our other guides!
Follow us on Twitter @GetPlat or Instagram @platget for updates on new reviews and guides, as well as small anecdotes about our platinum journeys.


