PlayStation 5
Astro Bot Tentacle System Collectible Guide
Collectible Guide
Where and How to Collect all Collectibles and Level-Specific Trophies in the Astro Bot Red Tentacle System
The Tentacle System is the second section of the Galaxy Map that you will have access to. This collectible guide will walk you through all of the collectibles and level-specific trophies in each of the stages within this zone.
Once you’ve completed the zone, be sure to fly around the map for a short while until a UFO appears carrying a bonus Puzzle Piece.
- Astro Bot Gorilla Nebula Collectible Guide
- Astro Bot Tentacle System Collectible Guide
- Astro Bot Serpent Starway Collectible Guide
- Astro Bot Camo Cosmos Collectible Guide
- Astro Bot Feather Cluster Collectible Guide
- Astro Bot Déjà Vu Dimension Collectible Guide
- Astro Bot Lost Galaxy Collectible Guide
- Astro Bot Crash Site Collectible Guide
Go-Go Archipelago Collectibles
The Go-Go Archipelago Level contains 11 total collectibles: 7 Bots, 3 Puzzle Pieces, and 1 Lost Galaxy Exit. There are no Level-Specific Trophies in this stage.
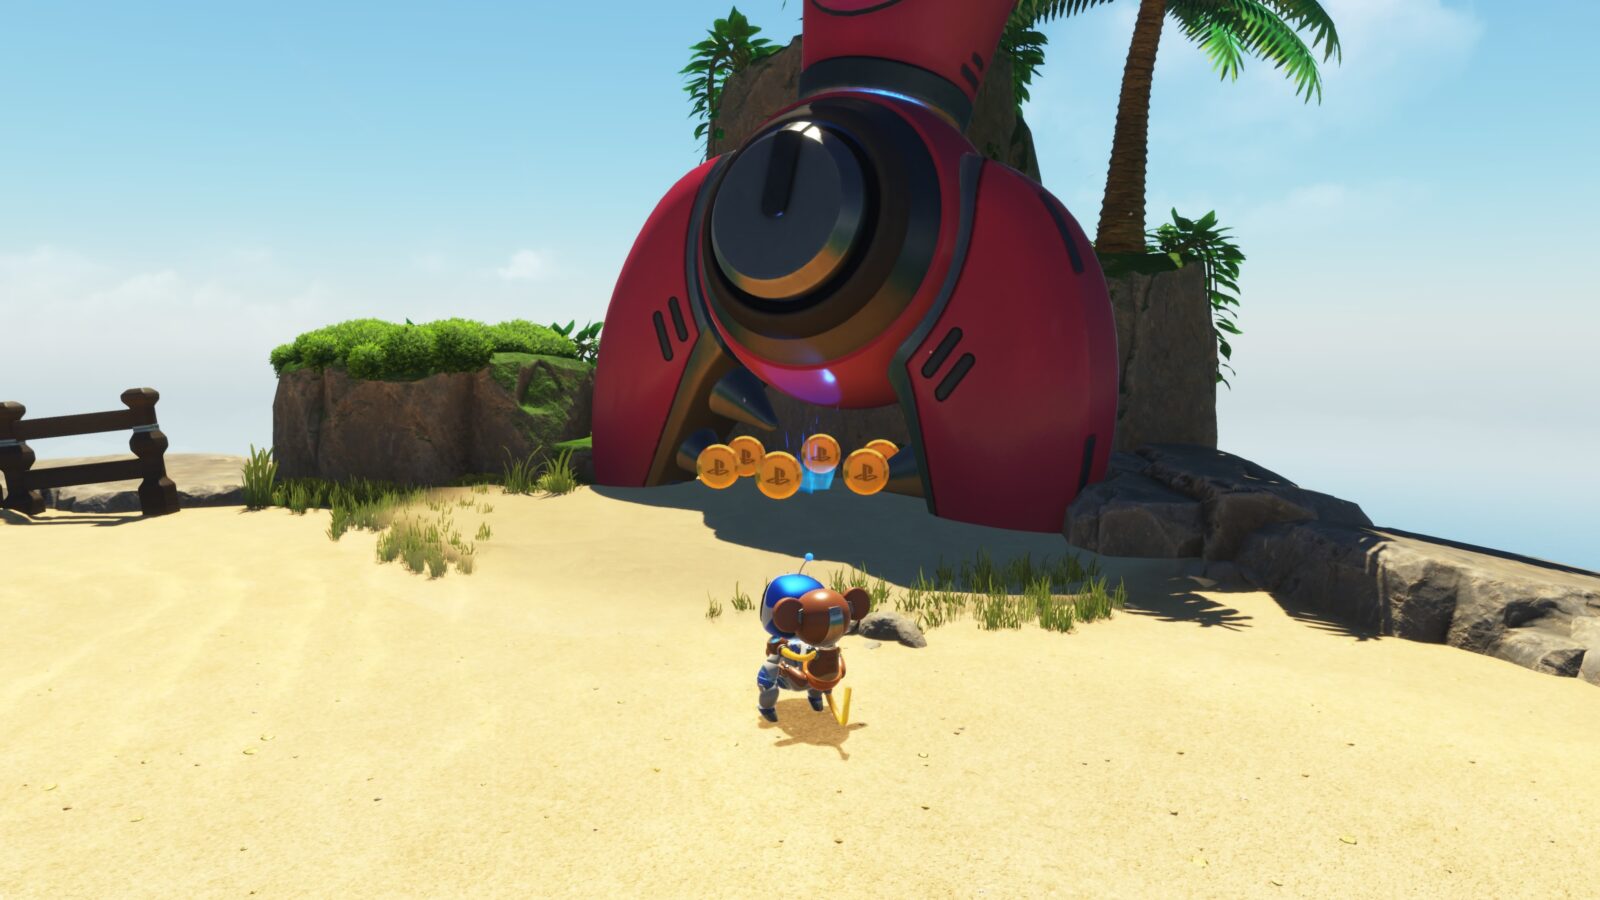
Go-Go Archipelago Puzzle Piece #1
At the very start of the level, when flying in on your controller, be sure to hold ![]() +
+ ![]() to boost as fast as you can. This is the only way to reach the Puzzle Piece before it moves off the left side of the level.
to boost as fast as you can. This is the only way to reach the Puzzle Piece before it moves off the left side of the level.
Go-Go Archipelago Bot #1
On the right side of the beach, near the dolphin statue, climb up the cliff.

At the top, you’ll find this bot tied to a tree.
Go-Go Archipelago Bot #2
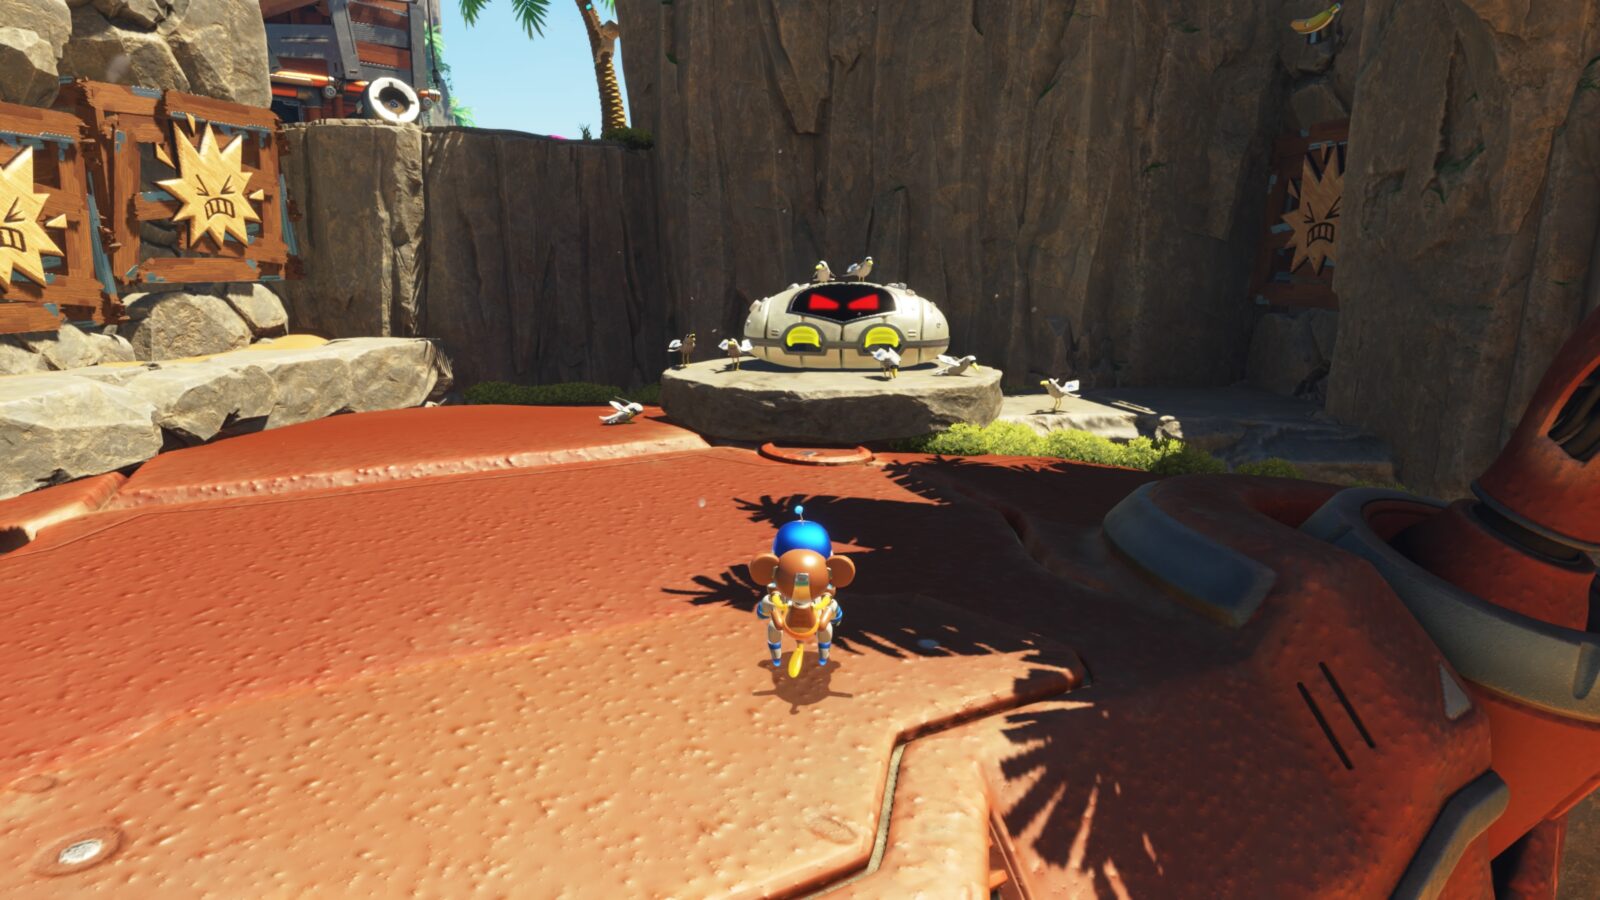
On the left side of the beach, there’s a small island you can glide to.

At the top of this island, camping in a giant metal shell, you’ll find this bot.
Go-Go Archipelago Puzzle Piece #2
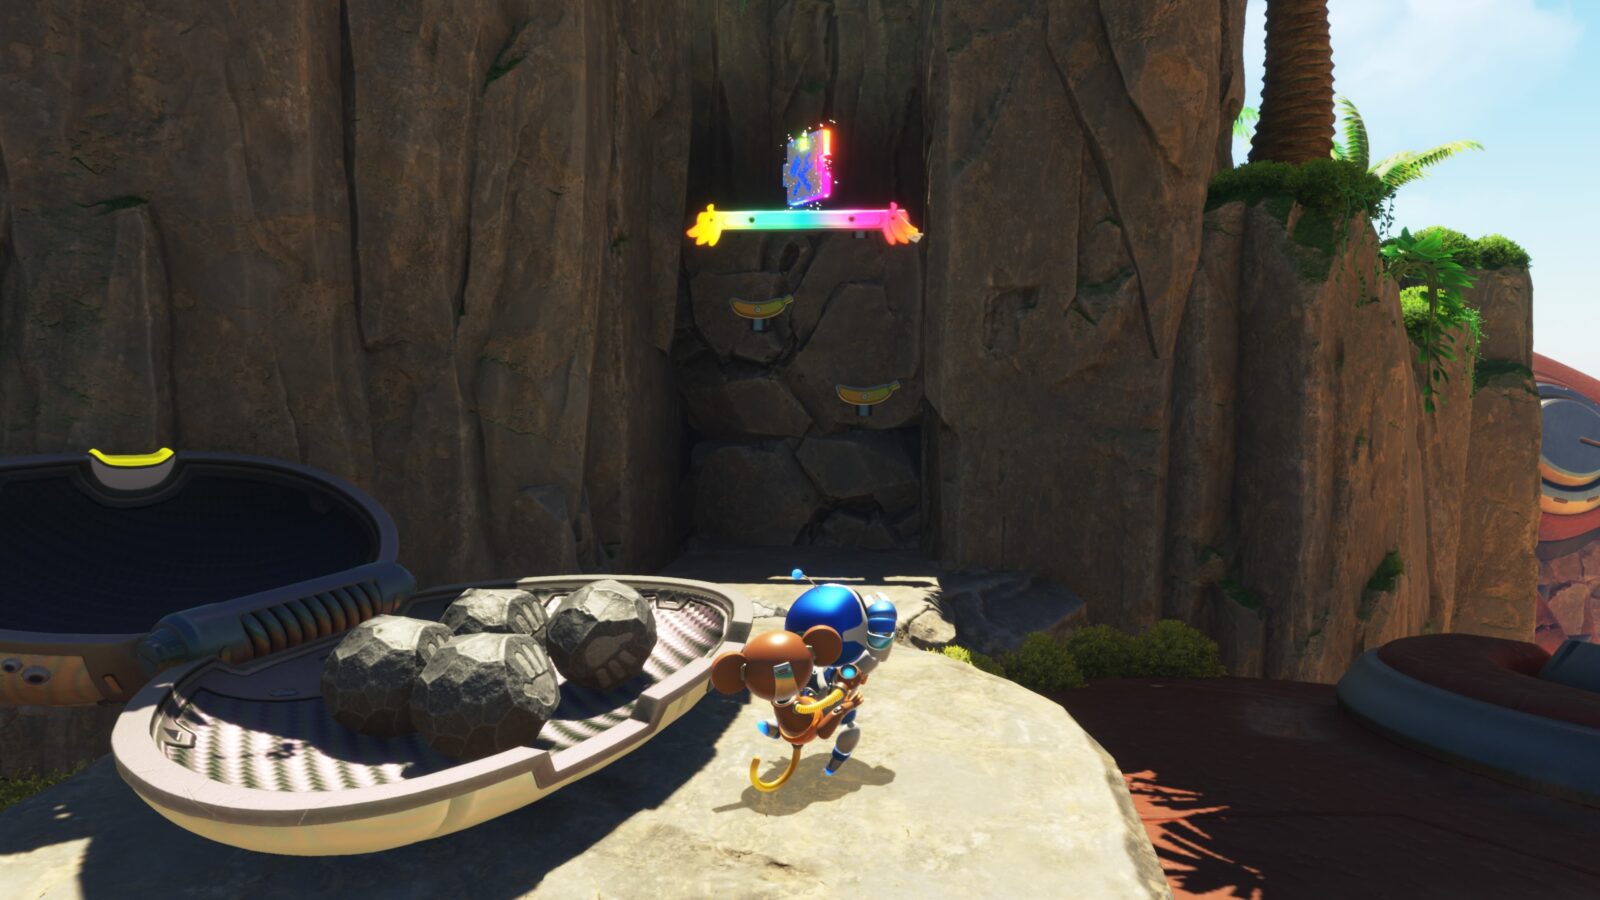
After getting the monkey ability and climbing the wall, use the monkey hands to open the clam shell.
Inside, you’ll get some stones you can grab and throw using the monkey ability.
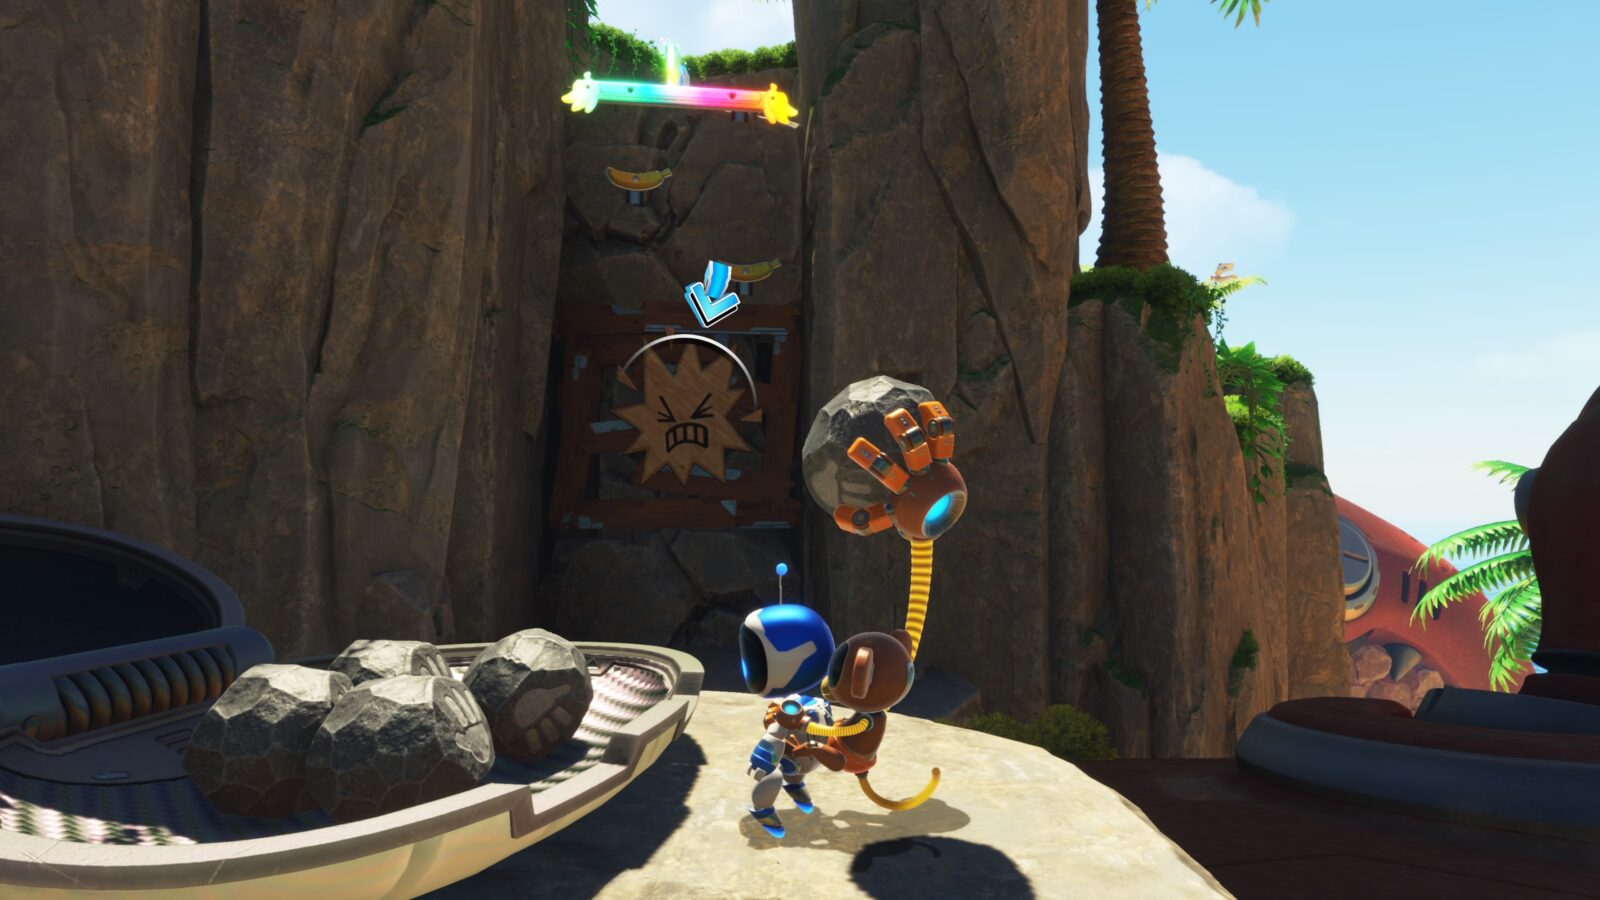
Throw one of the stones at the platform on your right to lower the Puzzle Piece so you can reach it.
Go-Go Archipelago Bot #3
On the left side of the area where Puzzle Piece #2 is, use the monkey ability to spawn three cactus platforms you can use to reach a clam on a raised plateau.
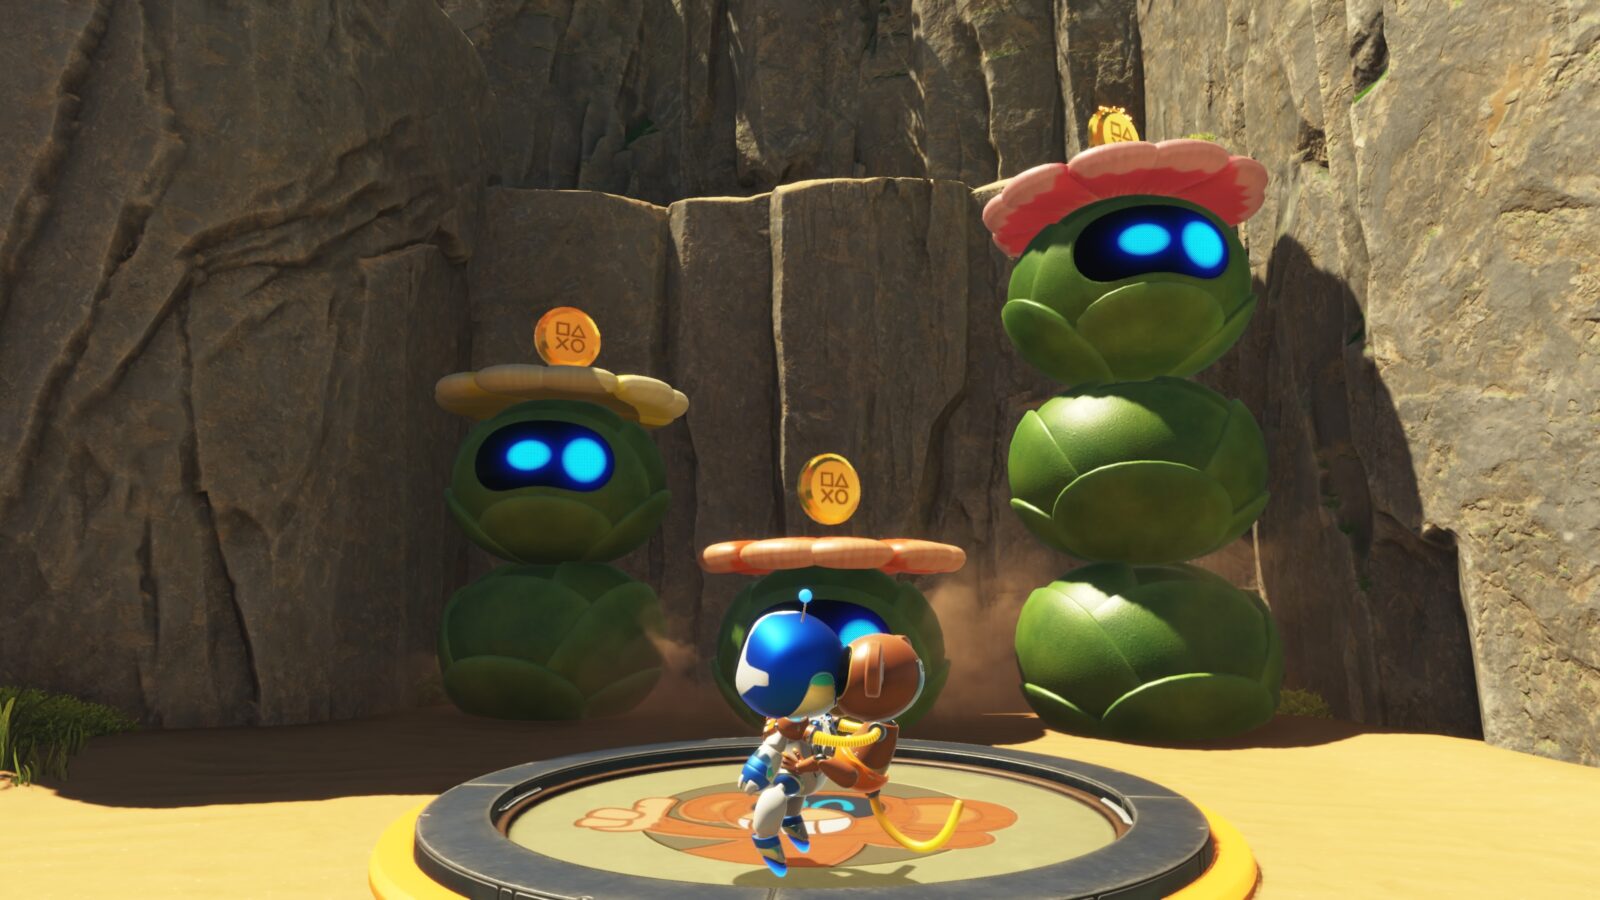
Open the clamshell to find this bot inside.

Go-Go Archipelago Bot #4
Continue through the level until you’re crossing a fragile bridge.
Break the bridge around the cage at the center to cause it to drop down.
Go down after it to collect the bot that was inside the cage.

It’s based on Yorda from “Ico.”
Go-Go Archipelago Bot #5
While down below the bridge, look for a stone island with a large boulder on it.

Grab the boulder and throw it at the cliffside to expose a hidden area.
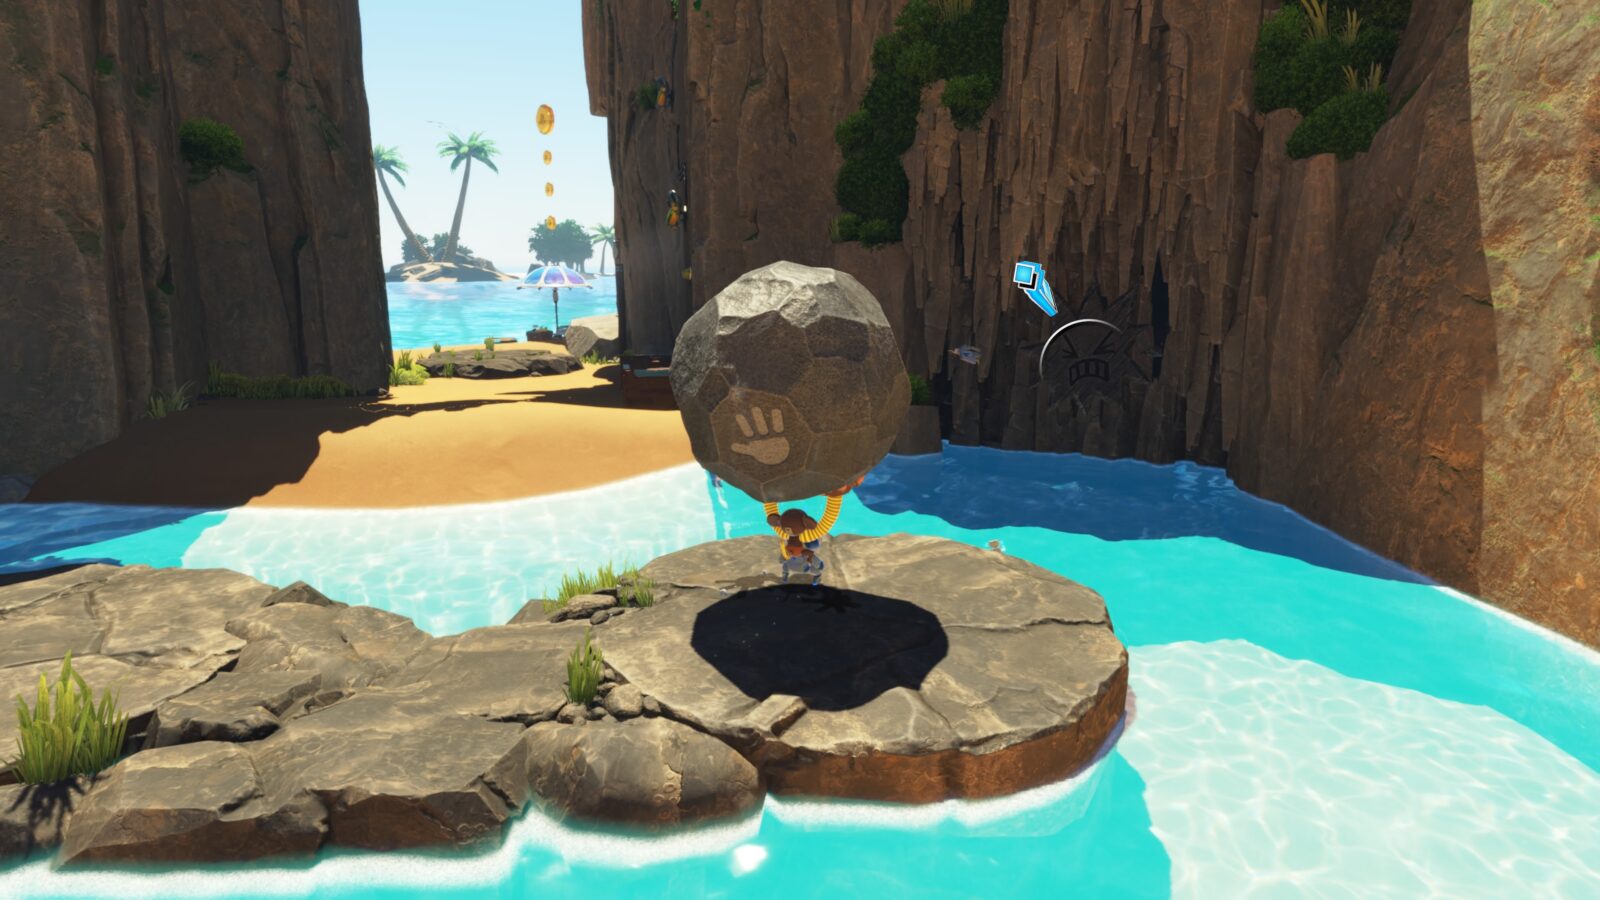
Push the correct block to open the way, and you’ll find this bot inside the cave.

Go-Go Archipelago Bot #6
On the Pirate Ship, hit the cannon to spawn a wire you can cross.

At the other side, climb to the highest ledge, where you’ll see this bot hanging from a tree.

It’s based on Ico from the game of the same name.

Go-Go Archipelago Bot #7
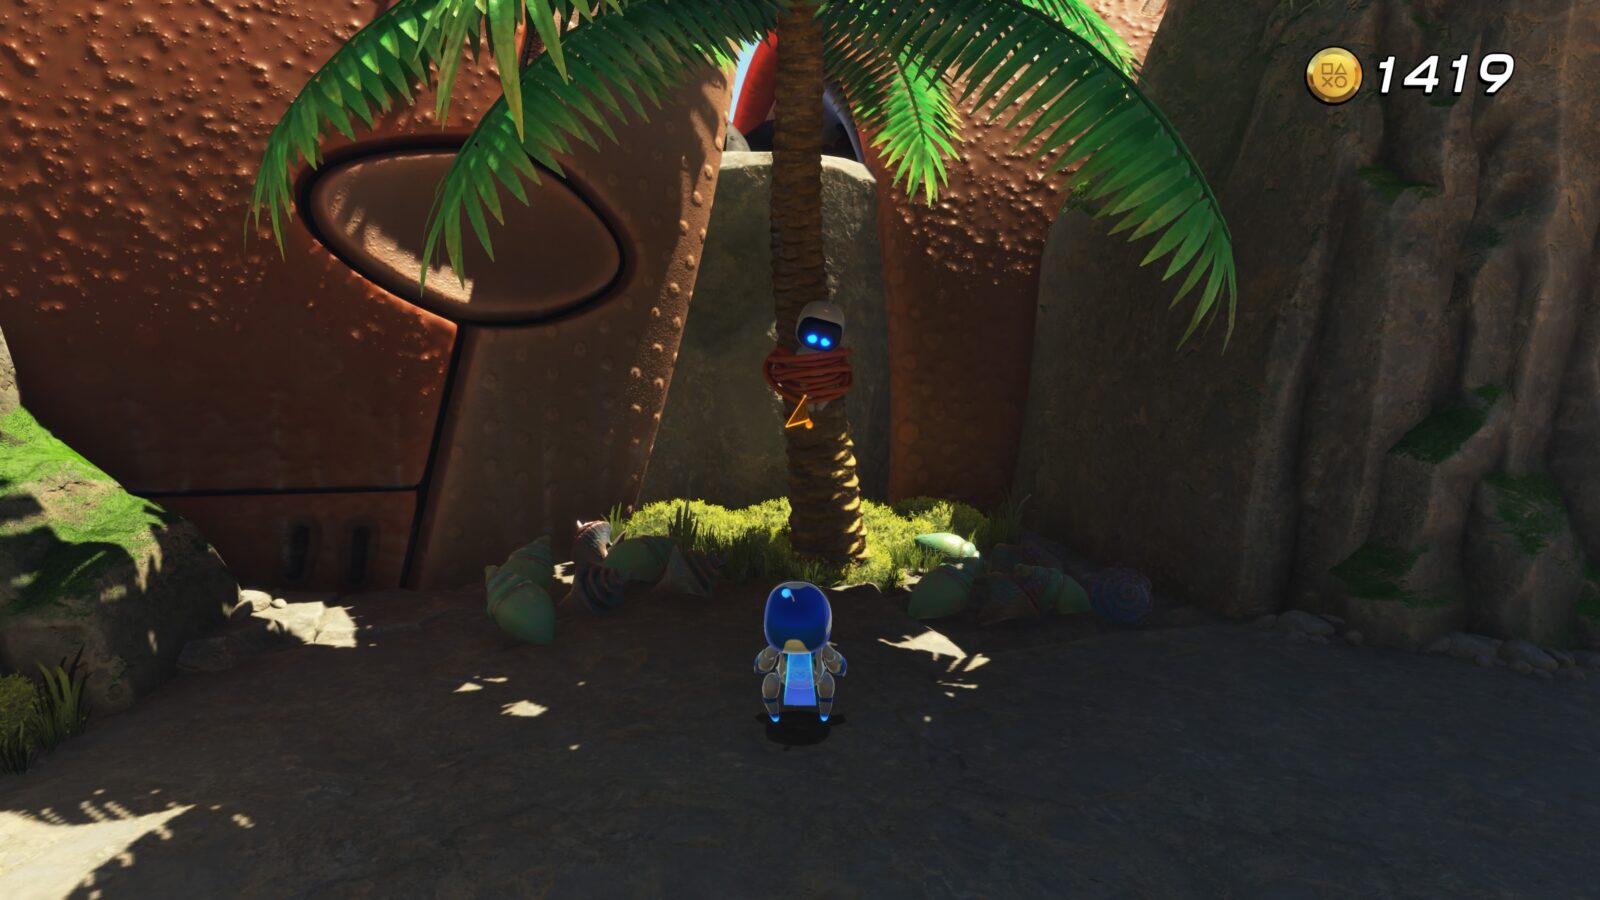
Return to the main path and continue on to the next checkpoint.

Next to that checkpoint, there’s a barrel with some exposed wires. Pull the wires to reveal this bot.

Go-Go Archipelago Puzzle Piece #3
During the final climb, keep your eye out for a large boulder on the left side.

Grab it and throw it at the destructible cliffside to open a hidden alcove.

Inside, you’ll find this puzzle piece.

Go-Go Archipelago Lost Galaxy Exit | Light Bulb Limbo
After you defeat the boss at the end of the level, don’t use the normal exit. Instead, look for this spot where one of the boss’ pincers landed on the right side.
There’s a small cross-shaped hole in the ground, which you can drill into using a charged ![]() spin attack.
spin attack.
In the hidden area below, you’ll find the Lost Galaxy exit. Since this is at the end of the level and you should have found all of the collectibles before this, you can safely leave the level via this exit without missing anything.
Downsize Surprise Collectibles
The Downsize Surprise Level contains 11 total collectibles: 7 Bots, 3 Puzzle Pieces, and 1 Lost Galaxy Exit. There are no Level-Specific Trophies in this stage.
Downsize Surprise Bot #1
In a cage on the first plateau you climb to.

Downsize and use the mushrooms to climb up and enter the cage.
Within, return to normal size to bust the cage open and free the bot.
Downsize Surprise Puzzle Piece #1
In the same area, look for the tree stump on the left side.

Pull the cables on the tree stump to open the entrance, then shrink down and enter the stump to collect the puzzle piece inside.

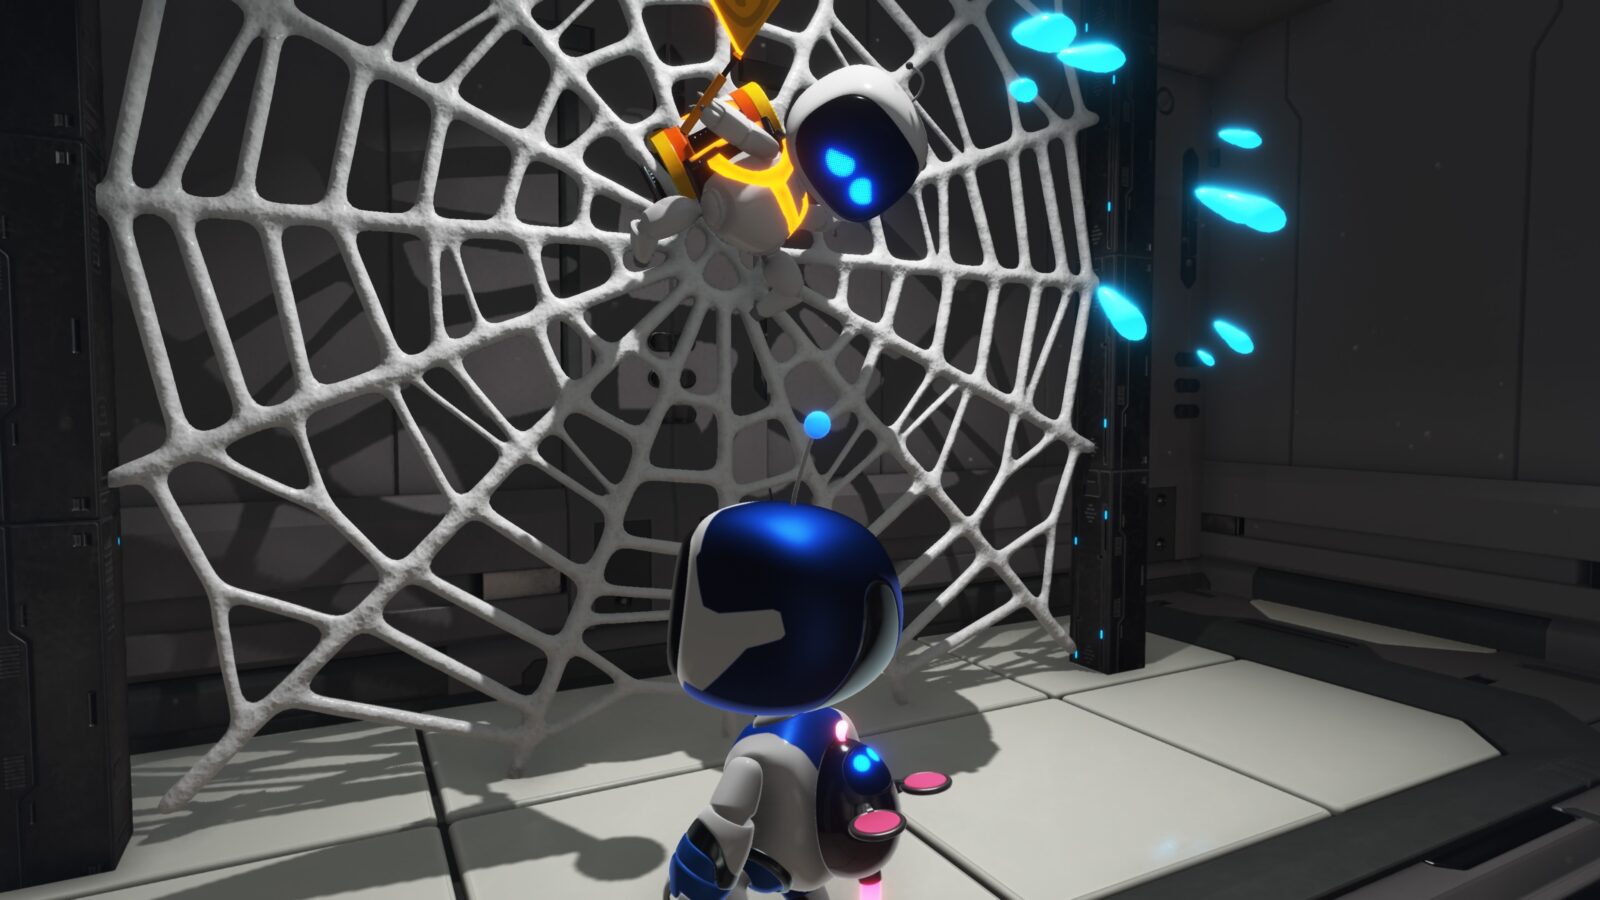
Downsize Surprise Bot #2
Behind the tree stump from before, there are some crates stacked up against a wall.

Destroy the crates to reveal a small hole in the wall, which you can enter by shrinking down.
Inside, free the bot stuck in the spider webs.
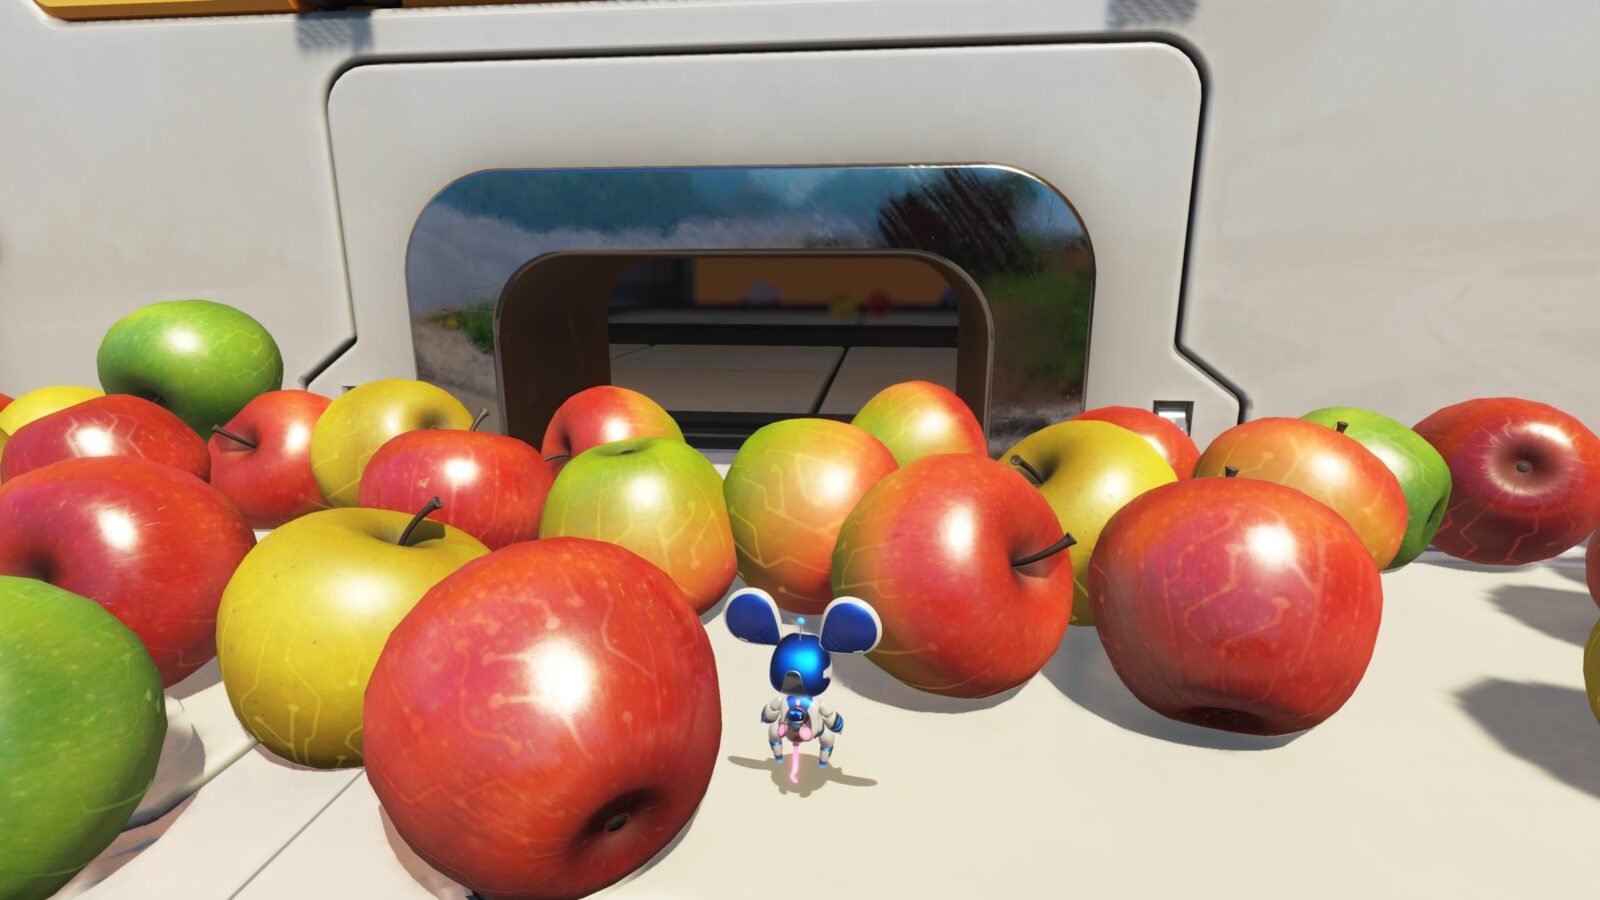
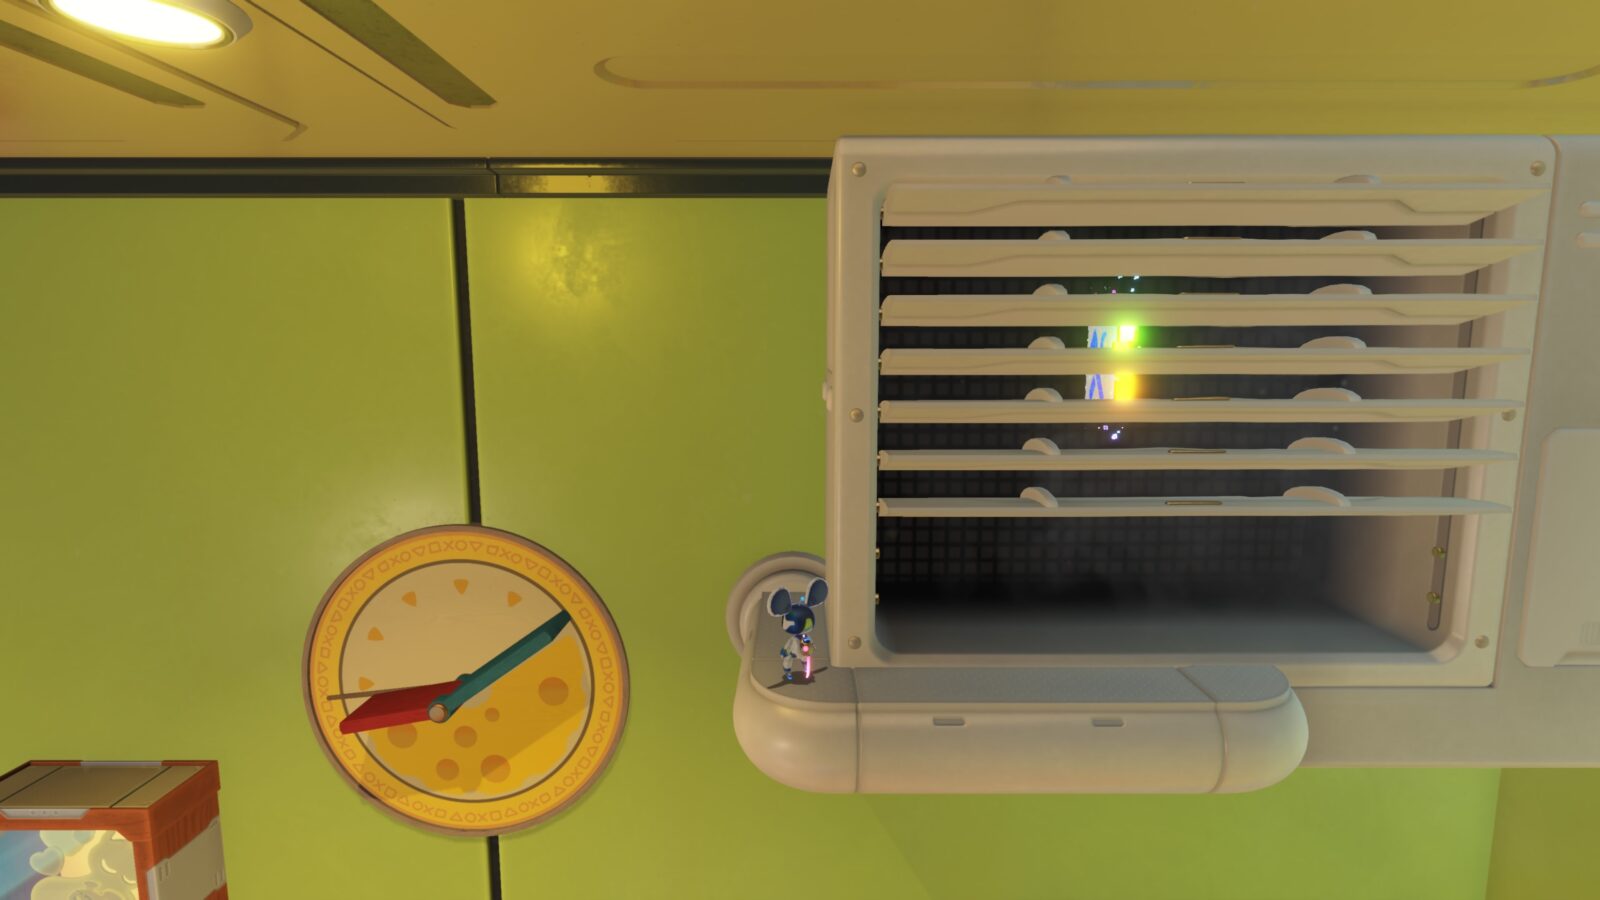
Downsize Surprise Puzzle Piece #2
Continue through the level until you enter the bedroom.
Shrink down and then climb up the shelves on the right wall.

At the top, you’ll reach the AC Unit, inside which you’ll find the Puzzle Piece.
Downsize Surprise Bot #3
Also in the bedroom, shrink down and head under the bedsheets.
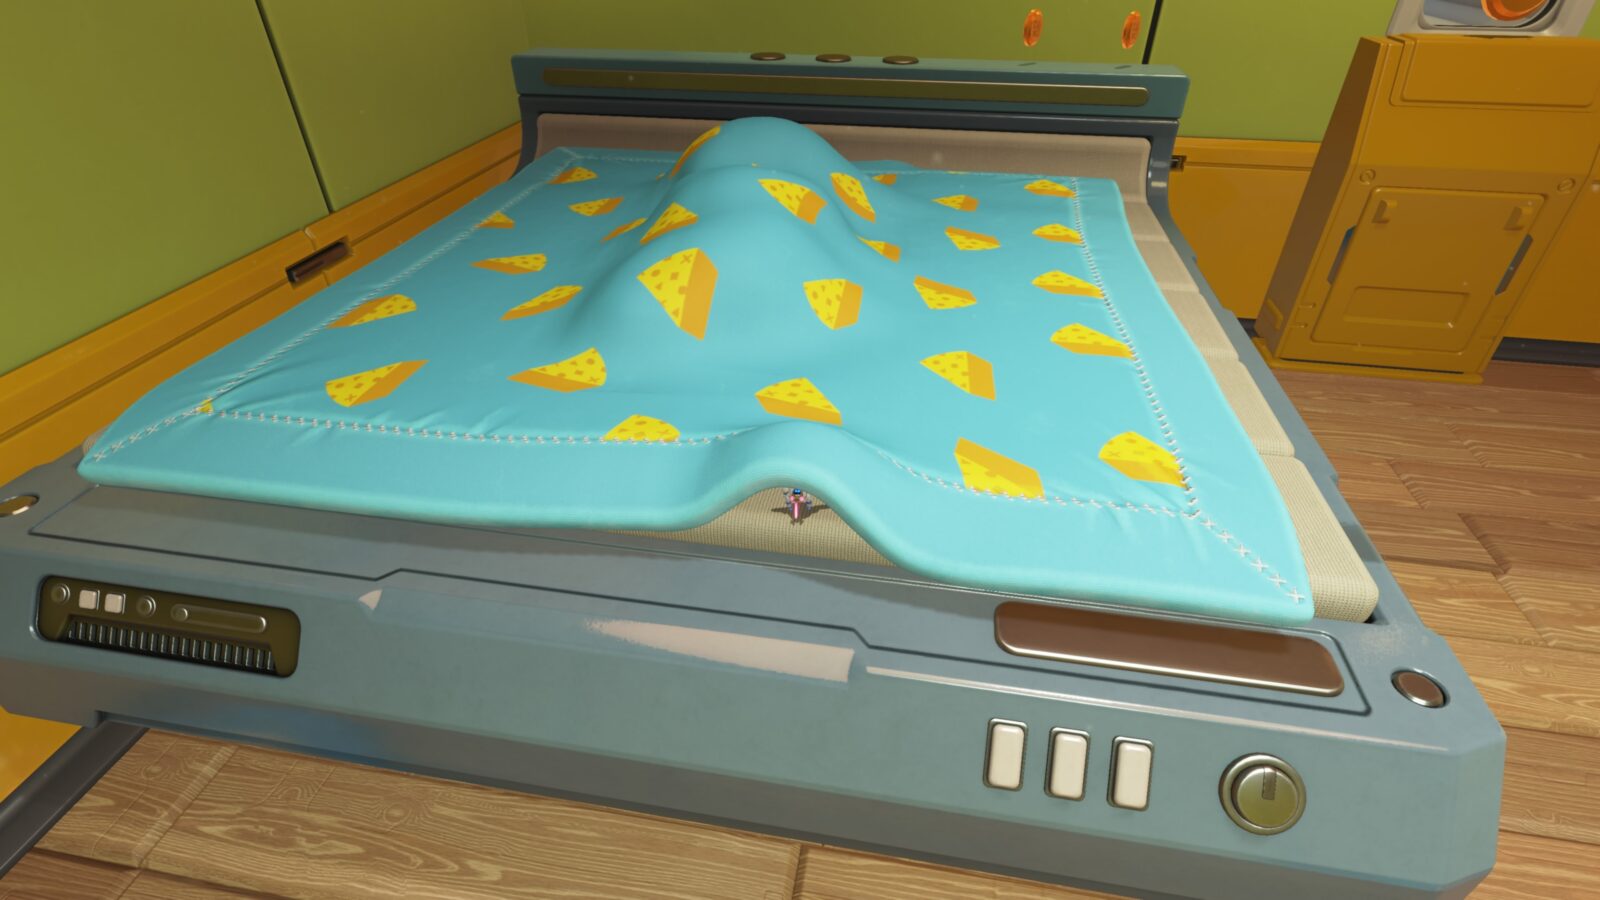
While there, return to normal size to remove the sheets and reveal the bot underneath.

Downsize Surprise Bot #4
Hard to miss, you should see this bot as you leave the vent leading from the bedroom.

Downsize Surprise Bot #5
When you’re climbing the tree up to the next area, rather than continuing on, head to the nest at the end of a long tree branch.
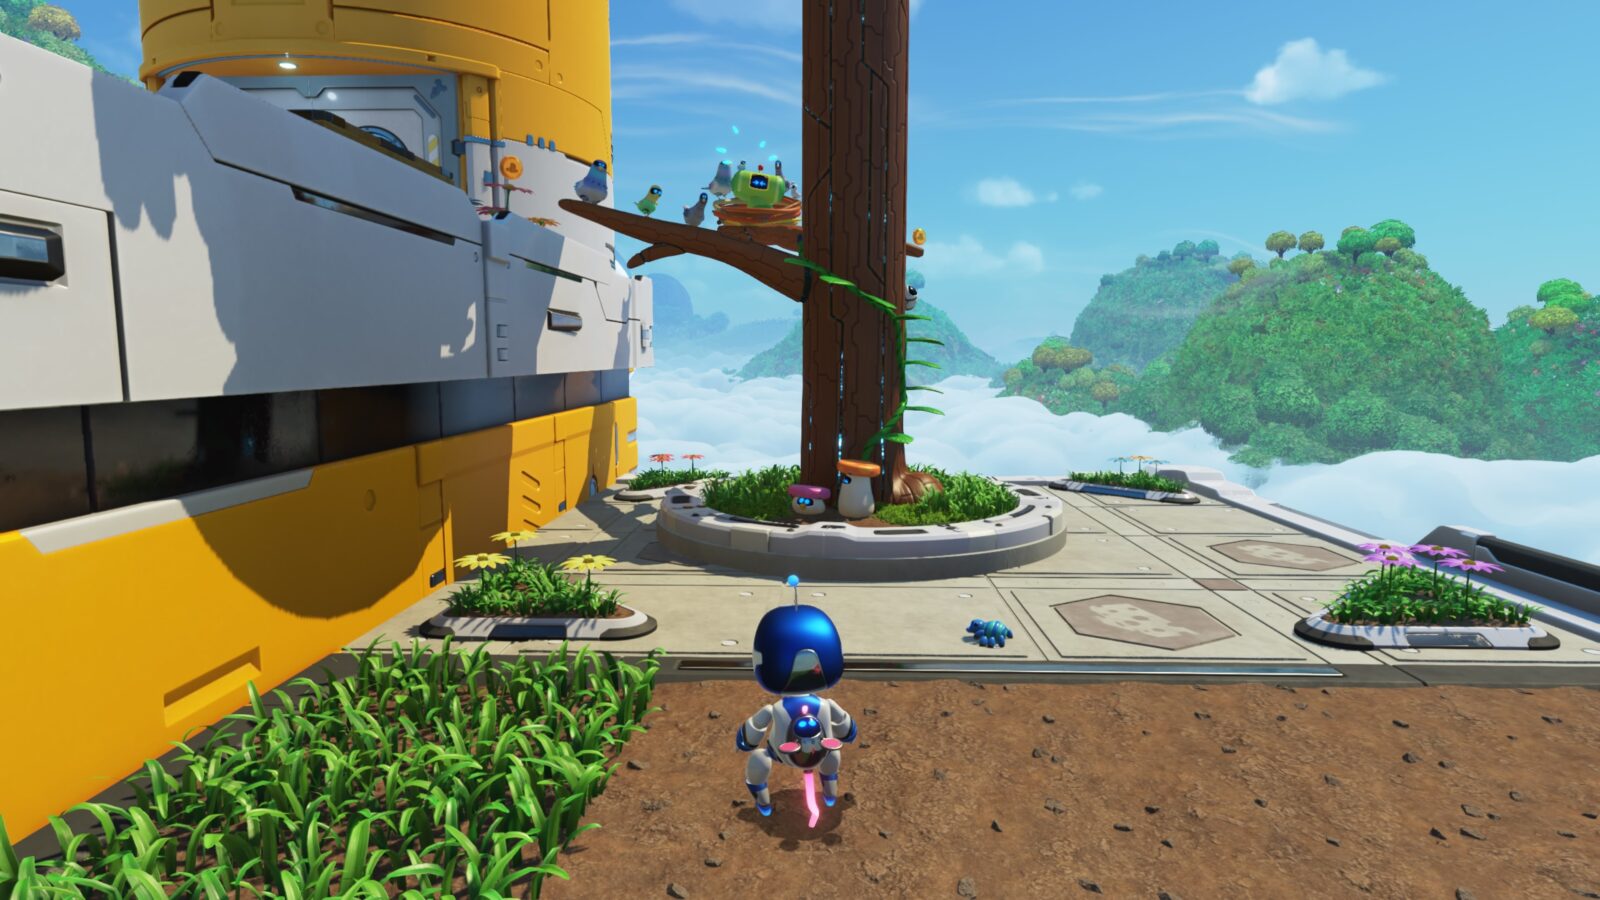
Inside the nest, you’ll find this bot.

It’s based on the Prince from the Katamari series.
Downsize Surprise Bot #6
Finish climbing the tree up to the next area, where you’ll see a cat playing with a lock. Ignore it for now and go left.

Use your glide boosters to break the glass panel on the floor, revealing an upward gust you can ride when shrunken.
Use it to reach an upper ledge with a frog on it.
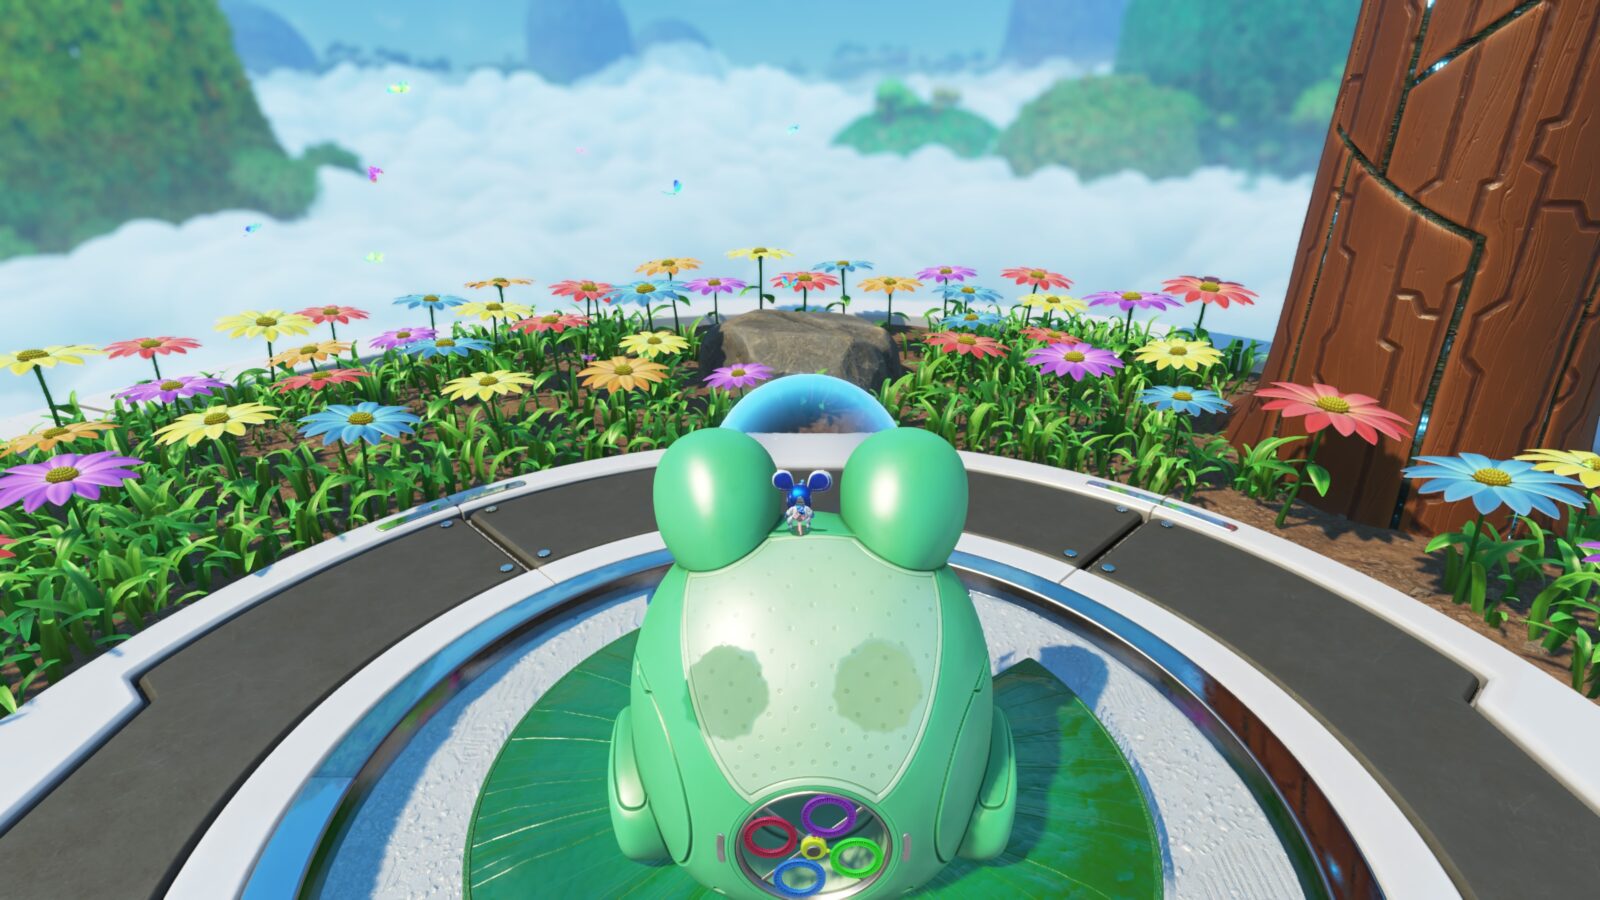
Hit the frog and it will begin making bubbles. While shrunk down, you can ride these bubbles up.
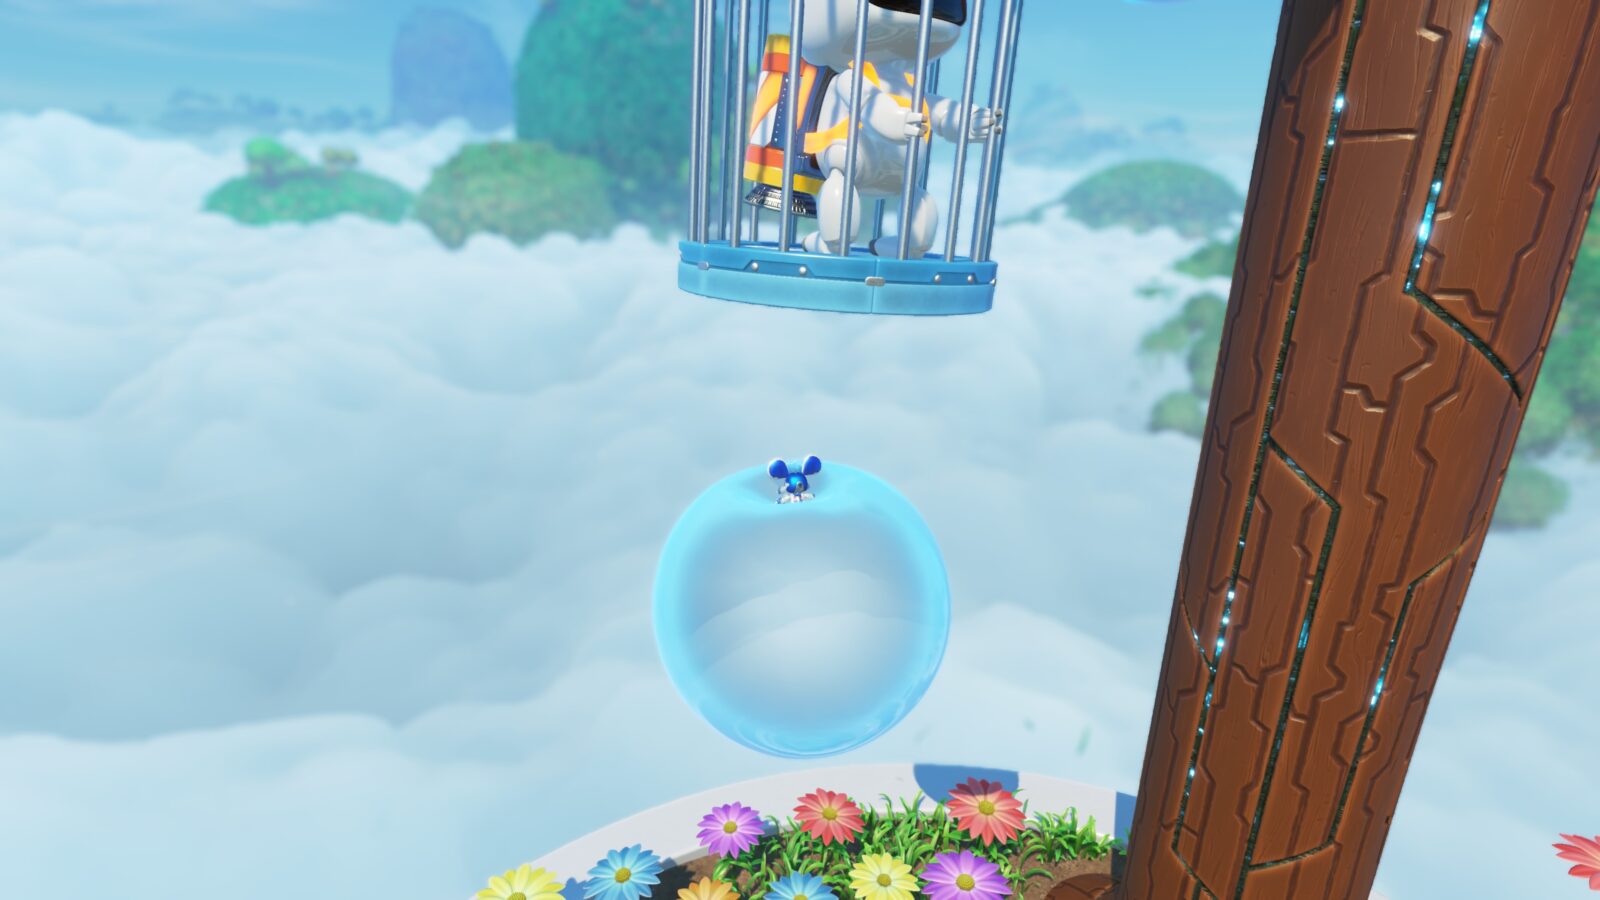
Ride a bubble until you can reach the cage with a bot in it, hop into the cage, and then return to normal size to bust the cage open.
Downsize Surprise Lost Galaxy | Boxel Bust-Up
Using the bubbles that allowed you to reach Bot #6, ride one until you can jump off to one of the tree branches above.
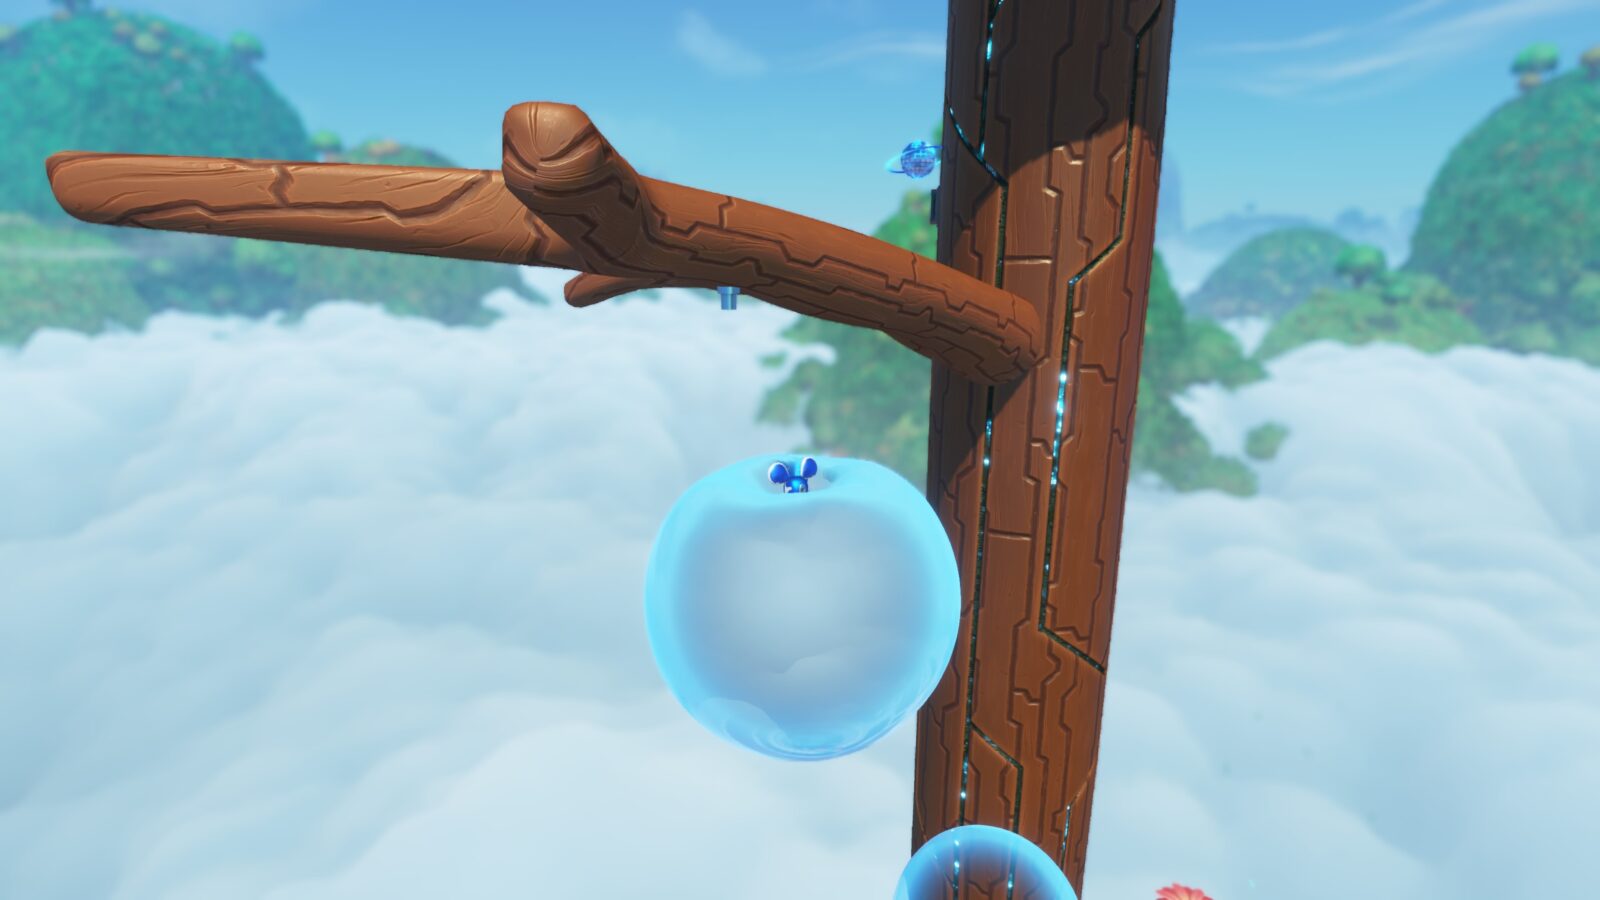
From there, glide over to the Lost Galaxy exit on the back of the tree.

Note that if you use this exit, you will be returned to the Galaxy Map. Either; complete the level and then replay it to get this exit, or use it and then return to finish Downsize Surprise later.
Downsize Surprise Bot #7
While climbing the clock tower at the end of the level, look out for this bot hanging from a ledge on the side of the tower.

It’s based on “Quill” from the “Moss” PSVR Game Series.
Downsize Surprise Puzzle Piece #3
Continue climbing the tower until you reach the clock face.

The puzzle piece is at the top of the clock face. Use the block at the tip of the second hand to reach it.
Trunk of Funk Collectibles
The Trunk of Funk Level contains 10 total collectibles: 7 Bots and 3 Puzzle Pieces. There is also one Level-Specific Trophy in this stage.
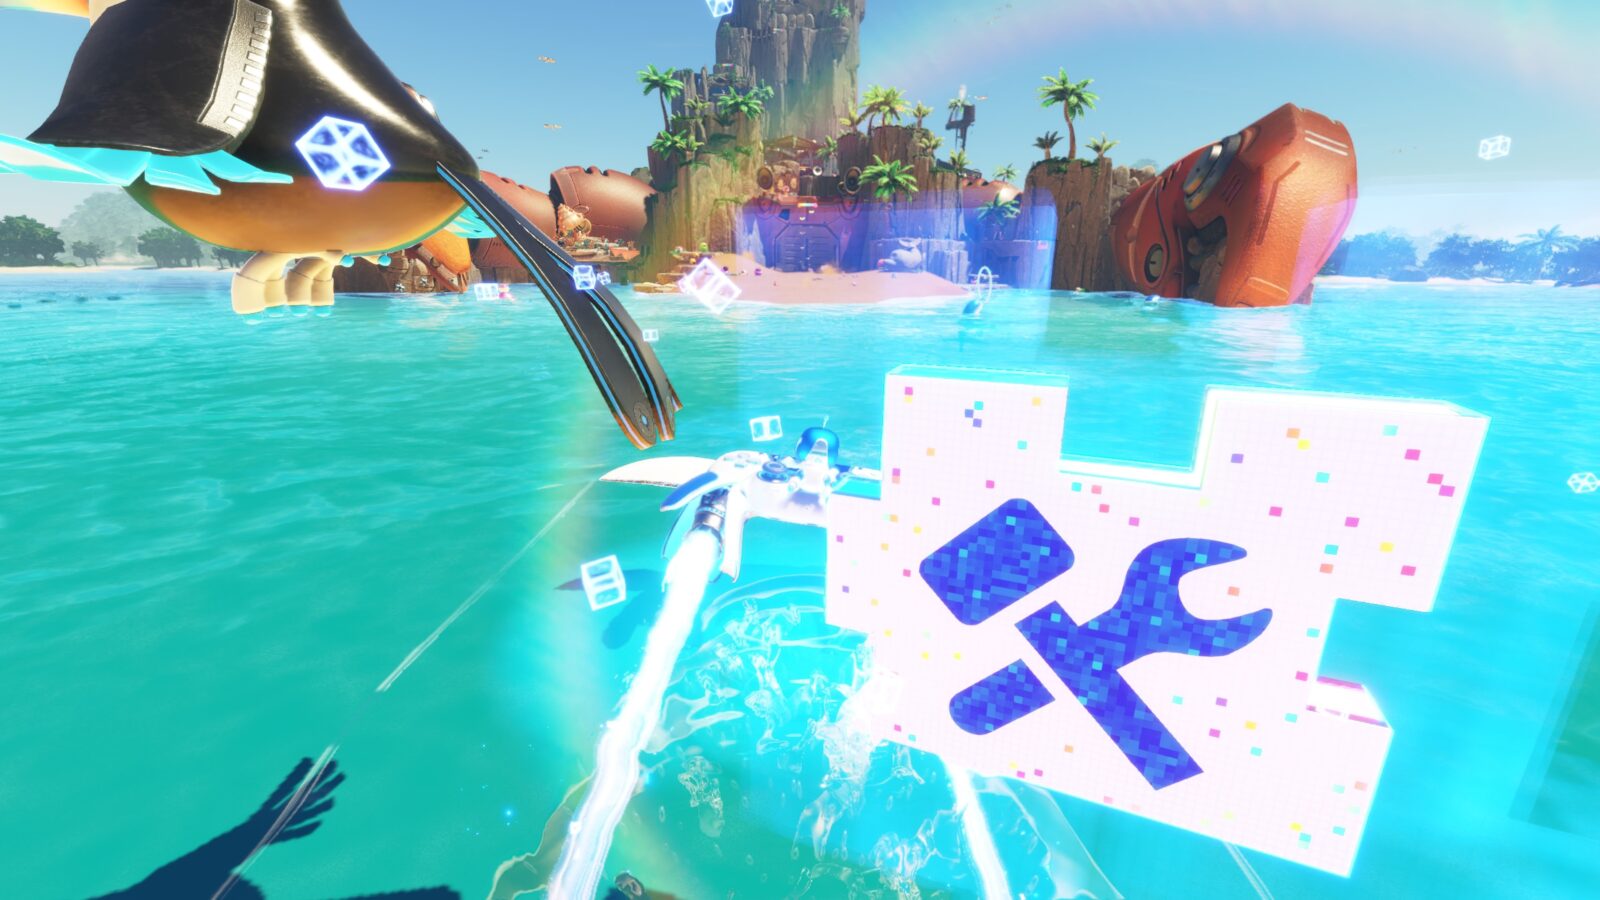
Trunk of Funk Puzzle Piece #1
When flying in at the start of the level, tilt to the right so that you can enter the tunnel containing this puzzle piece.
What is He Saying Trophy
At a certain point, you’ll use a water cannon to hit a large plant bulb, which turns into a big singing tree.
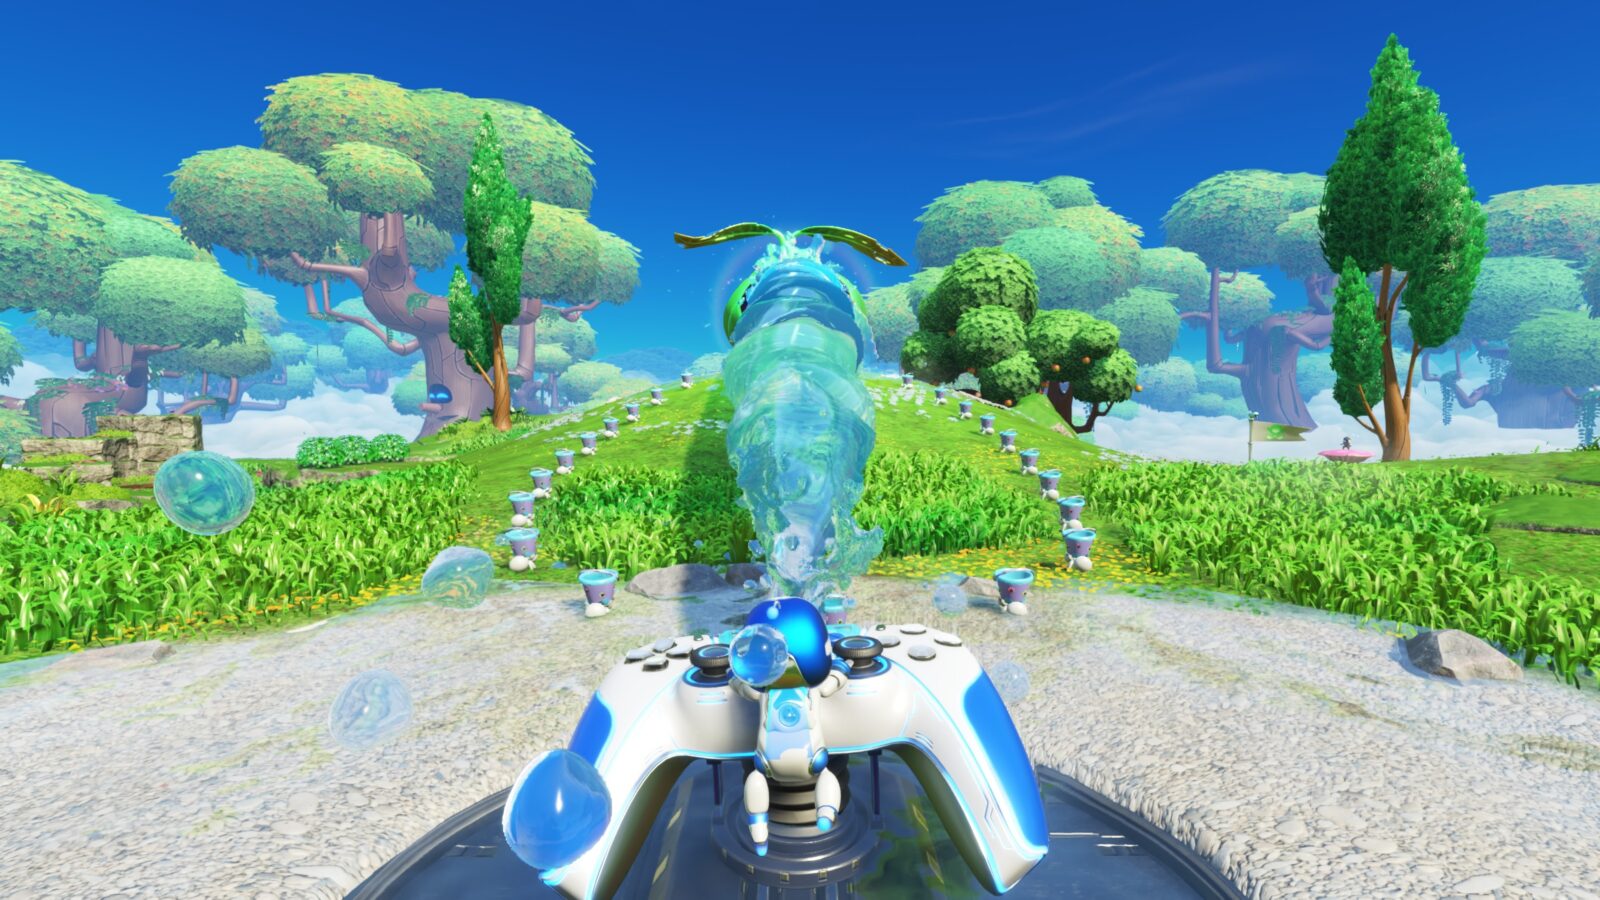
Jump back into the water cannon and then use it to spray the tree’s face while it’s singing, and you’ll unlock the “What is He Saying?” trophy.

Trunk of Funk Puzzle Piece #2
To the right of the tree, there’s a golf hole.

Just up the hill from there, there is a golf ball being held up by a mole bot.
Hit the ball into the hole and the Puzzle Piece will spawn above it.

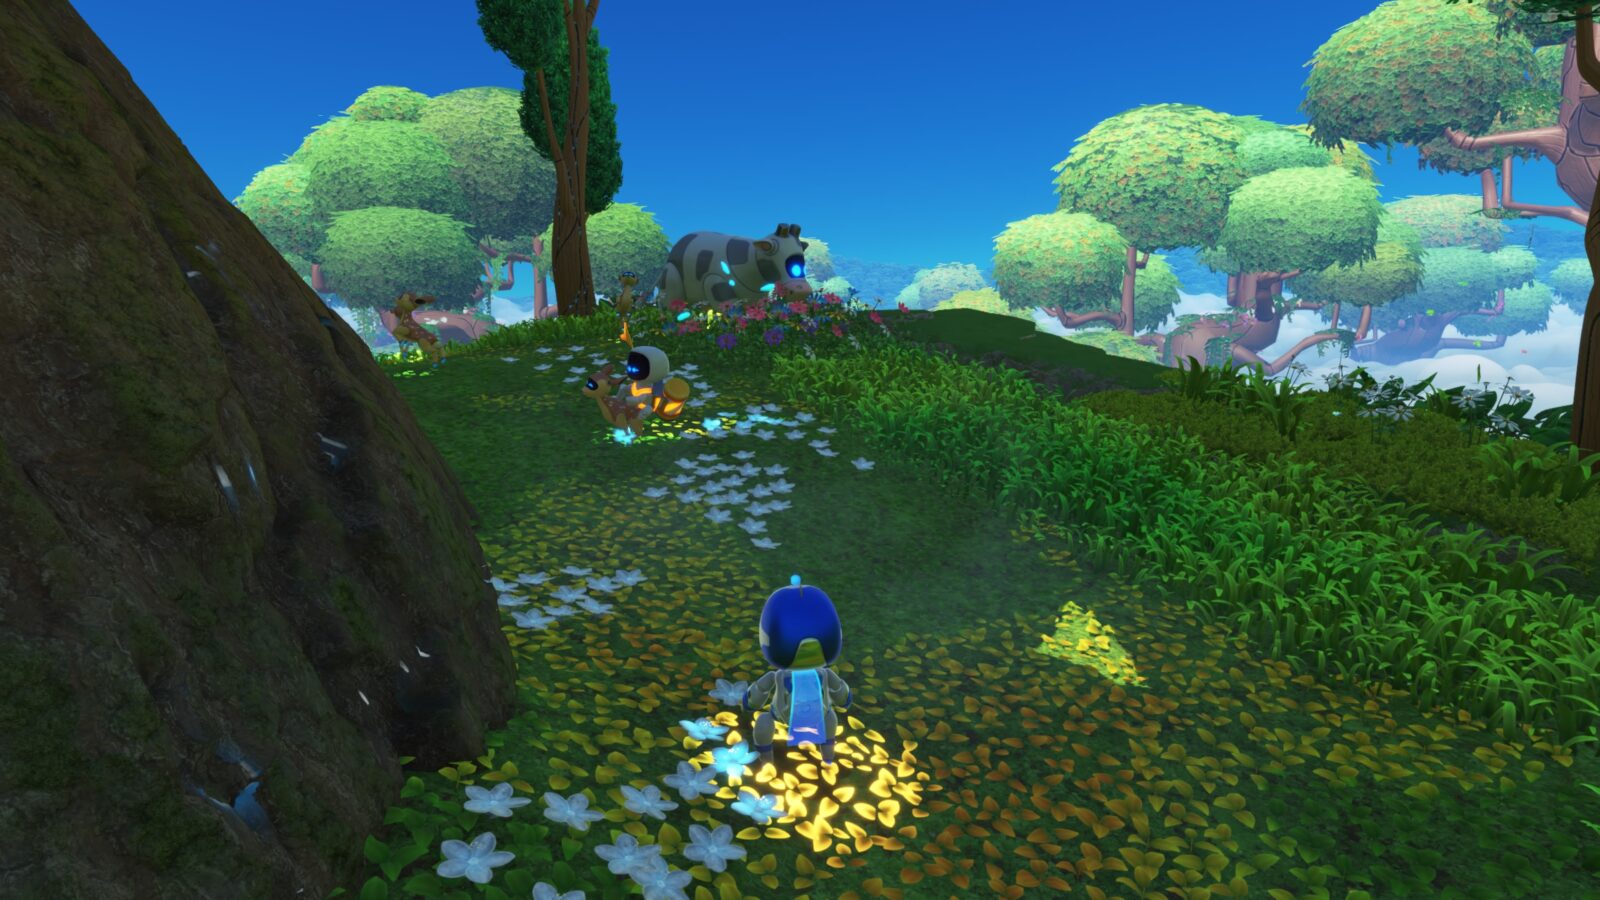
Trunk of Funk Bot #1
Behind the big tree there is a cow. The bot is not far from this cow, riding on the back of a deer.
Trunk of Funk Bot #2
On the right side of this area, on top of a mushroom.
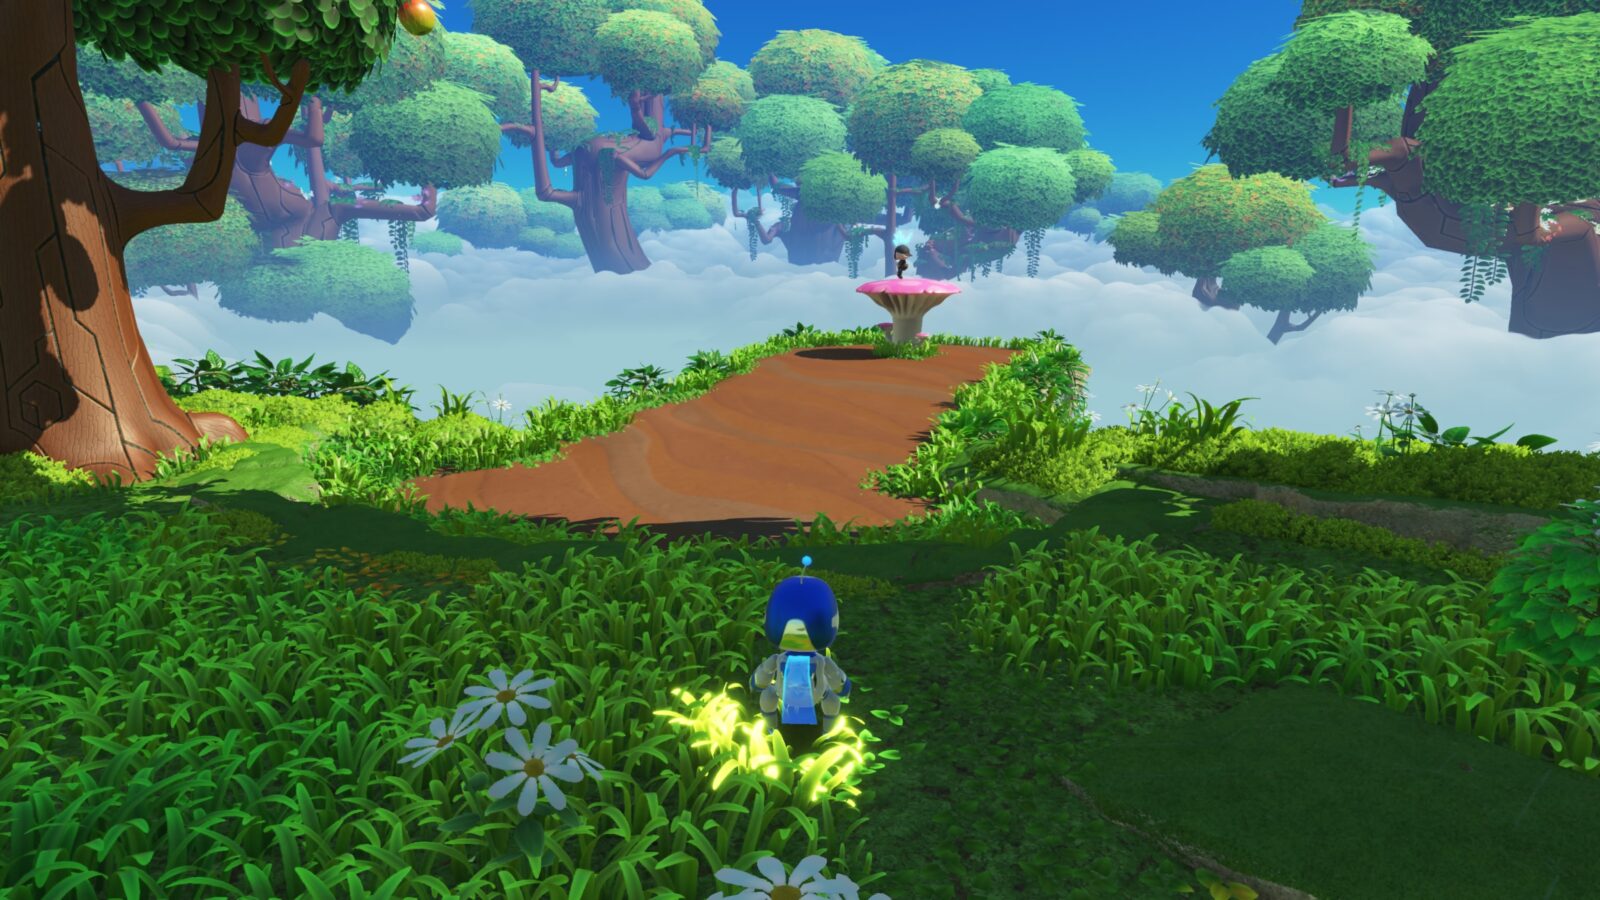
This bot is based on Deacon St. John from Days Gone.
Trunk of Funk Bot #3
When you’re eventually back on the outside of the tree, look for a nest that you can reach using the elephant ability.

Inside the nest, there’s an egg you can break to free this bot.

Trunk of Funk Bot #4
Shortly after, you’ll enter the tree again. Make your way up to the exit but don’t go back outside yet. Instead, look up to the left, and you’ll see a mushroom you can reach with the elephant ability.

Once you’re up there, pull the wires to free the bot.

Trunk of Funk Bot #5
Continue out of the tree and make your way to the next checkpoint.

There, turn around and look into the distance, you’ll see a platform with 5 caterpillars on it.
At the center of these caterpillars, this bot is cowering under a leaf. Use the elephant ability to reach and collect it.
Trunk of Funk Bot #6
Just after the checkpoint, there’s a big fat caterpillar creature which pops out of the tree trunk.

From there, go left around the tree using the elephant ability, and you’ll find some wires you can pull.
Pull the wires to reveal a panel puzzle. Push the correct panel and go inside the tree to find this bot.
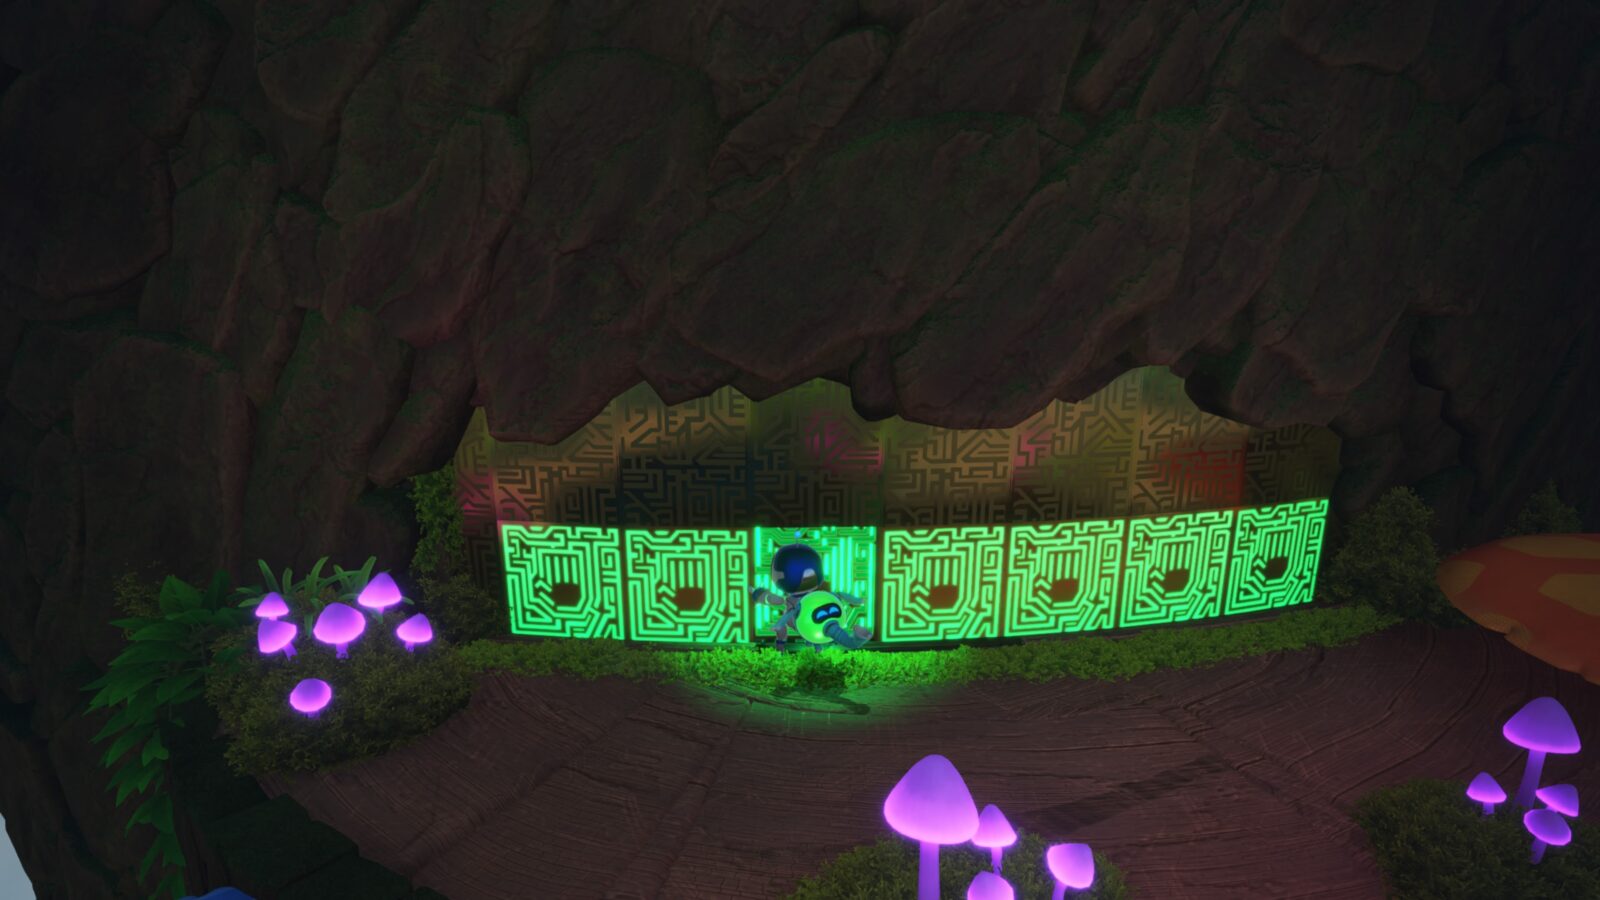
It’s based on Kena from “Kena: Bridge of Spirits.”

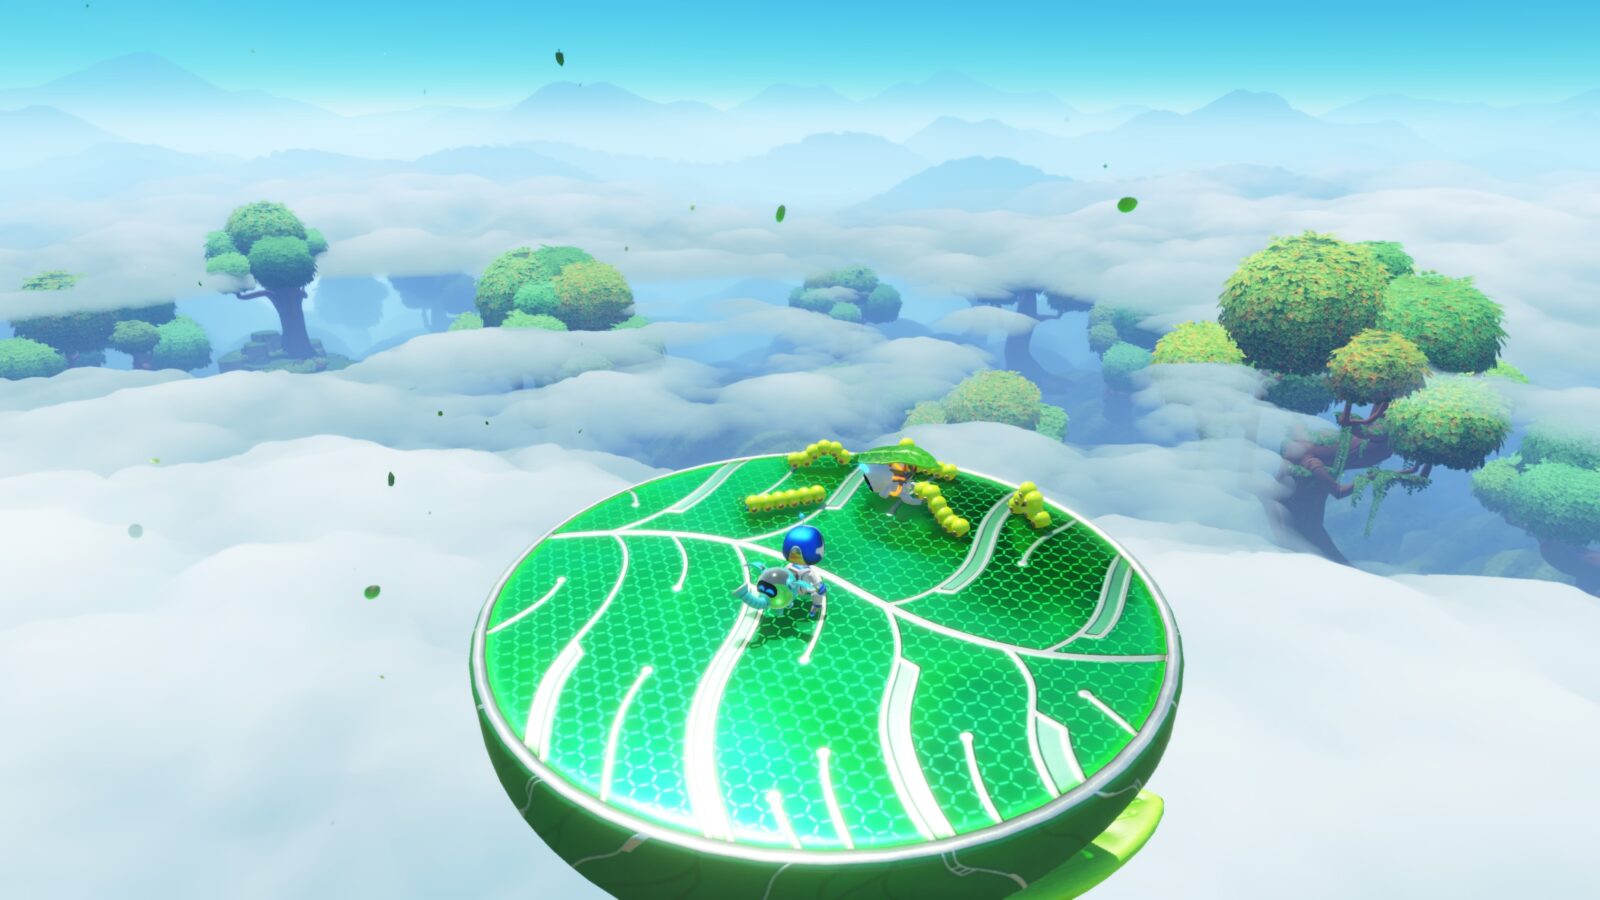
Trunk of Funk Puzzle Piece #3
After you leave the honeycomb section of the level, kill the tall flower to reveal a honey pool below where it was planted.

Suck up the honey pool with your elephant ability to reveal the hidden puzzle piece.

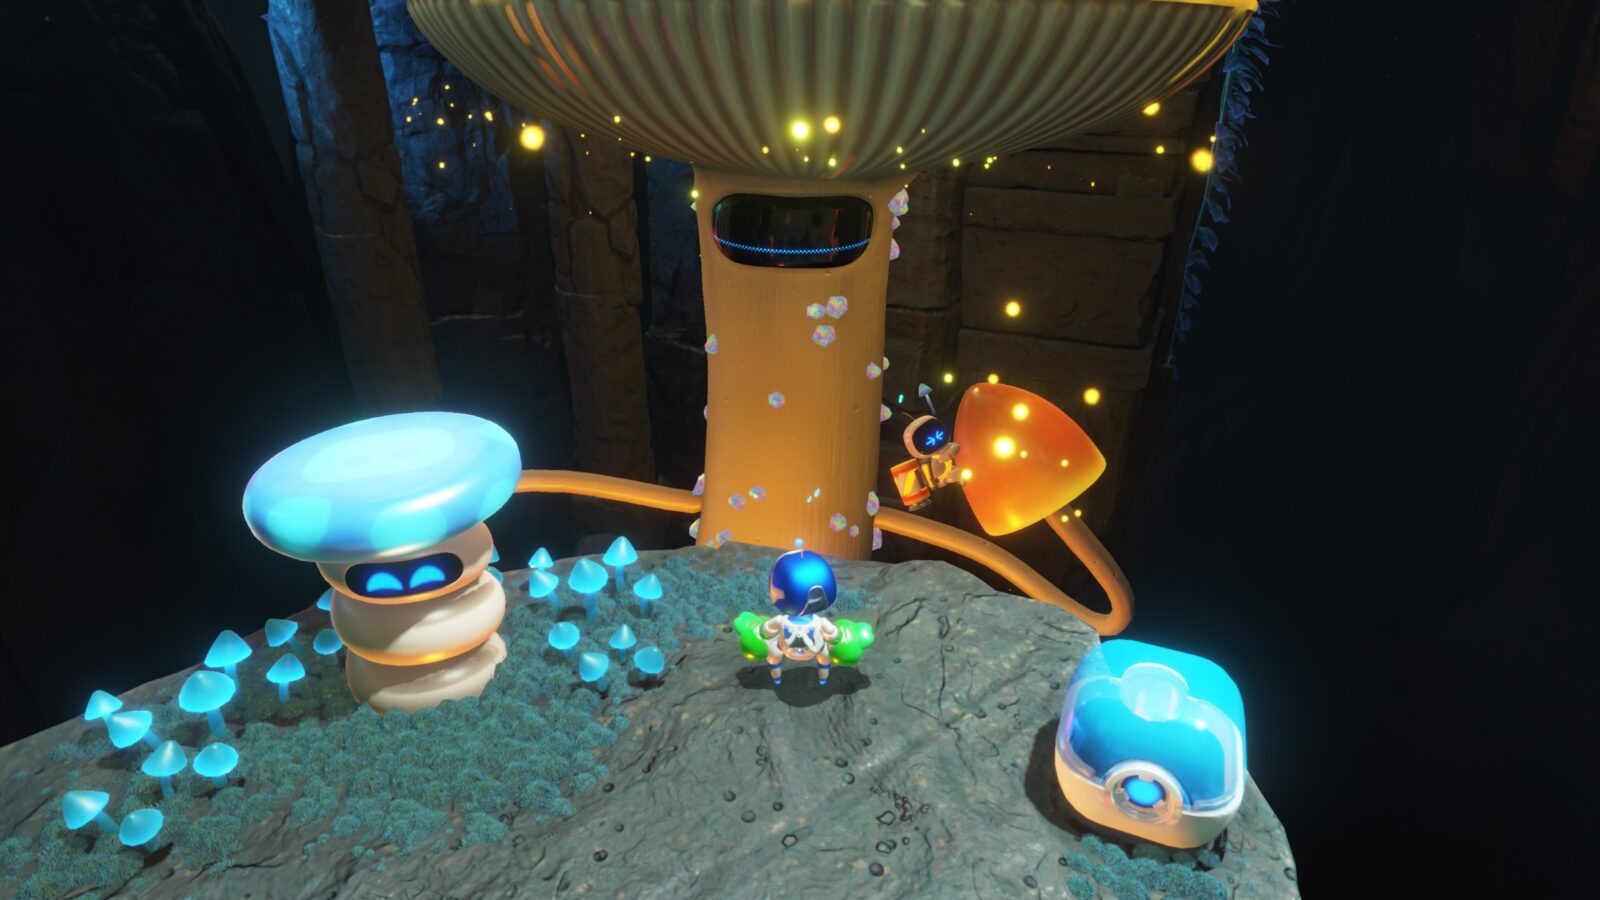
Trunk of Funk Bot #7
A short while later, you’ll see a zip on the side of the tree.

Unzip it and then follow the revealed path left to find this bot.

Wormy Passage Collectibles
The Wormy Passage Level contains 10 total collectibles: 7 Bots and 3 Puzzle Pieces. There is also one Level-Specific Trophy in this stage.
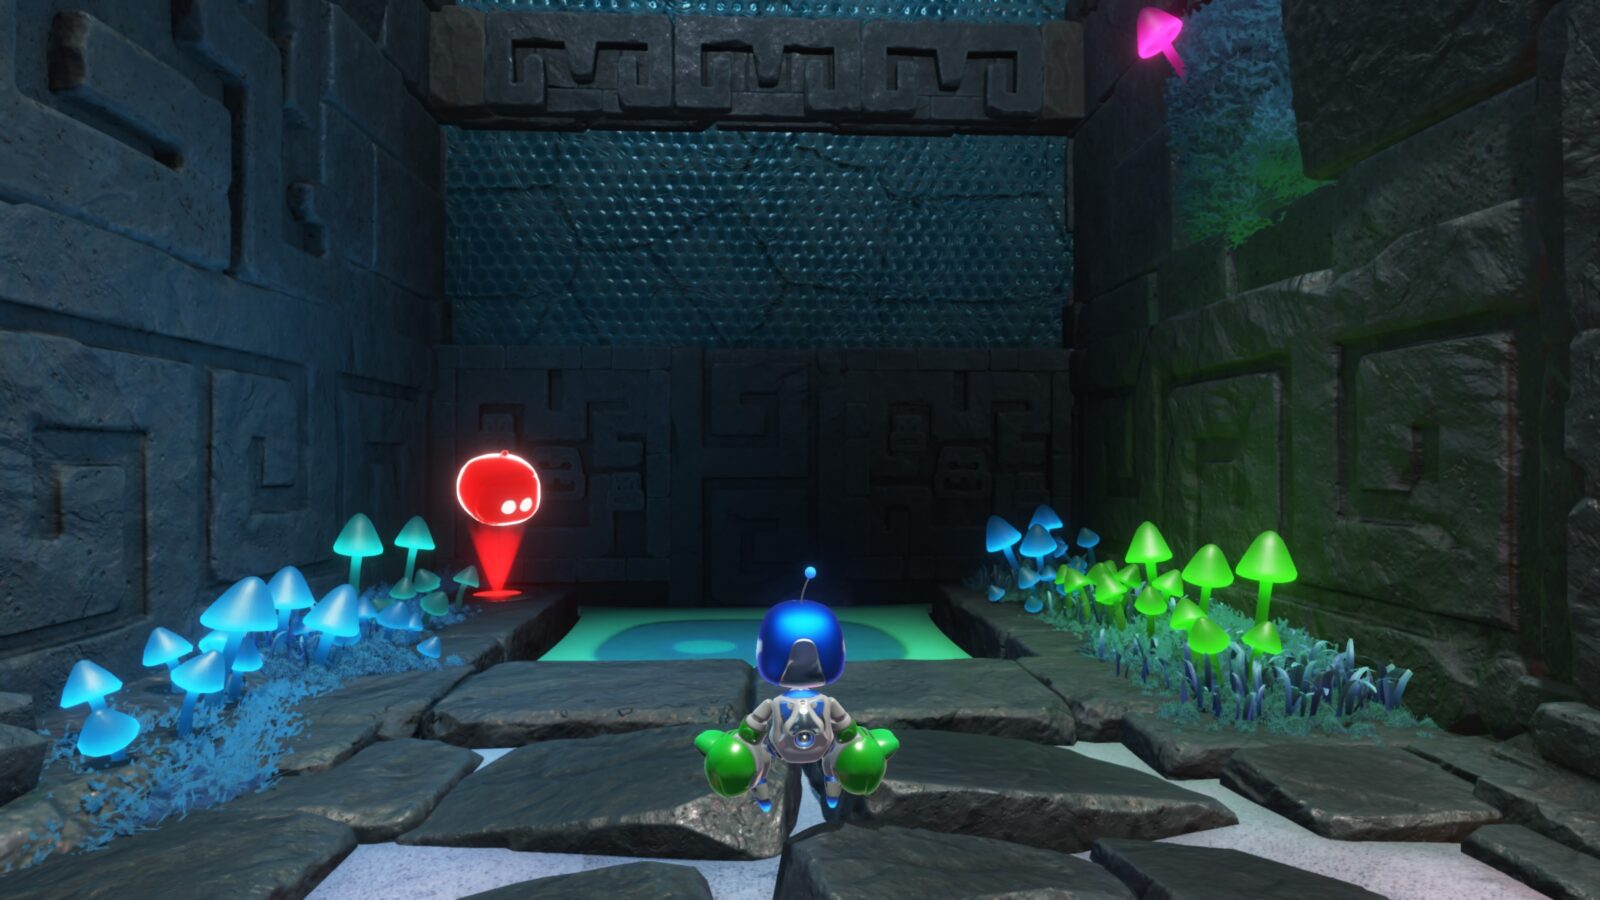
Wormy Passage Bot #1
After you’ve collected the frog gloves, look to the left of the golden block, and you’ll see this bot sitting on a rock.

It’s based on Ellie from The Last of Us series.
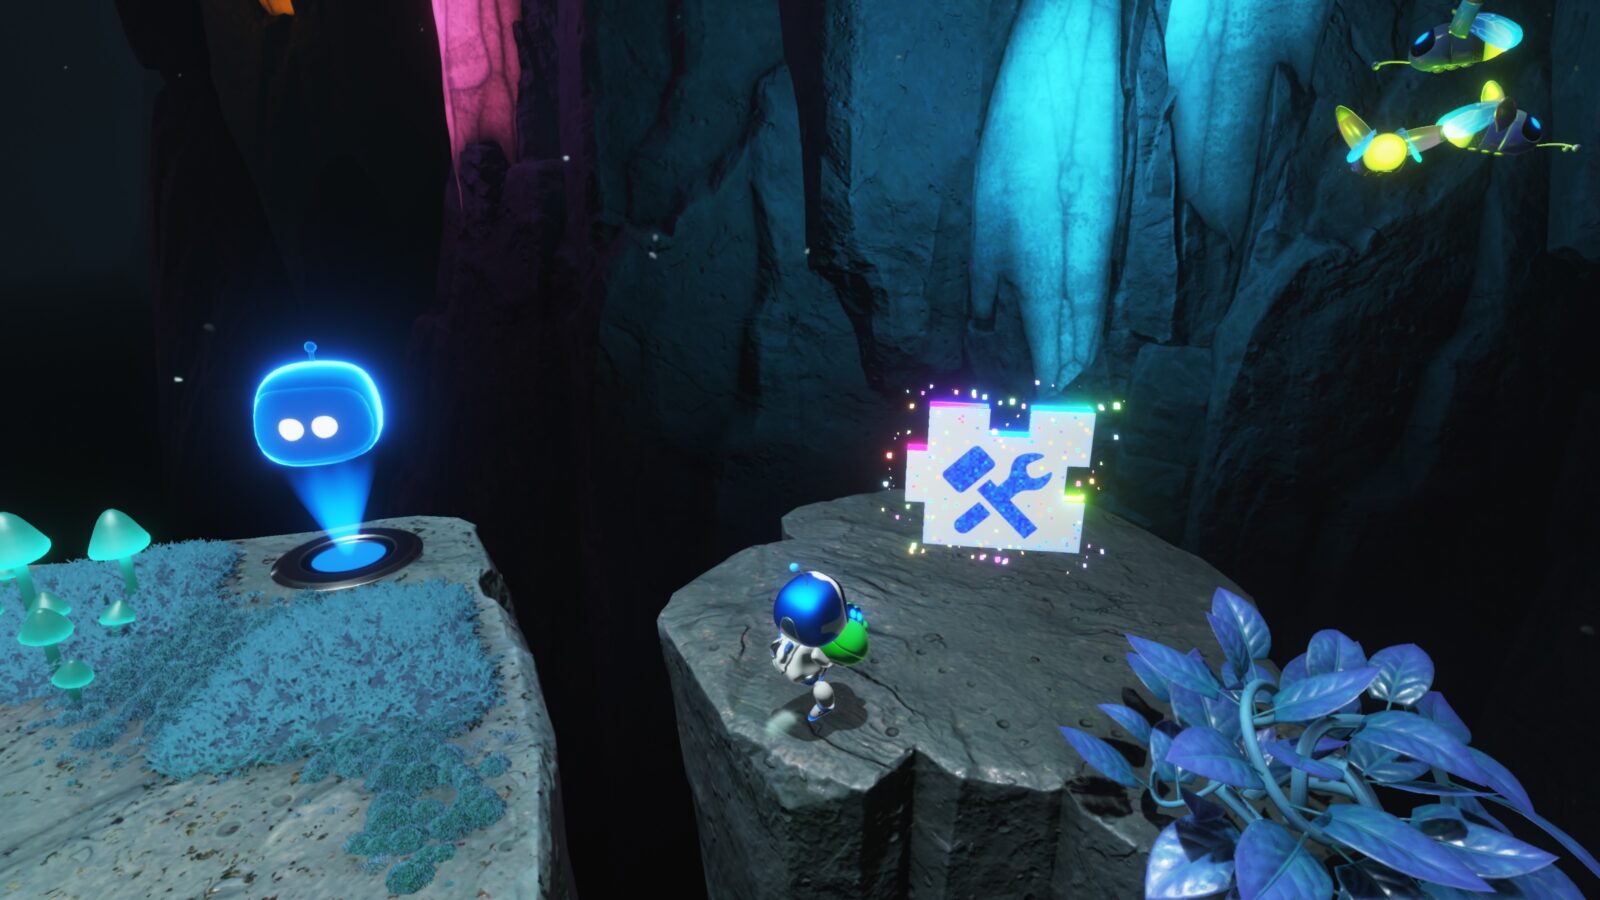
Wormy Passage Puzzle Piece #1
In the cave, when you reach the second checkpoint in the level, use the frog gloves to destroy the yellow crystal next to the checkpoint.

This will reveal the Puzzle Piece.
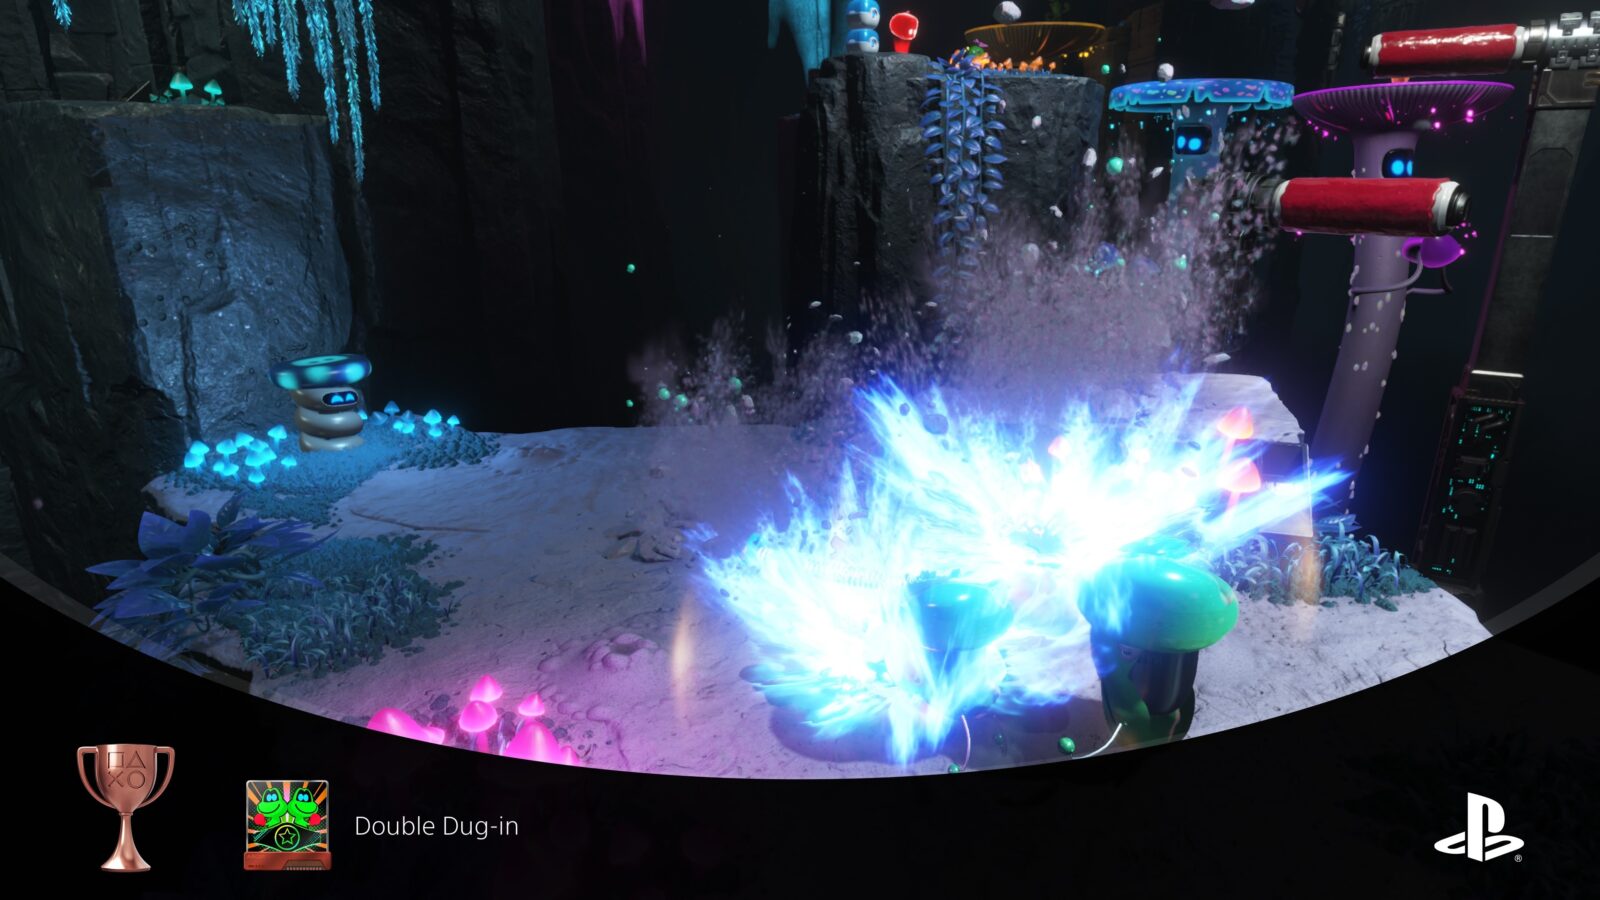
Double Dug In Trophy
Shortly after the previous Puzzle Piece, there are two worms in front of the next checkpoint.
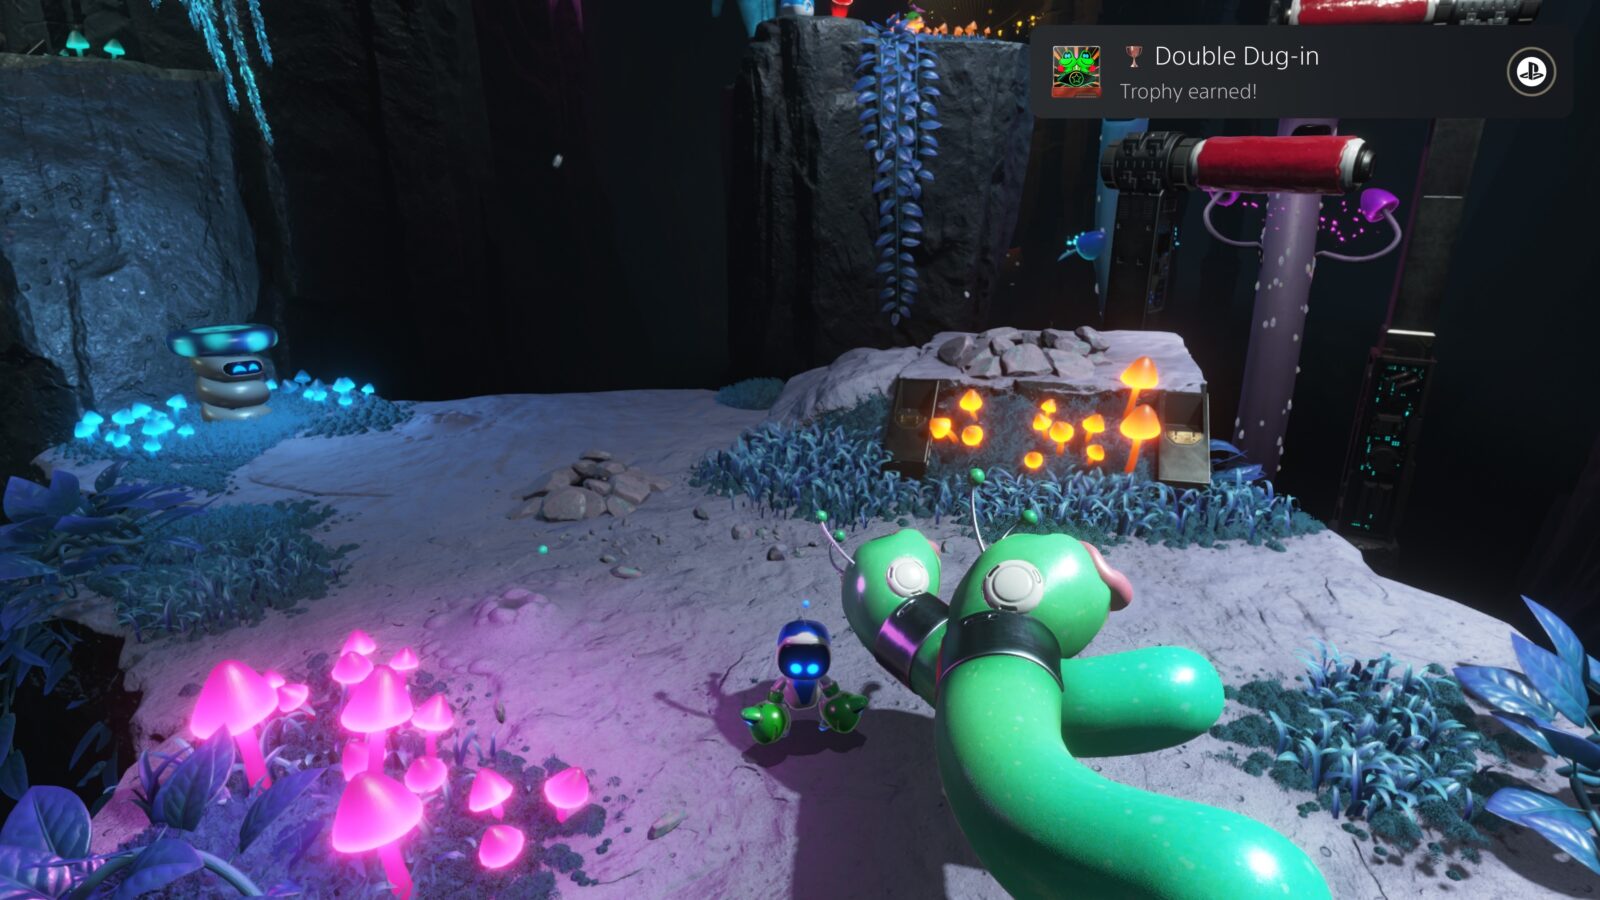
Use the Frog Gloves to grab one worm with each hand, then pull both worms out simultaneously.
If done correctly, you’ll unlock the “Double Dug In” trophy.
Wormy Passage Bot #2
Use the bounce pad on the left to reach an upside-down mushroom.

Slap it and it will bounce back and hit the boxes up on the wall.

Use it to knock the bot down from the shelf.
Wormy Passage Bot #3
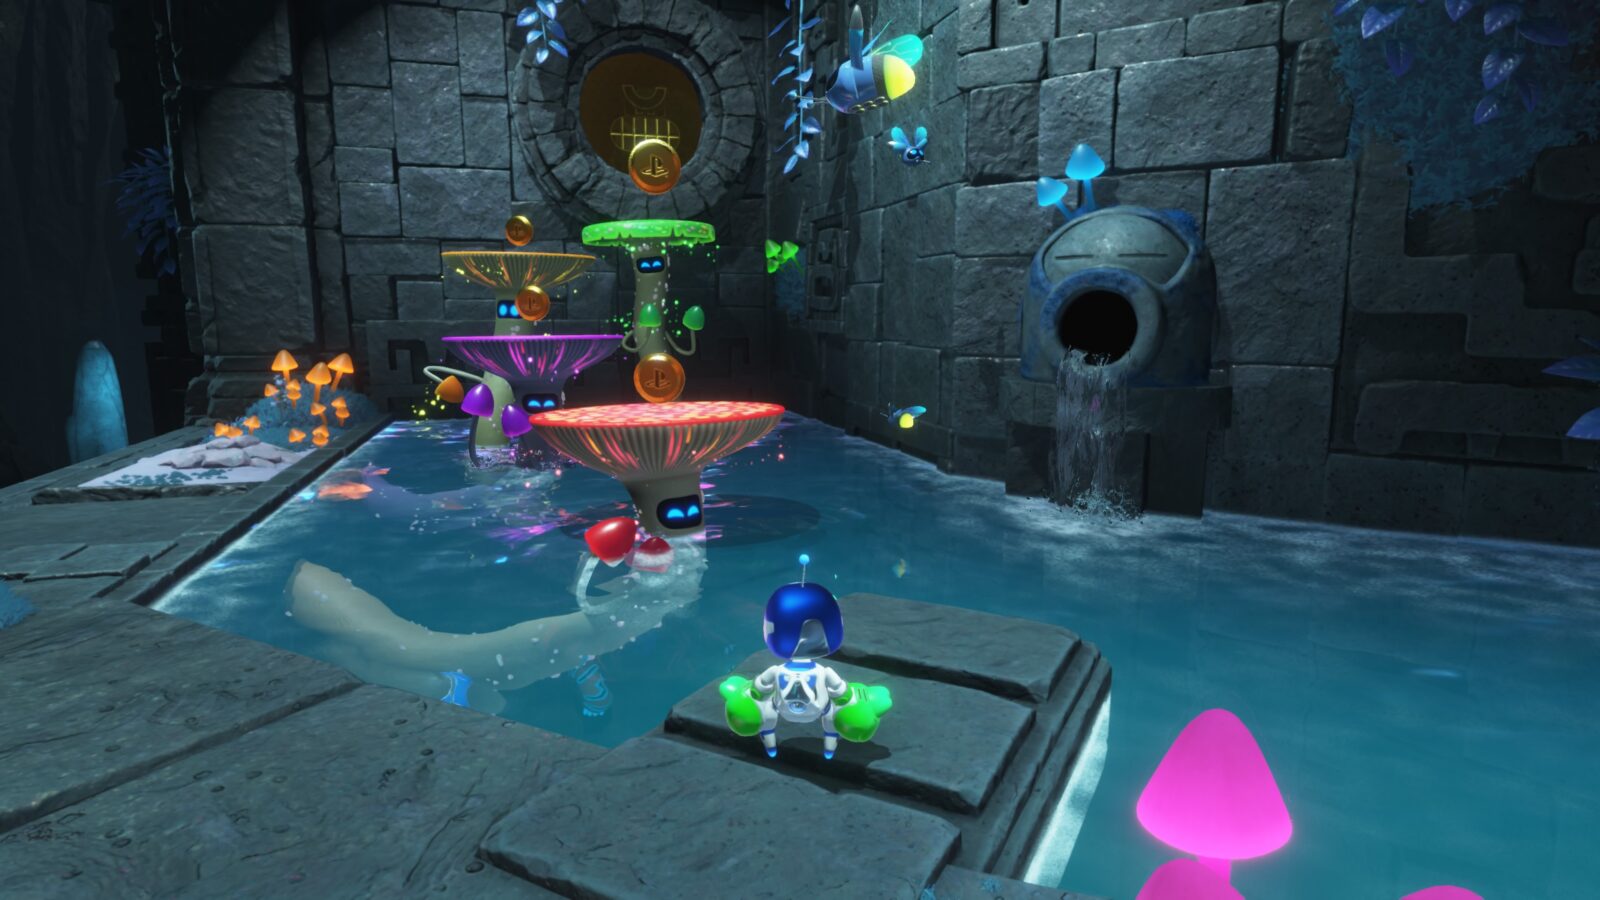
Continue on a short way until you reach a gold dancing mushroom.
Watch it closely, and you’ll see that one of its “hands” has this bot clinging to it.
Wormy Passage Bot #4
When you reach the statue with red jelly in its mouth, jump up the platforms on your left instead of proceeding.

After defeating the big cactus, this bot will appear on the platform in place of the cactus.

It’s based on Joel from The Last of Us series.
Wormy Passage Bot #5
After you defeat a huge worm, you’ll come to a large bounce pad next to a checkpoint.
Destroy the lower wall with your Frog Gloves and you’ll reveal this bot.

Wormy Passage Bot #6
As you continue on, keep your eye out for a branching path on your left when you reach a pit of spikes.

At the end of this path, you’ll find this bot, which is based on a Cordyceps-infected enemy from The Last of Us series.
Wormy Passage Puzzle Piece #2
To the right of the last bot, look down into the pit of spikes and you’ll see this Puzzle Piece.

You have two options;
Jump in and collect it now, accepting that you’ll die and respawn after doing so. You’ll lose some coins but the piece will still have been collected.
Or you can flood the pit first and then dive underwater to collect it safely without damage.
Wormy Passage Bot #7
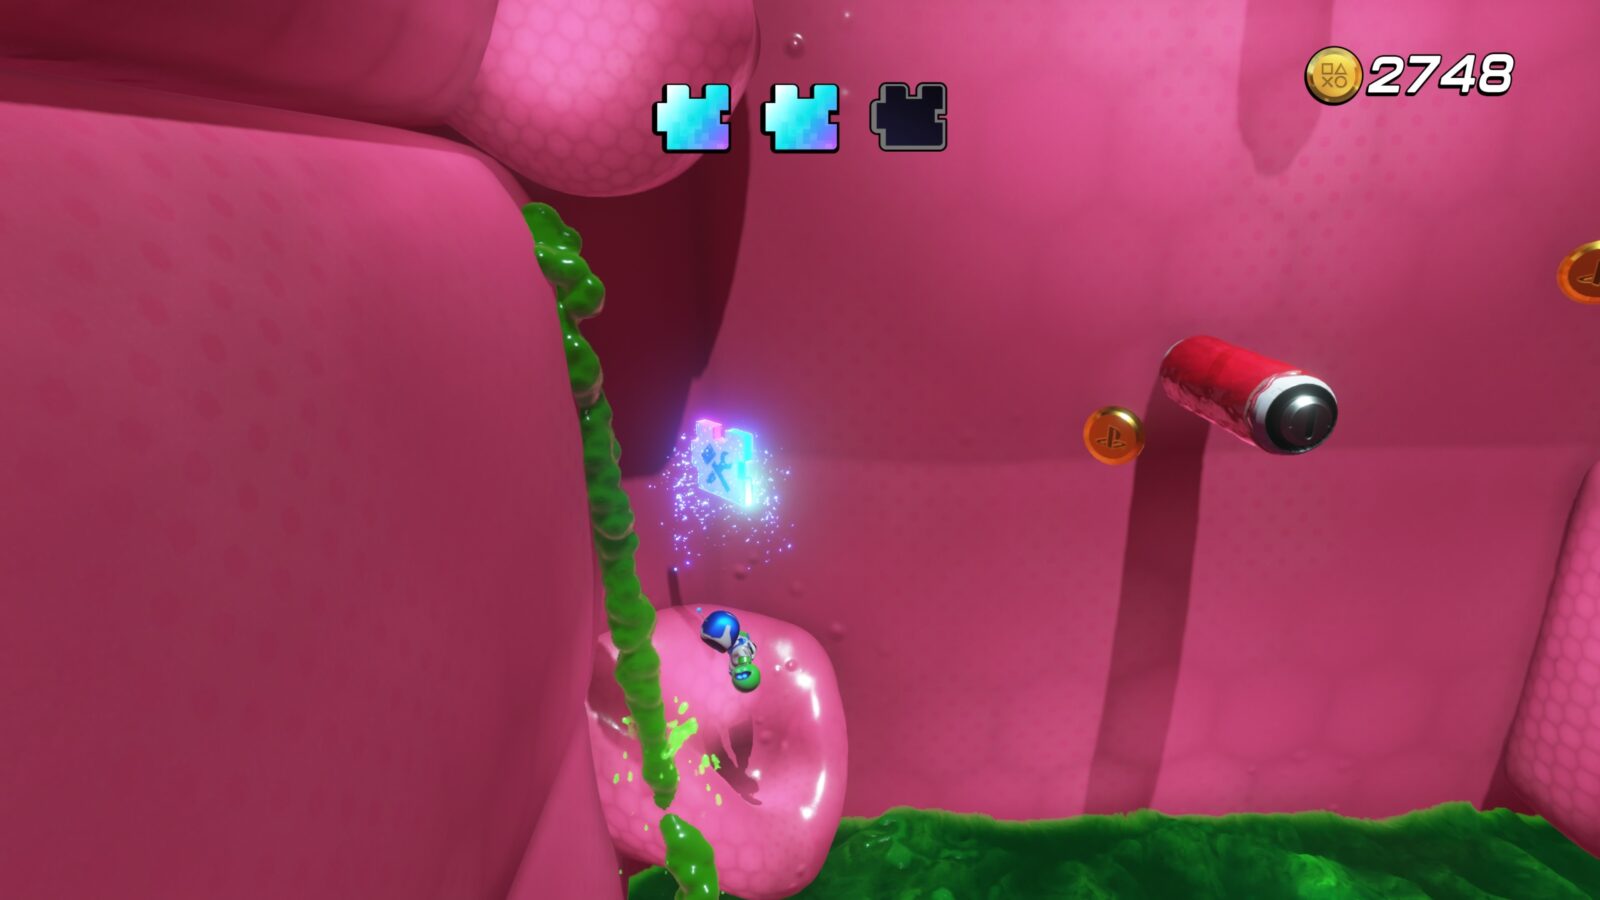
Inside the giant worm, you’ll see this bot next to the checkpoint!

Wormy Passage Puzzle Piece #3
While you’re climbing up the inside of the worm, avoiding the rising acid, keep your eye out for this puzzle piece on the left.
You’ll need to grab it quickly to avoid the acid so you can keep going.
Wako Tako Boss Collectibles
Wako Tako is the Boss Stage of the Tentacle System. As such, there’s only a couple of bots to collect.
You need to complete the first four levels to unlock access to this stage. There are no Level-Specific Trophies in this stage.
Wako Tako Bots
You will automatically unlock two bots after defeating this boss.
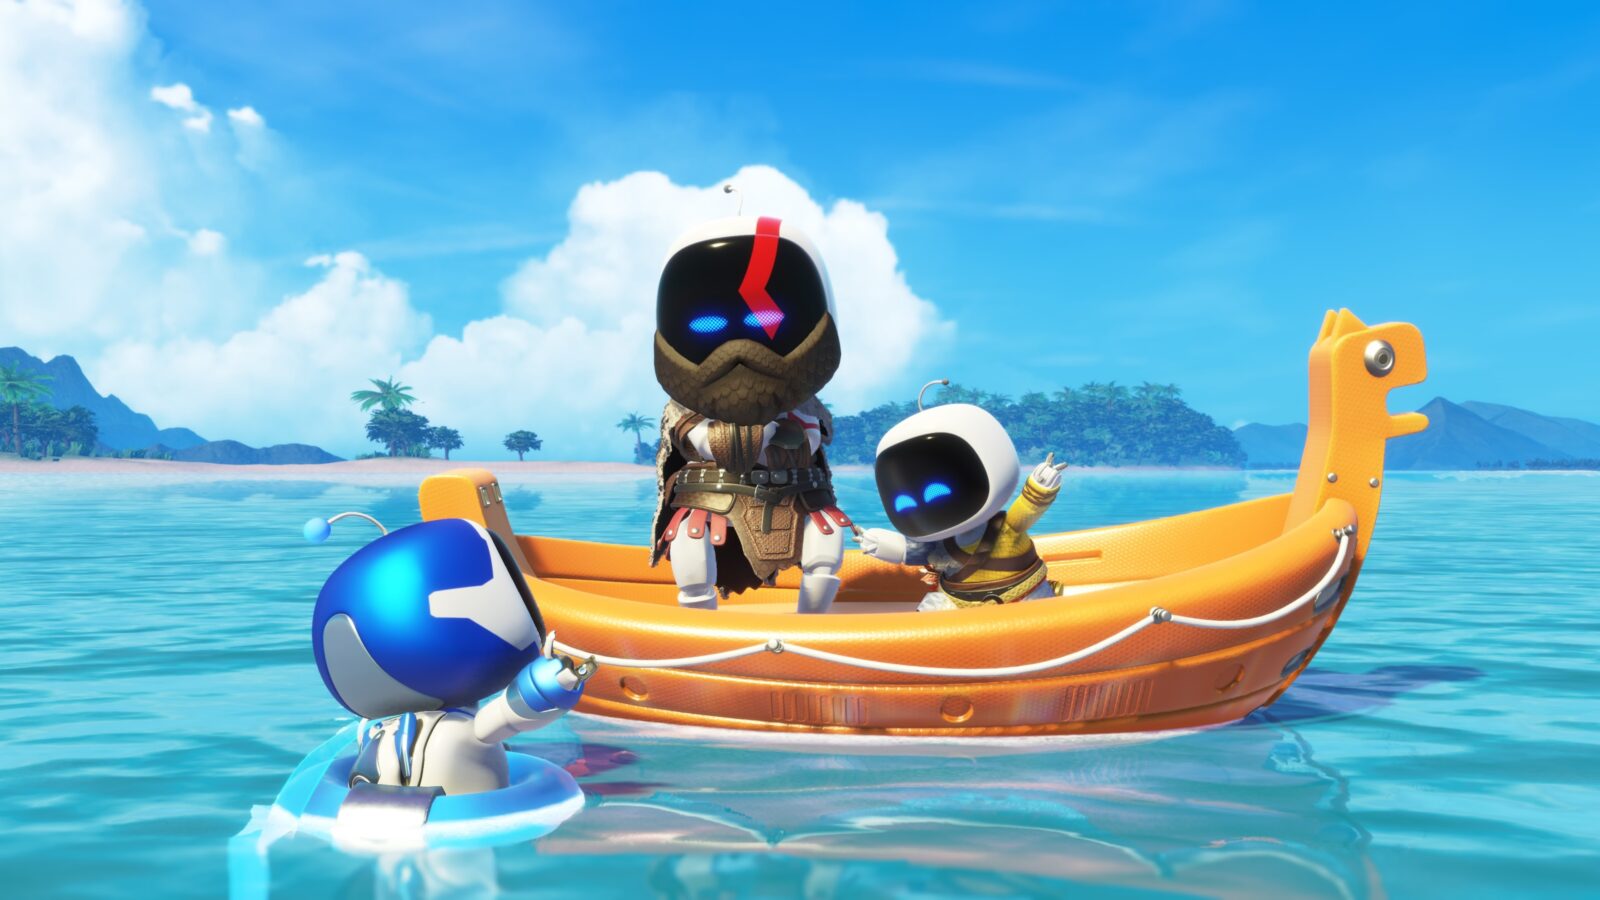
The bots are based on Kratos and Atreus from the Norse God of War games.
Bot of War Collectibles
The Bot of War Level contains 10 total collectibles: 7 Bots and 3 Puzzle Pieces. There is also one Level-Specific Trophy in this stage, for which you need to find and hit 8 Ravens, which we’ll also list below.
Bot of War Raven #1
As you fly in at the start of the level, lean to the left and you should be able to hit this green raven just before landing.

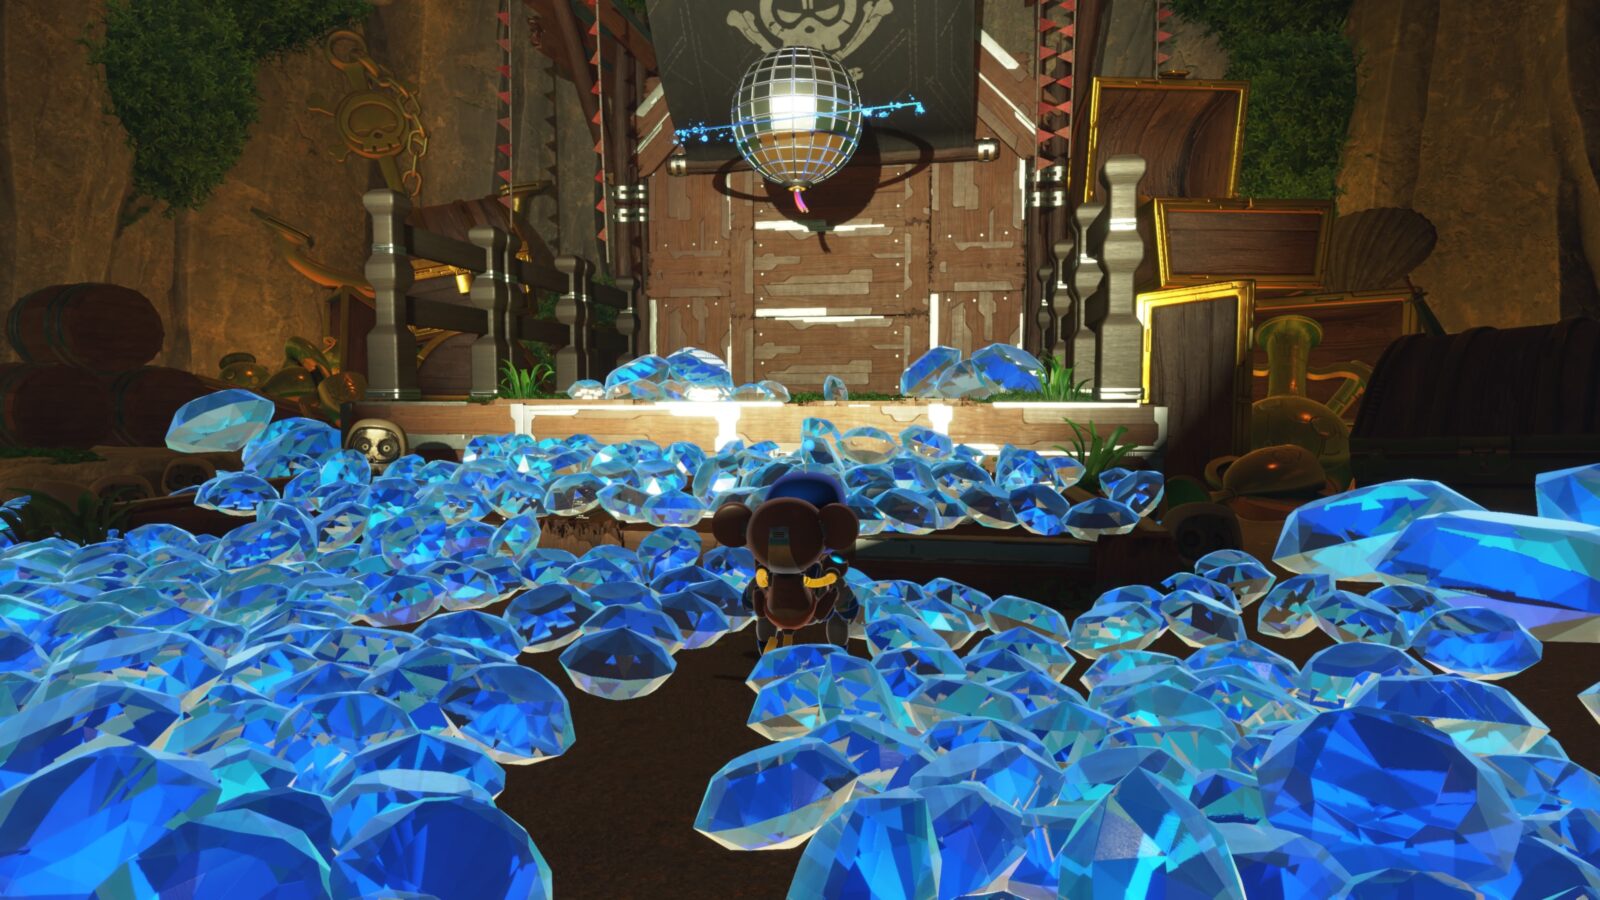
Bot of War Bot #1
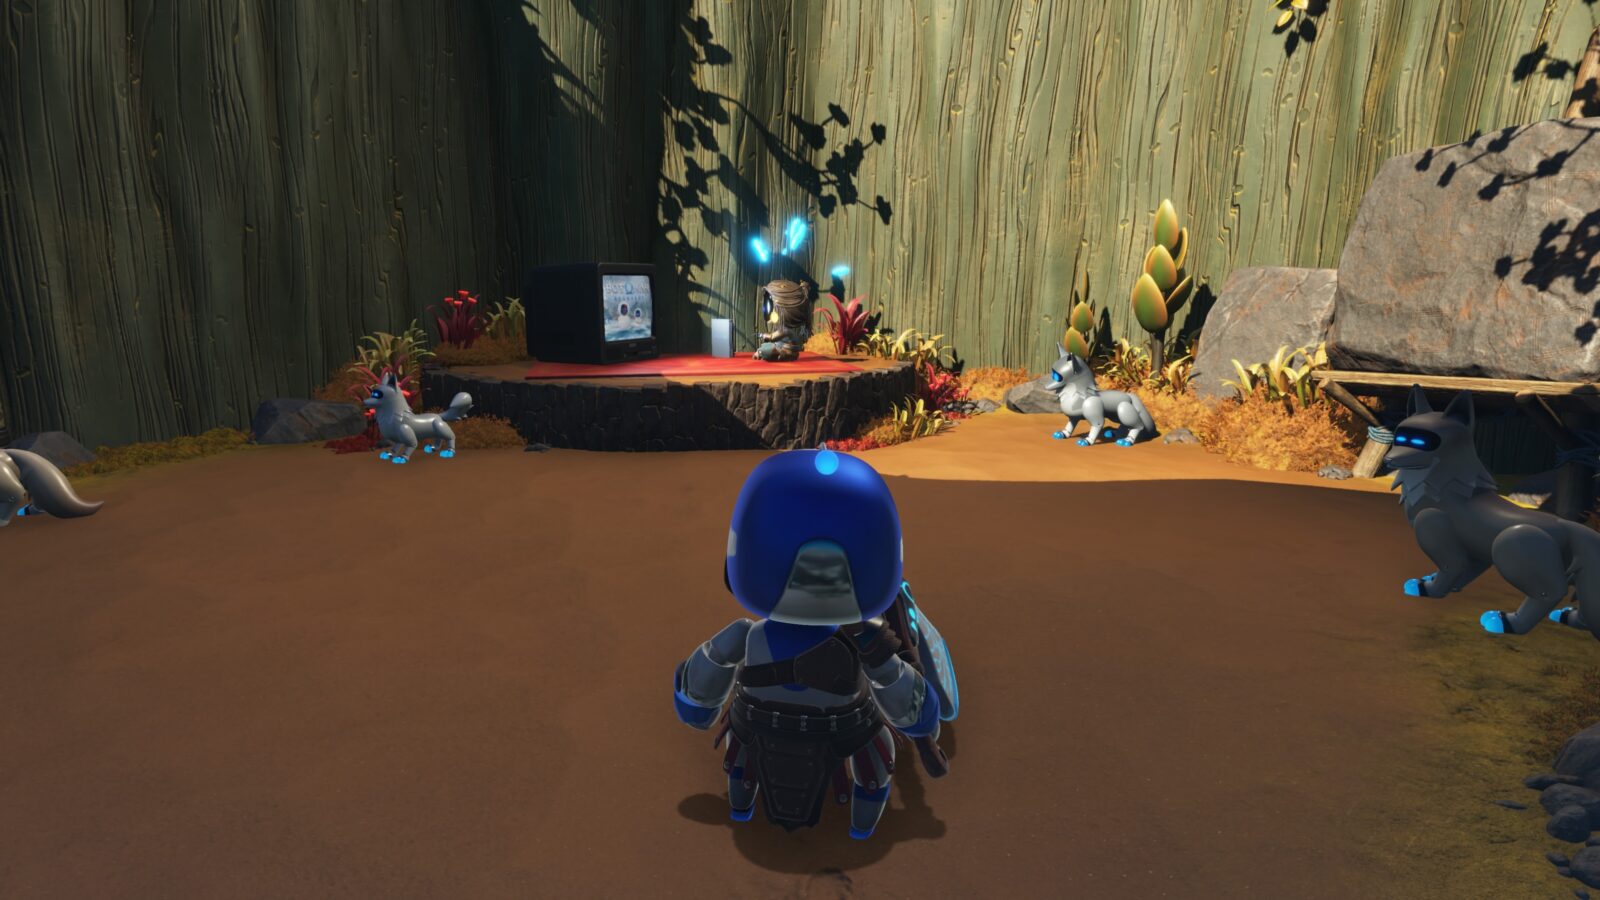
Once you’ve entered the large gates, look for a narrow crack in the wall on the right side. Squeeze through it to reach a hidden area filled with wolves.

There, at the back of the area playing Bot of War: Ragnabot, you’ll find this bot based on Angrboda.
Bot of War Puzzle Piece #1
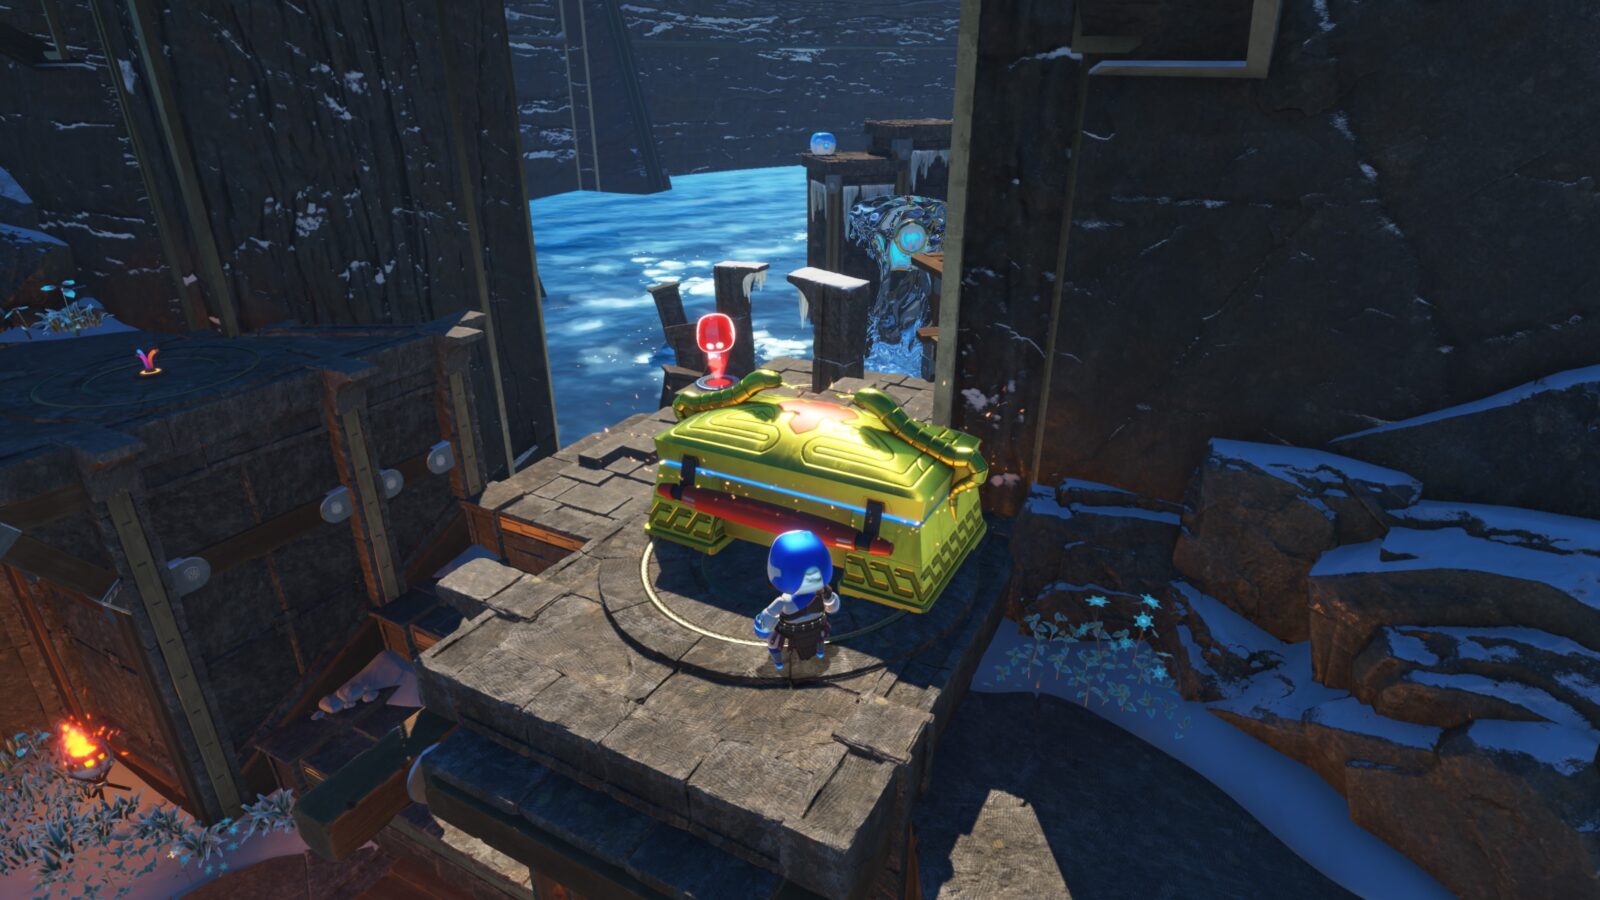
Return through the narrow passage and approach the water, where you should see a large chest.
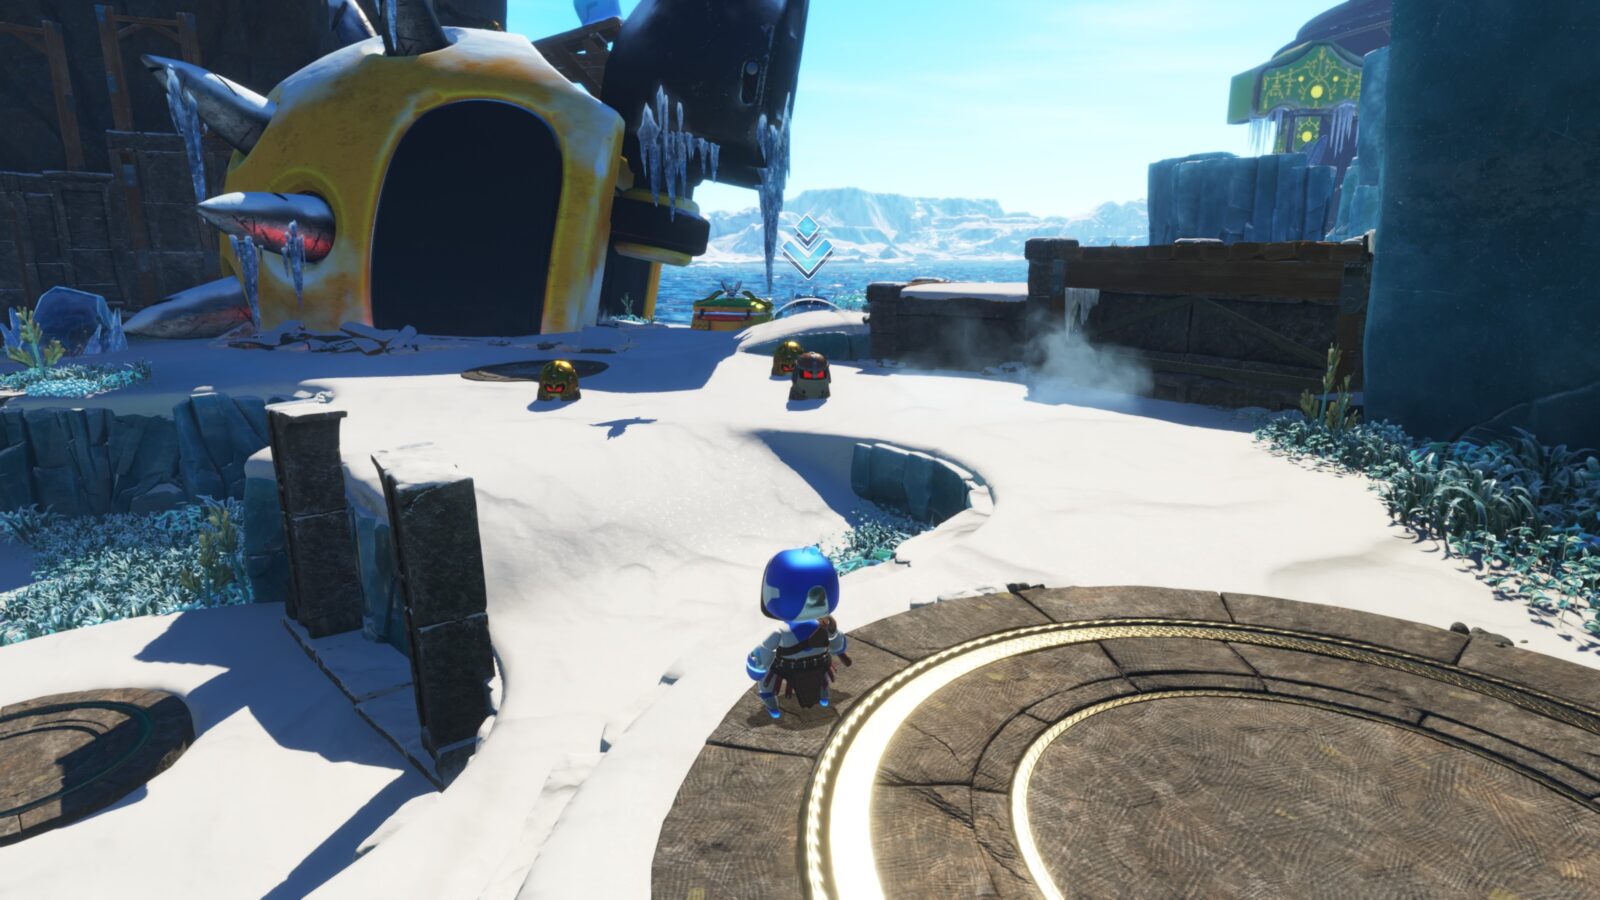
Pull the chest open to reveal the Puzzle Piece inside.

Bot of War Bot #2
Use the spikes to reach the top of the large frozen spike-bot enemy above the chest.

Up there, on top of the enemy’s foot, you’ll find this bot, based on Thrud.

Bot of War Raven #2
Stay up where you found Thrud, but turn to face the cliff.

From there, you should be able to see this raven on a wooden platform.
Bot of War Raven #3
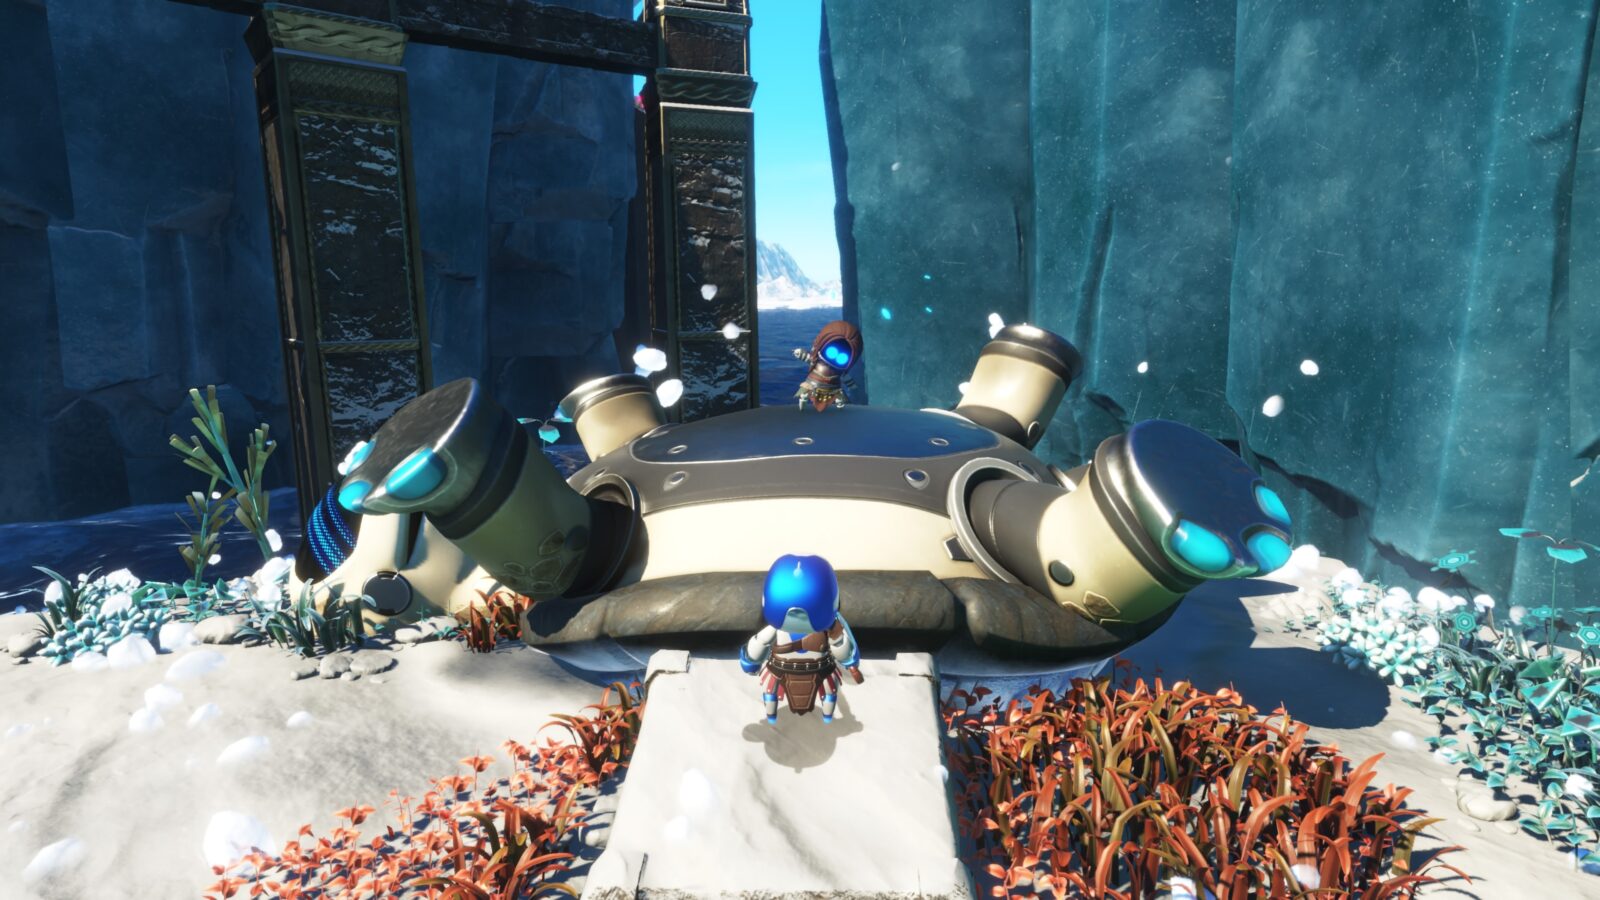
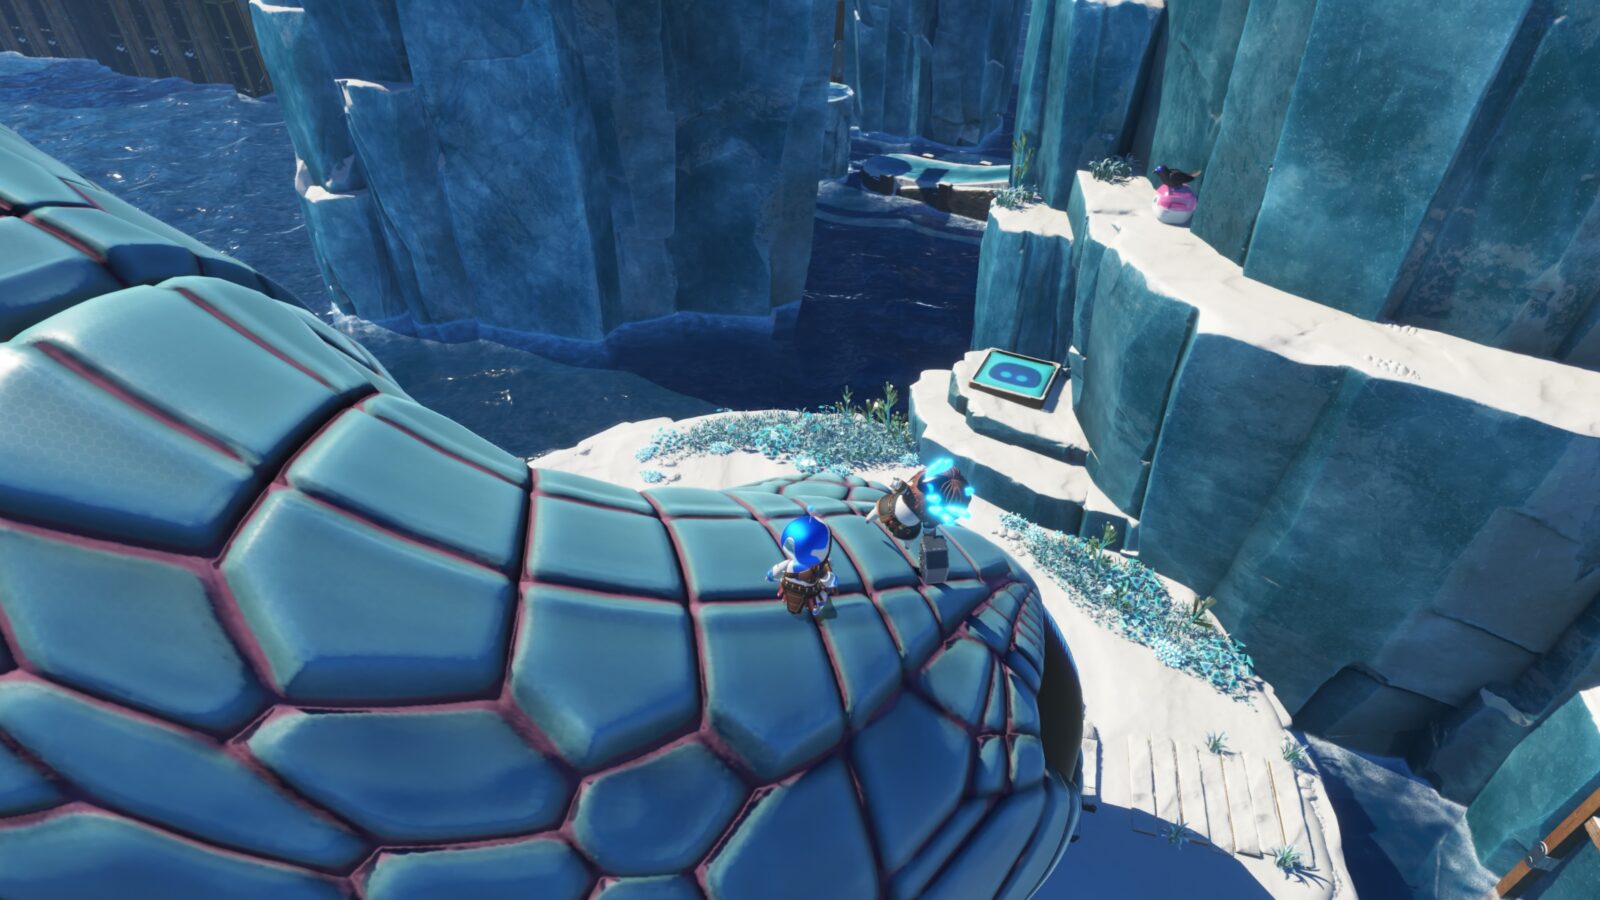
Continue through the level, and you’ll see a huge turtle with a tree growing from its shell.

In one of the arches of the stone structure next to the turtle, you’ll see this raven.

Bot of War Bot #3
Flip the aforementioned turtle, and you will reveal this bot based on Freya.
Bot of War Raven #4
At the opposite side of the large doorway from where the turtle was. You’ll see this raven on an icy ledge in the cliff face.

Bot of War Bot #4
Continue left past the previous raven to find a puzzle where you need to do the following to get Jormungandr to appear:
- Break the Ice
- Pull the Wire
- Blow into the Controller Microphone

Use the nearby bounce pad to reach the top of Jormungandr’s head, where you’ll find this bot based on Thor.
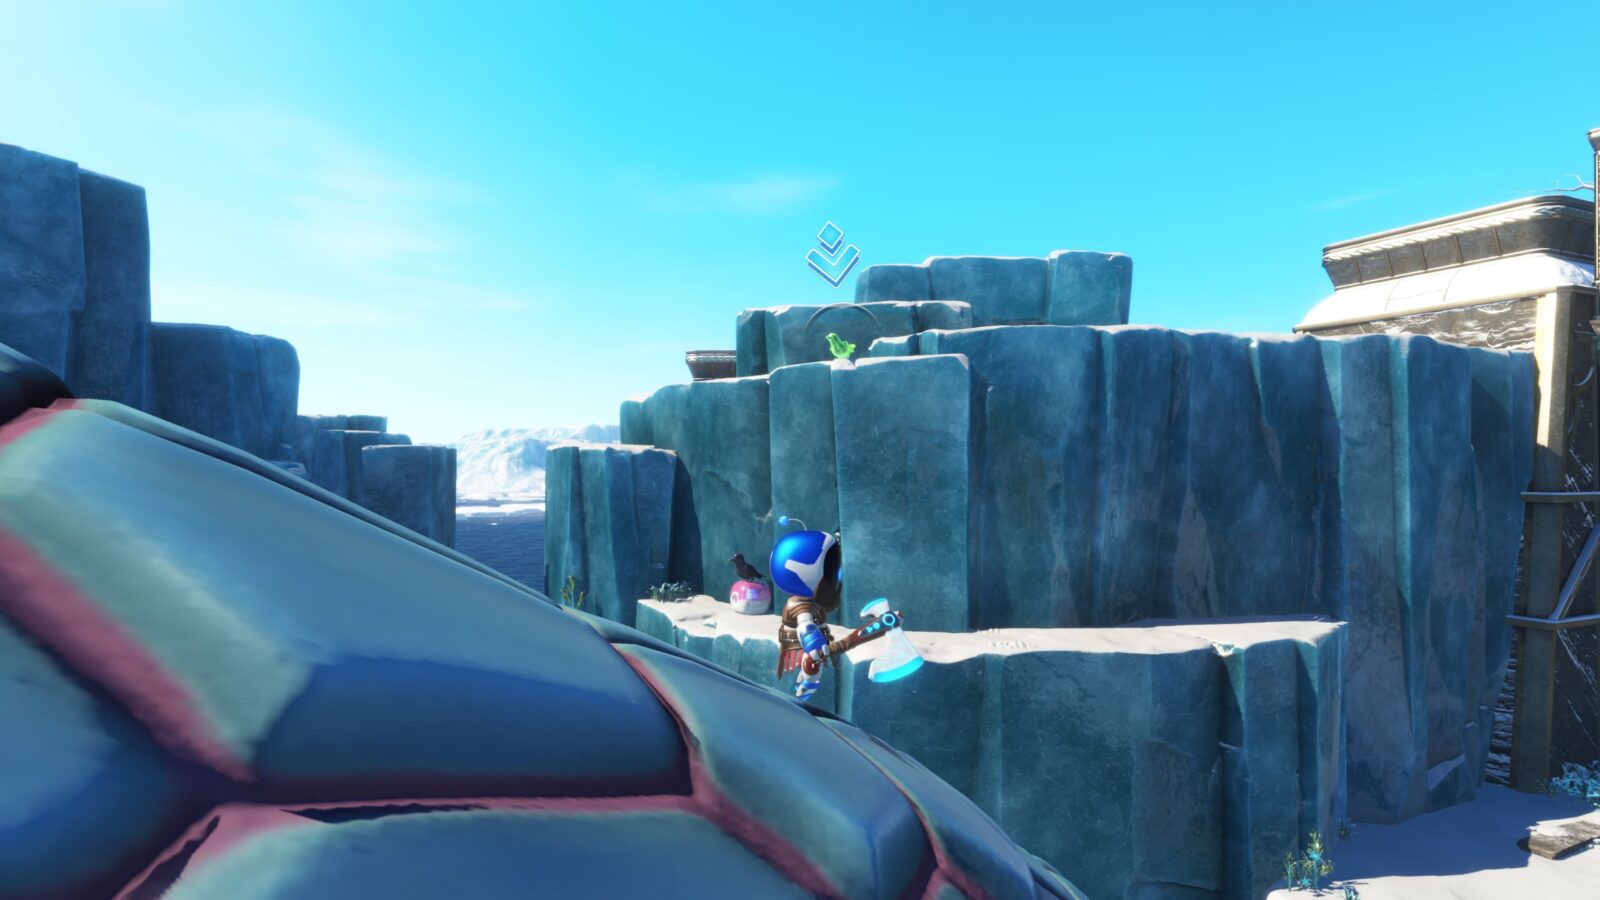
Bot of War Raven #5
From the Thor Bot on top of Jormungandr’s head, look up towards the top of the ice cliffs and you’ll see this raven.
Bot of War Raven #6
Head through the earlier doorway to the next checkpoint and you’ll see this raven in plain sight.

Bot of War Raven #7
Opposite the previous raven, there’s a bounce pad leading up to some ice you can destroy.

Pass through the several layers of thin ice to reach a tree covered in feathers.

This raven is flying around the tree.
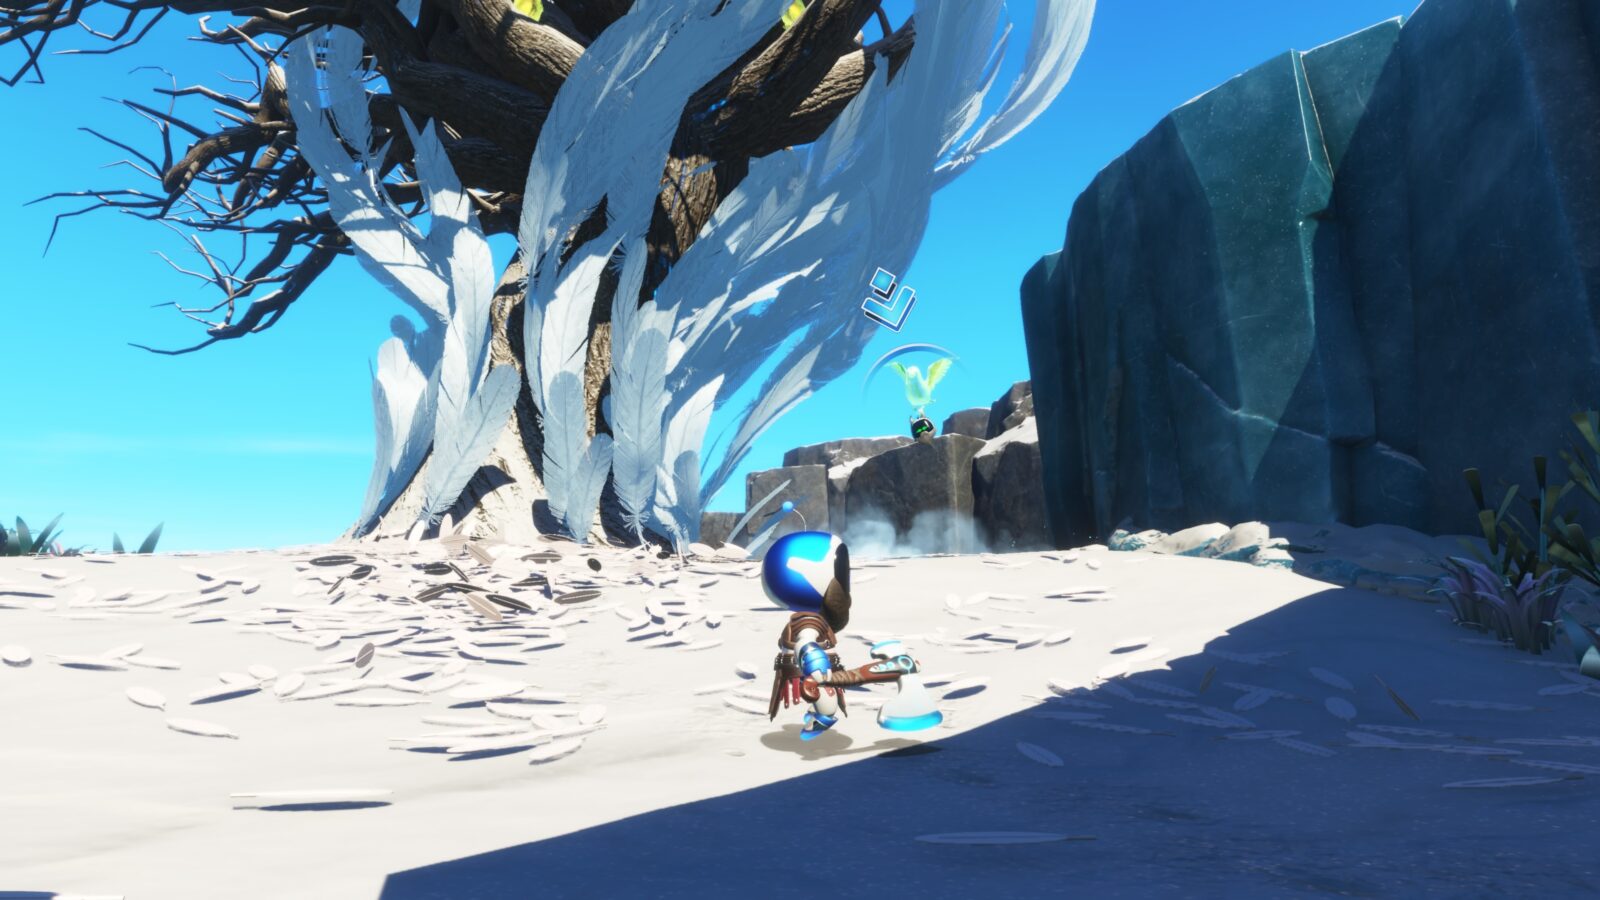
Bot of War Bot #5
This bot, based on Mimir, is being carried by the previous Raven.
Bot of War Puzzle Piece #2
Behind the feather-coated tree.

Bot of War Bot #6
Continue through the level until you reach a snowy plateau with a raised drawbridge to the right.

Use the axe to lower the drawbridge, and you’ll find this bot, based on Brok, at the end.

Bot of War Puzzle Piece #3
After throwing the big log, you’ll reach a huge statue of a hammer.

Drop down behind it and use a charged ![]() spin attack on the flower to reveal the Puzzle piece.
spin attack on the flower to reveal the Puzzle piece.

Bot of War Raven #8 & Eyes of the All-Father Trophy
Behind the aforementioned huge hammer statue.

Bot of War Bot #8
Climb the big hammer up to the next checkpoint and then climb the ledges to the right to reach the golden chest on the raised ledge.

Inside the chest, you’ll find this bot based on Sindri.
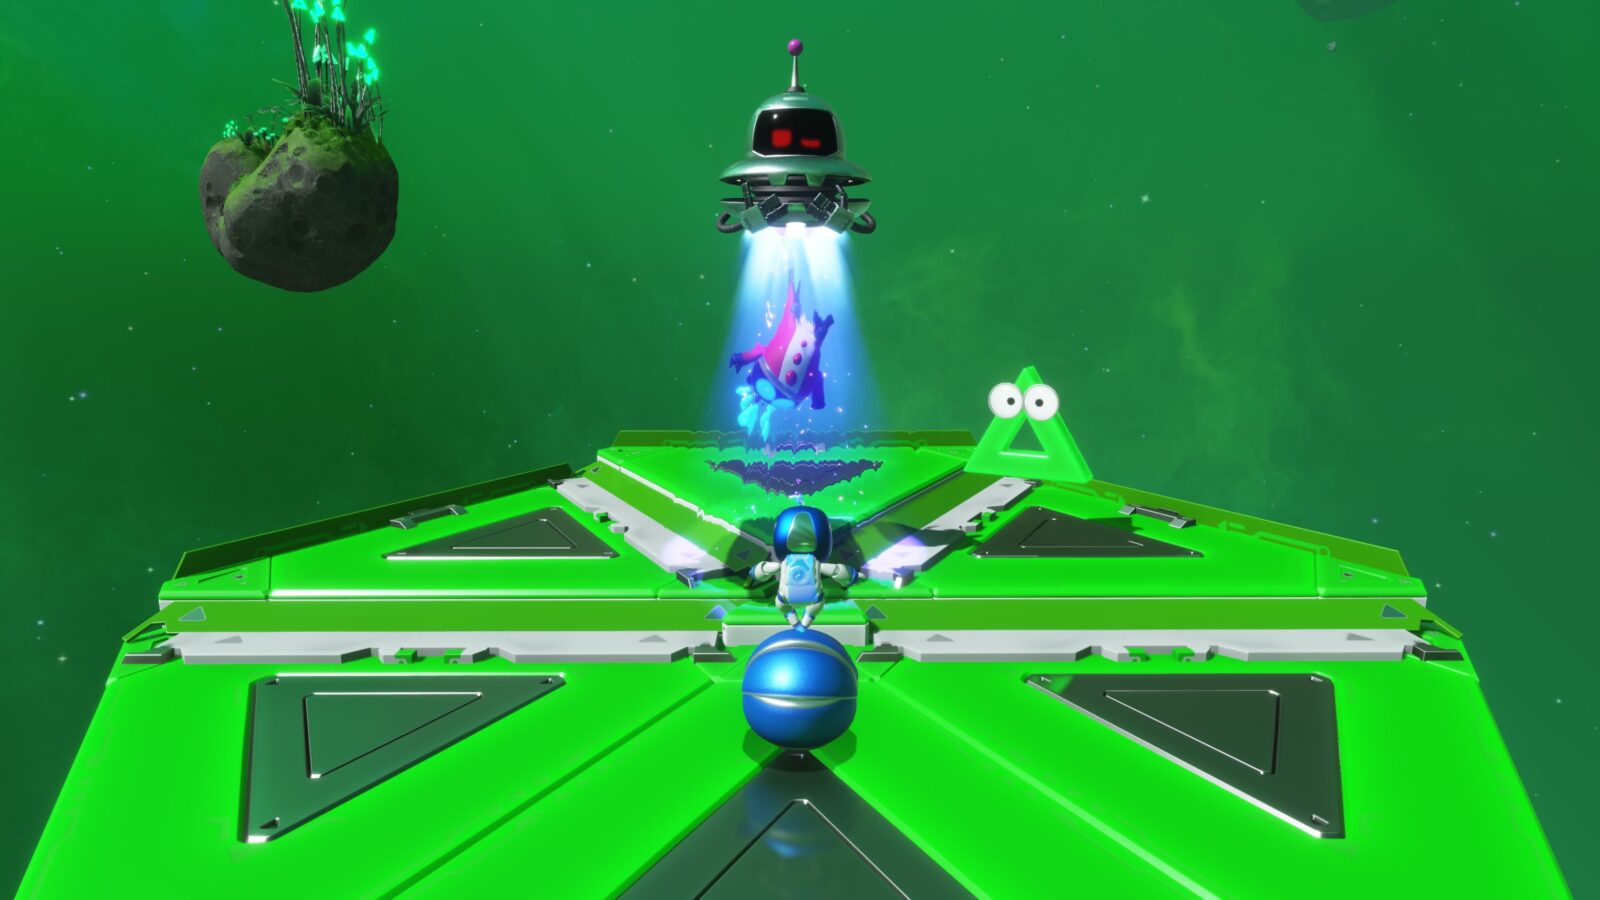
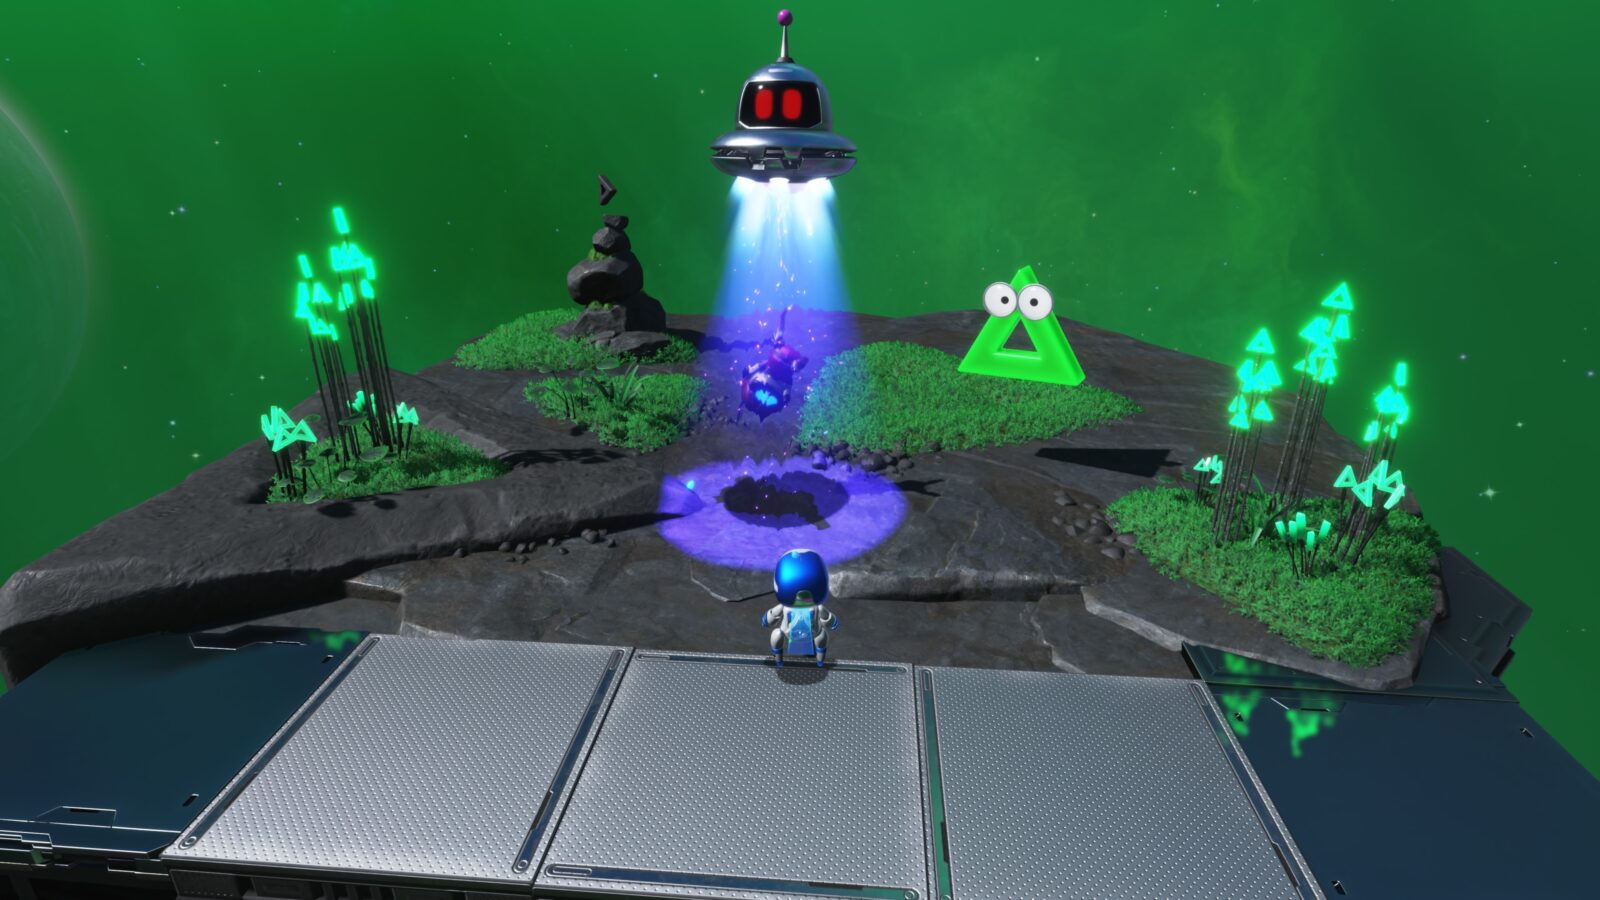
Lost Triangle Void Collectibles
Fly into the asteroid in the upper-left corner of the Tentacle System Galaxy Map and a load of colorful shapes will spawn.
Fly circles through the stars until another asteroid appears in the center, which, when crashed into, will spawn the Lost Triangle Void.
There are no collectibles in this level, but you need to complete it to spawn the Cut N Grind, Dashing Dillo, Fragile Frenzy, and Pumpkin Peril levels.
Cut 'N Grind Collectibles
This level spawns after you complete the Lost Triangle Void level. You’ll receive a bot automatically upon completing the level.
Cut 'N Grind Bot
Complete this stage to receive the bot automatically. It’s based on Leon Kennedy from the Resident Evil series.

Dashing Dillo Collectibles
This level spawns after you complete the Lost Triangle Void level. You’ll receive a bot automatically upon completing the level.
Dashing Dillo Bot
Complete this stage to receive the bot automatically. It’s based on Teddie from Persona 4.
Fragile Frenzy Collectibles
This level spawns after you complete the Lost Triangle Void level. You’ll receive a bot automatically upon completing the level.
Fragile Frenzy Bot
Complete this stage to receive the bot automatically. It’s based on Aigis from Persona 3.

Pumpkin Peril Collectibles
This level spawns after you complete the Lost Triangle Void level. You’ll receive a bot automatically upon completing the level.
Pumpkin Peril Bot
Complete this stage to receive the bot automatically. It’s based on Claire Redfield from the Resident Evil series.
Retro Rampage 2 Collectibles
Reveal the Retro Rampage 2 stage by flying into the asteroid that spawns in the upper left corner of the Tentacle System Galaxy Map.
Retro Rampage 2 Bot
Complete the stage to reveal this bot. It’s based on Ken Masters from the Street Fighter series.

Crumble Rumble 2 Collectibles
Fly through the stars in the upper right corner and a ring of tiny asteroids should appear near the middle.
Fly into all of these asteroids to spawn a big asteroid at the center which, when crashed into, should spawn the Crumble Rumble 2 stage.
Crumble Rumble 2 Bot
Complete the stage to reveal this bot. It’s based on a Golfer from the Everybody Golf series.

Next Zone
That concludes the Tentacle System Portion of our Astro Bot Collectible Guide. Use the links below to check out the next sector of the Galaxy Map.
- Astro Bot Gorilla Nebula Collectible Guide
- Astro Bot Tentacle System Collectible Guide
- Astro Bot Serpent Starway Collectible Guide
- Astro Bot Camo Cosmos Collectible Guide
- Astro Bot Feather Cluster Collectible Guide
- Astro Bot Déjà Vu Dimension Collectible Guide
- Astro Bot Lost Galaxy Collectible Guide
- Astro Bot Crash Site Collectible Guide
Thanks for Reading
Plat Get!
Thank You!
Thank You for choosing PlatGet as your source for this Astro Bot Tentacle System Collectible Guide.
Wondering what to complete next? Browse our complete guide selection or check out our friends at PlatPrices.com to filter the PS Store based on price, trophy difficulty, or completion time.
Got a question, some feedback, or just want to say thanks? Drop a comment in the discussion section below, we'd love to hear from you! No account required!!