PlayStation 5
Astro Bot Crash Site Collectible Guide
Collectible Guide
Where and How to Collect all Collectibles and Level-Specific Trophies in the Astro Bot Crash Site Hub Area
The Crash Site is the hub area in Astro Bot from which you can access new portions of the Galaxy Map and interact with all your collectibles. This collectible guide will walk you through all of the collectibles and level-specific trophies within this zone.
- Astro Bot Gorilla Nebula Collectible Guide
- Astro Bot Tentacle System Collectible Guide
- Astro Bot Serpent Starway Collectible Guide
- Astro Bot Camo Cosmos Collectible Guide
- Astro Bot Feather Cluster Collectible Guide
- Astro Bot Déjà Vu Dimension Collectible Guide
- Astro Bot Lost Galaxy Collectible Guide
- Astro Bot Crash Site Collectible Guide
Crash Site Collectibles | Main Area
In the Crash Site Hub world, there are 30 total bots to find and collect, as well as 11 Puzzle Pieces. These are found across the five subdivisions of the Crash Site, each of which becomes accessible as you progress the game and install more modules into the PS5 Mothership.
Additionally, once you have collected every Bot and Puzzle Piece in the game, you’ll get access to the “Great Master Challenge,” at the end of which you can collect a bonus Bot.
I would recommend progressing the game as much as you can outside the Crash Site before attempting to follow this guide. This is because many of the bots and pieces are not obtainable until you’ve collected a certain number of bots and pieces from other worlds.
Lastly, there are a plethora of trophies that you can earn only in the Crash Site. Many of these are specific to bots you have collected, though, forming another reason to leave this guide until last.
Crash Site Bot #1
Interact with the drone behind the spawn once you have collected at least 2 bots.
The bots you summon will help you lift up the boulder, freeing the bot stuck underneath.
It’s based on Selene from Returnal.
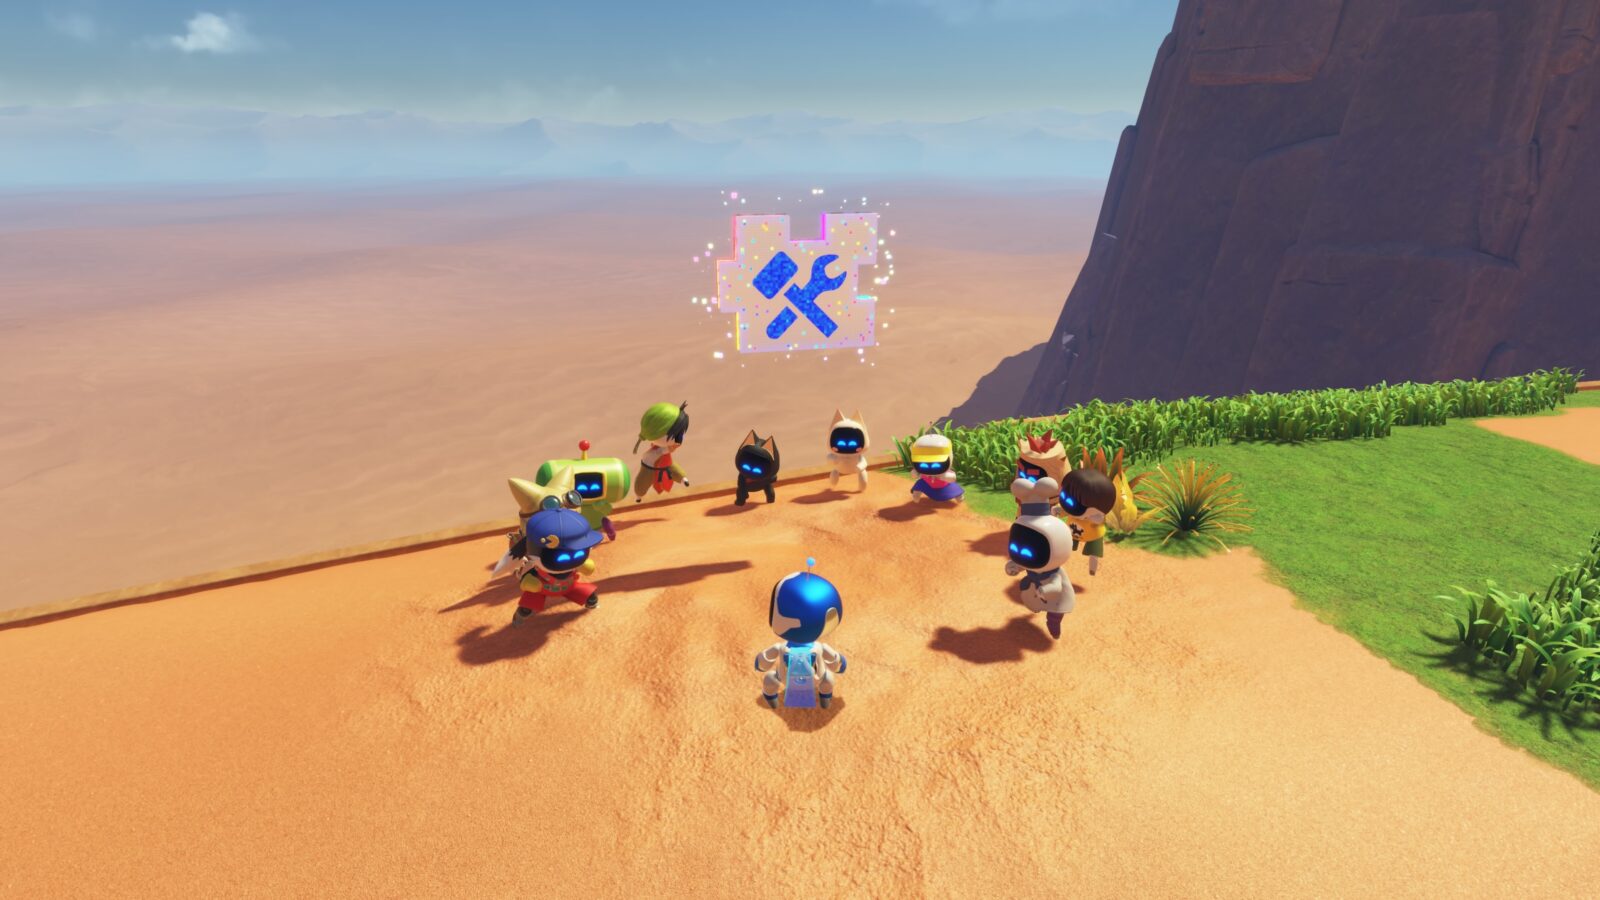
Crash Site Puzzle Piece #1
Interact with the drone near the PS5 Mothership once you have collected at least 2 bots.

The bots you summon will help you lift up the boulder, freeing the Puzzle Piece stuck underneath.

Crash Site Bot #2
Interact with the drone on the left side of the main area once you have collected at least 2 bots.
The bots you summon will help you lift up the boulder, freeing the bot stuck underneath.
It’s based on a driver from Gran Turismo.
Crash Site Bot #3
Interact with the drone on the right side of the main area once you have collected at least 2 bots.
The bots you summon will help you lift up the boulder, freeing the bot stuck underneath.
It’s based on Lady Maria from Bloodborne.
Crash Site Puzzle Piece #2
On the right side of the main area, you’ll see a pillar in the distance with a Puzzle Piece on it.
To reach it, interact with the nearby drone once you’ve collected at least 10 Bots.
They’ll form a rope you can swing from to reach the pillar.
Crash Site Puzzle Piece #3
Behind the spawn in the main area, there’s a large boulder next to a drone.

Interact with the drone once you’ve collected at least 10 Bots.
They’ll help you lift the boulder away, revealing a Puzzle Piece trapped underneath it.
Crash Site Puzzle Piece #4
On the left side of the main area, you’ll see a Puzzle Piece on top of a stone pillar.

Interact with the nearby drone once you’ve collected at least 10 Bots, and they’ll lift the stepping stones, forming stairs you can use to reach the Puzzle Piece.
Crash Site Bot #4 & Bot #5
At the back of the area, far beyond the PS5 Mothership, you’ll see a sand bridge leading to a round platform which is blocked by a round boulder.

Interact with the drone next to the boulder when you have collected at least 10 Bots.

They will help you lift the boulder out of the way, revealing two bots stuck underneath it.
Crash Site Puzzle Piece #5
After collecting the previous two bots, you’ll be able to reach the round platform beyond the aforementioned boulder.

There, interact with the next drone, and the 10 Bots you summon will form a rope you can climb.

From the top of the rope, jump to the top of the stone plateau, where you’ll find this Puzzle Piece.
Crash Site Puzzle Piece #6
This Puzzle Piece will be carried by some birds that are flying around the main area. However, it will not spawn until you have unlocked the “Squawky” item from the Gatcha Lab.

Spend some gold coins in the Gatcha machine until you receive the Squawky item, then look for the birds in the main area.

Crash Site Puzzle Piece #7
Before you can collect this puzzle piece, visit the Gatcha Lab and spend your gold coins on the machine there until you receive the “Heavy Roller” bowling ball item.

Once you have it, look for the bowling ball on the right side of the main area.

Use the bowling ball to knock down all 10 bowling pins at the end of the dirt path and the Puzzle Piece will spawn!

Keep It Together Trophy
Anytime you get bots together to form a rope or tower, hit just one of the bots to break the tower. This will immediately unlock the “Keep It Together!” trophy!

Wall Buster Trophy
Anytime you get bots together to form a wall at the top of a ramp, hit the bots to break the wall. This will immediately unlock the “Wall Buster” trophy!

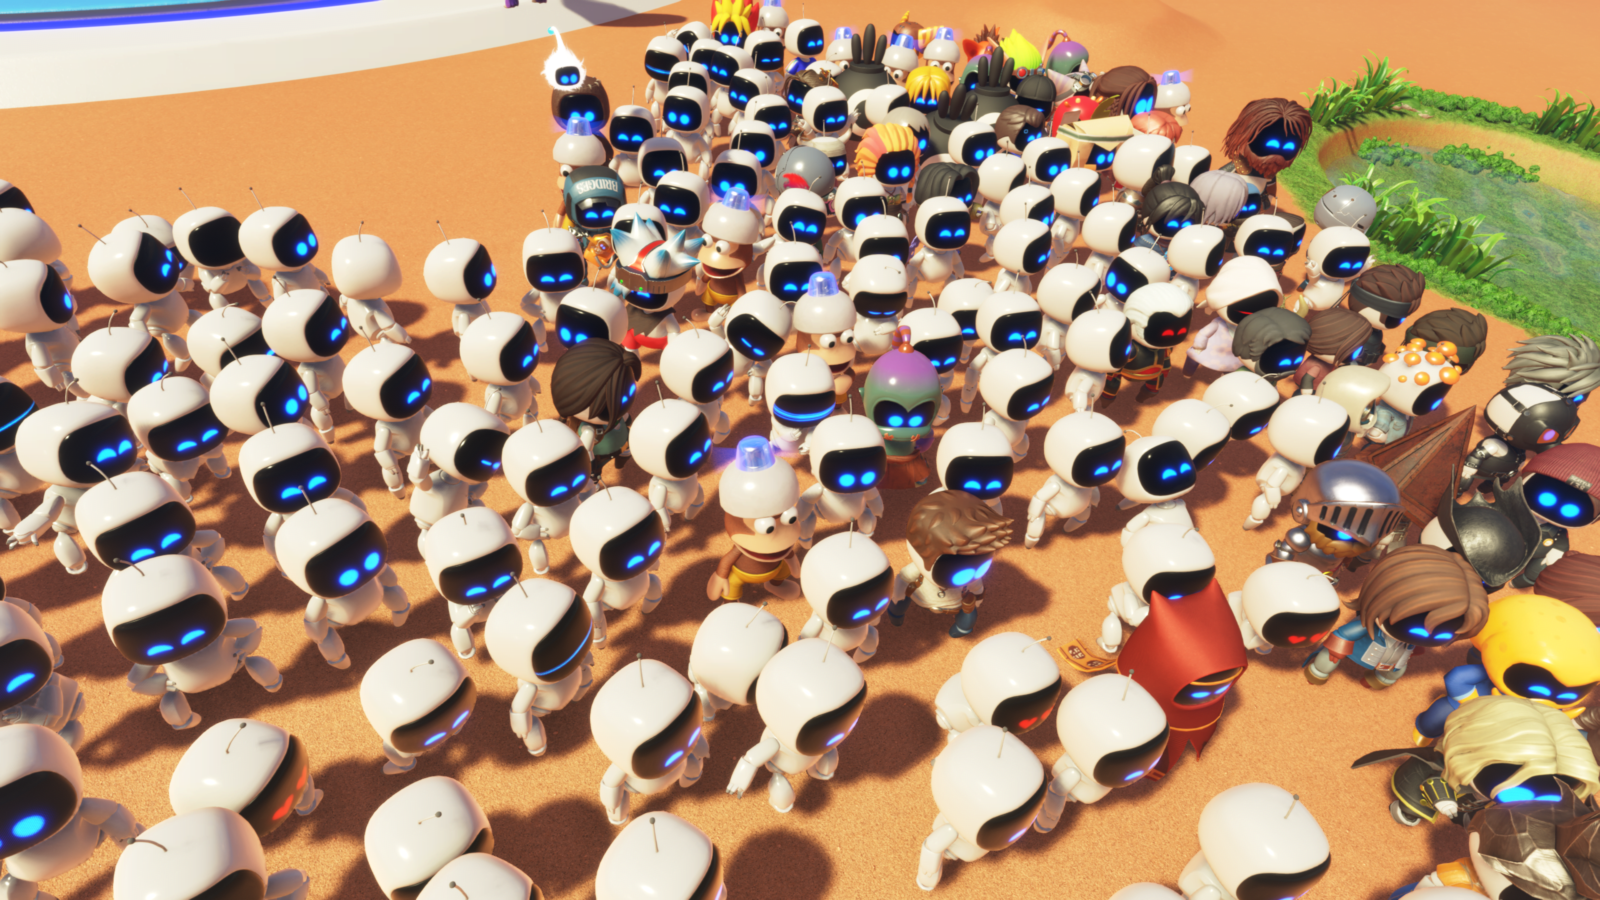
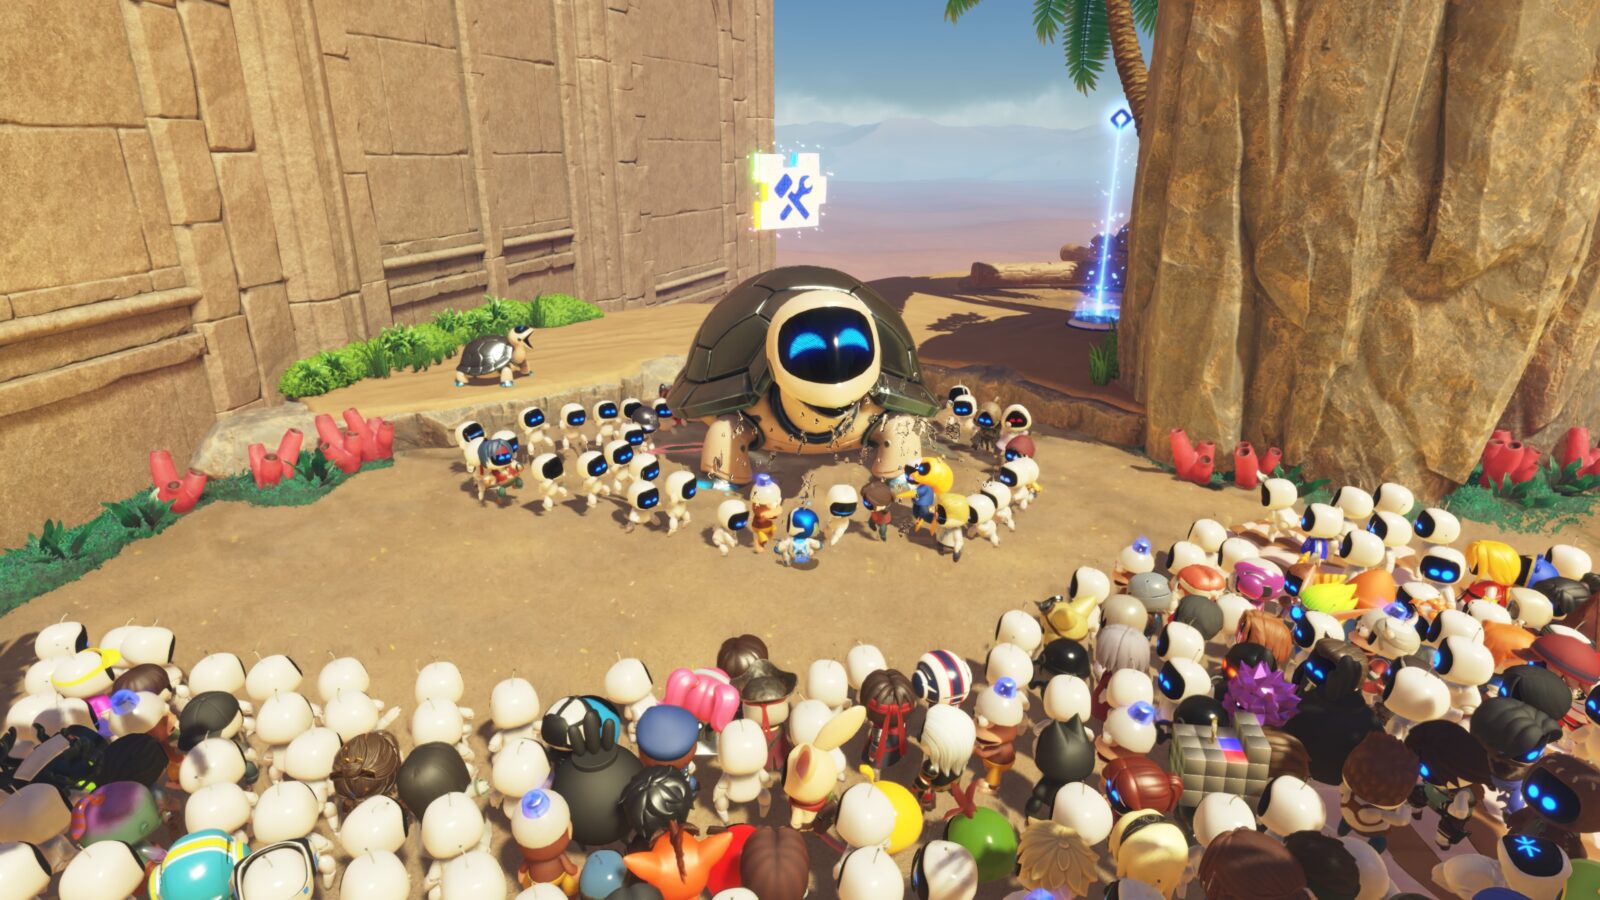
Bot Bot Revolution Trophy
When you have at least 100 bots, press ![]() to gather them around you.
to gather them around you.
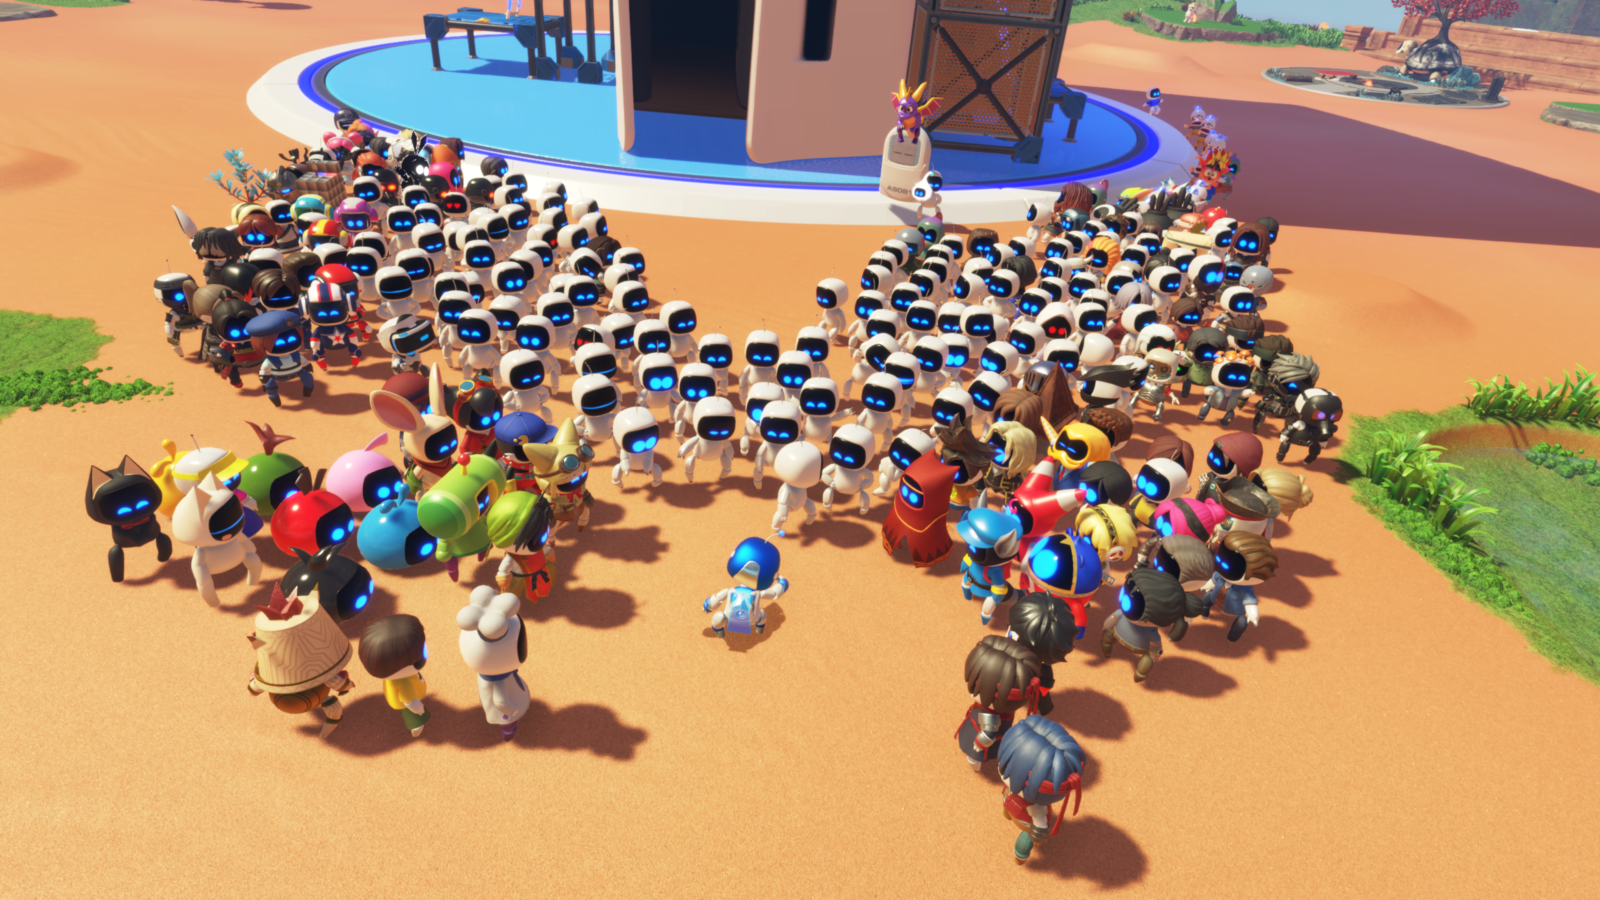
Once a crowd has formed, press ![]() and you’ll begin dancing. The other bots in the crowd should then follow suit and begin dancing with you.
and you’ll begin dancing. The other bots in the crowd should then follow suit and begin dancing with you.
This should cause the “Bot Bot Revolution” trophy to unlock!
Thick As Thieves Trophy
Before you can earn this trophy, you first need to do a few things:
- Collect the Nathan Drake bot
- Collect the Lara Croft bot
- Unlock the Safari Park (by collecting Puzzle Pieces) and acquire the camera from inside it
When you’ve met all of the above conditions, press ![]() to summon the bots to your location. Next, press
to summon the bots to your location. Next, press ![]() to pull out the camera and then take a photo that has both Lara Croft and Nathan Drake in-frame.
to pull out the camera and then take a photo that has both Lara Croft and Nathan Drake in-frame.
If it doesn’t work right away, try pushing them closer together and taking the photo at a tighter level of zoom.
Once you successfully get the desired photo, the “Thick As Thieves” trophy will unlock!

Thaw, God of Thunder Trophy
Before you can work on this trophy, you need to do a few things:
- Acquire the Kratos Bot
- Acquire the Thor Bot
- Spend Gold Coins at the Gatcha Lab until you unlock the “Well-Stocked Campfire” item.
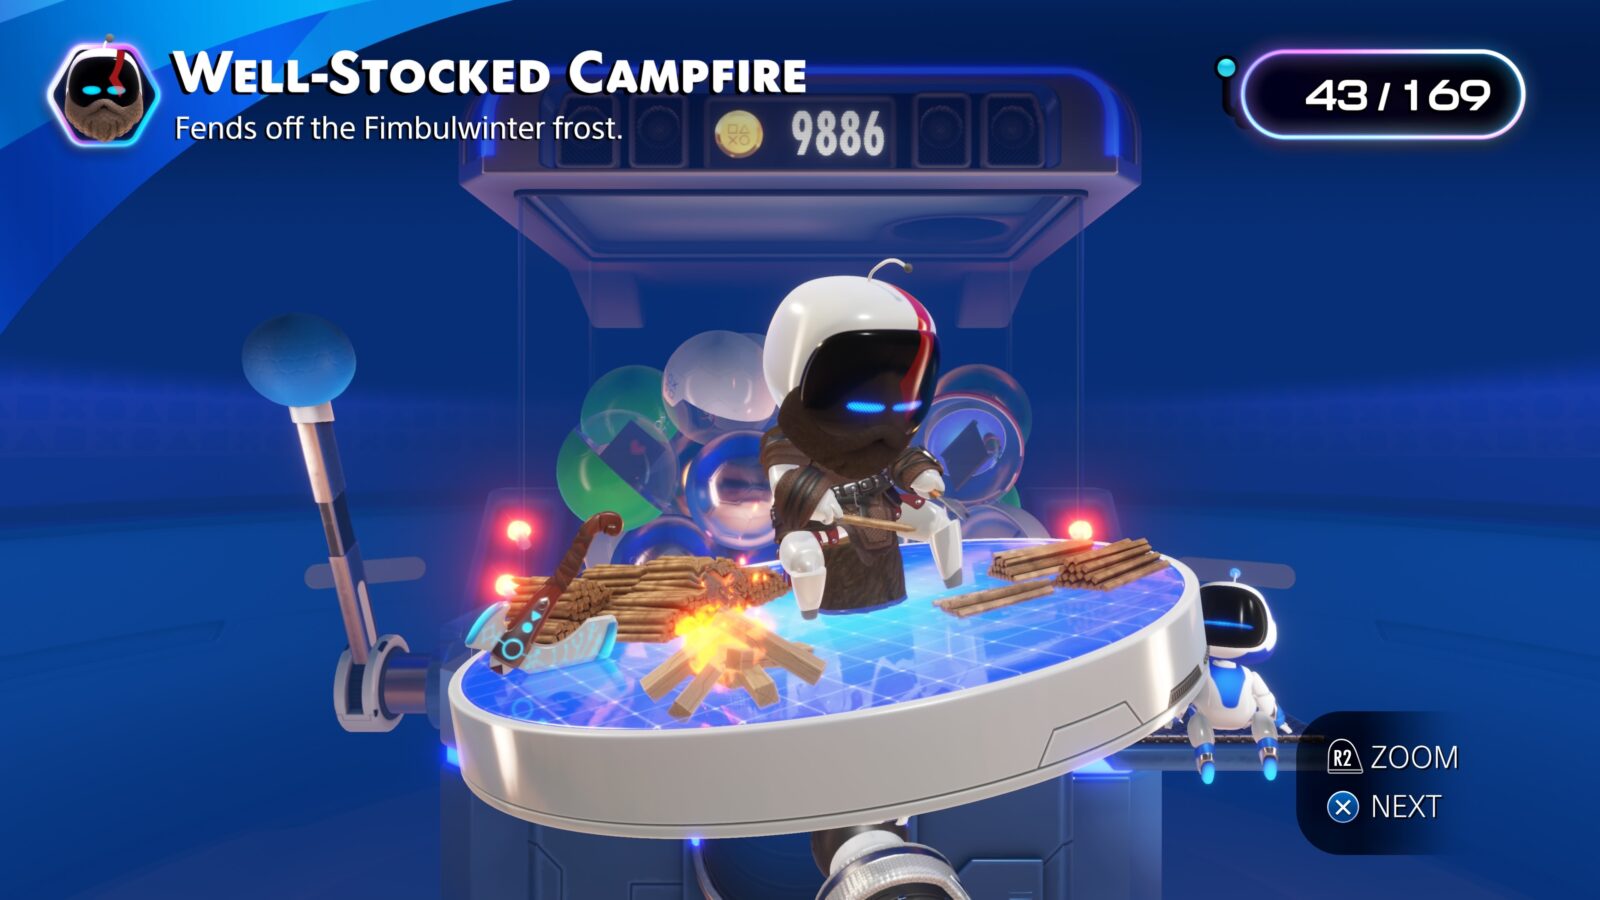
When you’ve met the above conditions, head over to the campfire area on the right side of the main area.
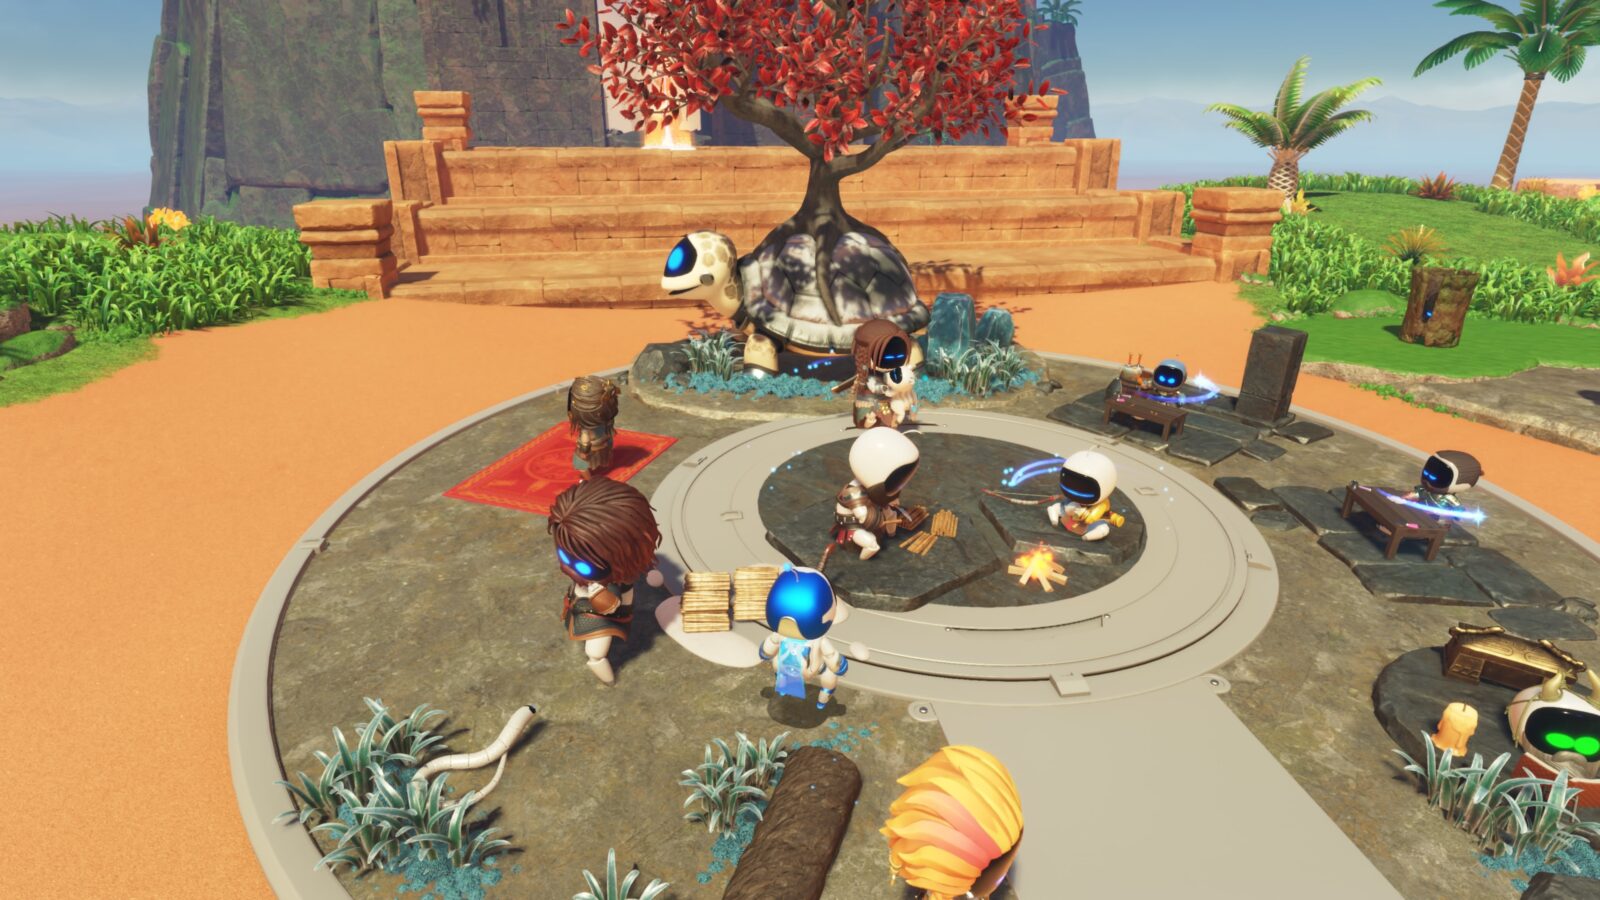
You’ll notice that if you hit Kratos, he throws his axe at you, freezing you. Therefore, in order to freeze Thor, hit Kratos while standing between him and Thor, then quickly move out of the way.
Kratos’ axe should hit Thor, freezing him. After a short reactionary animation, you should then unlock the “Thaw, God of Thunder!” trophy.

Royally Stuck Trophy
Before you can work on this trophy, you need to do a few things:
- Acquire the Prince Bot
- Spend Gold Coins at the Gatcha Lab until you unlock the “Rolling Star” item.
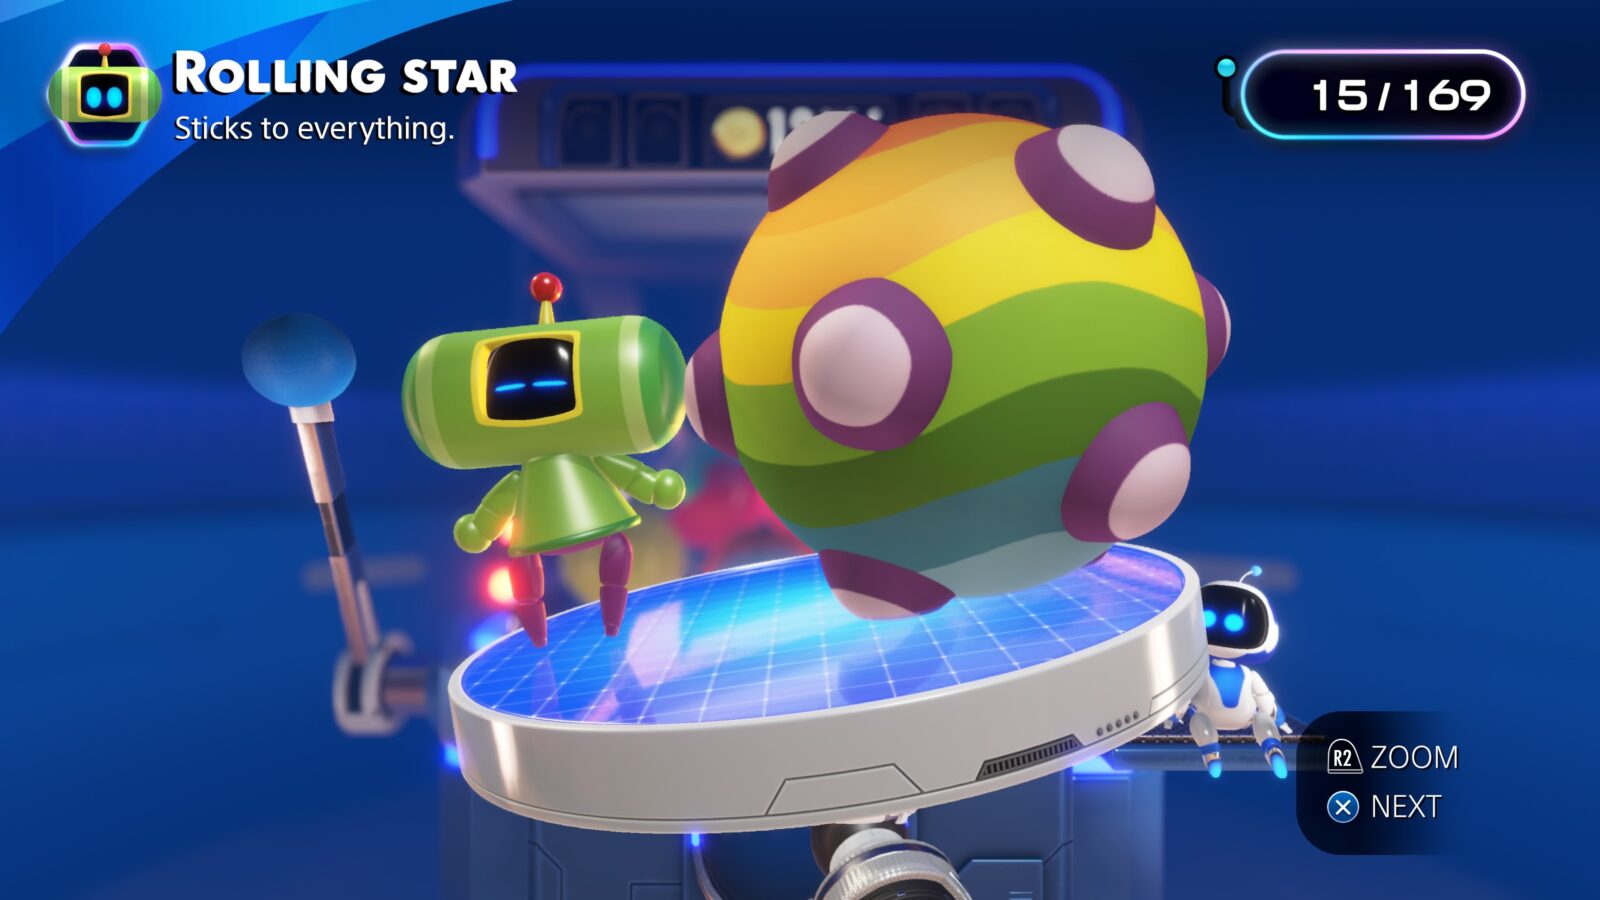
When you’ve met the above conditions, look for the Katamari Prince on the left side of the main area.
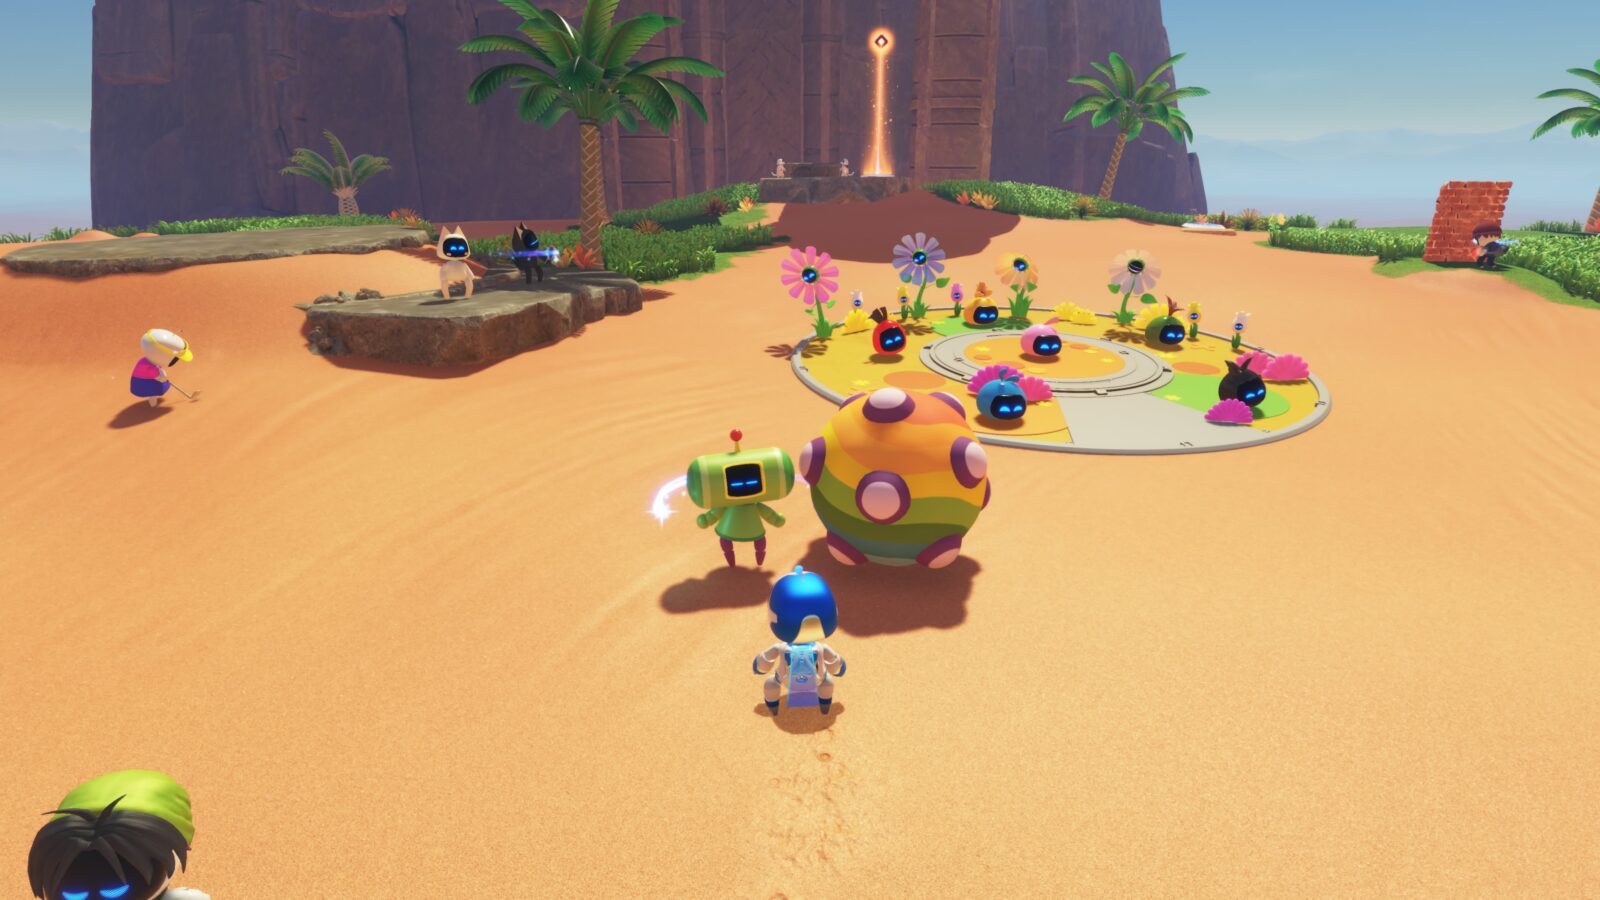
Hit the prince with ![]() and he will stick you to his rolling star in response, thus unlocking the “Royally Stuck” trophy!
and he will stick you to his rolling star in response, thus unlocking the “Royally Stuck” trophy!

Let's Twist Again Trophy
Before you can work on this trophy, you need to do a few things:
- Acquire the Crash Bandicoot Bot
- Spend Gold Coins at the Gatcha Lab until you unlock the “Protective Spirit” item.
When you’ve met the above conditions, look for Crash Bandicoot behind the PS5.
Stand next to him and press ![]() to begin dancing with him. Wait a few seconds and the “Let’s Twist Again” trophy should unlock!
to begin dancing with him. Wait a few seconds and the “Let’s Twist Again” trophy should unlock!

Deep-Pocket Dragon Trophy
Before you can work on this trophy, you need to do a few things:
- Acquire the Kiryu Bot
- Spend Gold Coins at the Gatcha Lab until you unlock the “Iconic Gate” item.
When you’ve met the above conditions, look for Kiryu on the right side of the main area.
Hit him with ![]() and he will drop an item. Hit him again and he’ll drop another item.
and he will drop an item. Hit him again and he’ll drop another item.
Keep this up until you’ve seen every unique item he can drop. You will then unlock the “Deep-Pocket Dragon” trophy!

KO! Trophy
Before you can work on this trophy, you need to do a few things:
- Acquire the Ken Bot
- Acquire the Ryu Bot
When you’ve met the above conditions, look for Ken and Ryu behind the PS5.
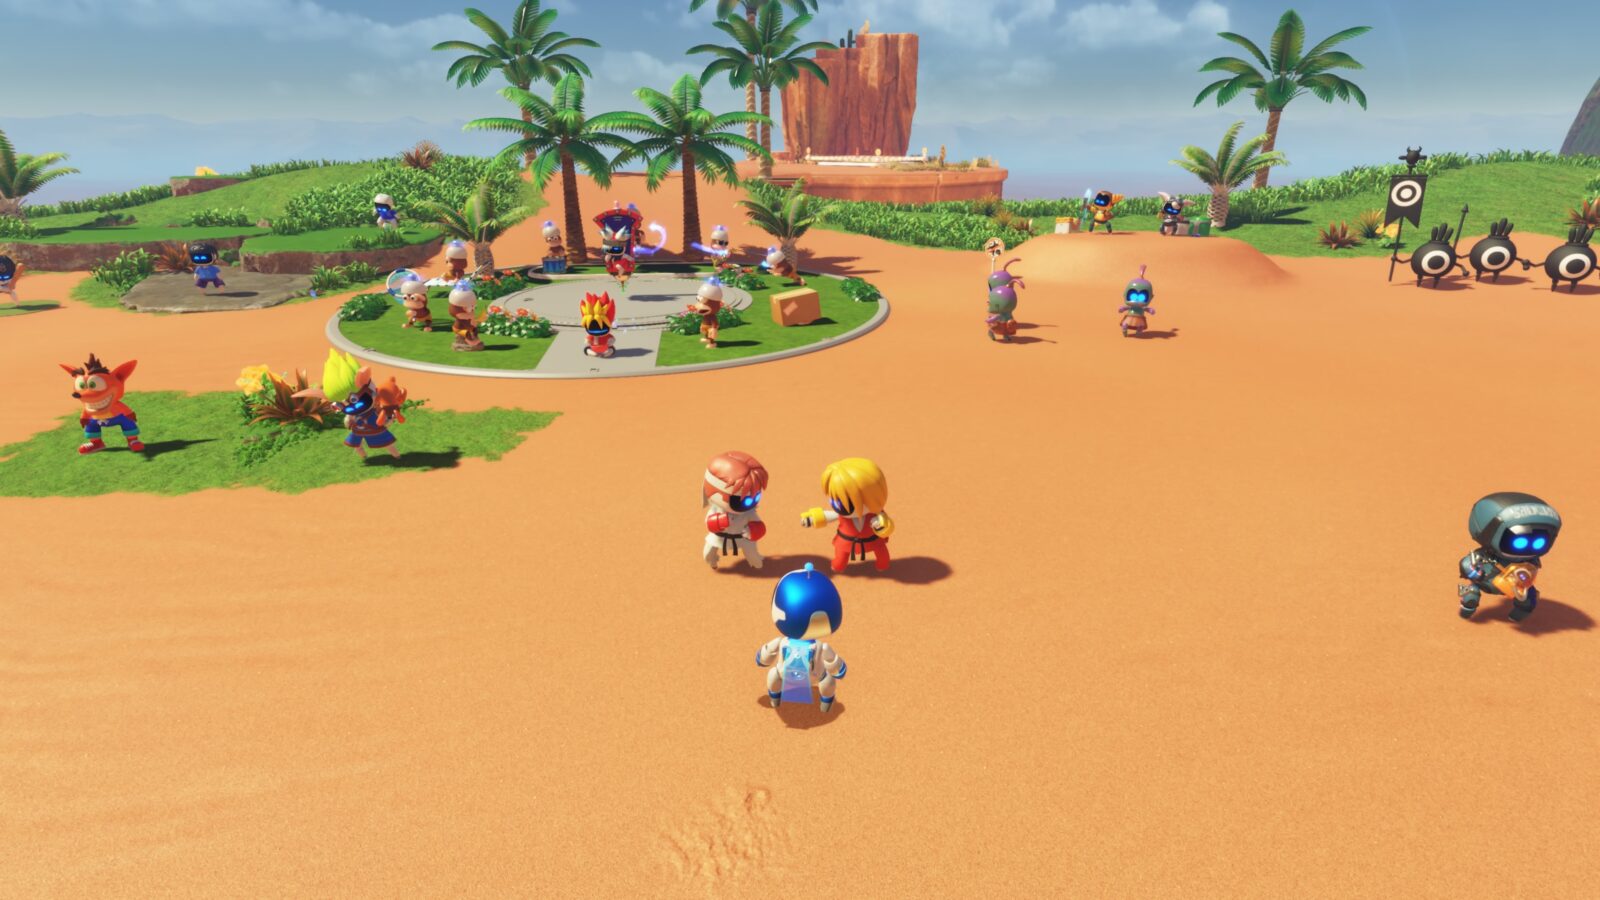
When you hit one of them, they will hit each other.
Hit one and then stand between them so that they hit you instead, unlocking the “KO!” trophy.

At the Top of My Game Trophy
Progress the story until you’ve installed the GPU in the PS5 Mothership.
When done, you’ll see there’s now some scaffolding on the right-hand side of the console.
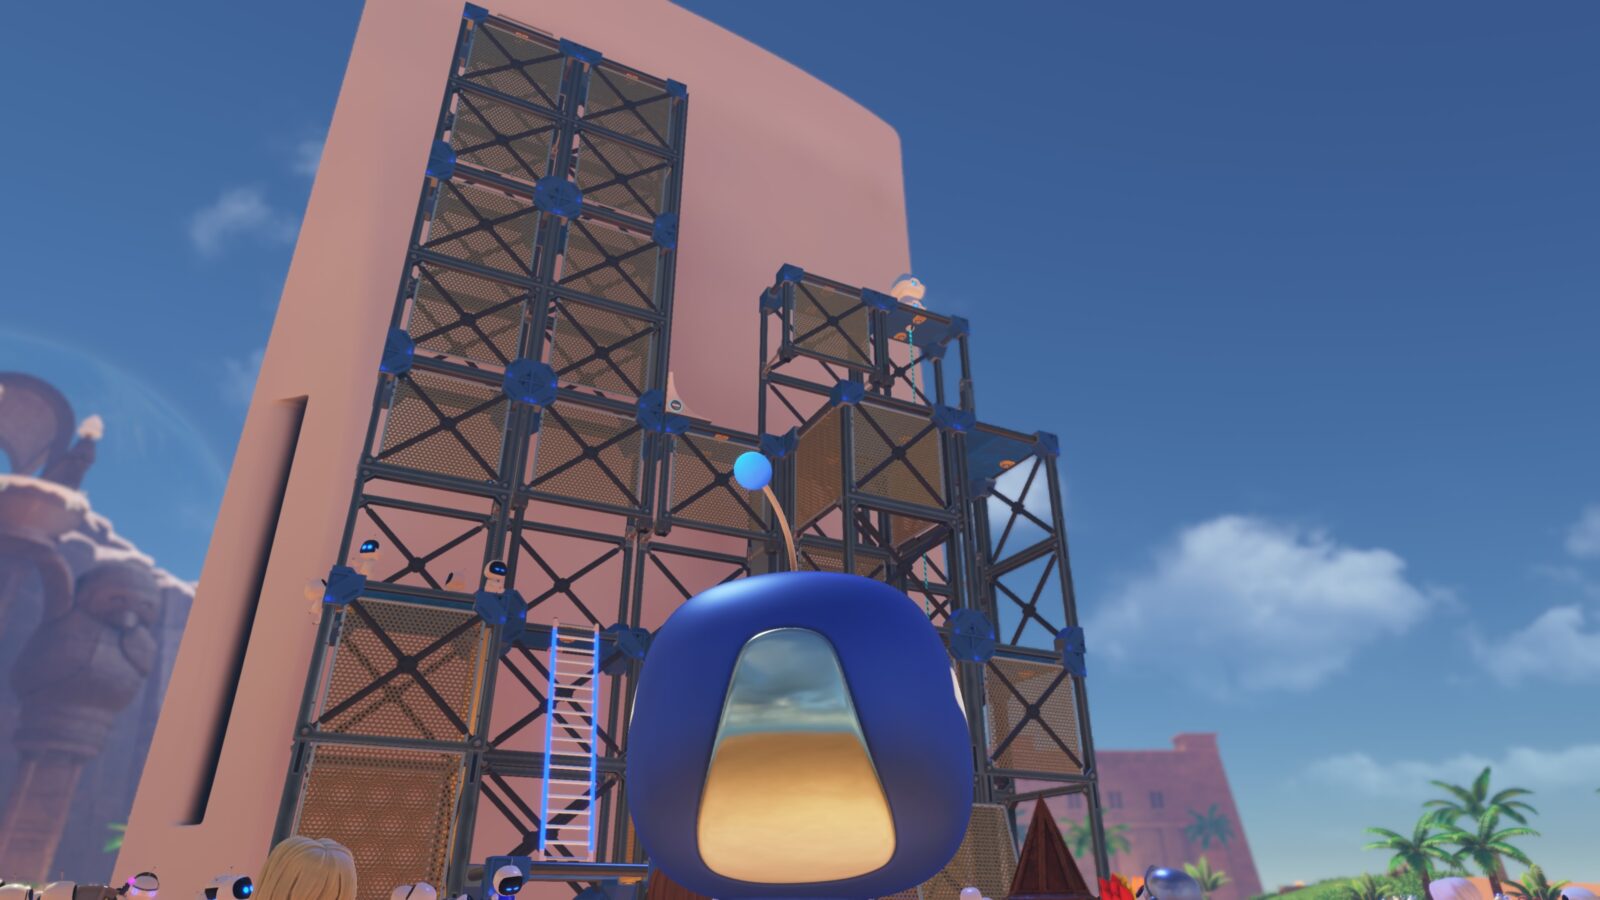
Use this scaffolding to reach and stand on top of the console, unlocking the “At the Top of My Game” trophy.

SingStars Trophy
After you’ve finished the main game, go up to the scaffolding on the left side of the PS5 Console using the ladder.
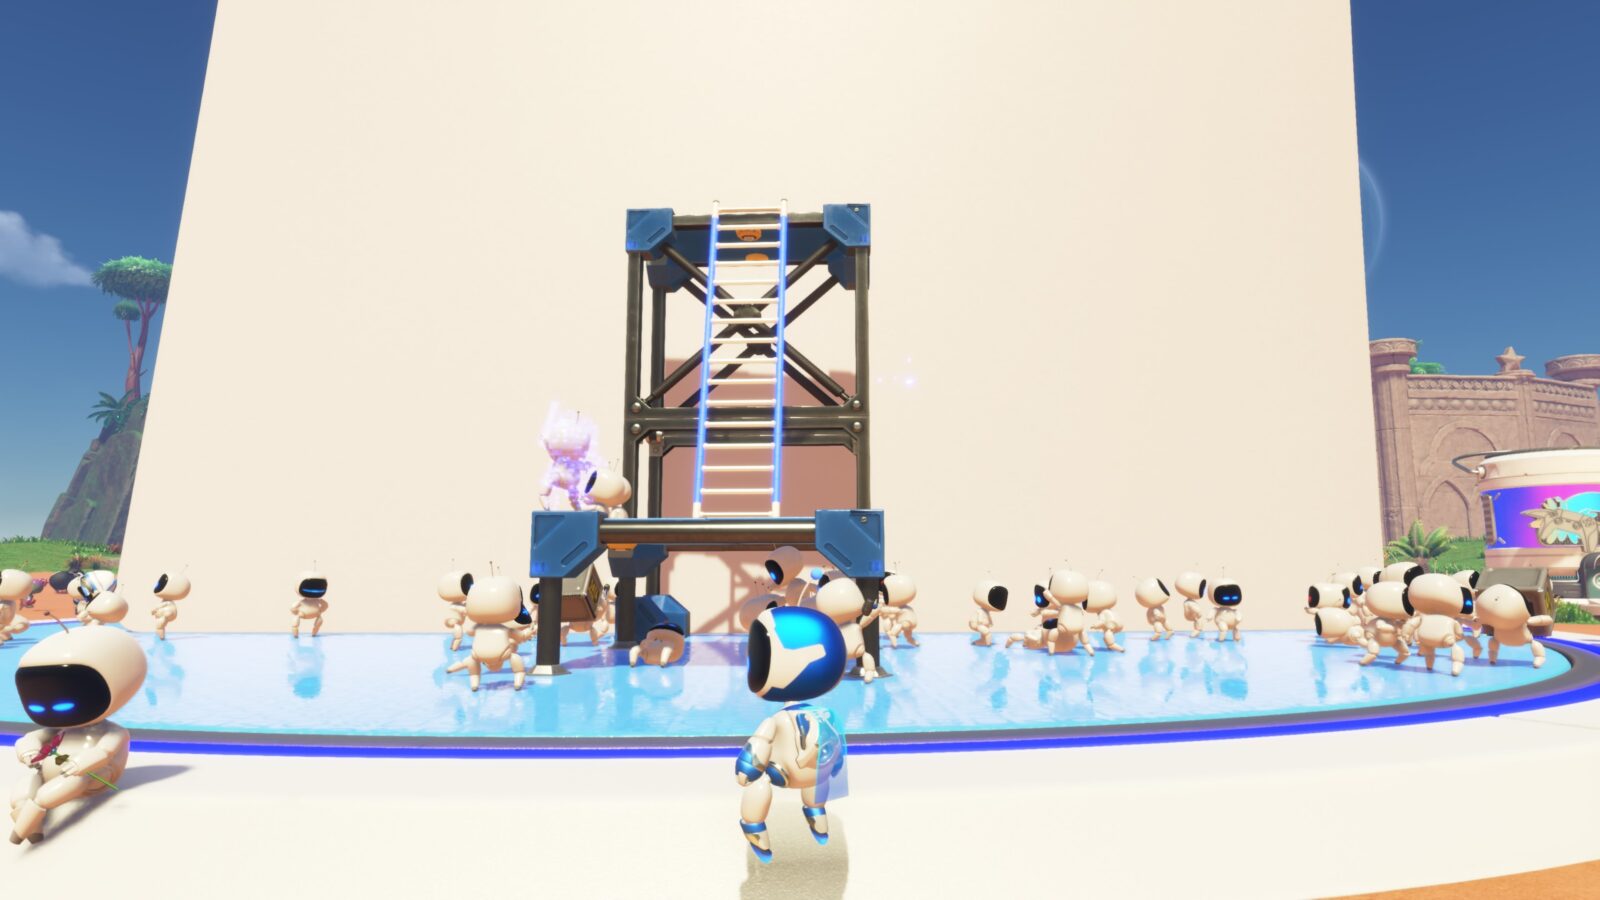
At the top of the ladder, stand on the platform for a few seconds and the “SingStars” trophy will unlock!

Crash Site Collectibles | Jungle Area
To get access to the Jungle Area, you’ll need to first recover the Mothership’s Memory module. Then, to reach the Jungle Area, you’ll need at least 25 Bots.
Interact with the drone at the orange waypoint to get across to the Jungle Area.
Jungle Area Bot #1
In the Jungle Area, you’ll find this bot hanging from the tree on the left side.

Just punch the tree to drop the bot down.
Jungle Area Bot #2
Not far from the previous bot, on the left side, this bot can be found climbing up a cliff face.

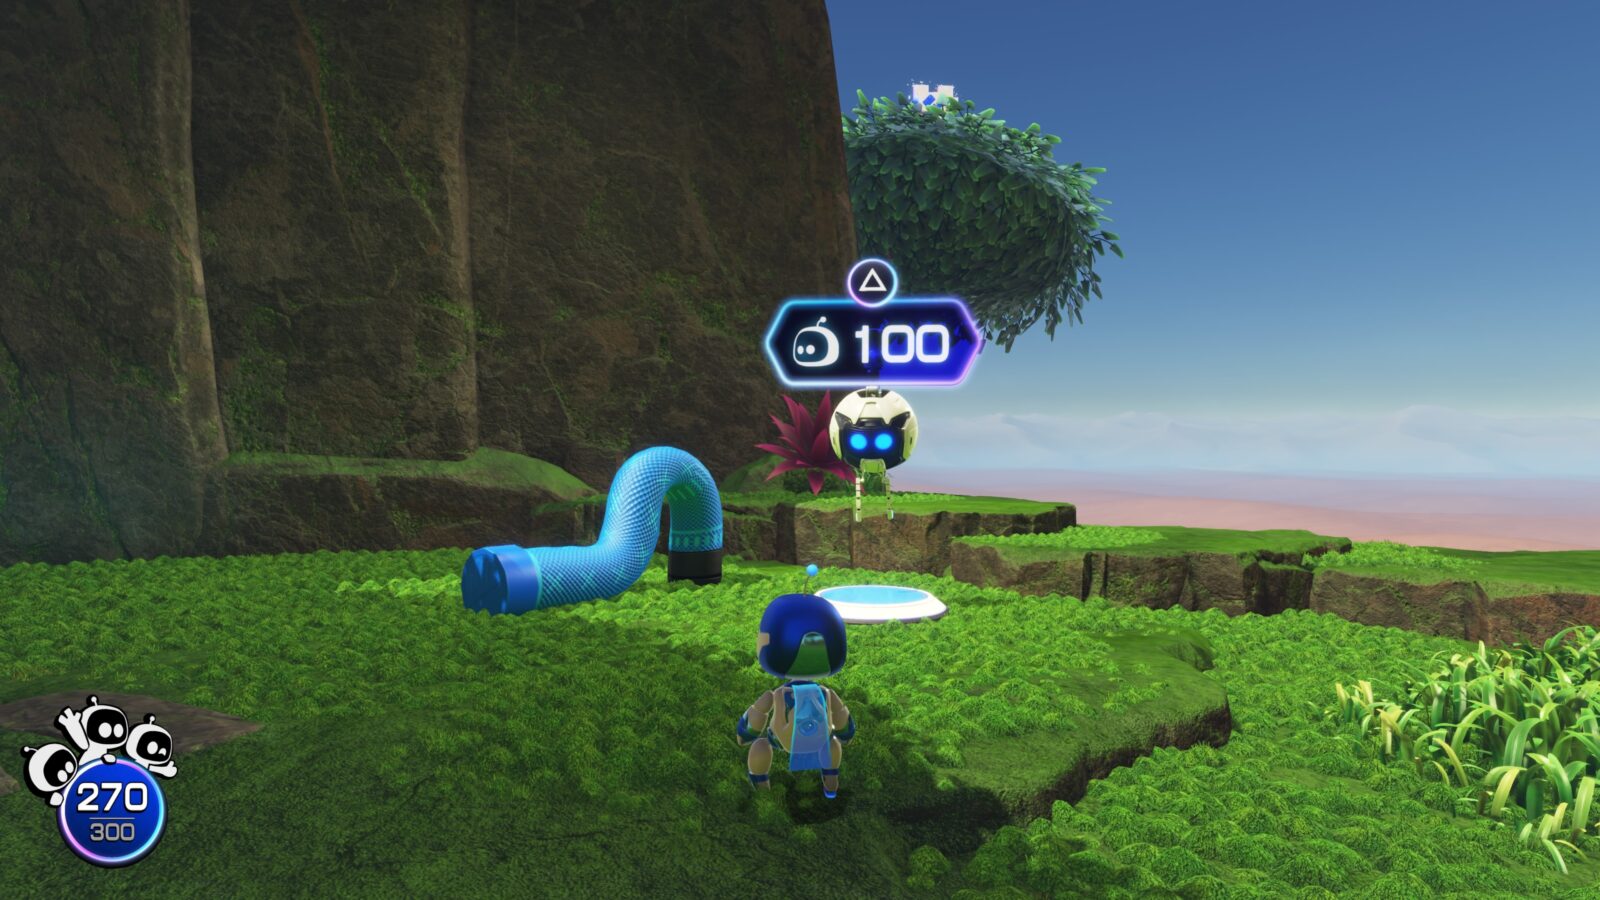
It’s near one of the drones that require 100 bots.
Jungle Area Bot #3
In the jungle area, there’s a stone pillar with bars on it at the left side.

Go around the back of this pillar and interact with the drone there once you have at least 20 bots.

The bots that gather will lift bounce pads that allow you to reach the top of the pillar.

Break the egg inside it to get this Bot based on Spyro the Dragon!

Jungle Area Bot #4
Once you have at least 20 Bots, interact with the drone at the back-right of the jungle area.

The bots that gather will form a rope you can climb down.
At the bottom, you’ll find an alcove with this bot inside.

It’s based on an Imp from Dreams.
Jungle Area Bots #5-#8
When you have at least 25 Bots, you can interact with the drone in front of the stone pillar on the left side.

The bots will help you open the bars and access the three bots inside.

Jungle Area Bot #9
At the back of the area, near the stone arch, there’s a drone you can interact with once you have 30 bots.

The bots will form a wall you can climb up to reach the top of the stone arch.
There, you’ll see this bot on the right-hand side.

Jungle Area Bot #10
Interact with the drone near the round stone plate once you have 50 bots.

They’ll help you raise the platform so that you can reach another drone that requires 20 bots.

Use the drone and the rope they form will allow you to climb up to the egg containing this bot.

It’s based on Amaterasu from Okami.
Jungle Area Puzzle Piece #1
Once you have at least 100 bots, activate the drone at the back-right corner of the Jungle area.
The bots will help you pull the thick wire, spawning a platform you can use to reach the Puzzle Piece atop the nearby tree.

Crash Site Collectibles | Desert Area
To get access to the Desert Area, you’ll need to first recover the Mothership’s SSD module. Then, to reach the Desert Area, you’ll need at least 60 Bots.

Interact with the drone at the orange waypoint to get across to the Desert Area.
Desert Area Bot #1
Upon arriving in the Desert Area, you’ll find this bot on the right-side near the wall. Surrounded by enemies.

Desert Area Bot #2
Upon arriving in the Desert Area, you’ll find this bot on the left-side near the wall, on top of a turtle and surrounded by enemies.

Desert Area Bot #3
At the very back of the Desert Area, drop down to the lower area.
You’ll see this bot clinging to the wall above the turtle.

Desert Area Puzzle Piece #1
When you have at least 40 Bots, interact with the drone next to the up-turned turtle.

The bots that gather will help you flip the turtle, revealing a Puzzle Piece on its back.
Desert Area Bots #4-#7
When you have at least 60 bots, interact with the drone next to the cage on the right side.

The bots will help you push the cage over the ledge, freeing the three bots inside.
Desert Area Bot #8
When you have at least 60 Bots, climb up the stone structure on the right side and interact with the drone at the top.

The bots that gather will make stepping stones of the metal seashells, which you can use to reach a plateau on the opposite side.

There, you’ll find a drone that requires 50 Bots.

The bots that summon will help you weight down the cloth disc. When it breaks, you’ll drop into a hidden area containing this bot.

It’s based on the Shiba Inu from Humanity.
Desert Area Bot #9
When you have at least 80 bots, interact with the drone behind the turtle and then have the summoned bots help you turn the wheel.
Once you’ve turned it fully, a crate will drop into the area below, which contains this bot.
It’s based on Mister Mosquito from the game of the same name.
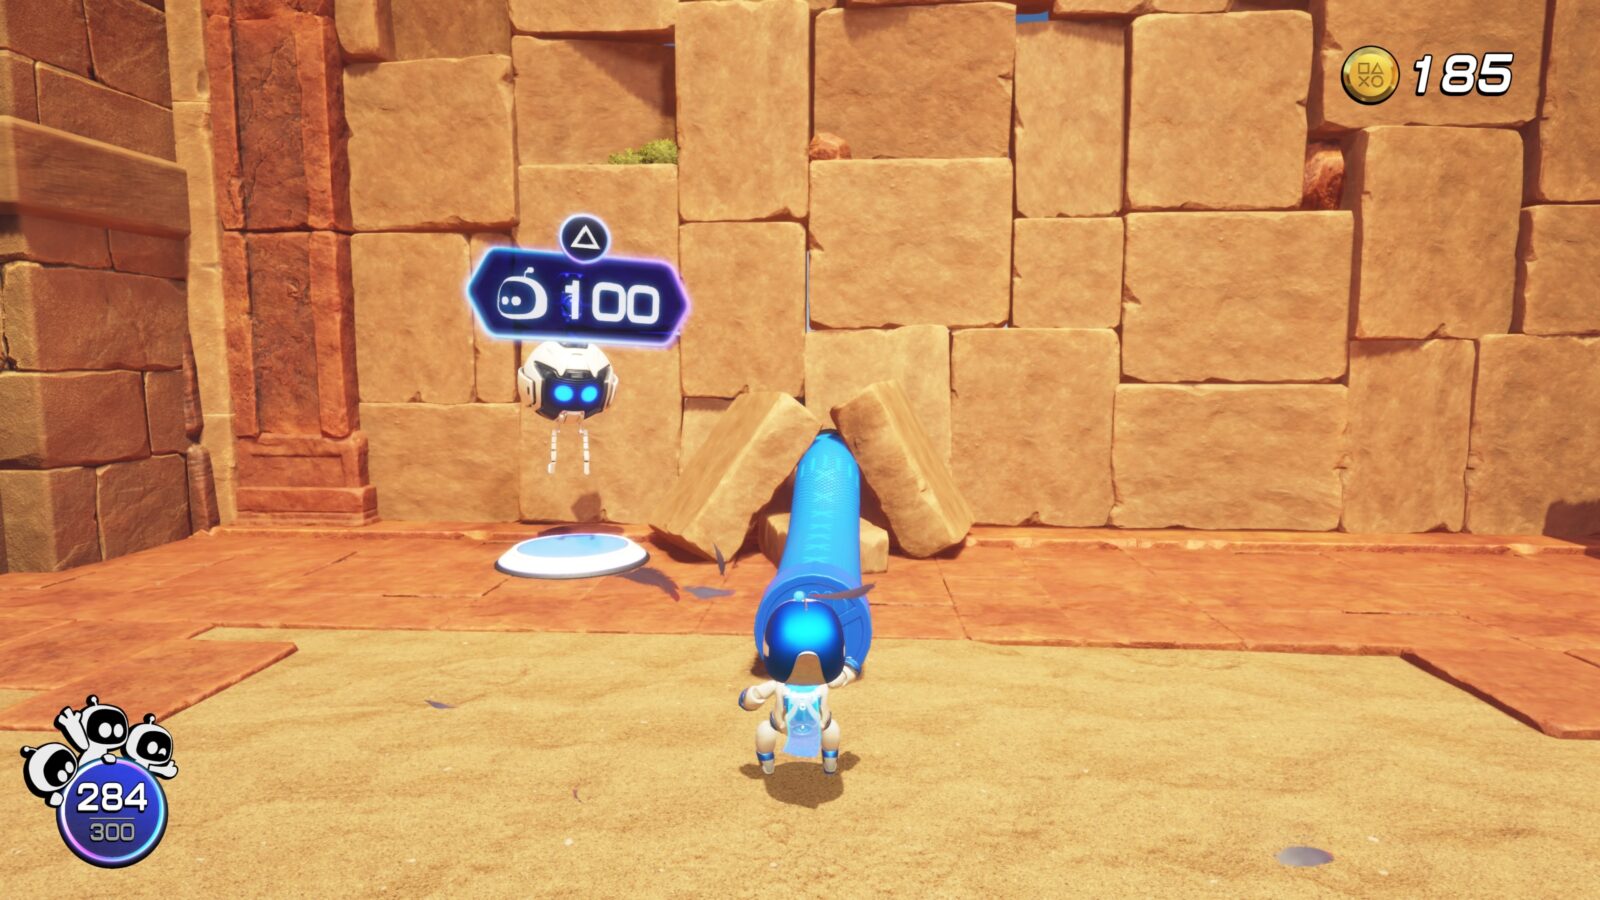
Desert Area Bot #10
When you have at least 100 Bots, interact with the drone to the right of the entrance.

The bots will help you pull the thick wire, spawning a waterspout.

Use the waterspout to reach the egg containing this bot.

It’s based on the cat from Stray.
Crash Site Collectibles | Safari Park
When you’ve collected at least 64 Puzzle Pieces, the Safari Park building will appear in the Main Area.
Inside, there are two bonus bots that you can find. They’re not required by any means, but I’ve detailed their locations anyway.
Strike a Pose Trophy
To unlock this trophy, you first need to collect the camera in the Safari Park.
When you have it, you can use it by pressing ![]() .
.
To unlock the Strike a Pose trophy, you need to use the camera at any photo spot throughout the game. They’re hidden throughout every level but the easiest ones to find are right here in the Safari Park.
Stand on any photo spot, pull out the camera with ![]() and then take a photo to unlock the trophy immediately.
and then take a photo to unlock the trophy immediately.
Safari Park Bot #1
On the snowy side of the Safari Park, climb up the ice ledges to find an egg near the tree at the top.
Break the egg to get this “Pup Pal” Bot.
Safari Park Bot #2
On the Savanna side of the Safari Park, you’ll see a bird holding a rope.
Climb up the rope and it will fly upwards, carrying you to the top of the tree.
There, you’ll find an egg containing this “Pup Pal+” bot.
Crash Site Collectibles | Snow Area
To get access to the Snow Area, you’ll need to first recover the Mothership’s GPU module. Then, to reach the Snow Area, you’ll need at least 90 Bots.

Interact with the drone at the orange waypoint to get across to the Snow Area.
Snow Area Bot #1
When you enter the area, go left to find this bot on a ledge near a bird enemy.

Snow Area Bot #2
Continue around the left side of the area, and you’ll find a second bot on a ledge near a group of enemies.

Snow Area Bots #3-#6
Once you have at least 80 bots, interact with the drone next to the large block of ice.

The bots that gather will help you flip the ice block, releasing the three bots trapped inside.
Snow Area Puzzle Piece #1
After freeing the previous three bots, a bounce pad will be on the ground where the ice block was.

Use it to reach a ledge high above with the Puzzle Piece on it.

Snow Area Bot #7
On the upper ledge where the Puzzle Piece was, interact with the 80-bot drone to form a bridge to an opposite ledge.

There, you’ll find an egg containing this bot, based on the Pomeranian from Tokyo Jungle.

Snow Area Bot #8
When you have at least 90 bots, interact with the drone near the huge pit at the back of the snow area.

Using the platforms and bounce pad that the bots help you with, you’ll reach the icy ledge above.

From there, you can reach the snowy plateau where the satellite originally crashed in this area.

On one of the trees there, you’ll find this bot.
Snow Area Bot #9
When you have at least 100 Bots, interact with the drone next to the large ice wall to the right of the entrance.

The bots will help you pull a thick wire, destroying the wall, revealing another drone behind it.

Interact with the next drone to form a bot wall that you can climb to the top, where there’s an egg containing this bot.

It’s based on a Flower from the game of the same name.
Snow Area Bot #10
When you have at least 200 bots, interact with the drone next to the large disc of ice.

The bots will help you raise the ice platforms, on which you can use the bounce pads to reach the egg at the top.

It contains a bot based on the Robbit from Jumping Flash.

Crash Site Collectibles | Temple Area
To get access to the Temple Area, you’ll need to first recover the Mothership’s Cooling module. Then, to reach the Temple Area, you’ll need at least 120 Bots.
Interact with the drone at the orange waypoint to get access to the Temple Area.
Temple Area Bot #1
This bot is standing on top of one of the pillars at the center of the temple area.

Temple Area Bot #2
On the left side of the Temple Area, you’ll find this bot surrounded by enemies.

Temple Area Bot #3
This bot is standing on one of the smaller pyramids at the back-right side of the temple area.

Temple Area Bot #4
When you have at least 100 bots, interact with the drone near the wall to the right of the entrance.
The bots will help you pull the thick wire, breaking down the wall.

Beyond it, you’ll see an egg containing this bot.

Jump across the pillars to collect it. It’s based on the Ferox ship from Resogun.
Temple Area Bots #5-#8
Once you have at least 120 Bots, interact with the drone at the back-left of the temple area.

The bots will help you push the large block with the ladder on the side of it.
Once you’ve pushed it as far as it can go, climb the ladder and defeat the enemies on the top ledge, rescuing the group of three bots.

Temple Area Puzzle Piece #1

With at least 120 bots, interact with the drone to the left of the entrance, and the bots will form a path up to the ledge above.

There, interact with the 100-bot drone to summon bots to help you break the cloth panel.

When it breaks, you’ll drop into a hidden room containing this Puzzle Piece.
Temple Area Bot #9
On the right side of the temple area, there’s a large cloth panel next to a 150-bot drone.

Interact with the drone to have the bots help you break the cloth.

You’ll drop down into a lava-filled cave.

At the back of the cave, across the platforms, you’ll find an egg containing this bot based on Trico from The Last Guardian.
Temple Area Bot #10
Interact with the 250-drone bot in the middle of the four pyramids to get access to a hidden alcove.

The alcove contains an egg with this bot based on Agro the Horse from Shadow of the Colossus.

Thanks for Reading
Plat Get!
Thank You!
Thank You for choosing PlatGet as your source for this Astro Bot Crash Site Collectible Guide.
Wondering what to complete next? Browse our complete guide selection or check out our friends at PlatPrices.com to filter the PS Store based on price, trophy difficulty, or completion time.
Got a question, some feedback, or just want to say thanks? Drop a comment in the discussion section below, we'd love to hear from you! No account required!!