PlayStation 5
Astro Bot Camo Cosmos Collectible Guide
Collectible Guide
Where and How to Collect all Collectibles and Level-Specific Trophies in the Astro Bot Orange Camo Cosmos
The Camo Cosmos is the fourth section of the Galaxy Map that you will have access to. This collectible guide will walk you through all of the collectibles and level-specific trophies in each of the stages within this zone.
Once you’ve completed the zone, be sure to fly around the map for a short while until a UFO appears carrying a bonus Puzzle Piece.
- Astro Bot Gorilla Nebula Collectible Guide
- Astro Bot Tentacle System Collectible Guide
- Astro Bot Serpent Starway Collectible Guide
- Astro Bot Camo Cosmos Collectible Guide
- Astro Bot Feather Cluster Collectible Guide
- Astro Bot Déjà Vu Dimension Collectible Guide
- Astro Bot Lost Galaxy Collectible Guide
- Astro Bot Crash Site Collectible Guide
Hieroglitch Pyramid Collectibles
The Hieroglitch Pyramid Level contains 11 total collectibles: 7 Bots, 3 Puzzle Pieces, and 1 Lost Galaxy Exit. There are no Level-Specific Trophies in this stage.
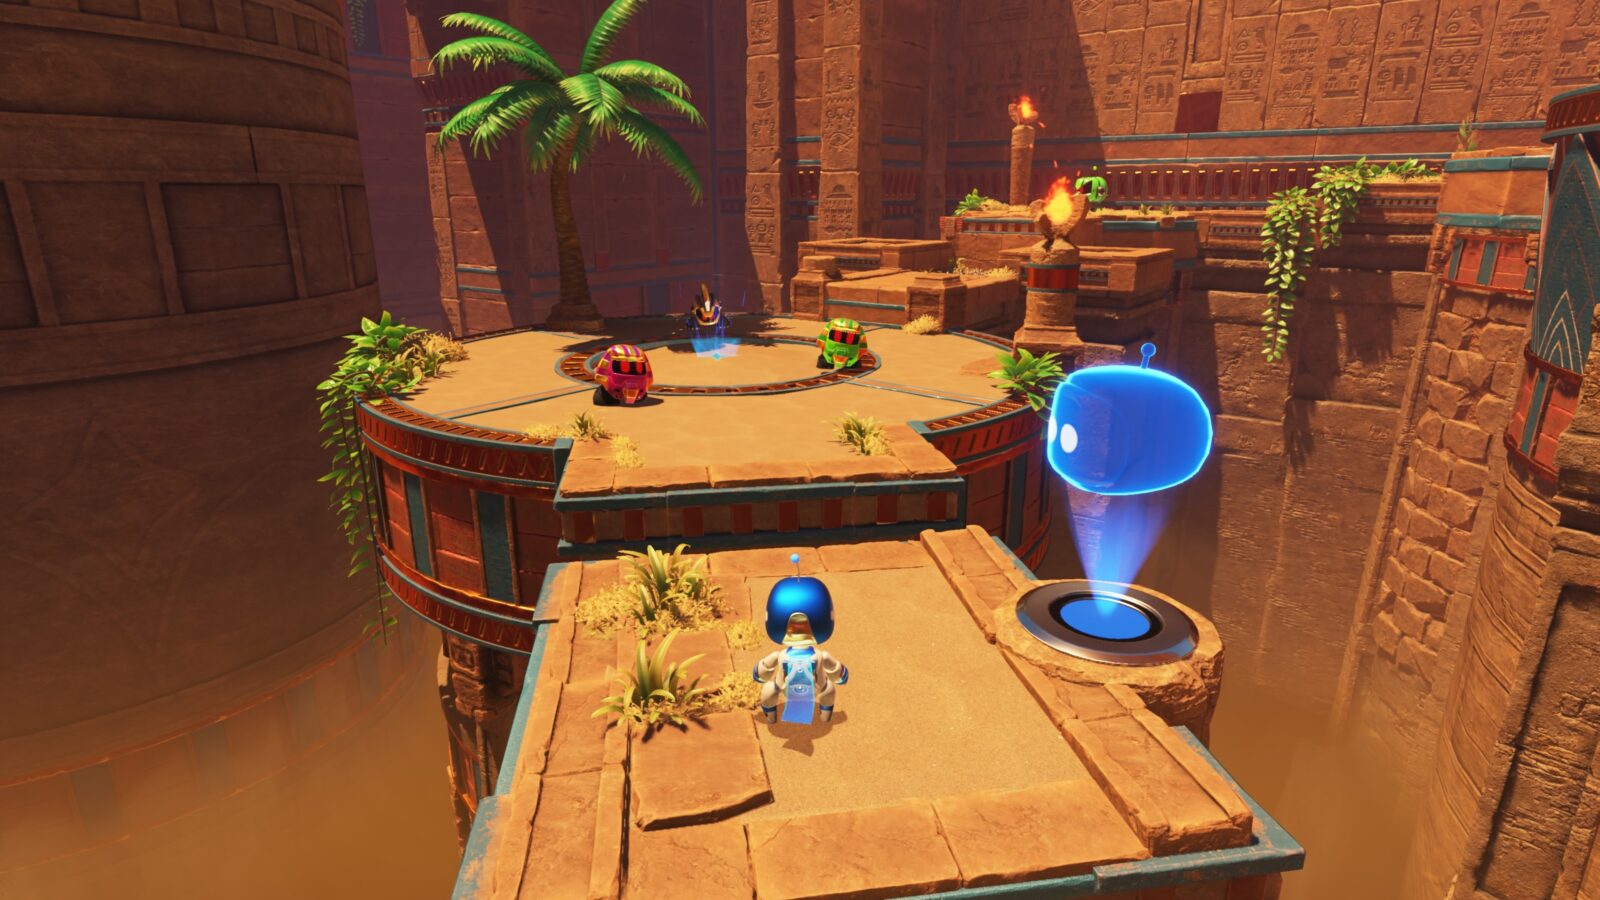
Hieroglitch Pyramid Bot #1
After landing at the start of the level, go to the far right and break the sarcophagus to free this bot.
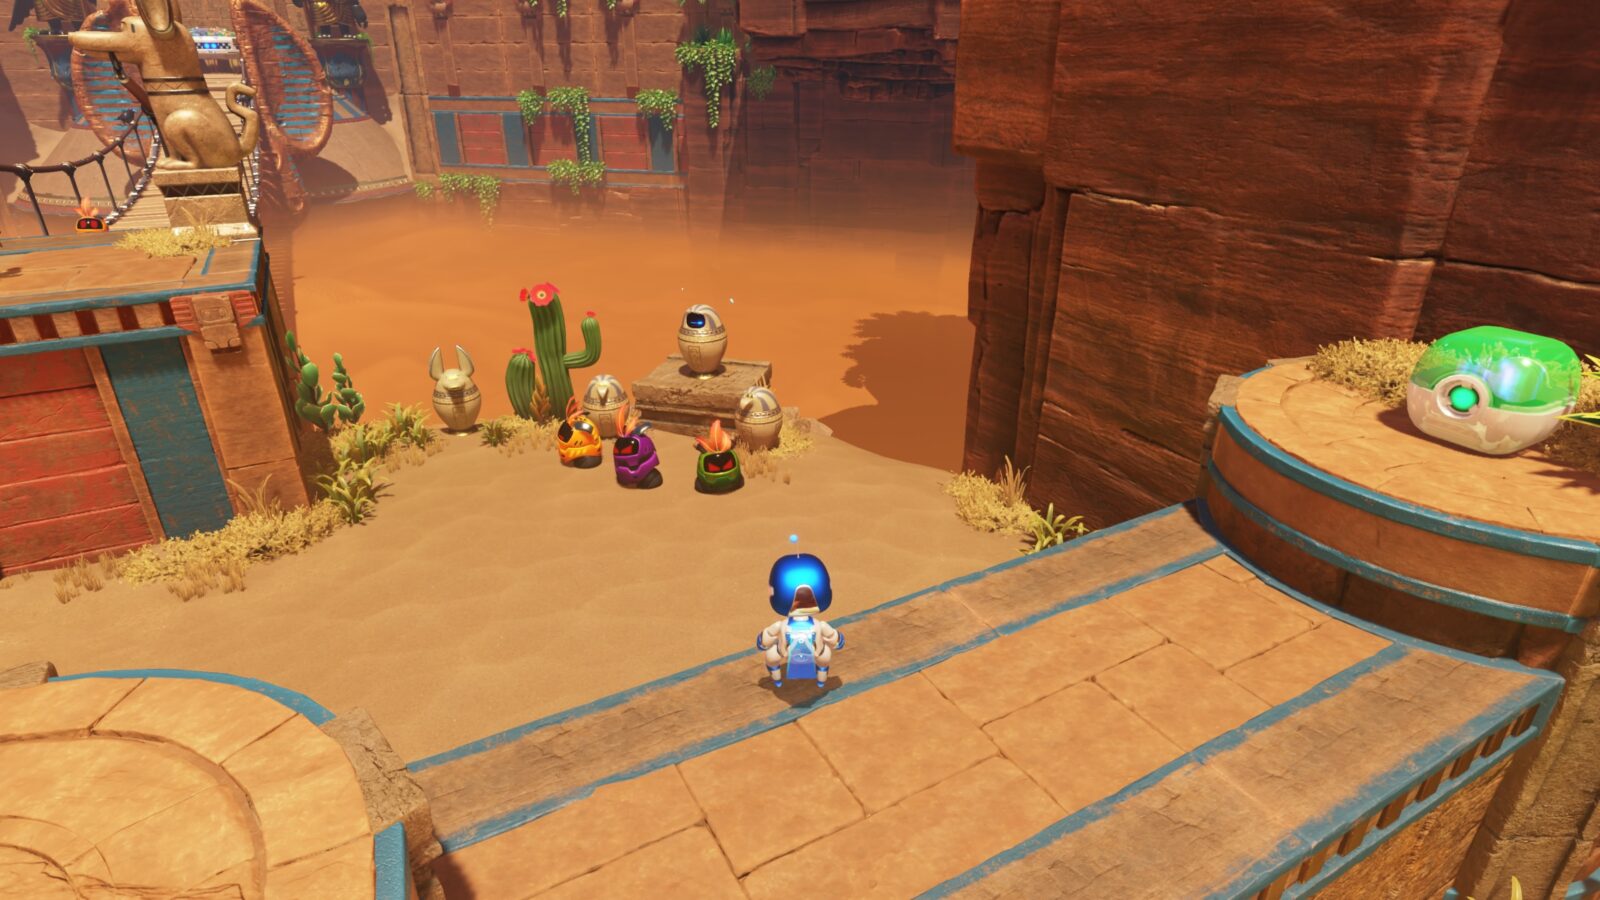
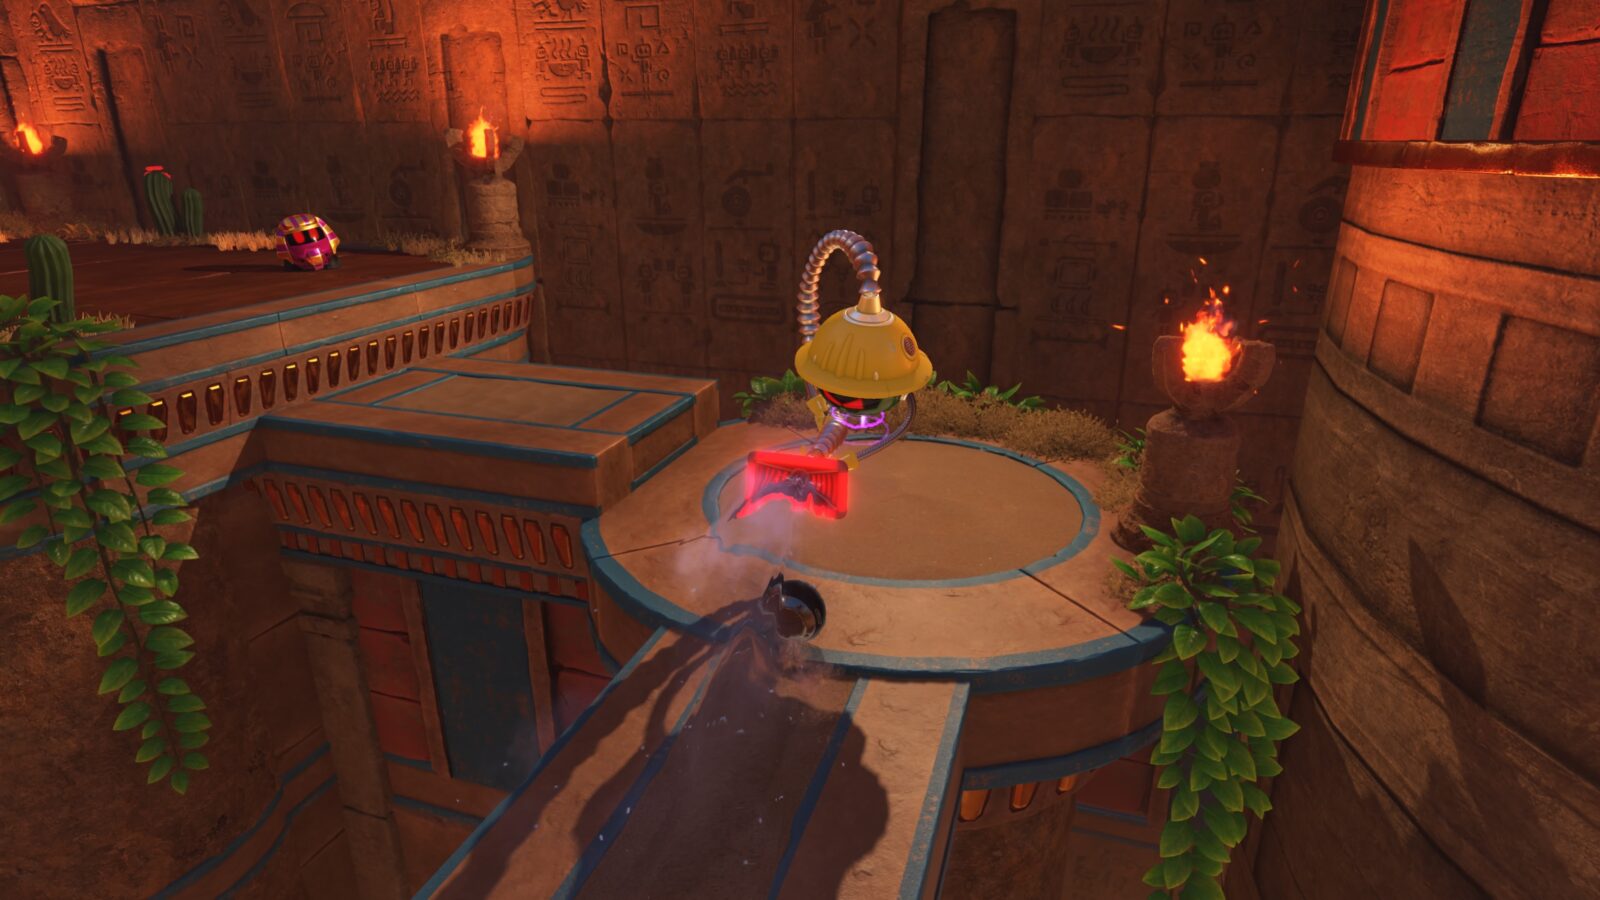
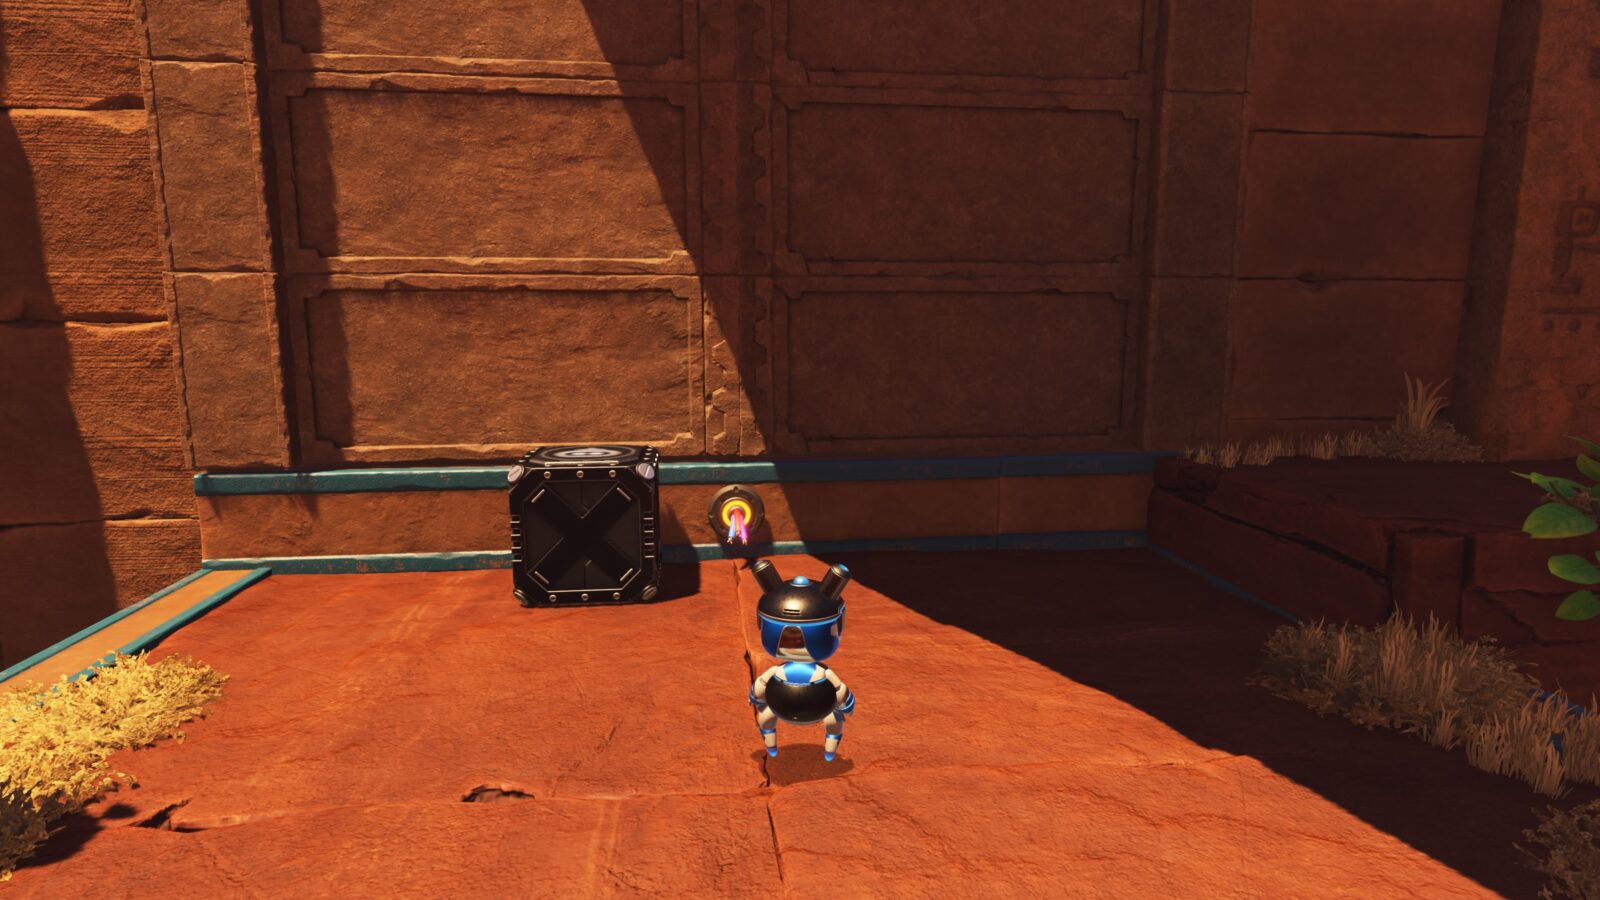
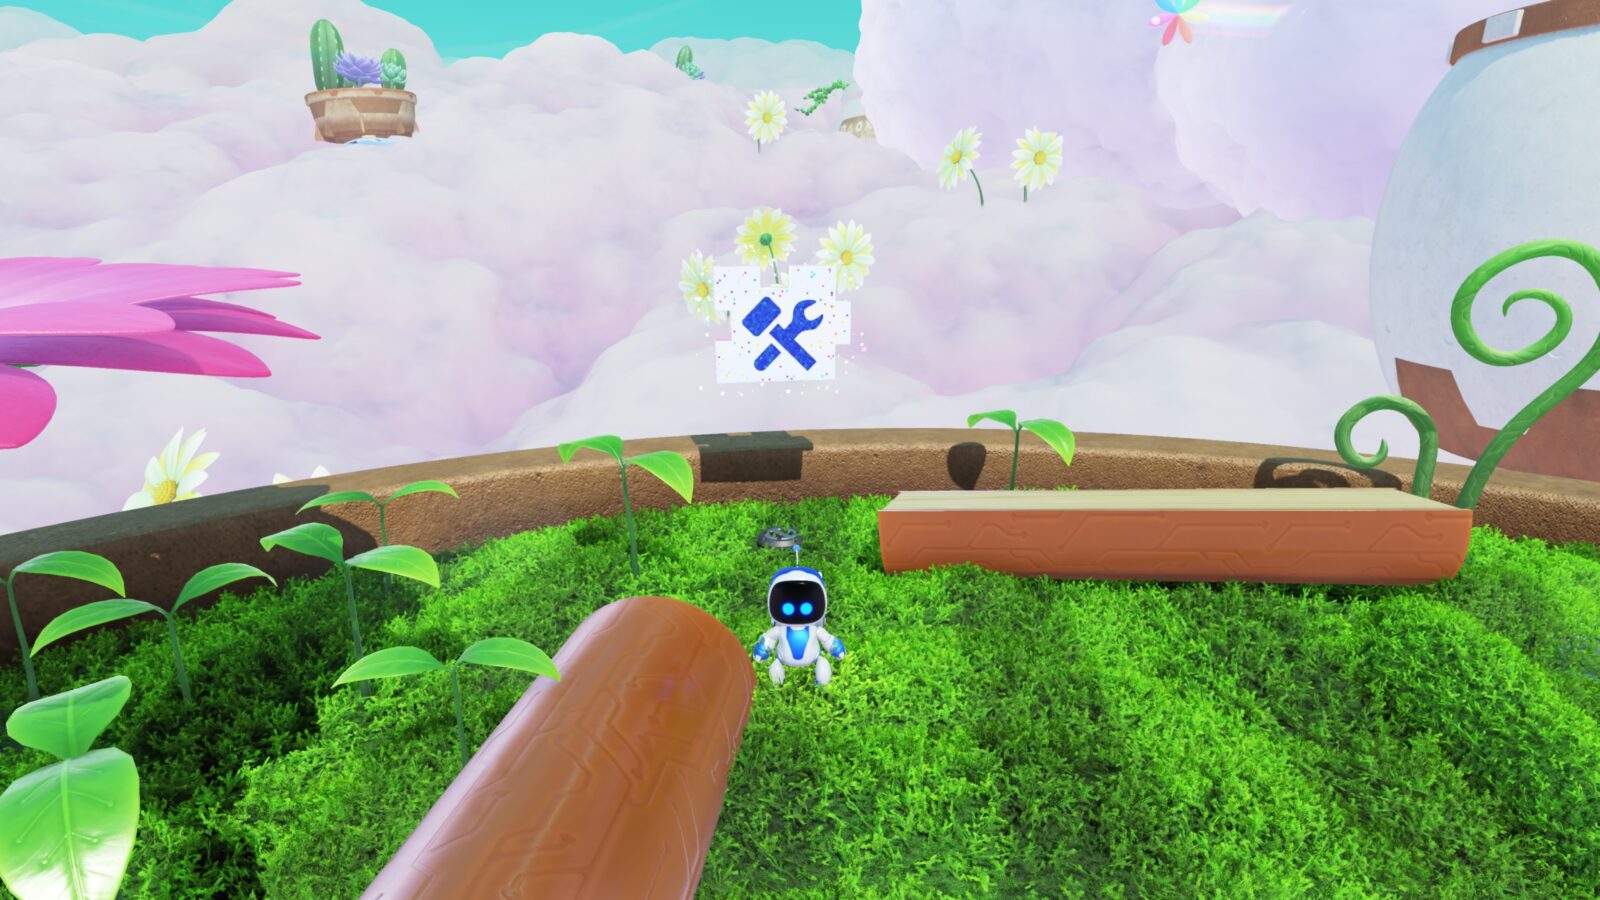
Hieroglitch Pyramid Bot #2
Continue past the checkpoint to a circular platform with a sand pit in the middle.
Use a charged ![]() spin attack to drill into the cross-shaped hole at the center to find a hidden room.
spin attack to drill into the cross-shaped hole at the center to find a hidden room.
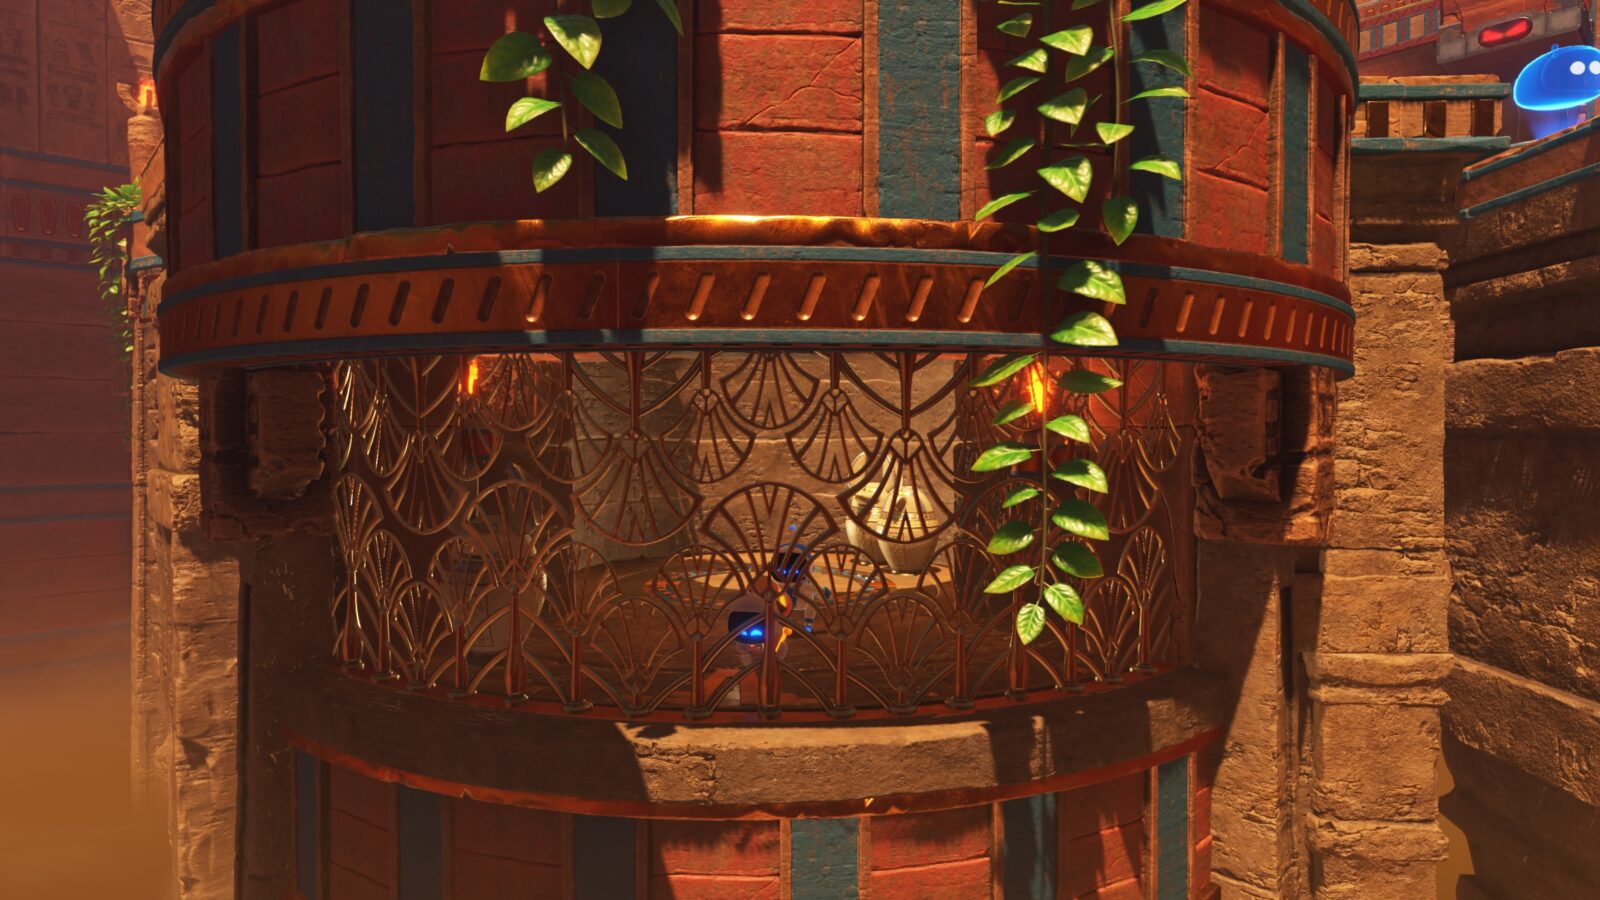
The bot is inside this underground room.
Hieroglitch Pyramid Bot #3
Continue on to this section with two big blocks that move up and down. Be careful not to let them crush you.
Behind the second block, there are three vases. Break the middle one to reveal a cross-shaped hole.
Drill into it with a charged ![]() attack to reach the hidden area below and then go to the right, where you’ll see the next bot.
attack to reach the hidden area below and then go to the right, where you’ll see the next bot.
Carefully (by only slightly pushing ![]() to the right) sneak below the blocks to avoid them falling.
to the right) sneak below the blocks to avoid them falling.
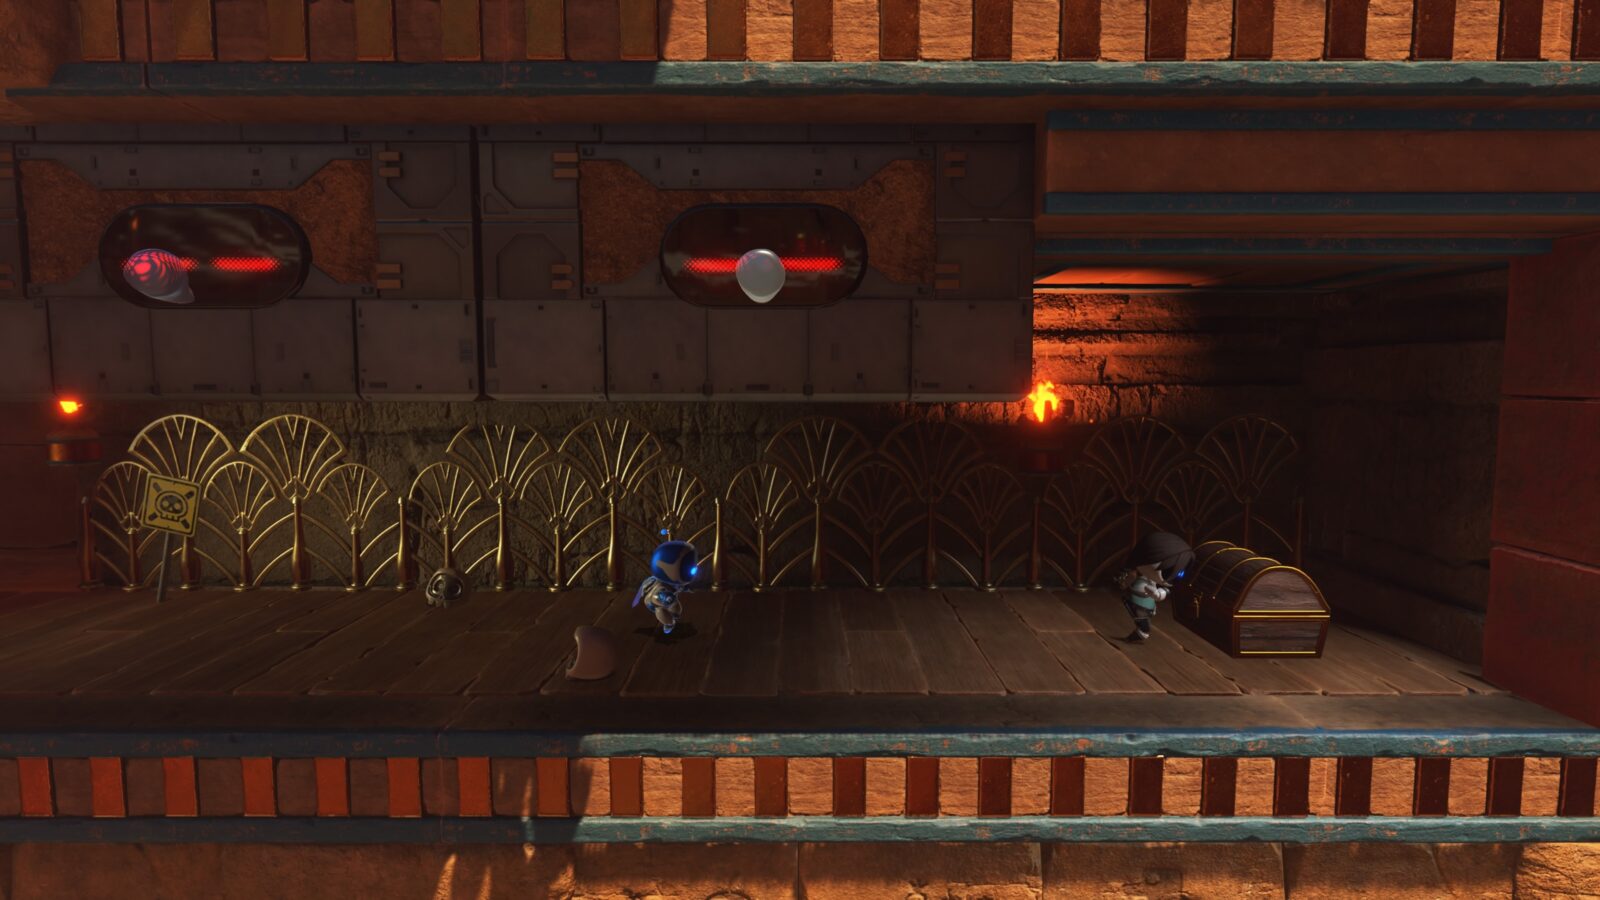
When you reach the bot at the end, hit it to rescue this Lara Croft themed bot.
Hieroglitch Pyramid Puzzle Piece #1
Continue on until you receive the ability to roll up into a metal ball.
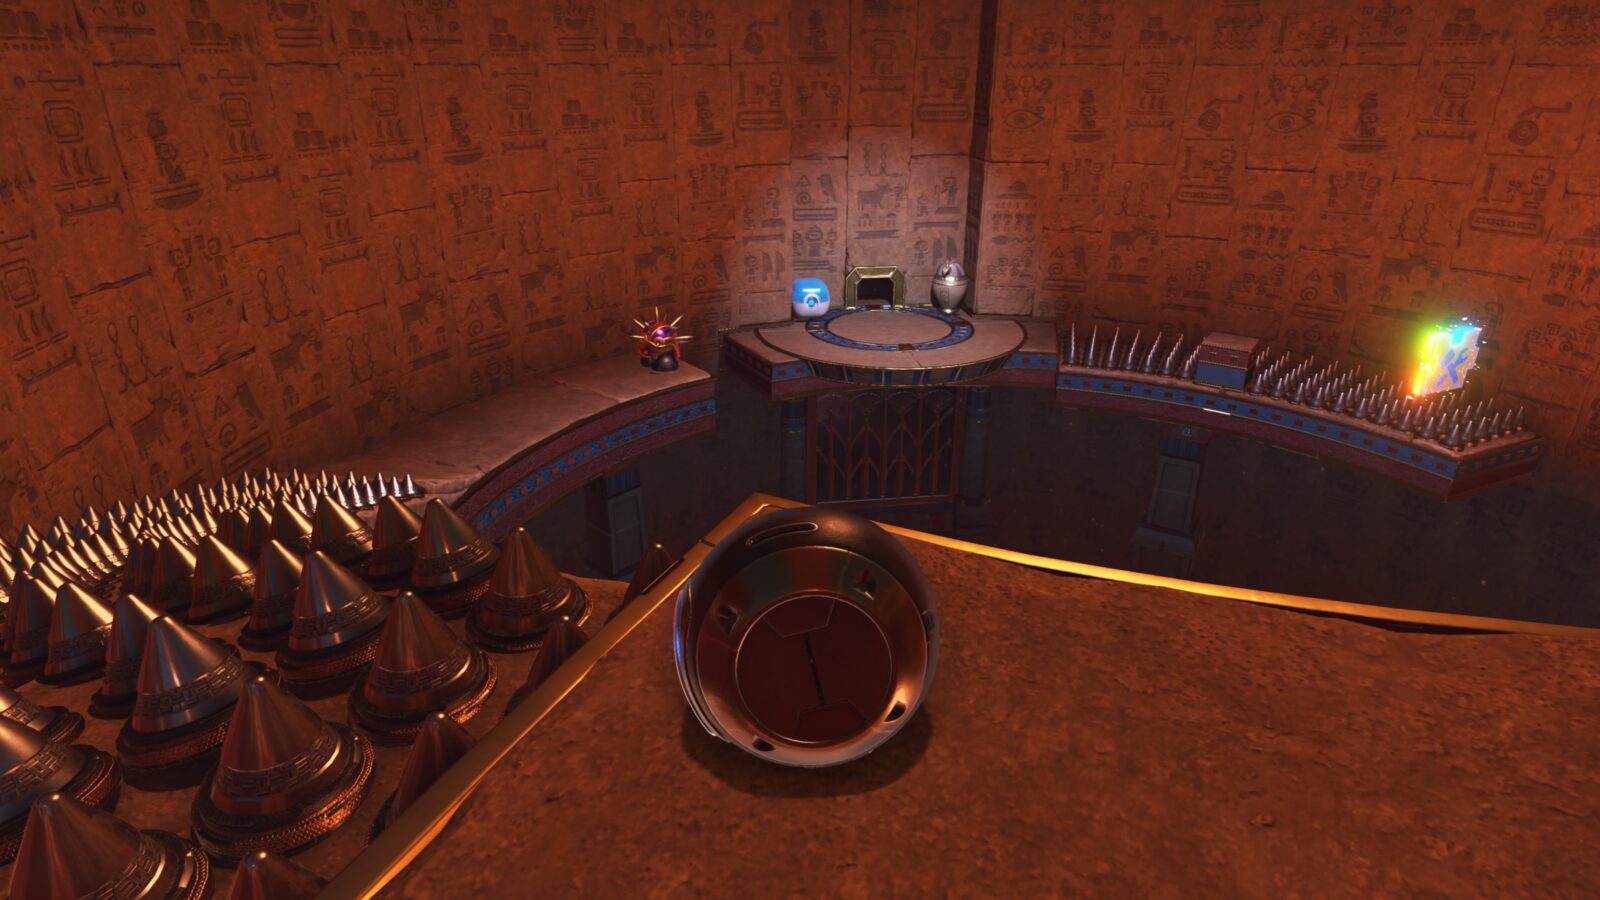
Proceed until the small doorway you’re supposed to roll through, but go past it and roll over the metal spikes.

At the end, you’ll find this Puzzle Piece.
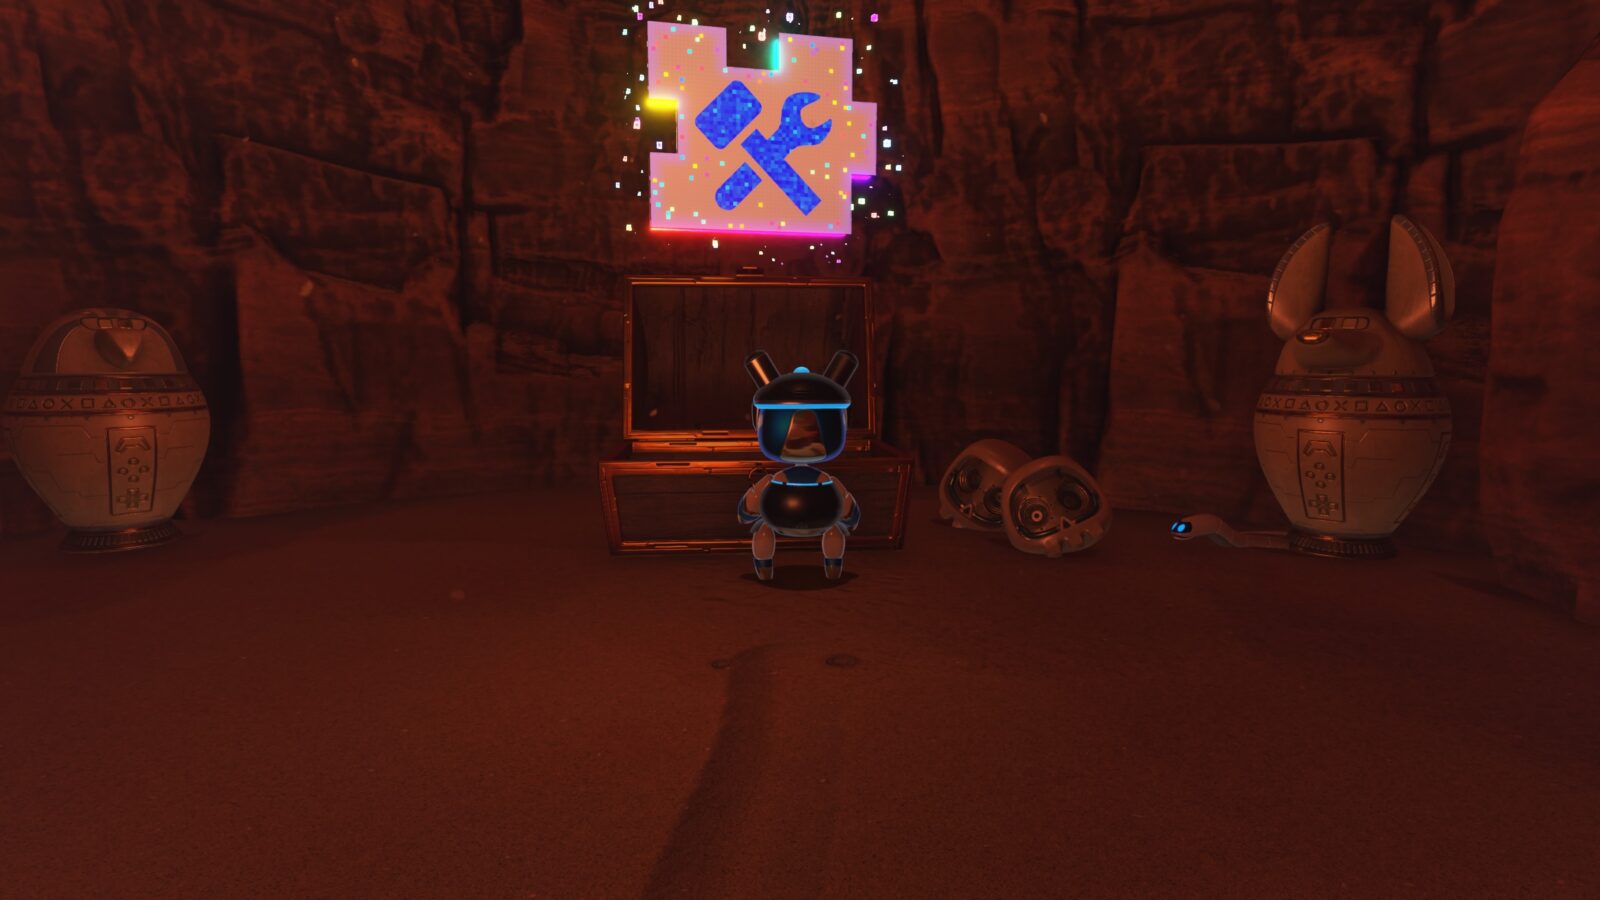
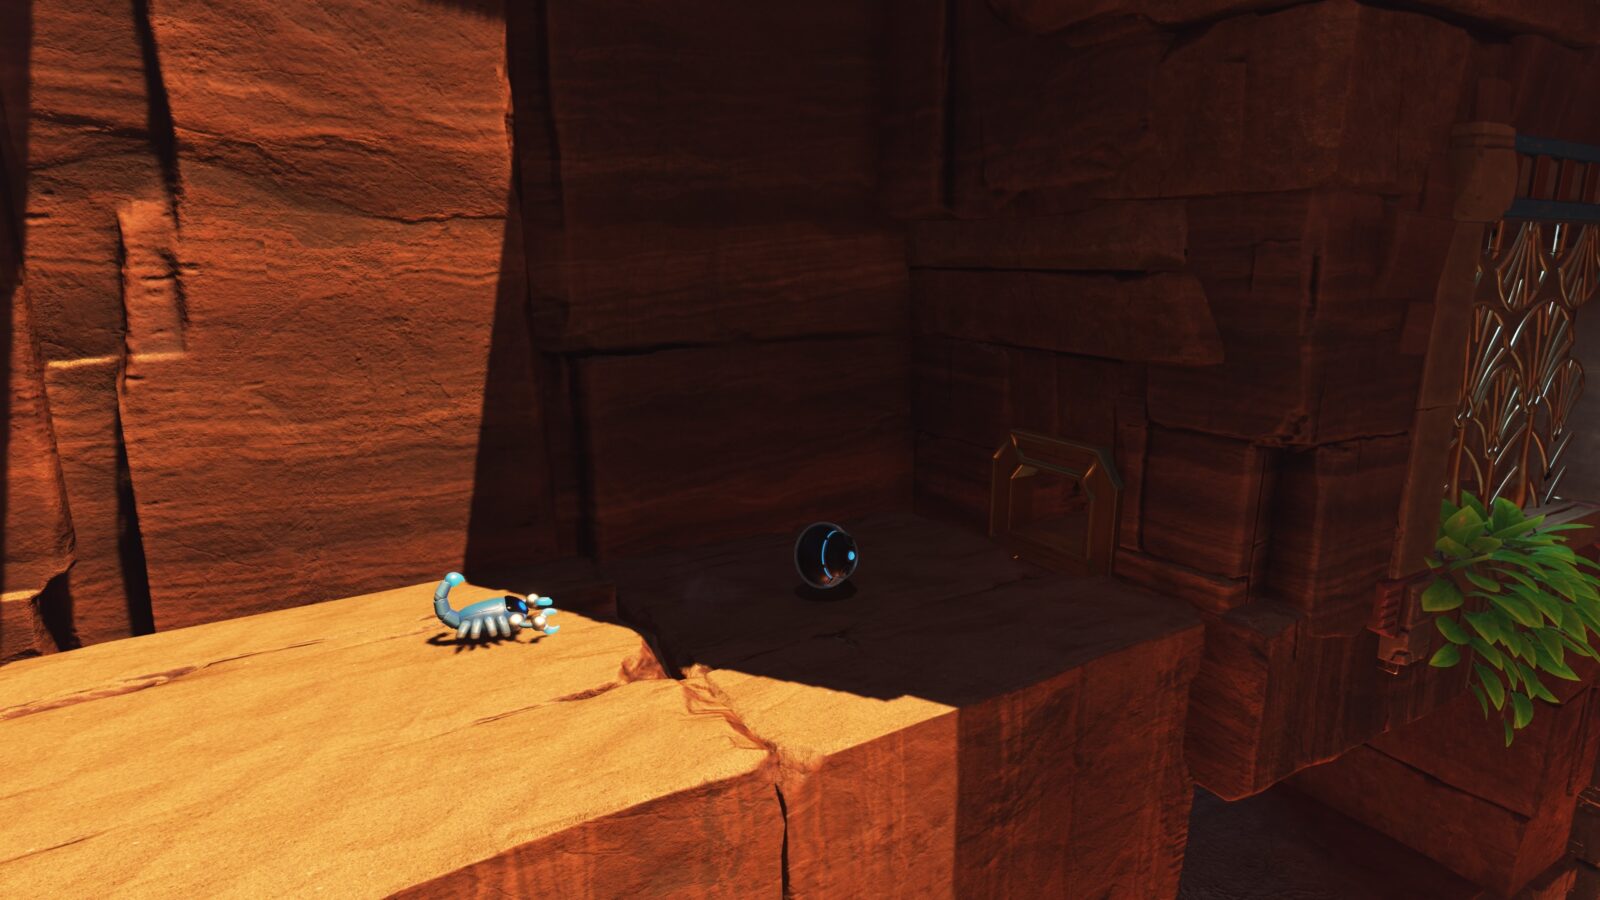
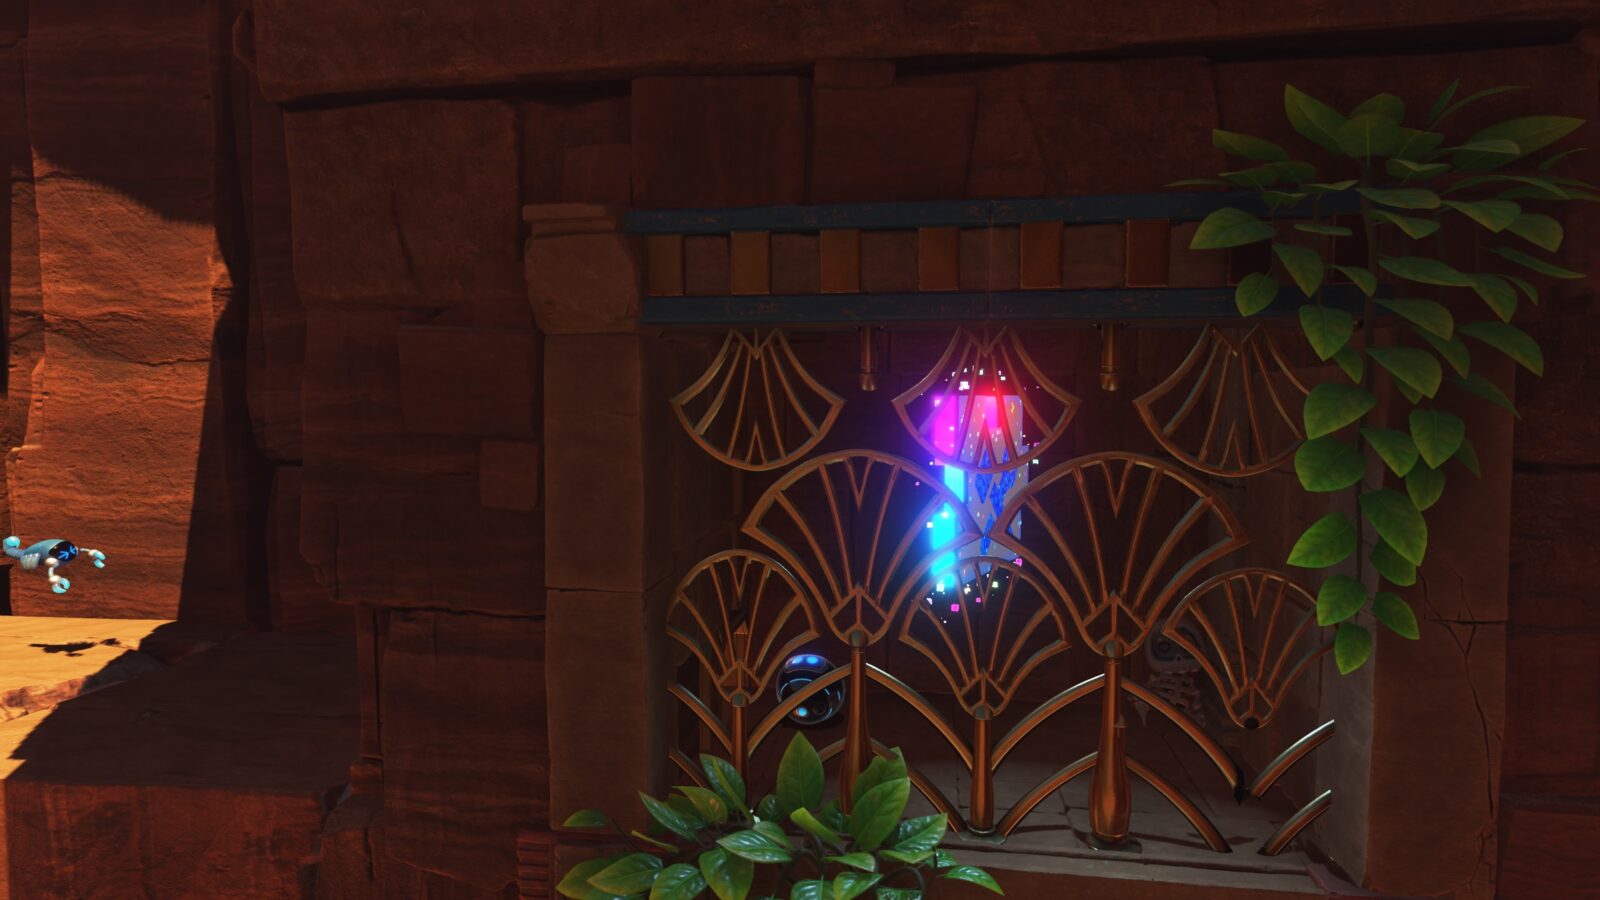
Hieroglitch Pyramid Puzzle Piece #2
When you leave the previous room, you’ll see a volcano ahead of you, which you’re supposed to use to launch yourself like a cannonball. Instead, go left.

There, you’ll see a small doorway you can roll into. Go through it.

Open the chest in the hidden room to reveal this Puzzle Piece.
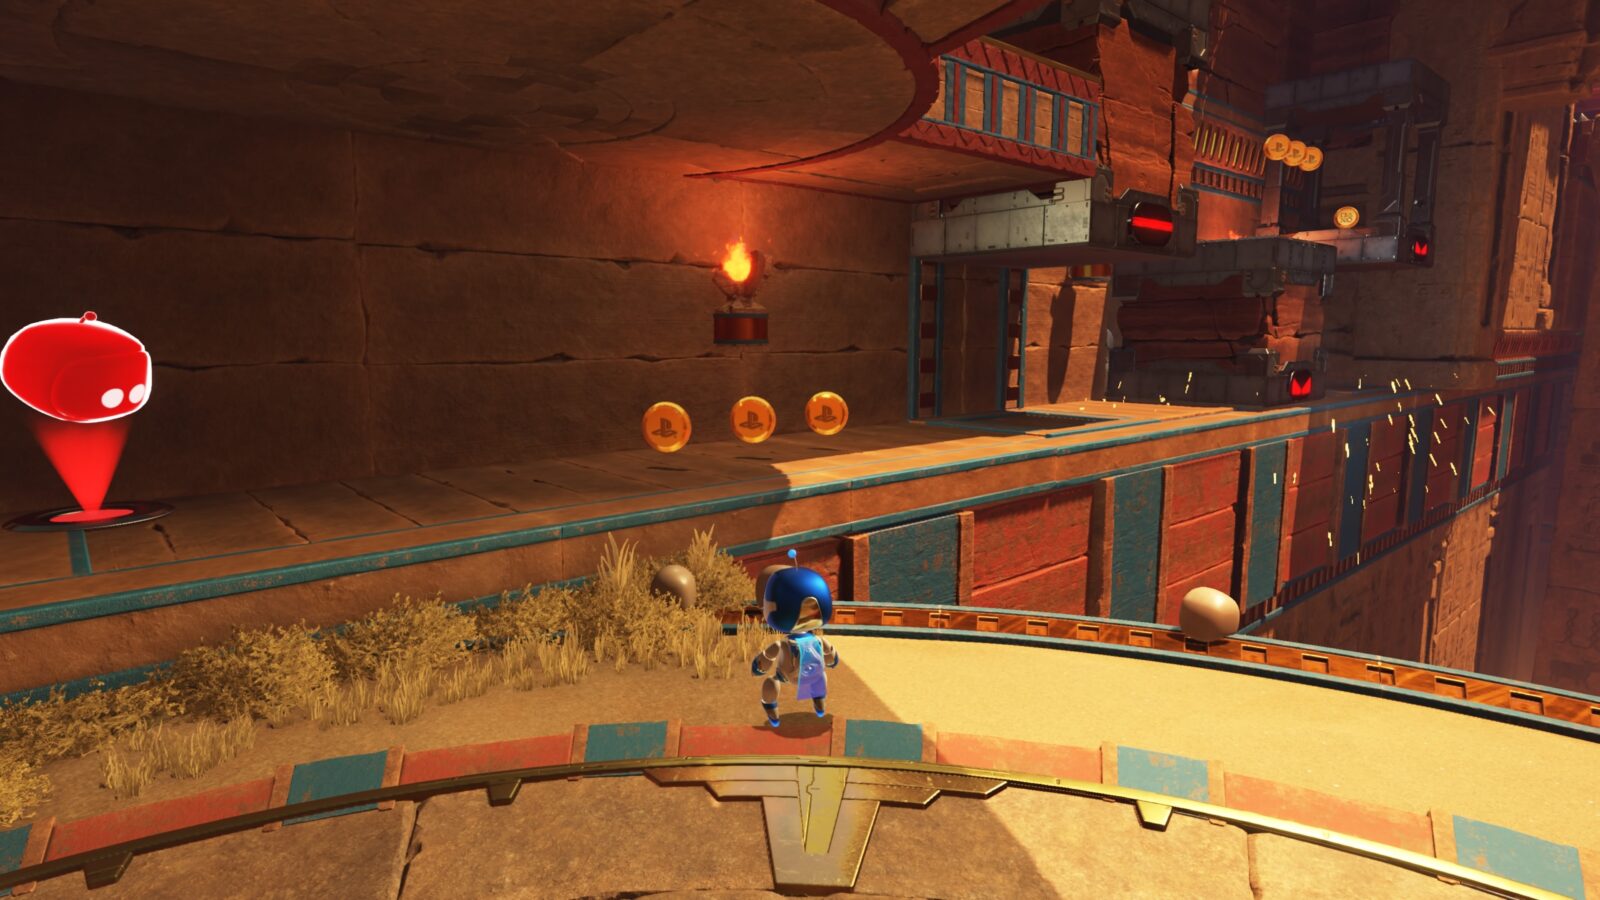
Hieroglitch Pyramid Bot #4
Leave the hidden room and, again, ignore the volcano.

Instead, continue to the far opposite end and use your ability to smash the metal crates there, revealing a metal launch pad.

Jump above it and then hit ![]() to slam down, causing you to be sprung up into the air, high enough to reach the ledge above.
to slam down, causing you to be sprung up into the air, high enough to reach the ledge above.
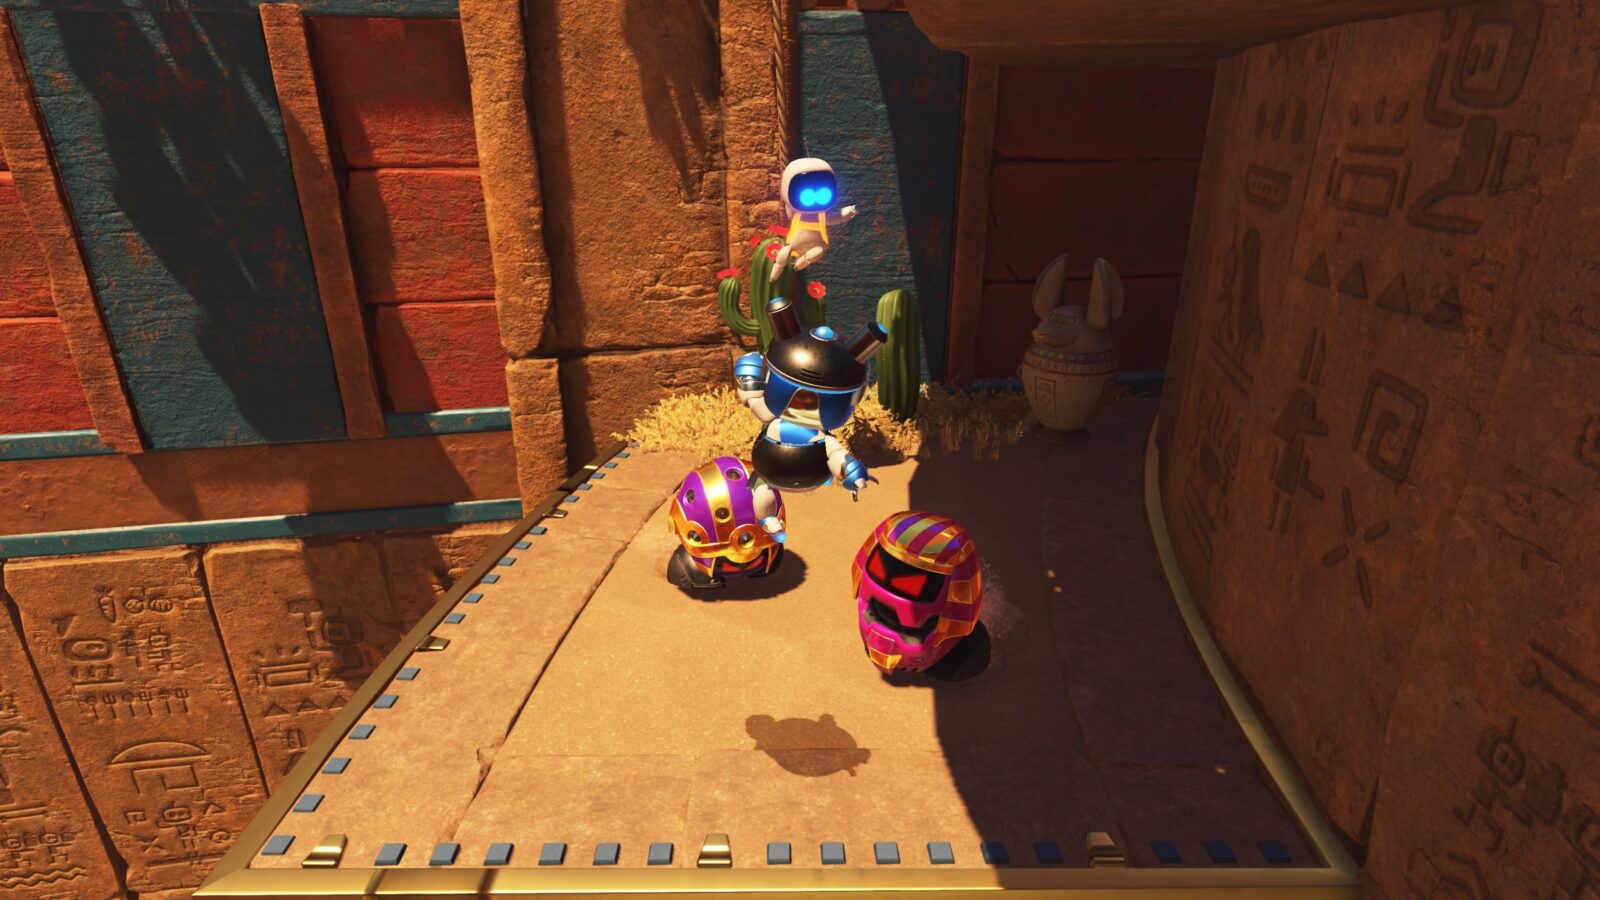
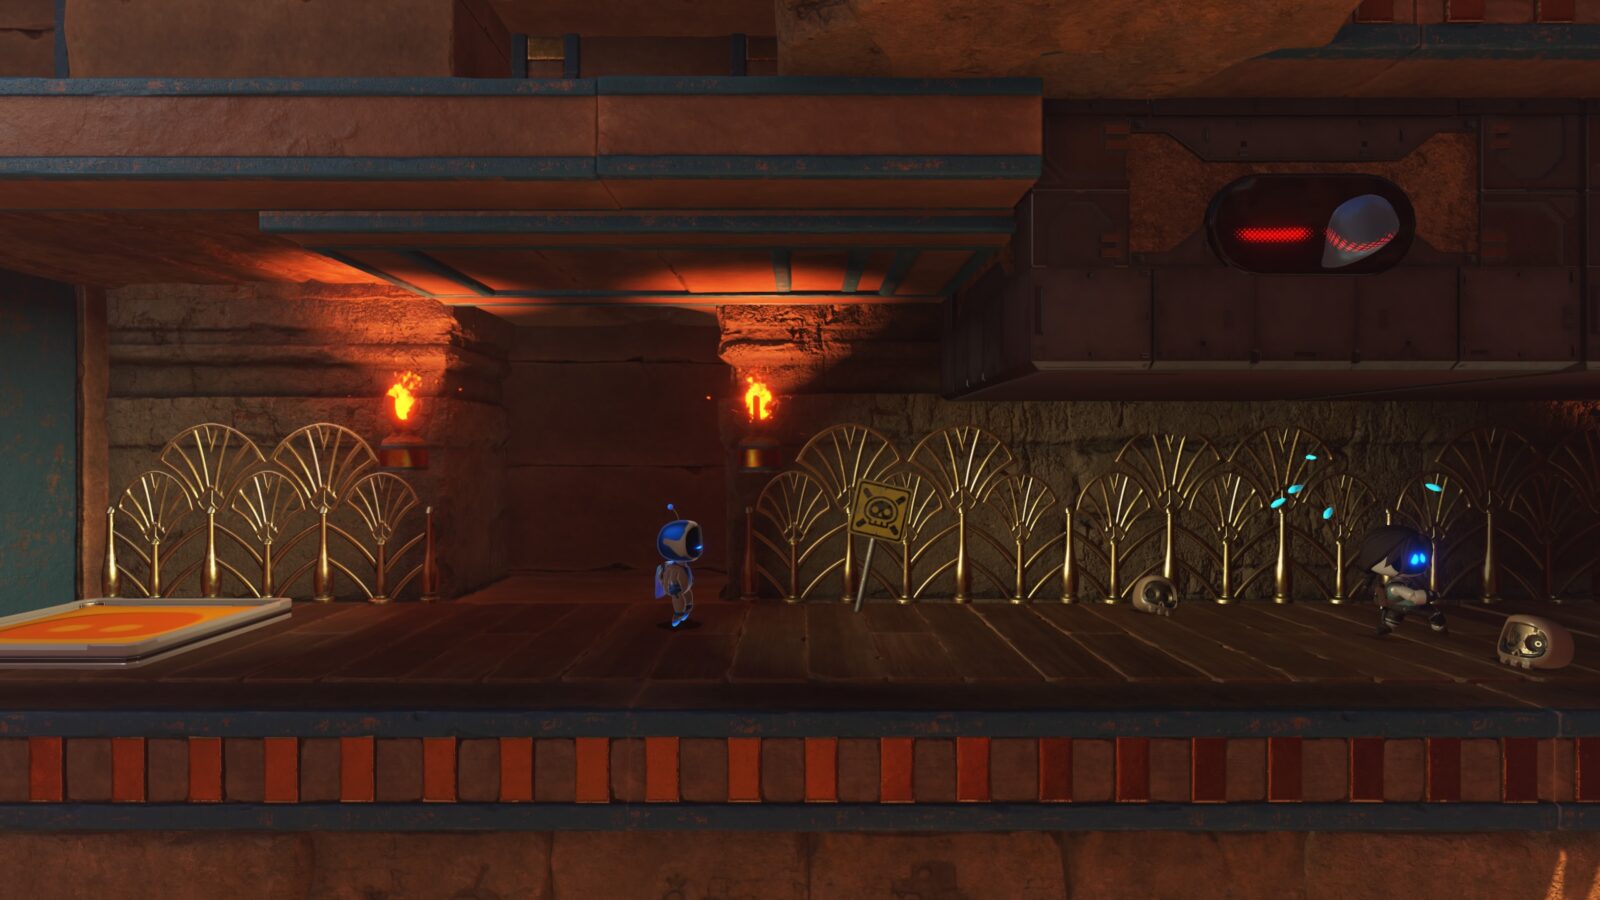
Do this again to reach the next ledge, where you’ll find this bot being taunted by enemies.
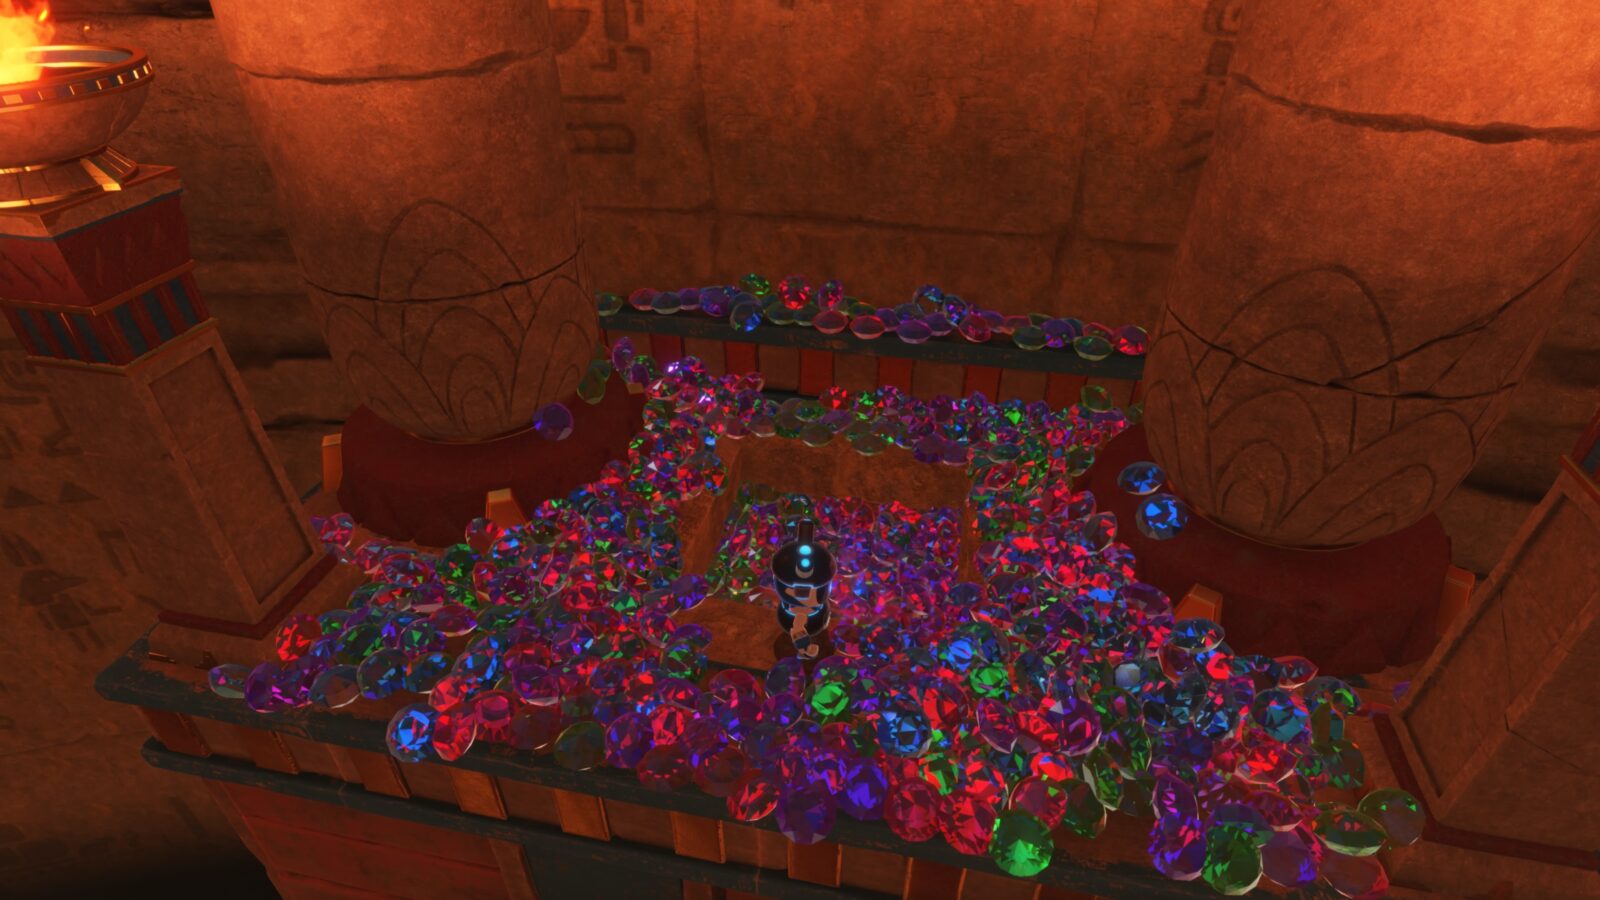
Hieroglitch Pyramid Bot #5
While progressing on, you’ll defeat two vacuum cleaner enemies by allowing them to vacuum up your ball form.
After defeating the second one, instead of using the metal launch pad, drop down off the left ledge to find a hidden ledge.

Complete the panel puzzle there to reveal a room filled with gems.

The bot is inside the vase at the center.
Hieroglitch Pyramid Puzzle Piece #3
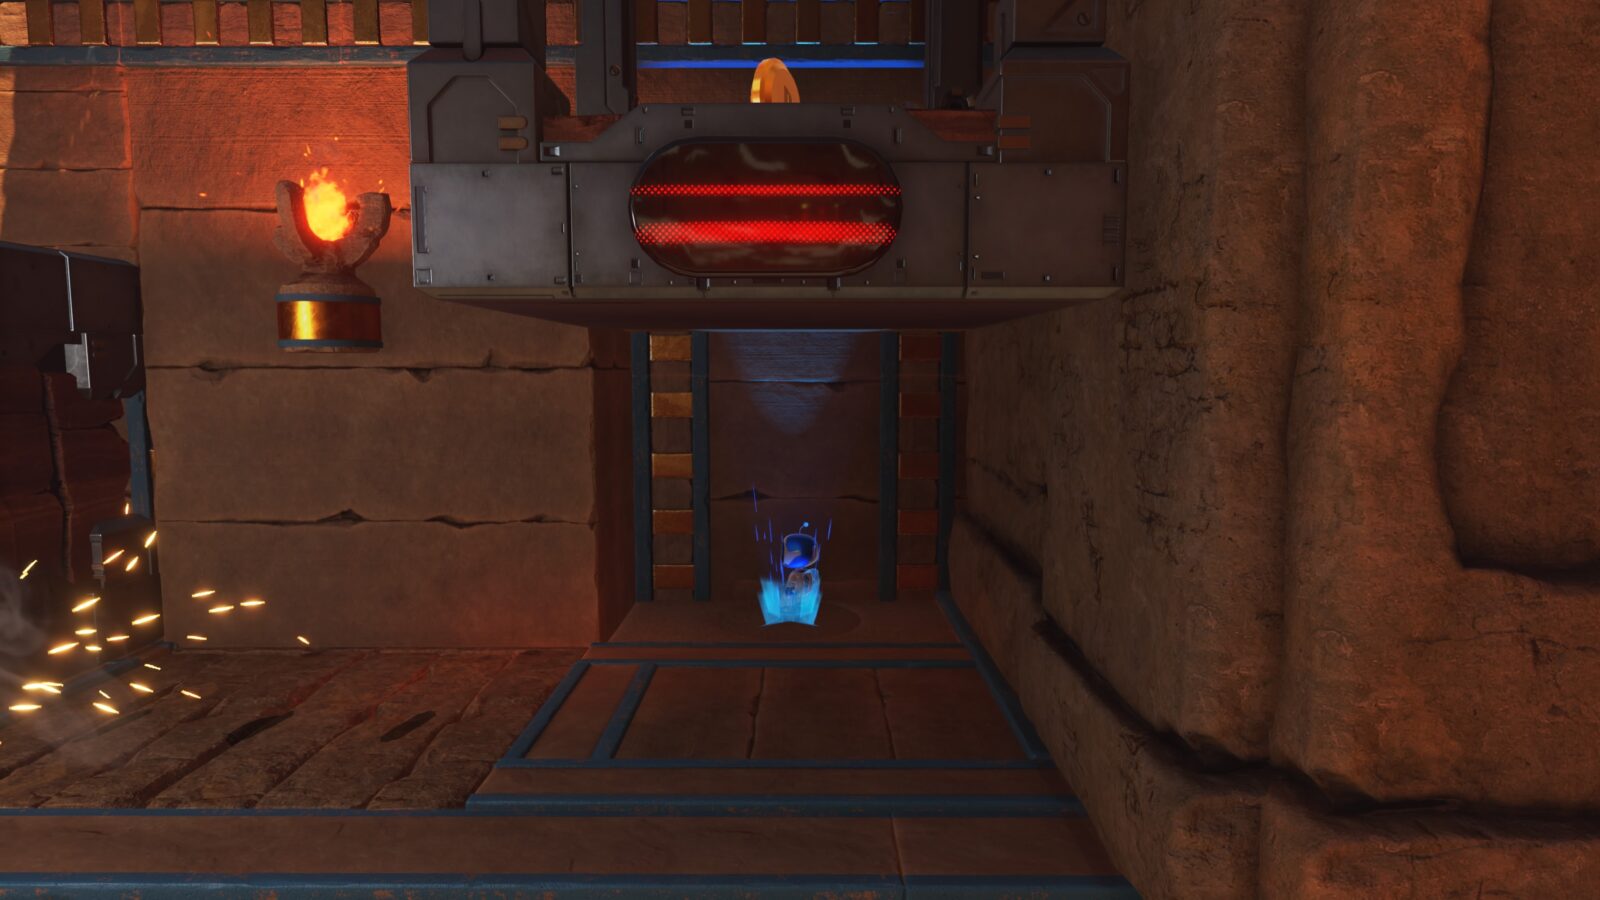
Continuing on, you’ll come to a wall of three crushing block enemies, moving up and down.

You need to use the metal launch pad to get on top of the blocks and then, before progressing on, roll into a ball and move all the way to the right side.
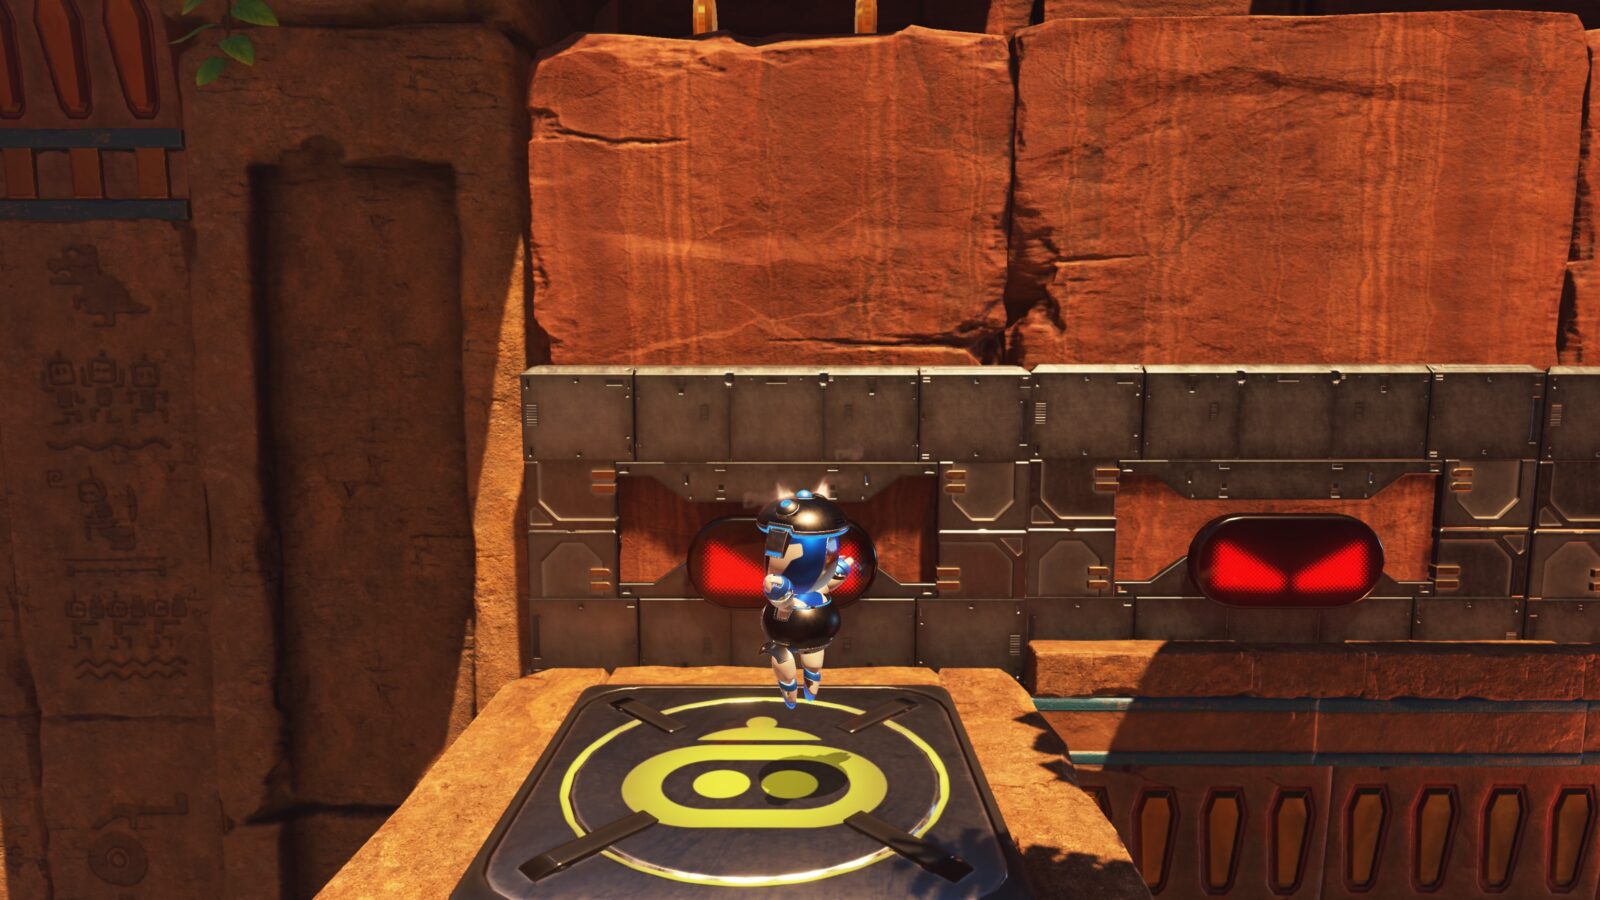
At the right-most edge, when that third block is at its lowest, you’ll see a small doorway you can roll into.
Enter it and you’ll find this Puzzle Piece inside.
Hieroglitch Pyramid Bot #6
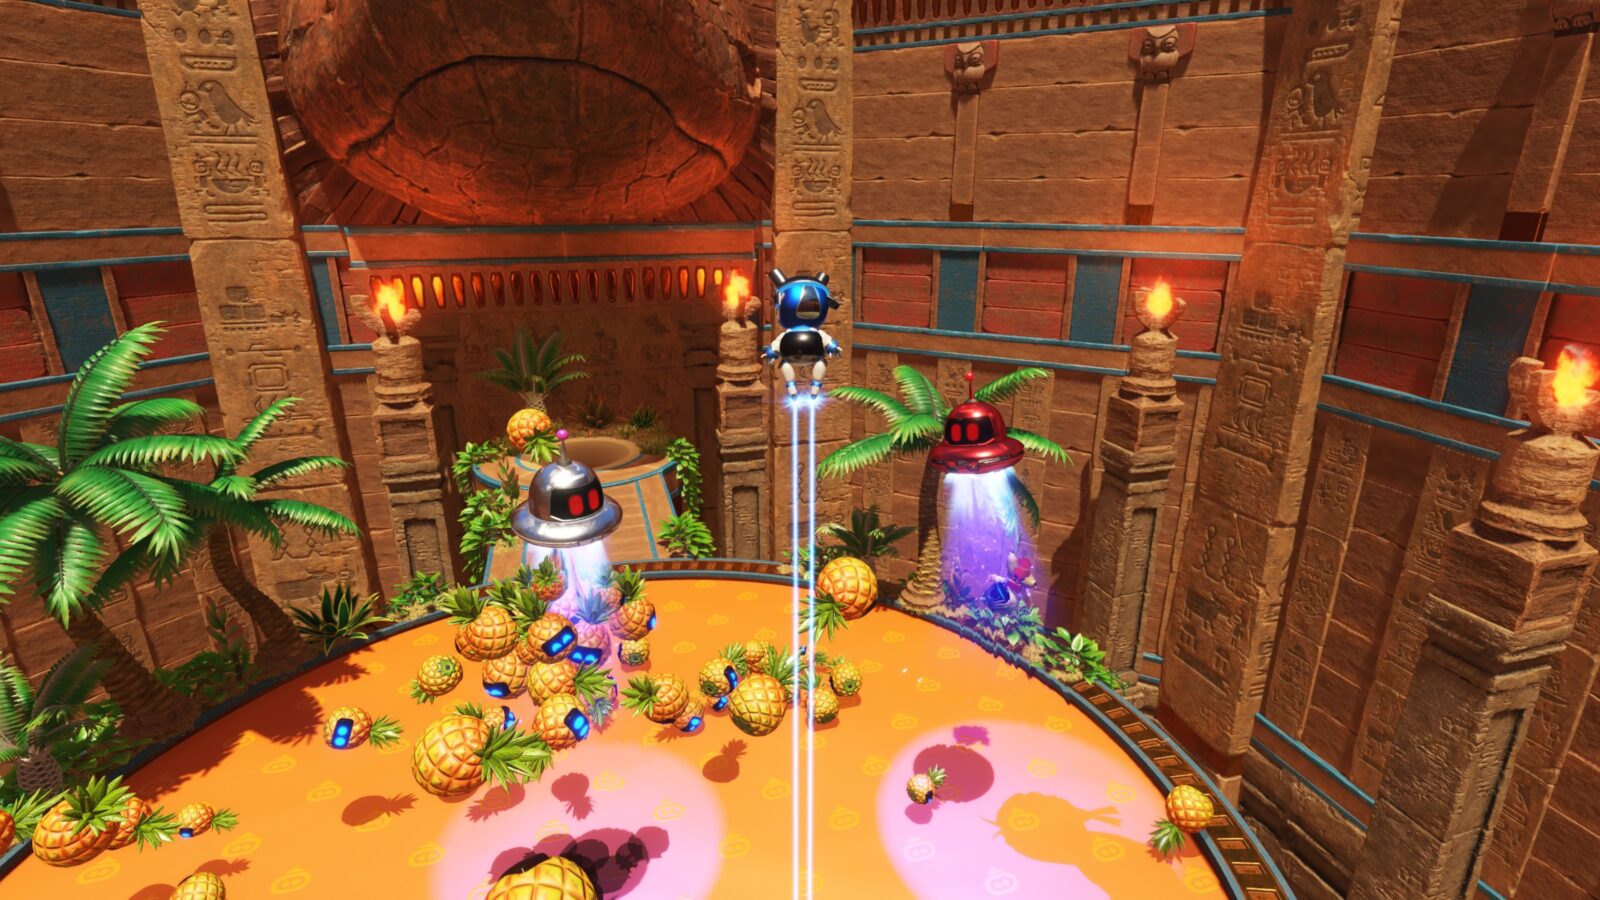
After being launched by a volcano into a golf-hole, use the next volcano when it is aimed to the left.

It will then launch you into a small round cage, containing this bot.

Hieroglitch Pyramid Bot #7
After using the ramp to climb the wall with the anubis mural on it, defeat the enemies and then pull the wires sticking out of the wall.
This will reveal a fabric trampoline you can use to launch yourself up to a volcano.

Using the volcano will launch you off into a hidden area with a huge fabric trampoline at the center.

Use this trampoline to reach and hit the bot that is being carried by a UFO through the air.
It’s based on Tor McDohl from Shuikoden.
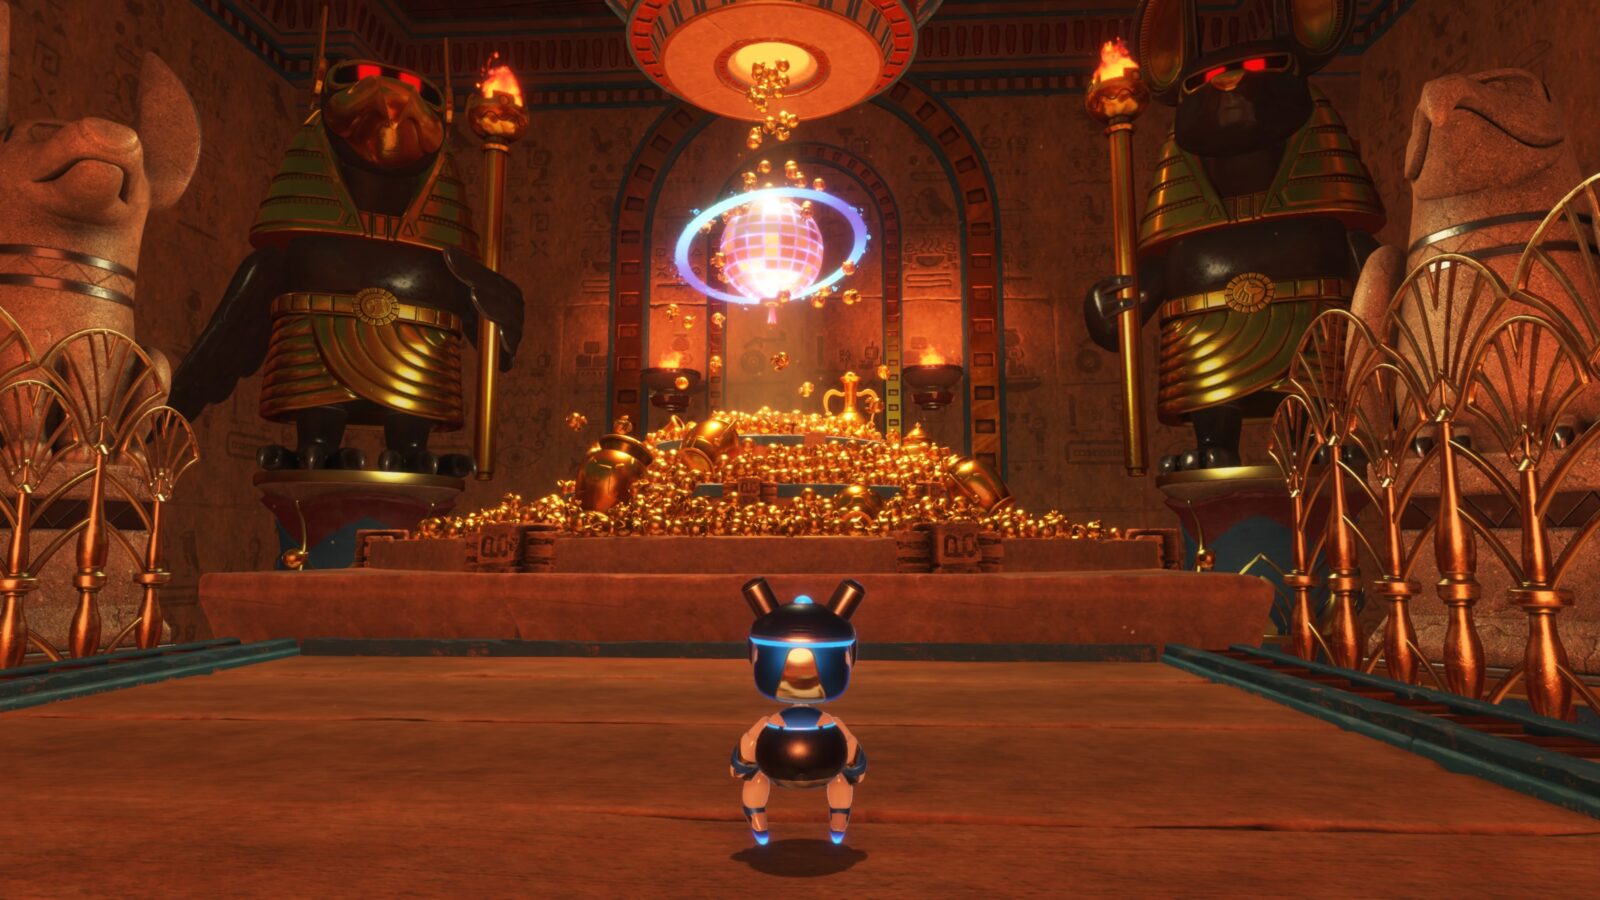
Hieroglitch Pyramid Lost Galaxy Exit | Rocket Pull Power
When you reach the final room, instead of jumping on the actual exit, go to the gem-covered ledge on the right-hand side and then slam down into the metal launch pad there.
This will launch you up to the edge of a hidden corridor.

Walk to the far end and complete the panel puzzles to reveal a hidden room containing the lost galaxy exit!
Bubbling Under Collectibles
The Bubbling Under Level contains 10 total collectibles: 7 Bots, and 3 Puzzle Pieces. There is also one Level-Specific Trophy in this Mission.
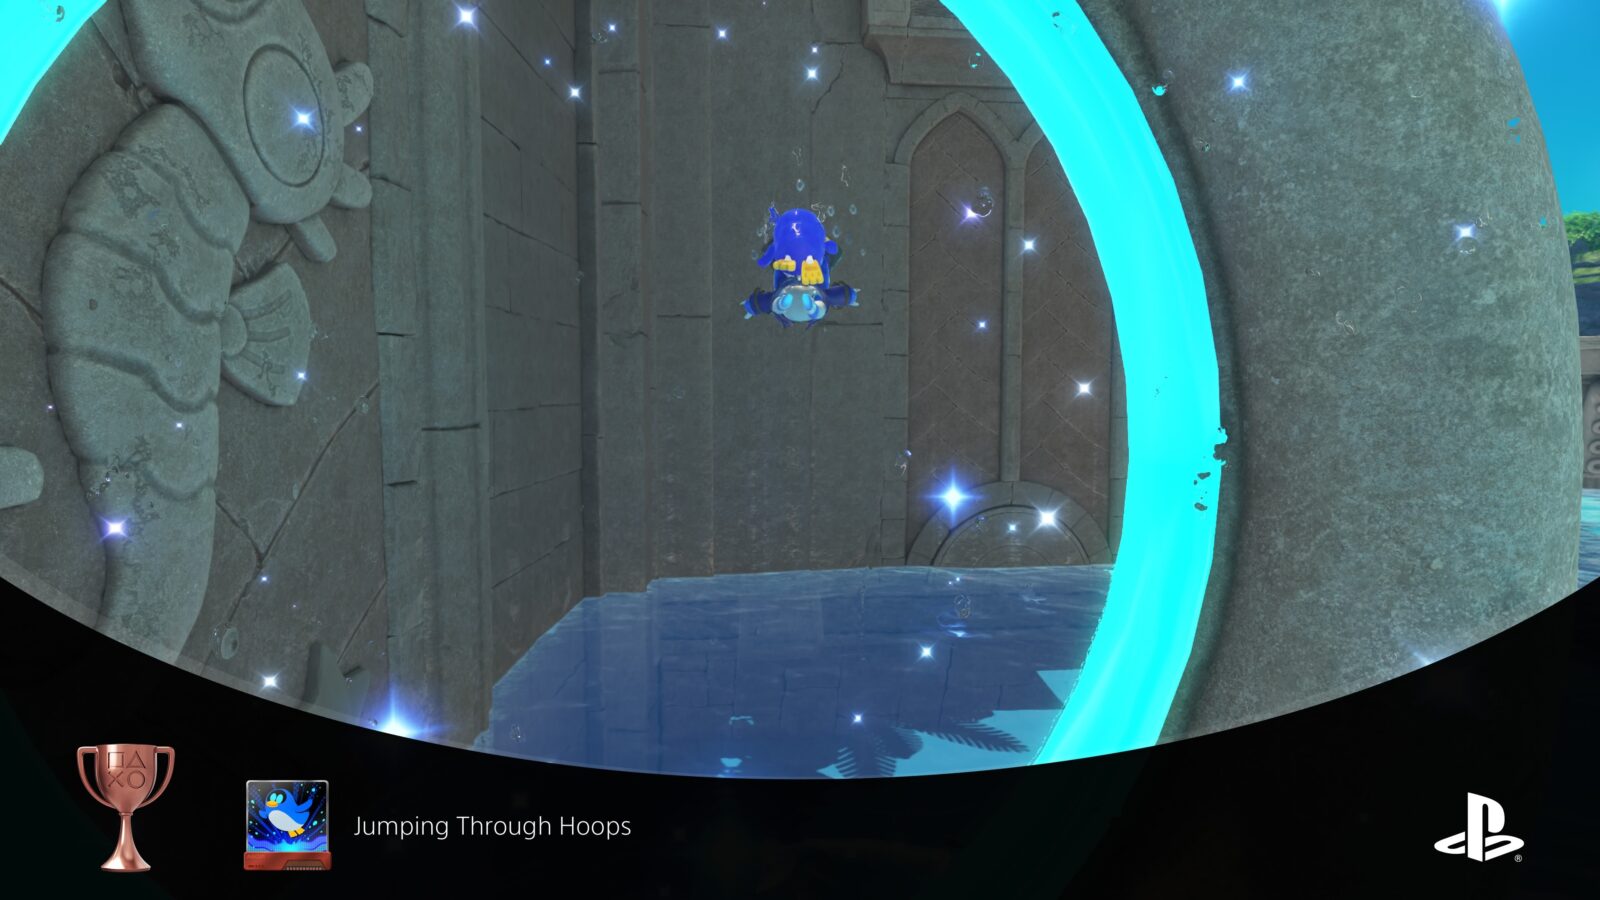
Jumping Through Hoops Trophy
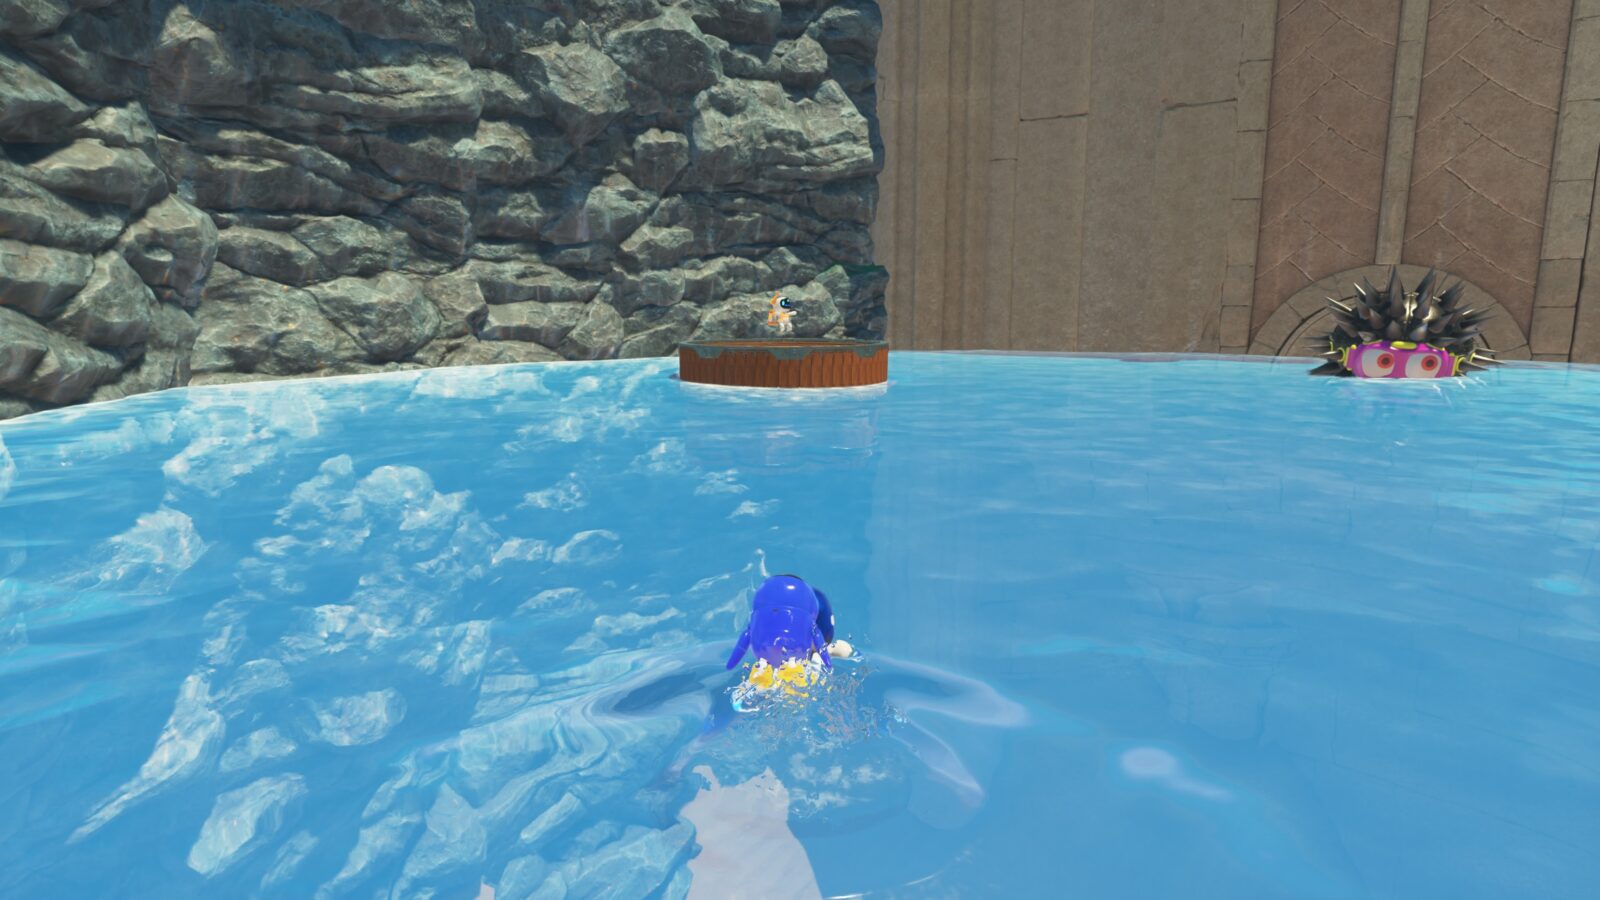
In the main area of this level, where there’s a giant starfish at the back, you’ll see a group of dolphins on the opposite side from the starfish.
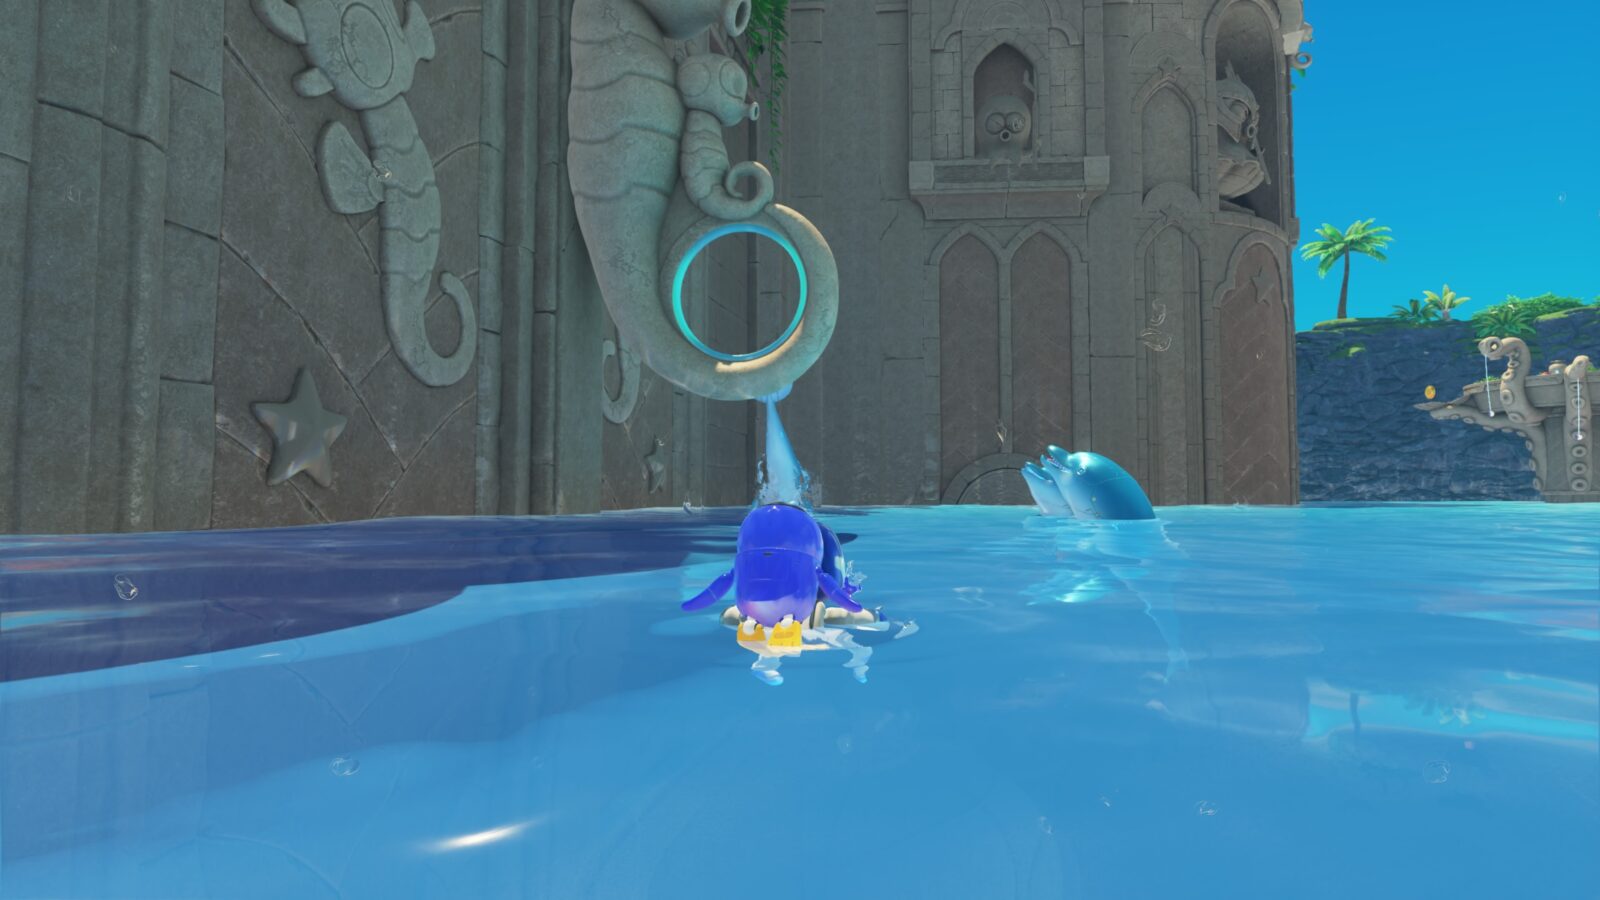
The dolphins are jumping through a hoop embedded in the wall.
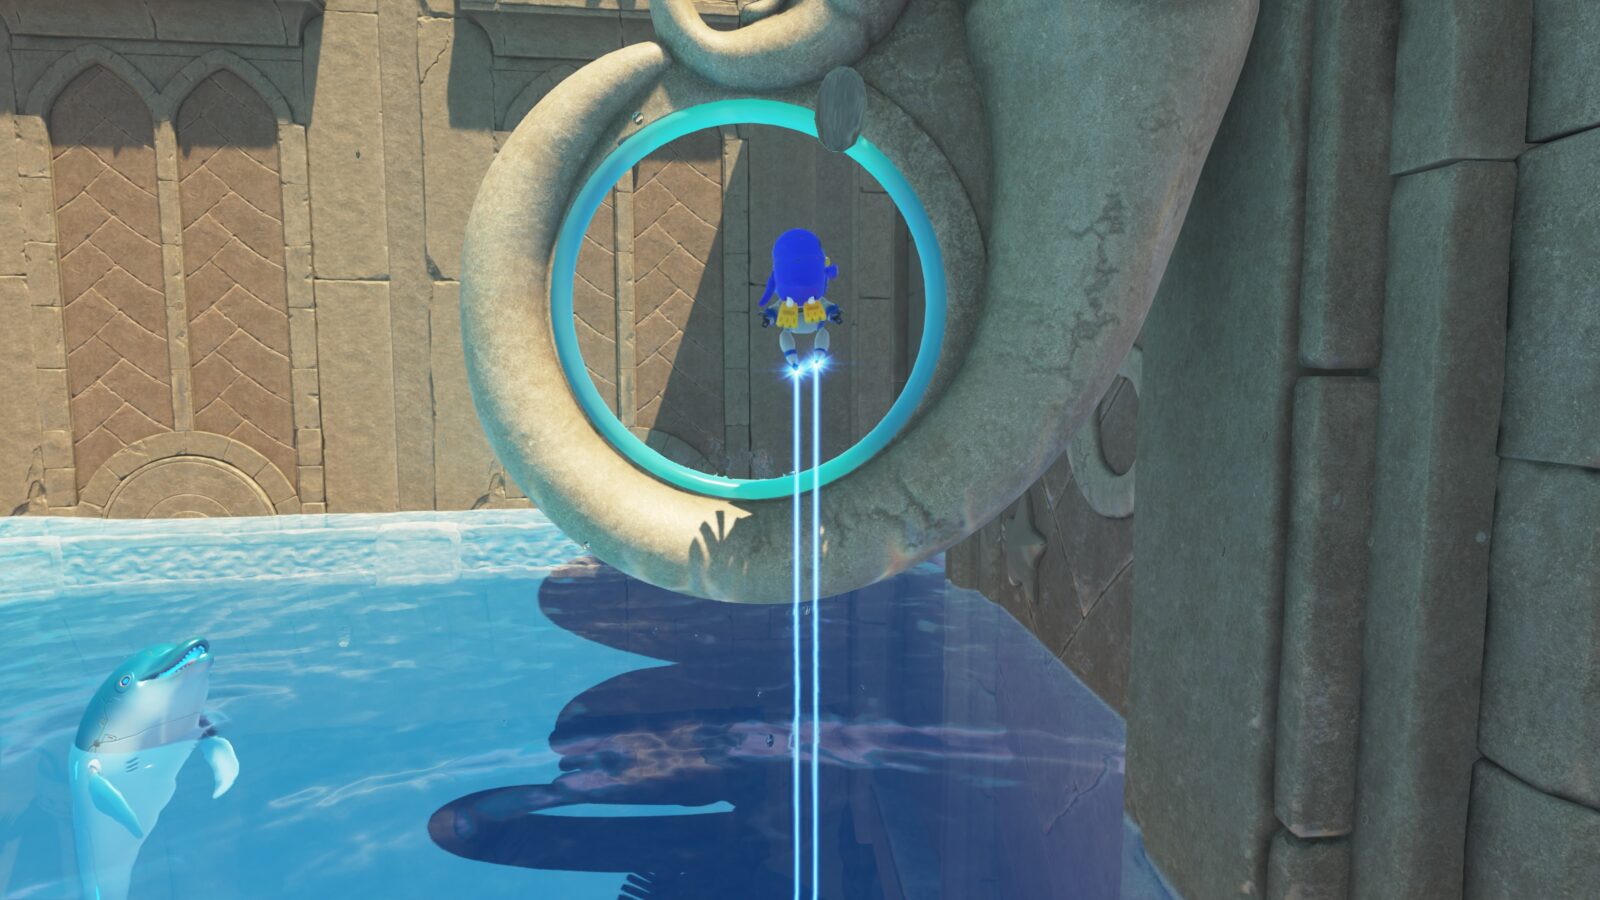
Use the penguin-booster ability to launch yourself from deep underwater up into the air and through the hoop, unlocking the Jumping Through Hoops trophy!
Bubbling Under Bot #1
Underwater on the left side of the main area, you’ll find the first bot stuck in the tip of one of the volcanoes.

Bubbling Under Puzzle Piece #1
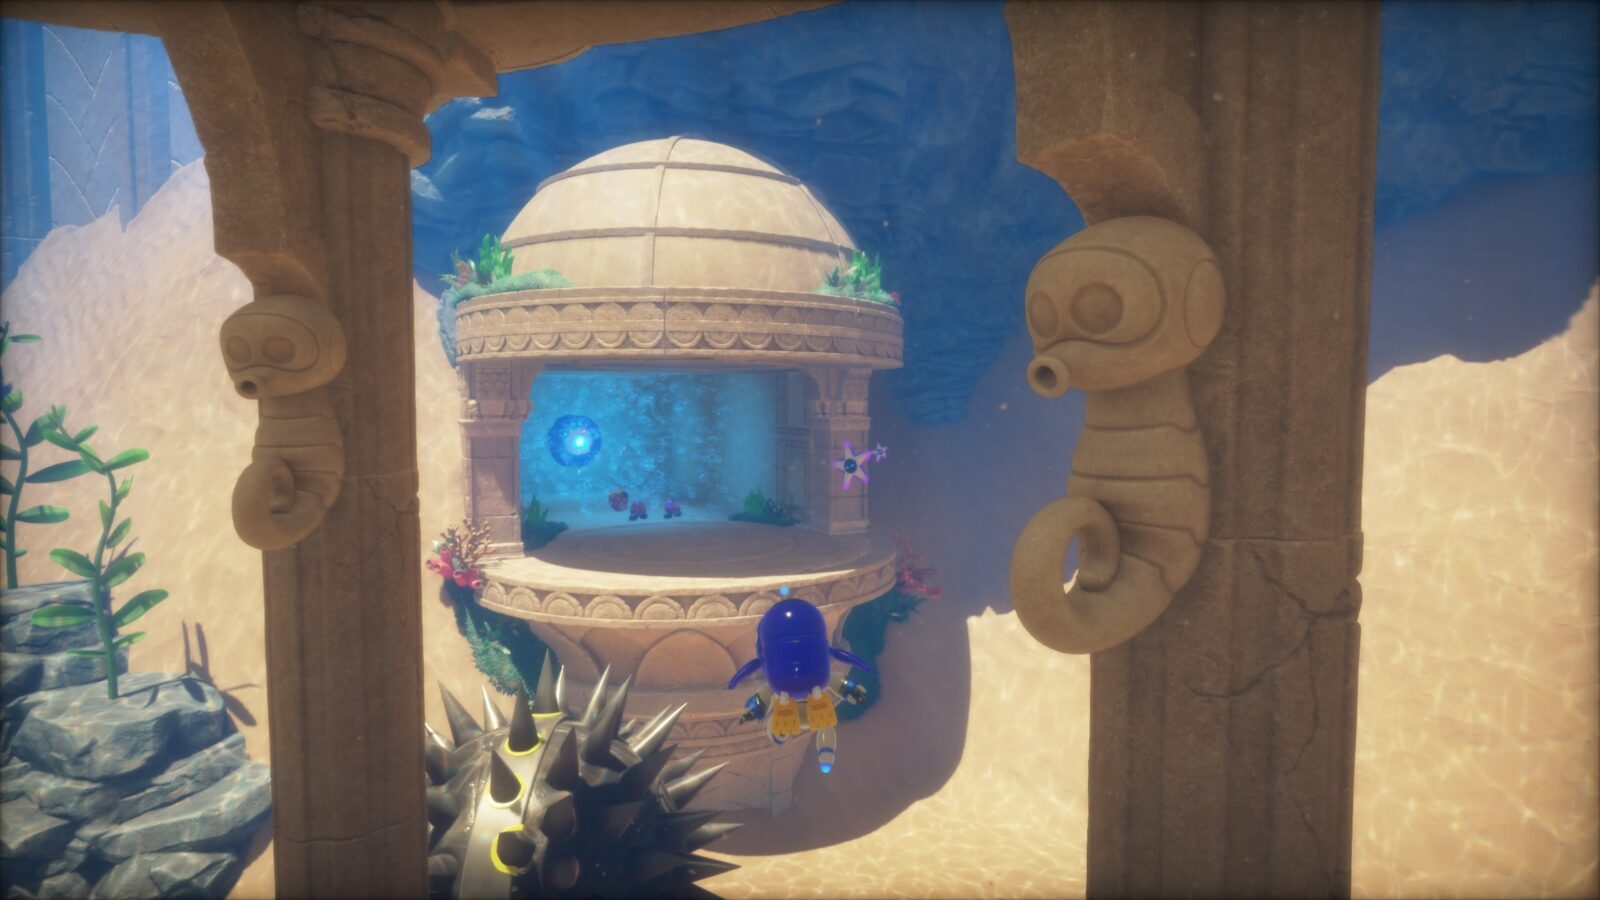
On the right side of the main area, underwater, you’ll see an air bubble below a stone structure with some large spiked enemies rolling around it.

The Puzzle Piece is in plain sight inside this bubble; just swim in from above.

Bubbling Under Bot #2
On the back wall, behind the bubble you just entered, there’s a rectangular tunnel.
Boost to the back of the tunnel using the penguin ability, and you’ll be able to free this bot from the tip of the volcano.

Bubbling Under Bot #3
Head up to the surface just outside the previous tunnel, and you’ll see a round floating platform with a bot on it.
When you approach the bot, a UFO will grab it and fly off.

Follow the UFO and hit the bot to free it.
Bubbling Under Puzzle Piece #2
On the far-left side of the area, underwater, you’ll see another air bubble embedded in the wall with a spike-ball enemy inside it.
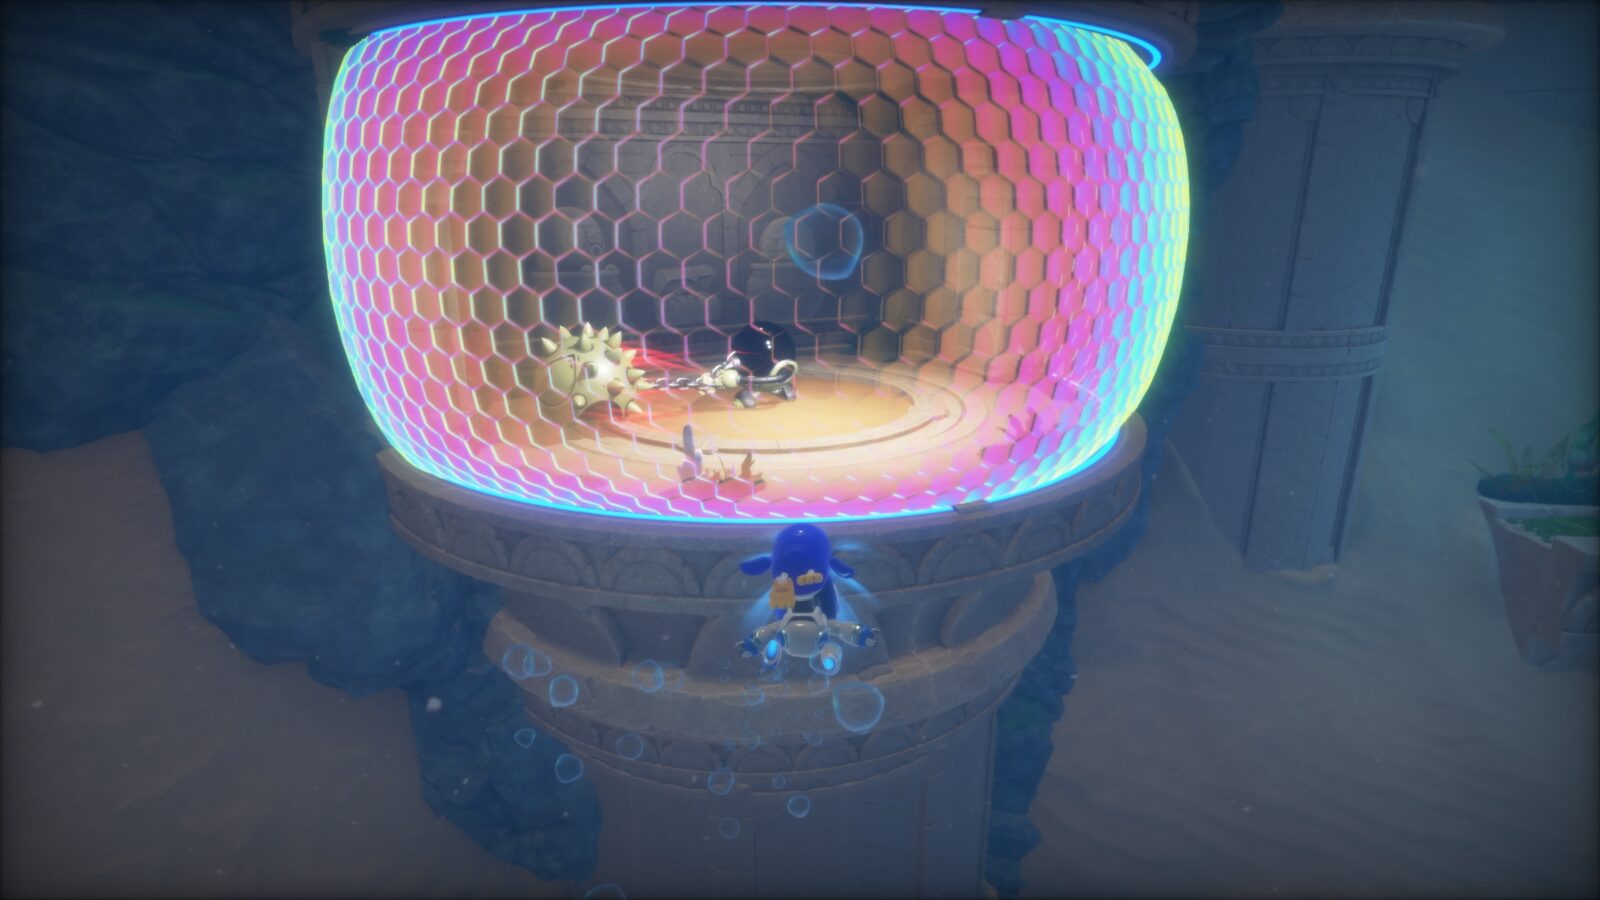
Enter the bubble and defeat the enemy to reveal a cross-shaped hole. Use a charged ![]() spin attack to dig up the sand, revealing a treasure chest.
spin attack to dig up the sand, revealing a treasure chest.

Hit the chest to reveal this puzzle piece.

Bubbling Under Puzzle Piece #3
Directly below the previous collectible, drop down to the ocean floor where there’s a shipwreck.
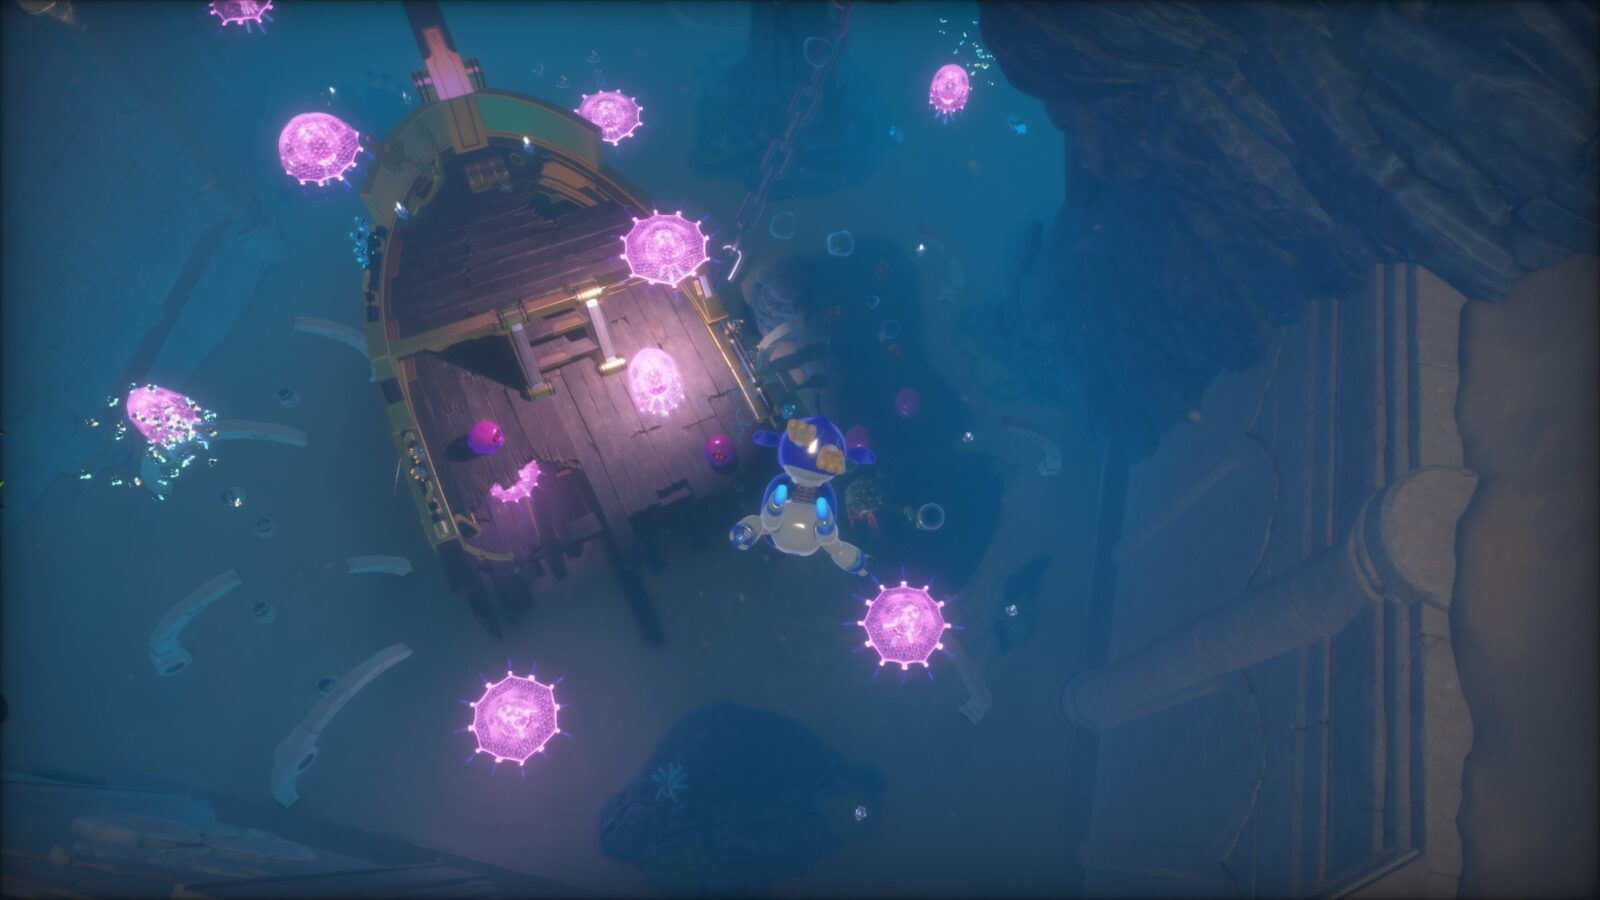
In this area, look for a stone structure with three round platforms attached to it on the opposite side.

There are some sea anemone bots; one on each round platform. Hit all three of these anemone and they’ll begin to glow.

Once all three are glowing, the Puzzle Piece will spawn at the center.
Bubbling Under Bot #4
In the wall above the structure where you collected Puzzle Piece #3, you’ll see a large green mouth with a bot stuck between its lips.

Approach the mouth and you’ll both be quickly sucked into its belly.

This bot is found at the back of this area. It’s based on a Palico from the Monster Hunter series.
Bubbling Under Bot #5
Return to the Pirate Ship at the opposite side of the undersea cave.
In front of the pirate ship, there’s a bot trying to open a treasure chest, with two seahorse bots watching him.

Hit the treasure chest to free and collect the bot.
Bubbling Under Bot #6
Return to the surface, out of the water, on the left side of the main area.

There are two platforms you can make your way up to with grassy plateaux. The uppermost one has a chain you need to break in order to progress.
Next to this chain, on the edge of the plateau, there’s a bot on a clamshell being taunted by an enemy.

Defeat the enemy and collect the bot before continuing on.
Bubbling Under Bot #7
This final bot is on a small round platform underwater, just below the big starfish.

It’s based on Octodad from the game of the same name (which feels like a very odd inclusion).
Balloon Breeze Collectibles
The Balloon Breeze Level contains 11 total collectibles: 7 Bots, 3 Puzzle Pieces, and 1 Lost Galaxy Exit. There are no Level-Specific Trophies in this stage.
Balloon Breeze Puzzle Piece #1
At the start of the level, there’s a ladybug you need to flip over to progress.
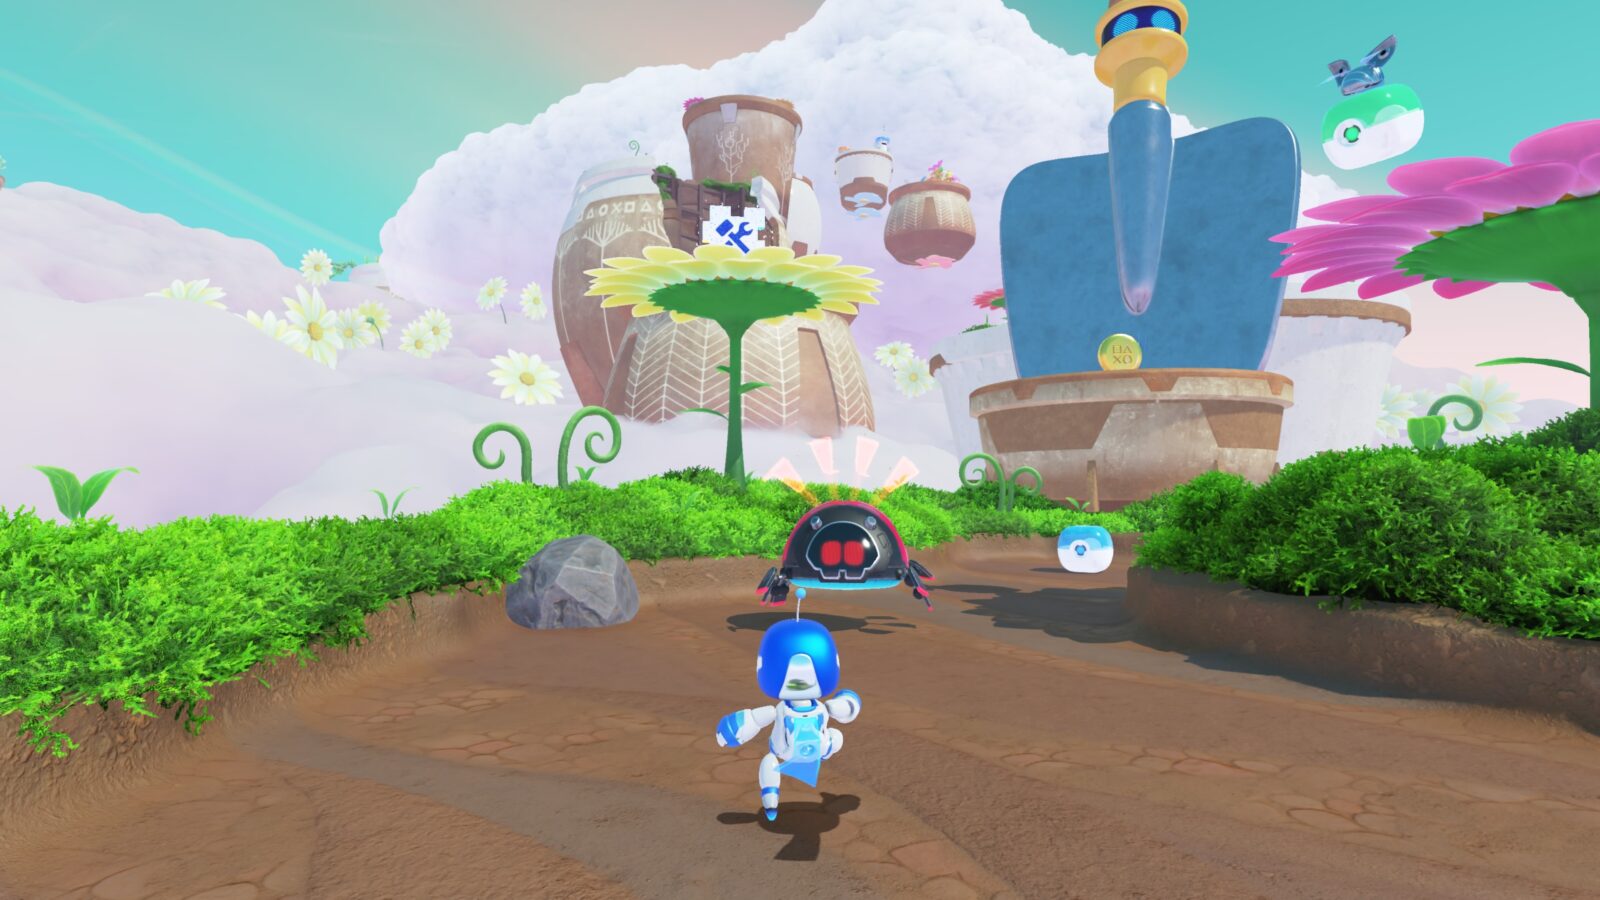
Once it’s flipped, use it to reach the top of the yellow flower on the left, where this Puzzle Piece lies in wait.
Balloon Breeze Bot #1
On the next platform, after crossing the trowel, you’ll find another ladybug bot.

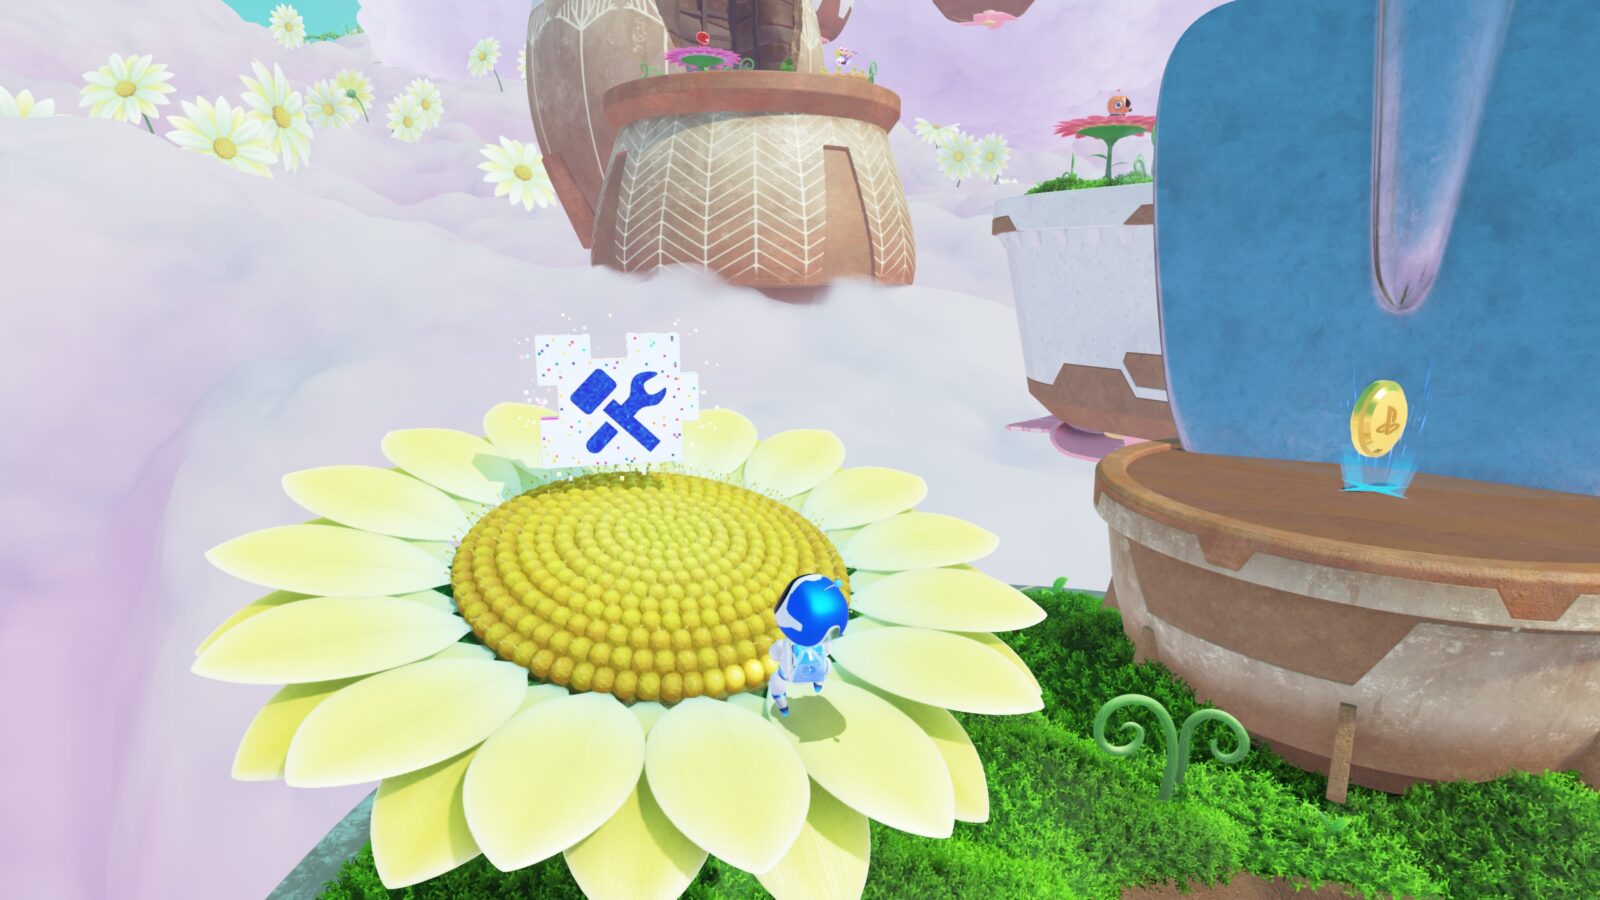
Flip it near the rock in the center and then jump on it to reach this bot handing from the flower.
Balloon Breeze Lost Galaxy Exit | Danger Dojo
After you’ve collected the inflate ability, turn around and backtrack.

Hit the ladybug bot from before so that it’s flipped upside down near the opposite edge of the platform, then jump on its belly to launch yourself up and towards the flying plant pot in the distance.
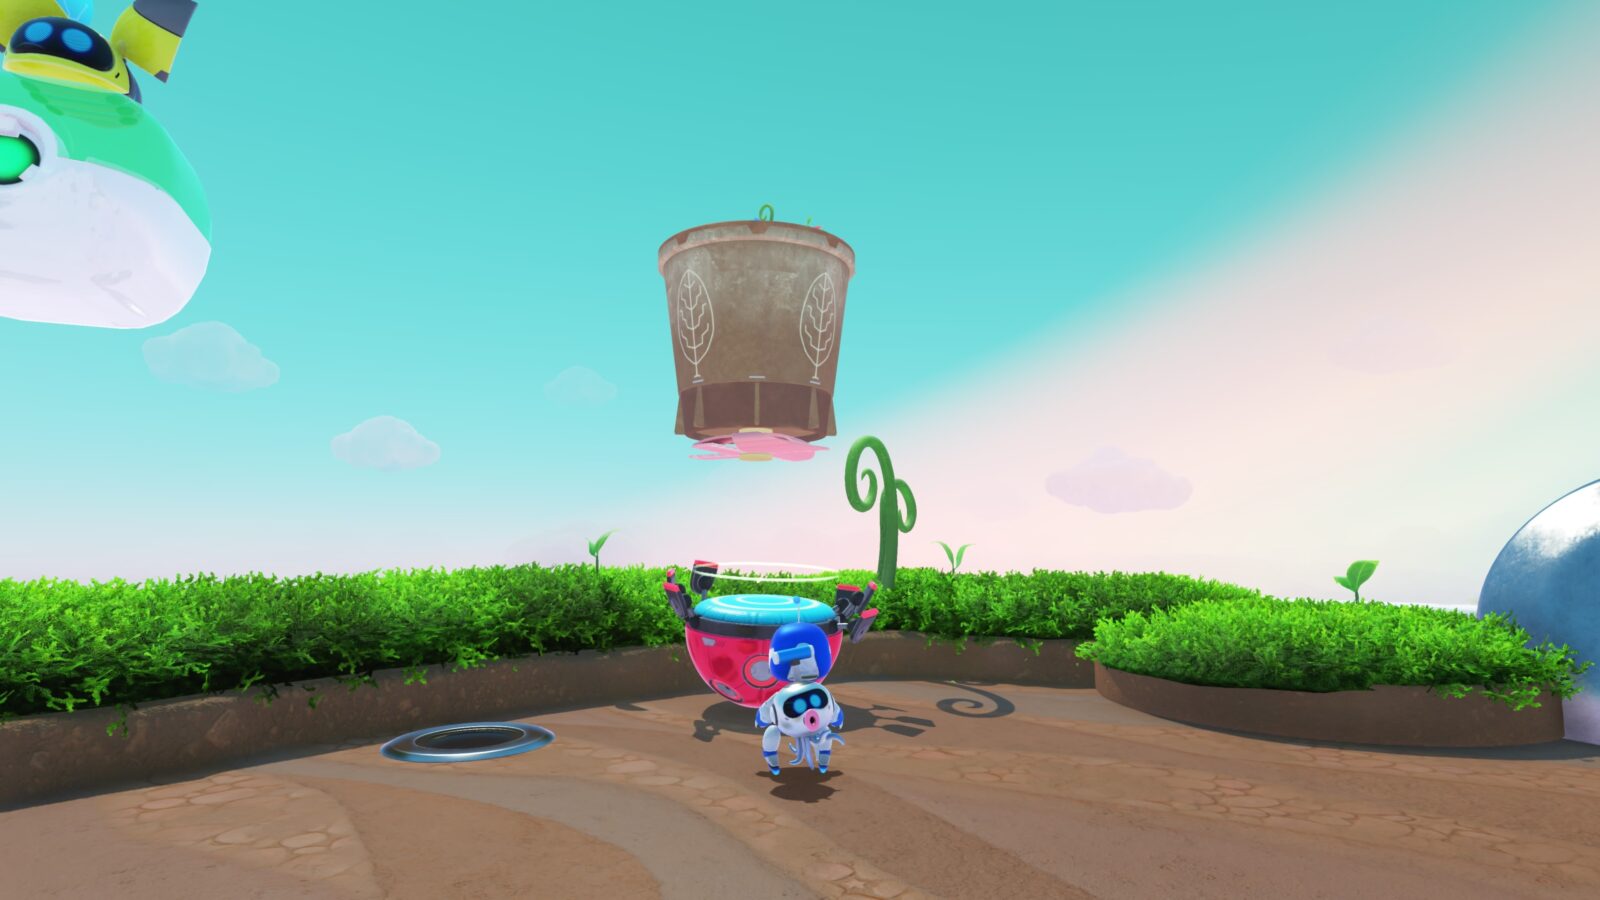
Activate the inflate ability in mid-air and use it to float all the way over to the flying plant pot.

There, spin-attack the flower with a charged ![]() attack to reveal another floating island.
attack to reveal another floating island.
Use your inflate ability to reach the island and then press the switch.
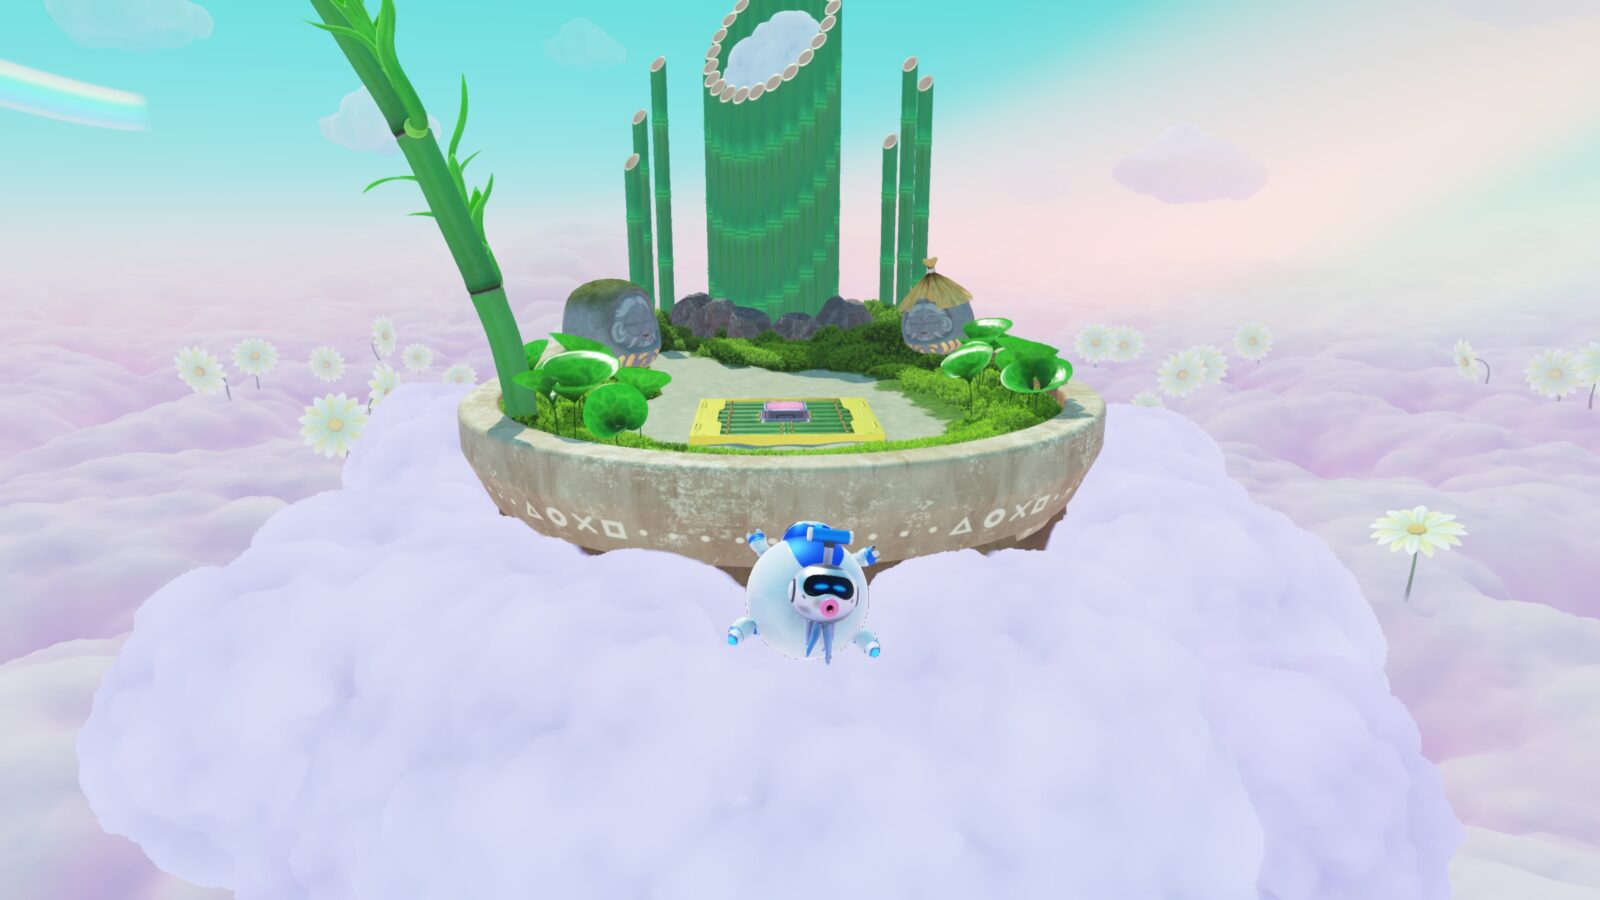
This will spawn a shuriken-launching device for you to use. Cut down the bamboo at the back of the platform with the shuriken launcher.

Once the back platform is fully unveiled, jump up to it and then use your double-jump lasers to charge up the various rectangles around the edge of the platform.

When fully-charged, the Lost Galaxy exit will spawn.

Note that if you use this exit, you will be returned to the Galaxy Map. Either; complete the level and then replay it to get this exit, or use it and then return to finish Balloon Breeze later.
Balloon Breeze Bot #2
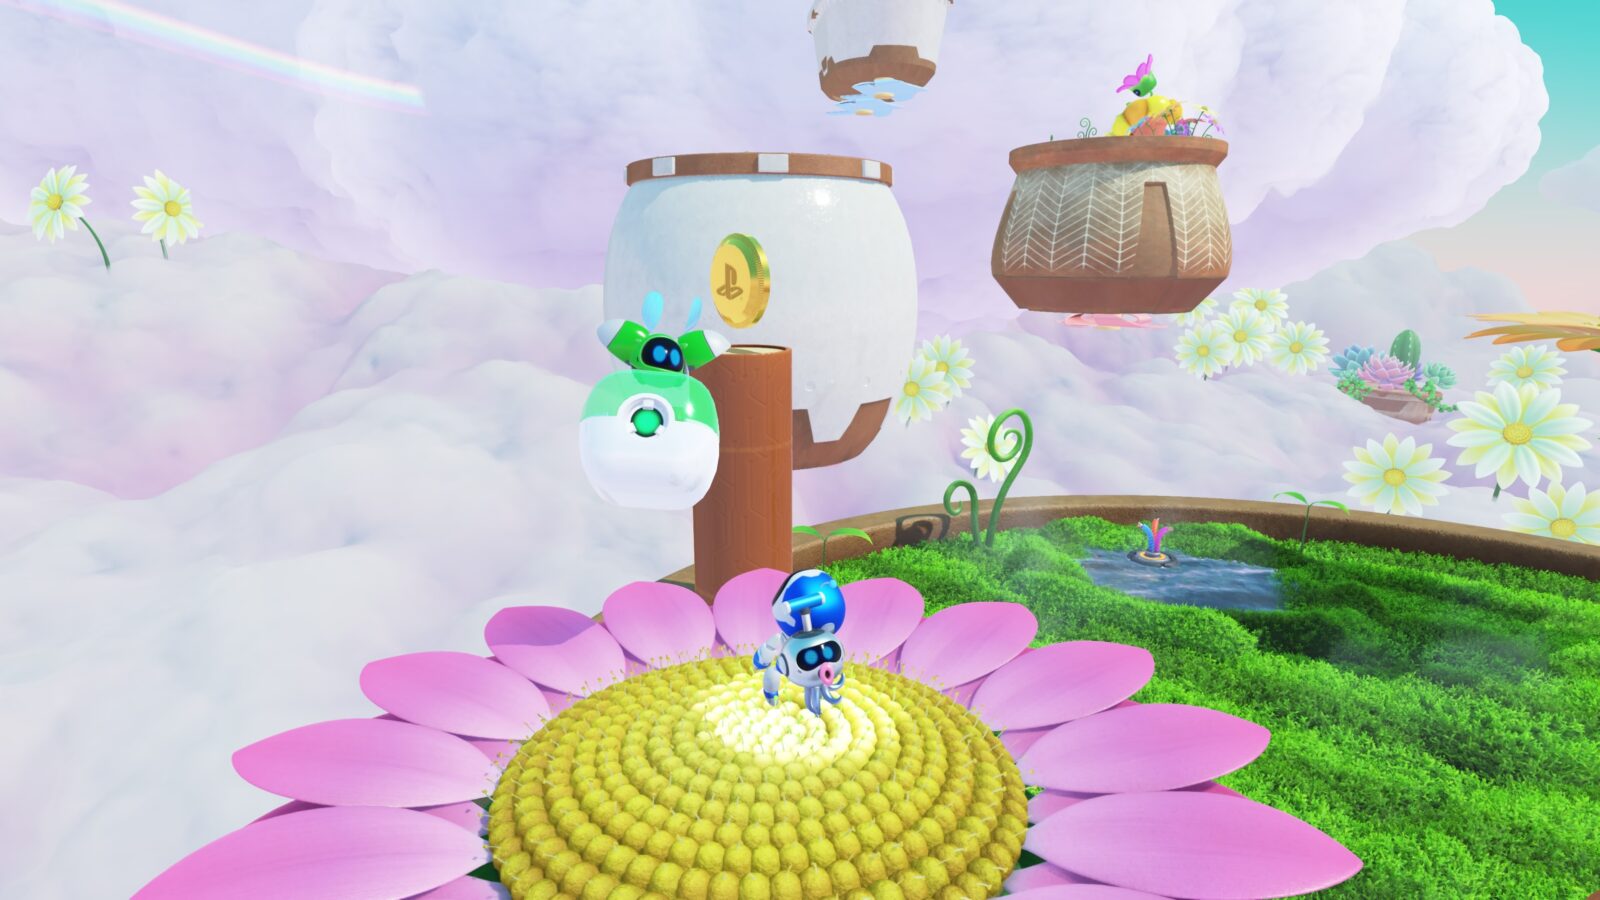
Continue through the level to the next checkpoint, which is on a flower next to a broken plantpot.

Hop onto the flower next to it on the right and defeat the enemy.
From there, use your inflate ability to float over to the top of the Big Brother Bot’s head.

There, you’ll find this bot, based on Klonoa.
Balloon Breeze Puzzle Piece #2
Continue on to the checkpoint next to a stack of three logs, where two puffer fish enemies will be shooting at you.

Defeat them both and then jump onto the pink flower on the left side of the plateau.
From there, double-jump and glide over to the vertical-standing log, which should get sliced in half by your boost lasers.

Below the now-sliced log, you’ll find some exposed wires which, when pulled, will reveal the puzzle piece.
Balloon Breeze Bot #3
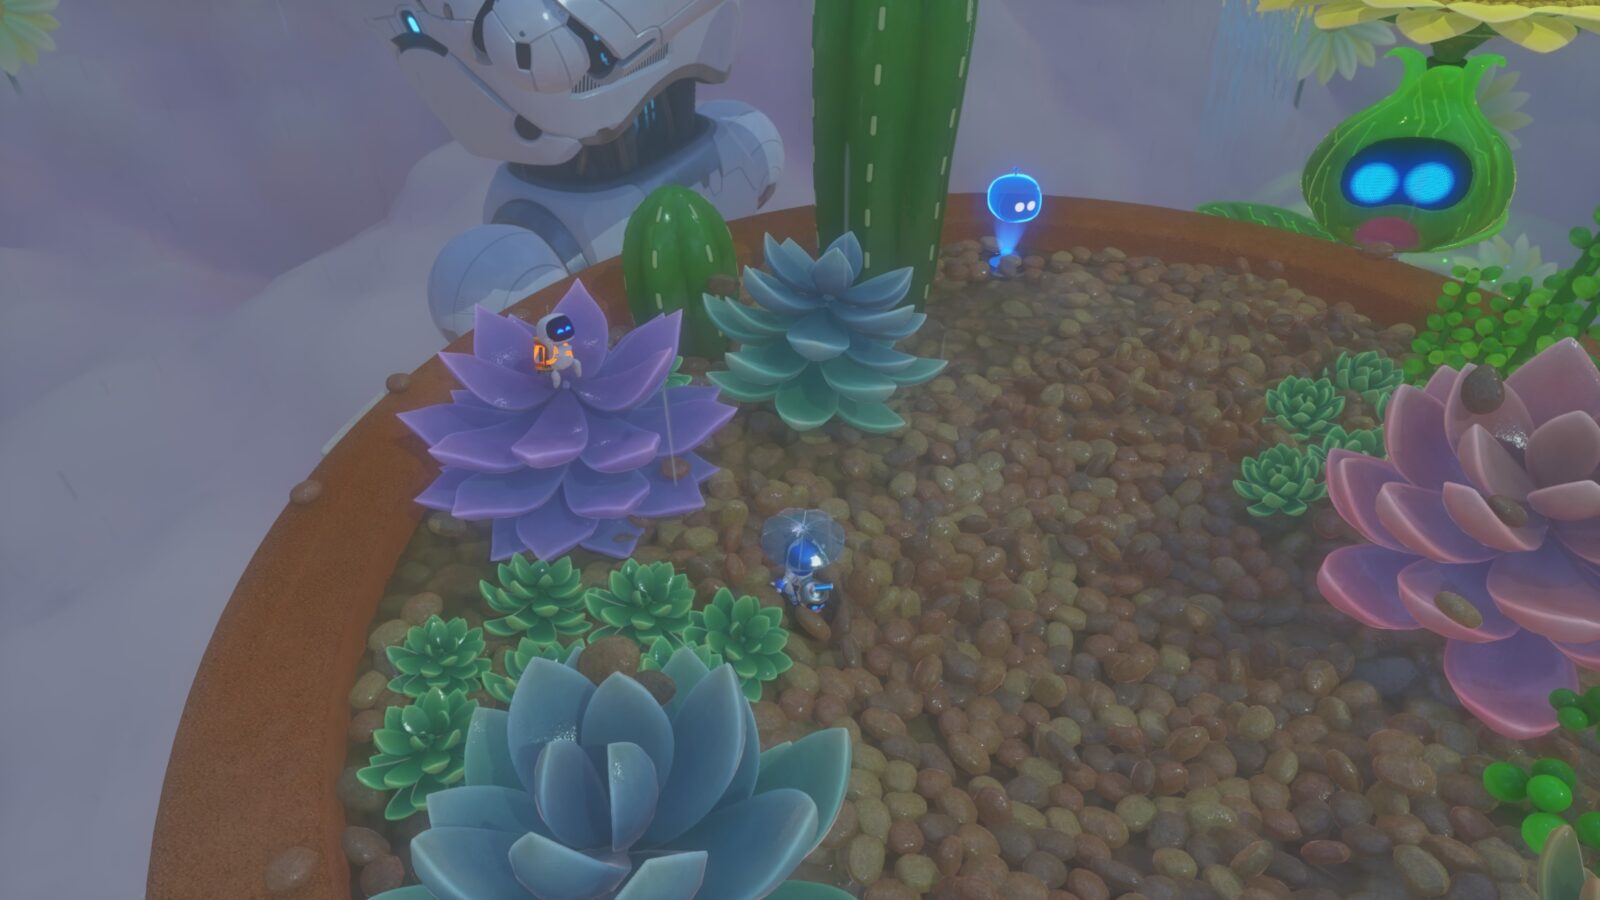
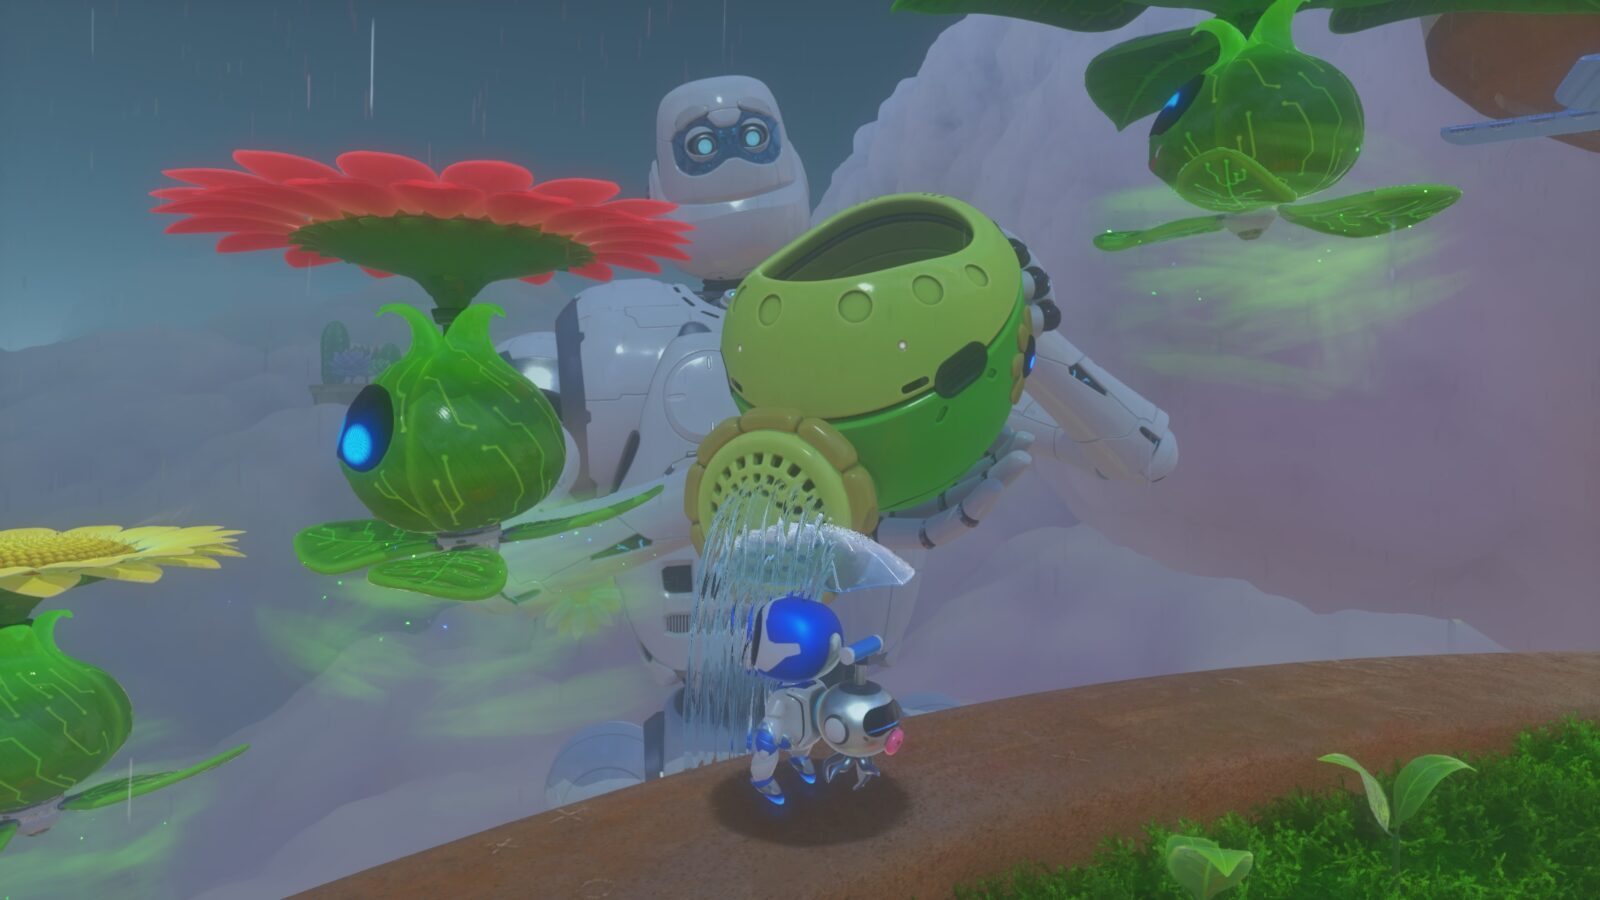
In the cactus garden plant-pot, which Big Brother Bot waters with a watering can, look for this bot on top of a short purple succulent.
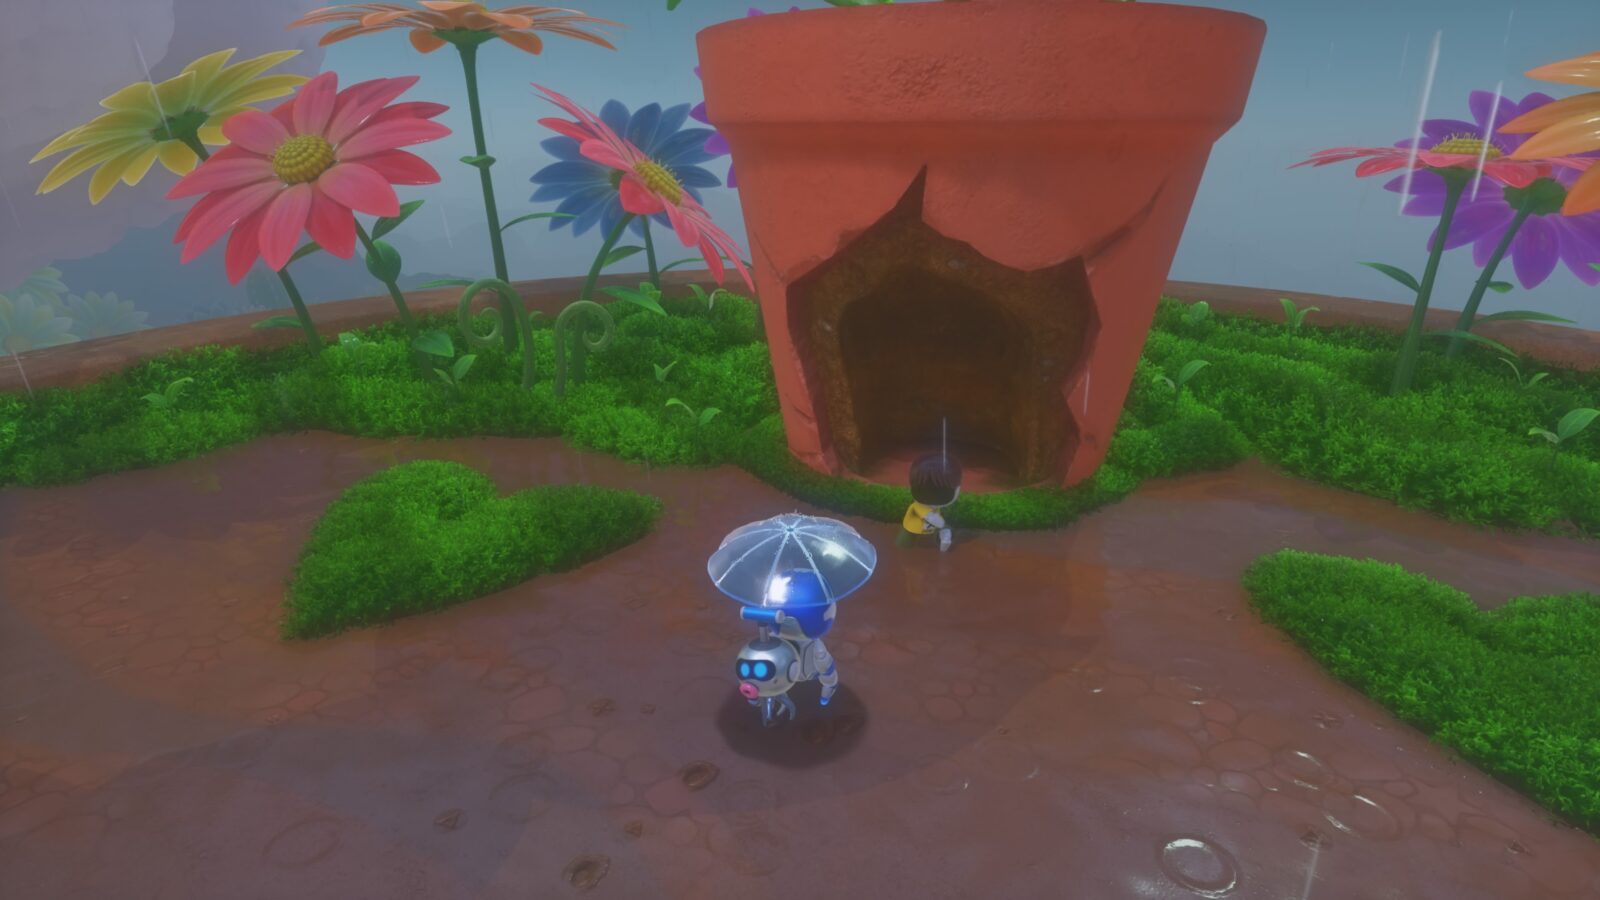
Balloon Breeze Bot #4
From the cactus garden, make your way to the plant pot in the distance on the right.
There’s a large inflatable caterpillar wrapped around a smaller plant pot in the middle.

Deflate the plant pot with your ![]() ability, and then you’ll reveal this bot.
ability, and then you’ll reveal this bot.

It’s based on “Boku” from “Boku no Natsuyasumi.”
Balloon Breeze Bot #5
Head back towards the cactus garden but this time use your glide and inflate abilities to reach the watering can that Big Brother is holding.
Head inside the watering can and you’ll find this bot swimming in the water.

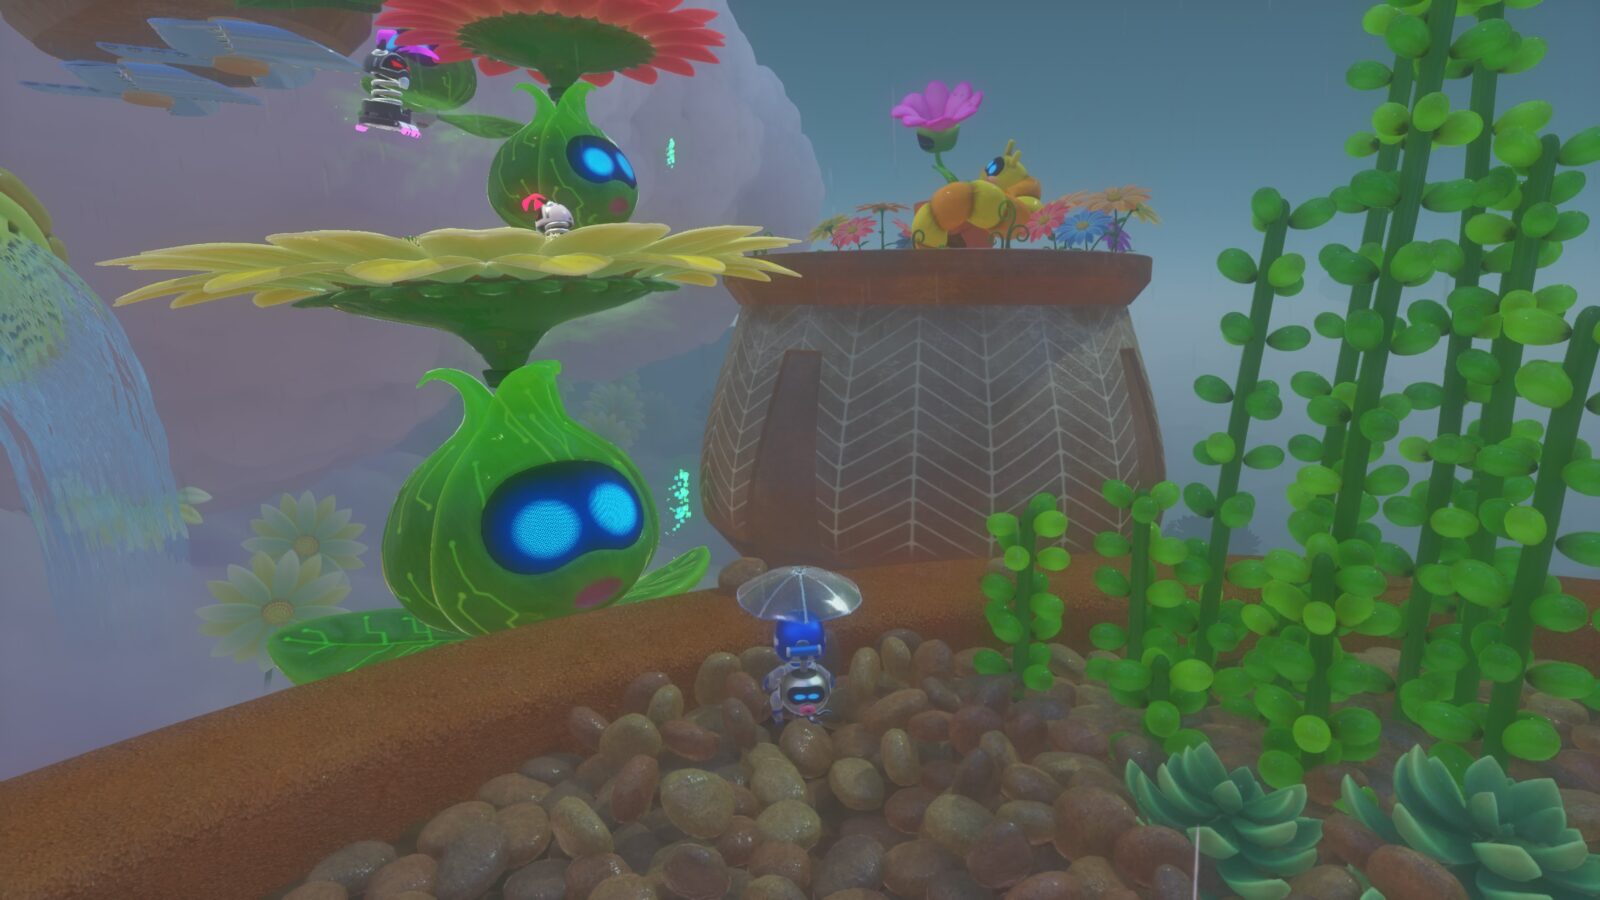
Balloon Breeze Bot #6
Continue through the level to a plant pot with tall mushrooms growing from it.
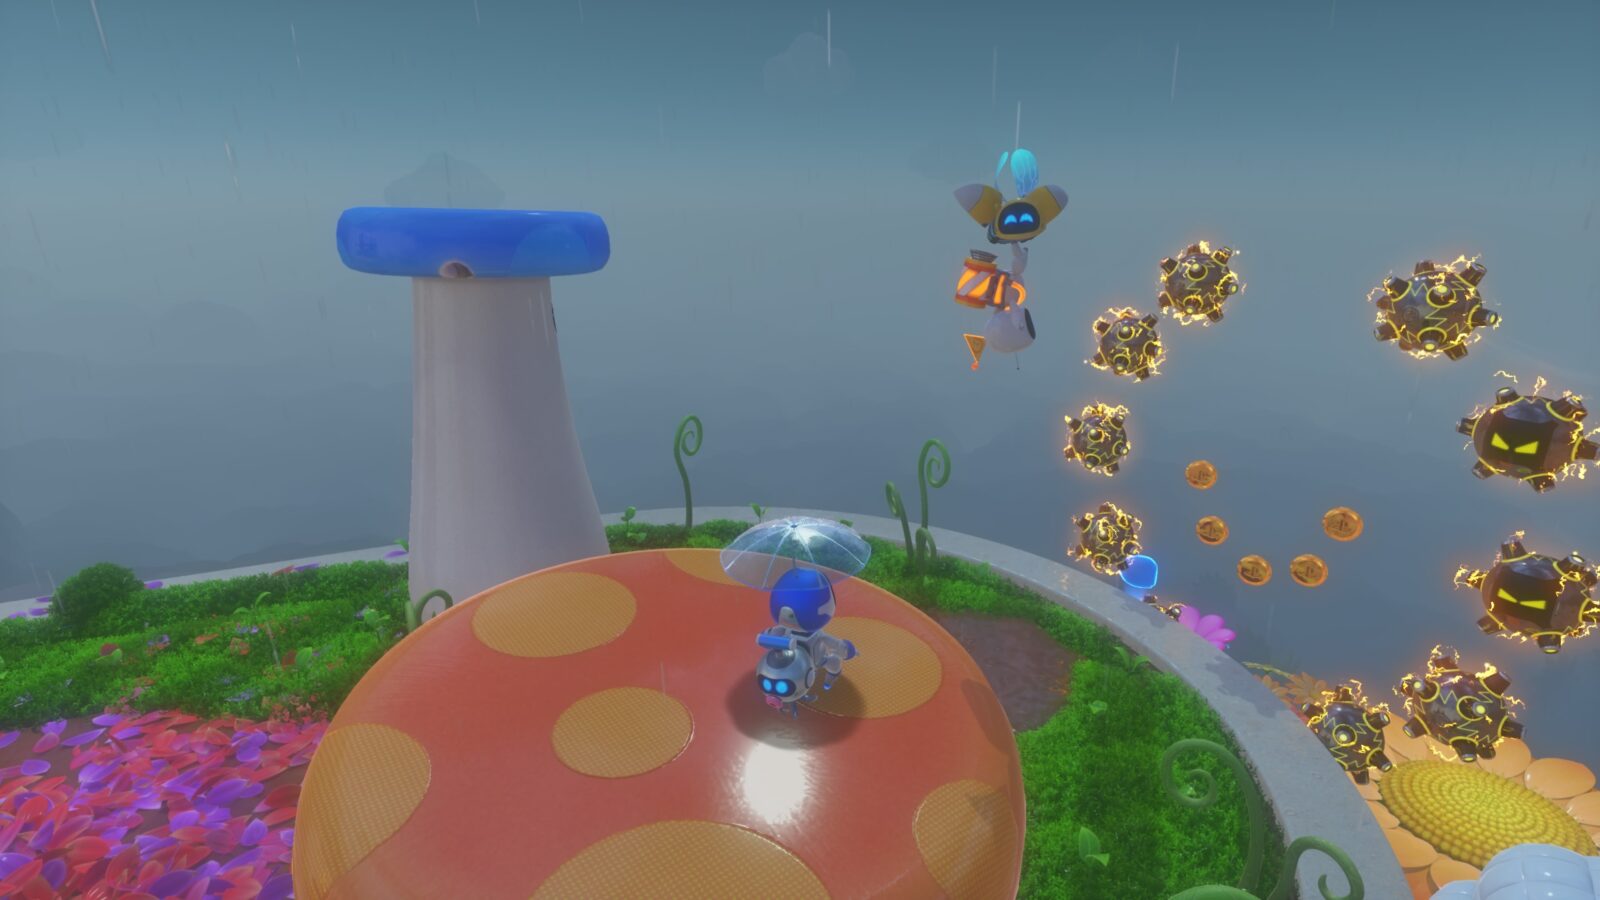
Use your inflate ability to reach the top of the orange mushroom, and then wait there for the flying bug to carry the bot near you.
Once close enough, hit the bot or the insect to free and collect bot #6.
Balloon Breeze Puzzle Piece #3
When moving from balloon to balloon later in the level, look out for a deep blue-colored whale balloon below.
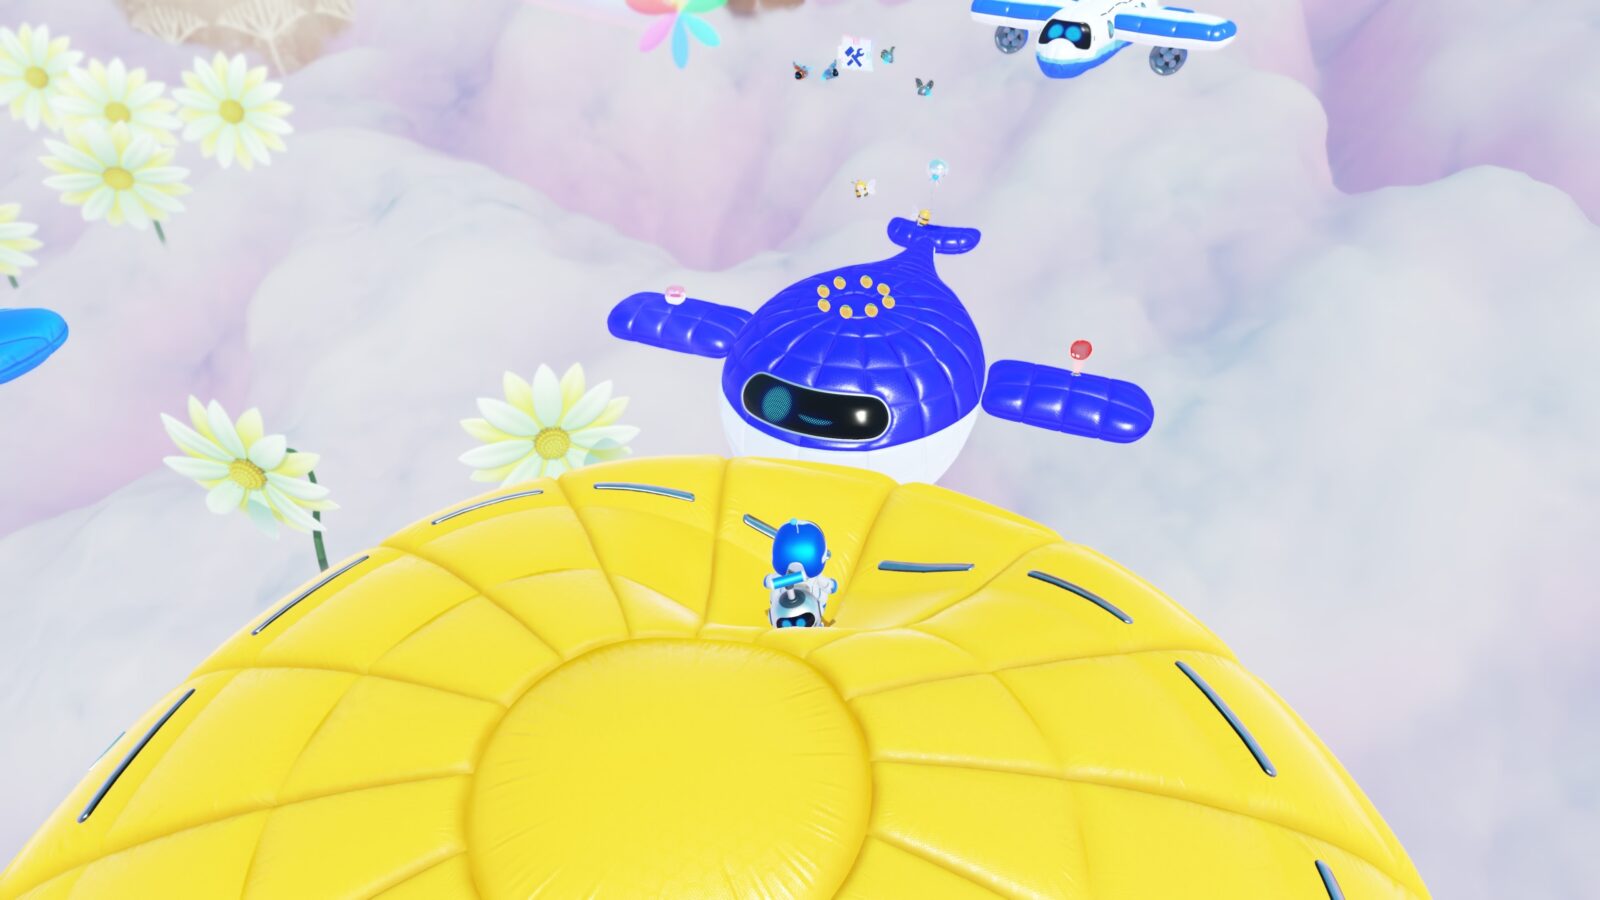
Use your inflate ability to get above it and then fall down onto the balloon.

This puzzle piece is at the center of the whale balloon.
Balloon Breeze Bot #7
Continue making your way up via the balloons towards the final plant pot.
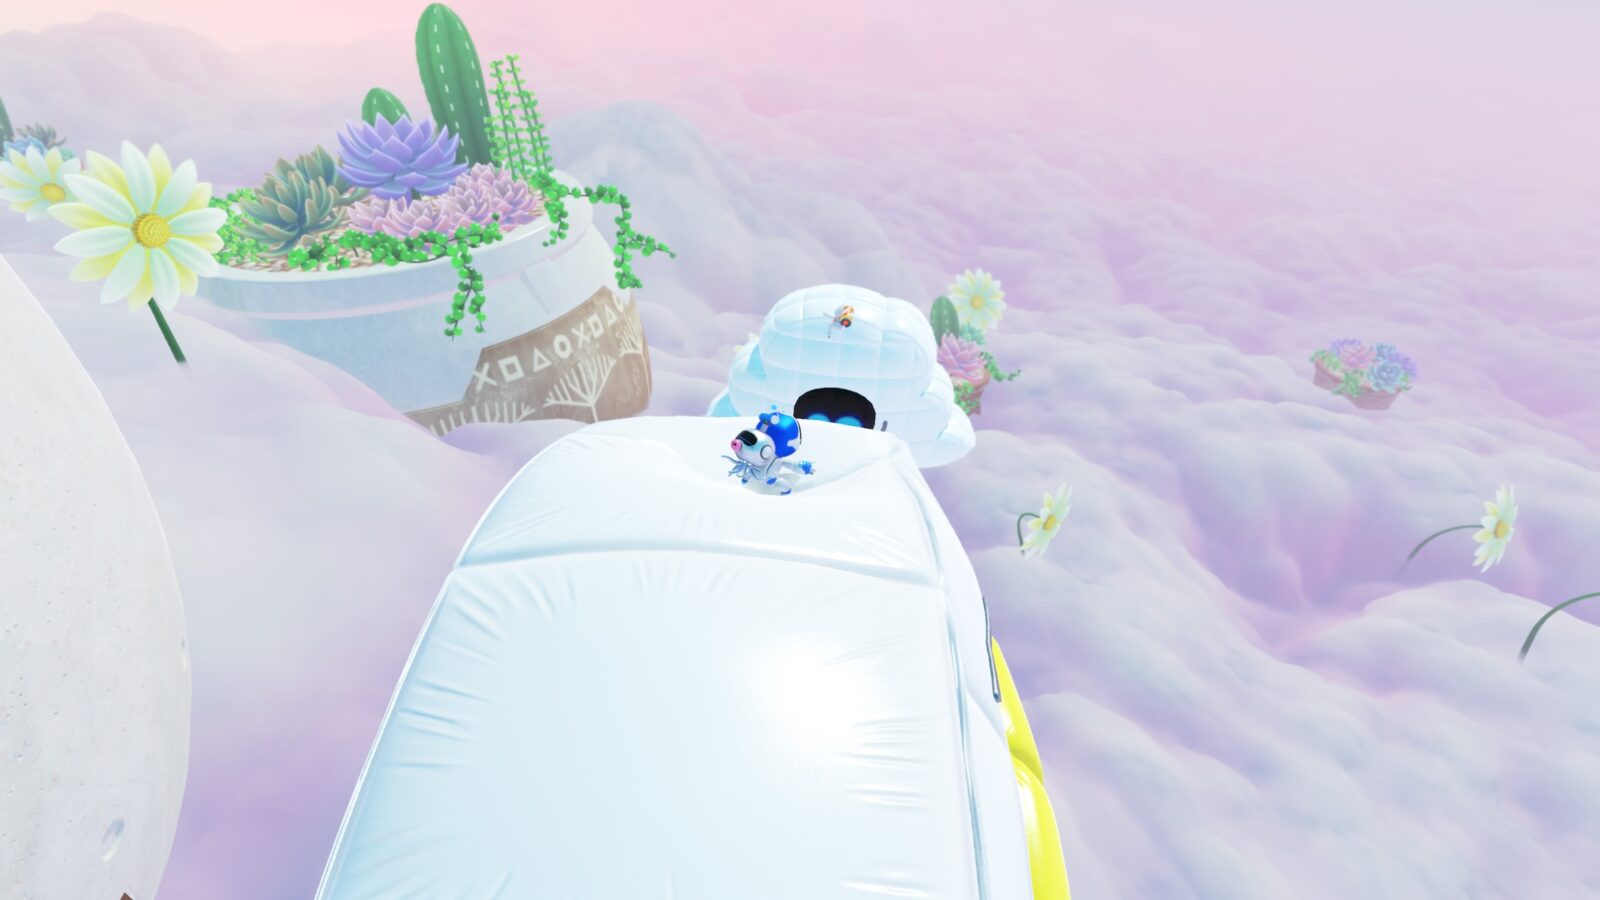
One of the last balloons is a spinning flower-shaped balloon.

From that one, make your way to the small cloud-shaped balloon on the right, which this bot is clinging to for dear life.
Spooky Time Collectibles
The Spooky Time Level contains 10 total collectibles: 7 Bots, and 3 Puzzle Pieces. There is no Level-Specific Trophy in this Mission.
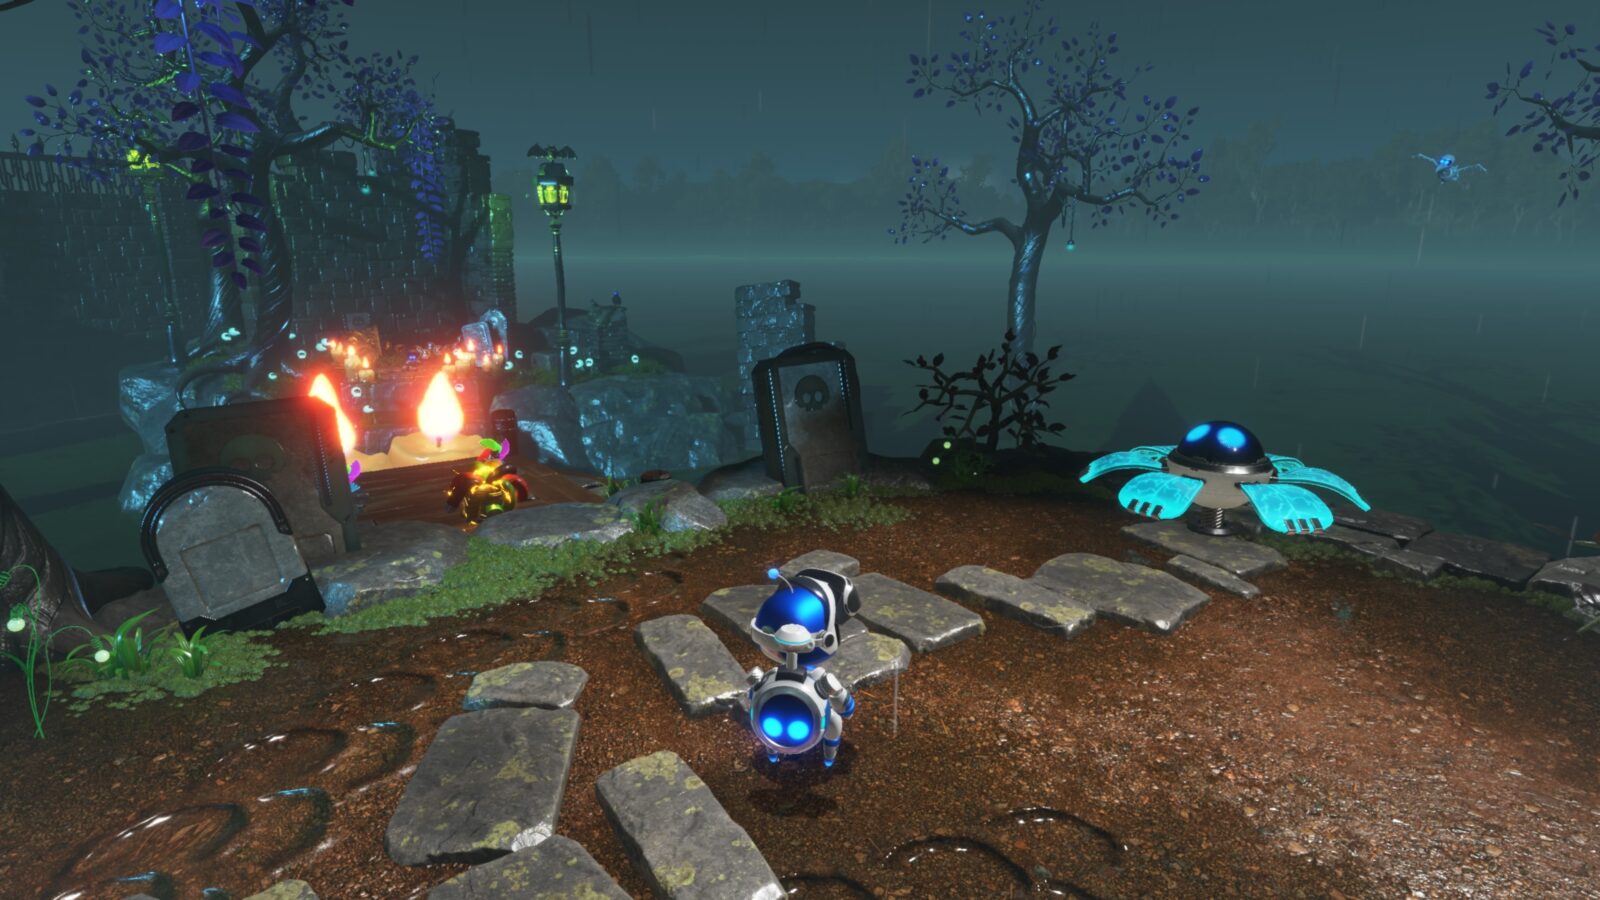
Spooky Time Bot #1
After using your time-slowing ability to pass through the main gates, keep your eye on the right side as you progress.
You’ll eventually see a pond with a water-skimming insect in it.

Slow time and then jump on the insect to be launched up into the air, where you should try and land on one of the floating platforms.

Make your way to the next floating platform quickly before time is resumed and hit the bot there to rescue it and be returned to the pond.
Spooky Time Bot #2
A short while later, you will need to use slow motion to pass through several knives.
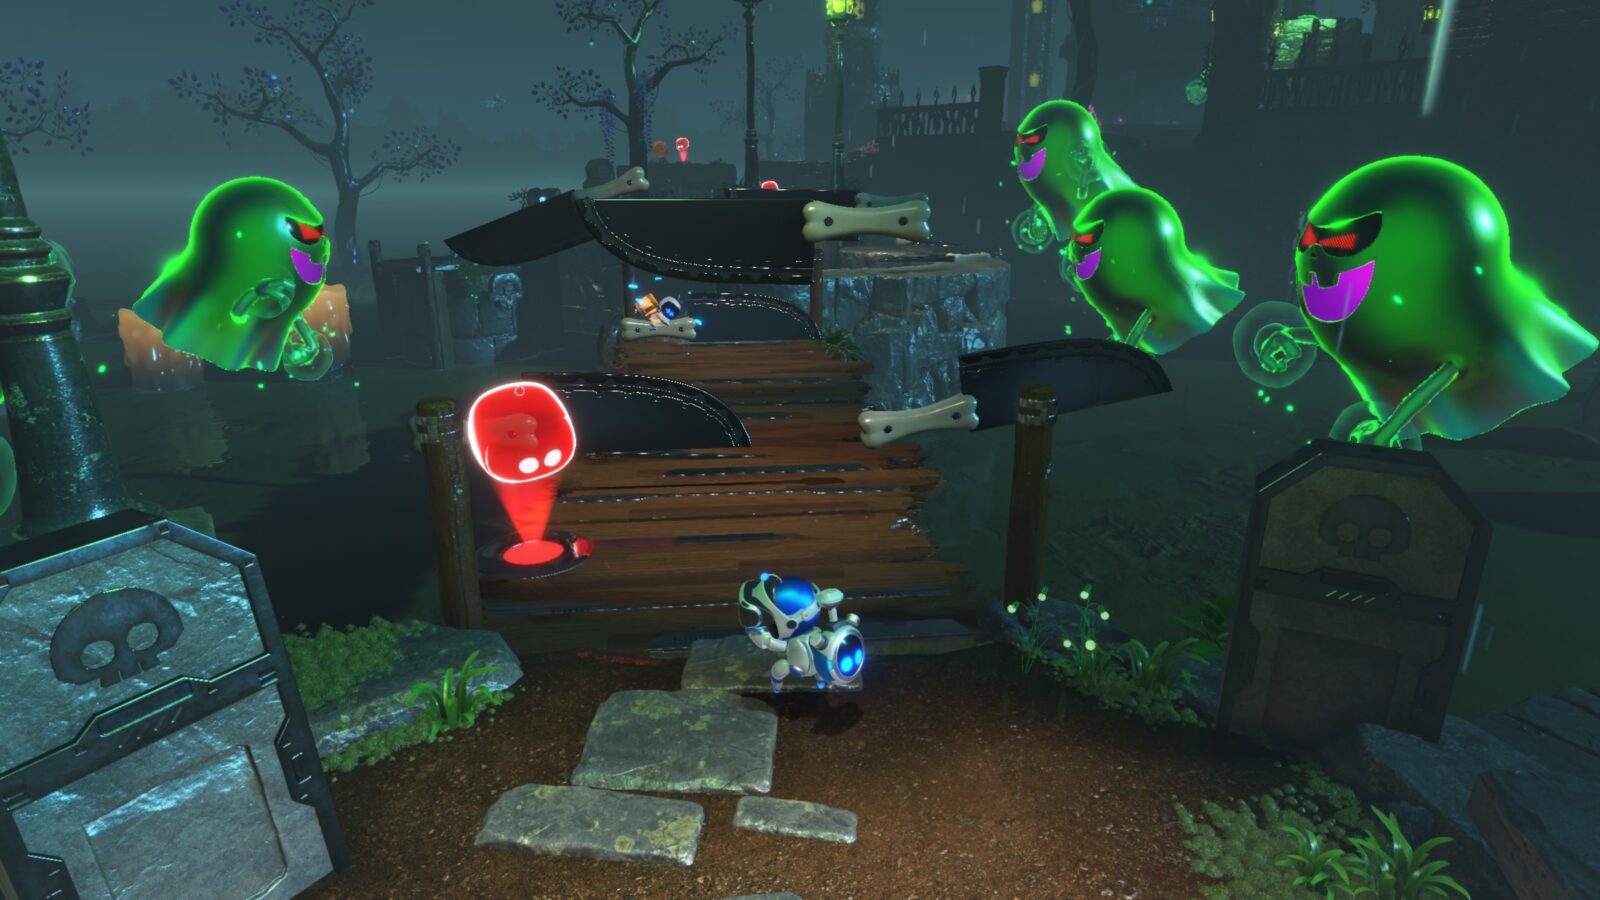
At the second set of knives, look for this one bot that’s attached to one of the handles.

Spooky Time Bot #3
At the checkpoint with the spin-attack flower, ignore the flower and go left.
At the end of this side-path, you’ll find this bot based on Chris Redfield from the Resident Evil series.

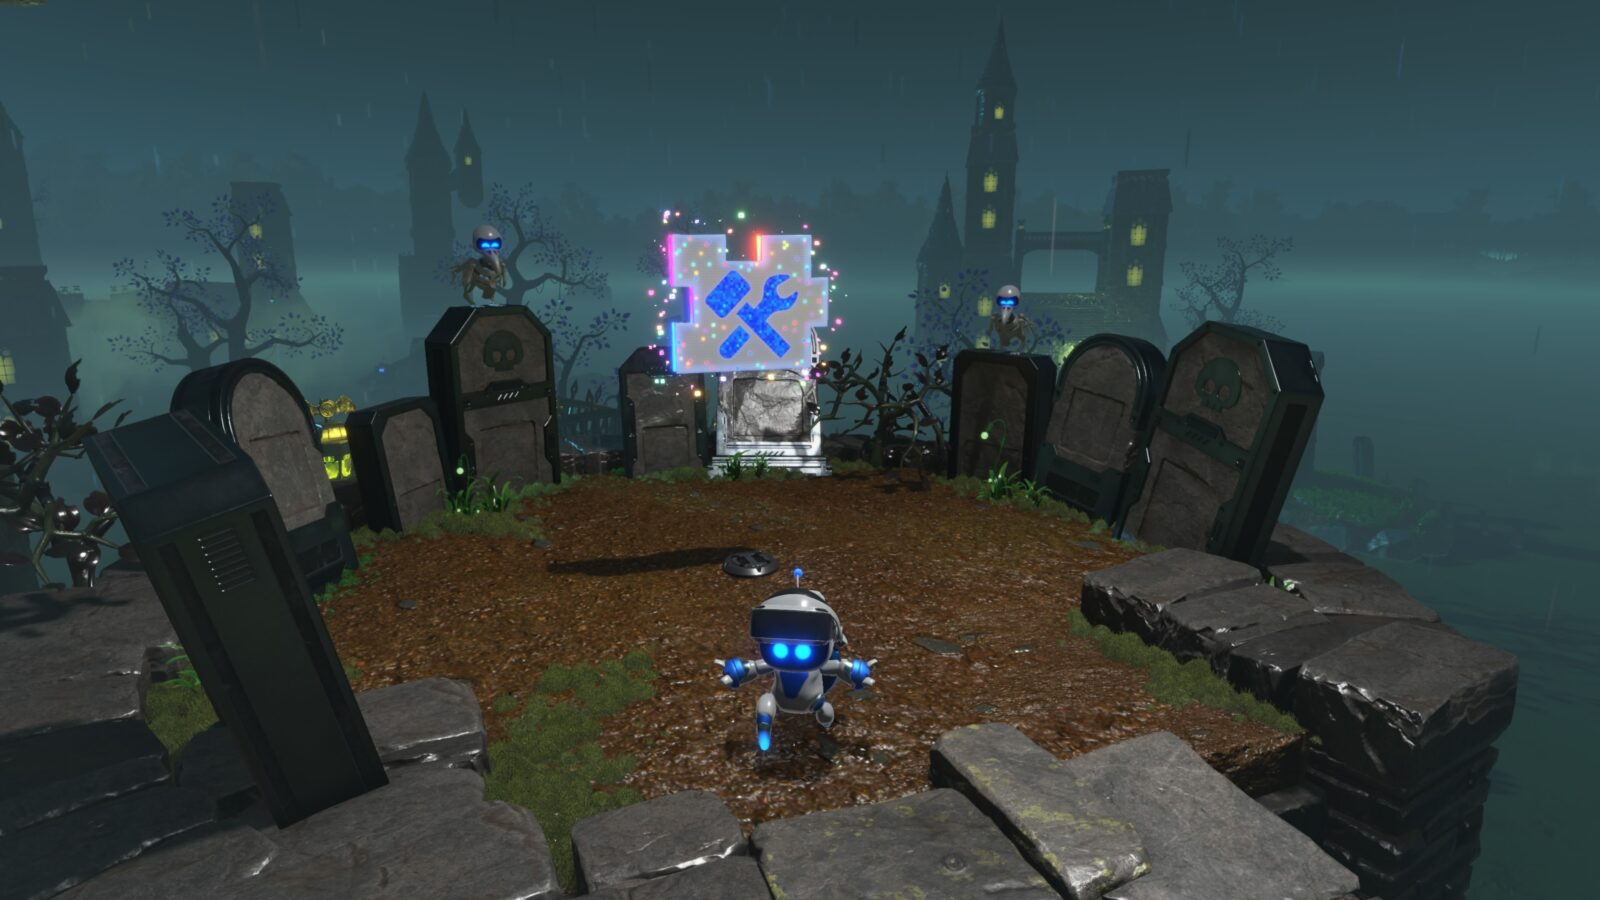
Spooky Time Puzzle Piece #1
Return to the checkpoint and spin-attack the flower to spawn some stone platforms.

You will see the puzzle piece in plain sight on one of them.

Slow time and grab it quickly before resuming course towards the spitter slime enemies.
Spooky Time Bot #4
After defeating three pumpkin enemies side-by-side, followed by two electrified enemy and one flame-spitting chameleon enemy, you’ll come to a checkpoint.

Go right from this checkpoint to find a crumbling wall with wires at the base.

Pull the wires to destroy the wall and then quickly kill the pumpkin enemy behind it.

Beyond that, you’ll see an orange clamshell that opens and closes quite quickly.
Slow time so that you can get inside the clamshell and rescue this bot.
Spooky Time Puzzle Piece #2
In the same area, climb up the walls onto one of the corner pillars.

From there, look for a small graveyard above the clamshell which contains several coins.

Approach the large coin and then dodge out of the way once it reveals itself to be an enemy. Use your double-jump lasers over the coin when its flat on the ground to kill it.
This will reveal some wires you can pull to acquire the second Puzzle Piece of the stage.
Spooky Time Bot #5
Continue on to the checkpoint on a round stone platform.

To the right of it, you’ll see a side-path you can glide over to.
Climb the side-structure to find a panel puzzle. Push the correct panel to reveal a hidden chamber.

Inside said chamber, you’ll find Bot #5 on a floating sofa.

Spooky Time Bot #6
While making your way across the invisible platforms via use of the lightbulb, keep your eye out for a branching path on the right-hand side.

Once you see it, cross the platforms to reach a stone tower with a portal at the center.

Enter the portal and use slow motion to make your way through the dark interior.
At the end of the area, you’ll find this bot based on Jill Valentine from the Resident Evil series.
Spooky Time Bot #7
You’ll see Bot #7 in plain sight as you progress through the remainder of the level.

Between the first set of knives on the wall climb, it’s clinging to the wall on the left side.
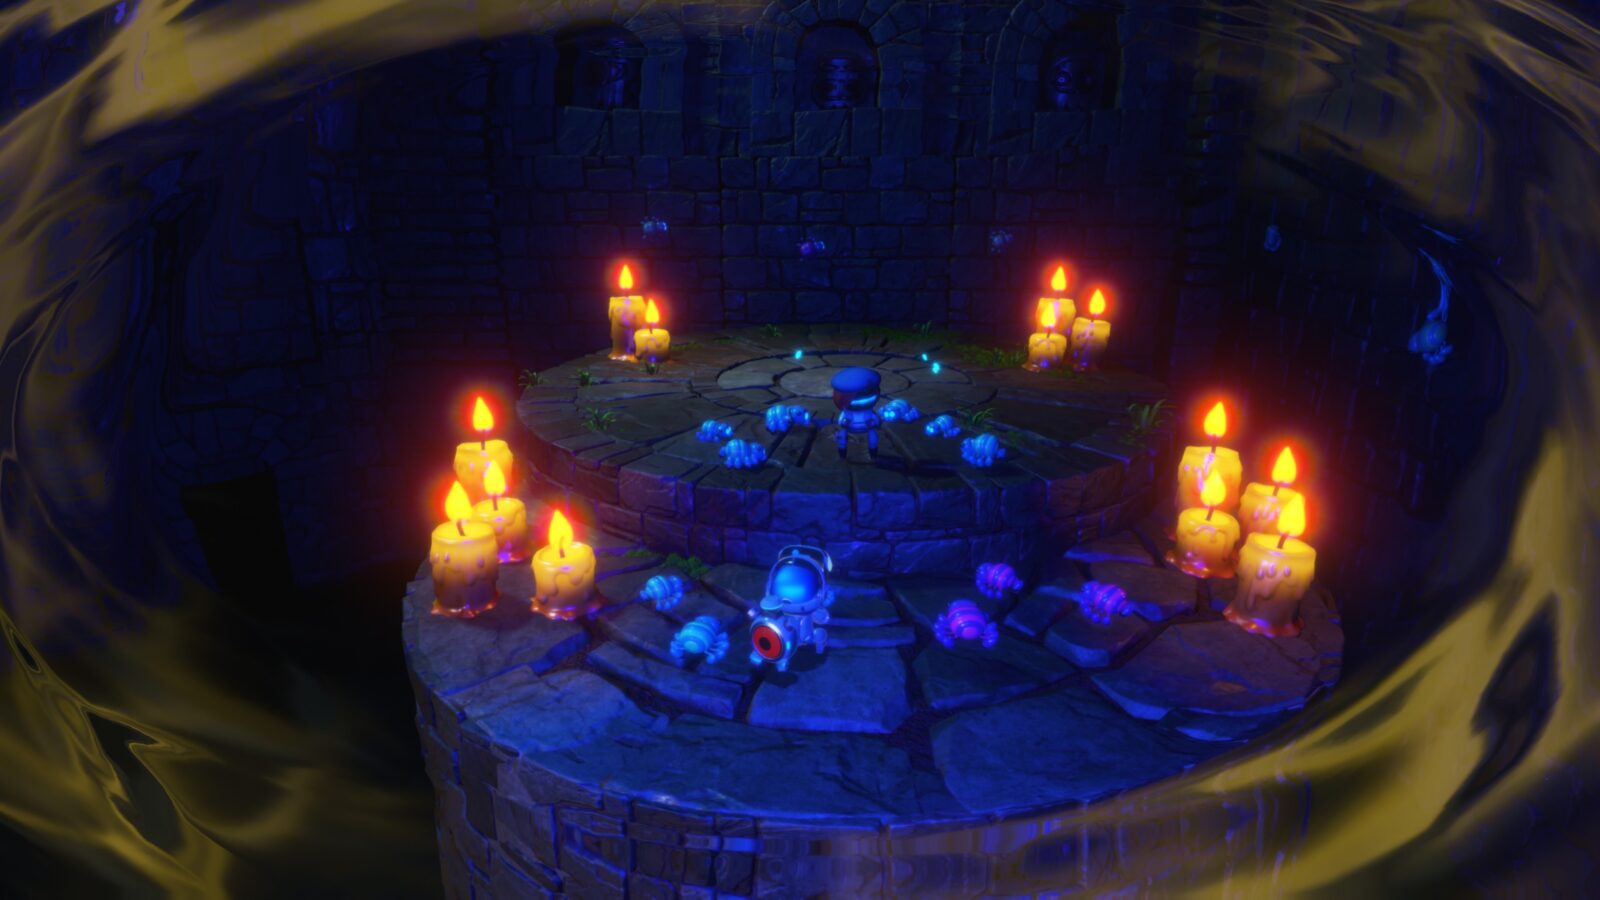
Spooky Time Puzzle Piece #3
At the very end of the level, there’s a whirling vortex of objects you need to slow time for so that you can cross to the glass orb at the back.
On one of the outermost rocks in this vortex of objects, you’ll find this Puzzle Piece. Be sure to collect it before proceeding to the level exit.
Mecha Leon Boss Collectibles
Mecha Leon is the Boss Stage of the Camo Cosmos. As such, there’s only one bot to collect.
You need to complete the first four levels to unlock access to this stage. There are no Level-Specific Trophies in this stage.
Mecha Leon Bot
Defeat the boss to collect this bot automatically. It’s based on Kulche from LocoRoco.

Going Loco Collectibles
The Going Loco Level contains just 8 total collectibles: 5 Bots and 3 Puzzle Pieces. There is no Level-Specific Trophy in this stage
Going Loco Bot #1
Hanging from a vine in plain sight along the main path.

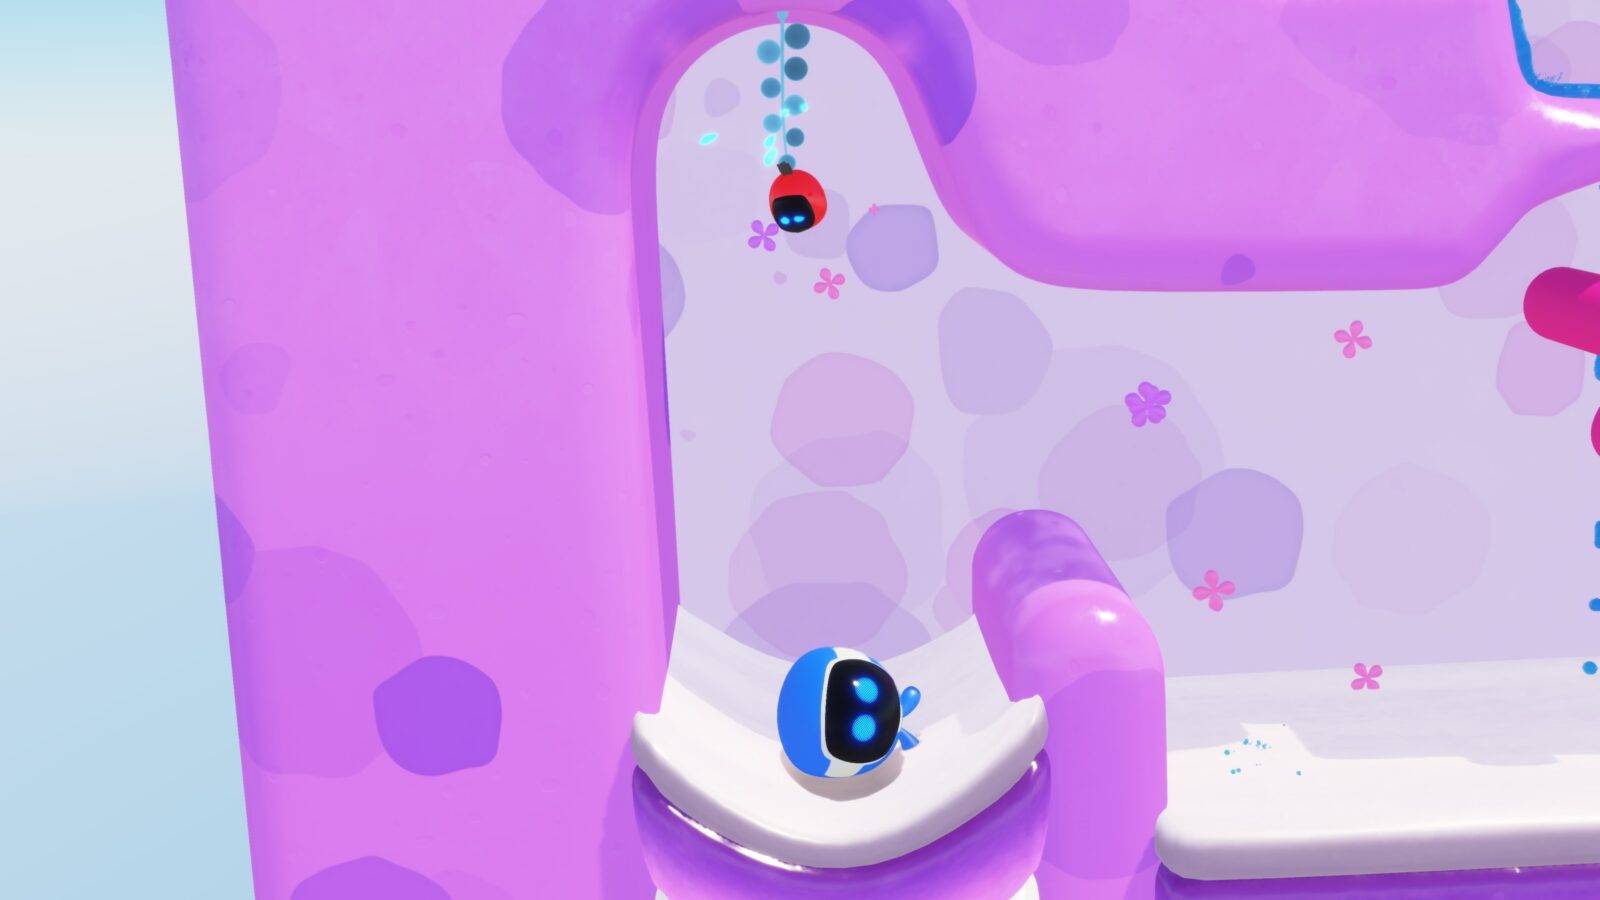
Going Loco Puzzle Piece #1
After you’ve used your ability to break up into smaller blobs so that you can pass through a narrow gap, you’ll land at a checkpoint.

Go right from that checkpoint to find this Puzzle Piece.

Going Loco Puzzle Piece #2
In plain sight during the 3D rolling section.

Going Loco Bot #2
On the far left side after the pink propeller section. It’s hanging from another vine.
Going Loco Bot #3
Eventually you’ll come to two bouncy faces; one pink and one yellow.

Use the pink one to launch yourself up and to the left, breaking through a wall.

Just beyond that wall, you’ll find this bot.

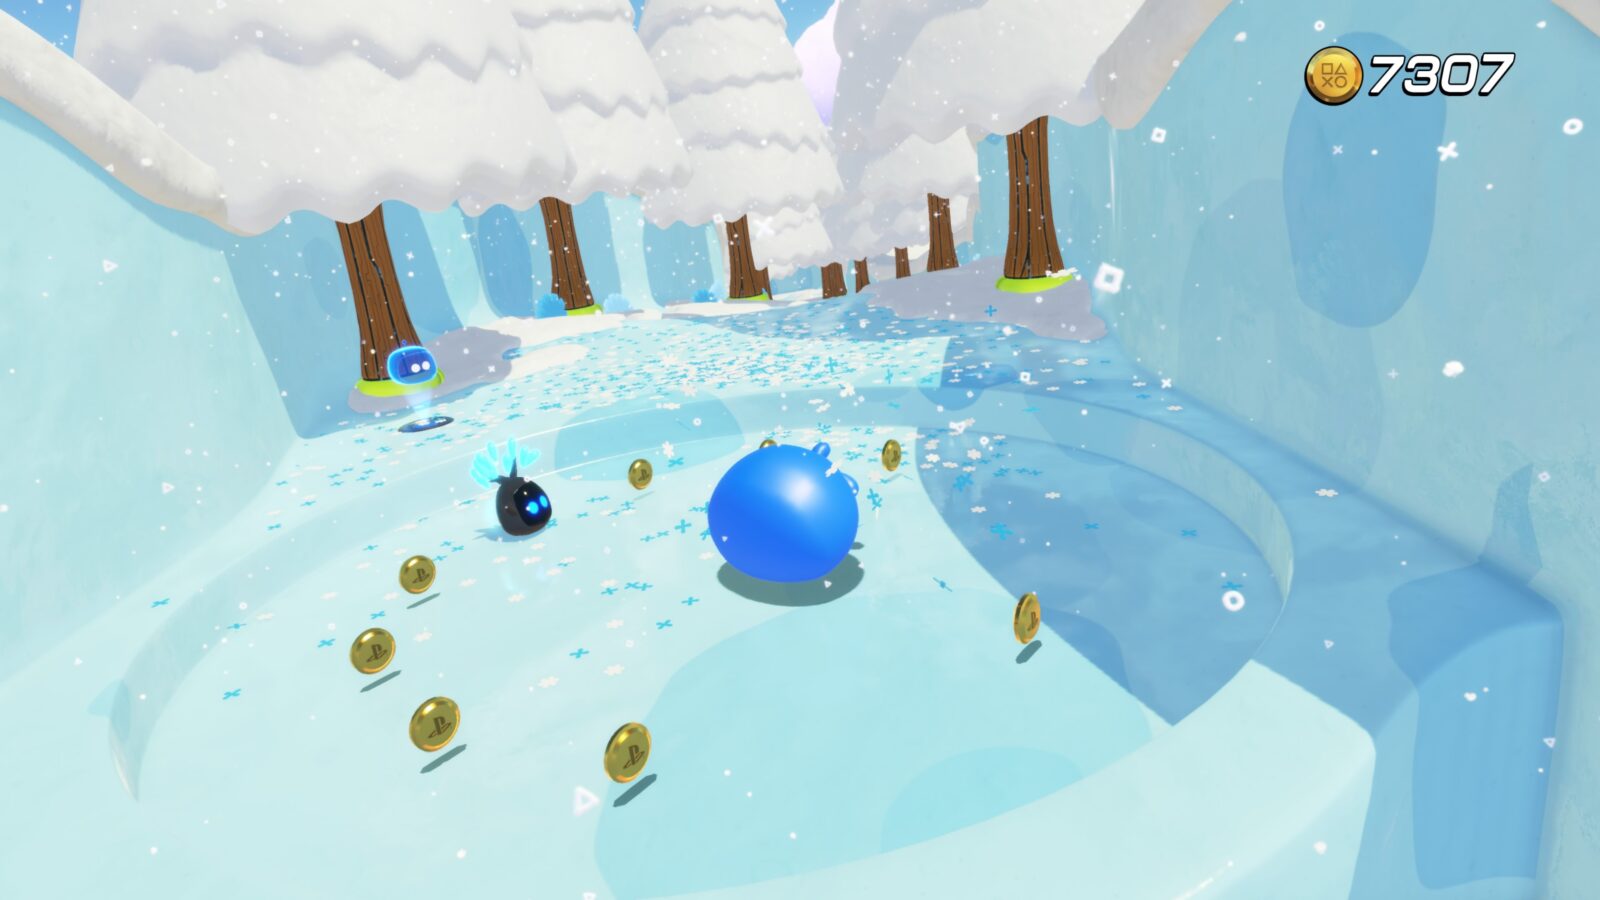
Going Loco Puzzle Piece #3
During another 3D section, you’ll reach a snowy area with lots of trees that bounce you off like pinball bumpers.
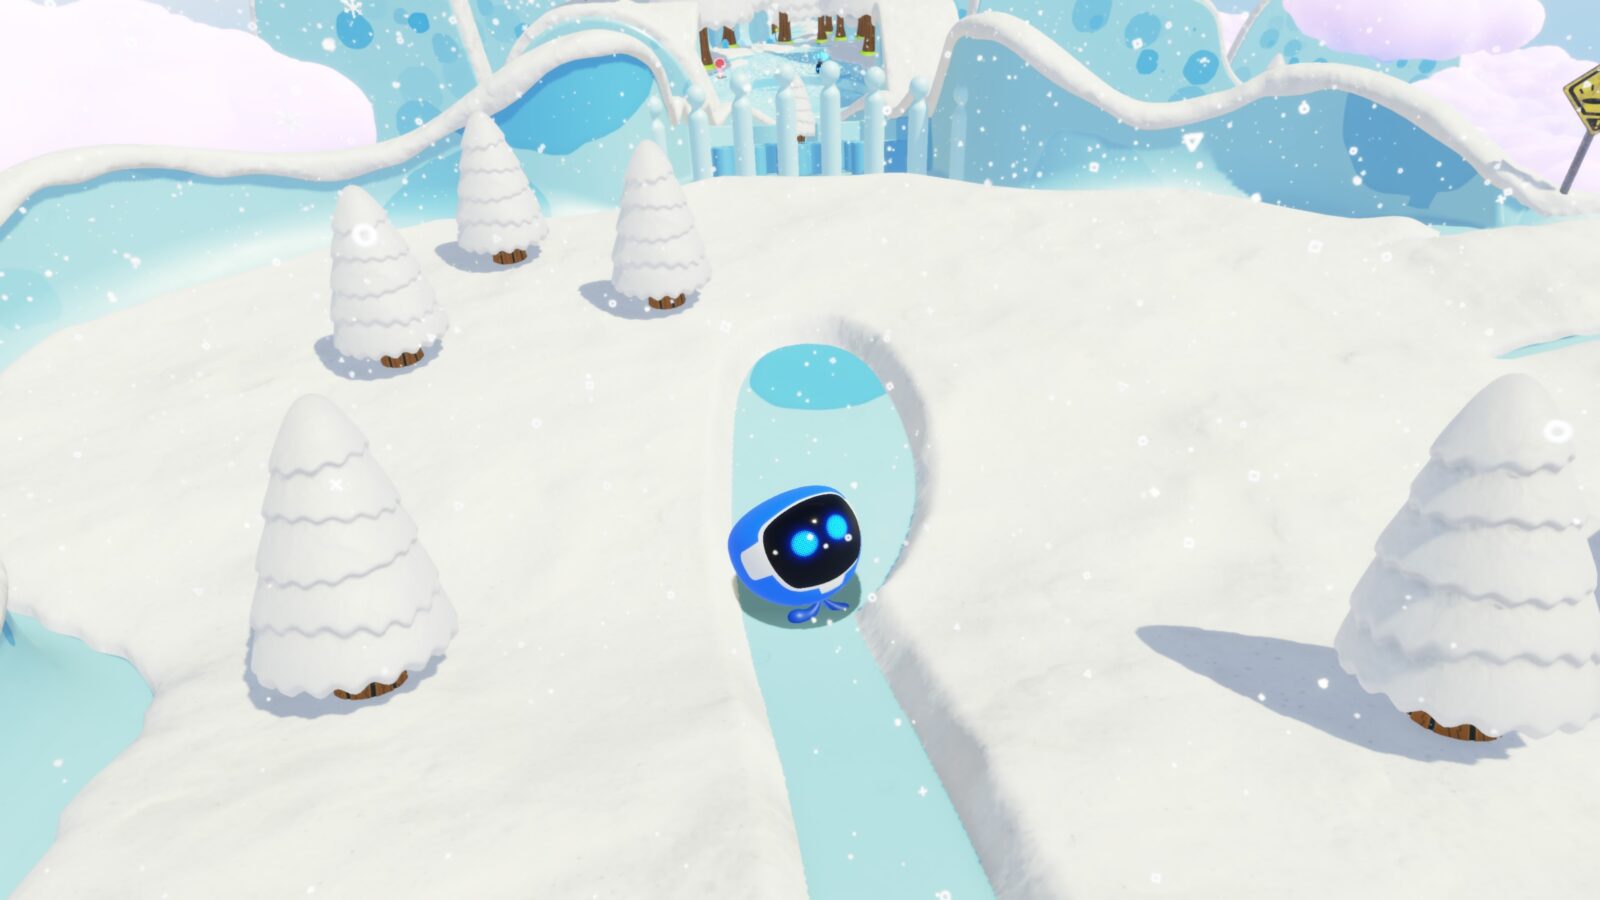
Clear the snow between the cluster of three trees on the left side of this area, and you’ll reveal a puzzle piece.

Going Loco Bot #4
Go right from the last puzzle piece, past a yellow sign, and you’ll see a snowman.
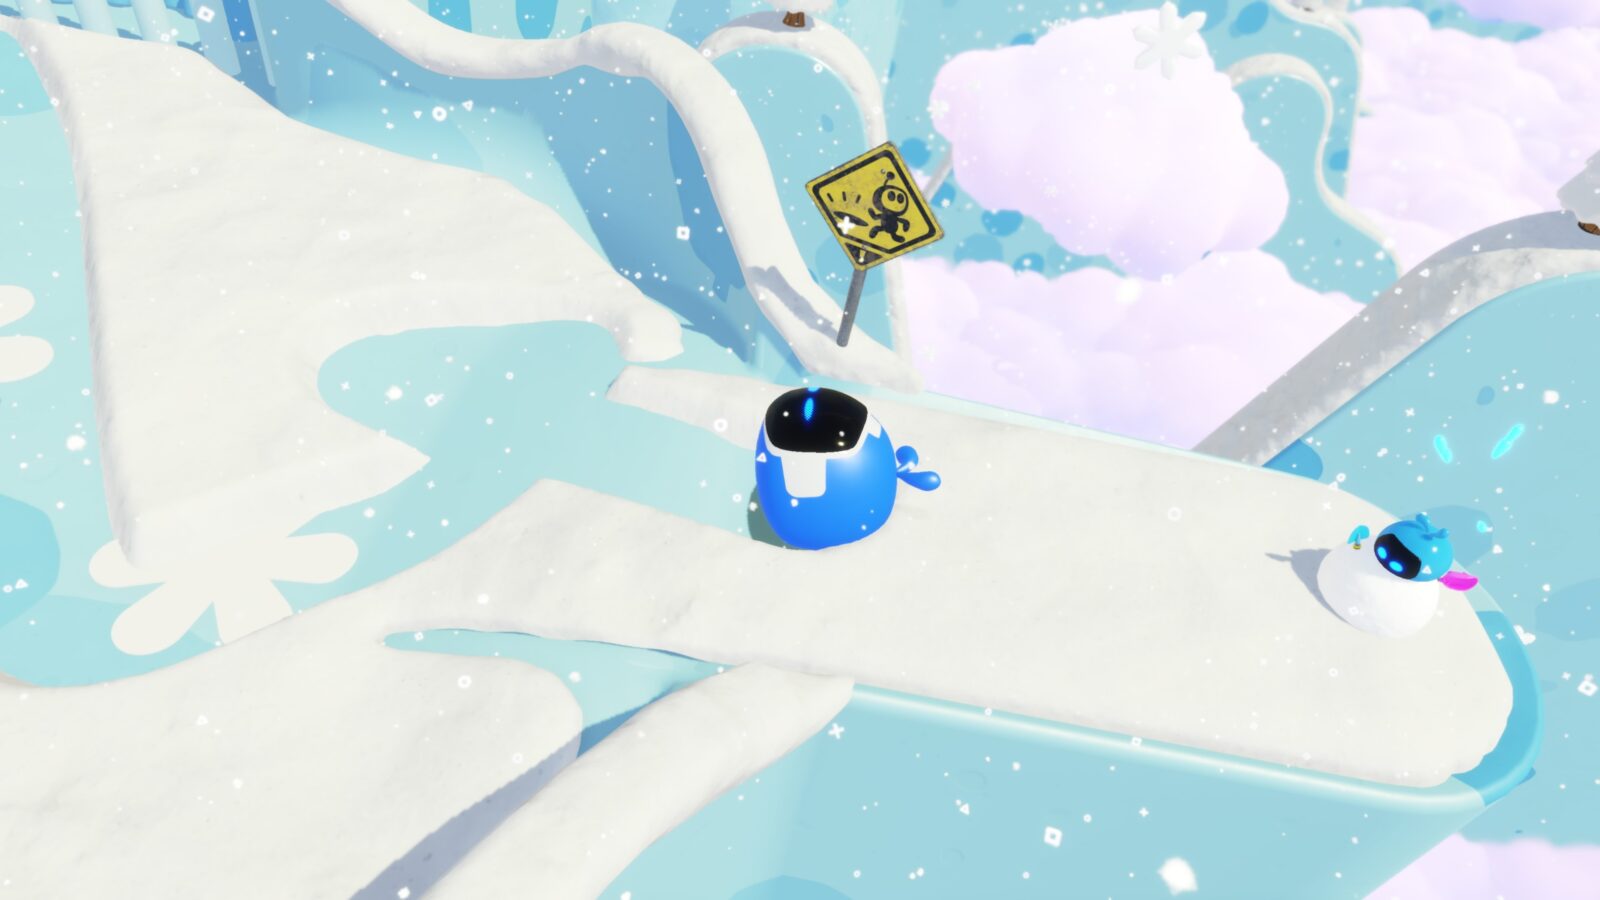
Roll into this snowman to collect Bot #4.
Going Loco Bot #5
As you roll downhill from the last two collectibles, you should see this Bot in plain sight.
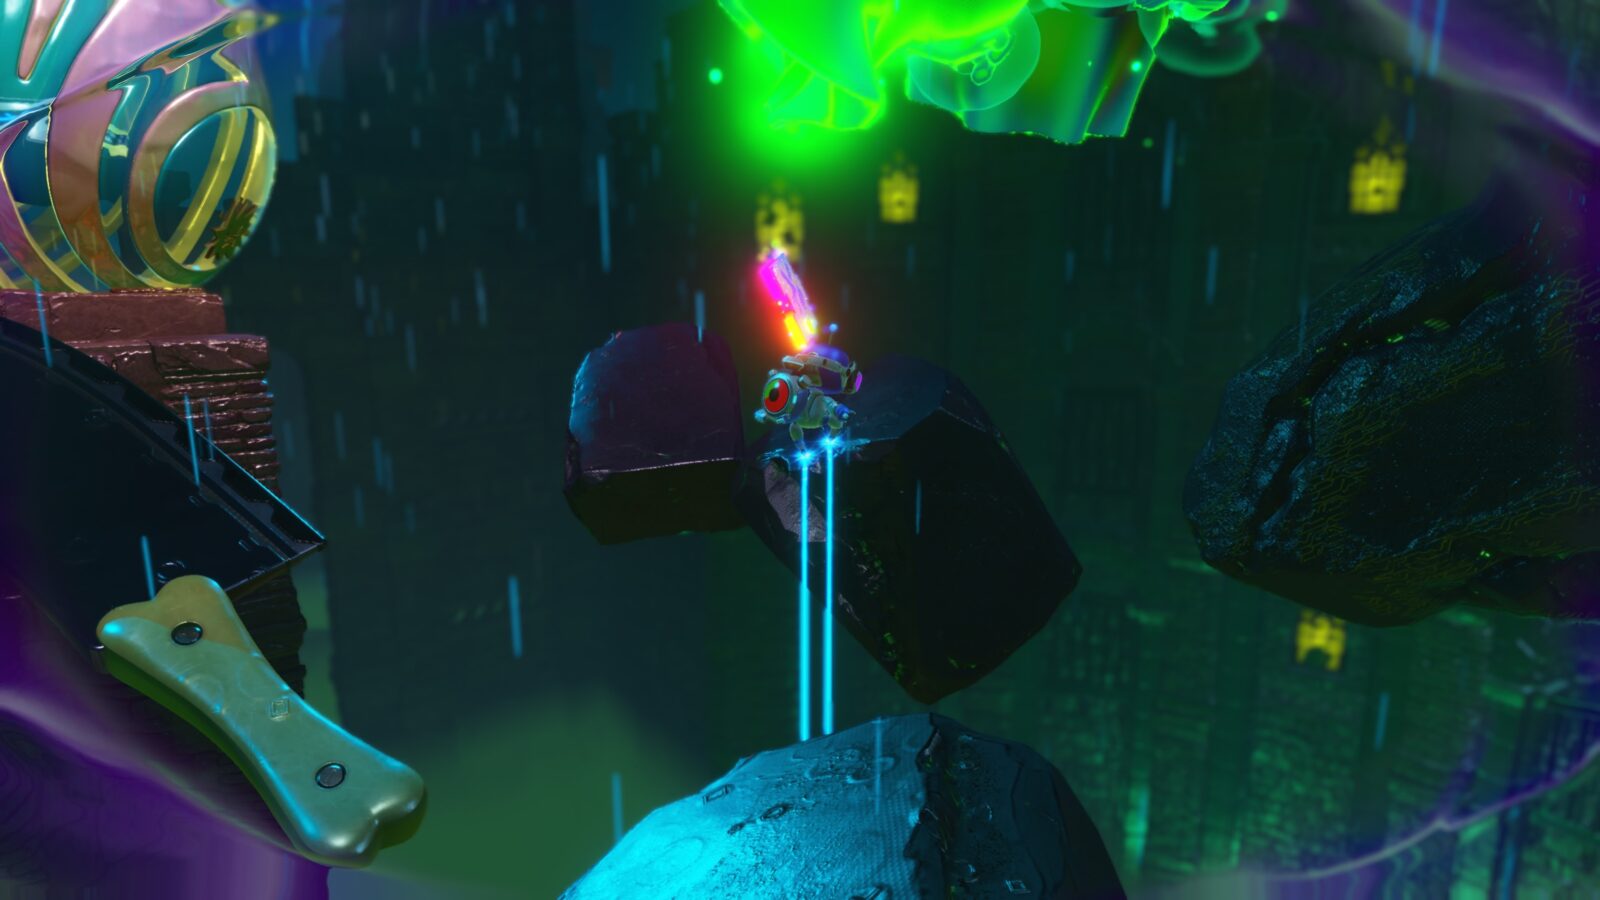
Lost Square Void Collectibles
Fly into the asteroid in the lower-left corner of the Camo Cosmos Galaxy Map and a load of colorful shapes will spawn.
Fly circles through the shapes until another asteroid appears in the center, which, when crashed into, will spawn the Lost Square Void.
There are no collectibles in this level, but you need to complete it to spawn the Splashing Sprint, Vertical Velocity, Follow the Light, and Boing! Bonanza levels.
Splashing Sprint Collectibles
This level spawns after you complete the Lost Square Void level. You’ll receive a bot automatically upon completing the level.
Splashing Sprint Bot
Complete this stage to receive the bot automatically. It’s based on Maximilian from Dark Cloud.
Vertical Velocity Collectibles
This level spawns after you complete the Lost Square Void level. You’ll receive a bot automatically upon completing the level.
Vertical Velocity Bot
Complete this stage to receive the bot automatically. It’s based on Dart Field from Legend of Dragoon.
Follow the Light Collectibles
This level spawns after you complete the Lost Square Void level. You’ll receive a bot automatically upon completing the level.
Follow the Light Bot
Complete this stage to receive the bot automatically. It’s based on Reiko Nagase from the Ridge Racer series.
Boing Bonanza Collectibles
This level spawns after you complete the Lost Square Void level. You’ll receive a bot automatically upon completing the level.
Boing Bonanza Bot
Complete this stage to receive the bot automatically. It’s based on Kazuma Kiryu from the Yakuza series.
Retro Rampage 4 Collectibles
To unlock this stage, break the asteroid that spawns in the upper-left corner of the Camo Cosmos Galaxy Map. It contains only one bot.
Retro Rampage 4 Bot
Complete this stage to receive the bot automatically. It’s based on a racer from Gran Turismo.
Crumble Rumble 4 Collectibles
To reveal the Crumble Rumble 4 stage, hit the asteroid that spawns to the left of the Mecha Leon boss stage. It contains just one bot.
Crumble Rumble 4 Bot
Complete this stage to receive the bot automatically. It’s based on a snowboarder from the Cool Boarders series.
Next Zone
That concludes the Camo Cosmos Portion of our Astro Bot Collectible Guide. Use the links below to check out the next sector of the Galaxy Map.
- Astro Bot Gorilla Nebula Collectible Guide
- Astro Bot Tentacle System Collectible Guide
- Astro Bot Serpent Starway Collectible Guide
- Astro Bot Camo Cosmos Collectible Guide
- Astro Bot Feather Cluster Collectible Guide
- Astro Bot Déjà Vu Dimension Collectible Guide
- Astro Bot Lost Galaxy Collectible Guide
- Astro Bot Crash Site Collectible Guide
Thanks for Reading
Plat Get!
Thank You!
Thank You for choosing PlatGet as your source for this Astro Bot Camo Cosmos Collectible Guide.
Wondering what to complete next? Browse our complete guide selection or check out our friends at PlatPrices.com to filter the PS Store based on price, trophy difficulty, or completion time.
Got a question, some feedback, or just want to say thanks? Drop a comment in the discussion section below, we'd love to hear from you! No account required!!